Tag Archives: removing oxidation

Loving the old WDC Campaign Pipe


Blog by Steve Laug

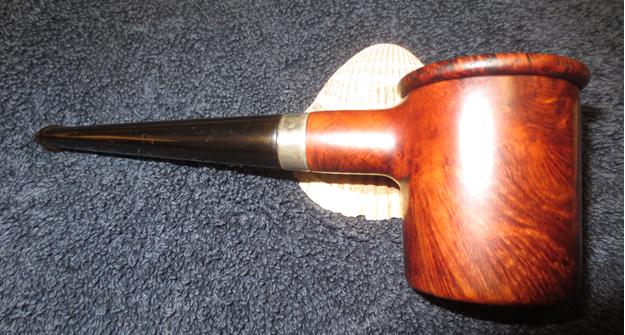
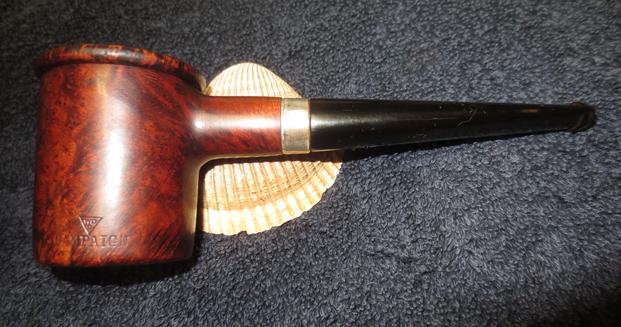
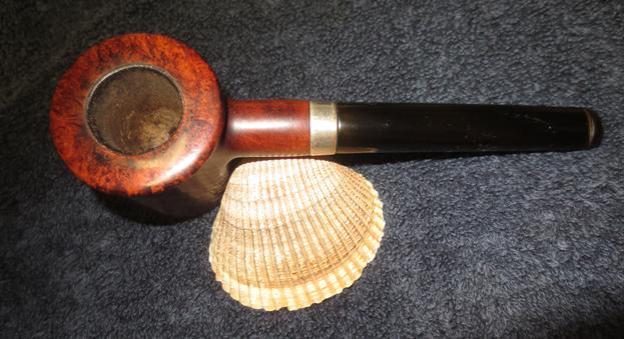
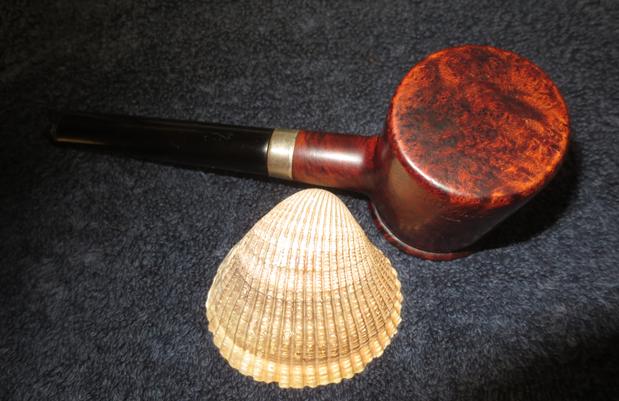
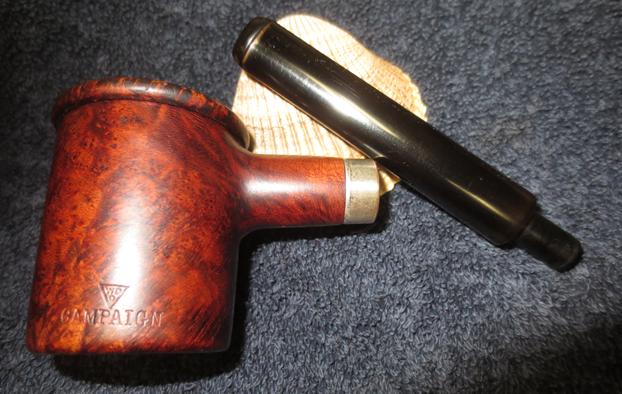
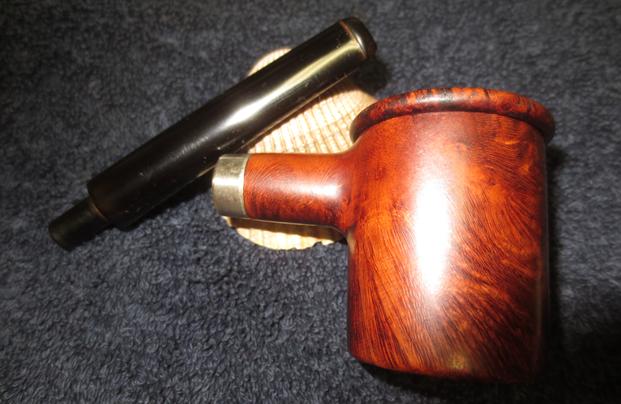
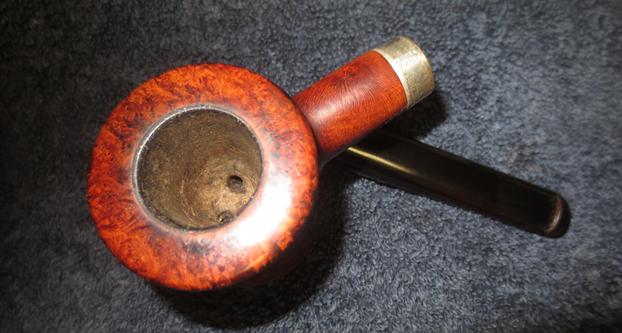
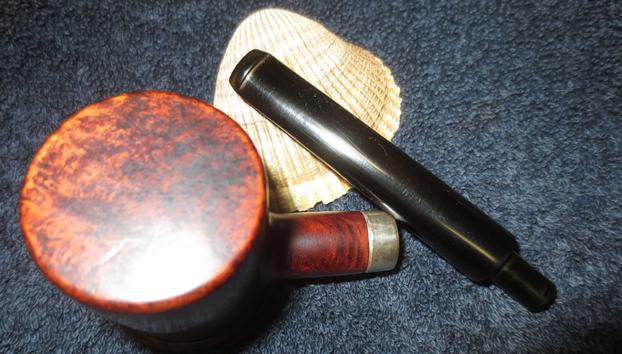
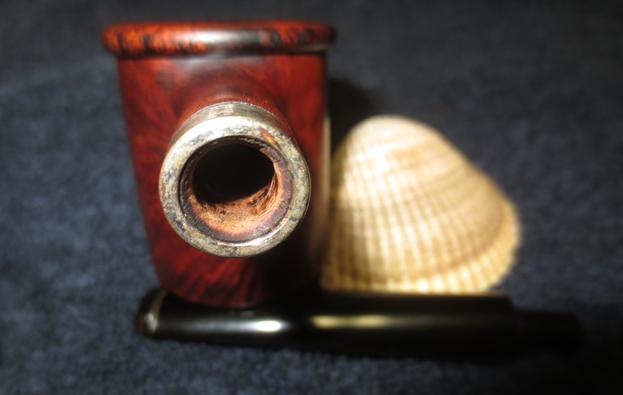
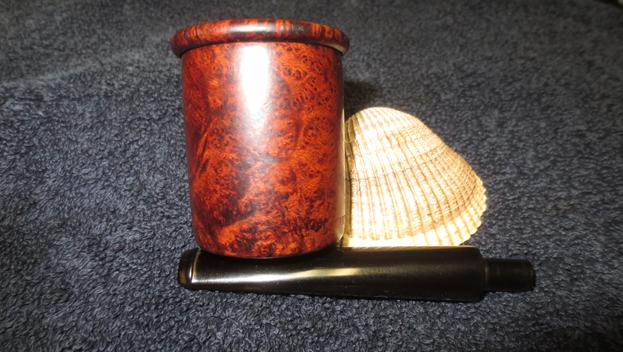
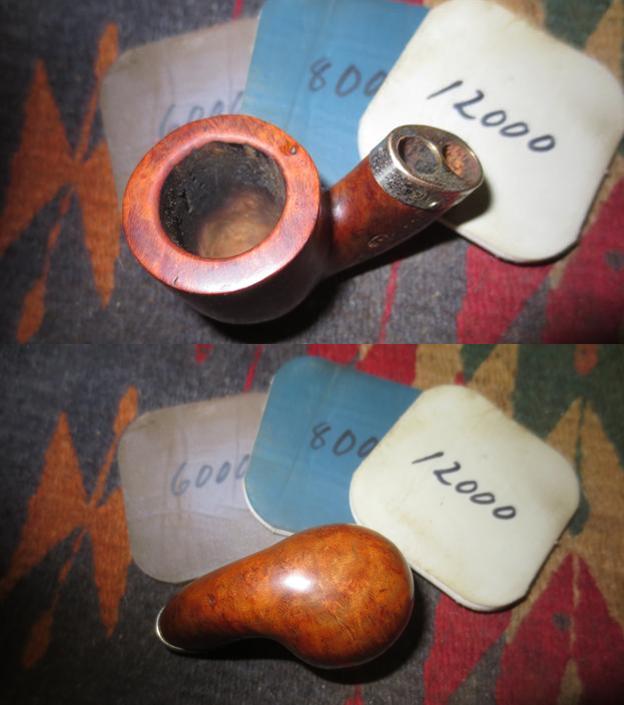
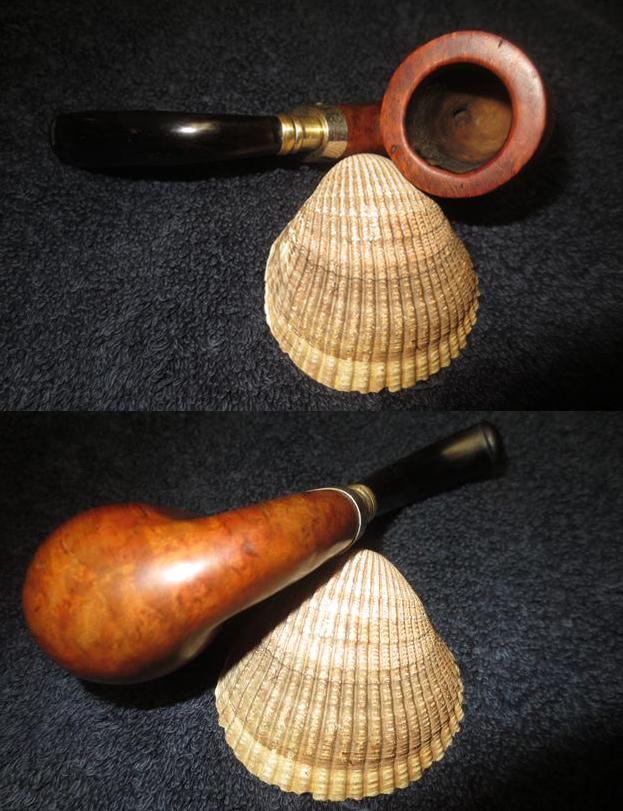
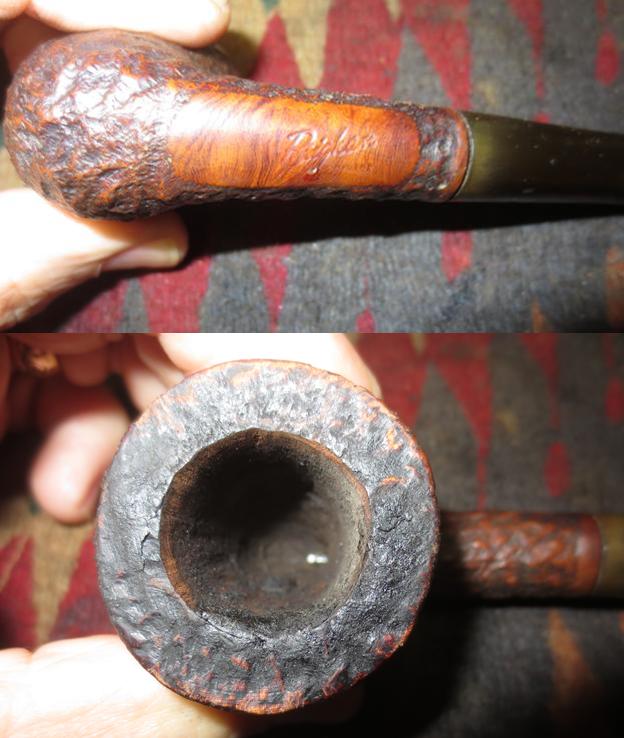
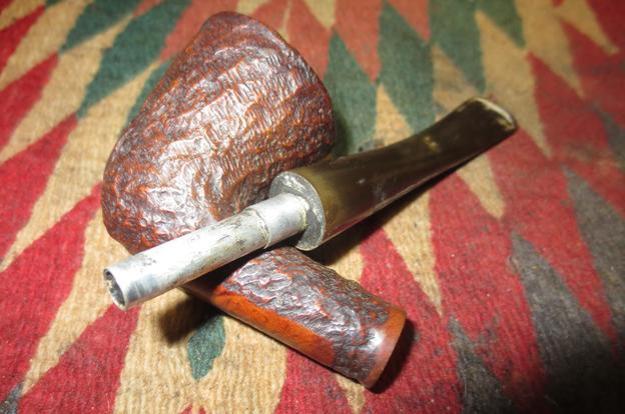
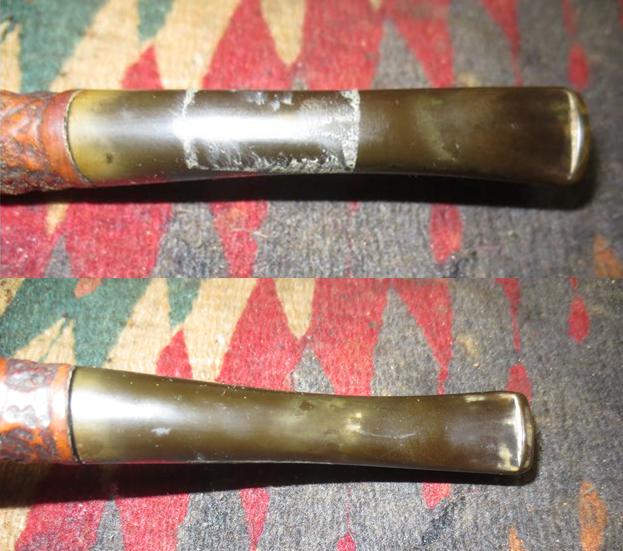
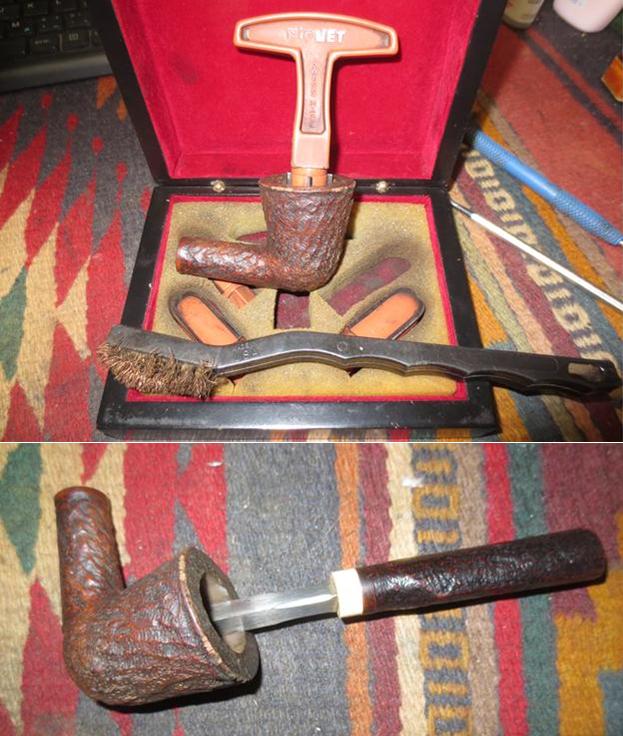
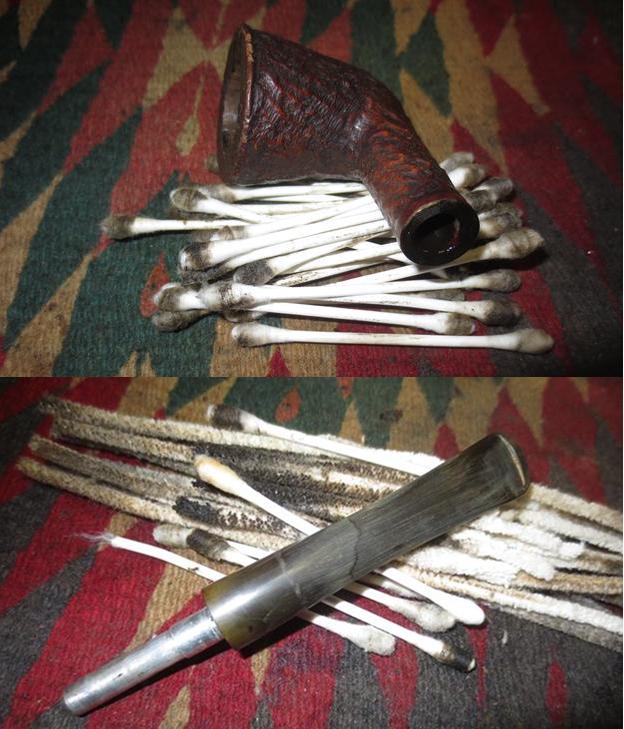
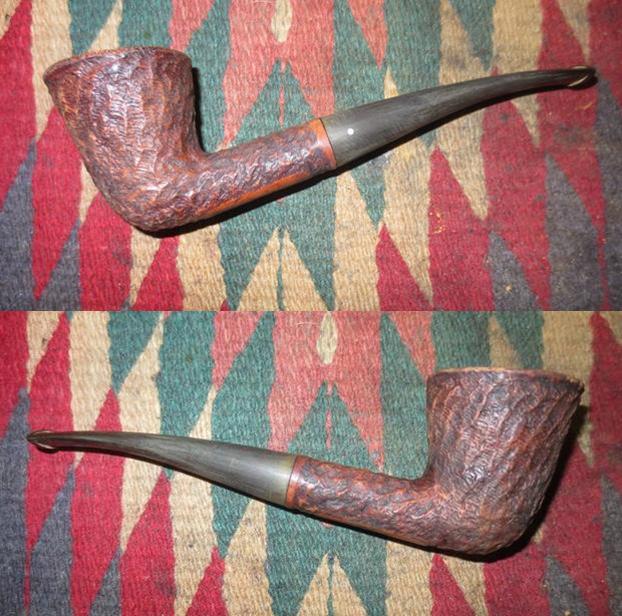
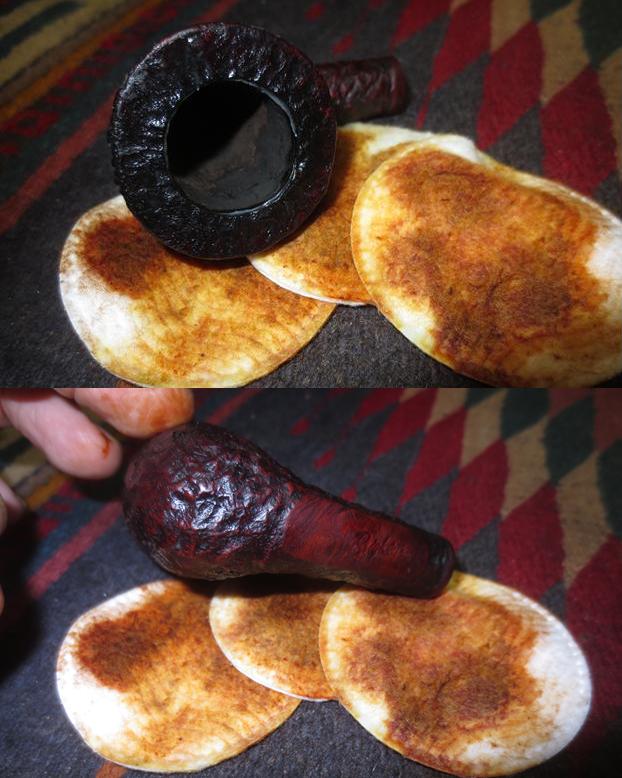
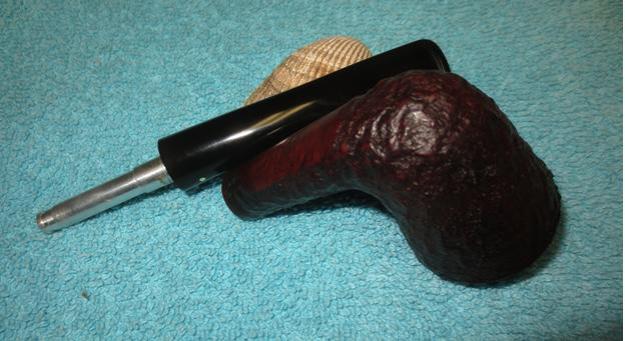
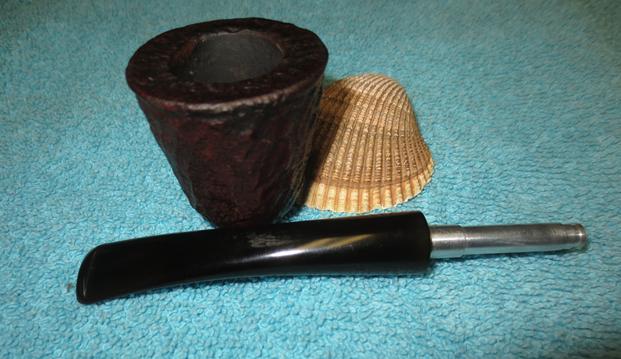
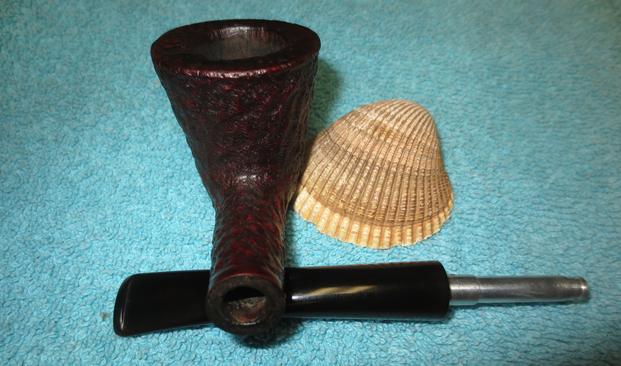
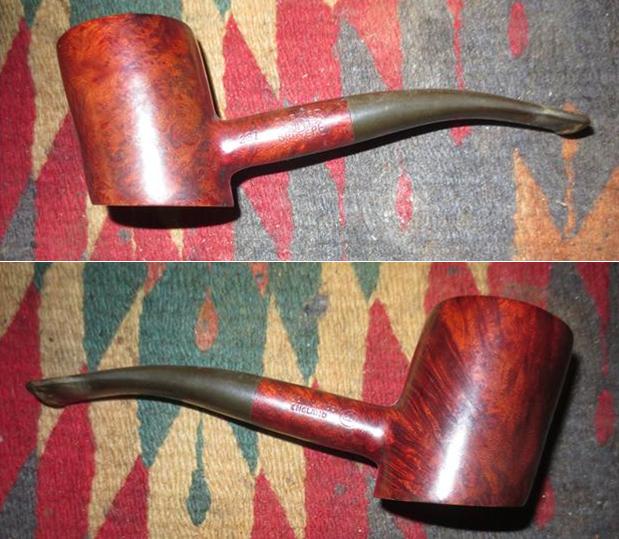
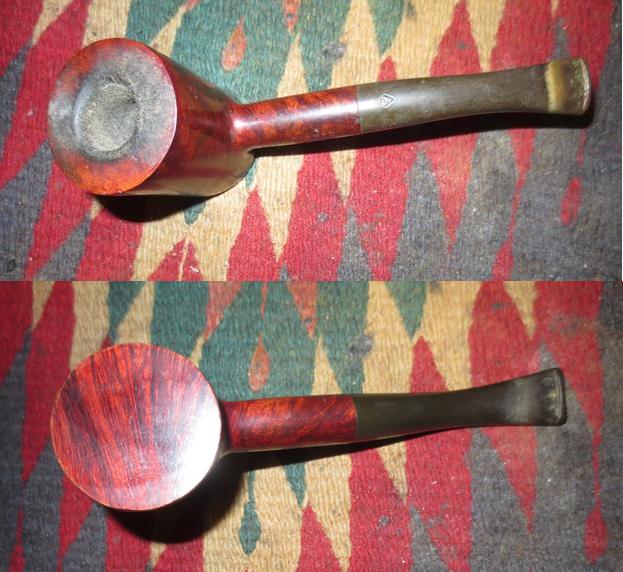
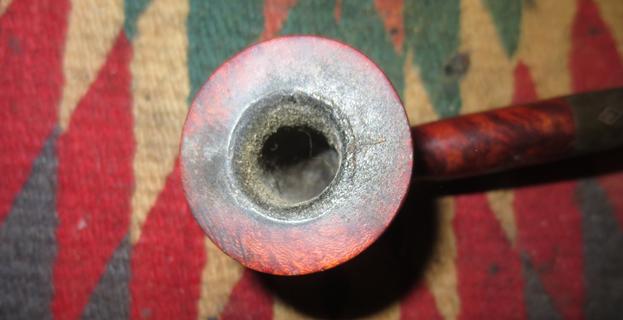
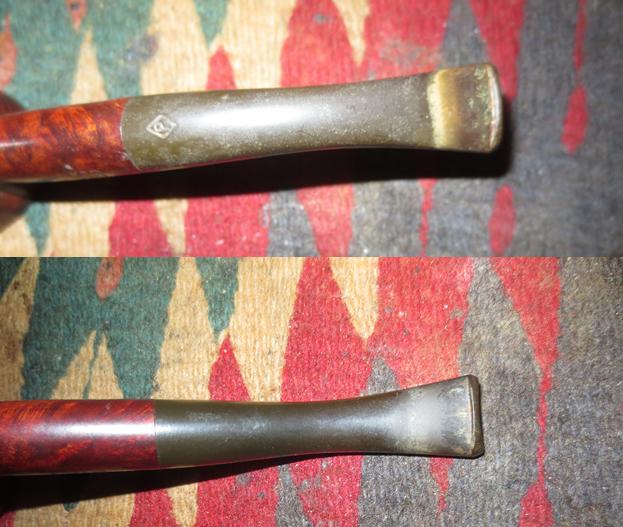
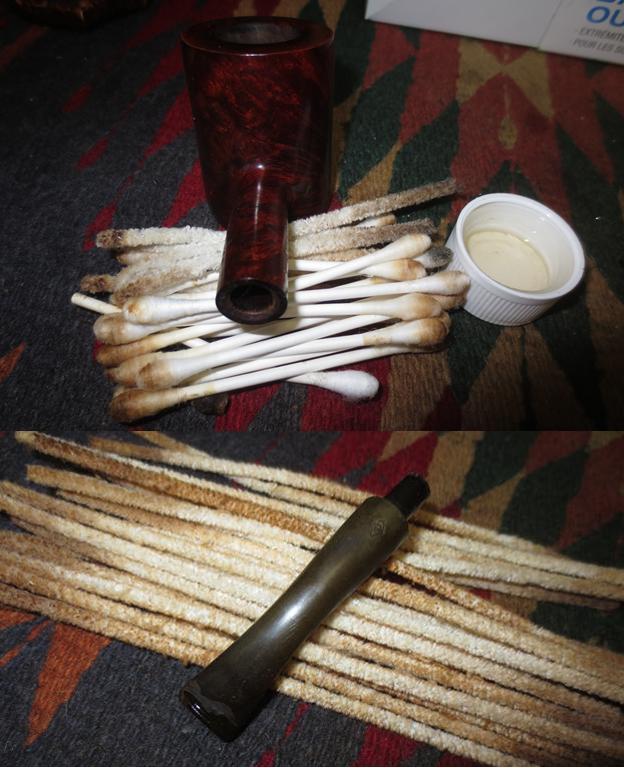
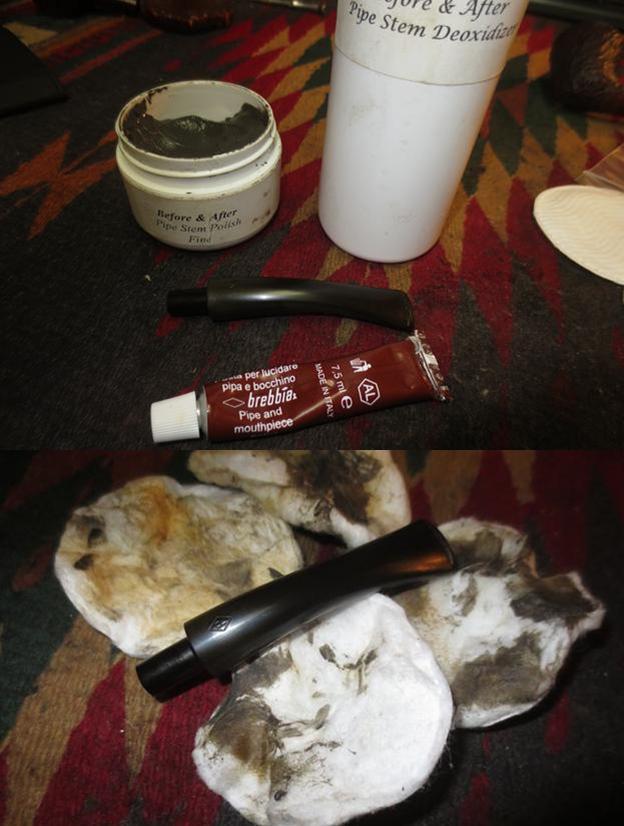
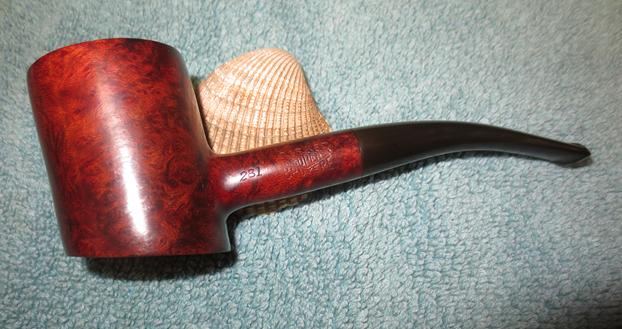
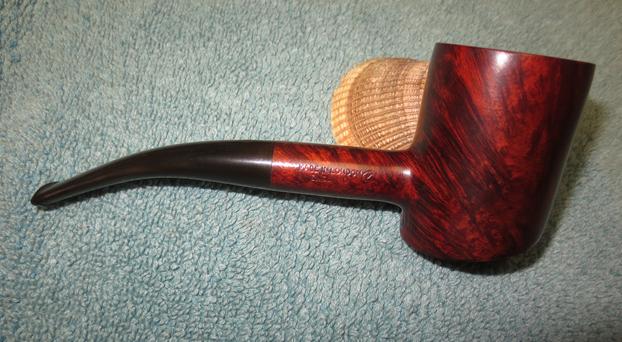
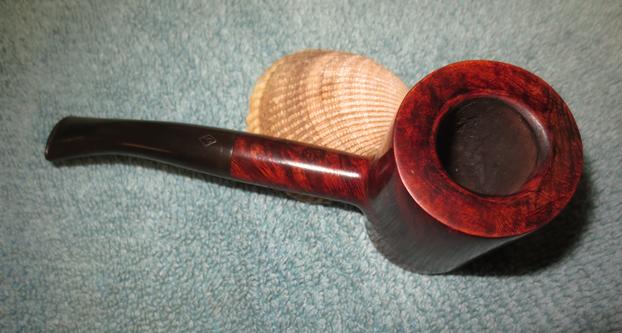
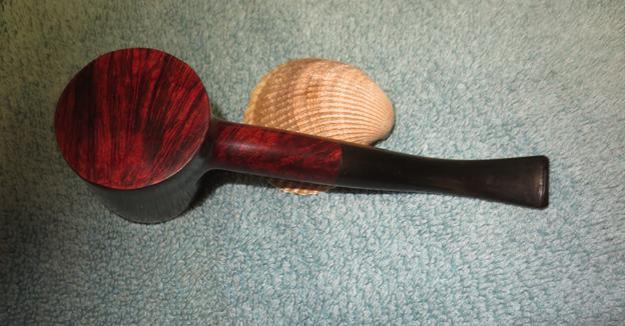
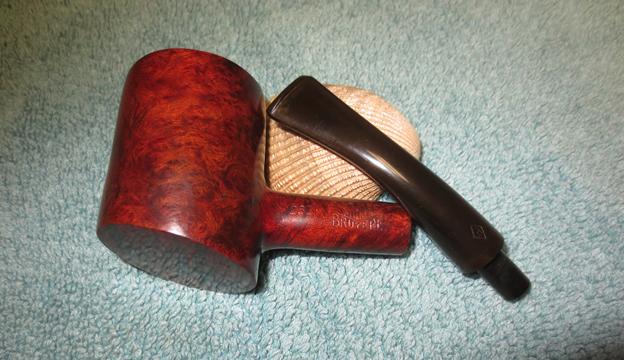
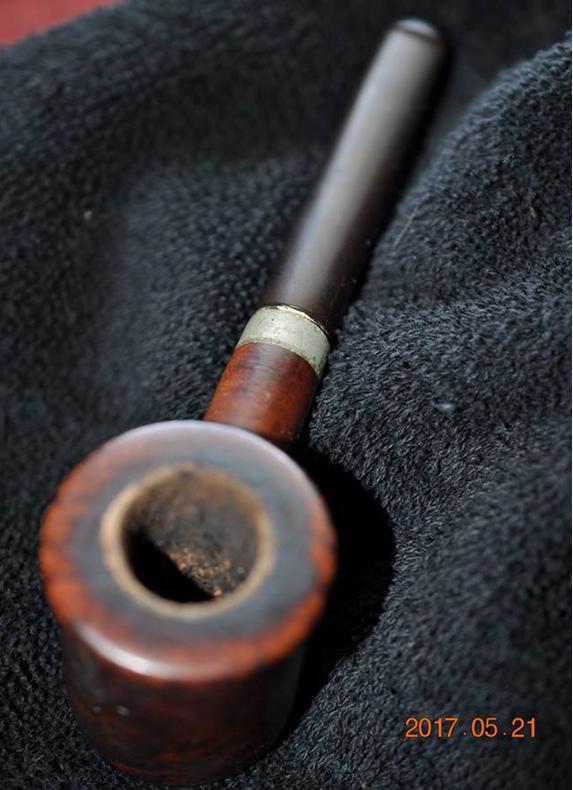
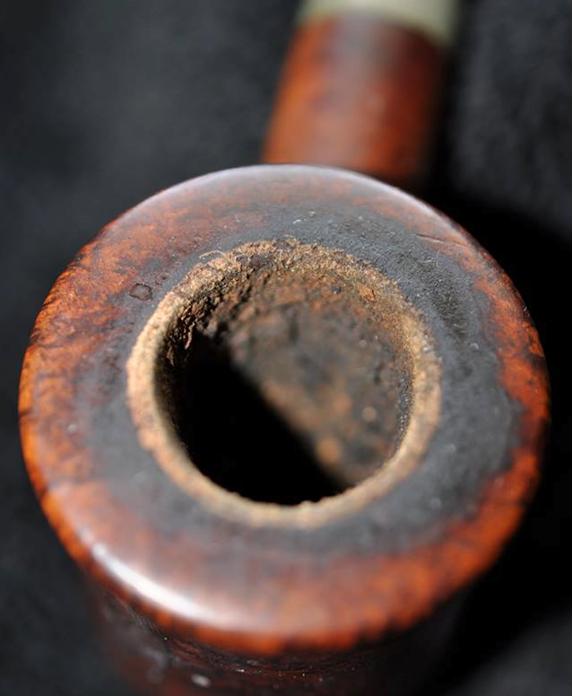
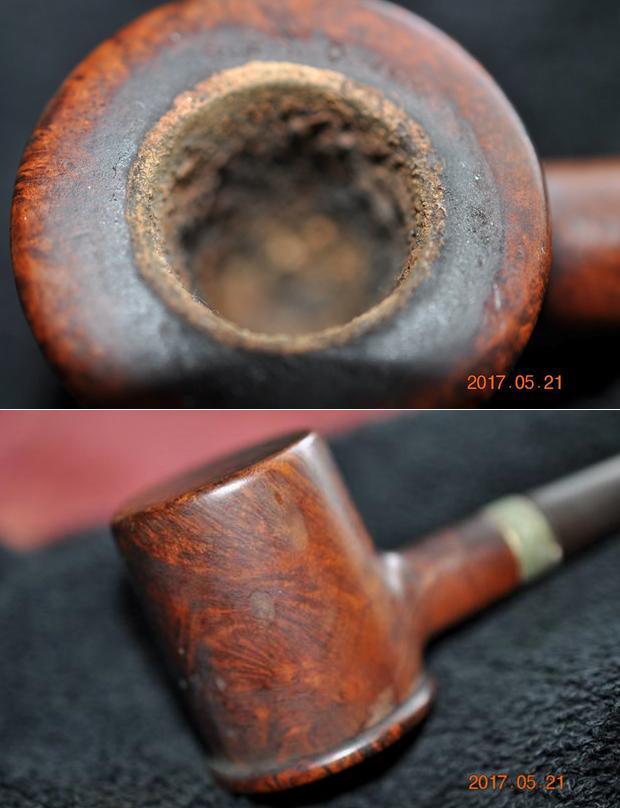
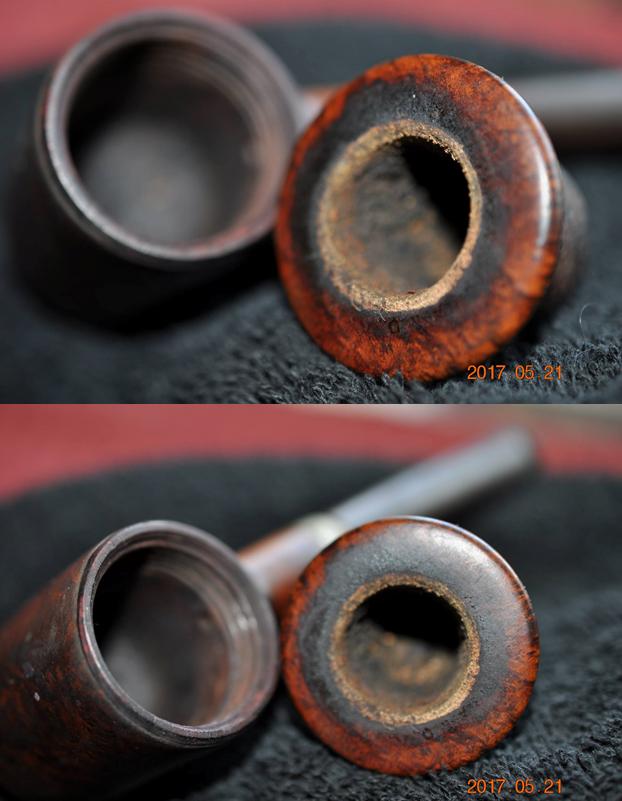
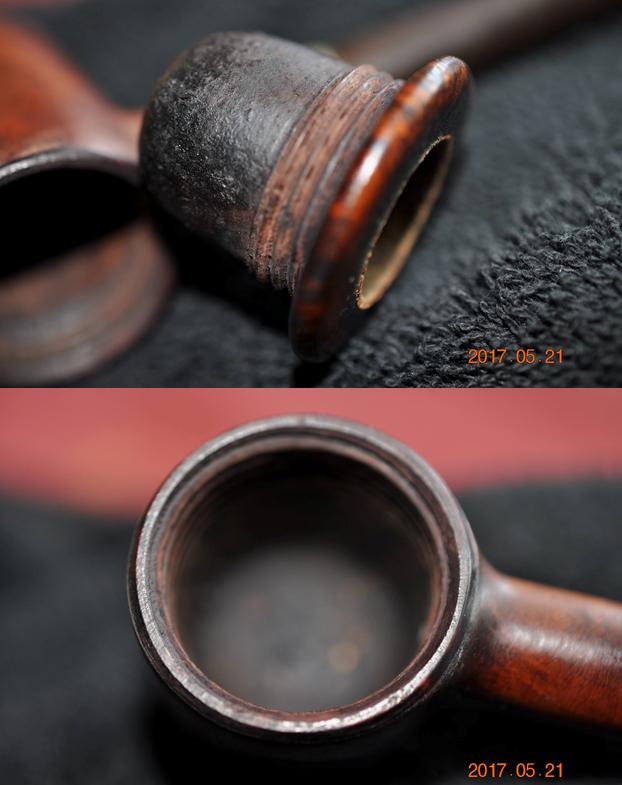
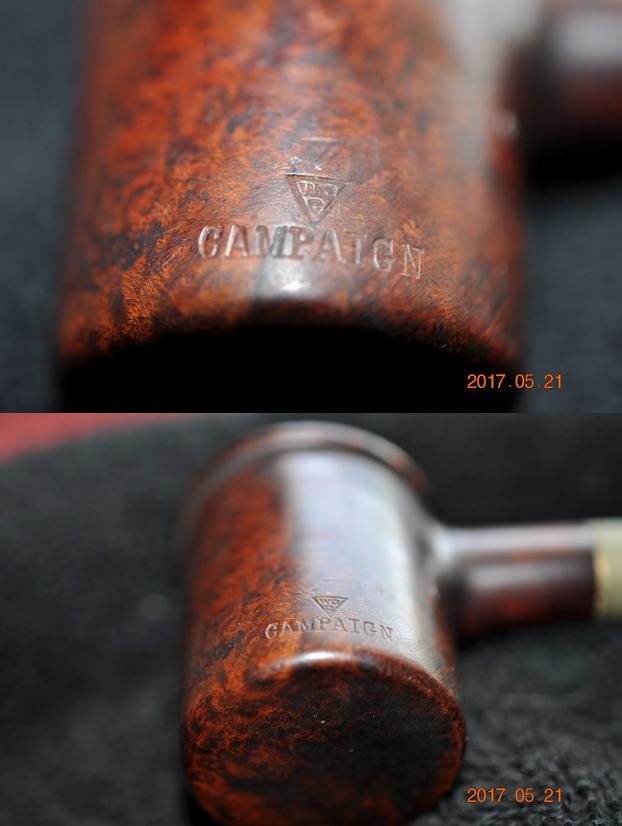
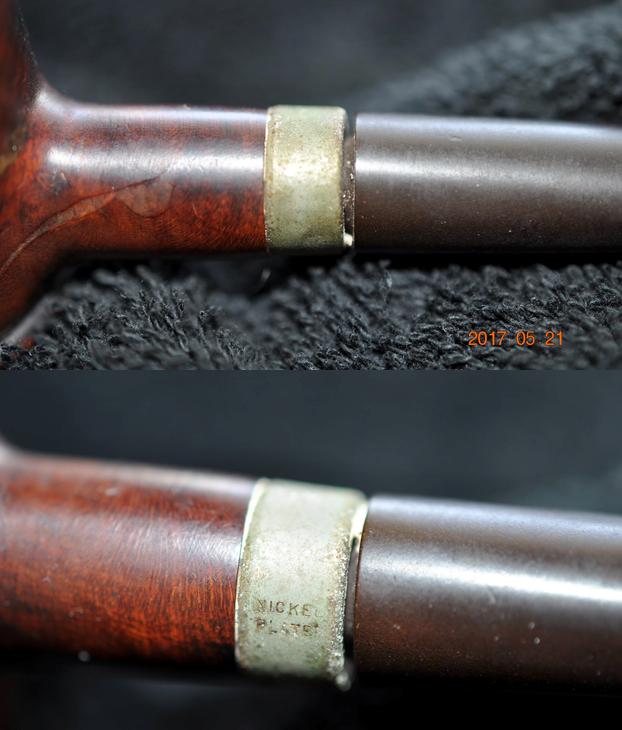
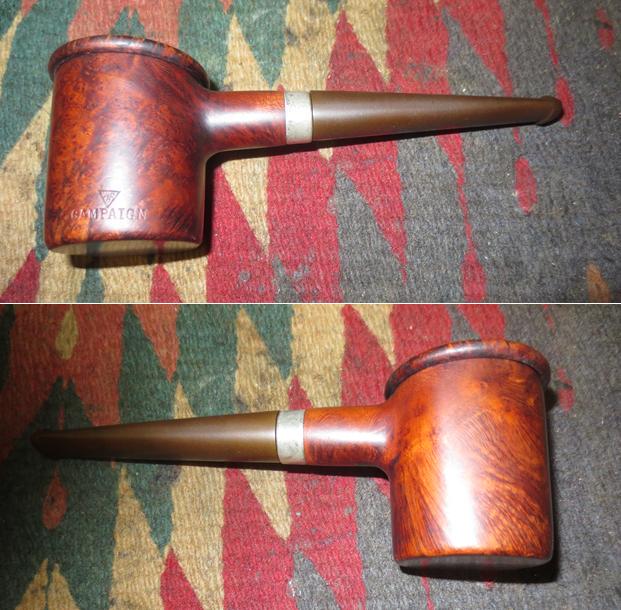
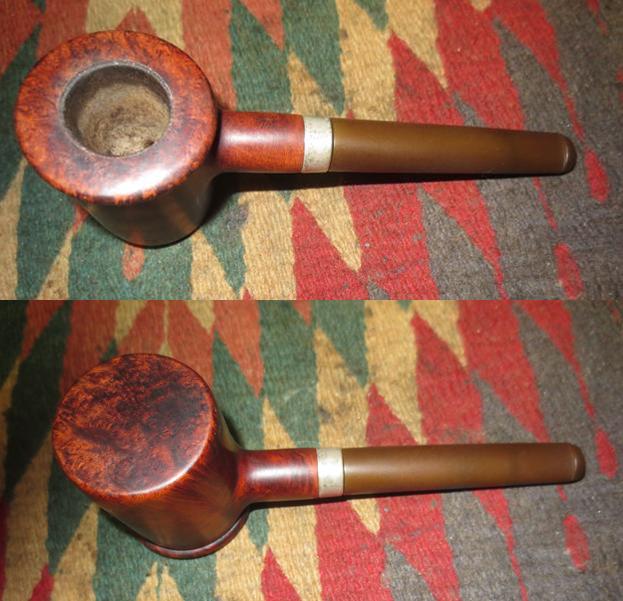
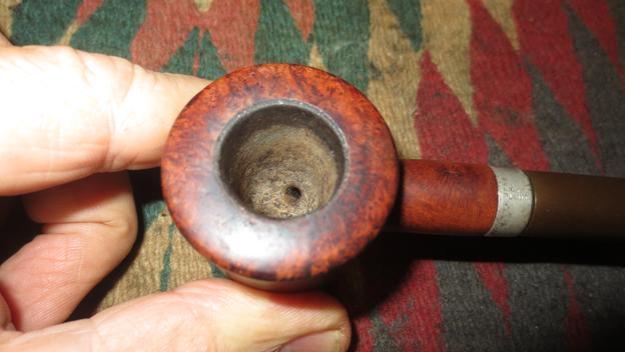
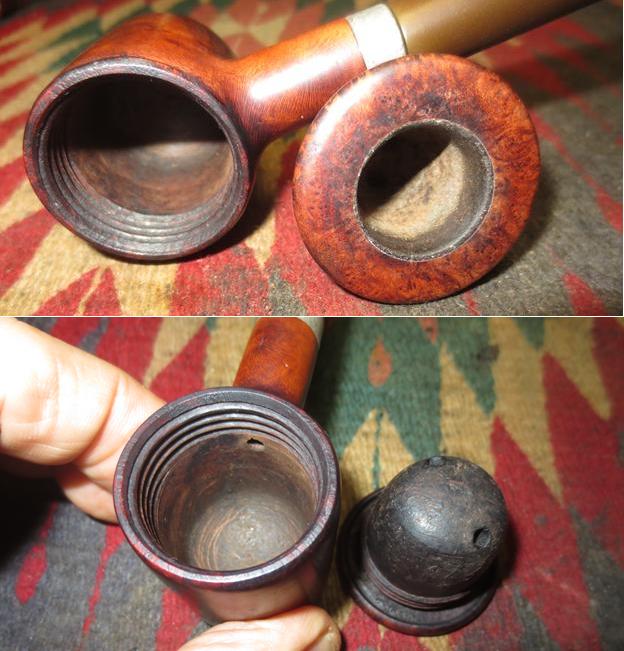
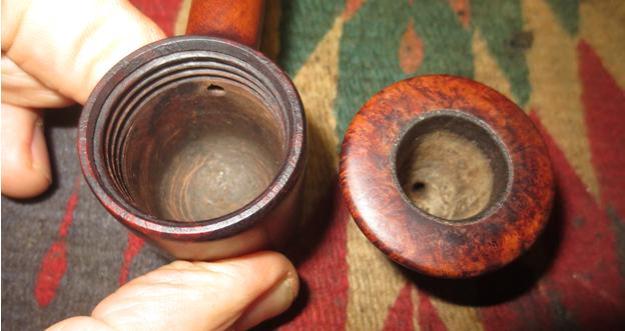
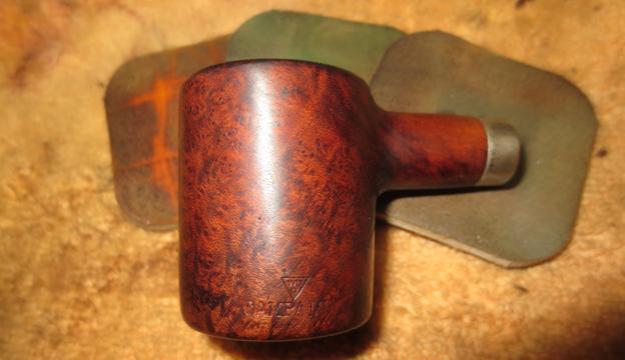
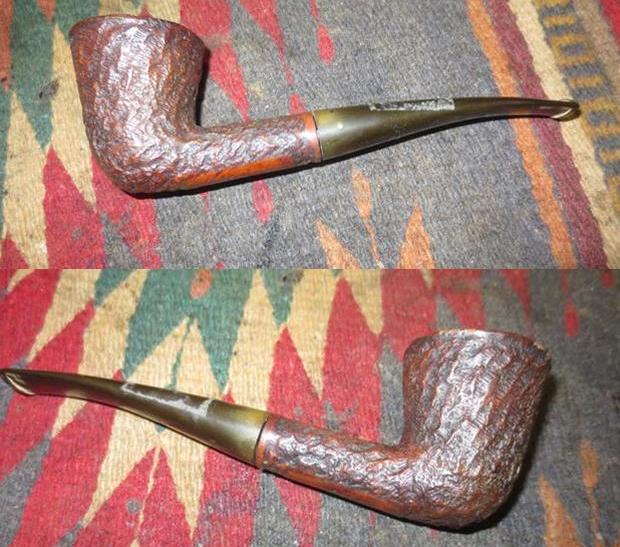
Another of the pipes found during the Virtual Pipe Hunt in Montana was one stamped on the lower left side of the out bowl with the WDC triangle logo over the word CAMPAIGN. There was no other stamping on the pipe. The bowl was like a calabash bowl and screwed into the outer bowl. The entirety was made out of briar. The grain on the bowl and rim top is quite stunning with a lot of birdseye grain on the sides and mixed grain over the rest of the bowl. There was a nickel band on the shank but there was no shank stamping. The band was stamped PLATED NICKEL. The stem was lightly oxidized and the fit against the end of the shank was not tight. There was a gap caused by what I presumed was the tars built up in the mortise area.My brother, Jeff took quite a few photos of the unique old pipe because it really was a beauty. There would need to be some significant cleanup work but the grain and the shape were both unique and quite stunning. The bowl was thickly caked and a thick buildup of tars and oils had flowed over to the top of the rim. The bowl had twin airways in the bottom of the calabash cup directing airflow into the external bowl. The airway in the outer bowl enters the shank at the top of the bowl. Smoke would have been drawn from the calabash cup into the interior of the outer bowl and up the back side to the airway into the shank and through that to the stem and button into the mouth of the smoker. I did a bit of digging online and found a brief interchange on a Google group. Here is the link if you would like to read it in context and in its entirety. It has some helpful information regarding the brand and the particular pipe that I wanted to know more about. https://groups.google.com/forum/#!topic/alt.smokers.pipes/kpkpd3zXoiwExcerpt from pipedia.org
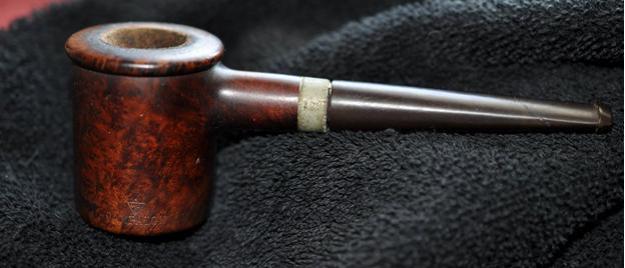
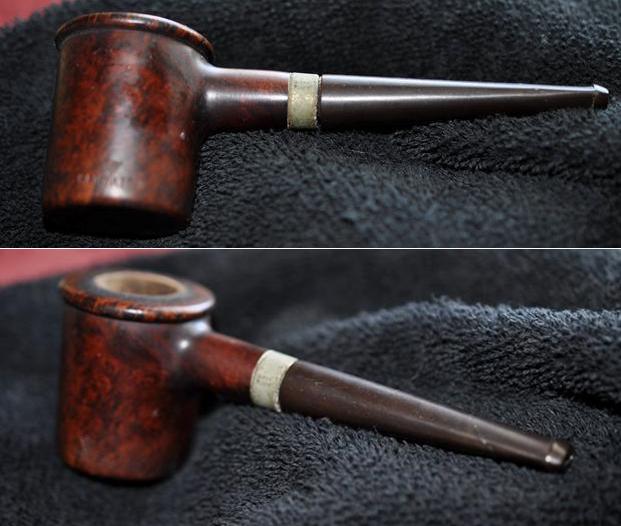
To a request for information regarding the WDC Campaign pipe on the Google Group there was quite a long string of answers. I am quoting two of those in full…

Respondent 1: While I can’t say anything about this pipe specifically, I have a hazy memory of that shape listed in a book about pipes; (I may be totally misremembering this, but here goes) the shape being called the “Dawes”, named after Harding’s Vice President?  Anyone else remember this? Sounds like an interesting pipe, whatever it’s called…

Respondent 2: From Weber’s Guide to Pipes: “The Dawes Pipe (more correctly named the Lyons, after its inventor, Charles Herbert Lyons) happened to be the favorite pipe of General Charles G. Dawes, Vice-President of the USA from 1925 to 1929. General Dawes smoked the curious pipe incessantly and it became popularly known as the Dawes Underslung, because the shank joined the bowl near its rim.”

I looked on Pipedia, https://pipedia.org/wiki/William_Demuth_Company and I quote in part from the article on the William Demuth Company.

The Demuth Company is probably well known for the famous trademark, WDC in an inverted equilateral triangle. William commissioned the figurative meerschaum Presidential series, 29 precision-carved likenesses of John Adams, the second president of the United States (1797-1801) to Herbert Hoover, the 30th president (1929-1933), and “Columbus Landing in America,” a 32-inch-long centennial meerschaum masterpiece that took two years to complete and was exhibited at the World’s Columbian Exposition in Chicago in 1893.

The Presidential series was the result of Demuth’s friendship with President James A. Garfield, a connoisseur of meerschaum pipes. Demuth presented two pipes to Garfield at his inauguration in 1881, one in his likeness, the other in the likeness of the President’s wife. Later, Demuth arranged for another figurative matching the others to be added to the collection as each new president acceded to the White House, terminating with President Hoover.

From the above information I learned some significant details about the Campaign pipe. It was invented by Charles Herbert Lyons and was the favourite pipe of General Charles G. Dawes who was the Vice President of the USA under President Harding from 1925-1929. It fits nicely into that period when WDC was having Presidential Pipes commissioned ending in 1933. That places this old pipe in the time period between the late 1920s and early 1930s.

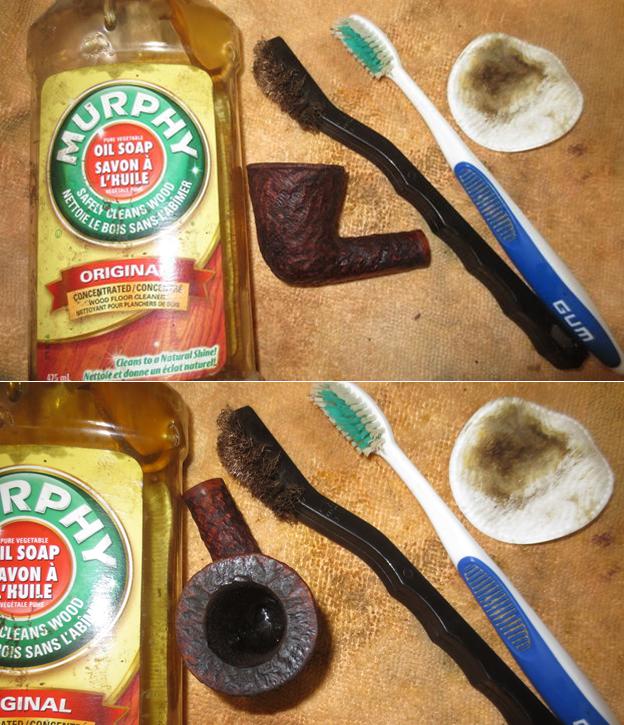
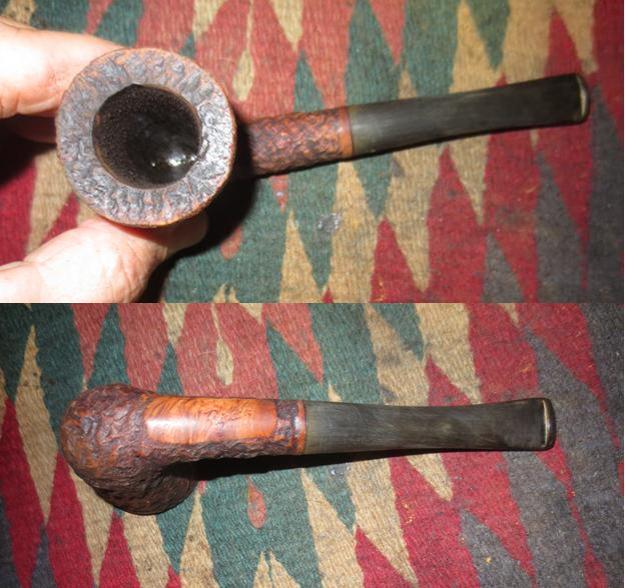
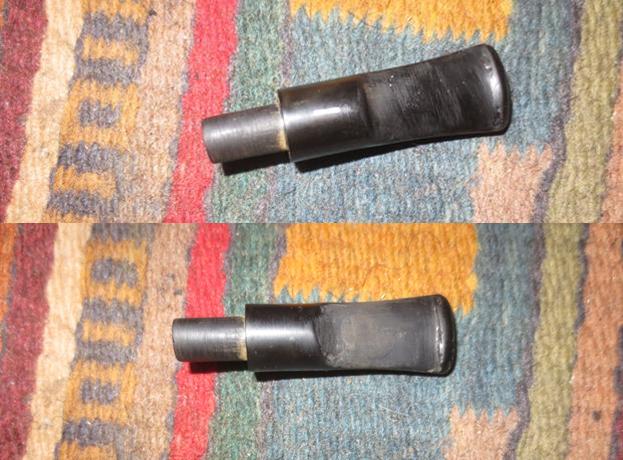
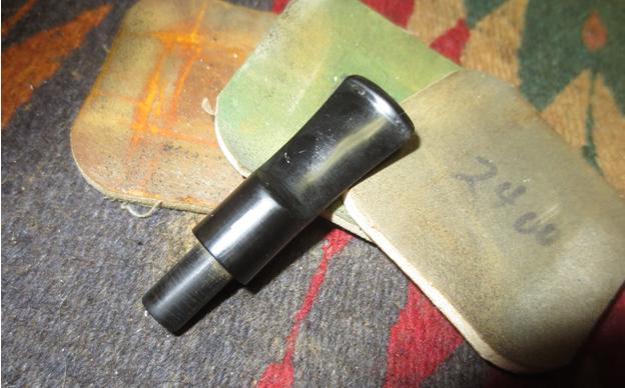
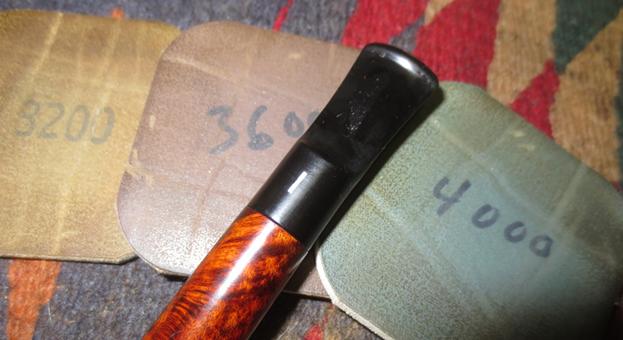
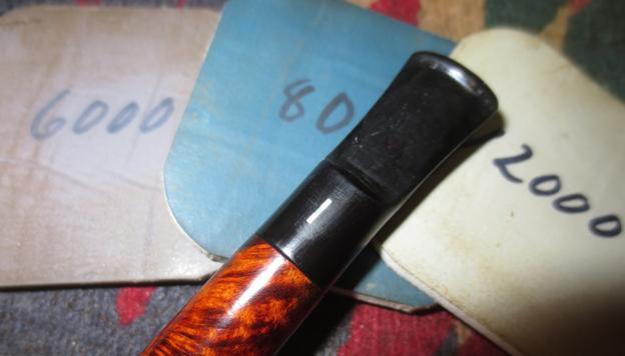
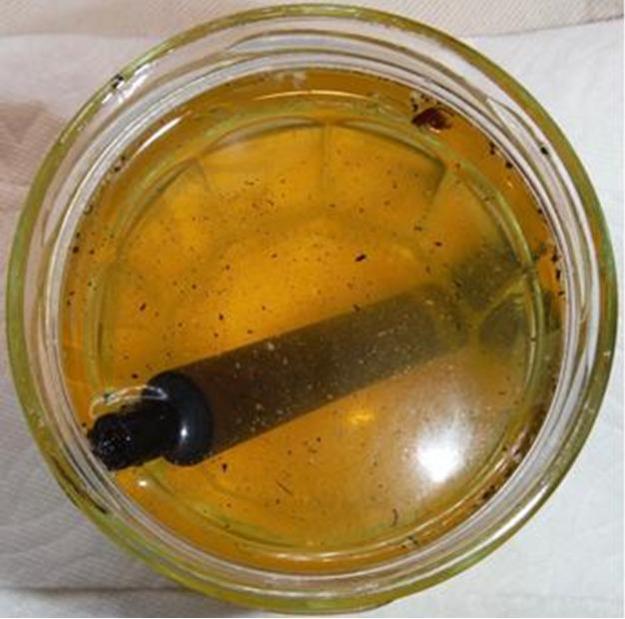
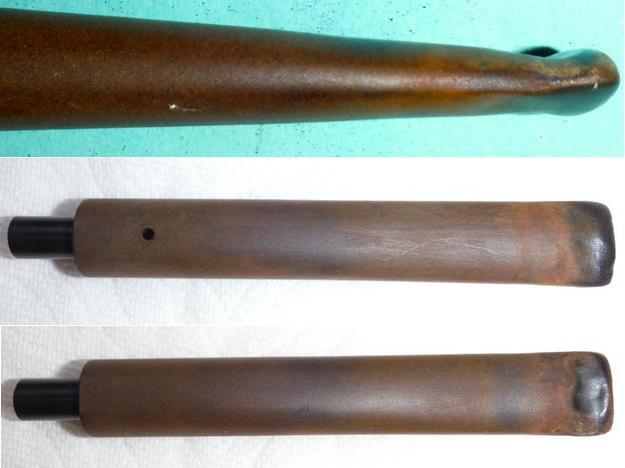
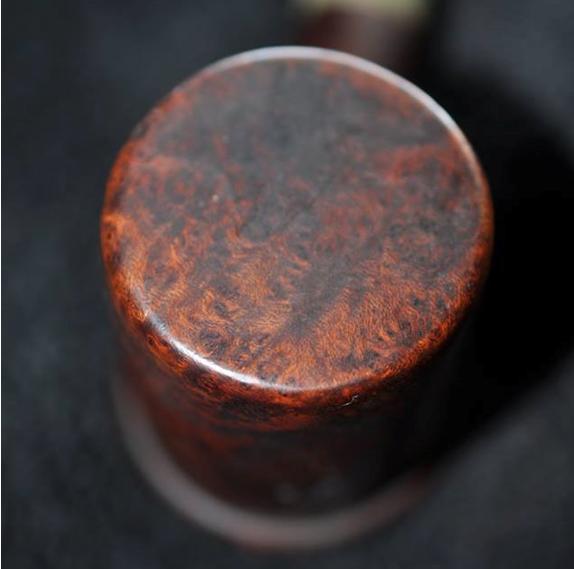
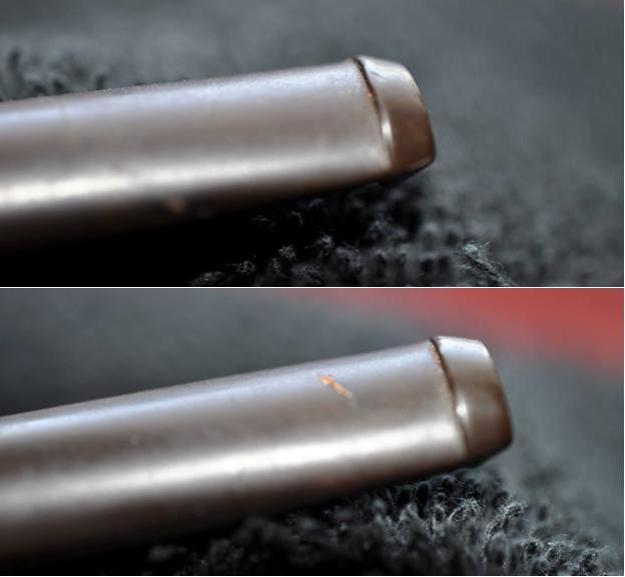
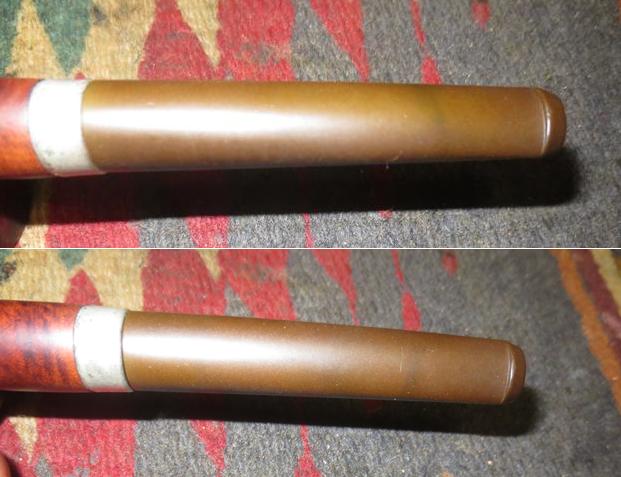
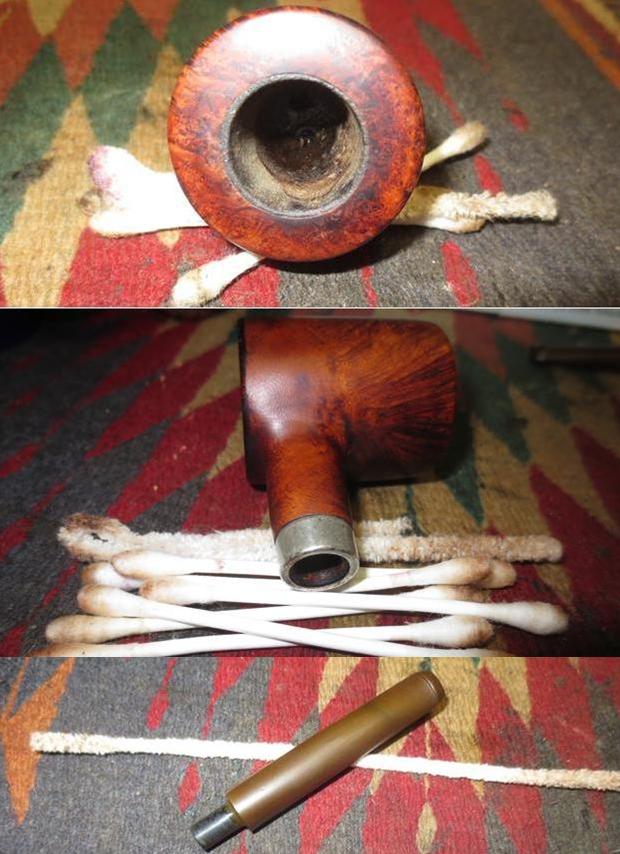
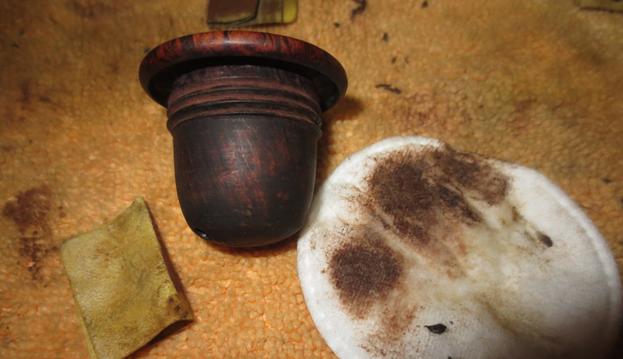
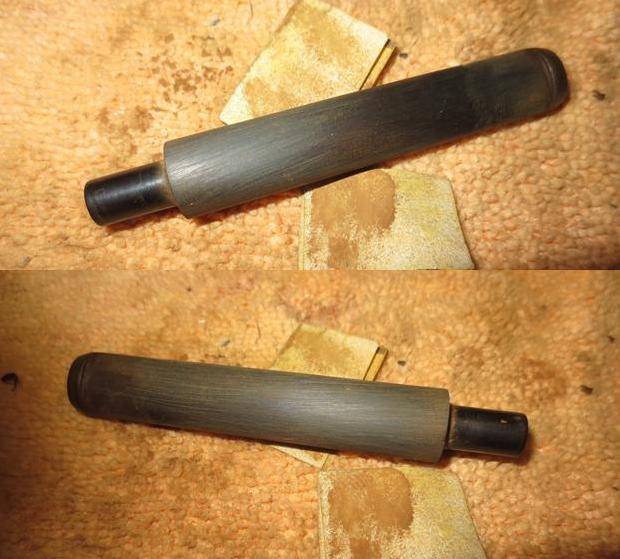
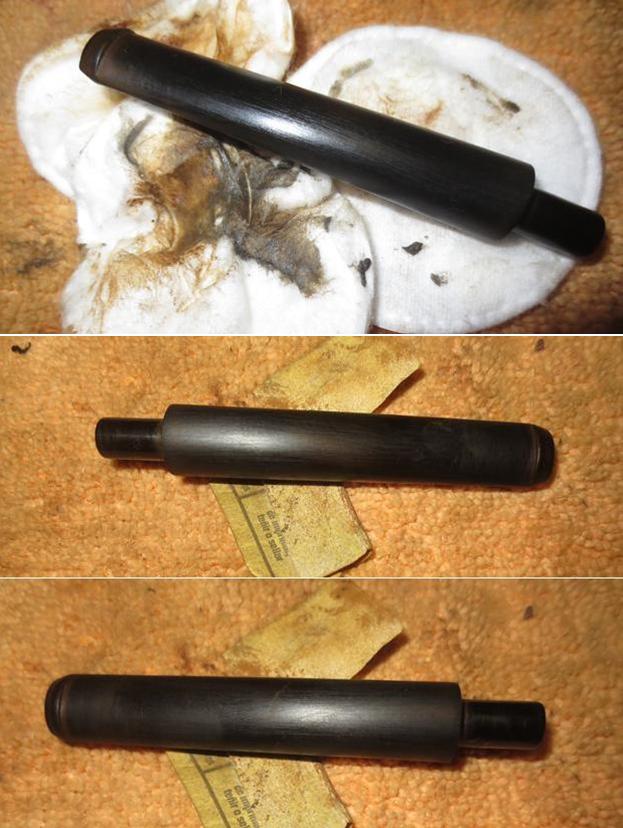
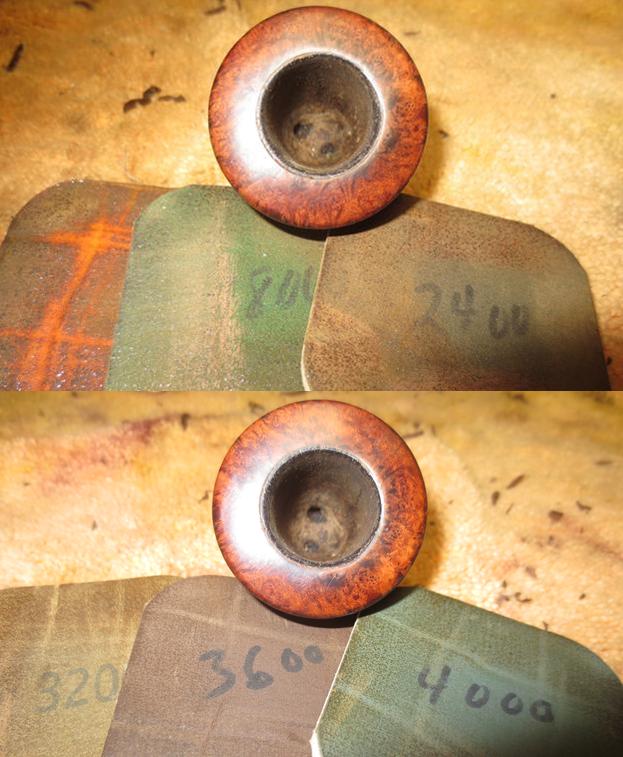
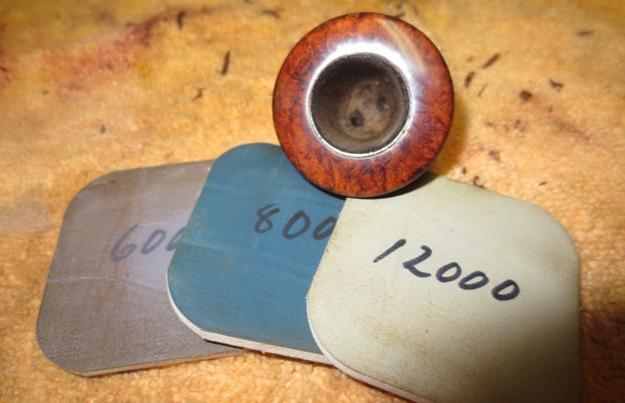
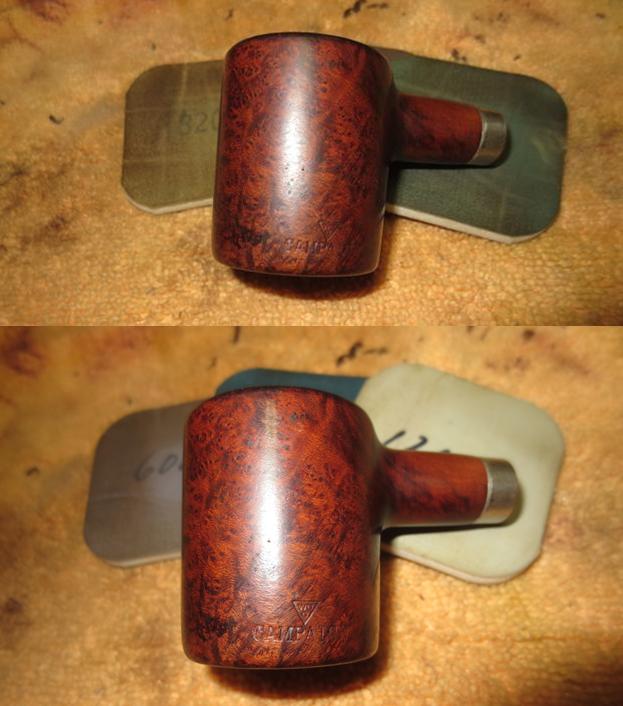
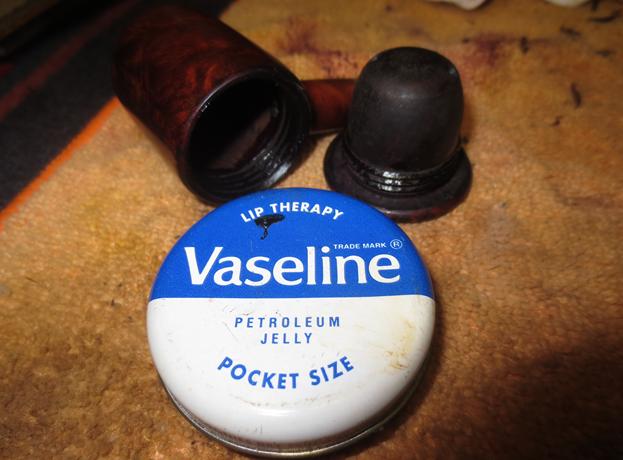
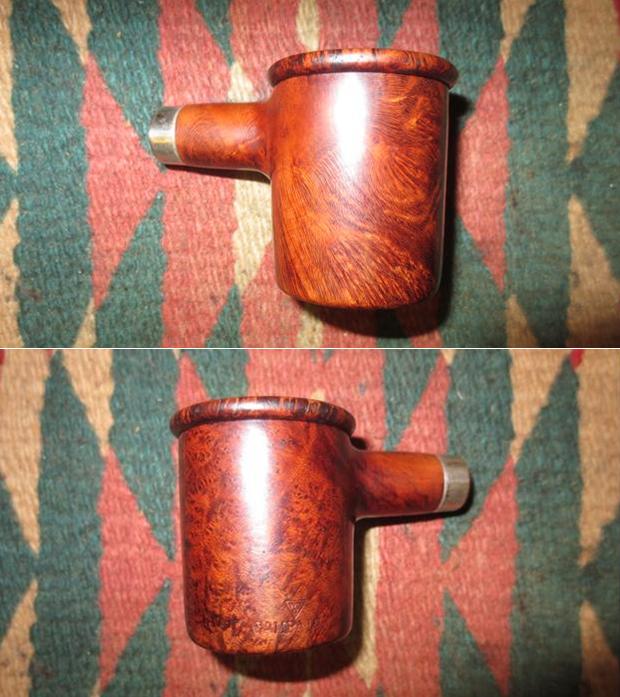
My brother took the following photos of the pipe to show what it looked like when it arrived in Idaho before he started his cleanup work. The cake in the calabash bowl was quite thick and the overflow onto the rim top was also thick. The finish while pretty decent was soiled and spotty with buildup and dirt. Jeff unscrewed the briar calabash bowl insert and removed it from outer bowl. The threads on both looked to be in very good condition. The out bowl was dirty and had a lot of dried tobacco oils and juices along the walls and bottom. The underside of the calabash bowl was dark and dirty with dried oils. It would need to be cleaned up. The next two photos show the stamping on the left side of the outer bowl. It is clearly stamped with the WDC logo in the inverted triangle and under that reads CAMPAIGN. In these photos you can see the beautiful grain of the briar. Even the bottom of the outer bowl has some nice grain. The next two photos show the wear on the finish of the shank and the oxidation on the nickel band on the shank. The band is stamped NICKEL PLATED. The stem does not sit tight against the shank and I am assuming that there is a lot of buildup in the mortise that is keeping it from seating properly.The stem was oxidized and there was some were to the sharp edge of the button. There were some light tooth marks on the surface of the button on both sides.My brother did his usual masterful cleanup on the pipe. When I received it things were much cleaner than the photos above. He had reamed back the calabash bowl to bare briar. He had scrubbed the rim top off and was able to remove the lava coat. He scrubbed the internals of the outer bowl as well. The briar had been scrubbed with Murphy’s Oil Soap and rinsed to remove all of the grime. The oxidation on the band was better than in the above photos. The stem was oxidized but it now sat properly in the mortise. I took the following photos before I started my final cleanup and restoration. I took some close up photos of the condition of the bowl and rim top. It looked far better than before his cleanup work. The stem also looked really good other than the oxidation. I took the calabash bowl out of the outer bowl and took some photos of the various parts of the pipe. It is an interesting piece of pipe history and it is in excellent condition for a pipe of its age. I did a bit more scrubbing of the internals to remove any remaining oils and tars. I used pipe cleaners, cotton swabs and alcohol to clean out the mortise and the airway in the shank and the stem. I scrubbed out the inside of the outer bowl and the inner bowl with alcohol and cotton swabs. I pushed pipe cleaners through the two airholes in the bottom of the calabash bowl. I sanded the bottom of the internal bowl to remove the last of the buildup and wiped it down with alcohol on a cotton pad. I sanded the oxidized stem and reshaped the edge of the button with 220 grit sandpaper to clean things up and bring it back to the original black vulcanite. I scrubbed it with some Before & After Stem Deoxidizer to remove the loosened oxidation. I wiped off the scrub and resanded the stem to remove the remaining oxidation. The photos below show the progress of the stem cleanup. I used a folded piece of 220 sandpaper to smooth out the inner edge of the calabash bowl and remove the remaining debris along the edge. I sanded the inside of the bowl to clean it up as well. I polished the rim top with micromesh sanding pads – wet sanding with 1500-2400 grit pads and dry sanding it with 3200-12000 grit pads. I wiped the rim top down with a damp cloth to remove the sanding debris. The photos show the progress of the polishing. I polished the outer bowl with micromesh sanding pads – wet sanding with 1500-2400 grit pads and dry sanding it with 3200-12000 grit pads. I wiped the bowl with a damp cloth to remove the sanding debris. The photos show the progress of the polishing. To preserve the threads on the calabash bowl and the outer bowl I use a small dab of Vaseline to lubricate both. I rub it into the threads by hand and wipe it down lightly with a cotton pad. I screw the two parts together and find that it removes friction and makes the cap turn easily into the outer bowl. I hand buffed the bowl with a microfibre cloth, polished the nickel band with a jeweler’s cloth and took photos of the pipe at this point in the process. I polished the stem with micromesh sanding pads – wet sanding with 1500-2400 grit pads and dry sanding it with 3200-12000 grit pads. I wiped the stem down with Obsidian Oil to bring life back to the vulcanite and protect it. The photos show the progress of the polishing. I buffed the stem with red Tripoli to polish out the last oxidation and scratching. I buffed the pipe – stem and bowl – with Blue Diamond on buffing wheel and gave it multiple coats of carnauba wax. I buffed it with a clean buffing pad to raise a shine. I hand buffed it with a microfiber cloth to deepen the shine. The finished pipe is shown in the photos below. One thing that shows through in the photos is some red along the crease of the button – I am pretty sure it is red Tripoli that is left behind from the initial buffing of the stem. After I took the photos I wiped that area down with some alcohol on a cotton pad. It removed the red Tripoli around the stem. It looks far better now that it is finished. Thanks for walking through this refurbish with me.
 

Restoring a Weber “Windpruf” Golden Walnut Panel


Blog by Steve Laug

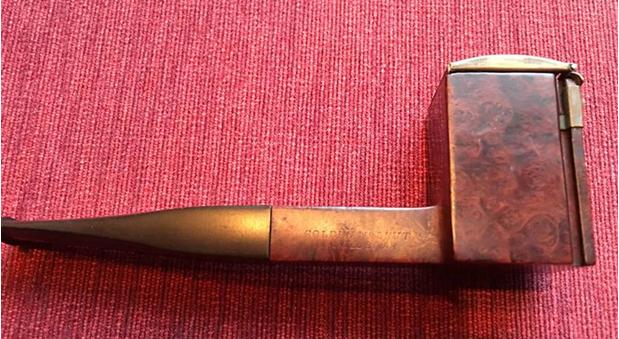
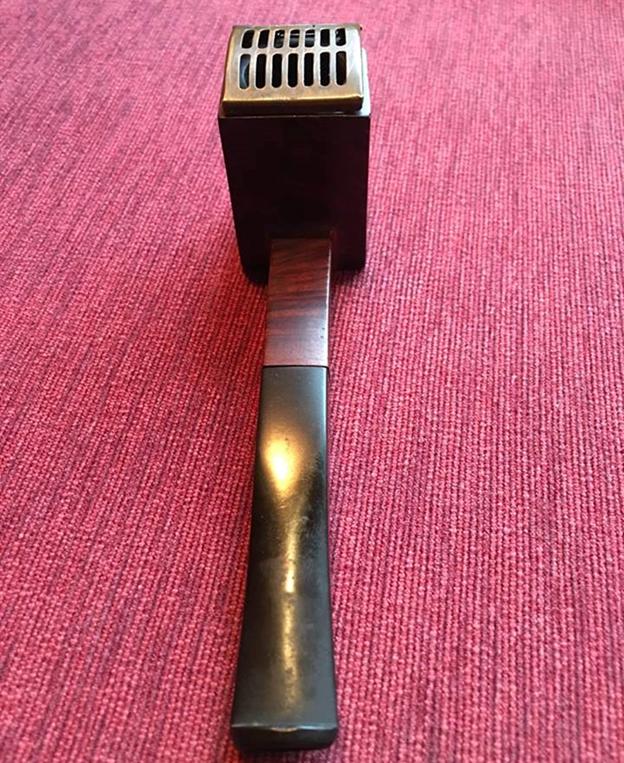
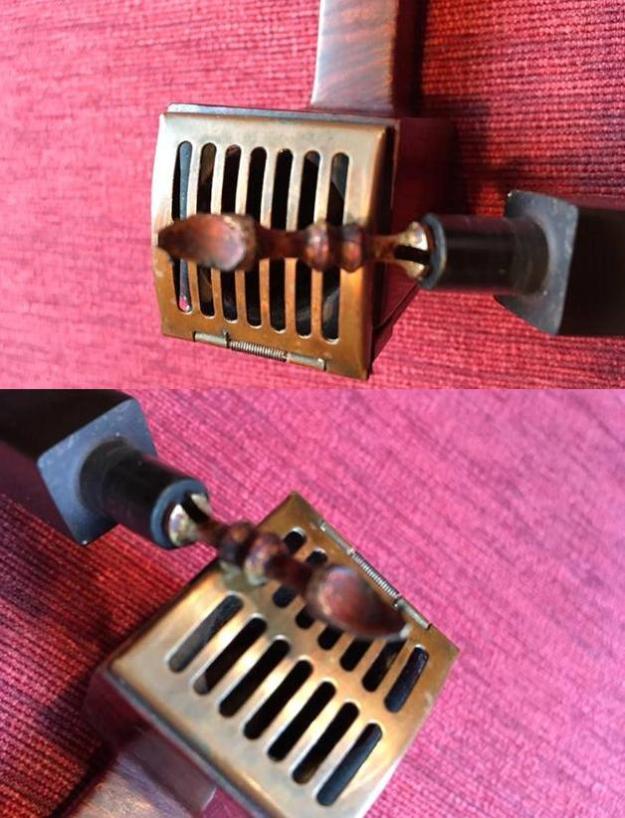
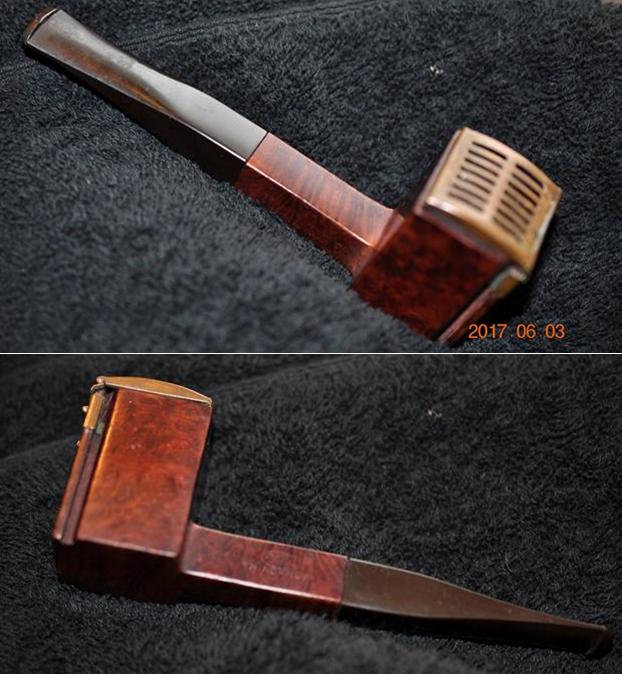
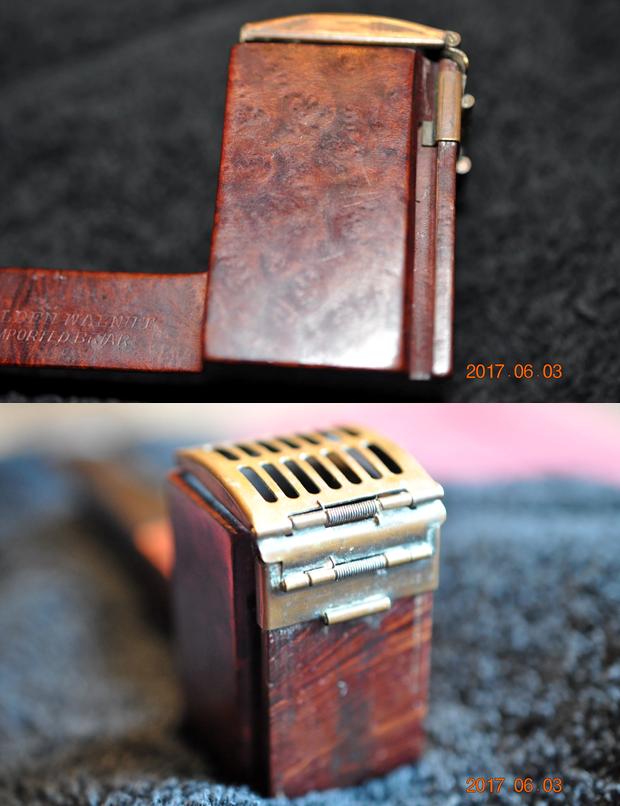
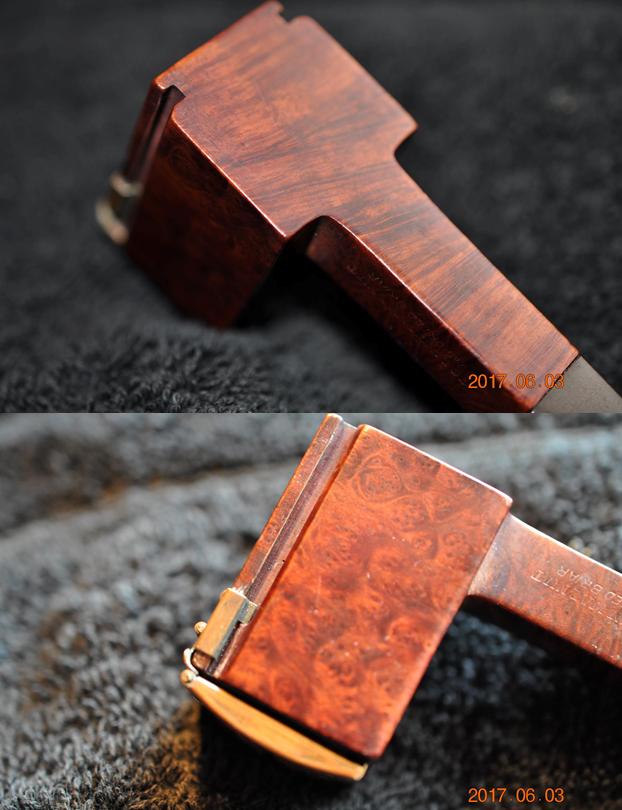
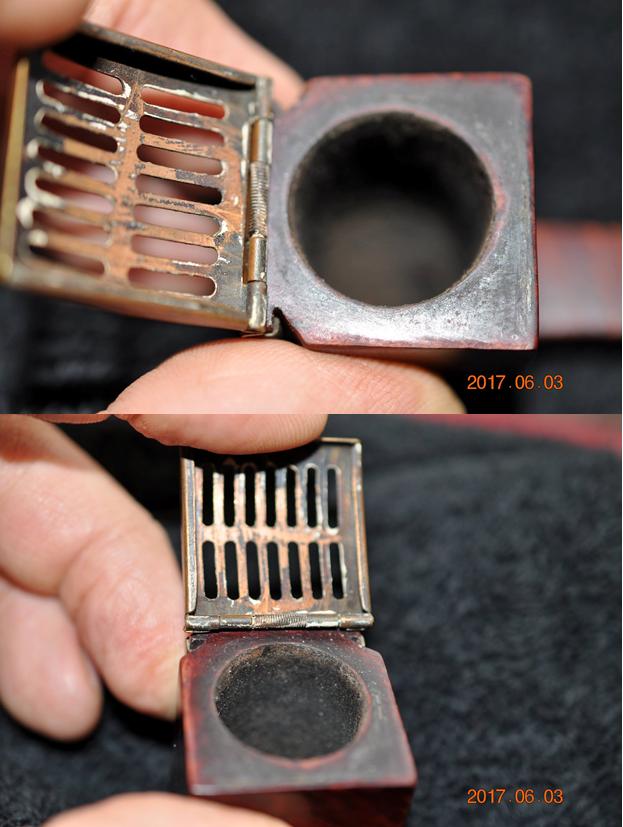
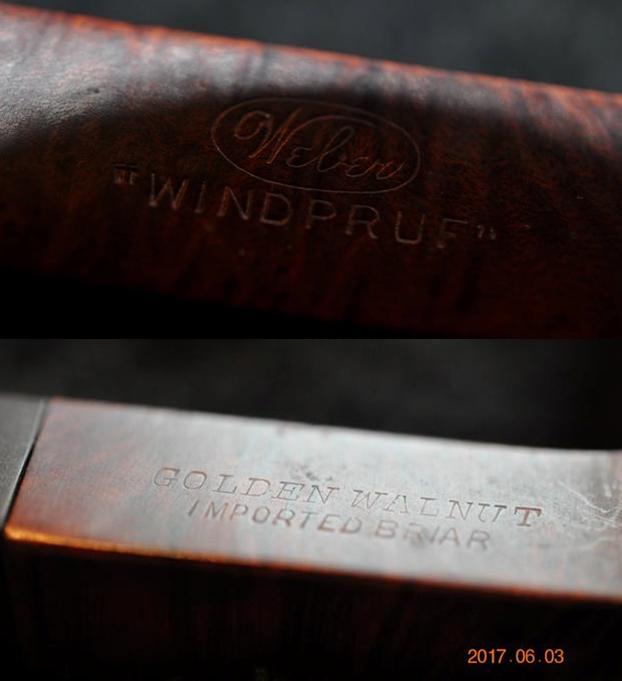
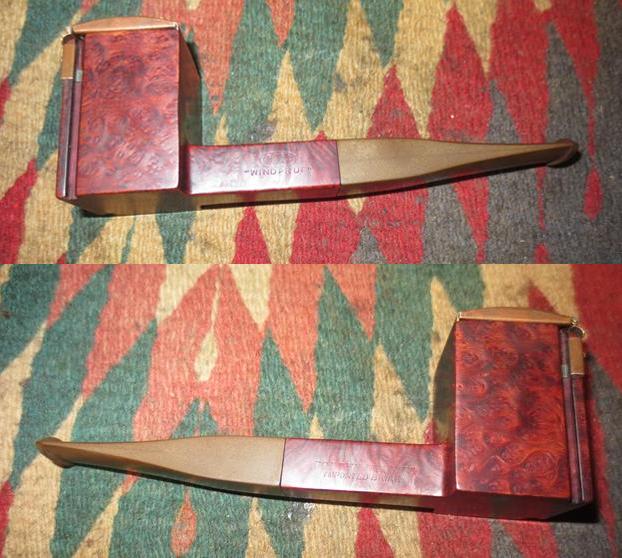
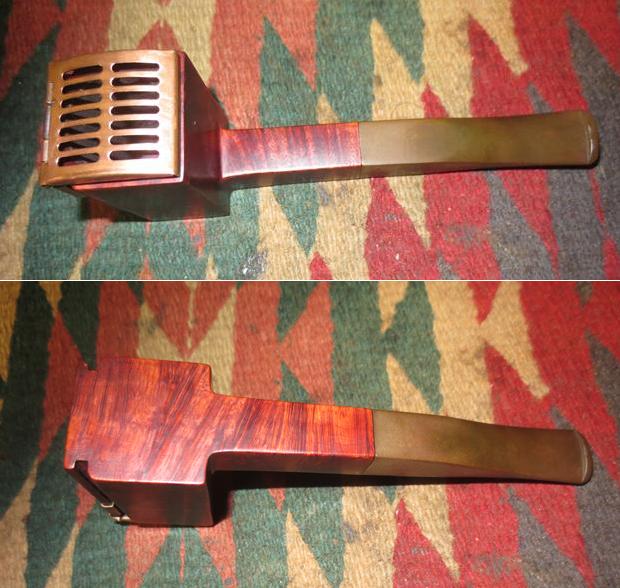
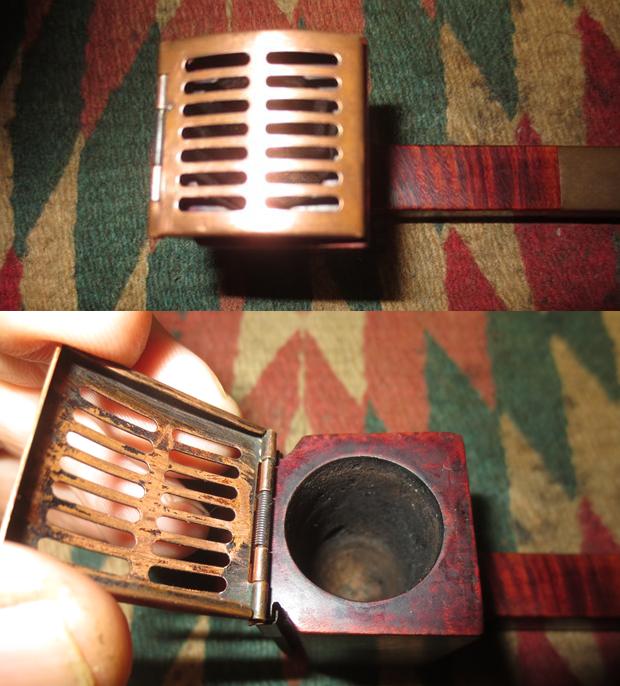
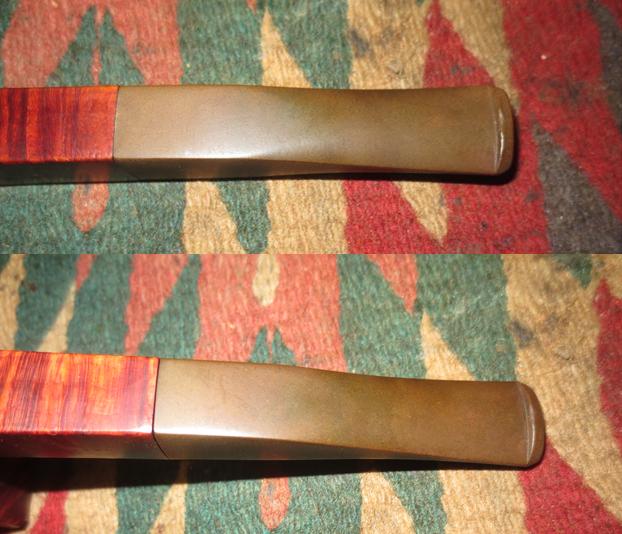
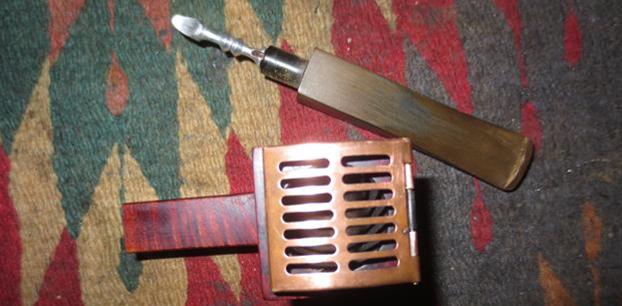
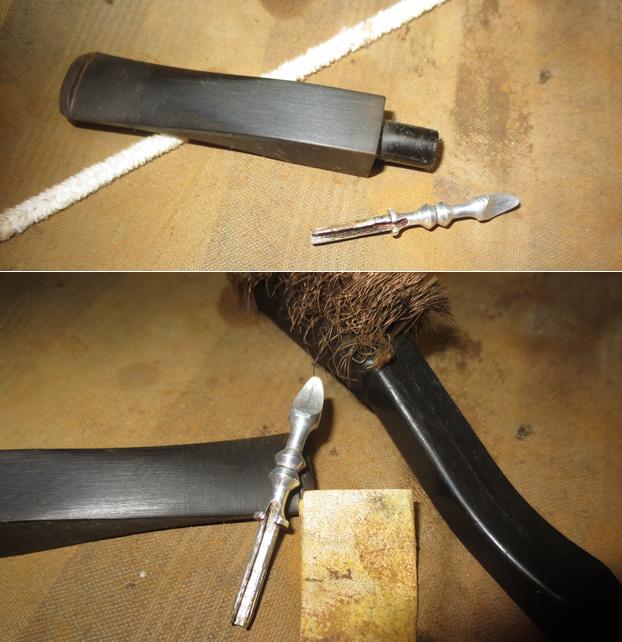
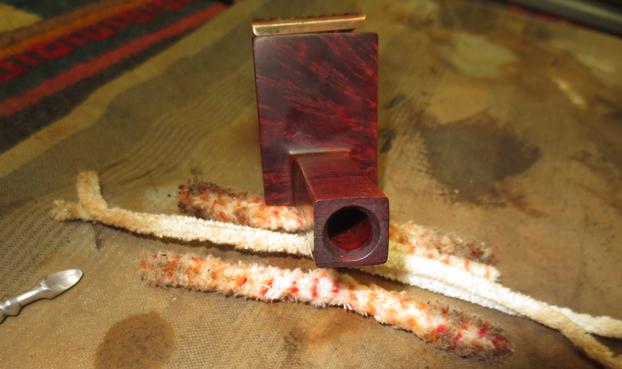
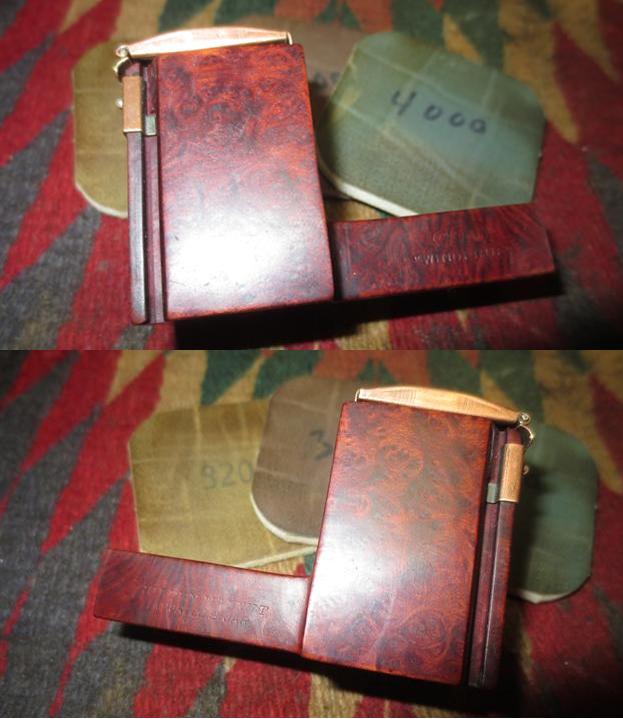
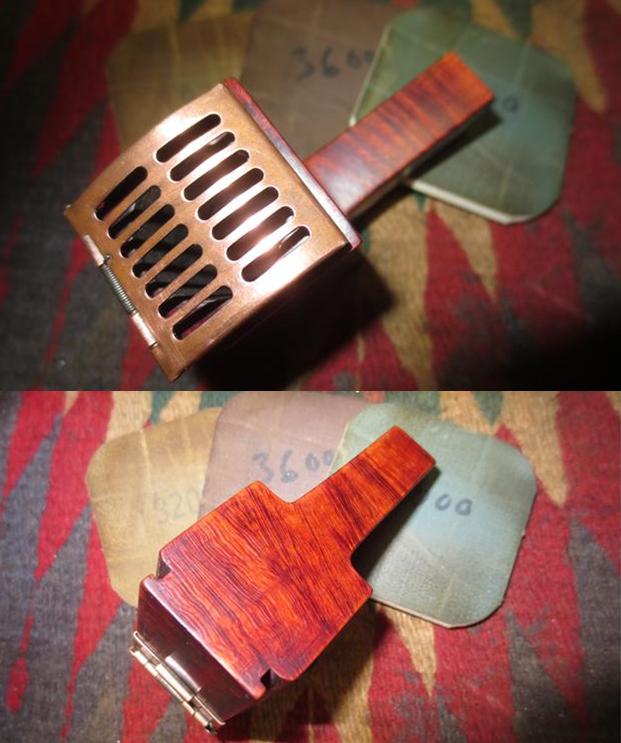
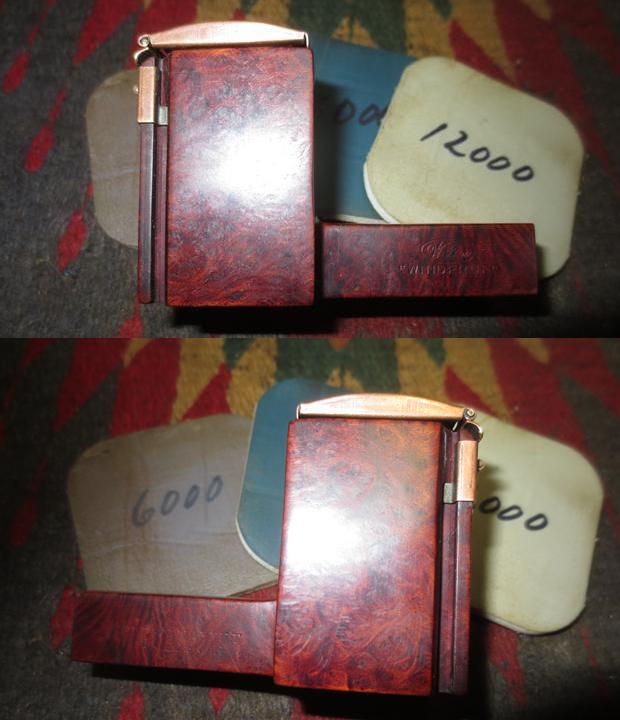
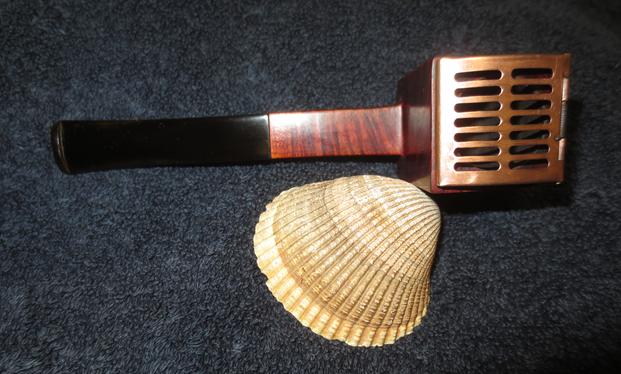
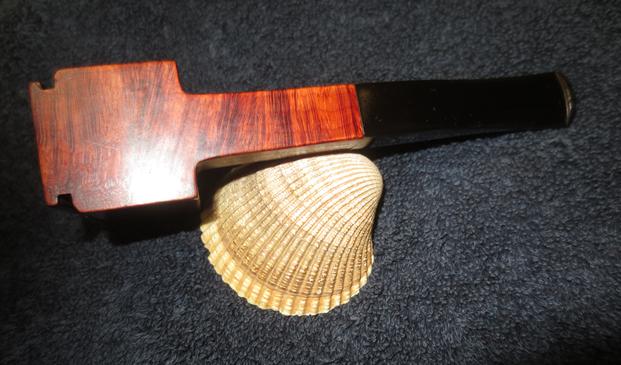
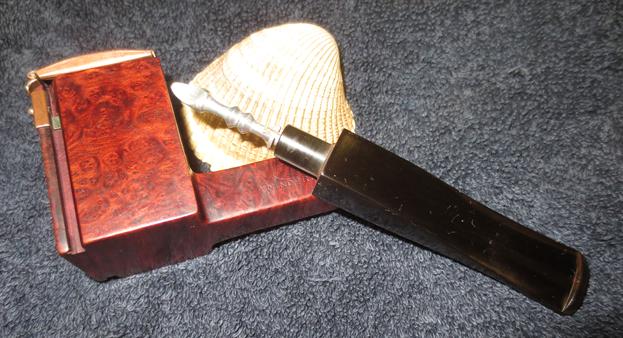
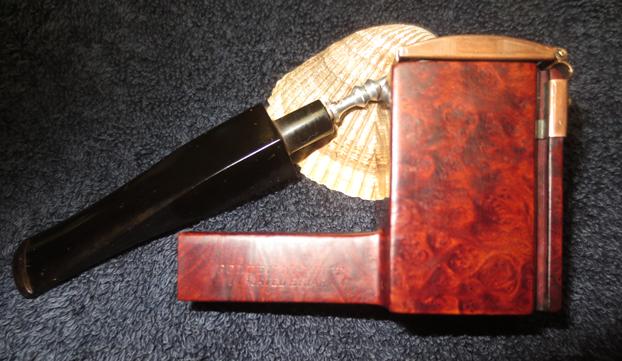
My brother sent me a link to a Weber “Windpruf” pipe. I have had a few different windproof pipes in the past but most had a domed top that swiveled on a pin or a screw in the back of the rim top. The cap rotated to either side for lighting and tamping. This one was different and when I went on-line to look at it I was hooked. It was stamped on the left side of the shank Weber in an oval over “Windpruf” and on the right side it read Golden Walnut over Imported Briar. The pipe was a square panel. The right and left sides of the front of the bowl were grooved and a copper coloured wind cap was anchored in those grooves. The lid was spring loaded on both the base on the bowl front and on the cap itself. It sat on top of the bowl rim and let air flow into the bowl from the top and the sides. The stem was oxidized but otherwise undamaged by tooth chatter or marks on either side. The first seven photos come from the EBay seller. The briar looked pretty clean in the photos and the copper cap was in good shape. The seller included some close up photos showing the rim cap closed and open. The inside of the cap and the top of the rim were dirty and there was some lava build up on both.The seller also showed the stinger apparatus that was in the stem. It had a lacquer build up that turned it a golden colour. My brother put the bid in and won the pipe. It did not take too long for the pipe to travel to his house.When it arrived in Idaho he took some photos of the pipe before he cleaned it up. The briar had some nice birdseye and cross grain on the shank and the bowl. The stem was dirty and the interior of the bowl had a light cake and the lava on the rim and inside the cap was not thick and would be easier to clean up. Jeff took some close up photos of the sides of the bowl. There was some pretty birdseye grain on the sides. The front of the bowl was worn and dirty. It appeared that the lid could be slid down the front of the bowl if one held the lid open. It evidently had been moved up and down the front side as it left marks behind on the briar. The underside of the bowl had some great cross grain that stood out really well with the nice brown contrast stain. The next two photos Jeff took show the rim top, cap inside and the cake in the bowl. You can see from the next two photos the thickness of the lava on the rim top and the cake in the bowl.The next two photos show the stamping on the sides of the shank. The top photo shows the left side of the shank and the second shows the right side of the shank.The stem was in good shape other than oxidation and dirt on the surface. There were some worn spots on the button edge on the top and the underside of the stem.Once again I am thankful for the cleanup work that my brother is doing on these old pipes we are reworking. He does a really good job cleaning the interior and exterior. He reamed and cleaned the bowl and the rim and scrubbed the exterior with Murphy’s Oil Soap and rinsed the briar with water. He soaked the stem with Oxyclean and rinsed and cleaned it with a soft cloth. He cleaned out the mortise and airway in the stem and shank with pipe cleaners, cotton swabs and alcohol. He did not remove the stinger so I would need to do that. The next four photos show what the pipe looked like when it arrived in Vancouver. I took some close up photos of the top with the rim cap closed and with it open to show how well the pipe had cleaned up.The next two photos showed the condition of the oxidized stem and the small tooth marks on the button top on both sides of the stem.I removed the stem from the bowl and took a picture of the stinger apparatus. It was shiny and clean but I could see that it had not been removed before the stem had been cleaned. I would need to do that.I sanded the stem with 220 grit sandpaper to break up the oxidation. I wiggled the stinger out of the tenon and cleaned out the stem with alcohol and pipe cleaners. I cleaned the sting airway with pipe cleaners, dental pick and alcohol. I sanded some of the marks that were on the top and underside of the stinger to smooth them out and wiped down the stinger with a cotton pad and alcohol. I cleaned out the airway in the shank – particularly next to the entry into the bowl. It was surprising how much grime came out of the airway. With the internals double checked and cleaned I worked on the outside of the briar. I moved the rim cap up the front of the bowl to align it with the top and make the gap even all the way around the rim top. I sat evenly on a metal edge against the back side of the bowl. I polished the briar with micromesh sanding pads – wet sanding with 1500-2400 grit pads and dry sanding with 3200-12000 grit pads. I polished the stem with micromesh sanding pads – wet sanding with 1500-2400 grit pads and dry sanding with 3200-12000 grit pads. I rubbed the stem down with Obsidian Oil after each pad. The oil provided the medium for polishing with each higher grit. After the final 12000 grit pad I gave it a final coat of oil and set it aside to dry. I buffed the stem with red Tripoli to try to remove some of the more stubborn oxidation marks around the shank stem junction. Then I buffed the briar and the stem with Blue Diamond polish on the buffing wheel. I avoided the copper rim top and hinge area as I did not want to damage it with the polishing compound. I gave the bowl and stem multiple coats of carnauba wax and buffed it with a clean buffing pad. I hand buffed it with a microfiber cloth to deepen the shine. The finished pipe is shown in the photos below. It is a unique piece of pipe history that is for sure and looks good as well! Thanks for walking through the refurbishment process with me.

Out Damn Spots – a C.P.F. Cromwell Double Vertical Stem Bent Billiard


Blog by Steve Laug

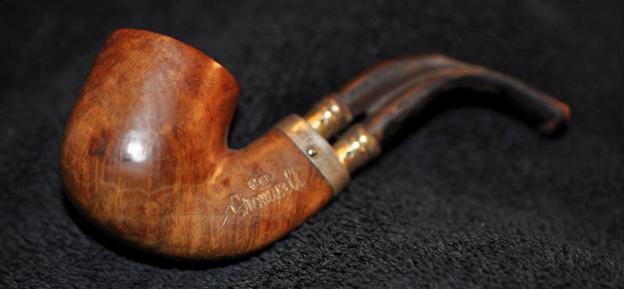
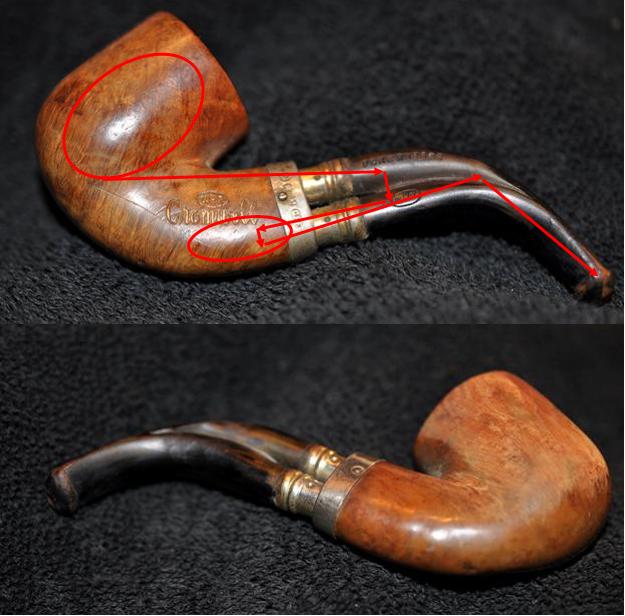
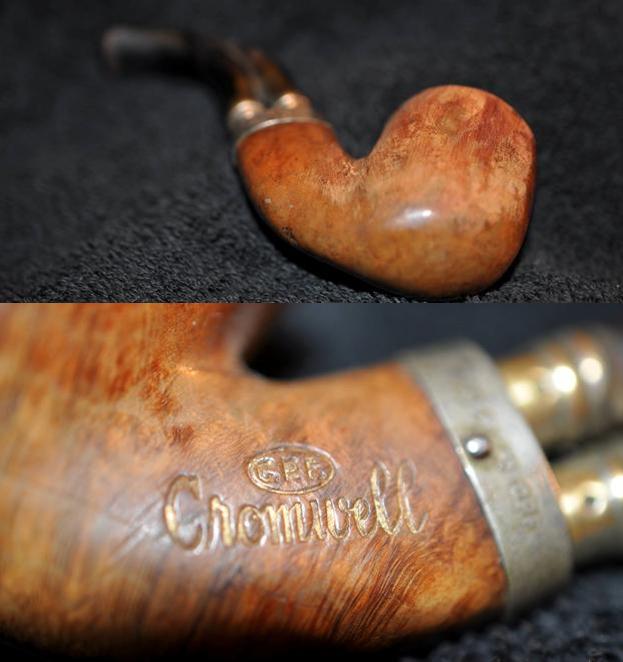
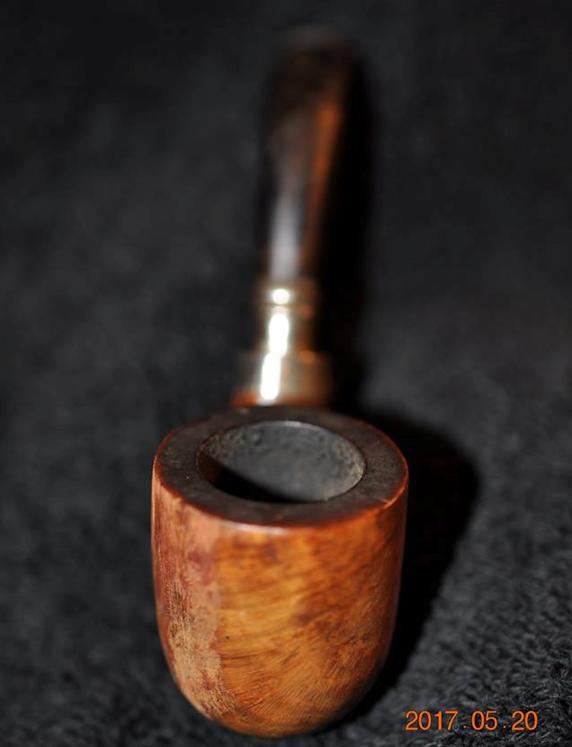
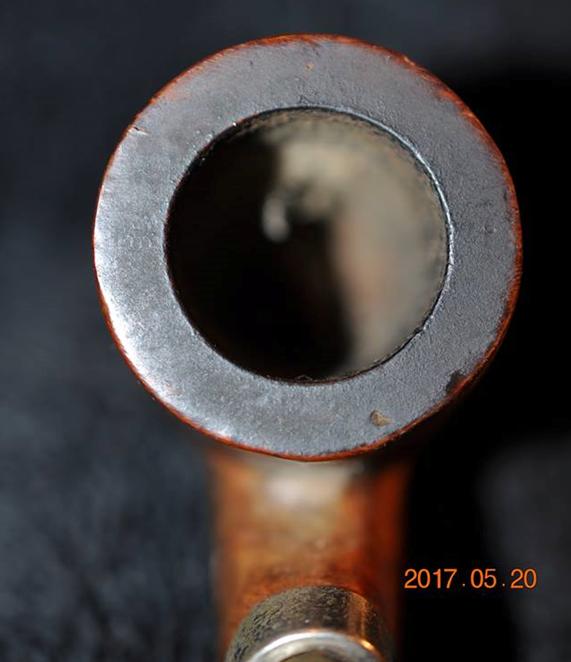
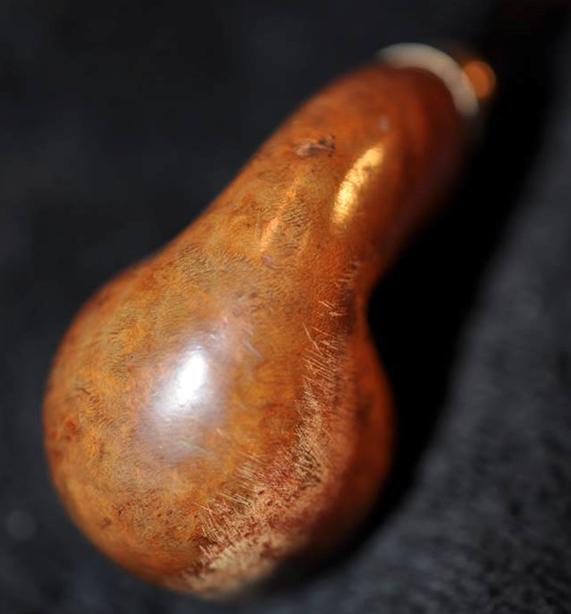
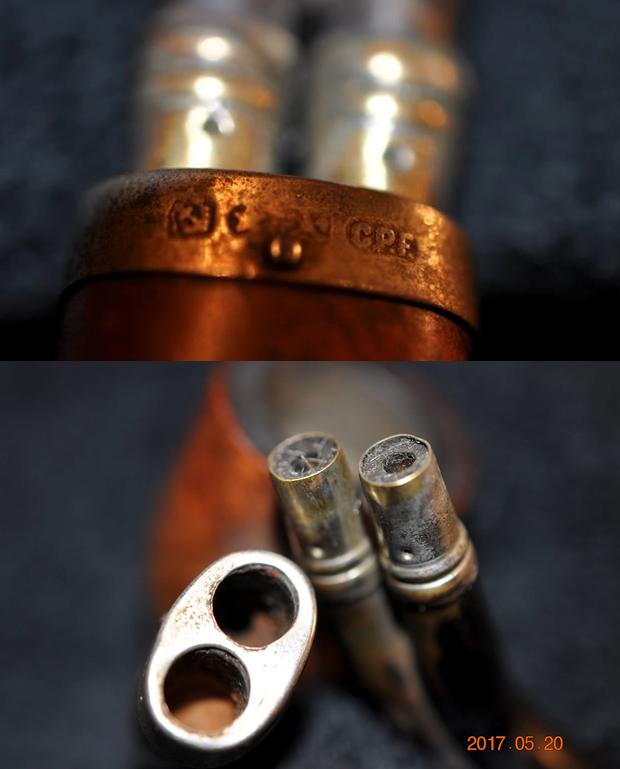
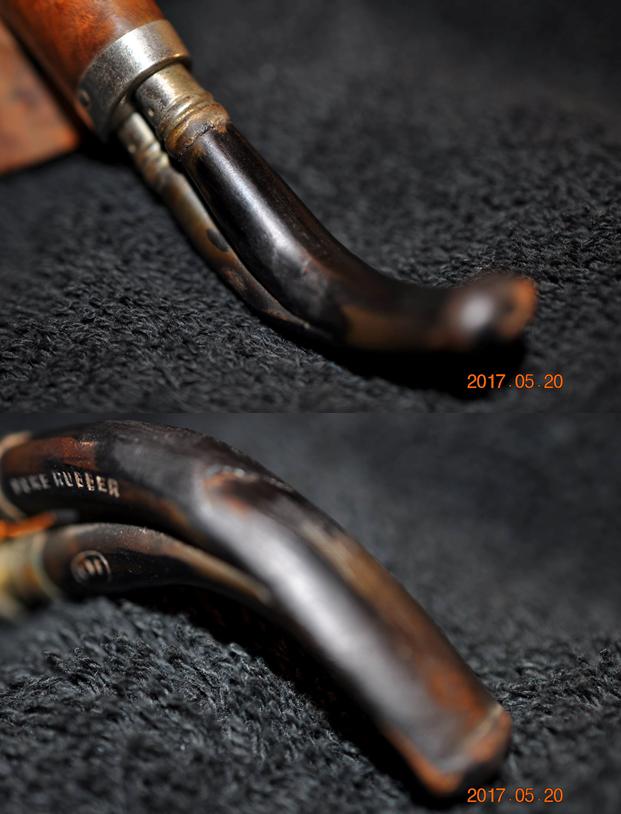
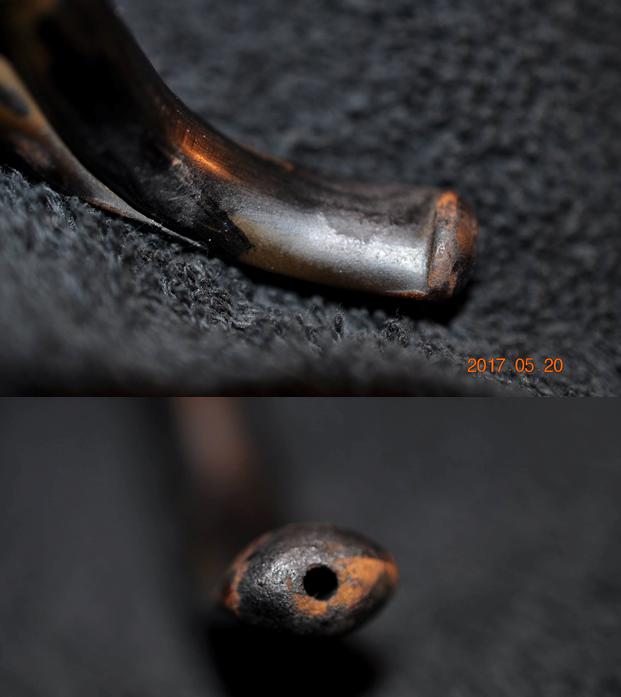
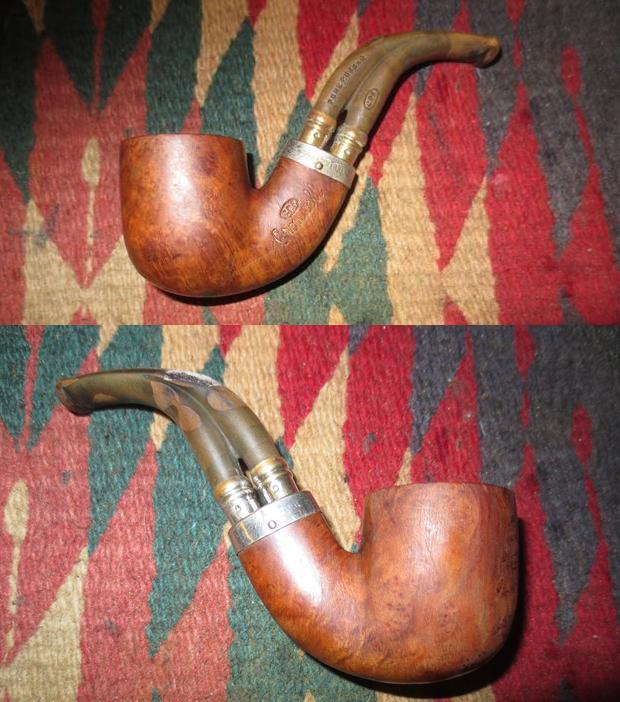
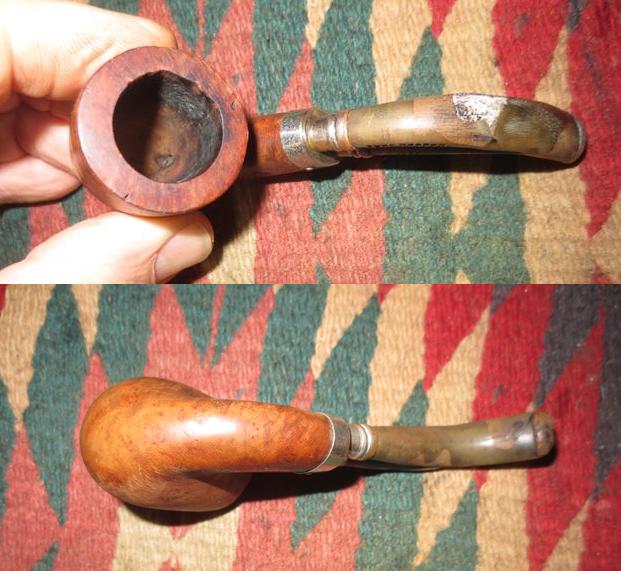
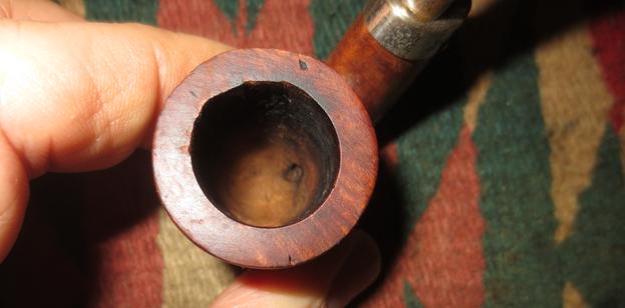
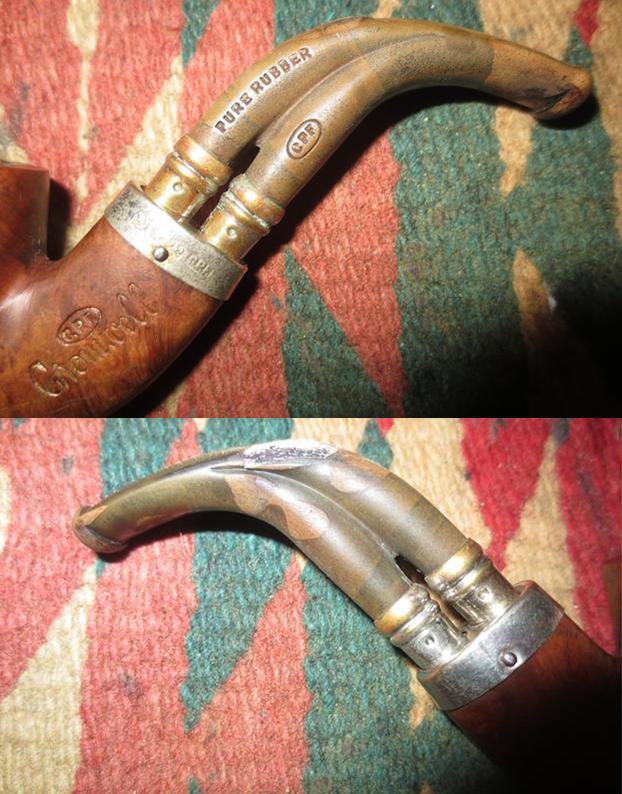
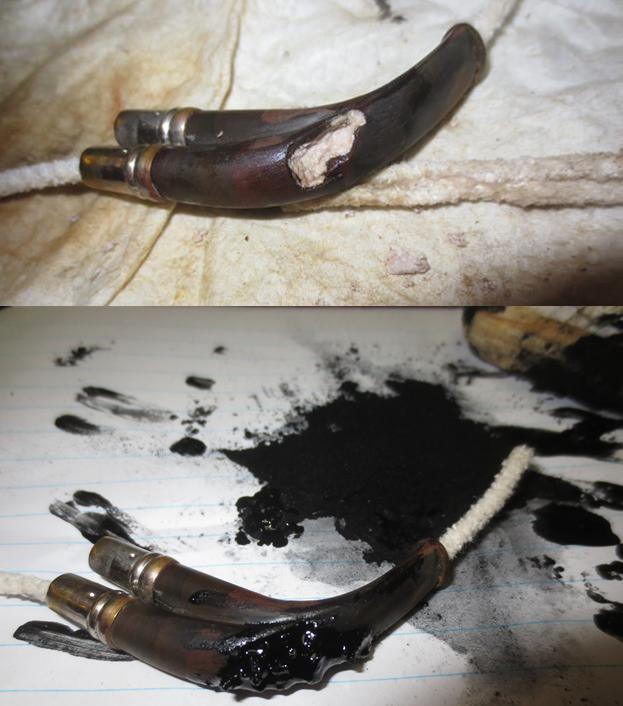
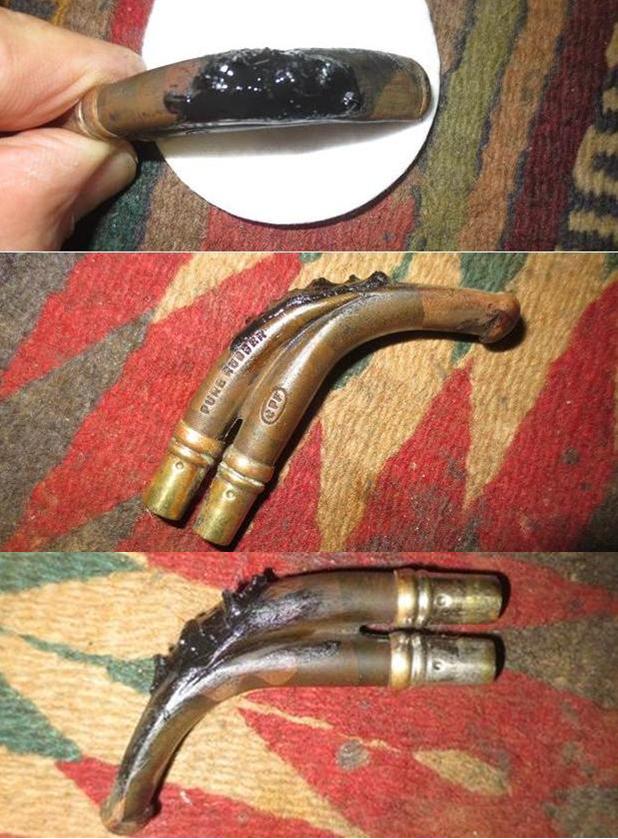
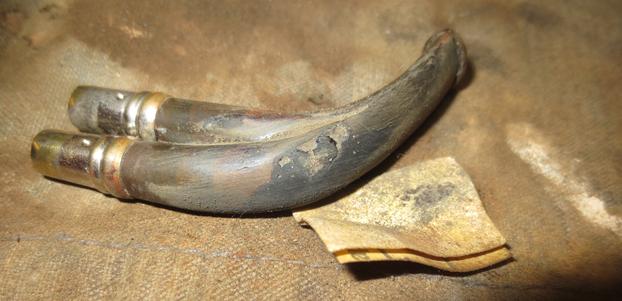
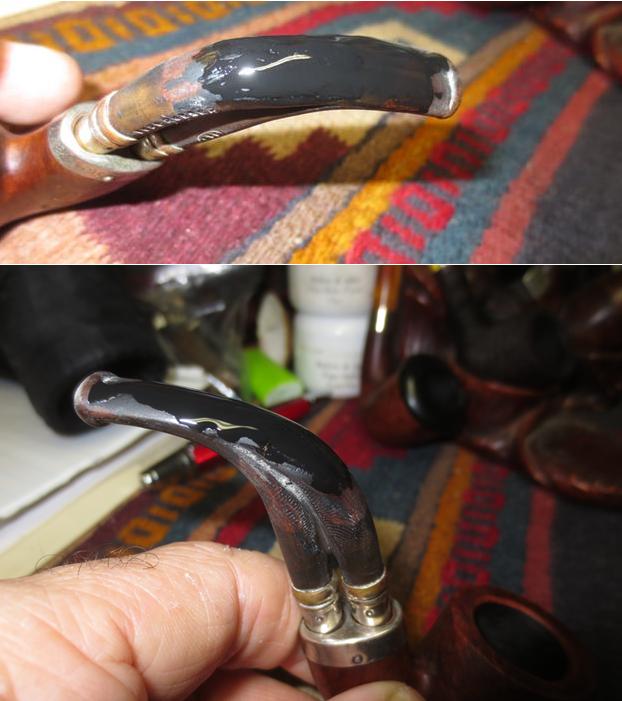
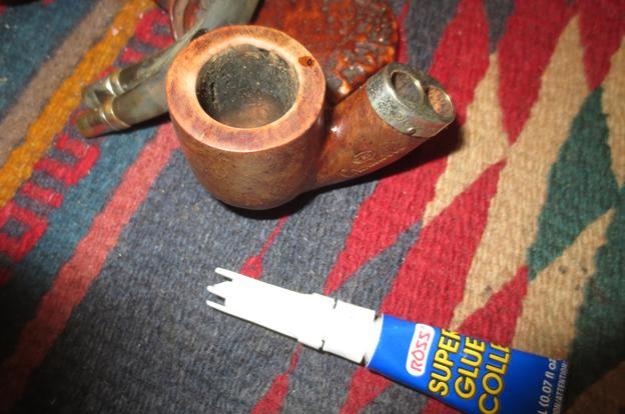
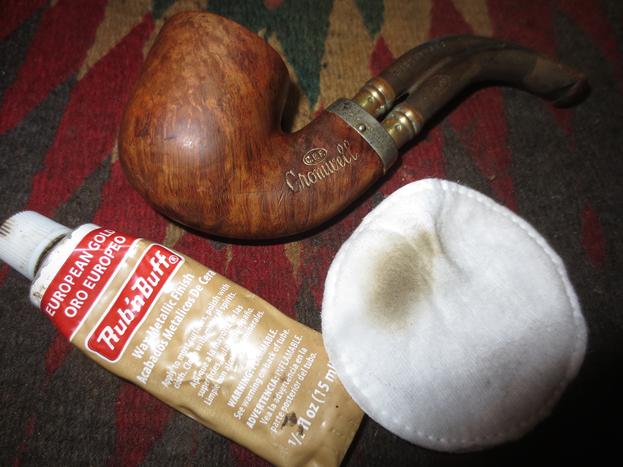
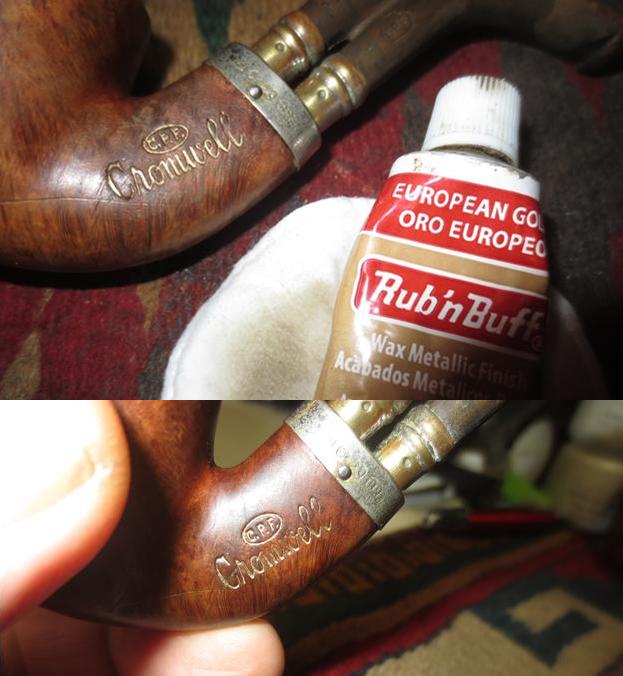
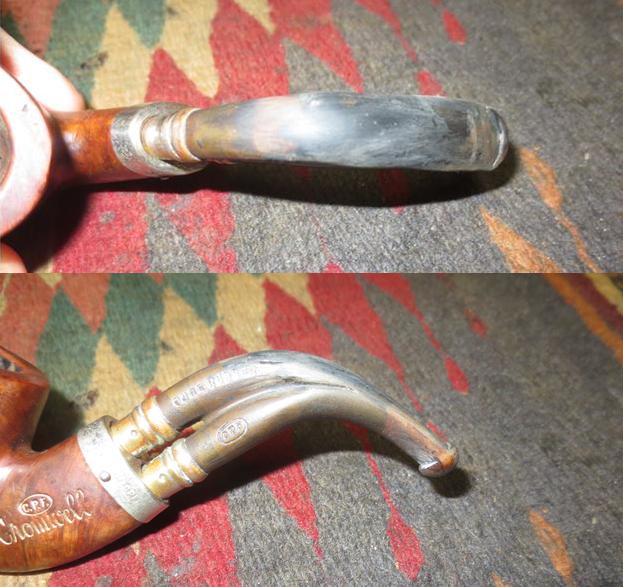
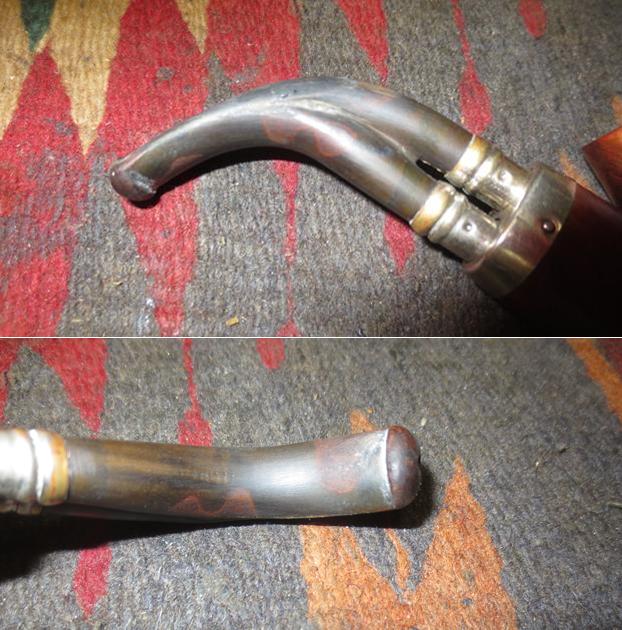
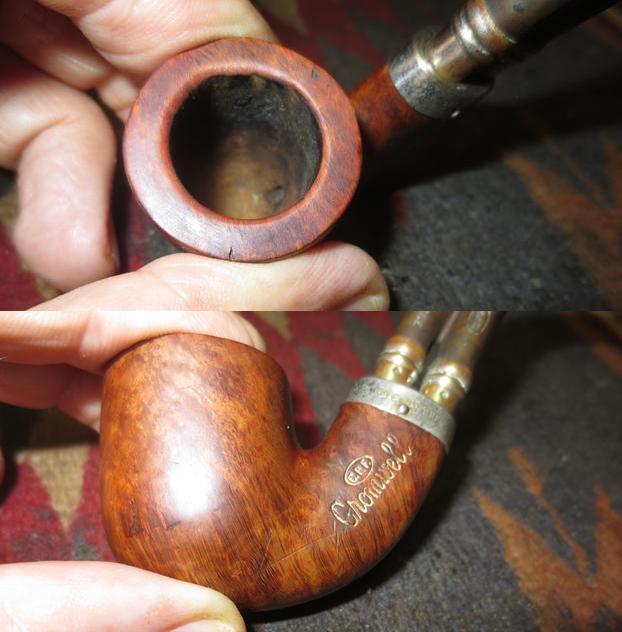
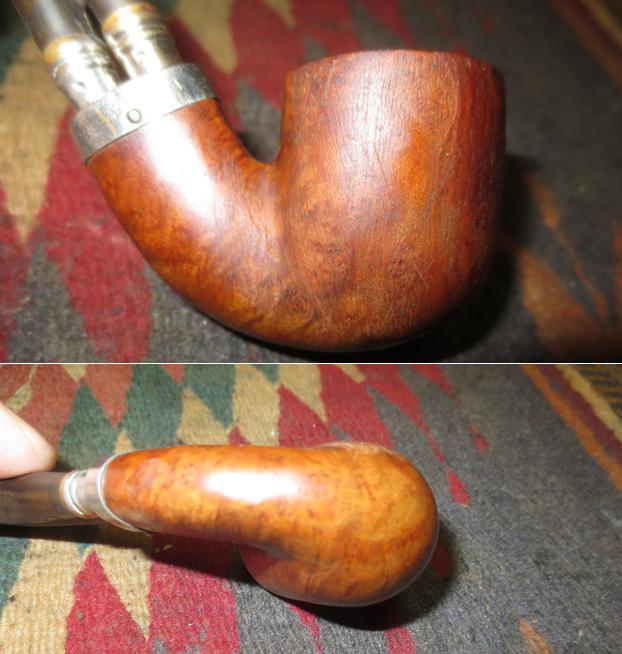
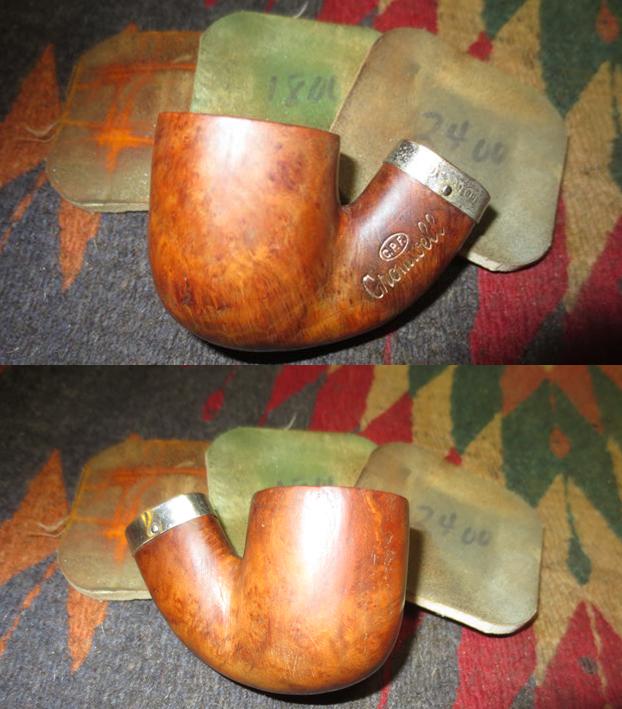
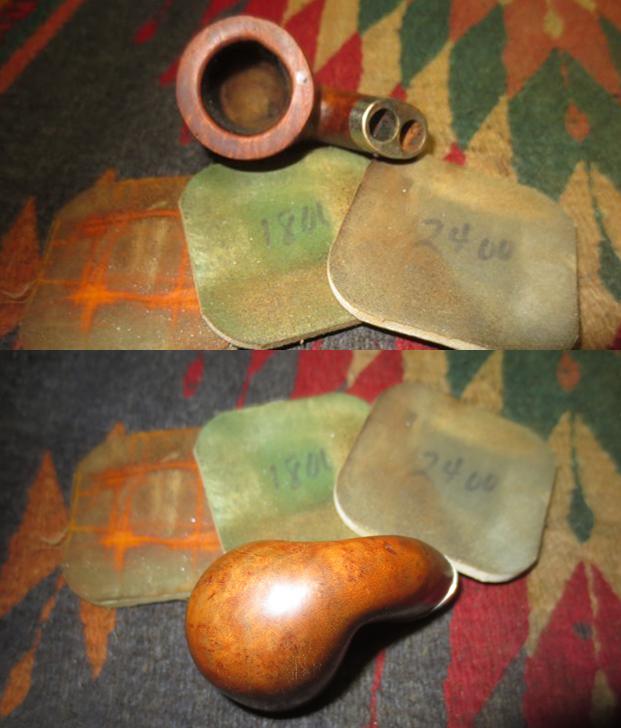
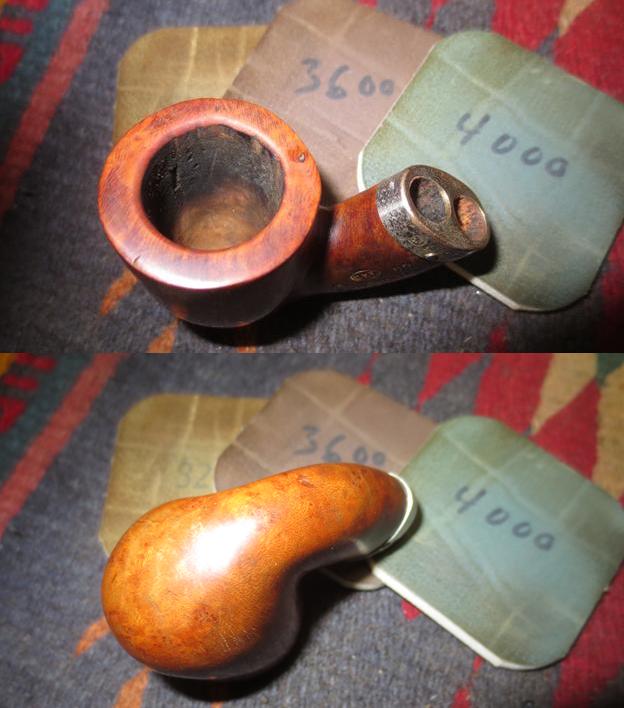
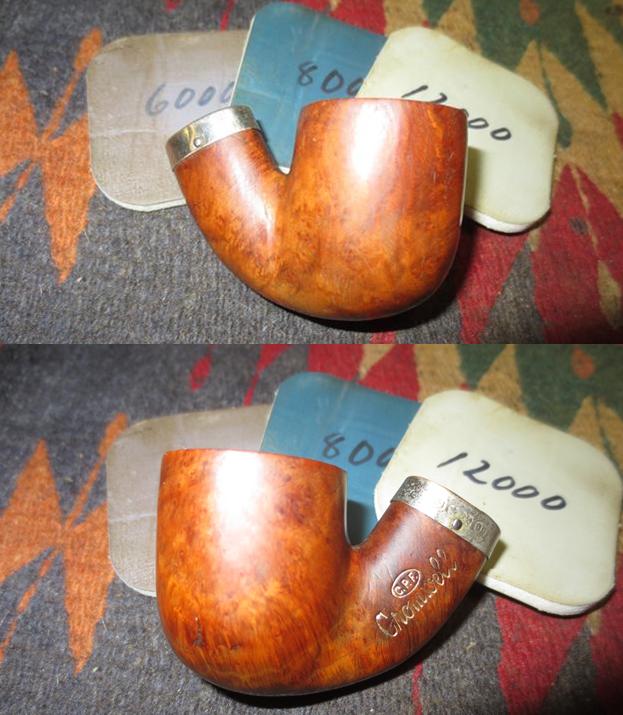
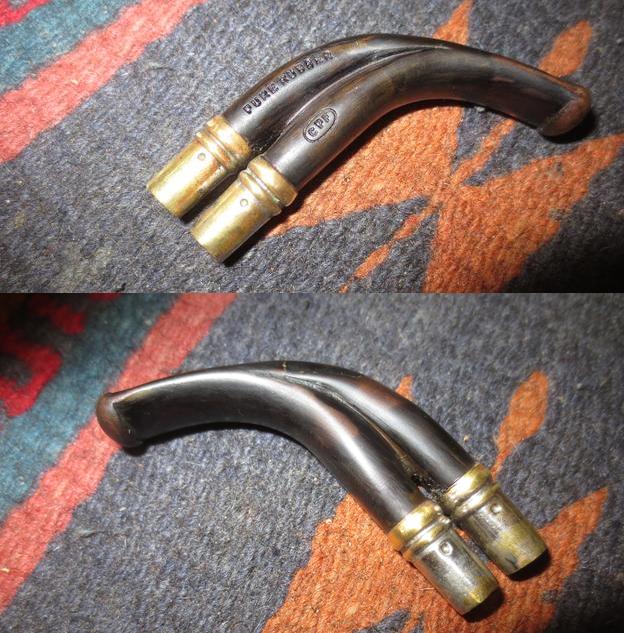
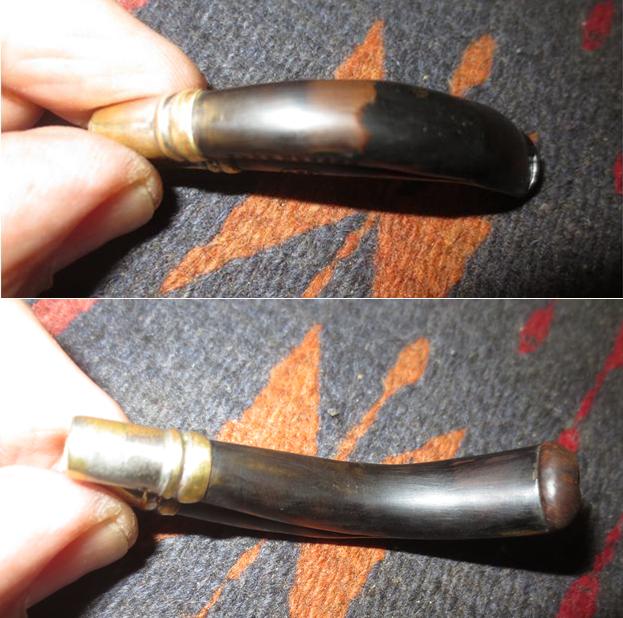
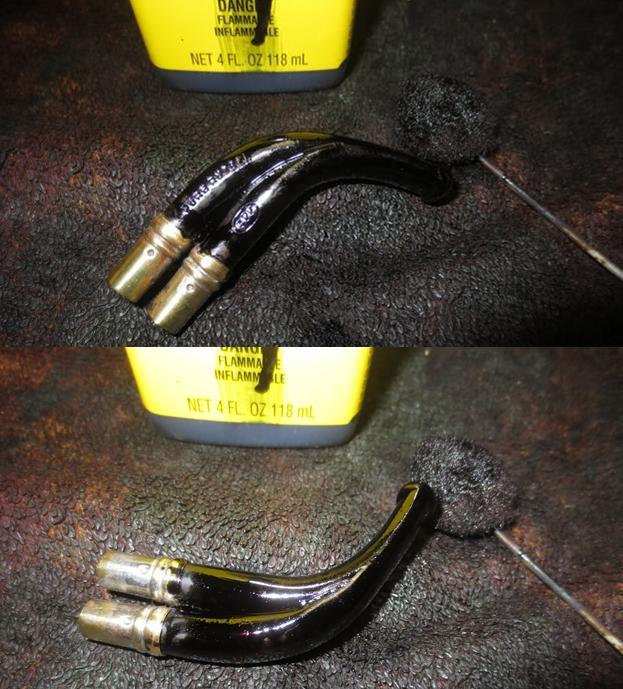
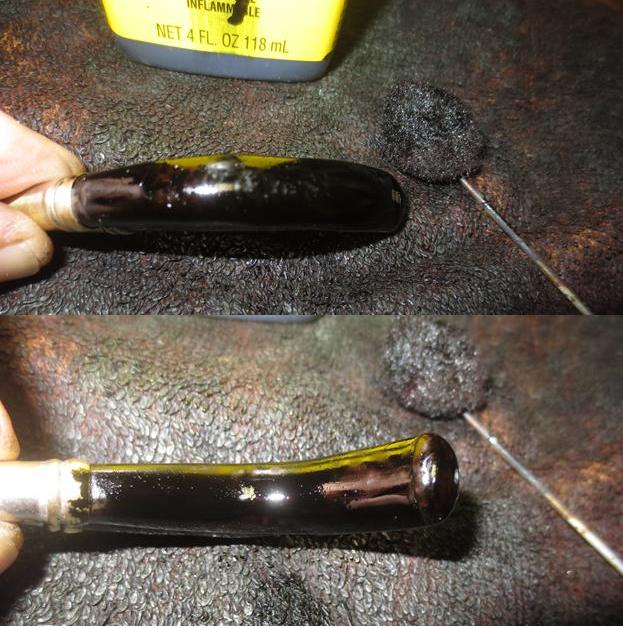
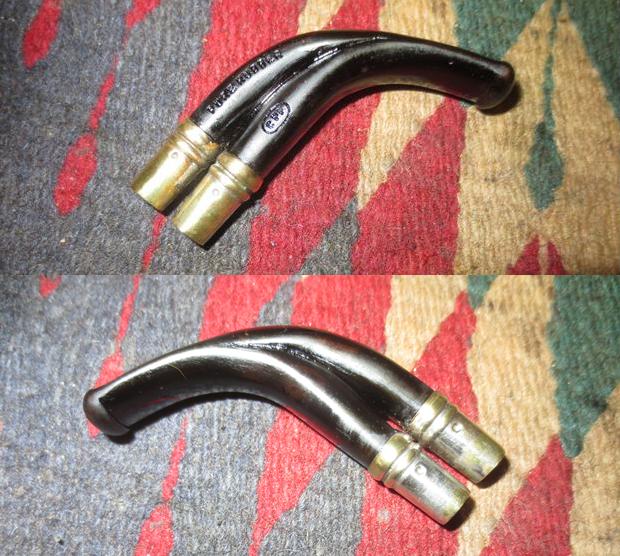
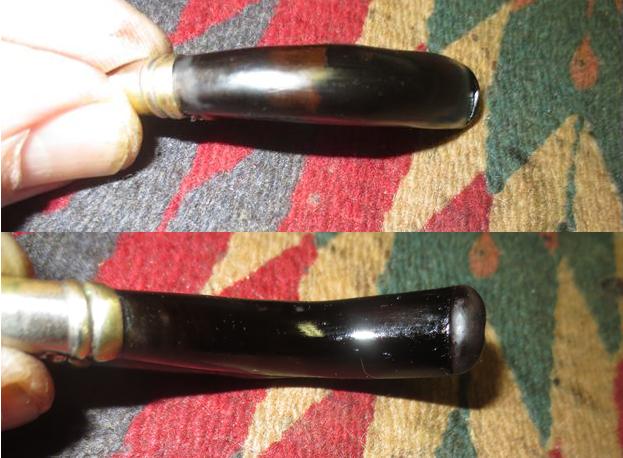
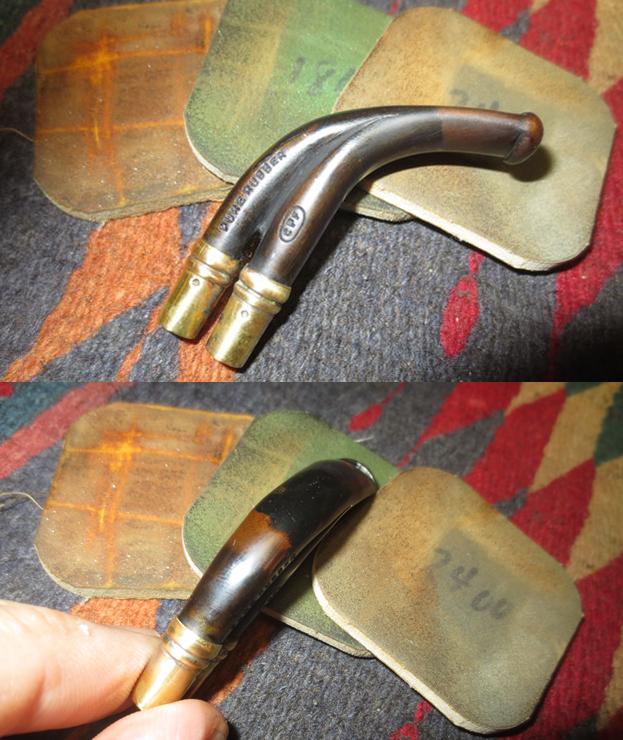
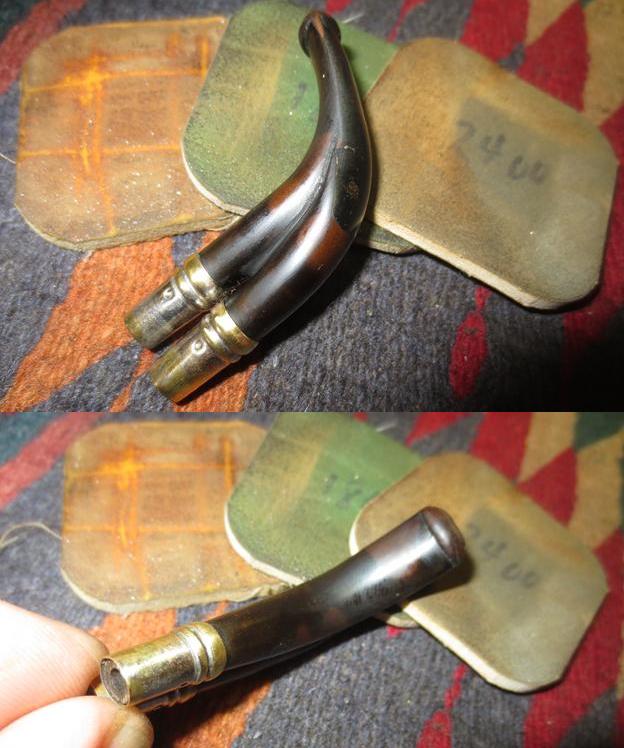
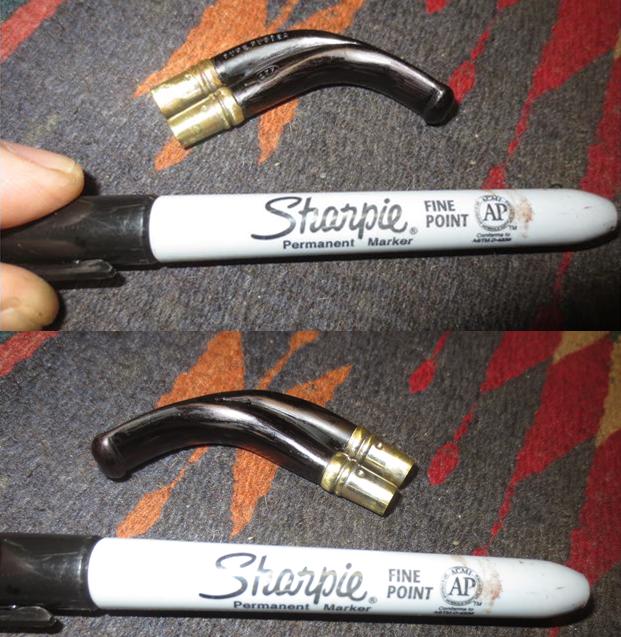
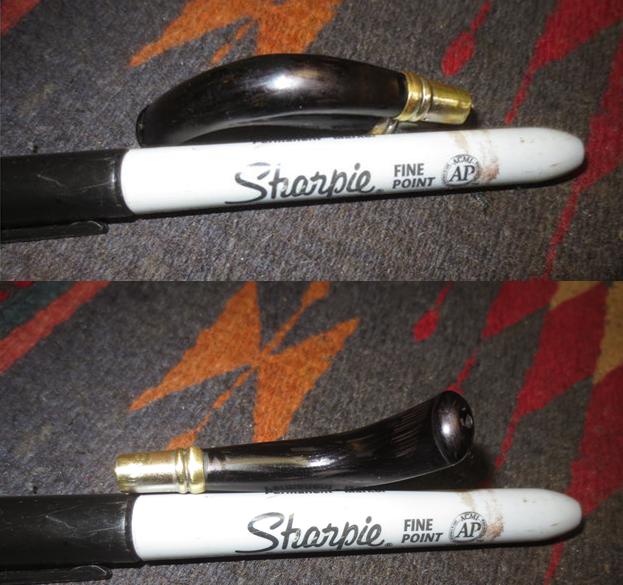
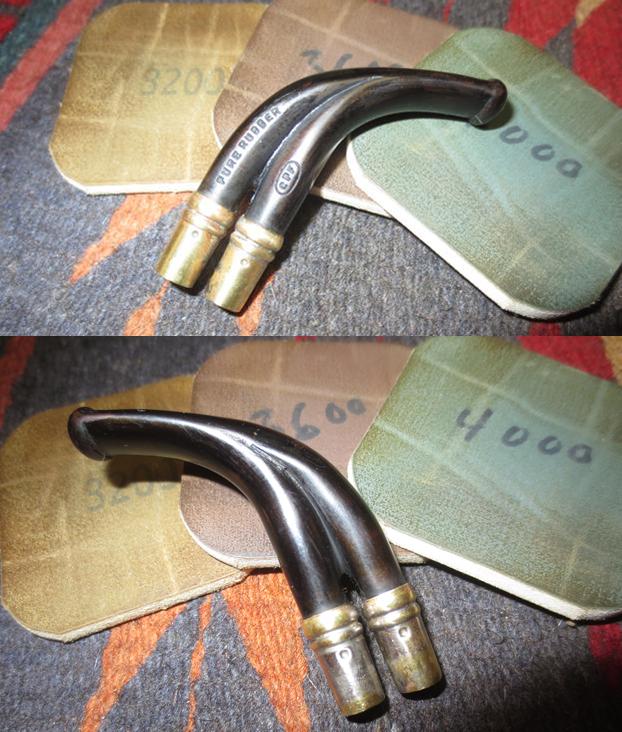
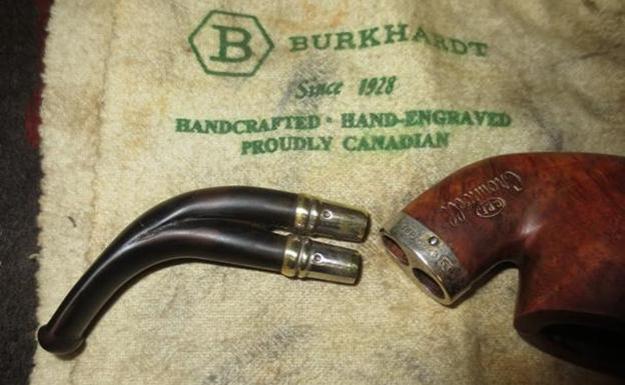
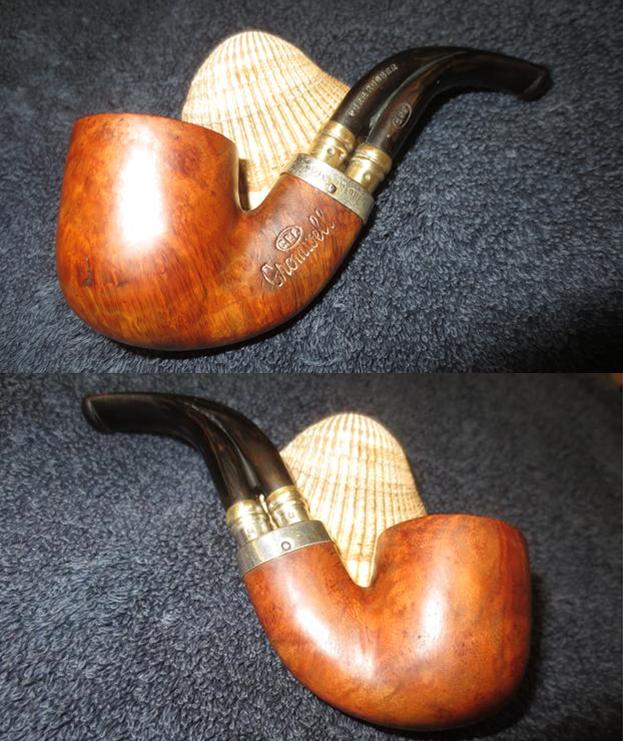
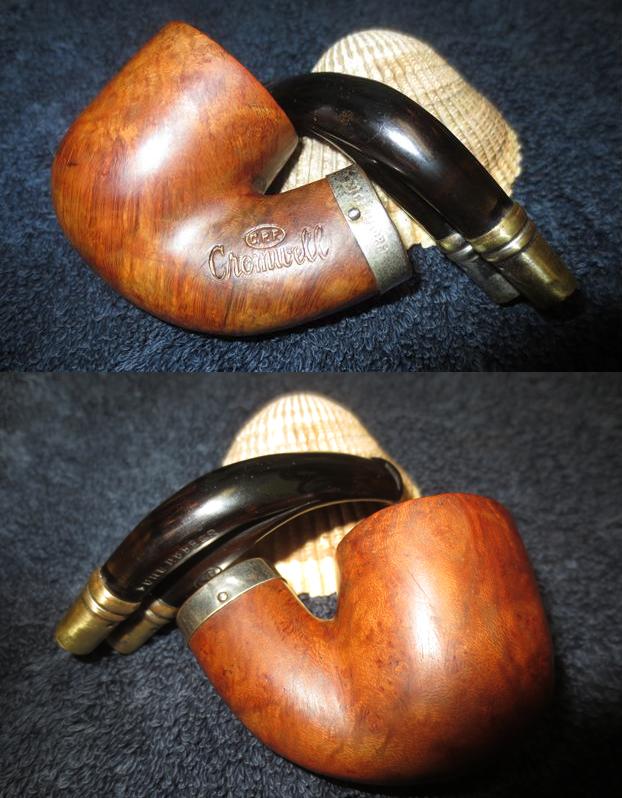
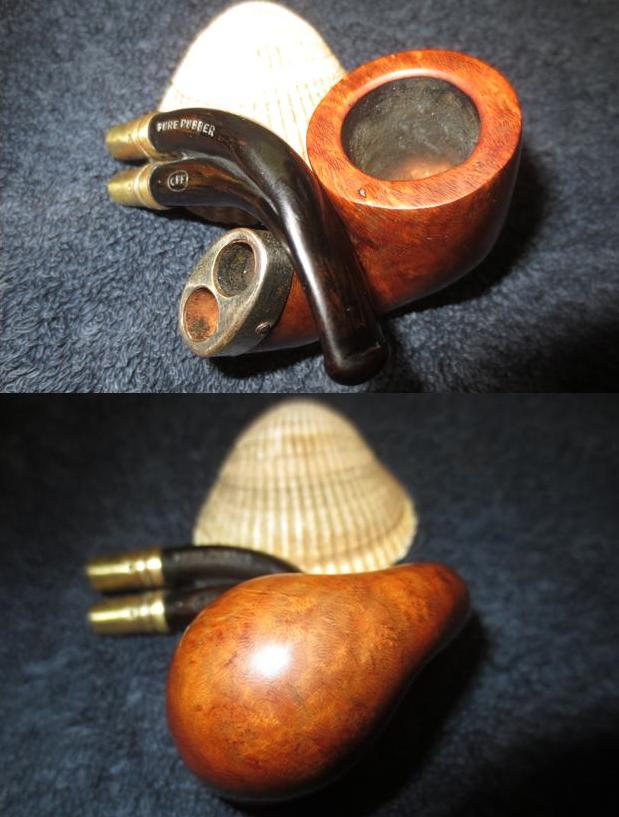
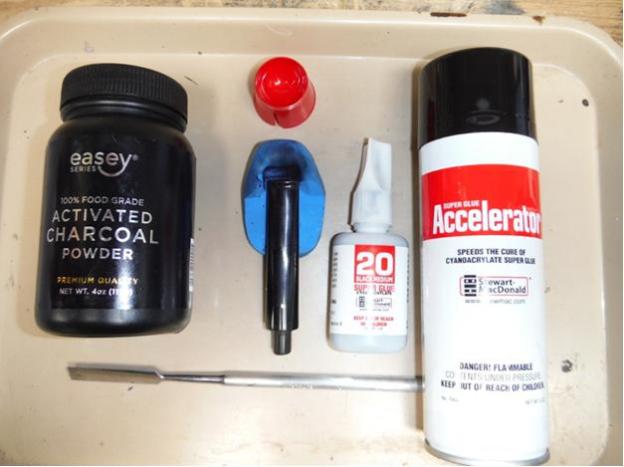
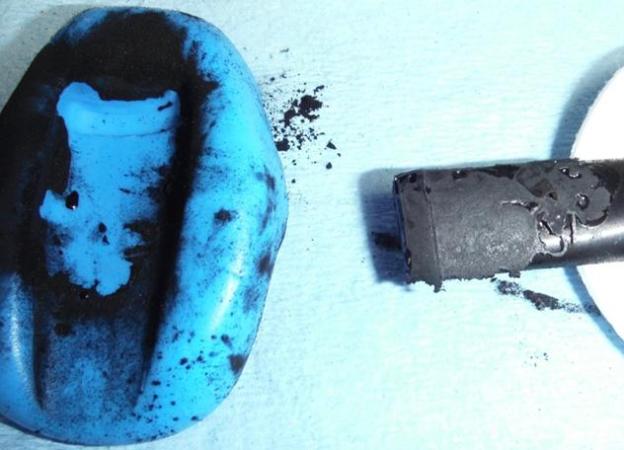
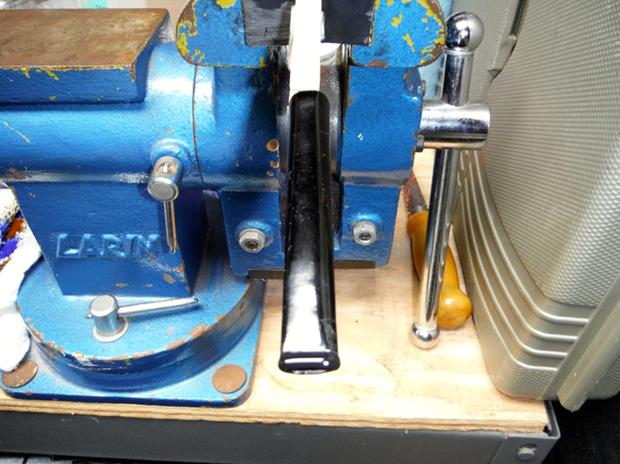
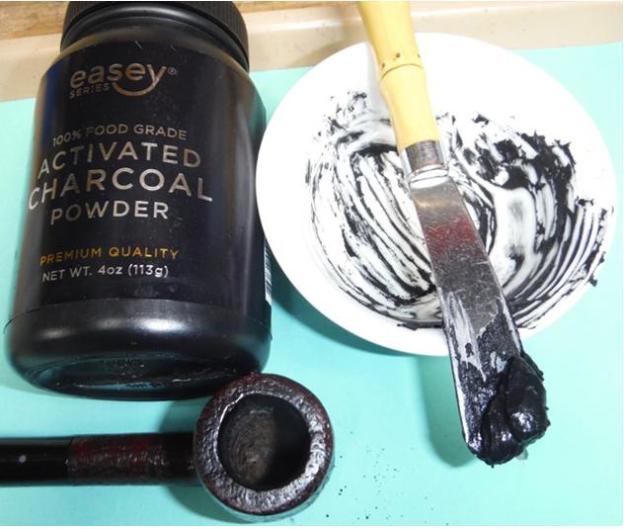
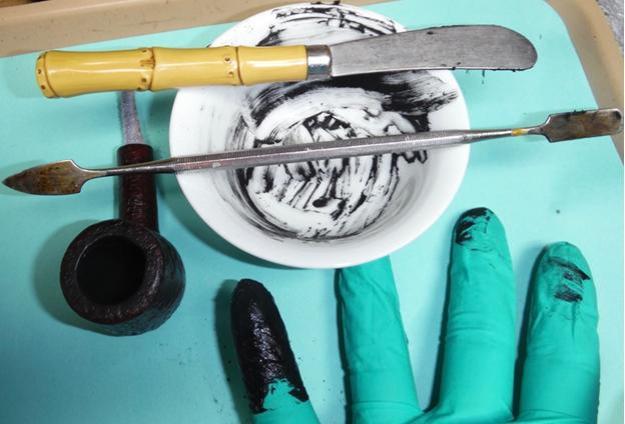
Like other older C.P.F. pipes this one has some real charm. It is on the petite side of things – 4 ½ inches long and 1 ½ inches tall. It is not a bad piece of briar, a mix of grains. The silver collar on the shank is stamped with faux hallmarks and the C.P.F. in an oval logo. It is probably silver or at least plated but I am not sure. The stem is the unusual part of the mix. It has two silver plated spigot tenons that fit into openings in the silver collar. The twin stems merge into one single airway. Looking at it I could not wait to examine it and see what it looked like with the stem removed and what the mortise looked like. The finish was worn but the pipe looked like it still had some life in it. The left side of the shank is stamped in worn gold leaf C.P.F. in an oval over Cromwell in script. There is no other stamping on the bowl. The stem is also stamped on the left side and reads PURE RUBBER on the top stem and C.P.F. in an oval on the lower stem. This pipe is also from the virtual pipe hunt my brother and I did in Montana. He took photos of the pipe from a variety of angles to show the uniqueness and the condition.I did some digging online and found a WDC Marlborough that had a similar configuration though far more boxy. It did not have the elegance that the C.P.F. does in my opinion. Playing around with the mechanics of the smoke and how it flowed through the stem I examined the dual mortise and the way the stem was laid out. I fed a pipe cleaner through the stem and found that natural flow of the cleaner was from the button through the top of the stem and into the top mortise. I could plug the lower tenon and the air was unobstructed from tenon to button. When I plugged the upper tenon and blew air through it I could feel it against my fingertip and then it made its way out the lower tenon. The airflow seems to have flowed against my finger and back a short distance to an opening between the two stems and out. From that I figured out that the smoker draws smoke through the upper mortise and into the airway on the stem. It flows into the bottom stem and mortise (which is a sump like the Peterson System pipes have) where moisture is collected and the smoke exits up the lower stem and into the button and into the mouth of the smoker. In my online search I found a photo of the Marlborough with the airpath drawn out as I conceived it in my words above. I drew the same kind of pattern on the C.P.F. to show how it appeared from my experiments. Here is the link to the Marlborough;  http://pipesmagazine.com/forums/topic/wdc-marlborough-double-airway. I used the drawing on that link to draw in the airflow on the Cromwell that I have. You can see that in the diagram below.I did some more digging on the internet to see if could find any more information on the brand. I found that C.P.F. did a second dual stem pipe called the Lafayette. Both pipes had military style bits so both were pocket pipes. Was it possible that C.P.F. did a line of pipes in honour or military leaders and these were two of those? You had Cromwell – potentially Oliver Cromwell, Lord Protector in England and Jean Lafayette, mercenary during the US Revolutionary War.The finish was very worn and there are a lot of scratches on the briar. I wonder if this little pipe was somebody’s pocket pipe and bumped against coin and whatever else was carried in the pocket of the pipe man who owned it. The bowl was caked and there was a lava overflow onto the rim top. There were some nicks and sandpits on the rim and the bottom of the bowl. My brother took photos of the stem and the mortise of the pipe. It is an unusual set up. The top portion of the twin stems fits in the mortise and the airway into the bowl is high at the bottom of that mortise. The second mortise for the lower portion of the stem is merely a dead space. It appears that the smoke came up the stem and circulated in the lower mortise before being drawn to the mouth of the smoker – perhaps it is a cooling system somewhat like the sump in Peterson System pipes. The twin ends of the stem are covered with a silver end mount and from the looks of the photos the pipe had been sitting for quite a while and cob webs had formed. The stem was oxidized for sure but something about the colour of the stem made me wonder what was happening with it. He did a lot of cleaning and scrubbing on this pipe and in the process we learned some interesting facts about the repair work that had been done on this pipe. The entire stem had been coated with what appeared to be a black paint. It was flaking and bubbling at the button end as can be seen in the photo above. The oxidized stem had some really strange patterns in the oxidation and there seem to be deep staining in spots on both the top and underside surfaces of the stem. On the topside there was a white repair that looked and felt like putty. The black paint had hidden that repair. Jeff had stripped the remaining finish off the dirty bowl, reamed the bowl and cleaned the rim top. The silver band on the shank looked better and the metal tenon ends on the military style tenons looked more brass than silver. He had cleaned out the two mortises and the airway into the bowl and the shank. Note the spotty appearance of the vulcanite stem. I took a close up photo of the rim top to show the condition of the surface and the damage on the right inner edge of the bowl. The bowl was out of round once he had removed the cake and the sandpits in the flat surface stood out.The next two photos I took show the condition of the stem. The stamping on it is very clear – Pure Rubber on the top stem and C.P.F. in an oval on the lower stem. I have not seen this spotty pattern in the oxidation before and I am wondering if in the process of the previous repair the repair guy did not damage the surface of the rubber. Note the putty fill as well. It is quite large.I used a dental pick to remove the putty fill and you can see from the photo below that it was quite large. It covered a large portion of the top and right side of the upper stem. I wiped the surface down with a damp cloth to remove the debris left behind by the putty in preparation for repairing the damage. I greased a pipe cleaner and put it in place in the airway in the stem so that it would not accidentally fill in from leakage of the repair. I mixed a batch of charcoal powder and black super glue putty and filled in the damaged area. I purposely overfilled it on the top to give me room to work. I carefully filled in the right side of the stem so as not to fill in the groove between the two parts of the stem. I put aside the stem so the repair could cure. Once the repair had dried I used a flat file to smooth out the ridges and peaks in the new surface. I sanded the repaired area with 180 and 220 grit sandpaper to further smooth it out and shape it.I wiped the stem down with a damp cloth and checked for air bubbles in the repair and areas that needed to be built up. I applied some more black super glue to the surface of the repair and smoothed it out with a dental spatula to ensure that all of the air bubbles had glue in them. I set the stem aside to dry.While the stem repair was curing I worked on the rim. I used a folded piece of 220 grit sandpaper to work on the damage to the inner edge of the bowl. It took a bit of work to blend in the damaged areas and smooth them out. I filled in the sandpits with clear super glue. It did not take too long to cure so when it had hardened I sanded it smooth and blended it in with the rest of the rim top. I wiped the bowl down with alcohol on a cotton pad to clean off any debris left behind by my rim work and used some European Gold Rub n’ Buff to touch up the gold in the stamping on the shank. I applied the product and rubbed it into the stamping and wiped off the excess with a cotton pad. The next three photos show the fresh shank. By this time the stem repair had hardened and I sanded the surface with 220 grit sandpaper to smooth things out. I used a folded piece to smooth out the grooves between the upper and lower stems. The stem is looking much better but the reddish spots in vulcanite really looked odd to me. I wondered if I would be able to polish them out of if I was going to be stuck with them in the finished pipe. The finish on the bowl was rough and there were a lot of scratches and worn areas on the sides and bottom. I sanded out the ridges and as many of the deep scratches as possible with 320 grit sandpaper. In the photos below you can still see the scratches but the feel in the hand is much better and the bowl is beginning to look smoother. I sanded these marks smoother with 400 grit wet dry sandpaper and then polished the bowl with micromesh sanding pads. I wet sanded with 1500-2400 grit pads and dry sanded with 3200-12000 grit pads. The next sequence of photos show the progress in smoothing and polishing the bowl. The stem still needed a lot of work. I shaped the repaired area and worked the surface over with 220 grit sandpaper to remove as much of the oxidation as I could. While it was definitely looking better the spotty areas were still visible. I still needed to polish the stem with micromesh pads to see how much more of the spotty surface I could clean. I also needed to finish polishing the silver tenon caps. I worked over the surface with 400 grit wet dry sand paper and 1500-2400 grit micromesh sanding pads and still could not remove the stained spots on the rubber. I decided to try something different. I stained those spots of the stem with a black aniline stain to see if that would bring the red spots more in line with the rest of the stem. When the stain dried the spots were definitely better, but they still stood out. Time to go back to the sanding and polishing! I wet sanded it some more with 1500-2400 grit micromesh sanding pads. I still had those obnoxious spots present in the rubber. They were deep and it really appeared that I would not get them out. I sanded the stem some more to try to remove more of the damaged areas. It did not seem to matter how much I sanded the spots remained. I decided to try one more trick. I used a black Sharpie Pen to colour in the spotted areas. I let the ink dry. I was hoping that these Permanent Markers would actually be permanent and cover the spots. Once the ink had dried I lightly sanded it with 3200-12000 grit micromesh sanding pads. The black seemed to stay in the spots better than any of the other methods so far. Maybe I had some success but polishing would tell the story. The more I polished most of the coverage remained but there were still remnants of the spot in the vulcanite. I polished the metal tenon caps with micromesh sanding pads and finished polishing them with a jeweler’s cloth to remove any remaining tarnish.I lightly buffed the stem with carnauba wax and buffed it with a clean buffing pad to raise the shine. I hand buffed it with a microfiber cloth to deepen the shine. I gave the bowl multiple coats of carnauba wax and buffed it with a clean buffing pad to raise a shine. I hand buffed it with a microfiber cloth. I put the parts back together and rebuffed it by hand. The finished pipe is shown in the photos below. The stem looks far better than when I first started but the spots still show through the polish. The pipe as a whole is a beautiful old piece of history. It does not look too bad for its age – over 125 years old. Thanks for walking through this restoration with me. It was a challenge and it was a pleasure to resurrect this old piece of tobacco history.

A Brigham One Dot Dublin with a Back Story


Blog by Steve Laug

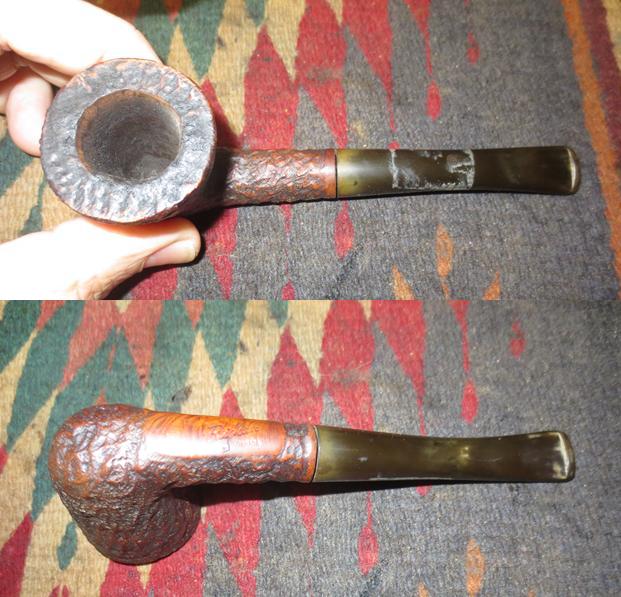
This old Brigham was the next pipe I brought to my work table. I got a message from Greg on Facebook saying he had been reading one of my posts about a box of estate pipes I had received and he was interested in adding this one to his rack. The pipe was a Brigham One Dot Dublin with a slight bend in the stem. It was an older one made before the manufacture of the pipes was moved to Italy. It has the standard aluminum tenon and filter mechanism of the Canadian made pipes. The finish is rusticated with the classic Brigham rustication on the bowl, rim top and shank. It has one smooth patch on the underside of the shank that is stamped Brigham in script over Canada. There is no shape number or other stamping on the shank.

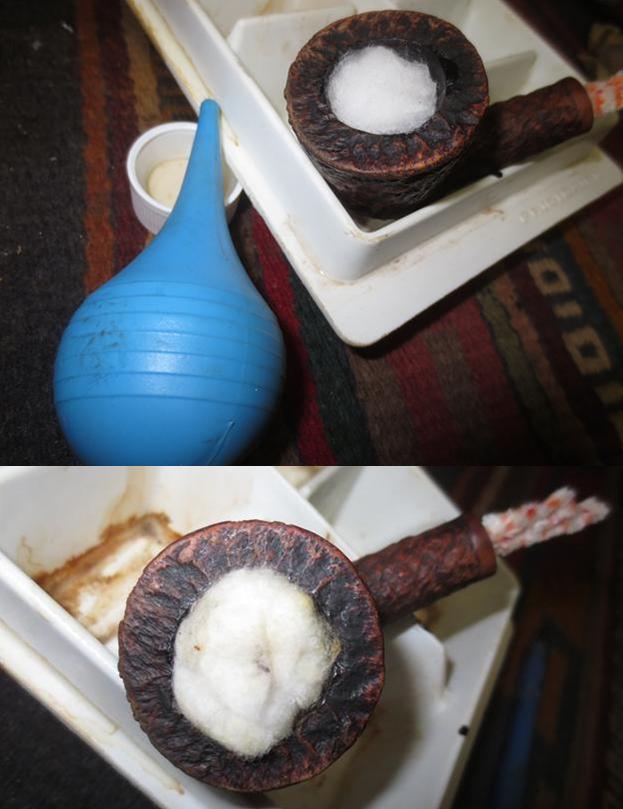
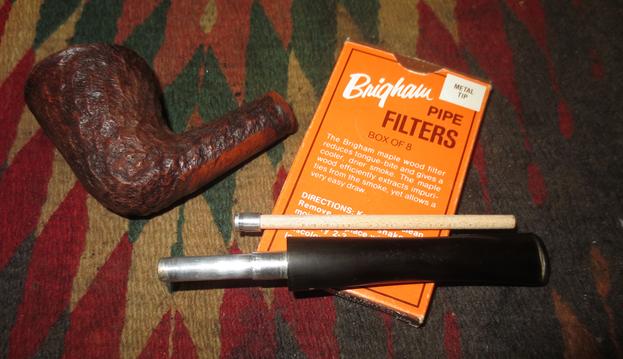
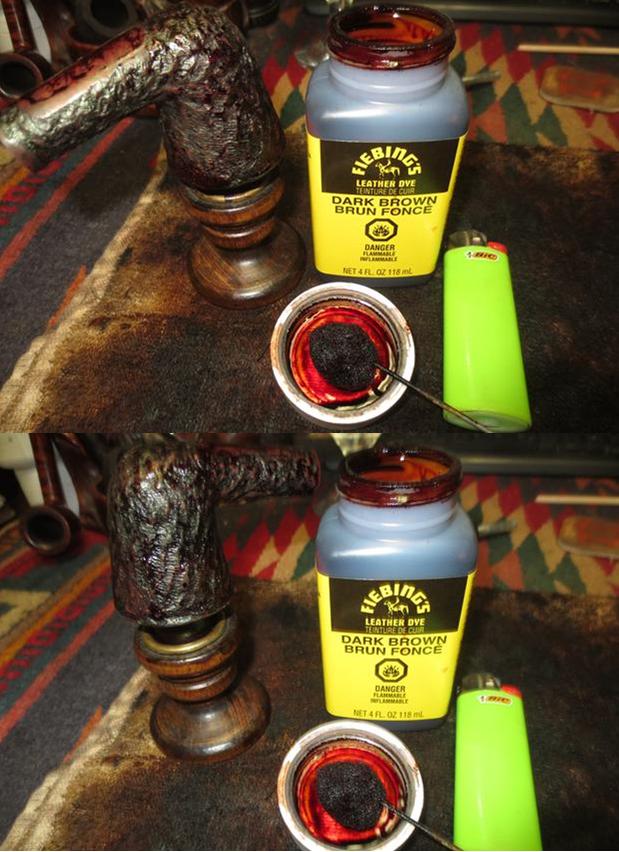
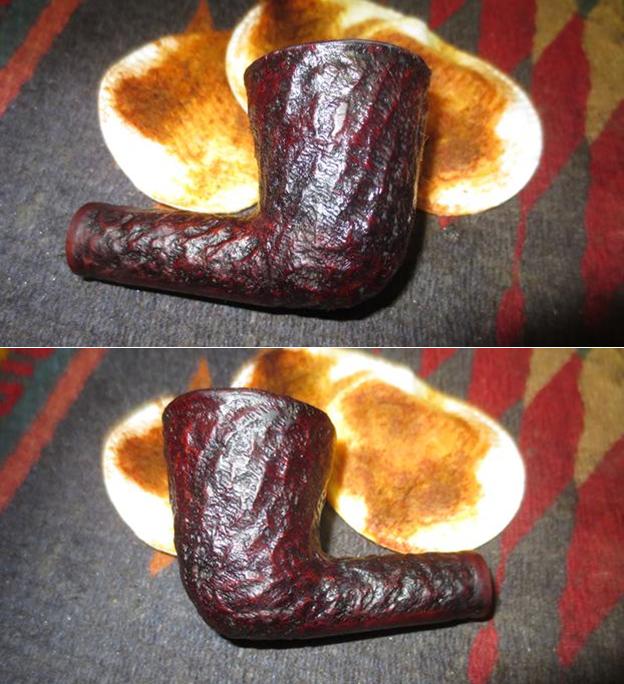
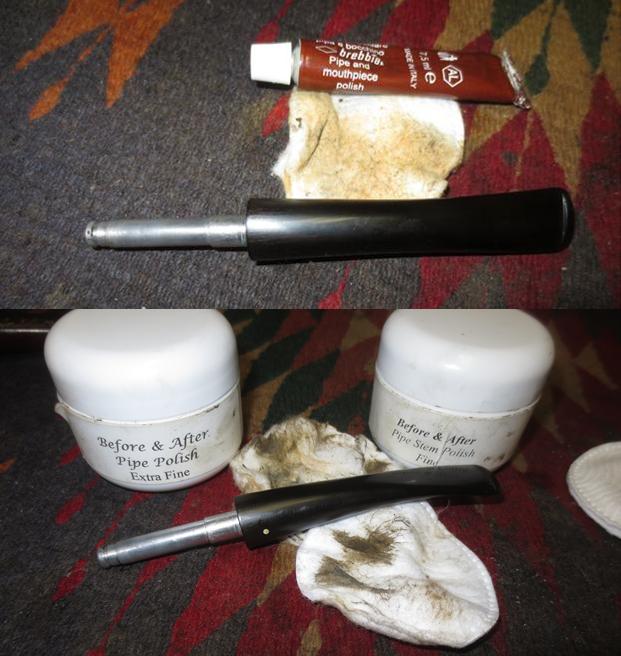
The pipe came to me in a box of pipes that I inherited from a friend in Ontario. He was an old Anglican priest and we had shared a lot about pipes and mutual calling over the 15 years that I knew him. I repaired, restored and sold many pipes for him and have a few of his previous pipes in my current collection. He was a great guy and he is alive in my memory each time I smoke one of his pipes. When the box came I found that there were 70+ pipes in the box and his daughter included a note that said her dad wanted me to restore them pass some of them on to others. This is the first from that lot that I have restored.The finish was very worn and the outer edges of the rim showed wear and damage. The inner edge worn as well but the bowl was still in round. The rim had a thick buildup of tars and oils that filled in the grooves and ridges of the rim top. The rim had some darkening of the finish as well. The stem was oxidized and had a sticky residue left behind by a price sticker. There were no tooth marks on the stem surface on either side next to the button.The stamping on the underside of the shank was clear but slightly worn. It reads Brigham in script at an angle from left to right and block letters, CANADA underneath. Charles Lemon of Dadspipes has written a helpful blog about dating Brigham Pipes by the style of the stamping on the shank. I turned to that blog to look up information on this particular pipe and see if I could identify the time period. Here is the link; https://dadspipes.com/2016/10/03/brigham-pipes-a-closer-look-at-dots-dates-and-markings//. According to that info this pipe comes from the late Canadian Era 1980-2000. The second close up photo below shows the rim and the cake in the bowl. The end of the Brigham system can be seen poking out of the airway in the photo as well.The next photo shows the tenon and system tube. It was incredibly dirty with a lot of tar and oil on the inside. The pipe had been smoked a long time without the filter in place and there was a lot of buildup in the tube and stem. The shank was also very dirty.The next two photos show the condition of the stem. The oxidation pattern and the sticky label gum on the surface are very visible on the stem. The stem is also clear of tooth marks or chatter on the surface near the button.I reamed back the cake with a PipNet reamer and a Savinelli Fitsall pipe knife. I used a brass bristle brush to knock off the tarry buildup on the rim top and clean out the crevices and grooves in the rustication.I decided to clean out the interior of the mortise, shank and airway in the shank and stem before going any further with the exterior. I used alcohol, pipe cleaners and cotton swabs to scrub out those areas and scrubbed until the pipe was clean. I wiped down the surface of the stem to remove the sticky gum left behind by a label on the top side of the stem.I scrubbed the surface of the briar with Murphy’s Oil Soap, toothbrush and a brass bristle brush to clean out the grooves and cleaning off the dirt, oil and debris on the briar. The bowl and the rim looked significantly better once I had rinsed it off with running water. It was dry and the stain was lightened but it was clean. I decided to work on the stem first so while I did I stuffed the bowl with cotton balls and used an ear syringe to fill the bowl with alcohol. I folded a pipe cleaner and plugged the airway so that the alcohol could draw out the oils in the briar. The second photo shows the cotton after it had been sitting for four hours. When I took the cotton balls out at the 6 hour mark they were exactly as they looked at the 4 hour mark. I was a bit surprised that they were not darker. But then again my old friend smoked primarily Virginias – in fact I don’t think he ever smoked aromatics in the time I knew him.I took out a new maple wood Brigham filter for the system and took a photo of the pipe at this point in the process. I still need to stain the bowl but it was looking better and it smelled and looked clean.I stained the bowl with a dark brown aniline stain and flamed it to set it in the grain. The characteristic blue flame that burns the alcohol out of the stain setting it deep in the grain is a beautiful site to my eyes. I repeated the process several times until the coverage was correct.I wiped the bowl down with alcohol on cotton pads to make a bit more transparent. I wanted the contrast that had originally been on these old Brighams to show through. There was enough dark stain in the deep grooves of the finish to contrast nicely with the new stain coats I gave the pipe. I rubbed the stem down with Brebbia Pipe and Mouthpiece Polish and some Before & After Pipe Stem Polish to remove the oxidation in the vulcanite. It lifted a lot of the oxidation and what was left behind was minor.I polished the stem with micromesh sanding pads – wet sanding with 1500-2400 grit pads and dry sanding with 3200-12000 grit pads. I rubbed the stem down with Obsidian Oil after each pad and gave it a final coat of oil after the 12000 grit pad. I set the stem aside to dry. When I finished there still appeared to be a little oxidation at the tenon end of the stem. I was not sure if it was the light from the flash or reality so I took it to the buffer and buffed that area with red Tripoli and repeated the last three micromesh pad grits. I buffed the pipe and stem with Blue Diamond to further polish it. I buffed the stem with carnauba wax and gave the bowl multiple coats of Conservator’s Wax. I buffed the pipe with a clean buffing pad to raise the shine and with a microfibre cloth to deepen it. The finished pipe is shown in the photos below. It is a beautiful pipe and even better in person. Thanks for looking.
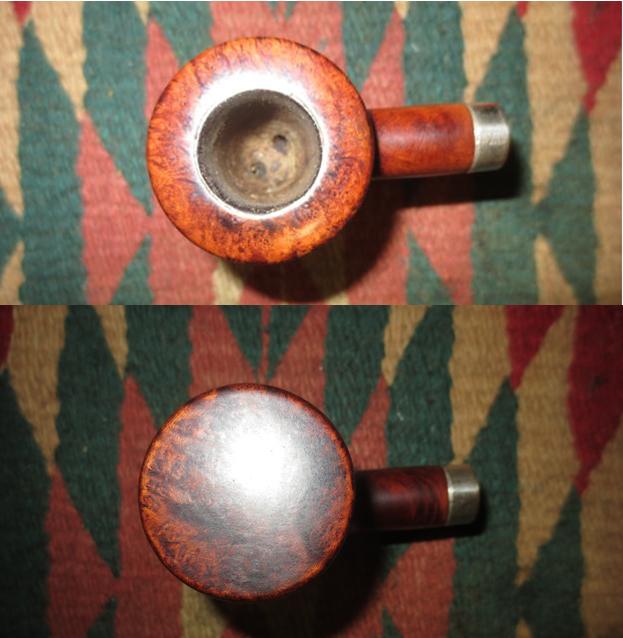
 

Repairing a shattered stem on a Comoy’s Grand Slam Lovat Patent 210


Blog by Steve Laug

I received an email from Pat about a pipe he had that he wanted to know if I would have a look at and see if I could do anything with it. Here is his first email.

Hello Steve, I have a 1930’s Comoy,s grand slam 210 Lovat with the old bar logo on the stem. The stem however is broken in three or four places. I have all the pieces but one. Is it possible to join the pieces back together again and fill the remaining hole from the missing piece? I visit your site often and you truly have done some amazing things. I don’t know if you typically do repairs but if you do would you consider taking on a repair like this. It’s a lovely old Comoy’s and I’d really like to bring it back to its former glory. Can you help? Thanks for your consideration. — Pat

I wrote him back saying that I would like to see photos of the pipe before I committed to trying a repair. He sent the following two photos of the pipe for me to look at. The piece of briar was a typically beautiful specimen of a Comoy’s pipe. It had some excellent grain and the finish was in very good shape for a pipe this old. The stem however, was another issue. It had shattered.The first photo above showed the bowl and stem together. I had been a really nice looking Lovat and with the bar logo on the stem it was indeed an old one. He wanted to see if I could somehow piece the stem back together preserving the old logo. Looking at the photos I was pretty amazed at the condition. It was obvious to me that the stem must have been stuck in the shank and when someone torqued on it to remove it the stem had shattered into pieces. It looked to me that there were some pieces missing but maybe I could do something with it. I had him ship it to me with all of the parts included.It did not take too long to arrive in Canada and when it did, I opened the box with some trepidation. I was expecting the worst and what I found inside was pretty close to what I had expected. There were two broken pieces in a small baggy, the rest of the stem with the stinger in another baggy and the bowl wrapped in bubble wrap. I laid out the pieces to get a feel for what was missing. The two broken pieces fit well together and together they fit well with the saddle portion. The underside of the stem looked pretty good with the parts connected. However the top side was another story – there was a large chunk of vulcanite missing virtually the length of the stem. Now I knew what I was dealing with.

I put the pieces back in the bag and put the bag and bowl back into the box. I laid it aside and took some time to think through the best course of action for putting it back together again. It was a true Humpty Dumpty project and I did not know if all the kings’ men or even this king’s man could put it back together again. I let it sit while I repaired pipes that were in the queue ahead of it.

Several weeks went by, at least it seemed that way to me and I did not look at the pipe again. I knew it was there but I was not ready to commit to a repair. Today, Saturday arrived and I finished the repairs that were ahead of it. I decided that today was the day. I unpacked the pieces and put them together again to have a look. The tenon/saddle end had a clean break away from the rest of the pieces. The airway inside was oval shaped as was the airway in the button and in the gap between the pieces. Whatever I used to repair this one would have to take that into account. I would need to give an adequate interior base for the rebuild of the stem. If I could glue the pieces together and then insert a tube of some sort I could then rebuild the gap of the missing pieces of vulcanite. It seemed like the plan would work. The first step was to glue to two parts of the button end together. I cleaned the surface with alcohol and ran a bead of clear super glue along the edges of each piece. I put them together and ran a bead of glue along the surface of the crack on the underside of the stem.I took some photos of the bowl and rest of the broken stem just to give an idea of the beauty of the pipe and the magnitude of the issue at hand. The bowl and the finish on the pipe were in excellent condition. It really did not need any work. I don’t know if Pat cleaned the briar or not but it was looking really good. To encourage myself a bit I took some photos of the bowl. The grain is beautiful and the stamping is very sharp and clear. It is stamped on the left side of the shank Comoy’s over Grand Slam over Patent. On the right side it is stamped British over Patent No. over 40574.I flattened the first two inches of the inner tube to make it oval. The trick was not to collapse the tube but merely change its shape from round to oval. It worked really well. I slid the oval tube into the repaired pieces of stem. I aligned it so that it was centred looking at it from the slot in the button. I took photos of the tube in place from the top and the bottom sides.It was now time to proceed. I prepared my charcoal powder and black super glue putty mixture on a folded piece of paper. Because the super glue cures slowly I stir the two components together until I get a thick paste. I double checked the alignment of the tube in the stem end and then applied the mixture to both sides of the stem with a dental spatula. I pressed it into the area on the top side where the stem pieces were missing first then applied a thick coat over the top of the repaired area. The photos below show the progress and the filled repair once I had smoothed it out with the spatula. The flattened tube is anchored solidly in place and the area around it is filled in with the putty. The putty is purposely thick so I have a good base to work with once it dries. I will need to flatten it out and reshape the edges of the button. So far I was happy with the progress of the repair. Once the repair had dried it was time to work on shortening the tube to fit into the other half of the stem. I cut it off with a hacksaw until the length such that when I slid the two parts together it would allow them to match.I applied super glue to the edges of both pieces of the stem and slid the two parts together. I filled in the low spots on the connection with clear super glue to begin with and set the stem aside to cure some more.When the repair had cured I sanded the patch with 180 grit sandpaper to smooth out the surface and begin to blend it into the rest of the stem. I wanted the two parts of the stem to flow together naturally. I continued to sand it with 220 grit sandpaper to further smooth out the surface. In the process air bubbles showed up in the repair surface. This is a normal occurrence and would need to be patched further once I finished this stage of sanding. I also lightly sanded the tenon as the fit in the shank was too tight and I was pretty certain that the stem had shattered because of that. I used black super glue to fill in the air bubbles and pits in the surface of the stem and set the stem aside to cure overnight. In the morning I would sand out those repairs and continue to shape the stem.In the morning the repaired had cured well and the stem was solid. It was a unit once more. The touch up repairs to the air bubbles had also cured so I began the long process of sanding the stem with 220 grit sandpaper to smooth things out. The next two photos show the beginning of the progress. The stem is starting to look pretty good. Still a lot more sanding to do before it is finished but I like what I see so far.In talking to Patrick he wanted to have the stinger apparatus removed and cleaned up so that he could put it back in place should he want it but he wanted the more open draught of the stem without the stinger. These older style Comoy’s stingers were usually threaded and screwed into the tenon of the stem. In all of the ones that I have cleaned up the stingers were locked in place by the lacquer like tobacco juices that had dried and caused it to be frozen in place.

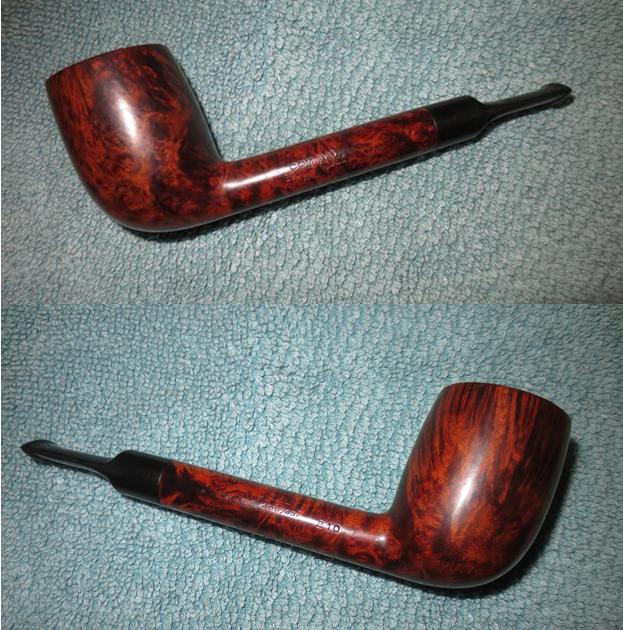
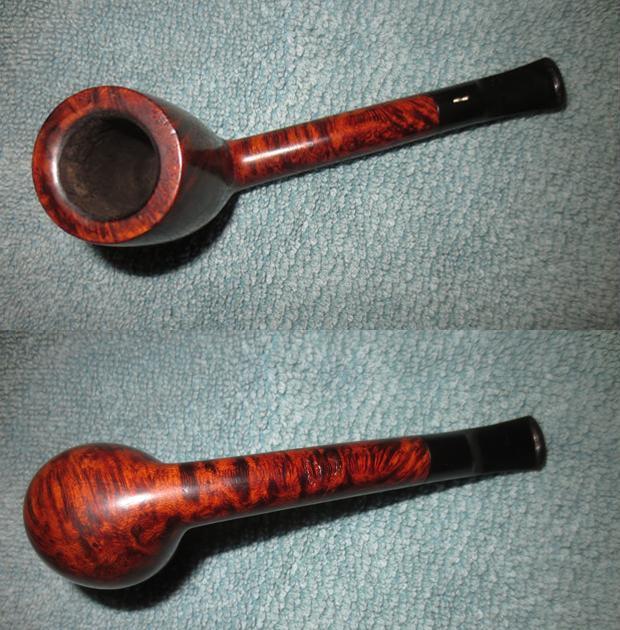
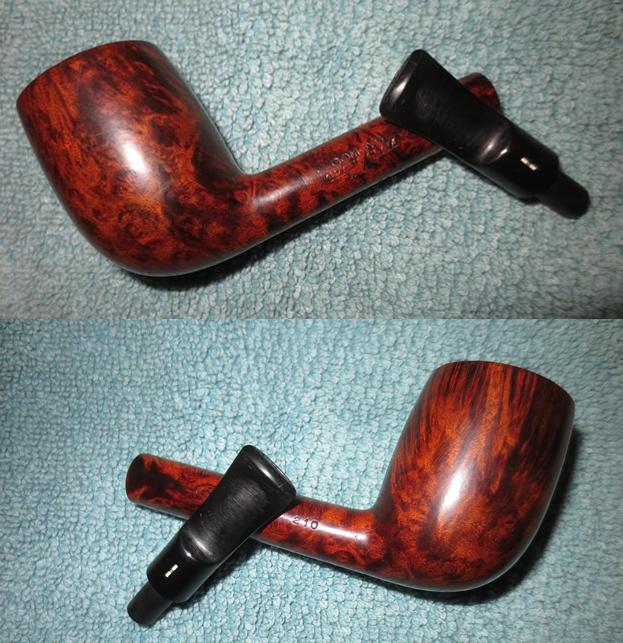
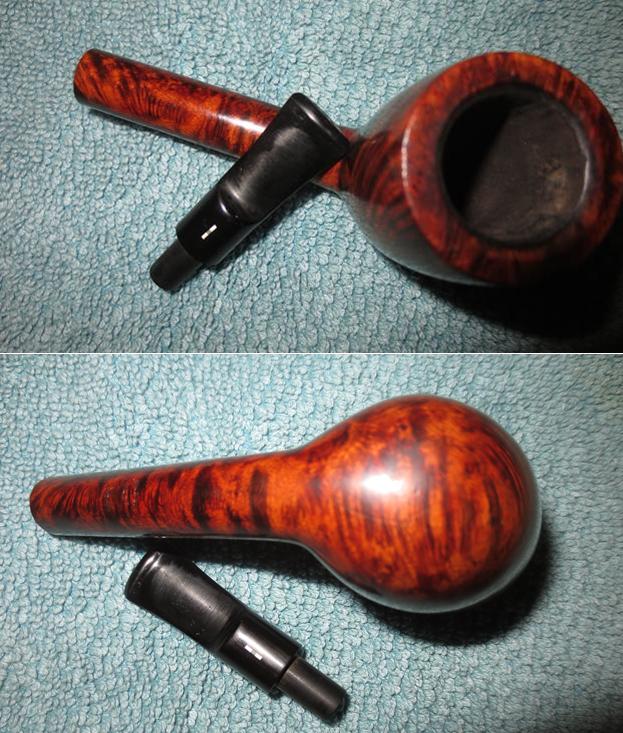
I rubbed the tenon end down with a cotton swab and alcohol and let it soak into the tenon itself. I wanted to soften the tars and oils there and the alcohol would do that without damaging the rest of my repair. Once it had soaked for a while I dried off the area to make sure there was no residual alcohol and heated the stinger repeatedly with the flame of a Bic lighter. Heat would further loosen the lacquers on the threads so that I could unscrew it without damaging the tenon. I used the flat sides of the diamond on the stinger as anchor spots for a pair of needle nose pliers and unscrewed it from the tenon. It was threaded on the end and sat at the bottom of the tenon.The tenon was slightly enlarged and would not seat easily in the mortise. I wonder if this may not have been part of the reason the stem had shattered. Even before I heated the stinger the fit in the mortise had been tight and it would not sit snug against the shank. I cleaned out the inside of the mortise and shank with cotton swabs, alcohol and pipe cleaners to remove any residue that lined the walls. I wanted to be sure that the fit was not hampered by the shank itself. In examining the tenon I could see that the it was slightly thicker at the tenon/saddle junction. I used a needle file to smooth out the thickness and sanded it with 220 grit sandpaper.The fit of the tenon now was snug and the stem could be easily removed and put in place without being tight. I sanded the stem with 220, 320 and 400 wet dry sandpaper. I polished the stem with micromesh sanding pads – wet sanding it with 1500-2400 grit pads and dry sanding with 3200-12000 grit pads. I wiped it down with Obsidian Oil after each pad and gave it a final coat after the 12000 grit pad. The photos show some white flecks on the top surface of the stem. These needed to be sanded out and polished. I gave the stem multiple coats of Conservator’s Wax and hand buffed the stem and pipe with a shoe brush to polish it. I buffed it with a microfibre cloth to raise and deepen a shine on the briar and the vulcanite. The finished pipe is shown in the photos below. I am sending the original stinger back with the finished pipe to Patrick. He has the option of using it or not as he chooses. The finished stem looks better than the three parts and missing chunks that arrived. It should work for him but I am wondering about the fragileness of the old vulcanite. We shall see. Care will need to be exercised when smoking this pipe and taking it apart for cleaning. The briar is absolutely beautiful and the age and patina of the pipe is stunning. I will send it back soon Patrick. Can’t wait to hear what you think.

Restoring a Beautiful Parker Super Bruyere Cherrywood 287


Blog by Steve Laug

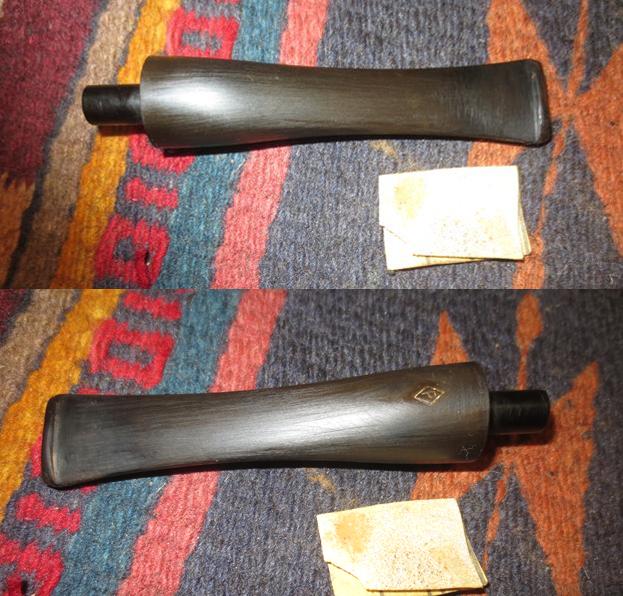
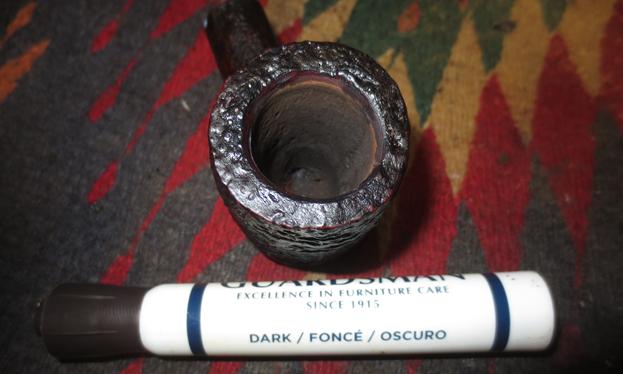
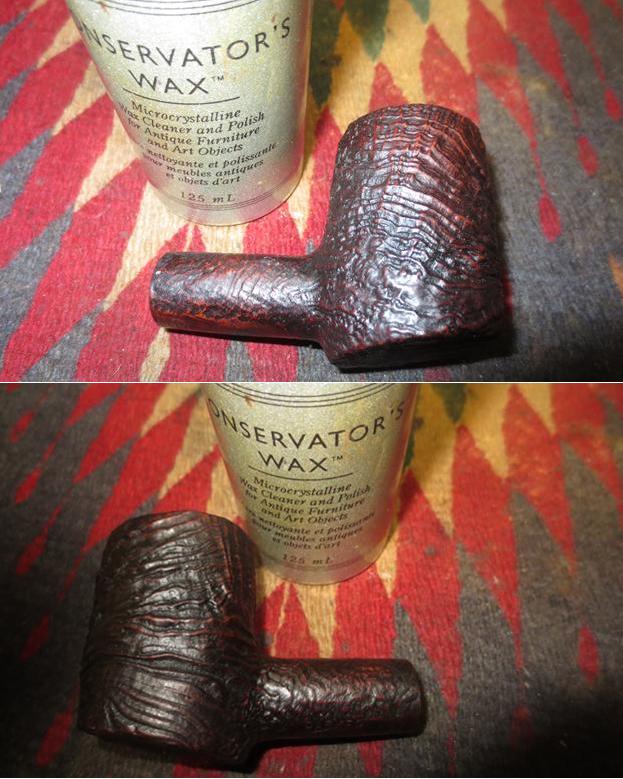
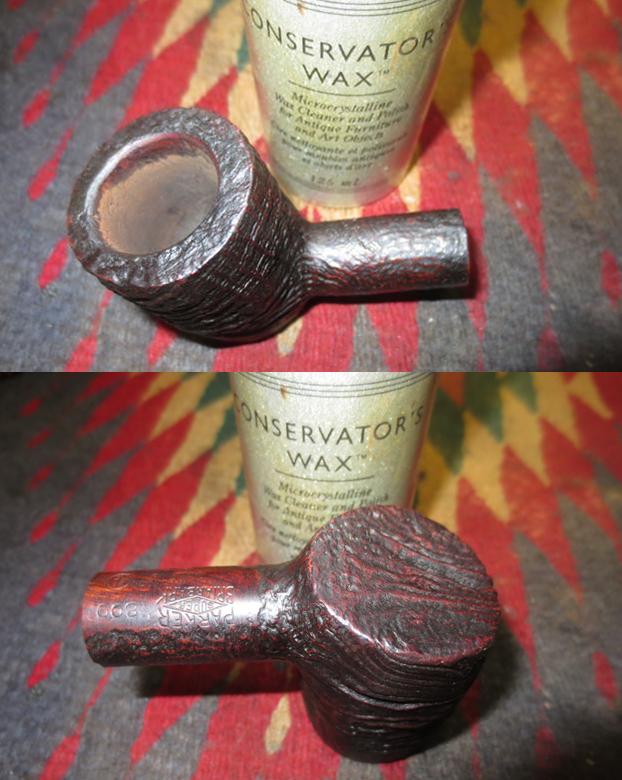
The next pipe on the work table comes from the estate lot that I received from a local pipe shop. It originally belonged to an old customer whose wife brought them back to the shop after his death. I am cleaning them up and selling them for the shop. This one is a beautiful little Parker Cherrywood. It is significantly more petite than the sandblast version that I restored earlier (https://rebornpipes.com/2017/06/17/parker-super-briarbark-cherrywood-809/). The stamping on the left side of the shank reads Parker over Super in a diamond over Bruyere.To the left of that is the shape number 287. On the right side of the shank the stamping reads Made in London over England and the number 4 in a circle denoting the group size.There is no date stamp next to the D in England.When I brought the pipe to the table it was obviously one of the old pipeman’s favourite smokers. The finish was dull and dirty and the stem oxidized with some calcification and buildup around the button area forward and a few minor tooth marks.I took a close up photo of the rim top and bowl to show the lava overflow onto the rim top and the thickness of the cake in the bowl. I find that the cake in these older pipes is like concrete. It is very hard and takes a lot of effort to break it down when reaming the bowl. I also took some photos of the stem to show the condition of the end near the button before my work began. The hard cake in the bowl demanded a bit different reaming strategy. I needed to use multiple pipe reamers to remove it. I started the reaming process with a PipNet reamer using the smallest head and working my way up to the largest one that could take the cake back to bare briar walls. I finished the reaming with a Savinelli Fitsall pipe knife and a KleenReem pipe reamer. I used the drill bit from the end of the KleenReem reamer to clear out the airway between the mortise and the bowl. It was almost clogged with a buildup of tars and oils that had hardened there. The pipe had been smoked to a point where it must have been like sucking on a coffee stirrer and having a thimble of tobacco in the chamber. It was definitely a favourite and obviously a good smoking pipe.With the bowl reamed, I turned my attention to working on the stem. I sanded the stem to remove the calcification around the button and smooth out some of the tooth marks. I also broke up some of the oxidation on the rest of the stem with the 220 grit sandpaper.I “painted” the stem end with a Bic lighter to raise the tooth dents on the surface of the stem. It did not take too much work to raise all but one of them. What remained of the sole dent was a small divot. I wiped down the stem with alcohol and filled in the divot with a drop of black super glue. I set the stem aside so that the glue would cure.I scrubbed the rim top with cotton pads and saliva to remove the tarry buildup there. It took a lot of elbow grease but I was able to remove all of it. There was some burn damage to the front inner rim edge from consistently lighting it in the same place. I remove the damage by blending it into the rest of the rim bevel with a folded piece of 220 grit sandpaper. I restained the edge and the rim top to blend in with the rest of the bowl using a medium and a dark brown stain pen. I mixed the stains on the rim surface and rubbed it in with a soft cloth. I gave it a light coat of Conservator’s Wax to further blend in the stain on the rim. The photos below show the rim top after the stain and after the waxing.With the pipe’s externals cleaned and polished I turned my attention to the internals of the mortise and airway in the shank and the stem. I scrubbed them with alcohol, cotton swabs and pipe cleaners until they were clean.I decided to work on the oxidation on the stem using a combination of the Before & After Stem Deoxidizer and Polish and Brebbia Mouthpiece Polish. I applied the Deoxidizer and Polishes with cotton pads to scrub the surface of the stem. I was able to remove the oxidation without doing any damage to the Parker Diamond stamp on the top of the stem. I buffed the pipe and stem with Blue Diamond on the buffing wheel and then gave the entire pipe multiple coats of carnauba wax. I buffed it with a clean buffing pad to raise the shine and hand buffed it with a microfibre cloth to deepen the shine. The finished pipe is shown in the photos below. It is a beautiful pipe that fits well in the hand. The dimensions of the pipe are; Length: 5 ½ inches, Height: 1 ¾ inches, Outer diameter of the bowl: 1 ½ inches, Chamber diameter: ¾ inches. It will soon be available on the rebornpipes store. If you are interested in adding it to your collection email me at slaug@uniserve.com or send me a private message on Facebook. Thanks for looking.

Dent Steaming a 1932 PATENT DUNHILL T197 Billiard with a VERNON STEM


Blog by Henry Ramirez

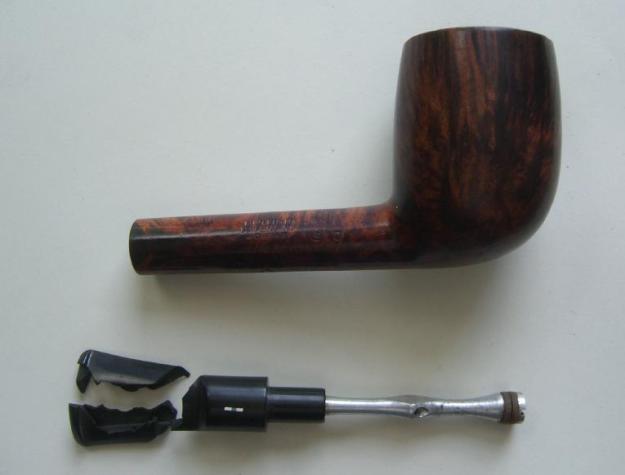
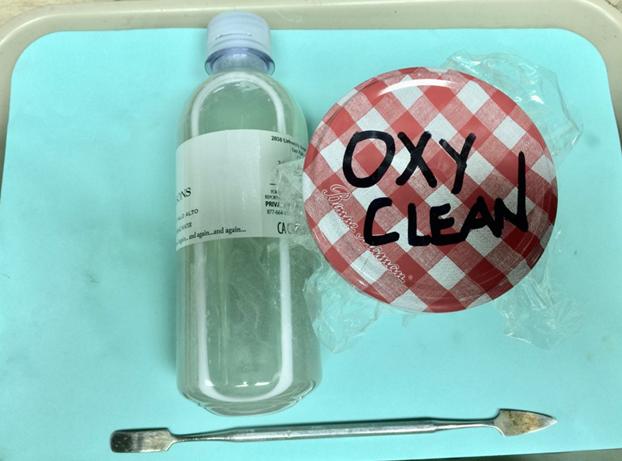
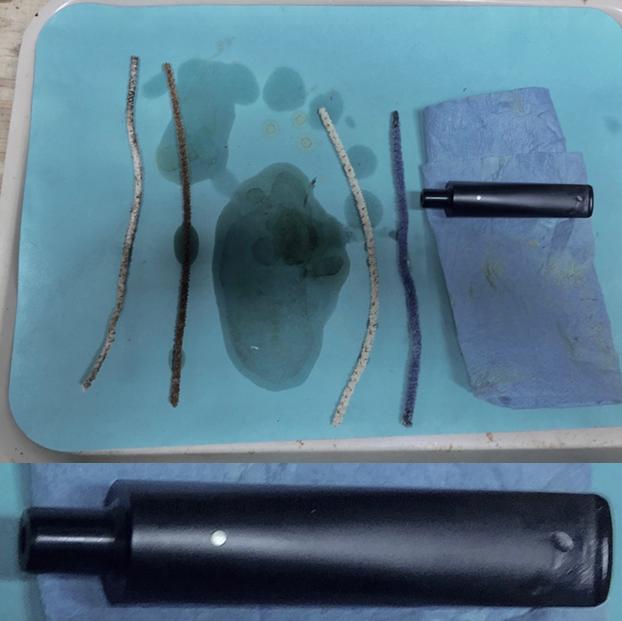
Saw this mousey looking pipe with a clicker stem on EBay.  Nobody seemed to want it so I took it home to practice my dent steaming.  The stem attaches with a loud click and some research told me it was named after Vernon Dunhill, who was responsible for the fitment’s design.  It was designed  to allow the stem to be separated from the bowl even when the pipe was hot from recent smoking.  It had the earlier square tip tube rather than the later angled tip. The stem had a funky downward cant before the button and it strongly resembled my Kaywoodie Allbriars.  Boy they nailed that briar stain to the oxidized Cumberland stem color! The bowl rim was dented/chipped and the surface scratched. The stem and the button were in fine shape so the usual soak in Oxyclean to remove the smegma followed by a trip to the oven to allow the stem to straighten itself.The metal tube is removable from the keeper which is part of the stem.  I have seen examples of the opposite where the keeper is integral to the shank.  These pipes seem to have been mostly billiard Cumberlands but some exceptions exist.  Both the tube and the keeper were polished with fine brass wool.  I did reface the tube with a carborundum disk.The shank stampings were crisp but there seemed to be personalized script on the bottom long polished off.The dent on the bowl’s rim was the major distracting feature.  I didn’t want to top the bowl and the briar dust/CA mixtures never seemed seamless to me.  So I tried to fatten up the cellulose fibers with hot steam using my hand held steamer.  This worked somewhat and had the advantage of pin pointing the area to be steamed. Not satisfied, I decided to fall back on the hot iron on a wet kitchen towel technique.  This did a better job, I think because it affected a larger area.  The problem then became one of restaining this larger area to match the rest of the pipe.
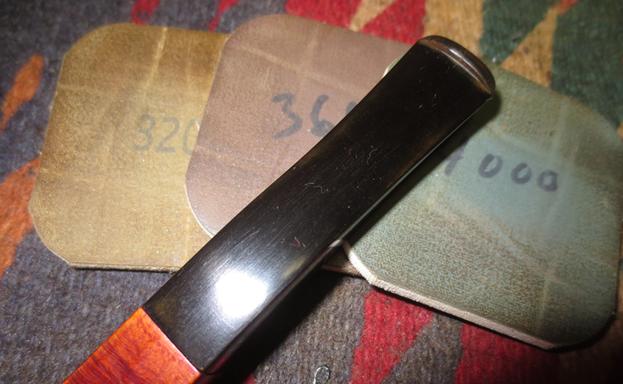
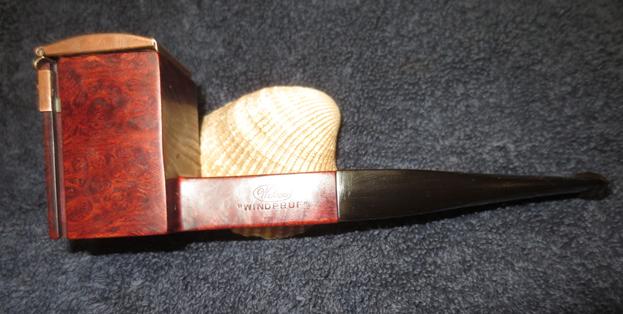
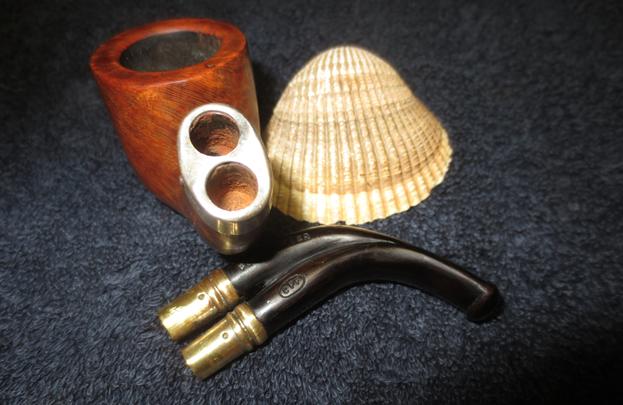
Restaining the pipe became somewhat of a chase your tail love’s labor, trying light brown, medium brown and the finally dark brown in various concentrations followed by isopropyl alcohol on a gauze sponge scrubbings.
So, I think I’m going to someday re-stain the whole pipe dark brown to try to better match the Cumberland stem while learning to love the residual dent on the rim.  The only home run here was the straightening of the stem to its original straight shape.  Thanks for looking, regards, Henry.

Stem Button TIME SAVER on a 1940’s Dunhill LB


Blog by Henry Ramirez

I was ghosting through Ebay listings looking for a cracked shank to experiment with when this old classic appeared.  The auction was won for a song because in addition to a cracked shank, the year stamping had been buffed off the shank. The usual whole lotta cake and dented stem story.I started with the stem, which was really in great shape.  I have come to love the stumpy profile of the patent LB’s with their constricted contour button.  An Oxyclean bath was followed by an isopropyl alcohol scrubbing with a shank brush and pipe cleaners. I wanted to use heat to raise the bite marks as much as possible to not only decrease my work load but to minimize the inclusion of foreign filler. To this end I also wanted to learn the proper temperature needed to reproduce my results consistently.

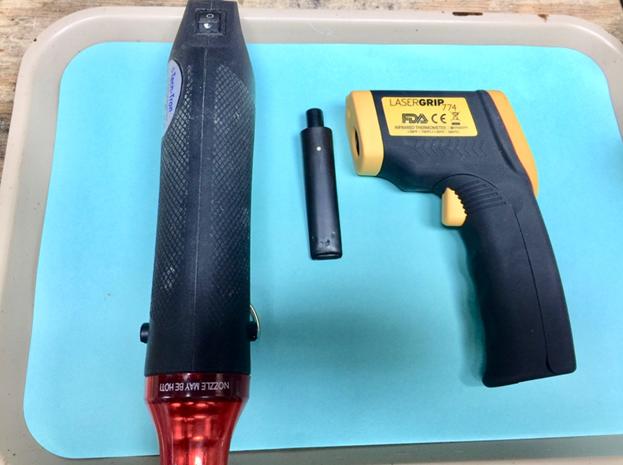
Using a heat gun, I took my time and warmed up the vulcanite until my nose told me it was getting close to burning.  If that happens the surface becomes a porous charred stinky mess!  I quickly used a laser temperature gun to obtain a surface reading of 275 degrees F.  Amazing how quickly the surface cooled off once the heat was removed.I was not impressed by the amount of rebound and it looked like filling and filing was in my future.

Having nothing to lose, I pressed my wife’s oven into service, knowing that I could set the temperature substantially higher than previous attempts without fear of ruination. I set the oven temperature at 265 degrees F to have a 10 degree safety zone and watched as the whole stem “stretched out”.  This was more like it! The dents were now depressions that needed the light to shine just so to be seen.  Little CA and polishing was needed.

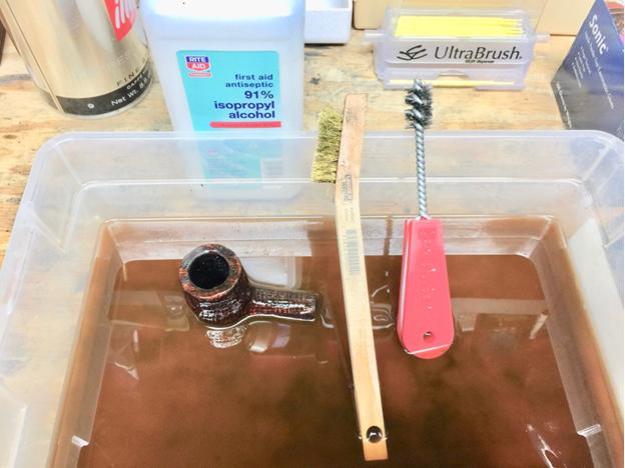
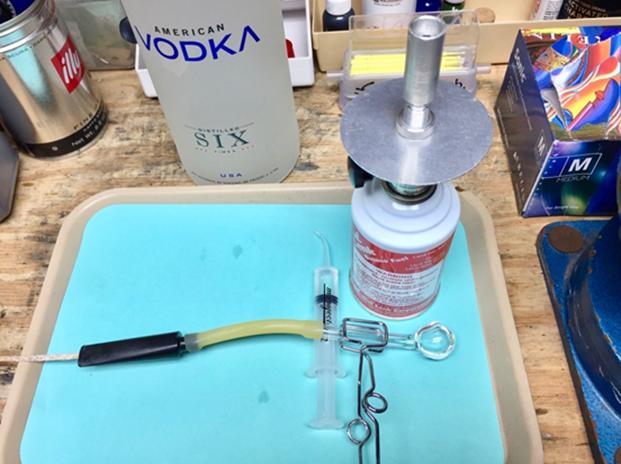
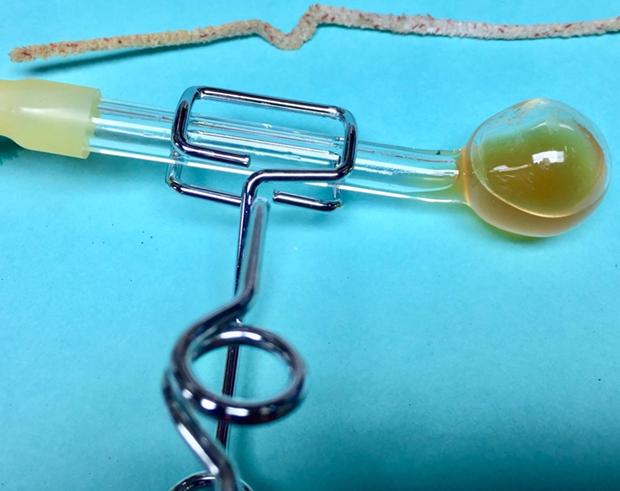
I should mention that these values are for older Dunhill vulcanite only.  The composition of vulcanite has changed over the years, according to some posts I’ve read, and I’ve noticed it in the depth of polish ability.Now it was the time to clean and evaluate the briar. While I ream the mortise and bowl I am wishing that I had Steve’s magical Savinelli Pipe knife. Boy, those things are rarer than hen’s teeth and this old cake is super hard. That is followed by total immersion in an isopropyl bath with various scrub brushes stripping the briar. I couldn’t save the original finish because the shank crack needed to be clean and open as much as possible for the bonding. One of the perks of the alcohol bath is that after the bowl dries out, if there is any residual cake stuck to the chamber walls, it shrivels up and is easily removed.The shank crack was now very evident but the year stamping was not.Getting back to the stem, I wanted to know if the alcohol retort was worth the hassle.  I had been as meticulous as possible with the pipe cleaners and cold alcohol.  The color of the used alcohol in the distillation flask tells the story, close but no banana! I could now address the cracked shank.  I had previously repaired such a problem using a micro-screw and bonded dental composite resin.  I was concerned that threading the screw into old dry briar could start micro-fractures and crazing.

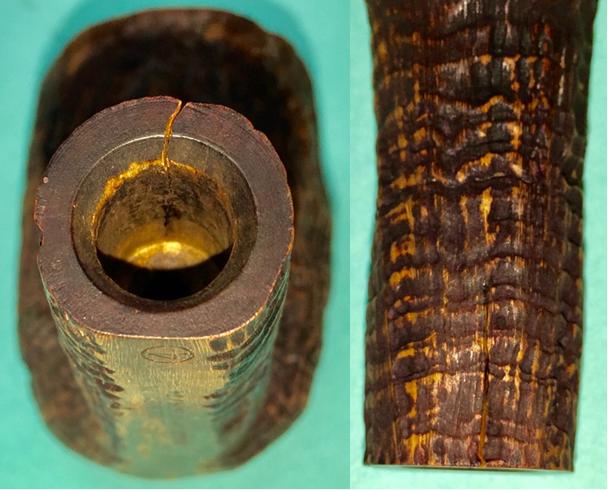
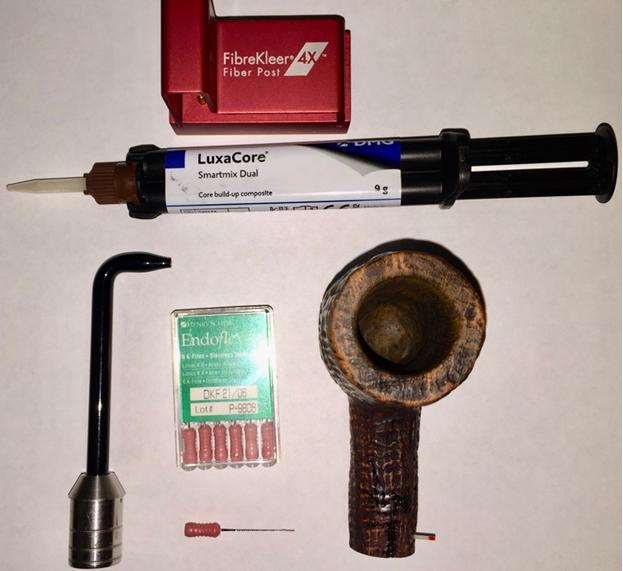
This time I elected to drill a channel spanning the crack and passively bond a post fabricated from longitudinal glass fibers encompassed in a strong composite resin matrix.  This would also provide some flex in the repair to accommodate the dimensional changes that briar goes through because of temperature changes during smoking.

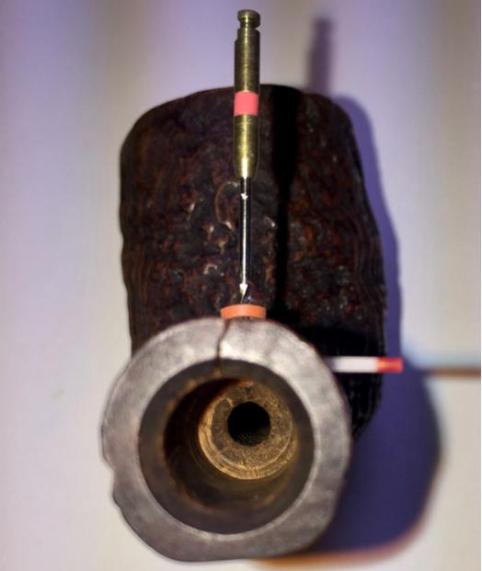
At this time I also drilled a post hole at the end of the crack to prevent further spidering.  Because the crack was significantly wide I made sure to introduce my resin with a size 06 endodontic file.  I had planned to use a C clamp to close the gap but I chickened out when finger pressure did nothing.  Not sure how to make briar temporarily more flexible….

After filling the post hole and cementing the fiber post with dual cure composite resin, I trimmed off the post and blacked out the white resin with black CA.

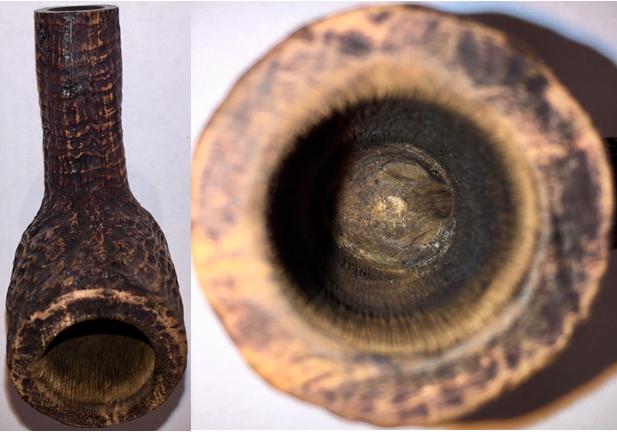
Before beginning to start the staining process I wanted to open the pores of the cellulose to not only gain greater absorption of the dye but also improve the briar’s capacity to absorb tars for a sweeter smoke.  I had noticed such a phenomenon with the Missouri Meerschaum corn cob pipes.

I found that this particular wheel had already been invented by the folks who refinish wooden decks.  I tracked down some relatively non-toxic materials which did the job and whose run off wouldn’t hurt plants.

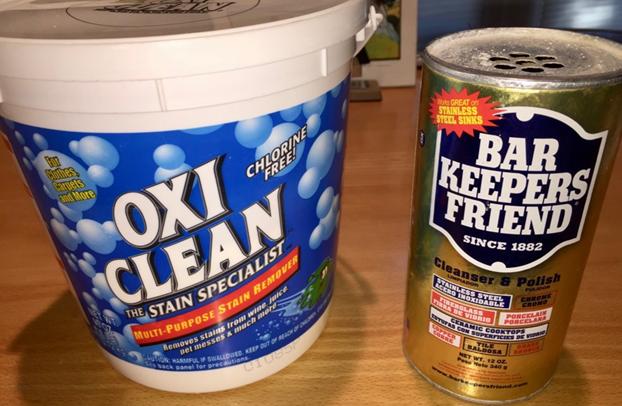
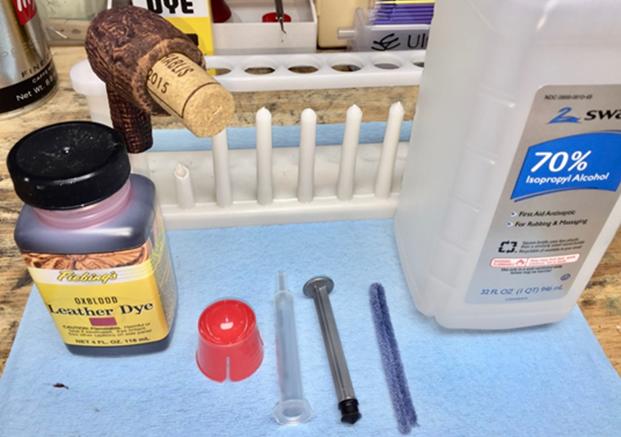
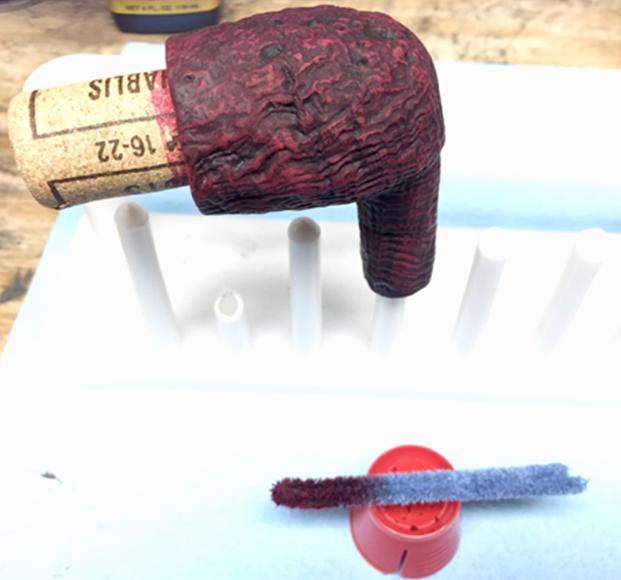
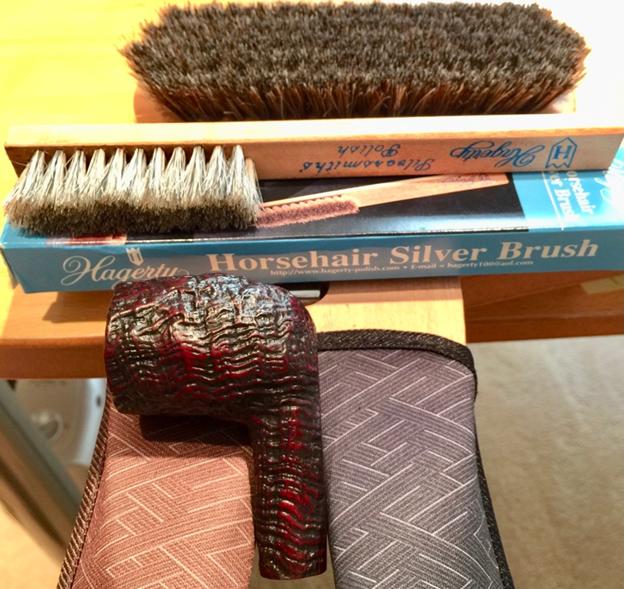
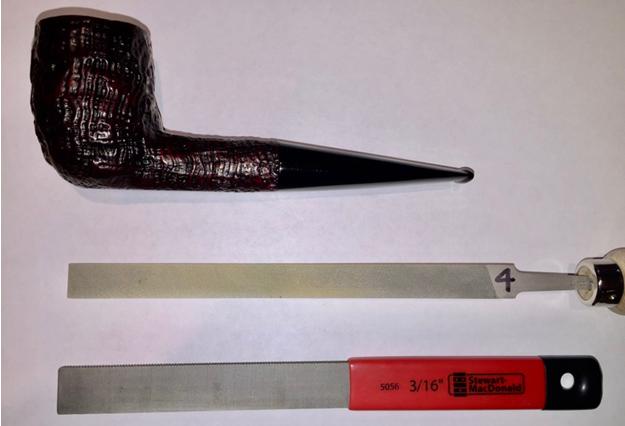
Sodium percarbonate does the cleaning and oxalic acid removes the smear layer, thus opening up the wood’s pores.  Looking around online for a source I realized that I already had both chemicals in the laundry room!  Oxyclean is the percarbonate and states on the container that it’s great for wood decks, siding and lawn furniture.  Bar Keeper’s Friend has oxalic acid as its active ingredient and states on the container that it works on teak wood.Indeed after scrubbing with both and rinsing with water, I noticed that the chamber’s surface looked and felt less dense.Now it was time to stain the briar with Oxblood diluted 50% with isopropyl alcohol in two coats, both flamed with the micro-torch.I was lucky that the original black stain in the depths of the blast remained.An overlay stain of light brown was applied in 2 coats.After a rub down with an old t-shirt to remove any xs dye, I applied 2 coats of Halcyon wax.  A quick buff on the lathe and then a hand strapping with a shoe bristle brush brought the shine up.  I want to mention that my wife gifted me her silver brush which is narrow and has long soft bristles which easily accesses the crotch of the pipe without fear of collision. This has proved most useful on bent pipes.Another very helpful tip came from a pipe maker’s blog about dead-faced files to add crispness to the button area.  They are the dead faced nut seating file by Stewart MacDonald, a luthier’s supply house and the pillar files which have the dead side on the edge from OttoFrei, a clock makers source.Well I’m now satisfied with the pipe but not finished. They say we abandon these projects because we reach a point where better becomes an enemy of good. Boy that was fun and I hope to share more adventures with these fabulous old pipes!  Regards, Henry


Parker Super Briarbark Cherrywood 809


Blog by Steve Laug

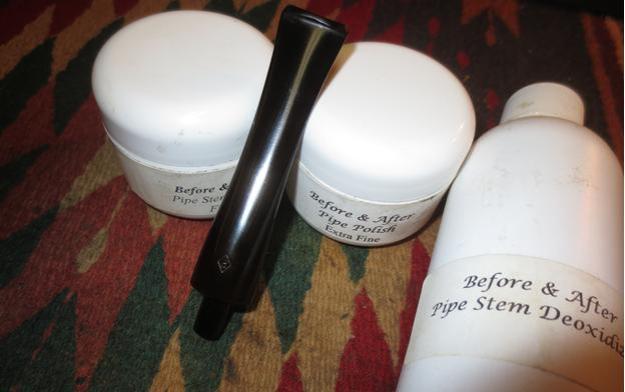
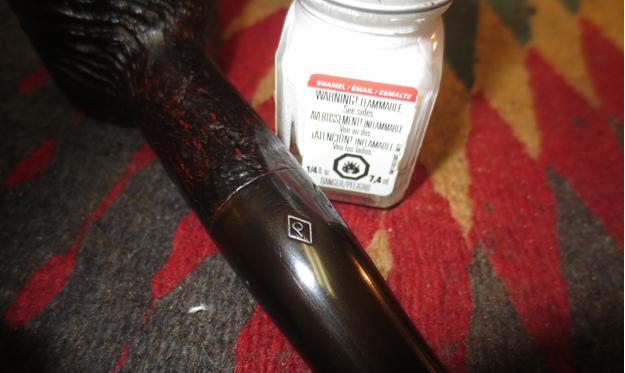
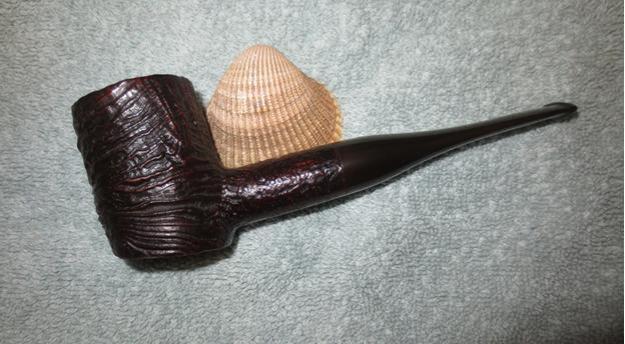
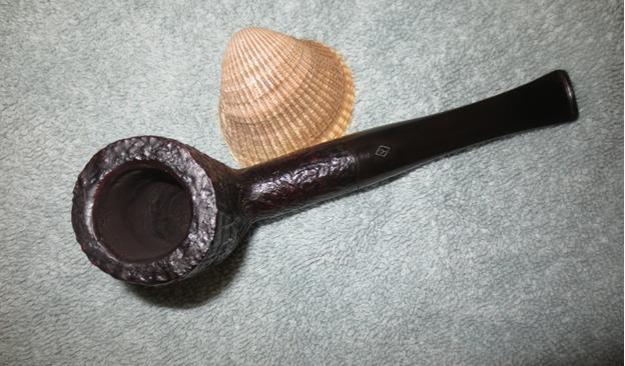
The grain on this Parker is absolutely stunning. The sandblast follows the cross grain around the bowl with a deep, craggy blast. The shape is a classic poker or Cherrywood. It is stamped on underside of the shank with the brand name Parker over Super in a Diamond over Briarbark over Made in London England. Next to the shank/stem union it’s stamped with the shape no. 809 and a circled 4 designating the bowl size. There is a Diamond P on top of the stem. The finish is in decent shape with a medium to dark brown stain. When I received the pipe it had a thick cake in the bowl and the lava had overflowed onto the rim filling in the grooves of the sandblast. It is hard to tell if there was rim damage as it is so caked and encrusted on the rim. The stem had calcification from a softee bit on the first inch from the button forward. There were deep tooth marks on top & bottom side of the stem near the button. The following four pictures show the general condition of the pipe when I brought it to my work table. The next photo shows the rim top and the thickness of the cake. The cake was very hard and it would take some serious work to remove it from the bowl. It also looked to me like there was rim edge and bowl damage on the front left side. Once I had reamed it I would know for sure. (Just a side note – this is where I really appreciate my brother’s clean up work. I really like working on pre-cleaned pipes.)The cake was very hard. I have found that on some of these older pipes the tobacco must have been significantly different as the cake is like concrete whereas on the newer tobaccos it is never this hard. Could it be just the fact that the pipe has been sitting for a long time? I reamed it with the PipNet reamer starting with the smallest cutting head and working my way up to the third head. I used the Savinelli Fitsall Pipe Knife to work on the cake as well. It took a lot of time to get the pipe cleaned out. I probably spent over 45 minutes just reaming this bowl. The second photo below shows the bowl at the end of the 45 minutes of work. Still work to do on it as you can see the remnants of the cake on the walls. I used the Savinelli Fitsall to clean it up further.I picked at the lava on the rim with a dental pick to loosen the rock hard buildup and a brass bristle brush to clean off the debris once I had it loosened. The photo below shows the cleaned out bowl and the cleaned rim. Notice the damage to the front left inner edge of the rim.With the bowl cleaned and reamed I turned my attention to the internals. I scrubbed out the mortise and the airway in the shank and the stem with pipe cleaners, cotton swabs and alcohol. It took some coaxing with the swabs and cleaners to finally get the internals free of buildup and debris.The stem had a thick calcified buildup on the first inch from the button forward on both sides. This too was rock hard. I sanded the calcification off the surface of the vulcanite. Doing so revealed the tooth dents on the surface of the both sides of the stem near the button.I “painted” the stem with a Bic lighter flame to raise the tooth dents as much as possible. While they came up significantly some of the edges were sharp and the dents would rise no more. I wiped the stem down with some alcohol to clean out the dents and filled them in with black super glue. I set the stem aside so that the repairs would cure and headed off to work.When I returned in the evening the patches had cured. I sanded the repairs with 220 grit sandpaper and sharpened the 90 degree angle of the button with needle files. I sanded the stem surface some more to remove the oxidation.I decided to take a bit of time and work on the bowl so I set the stem aside for a while. I touched up the worn spots on the rim and on the shank end with a dark brown stain pen. The colour was a perfect match to the rest of the bowl and it blended in very well. I waxed the briar with Conservator’s Wax. It is a soft rub on past that work well with sandblast and rusticated finishes. I buff it with a shoe brush and I am able to polish even the deep grooves in the grain so that no wax sits in those and hardens, dulling the finish. I lightly buffed the bowl with a soft microfibre cloth to raise the shine. The photos below show the bowl at this point in the process. I decided to polish the stem using a different method than my normal routine. I sanded it with 1500-2400 grit micromesh sanding pads to remove the scratching in the vulcanite. I use a product that I have used before called Before & After Pipe Stem Deoxidizer to work over the remaining oxidation. I repeated the process until the vulcanite was clean. I polished it with the Before & After Pipe Polish in both Fine and Extra Fine grits. I rubbed the stem down with a soft cotton pad to remove the polishing compound and buffed it with Blue Diamond on the buffing wheel. I rubbed it down with a coat of Obsidian Oil and set it aside to dry.I used an artist’s fine bristle brush and white acrylic paint to fill in the Parker Diamond P stamp on the stem. I wiped it down afterwards and lightly buffed it with Blue Diamond to remove the excess paint.I buffed the pipe and stem with Blue Diamond on the buffing wheel – with a light touch on the bowl. The finish shows up beautifully, the sandblasted ring grain standing out front. It is one of those rugged blasts that are a tactile wonder as it heats up during a smoke. I gave the bowl another coat of Conservator’s Wax and the stem multiple coats of carnauba followed by a buff with a clean buffing pad. I hand buffed the bowl with a shoe brush and then with a microfibre cloth to deepen the shine. The finished pipe is shown in the photos below. The dimensions of the pipe are Length: 6 inches, Height: 2 inches, Outer diameter of the bowl: 1 1/2 inches, Chamber diameter: 7/8 inches. The contrast of the dark brown and a medium brown that shines through give the finish a rich patina. The bowl has been cleaned and the entire pipe is ready to smoke. The stem is in great shape. The tooth marks have been removed though there is slight scratching on the vulcanite. It is a beautiful pipe, just a little big for my liking or I would hang on to it. I will be putting it on the rebornpipes store soon. If you are interested in adding it to your collection email me at slaug@uniserve.com or send me a message on Facebook. Thanks for looking.


1967 DUNHILL 197 SHELL BRIAR Clean-up


Blog by Henry Ramirez

When surfing Ebay I noticed a very well smoked Shell billiard whose stem had lost its White Dot. It looked like it could be cleaned up to present an elegant addition to my collection. I anxiously awaited its arrival and immediately dunked the stem in an Oxyclean bath for a nite.

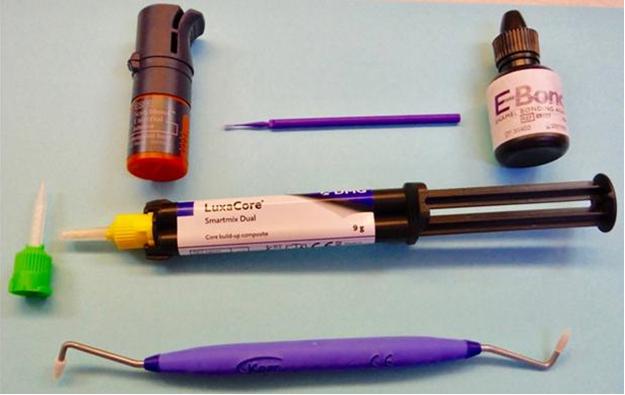
The next morning I pulled it out of the bath and wiped off the smegma for my first real look at the stem. The divots reminded me of a deflated balloon. Just what I was hoping for! Off to the buffer I went to buff off the sulfur discoloration with a wet rag wheel and pumice. Knowing what I know now, I should have popped this baby in the oven to raise the dents but instead I got to cleaning the stem’s airway and tenon. I bonded some shade A2 dental composite in the hole for the White Spot and was dismayed that it refracted the surrounding black vulcanite. Note to self, next time place a layer of opaque before the bulk fill. Luckily, when researching the earlier White Spots I came across examples of dots so dark they were black. I had made a silicone impression of a new pipe’s stem and used that as a mold to create a refurbishment of the button. What a mess! Next time I’ll mix the charcoal in with the composite resin rather than CA. I ended up recreating the button the way Steve has posted here on Reborn Pipes. OK, so now it’s the bowl’s turn. My armamentarium and procedure is pretty routine for cake and gunk removal. The rim’s blast was scorched but luckily, the rest of the pipe’s blast was vestigial. This was an opportunity to try out emulating a blast through rustication. Plus, since the pipe was stained rather darkly, it would help hide a myriad of sins. When polishing the chamber I noticed some alligatoring of the briar. Today I would probably schmeer some JB Weld into the cracks but what I did was a coating of Structural Sour Cream and charcoal. I played around with the button’s internals, polished with the usual green, red and white compounds (thanks Tim West), threw on some wax and called it a day! Thanks for looking, regards, Henry