Guest Blog by Robert M. Boughton
Member, North American Society of Pipe Collectors
http://www.roadrunnerpipes.com
http://about.me/boughtonrobert
Photos © the Author
“Action is character.”
— F. Scott Fitzgerald, in a note to himself on a page of “The Last Tycoon,” his final and unfinished novel (published in 1941)
INTRODUCTION
The great American novelist and short story writer quoted above, who is lesser known for his screenwriting work, and for good reason, only resorted to the genre to make ends meet while he attempted to dry out. Note I write attempted, as he died of alcoholism in 1940 at 44. Nevertheless, he knew from both experiences that memorable characters, and therefore their stories, are created far more through their actions than their words.
Fitzgerald was among the best at describing what all of his characters do in his own unique way, although that in no way detracts from the words they speak. His unvarying craft of employing the rule he penned to himself on his final and half-finished manuscript has become the basis of most good present-day screenwriters’ rule of thumb, “Character is action, not dialogue.”
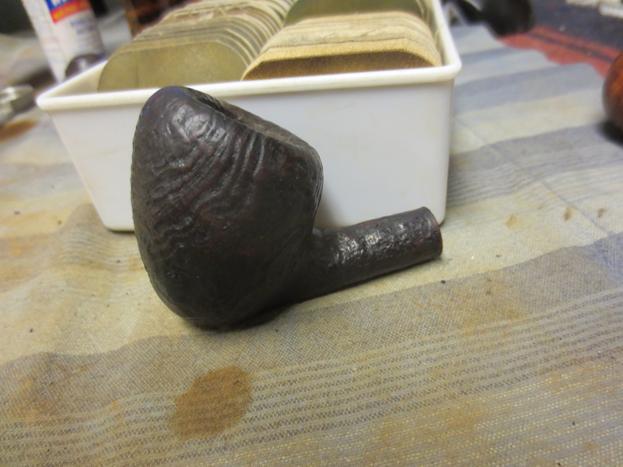
And so it is with this Ropp cherrywood. Its condition tells the whole story of the man who smoked it through the inconsistent actions he took to preserve it. The wood of the bowl and shank was kept as the pipe’s probable one owner obtained it. The stem, however, was left with scratches and minor tooth marks. And while the bore, mortise and draught hole showed clear signs of being cleaned almost with fanaticism, the chamber did not fare so well. Although nowhere close to being as filled with cake as the other pipes I described in prior admitted diatribes, I still removed enough carbon to fill the chamber whence it came.
All of this suggests to me that the lovely cherrywood was adored by its previous owner, who indeed smoked it so often it may have been his only pipe. His sole lack of full attention was to the chamber.
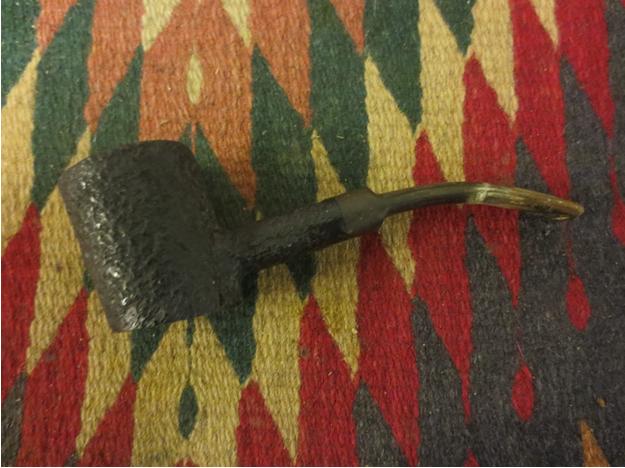
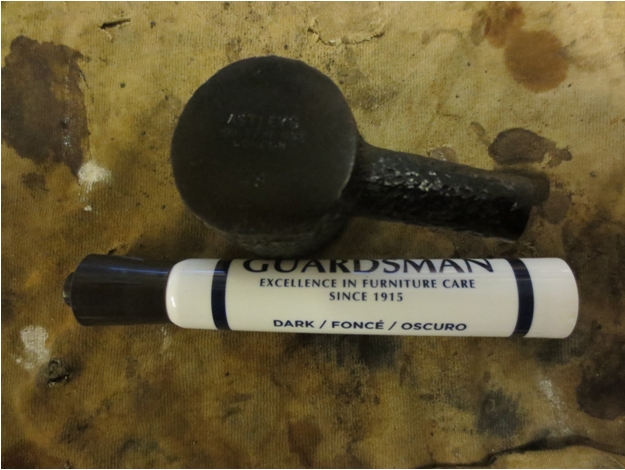
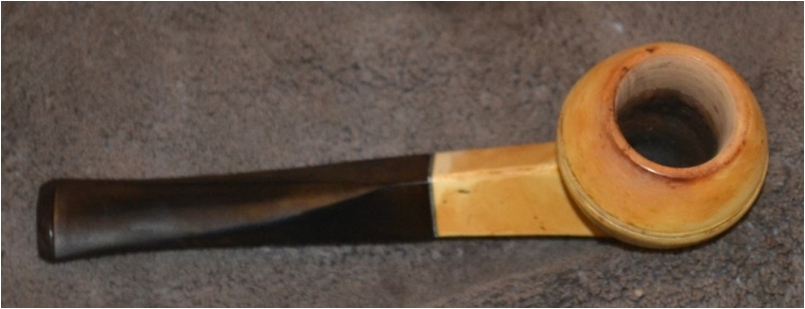
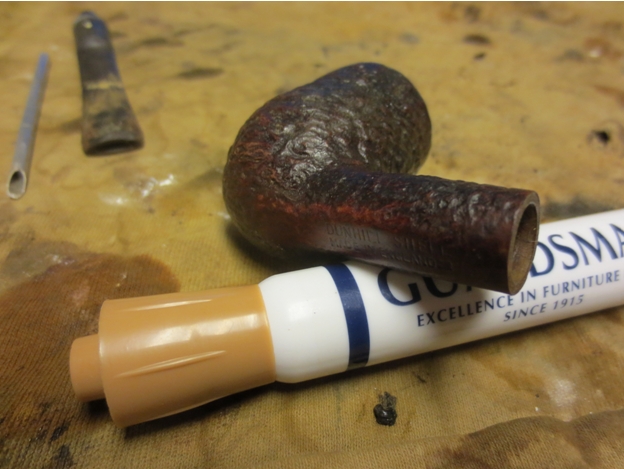
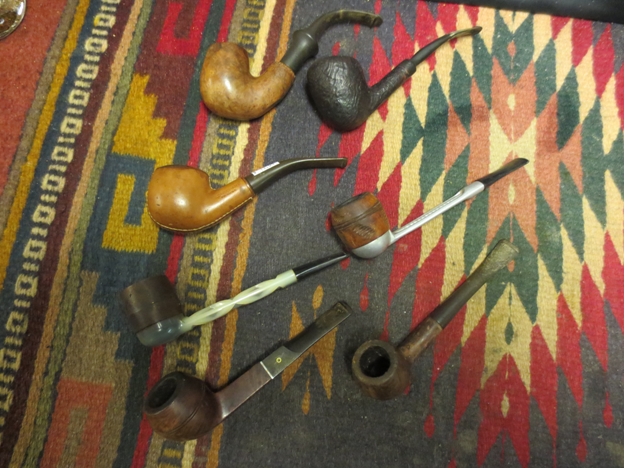
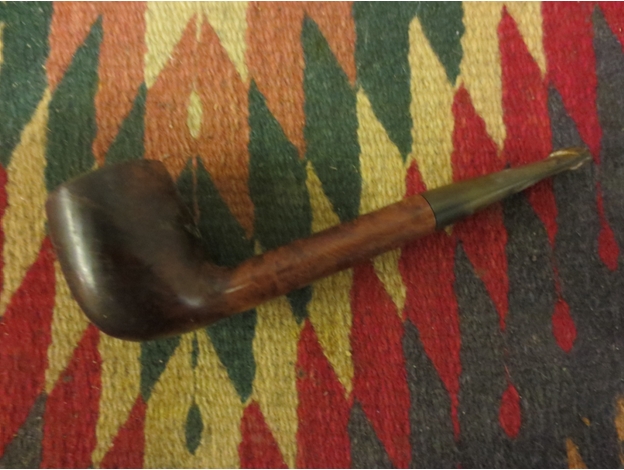
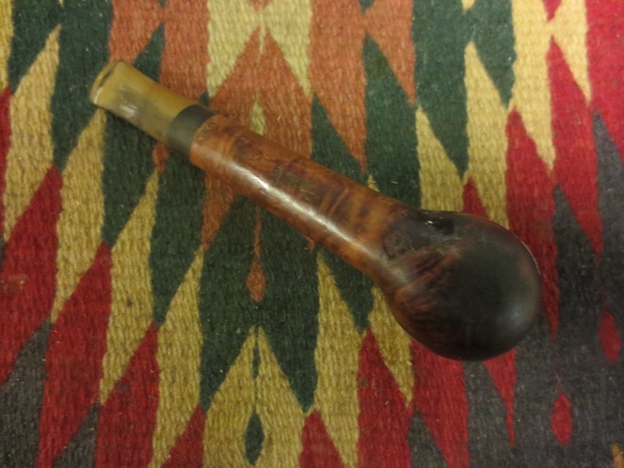
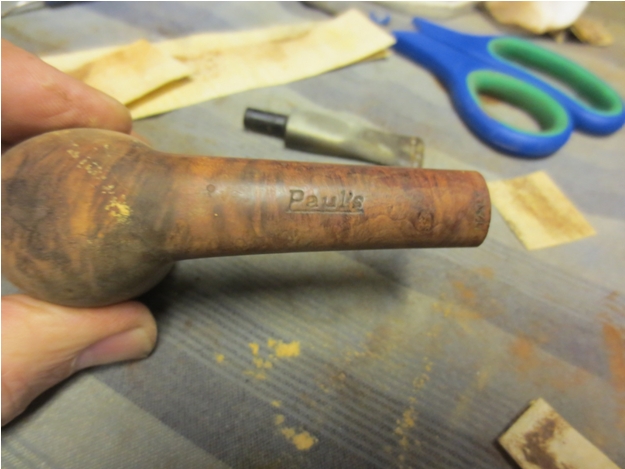
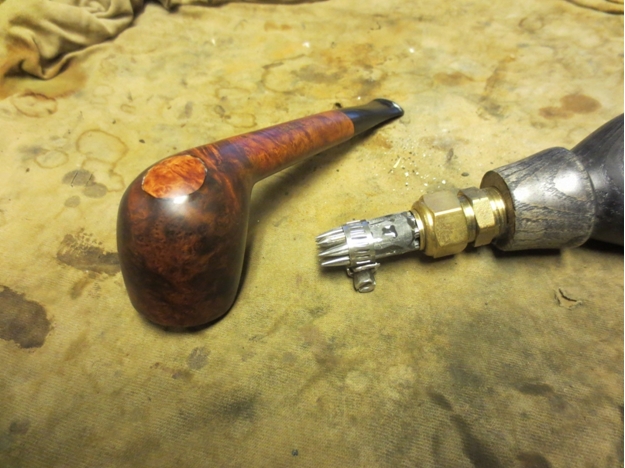
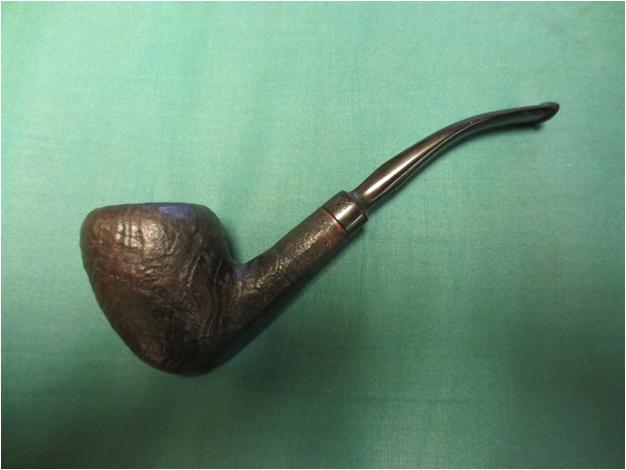
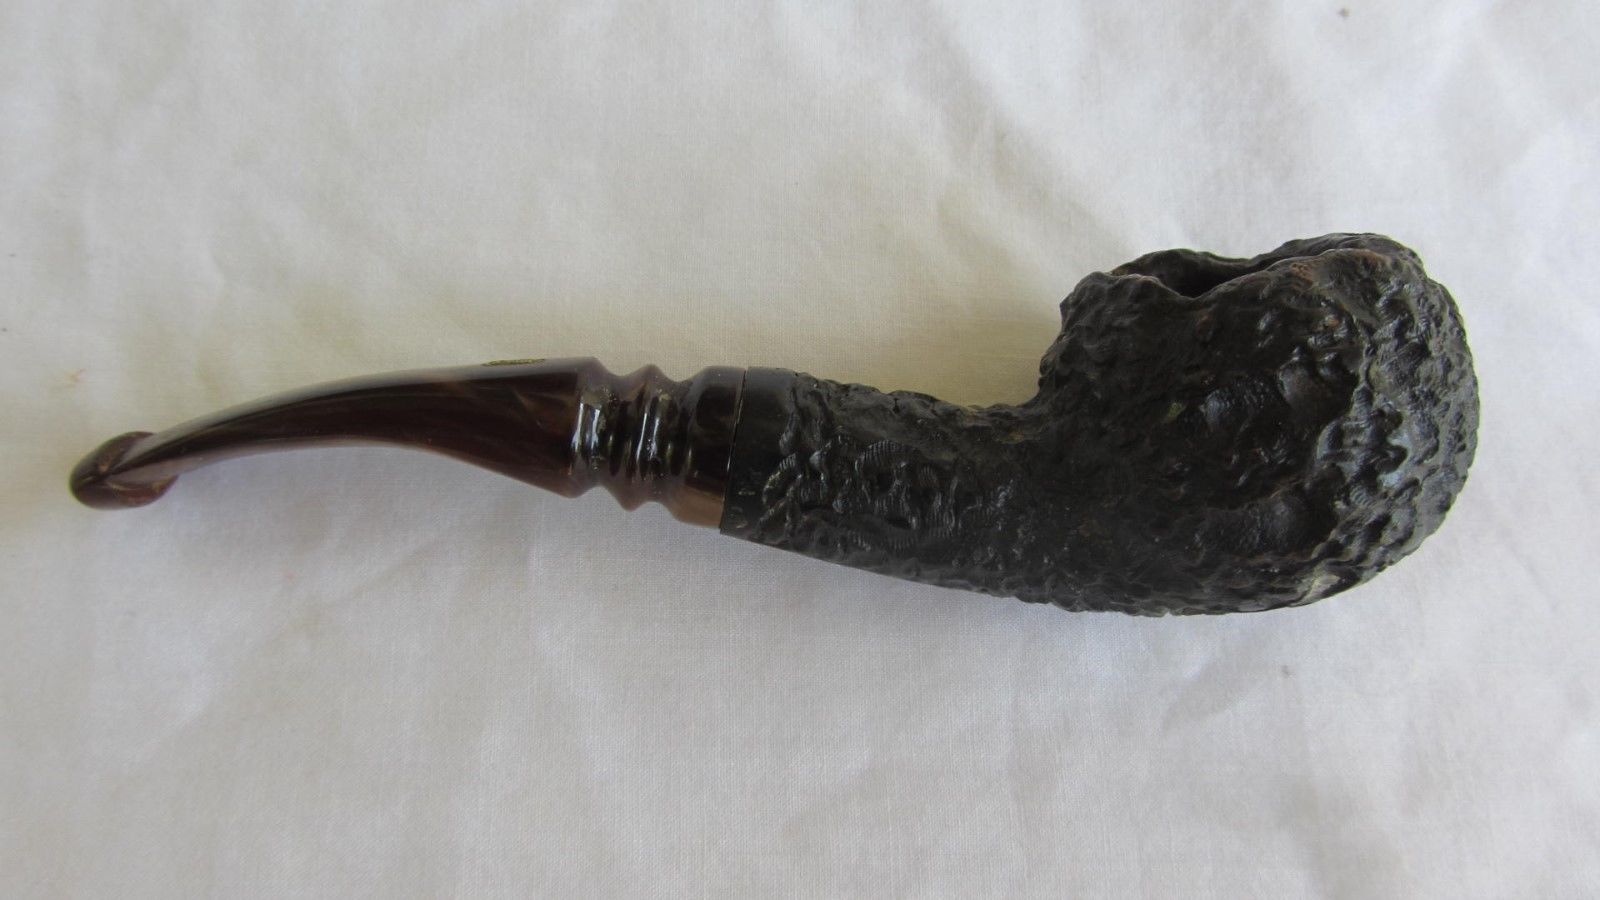
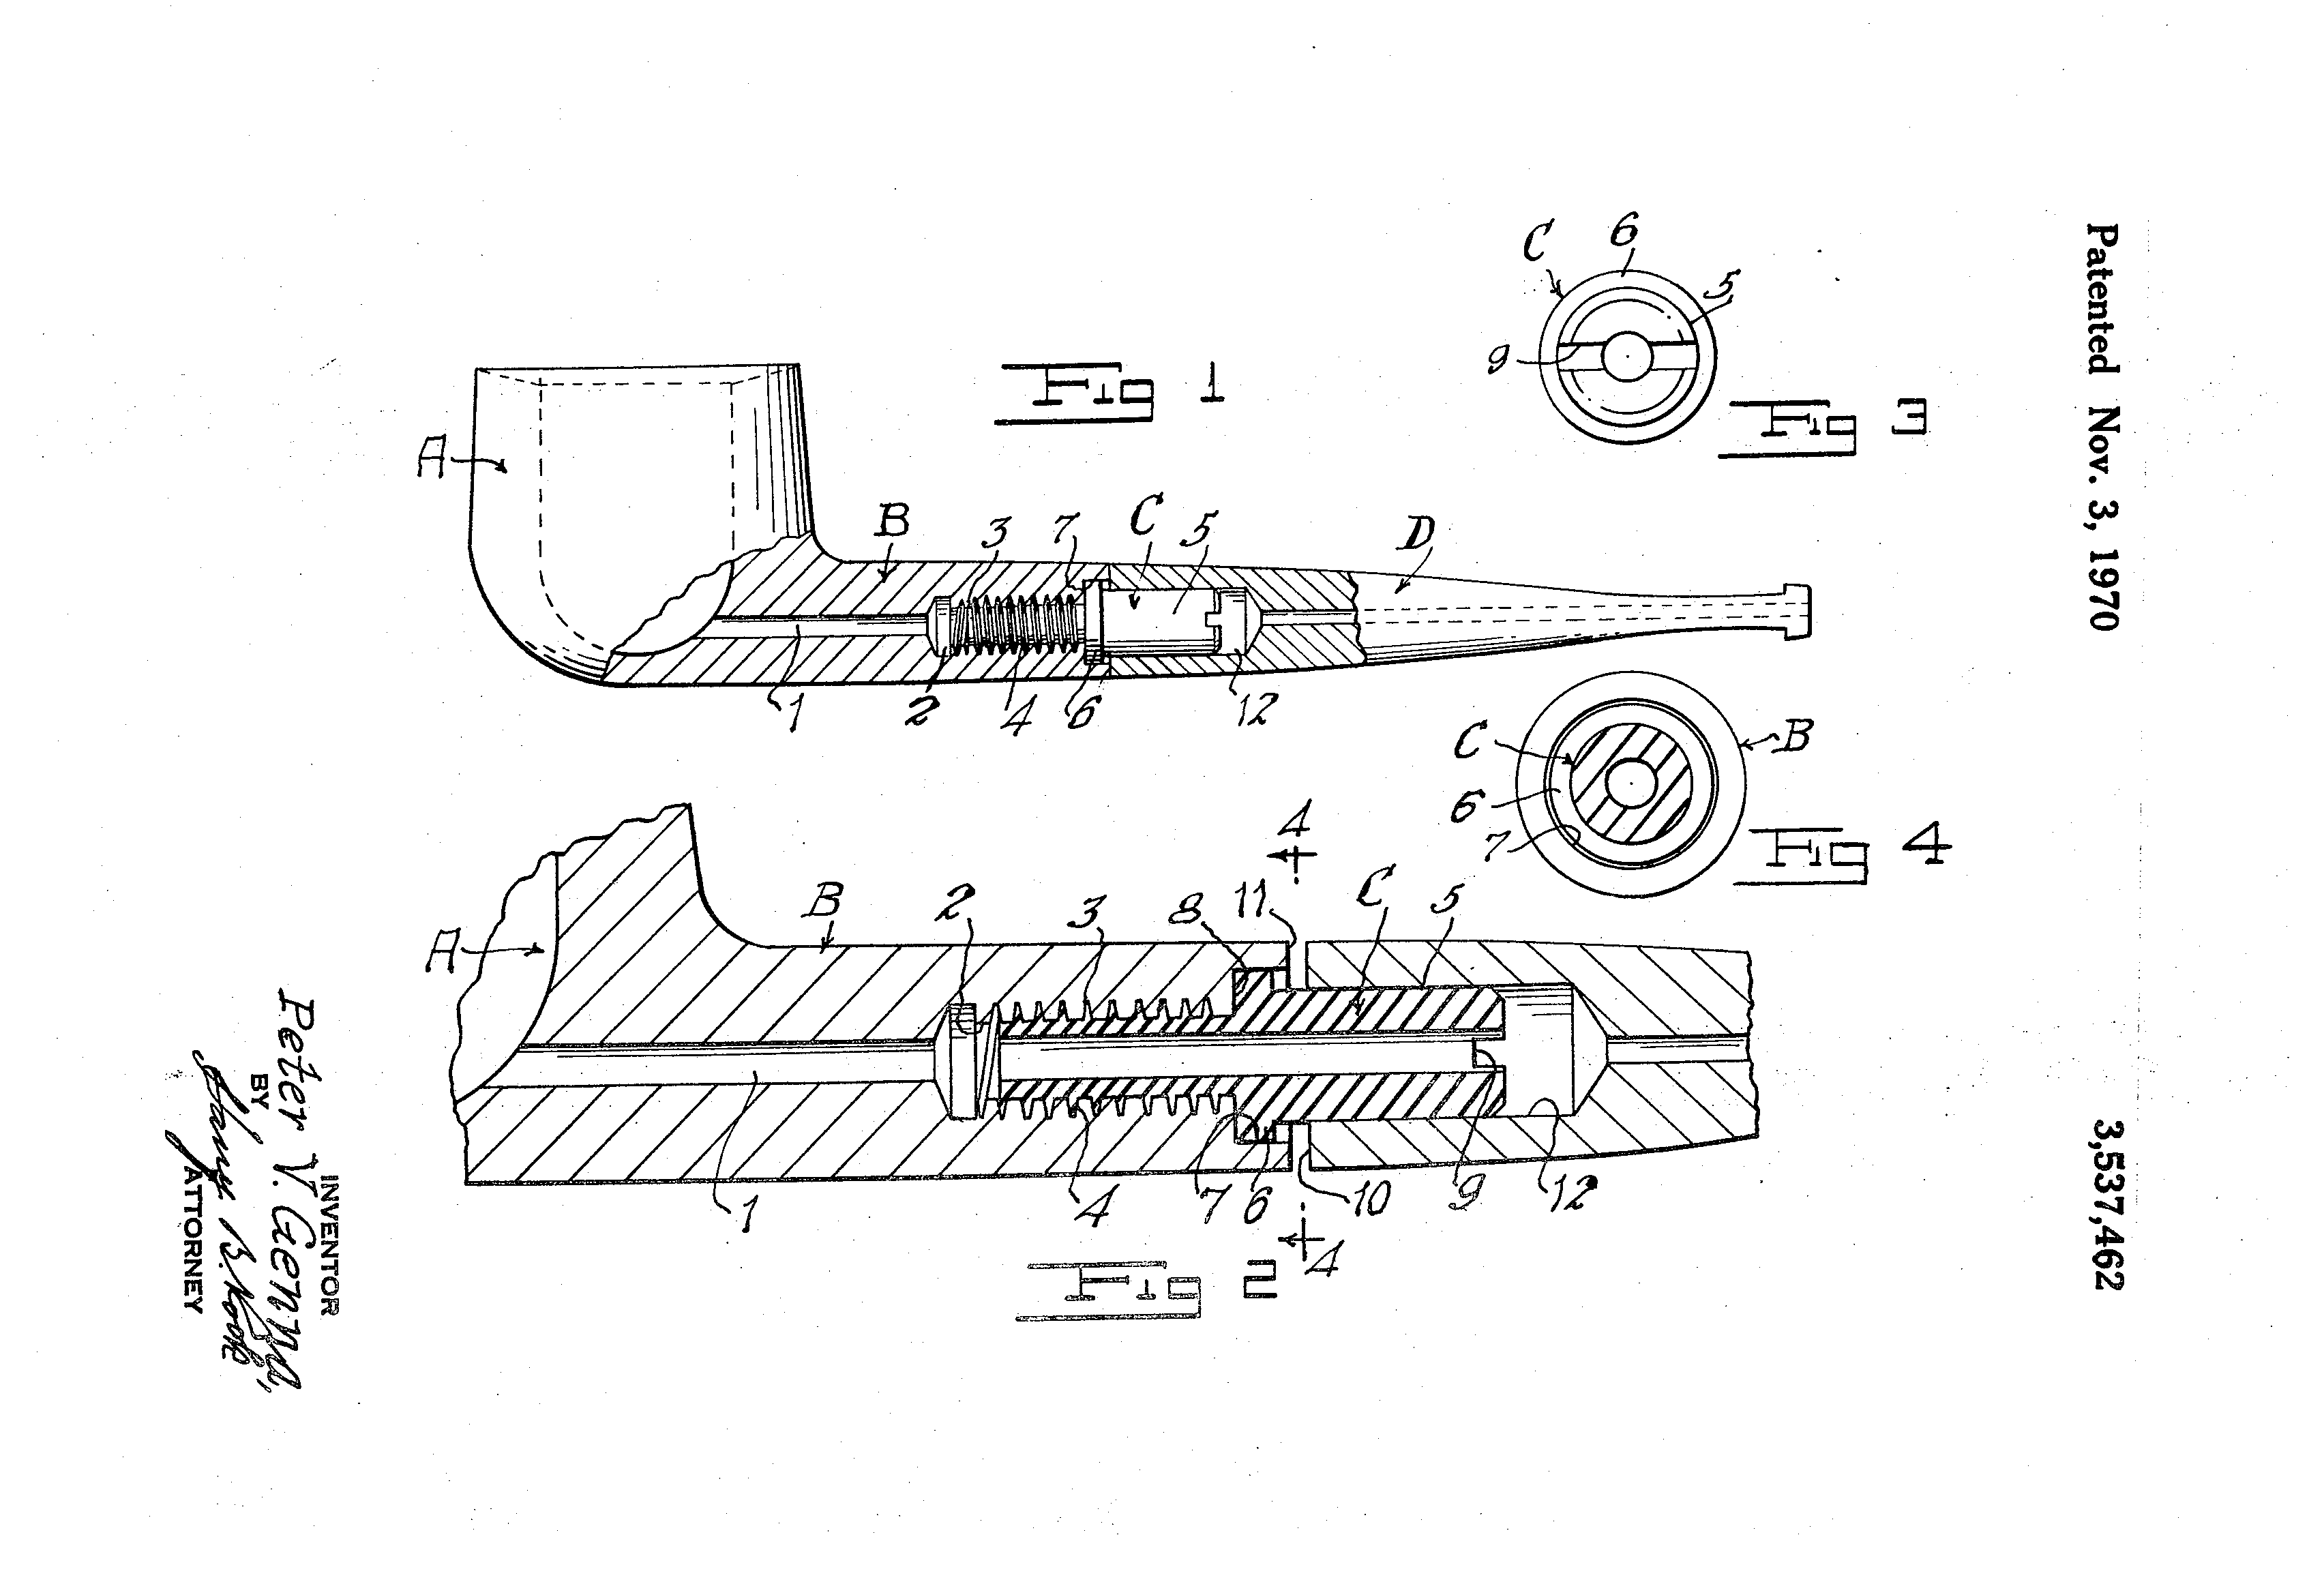
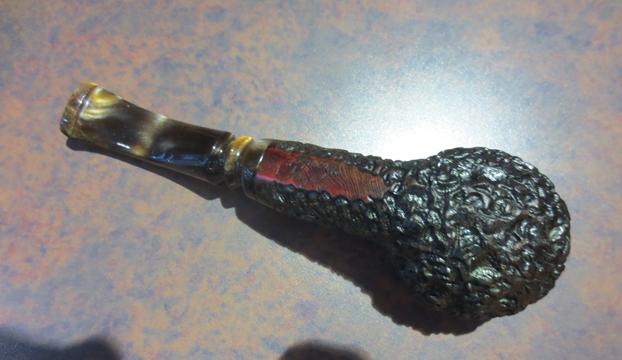
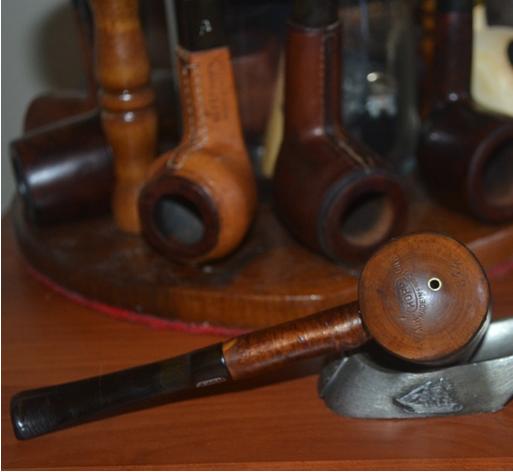
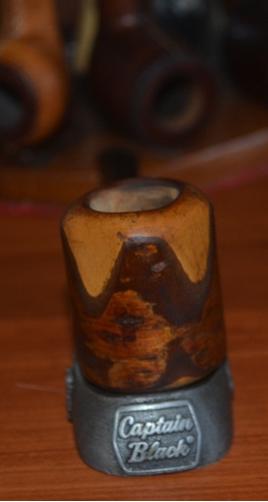
In a recent purchase of several lots of pipes on eBay, the first of which had some gems that were grotesque from abuse, I still saw that I could restore their luster. Some of my recent blogs have hinted at my ill opinion of those who treat their pipes with such disrespect. I even resorted to outright railing against these unknown enjoyers of the fair leaf. But in fact, the truth is that they know not what they do. When I received it in the mail, the condition of a Ropp natural cherrywood Air Dry system pipe [see “The Revolution of the System Pipe”], with a small brass tube inserted in the bottom of the bowl and leading to the chamber to relieve excess heat, was a little more complicated.
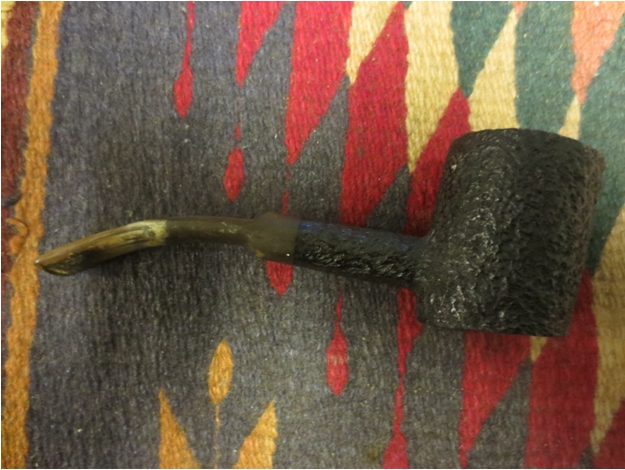
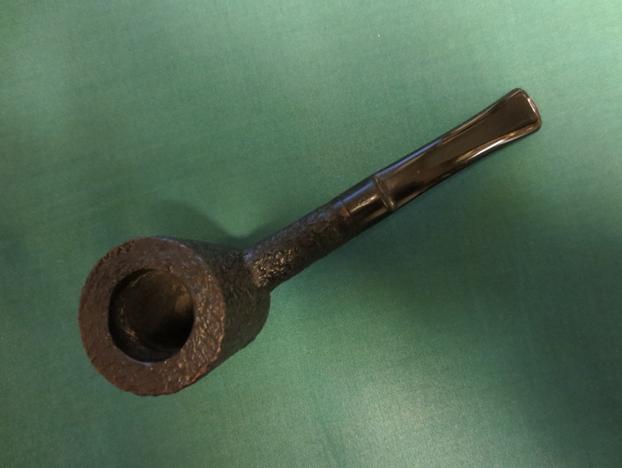
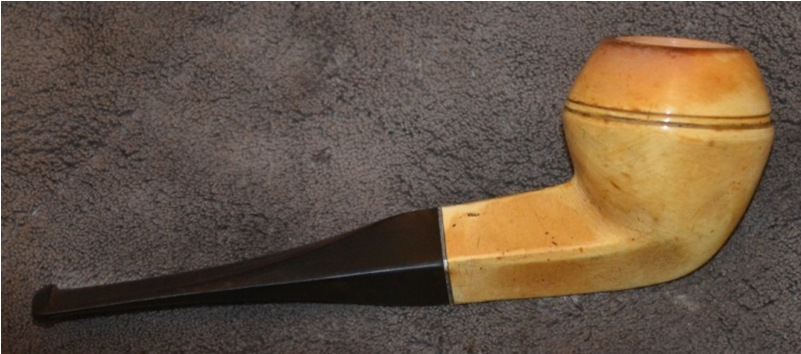
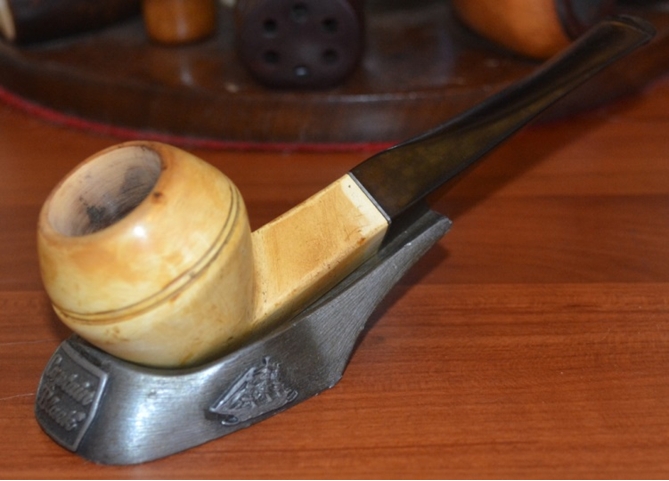
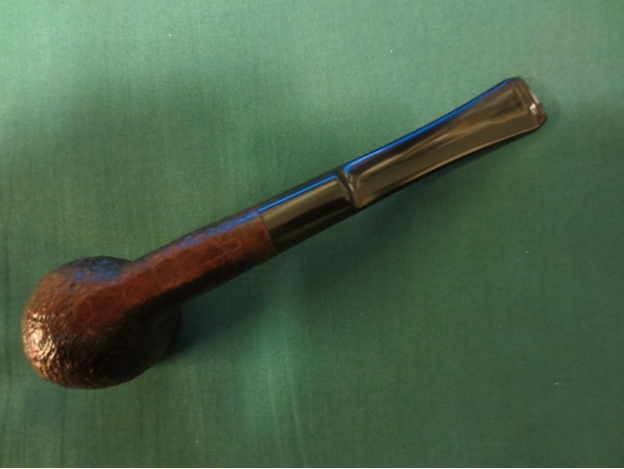
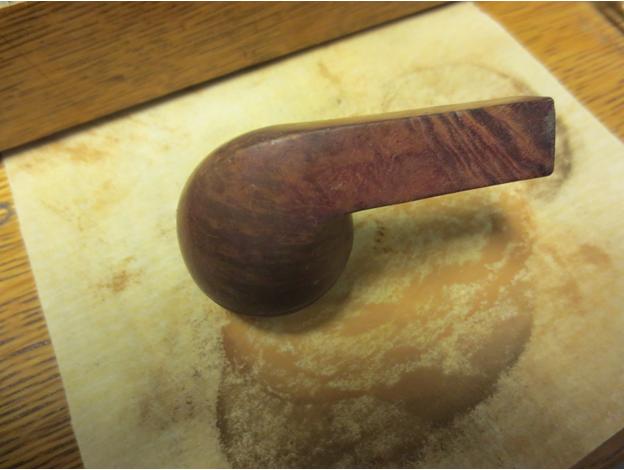
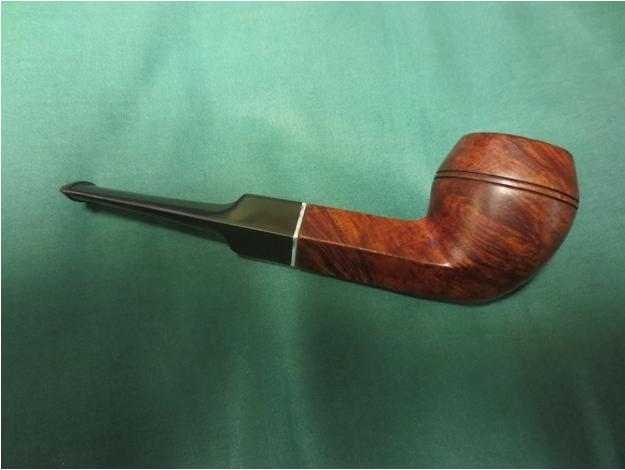
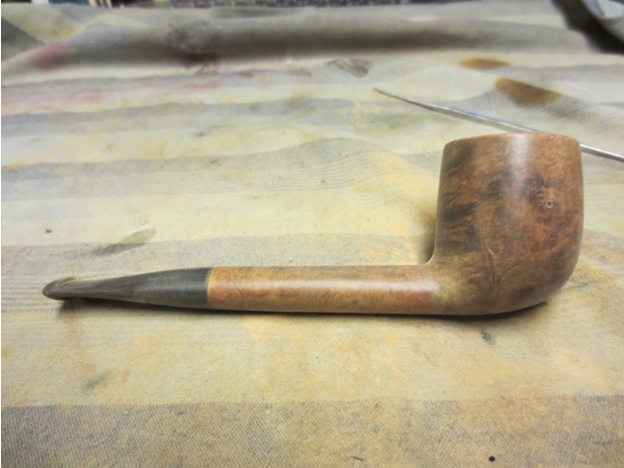
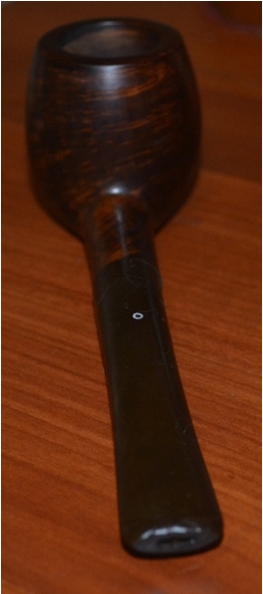
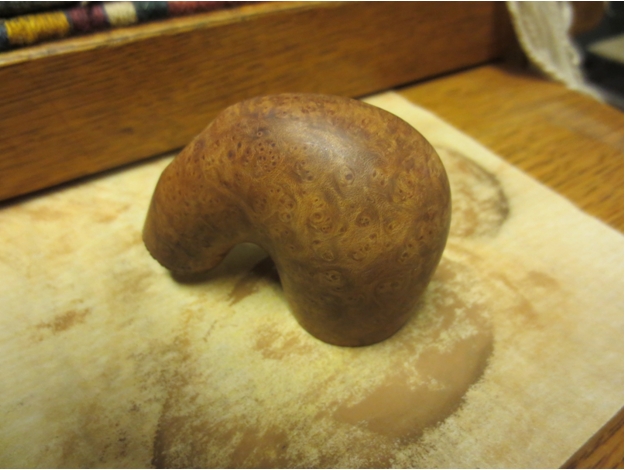
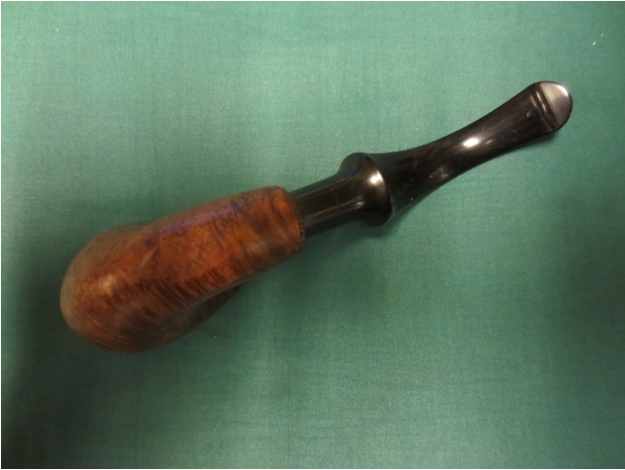
I own a more conventional Ropp natural cherrywood De Luxe, canted and flat on the bottom and therefore a sitter as it should be.
Picture 1
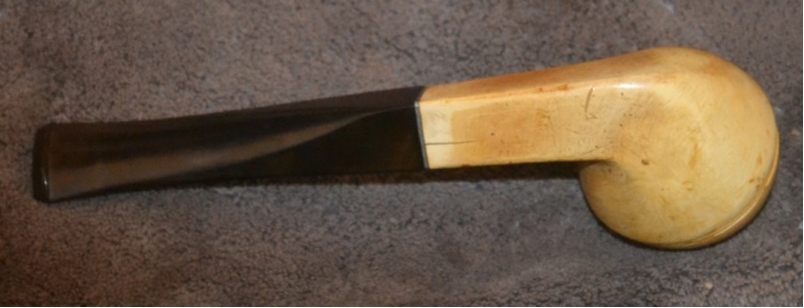
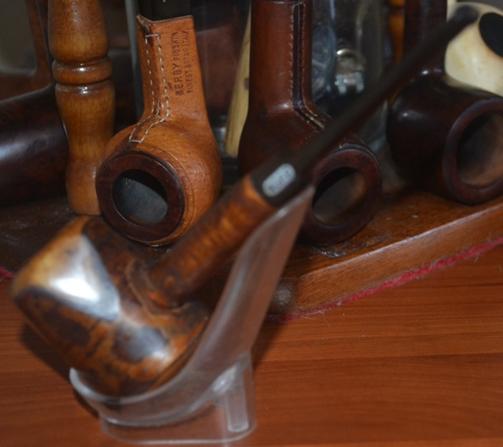
I considered swapping it with the more recent Air Dry, which has a rounded bottom and is already listed for sale on my online store. My only reasoning being that the Air Dry was more novel and might be older, I had a change of heart, in the literal sense. The more I thought about it, the more certain I became that the Air Dry’s long-time owner would not have traded it for anything. Who was I to give up with such nonchalance one that has served me so well? Besides, my De Luxe might just be older.
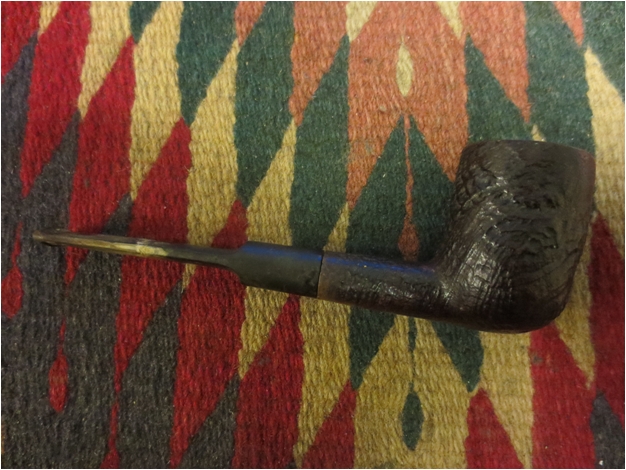
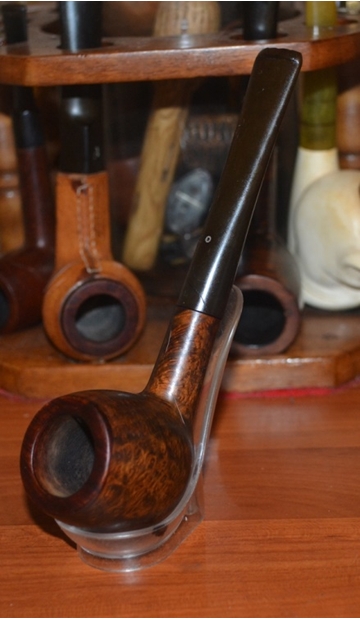
THE PIPE RESTORATION
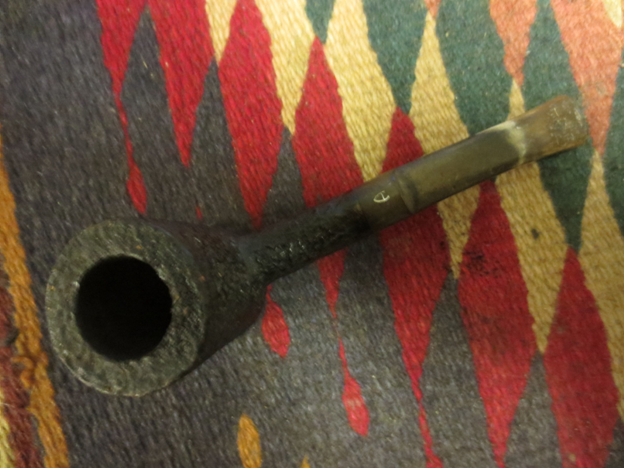
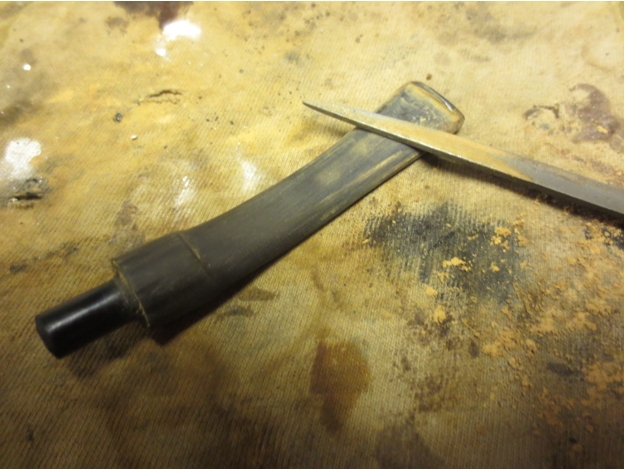
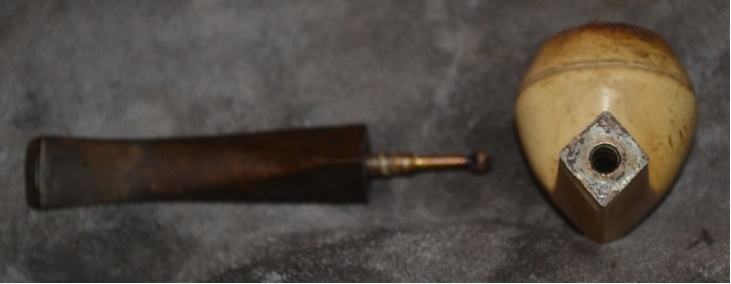
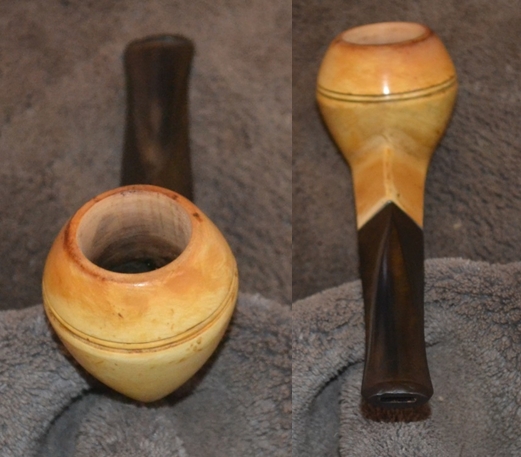
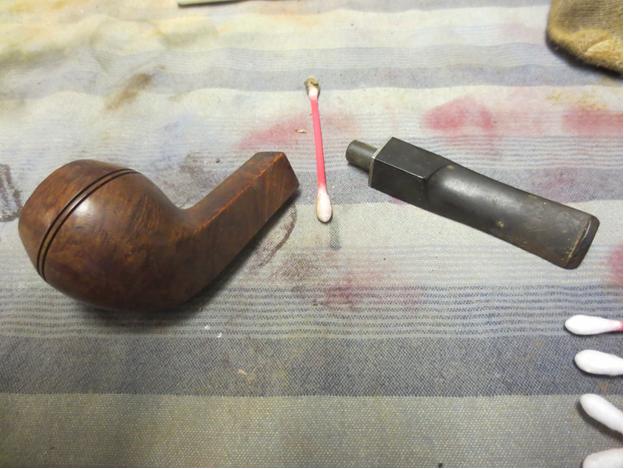
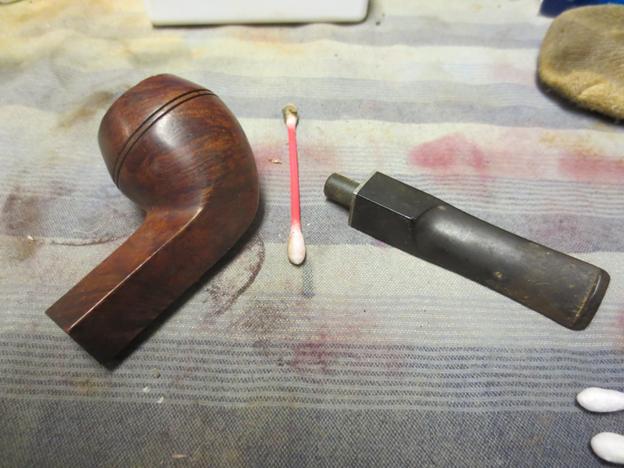
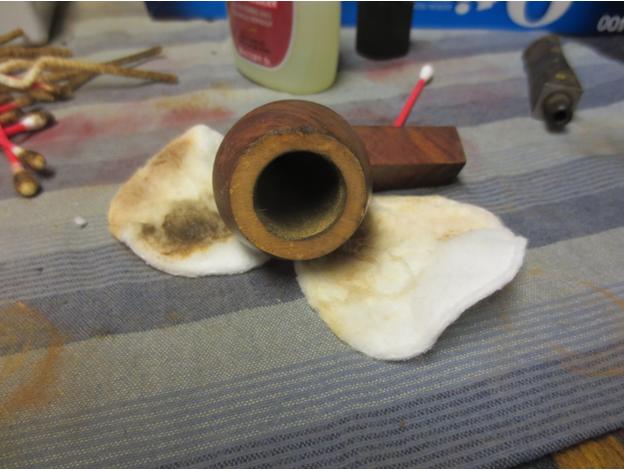
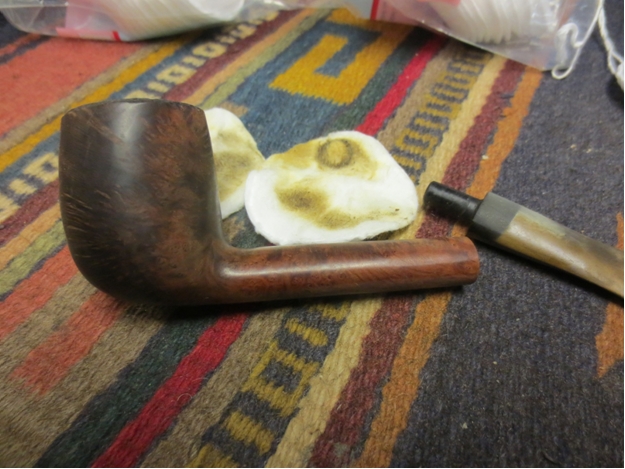
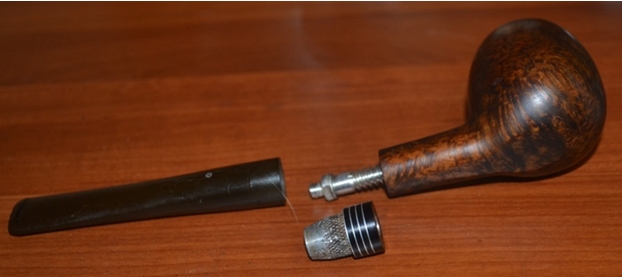
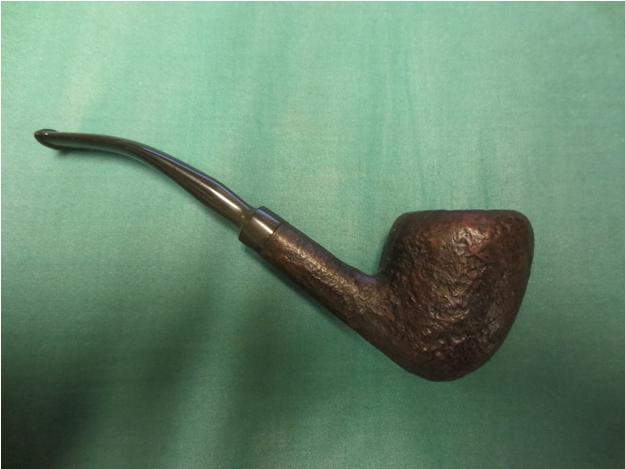
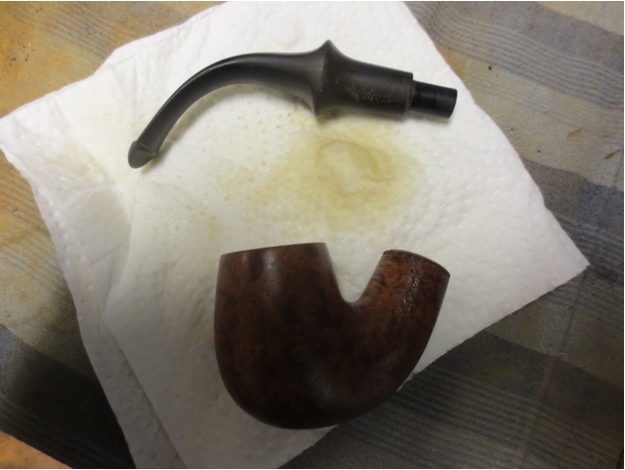
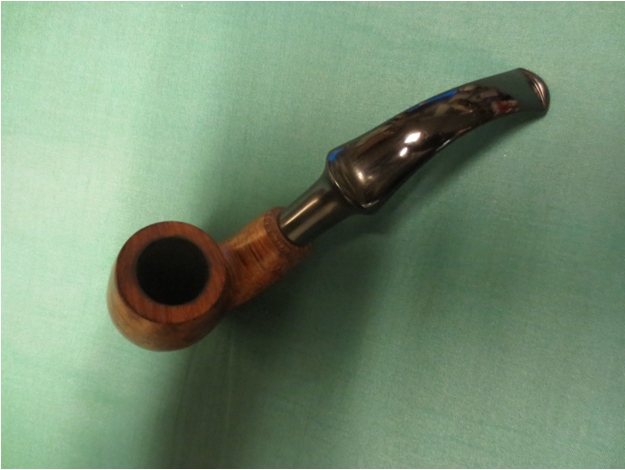
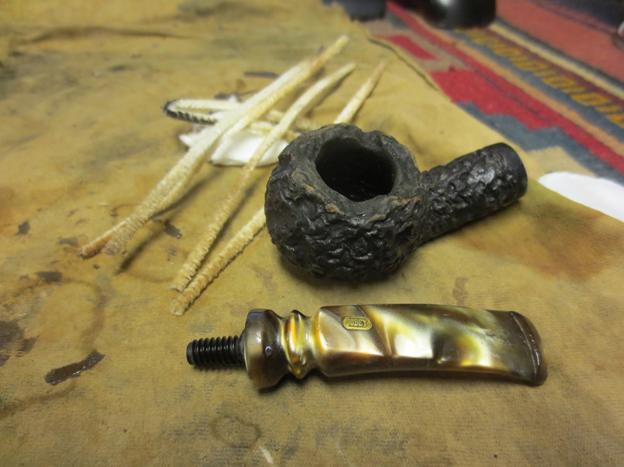
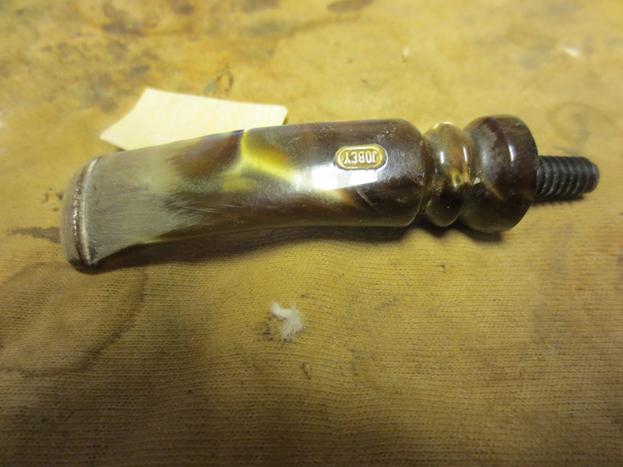
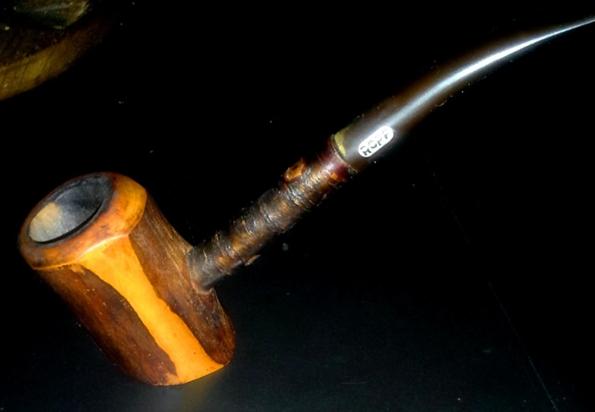
The first thing I did was disassemble the pipe, meaning I unscrewed the stem and shank from the bowl.

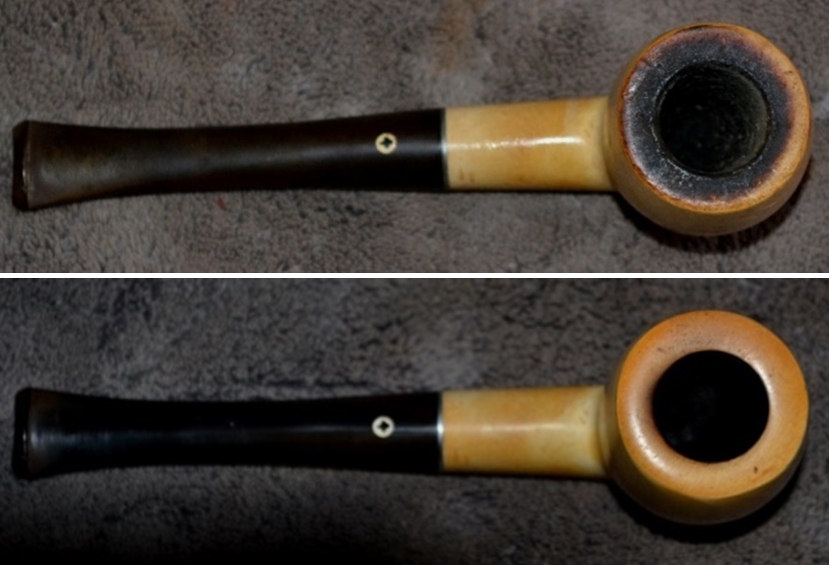
Picture 2

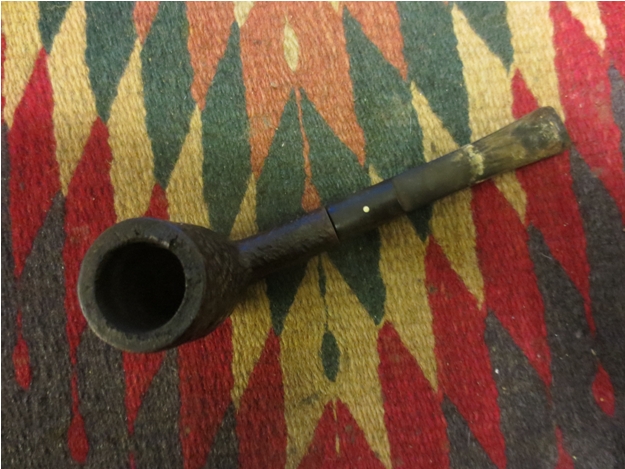
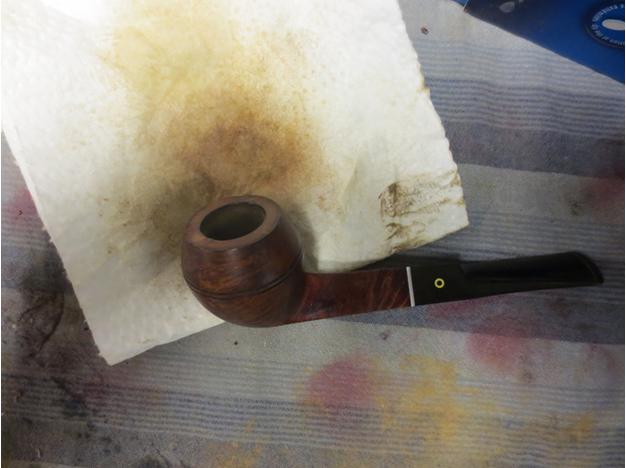
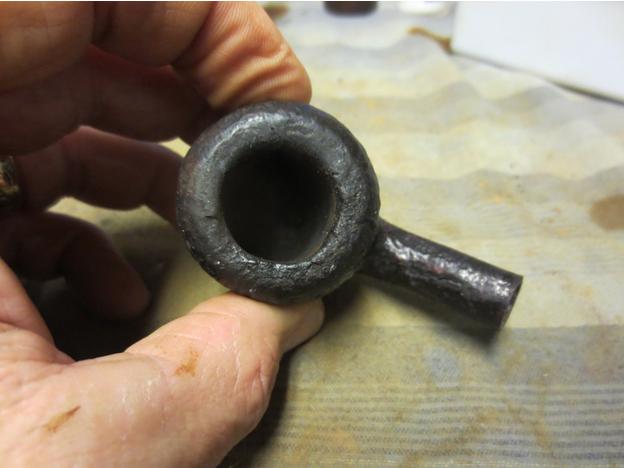
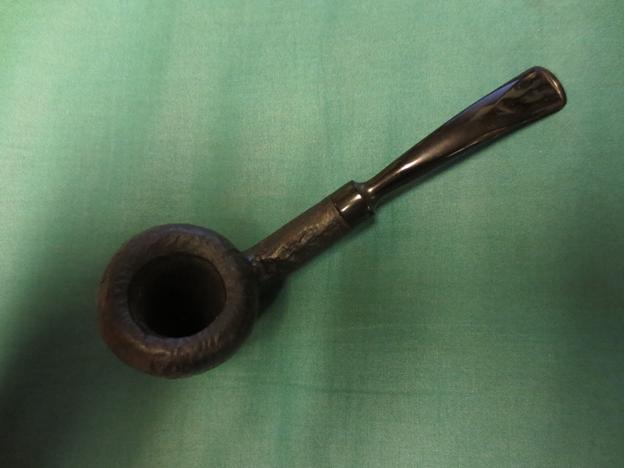
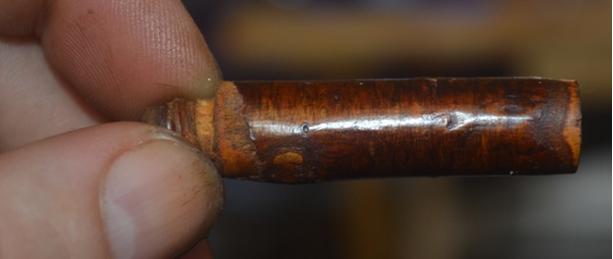
Picture 3
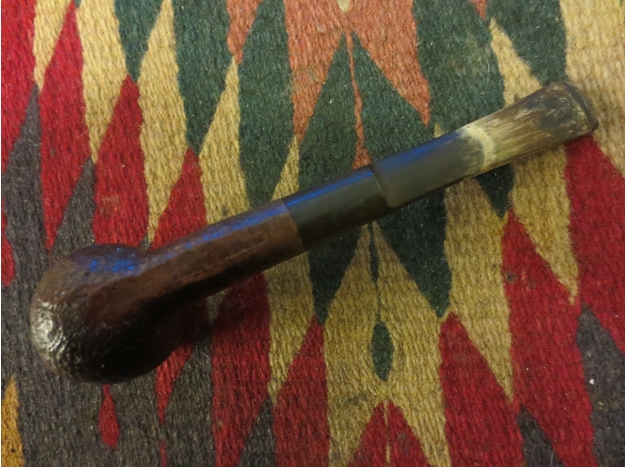
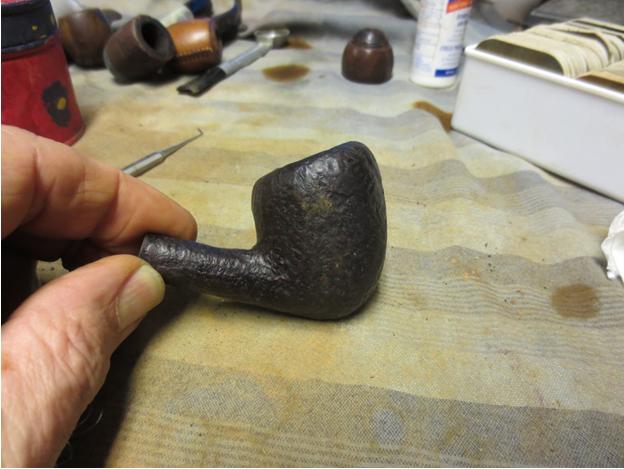
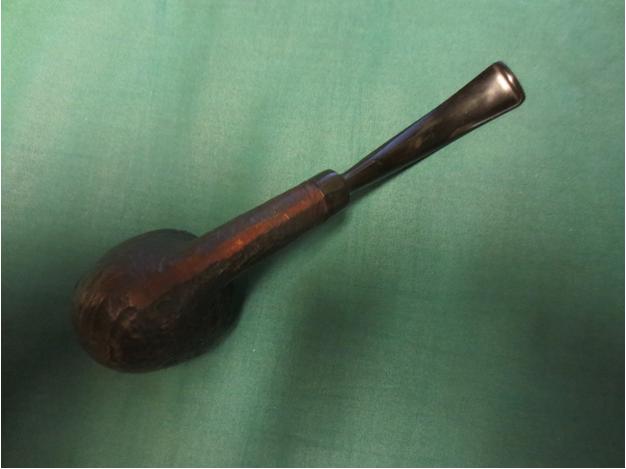
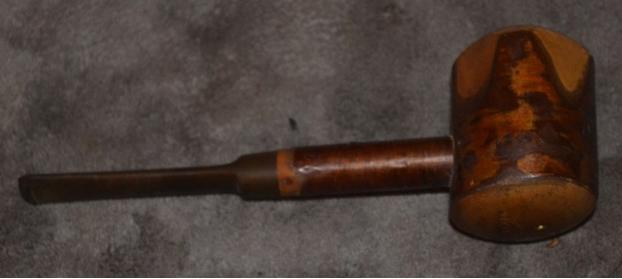
Picture 4
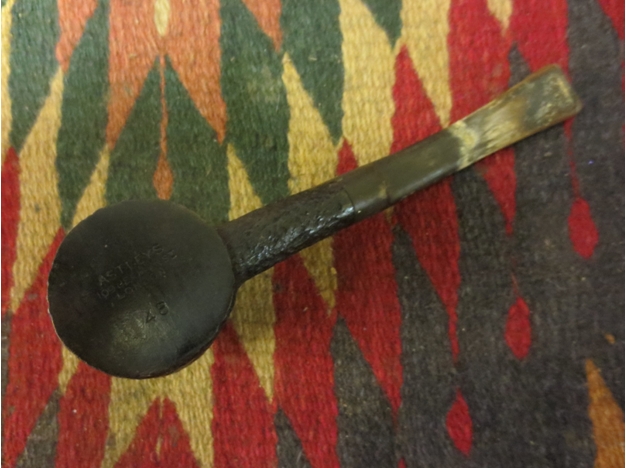
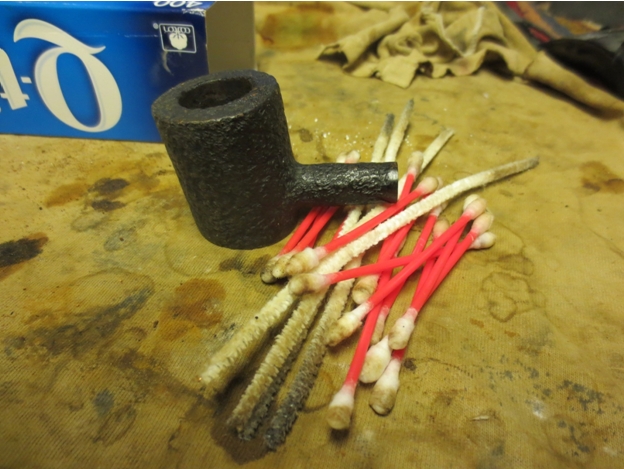
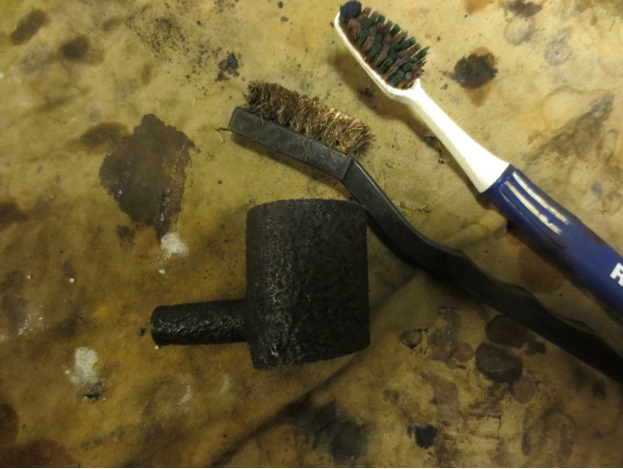
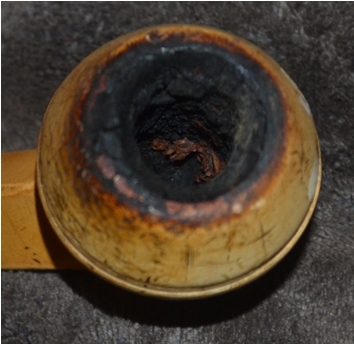
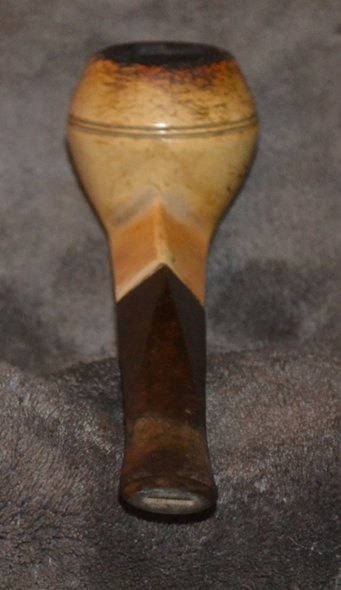
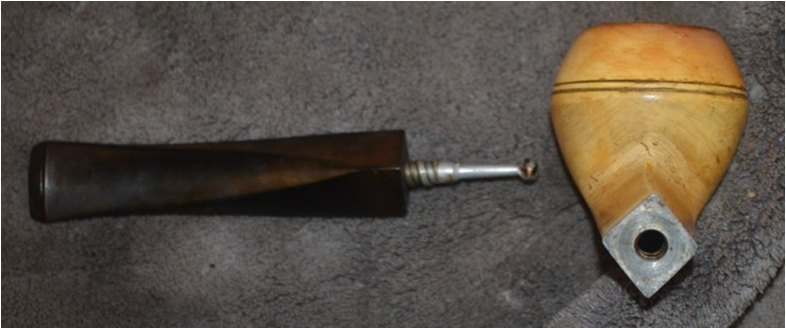
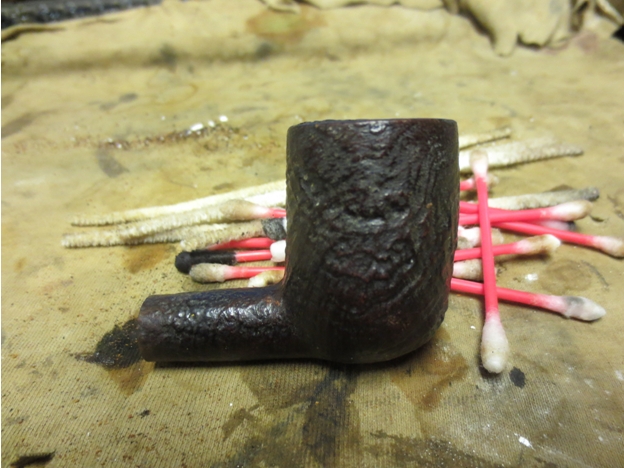
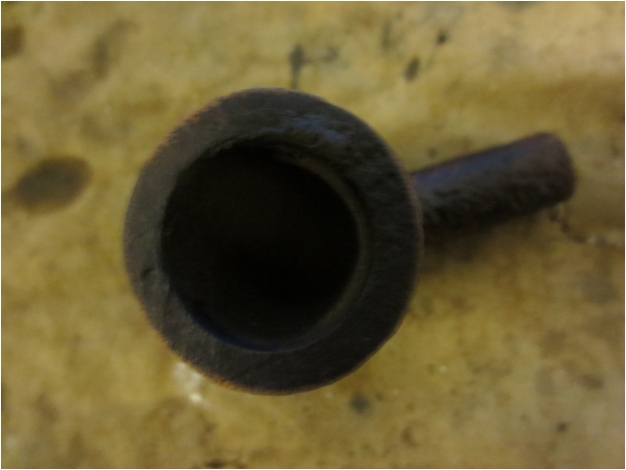
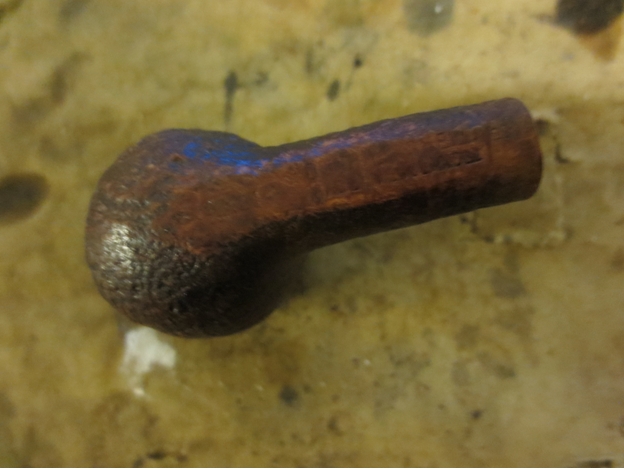
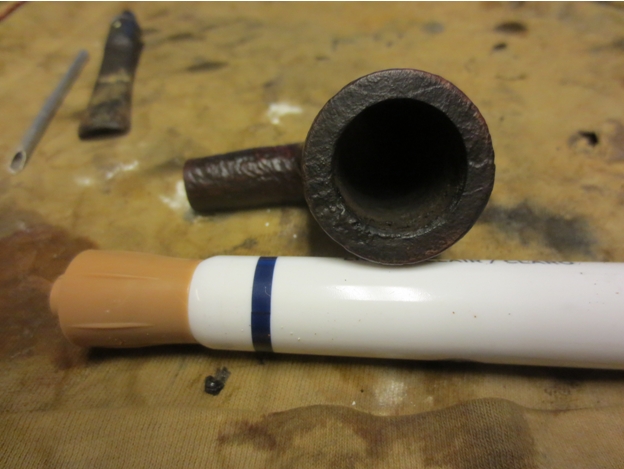
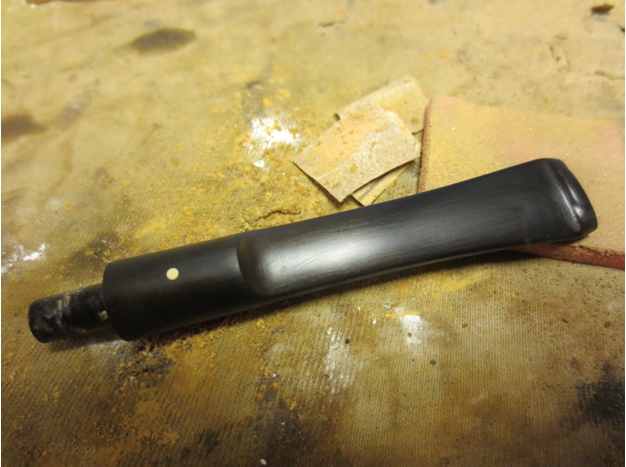
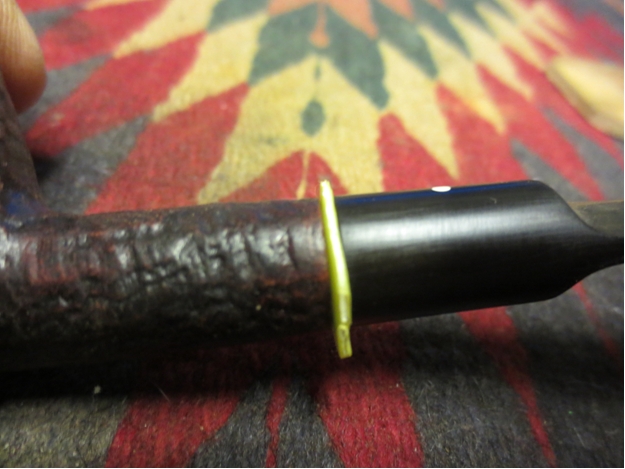
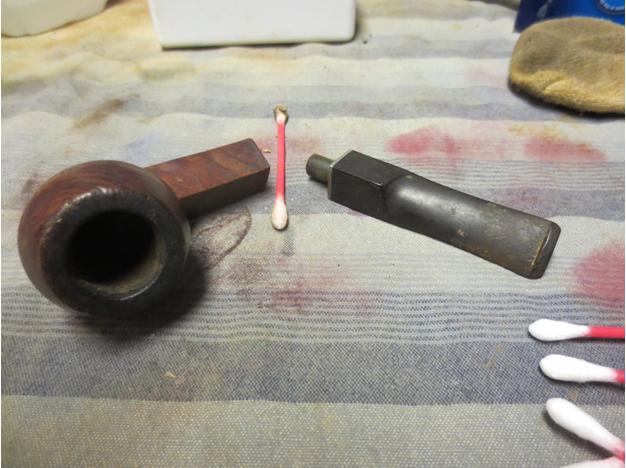
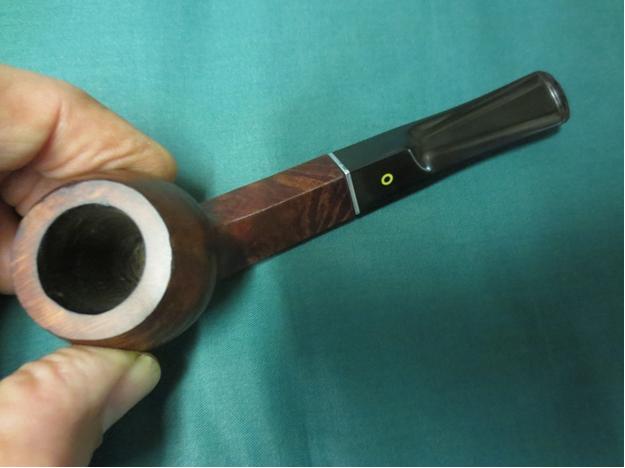
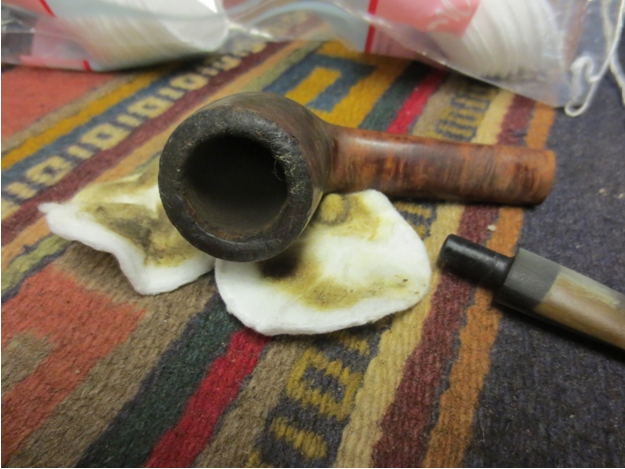
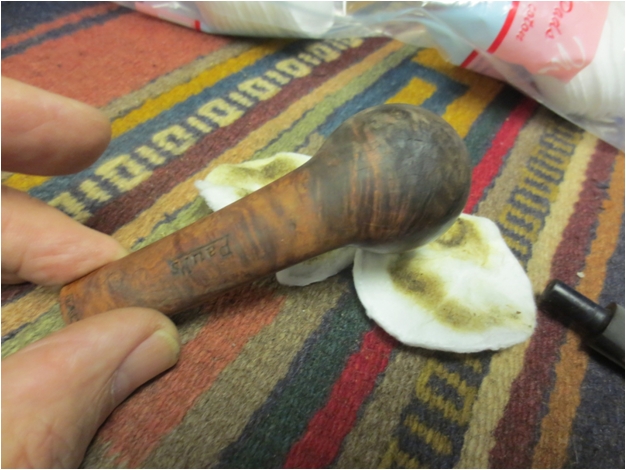
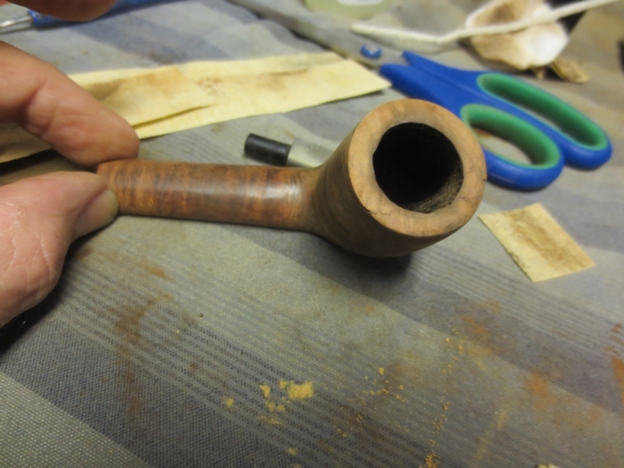
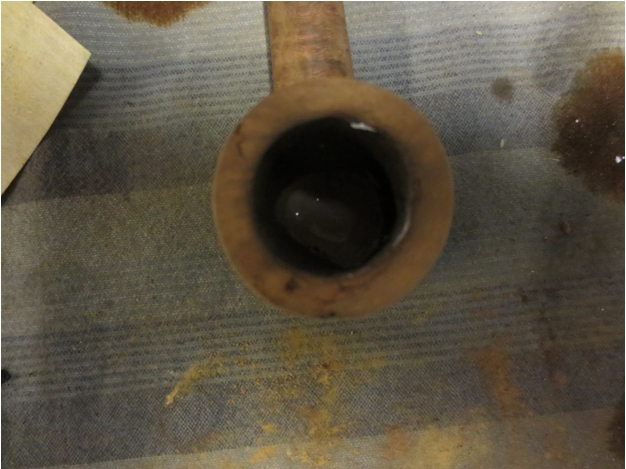
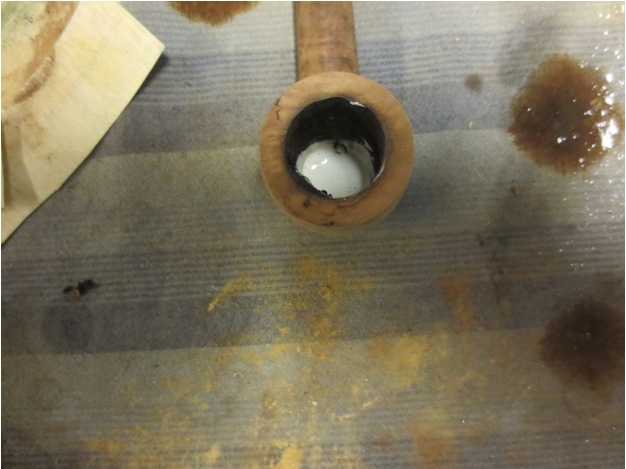
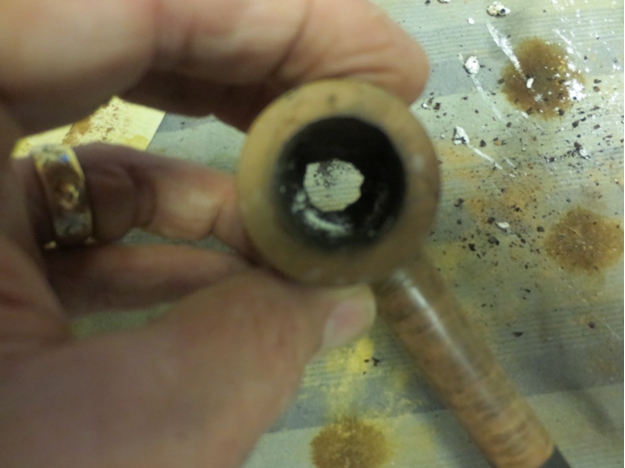
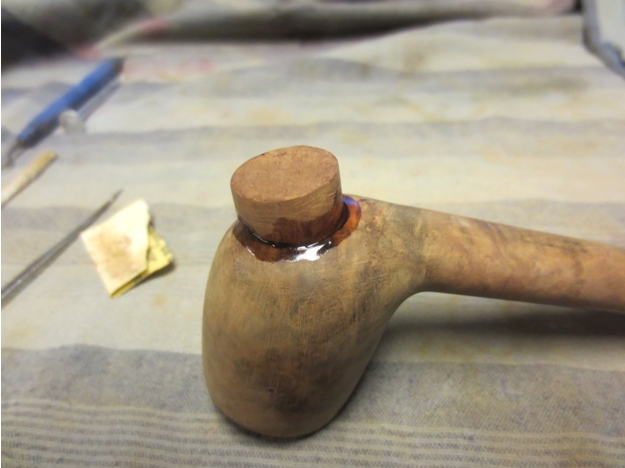
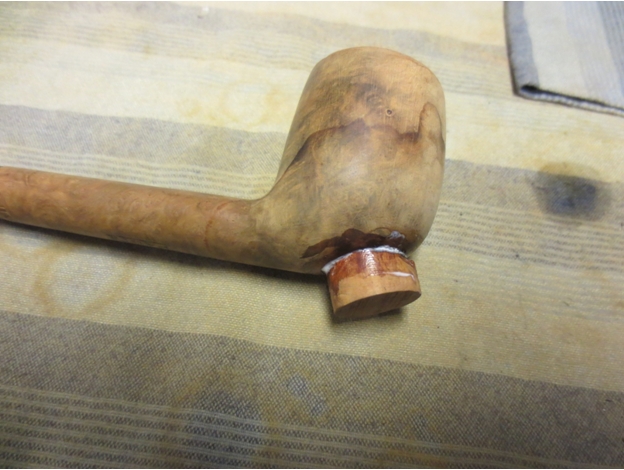
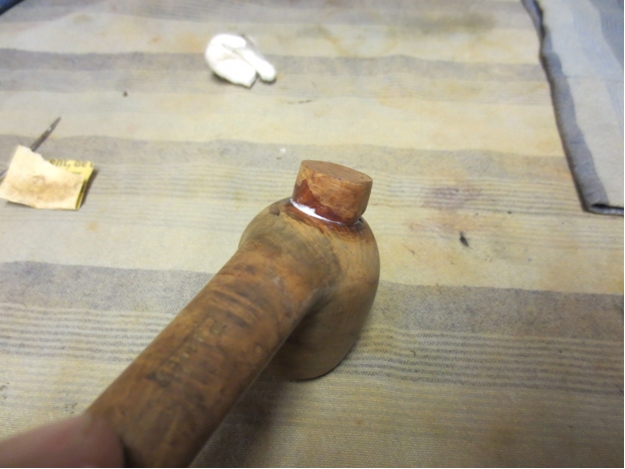
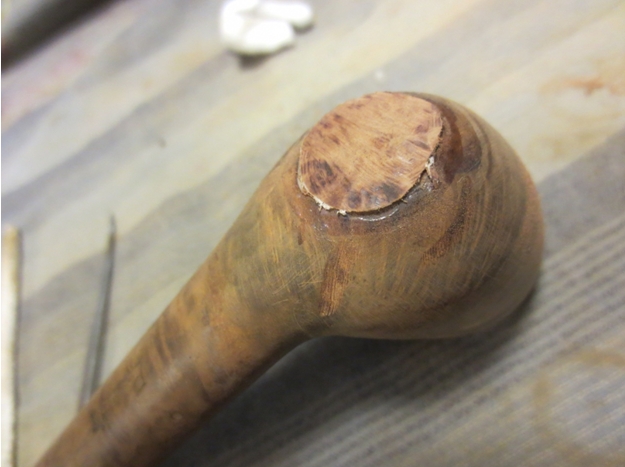
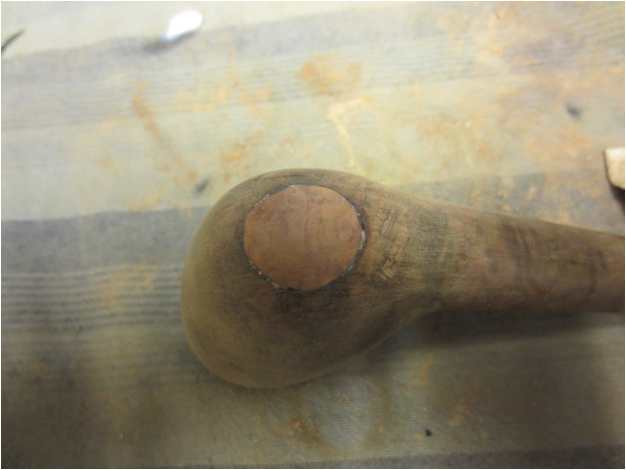
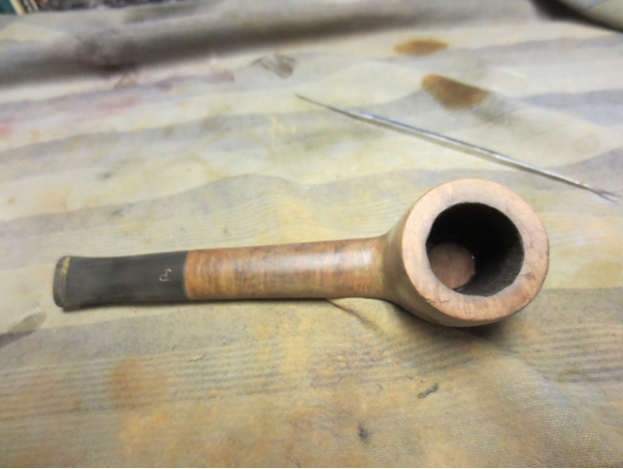
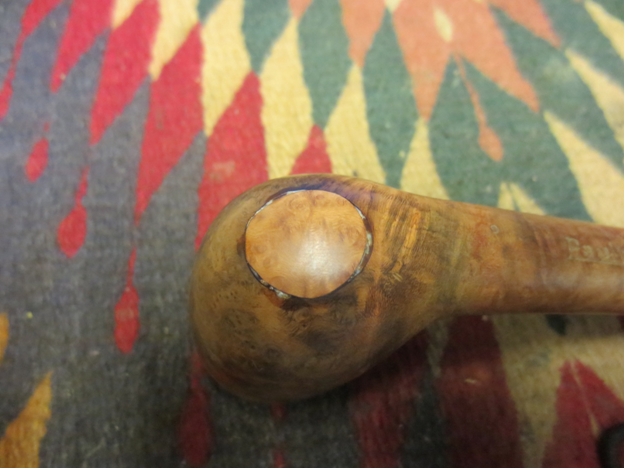
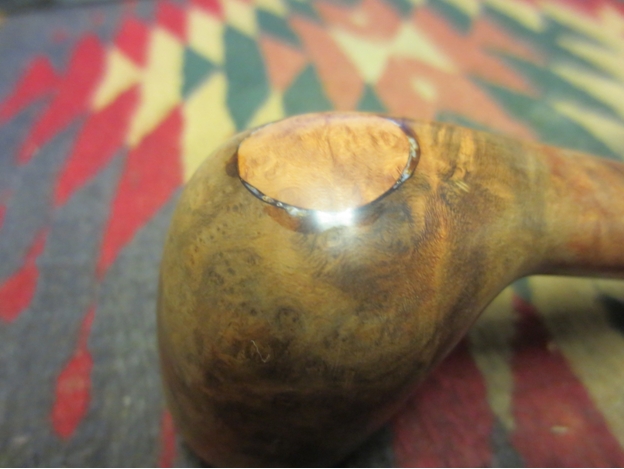
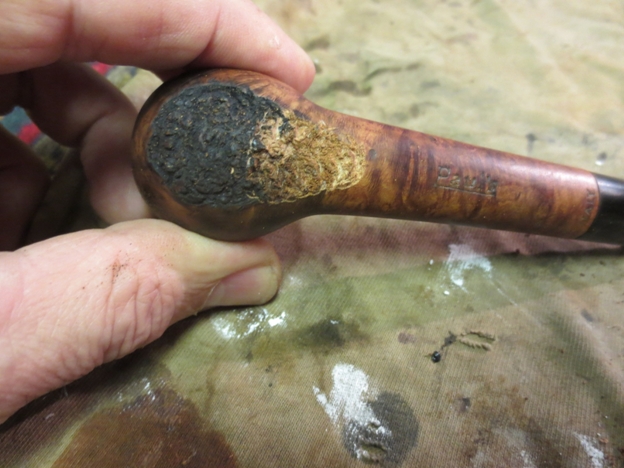
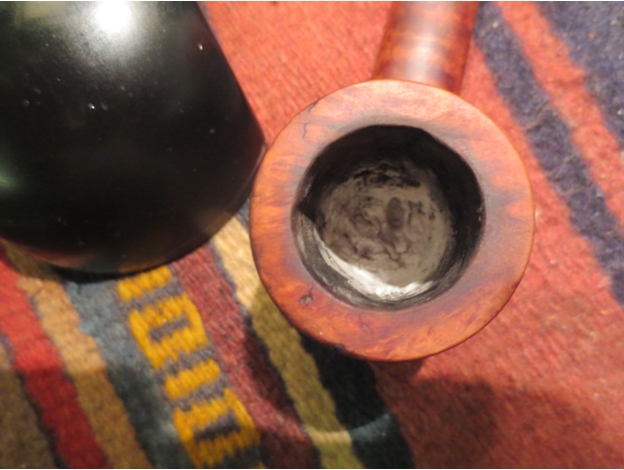
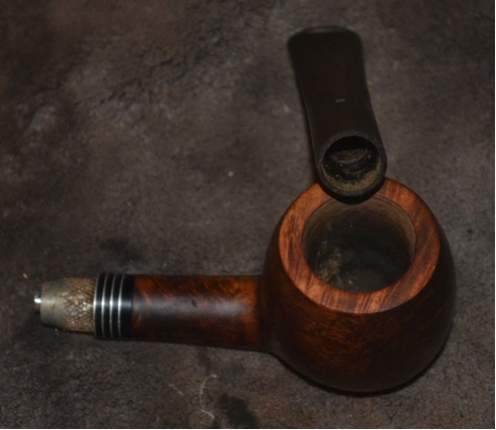
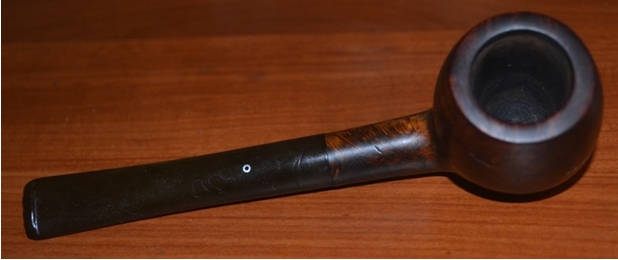
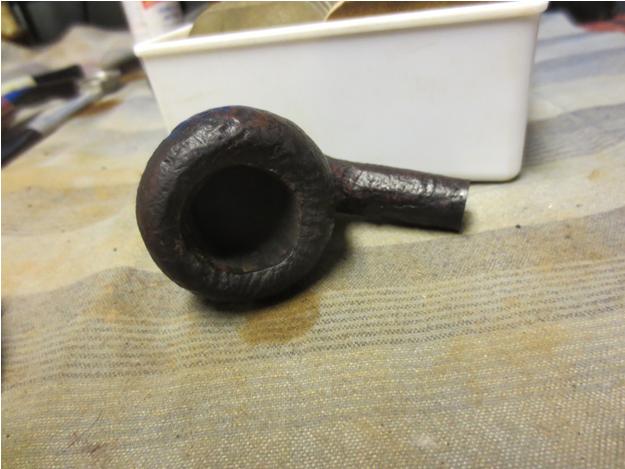
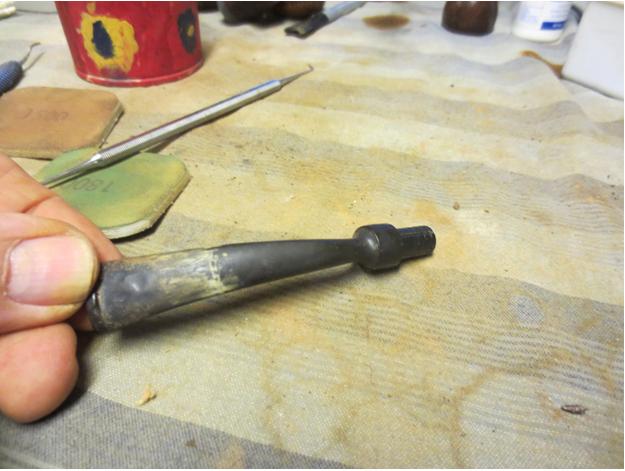
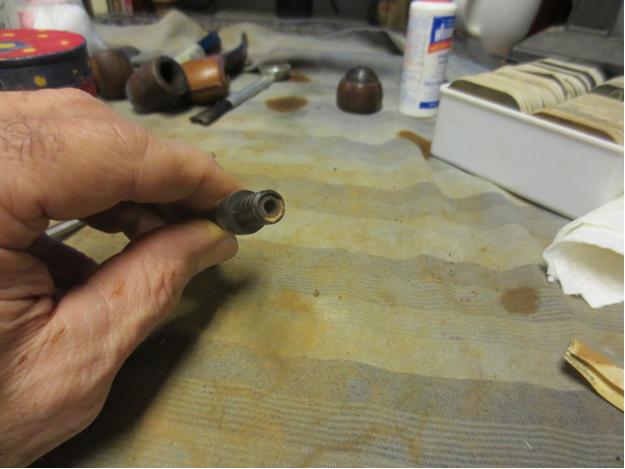
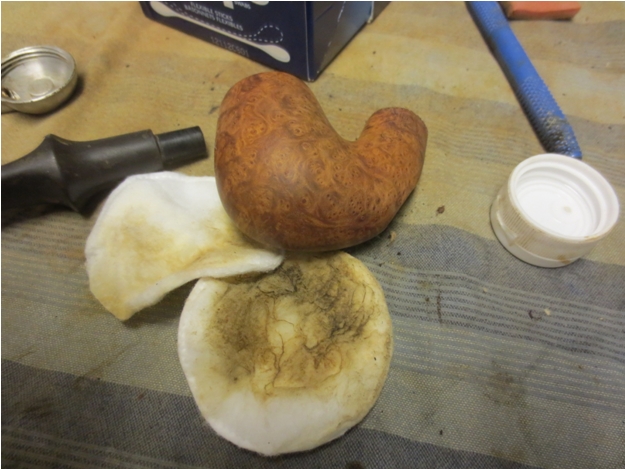
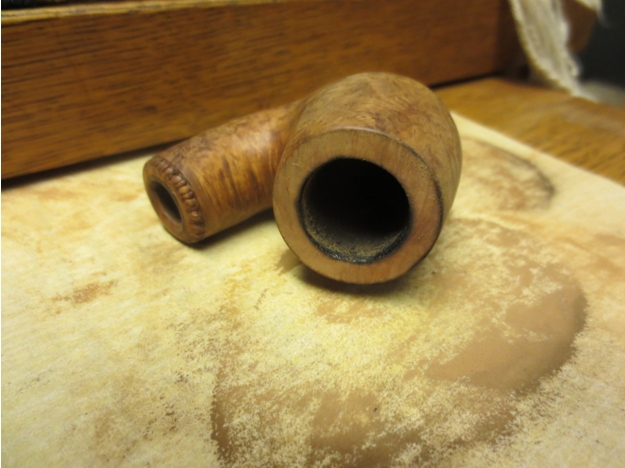
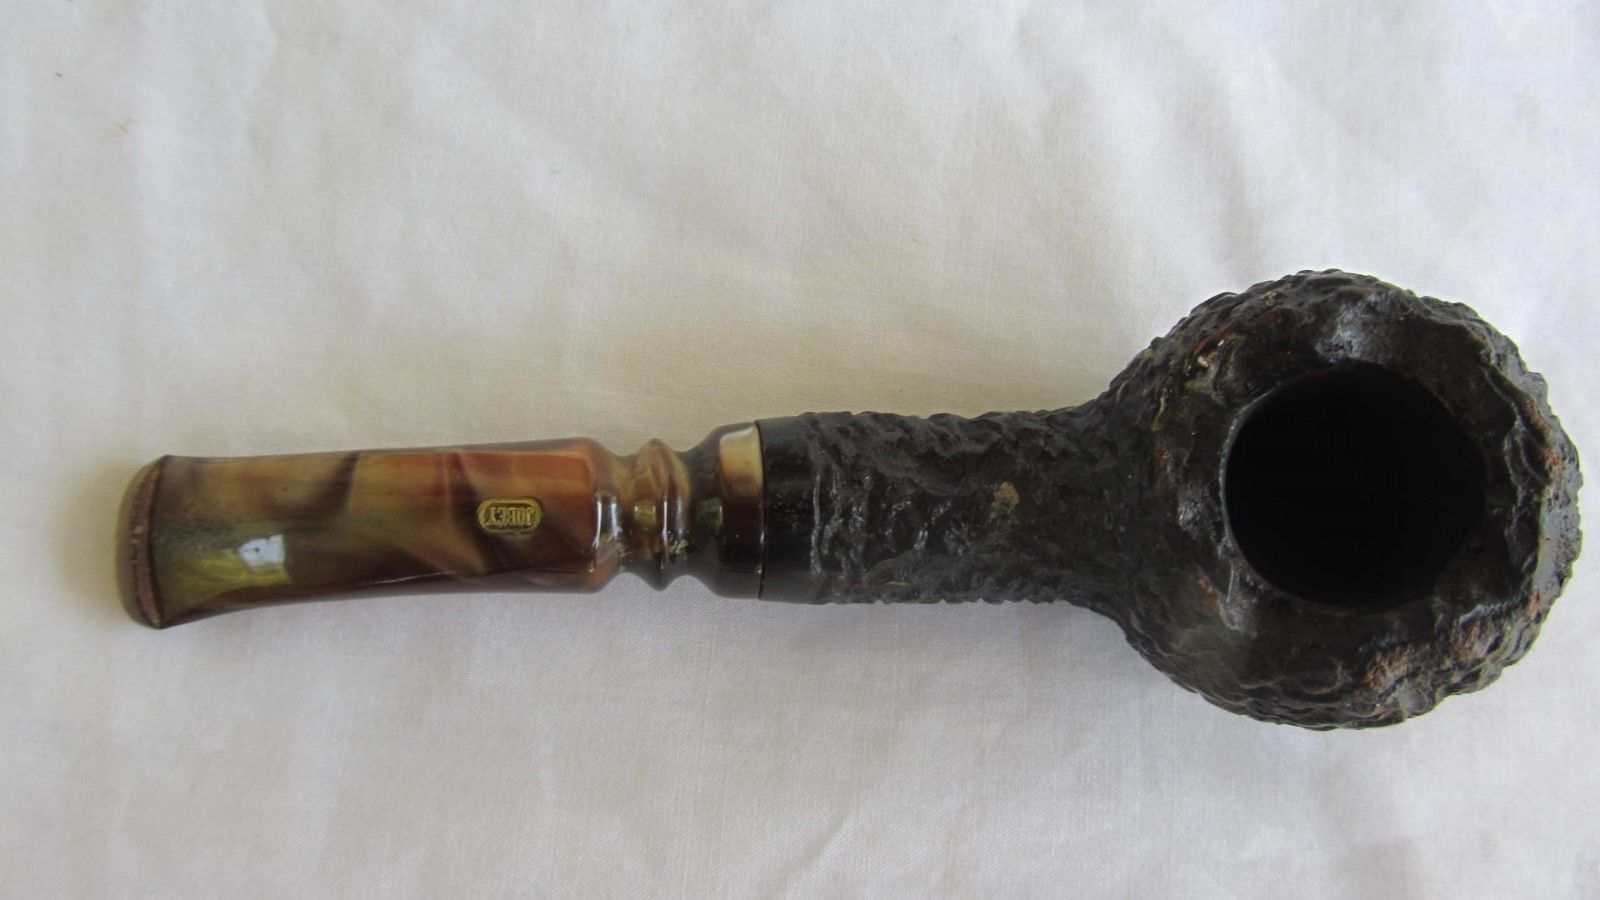
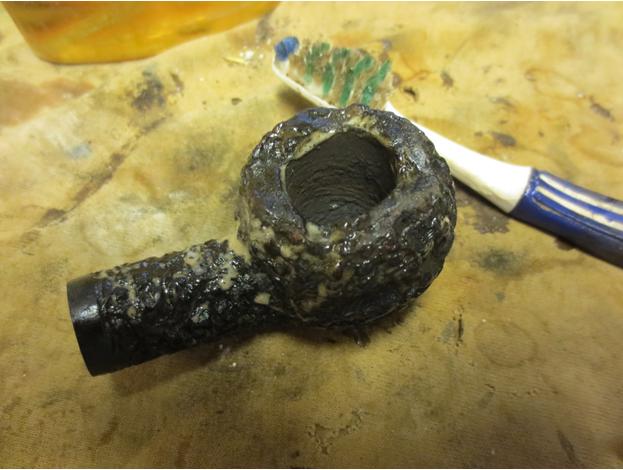
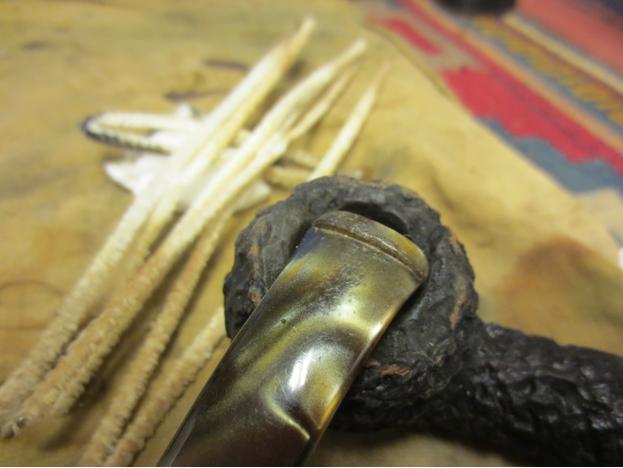
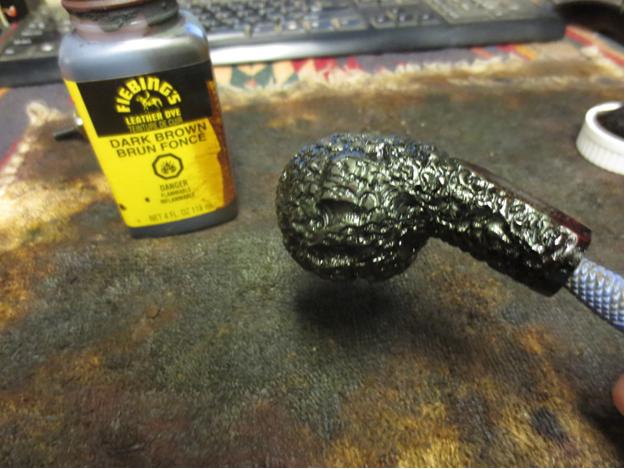
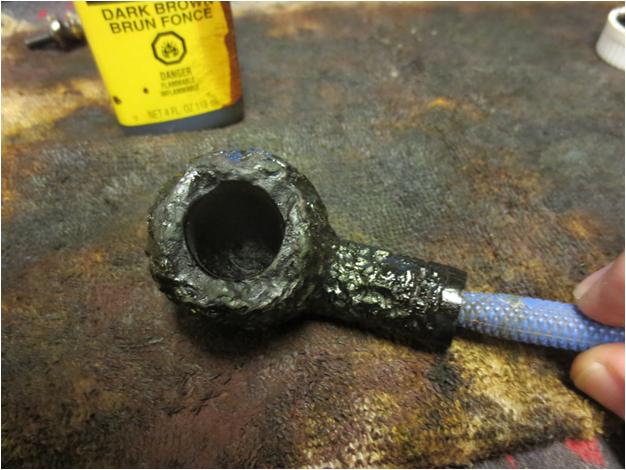
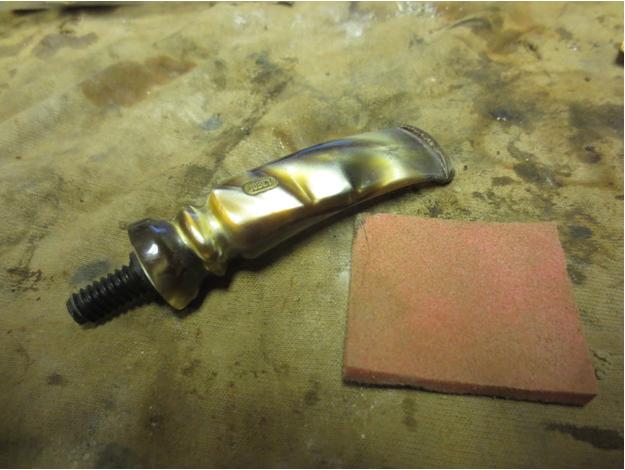
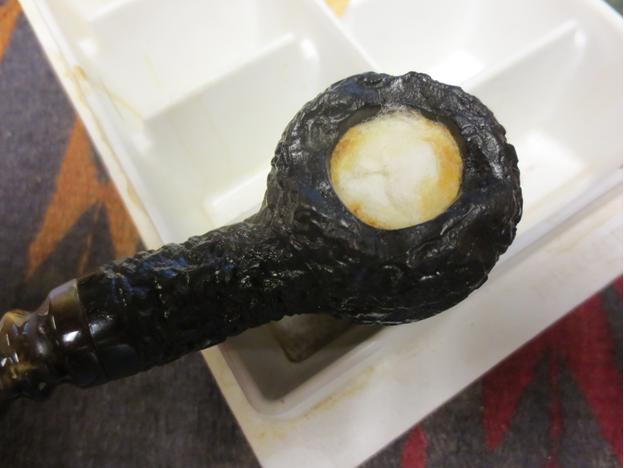
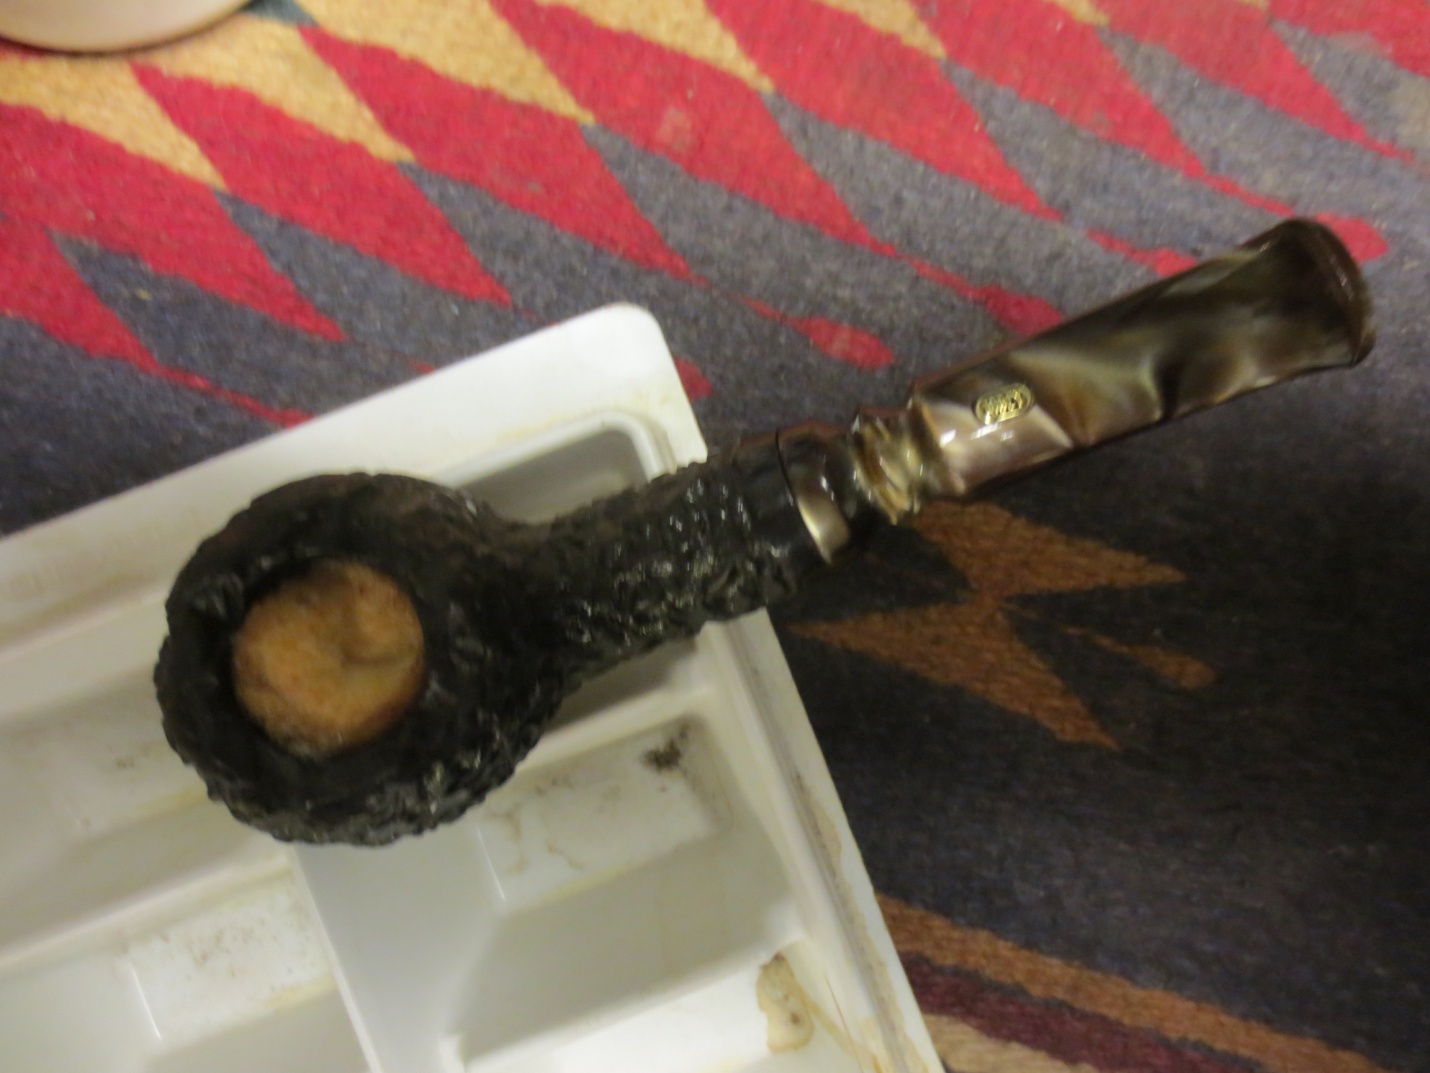
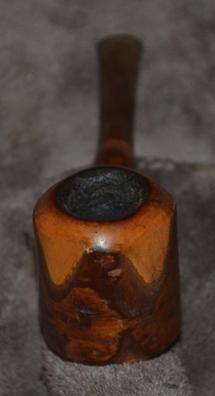
There was blackening beyond the screws in the bowl’s hole [picture 3]. I saw that the threads of the shank itself were blackened [picture 2] and so I cleaned them right away with alcohol and also followed my initial quick clean routine to find if there were any obstructions in the parts. To my happy surprise, given the first impression of the chamber [picture 7], the quick clean was all that was necessary. Without doubt, these were the easiest stem and shank I have ever had to clean, leading to my surmising in the Introduction as to the complicated character of the original owner.
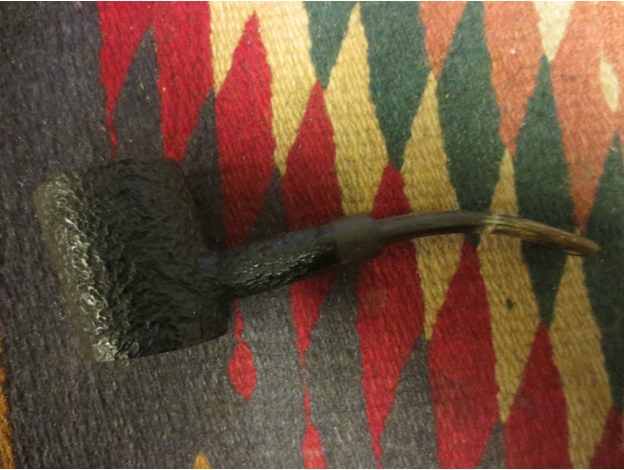
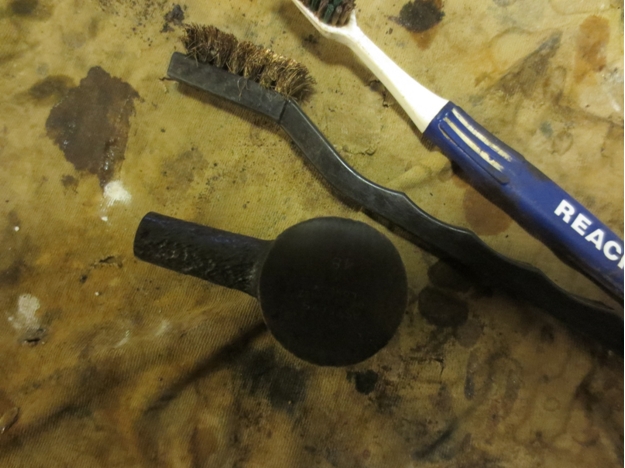
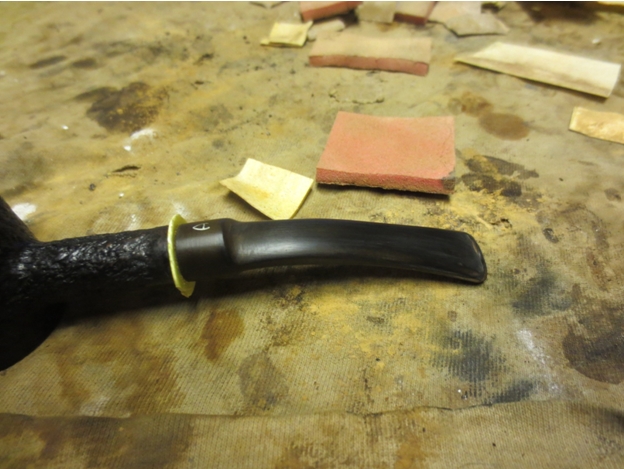
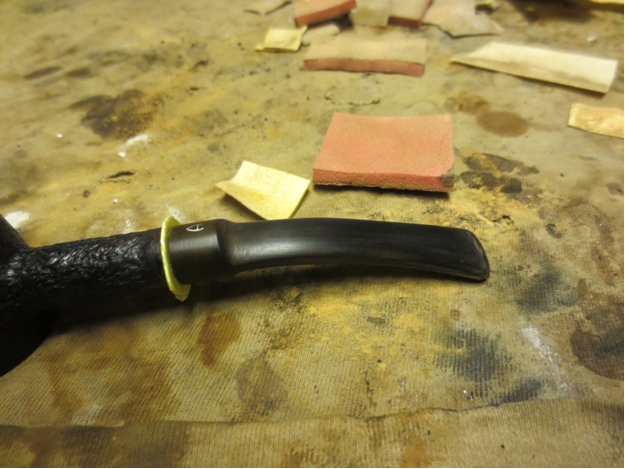
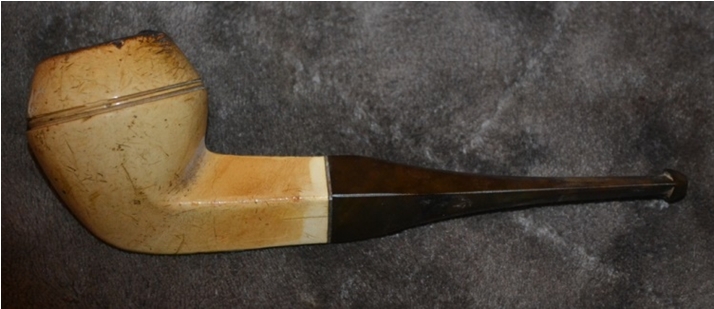
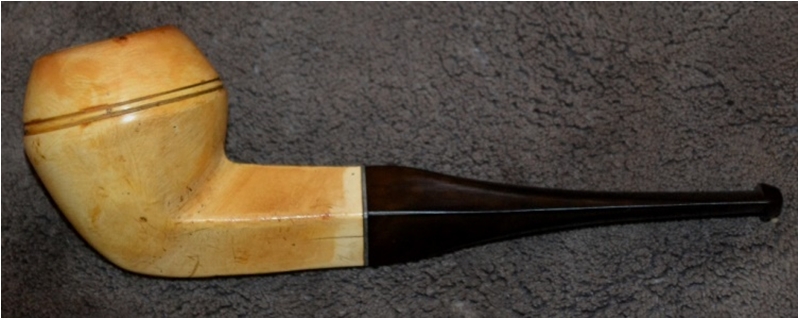
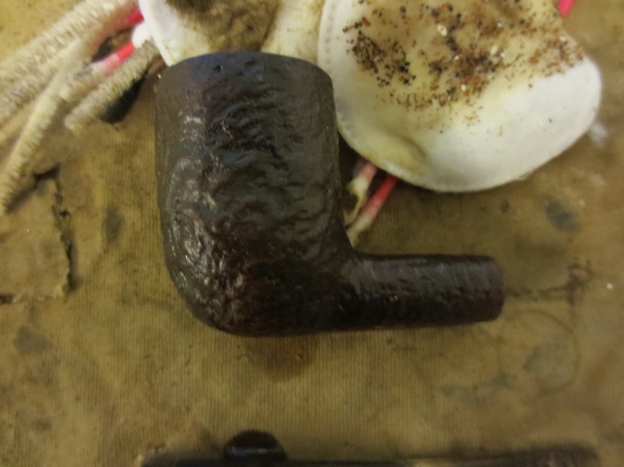
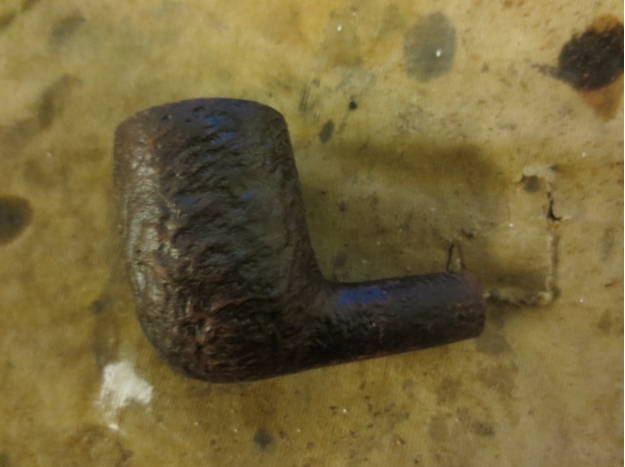
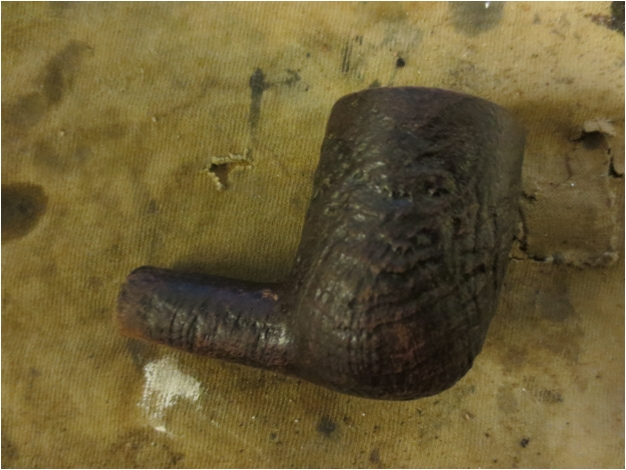
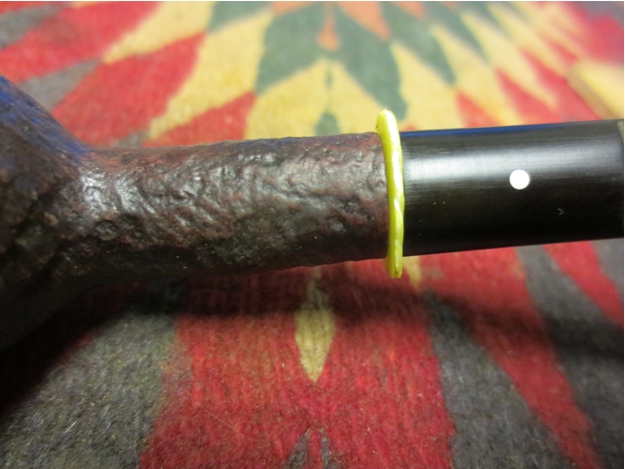
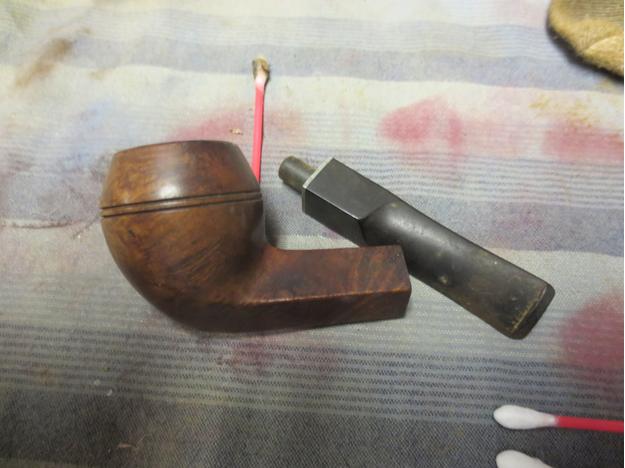
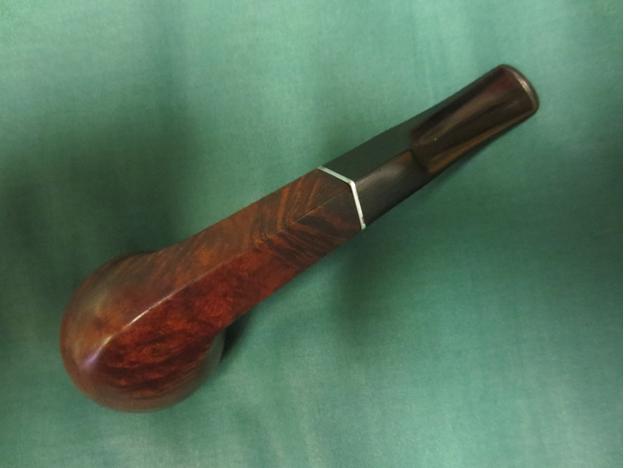
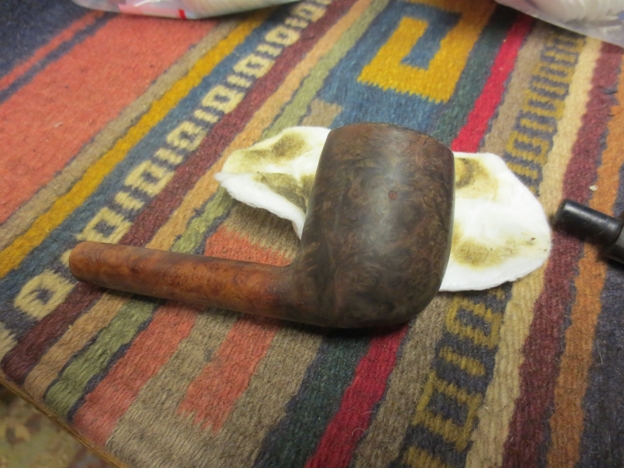
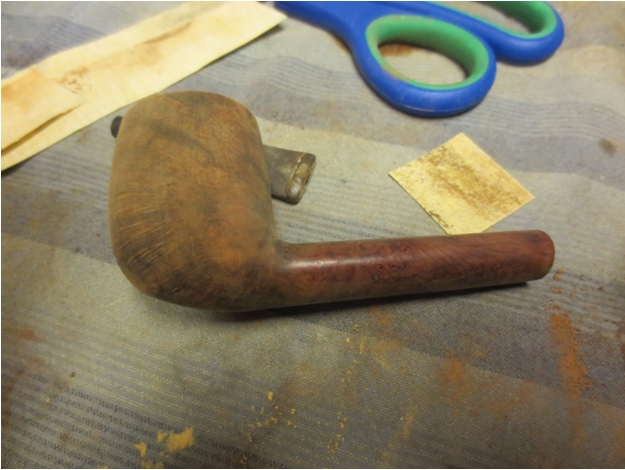
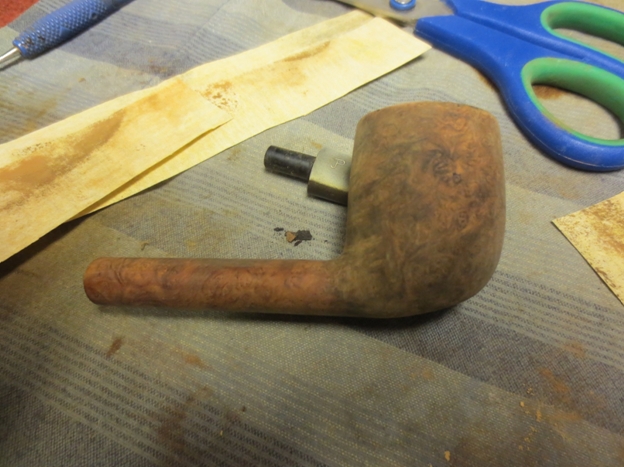
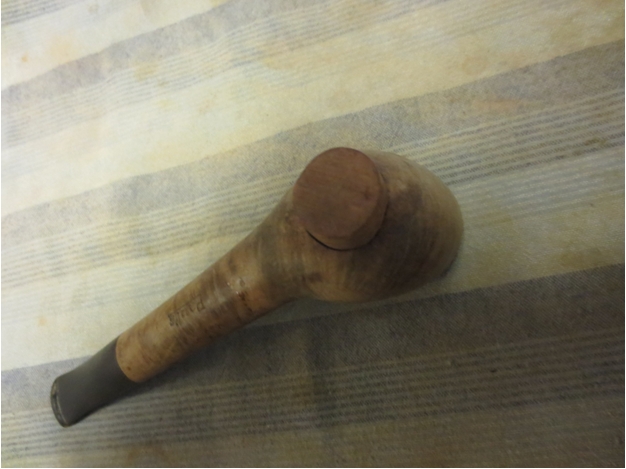
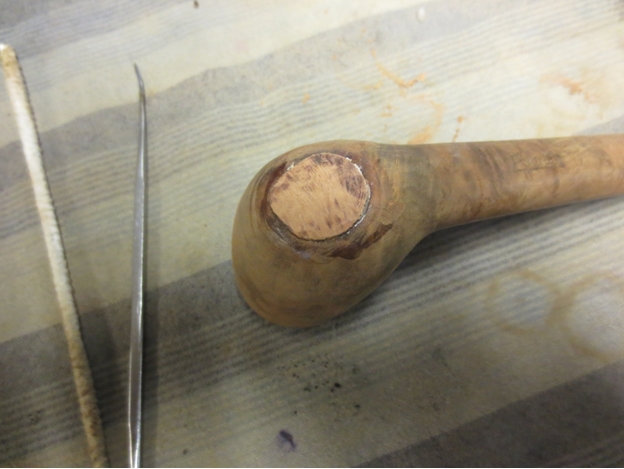
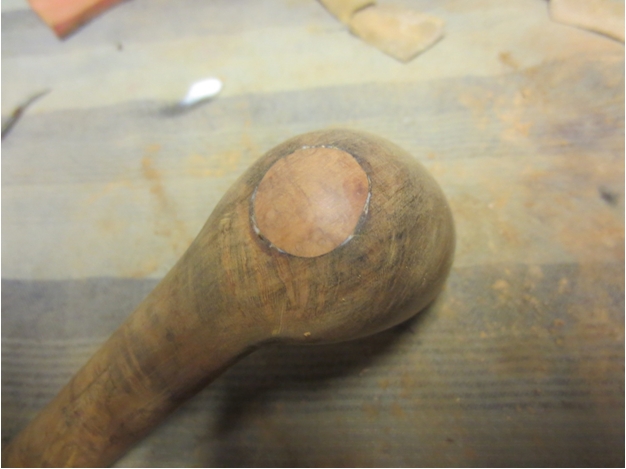
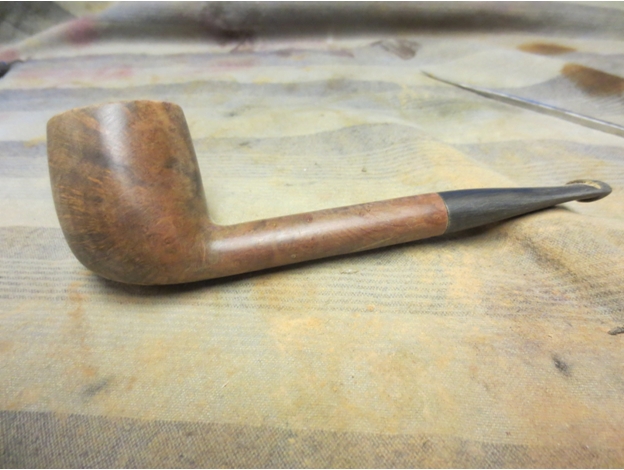
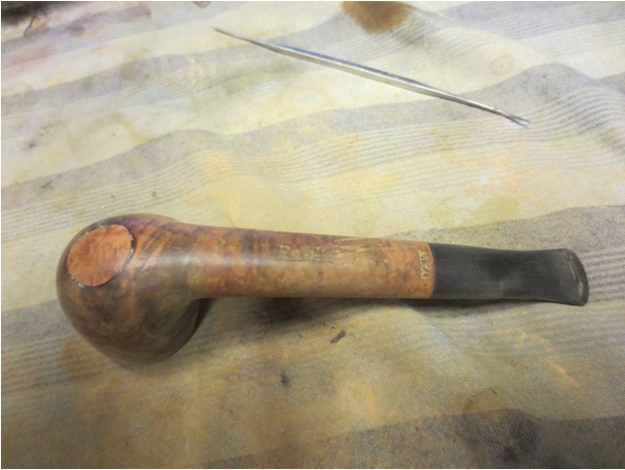
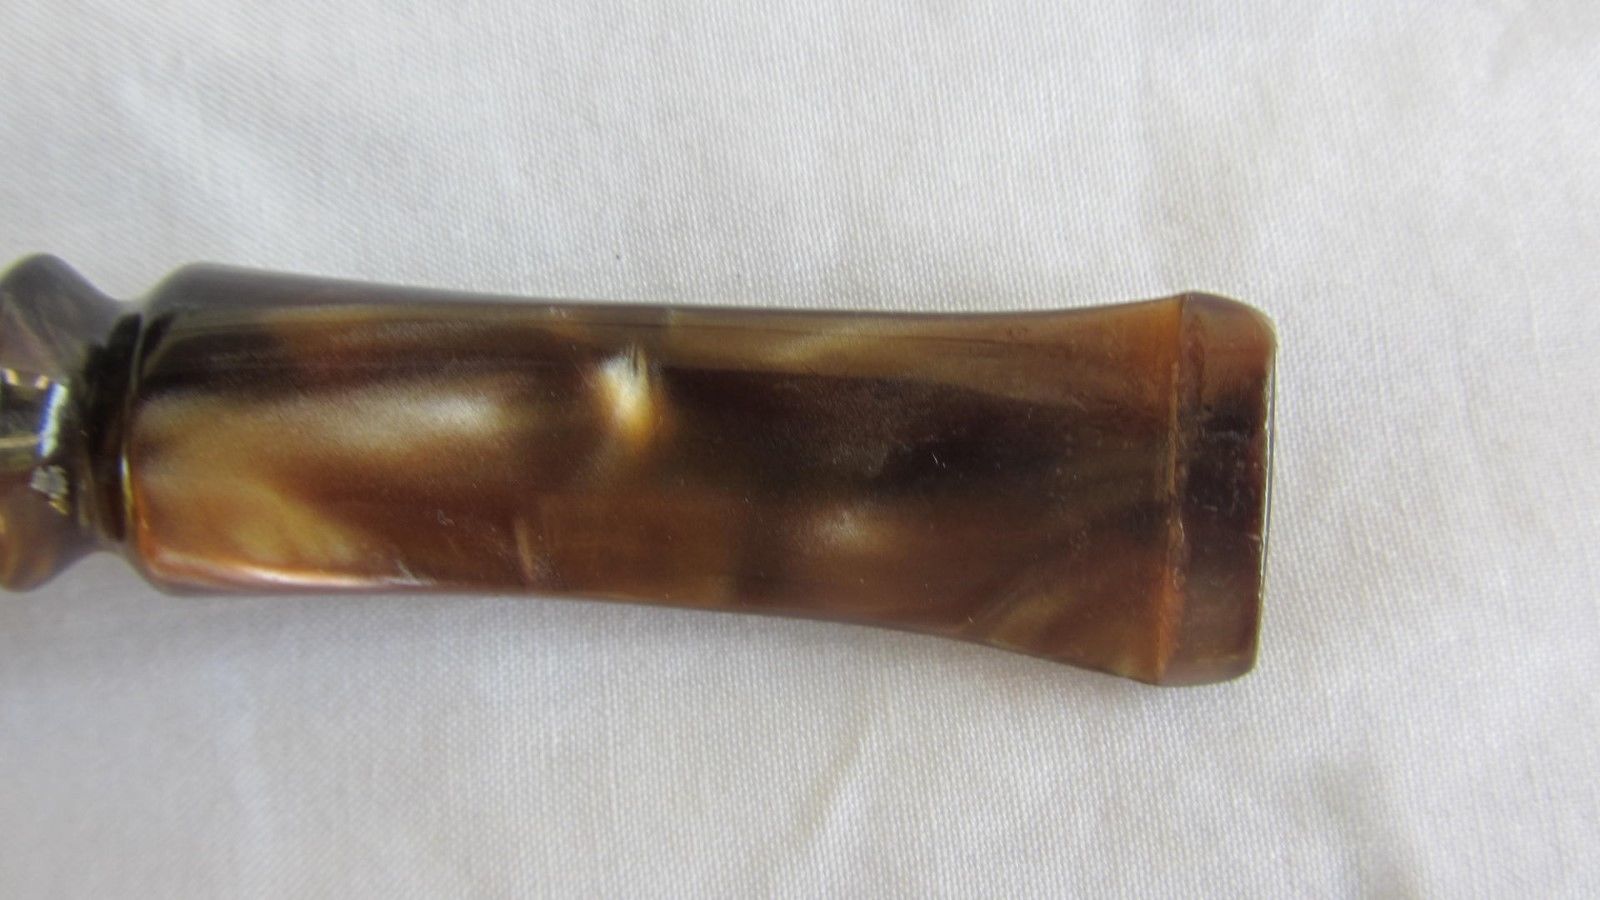
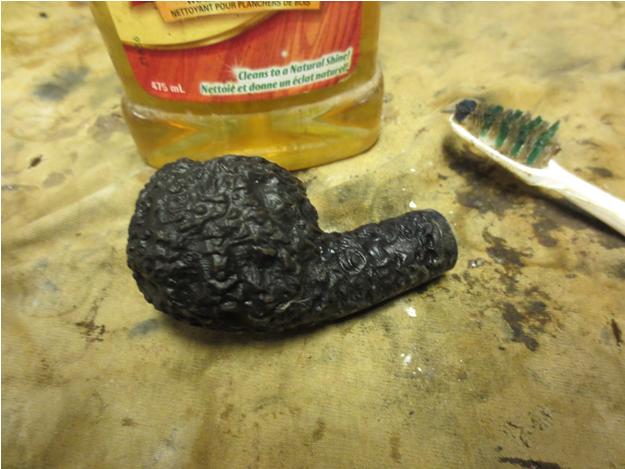
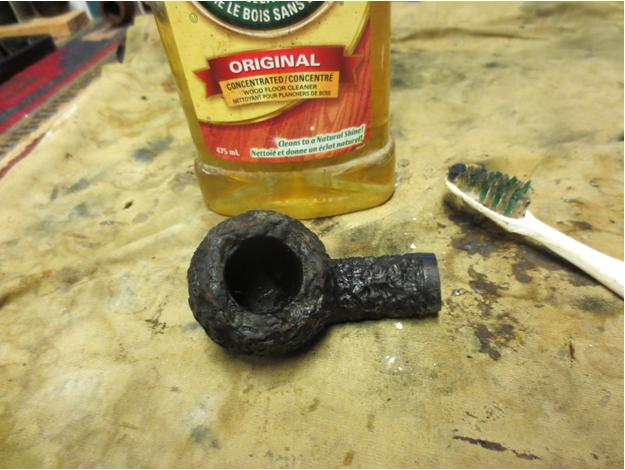
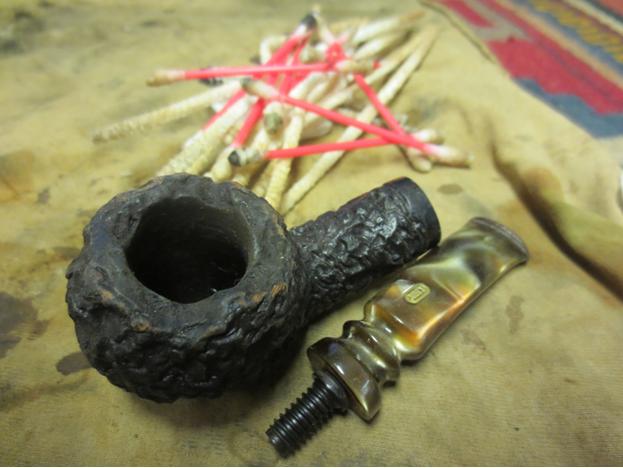
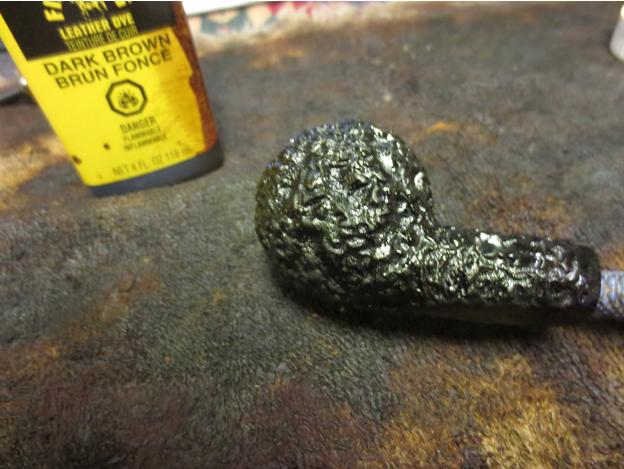
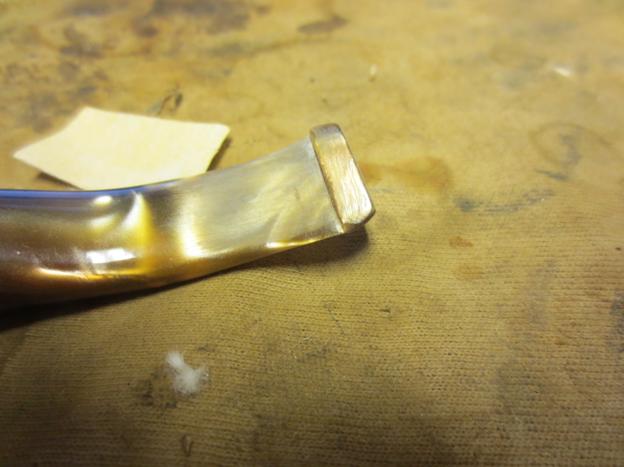
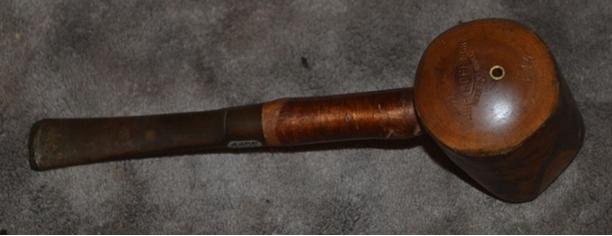
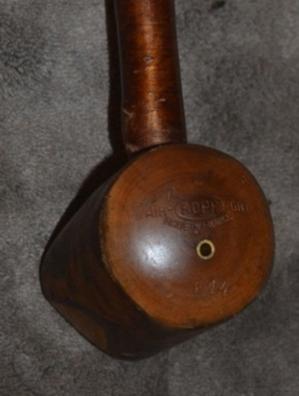
I also noted the small, unpolished areas of wood around the shank hole in the bowl [picture 3] and both ends of the shank [picture 4], although the stem side’s roughness does not show in the last picture. A fast buffing of the bowl’s hole and the tips of the shank (excluding the threads) with red and white Tripoli, White Diamond and carnauba made them shine like the rest of the wood. The following photos are the pipe before any work was done.

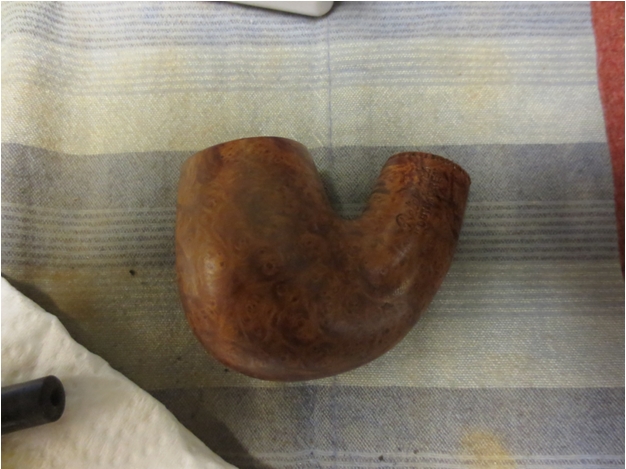
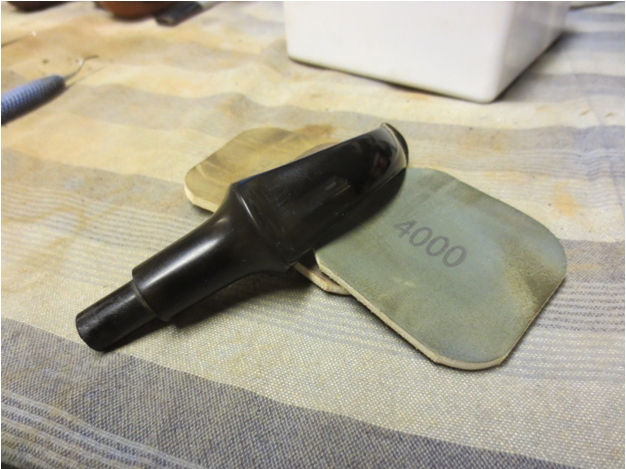
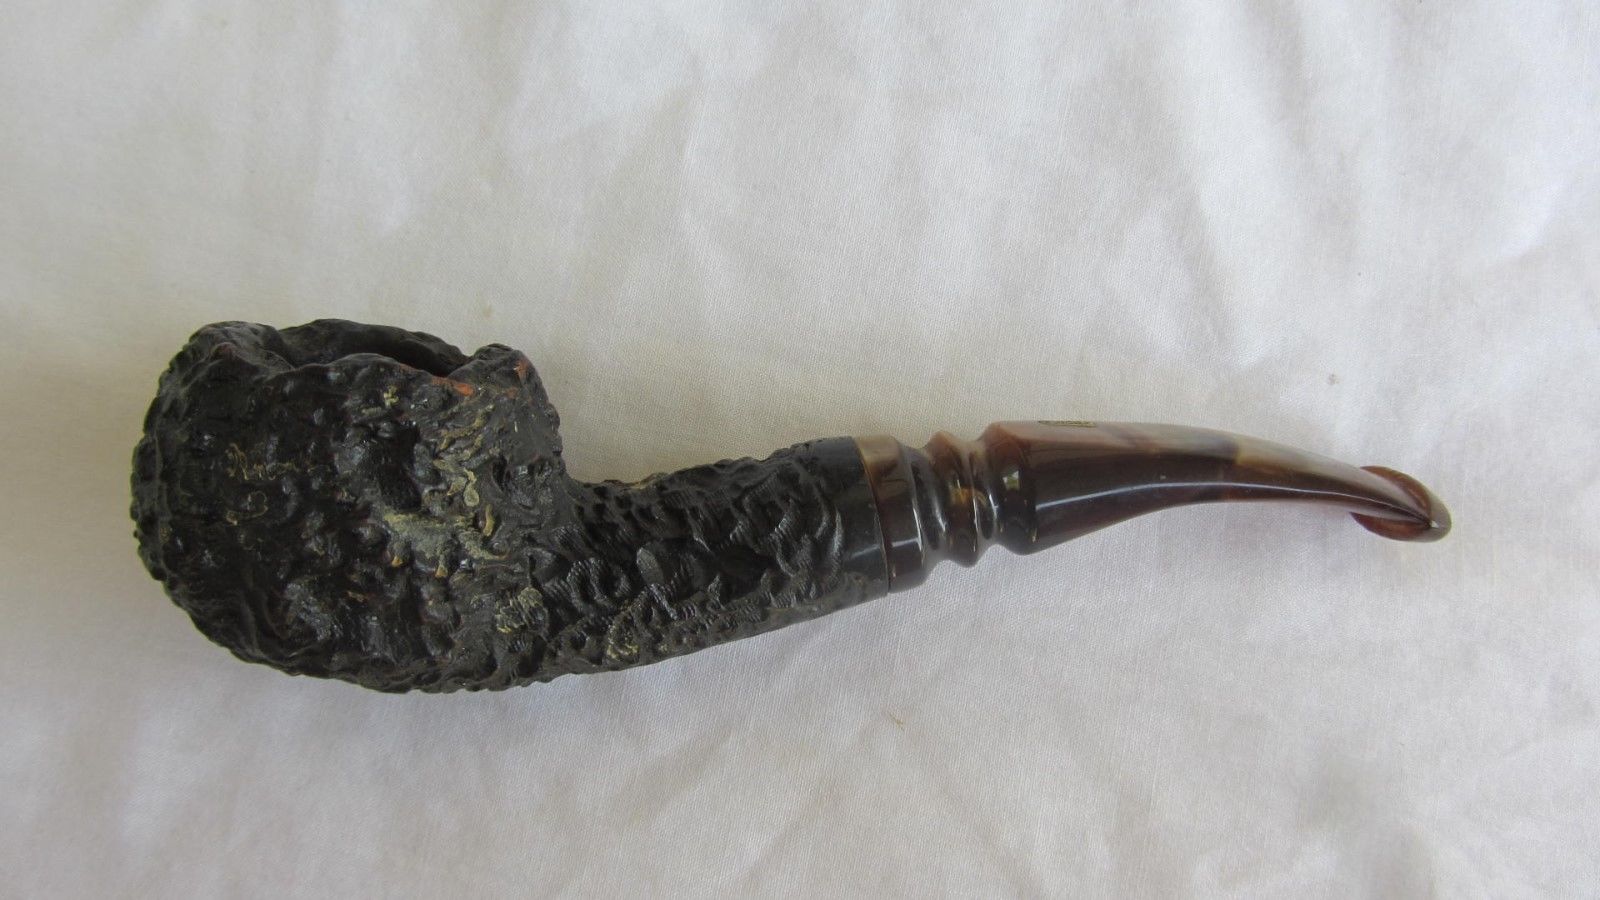
Picture 5
Picture 6
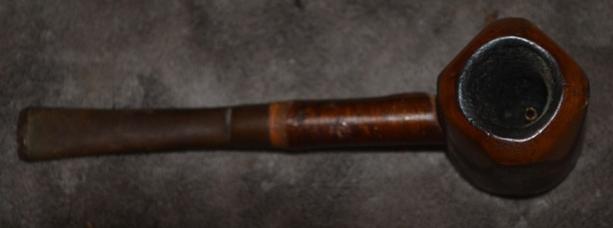
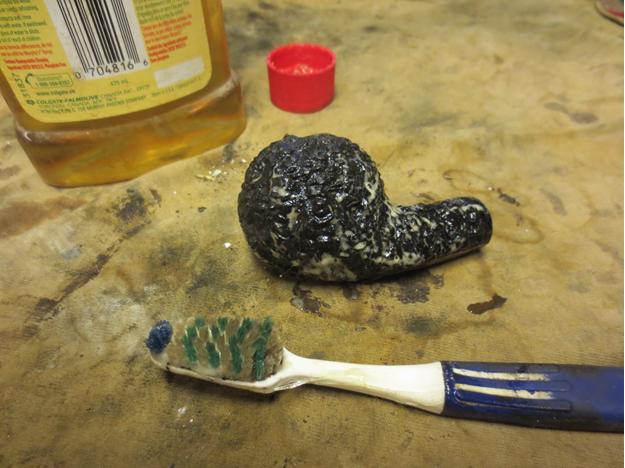
Picture 7
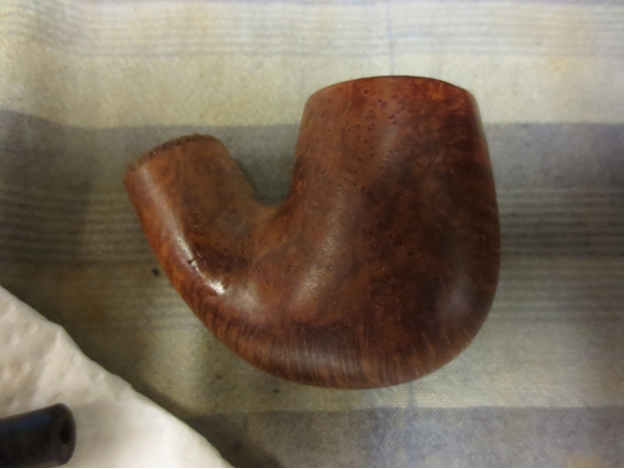
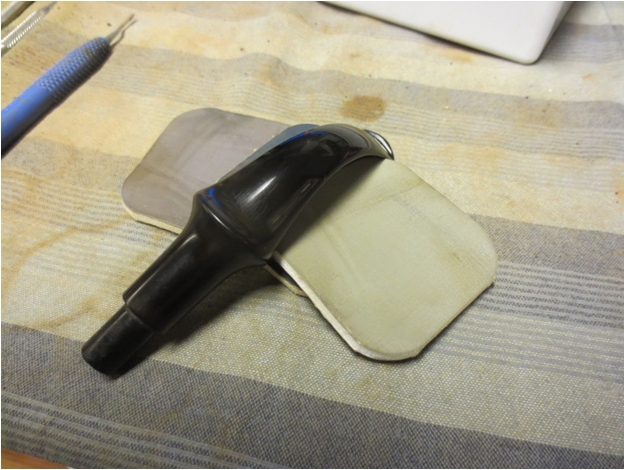
Picture 8
Picture 9
Picture 10

Picture 11
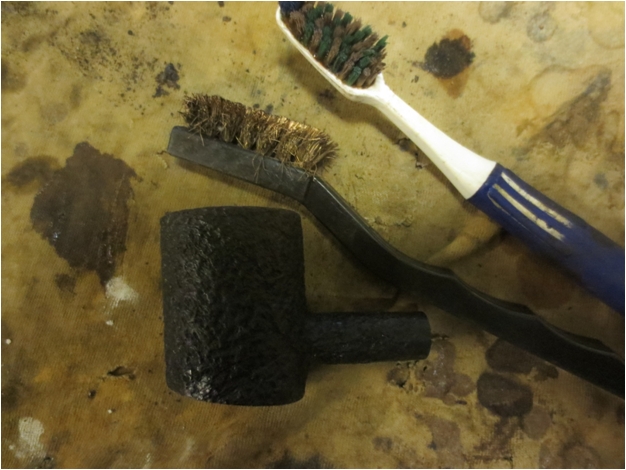
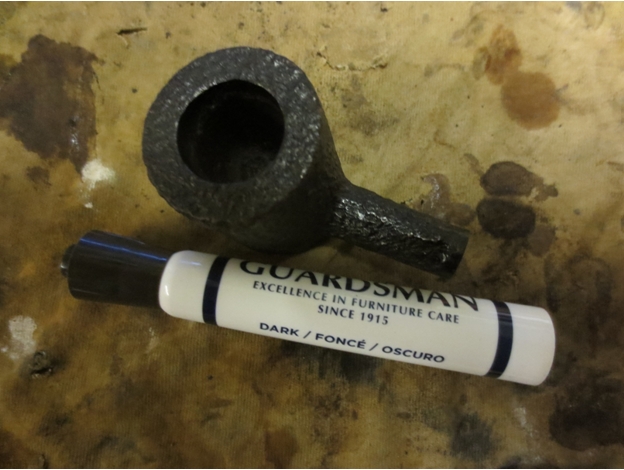
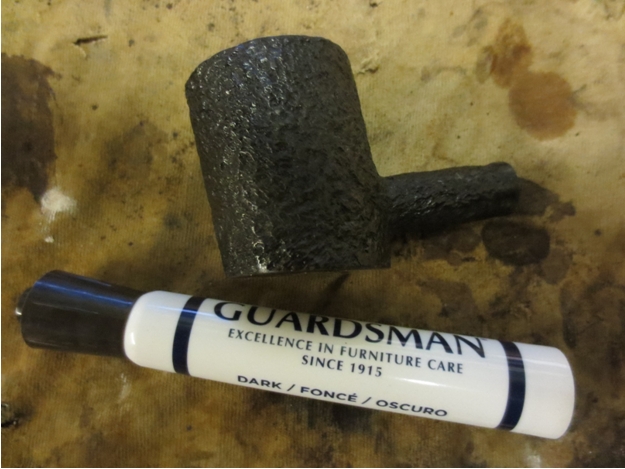
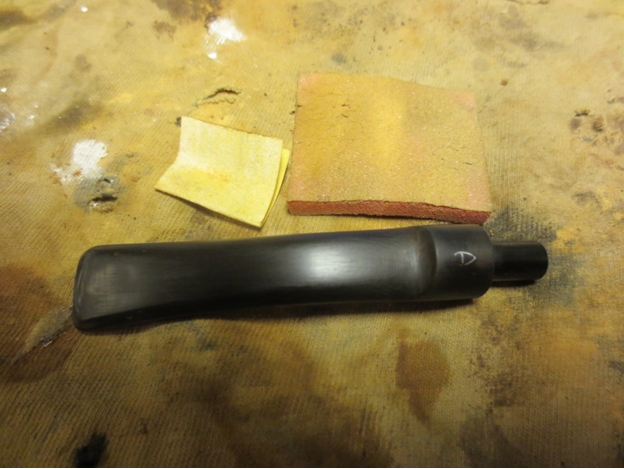
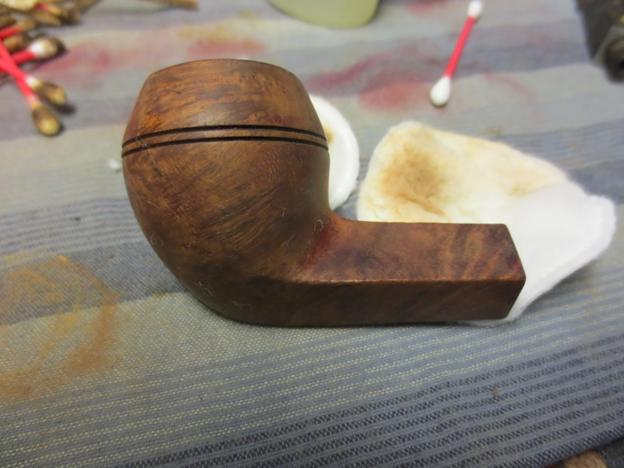
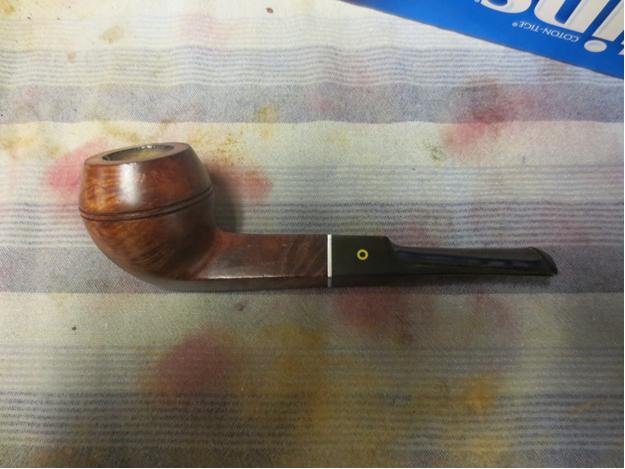
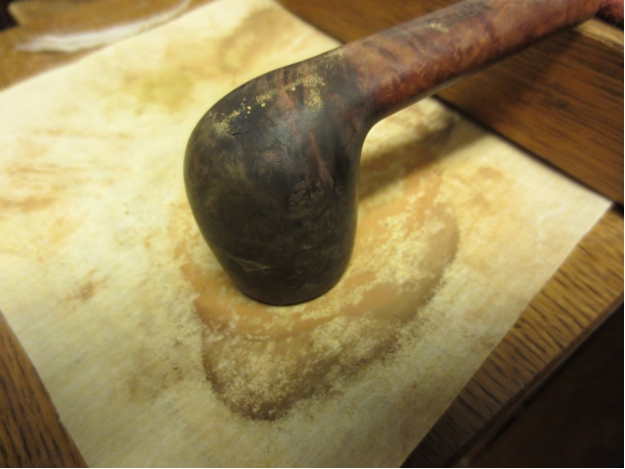
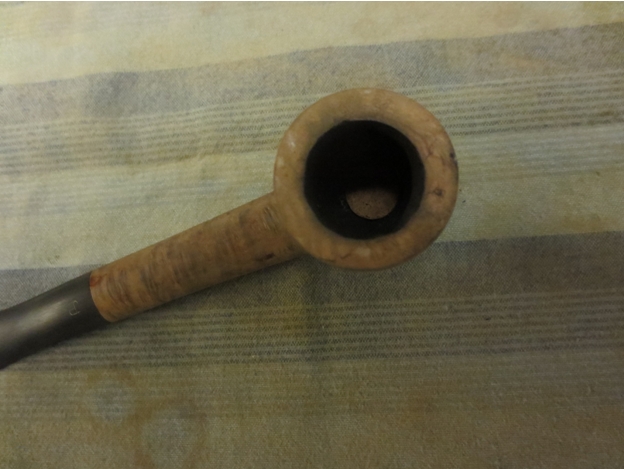
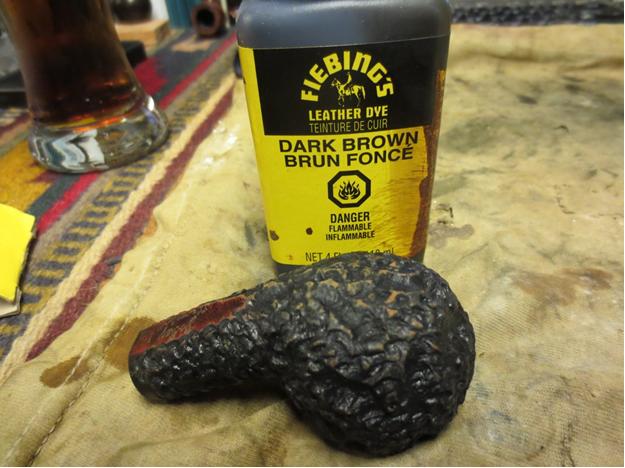
Starting the hardest part of the restore, which was pretty straightforward with nothing of special difficulty, I put my reamer to the bowl and began the process of turning it at increasing depths with great care to protect the cherry wood. Most of the top quarter-inch cleared down to the wood. The rest came in time. Altogether this stage took me about a half-hour, including the final sanding with 220-grit paper to make the chamber smooth and even all the way down.
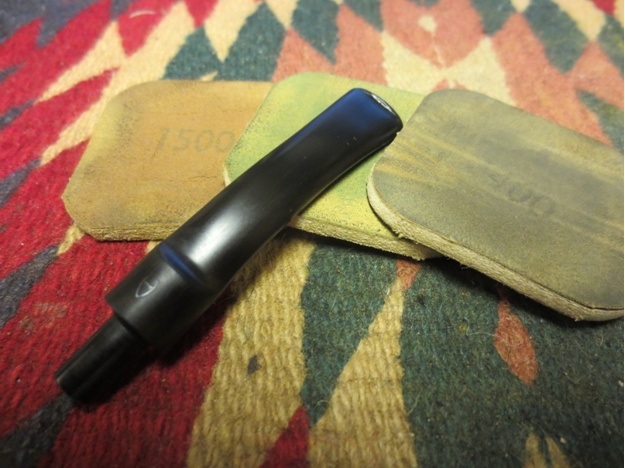
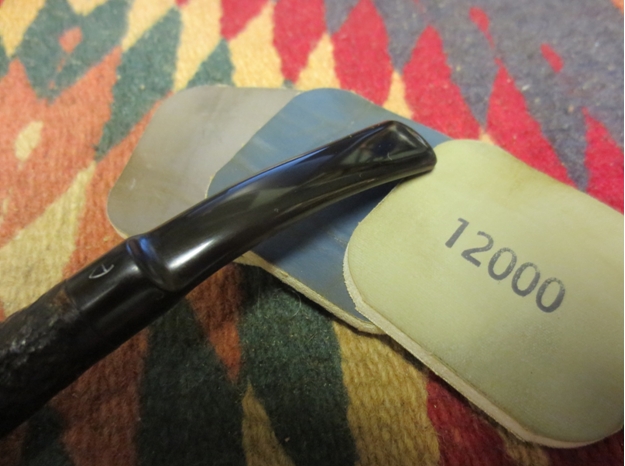
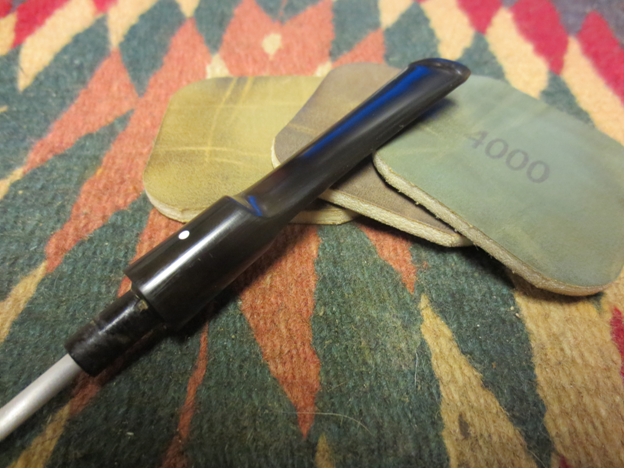
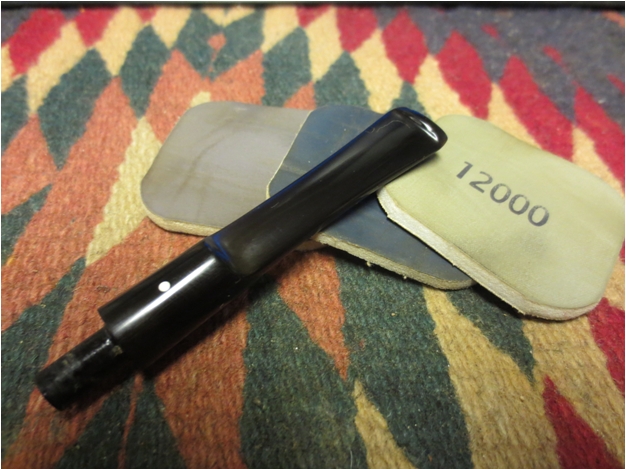
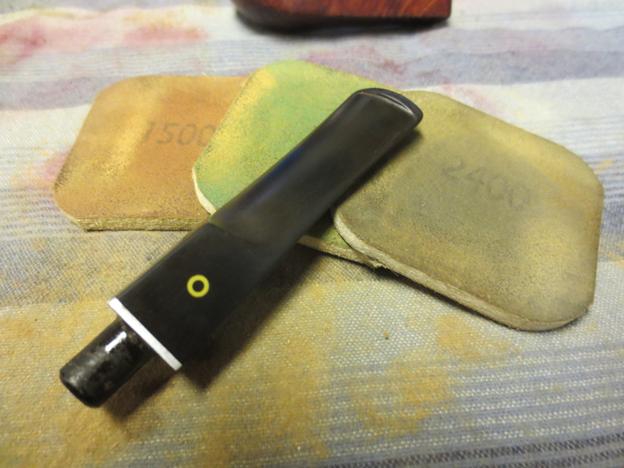
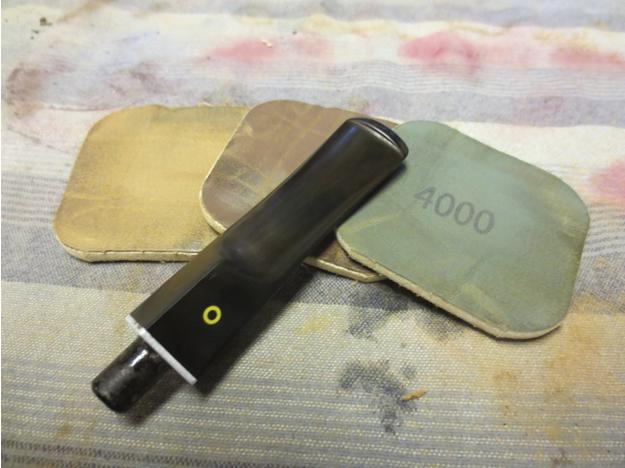
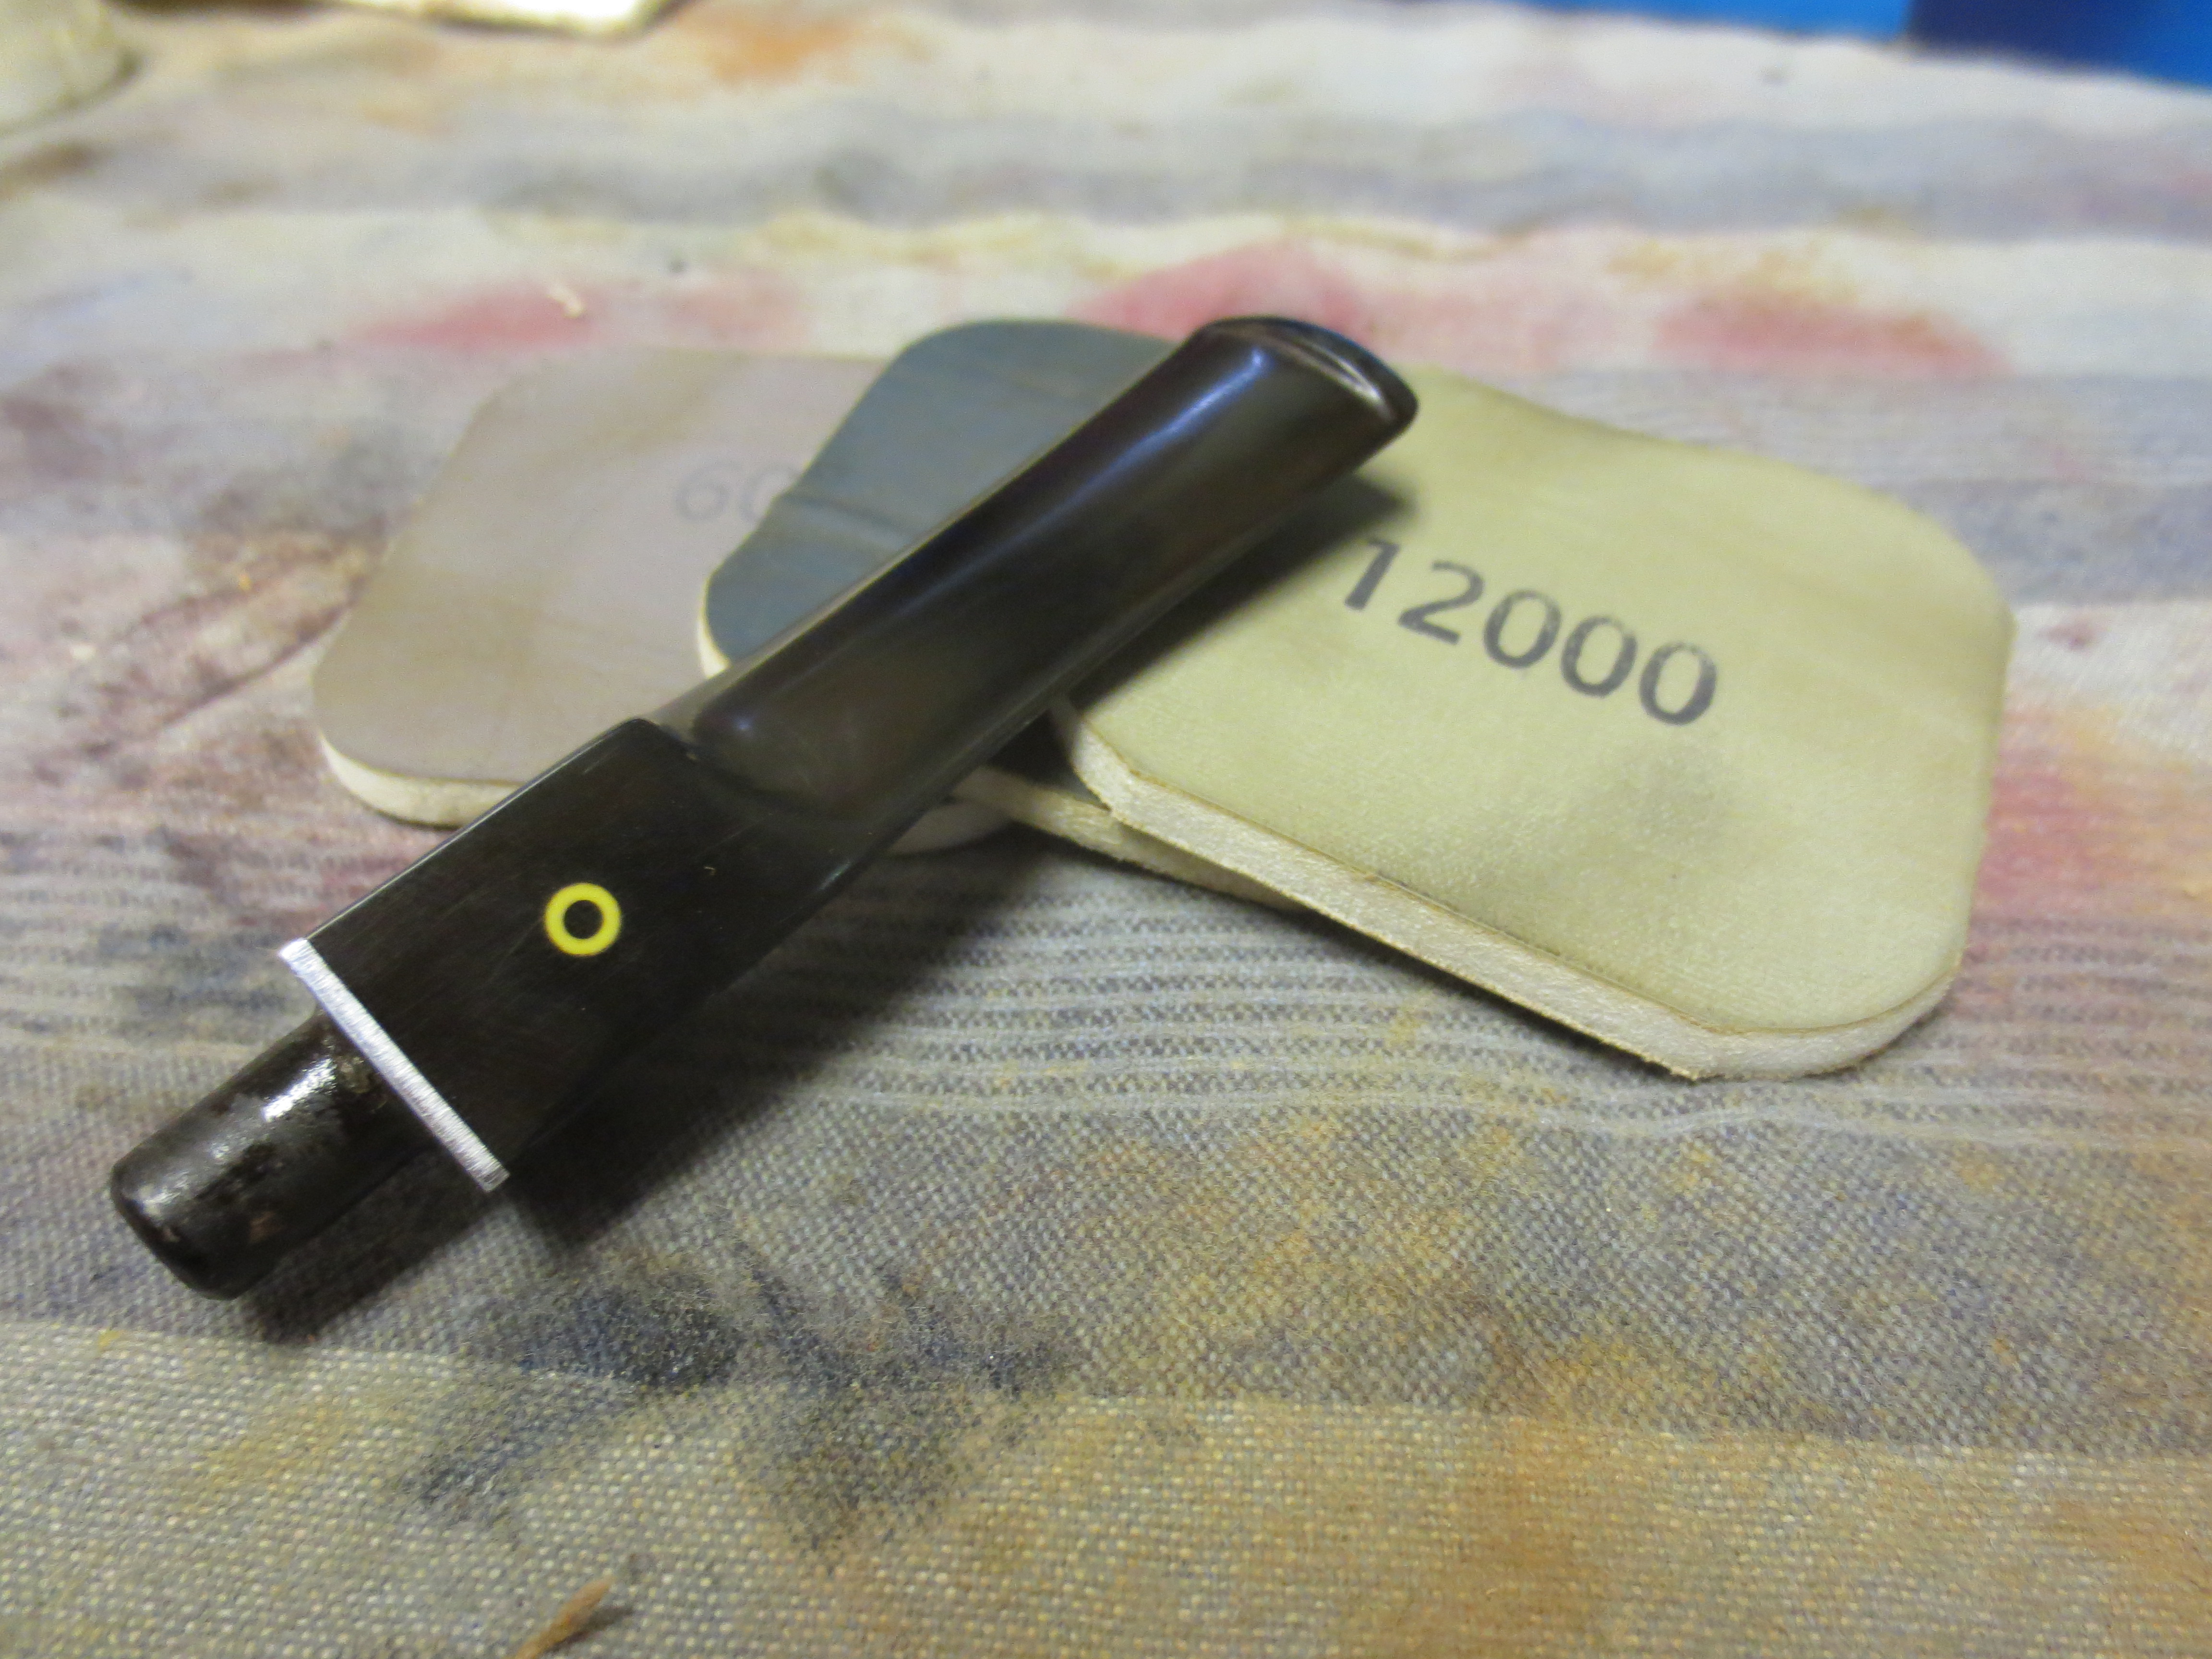
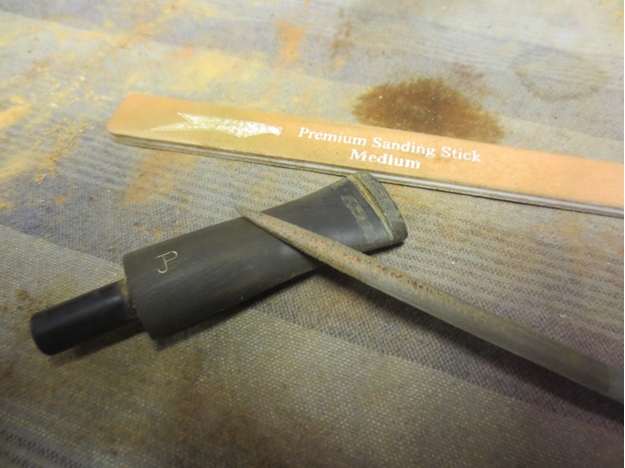
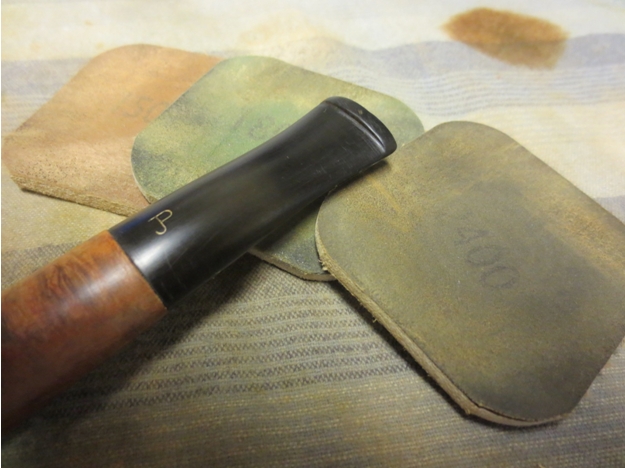
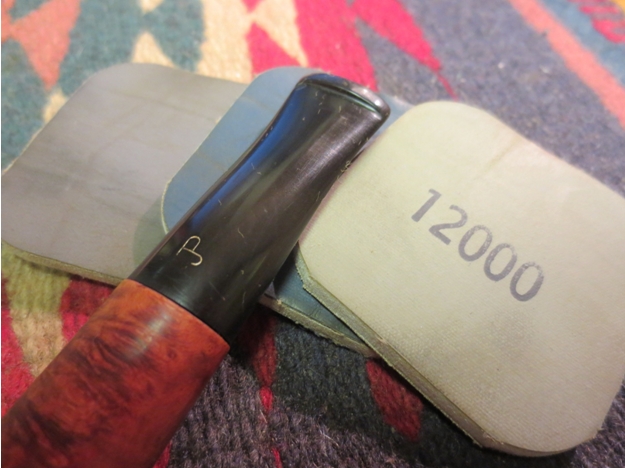
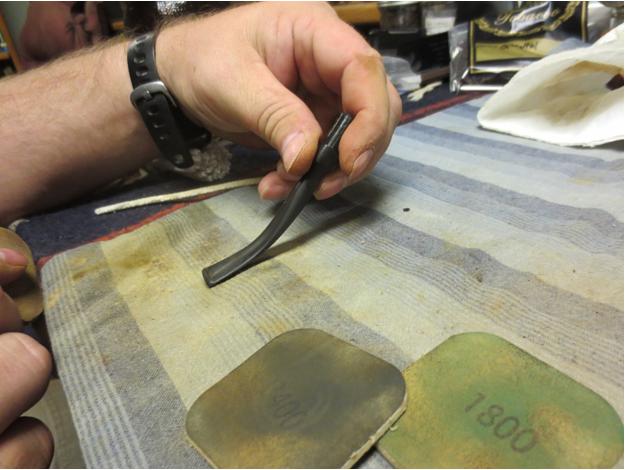
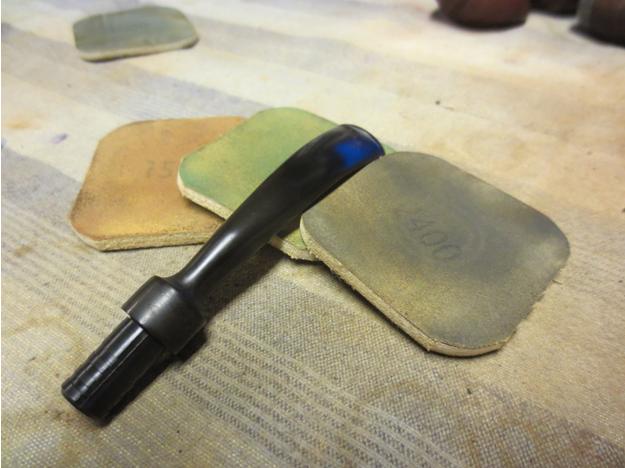
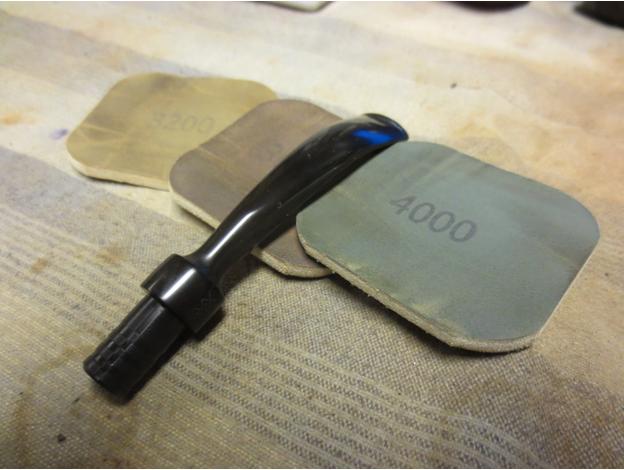
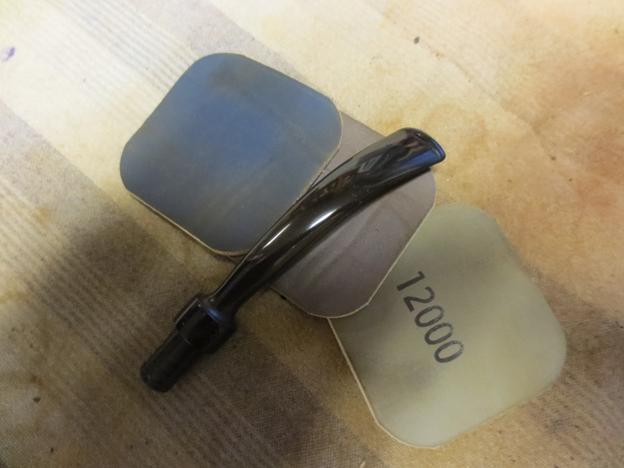
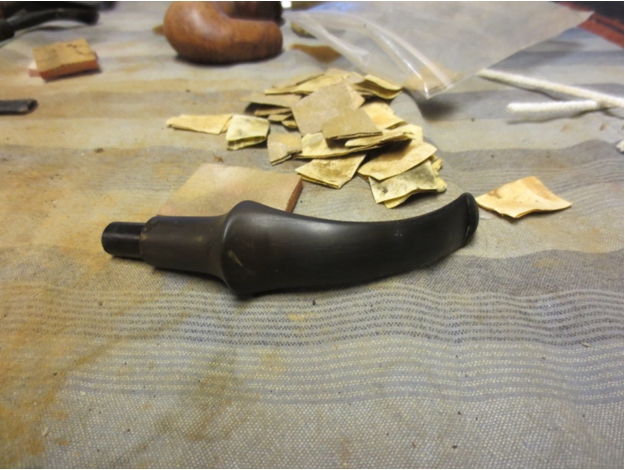
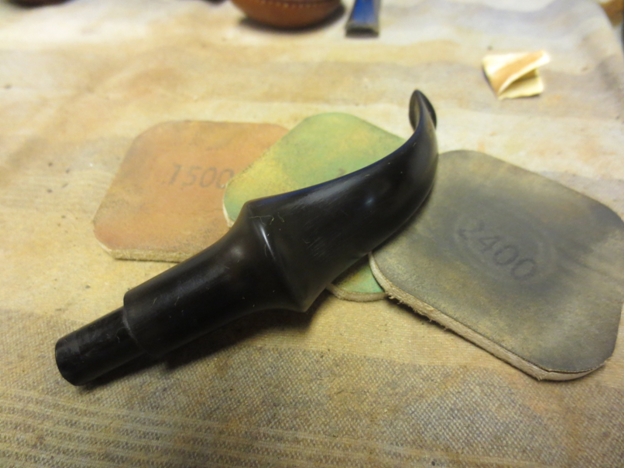
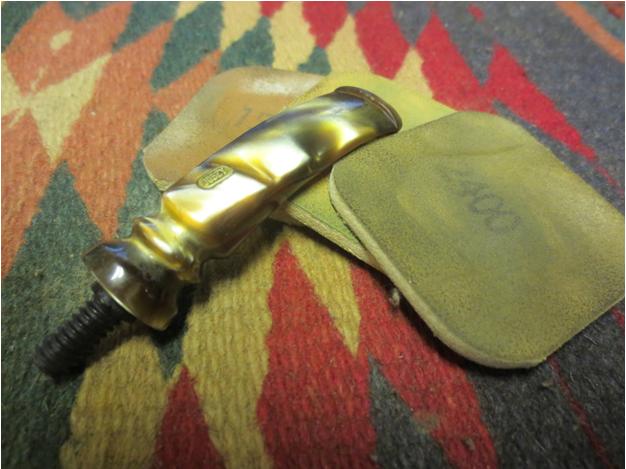
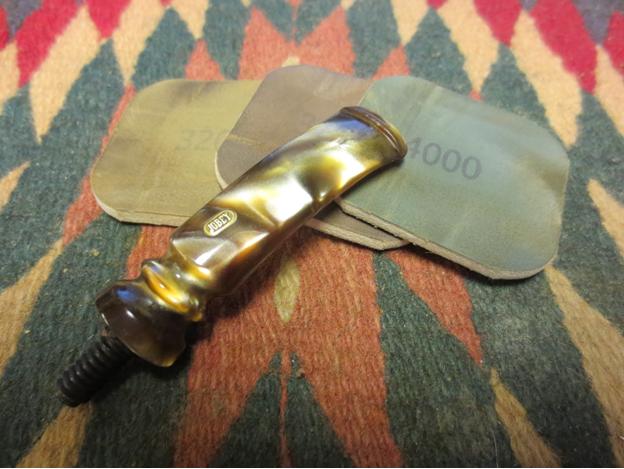
All that was left to do was finish up the scratched stem with minor chatter and the wood. I used #1500 micromesh on most of the stem and 200-grit paper for the teeth marks, and spun it on the buffers with red Tripoli and White Diamond. The shank and bowl I could have left alone, but since it was a bit duller than it could be I applied white Tripoli, White Diamond and carnauba.
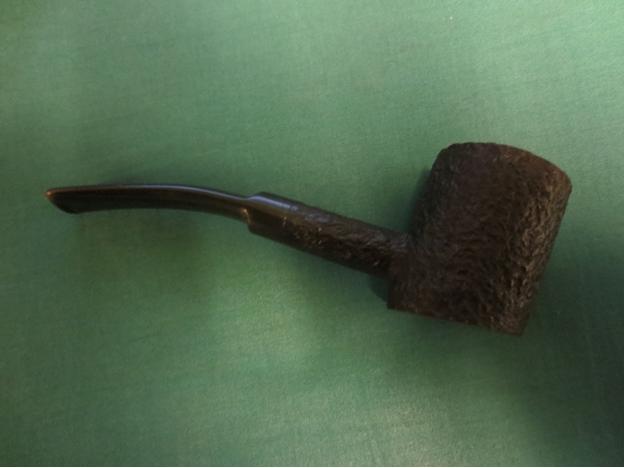
As with my De Luxe, a dab of beeswax was needed to hold the stem in place.

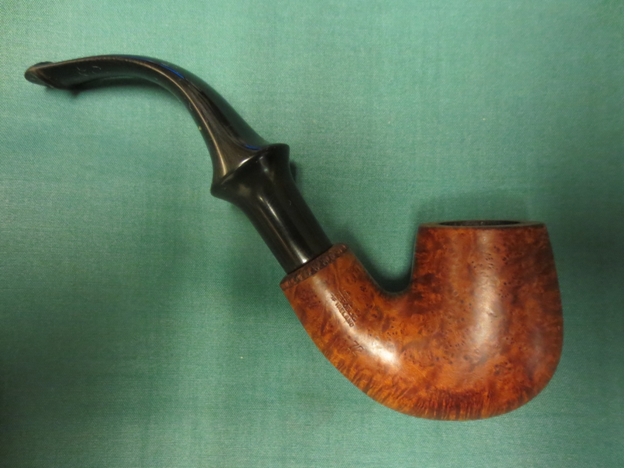
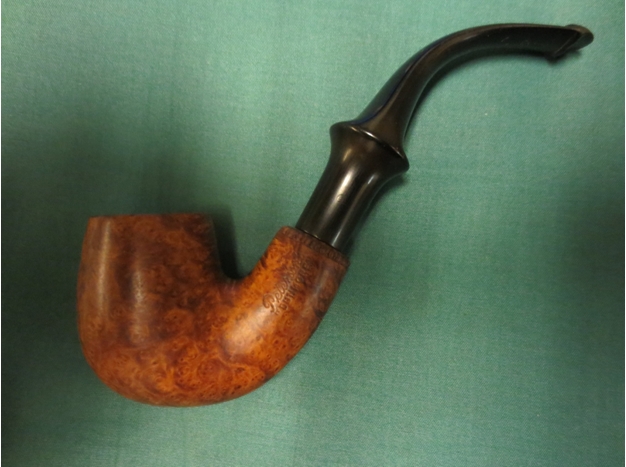
Picture 12

Picture 13
Picture 14
Picture 15

Picture 16

Picture 17
Picture 18
CONCLUSION
I figured out at last that those who enjoy pipes are complex characters, perhaps or perhaps not more so than others. As William Shakespeare, a greater writer even than Fitzgerald, had Jacques put it in “As You Like It,” Act II, sc, vii:
All the world’s a stage,
And all the men and women merely players;
They have their exits and their entrances,
And one man in his time plays many parts….
Shakespeare, who is believed to have written the play c. 1600, when he would have been about 36, knew better than anyone about the importance of action to character. He made his final exit when he was 54 – but in those days, that was common.