Guest Blog by Robert M. Boughton
Member, North American Society of Pipe Collectors
http://www.roadrunnerpipes.com
http://about.me/boughtonrobert
Photos © the Author, except when obvious
“If You’re Getting Dad a Pipe, Make It a FRANK MEDICO – HESSON GUARD MILANO…Frank Medico Is the filter-cooled pipe. Changing the filter keeps it fresh, cool, odorless. Milano has a special cushion-sealed guard. Handkerchief test proves it keeps the ‘vital zone’ spotless.”
— Newspaper Ad, 1944, http://209.212.22.88/data/rbr/1940-1949/1944/1944.06.15.pdf,pg.2
INTRODUCTION: THE SO-CALLED GOOD OLD DAYS
If that doesn’t pull your nostalgia trigger, try these other family-friendly happy piper ads, also from the 1940s and our same sponsor:

There is a reason I’m focusing on Medico ads, which will become clear, but first take as close a look at these as you can. I apologize for the sizes, but the words are unimportant, inane in fact. Take, as a further example, one short 1928 newspaper ad for the Demuth Milano with the Hesson Guard which read, “Would You Stick Your Handkerchief in the Stem of Your Pipe? This Is Possible with the ‘Metal Guard.’ It Stays Clean.” (http://news.google.com/newspapers?nid=1499&dat=19281028&id=aJVQAAAAIBAJ&sjid=siEEAAAAIBAJ&pg=1833,4407321,p.51.)
I wanted to see that trick and by chance came across a “Scientific American” ad on how to “stop goo” in the October 1950 issue with instructions to try the hankie test on a Milano Lockmount, which was a metal gadget with a “permanent” cork tip, all attached to the stem that was inserted into the shank. The ad shows a handkerchief stuffed into the empty shank and suggested it would always come out clean. (http://books.google.com/books?id=7iwDAAAAMBAJ&pg=PA26&lpg=PA26&dq=hesson+guard&source=bl&ots=mVrSmRlYxu&sig=5Z3GWlOjardFbCsE6ToDTWjdJuI&hl=en&sa=X&ei=1YIXVJeSEtDioATlzIGABw&ved=0CCMQ6AEwATgU#v=onepage&q=hesson%20guard&f=false,p.26.) My guess is that the operative word in the humongous URL is the last, “false.” What, my enquiring mind wondered, knowing what can happen to cork in pipes under the best of situations, becomes of the cork when it invariably will be saturated with goo? I, for one, do not care to think about it.
As Fred R. Barnard, himself a clever ad man,wrote in the text of one almost always misquoted example of his work in “Printer’s Ink” magazine in 1921, “One look is worth a thousand pictures.”I, for one, love these old ads, not only for their nostalgic value but their frankly corny (now) approach to selling pipes. Viewing them today we need to realize that times and life were not really simpler way back when; our advertising and entertainment were simply more diversionary tactics to deal with the horrors in the world. Who in those days wanted to see real life on the big screen or print ads? Ask the average Joe or Jane on the street that question today and you’re liable to get a litany of reality shows.
Although I am single, from what I gather of married smokers, mostly men, the wives if not the rental agreements rule the household, and so most smokers seem to enjoy their extramarital love affairs out of the home. A few, including our good host Steve, apparently just enjoy it more in the great Canadian outdoors, for example, as I would if I had the rural setting to accommodate my inclination. It’s dangerous enough where I live just to check the mail, so for me “outdoors” means driving my SUV about town with the doors auto-locked, a pipe in my mouth and the sun roof open.
But again, really take a good look at the classic expressions on the faces of the men and women in these ads – unadulterated agreement, if you will indulge perhaps only a fanciful imagination, that the pipe is no problem, so long as it has the vital filter space. Ah, yes, we all know the importance of that special spot. And get a look at the wide-eyed, half-crazed, sideways, Renfield-like peek of utterly tweaked fulfillment on the man’s face in all three, not to mention the “Better Homes and Gardens” Housewife of the Year leer from the woman that gives one the idea that she knows who the real boss in the house is anyway. Why, the man’s expression not only brings to mind Dracula’s bat-nuts servant played so memorably by Dwight Frye in the 1931 horror pinnacle for Bela Lugosi (the only real Dracula movie ever made), it’s even reminiscent of the 1936 cult classic movie, “Reefer Madness,” which with more than a little irony is seen today as the nonsense it is more than public and legislative attitudes aimed at the childish belief that outrageous taxes will eliminate smoking tobacco of any kind, no matter how contemplative and rarefied.
Happily, this brings me to one of my important points. The very word rarefied, in the sense of refined or purified, describes my new friend and fellow pipe club member, Laurence H. Lattman, Ph.D. Had I met Dr. Lattman under different circumstances, or even known when I met him a month or so ago that he earned the degree in geology at the University of Cincinnati with a special knack for geomorphology, I would follow my general urge to refer to him as such.
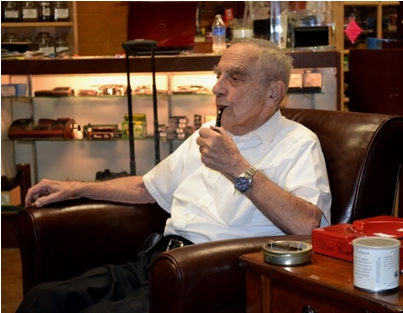
Larry Lattman, Honest-to-God Old Codger
His honors include the Penn State Distinguished Teaching Award in 1969, a Fulbright Professorship at Moscow State University in 1975, the American Institute of Mining, Metallurgical, and Petroleum Engineers’ (M.I.M.E.) Mineral Industry Education Award in 1986, as well as being a Fellow of the Geological Society of America and a 1981 Distinguished Member of the Society of Mining Engineers. His consultations to organizations and governments worldwide, including the National Academy of Sciences in the U.S., are prolific.
Therefore, of the many very intelligent people with doctorates in this or that whom I have met in my life, surely Dr. Lattman deserves the distinction, and I’m sure that is what his scores of students over the decades he has been an educator call him. To anyone who knows the excellent engineer and geologist better, however, he goes by Larry – just Larry, not even Mr. Lattman. Like most folks, Larry enjoys a good joke, but unlike most, he has a seemingly countless collection from which he can draw at any moment given the trains of thought of those around him, which are often numerous and fast-paced and drawn to the teacher as I imagine he attracts his students. I will not quote any of Larry’s jokes here for various reasons.
Something else special about Larry, and that touches on the purpose of this writing, is that he is 90 years old. This means he has survived being born in the Bronx, New York on November 30, 1923, when the’20s were just starting to Roar, living his formative years during the Great Depression, seeing Prohibition come and go, enlisting in the Army Corps of Engineers when he was 20 and serving the last two years of World War II – all by the time he was barely able to drink legally with today’s standards and morals in this country.
Still, the first thing I can remember Larry saying was, “I smoked my first pipe when I was 18, and FDR was president.” That’s Franklin Delano Roosevelt, the 32nd president of the U.S. and the only one to be elected more than twice (four times: 1932, 1936, 1940 and 1944), before the 22nd Amendment to the Constitution was passed by Congress in 1947 and ratified by the states in 1951.
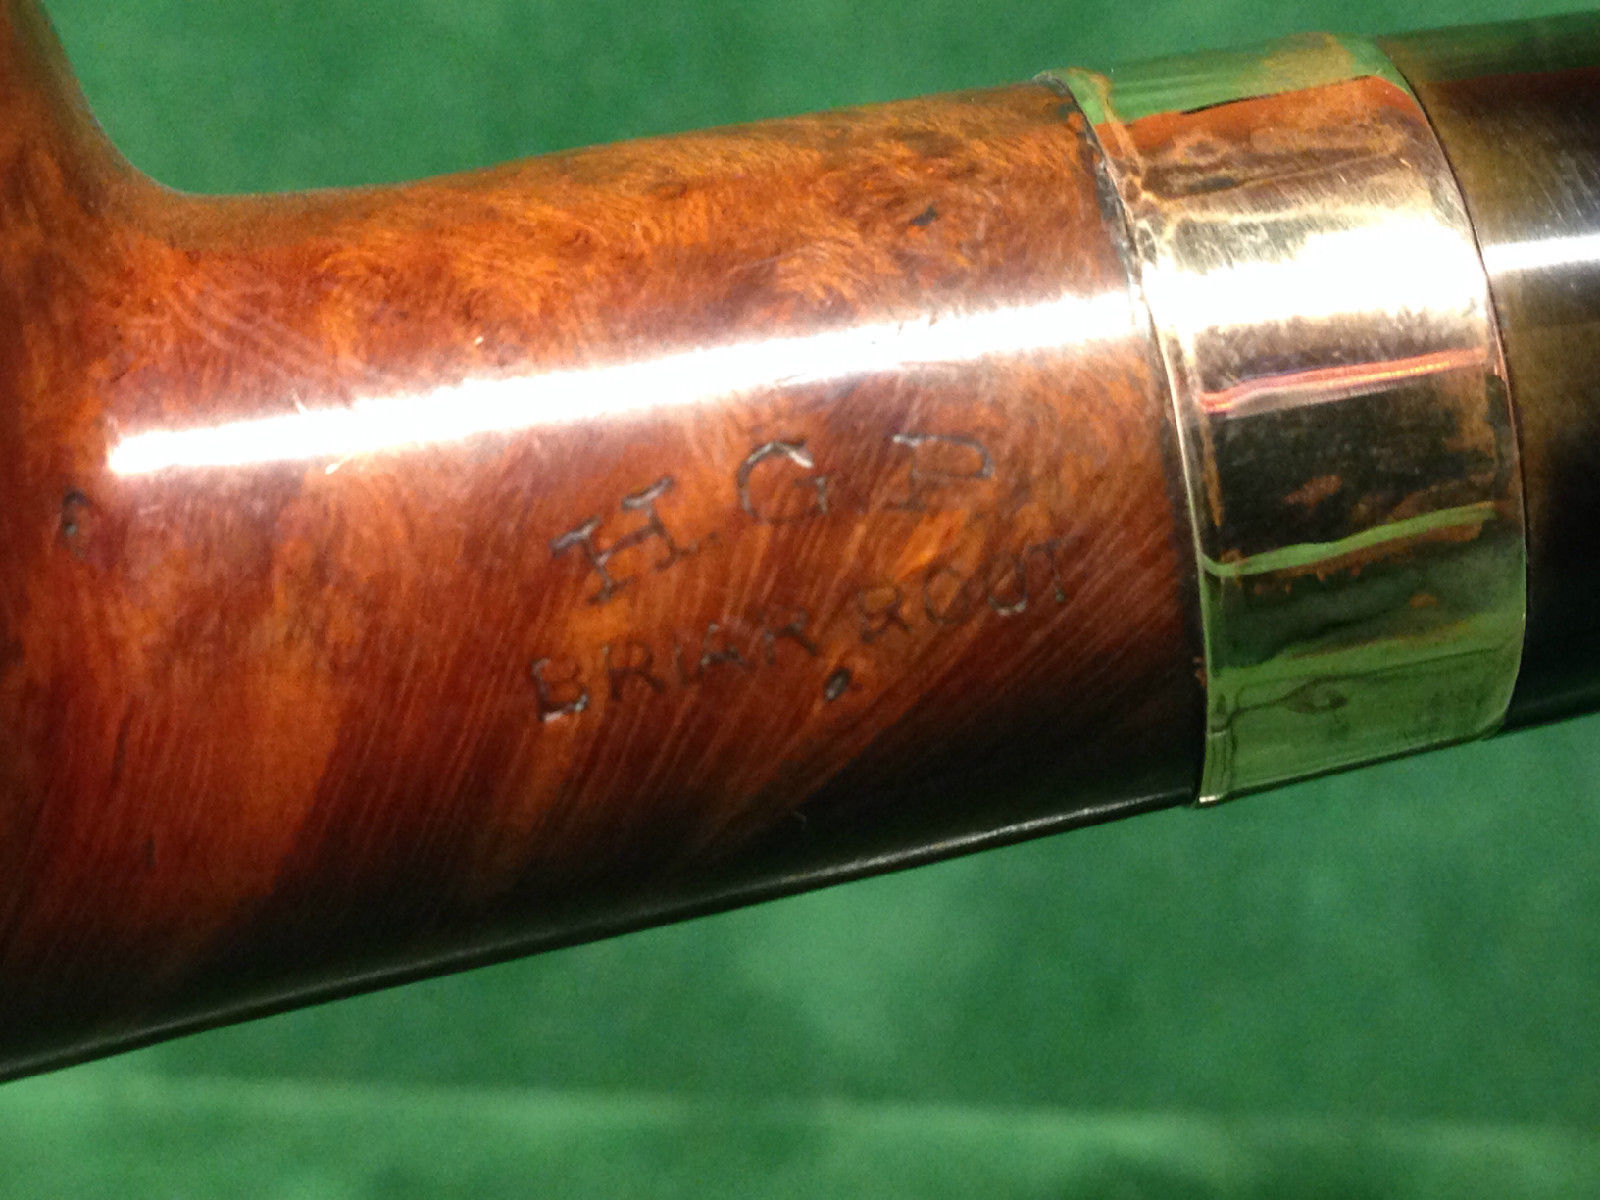
“I smoked my first pipe when I was 18, and FDR was president.” I will never forget those words. To me, as I suspect is true with most others, they are as hard to imagine as an email sent to me by Larry would have been for him when he was that 18-year-old. As he recalls the occasion of his first pipe experience, it was a rum and maple blend in a Frank Medico filter model that he says was similar to the Medico Harwood Gold Crest most prominent in the second ad above. He added that, during the time at his resume of universities, he “puffed pipes off and on accumulating a group of Dunhills and four dot Sasienis (including a group of seven matched ones in a box with each day of the week specified.)” After a hiatus of about 20 years, Larry continued in the email, he “began to puff in earnest.” Few know the importance of being earnest better than Larry.
Now I will flashback to 1943, when young Larry joined the military to do his part for Uncle Sam and the world. The Mills Brothers’ “Paper Doll” was No. 1 on Billboard, and Rudy Vallee and His Connecticut Yankees’ “As Time Goes By” was No. 11. (In case you wondered, I added No. 11 because it happens to be one of my favorites.) The U.S. population was 136,739,353, and unemployment was 1.9 percent (compared to 318,860,010 and 6.1 percent as of this writing). FDR’s Social Security aspect of the New Deal was meant to be a temporary fix, not permanent. The price of a stamp was three cents. Federal spending, most of it because of the war, was $78.56 Billion instead of today’s $3.8 Trillion (although at the inflation rate of 1,277.2 percent compared to 1943, federal spending then would have been $1.1 Trillion, but that’s still no excuse for either). The New York Yankees won the World Series, of course, 4-1 against the St. Louis Cardinals. FDR and Britain’s Winston Churchill held the Casablanca Conference, and the movie “Casablanca” with Humphrey Bogart and Ingrid Bergman, which was released the previous year, was still in theaters because there was nowhere else to see it. THAT ALONE SHOULD BLOW OUR MINDS! BTW (from the new invention that made Larry’s email possible), “Mrs. Miniver,” with Greer Garson and Walter Pidgeon, won the Oscar for Best Picture. Where have all the greats gone?
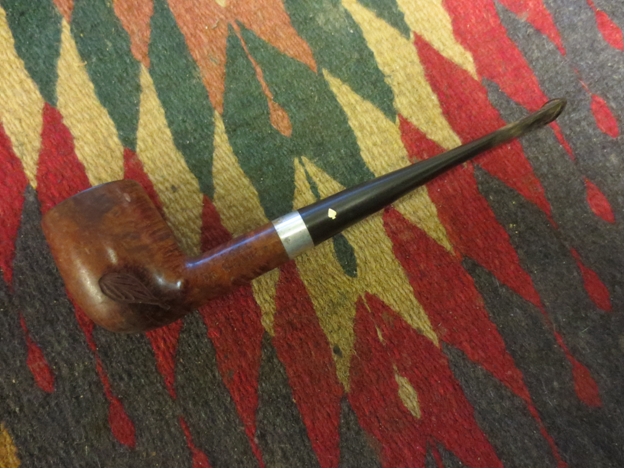
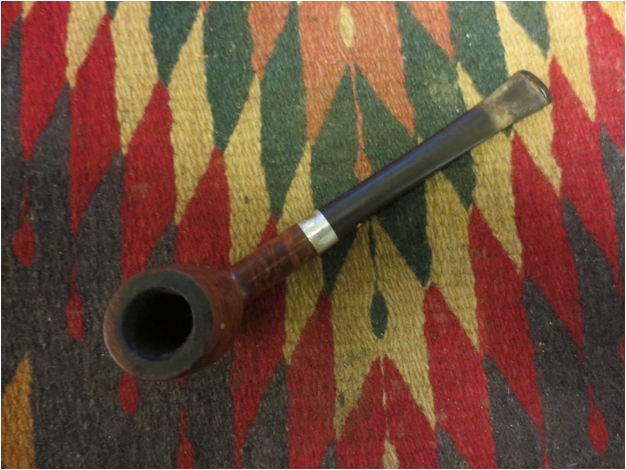
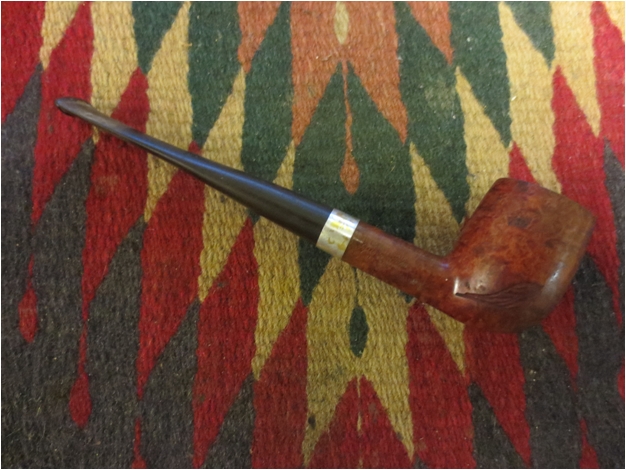
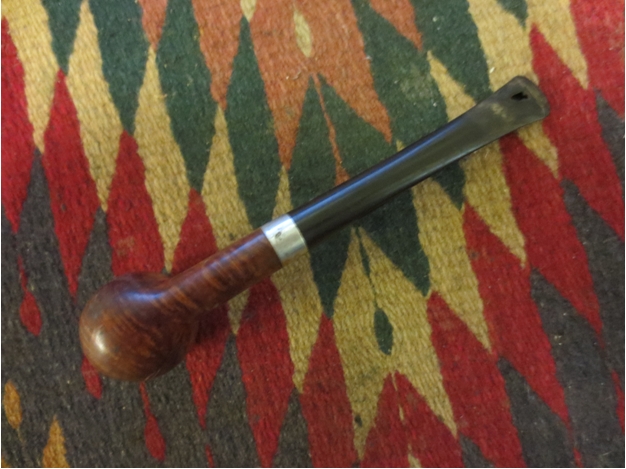
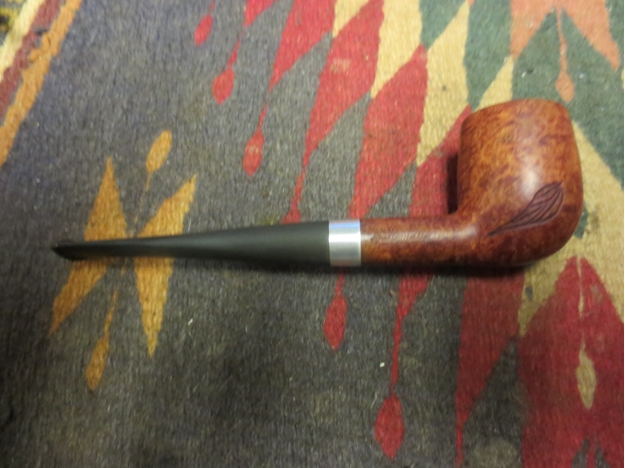
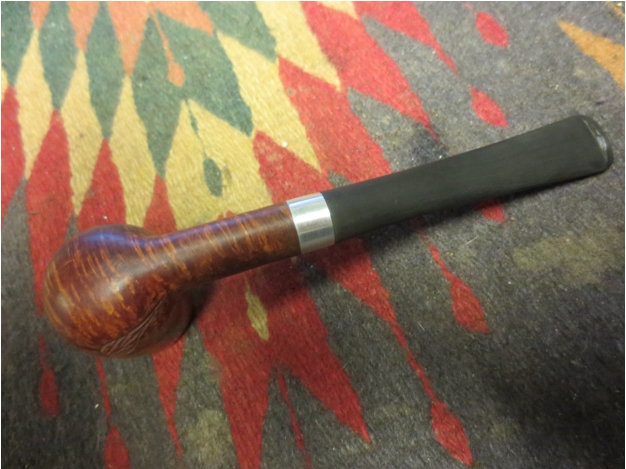
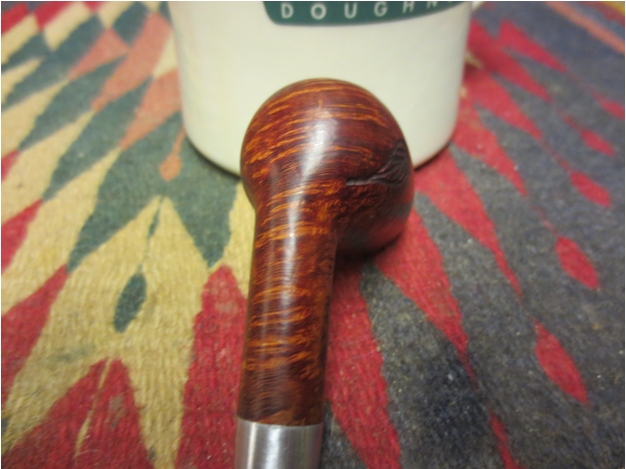
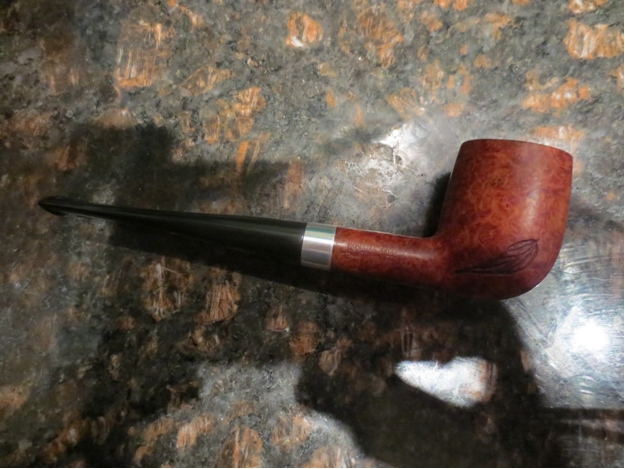
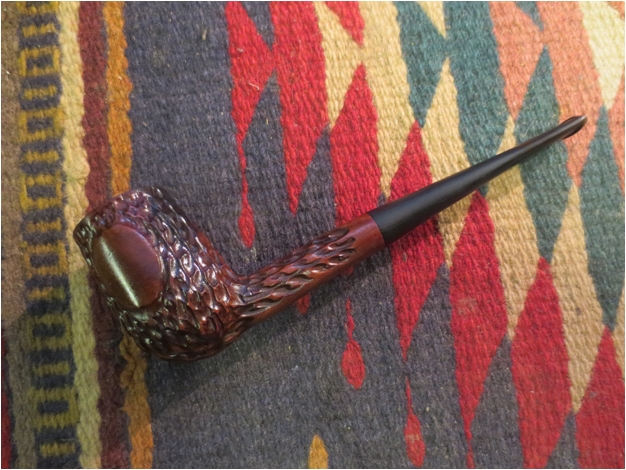
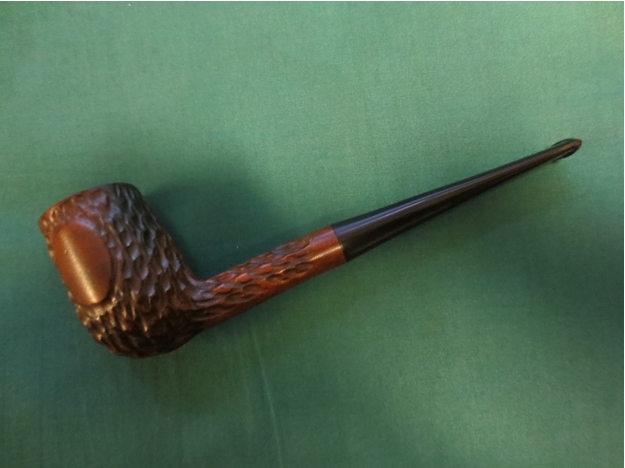
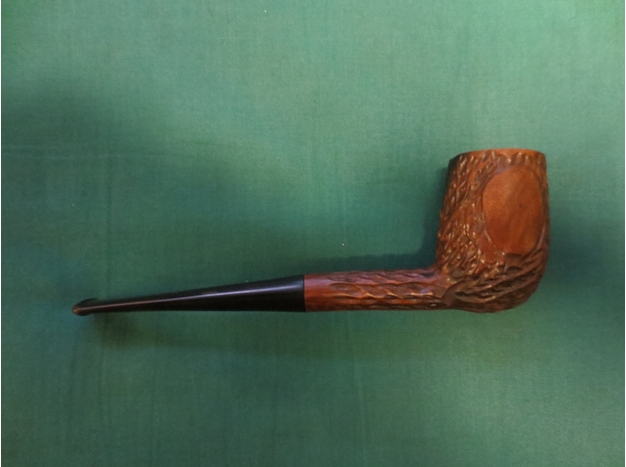
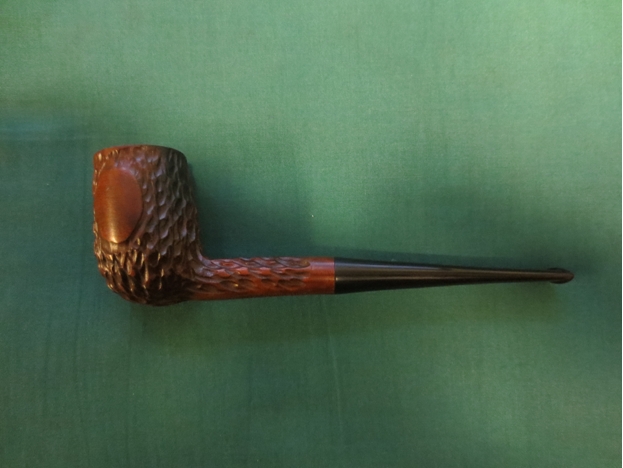
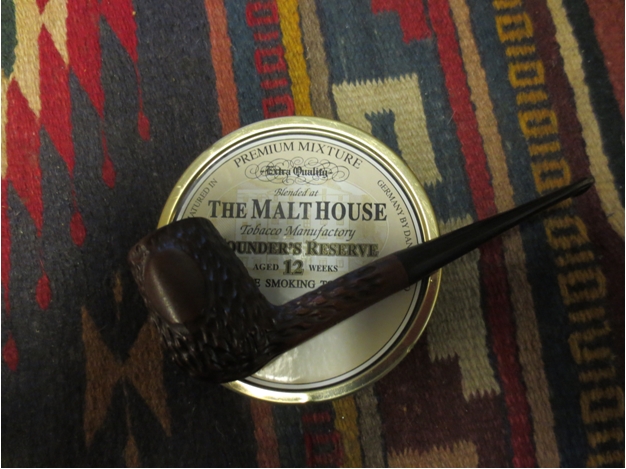
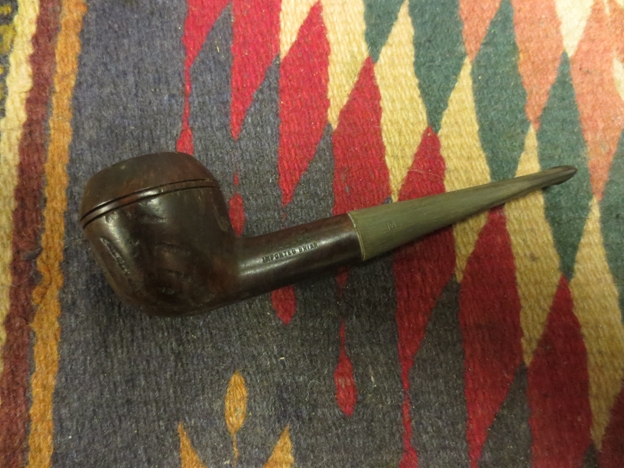
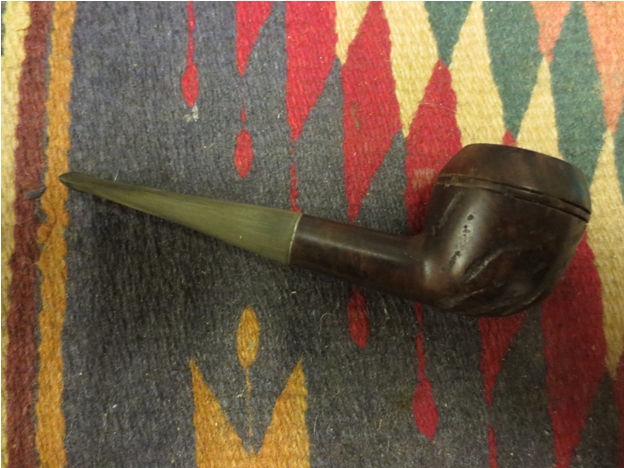
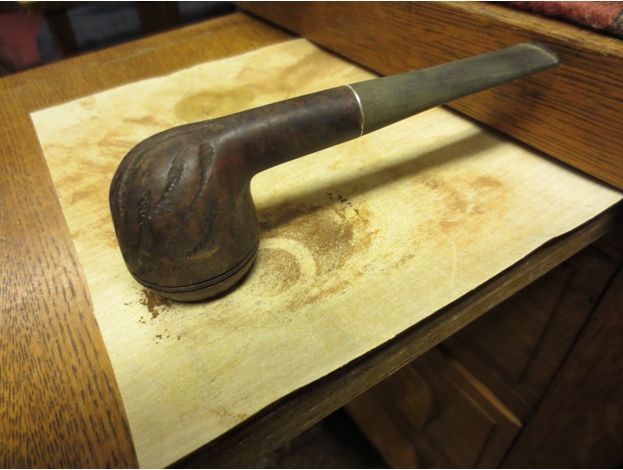
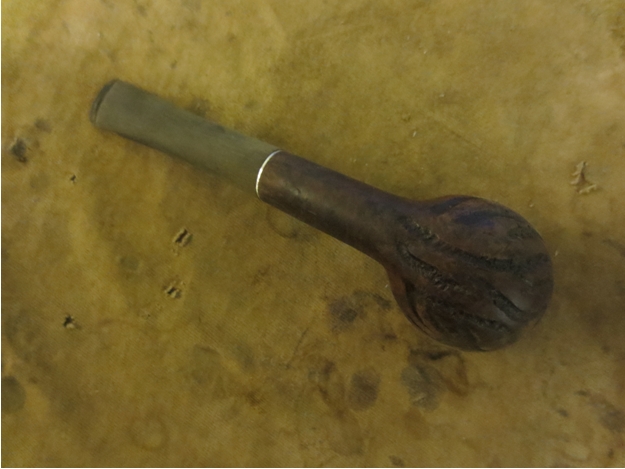
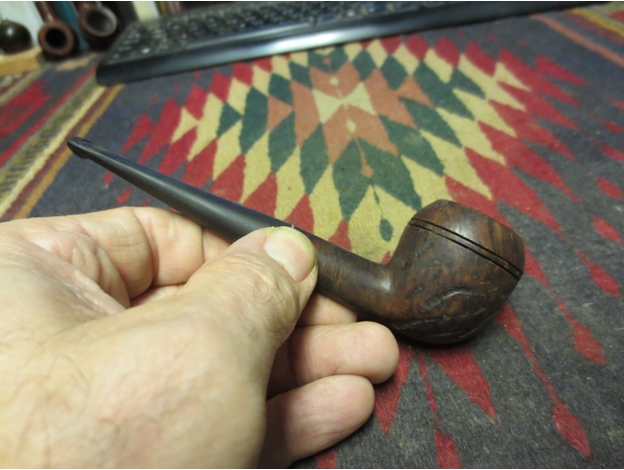
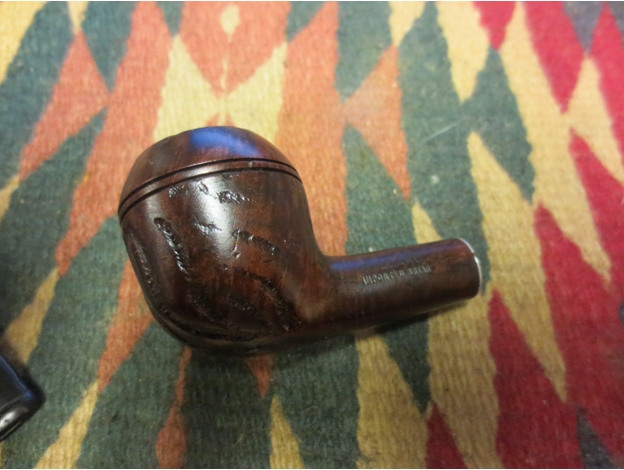
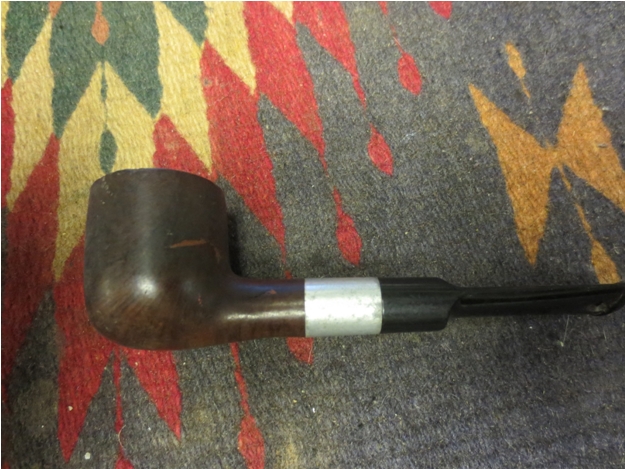
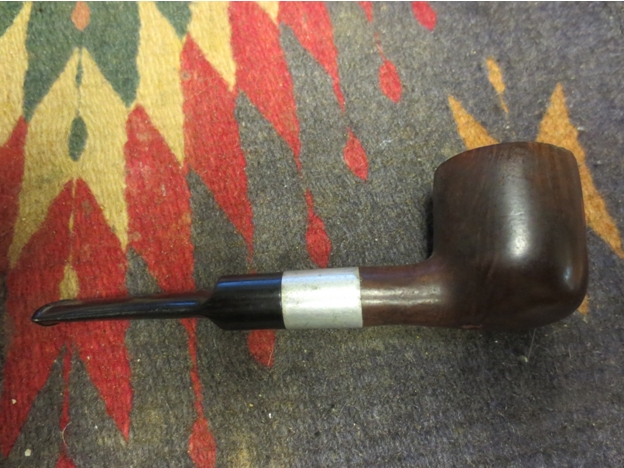
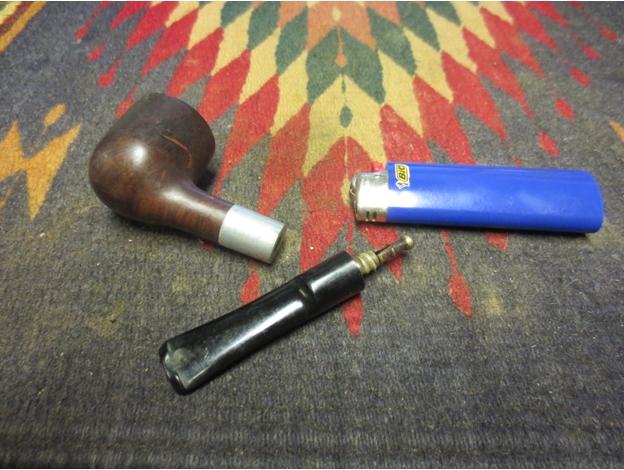
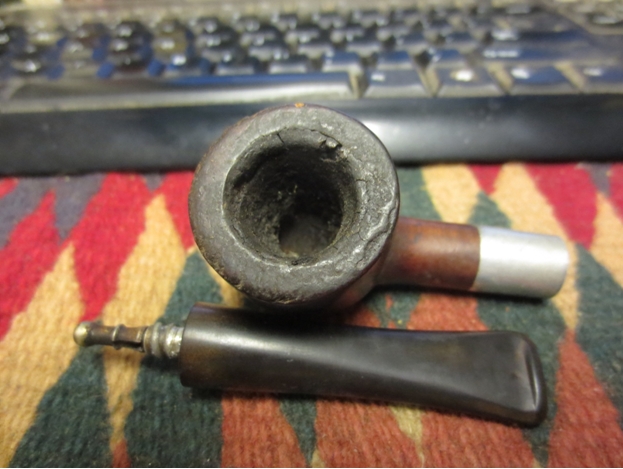
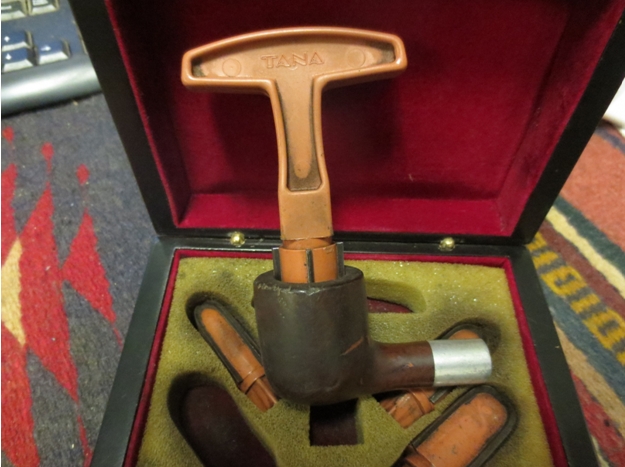
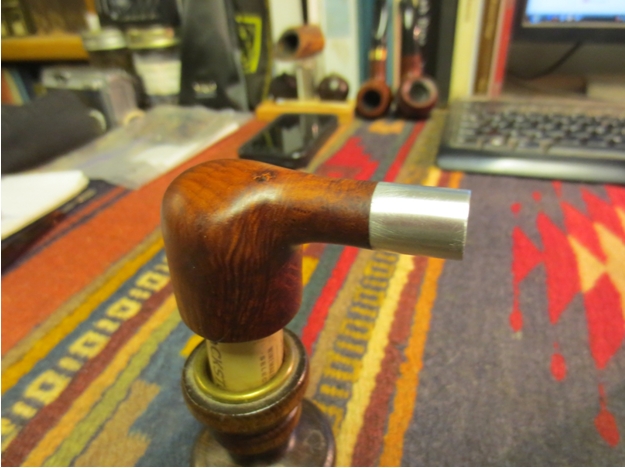
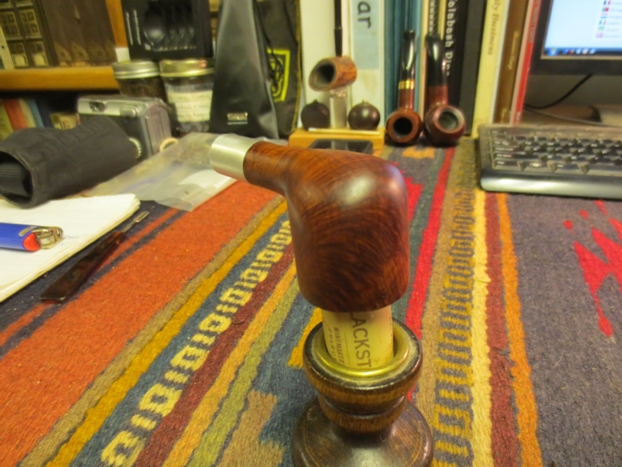
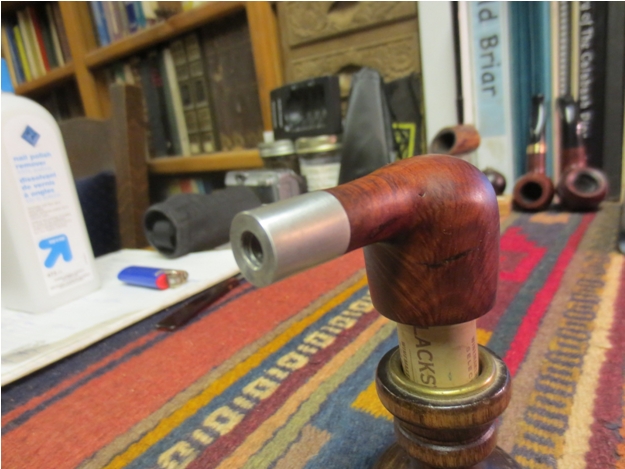
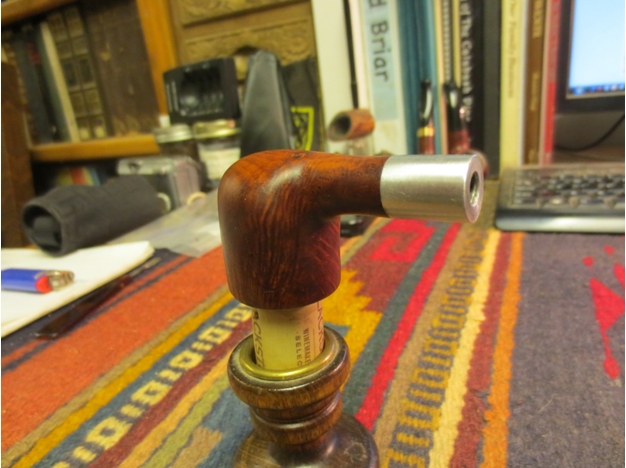
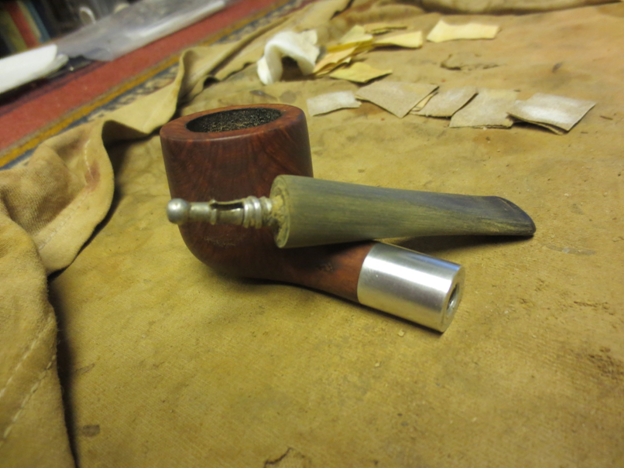
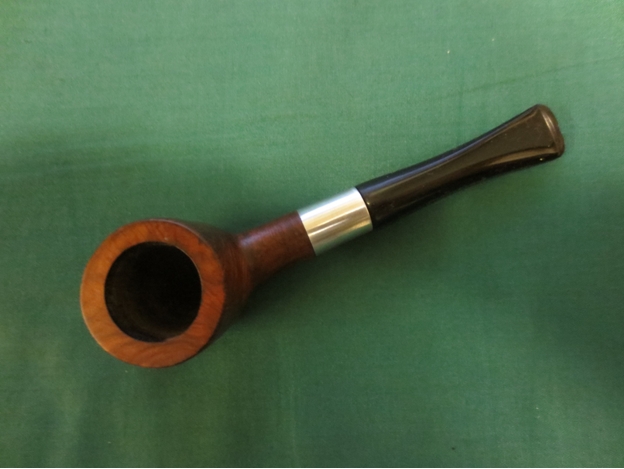
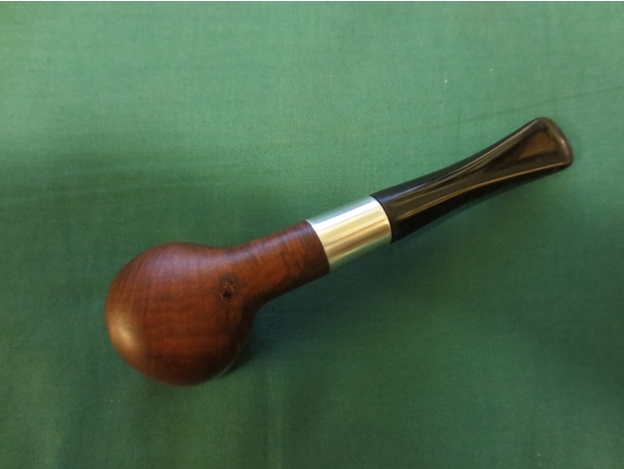
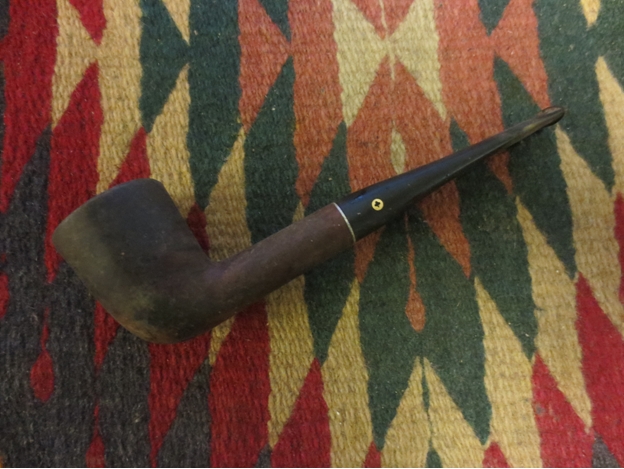
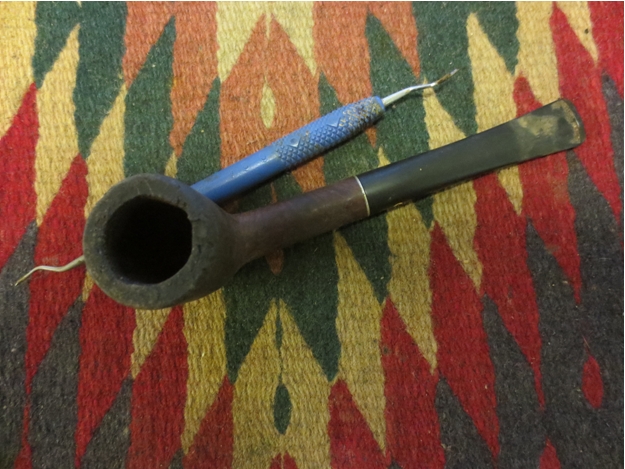
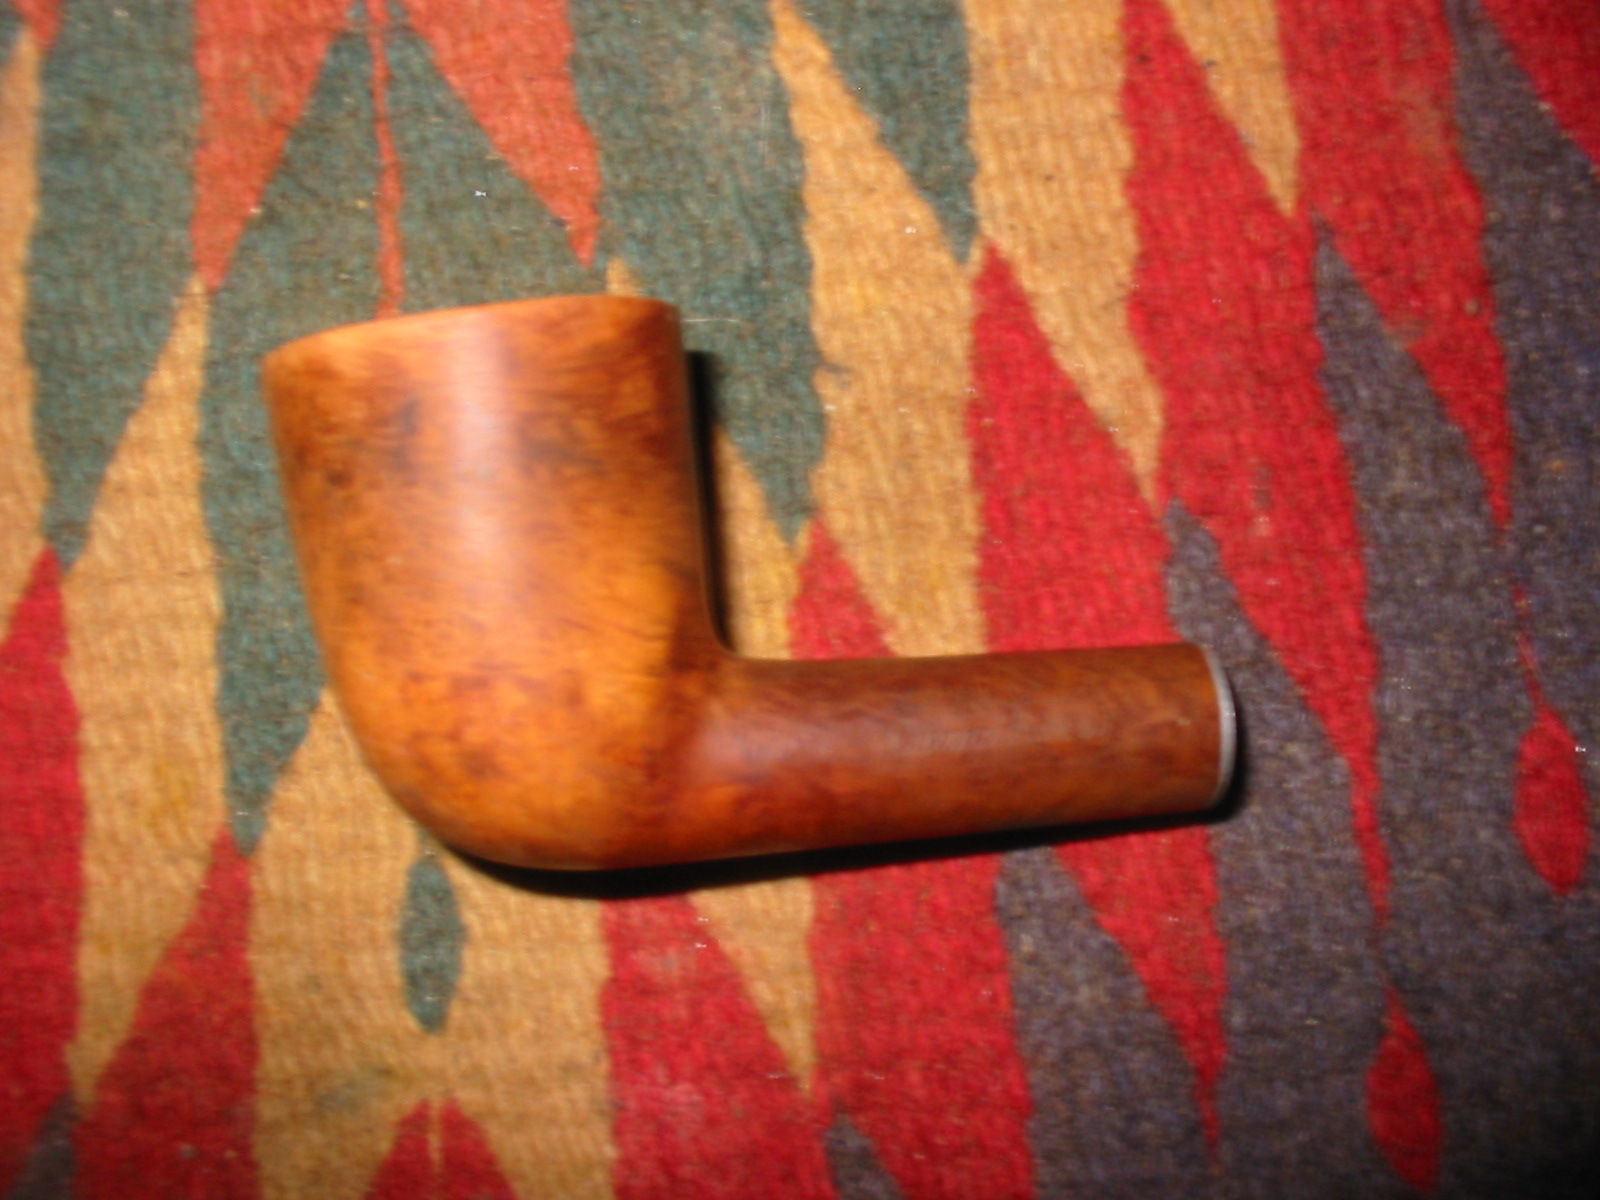
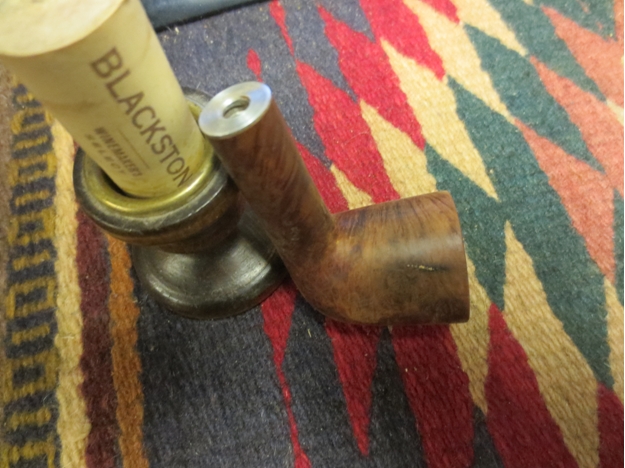
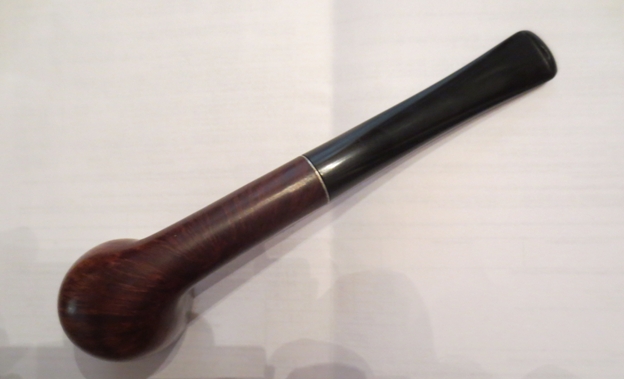
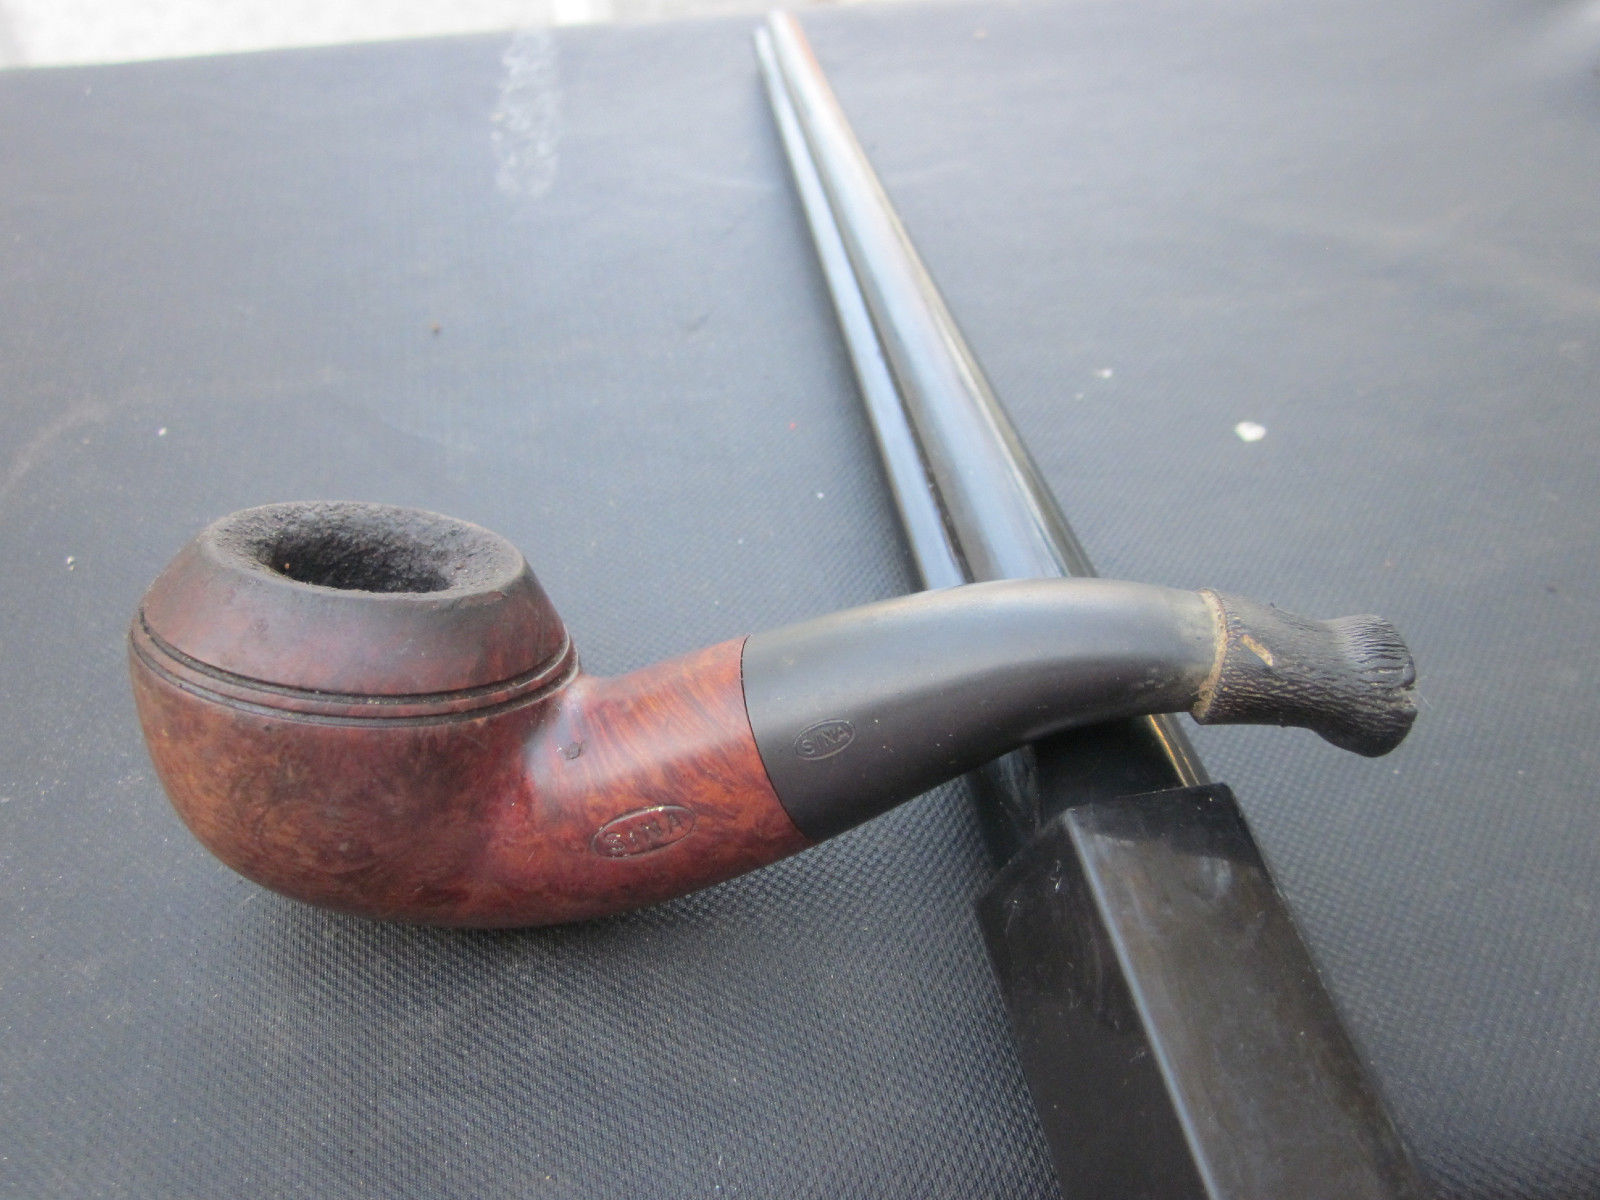
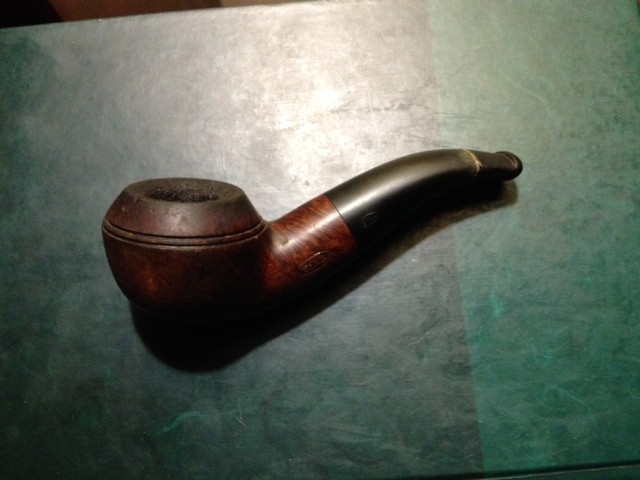
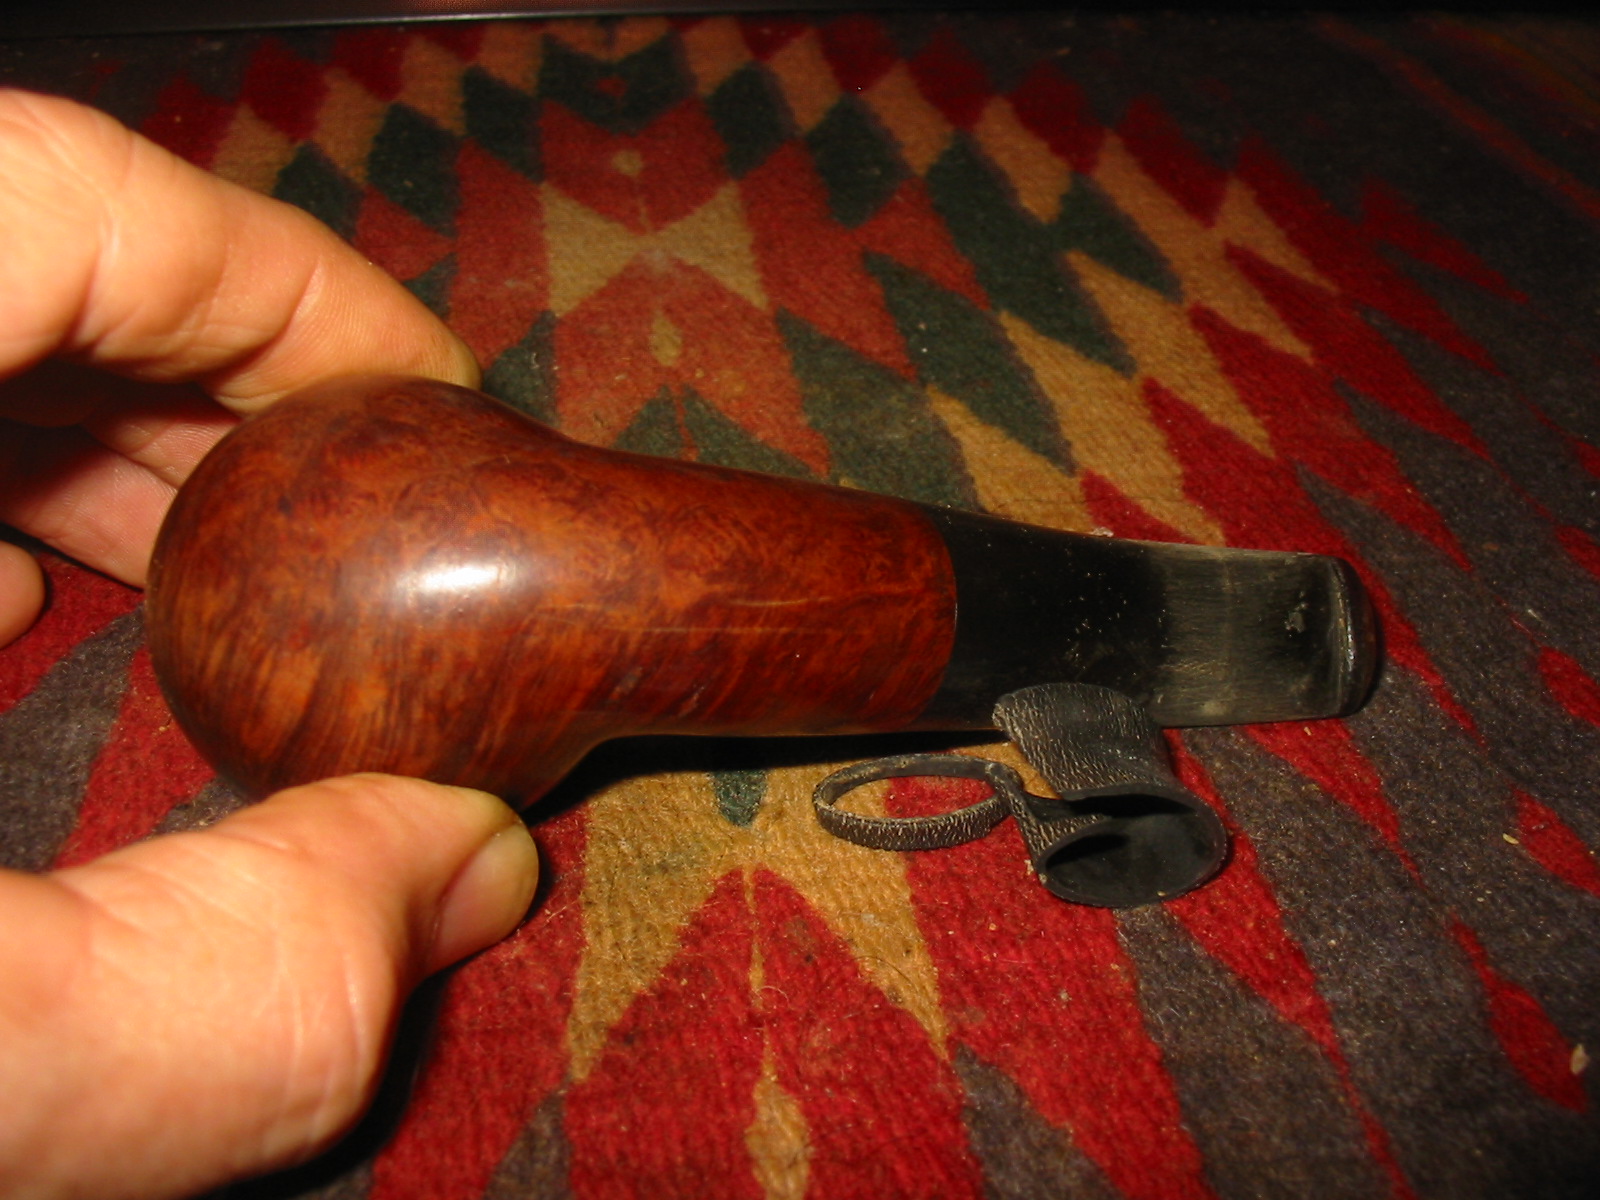
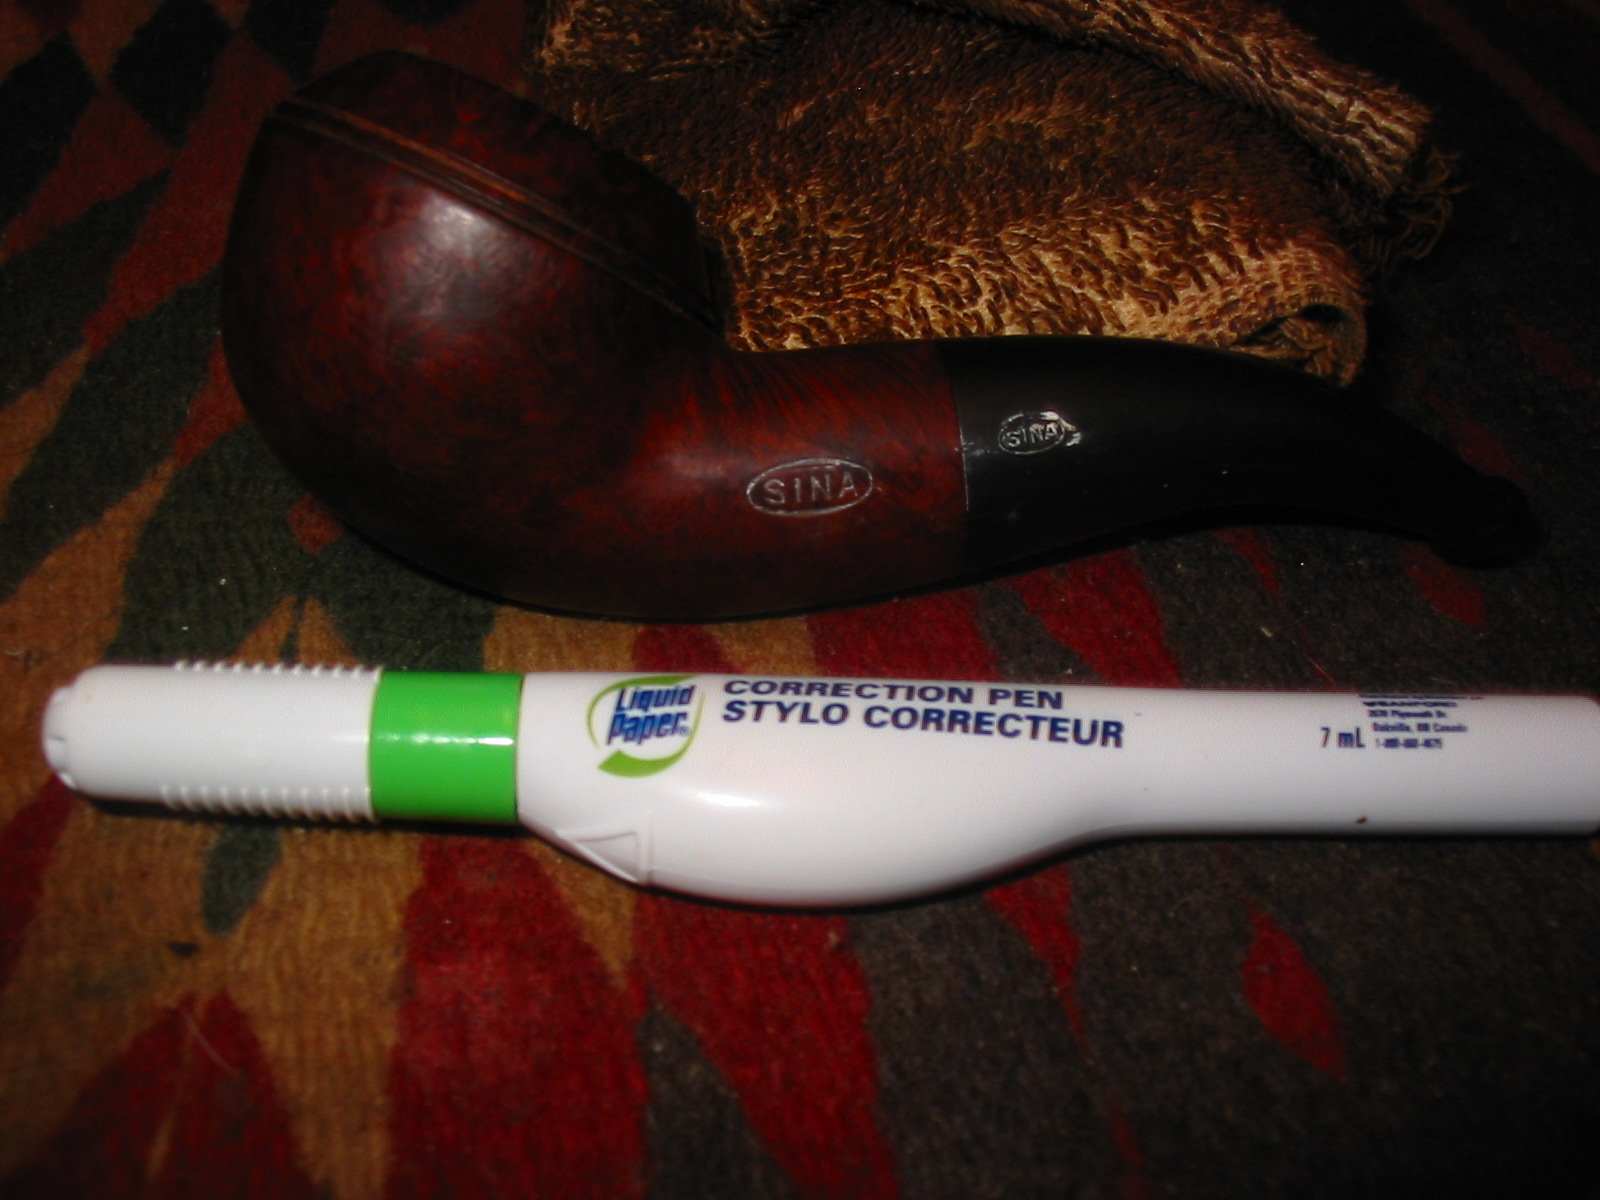
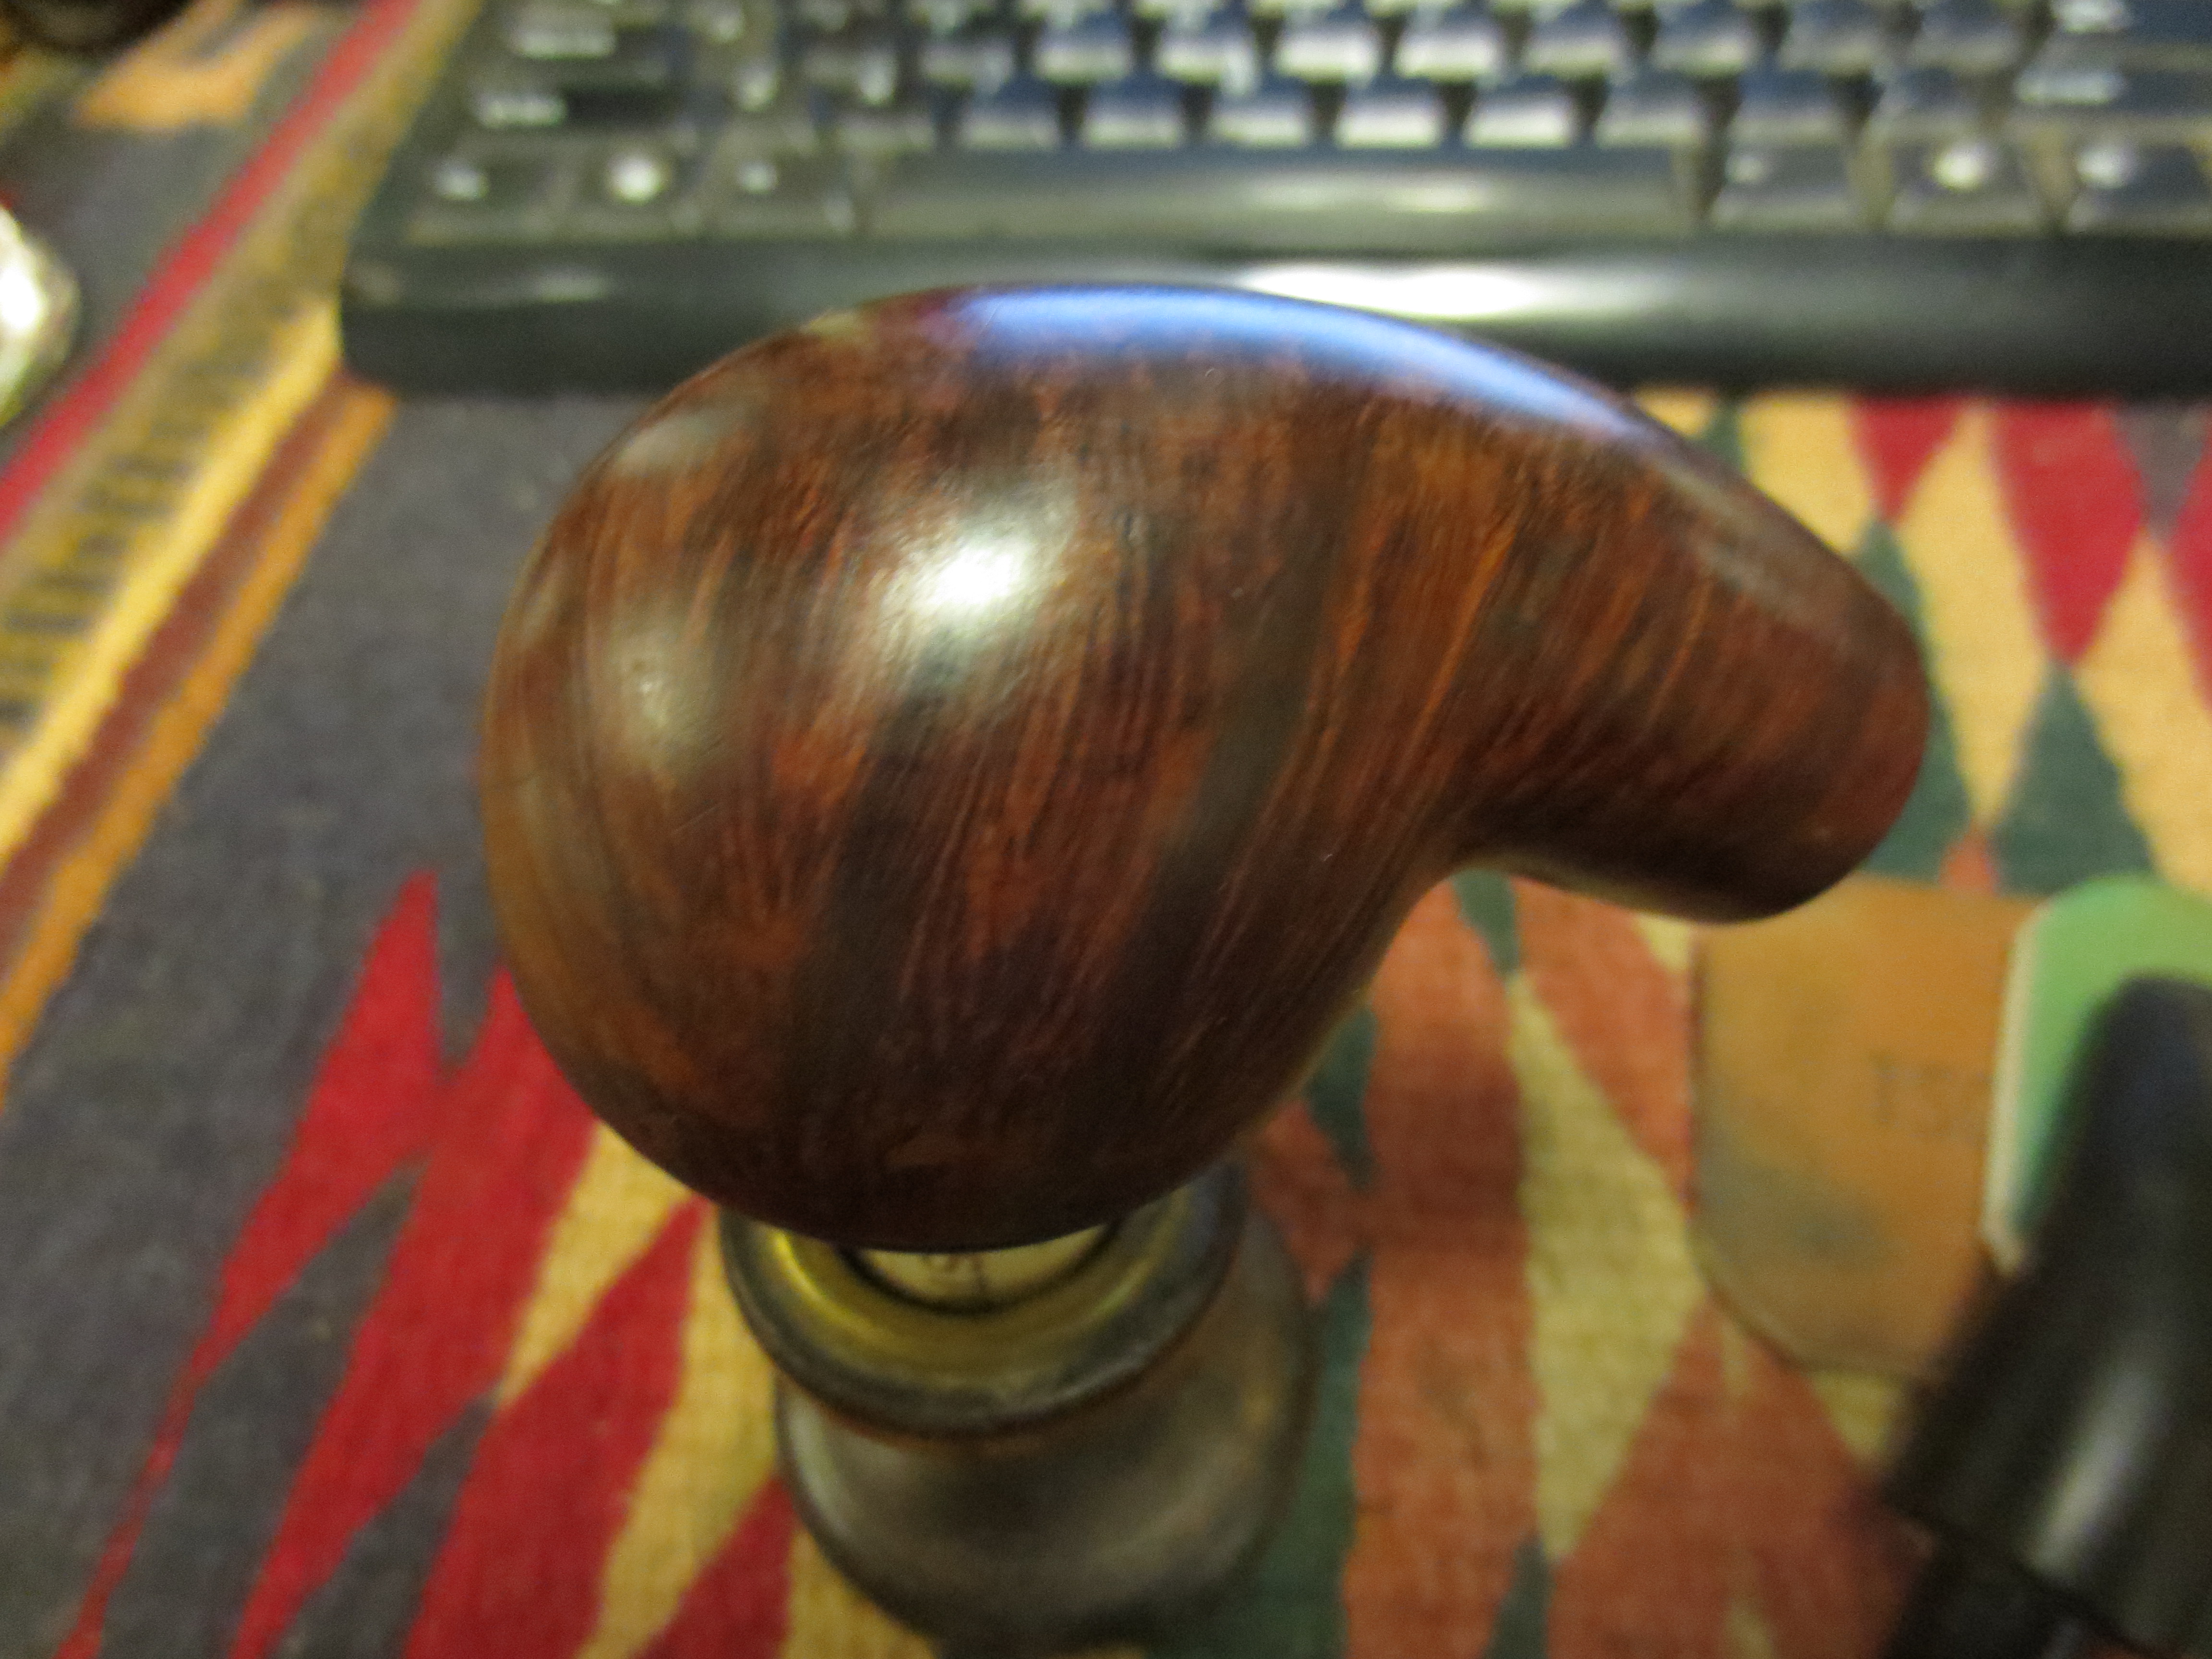
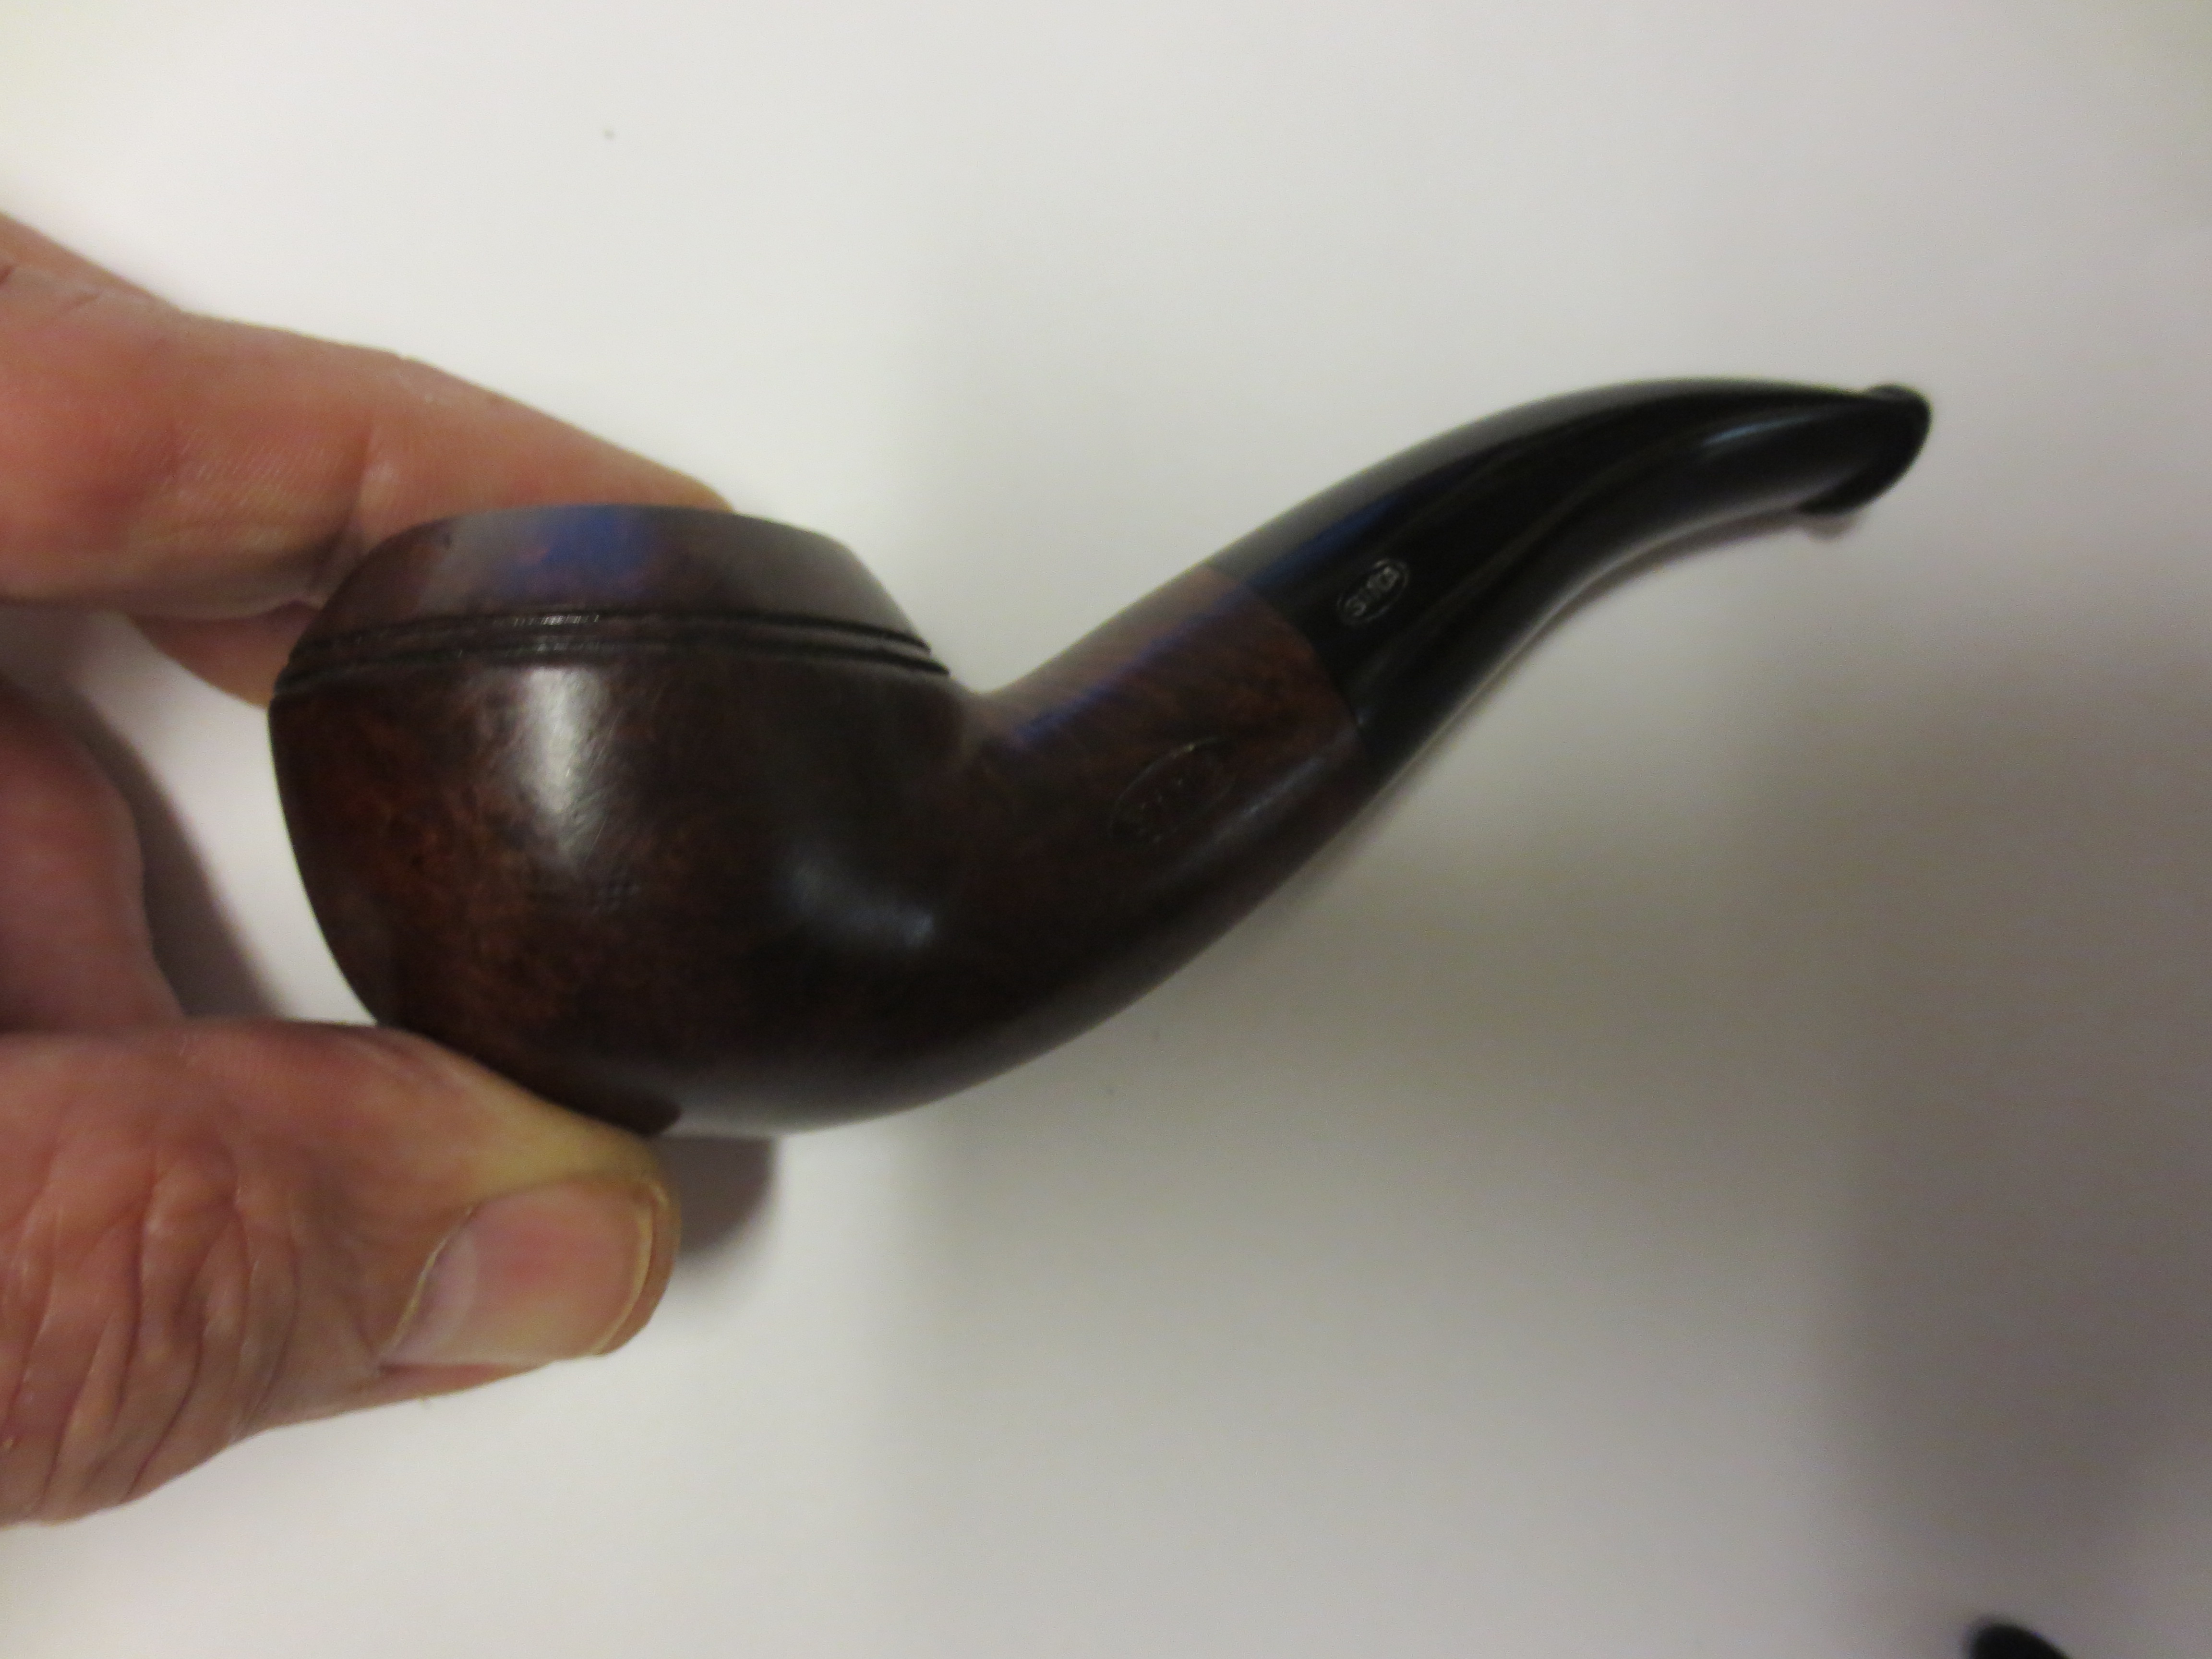
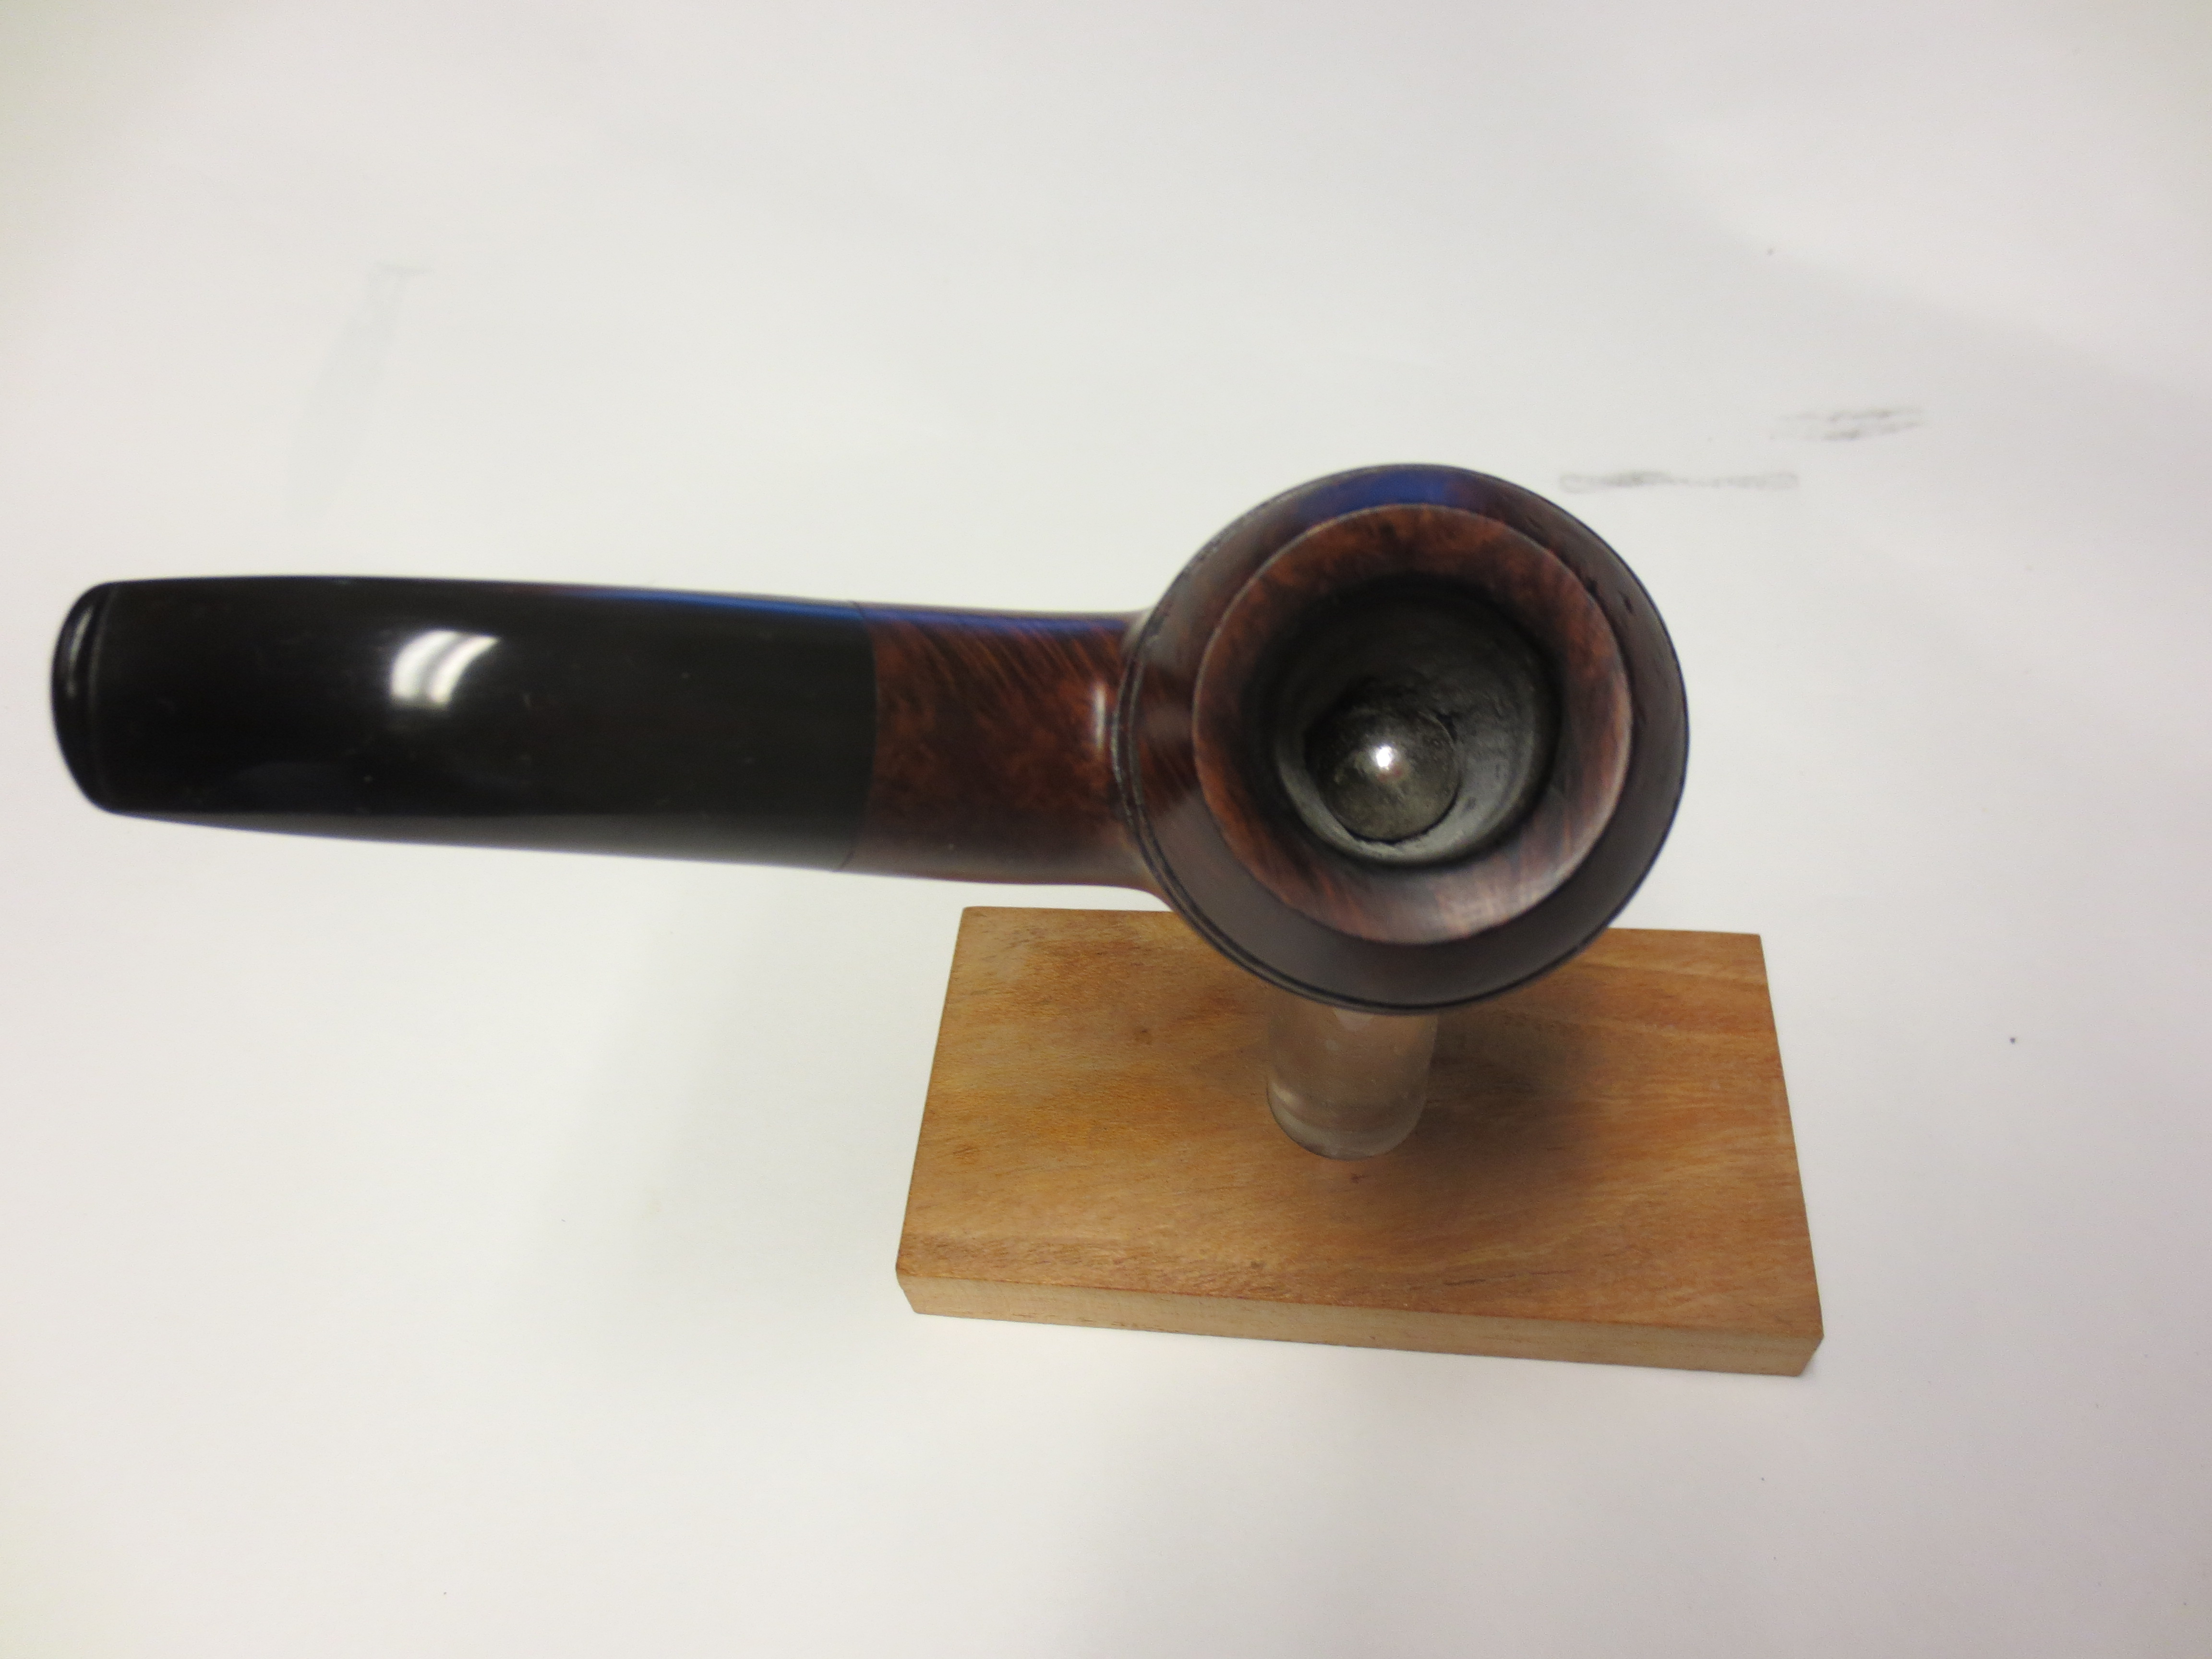
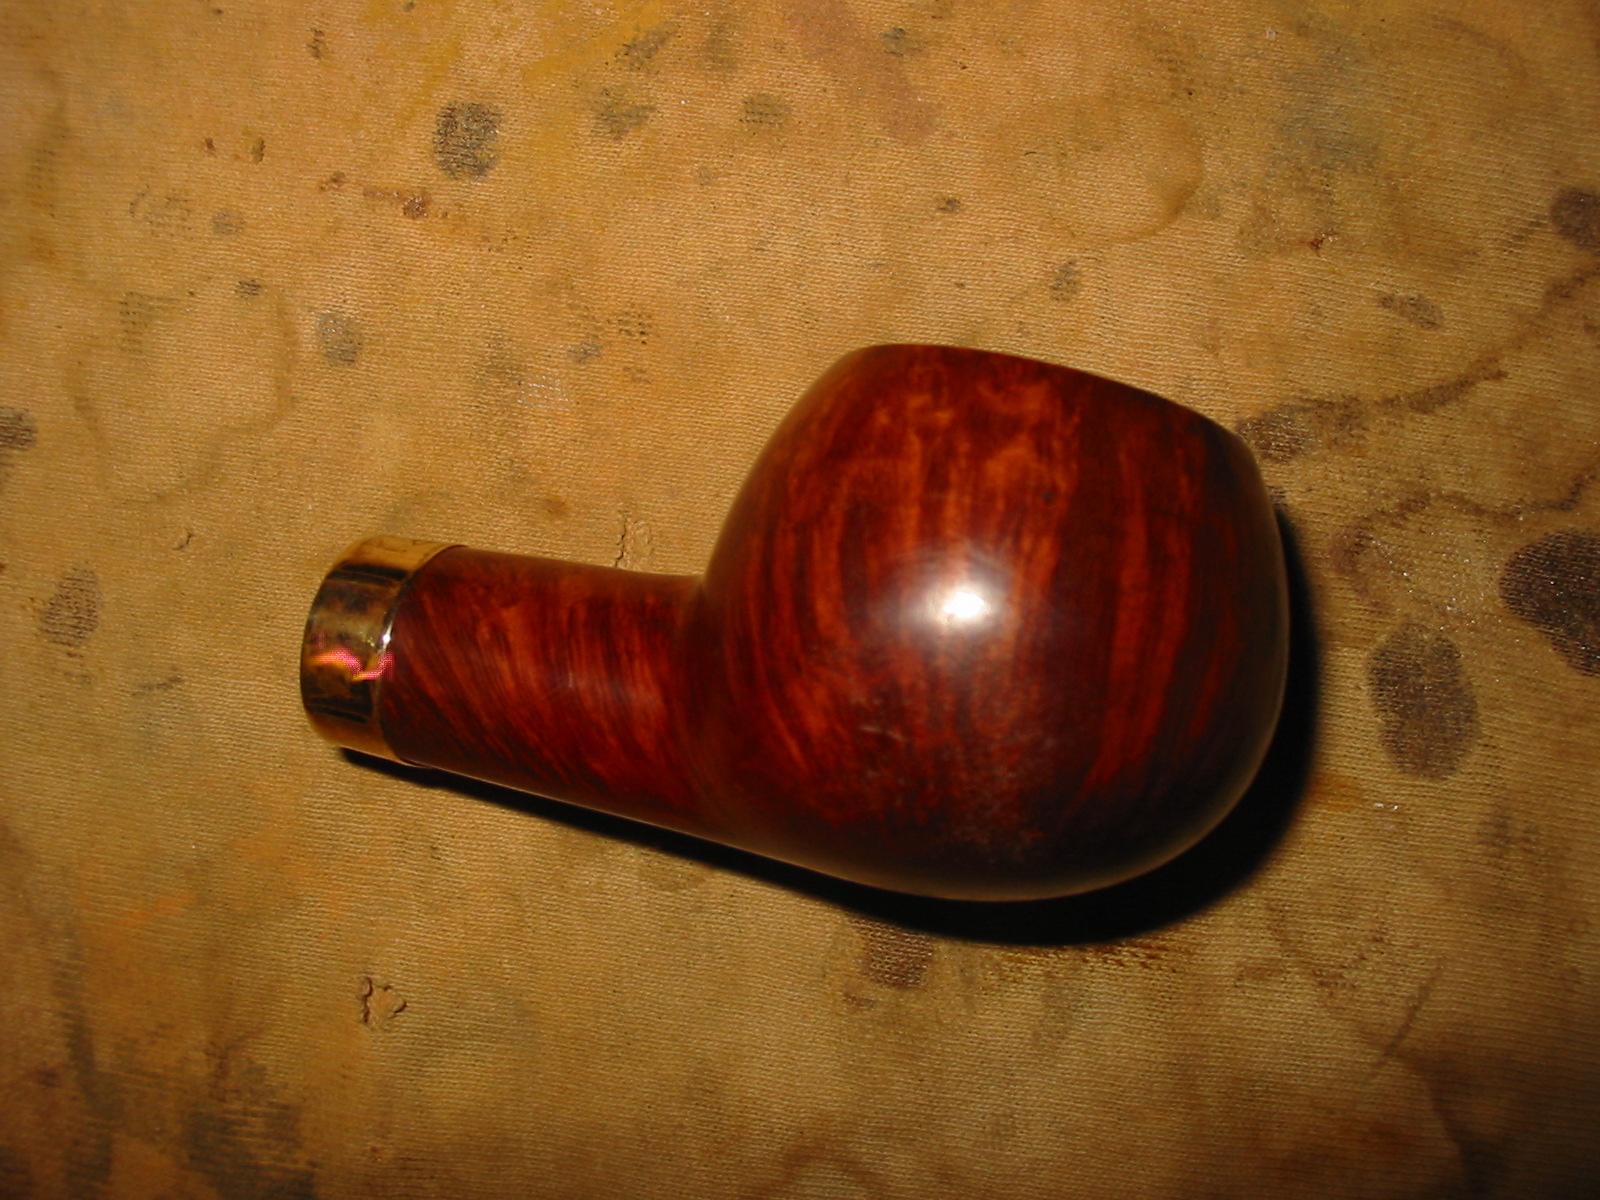
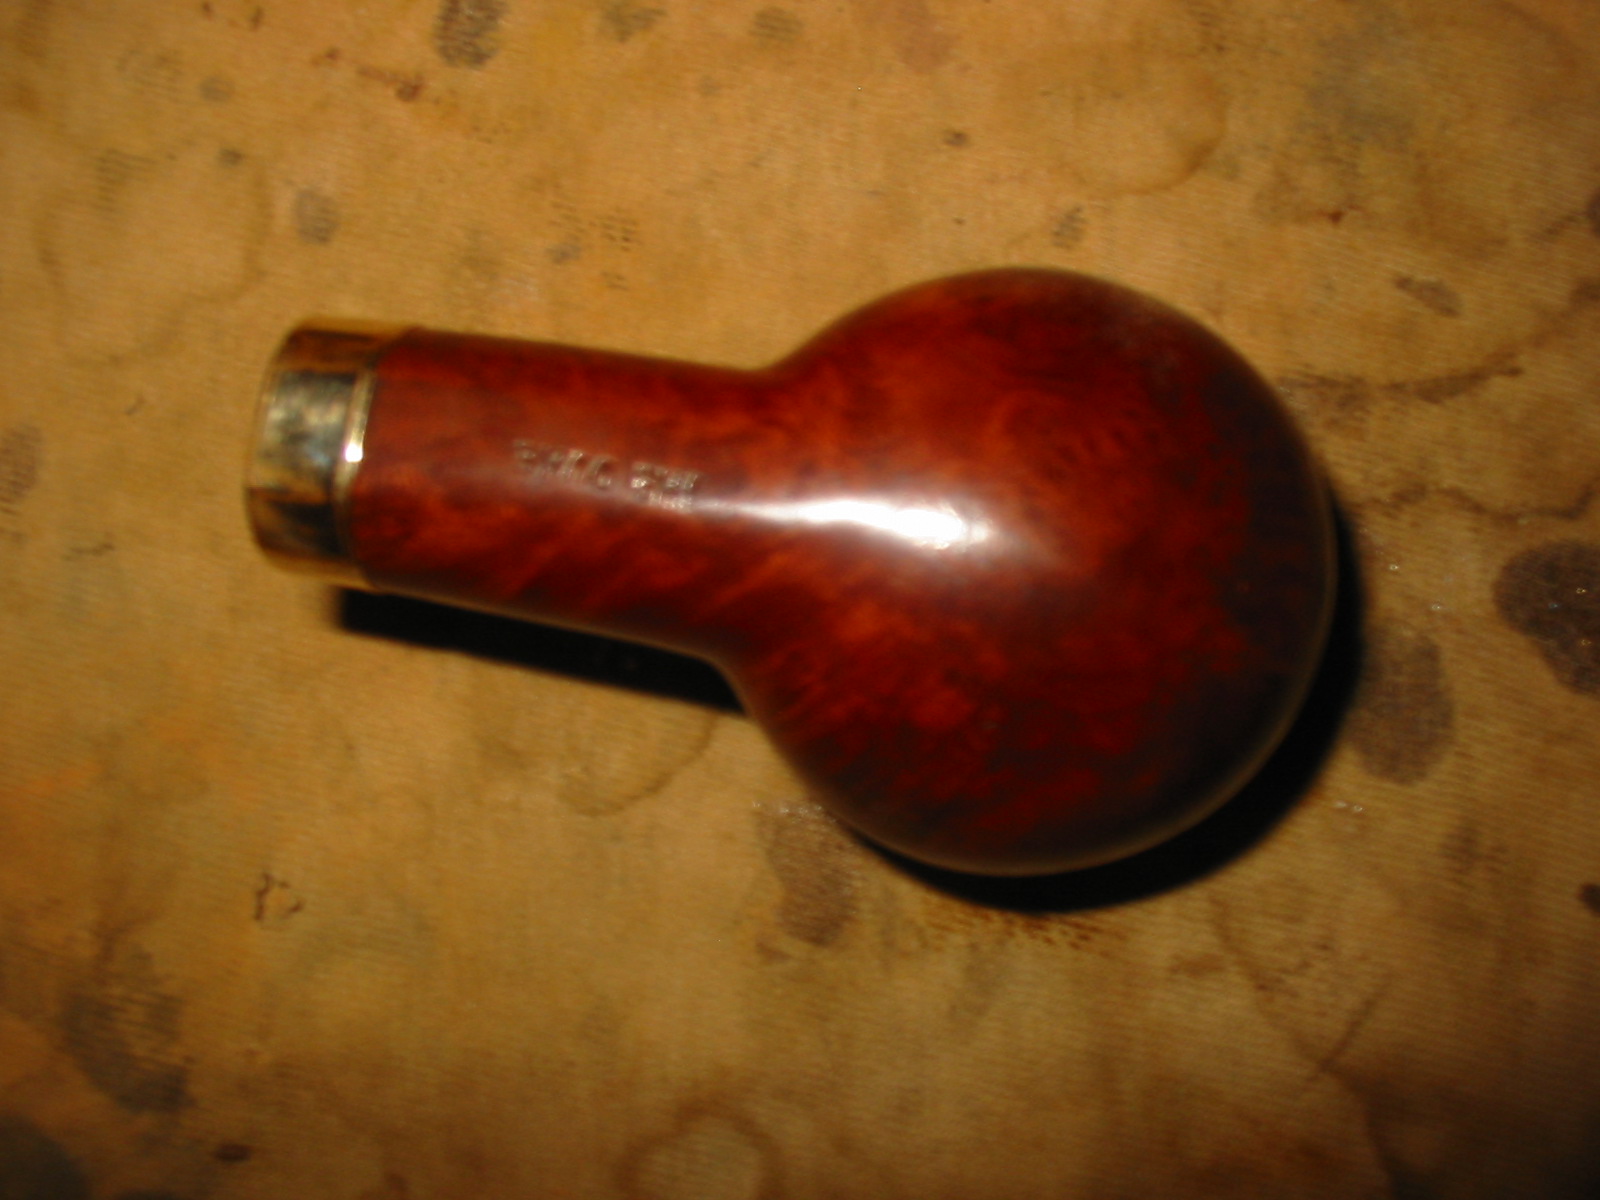
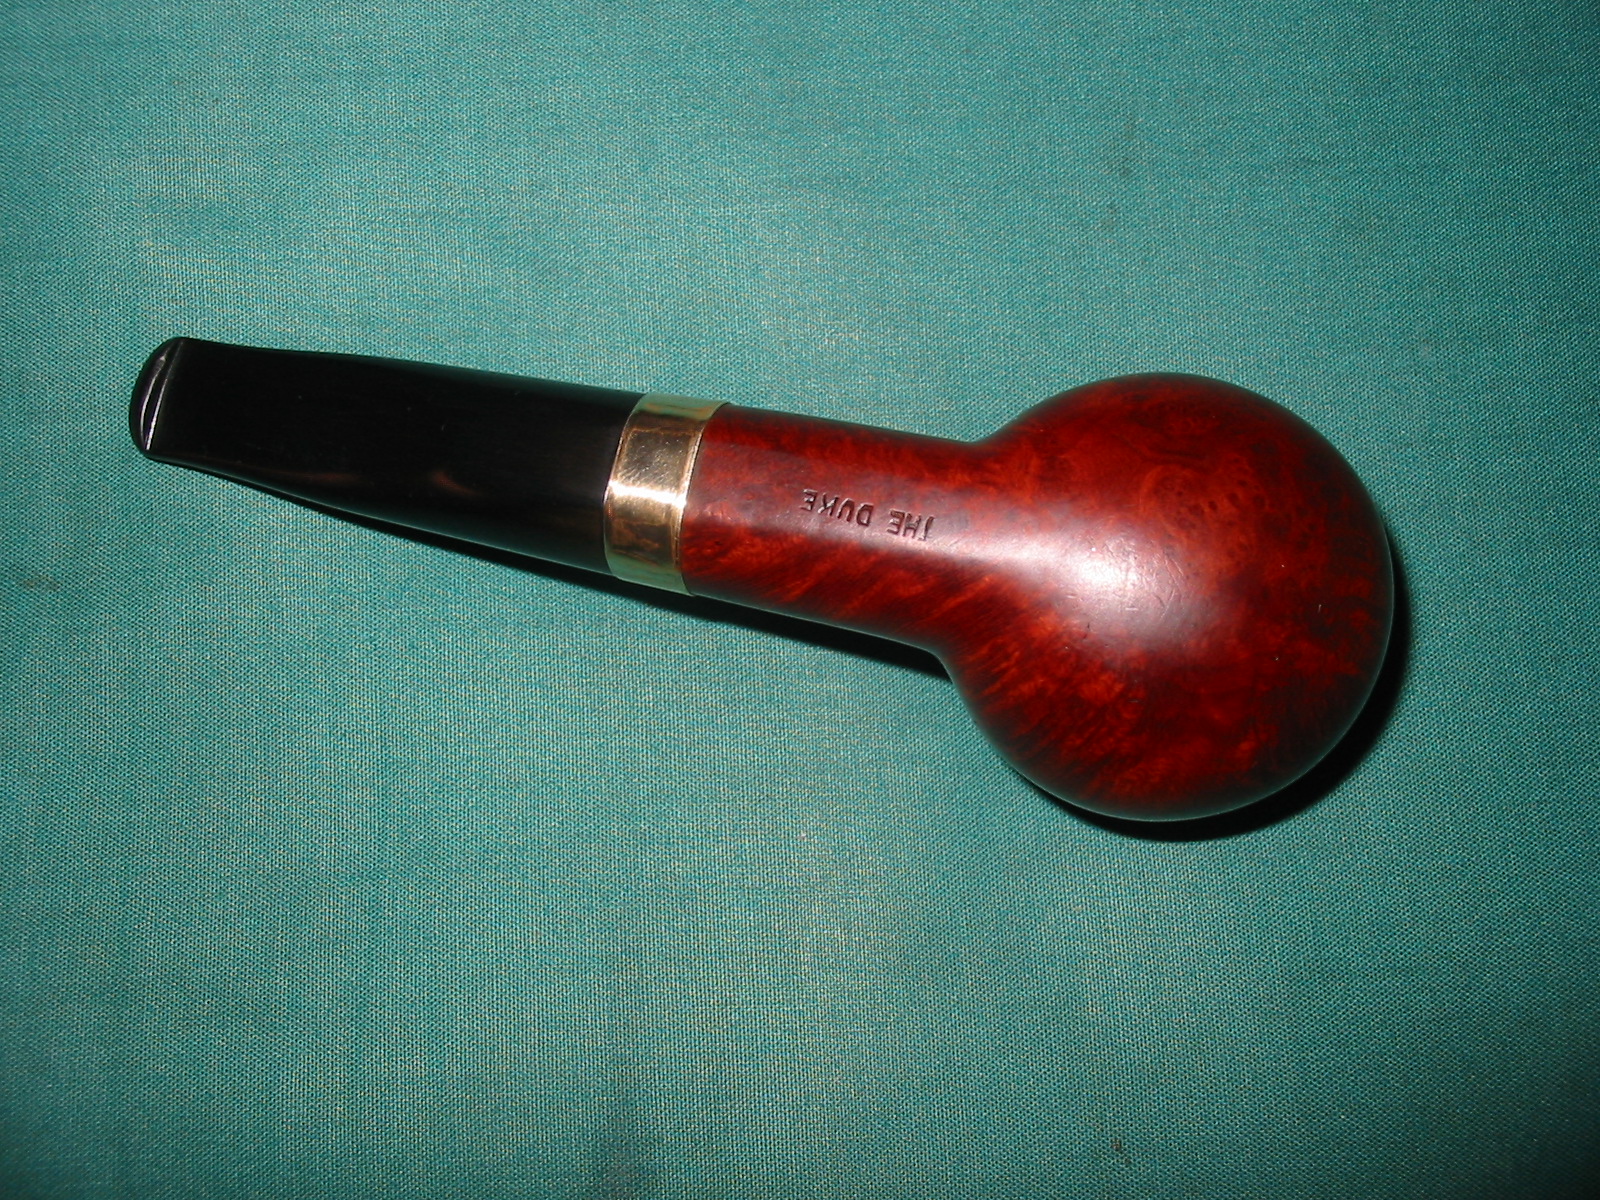
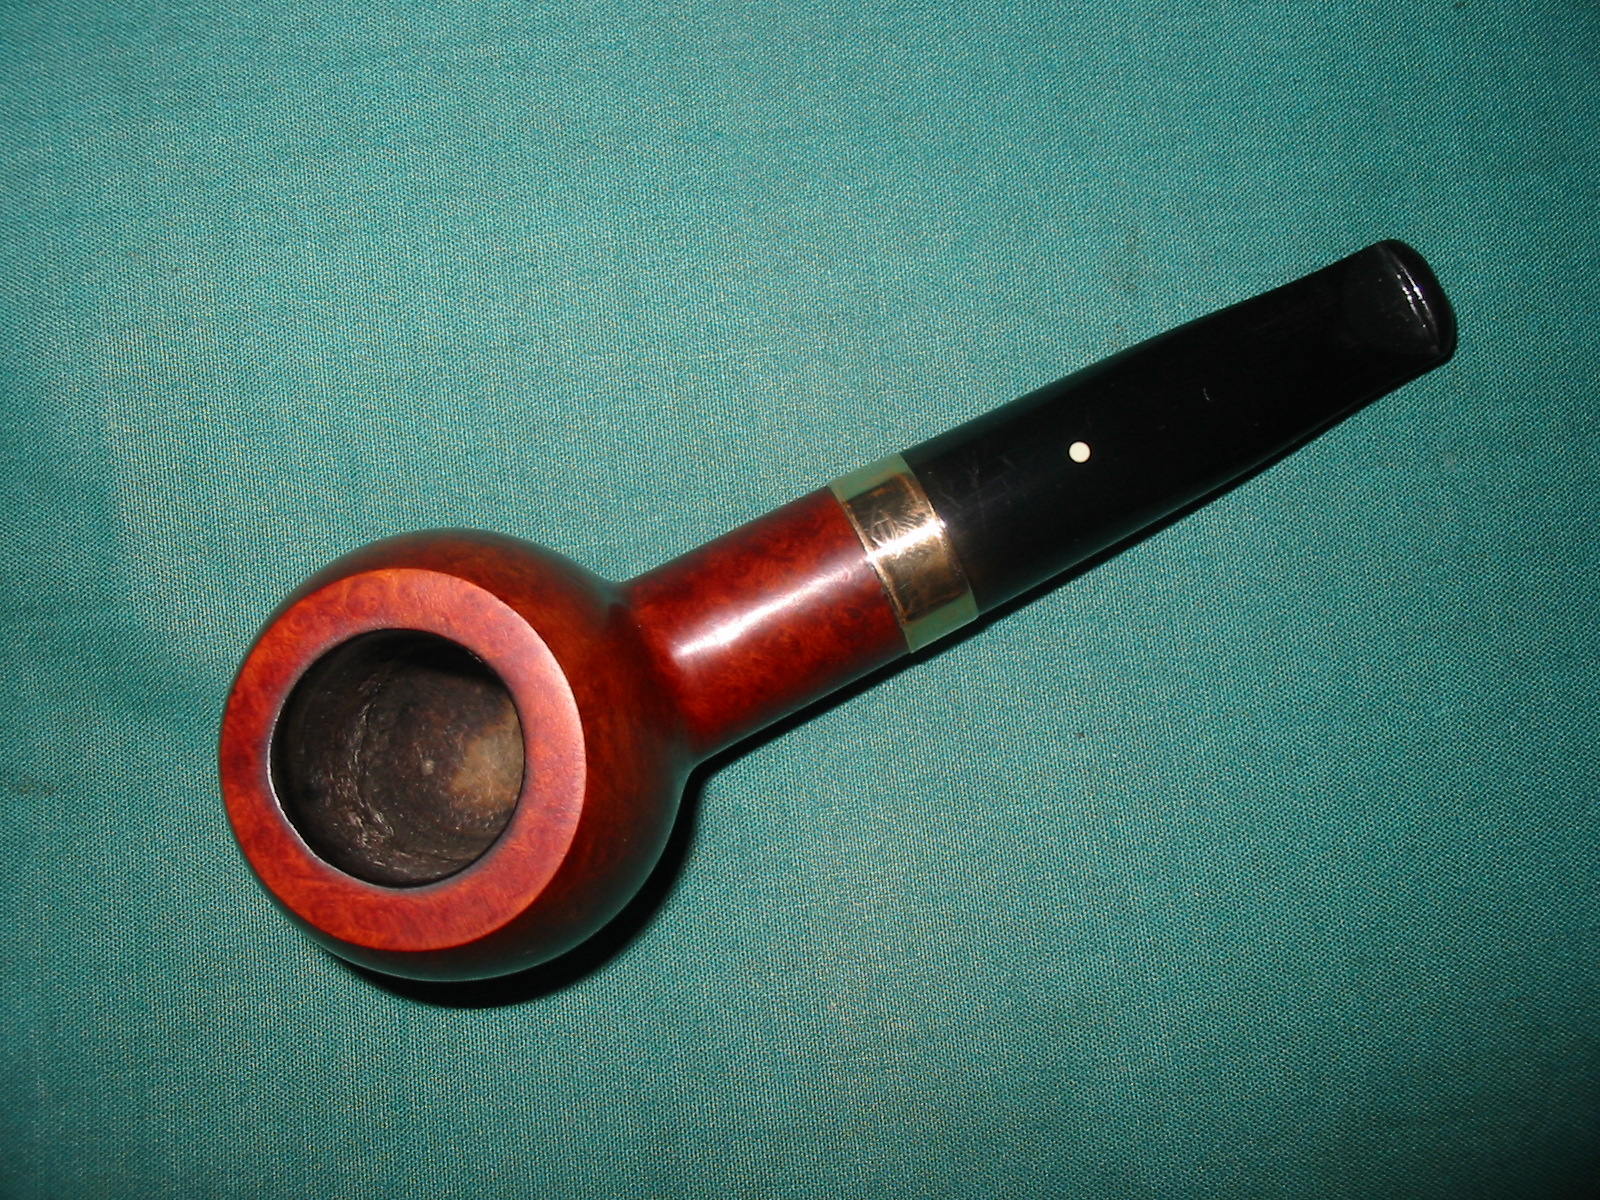
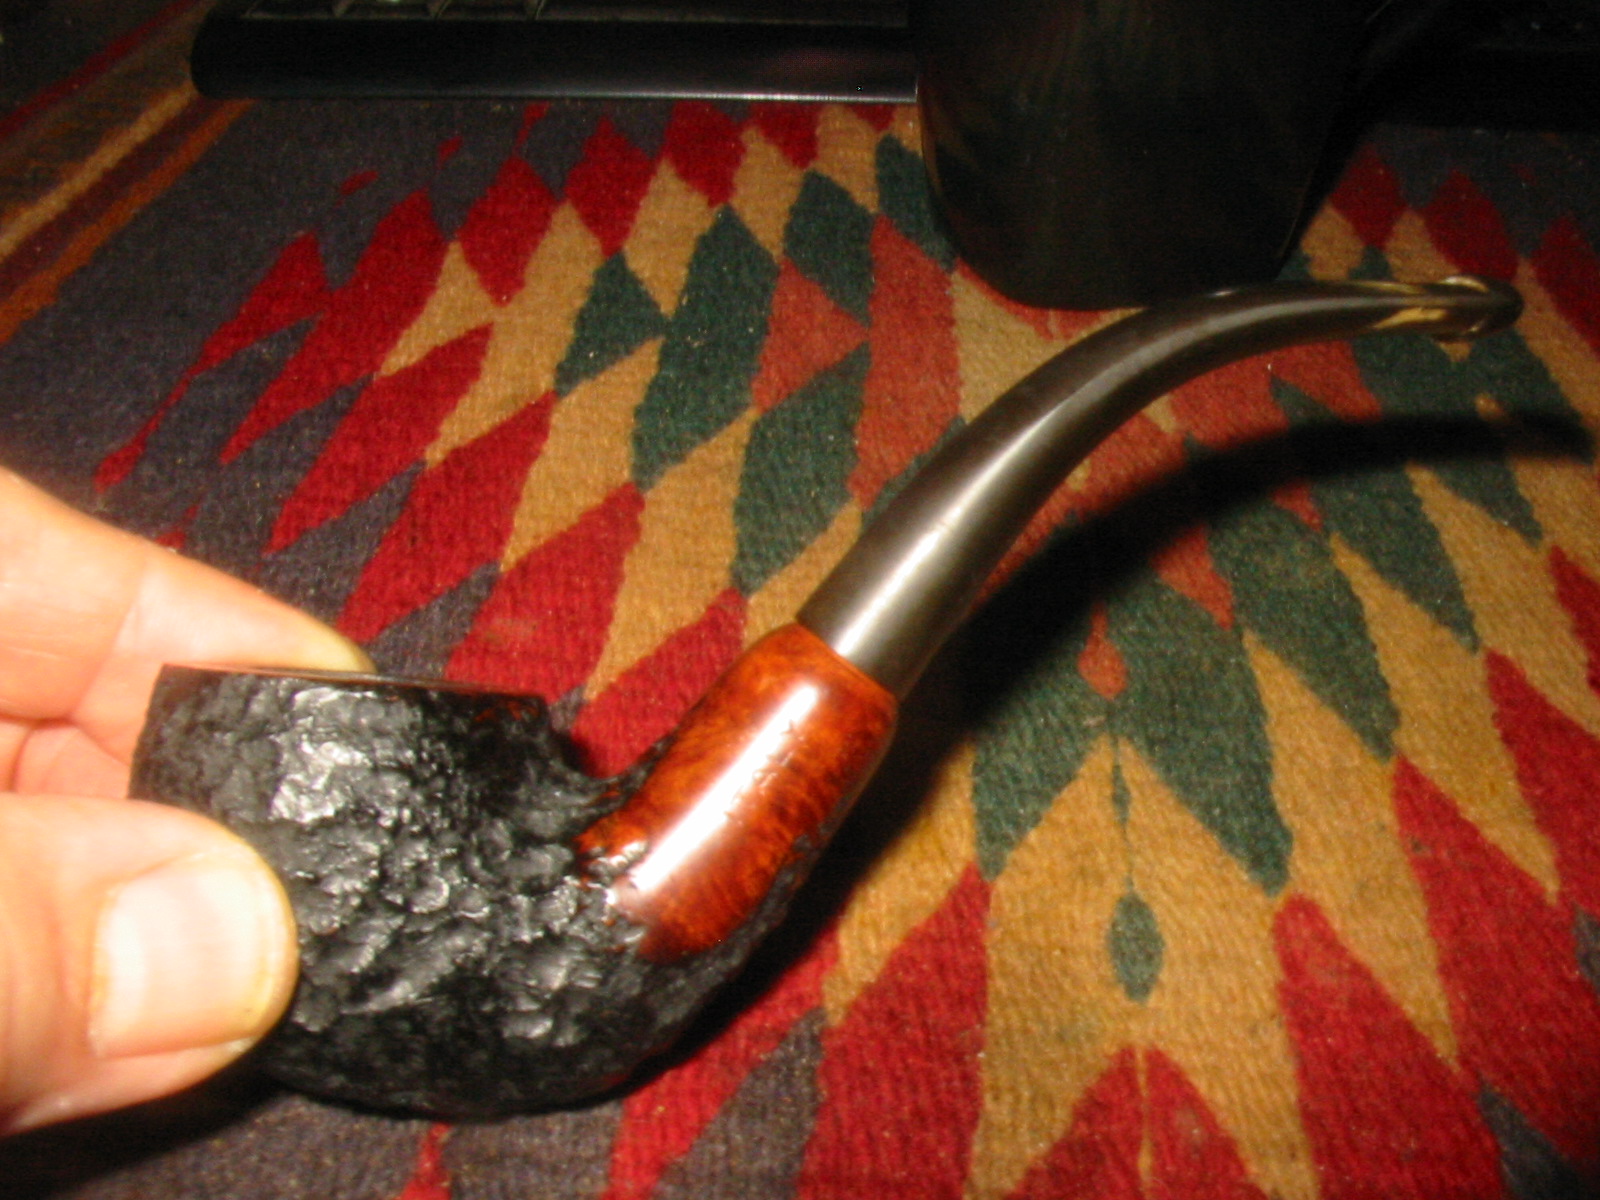
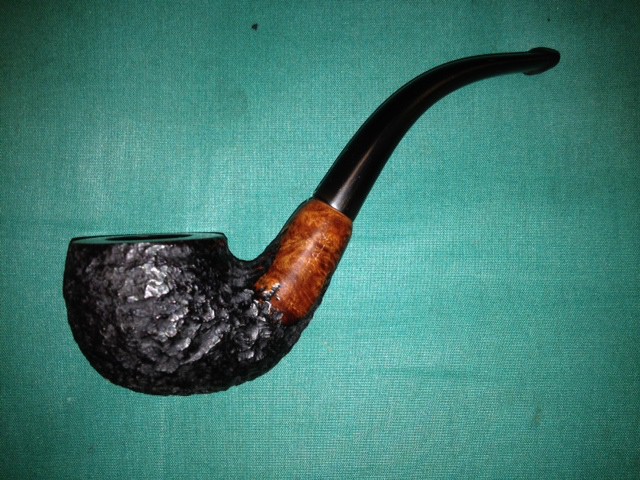
I should mention that Larry also has the distinction of being the first person to purchase a restored pipe online from my store, although I had sold five others in person to various associates. I’m afraid Larry might have gotten a wild hair somewhere, and ended up buying another. The rest of this blog is about the first buy, a straight large bowl Duca Carlo natural billiard by Savinelli, and how I cleaned it up.
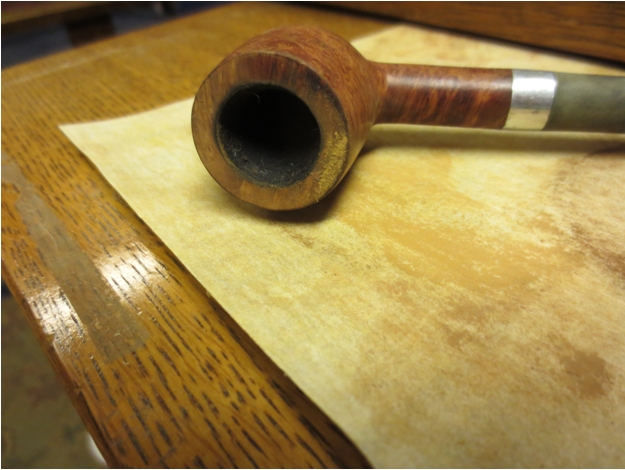
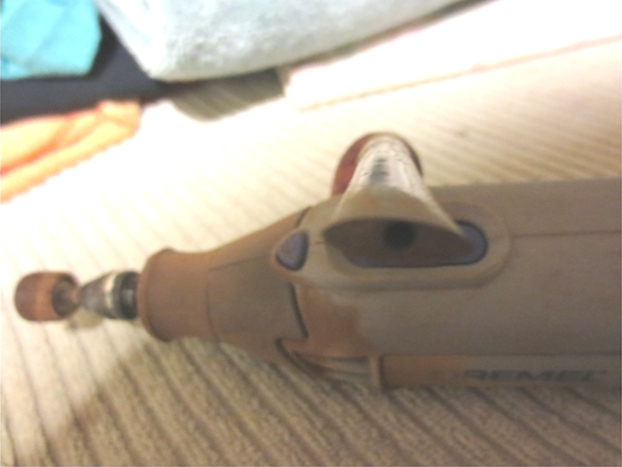
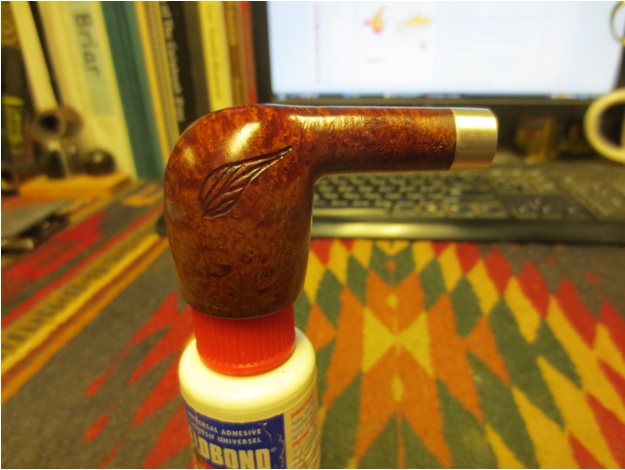
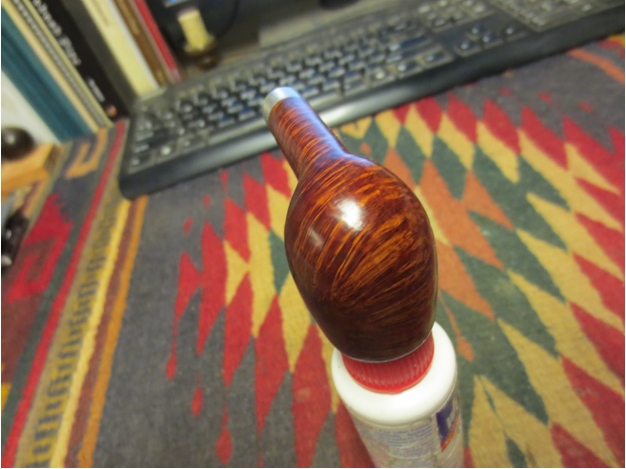
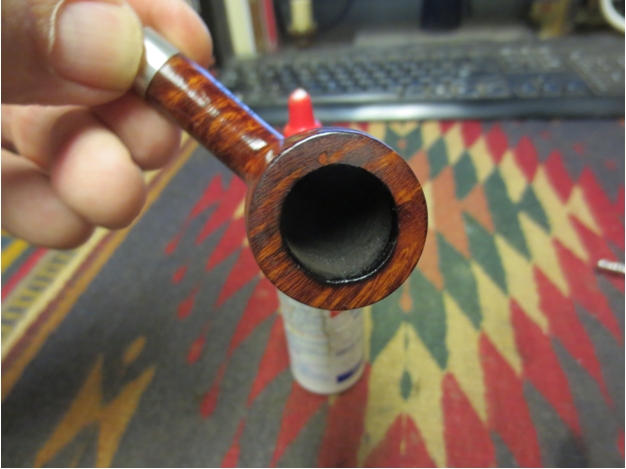
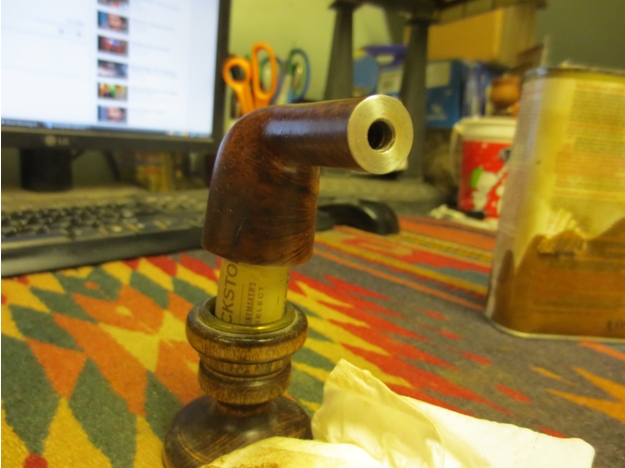
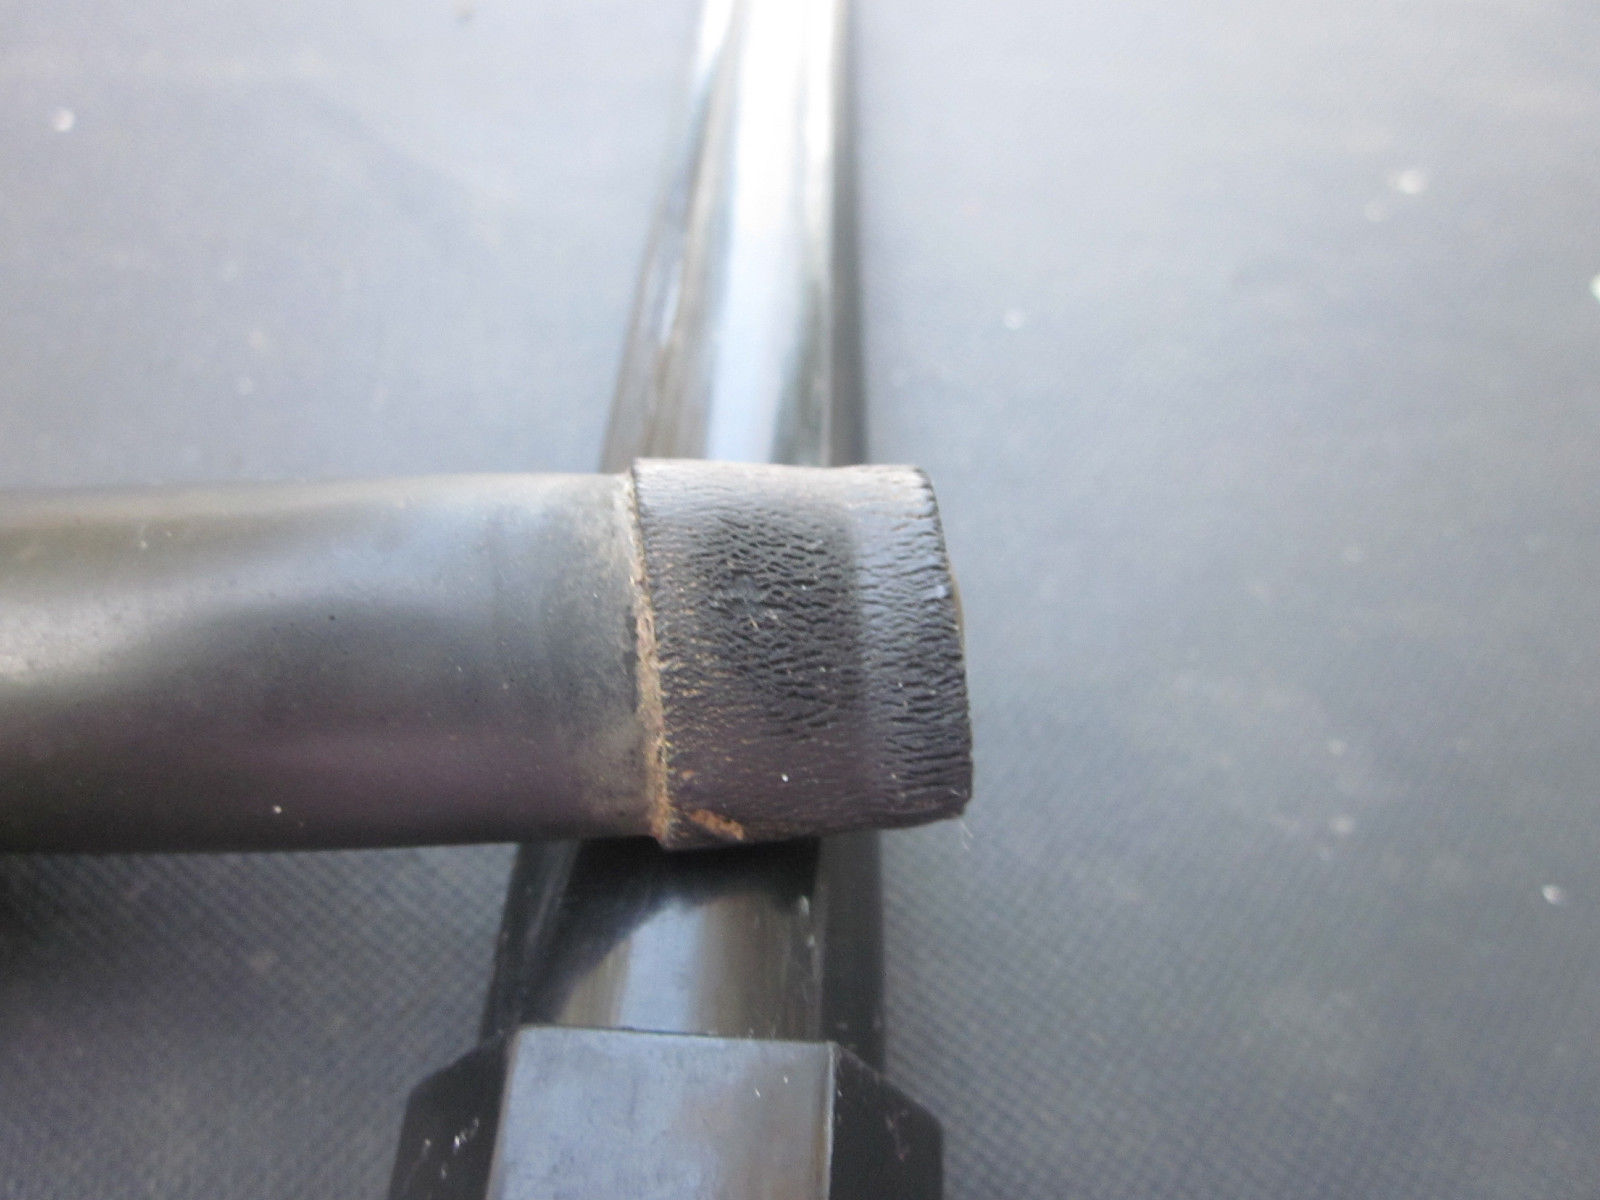
THE PIPE RESTORATION
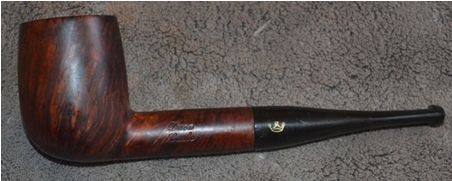
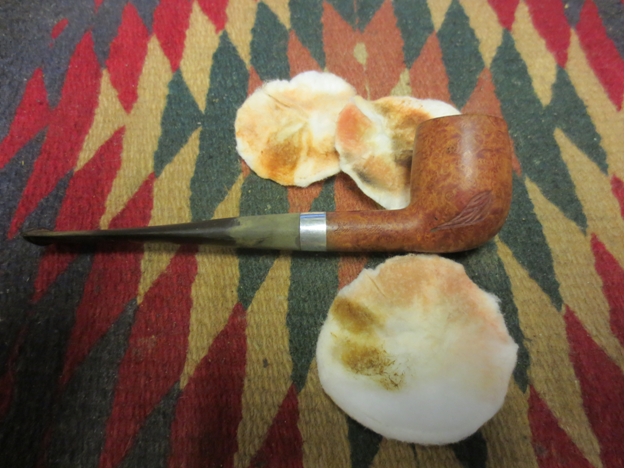
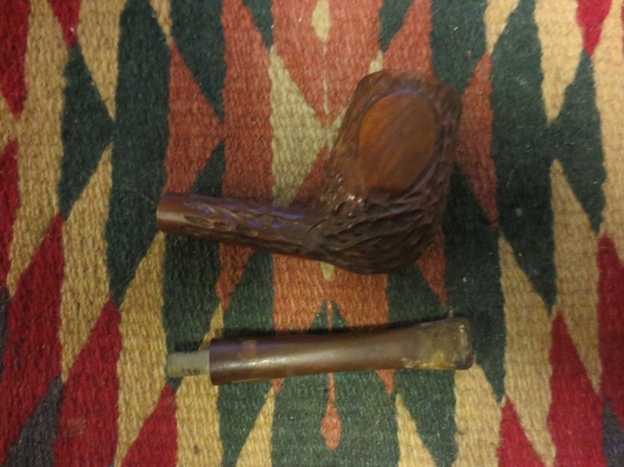
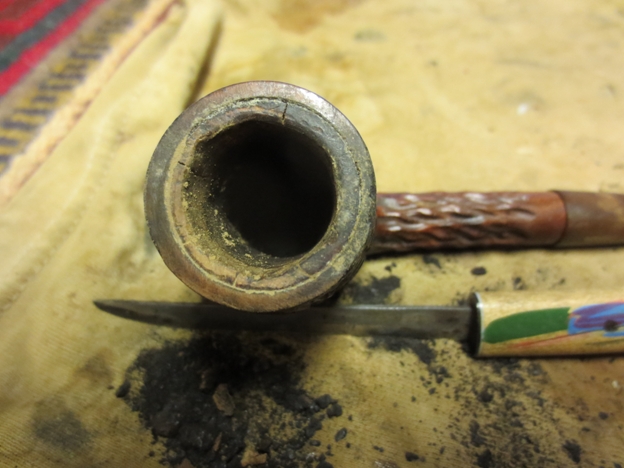
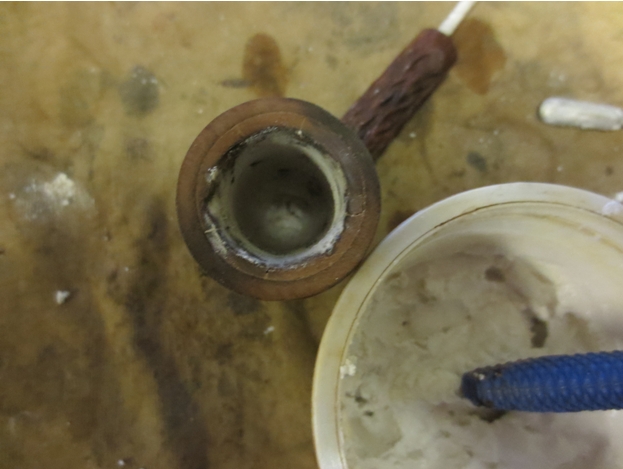
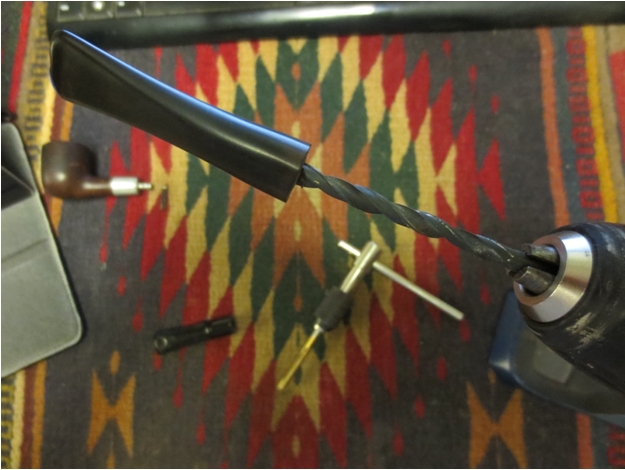
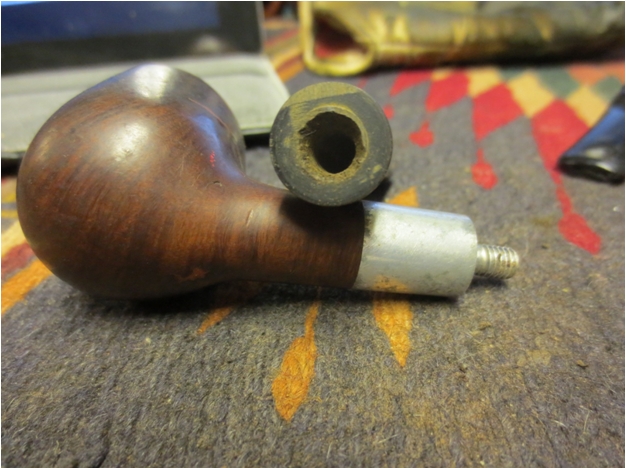
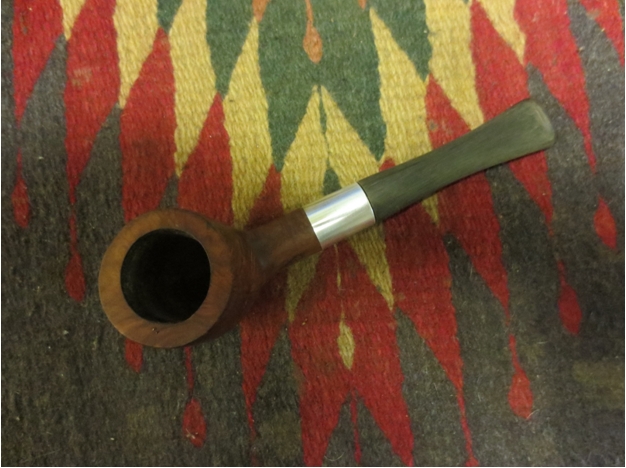
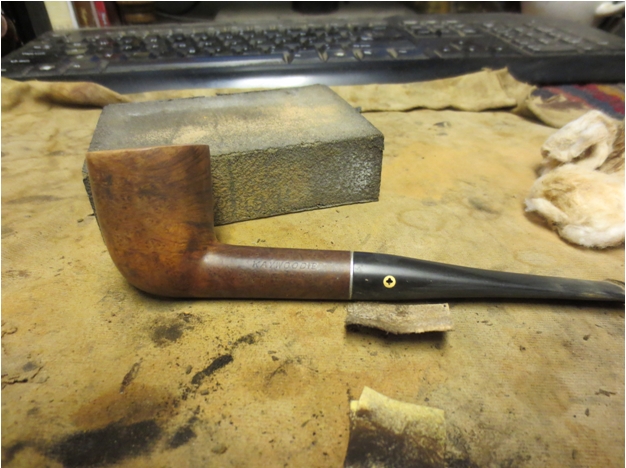
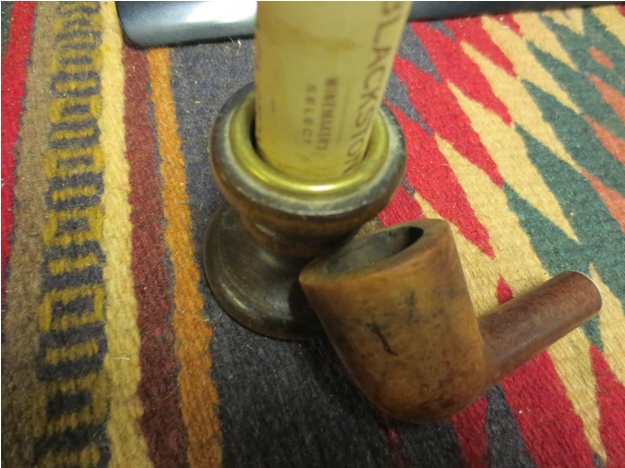
Photo 1

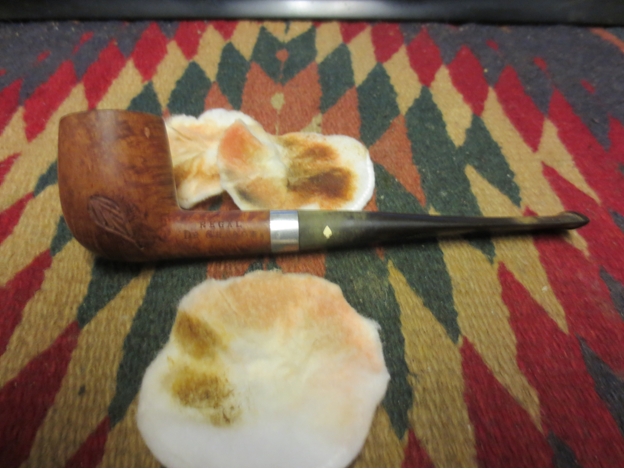
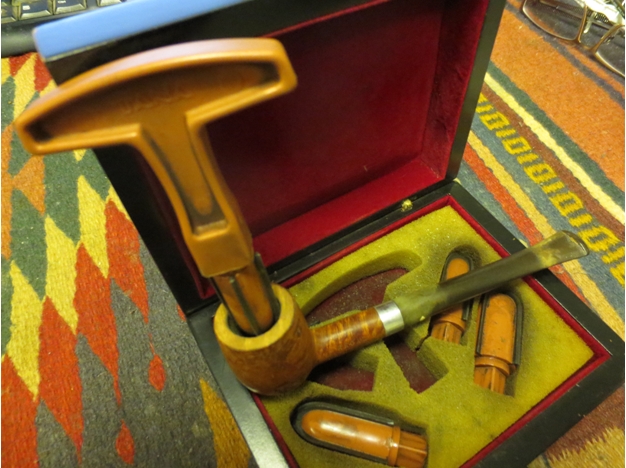
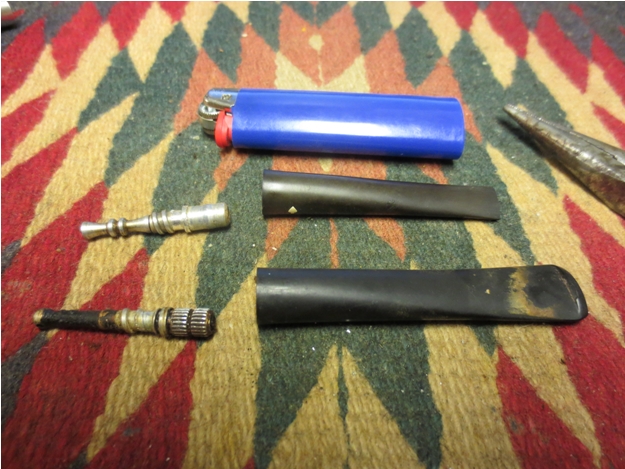
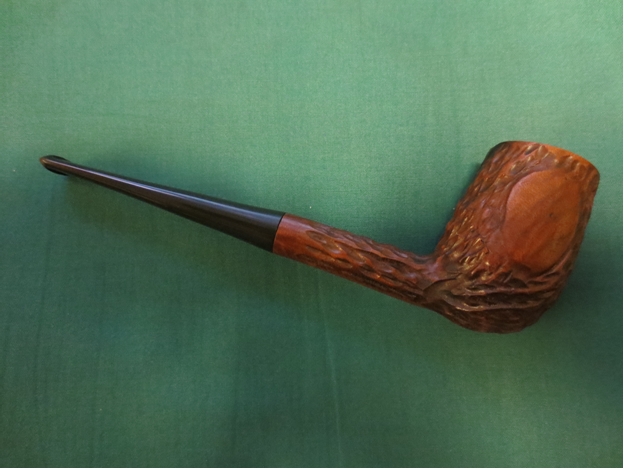
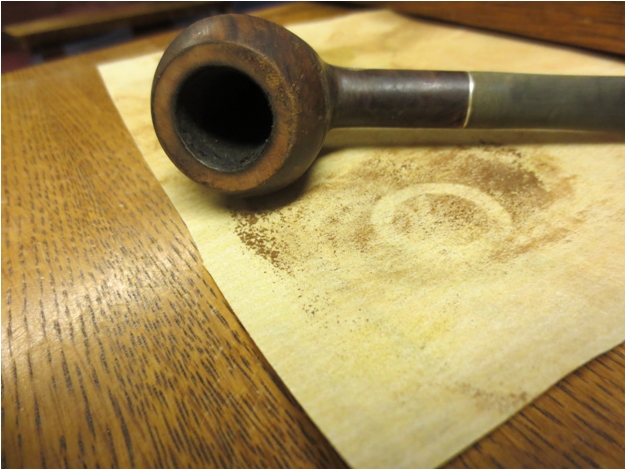
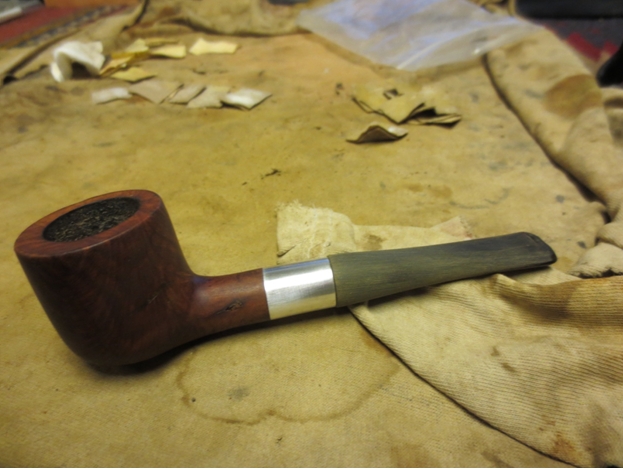
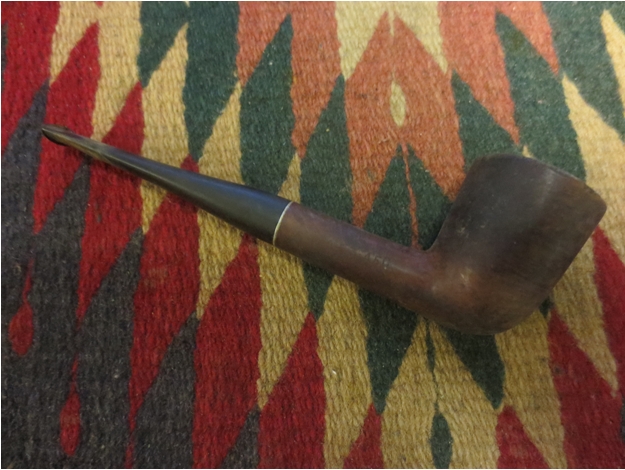
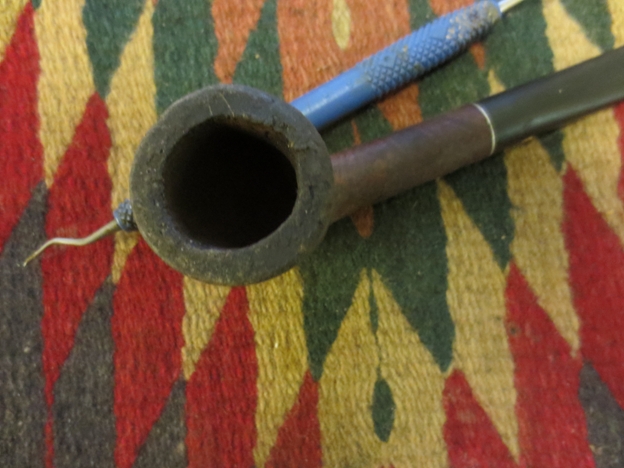
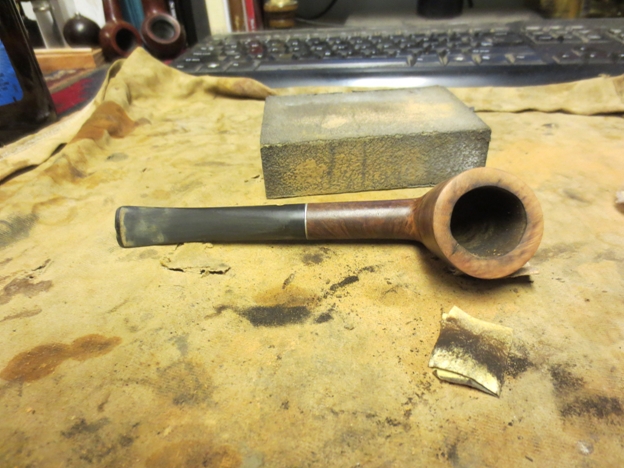
Photo 2
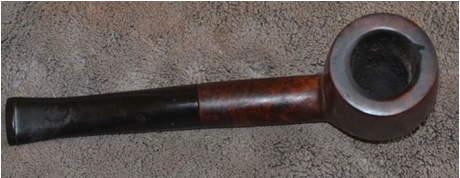
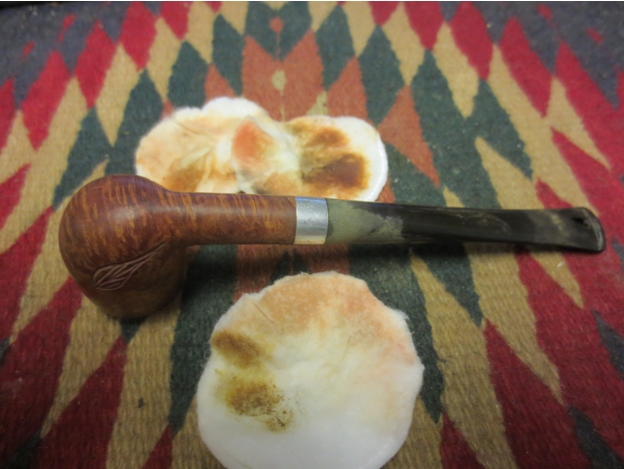
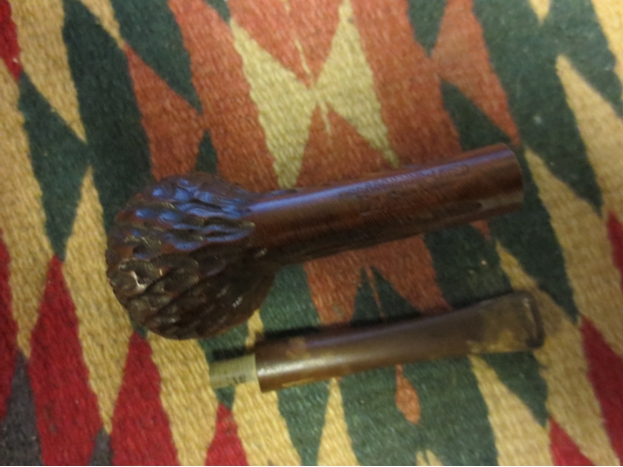
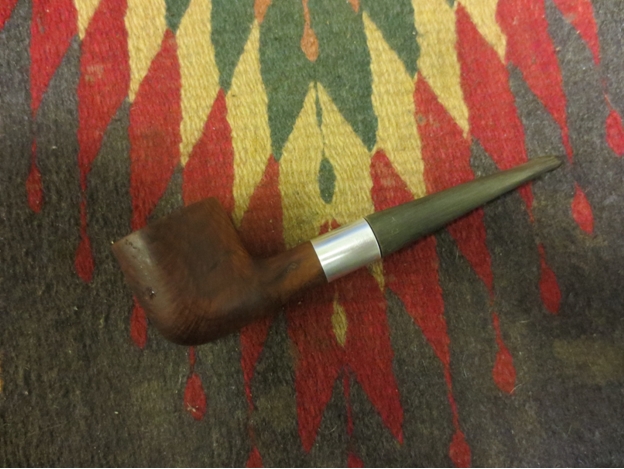
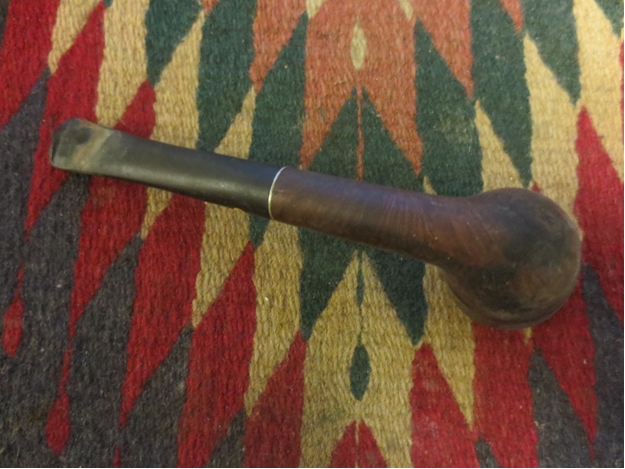
Photo 3
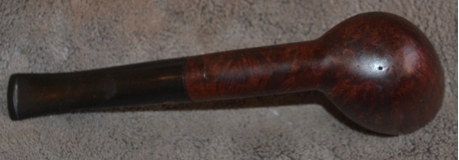
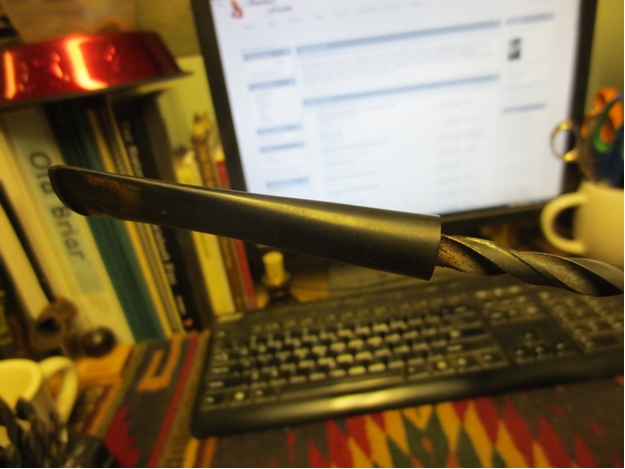
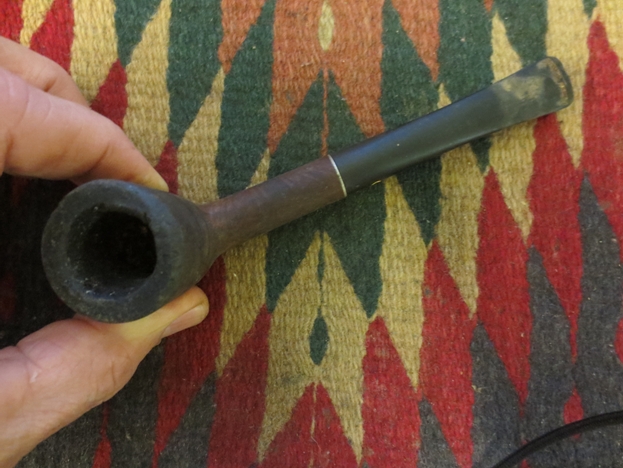
Photo 4
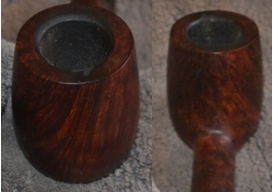
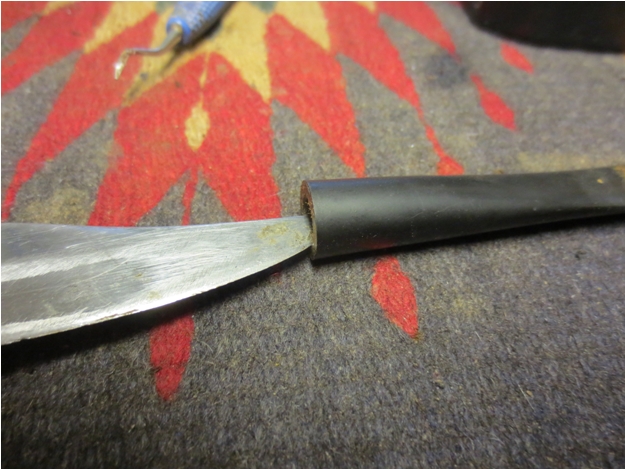
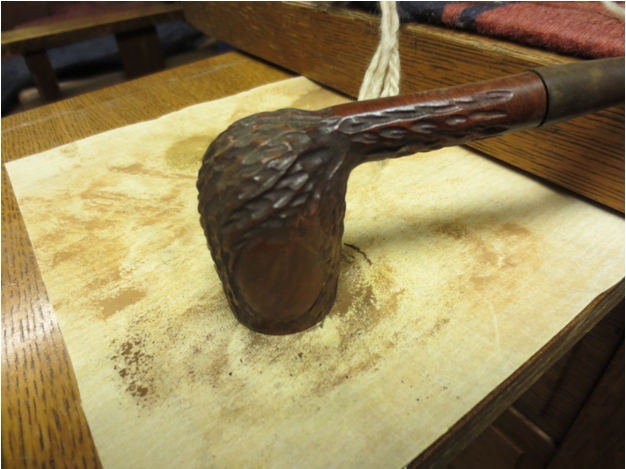
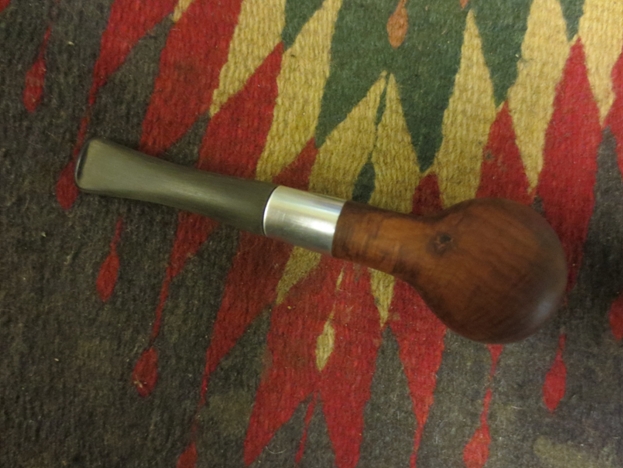
Photo 5 & 6
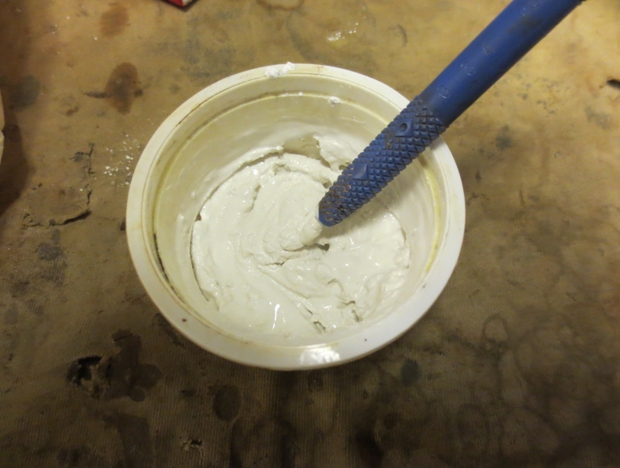
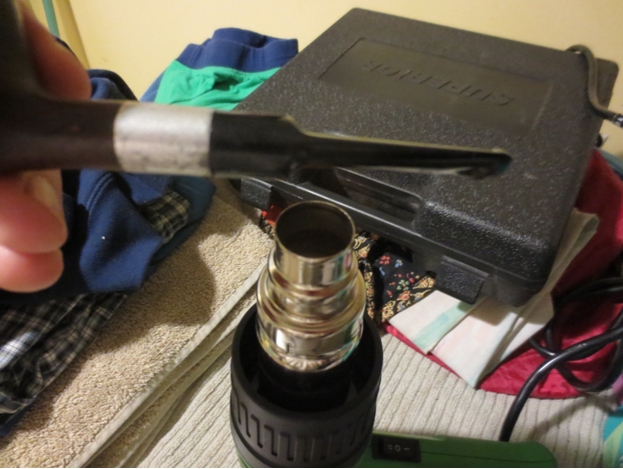
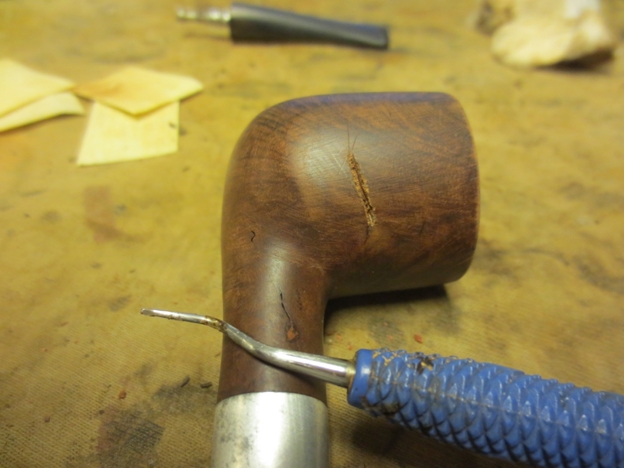
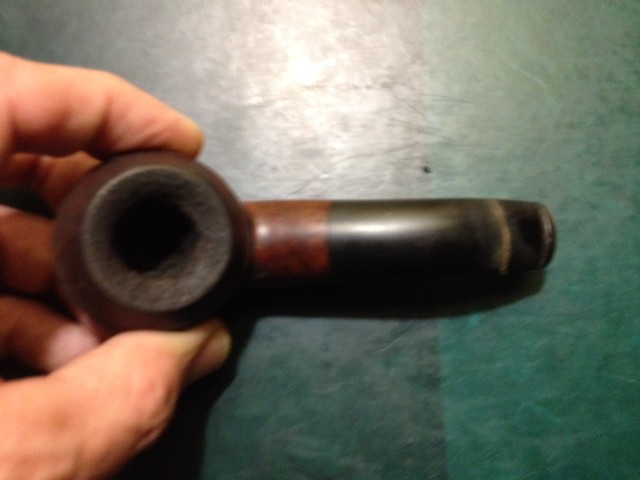
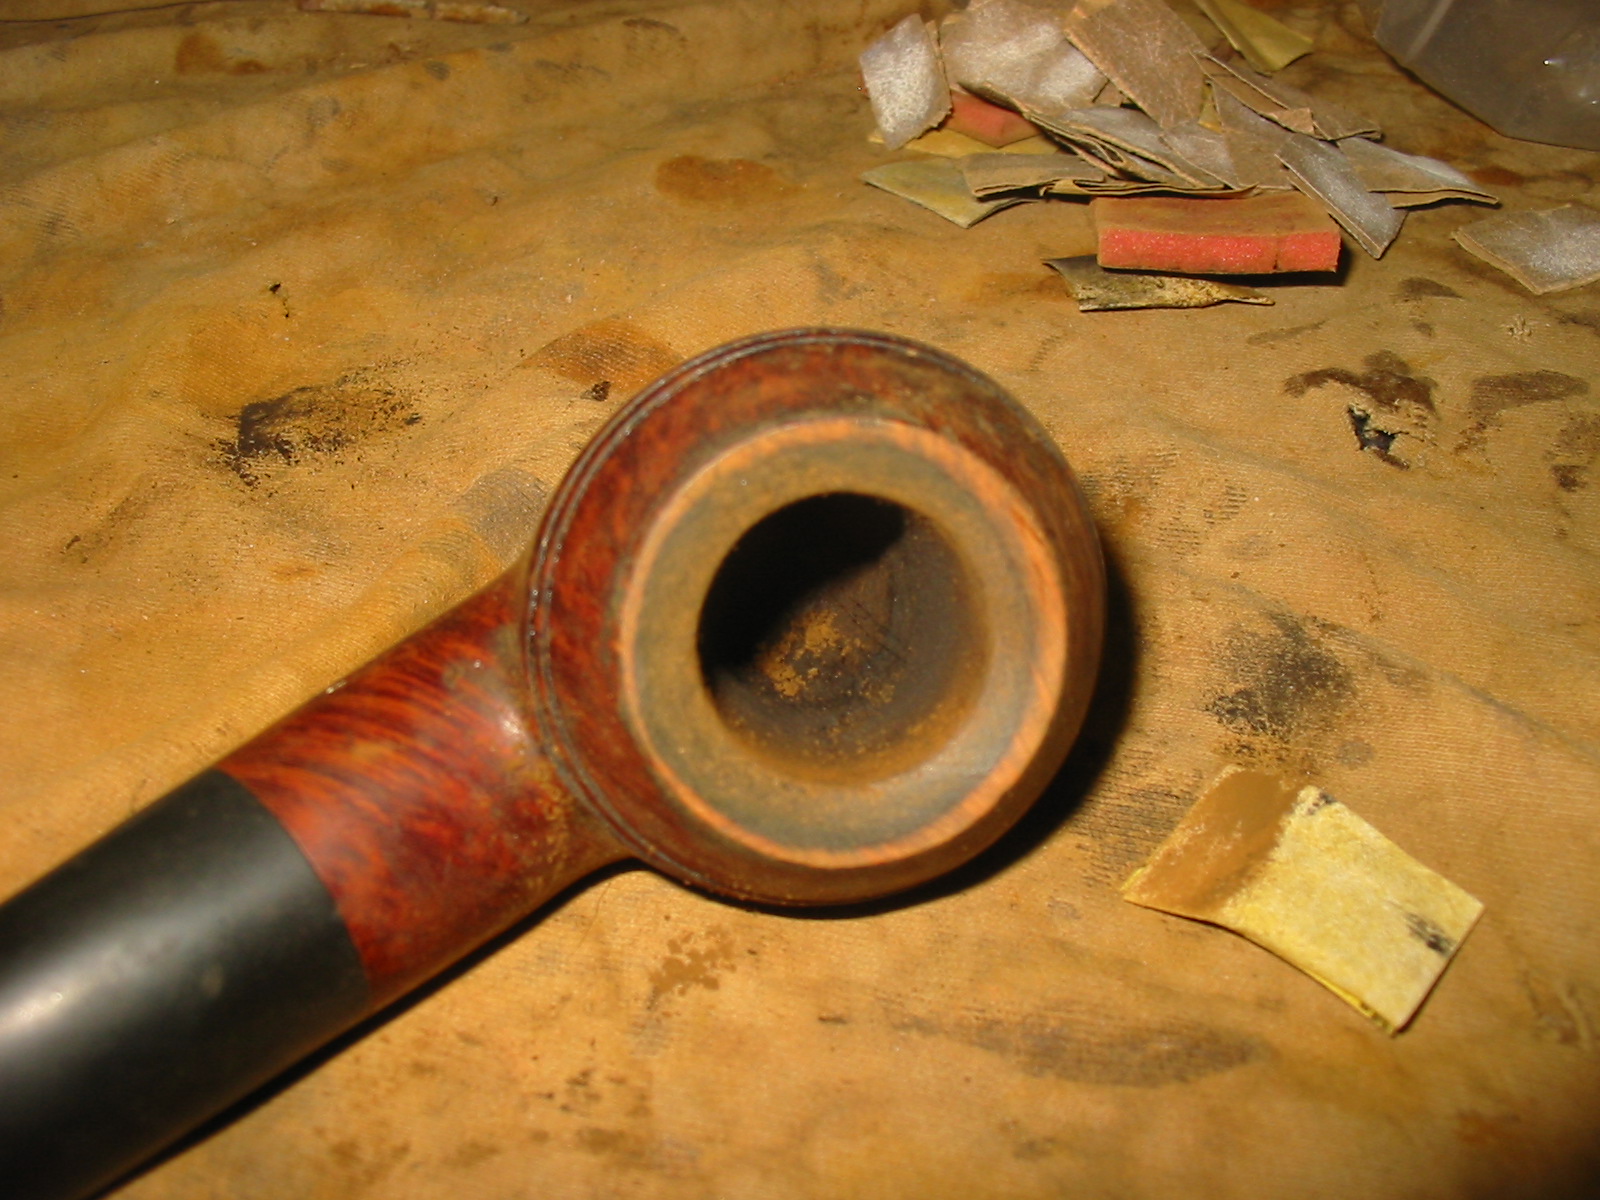
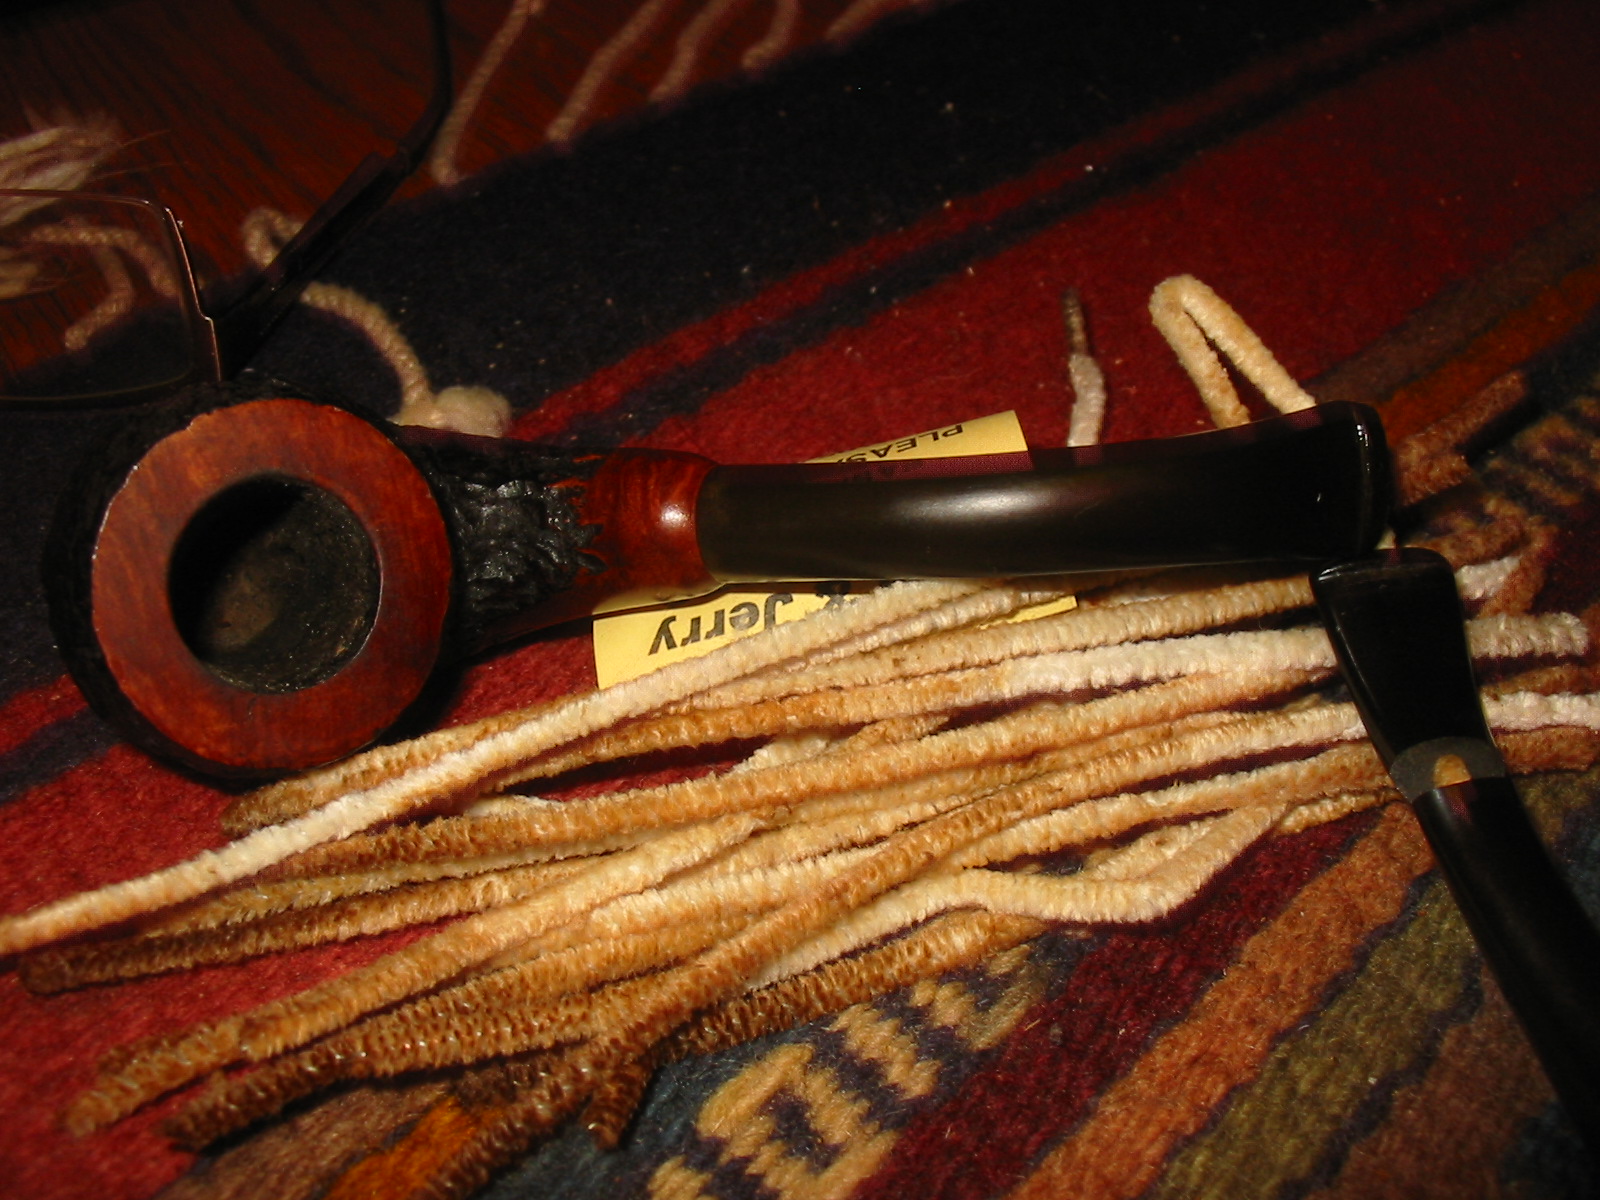
I give every pipe a quick-clean to make sure there are no truly serious interior problems with the stem’s bore or tenon and/or the bowl’s mortise or draught hole and then, in general, wait to clean and sterilize the inside of the pipe thoroughly until after I have at least reamed and sanded the chamber. This is probably the only general procedural step in every pipe restoration on which I choose to deviate from my mentor and friend, Chuck Richards. His perfectly sound idea is to clean the thing and be done with it, while I prefer to wait except as noted, although I know Chuck must give his finished work a final run-through with the stem cleaner anyway.
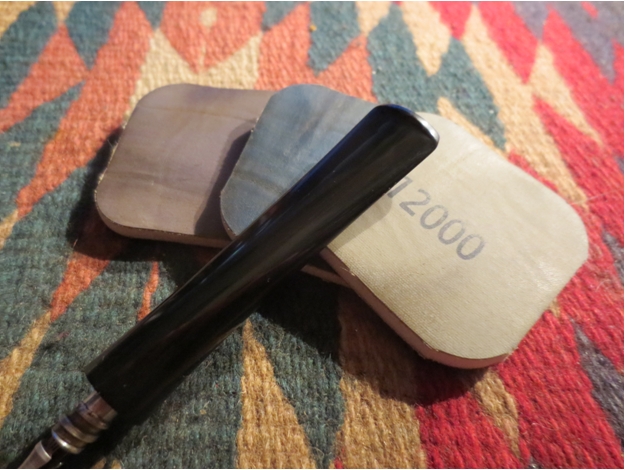
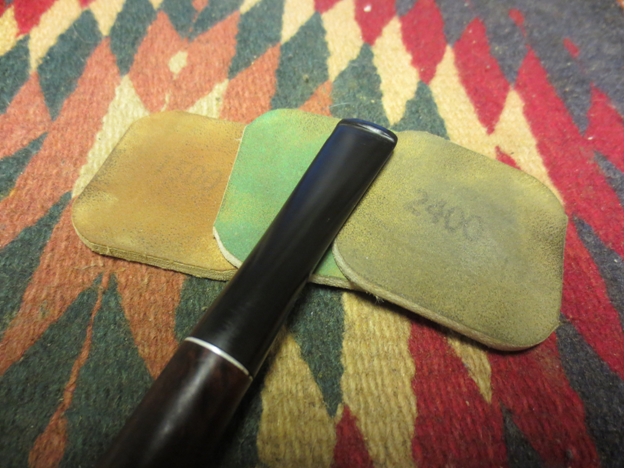
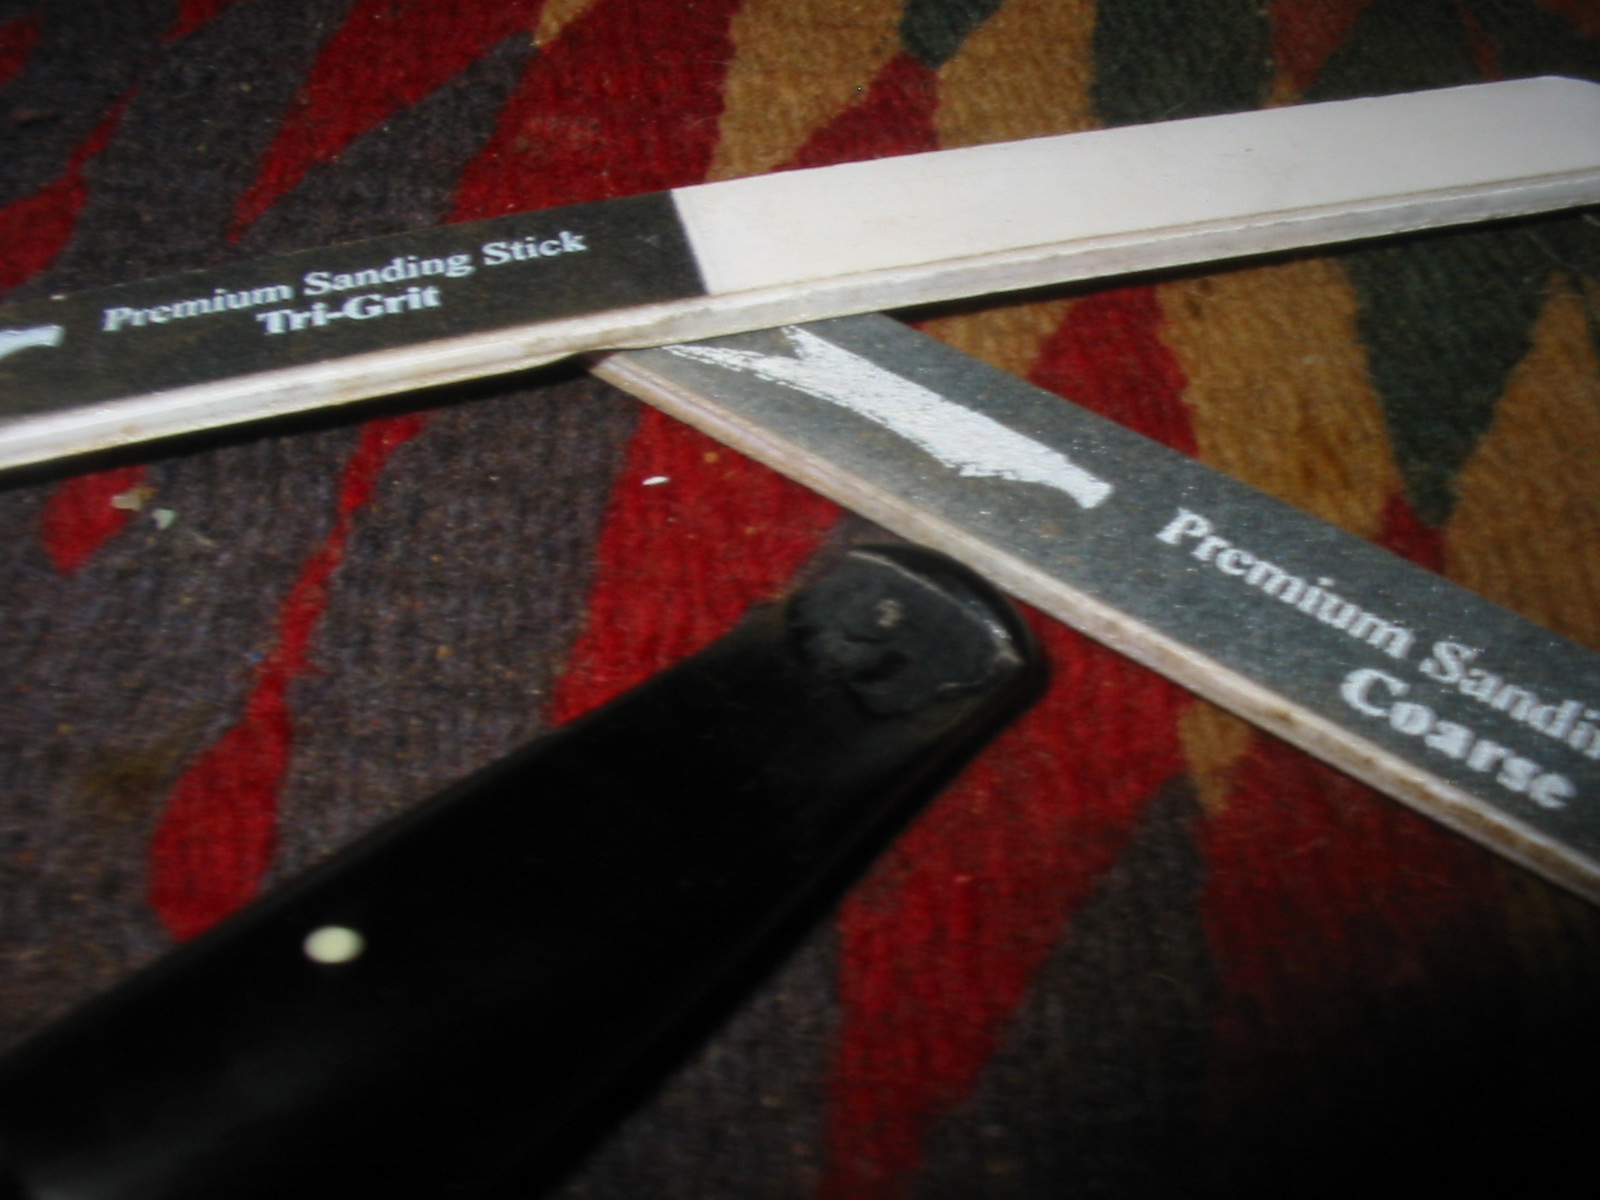
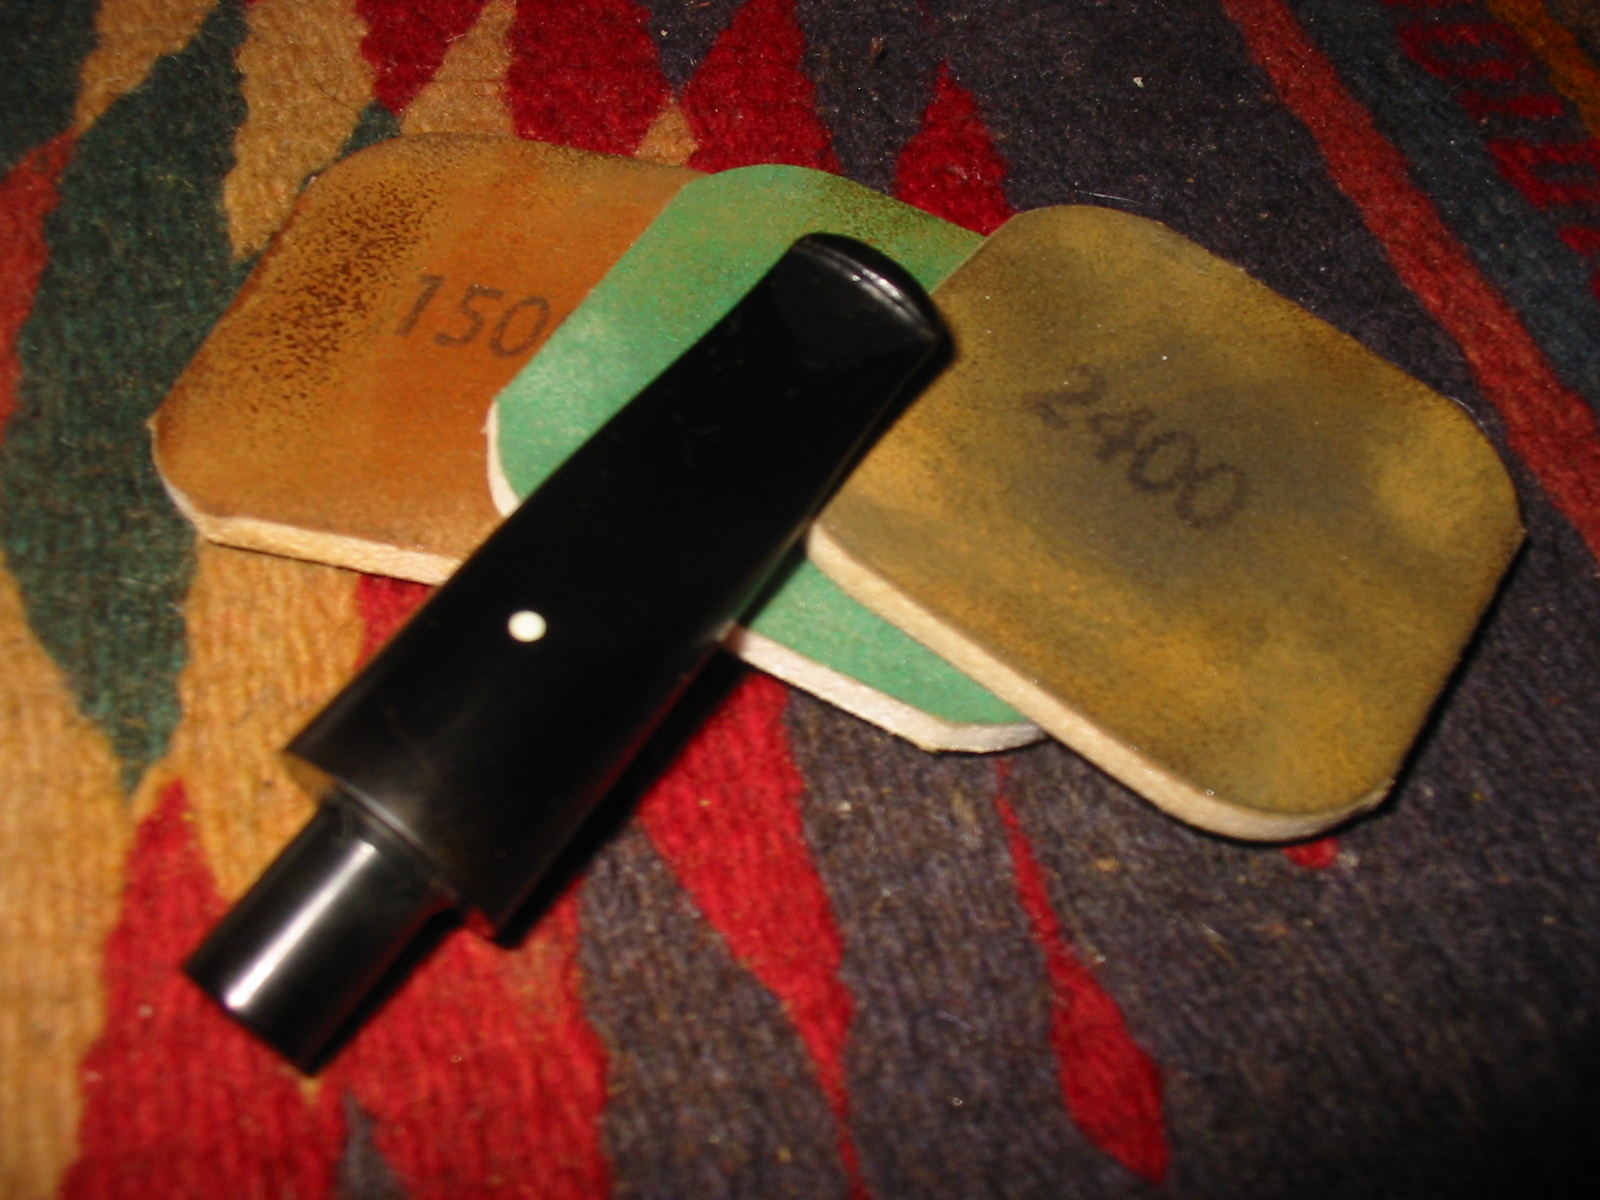
Therefore, after Rob’s patented Quick-and-Dirty Cleaning, in multiple senses of the description, I turned to the rim, which I had already scrubbed with purified water to a dull, dark and negligibly different appearance, and gave the task my absolute all with several grades of micromesh, working my way lower in number and only higher in bodily and mental temperature. Determined not to spend my night on the rim, I found a nice small piece of 400-grit sandpaper that worked wonders in moments. With a bit more elbow grease and attention to the exact location of the smaller but still present ding, I was able to remove the blight and finish up with a hand-buffing using 1800 micromesh, if I recall correctly.
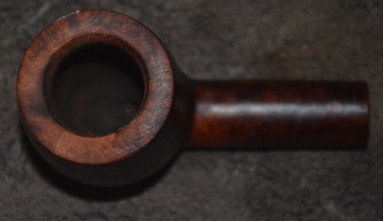
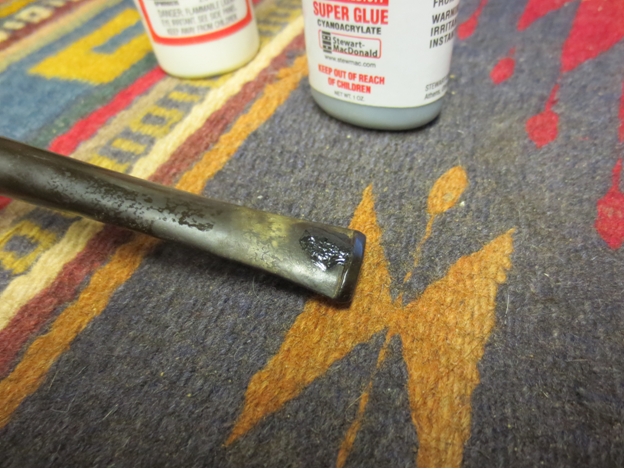
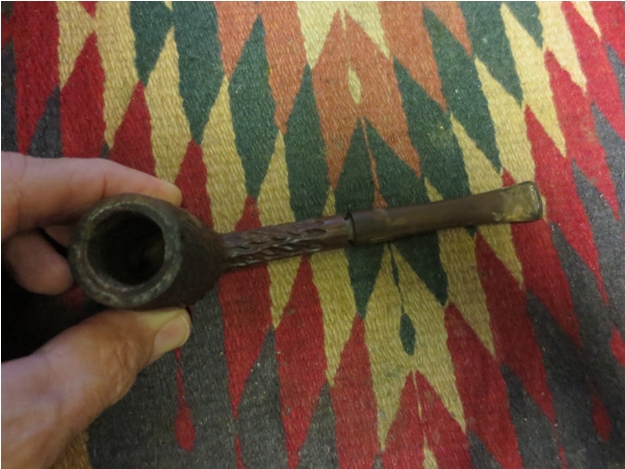
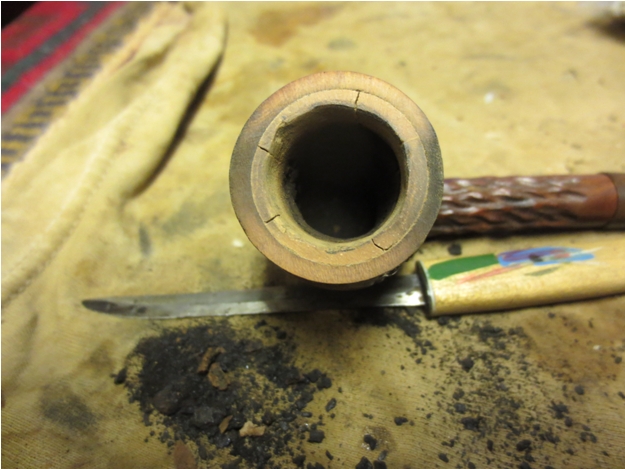
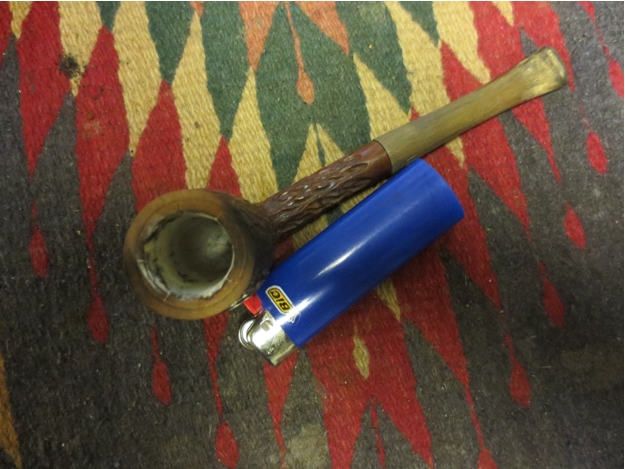
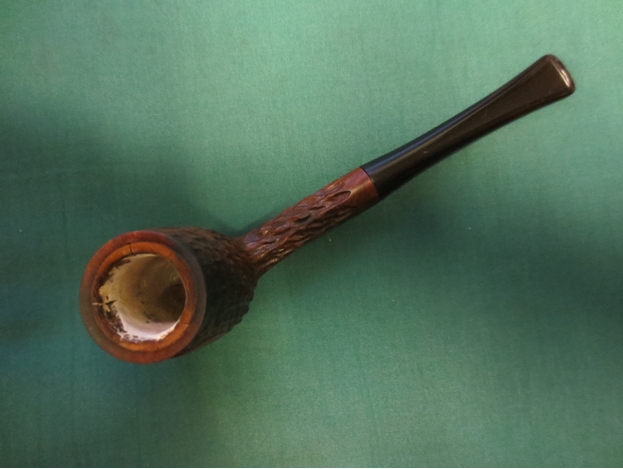
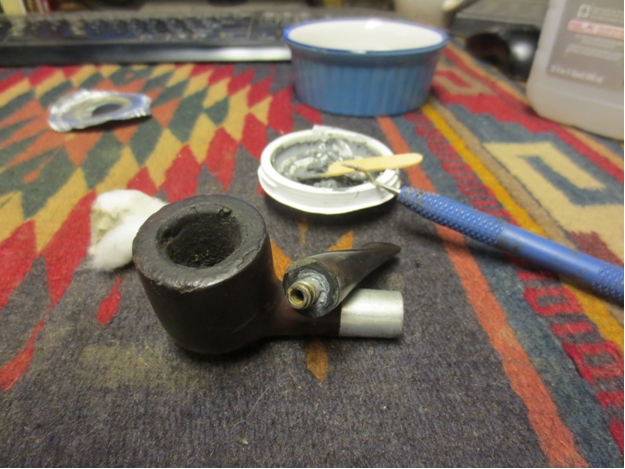
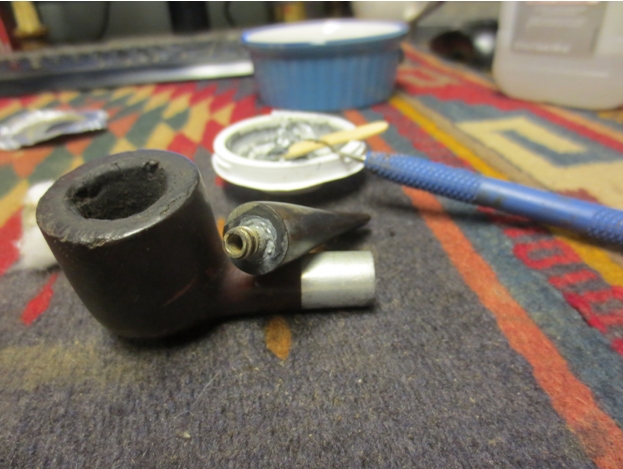
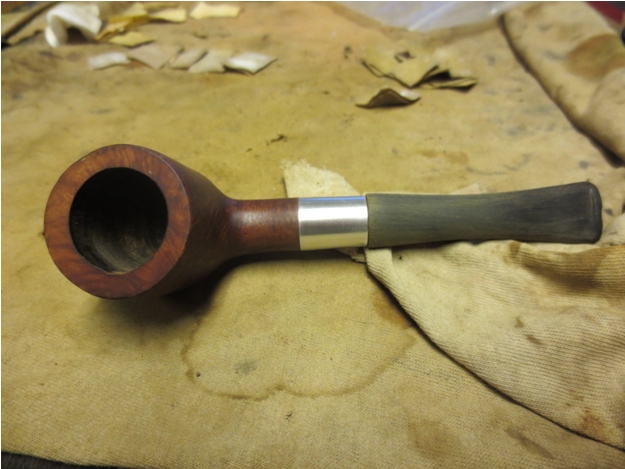
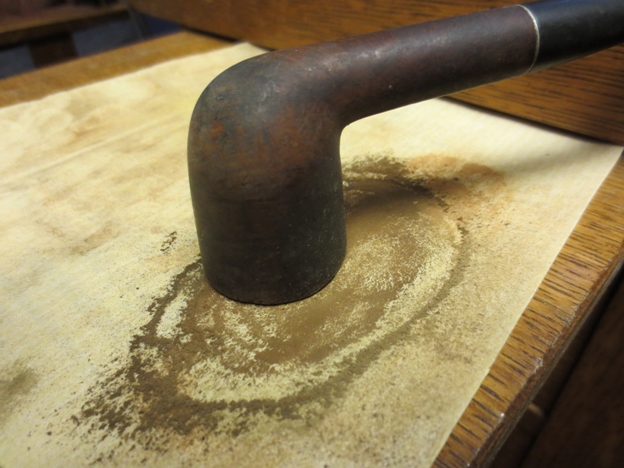
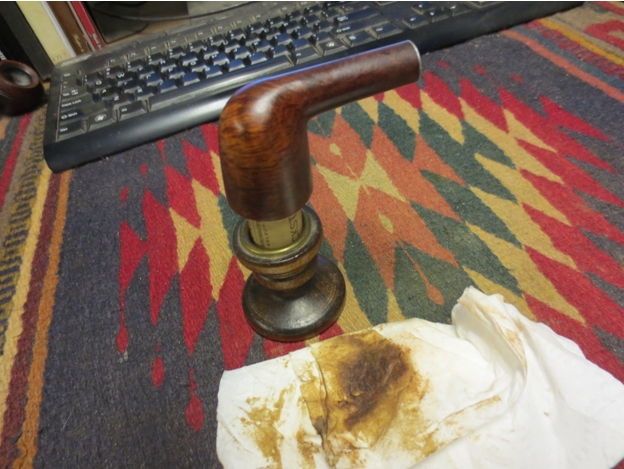
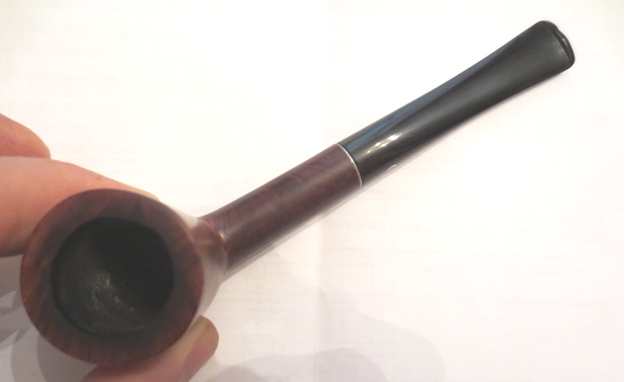
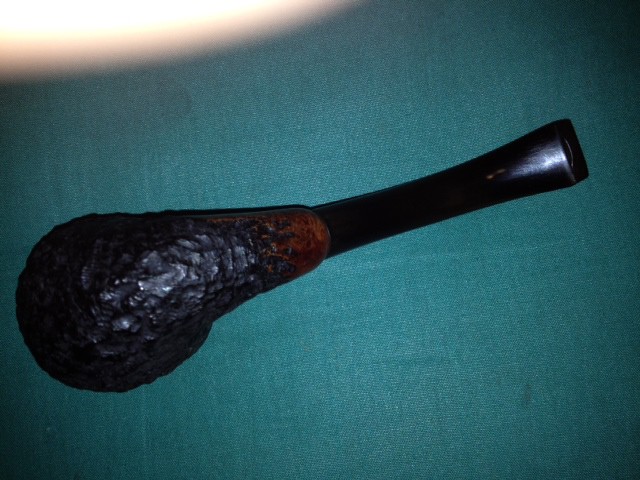
Photo 7
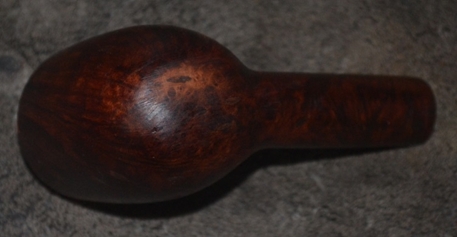
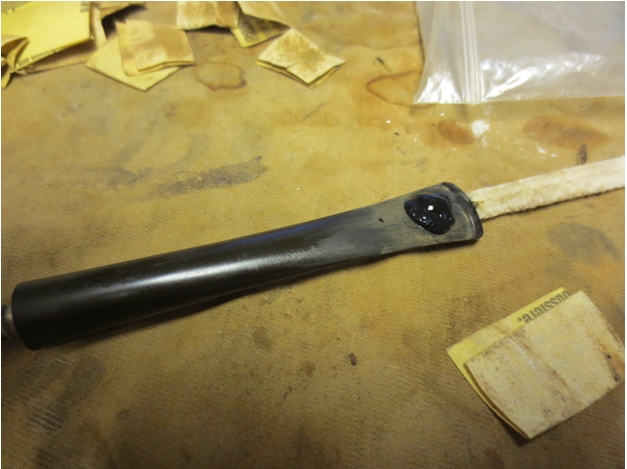
Photo 8
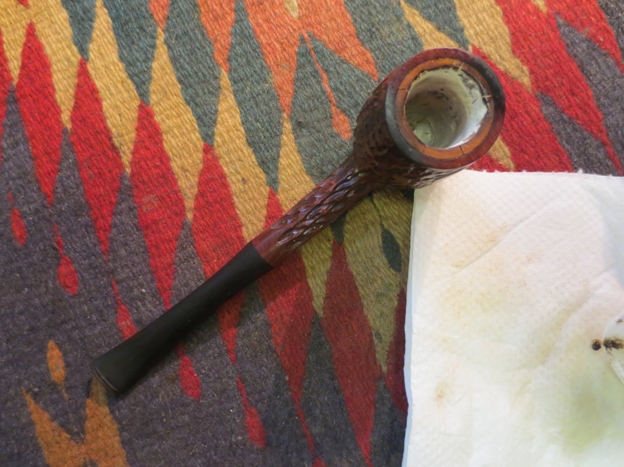
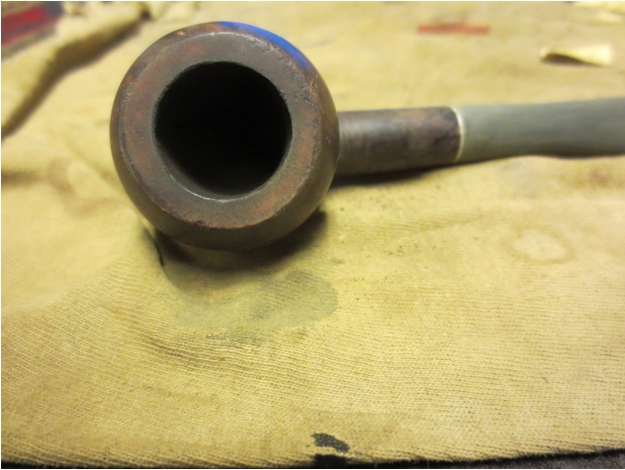
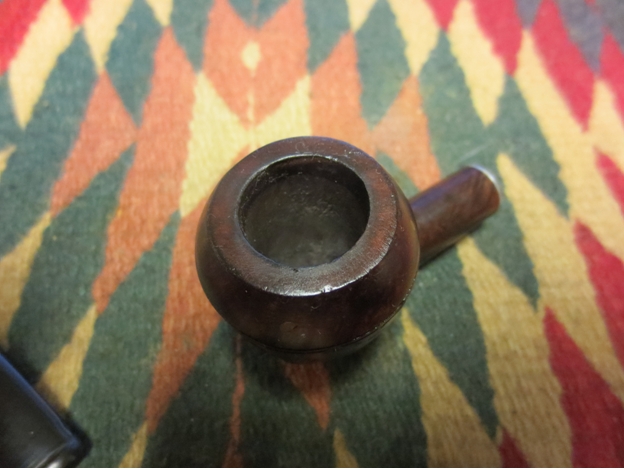
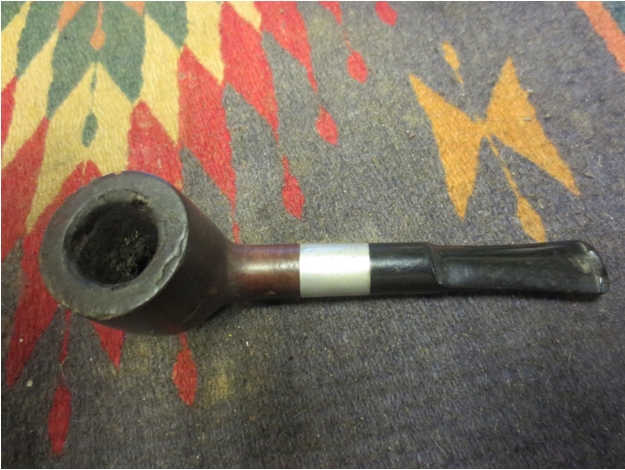
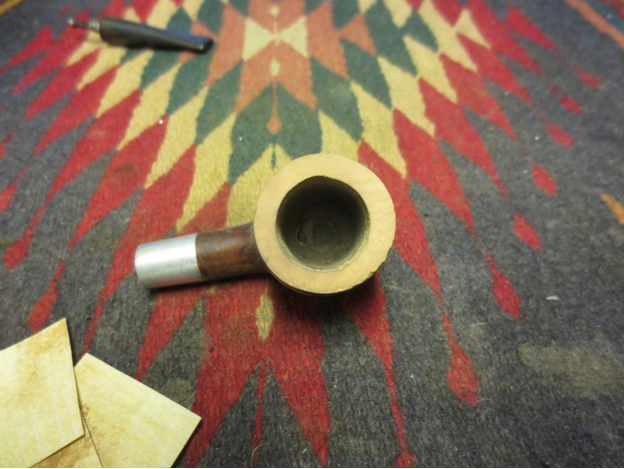
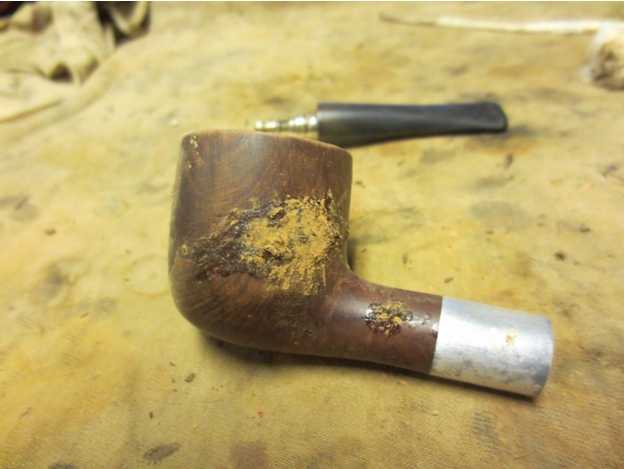
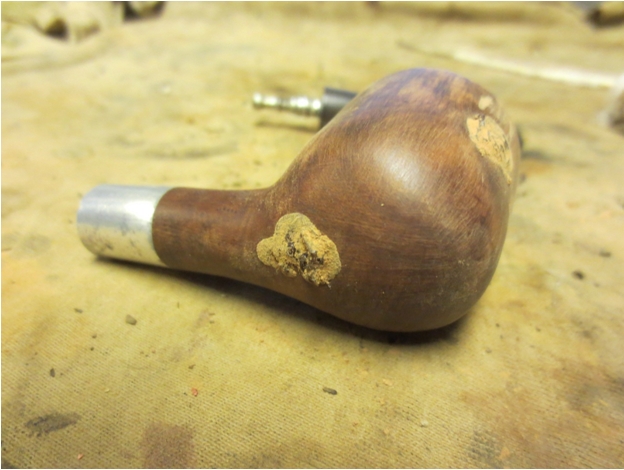
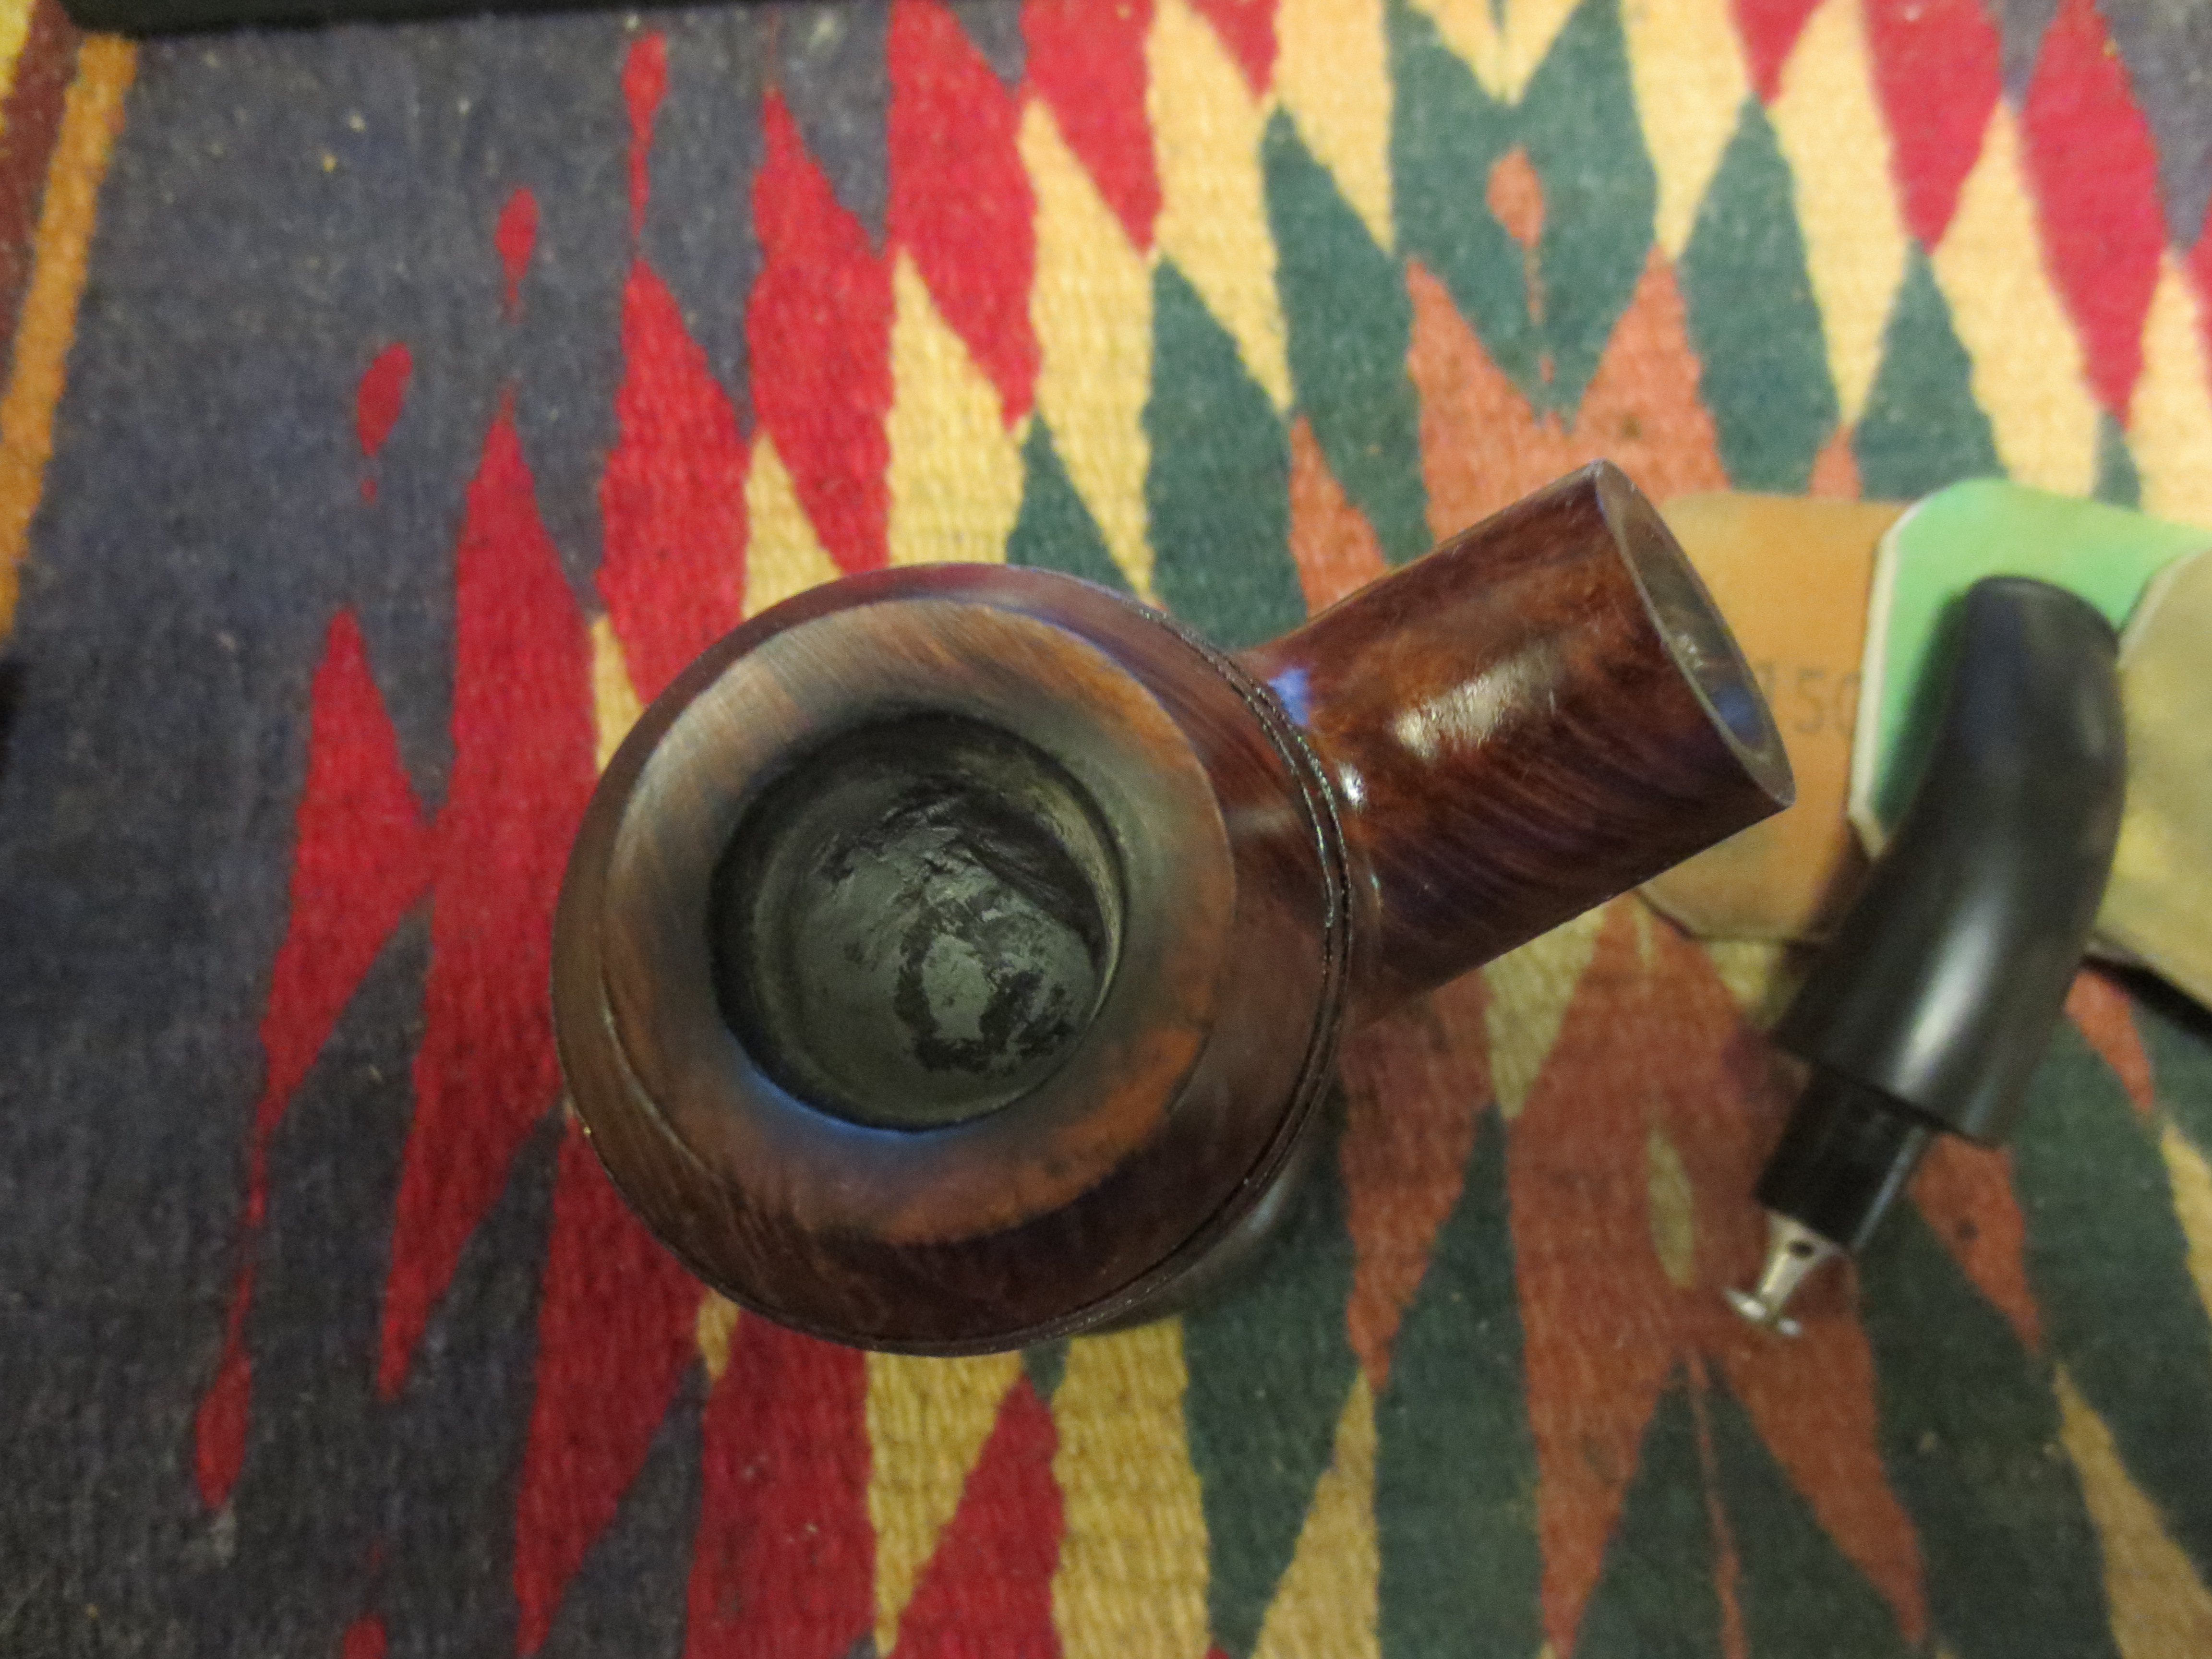
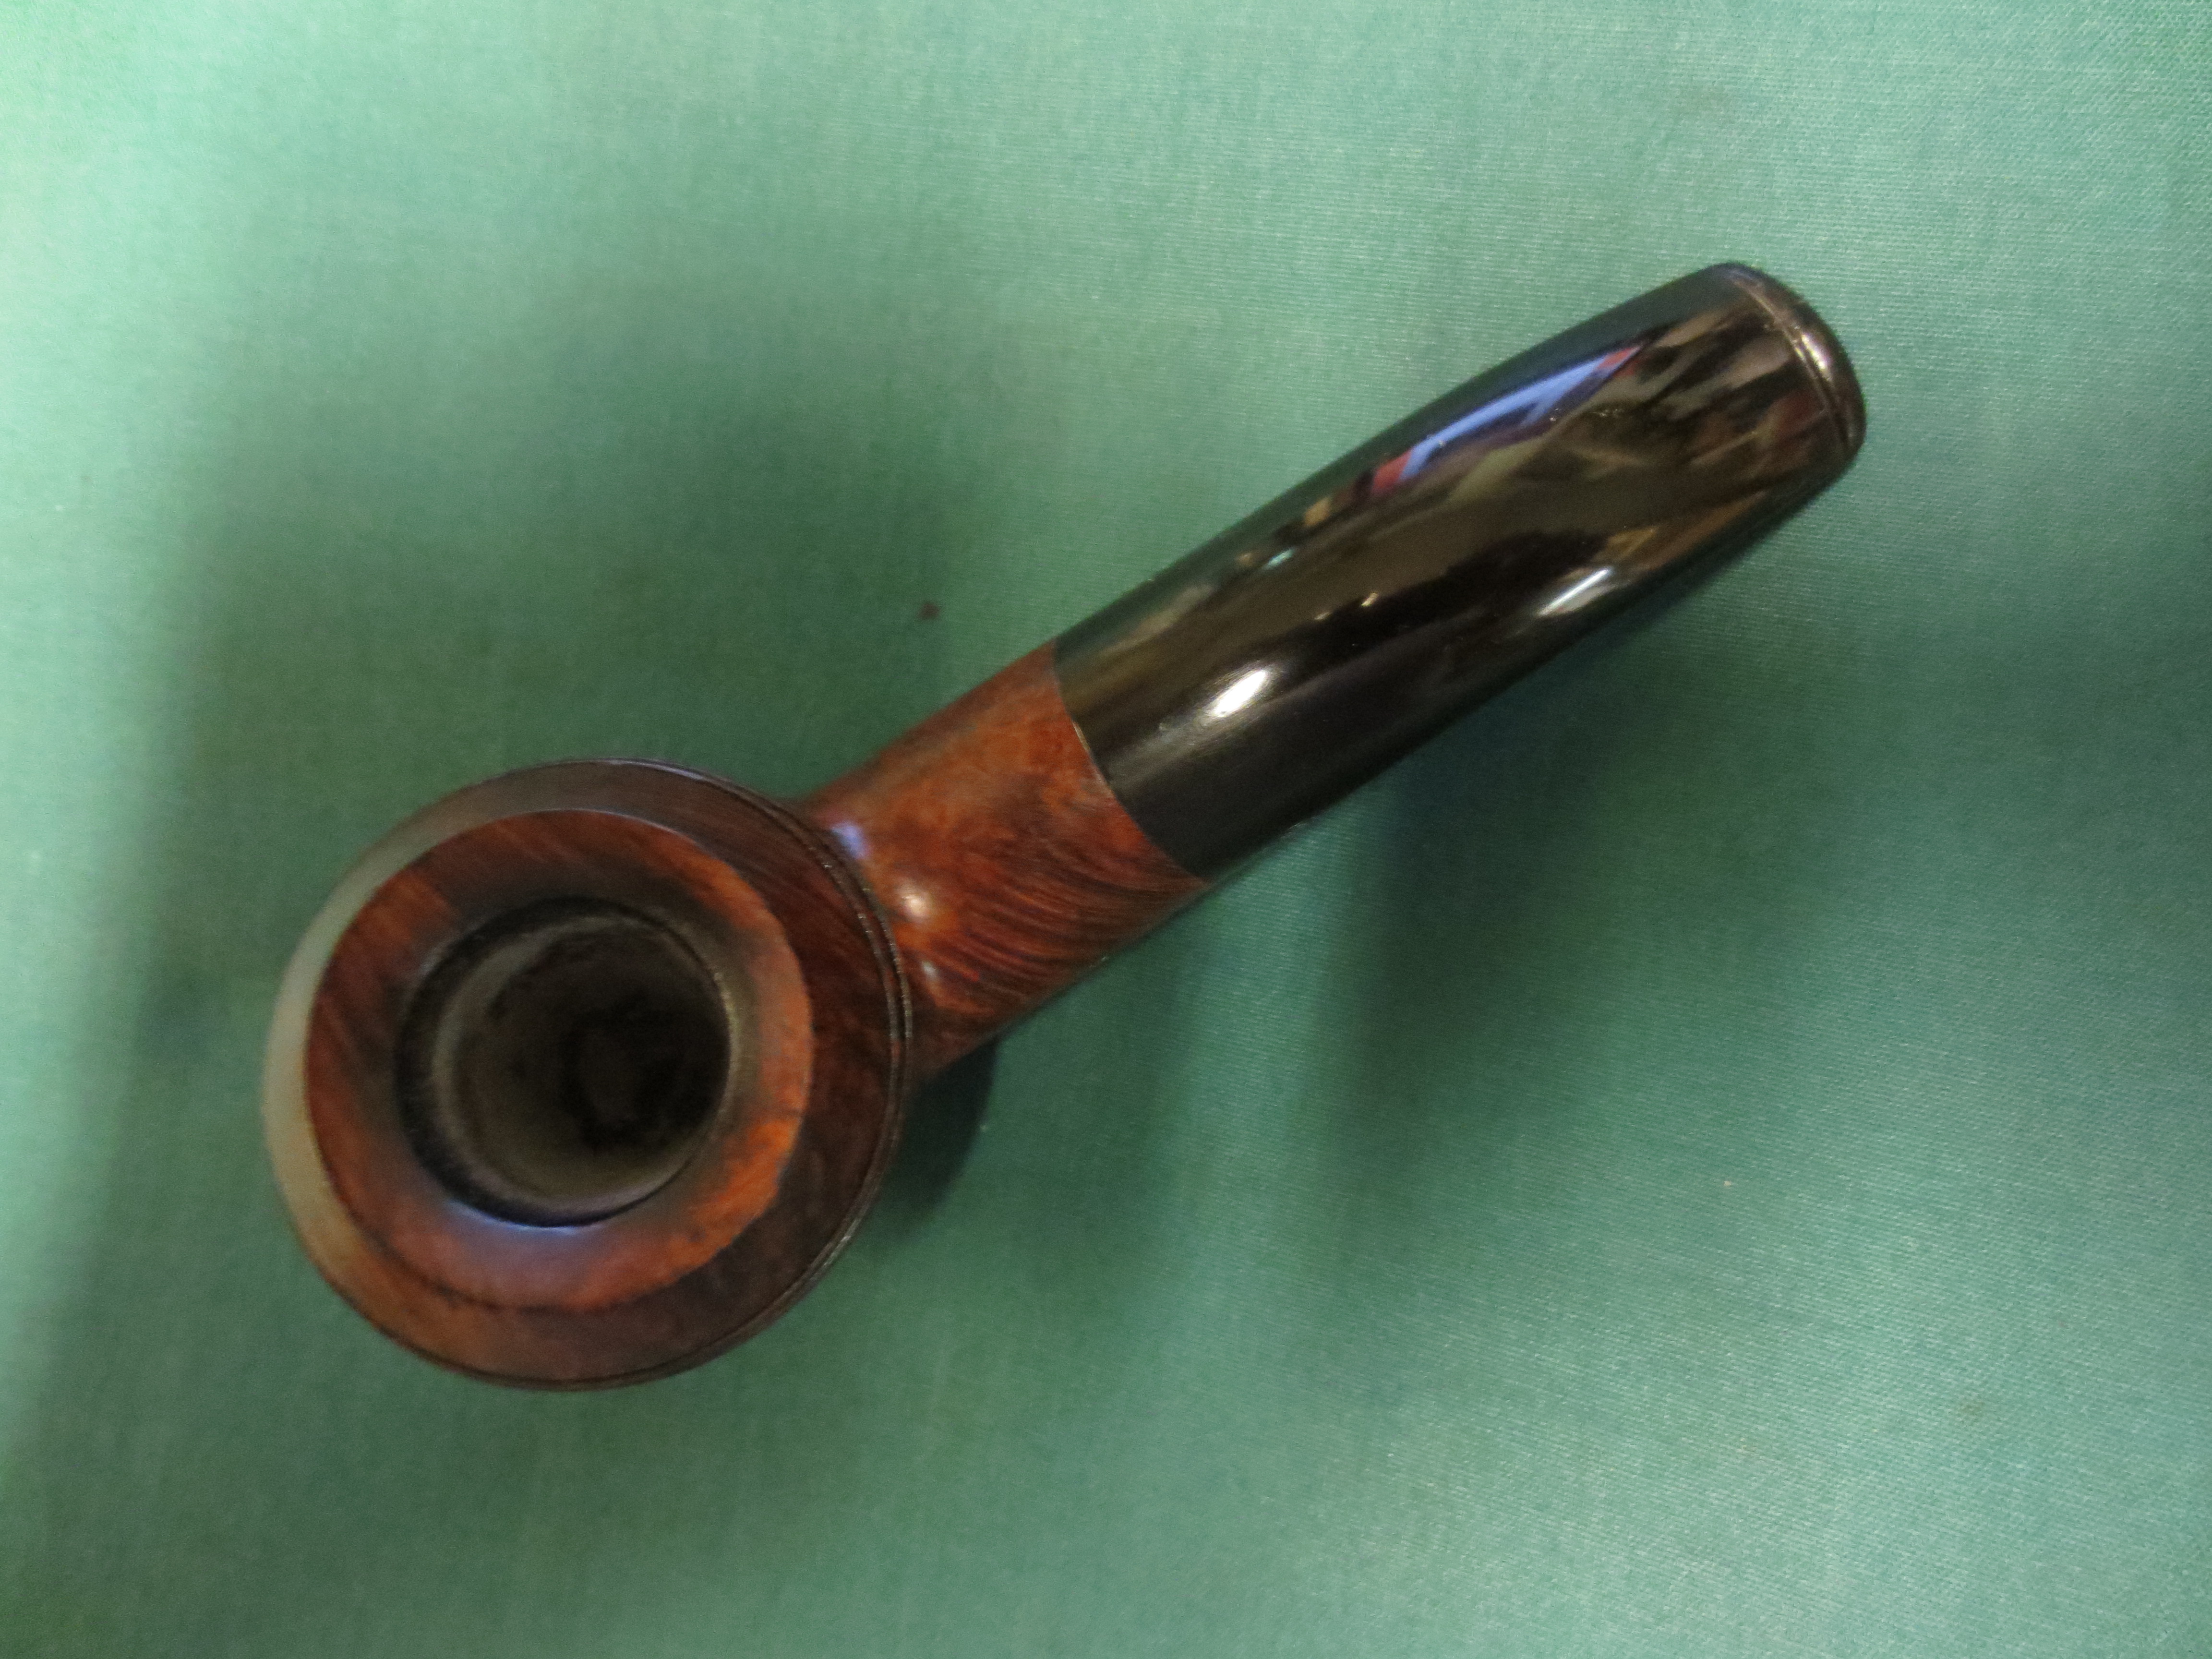
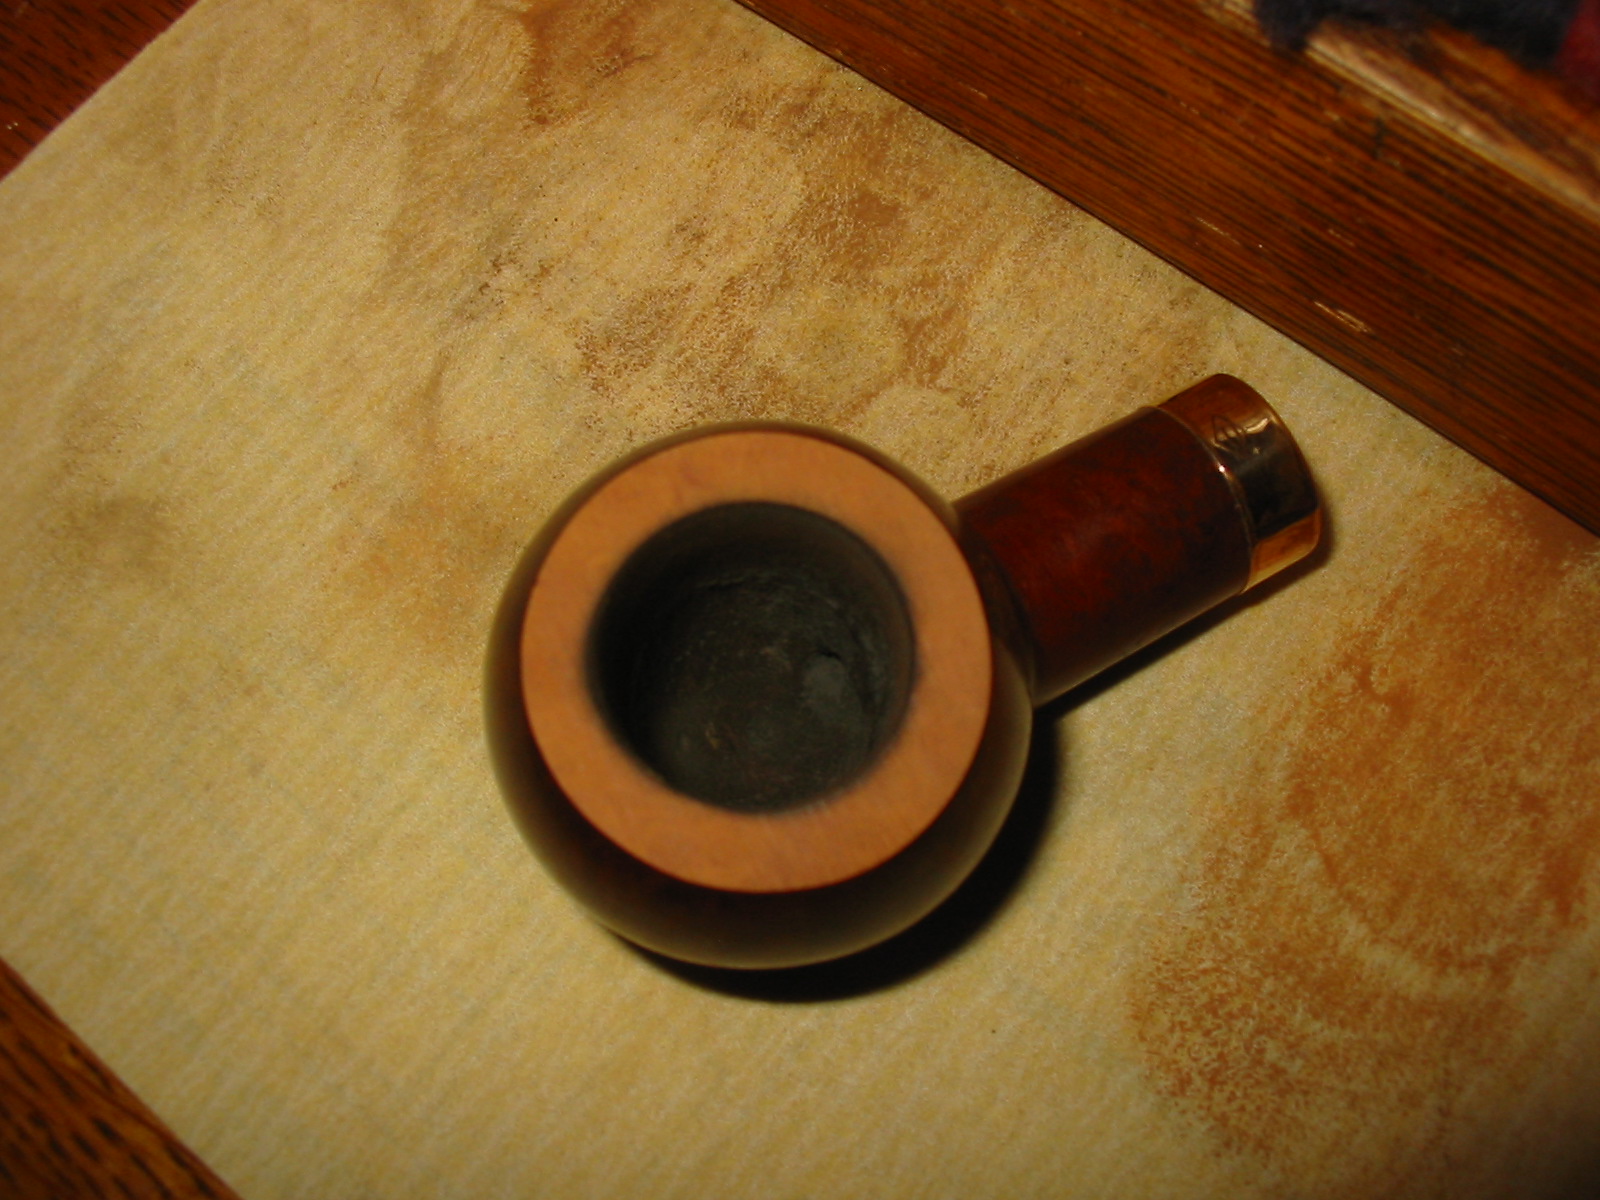
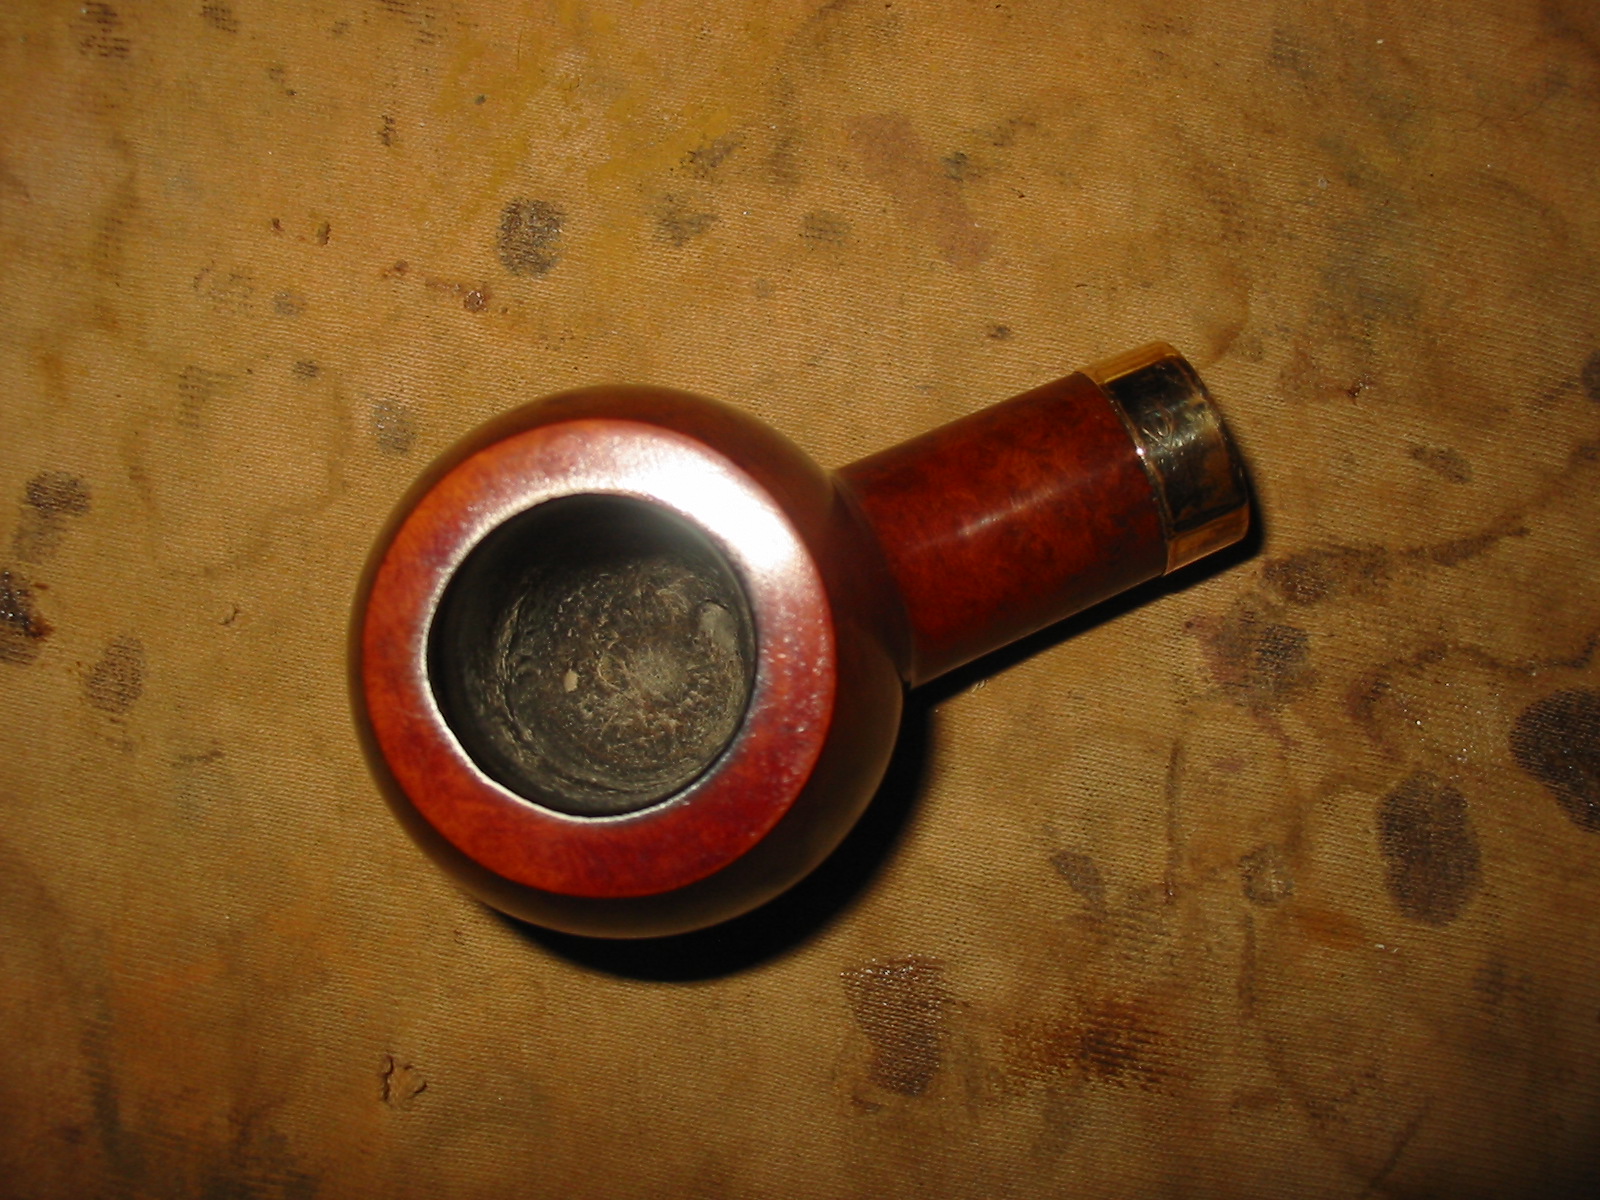
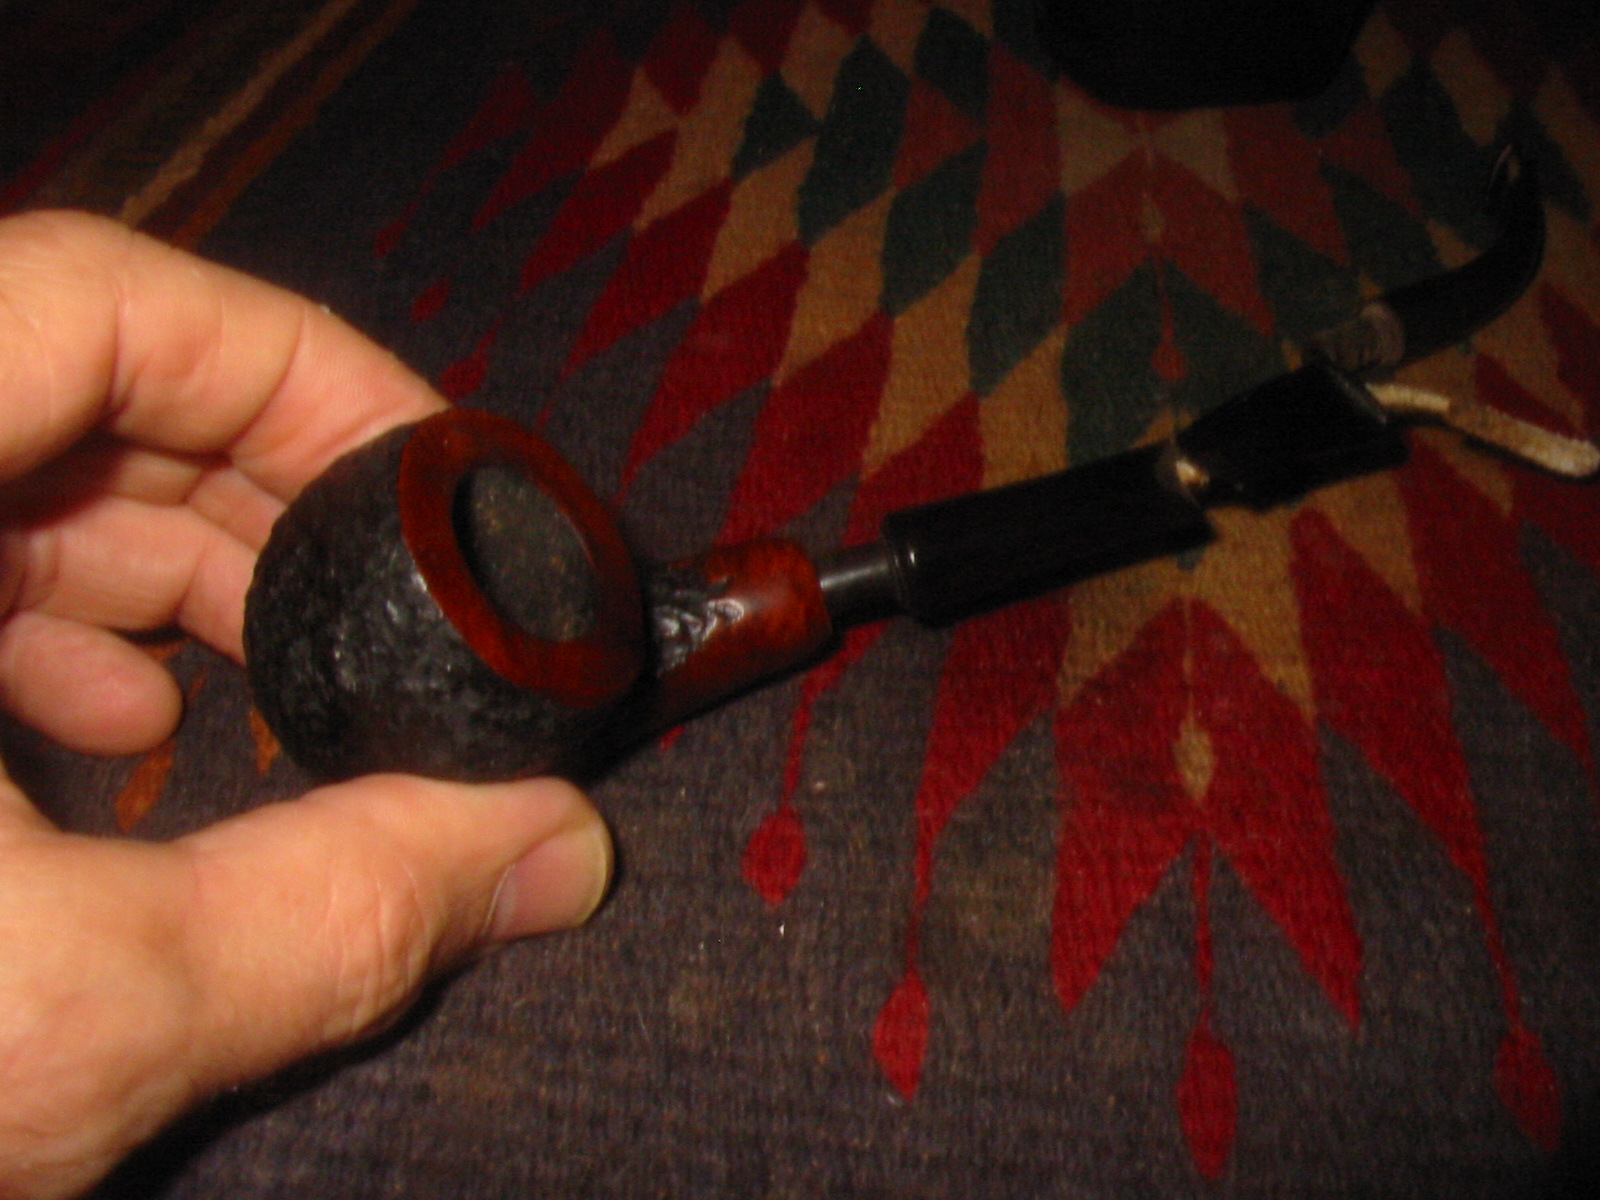
In the event of any possible unevenness in the upper diameter of the bowl as a result of the reaming I contemplated to remove the years of staggered caking, like narrow ledges on the face of a mountain – with the peak being, as it should on a mountain but not in the bowl of any pipe, the smallest part – I put aside my plans to re-stain the rim. Instead I took my Senior Pipe Reamer from its box and had trouble finding a setting to insert it. Getting it all the way in and starting at the base being impossible, I began at the peak and slowly cranked away until the blades slipped lower. In that fashion I bored a path down to the bottom of the chasm, which resembled the inside of a volcano, crusted and jagged. Altogether this phase was accomplished in four or five small steps.
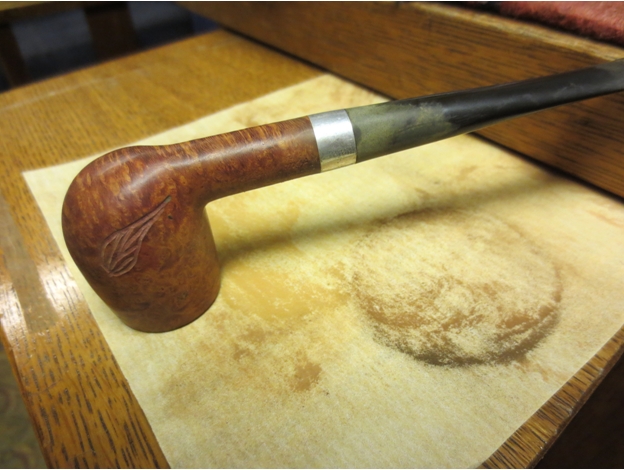
Along the way, I dumped out the loosening carbon into a growing mound that reached almost an inch high in the initial descent. Then I commenced the reaming proper, so to speak, turning the blades at an angle favoring the top of the bowl, and broke new ground there, where I actually reached bare briar for about three-eighths of an inch down the slope. In this fashion, I made several more slow descents before the interior was more or less convex, though still very rough. The only remaining wide fissure was at the very bottom of the bowl, which I determined to eliminate with sanding by hand until I achieved an overall smoothness that would be even with the bottom, with which I could then deal.
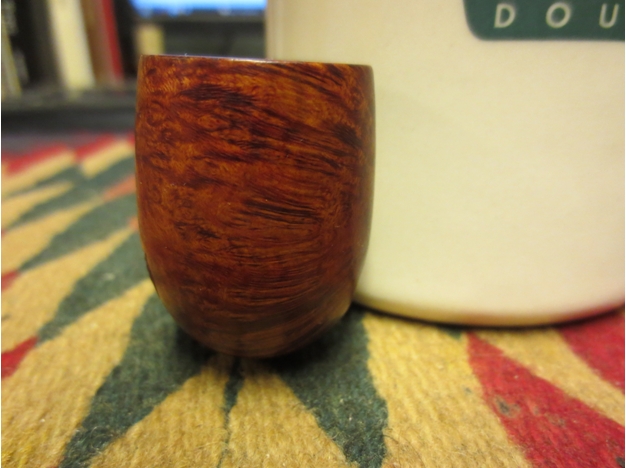
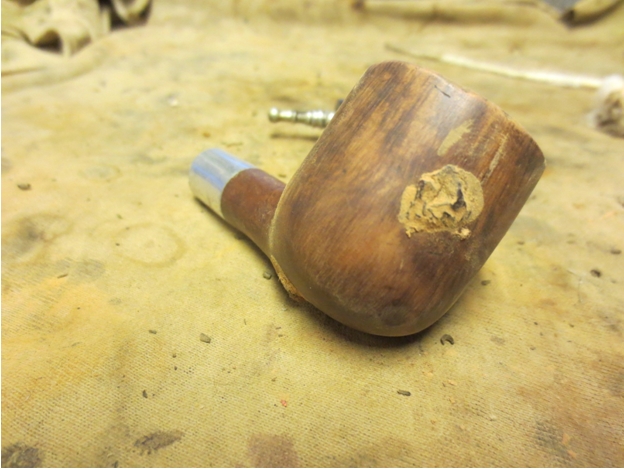
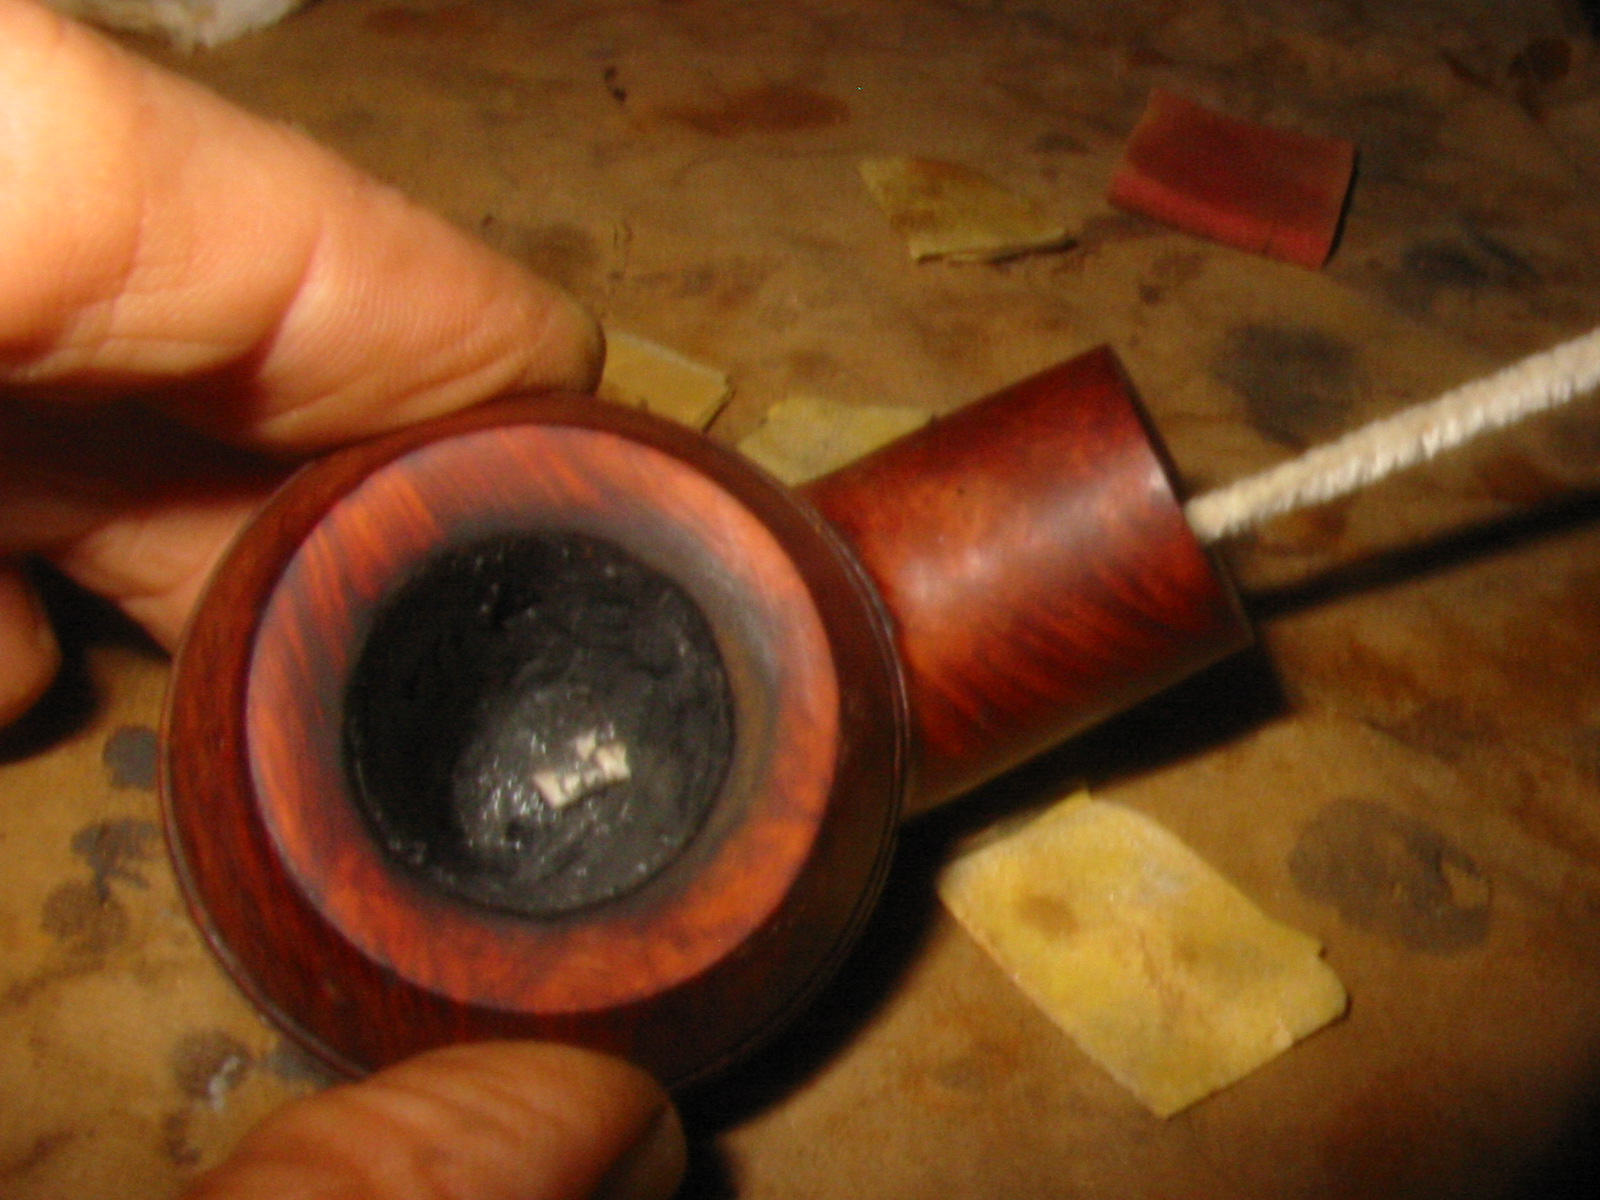
I started with 150-grit paper and made a surprisingly brief, easy time of it. After dumping more carbon, I stuck a small square of cotton over a finger and used it to wipe the inside of the bowl roughly to clear it of more soot. Switching to 400-grit paper, I used the only appropriate finger to finish the job, with the satisfying result of a bowl that was as smooth as obsidian and, except for the clean briar at the top, appeared to be pre-smoked. The final pile of carbon was higher than two inches, which is truly amazing given that the actual bowl interior was 7/8×1-1/2”.
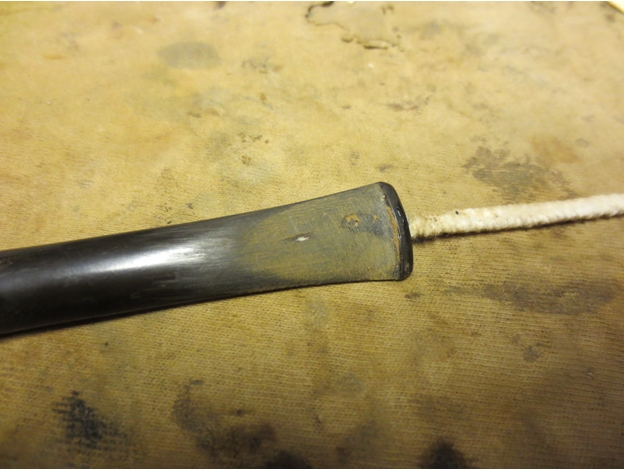
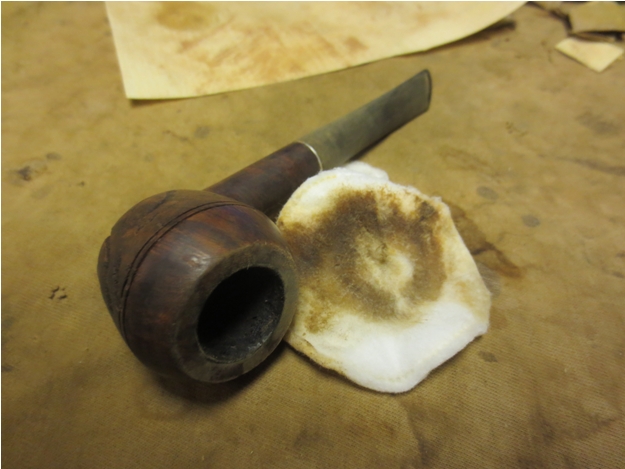
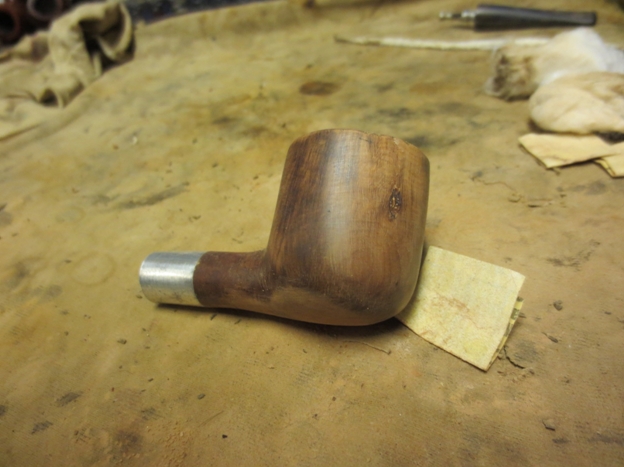
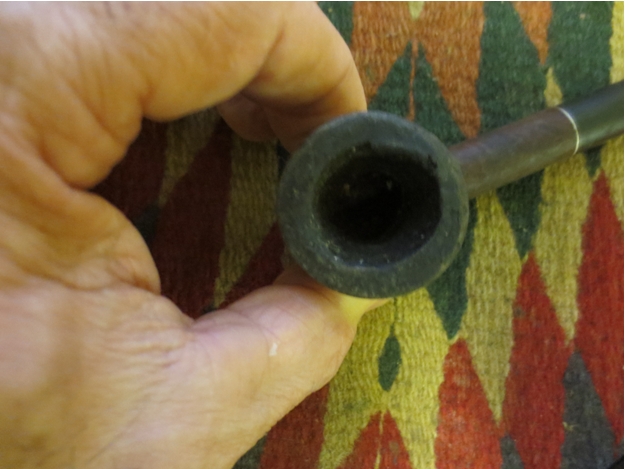
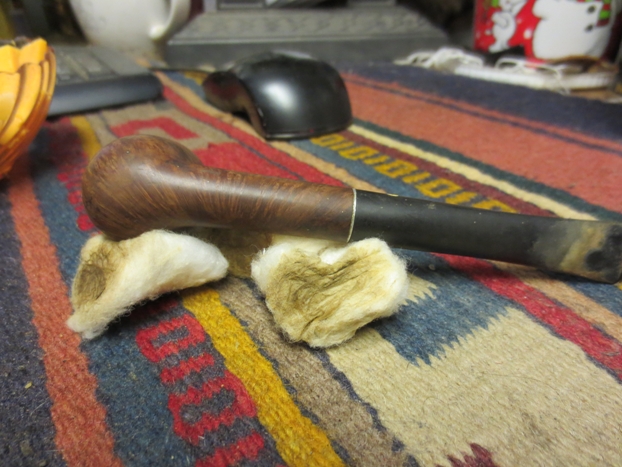
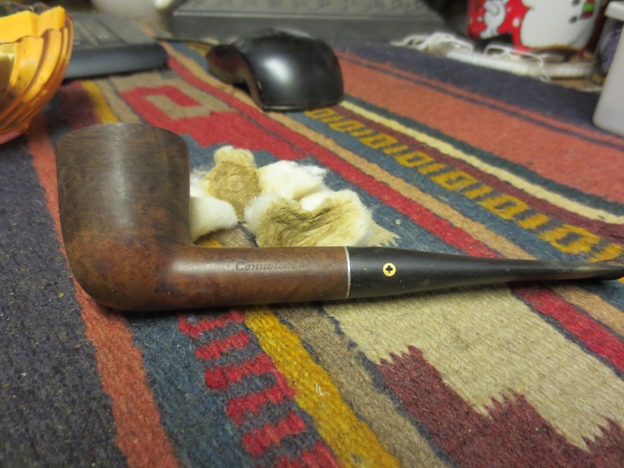
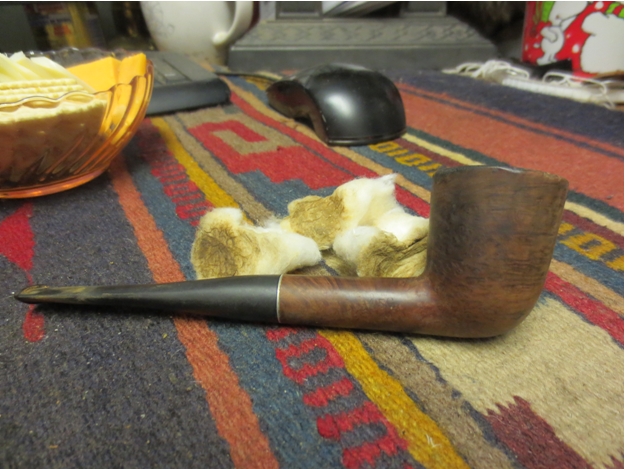
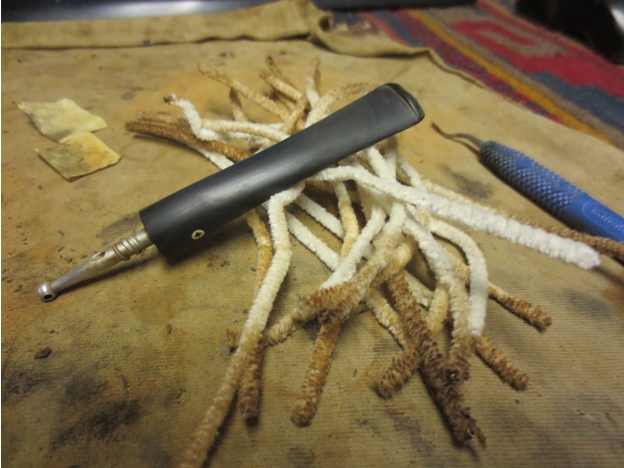
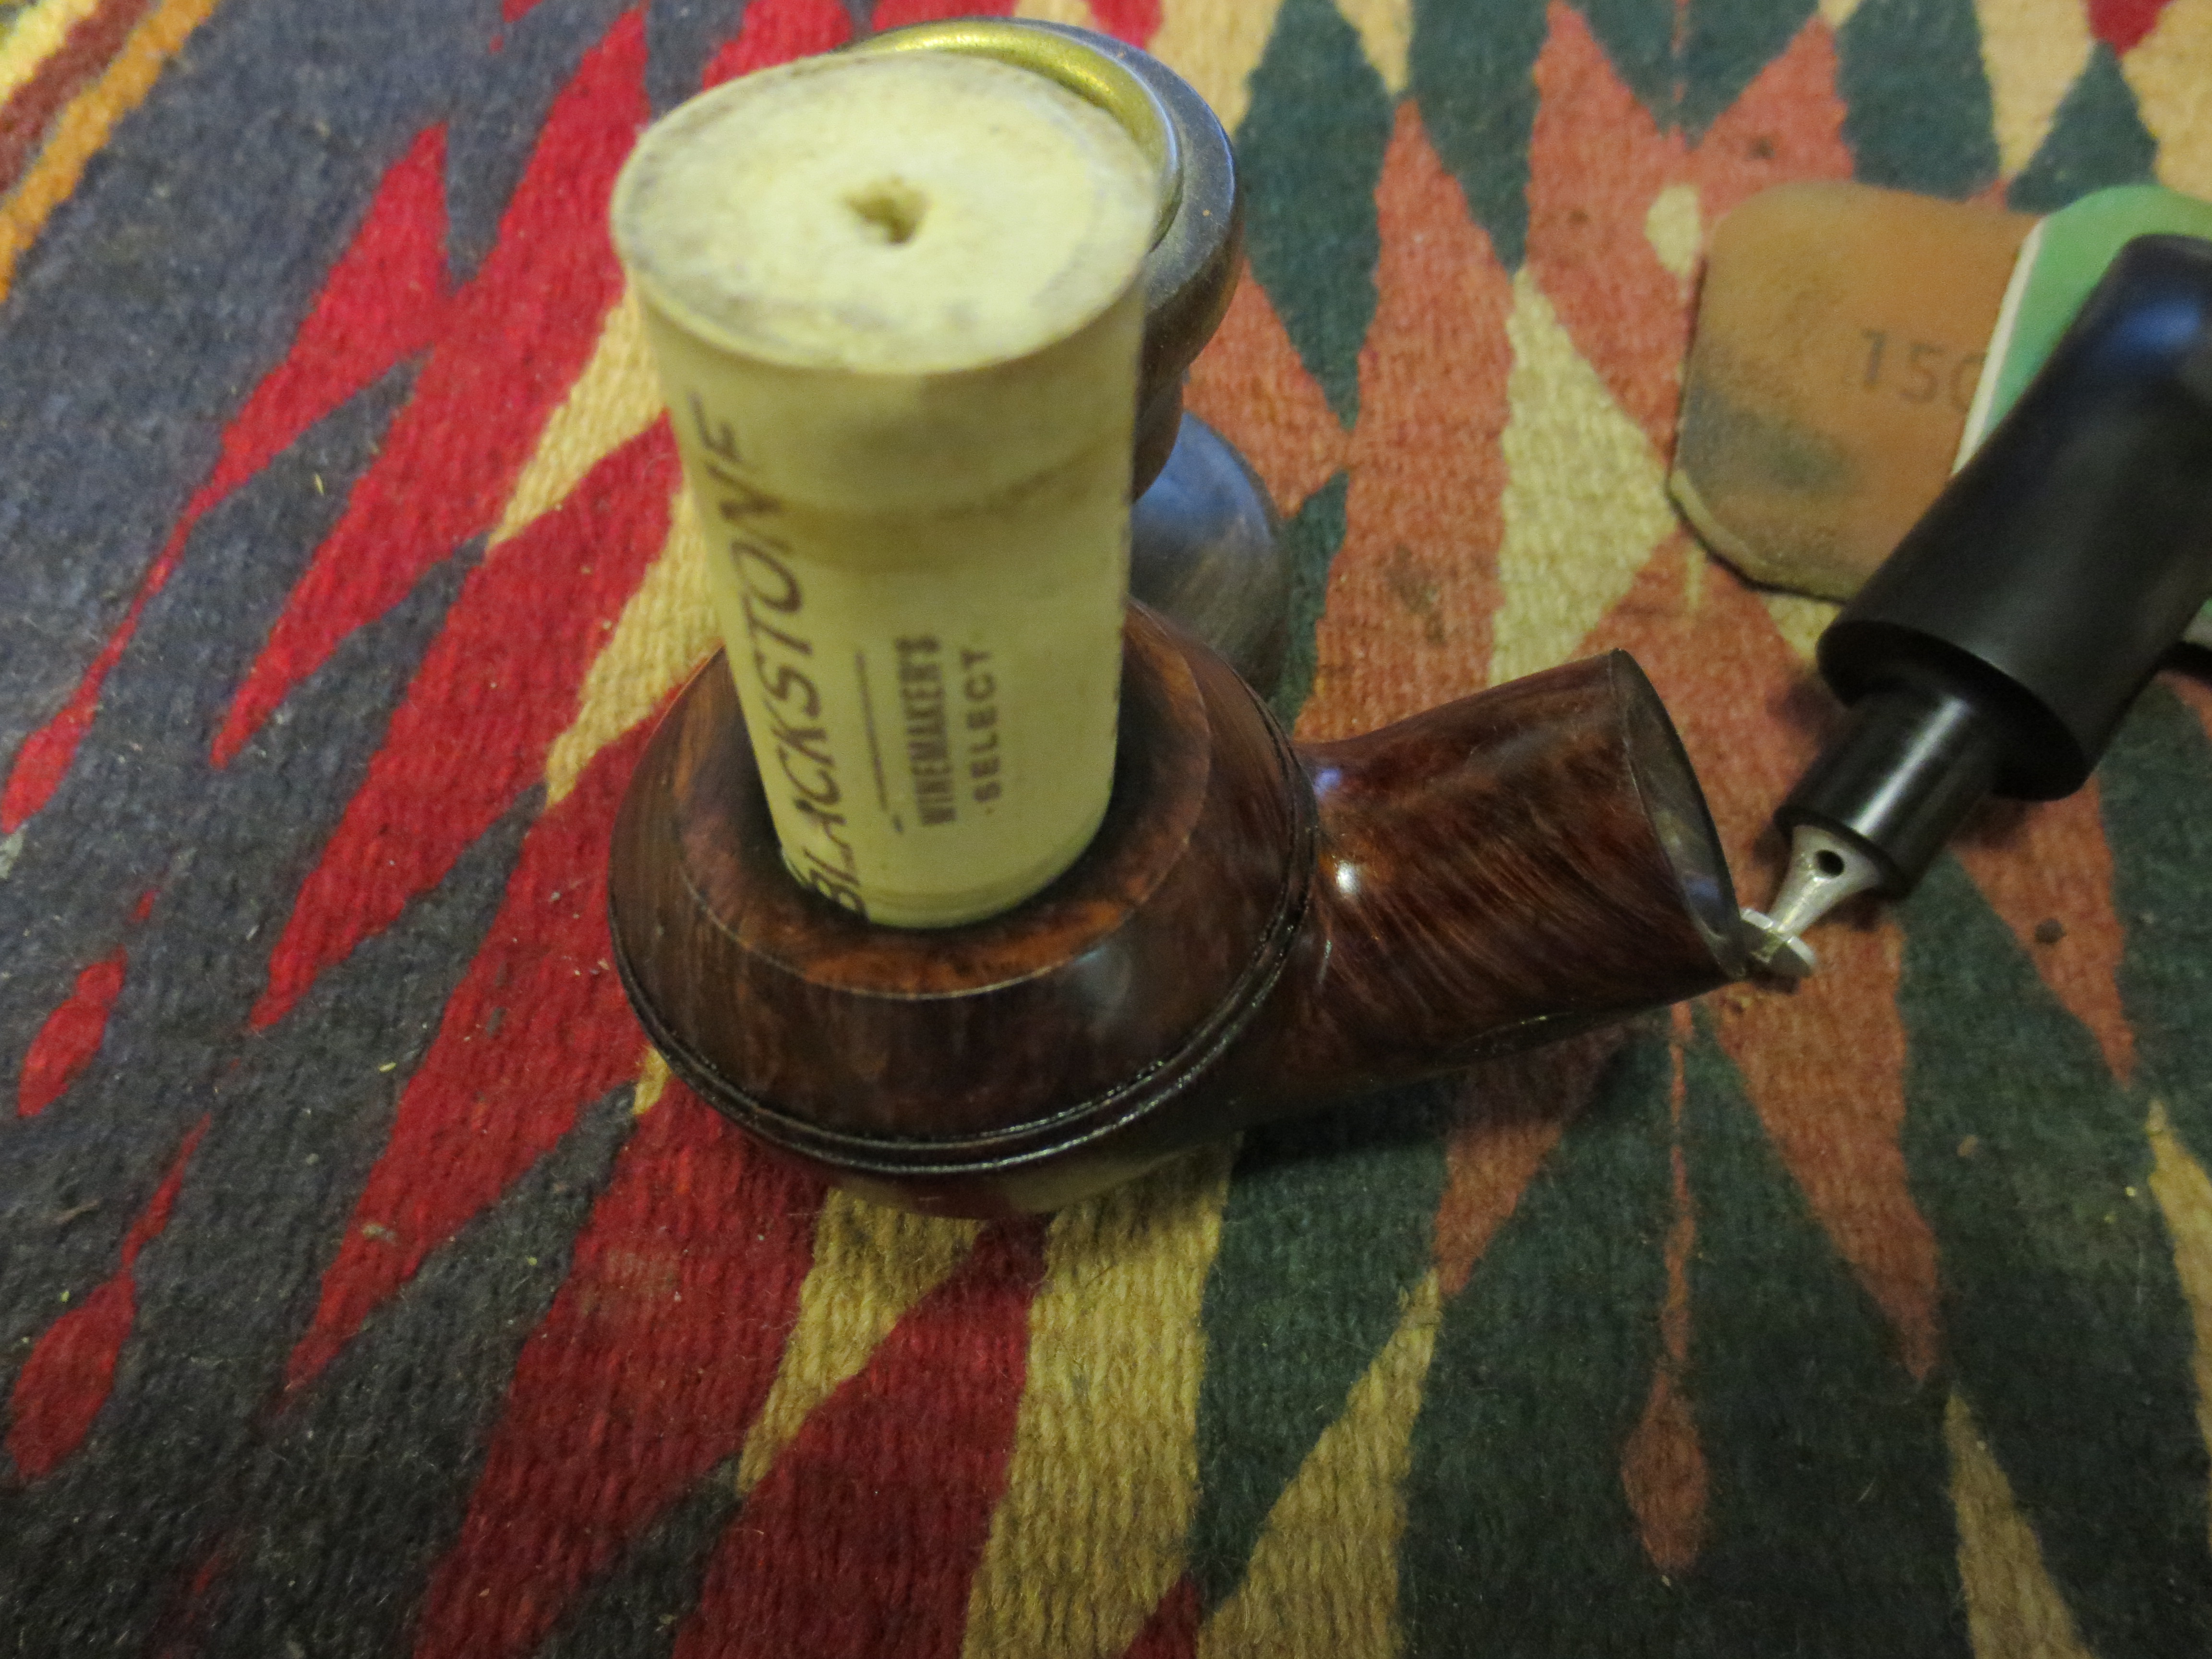
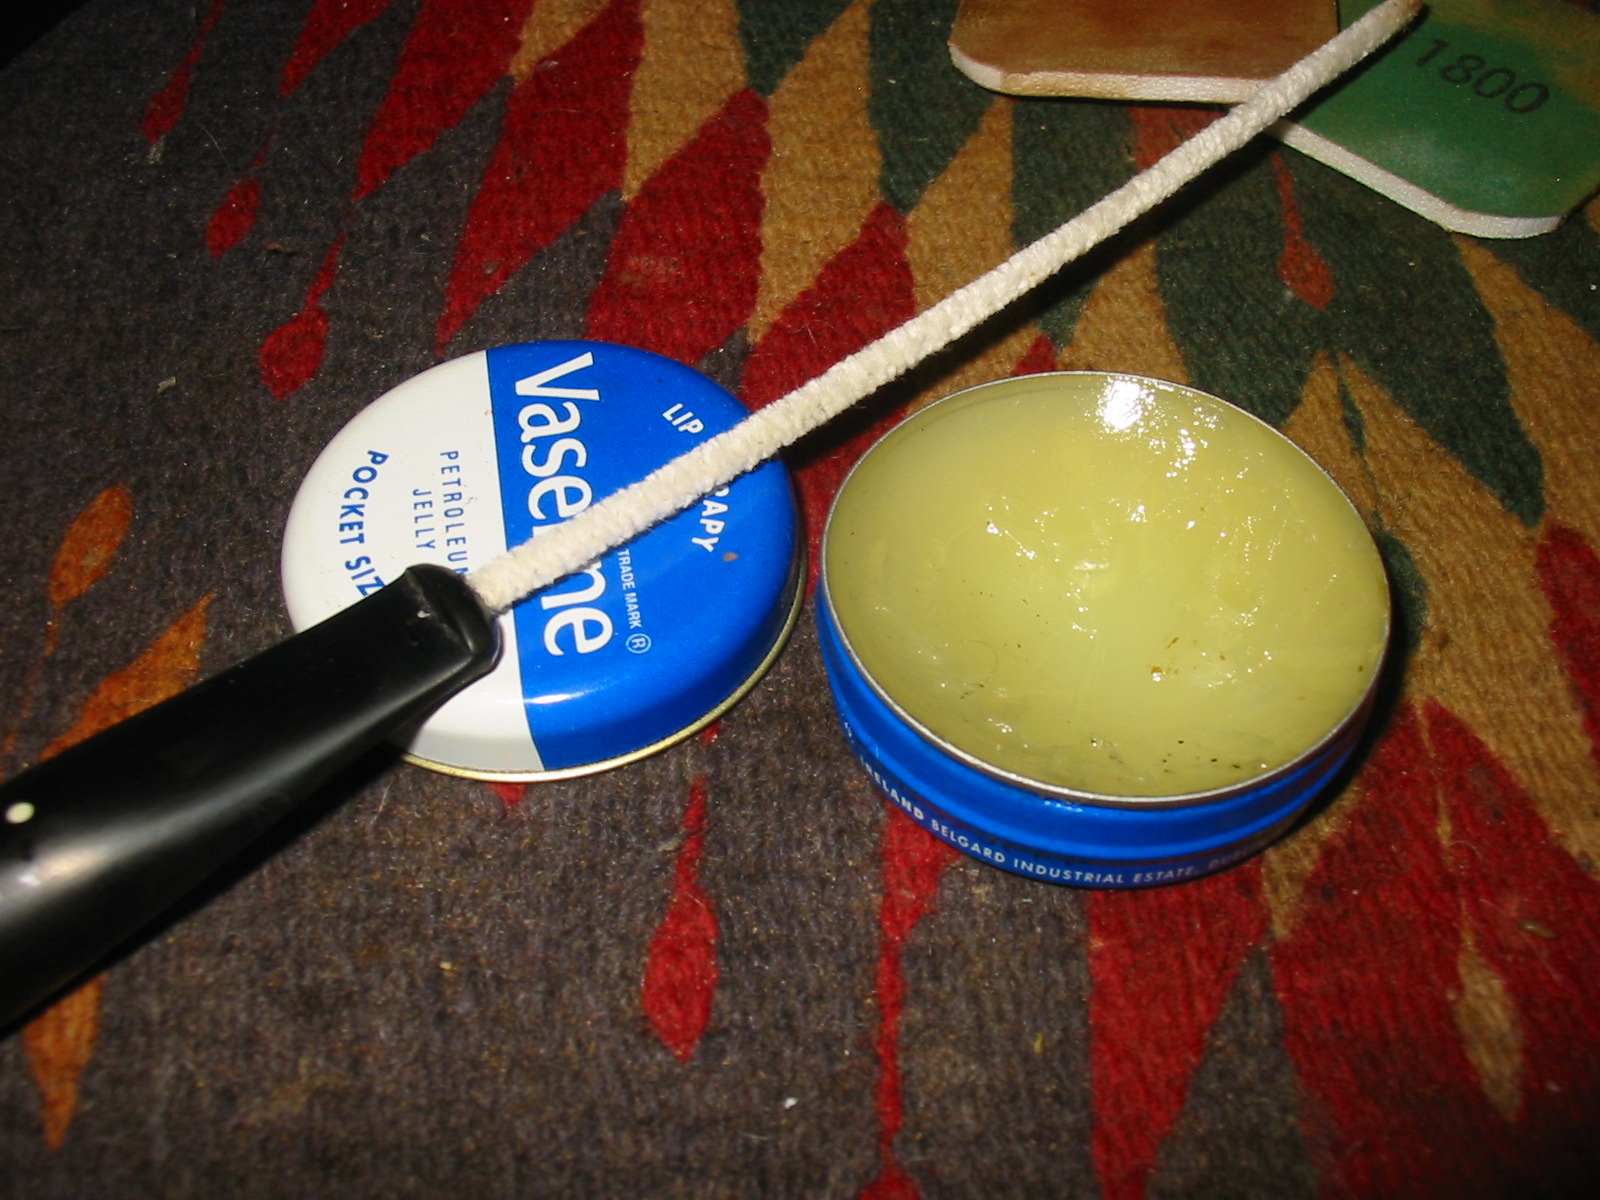
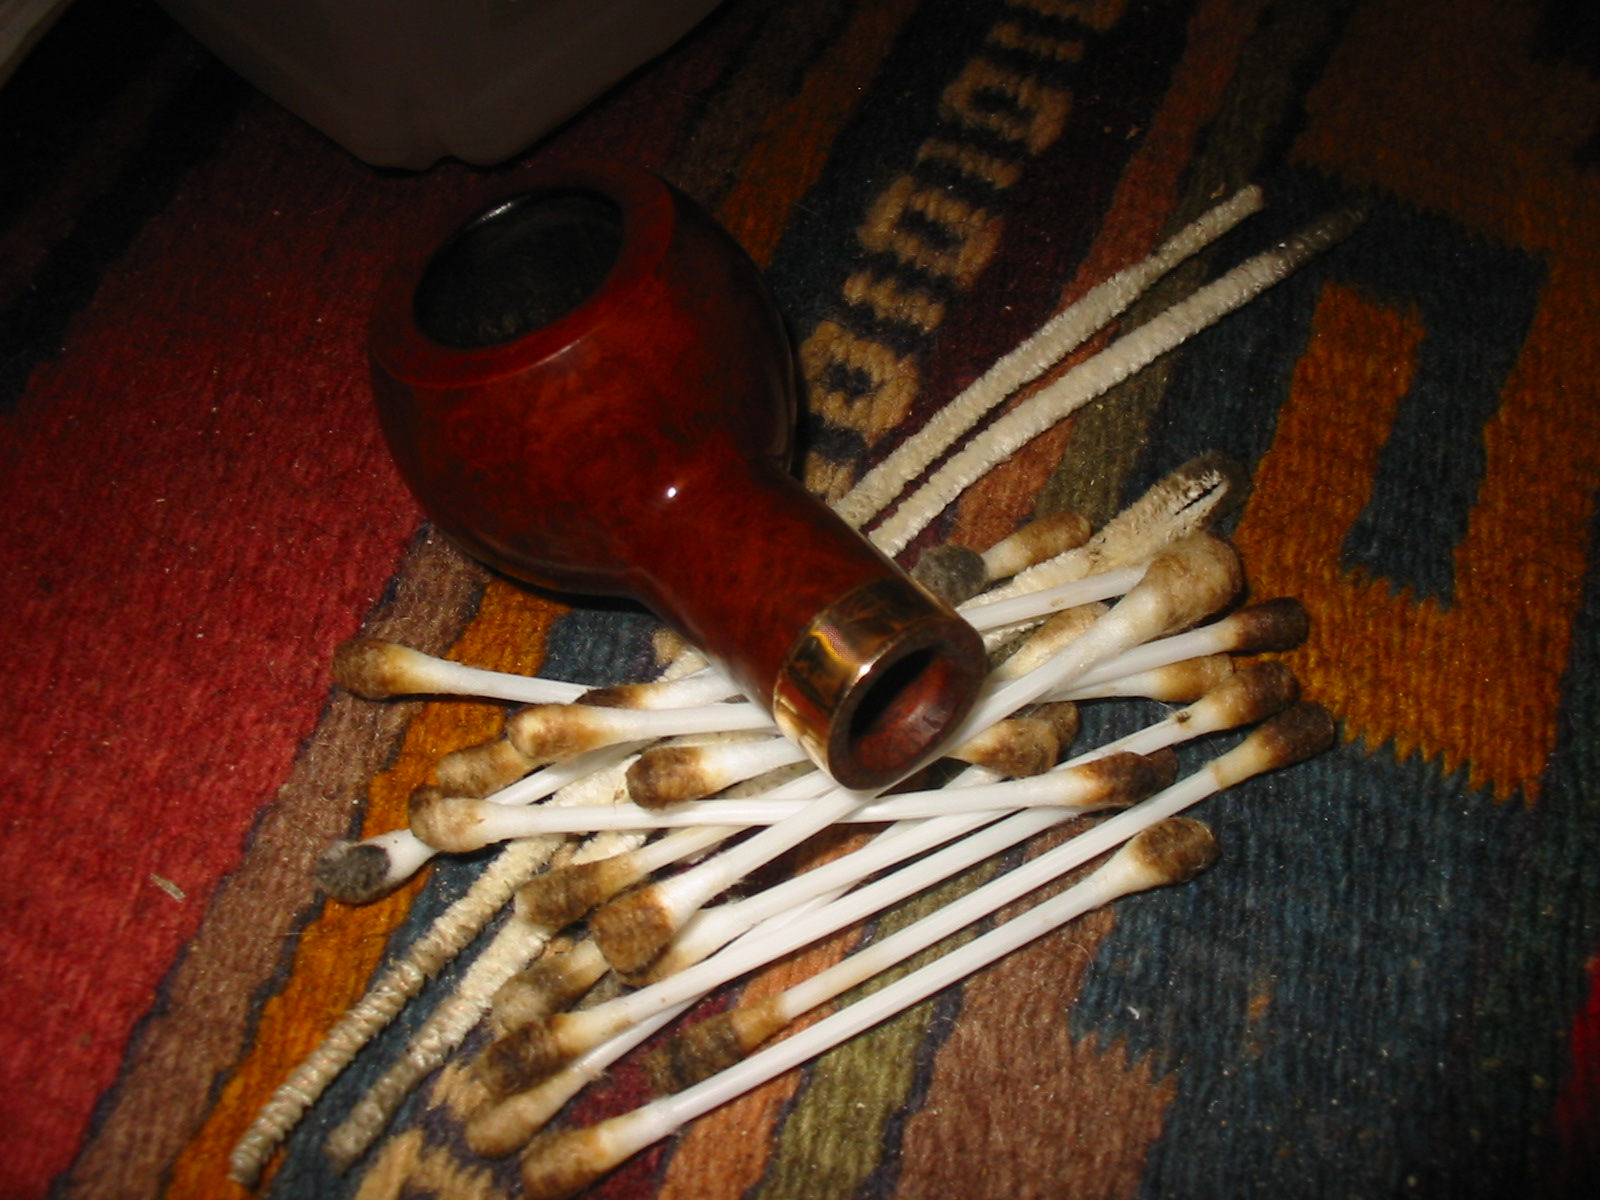
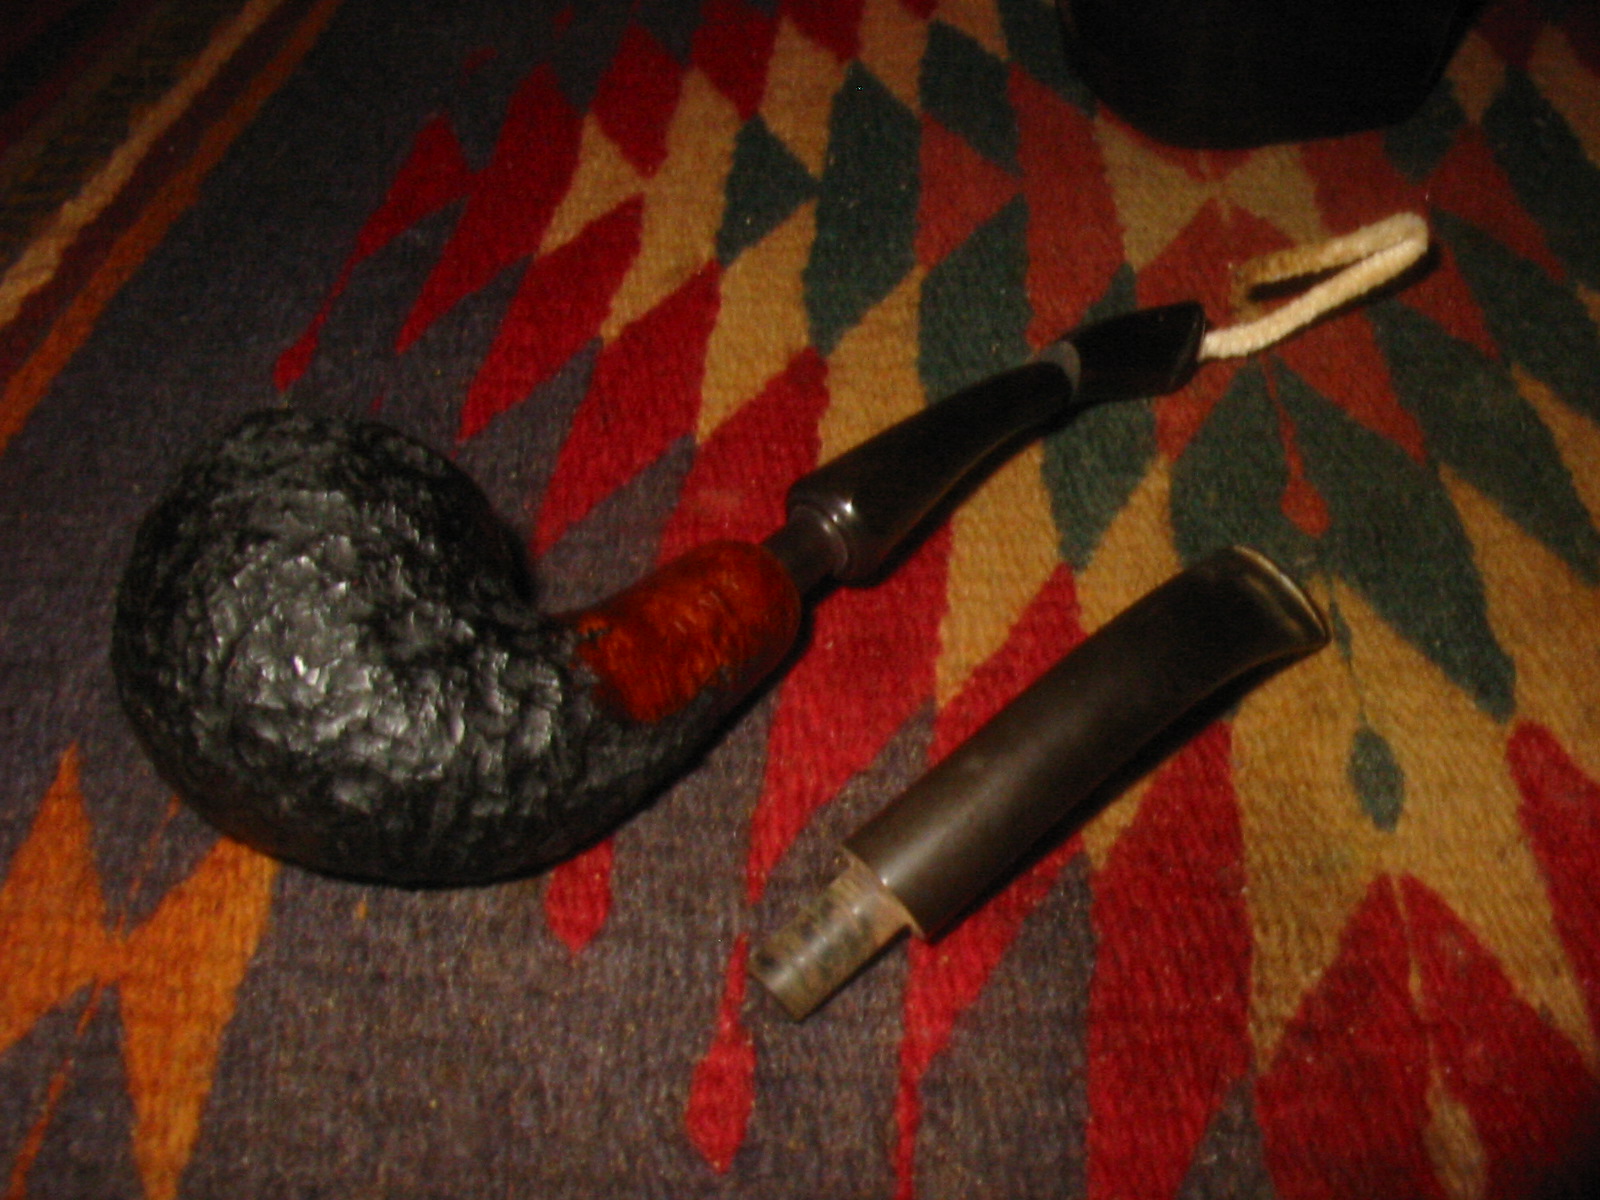
I knew the time had come to clean the pipe, which proved to be unusually easy. All I needed was a few pipe cleaners, the alcohol and about 20 minutes. I deduced that whoever smoked the pipe for so long and with such disregard for upkeep of the bowl at least disliked the wet, acrid dottle backwash he must have generated to use pipe cleaners on the stem and shank fairly often.
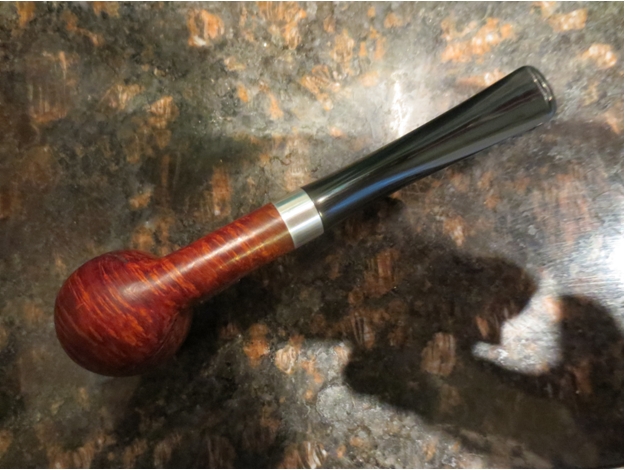
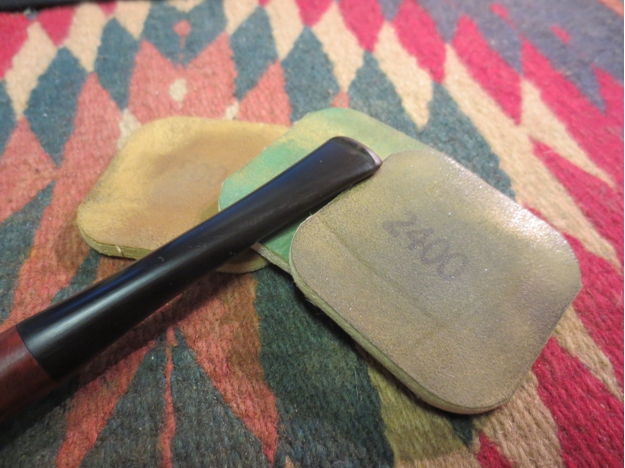
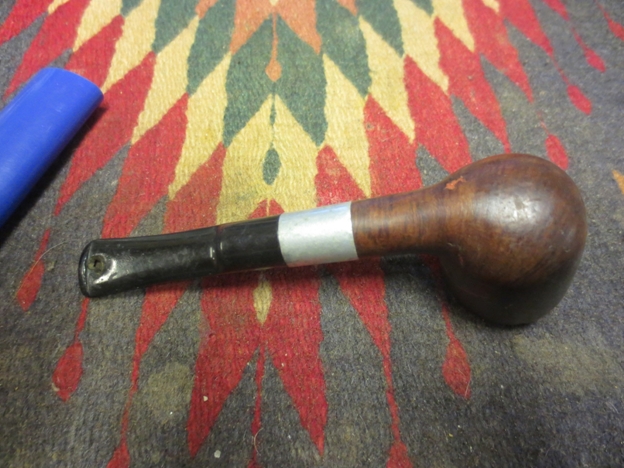
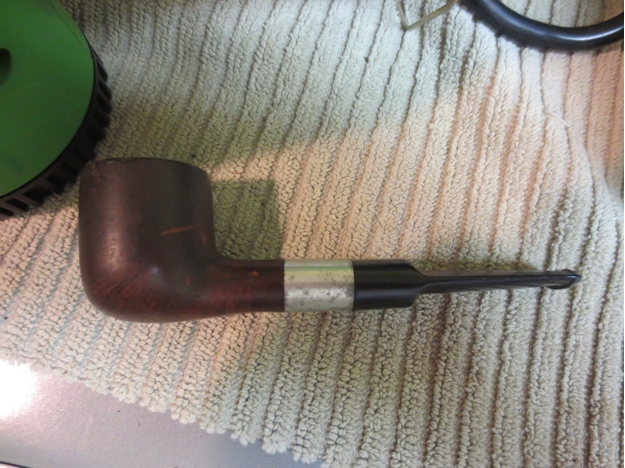
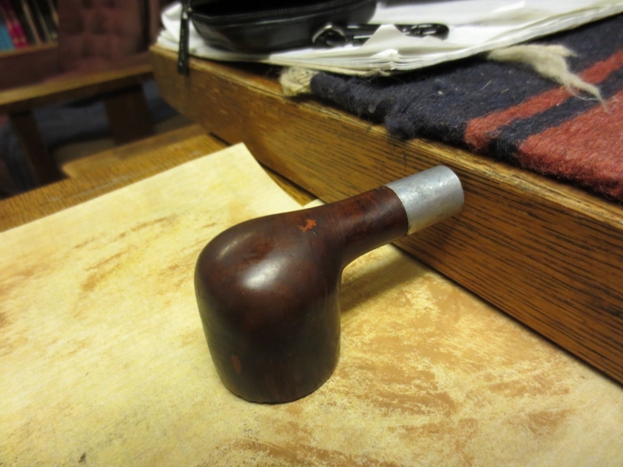
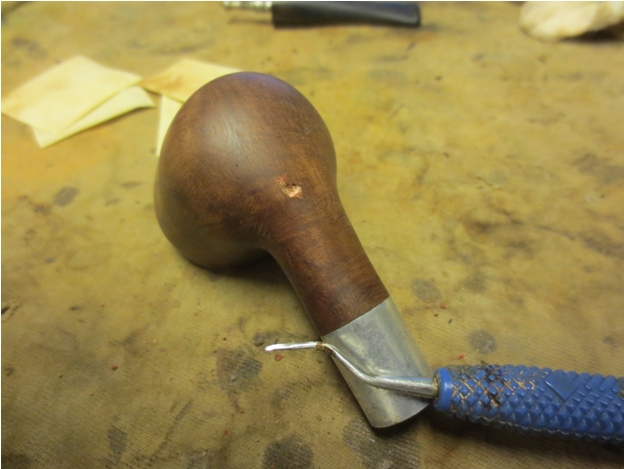
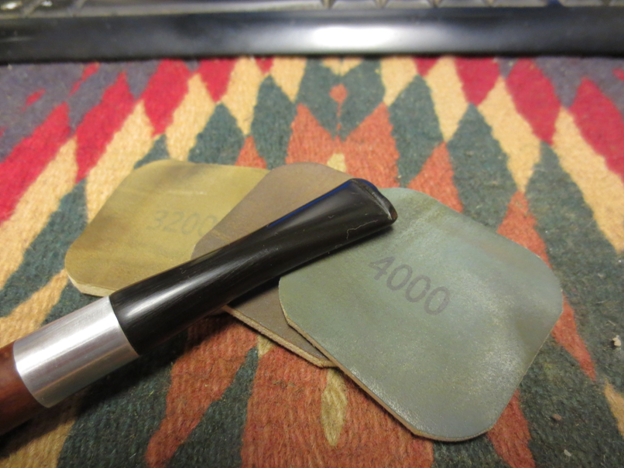
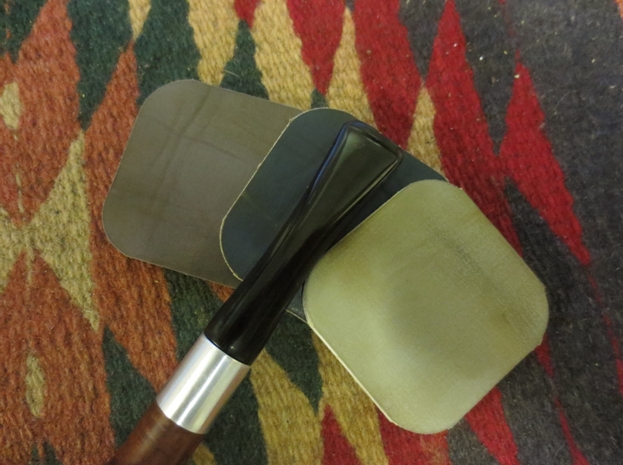
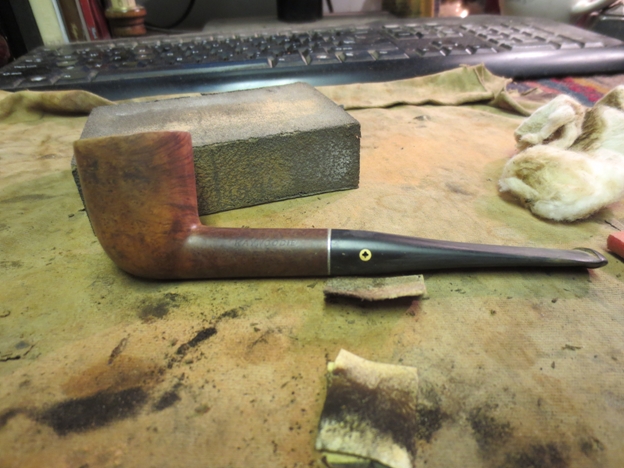
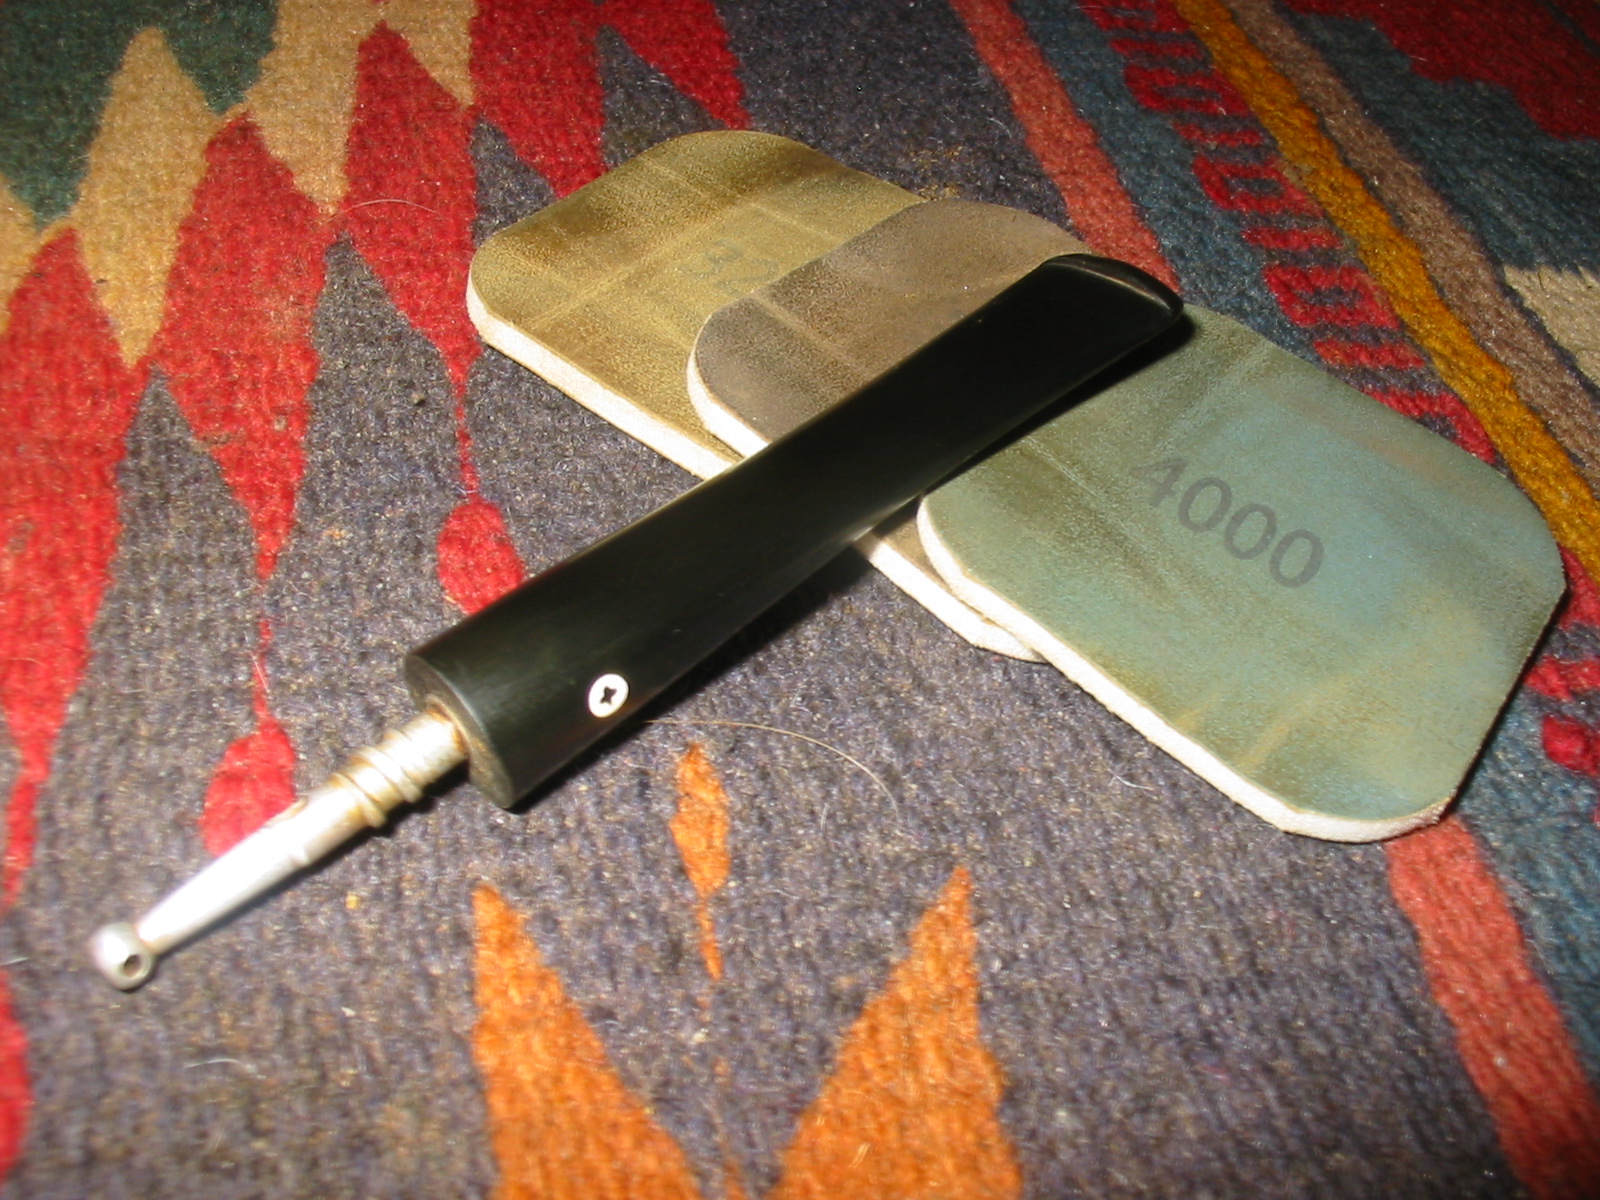
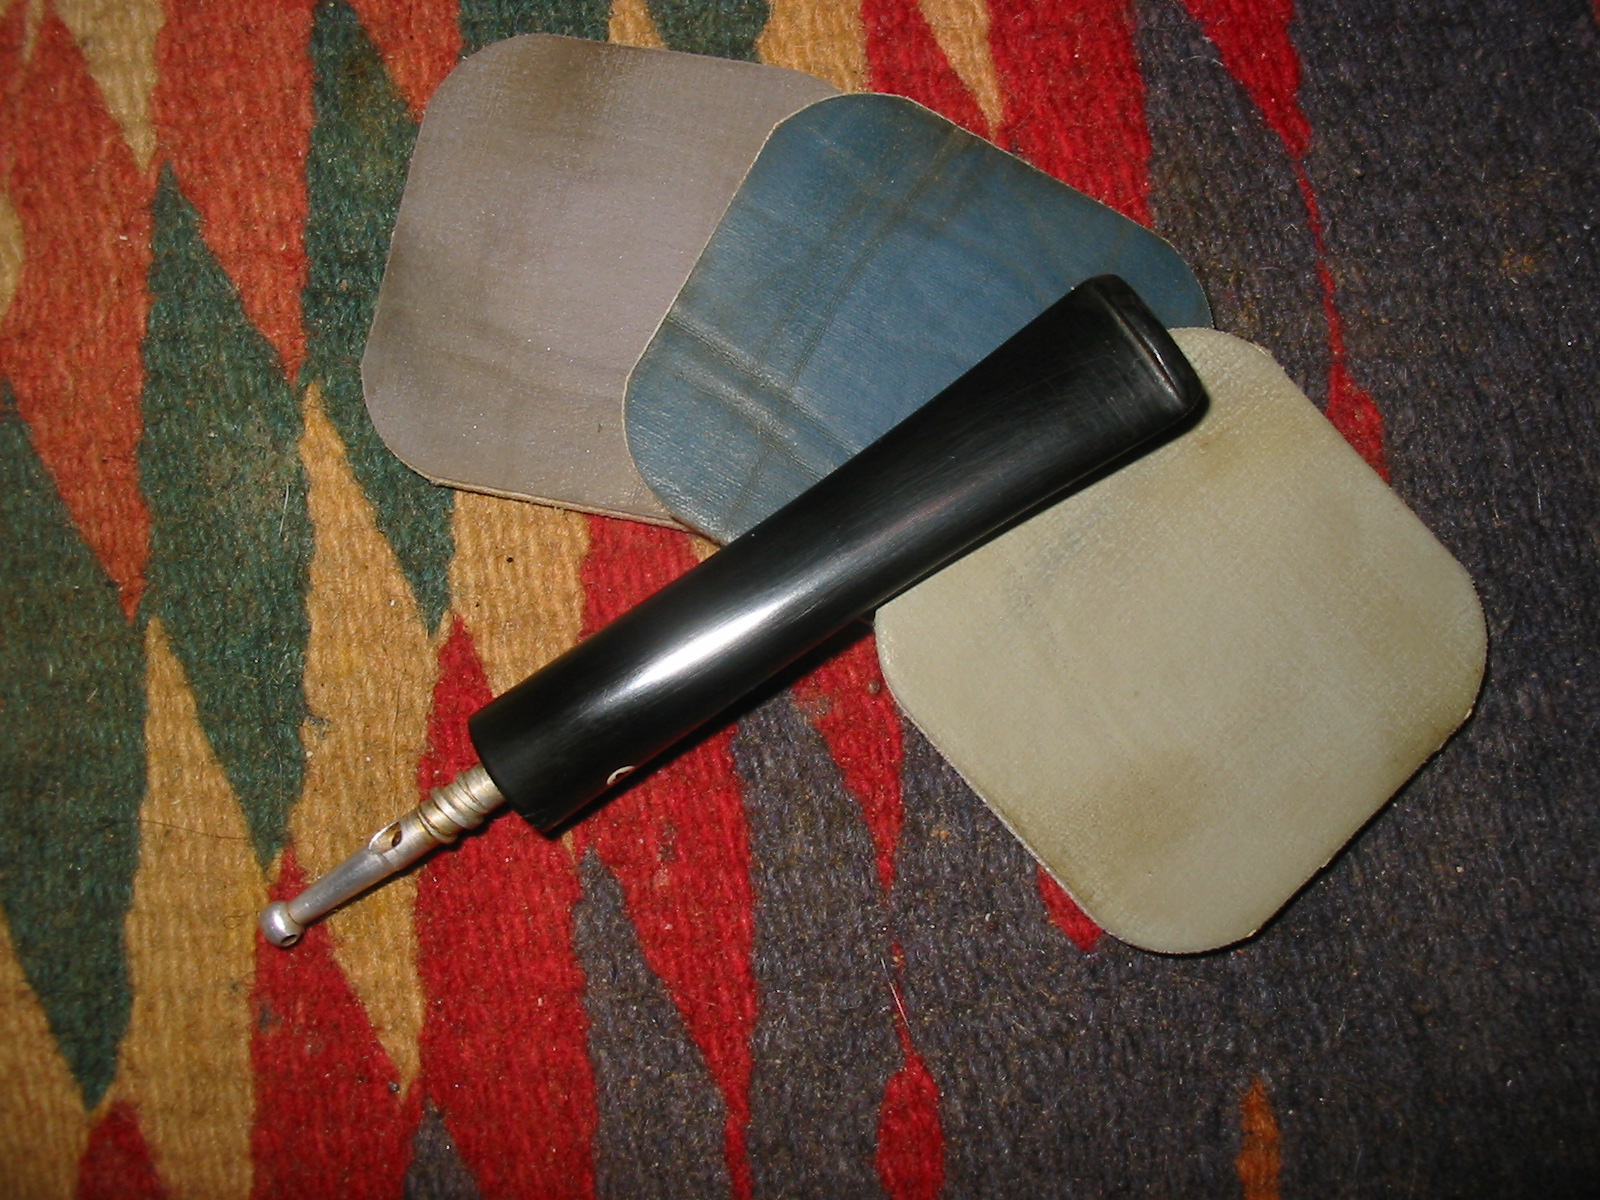
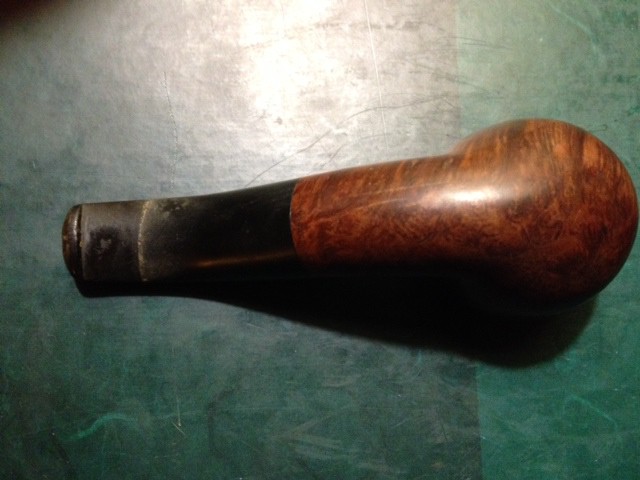
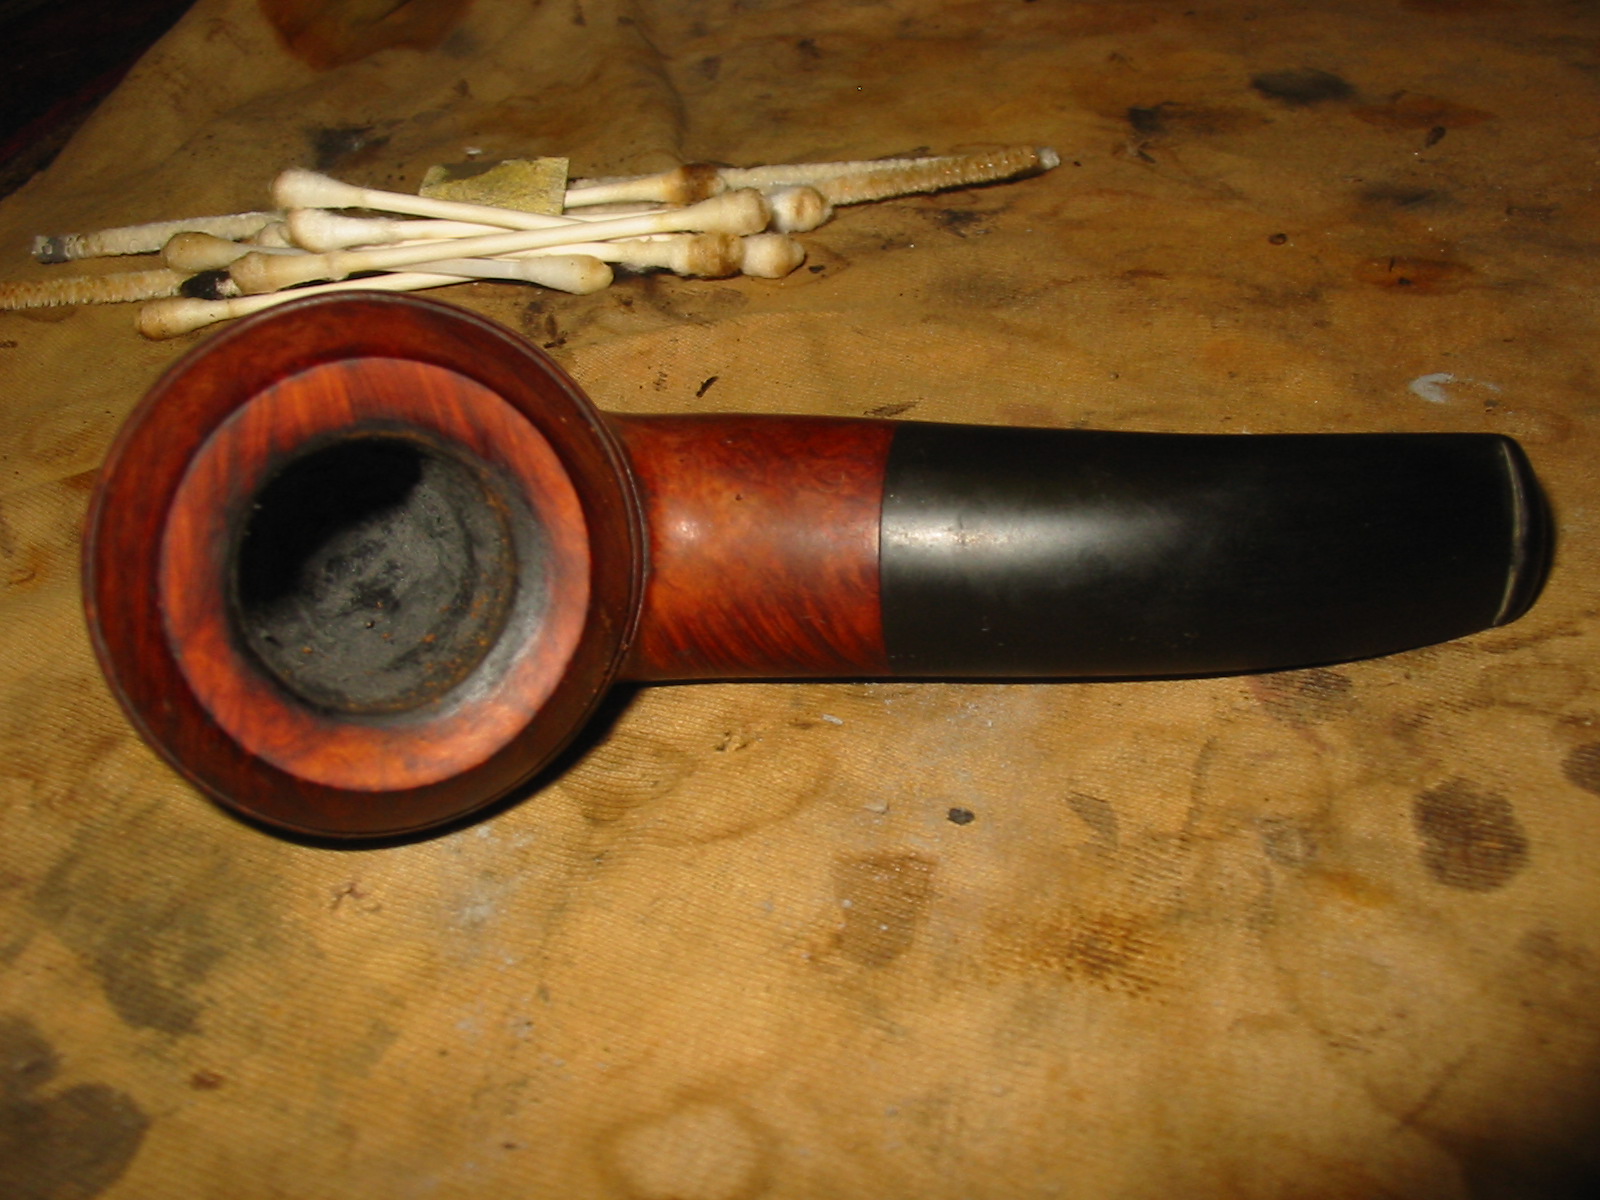
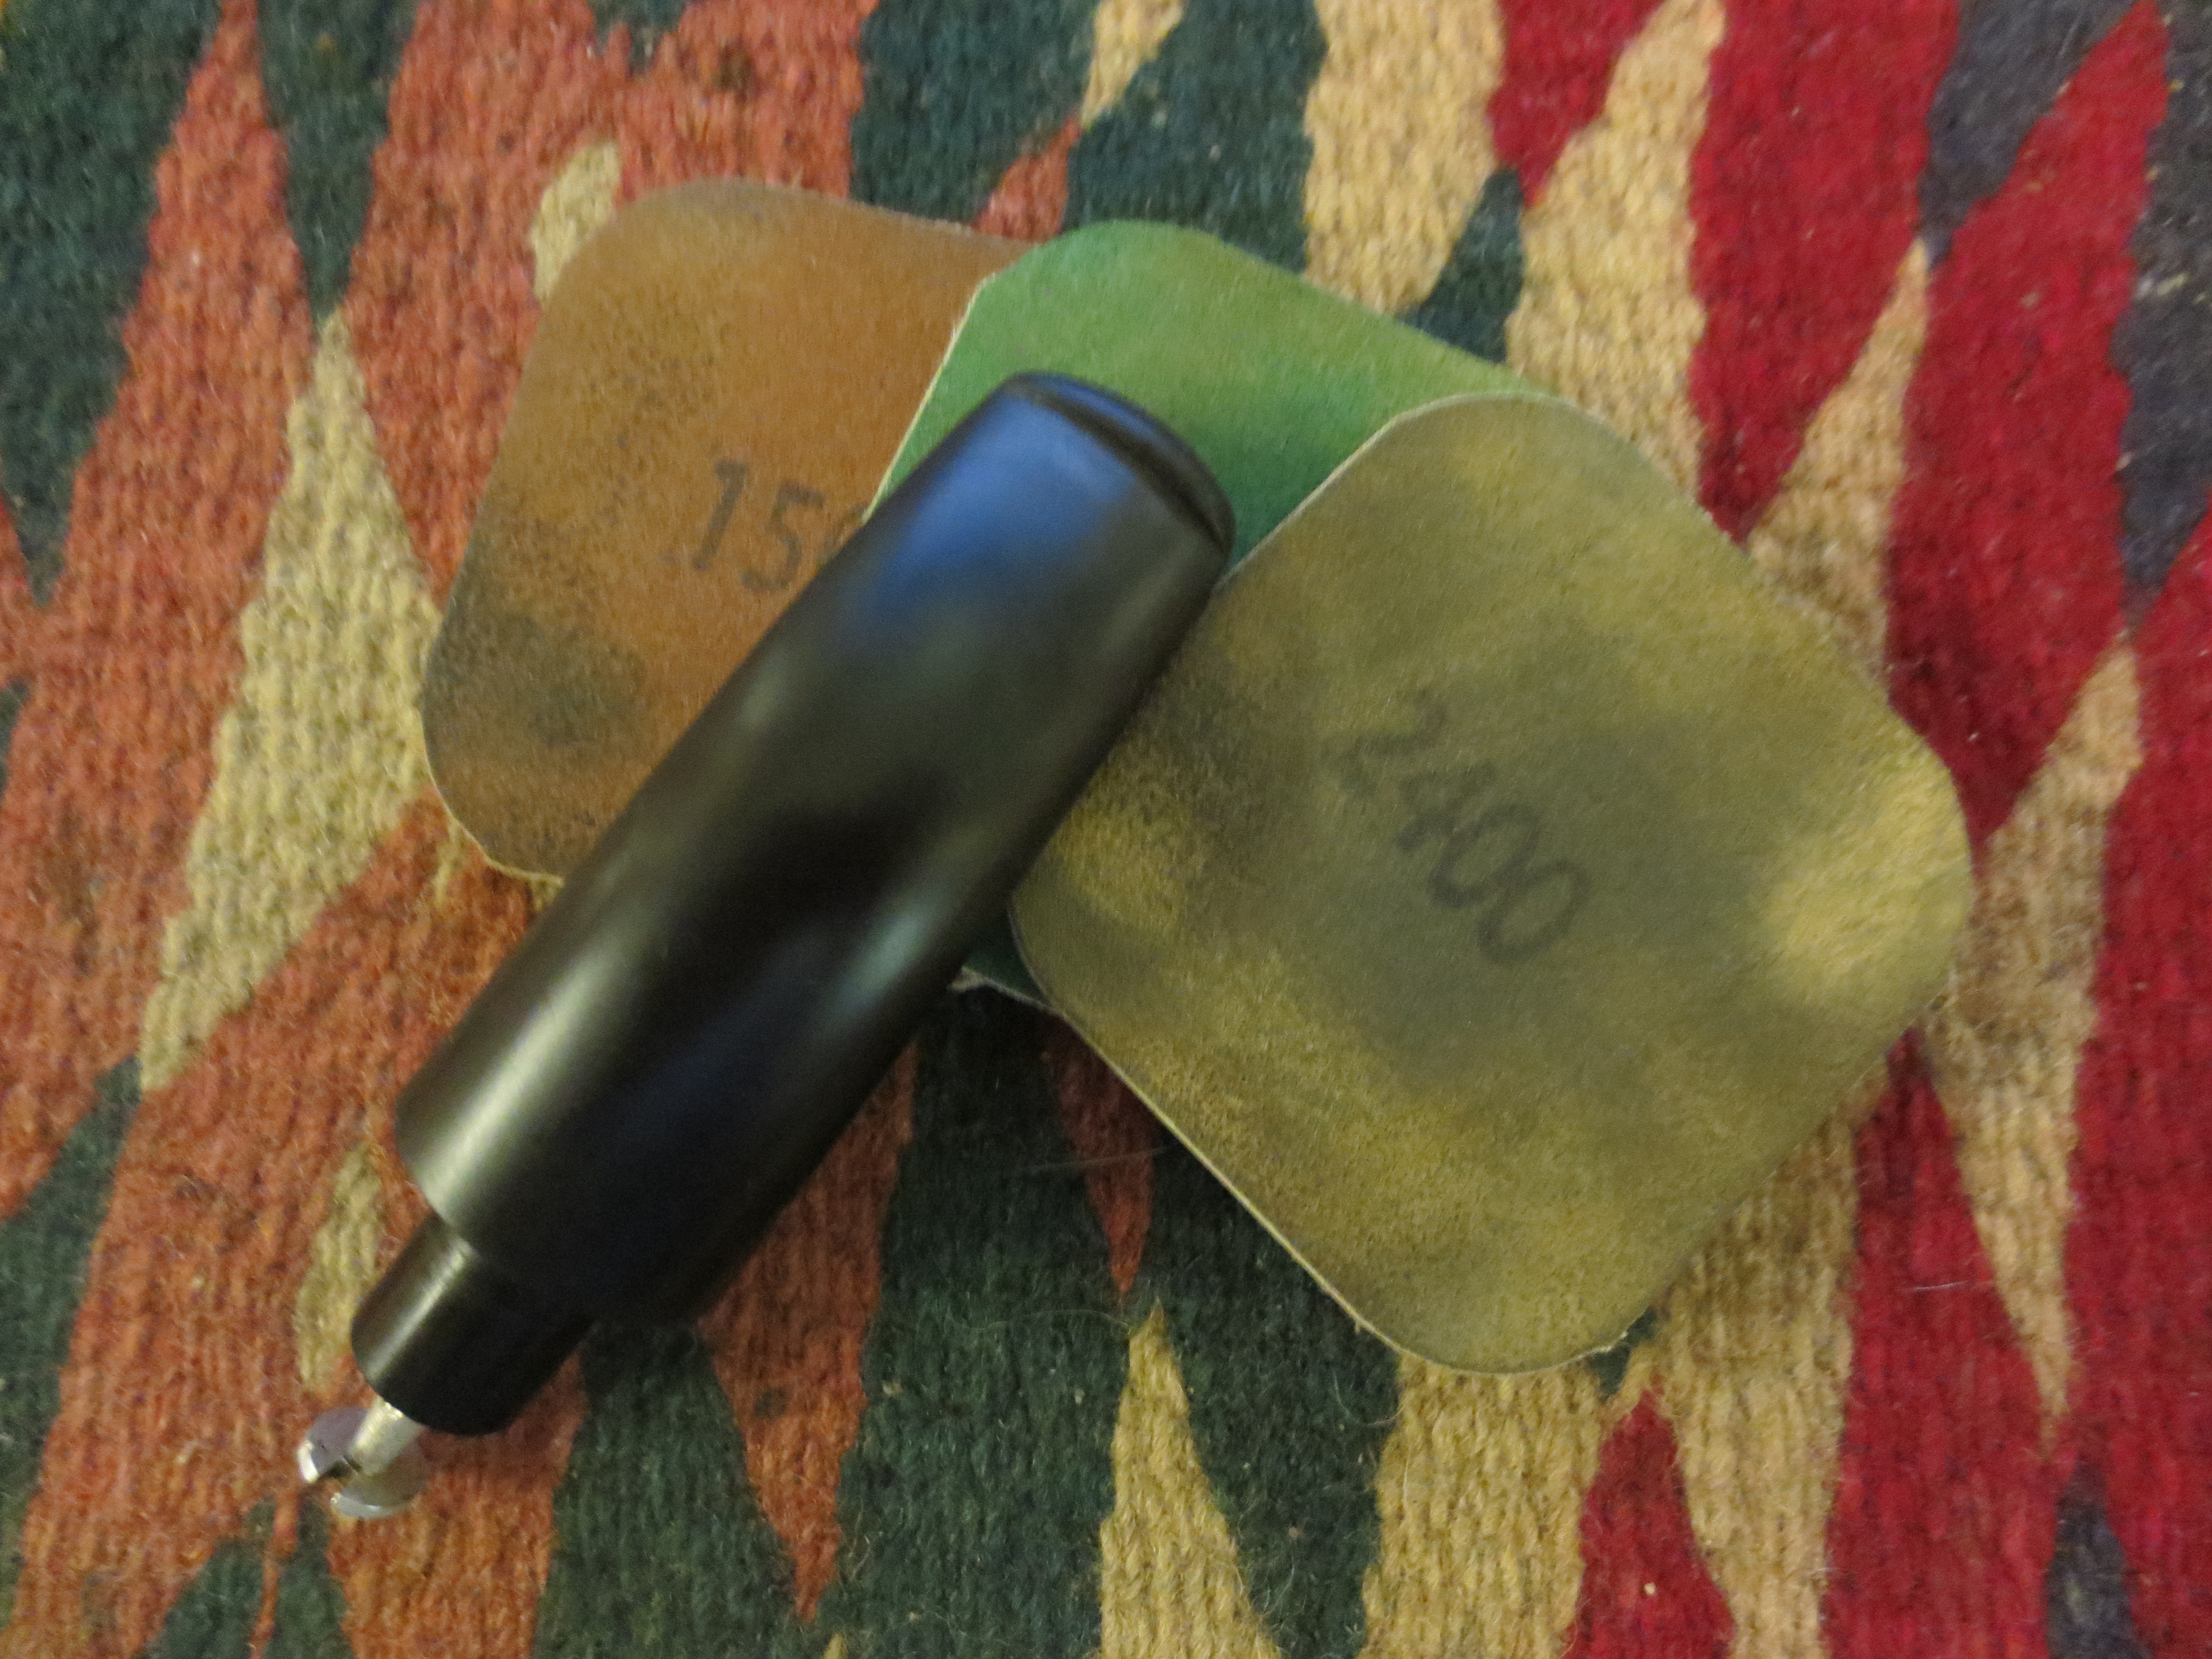
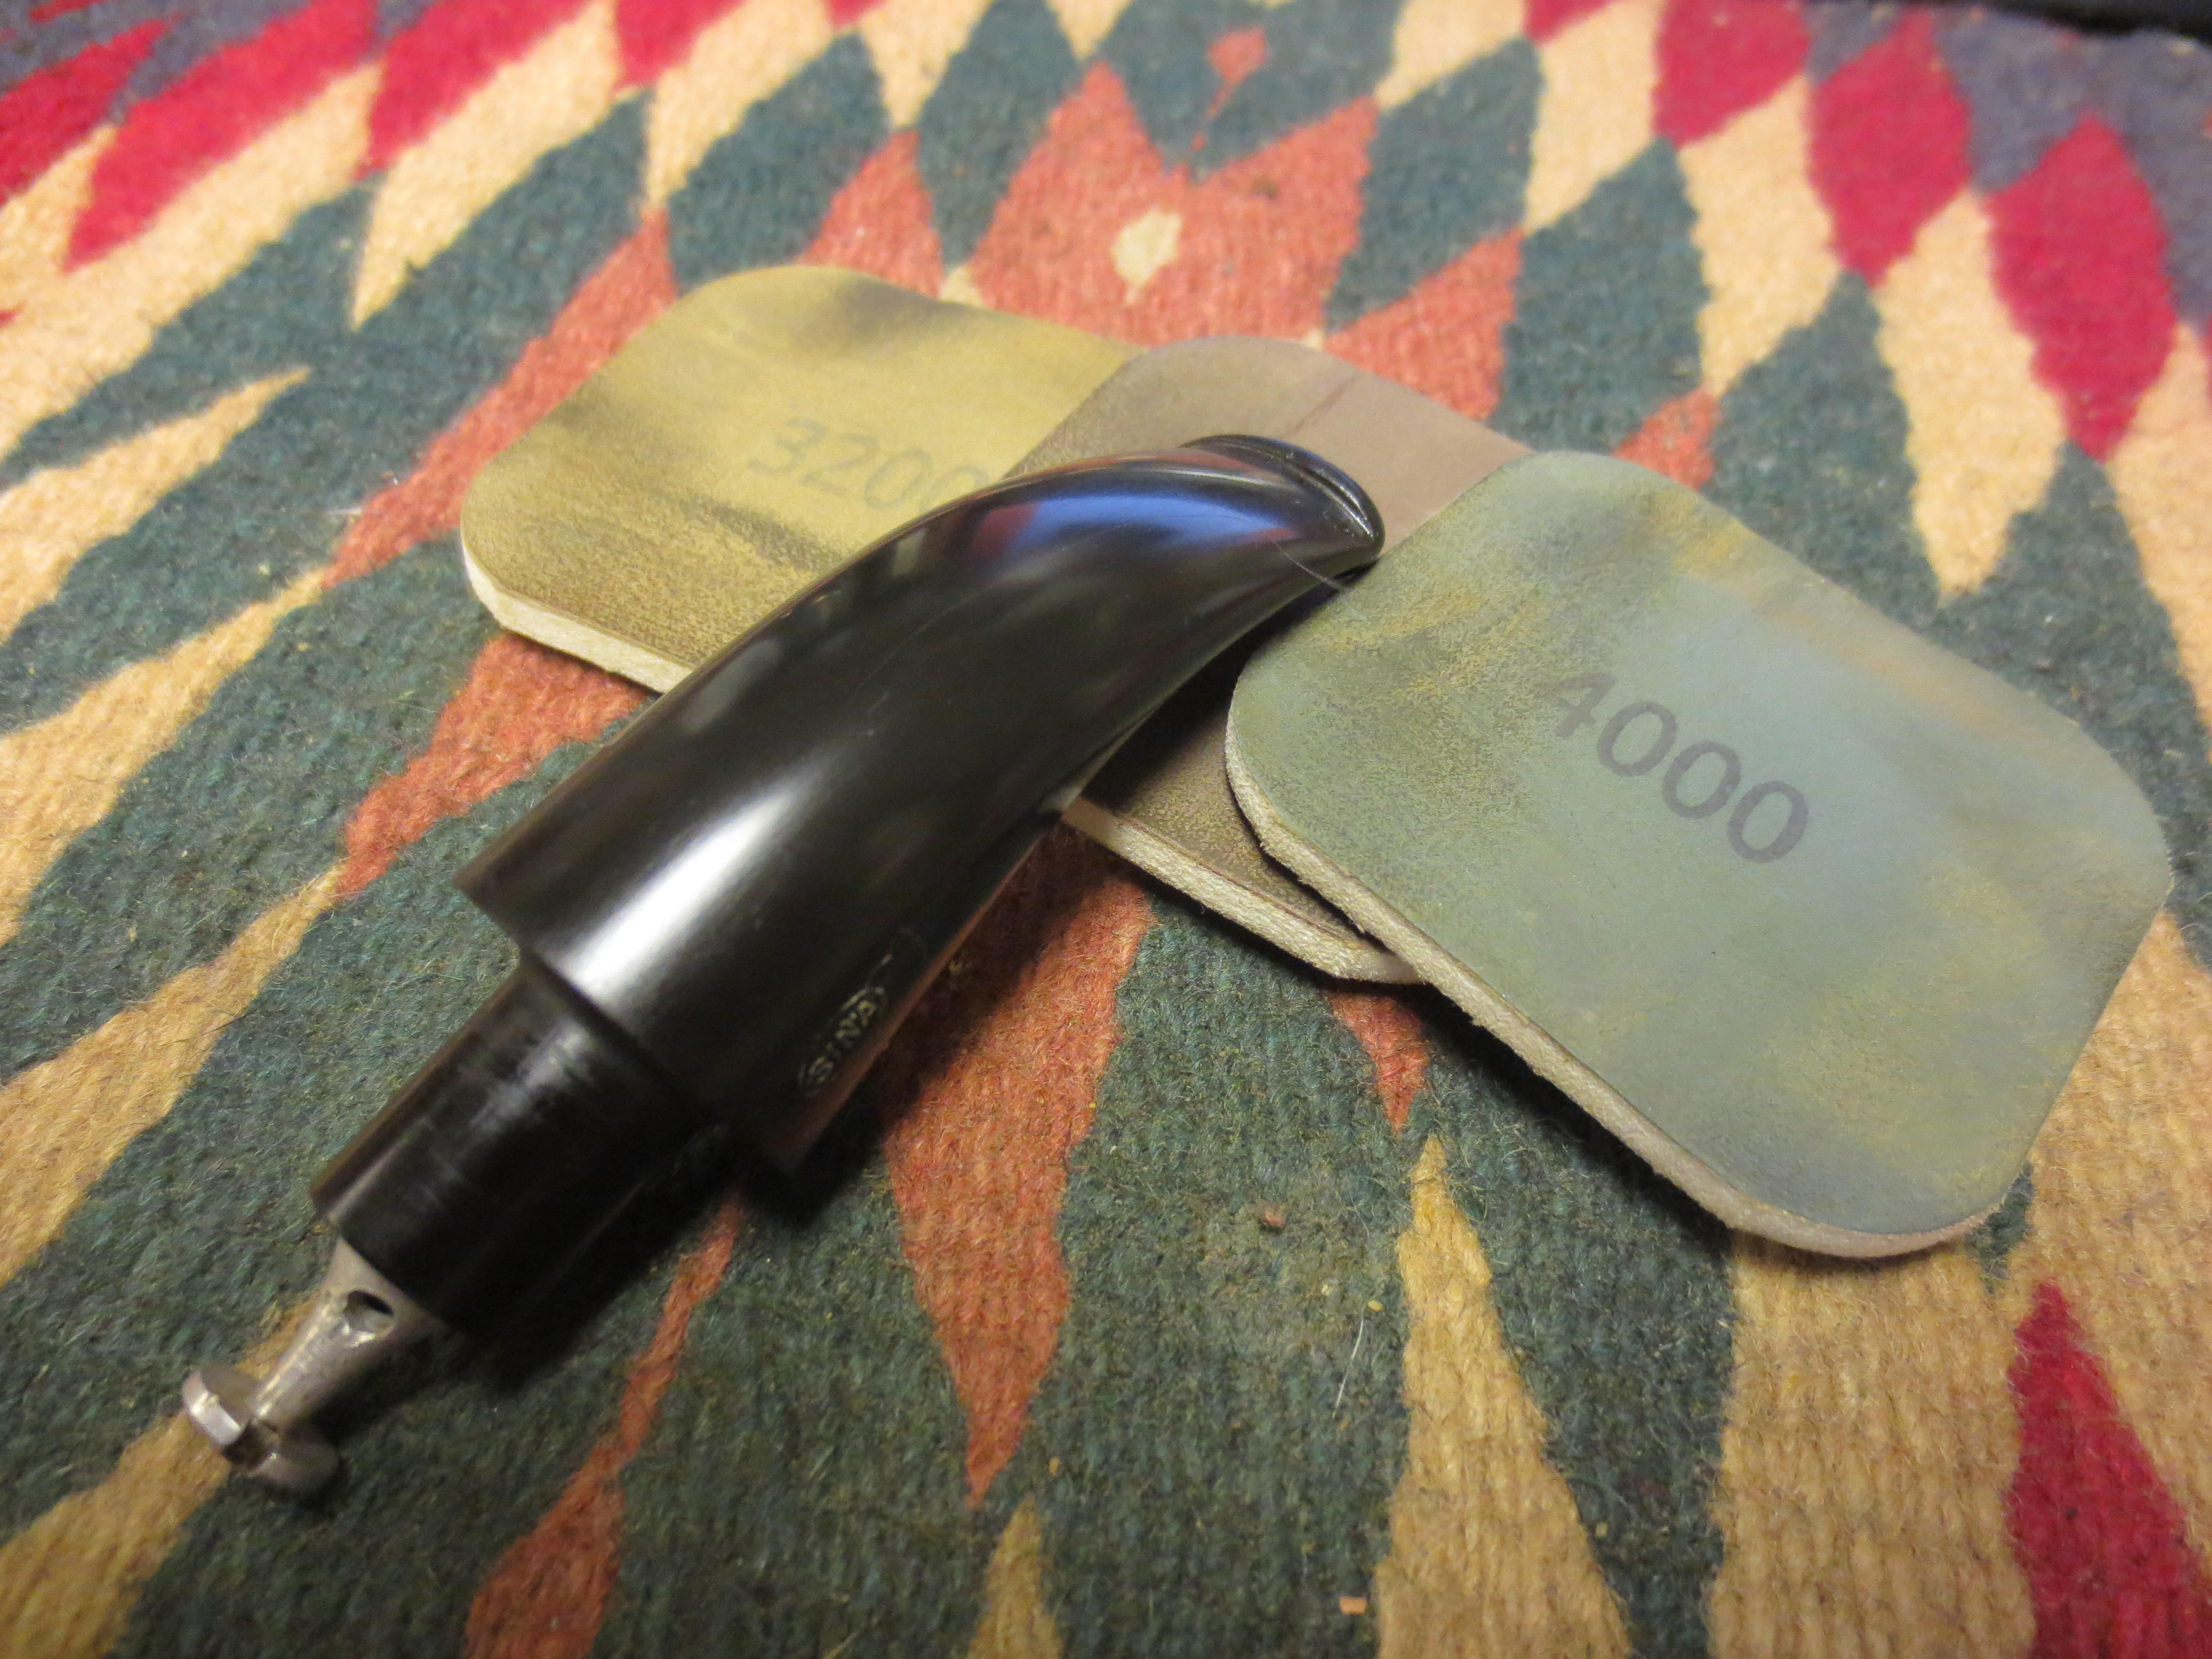
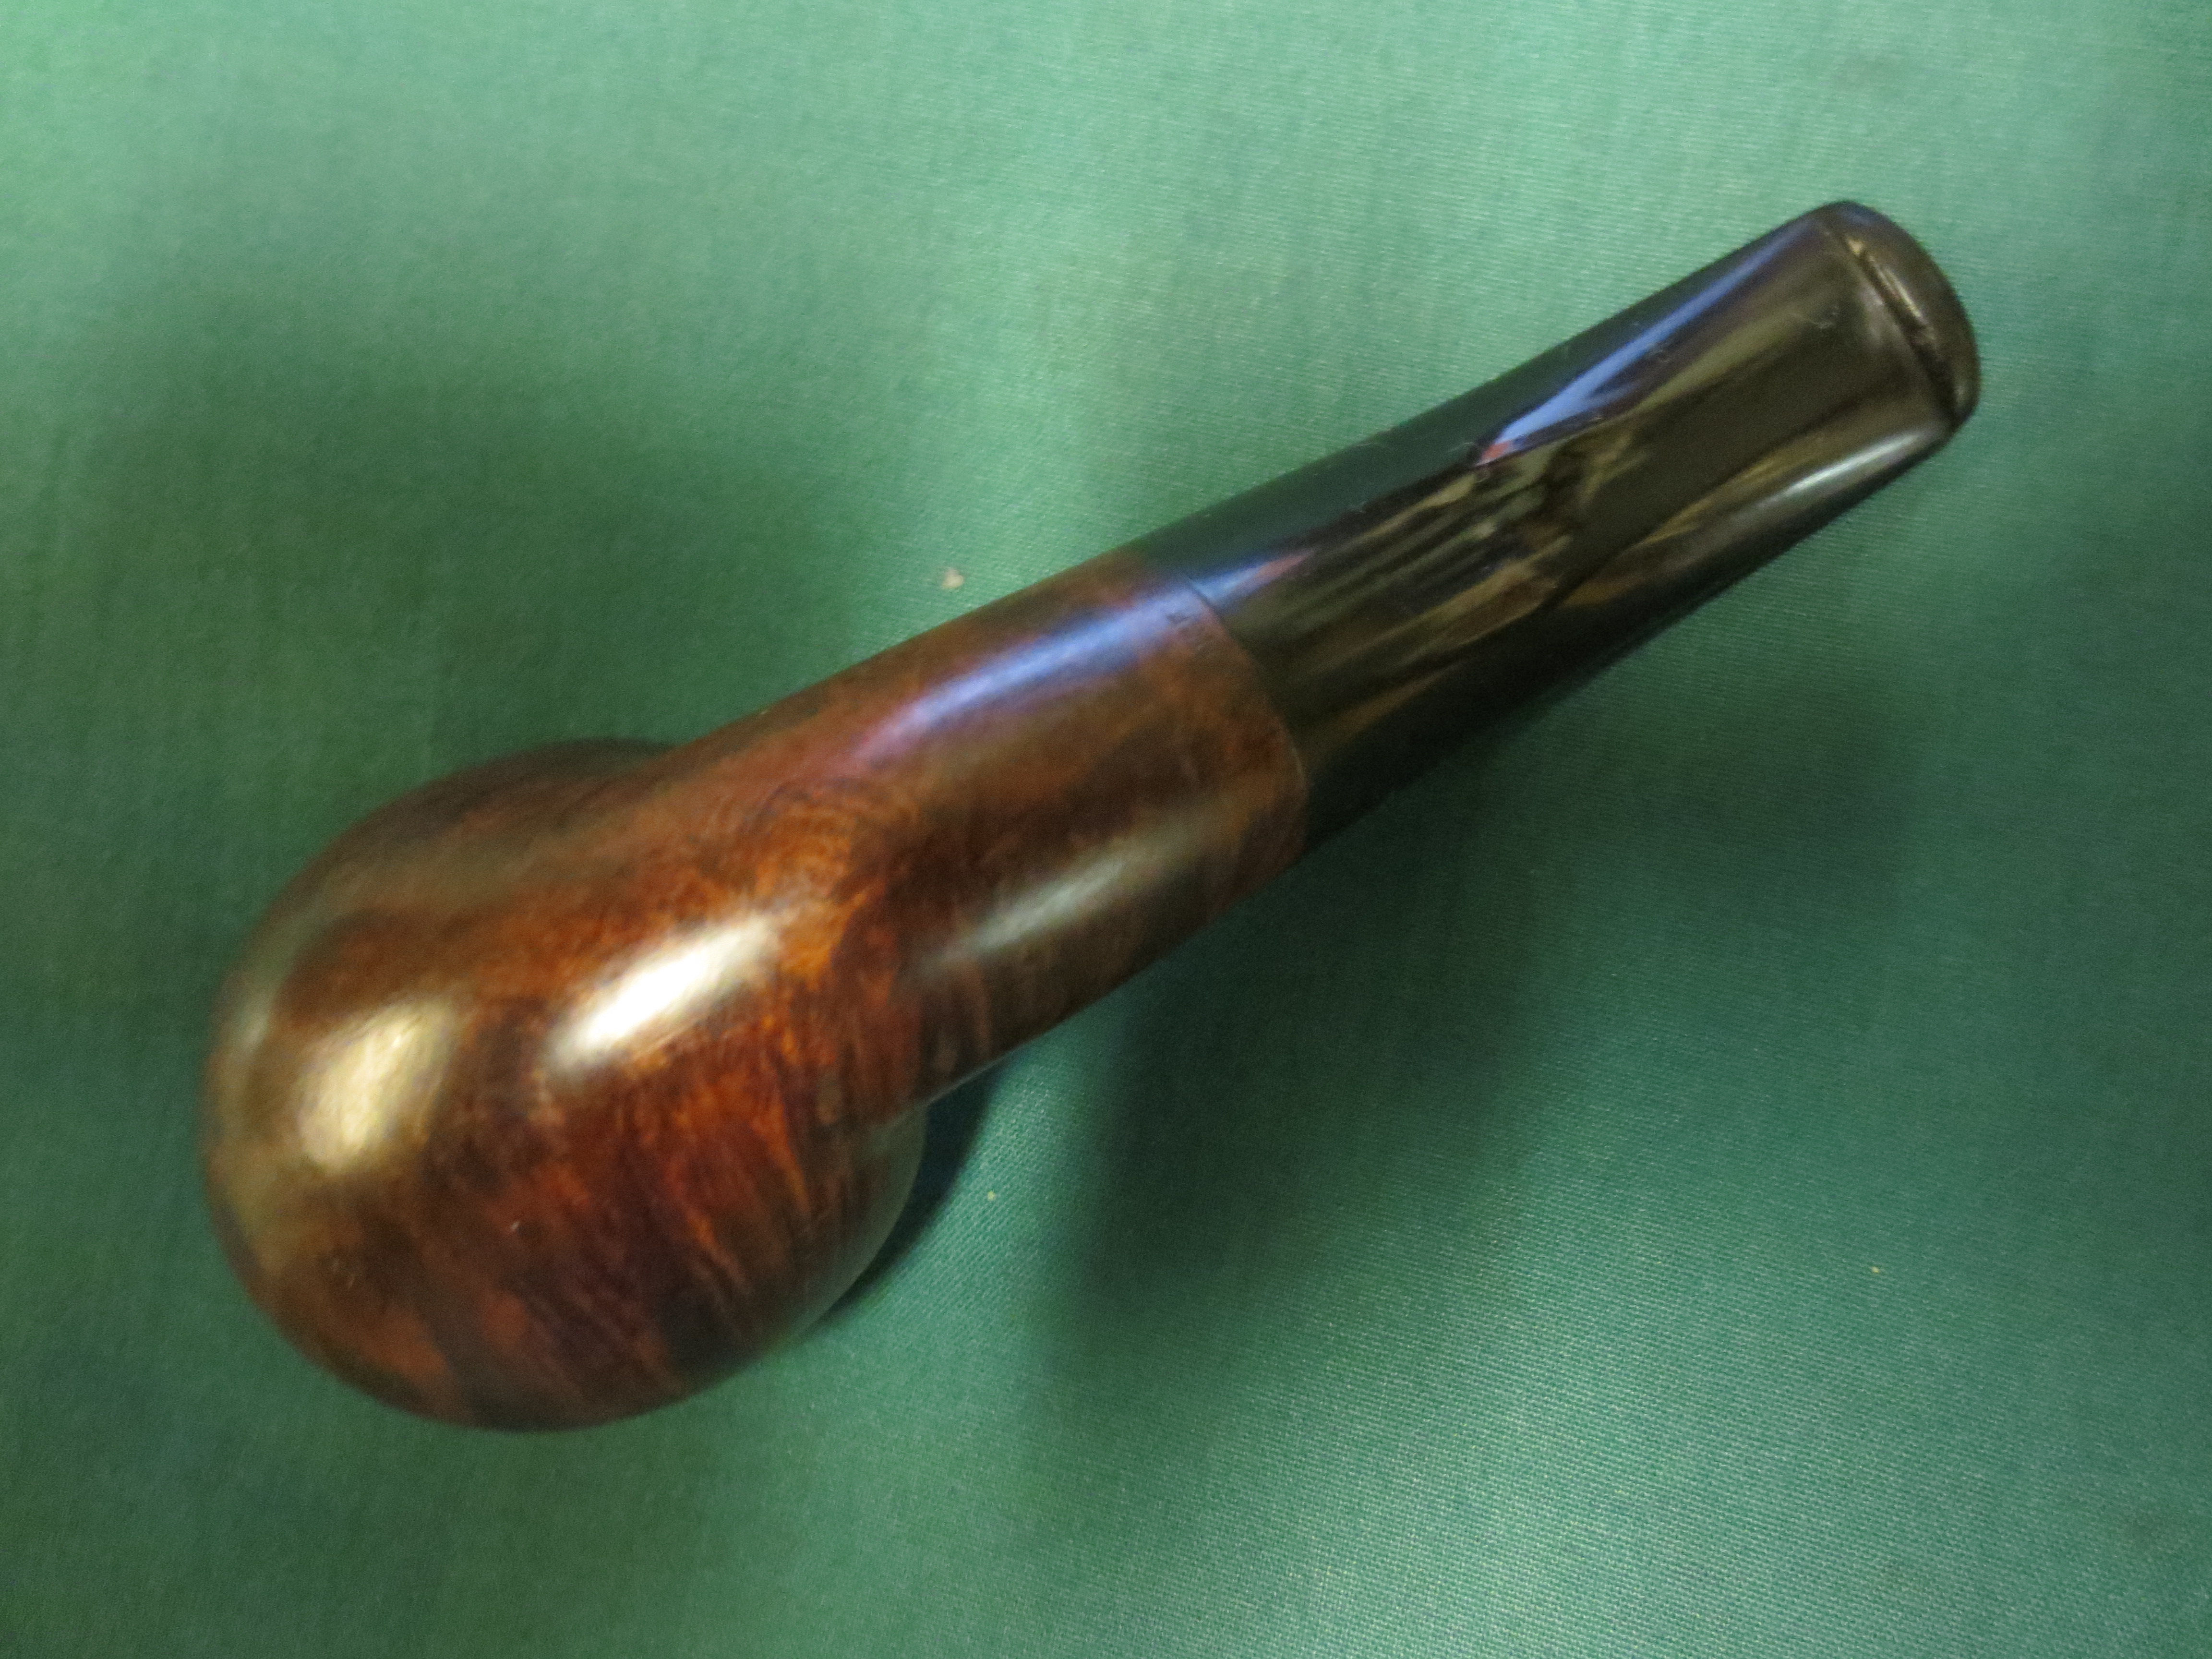
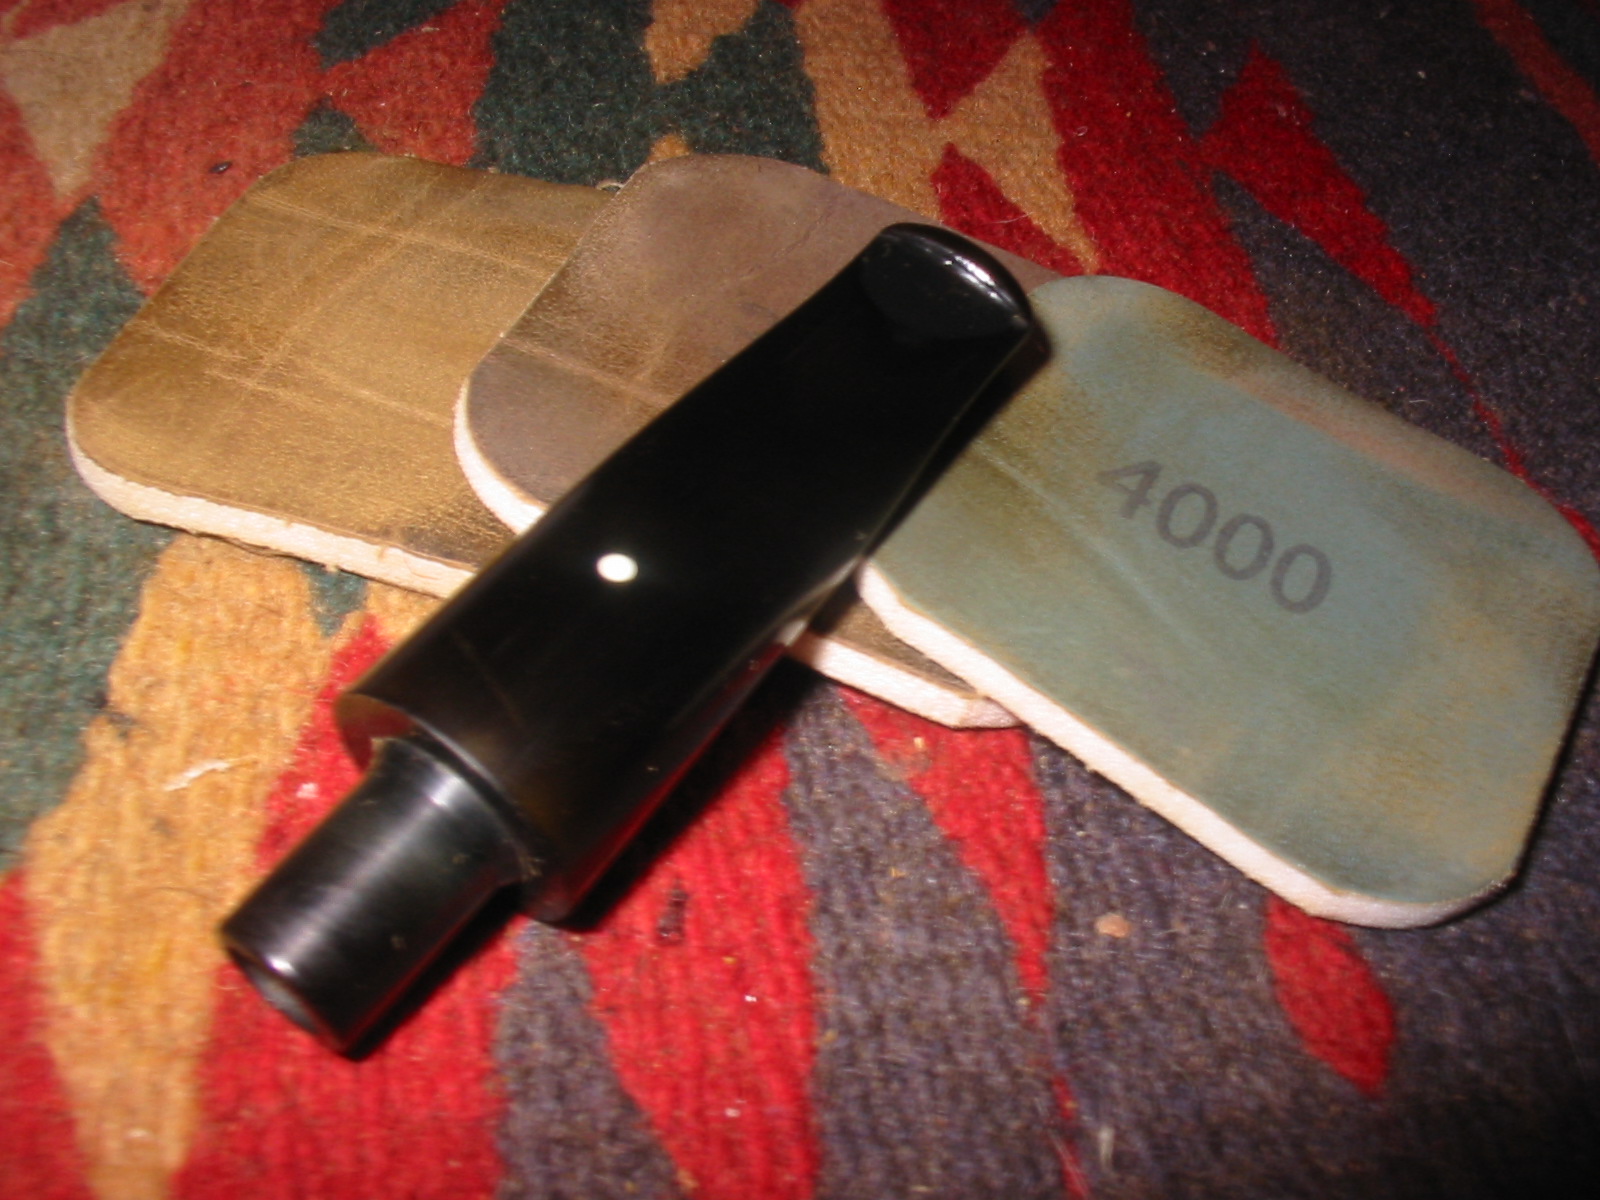
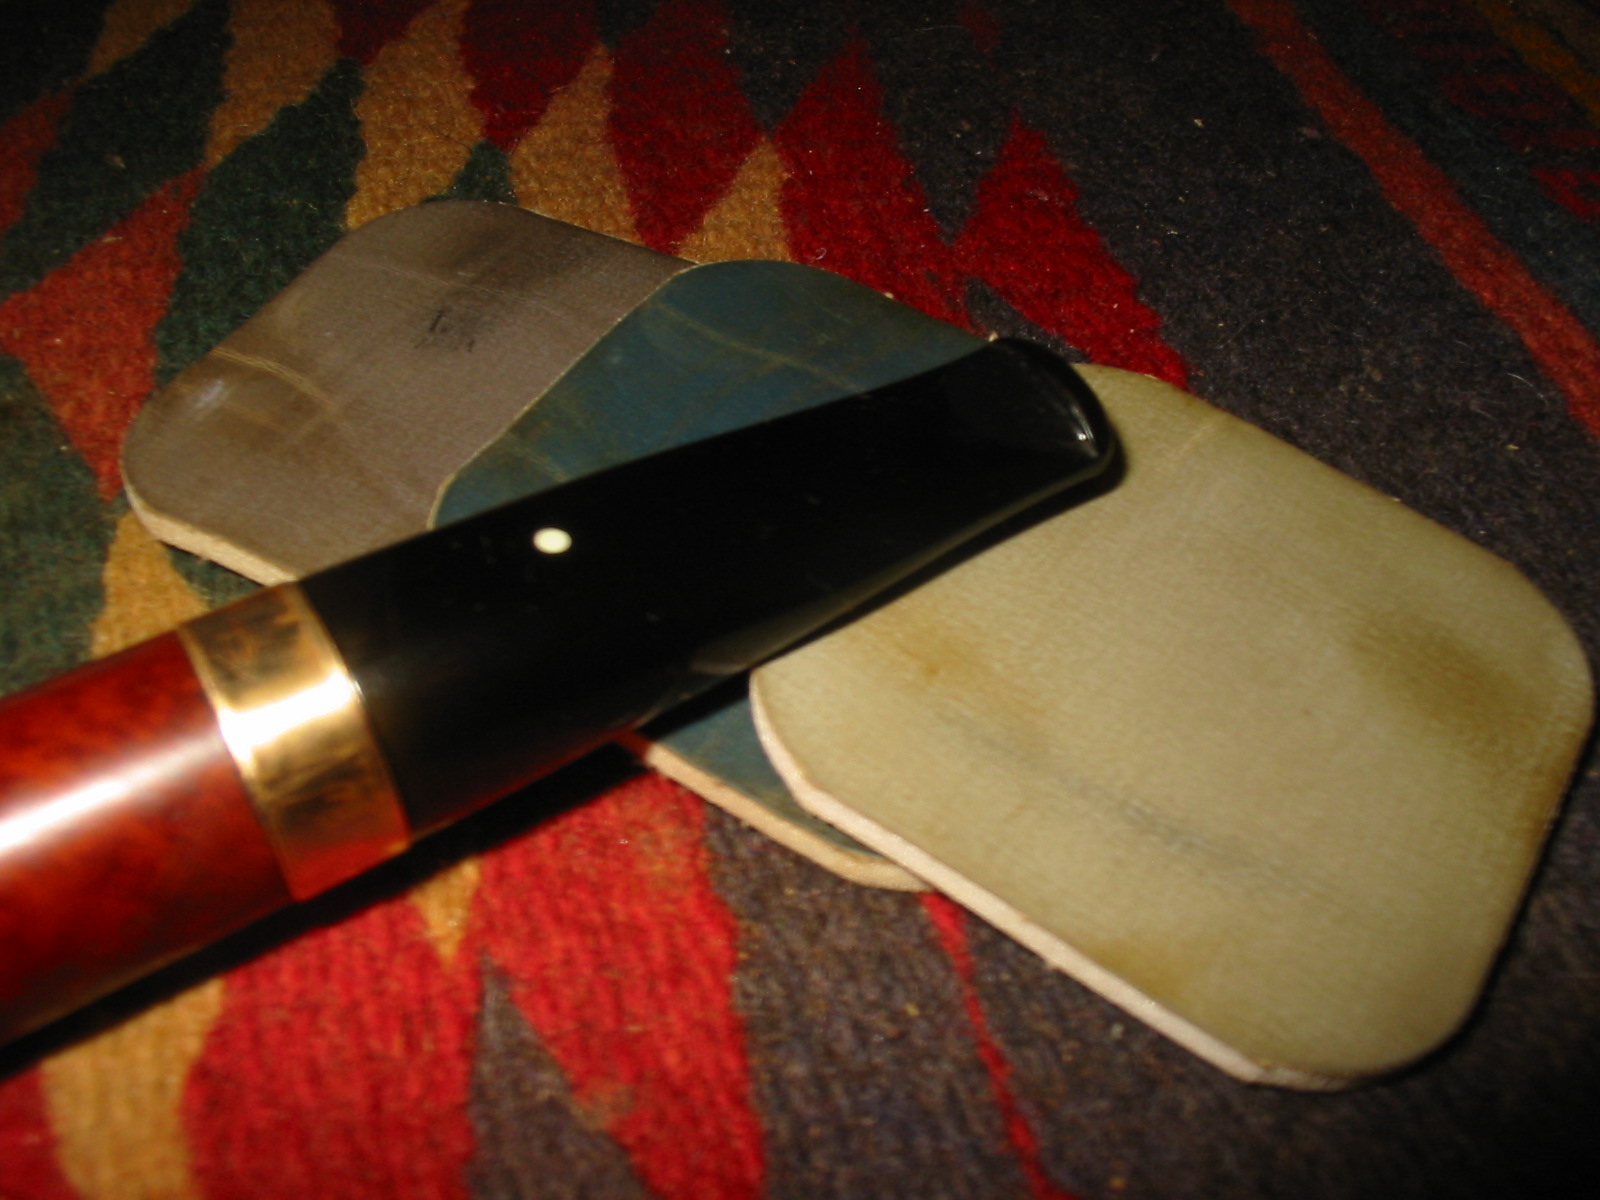
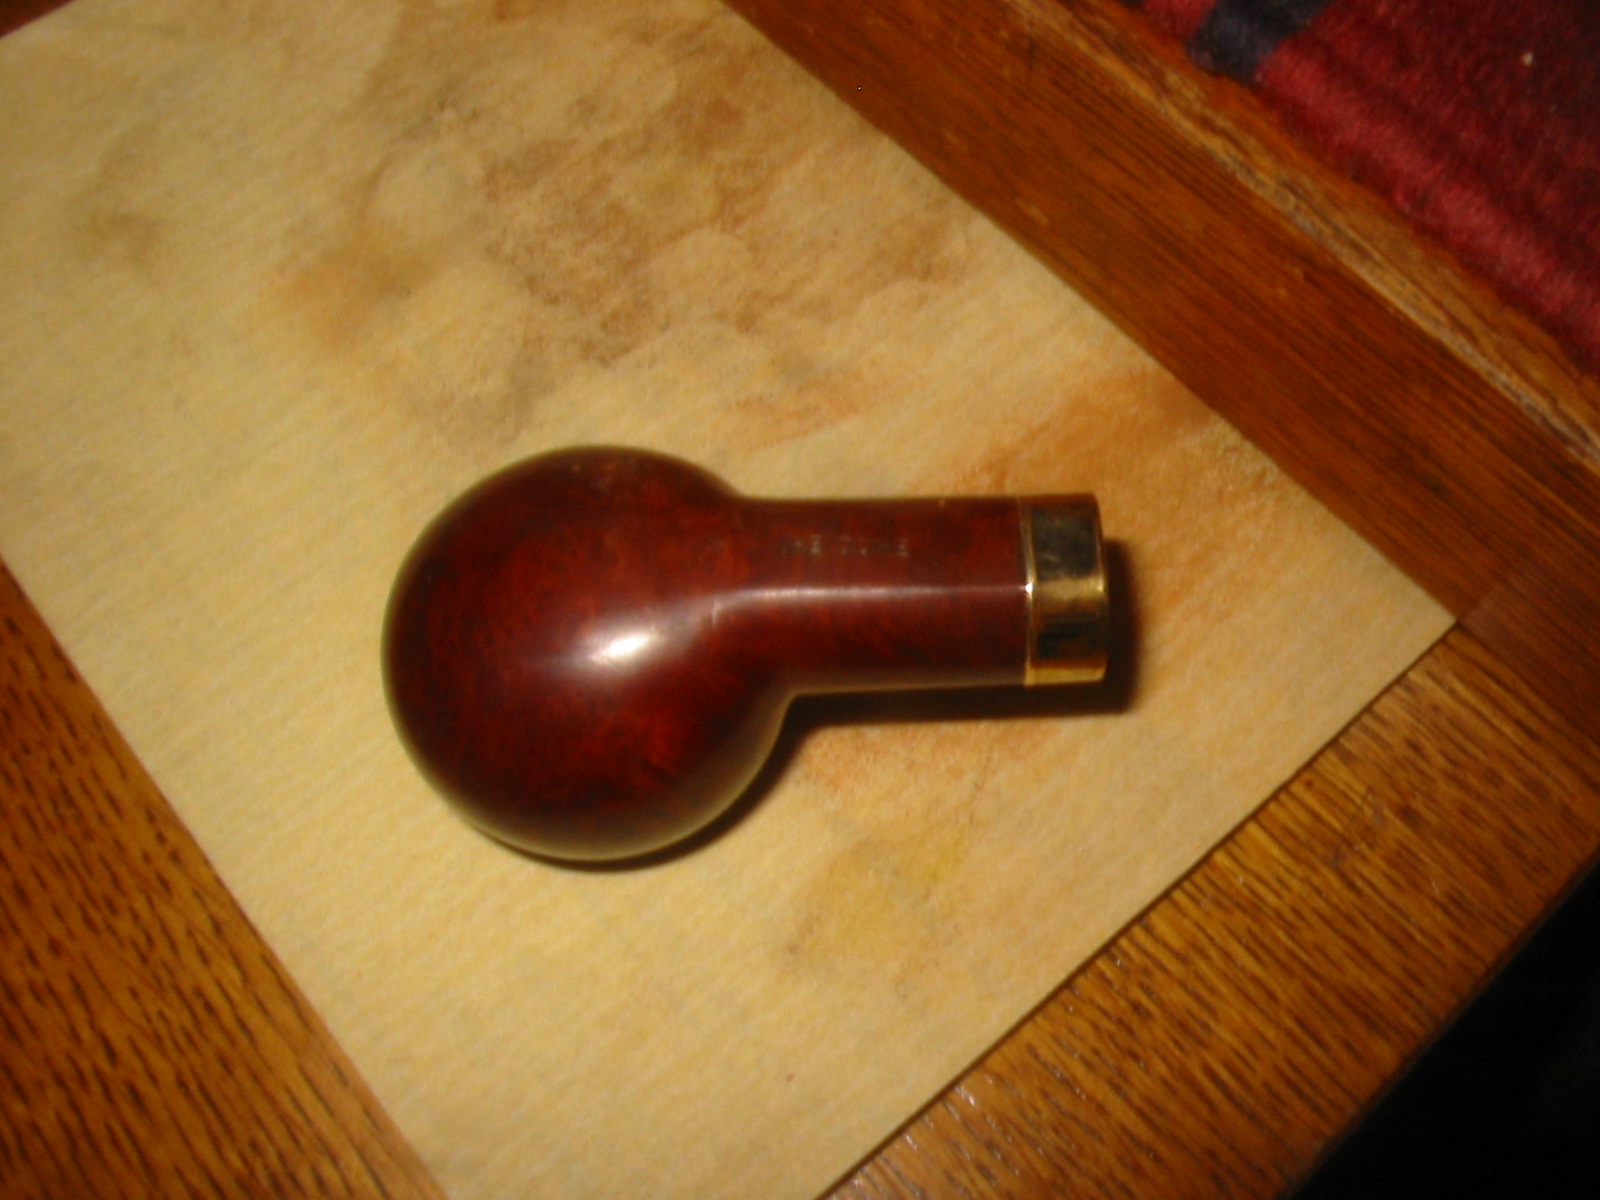
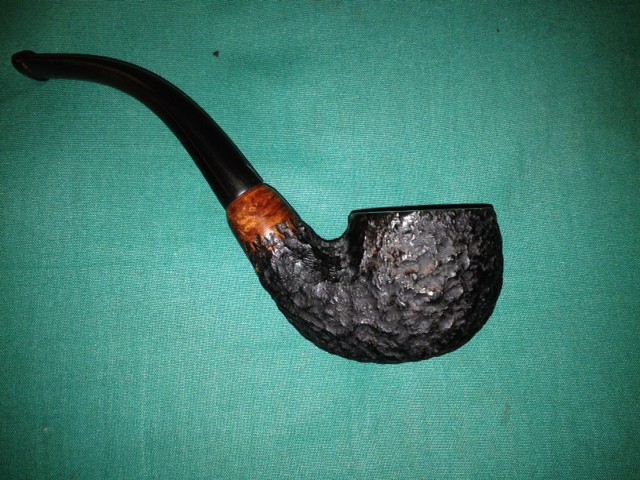
With the end of the project in sight, I felt a surge of motivation to finish, but not in a rush. I just wasn’t about to stop at that point, if that makes sense. And so I reached for my brown boot stain. With the applicator brush dipped at one end into the liquid and then wiped as dry as possible on the rim of the bottle, I ran it twice with care around the pipe’s dull but smooth rim and immediately fired it gently with my lighter. Setting it aside for a few minutes to cool off, I then returned to my micromesh box and removed the darkened, dried excess stain with my 3200 paper using soft, even strokes. The final color was a perfect match.
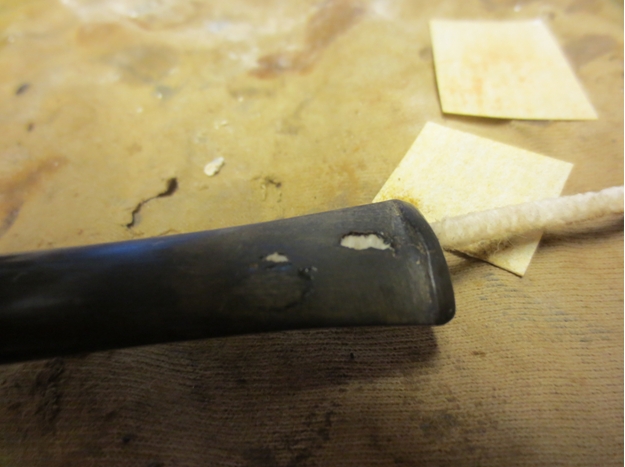
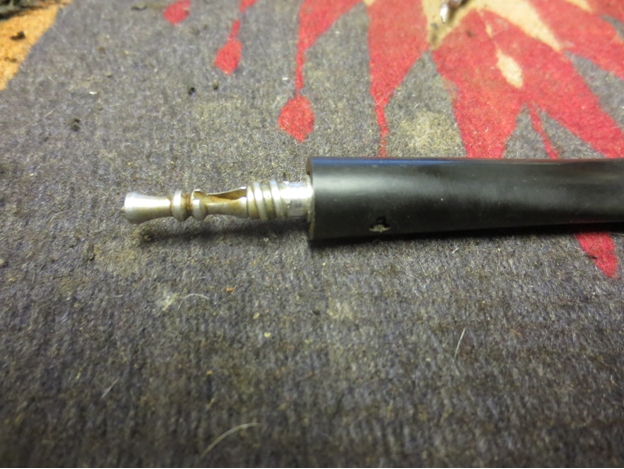
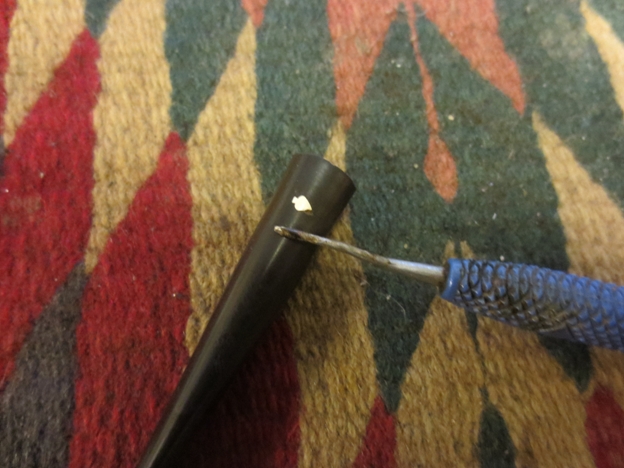
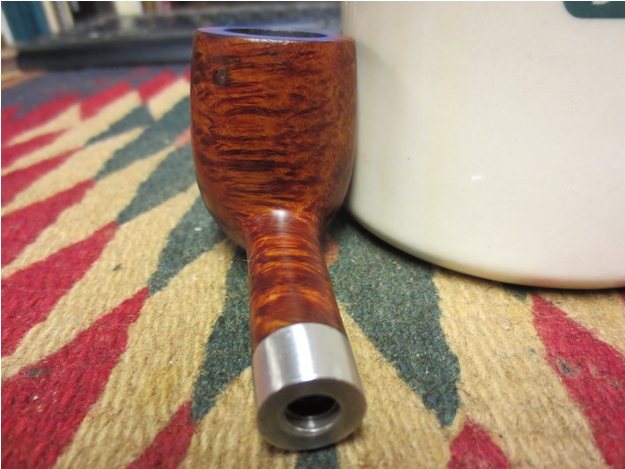
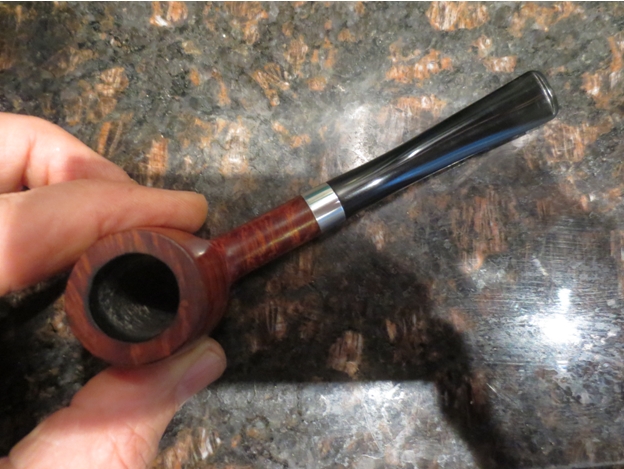
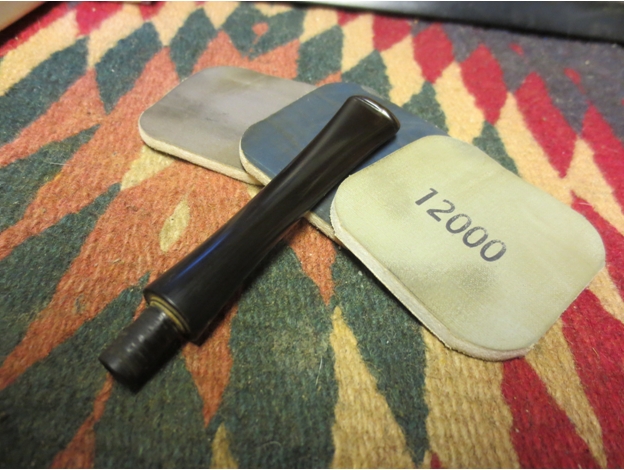
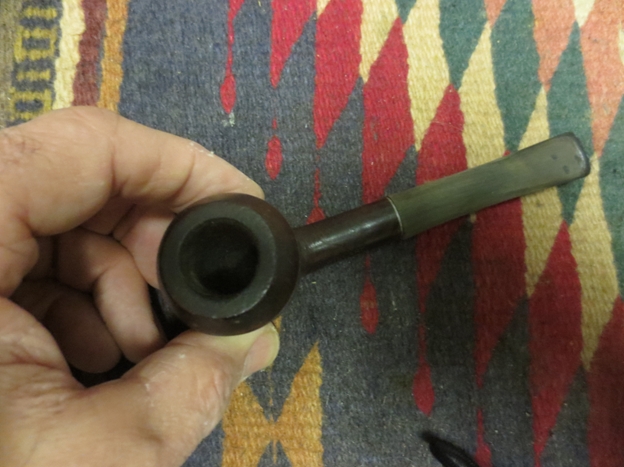
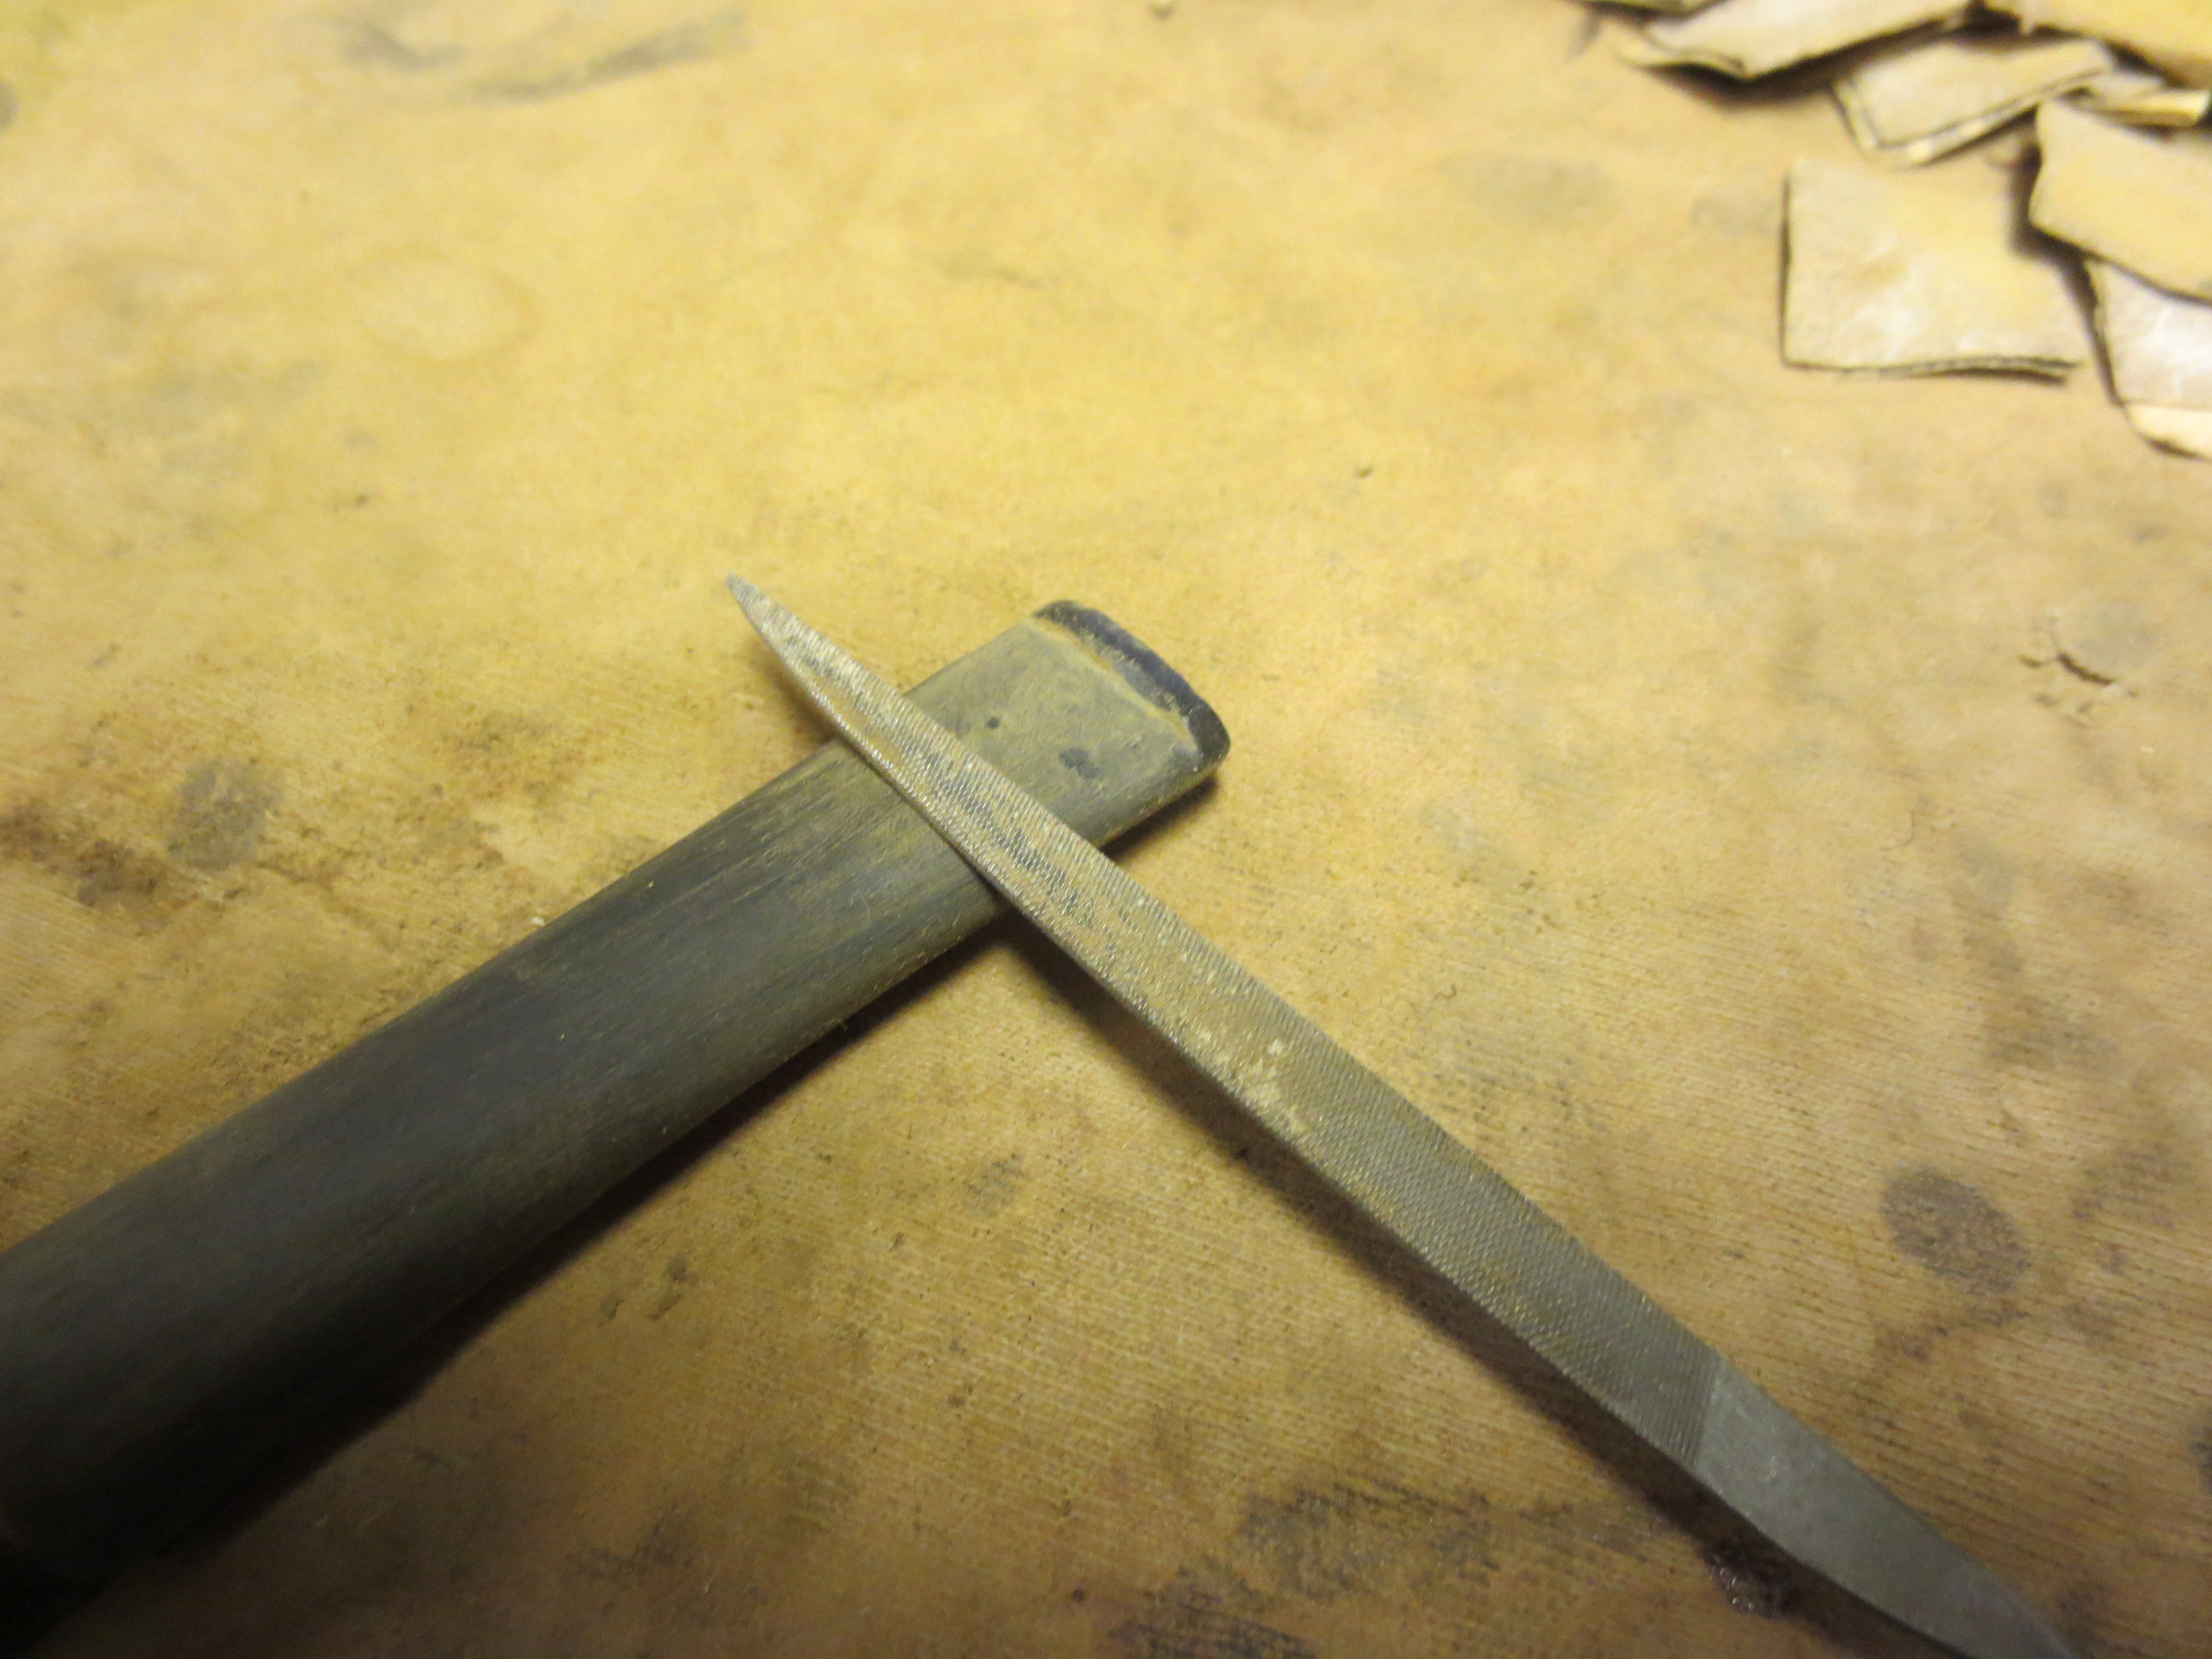
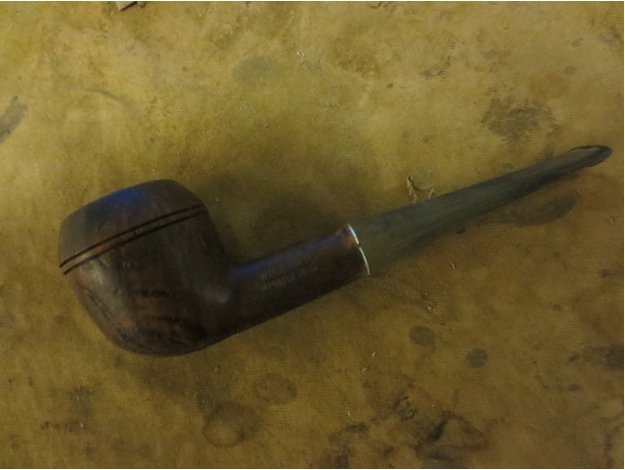
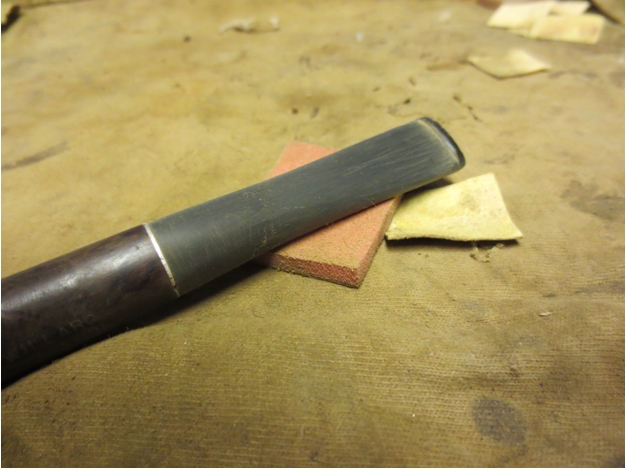
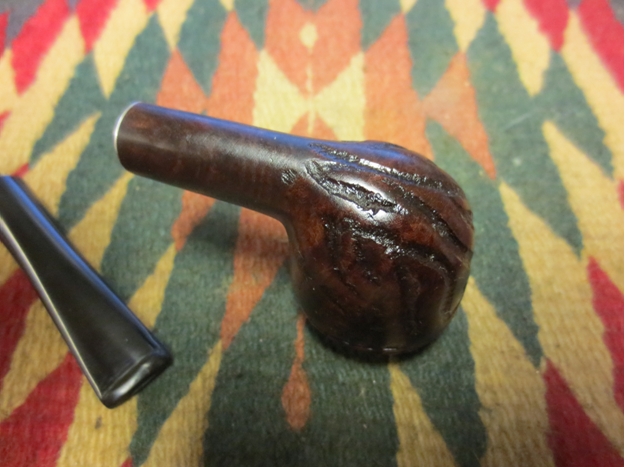
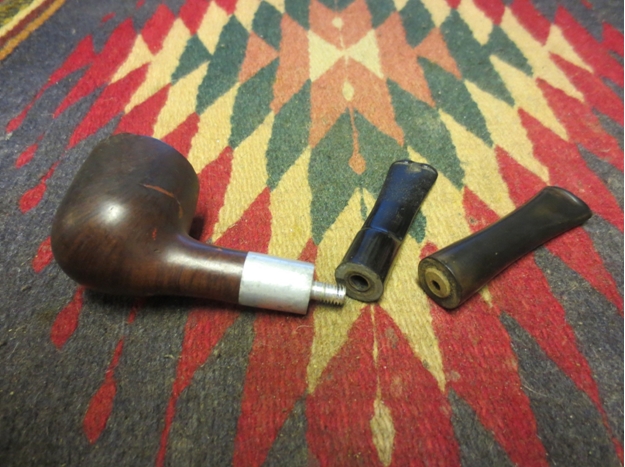
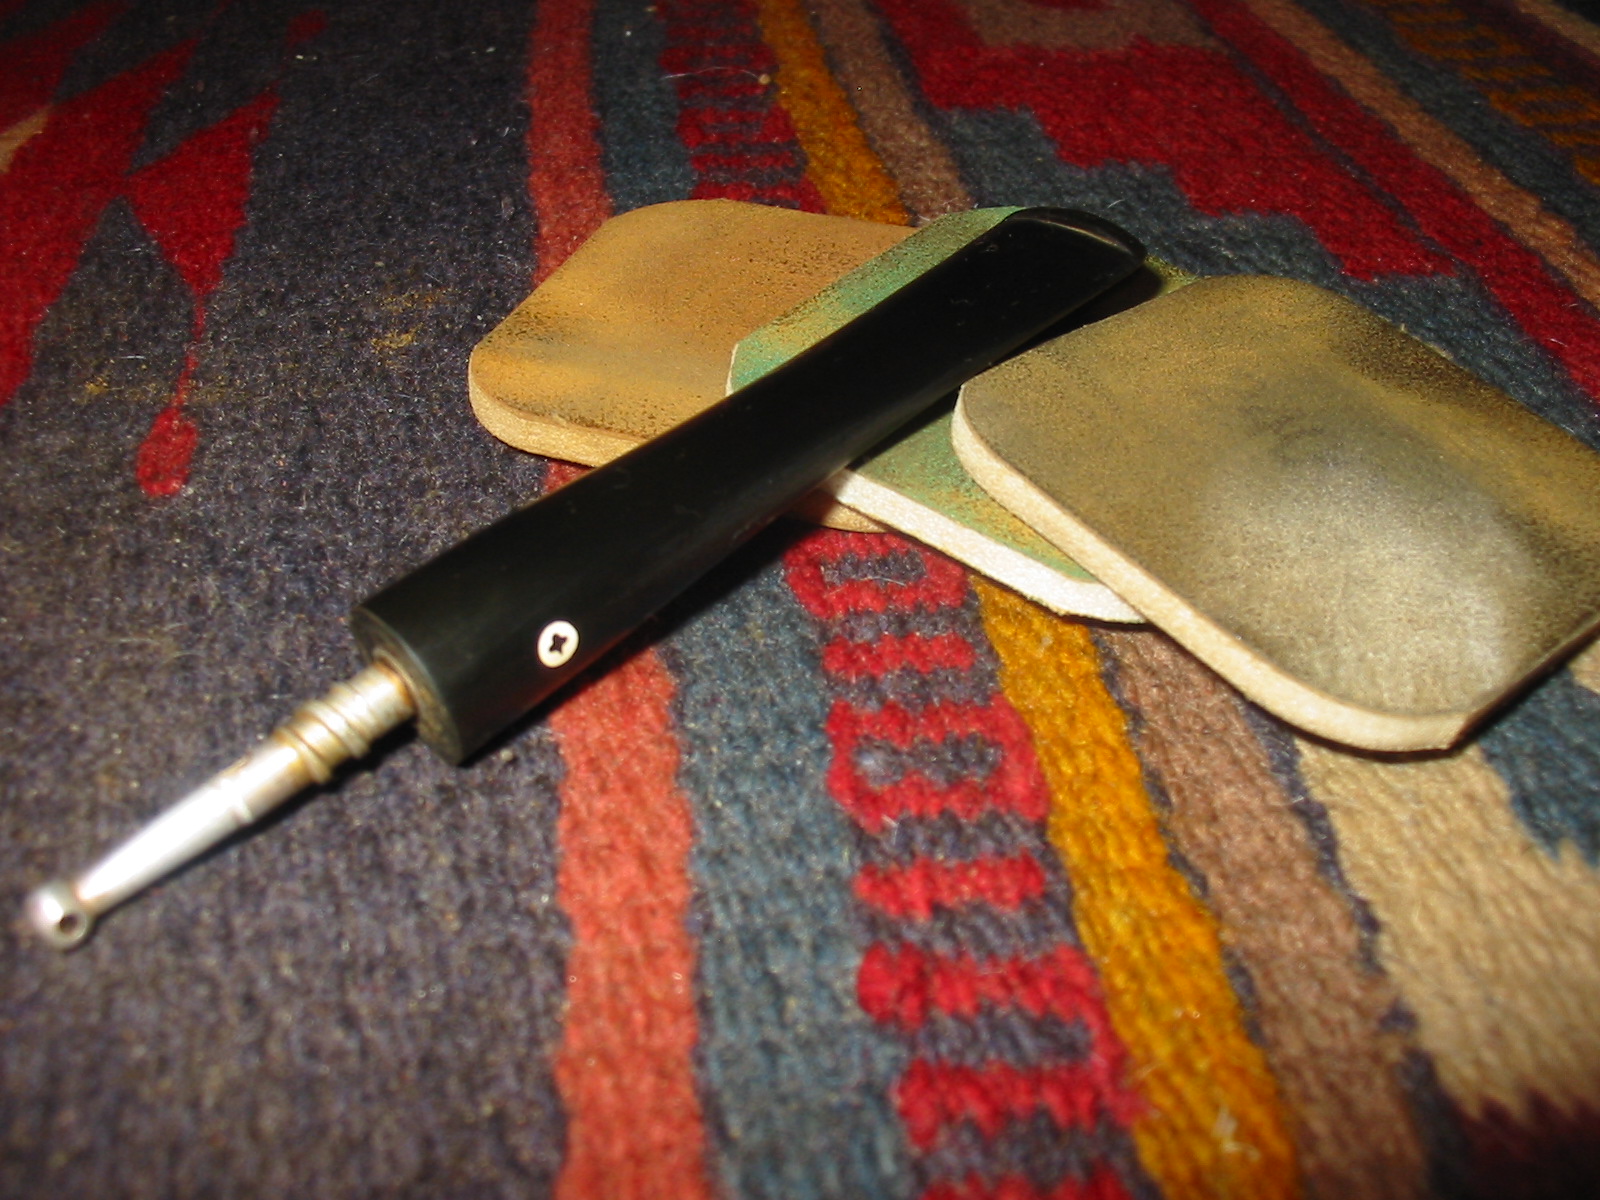
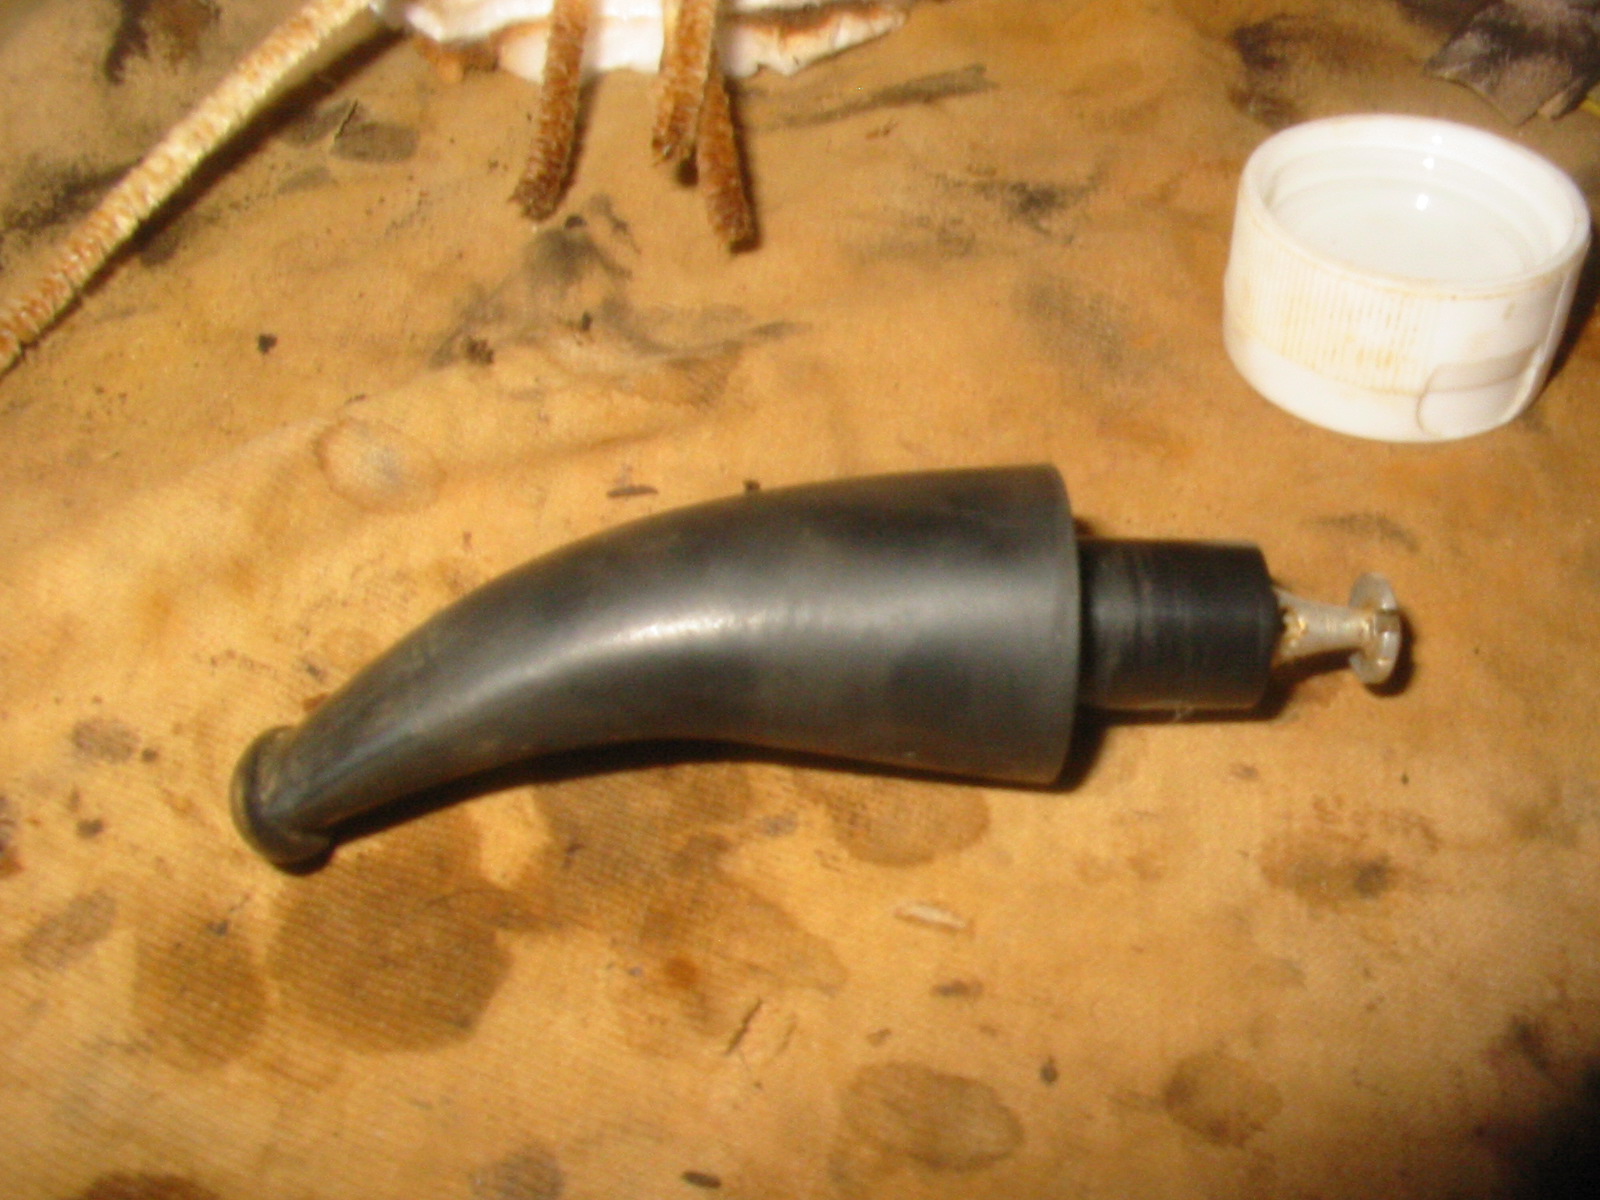
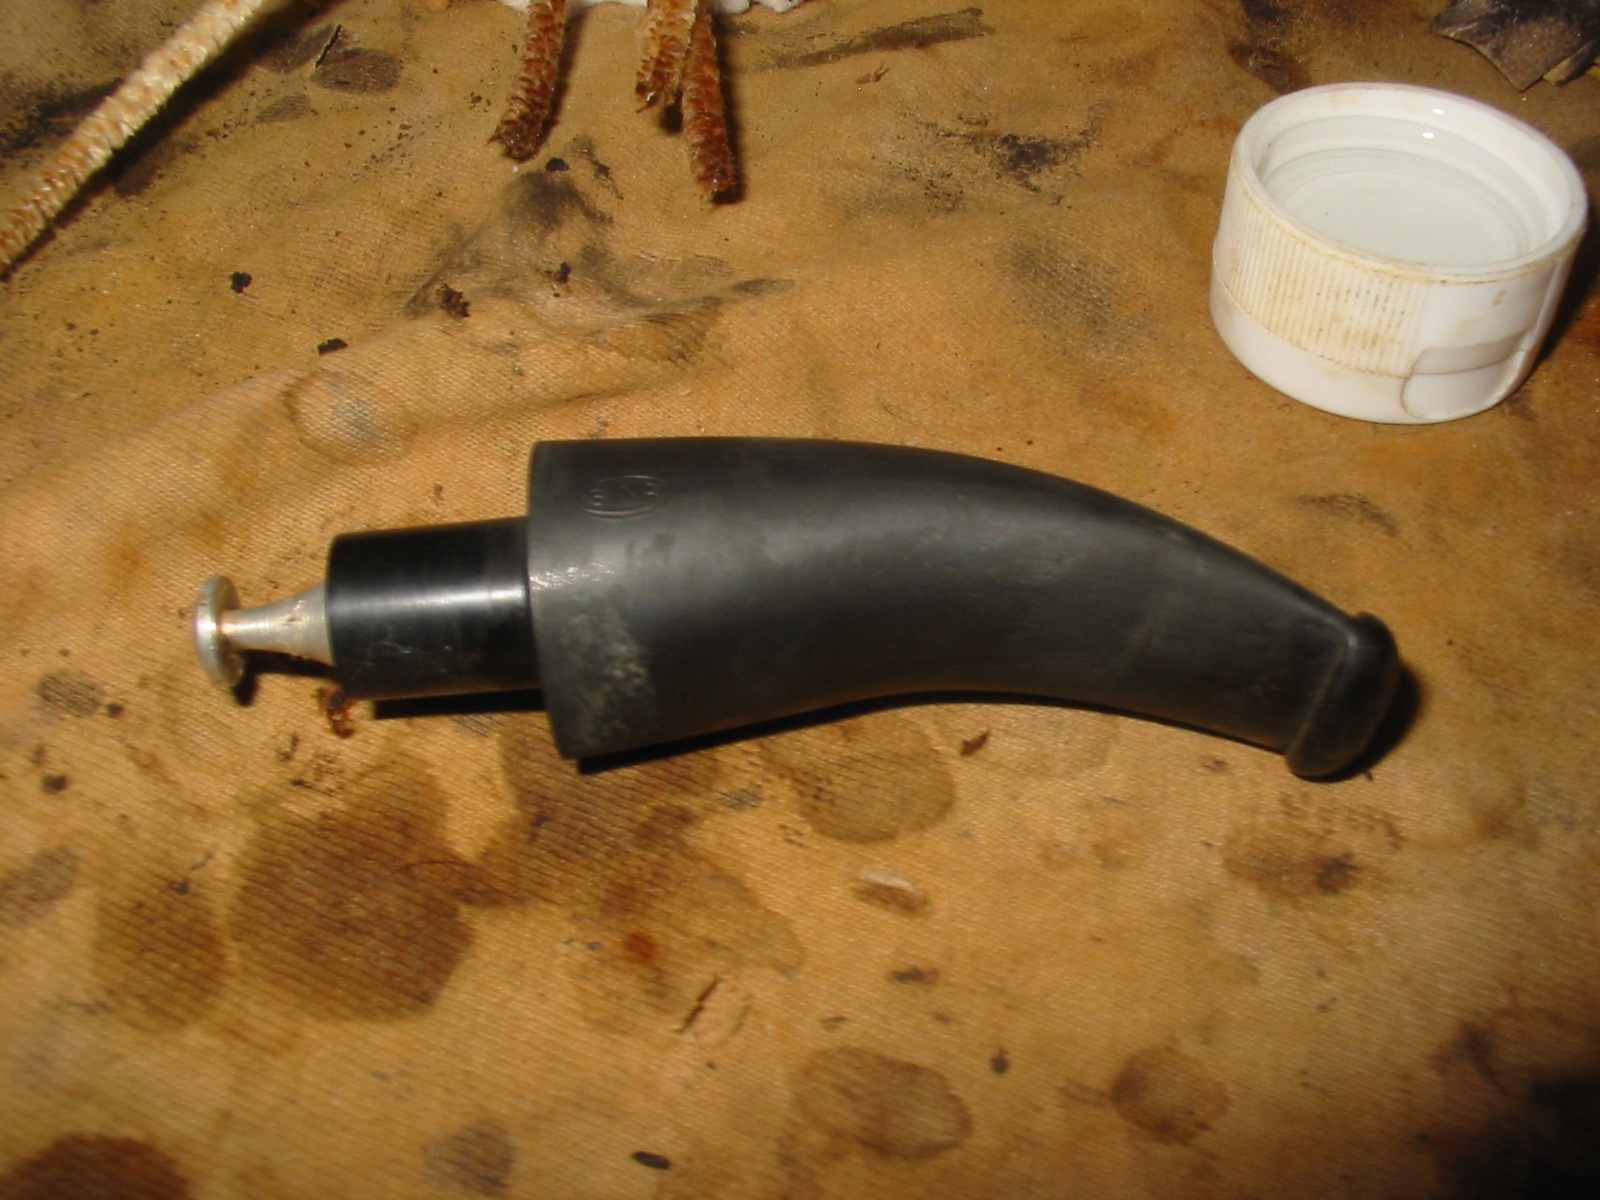
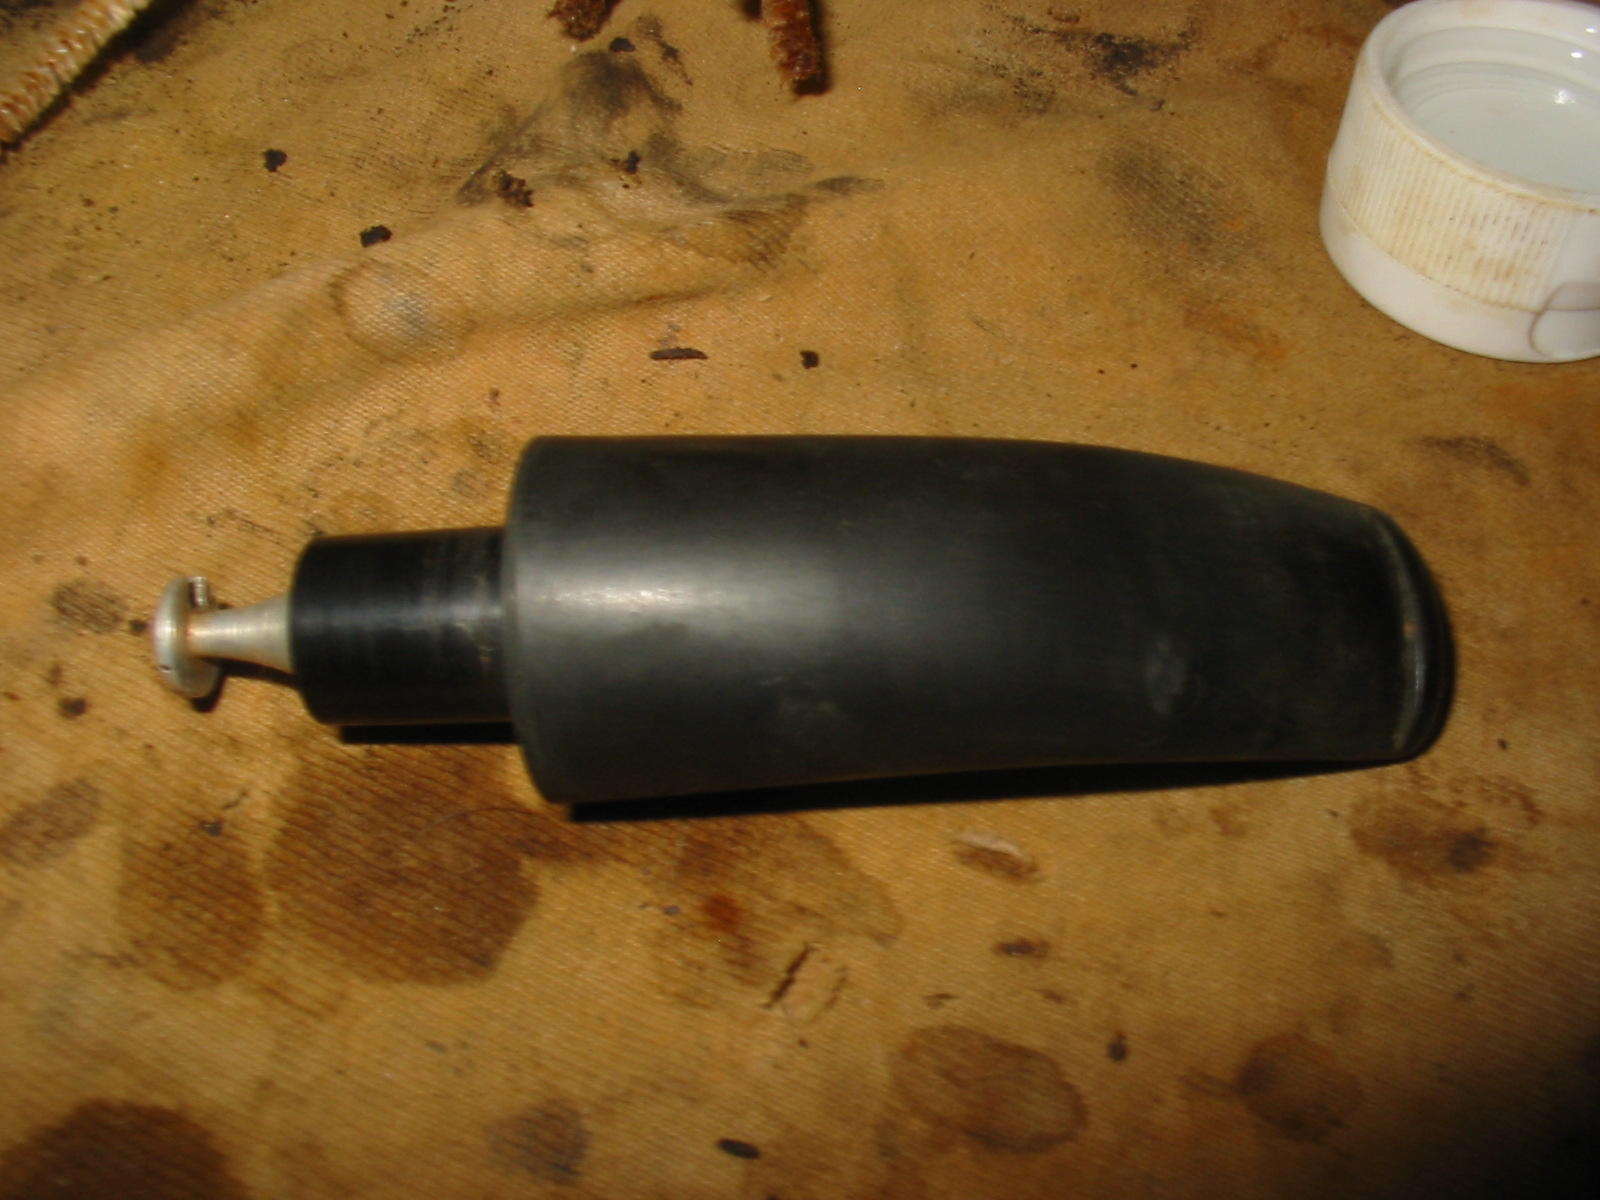
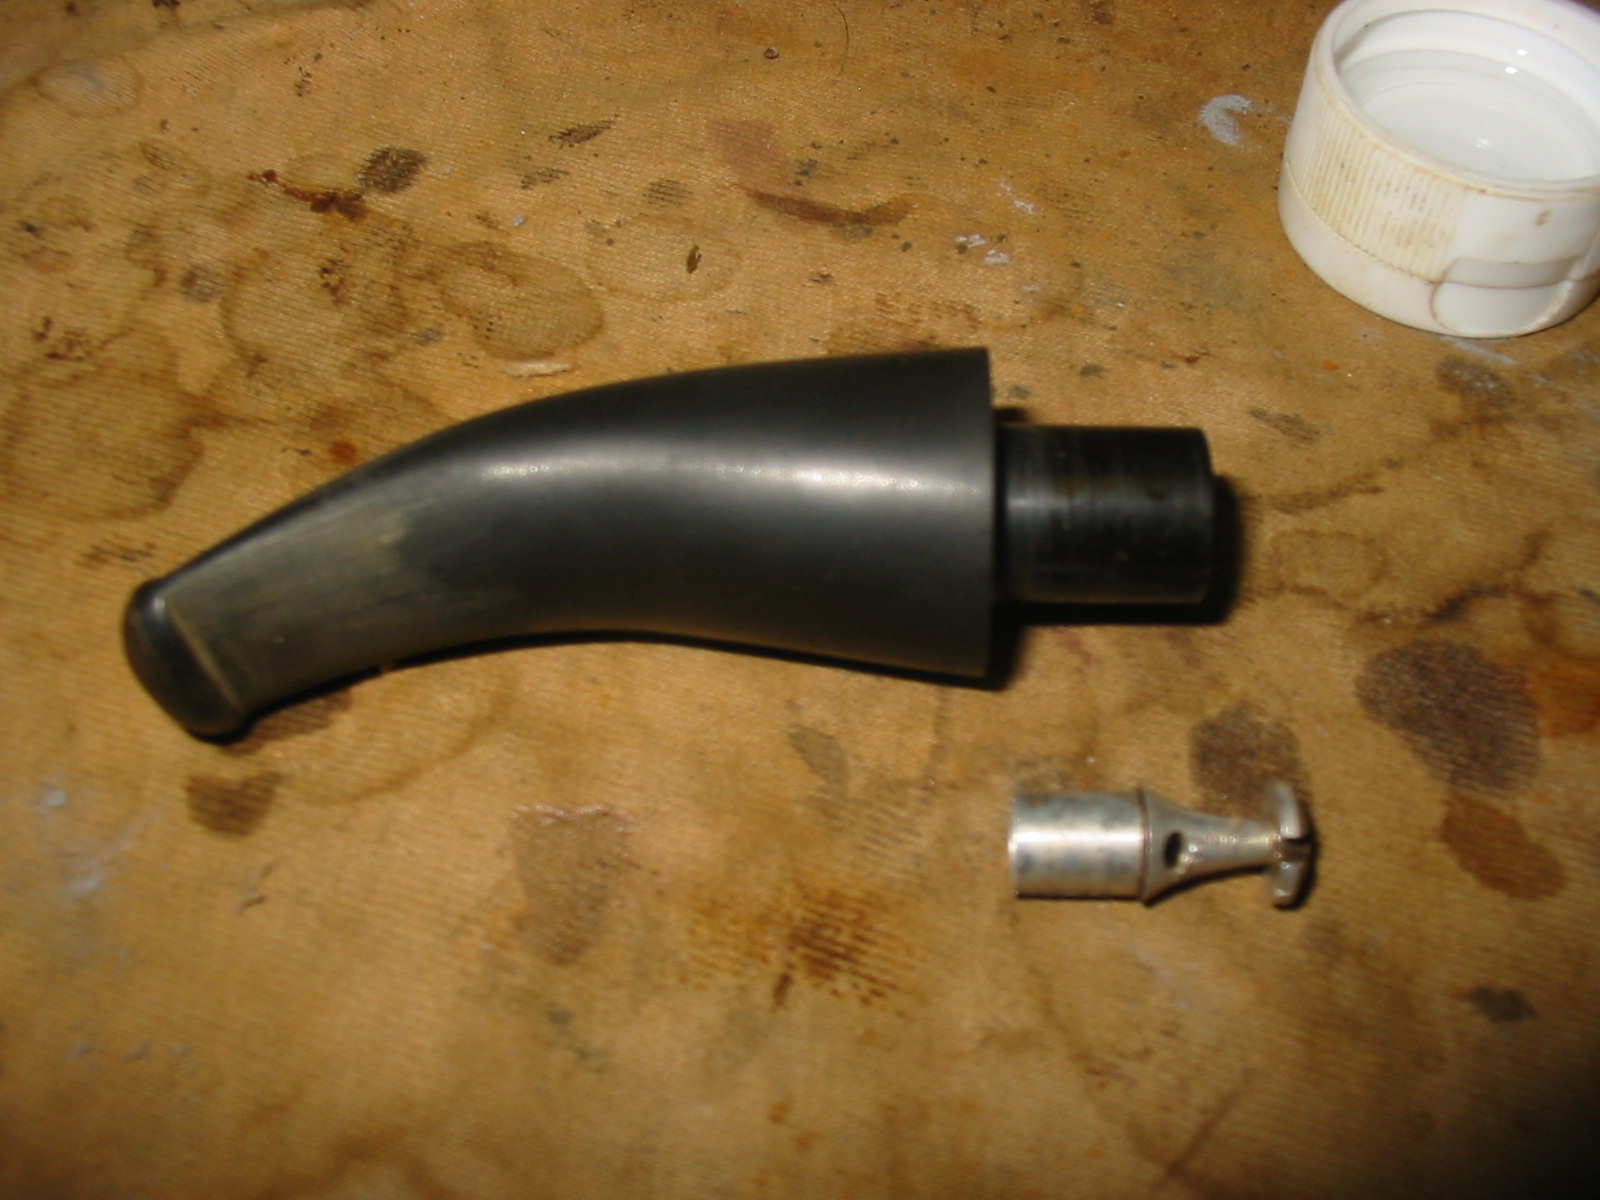
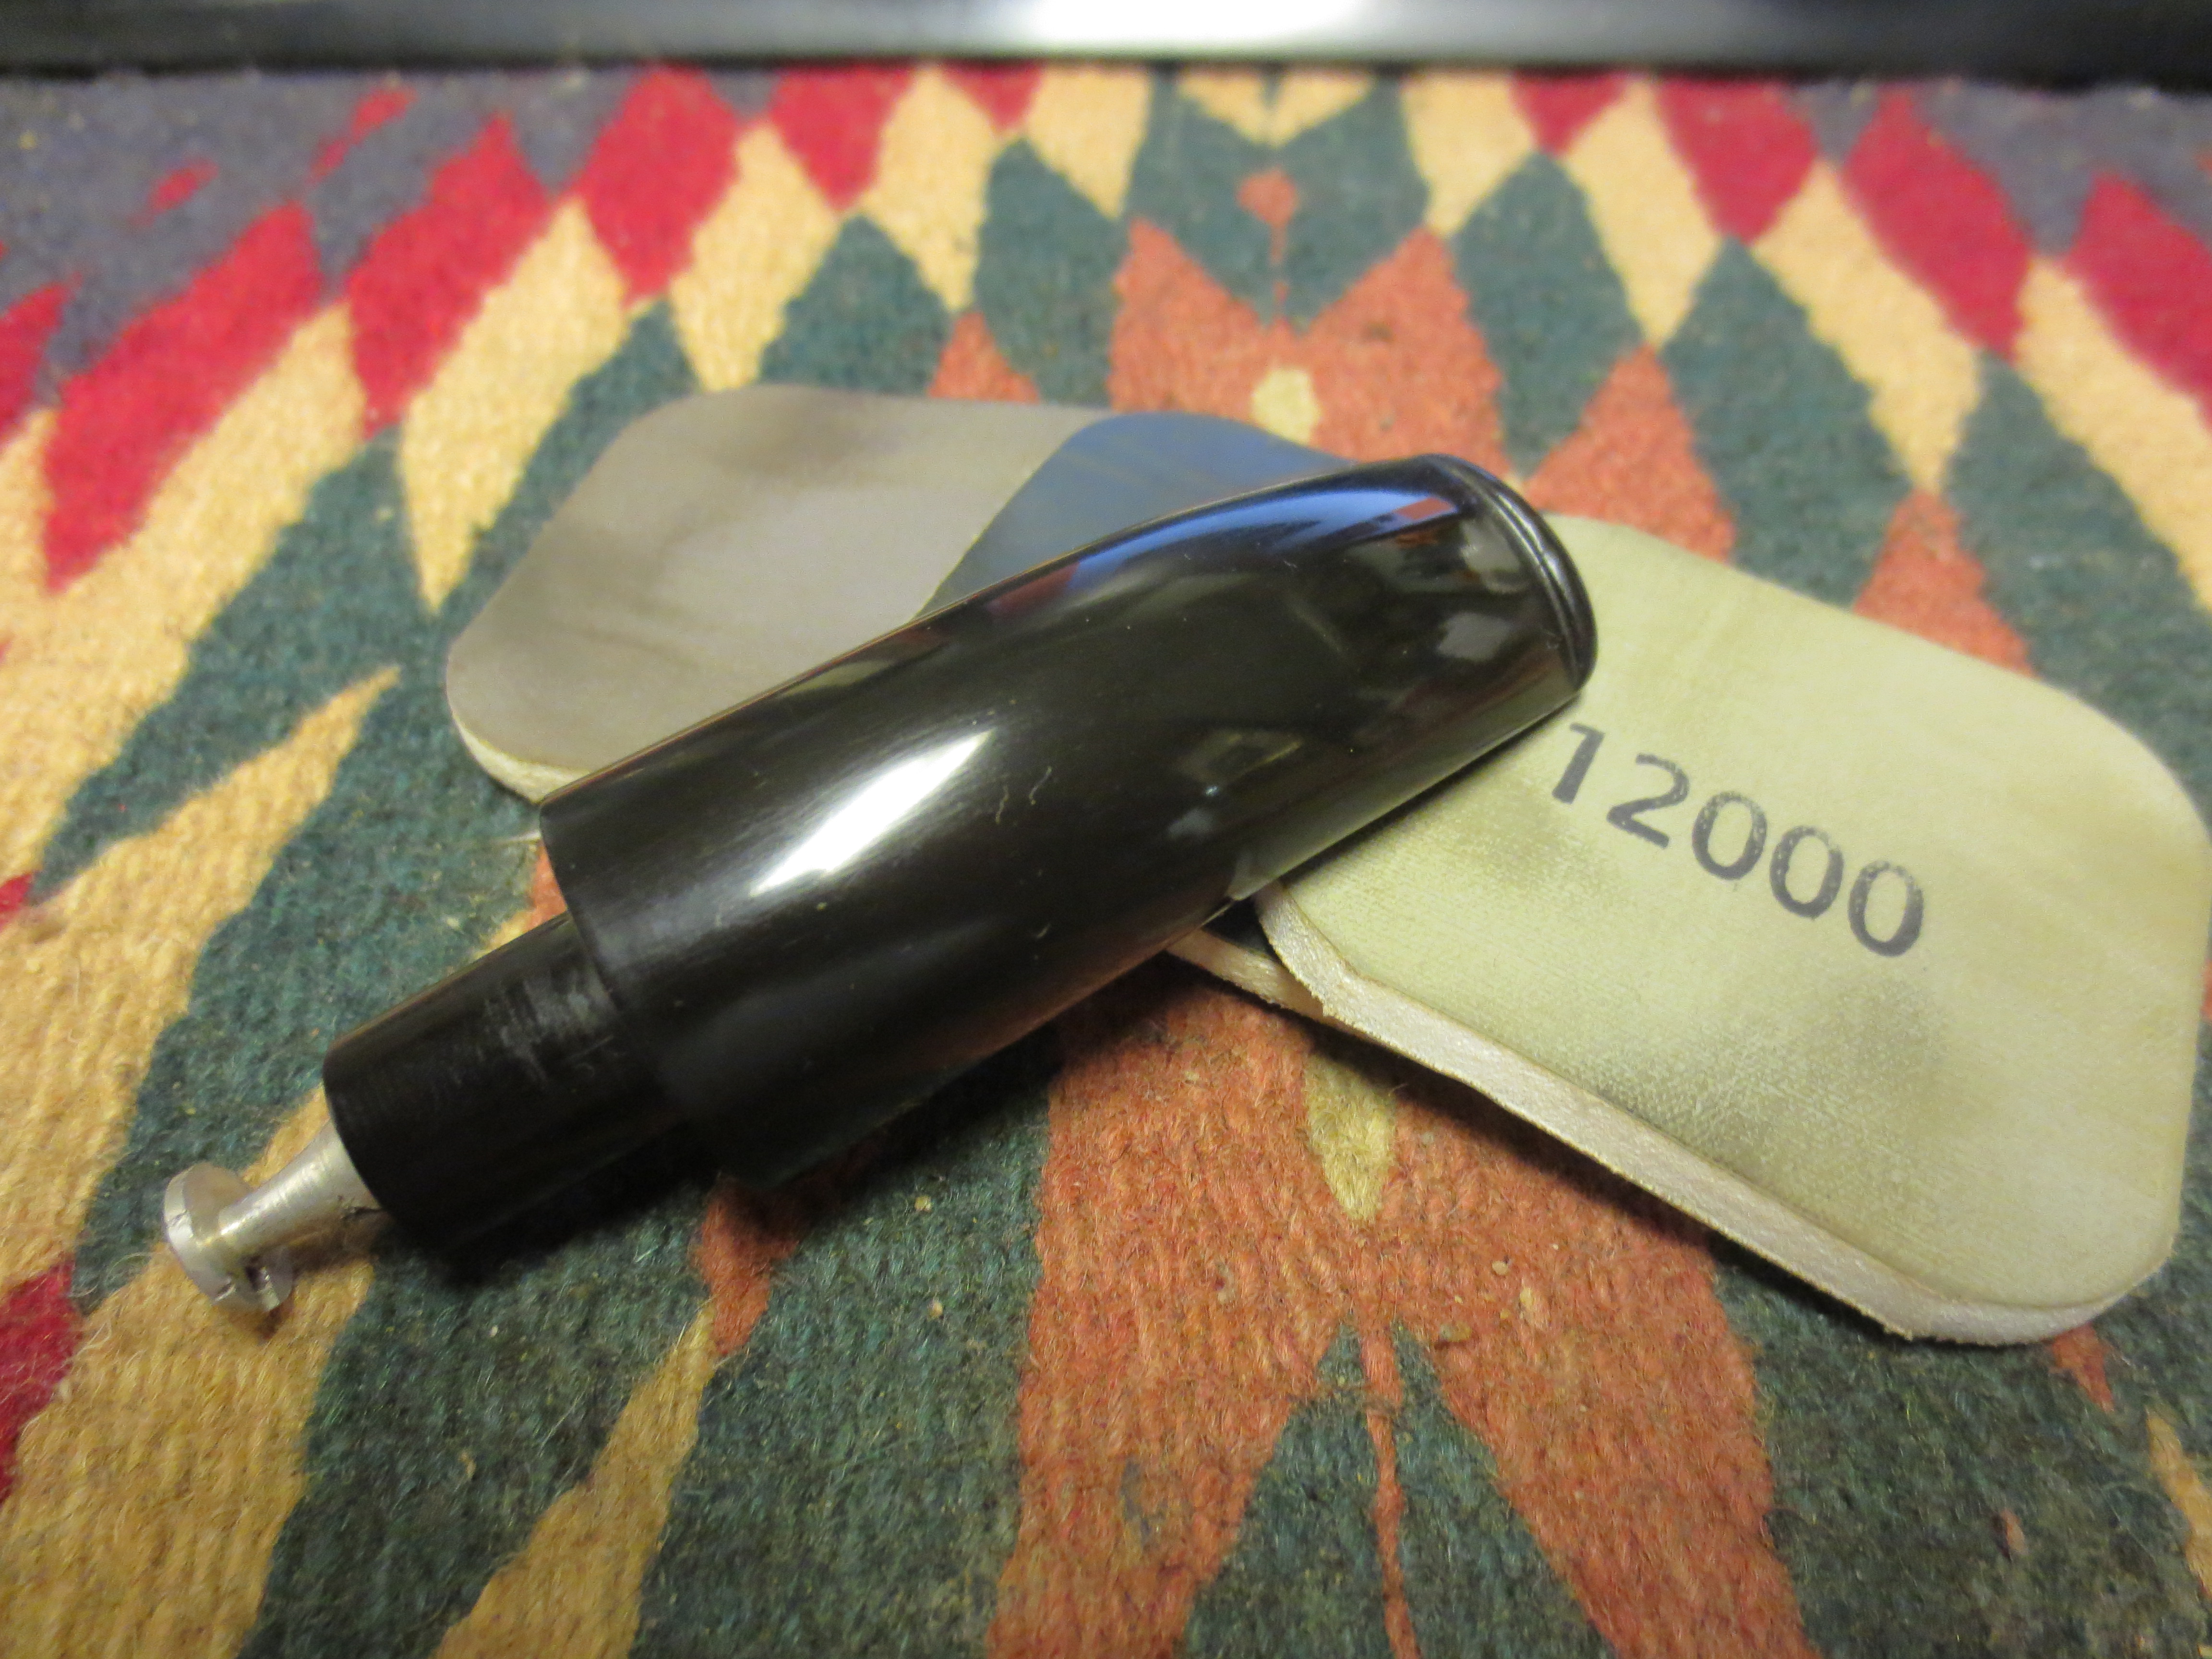
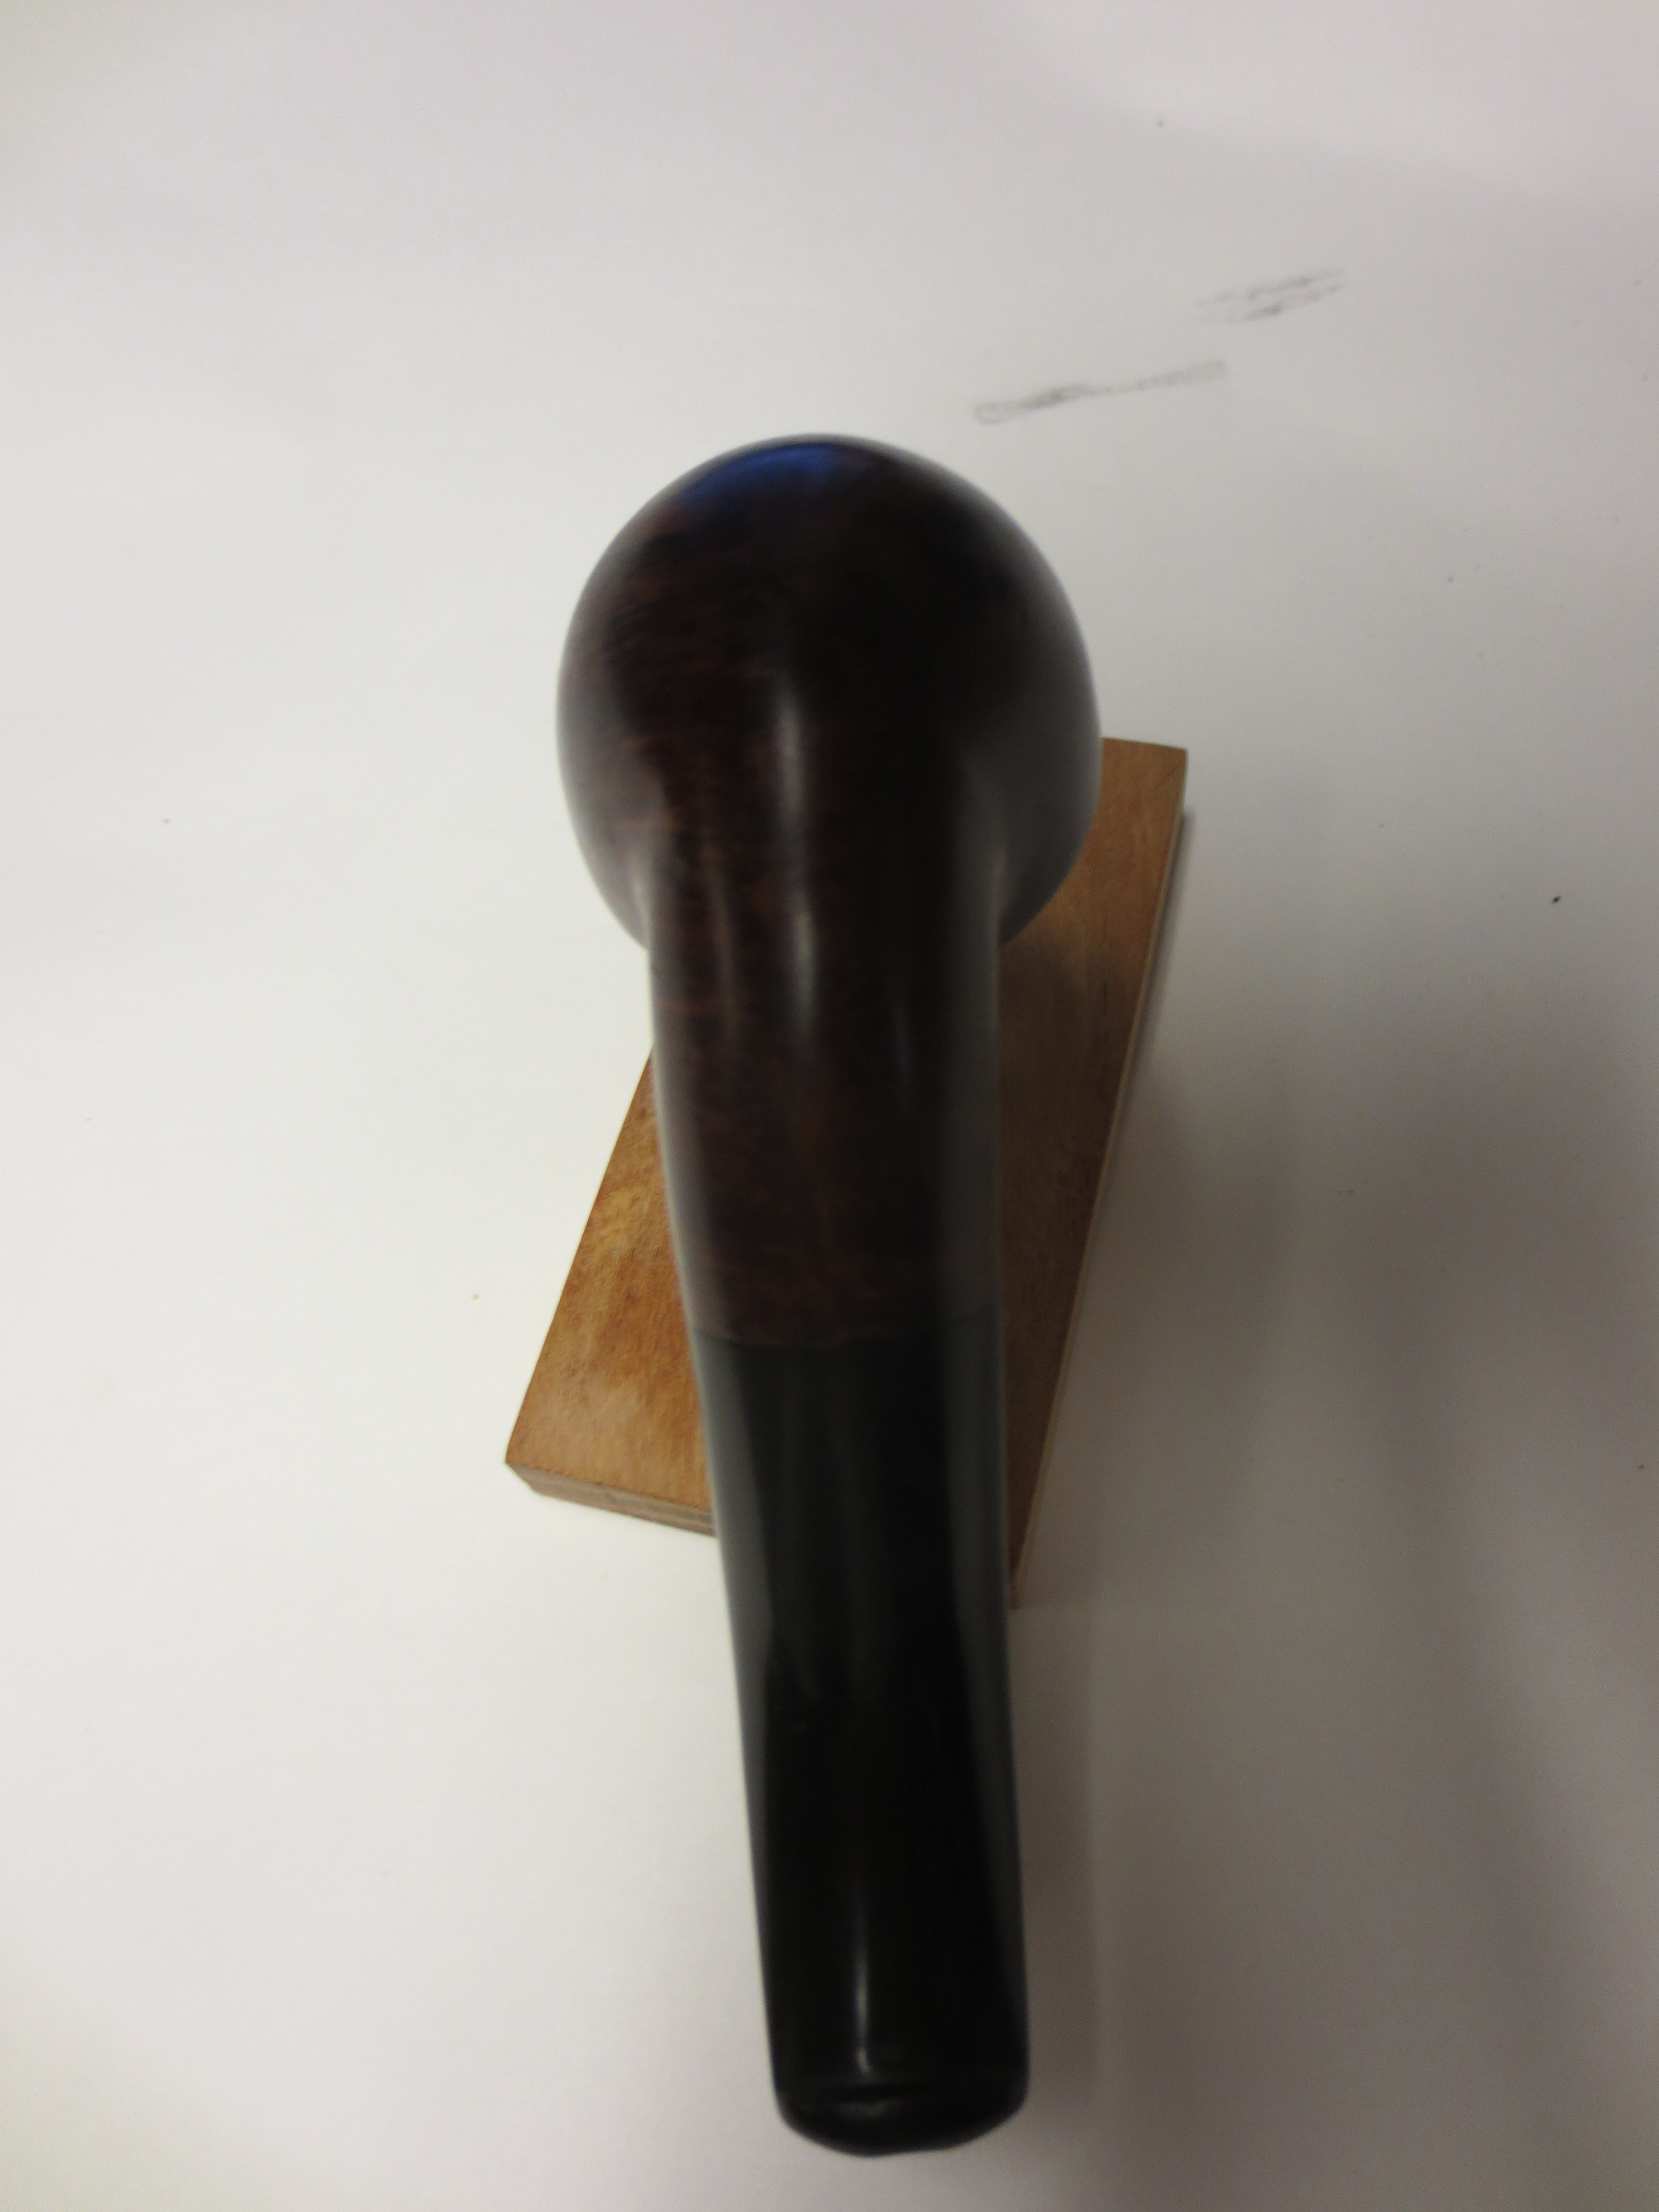
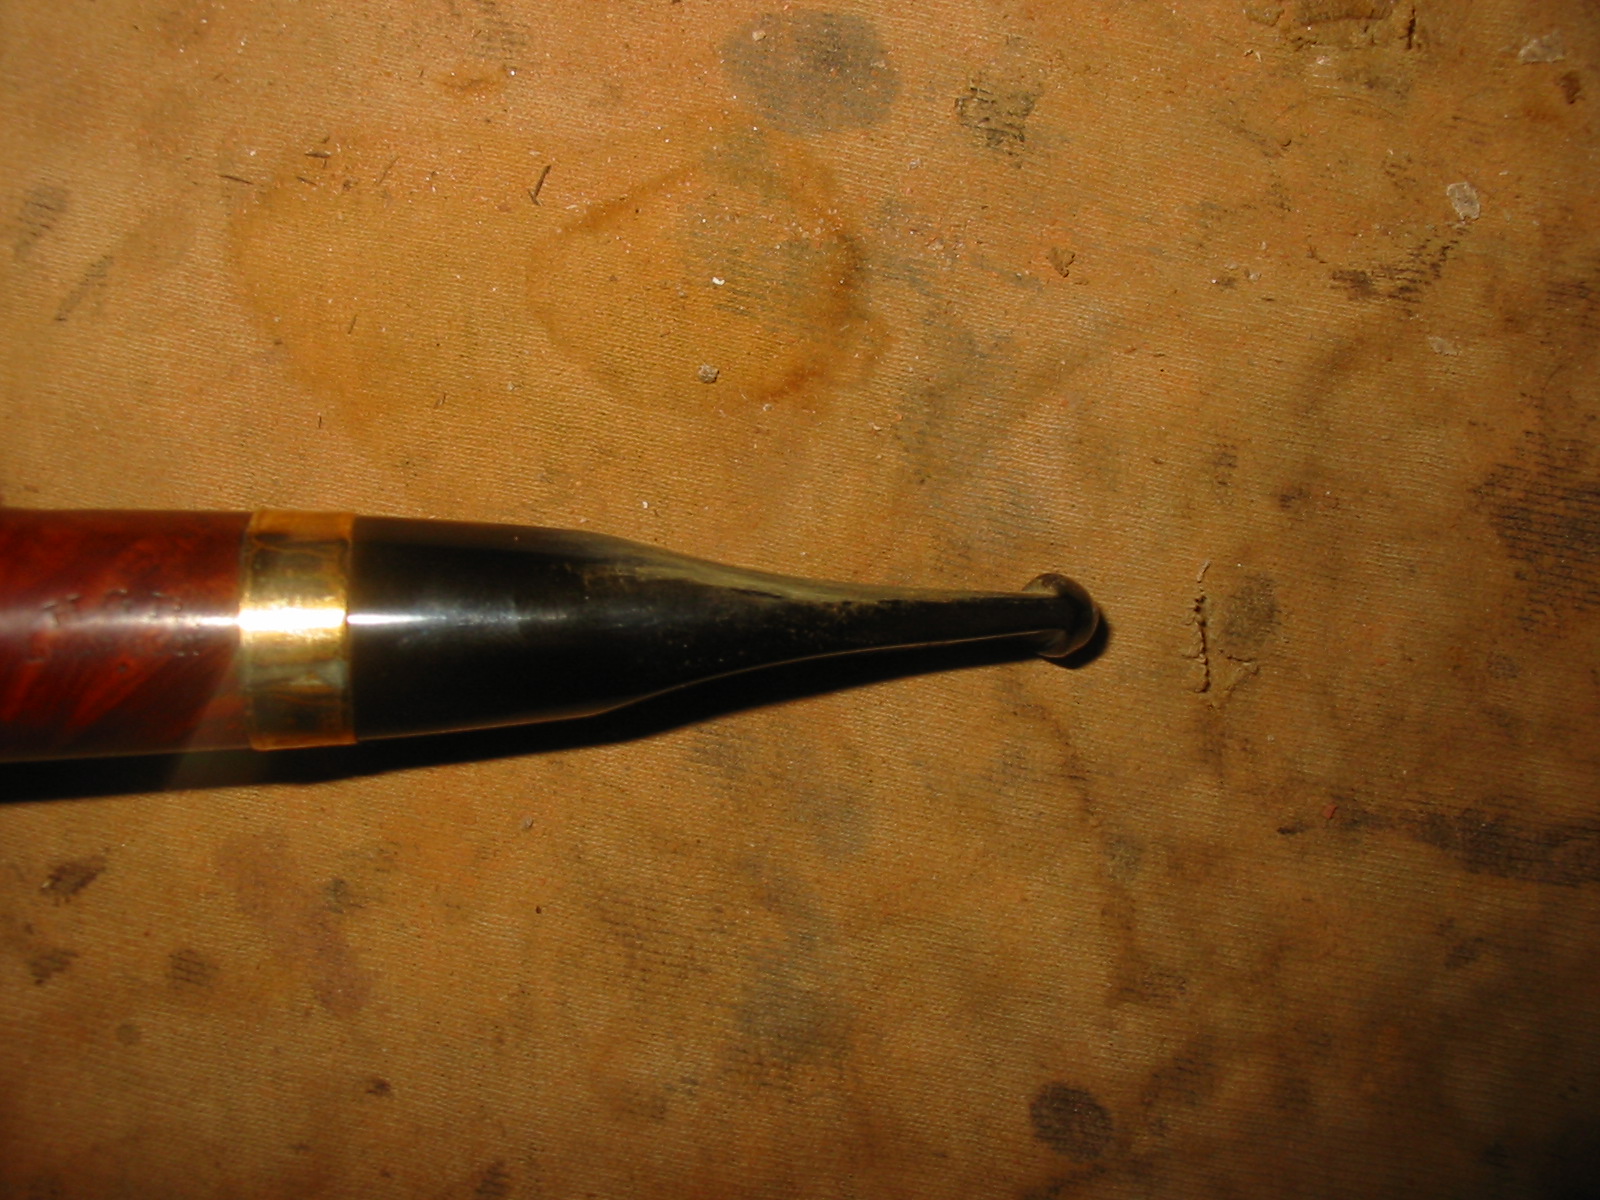
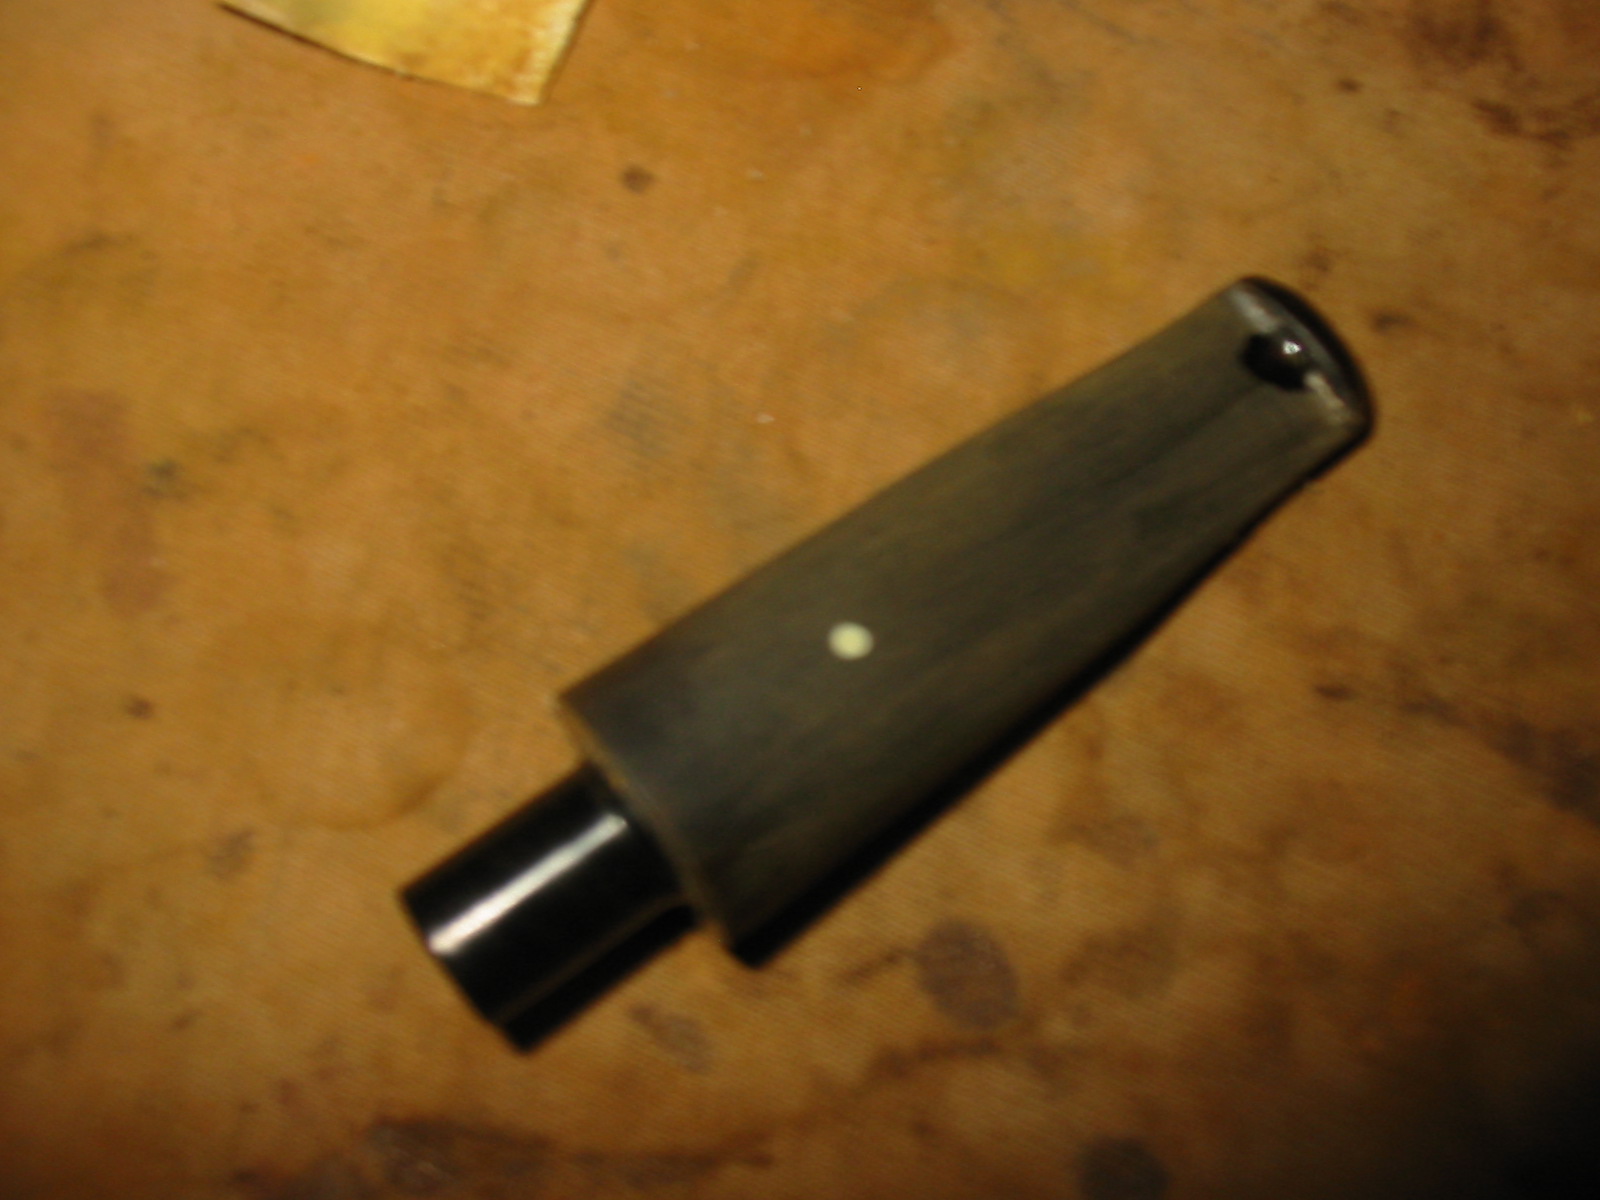
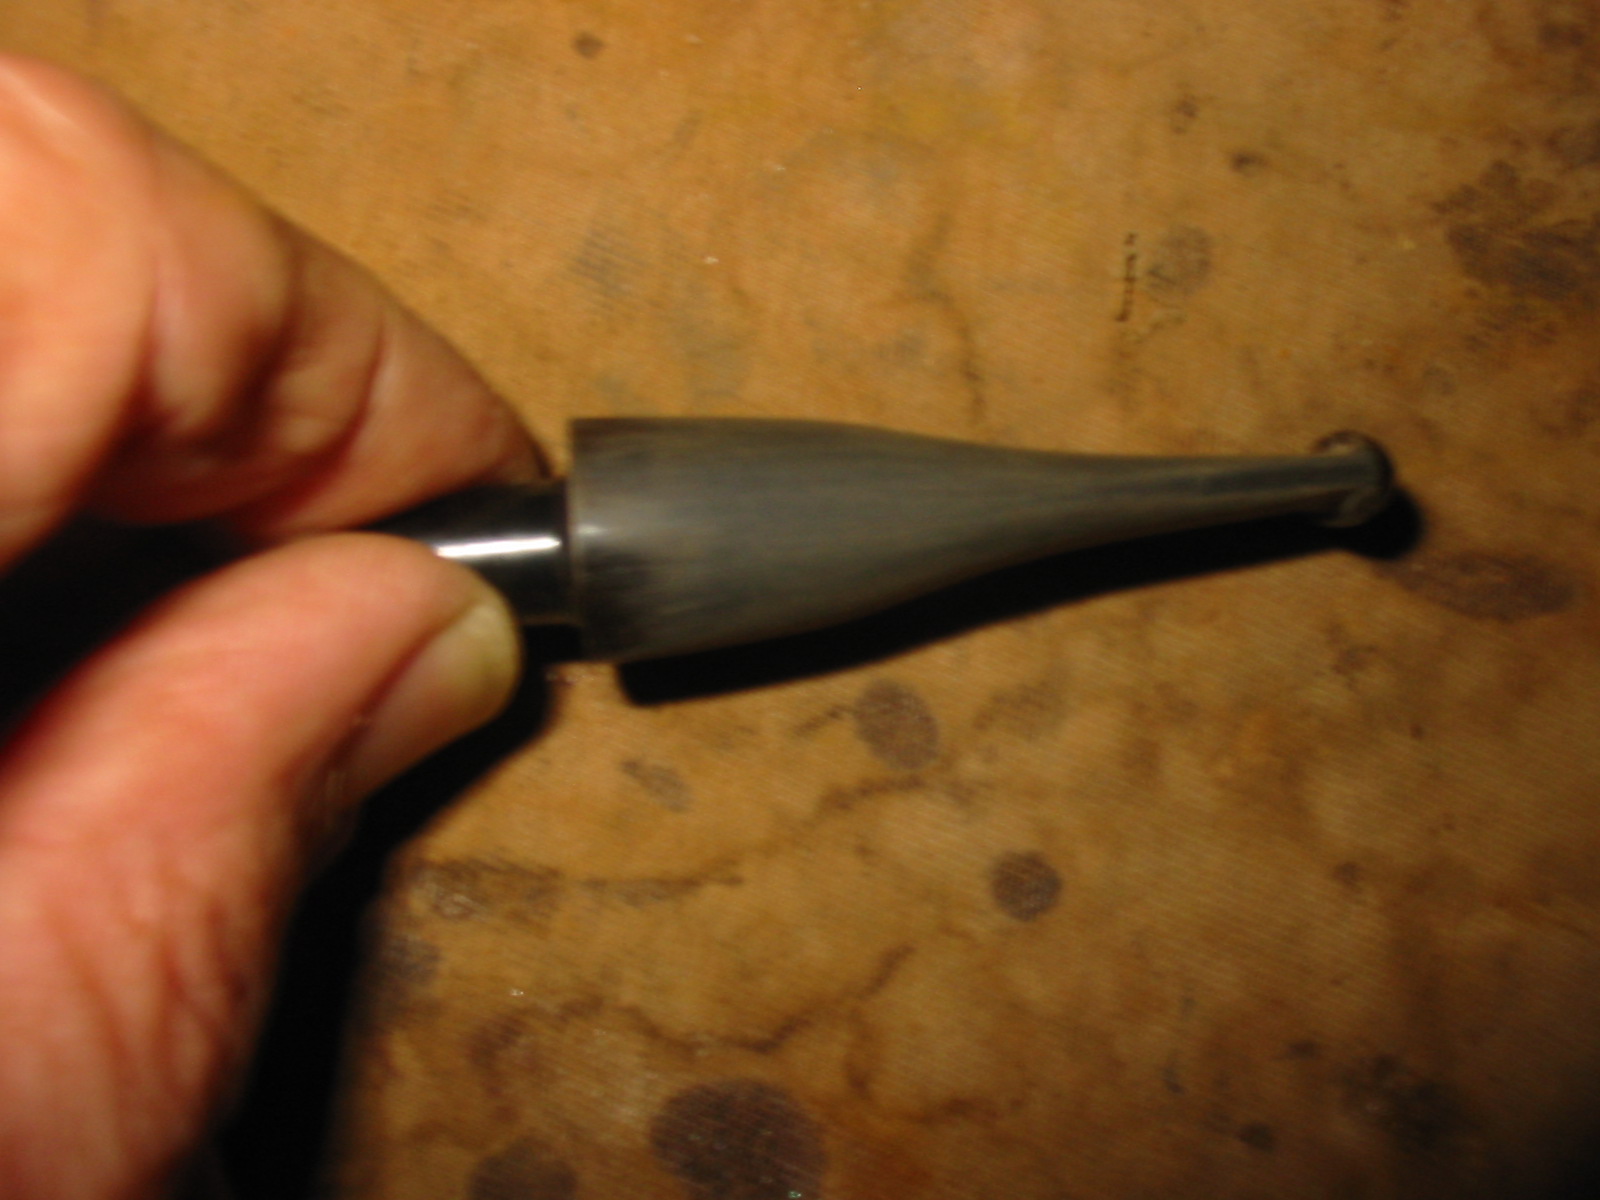
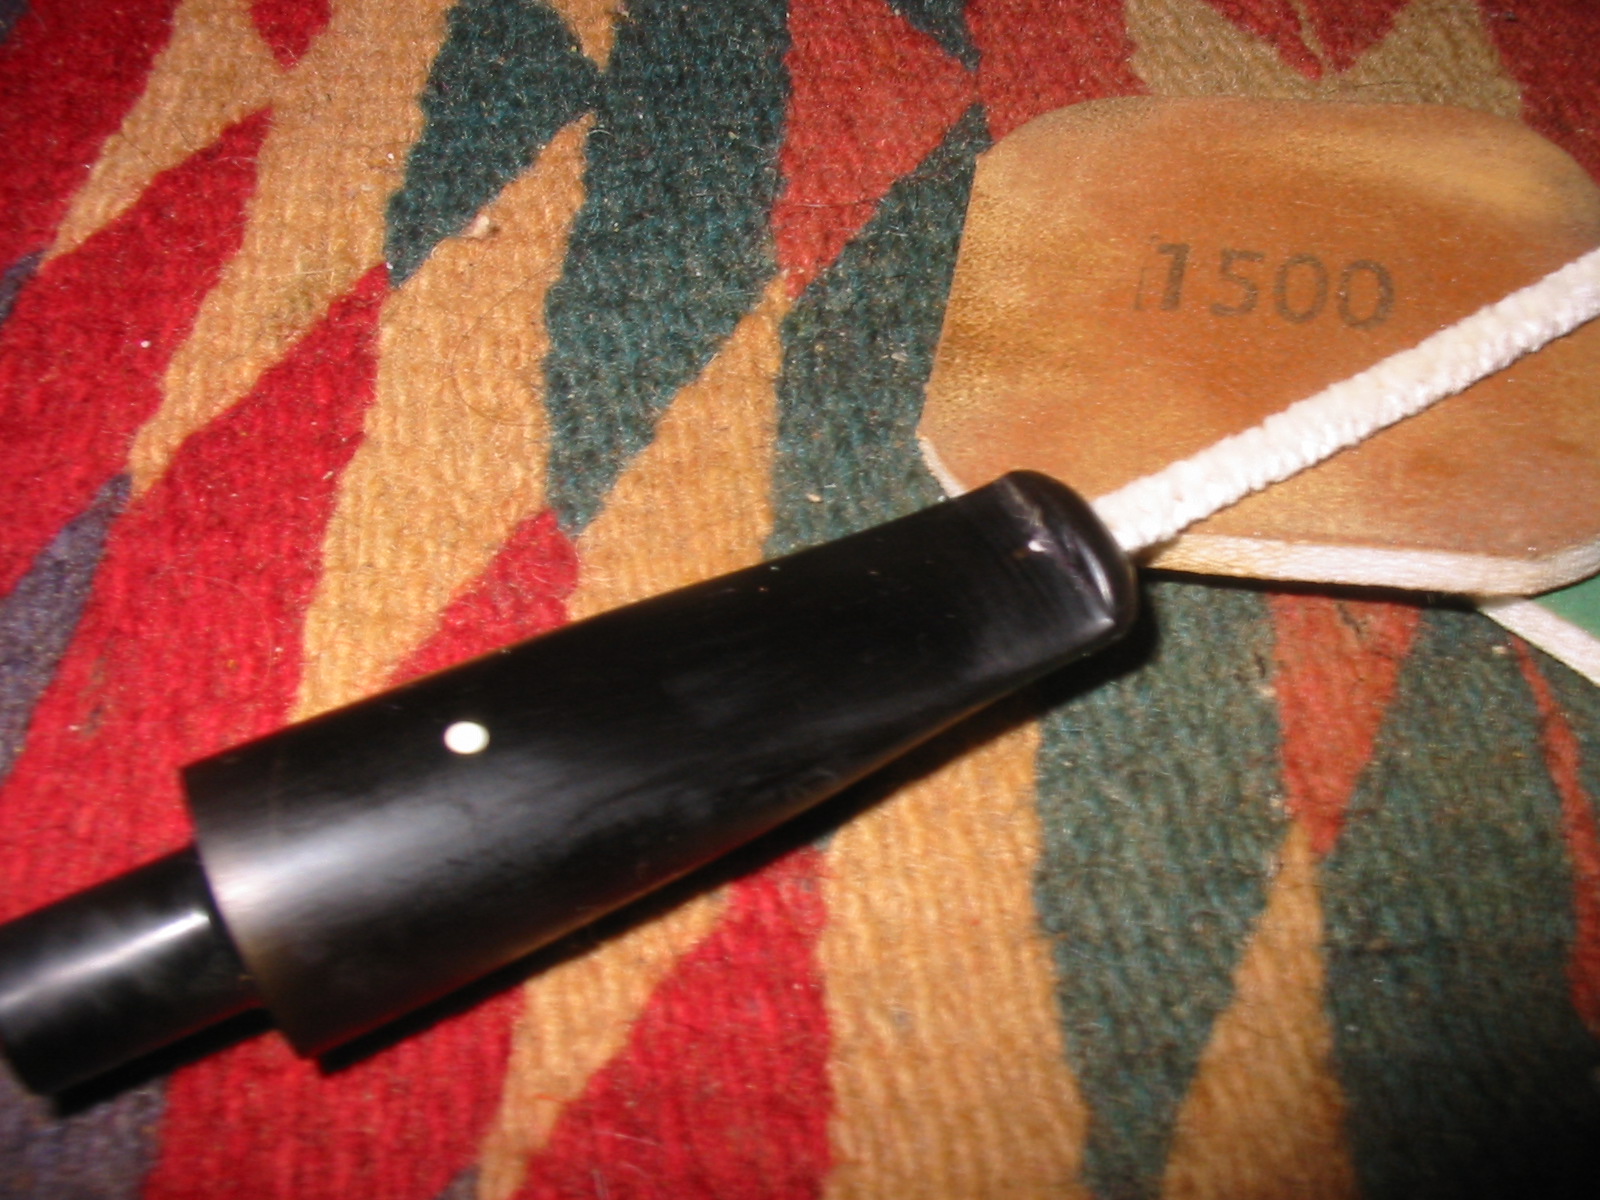
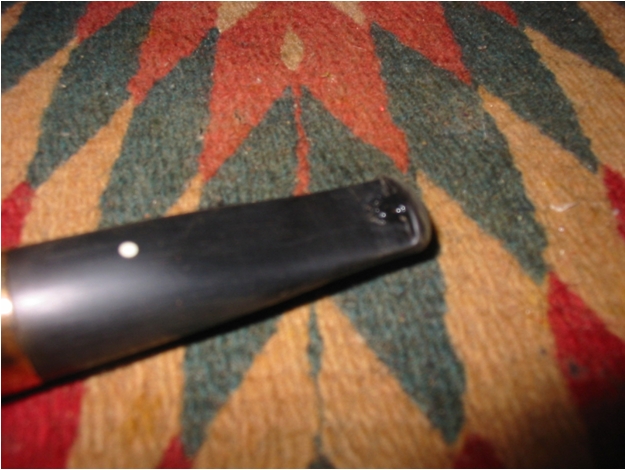
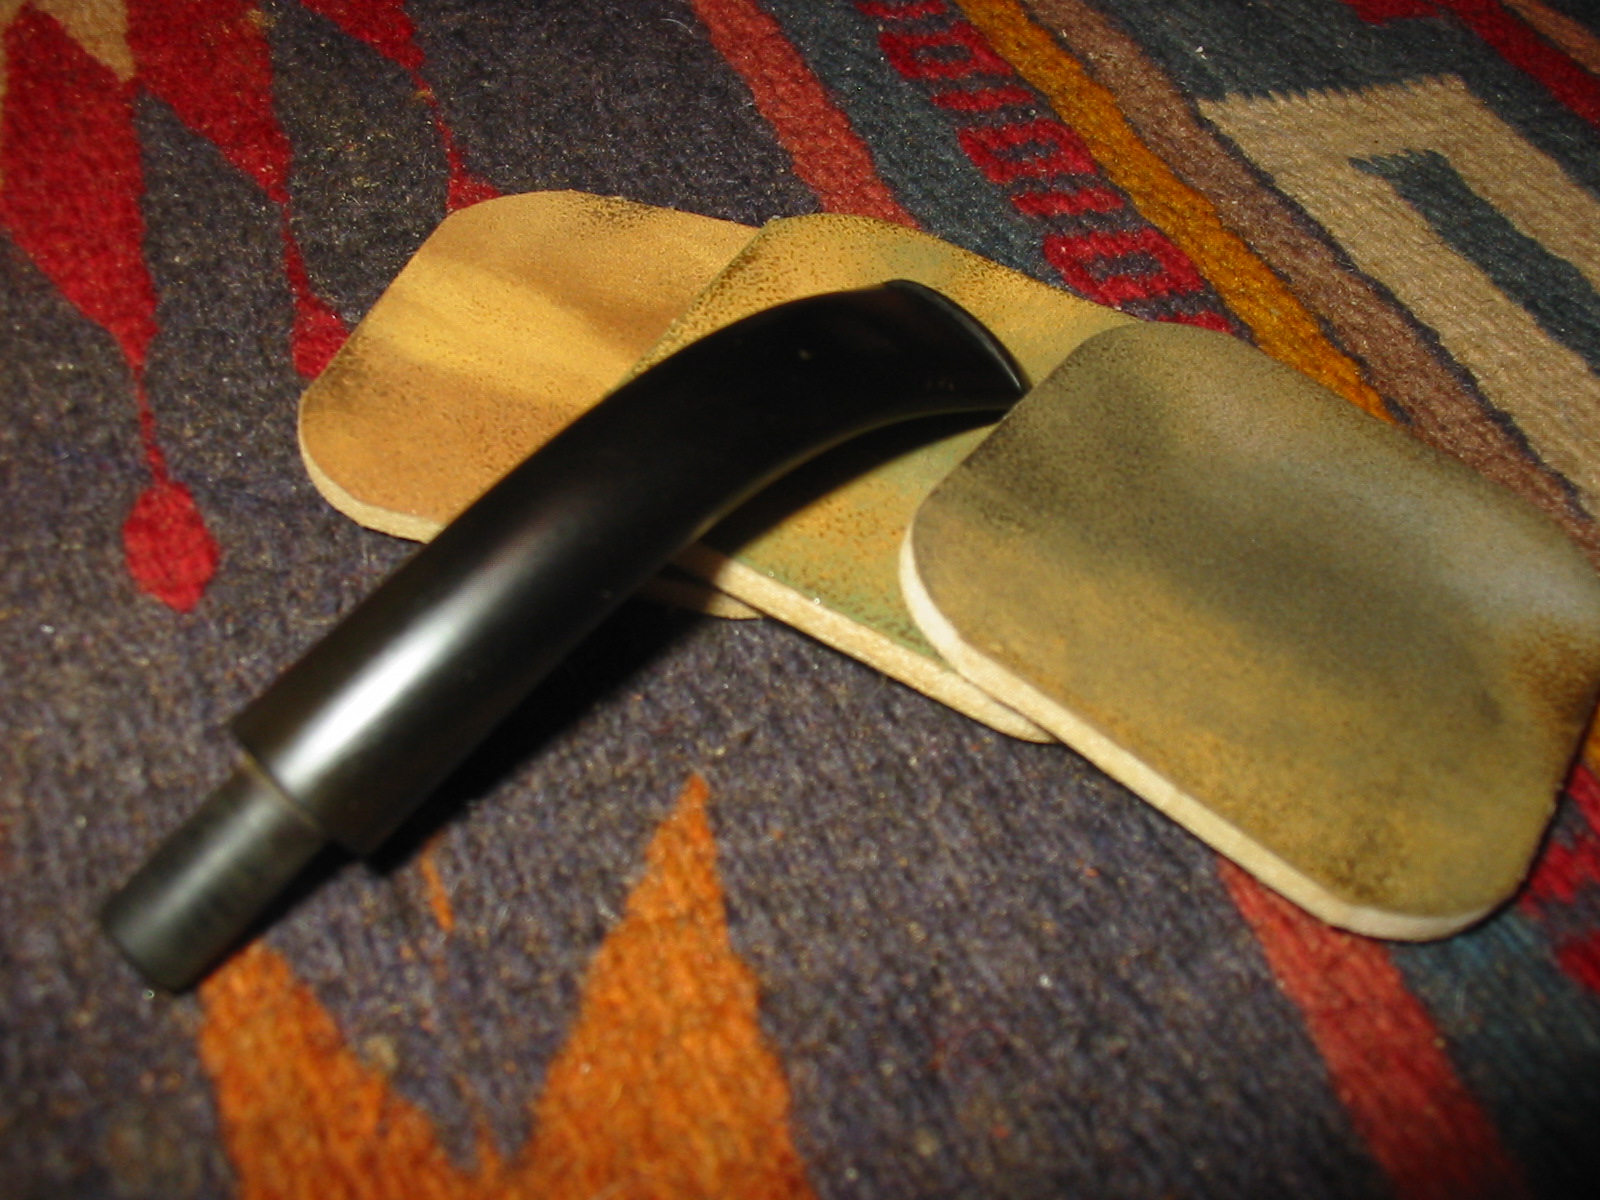
I rubbed the entire pipe and stem separately with my cotton cloth and gave both an evil eye inspection, with my magnifier glasses on, of course. The bowl was ready, but one look at the stem almost stopped my heart. I had forgotten it completely! However, I was in luck, as there were no dings or chatter to fix, so all I needed to do was micromesh it. (See photos 3 and 4.) I chose 800 for one run, then 3200 for the other. In a few minutes, both parts were ready for buffing.
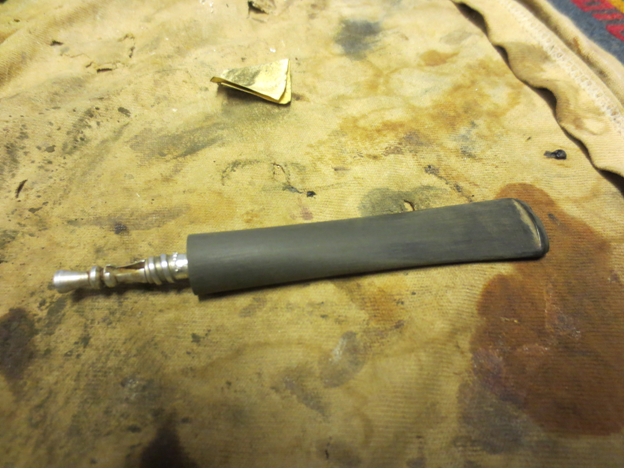
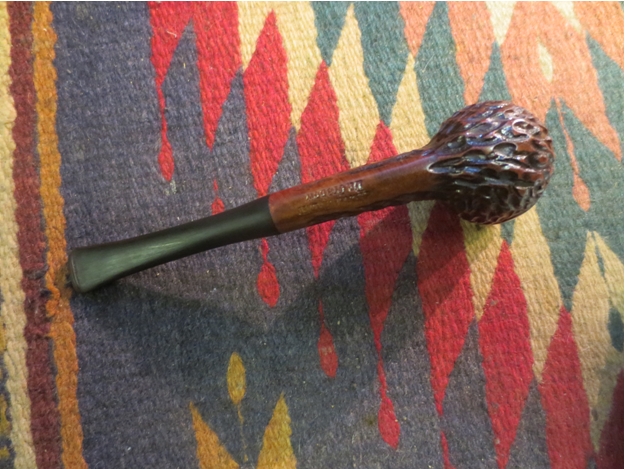
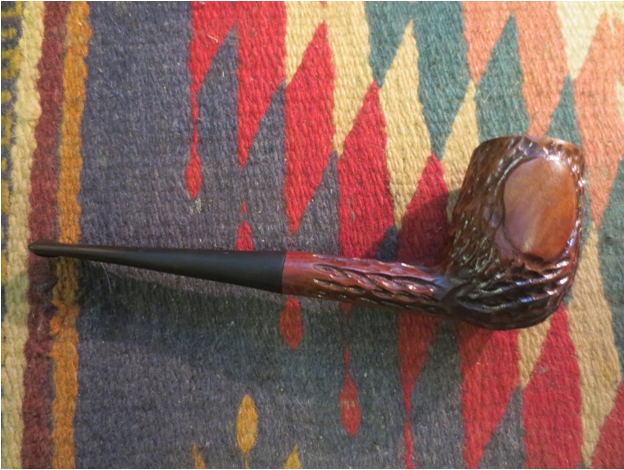
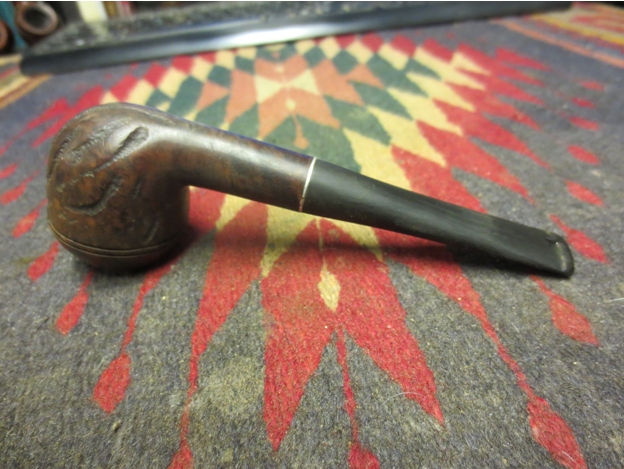
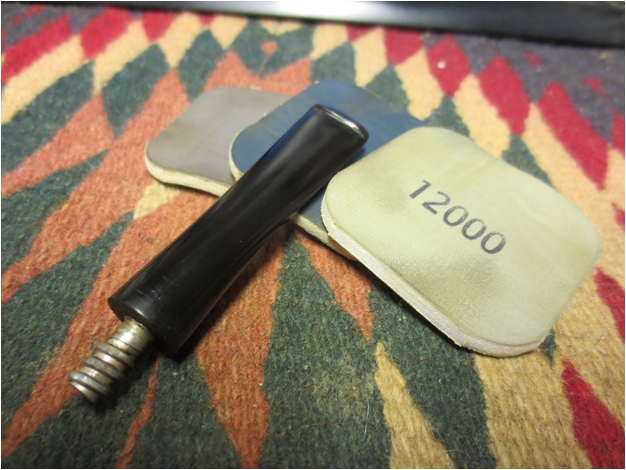
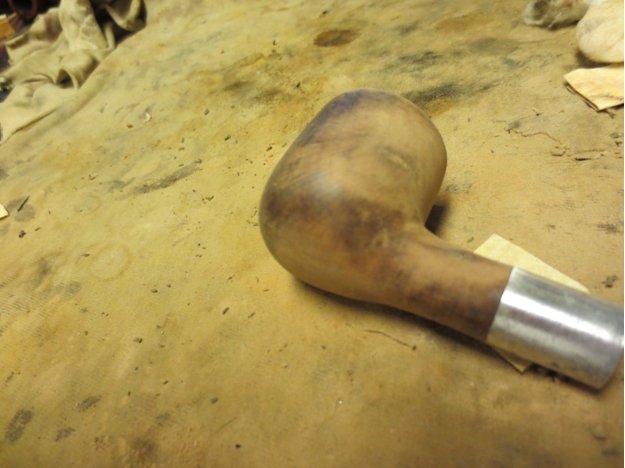
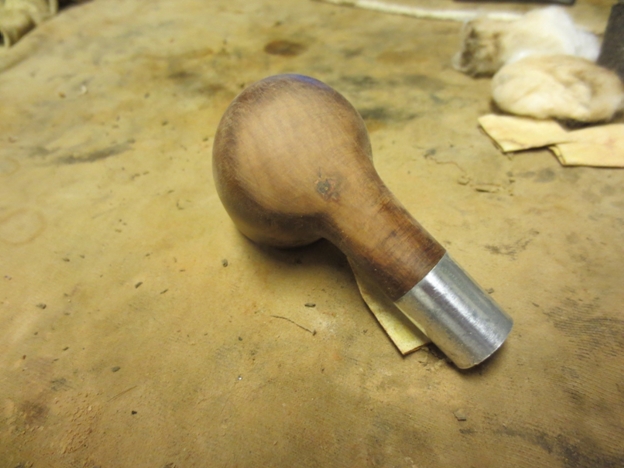
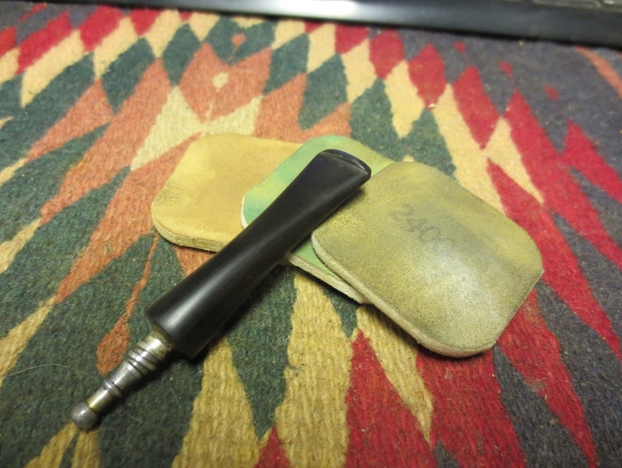
Red Tripoli followed by a good rub with a cotton rag and then White Diamond worked for the stem. The bowl I buffed with white Tripoli, White Diamond and carnauba.

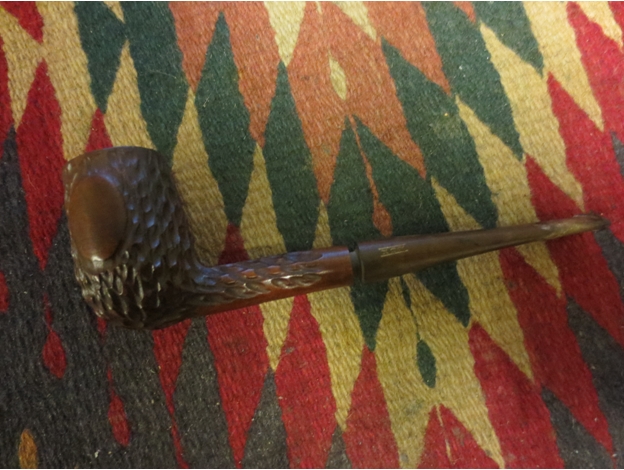
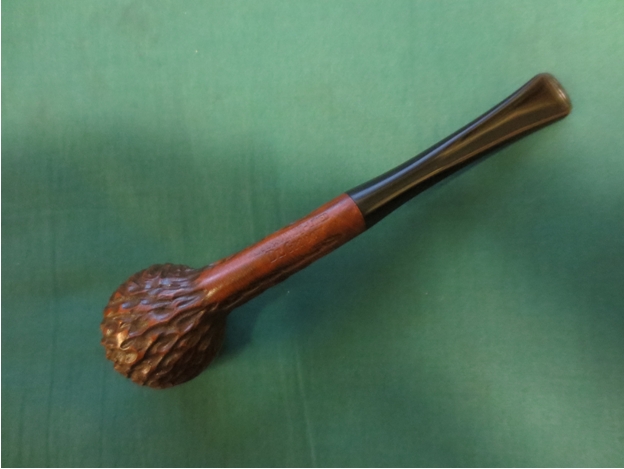
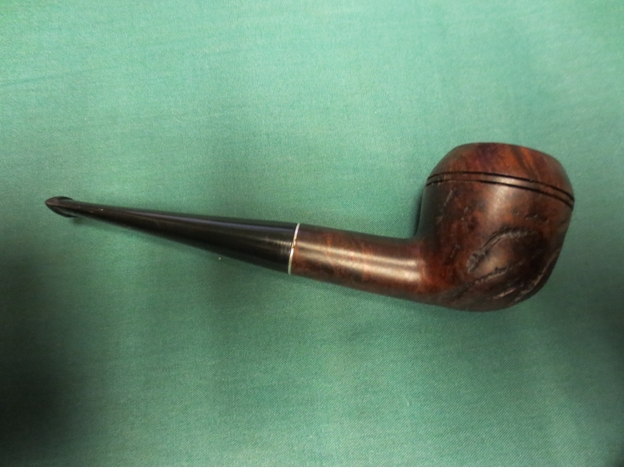
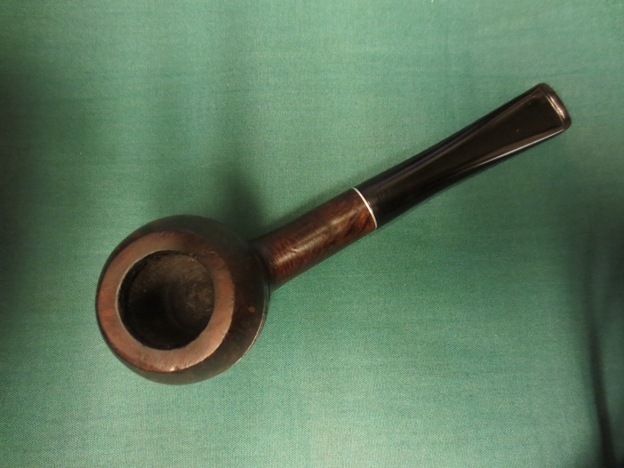
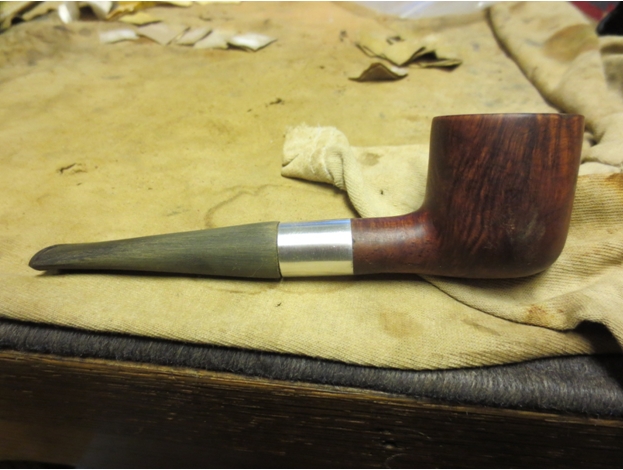
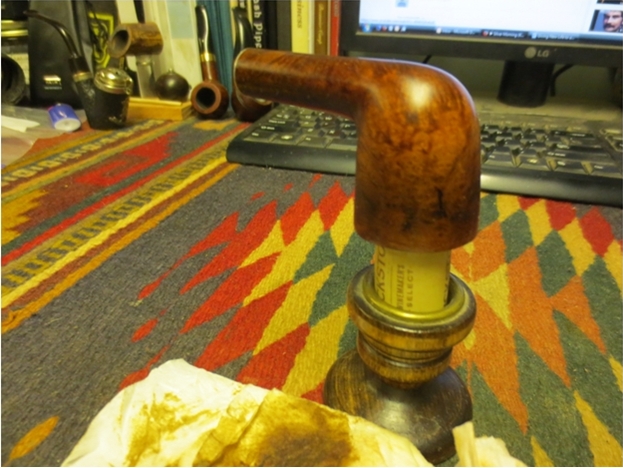
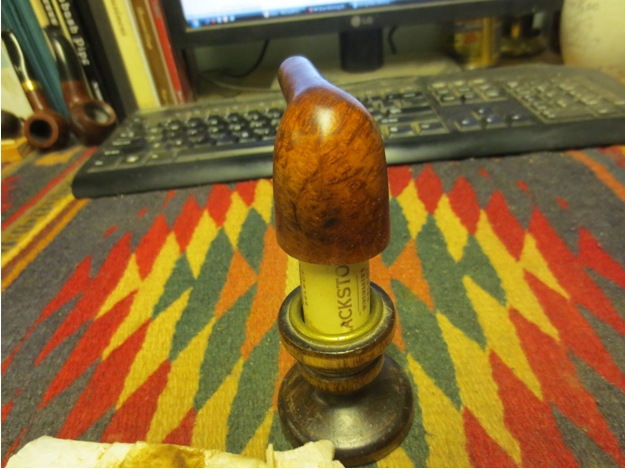
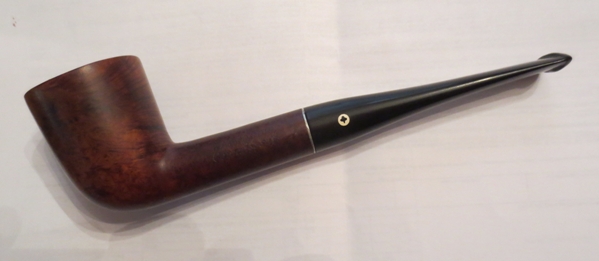
Photo 9
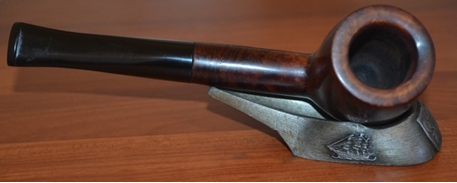
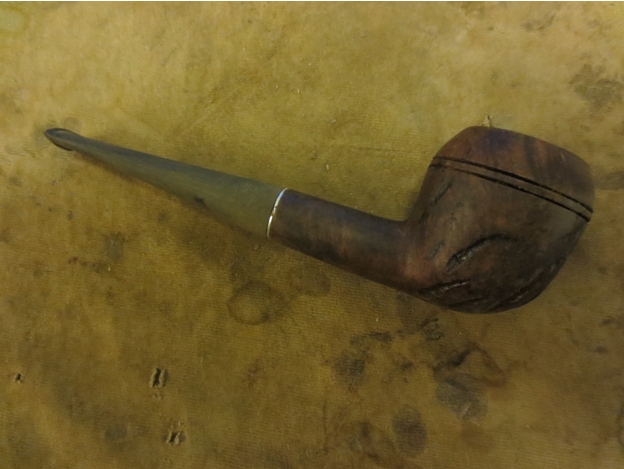
Photo 10
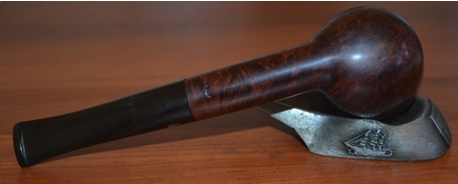
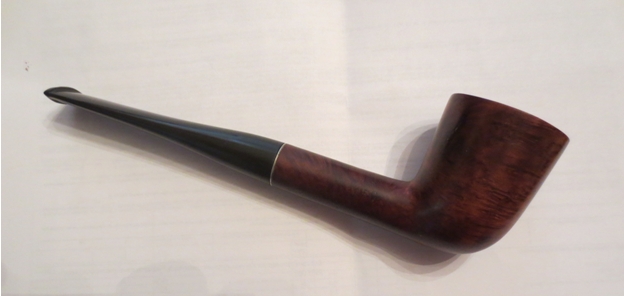
Photo 11
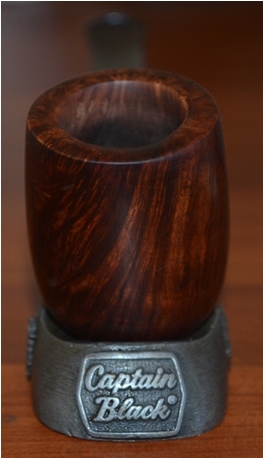
Photo 12

Photo 13
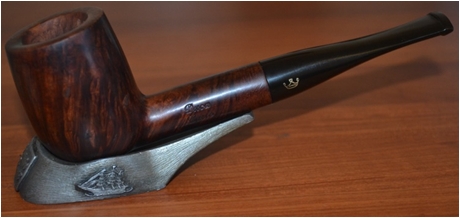
Photo 14
The 1940s and ’50s, and into the ’60s, were the heyday of pipesmoking. Most young men at least experimented with them, and I remember my early boyhood when my father and nearly every friend of his, including many doctors, were devotees of the relaxing enjoyment of the magical, mostly briar personal and social tool that was as ubiquitous as cocktails at lunch and after work. My father, for one, believed in caring for all of his tools and keeping them in their proper places, whether it was in the garage, his home office space or the large walk-in closets he shared with my mother. The closets, I remember, were where he stored his boxes of pipes, high on the upper shelves like a gun, where I could not get to them.
Ironically, I played a key part in his abandoning the enjoyment of his pipes. Swept up by the foolishness of my sisters and mother, who all had heads full of the initial hysteria created by the Surgeon General’s warnings on all cigarette packages and in ads, and thereby harped on him to quit smoking “so you won’t get cancer,” and being only a lad of seven or younger, I gave in and joined them. In the end, my father succumbed to the incessant nagging from all of us and quit for good.
Now 81 and not likely to take up the old pleasure again, he has not talked to me for about 14 years, after a 15-year lapse, when I tracked down his phone number from his best friend, who was a medical doctor he met in college and lived on a different island in Hawaii. The purpose of the call was to follow up on a telegram I sent my father and his new wife, the wedding of whom I learned literally at the last minute the day of the ceremony. I paid for hand-delivery, which I learned in the conversation we had that was short and cordial they received and appreciated. Not that my role in his giving up one of his main pleasures in life was in any way part of the official reason for the gulf that came to divide us (which excuse I still do not understand), I’m sure my father, being the kind of man he is, never forgot.
At any rate, as my father would say to change a subject, the Surgeon General’s warning would seem to coincide with the decline of smoking in general and the pipe in particular. I could only guess how many times I’ve had my pipe with me in public and been stopped by strangers who almost invariably comment that my pipe and the pleasant aroma of its tobacco remind them of their father or grandfather. Fortunately, I’m long past the initial sting. After all, most of the time I could be either.
I will end with one story of Larry’s from his two years of service in Europe during World War II. This needs a little set up, naturally. Assigned at first to the Manhattan Project (which developed the atom bomb, for those who don’t know), Larry was without explanation transferred to the European Theater – a marvelous euphemism up with which only the military could come. As it turned out, the latent engineering talent with which Larry appears to have been born led the powers that were in the old War Department to conclude that Larry’s understanding of the Bomb and ability to speak pidgin German made him the perfect candidate to question or interrogate German scientists, depending on whether they fled on their own or were captured, as to their knowledge of the Fatherland’s own plans for a similar weapon of mass destruction.
At any rate, Larry’s day job, so to speak, in the Corps of Engineers mostly involved setting up Bailey Bridges, which could be assembled quickly with pre-made parts and engineer-soldiers using only wrenches. Conceived by a British civil servant named Donald Bailey while being driven home after watching another conventional bridge being blown up by enemy bombers, the Bailey Bridge proved to be a highly effective weapon to allow the rapid construction of means to transport troops and heavy vehicles including tanks across rivers anywhere.(http://www.youtube.com/watch?v=5PcoozadA6A.)
Larry recalls his part helping to assemble these bridges, which not only are easy and fast to put together but last as long as most of their regular counterparts. In fact, many of the Baileys constructed in Europe during the war are still there. During a trip to France with his wife many years later, Larry decided to track down at least one of the bridges he helped to make. After hours of driving around the French countryside, he found what he was looking for but was horrified by what the locals had done to it.
“They painted it an awful shade of pink!” he exclaimed. “No Bailey should ever be painted pink! They should be left the way they were built.”
Indeed.