by Steve Laug
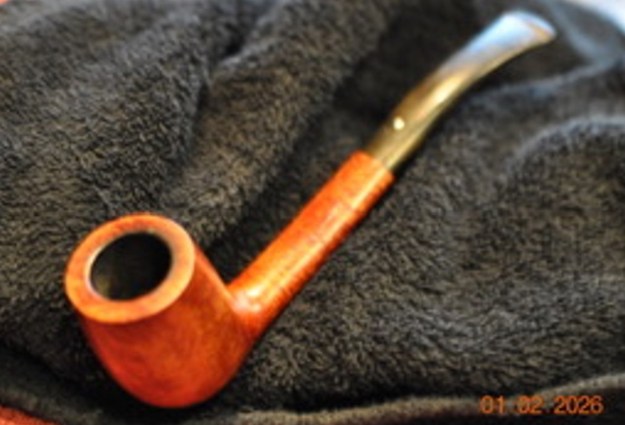
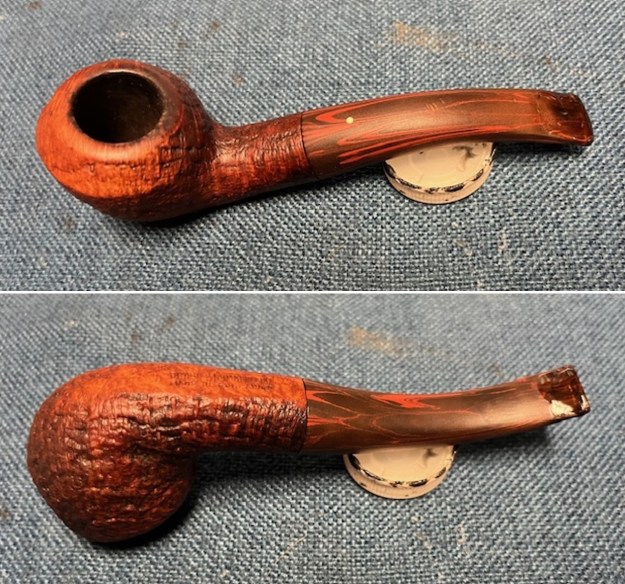
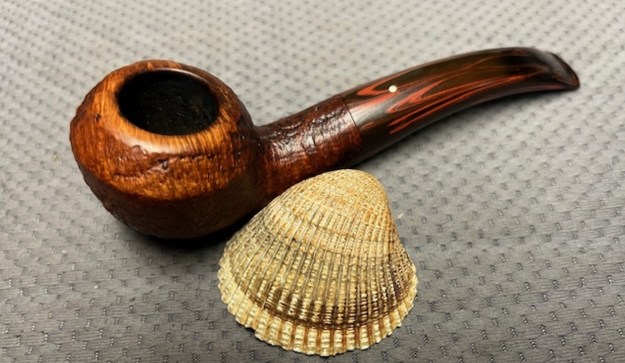
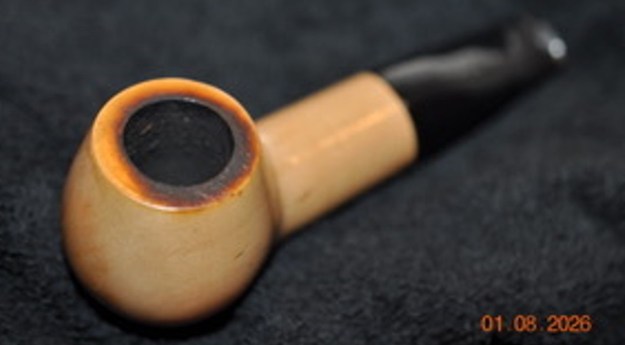
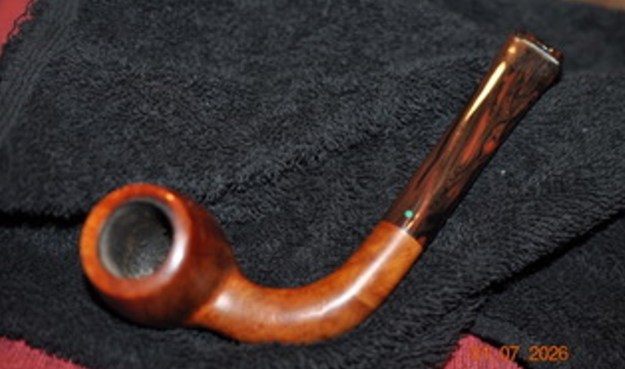
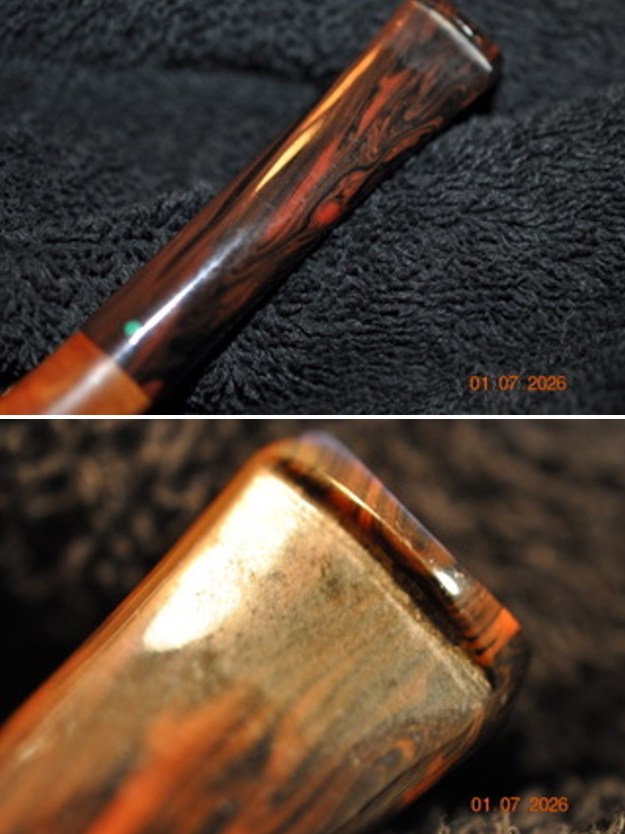
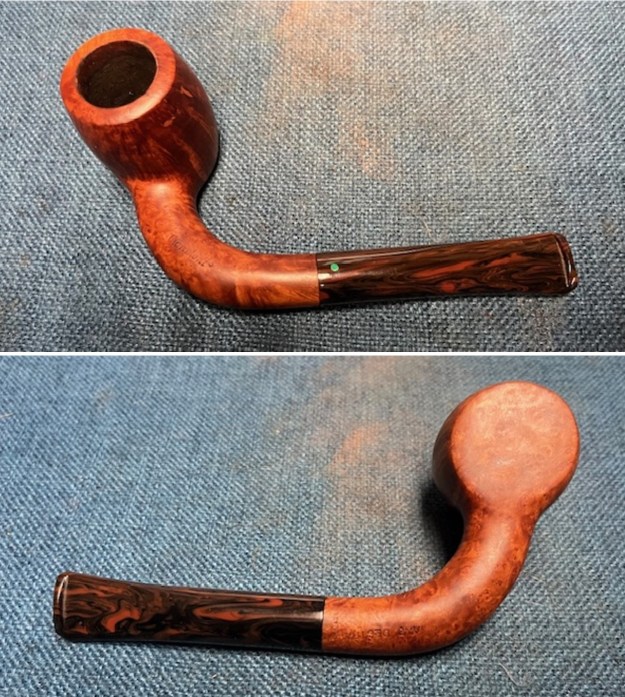
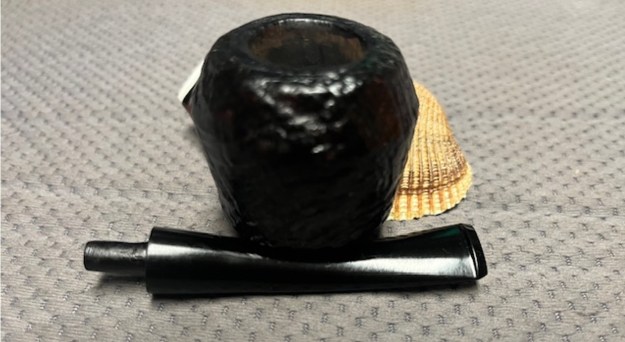
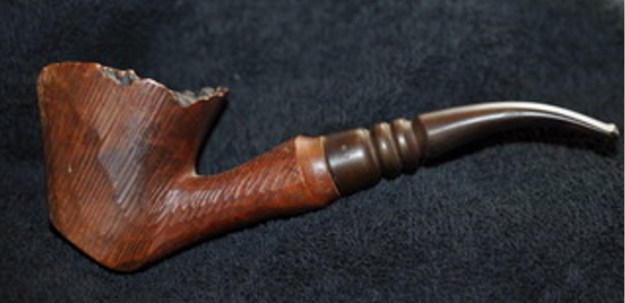
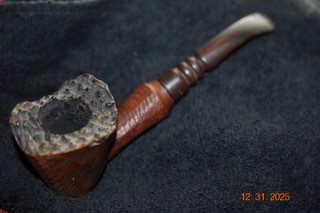
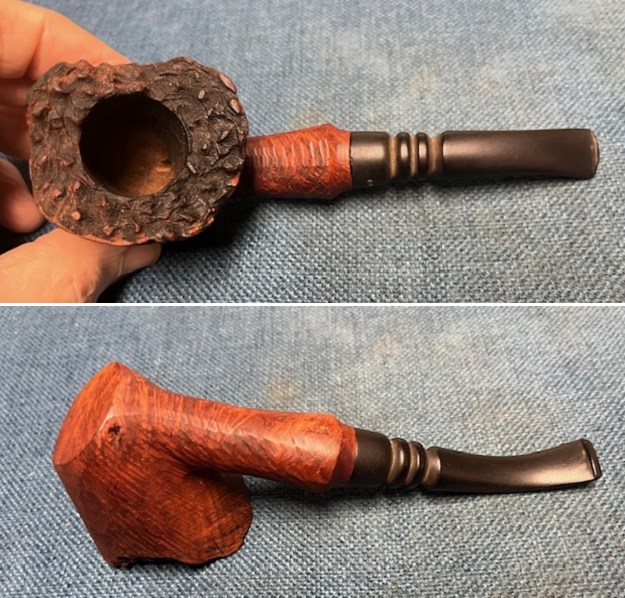
The next pipe that I am working on came from a seller in Downey, California, USA on 08/12/2025. It was very dirty and rich combination of red and brown stains when we received it. The smooth finish around the bowl was dirty and had hand oils ground into the finish. The bowl had a moderate cake in the bowl and a coat of lava flowing onto the inner edge and the plateau rim top. The flared shank end is smooth and has a rich birdseye grain on its surface. The pipe is stamped on the underside of the shank and read Sven Lar [over] Hand Made [over] C. Jeff took photos of the pipe so I could have a sense of what it looked like before he started his work on it.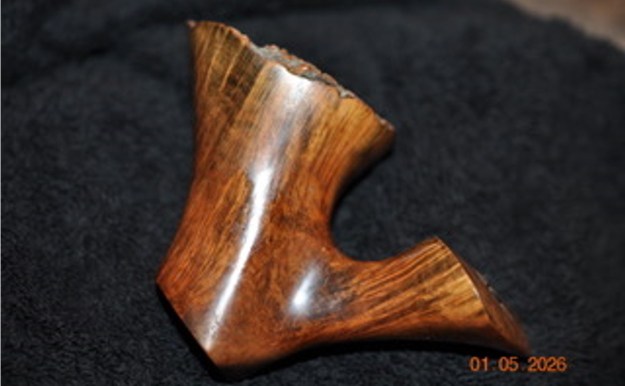
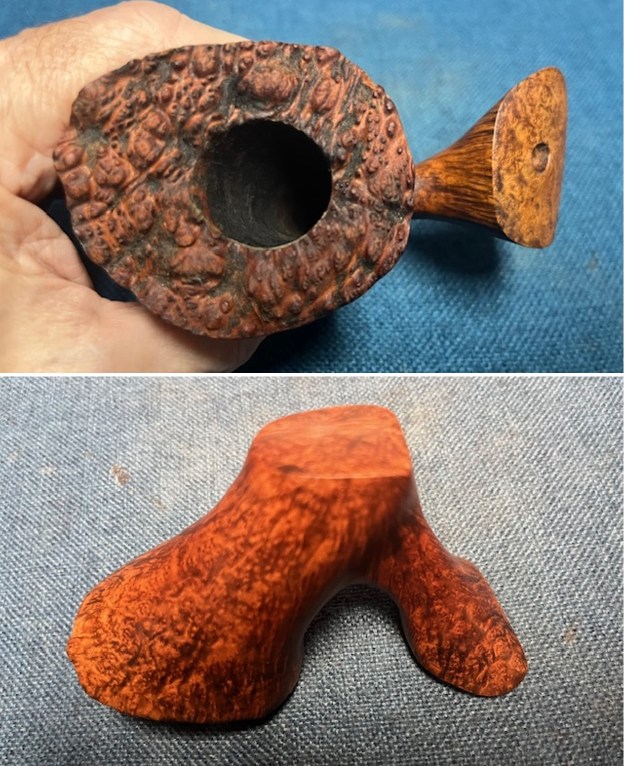
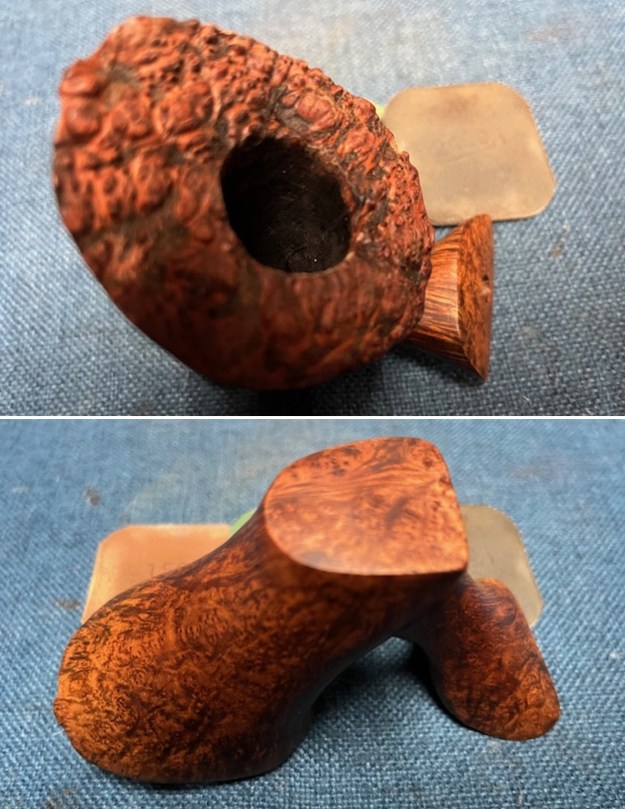
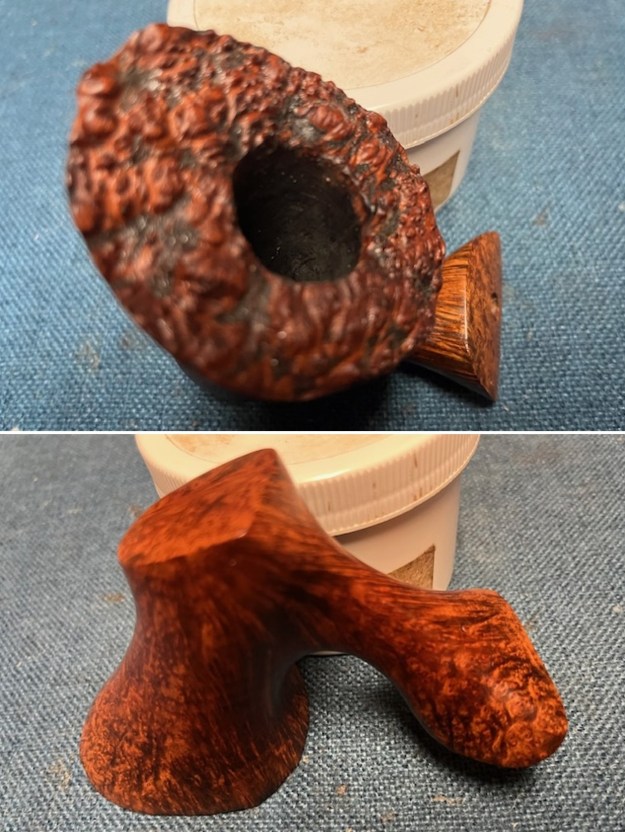
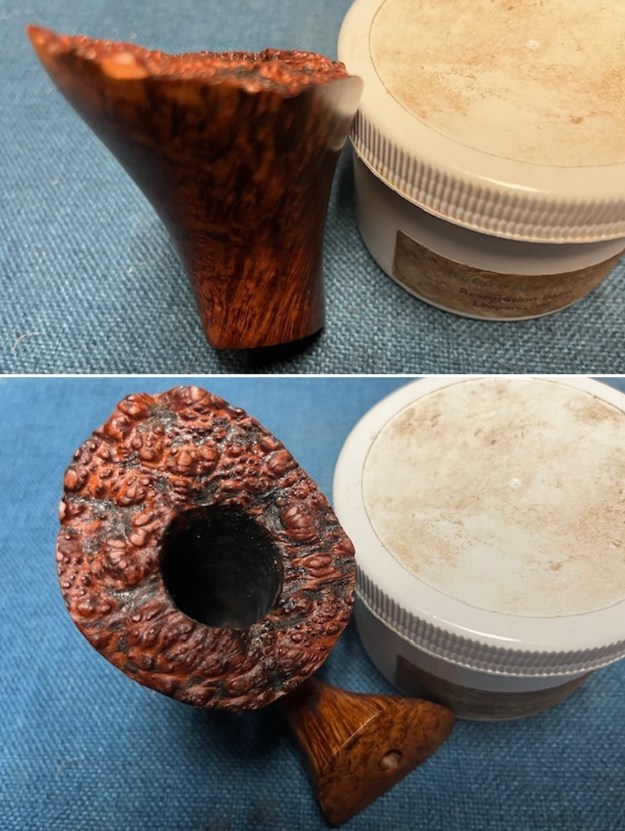
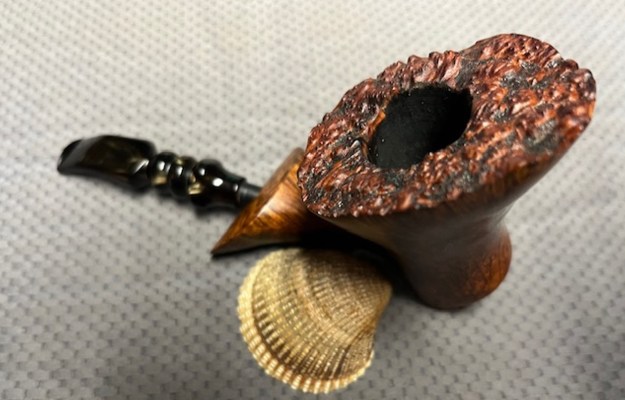
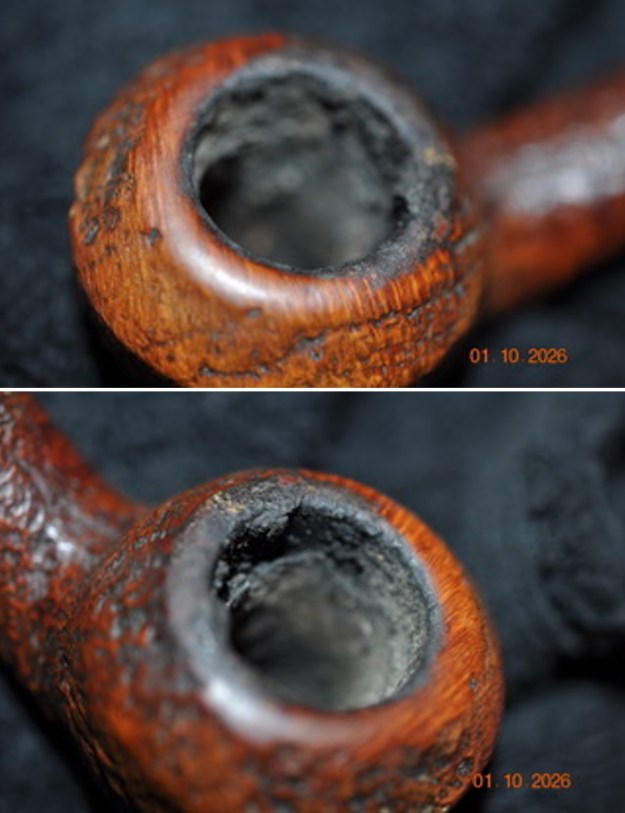
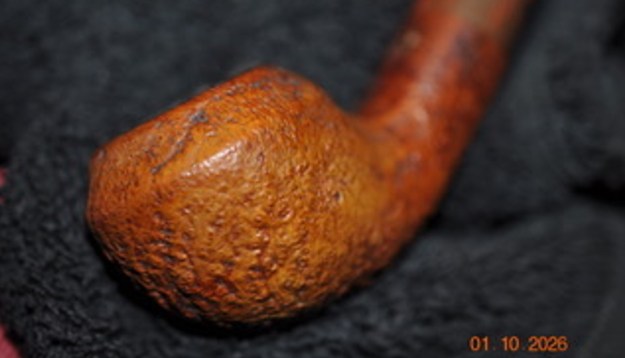
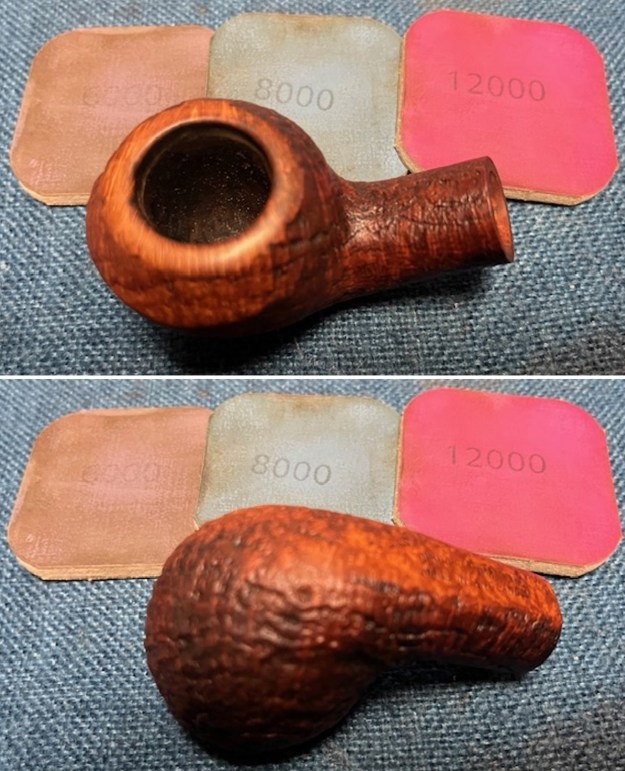
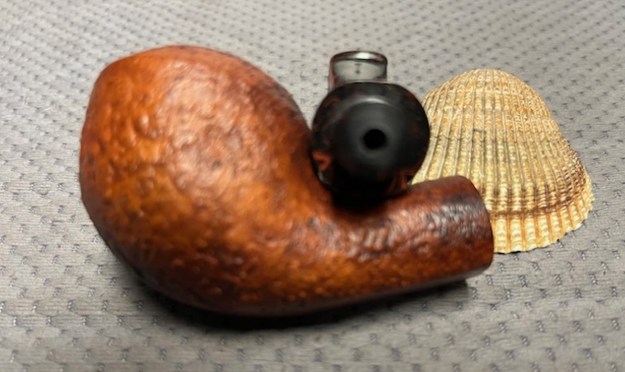
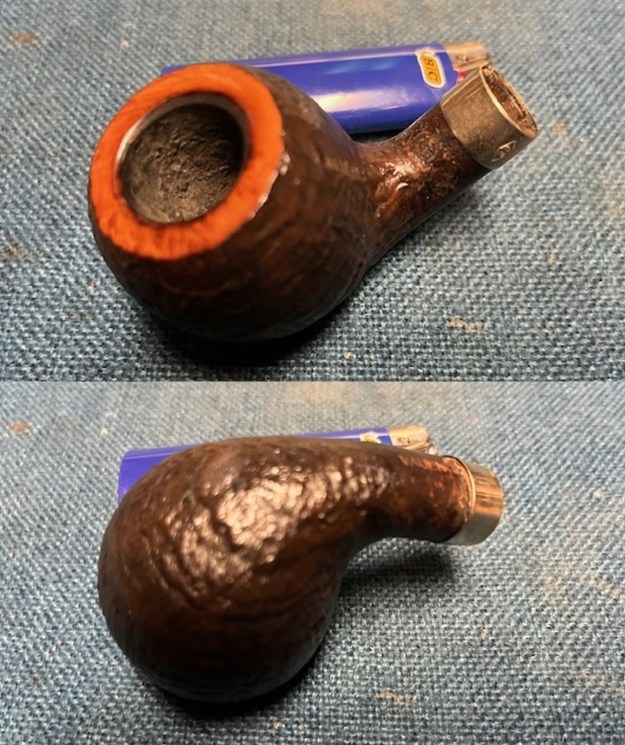
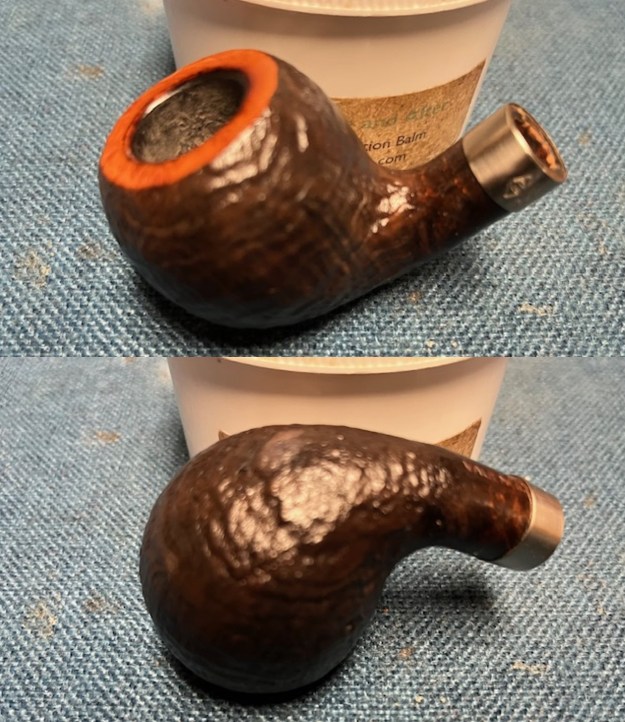
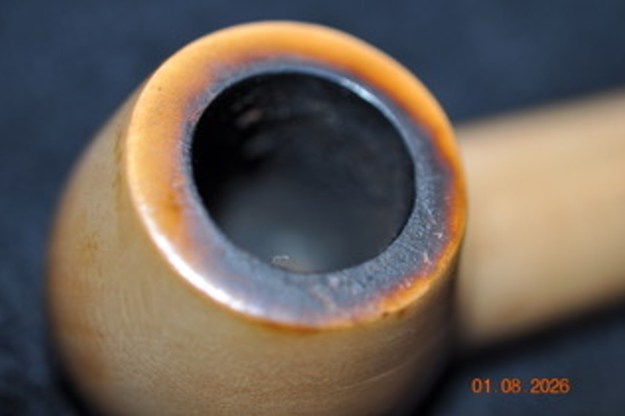
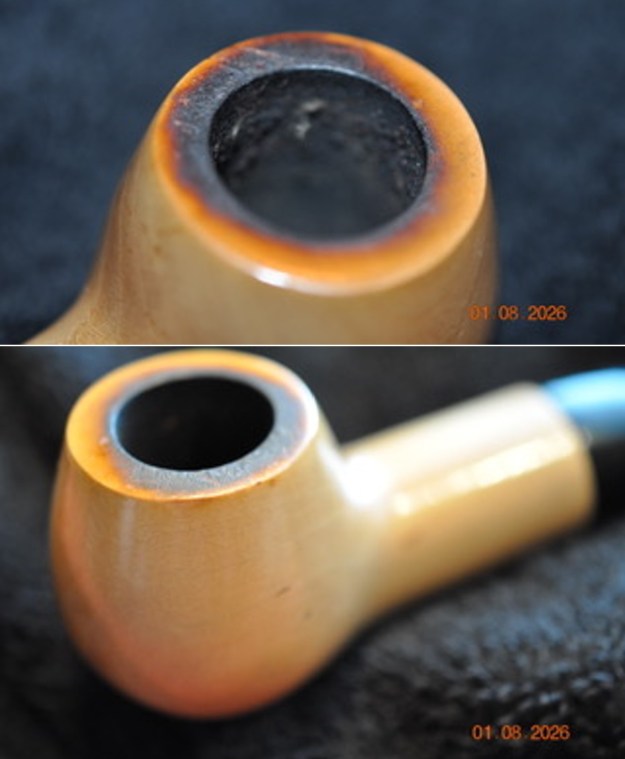
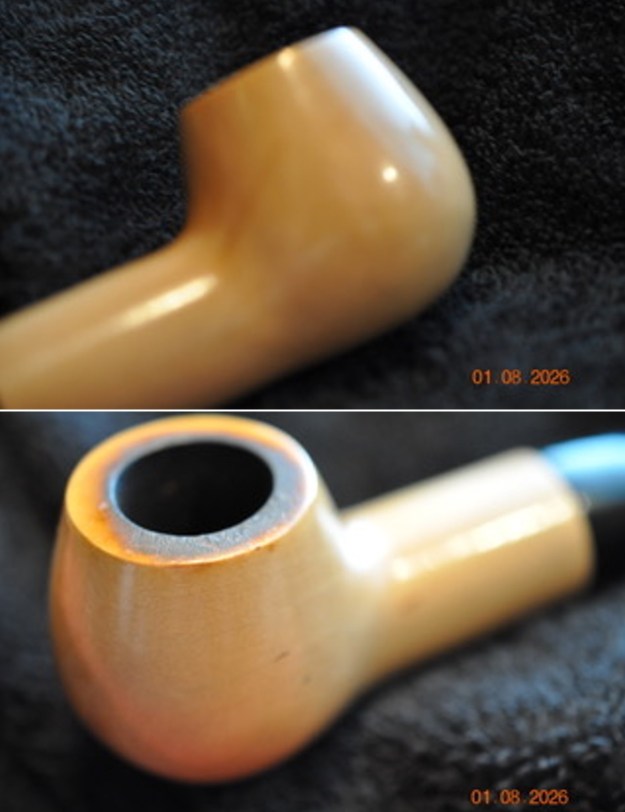
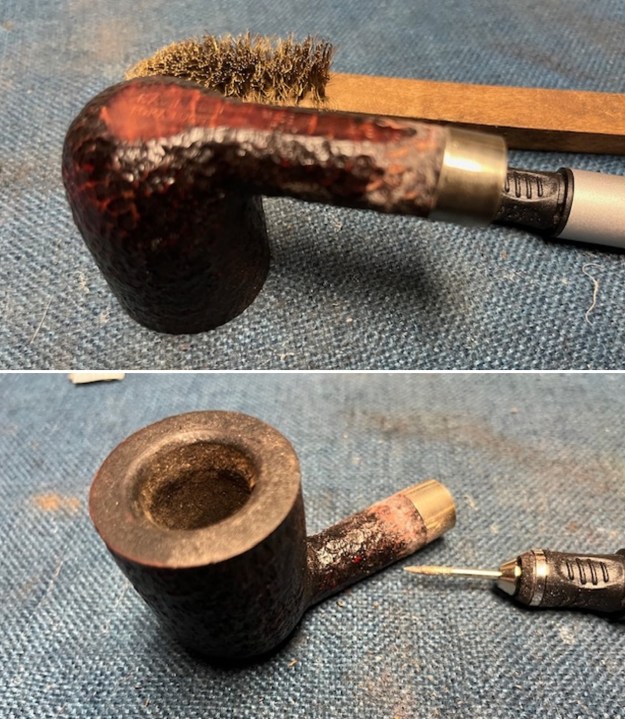
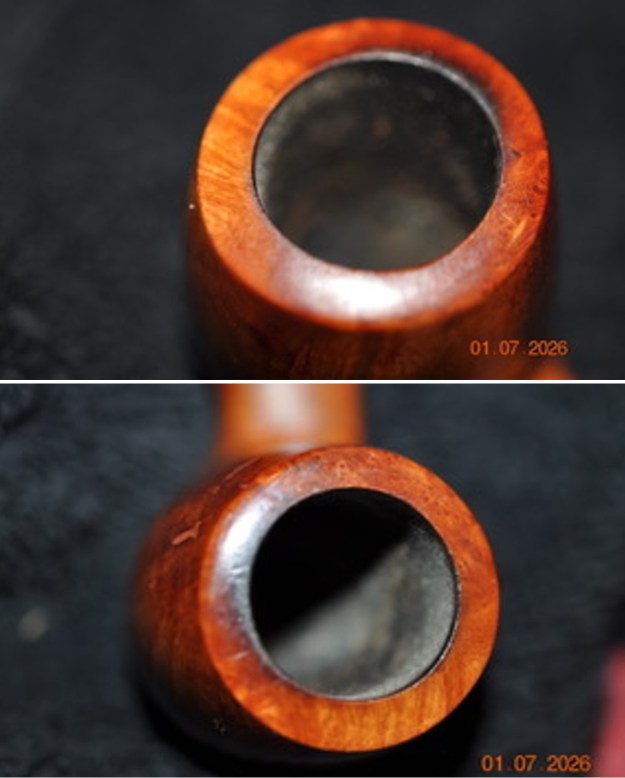
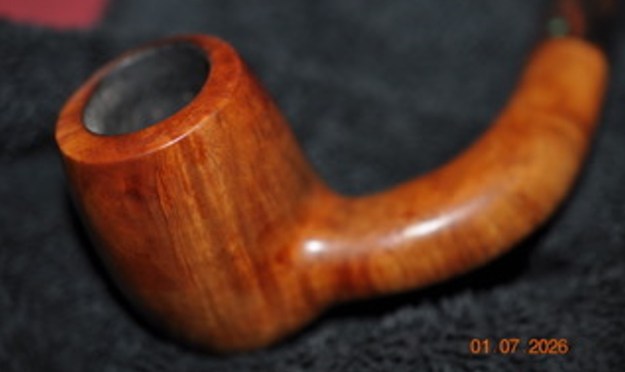
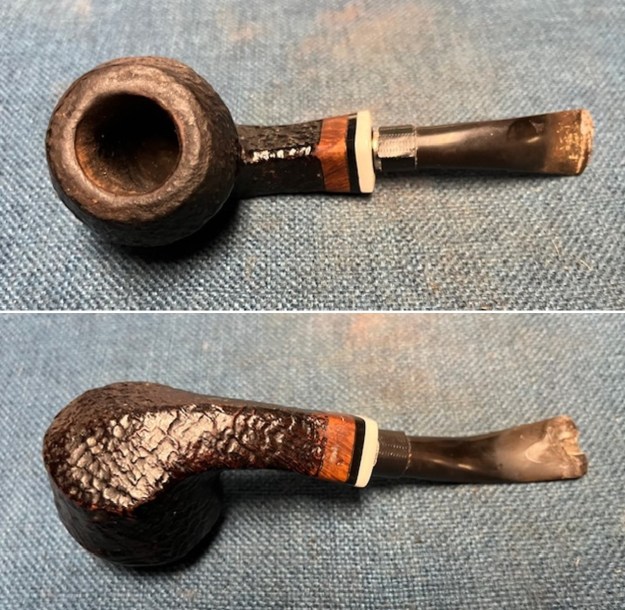
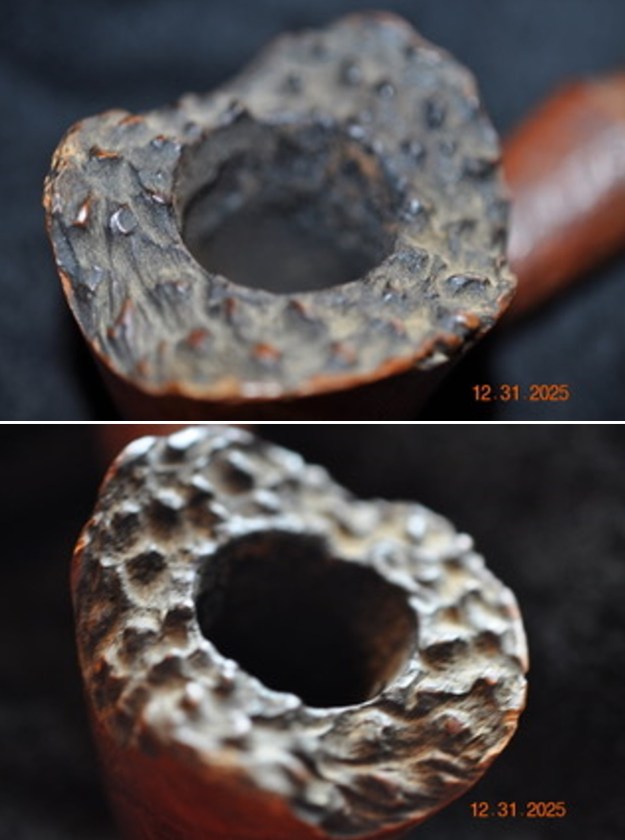
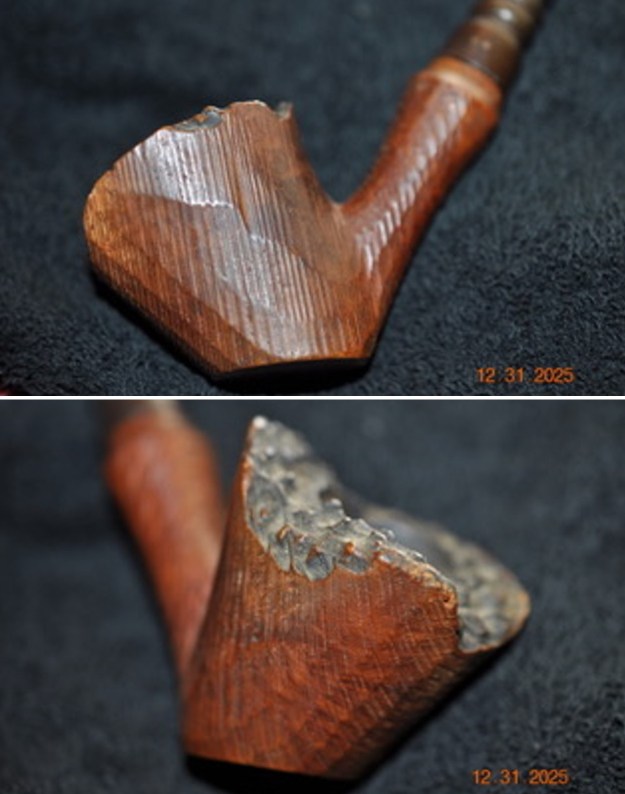
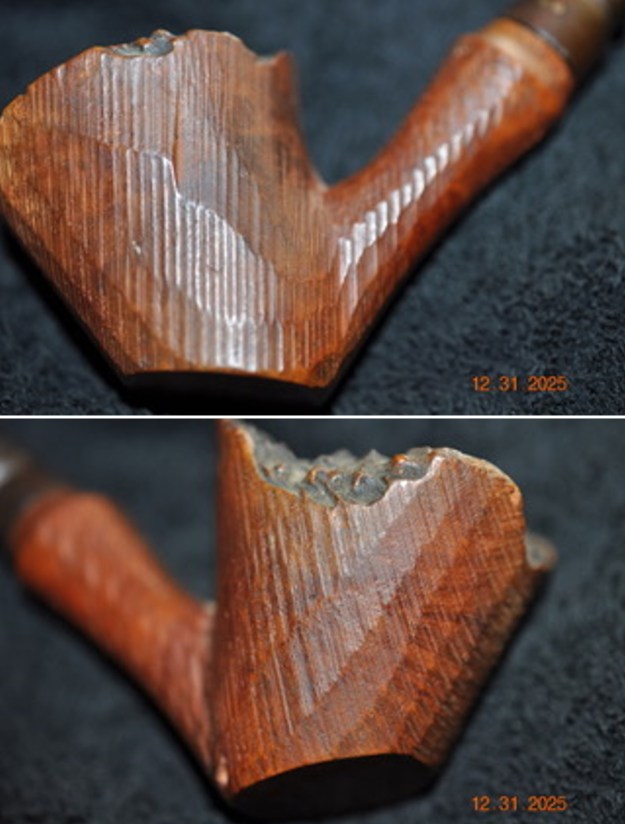
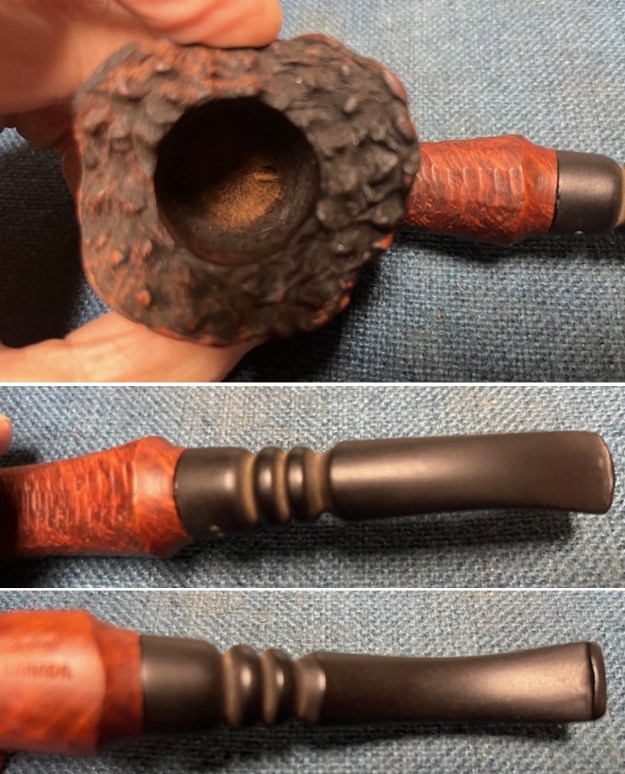
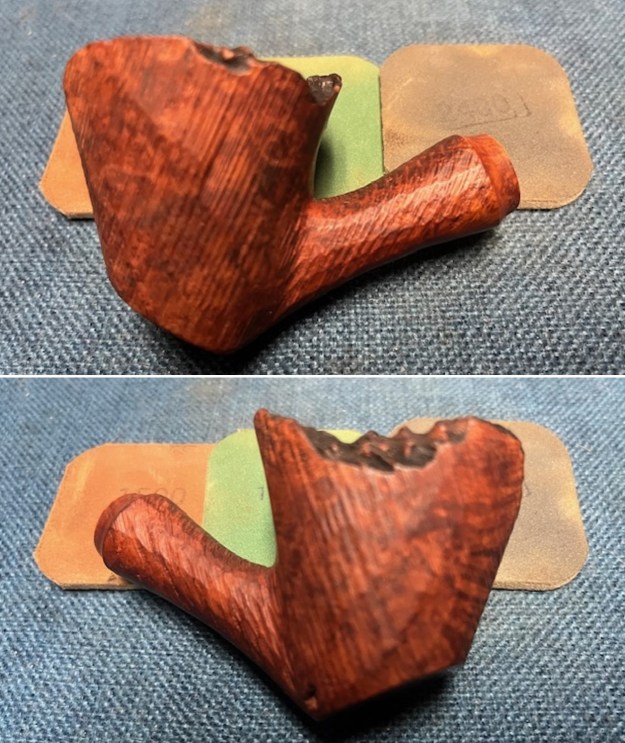
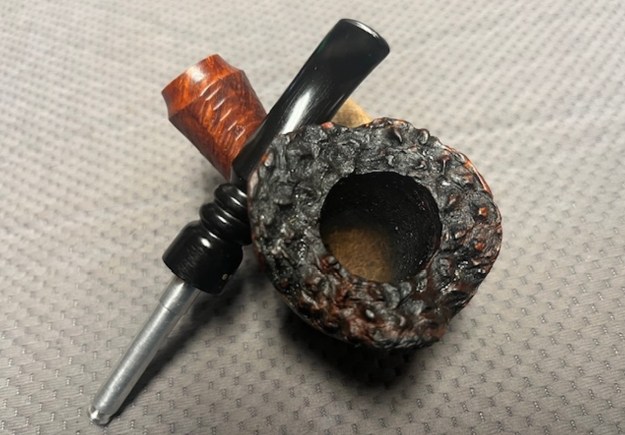
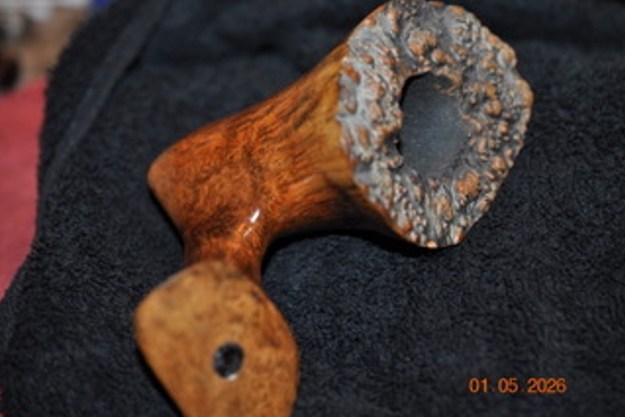 Jeff took photos of the bowl and rim top to show the cake in the bowl. There was a lava build up on the plateau top of the rim and the inner edge of the bowl. It is a rugged rustication that is very dirty but still has a stunning beauty.
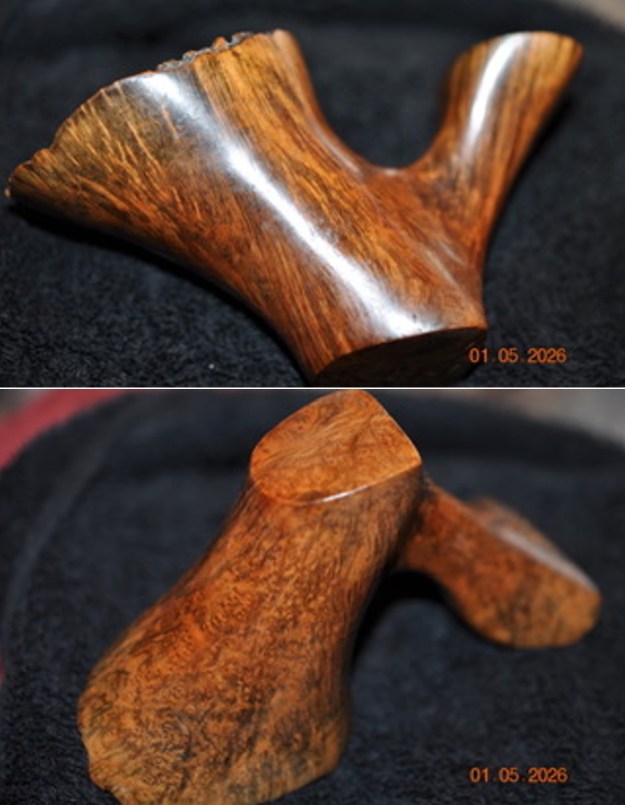
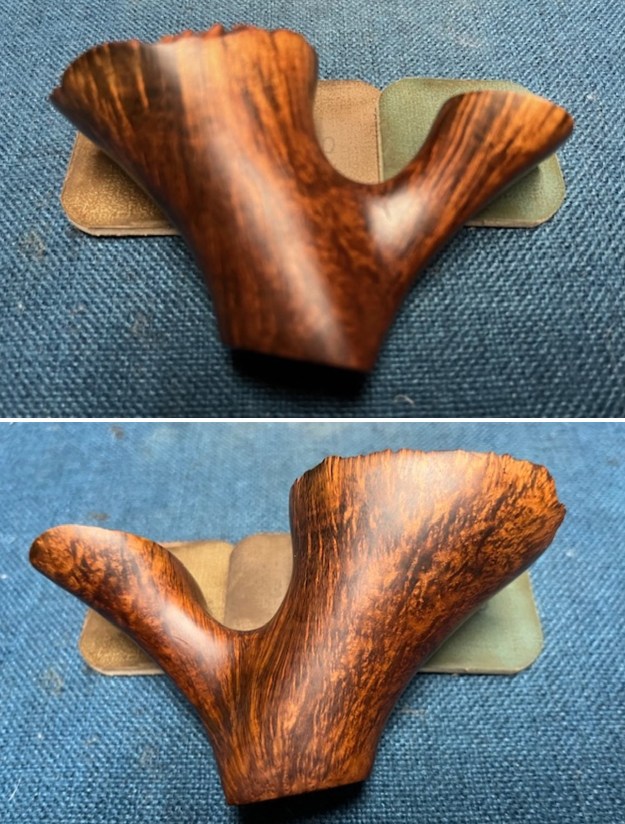
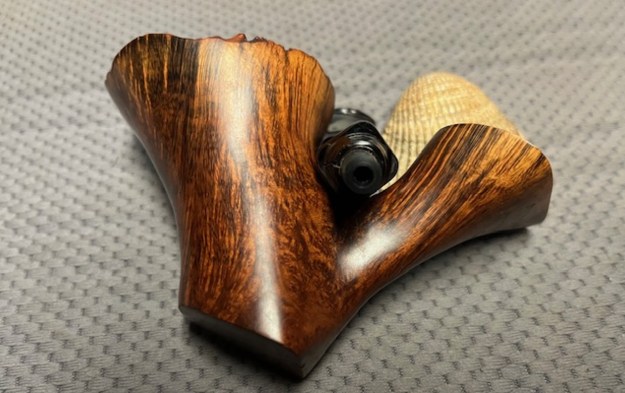
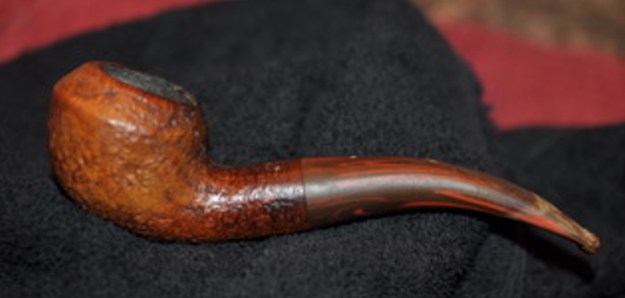
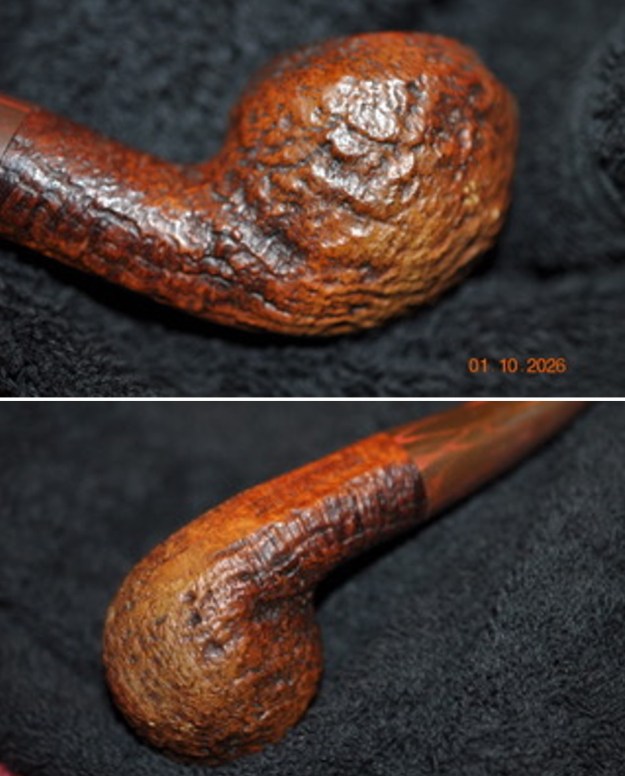
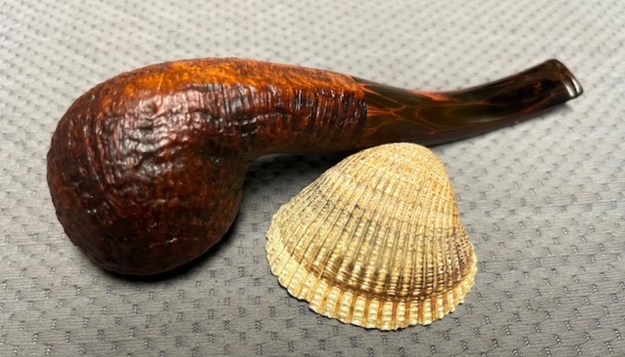
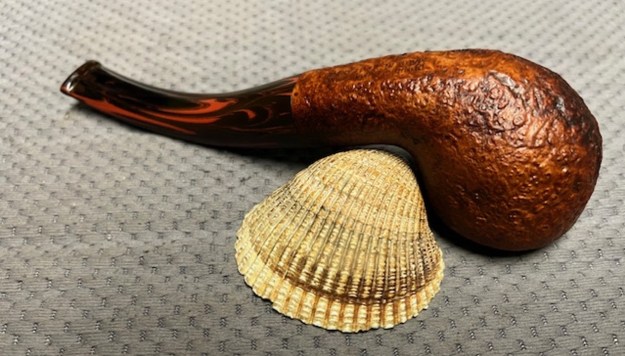
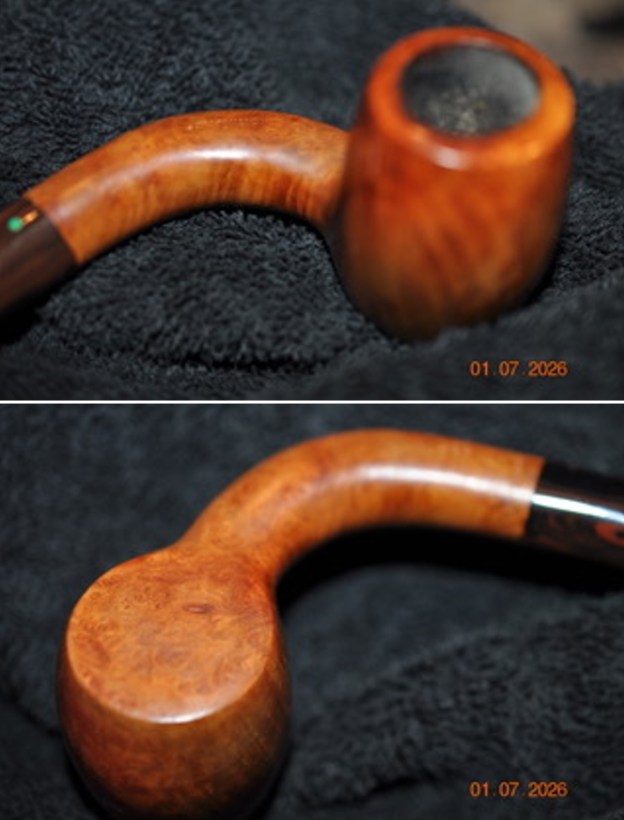
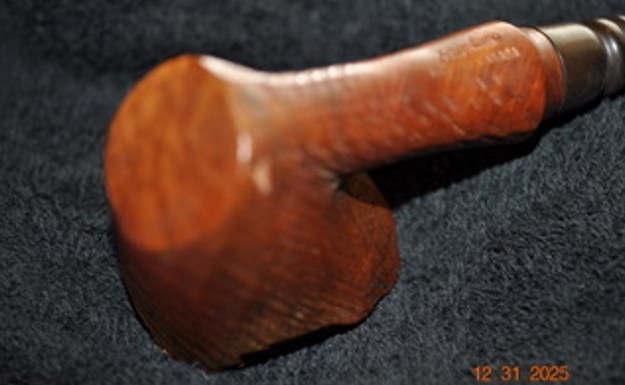
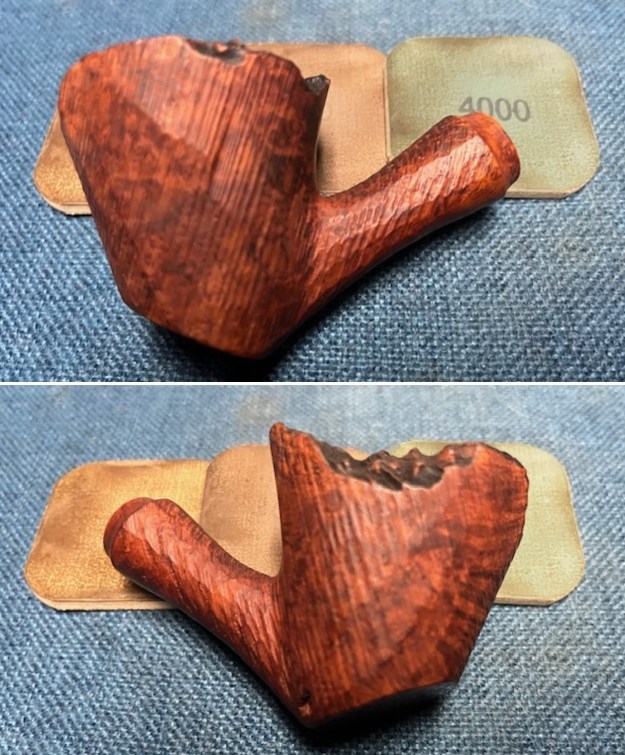
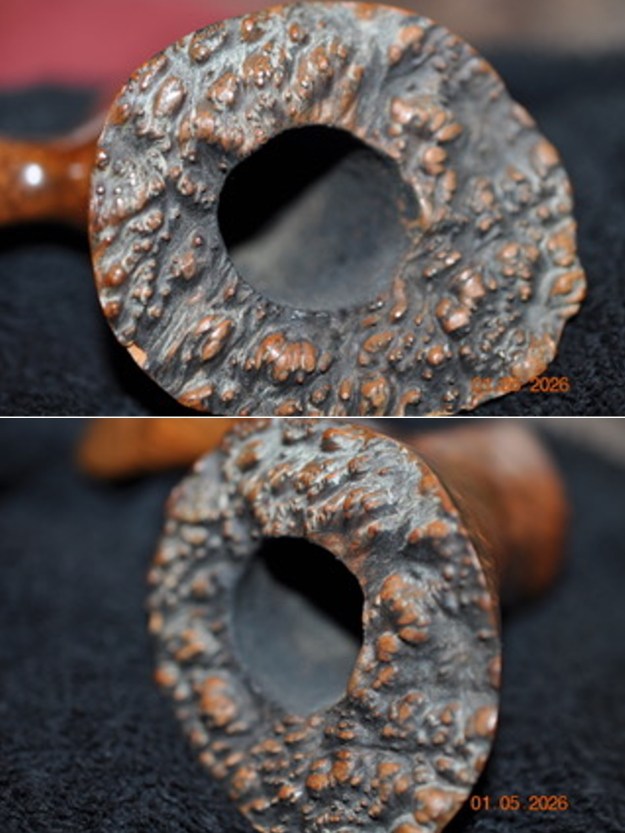 Jeff took photos of the sides and heel of the bowl to show the condition of the finish. You can see the grime in the finish around the sides of the bowl and shank. Even under the dirt and debris of the years the grain looked very good.
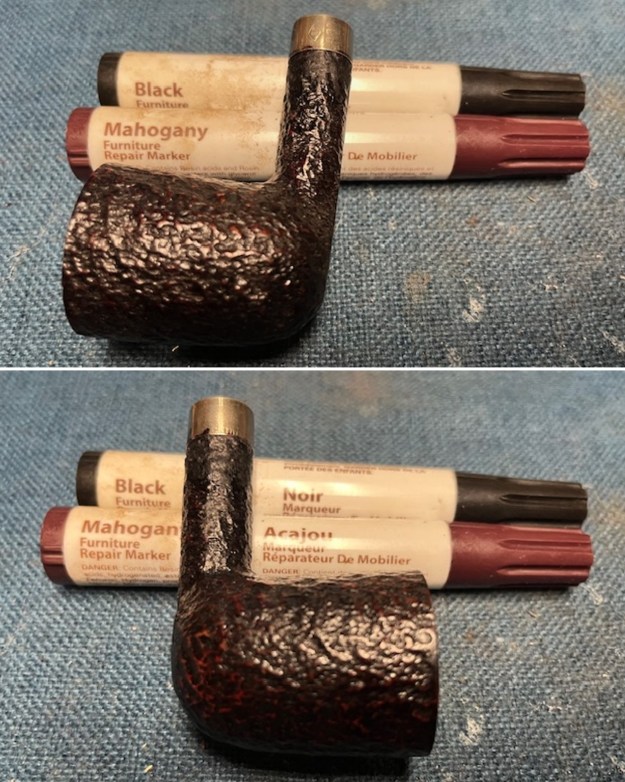
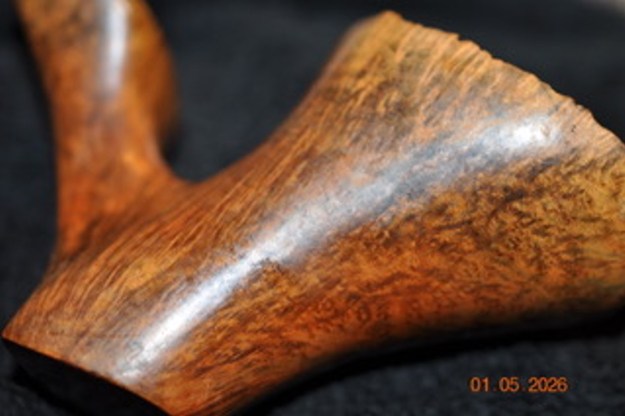
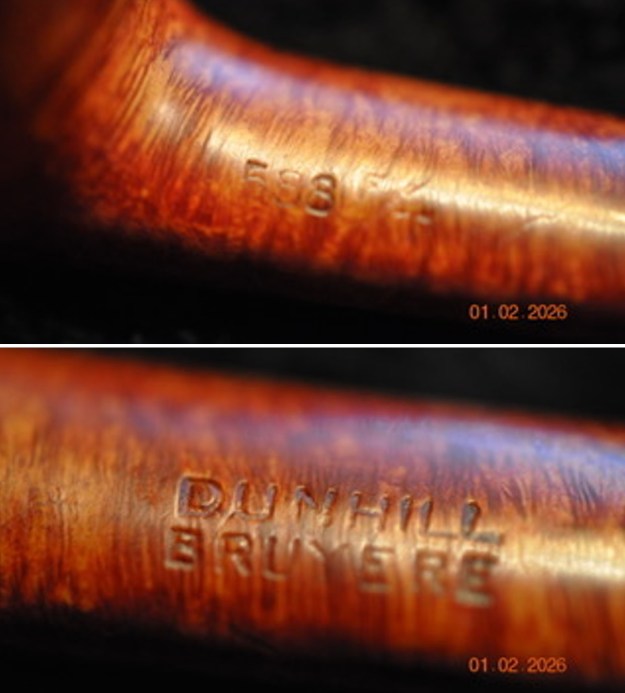
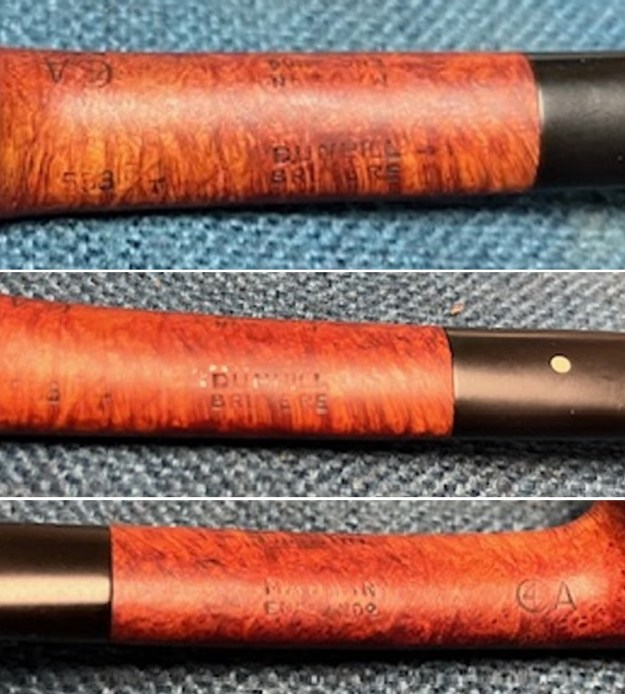
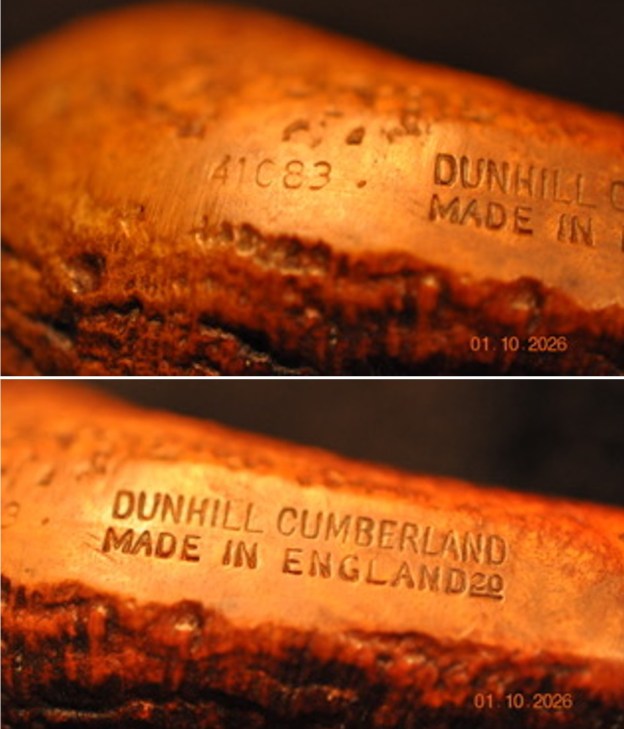
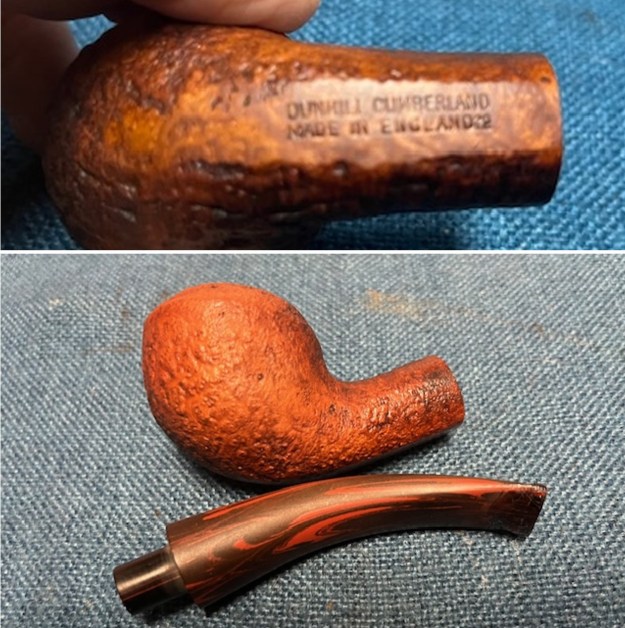
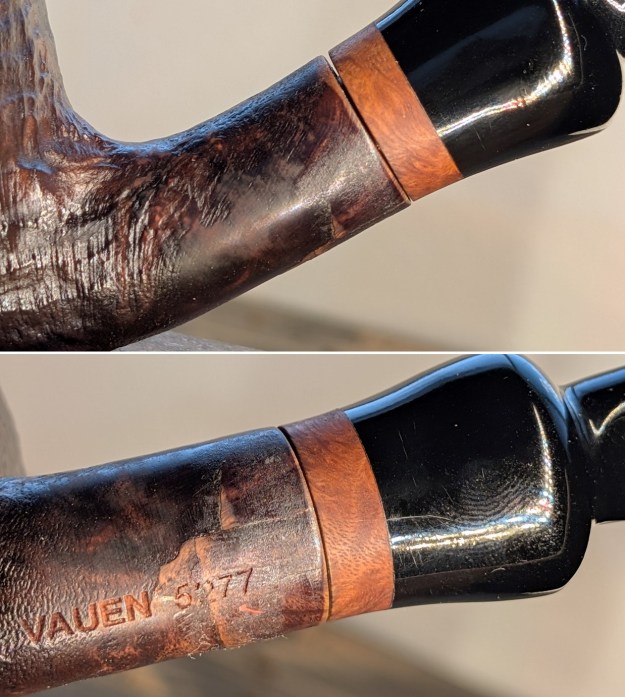
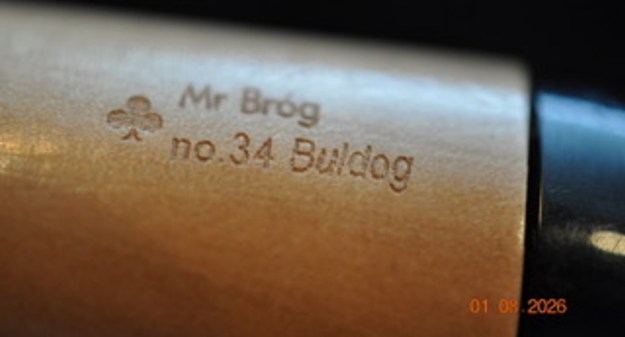
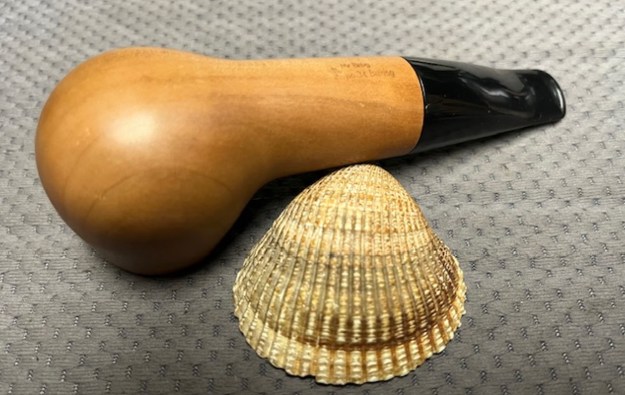
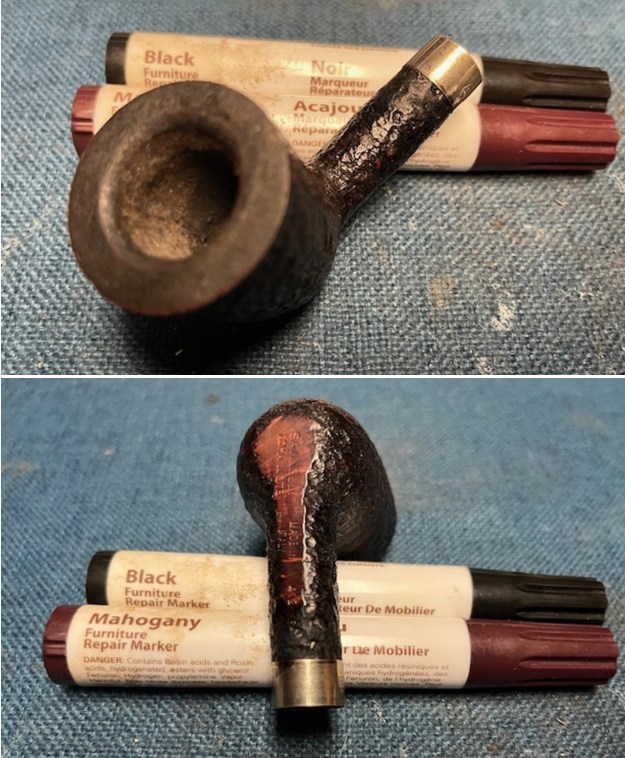
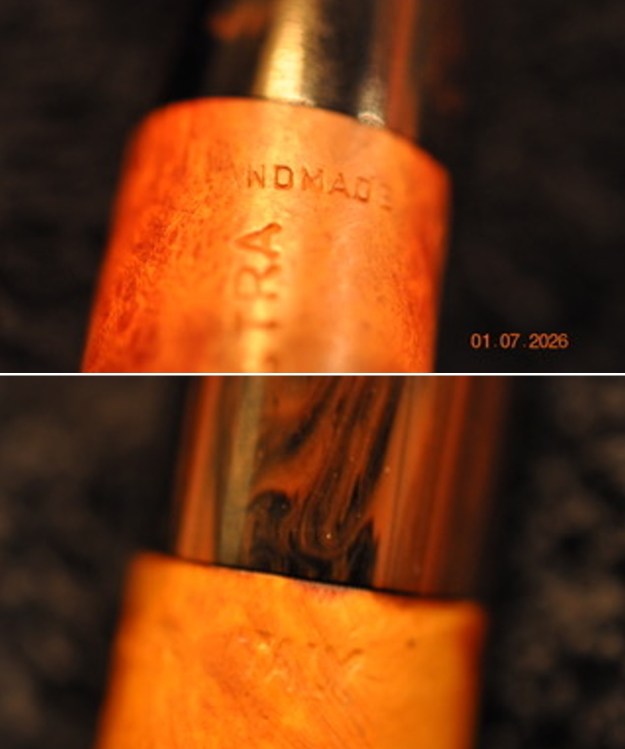
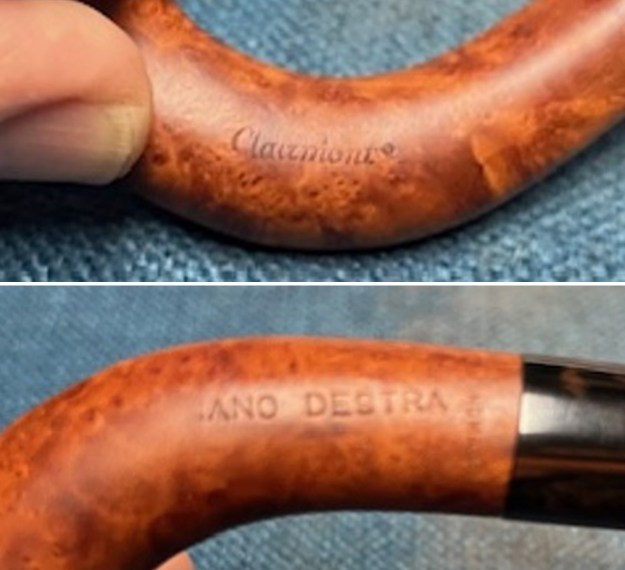
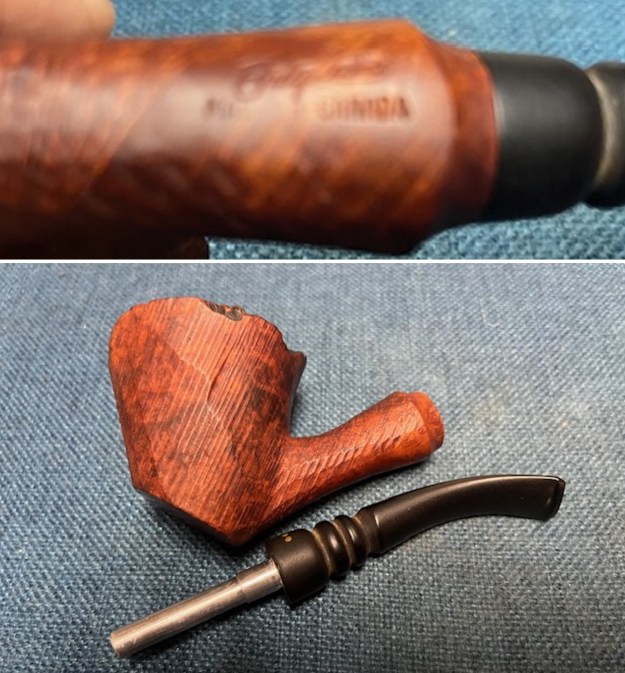
 Jeff took photos of the stamping on the underside of the shank. The stamping was clear and readable as you can see from the photos. It read as noted above.
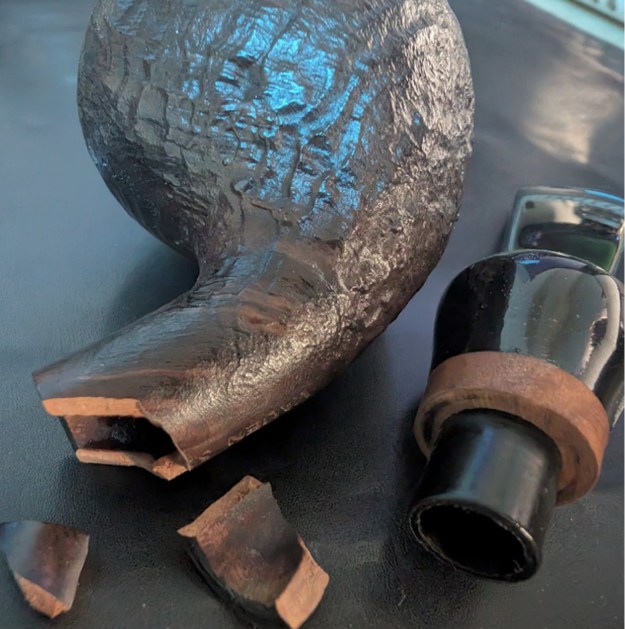
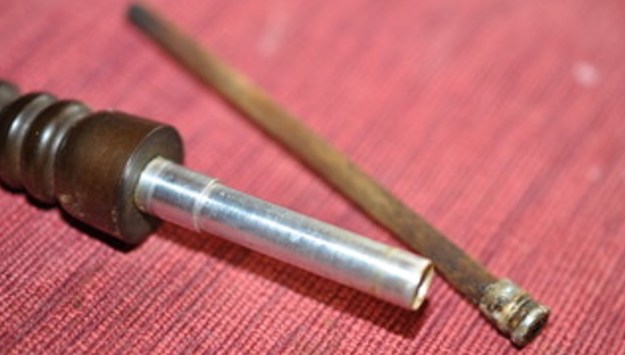
 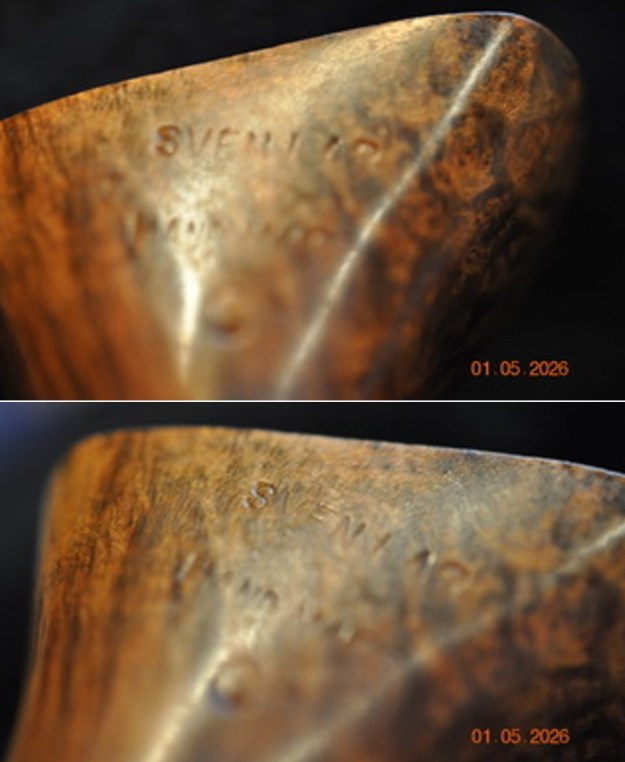 The pipe did not have a stem and the tenon was snapped off in the shank. It was stick in place and could not be easily removed at this point.
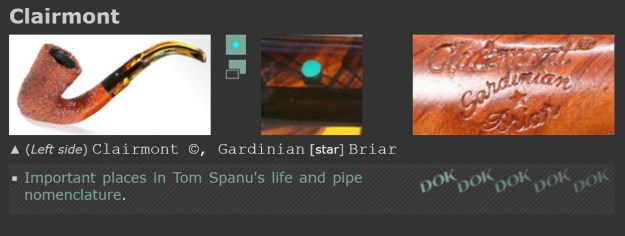
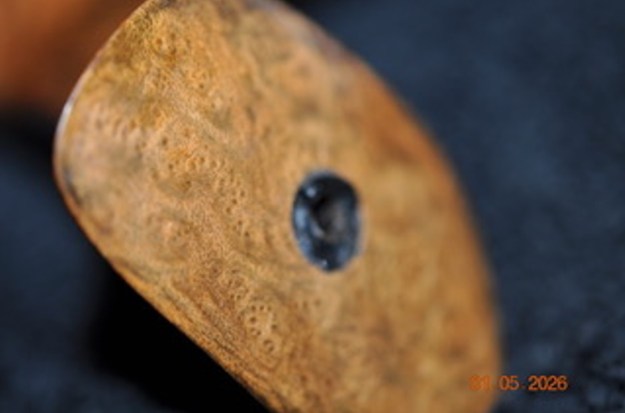 I always begin my part of the restoration work by doing some background work on the brand. I turned to Pipephil’s site (http://www.pipephil.eu/logos/en/logo-s14.html) to gather information on the Sven Lar brand. I did a screen capture of the pertinent section on the brand. I included the side bar information below the photo. “Sven Lar” is a brand owned by Michael Kabik who retired in the late 1980’s. These pipes were crafted after he stopped producing CHP-X pipes.
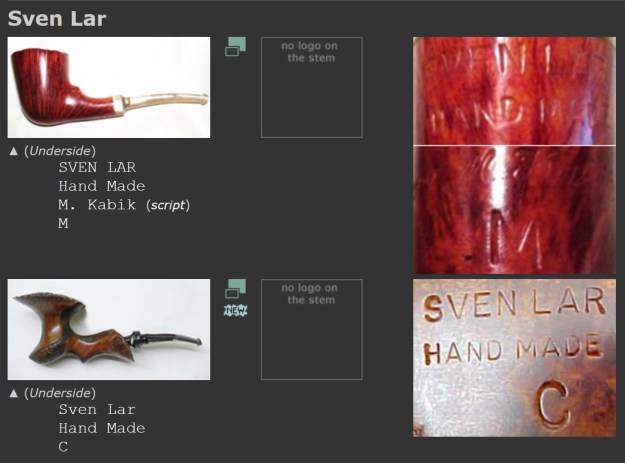 I followed a link there to CHP-X pipes on Pipephil (http://www.pipephil.eu/logos/en/logo-c4.html#chpx). I quote the pertinent information below. There was a link to the Sven Lar brand.
Artisan: Michael V. Kabik (retired in 1989-90) started making pipes in the early 1970s. The CHP-X brand is named after Chuck Holiday which Kabik replaces in 1971 when the former leaves the wokshop. The CHP-X studio closed in 1973. After this period Kabik created the Sven-Lar brand and produced it together with Glen Hedelson.
I turned then to Pipedia’s listing on Kabik (https://pipedia.org/wiki/Kabik) to see what I could learn. I quote from the article’s information taken from Pipes, Artisans and Trademarks, by José Manuel Lopes
Michael Victor Kabik or Michael J. Kabik, now retired artisan and pipe repairman, was born in Annapolis, Maryland in 1950. As a student he was fascinated by science, but finally turned to the arts. In the early 1970s he started working as an artisan and designer for Hollyday Pipes Ltd., and when the company closed he set up in his own right.
He created the Sven-Lar brand for Associated Imports — many of his reputed friends followed the Danish Design then, at the height of its popularity, which accounts for the commercial choice of a Nordic sound brand name. He has also used Wenhall, also produced by Karl Erik, and Tobak Ltd. as brand names.
Then, as he says, a beetle ‘burst’ into his workshop and changed his life. He fell in love the study of insects, and decided to dedicate himself to environmental protection. Today he runs the firm Insect Empire, which produces artistic works based on such creatures…
We decided on the name Sven-Lar. Why ? Well, when I bought out CHP-X, I also got a small drawer full of metal stamps that were created for private-label work. The Sven-Lar name was conceived but never realized. Aside from having the stamp already made, there were other reasons we chose Sven-Lar. First, we were making a line of pipes in the Danish freehand tradition and also, sadly, we knew the difficulty American pipe makers had breaking the foreign market mystique barrier. The latter certainly played a big part in the demise of CHP-X.
I now knew that I was working on a freehand carved by Michael Kabikhat came out after CHP-X closed in 1973. The shape of the pipe was a Hand Made Sven Lar grade C Freehand.
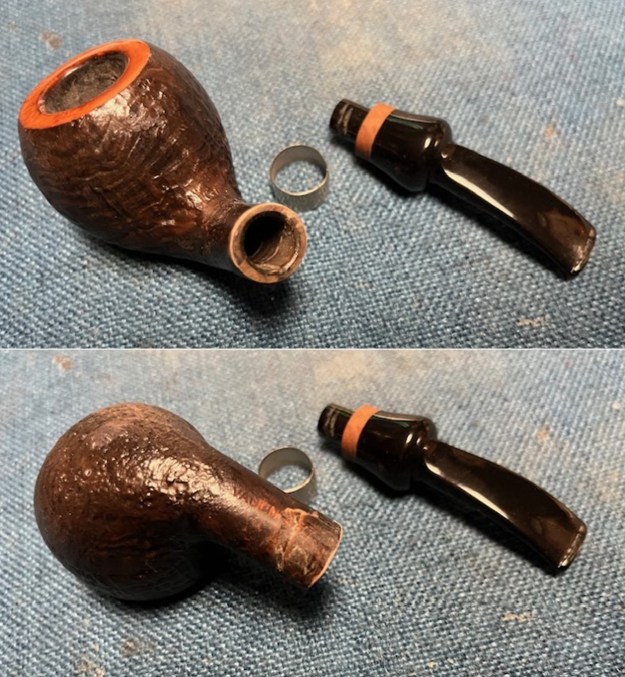
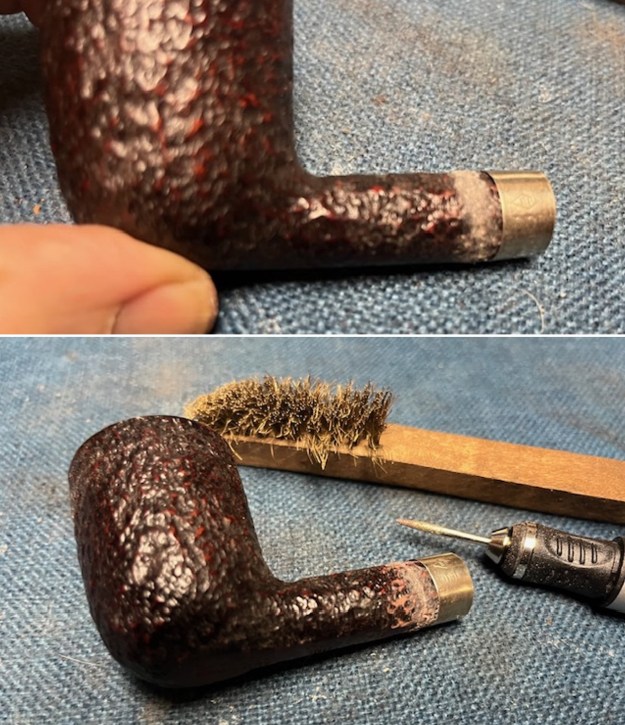
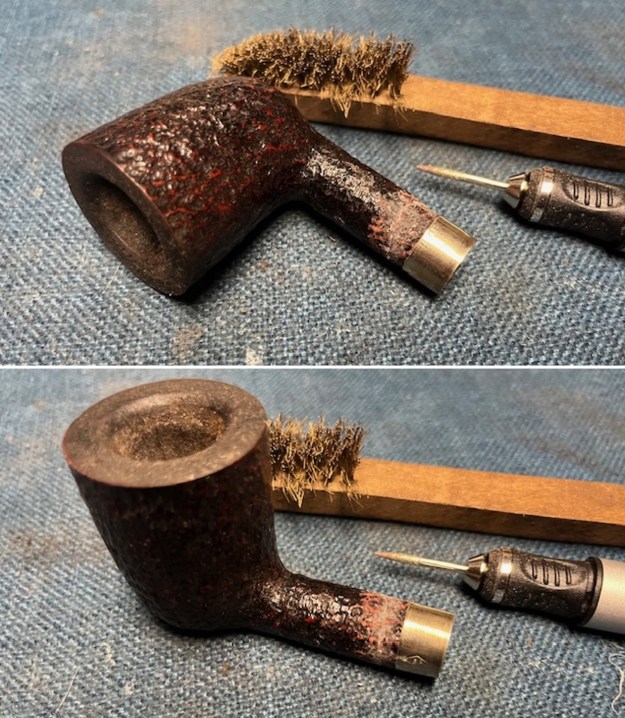
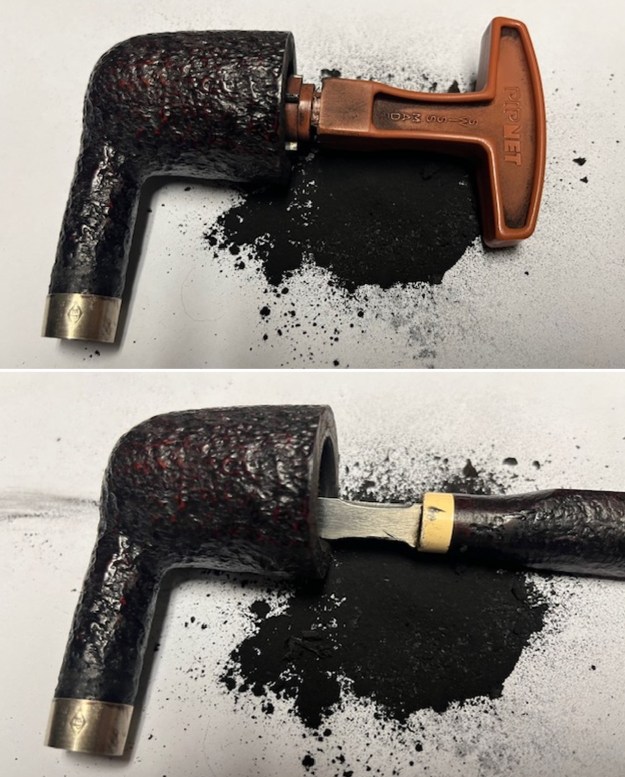
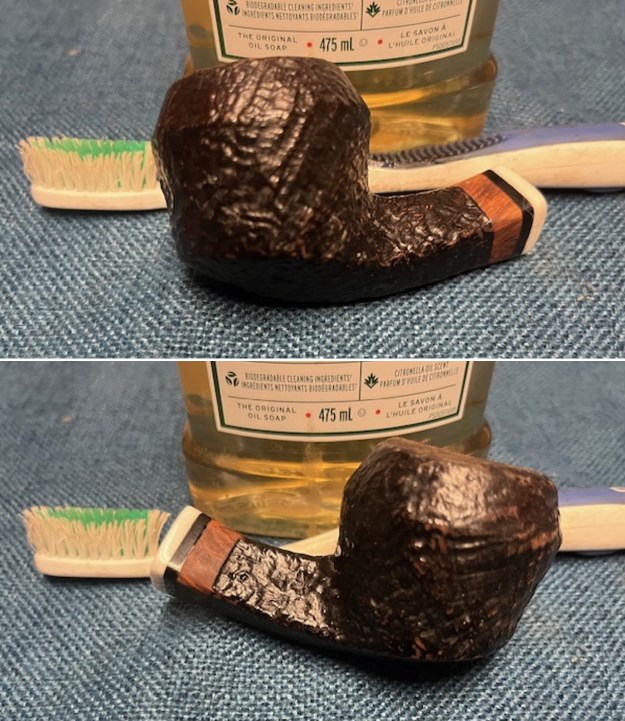
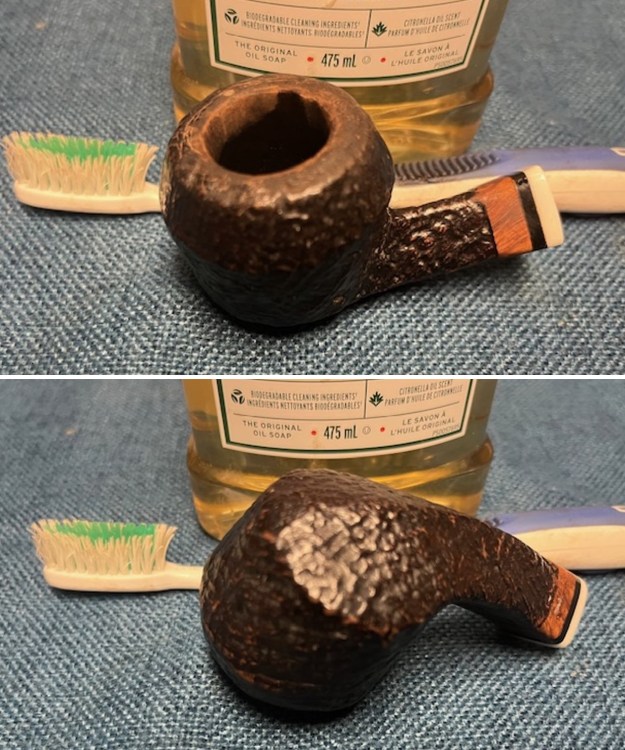
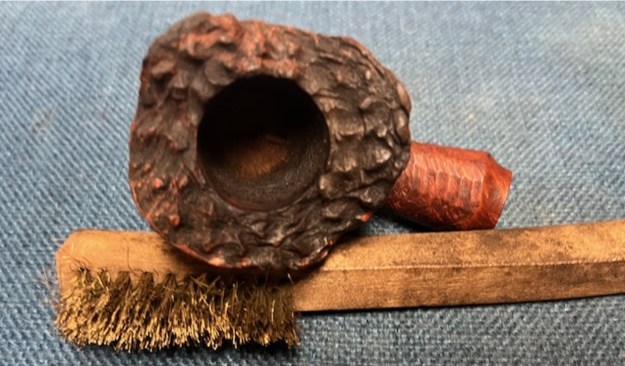
Armed with that information I turned to work on the pipe itself. Jeff had done a great job cleaning up the pipe as usual. He cleaned up the inside of the bowl with a PipNet reamer and a Savinelli Fitsall Pipe Knife. The rim top shows some damage on the top and the inner edge of the bowl. The bowl walls looked very good. He scrubbed the interior of the bowl and shank with pipe cleaners, cotton swabs and alcohol to remove the tars and oils. He scrubbed the exterior of the pipe with Murphy’s Oil Soap and a tooth brush to remove the grime from the finish. He worked on the rim top lava and darkening with the soap and tooth brush. He scrubbed the inside of the stem with alcohol and pipe cleaners. He scrubbed the exterior with Soft Scrub and then soaked it in Briarville’s Pipe Stem Deoxidizer. He washed it off with warm water to remove the deoxidizer. Now the damage to the stem was very clear. Overall, the pipe looked far better. I took photos of the pipe when I received it before I started working on it. 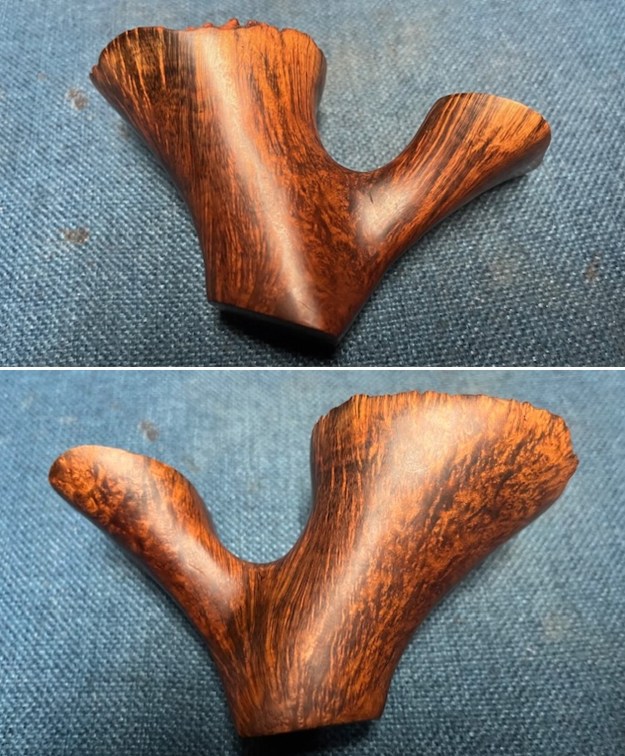
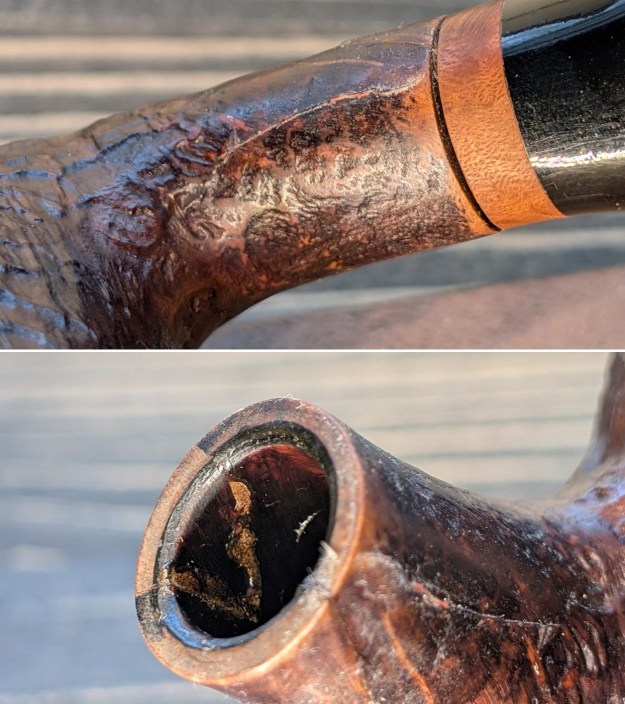
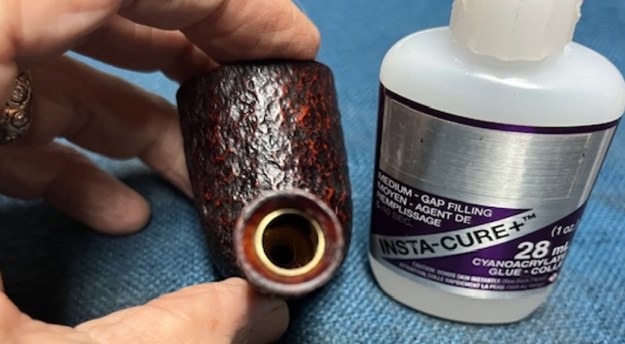
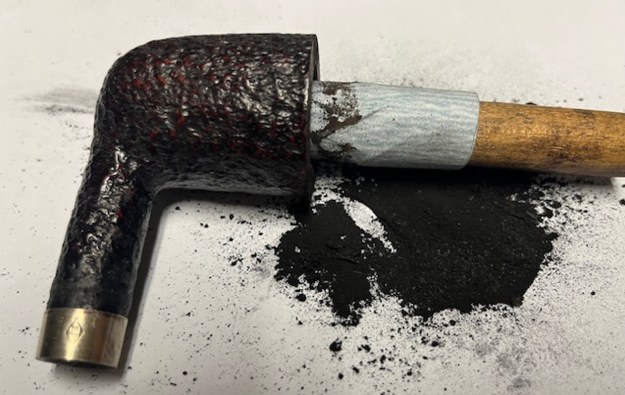
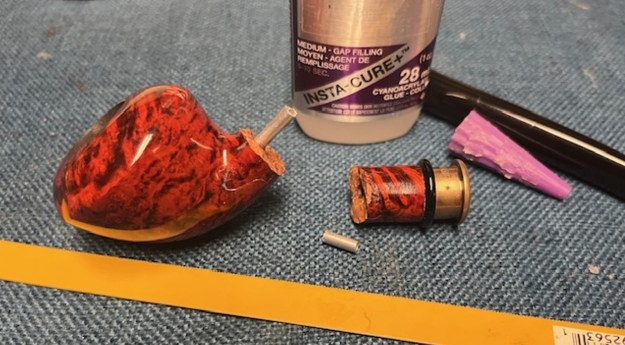
 Now it was time to address the broken tenon in the shank. It was solidly stuck in place. I tried my usual tricks to pull it. Time in the freezer did nothing – still very tight and unmovable. I used an ear syringe to drop alcohol in he shank to see if it would loosened it – again nothing. I almost wonder if it was not glued in the shank.
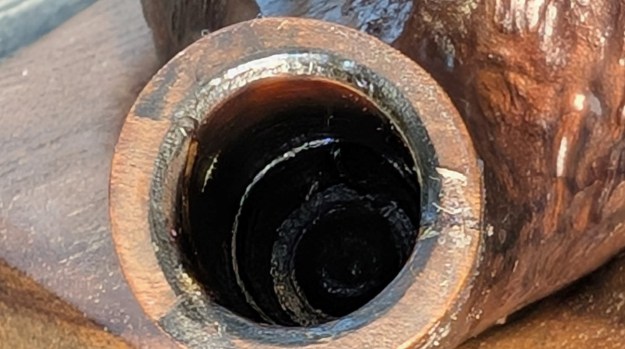
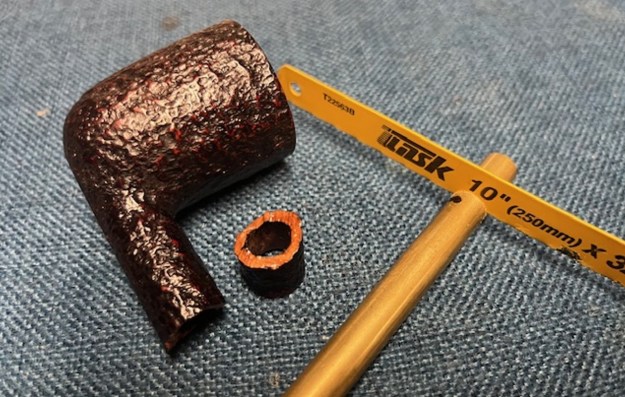
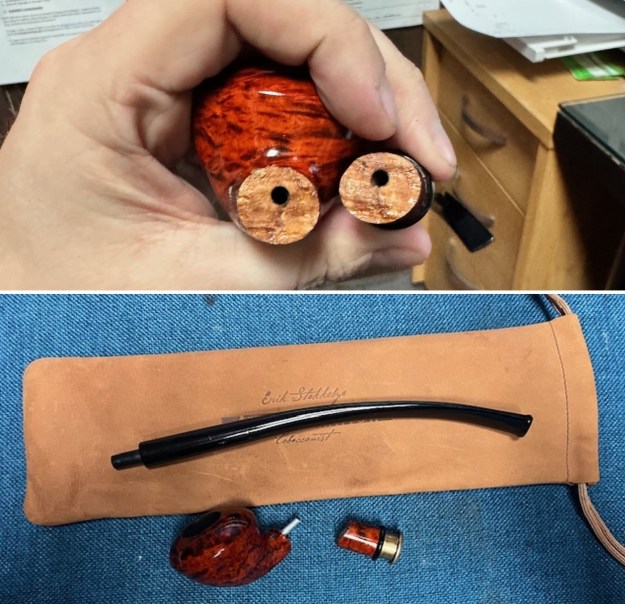
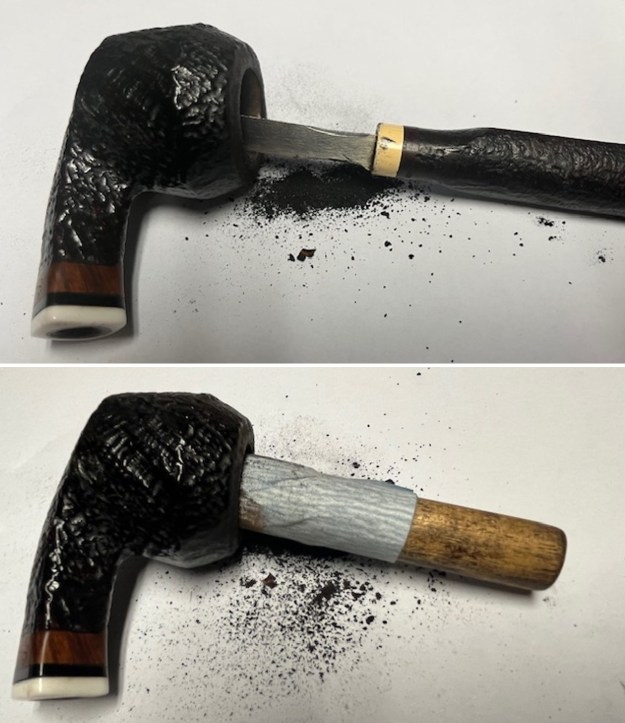
 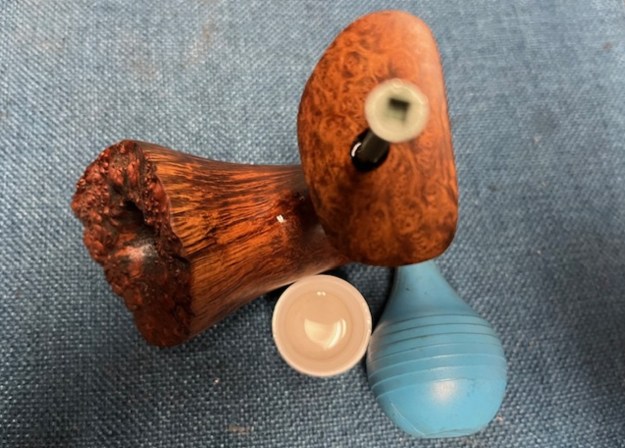 It looks like my only option was to drill out the broken tenon. I used a drill bit a little smaller than the diameter of the mortise but big enough to give me some bite on the tenon. I used my cordless drill and slowly drilled it into the shank. In a few moments the broken piece came free.
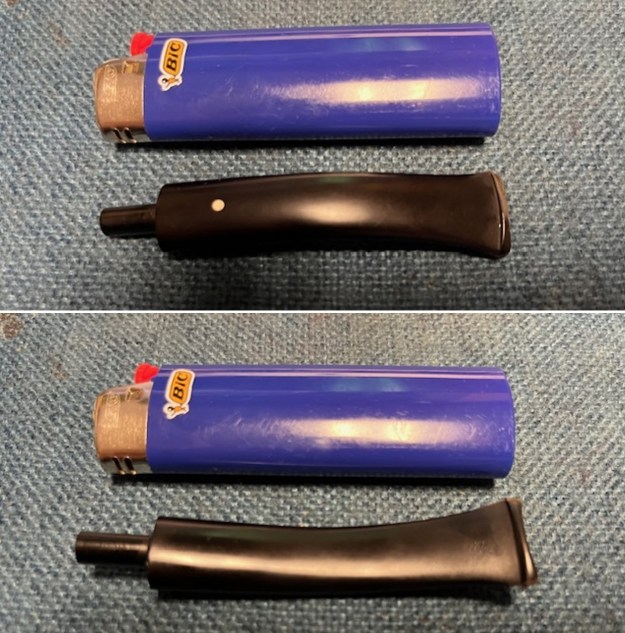
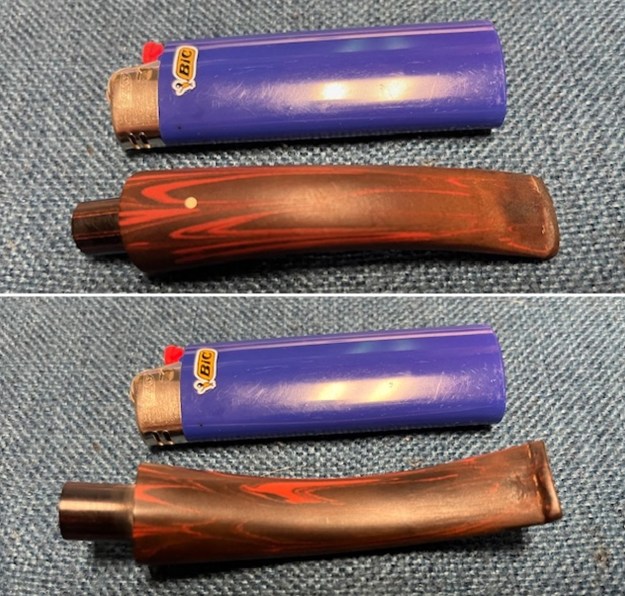
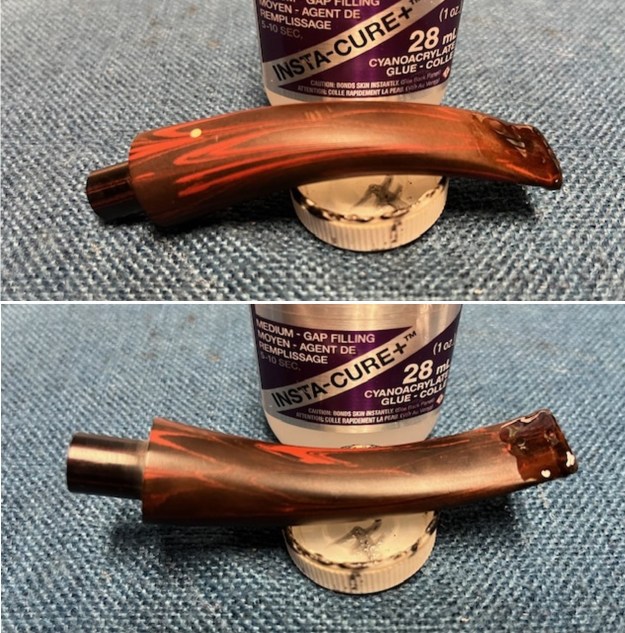
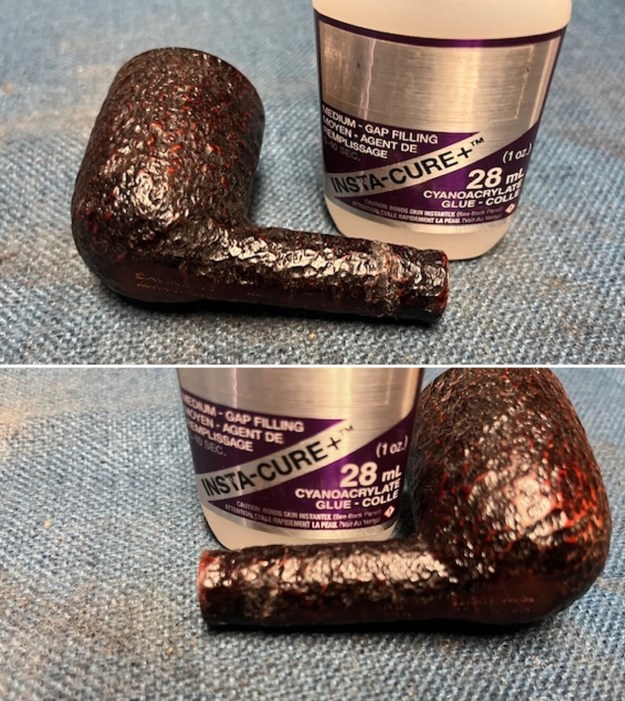
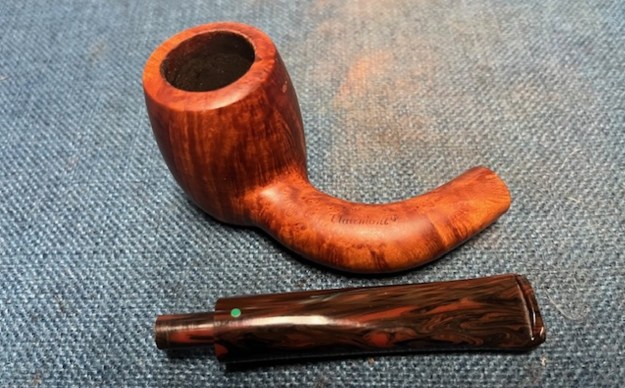
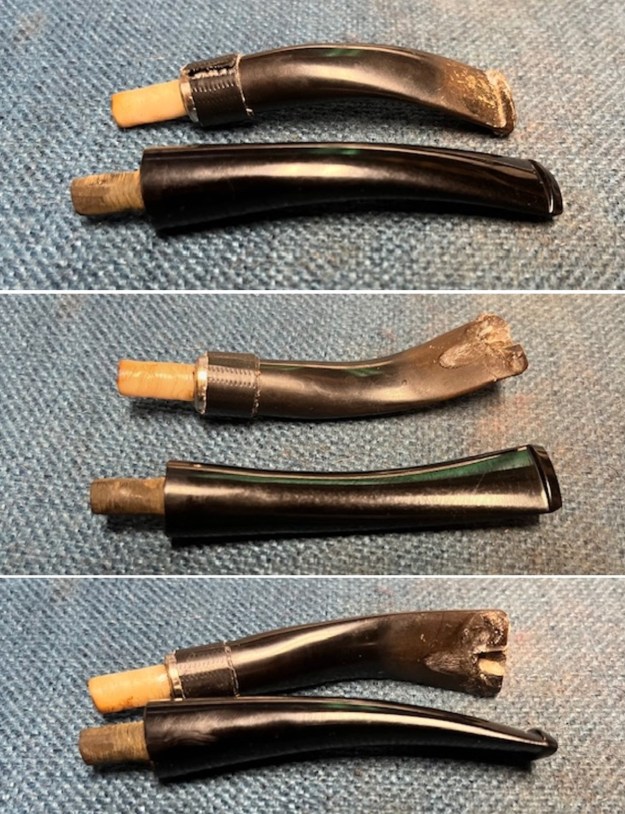
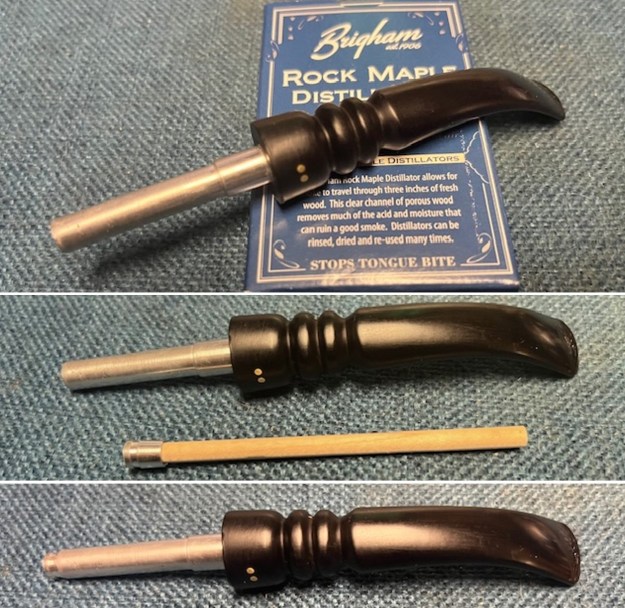
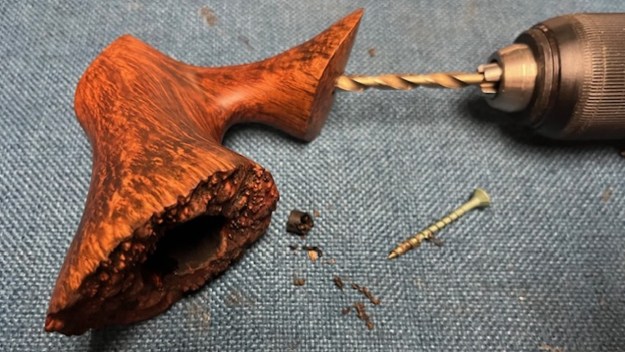 I went through my stems and found a nice acrylic, unused stem that would work perfect. It was the right colour and shape to be a good match for the pipe. I had been drilled for a tenon but did not have one so I used a threaded Delrin tenon I had here for the stem. I gave it a light coat of glue and carefully turned it into the stem with a pair of pliers.
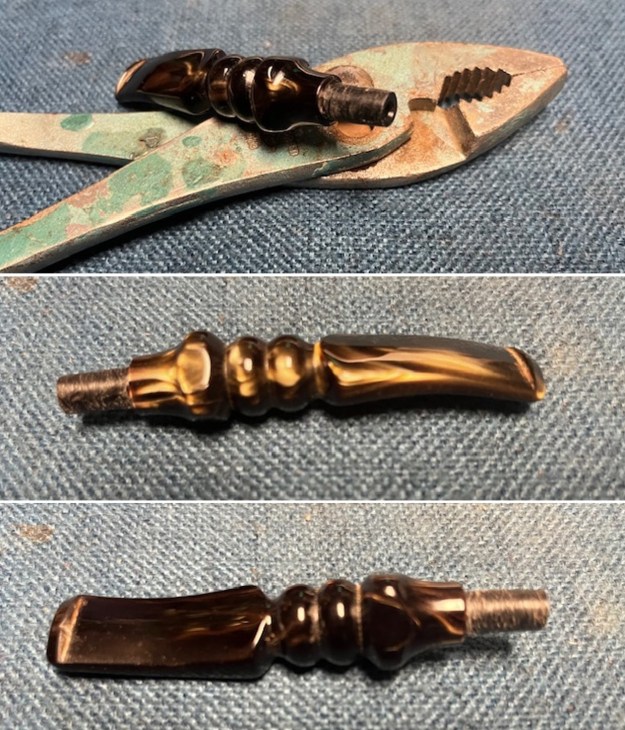
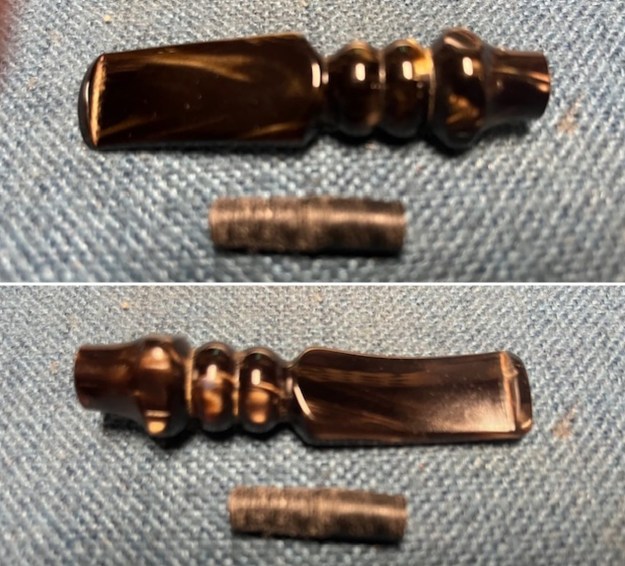
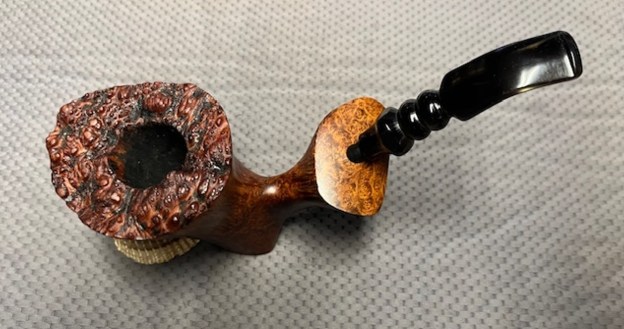
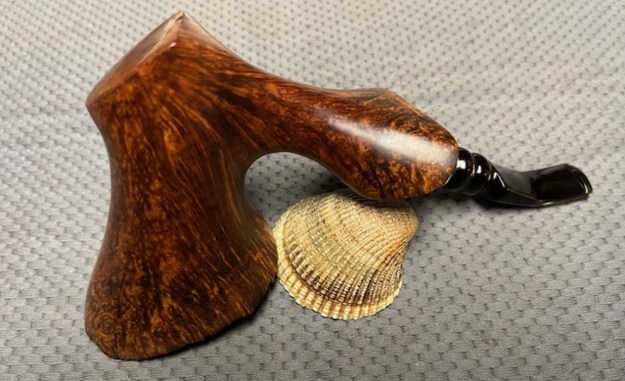
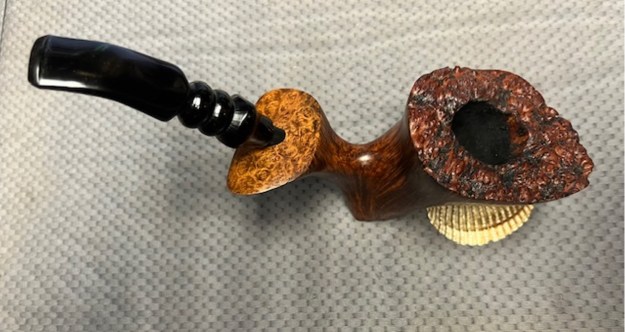
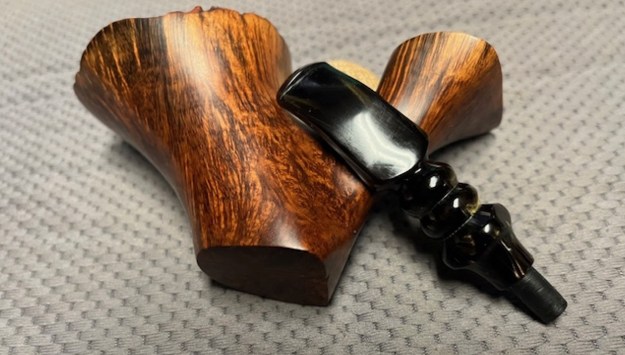
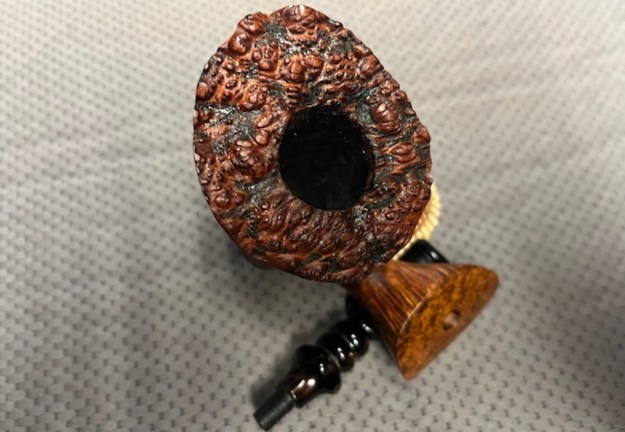
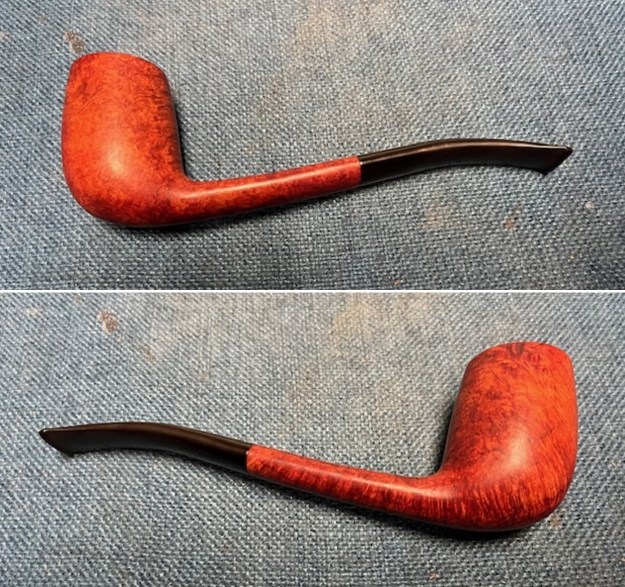
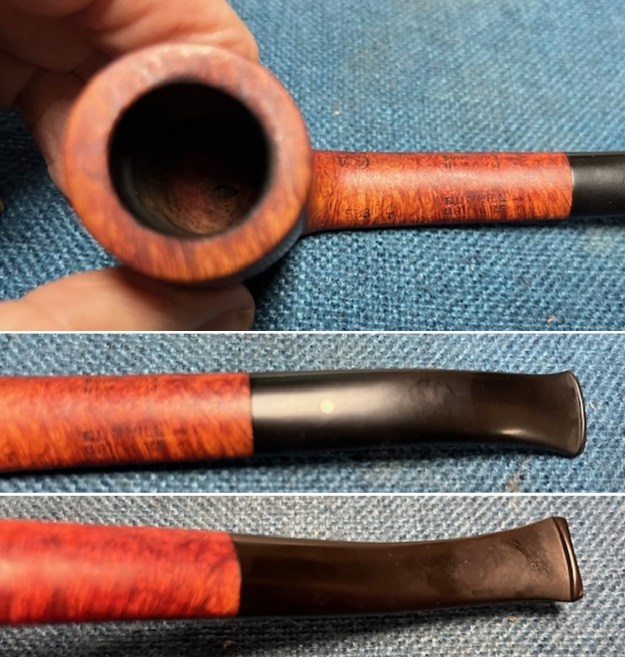
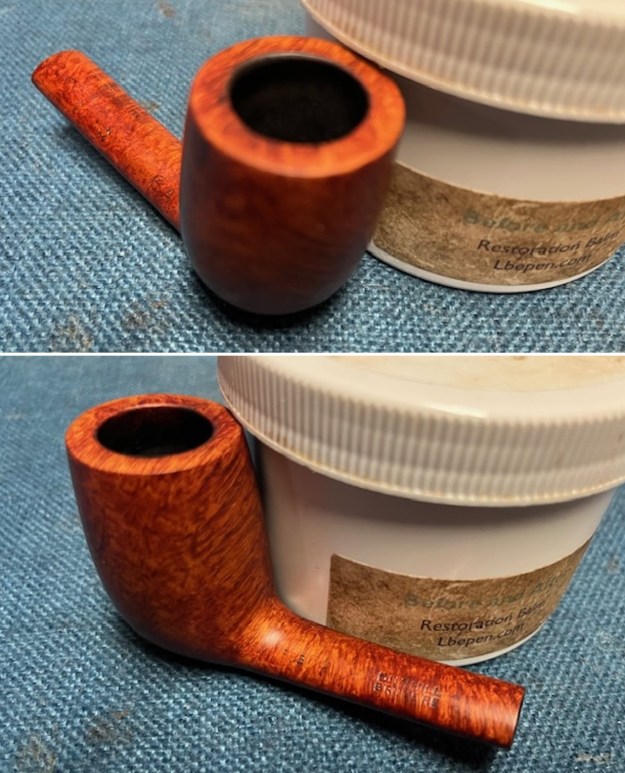
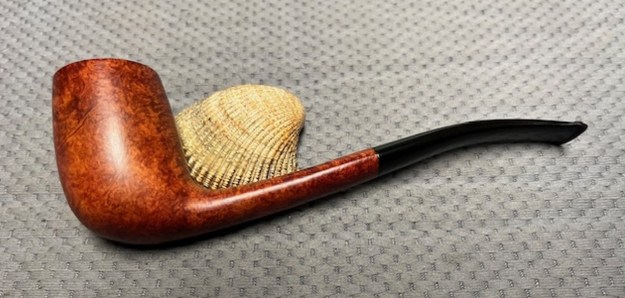
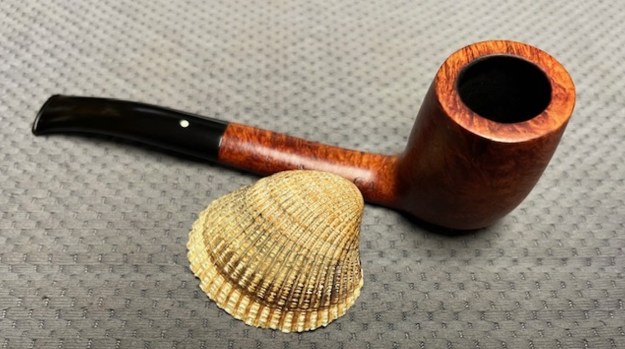
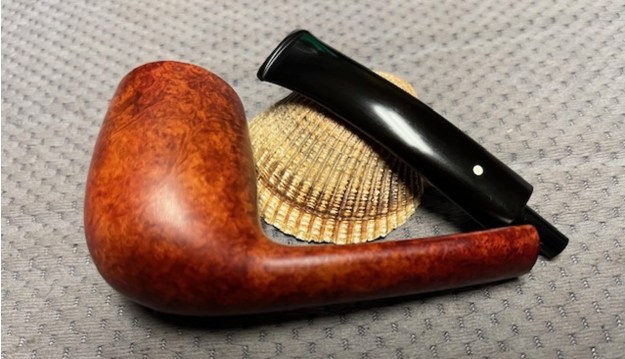
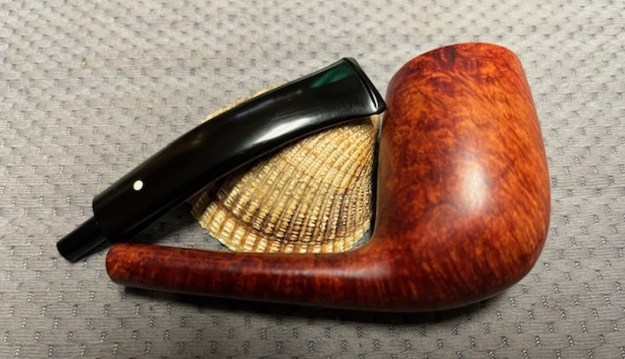
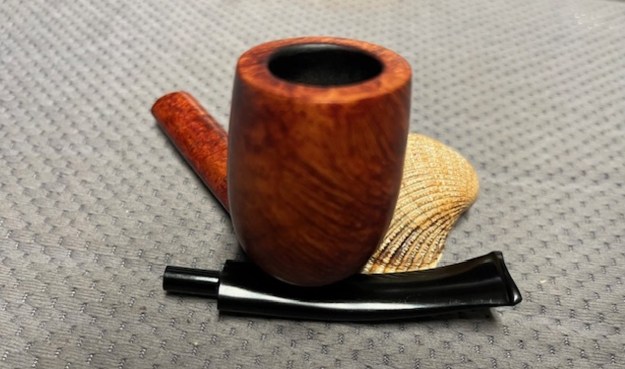
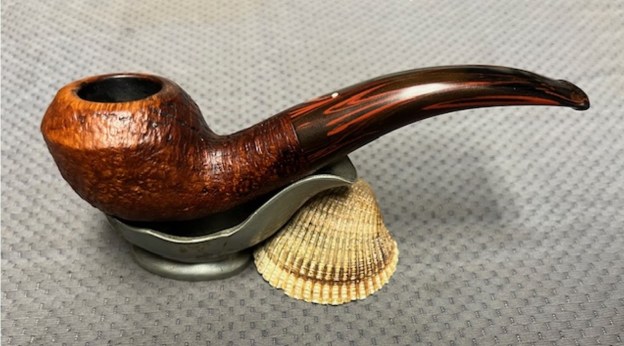
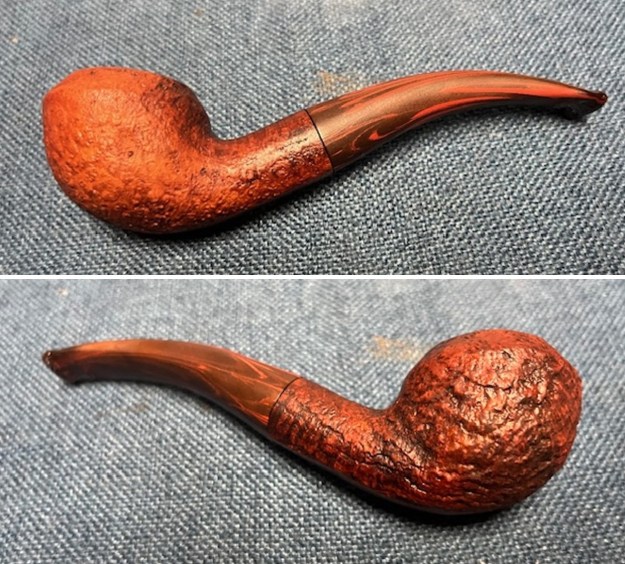
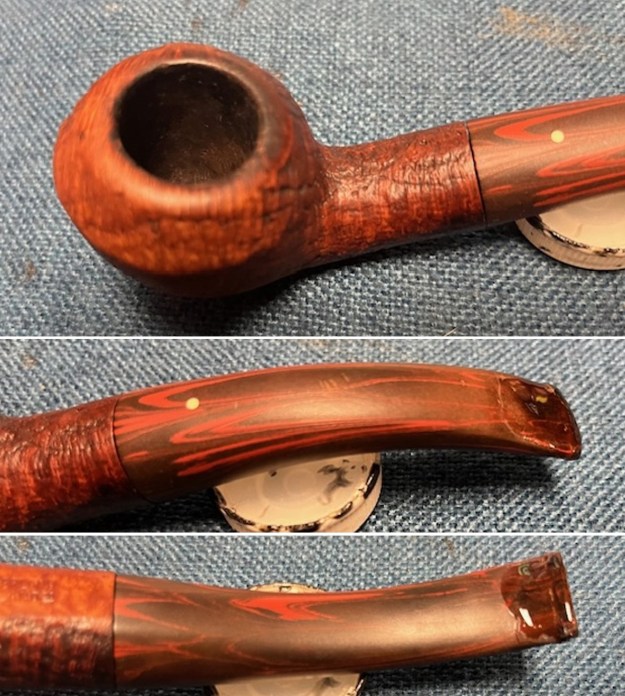
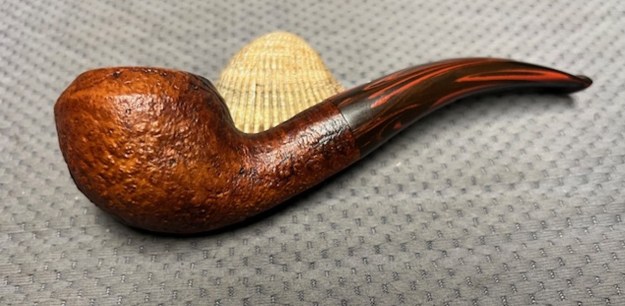
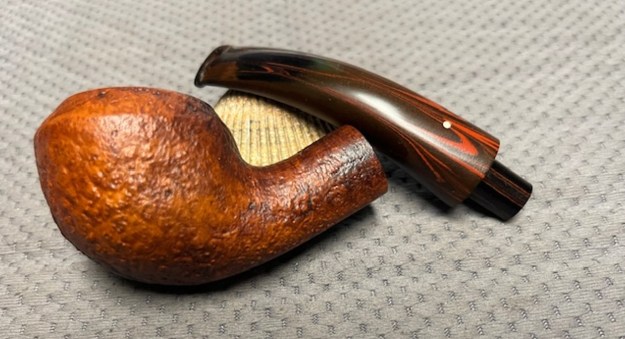
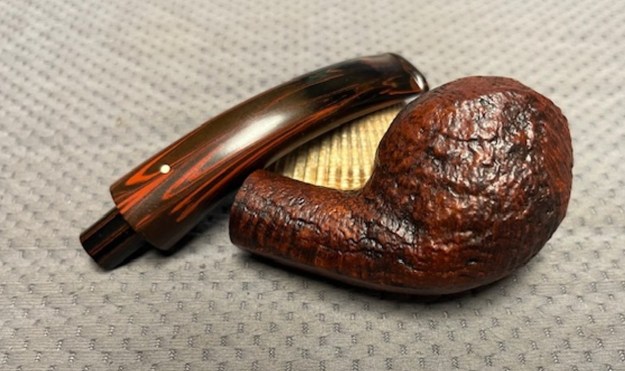
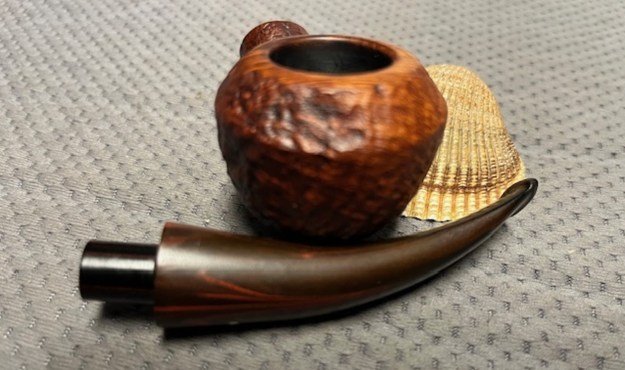
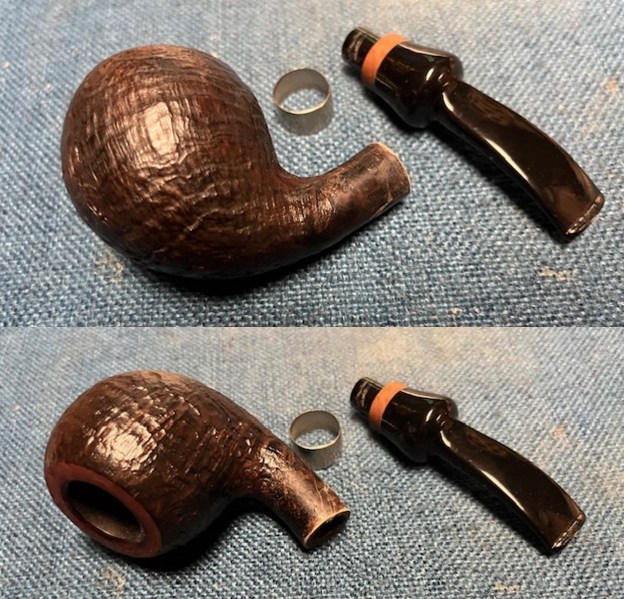
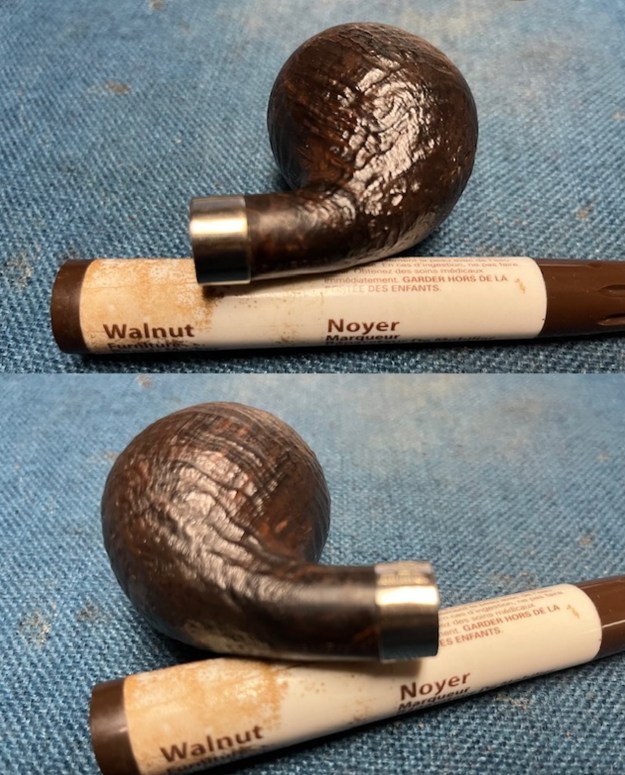
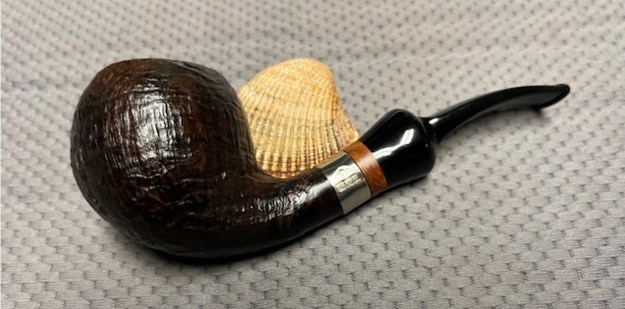
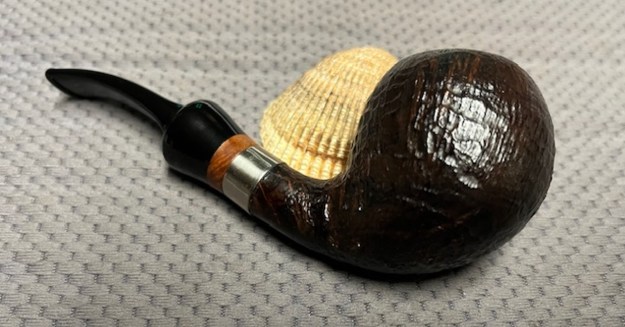
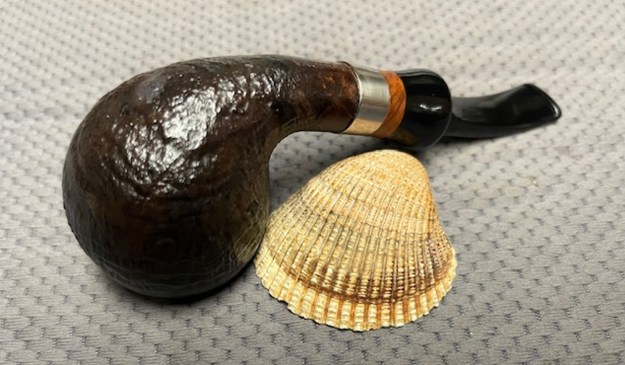
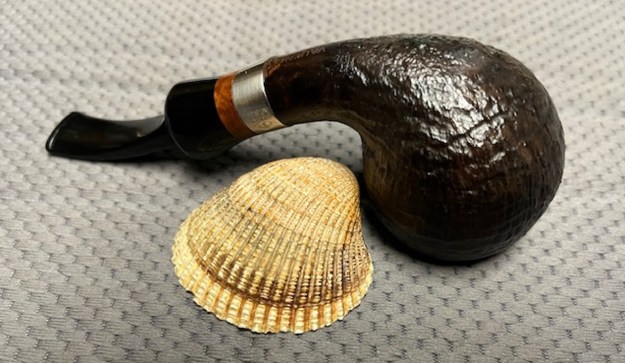
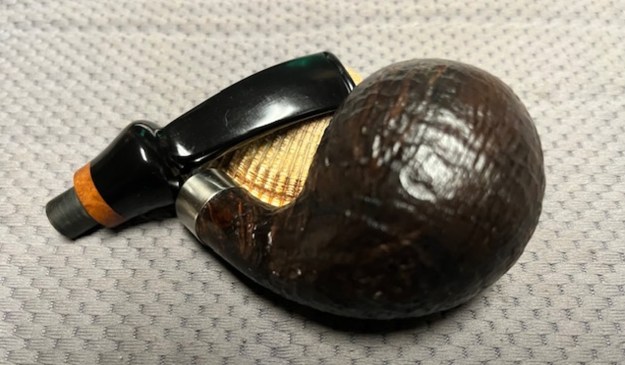
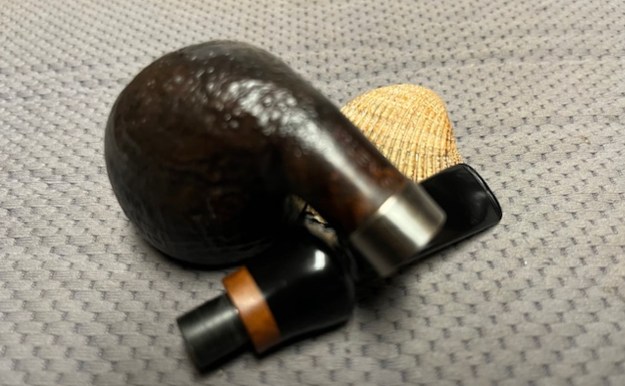
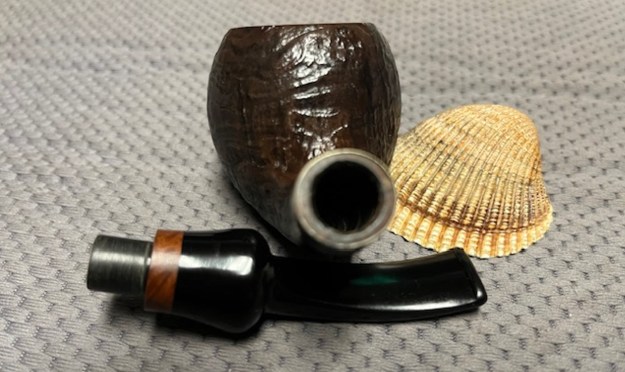
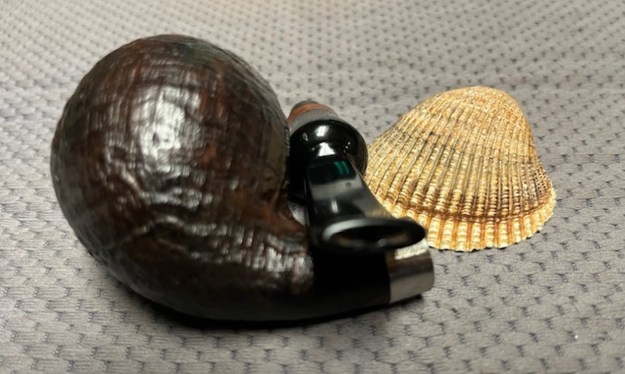
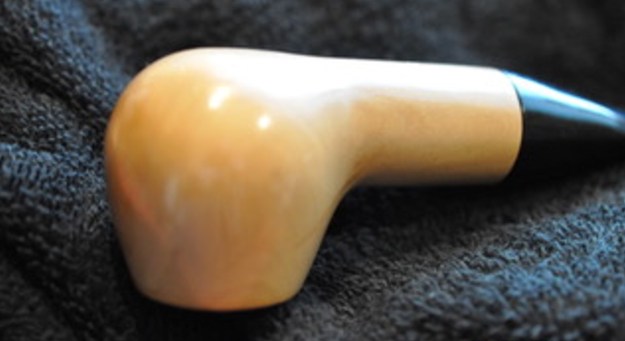
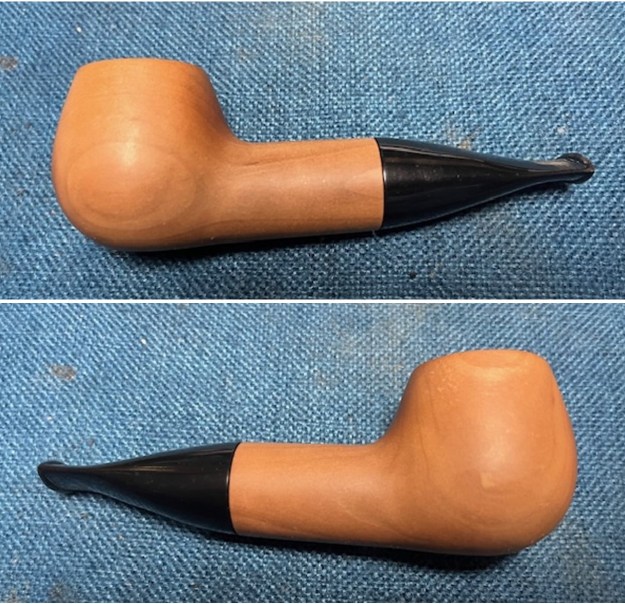
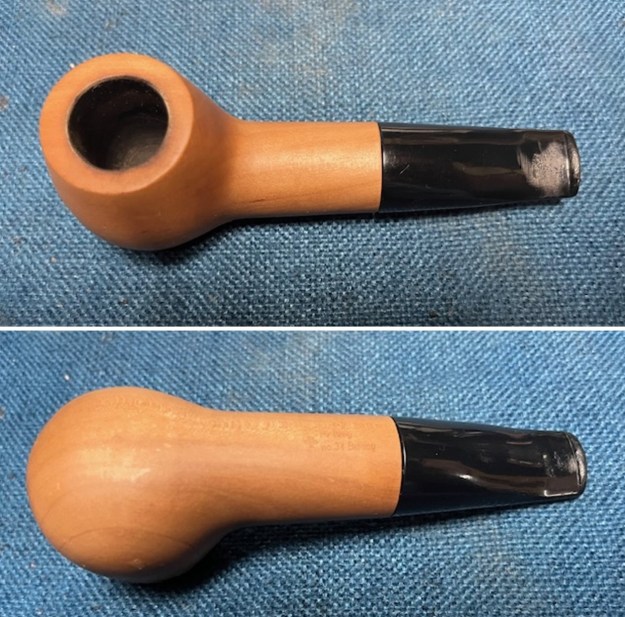
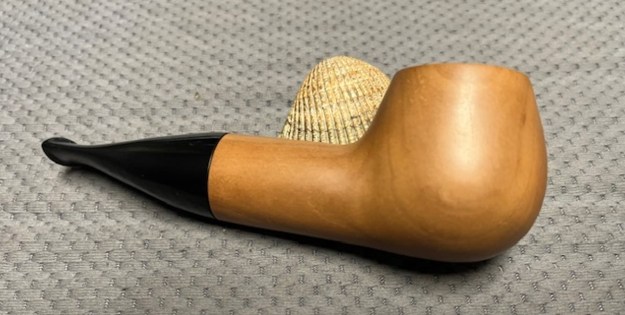
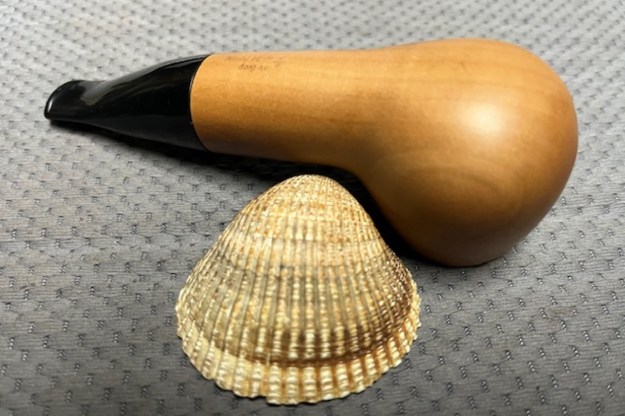
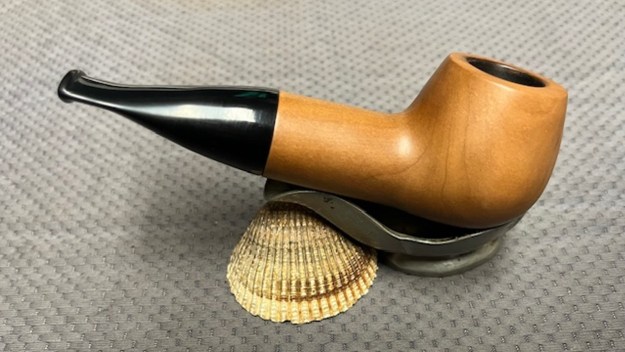
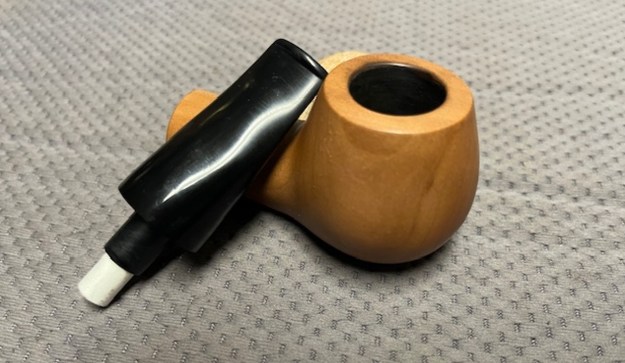
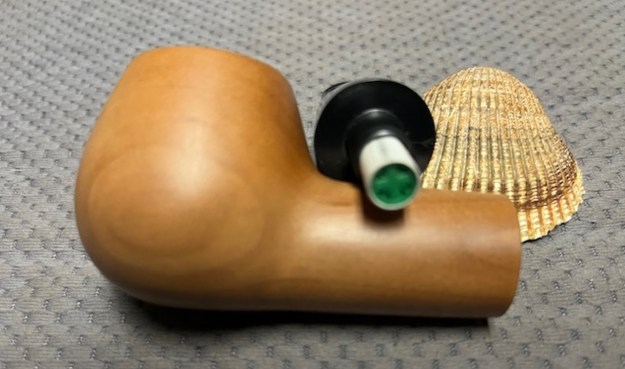
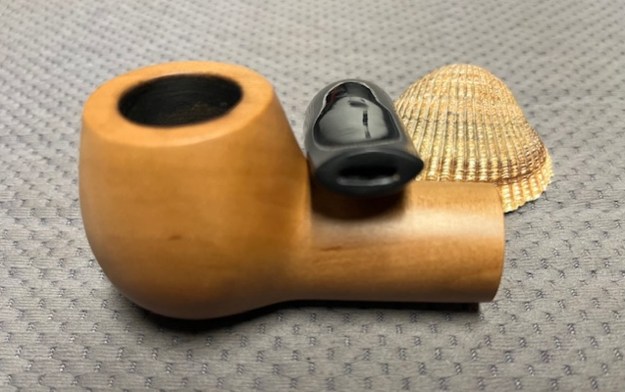
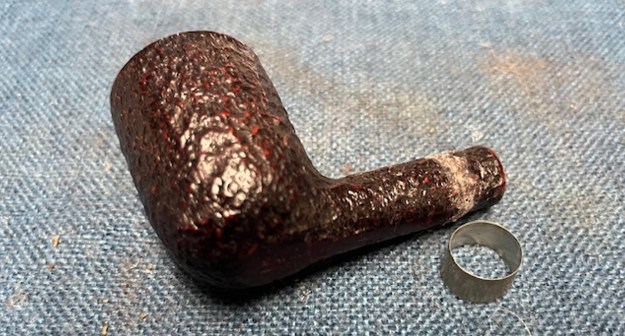
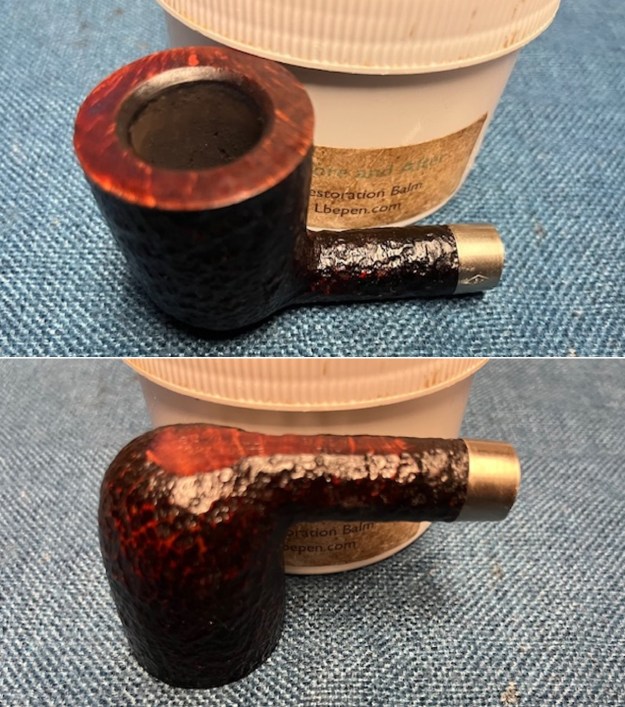
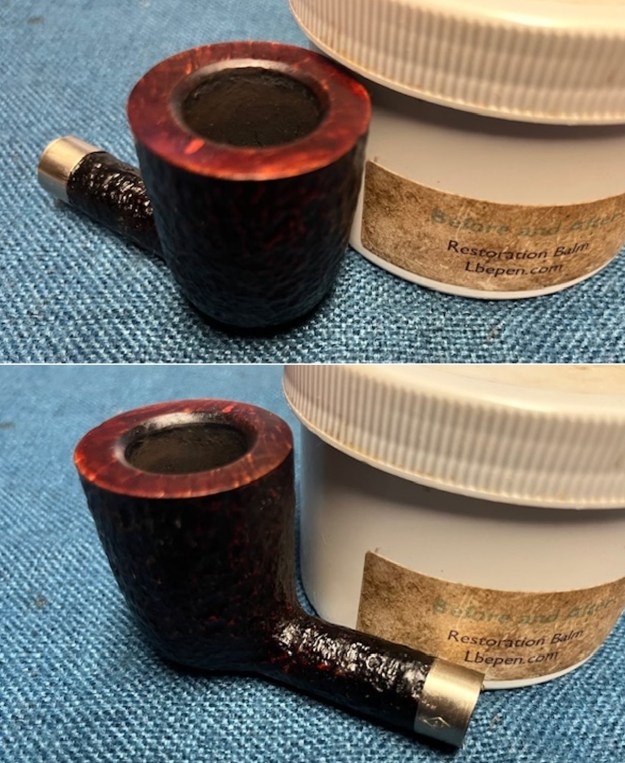
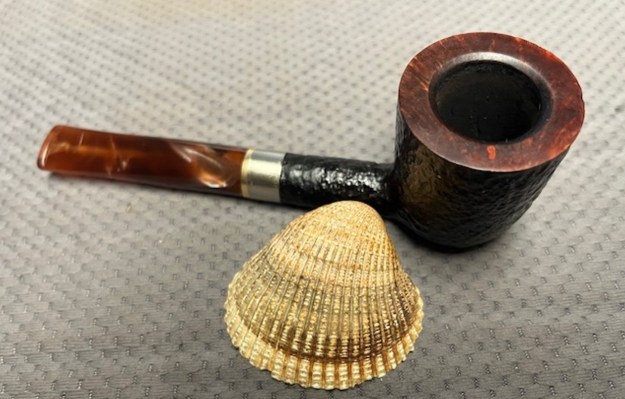
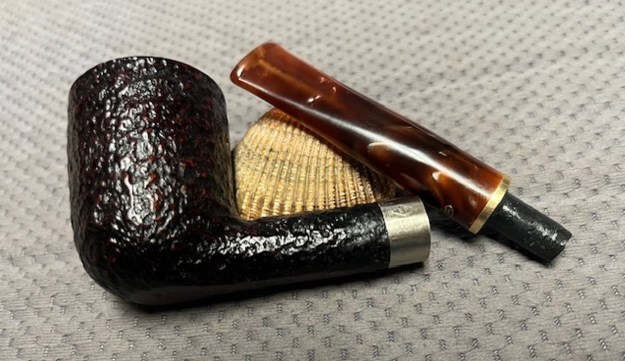
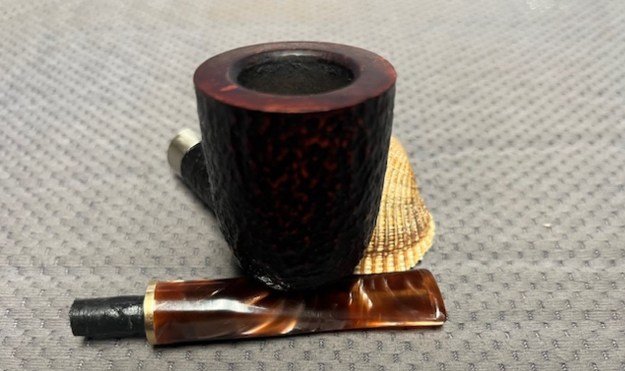
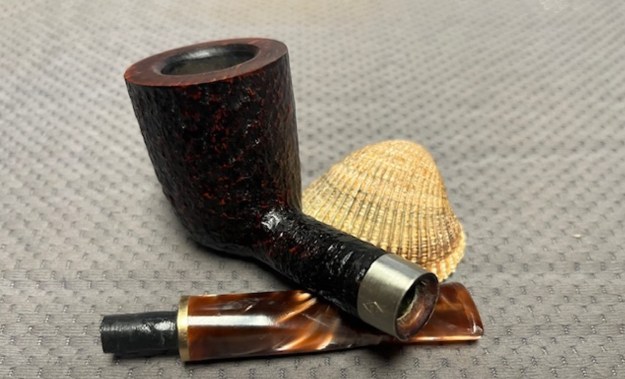
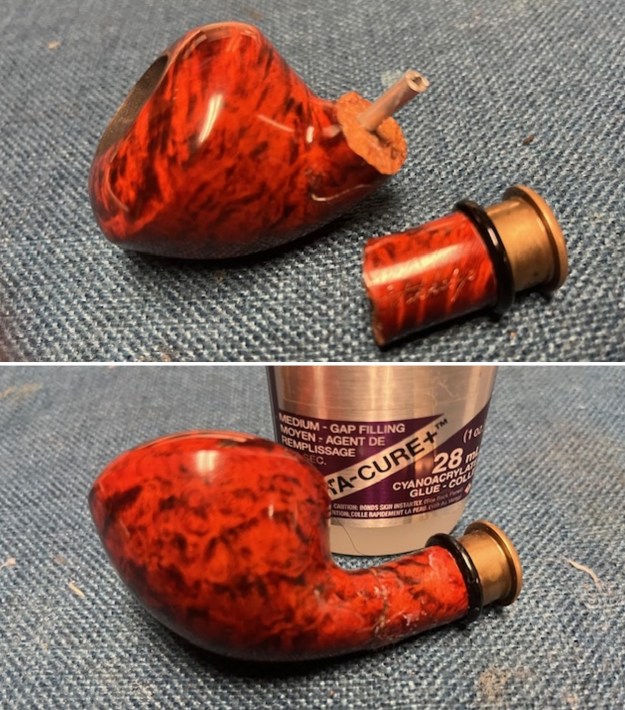
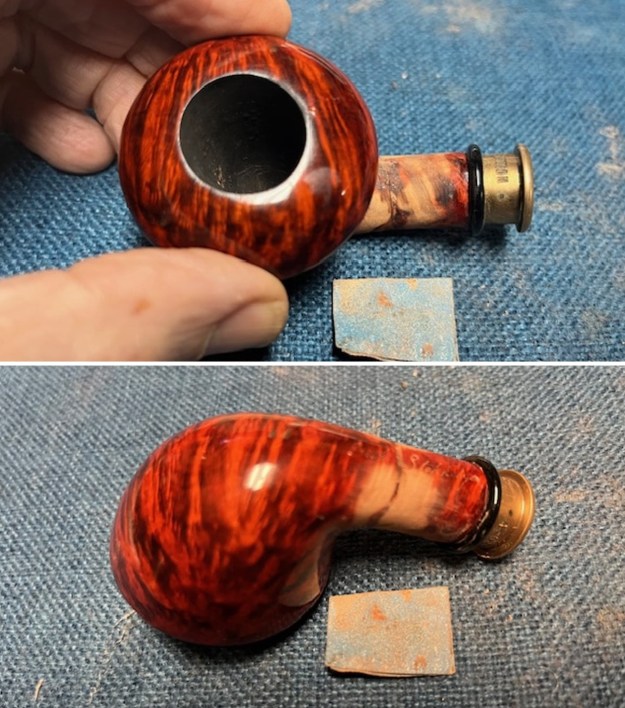
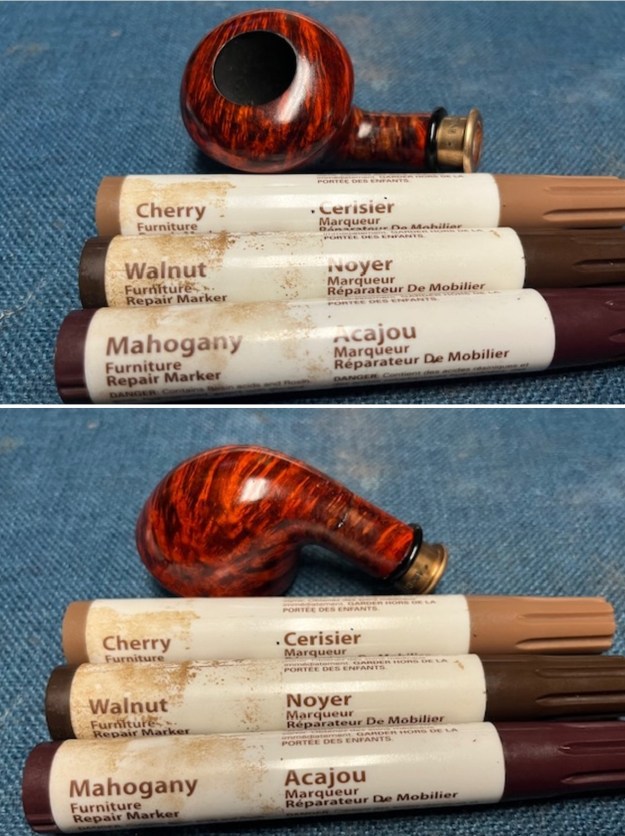
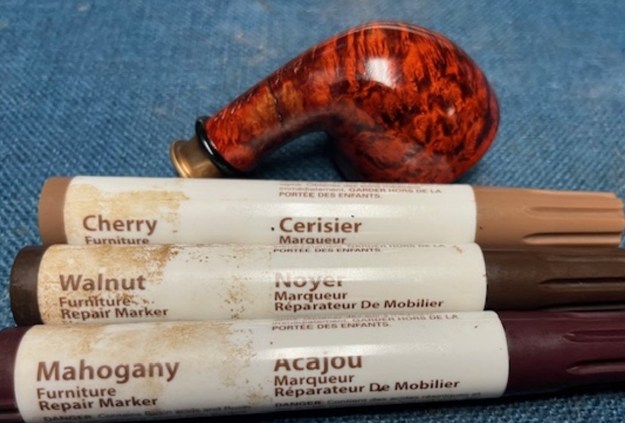
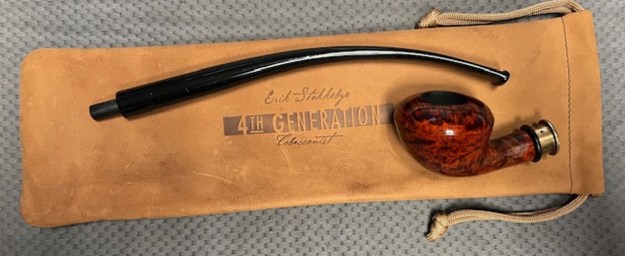
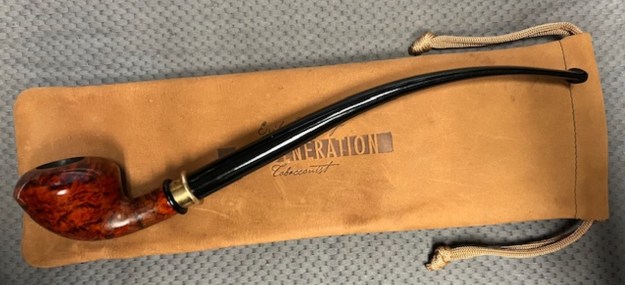
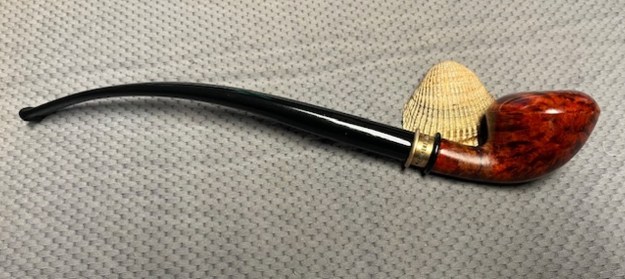
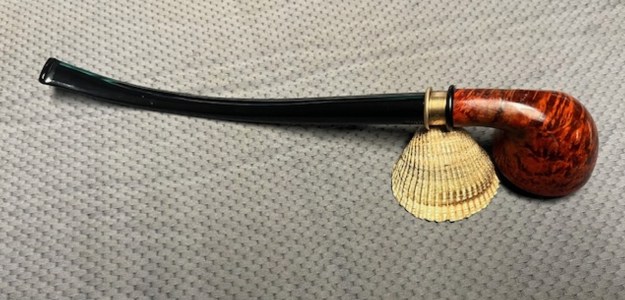
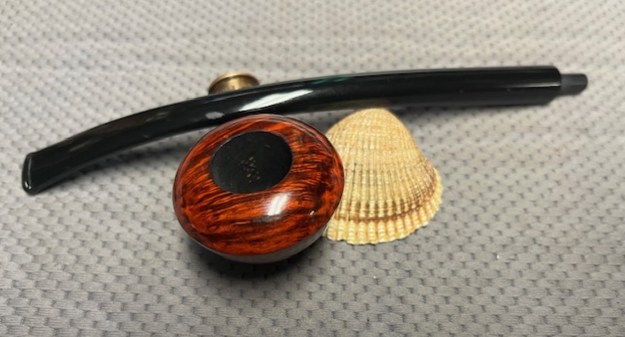
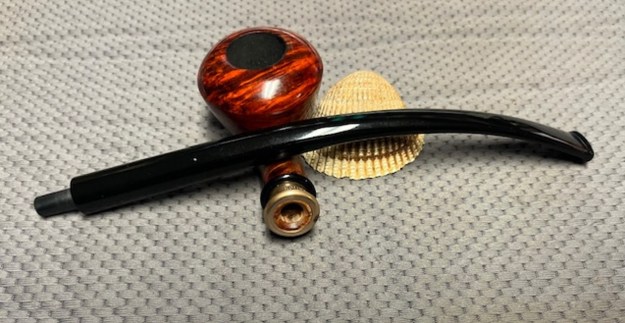
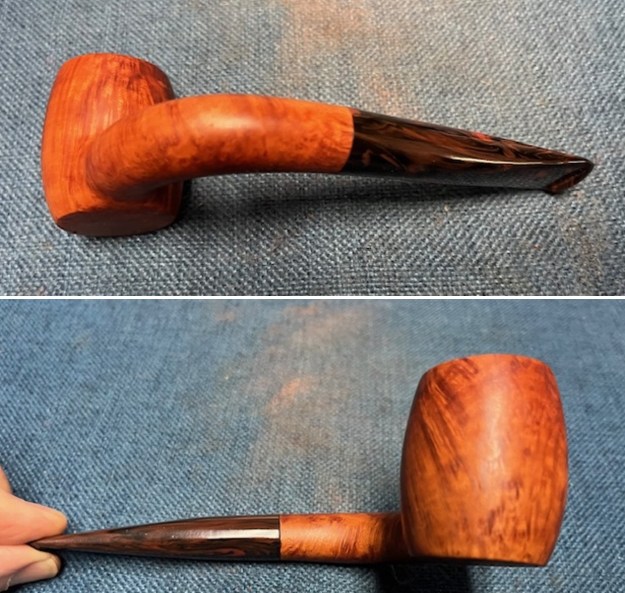
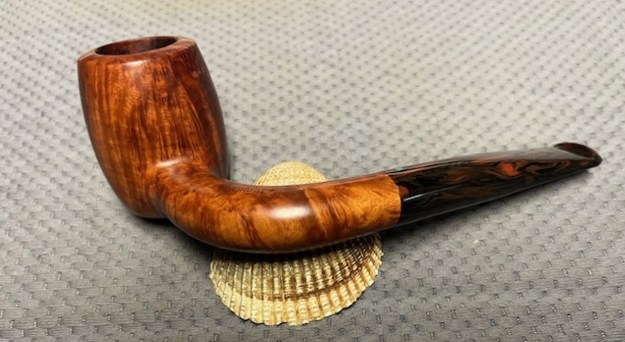
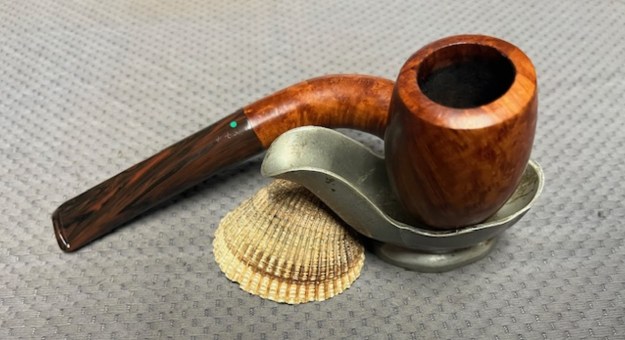
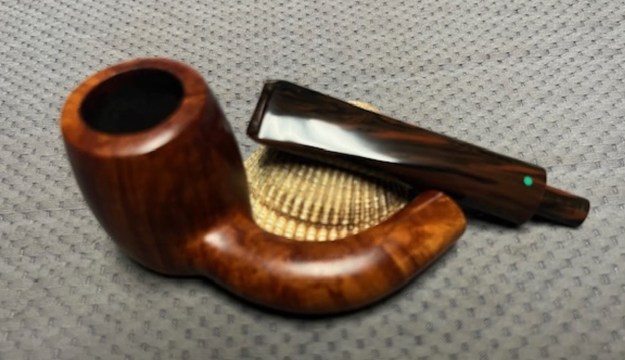
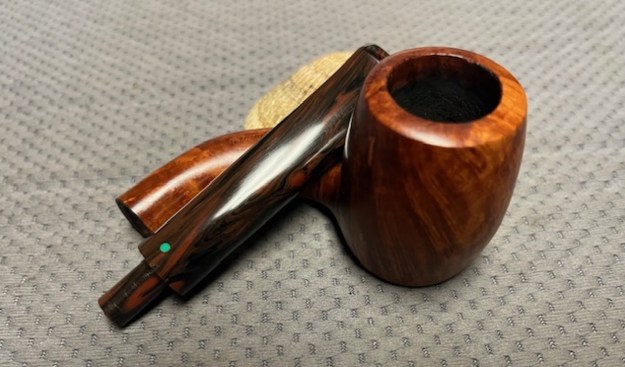
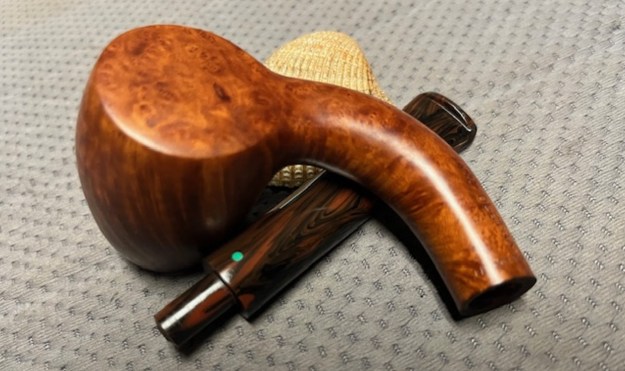
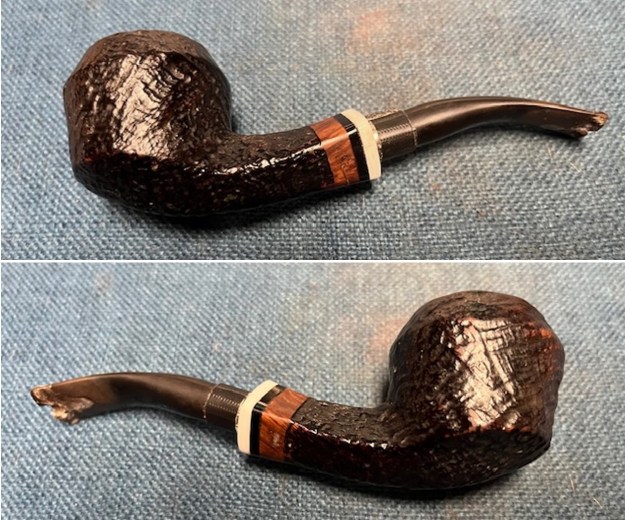
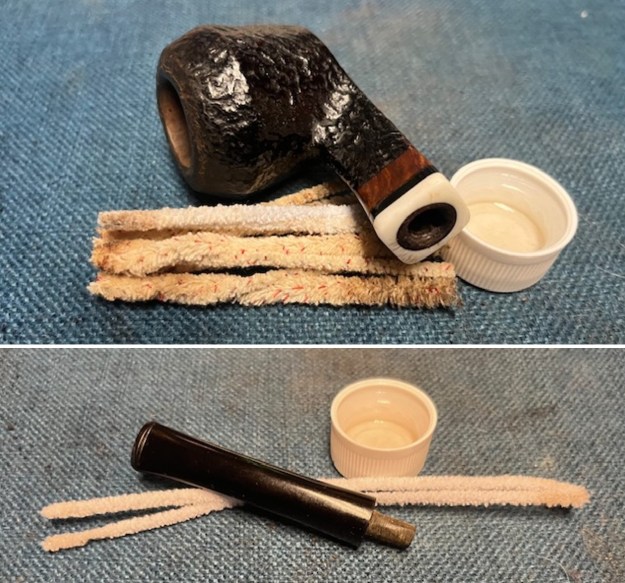
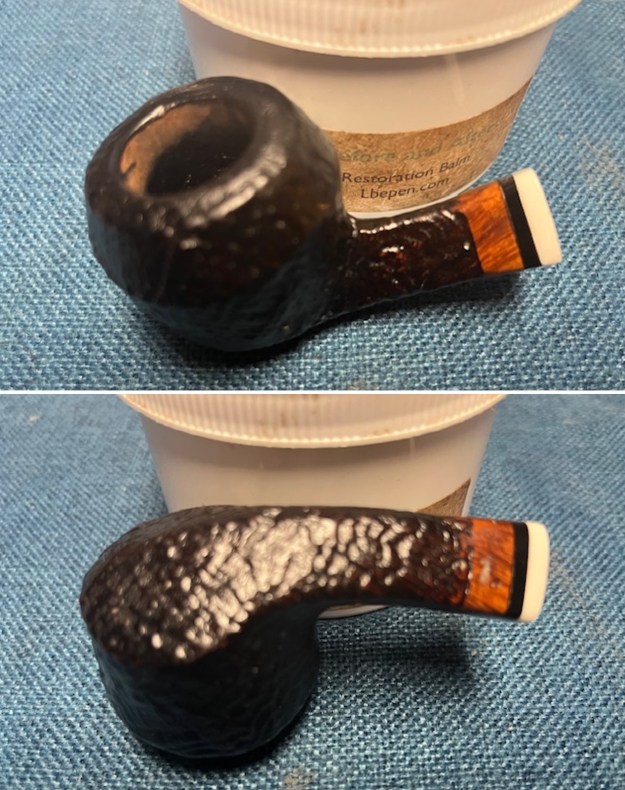
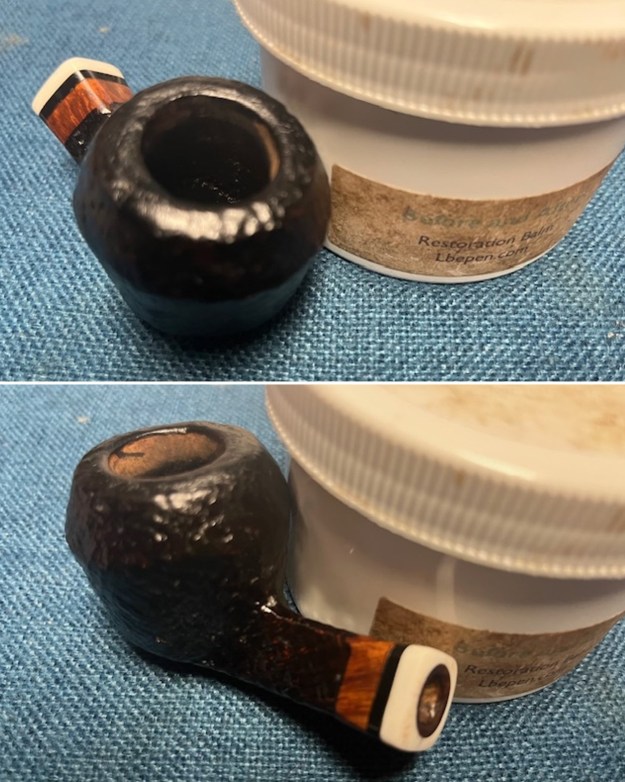
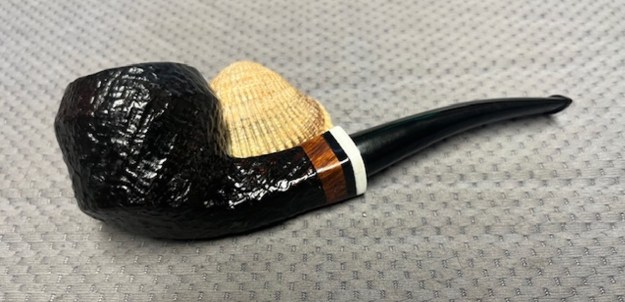
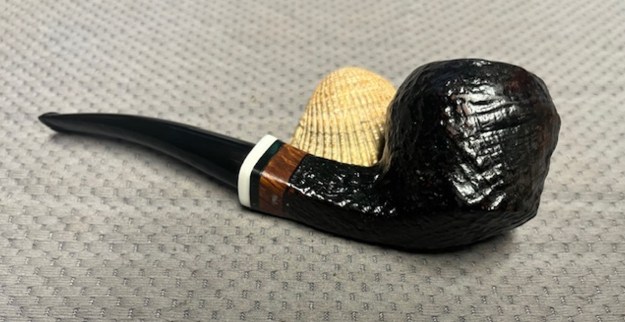
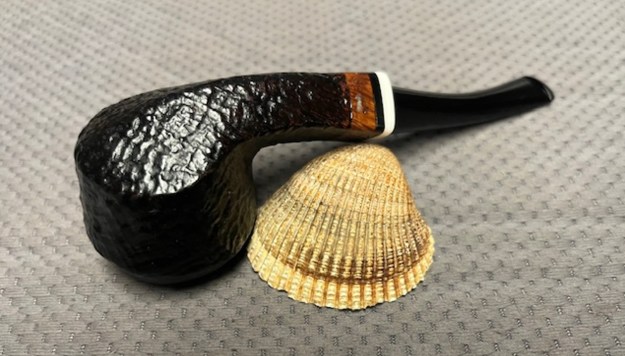
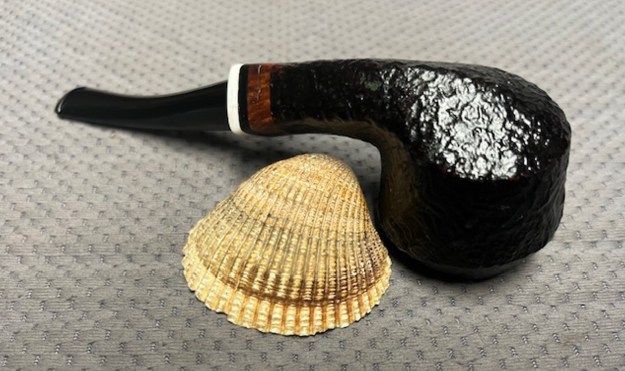
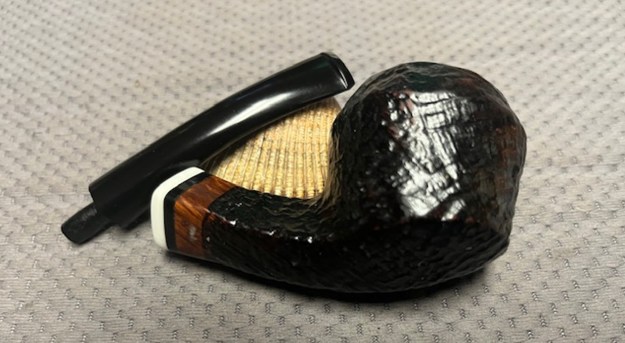
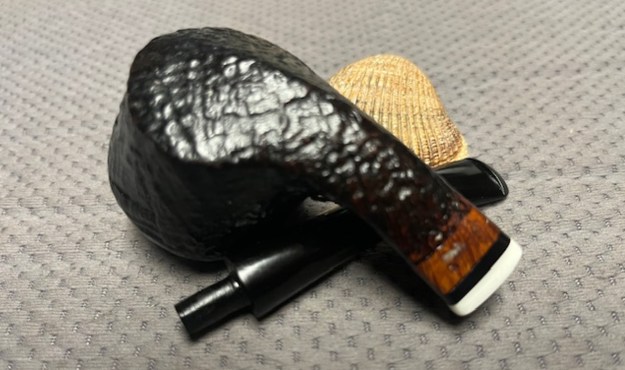
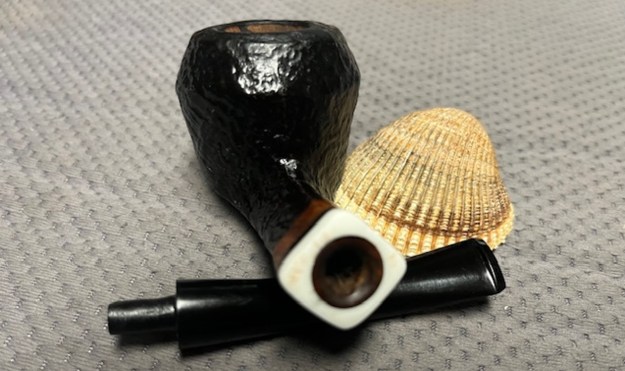
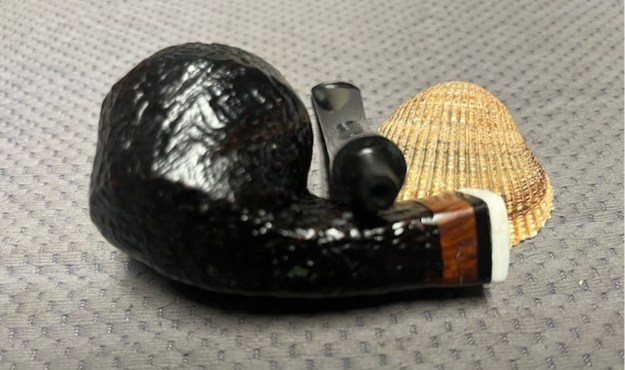
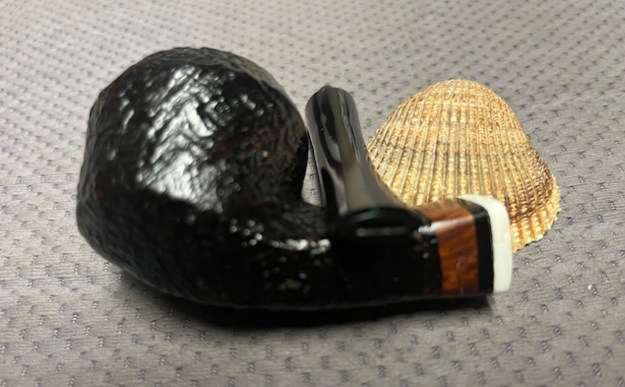
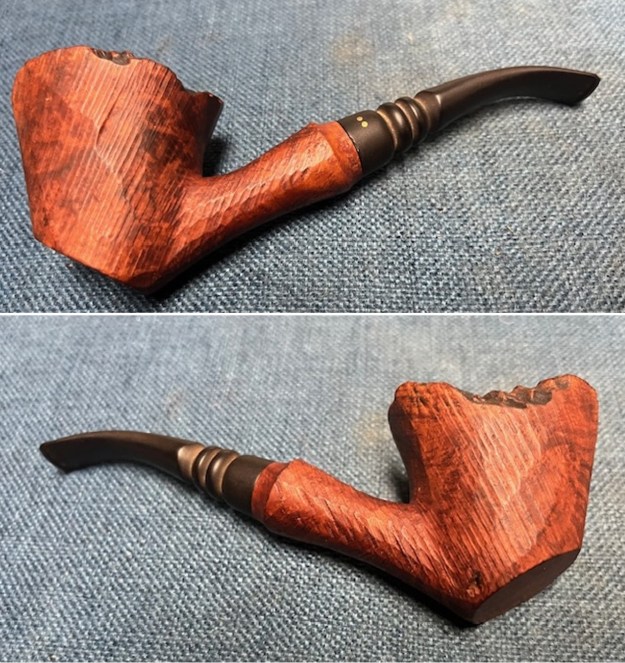
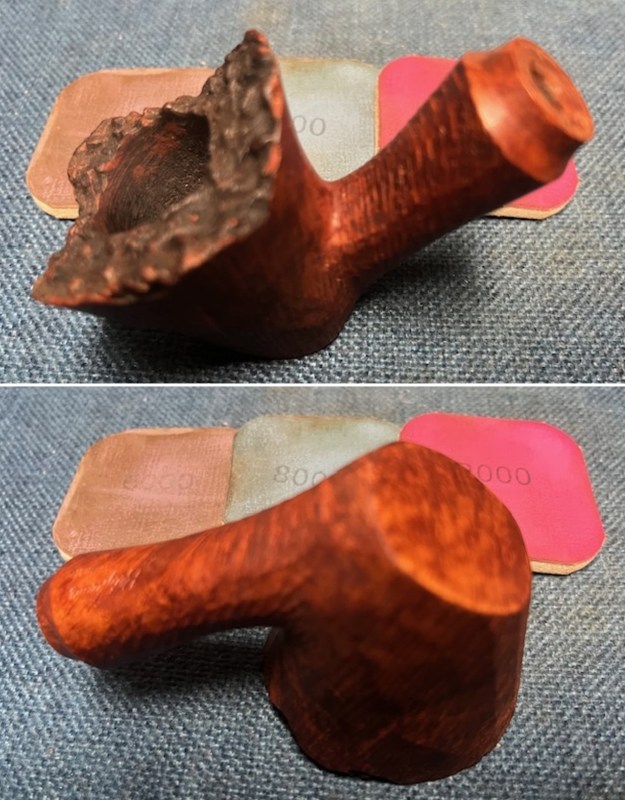
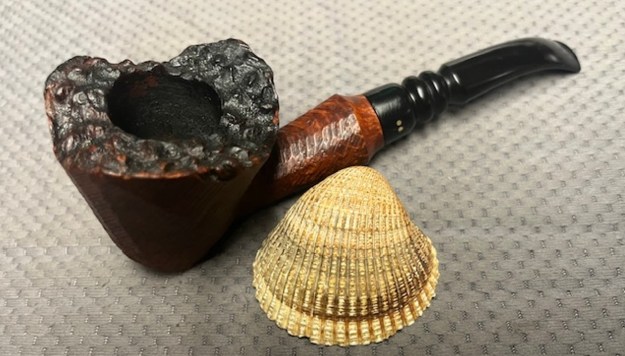
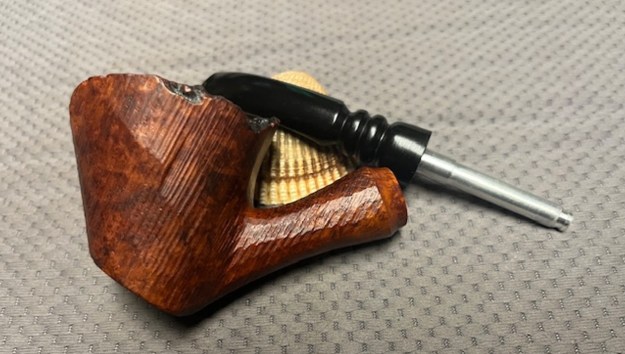
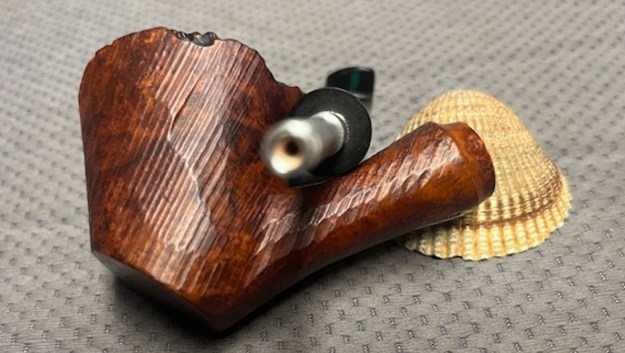
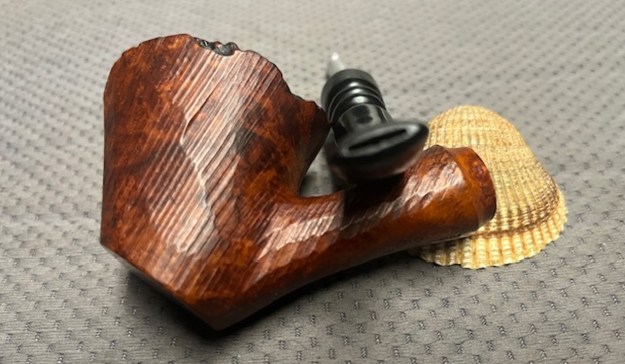
 It still needed to be polished but I wanted to see what the stem looked like with the bowl. I put it in place and took some photos. I like it! It turns out with the stem in place the pipe is a sitter with the flat heel of the bowl.
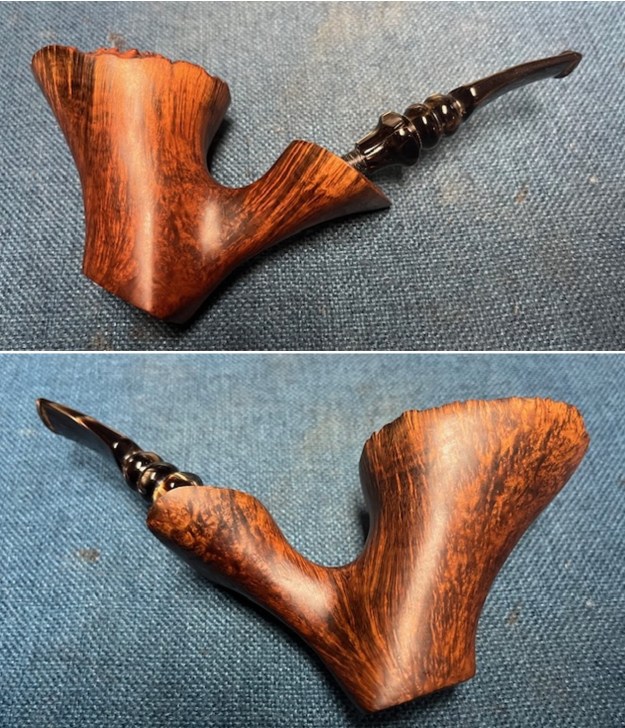
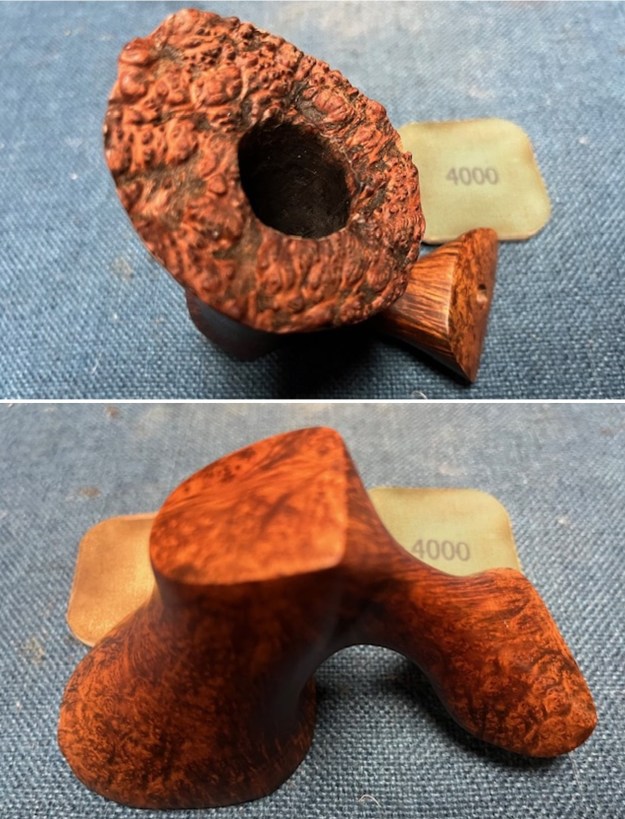
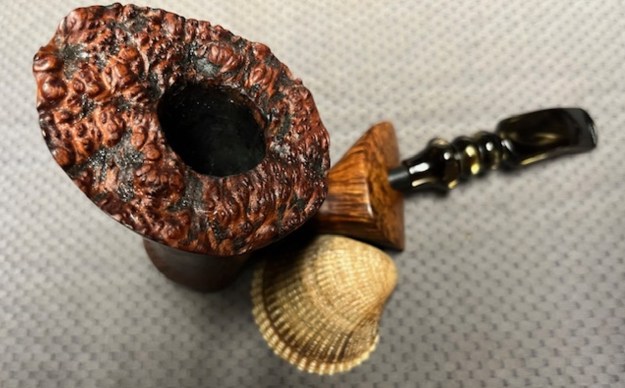
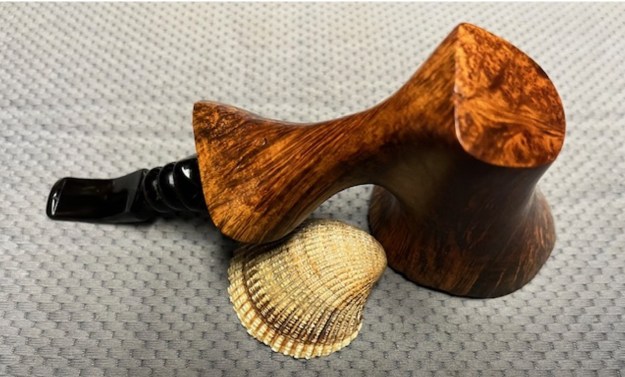
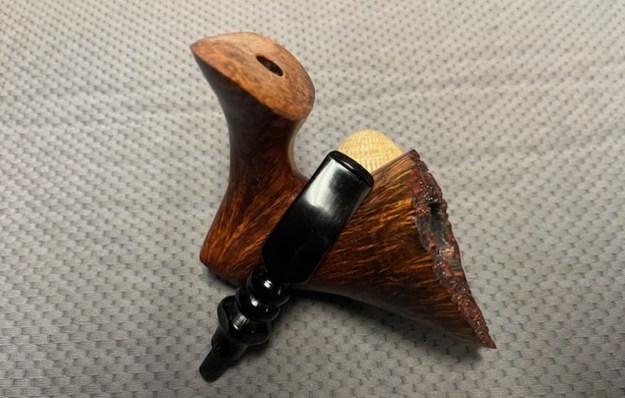
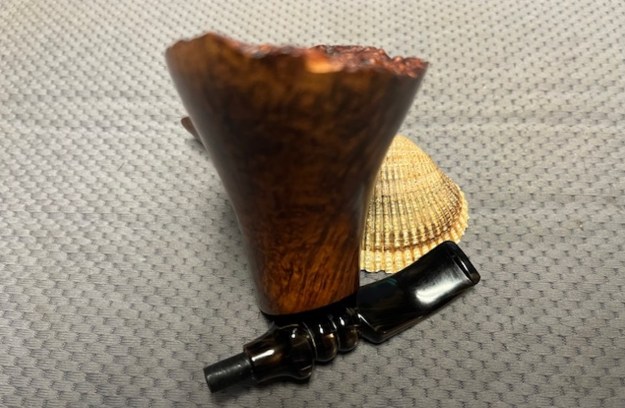
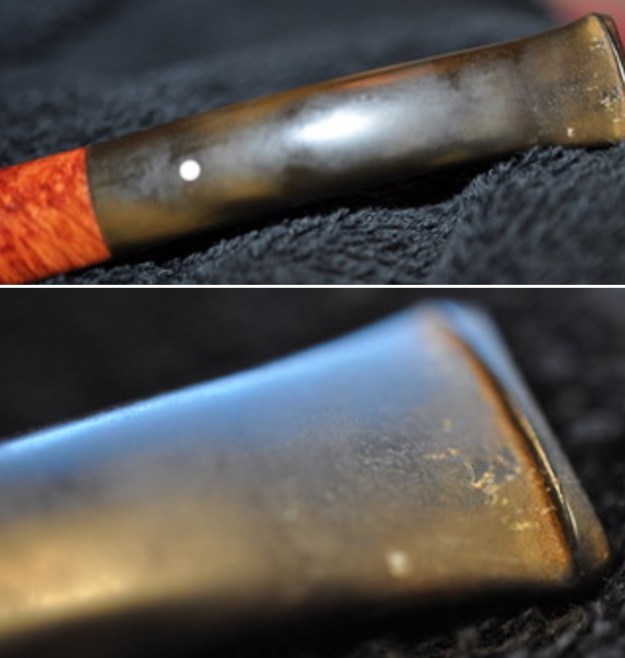
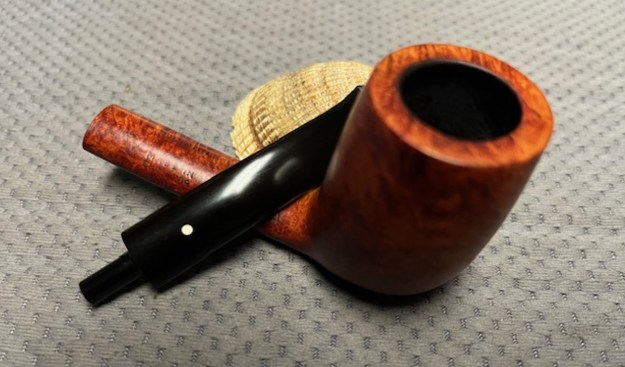
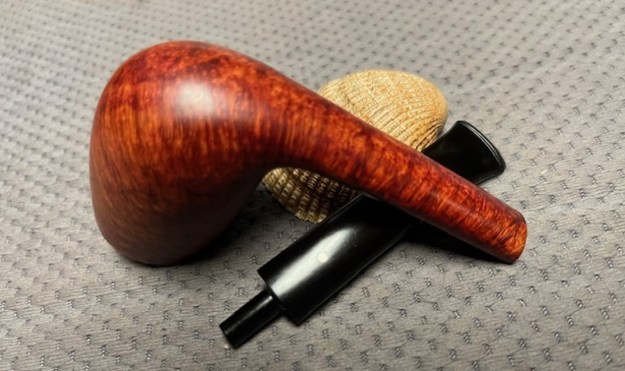
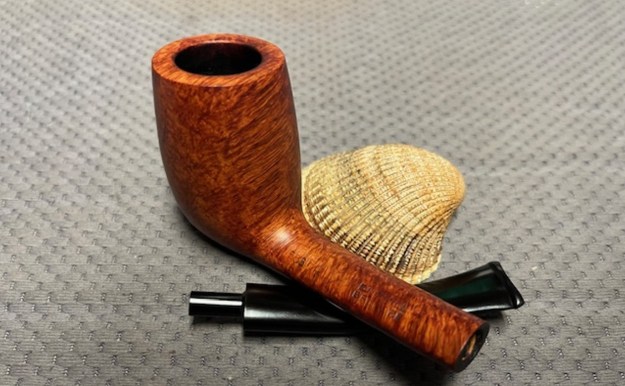
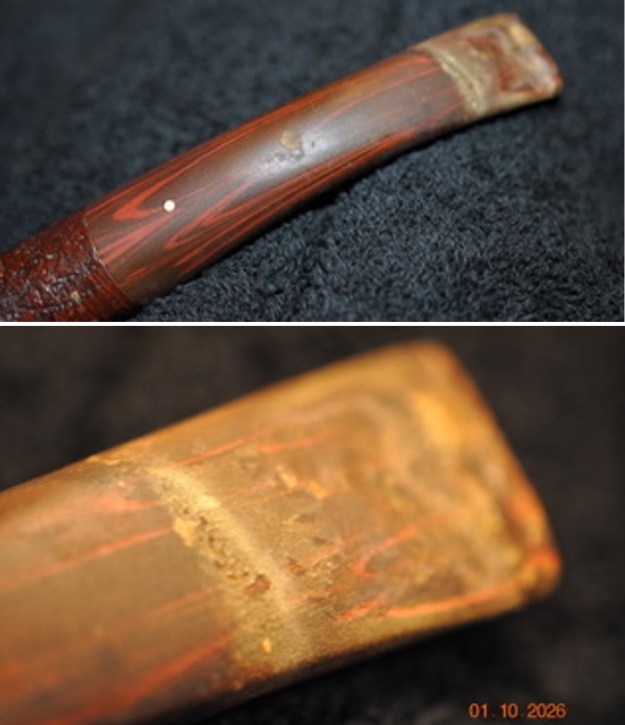
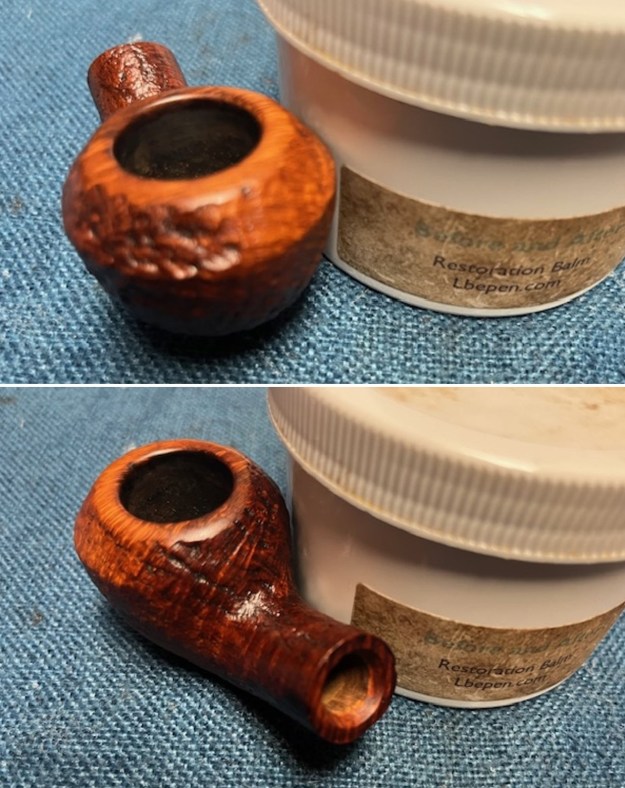
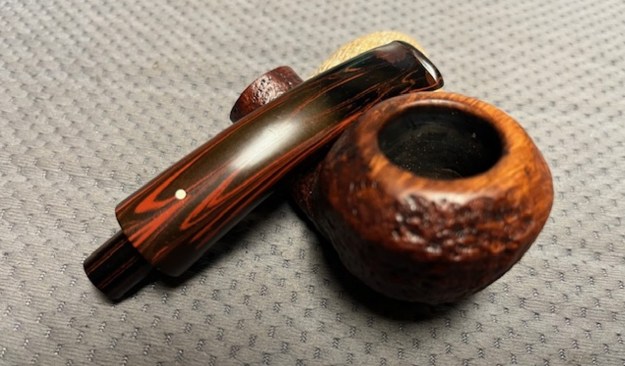
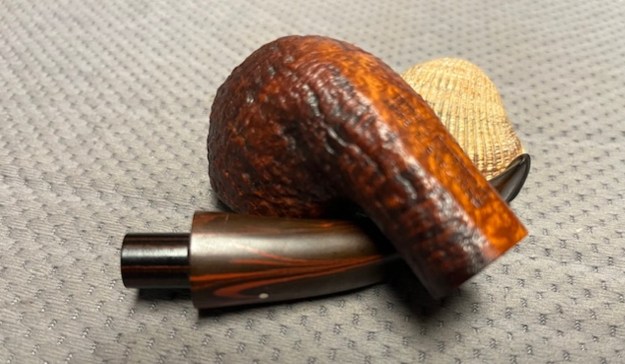
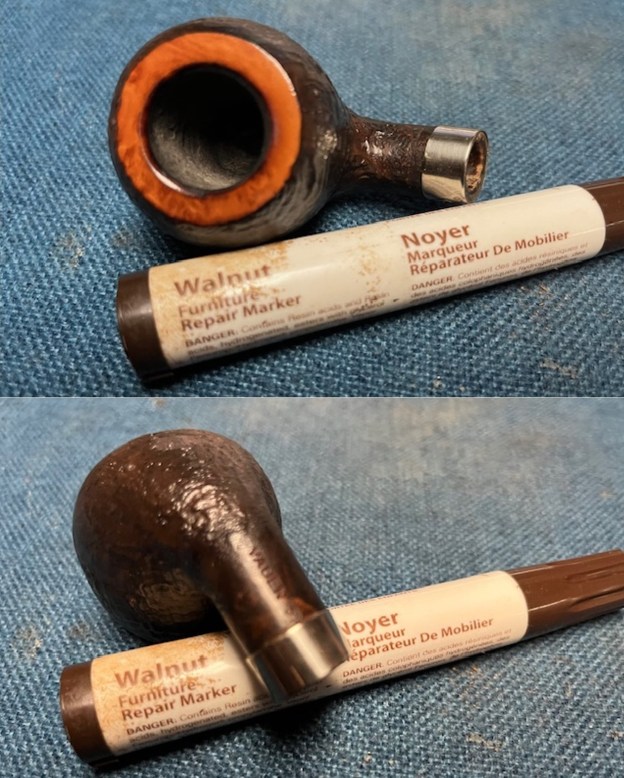
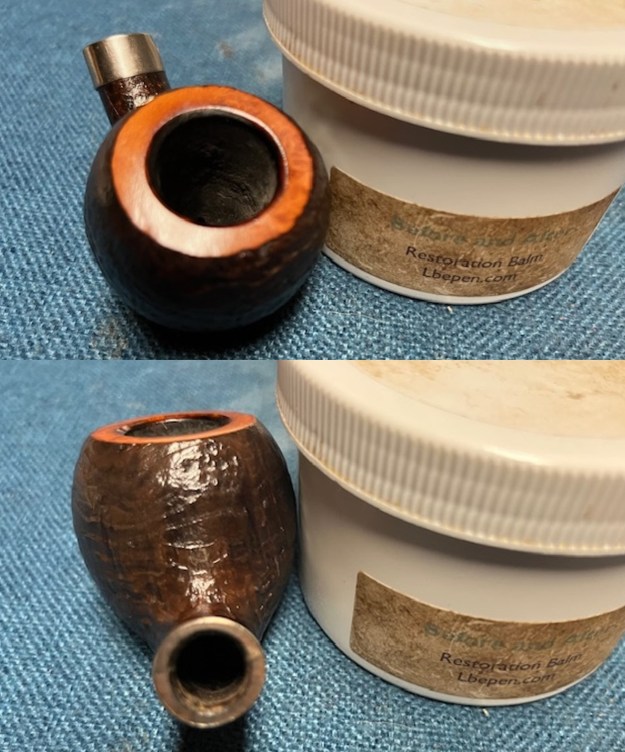
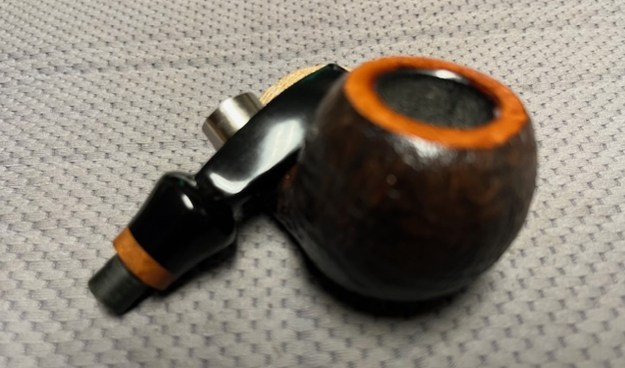
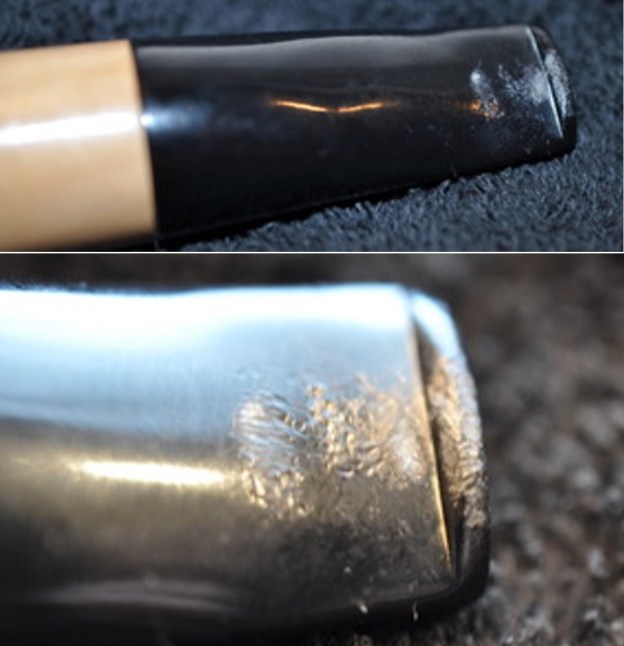
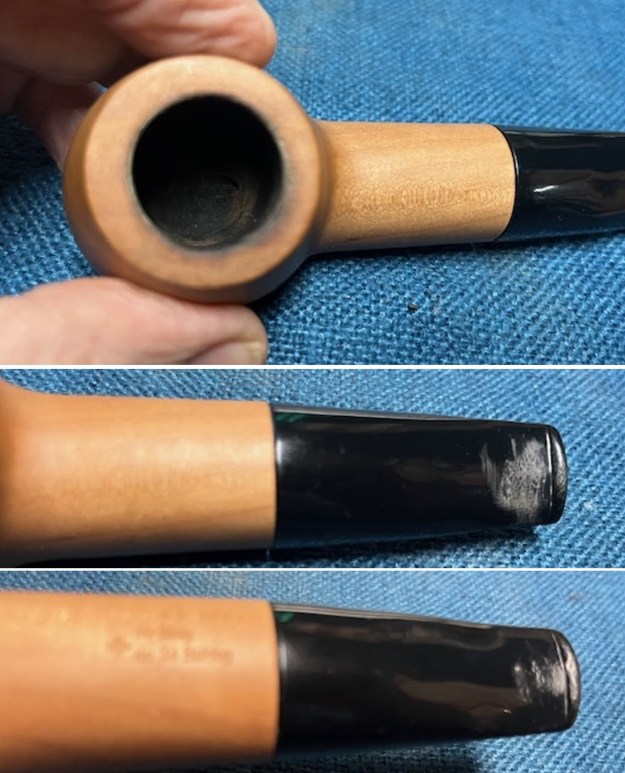
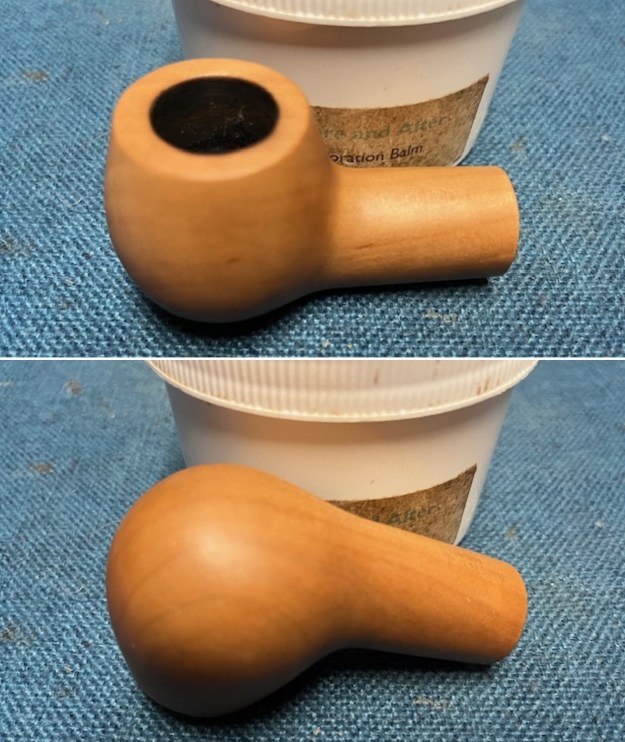
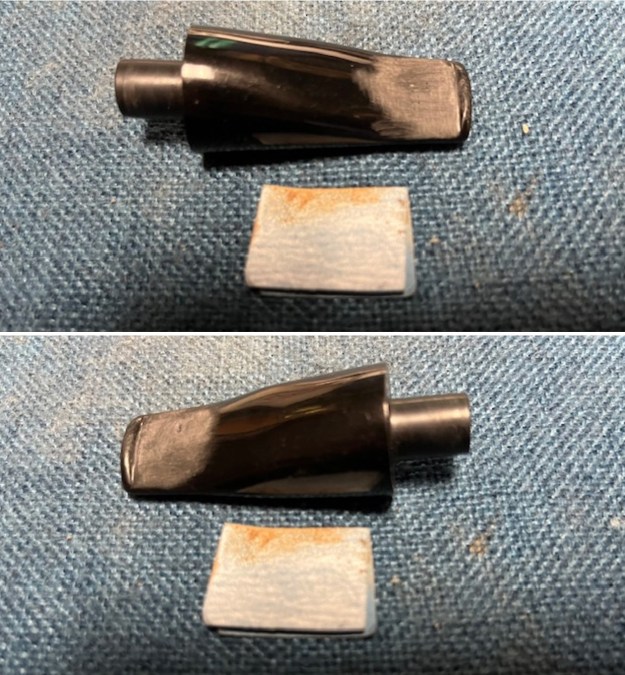
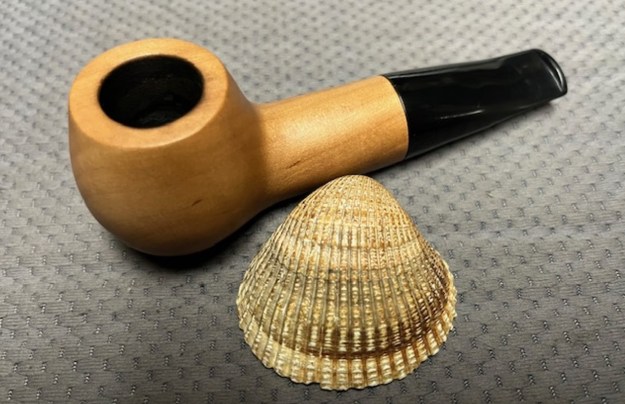
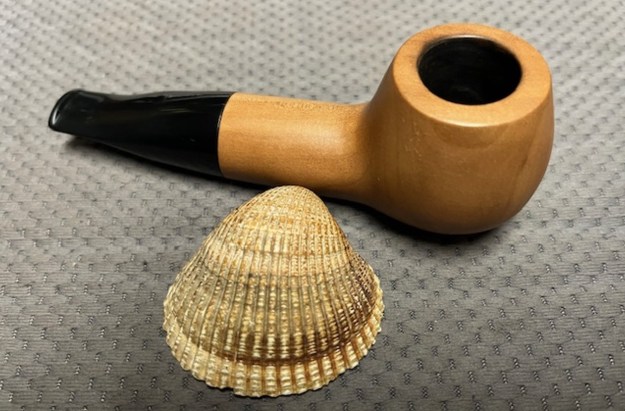
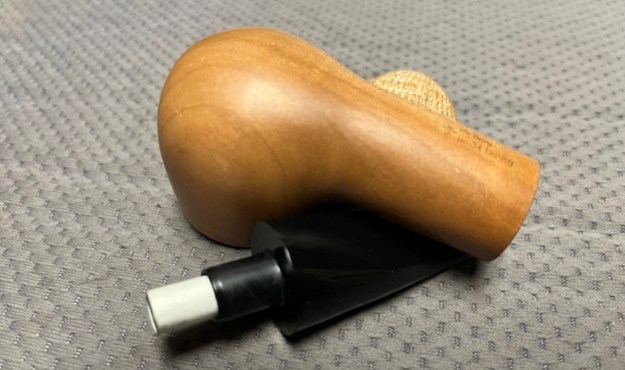
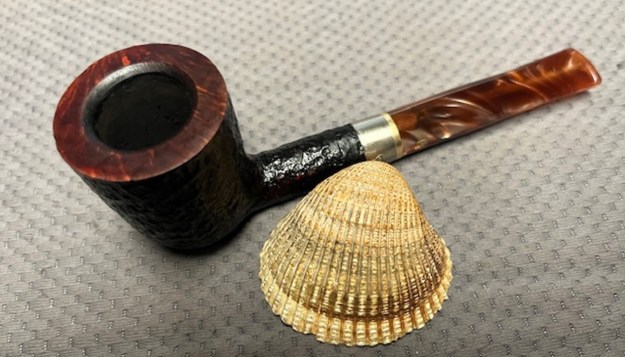
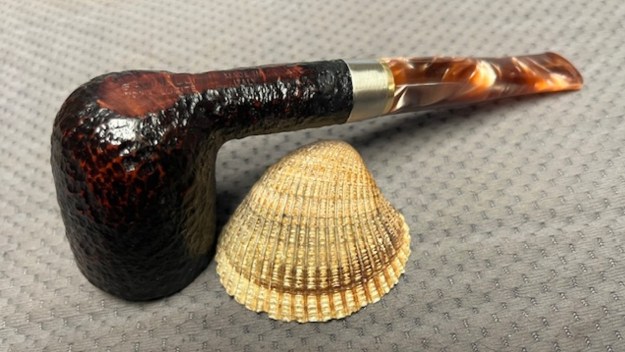
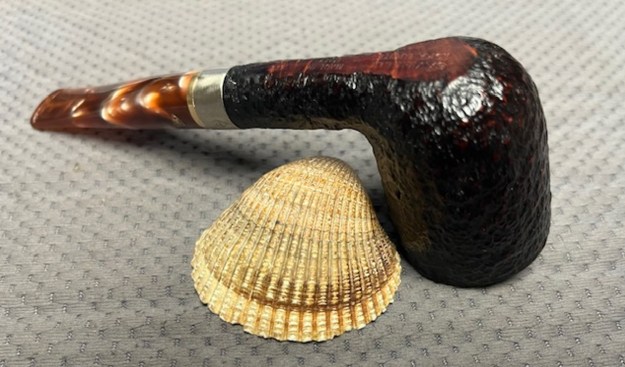
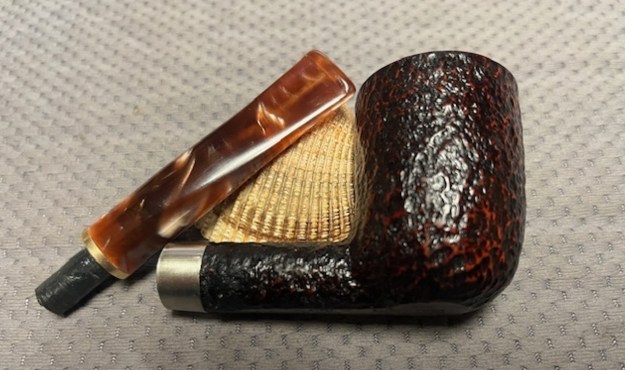
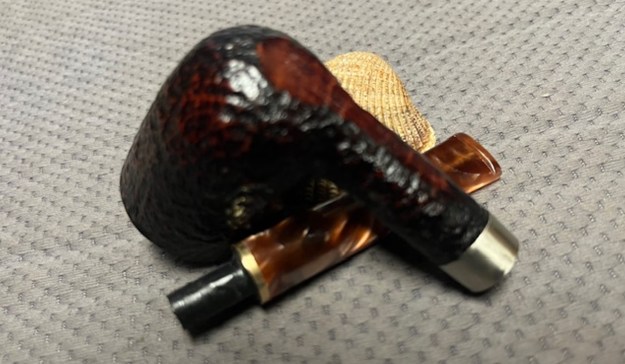
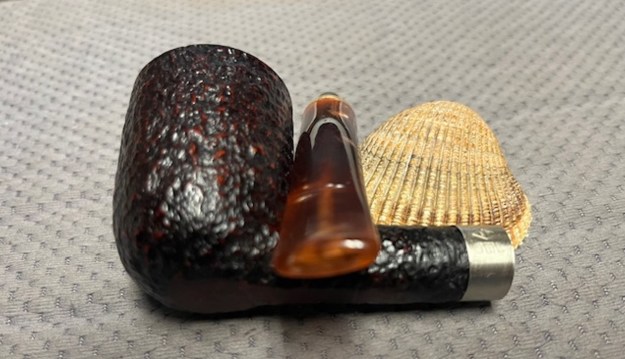
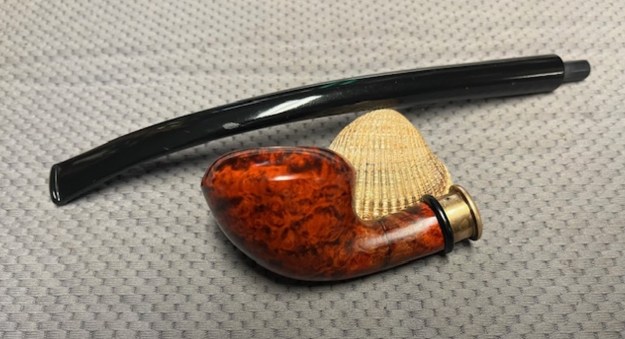
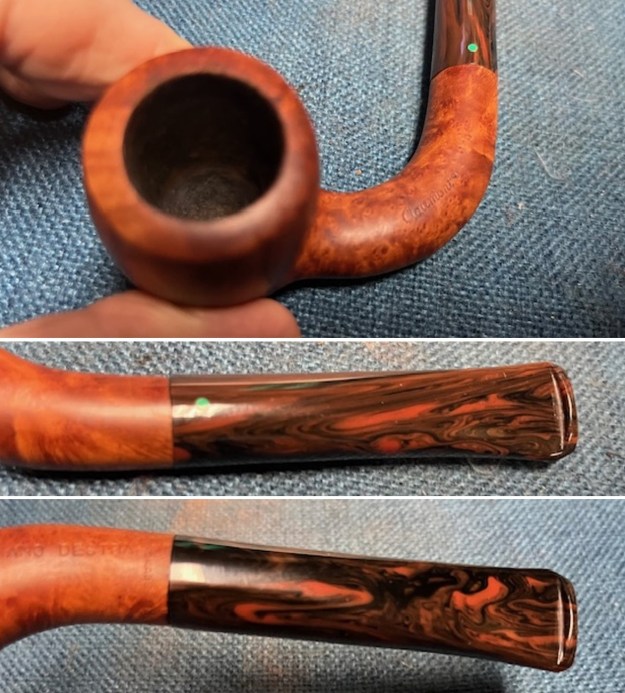
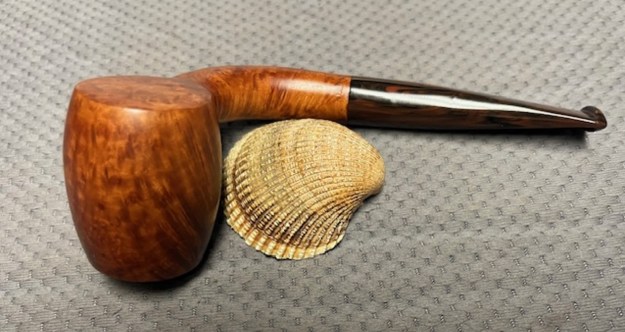
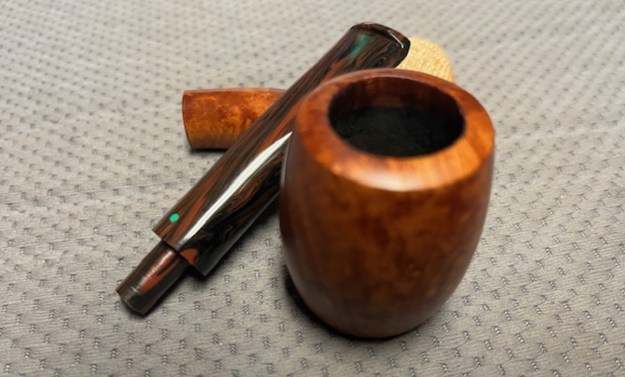
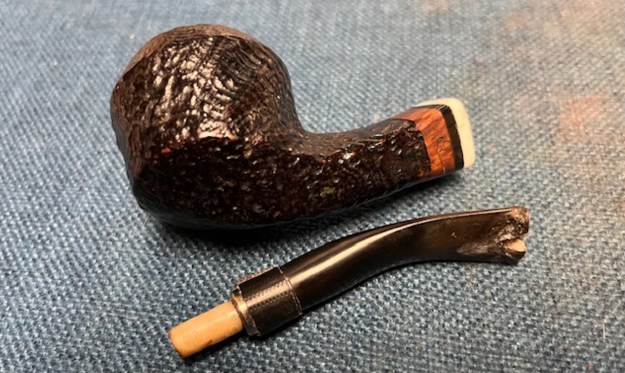
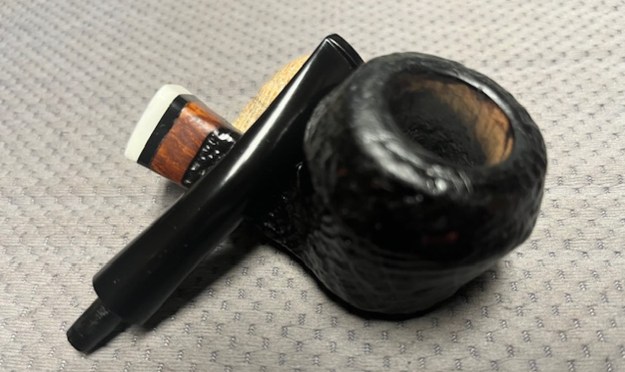
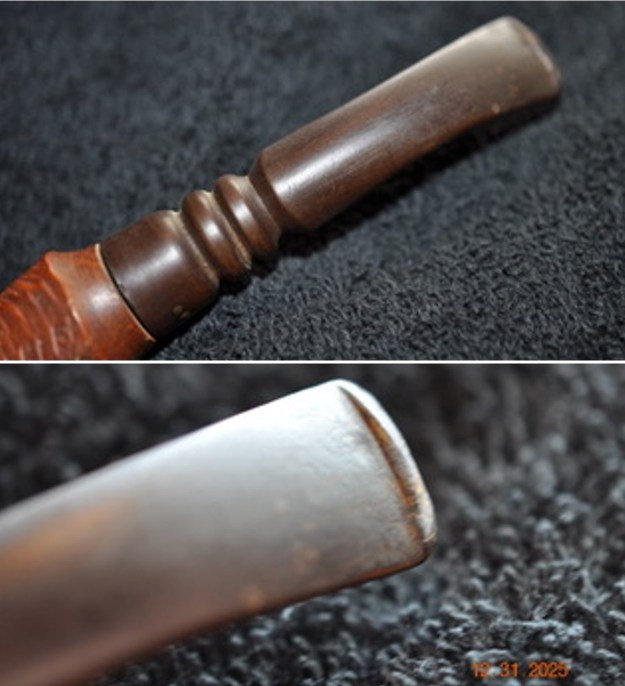
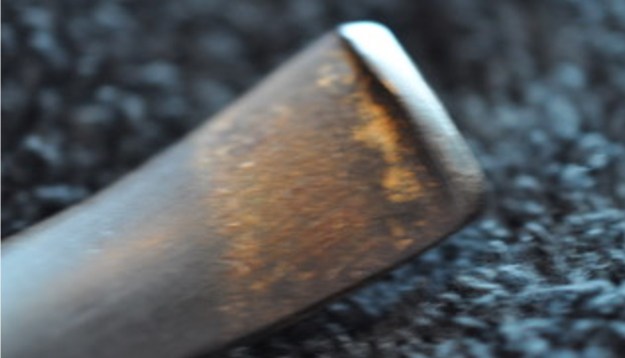
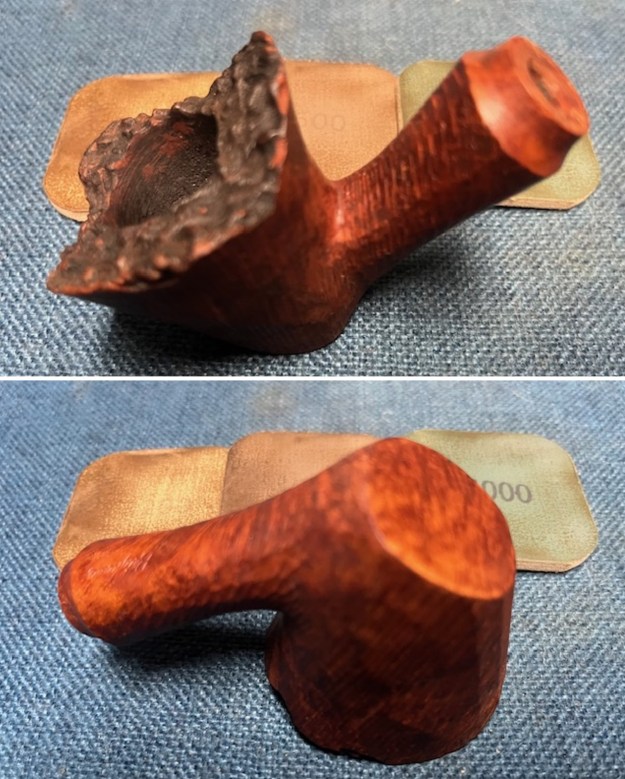
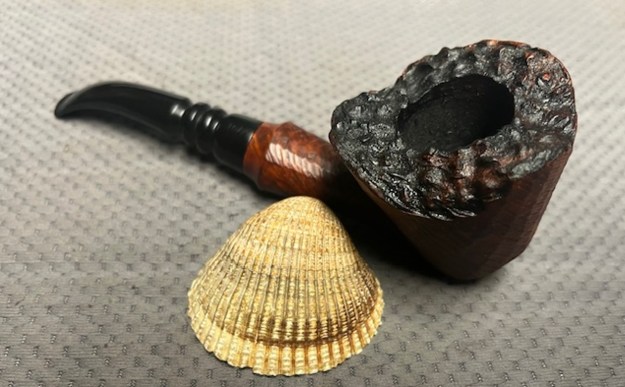
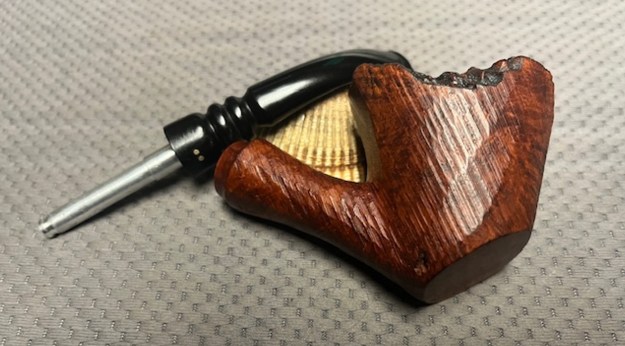
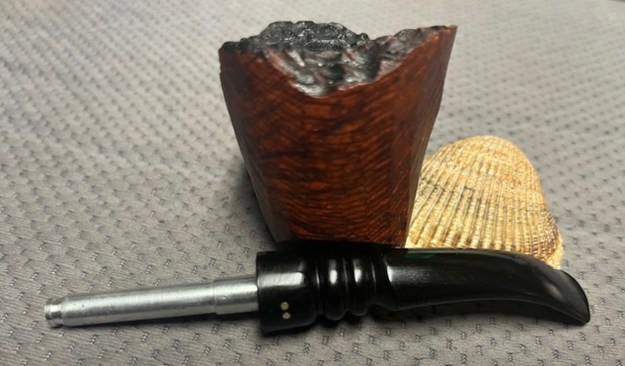
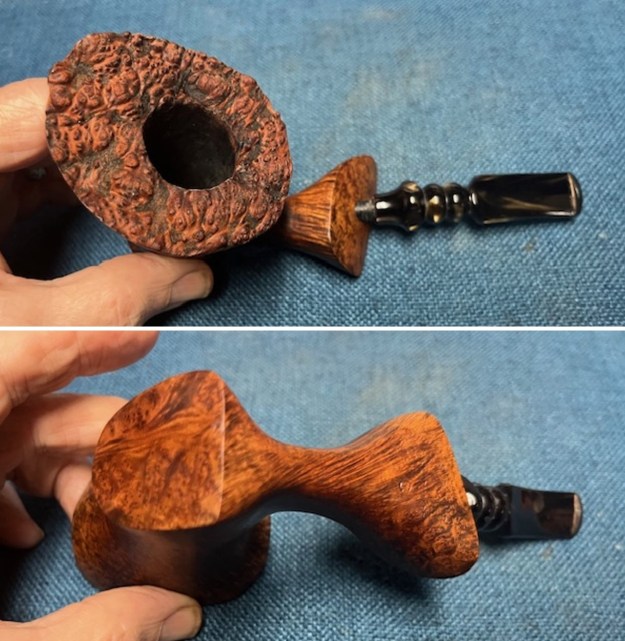 I took a close up photo of the magnificent plateau rim top and shank end to give a sense of its craggy beauty and condition. I also took photos of the stem to show the condition of the top and underside. It was unused but had some scratches and nicks from sitting in a can of stems here awaiting use.
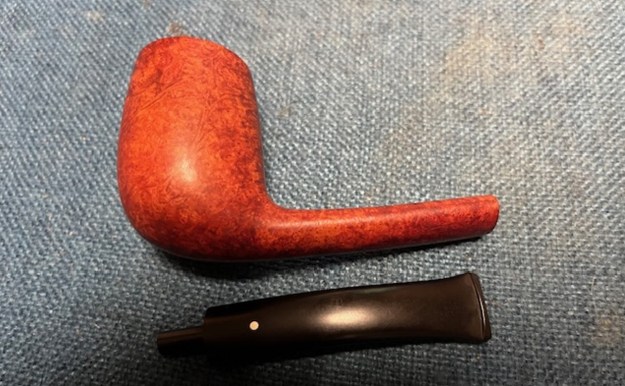
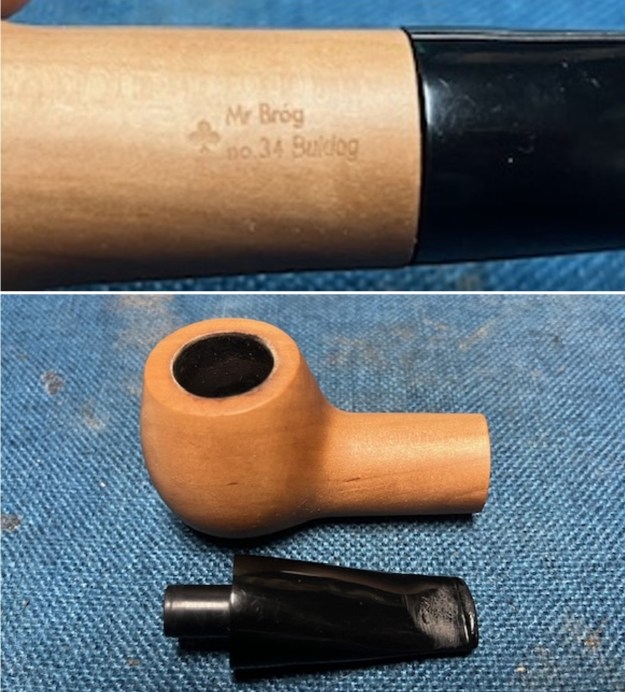
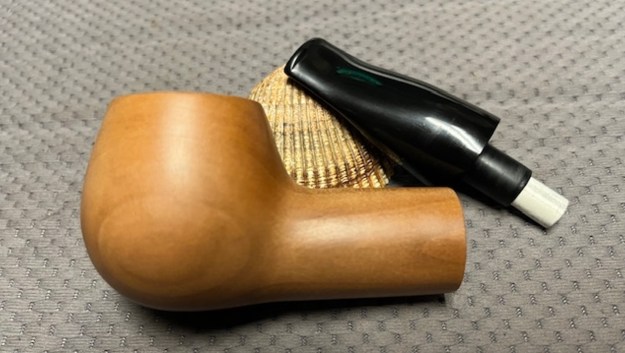
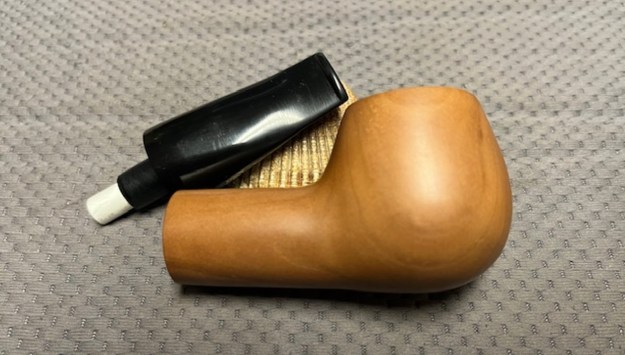
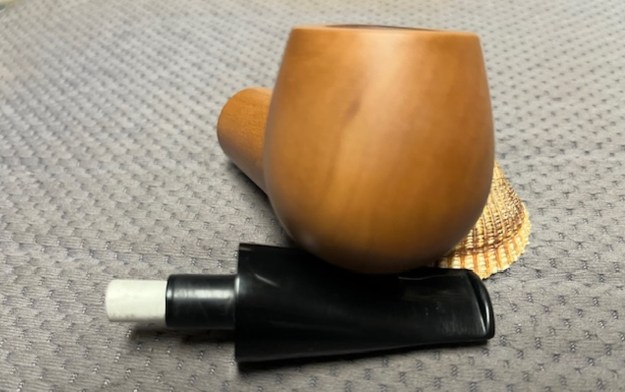
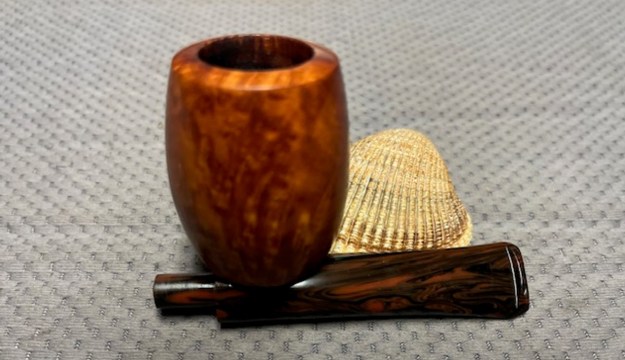
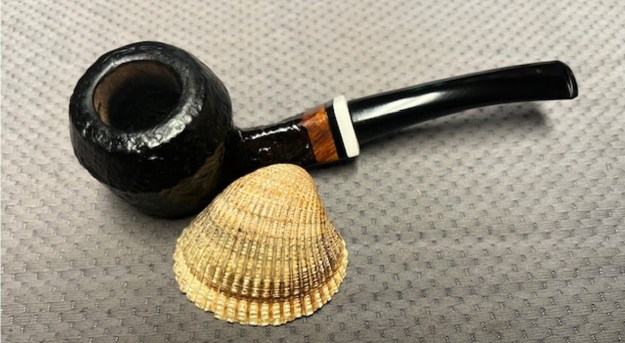
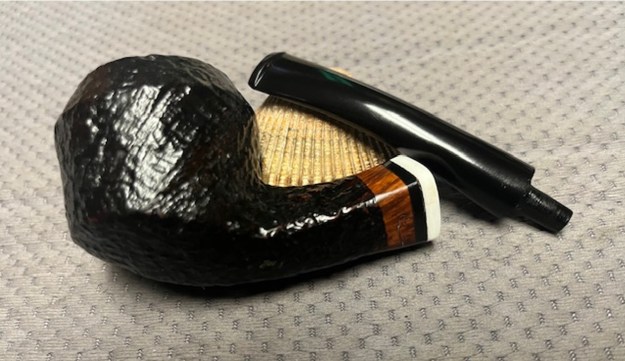
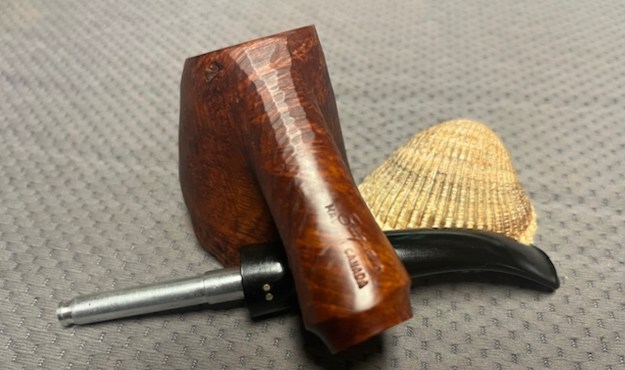
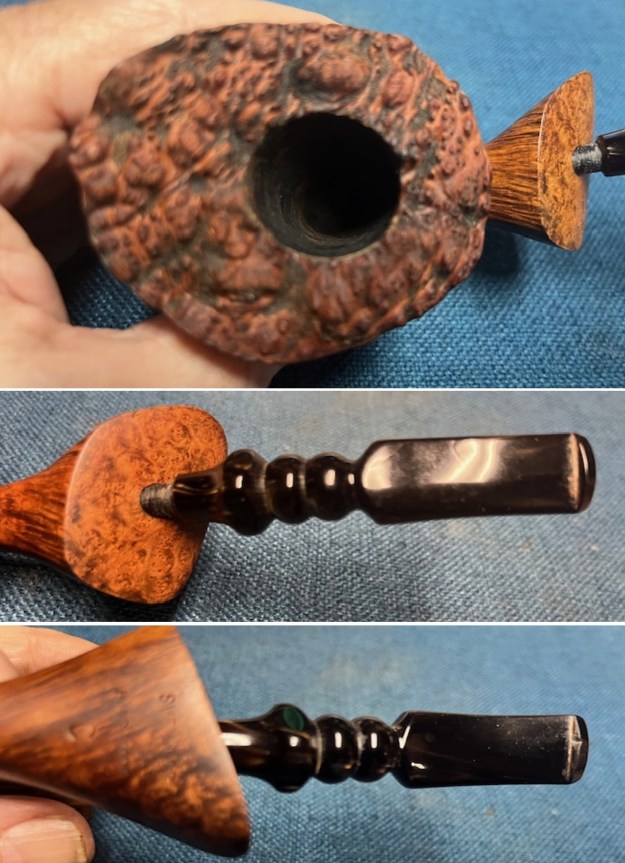 I took a photo of the stamping on the underside of the shank. It is clear and readable as noted above. I took a photo of the bowl and its new stem sitting with it to show the look of the pipe. It is a beautiful piece of briar.
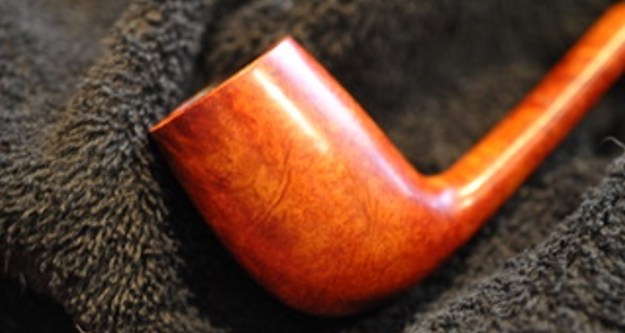
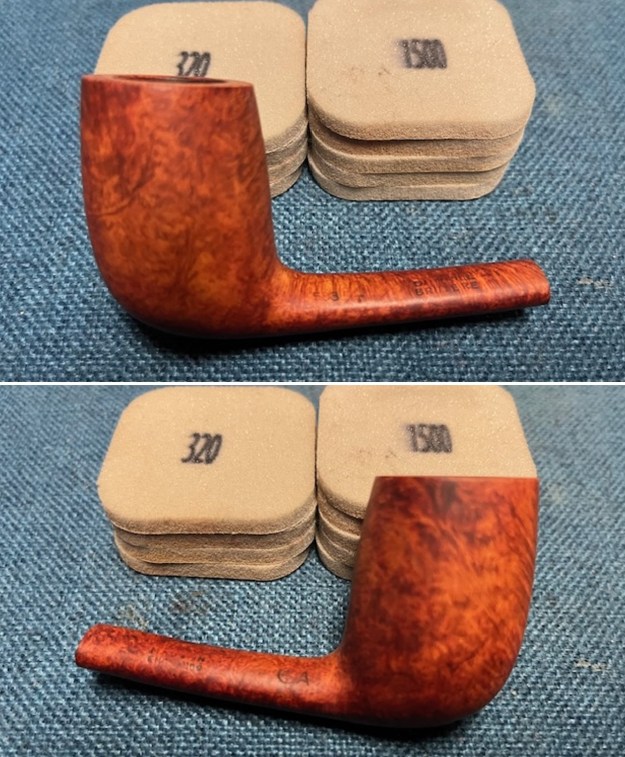
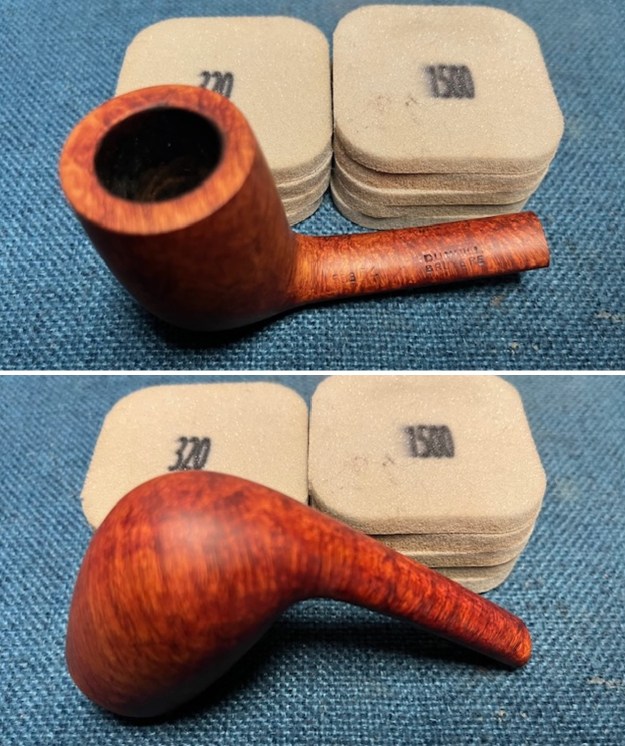
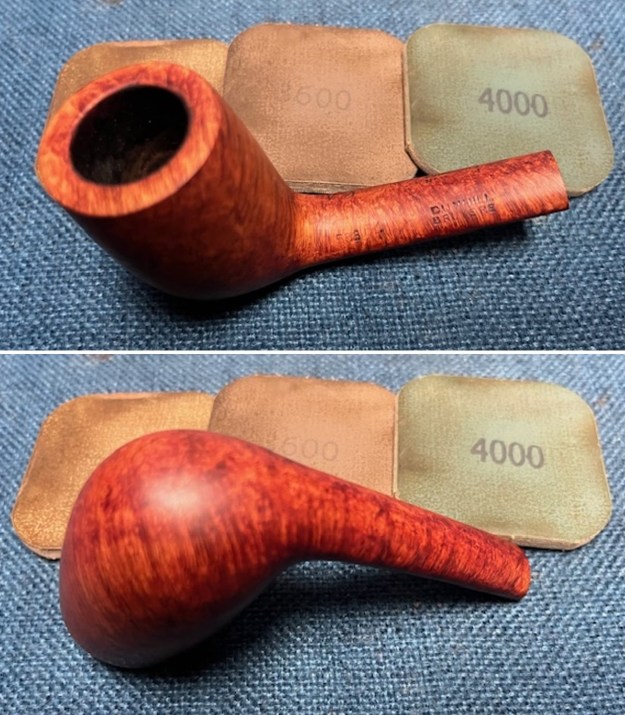
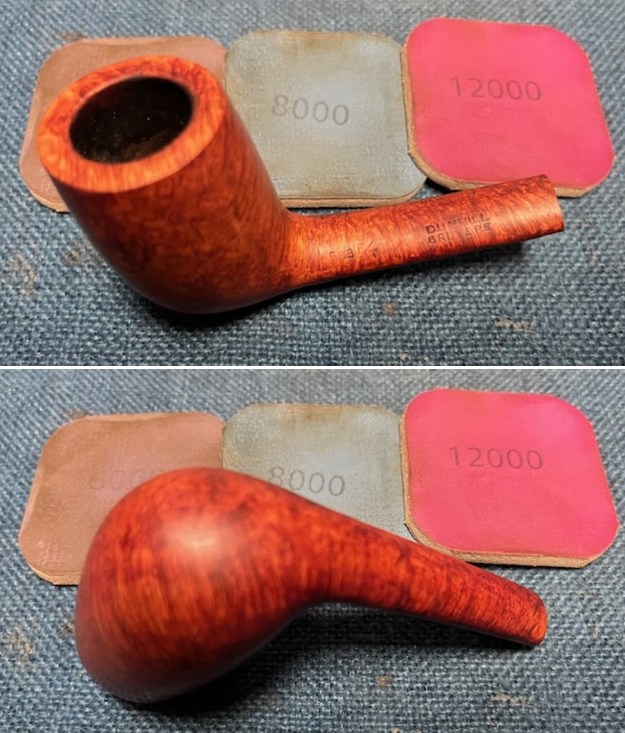
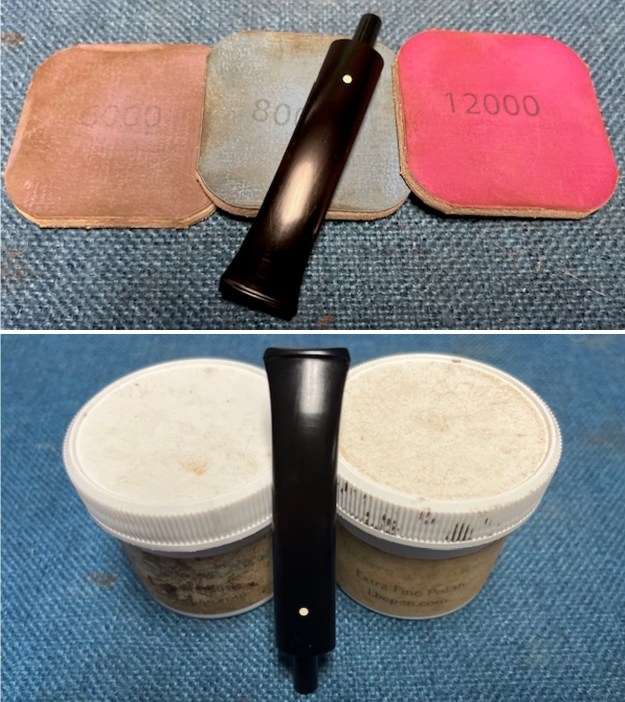
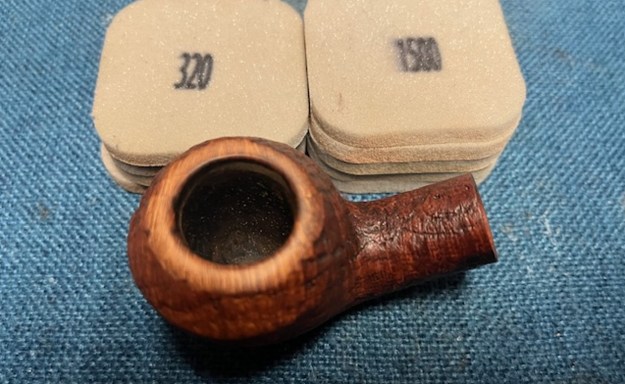
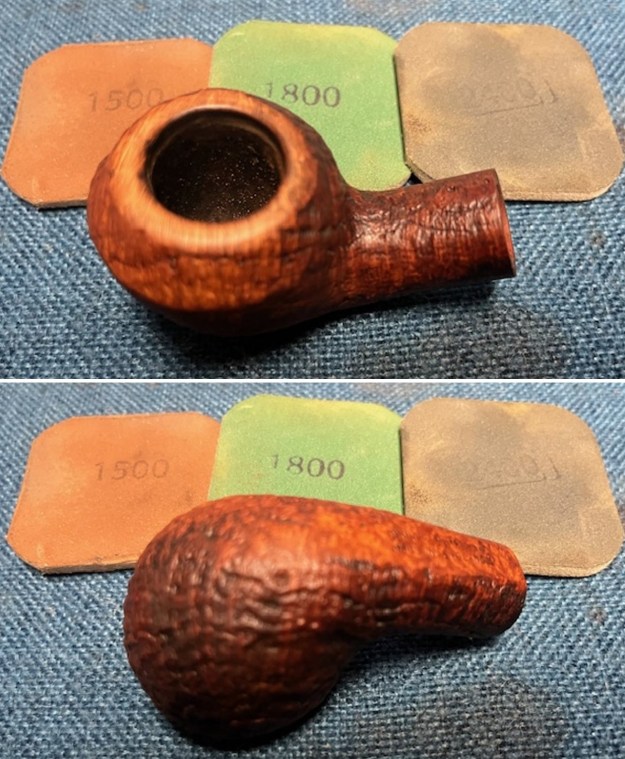
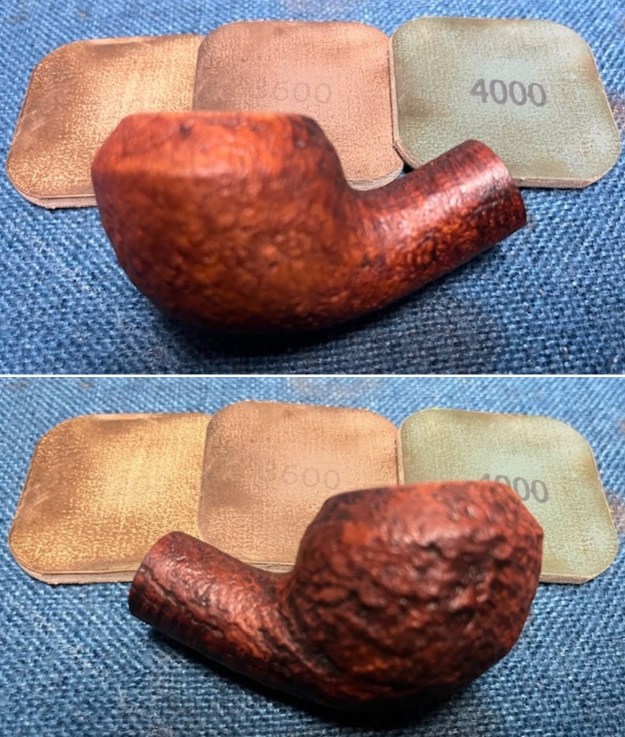
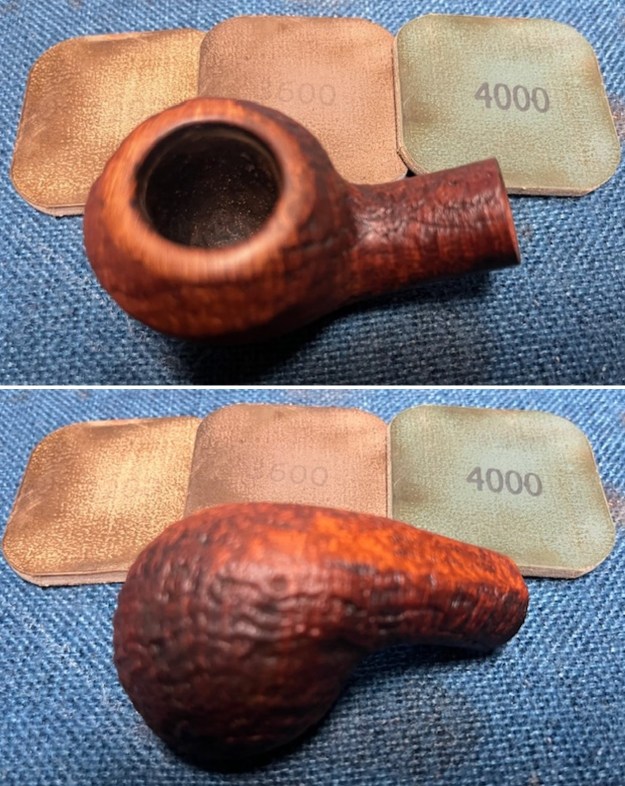
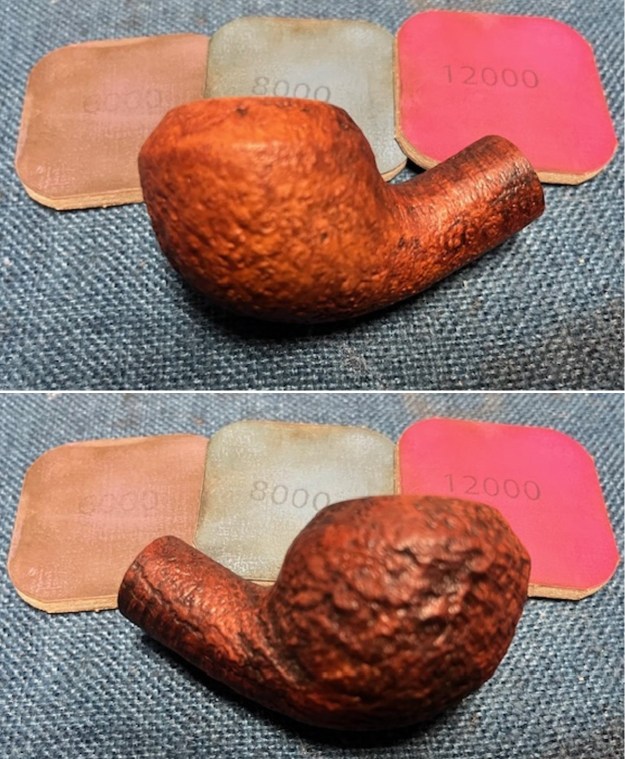
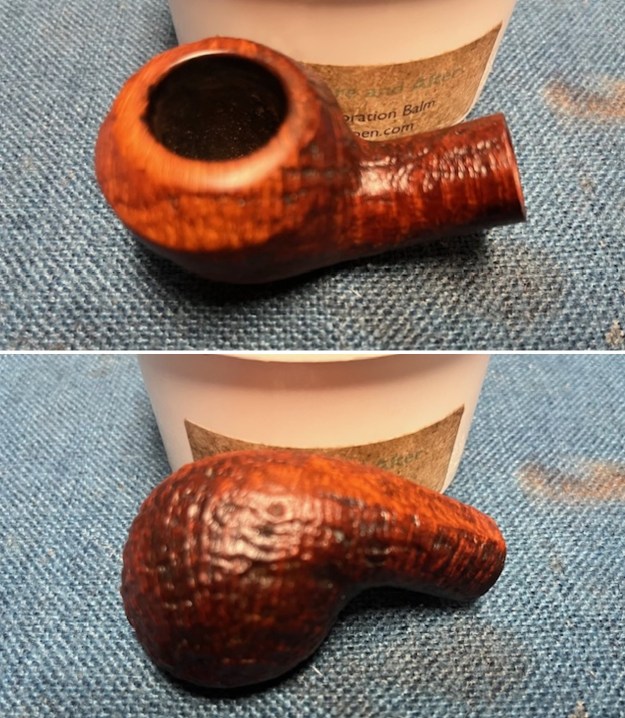
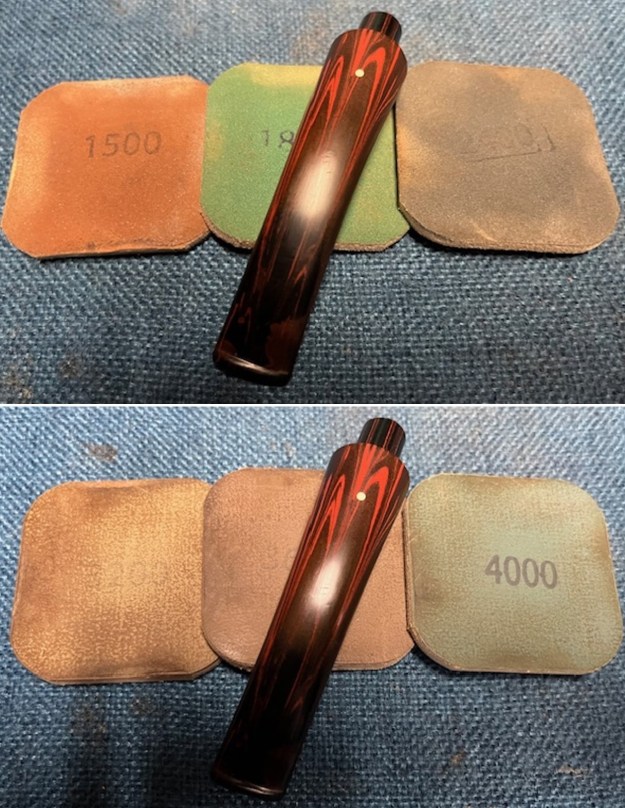
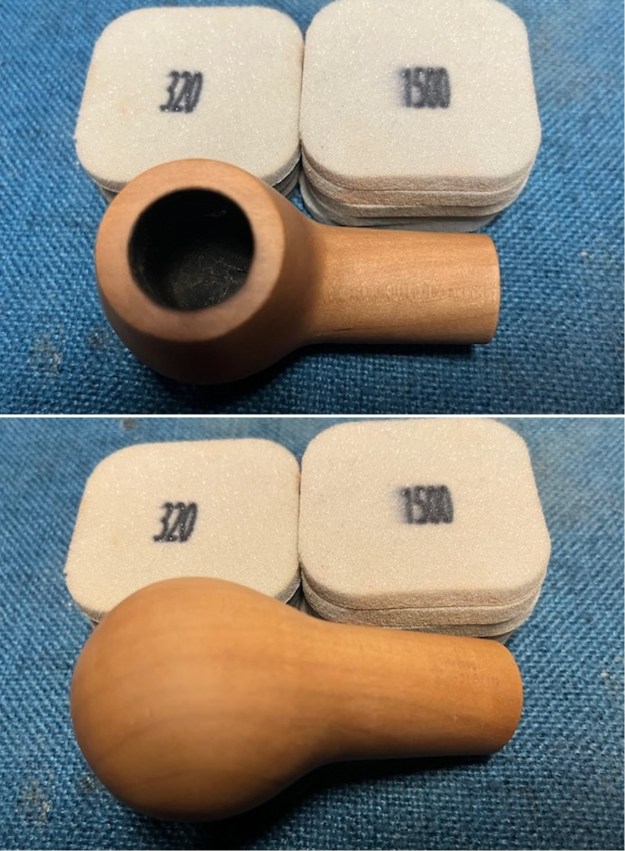
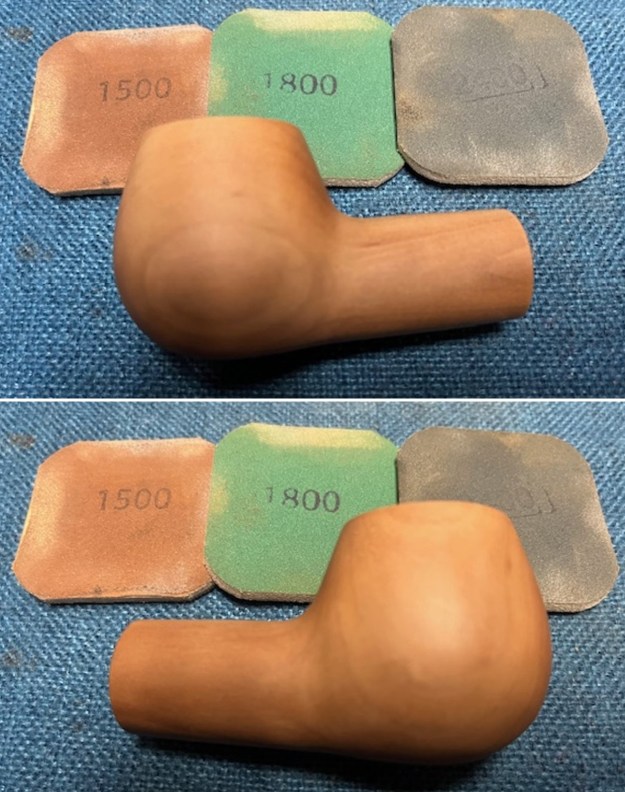
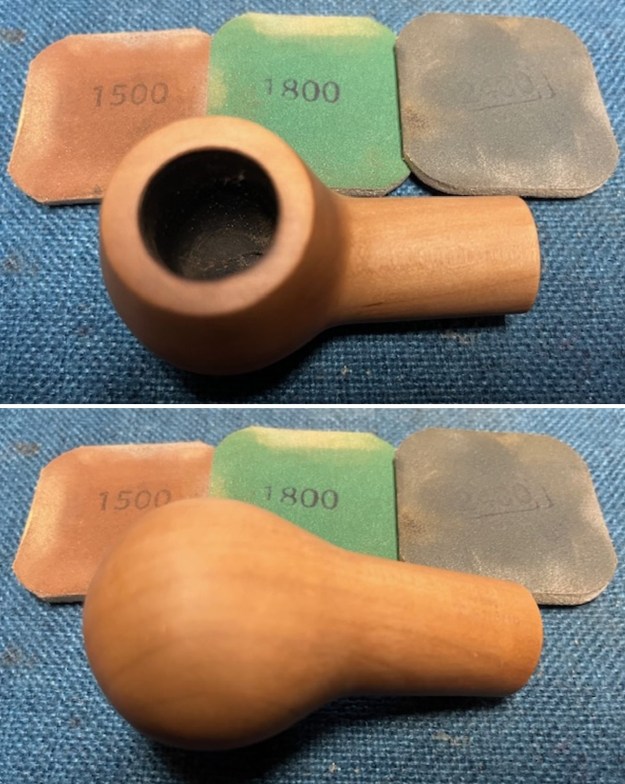
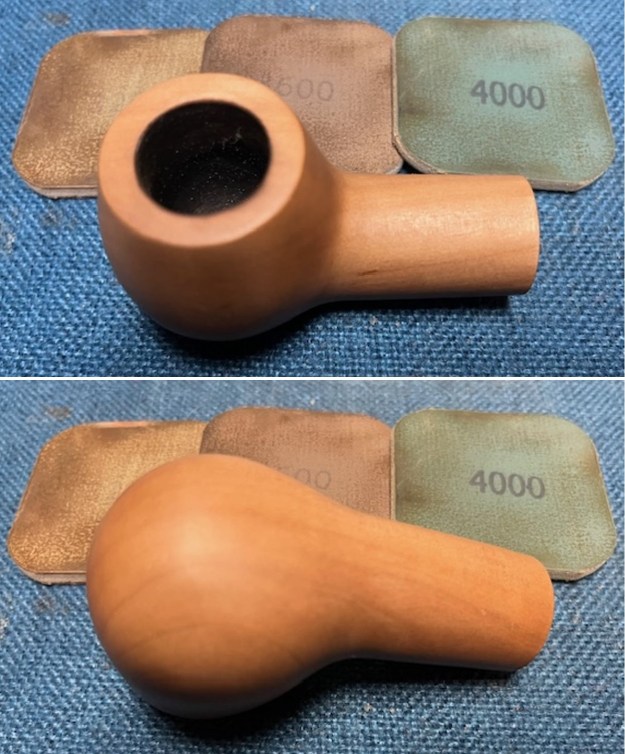
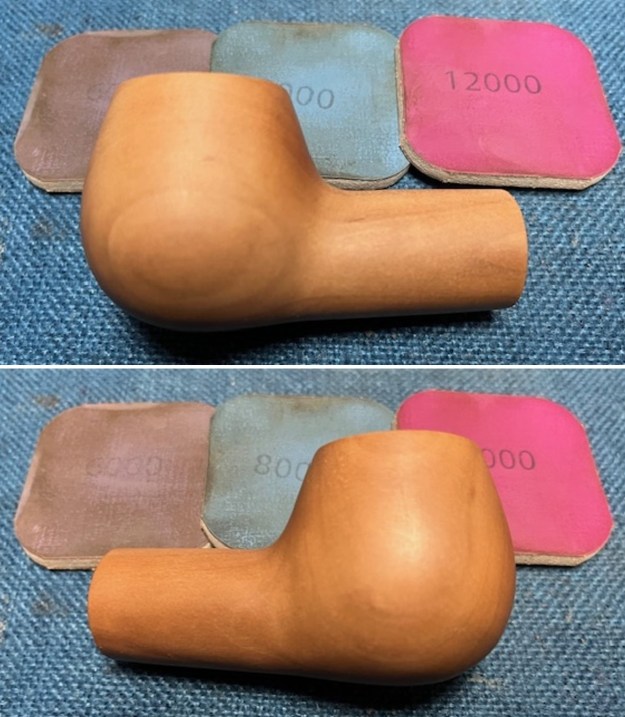
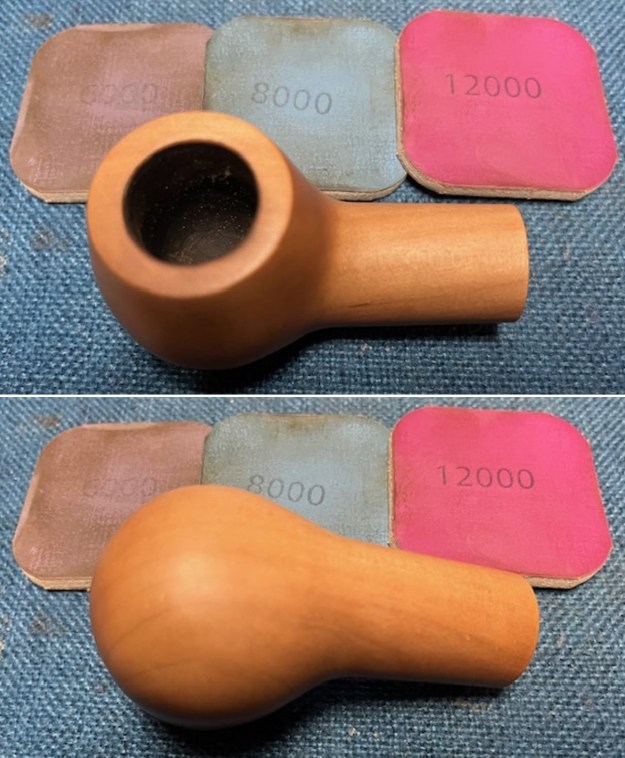
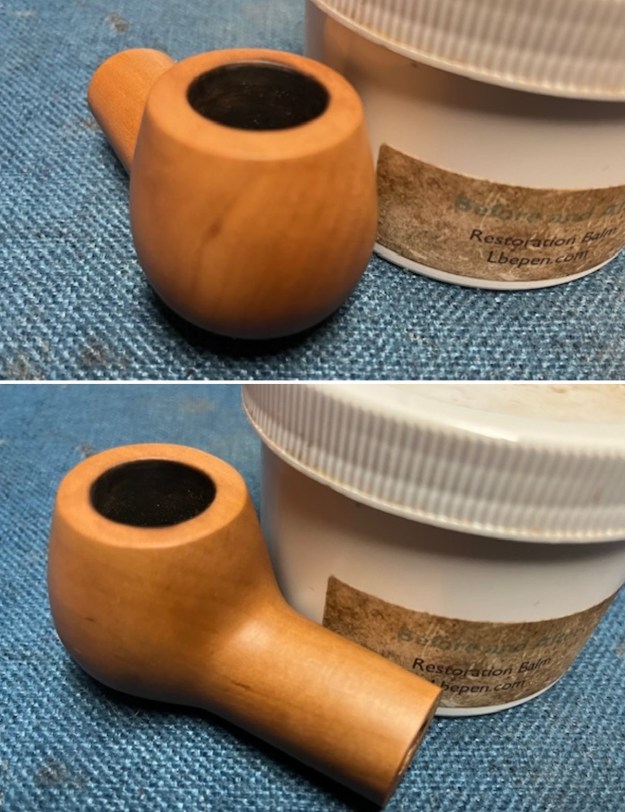
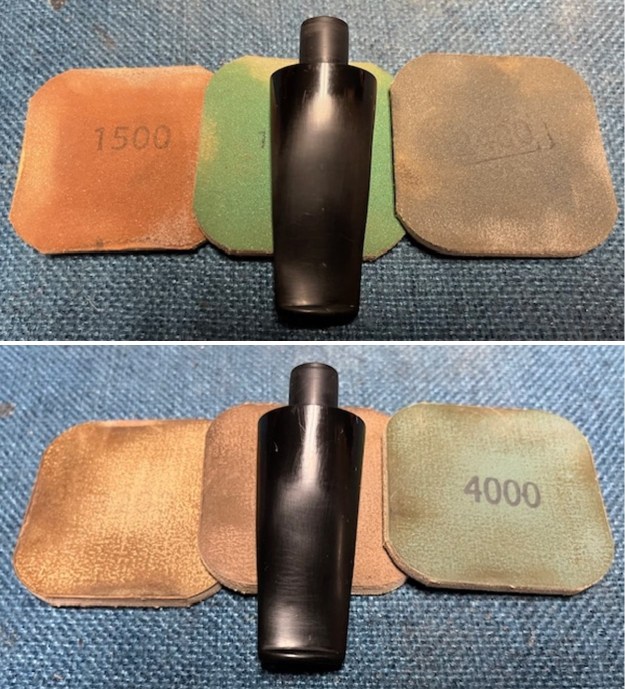
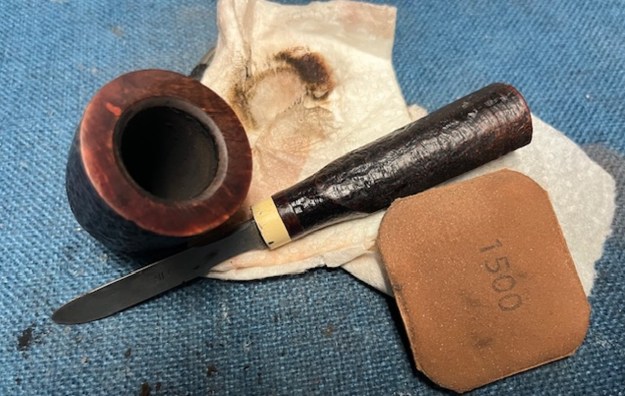
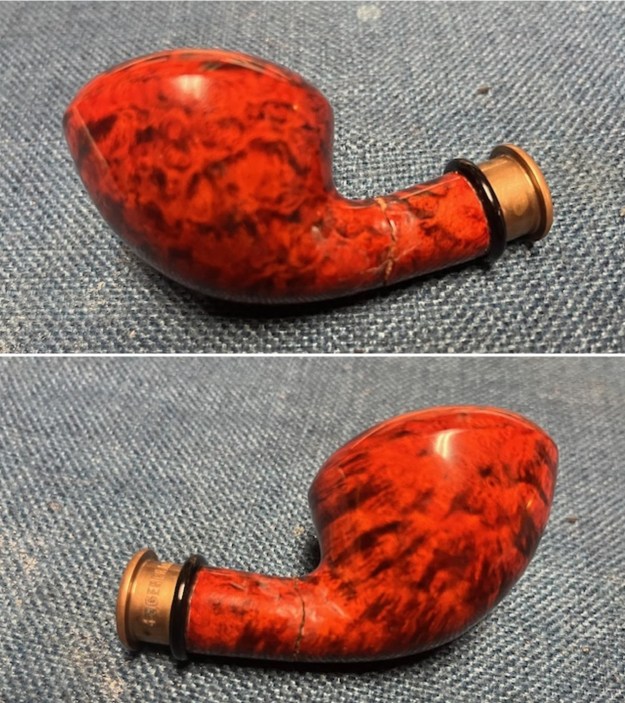
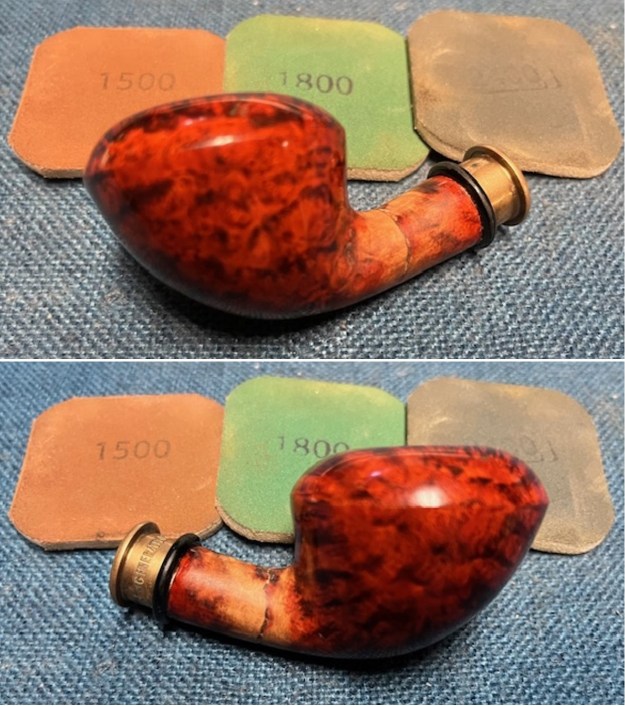
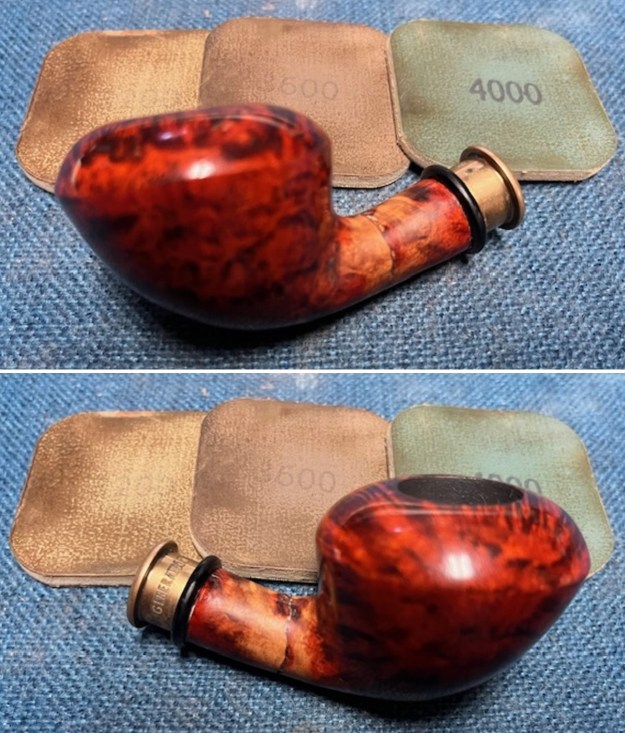
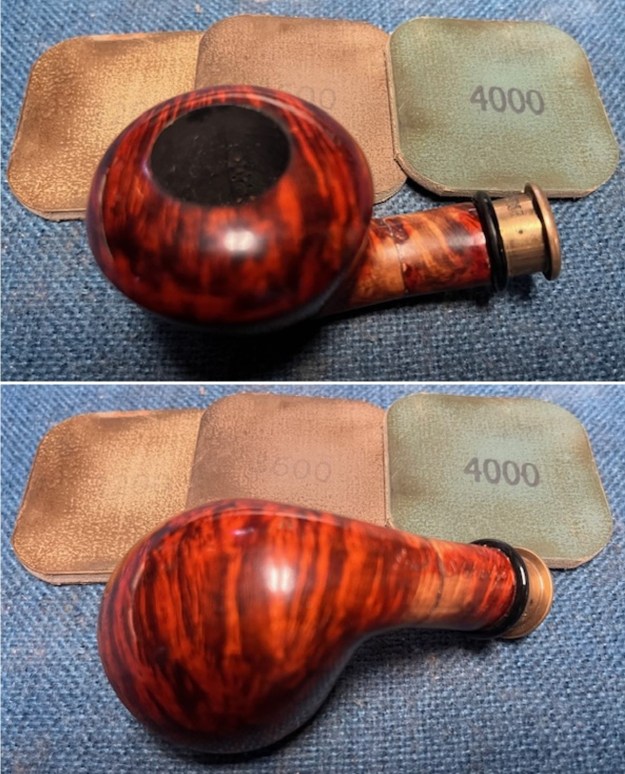
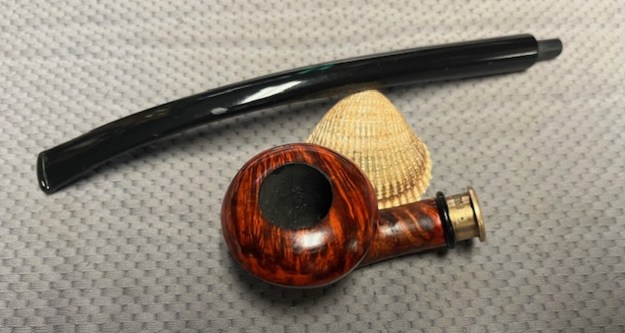
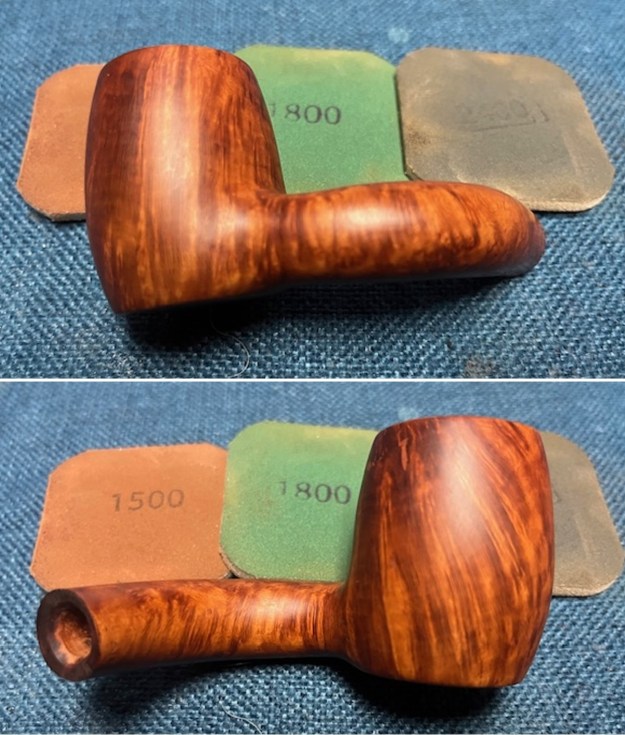
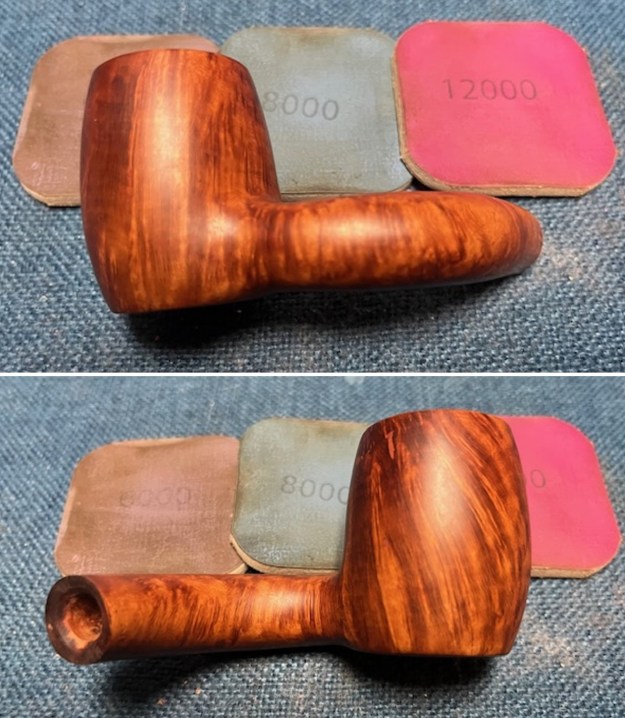
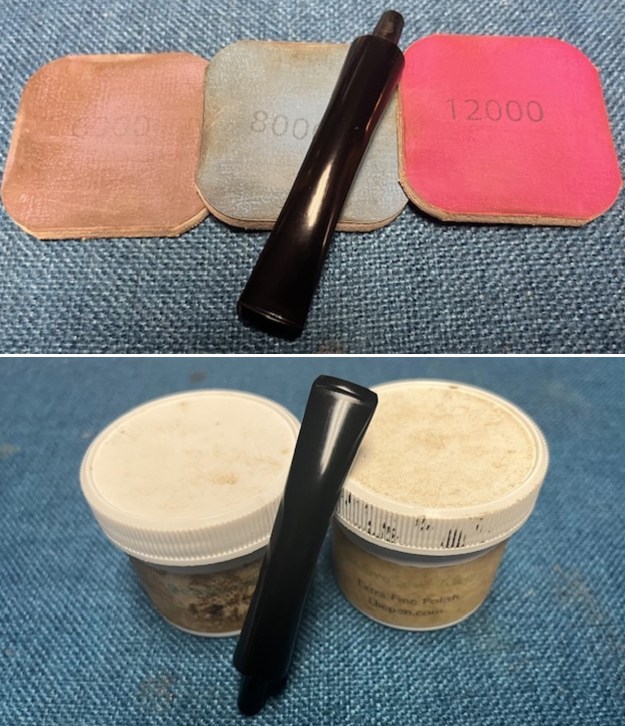
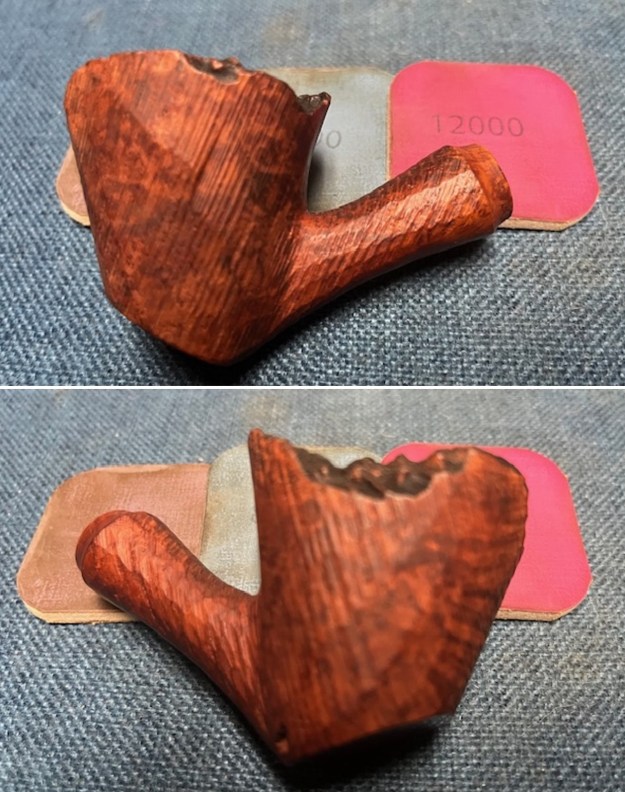
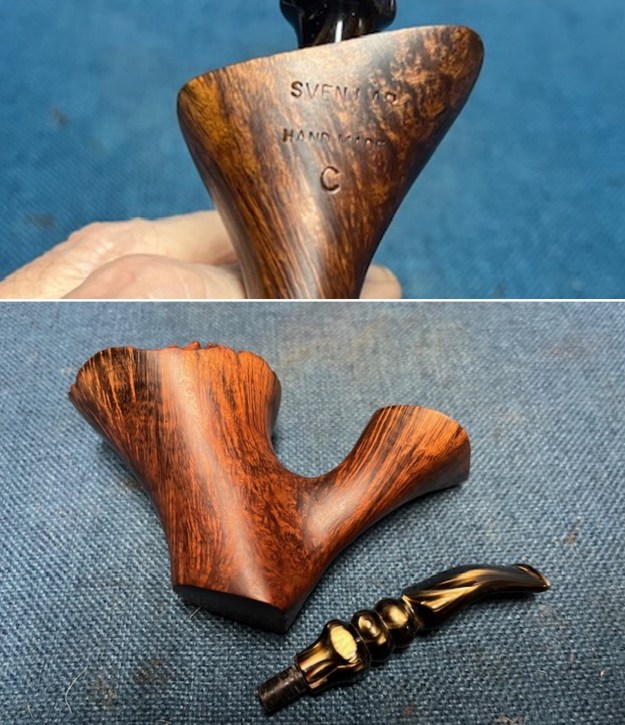 The bowl looked so good that I polished it with 1500-12000 grit micromesh sanding pads. I dry sanded with the pads and wiped it down with a damp cloth after each pad to remove the debris. The briar began to shine and the grain stood out.
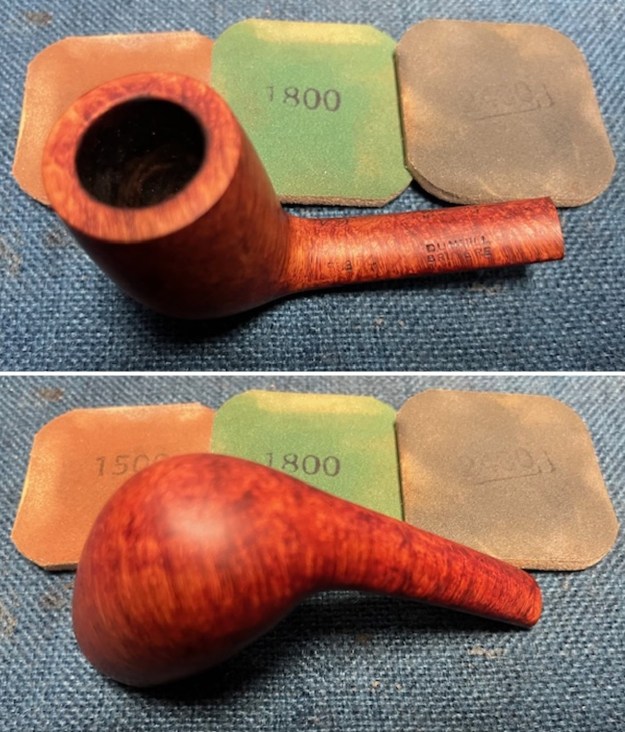
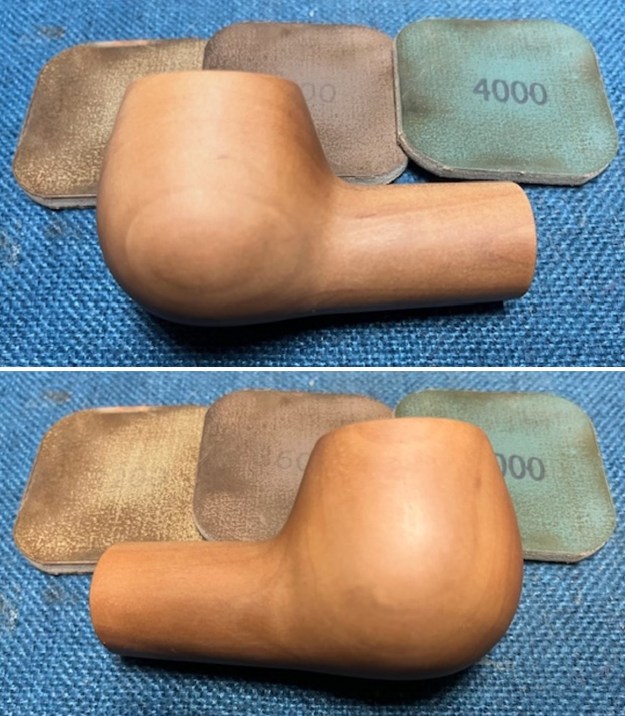
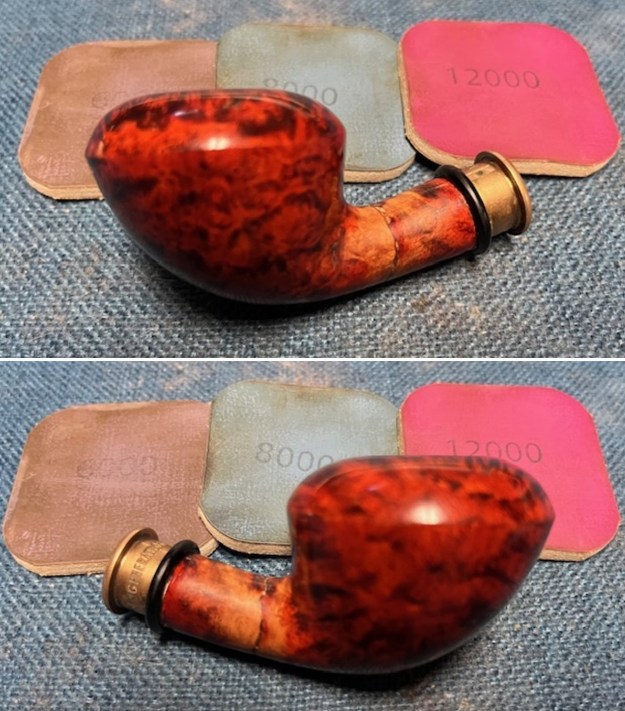
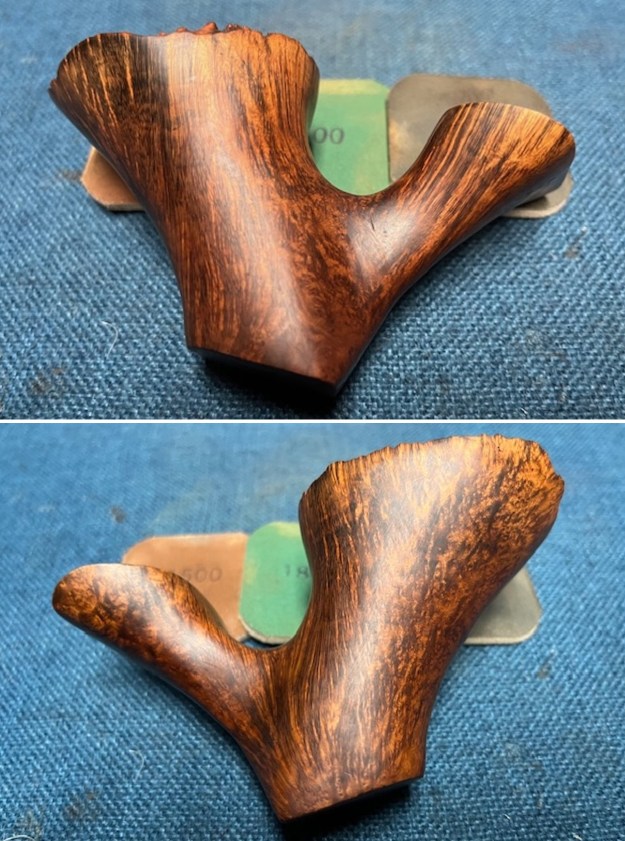
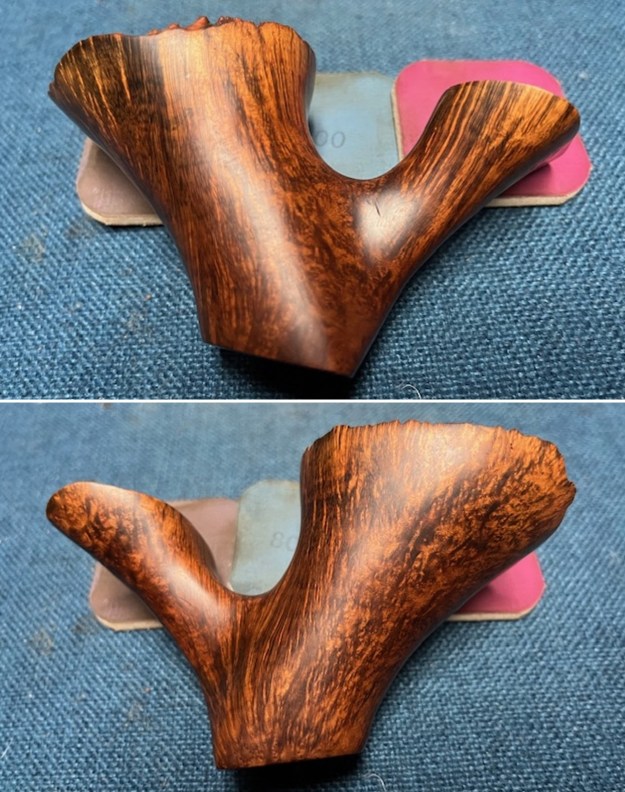
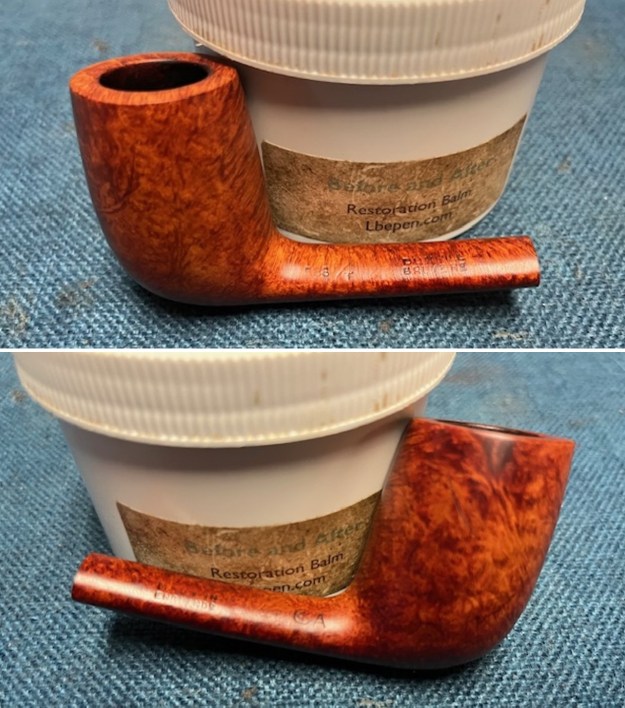
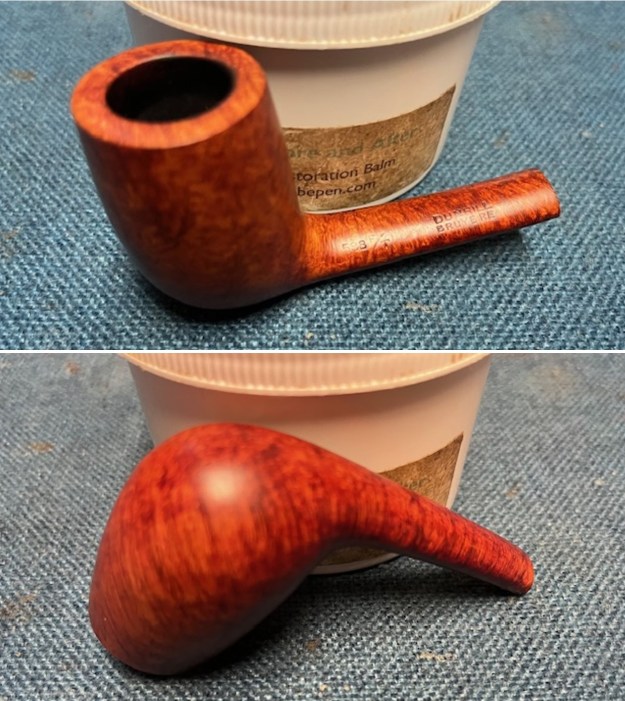
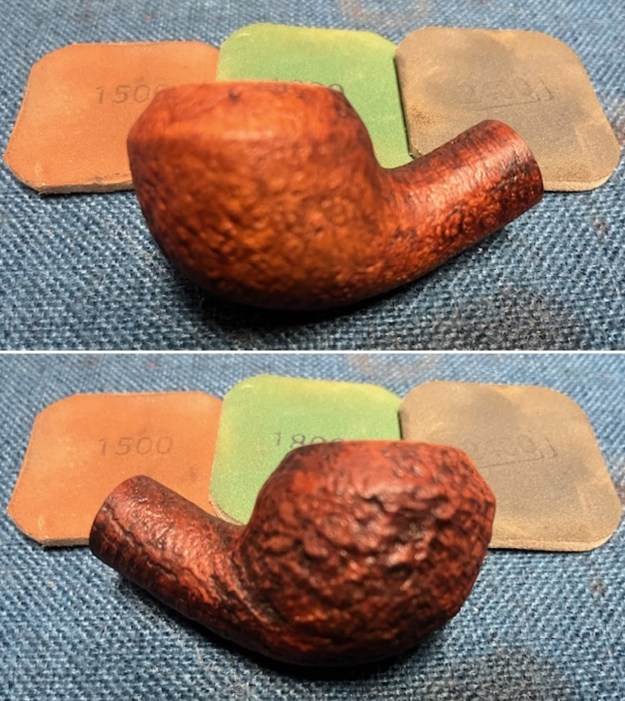
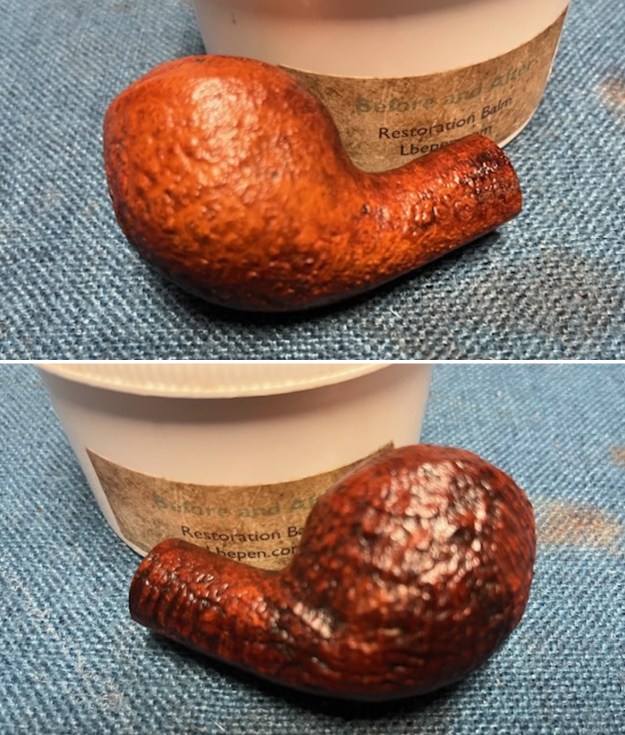
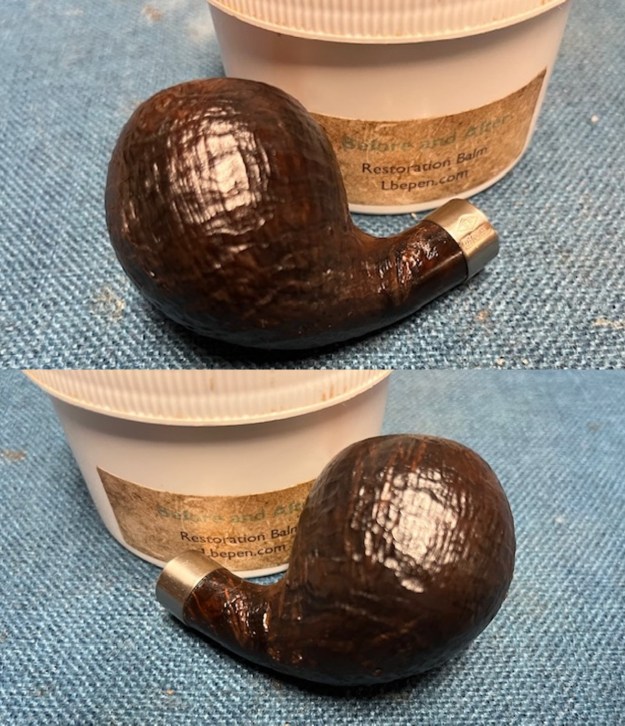
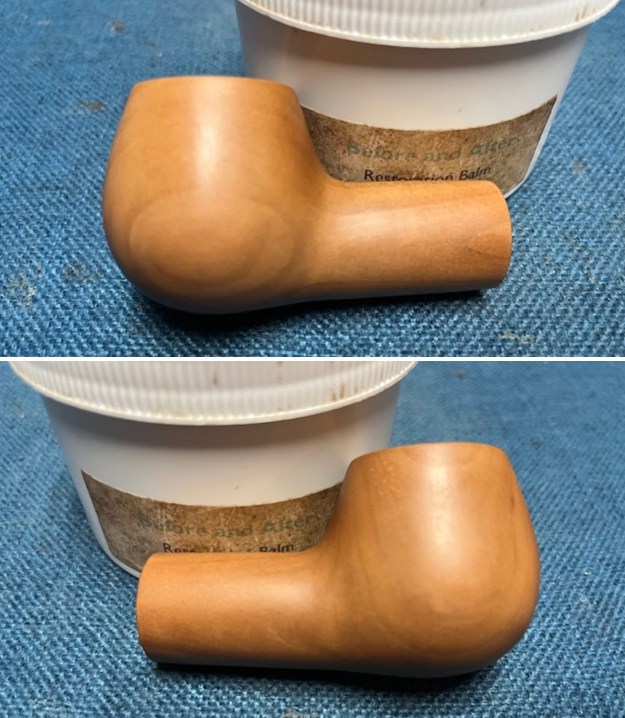
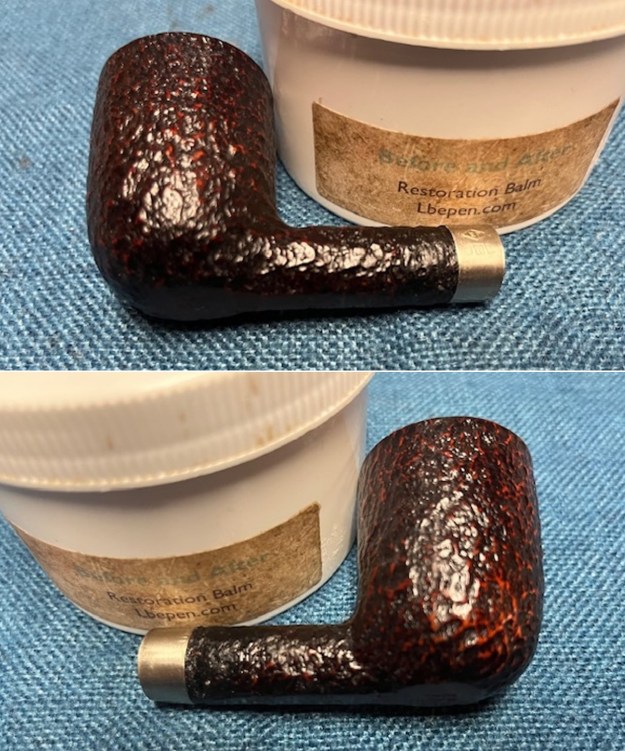
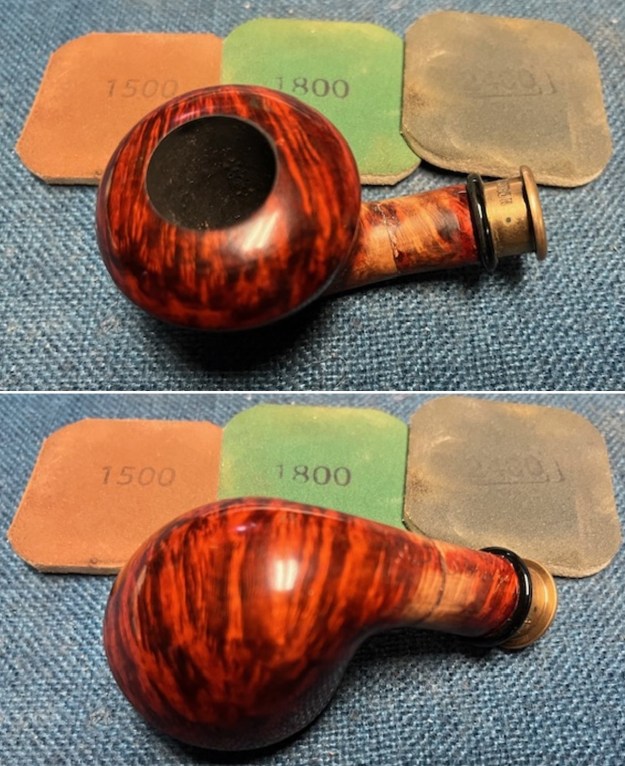
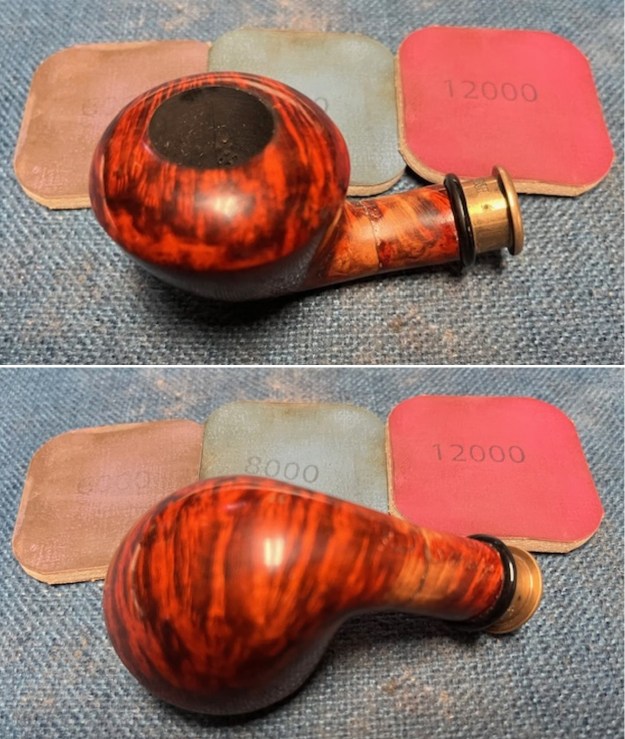
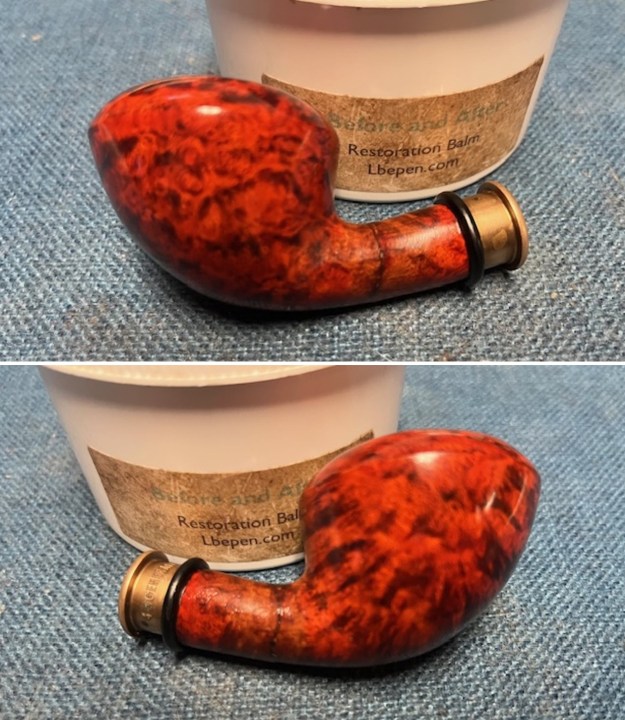
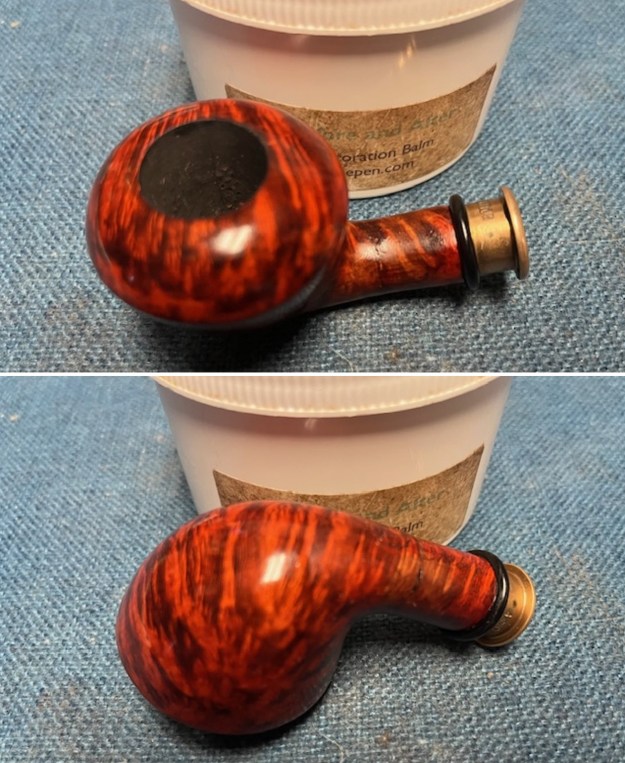
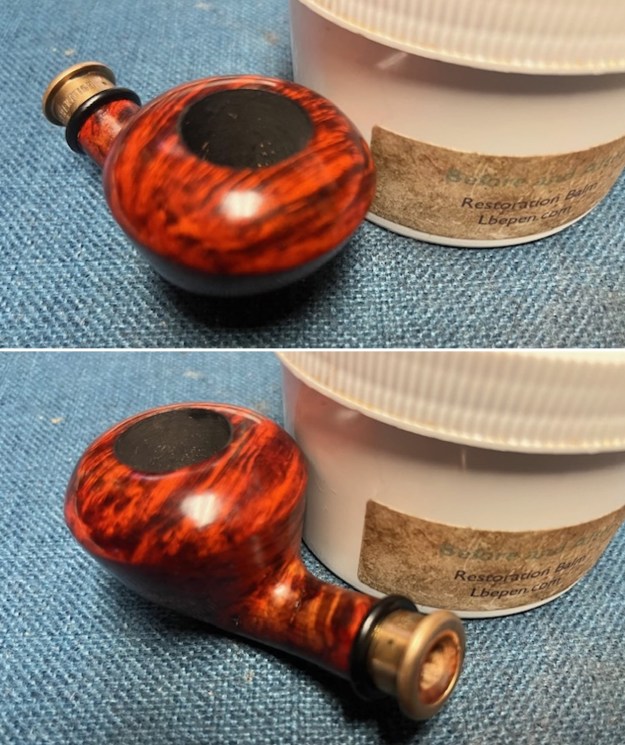
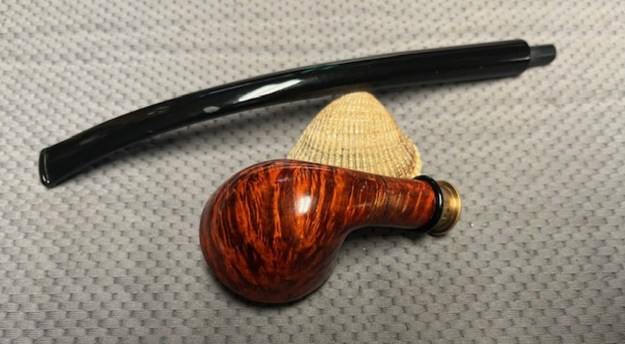
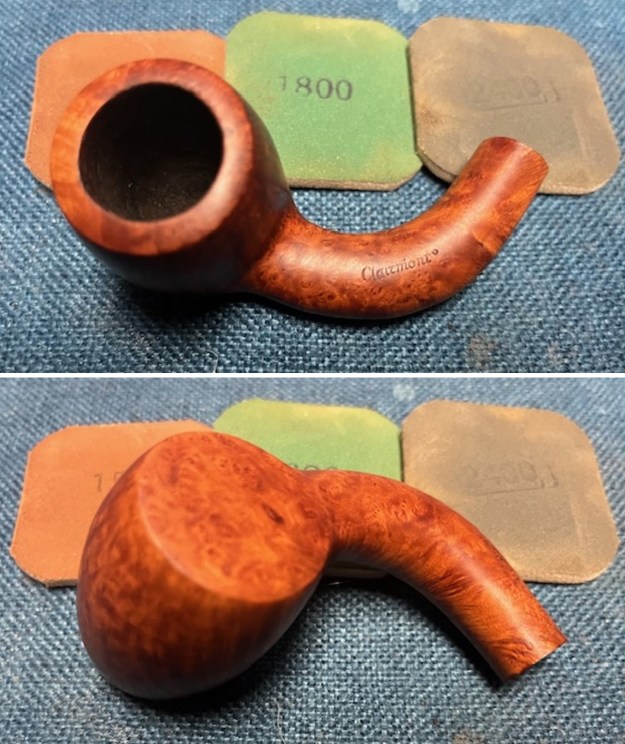
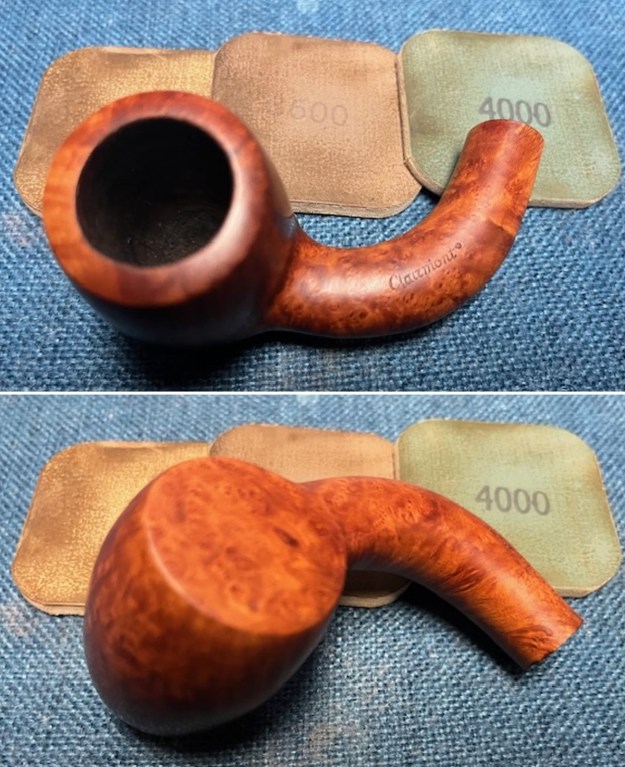
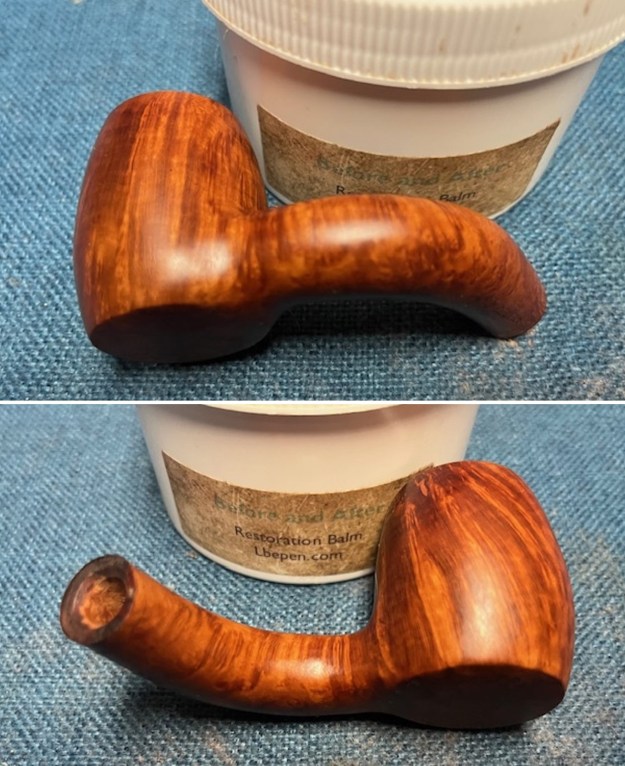
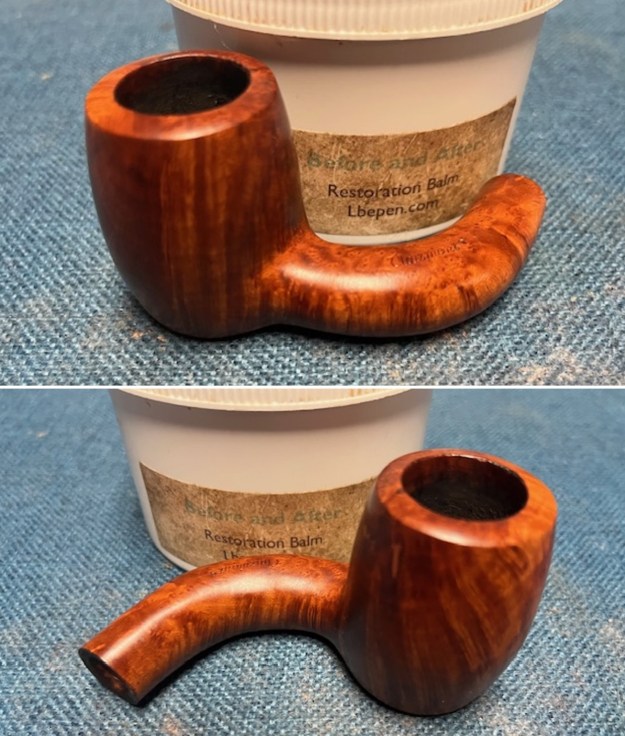
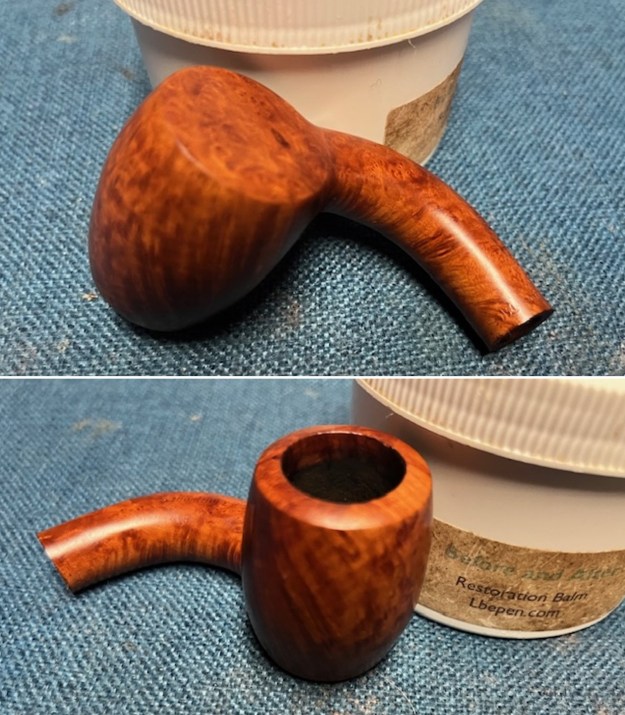
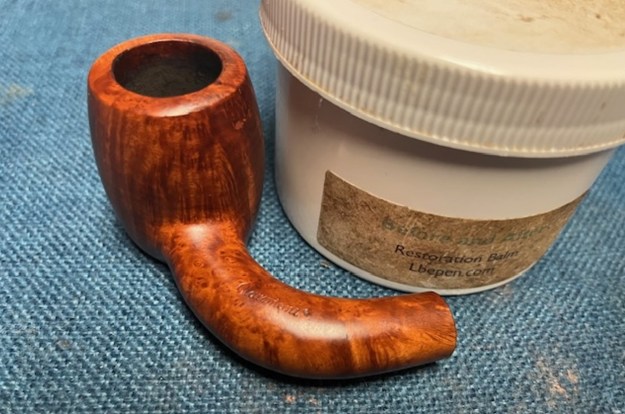
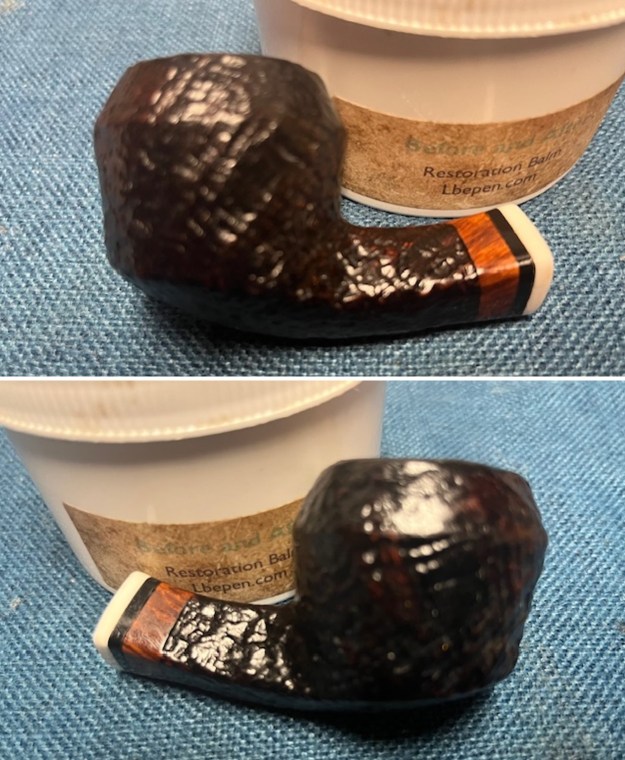
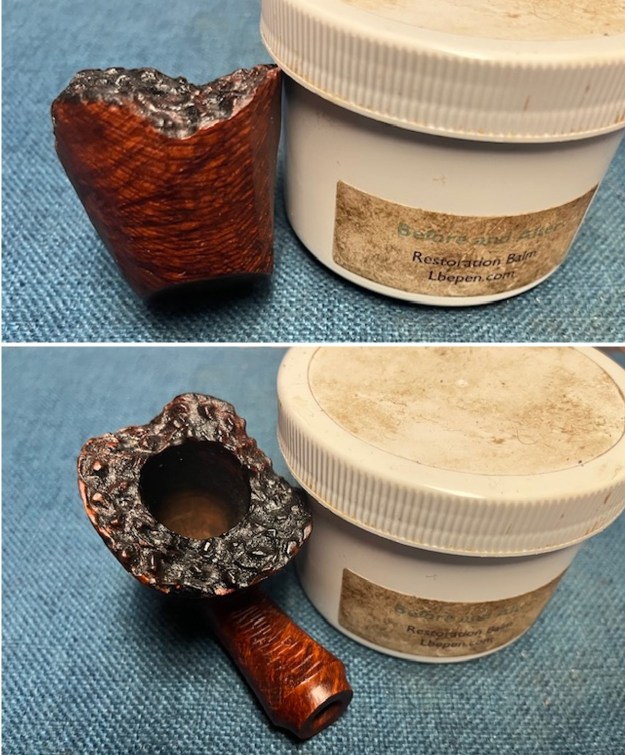
 I rubbed the briar down with Before & After Restoration Balm. I worked it into the briar with my fingertips and a shoe brush. The product works to clean, enliven and preserve the briar. I let it sit for 10 minutes then I buffed it with a cotton cloth to deepen the shine. The briar comes alive with the balm.
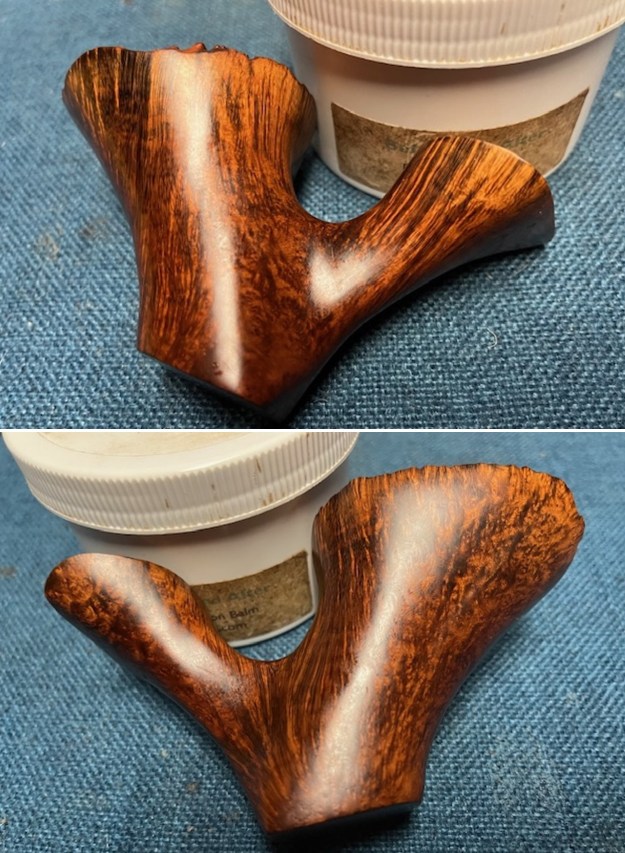
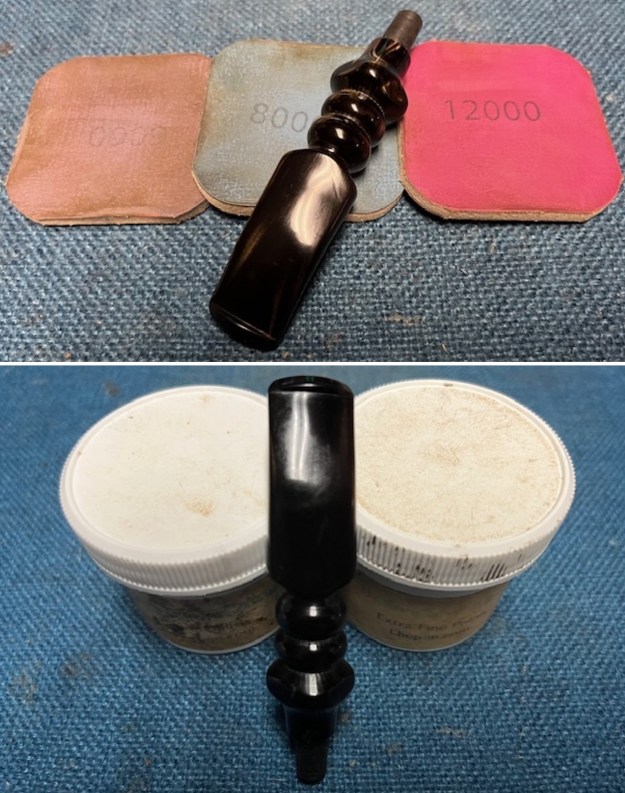
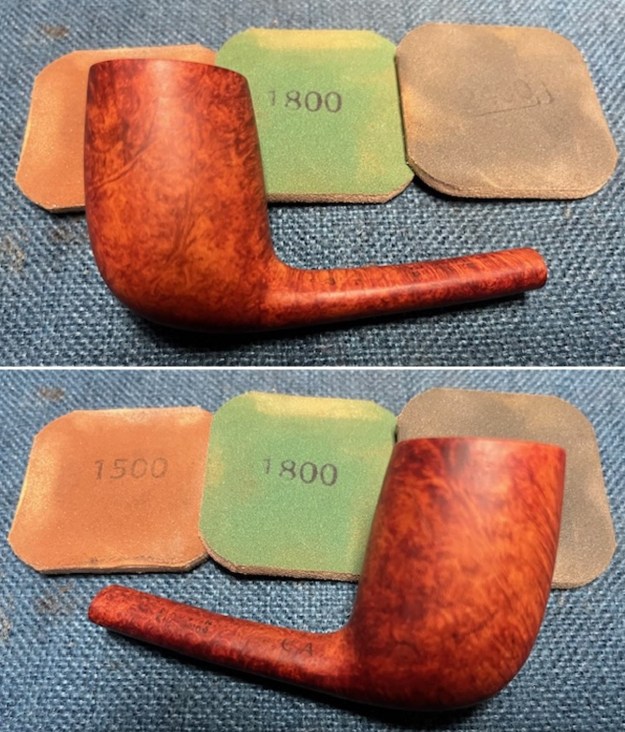
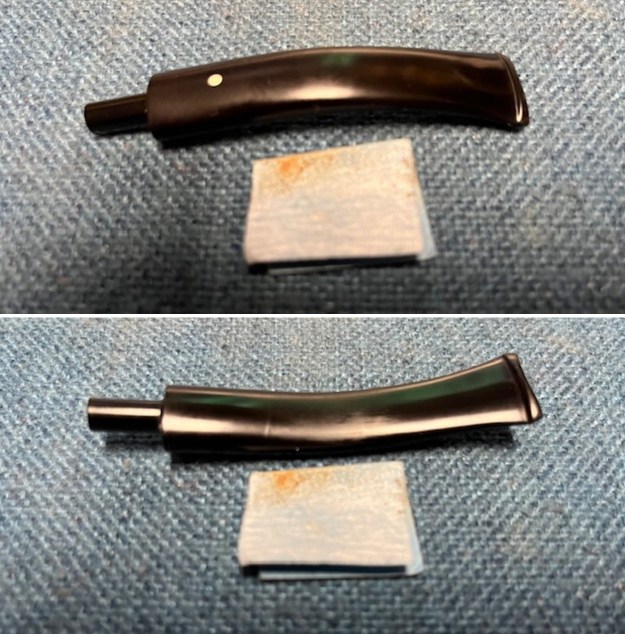
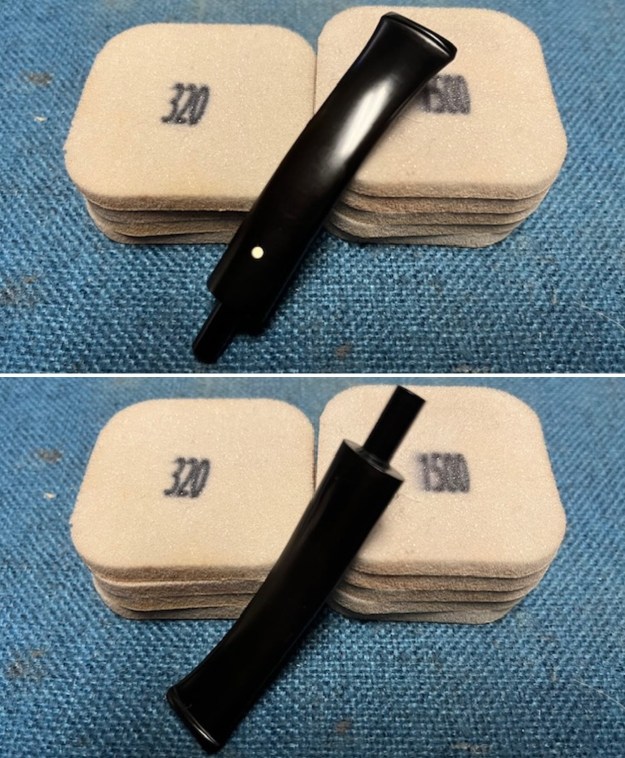
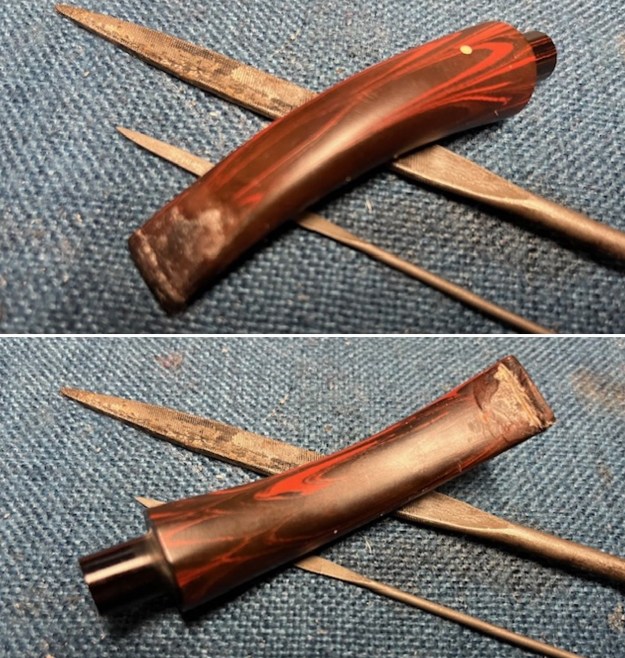
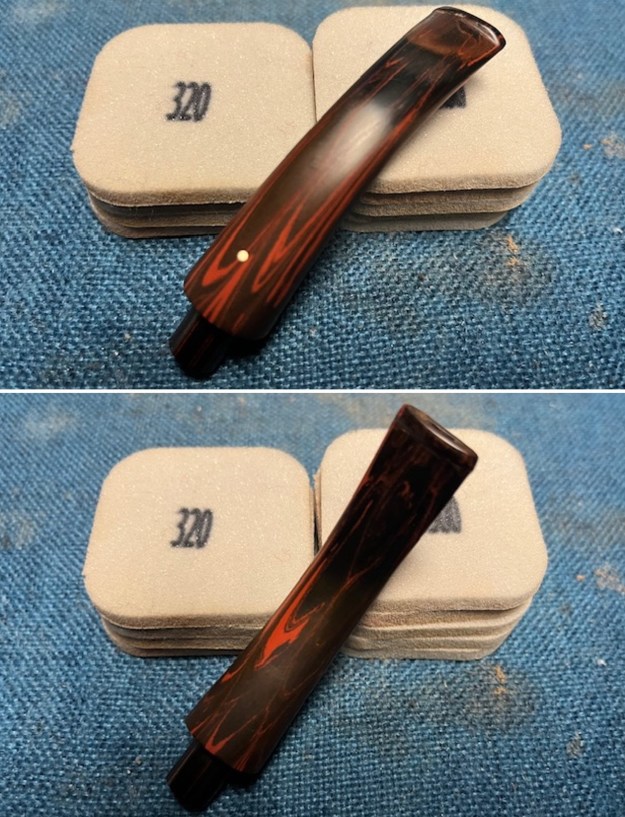
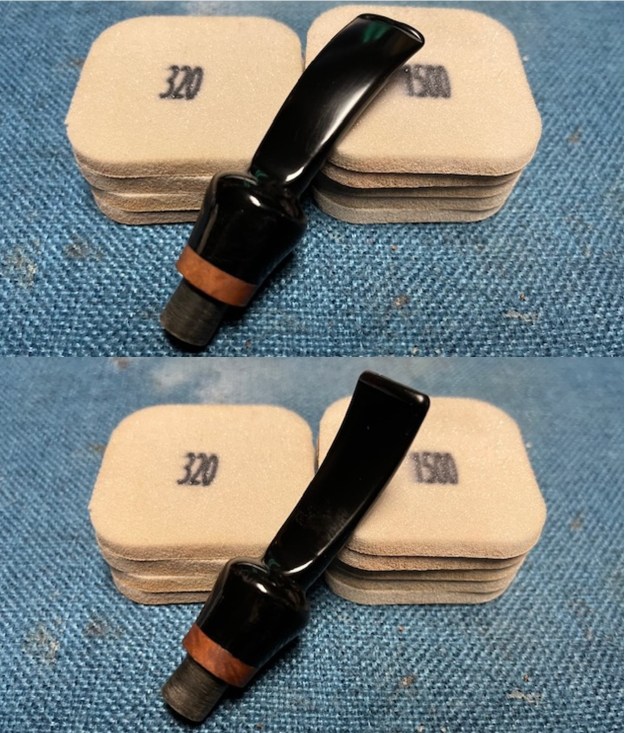
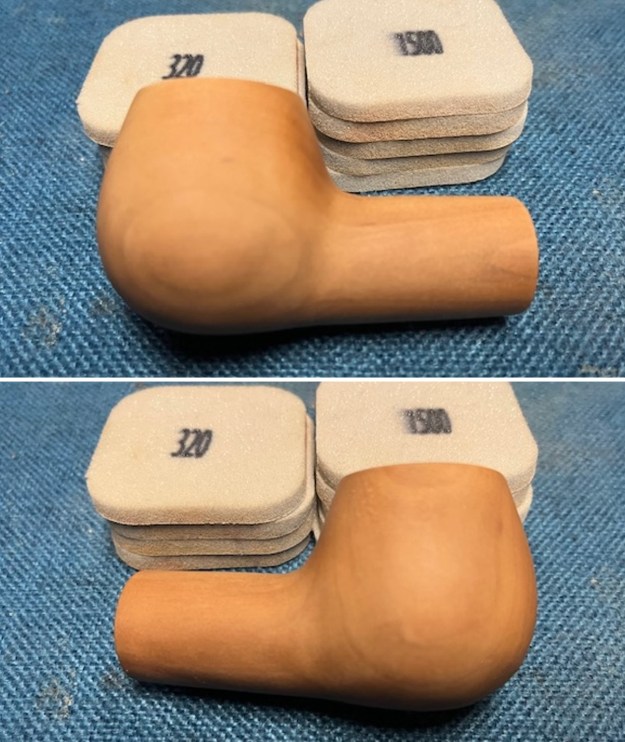
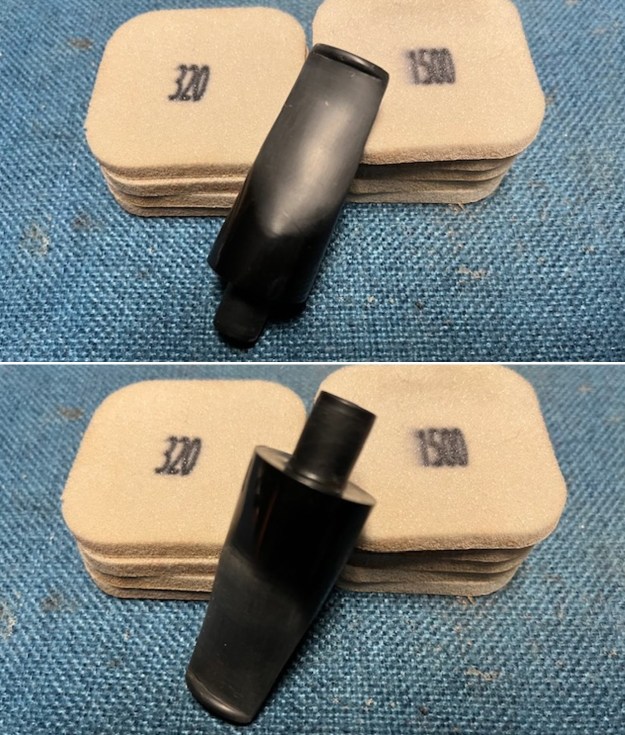
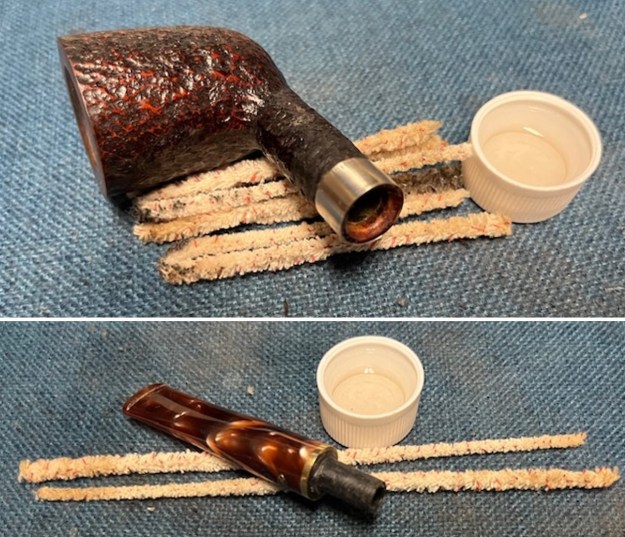
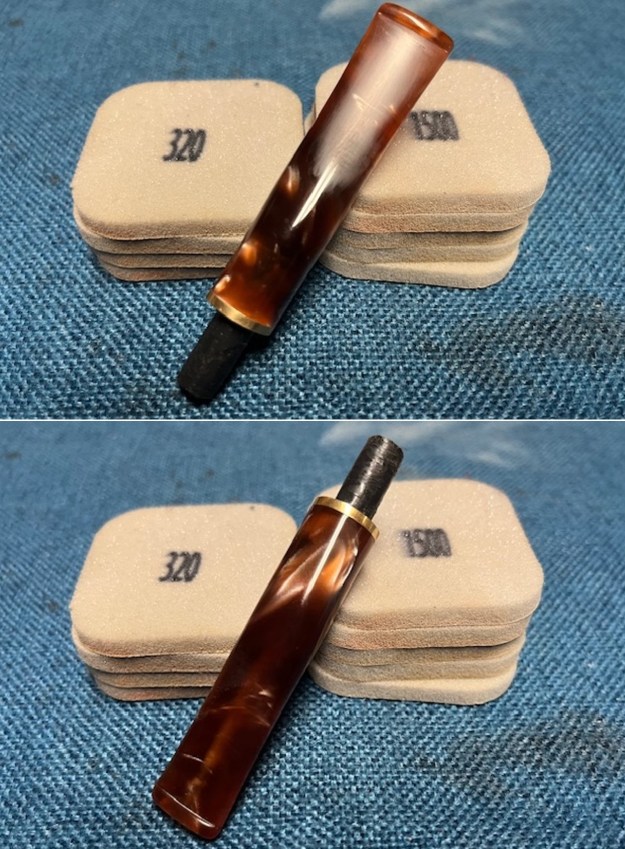
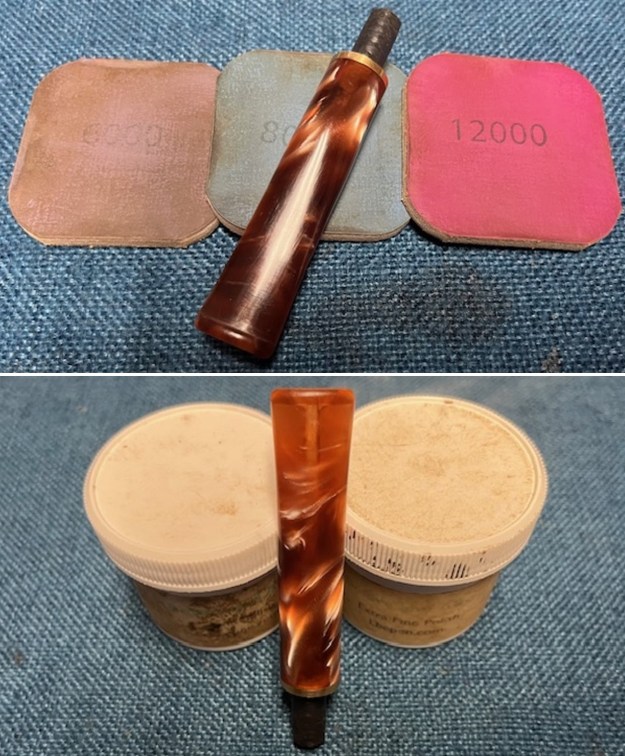
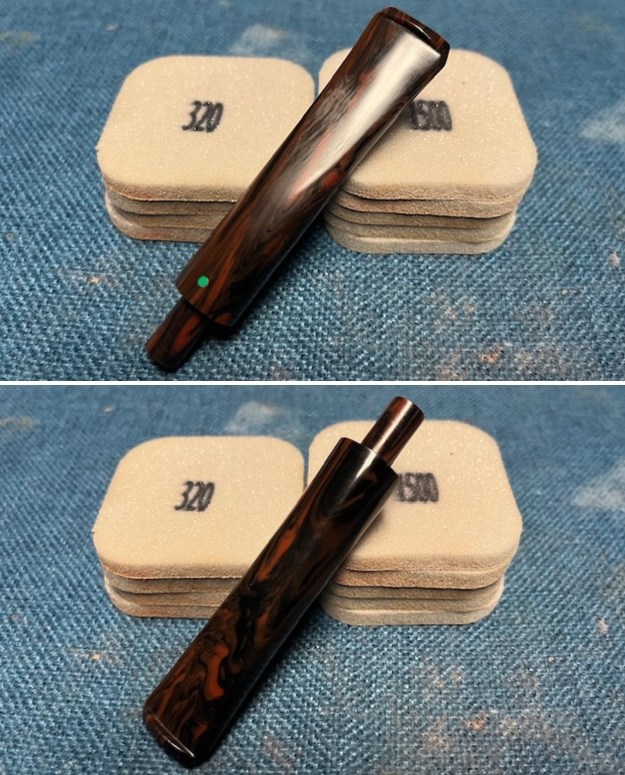
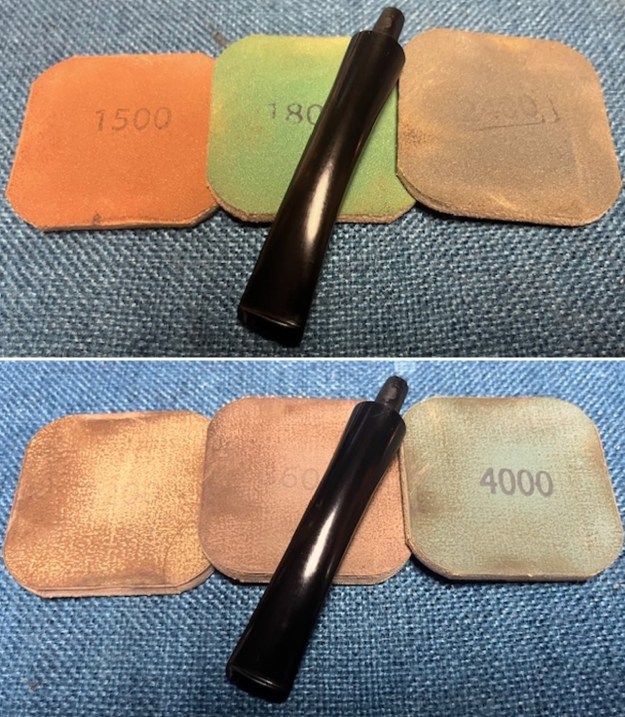
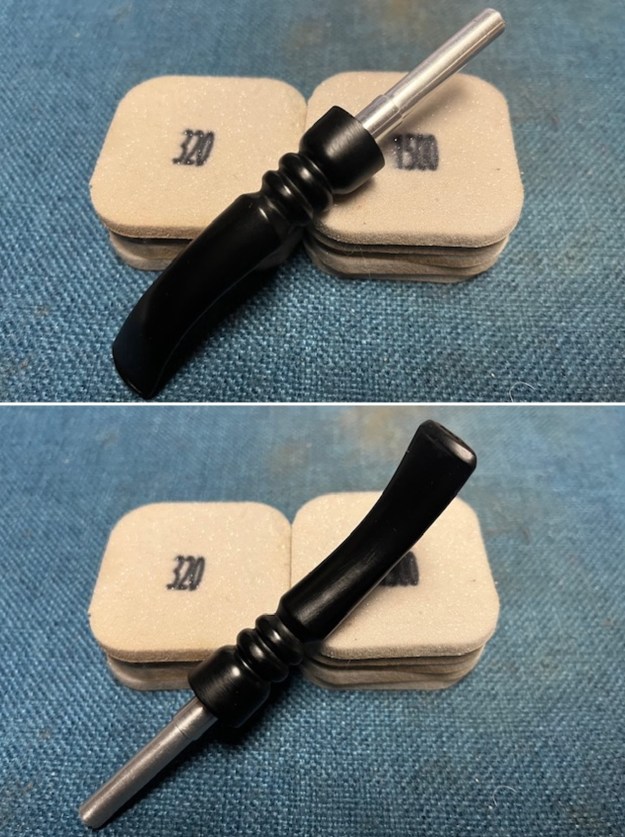
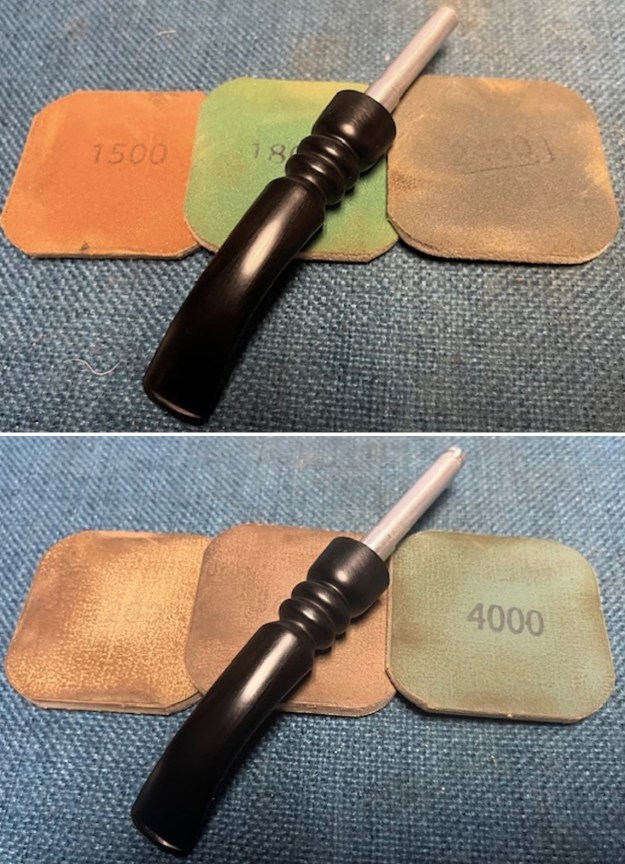
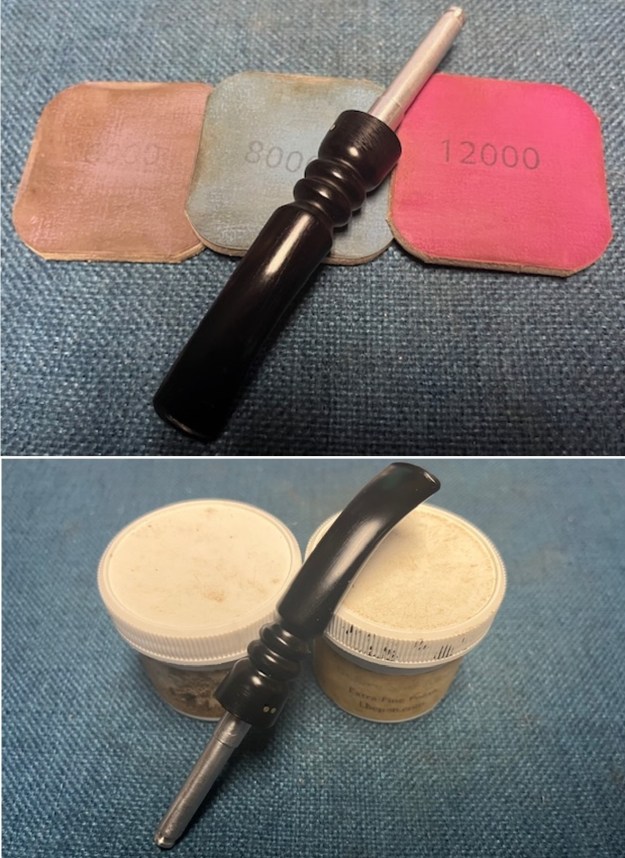
 I set the bowl aside and sanded the stem with sanding pads- using 320-3500 grit sanding pads. I wiped the stem down with a cloth impregnated with Obsidian Oil after each sanding pad. The stem was beginning to look much better.
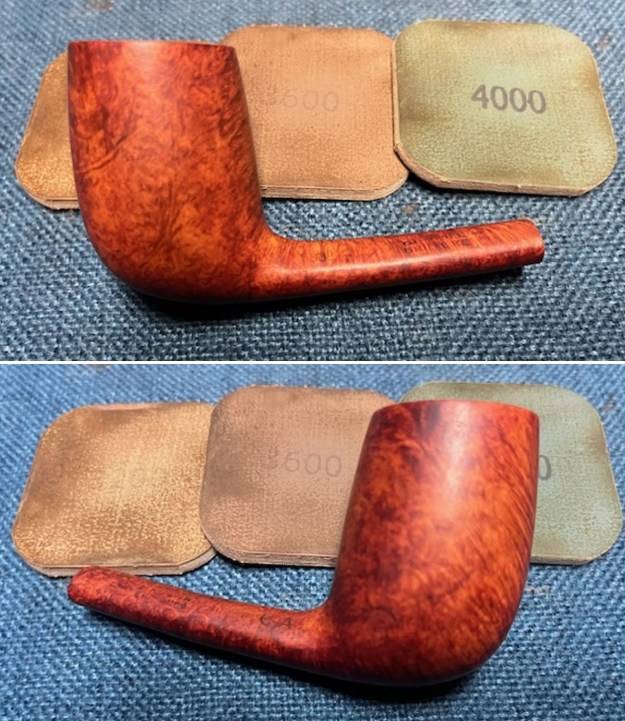
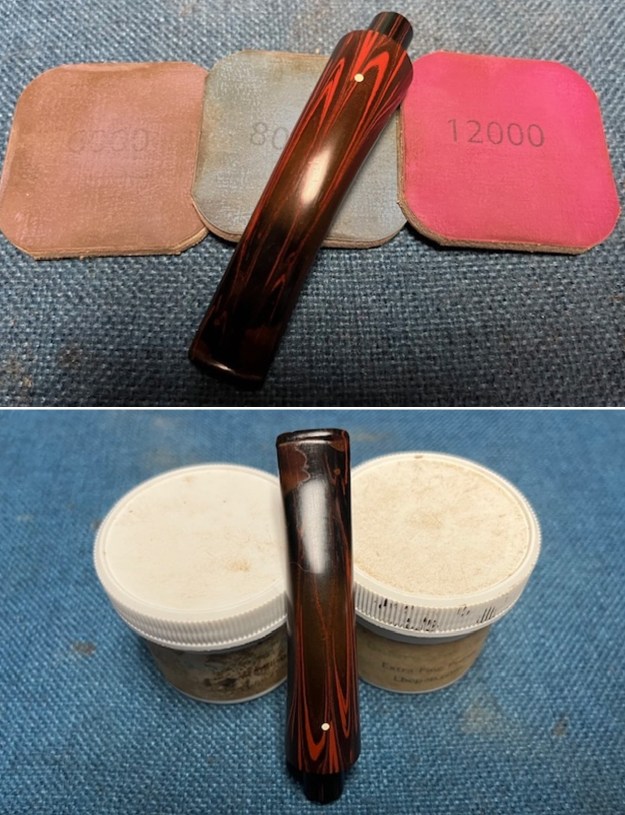
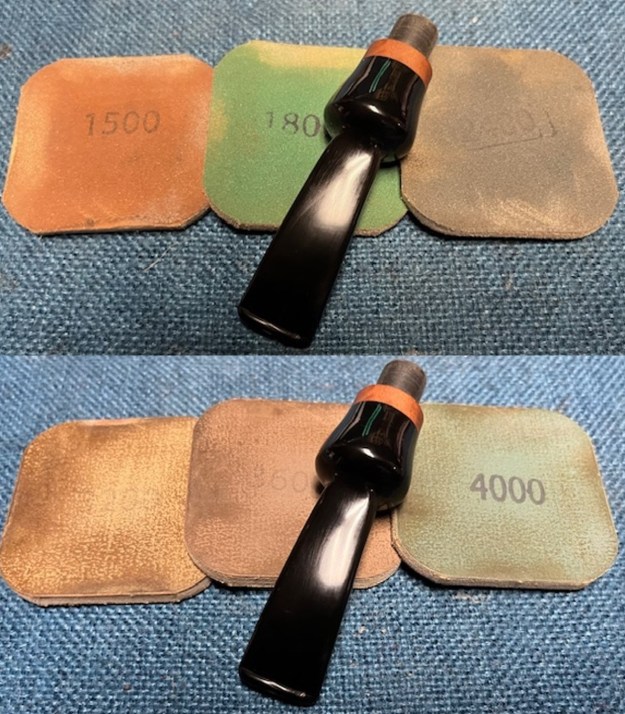
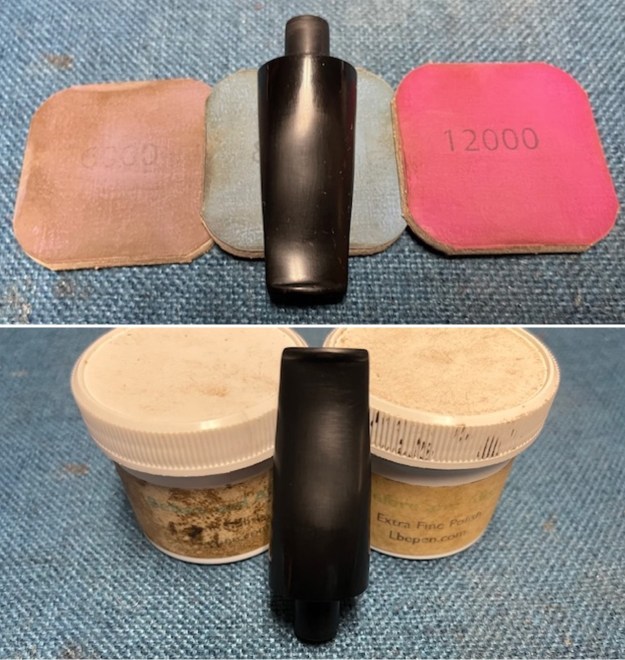
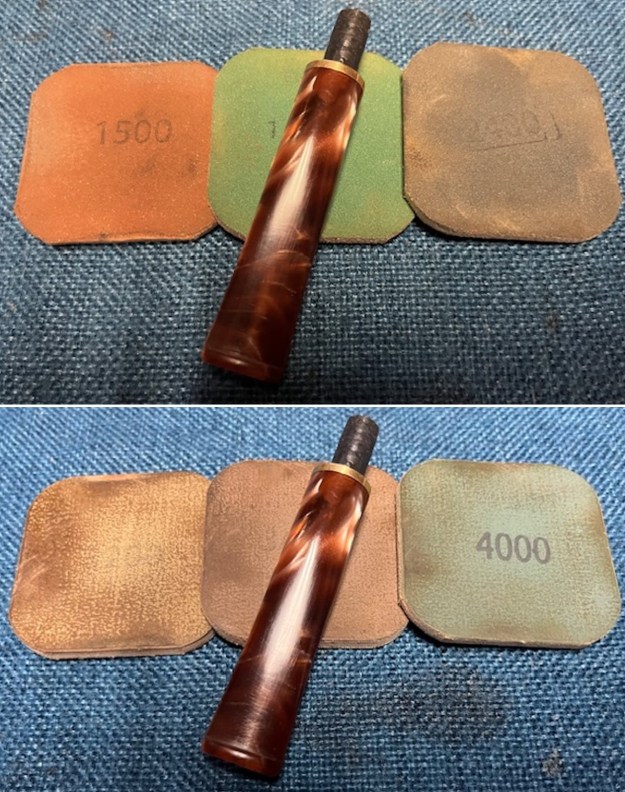
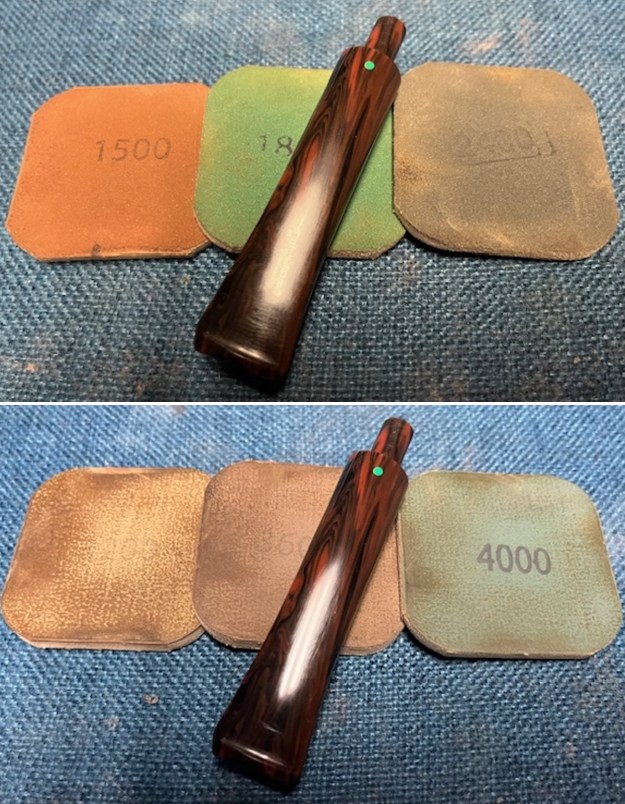
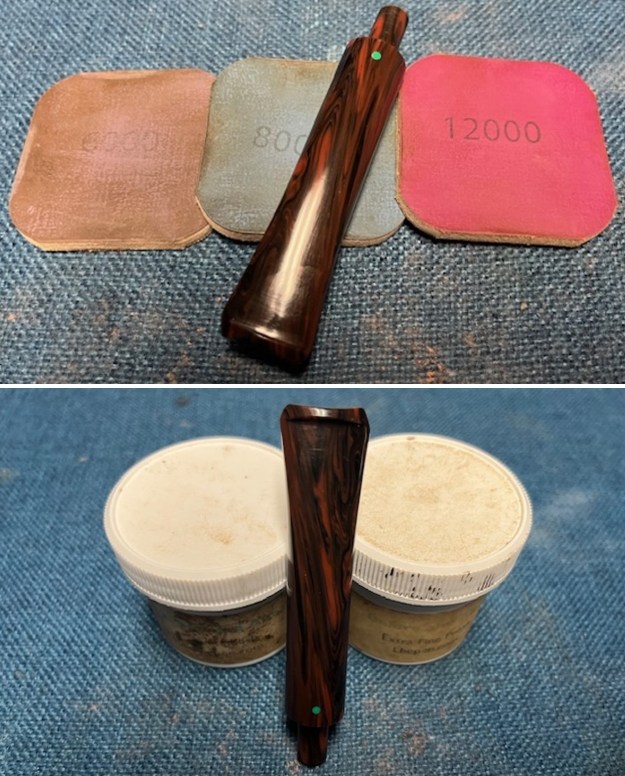
 I polished the vulcanite with micromesh sanding pads – 1500-12000 grit pads. I wiped it down with Obsidian Oil after each sanding pad. I used Before & After Pipe Polish – both Fine and Extra Fine to further polish the stem. It really took on a shine and I knew that once it was buffed it would look amazing.
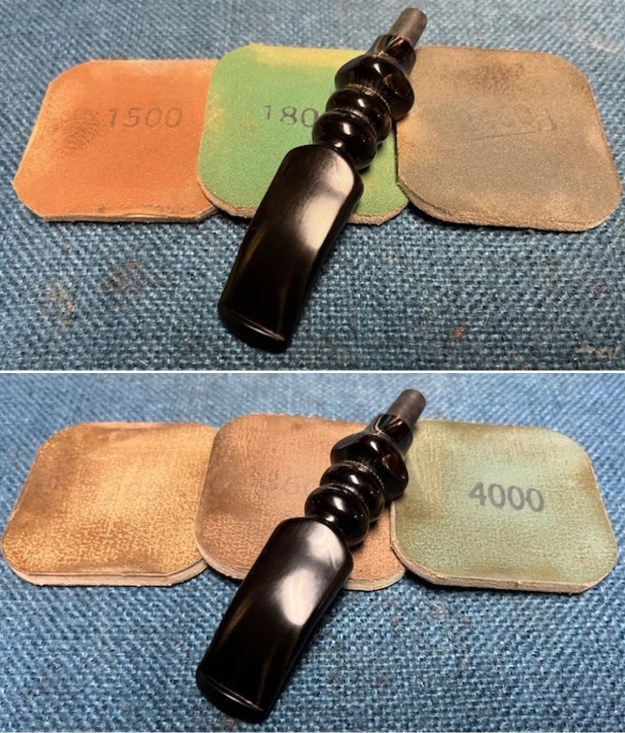
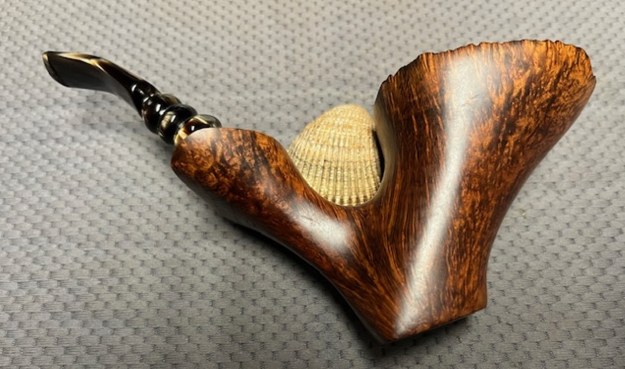
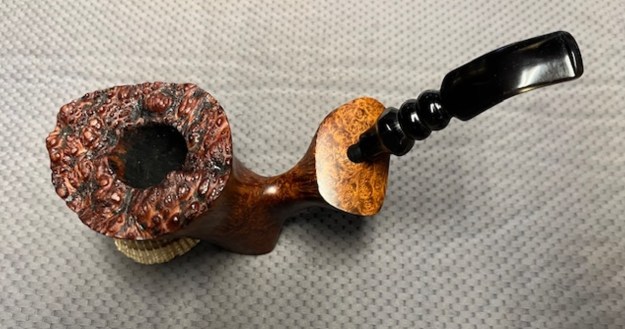
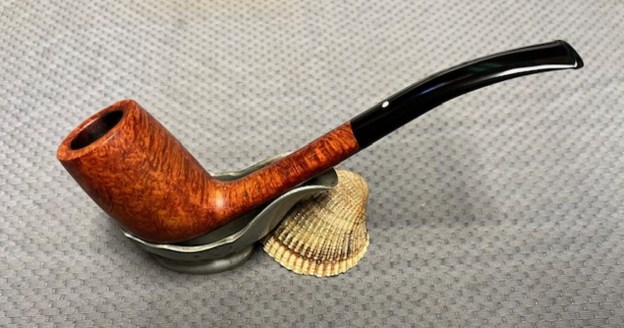
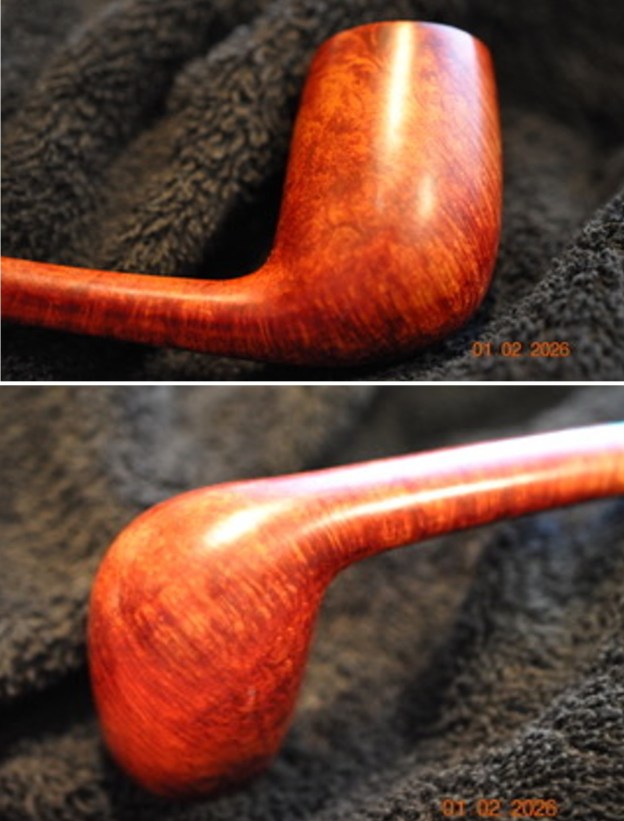
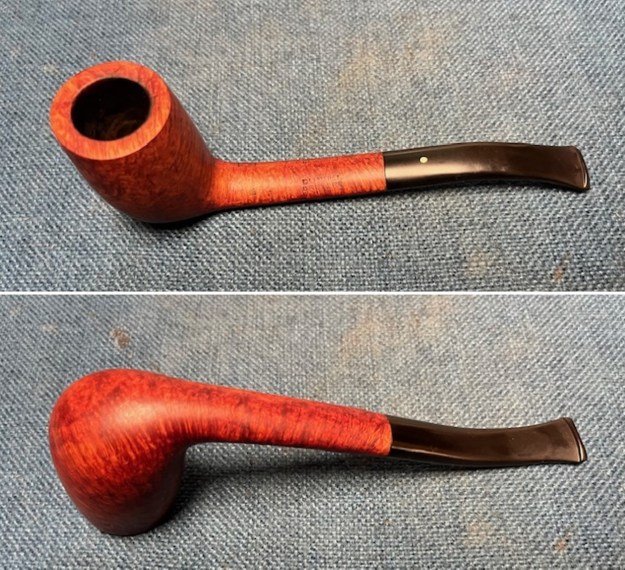
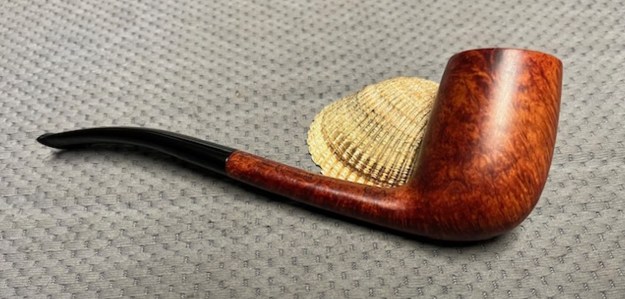
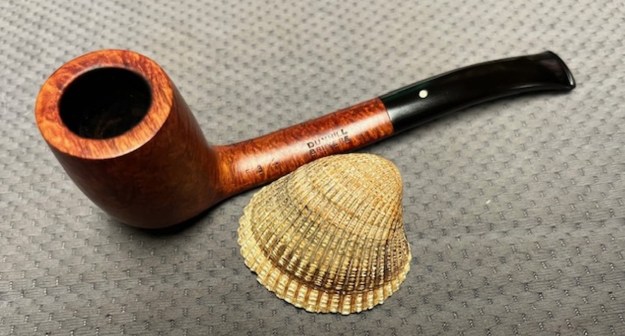
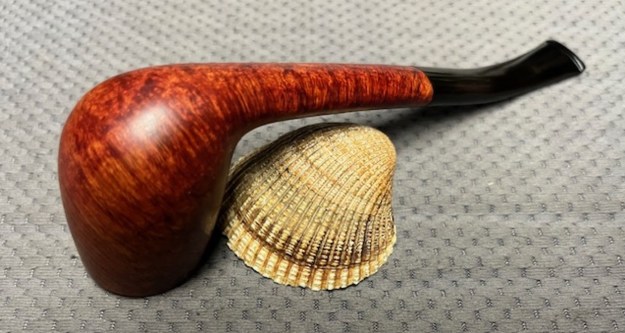
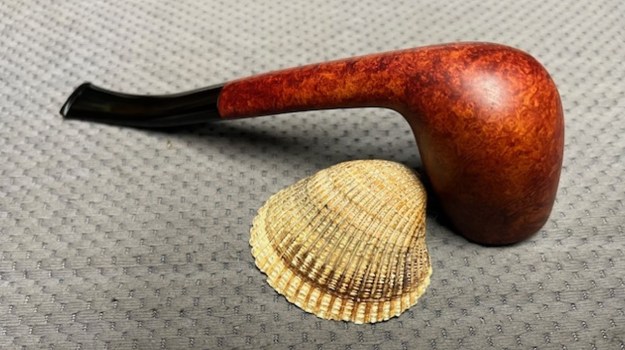
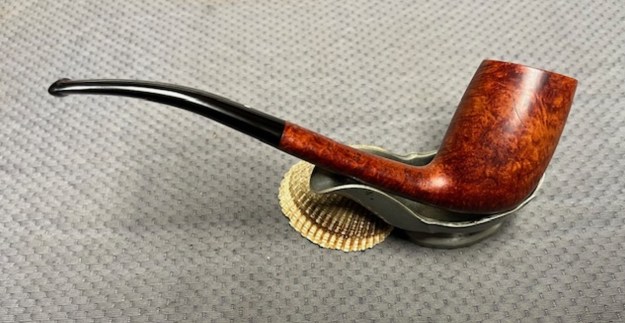
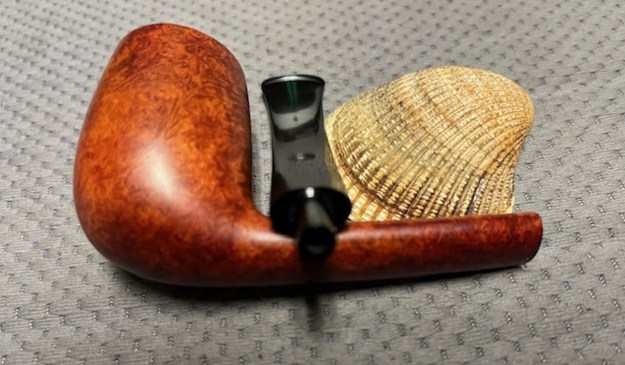
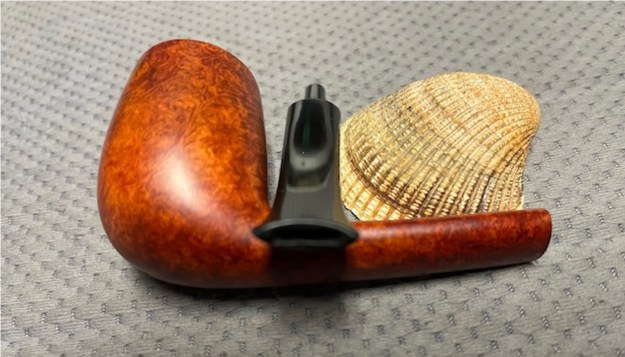
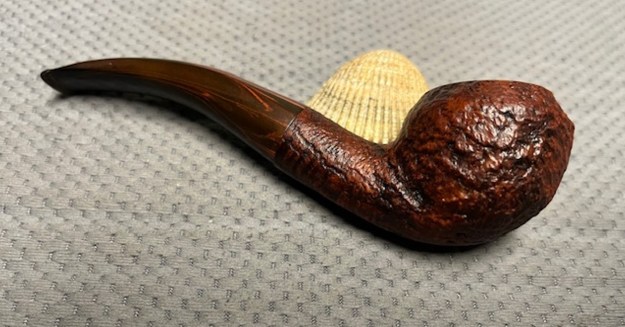
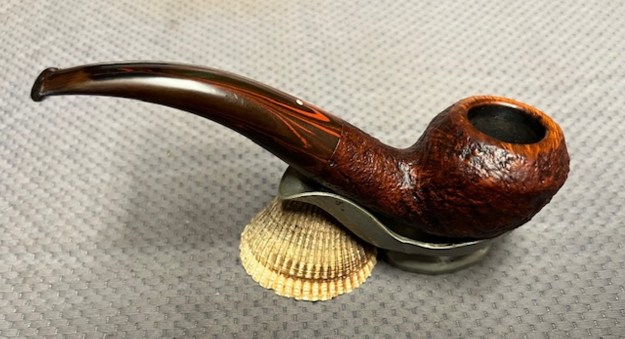
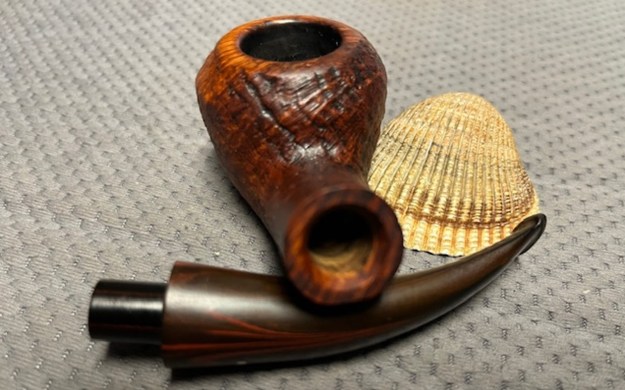
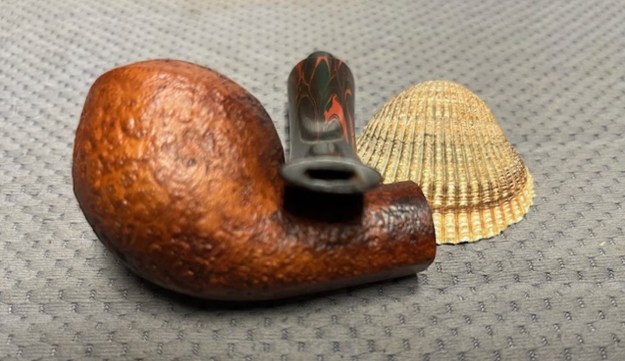
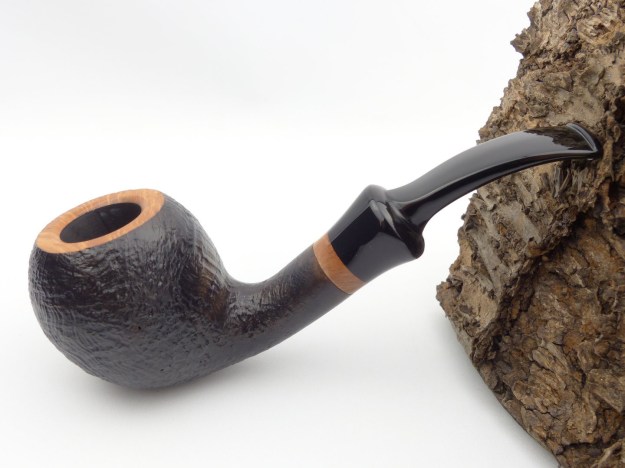
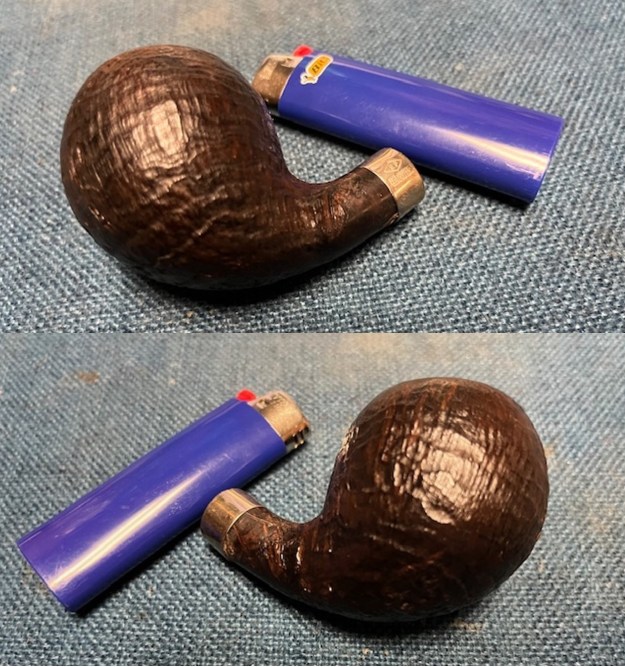
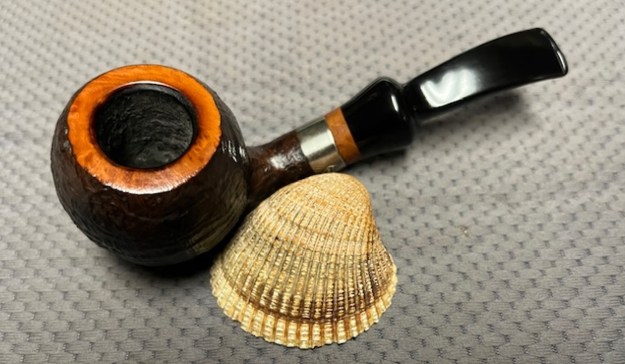
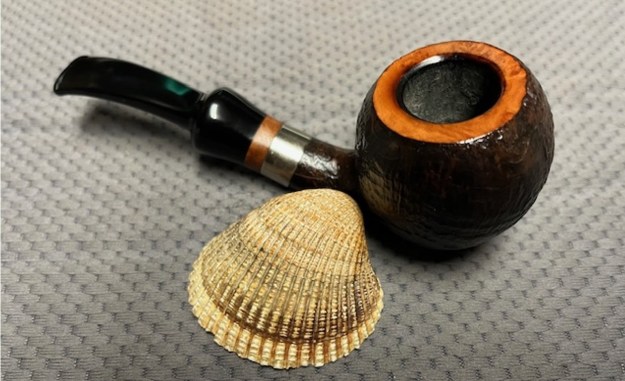
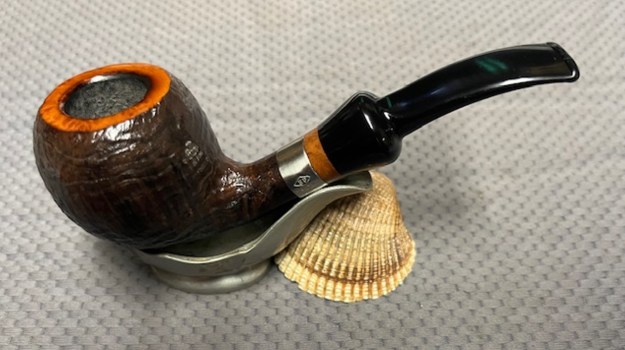
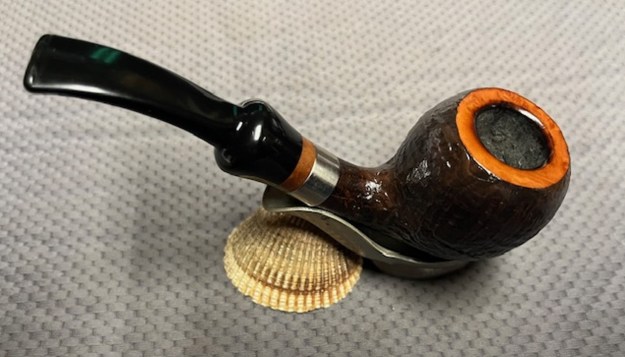
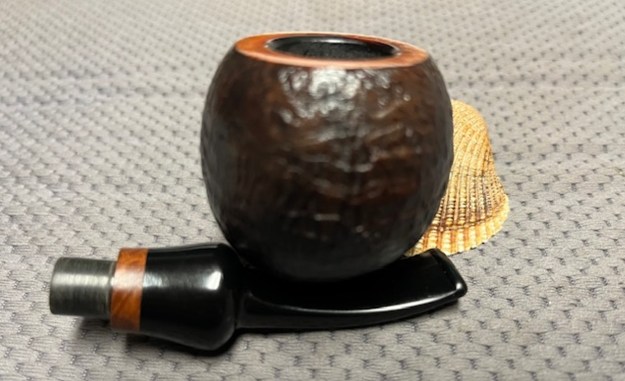
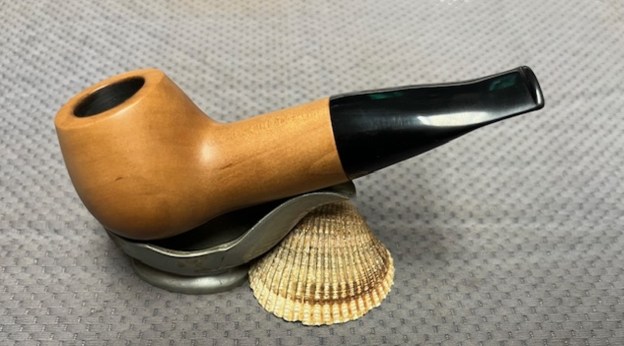
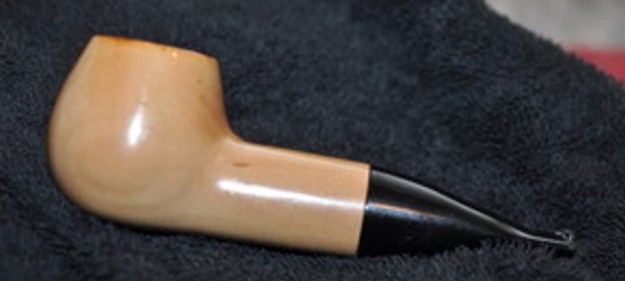
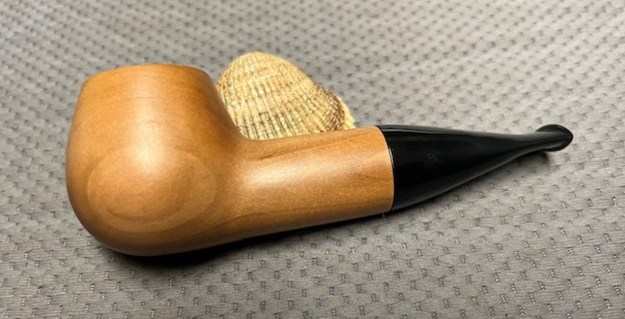
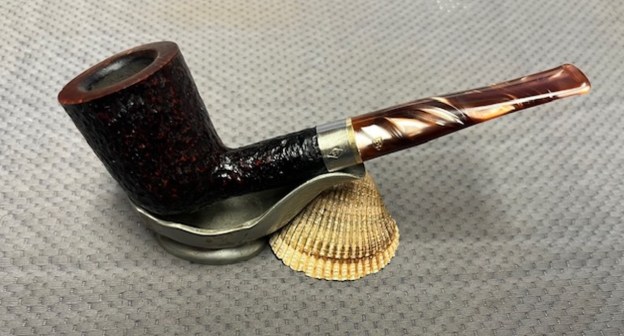
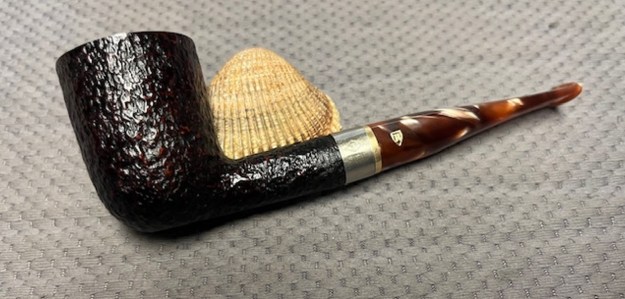
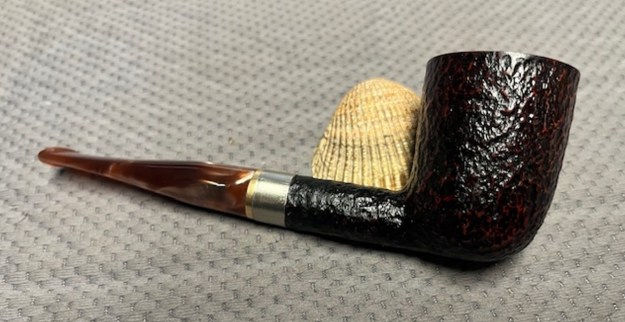
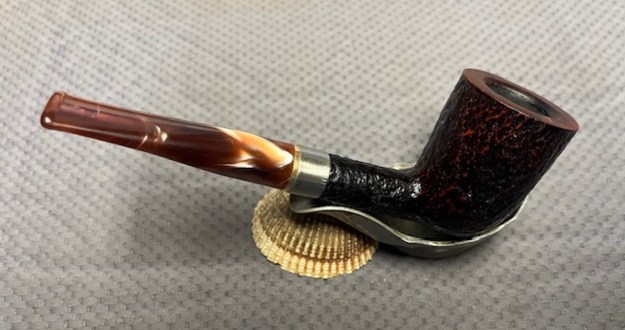
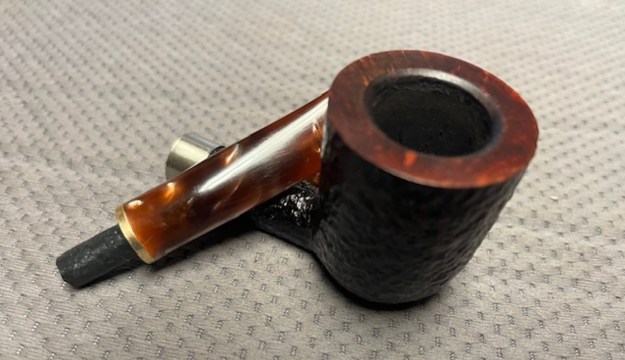
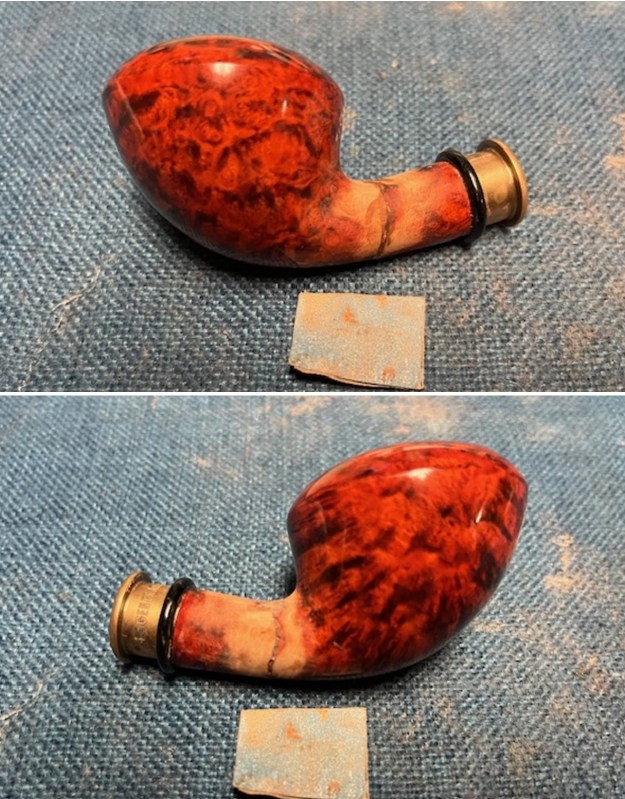
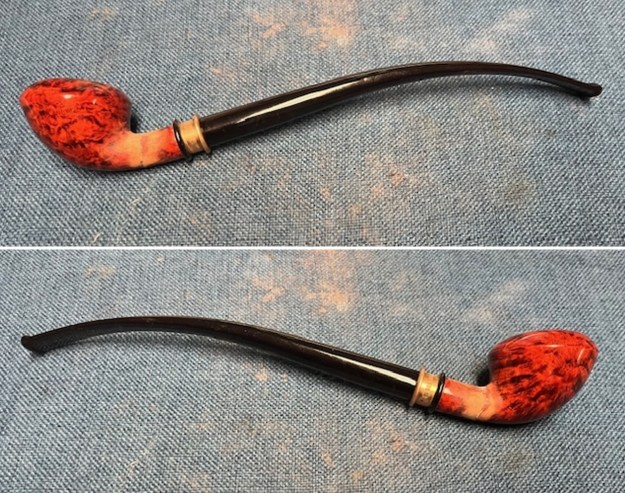
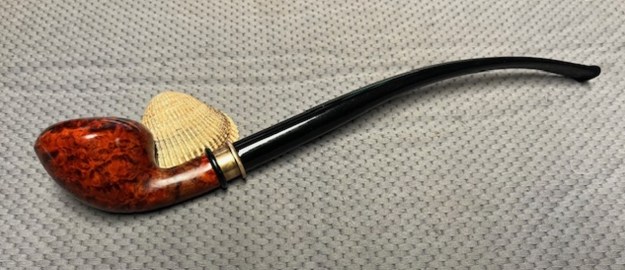
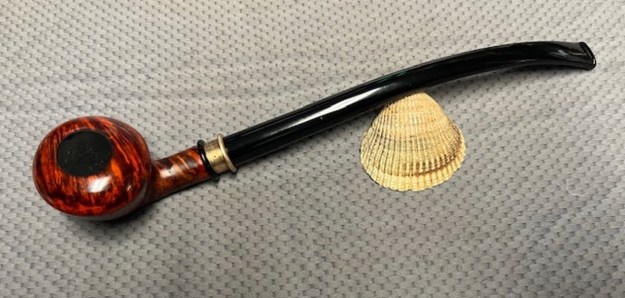
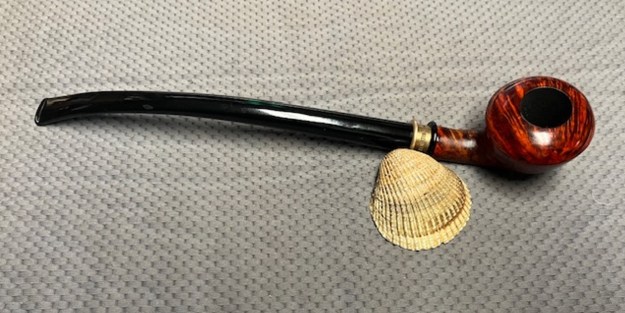
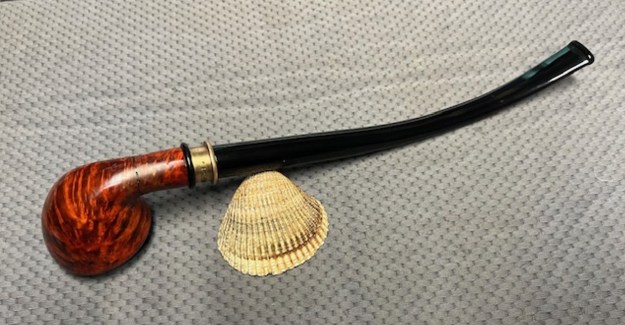
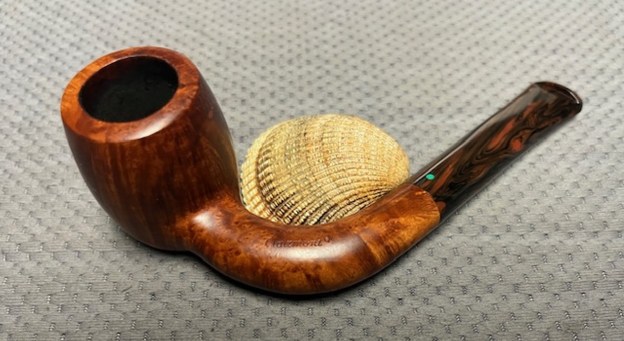
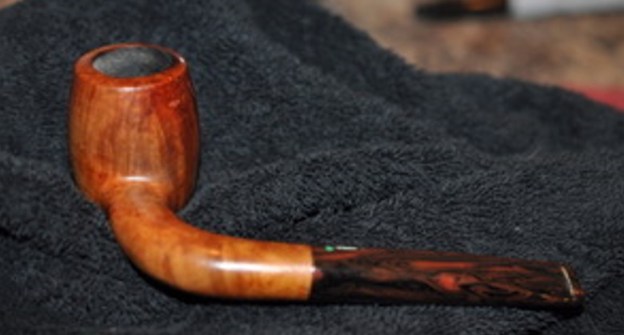
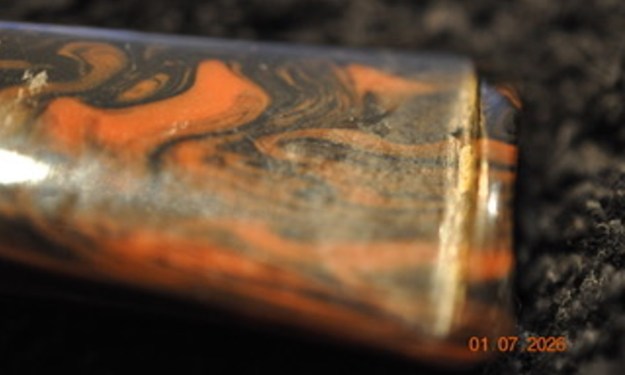
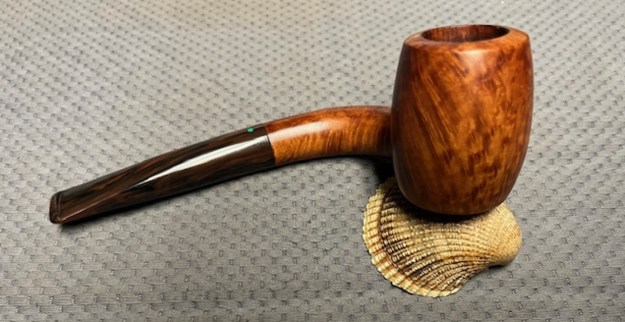
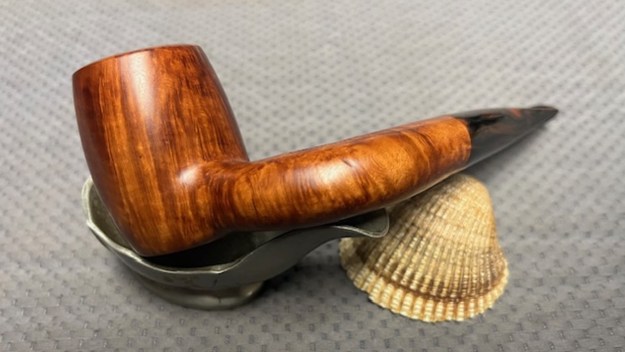
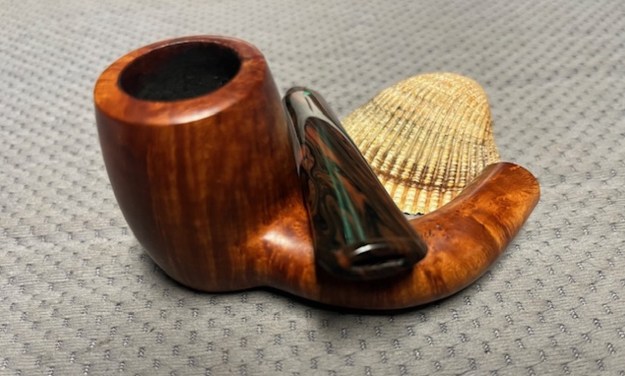
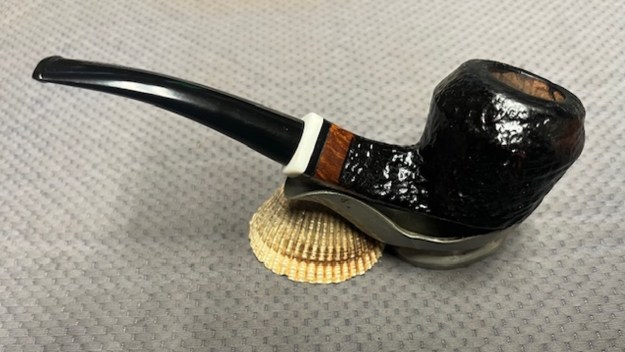
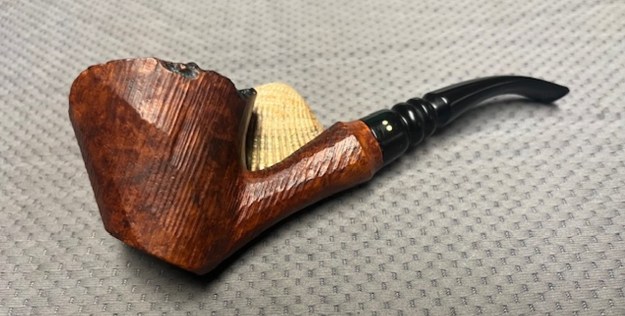
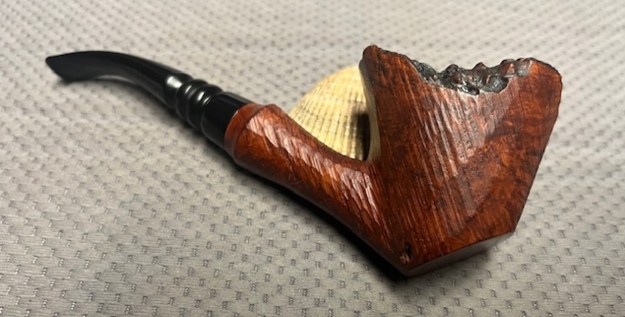
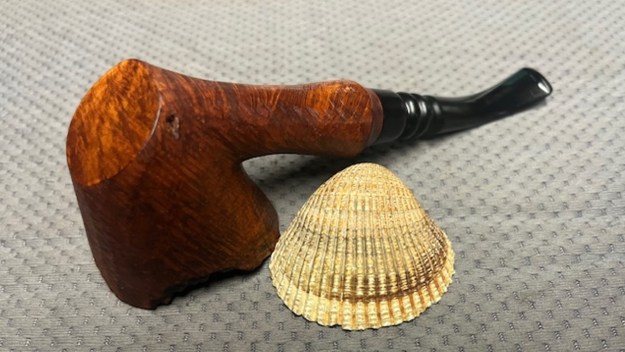
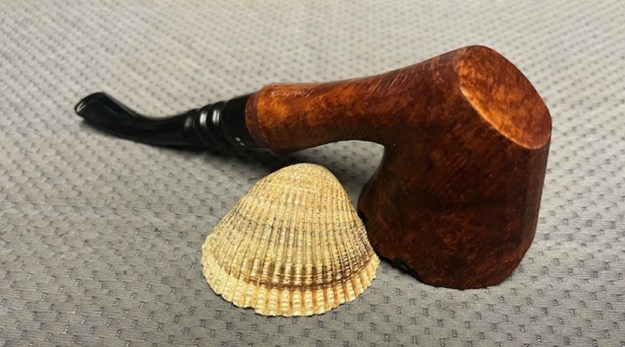
 This Sven Lar Hand Made Grade C Freehand is a beautiful looking piece of briar that has a shape that follows grain. It is a great looking pipe that came out looking even better after the cleanup. The finish on the pipe cleaned up well. The black and brown stain on the bowl works well to highlight the grain. The newly fit and polished variegated bronze and black acrylic saddle stem adds to the mix. I put the stem back on the bowl and buffed the pipe with Blue Diamond on the buffing wheel being careful to not buff the stamping. I gave the bowl and the stem multiple coats of carnauba wax on the buffing wheel and buffed it with a clean buffing pad. I hand buffed the pipe with a microfiber cloth to deepen the shine. The finished Sven Lar Hand Made C Freehand is quite nice and feels great in the hand. Give the finished pipe a look in the photos below. The dimensions of the pipe are Length: 7 inches, Height: 3 inches, Outside diameter of the bowl: 2 ½ inches long x 2 ¼ inches wide, Chamber diameter: 1 inch. The weight of the pipe is 94 grams/3.35 ounces. It will soon be added to the American Pipe Makers Section on the rebornpipes store. If you are interested in adding it to your rack let me know
Thanks for walking through the restoration with me as I worked over another beautiful pipe. Remember we are not pipe owners; we are pipemen and women who hold our pipes in trust until they pass on into the trust of the next generation.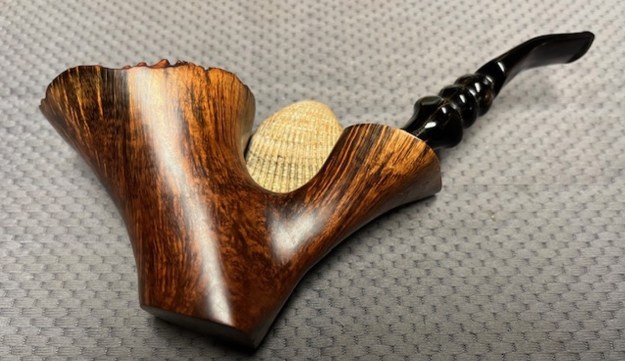


