Blog by Steve Laug
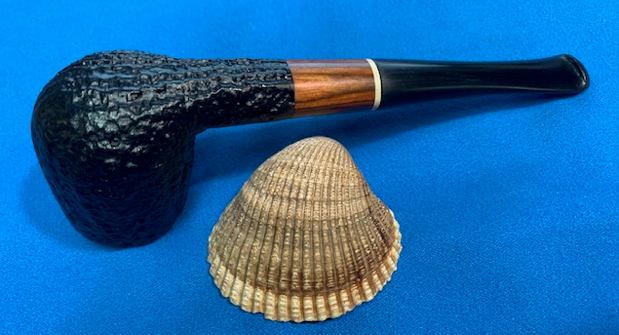
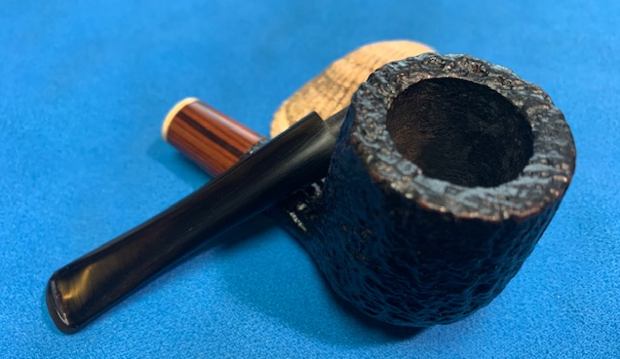
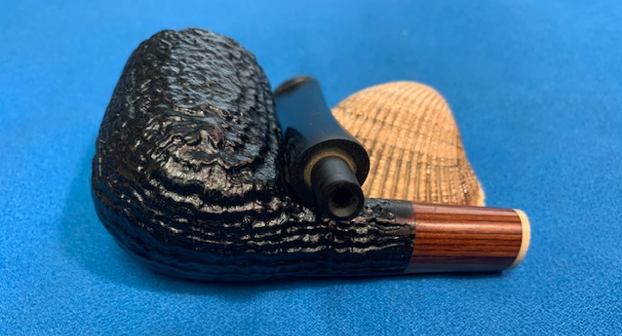
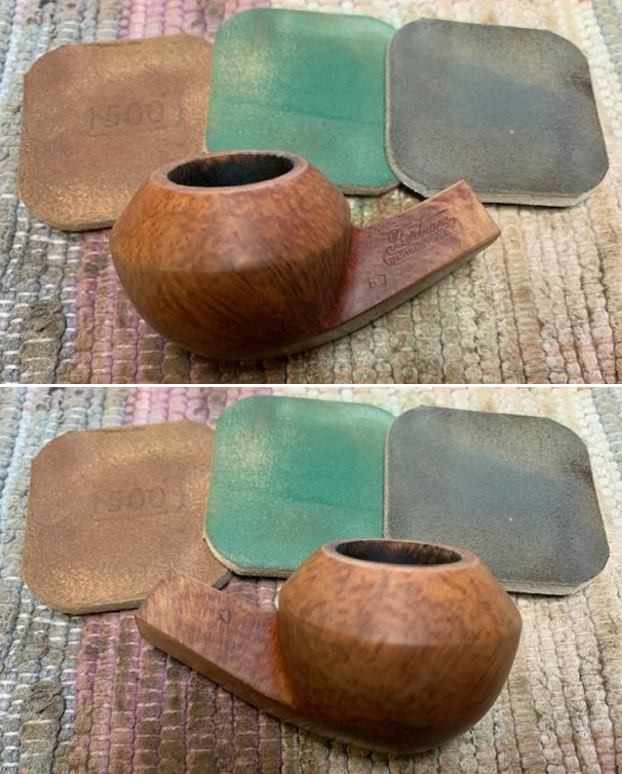
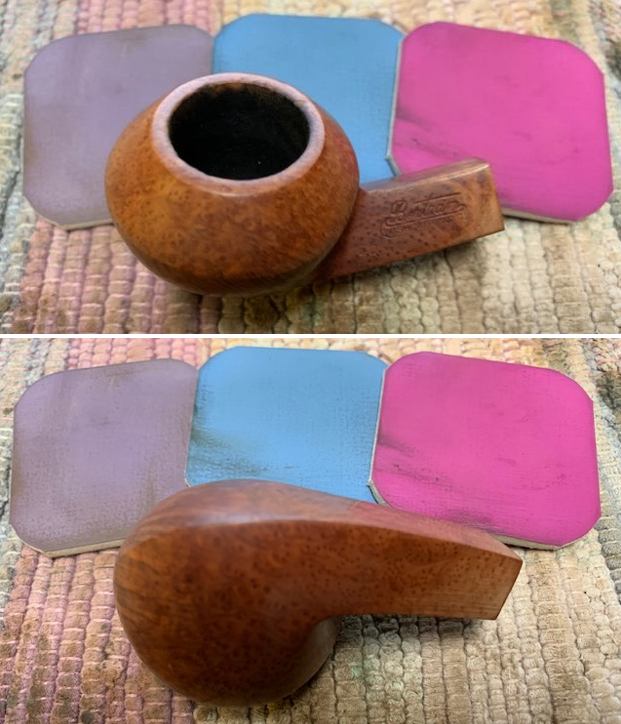
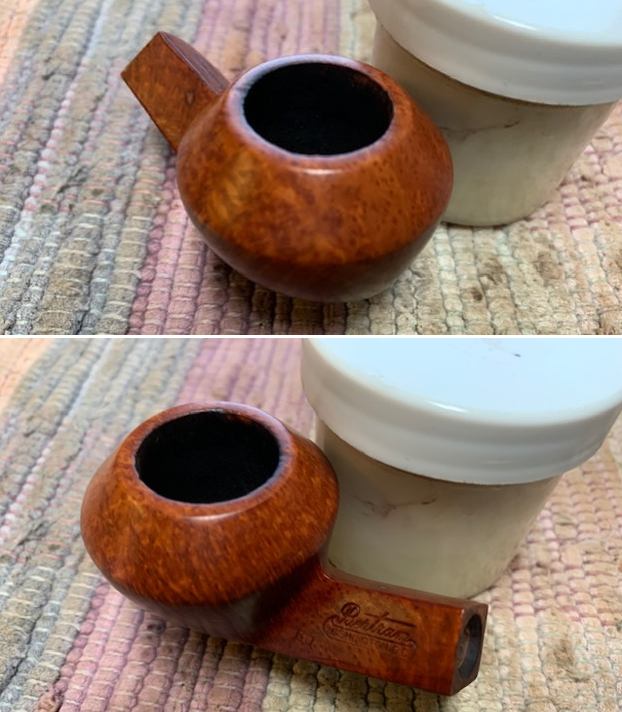
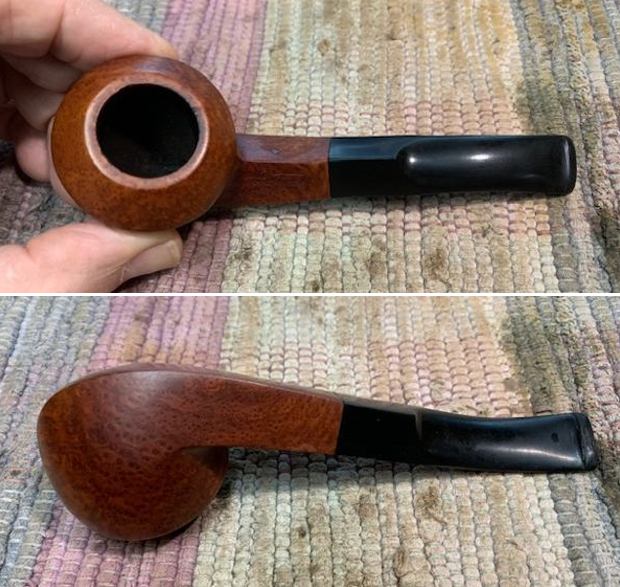
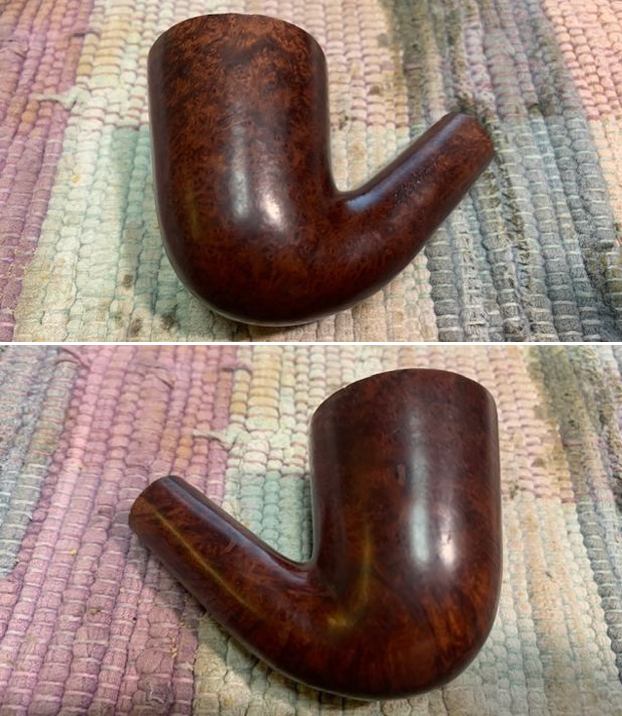
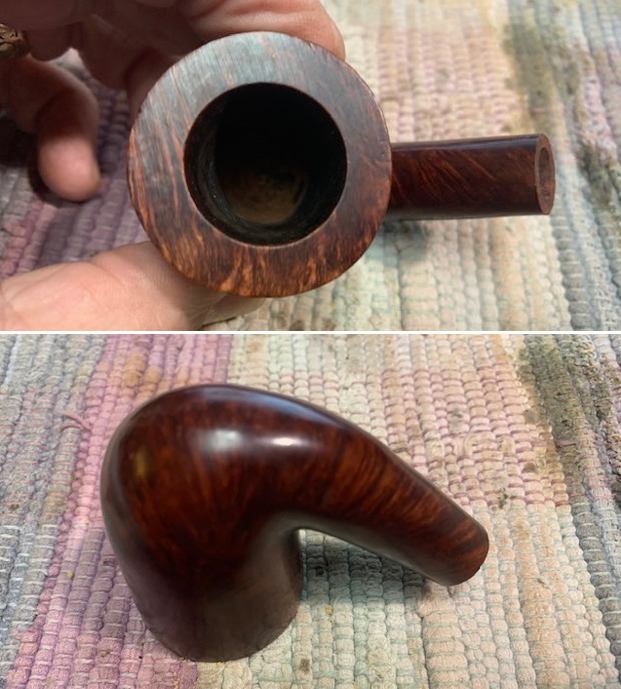
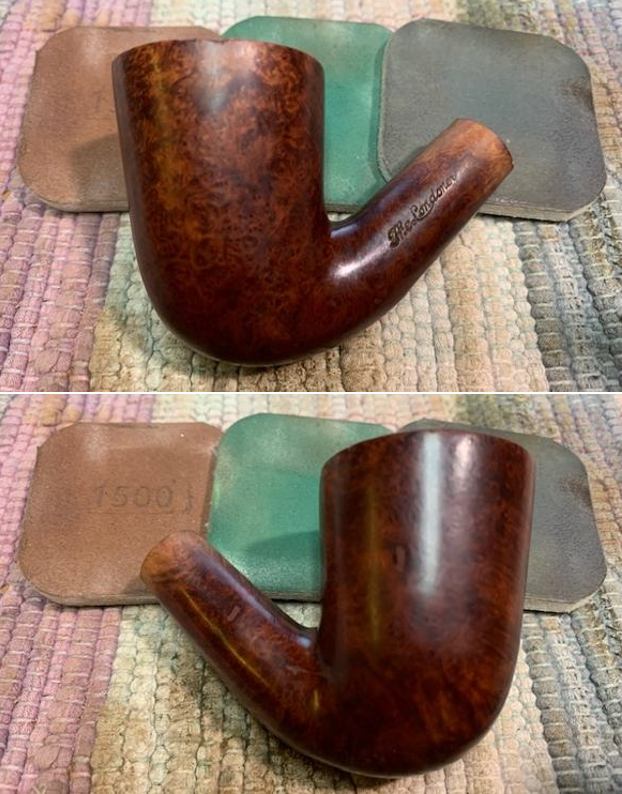
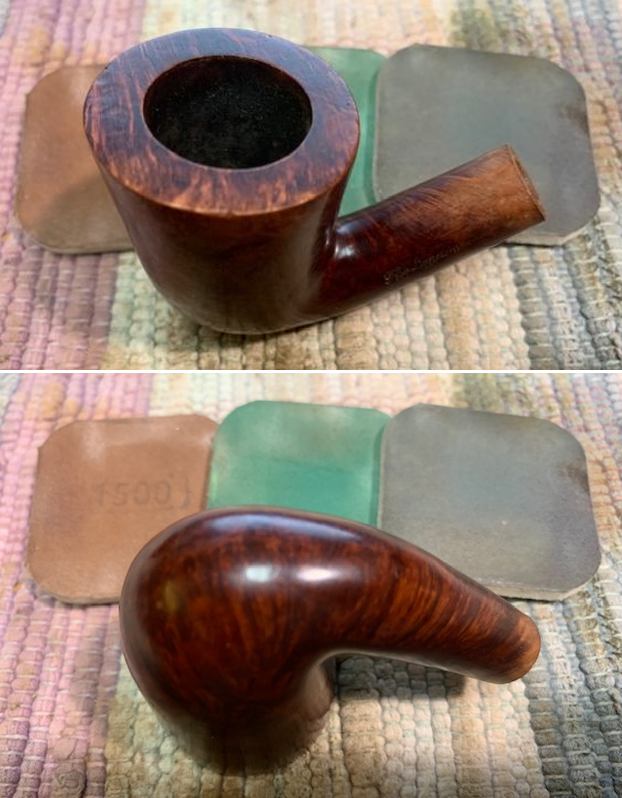
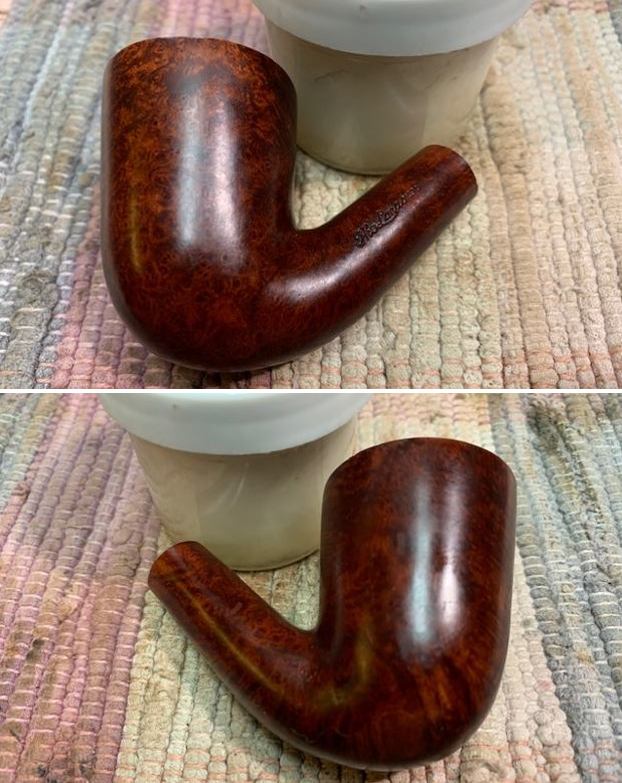
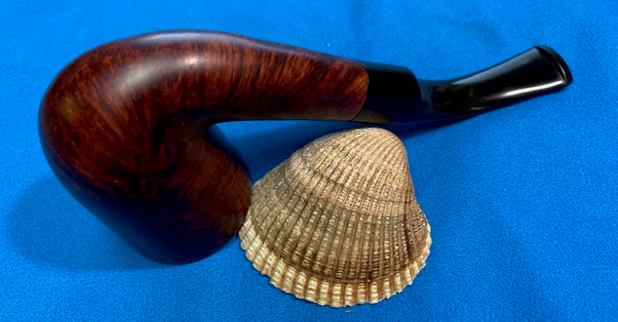
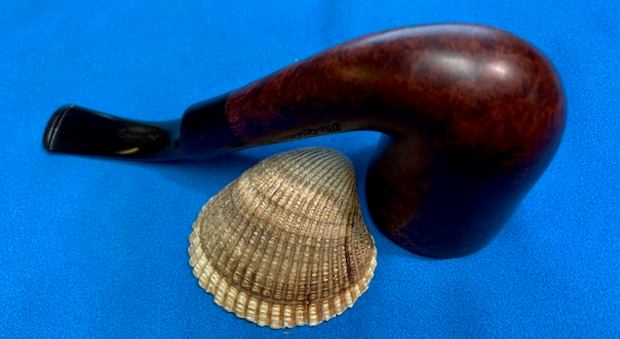
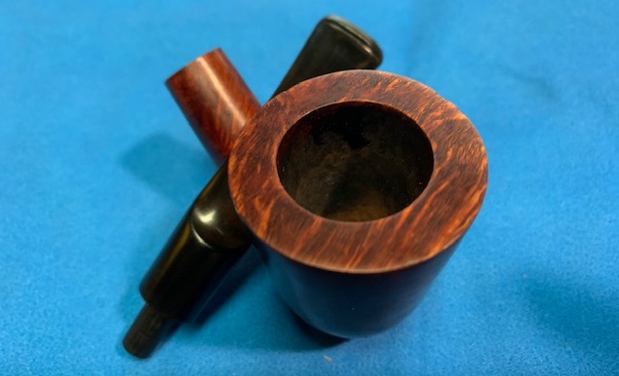
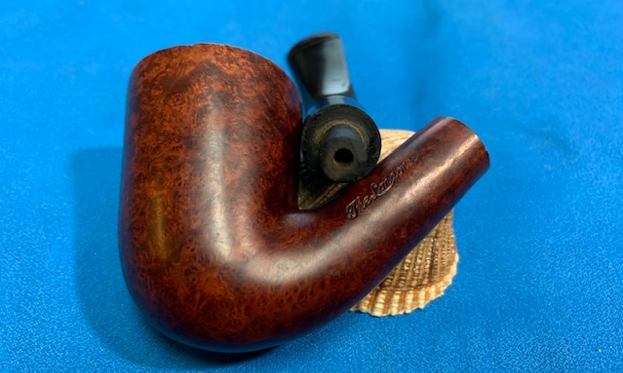
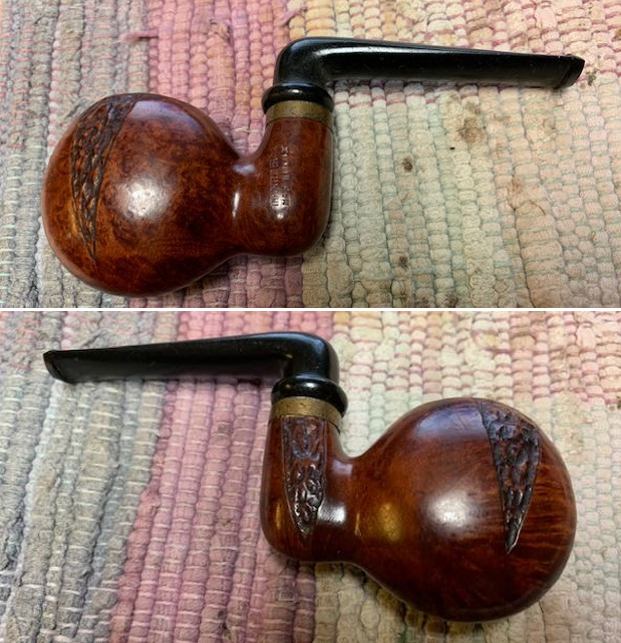
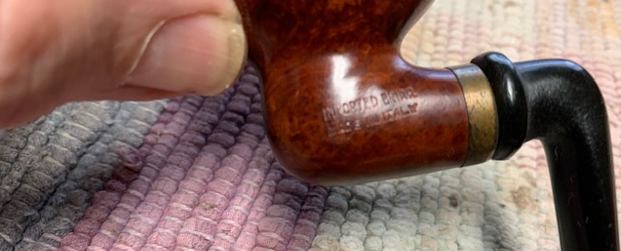
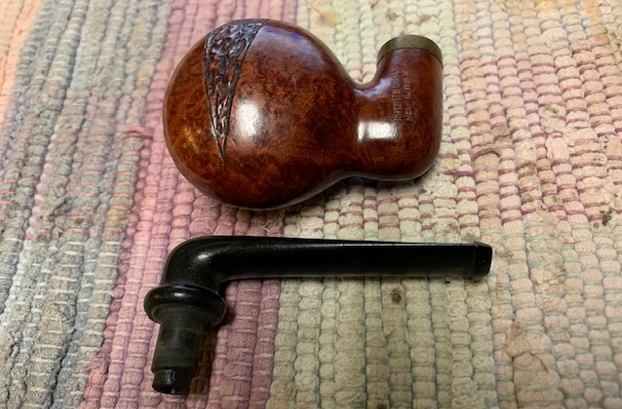
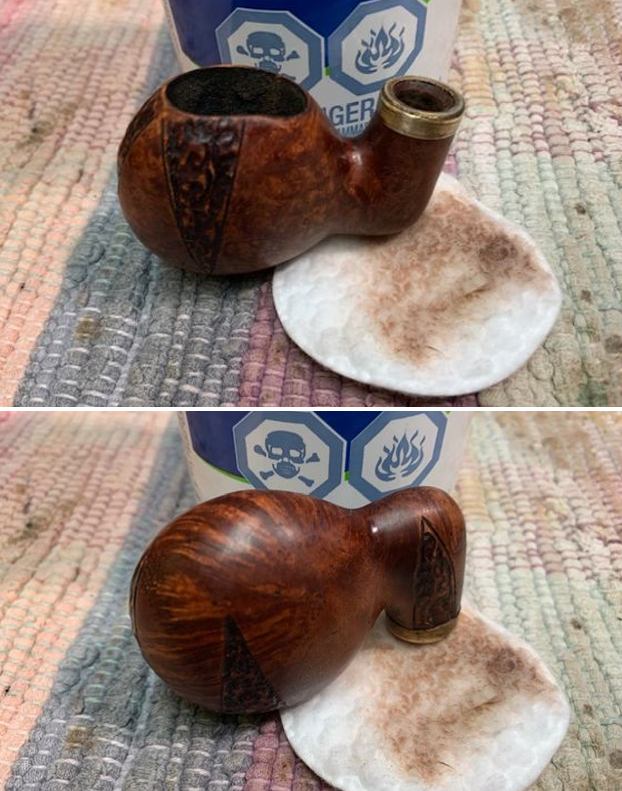
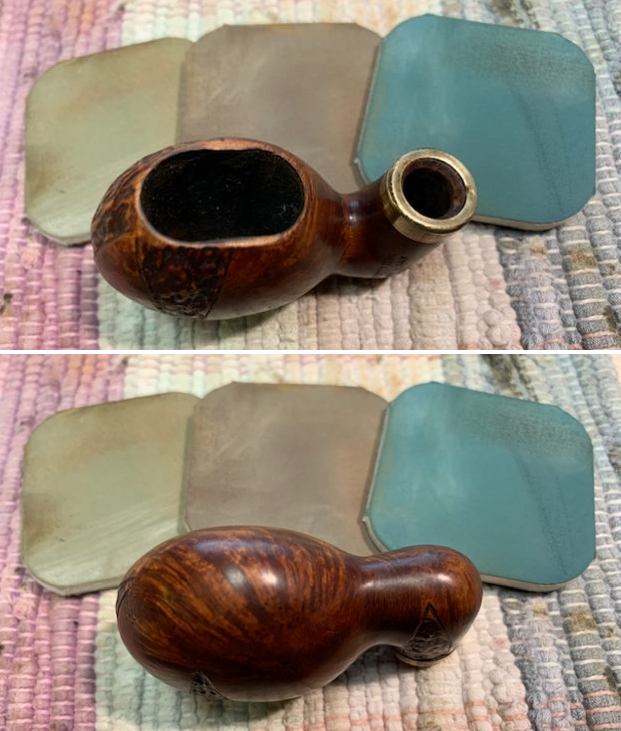
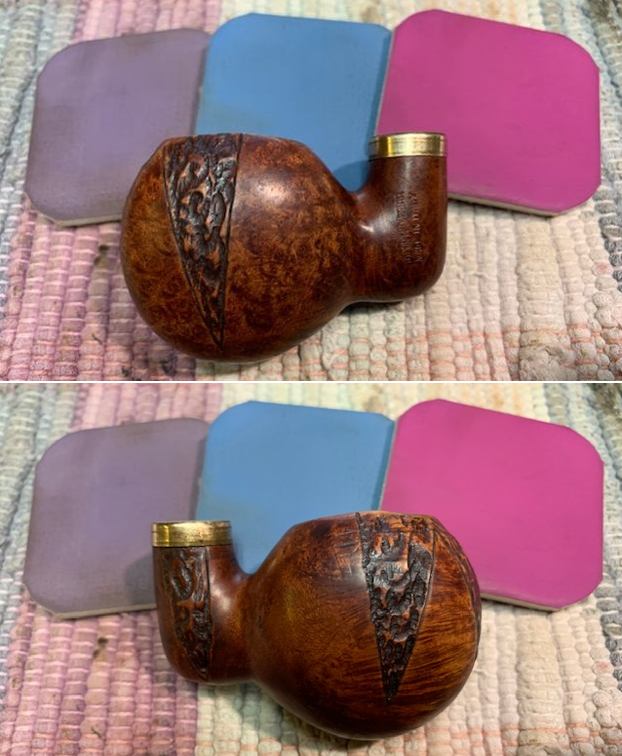
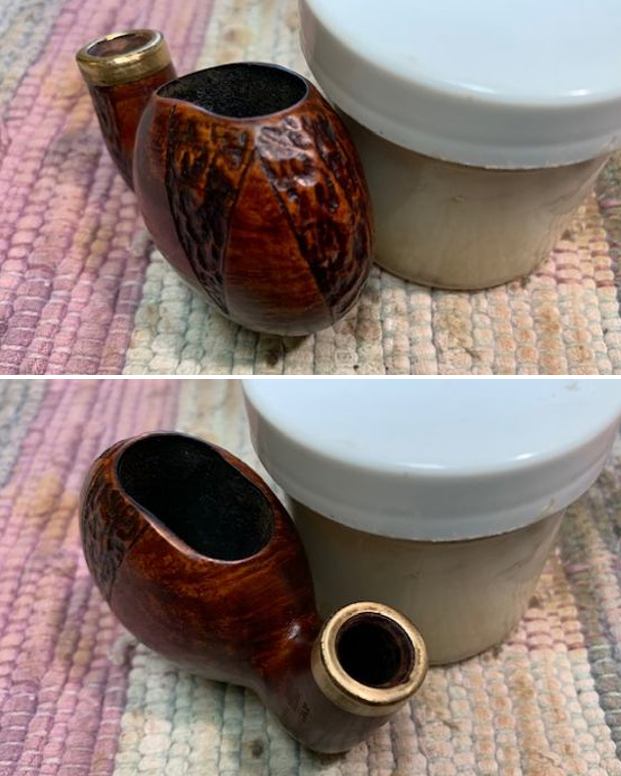
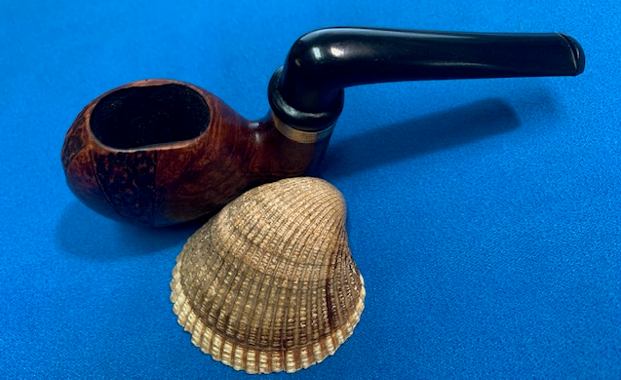
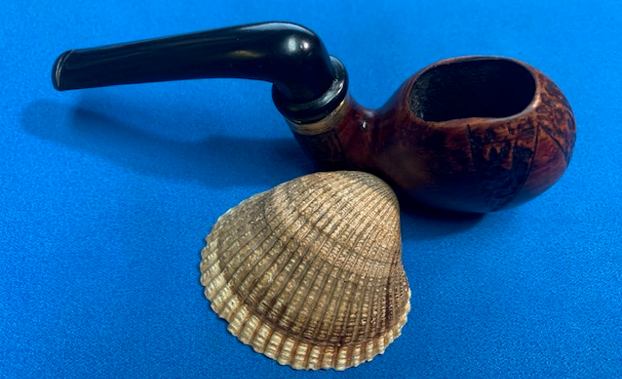
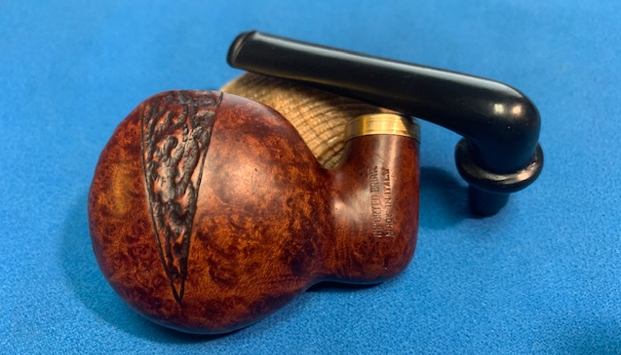
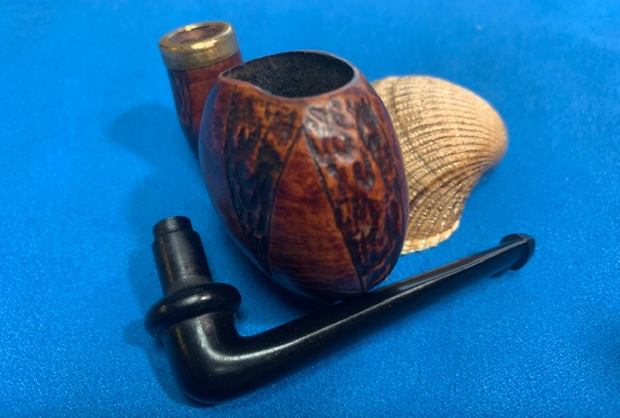
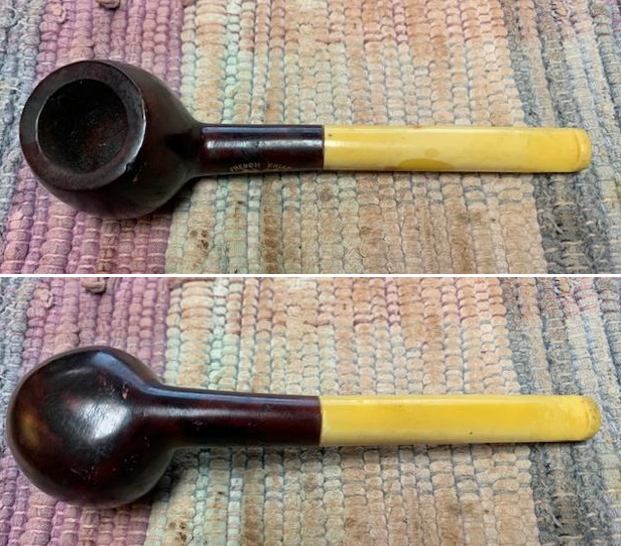
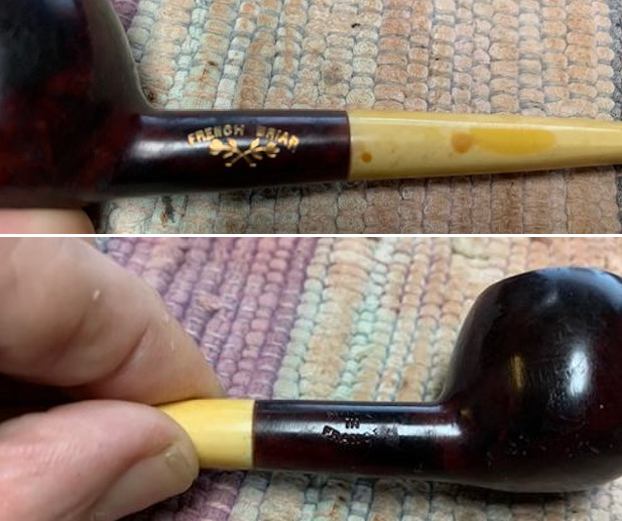
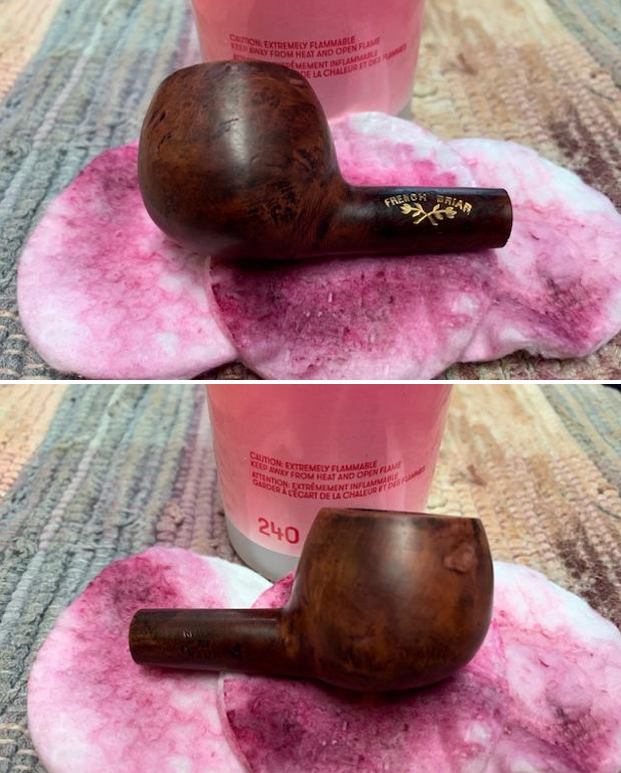
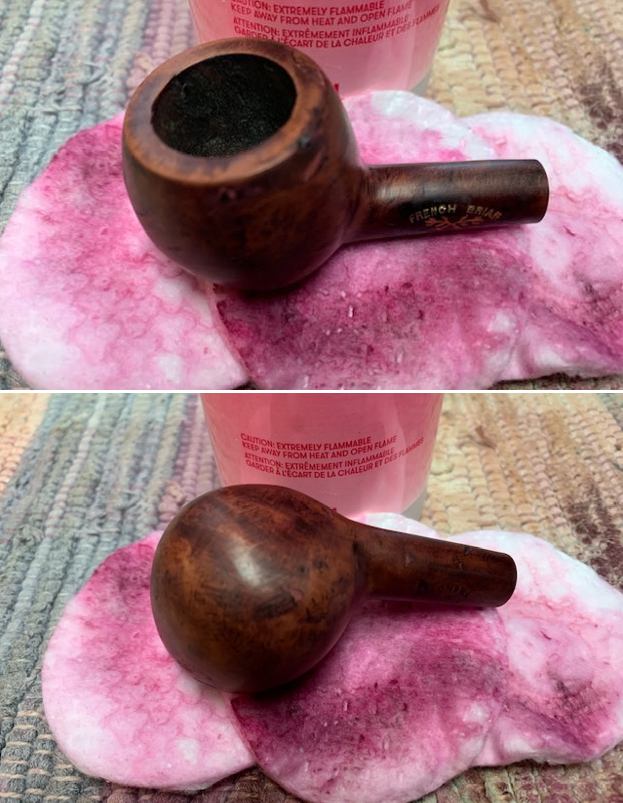
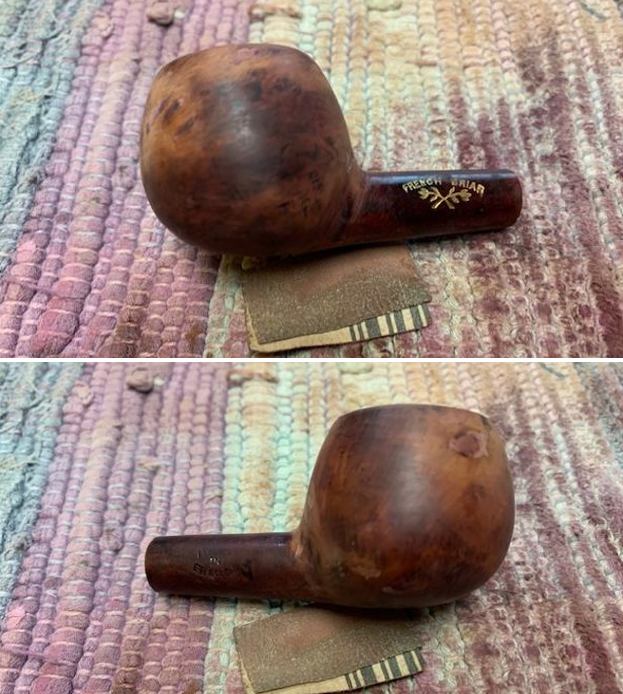
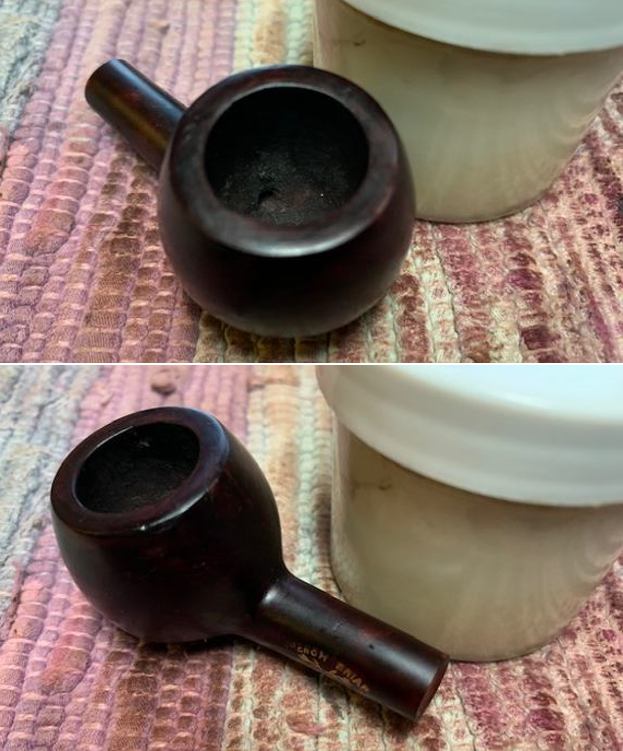
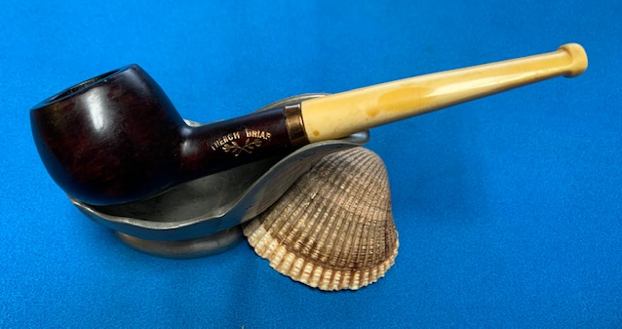
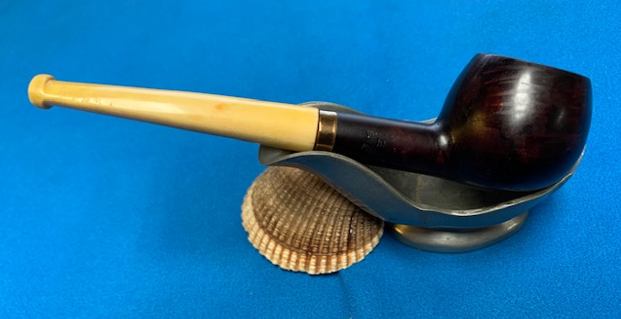
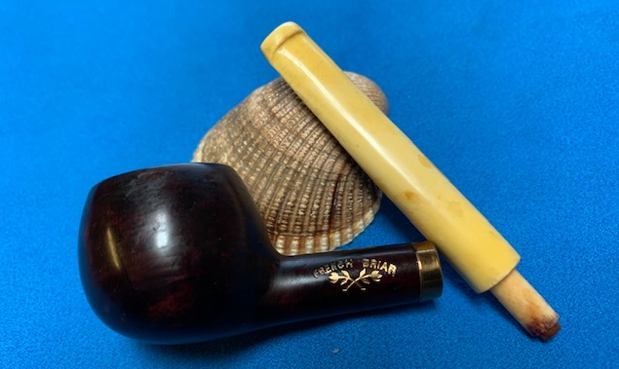
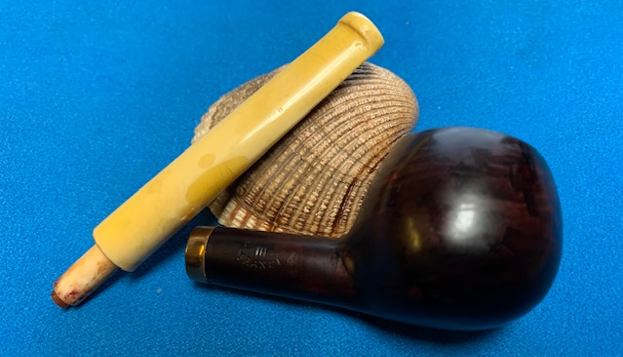
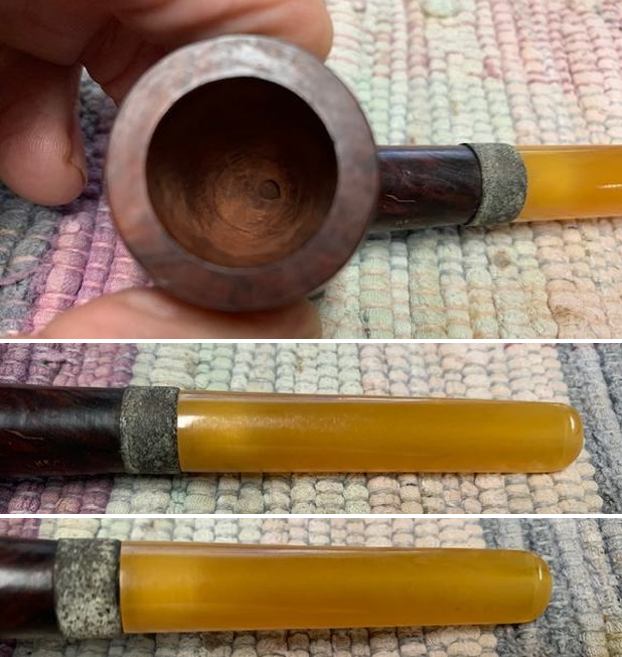
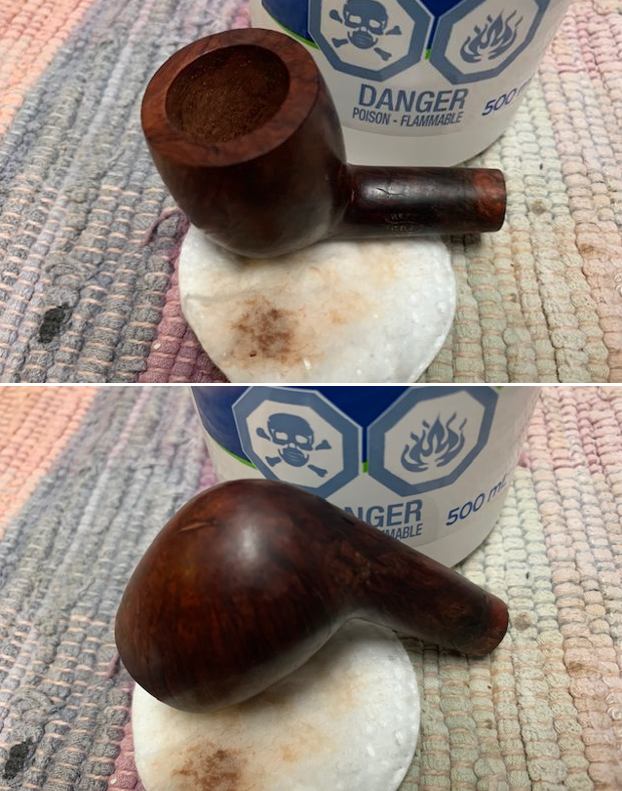
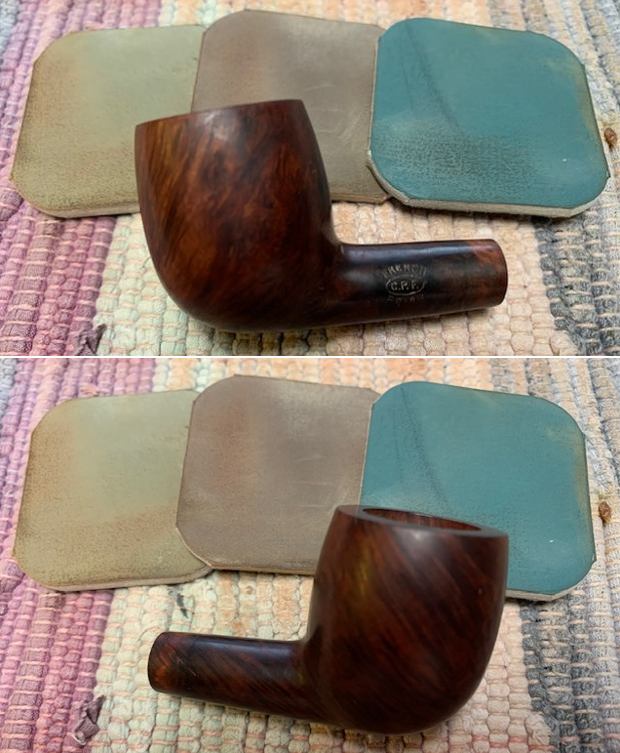
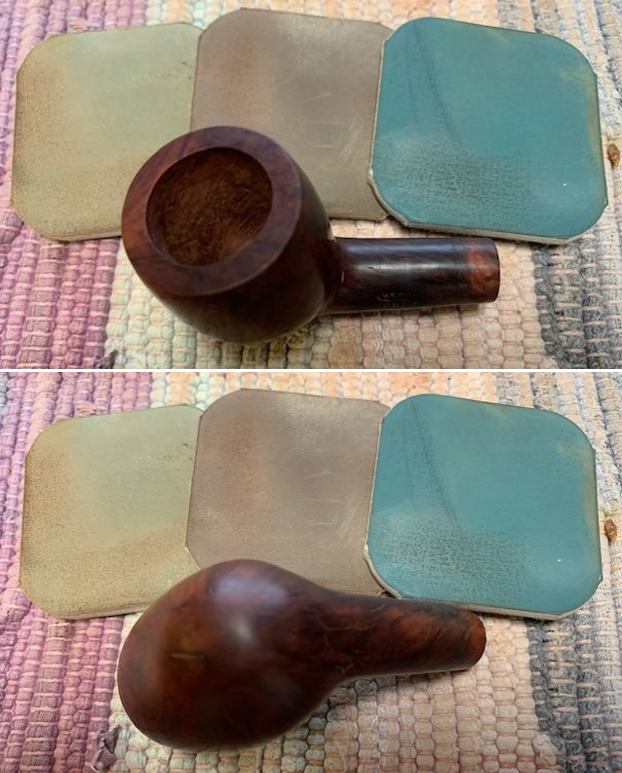
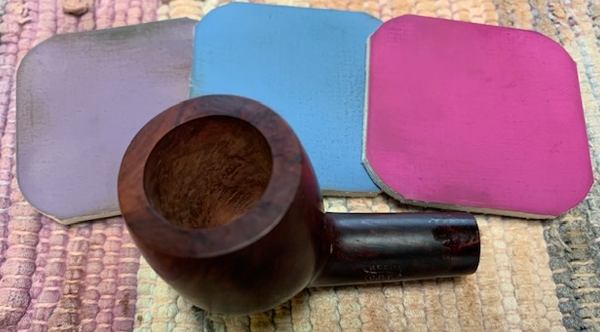
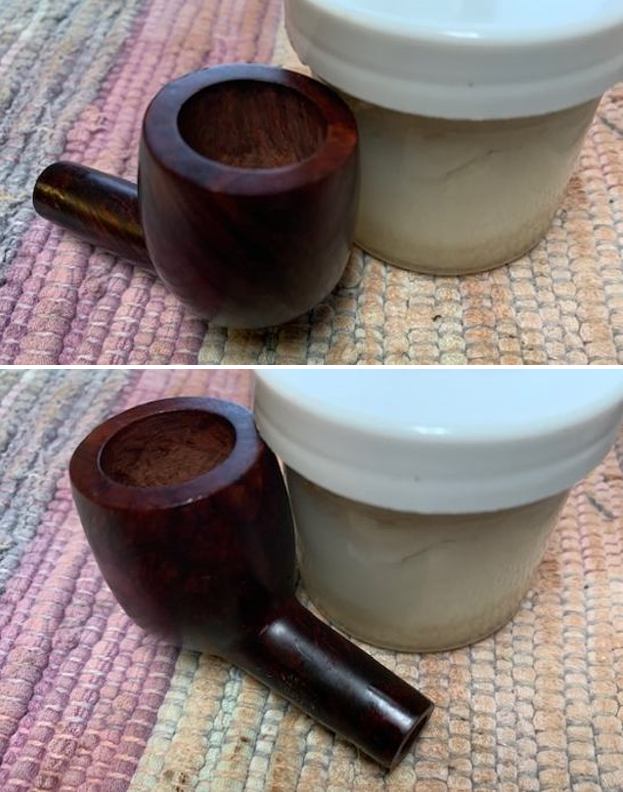
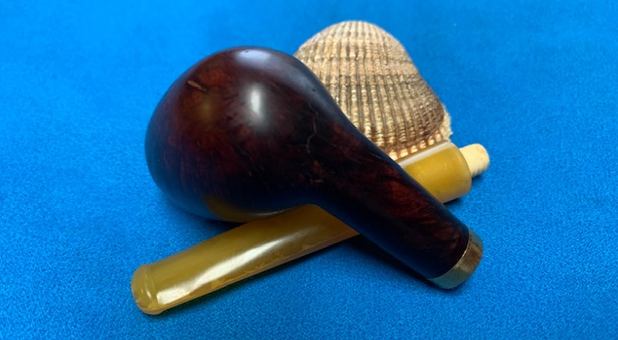
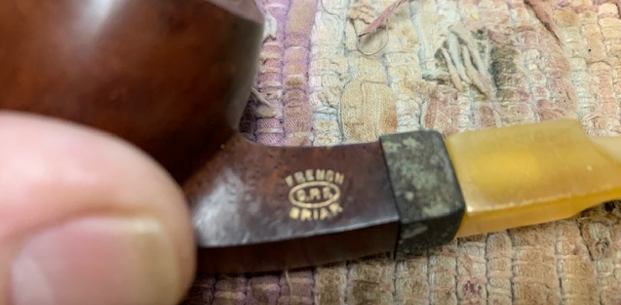
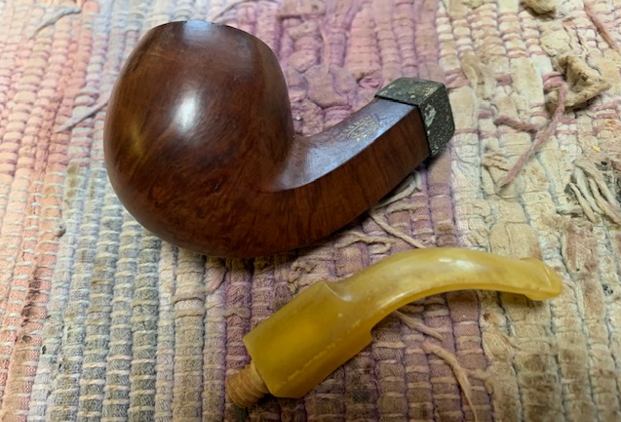
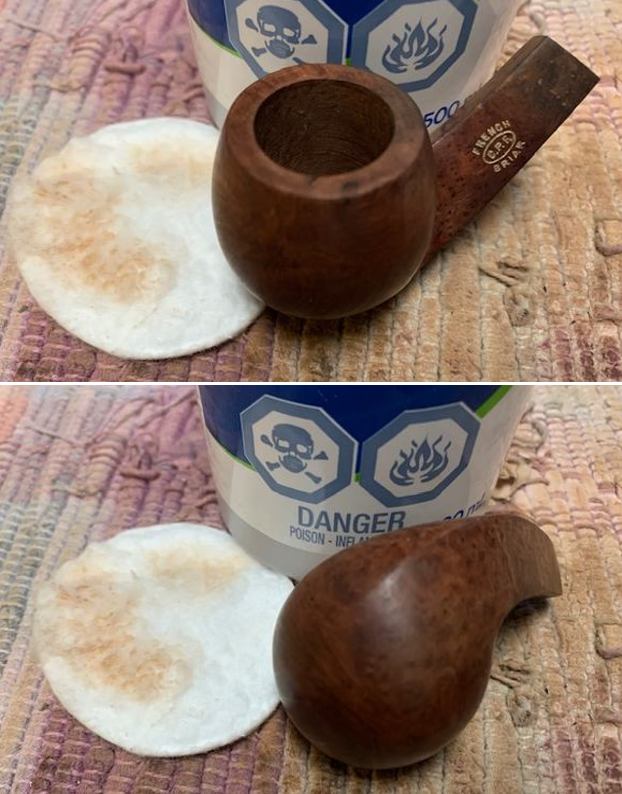
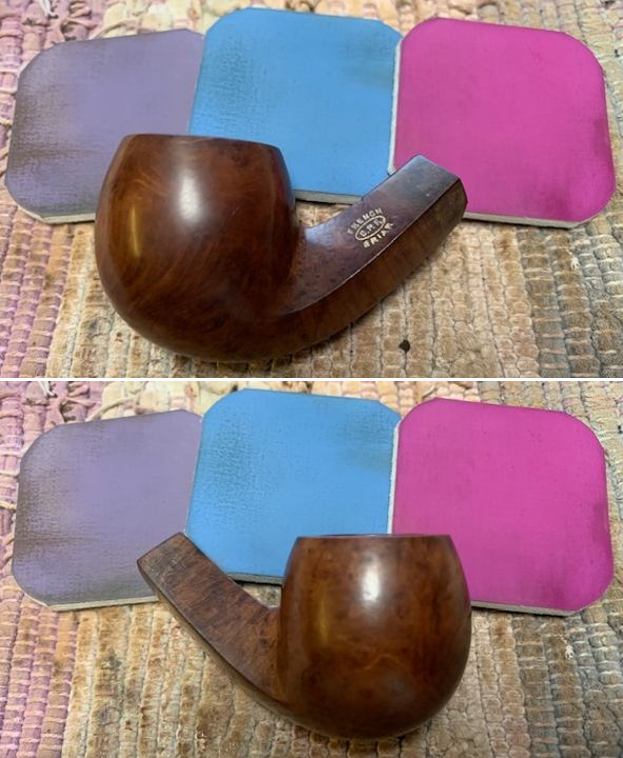
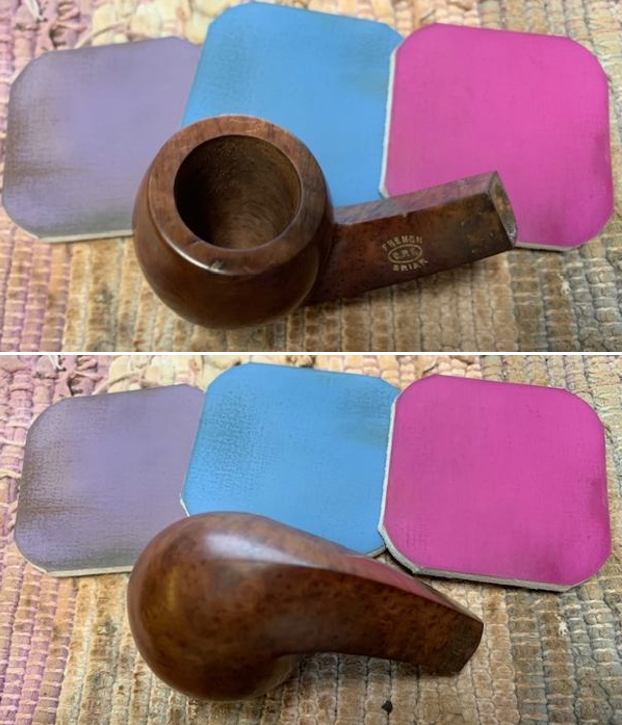
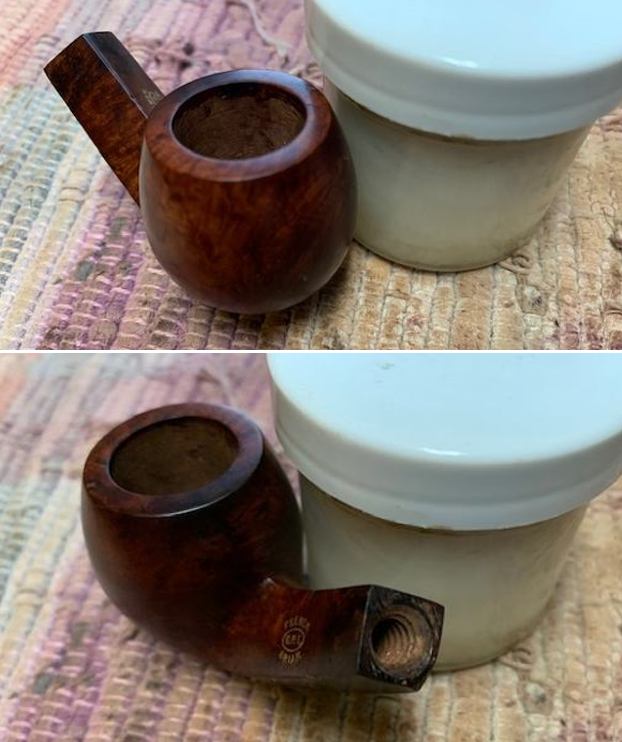
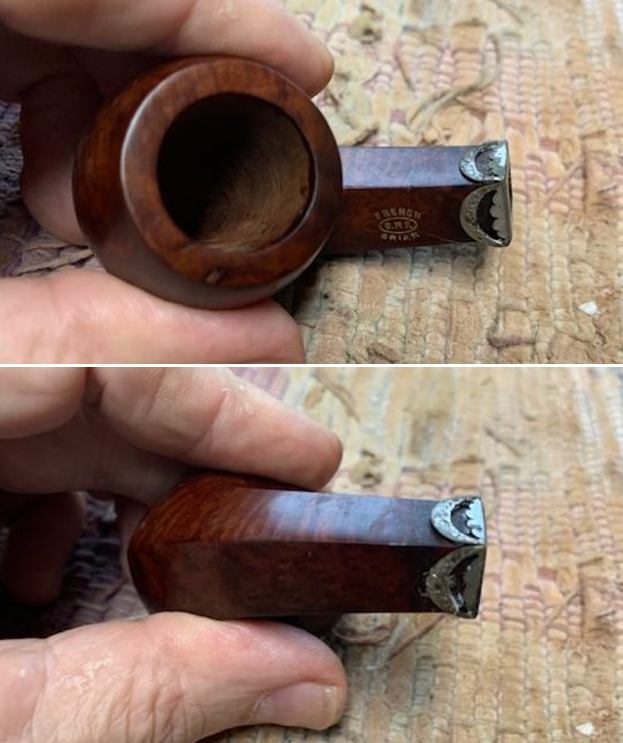
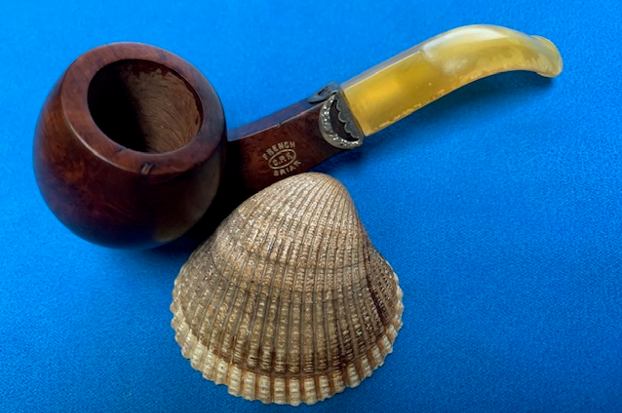
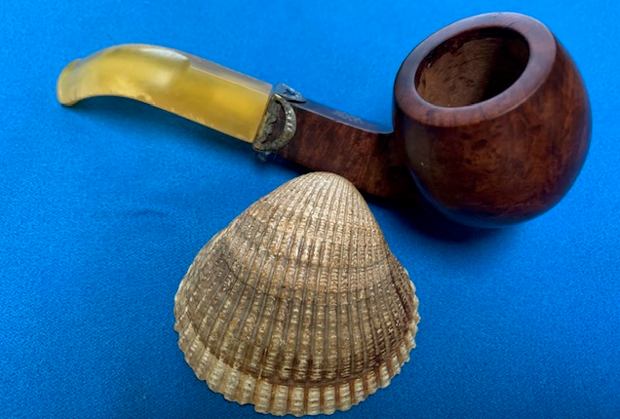
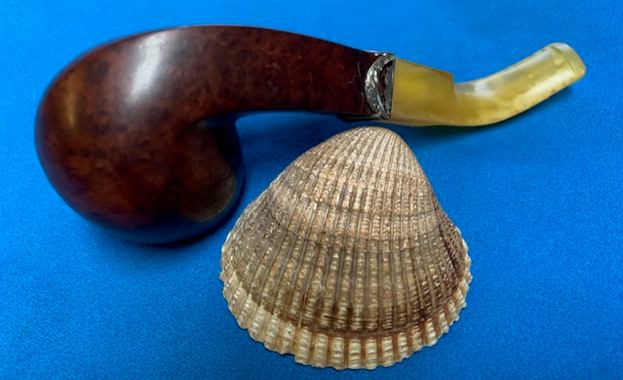
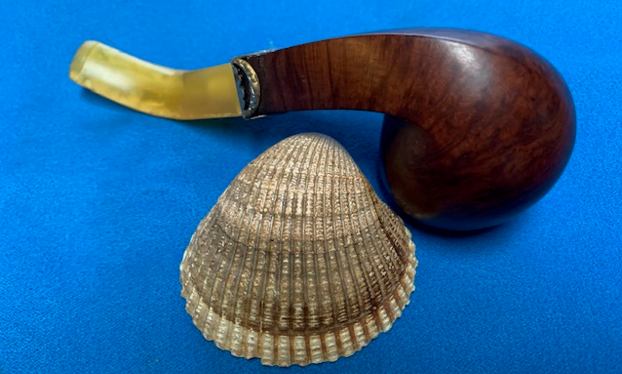
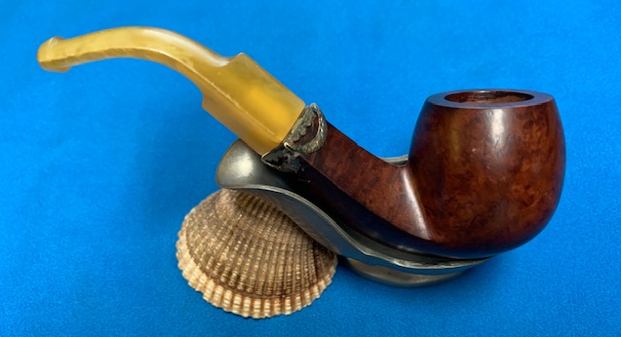
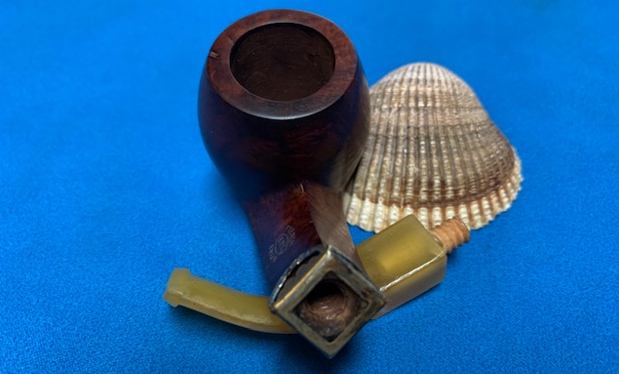
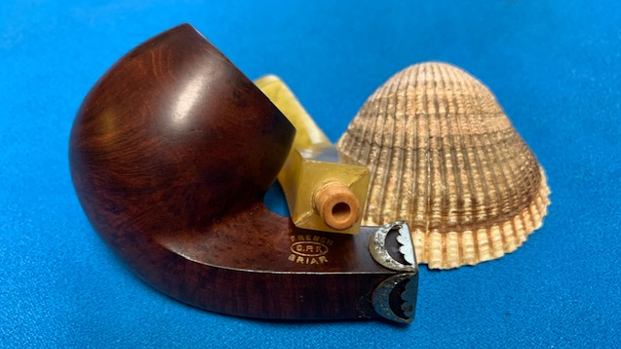
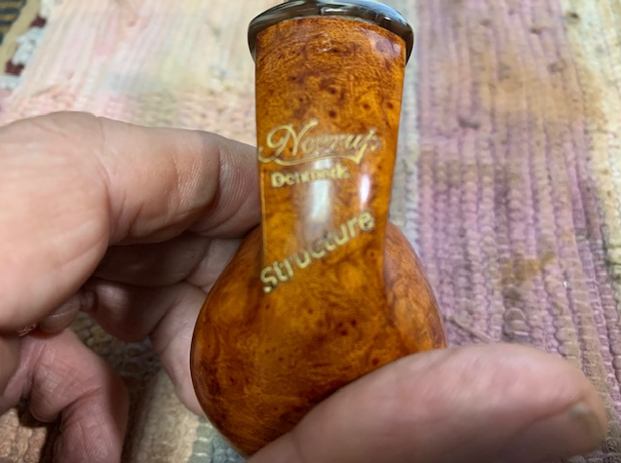
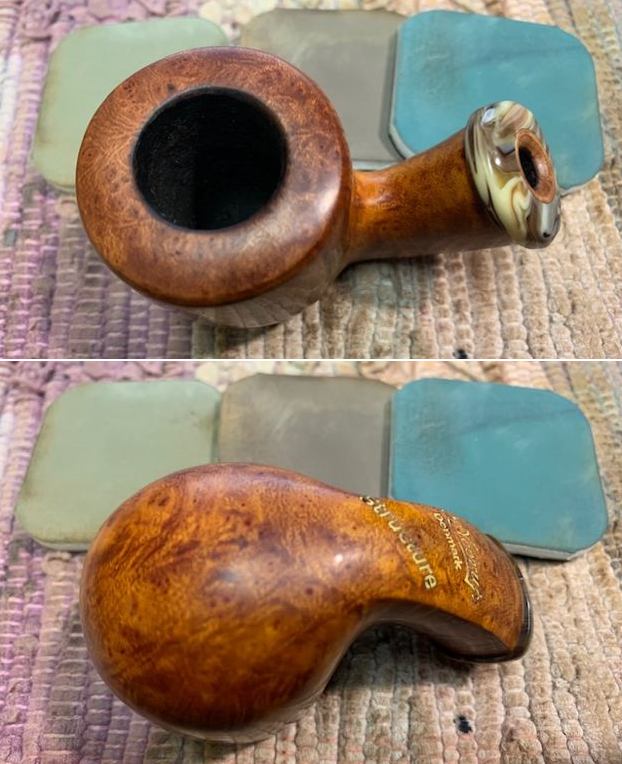
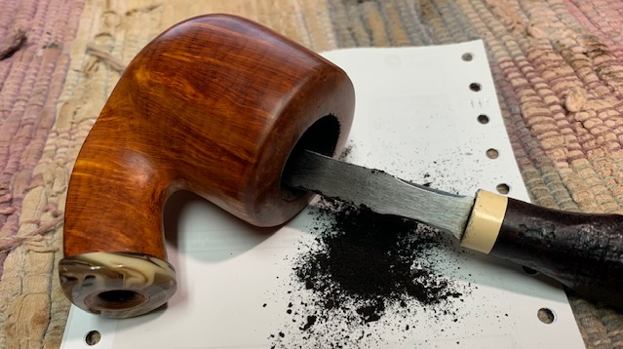
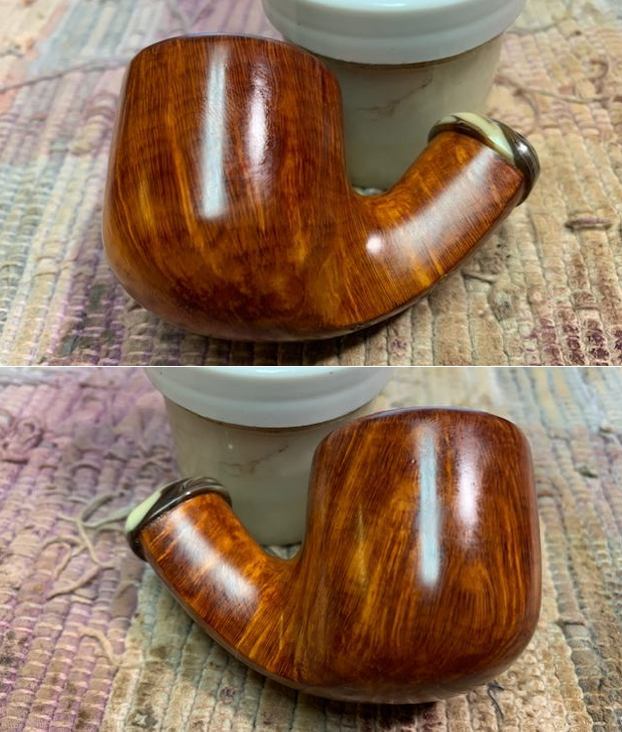
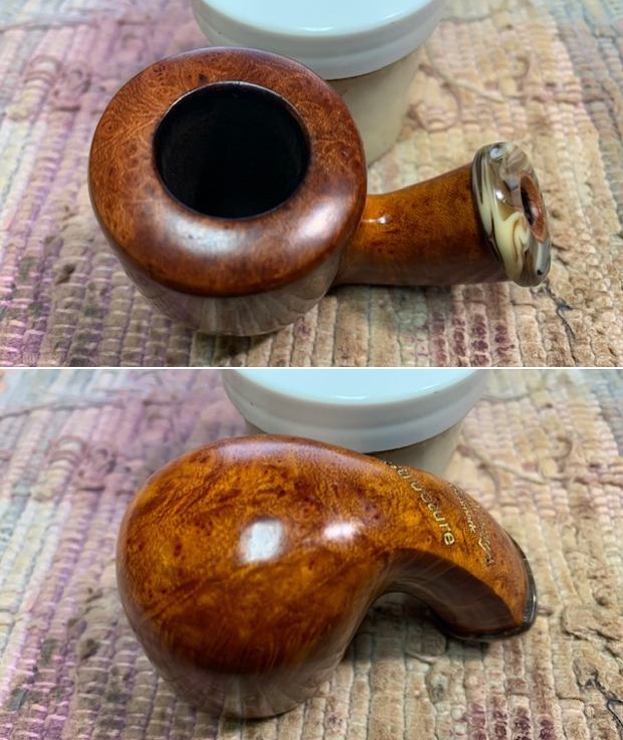
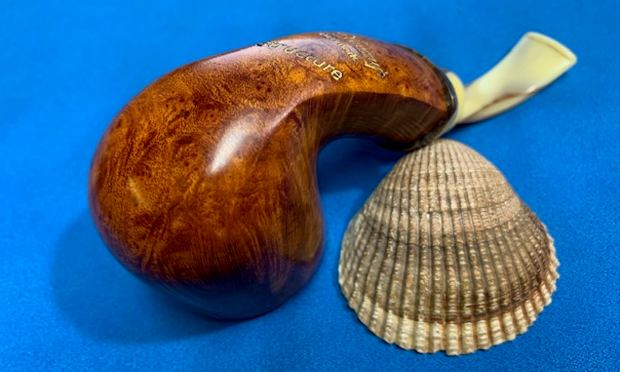
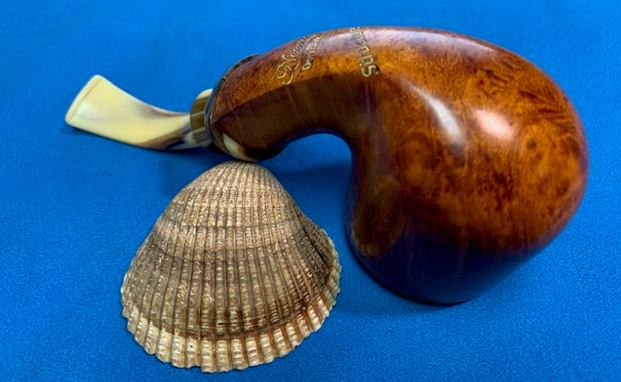
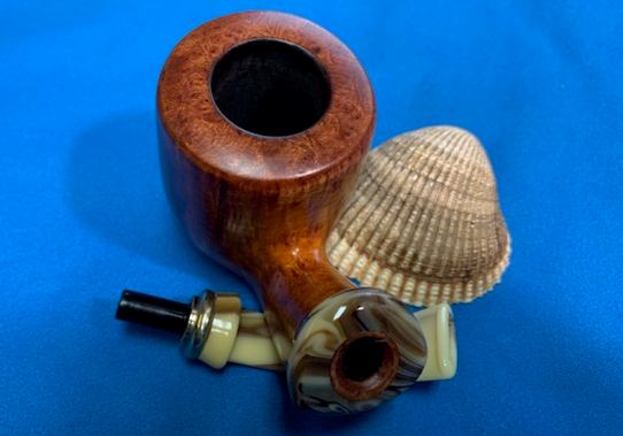
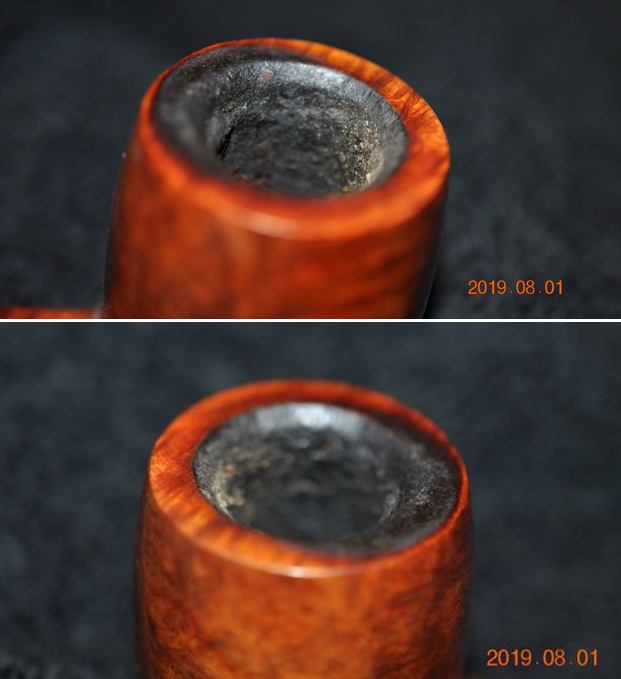
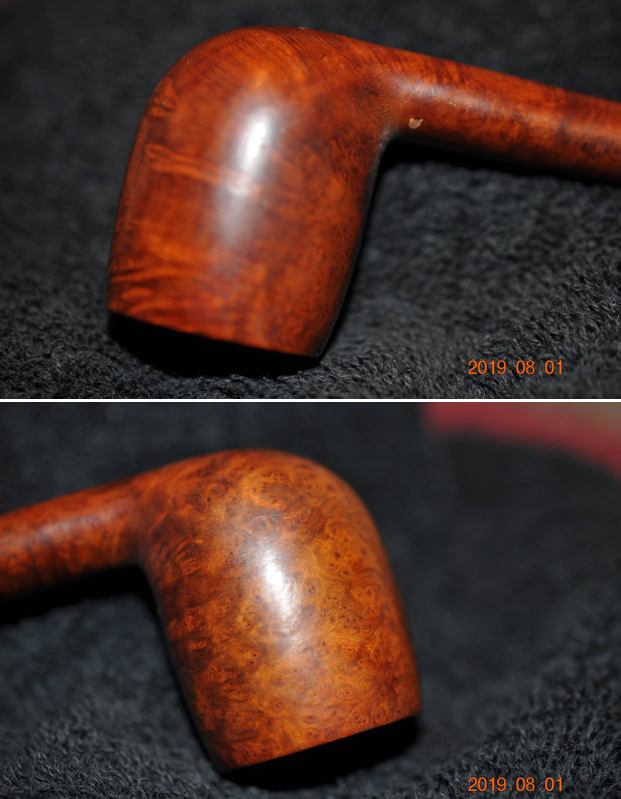
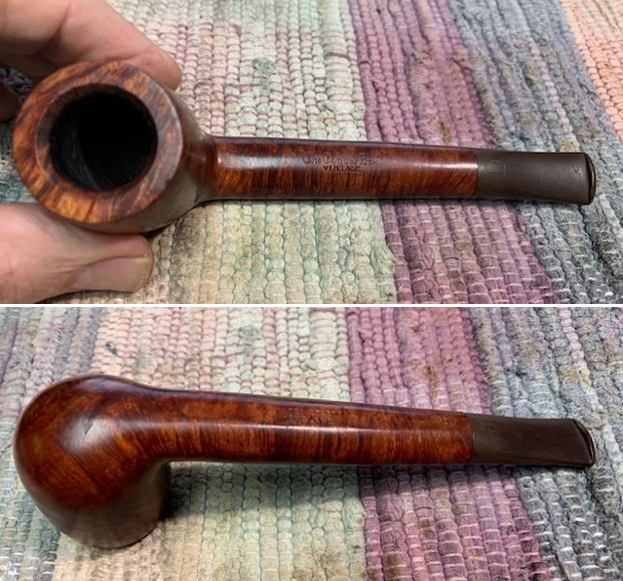
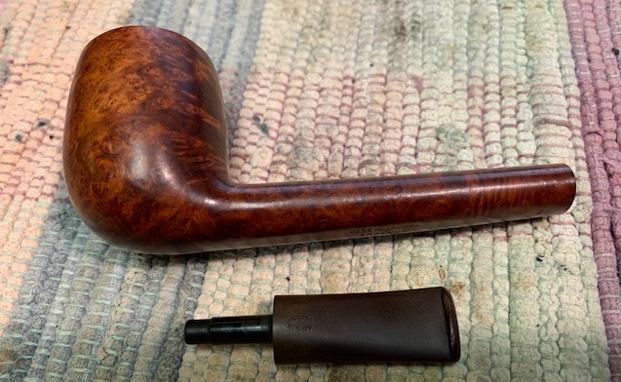
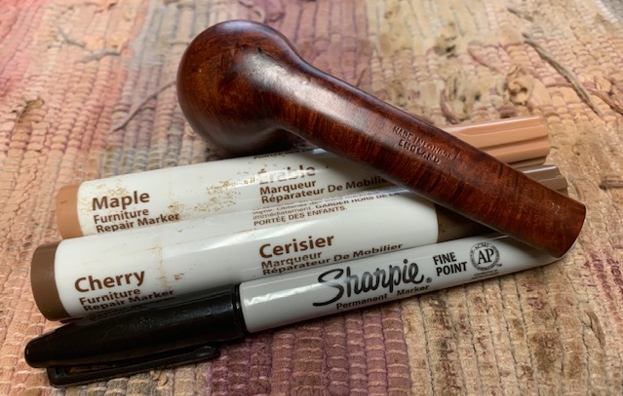
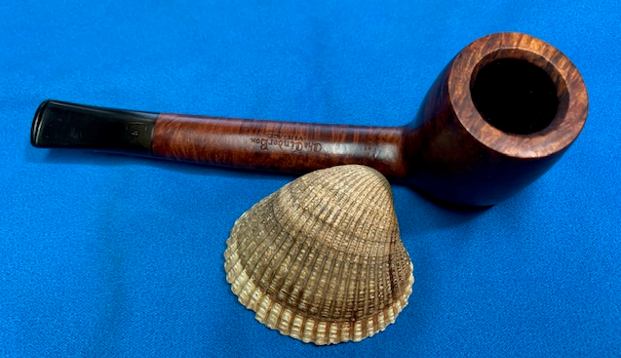
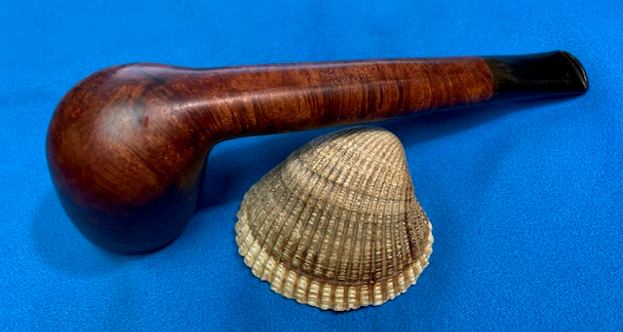
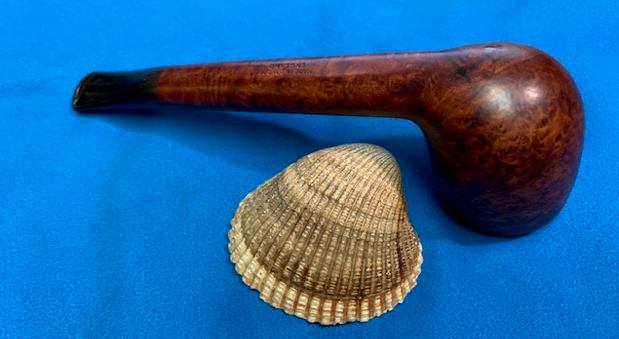
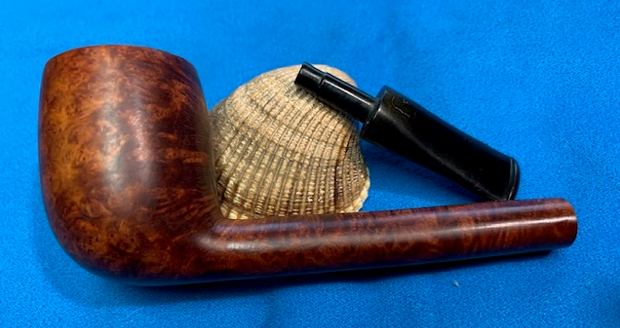
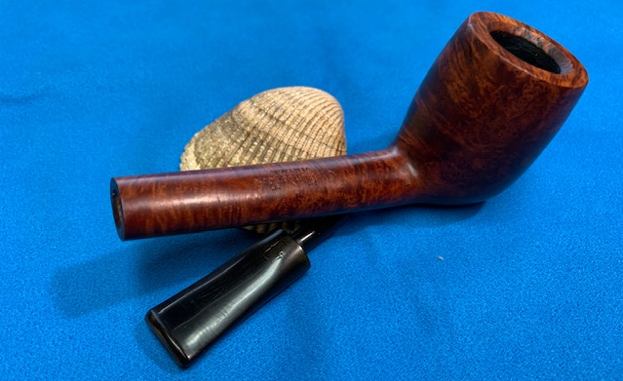
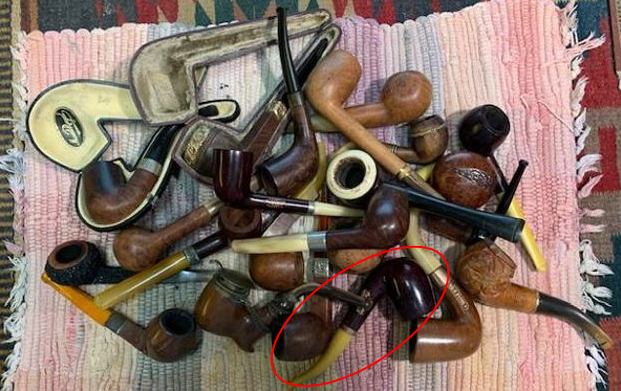
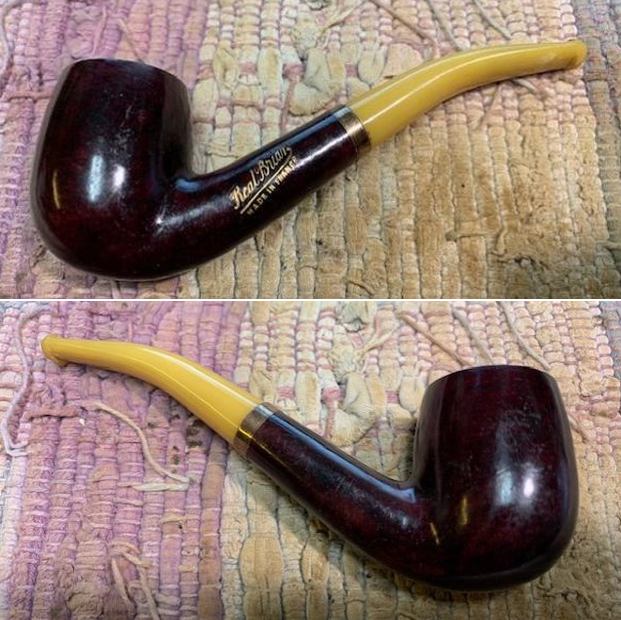
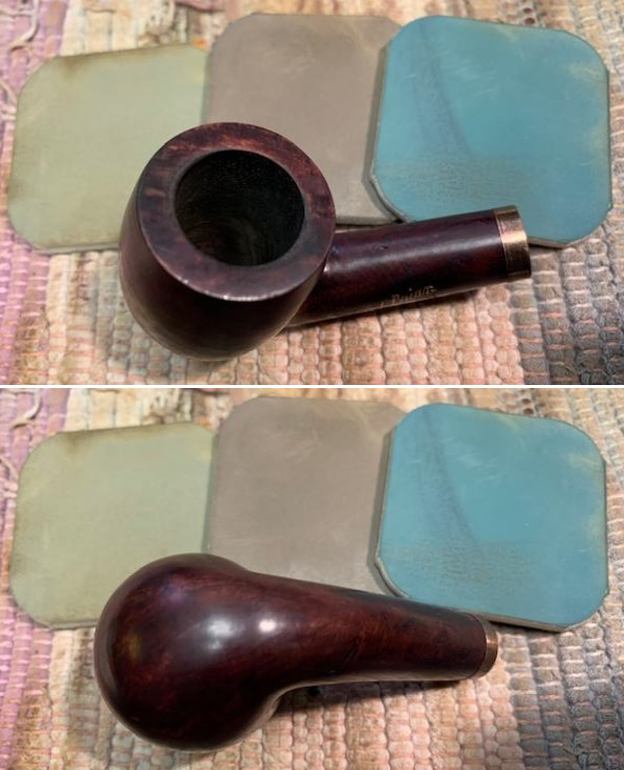
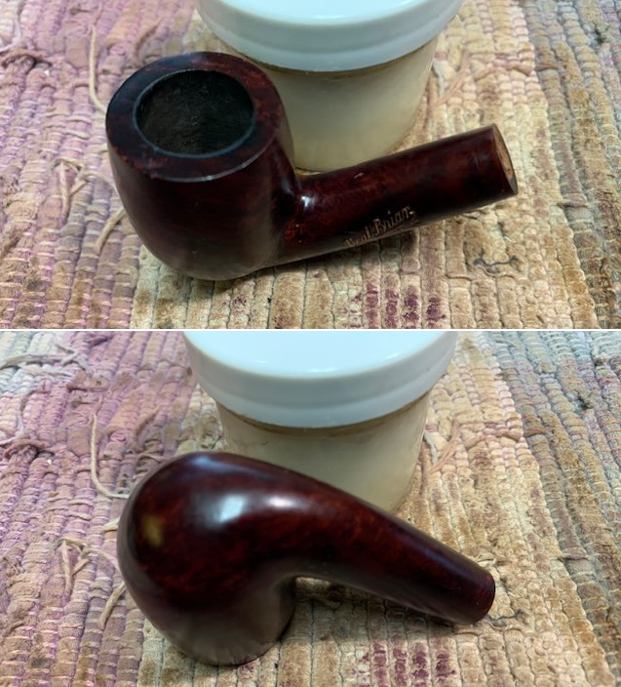
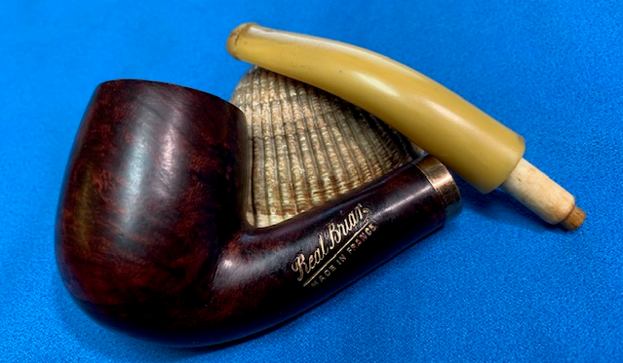
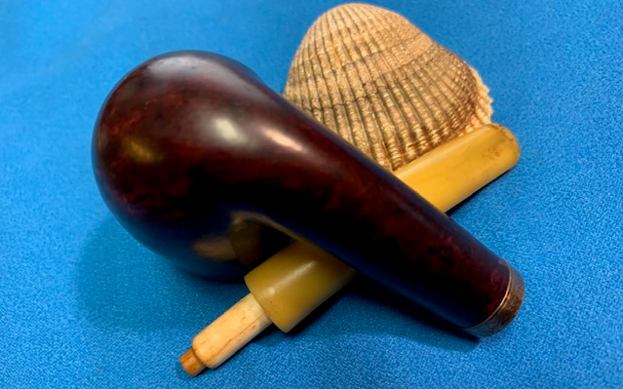
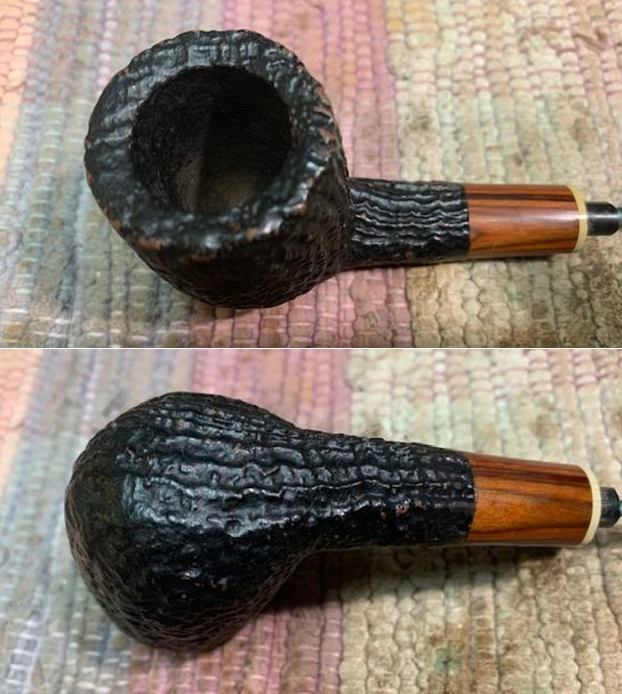
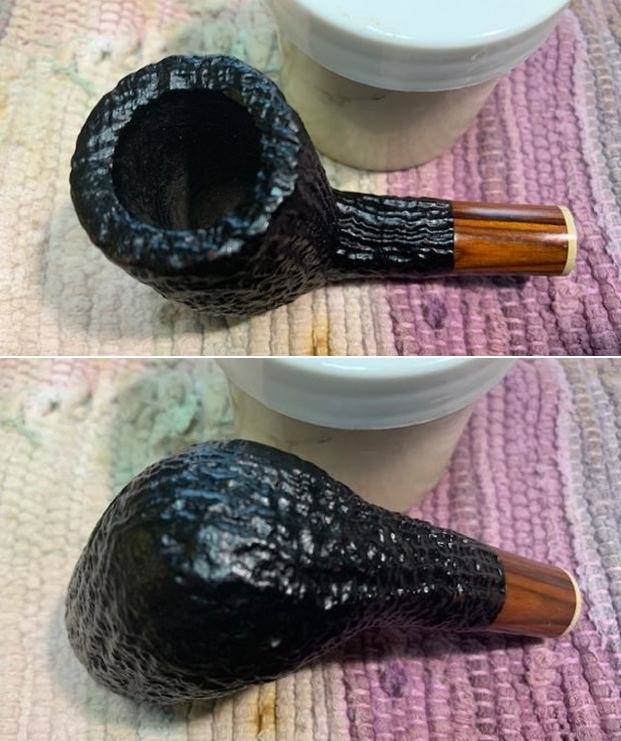
The next pipe is bowl that I have had in the box for a very long time. The rugged and very tactile sandblast really caught my eye and the cocobolo shank extension (at least it looks like that to me) and the thin ivory coloured spacer looked really good. I figured some day I would restem it and bring it back to life again. Since I am in the mood to restem a few pipes today turned out to be that day! It had a broken tenon in the shank when I put it away but the stem had disappeared long before it arrived in my care. The sandblast is very visible in the photos below. The pipe was very clean with no cake in the bowl and a decent finish in good condition. The cocobolo wood shank extension was lightly scratched but otherwise in good condition. It really is a beautiful looking oval shank Billiard. (I had already started wiggling out the broken tenon when I remembered to take these photos.) 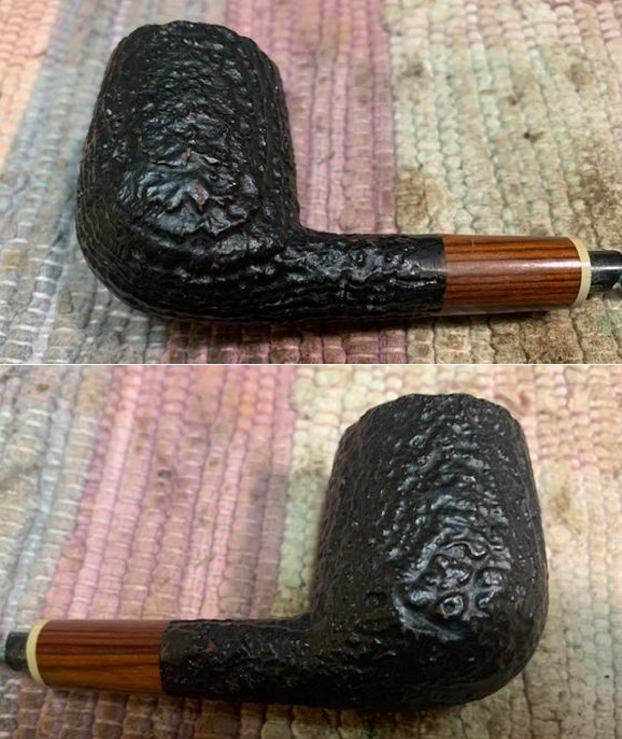
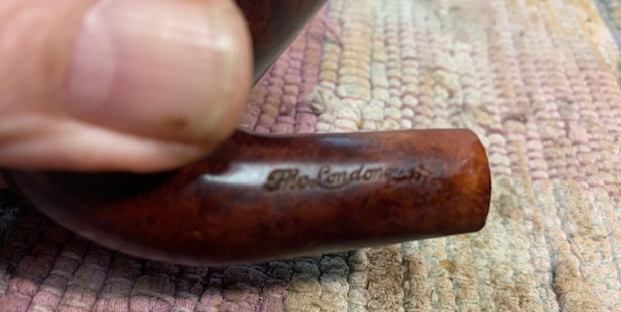
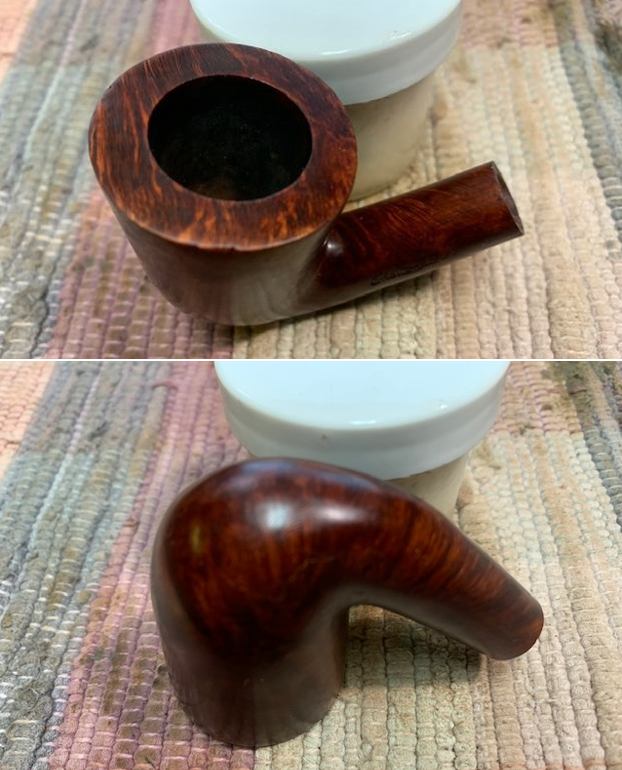
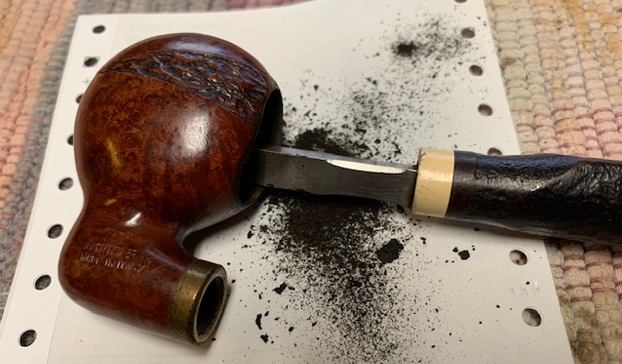
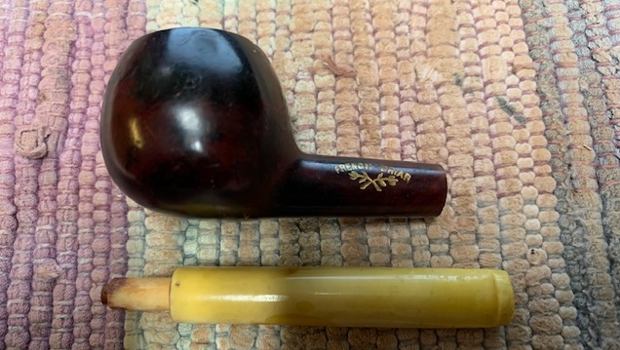
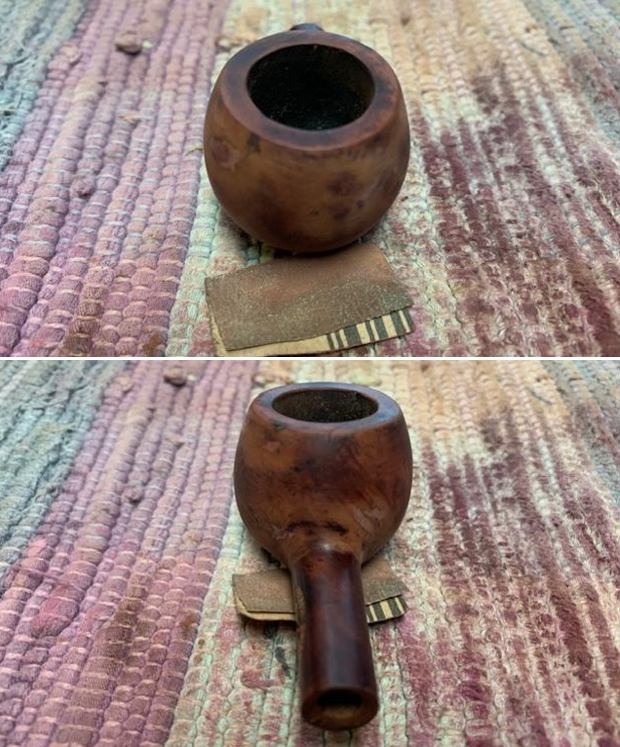
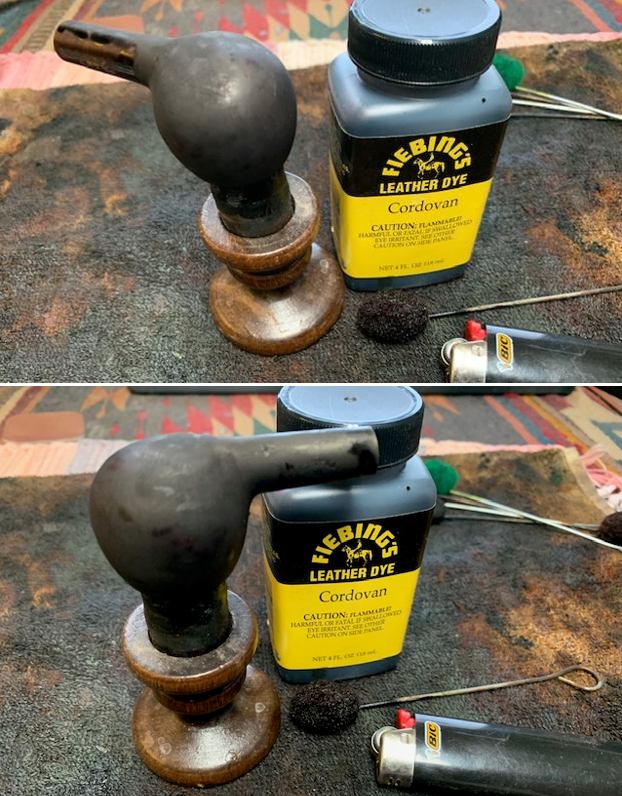
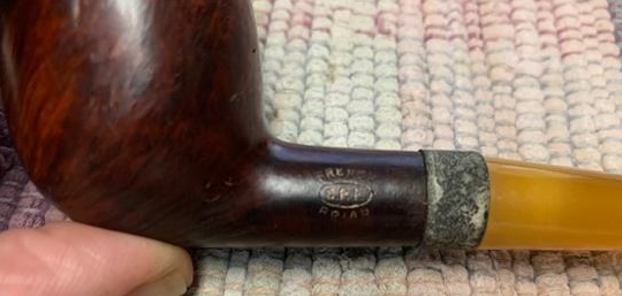
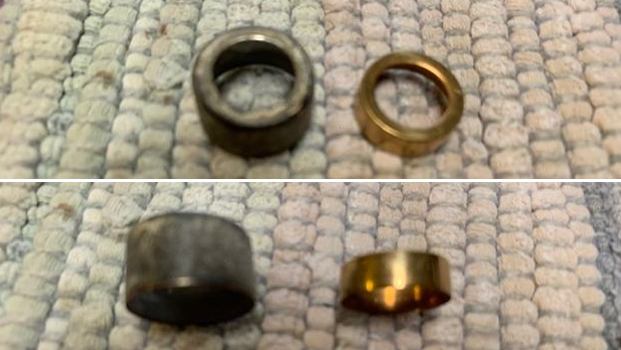
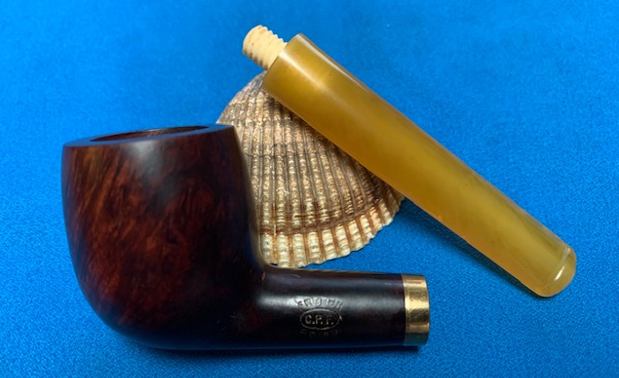
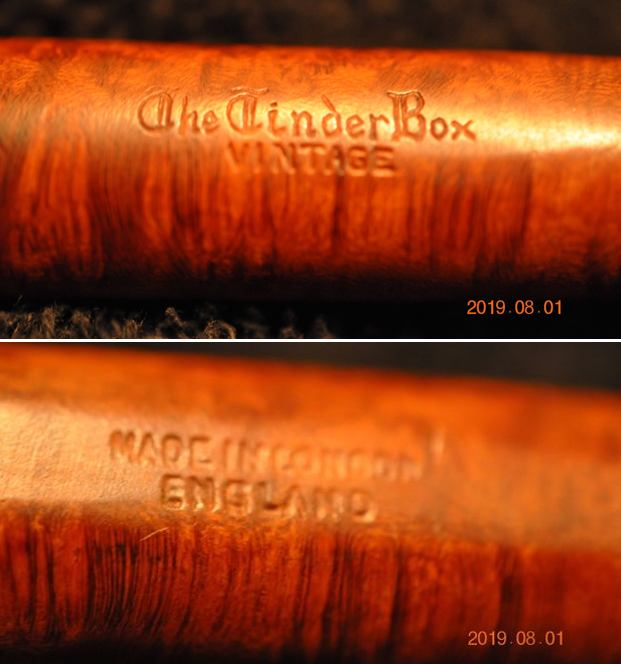
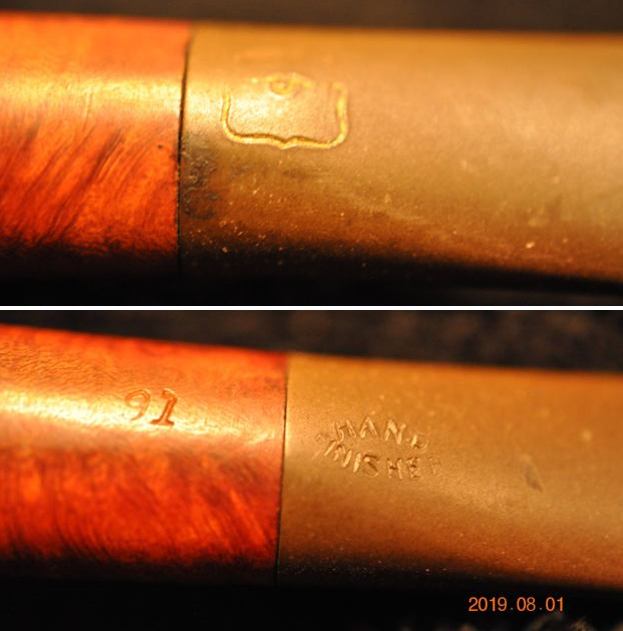
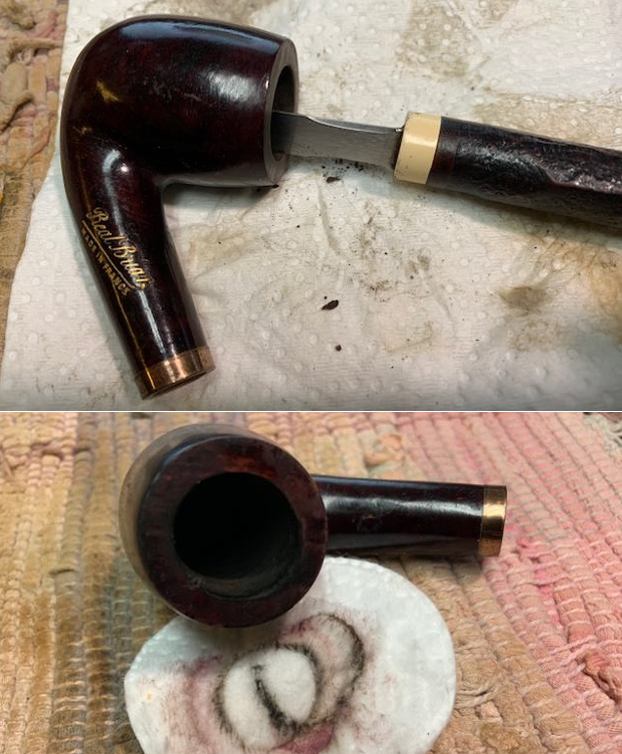
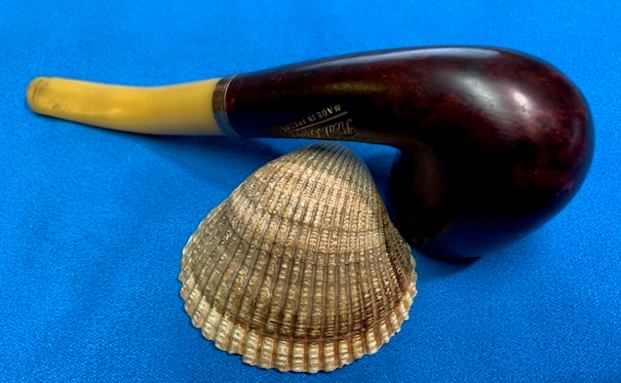
 I started to work on the pipe quickly as there was no stamping or identifying features that I could dig into regarding the maker of the pipe. The first thing that had to be done was to remove the broken tenon from the shank. I used a drywall screw with coarse threads to lock into the airway in the tenon and remove it. It took a bit of wiggling to do so but it came out.
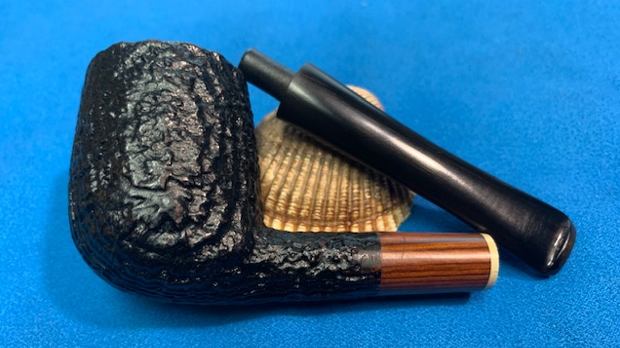
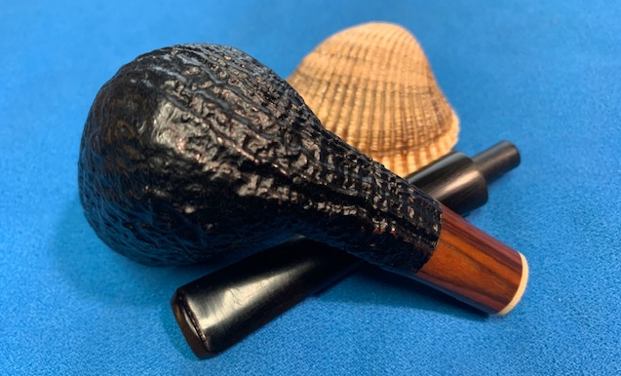
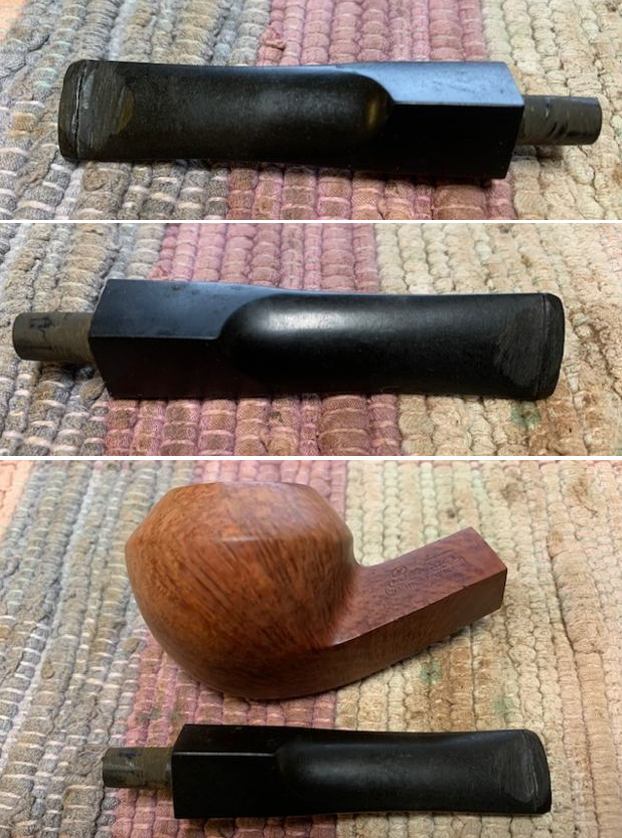
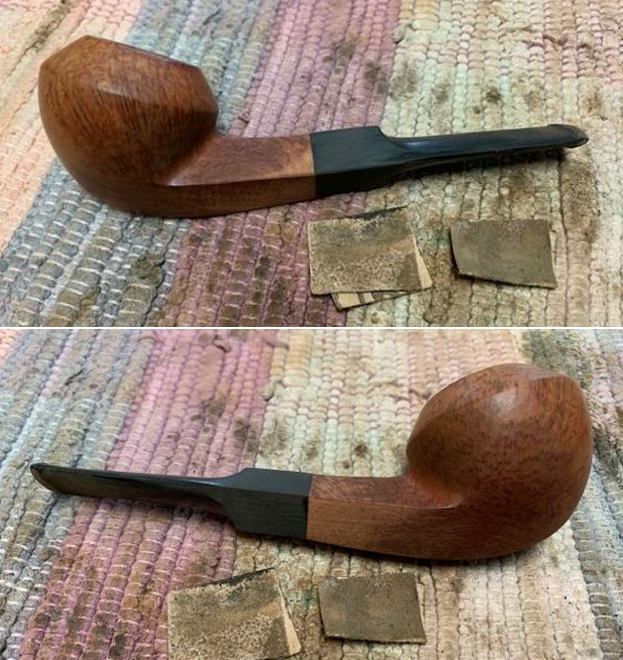
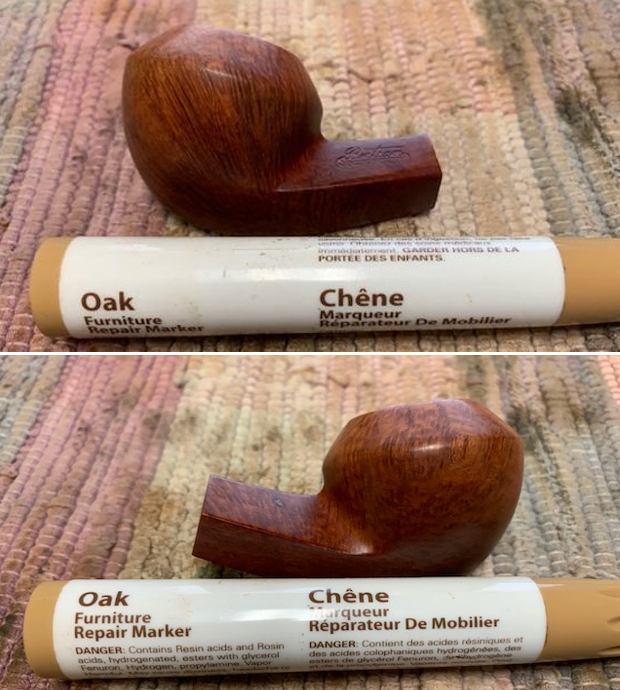
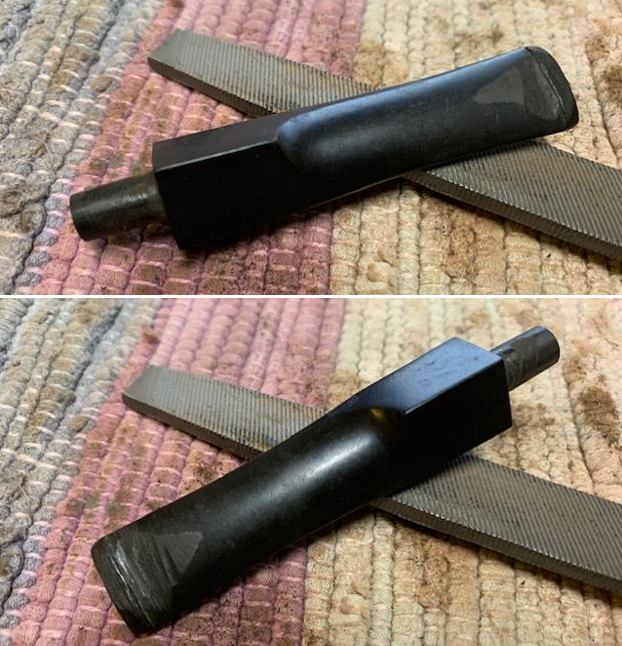
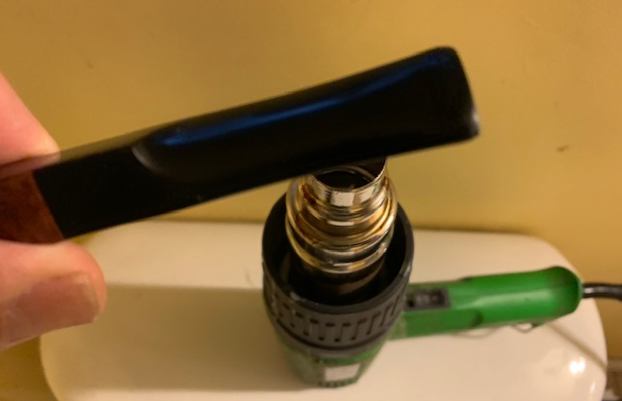
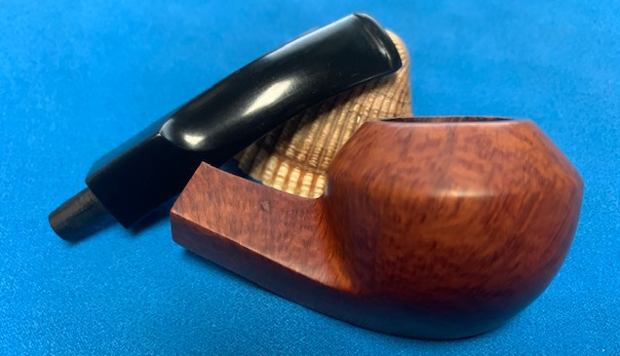
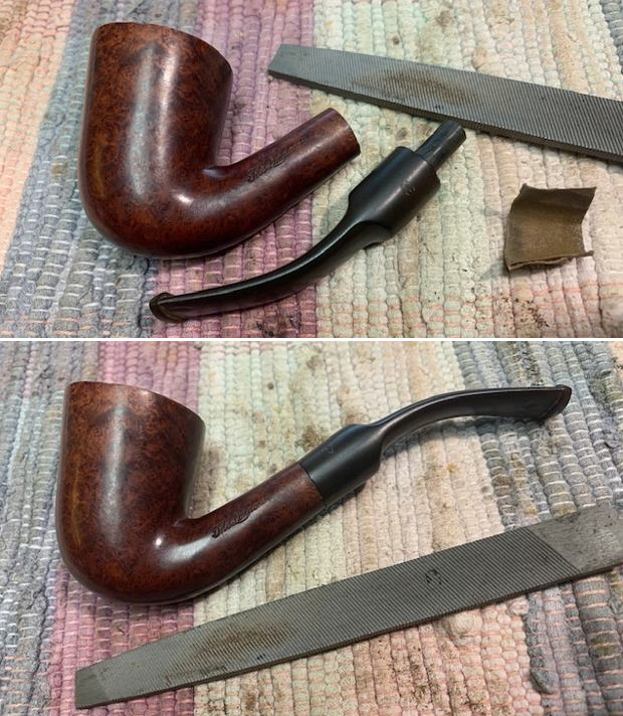
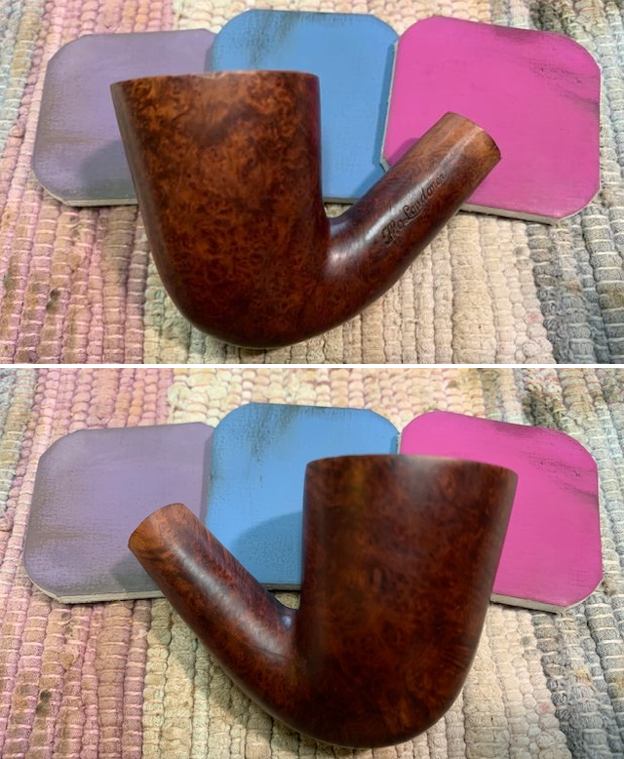
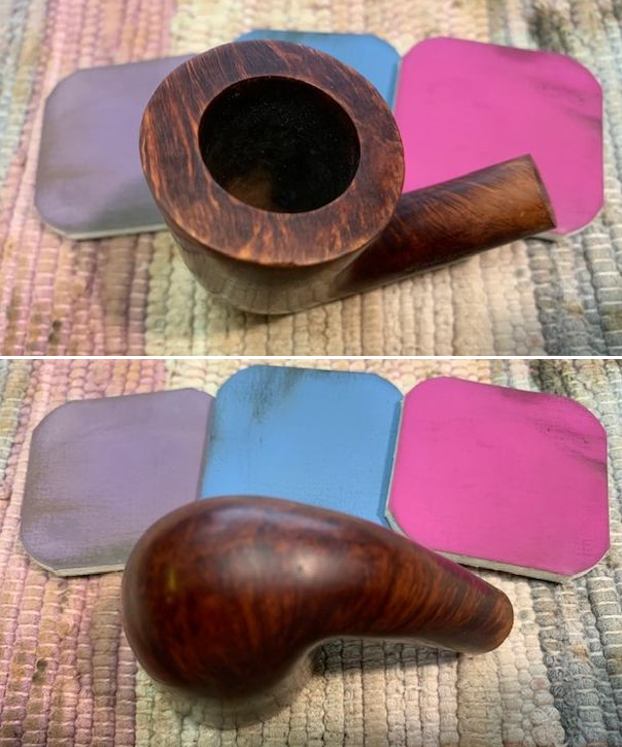
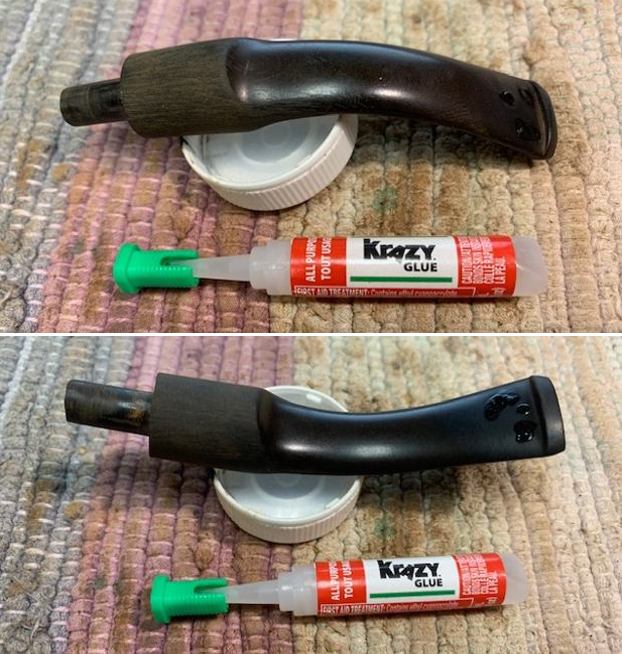
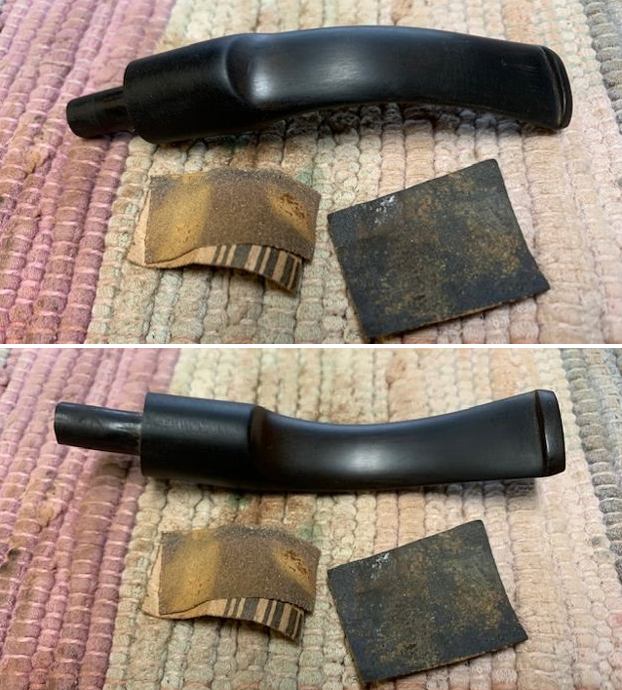
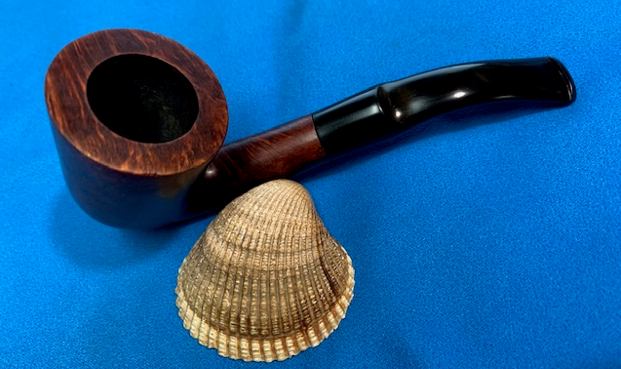
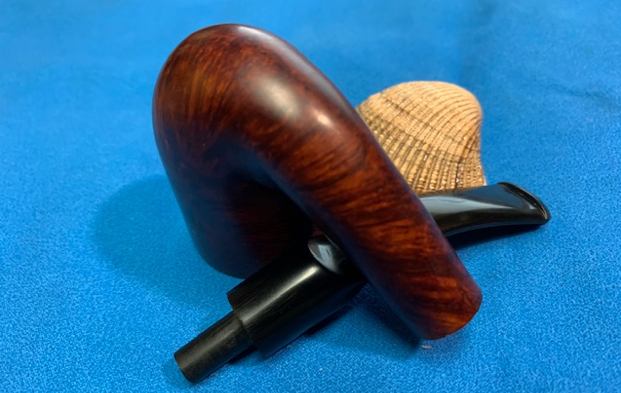
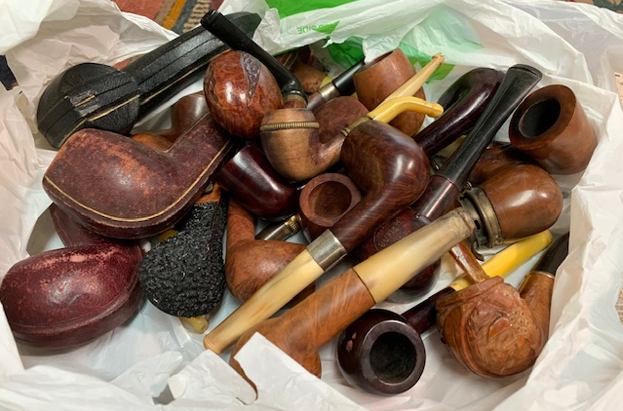
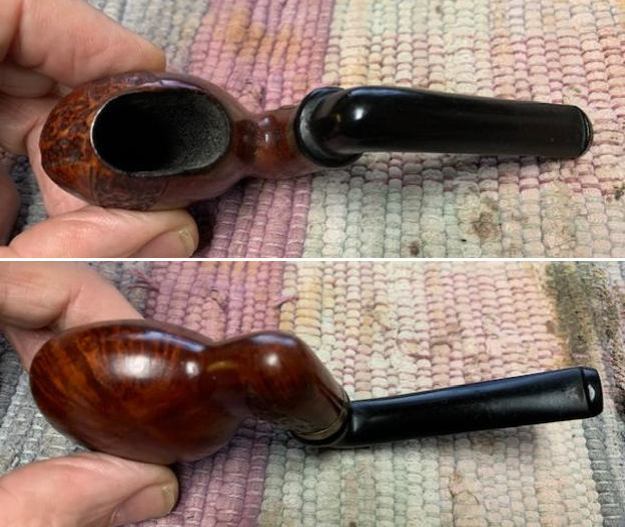
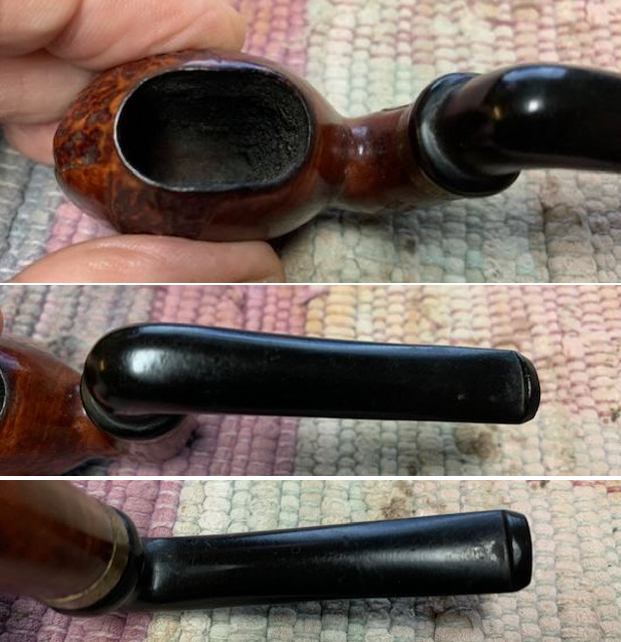
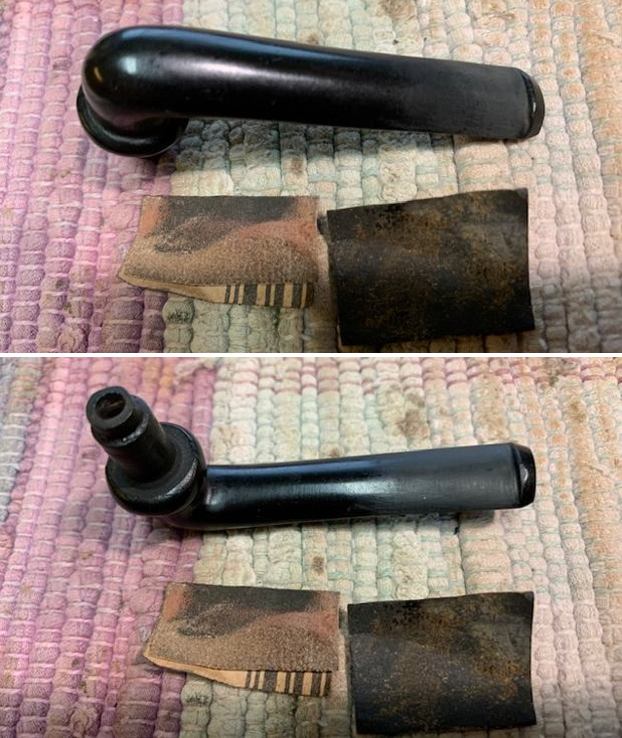
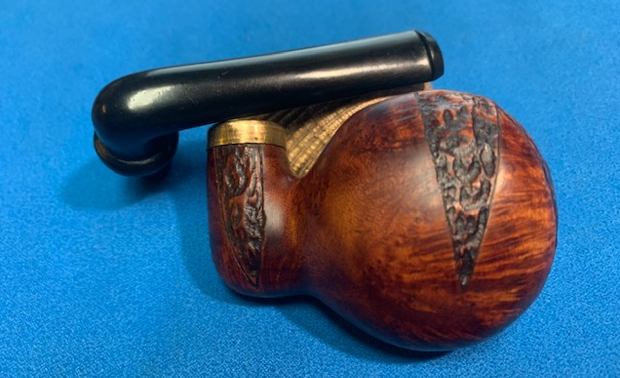
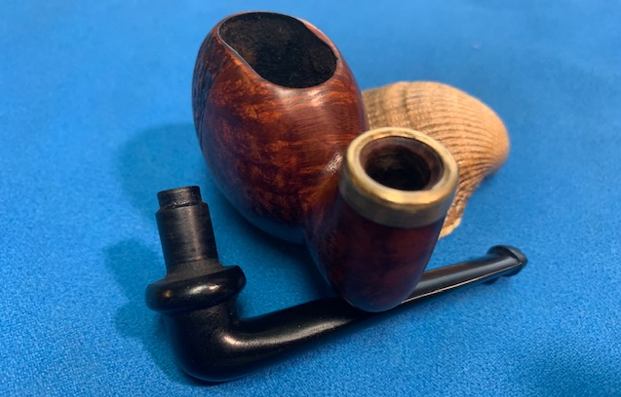
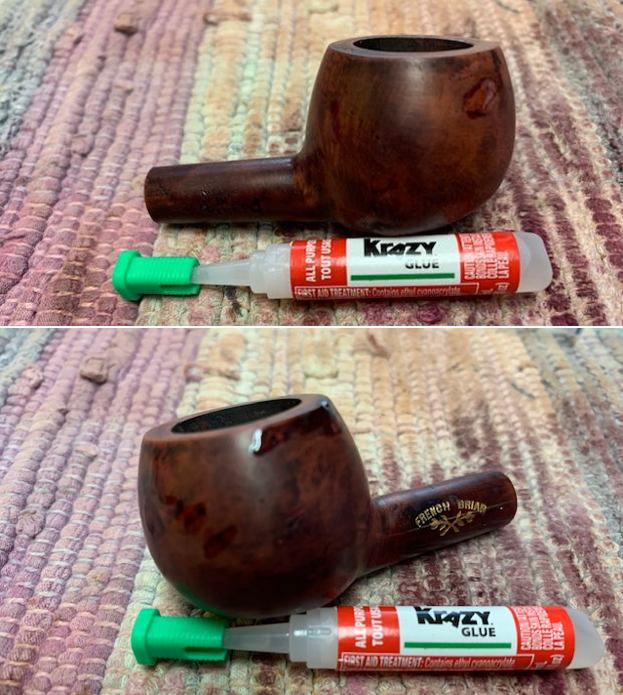
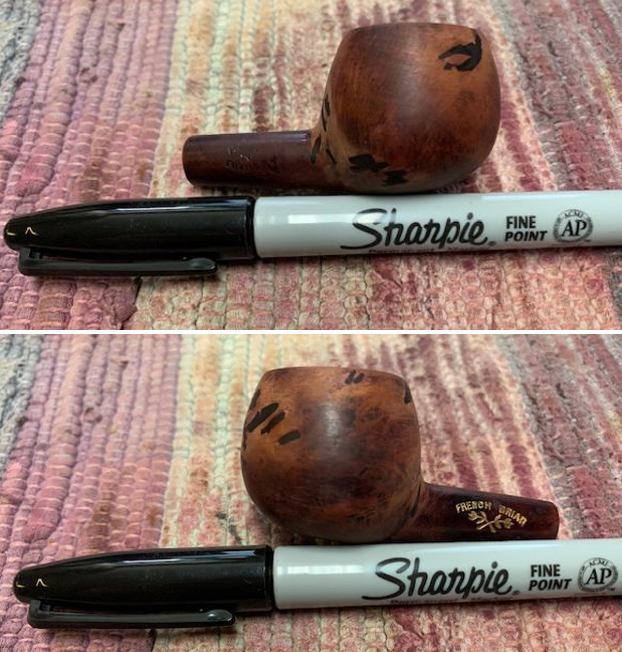
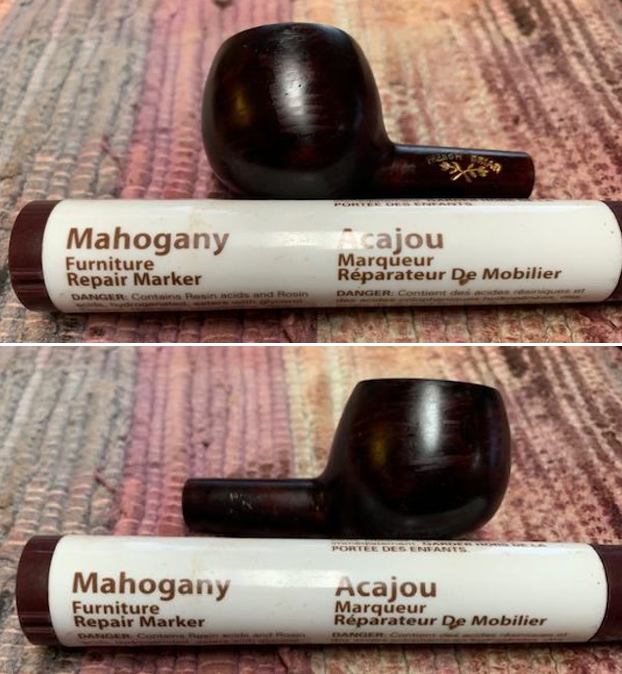
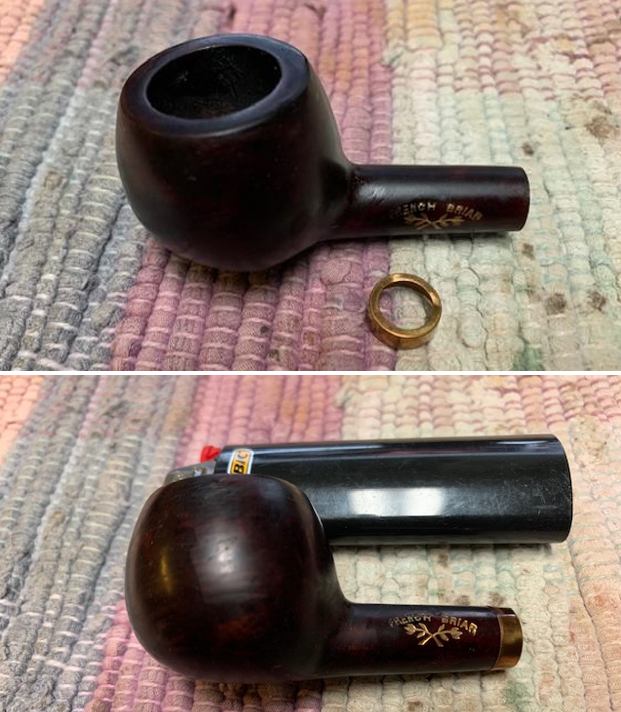
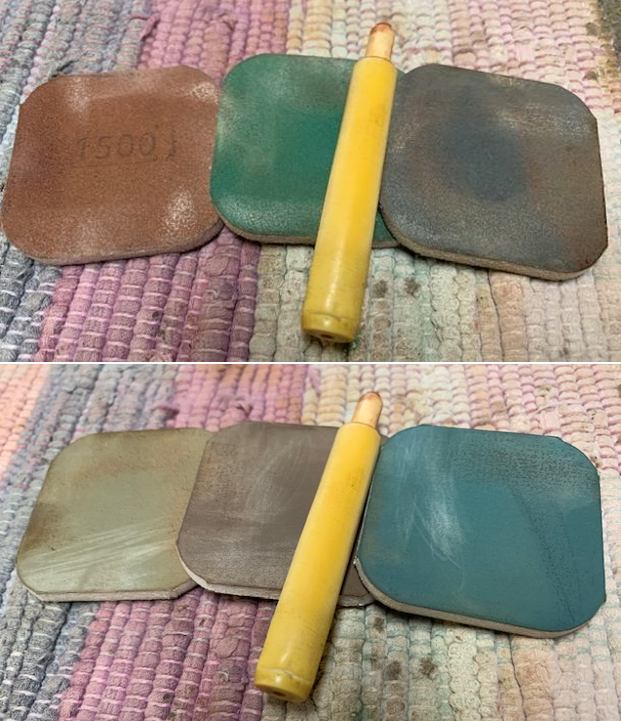
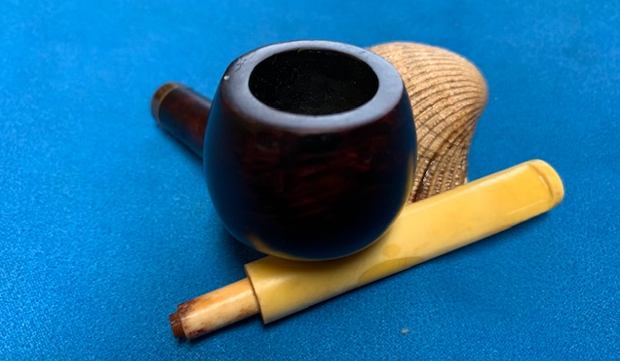
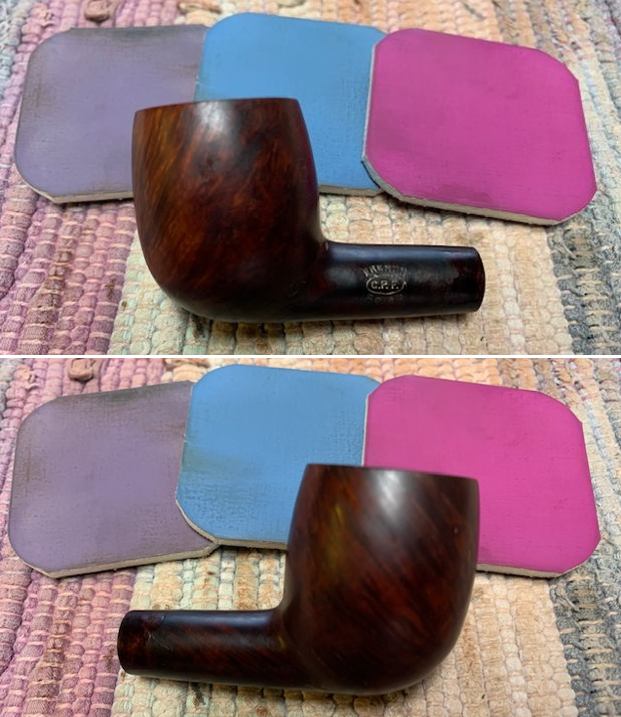
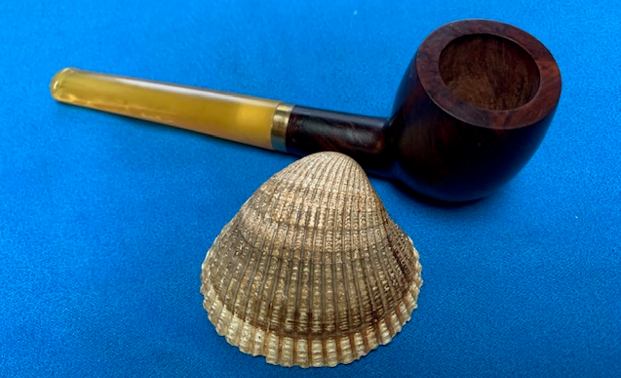
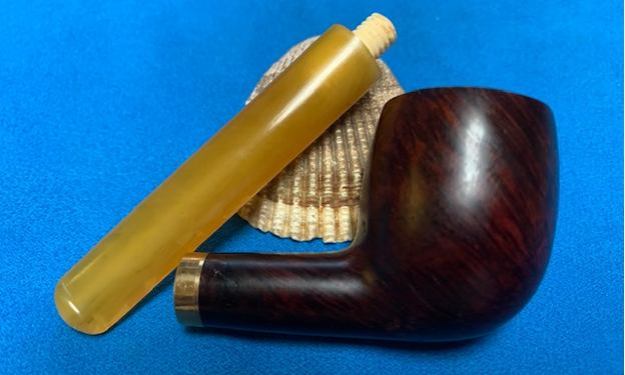
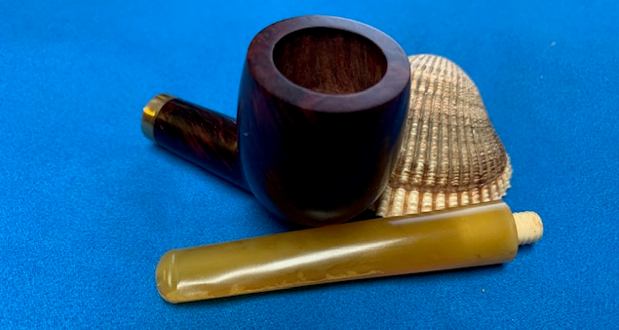
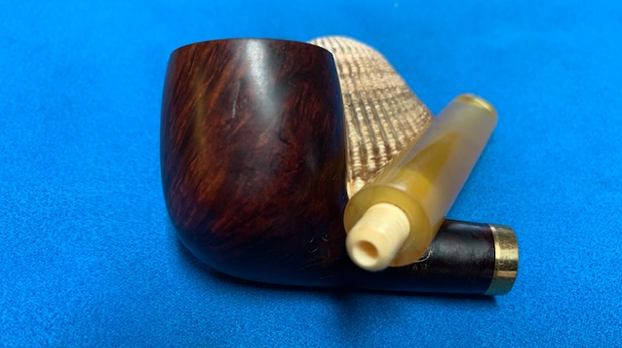
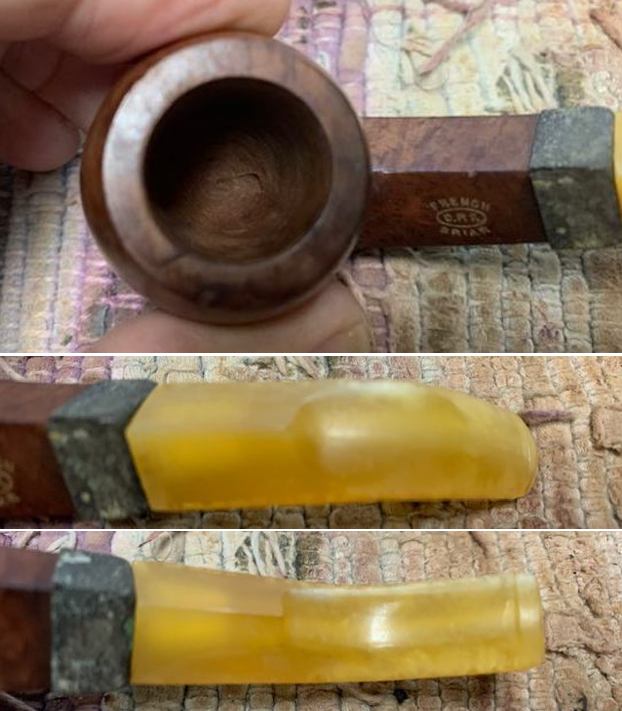
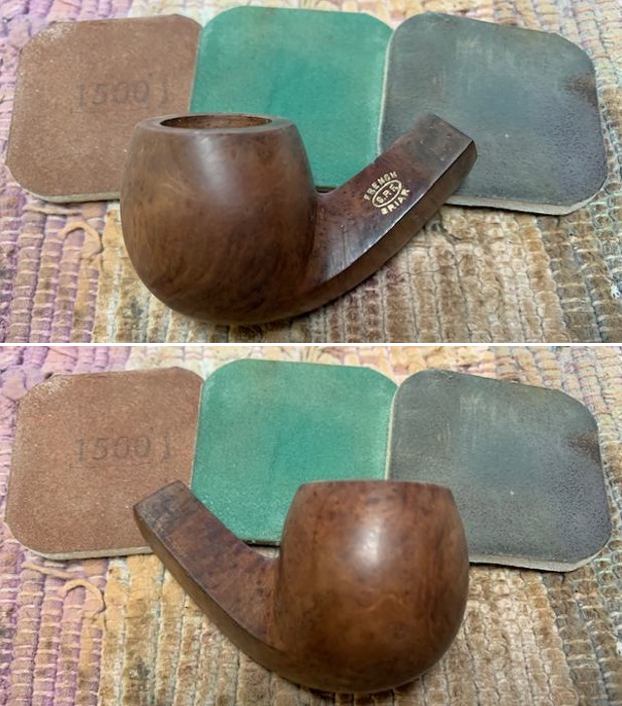
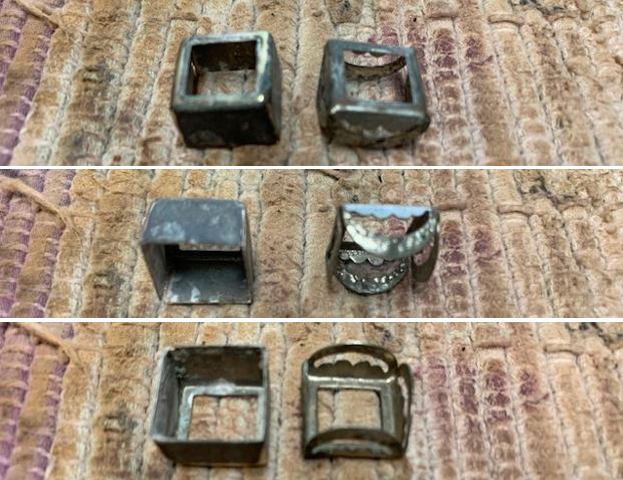
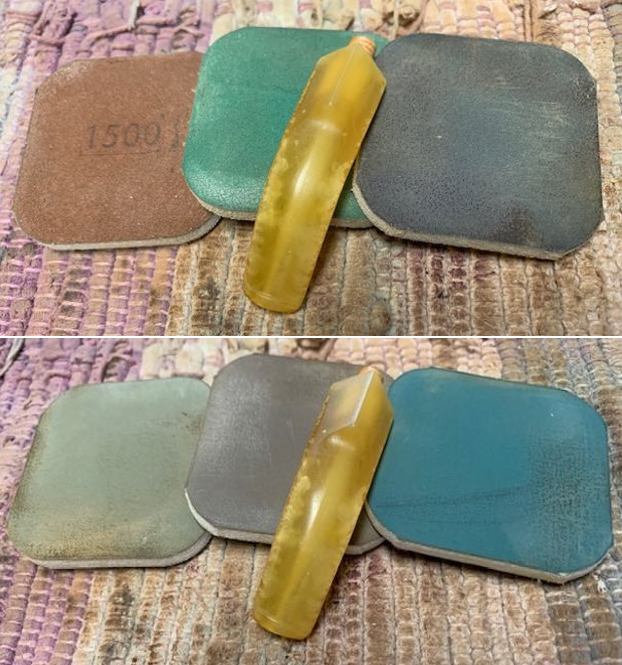
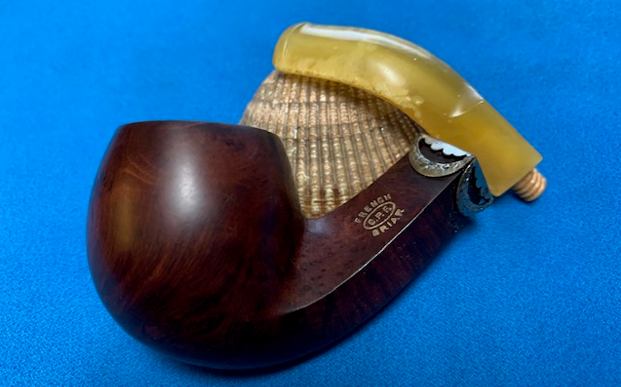
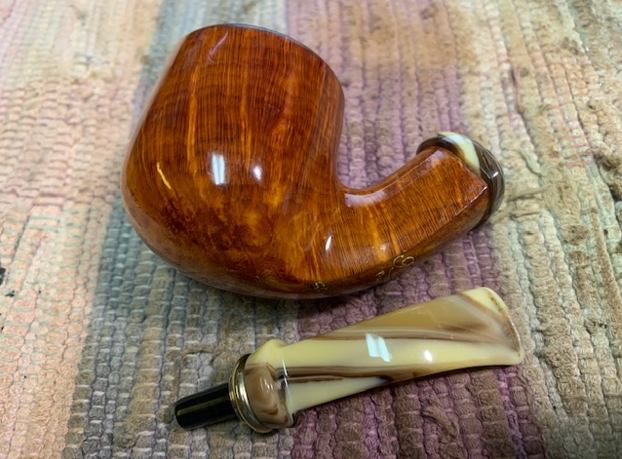
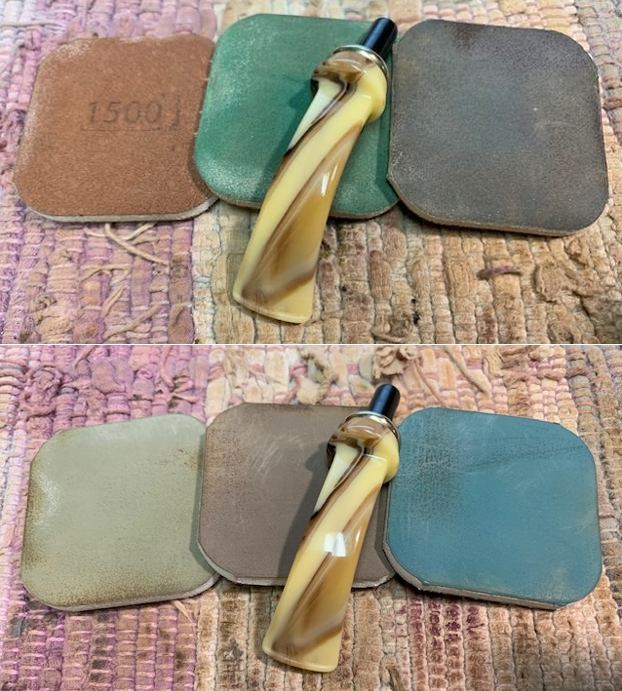
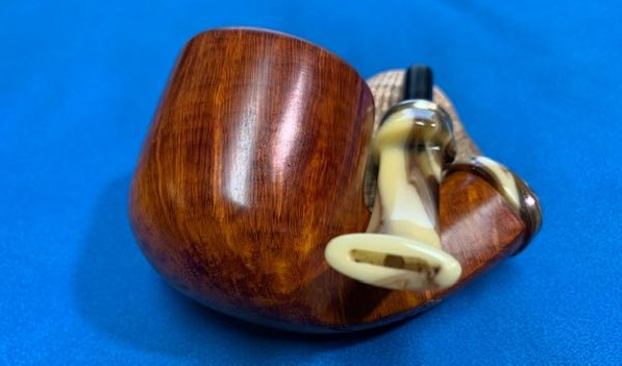
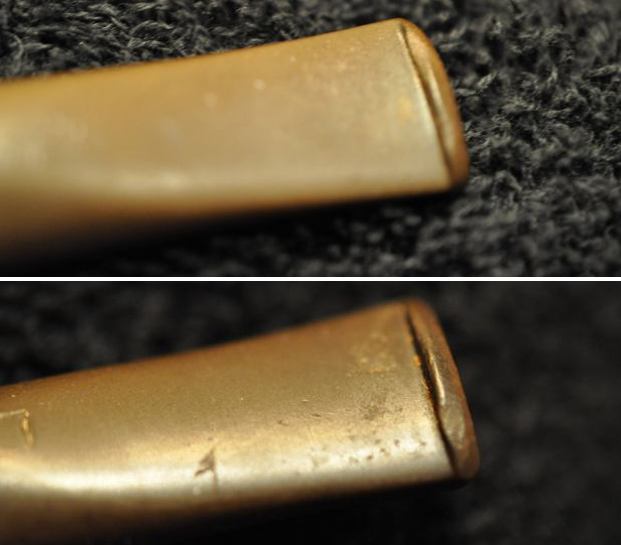
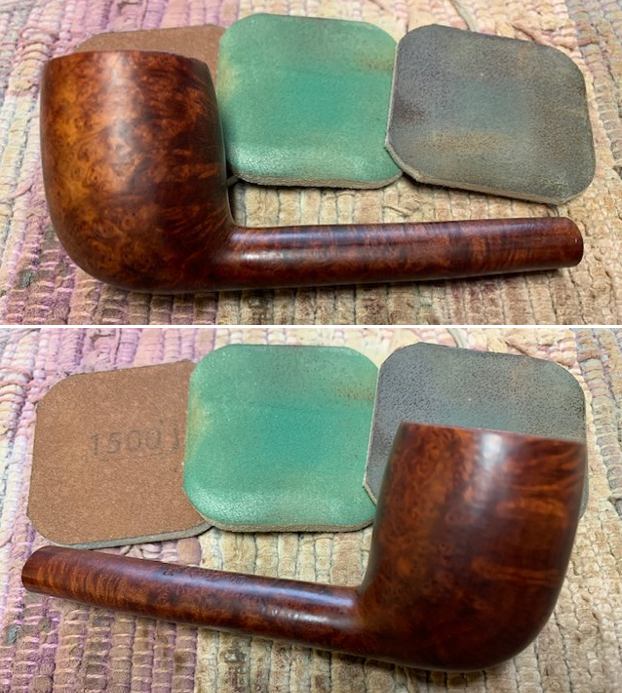
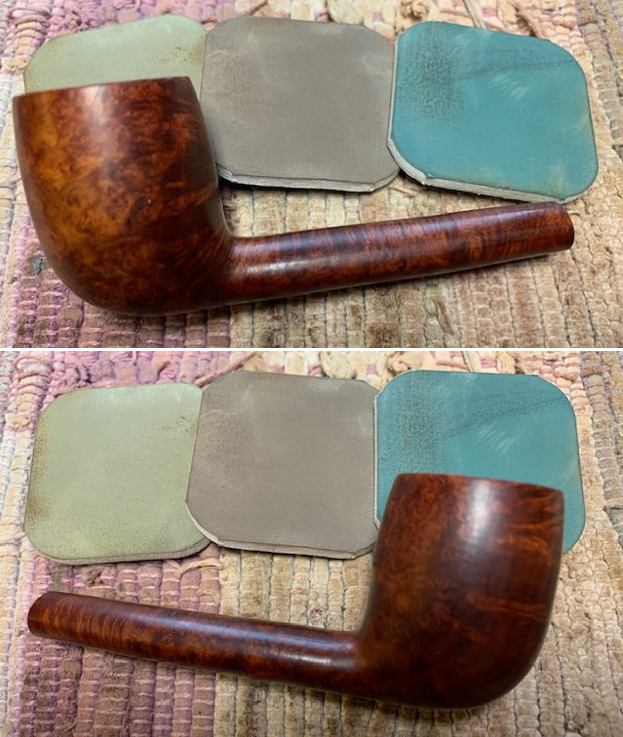
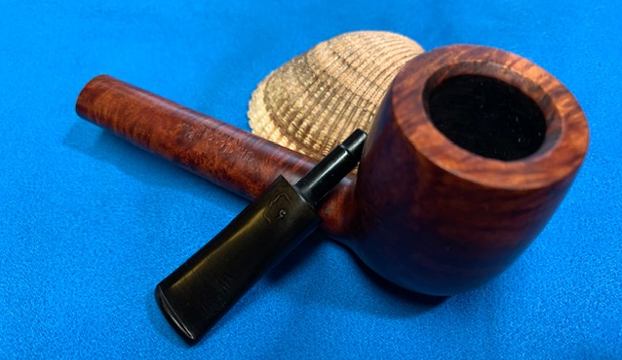
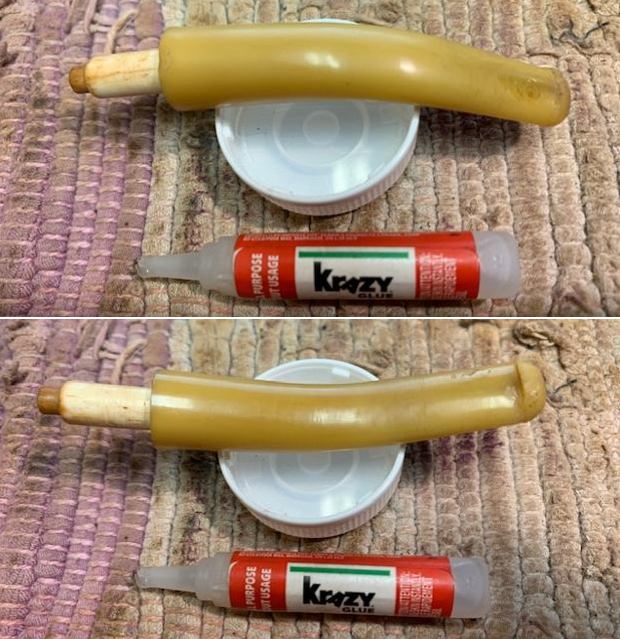
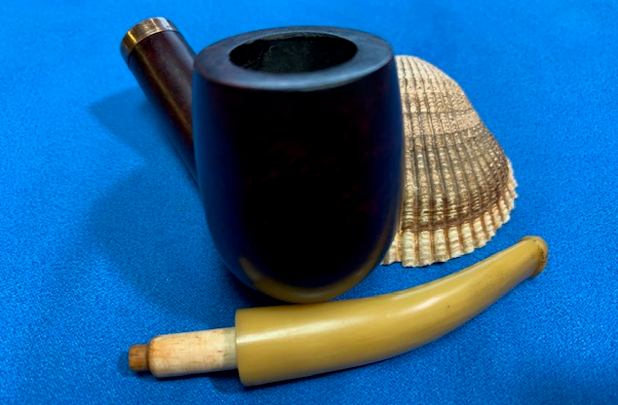
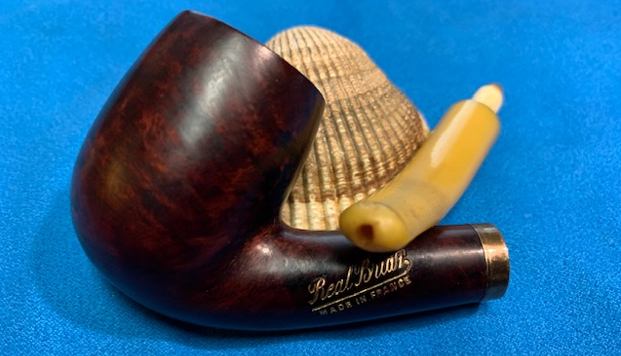
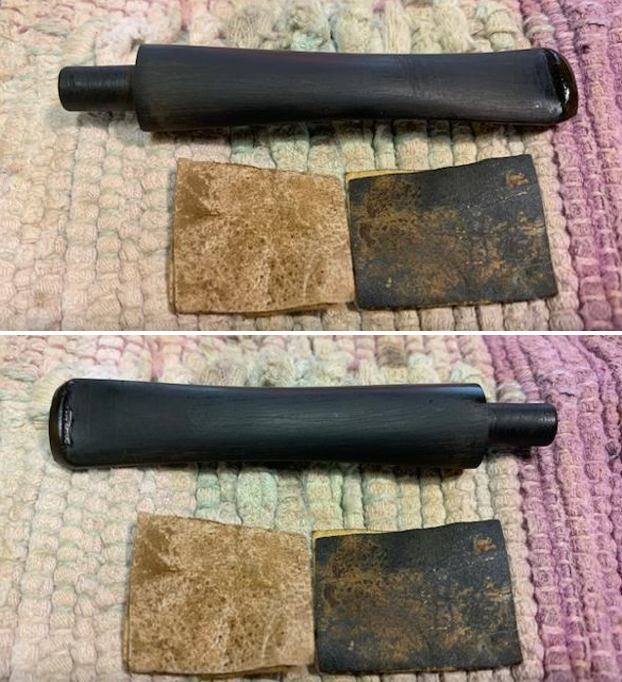
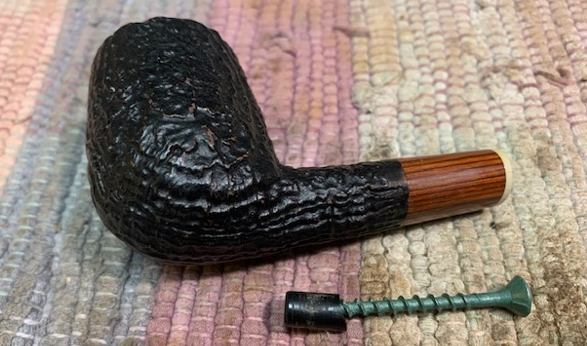 I went through a can of stems that I have here and almost immediately found one that looked like it would work with the pipe. I took some photos of it. There were some tooth marks and chatter on both sides near the button. The tenon fit perfectly. The stem was a little wide on the right side and would need to have the shape reduced to fit snugly against the shank like the left side. Otherwise it was a perfect fit. I have to say that does not happen very often but it keeps me picking up used stems because one day “I will need them!”. In the second and third photo below I gave them a quick sand to see how deep the tooth marks were. I was pleasantly surprised.
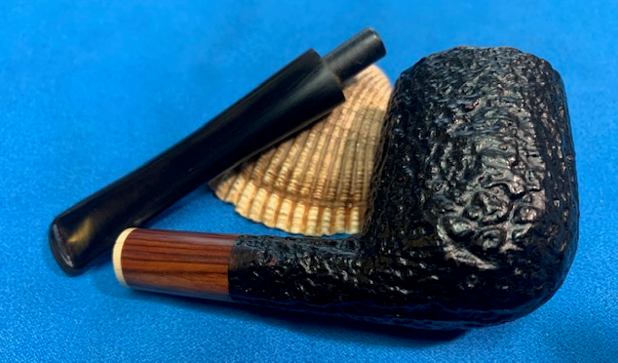
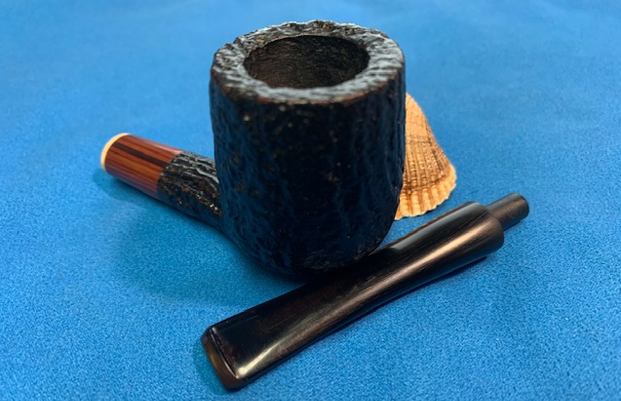
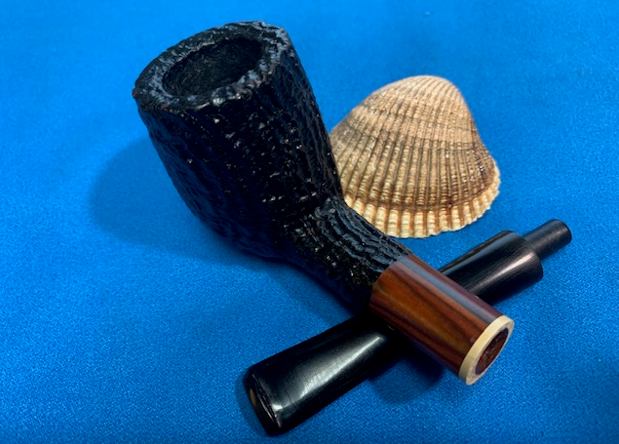
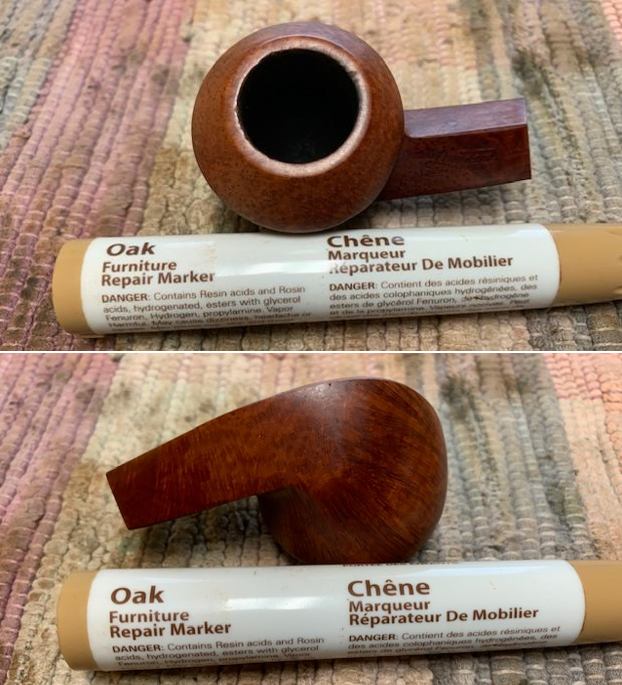
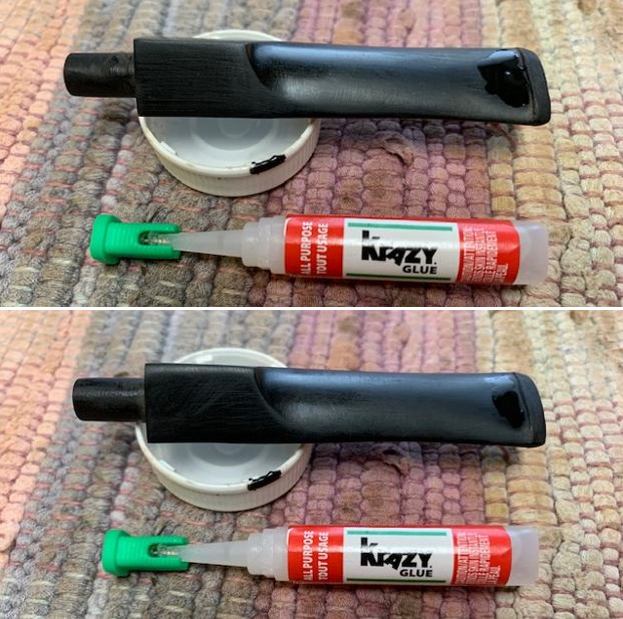
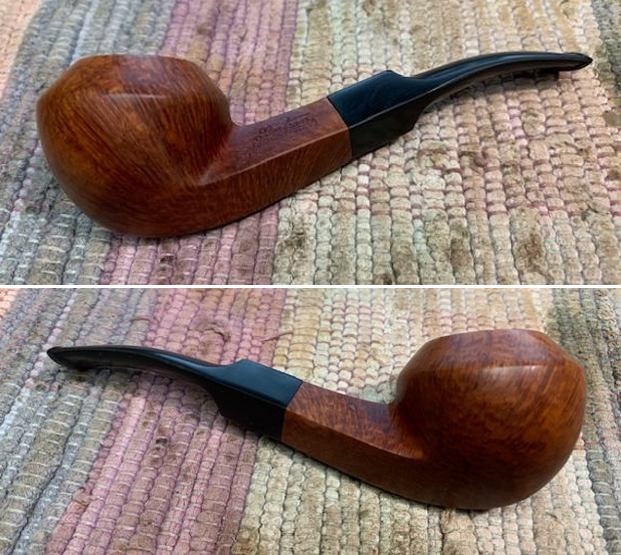
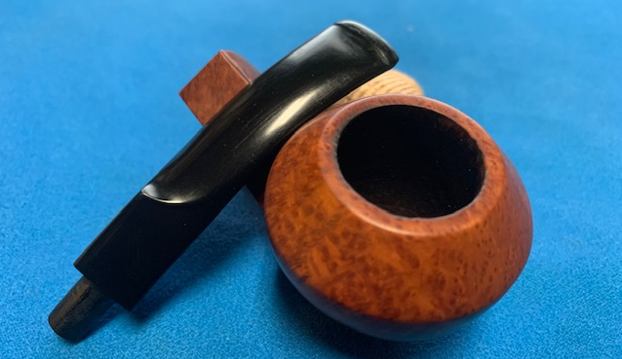
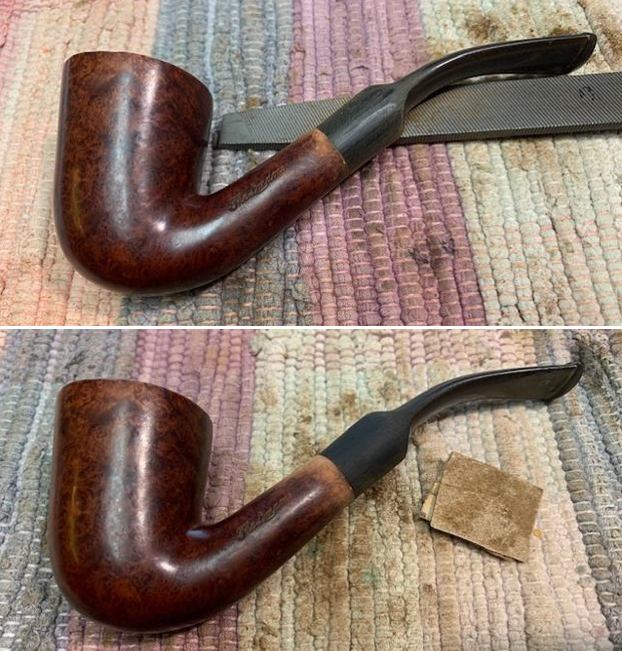
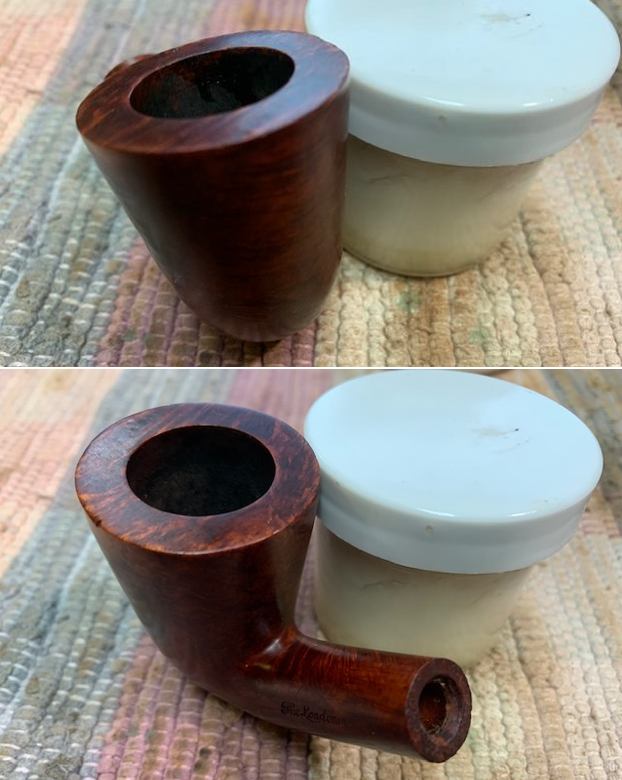
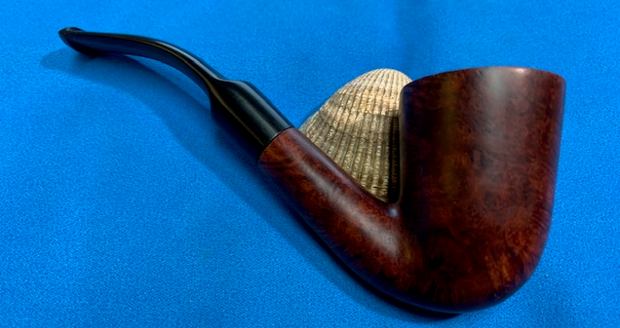
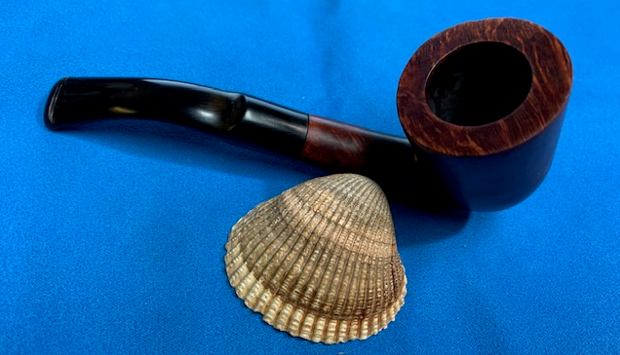
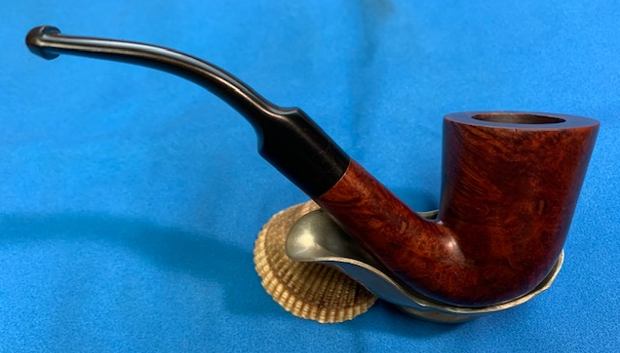
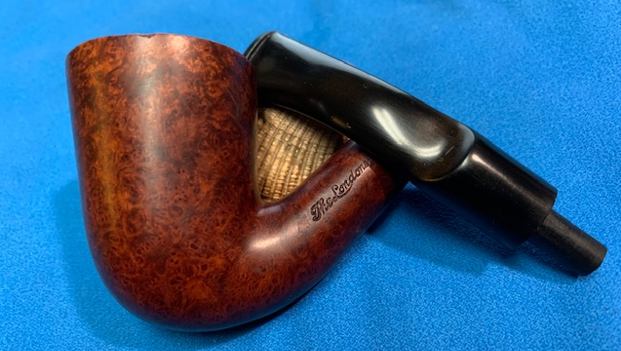
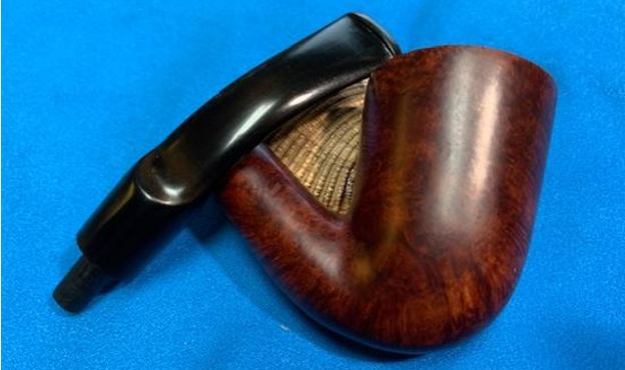
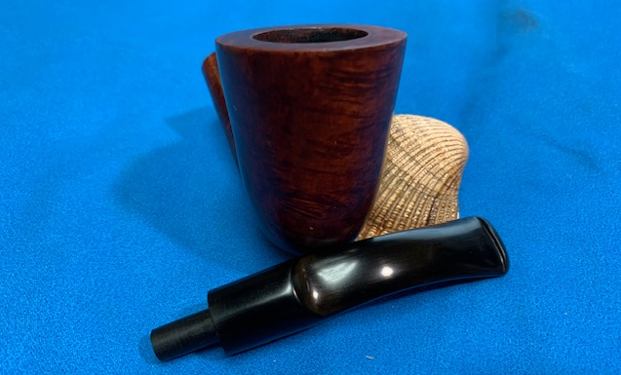
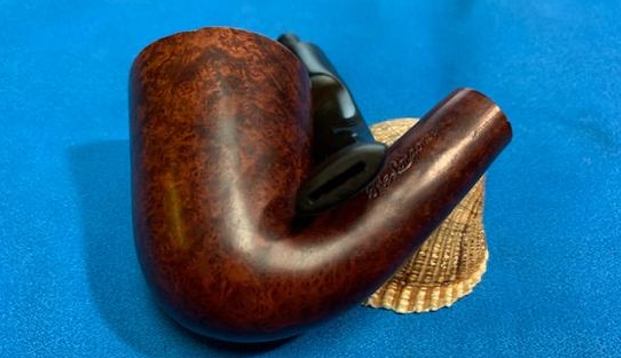
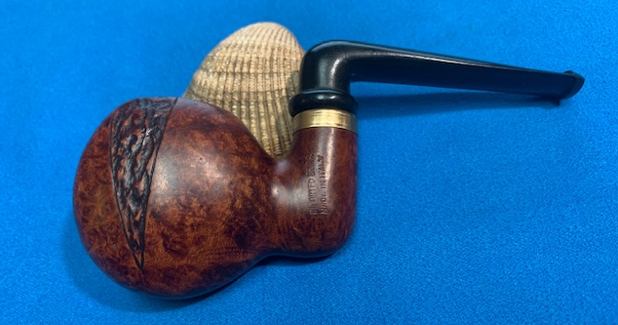
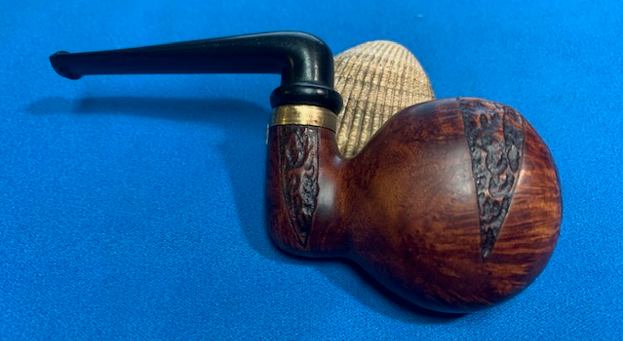
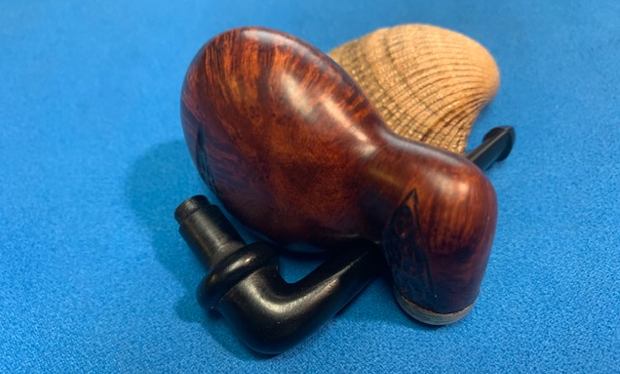
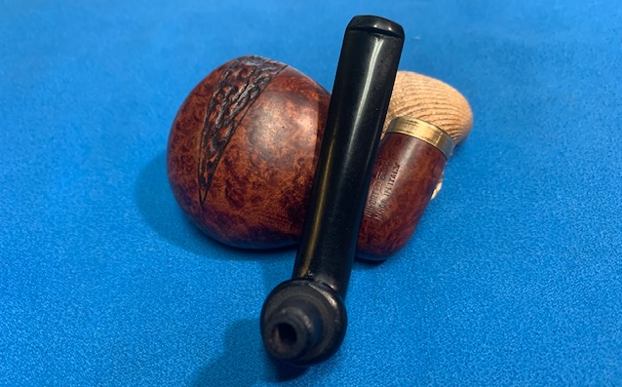
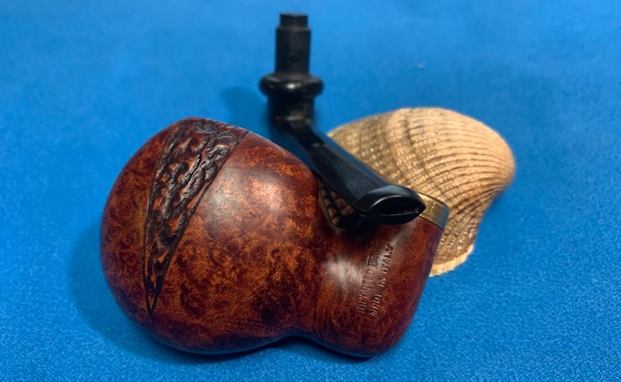
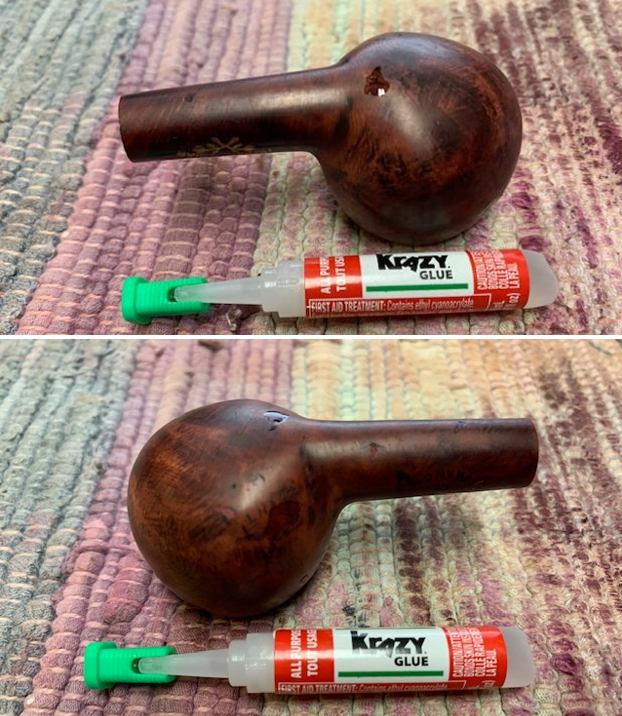
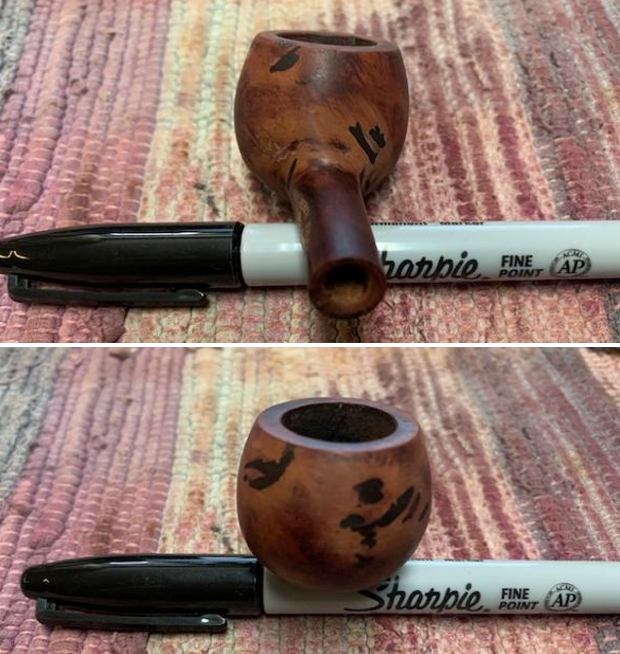
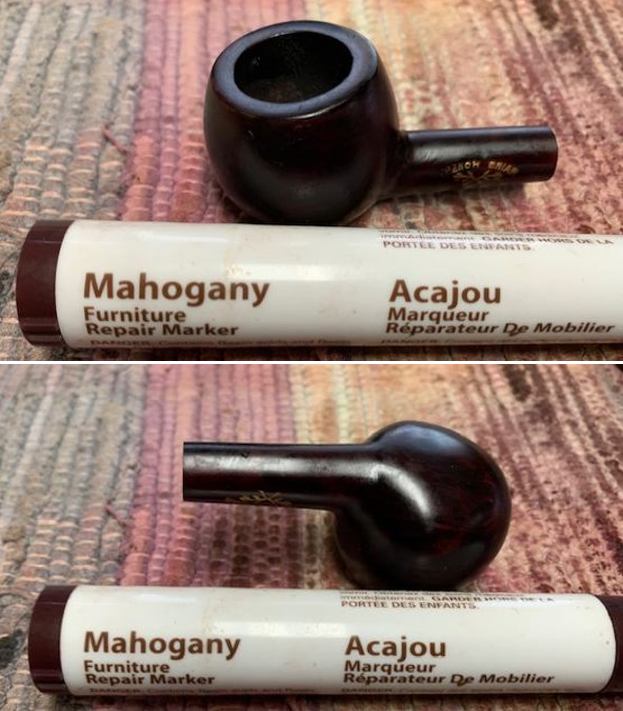
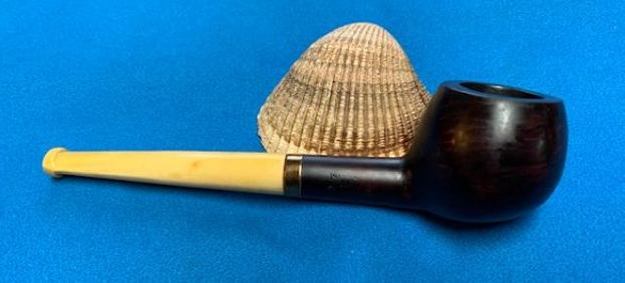
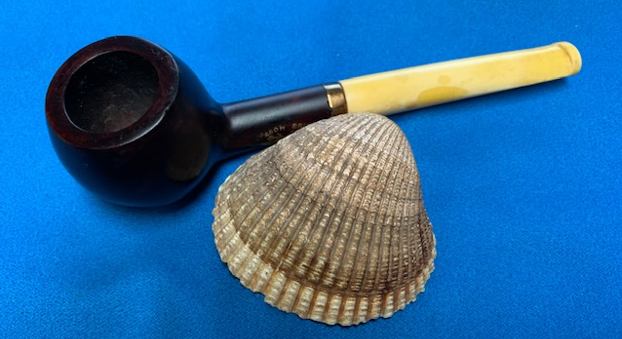
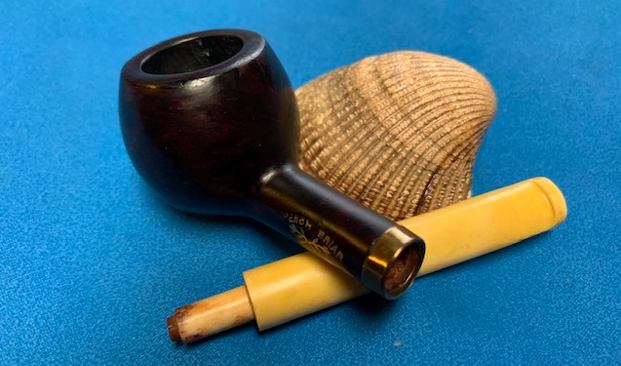
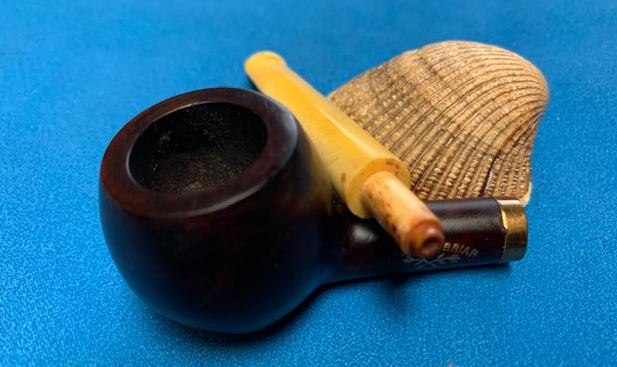
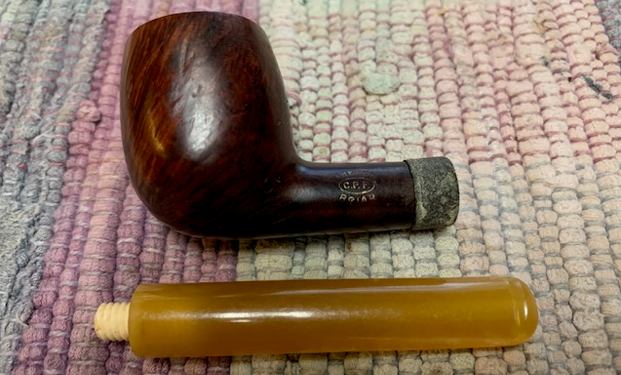
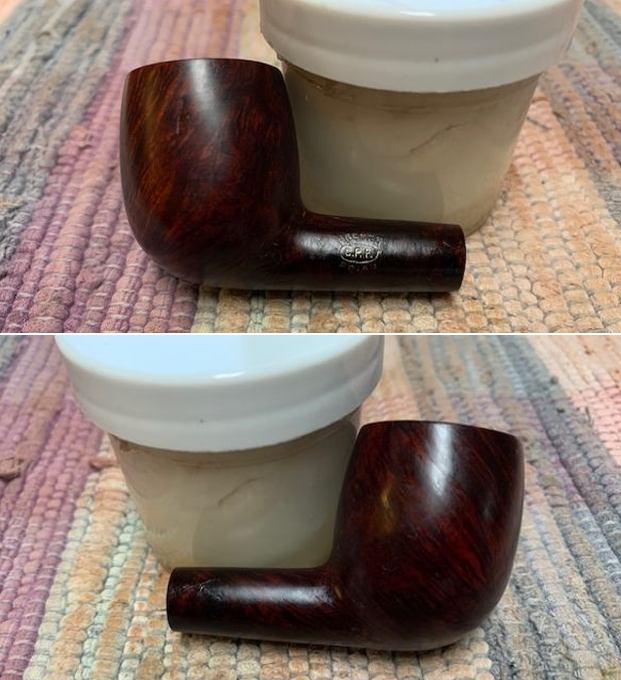
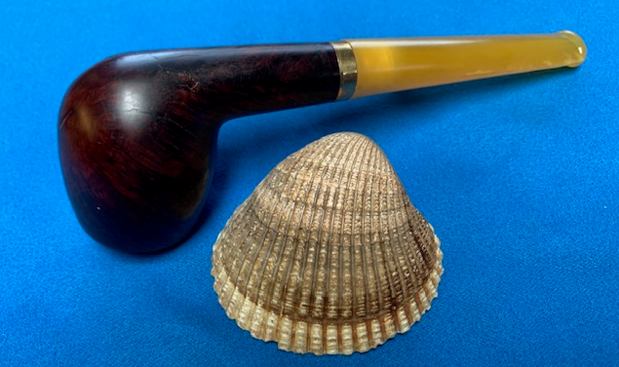
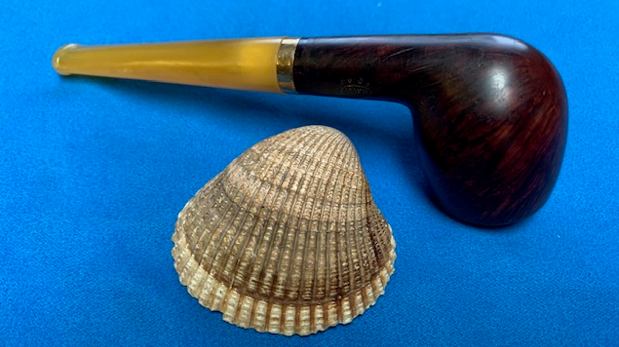
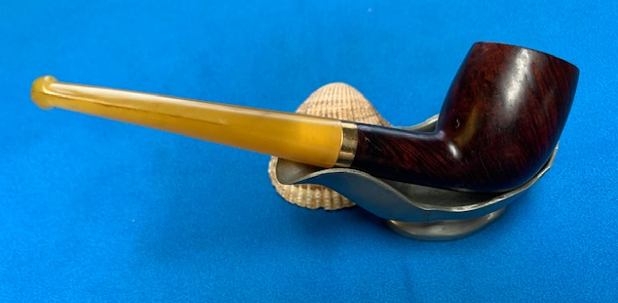
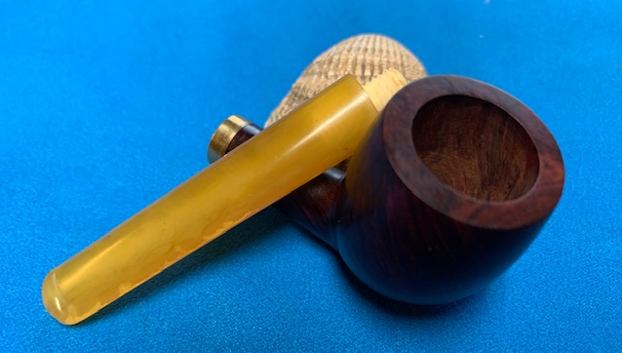
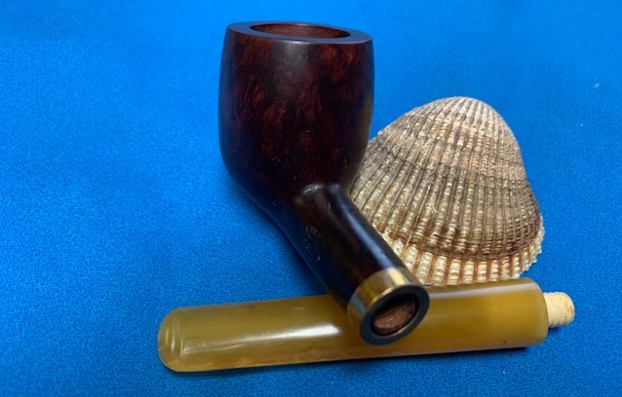
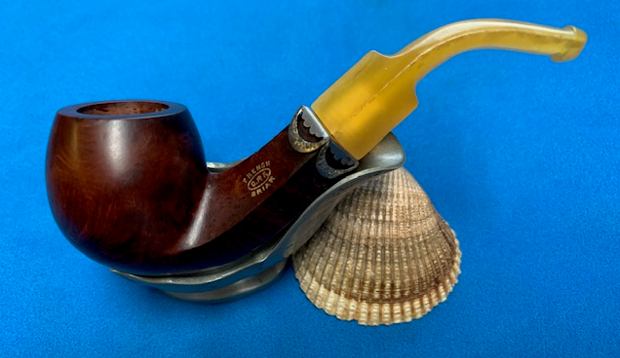
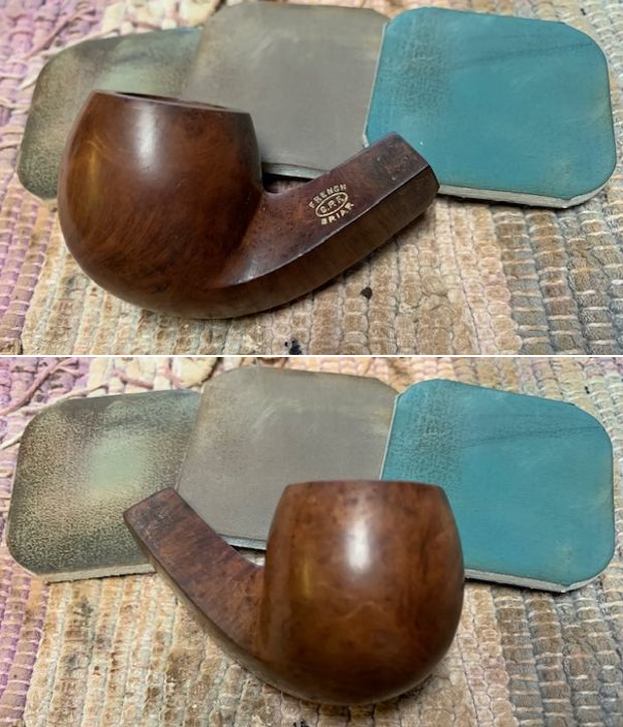
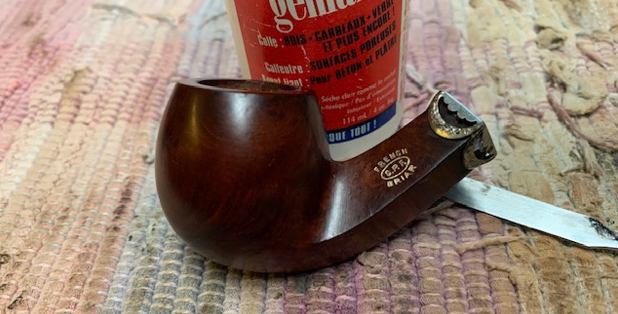
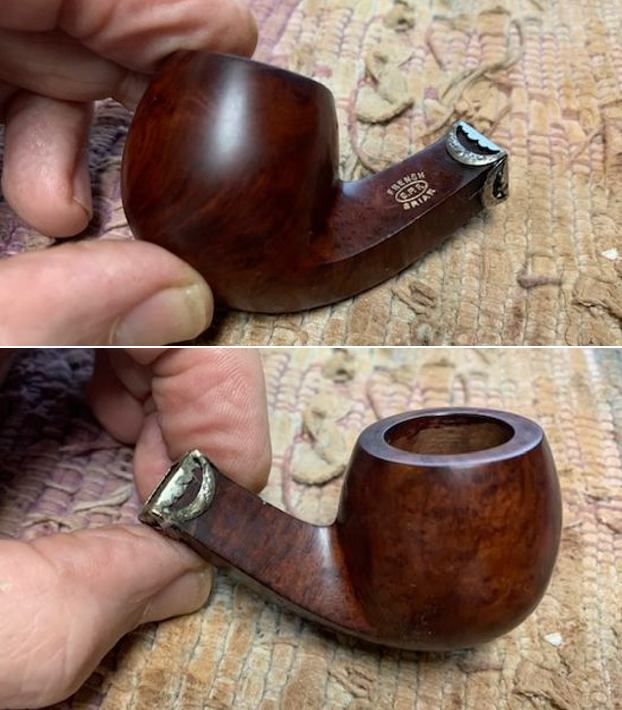
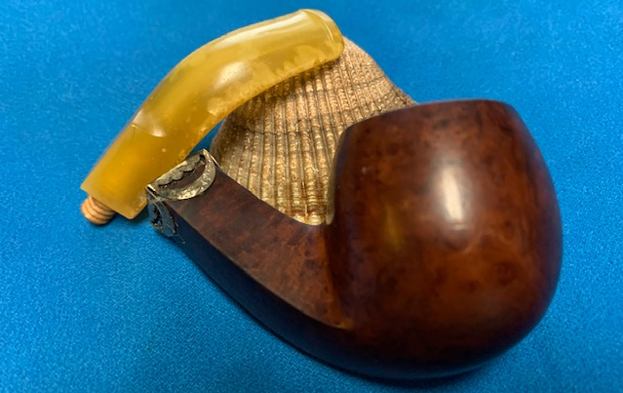
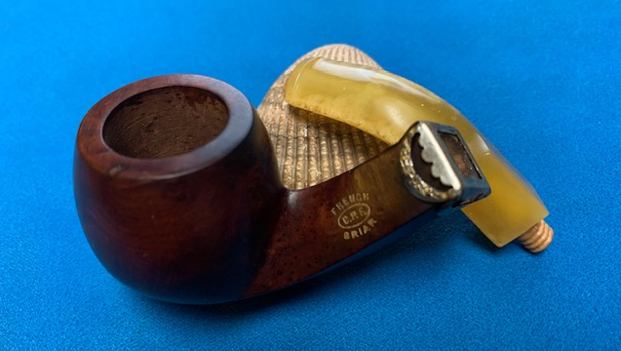
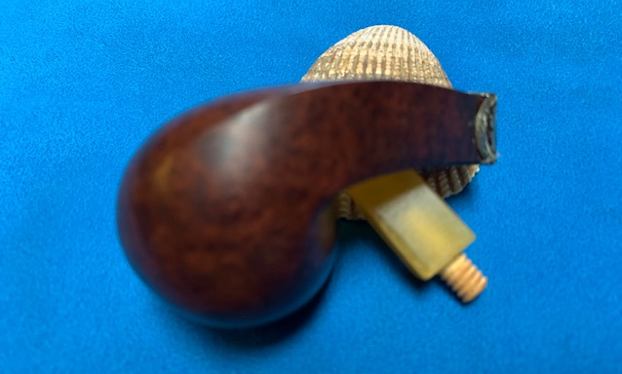
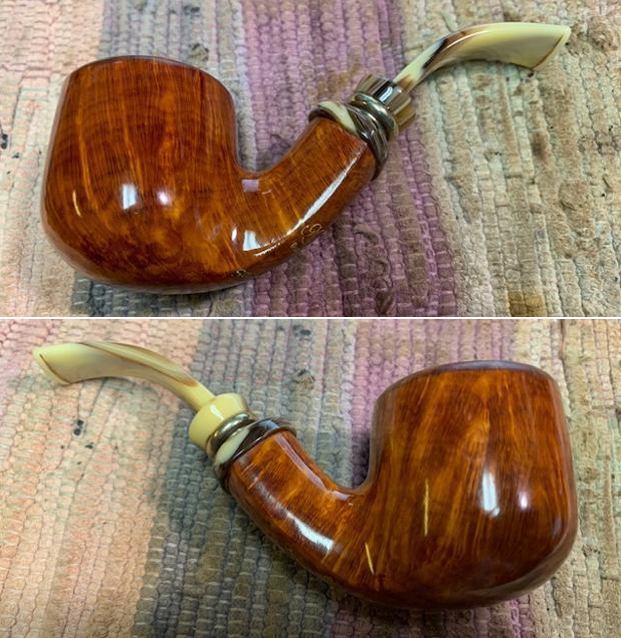
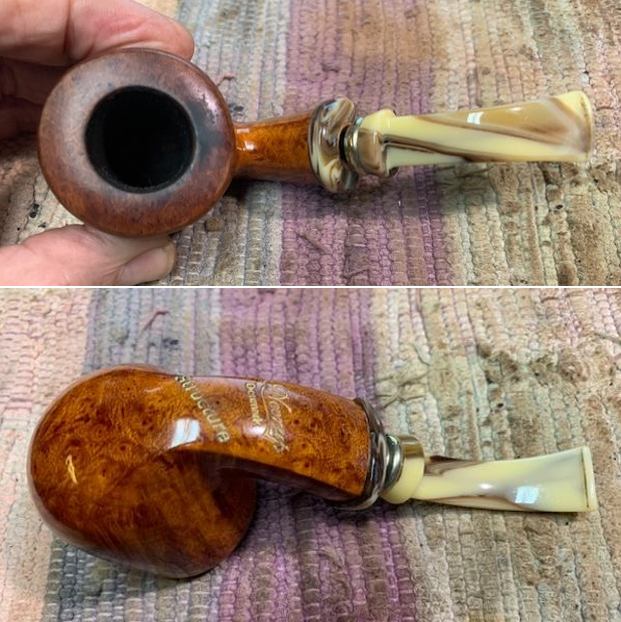
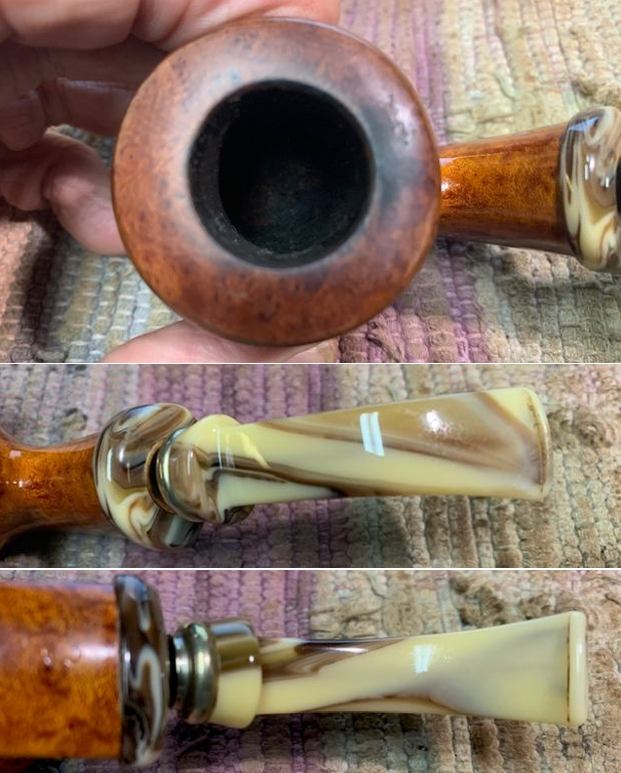
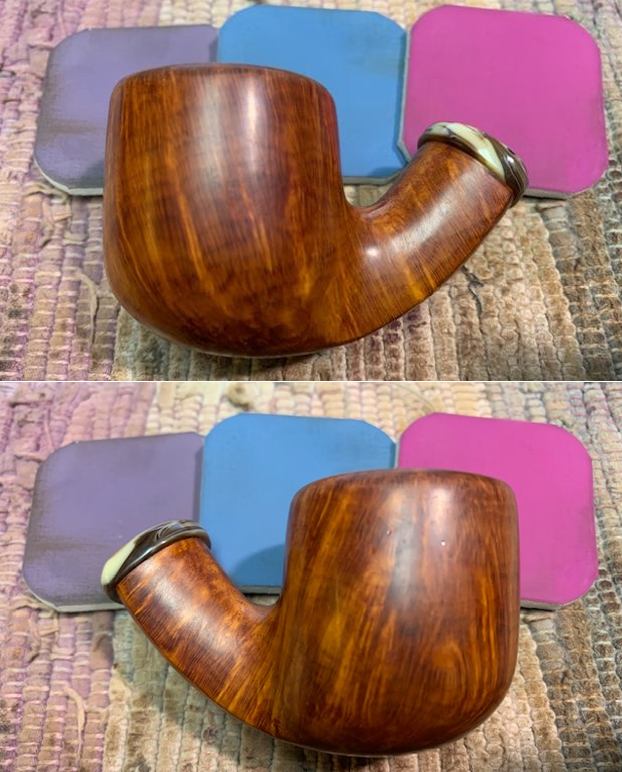
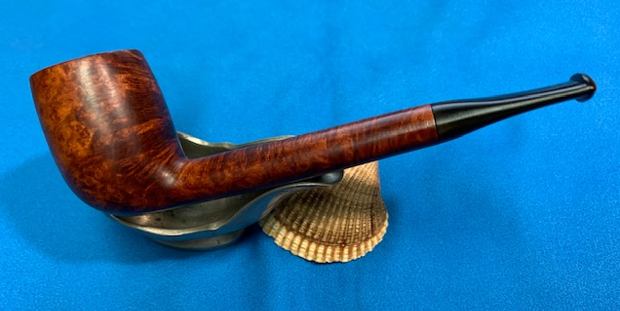
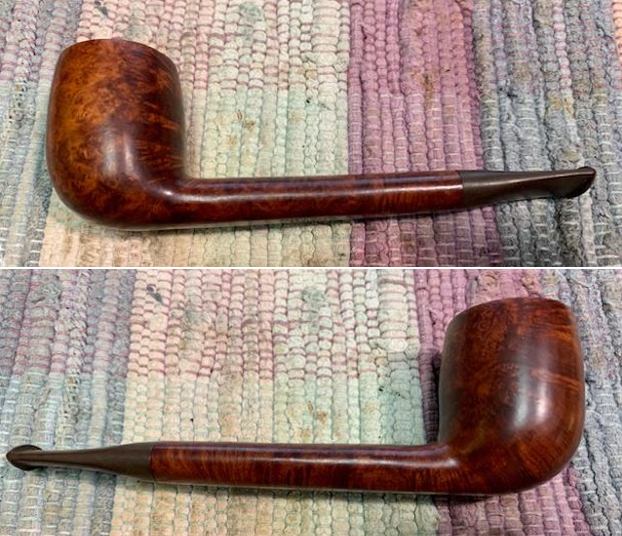
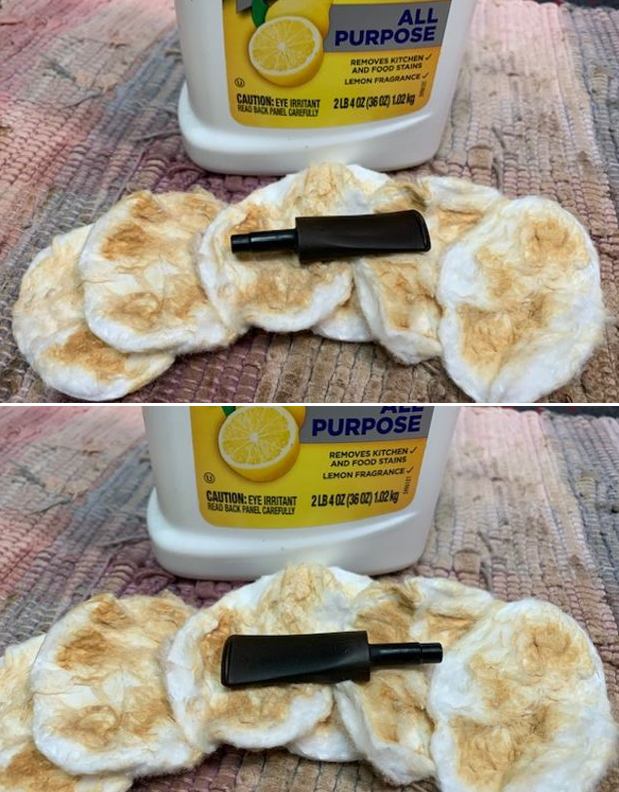
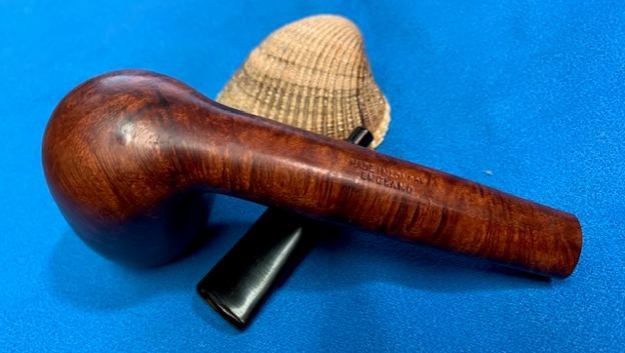
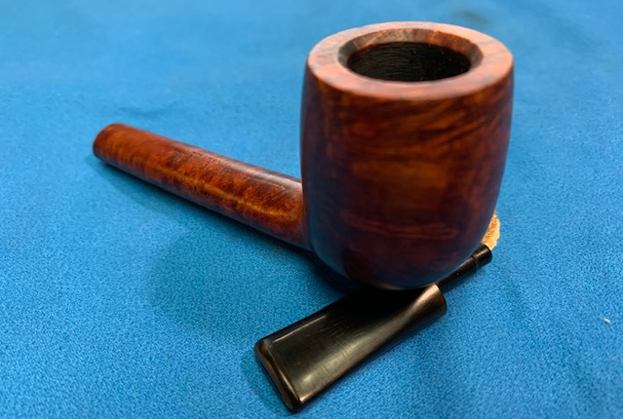
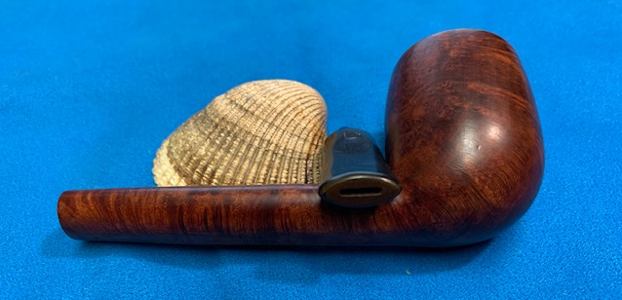
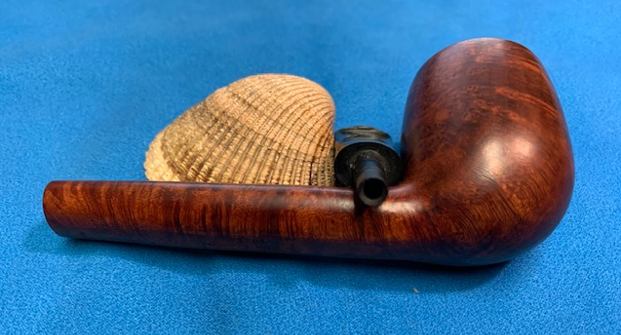
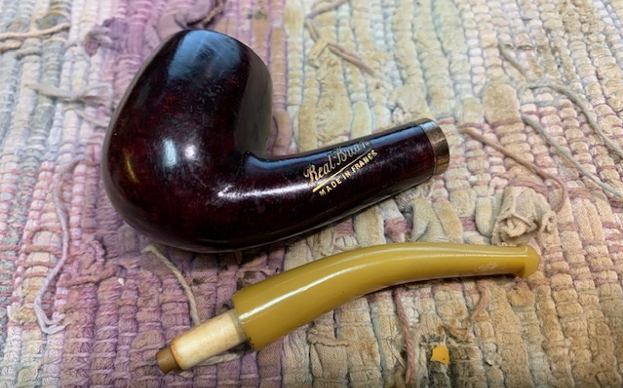
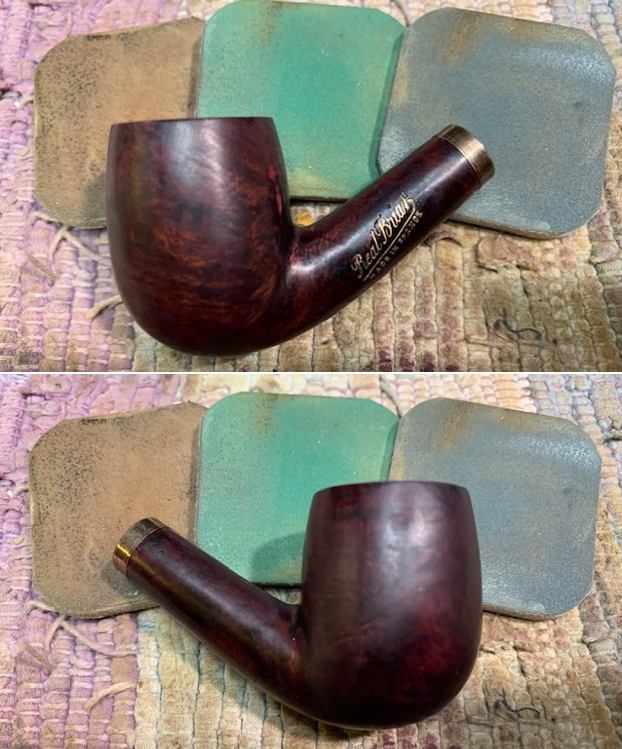
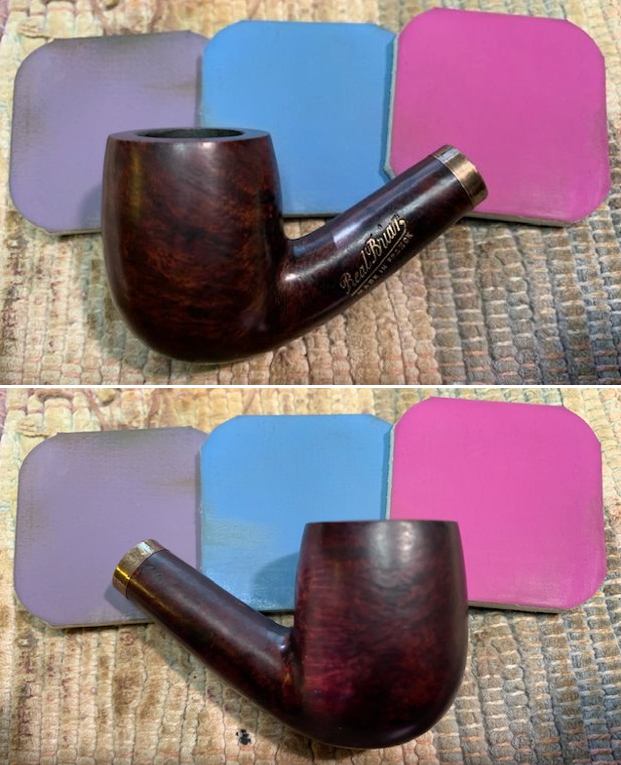
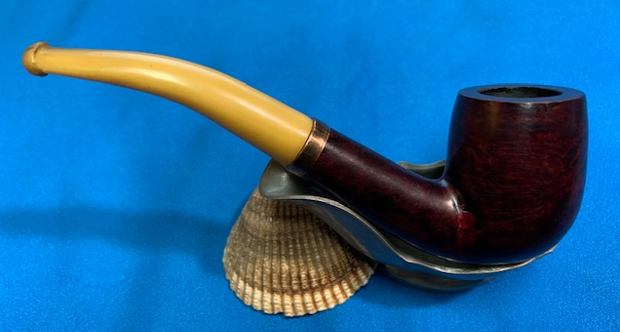
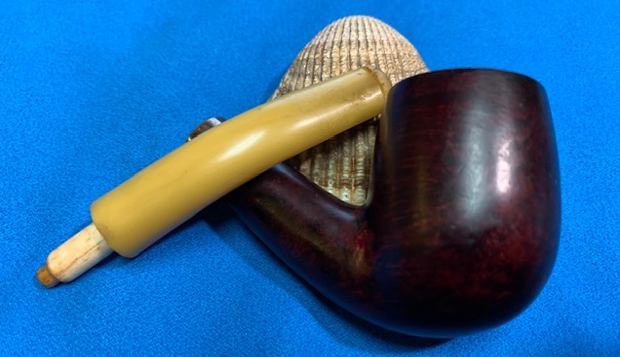
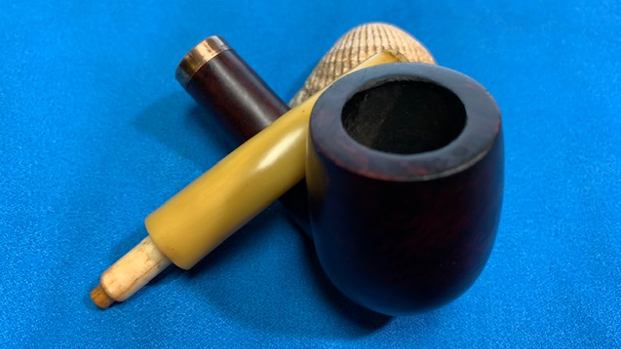
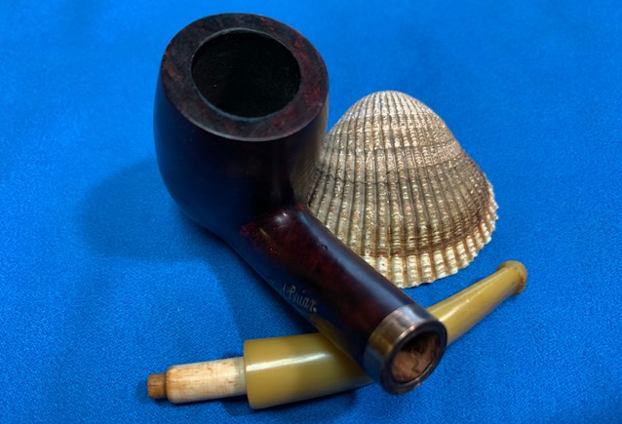
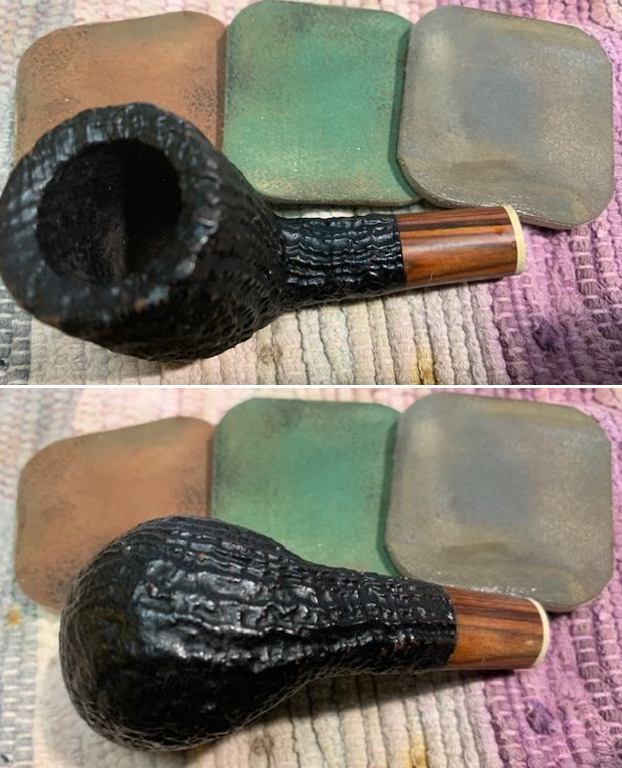
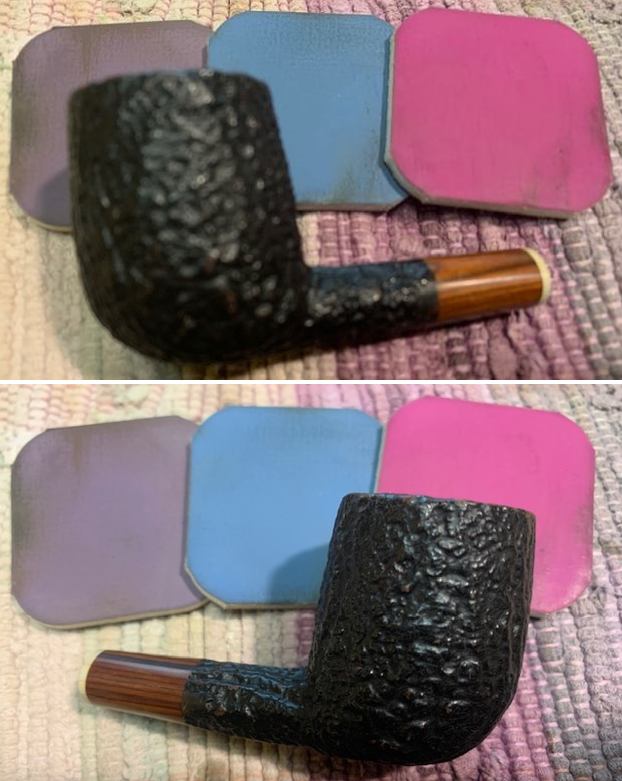
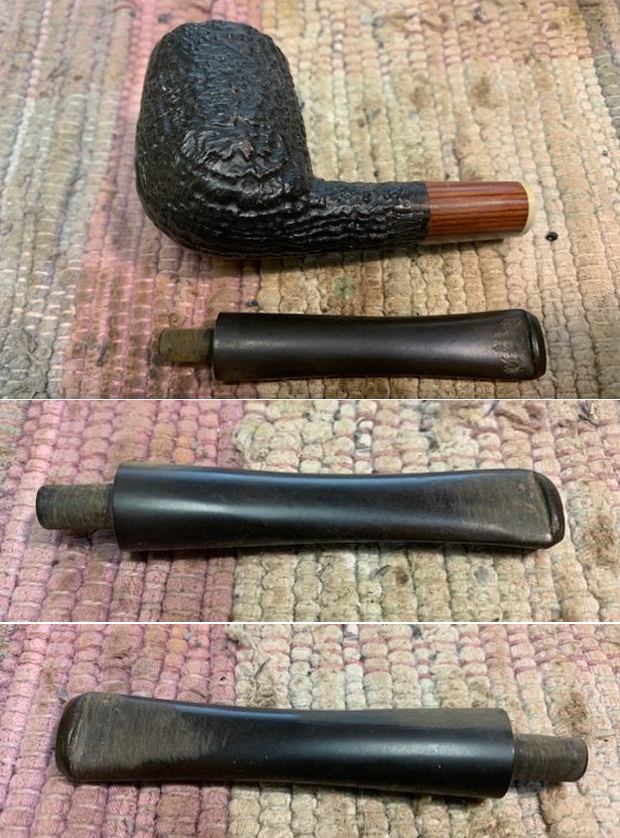 I wiped off the stem with some Obsidian Oil and put it in place in the shank. I took photos of the fit to the shank to give a clear picture of what the stem looked like. It would only take a bit of adjusting on the right side and clean up of the tooth marks. It would be a great looking pipe with the addition of this stem.
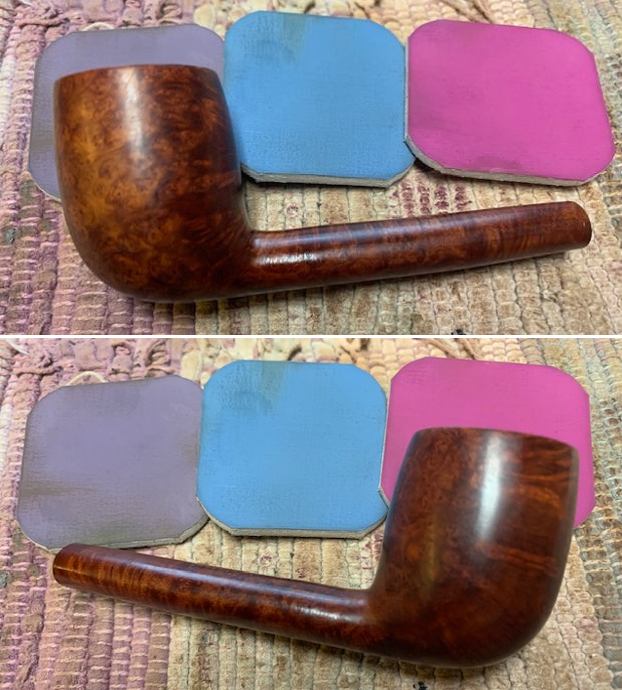
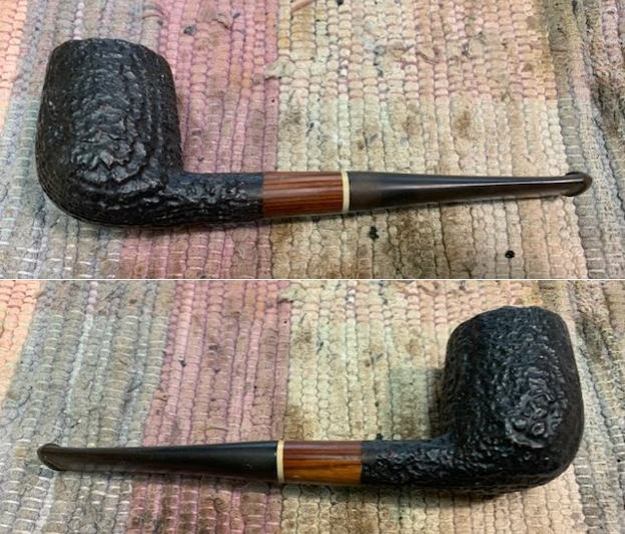
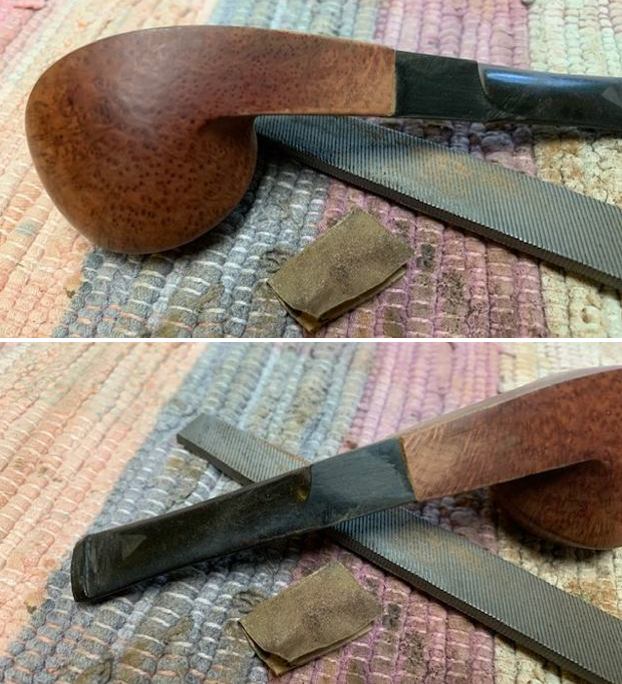
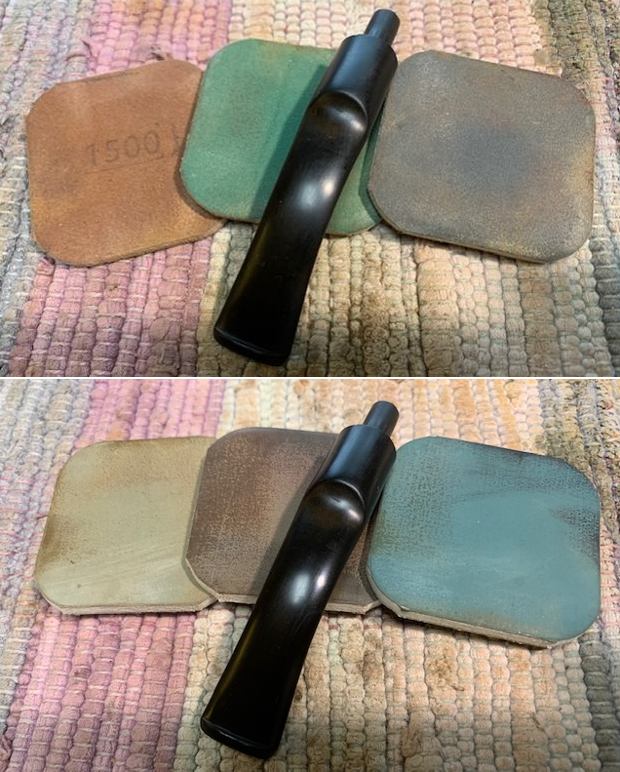
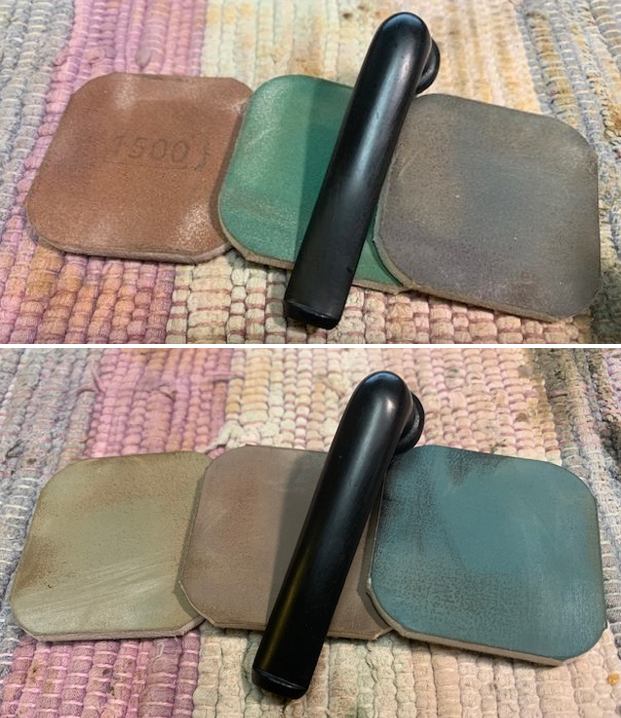
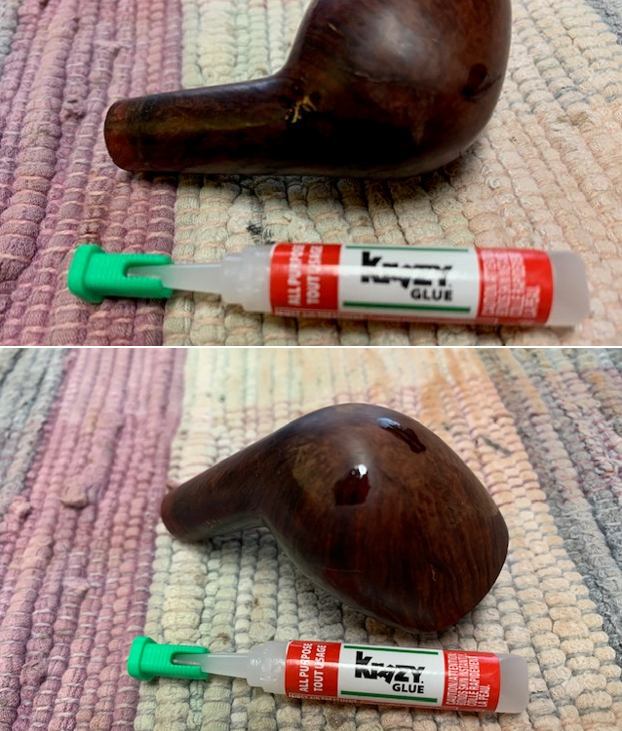
 I moved on to sand the shape of the stem fit it evenly to the shank. The stem diameter needed more work so I worked on it with 180 grit sandpaper to match it to the right side of the shank. I sanded it with 220 grit sandpaper to smooth it out. I repaired the tooth marks on each side o f the stem at the same time. I smoothed out the repairs with 220 grit sandpaper. I started the polishing of the stem with 400 grit wet dry sandpaper.
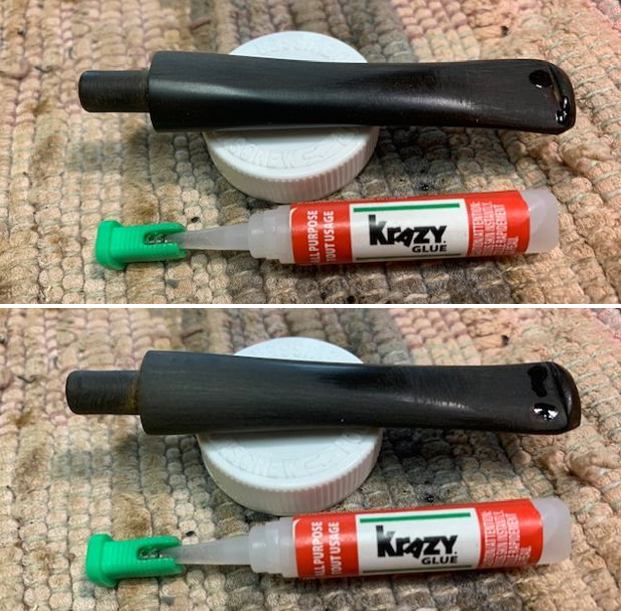
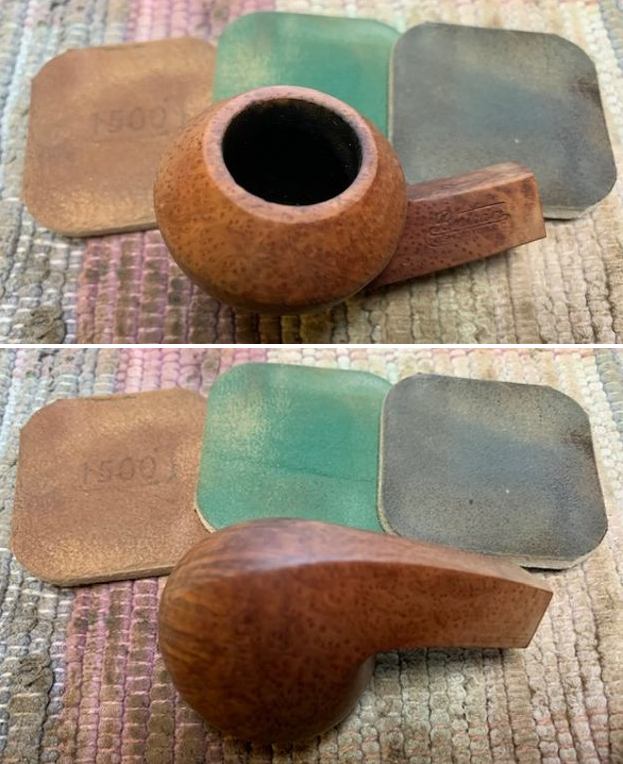
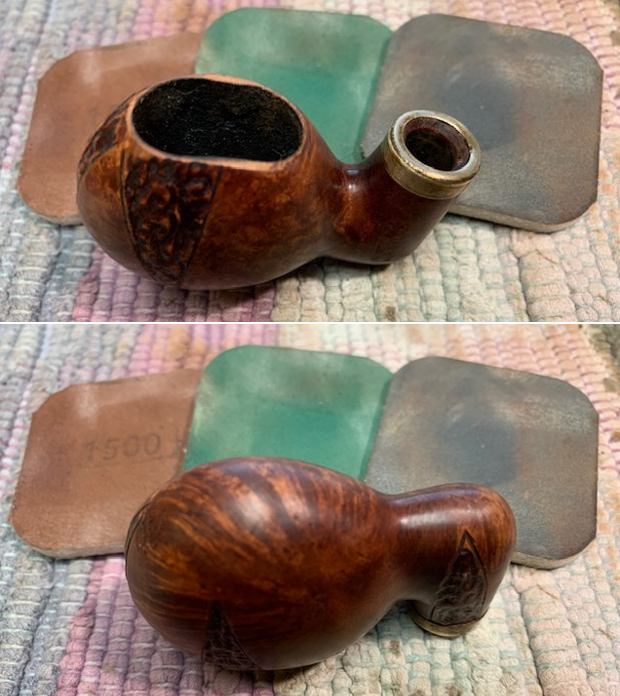
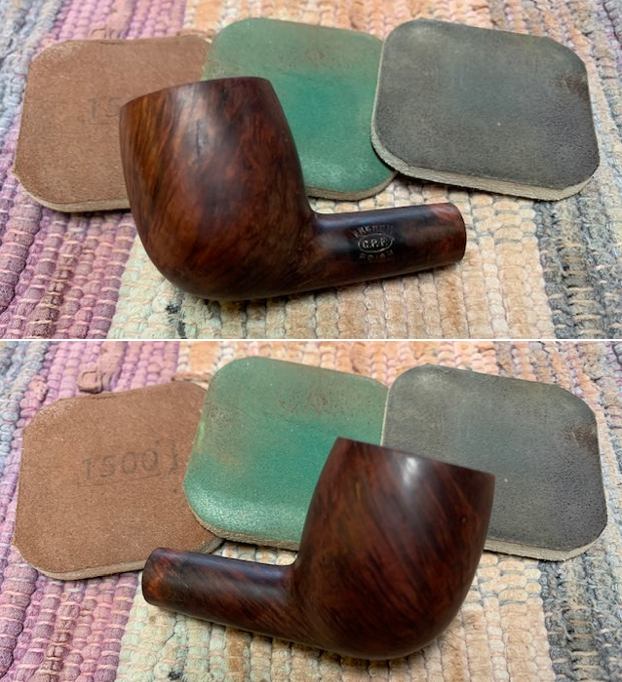
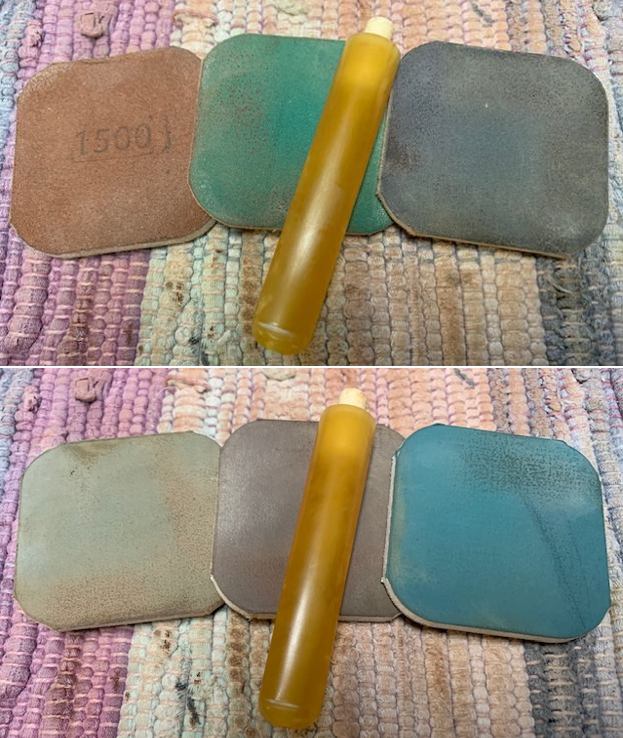
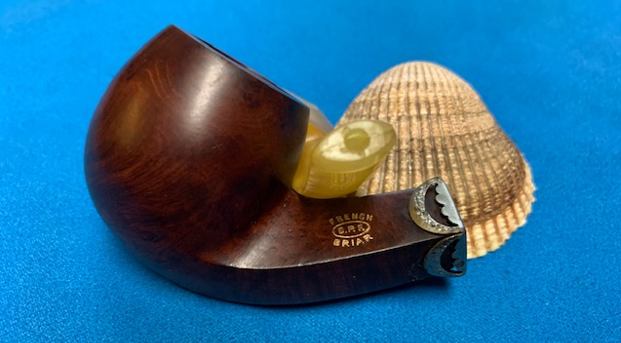
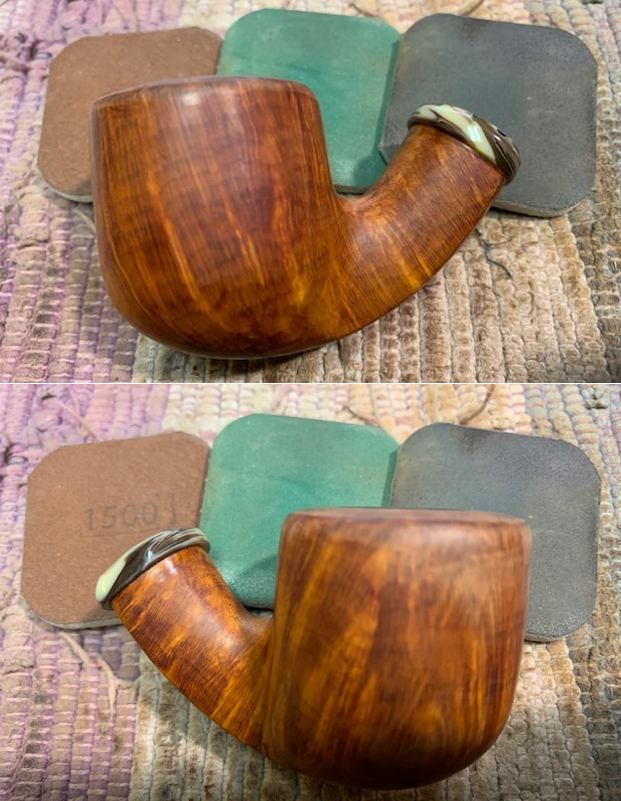
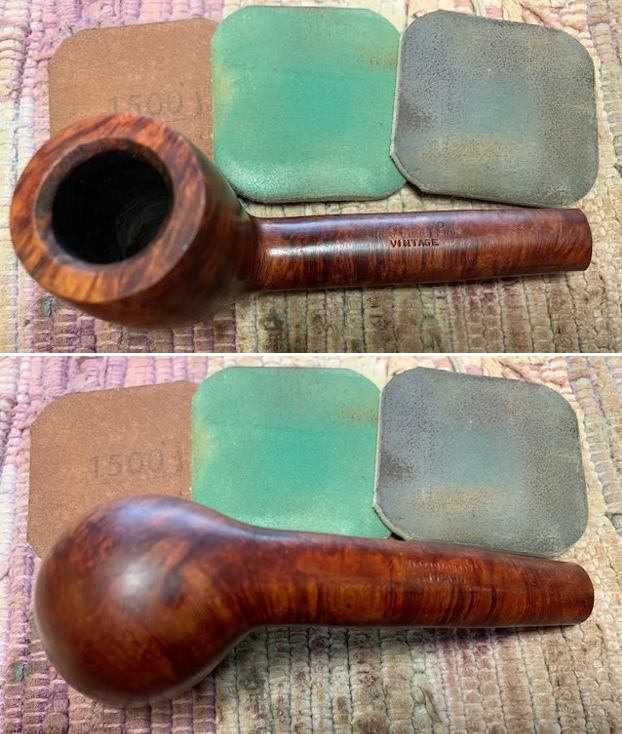
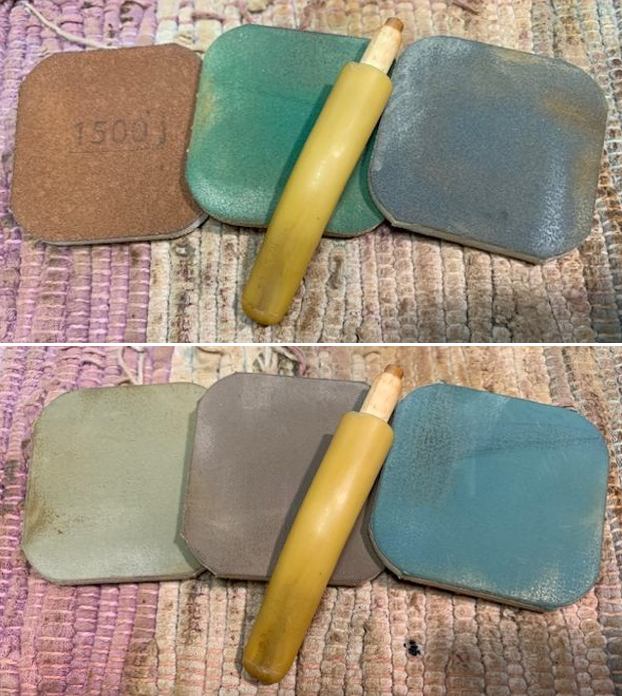
 I set the stem aside and polished the cocobolo shank extension with micromesh sanding pads – dry sanding with 1500-12000 grit pads and wiping it down with a damp cloth after each pad. It really began to shine.
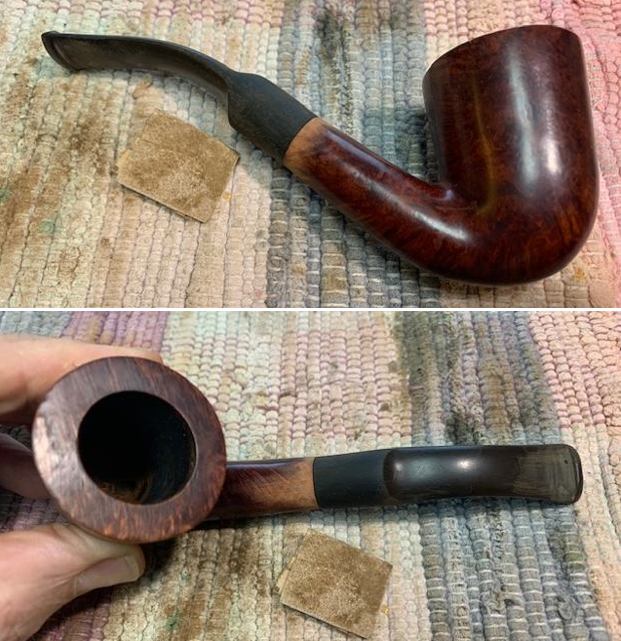
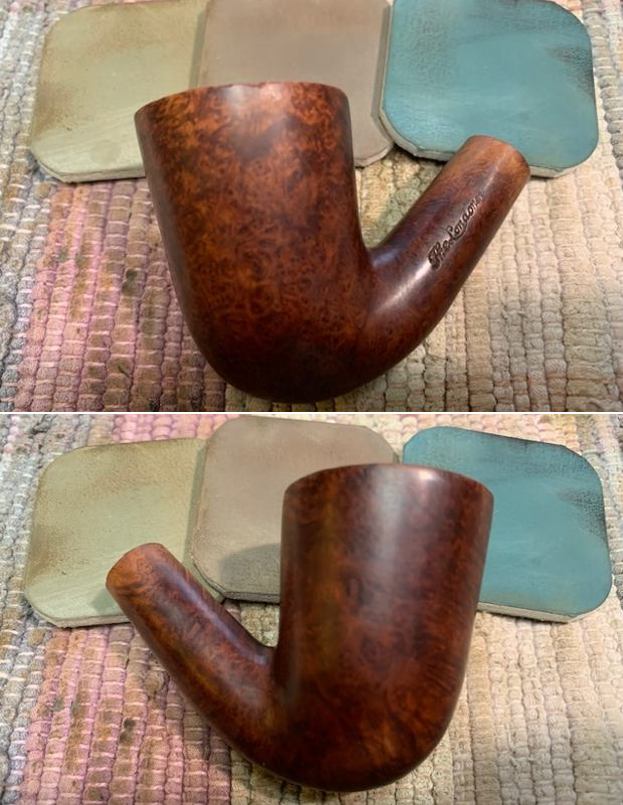
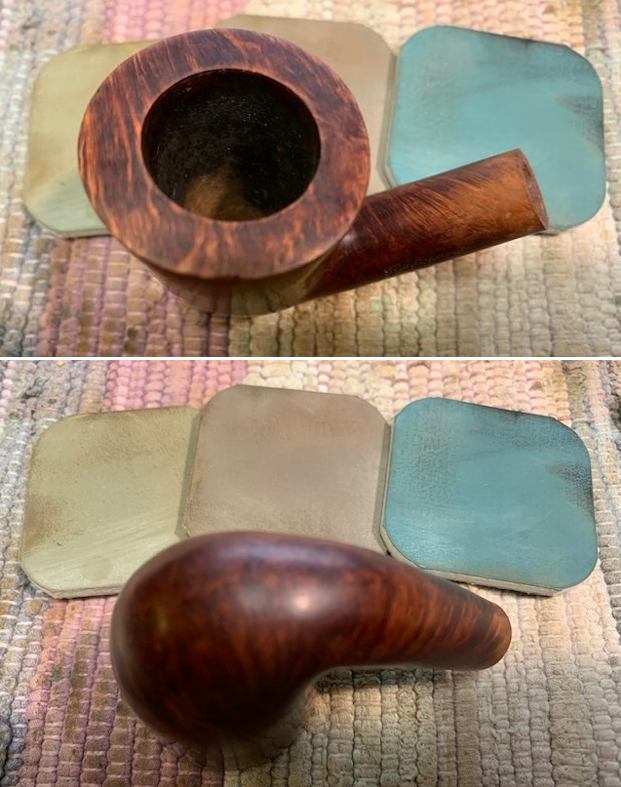
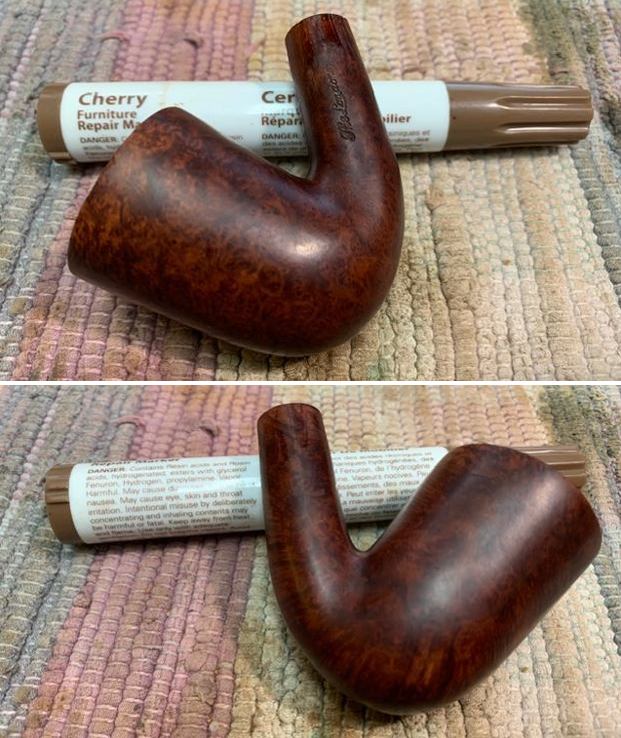
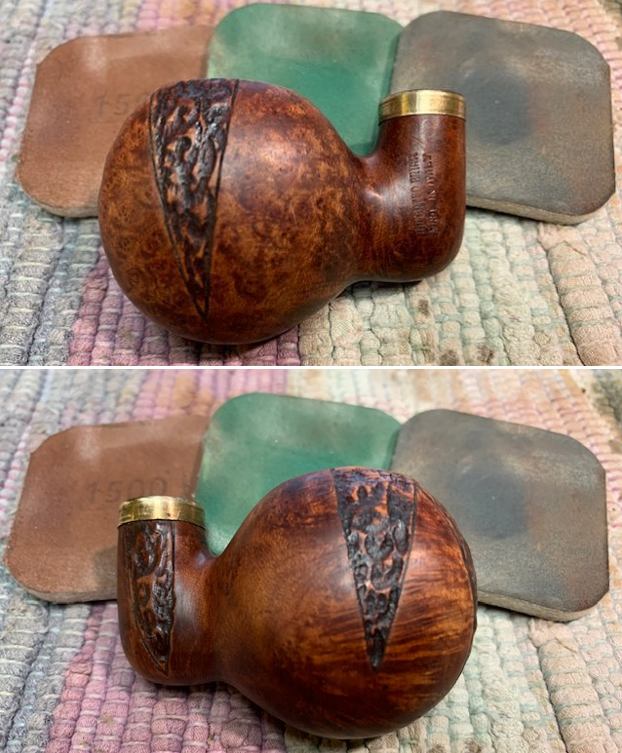
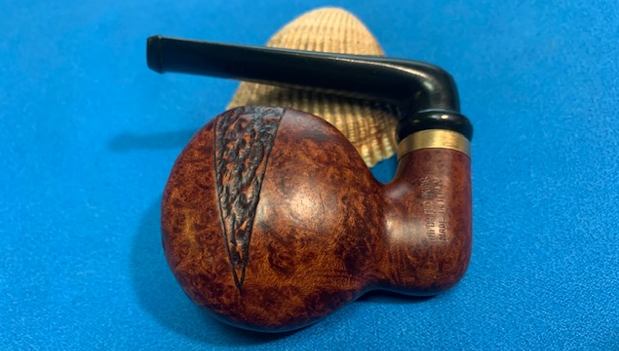
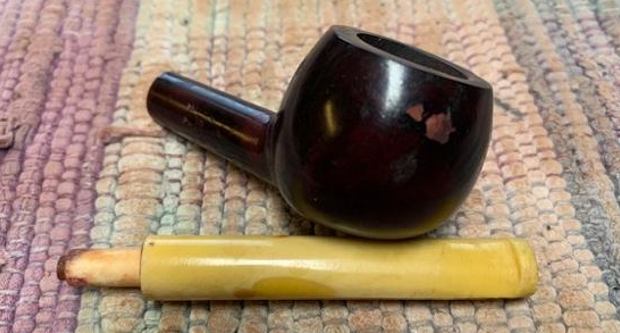
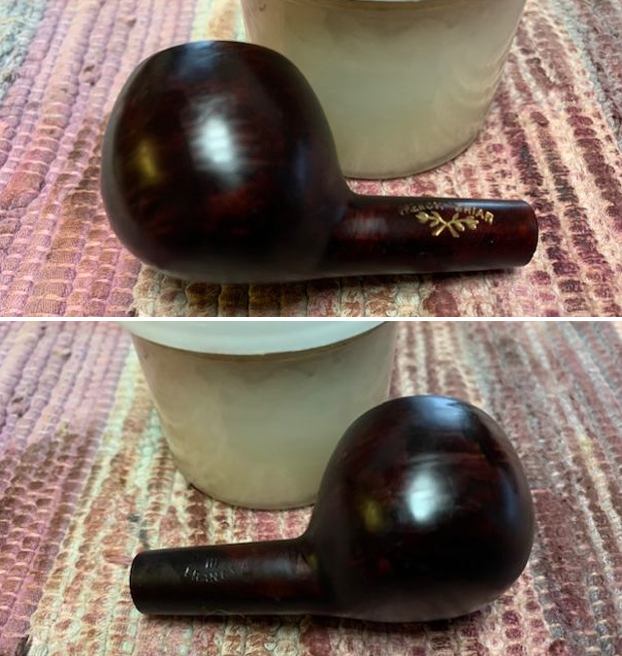
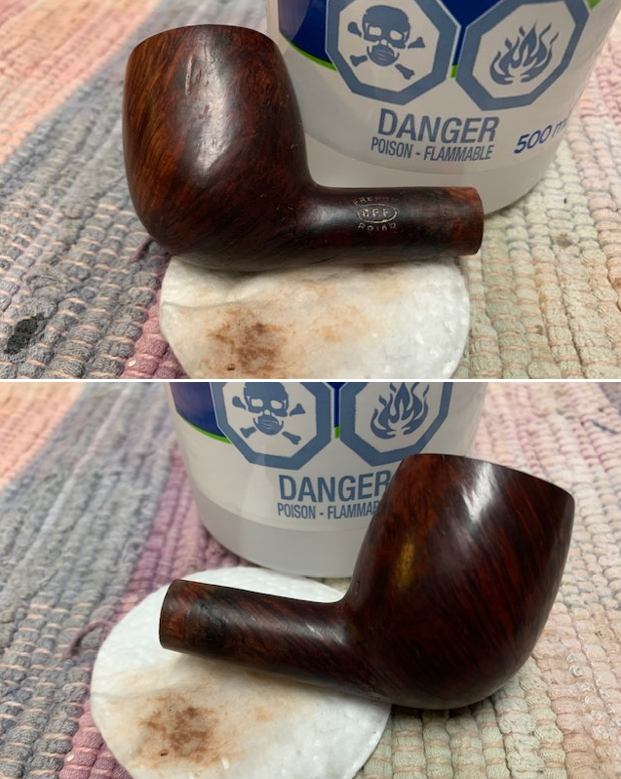
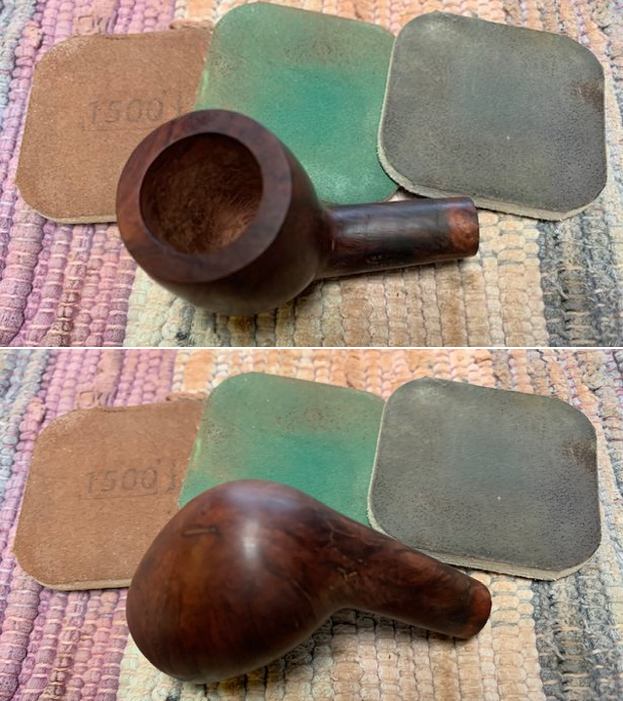
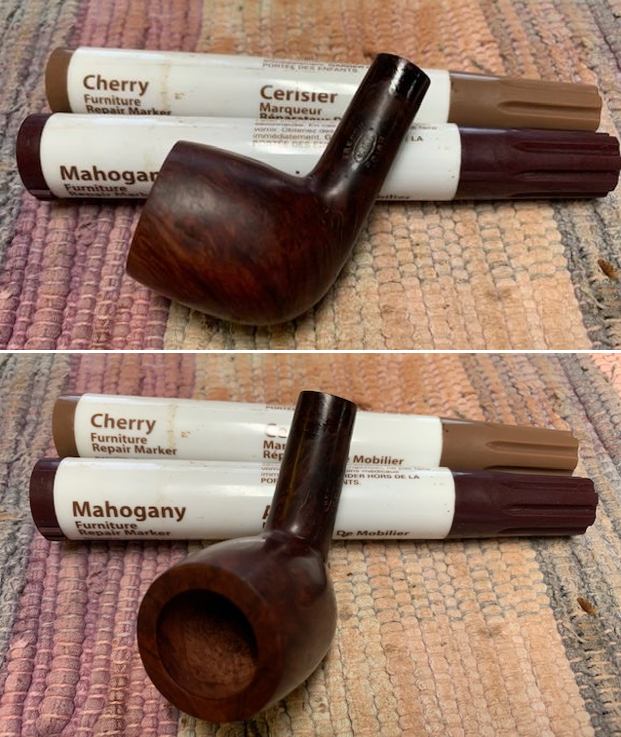
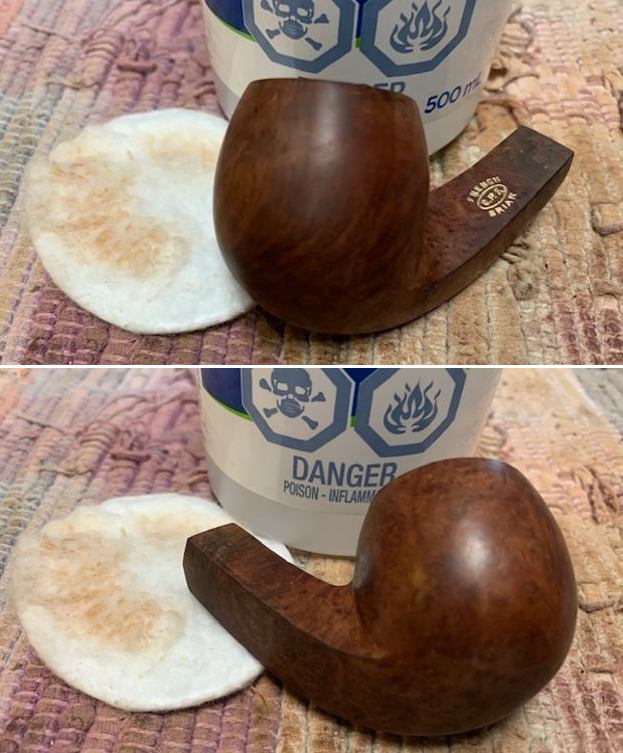
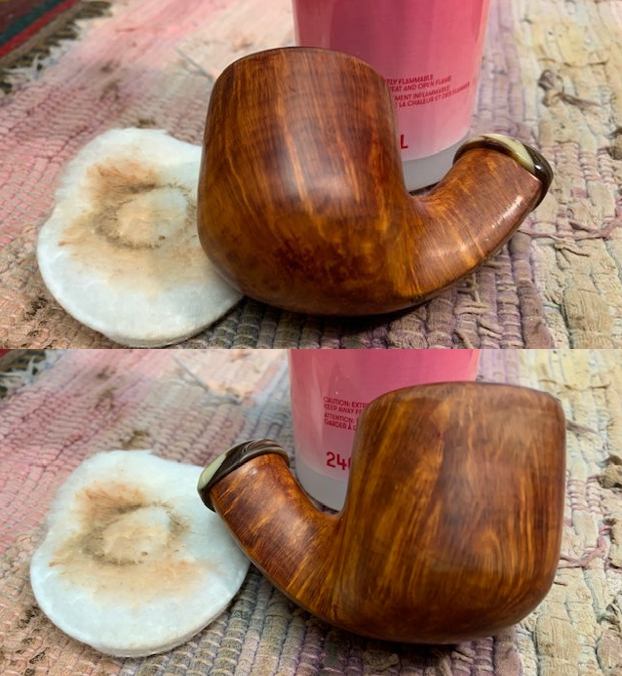
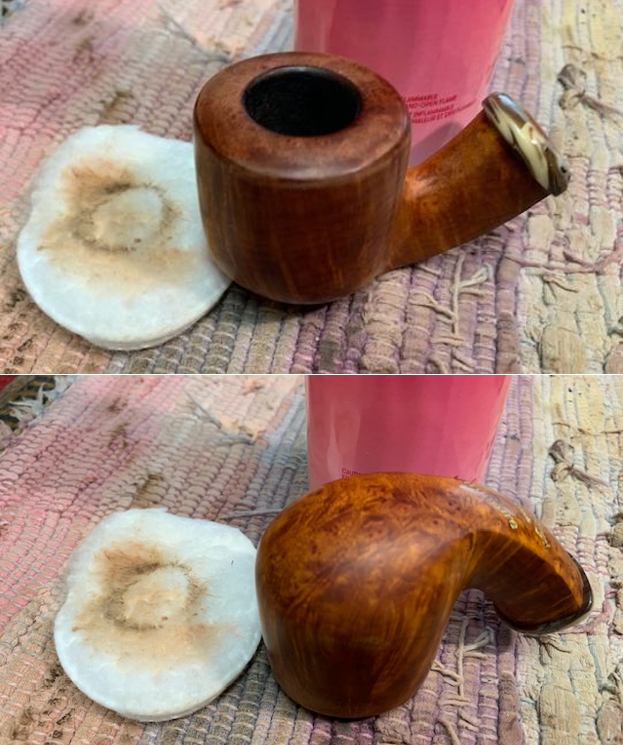
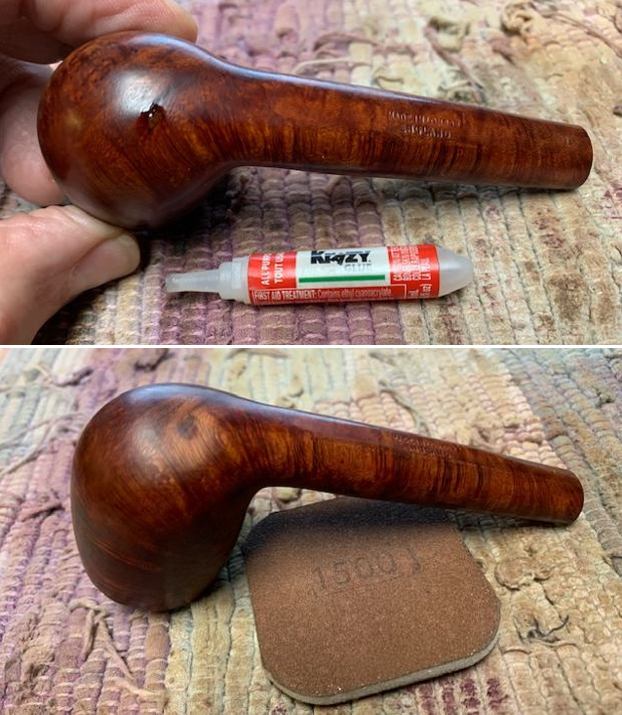
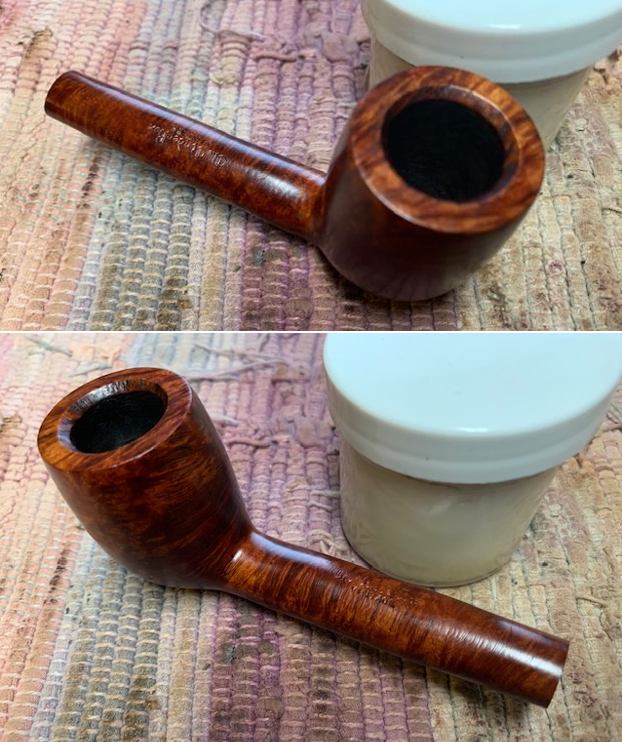
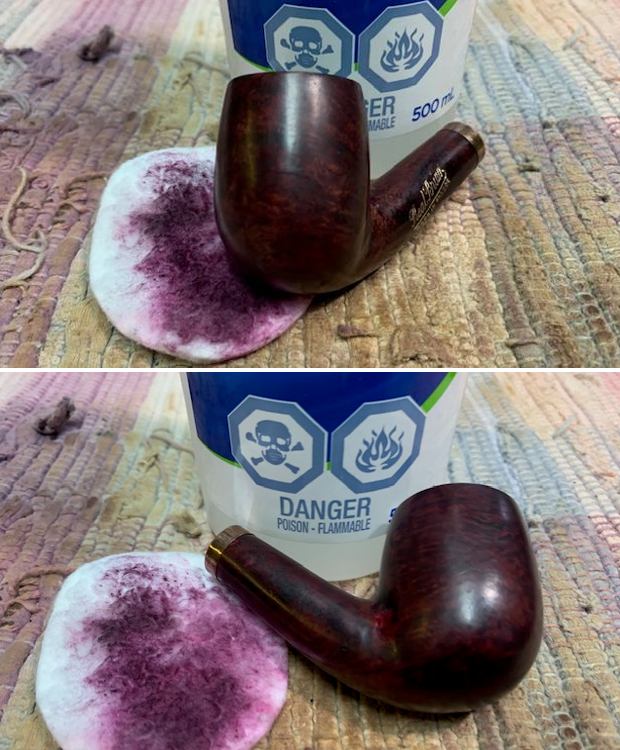
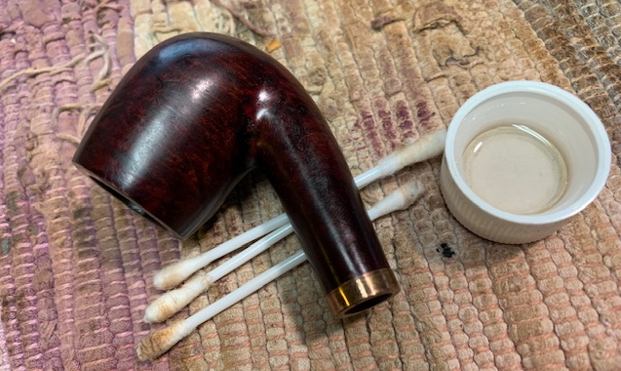
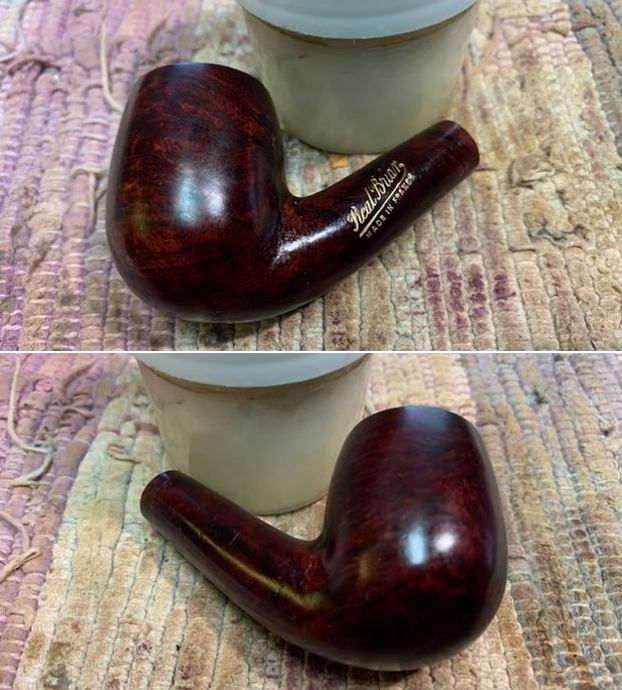
 I worked some Before & After Restoration Balm into the surface of the smooth briar with my finger tips. The product is amazing and works to clean, enliven and protect the briar. I let it sit on the briar for 10 or more minutes and then buff it off with a soft cloth. It really makes the grain sing.
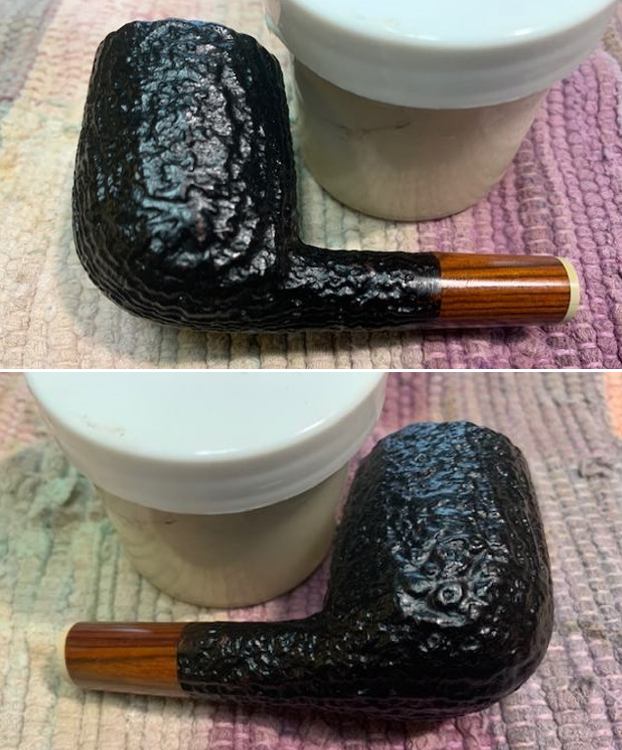
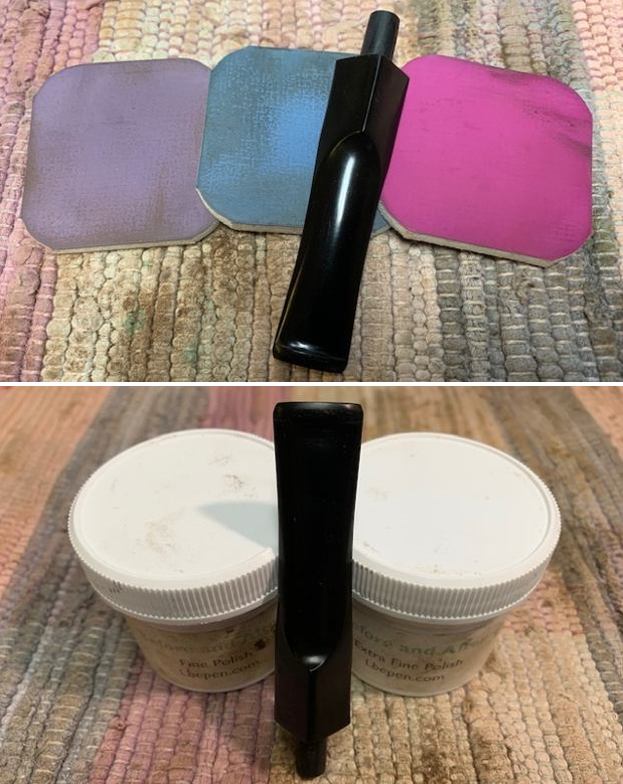
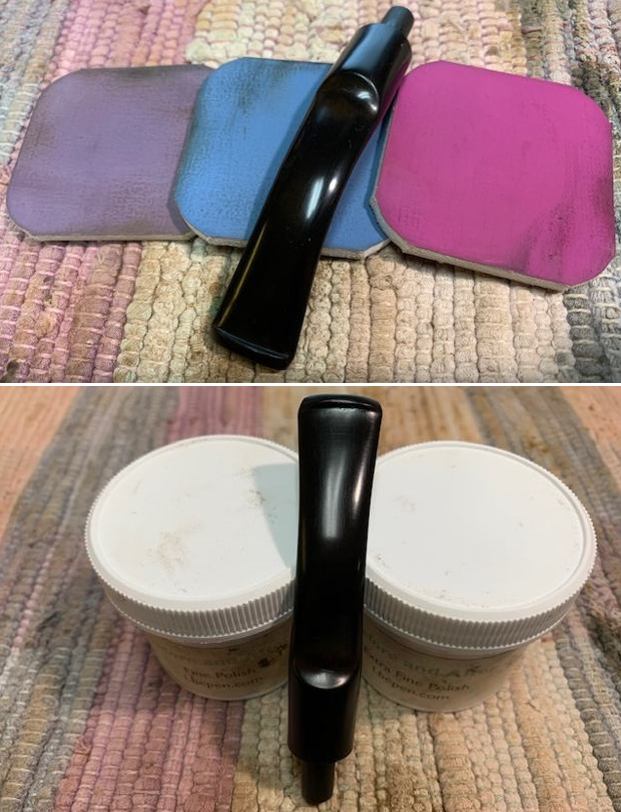
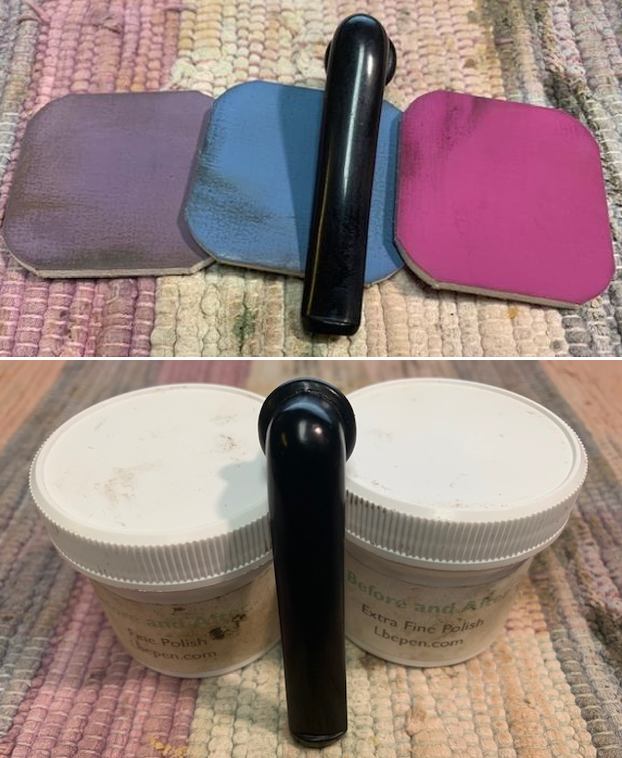
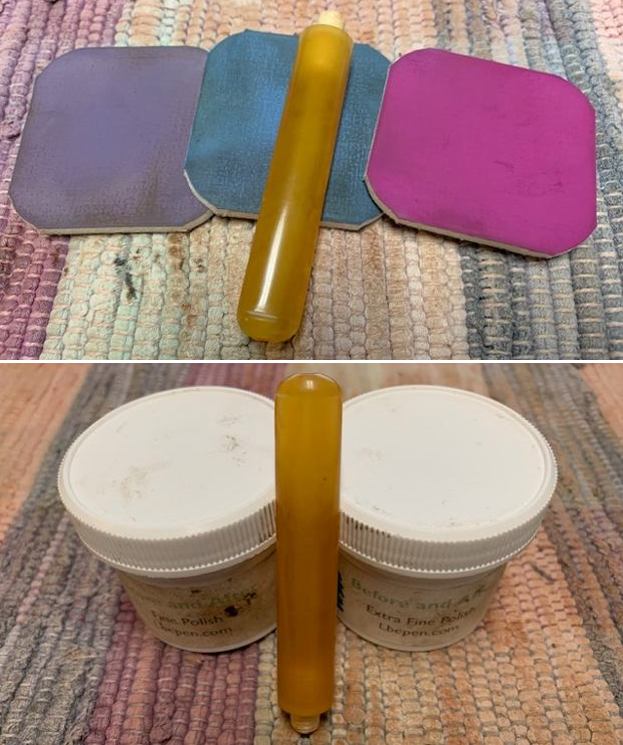
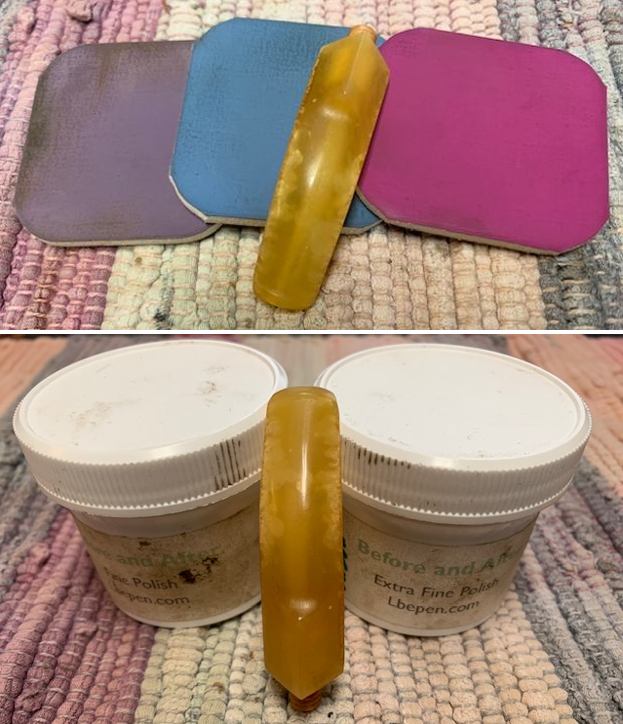
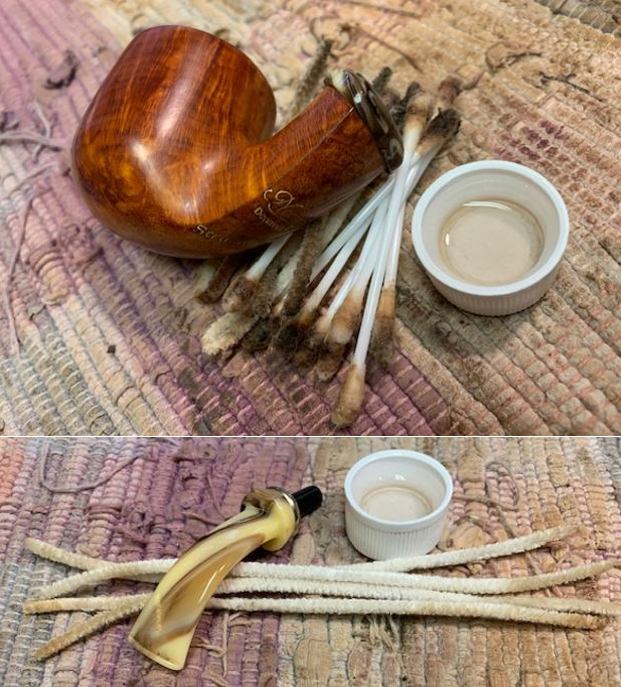
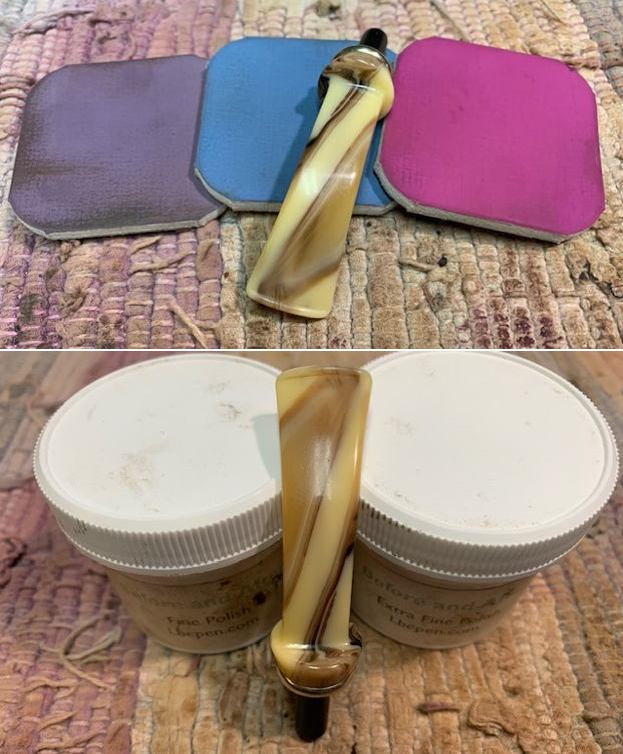
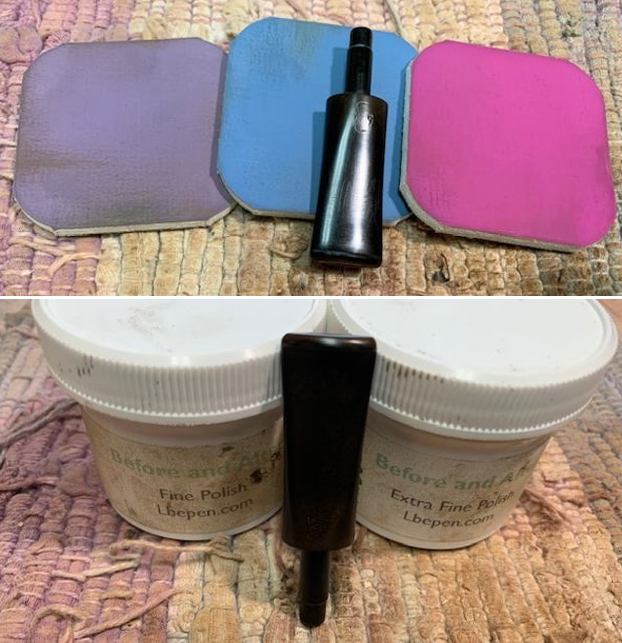
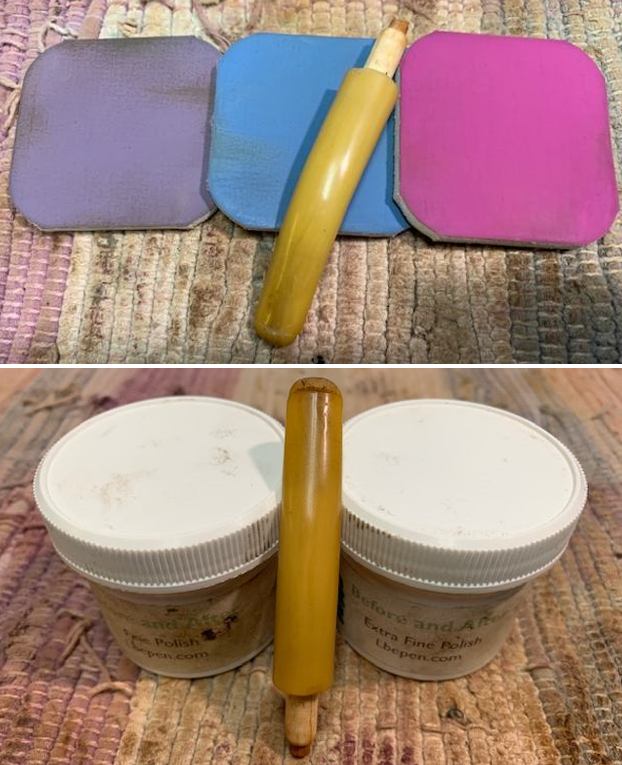
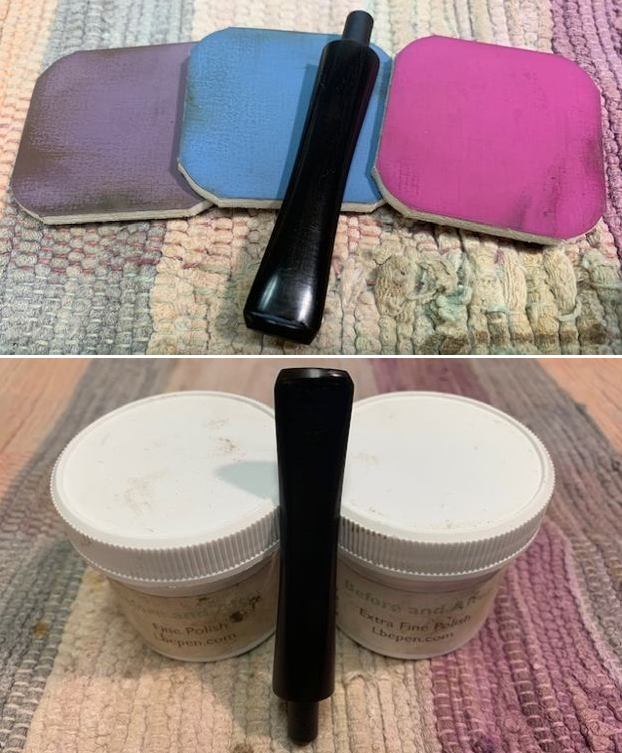
 I set the bowl aside and turned my attention back to the stem. I polished the stem with micromesh sanding pads – dry sanding with 1500-12000 grit pads. I wiped the stem down after each pad with a cloth and Obsidian Oil. I finished the polishing with Before & After Pipe Stem Polish – both Fine and Extra Fine. I gave it a final coat of Obsidian Oil.
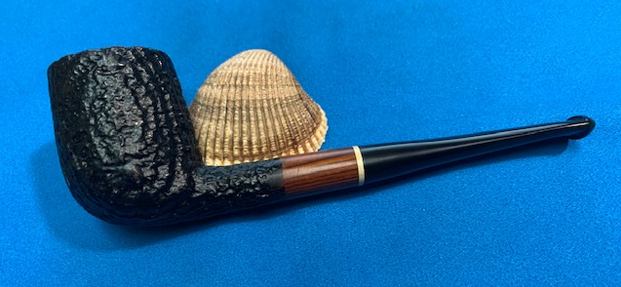
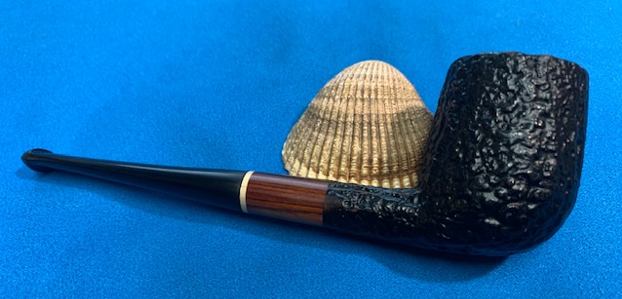
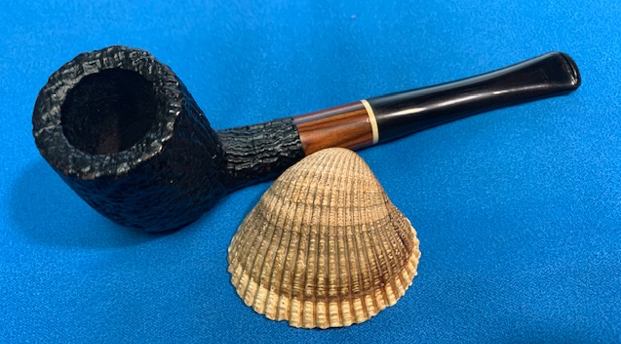
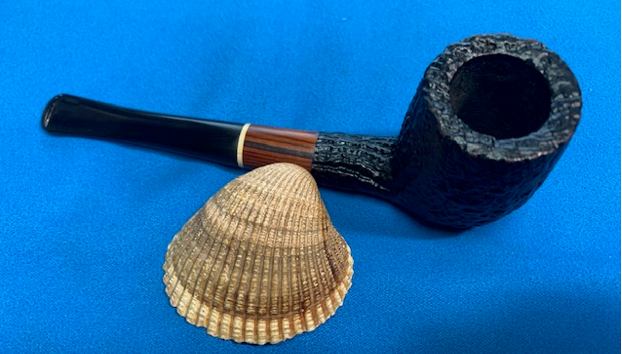
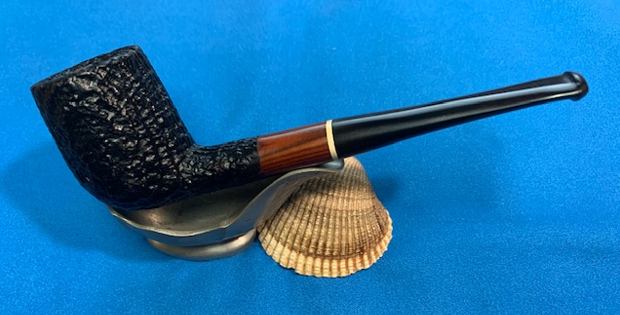
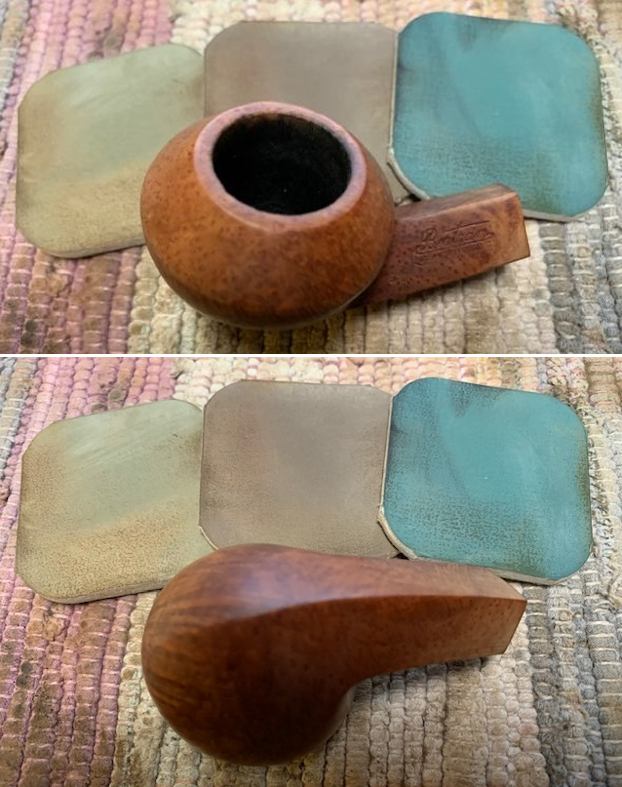
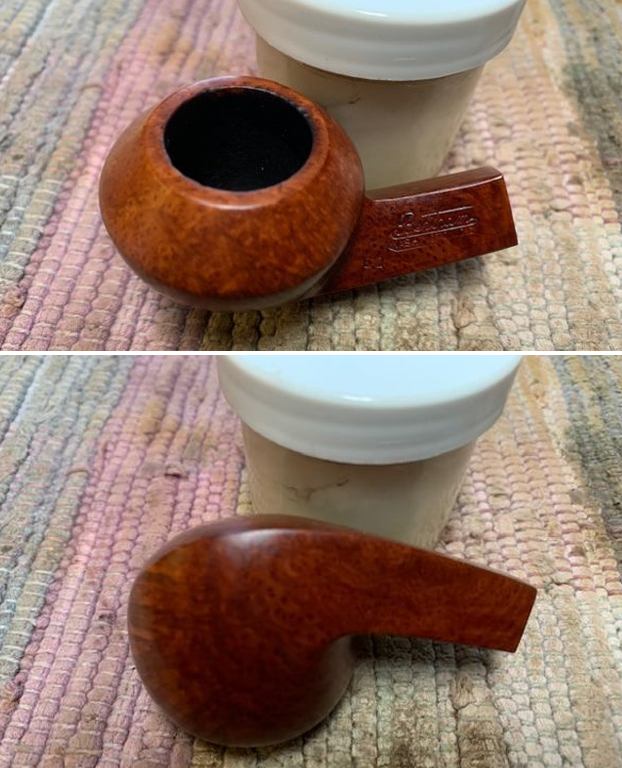
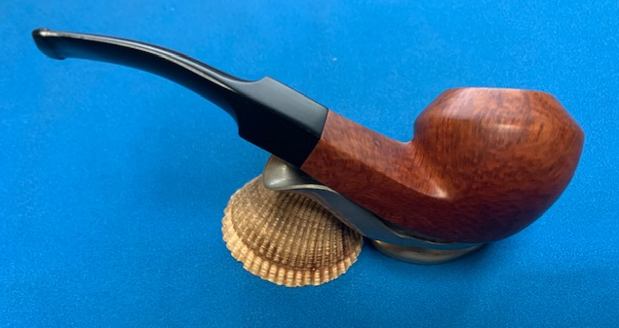
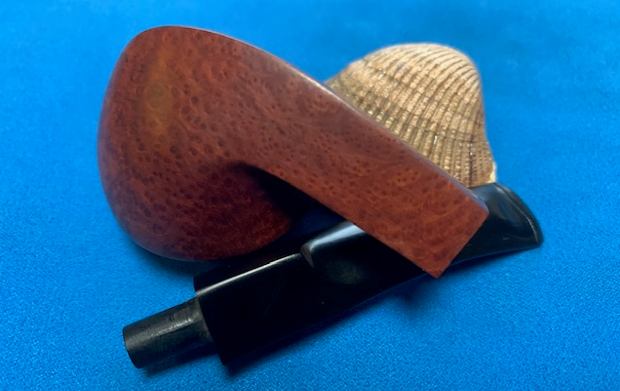
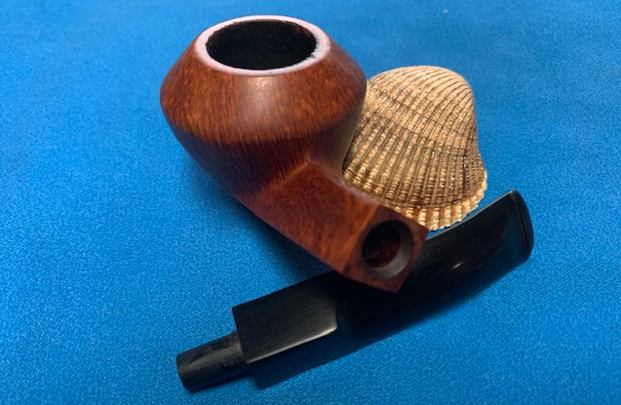
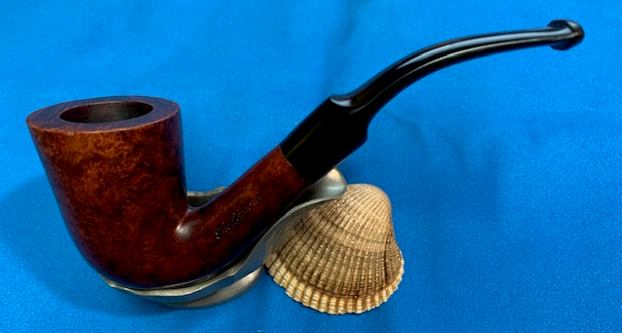
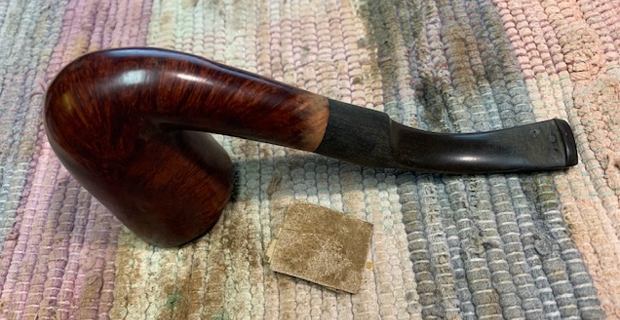
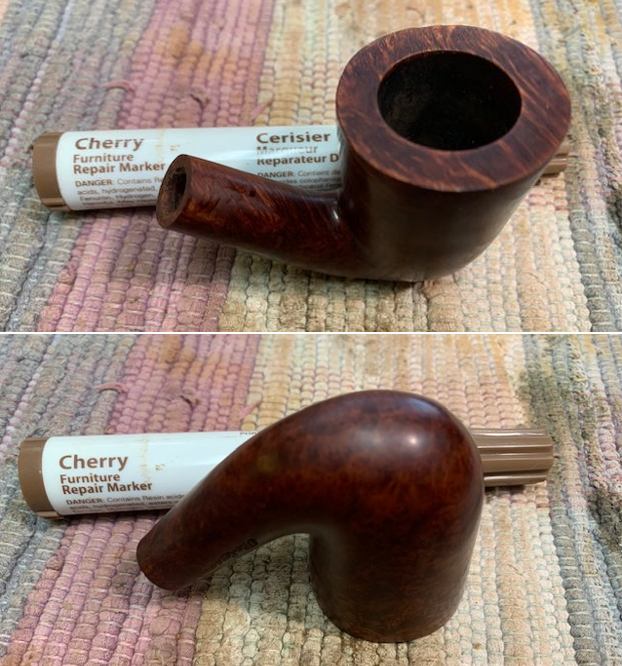
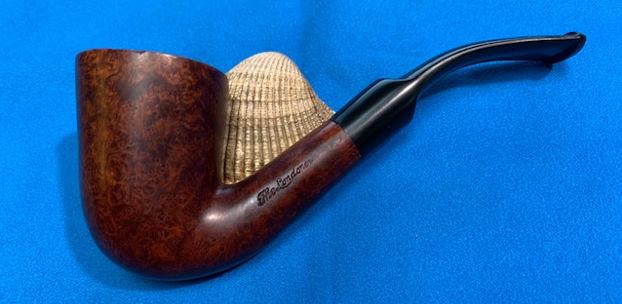
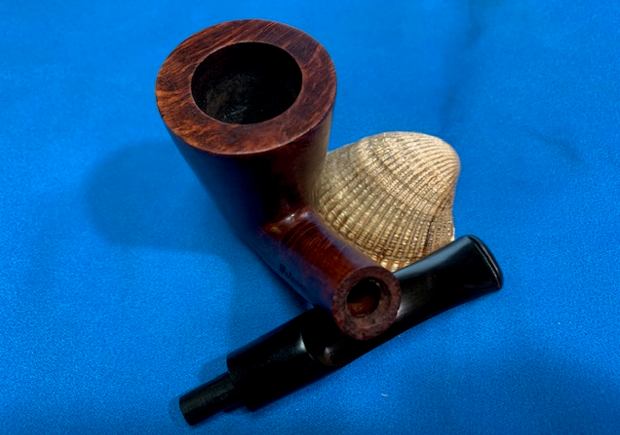
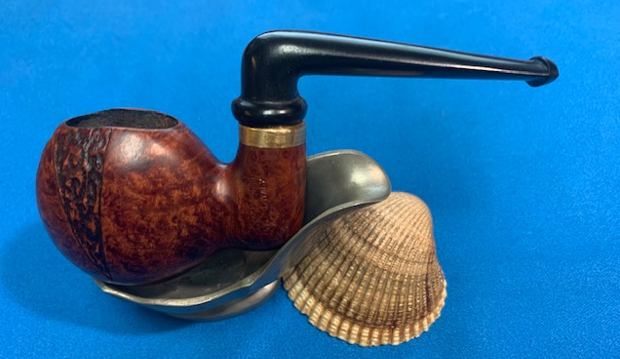
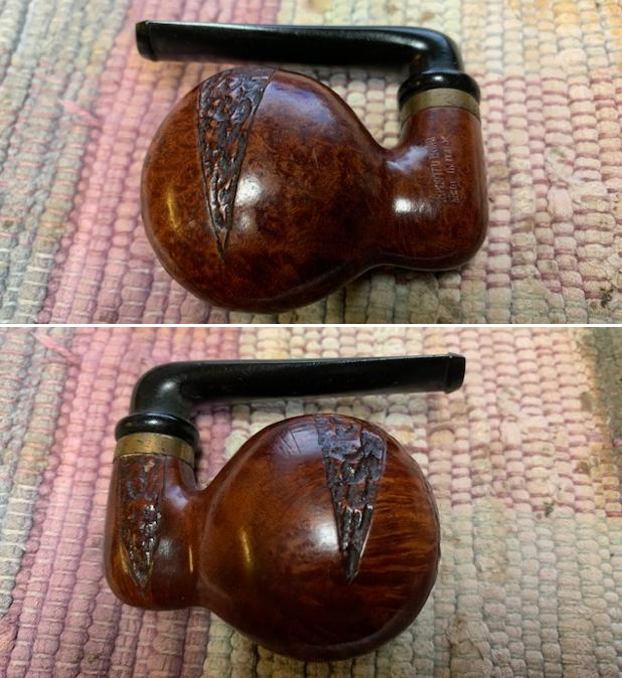
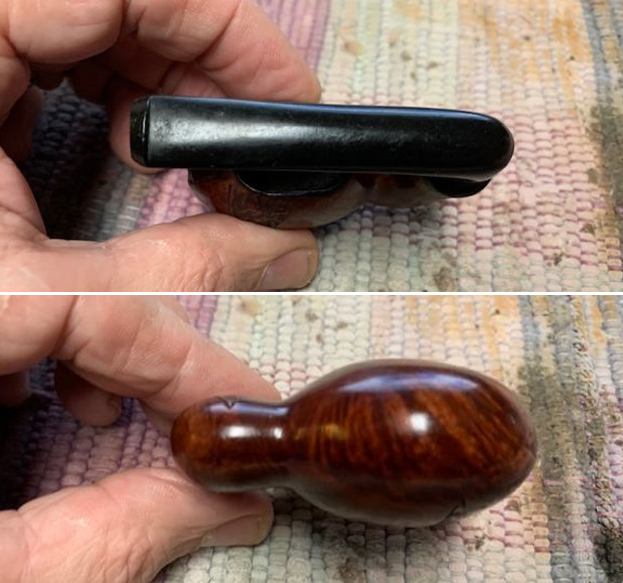
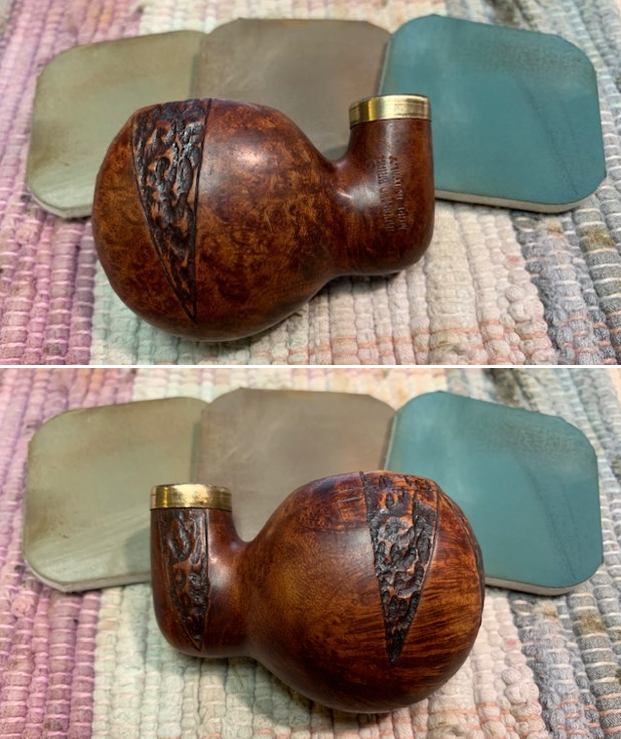
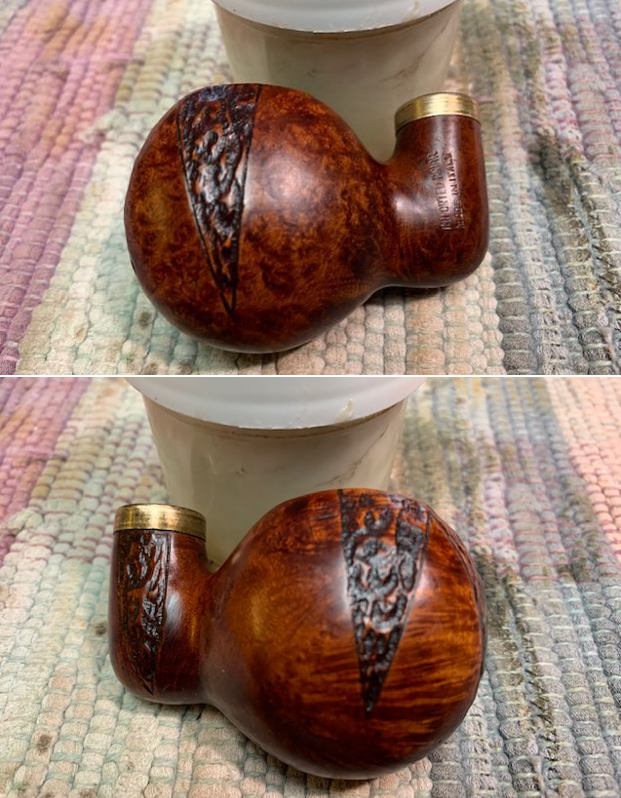
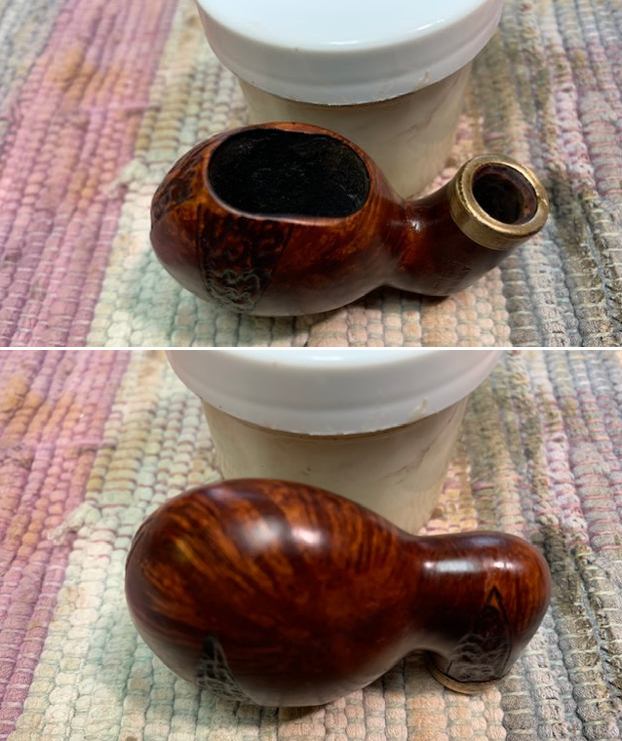
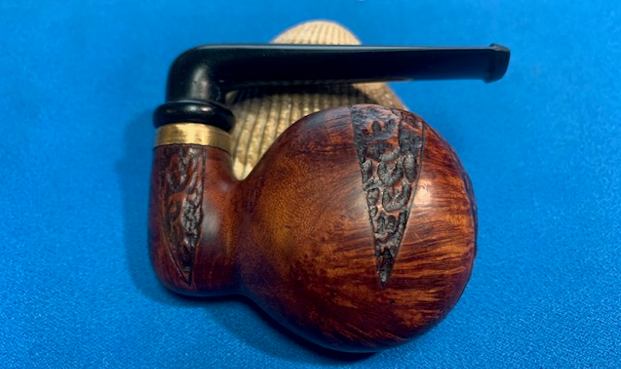
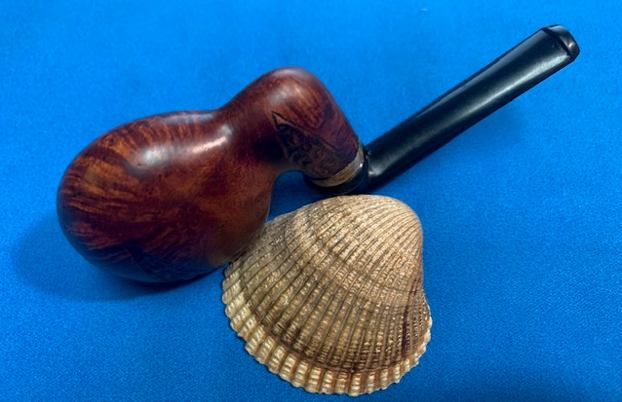
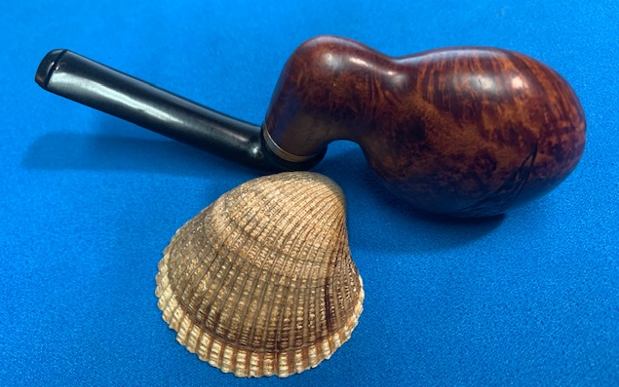
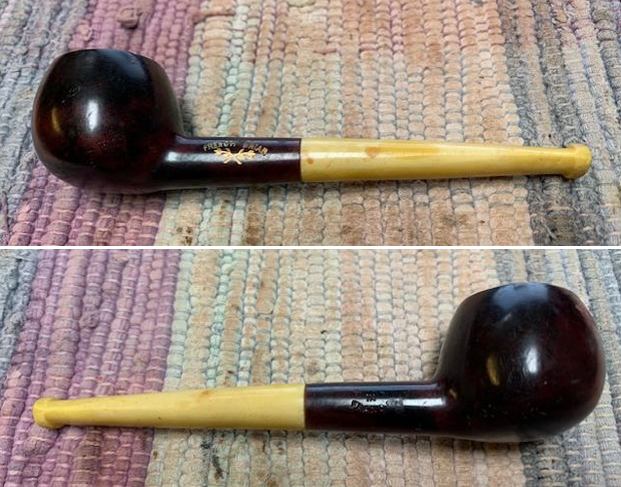
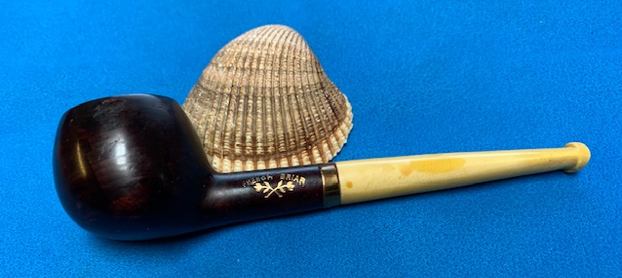
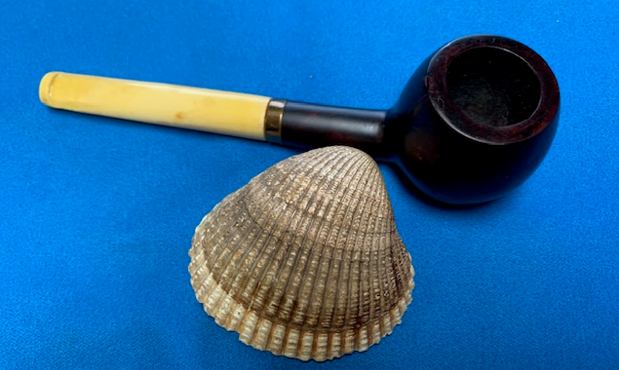
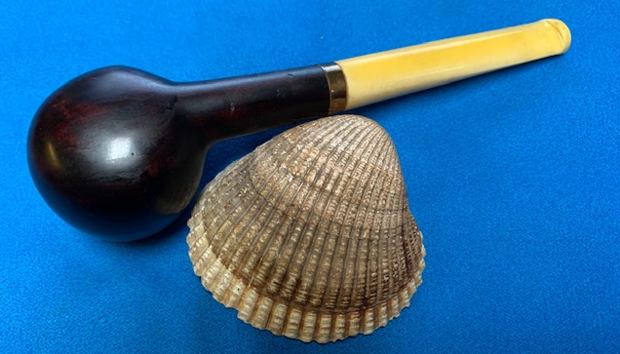
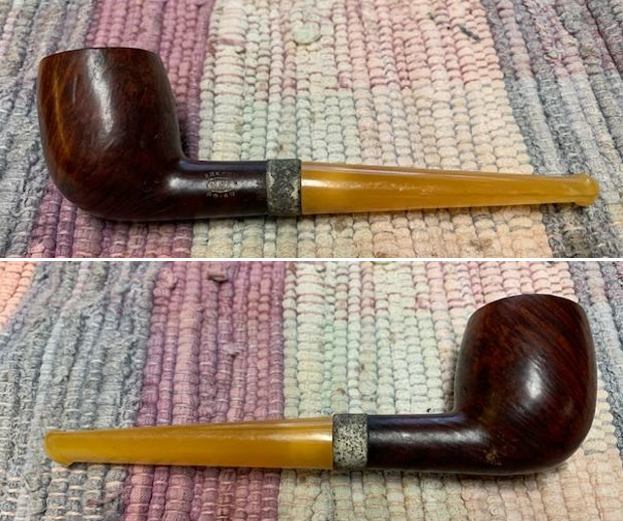
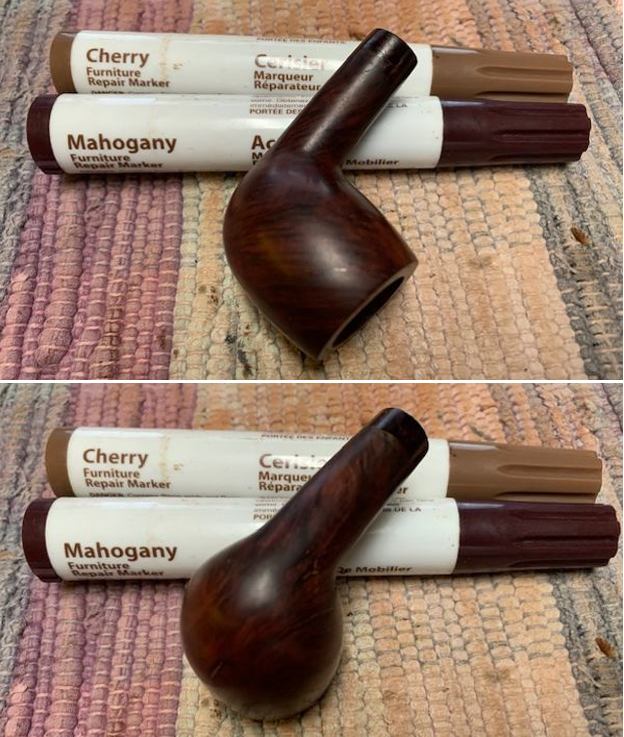
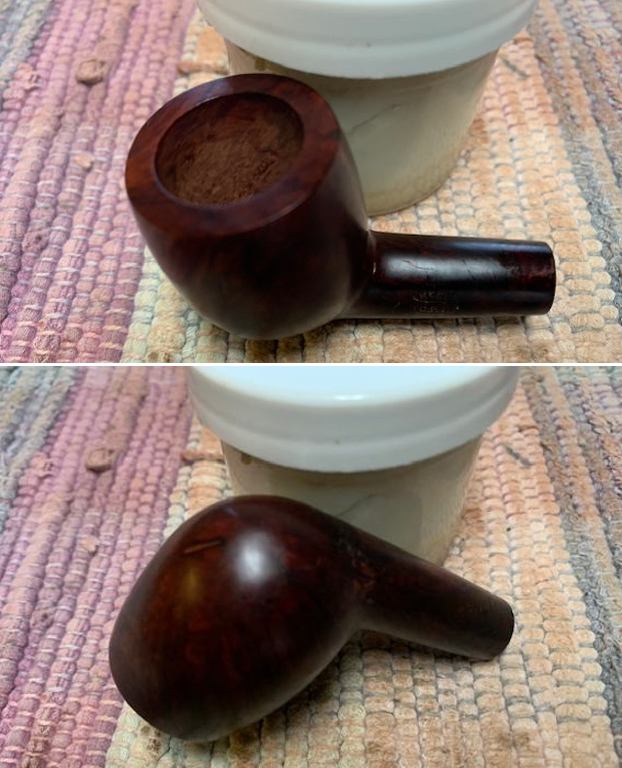
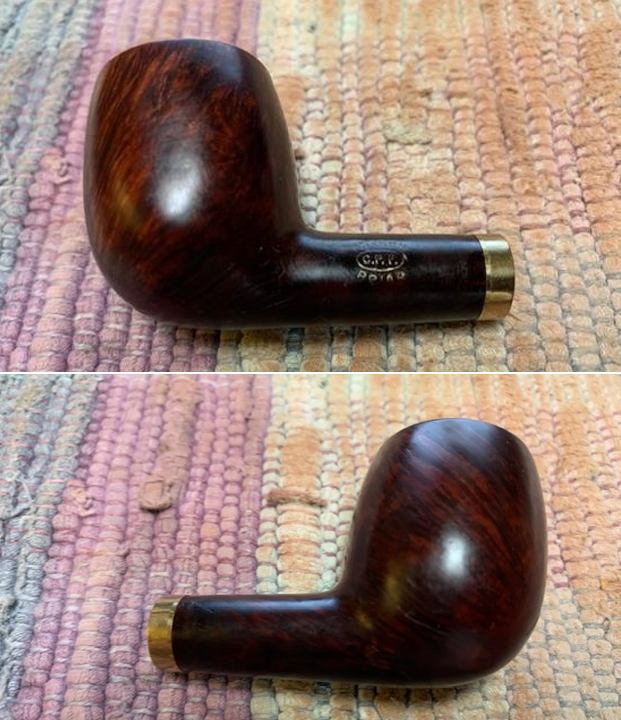
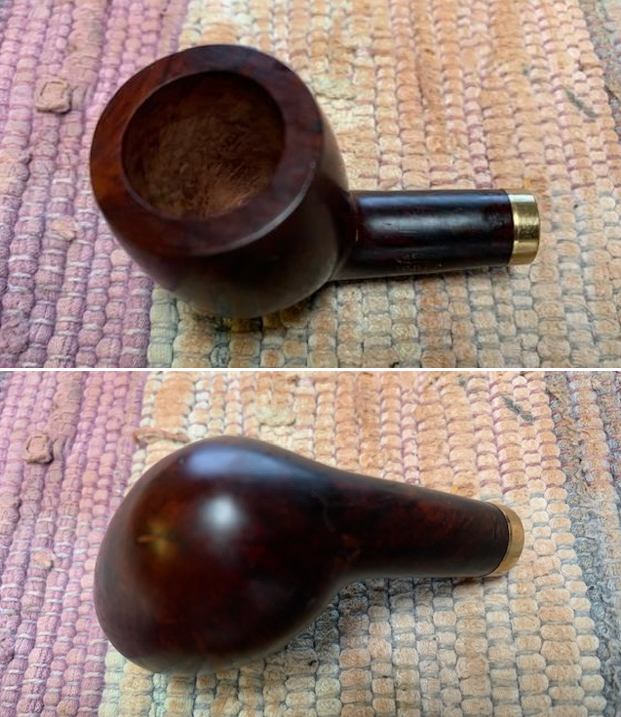
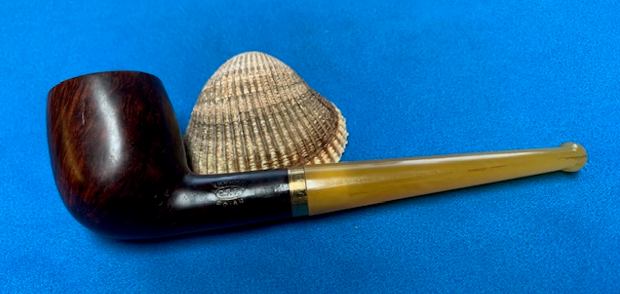
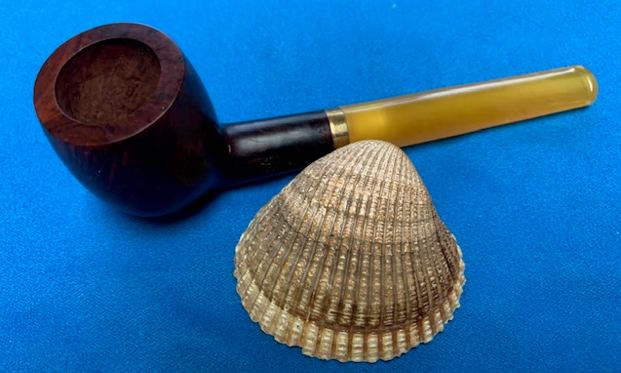
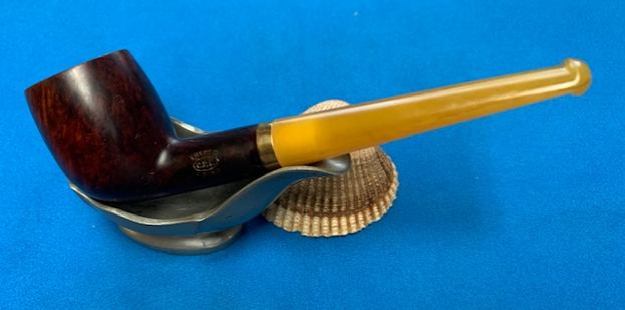
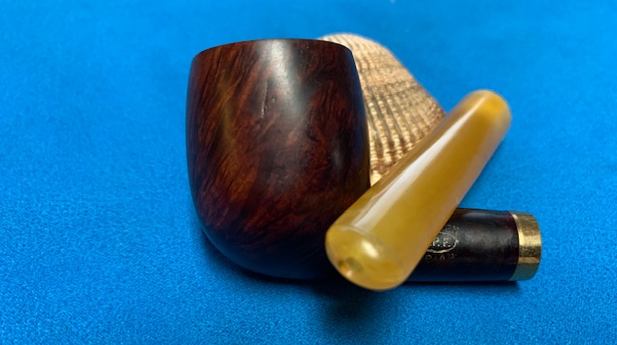
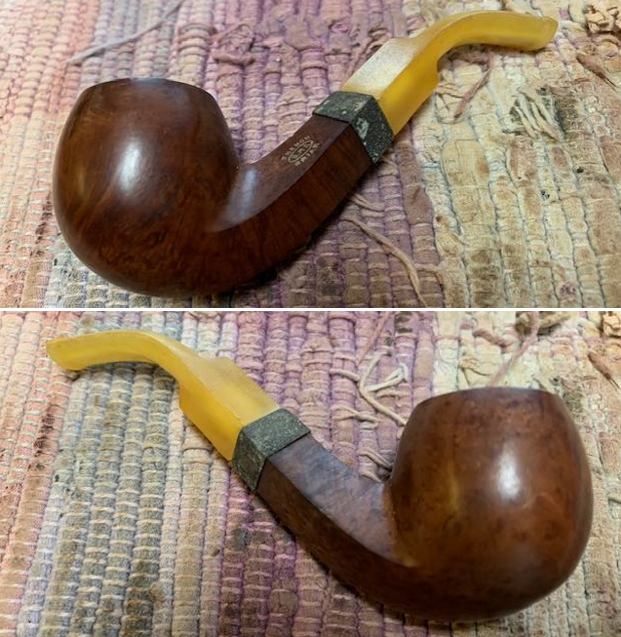
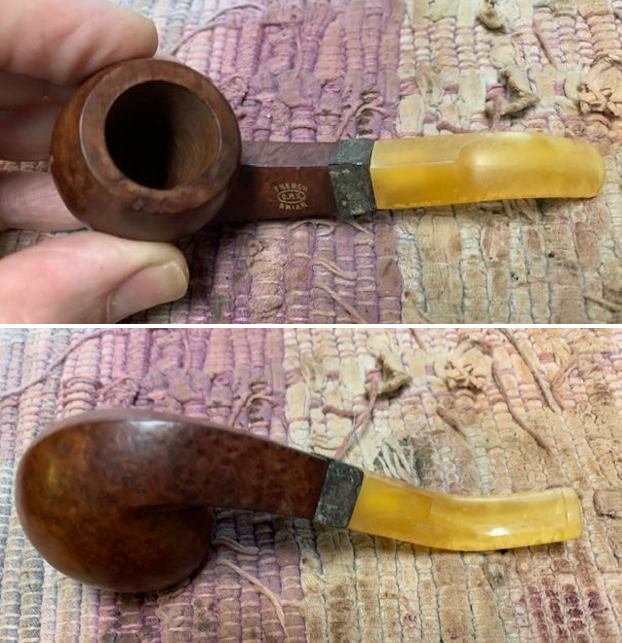
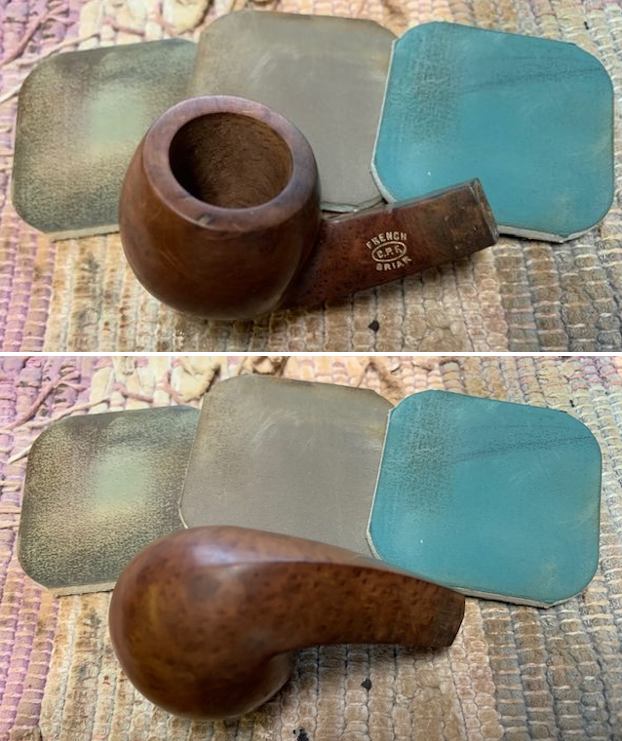
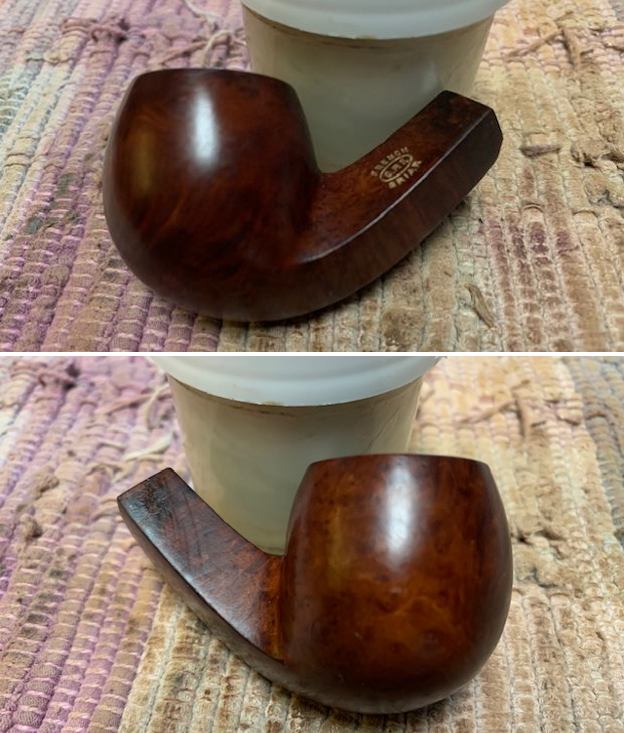
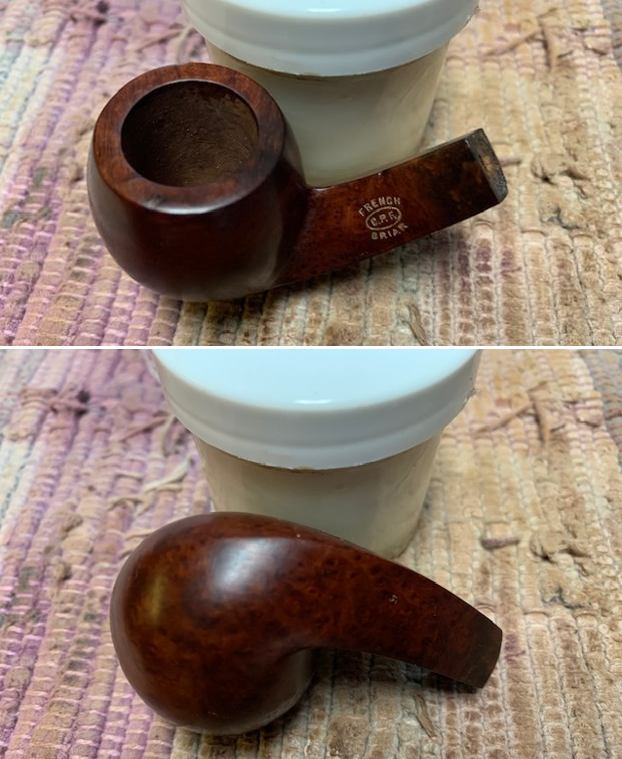
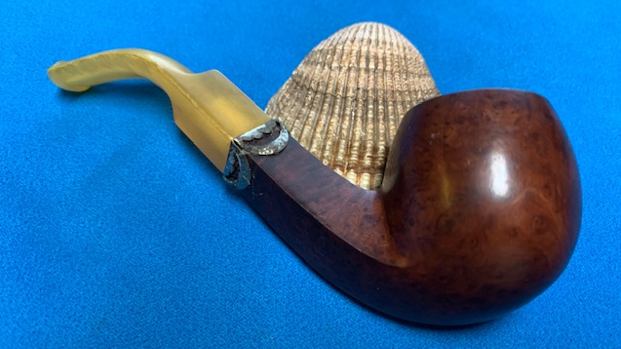
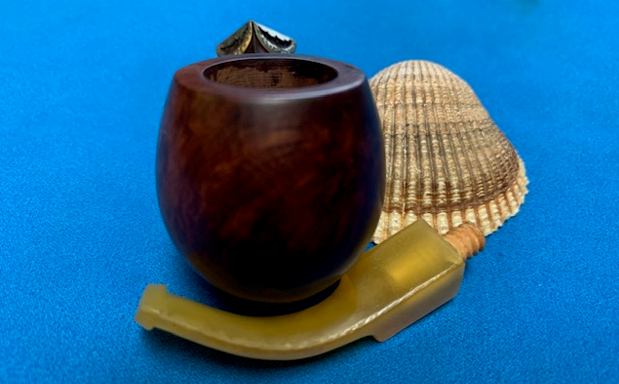
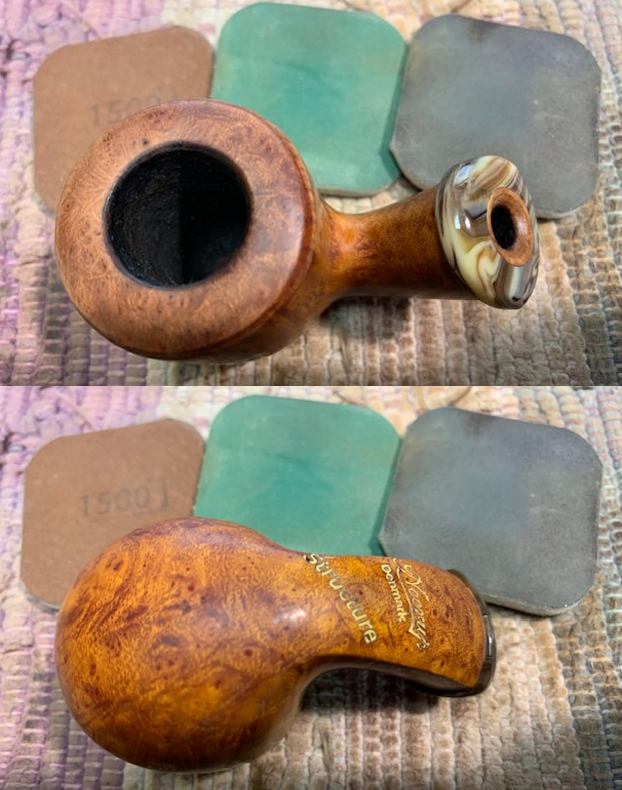
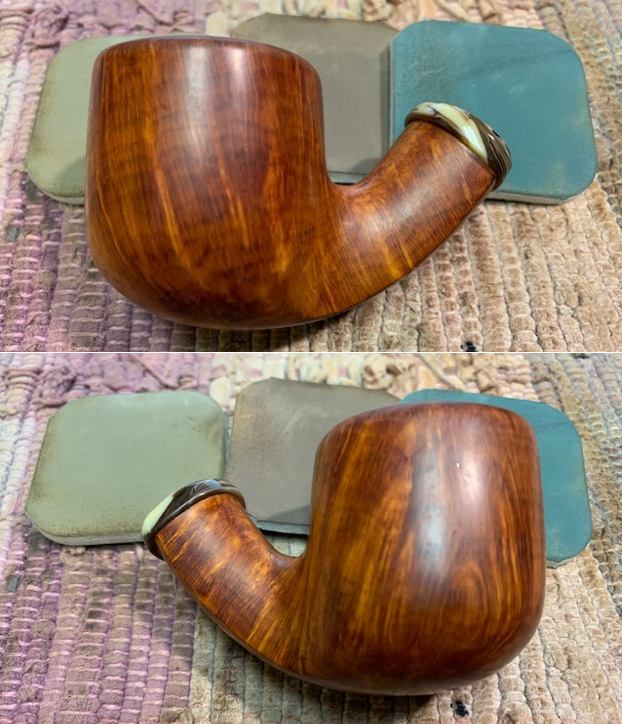
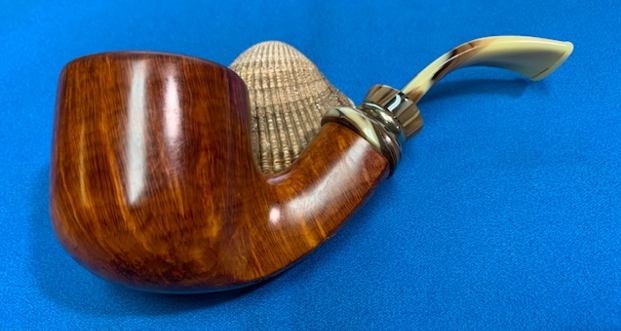
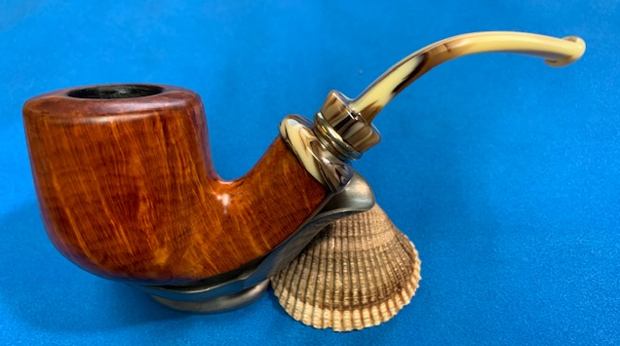
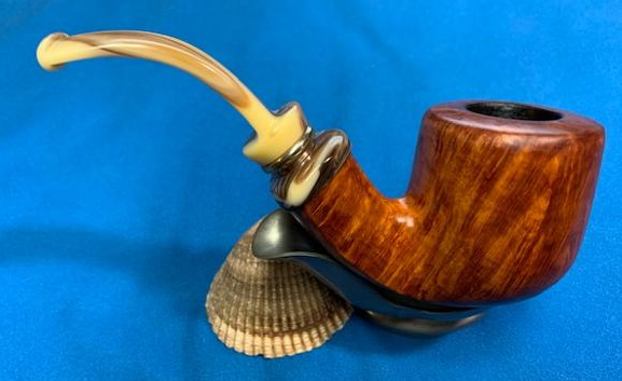
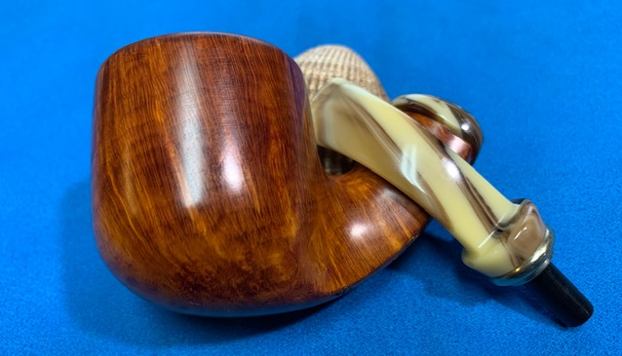
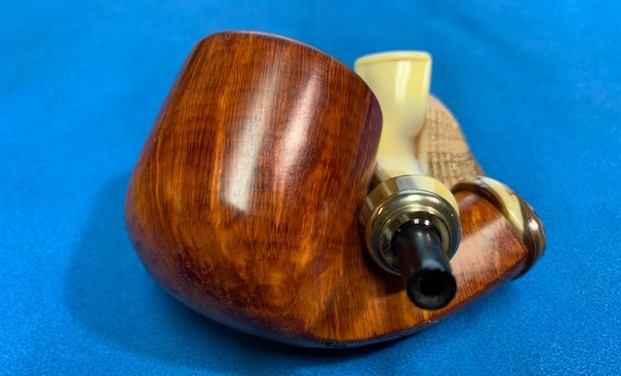
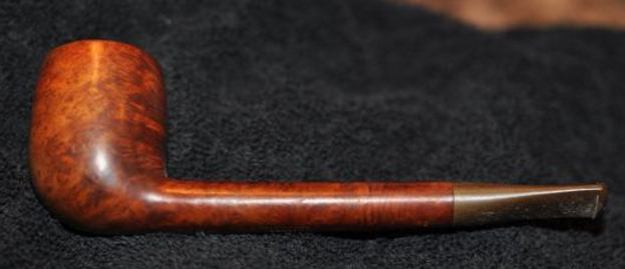
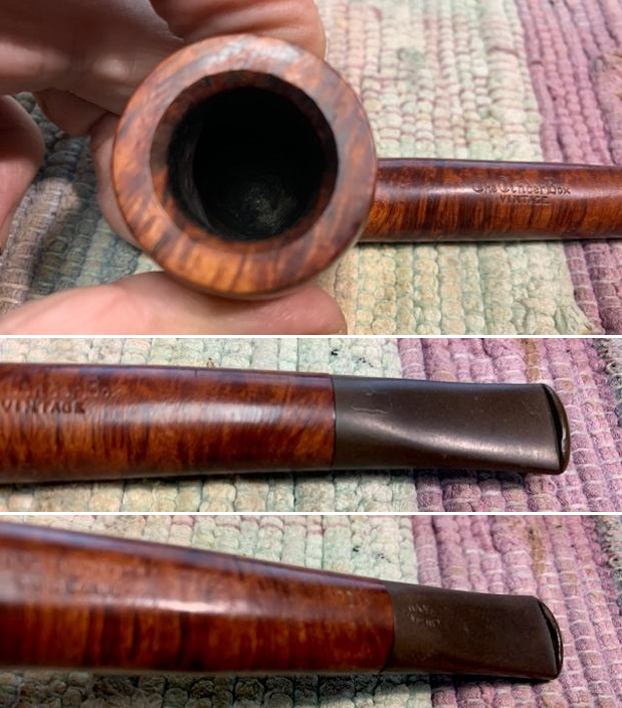
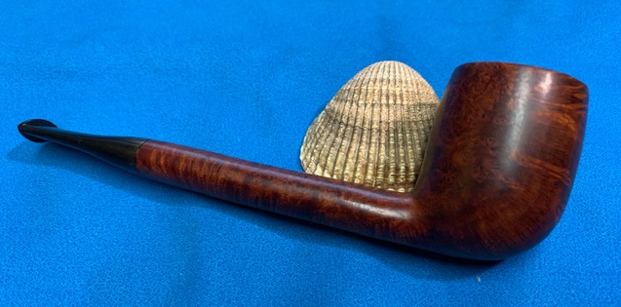
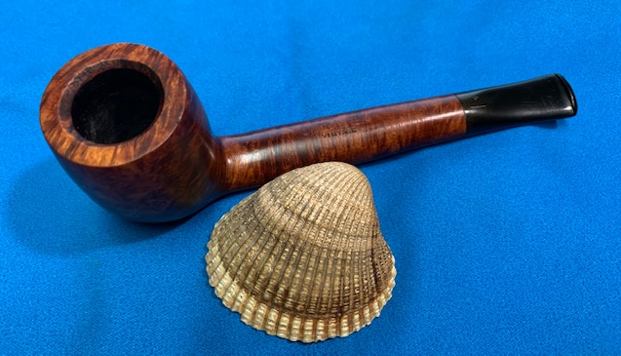
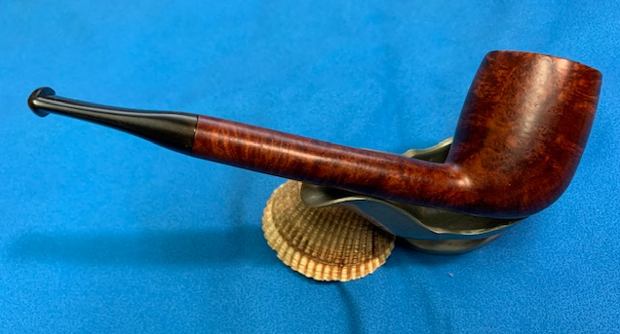
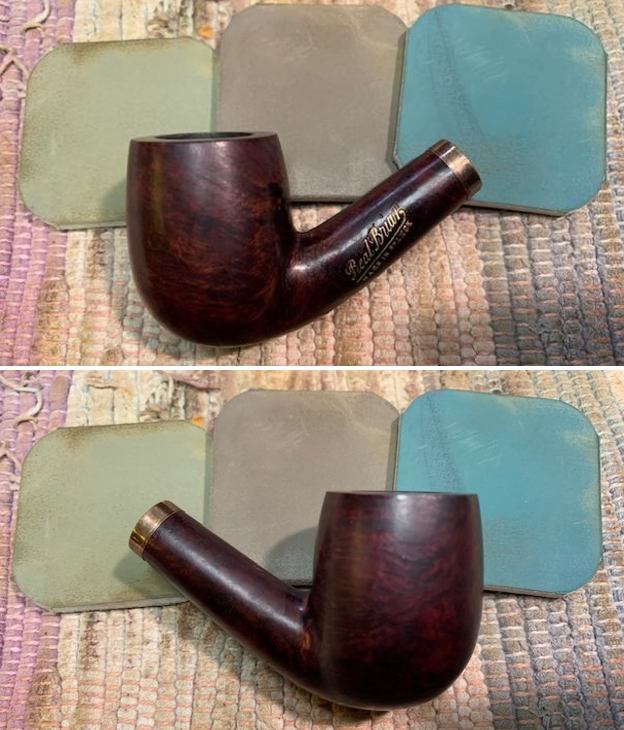
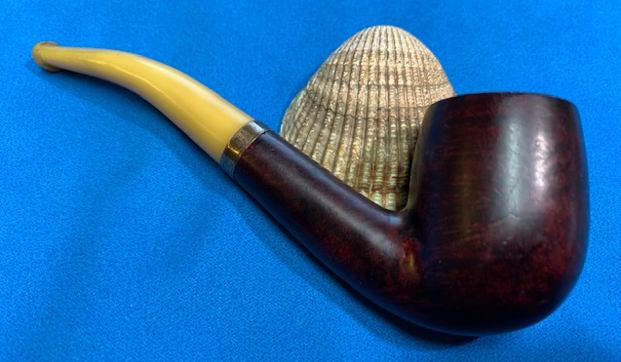
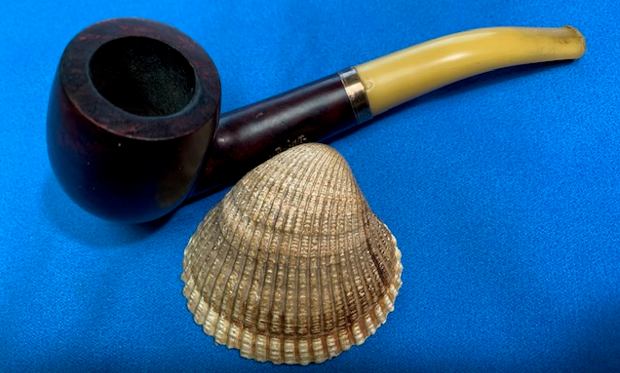
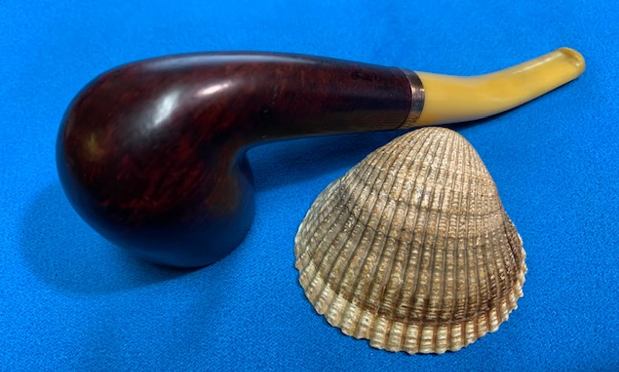
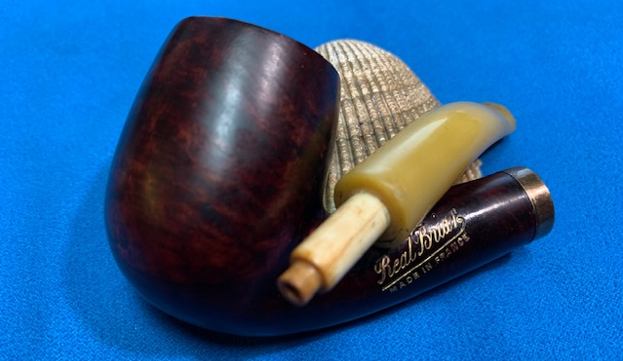
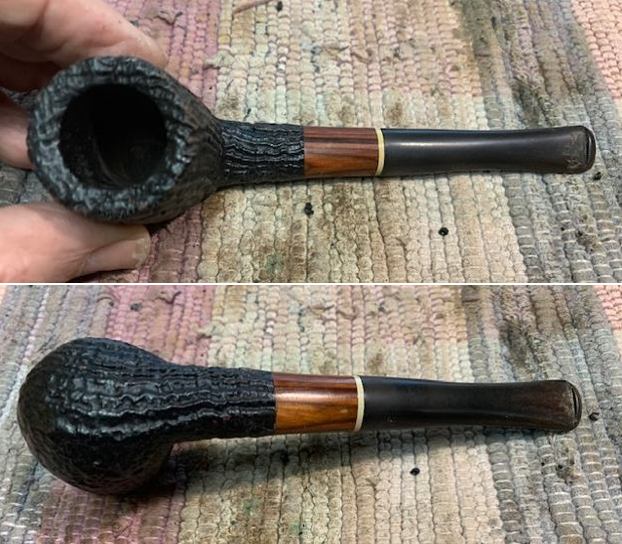
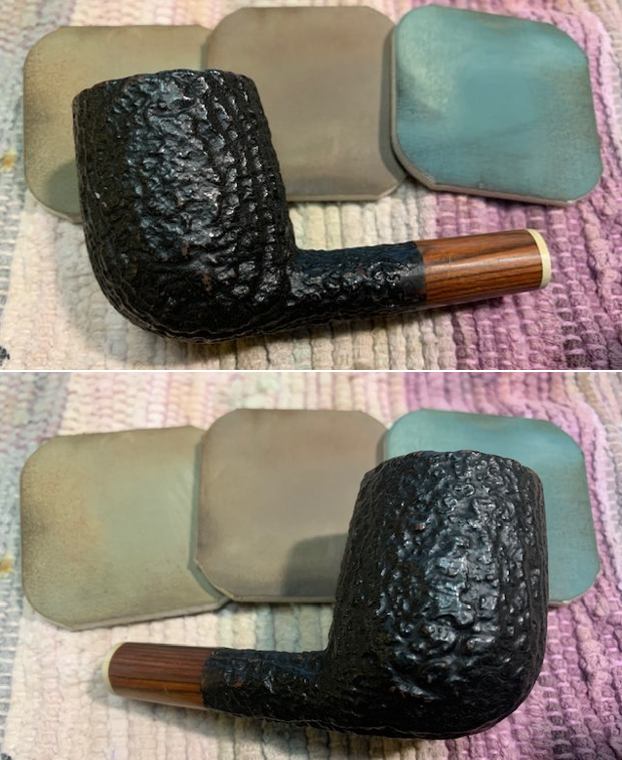
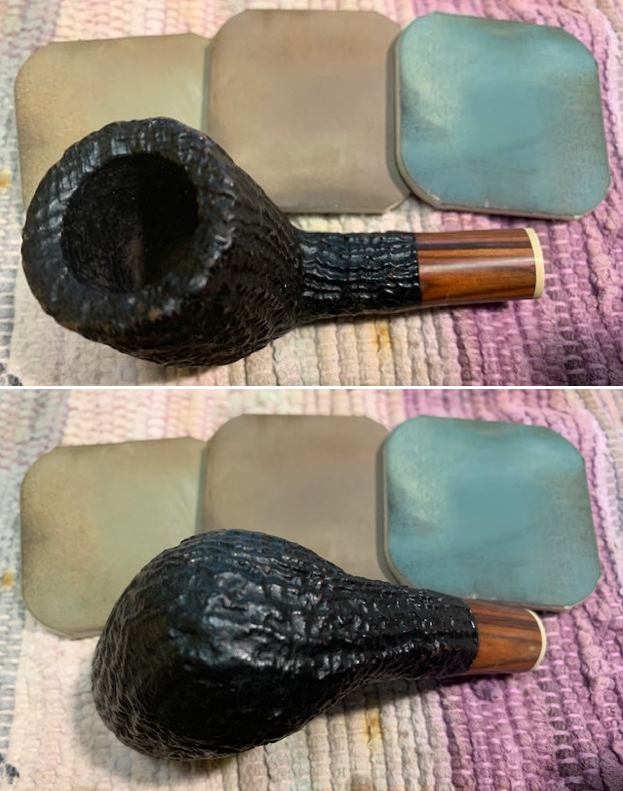
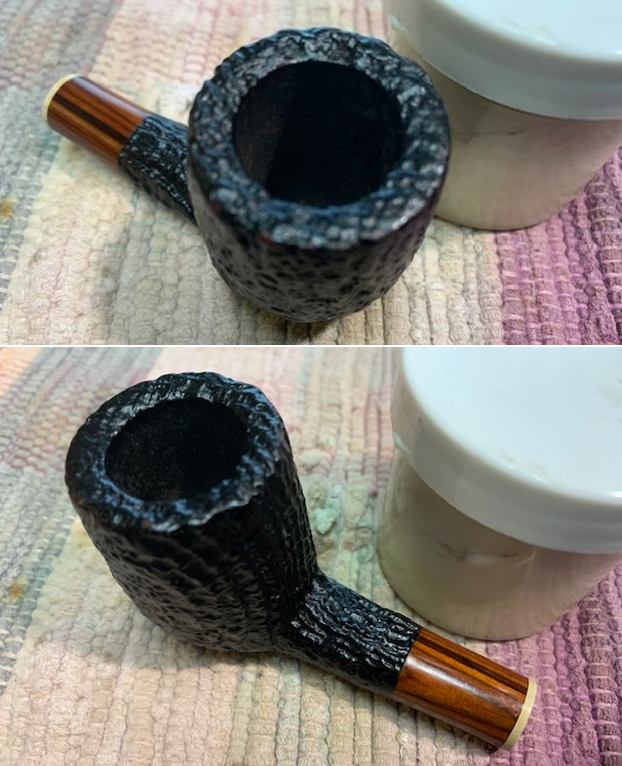
 I put the pipe together – the bowl with its new stem. This restored and restemmed No Name (Anonymous) Sandblast Oval Shank Billiard is quite stunning and I think the chosen stem works well with it. The sandblast on the bowl came alive and showed the depth of the crevices with the polishing. I used Blue Diamond on the buffing wheel on both the shank extension and stem (carefully avoiding the bowl so as not to fill in the crevices). I gave the bowl multiple coats of Conservator’s Wax and the stem carnauba wax on the wheel then buffed it with a clean buffing pad to raise the shine. I hand buffed it with a microfibre cloth to deepen the shine. The attractive Anonymous Sandblast Billiard feels great in the hand. It is lightweight and the contrast in the browns of the briar, the cocobolo shank extension and the polished vulcanite stem is quite amazing. The dimensions of the pipe are Length:5 ¾ inches, Height: 1 ¾ inches, Outer diameter of the bowl: 1 ¼ inches, Chamber diameter: ¾ of an inch. The weight of the pipe is 1.34 ounces/38 grams. It really is a beauty. I will be putting it on the rebornpipes store in the American Pipe Makers section shortly if you are interested in adding it to your collection. Thanks for walking through the restemming and the restoration with me. Cheers.