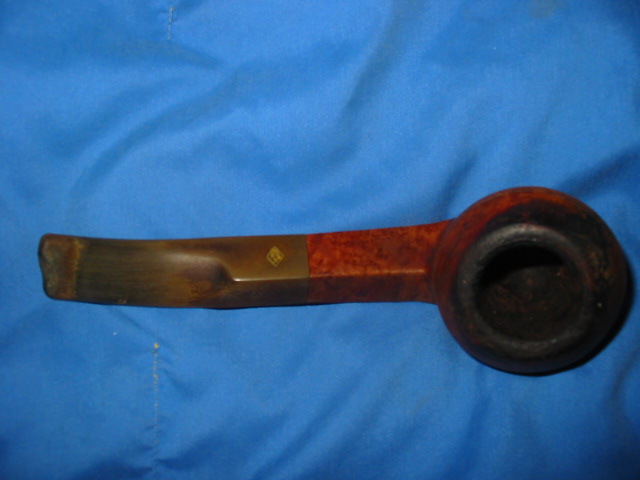
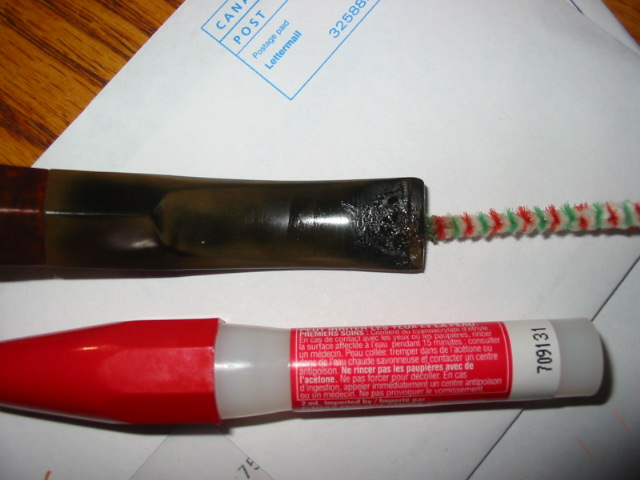
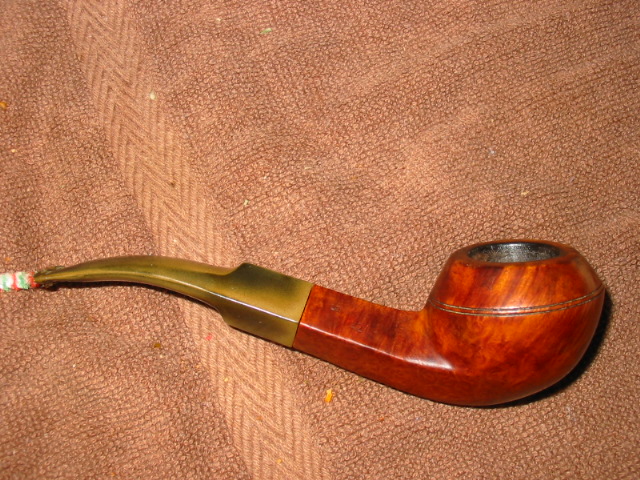
Tag Archives: polishing stems

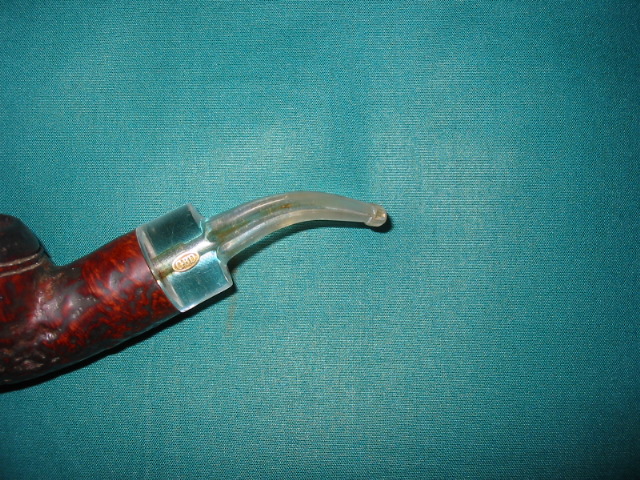
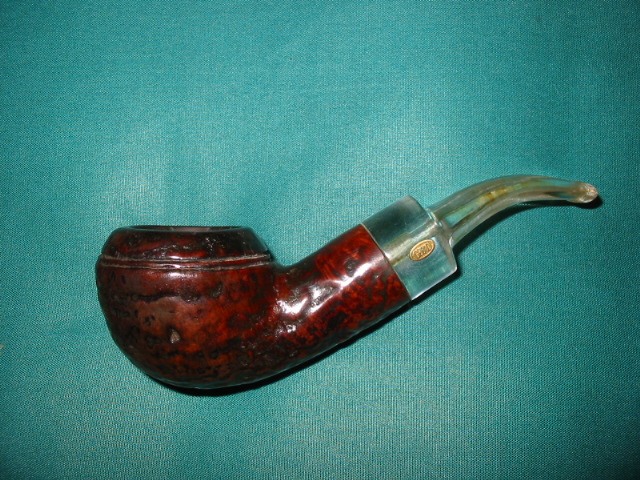
GBD 9438 Virgin Restoration


Blog by Al Jones

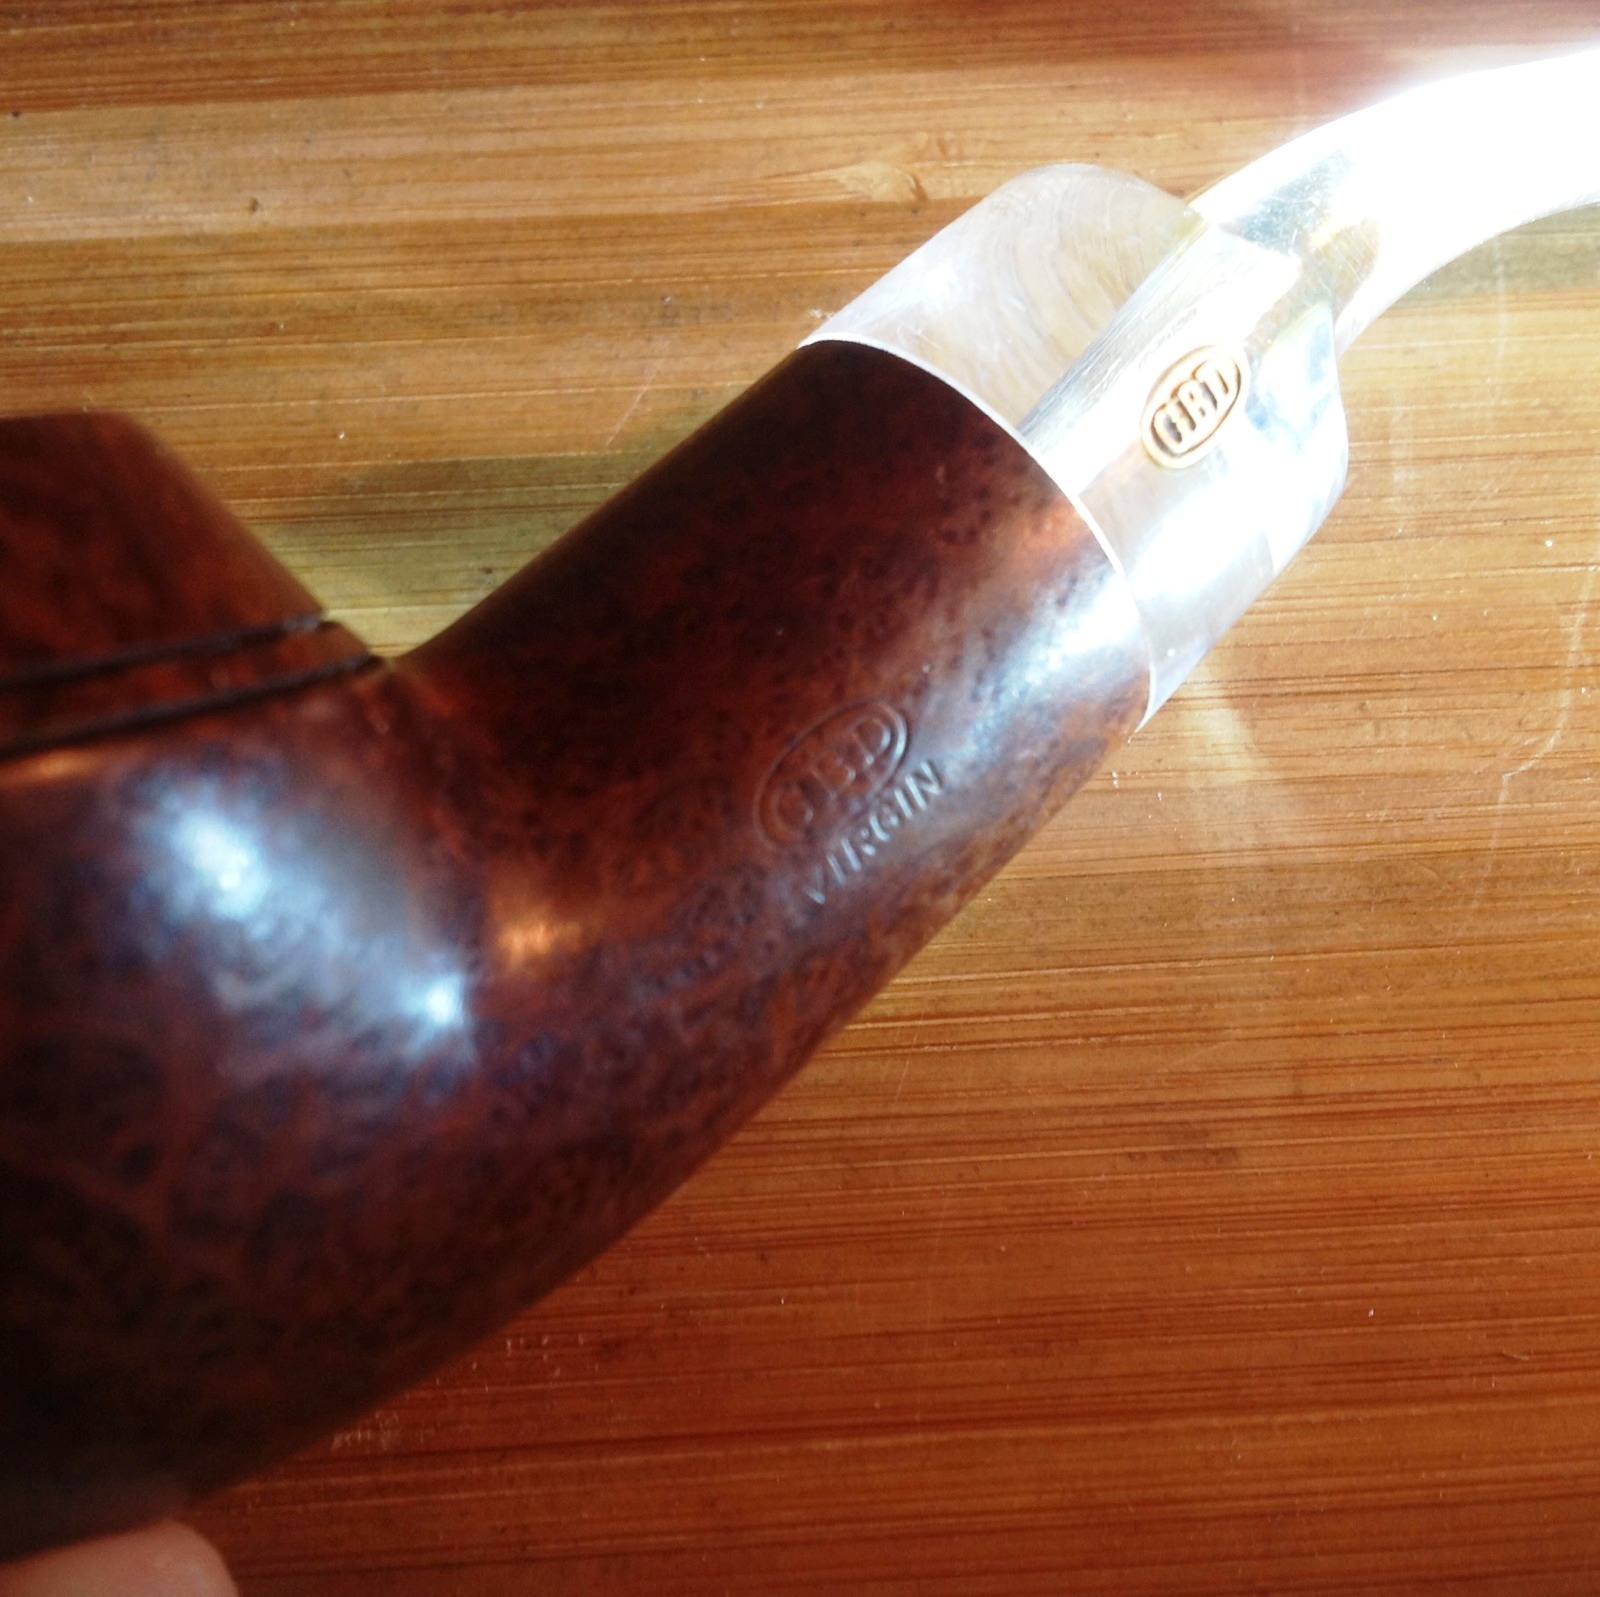
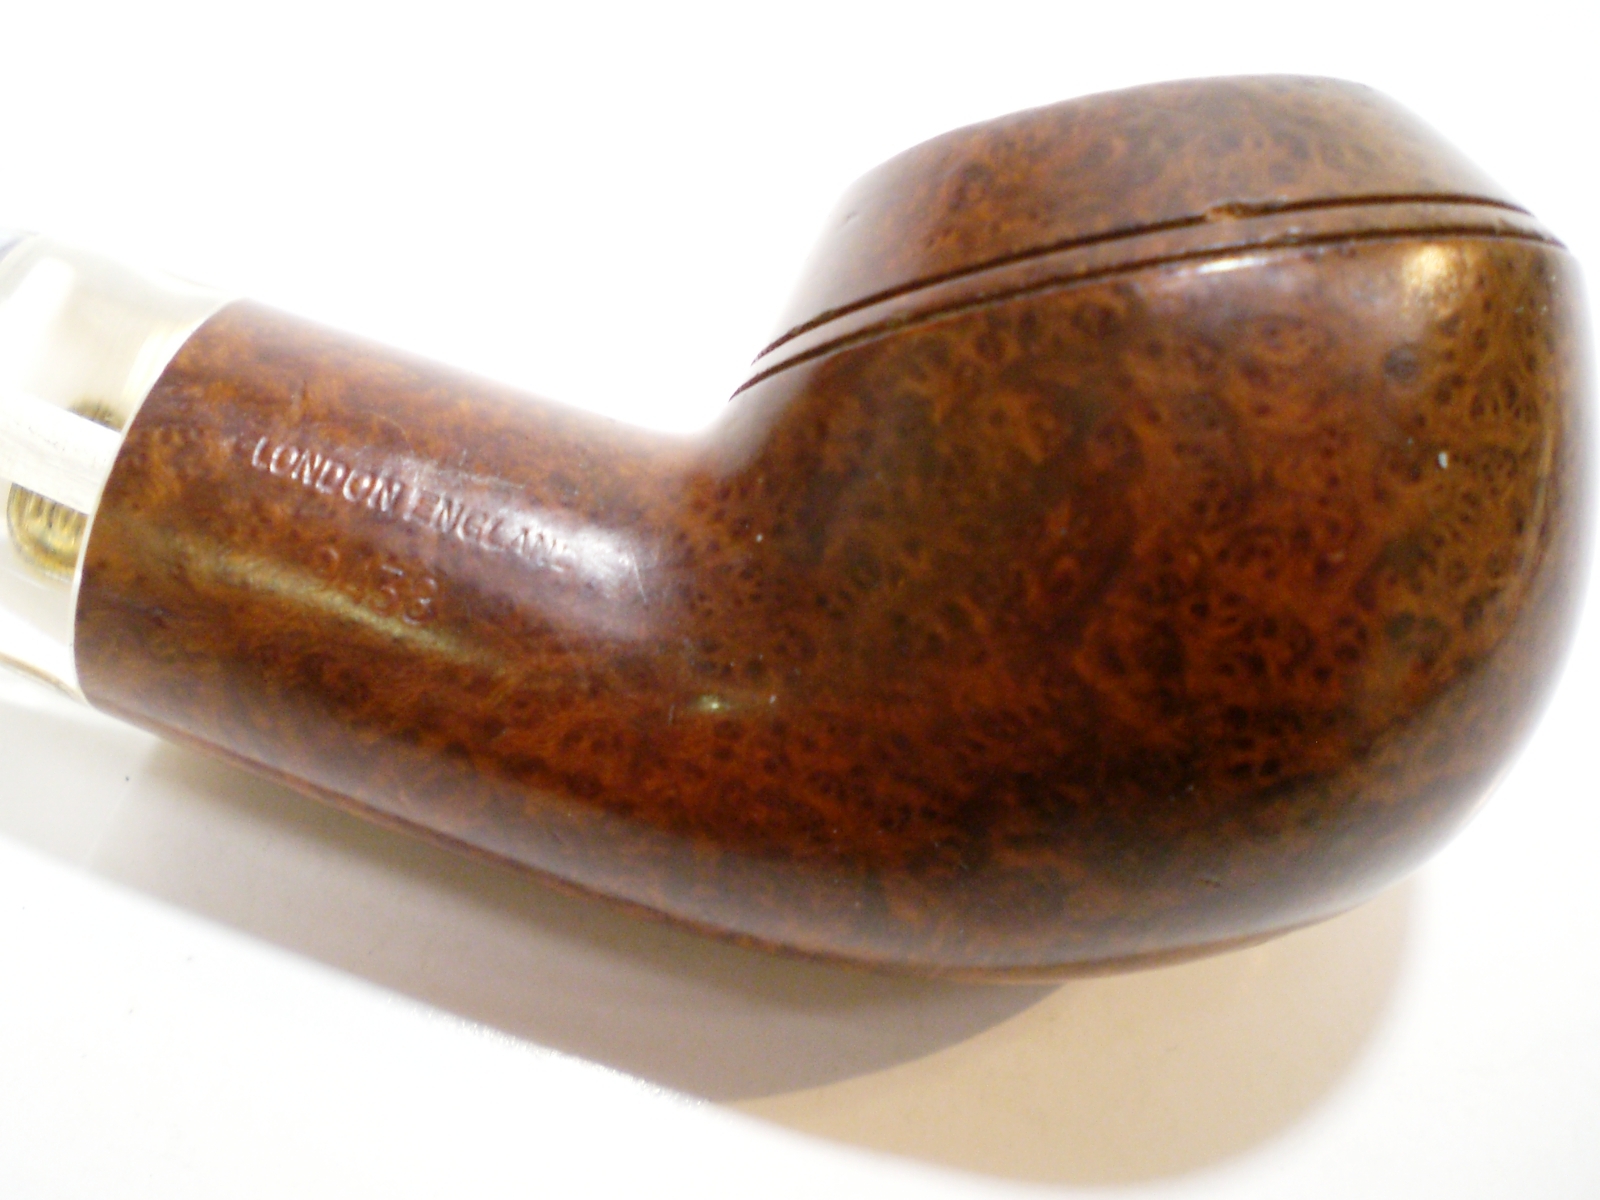
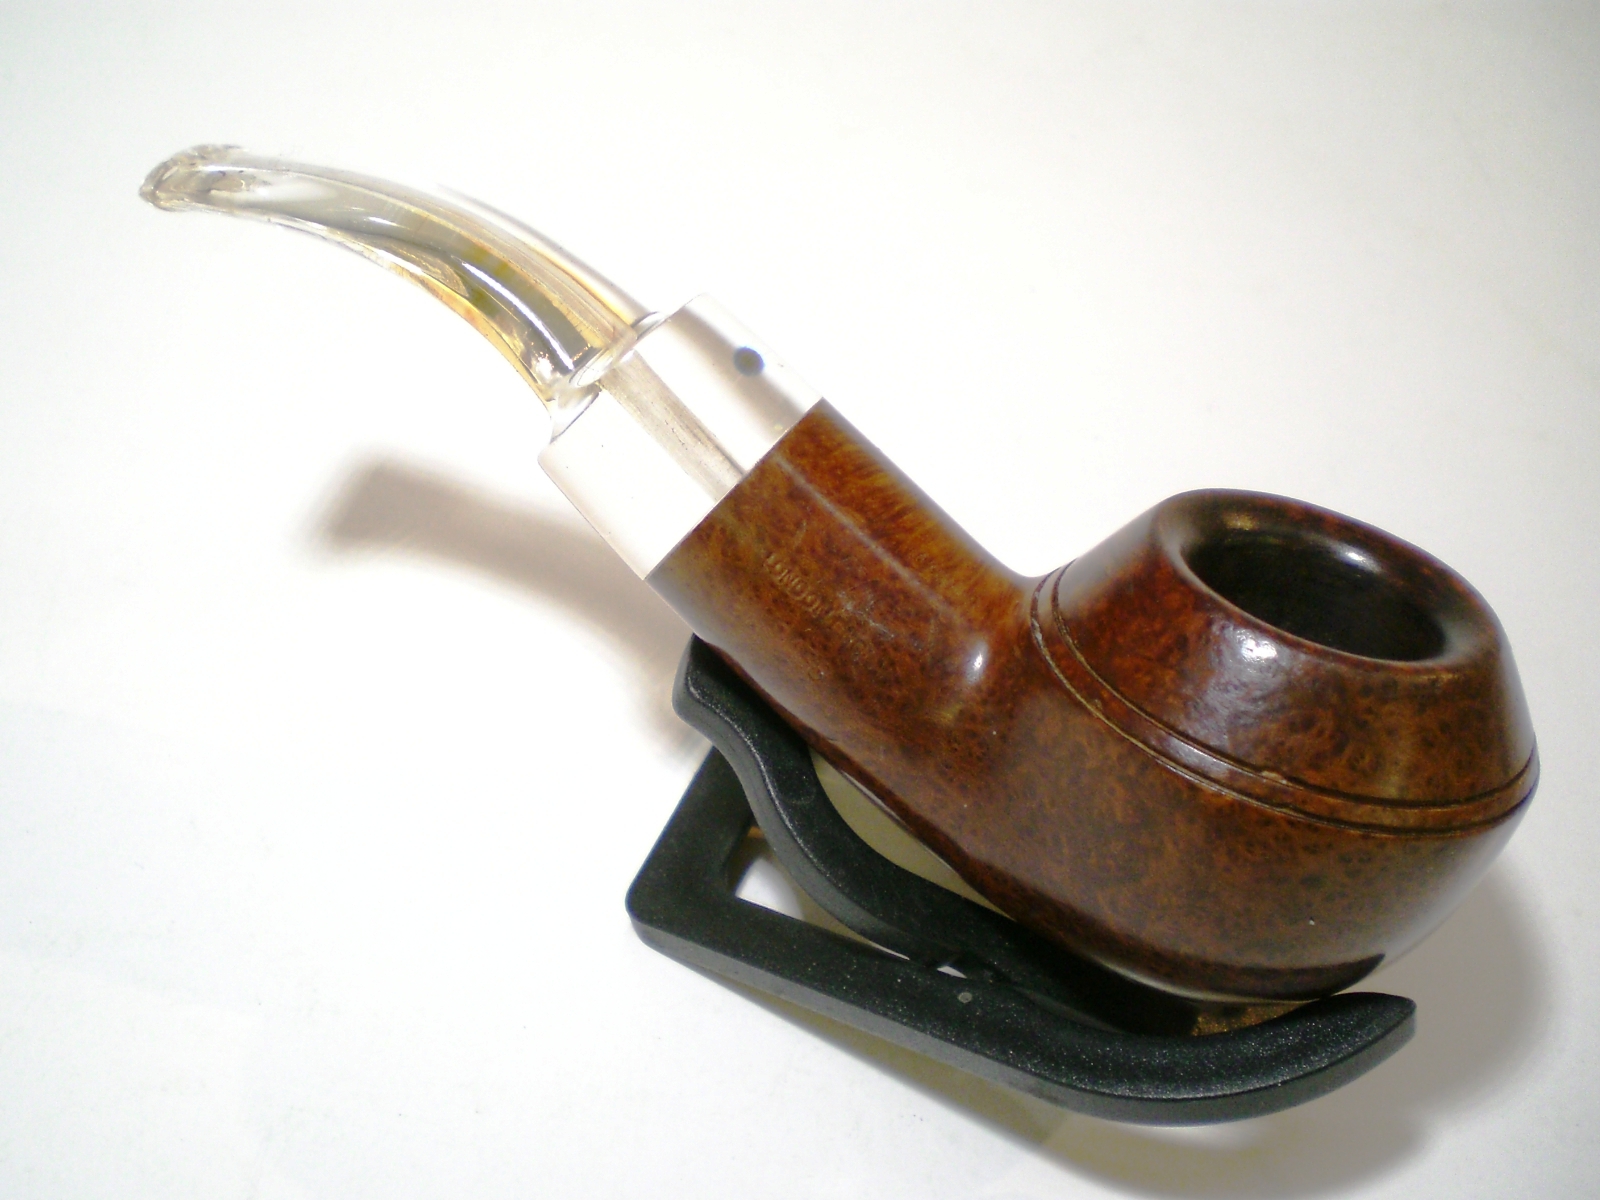
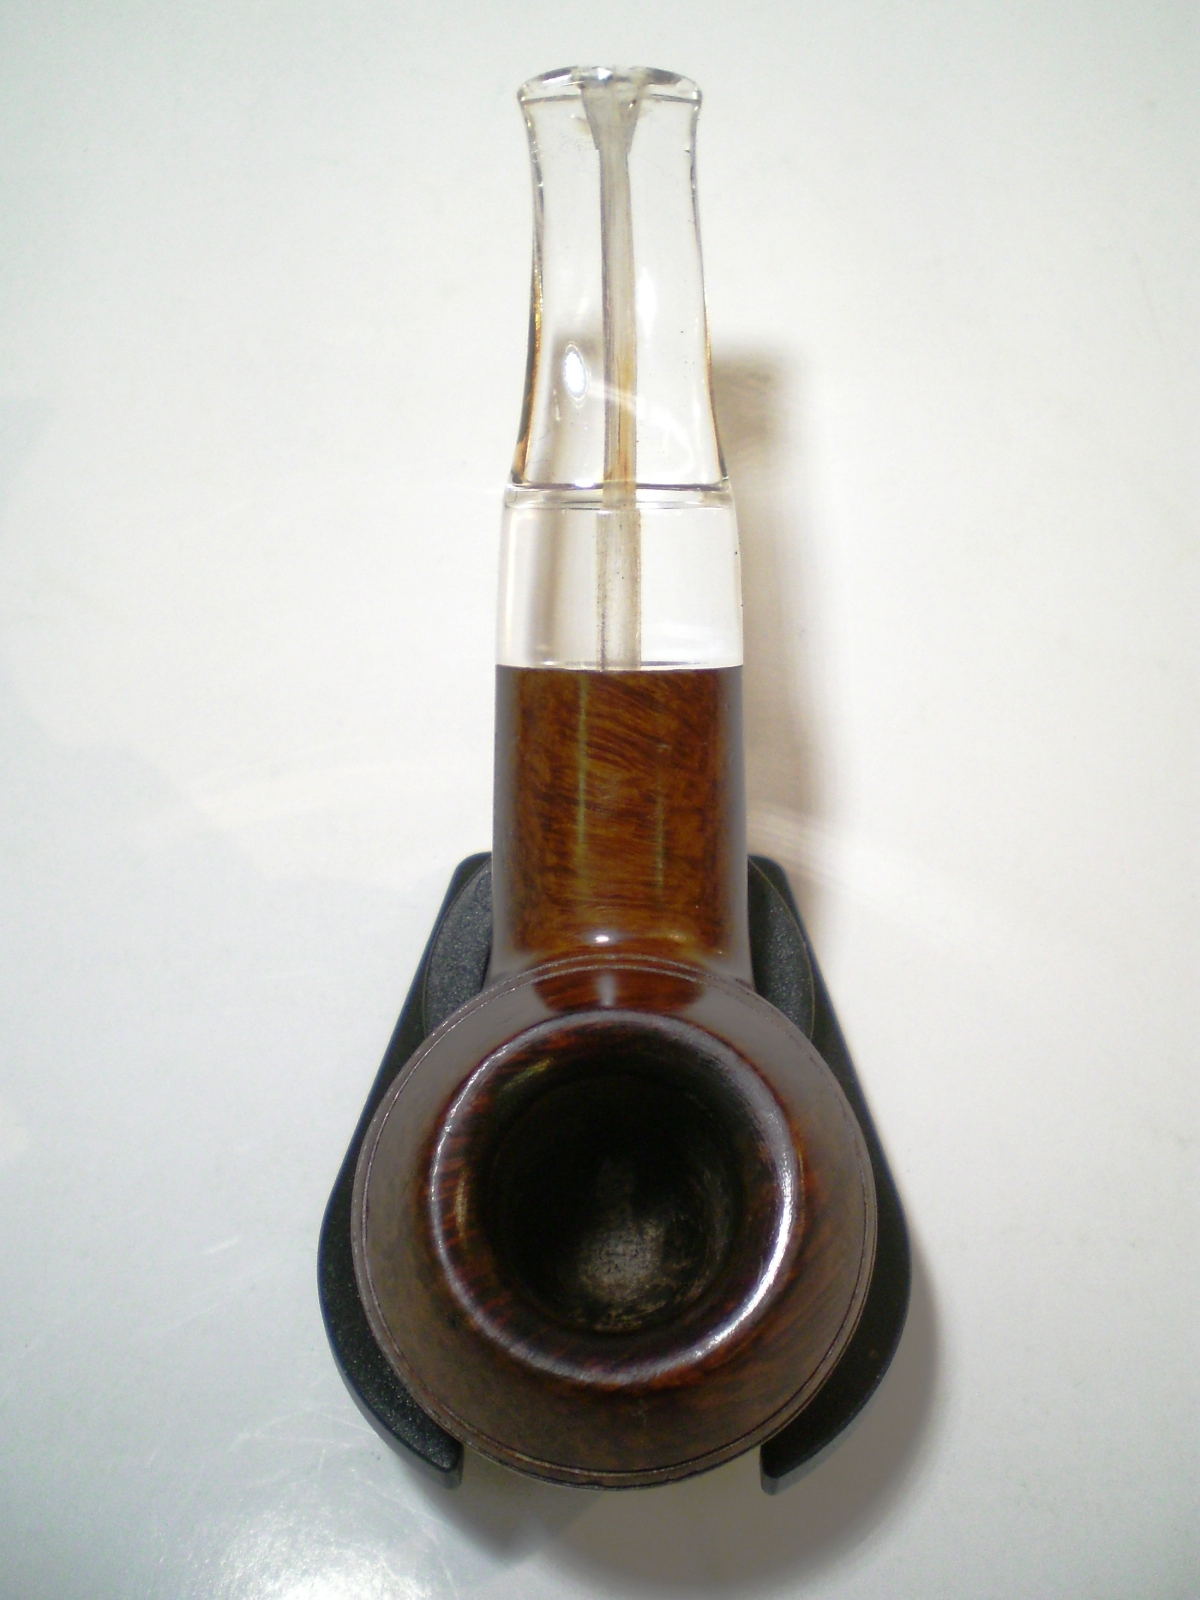
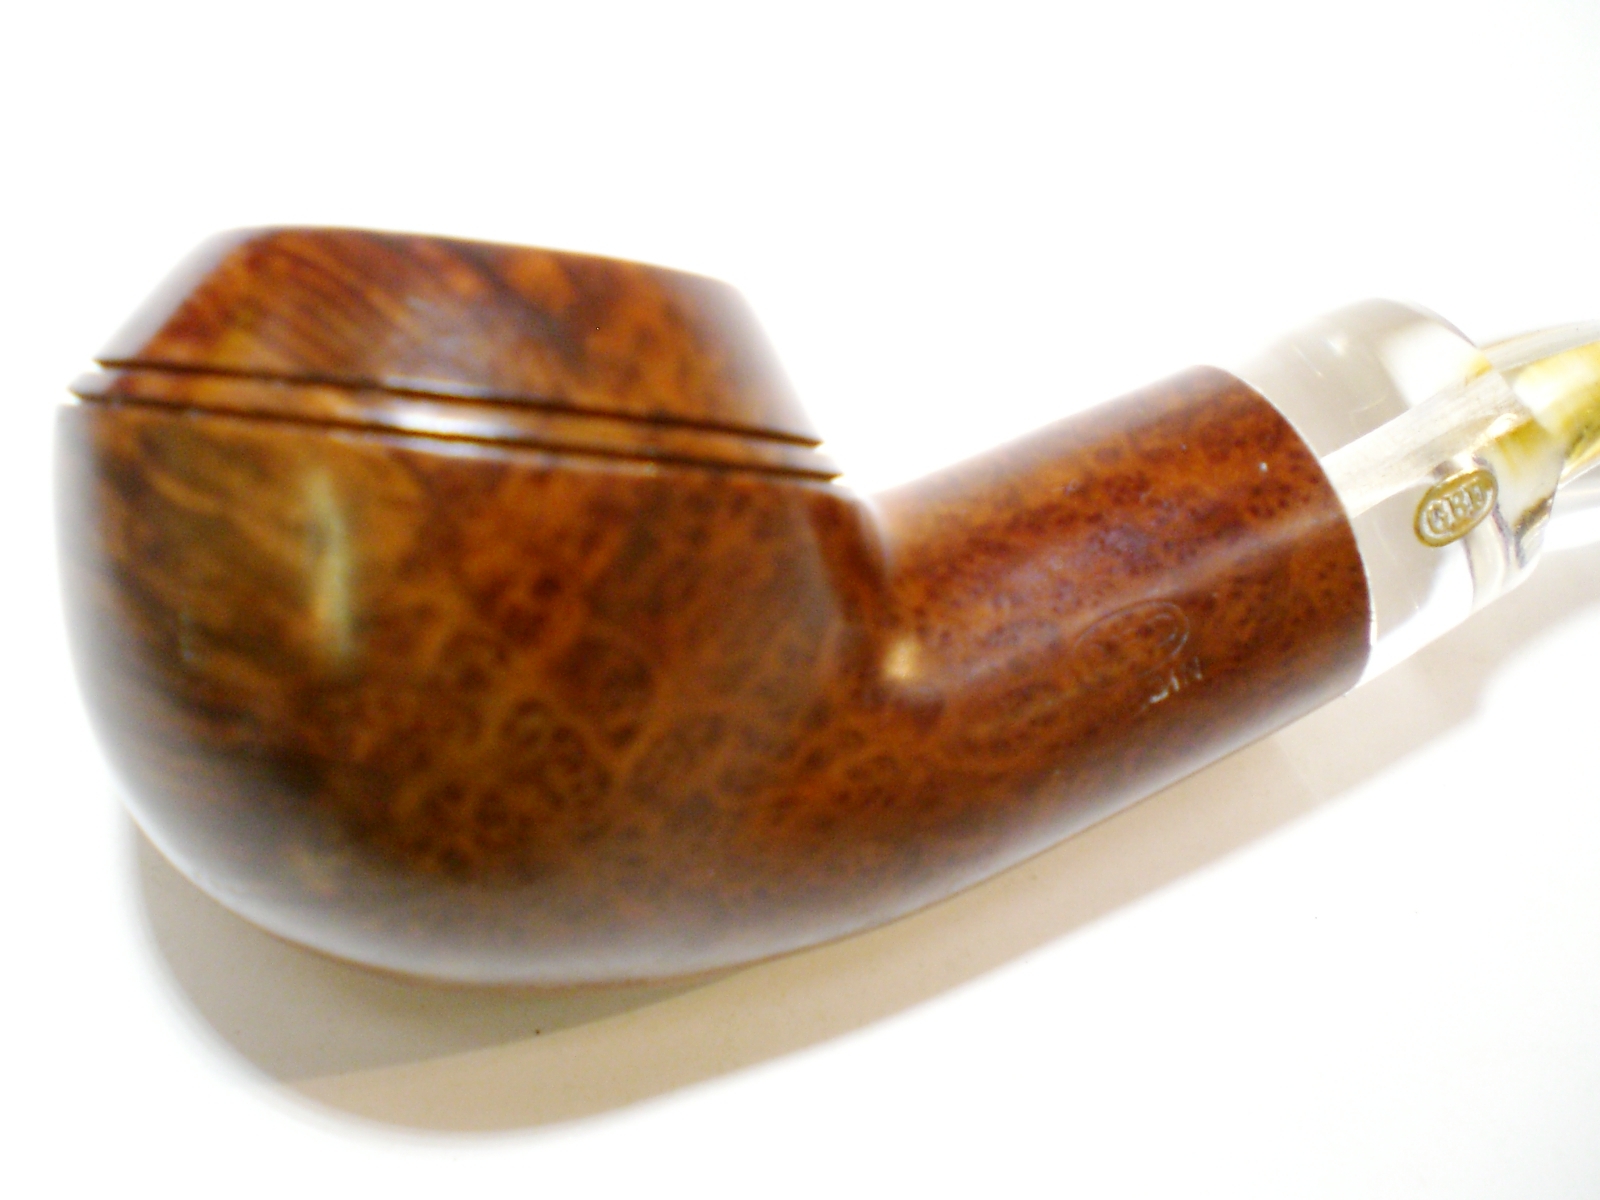
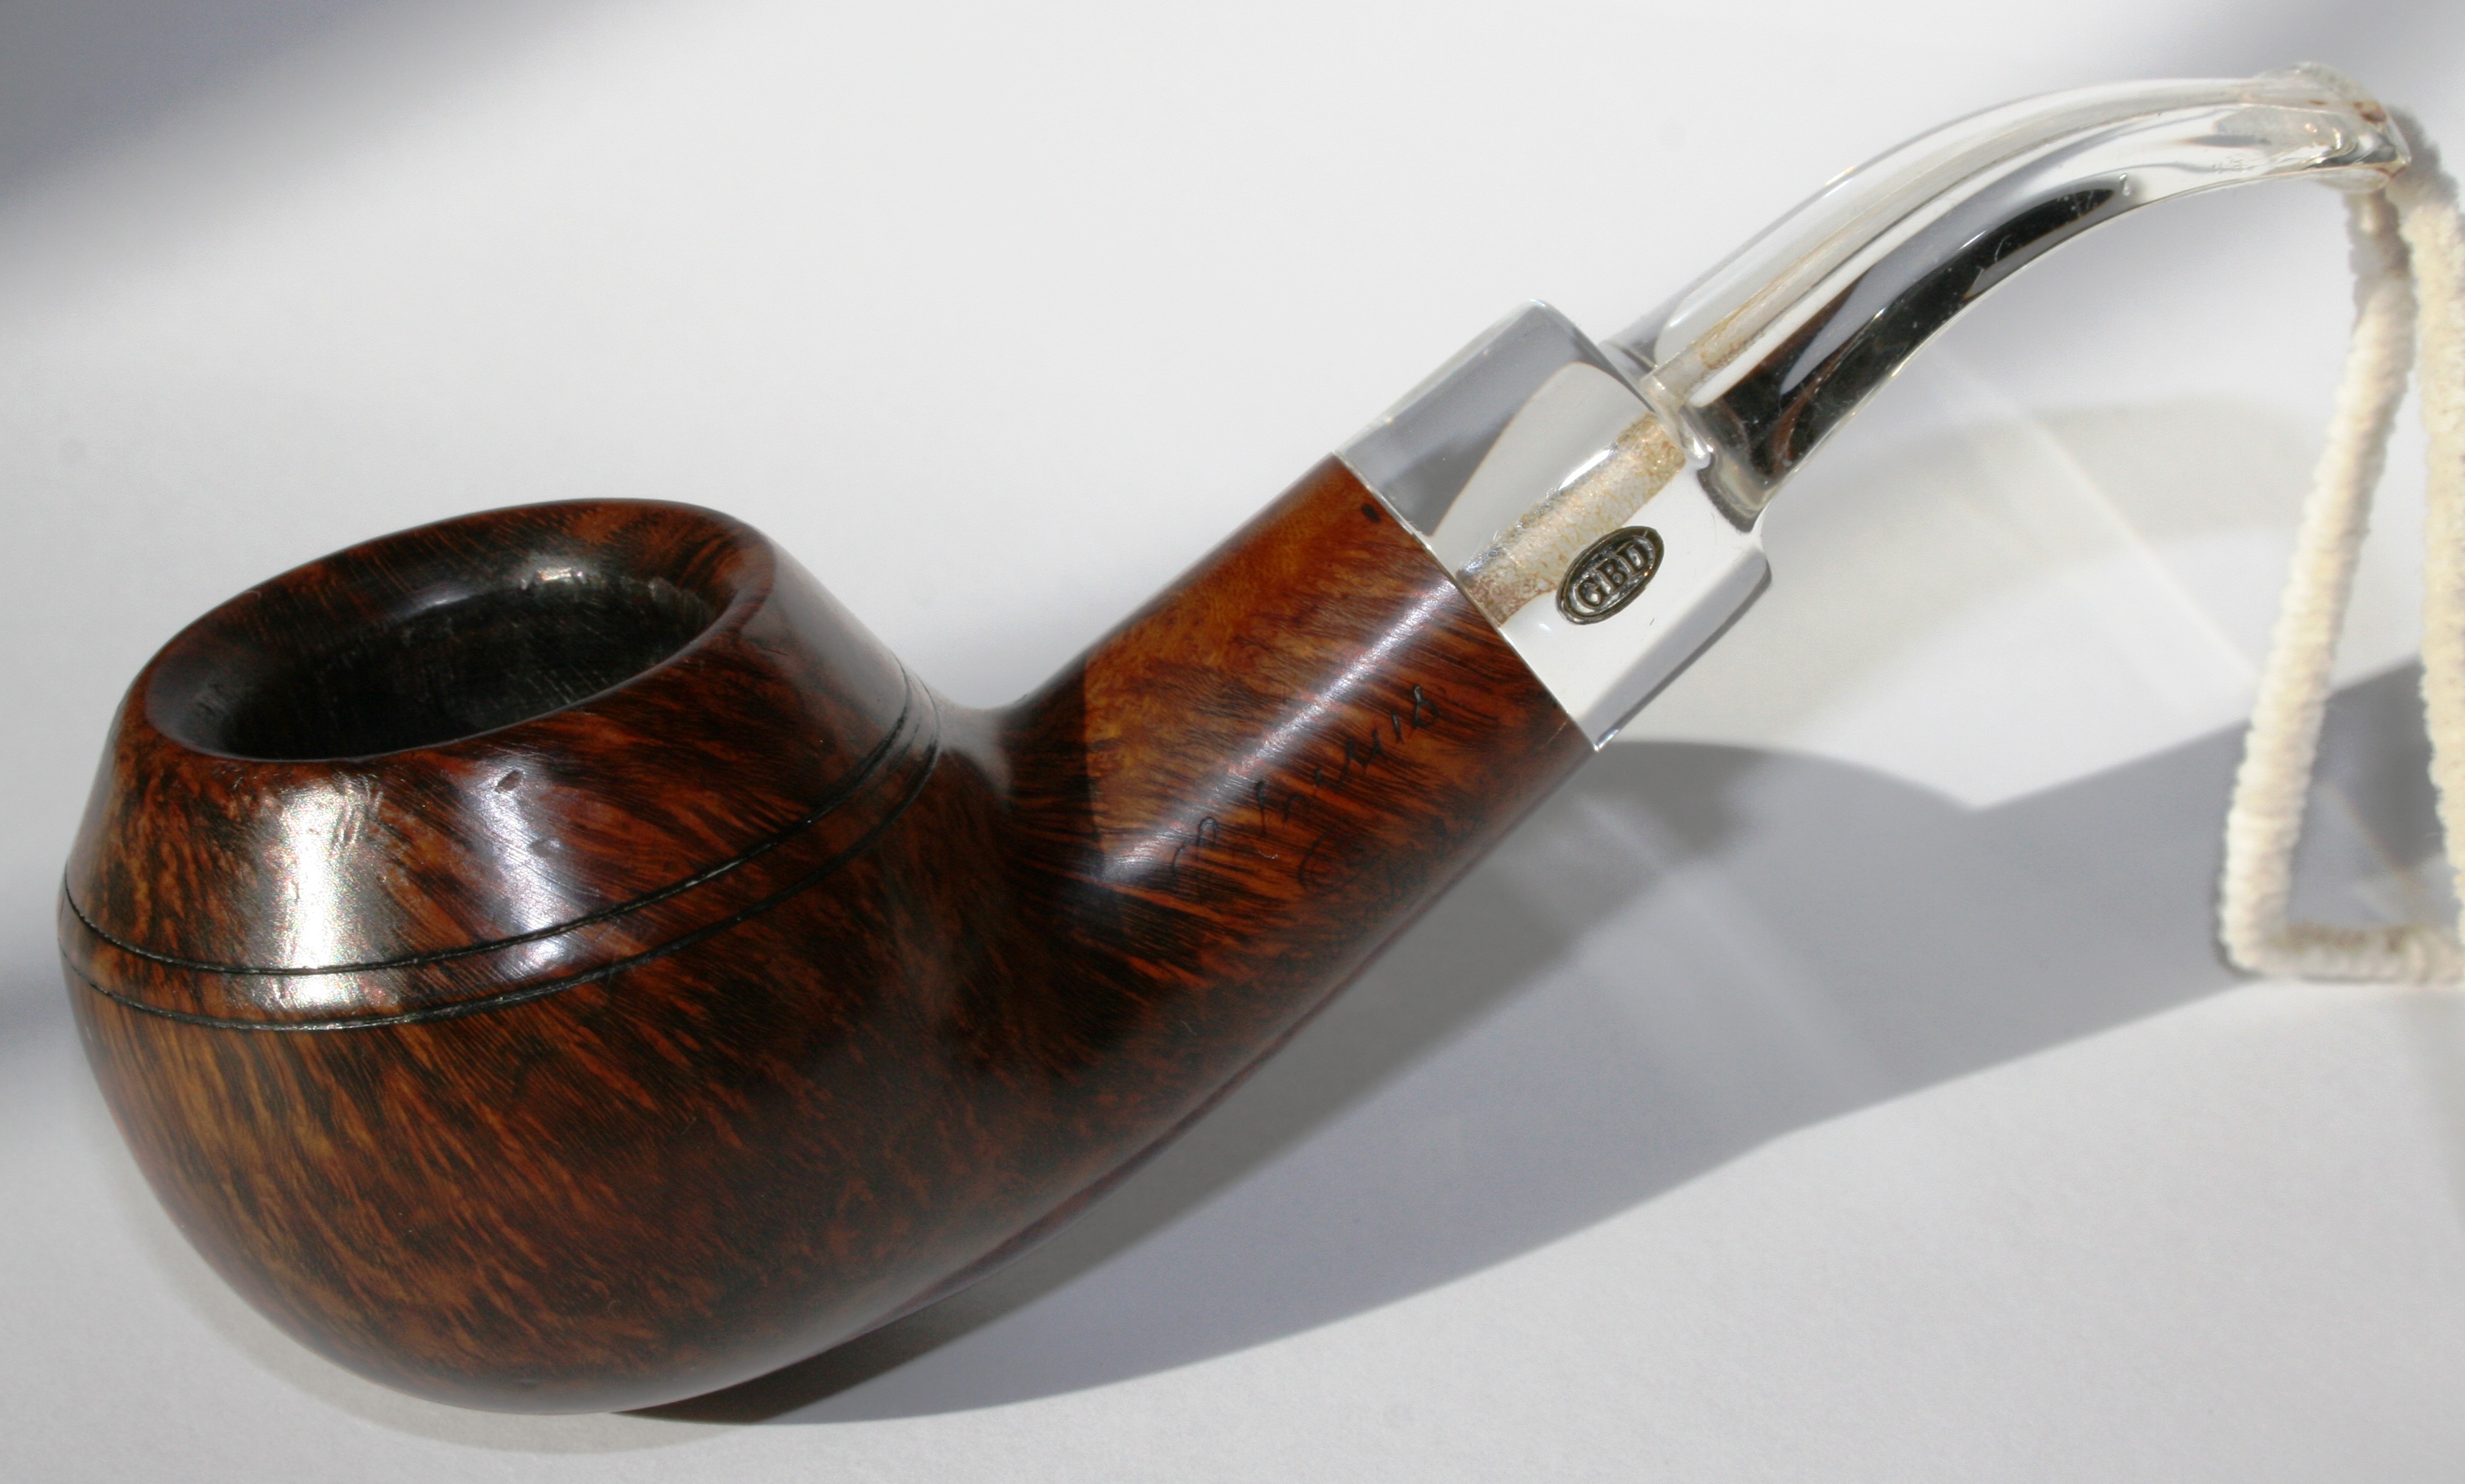
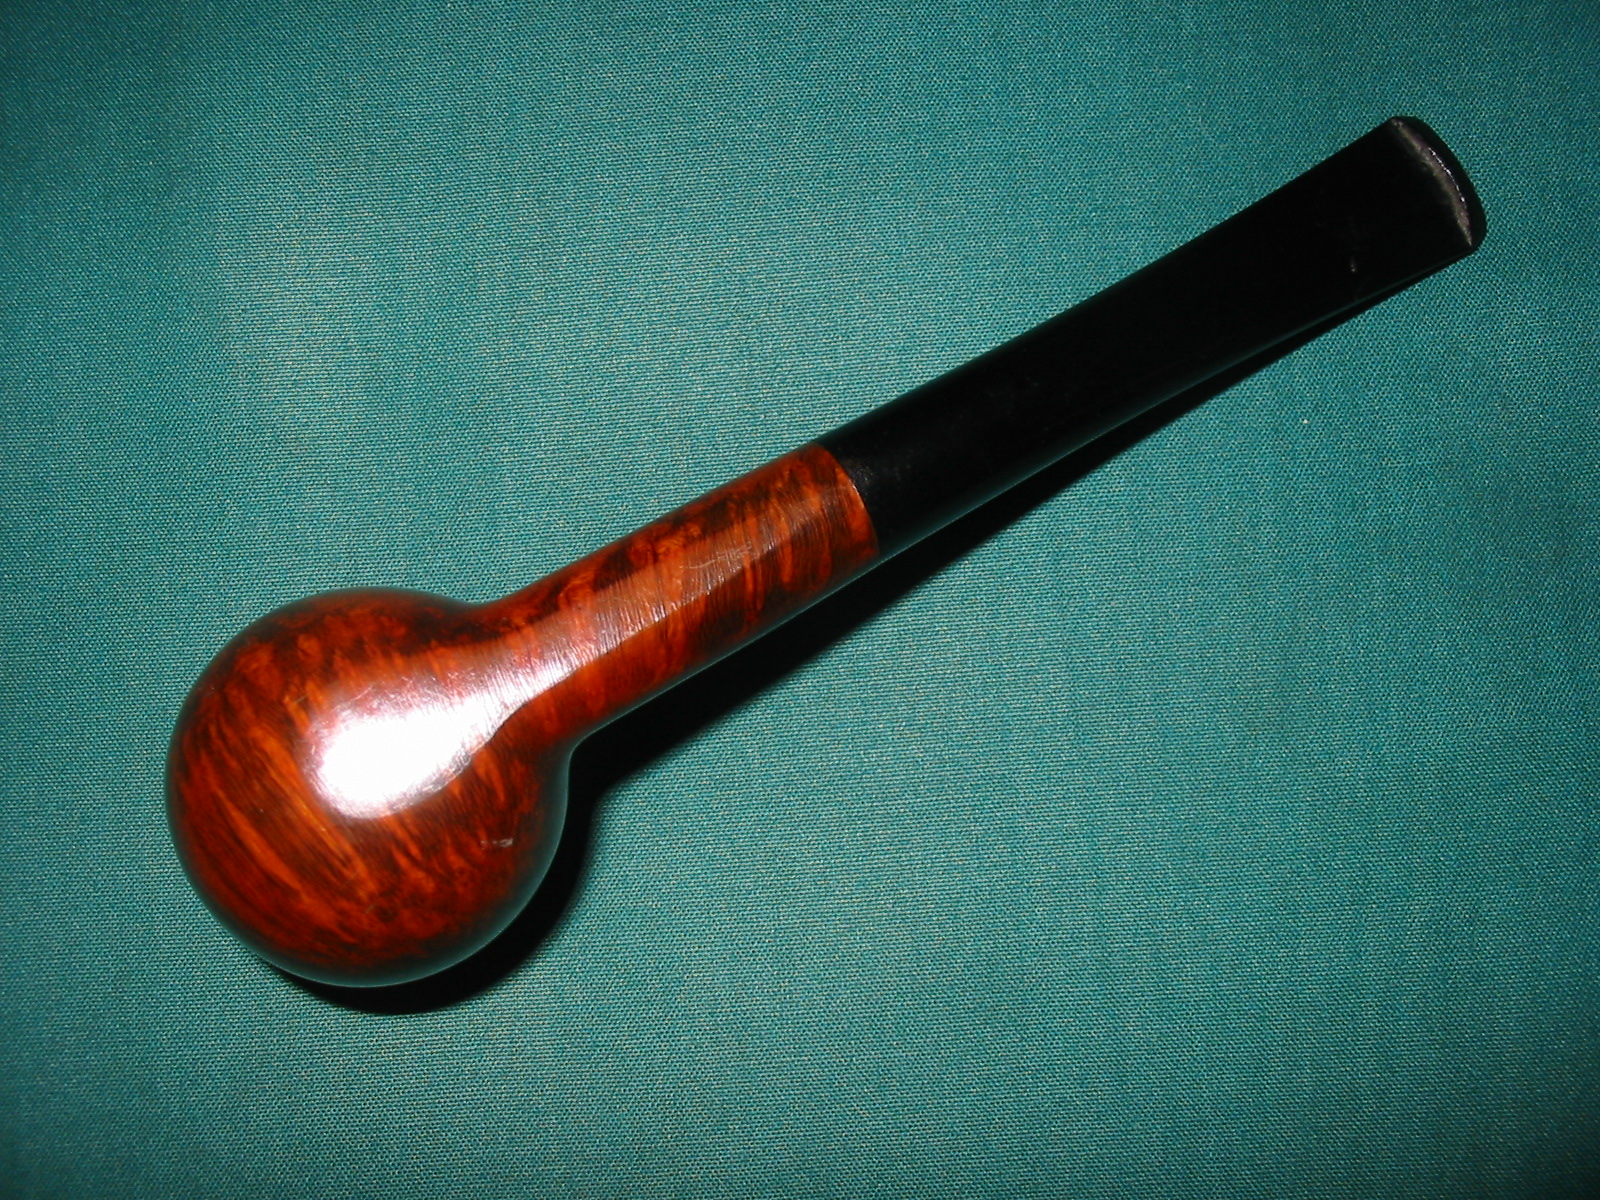
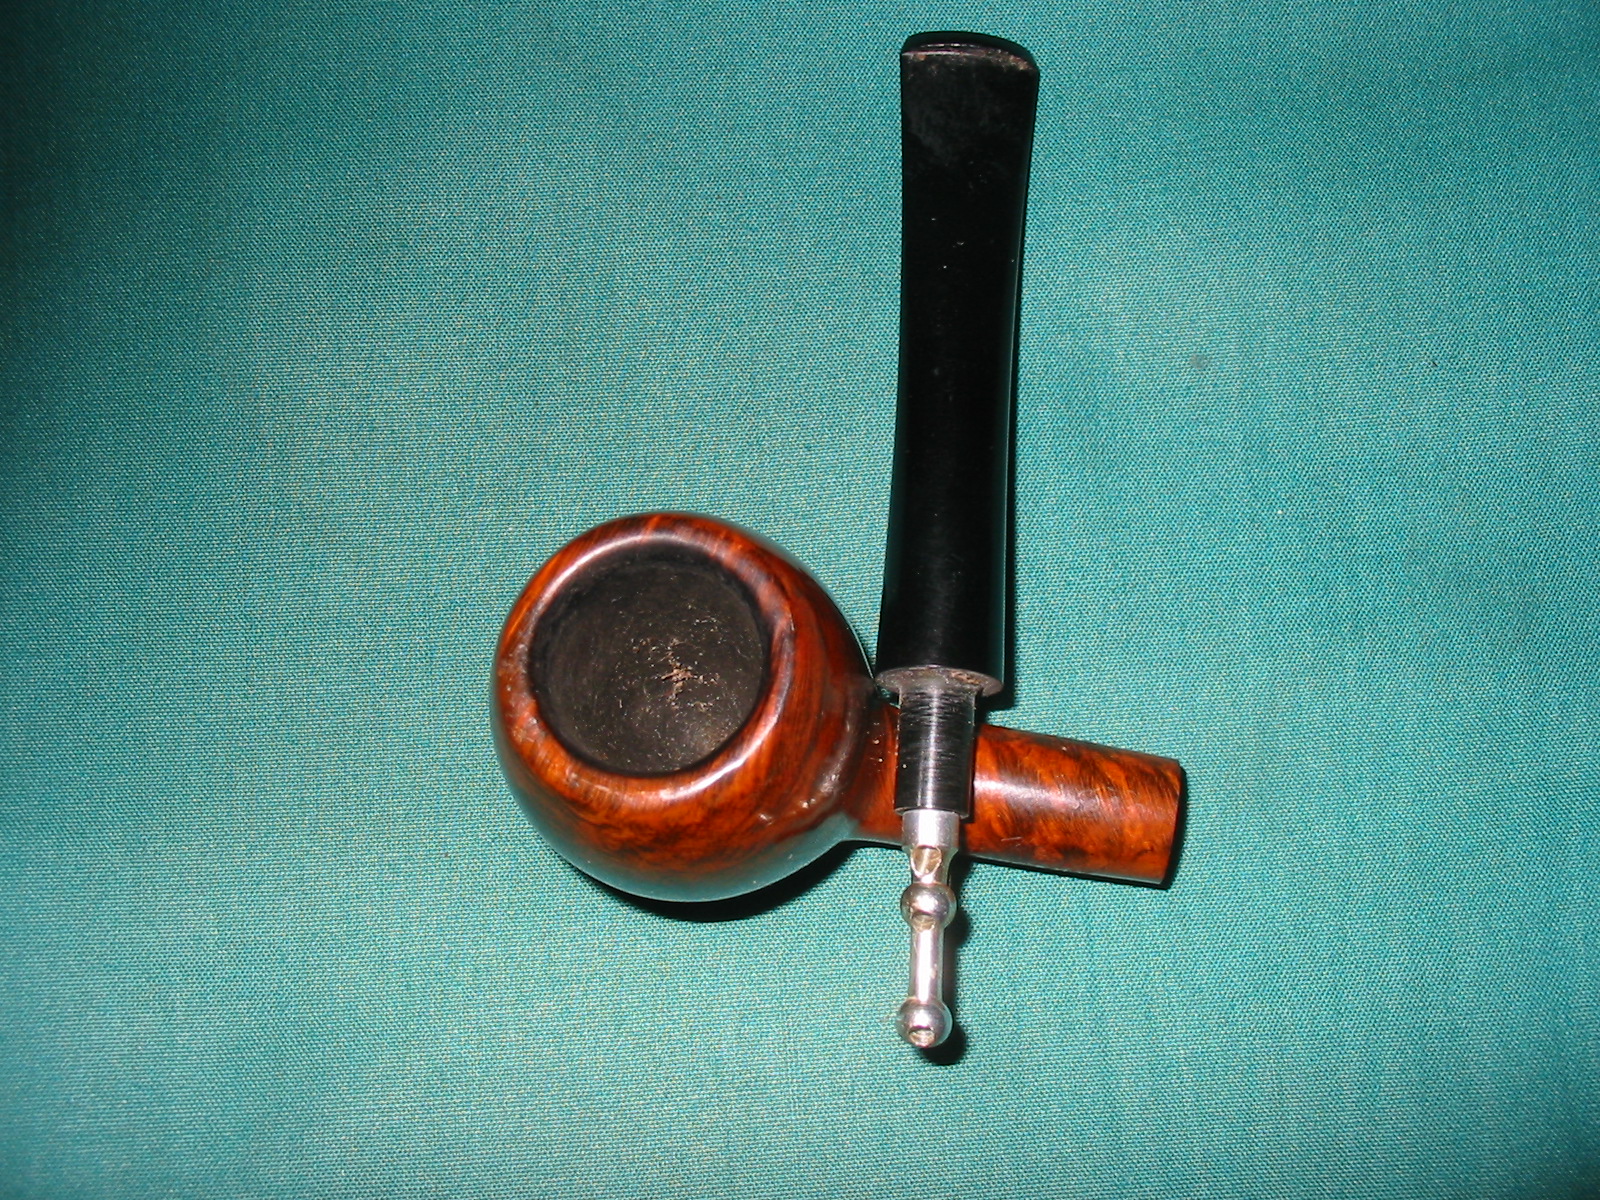
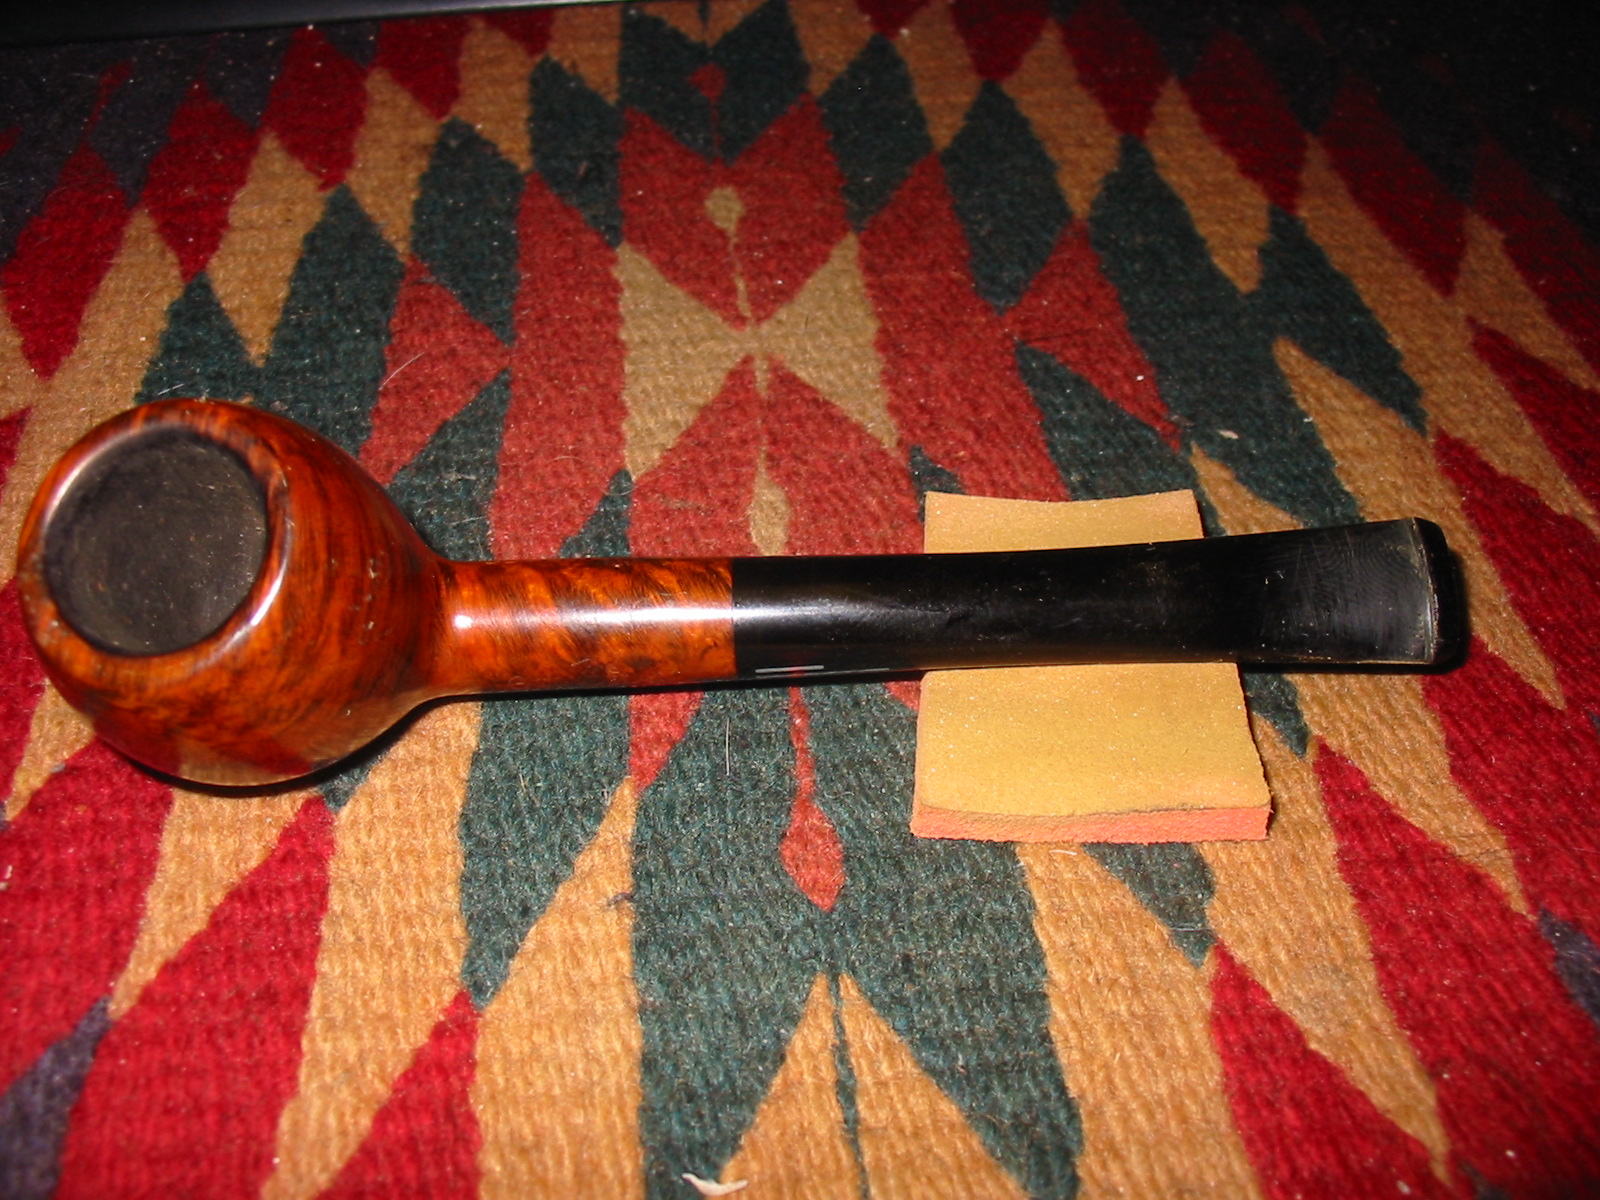
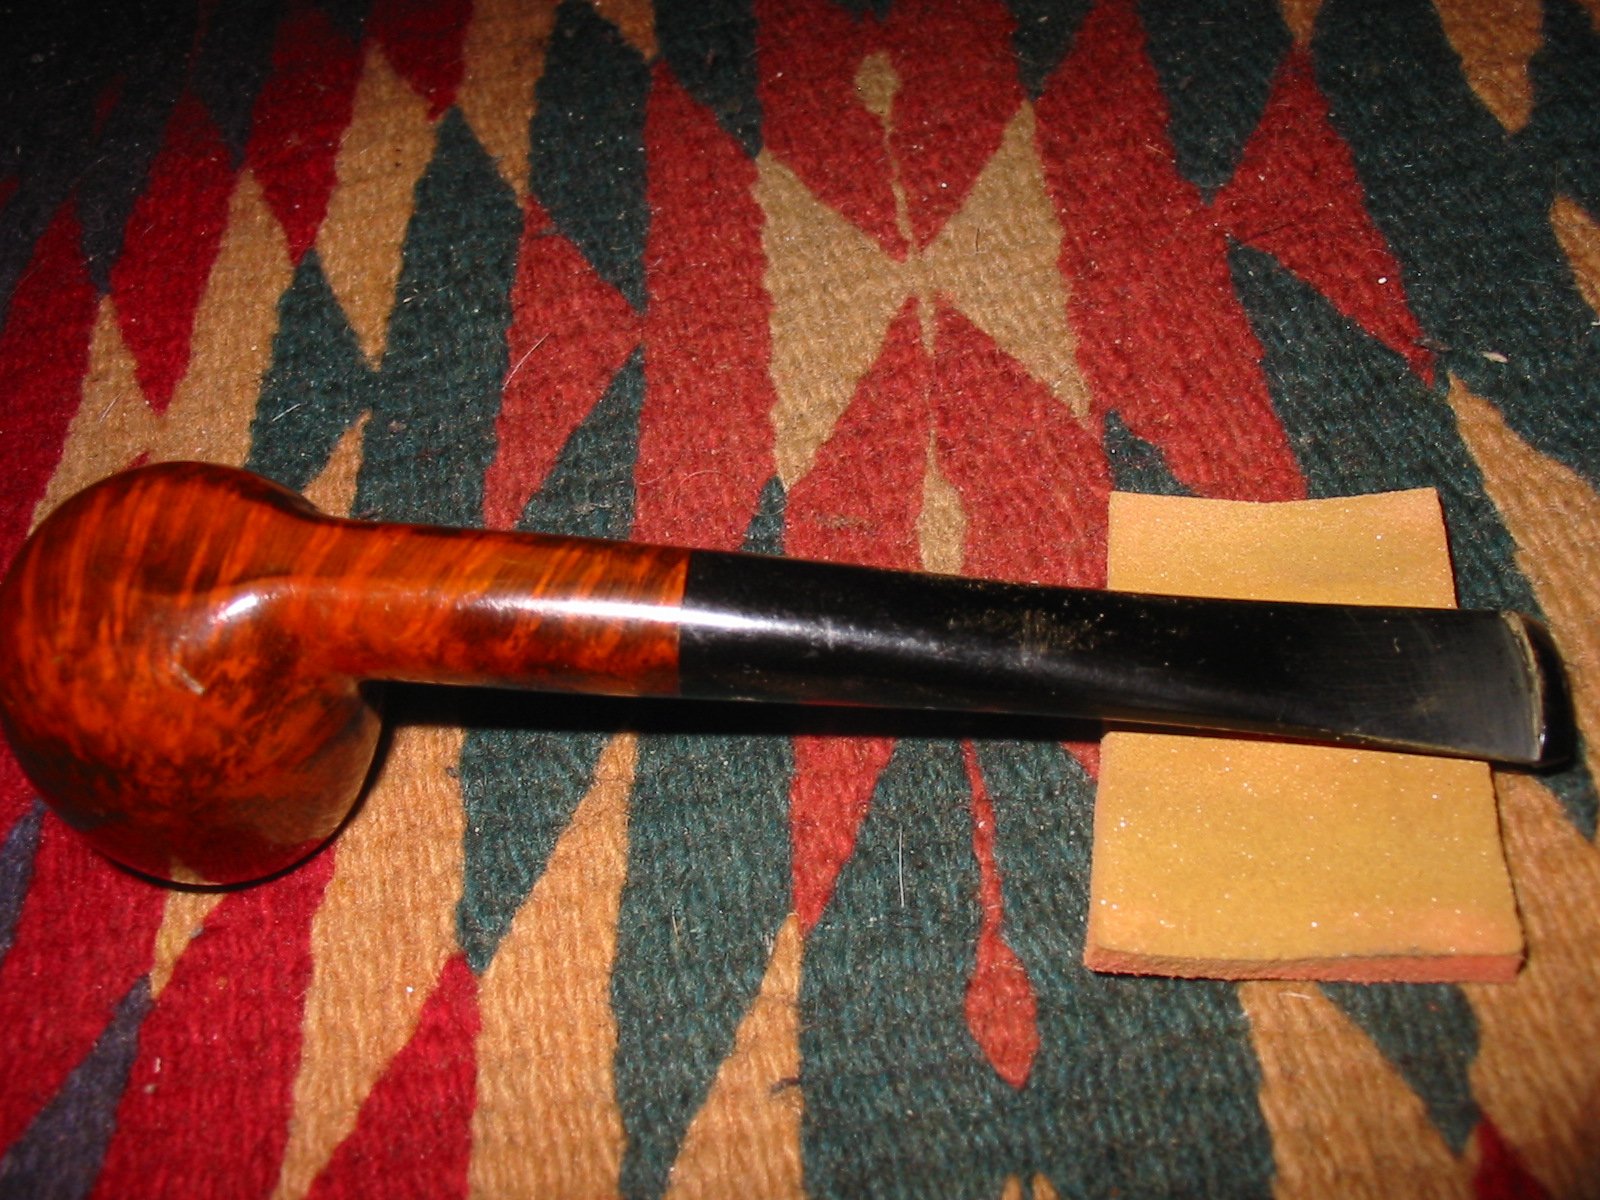
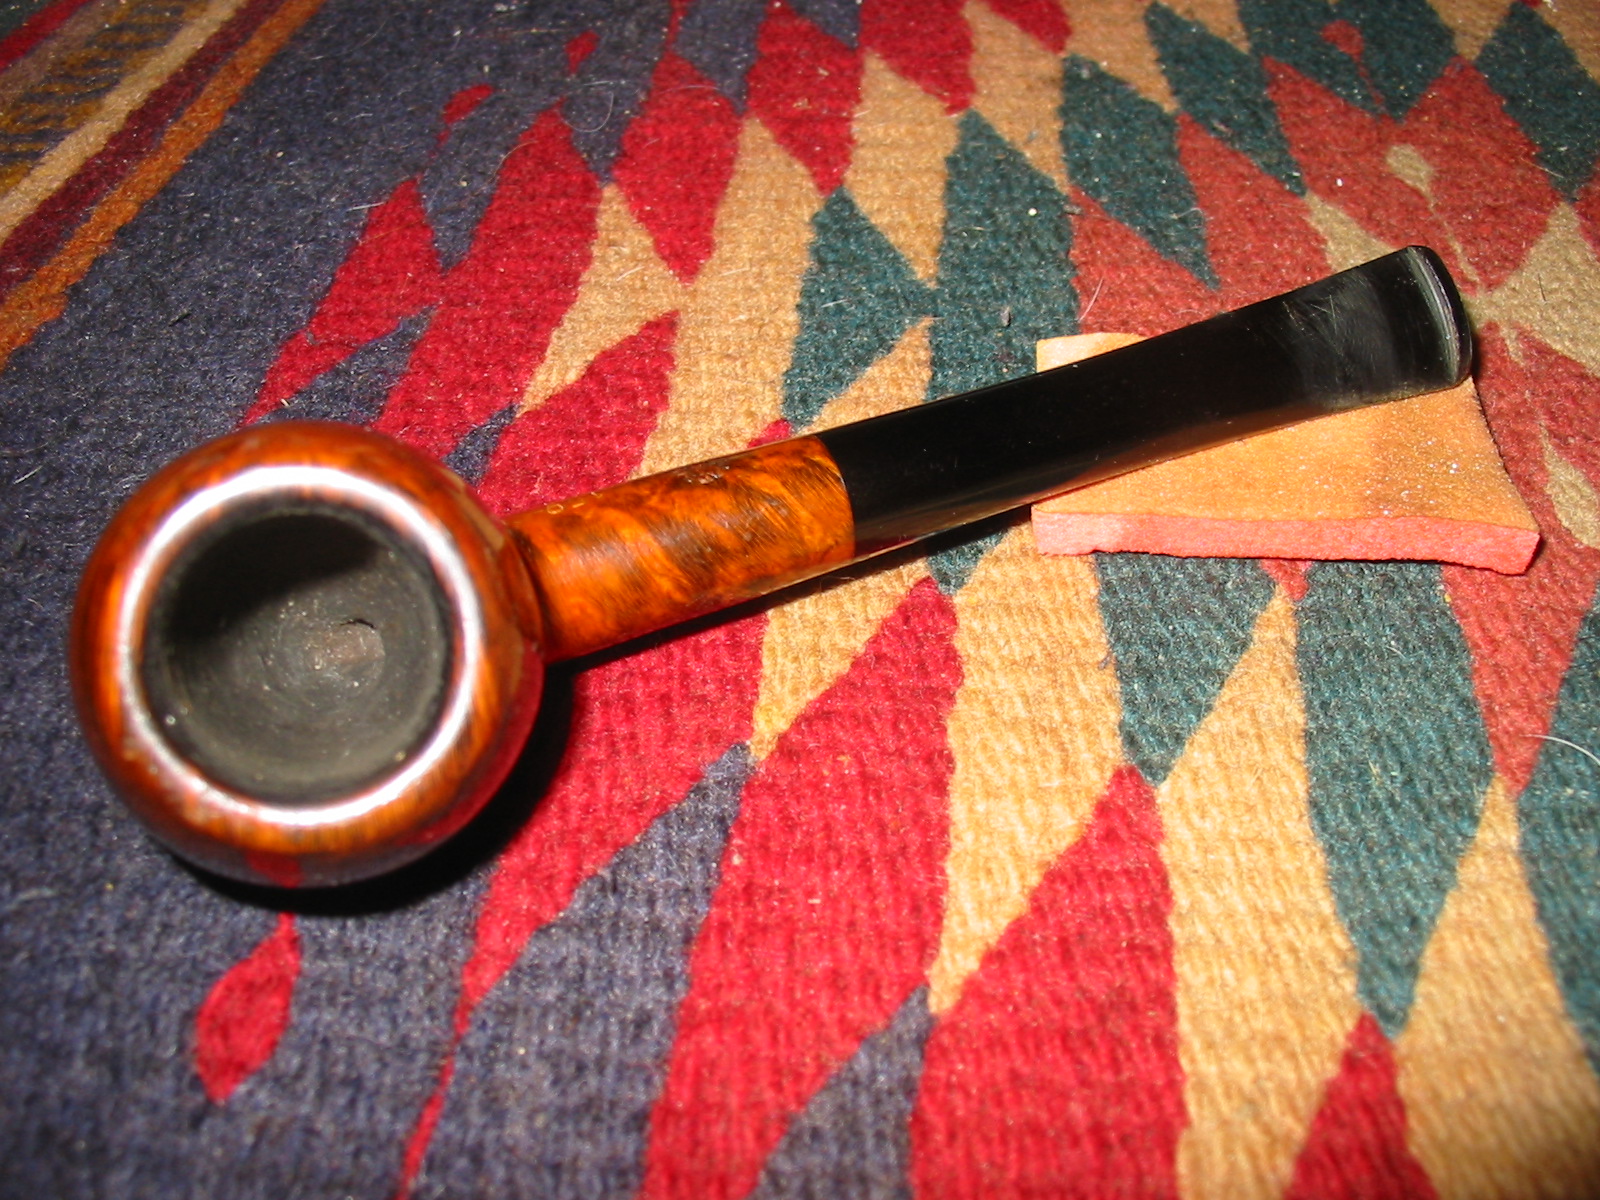
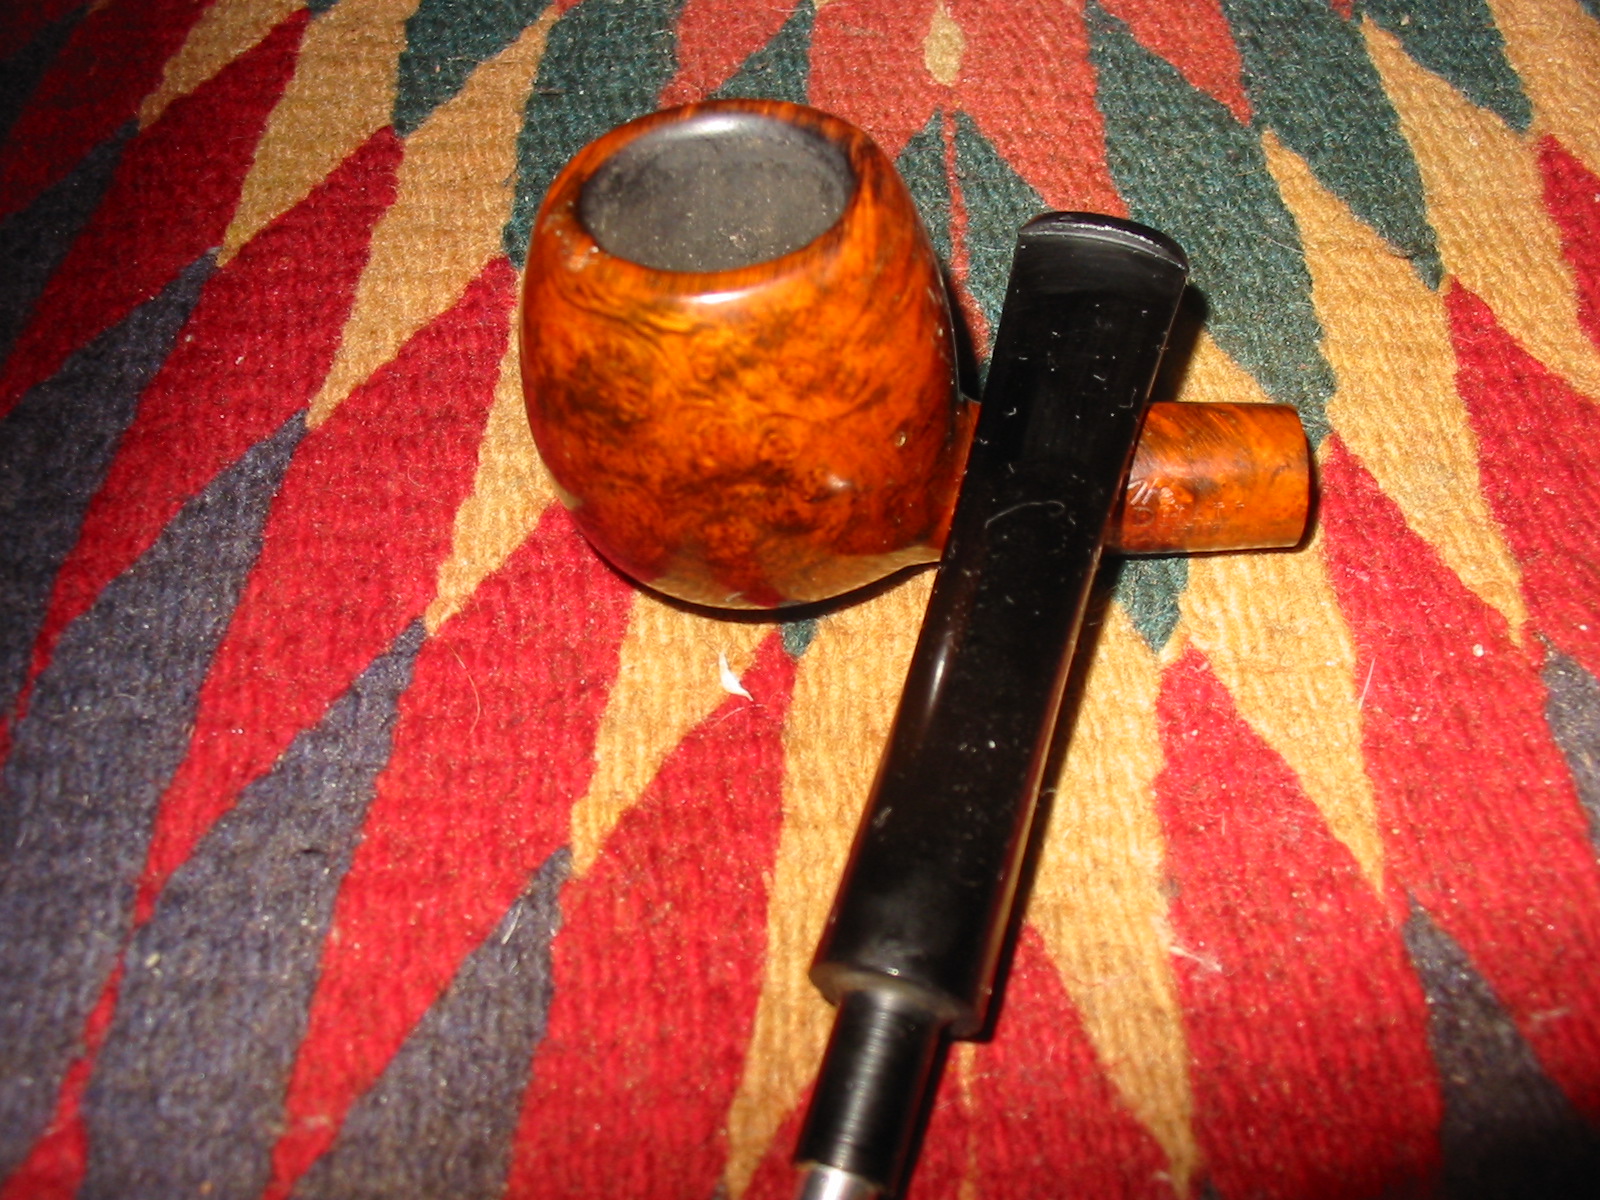
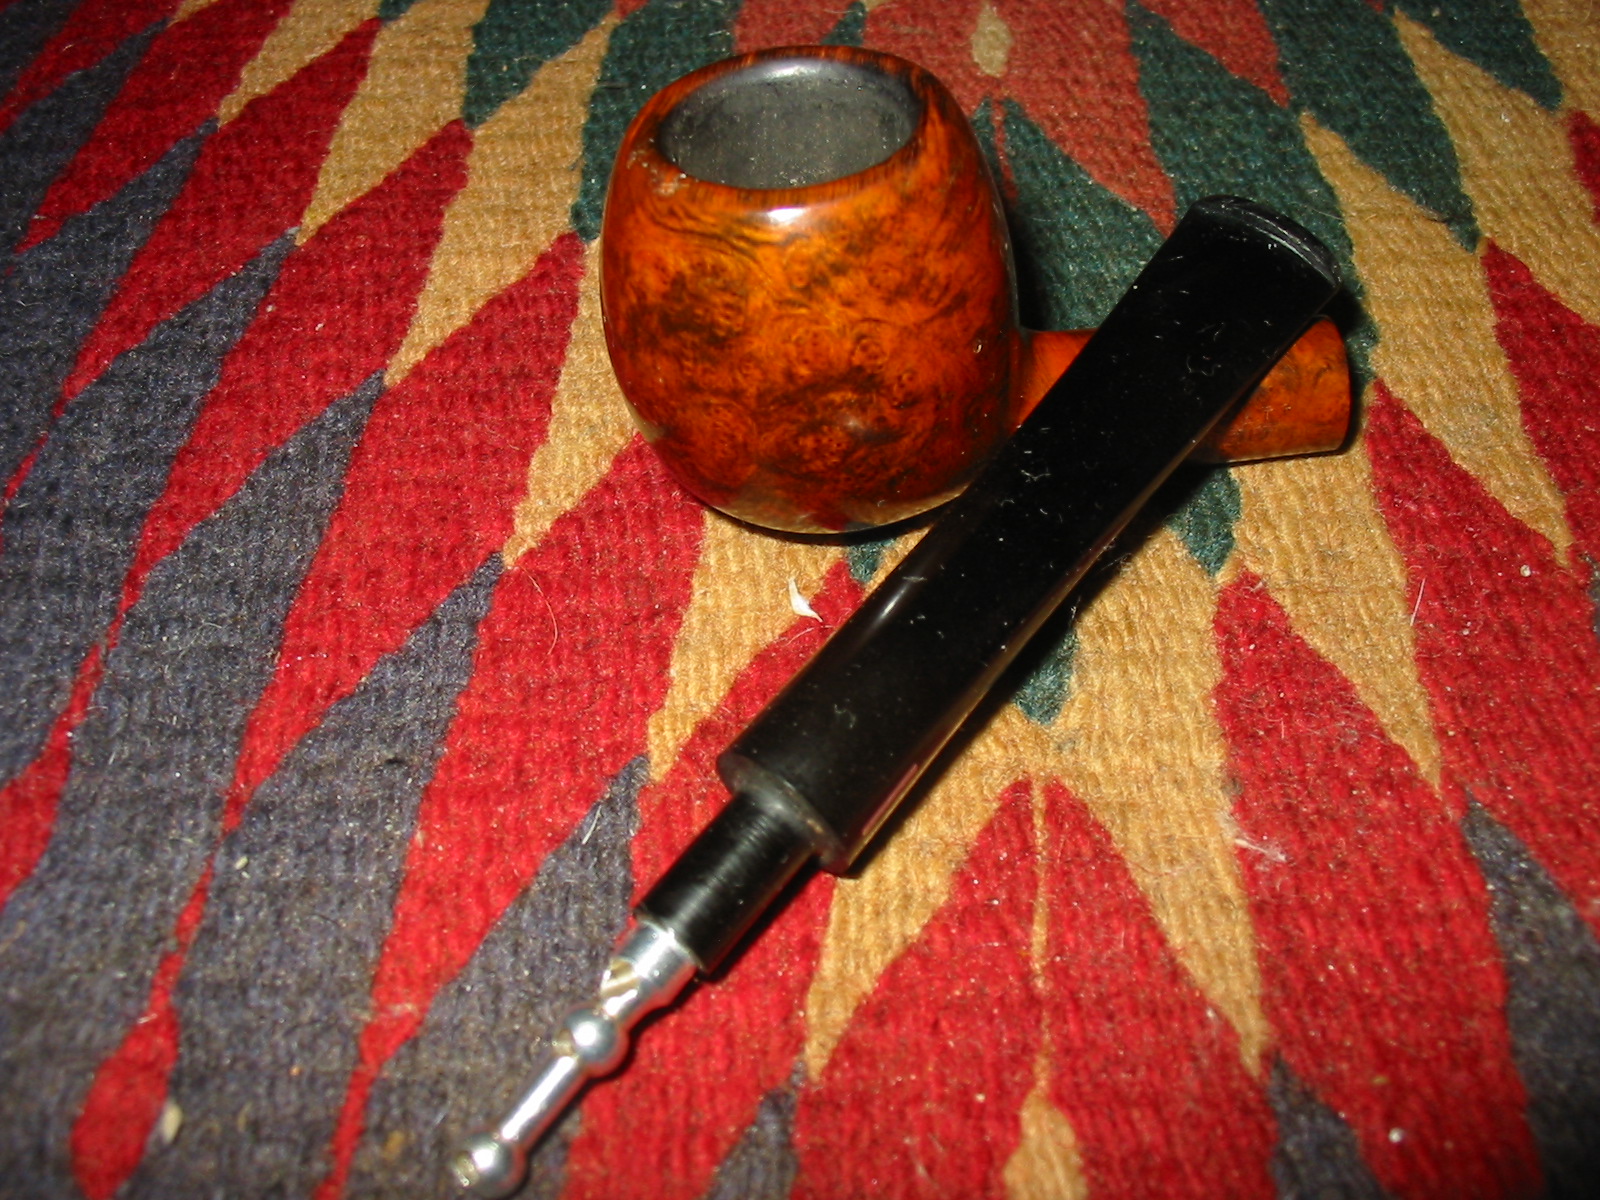
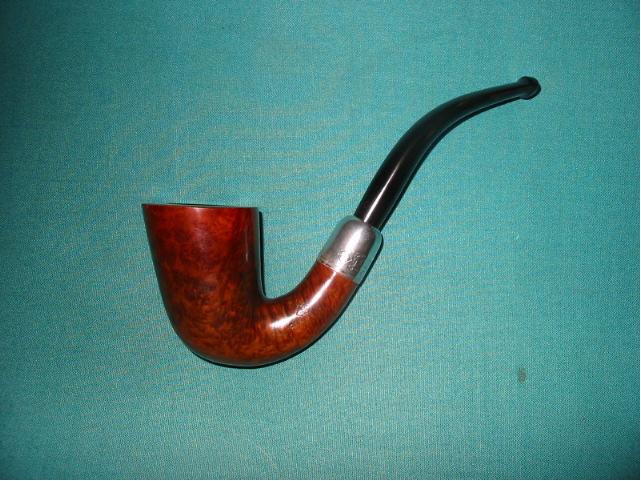
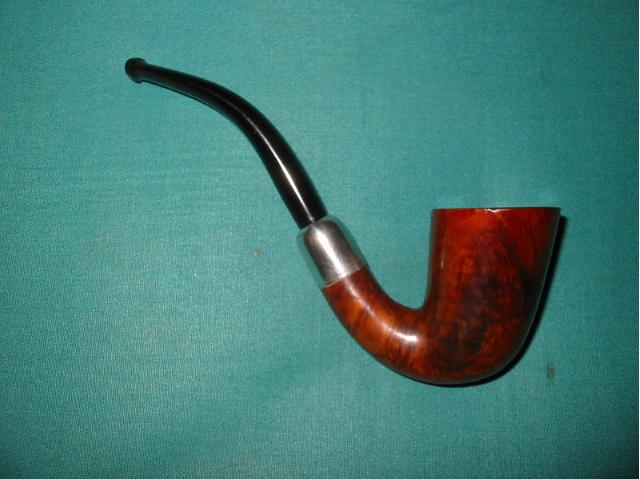
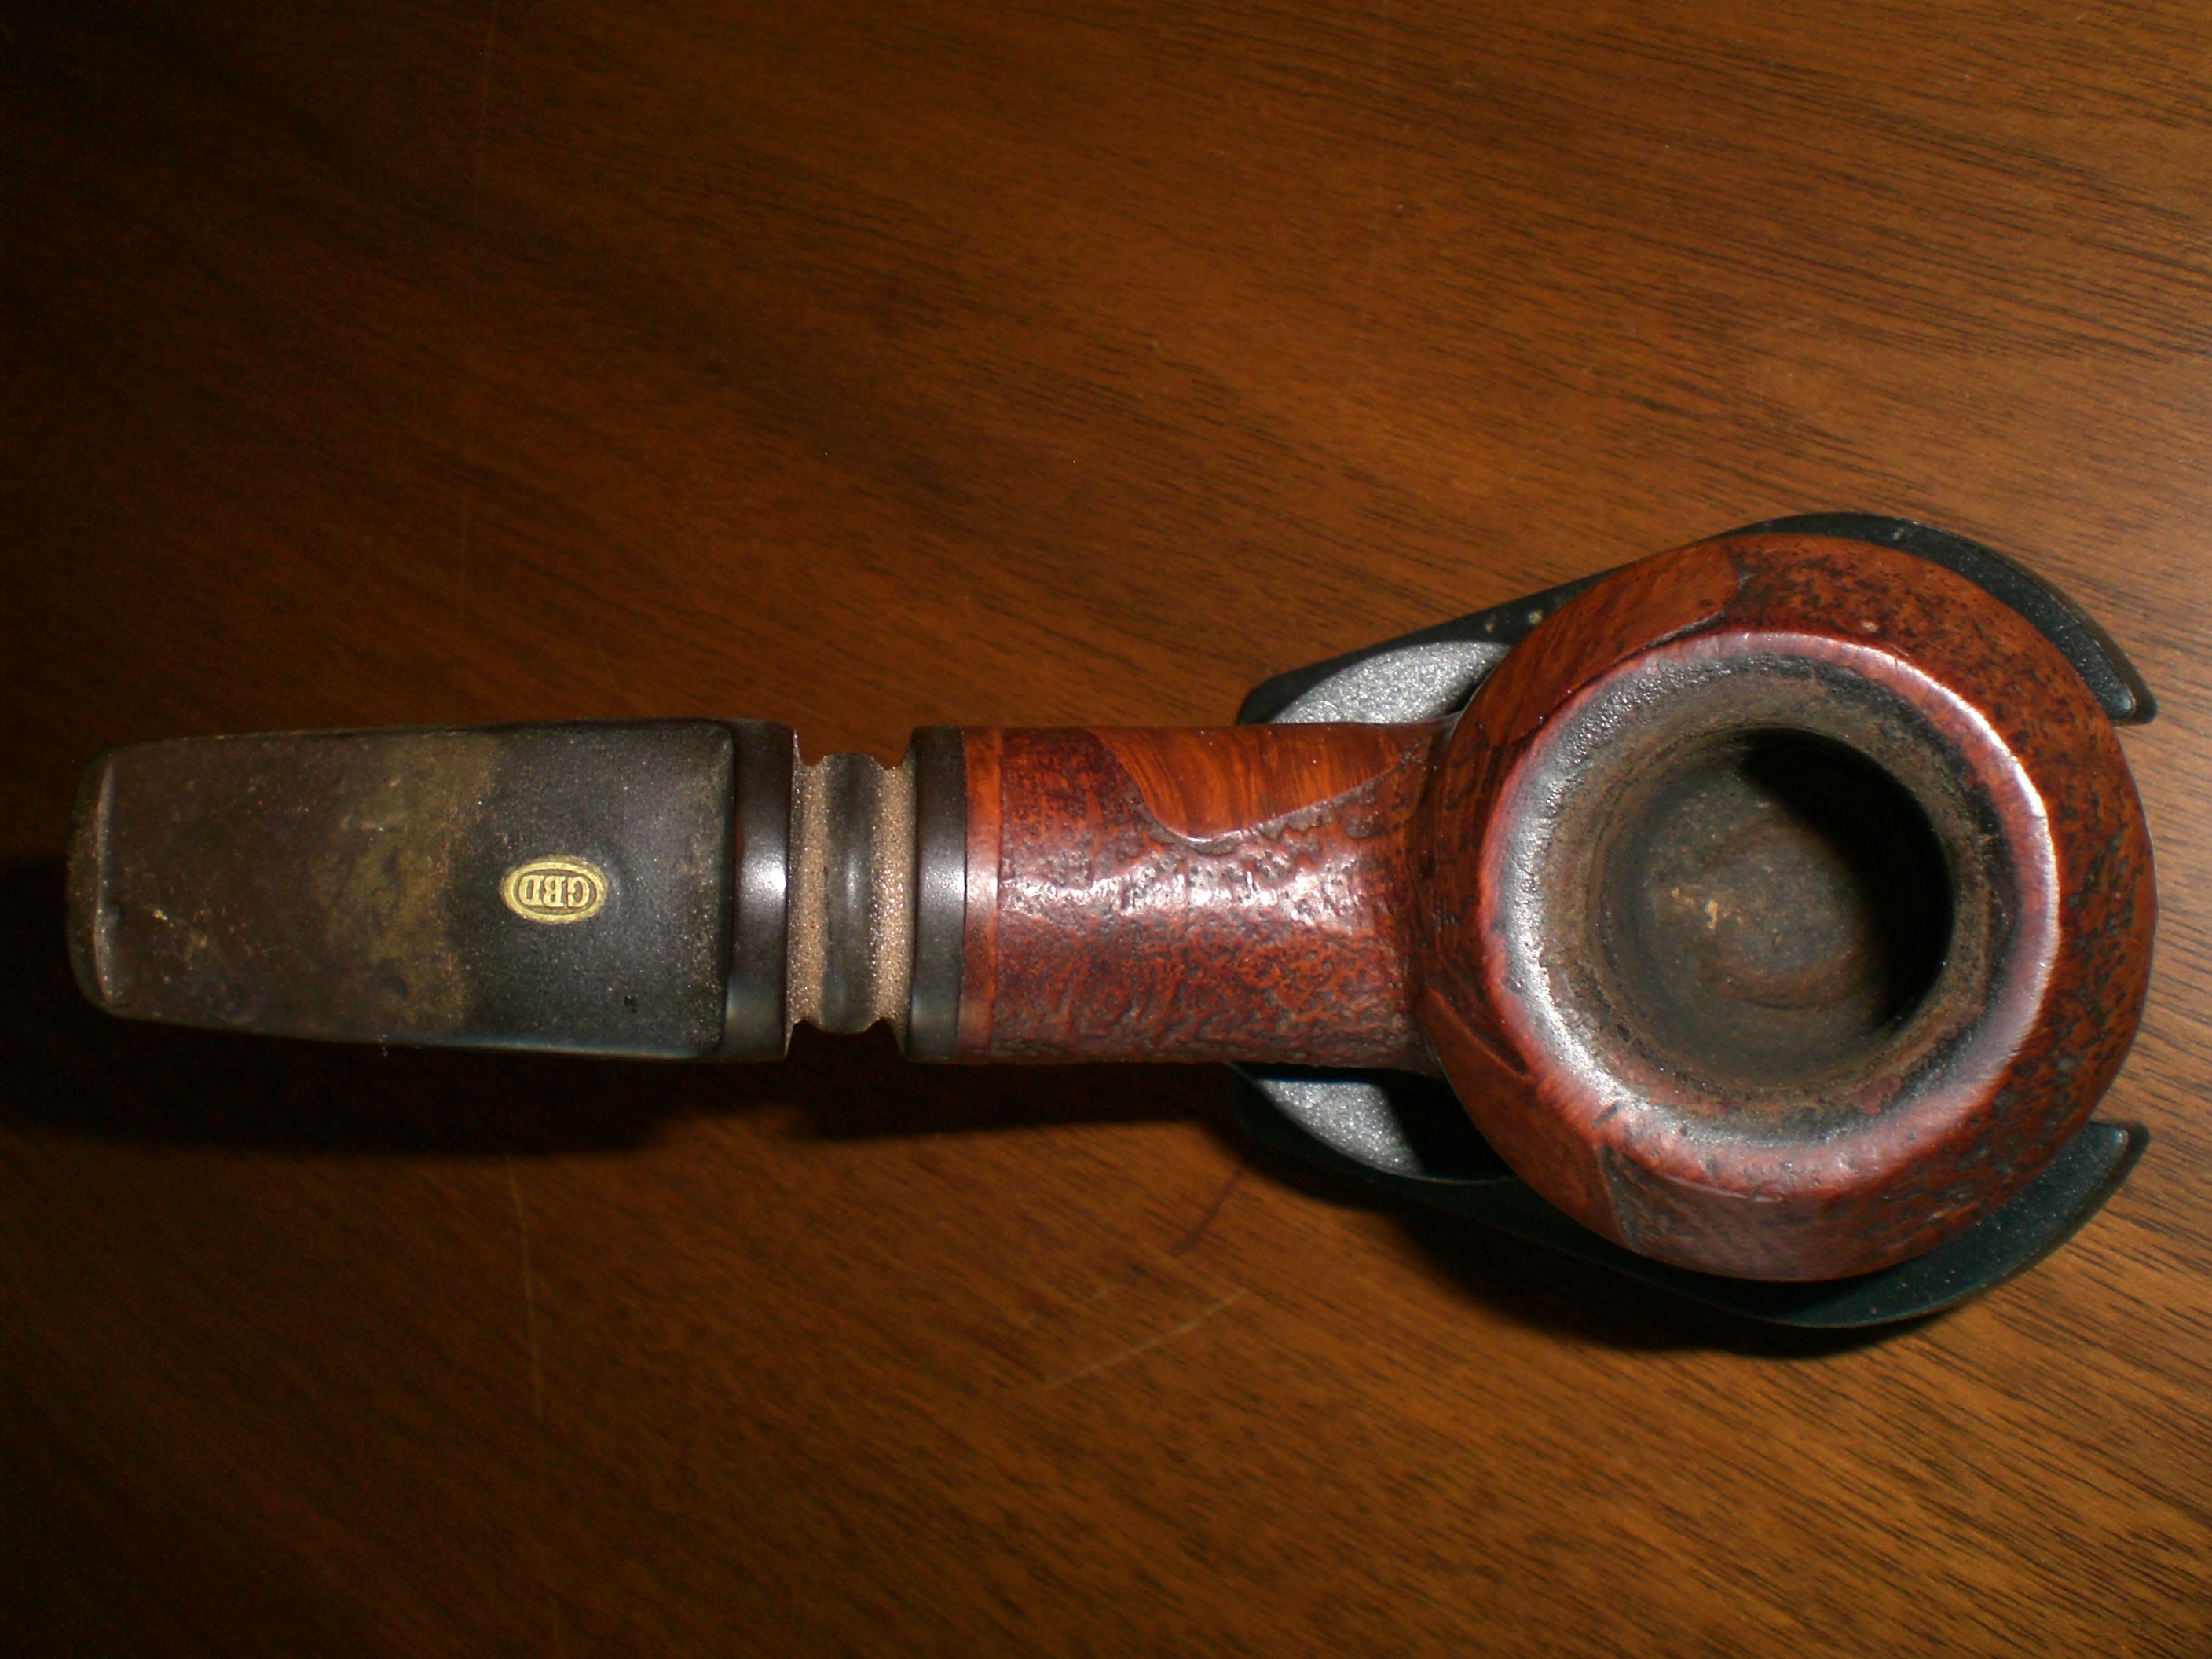
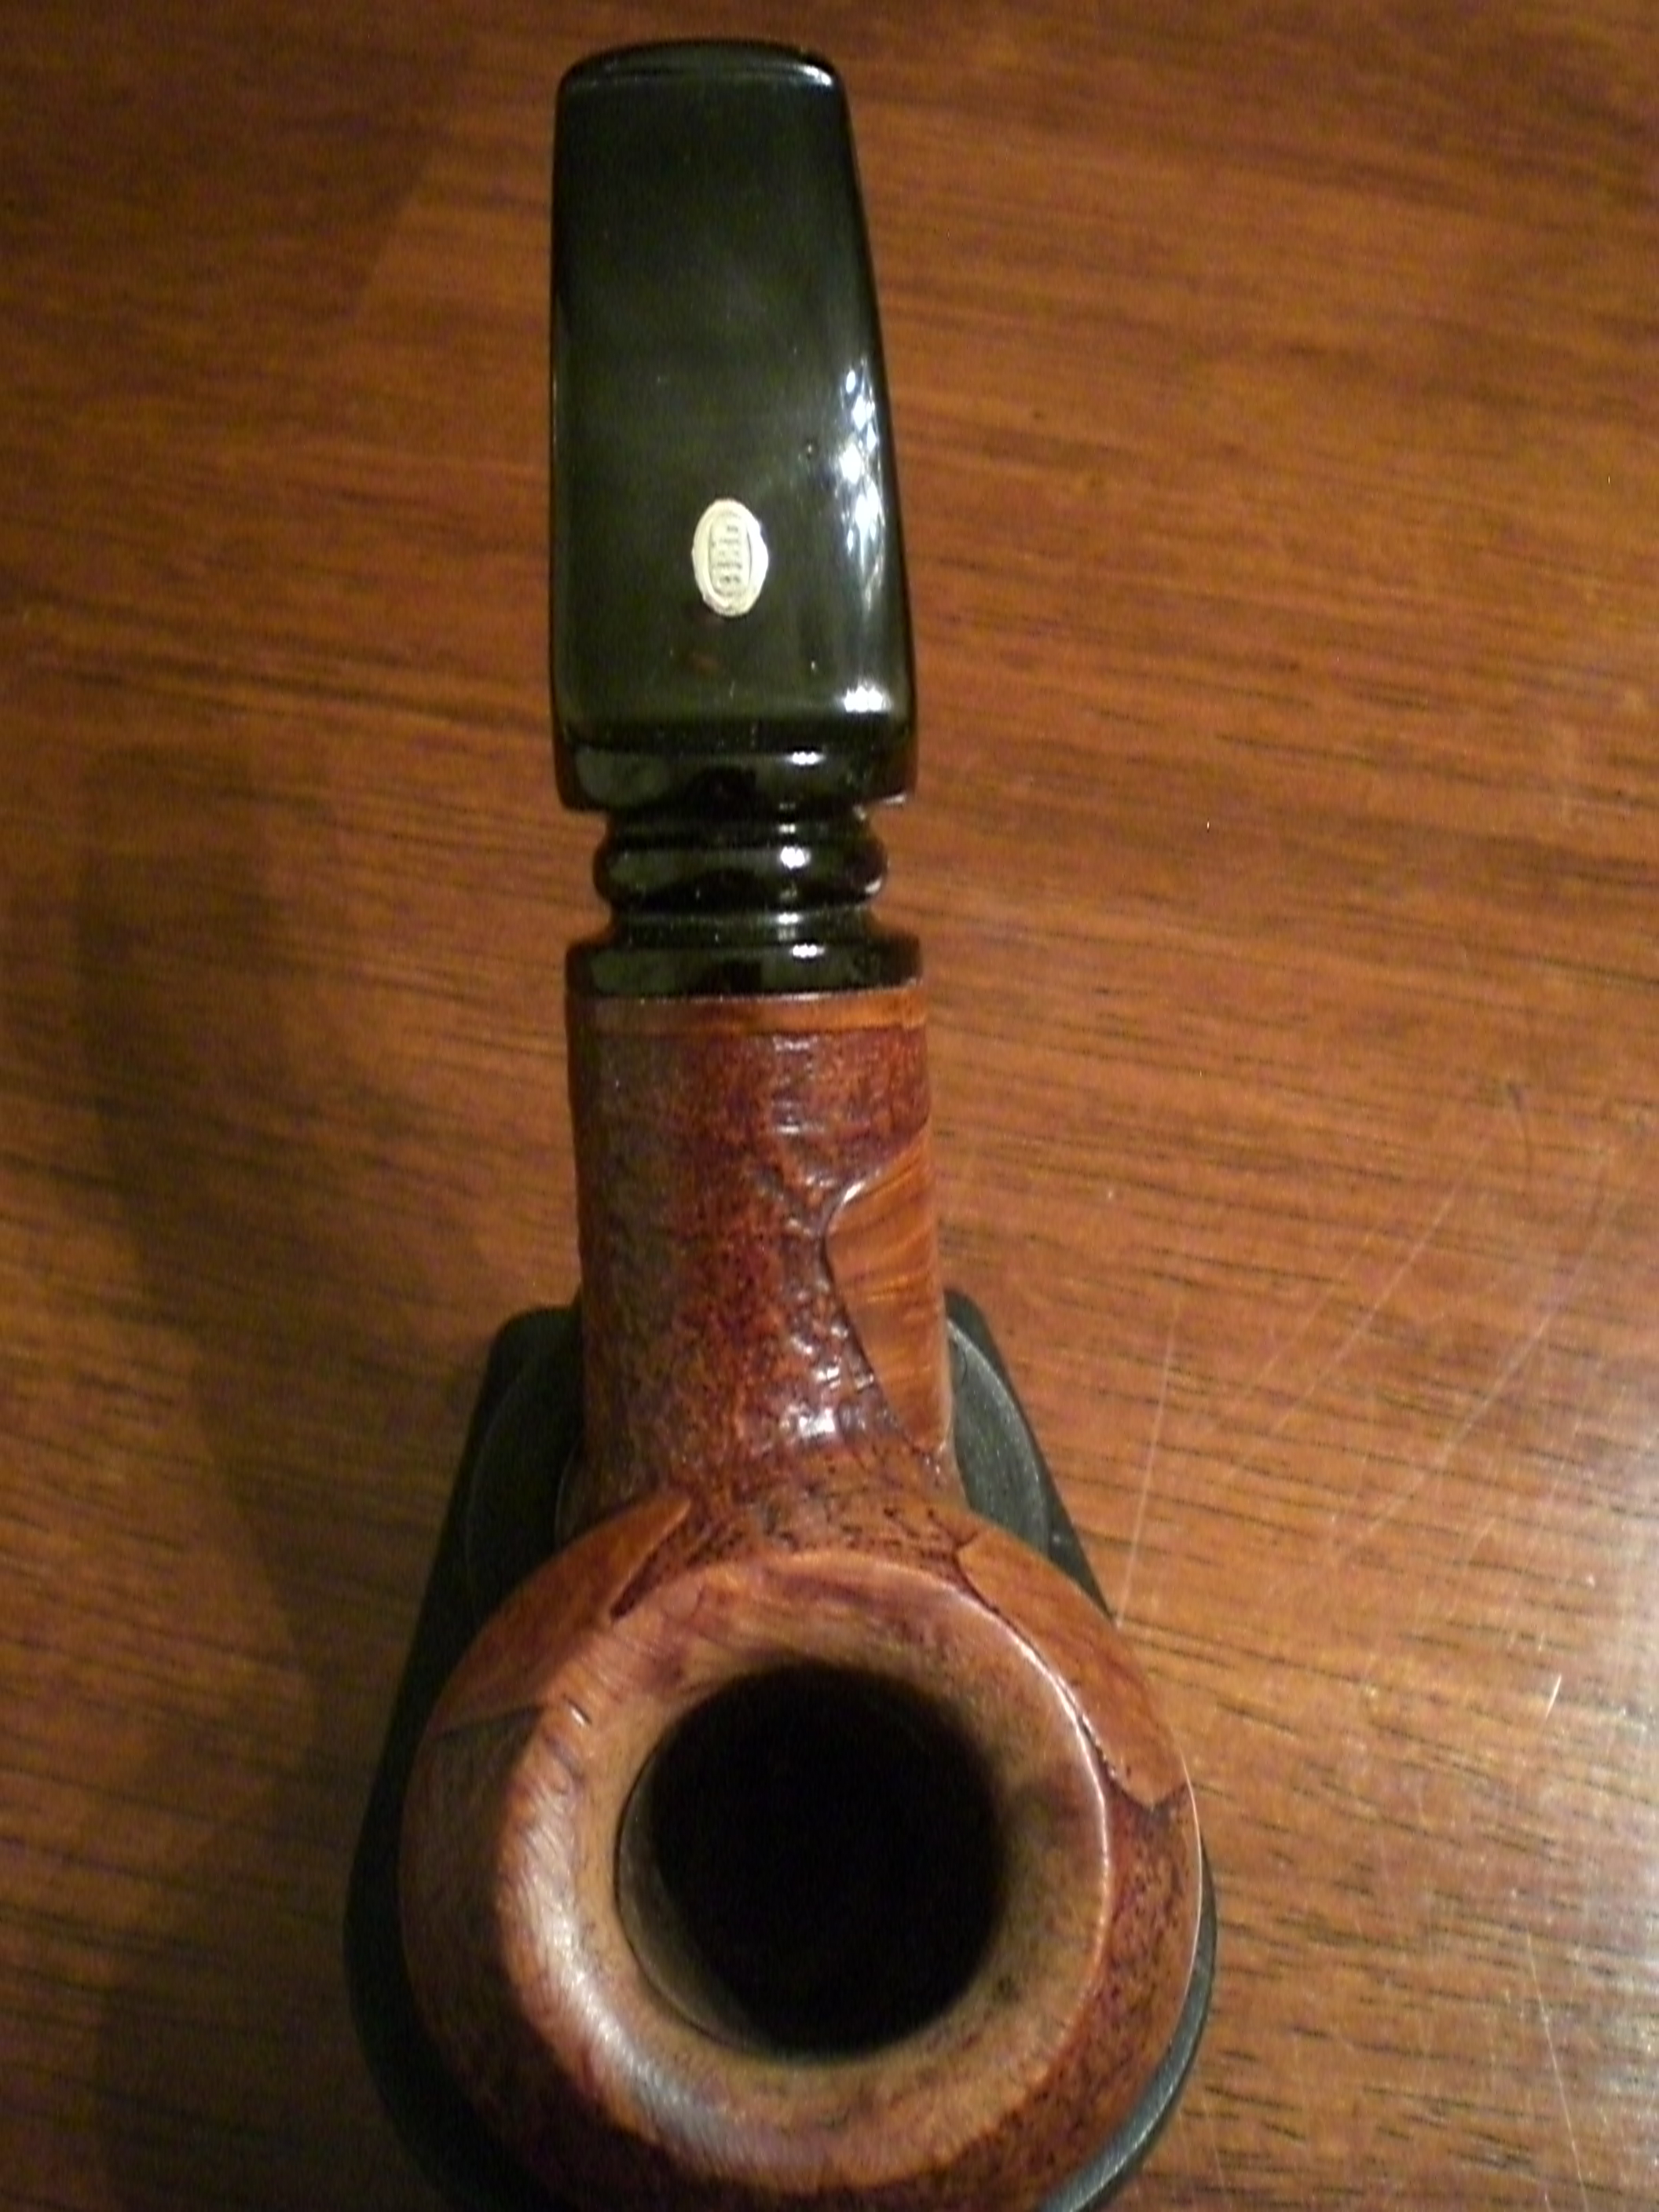
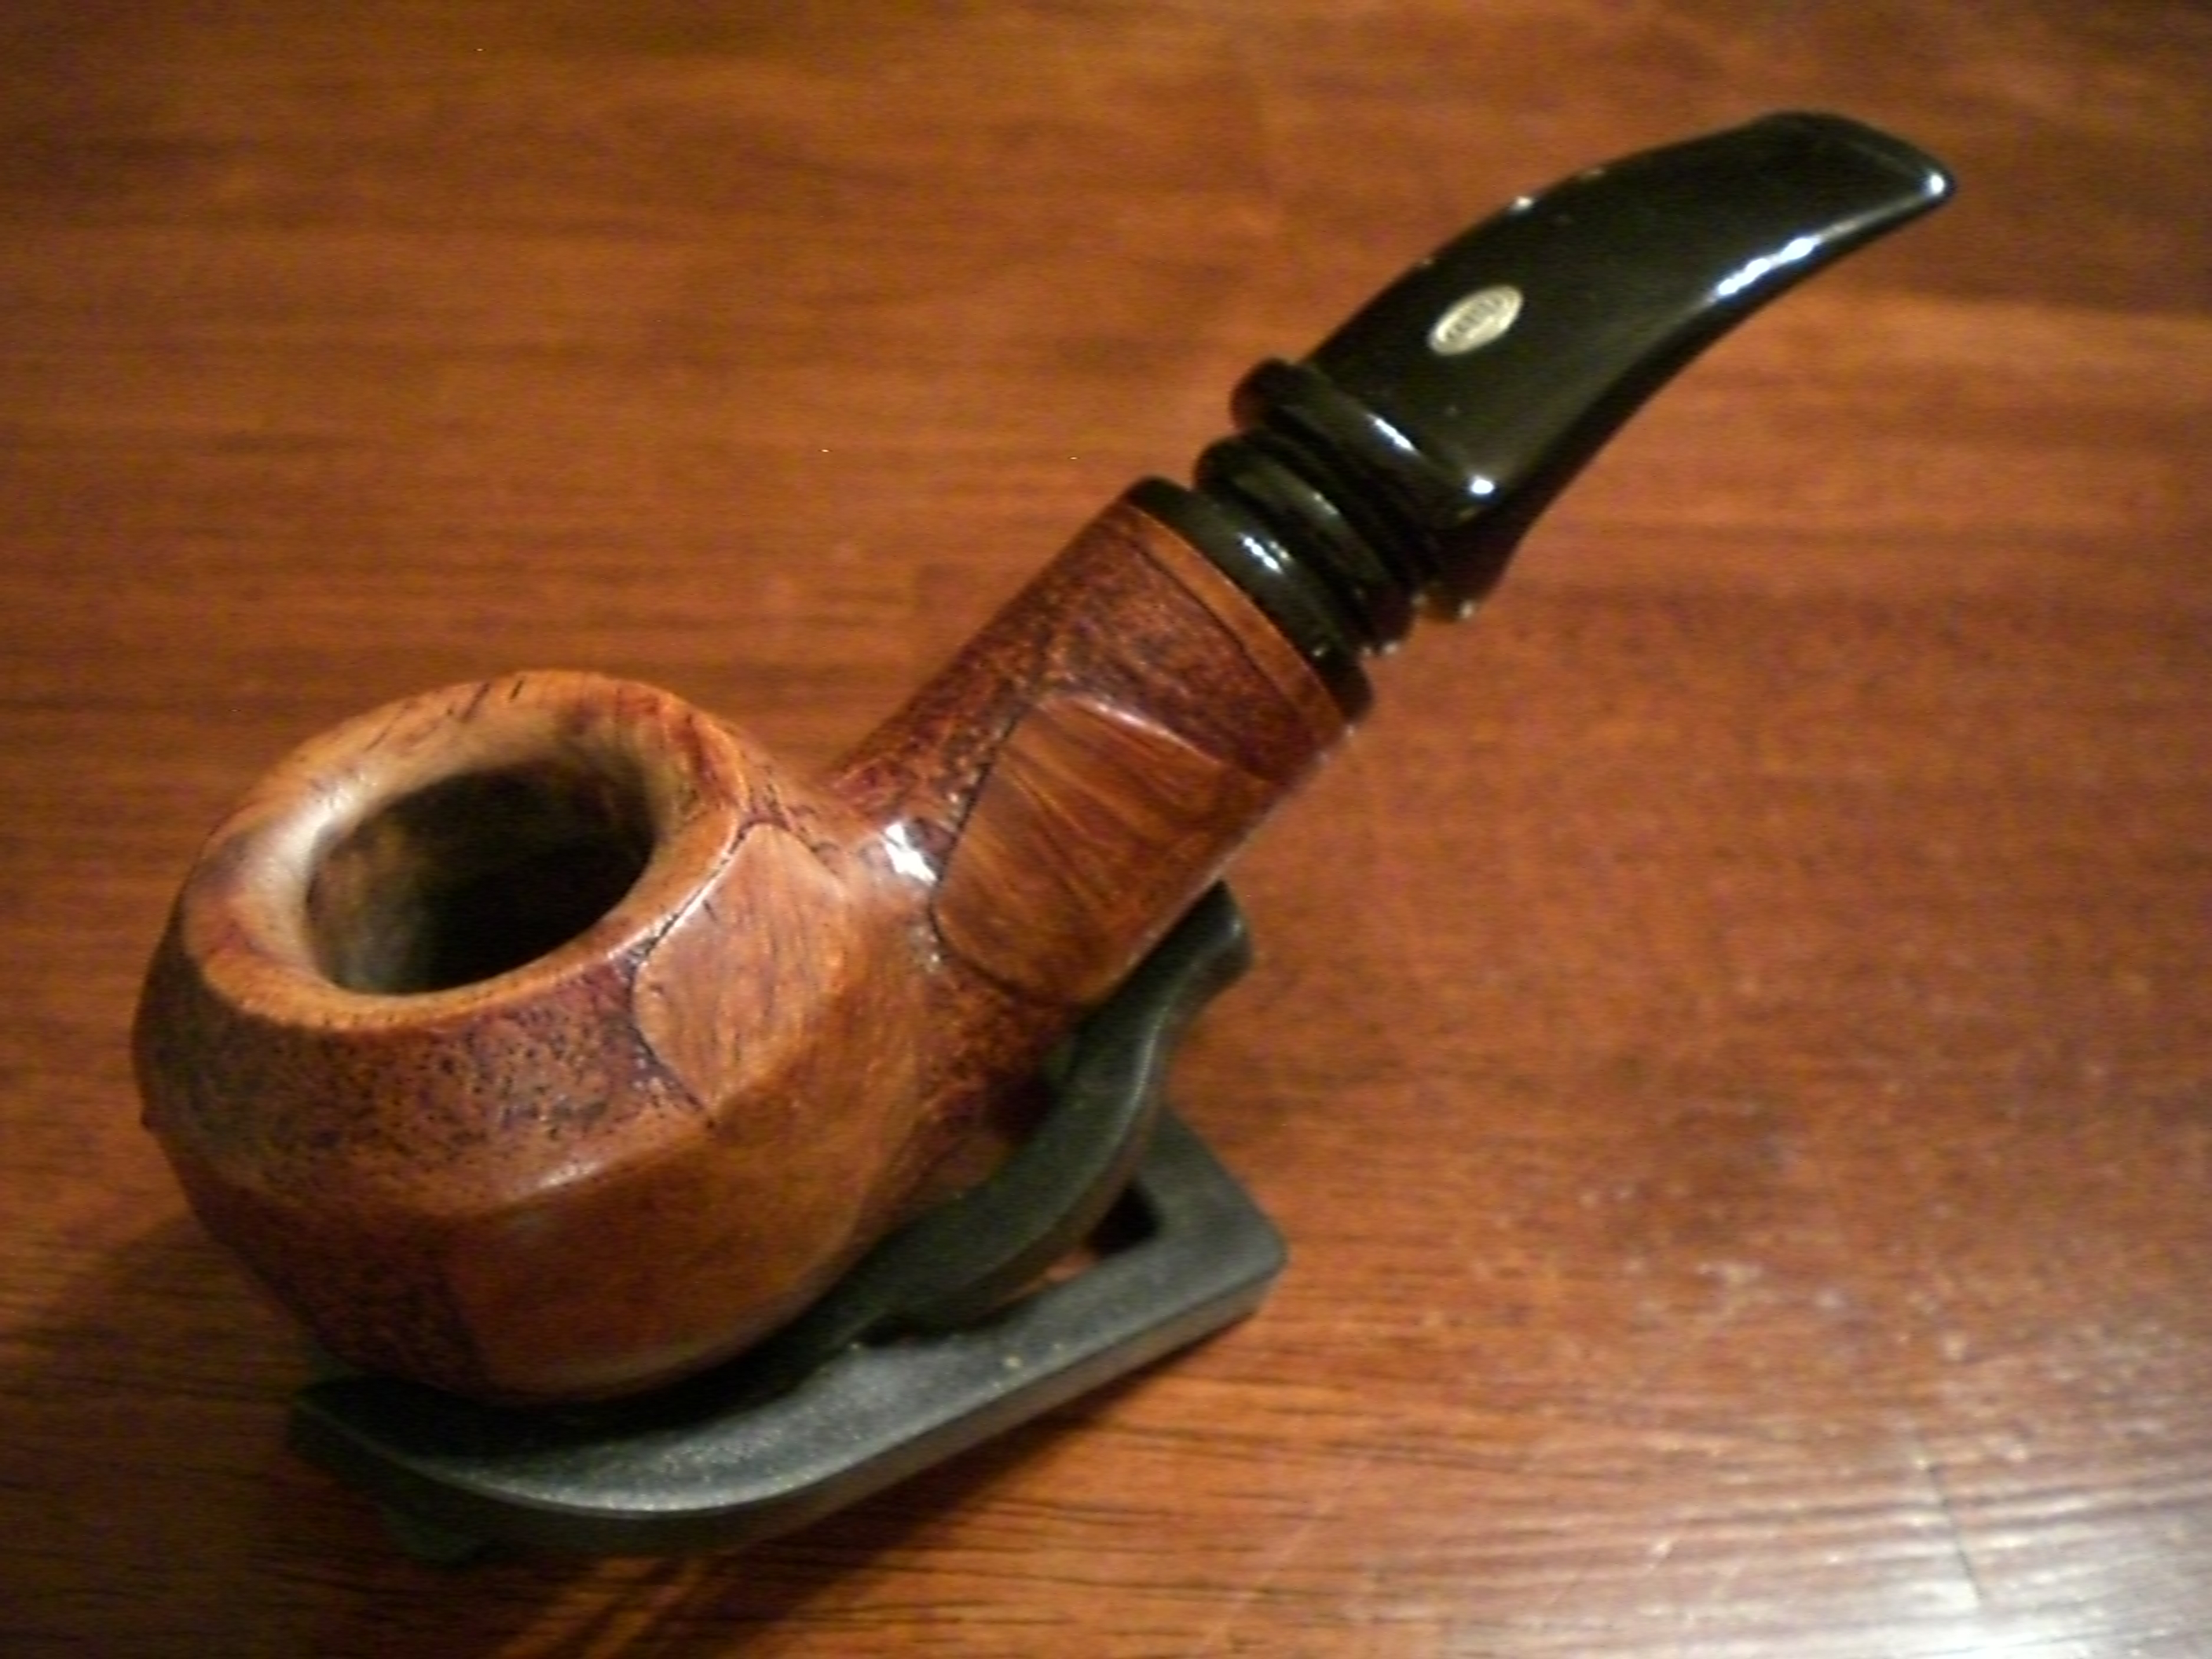
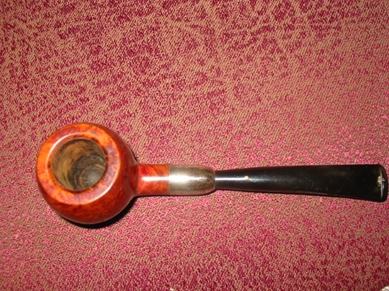
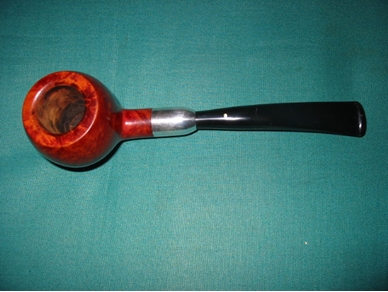
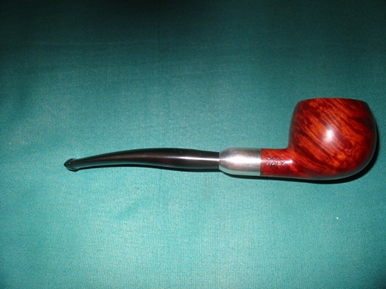
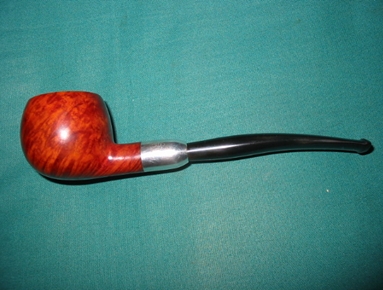
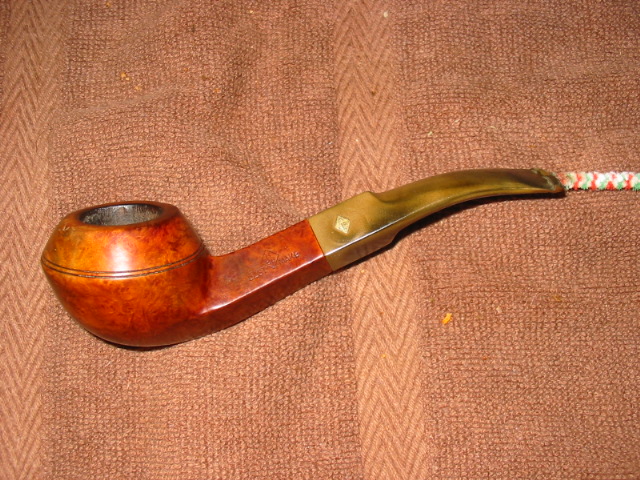
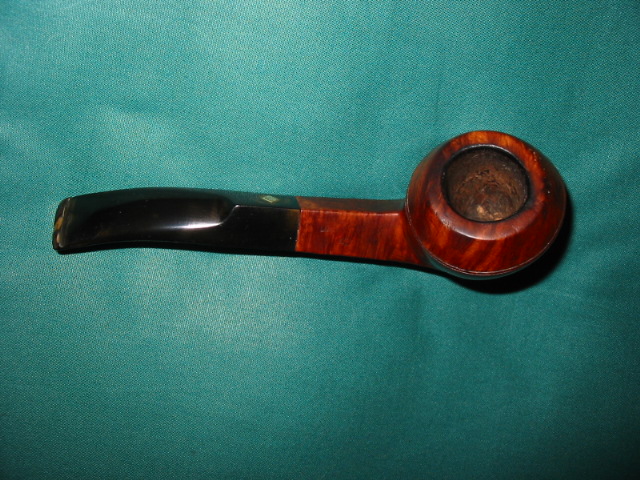
If you have followed my previous posts, you’ve noticed that I am a fan of the GBD 9438 shape. There is just something about the chubby Rhodesian shape that appeals to me. All of the 9438’s in my collection are excellent smokers and feel great in the hand. For the past two years, I’ve been on the lookout for one of the highest grades in that shape, the Virgin. I found this somewhat tattered 9438 Virgin with a Perspex stem on Ebay.

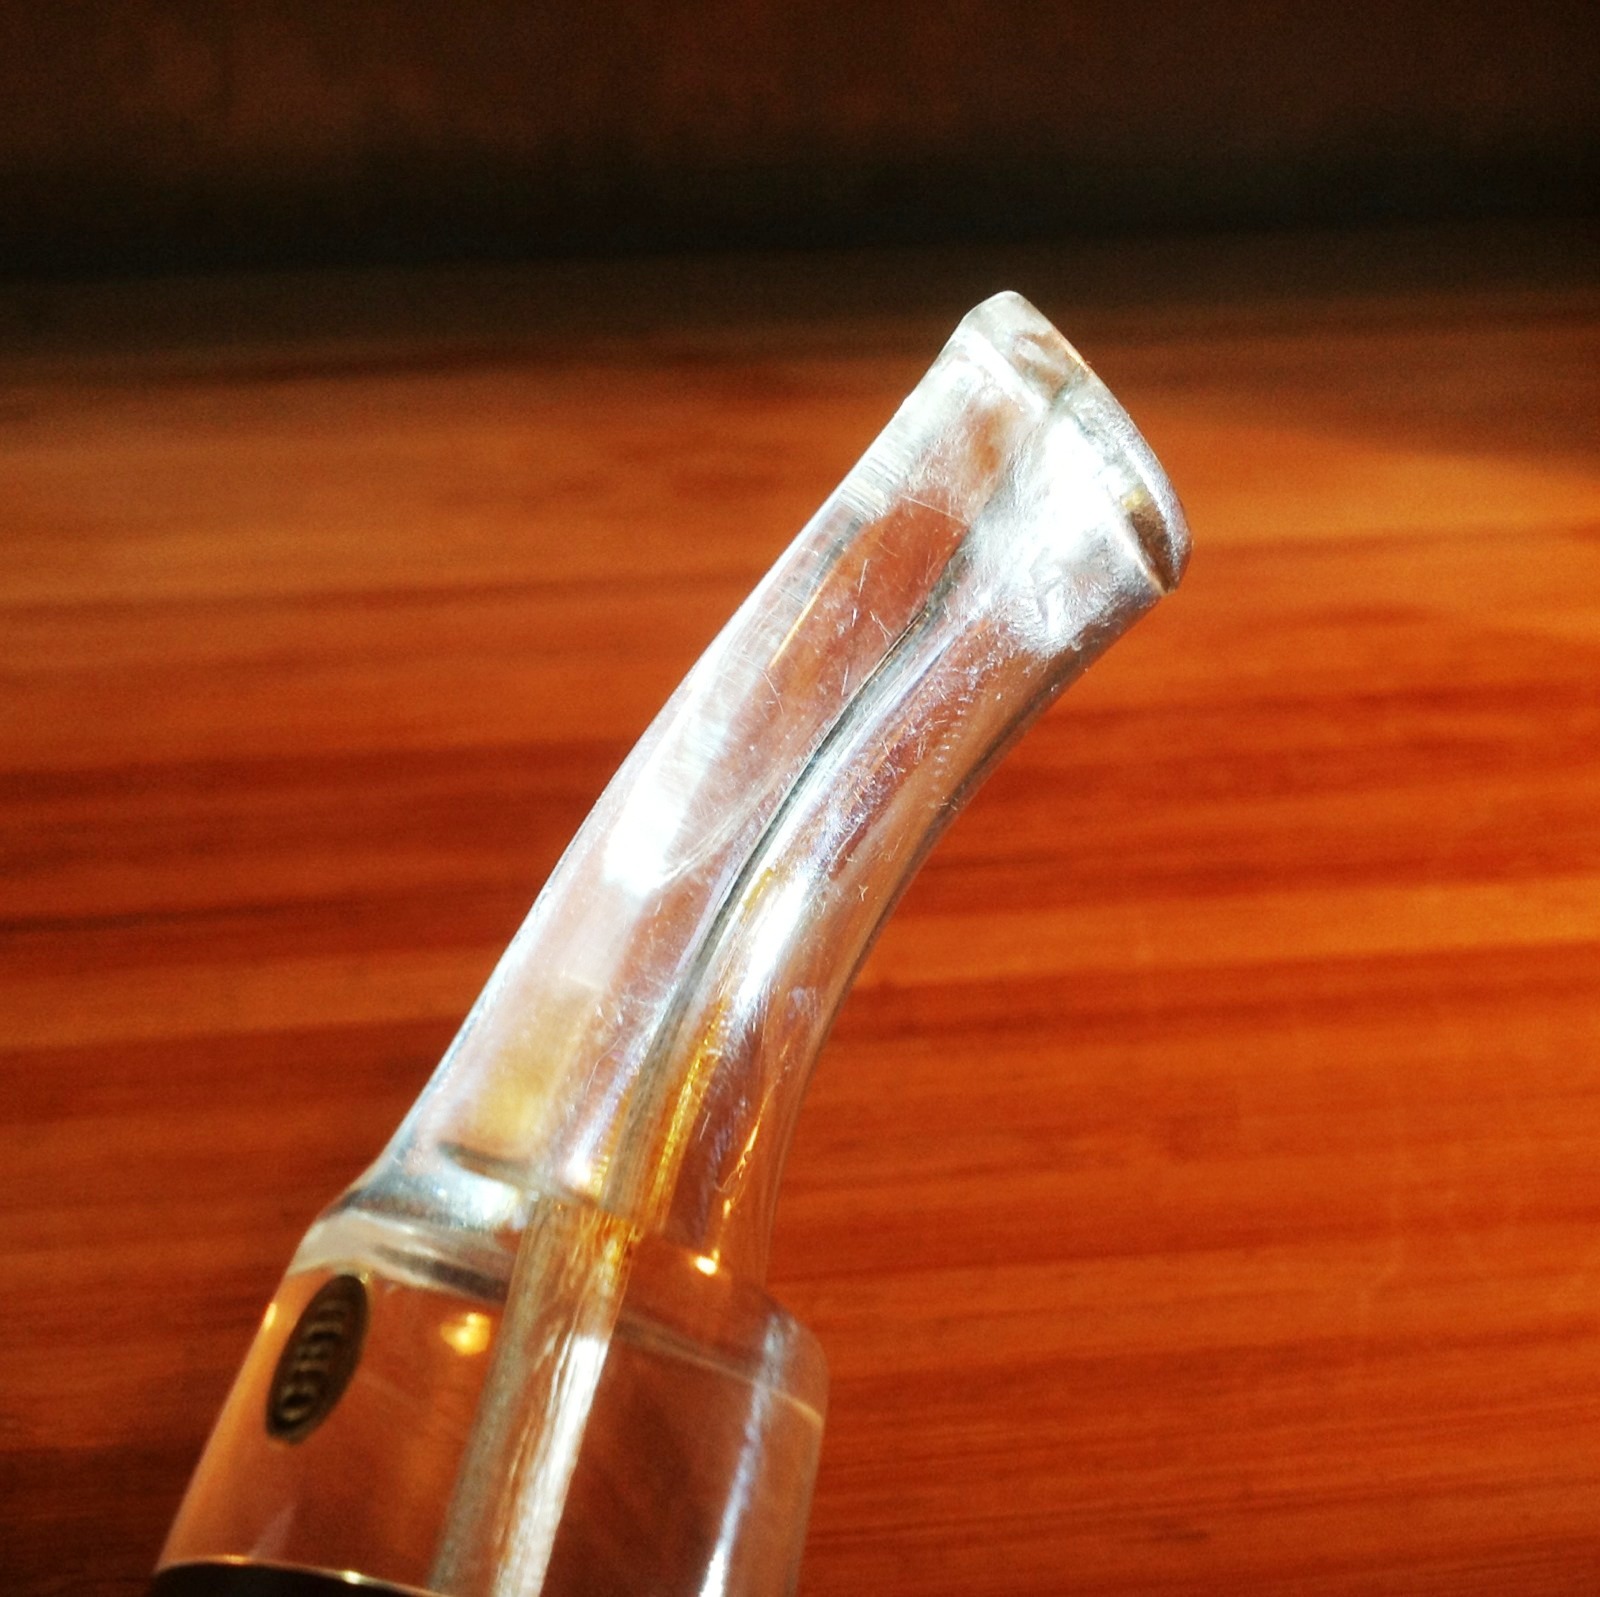
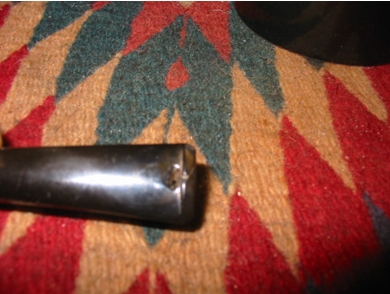
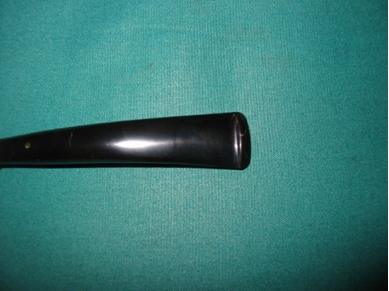
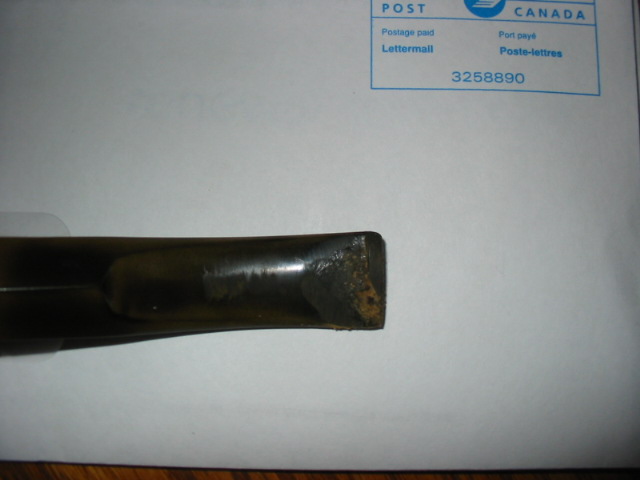
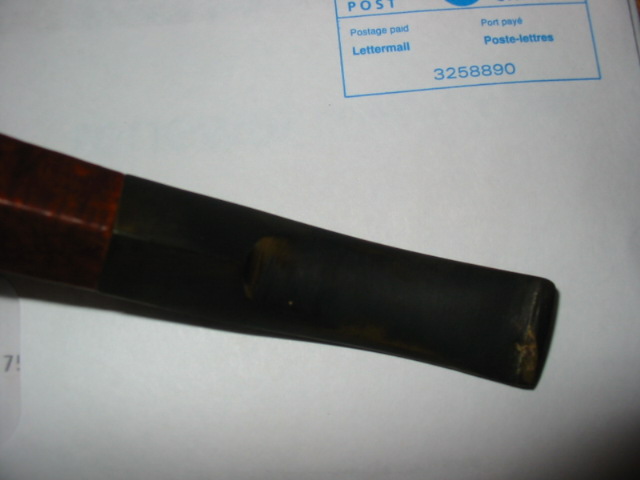
The pipe showed some bruising and nicks on the bowl, but the top looked in decent shape as did the Perspex stem. Photographing details of a Perspex stem is never easy, but this seller had plenty of good photographs.

Below are the pictures posted by the seller.  You can see the handling marks on the bowl in the first shot.

GBD_9438_Virgin-Before (10)

GBD_9438_Virgin-Before

GBD_9438_Virgin-Before (1)

GBD_9438_Virgin-Before (2)

GBD_9438_Virgin-Before (5)

GBD_9438_Virgin-Before (6)

The bowl had a light cake, which I reamed close to the briar with my Castleford reamer. I soaked the bowl overnight with Everclear and sea salt. I use a champagne cork to plug the shank end and try to work a little of the salt/Everclear slurry into the shank.

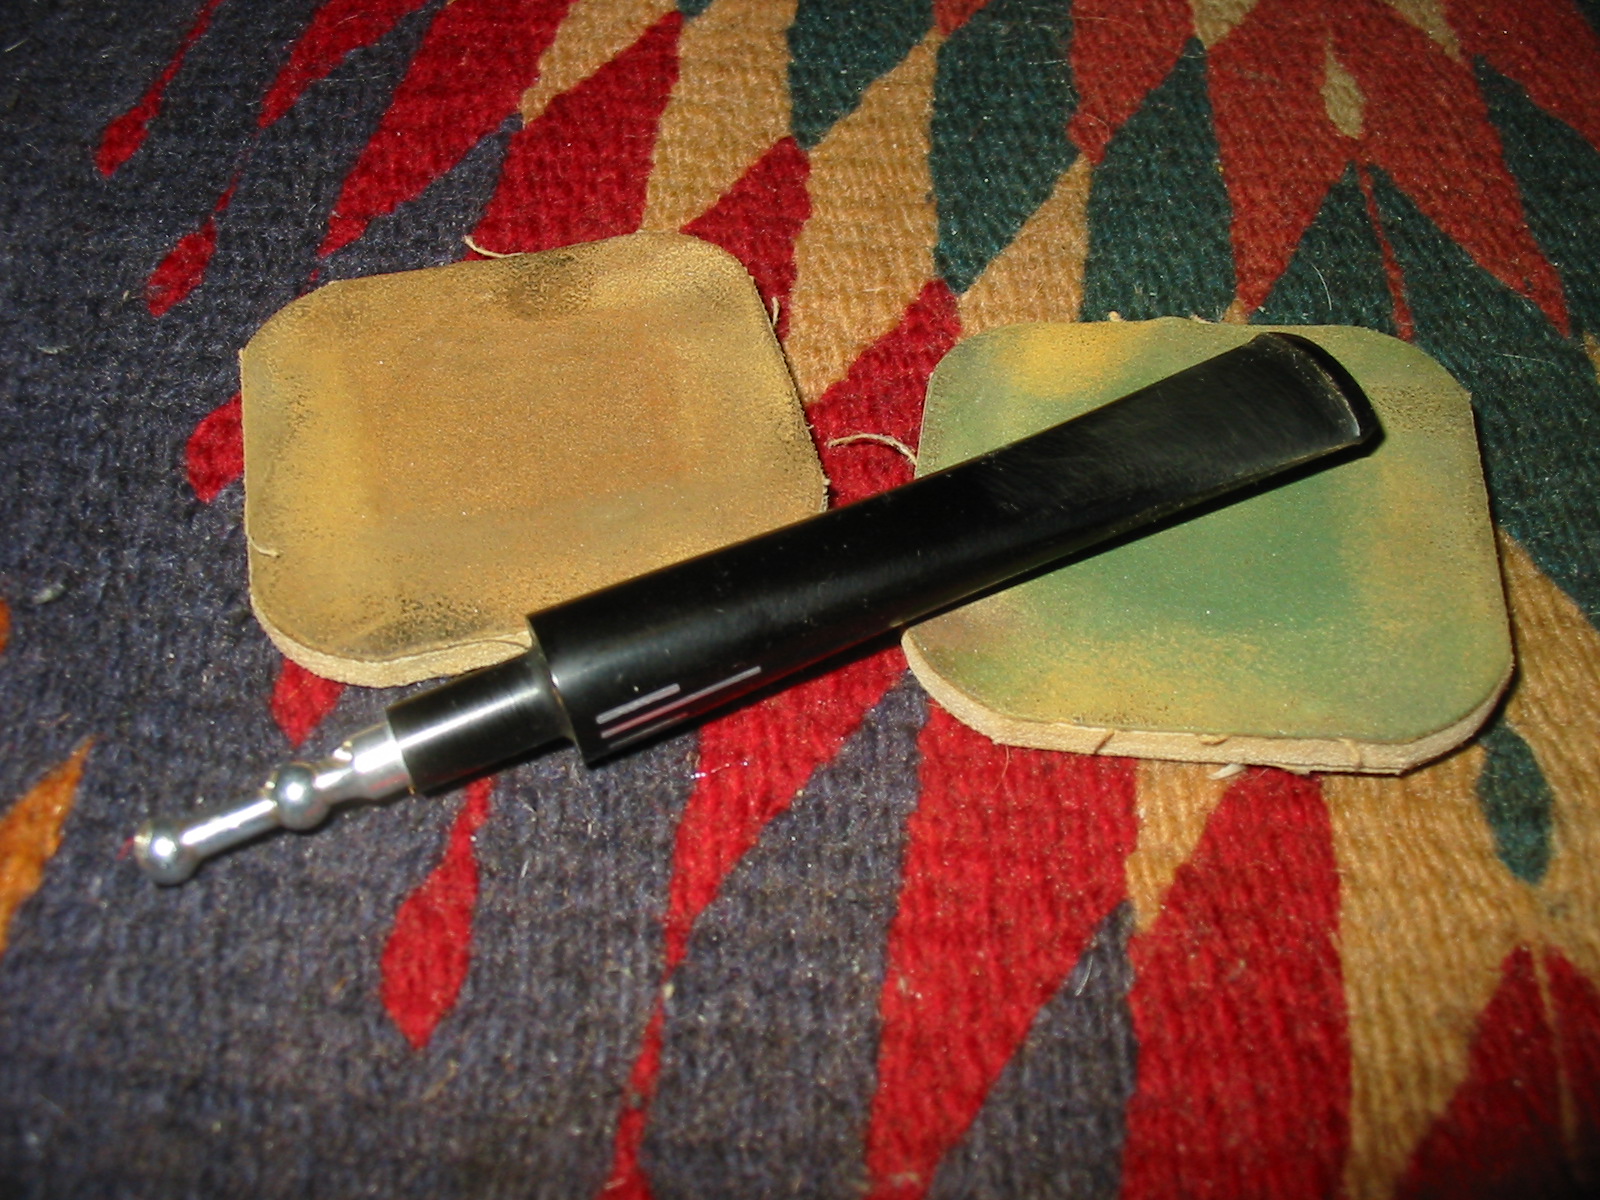
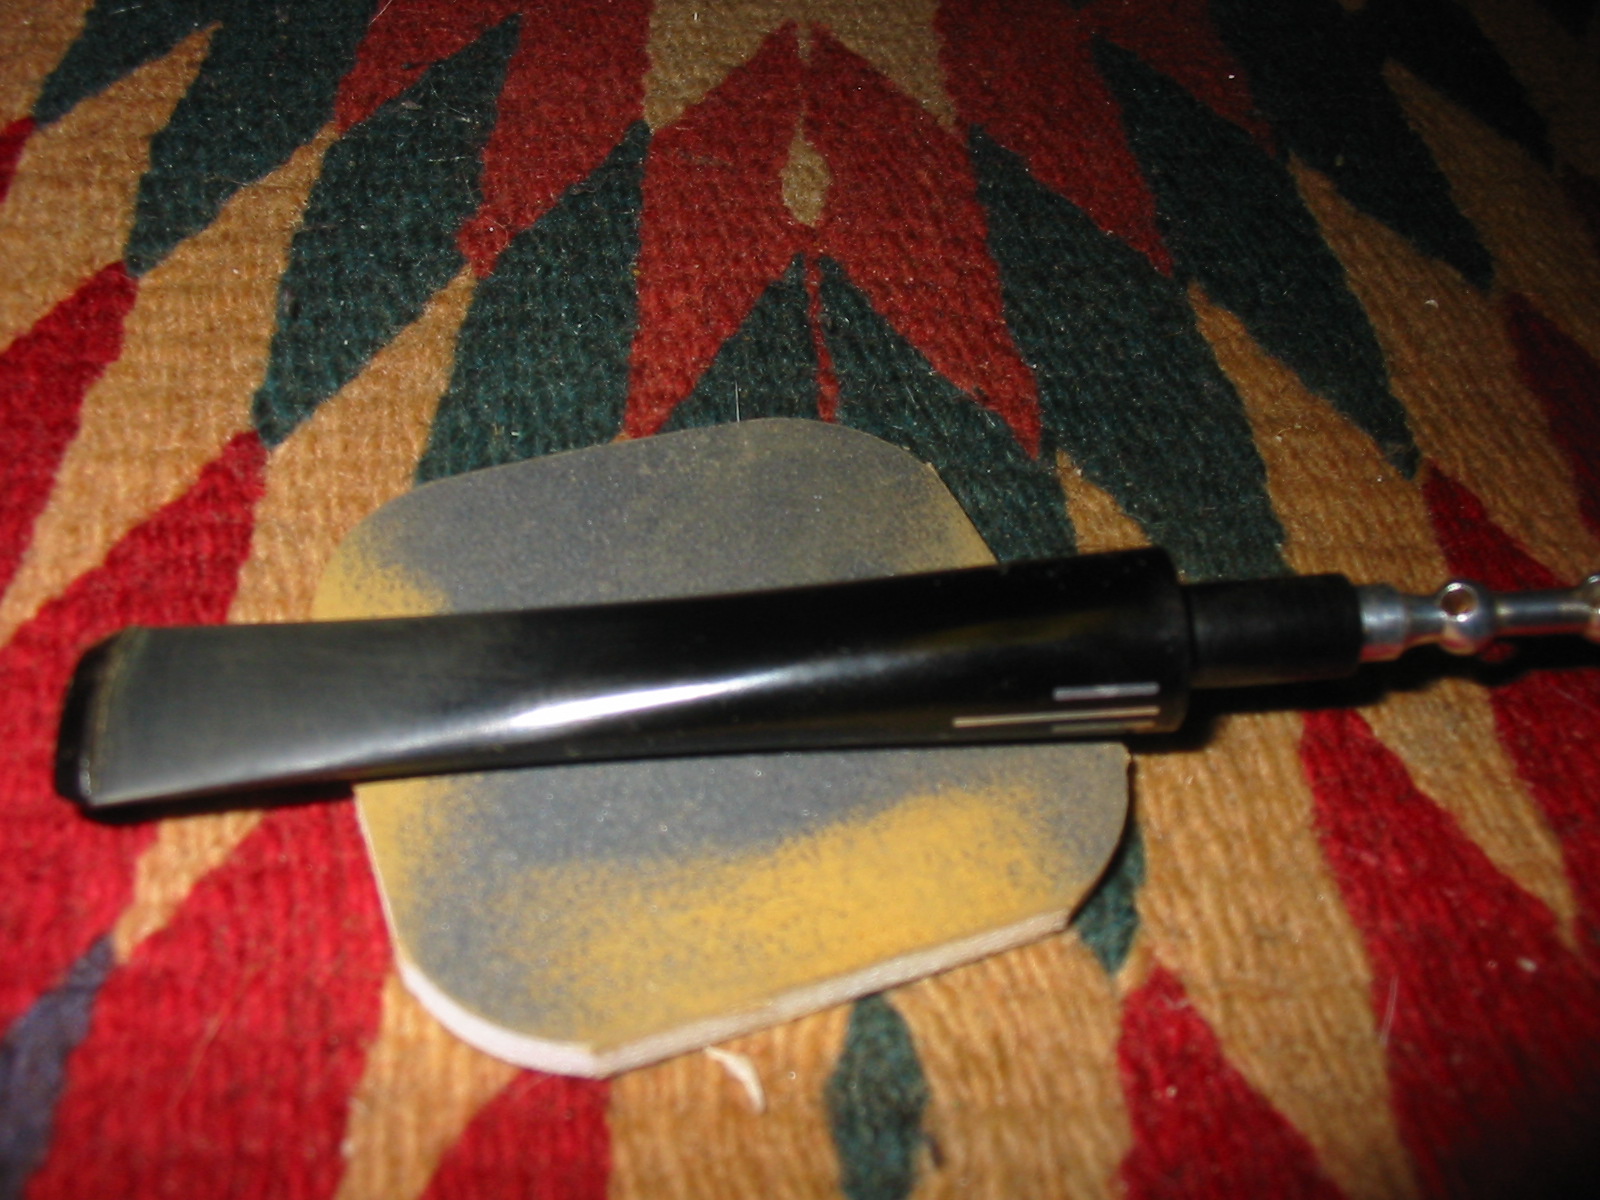
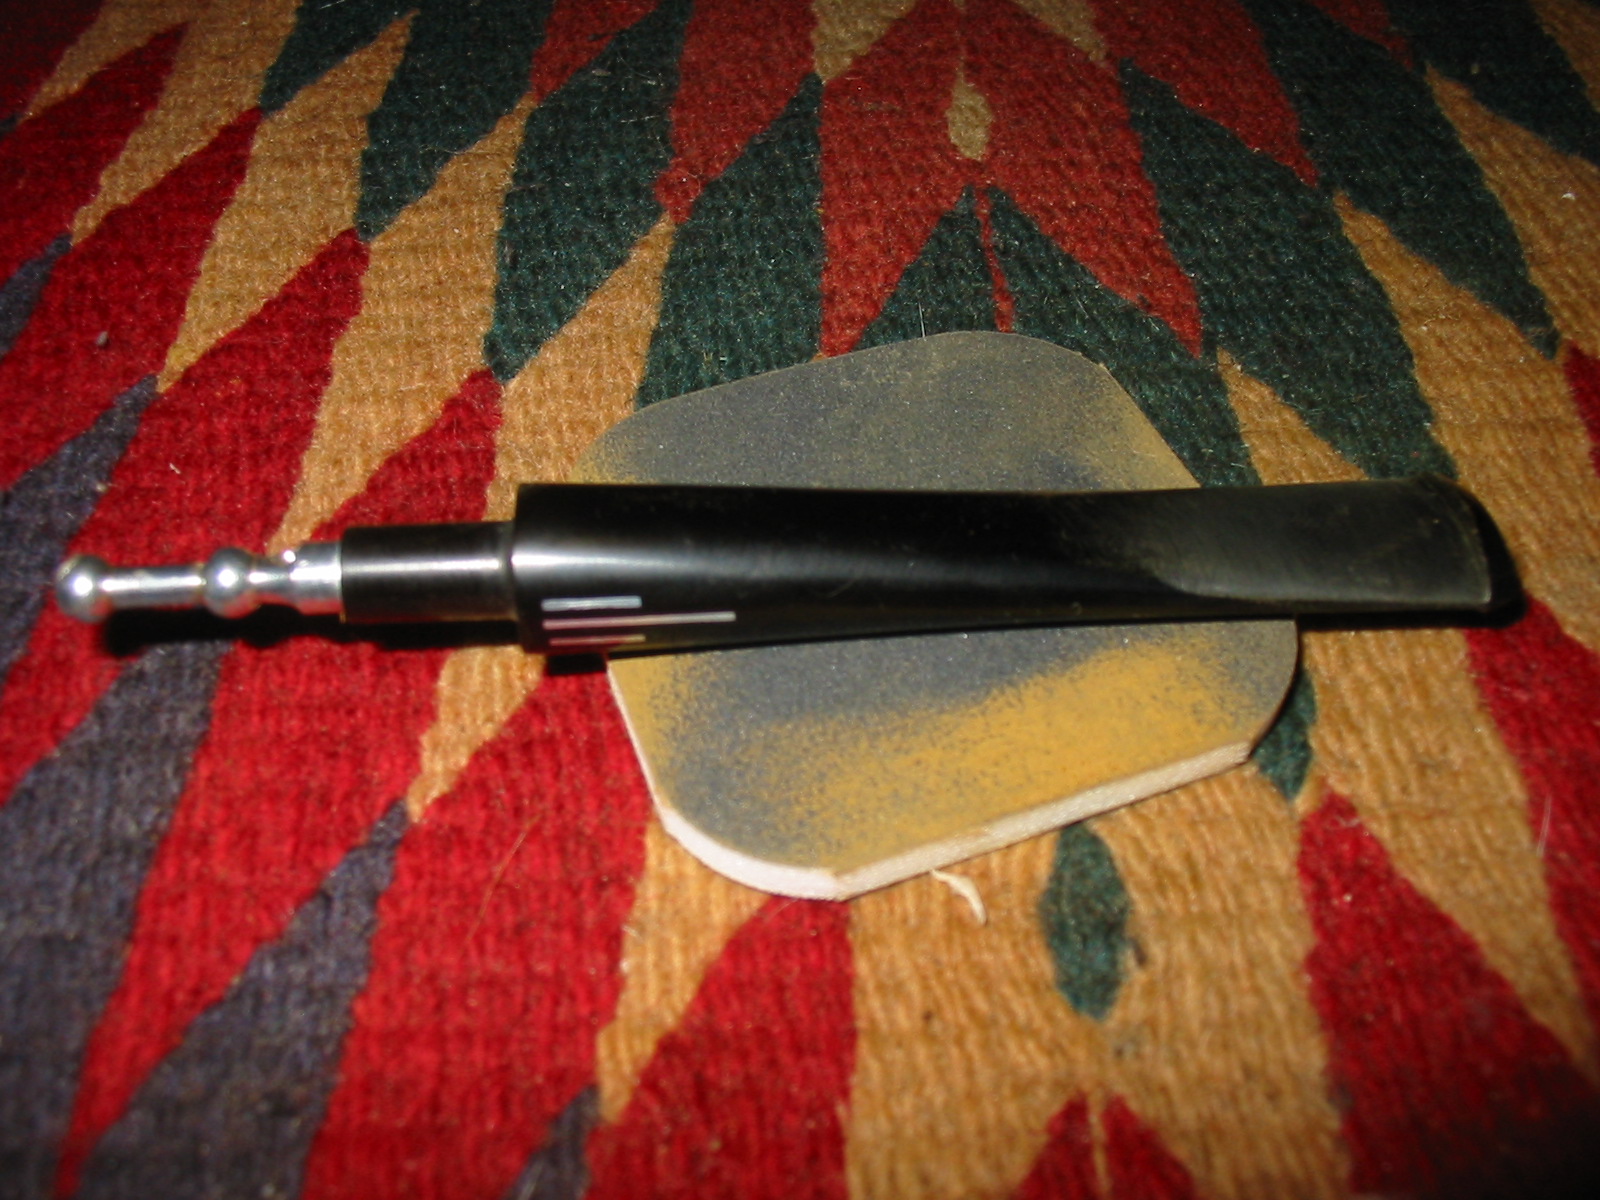
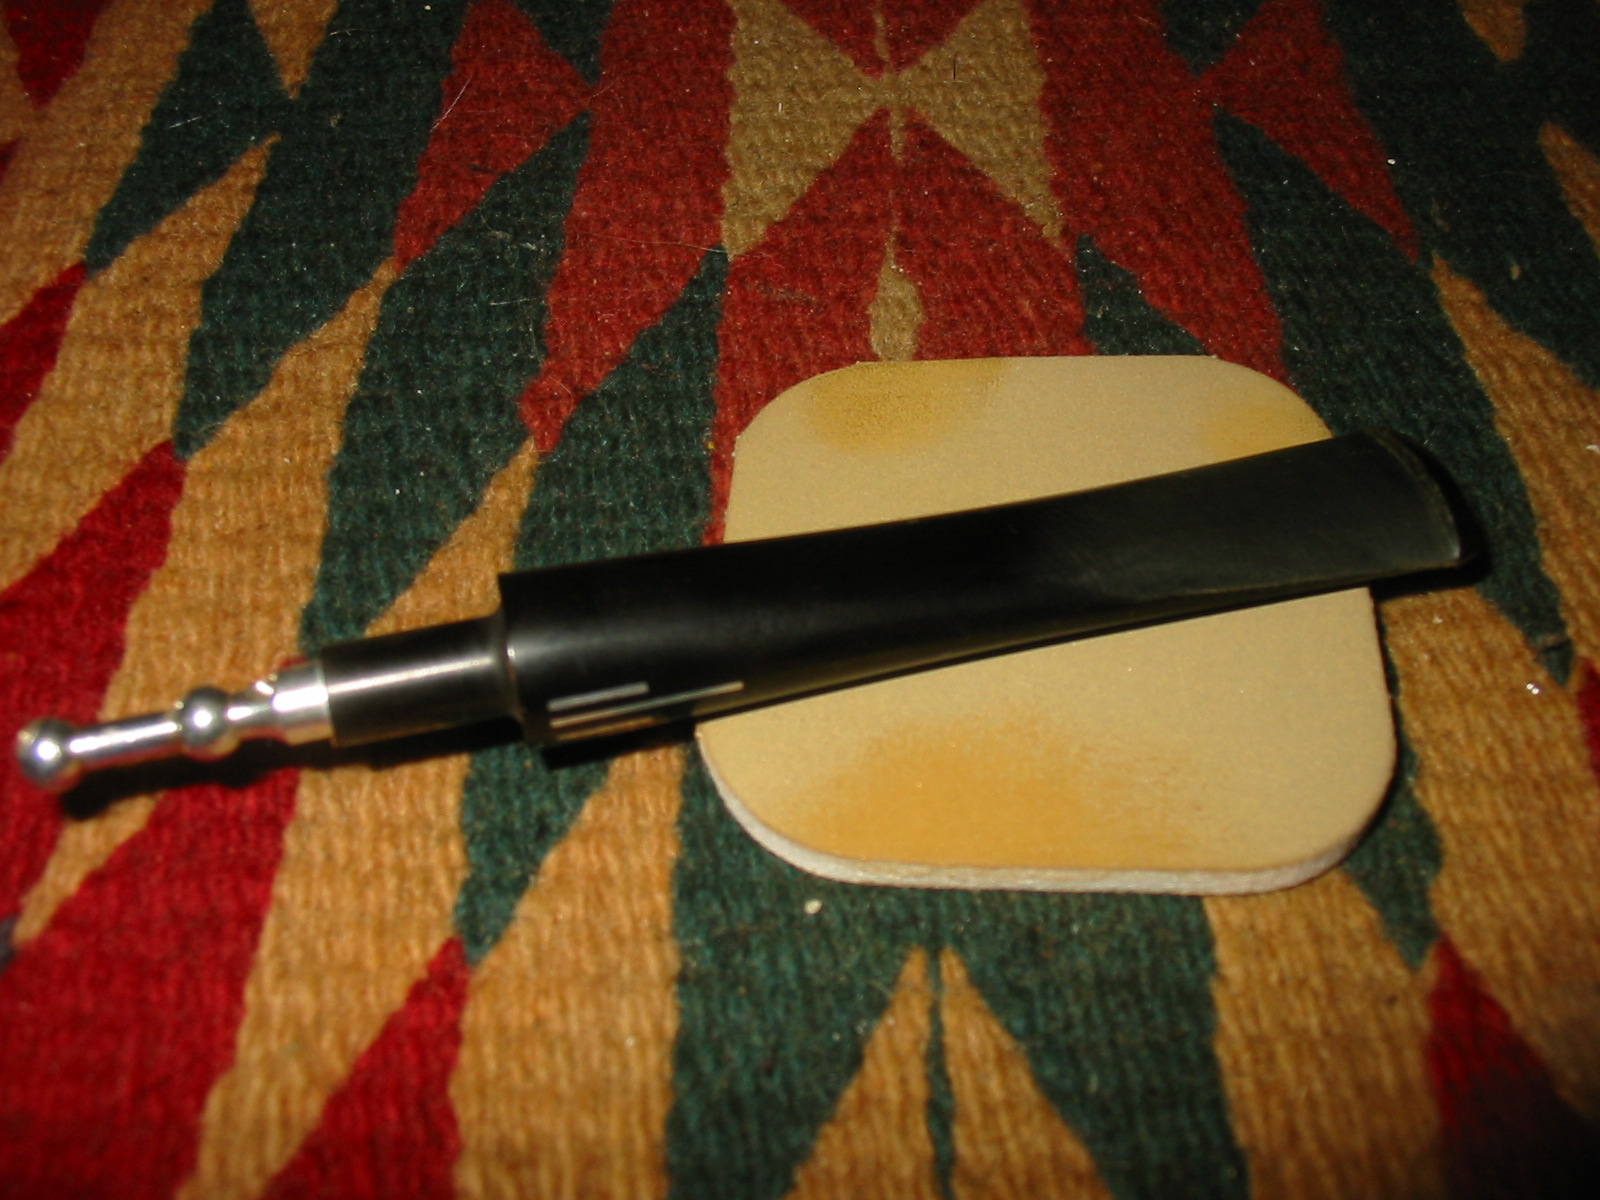
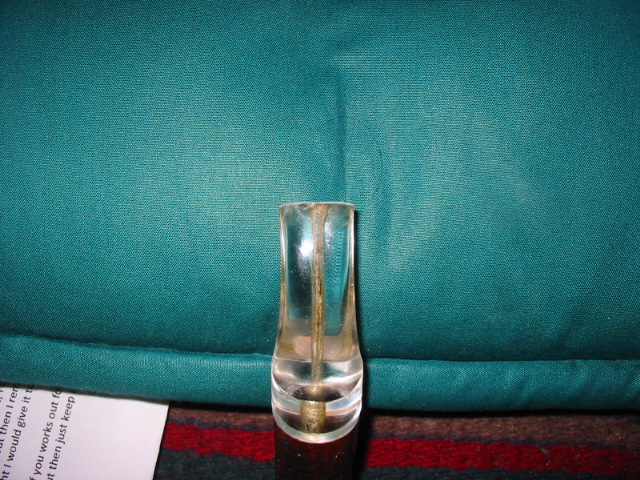
The stem was in pretty good shape, but had a tooth indention on the lower side and some scratches. I tried to lift the tooth mark with some heat, but the Perspex isn’t as resilient as Vucanite. I removed the scratches with some 1500 then 2000 grit wet 3M automotive grade wet sandpaper. Next I completed the stem work with 8,000 and then 12,000 grit micromesh sheets. I buffed it lightly with some automotive plastic polish. The draft hole isn’t heavily stained, which is a fortunate find on a Perspex stem. The tooth mark is on the bottom and the clear Perspex hides it nicely. (and makes it difficult to photograph)

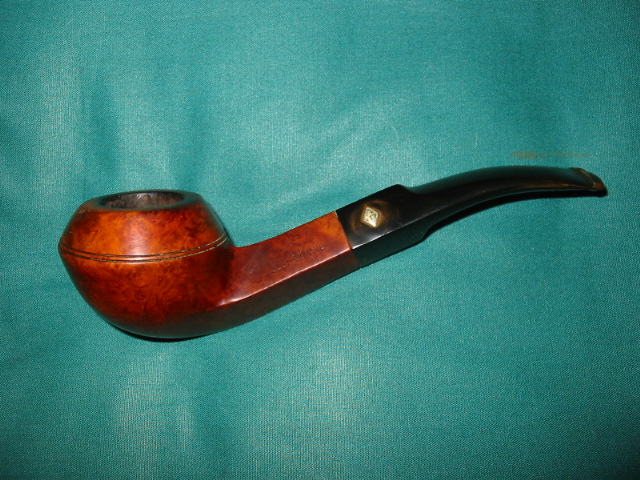
My biggest concern about the briar was what appeared to be handling pinprick marks in several spots, probably from banging around in a drawer/box for a few decades. Using a torch, wet cloth and a pirated kitchen knife, I was able to lift a majority of the marks. The nomenclature was light, so I carefully buffed the bowl with first White Diamond then two coats of carnuba wax. That helped even out the color and hide some of the bruising. It’s not perfect, but has a nice level of patina.

GBD_9438_Virgin_Finished (6)

GBD_9438_Virgin_Finished (1)

GBD_9438_Virgin_Finished (2)

GBD_9438_Virgin_Finished (3)

GBD_9438_Virgin_Finished (4)

GBD_9438_Virgin_Finished (5)

GBD_9438_Virgin_Gallery

With this addition of this Virgin, I now have five different grades of the 9438 shape.

Fantasy

GBD_9438_Fantasy_Gallery 3

Tapestry

GBD_Tapestry_9438_2nd_Gallery

Prehistoric

GBD_9438_Prehistoric_Gallery

New Standard

GBD_9438_New_Standard_Gallery

I include this Seventy-Six Colossus as it is an oversized 9438 (stamped 9676) and clearly the 9438 chubby Rhodesian shape.

GBD_Colossus_76_Gallery

A Comoy’s The Guildhall London Pipe


Blog by Steve Laug

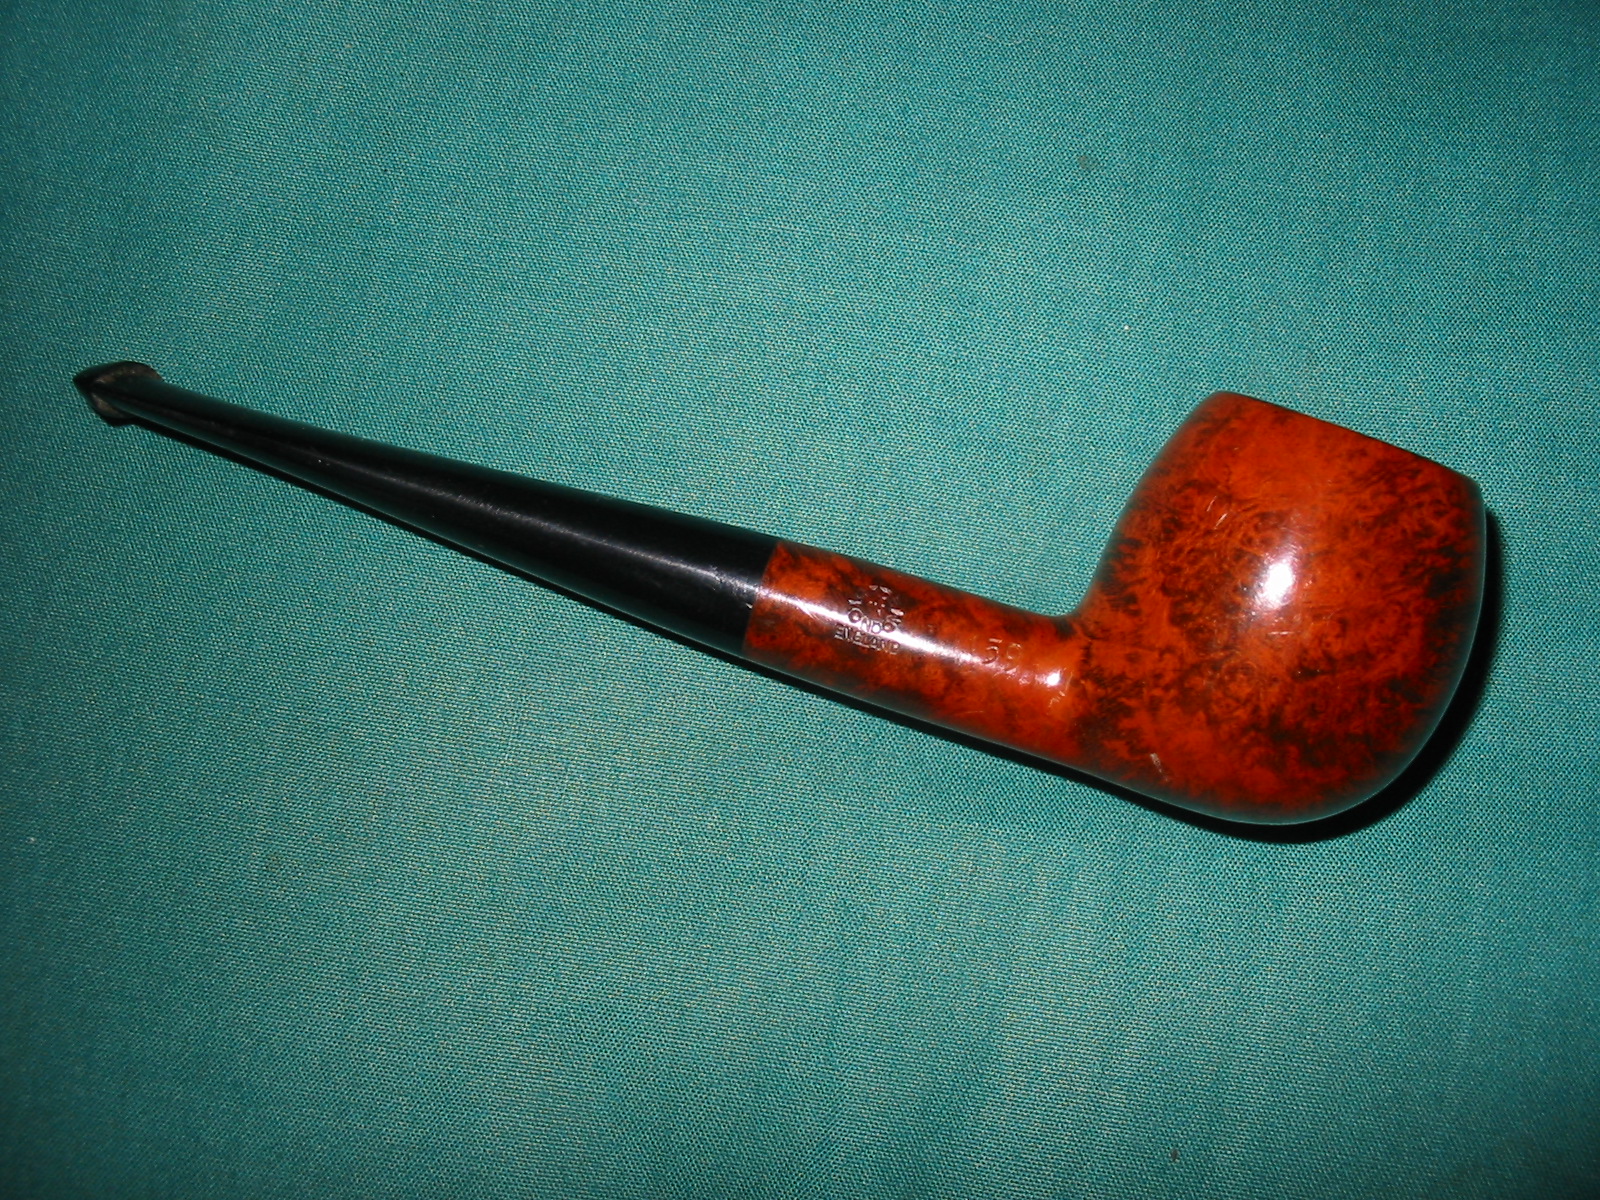
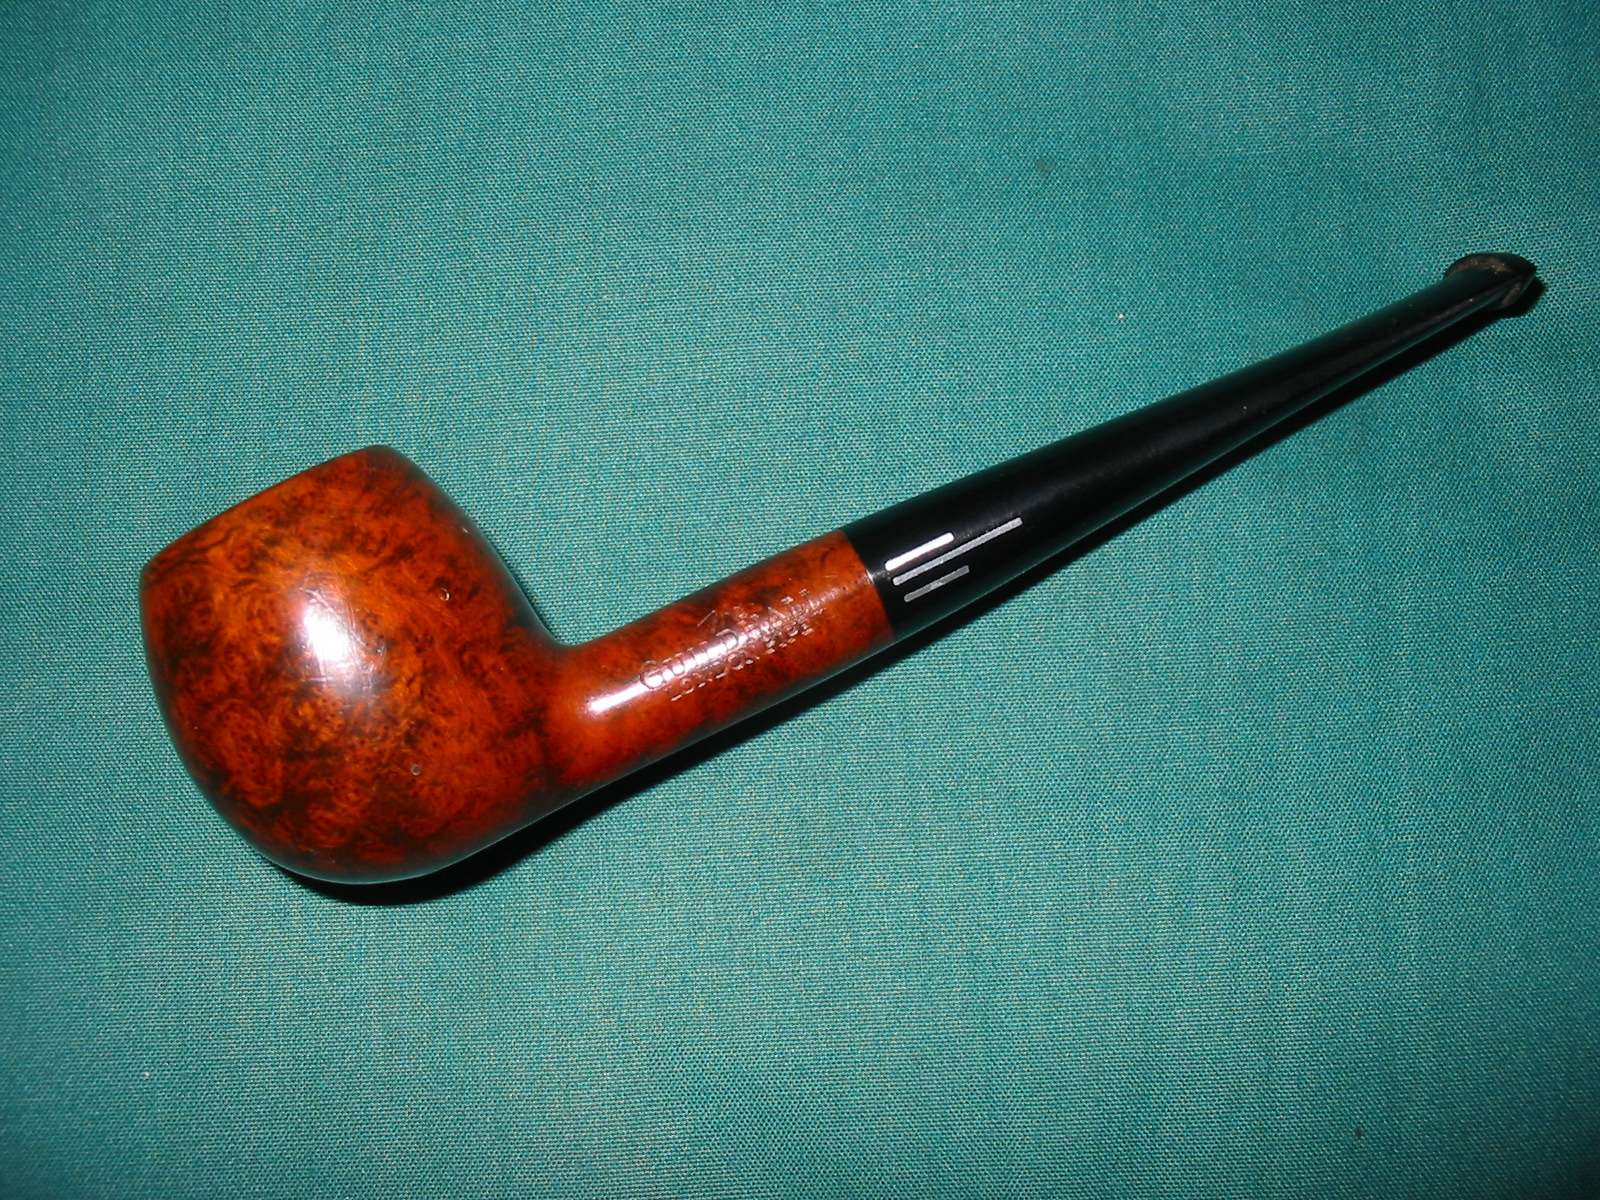
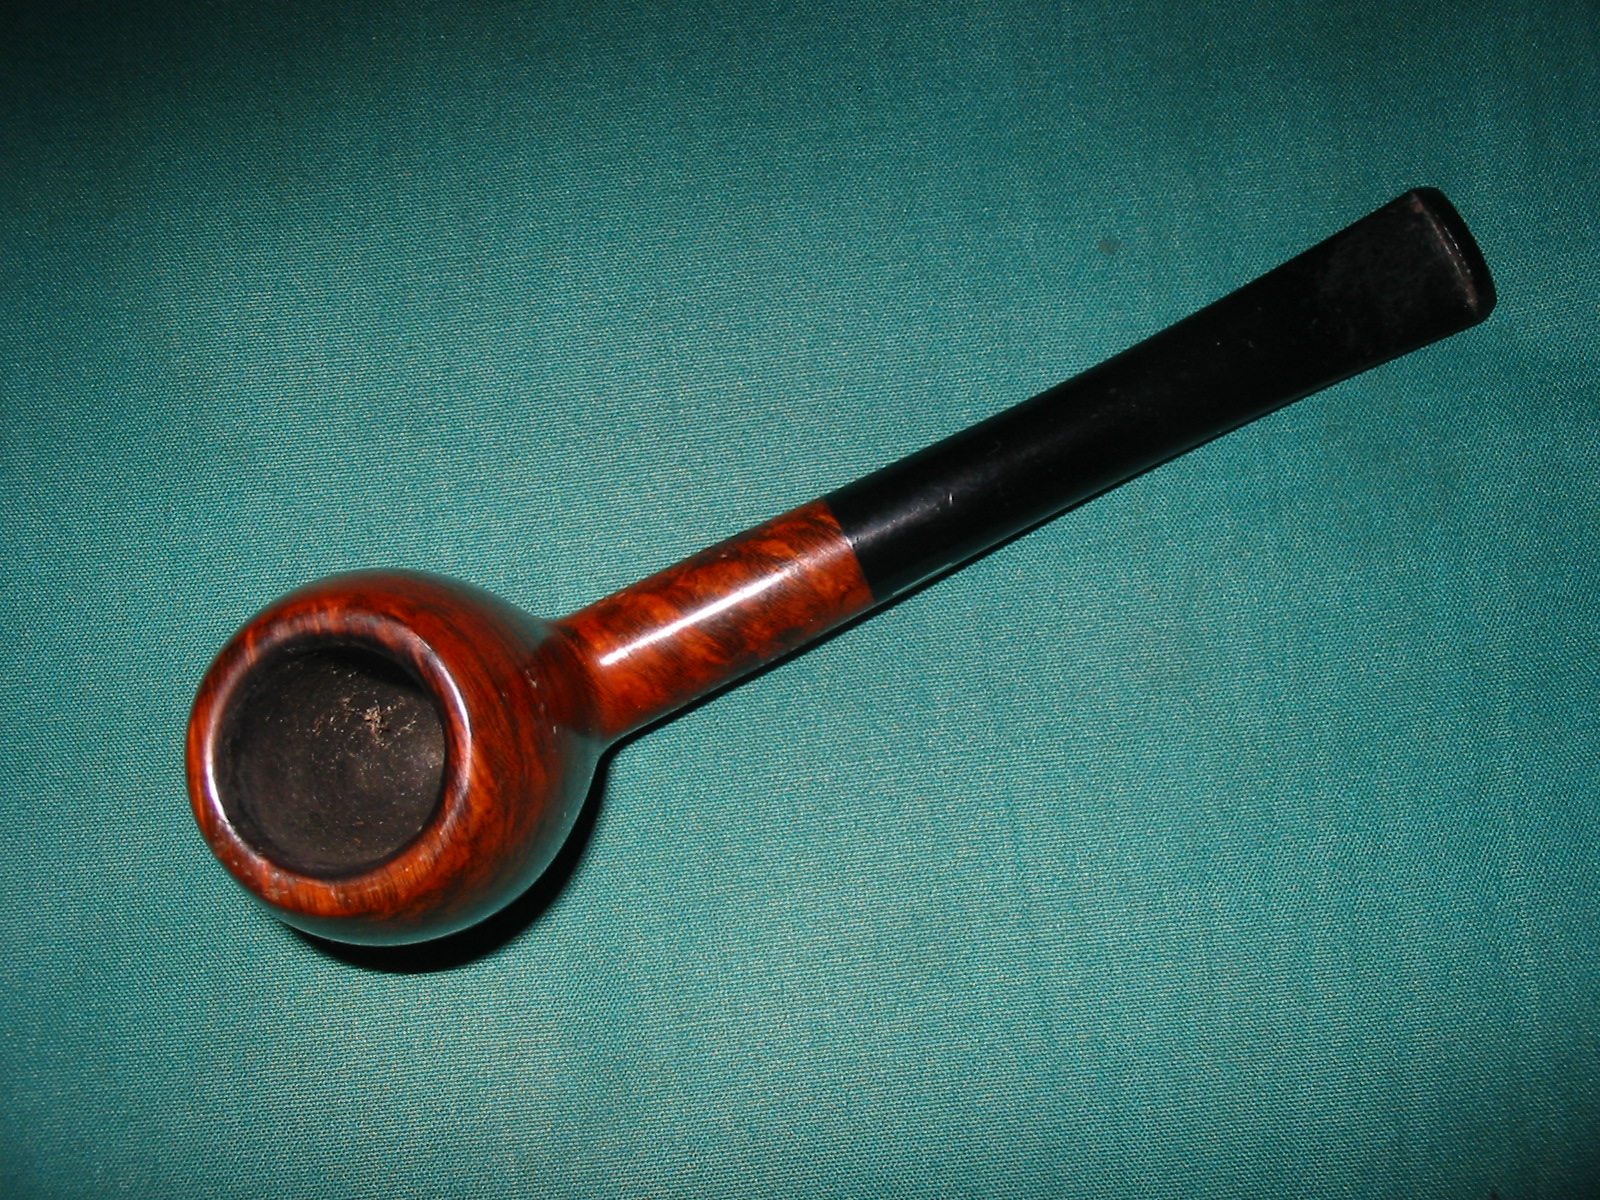
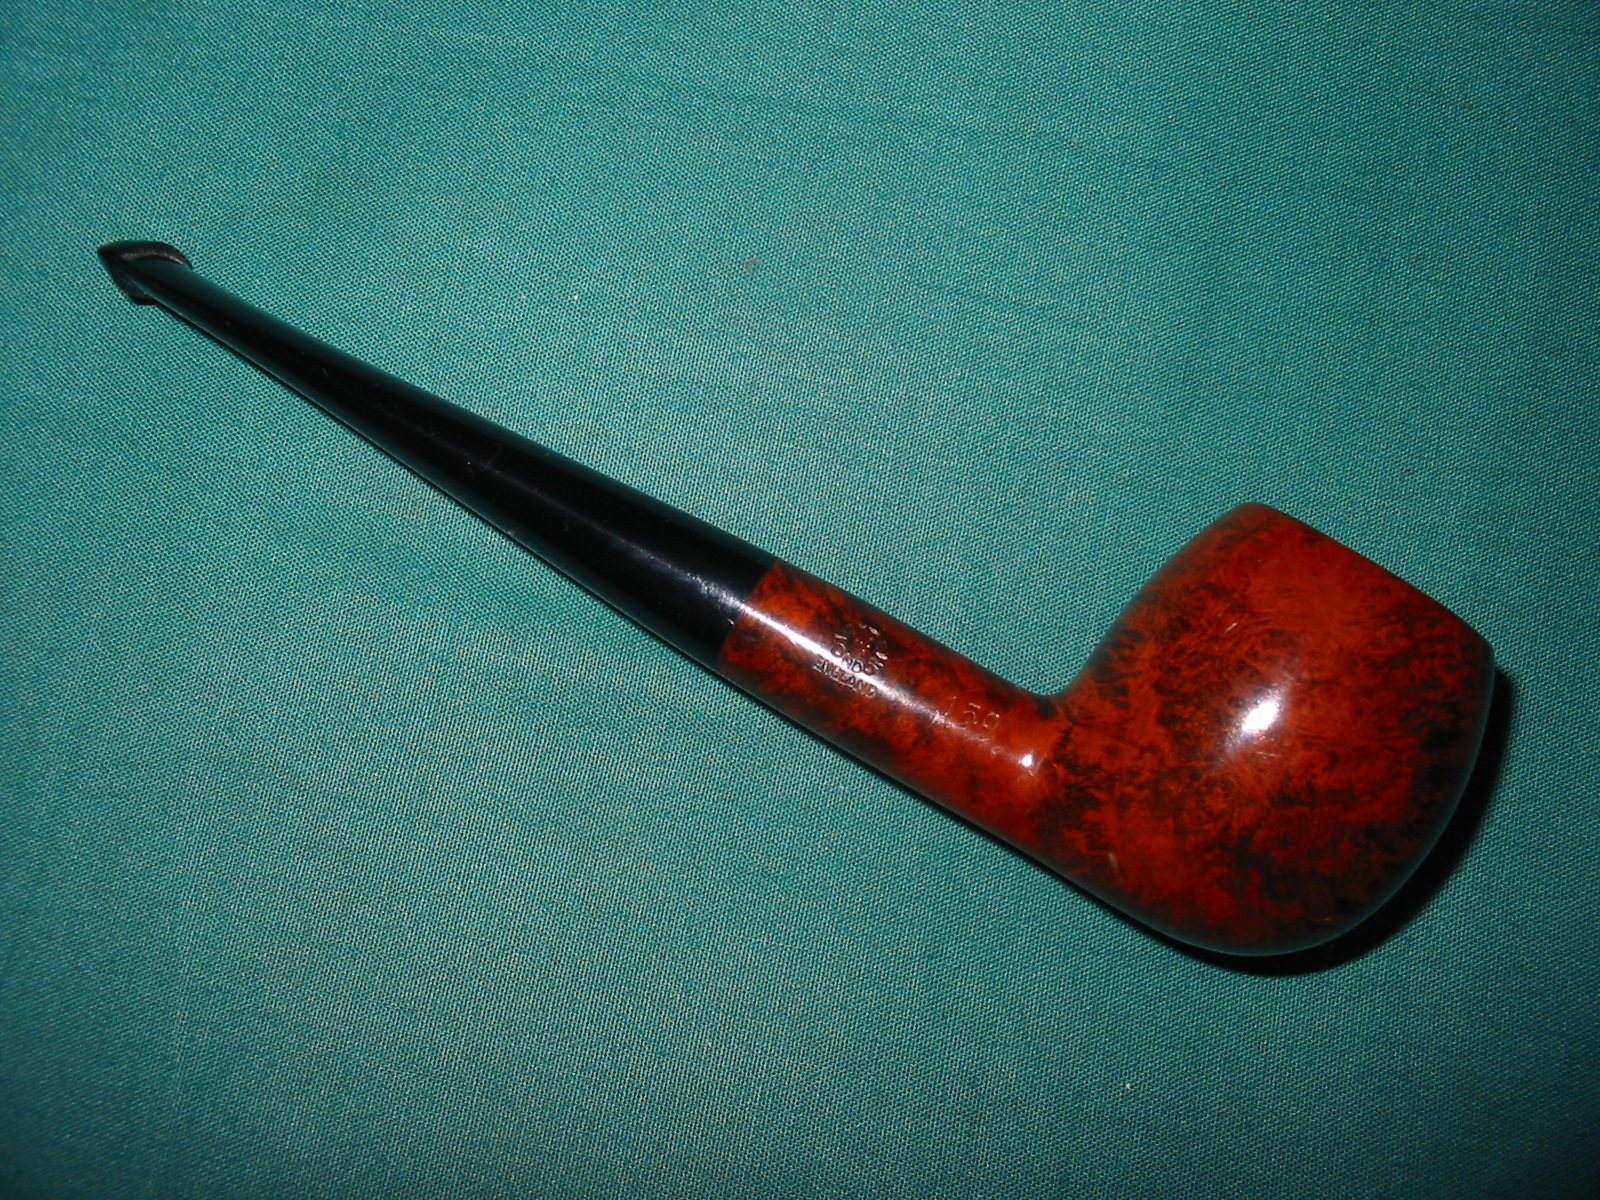
This refurbishment was probably the easiest I have done in a long time. The pipe is unsmoked as far as I can tell. The shank is pristine, the stinger apparatus is unsoiled and clean, the stem inside is clean and the bowl is carbonized but unsmoked. The stem had some tooth chatter that makes me wonder if someone used it for a prop or something. The finish was in excellent shape with no nicks or dings. The bowl is flawless in terms of fills, I can find one pinhole sandpit but otherwise perfect. It is stamped on the left side of the shank The over Guildhall over London Pipe. On the right side it is stamped Made In London in a circle with the In central in the circle. Underneath the circle is stamped England. Toward the front of the shank on the right side is the shape number 159. The first series of five pictures shows the state of the pipe when I got it.ImageImageImageImageImage

I sanded out the tooth chatter with a medium grit sanding sponge. I find that these give me a lot of flex and fit well against the button and follow the curve of the stem nicely. The medium grit works well to remove tooth chatter from the stem without removing too much of the material. The next series of three photos show the stem after sanding it with the sanding sponge.

ImageImageImage

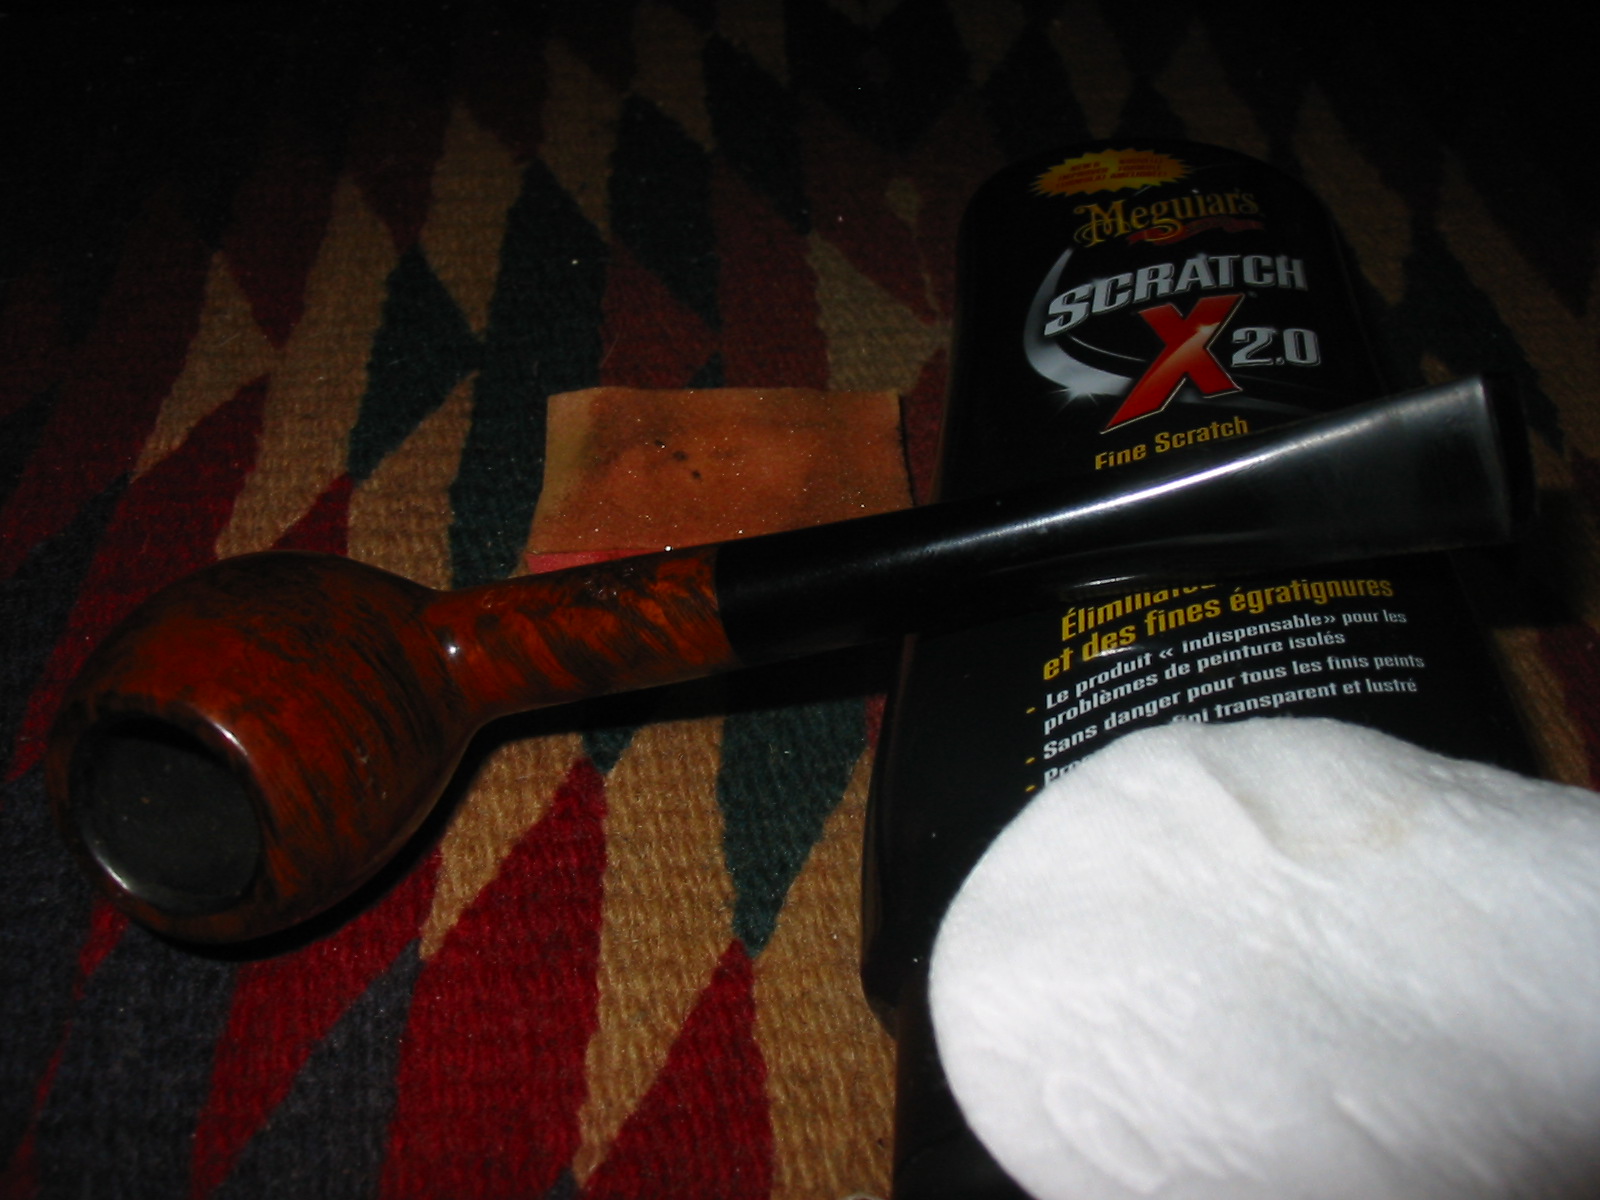
After sanding with the medium grit sponge I used the Maguiar’s Scratch X2.0 polish on the stem. As usual I applied it with a finger to rub it into the stem and then removed it with a cotton pad, polishing as I removed it. The next three photos show the stem after polishing with the plastic polish.

ImageImageImage

I then used the micromesh sanding pads from 1500-12,000 grit to finish the polishing of the stem. The next series of eight photos show the progressive shine that is achieved by the micromesh pads. The last of the eight photos is the 8000 grit pad. I continued sanding with the 12,000 grit pad to finish and then buffed the stem and pipe with White Diamond.

ImageImageImageImageImageImageImageImage

The pipe is finished – that did not take too long – a very easy refurbishment that is for sure. The next series of four photos show the finished pipe. After buffing with White Diamond I gave it multiple coats of carnauba wax to bring it to a shine. Now it is ready to smoke and looking pristine.

ImageImageImageImage

Polishing Stems (PART 1) Piet Binsbergen


I have had some questions about polishing stems.

I must warn that I will not be held responsible for any damage you may cause to pipes following this method. The process is relatively fail safe but certain circumstances that may be beyond my control, I simply cannot be held accountable for. I do suggest that you do a couple of trial runs using old or broken stems before you attempt this process with your beloved birth year Dunhill.

I will share with you my process. Please bear in mind that there are many ways to skin this cat, this is my way of doing things but this does not mean that I reject any other processes that other pipe repairman use.

I use two approaches. Firstly it is important when doing up a pipe to try and save the stems at all costs. So process 1 involves cleaning and polishing stems that have tarnished.

Secondly, especially when it comes to hotrods, I use pre-moulded stems. I am able to hand cut stems from rod stock but I find the process way to involved and time consuming for what I am doing. Call me a cheat but I find this works really well for me. My preferred medium is vulcanite and ebonite but I do not turn down Lucite stems if they come my way. Lucite is problematic in the sense that it has little give and little room for error. On the up side of it Lucite does not tarnish.

Part 1

Saving Original stems

As most of you know vulcanite is compressed rubber, the same stuff your car tyres are made of to a point. This rubber is just compressed way more. I have found different qualities of the stuff over the years and have notice some being more superior to others.

I do not have much to add here due to the fact that Steve Laug is doing some ground breaking work with regards to original stem repair. He manages to remove teeth marks and patch holes in bits. I have studied his technique but will need to pick his brain a little more before I perfect this process. For me, as soon as a stem has a hole in the bit, I replace it with a pre-moulded stem. (This process of his is archived on this blog.) I love tapered stems. There seems to be more ‘meat’ to work with and more ‘meat’ means there is room to open up the draft holes, file out teeth marks and restore the stem as good as new. Saddle stems prove to be a bit of a challenge due to the fact that there is not much room to move.

Most stems look like this, and believe me these are good ones!
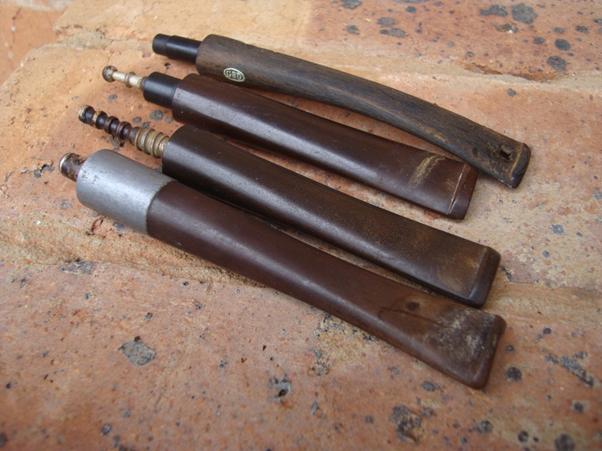
Stems1

What I usually do is drop them into a bleach bath. Household bleach does the trick for me. Here in RSA I use a product called ‘Domestos ‘.
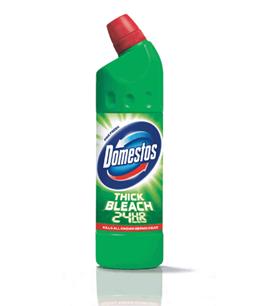
Stems2

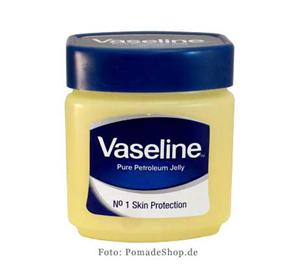
WARNING: Be sure to coat the tenon and nomenclature (If any, like say the GBD rondelle) with Vaseline (Petroleum Jelly).
Stems3

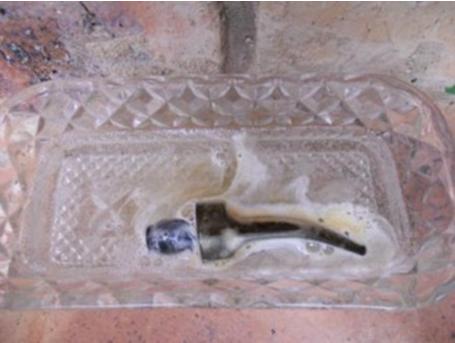
This protects the stem material from coming into contact with the bleach. If you do not do this you will end up needing to resize the tenon as the bleach may eat away at it. As soon as the needed parts are coated, I drop the stem into the bleach. It will bubble a little and you will immediately notice the liquid turning brown. Depending on the extent of tarnish and the quality of the vulcanite will depend how long I leave the stem in the bleach.  A good average for me is 20 min.

Below is a picture of the stem in the bleach for a minute or so. It looks scary I know, but it works.
Stems4

Remove the stem from the bleach and rinse in warm water. Wipe off the Vaseline from the tenon. This process has an added bonus as it tends to eat the muck out of the draft hole in the process.

PROBLEM: But fear not. If you draw on the stem you will taste 2 things. Firstly, you are going to get a strong taste of bleach, secondly, you may taste the left overs from the ghosting of the previous owners blend. If it were aro’s you will really taste it. This is easy to get rid of.

The next step involves scrubbing out the daft hole. I use bristle brushes and bristle pipe cleaners. If I choose to open the stem to my preferred 4mm, I do it at this stage.

Interesting Observation: I have had clients complain that a pipe ghosts flavours of tobacco even when the bowl has been well refinished. Did you know that vulcanite is porous and will hold the ghost in the same way the bowl does. If you do not believe me remove a stem from an old pipe and draw on it, you will taste the ghost! The bleach bath cures this problem to a point. Further manual scrubbing aids the removal of the ghost.

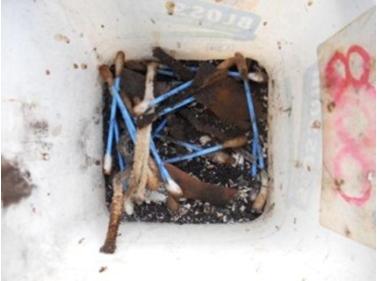
The picture below shows how much dirt and grime is loosened and scrubbed out of the draft hole during this process.
Stems5

In order to remove all ghosting of tobacco, bleach and in order to sanitize the stem, I soak the stem in alcohol for an hour. I use Isopropyl alcohol (96%). Now this stuff is poisonous in a big way if ingested but research has proven that as soon as it has evaporated it is harmless. This is the same stuff used by hospitals to clean and sanitize operating theatres and equipment so go figure. After an hour remove the stem from the alcohol bath and rinse with clean water.

Here is a picture of the colour of the alcohol once the stem has come out a soaking for an hour.
Stems6

Notice the stem may turn white, light green or matte black depending on the type of vulcanite used by the manufacturer. I have noticed that most Peterson stems for example turn white. If you draw on the stem at this stage will taste nothing. I will be as good as new.

Sanding and polishing: You may notice the following, the stem may be smooth with colouration or it may look matt black and be rough textured. Start sanding. I use 400 and work my way up to 800 grit sand paper. This is a time consuming process, do not take any short cuts here. The last thing you want is a stem with a high polish that is full of surface scratches.

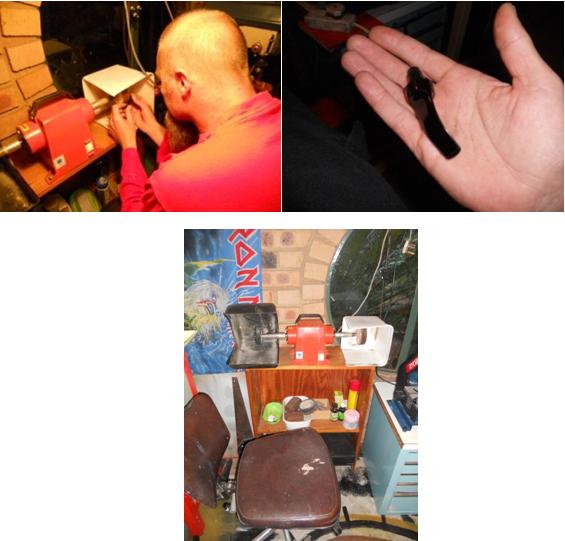
By the time I reach 800 grit I move to the buffer. I use Tripoli (Brown wax) which is equivalent to 800 grit sand paper and move onto White Diamond which is the same as 1200 grit. If you do not own a buffer, you can still get the same finish but the process will just take longer as you will hand sand up to 1200 grit and beyond.

The pictures below show the buffing process. Note that the picture of the stem on the right is not the finished product but shows what the stem looks like after buffing.
Stems7

By this stage the stem should shine and you should be able to see your reflection in the material. If not revert back to sanding, you have taken short cuts!

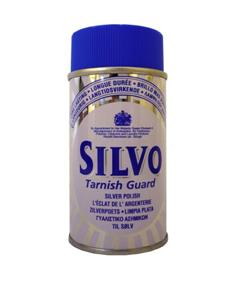
Depending on the type of material, as vulcanite differs in hardness, I continue hand sanding with 1500, 1800, and finally 2000 grit. Here you may notice the stem may start to dull a bit. The final polishing stages involves Brillo, or what we call Silvo here in RSA.  Silvo is a jewellery polish. Polishing is now done by hand using a soft duster cloth.
Stems8

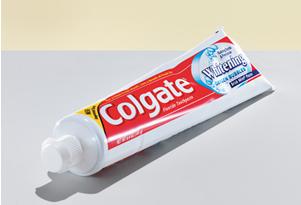
Finally, and you may laugh, but, I use tooth paste as the final step. This is a trick I learnt from a flute maker who high polish silver. Think about it, it really is quite logical. Toothpaste is a fine, very fine, rubbing compound. This process is also done by hand using a soft duster cloth.
Stems9

A final word of advice: Vulcanite is light and air sensitive. The more light the faster the tarnishing process will start. To avoid further tarnishing I run the stem including the bowl over a slow spinning buffer using carnauba wax. This forms a protective layer on the vulcanite keeping the oxidation process at bay. When done smoking your pipe, wipe the bit clean with a soft cloth. Saliva (Ph levels) mixed with the smoke is what makes pipes so yukky around the bit area. My stems are always clean and oxidation free. Besides standard cleaning after smoking I run the stem over the buffer to seal them up again from time to time.

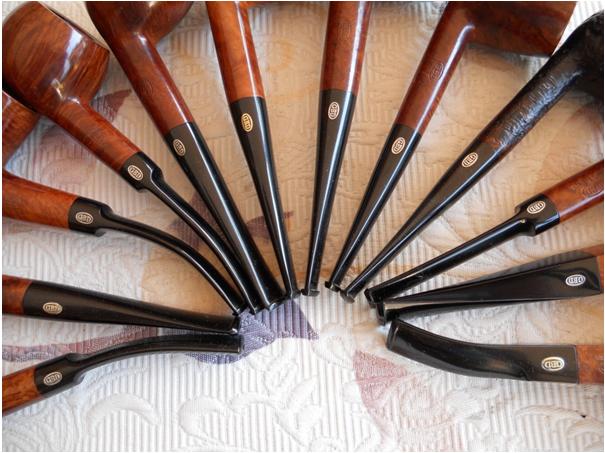
Here are a couple of pictures to wet your stem polishing appetite. These are a herd of refurbished GBD that belong to “Muddler”. Stems can look better than new if you take the time and put in the effort.
Stems10

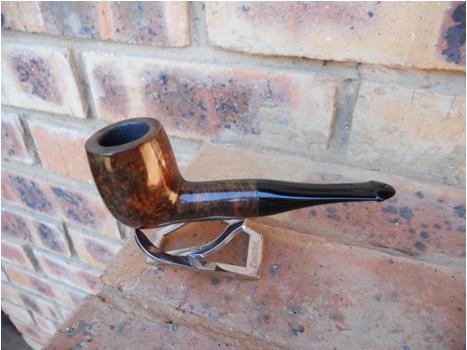
A Peterson Kildare.

Before and after
Stems11

Stems12

Good Luck and enjoy!
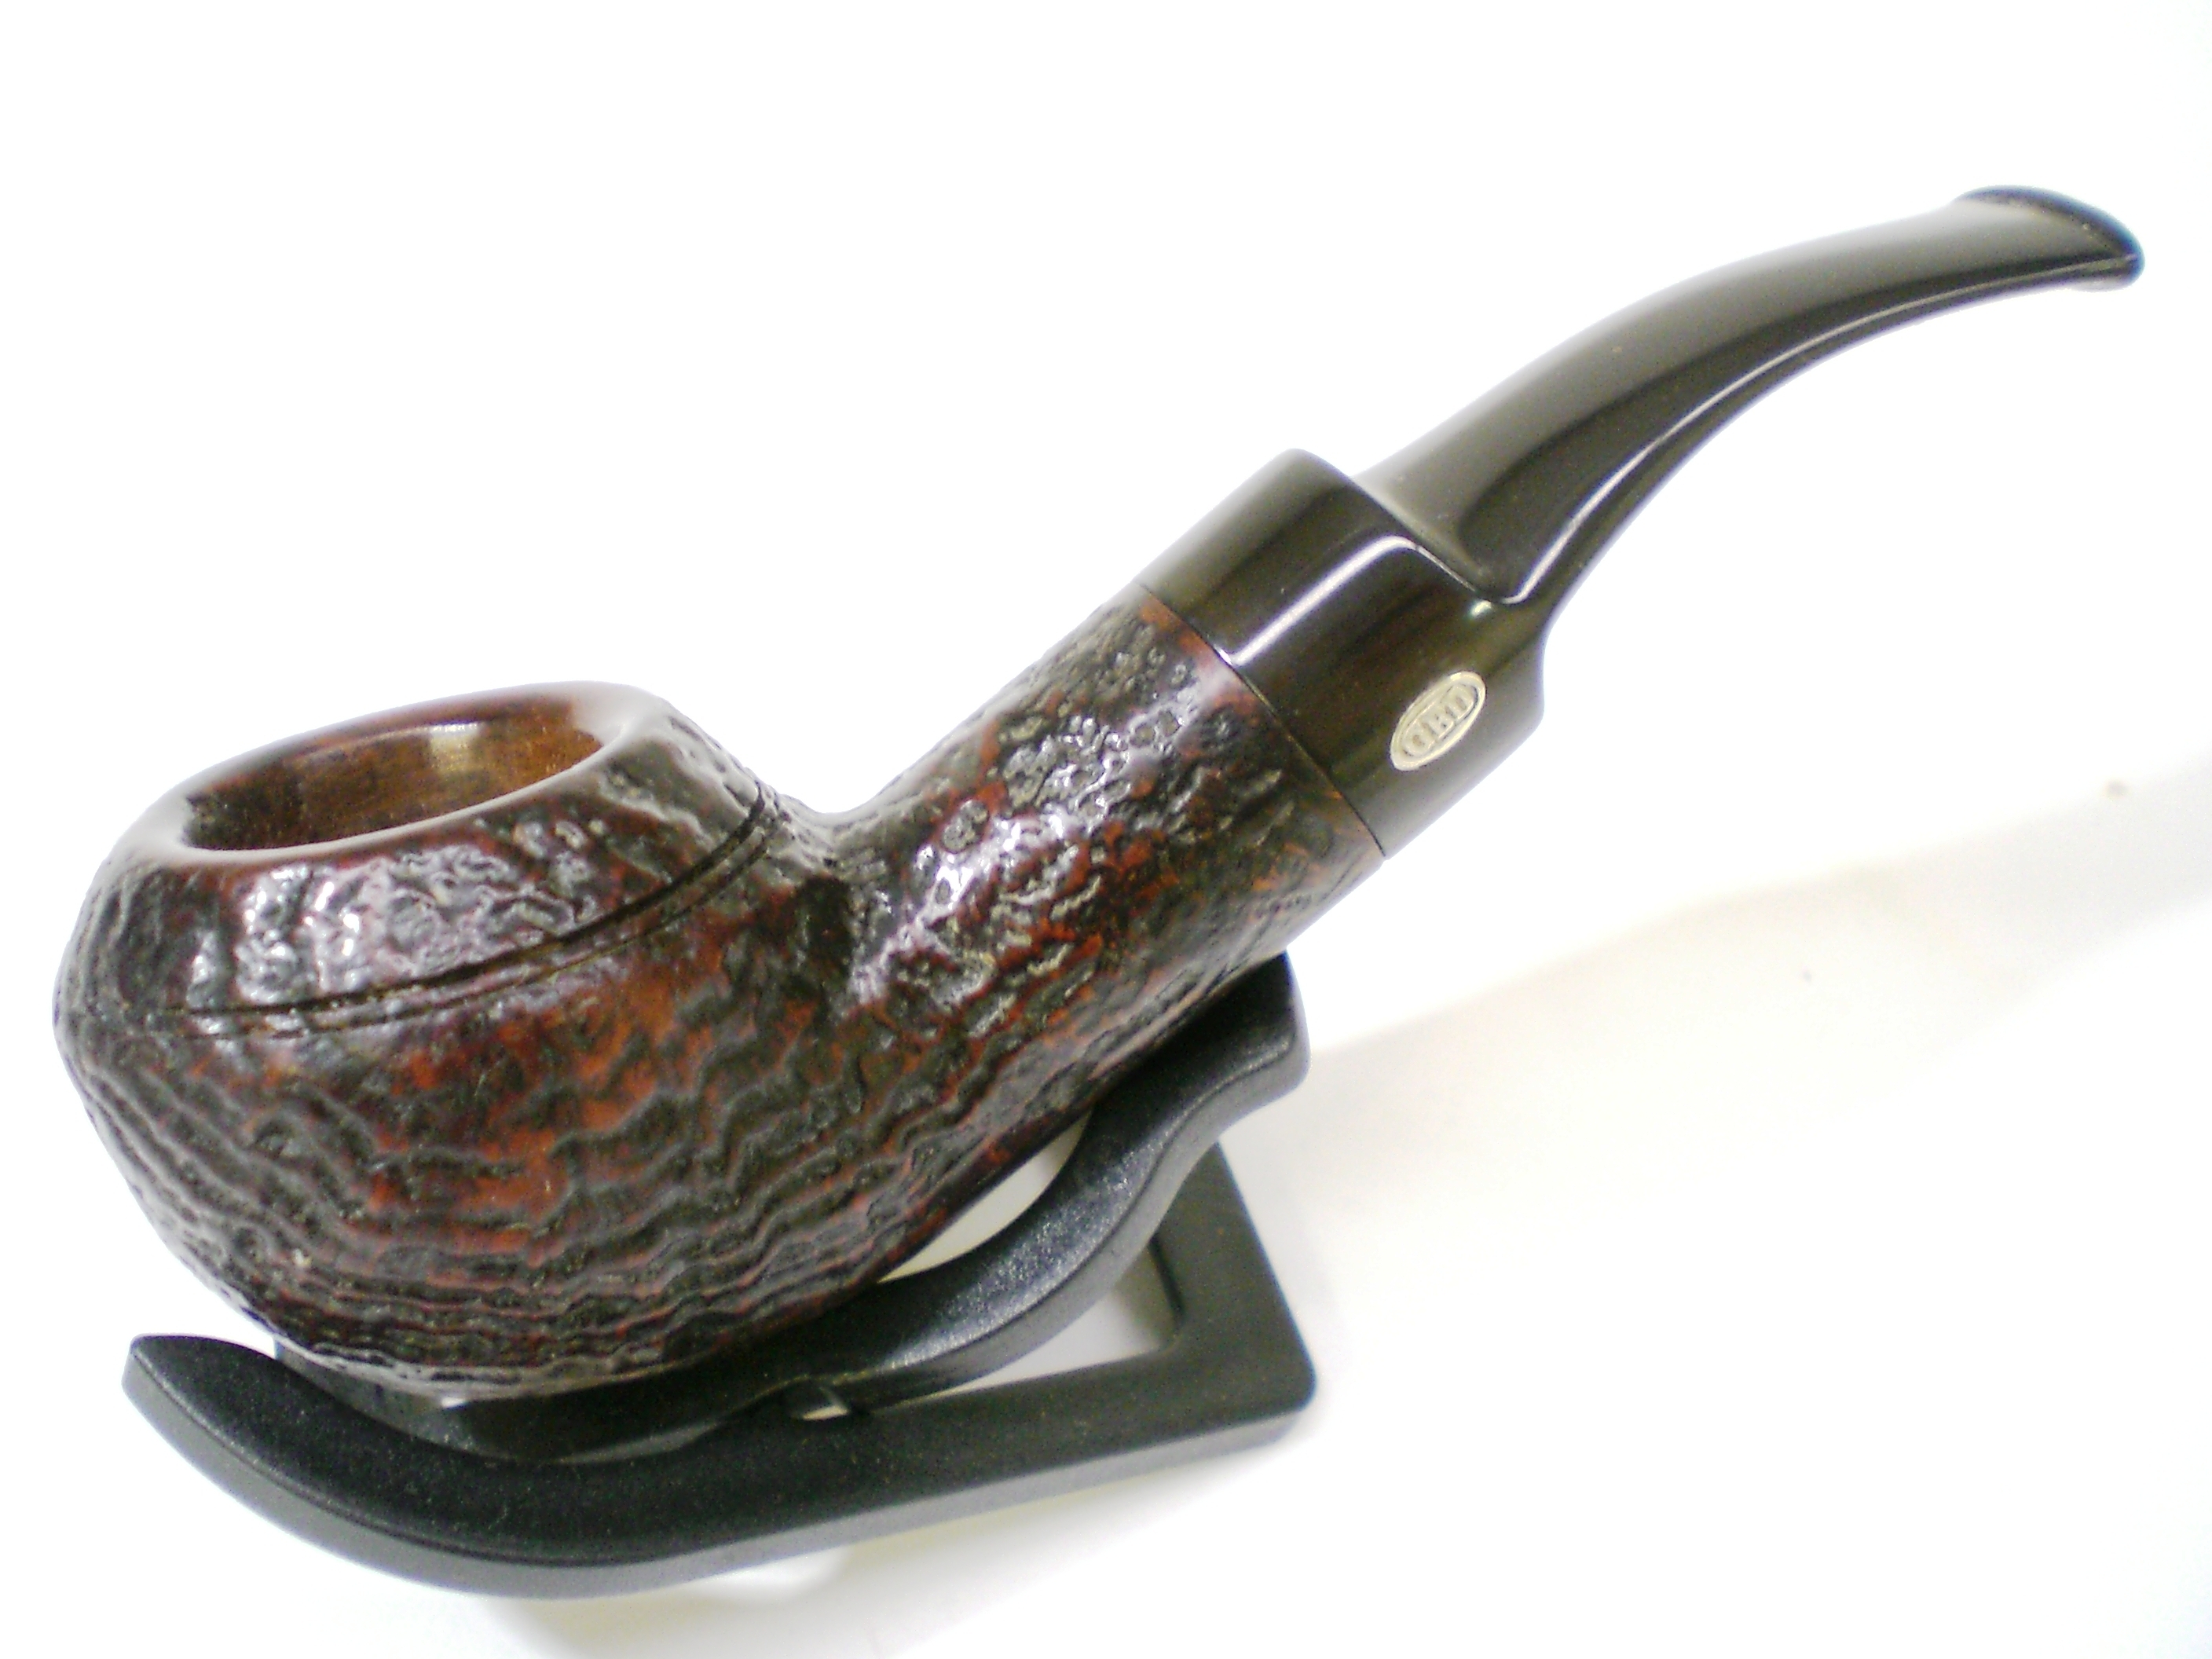
A Tiny Pair – Refurbishing and repairing an old couple


Blog by Steve Laug

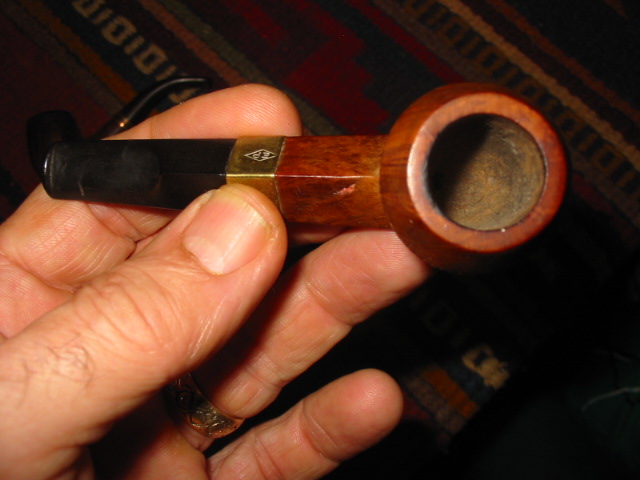
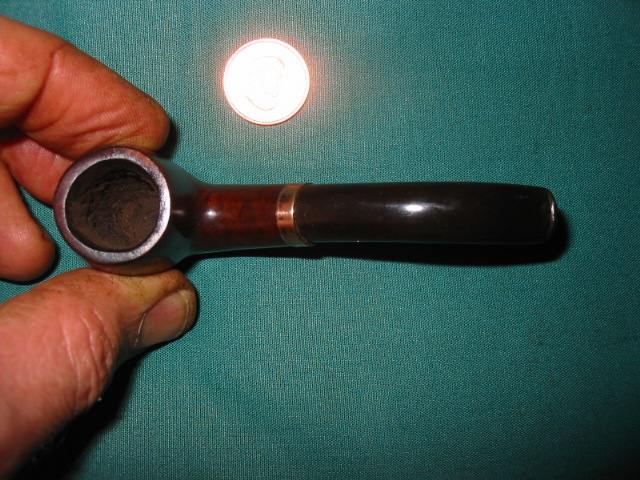
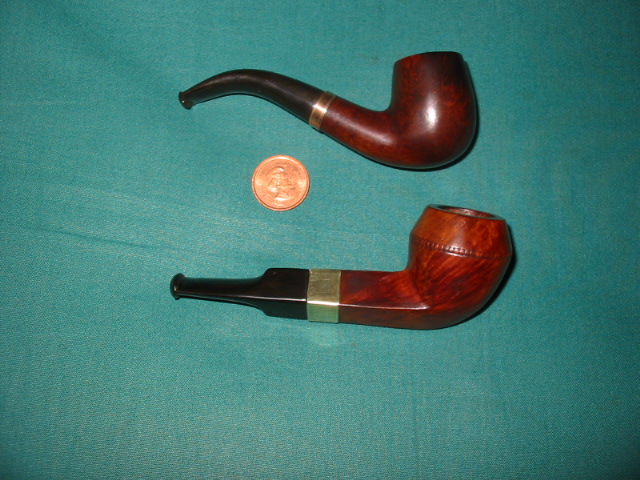
This morning I decided to work on these two old timers – a little mini bulldog and a mini bent billiard. Both are old as is clear from the orific button on the stems and the shape of button on both (the round hole in a crowned surface of the button – see the photo below).

Image

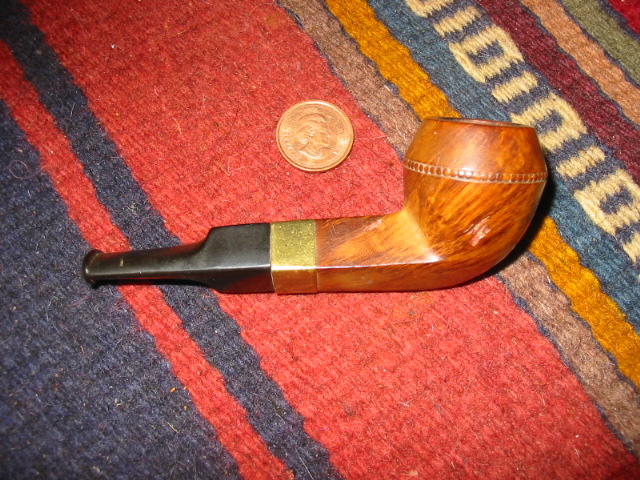
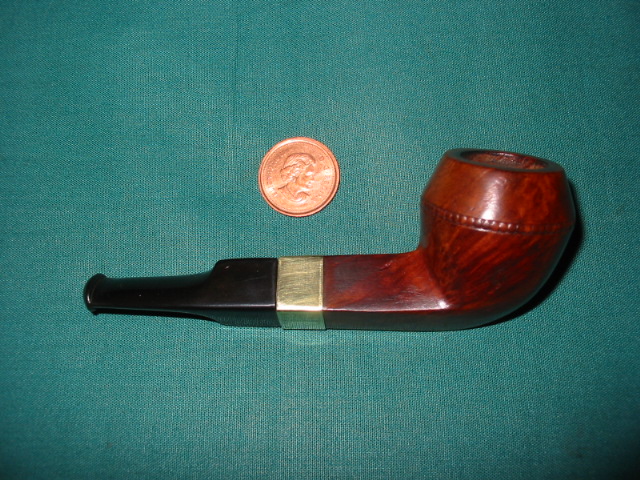
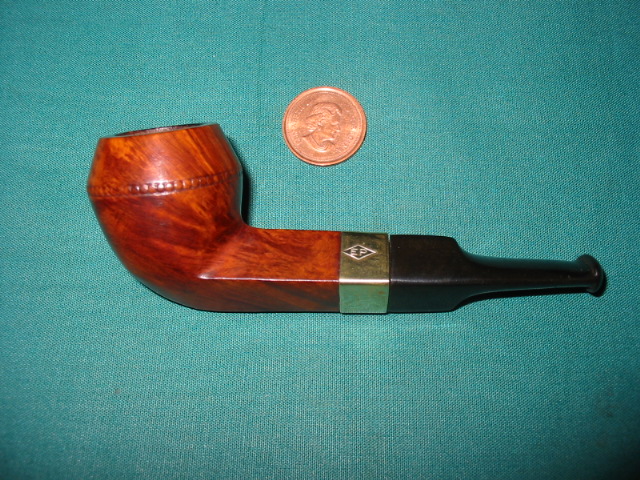
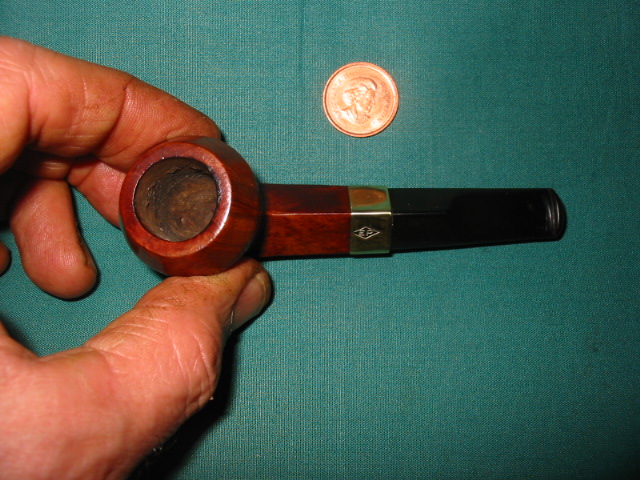
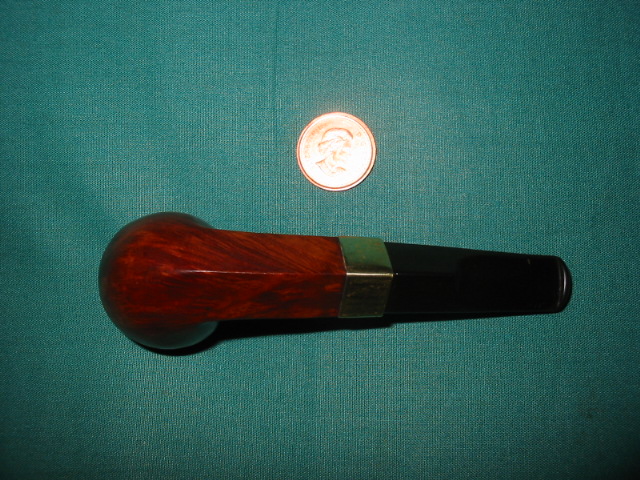
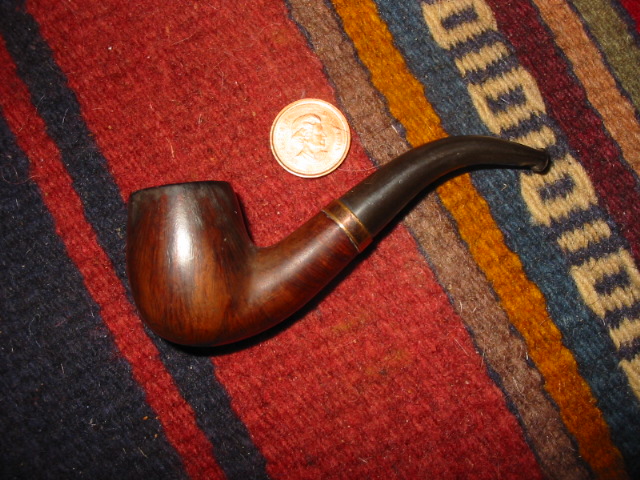
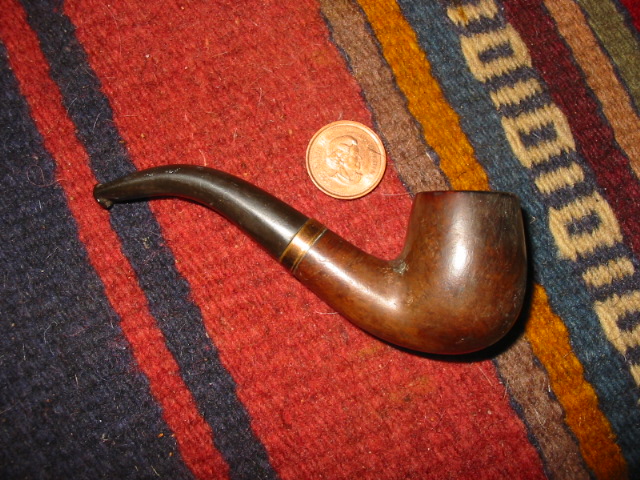
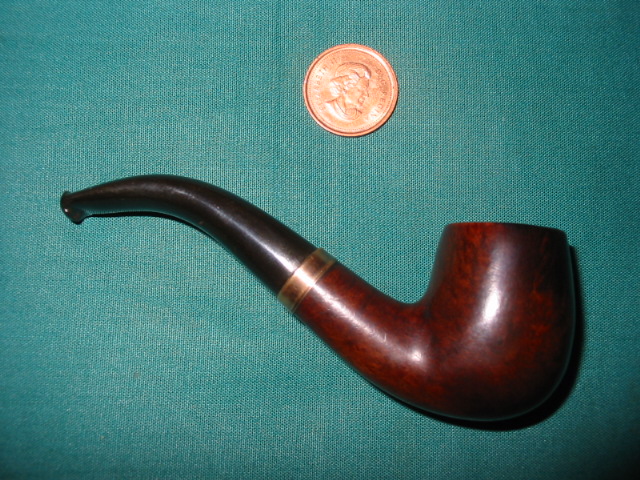
The first is a no name bulldog with a gold band on it. It has EP on the band which I believe means Electro Plated. The stem was in pretty fair shape though the previous owner had cut a small groove in the stem about a 1/8 inch ahead of the button on the top and the bottom. The bowl was in pretty good shape though it was darkened near the band and there was a deep cut on the shank about mid way along toward the bowl and on the bowl side – both on the right side and visible below. The photo with a penny (1 cent piece) gives a good picture of the size of this little dog. The bowl was pretty clean so all I needed to do was wipe it out with a cotton swab and isopropyl alcohol. I did the same with the shank and the stem as well. It was pretty black and tarry on the inside of the stem and shank. I had to use a paper clip to break through the clog that was in the shank about mid way to the bowl and also in the stem.

ImageImageImage

I worked on the bowl and shank exterior with sand paper to remove the finish around the two cuts in that I was going to work on. I washed off the surface after sanding with acetone to clean off the briar dust and the remaining finish. Once it dried I decided to fill the cuts with clear super glue. The process is pretty straight forward – I drip a drop in both holes and lay it aside until it dries. Then I add another drop, lay it aside and repeat until the cut is filled. I find that the clear super glue is a great way to fill the cuts or pits as it allows the briar to show through clearly and once it is stained it virtually disappears. Once the super glue dried I sanded the spots with 240 grit sandpaper and then with 400 and 600 grit wet dry and water to smooth off the spots and remove any of the over flow around the spots. I want the super glue to fill only the spot and not carry over onto the clean briar so I sand it down level with the surface it is filling. I then sanded the entire bowl with micromesh pads from 1500-6000 grit and then wiped the bowl down with isopropyl alcohol on a soft cloth.

I then worked on the stem and sanded down the grooves to make the stem smooth once again. I used the same pattern of sanding – 240, 400, 600 grit sandpaper and micromesh – 1500, 1800, 2400, 3200, 4000 and 6000 grit. Once I had the grooves and the stem clean and pretty polished I took it to the buffer and used White Diamond on both the stem and bowl. I took it back to the work table and gave it a coat of Obsidian Oil and set the stem aside while I stained the bowl. I wanted to keep a lighter look to the bowl so I used some oxblood stain and wiped it on and off before it had time to dry. I gave it two coats and then flamed it. I buffed the bowl with White Diamond and then gave it a coat of carnauba wax. I also polished the band and gave it a coat of wax. Here is the finished pipe. The two cuts or pits have disappeared on the right side of the bowl (top picture).

ImageImageImageImage

I finished it and put it aside to work on the bent billiard. It was in a bit rougher shape than the bulldog. It is also a no name old timer with a gold band – very tarnished. The bowl was very grimy on the outside and the finish was cloudy and dark. The stem was grooved in the same manner as the bulldog – probably same owner making his own comfort bit to enable him to clench these little guys.

ImageImage

I scrubbed the bowl down with acetone on a cotton boll and removed the finish and the grime. The top was a bit dented so I gave it a very light topping and then sanded out the inside of the bowl and worked on the roundness of the inner rim as it was a bit out of round.  I used a small piece of sandpaper to bevel the edge enough to repair the roundness. I cleaned out the shank and the stem. This pipe was also clogged in both the stem and the shank so I use a paper clip in the shank and to open the end of the stem from each end. I then used small pipe cleaners soaked with alcohol until they came out clean. I set the bowl aside to work on the stem.

Image

The stem needed the same treatment as the one on the bulldog to remove the grooves from the previous owner. Fortunately on both pipes they were not very deep so it did not change the profile of the stem. I sanded the entirety of the stem down and used the same pattern of sandpaper and micromesh as above. I buffed this one with Tripoli before finishing with the micromesh. I gave it a coat of Obsidian Oil and set it aside to stain the bowl.

I cleaned the bowl exterior one last time and then stained it with oxblood stain – wipe on and wiped off pretty quickly several times to get good coverage. I polished the gold band with the highest grit micromesh pad (6000) and then gave the bowl and band a coat of wax by hand and once it dried buffed it by hand with a soft cloth. I put the stem back on and took it to the buffer and buffed the entirety with White Diamond followed by carnauba wax.

ImageImageImageImage

Here is a picture of the pair together so their diminutive size is clearly seen. They are incredibly light with group one sized bowls. They are clean and ready to smoke.

Image

One of my favourite refurbs – 1919 BBB Bent Calabash


I was going through some old pictures on my hard drive the other day and found this one that I bought on EBay for a very reasonable price early in 2008. I finished refurbishing it in March of 2008. It was and is one of my favourites. You can see from the picture below what kind of shape it was in when I got it. In the pictures on EBay it looked worse than it does in the picture below. I opened the box when it arrive expecting far worse. I bid on it because I liked the shape of the pipe and I figured it would be a challenge.

The stem was oxidized to the brown white coloration that appears below. It almost appeared to be a horn stem – but it was not. When I removed it from the shank – which took a bit as it was stuck by the goop in the shank and the oxidation that portion was black. I put it in the freezer for a short period of time to cause some expansion and contraction in the stem that would loosen it from the shank. When I took it out of the freezer it was easily removed. I went to work on the inside of the stem with shank brushes and pipe cleaners, both bristle and fluffy dipped in alcohol. I worked on the stem until the cleaners came out white and clean.

I then mixed a batch Oxyclean and soaked it in the solution overnight to soften the oxidation. I find that the Oxyclean solution (warm water and a half scoop of Oxy in a pint jar) works wonders in softening the oxidation. It does not remove it but it made it easier to remove. Once I took it out of the solution the next morning to work on it I used 240 grit sandpaper to remove the oxidation. It worked well to take off the brownish white coating on the stem. Once that was finished it was a dull brown and I continued to work on it with the 400 grit wet dry sandpaper until it was a dull black. I then progressed to 600 grit wet dry sandpaper to further remove the grime. I used both of these sandpapers with water as I find it gives the grit more bite on the stem. I had not discovered micromesh at this time so I used 800 and 1000 grit sand paper and continued to sand the stem clean. By the time I used the 1200 grit wet dry sandpaper the stem was looking like new. I took it to my buffer and used the Tripoli and White Diamond to finish the job.

While the stem was soaking in the oxy I reamed and cleaned the pipe bowl and shank. I worked on it until the pipe cleaners came out clean. It took many bristle cleaners and many fluffy one to get it clean. I also used cotton swabs in the shank to remove the tars and build up there. I scrubbed the outside of the bowl and rim with Murphy’s Oil Soap to remove the grime and deep seated dirt on the bowl. After I finished the scrub and clean I put the bowl in a bath of Isopropyl alcohol to remove any remaining dirt and grime and the badly damaged finish on the bowl. That was the first night of my working on the pipe. I went to bed that evening with both the bowl and the stem soaking in their separate baths.

Image

The next morning I finished up the stem and set it aside as I described above. I turned my attention to the pipe bowl. I removed it from the alcohol bath and dried it off. I used a wet cloth and a butter knife heated over a flame to raise the dents in the outer rim of the pipe and the sides of the bowl. The process is quite simple. You wet a cloth, wring it out so it is not dripping wet yet still wet. Then fold it and put it over a dent. Heat the knife (I use our gas stove to do it but have also used an alcohol lamp). I then lay the flat blade of the knife on the dent. You will hear a hiss as the heat causes steam to rise from around the blade. The steam causes the dent to rise. I applied the blade repeatedly until the dents were minimized. Then I took it to my work table and used a flat board and a piece of sandpaper to top the pipe just enough to remove the remaining dents and damage. I do that on a flat surface to maintain the flatness of the rim without changing the angle. When that was finished I wiped down both the bowl and rim with an alcohol damp cloth to remove any residual sanding dust.

I then used an aniline stain, in this case medium brown as I had researched and found that the colour matched the colour of the pipe when it was new. I used the dauber that came with the stain and applied it to the rim and the body of the pipe. I started at the bottom of the bowl and worked my way up to the rim. The rim always the last part I do. Once it was completely covered with stain I ignited it with my lighter to set the stain. The process is called flaming the stain (at least that is what I call it.) I let it dry while I put a coat of wax on the stem.

When the stain was dry I took the bowl to my buffer and gave it a buff with Tripoli and White Diamond to remove the top coat of the stain and the opacity of the stain. The result can be seen in the picture below. I also used some silver polishing compound applied with a soft cloth to remove the tarnish on the end cap. I finished that process with a silver polishing cloth to give it a good shine. When that was completed I gave the bowl and cap a good buff with carnauba wax then reinserted the stem and gave the entire pipe an extra coat of wax for a finish.

Image

I still smoke it today and it delivers proudly! The last two pictures below show what the pipe looks like today after 4 years of use. It has developed a deep patina to the bowl and the warmth of the medium brown stain has mellowed into a richness that is really nice. Repeated waxings over the years have helped mellow the finish and also deepen the black of the vulcanite stem. This is one of my favourite old pipes. It truly is a reborn pipe. In 7 years it will be 100 years old. Some days I wish it could talk because I can’t even begin to imagine the stories it could tell.
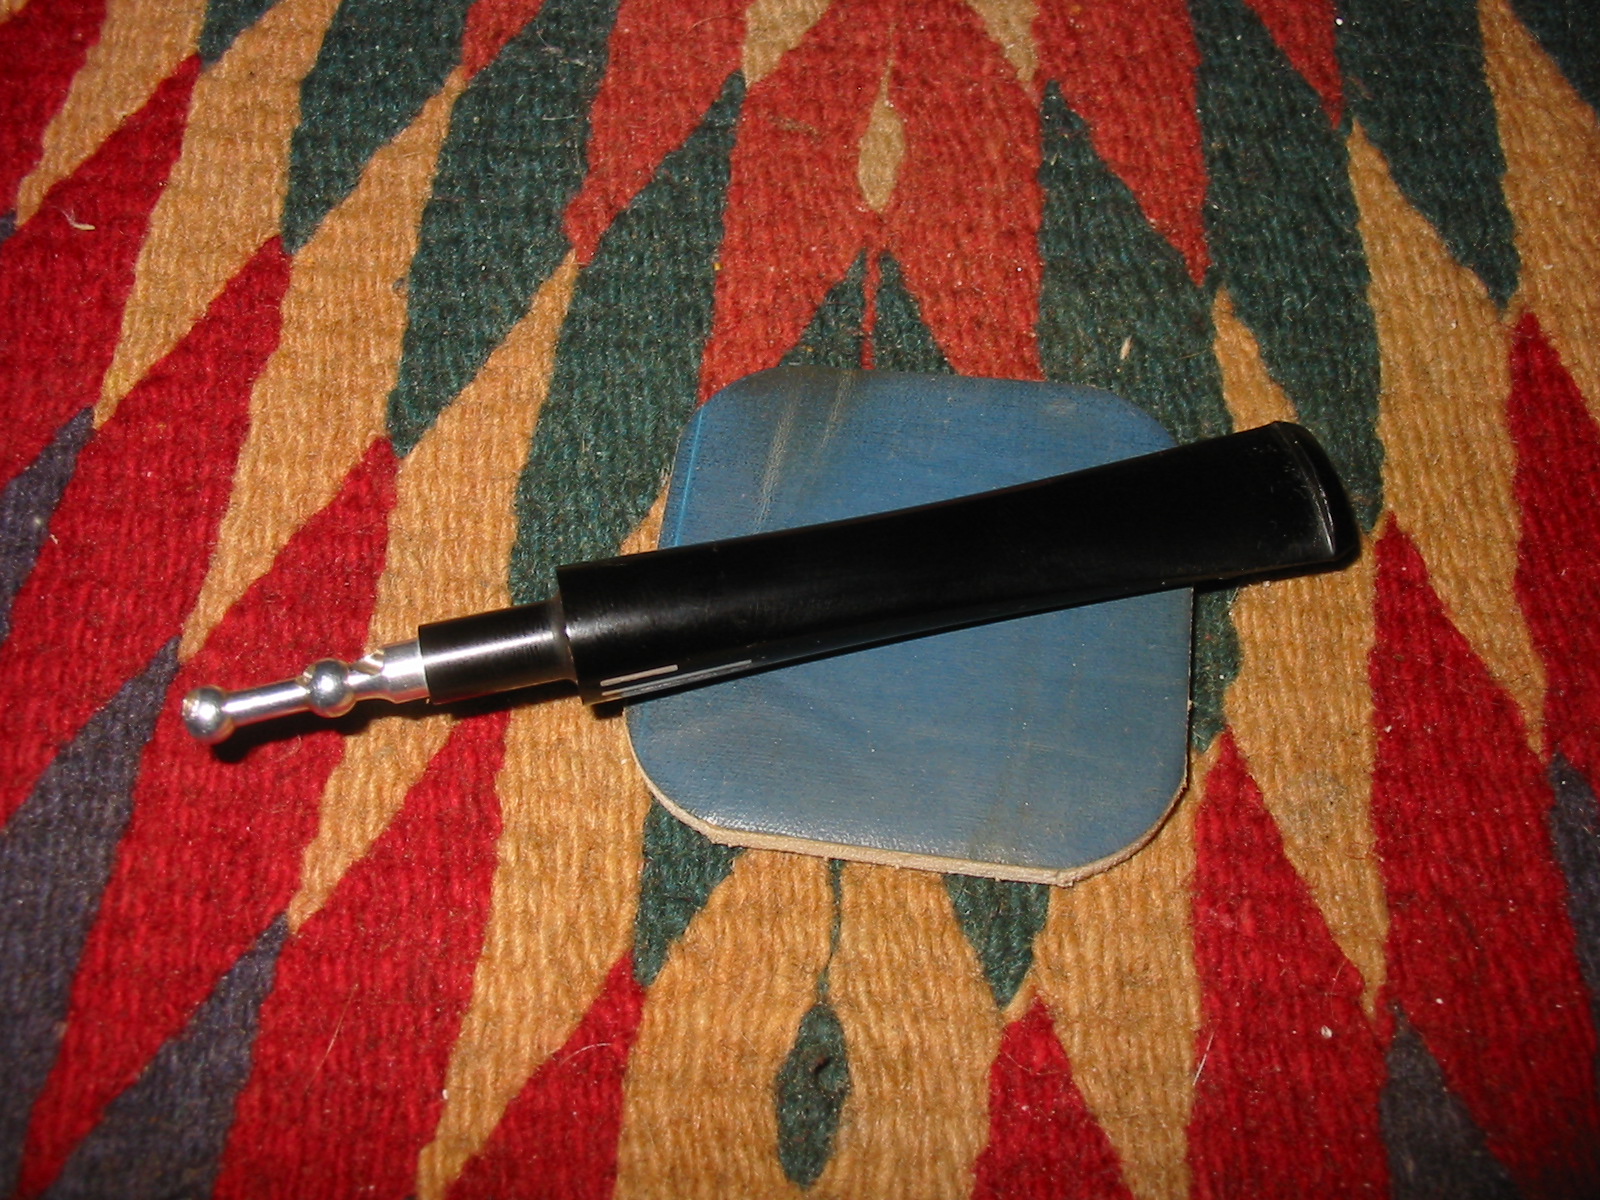
ImageImage

GBD 9438 Tapestry Refurb


Blog by Al Jones

I am truly honored that forum owner, Steve, asked me to write a guest article on his wonderful blog. Just a little over one year ago, I made the transition from occasional cigar smoker to an avid pipe smoker/collector. Pretty early on, I discovered that access to better quality pipes could be had through the estate market. It was also about that time I found the SmokersForums.uk forum and quickly made that venue my go-to spot for pipe information. While reading the “Restoration & Maintenance” section, it became apparent to me that even finer estates could be found if I was willing to put in a little elbow-grease and restore them. If one reads the “Stickies” in that section, pipe restoration techniques can be quickly learned thru contributions from professionals and amateurs. I was fascinated and dove in.

My tools evolved from simple sandpaper and some buffing wheels mounted in a hand drill to a bench mounted buffer, micromesh sanding papers, reamers, needle files etc. Making some of the tools to save a few bucks was all part of the fun and learning process. I favor Vulcanite stems, so occasional maintenance will be a part of my pipe smoking experience.

Due to my Welsh heritage, I’m a big fan of anything British, primarily cars and motorcycles. So, it seemed natural to be attracted to the classic shapes produced by the British masters. I’m a fan of GBD brand pipes and those estates can be readily found at reasonable prices thru Ebay, etc. The 9438 Author shape is a particular favorite and I have several models of that shape. The pipe I chose to document in this article is in Tapestry finish. I was intrigued by the turned stem and after a little research, I found it was a “chair-leg” stem used on certain Tapestry models. My joy in finding this pipe quickly evaporated when I opened the box and saw the level of oxidation on the many curves and crevices. I tend to purchase estates with saddle stems, but this one ramped the difficulty notch up significantly. Indeed this stem proved to be the most difficult I’ve encountered.

Some “before” shots of the pipe:

Typically, it takes me about an hour or so to restore a stem. This one took nearly twice that long. Fortunately, the previous owner had left no teeth indention issues to resolve. I soaked the stem in a mild Oxyclean solution as the first step. In badly oxidized stems, I think this step pays off in removing oxidation from the inside of the stem as well. Next up, I used some 1500 and than 2000 grit wet paper until the brown was removed. Getting oxidation from the chairleg creases was frustrating and finger aching. I almost gave up at one point, but sitting the project down for a few hours strengthened my resolve. I’m always eager to smoke an estate I’ve cleaned up, so there is always that pot at the end of the rainbow. I found wrapping the sandpaper around a thin kitchen knife allowed me to get the oxidation from those thin crevices. Next up, was a polish with each of the final four grades of “micromesh” (4000, 6000, 8000 and 12000). Micromesh comes in pads and sheets. I found the larger, 6” x 2” sheets last longer and are easier to fold into creases, etc. Following the micromesh, the stem had a deep, black shine that I enjoy on my mostly Vulcanite stems.

The next step was to buff the stem lightly with some White diamond and then “Blue Magic Plastic Polish”, each product getting it’s own cloth wheel. The Blue Magic product is made for the automotive industry and available at most autoparts stores (Megiuars also makes a similar product). Some folks are adverse to putting an automotive product on their stems, but so far, I’ve found no adverse tastes, etc. I do think the product helps “seal” the Vulcanite as oxidation seems to either not occur or very slowly. James Upshall pipes are noted for their fast oxidation, but so far my restorations using this product has kept my collection shiny. I also gave the pipe a light coat of “Obsidian Stem Oil”.

The bowl wasn’t in bad shape, but had the usual tobacco/tar buildup on the bowl top. I used my Castleford reamer set to remove the thin cake than soaked the bowl with Sea Salt and Everclear for a few hours. This was done while I was working on the stem. Following the soak, the draft hole was thoroughly cleaned with a series of bristle pipe cleaners soaked in Everclear. I’ve had success eliminating ghosts by cleaning this area of the pipe until the cleaners come out nearly white. I gave the bowl a light buff on the wheel with some white diamond, then Carnuba wax. A hand polish with Paragon wax completed the briar clean up. The wood on the bowl top was a little lighter in color, but I knew smoking it would even out and darken that area. (plus I was not looking forward to prepping and staining the mixed “Tapestry” finish..)

The completed pipe:

It may be a combination of the pipe shape and the effort required to refurbish it, but this particular pipe has become a favorite. I swore that I’d never purchase another chairleg stemmed pipe, but won an Ebay auction last night for another GBD Tapestry pipe with a chairleg stem……

Smoke safe!
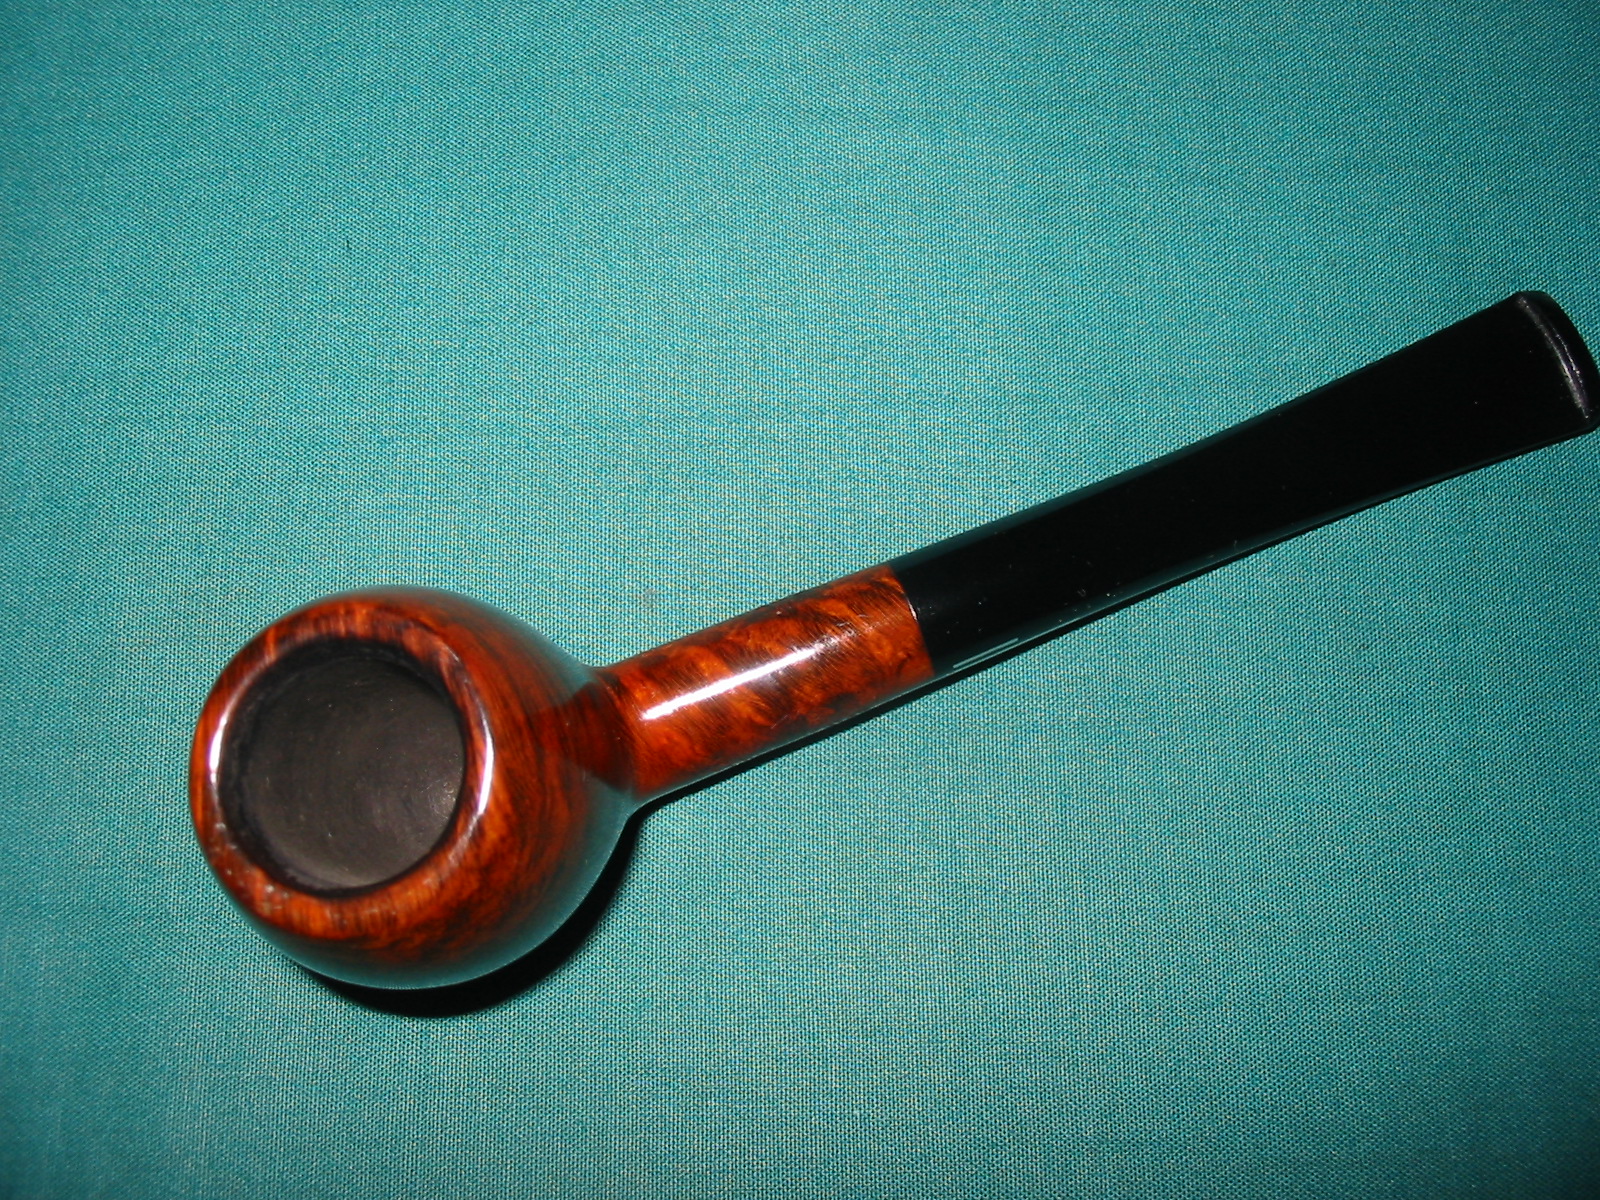
Al Jones

Stem Bite through repair – Savinelli Punto Oro Prince


Blog by Steve Laug

I picked up this little Savinelli Prince because I really like the shape of the pipe and the spigot style stem. I bid knowing full well that the stem had a bit through on it. Once it arrived I could have replaced the stem but decided to do a stem patch on it. The pipe itself was in great shape other than the bite through near the button on top of the stem. The underside of the stem was clean with no tooth marks or chatter. As I examined it I also noticed that the previous owner seemed to have done a halfway patch on it and in the process had broken a chunk out of the button and repaired with white glue. The white glue may have been applied by the seller to keep the pieces together while he sold it. I will never know for sure, but the glue would not hold for long as it is water soluble. The two pictures below show the extent of the damage in the stem and give a good idea of the state of the pipe as a whole. It was a great pipe with some unfortunate damage to the stem.

ImageImage 

I cleaned off the broken chunk with a dental pick, which was surprisingly easy and makes my above assertion about the seller doing a quick patch up more likely. I cleaned off the debris on the chunk (it was not very big, but was an essential piece of the button). I washed it with Isopropyl alcohol. Then I re-glued it with clear super glue. I purposely over filled the crack and pushed the piece in place until it held. I would sand off the excess glue once I had dealt with the bite through on the stem.

The bite through was a mess as well. There was oxidation in the hole as well as some built up dust and dirt. I picked the hole clean with the dental pick (by now you know that this is one of my indispensable tools in the refurbishing process). I wiped it down with a cotton swab and Isopropyl alcohol to get a good clean hole. By this point it was black and clean. I used a small round needle file to clean up the rough edges on the hole as I wanted a solid surface to work with. I washed it yet again with the alcohol to remove the grit from filing.

This time, instead of using the greased pipe cleaner in the slot I used a small nail file that fit the slot perfectly and gave a base to the glue. The hole was too big for just a pipe cleaner to provide the coverage. I greased both surfaces of the file and inserted it in the slot in the button. I gradually built up the hole with repeated applications of super glue. I let the layers dry before adding a new coating of glue. I have found that if I build it slowly around the edges it gives a better repair. Once it was built up I over filled the hole to make sure it is well covered and the hole is no longer visible. On this particular pipe I used clear super glue because I was out of the black super glue. Both versions work exceptionally well but the black has the benefit of being the same colour as the stem and is a little less visible.

After the glue was dried I used the flat blade needle file to rework the button back into shape and give it the nice sharp edges that it should have. I sanded the stem smooth, removing the excess glue and the roughness of the glue. I went on to sand it with 400 and 600 wet dry sandpaper and a bit of water to remove the scratches left by the 240 grit paper. Then I used the full range of micromesh pads, 1500, 1800, 2400, 3200, 4000 and 6000 grit to smooth it out. As usual I had a bowl of water near at hand to dip the pads as I sanded and to wash them of the slurry that comes as I sanded. Once they were smooth and shiny, the last three grits of micromesh really do a nice job giving the stem a sheen, I took the pipe to my buffer I finished it with White Diamond polishing compound.

ImageImageImageImage

I have been asked in the past how long the stem patches hold up and the durability of the patch. I have no long term proof of their durability but I have had this pipe for about two years and have smoked it quite a bit and the patch shows no sign of giving way. I clean it as I would any other pipe with pipe cleaners after use and then periodically breaking it down to give it a thorough cleaning inside and out. I would say that is a pretty good track record for a patched pipe. Time will tell but in the meantime it is very smokeable and looks great in my opinion.


Rebuilding a Button on a BBB Bulldog


Blog by Steve Laug

I picked up this older BBB Bulldog on EBay because I liked the shape of it. The bowl definitely needed some work as the lava had erupted over the front rim and down the contours of the pipe. The pictures below show the state of the bowl when it arrived. But that was not why I am writing about this pipe. That kind of refurbishing is part and parcel of buying older pipes on EBay. They always are pretty much in the state that this one was in. All of them require the same kind of procedures to clean them up and return them to a state of readiness for the new owner. But have a look at the button on the last three pictures below. It was virtually gone. I could have fit a new stem on the pipe but I wanted to retain the brass BBB logo and did not want to move it to a new stem. I also wanted to try to build up the button and see what I could do with it.

ImageImageImageImage

I have used Super Glue or Krazy Glue to repair bite throughs in the stem but had not use it to do repairs this extensive. I love the process of trying to devise a workable fix and so I decided to give it a go. I greased a fluffy pipe cleaner with olive oil and inserted it in the airway at the button. I do this so that the glue does not fill the airway and grease it so that the pipe cleaner is not a permanent feature of the stem as the super glue will stick to anything including your fingers if you get it on them. (By the way there is a solvent that is available should that happen to you.) The surface of the button was dirty and oxidized so I cleaned that with my dental pick and some acetone. I clean the surface before putting in the glue. I also sanded it to roughen the surface so the glue would bond well. In the top picture of the stem you can see that the top of the button is indented and the lip is worn smooth. The second stem photo shows the underside and you can see the major dent that needed work and the lip that was pretty well gone. I filled the hole on the underside first so that it would bond. Then I gradually built up the dent, letting it dry between applications of the glue. I believe it took 5 or 6 applications of the glue. Once it was filled I added more to build it up so that I could re-cut the button. In the picture below the patch is clear. It is a very rough surface but it is ready for the sanding and filing that will go into restoring the stem to normal. I built up the deep dent and also built up the missing portion of the button. On the top side of the stem I also built up the button in the same fashion.

Image

I set the stem aside to dry until the glue patch was very hard and turned my attention to the bowl. You can see in the pictures below that I took off the lava and tars on the top and cleaned the inside and outside of the entire bowl. By the time I was finished with the exterior of the bowl and shank and cleaned out the bowl and the inside of the shank with pipe cleaners and a reamer the stem was ready to work on. I reassembled it for the picture below.

ImageImage

You can see from the two profile pictures above that the button is present once again. The idea is to build up the end of the stem to the degree that the profile shows the button as it would have been on a pipe of this age. It took a layering process with the super glue to get it to the point it is in the above pictures.

The two photos below show the bottom of the stem as I worked on it with the files and the sandpapers. I used my small files, both the flat and the wedge file to cut away the material that I had built up to give a sharp button edge as differentiated from the surface of the stem. In the first picture you can see the initial cuts and the smoothing that I did to the surface of the stem with the files. I used 220 and 240 grit sandpaper to remove the rough surface of the glue on the stem and bring it to the right profile. The glue is very hard and it takes quite a bit of sanding to smooth it out. In the second picture you can see the final shaping that was done to the button and the surface of the stem is once again smooth. From this point all that remained was to sand it with 400 and 600 grit wet dry sand paper and then use the micro-mesh pads 1500, 1800, 2400, 3200, 4000 and 6000 grit on the stem. As usual I kept a bowl of water next to me to keep the pads wet as I sanded the stems. Each progressive grit polished the stem and button to a more clean and shiny stage. I also reworked the surface of the entire stem. Once that was done I took it to the buffer and used the Tripoli buff followed by the White Diamond buff to bring it to a sheen.

ImageImage

The last three pictures show the finished pipe – both the bowl which had been cleaned and polished with White Diamond and a light touch and then finished with some carnauba wax to complete it. The stem is completed in terms of bringing back the button and the stem profile. The area around the logo on the stem will need to be worked on with the edges of the micro-mesh pads to get in close and remove the remaining oxidation. Then the entirety will need to be lightly buffed and waxed. The main reason I posted these pictures is to show that the profile is now clear and the new button is clearly visible. The last picture shows the top of the stem and the button is clearly visible. There is a bit of oxidation in the button that I will need to work on with the pads as well but at least the old BBB Bulldog is now very smokable.

ImageImageImage

Refurb – A pair of Astleys 68s


Just finished the final buff on these two and thought I would post them. In researching the net for information on these pipes I found a 1968 catalogue that showed that they originally had saddle stems. I sorted through my stem box and found two saddle stems for these Astleys bowls. I fit these stems to the bowls. They are stamped Astleys 68 which is a pot shape. They also have the address on Jermyn Street London stamped on them. The bowls were reamed and cleaned. I then restained them with black stain, fired the stain to set it and then buffed with white diamond lightly before waxing with Halcyon wax.

The pipe with the band had a crack in the shank that I repaired and pressure fit with the nickel band. The blast on this pair is nicely done. Astleys called this their Crusty Briar line. Here are the pics. Thanks for looking.

ImageImageImage

Reworking the button on a Perspex Stem on a GBD Prehistoric


I was gifted this older GBD Prehistoric by a good friend who knows I like working on seeming irreparable pipes.  He knows that I enjoy the challenge and that I work to get them back to a workable condition. The stem was truly a mess as can be seen from the photos below. It had bite through holes on both the top and the bottom of the stem. The button was destroyed by the bite marks. This one would prove to be a bit of a challenge. My usual method of repairing bite throughs with Super Glue would not work as the hole was on both sides of the stem. You can tell by the three pictures below the size of the hole. I included even the blurry ones to show the extent of the problem that needed to be addressed.

ImageImageImage

After carefully picking at the holes with my dental pick I could tell that the surrounding Perspex material around the holes was compromised and pieces continued to come off with very little pressure on the dental pick. It was clear then that I would have to shorten the stem back to the point on the stem where there was solid material to work with. To do this involved cutting off almost a ¼ inch of the stem. The two photos below show the stem after the material has been removed. I used my Dremel with a sanding drum on it to take back the stem to this point. Care must be exercised to keep the finished surface straight and level. But I have found that this is fairly easy to do with the Dremel set at the lowest speed.

ImageImage

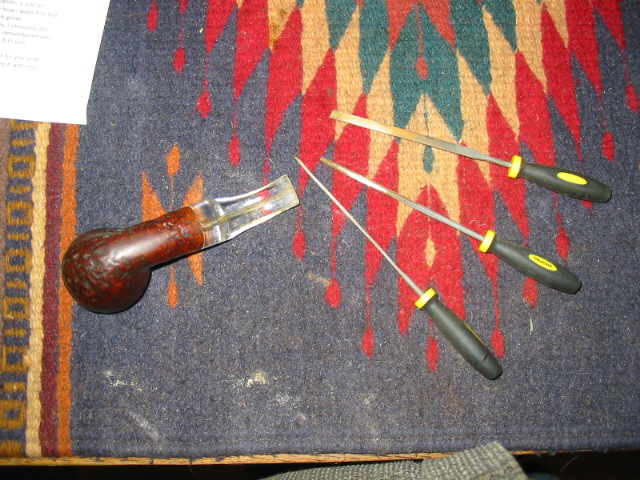
Once the stem is cut back to the solid material a new button has to be carved. I use a series of needle files to do this. Note in the picture below the three files that I used the most. The top one is a flat rectangular one that does a great job on the top and bottom of the stem to cut a straight 90 degree edge into the Perspex. The oval and the round file I used to open the slot in the button to match the shape of the one I cut off. Once the stem has been cut the airway at the end is merely a round hole or as in this case was barely flared. I like an oval slot in the button and the files do a great job in that process. I have two sets of needle files that I use. I clean the teeth on the files with Isopropyl alcohol and a brass tire brush. It keeps them from getting clogged with the Perspex dust.

Image

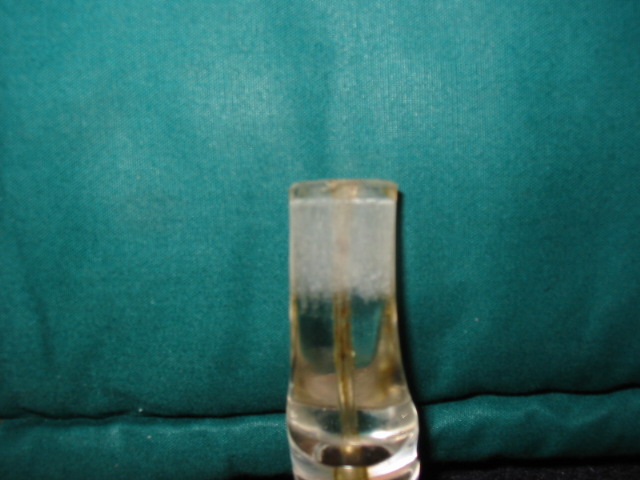
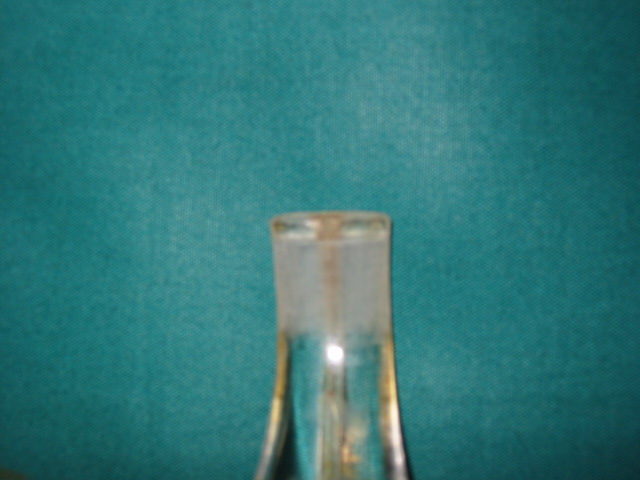
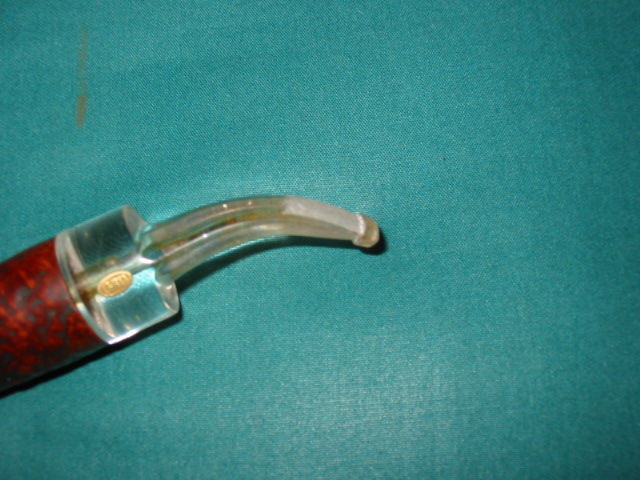
In the three pictures below you can see the button that has been cut in the stem. I also used sandpaper to thin the stem profile forward of the button to give it the proper slope and give the button some depth. Note the rough surface of the stem is caused by the use of 240 grit sandpaper to accomplish this task. The top photo is the top side of the stem at the button, the second is the underside of the stem and the bottom photo is a profile shot to show the look of the button. When the stem was at this point it still needed quite a bit of sanding to smooth out the new button and shape the stem. The edges in the profile are a bit sharp and needed to be rounded to match the part of the stem that remained untouched. I rounded the edges with the 240 grit sand paper to match the shape of the stem.

ImageImageImage

The next two photos below show the stem after that reshaping has been done. I then had to polish the stem to get it back to it clear sheen. I started that with some 400 and 600 grit wet dry sandpaper that was used with water to give it the bite to cut through the scratches of the files and the sandpaper. The first photo shows the pipe next to another GBD Rhodesian for comparison sake. You can see in that photo how much of the Perspex stem I removed to cut the new button. The second photo shows the shaping and flow of the stem once I have finished with the polishing with the wet dry sandpaper.

ImageImage

The last three photos show the finished pipe. The bowl was polished and the polishing on the stem was done with the micromesh pads through the 1500, 1800, 2400, 3200, 4000 and 6000 grits soaked in water to facilitate a good polish. Each grit level of micromesh took out more of the scratching that remained after the sanding. By the 3200 grit the surface was smooth and shiny. The last two grits gave it a thorough polishing and then I finished it on the buffer with White Diamond and carnauba wax.