Tag Archives: polishing stems

Refurbed Social by Comoy’s


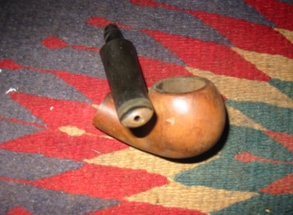
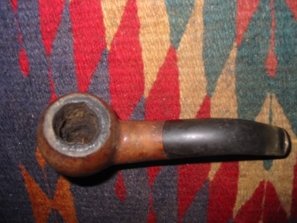
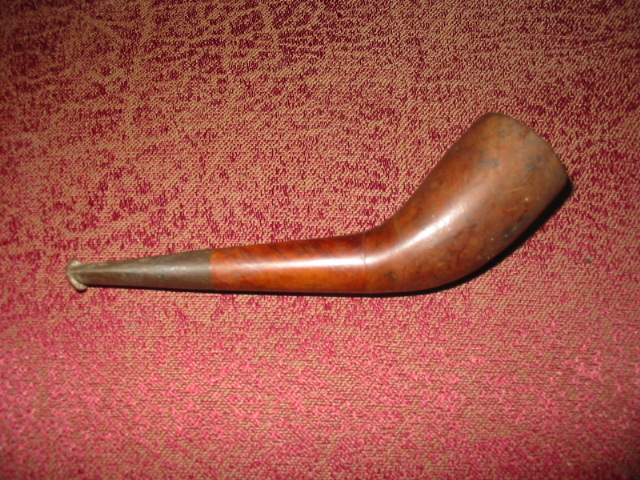
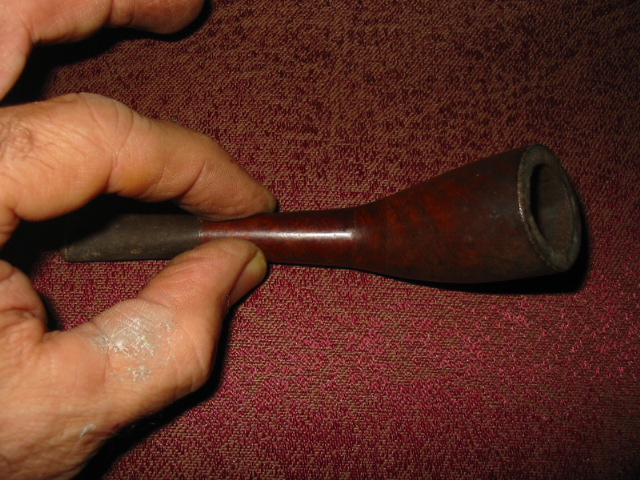
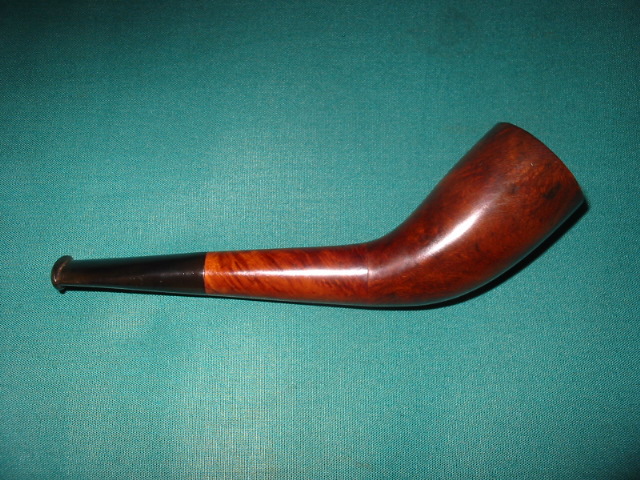
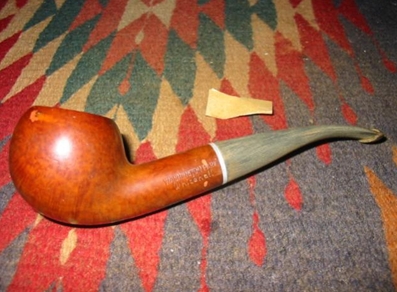
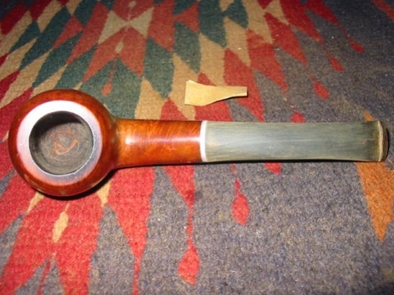
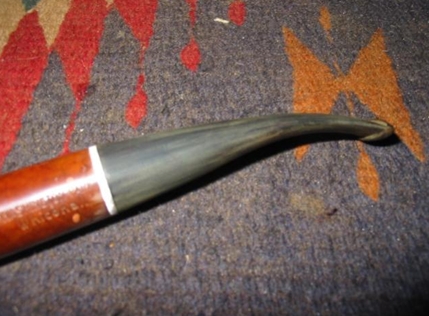
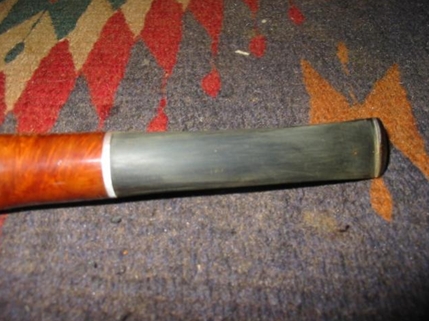
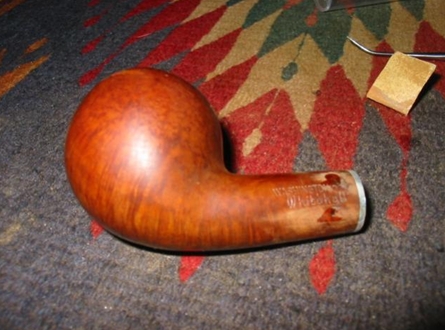
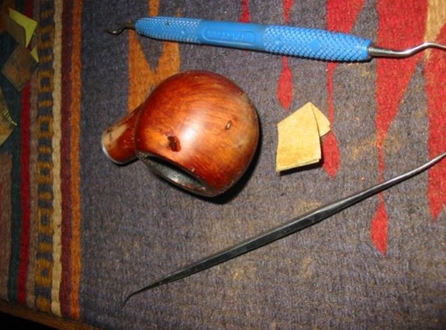
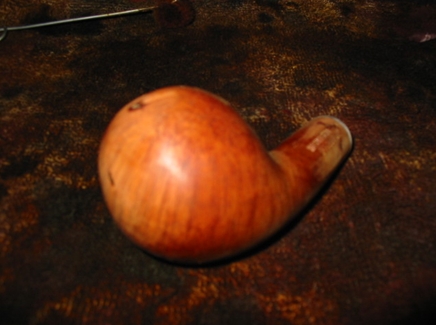
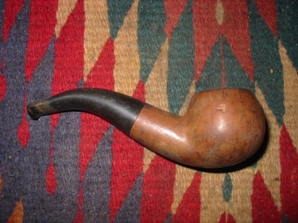
This afternoon late the postie delivered the Social pipe made by Comoy’s that I picked up off Ebay a few weeks ago. I took it apart and went to work. The bowl was pretty caked and broken up inside… cake falling off the walls. The The top was tarred. I reamed and cleaned it. Interestingly this is an old timer. It has the old orific button as I show in one of the before shots of the stem. It has some kind of reservoir between then end of the stepped tenon and the the airway into the bowl. It is below the airway and the tenon is drilled with the airway high to match up.

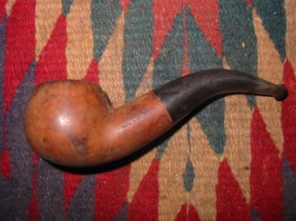
I put the bowl in an alcohol bath and cleaned it up. The mess came off really well. I then sanded the bowl with 600, 1800, 2400 and 4000 grit and then restained it with a medium brown stain. The Stem was soaking in Oxyclean and when I removed it I cleaned the grime off of it. It was a bit oxidized so that came off no problem. I then buffed the entirety with white diamond and then Carnuba. Here are the before shots:
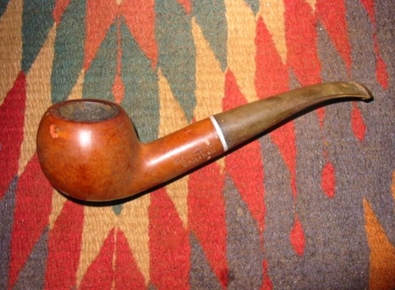
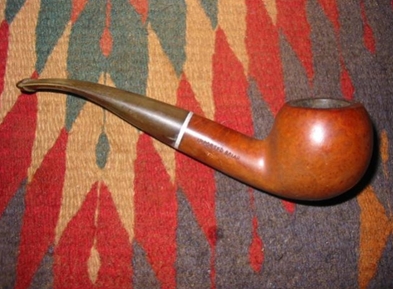
ImageImageImageImage

You will note there are some pretty deep dents in the side of the bowl. These came out a bit but they remain as character marks. There were some on the underside of the shank as well. They too remain.

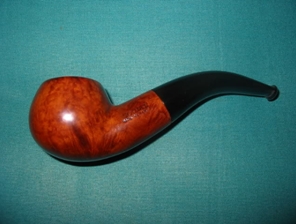
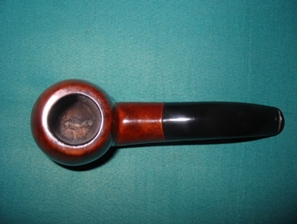
After refurbishing:

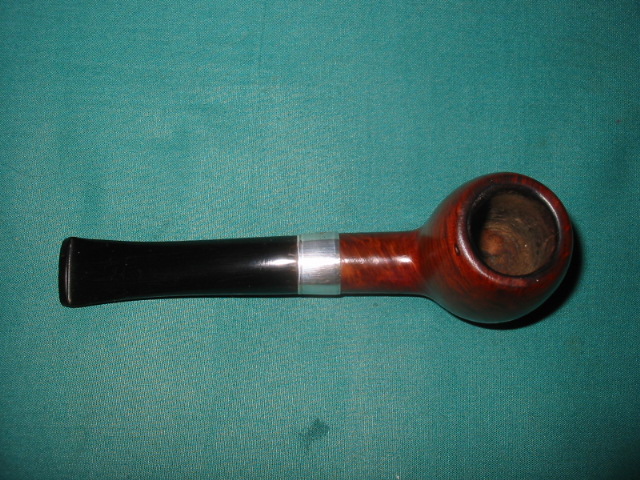
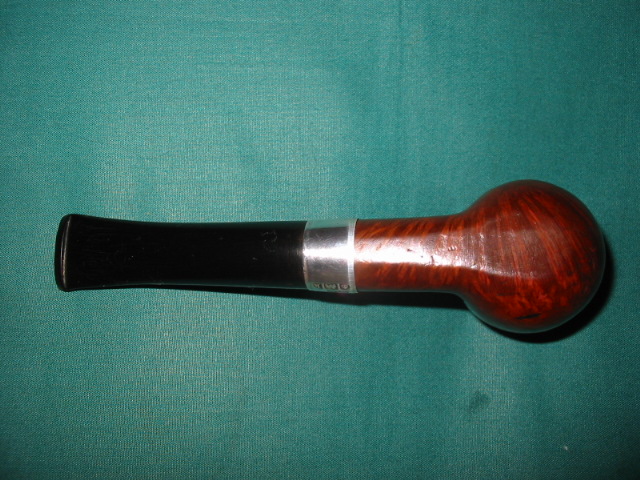
ImageImageImageImage

Refurb on a 3 part horn


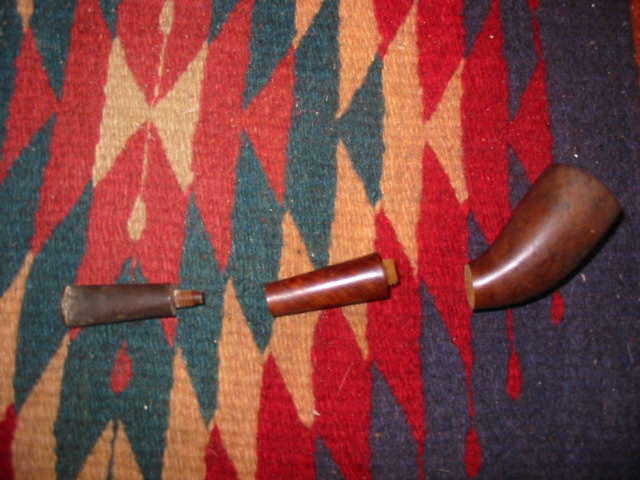
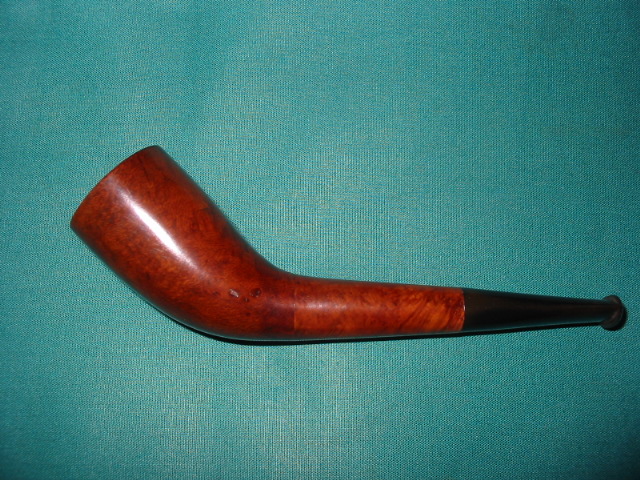
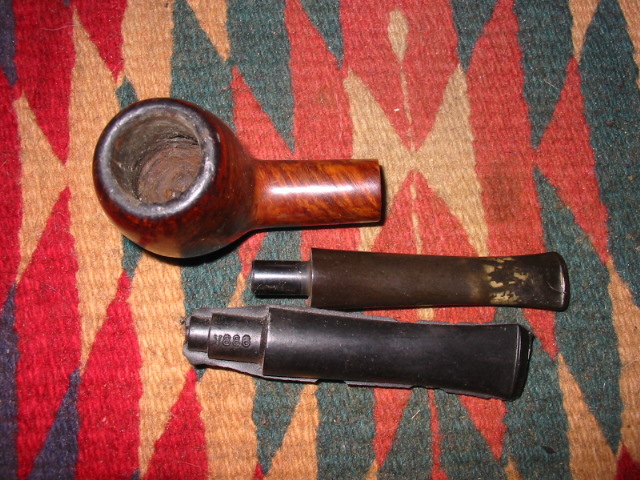
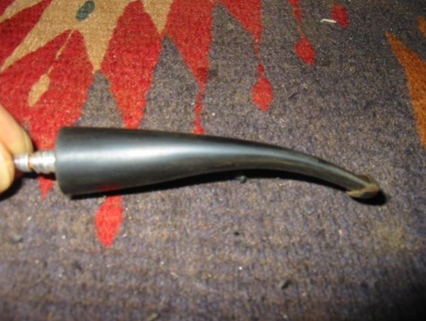
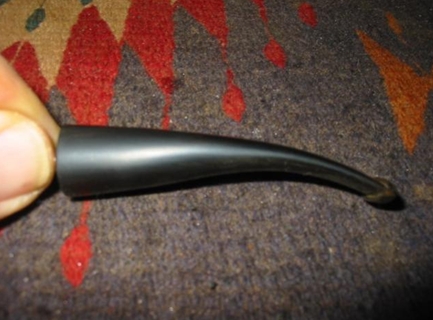
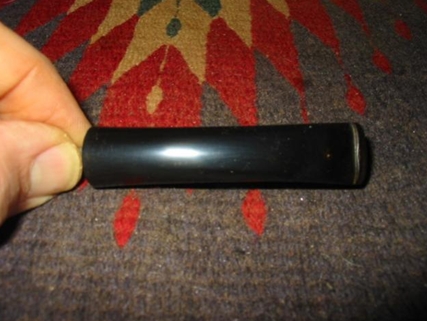
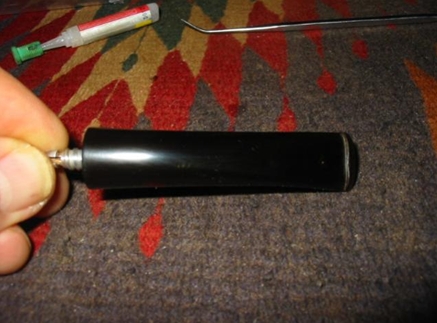
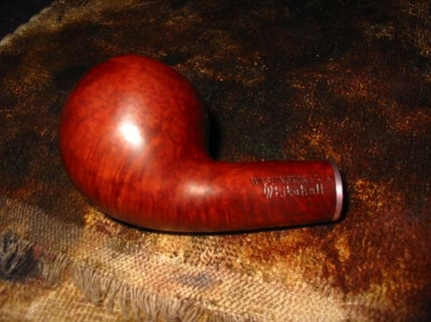
Just finished up this unique piece. It is three part horn. The bowl screws off the shank and has a briar thread connection. The stem is also a screw on with a metal connection into briar. The stem is also an orific button. There is no stamping on this old timer. I really like the uniqueness of it.

I reamed and clean the bowl. I took apart the three parts and cleaned each on separately. The outside was wiped down with alcohol to get off the grime. The insides were scrubbed with a bristle pipe brush and pipe cleaners and alcohol. The stem was oxidized so it was sanded with 400, 600, wet dry sandpaper and 1800, 2400, 4000 micromesh pads and then hit with red tripoli and white diamond before being given a coat of carnuba. I sanded and restained the bowl with a cherry stain and then buffed and waxed it as well. This one will be a fun one to smoke!

Before shots:
ImageImageImage

and after shots:

ImageImage

Reworked Old Apple


Blog by Steve Laug

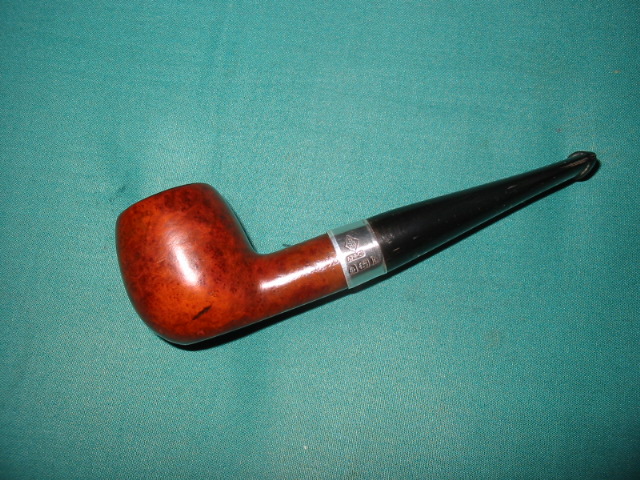
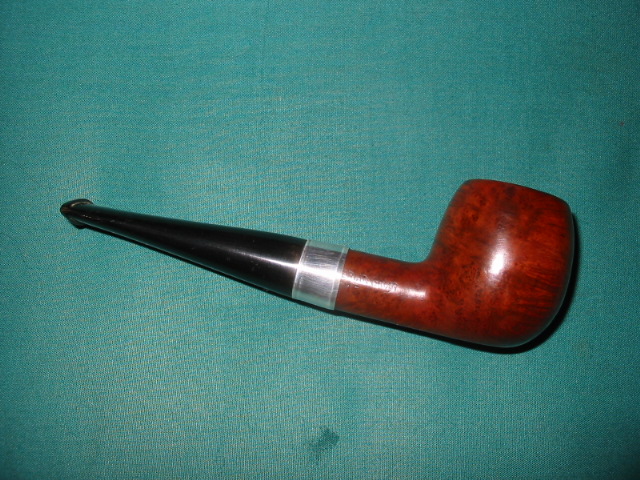
I had this old apple with very faint stamping that looked like it could have been stamped Edwards but not clear. I decided yesterday to rework it. The old stem had a split in the button and was shot. I decided to fit a new stem for it. I reamed and cleaned the bowl and fit the stem. While I worked on the stem I dropped the bowl in my alcohol bath for an hour. Once it was done I sanded the bowl and cleaned it some more. There were a couple of spots on it where small fills had fallen out so put some briar dust in them and then a spot of super glue. Once dry I sanded them smooth so that the stain would take around and in them. I put the stem on and stained the bowl with an oxblood stain as I figured that would match what was originally on the pipe. Once it was all polished it reminded me of an old timer that I had seen and been hunting for – a straight shanked BBB apple. Well that got me thinking and I dug through my box of bands and sure enough I had an old BBB silver band hallmarked 1909 that fit perfectly. The stem and pipe look older so the band added some more age to it. I really like the final look of this one.

Before pictures:
ImageImage

And the finished pipe:
ImageImageImageImage

You don’t have a buffer? Here is one refurbed without the use of a buffer.


I have one I am working on now that is interesting. It is a nice looking shape – Whitehall Washington Park Author. It had an overturned stem that did not line up and was oxidized and spotty on the stem

 ImageImageImage

I heated the stem in boiling water to loosen the glue this morning and turned it until it lined up then cooled it with water. The boiling water raised the oxidation and also softened it. The stem had a lot of marks like someone had used a pair of pliers to try to get it to line up. Pliers marks were all around the stem mid stem. The oxidation had some spots that were dark… so I sanded it and sanded it with 180 and 220 grit sand paper. I wanted to get the tooth marks and pliers marks out as well as the oxidation. The bowl is changing colours from the oils in my hands.

ImageImage
Still in the process of sanding the stem. Next I have to see what I can do to hide the bubblegum pink fills – argghh. We shall see. Will keep you posted.

I am planning on doing the stem with sandpaper and Micromesh pads only. I want to show how it can be done without a buffer. At least that is the plan for now.

This is with 600 grit wet dry sand paper.

ImageImage
The next are with 1500 and 1800 Micromesh pads. Going to work my way up to 6000 before waxing.

 ImageImage

Here is the stem after 2400 and 3200 Micromesh sanding

ImageImage

Here it is after 4000 and 6000 Micromesh sanding

ImageImage 

Here it is with the final sanding with the 6000 and then a coat of Obsidian Oil.

ImageImage 

Ok. Stem is finished. I just picked out the pink fills with a dental pick. Three of the four I have filled with briar dust and superglue.

The first picture is of the fills before picking.

Image

The next two show it picked and filled

ImageImage 

These two show the fills on the front of the bowl and the large one on the left side of the bowl. I picked out the fill in both of these larger ones and filled with the briar dust and super glue. I still need to do a bit of fine sanding as the stain will not go into the glue areas.

 ImageImage

Here is a shot of it ready for staining

Image
And here is the finished stained bowl. The fills at the shank have vitrually disappeared. The larger ones are still visible but are dark and blend in better.

ImageImageImage

And now the finished pipe:

ImageImageImageImageImage