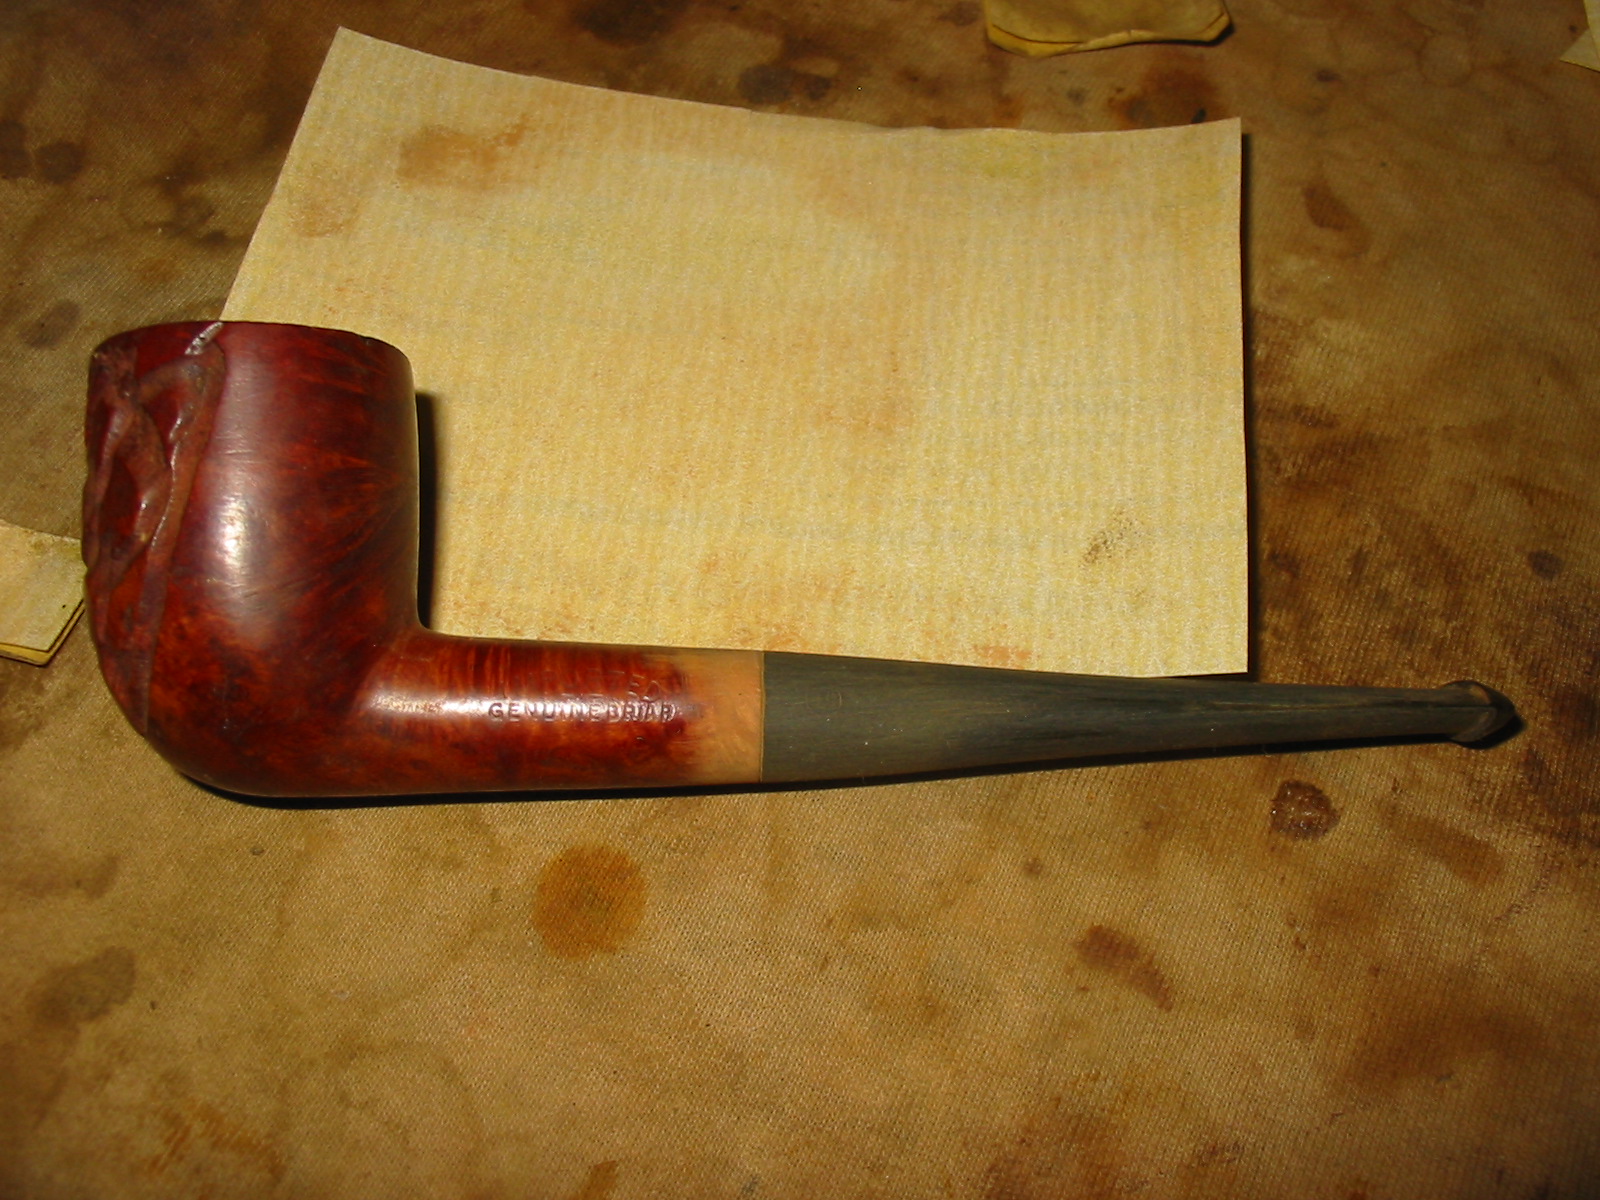
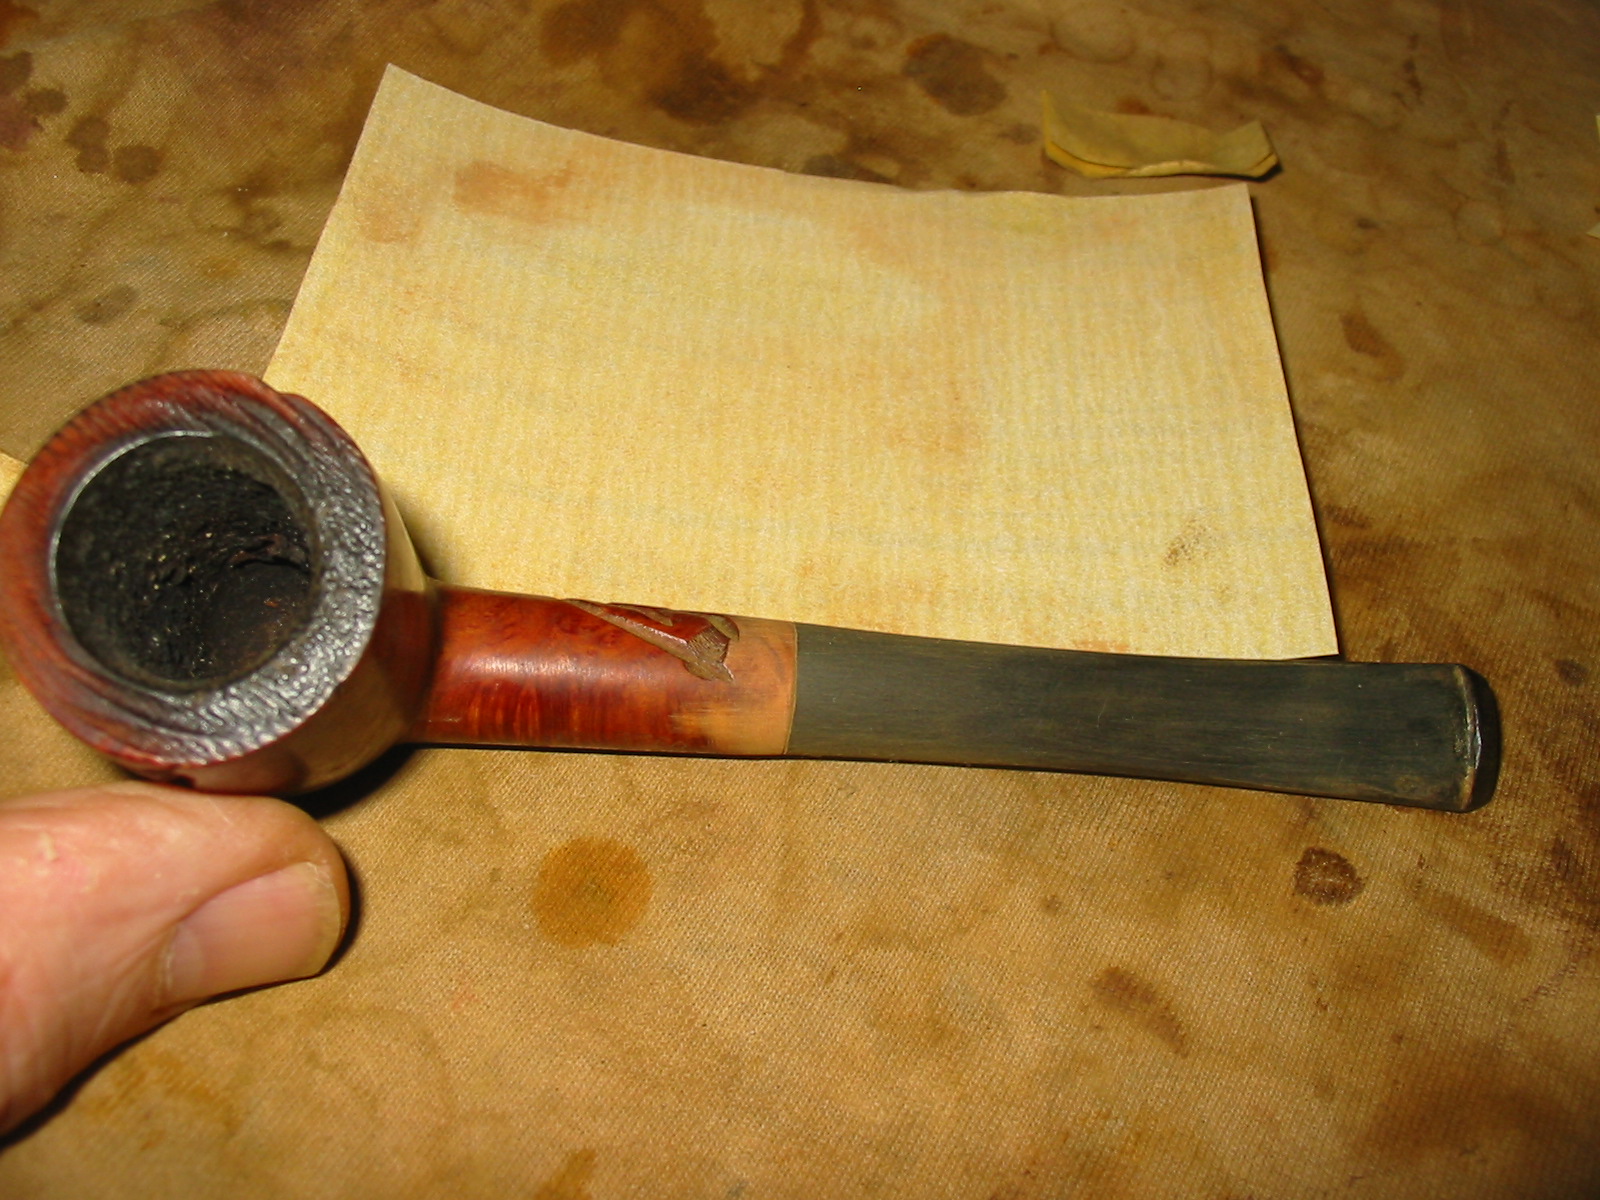
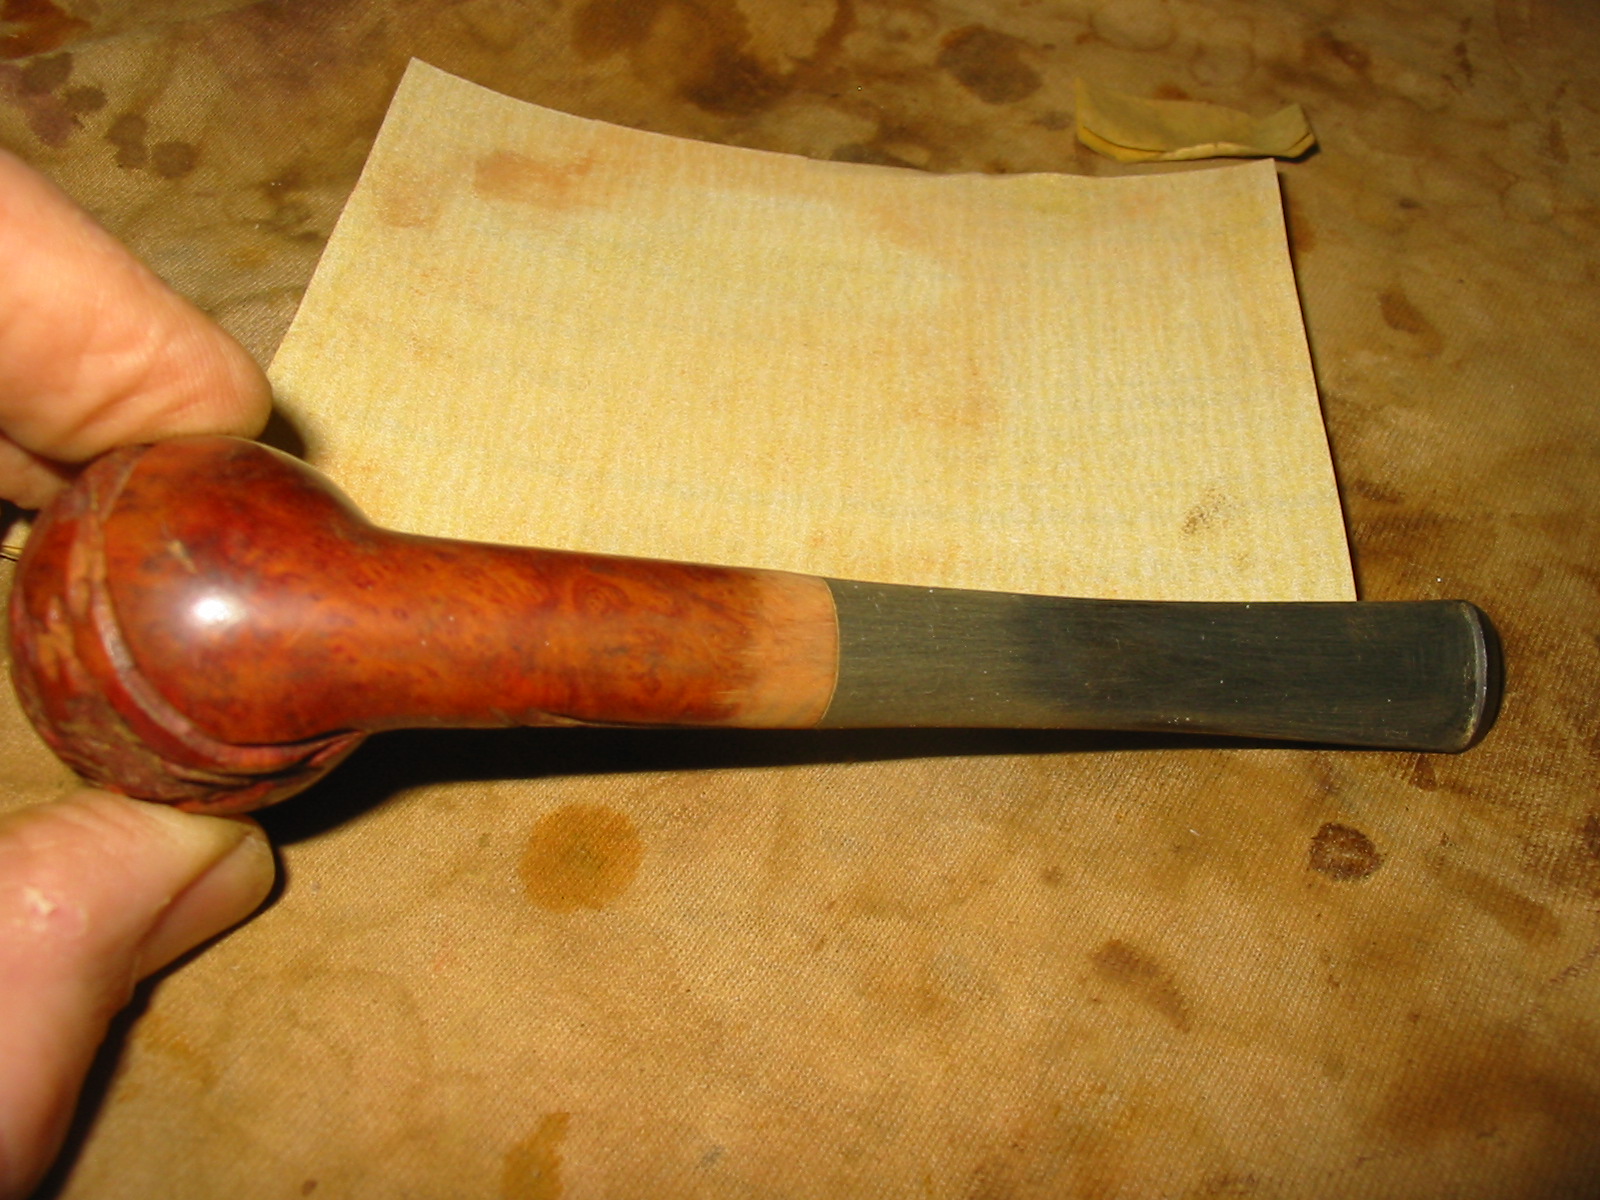
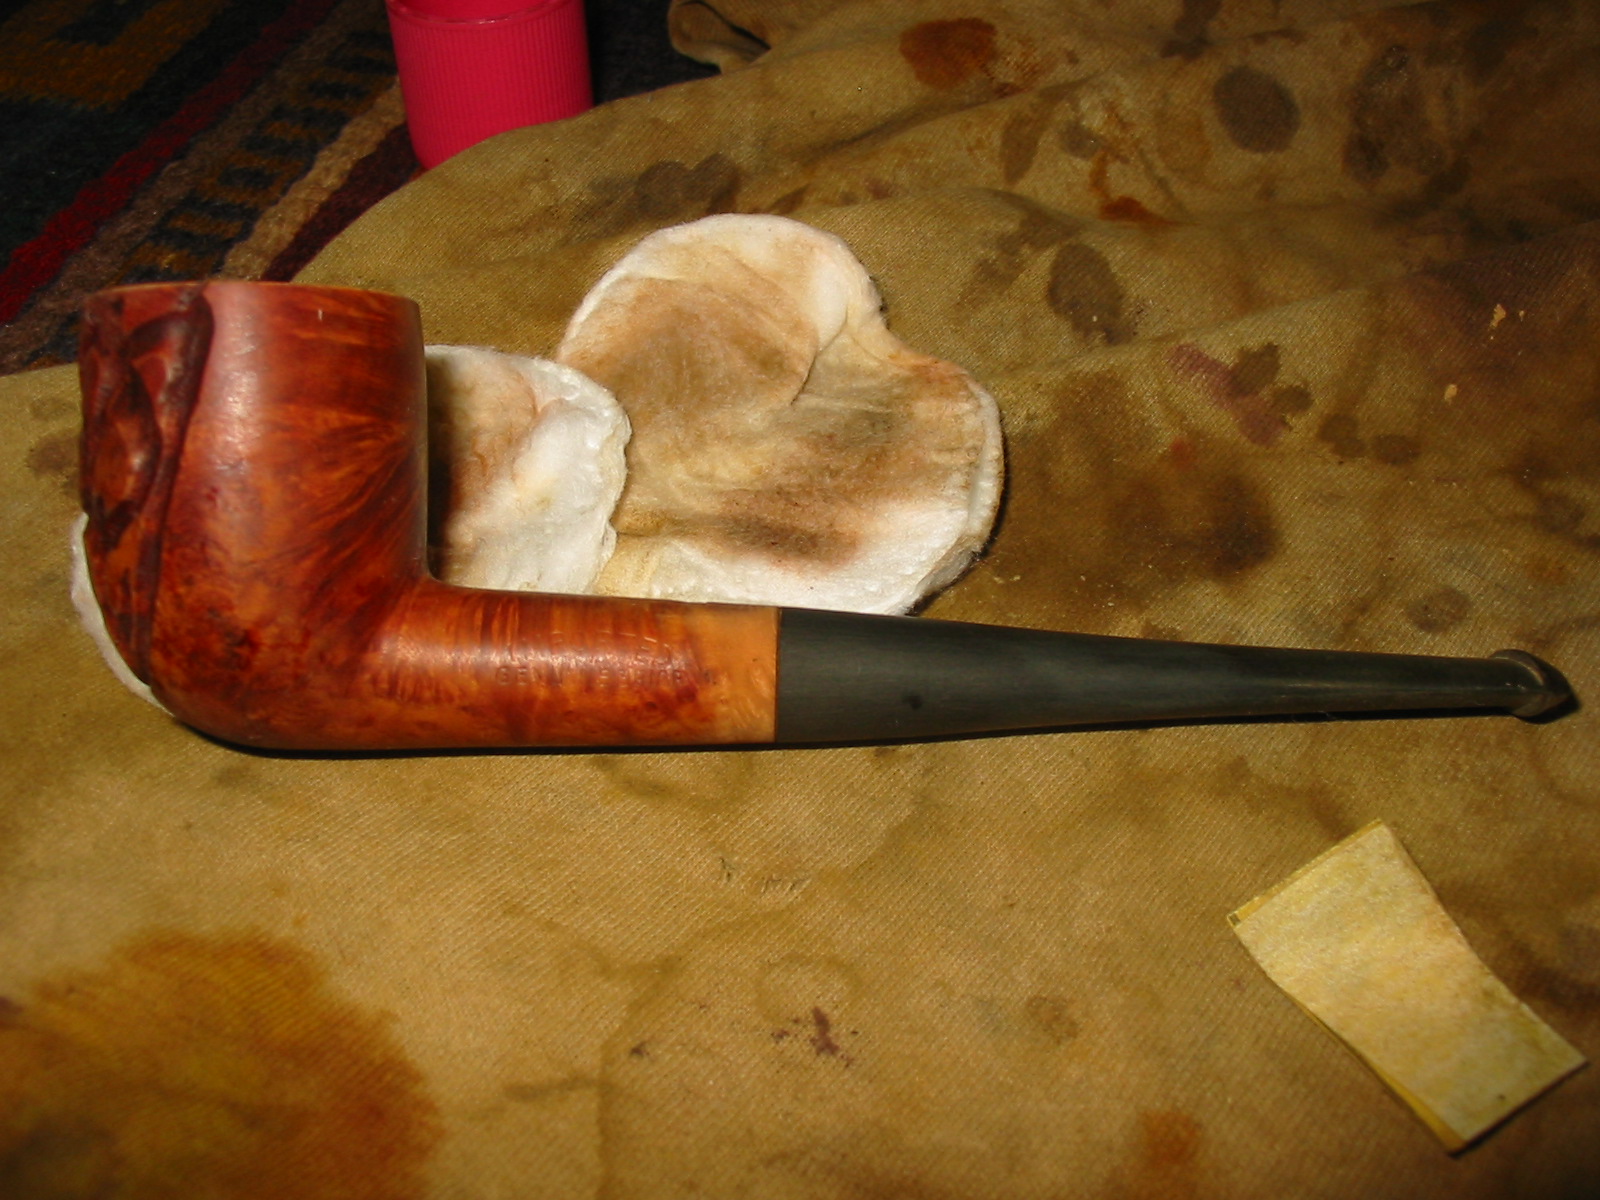
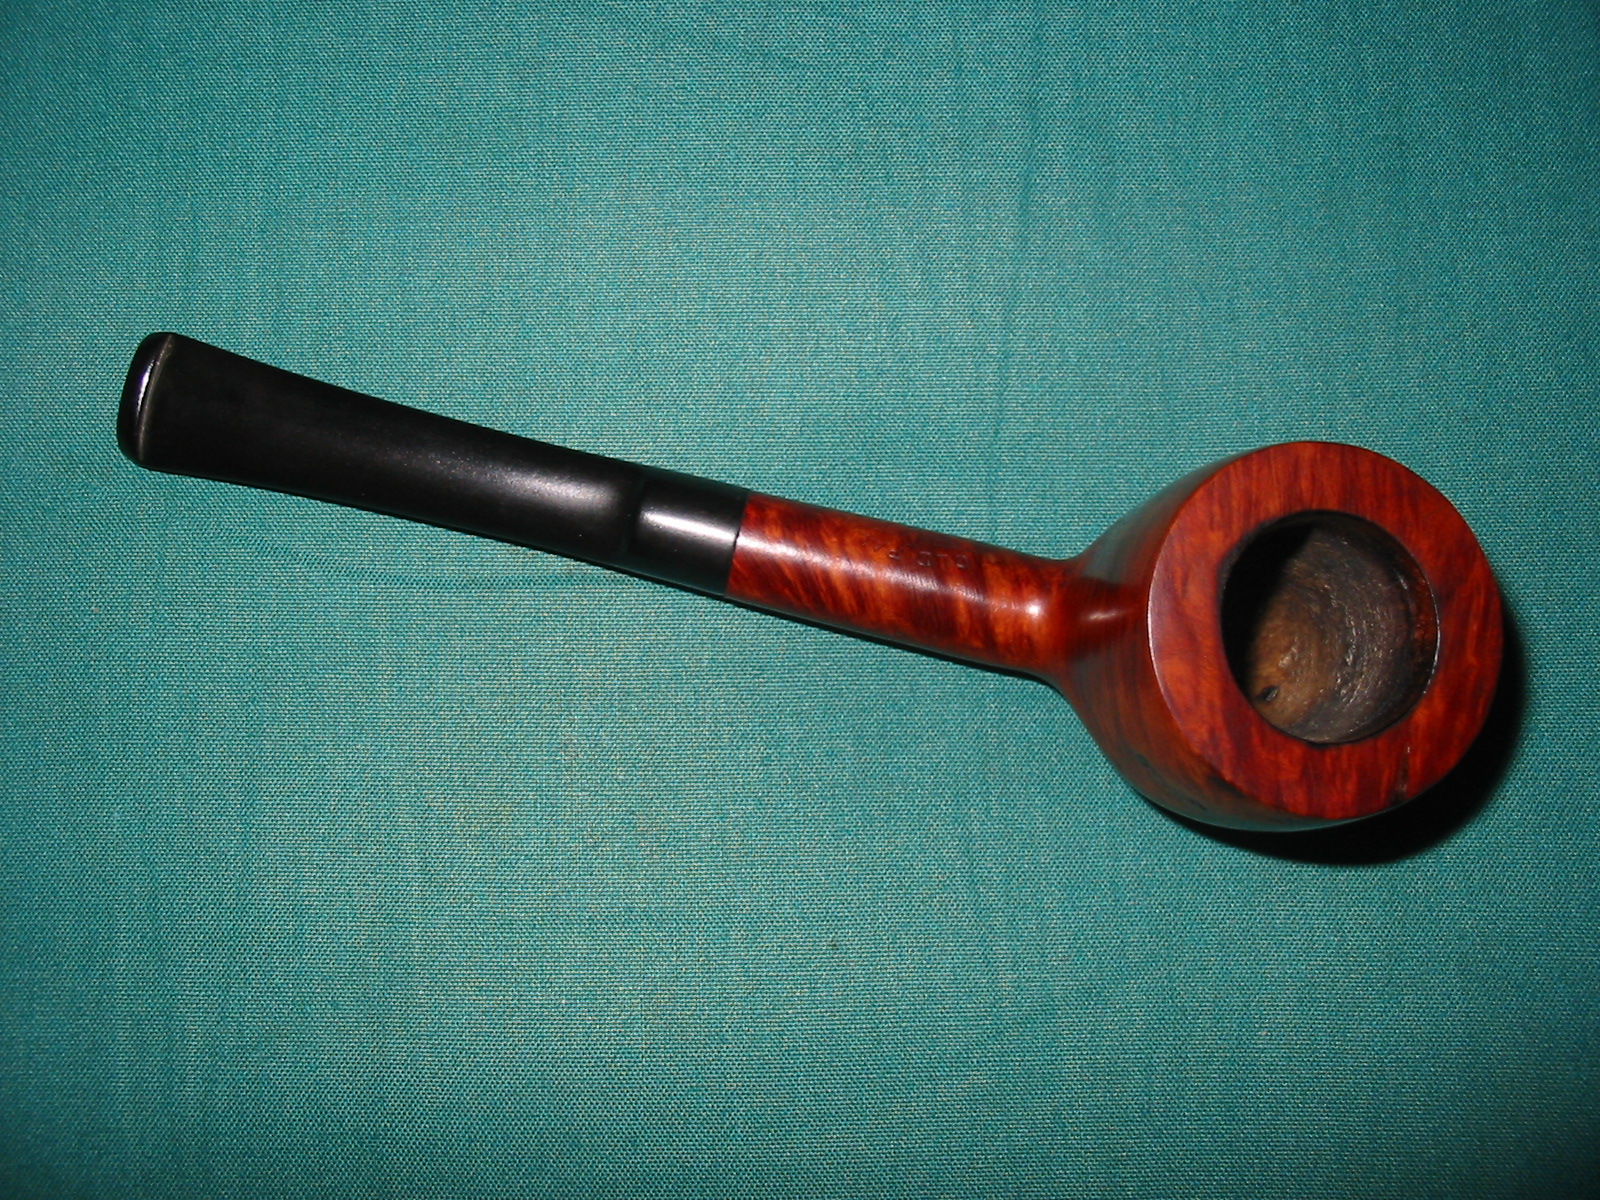
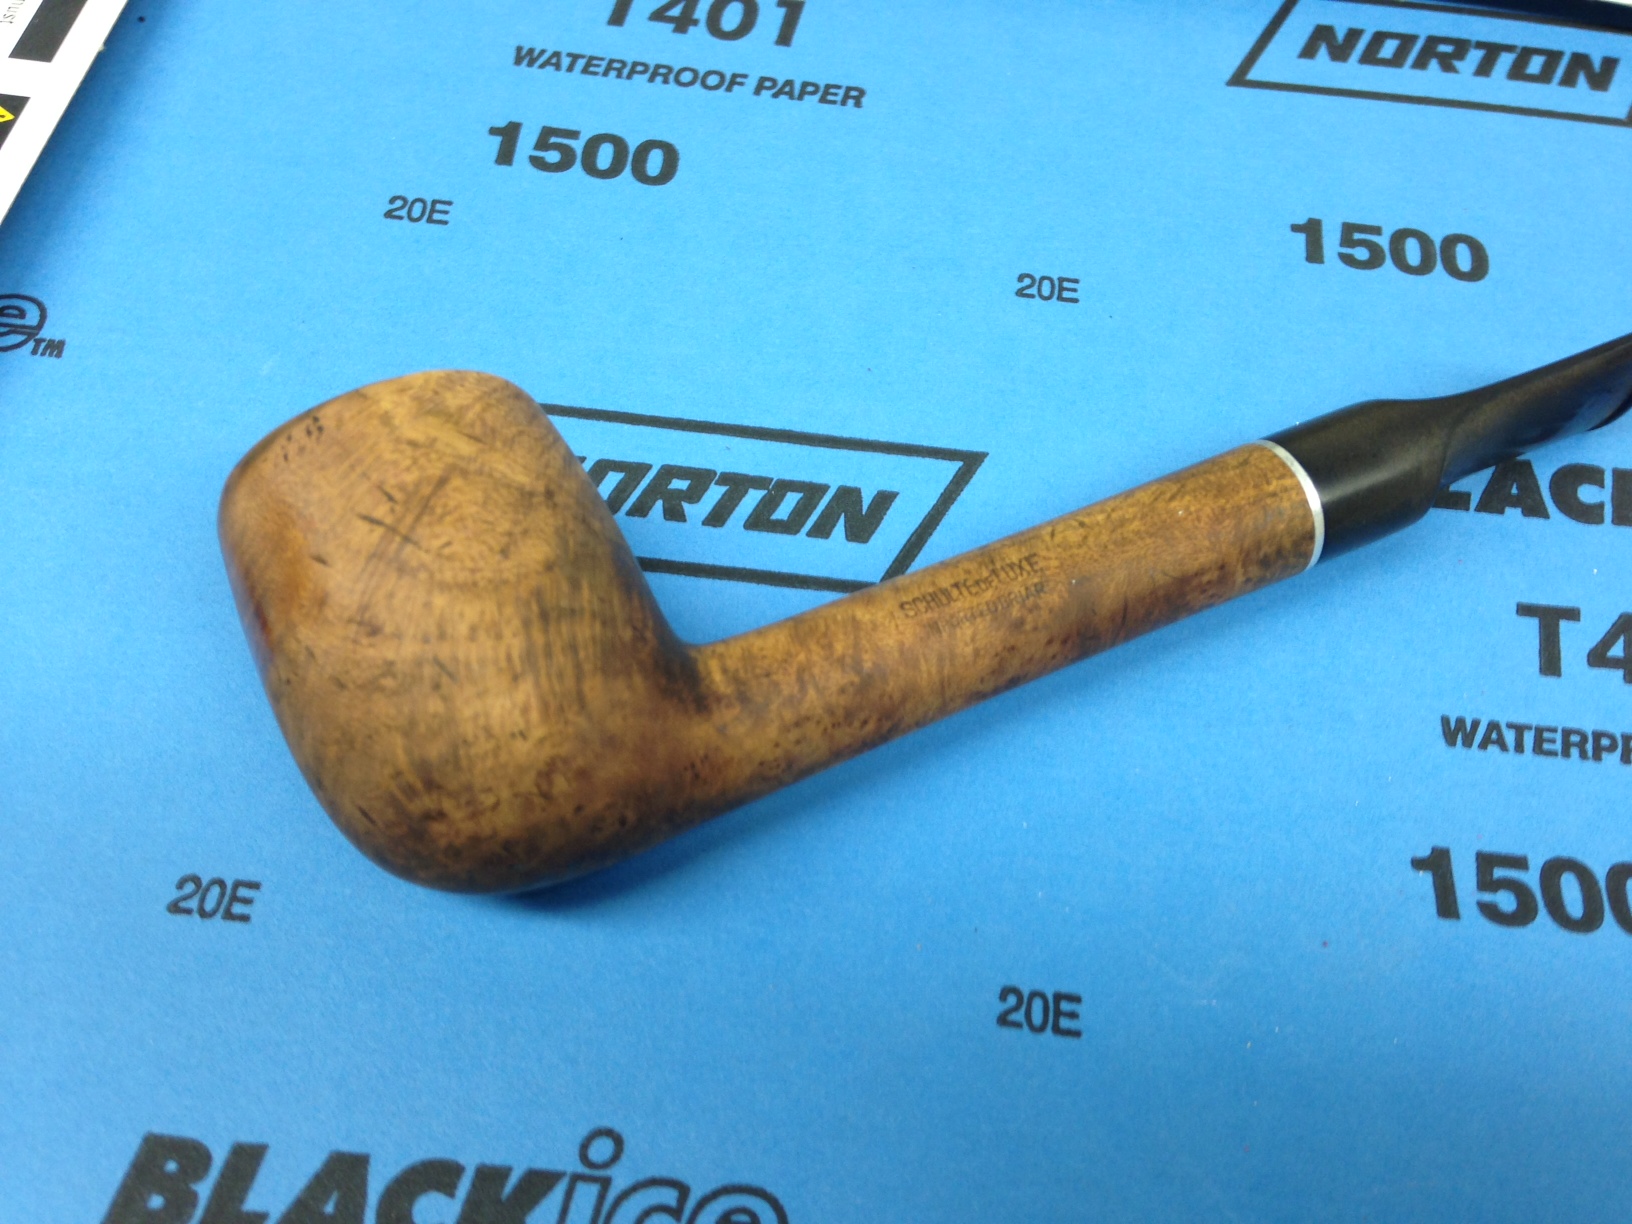
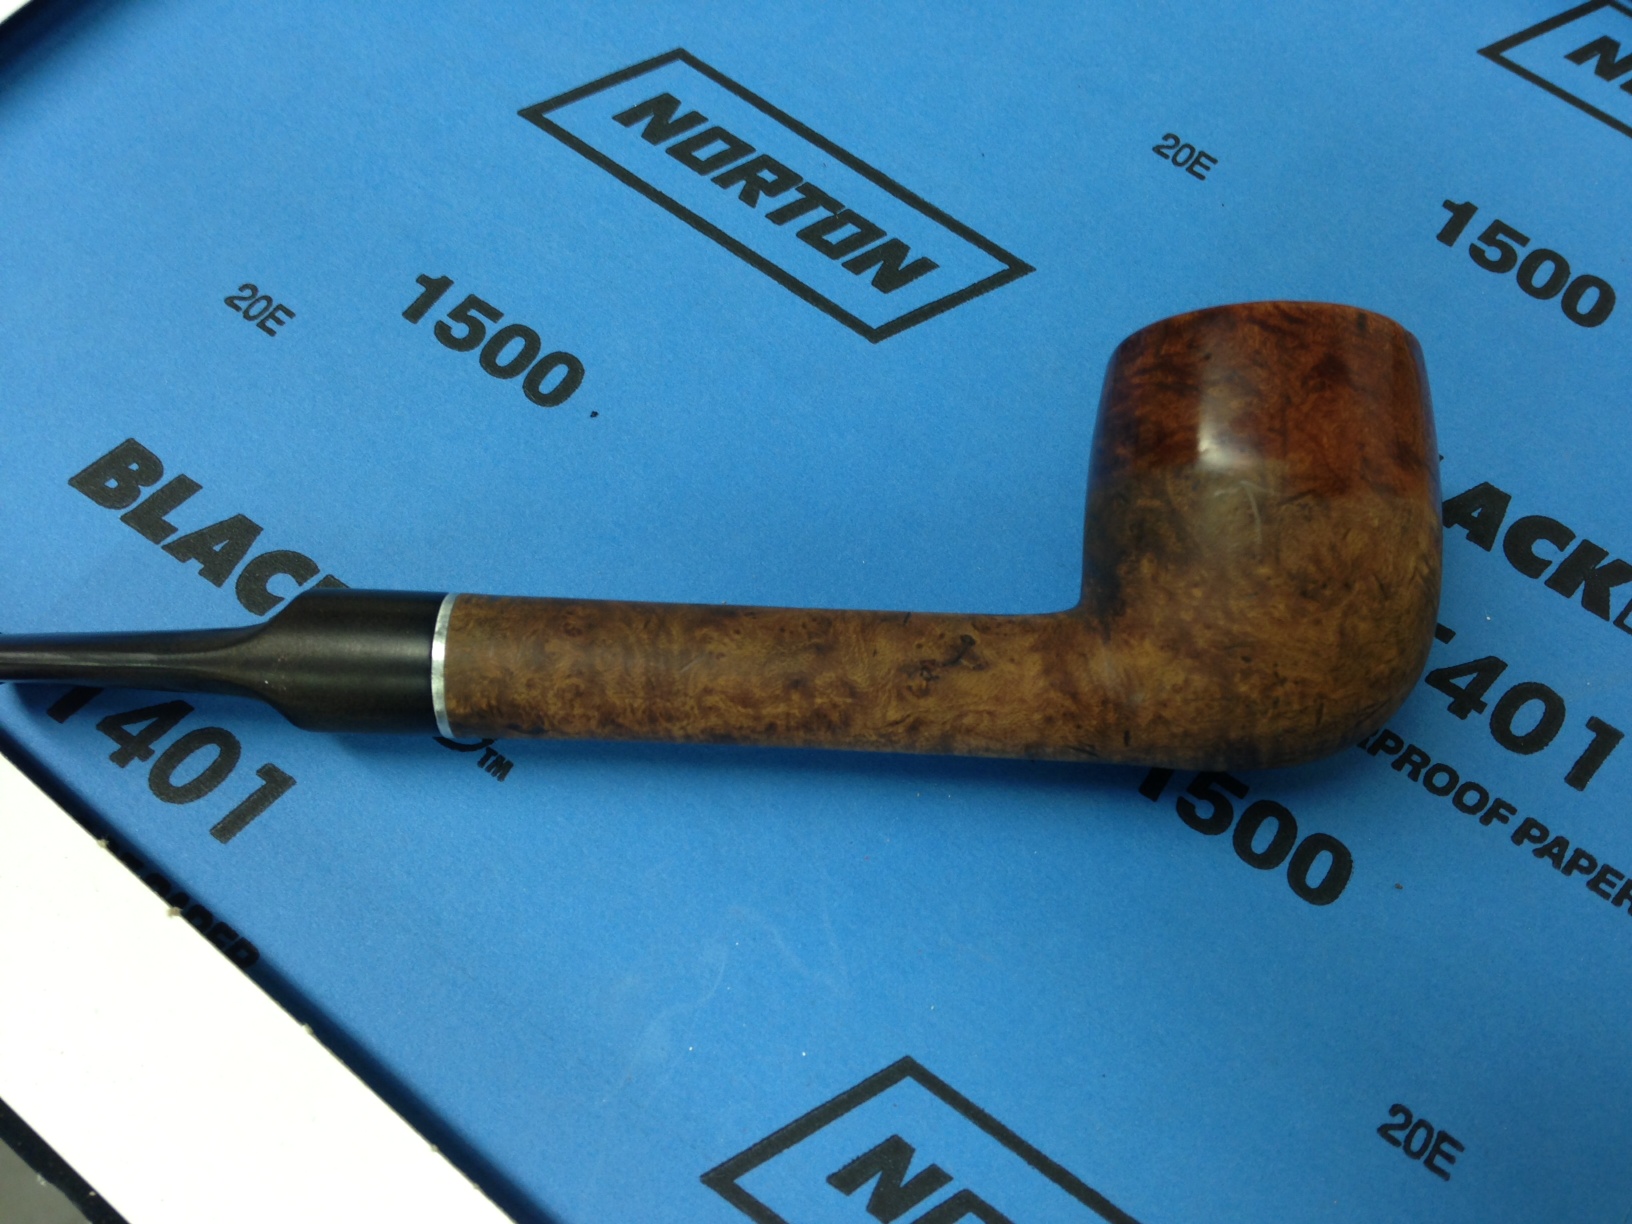
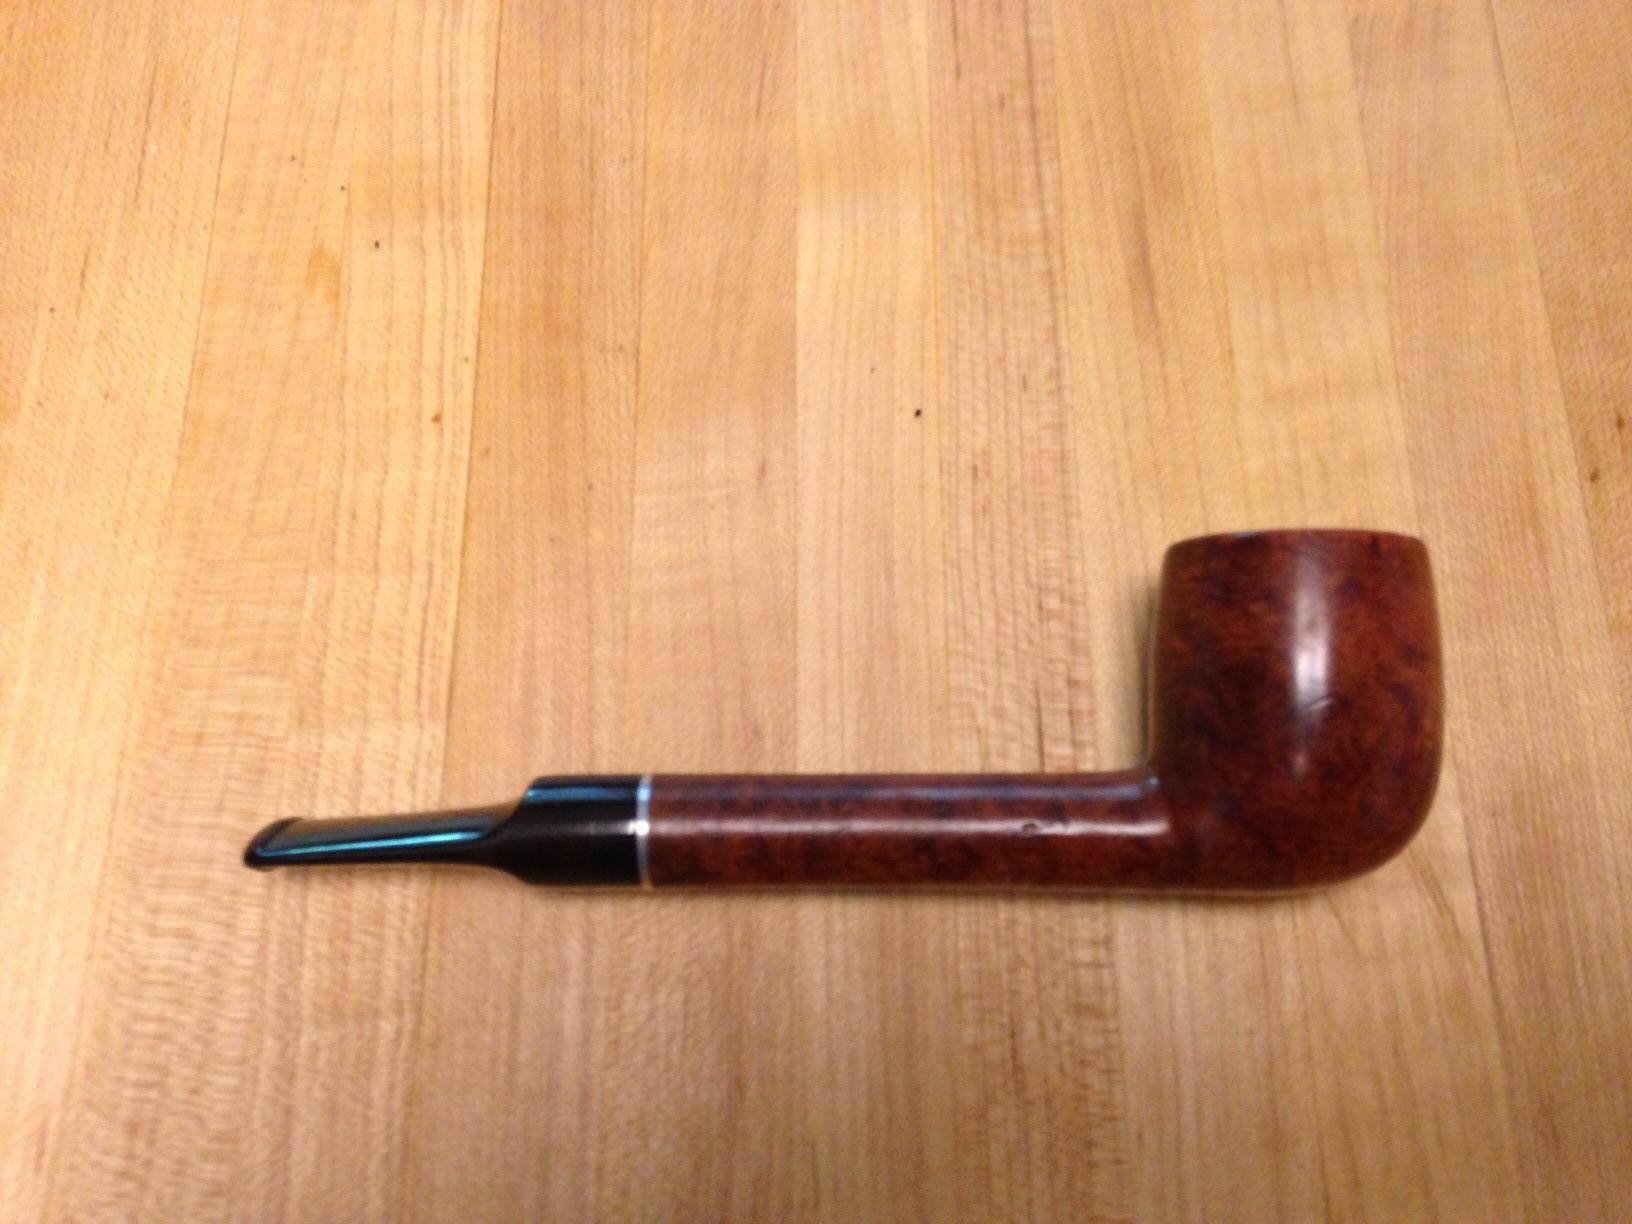
Tag Archives: polishing stems

Refurbishing and Restemming an Unsmoked Small Paneled Rhodesian


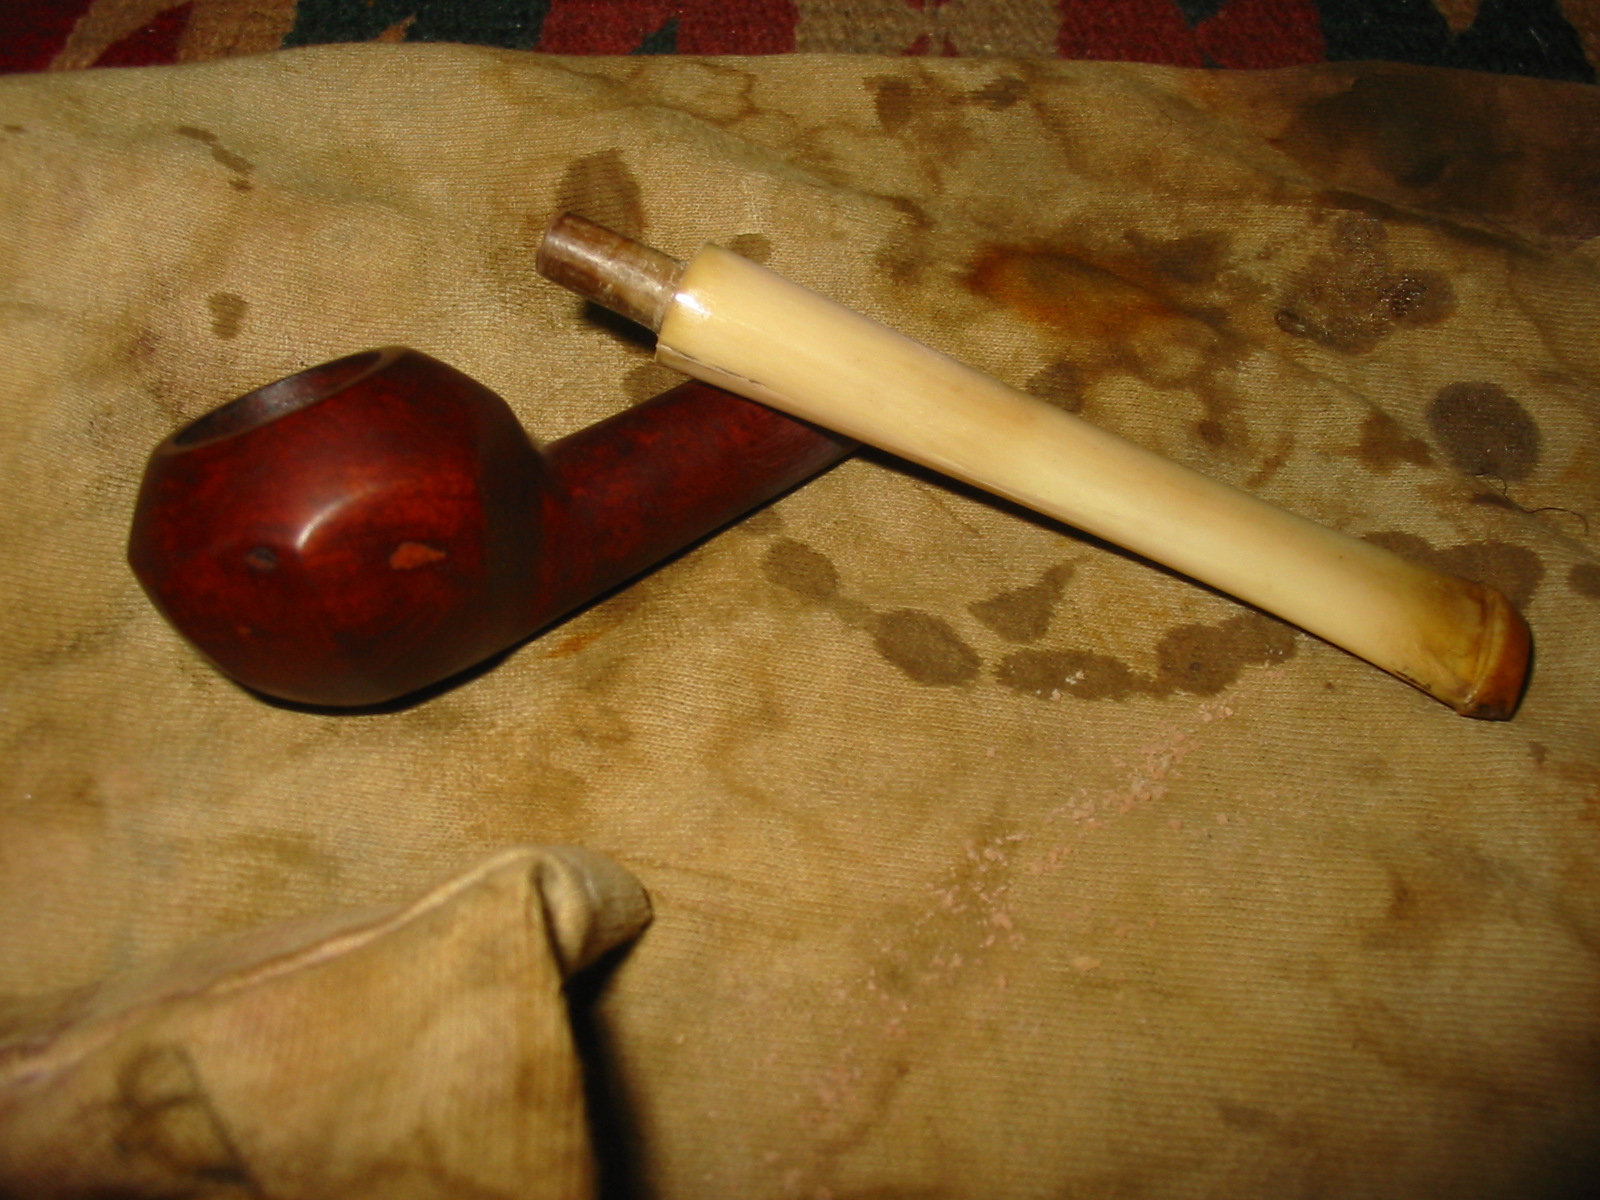
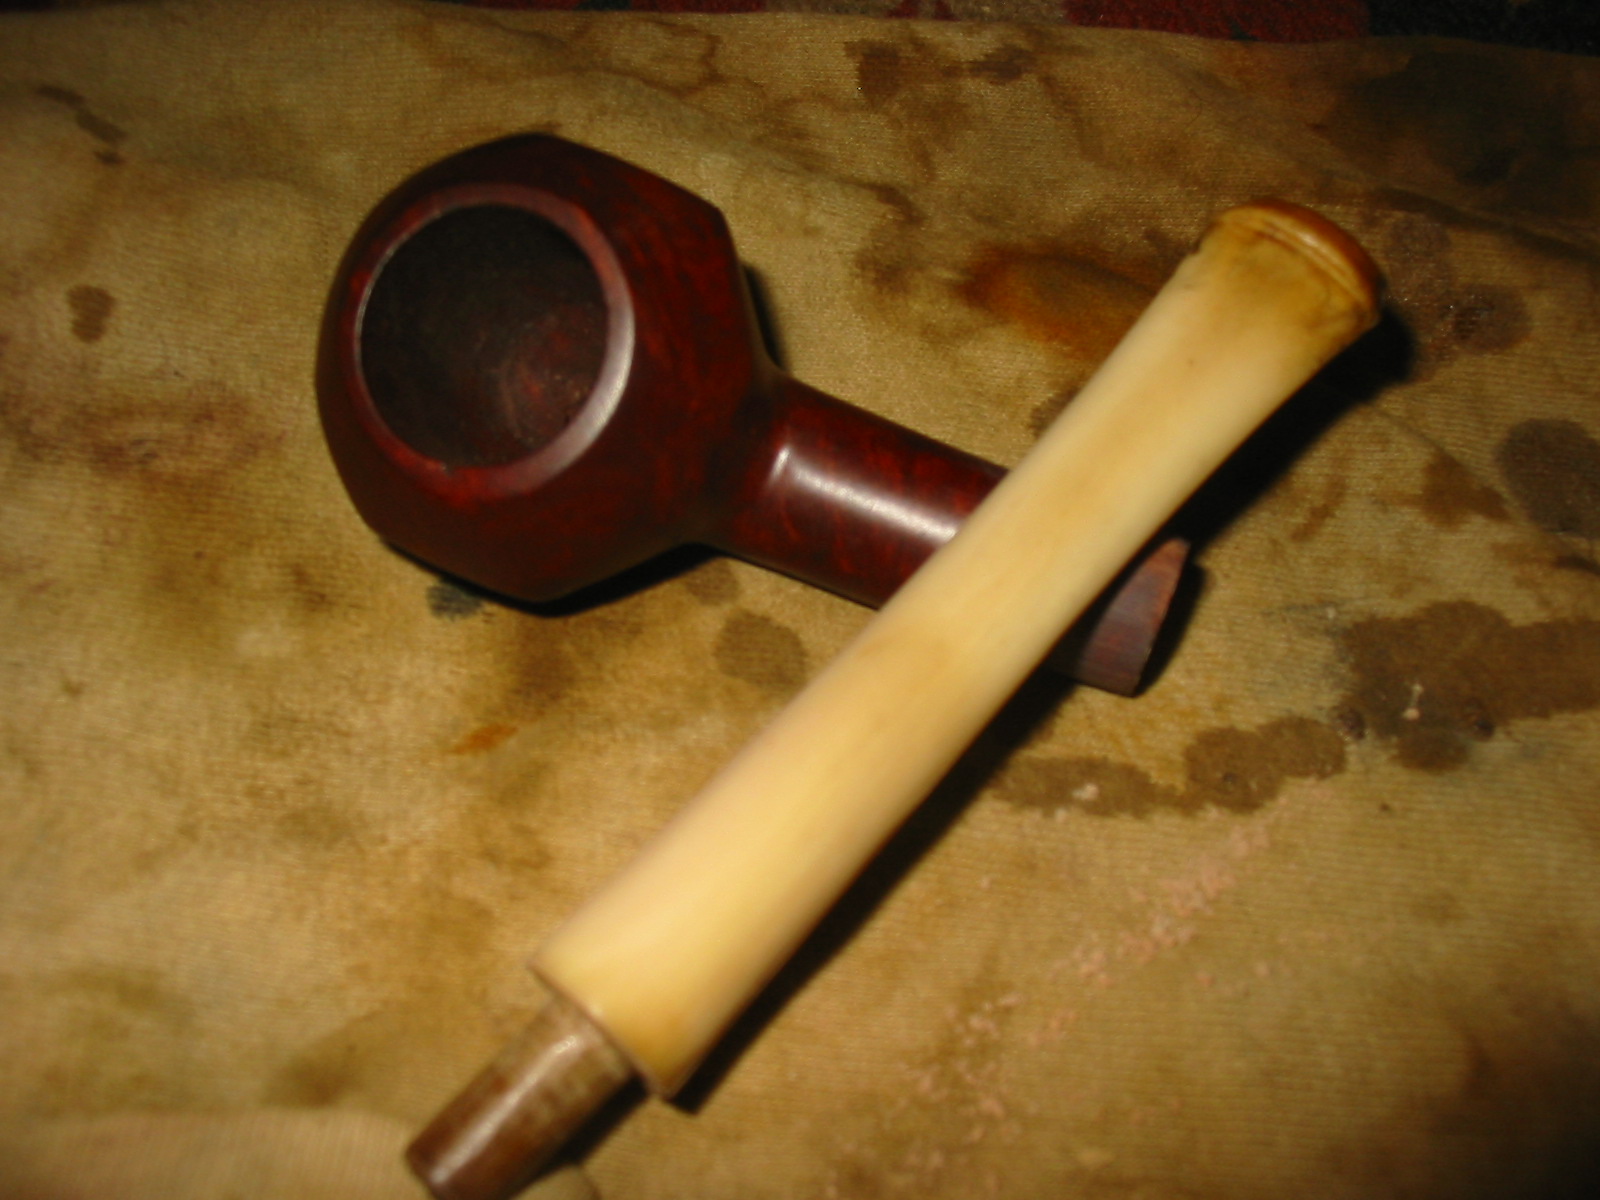
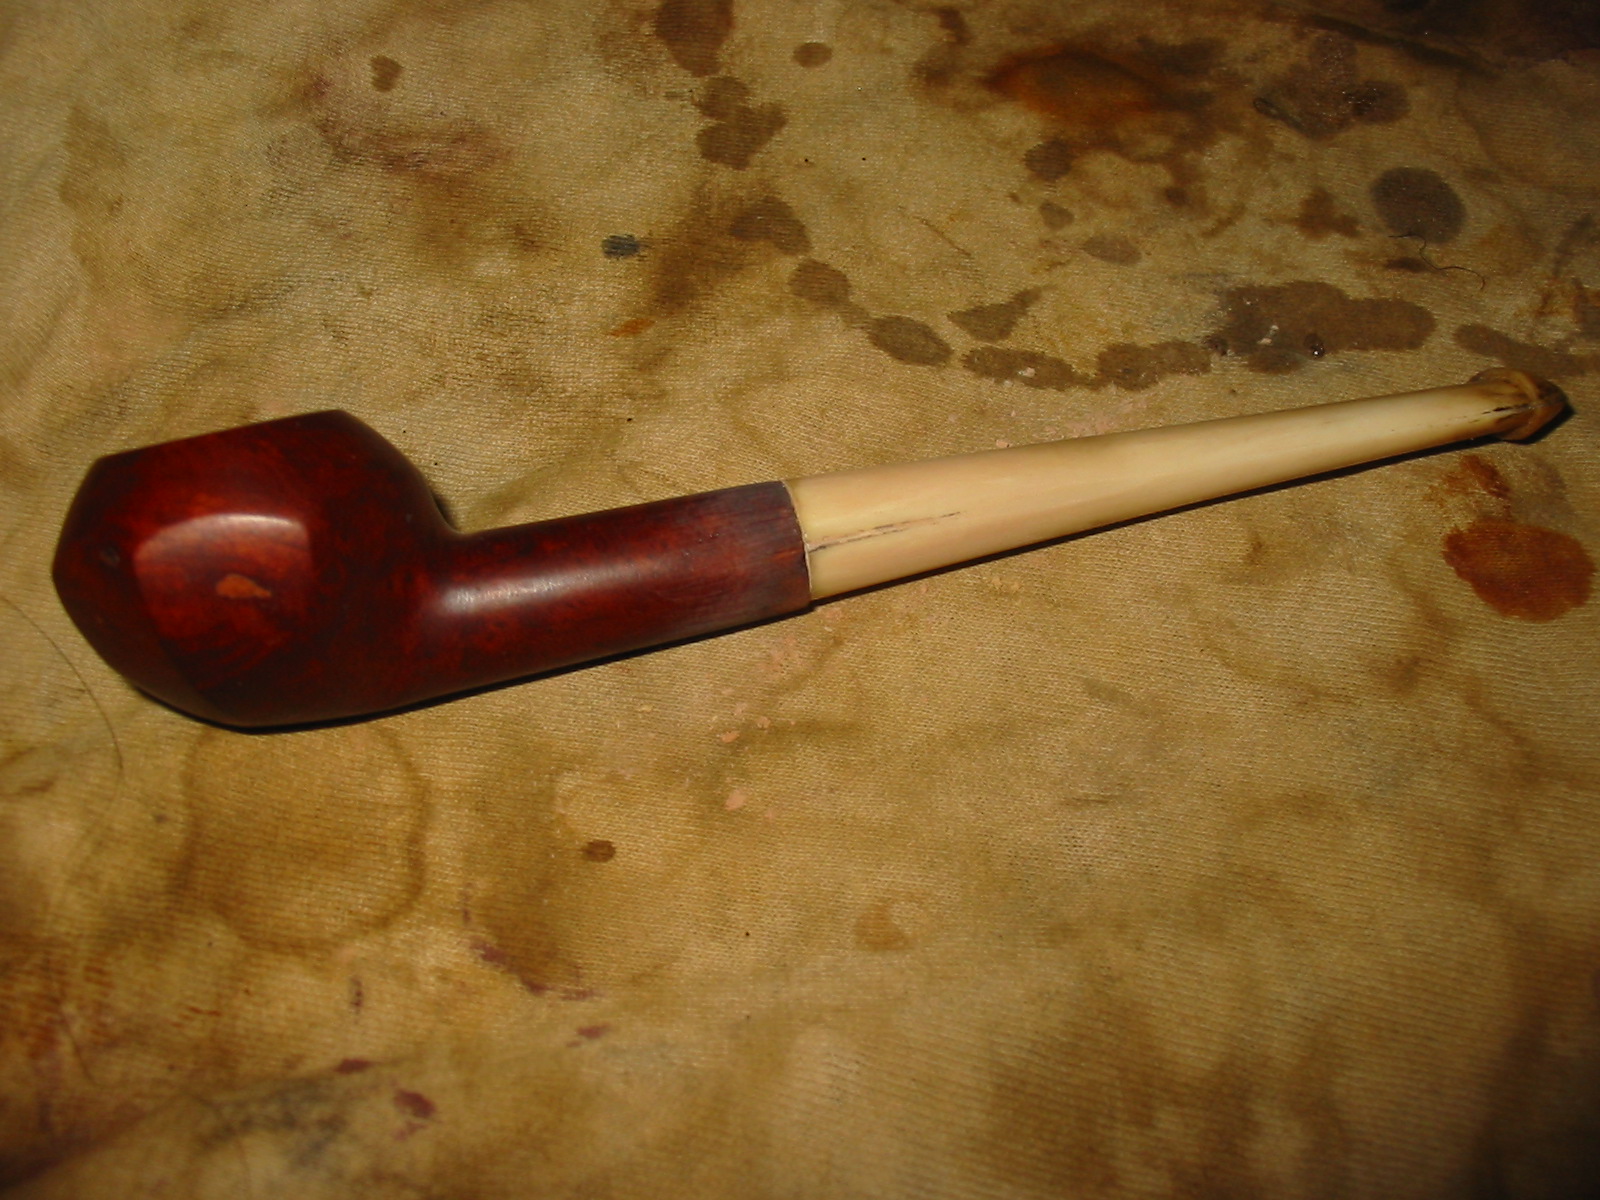
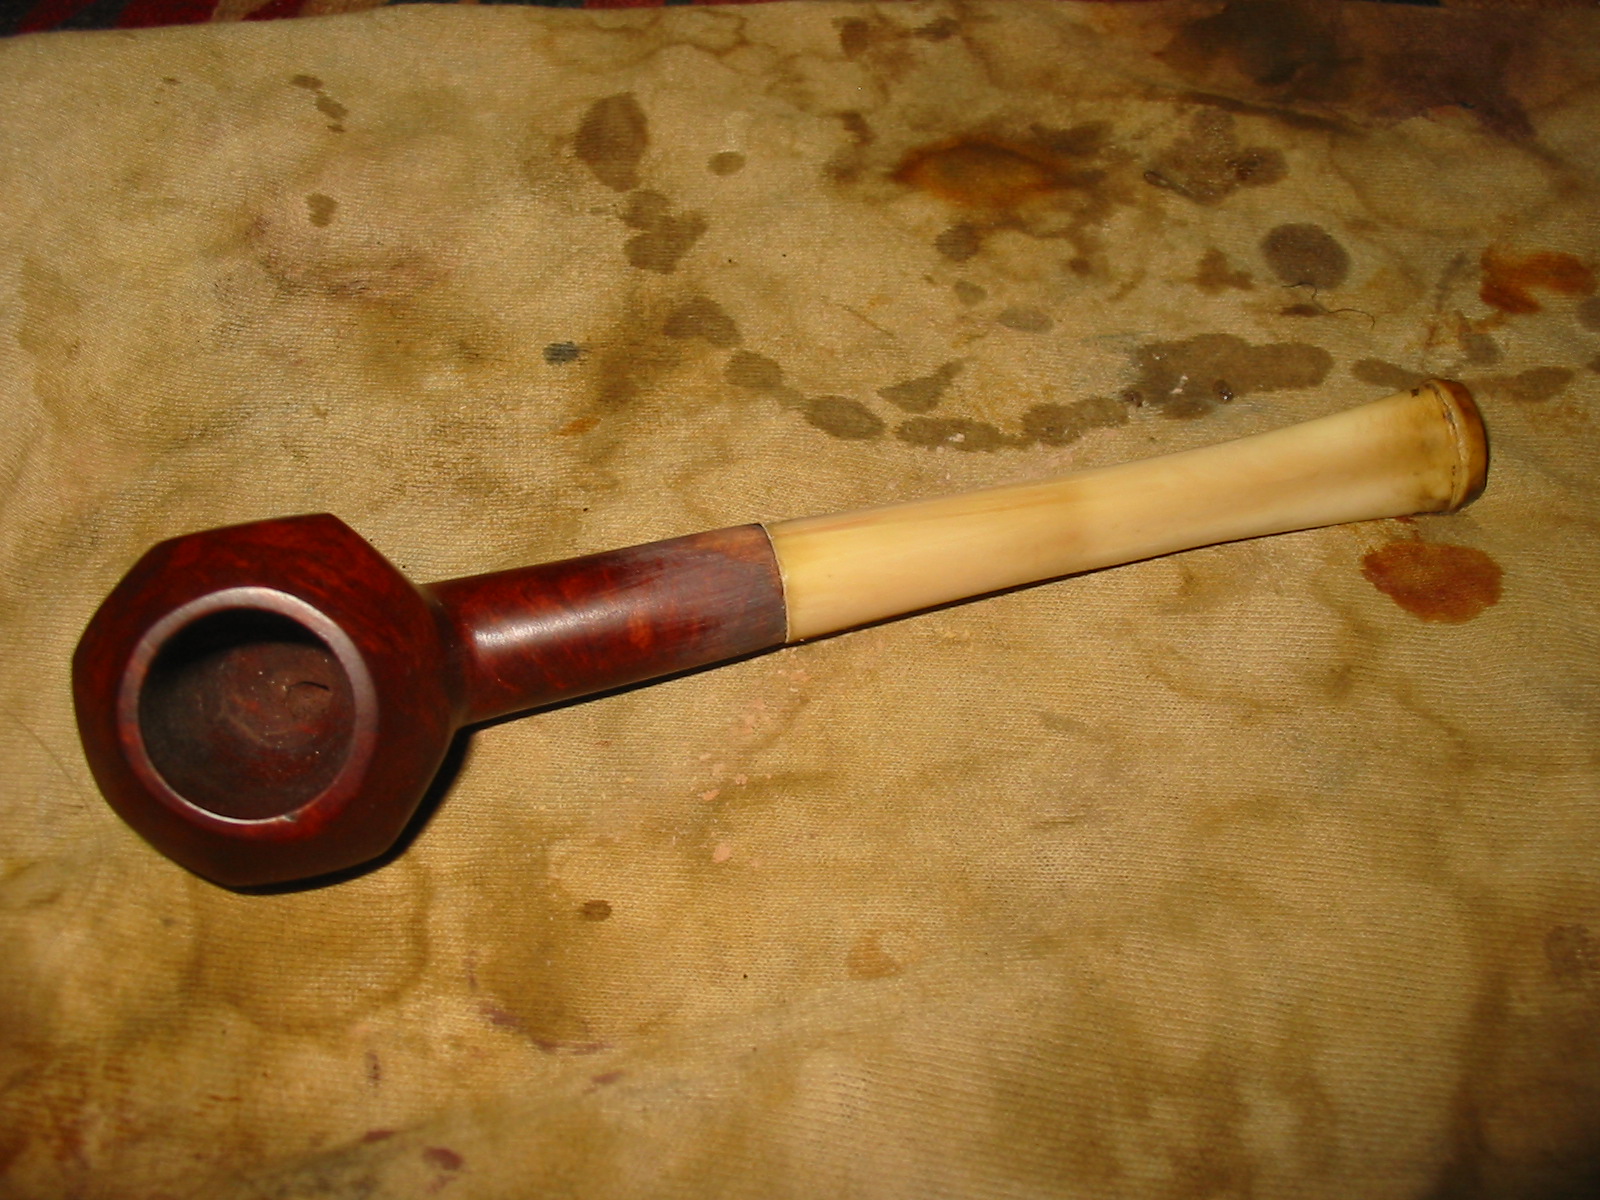
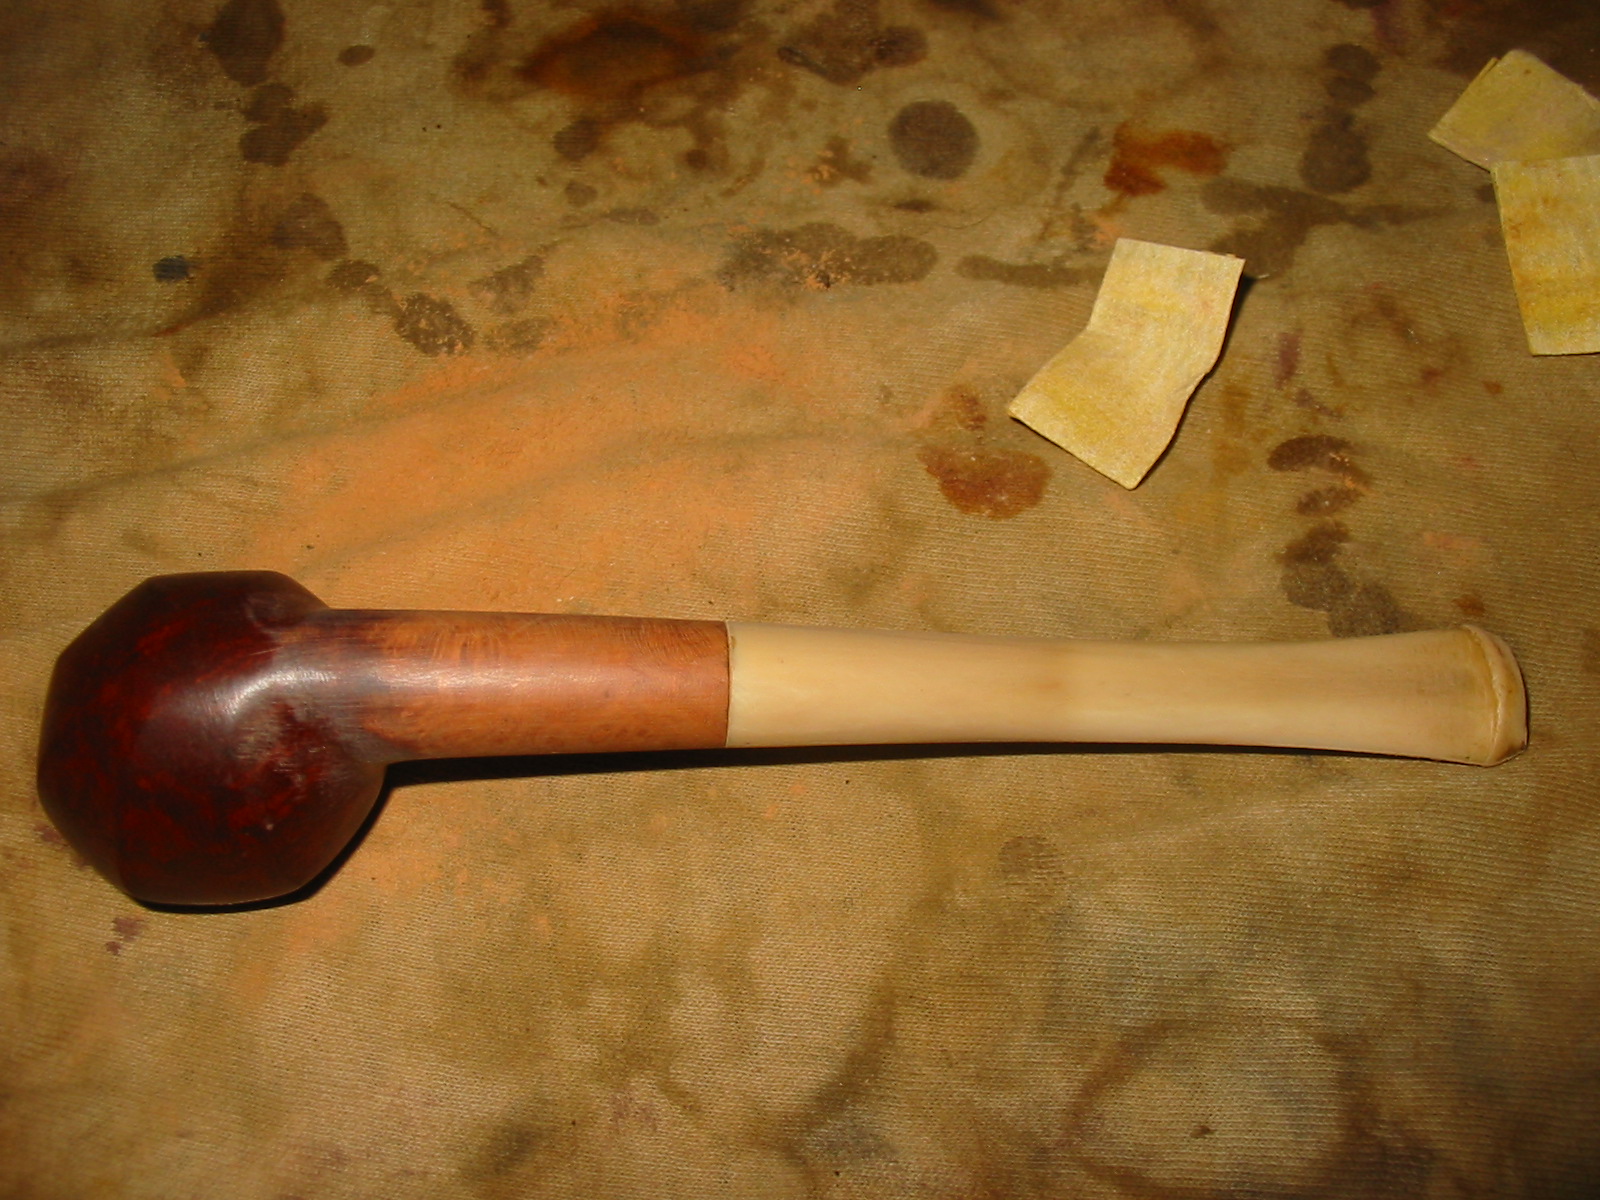
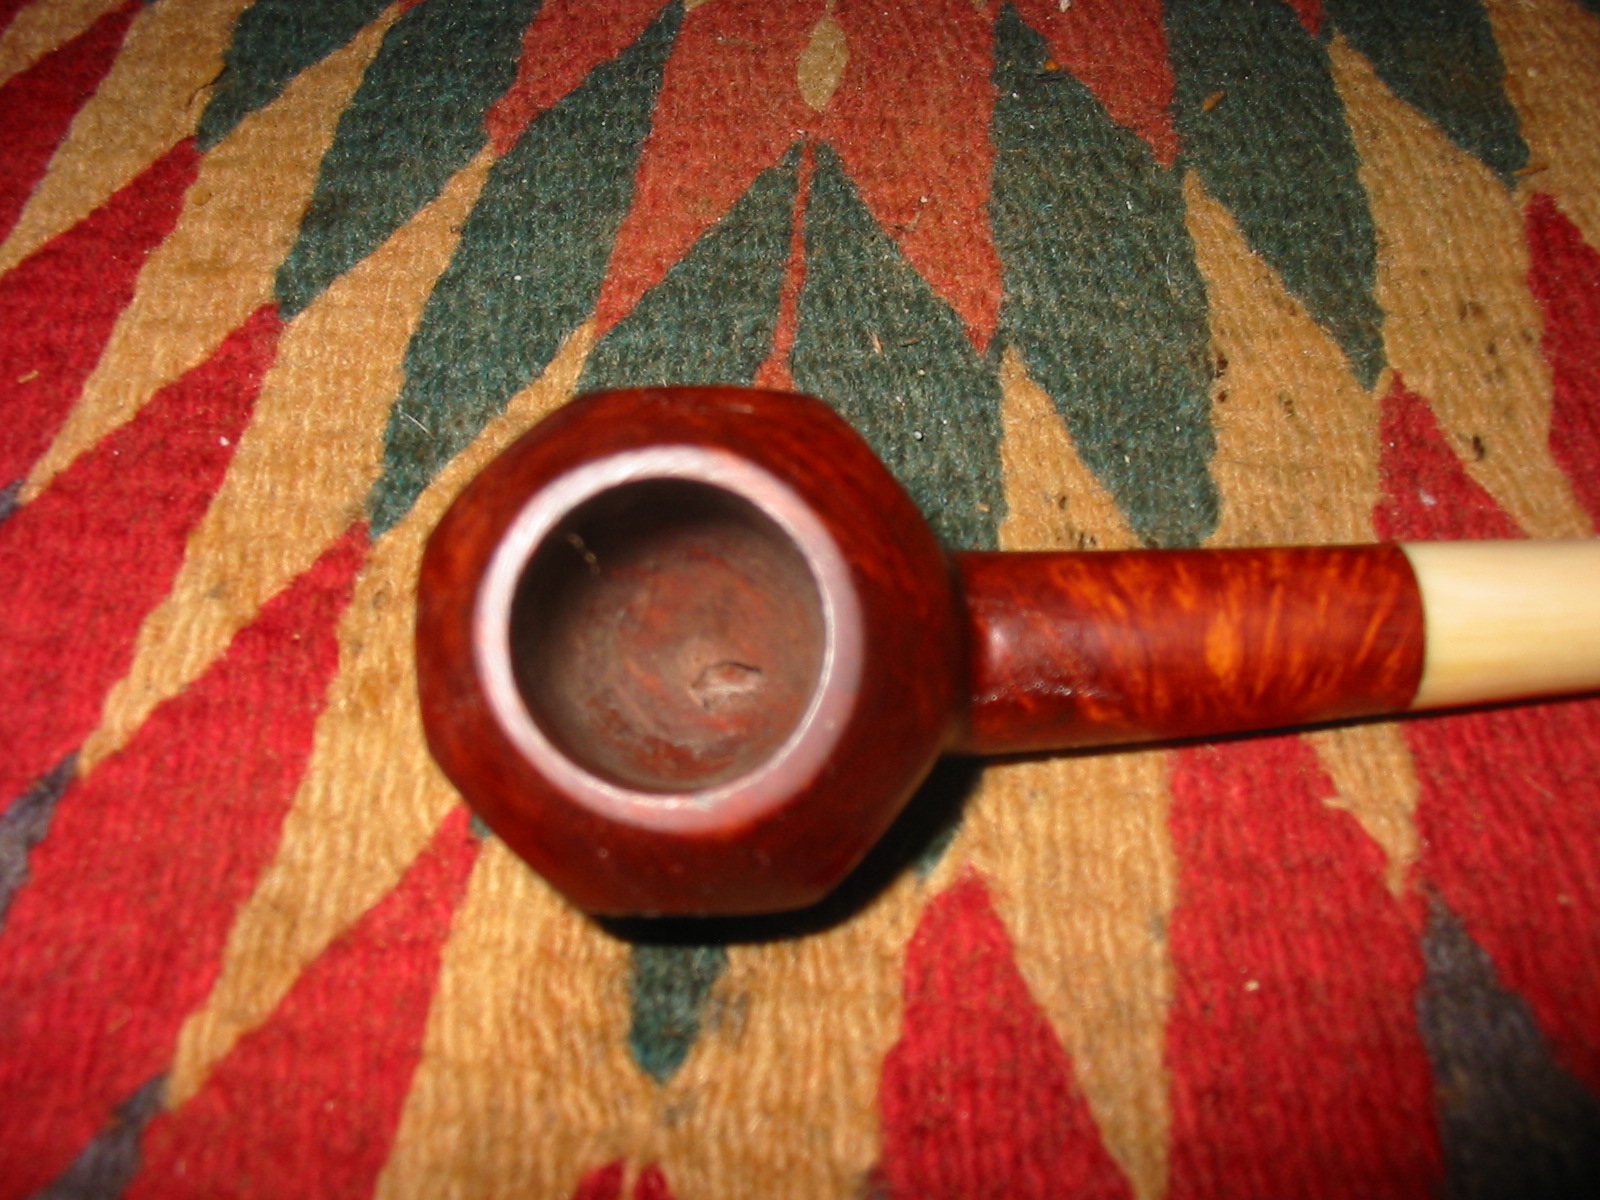
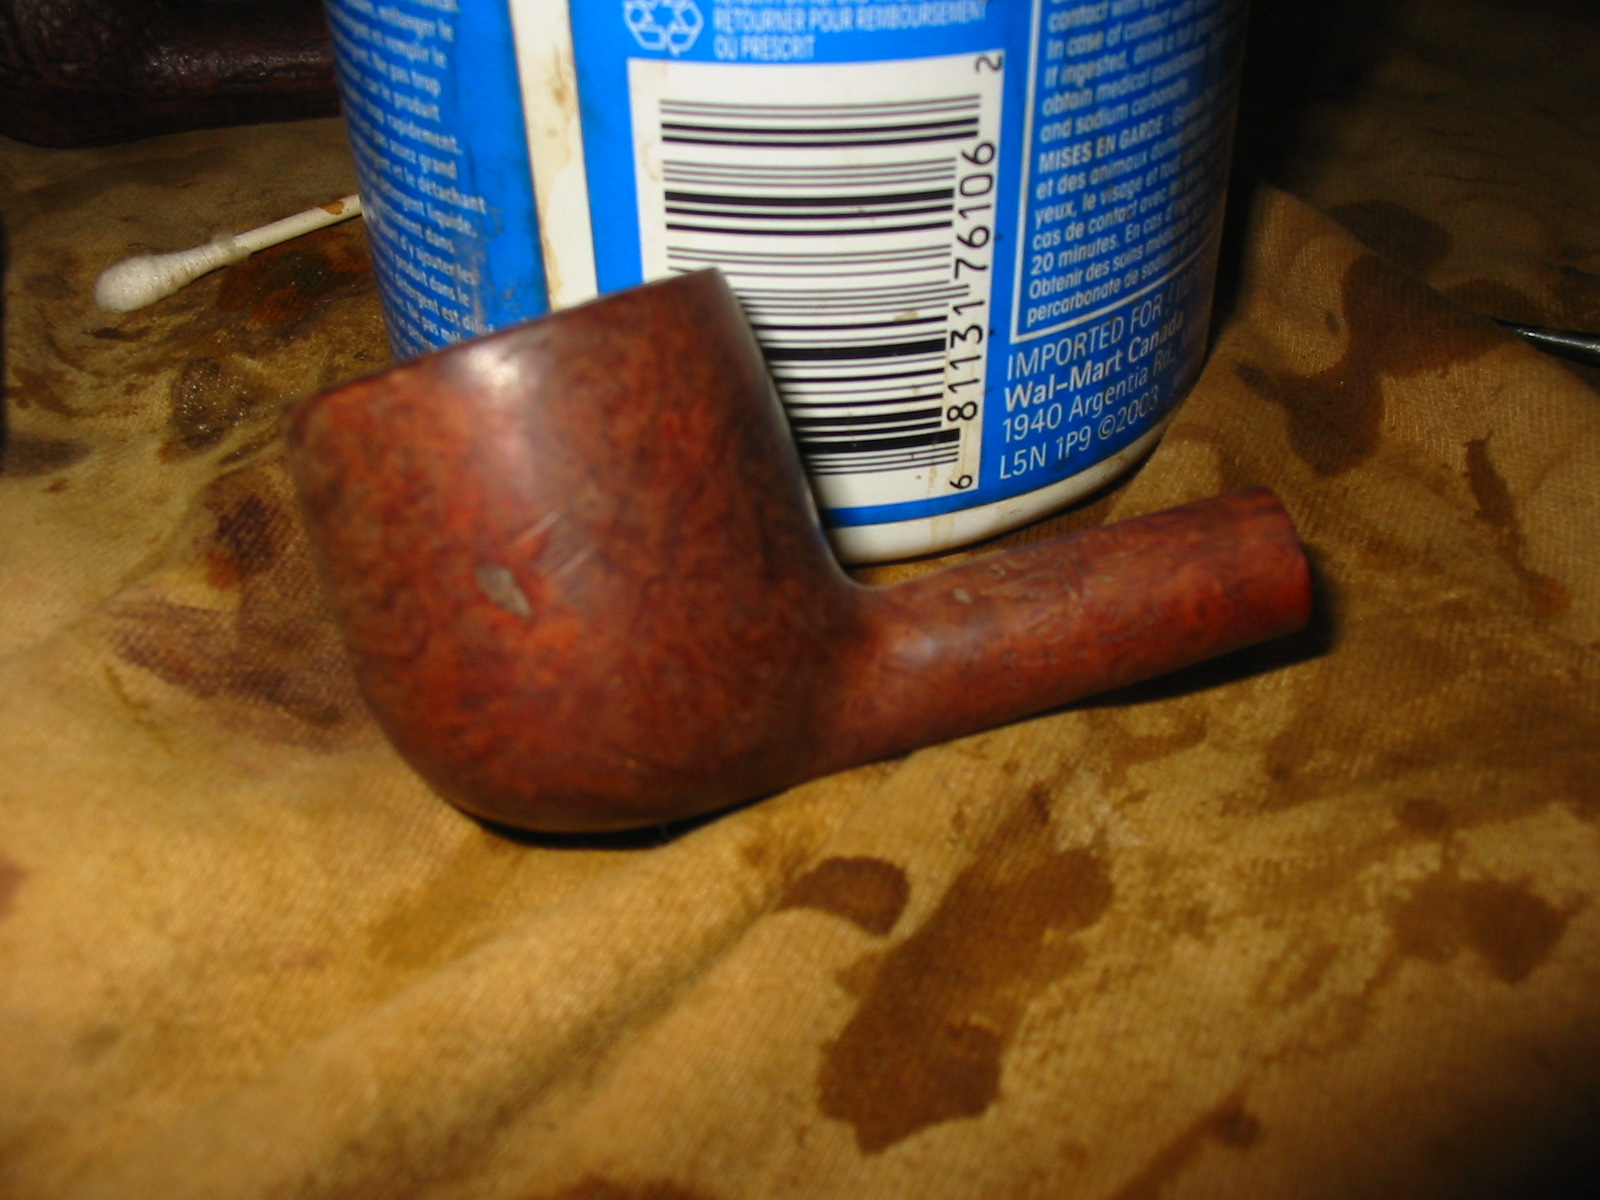
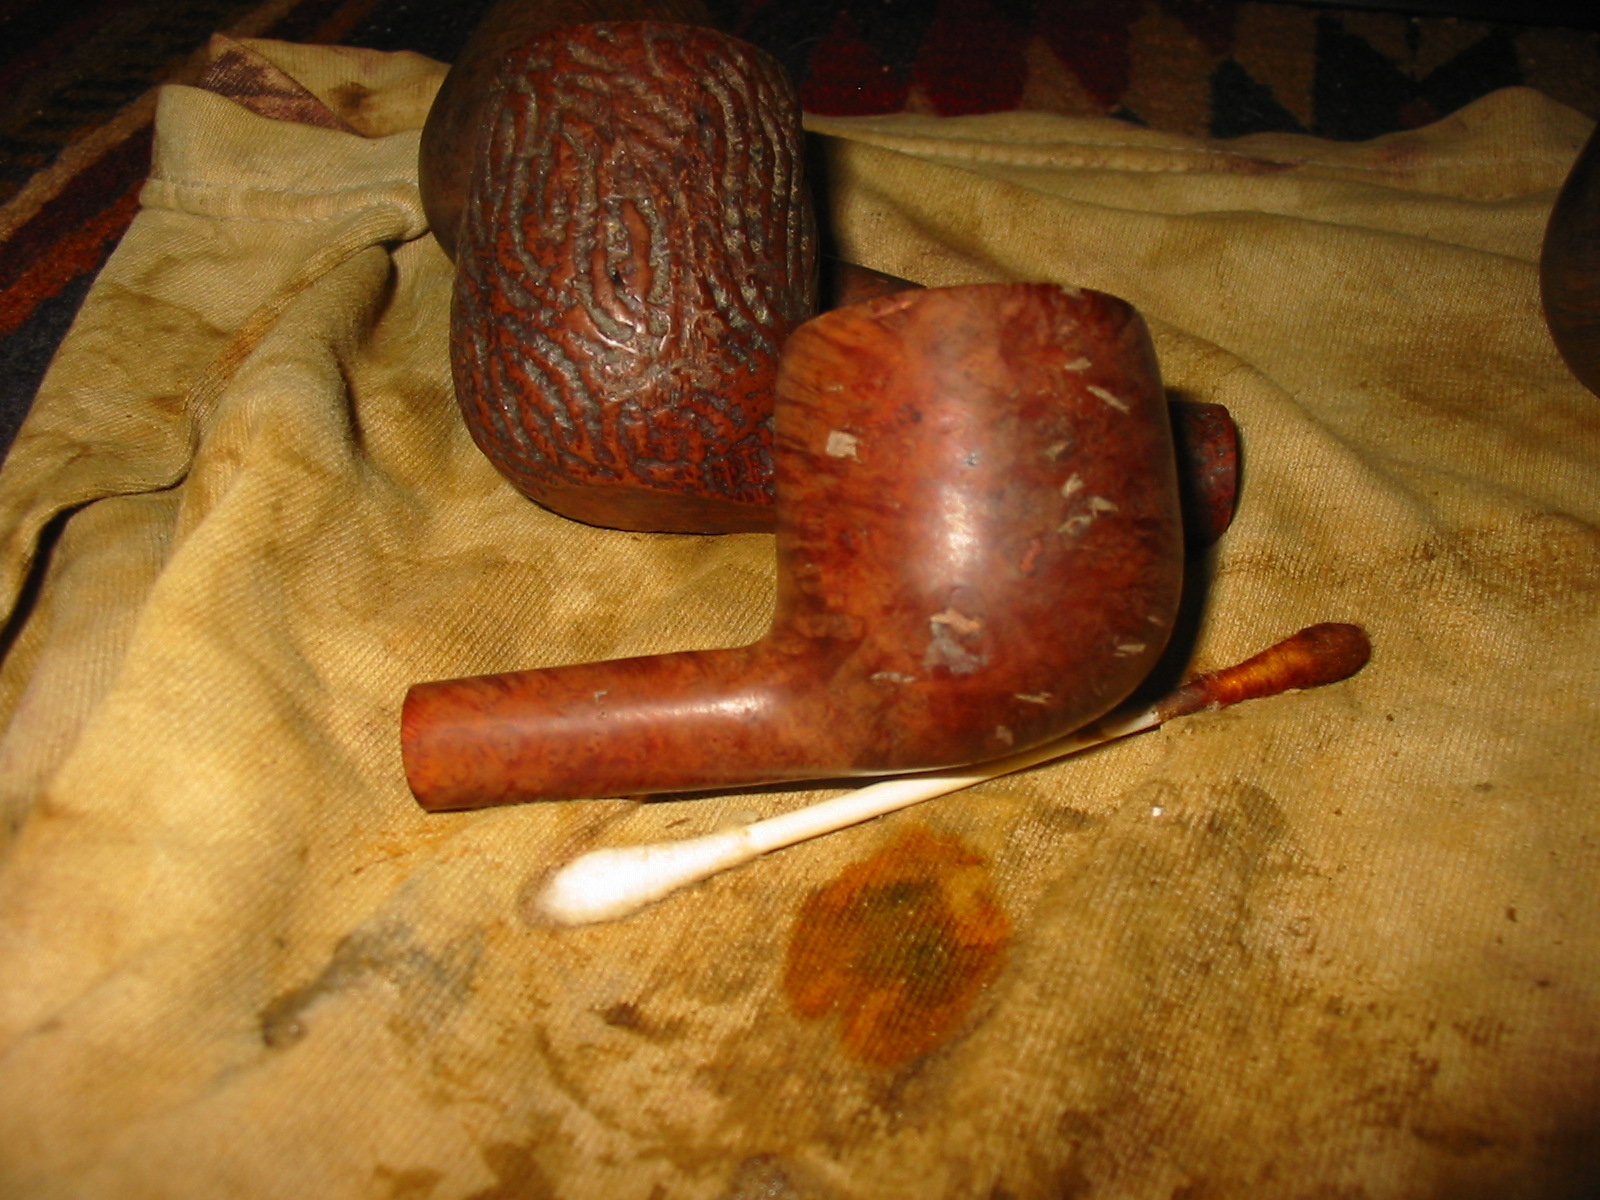
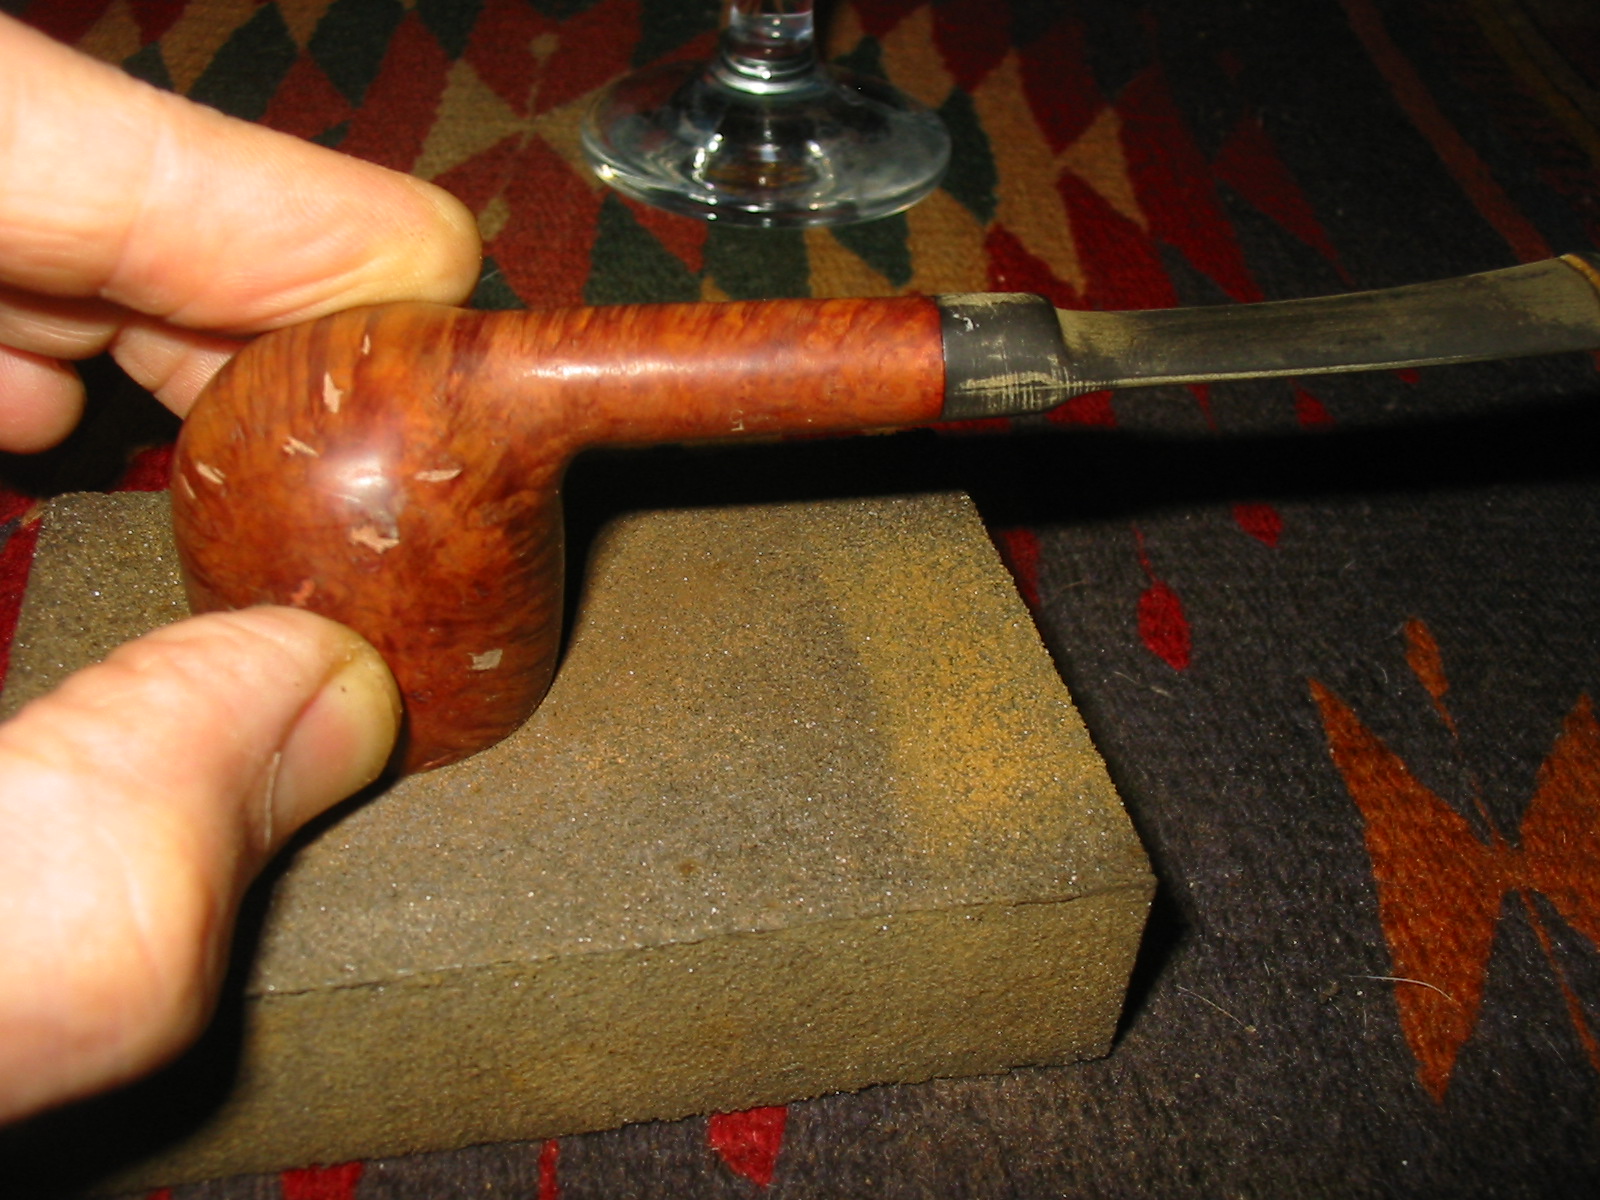
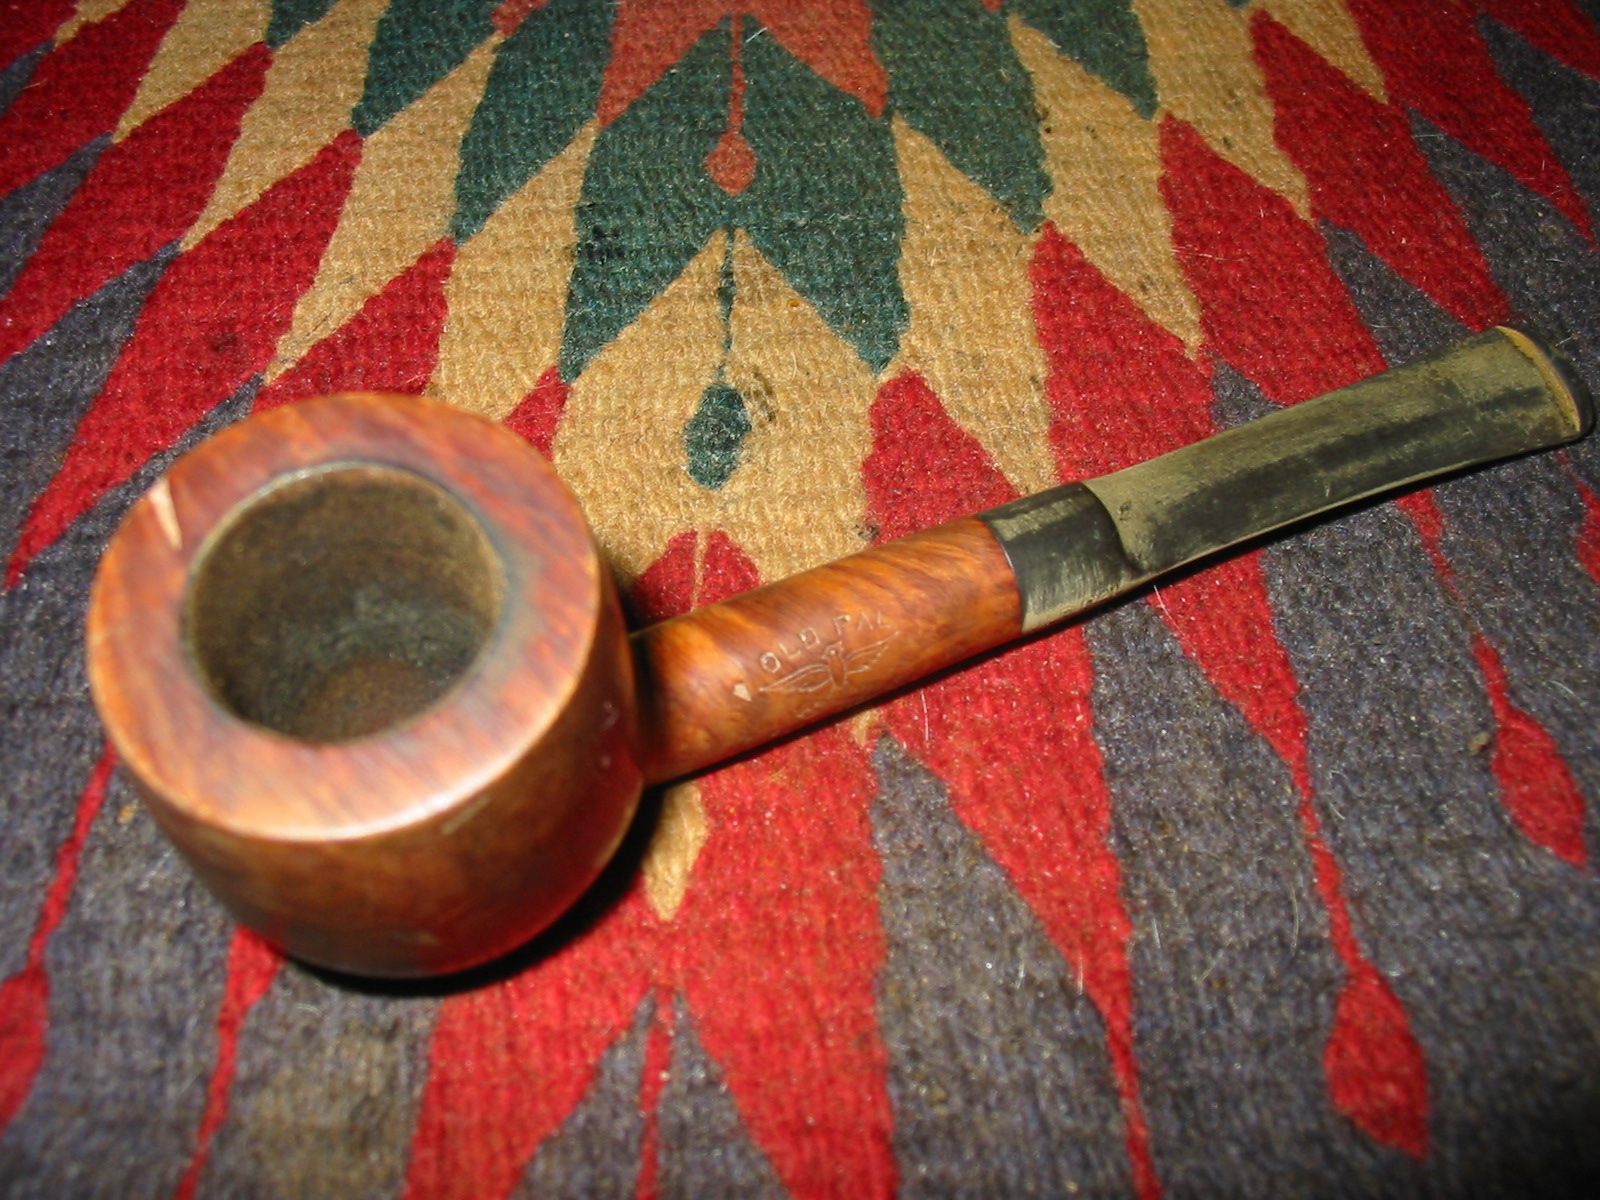
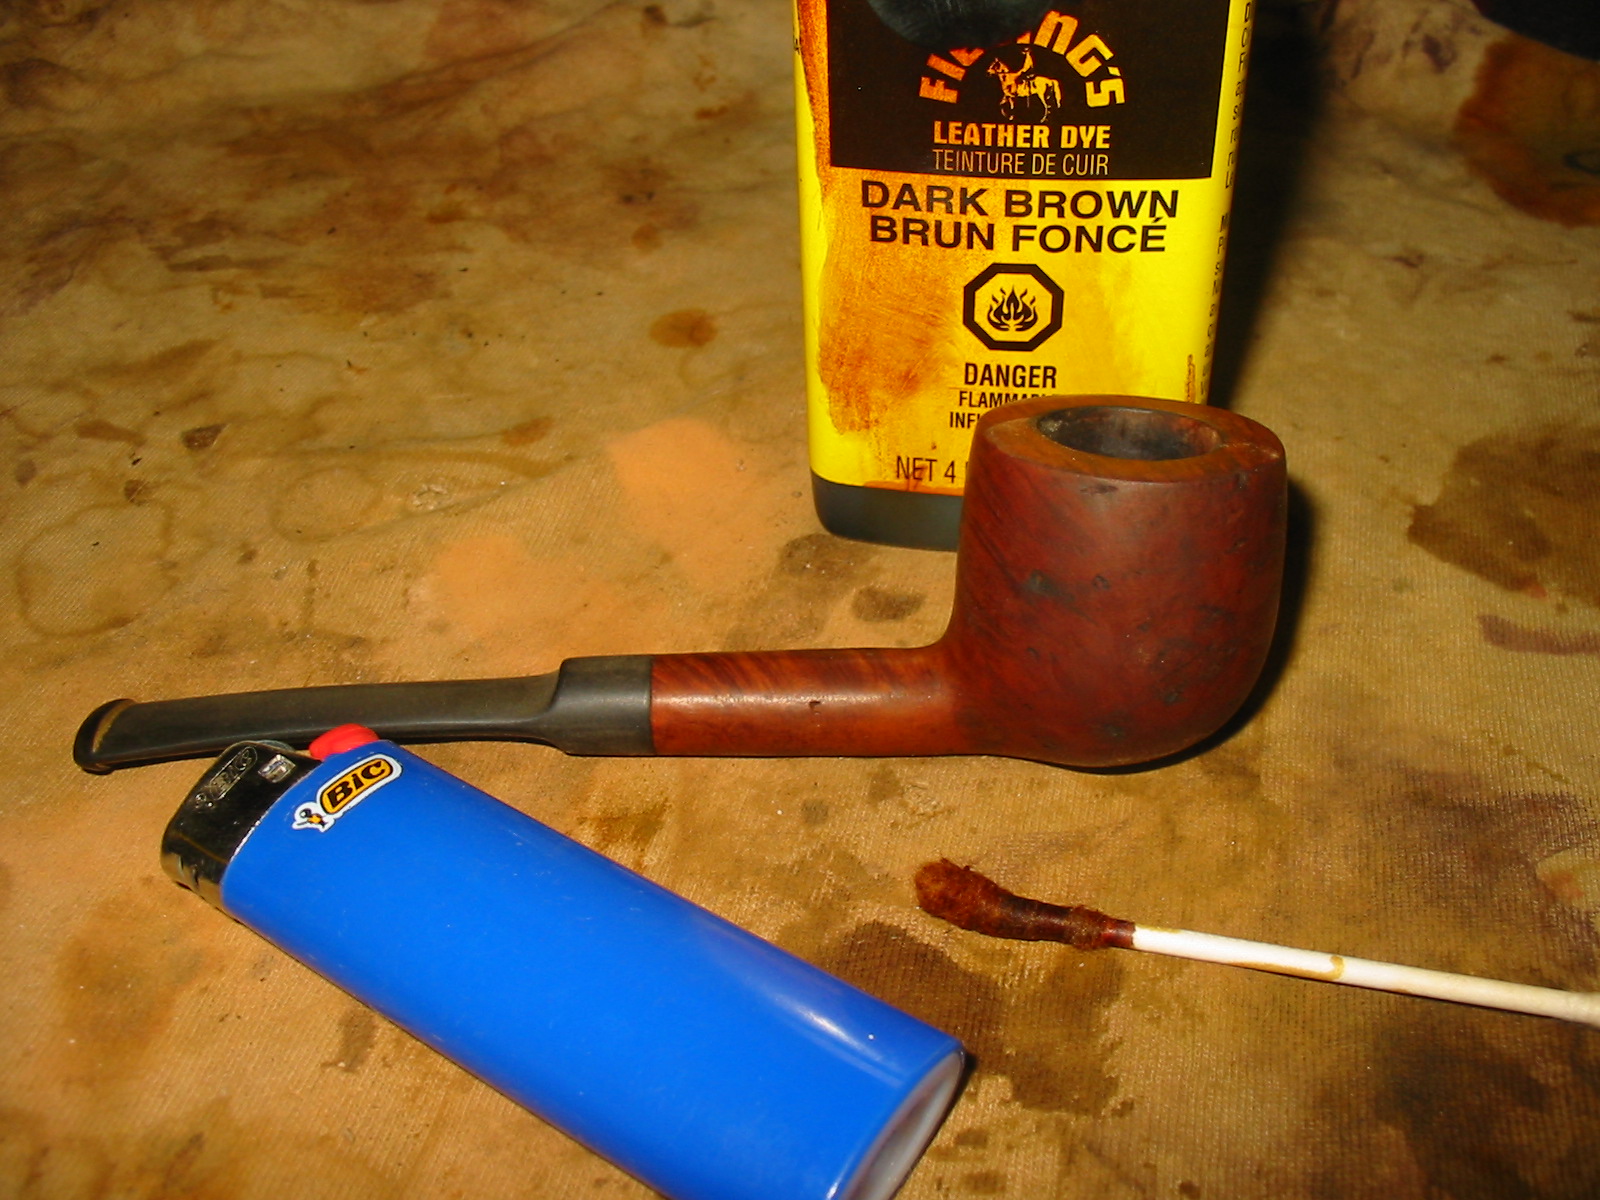
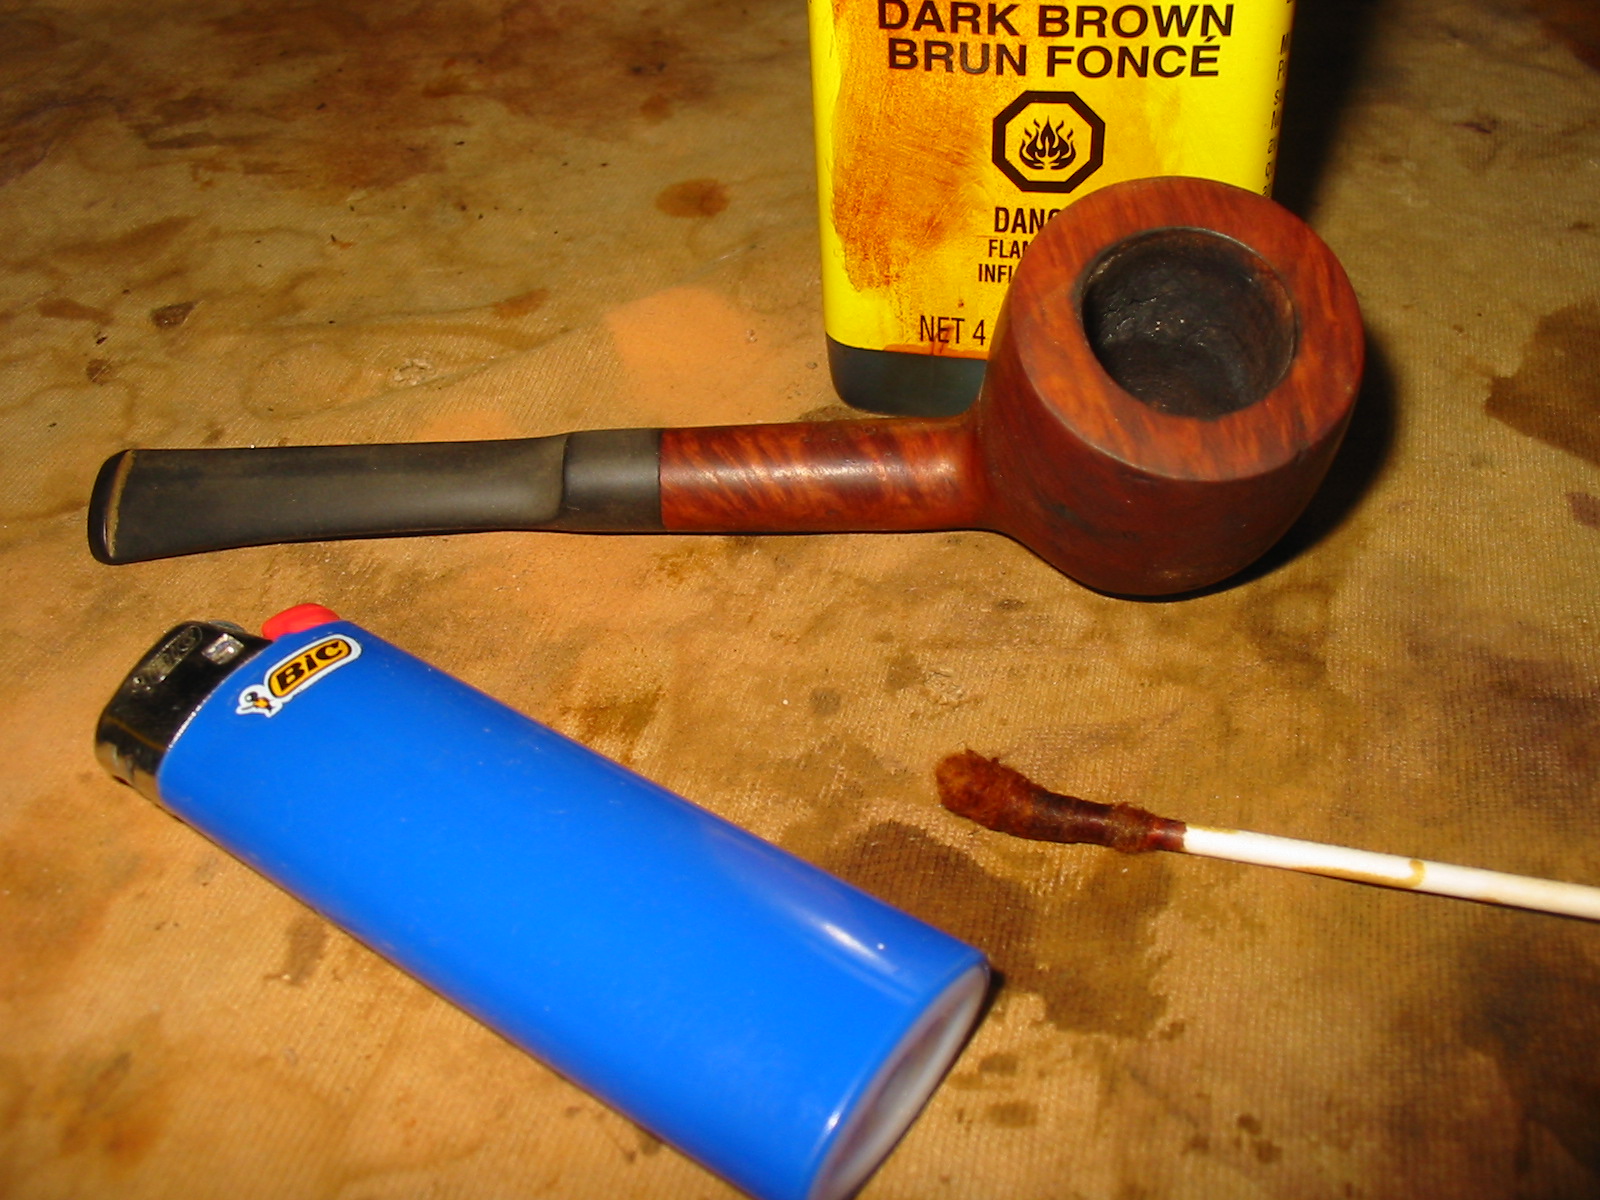
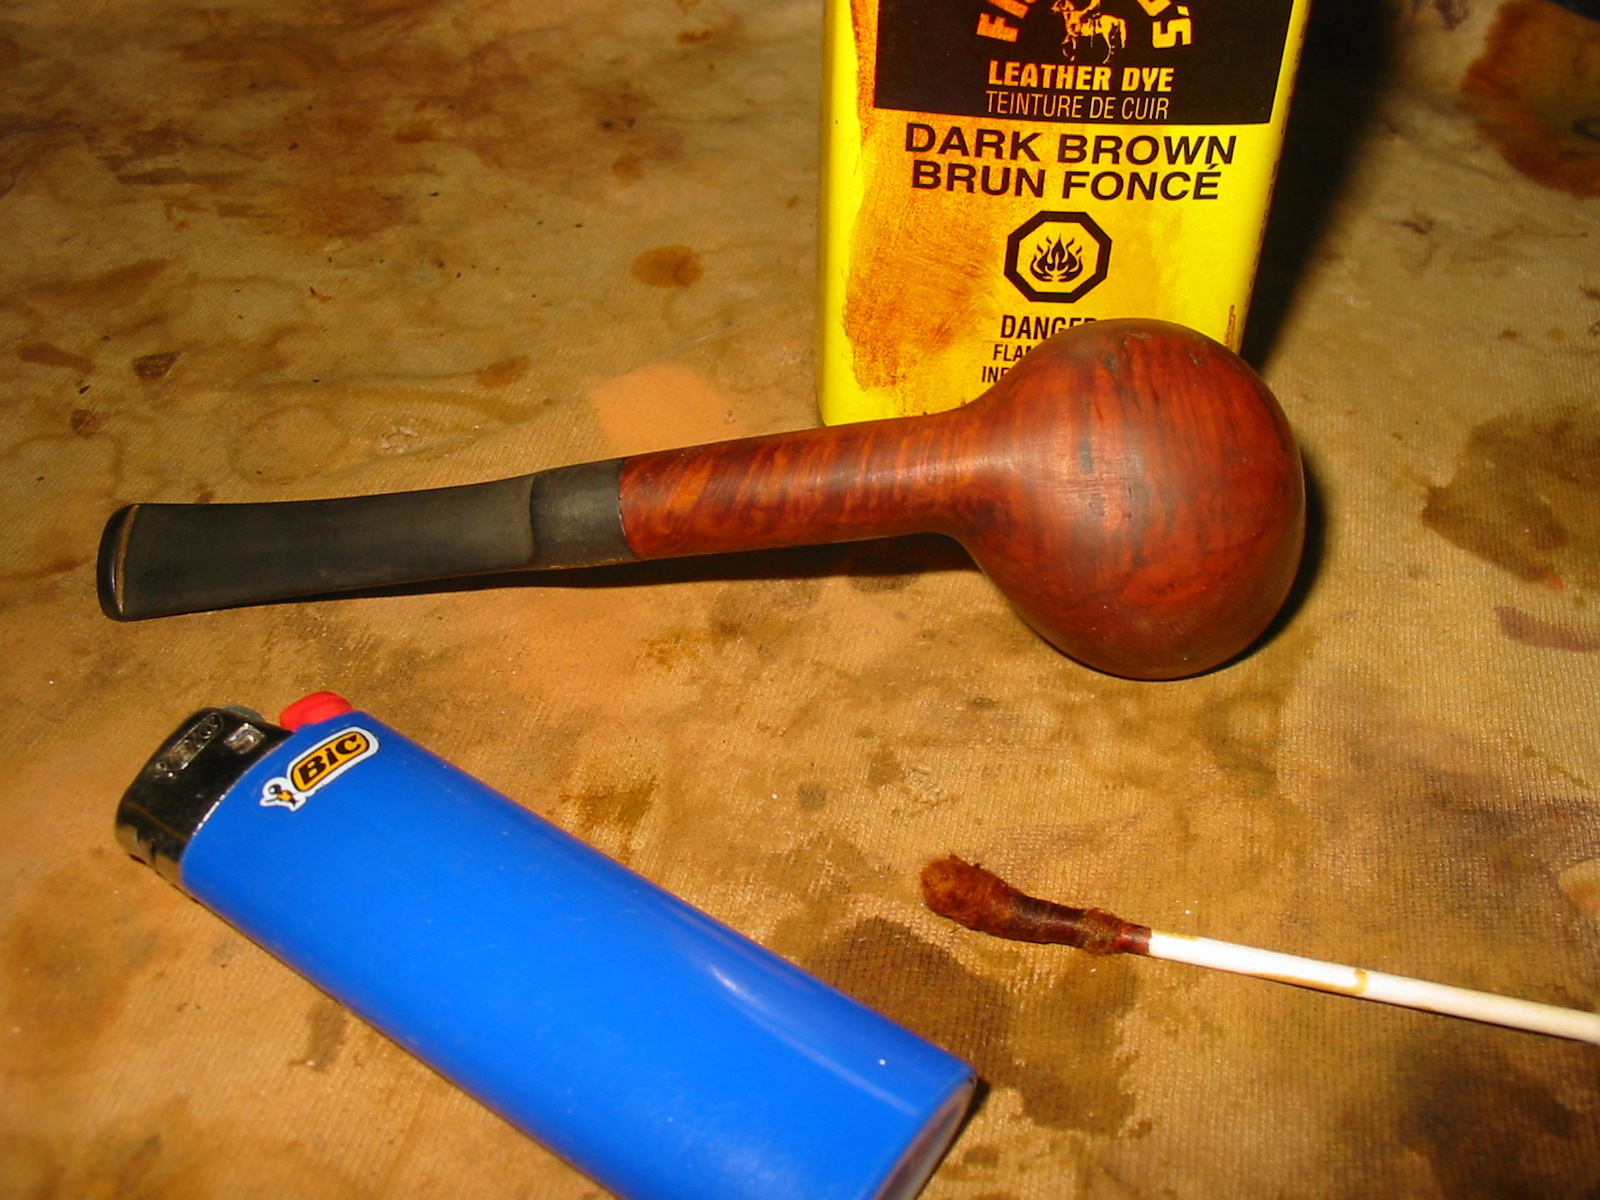
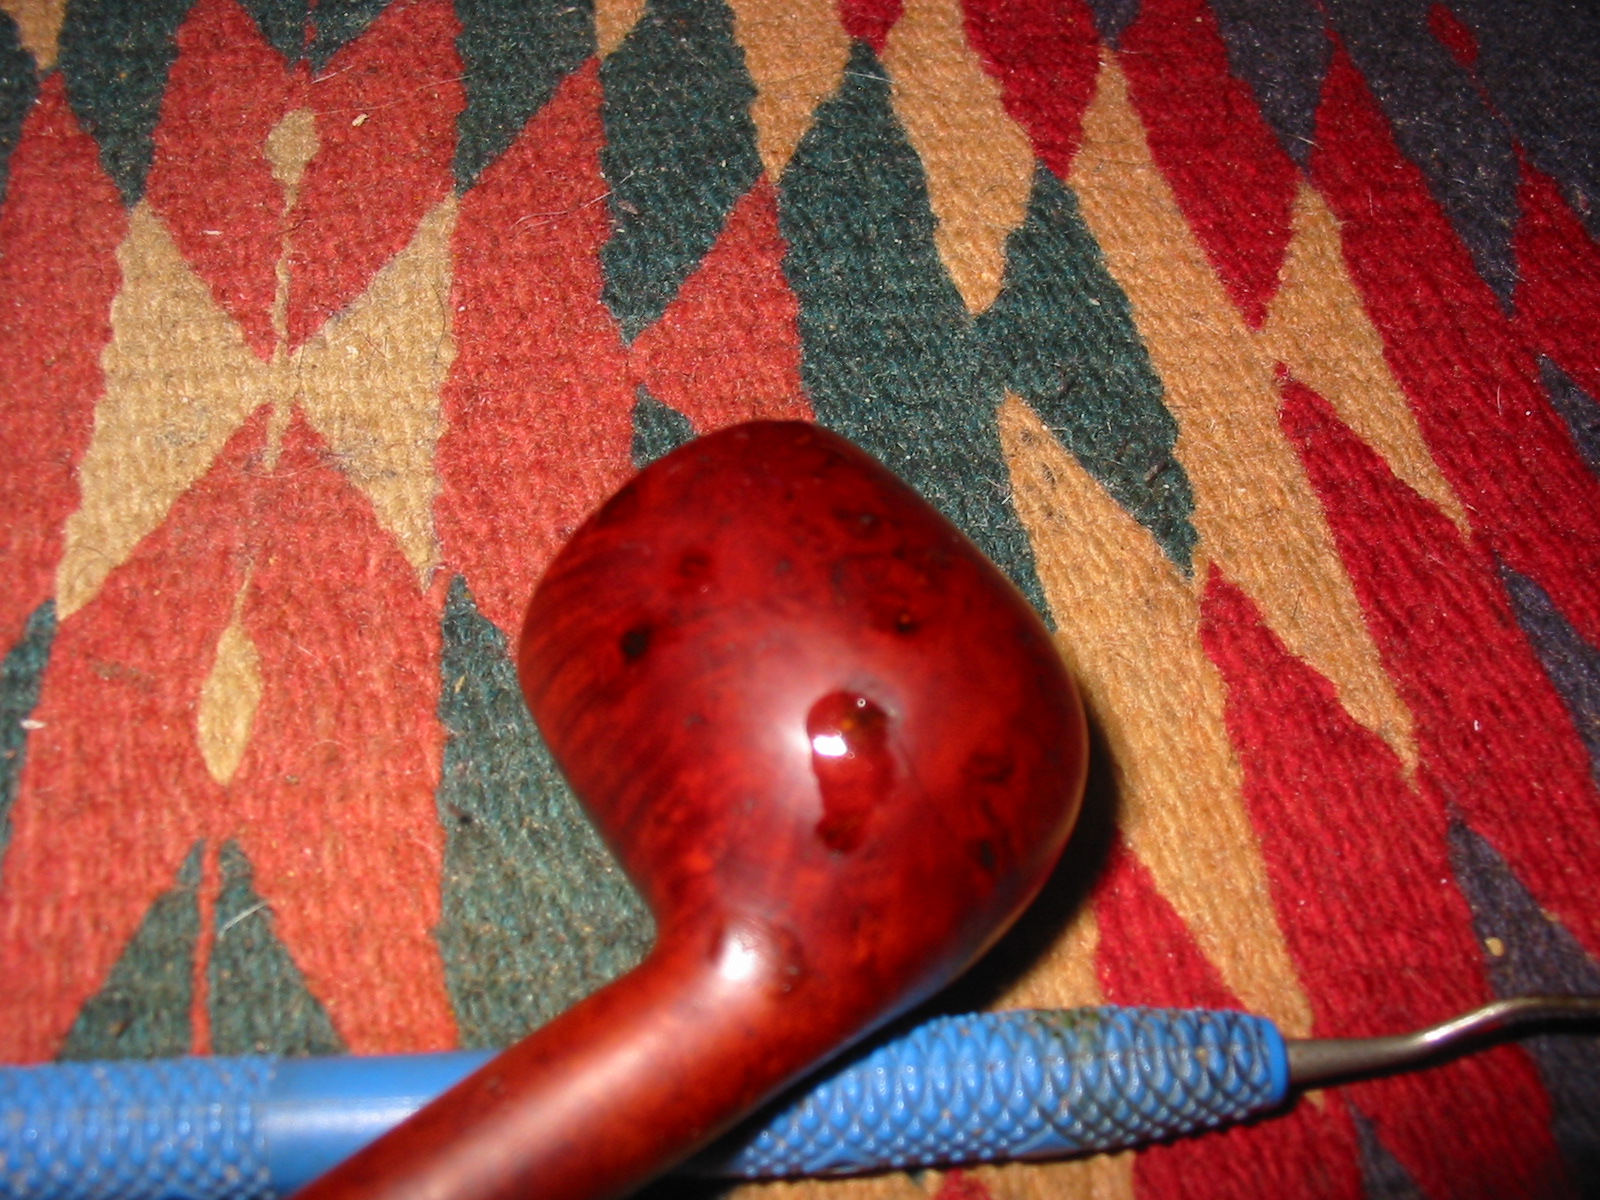
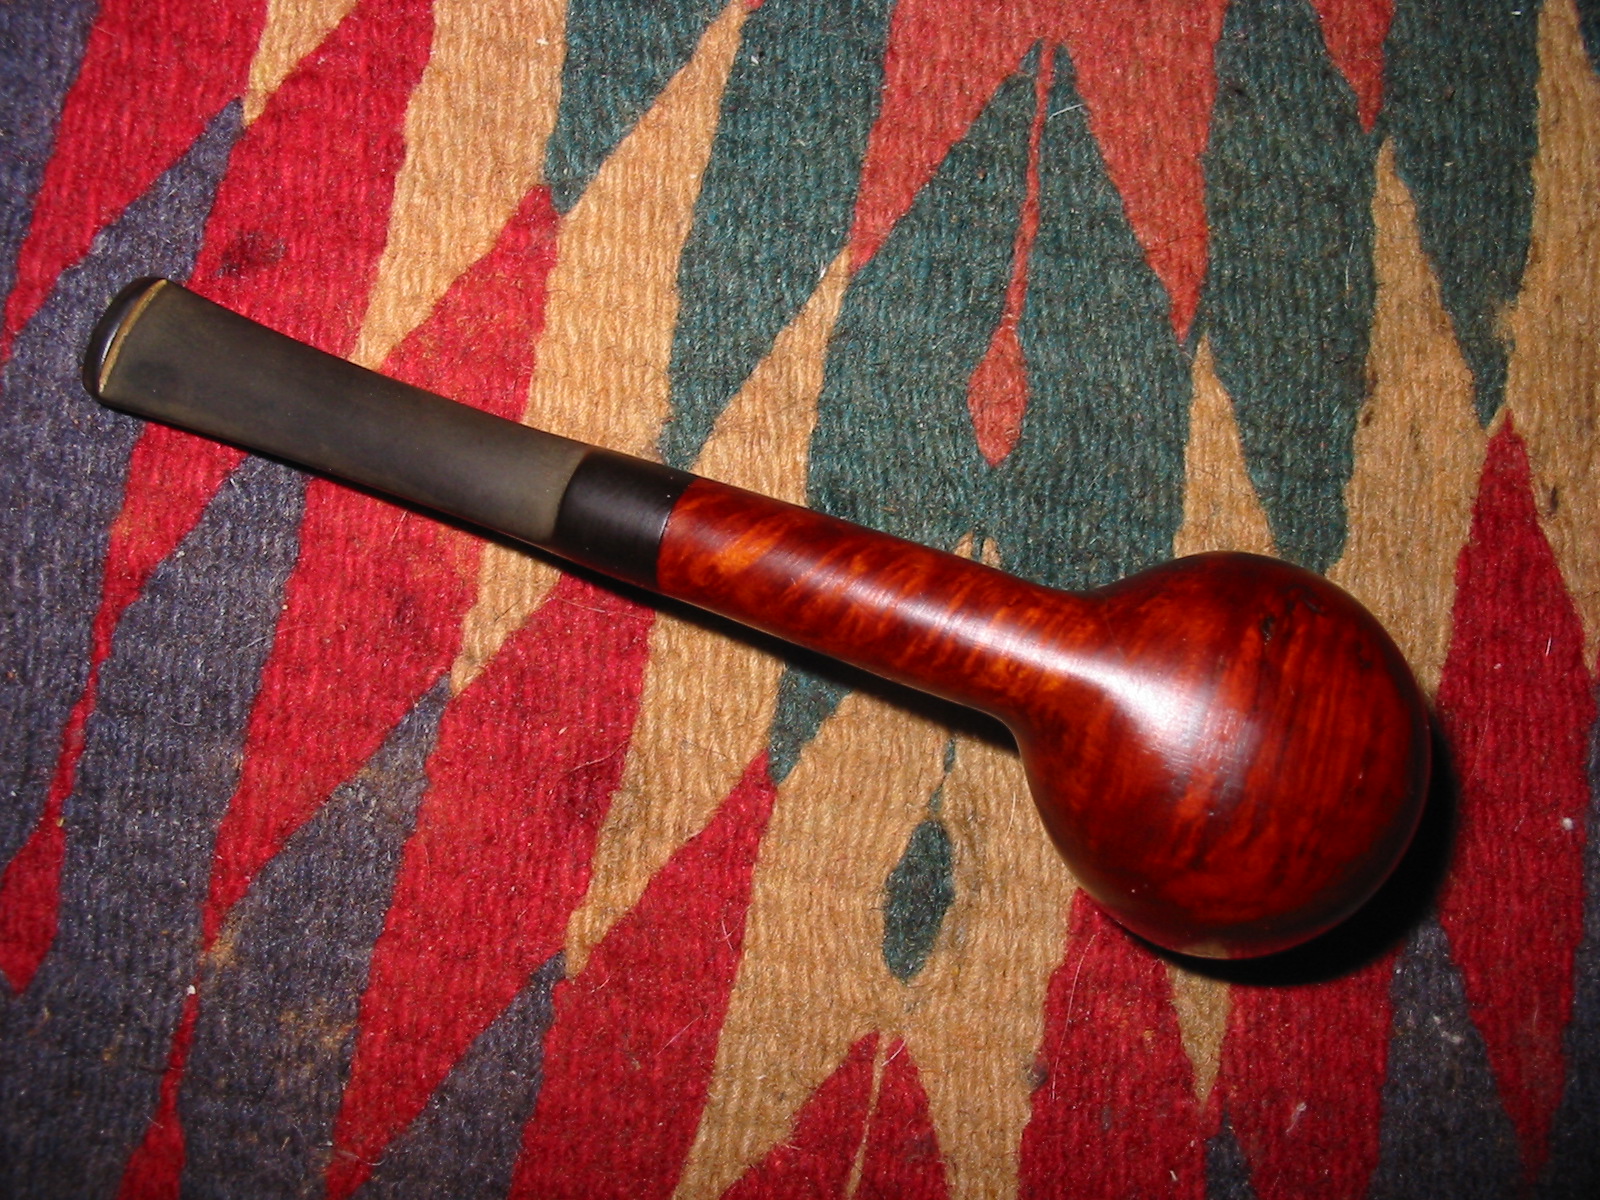
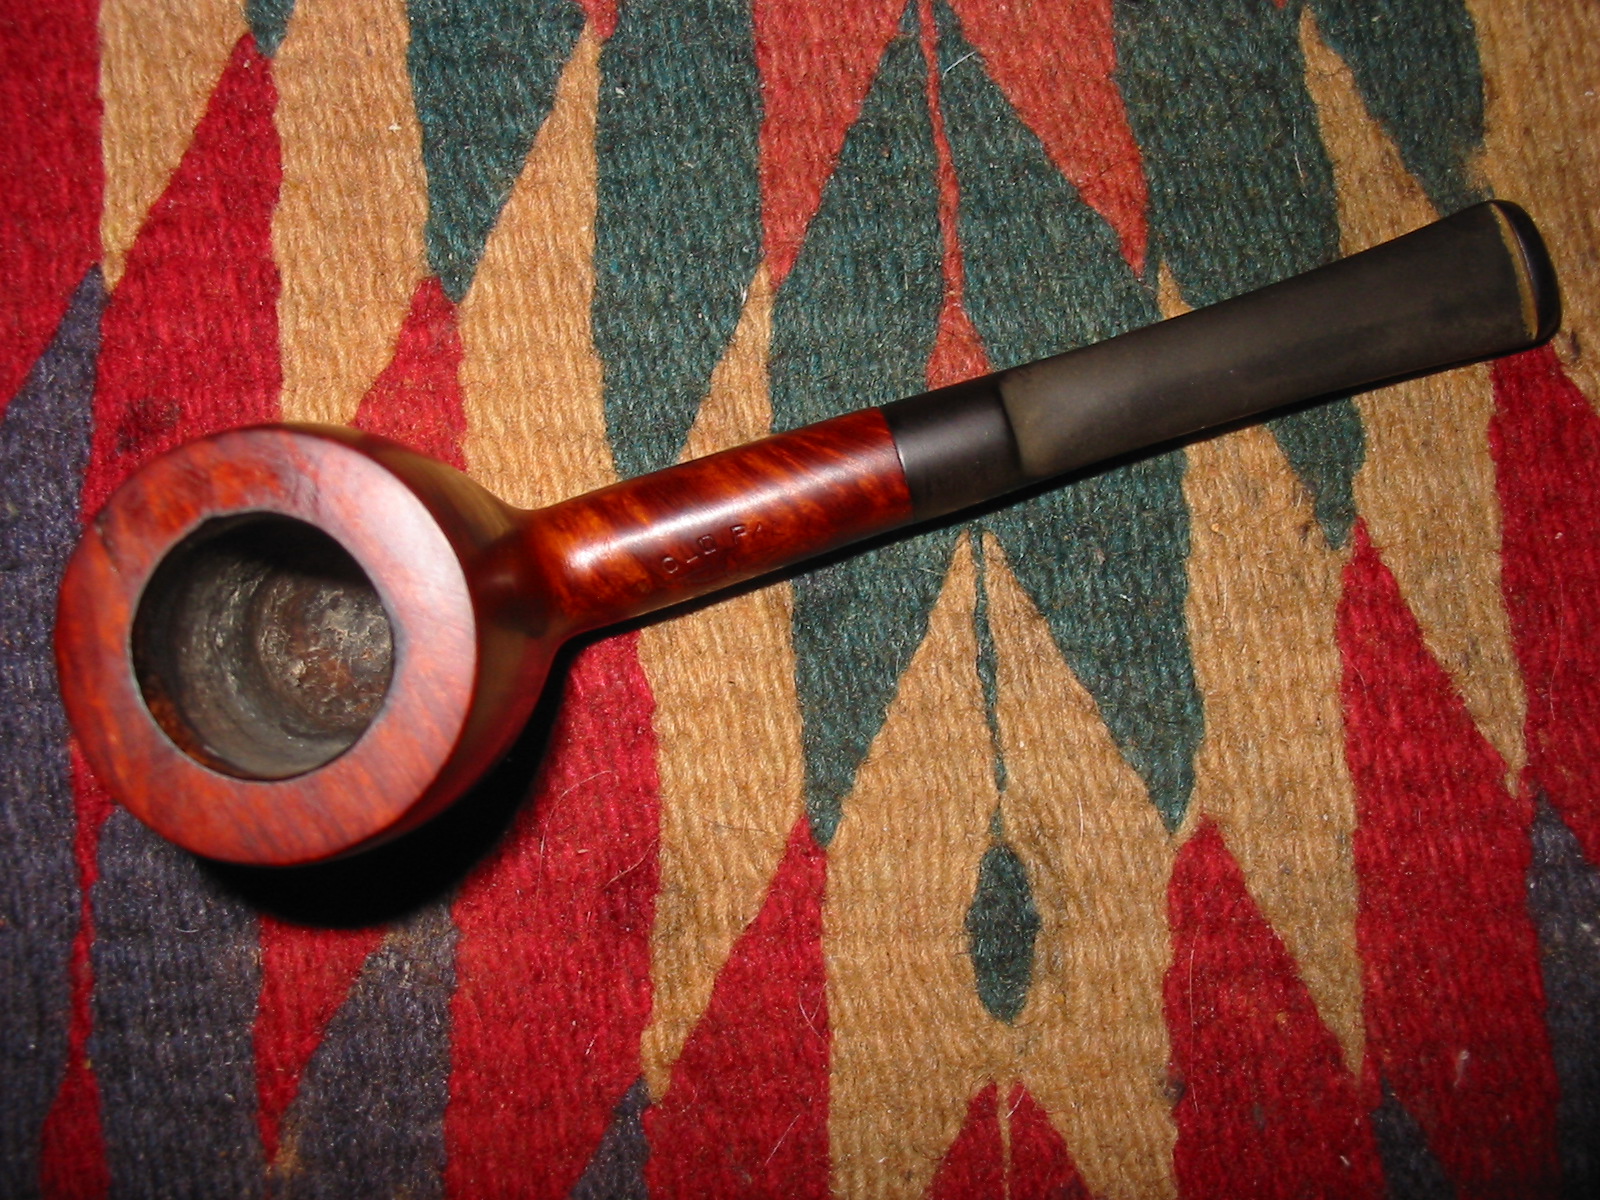
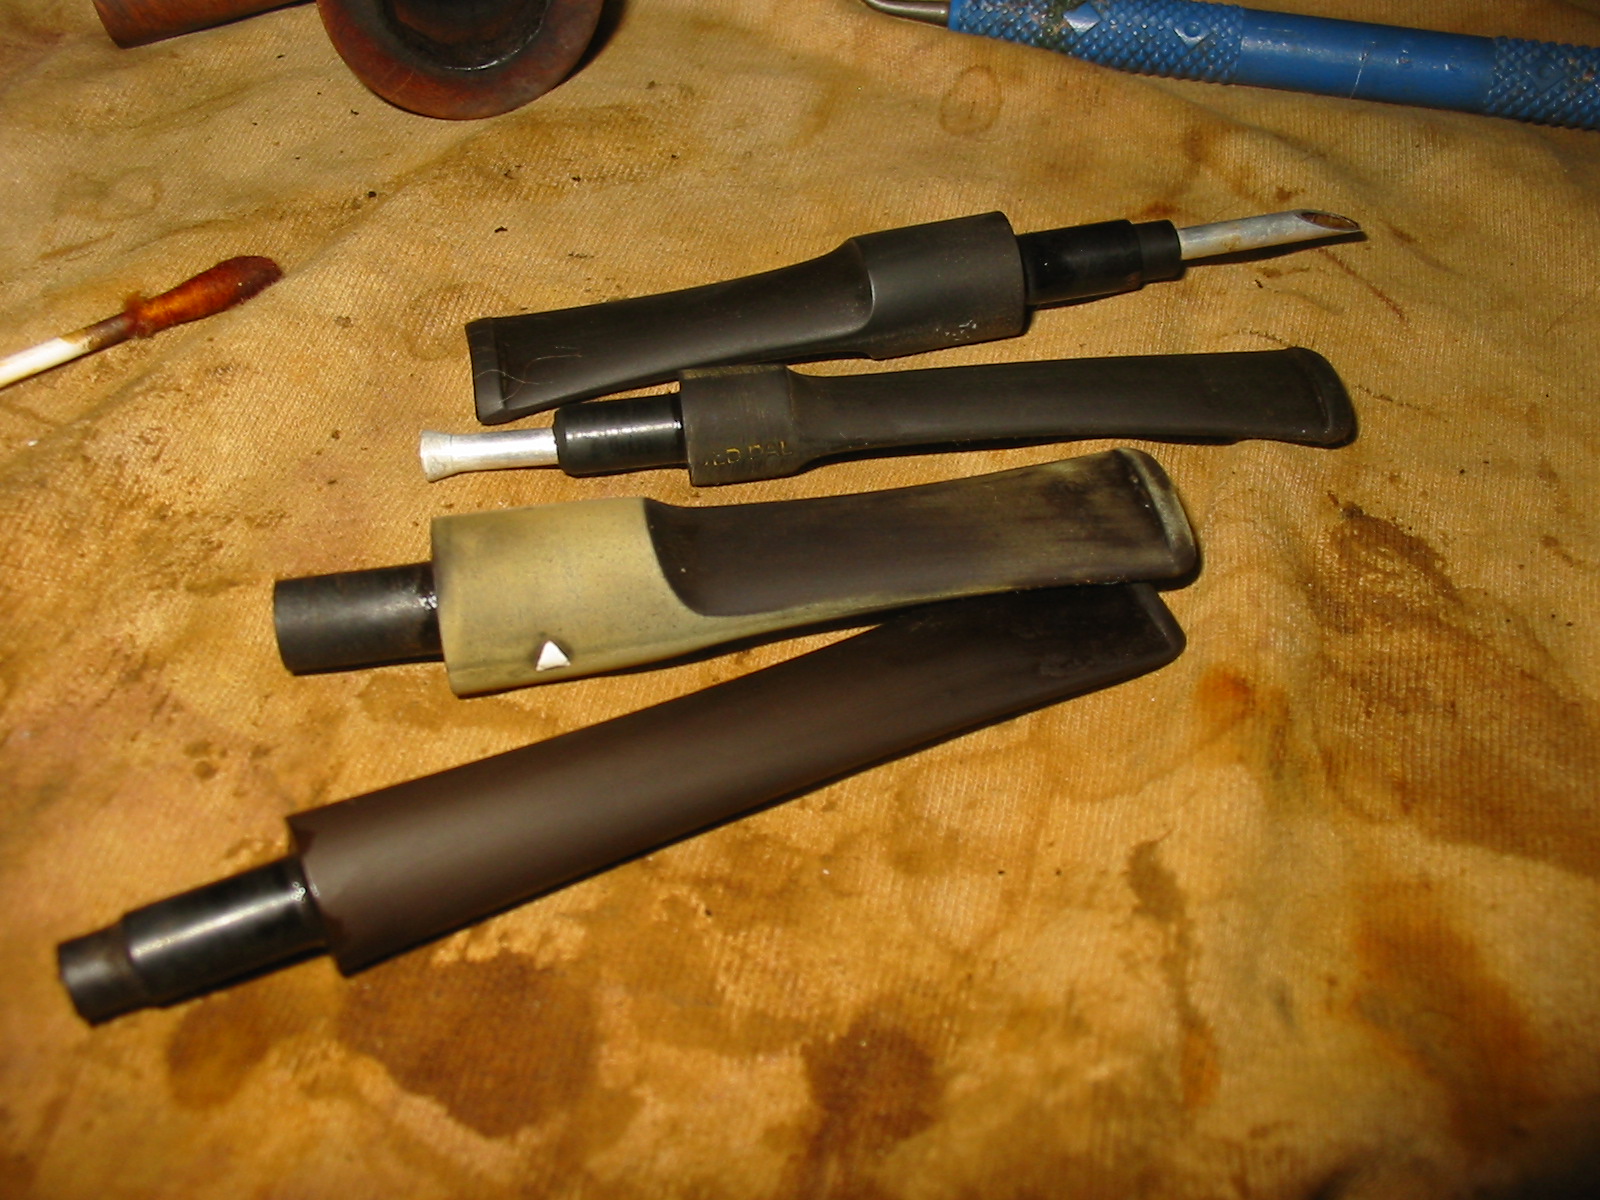
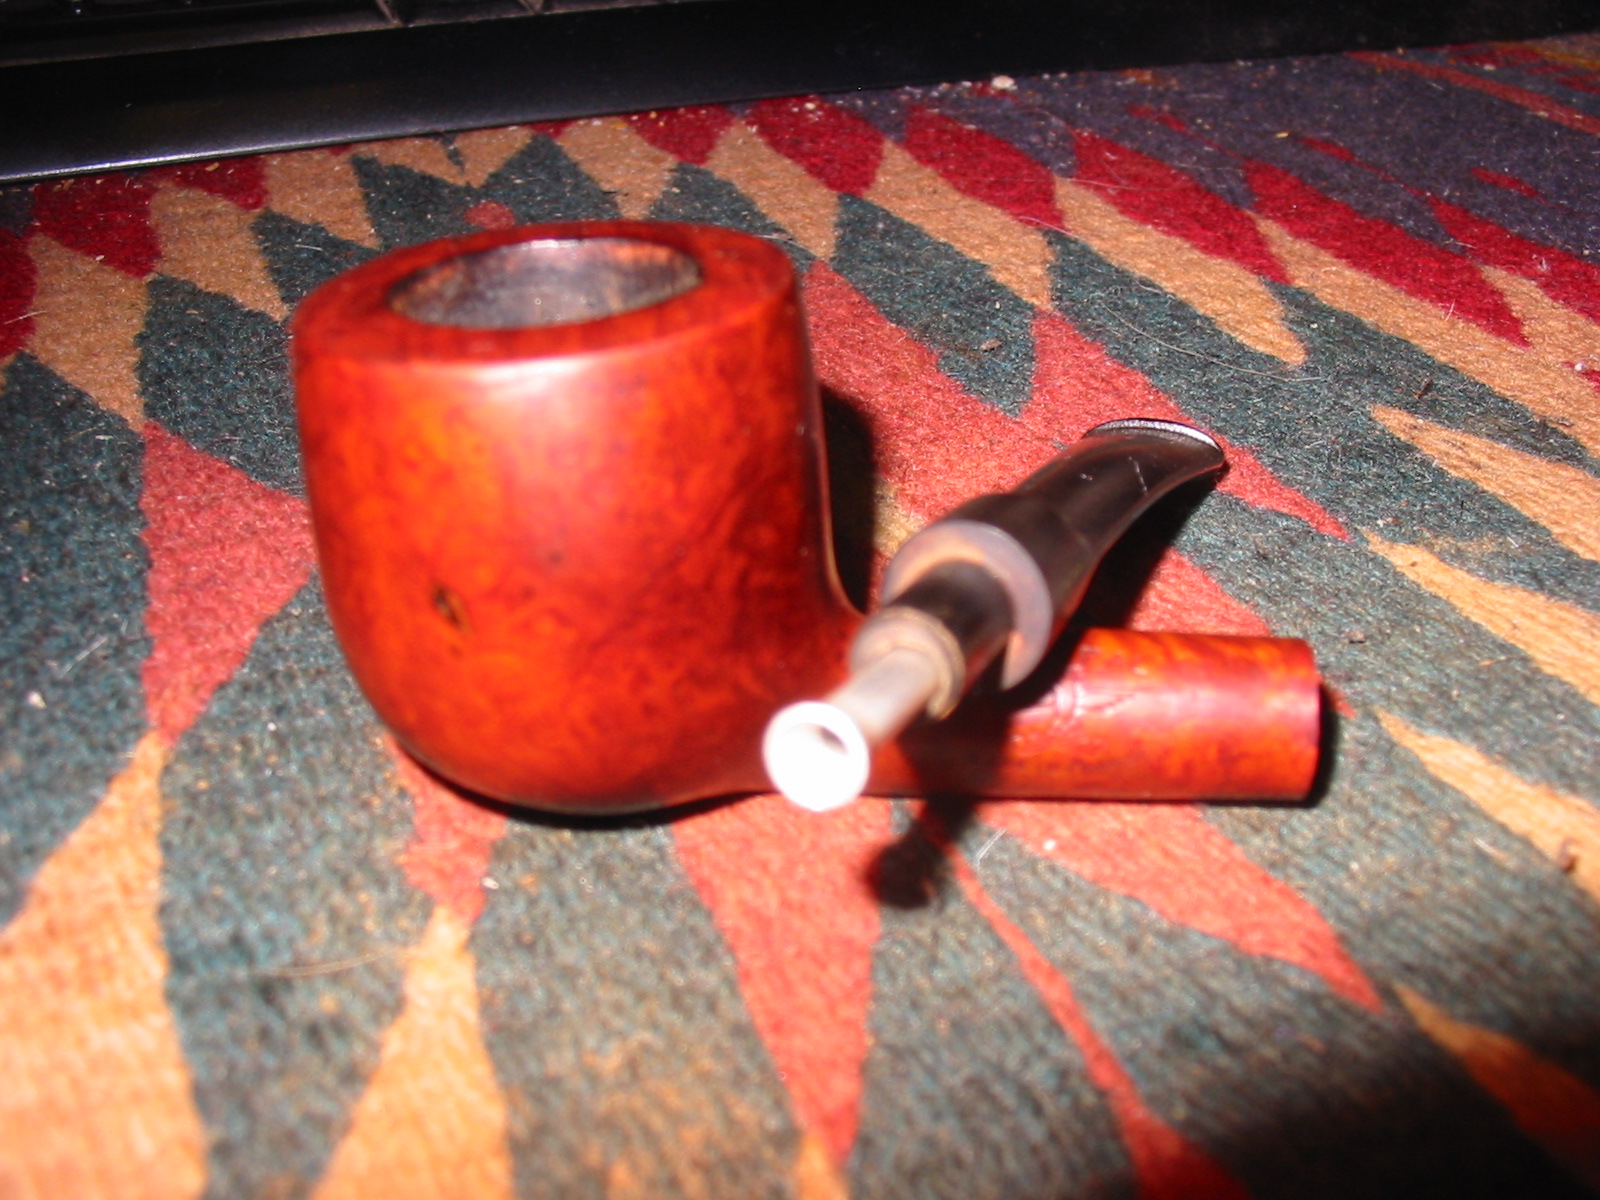
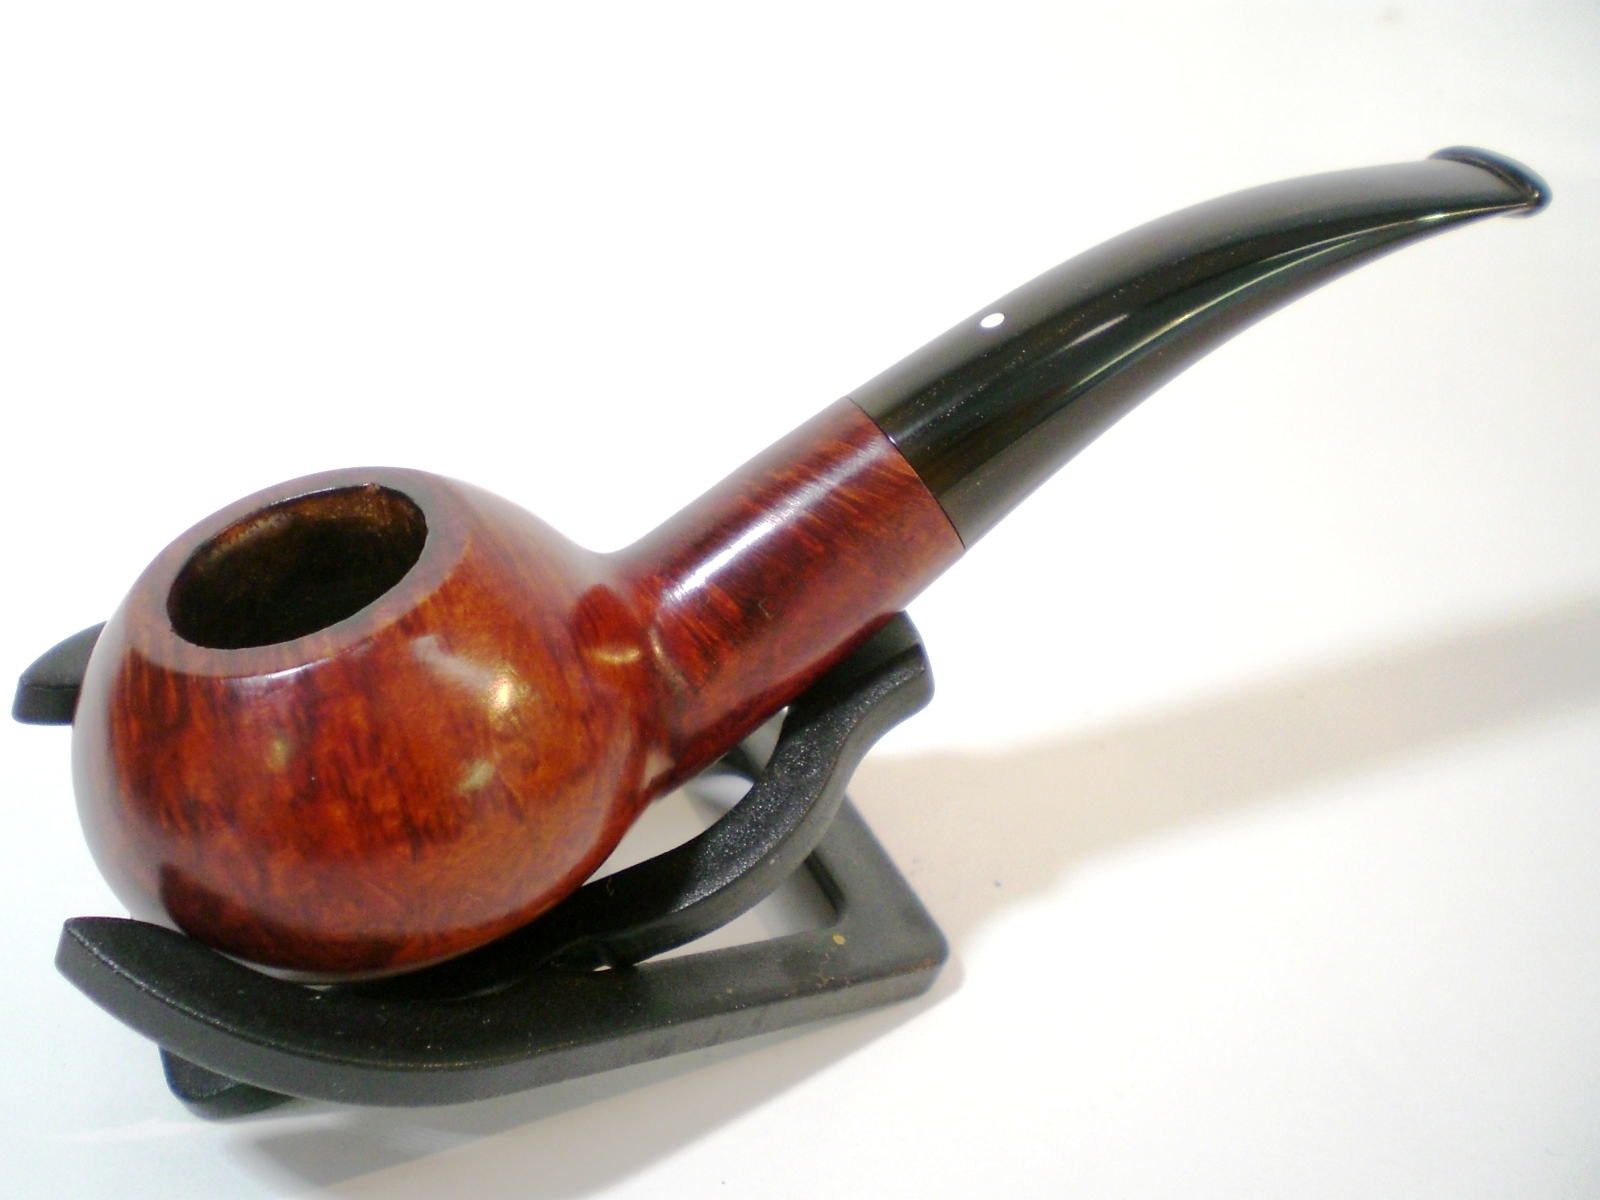
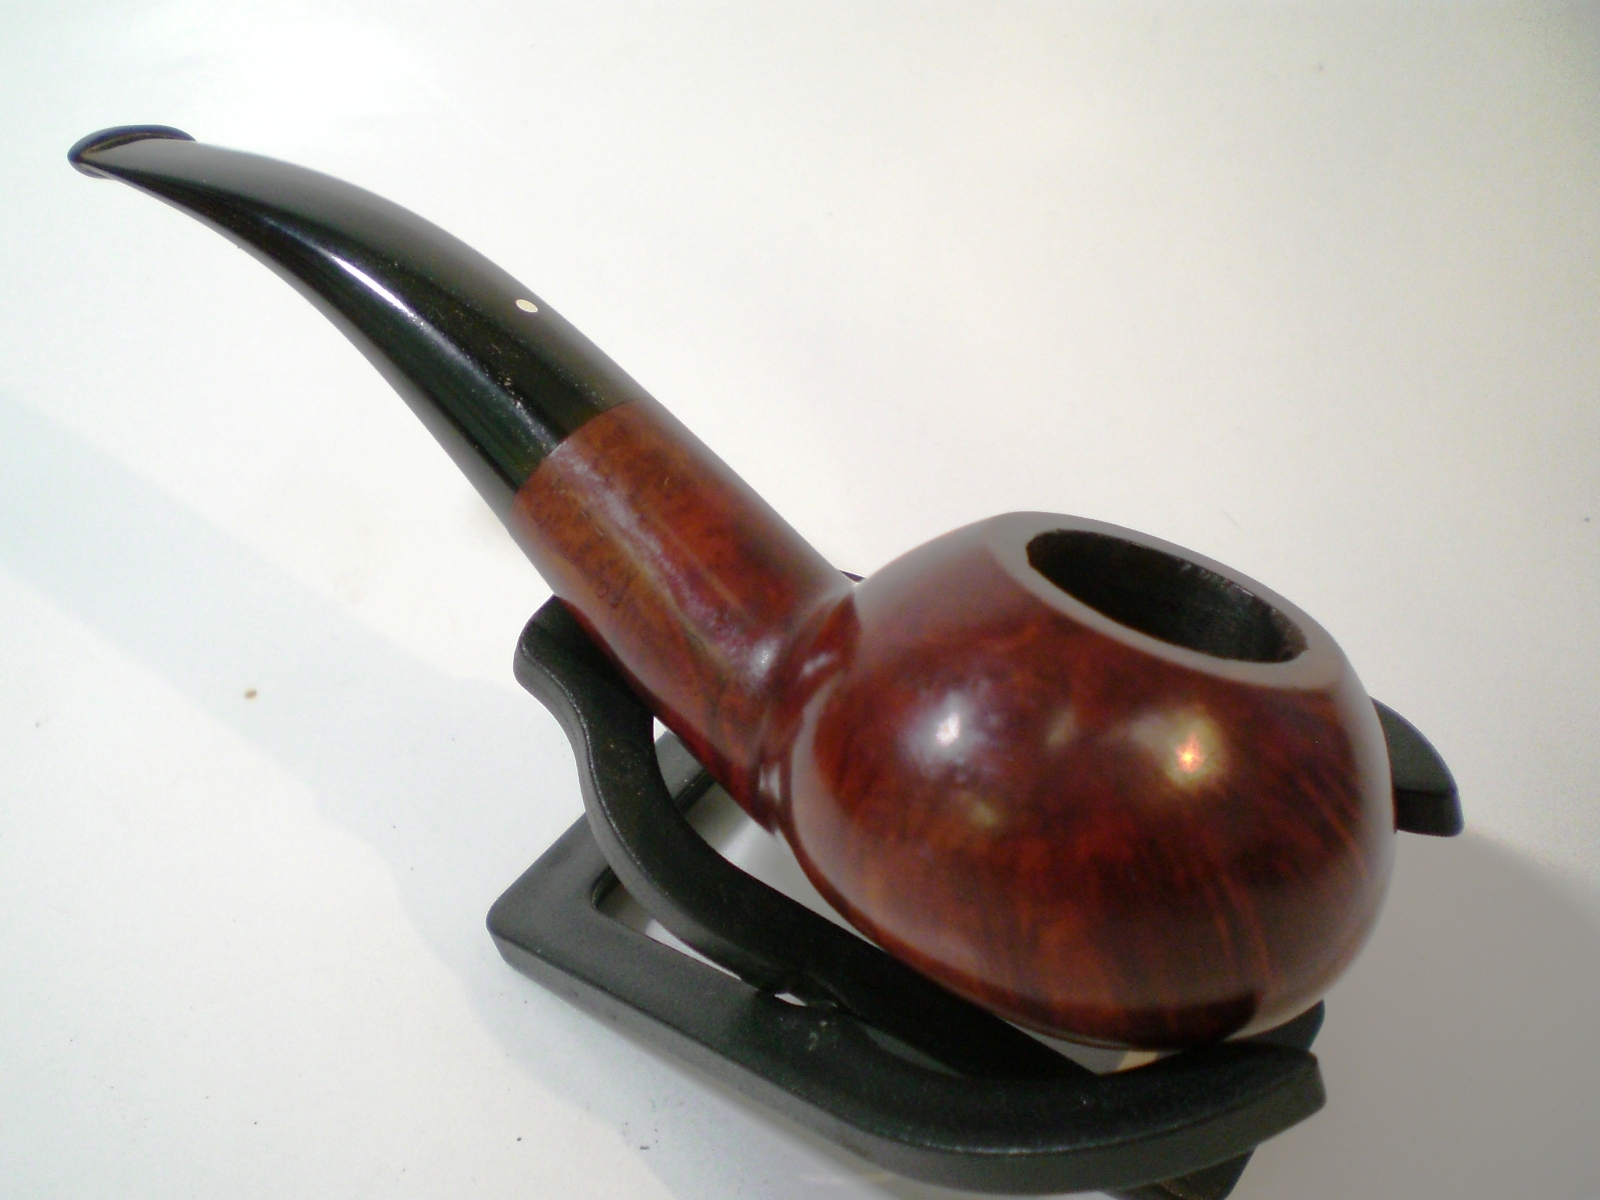
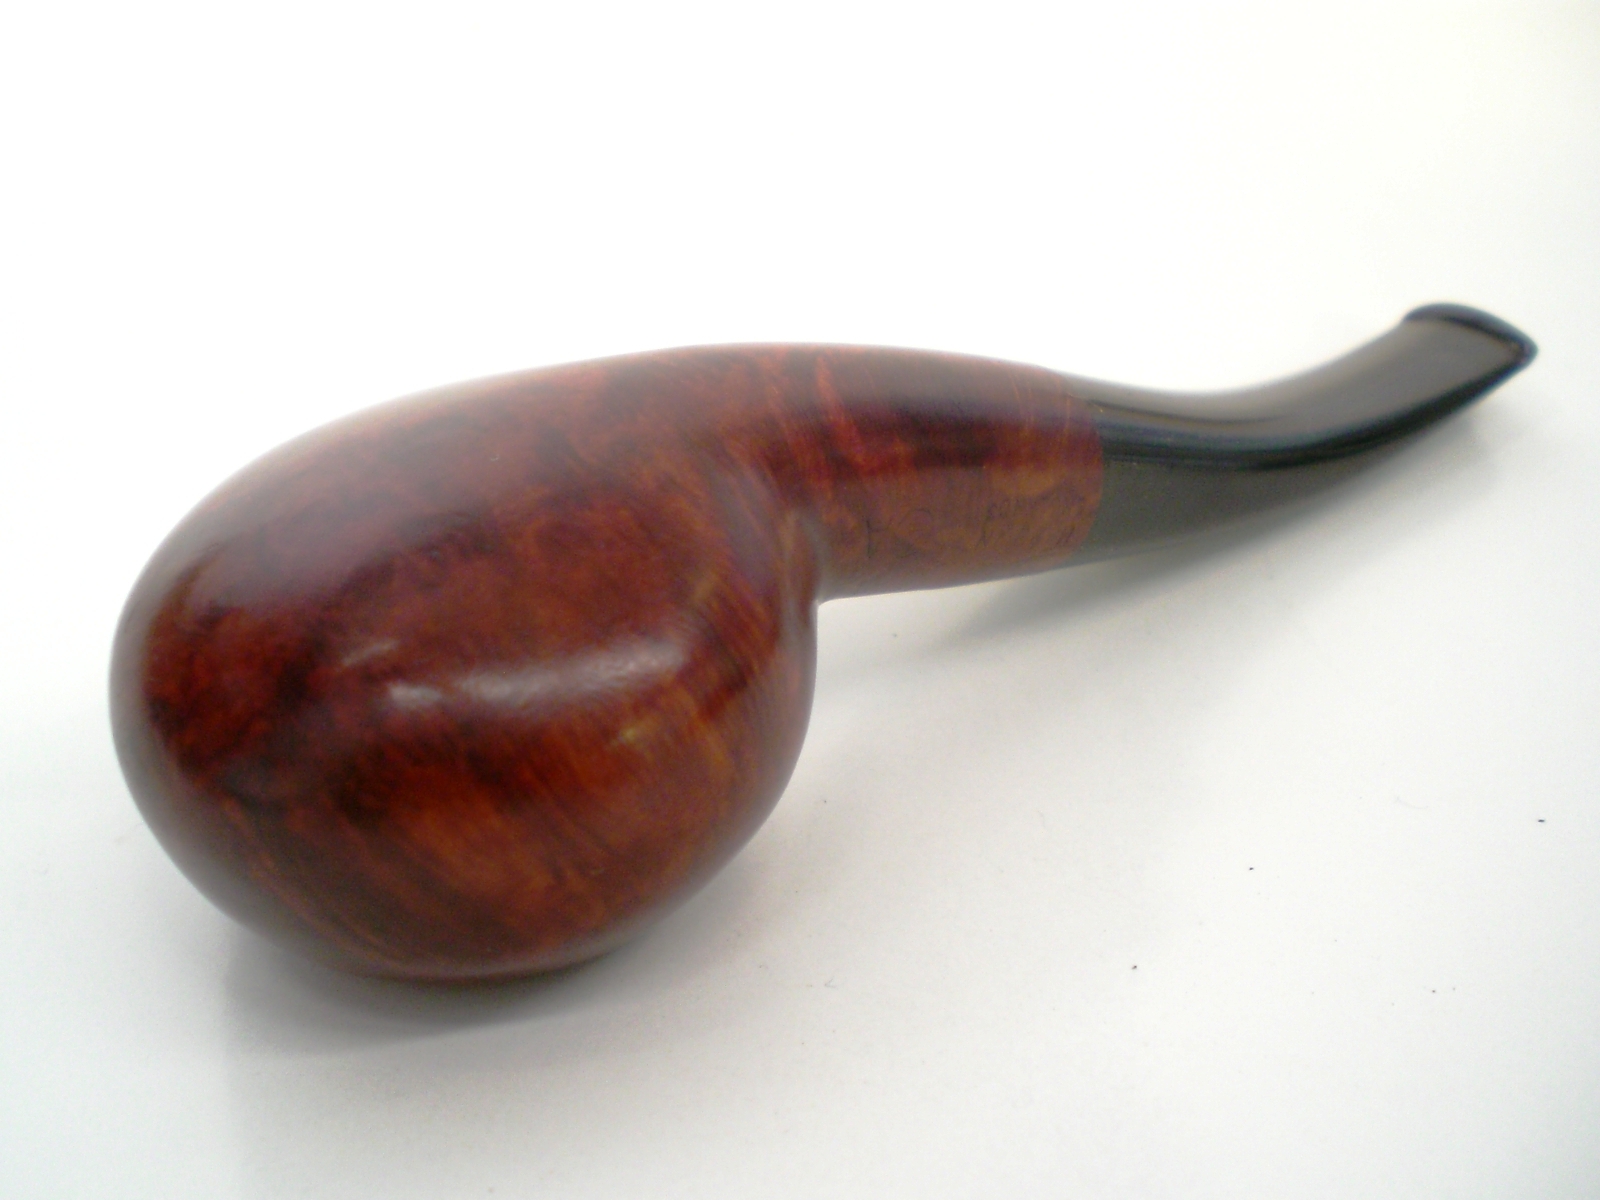
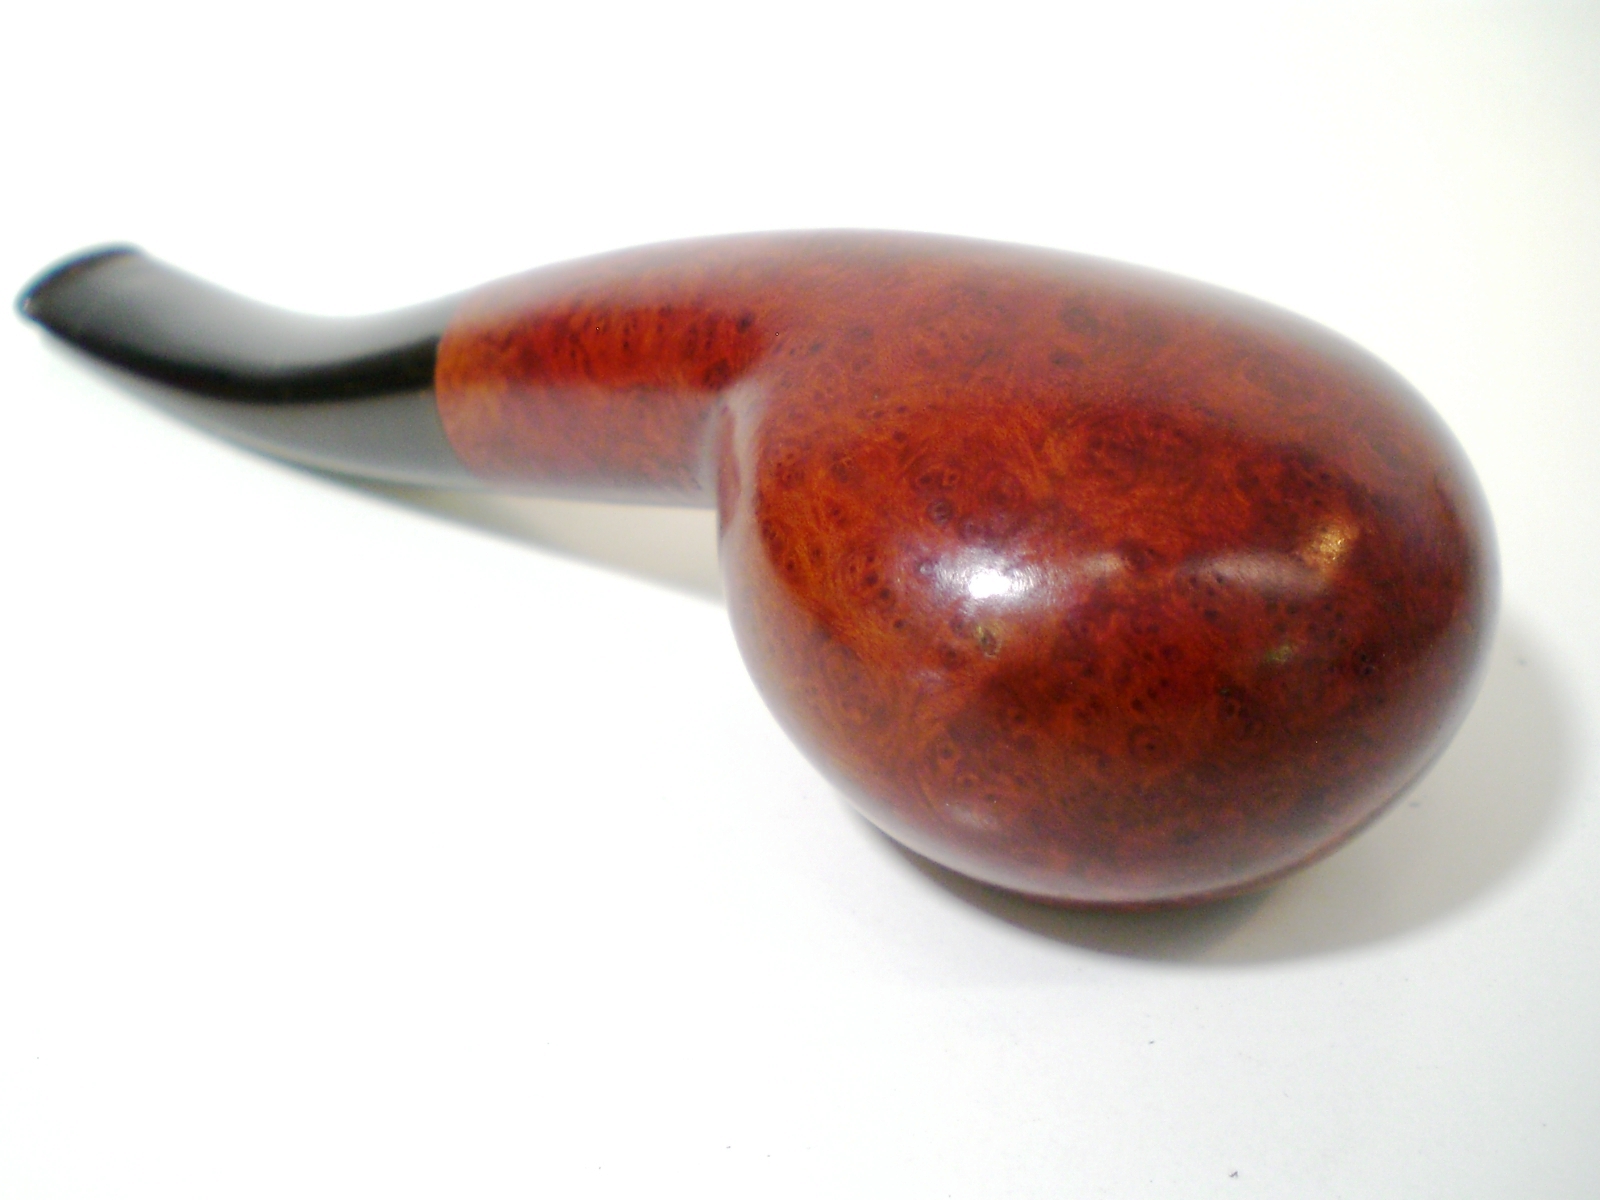
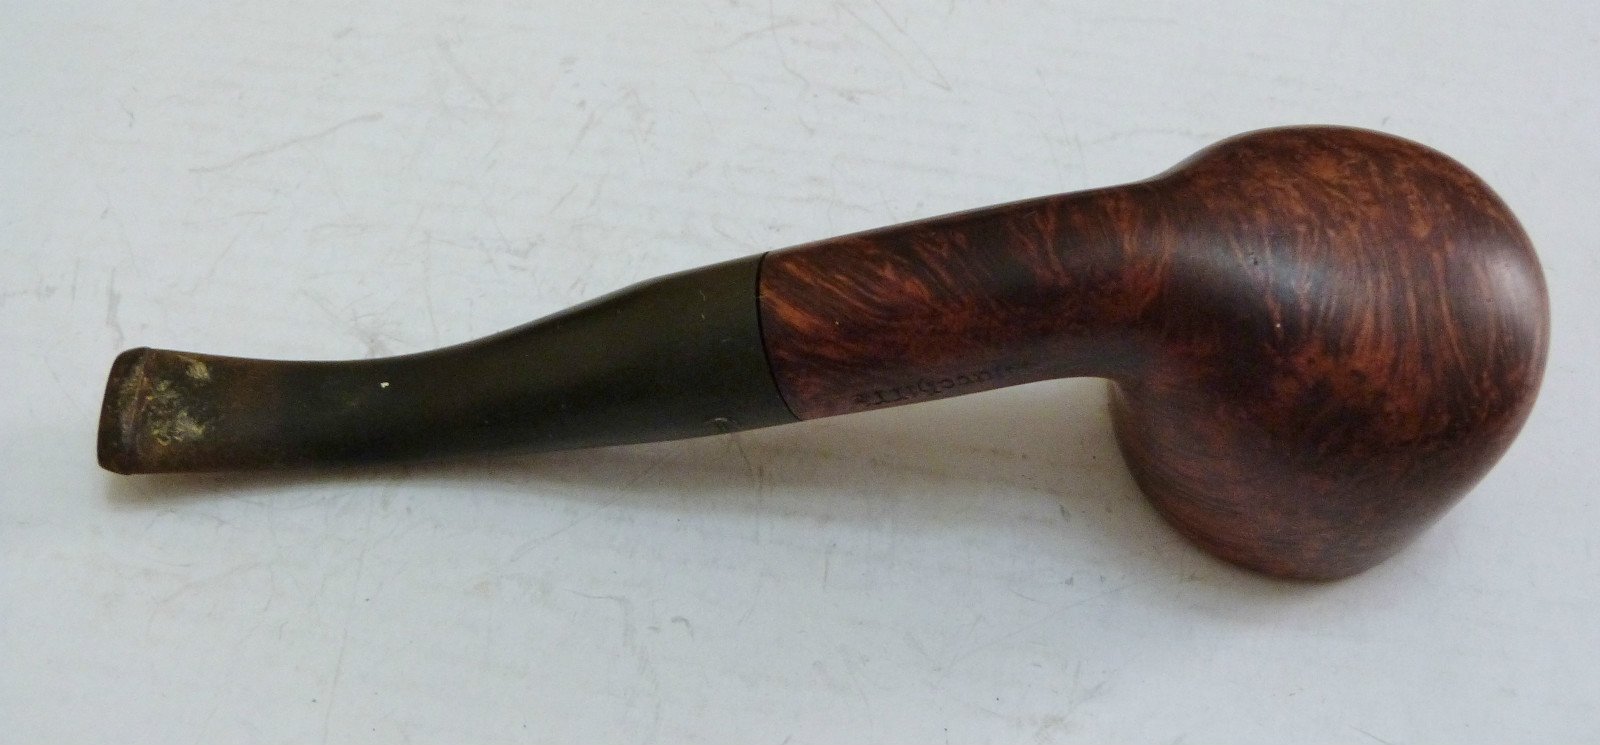
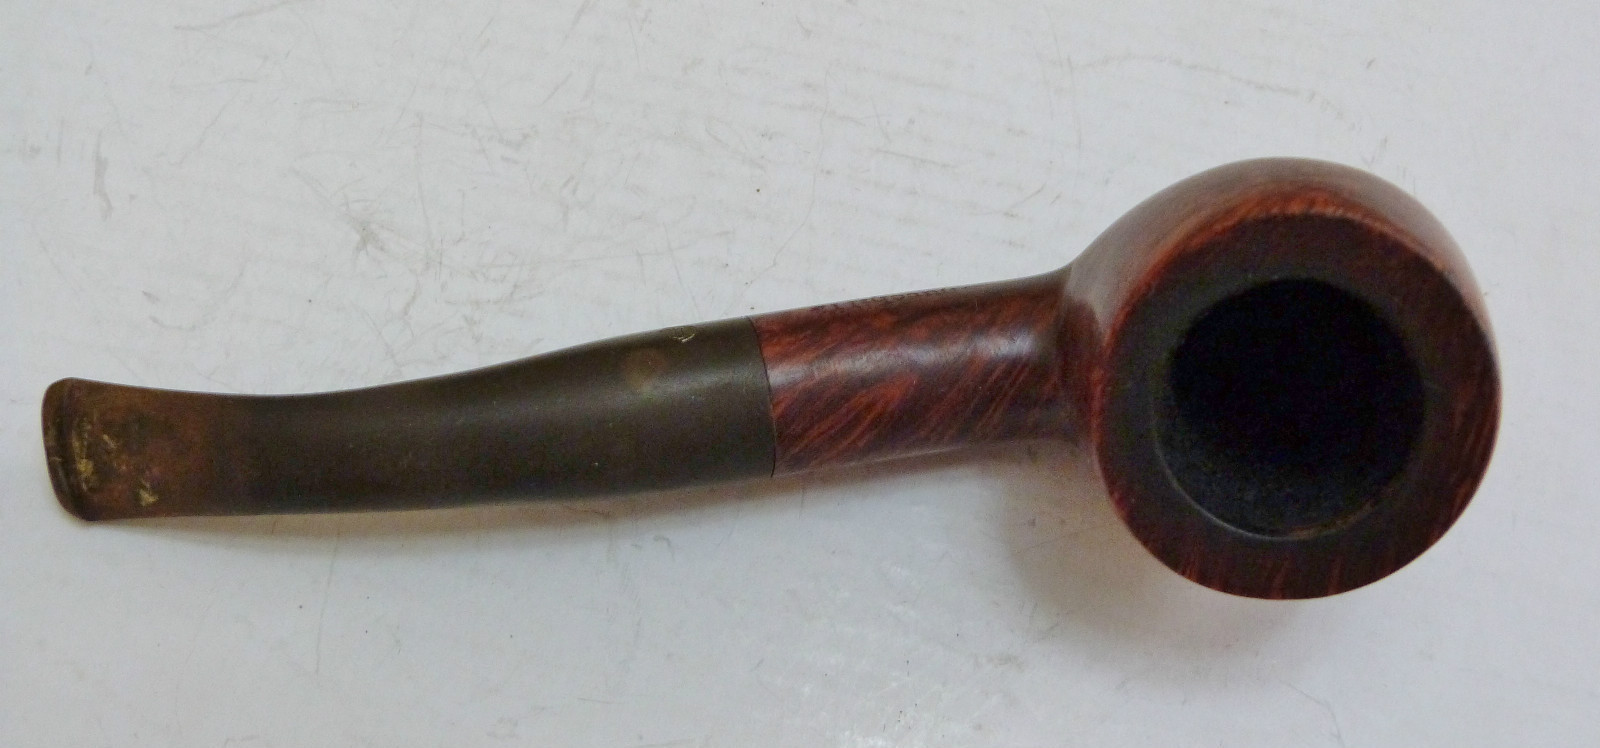
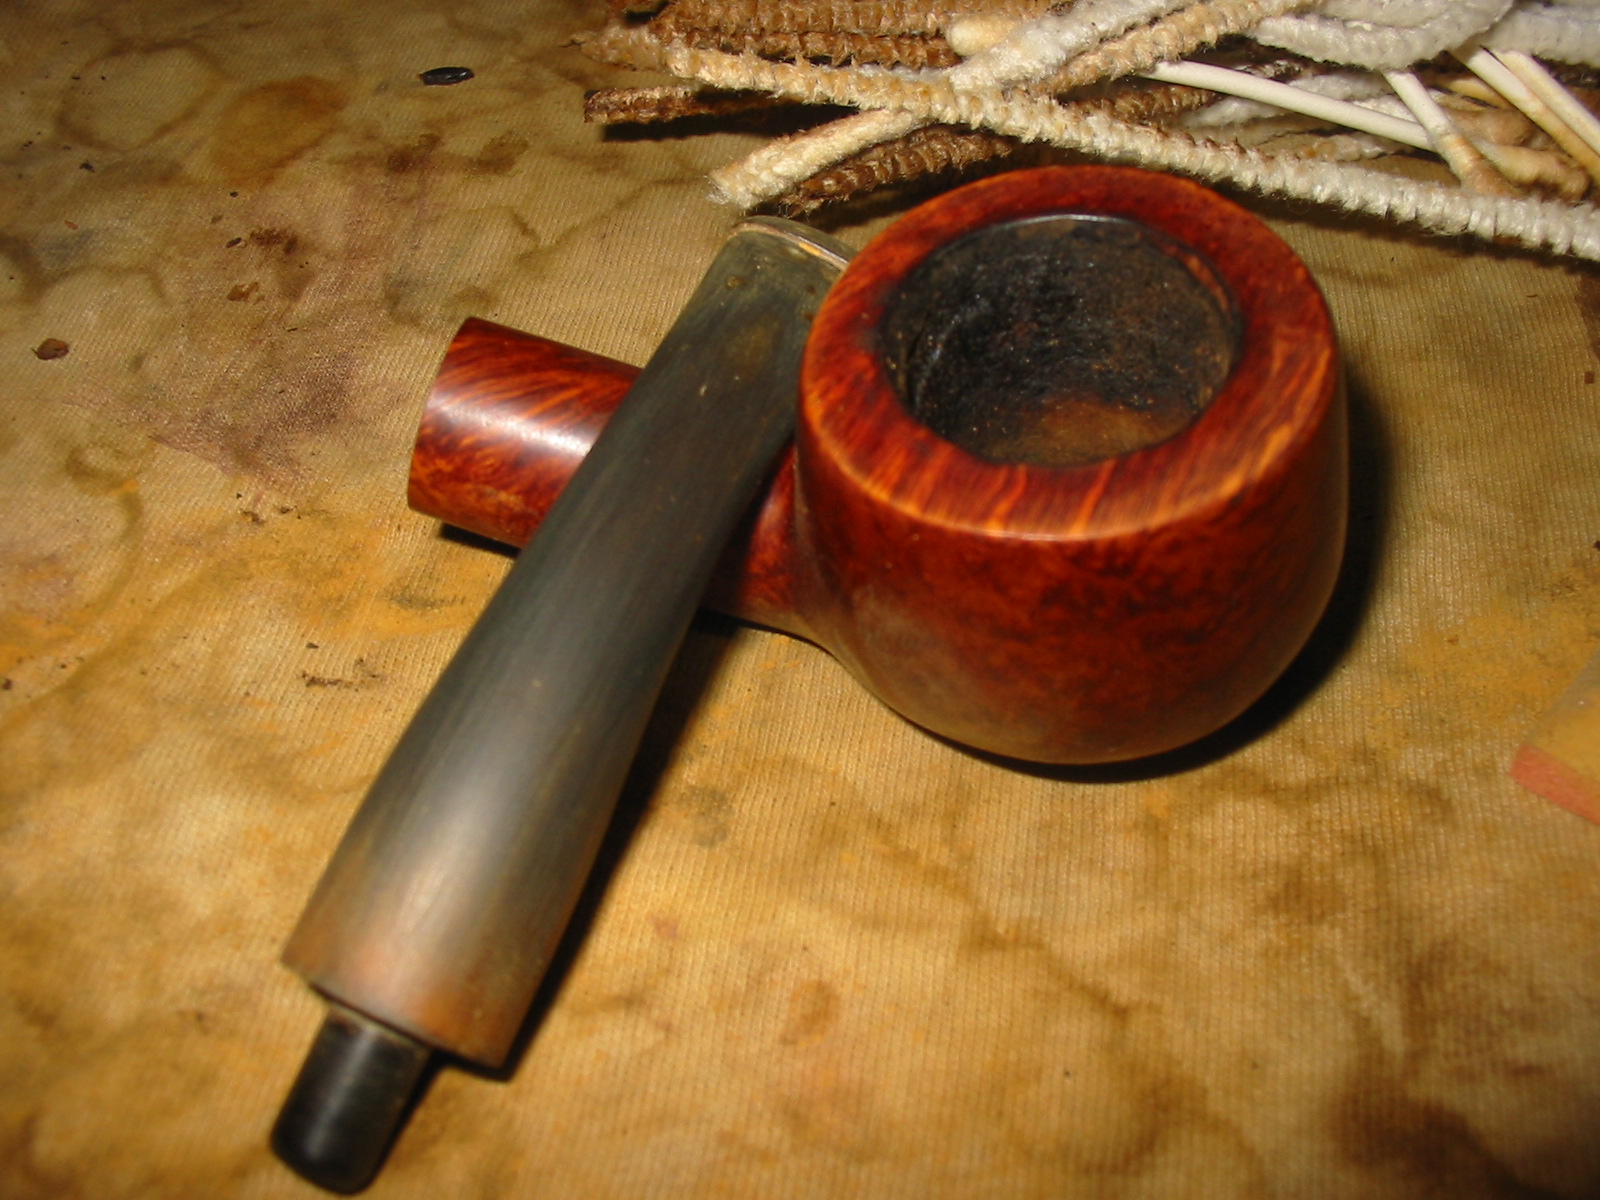
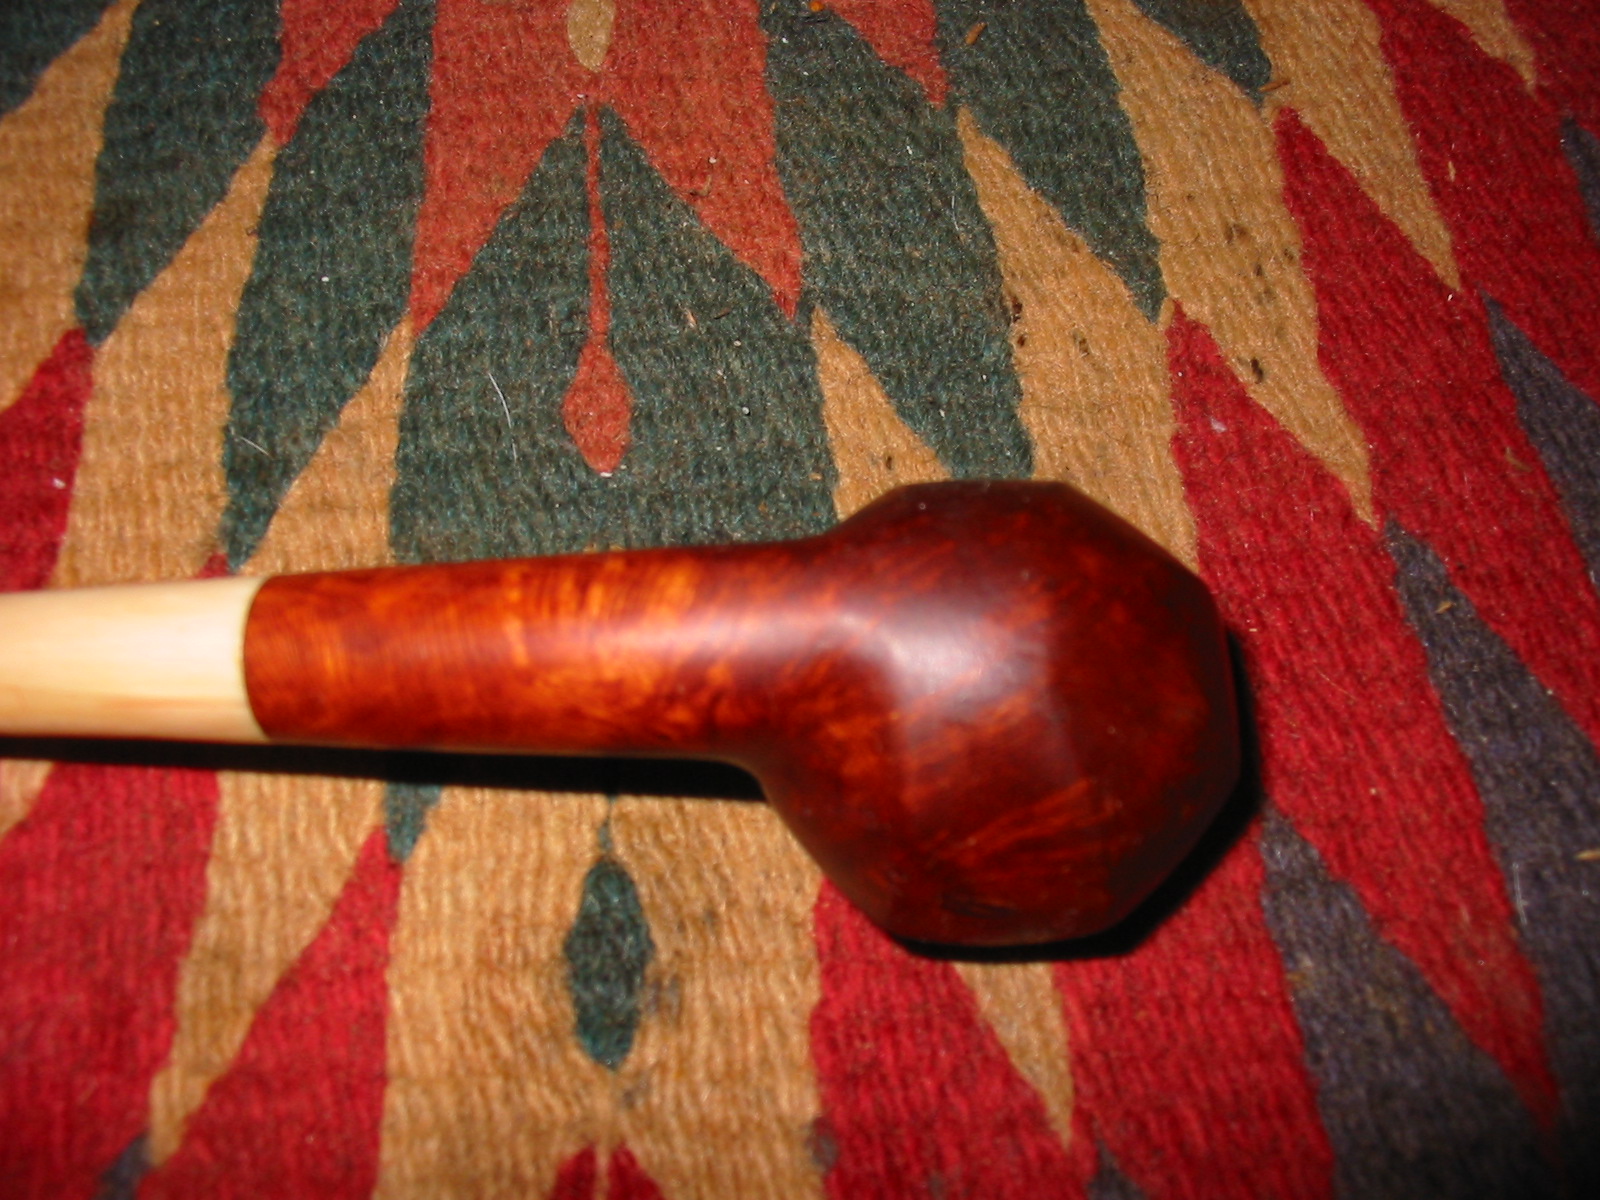
I am scraping the bottom of the box for pipes to refurbish. It is clear that I am going to have to go on the hunt again soon. At the bottom of the box I have a few small/tiny pipe bowls that have come to me from a variety of sources. I believe this little one came from Mark Domingues as well. It is unsmoked and stemless. The bowl was in pretty fair shape though the finish coat was varnish of some sort. The stain was spotty under the varnish coat. There was one dominant fill on the left side of the bowl on one of the panels. The drilling is a bit of centre in the bottom of the bowl – slightly to the left of centre. The drilling was wide open and the draught on the bowl was very good. The bowl did not have a ring around the top before the bevel to the rim. It was a smooth transition. I have had several of these older Rhodesian and Bulldogs in the past and they generally had horn stems. This one did not have any stamping on it so I have no idea as to the maker. There was also no stem present. I had a smaller nylon stem in my box of stems that took very little work on the tenon to make for a snug fit in the shank.
IMG_2798

IMG_2799

Once the stem fit well in the shank I sanded the shank and stem to get a good smooth transition between stem and shank. I used 220 grit sandpaper to do the rough work and then used a medium grit sanding sponge to clean up the shank and stem. The stem had casting marks on both sides of the stem and also heavy tobacco stains around the button and in the slot. The airway was virtually clogged and I could barely get a straightened paper clip through before I worked on it with Everclear and bristle pipe cleaners.
IMG_2800

IMG_2801

IMG_2802

I decided to sand the stain off the shank and rework the taper on the pipe from button to bowl. I sanded it with 220 grit sandpaper to remove the excess briar and nylon and smooth out the taper. What I wanted was a clean smooth line from button to bowl. The next four photos show the shank and the stem after sanding with the 220 grit sandpaper. The flow is smooth and even and the lines are very graceful. The casting marks are gone from both sides of the stem and the button is cleaned of the majority of the stains.
IMG_2803

IMG_2804

IMG_2805

IMG_2806

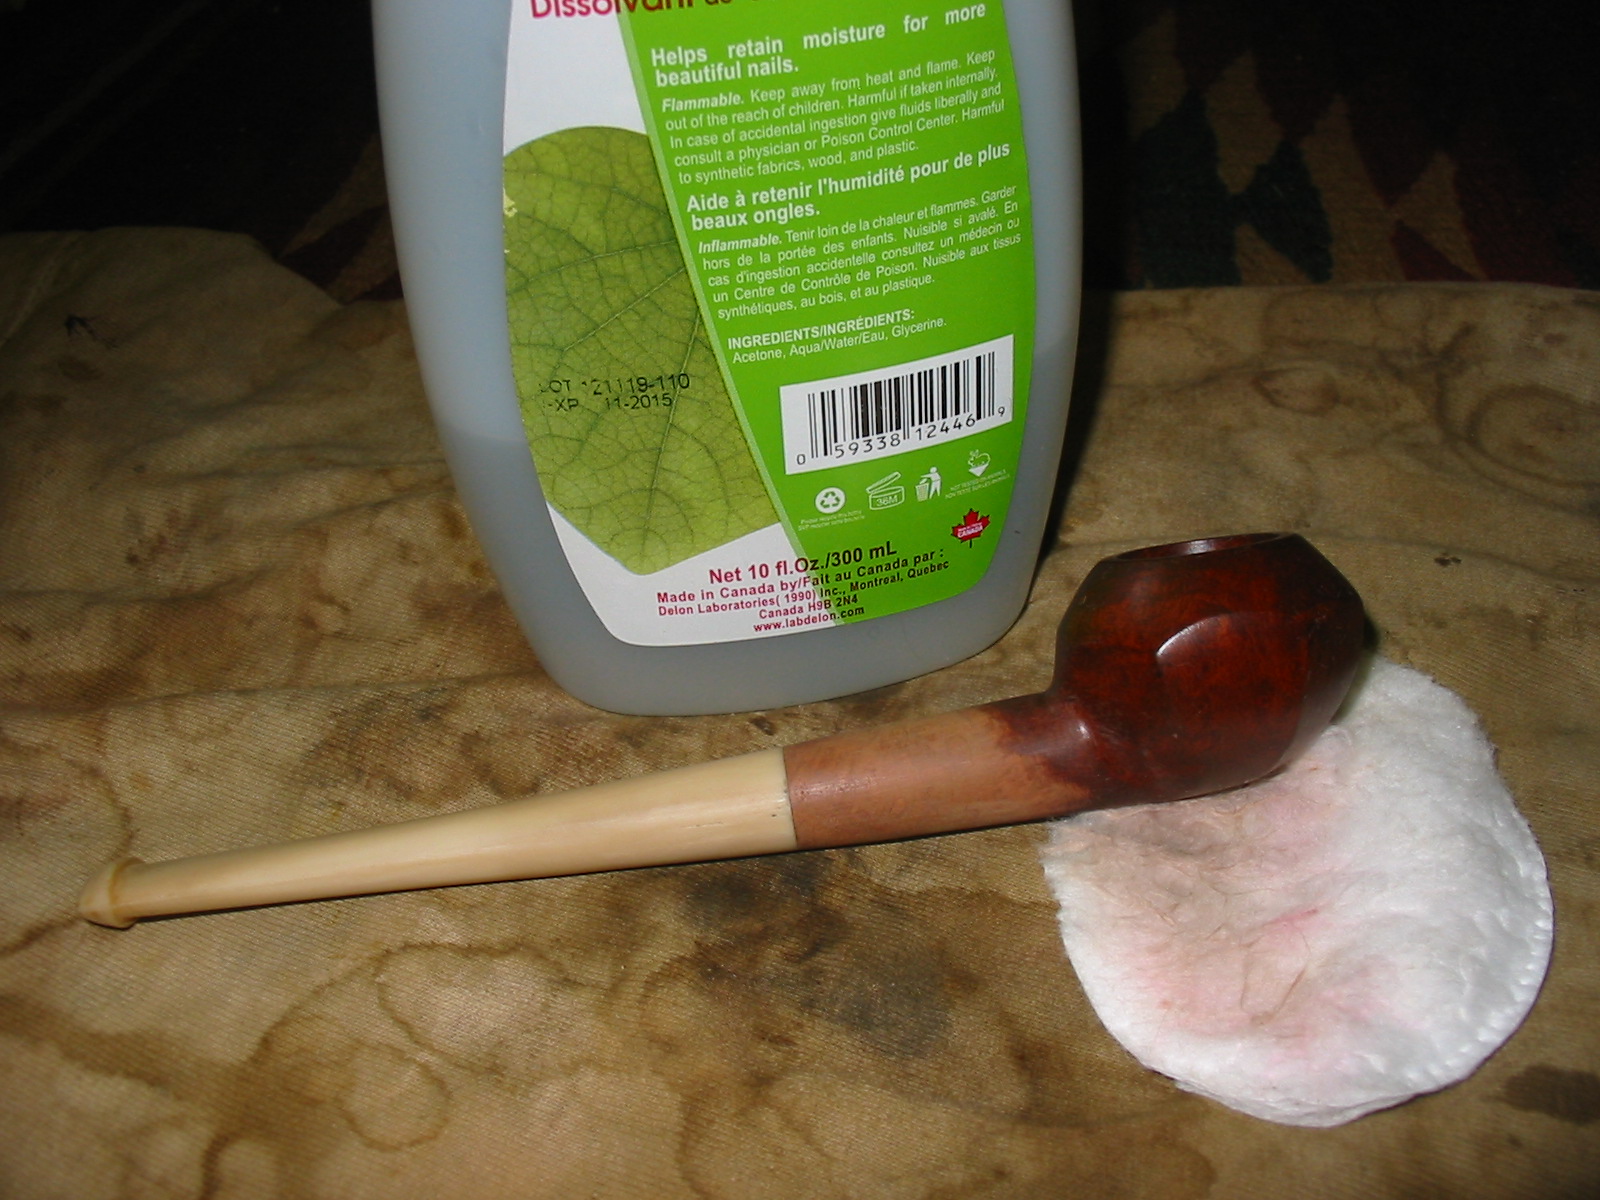
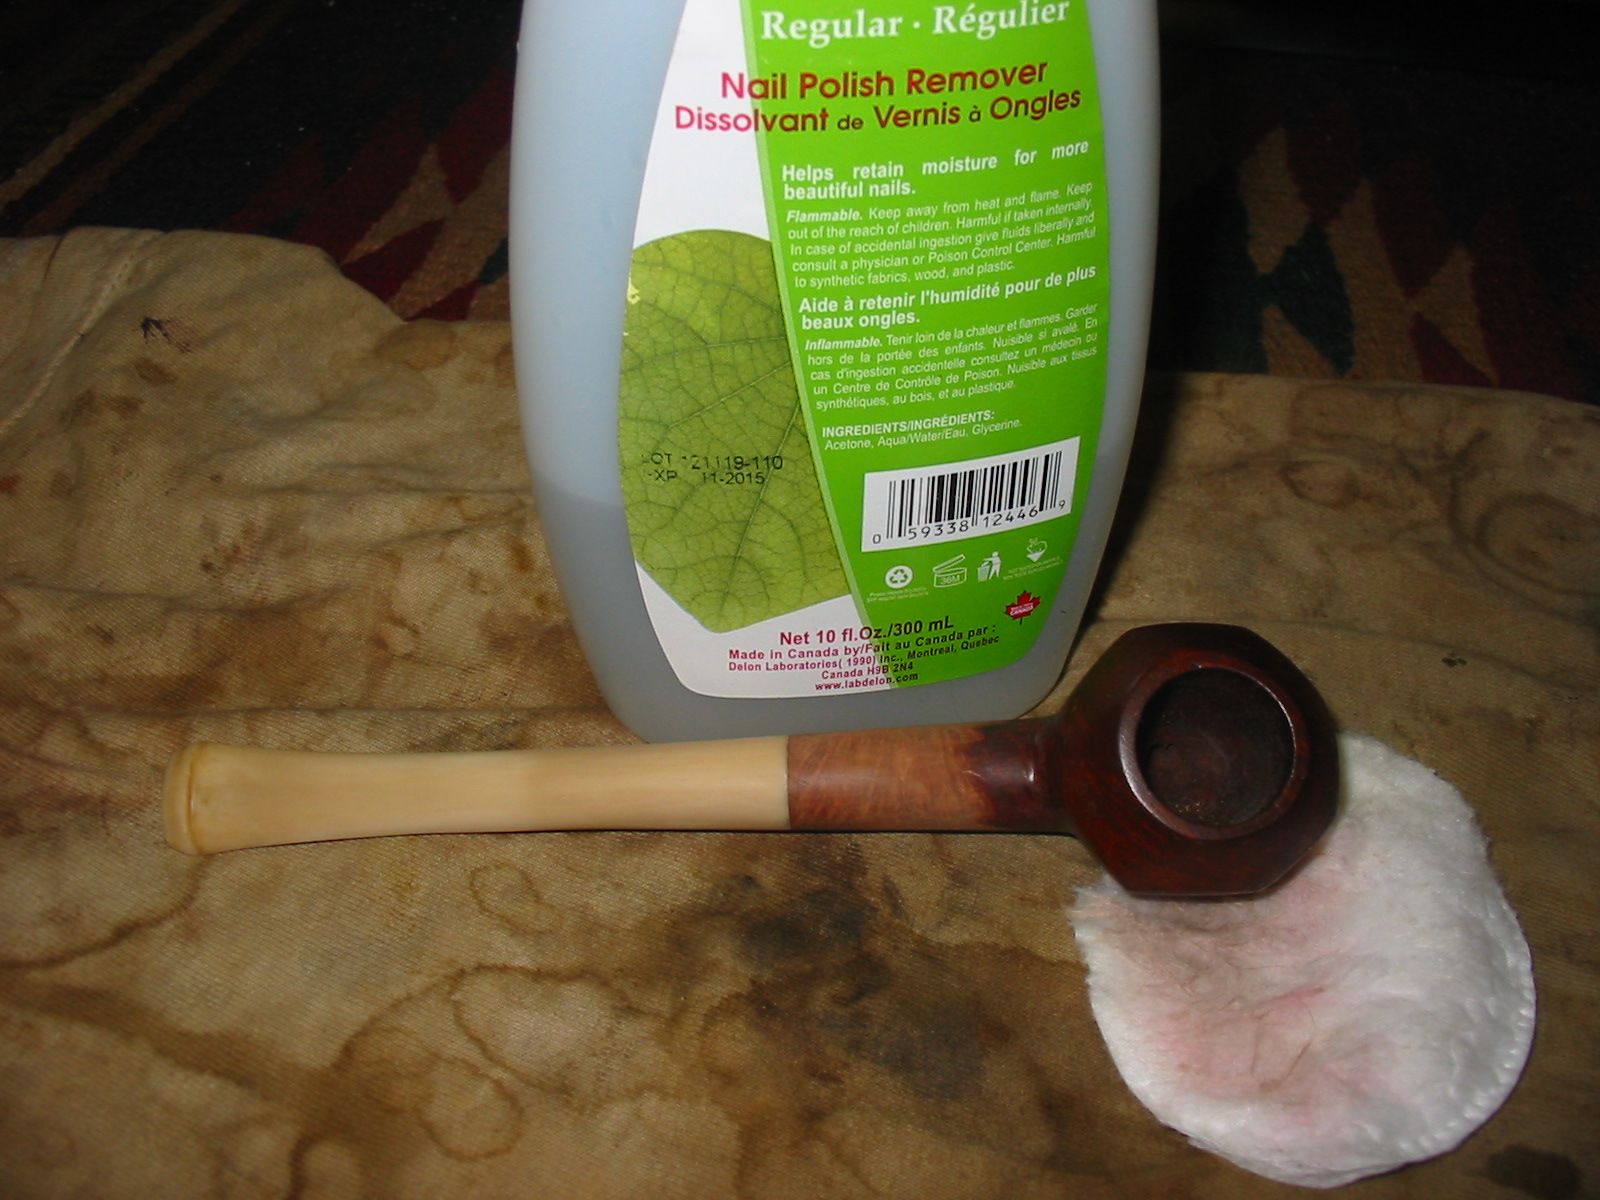
I wiped the bowl and shank down with acetone on a cotton pad to remove the varnish finish and some of the stain on the bowl in order to make it easier to match the stain on the newly sanded shank and the bowl. I also sanded the bowl, shank and stem with a fine grit sanding sponge to remove scratches left behind by the sandpaper and to prepare the stem for sanding with micromesh sanding pads.
IMG_2807

IMG_2808

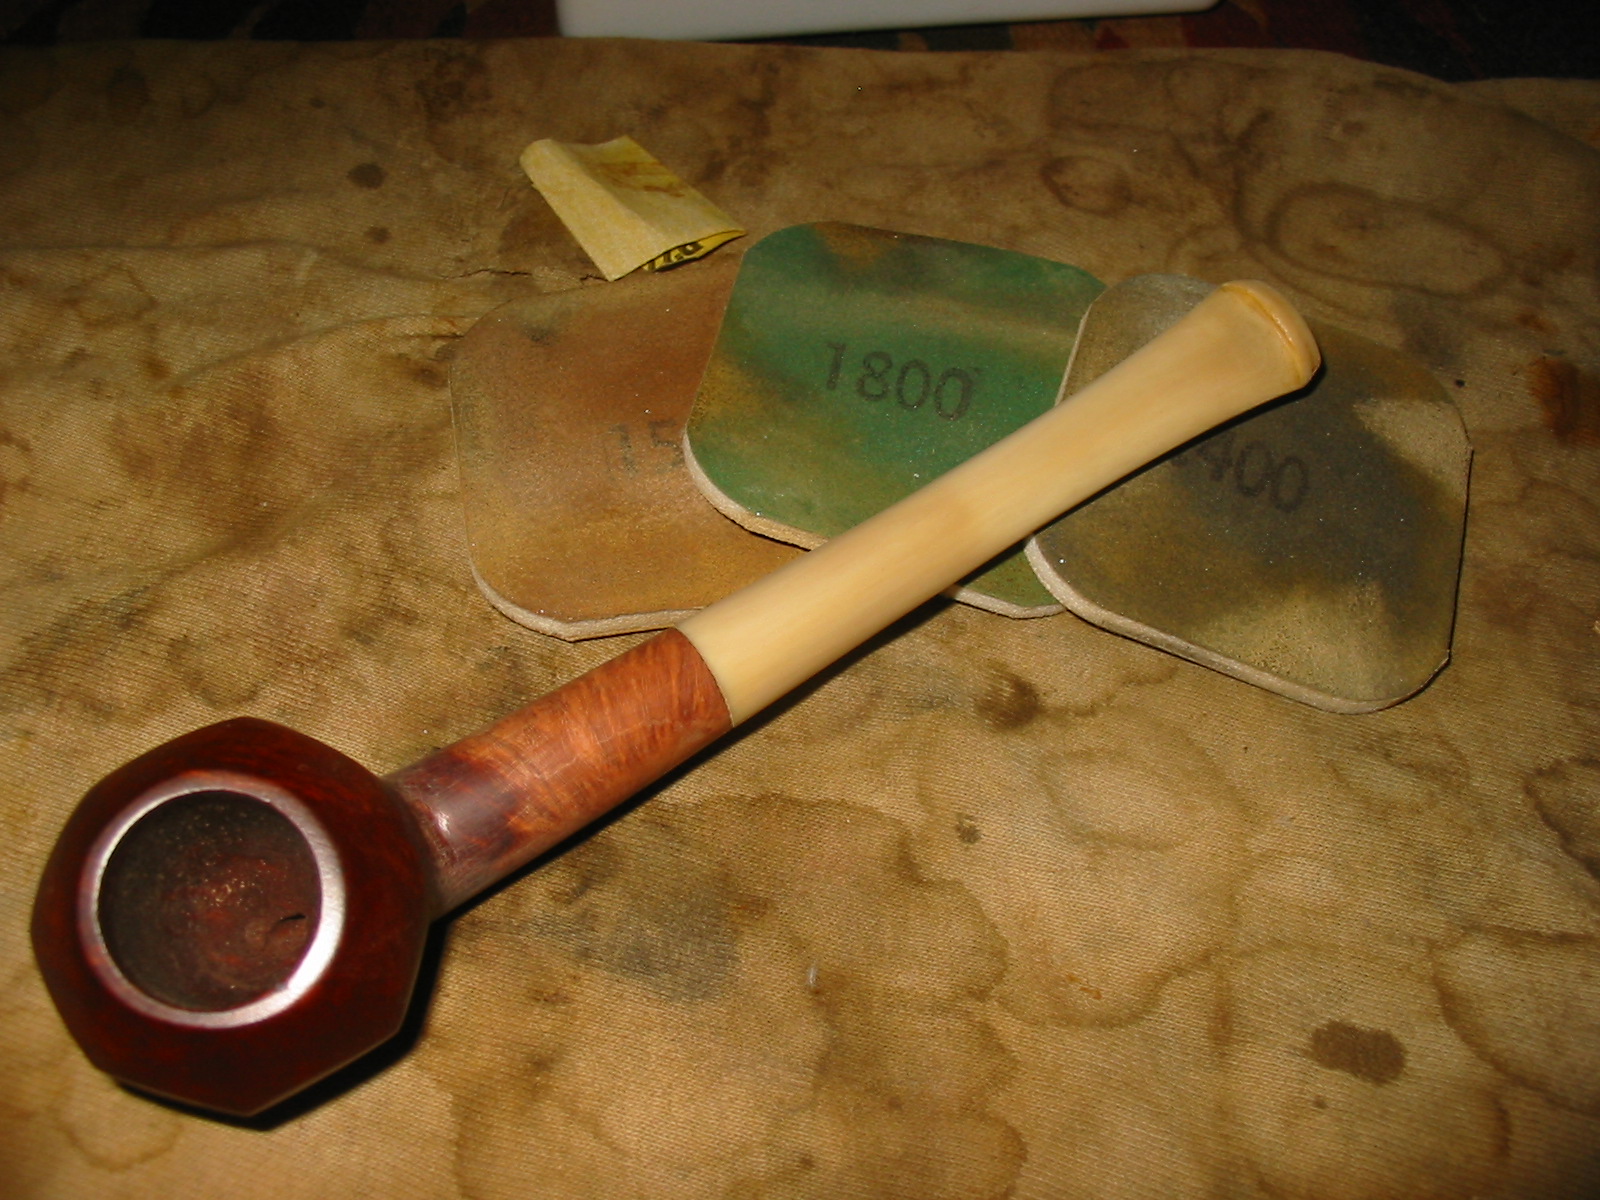
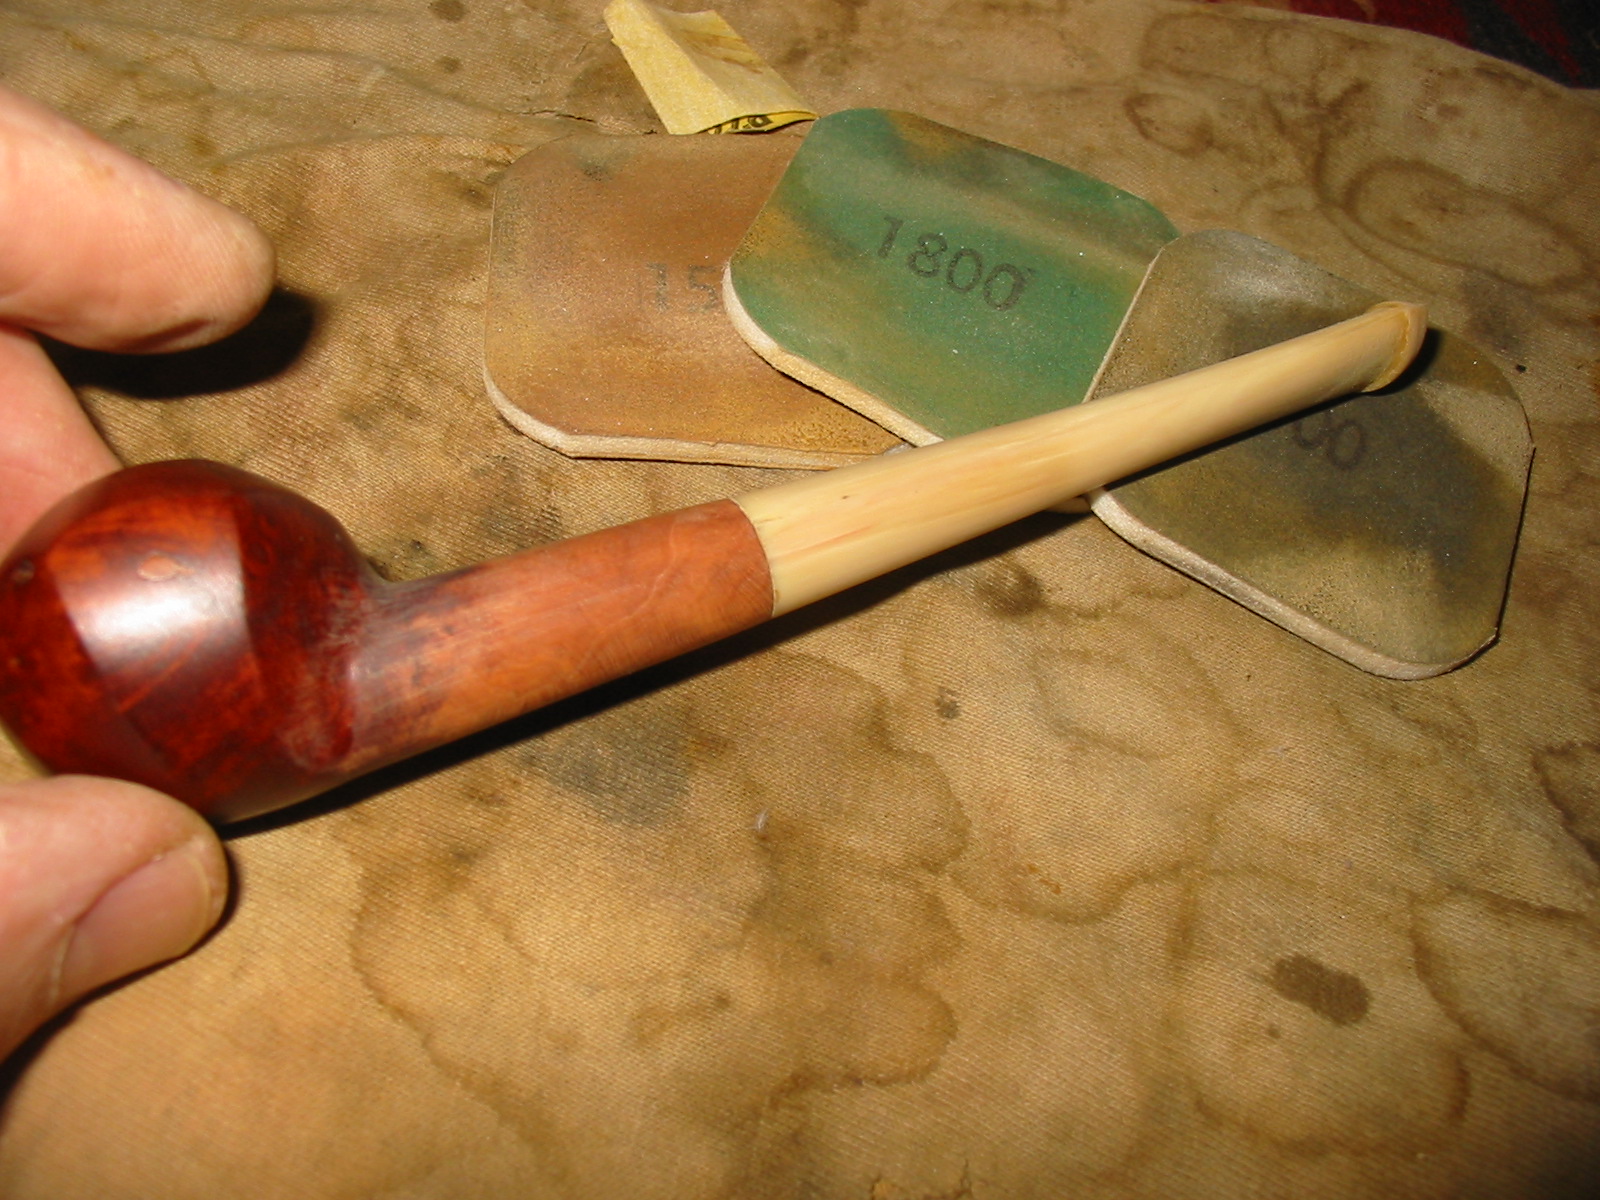
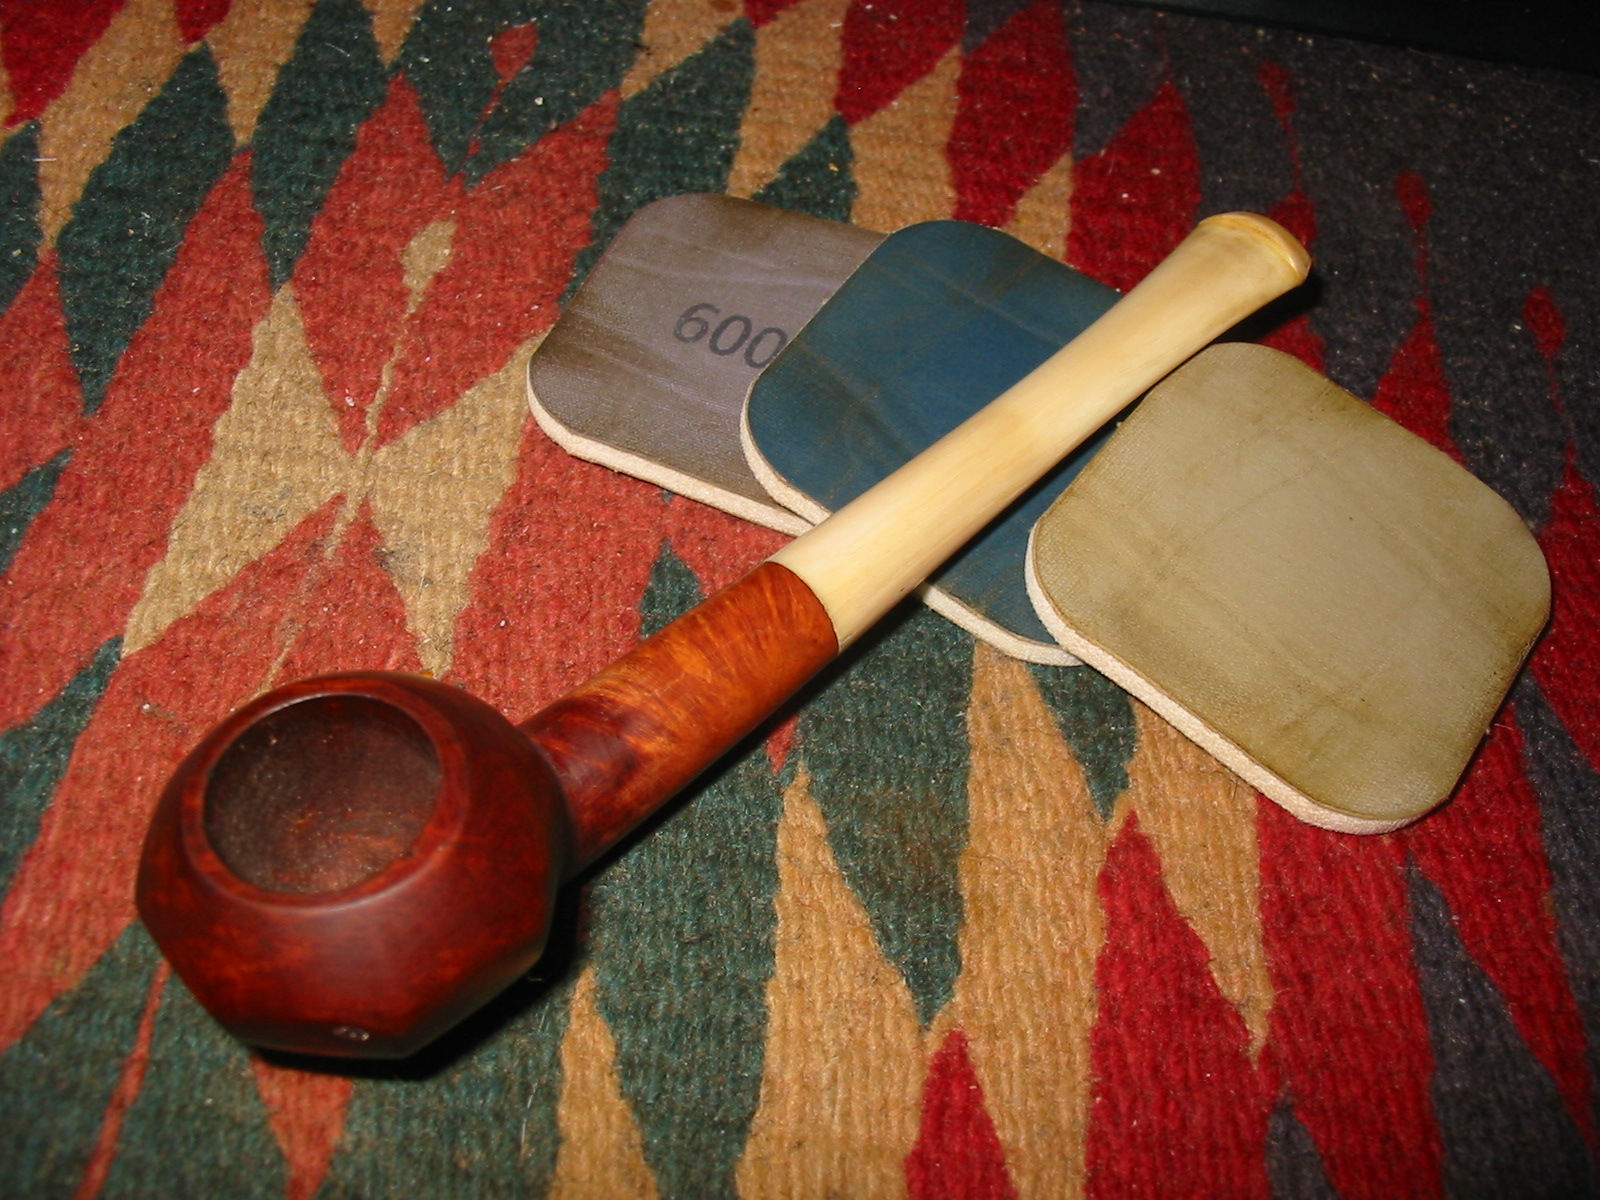
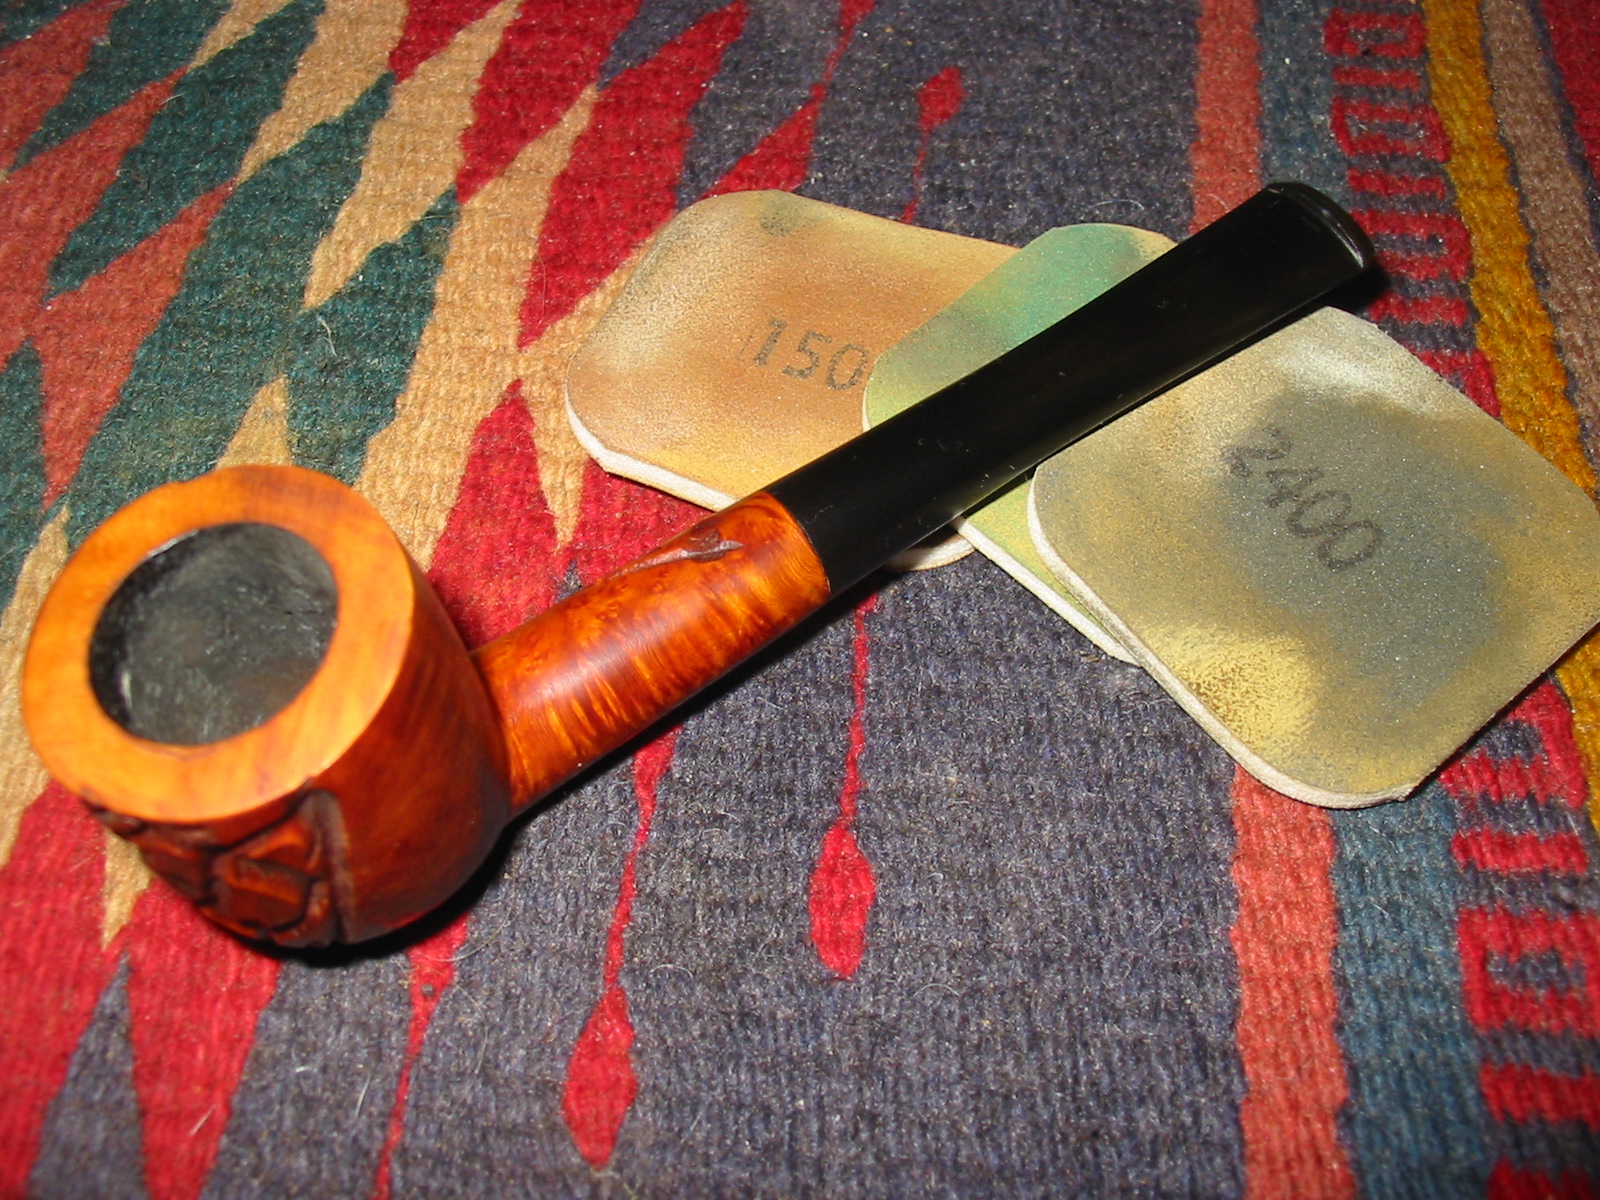
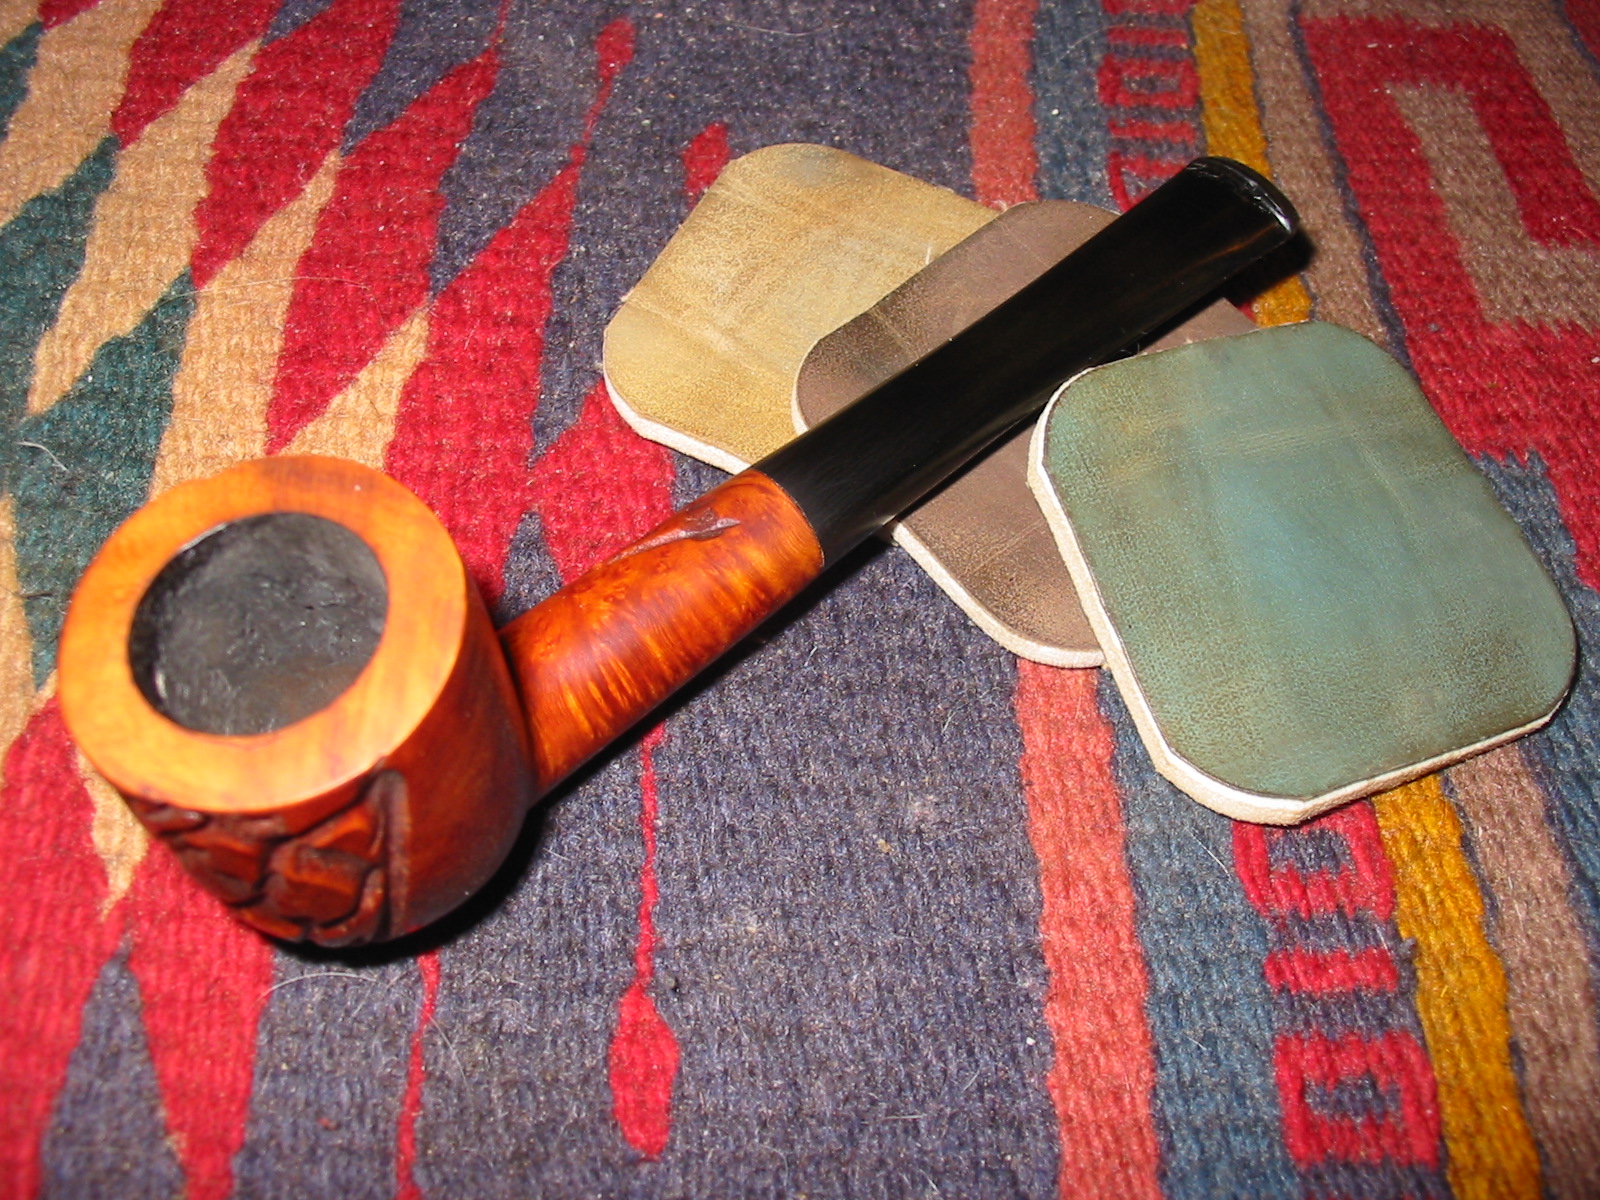
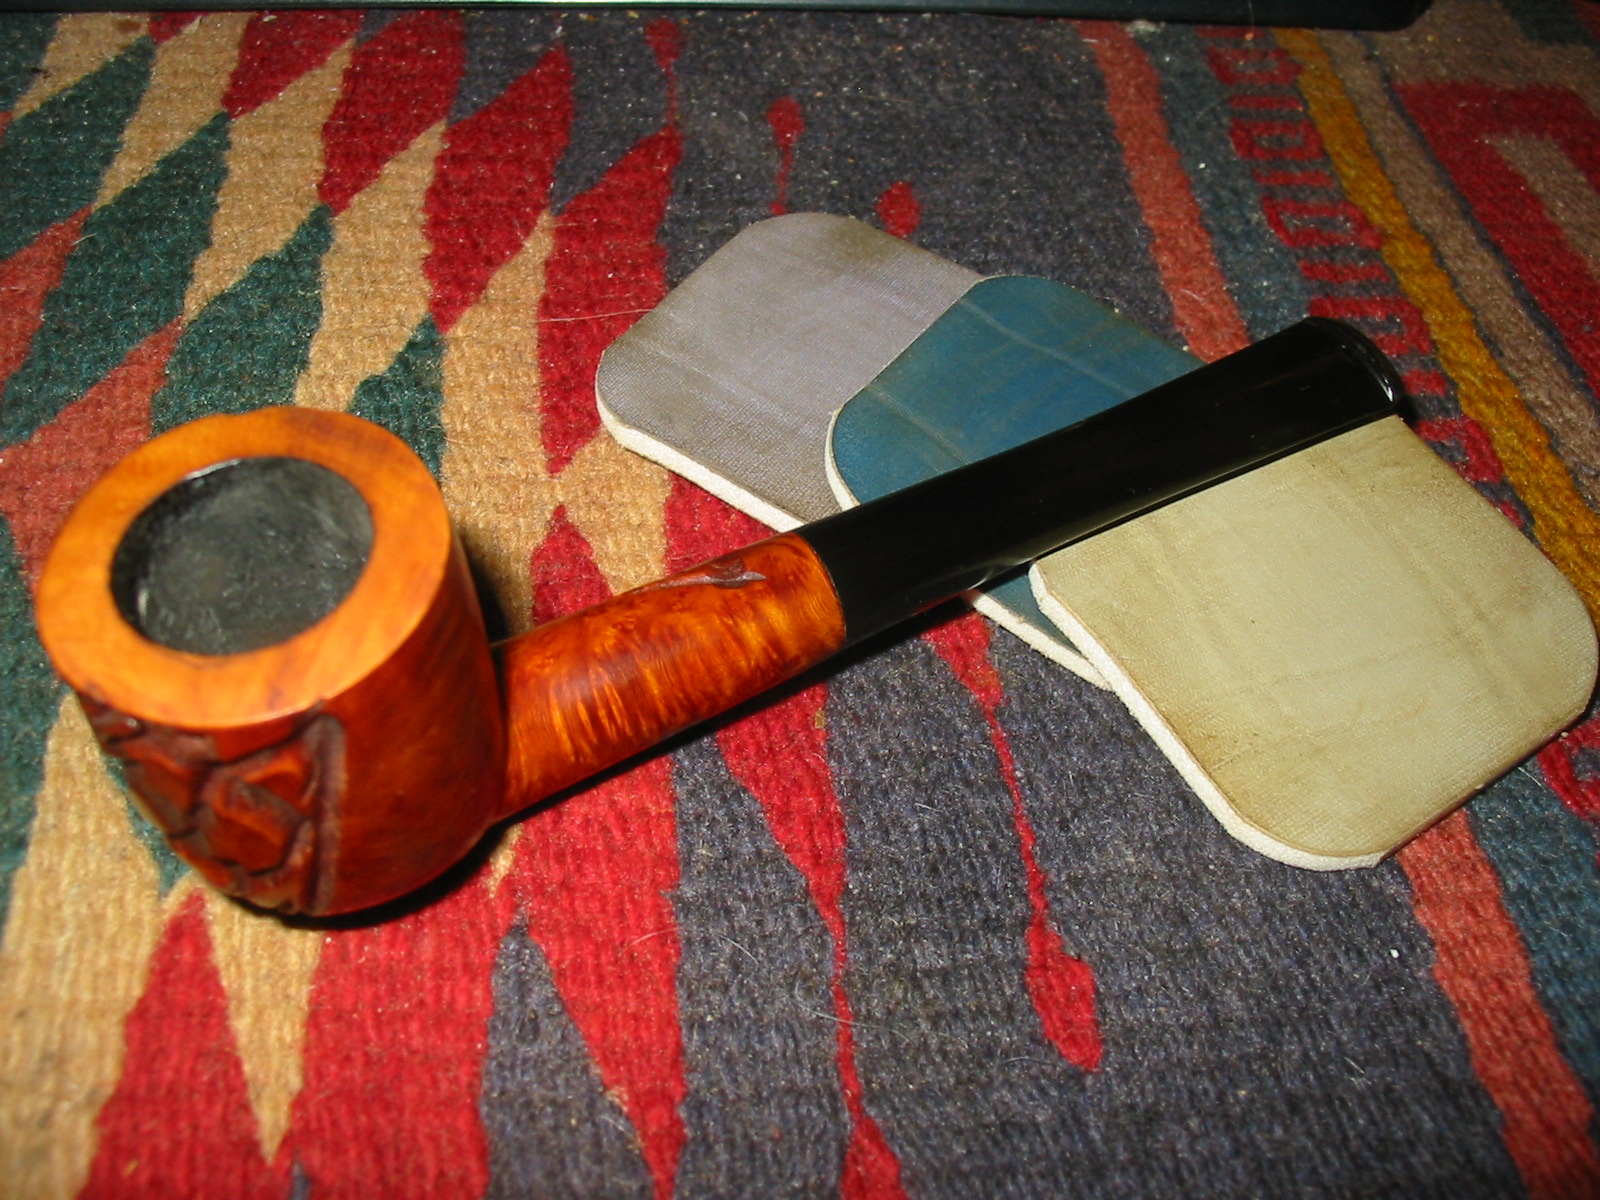
I sanded the entire pipe and stem with micromesh sanding pads. I wet sanded the stem and the bowl with 1500-2400 grit sanding pads and dry sanded the bowl alone with 3200-12,000 grit pads. I did not want to make the briar to smooth to take a good coat of the stain.
IMG_2809

IMG_2810

IMG_2811

IMG_2812

I stained the bowl with a medium brown aniline stain mixed 2 parts stain with 1 part isopropyl alcohol to get the colour I wanted. I was going for more of a wash than a deep coat. I wanted the grain on the shank and bowl to come through the colour. I used a black permanent mark to draw grain marks on the two fills and to make it easier for the stain coat to blend in and hide the putty marks.
IMG_2813

IMG_2814

IMG_2815

IMG_2816

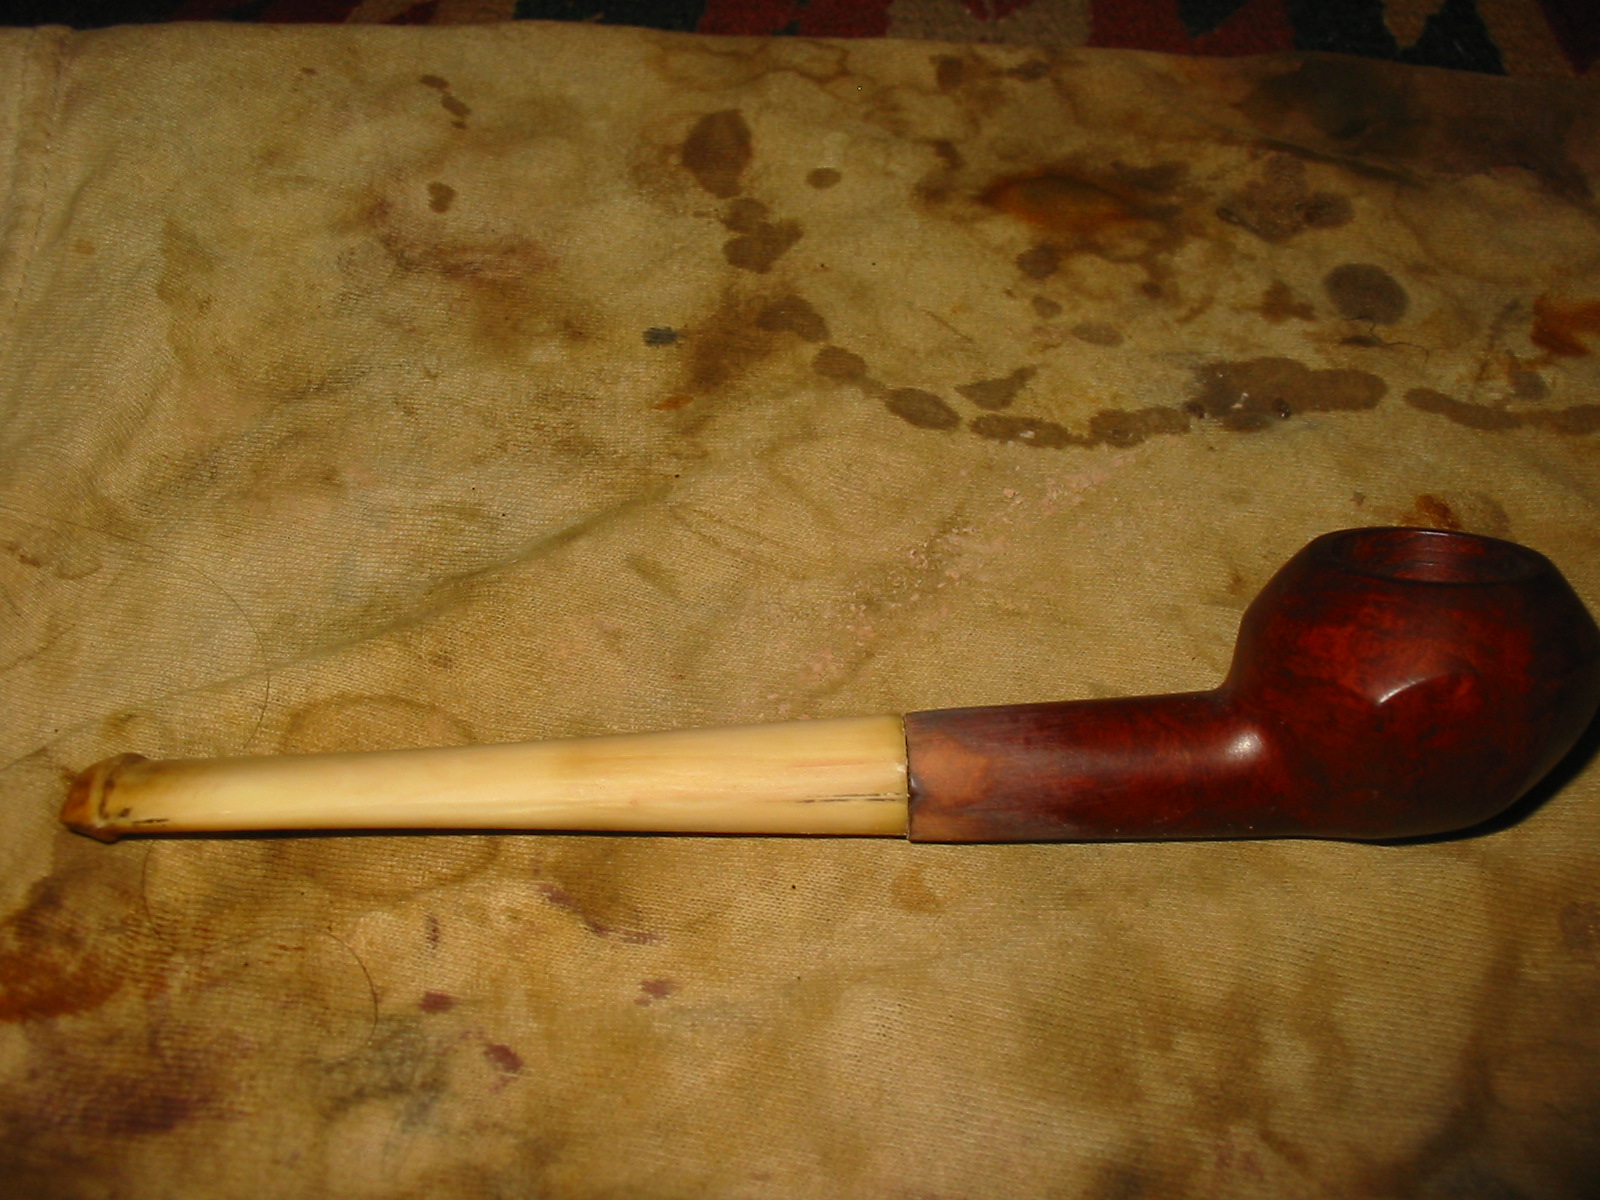
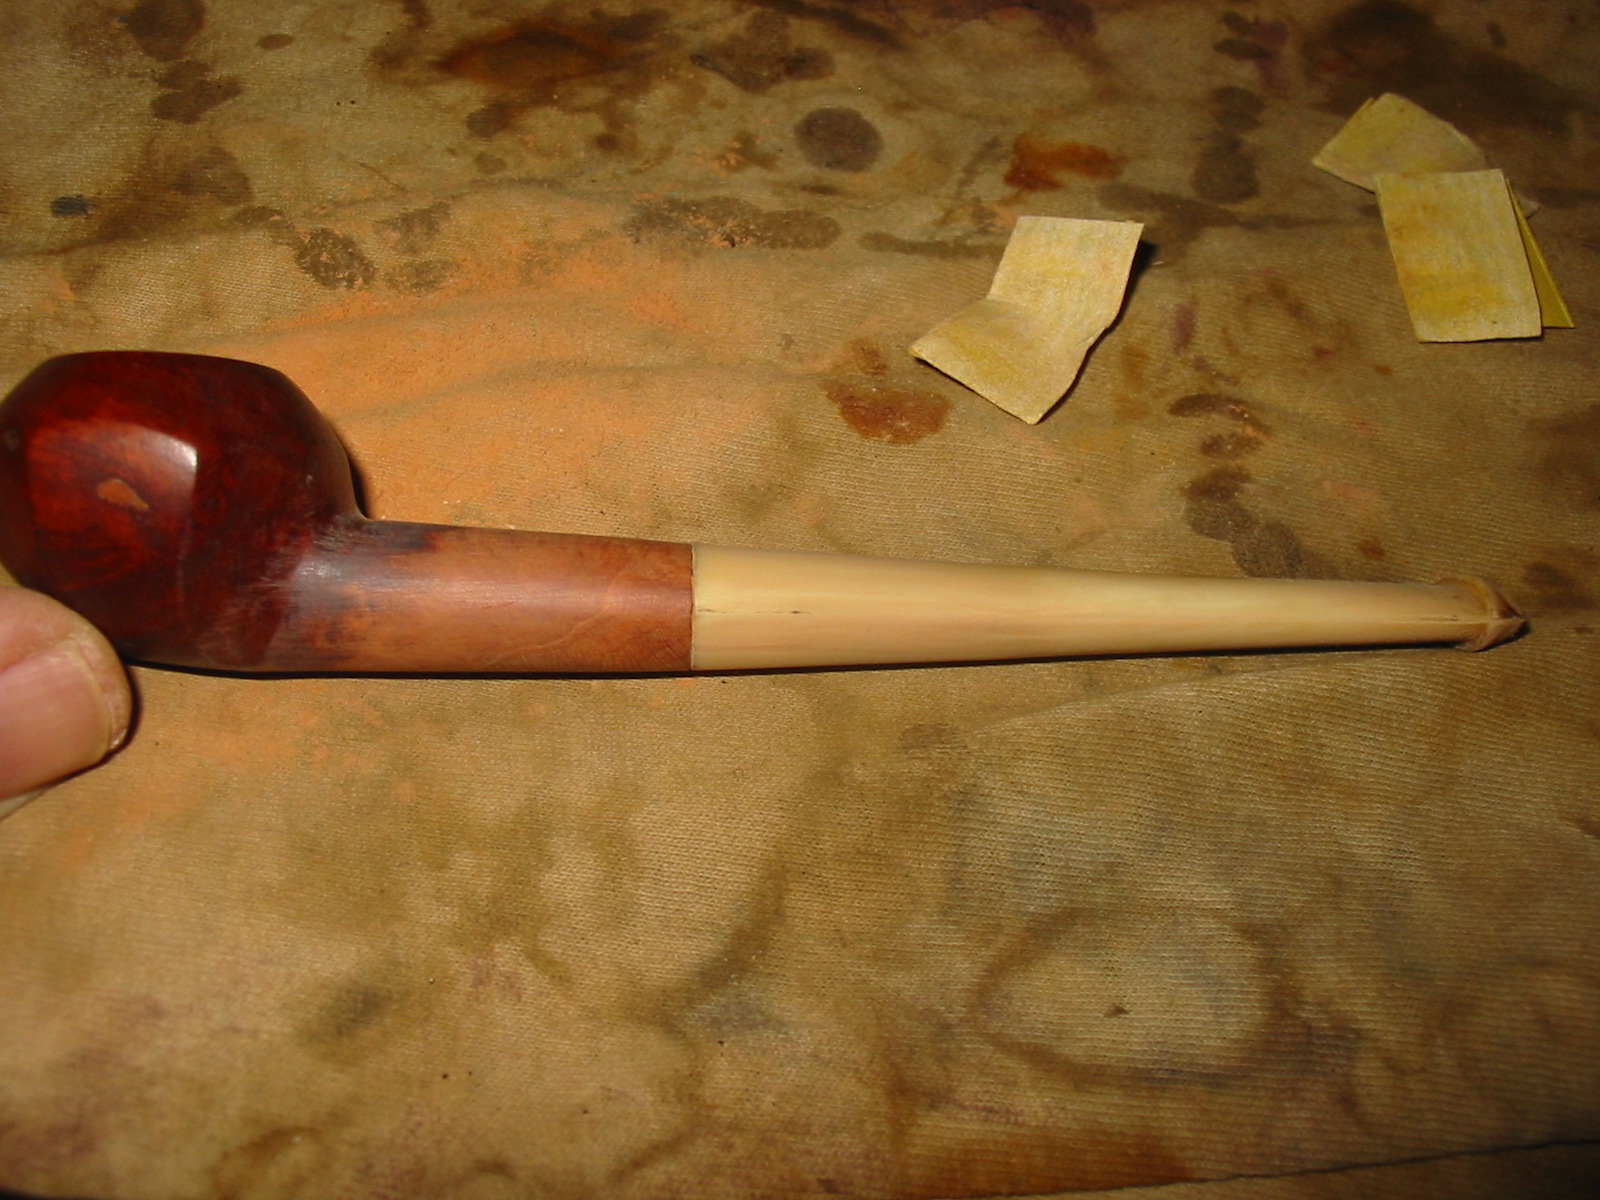
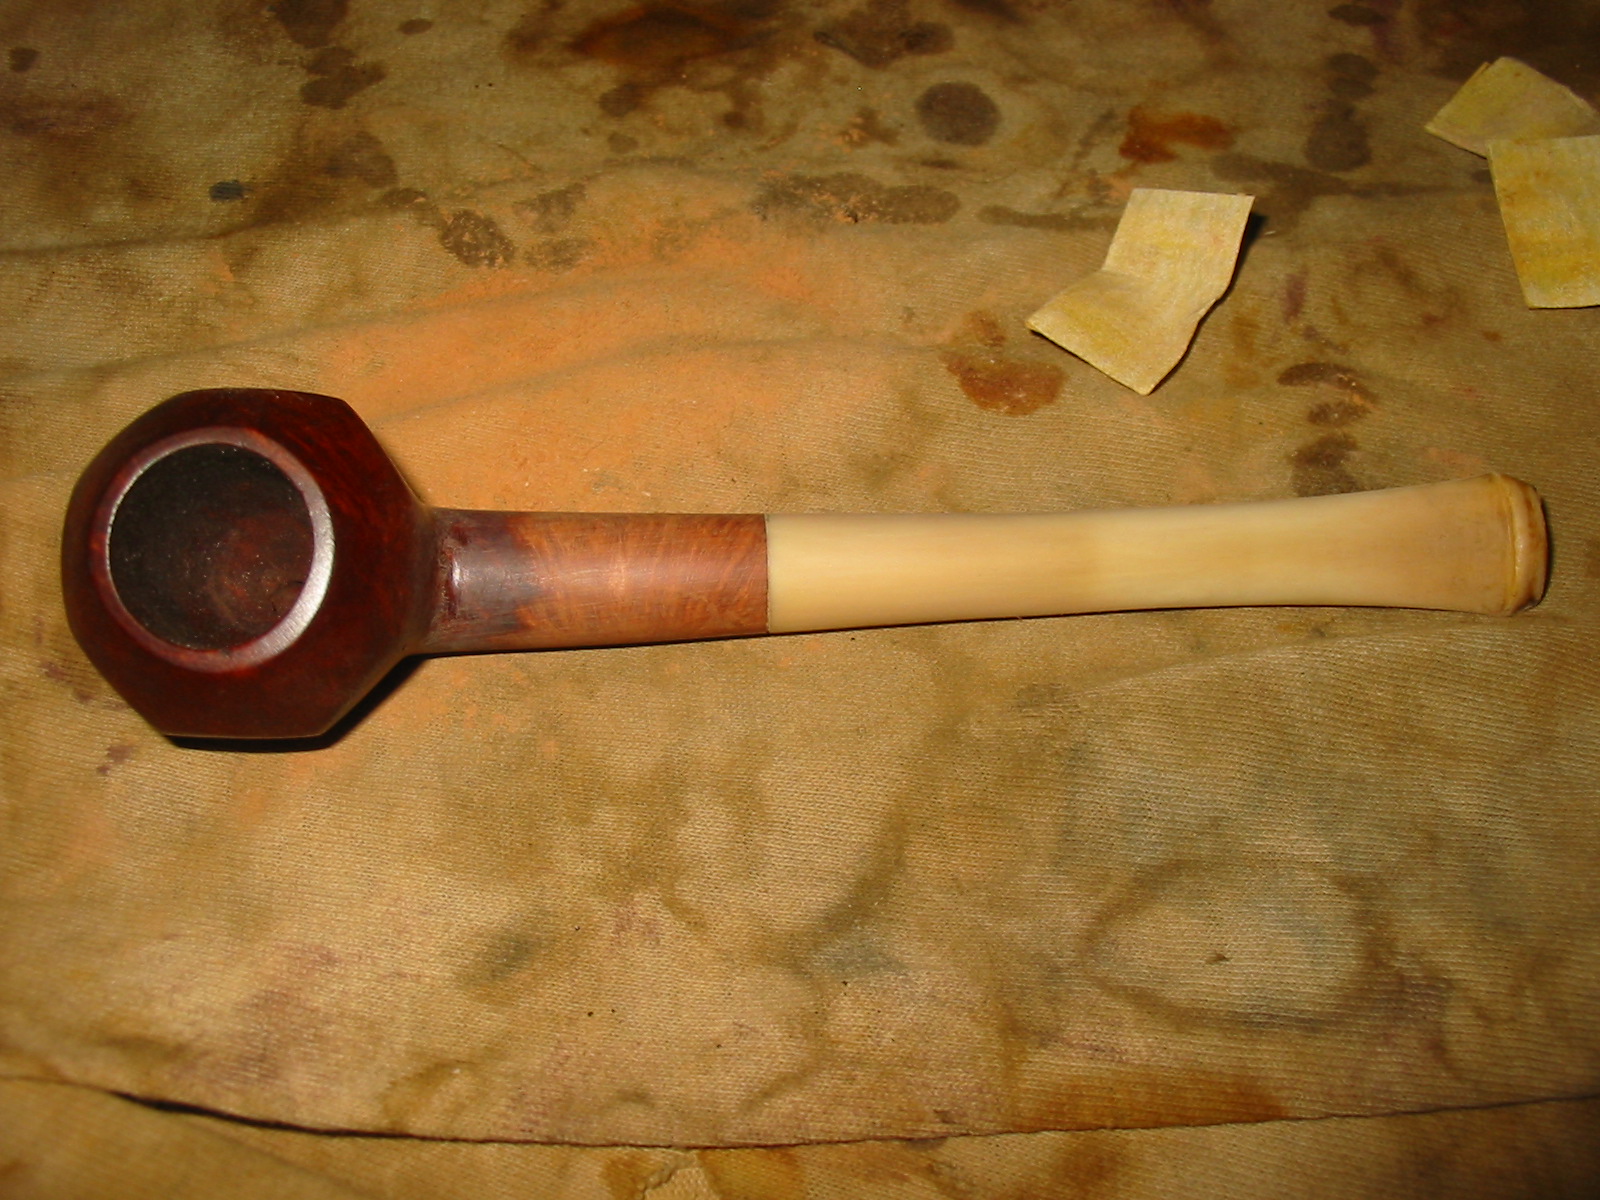
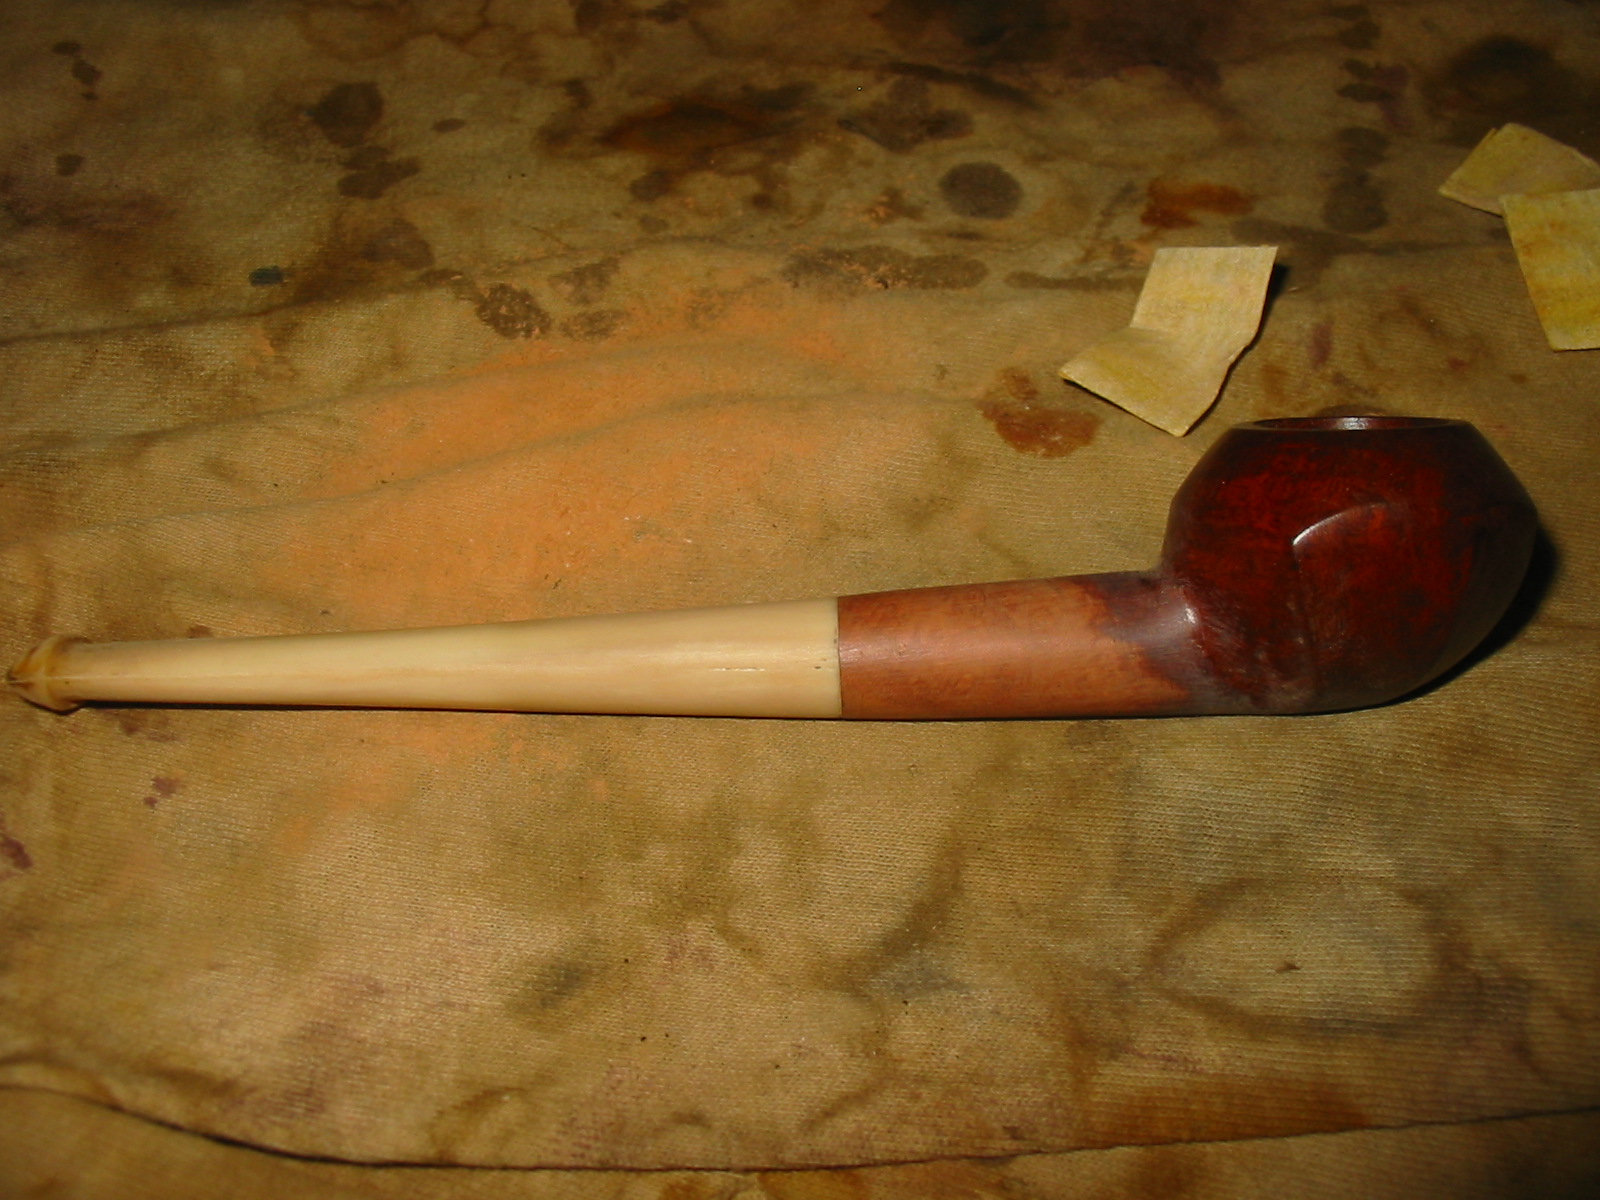
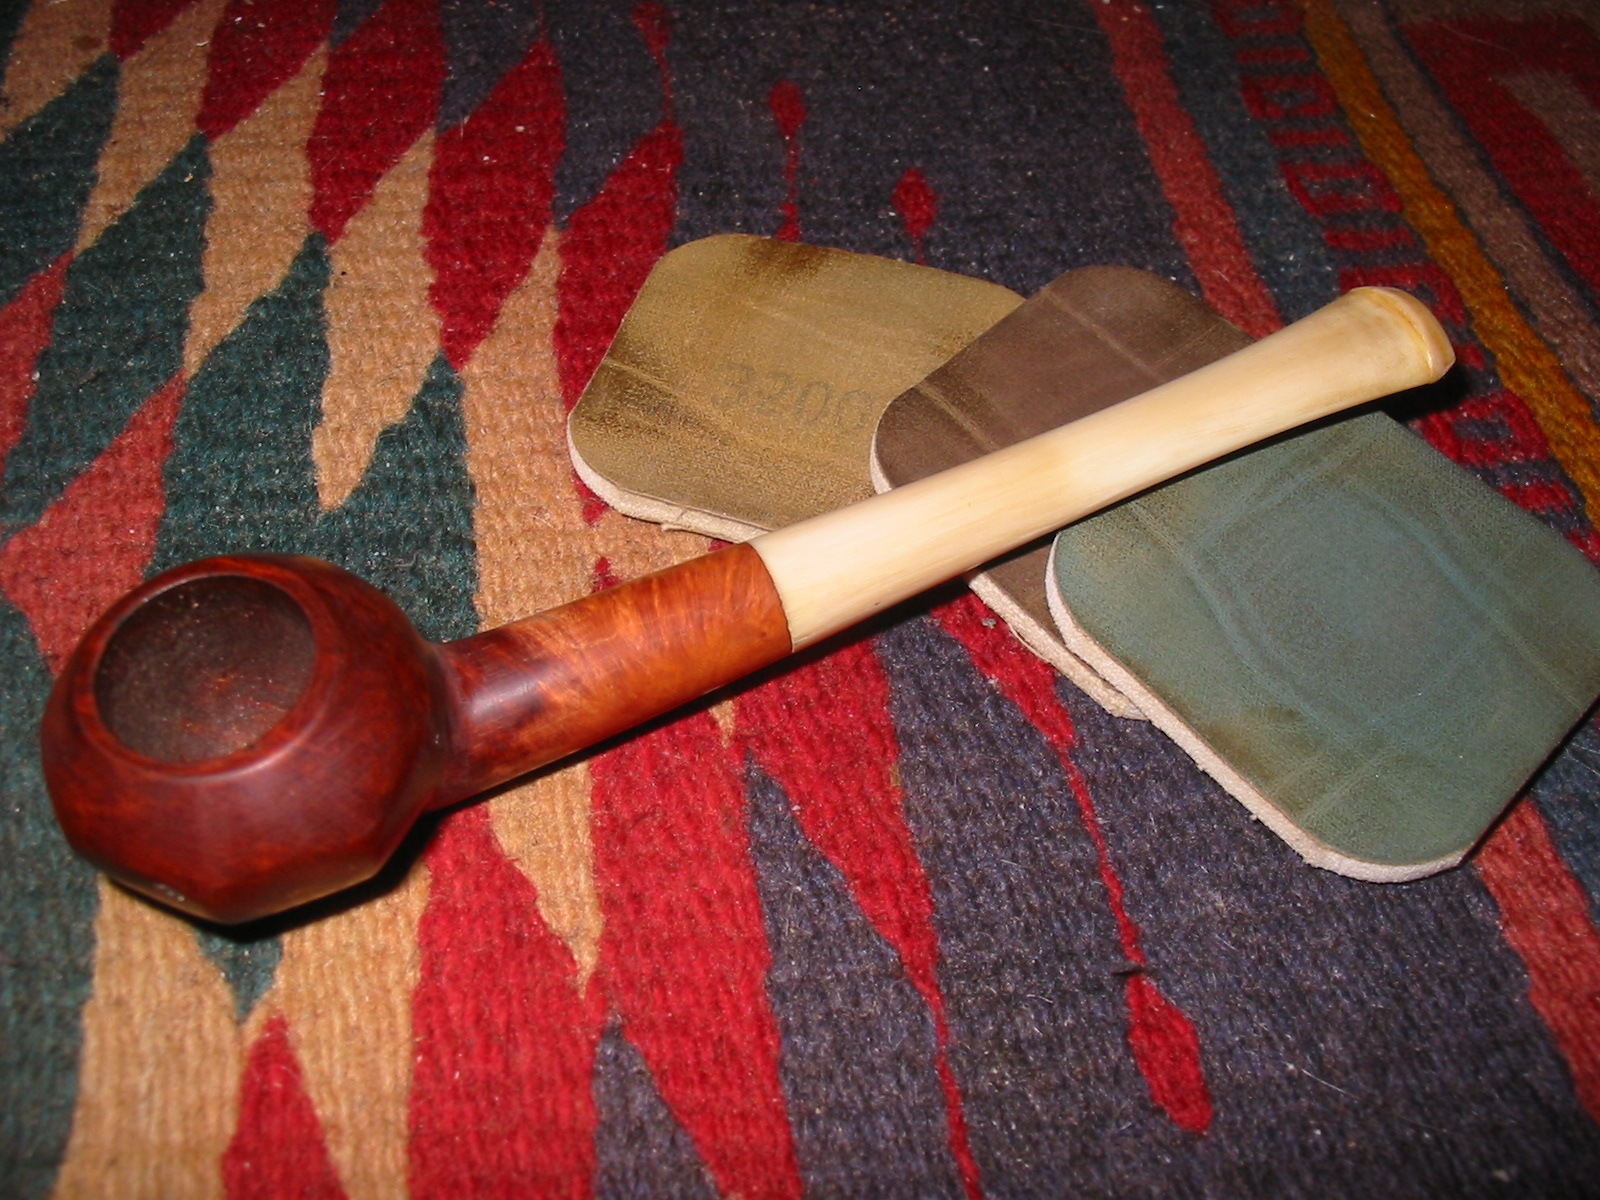
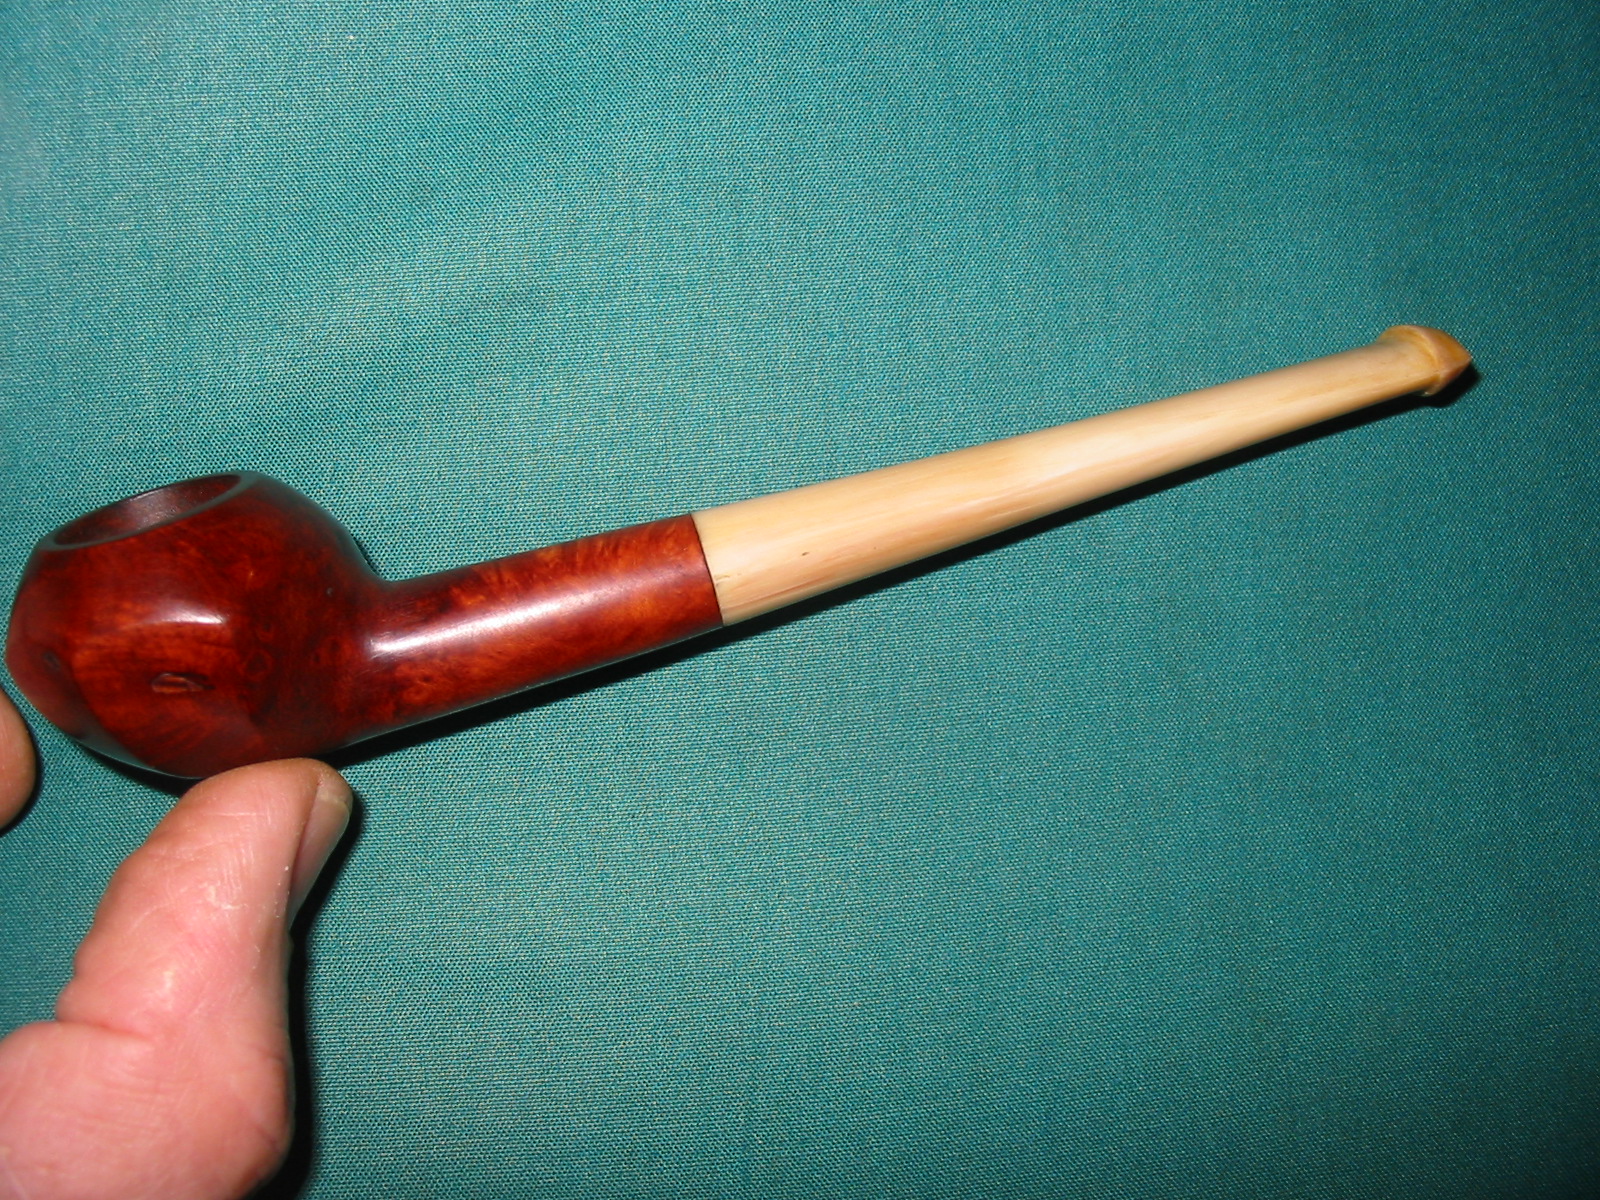
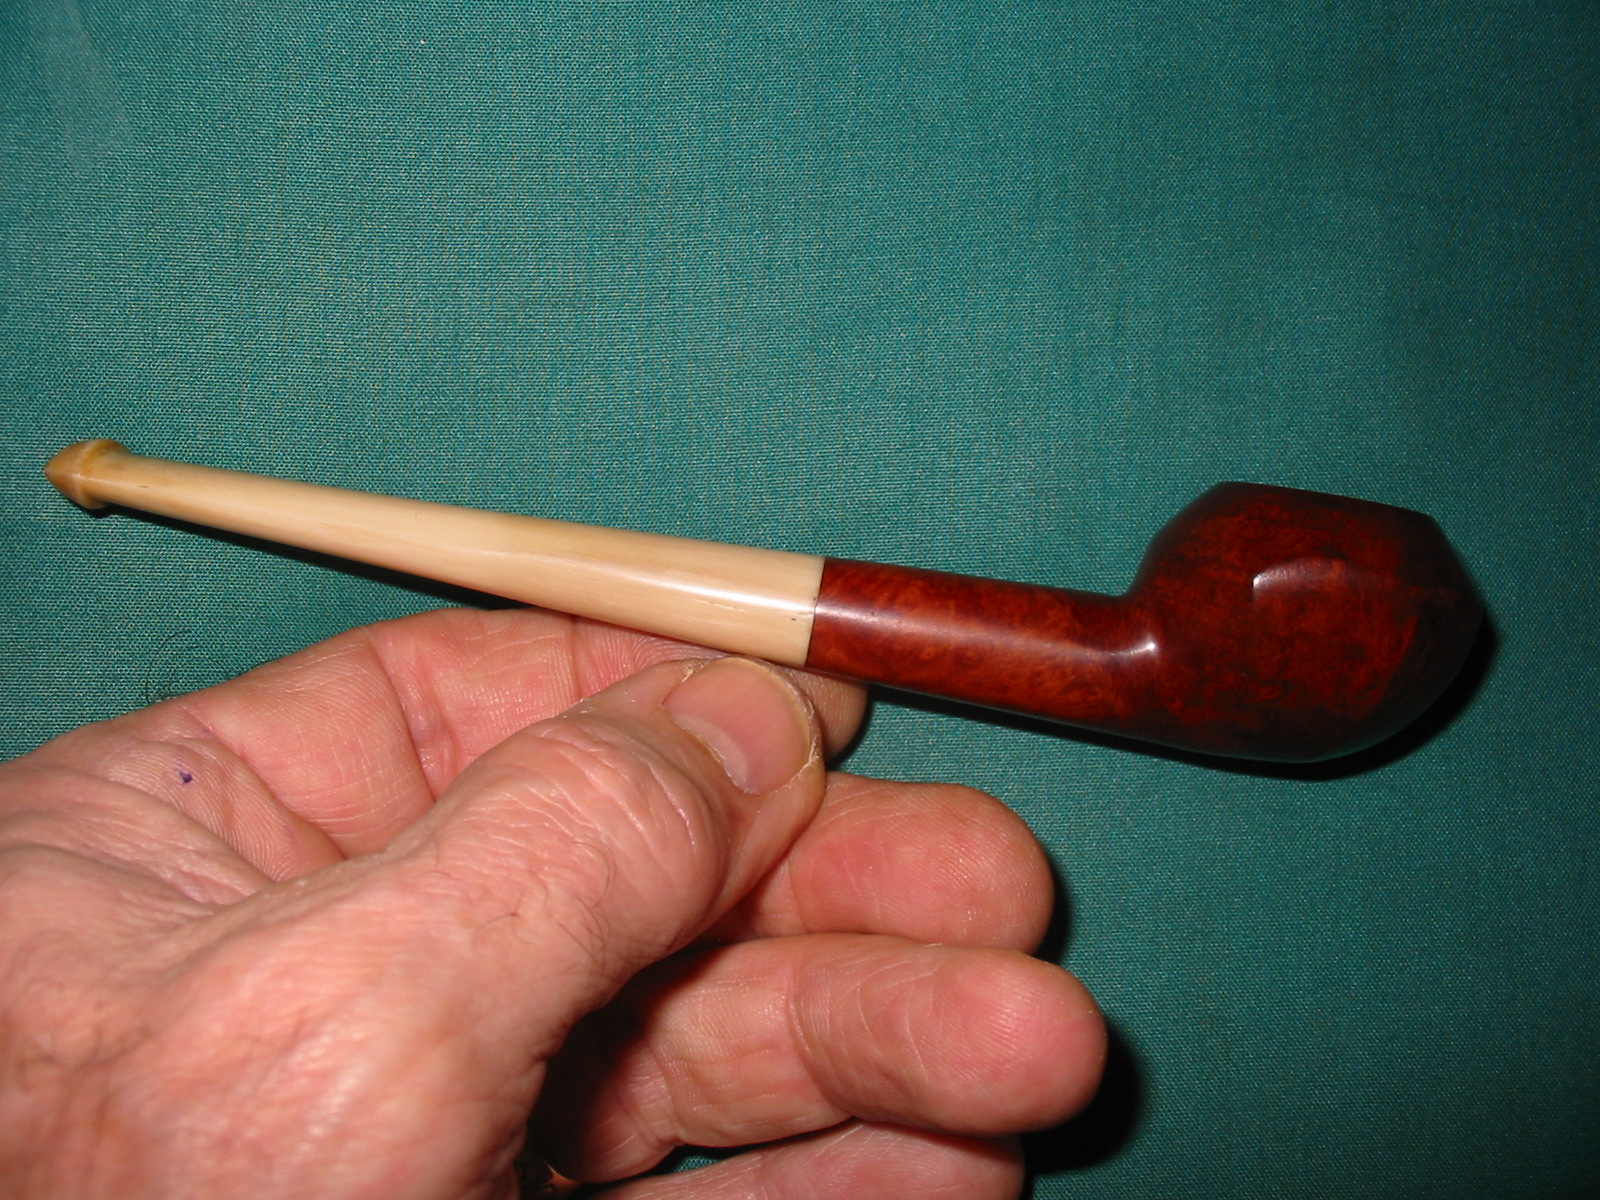
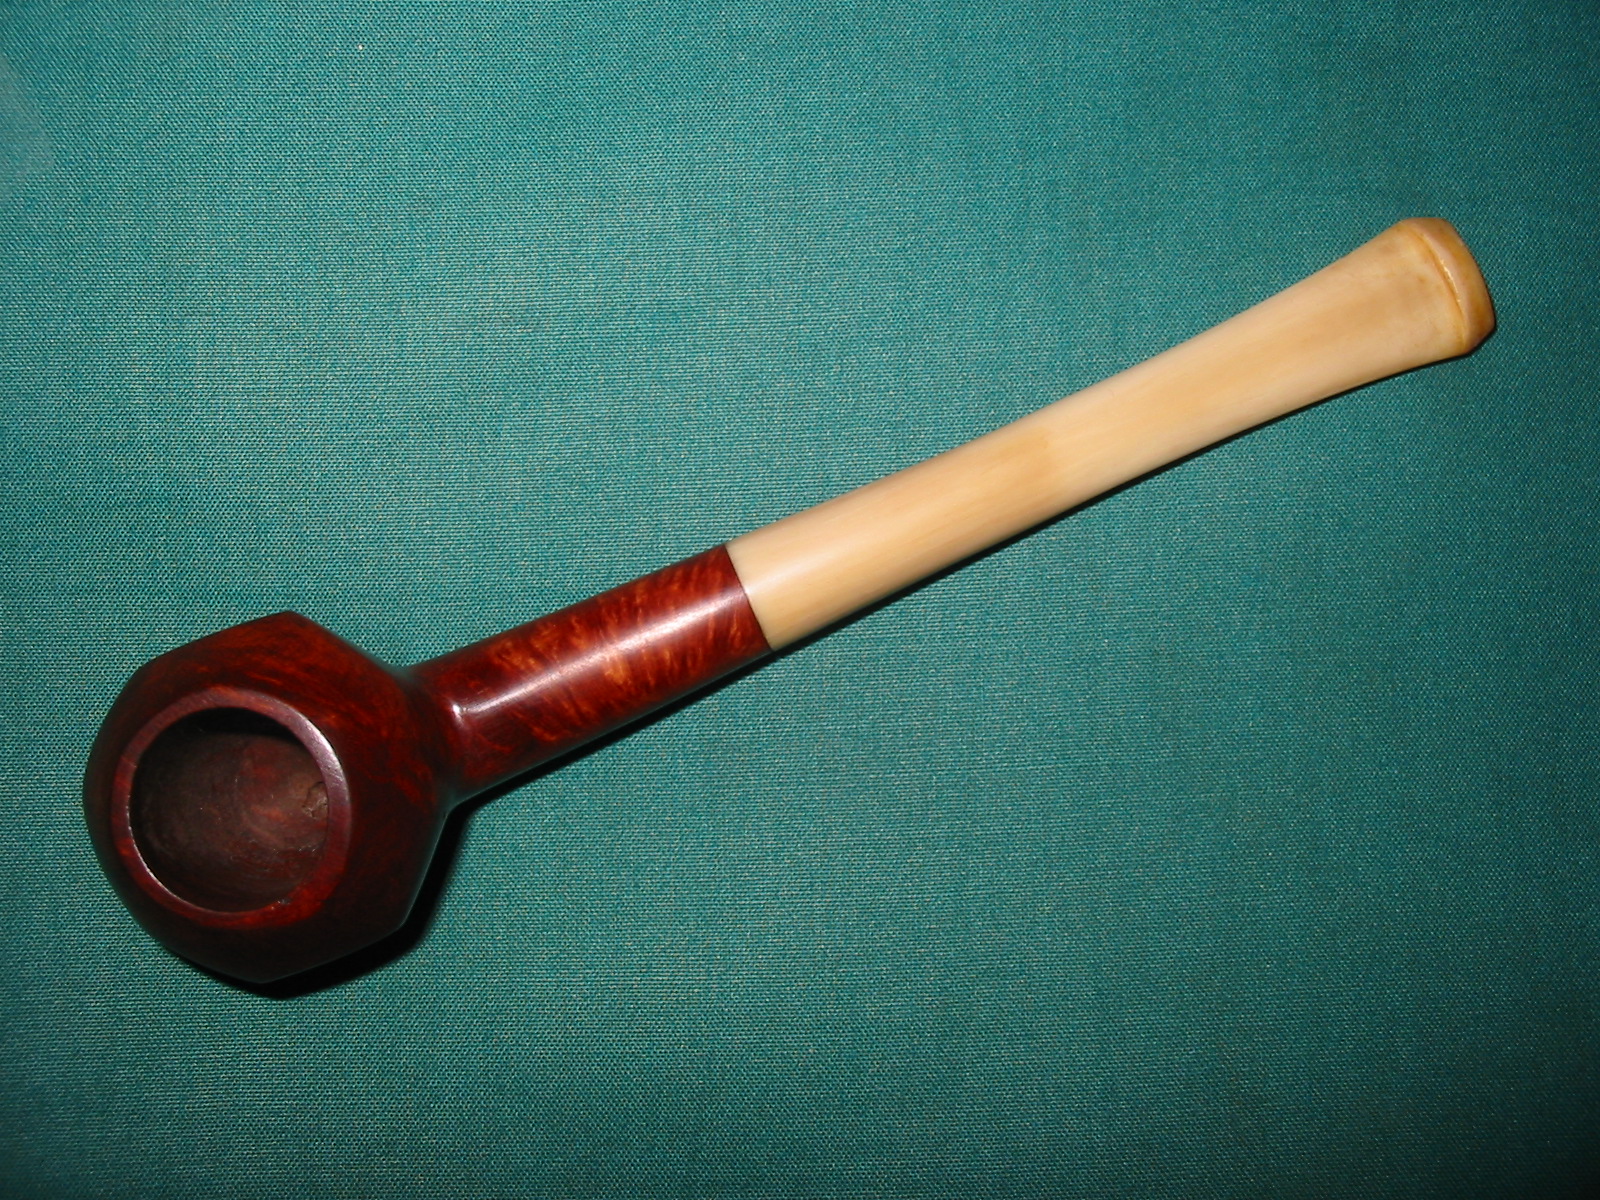
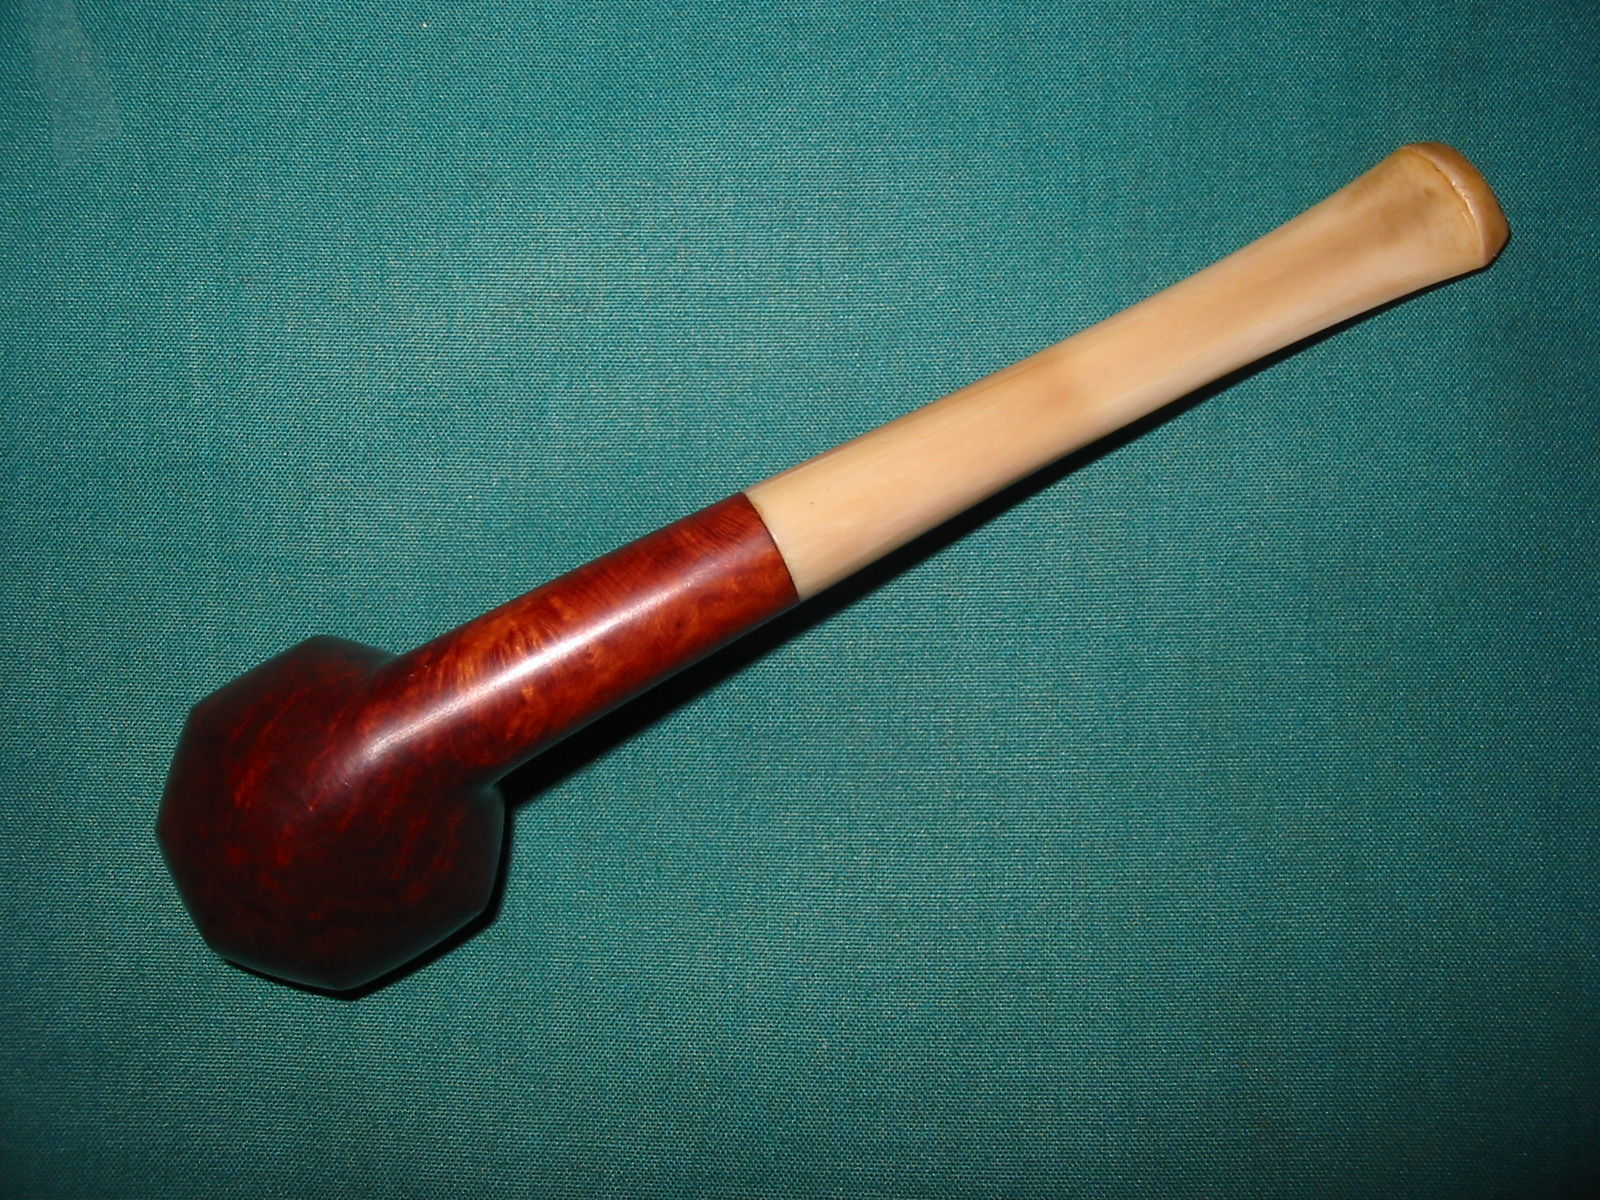
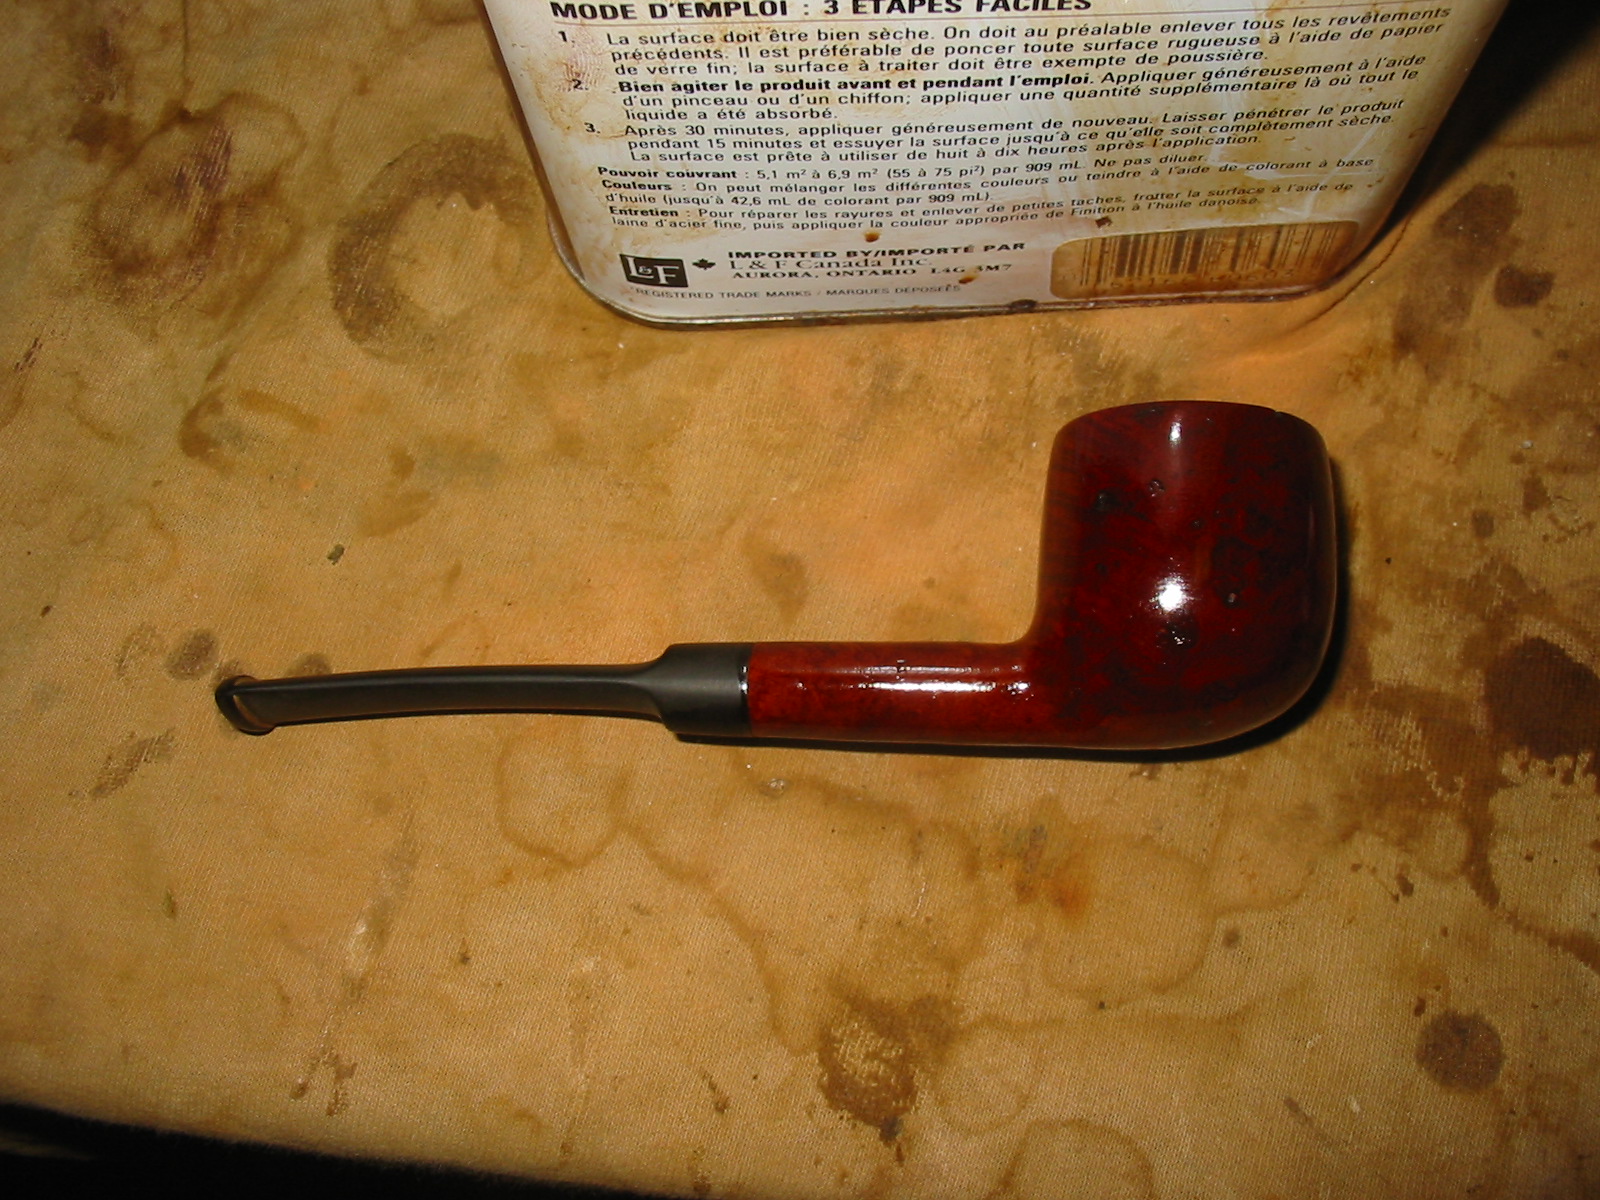
Once the stain was dry I buffed the bowl with White Diamond to give it a shine and then reinserted the stem and lightly buffed the stem with White Diamond as well. The nylon stems take a very soft touch or they are easily damaged. I gave the bowl and stem several coats of carnauba wax to protect them and then lightly buffed the pipe a soft flannel buffing pad. The finished pipe is pictured below. It is not a big pipe in any sense but should be a great flake pipe. The second photo below gives an idea of proportion by the inclusion of my hand with the pipe. The yellow nylon stem approximates the unique colour and look of the horn stem that must have originally graced this little bowl. The stem is thin and the new taper gives a very delicate look to the new pipe.
IMG_2817

IMG_2818

IMG_2820

IMG_2821

Restemmed and Restored Imported Genuine Briar Billiard


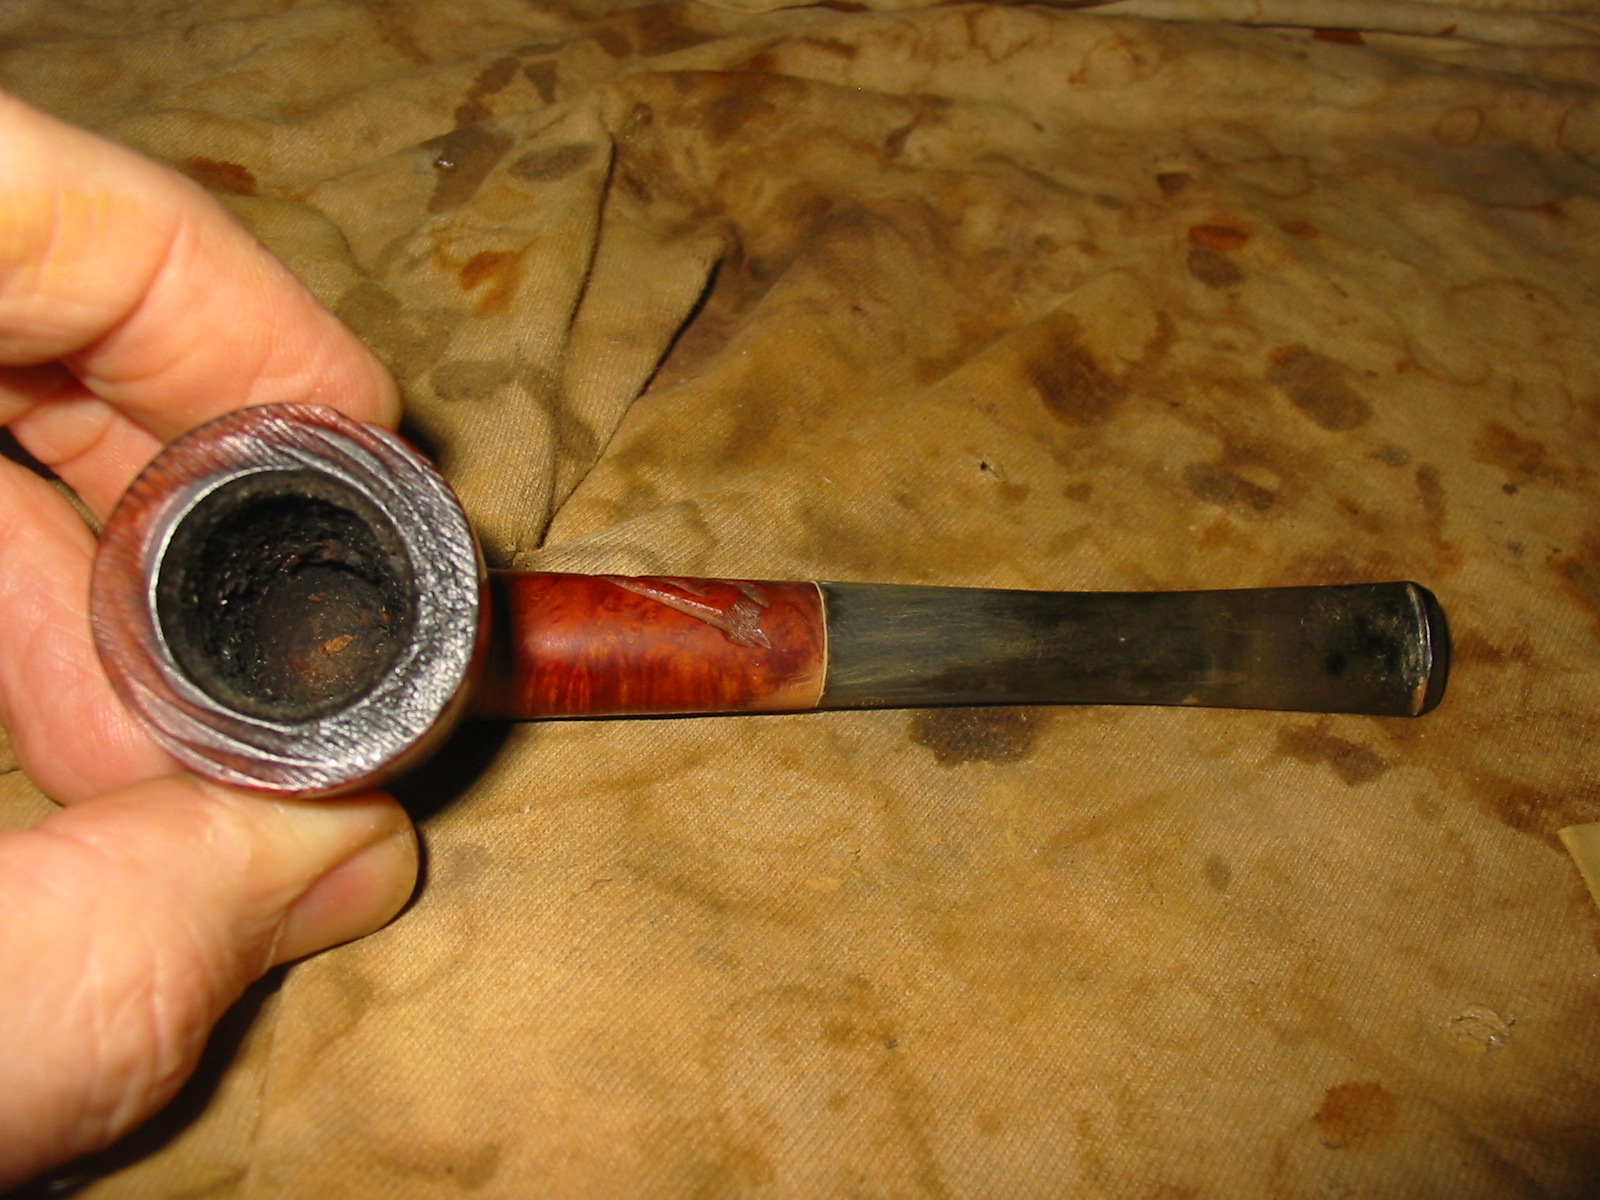
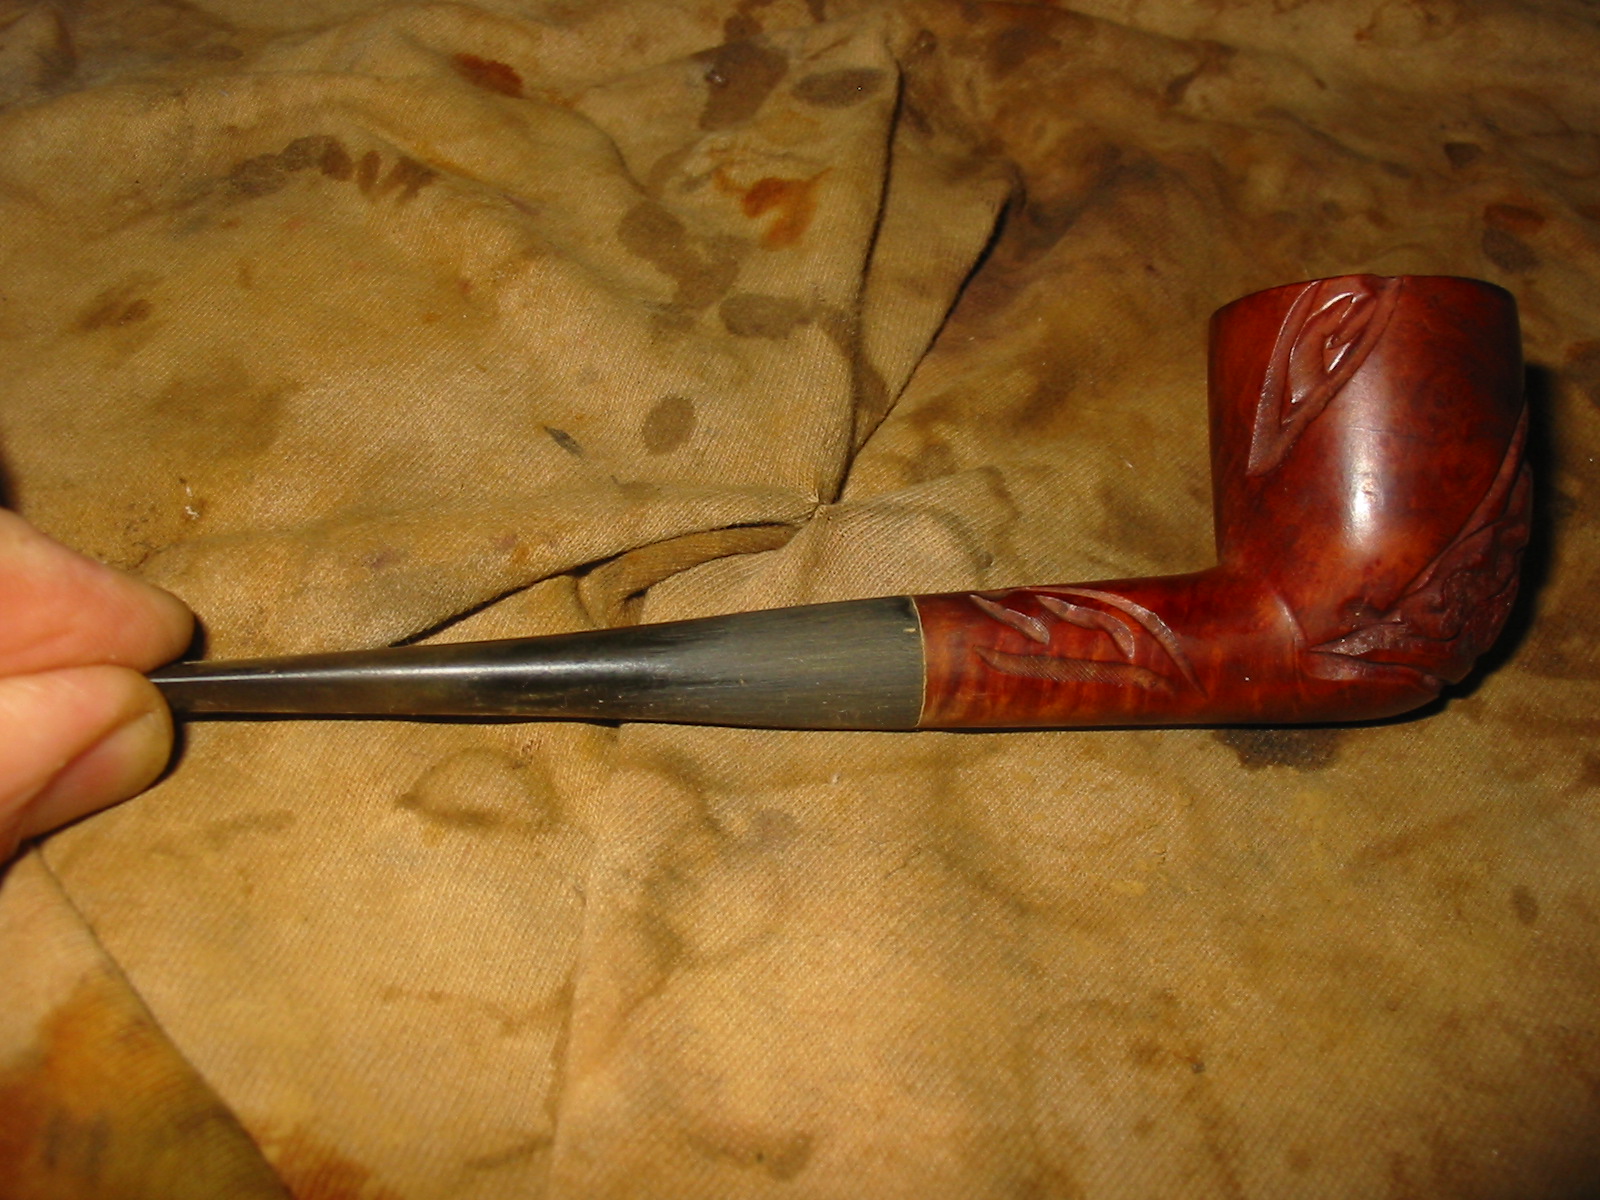
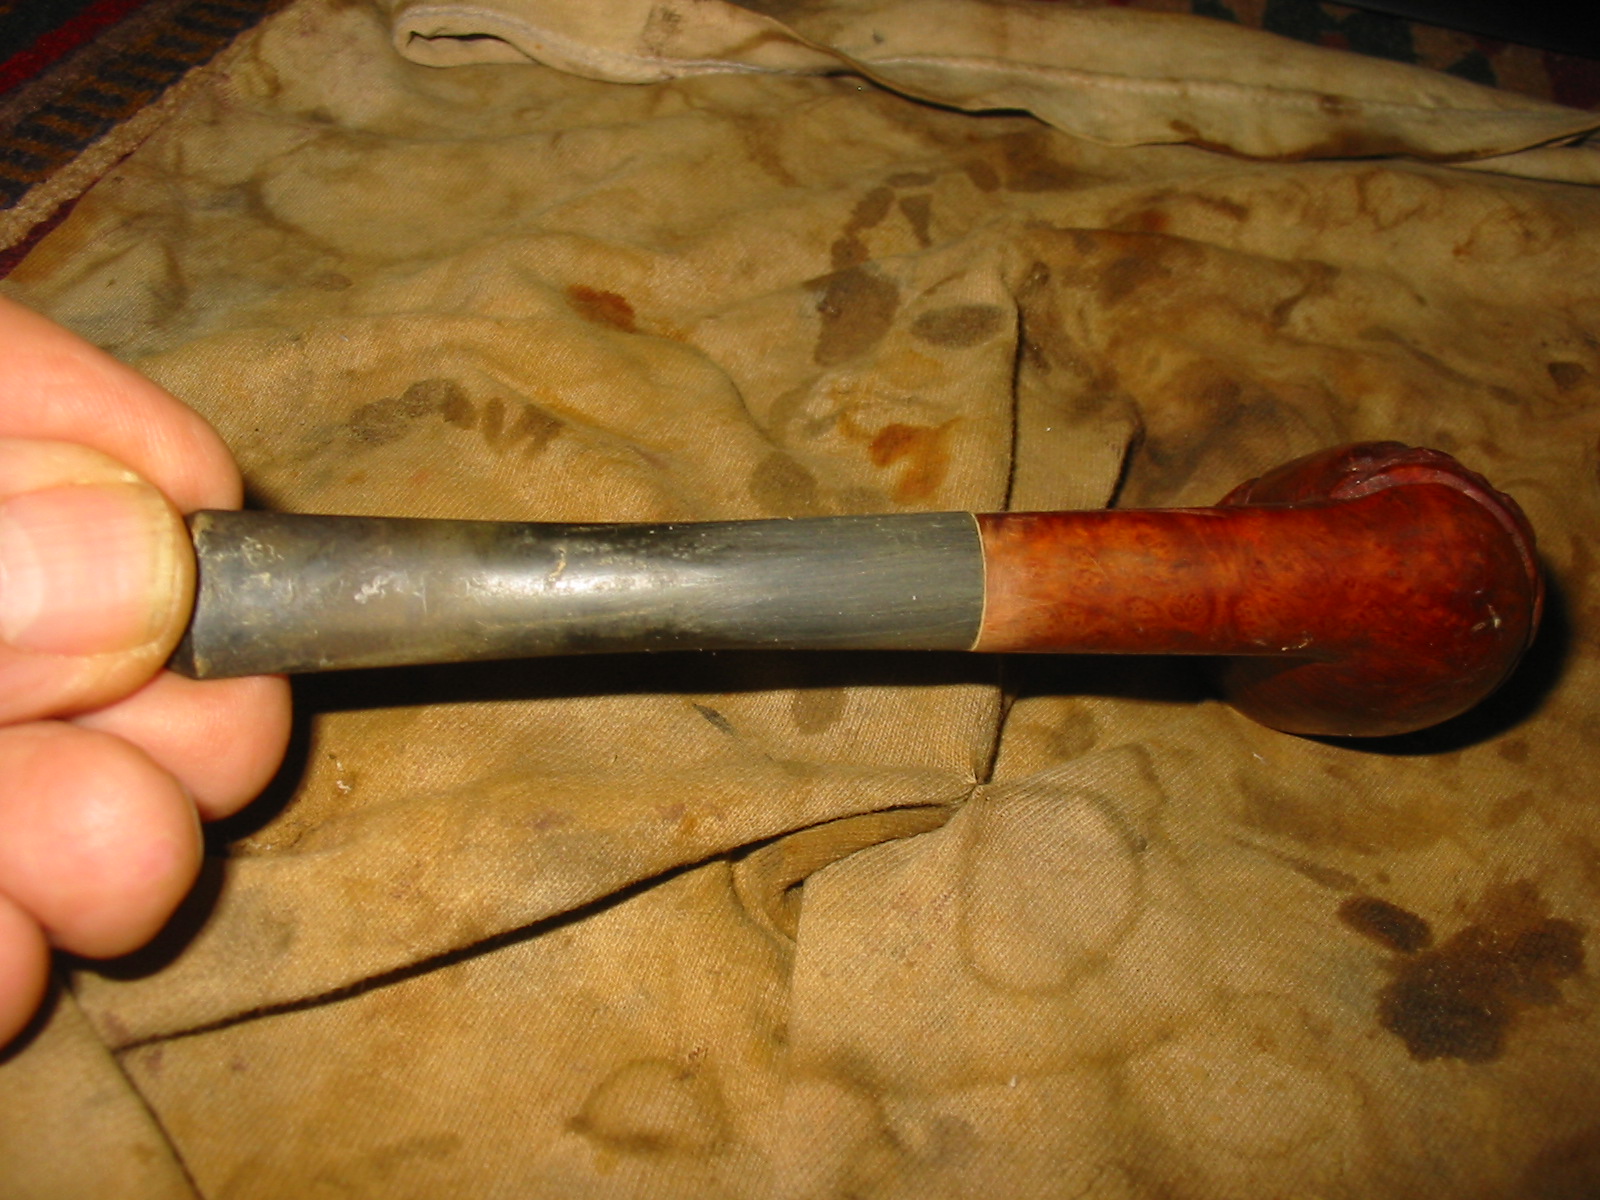
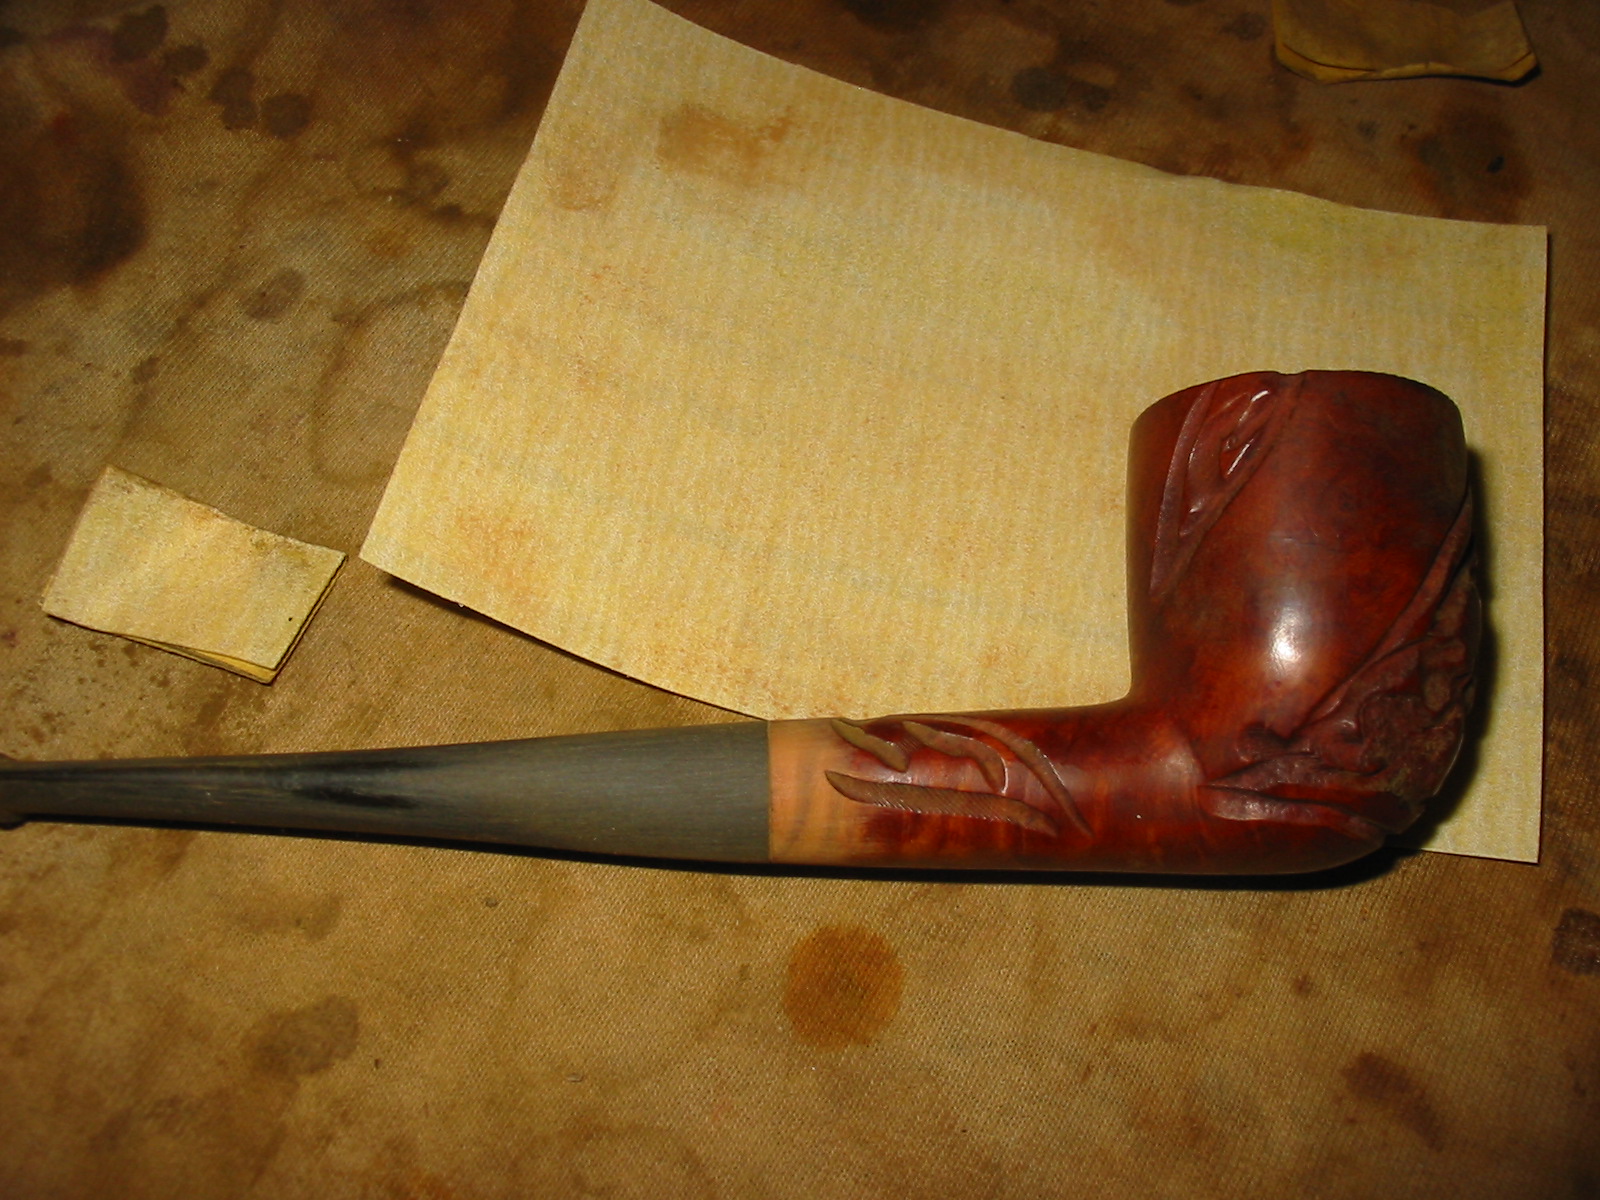
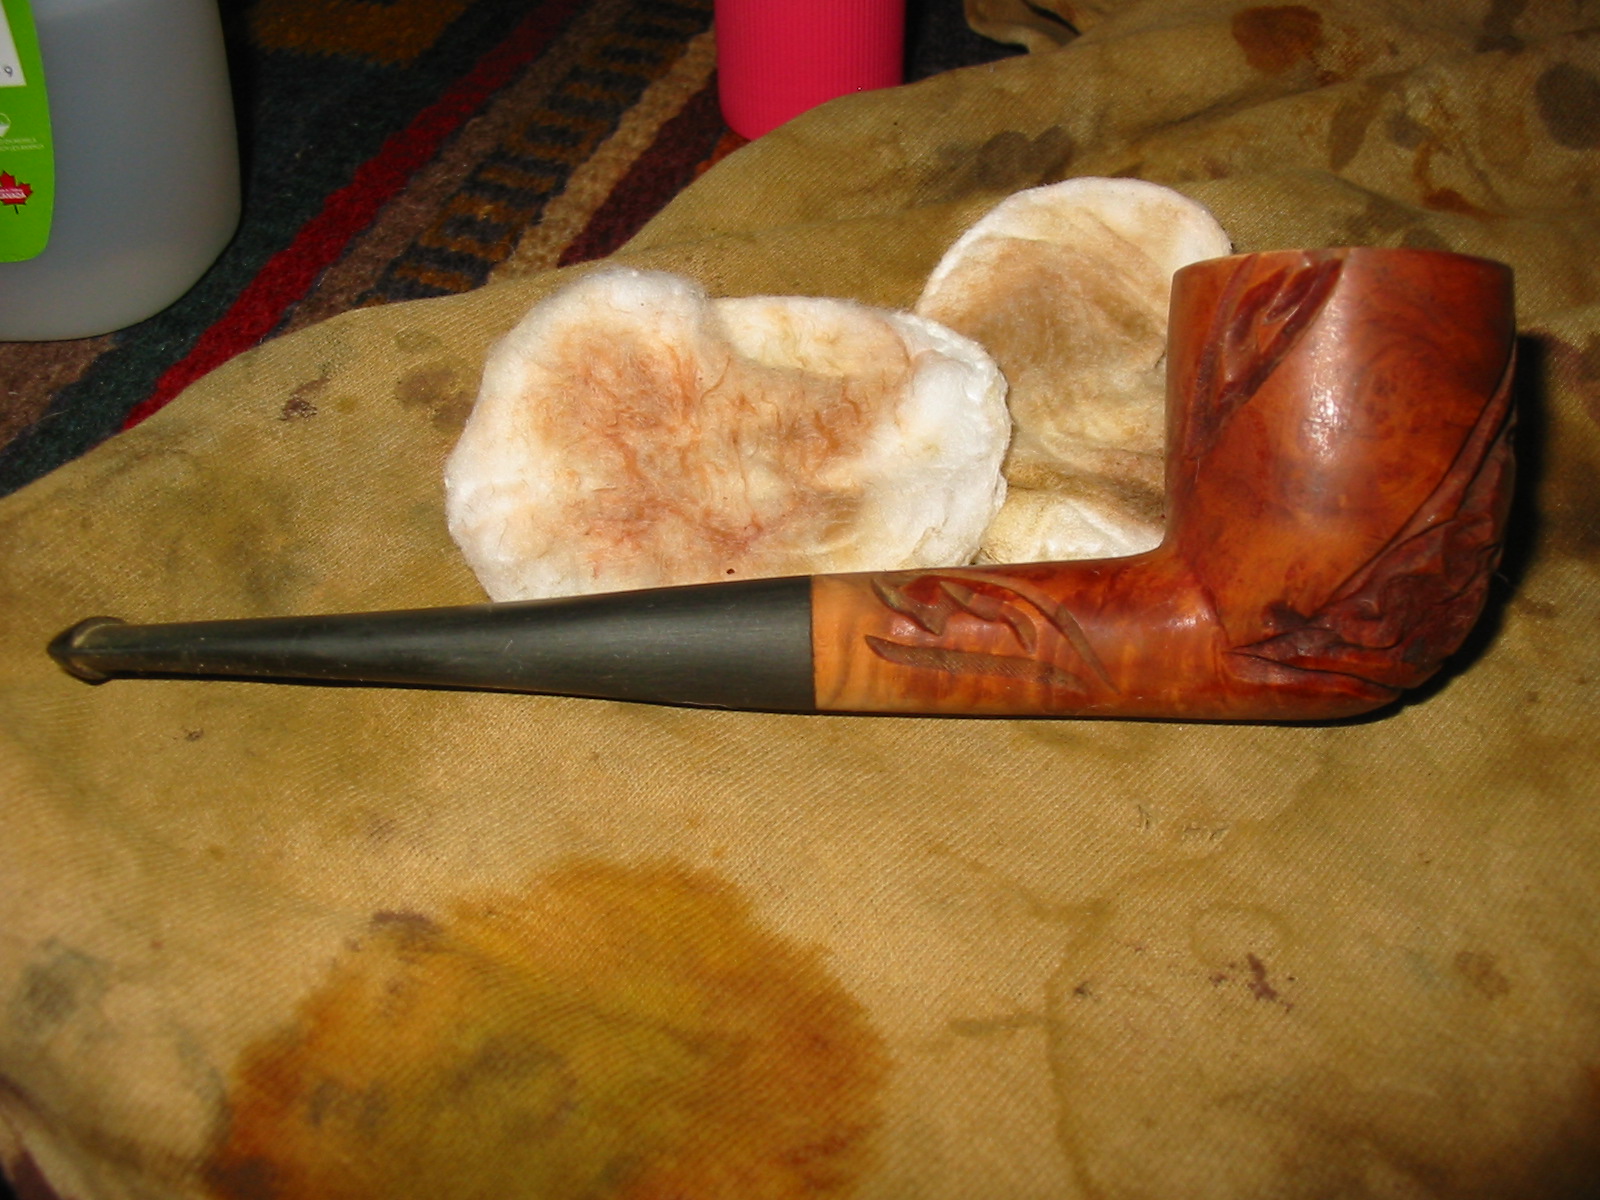
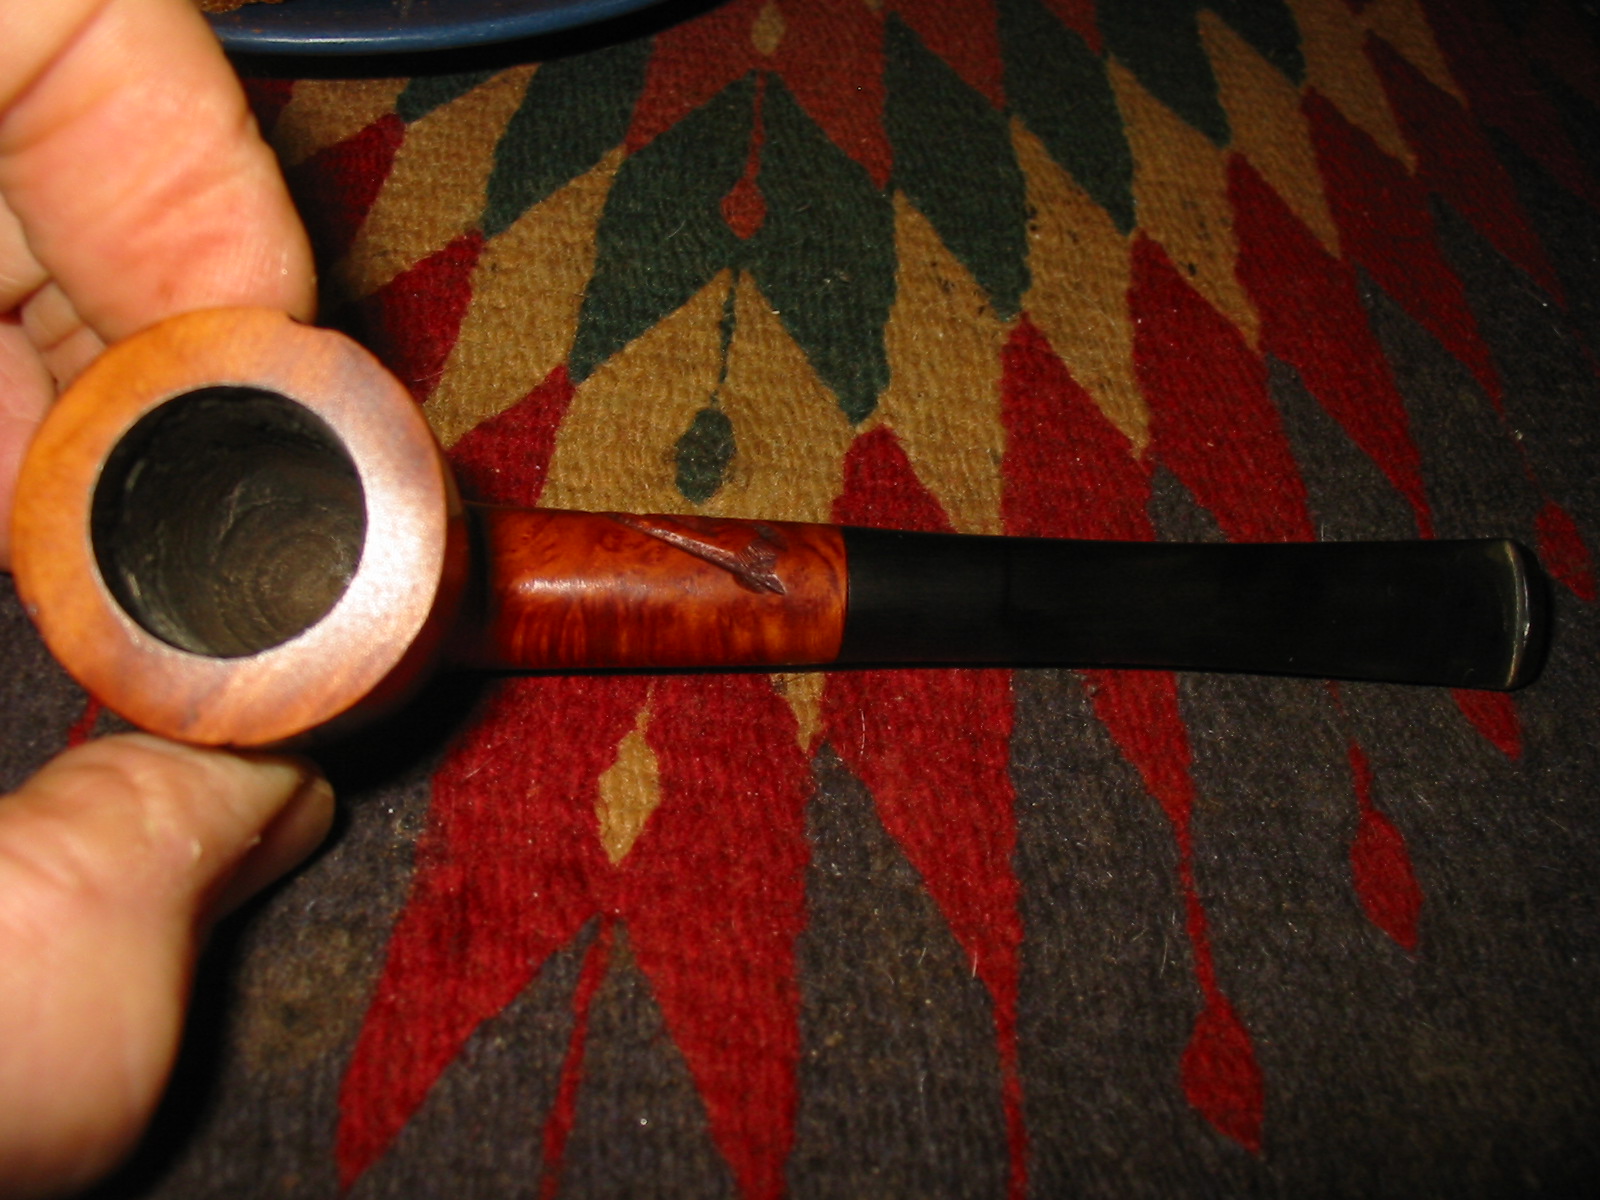
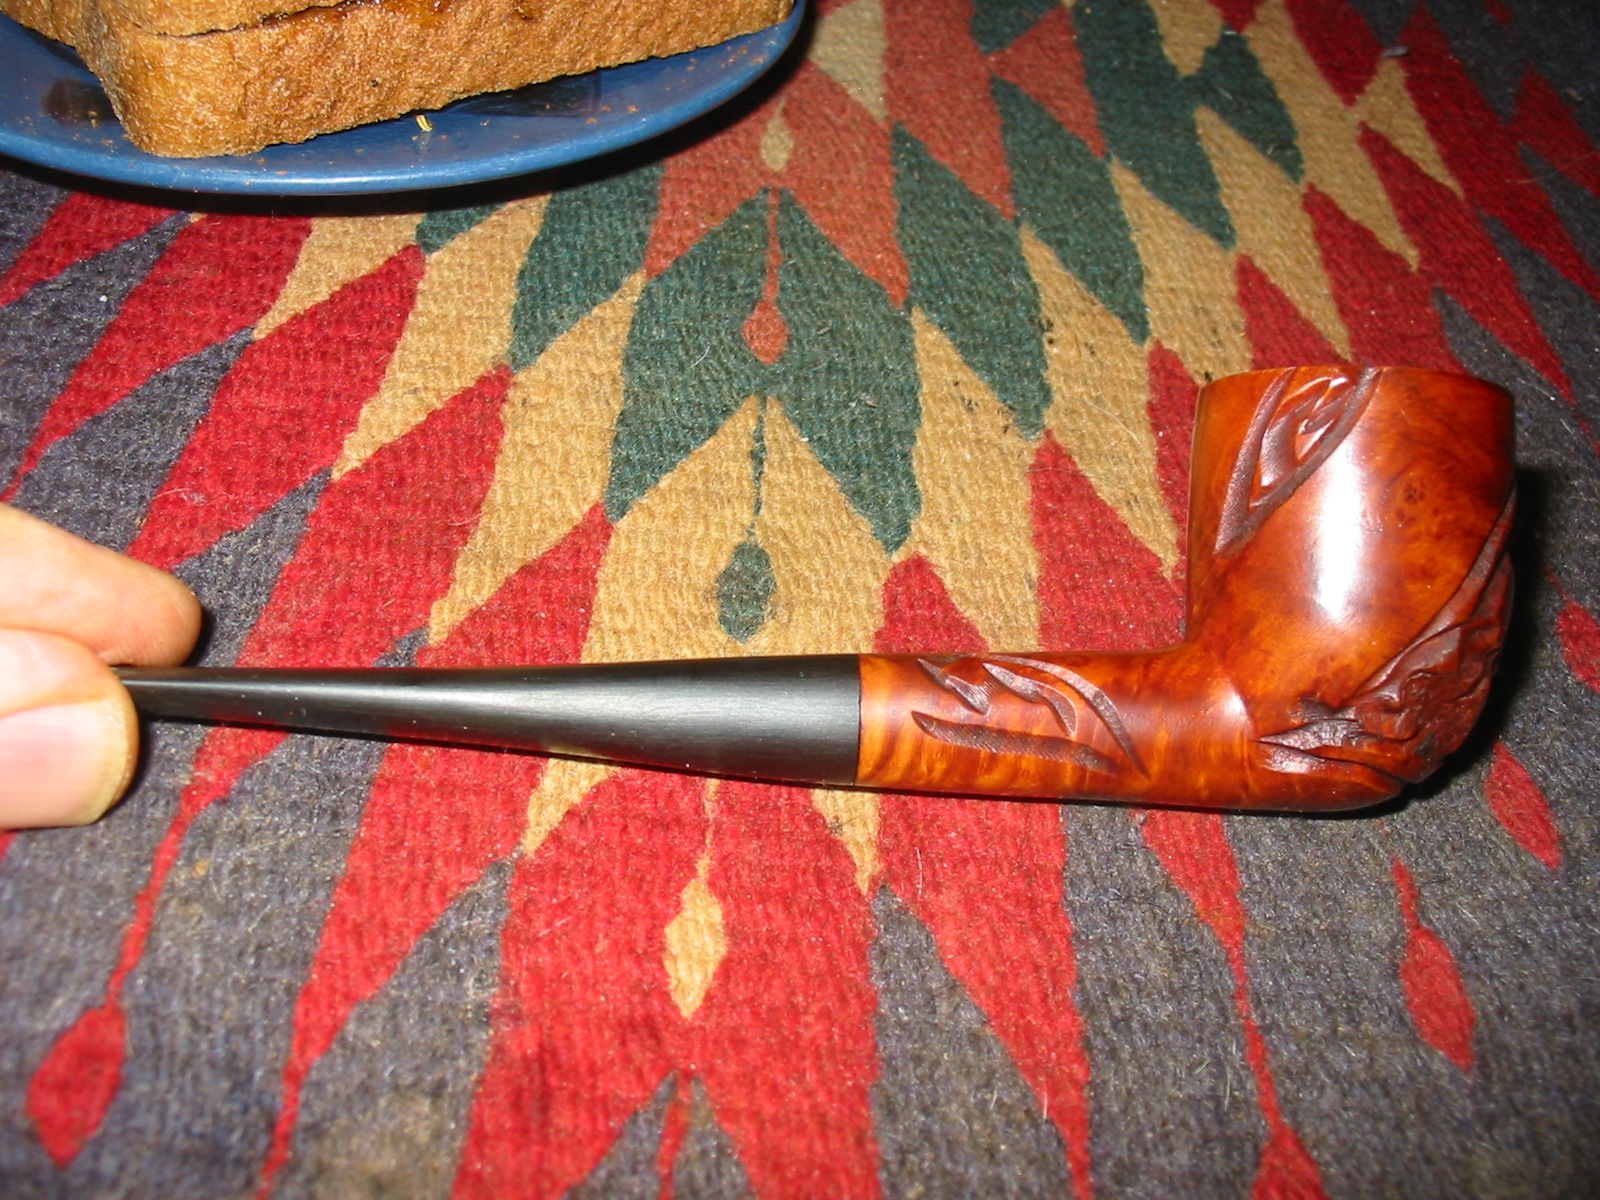
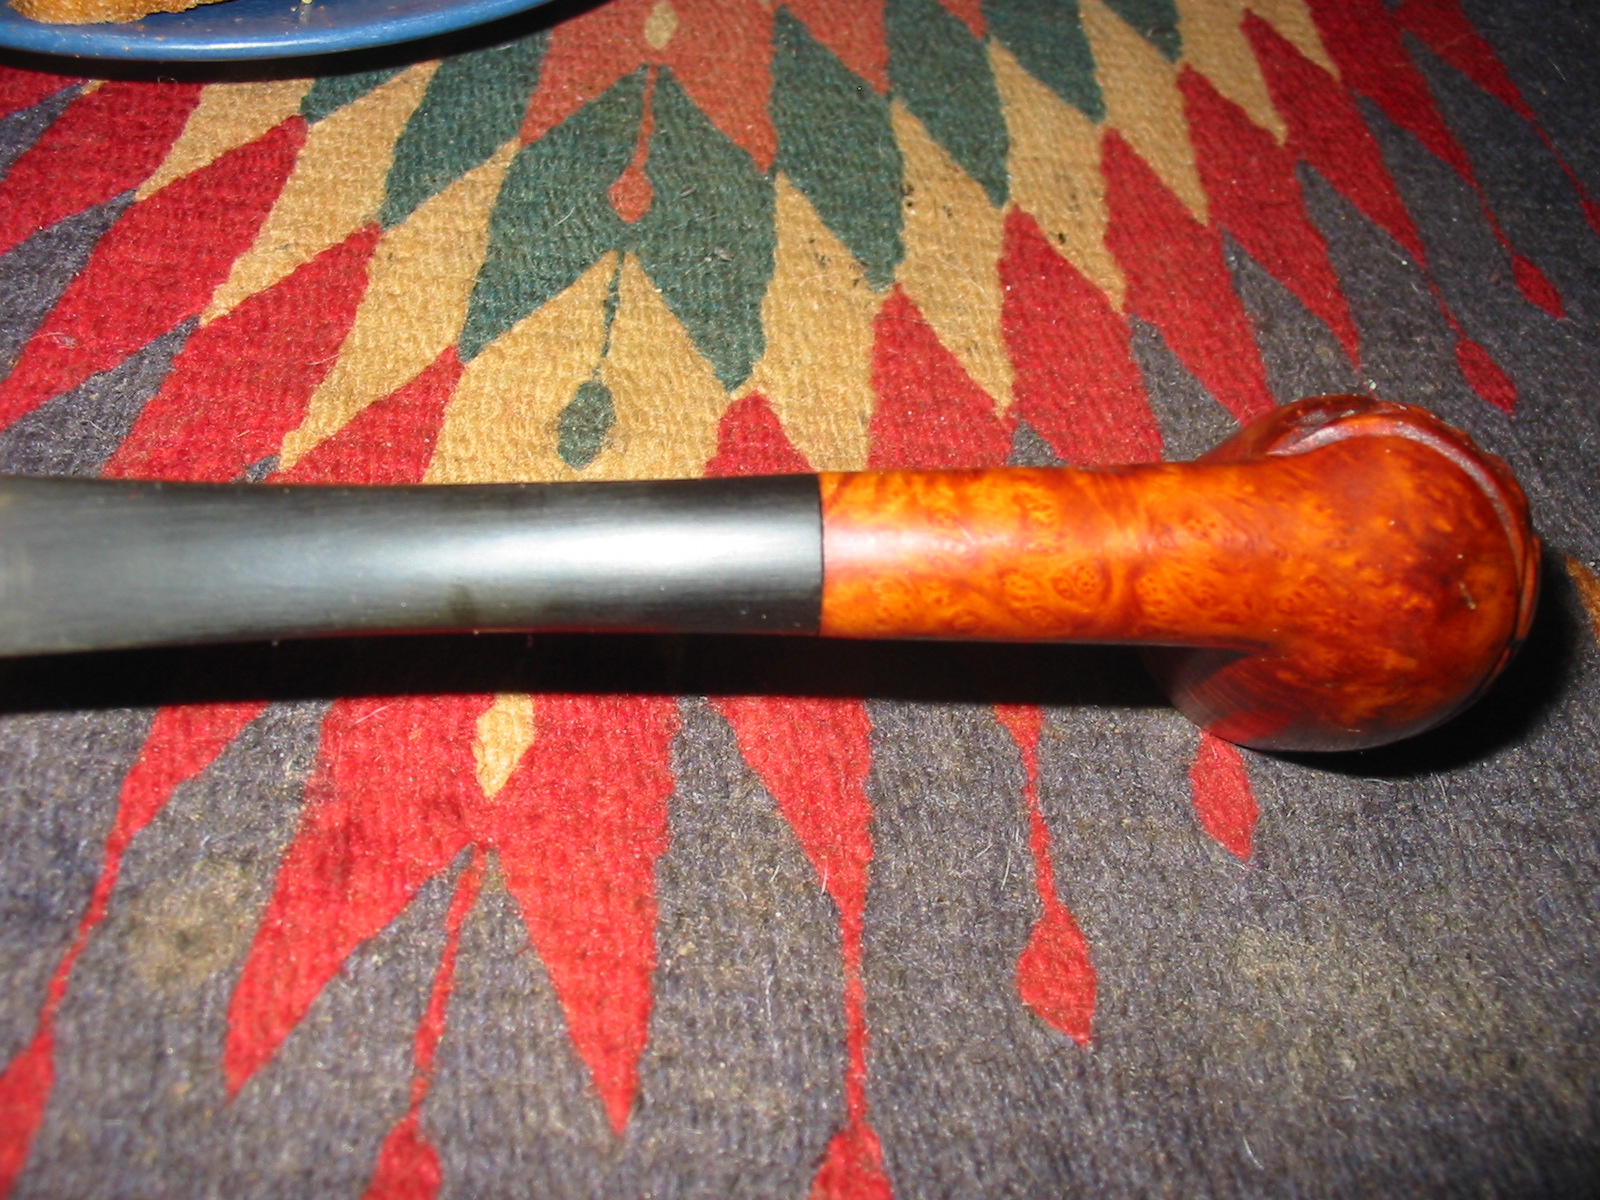
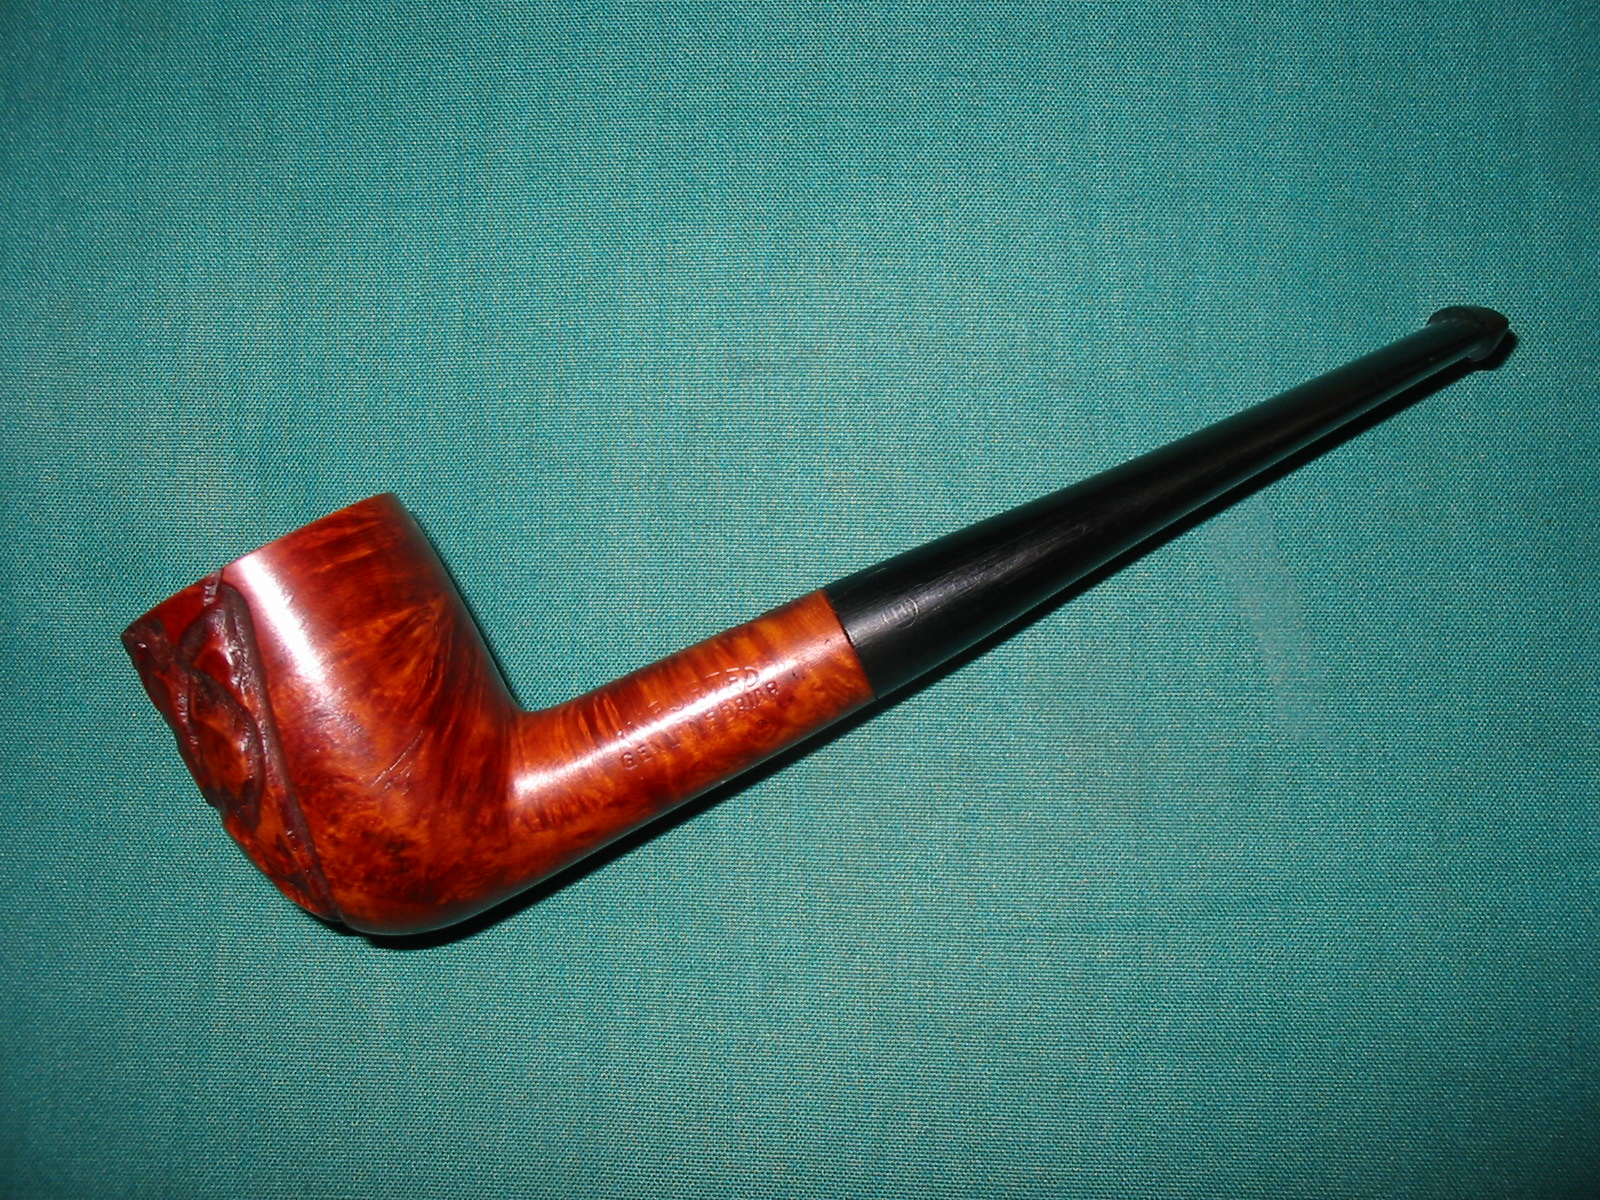
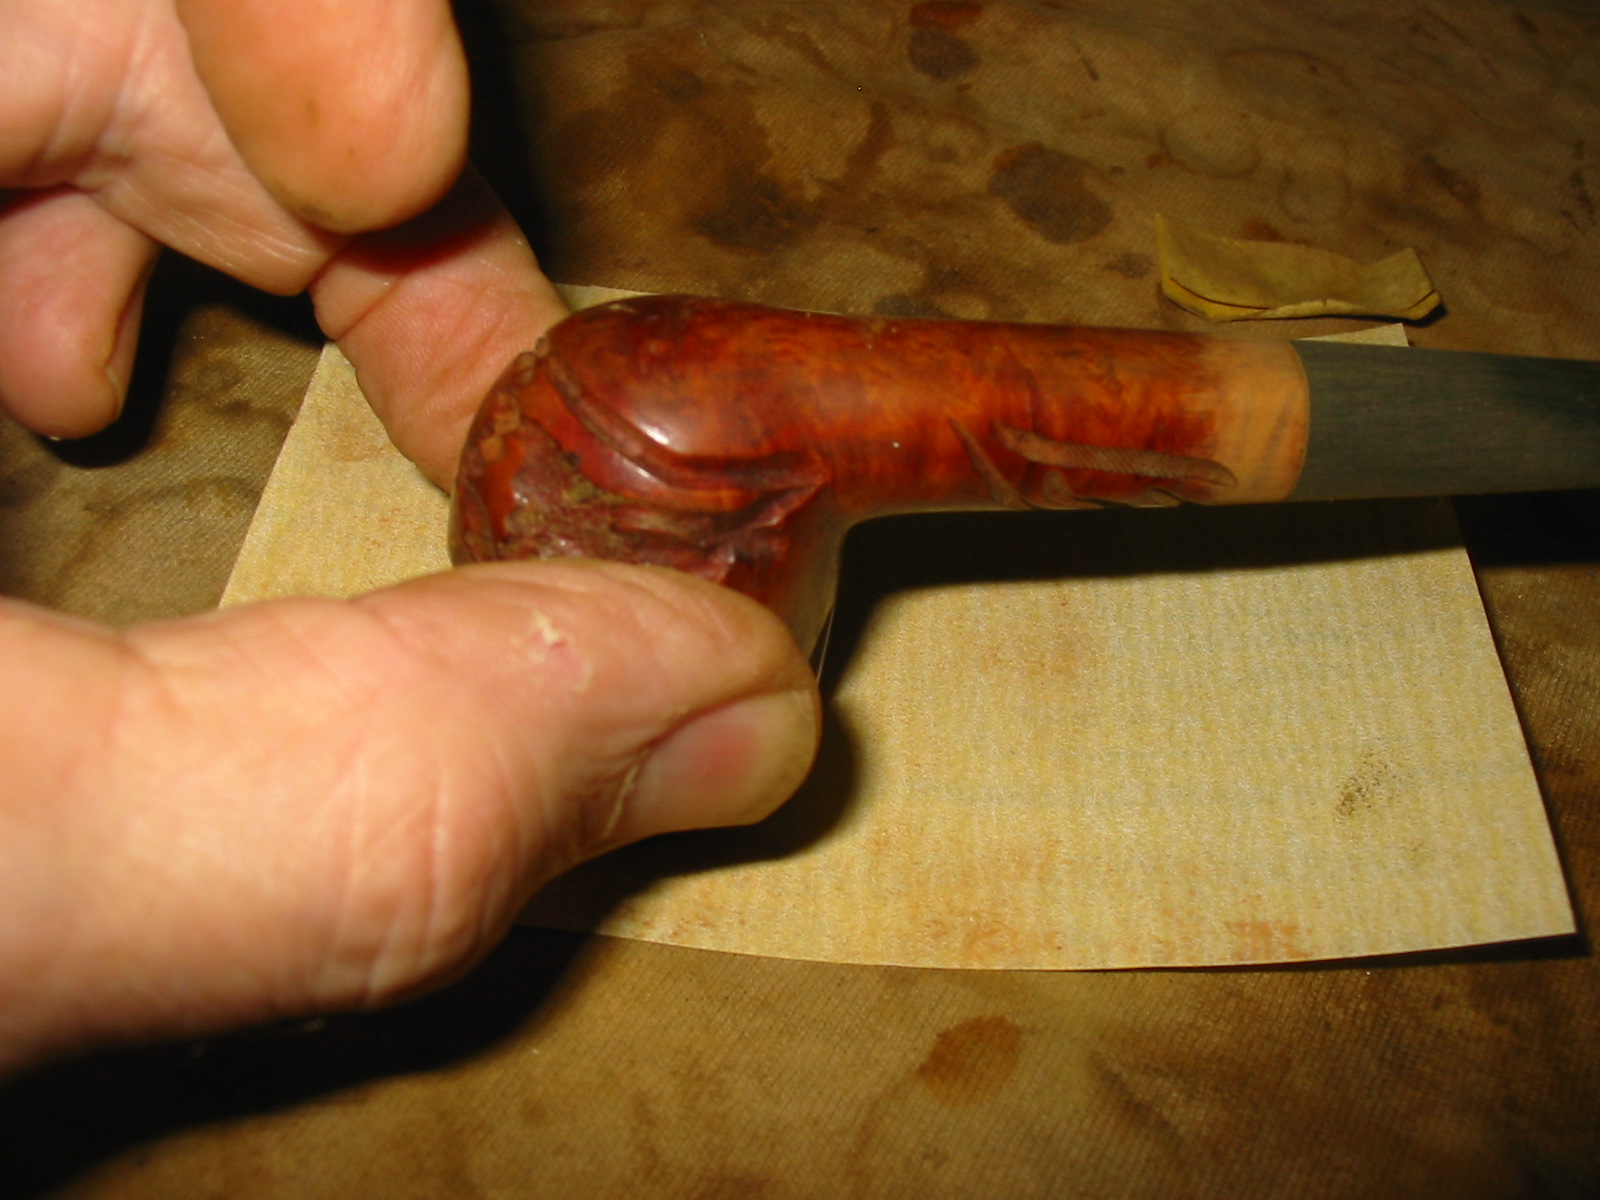
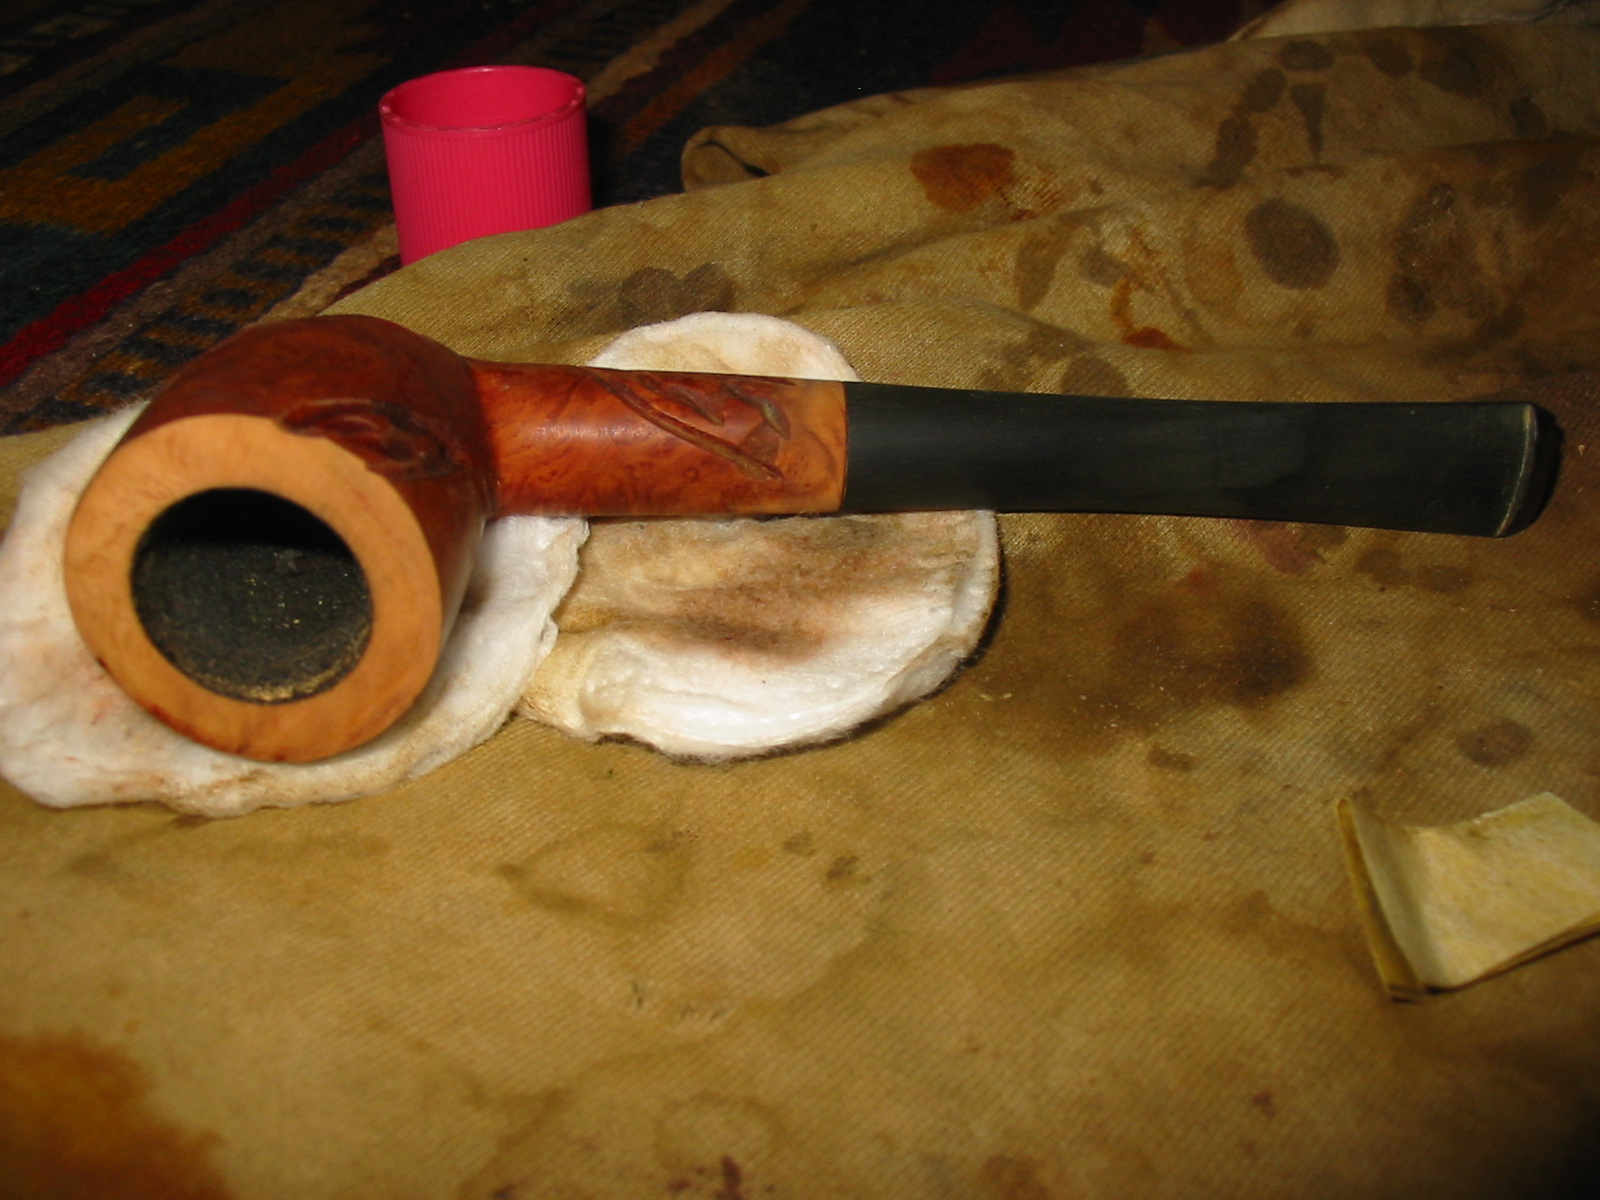
This is another bowl from my refurbishing box. It is stamped Imported in an arc over Genuine Briar on the left side of the shank. The finish was varnished and dirty. I intended on stripping it so when I restemmed it I block sanded the stem fit. I had an old Erhlich stem that fit very well and gave the pipe a nice line. The rim had a strange rustication pattern on it that did not match the carvings on the front of the bowl. It was tarred and the varnish coat had bubbled on it. So I decided I was going to top it and give the bowl a smooth rim to match the smooth portions of the bowl. I sanded the shank and stem junction to make sure that the transition was smooth. I sanded with 220 grit sandpaper, a medium grit sanding sponge and then a medium grit sanding block.
IMG_2714

IMG_2715

IMG_2716

IMG_2717

I reamed the bowl with a PipNet reamer and cleaned out the old stem and the shank with cotton swabs and pipe cleaners dipped in Everclear. I cleaned it until both came out white. I then continued to sand the union of the stem and shank with the 220 grit sandpaper until the transition was very smooth. I was careful around the stamping as I wanted to leave that intact and clear. Some nice grain began to come out once I had the finish removed at the junction. It bode well for what would be under the varnish coat once I stripped that away.
IMG_2718

IMG_2719

IMG_2720

IMG_2721

I used my usual method for topping the bowl – a piece of 220 grit sandpaper on a board and twisted the bowl rim into the sandpaper being careful to keep the rim flat against the board. I kept sanding until all of the carved grooves on the rim were gone and the rim was smooth. I also sanded the rim with a medium grit sanding sponge and then a medium grit sanding block to smooth out the scratches left by the 220 grit sandpaper. I finished the rim sanding with 1500-2400 grit micromesh sanding pads in preparation for the new stain coat.
IMG_2722

IMG_2723

I wiped the bowl and shank down with acetone on a cotton pad to remove the varnish coat and as much of the stain as possible so that blending the stain on the sanded areas into the overall finish would be simpler.
IMG_2727

IMG_2728

IMG_2729

With the finish removed I restained the bowl with a medium walnut stain in a linseed oil mixture. I think it was Mark who asked in a comment on the Dr. Grabow Royal Duke write up why I did not use the aniline stains on the past few pipe restorations. The answer is quite simply that I am out of brown aniline stain so I have been using this walnut stain until I can get time to replenish my supplies. I used cotton pads to apply the stain to the bowl and wiped it down until it was an even colour on the pipe. I repeated the process until it met my expectations. When it had dried I took it to the buffer and buffed the bowl and rim with White Diamond.
IMG_2734

IMG_2735

IMG_2736

IMG_2737

I then worked on the stem with micromesh sanding pads. I wet sanded with the 1500-2400 grit sanding pads and then dry sanded with 3200-12,000 grit pads. Each of the photos below shows the progressive shine to the vulcanite becoming more pronounced.
IMG_2738

IMG_2739

IMG_2740

With the bowl finished and the stem polished I took the pipe to the buffer and buffed it with White Diamond and then gave it multiple coats of carnauba wax. I finished by buffing it with a clean flannel buff. The finished pipe is pictured below. The colour on the rim appears lighter than the bowl in the photos. In real life it is a good match. The new look of the pipe is much better than the original in my opinion. This one should make someone a great smoking pipe in the future. The stem is a comfortable one and the light weight of the briar will make it a good yard pipe.
IMG_2741

IMG_2742

IMG_2743

IMG_2744

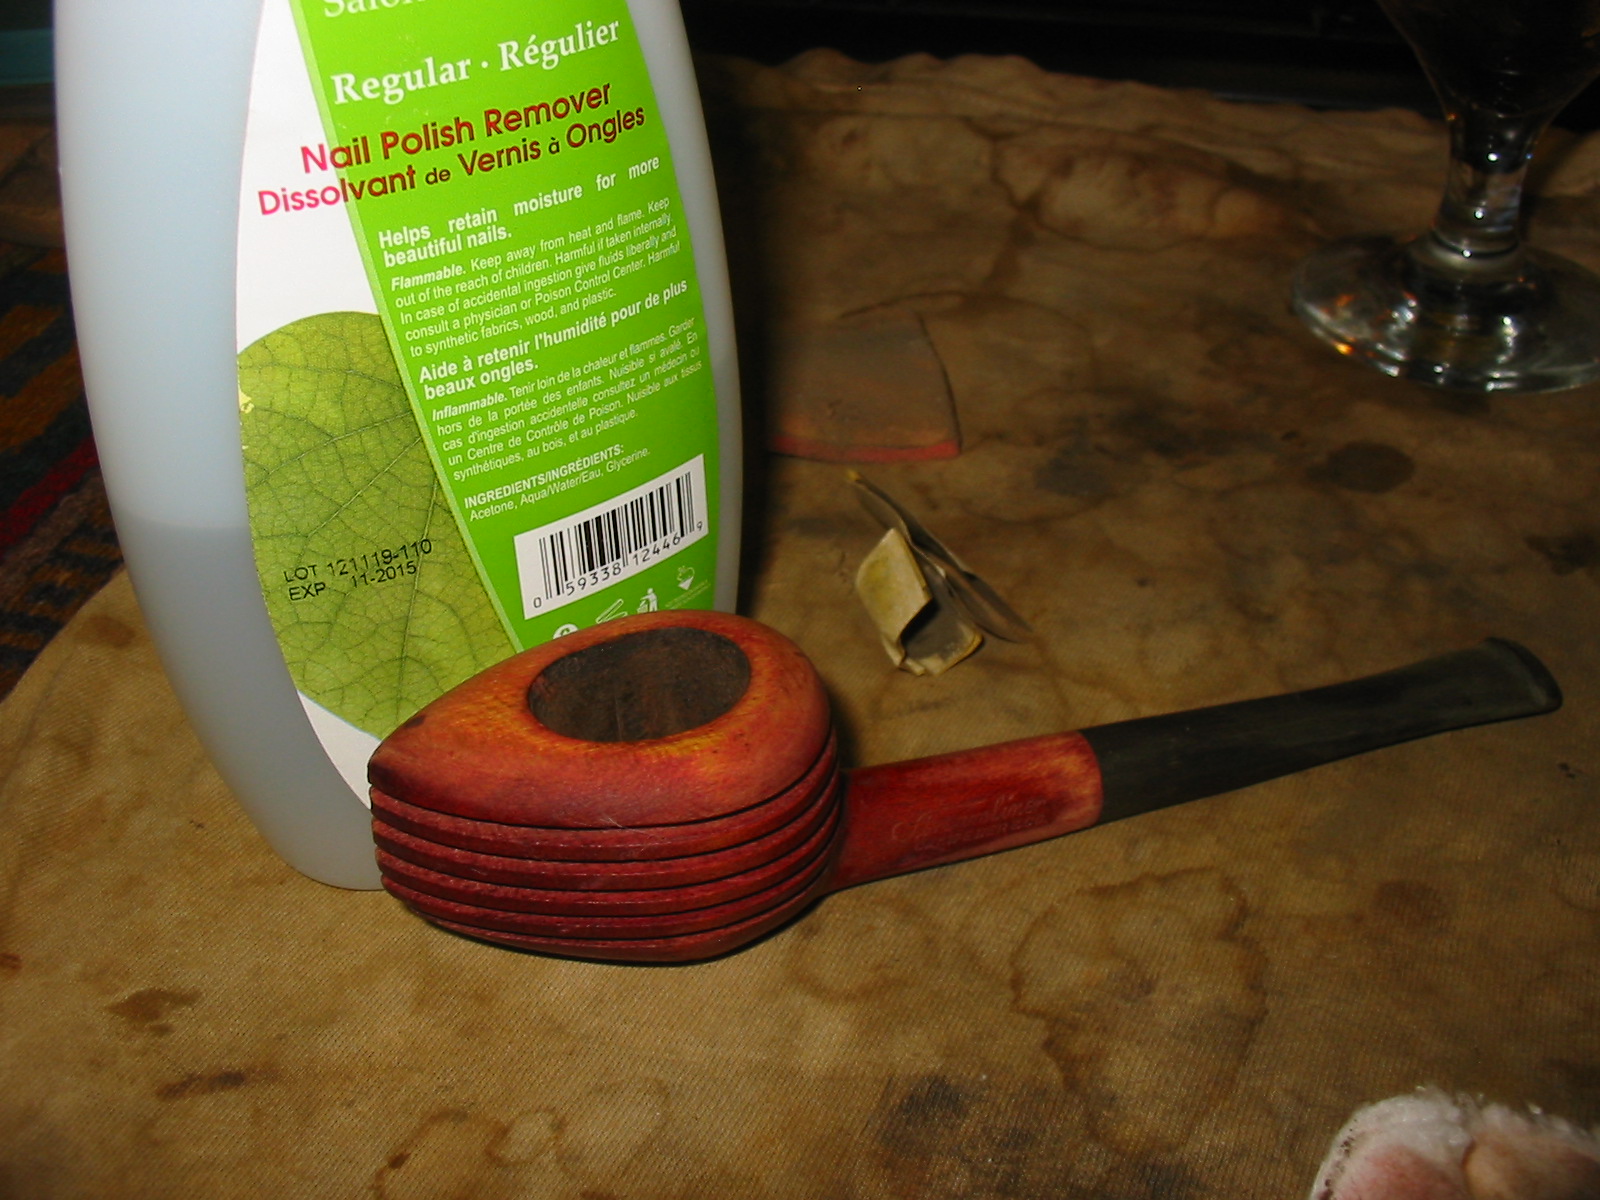
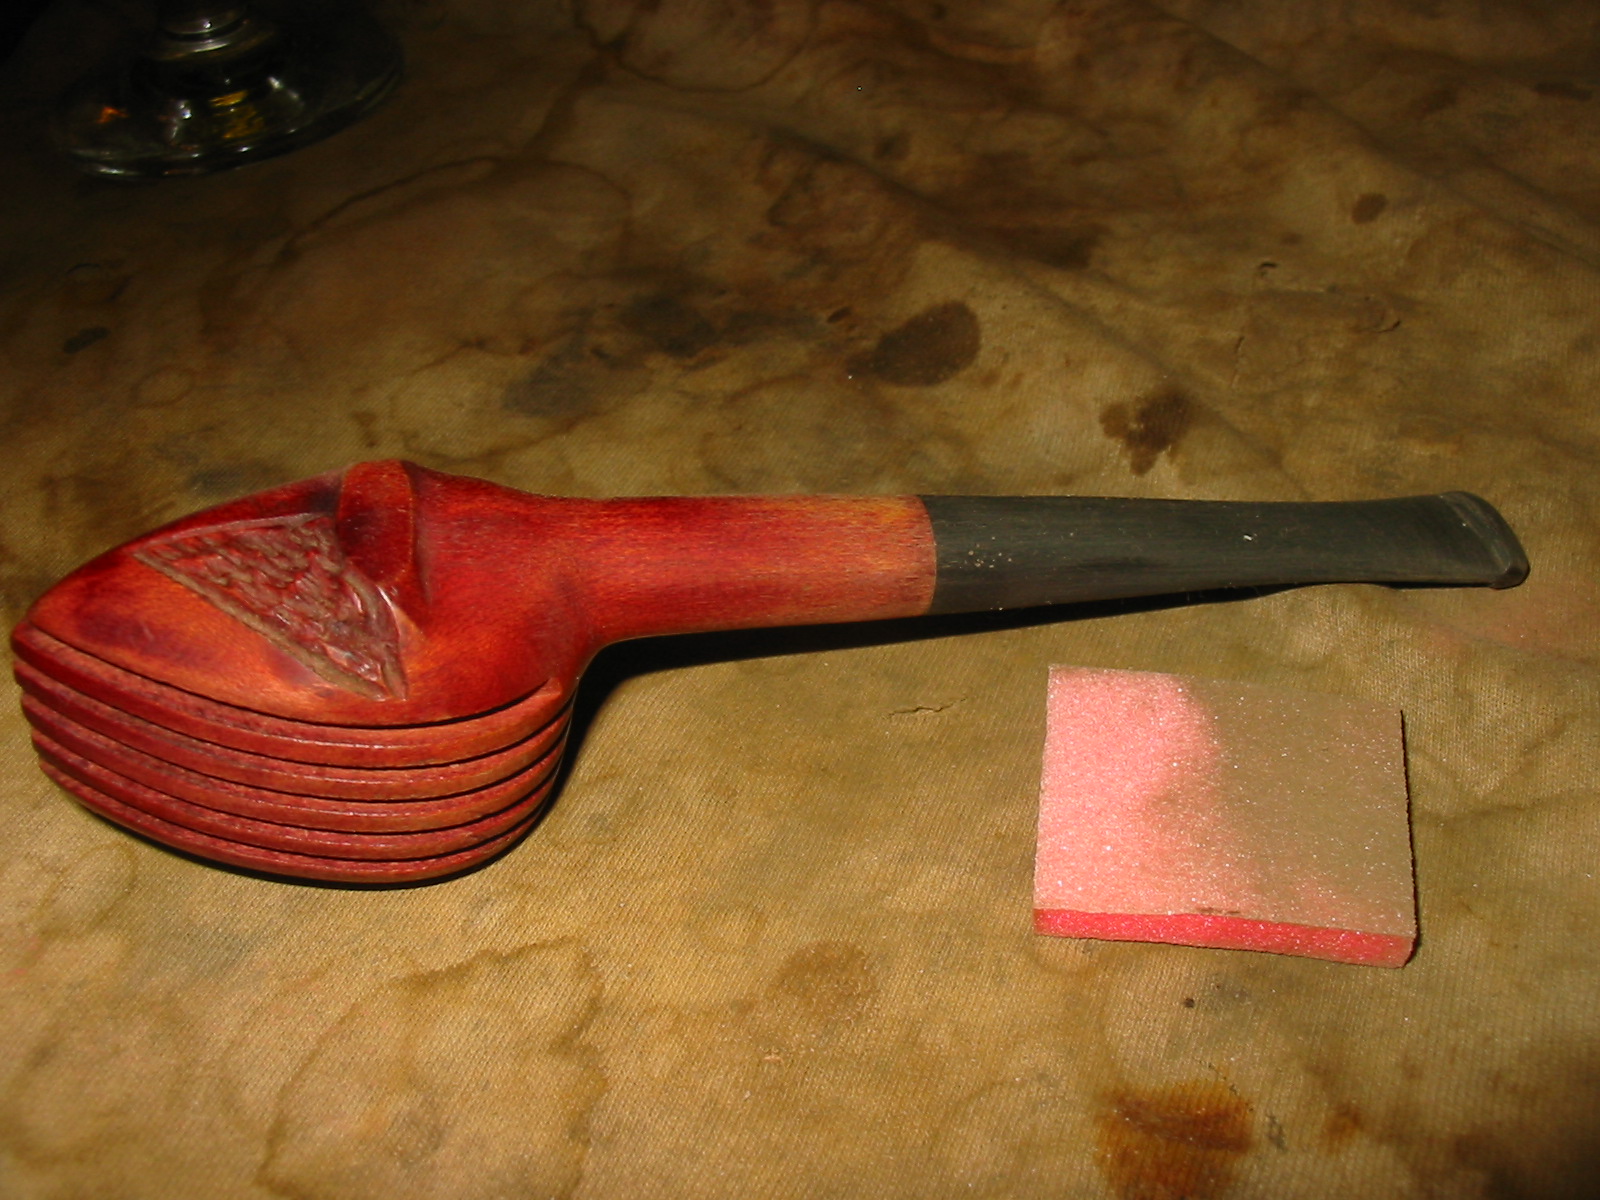
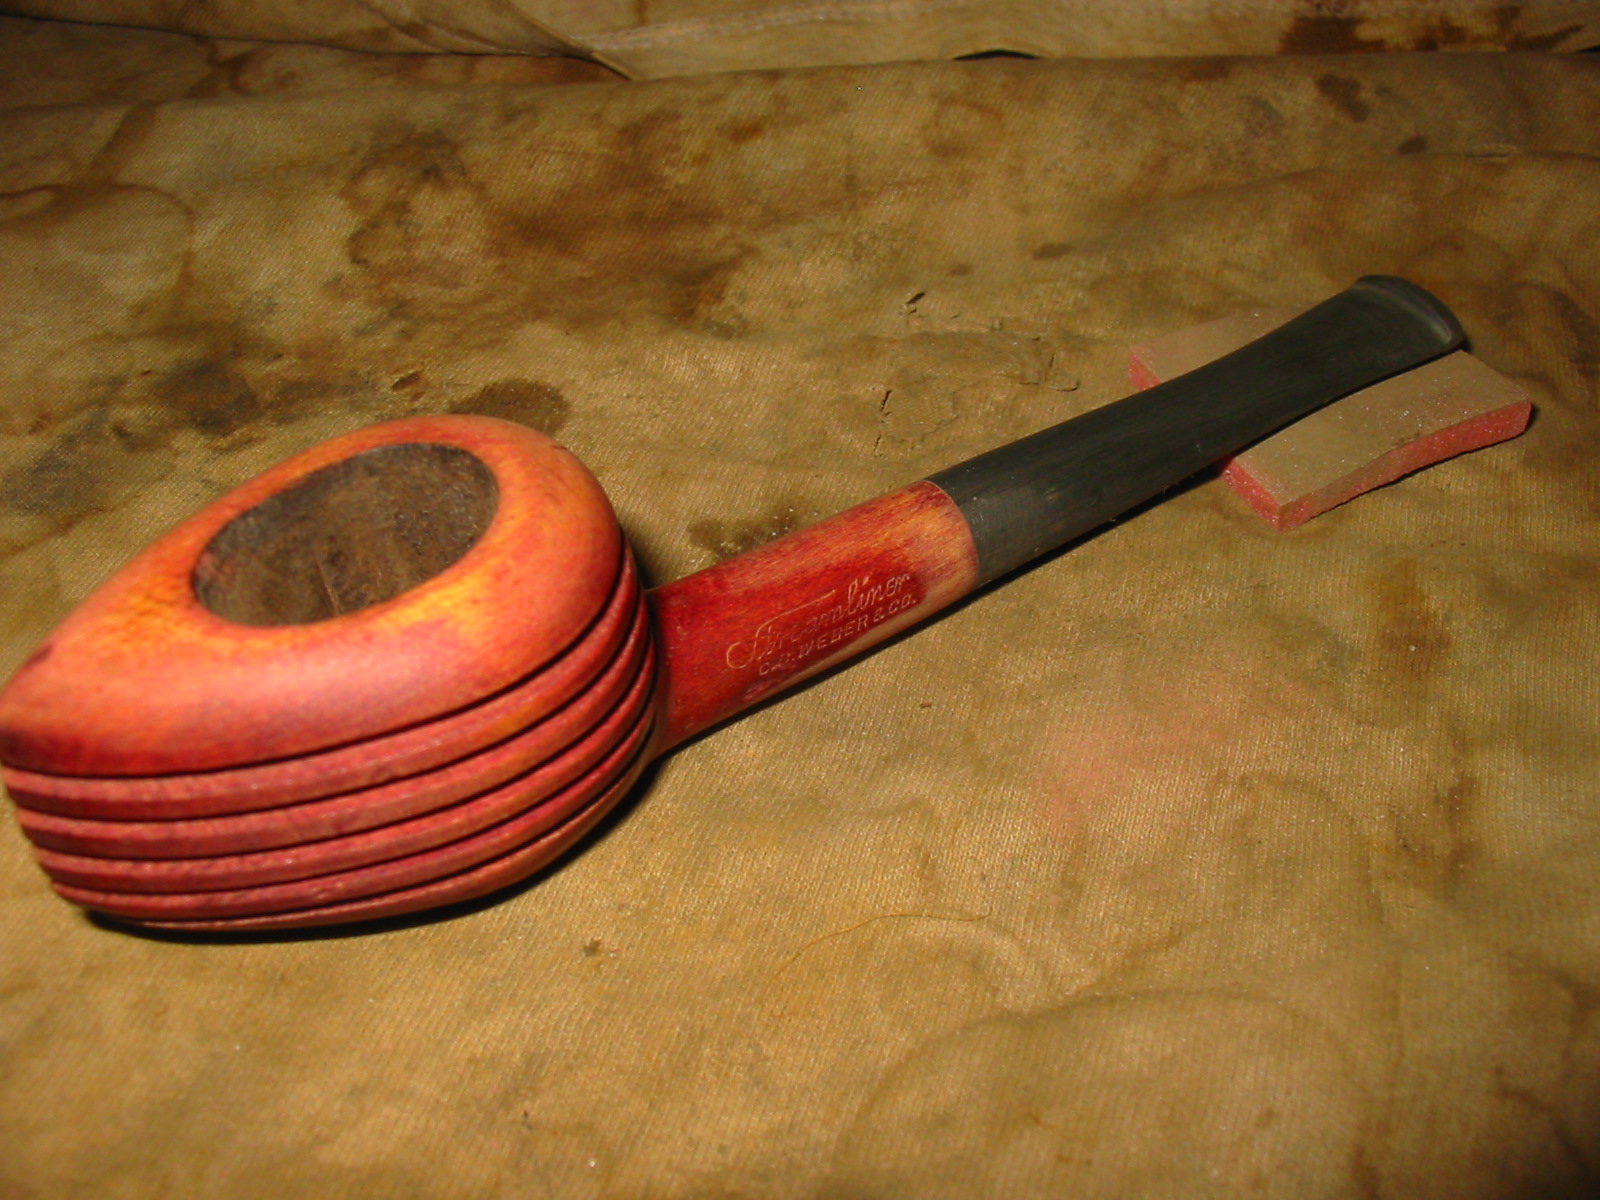
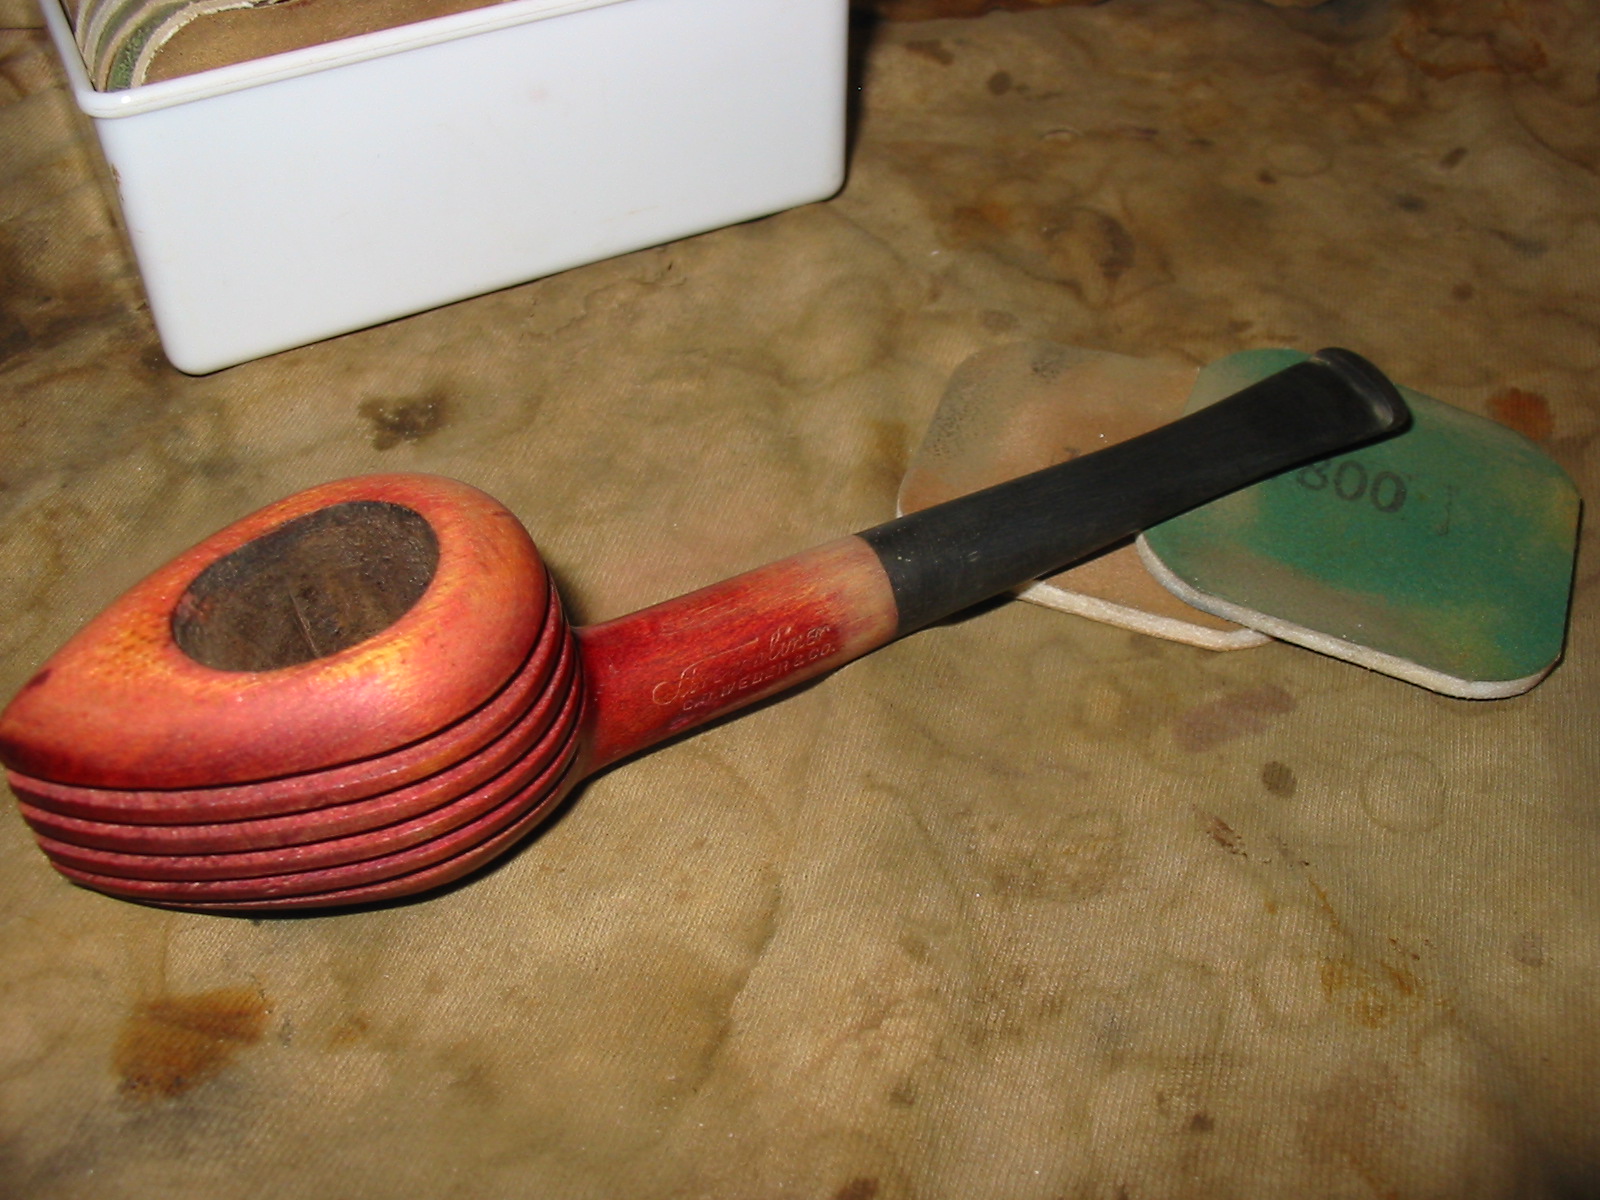
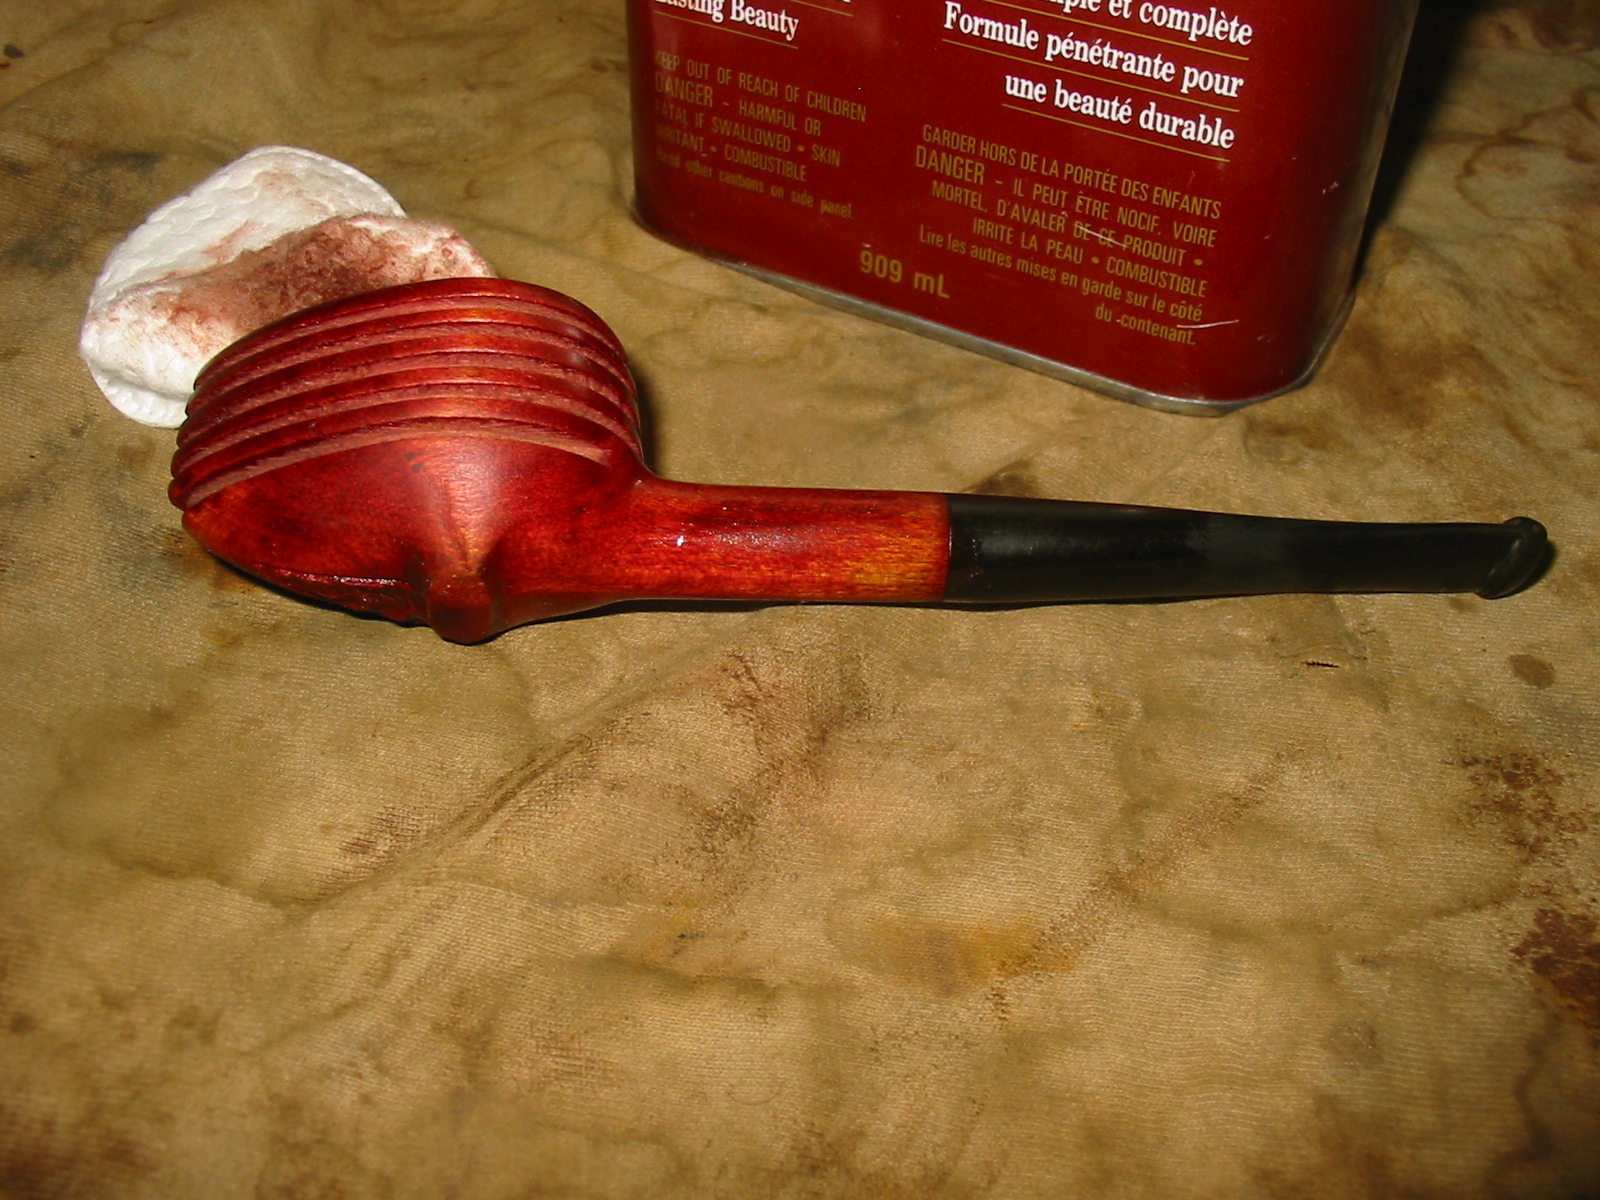
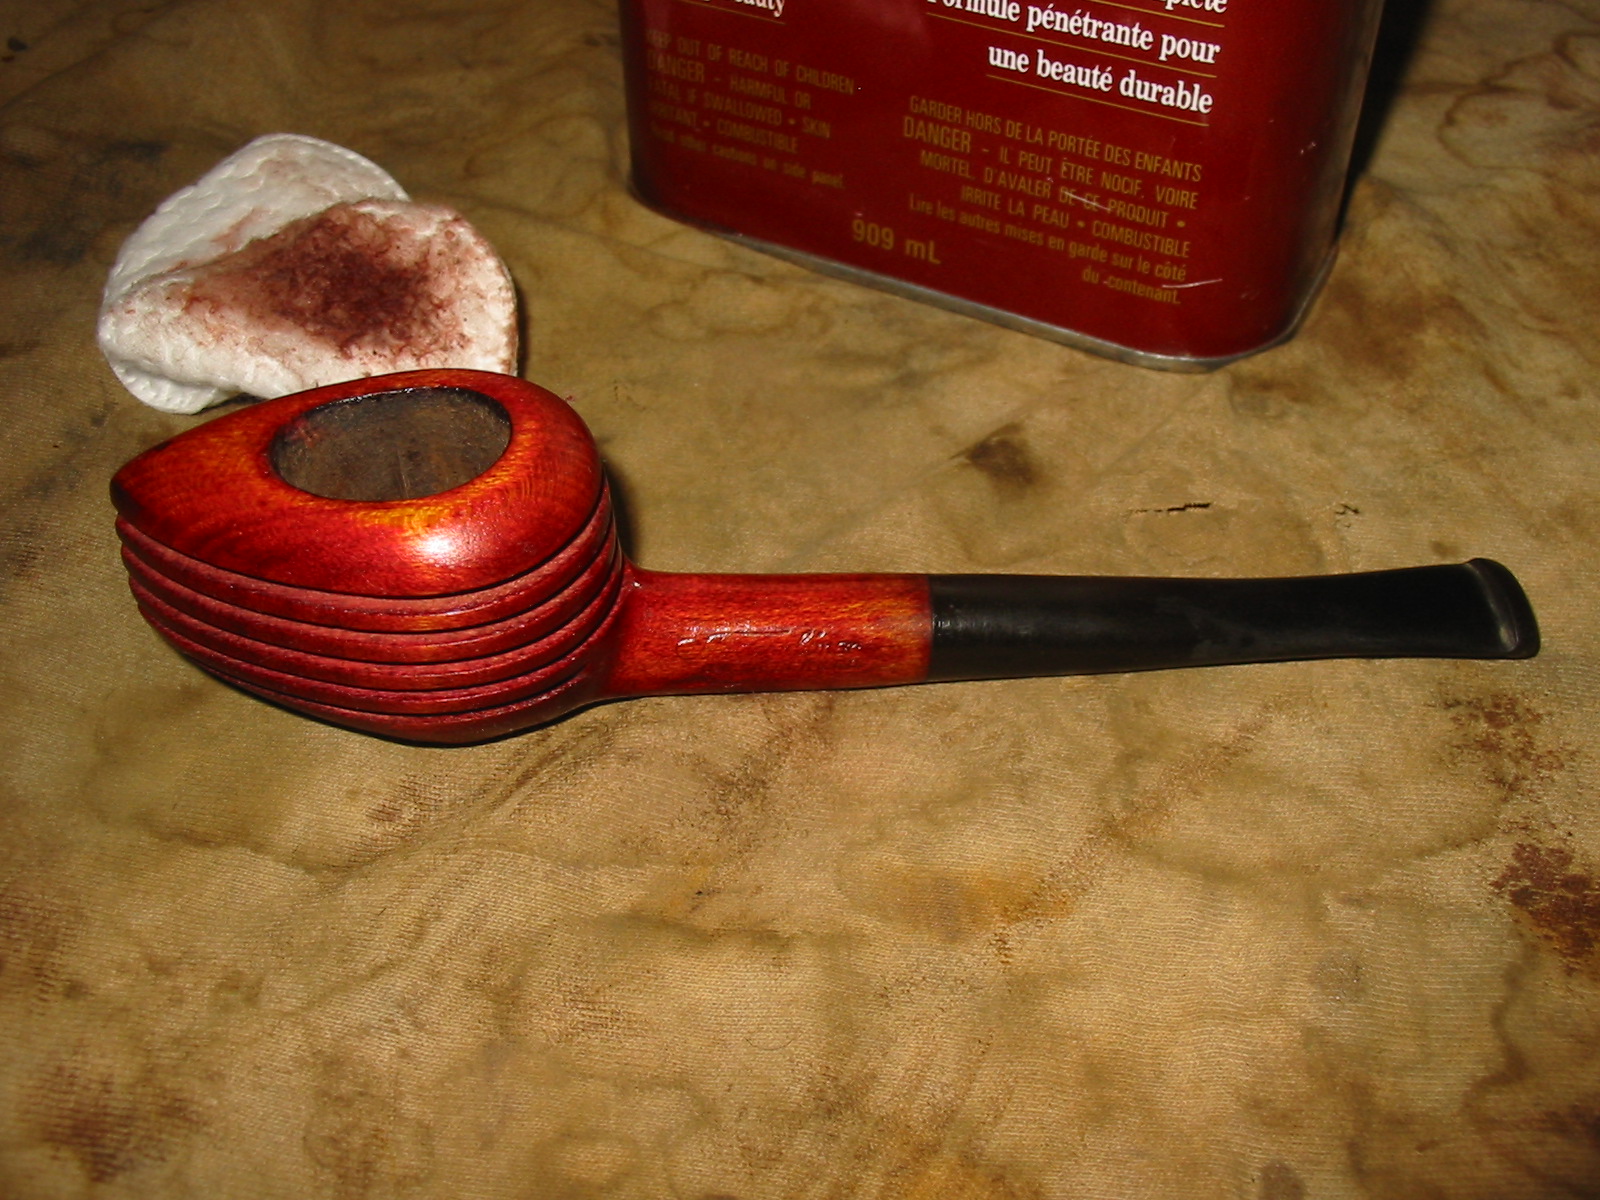
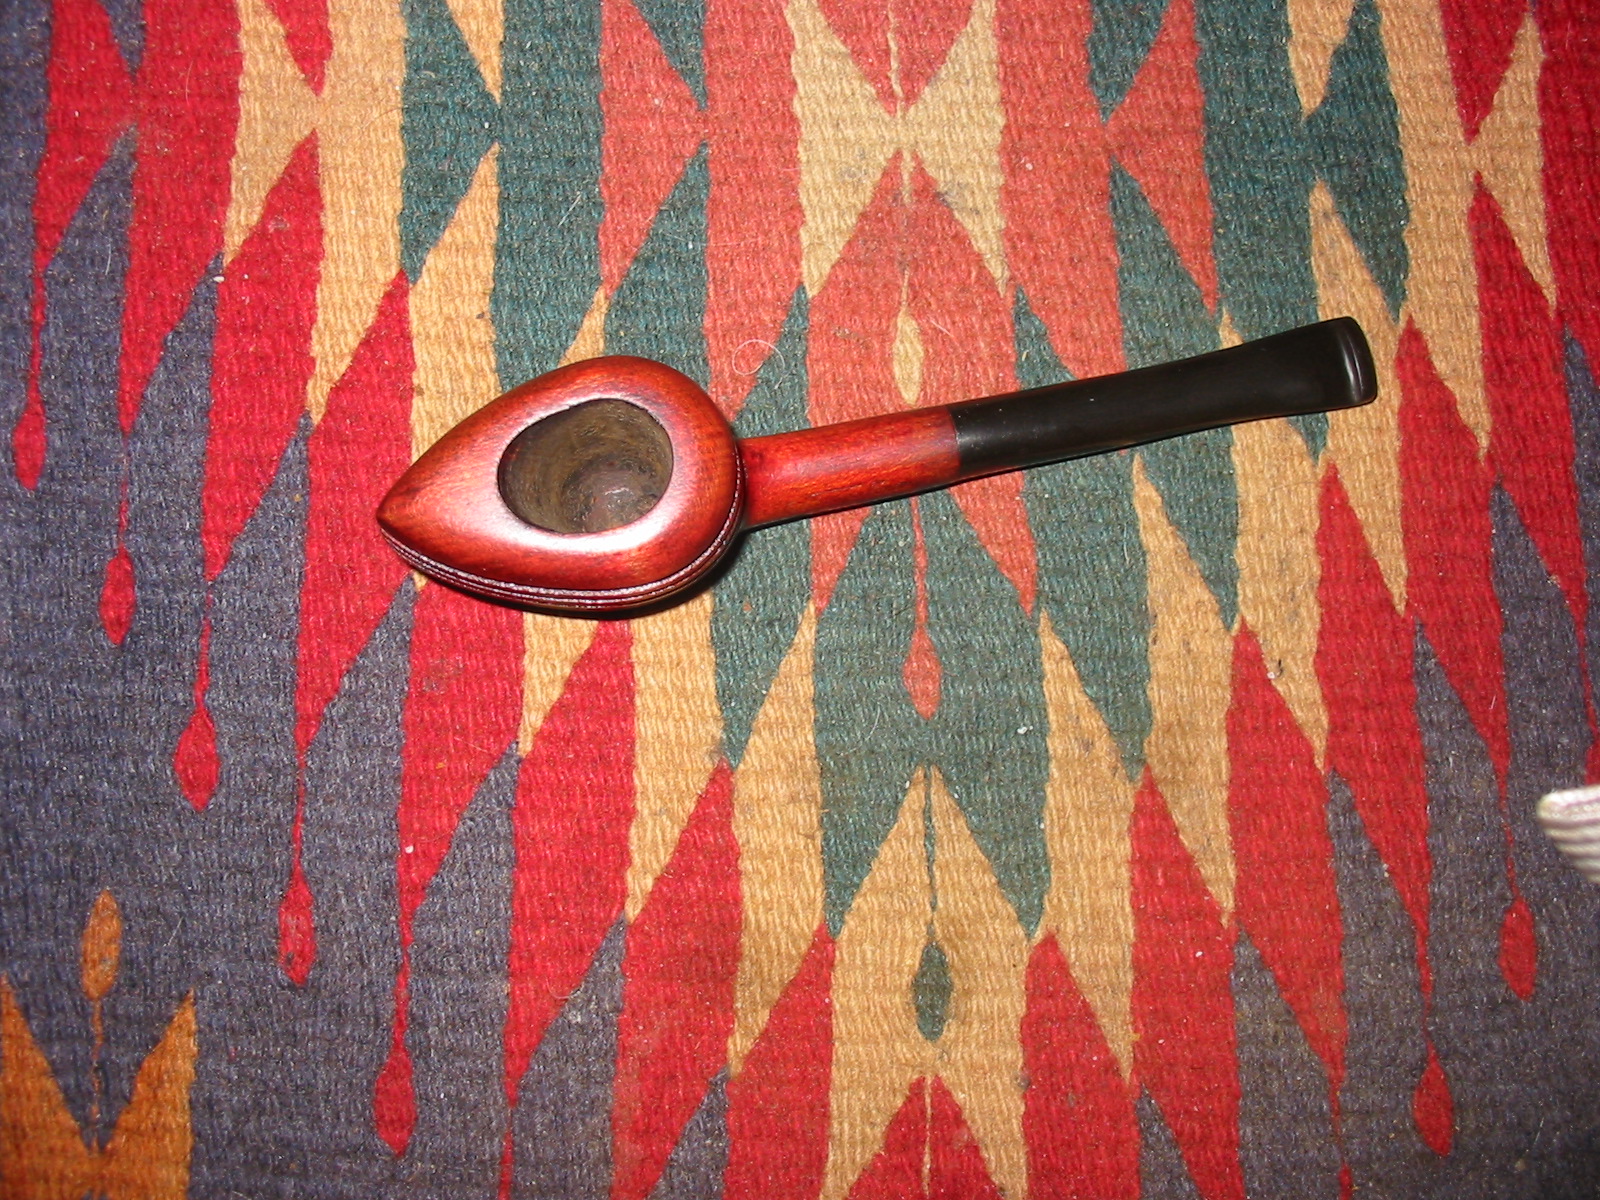
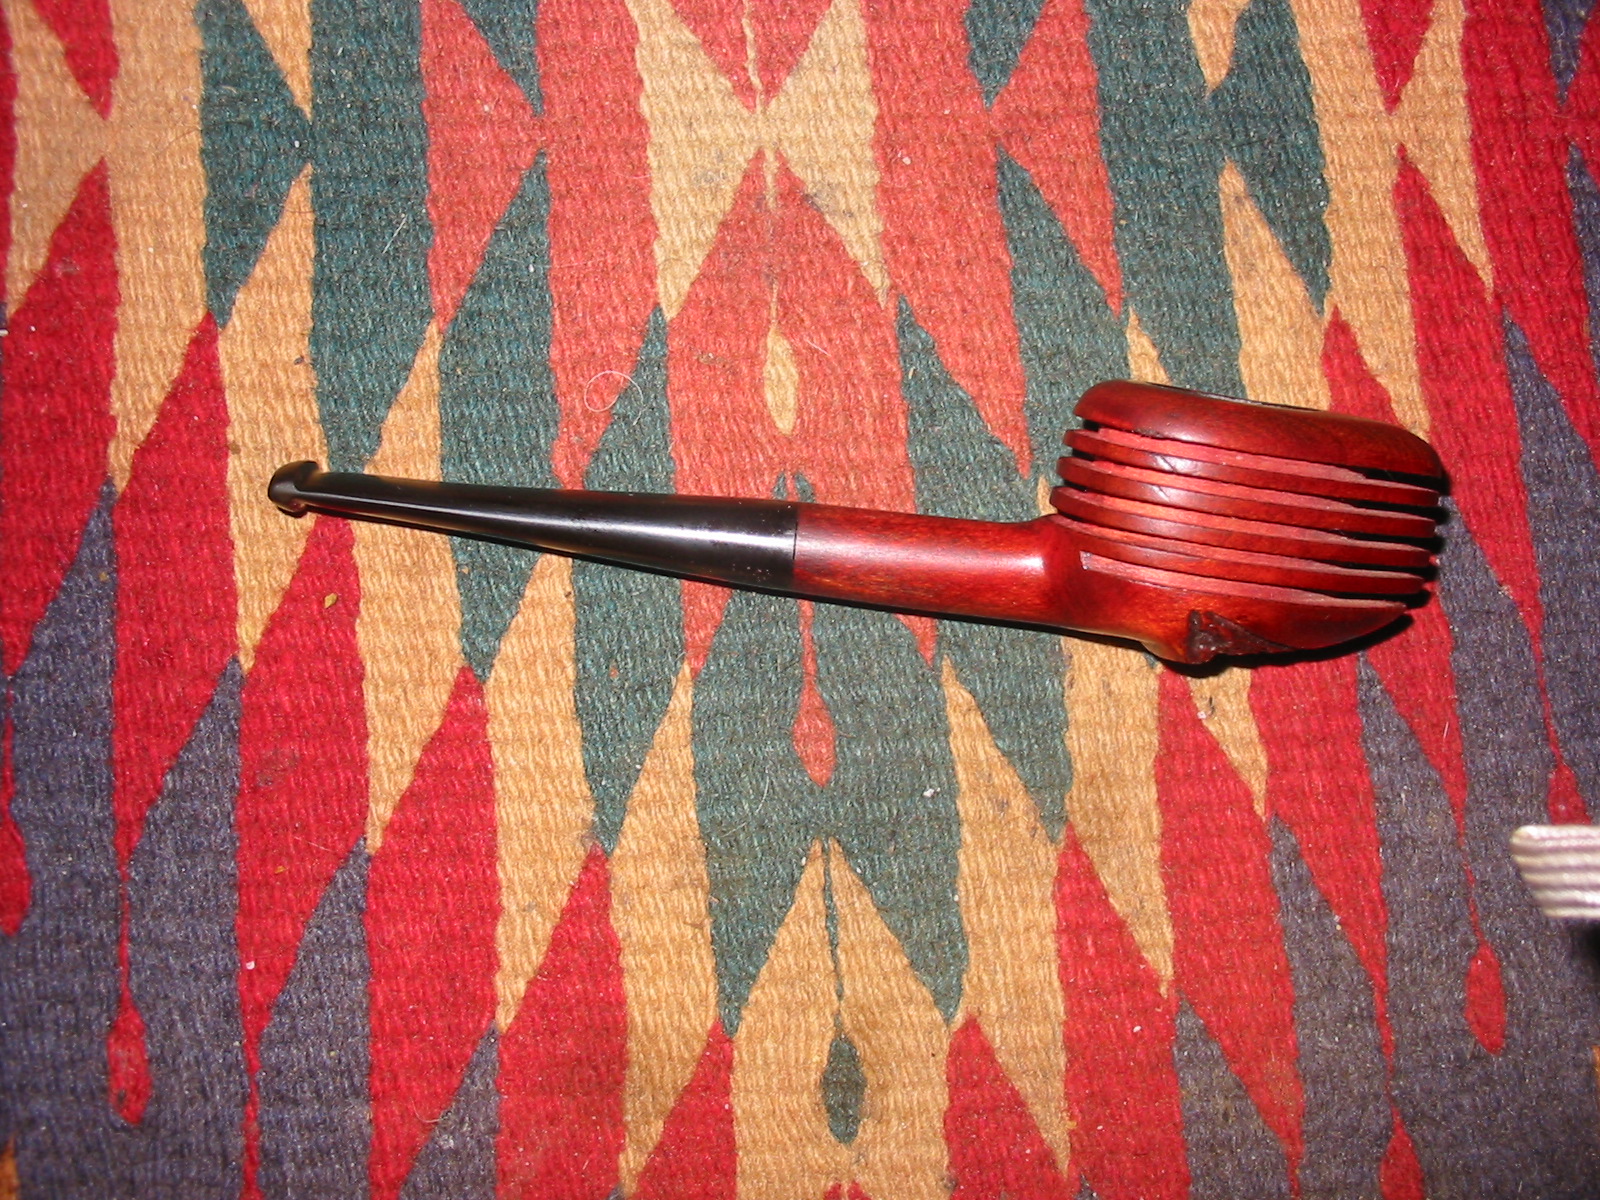
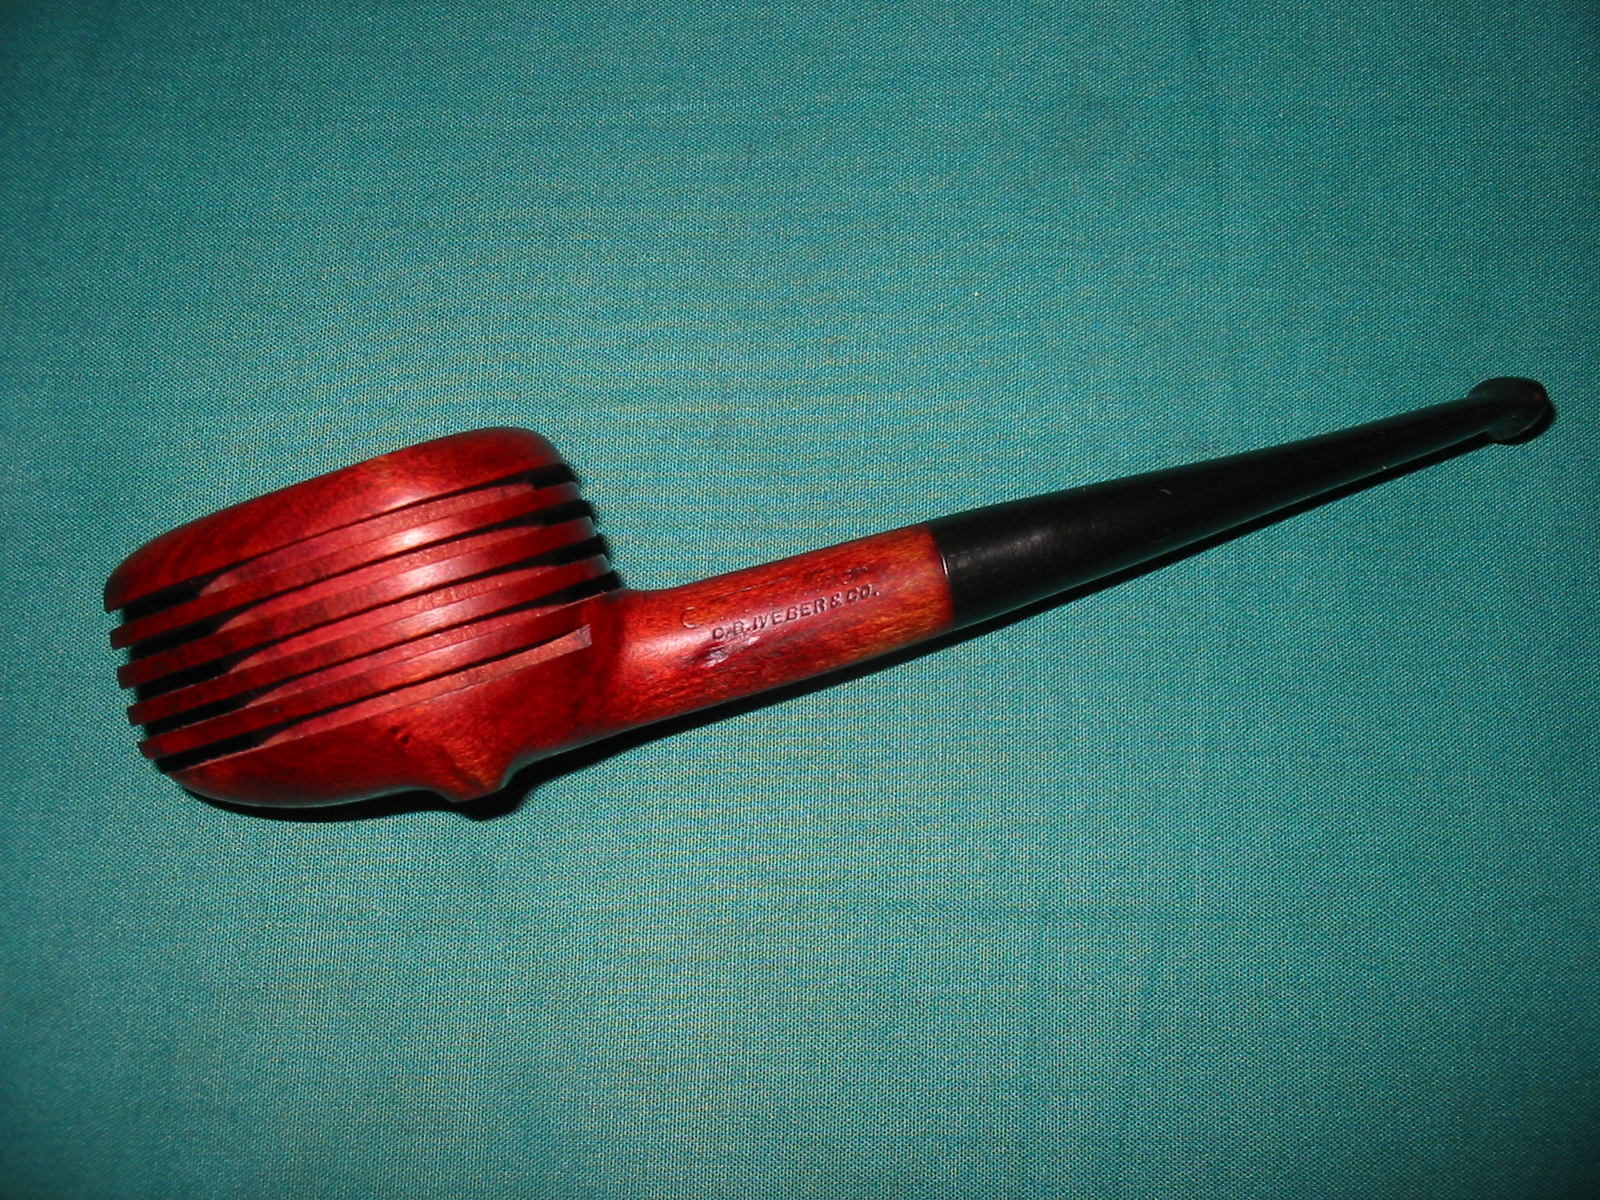
Restoring An Interesting Piece of Pipe History – An Art Deco C.B. Weber Streamliner


Blog by Steve Laug

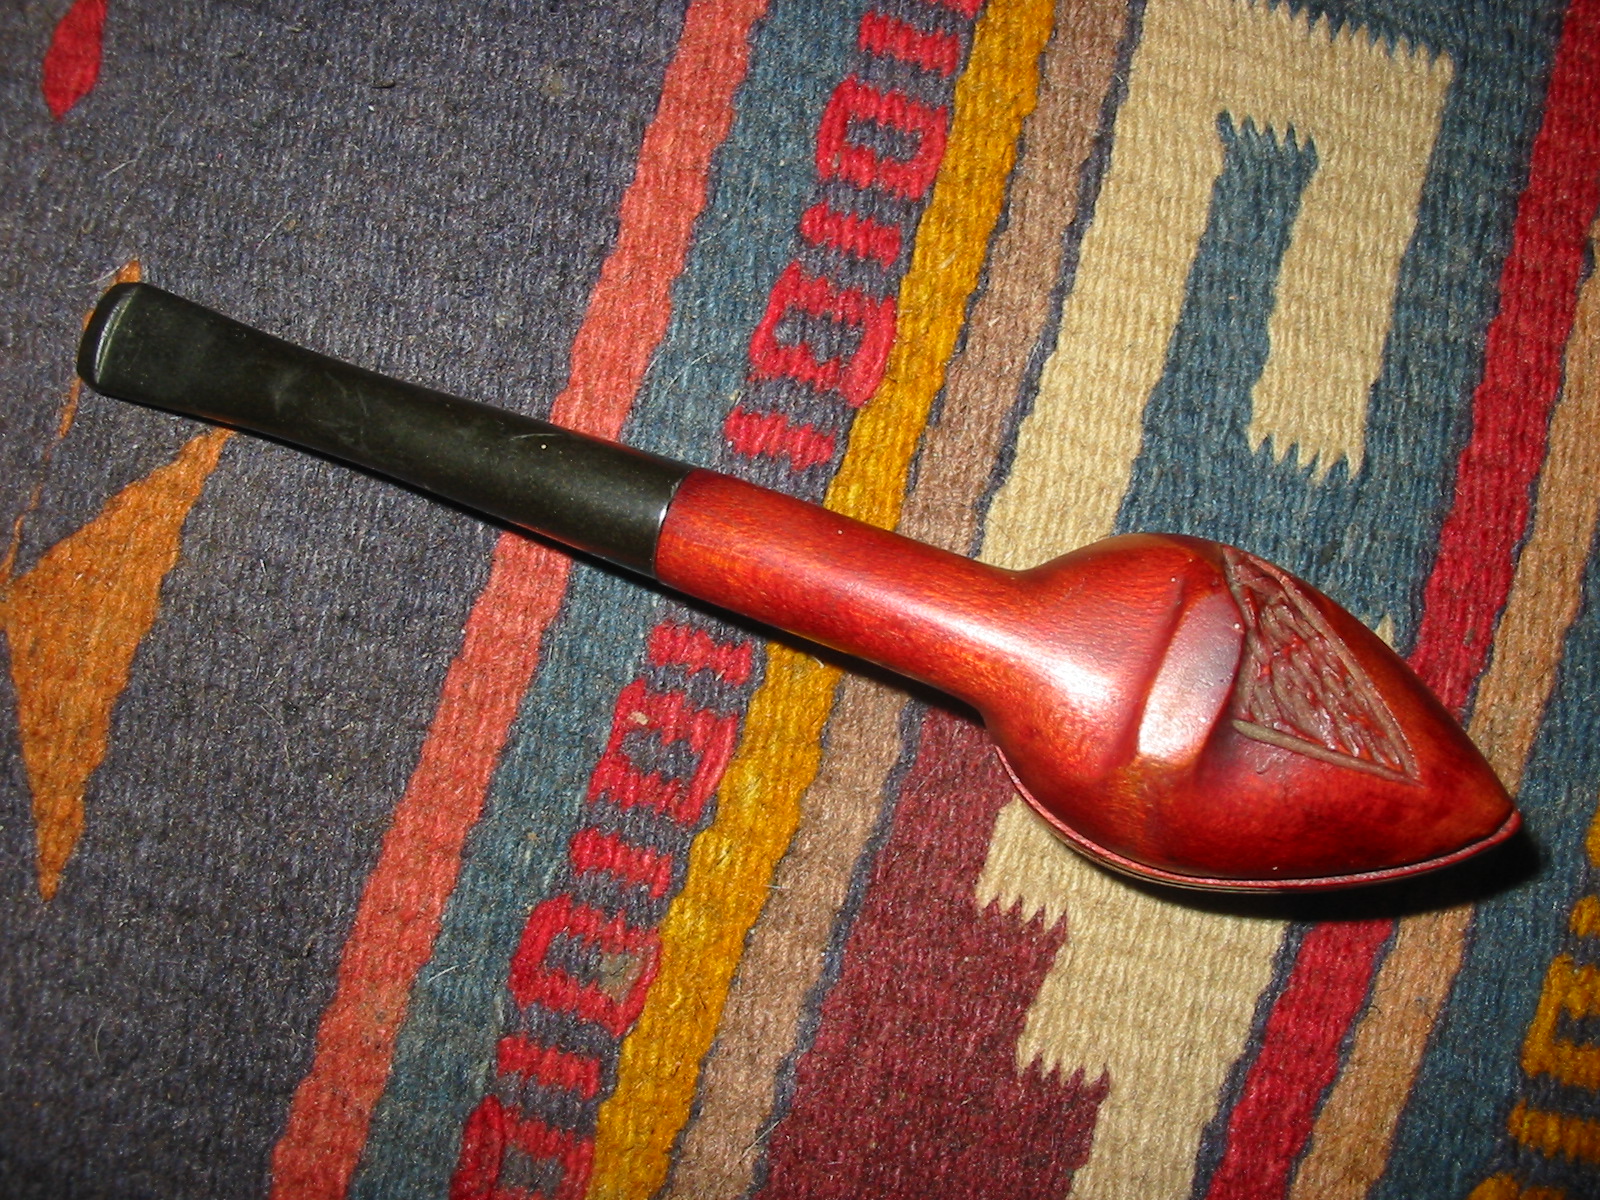
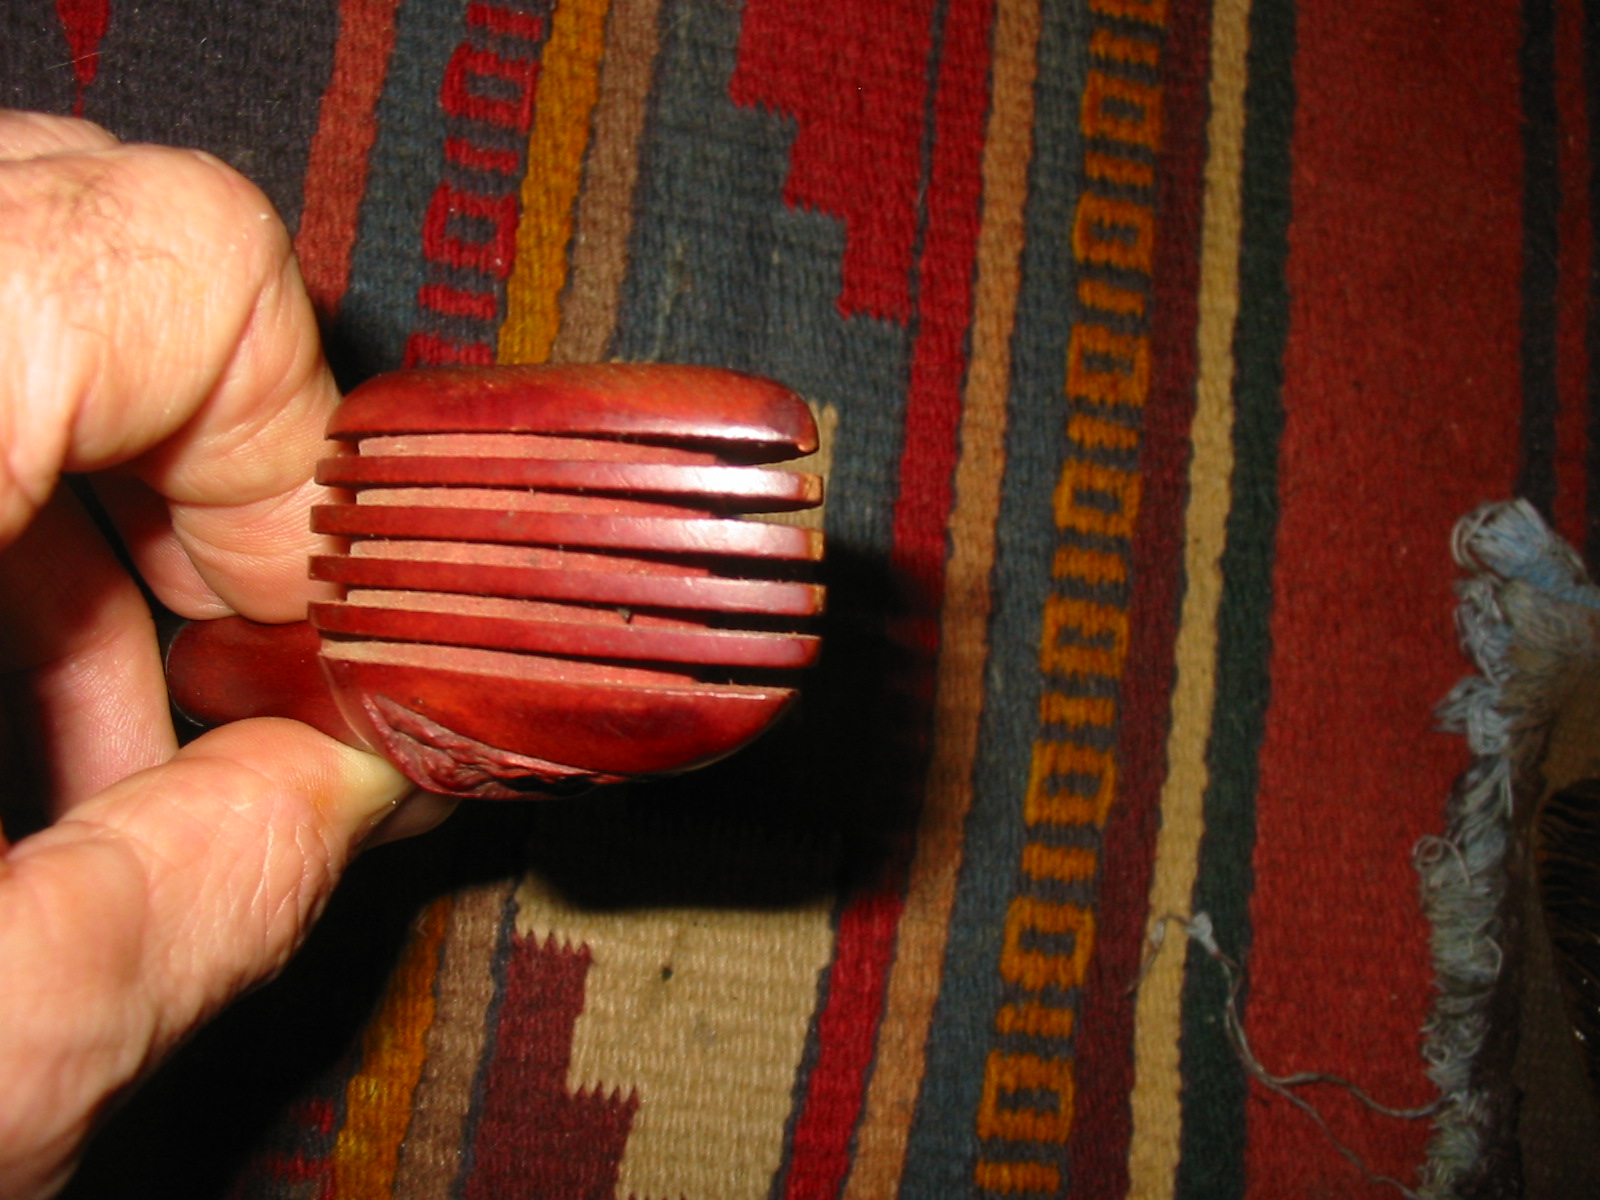
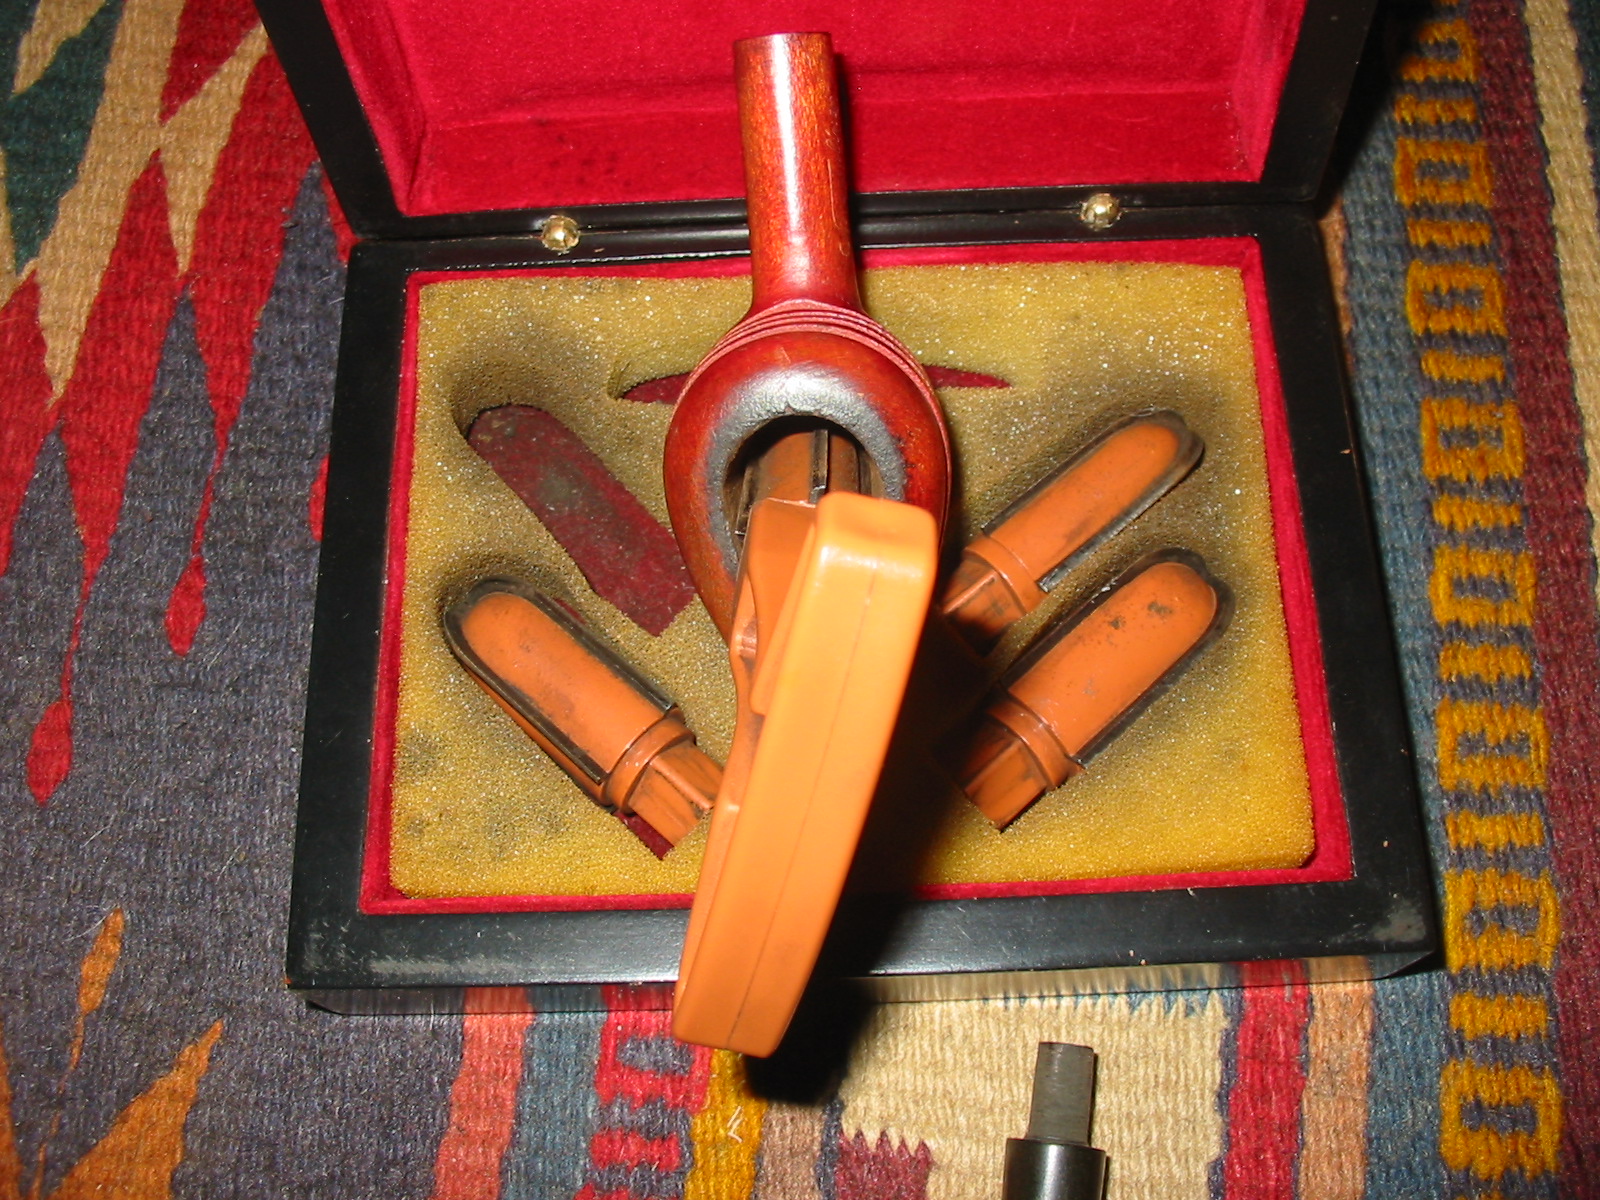
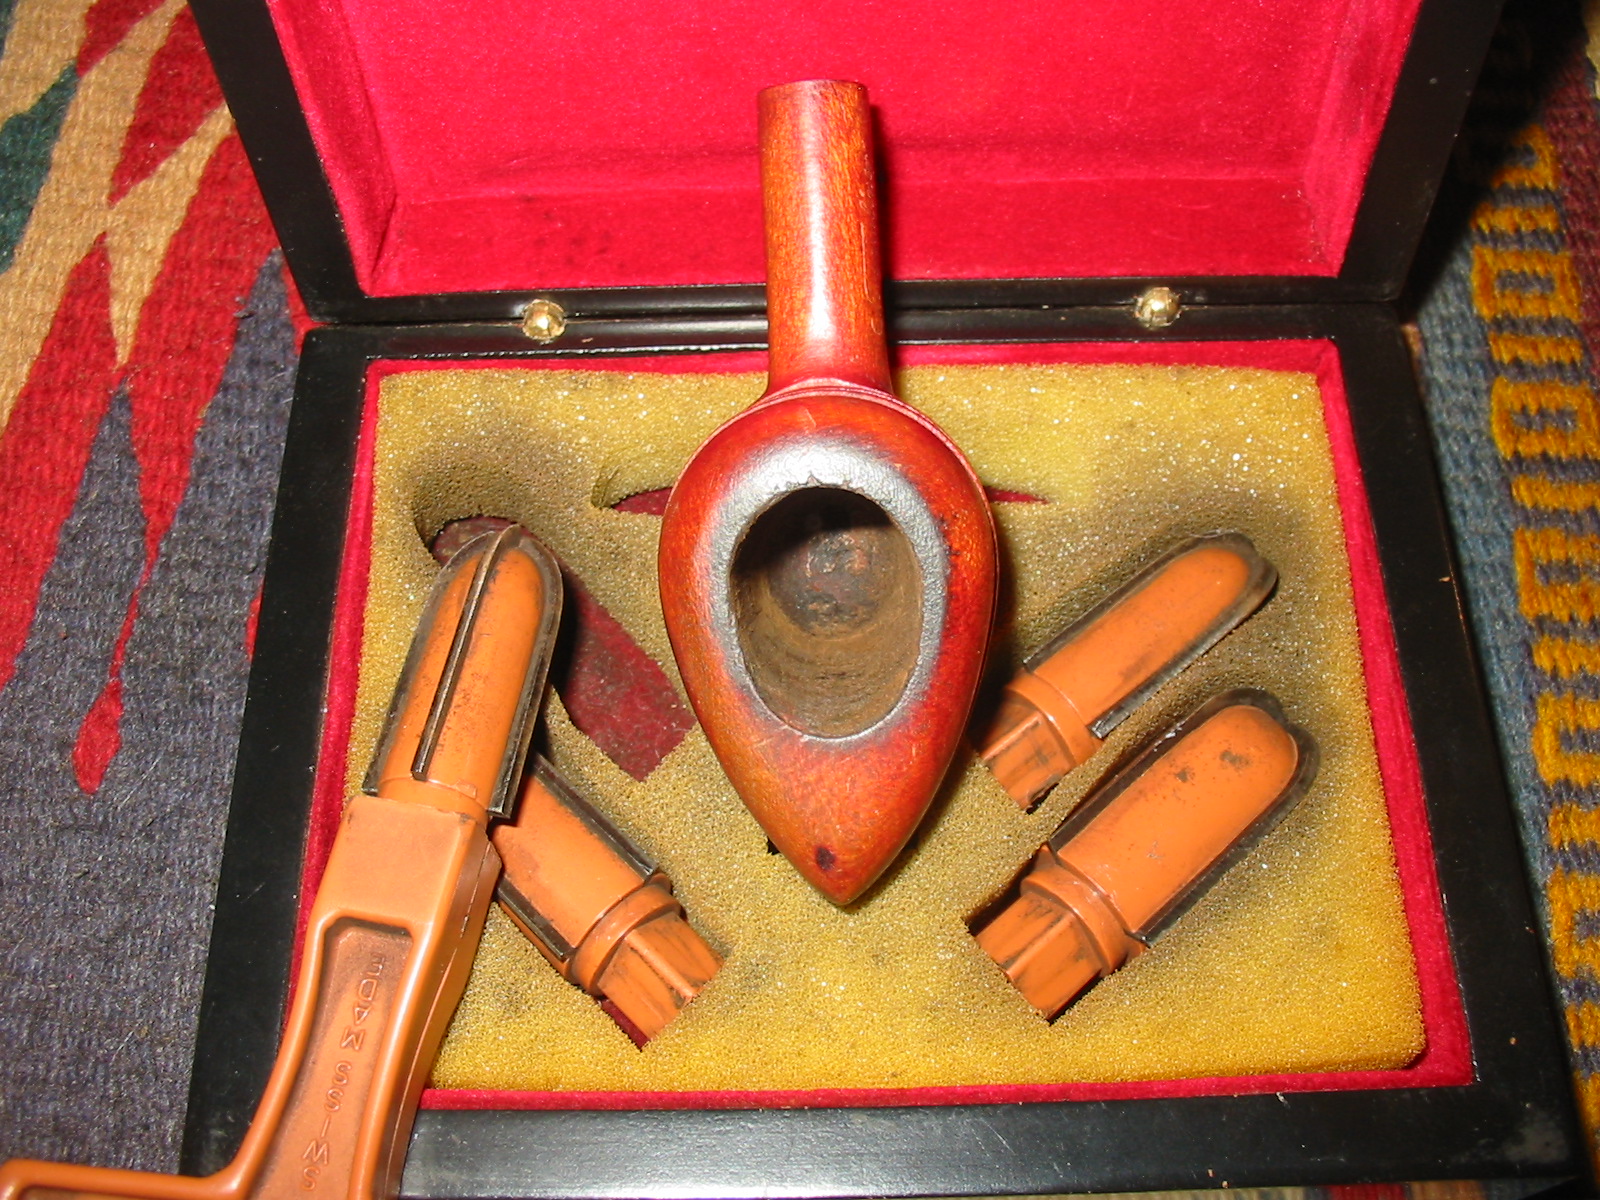
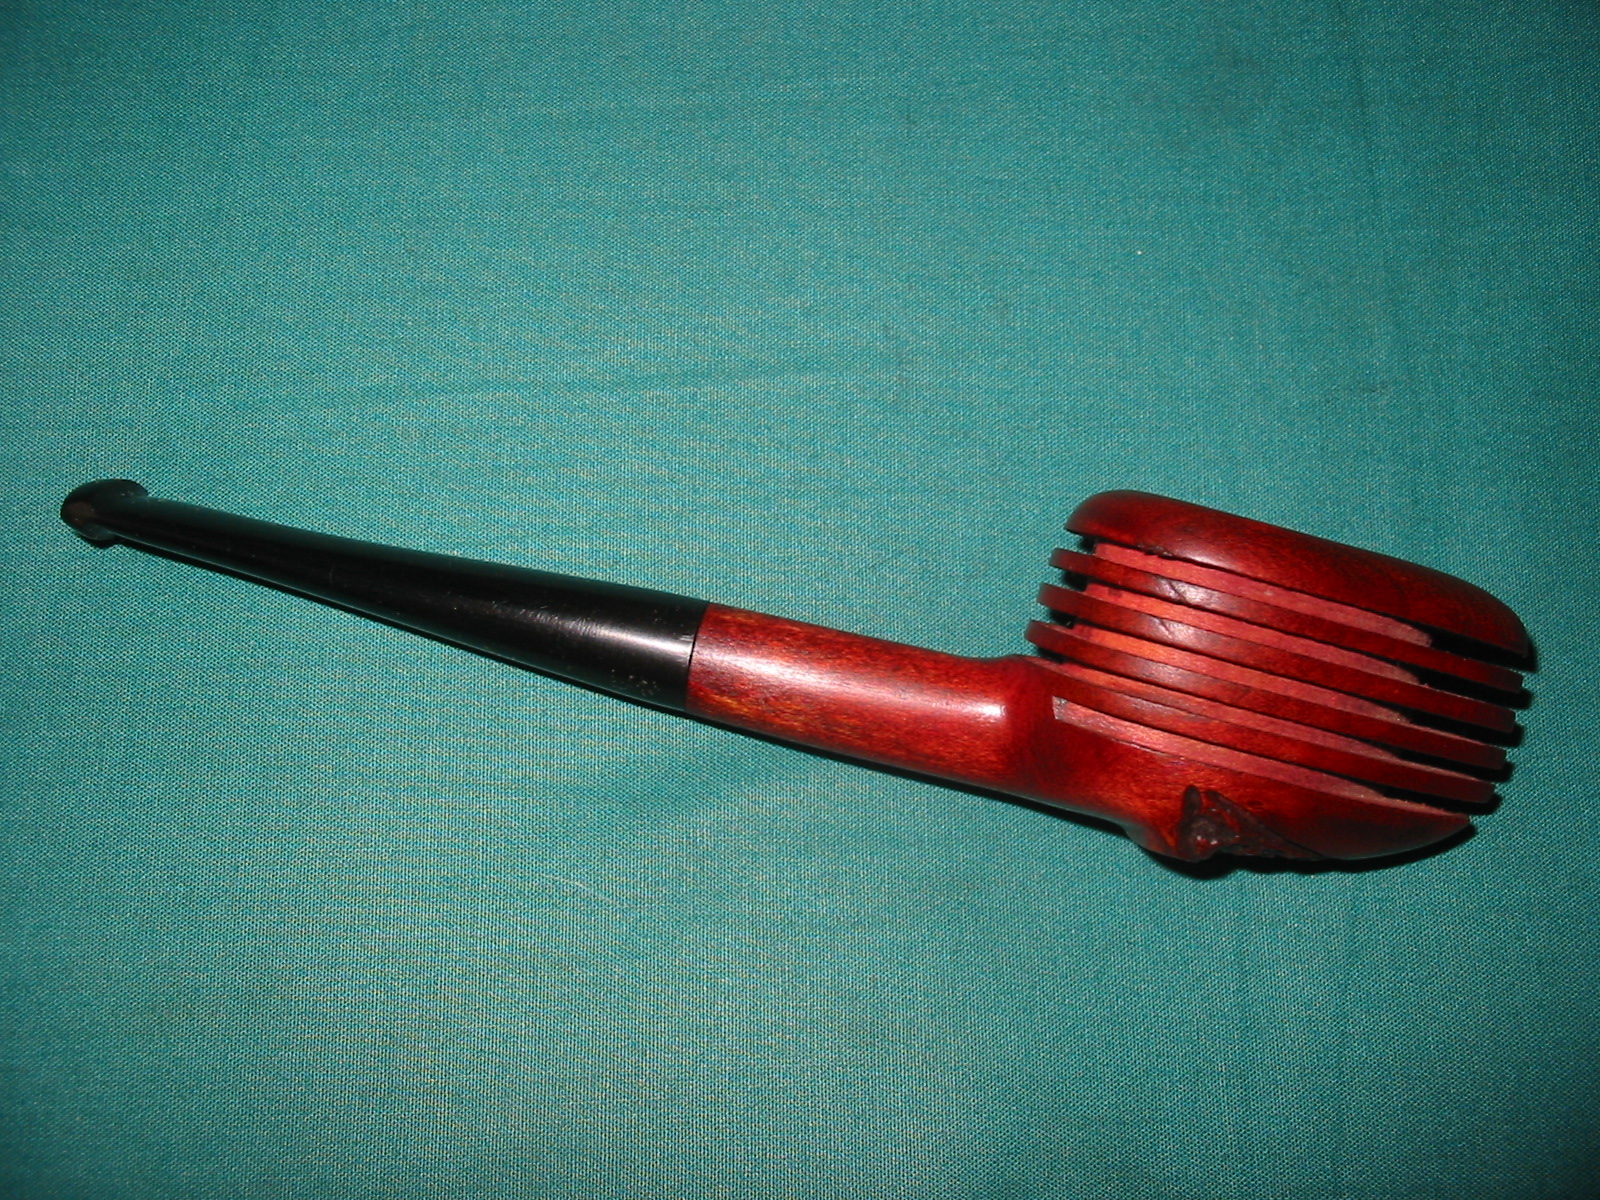
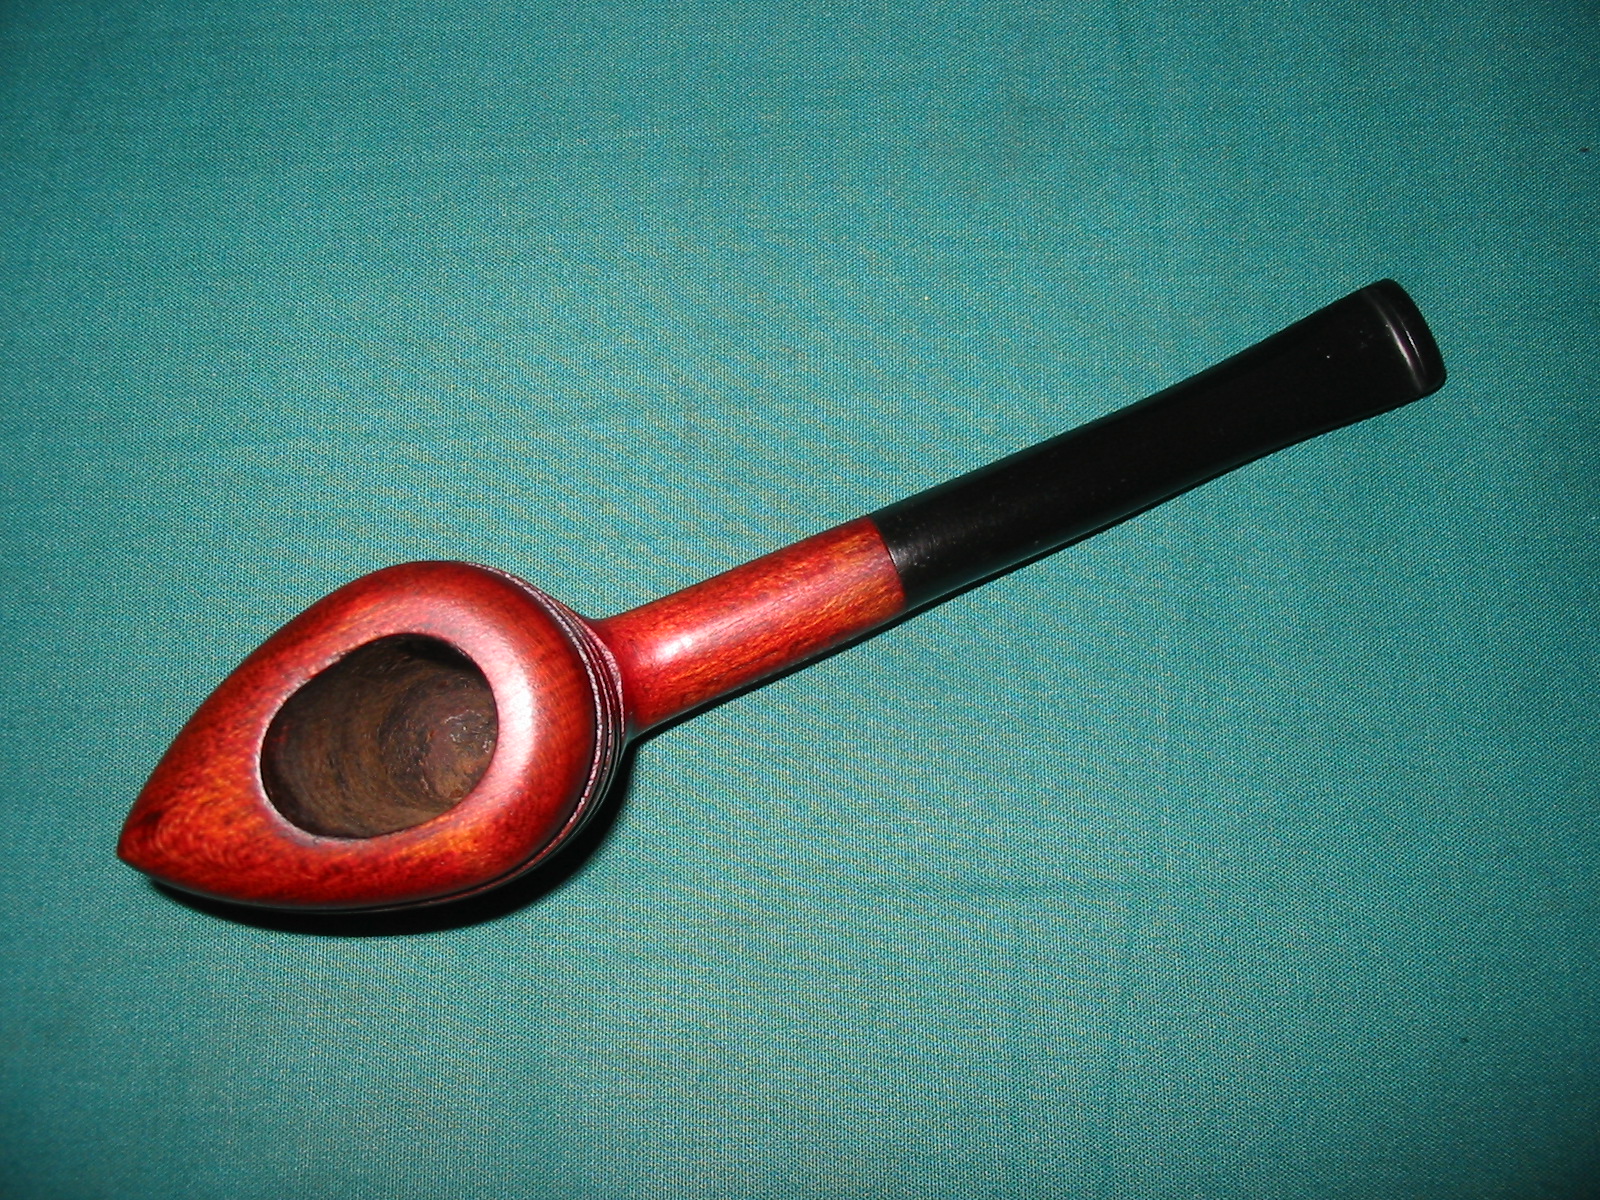
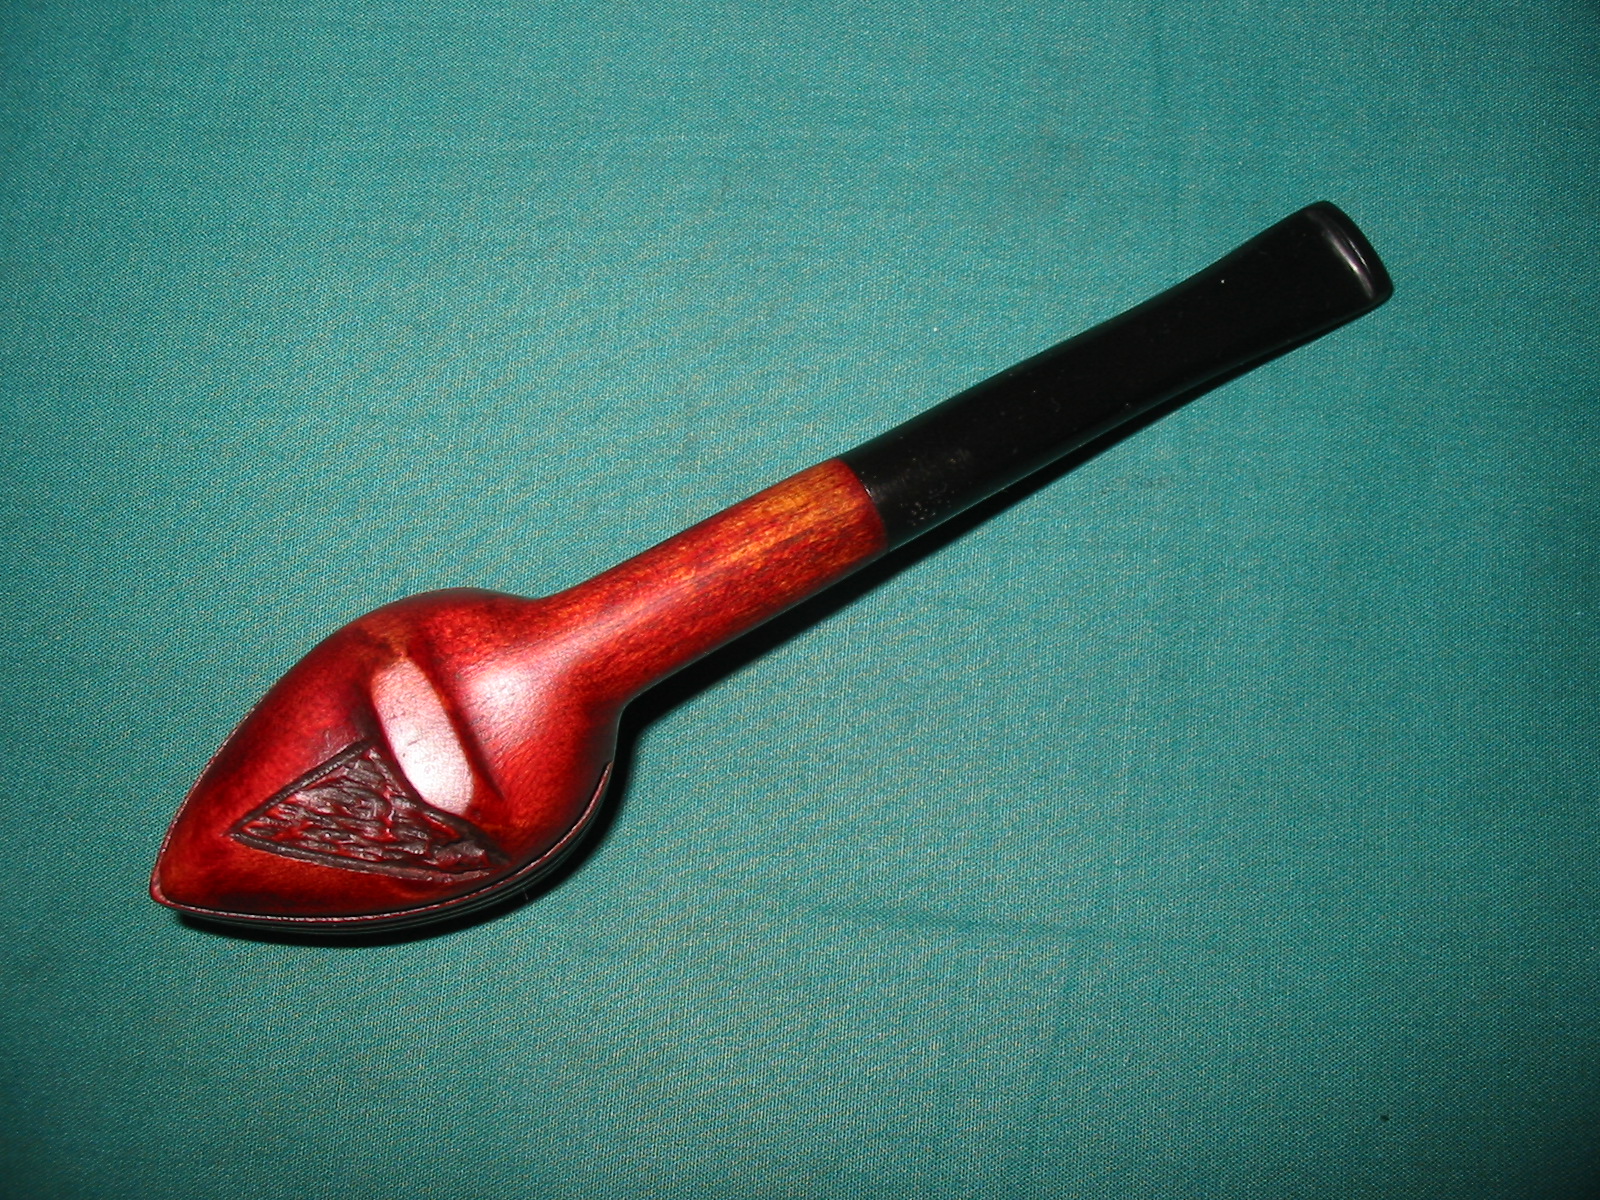
In a recent EBay purchase I picked up a unique pipe that has a flowing look to it. I was intrigued to figure out the history and any information I could find regarding it so I went on a hunt on the web. One of the first articles I came across is found in the link below. http://streamlinesdeluxe.wordpress.com/2012/06/01/weber-streamliner-pipe-2/ The author of the blog makes a brief reference the pipe I found and even has a picture of it. He speaks of the stem being made of something other than vulcanite. Other references I found in online pipe forums spoke of the fact that the bowl was not made of briar but of some composite material. Others said that the bowls were made of American hardwoods. Interestingly no one spoke of what hardwoods were used. I have hunted high and low on the web and can find nothing definitive on the pipe’s manufacture or composition.

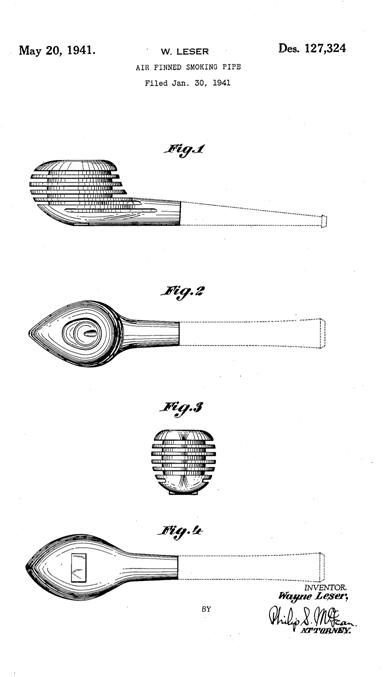
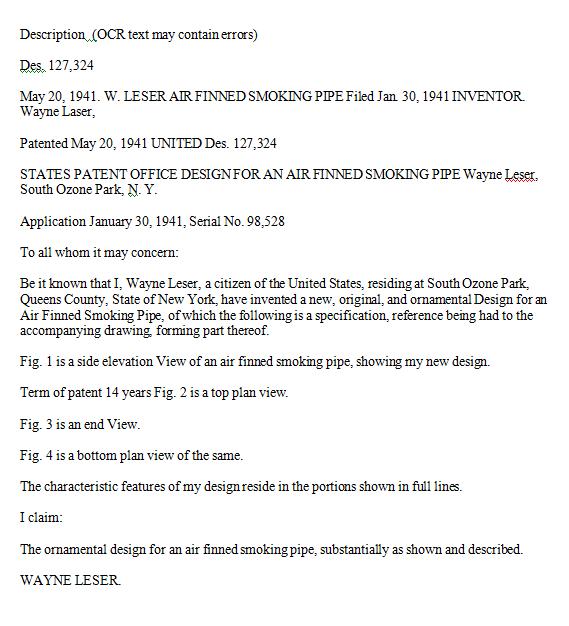
I broadened my search to information on finned pipes. I did not want information on Porsche design pipes or metal finned pipes but was looking for anything on wooden finned pipes. I came across the following information on a patent taken by a carver/designer named Wayne Leser. His diagrams and patent application is included below and it can be seen that it is actually very close to CB Weber’s Streamliner. His patent was applied for through the US Patent Office in January of 1941. I assume the patent was granted as it is on the Patent website. Weber’s design seems to be elongated a bit more than the Leser design but the tear drop shape of the outer bowl and the similarly tear drop shape of the drilling match quite well.

I can find no further information on Wayne Leser so I have no idea if he sold his concept to Weber, or worked for Weber. If anyone has further information on that connection it would be great to learn about it. Please post a response below.
Leser Patent Drawings

Leser Patent Application

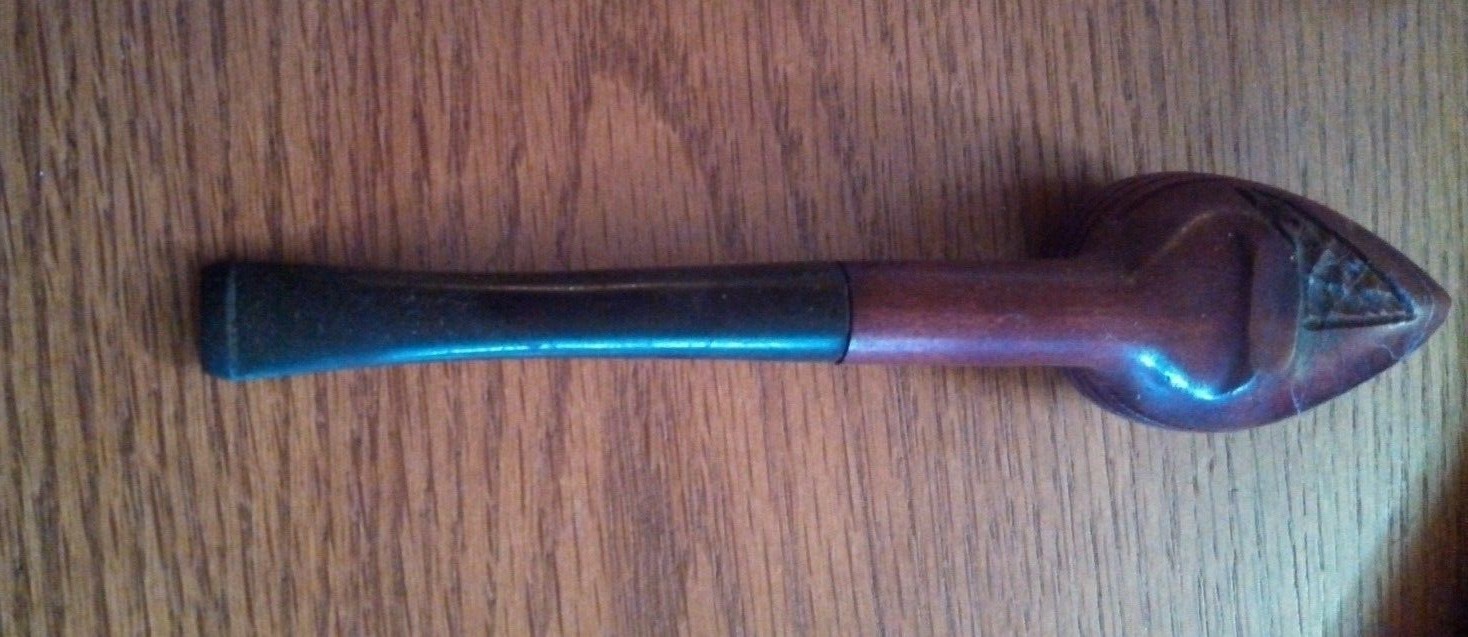
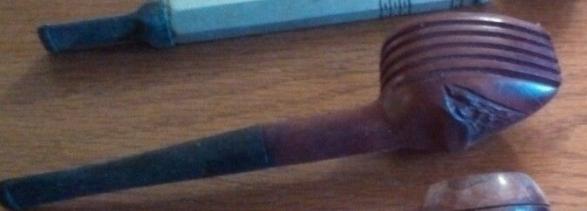
The pipe I picked up is pictured below in photos from the EBay seller. The photos were not very clear so I could not see the condition of the pipe very well but I was intrigued by it nonetheless. It looked like the bowl was in good condition. The stem however, appeared to be a replacement stem and the fit was poorly done. In the second photo below it is evident that the junction of the stem and shank does not meet.
pipes2

Streamliner

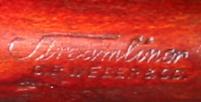
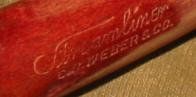
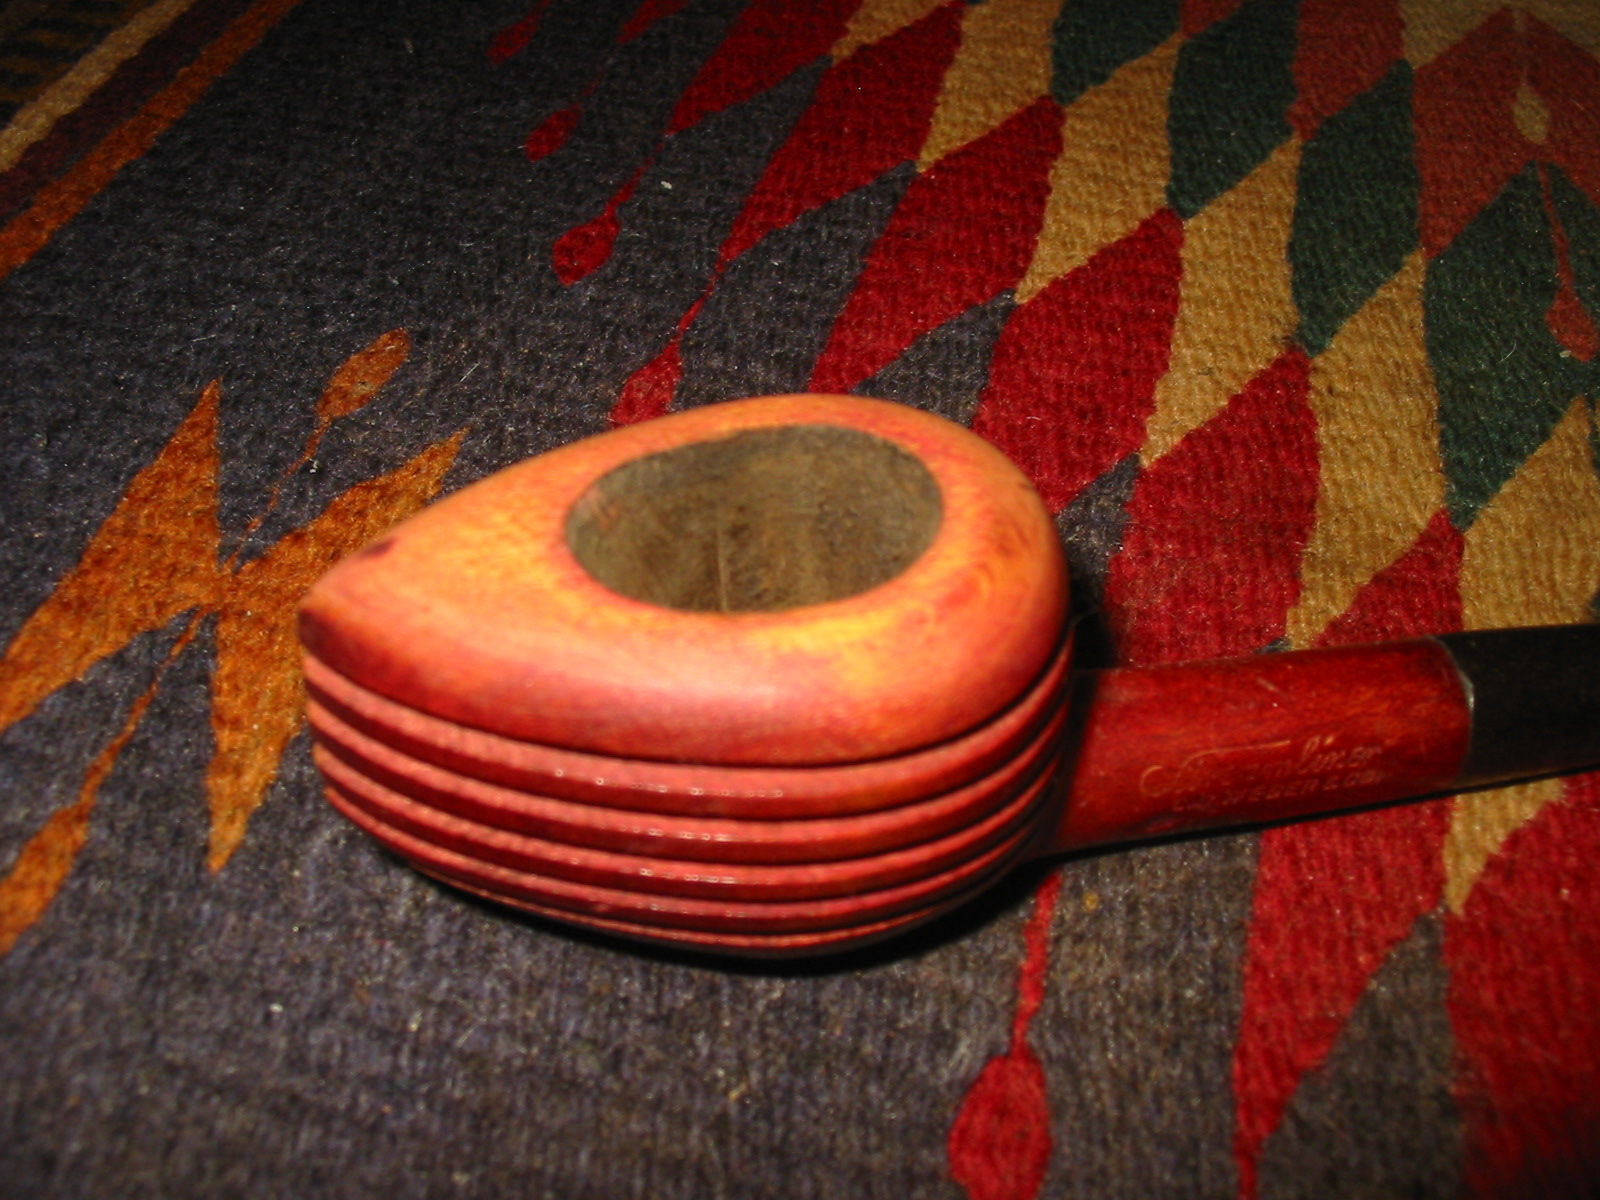
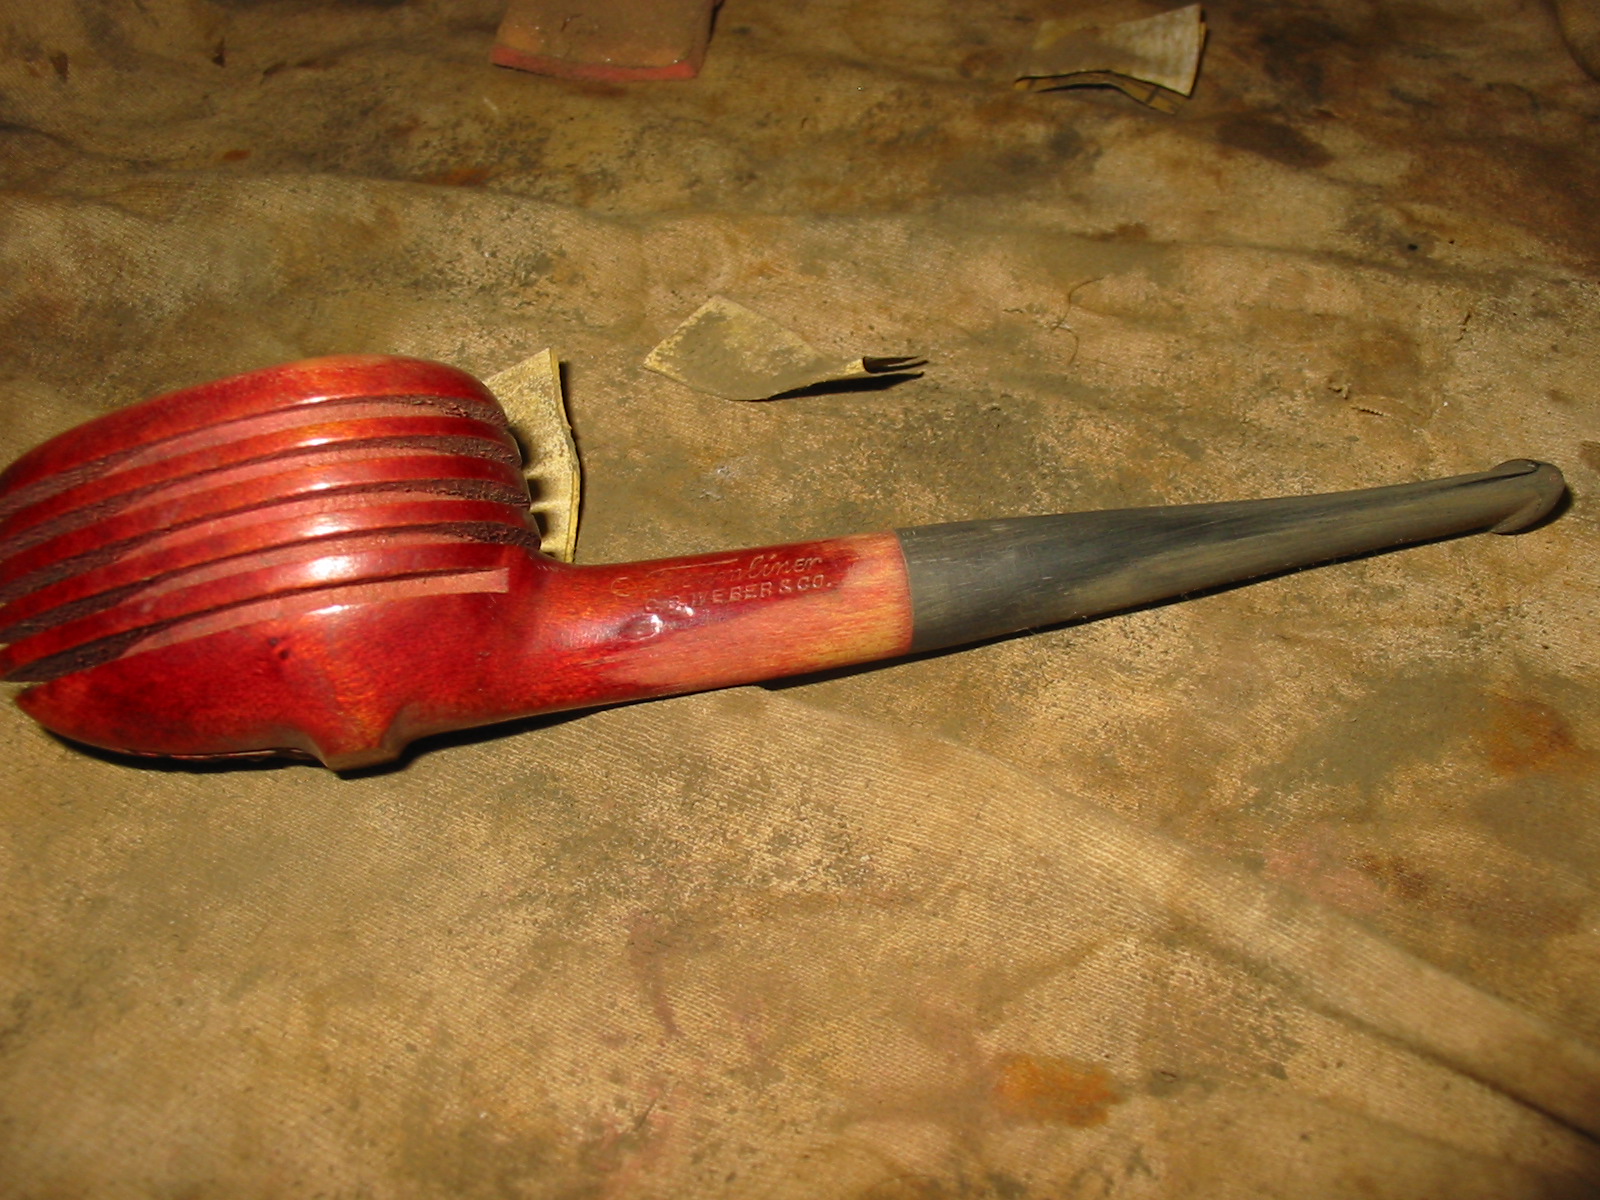
When the package arrived from the seller I took the pipe to my worktable and photographed the condition of the pipe. The pipe was in fairly decent condition. The left side of the bowl was clean. It is stamped Streamliner in script over C.B. Weber & Co.
Streamliner logo3

Streamlinerlogo2
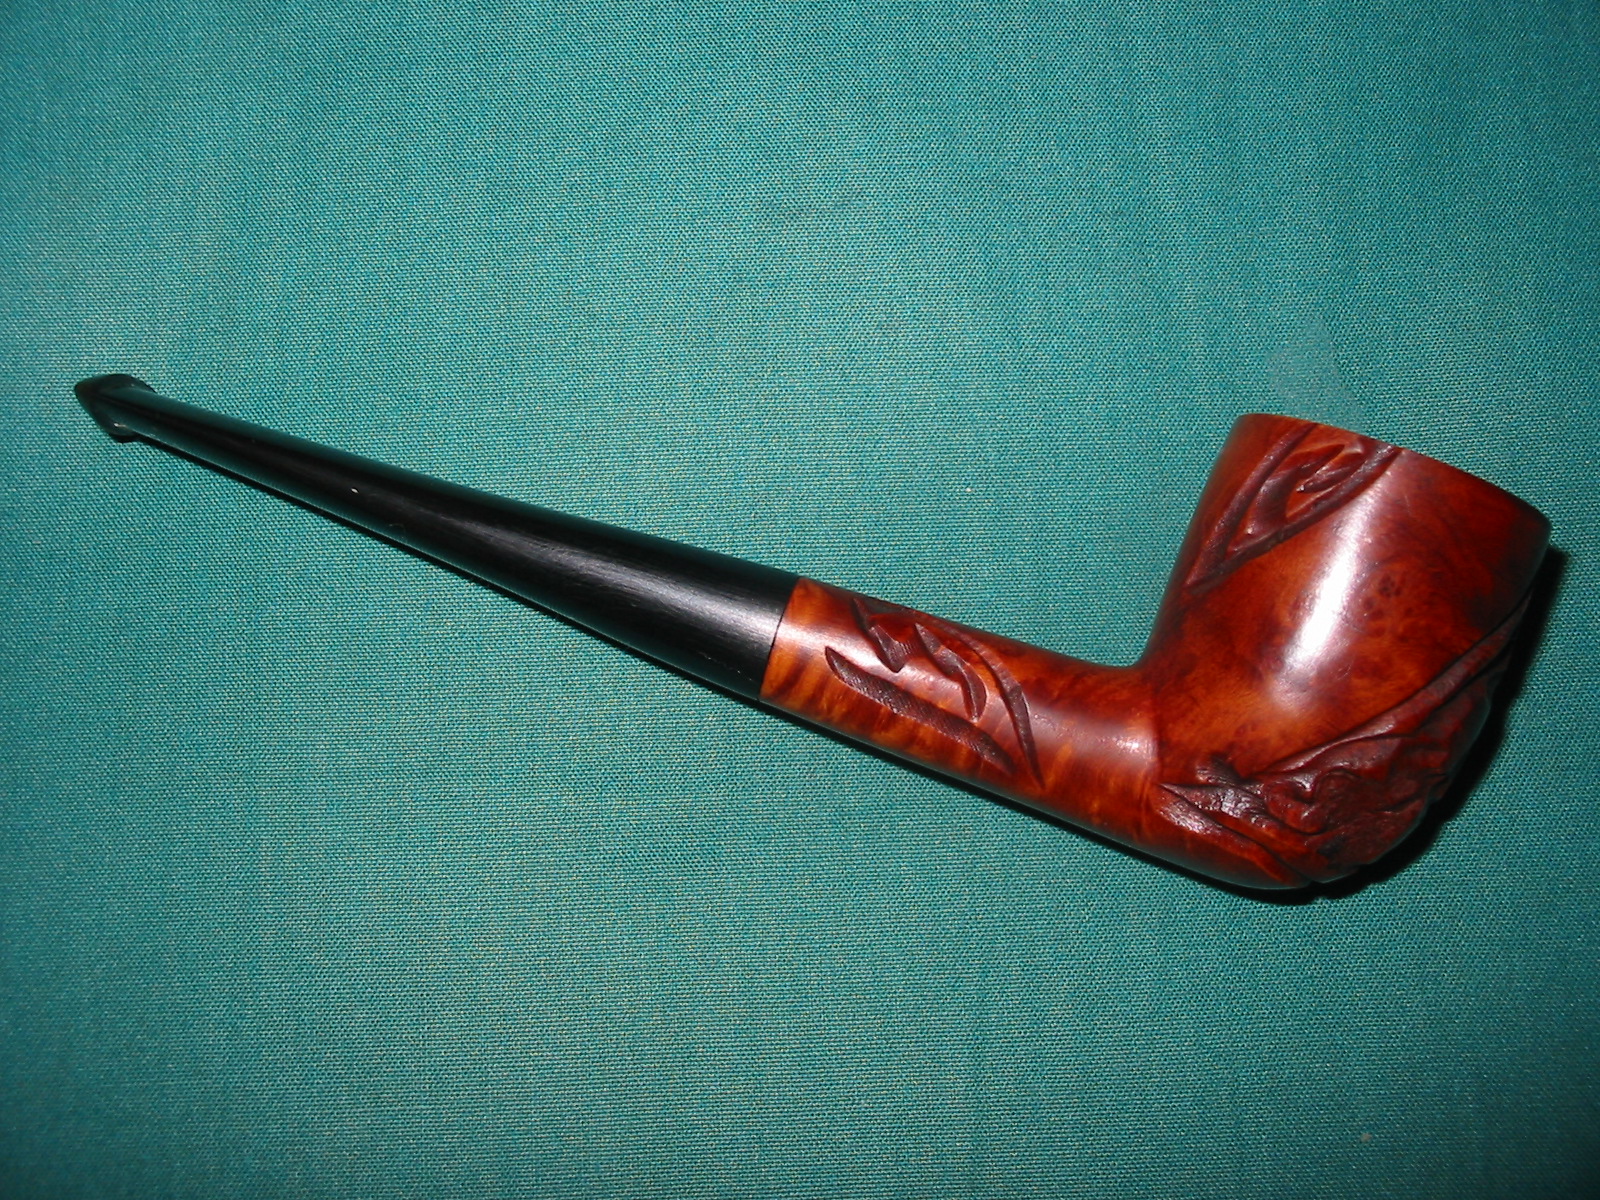
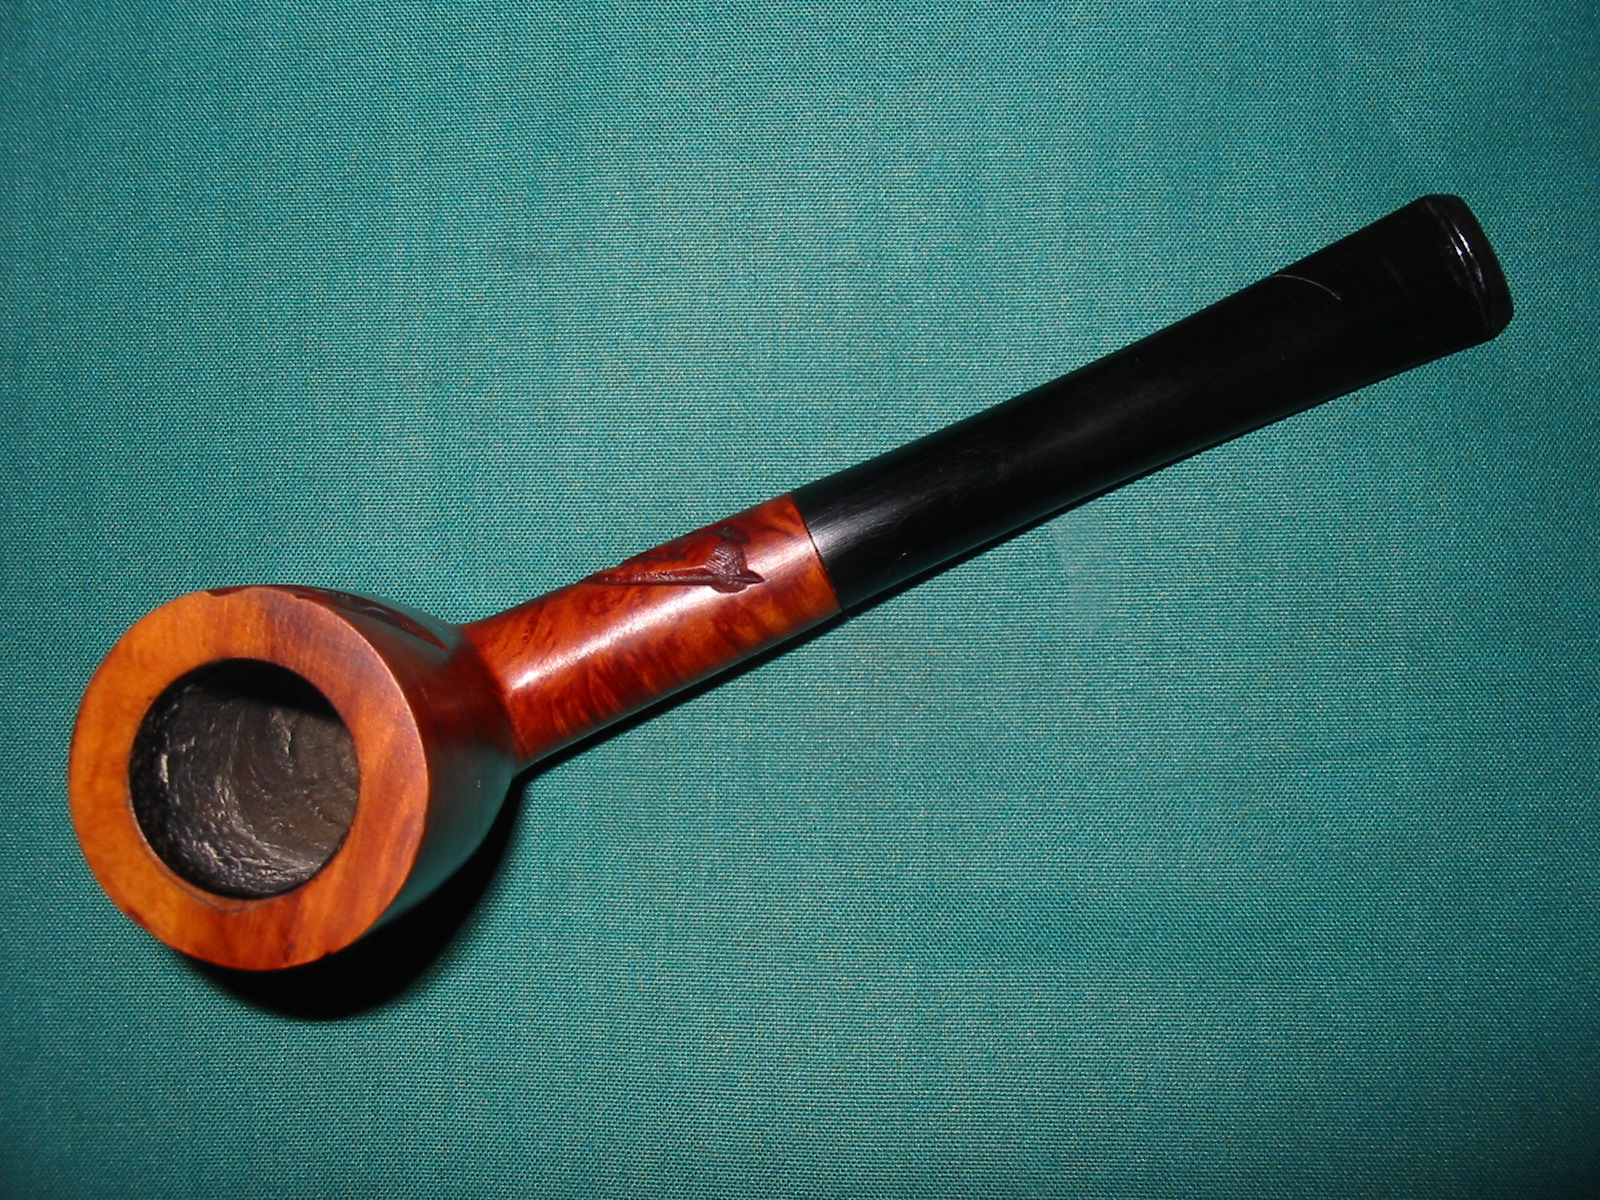
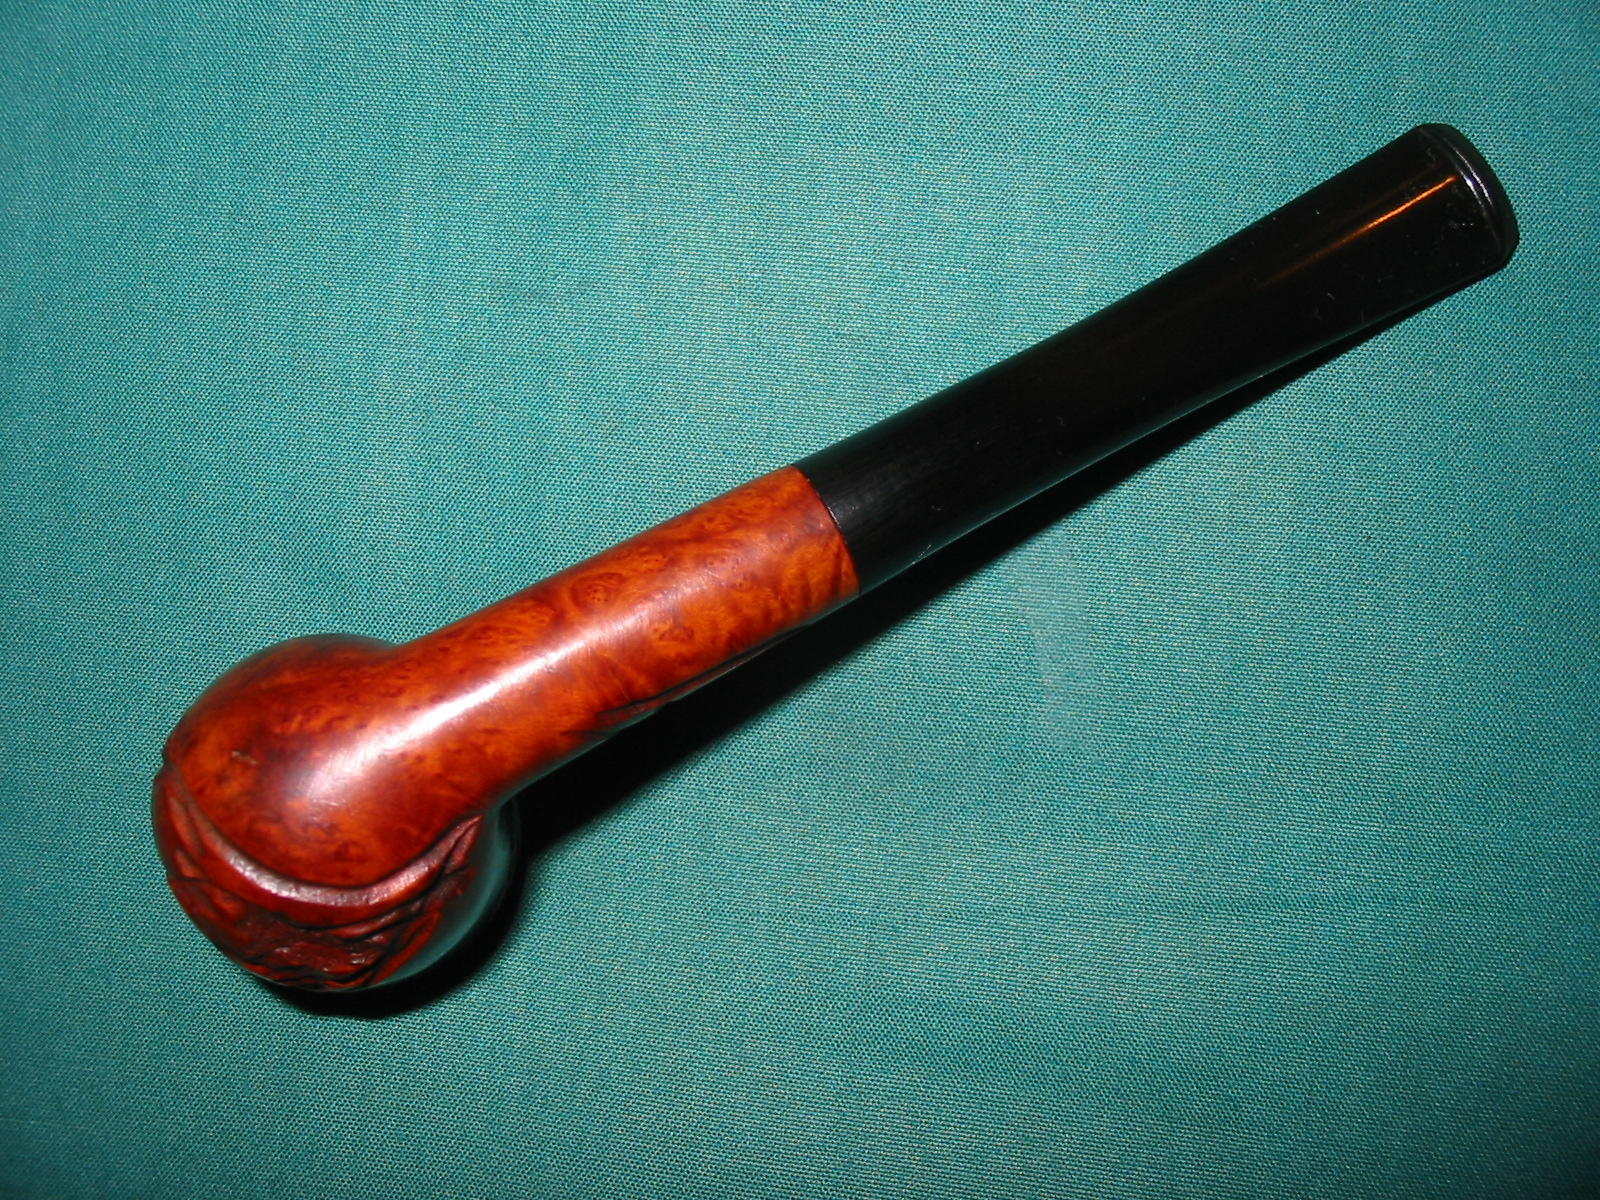
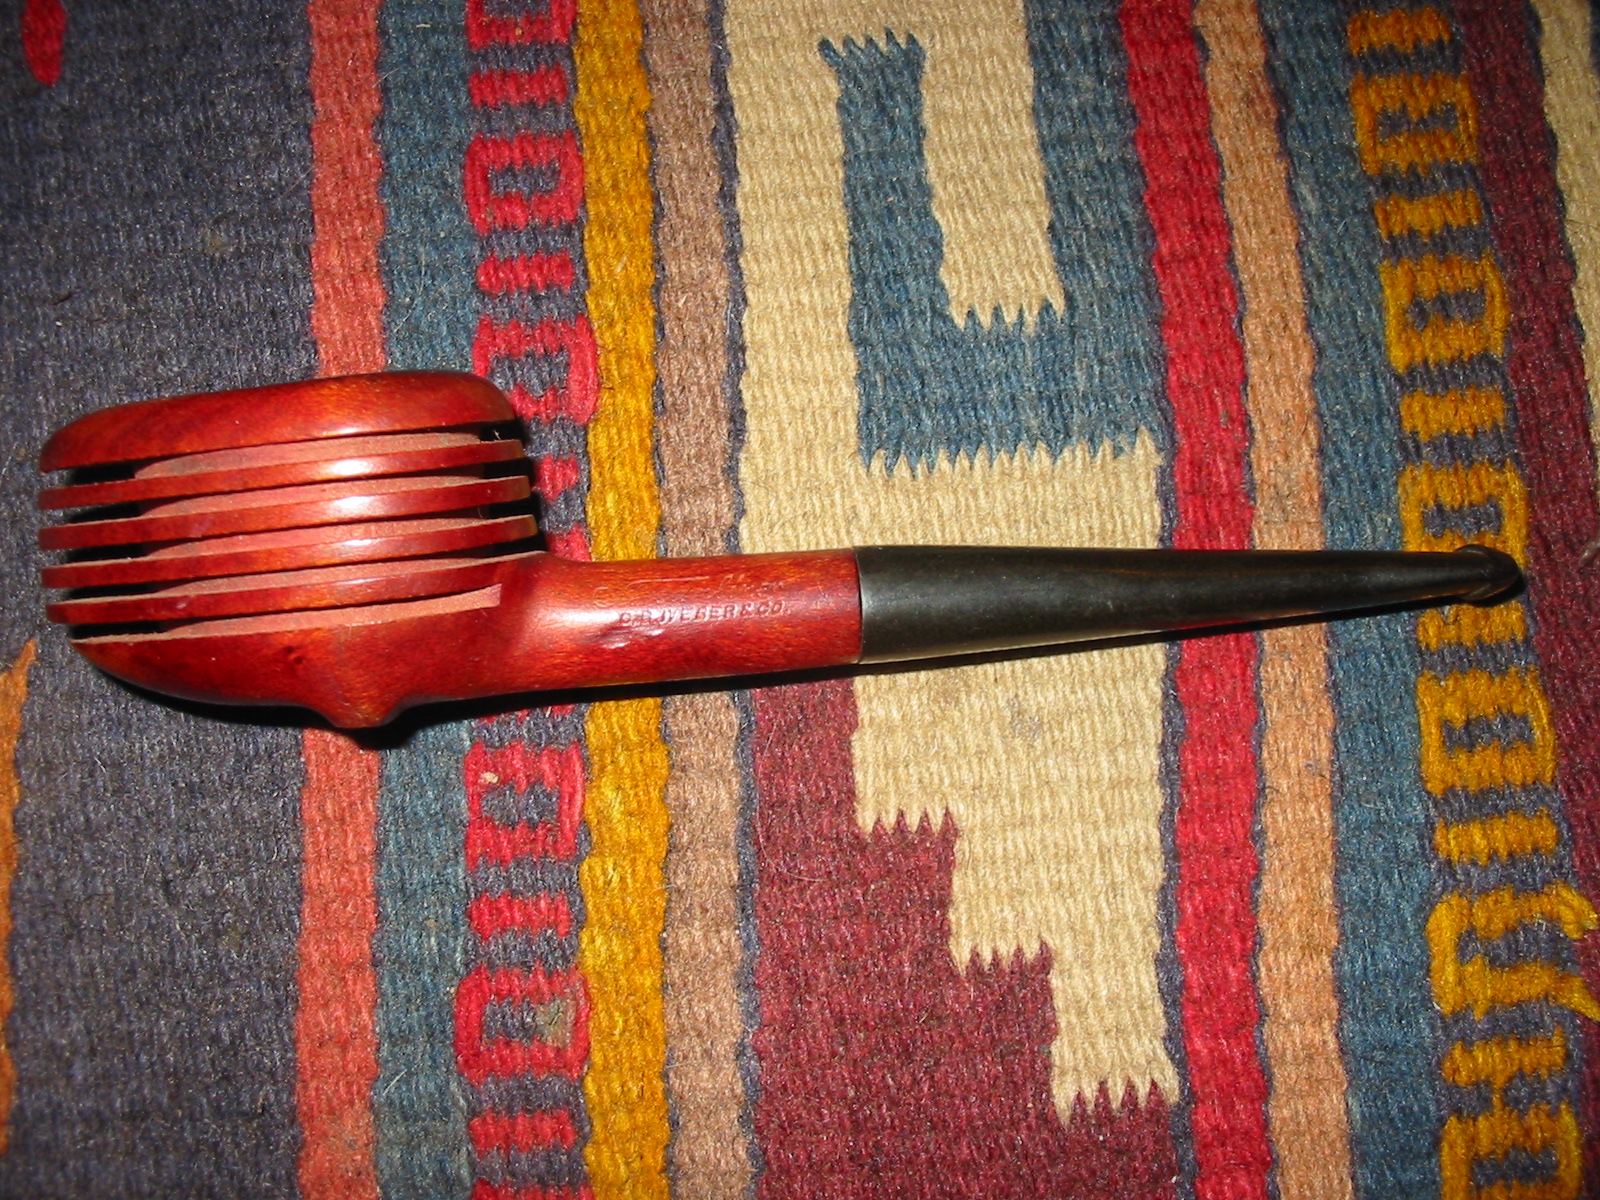
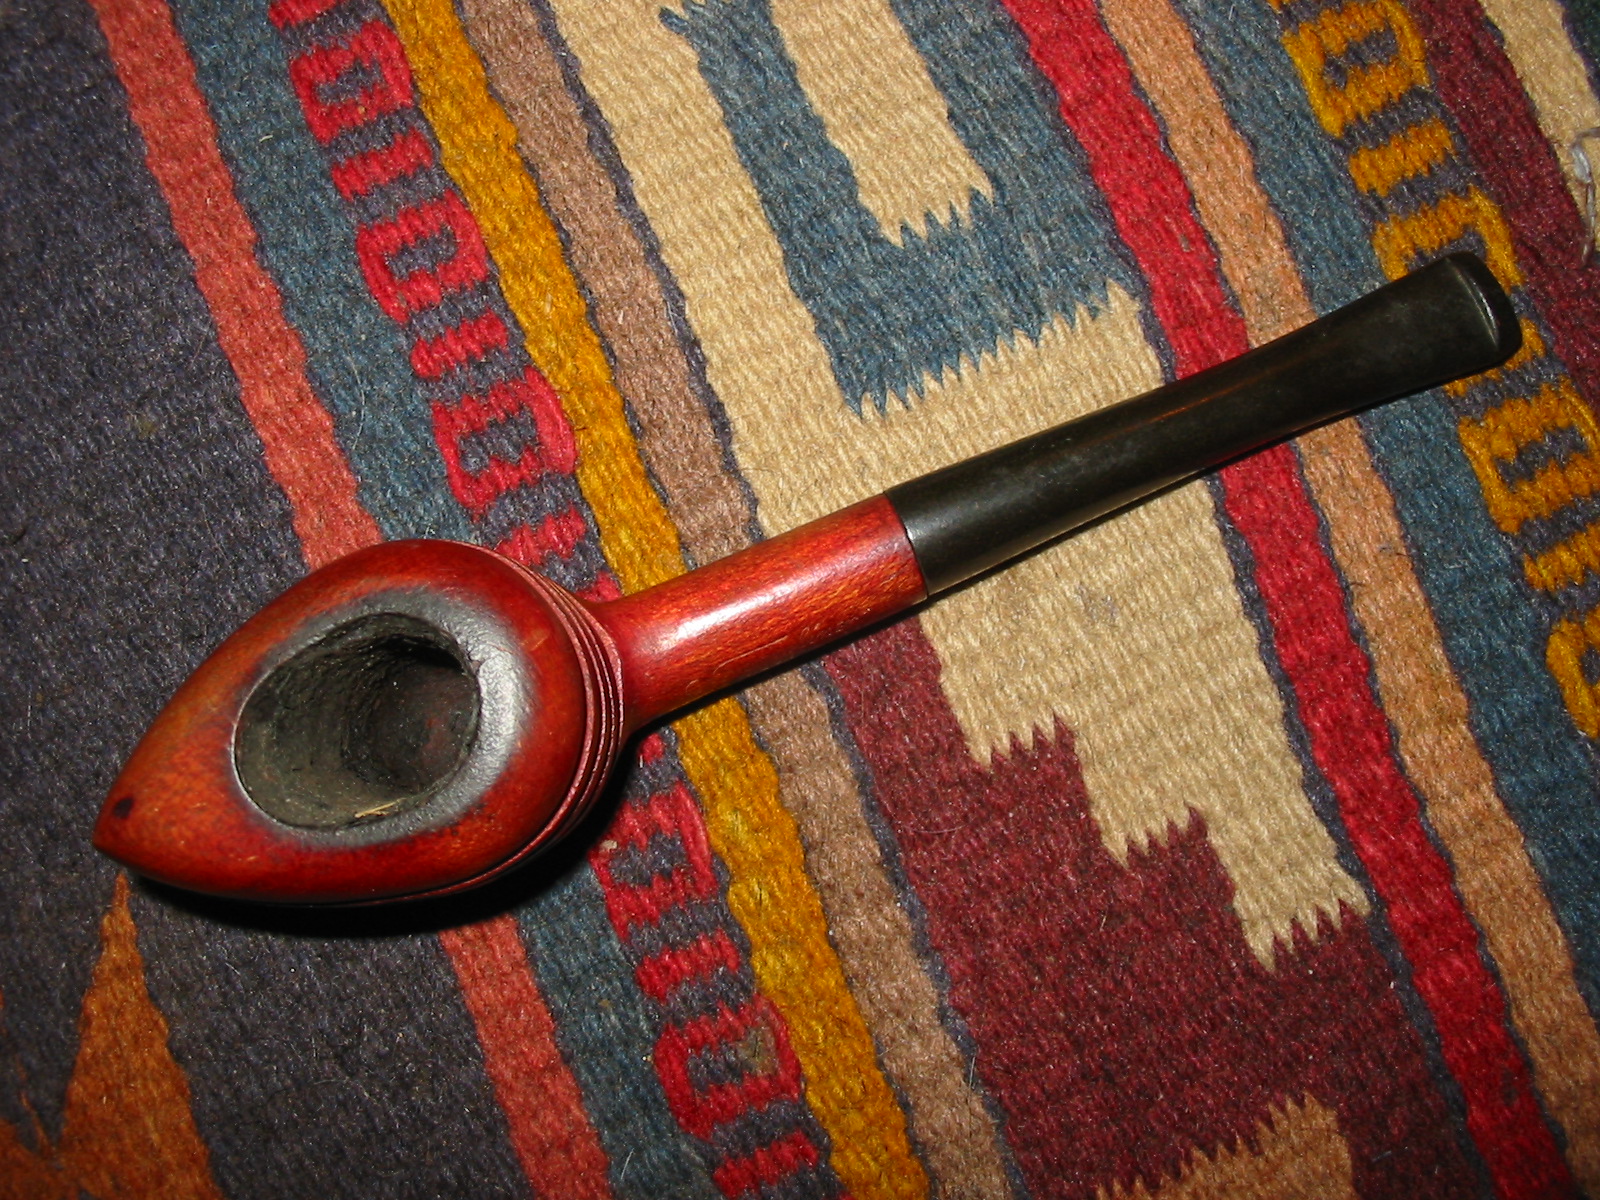
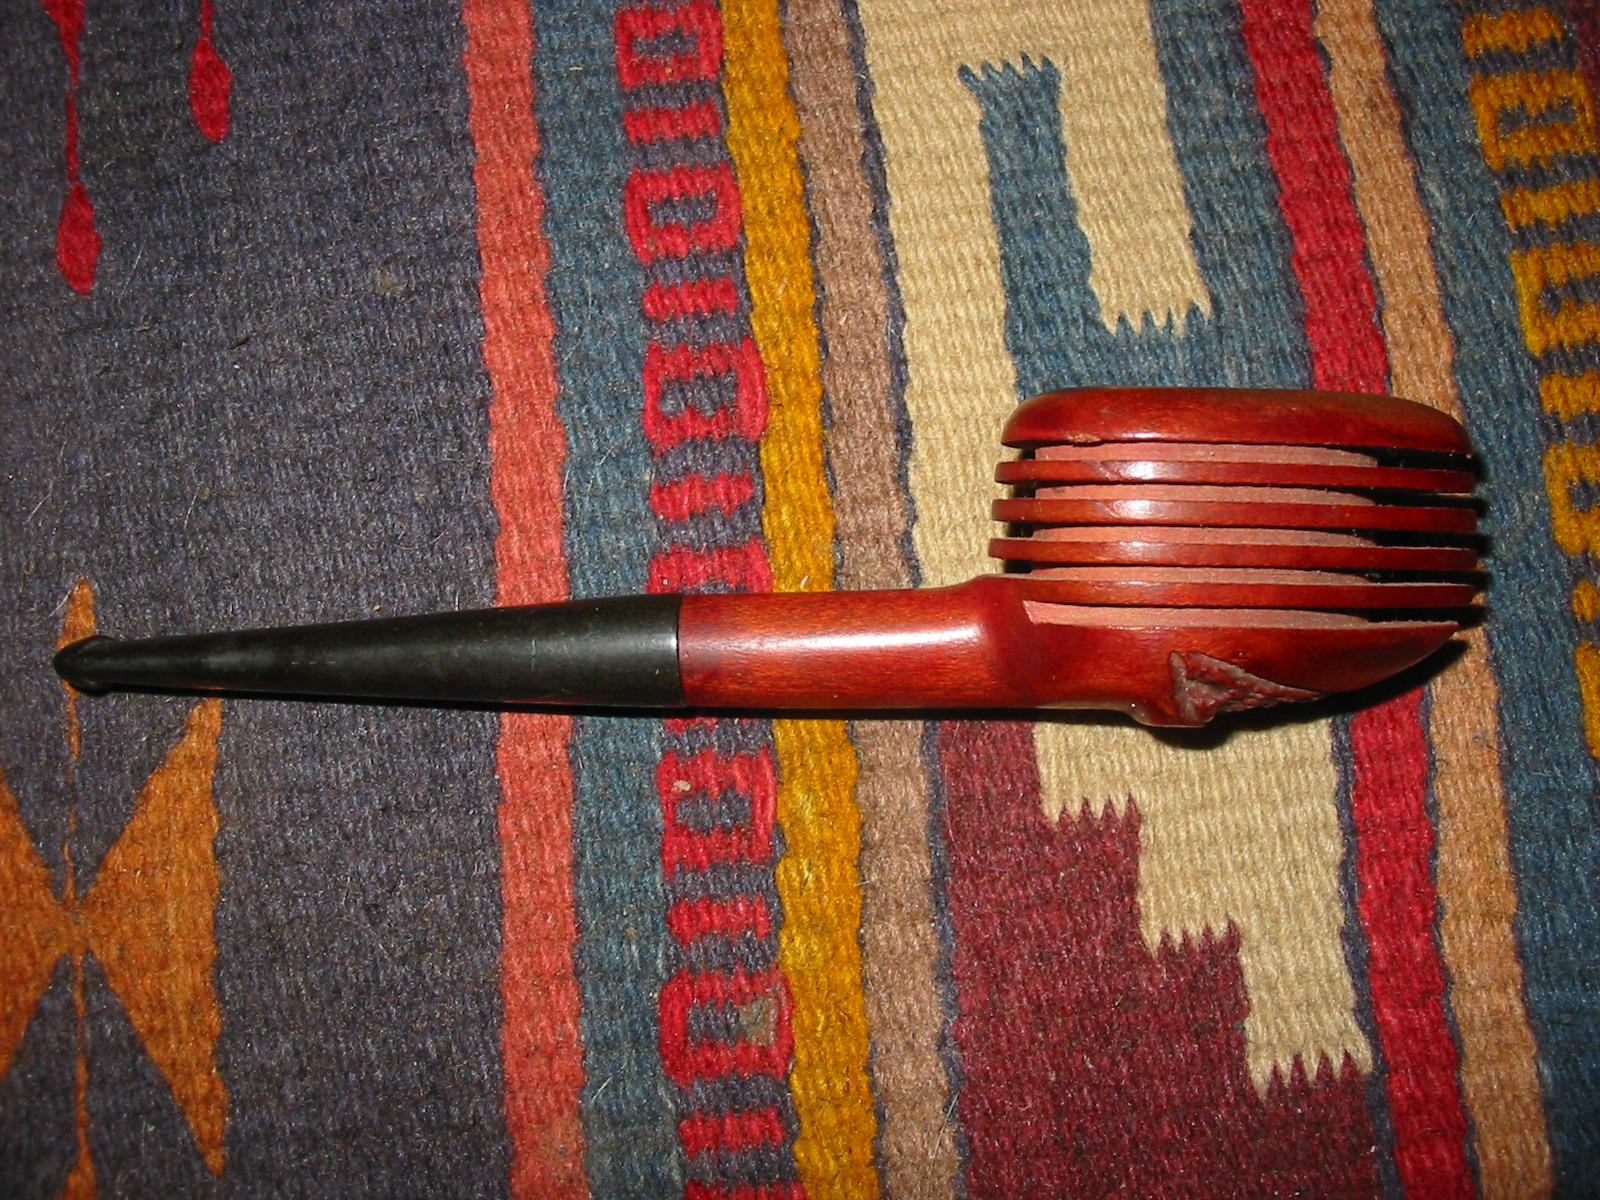
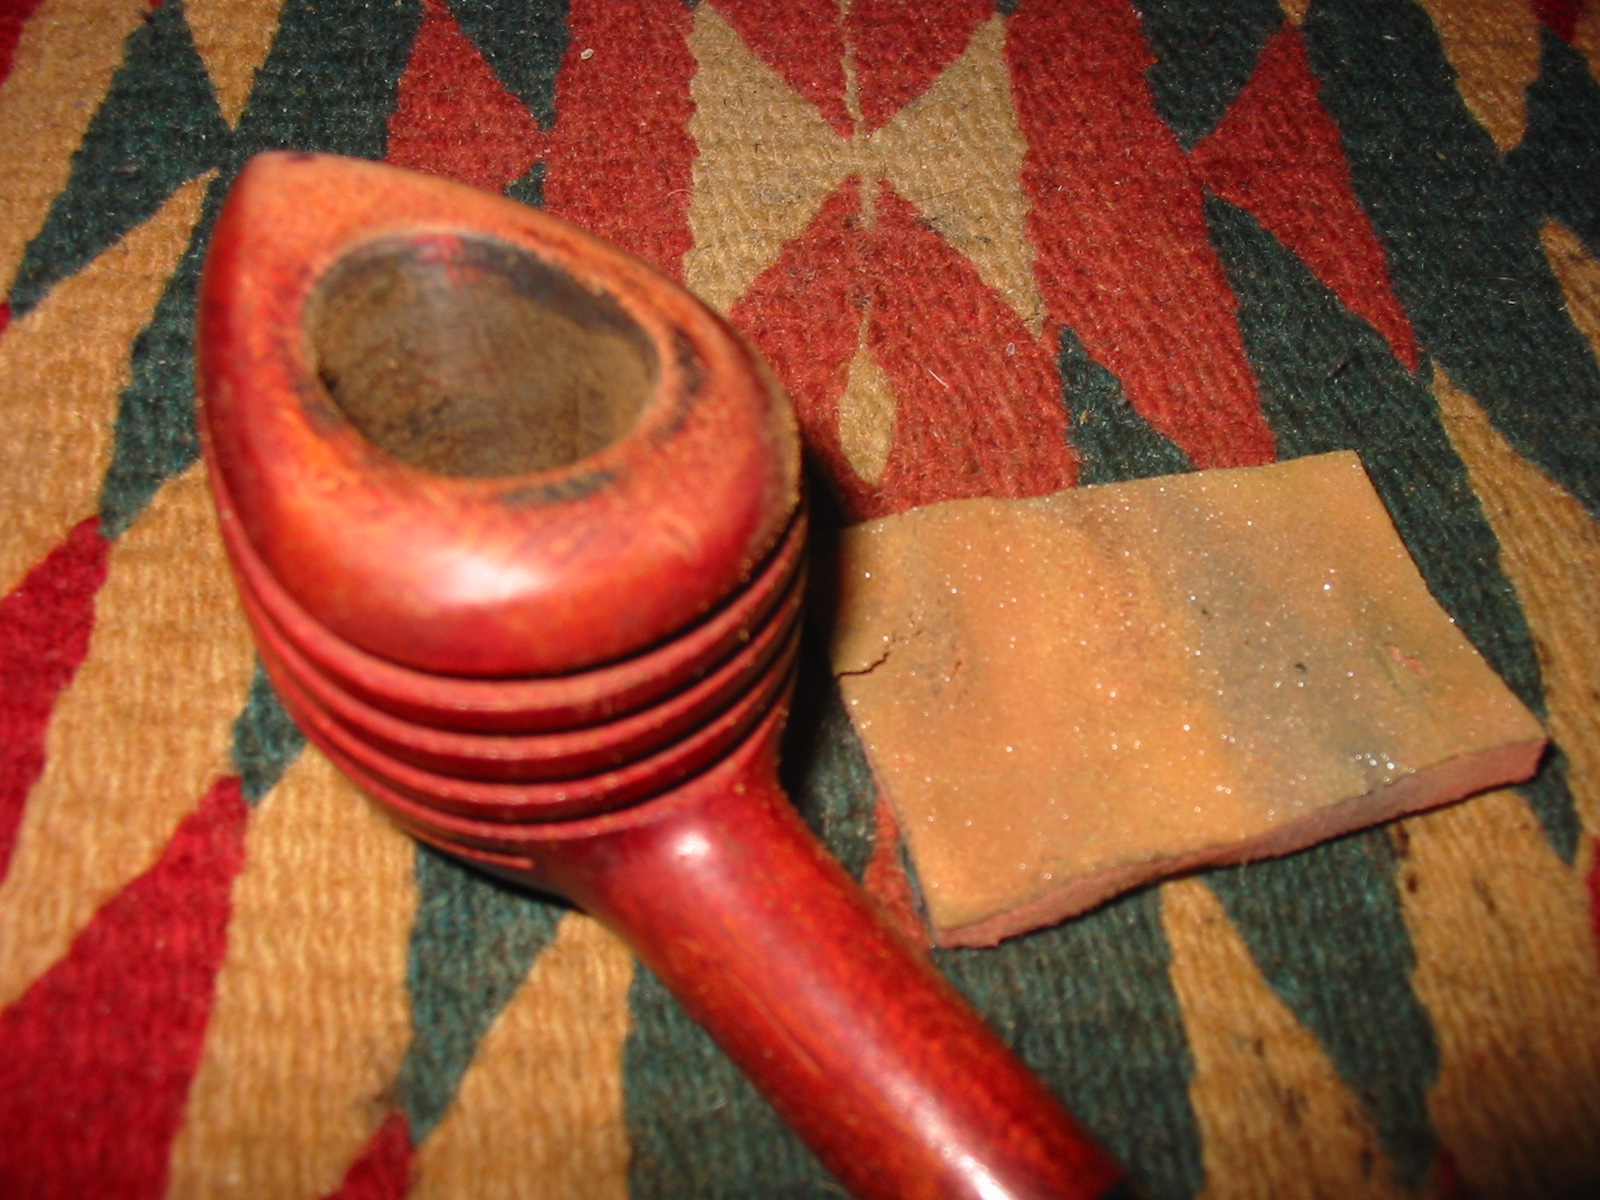
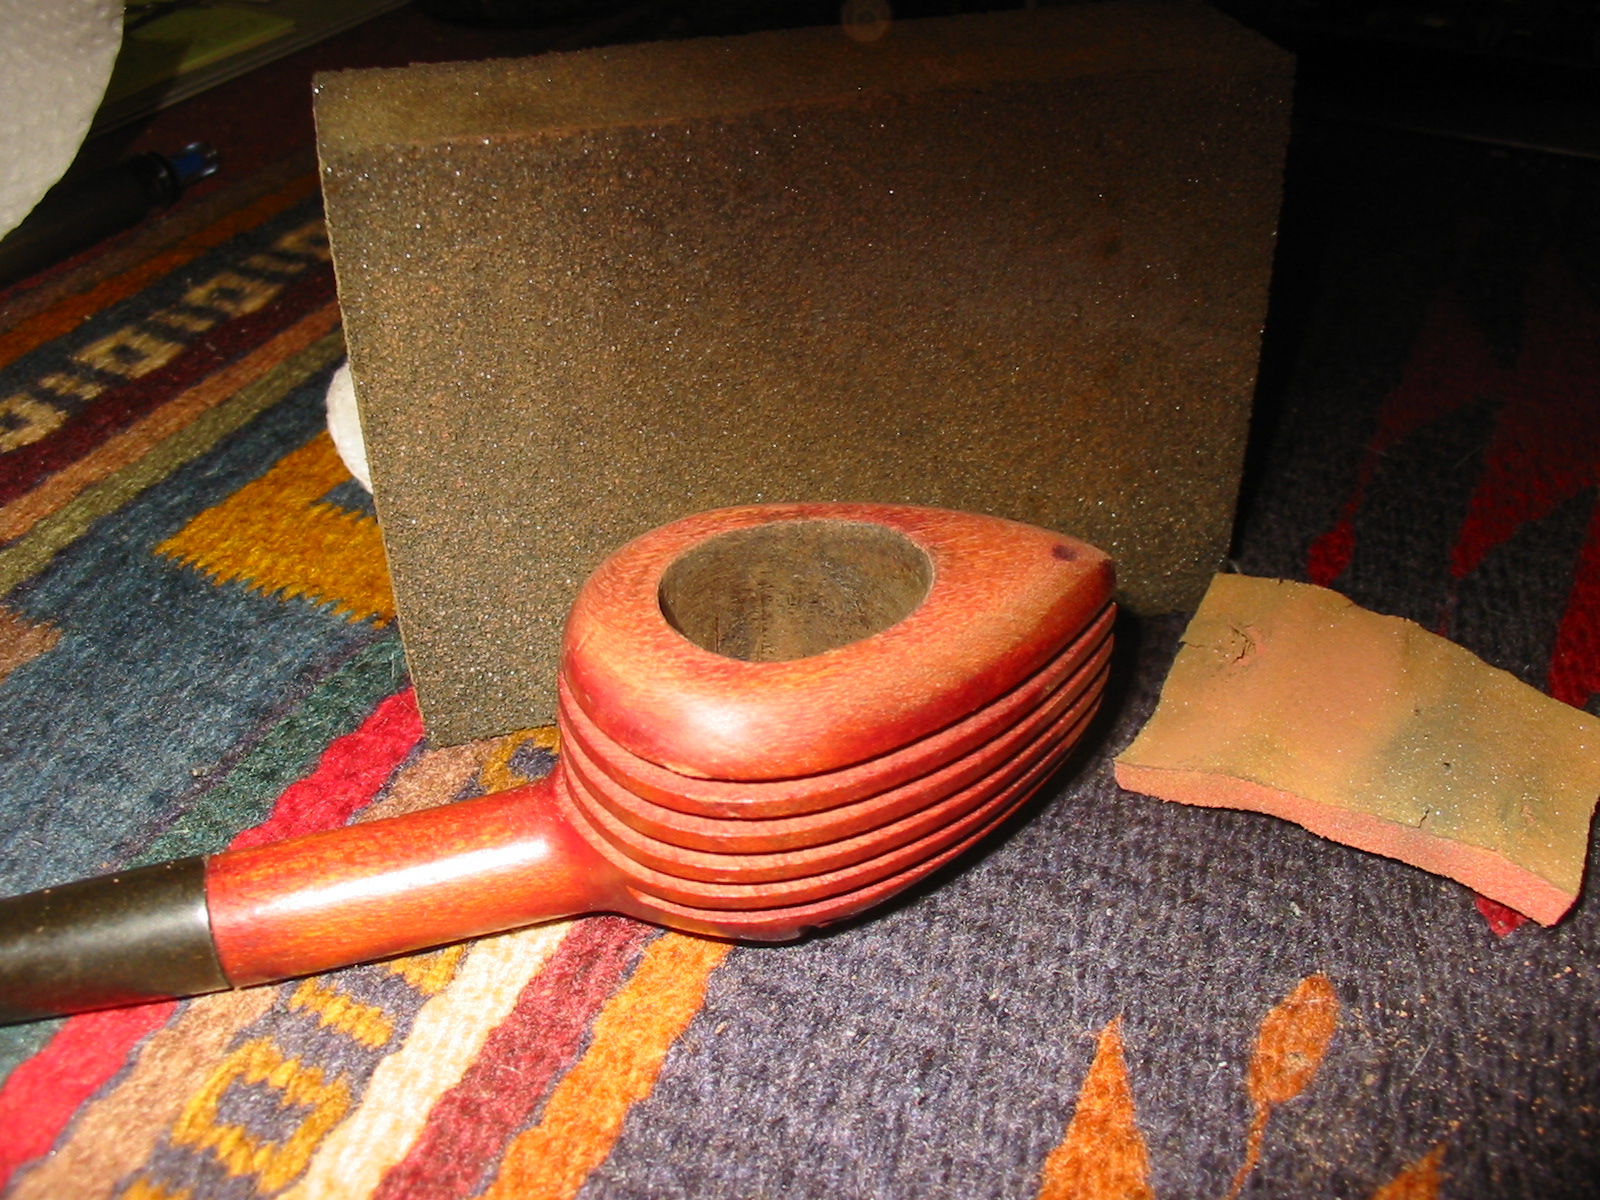
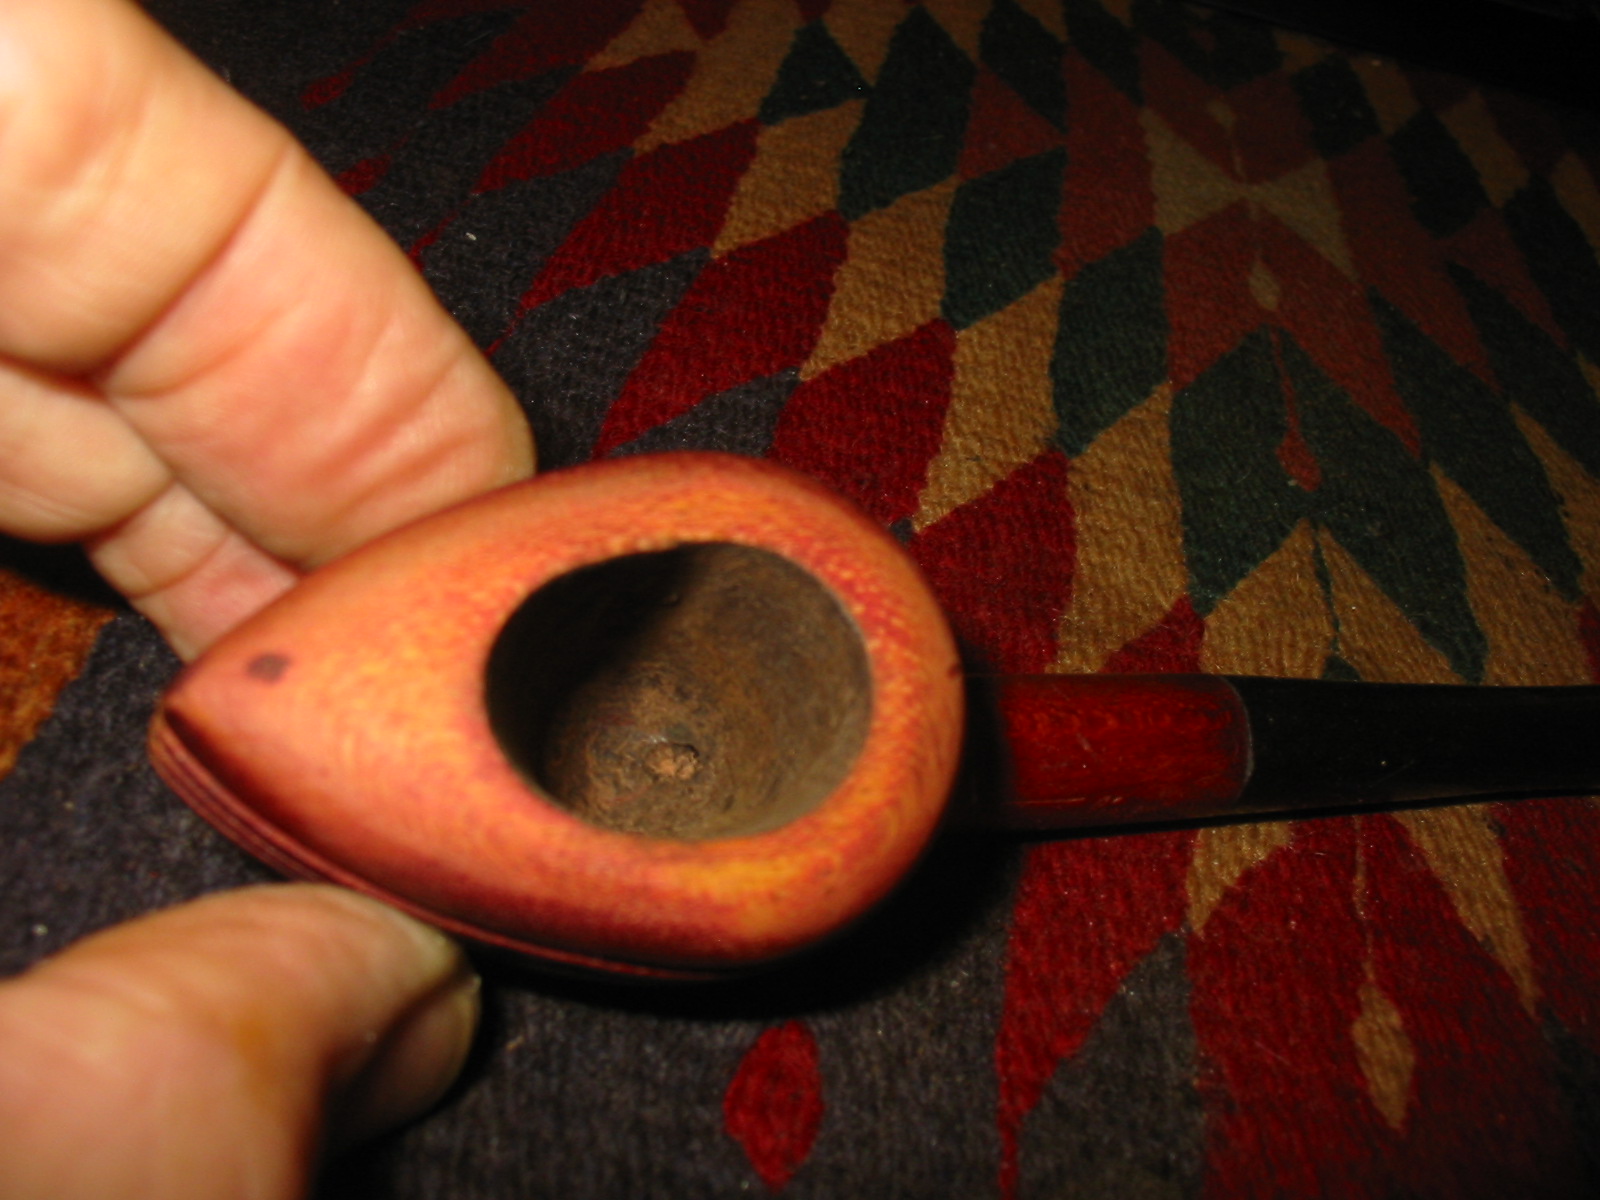
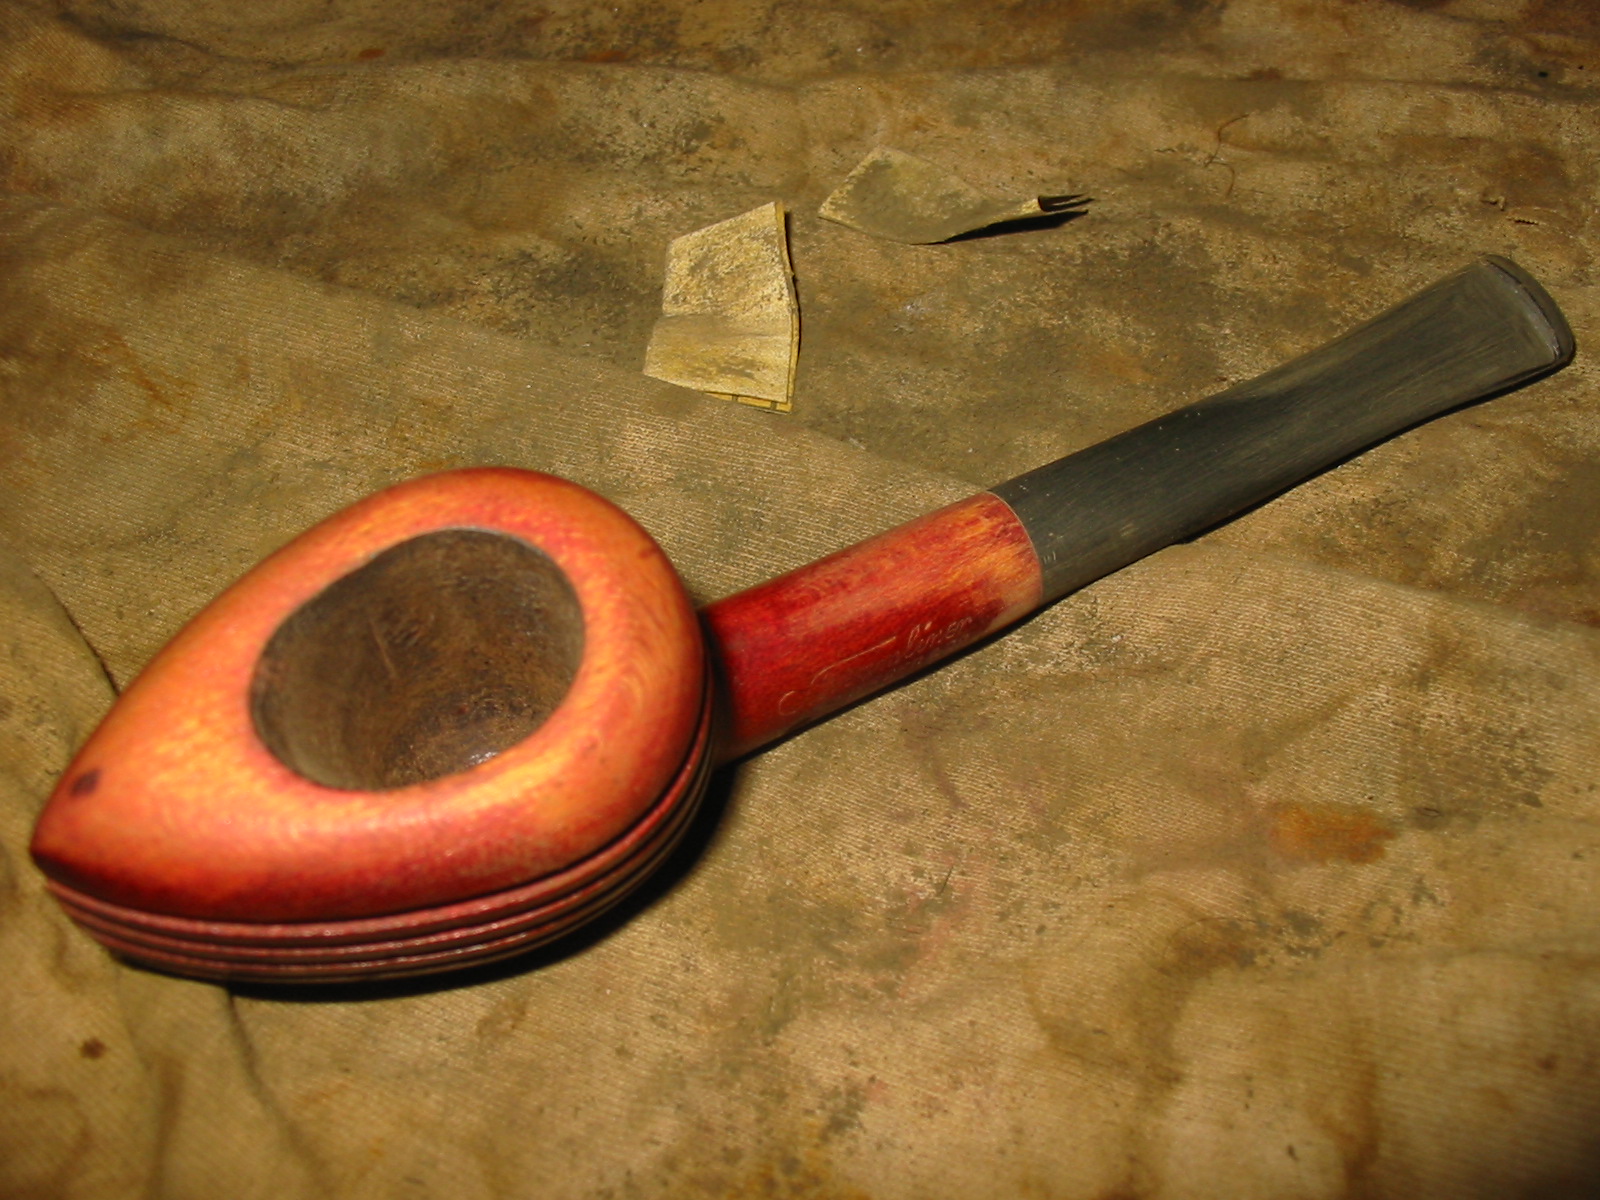
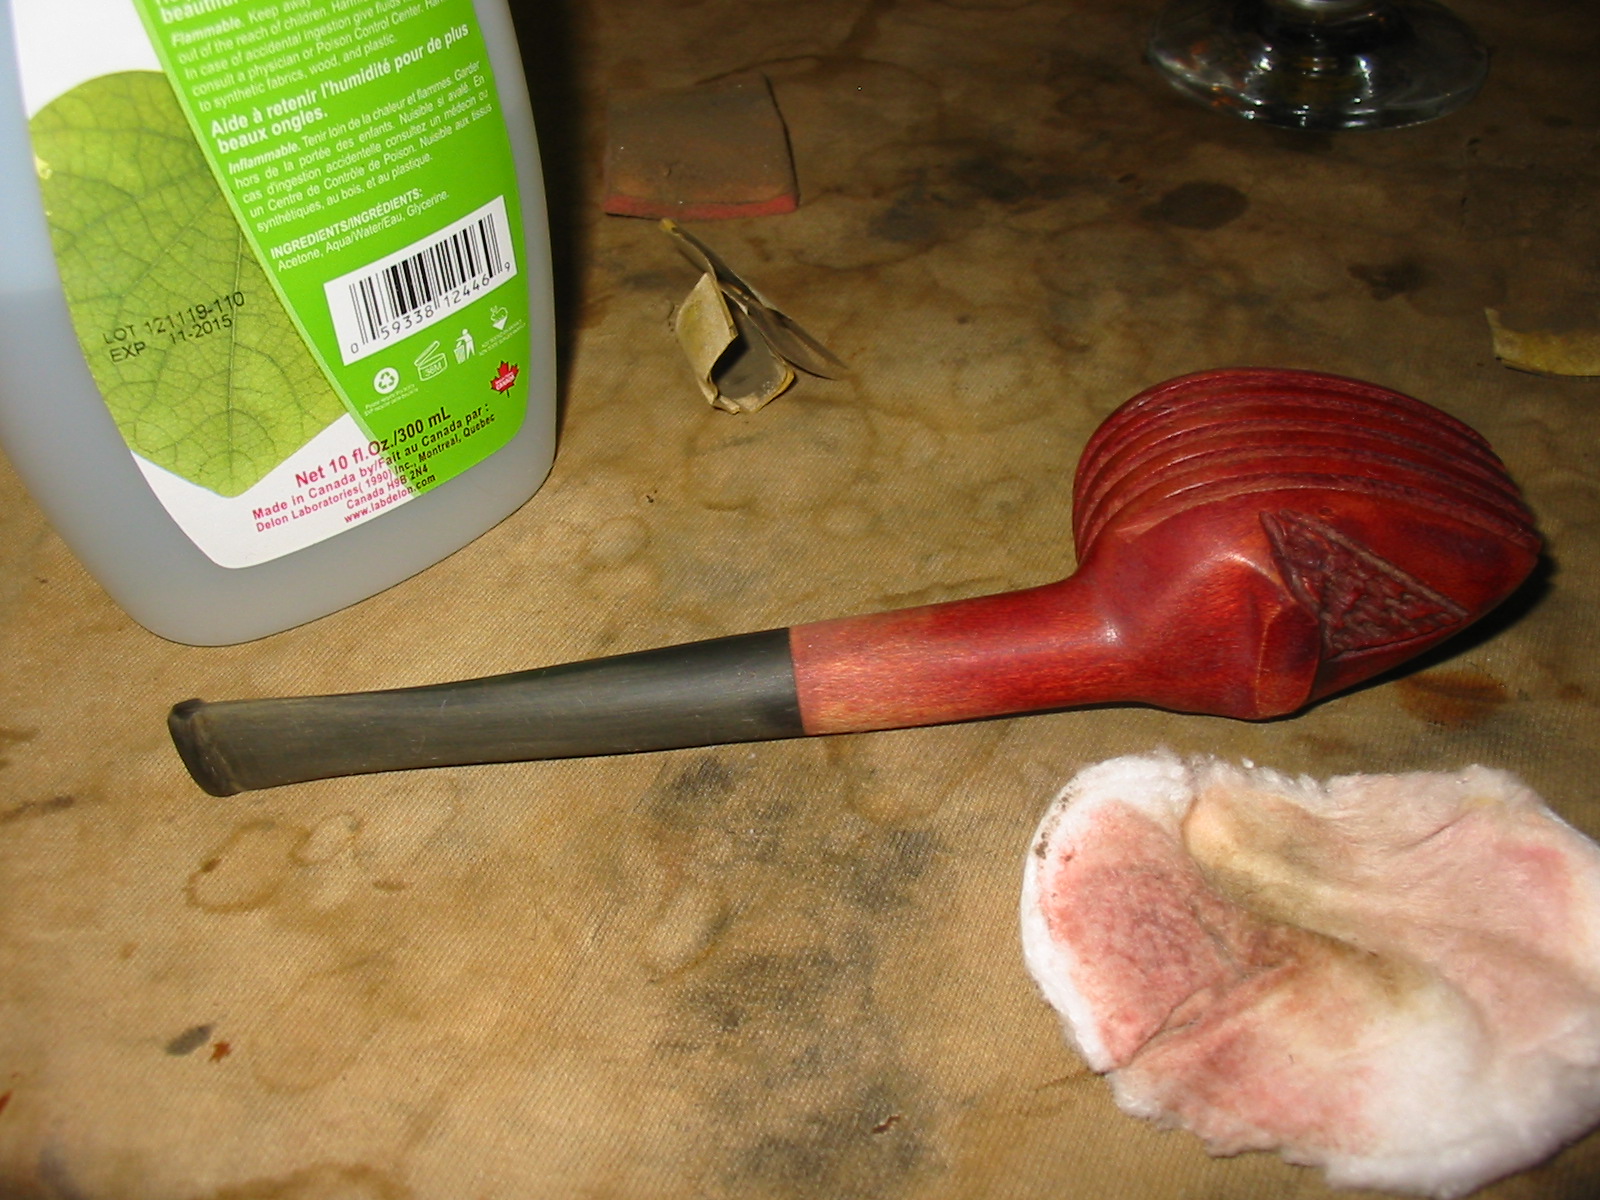
There were two small divots in the shank just below the stamping. I thought at first these might be dents but they are actually spots where the wood is missing. The right side of the bowl is also in good shape. The fins are intact all the way around the bowl with no chips or breakage. The rim was tarred and had a small burn spot on the point at the front of the bowl. The stem was definitely a replacement stem. In my reading I had found copies of the logo that was originally on the stem and also the fact that the stem had a stinger apparatus as part of the fitments. This stem had neither and the fit was wrong. The diameter of the stem was bigger; the tenon was off center therefore the fit was out of line with the left side being too large and the right side too small. The length of the stem was also too long and did not match the dimensions that I had found online regarding the overall length of the pipe. The bowl was in pretty decent shape though there was some kind of bowl coating on it that had broken free of the walls. It is a tear drop shaped bowl with a downward angle on the front portion so reaming it would be tricky. The wood on this one was definitely not briar. The bottom of the bowl has a foot that makes it a sitter and there is a rusticated pattern on the bottom of the bowl.
IMG_2425

IMG_2426

IMG_2427

IMG_2428

IMG_2429

I carefully reamed the bowl to remove the bowl coating and the slight cake that was there. I used two different cutting heads on the PipNet reamer. The first head was the same diameter as the main portion of the bowl. For the angle teardrop end I used the smallest cutting head. Between the two of them I was able to clean up the bowl and remove all of the coating.
IMG_2430

IMG_2431

Removing the tars from the rim was a bit of a challenge and combined with burn mark on the point I decided to sand off the rim with a medium grit sanding sponge. I would then have to restain the bowl. I sanded it with the medium grit sponge and then with a fine grit sanding block to work on the burn mark and the darkening of the rim.
IMG_2432

IMG_2433

IMG_2434

IMG_2435

I finished the sanding by wiping down the bowl with acetone on a cotton pad. I was able to even out the finish on the bowl and rim so matching stain would be much easier to do. I was also able to lighten the burn spot with the same process to the point that a good coat of oxblood stain would make it fade into the surface of the rim.

I then set the bowl aside and went to work on fitting a new stem to the bowl and shank. In the first photo below I have the new stem blank fit to the shank. It still needs work to make the diameters match. The stem is about an inch shorter and brings the pipe back to the original length as noted from my online work. I also think that proportionally it works better with the elongated bowl and shank than the one that came with it.
IMG_2436

In order to get the fit good and tight I used a sanding block to make sure that the transition between the bowl and shank was smooth. This entailed sanding the shank slightly in the process. In the next series of four photos below the fit is finished. The transition is smooth and the fit is good and tight.
IMG_2437

IMG_2438

IMG_2439

IMG_2440

I wiped the pipe down with acetone once again to even out the finish on the shank. The grain in the original wood is quite visible in these photos and it is not briar.
IMG_2441

IMG_2442

IMG_2443

The flow of the taper on the stem was still too chunky in my opinion to match the Streamline concept of the pipe. I used 220 grit sandpaper and files to change the slope of the stem. When I had it the way I envisioned I sanded it with 220 grit sandpaper, a medium grit sanding sponge and also a fine grit sanding block. The angle was right and the profile looked much more “streamlined”.
IMG_2445

IMG_2446

I sanded the stem, bowl and shank with micromesh sanding pads. I wet sanded them with 1500-2400 grit sanding pads and dry sanded with 3200-12,000 grit pads.
IMG_2447

I decided to try to match the original stain using a Danish Oil (linseed oil with a cherry stain). I applied the stain with a cotton pad and wiped it down. When it had dried I was not happy with the coverage and appearance so I removed the stain with acetone to try a different stain.
IMG_2448

IMG_2449

IMG_2450

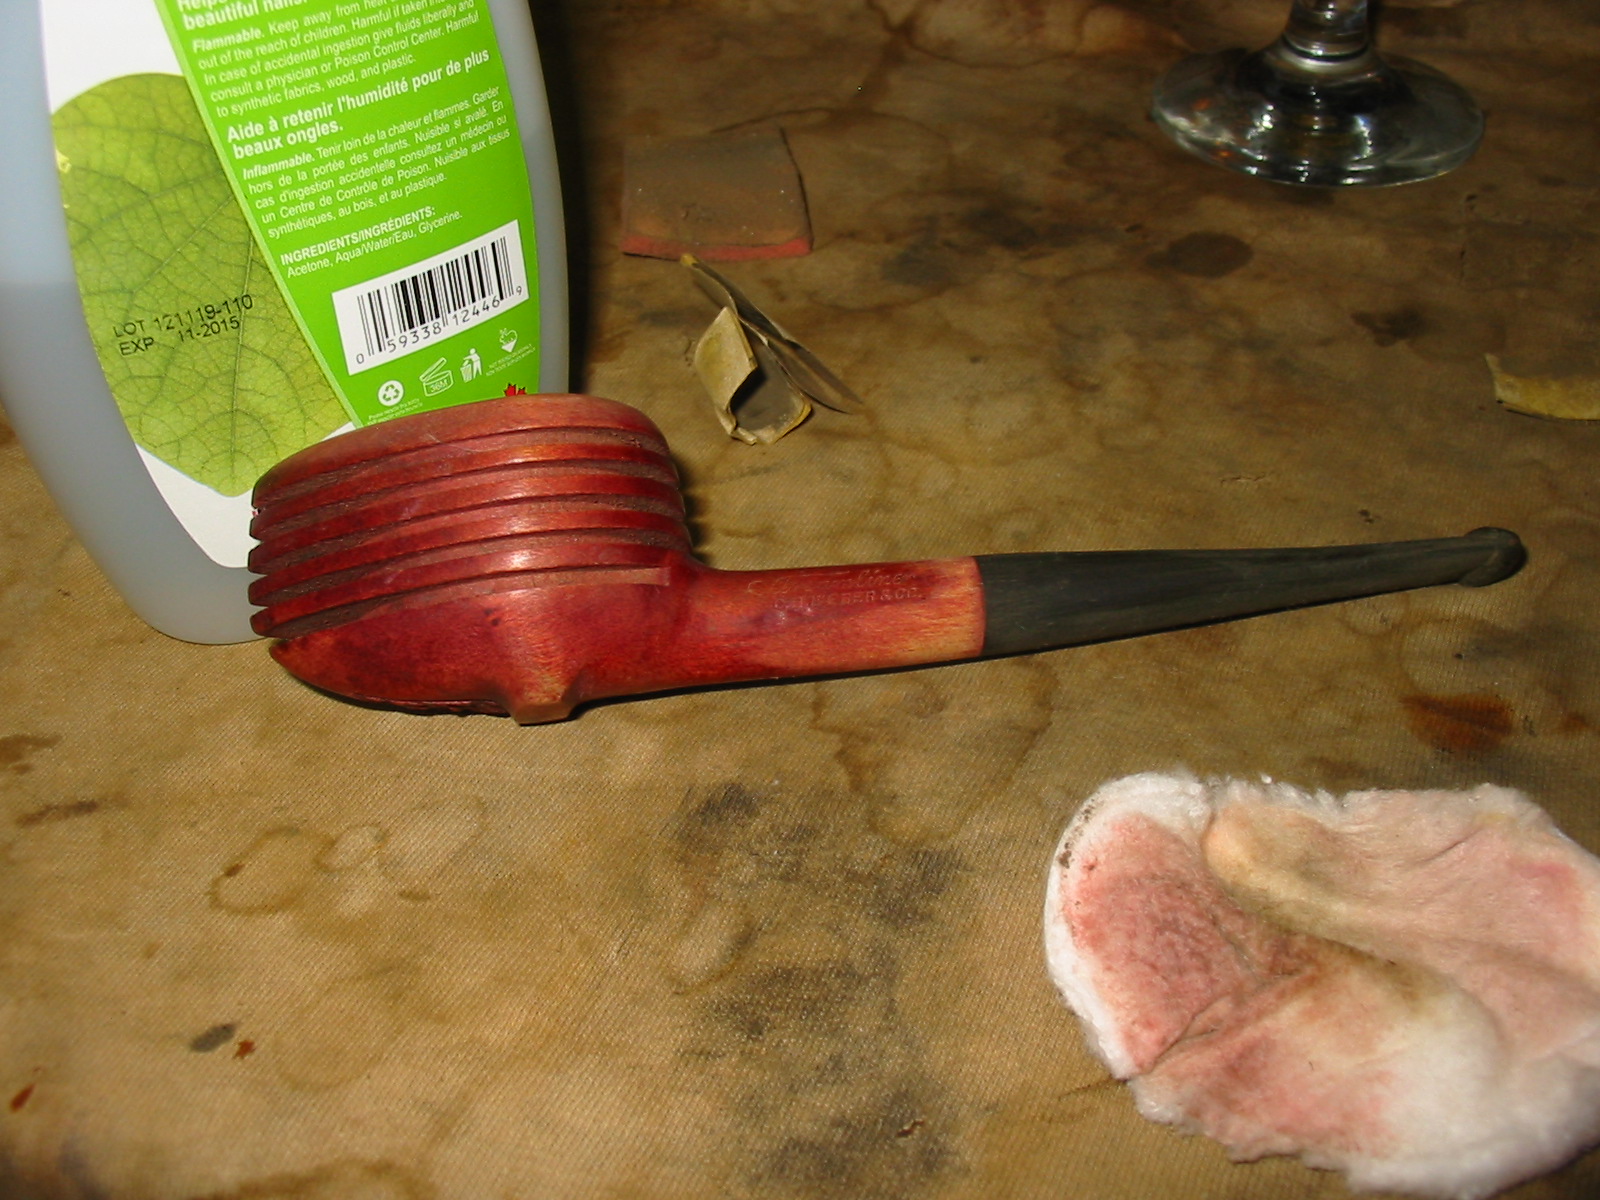
Once I had the finish removed I restained it with an oxblood aniline stain. I had to apply it and flame it several times to the top of the bowl and shank to get the stain to set deeply and match the rest of the bowl. This was a hard one to get a good stain on. I decided to not apply the stain in the grooves of the fins but just on the surface of the bowl. It worked quite well with the original stain in the fins matching the surface colour really well.
IMG_2452

IMG_2453

IMG_2454

IMG_2455

I did some further polishing on the stem with the higher grits of micromesh from 3600-12,000. Once I had finished the sanding I polished the stem with Maguiar’s Scratch X2.0 to deepen the shine. I coated the stem with Obsidian Oil and then buffed it with carnauba wax to seal it and protect it. The final buff on the stem was done with a soft flannel pad.
IMG_2457

IMG_2458

I reinserted the stem and gave the pipe a final buff with carnauba wax and a soft flannel buffing pad. The finished pipe clearly shows some of the grain pattern of the alternative wood on the shank and the top and bottom of the bowl. The stem came out fitting nicely and giving the overall pipe a new “streamlined” appearance more accurately approximating the original stem. The bowl feels great in the hand and is uniquely attractive as a piece of pipe history. Time will tell if I smoke this one or just keep it around for display purposes. Below are photos of the finished pipe.
IMG_2463

IMG_2464

IMG_2465

IMG_2466

Medico Ventilator — Unventilated (Thanks Ed for the idea)


When I read this post by Ed James (Ozark southpaw) on Pipe Smoker Unlimited. This is the link to his post: http://pipesmokerunlimited.com/showthread.php?3186-Medico-Ventilator-unventilated I thought I would love to try that as well. Here is Ed’s first post in that thread that got me started thinking about the project. Ed also is a refurbisher of long standing and does excellent work. Here is his website: http://www.ozarksouthpawpipes.com/index.html

On PSU Ed wrote; “I’ve had a few of these and they smoke fine, although sometimes it was hard to get the filter seated so the pipe will draw as it should. If you’re not familiar with the Ventilators, they cannot be smoked without a filter. I smoke mostly filtered pipes, but thought I would see if I could make a Ventilator filterless. Accomplished it by turning a piece of briar the length of the shank and epoxying it in place. For the stem I used a vulcanite blank after replacing the tenon with delrin and adding a ring of tortoise shell acrylic. On my third bowl in it and it is smoking fine.”

Here is the pipe – pictured below. It is a nice looking sandblast that Ed “unventilated”.
Un-Ventilated Ventilator 2013-08-27 001 (1280x960)

Un-Ventilated Ventilator 2013-08-27 003 (1280x712)

Un-Ventilated Ventilator 2013-08-27 005 (1280x1013)

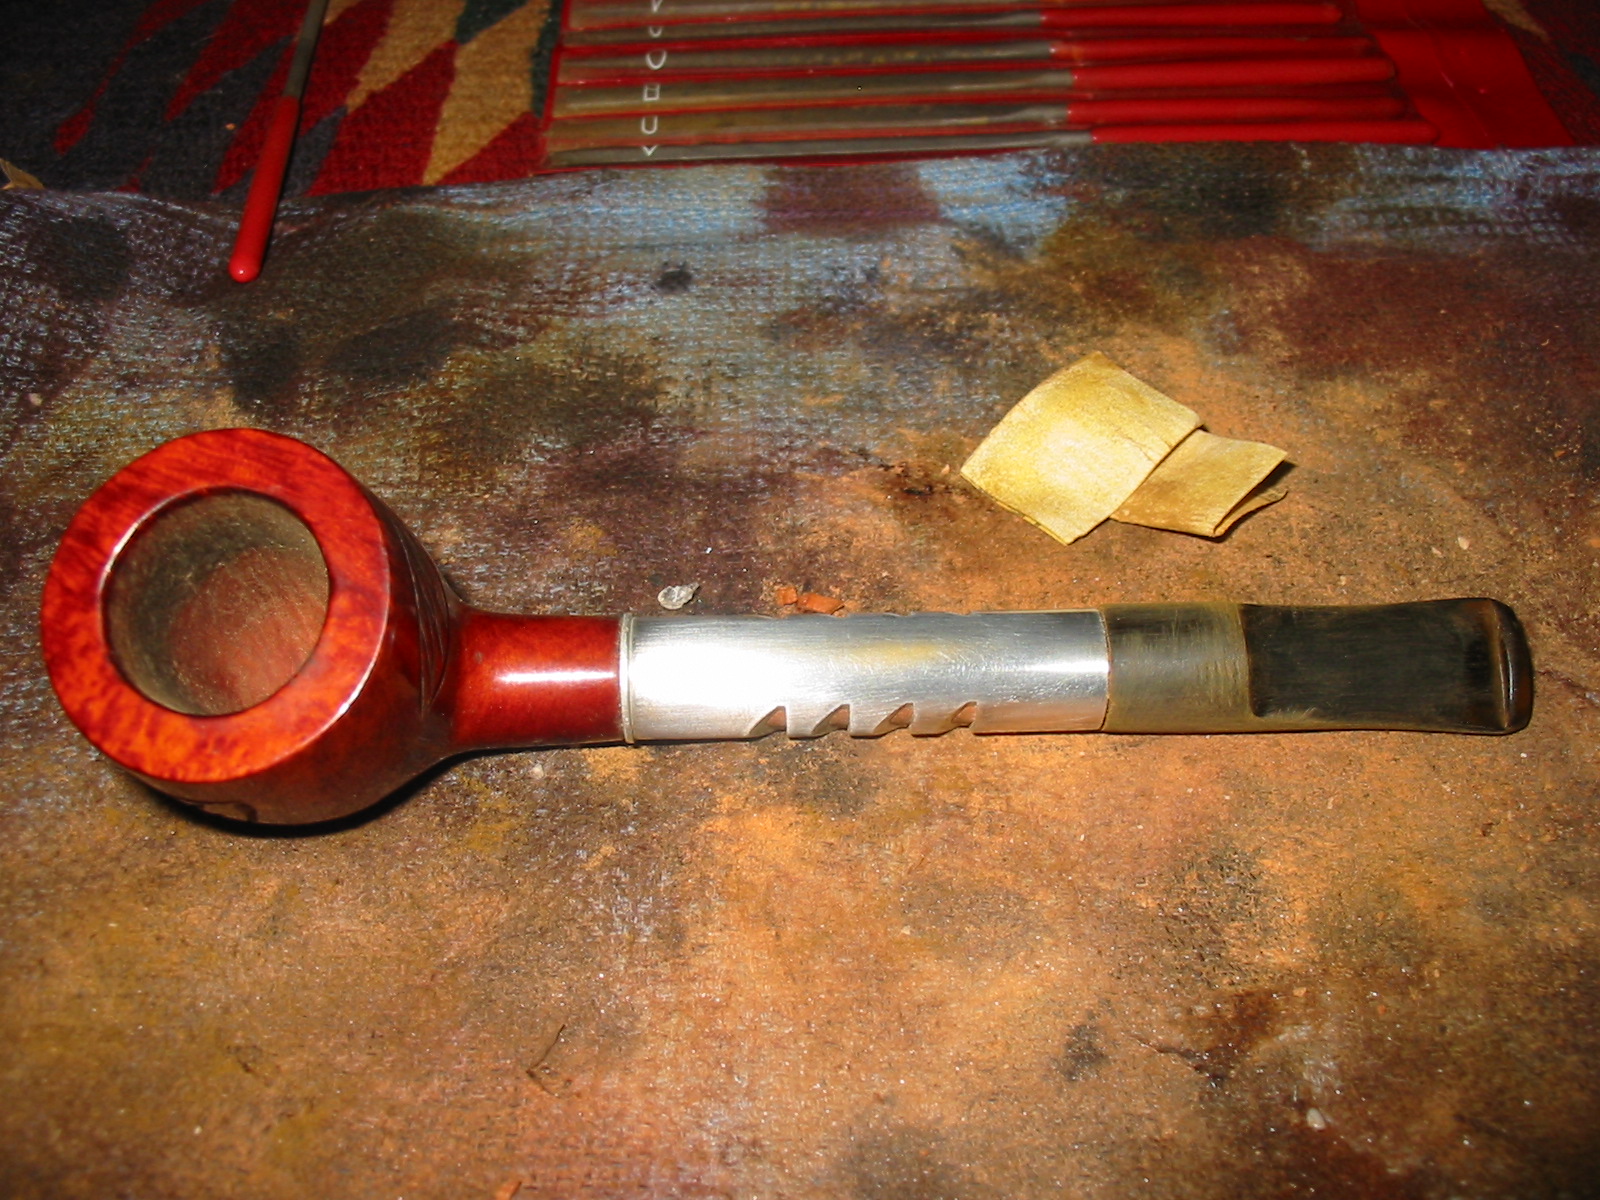
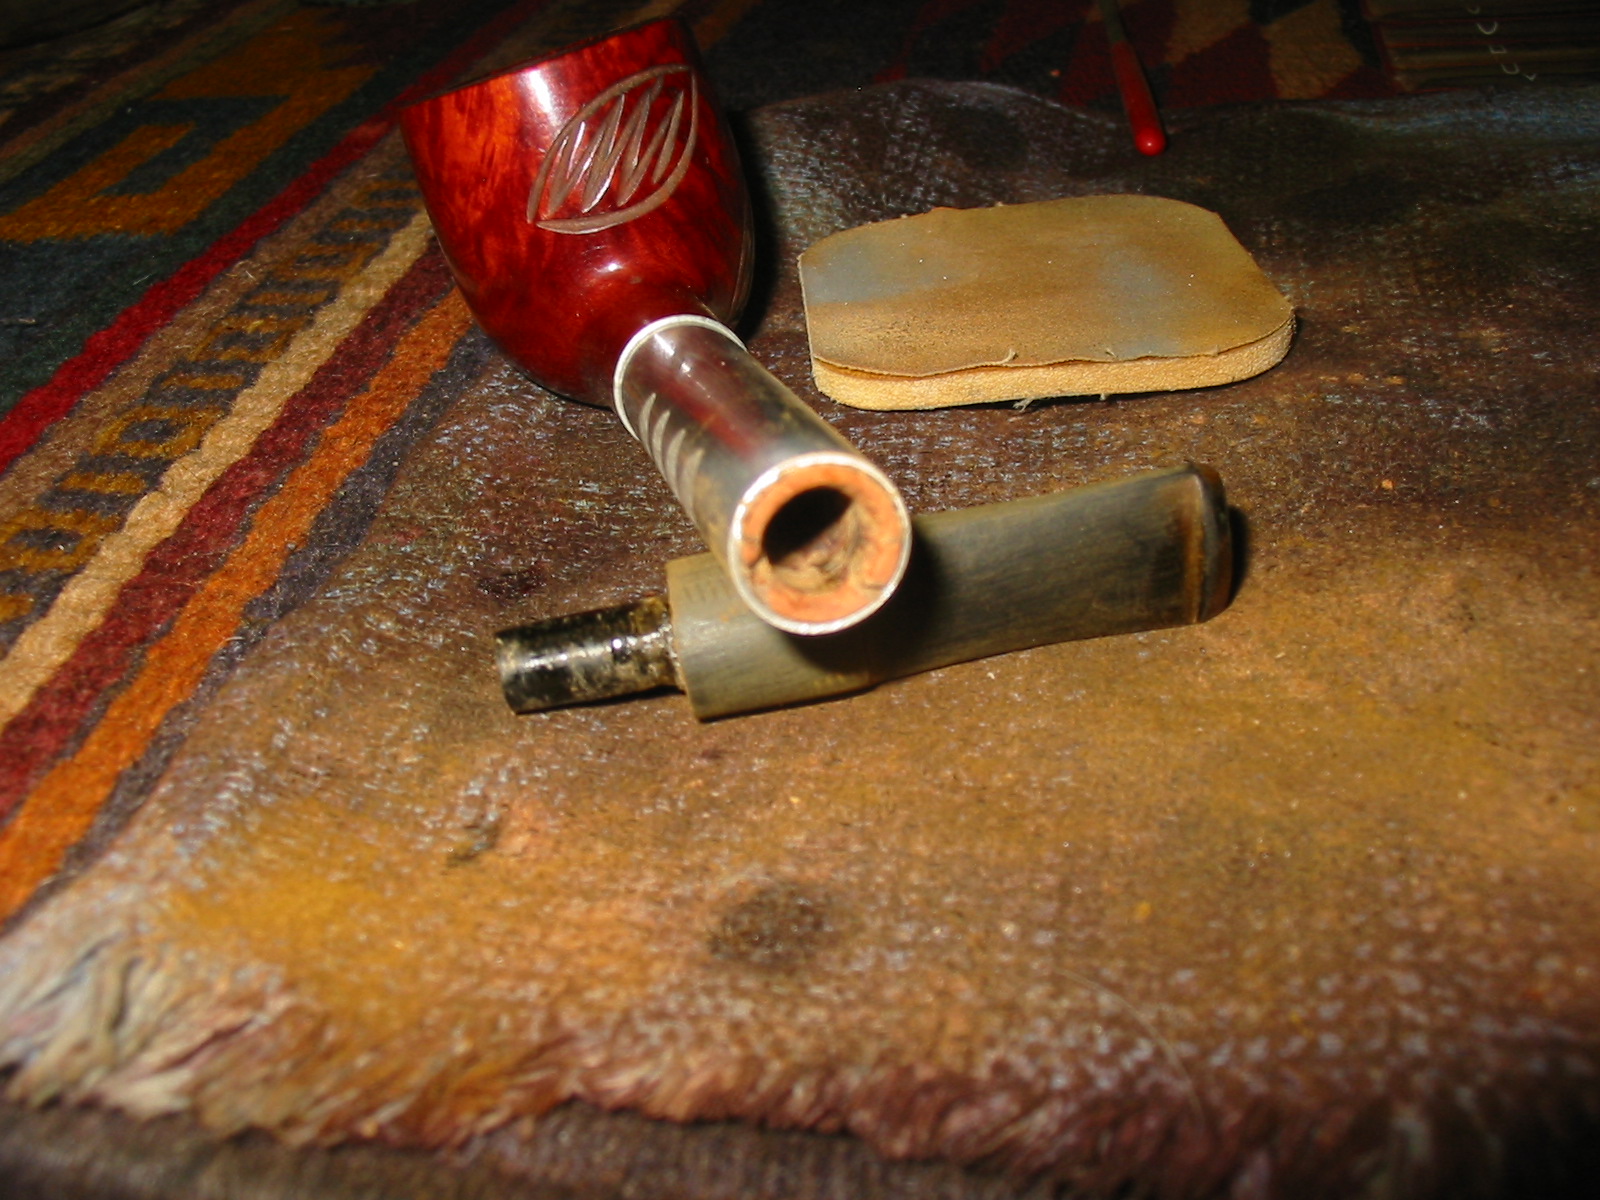
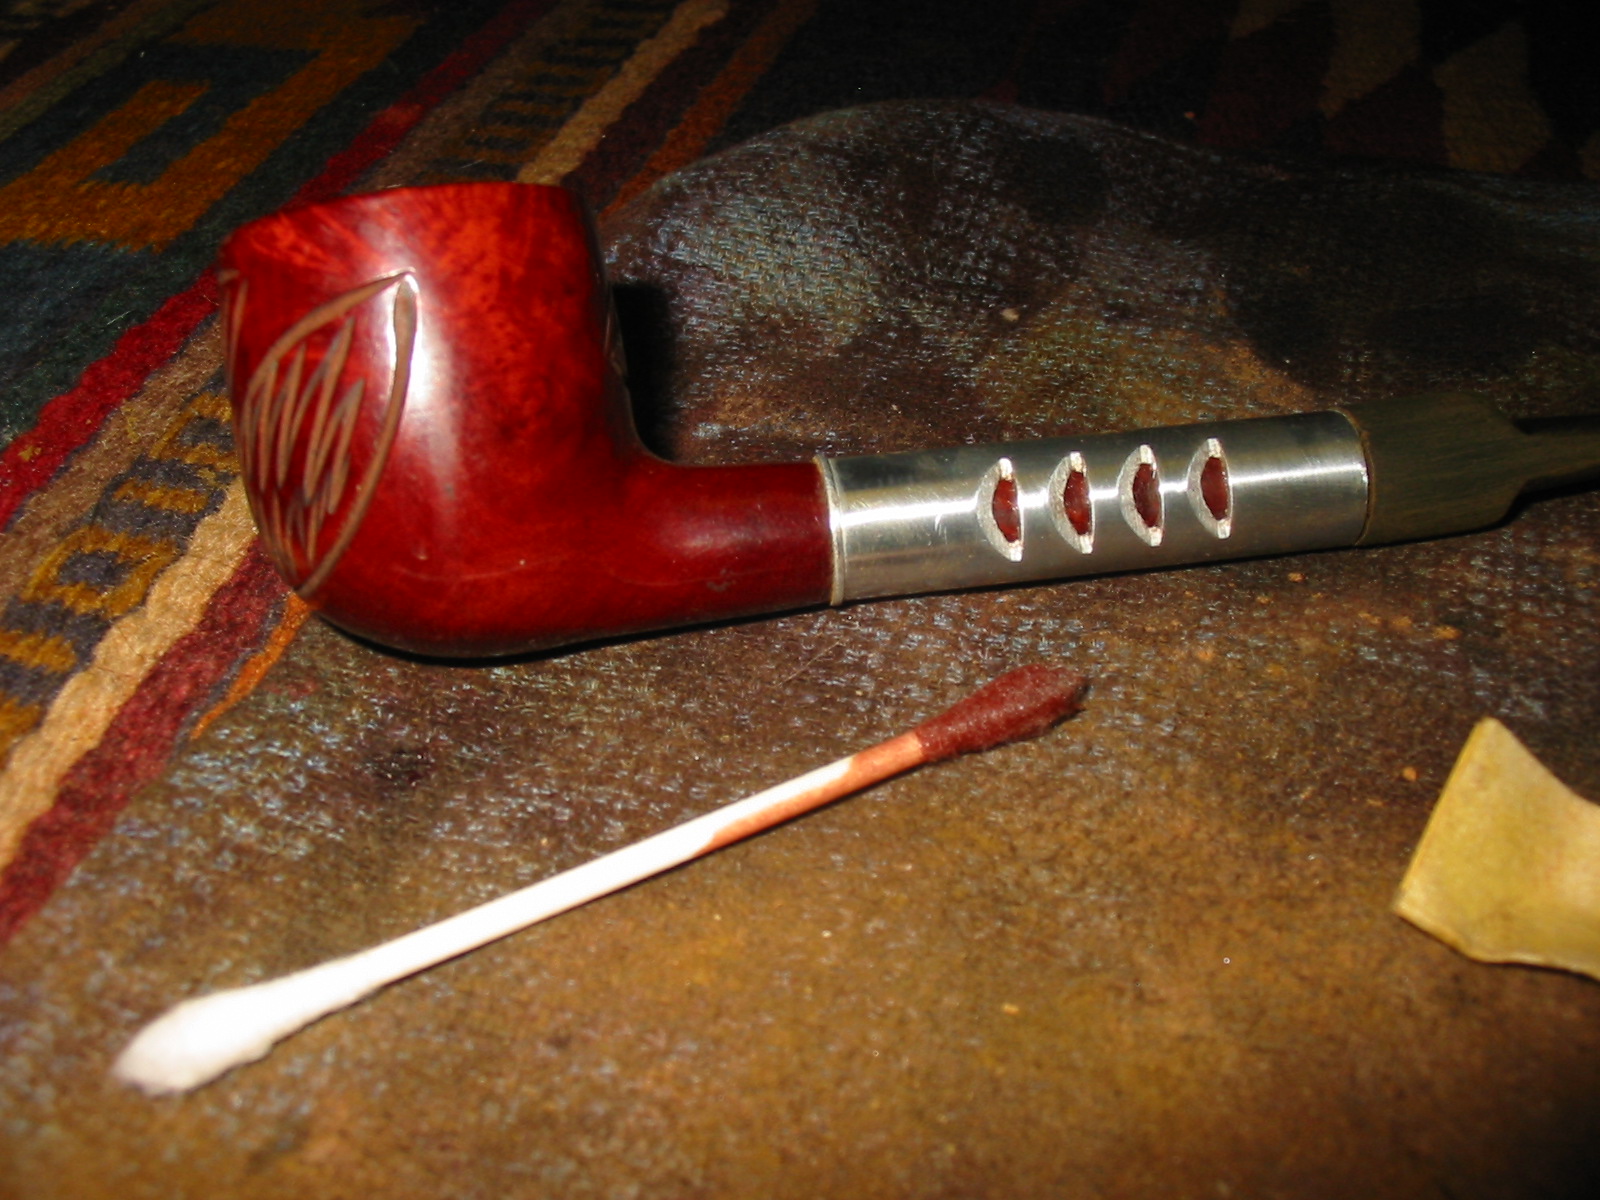
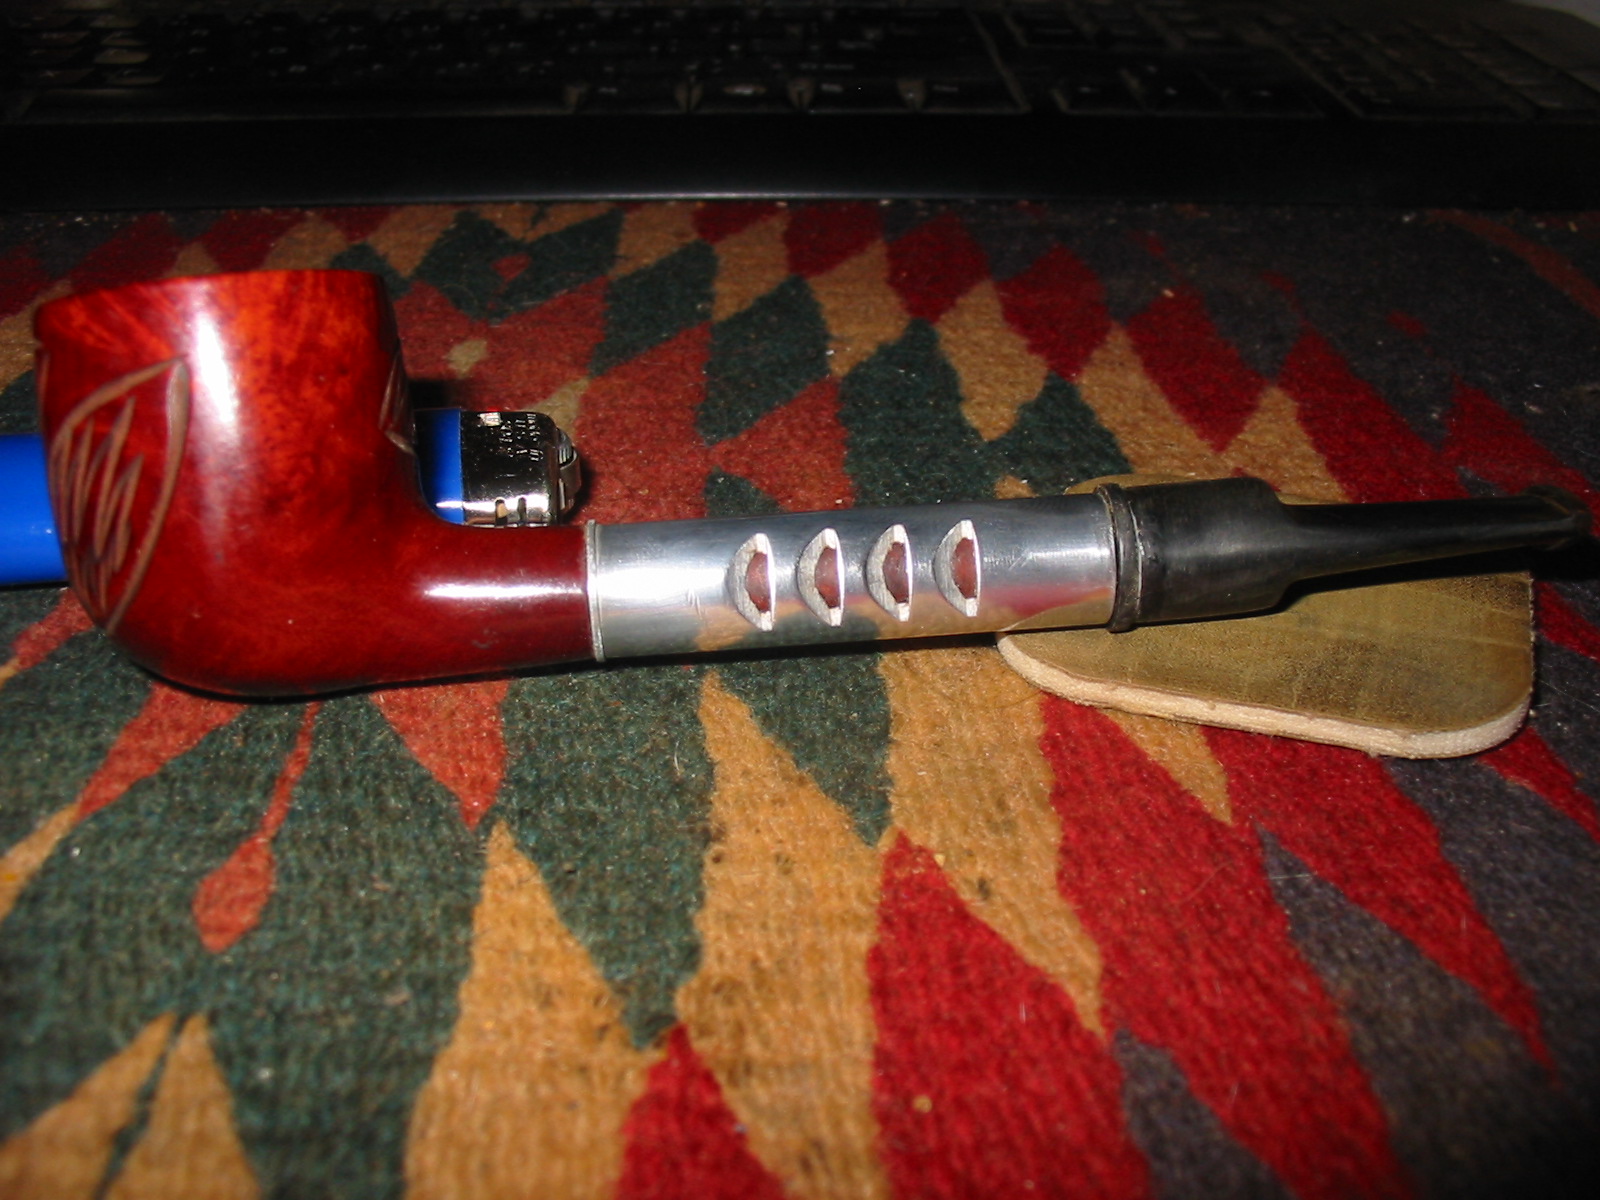
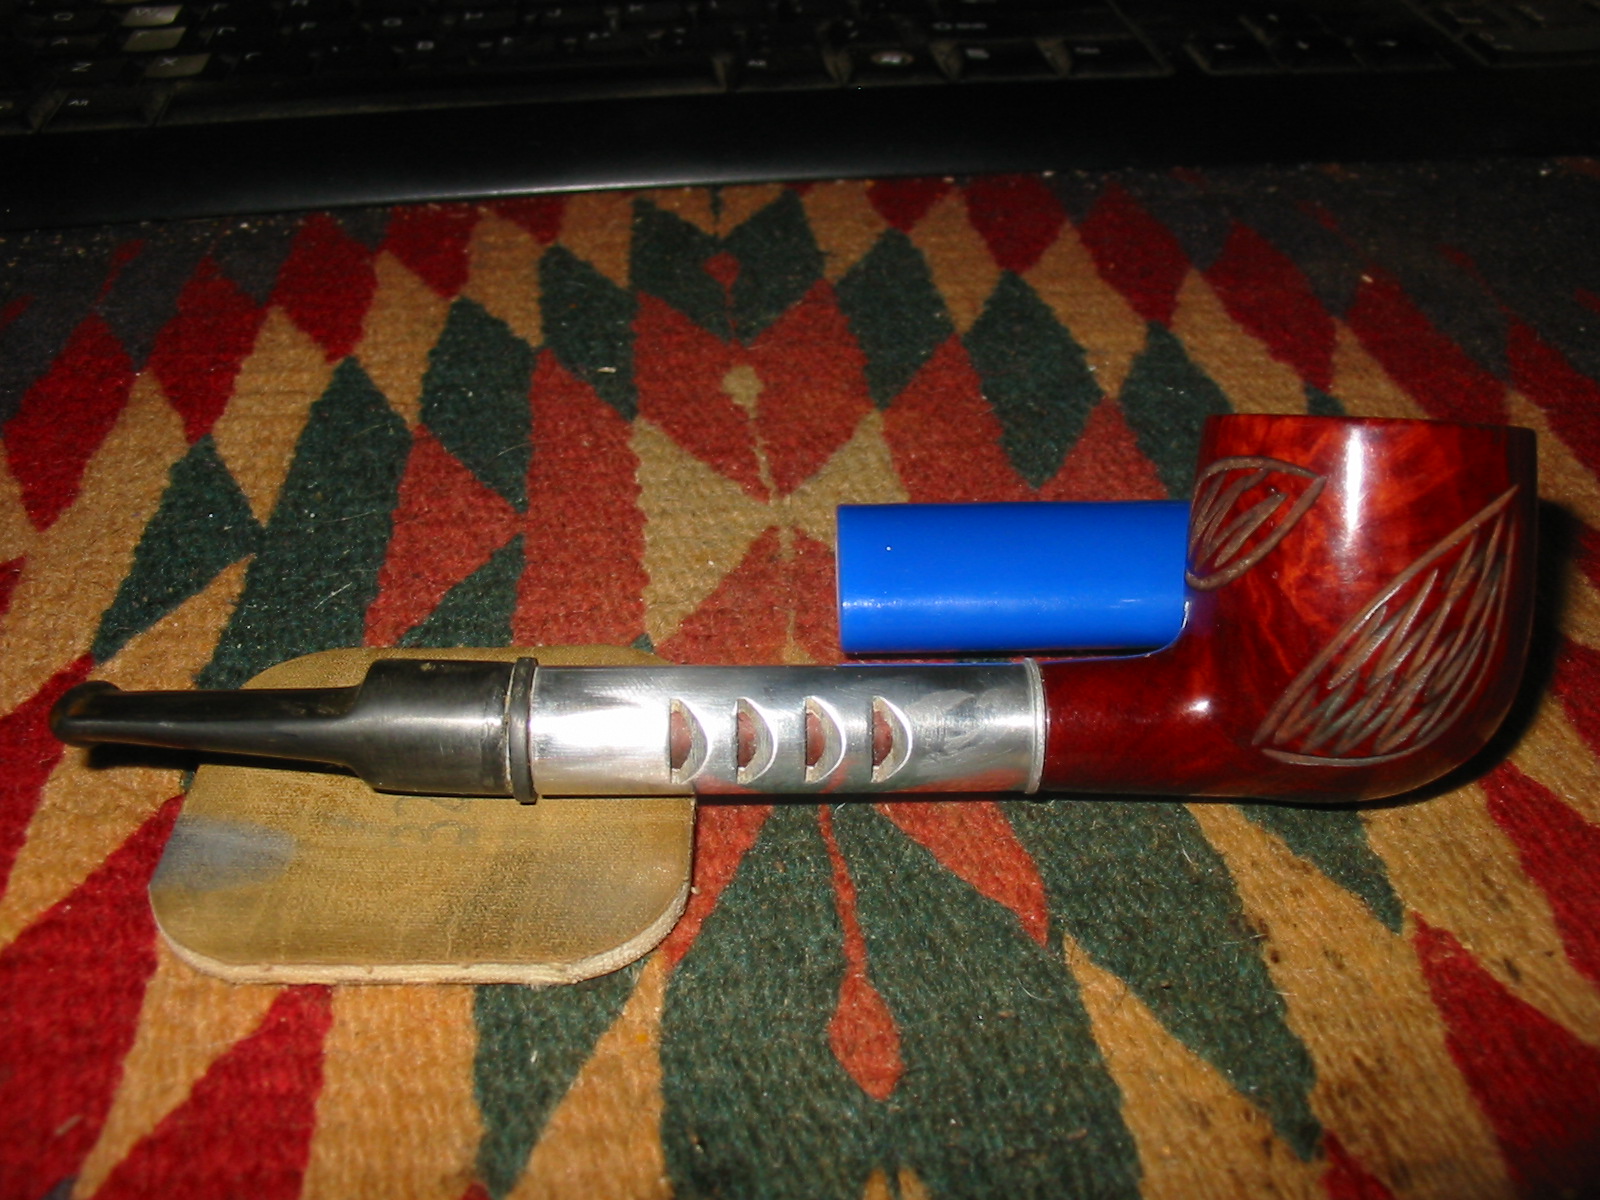
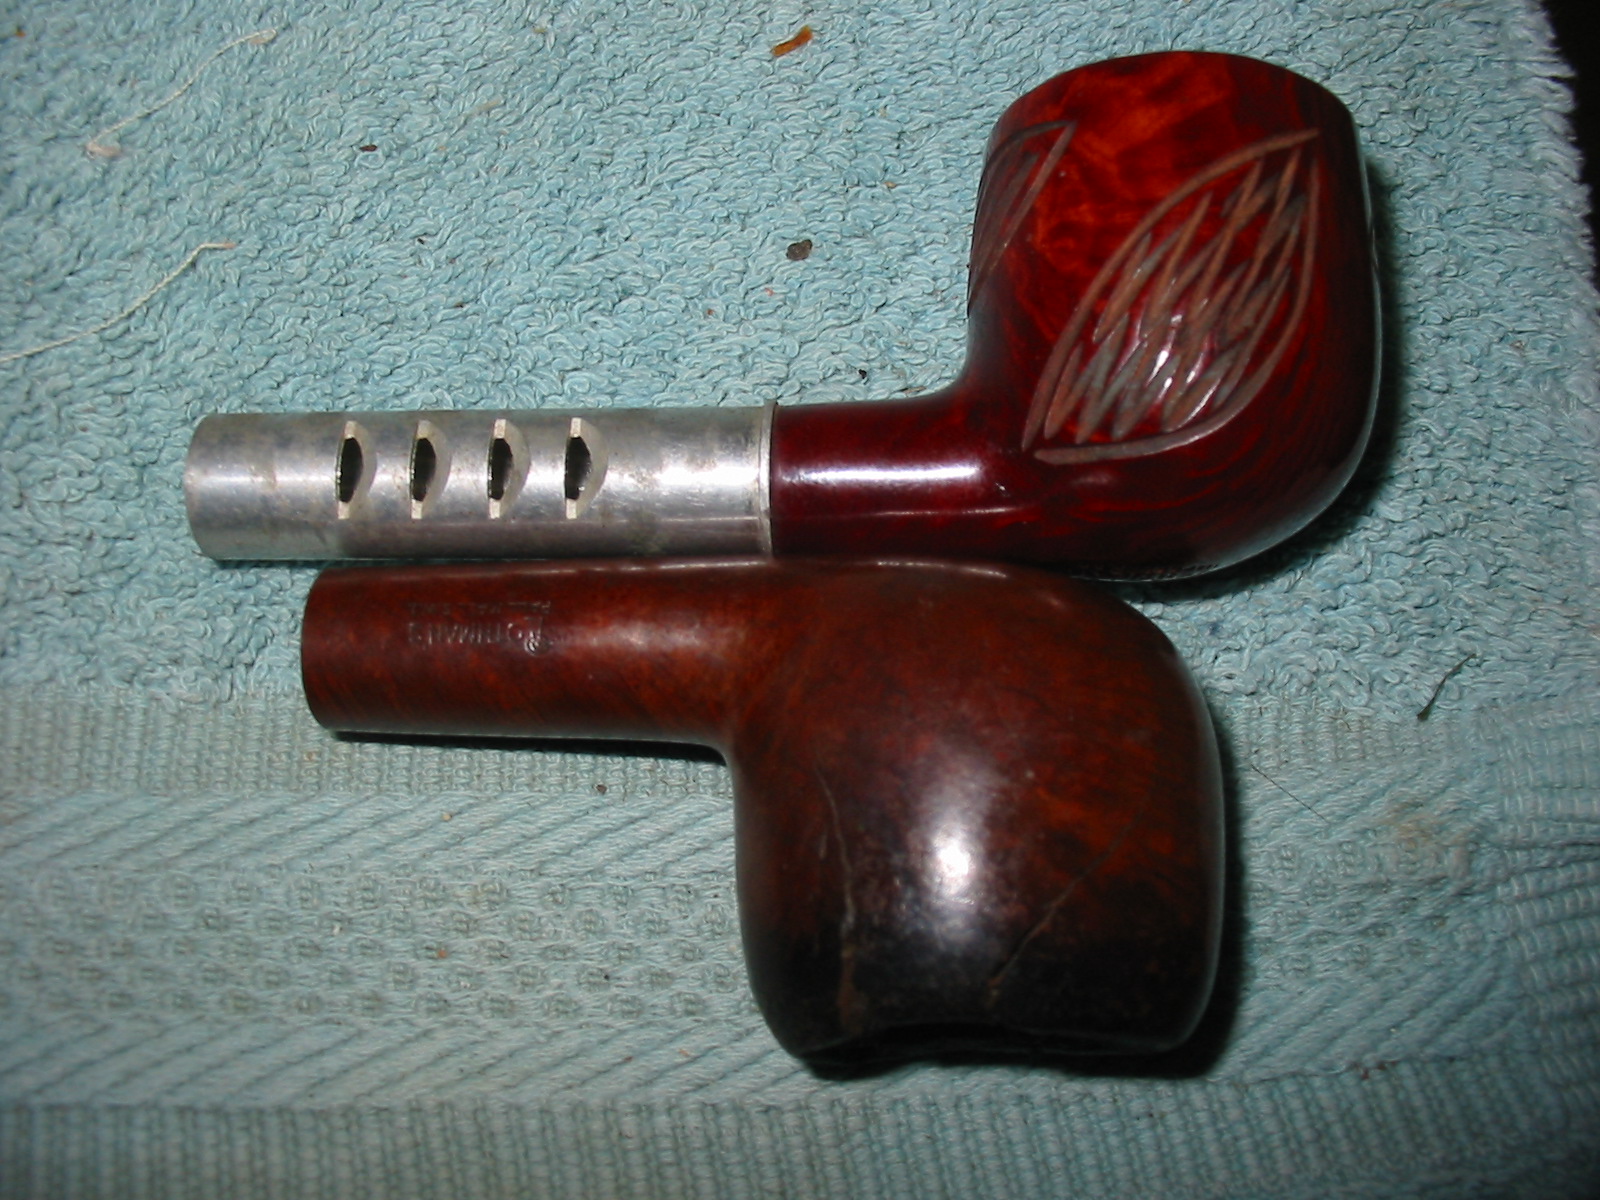
So today was the day that I got to finally work on “unventilating” one of my own. Mark Domingues (dogtalker) recently sent me a few old bowls and pipe parts that needed some work. In that package was a Medico Ventilator. It was not as nice as the one Ed worked on, pictured above, but it was a Ventilator sans stem nonetheless and it was the opportunity I was looking for to try my hand at unventilating the Ventilator. This bowl was absolutely clean. I don’t think that it had been smoked other than maybe the first light or so. The bottom 2/3s of the bowl was still virgin briar. The bowl had the typical Medico lacquer coat and there were carved leaves all around the outside of the bowl. I decided to leave the finish alone and rework it as it stood. One day I may remove the finish but for now it will remain as it is.
IMG_2148

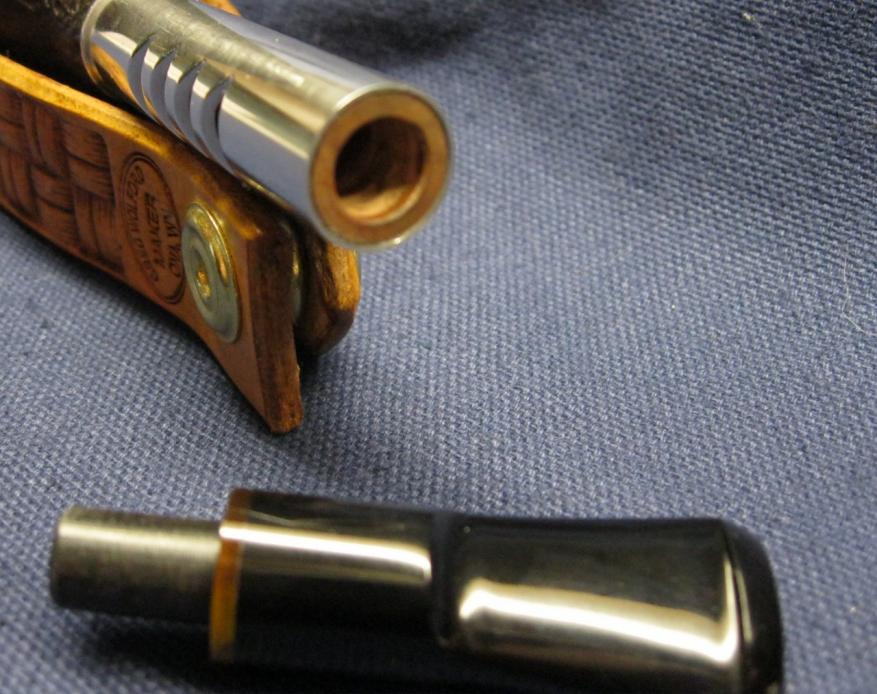
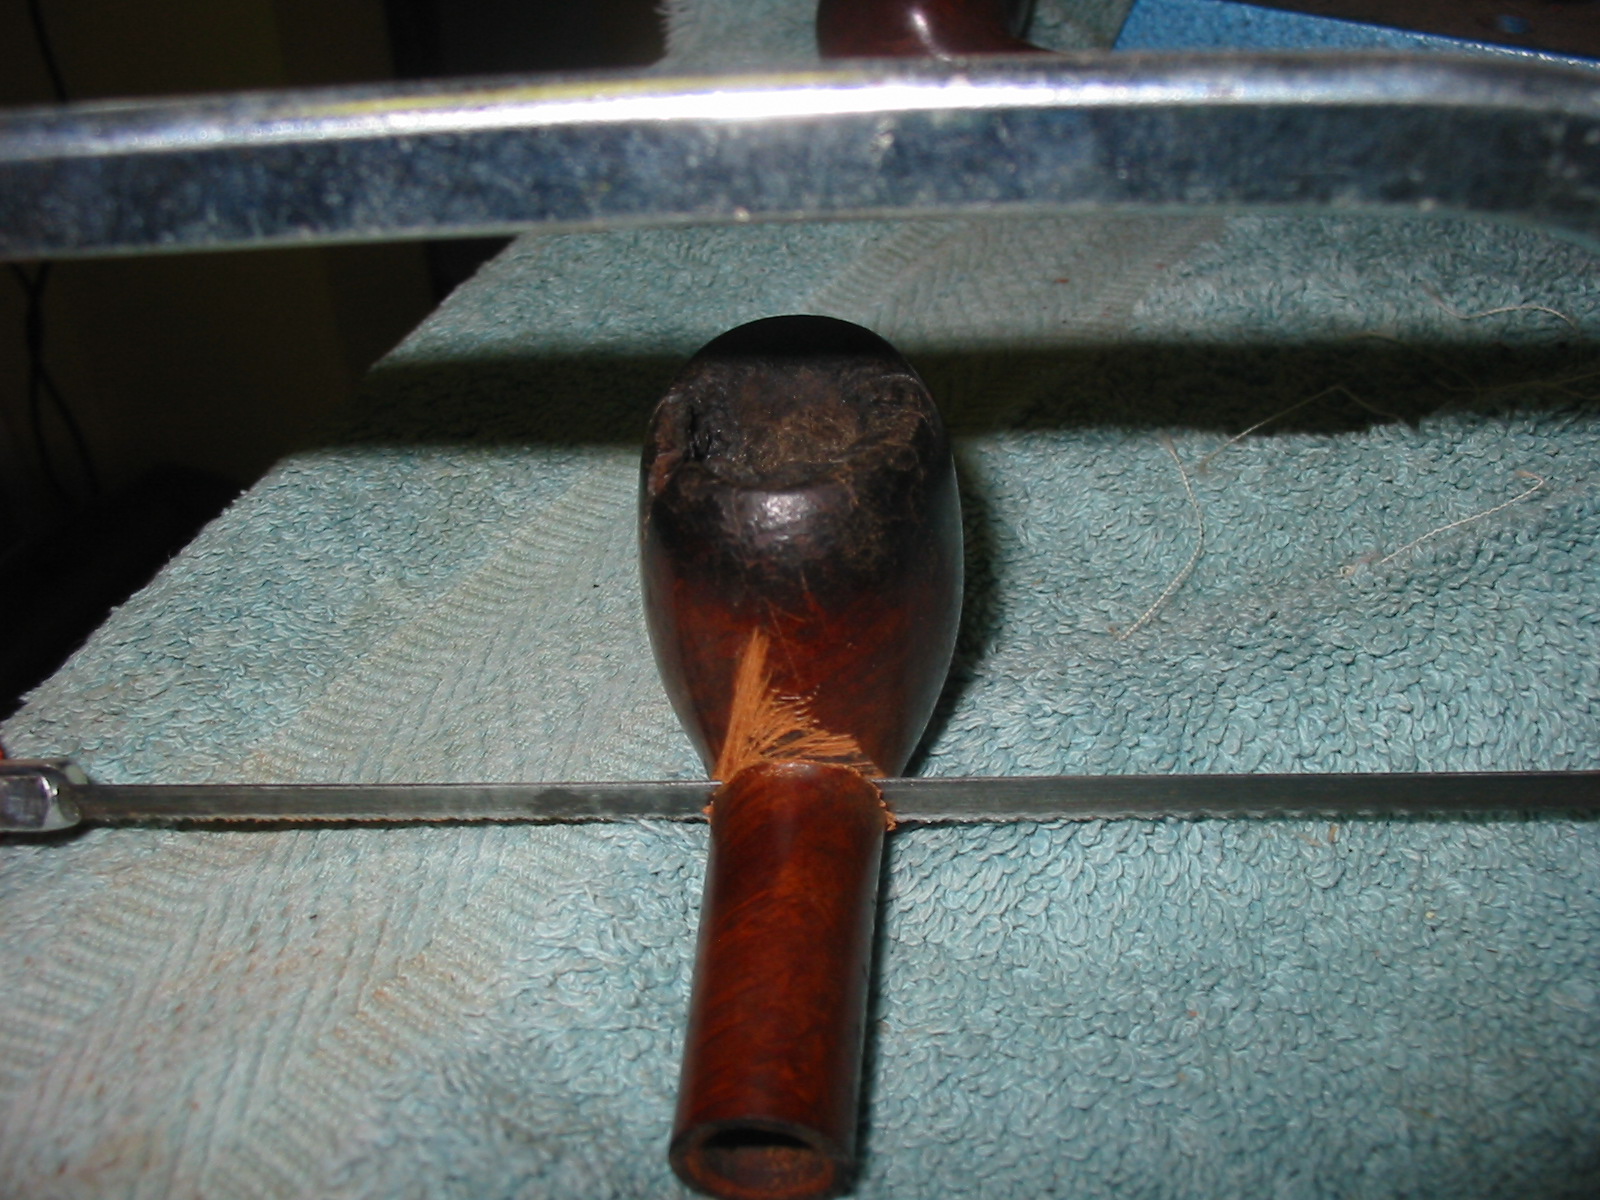
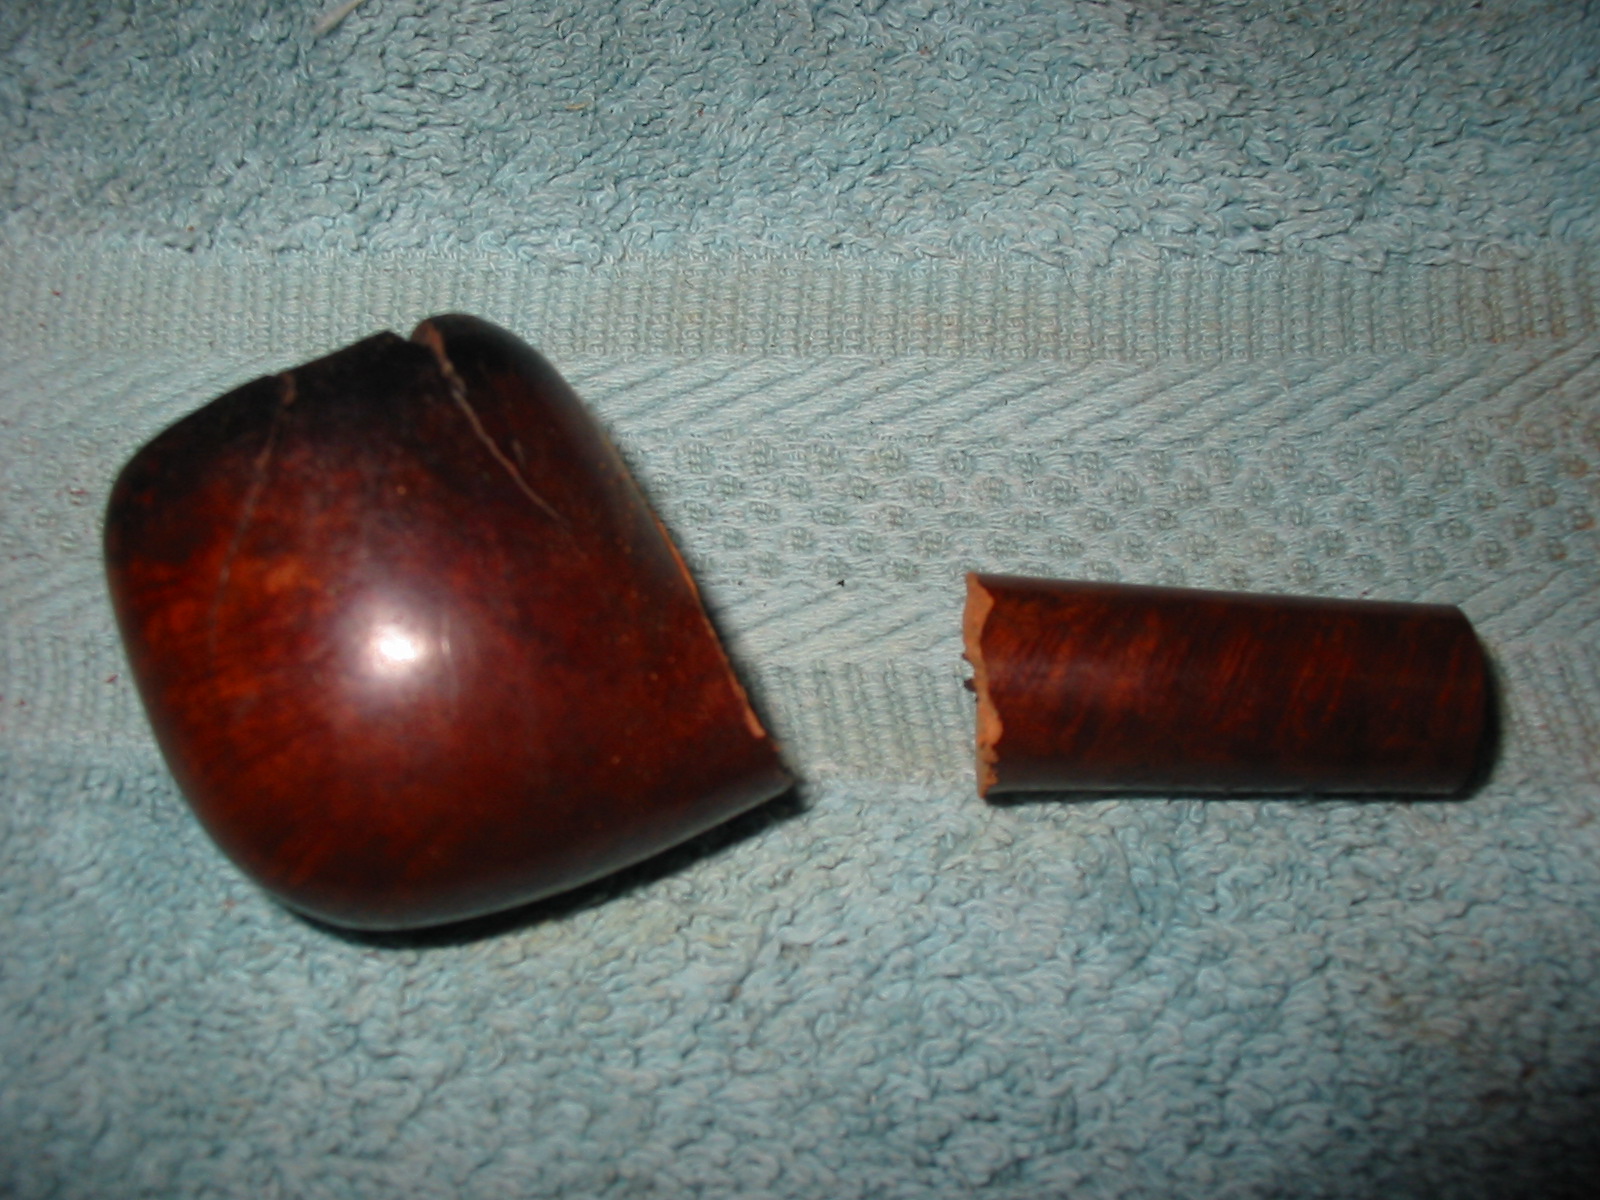
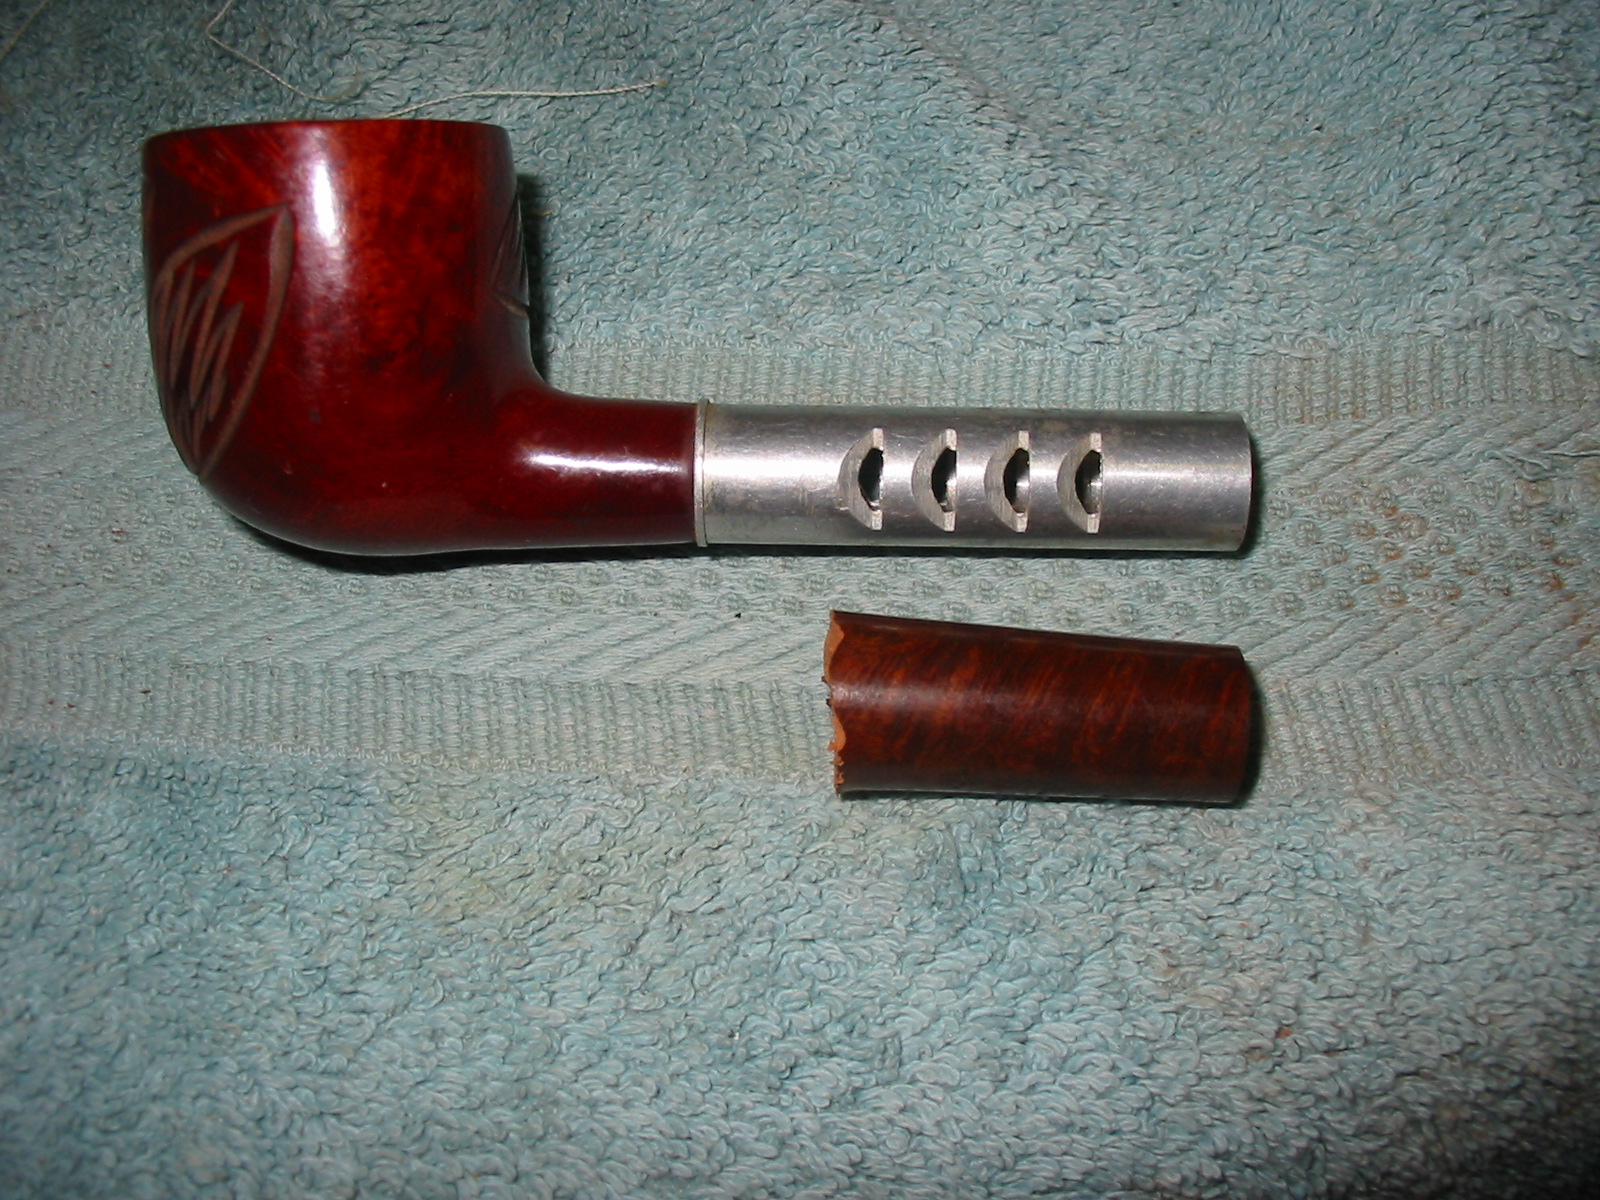
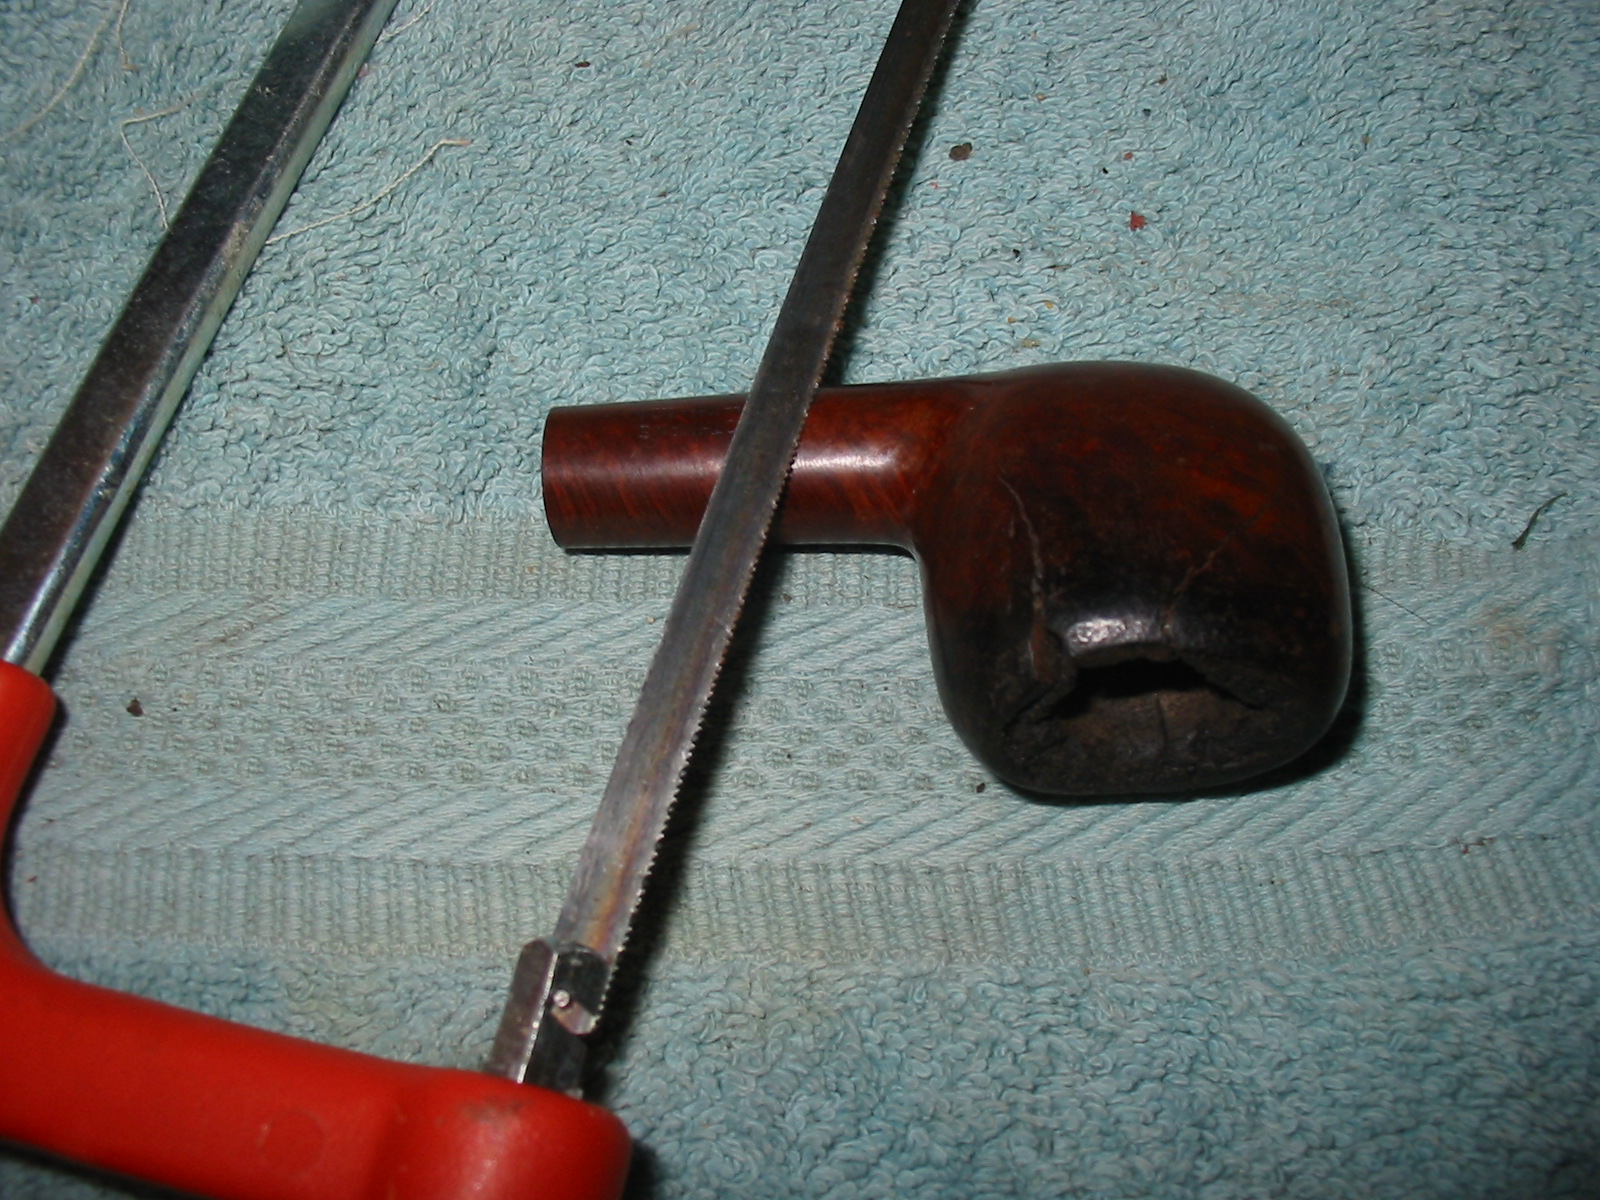
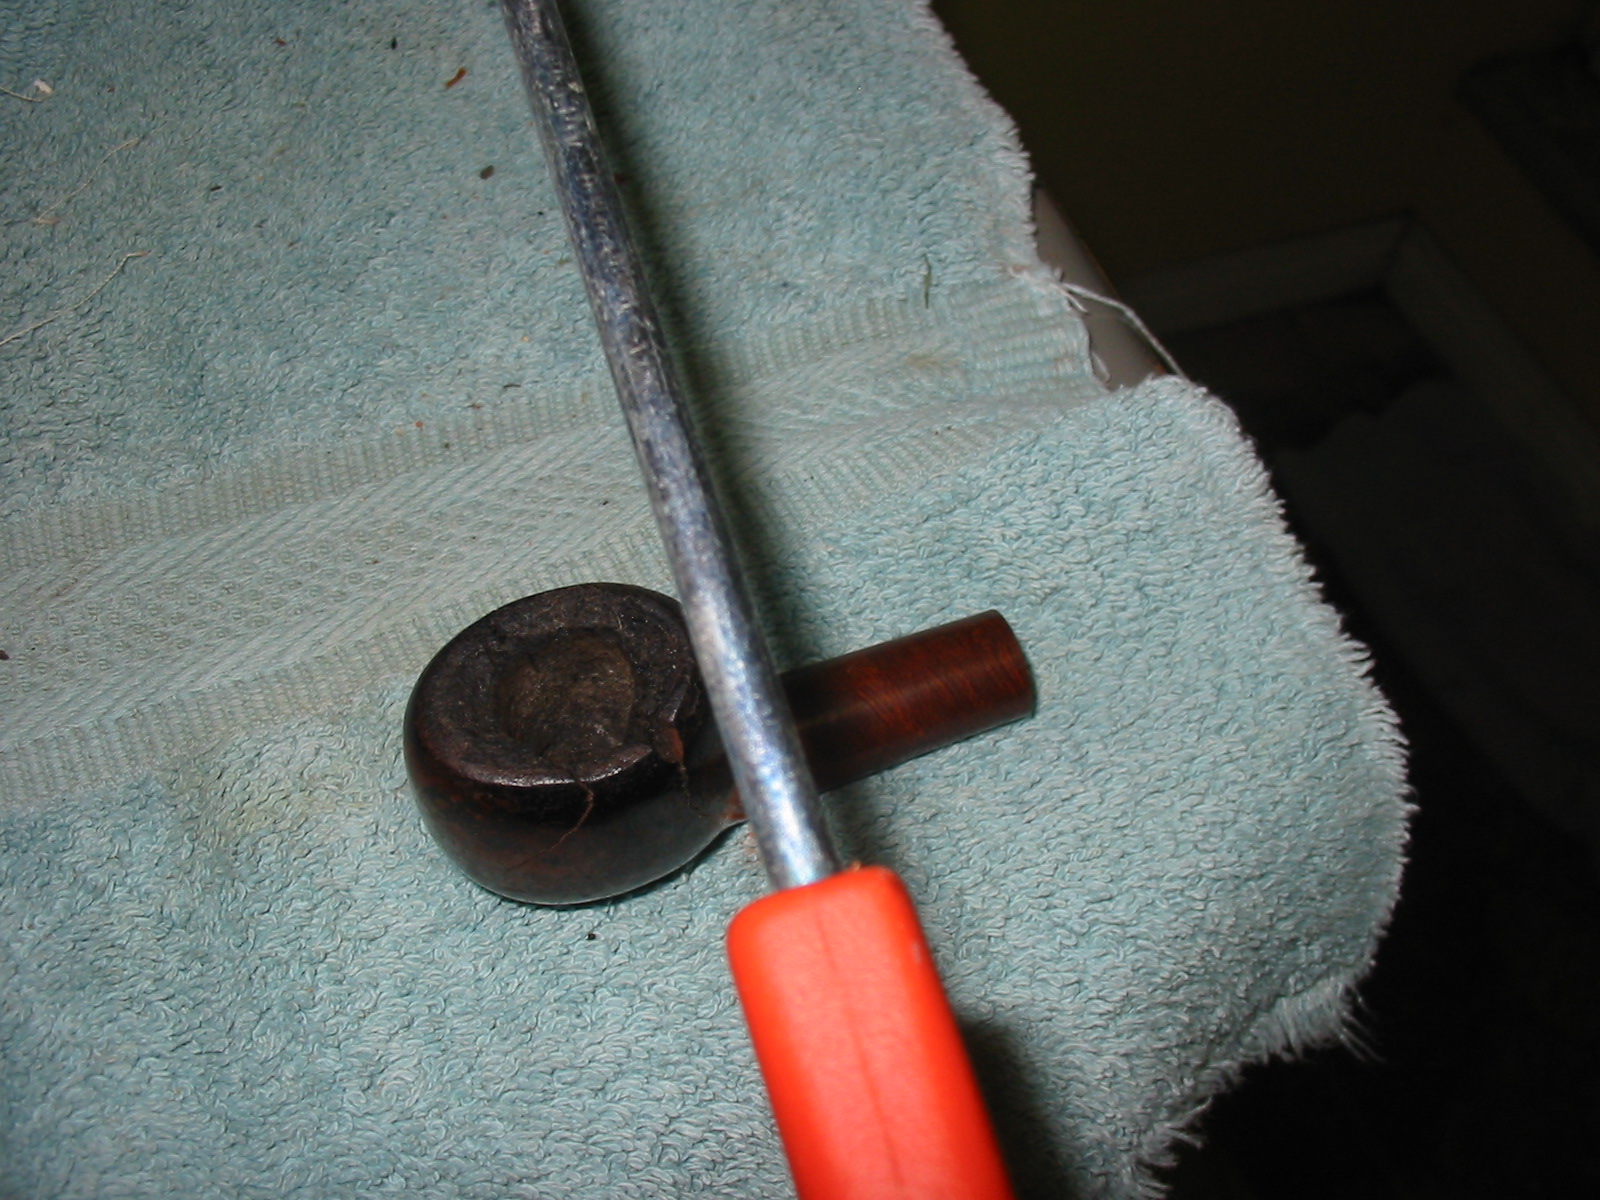
I have kept a few unredeemable bowls around in my box of stuff and they came in handy this time. I took two different bowls out of the box and used a hack saw to cut off the shank as close as I could to the back side of the bowl. My plan was to follow Ed’s instructions noted above about turning a piece of briar to fit inside the Ventilator tube. I do not have a lathe so I decided to repurpose some briar shanks to do the same job.
IMG_2151

IMG_2152

IMG_2153

IMG_2154

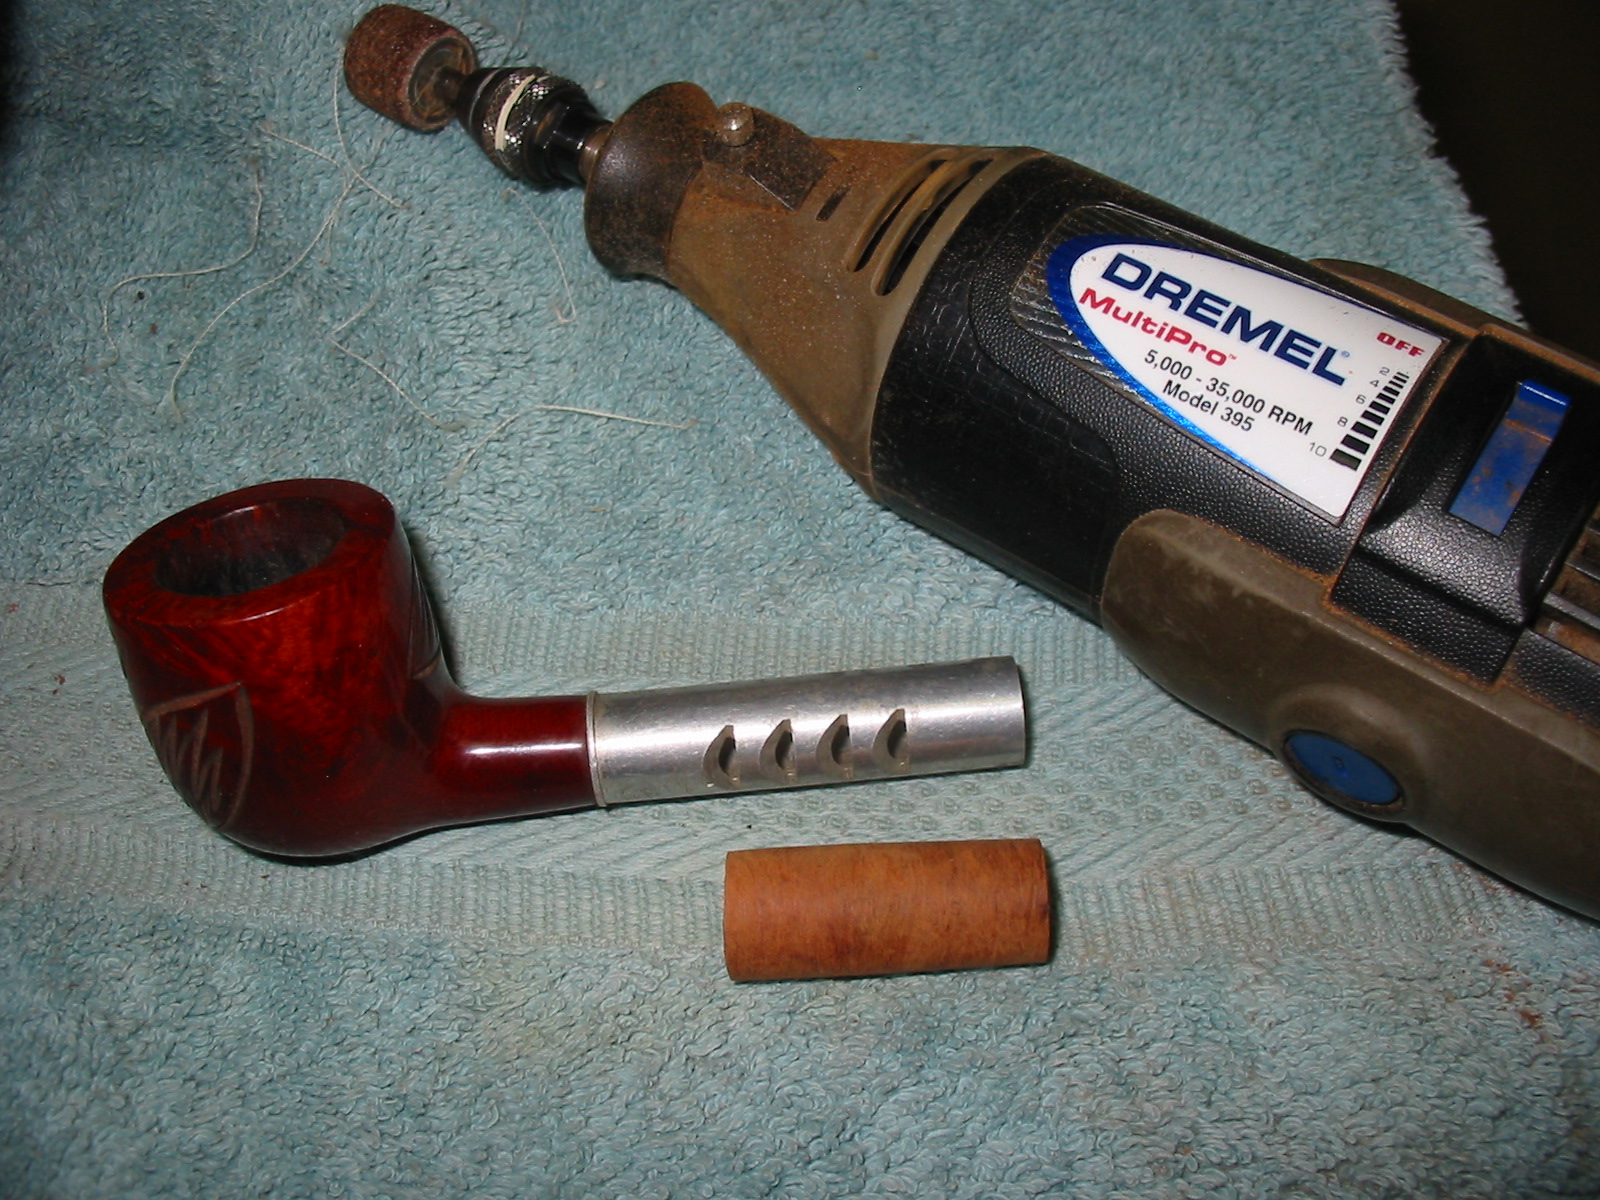
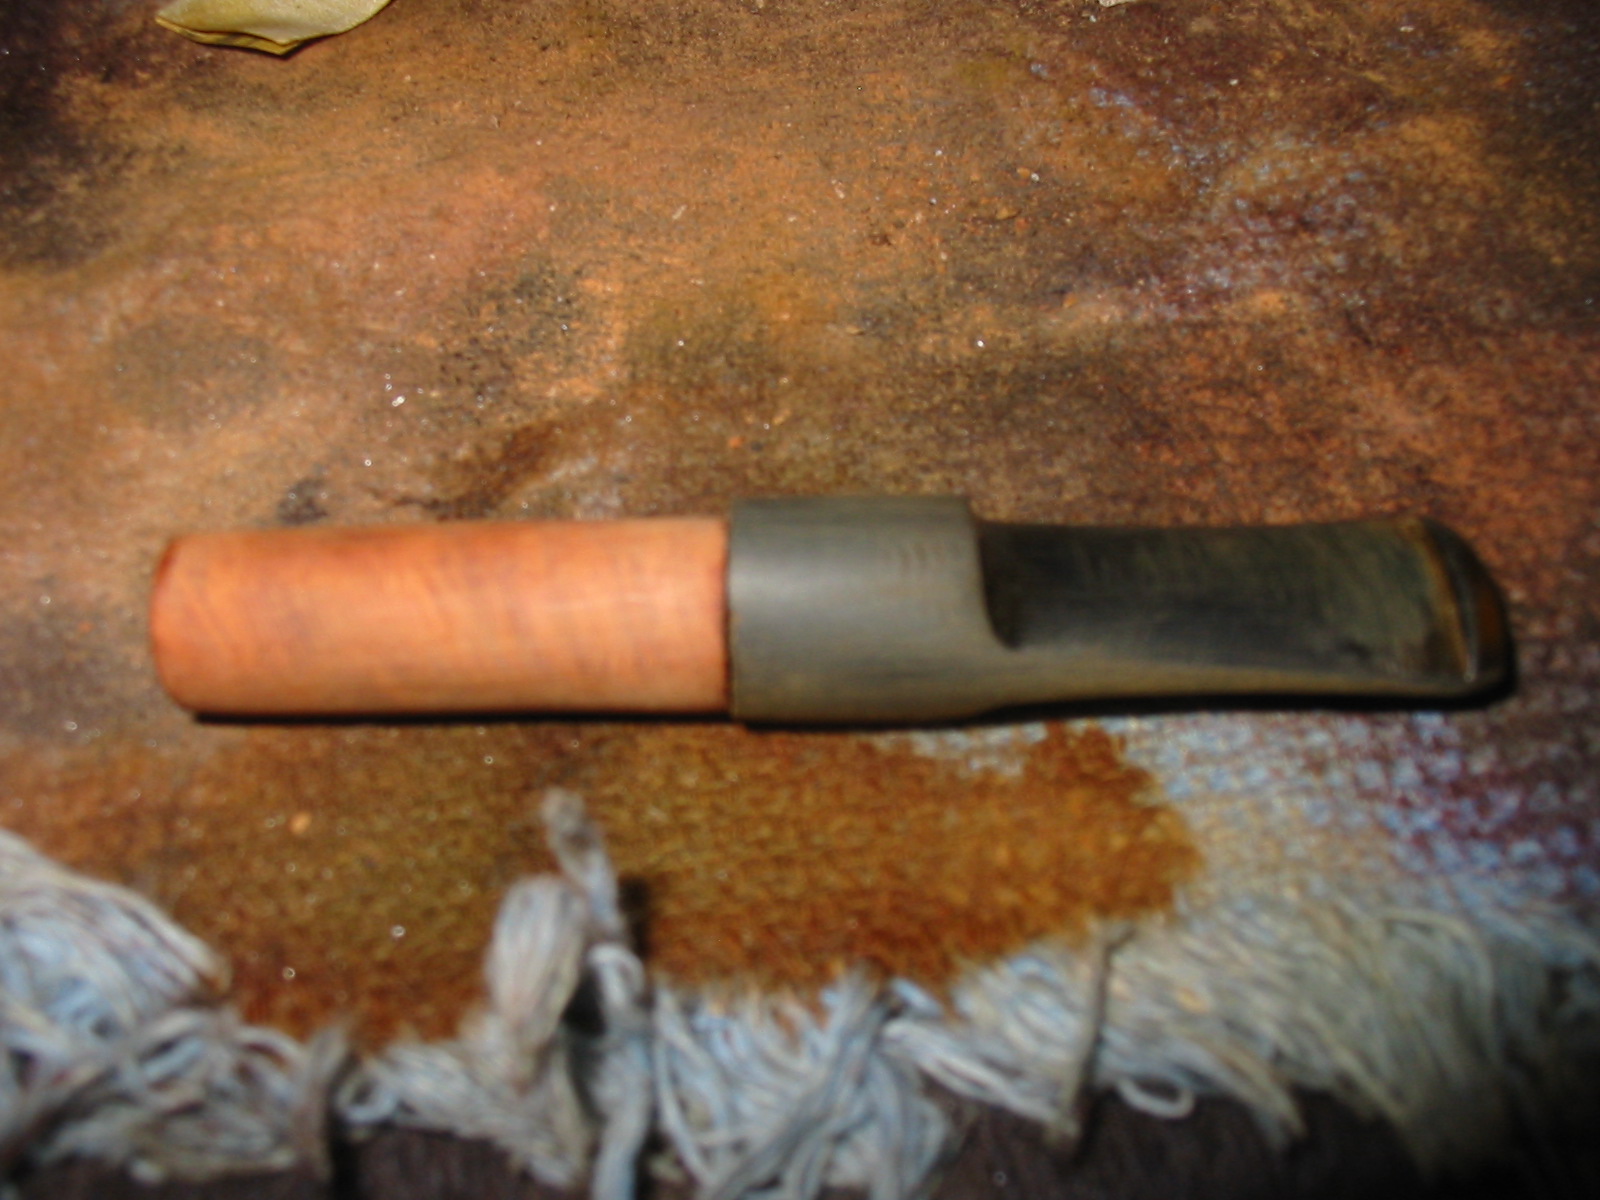
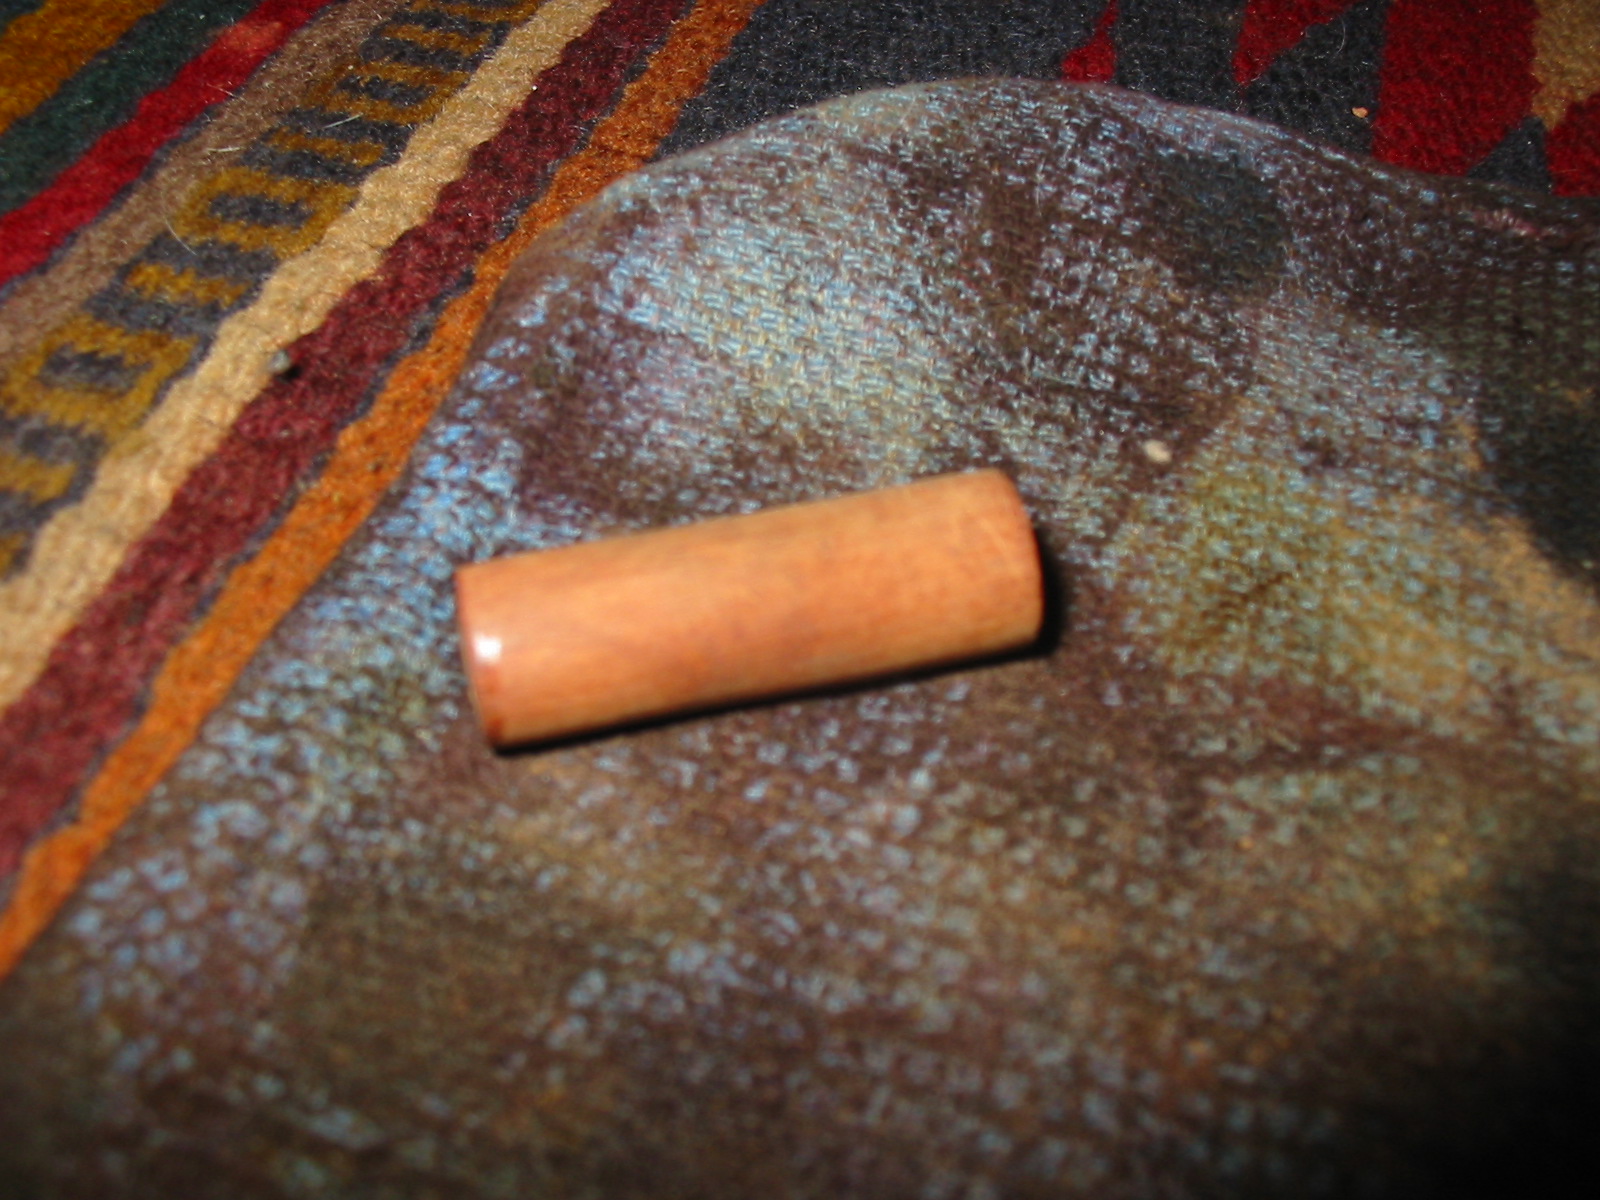
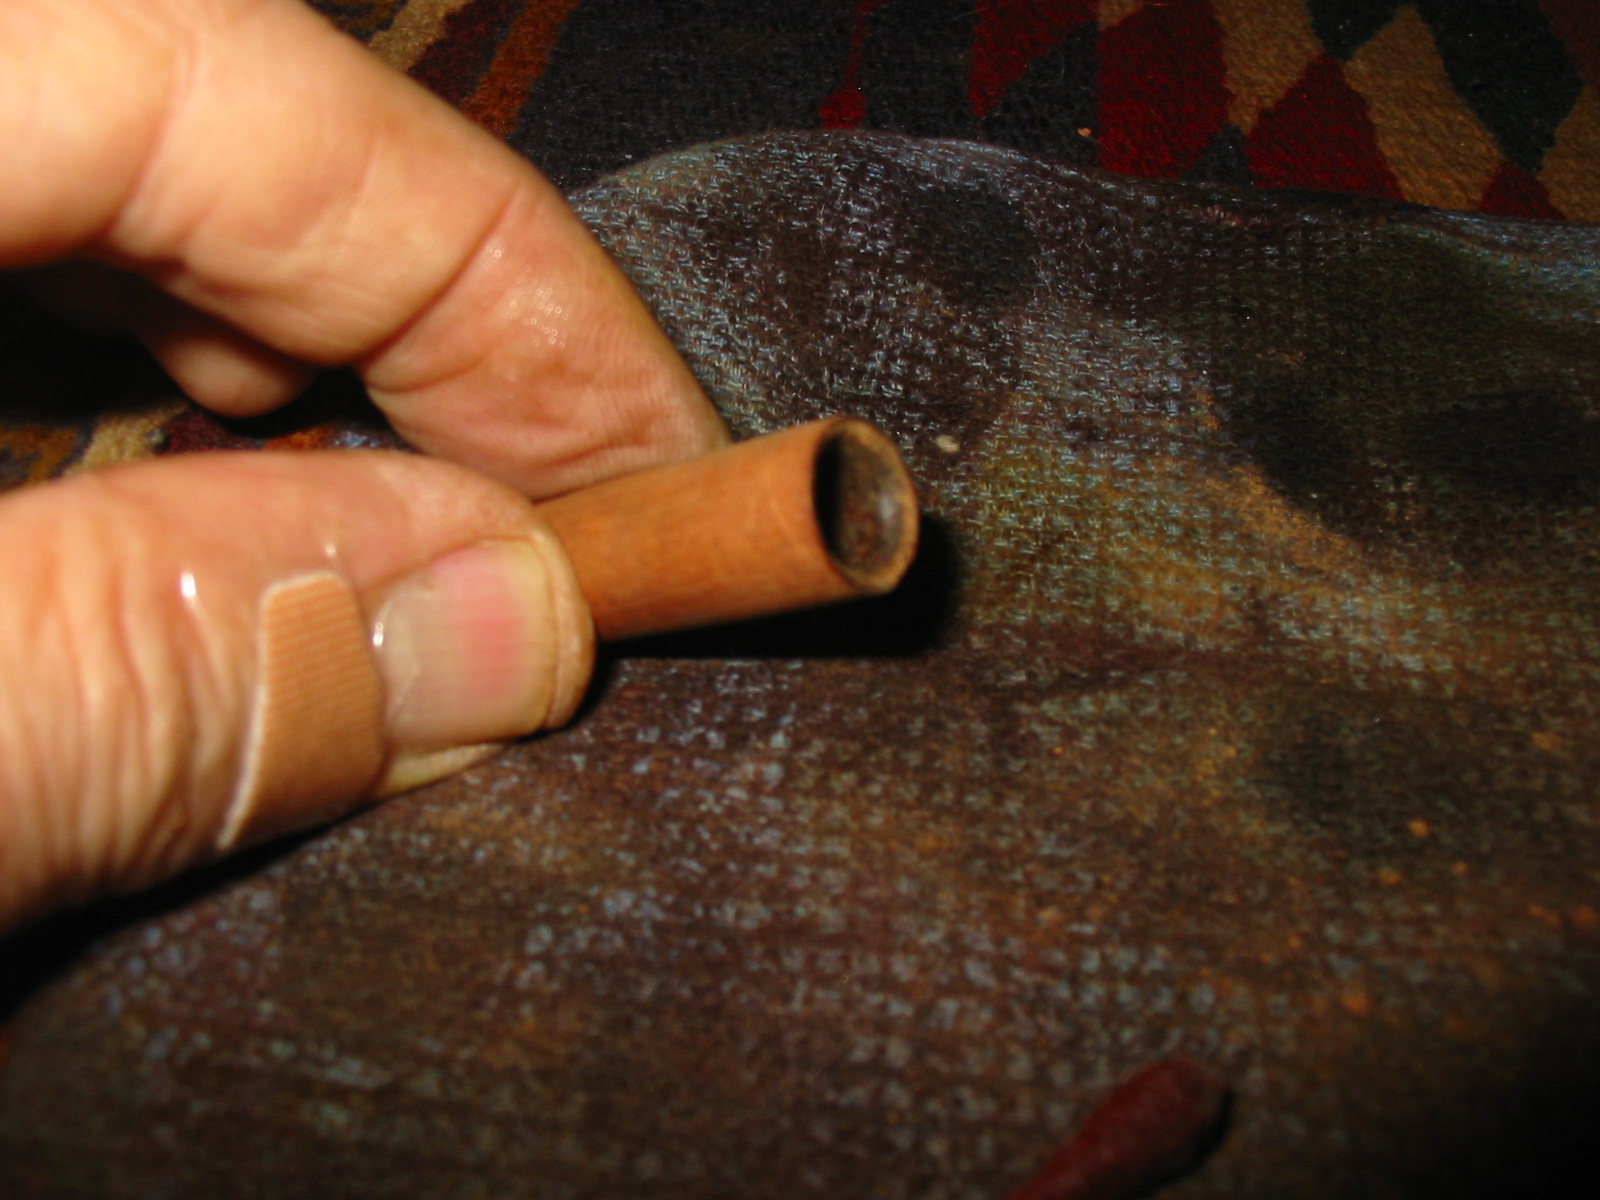
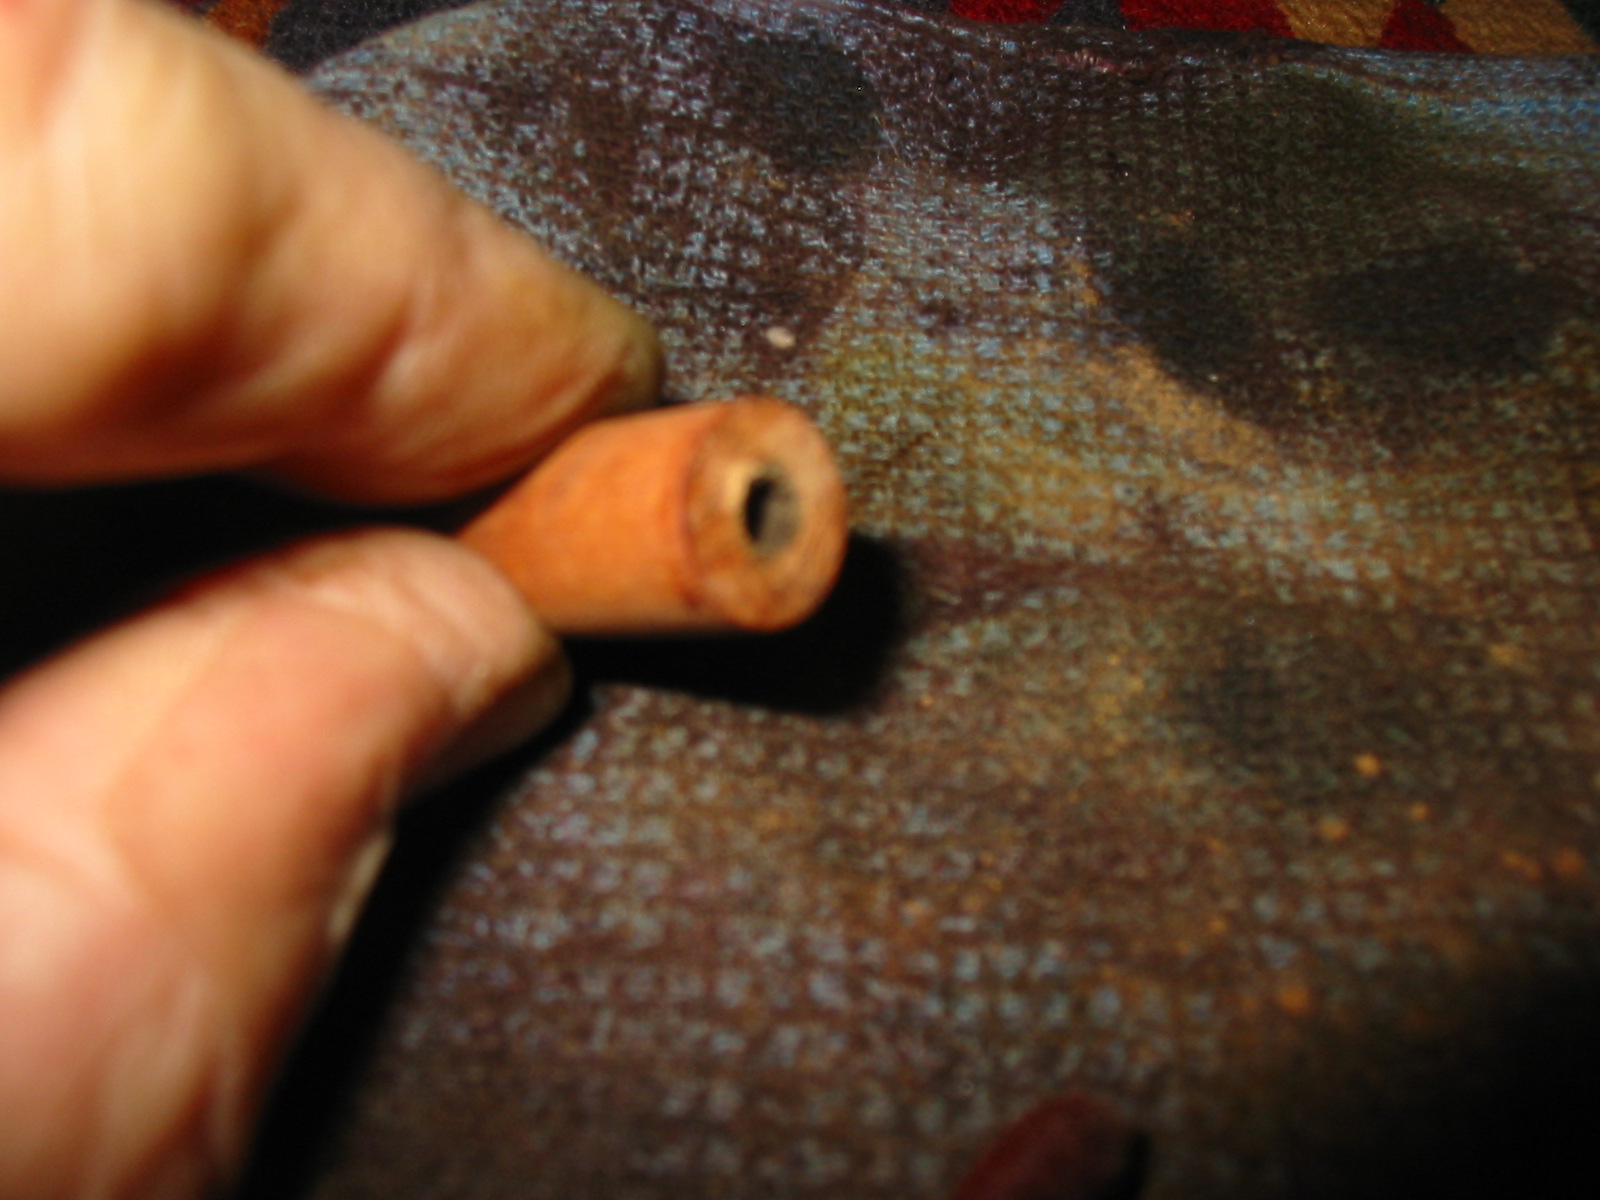
After cutting them off the bowl they were ready for me to begin shaping them. I used a Dremel and sanding drum to take the diameter of the cut off shanks down to the diameter of the tube on the Medico. The next seven photos show the process of removing the excess briar. I used two different pieces of slightly different lengths that could be used depending on the stem I chose to use. The one pictured in the first seven photos below was about ½ inch shorter than the length of the tube. I thought about using a plug in the bottom of the tube but later decided to use the longer of the two briar tubes.
IMG_2155

IMG_2156

IMG_2157

IMG_2174

IMG_2171

IMG_2172

IMG_2173

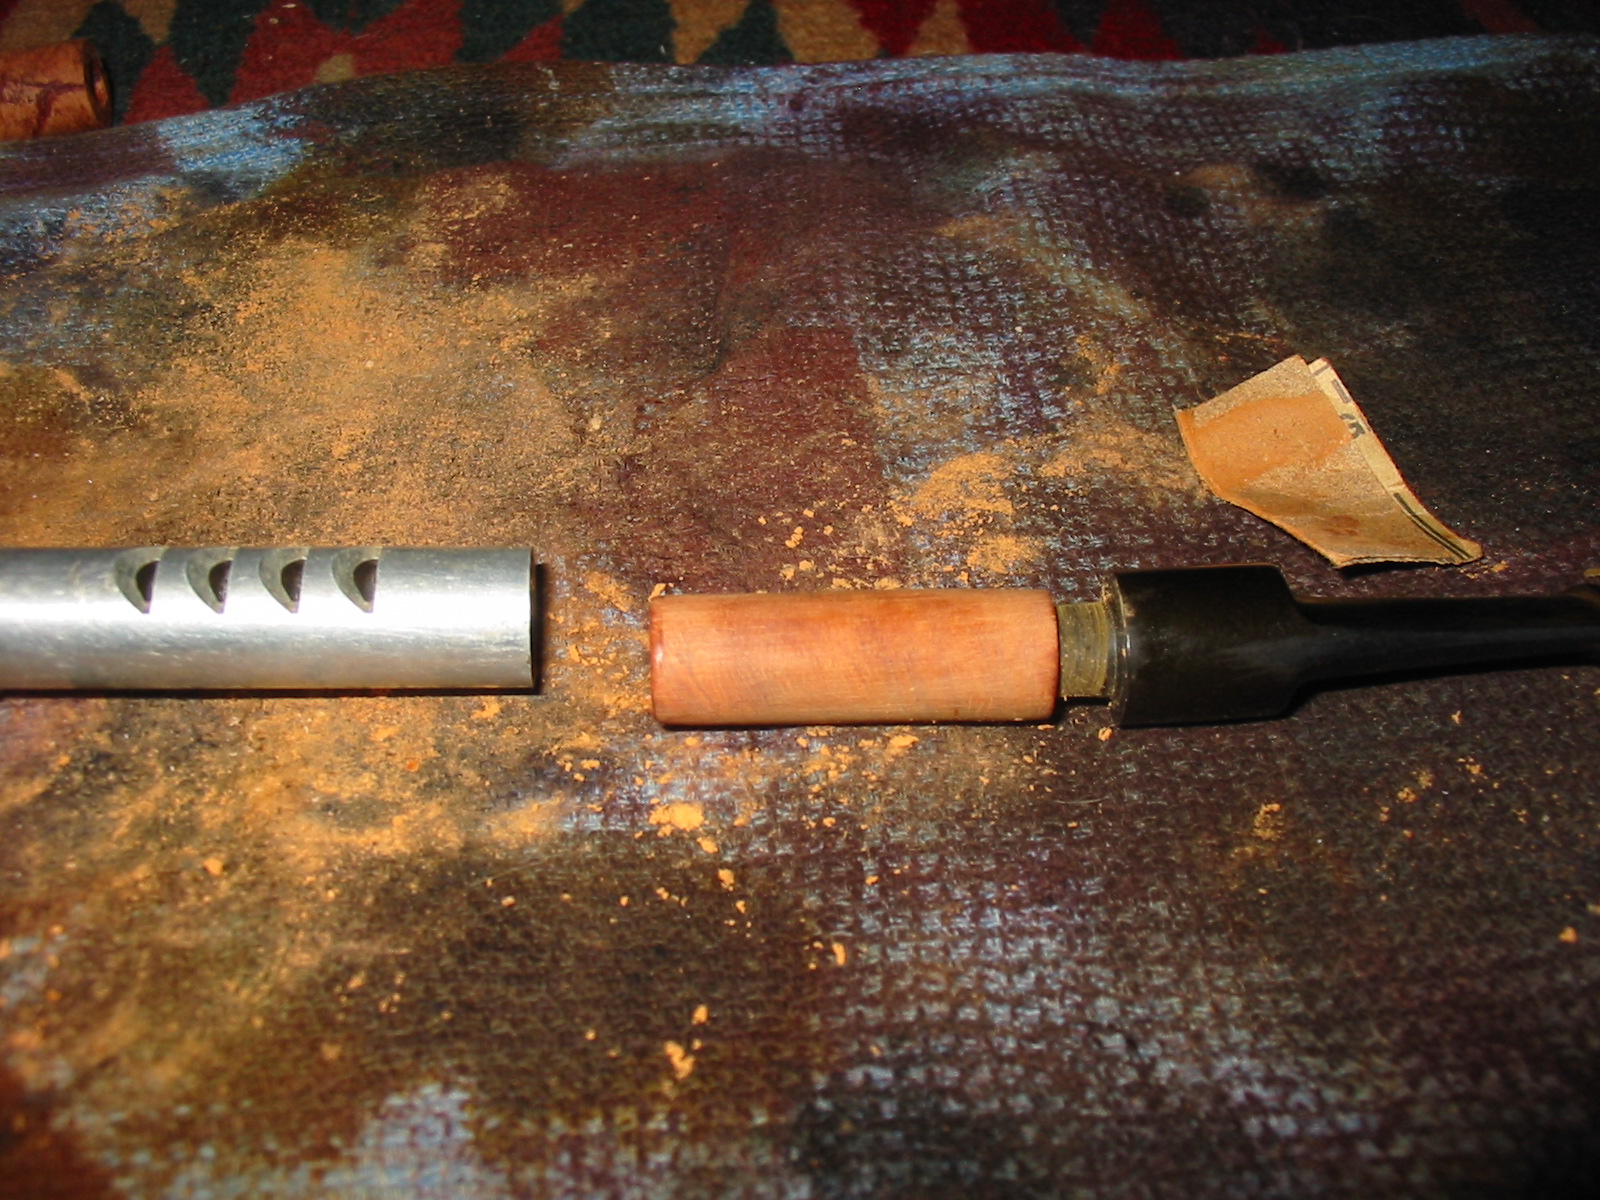
I used both the Dremel and 220 grit sandpaper to shape the briar tube to fit in the Ventilator. The first one was just briar. The second one was off of a screw mount shank. I decided to leave the aluminum in the shank and use that to but up against the aluminum seat in the Ventilator tube.
IMG_2158

IMG_2159

IMG_2160

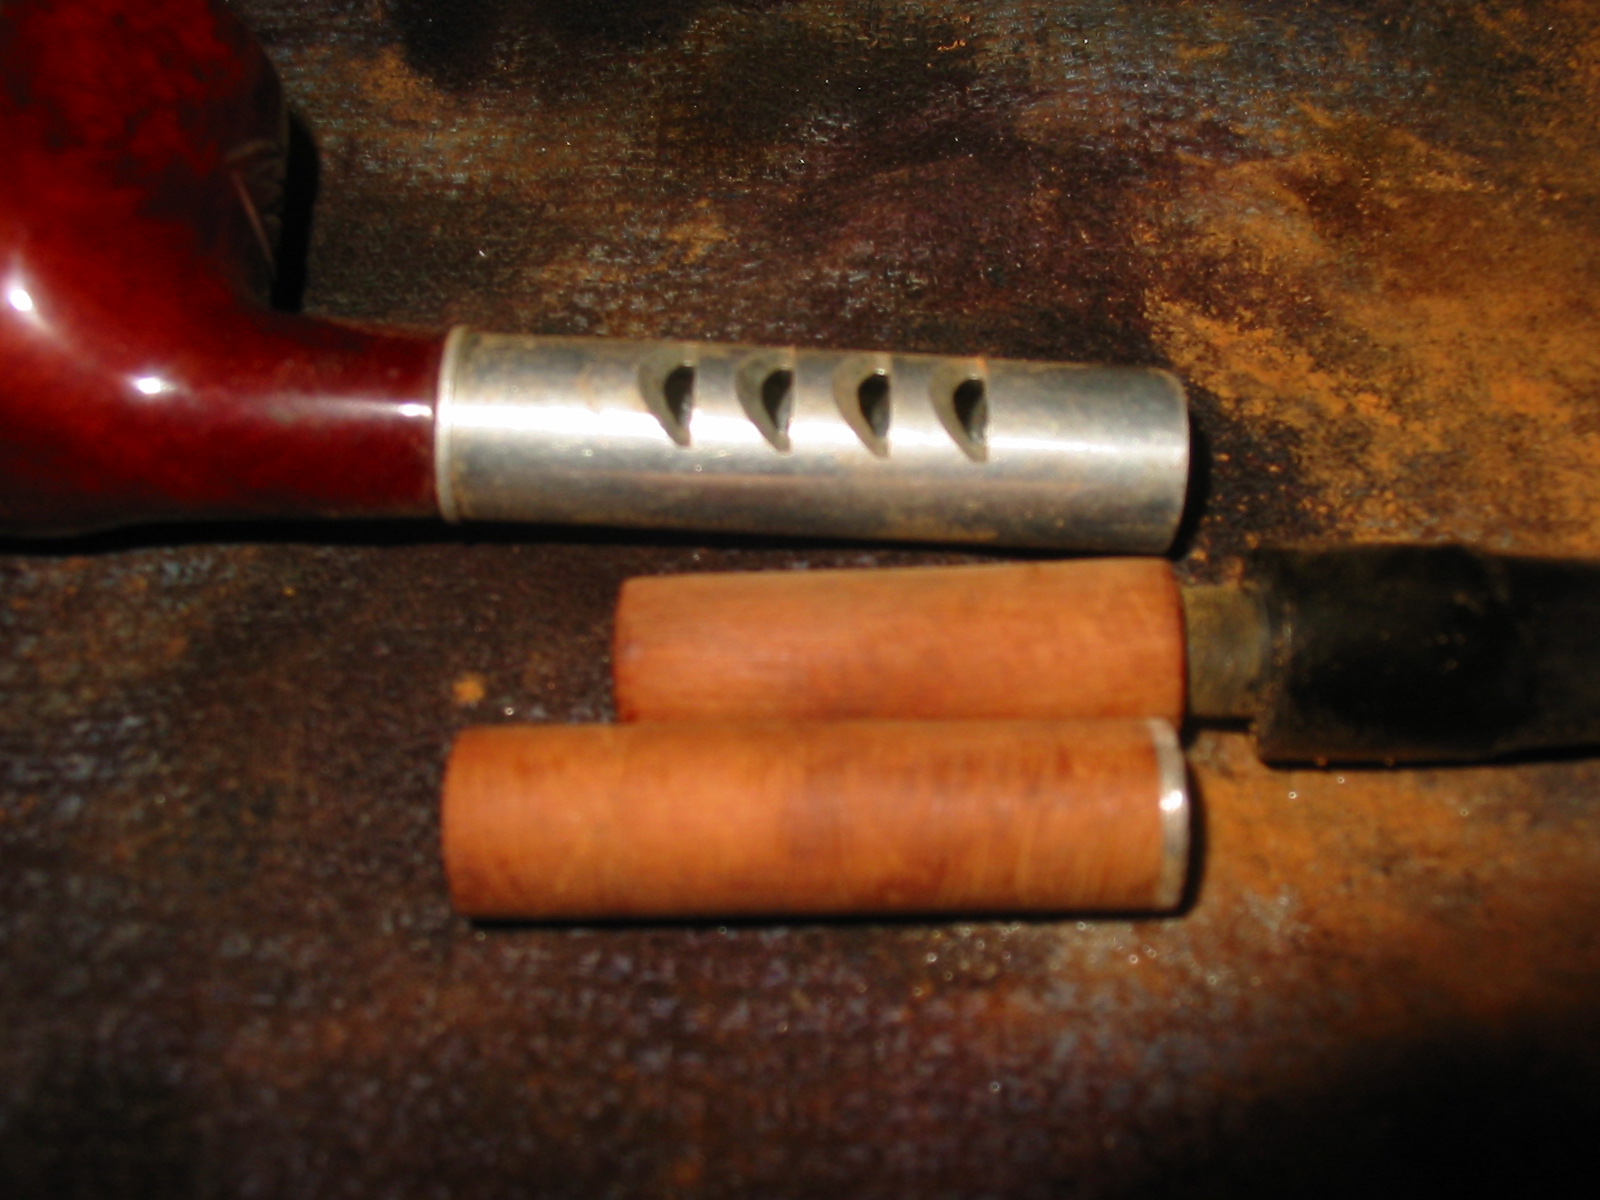
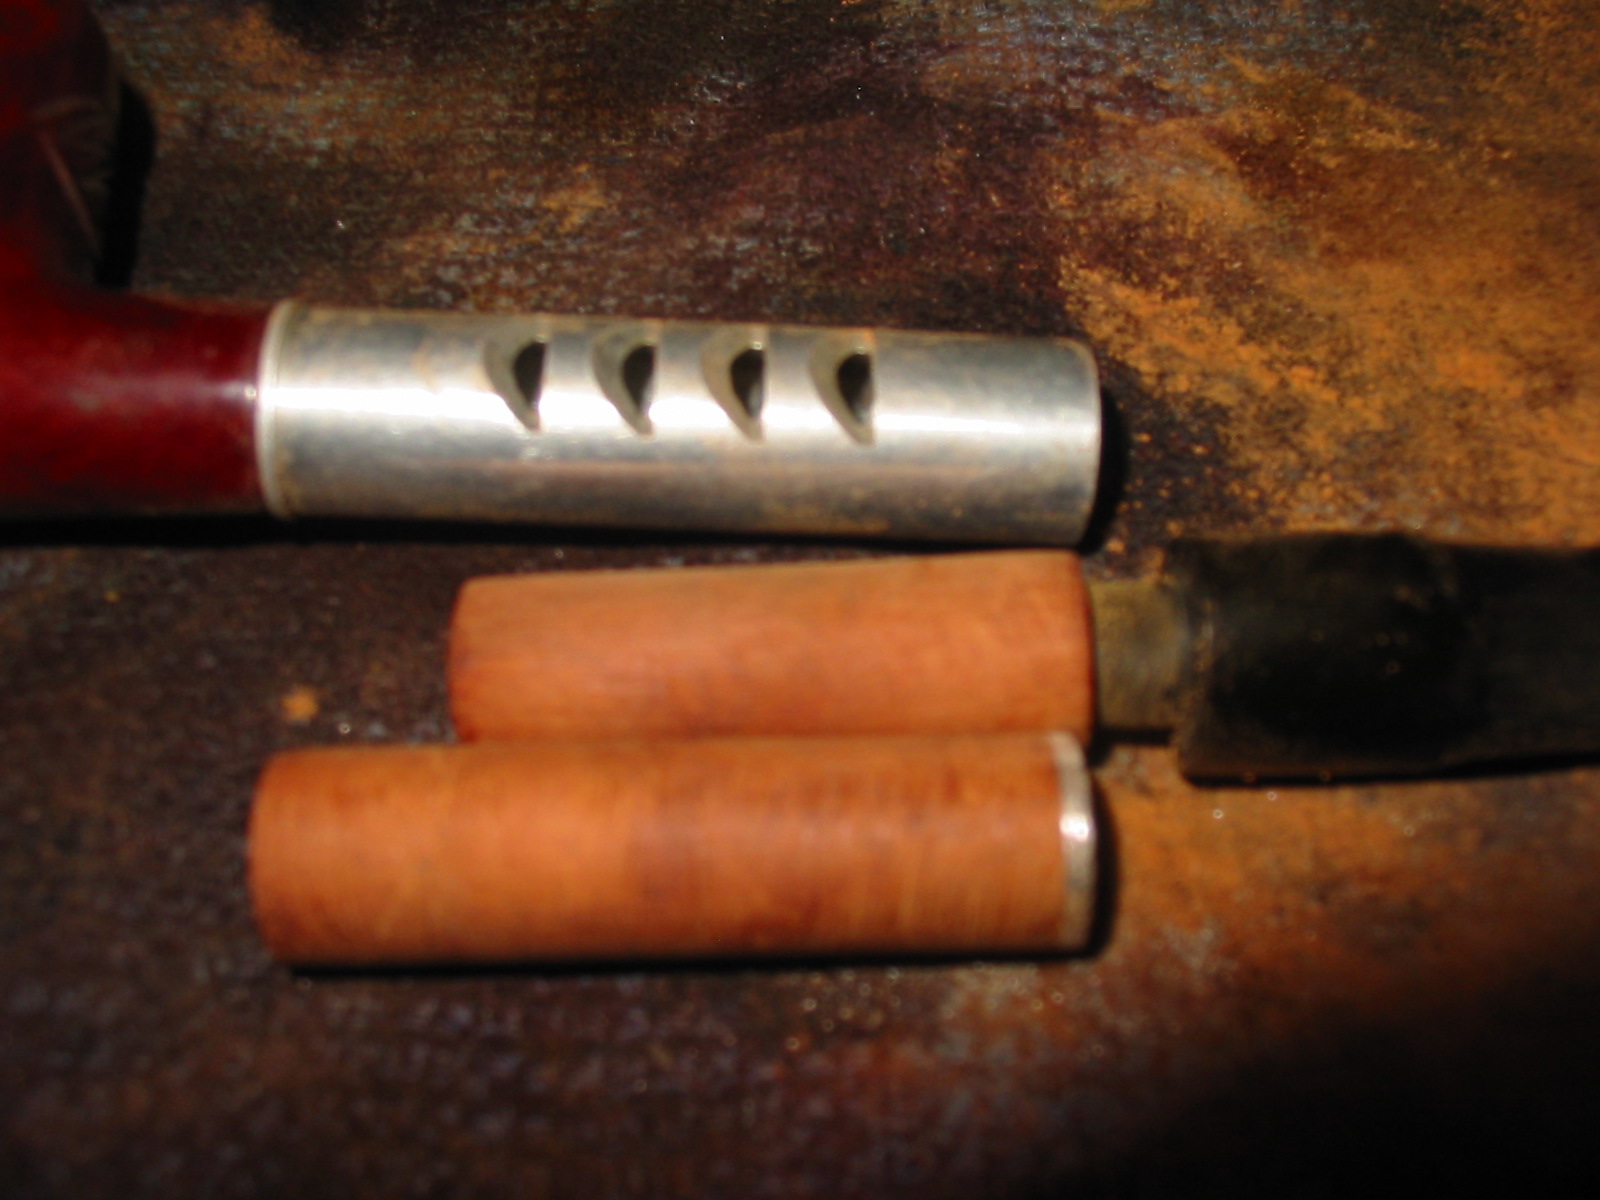
I sanded both tubes so that I could try both and see which one I wanted to use. I chose the long of the two with the aluminum base. I inserted it in the shank of the Ventilator with the aluminum end in first. I pressed it into place in the tube. It is a pressure fit so I did not need to glue it to fasten it in place. I chose not to use epoxy or glue to hold it in place and opted instead for a tight fit. Once in place it was slightly longer than the tube. The aluminum was tight against the interior and could go no further. I used the Dremel with the sanding drum on it to remove the excess briar. Once was flush against the aluminum it was time to fit a new stem to the shank.
IMG_2161

IMG_2162

I had several saddle stems in my can of stems that would work on the new shank insert. I turned the tenon down with a PIMO tenon turner until it was close to the right size and then finished with sandpaper and files. I used a file to shape the seat in the insert so that the stem would sit well against the tube. The next three photos show the newly seated stem in place.
IMG_2164

IMG_2165

IMG_2168

I took the photo below to show the fit of the briar tube in the aluminum shank. There was a small divot out of the edge that is visible at about the ten o’clock position on the shank. This would be smoothed out as I beveled the inner edge of the shank inward.
IMG_2169

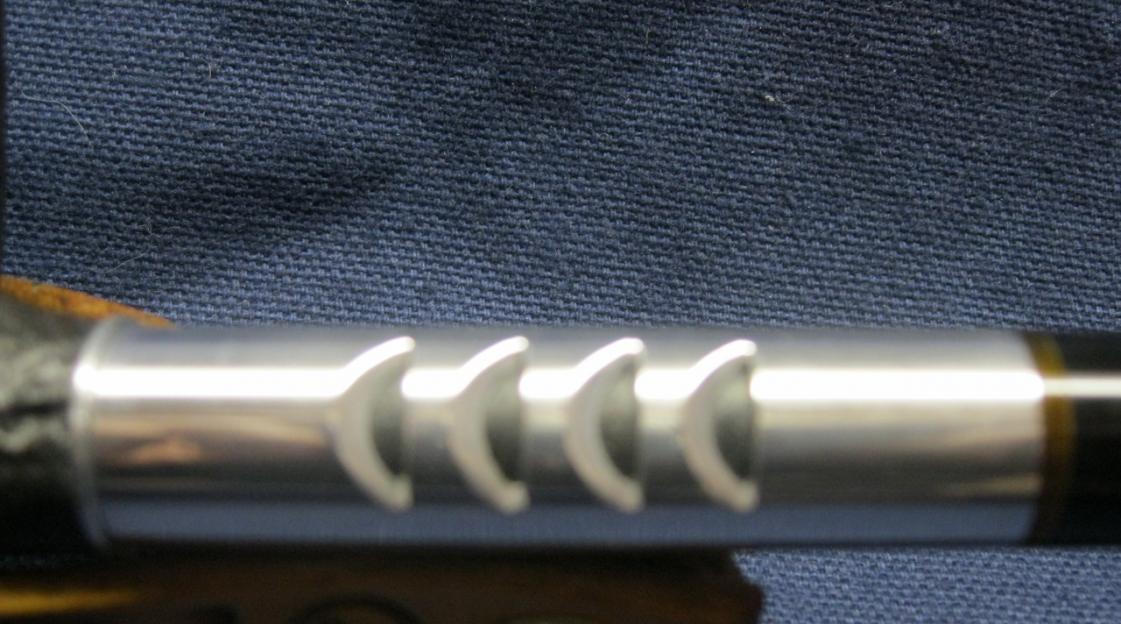
I beveled the shank inward with small round needle files to give the stem a proper seat in the shank. I used some cherry aniline stain to stain the briar shank inset in the fins on the aluminum. I applied the stain with a cotton swab and wiped it off. I sanded the aluminum with micromesh sanding pads. I used the 1500 and 1800 grit to polish the aluminum and remove the scratches that were present on the shank.
IMG_2170

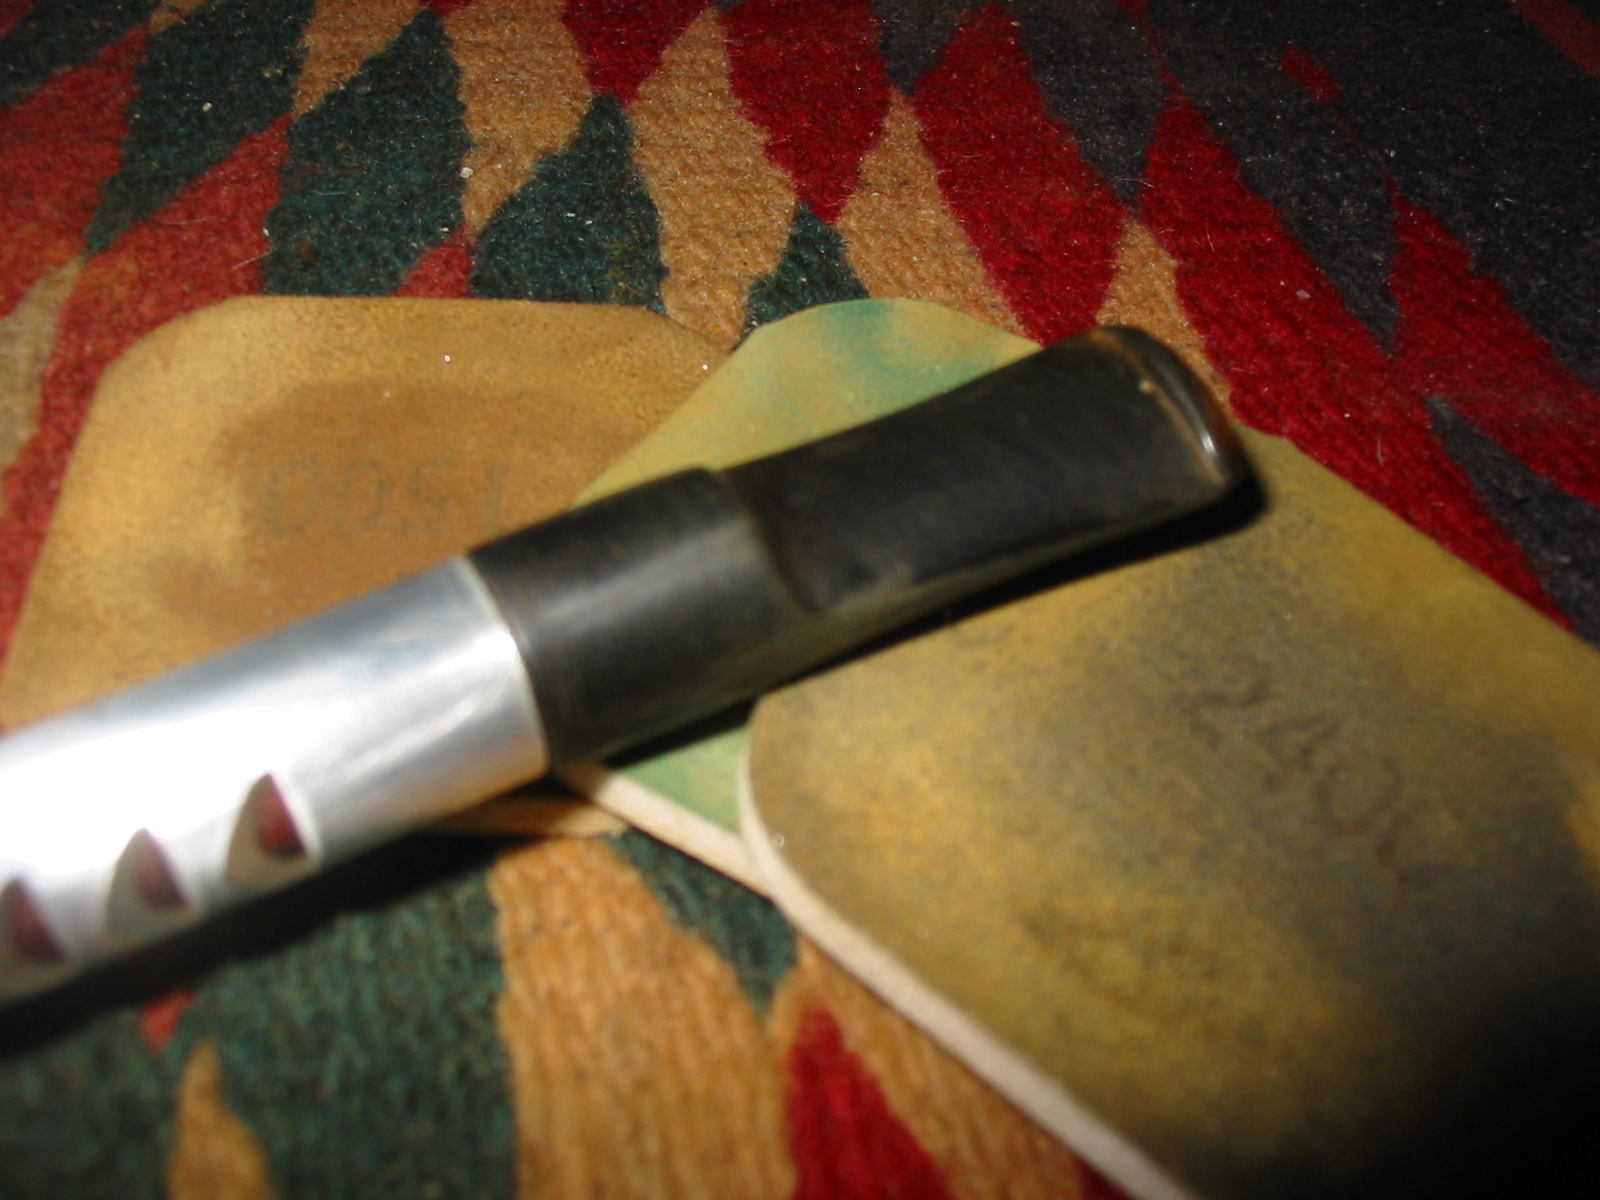
I sanded the stem with a Dremel and sanding drum and then with 220 grit sandpaper to bring the diameter down to match the shank. I continued to sand until the scratches were minimized. Then I progressed to sanding with the micromesh sanding pads. I wet sanded with 1500 and 1800 grit and then dry sanded with the remaining grits of pads from 2400-12,000 grit. I decided to fit an acrylic ring on the stem with a slight ridge to match the slight ridge at the junction of the aluminum and the briar near the bowl. I liked the look of the black blue ring so I epoxied it in place. It began as a square piece of acrylic that had been a spacer on another stem. I shaped it with a Dremel to build a slight ridge that would parallel the one on the front of the aluminum shank.
IMG_2177

IMG_2178

IMG_2179

IMG_2180

IMG_2183

IMG_2184

IMG_2185

With the spacer glued in place the new look of the stem was more complete to my eye. The stem still needed a lot of sanding and shaping. I used the 1500 and 1800 grit micromesh sanding pads once again to sand the newly added ring and the stem. I worked through 2400 and 3200 grit sanding pads to give yet more polish to the stem. I wet sanded right through 3200 grit this time, something I rarely do to polish the ring and the stem. I continued to dry sand the stem to a shine with the remaining grits of micromesh sanding pads (3600-12,000).
IMG_2186

IMG_2187

Once the sanding was finished I buffed the stem with White Diamond on the buffing wheel and then gave the pipe and stem several coats of carnauba wax and buffed with a clean flannel buff to give it a shine. The finished pipe is pictured below. It is now a working pipe – an “unventilated” Ventilator. Thanks Ed, for the great idea on doing this Ed. It was fun to figure out how to make it work. Your “groundbreaking” made it much easier however!! Again I say thank you.
IMG_2188

IMG_2189

IMG_2190

IMG_2191

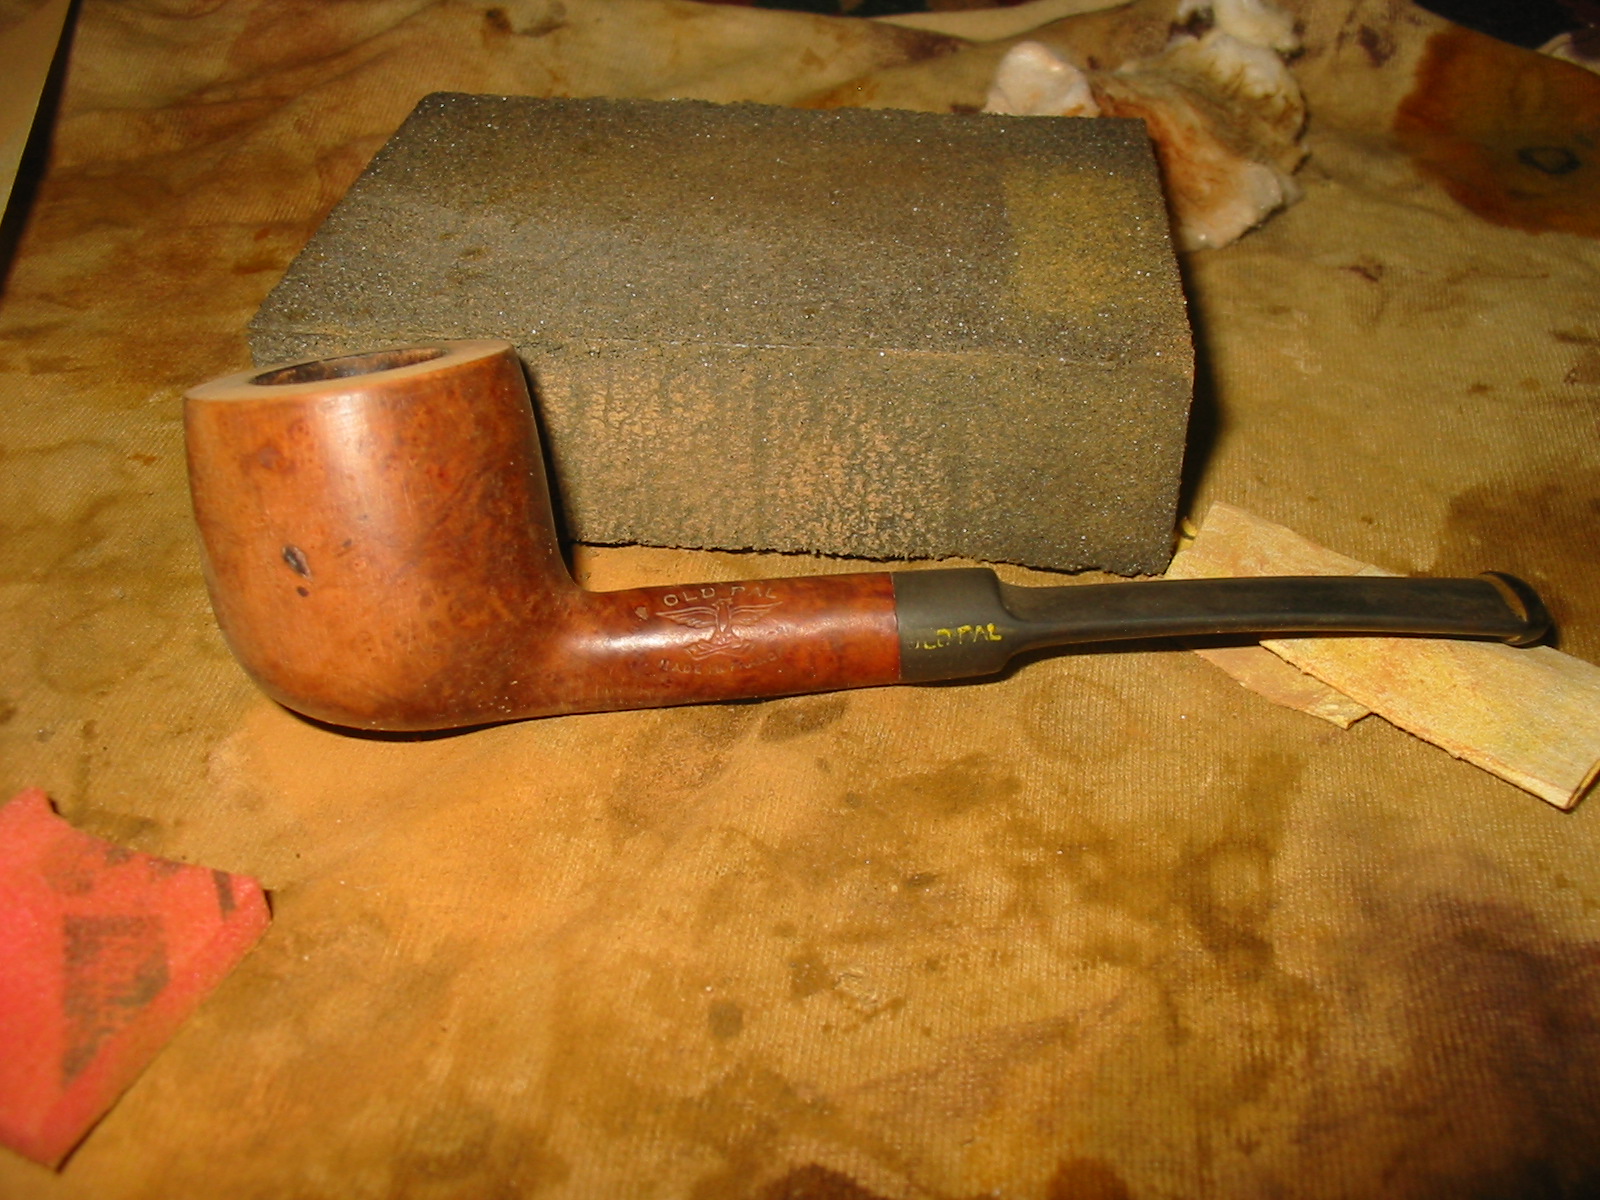
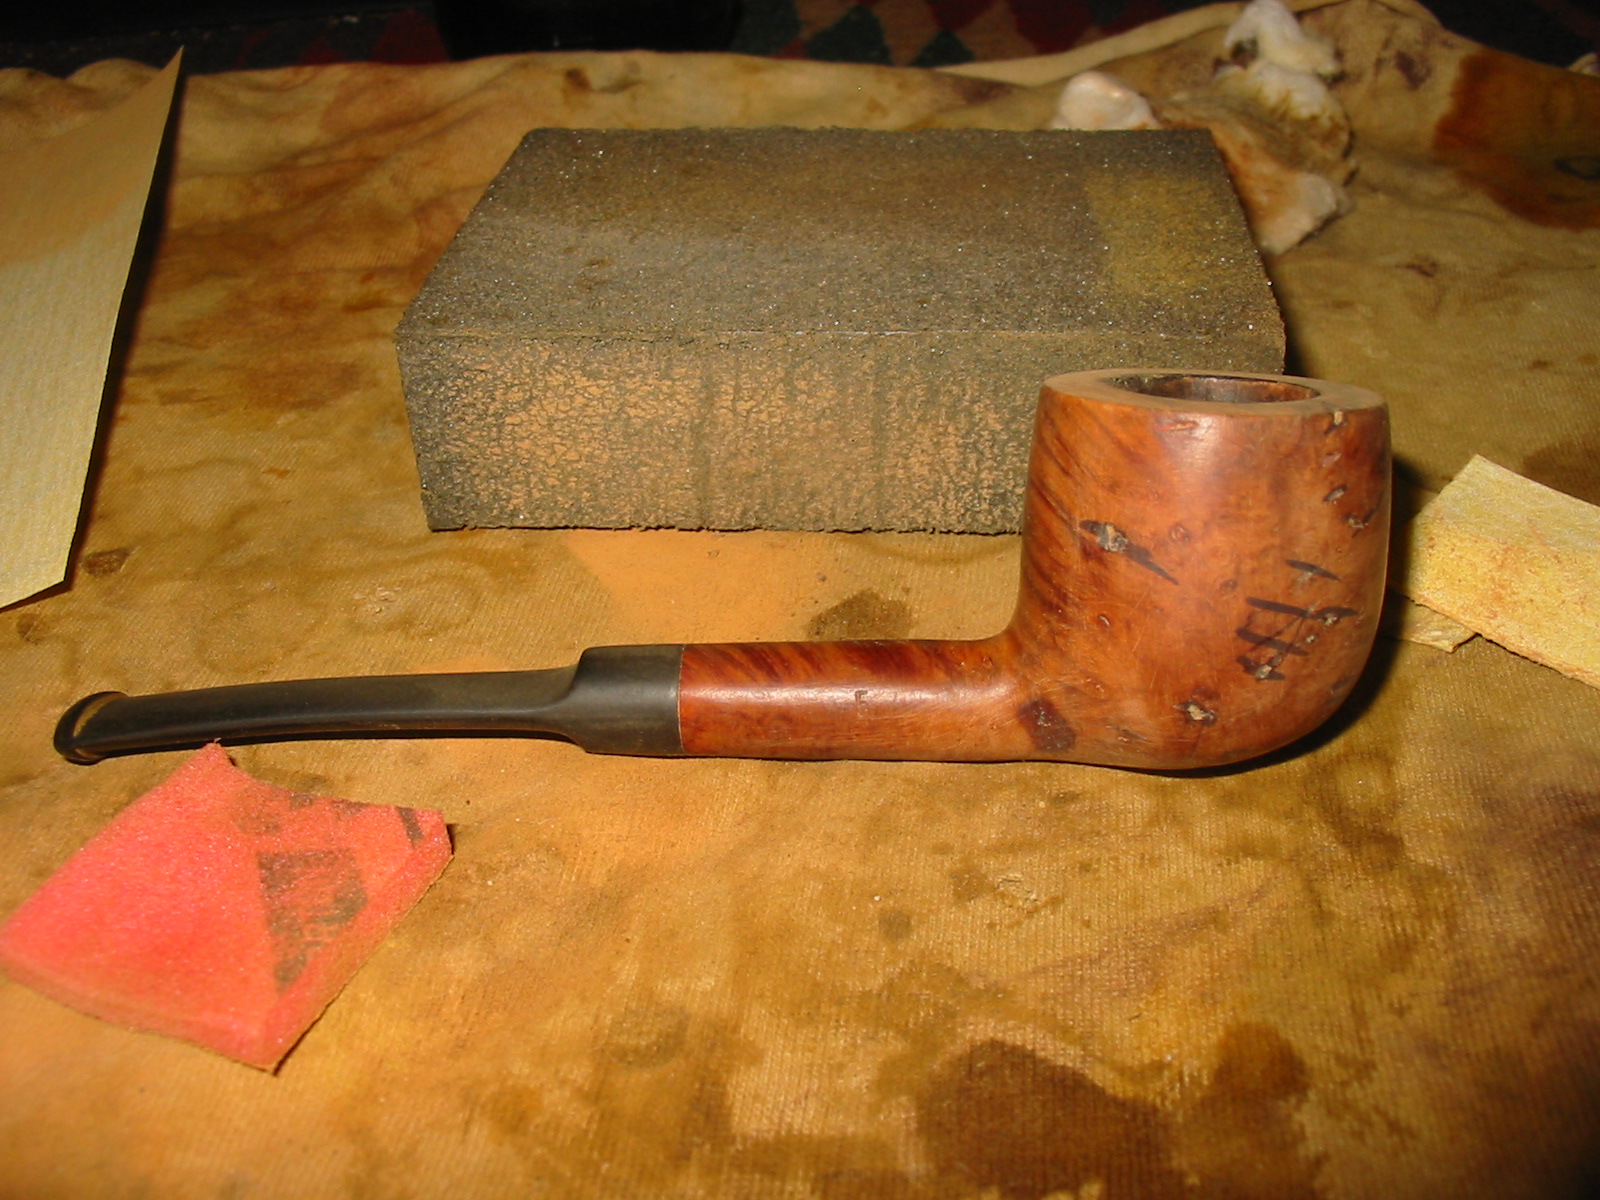
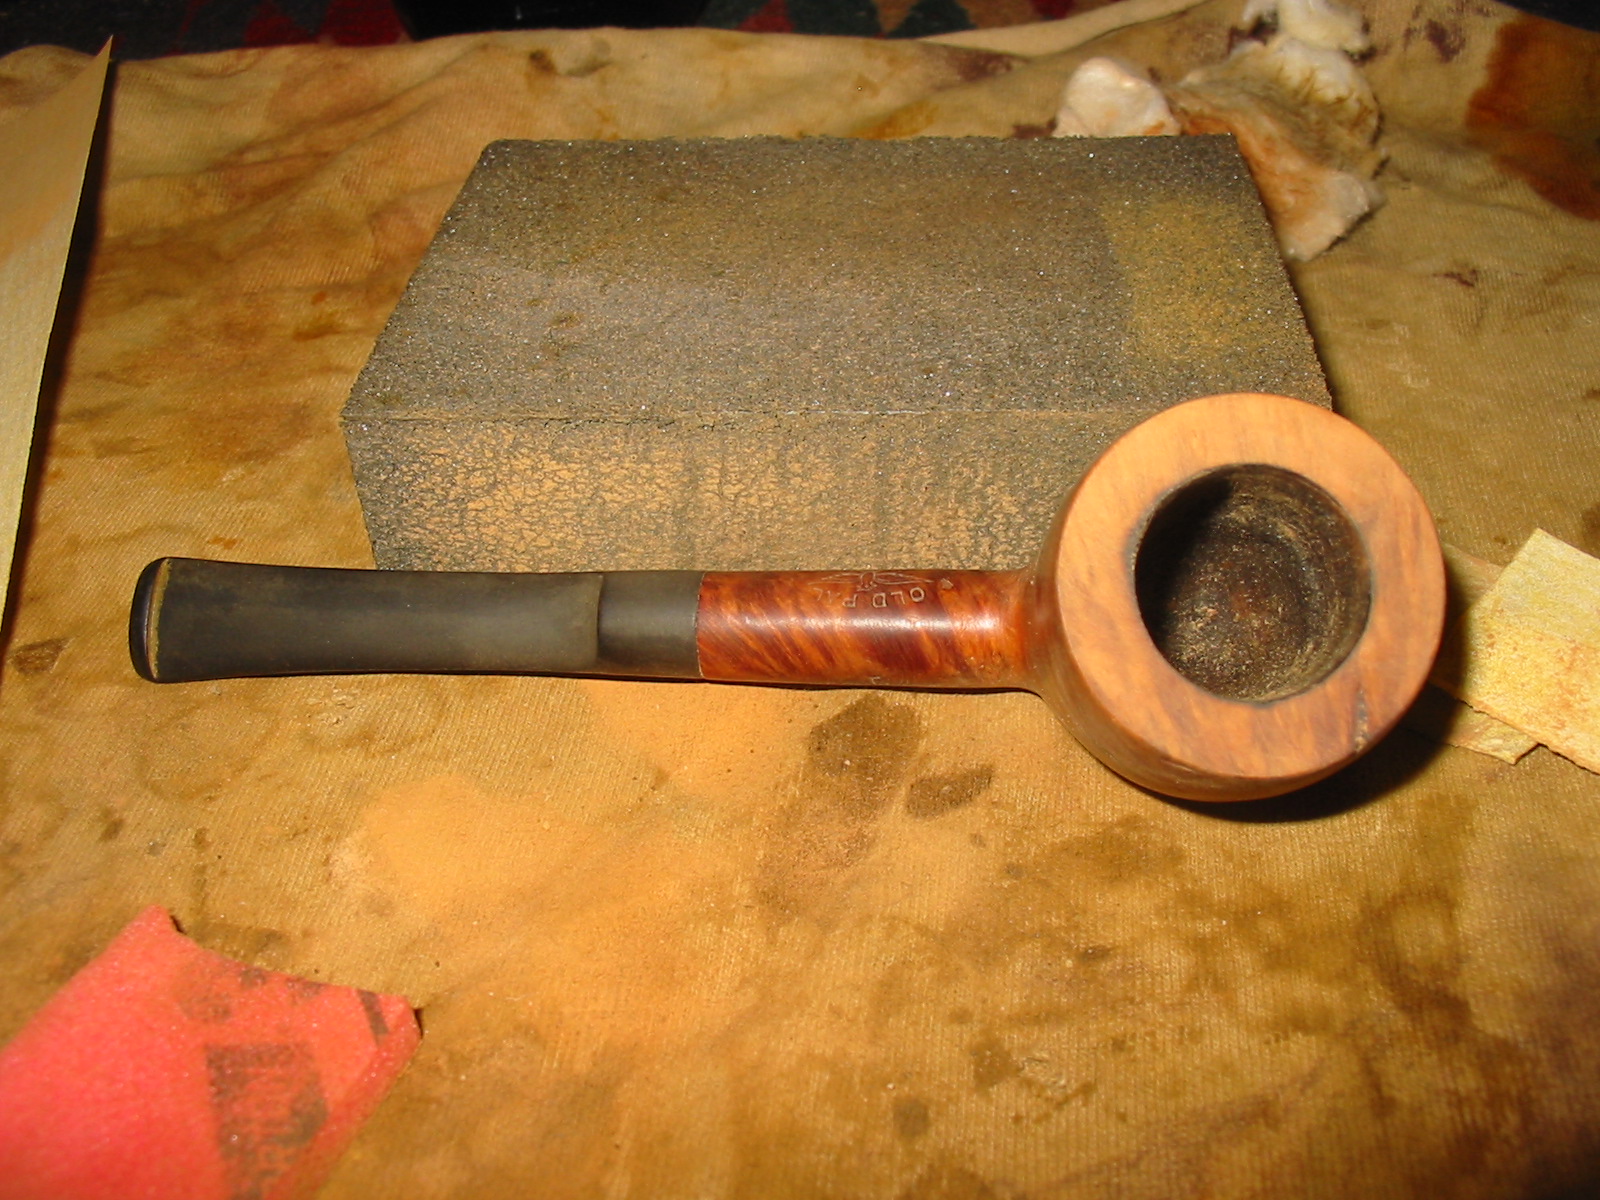
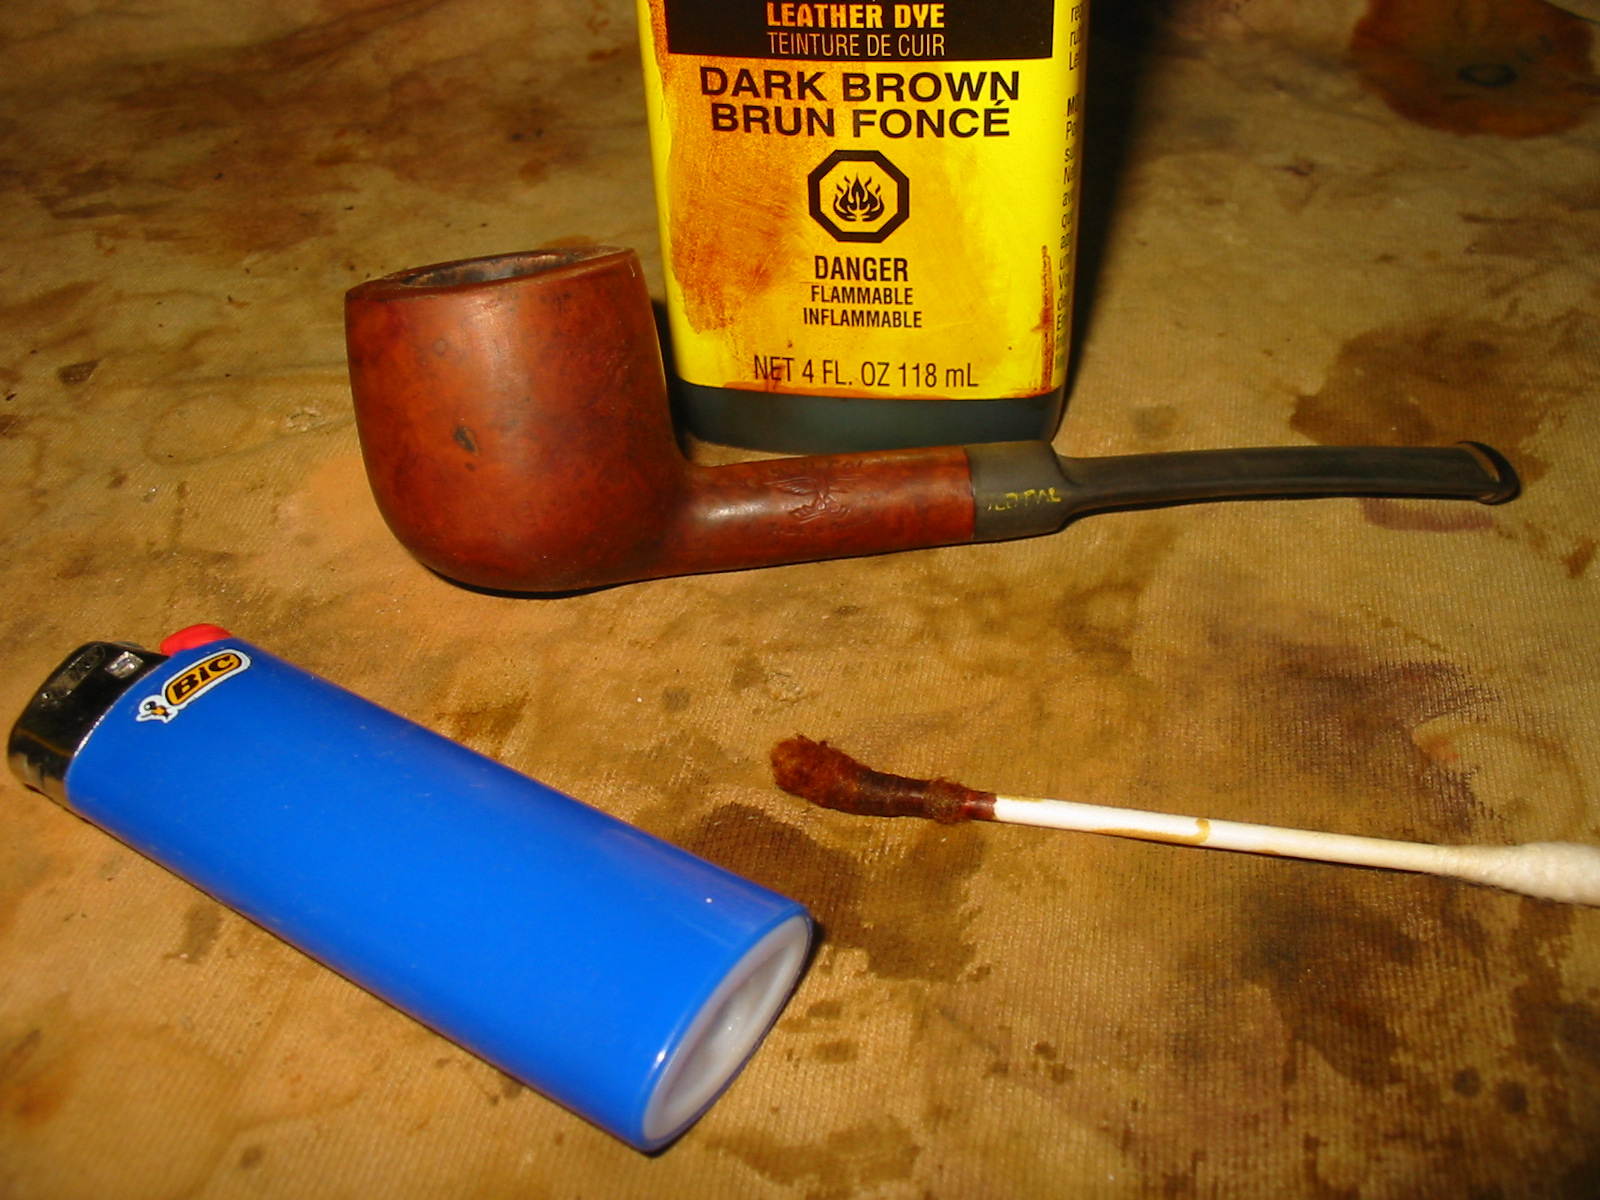
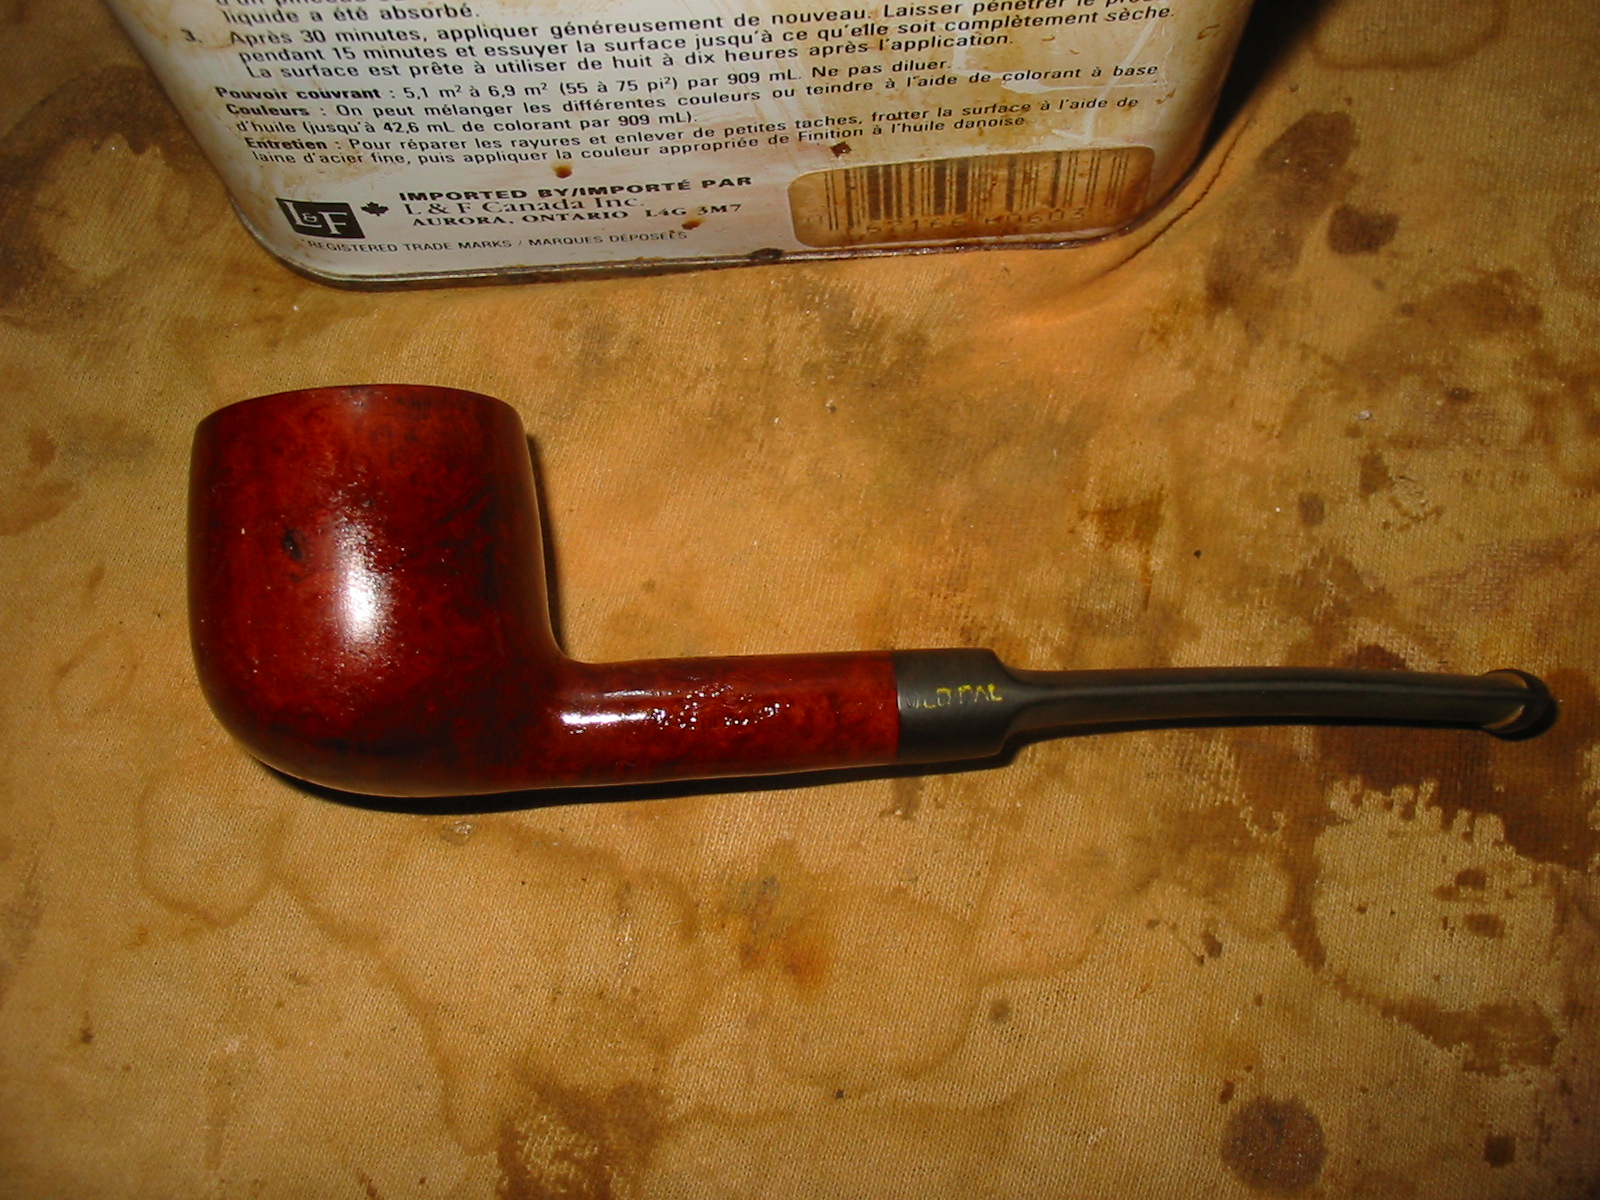
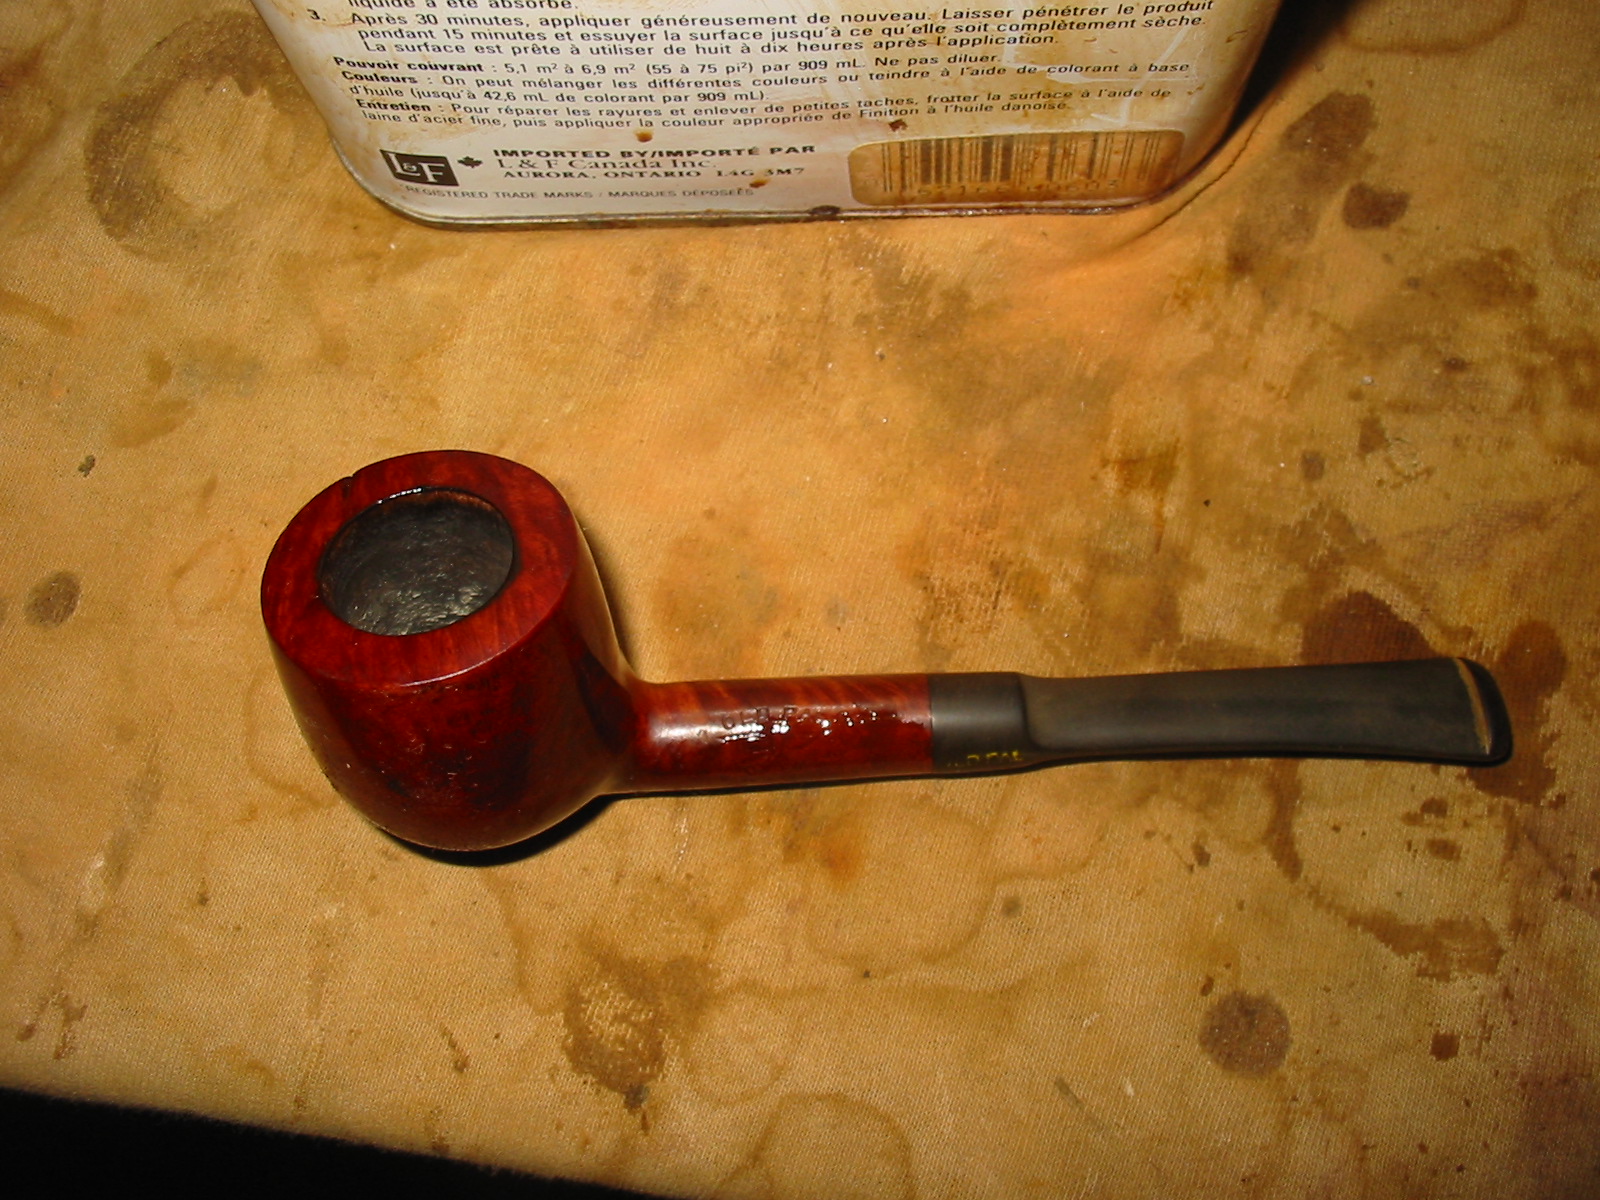
Reworking an Old Pal Pencil Shank Pot


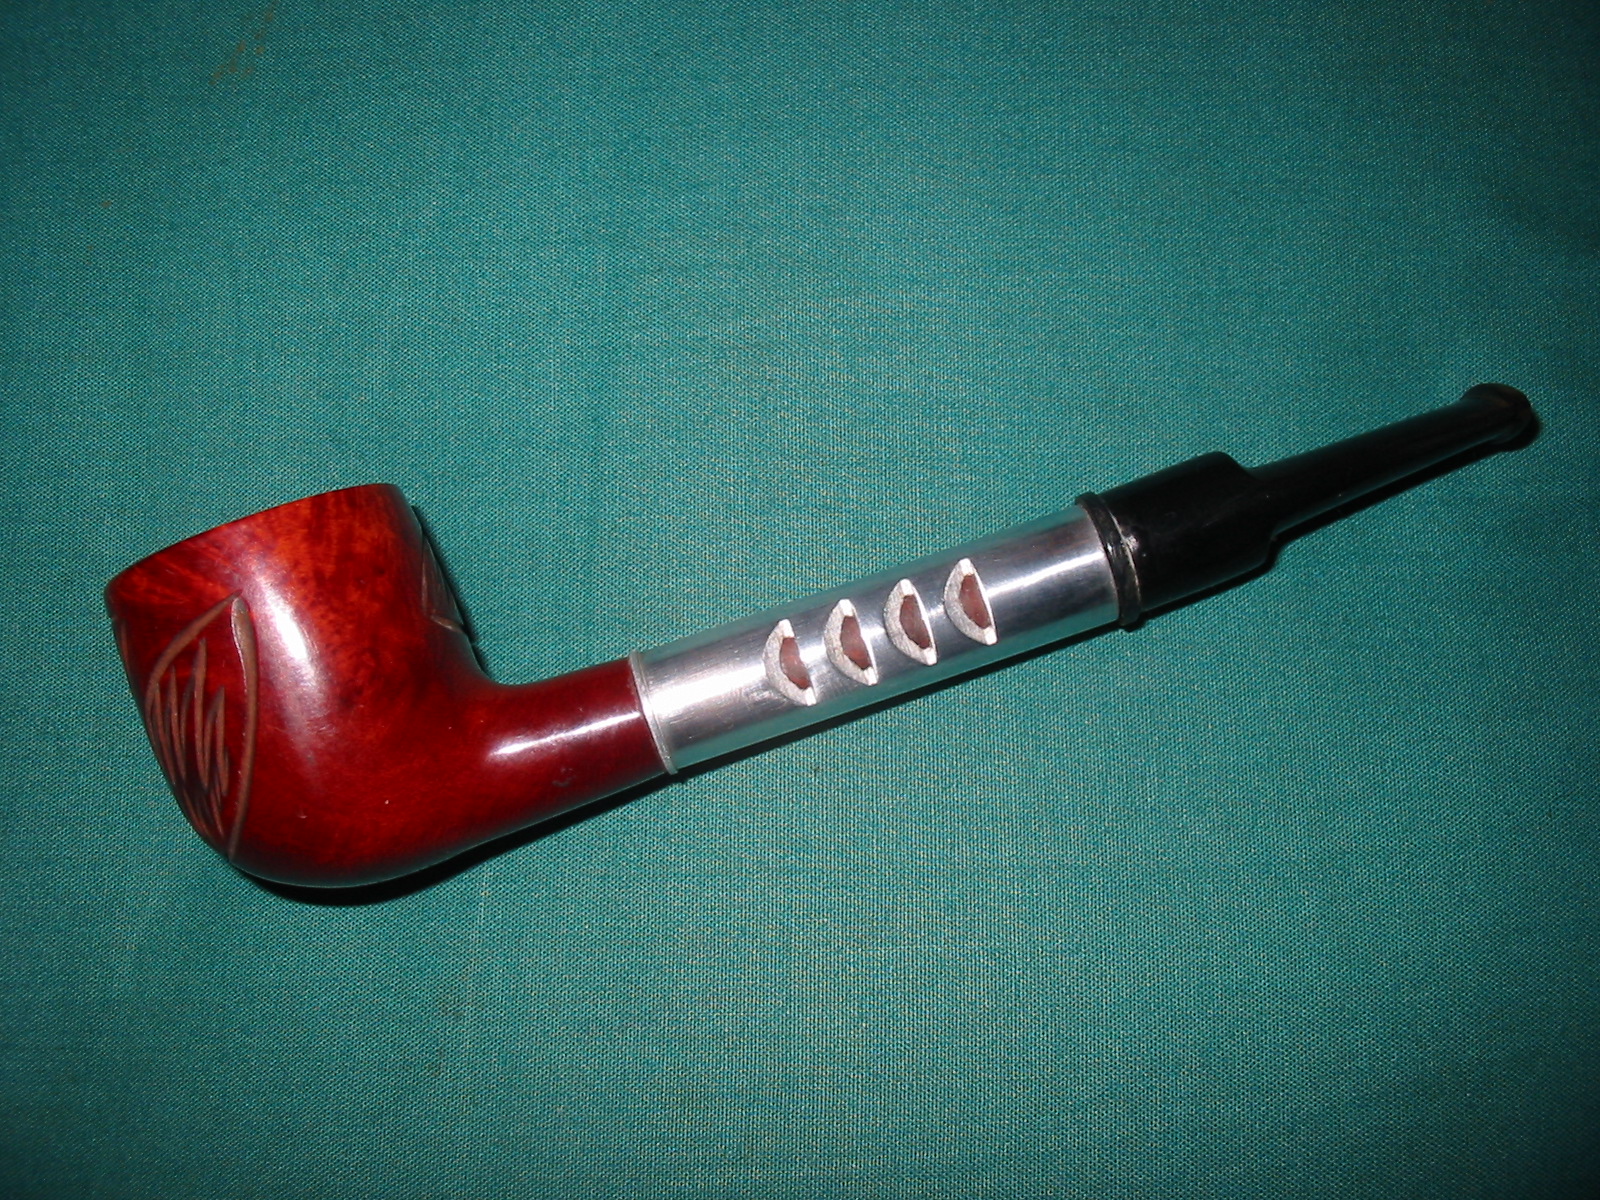
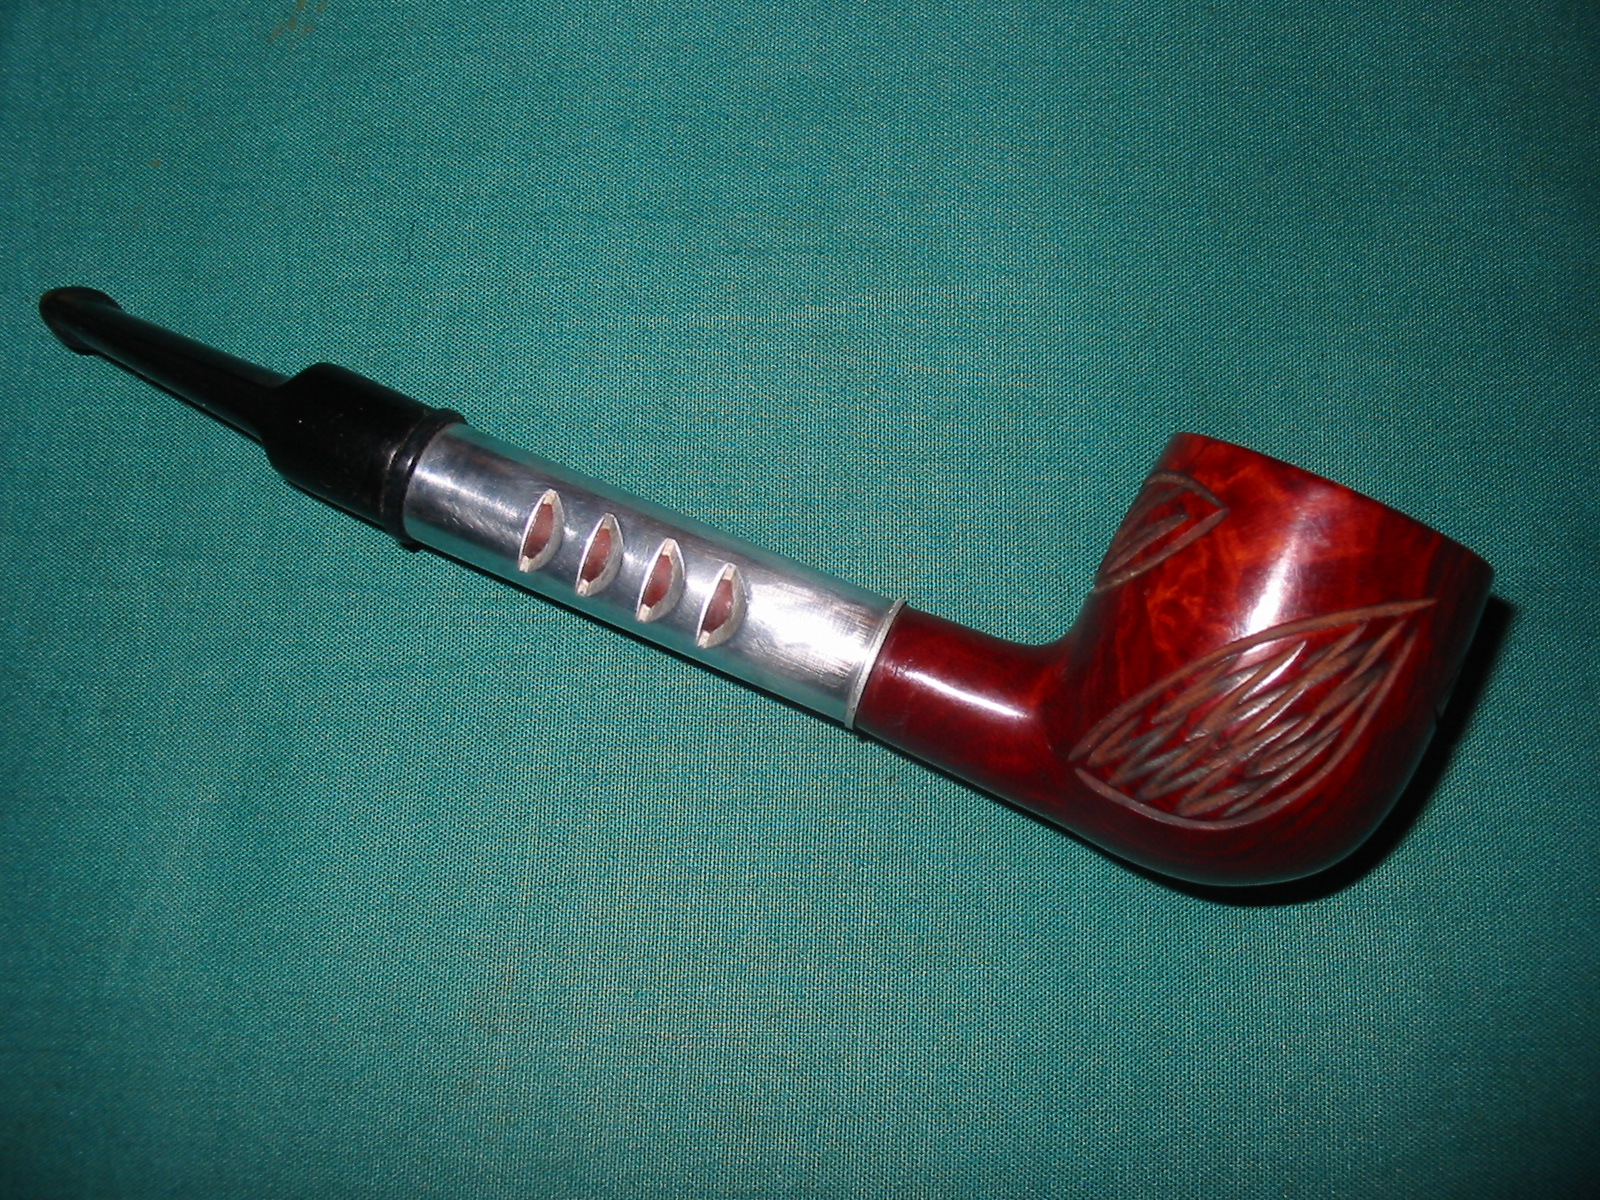
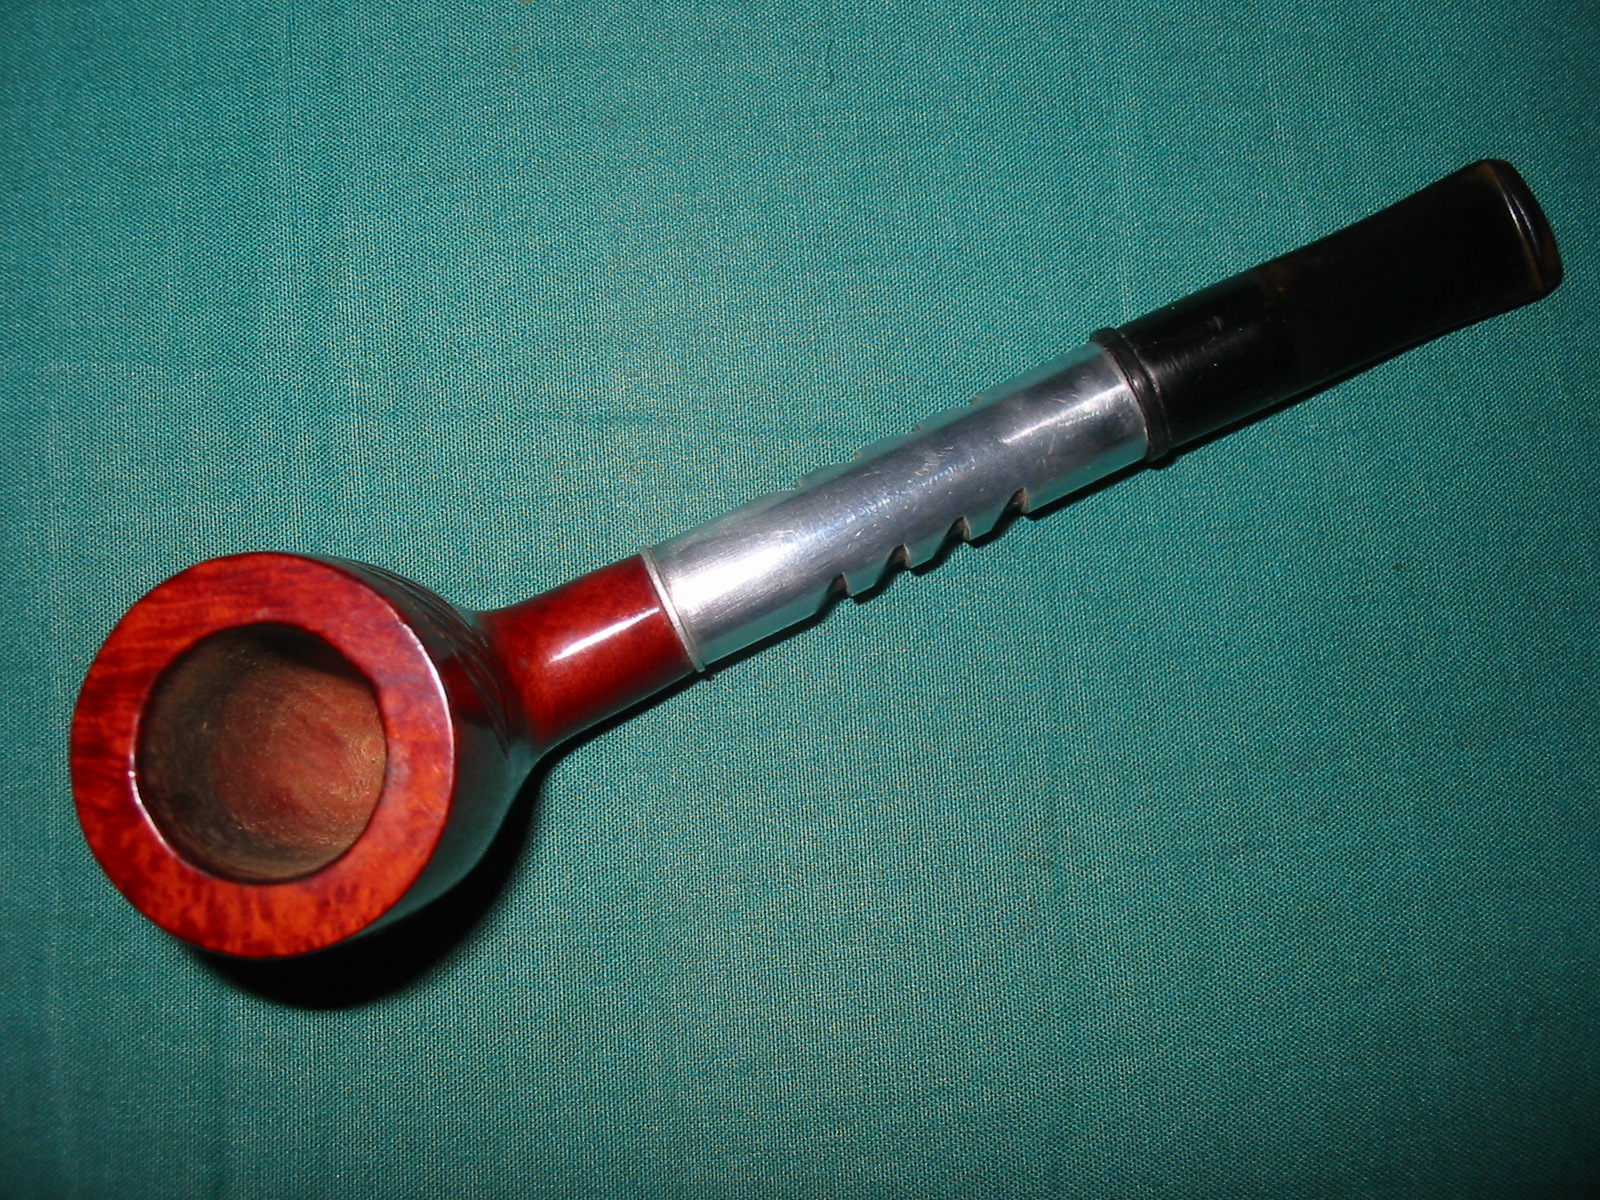
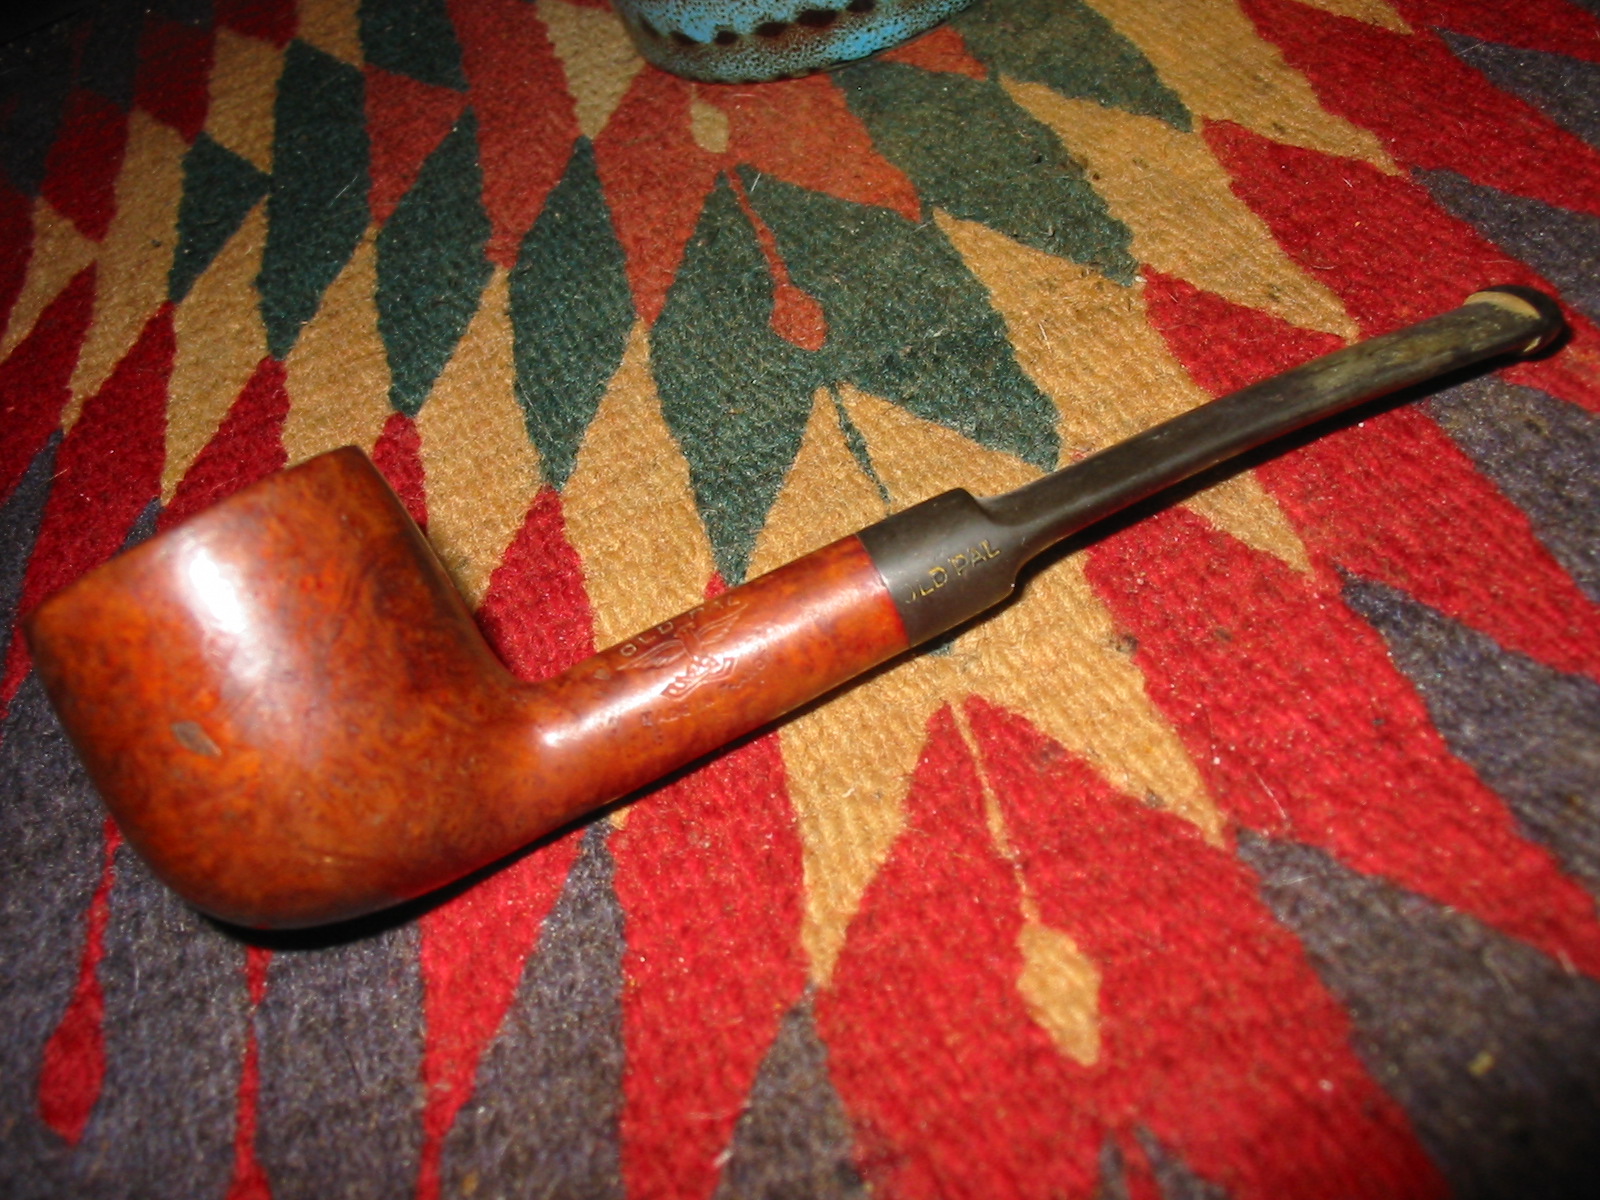
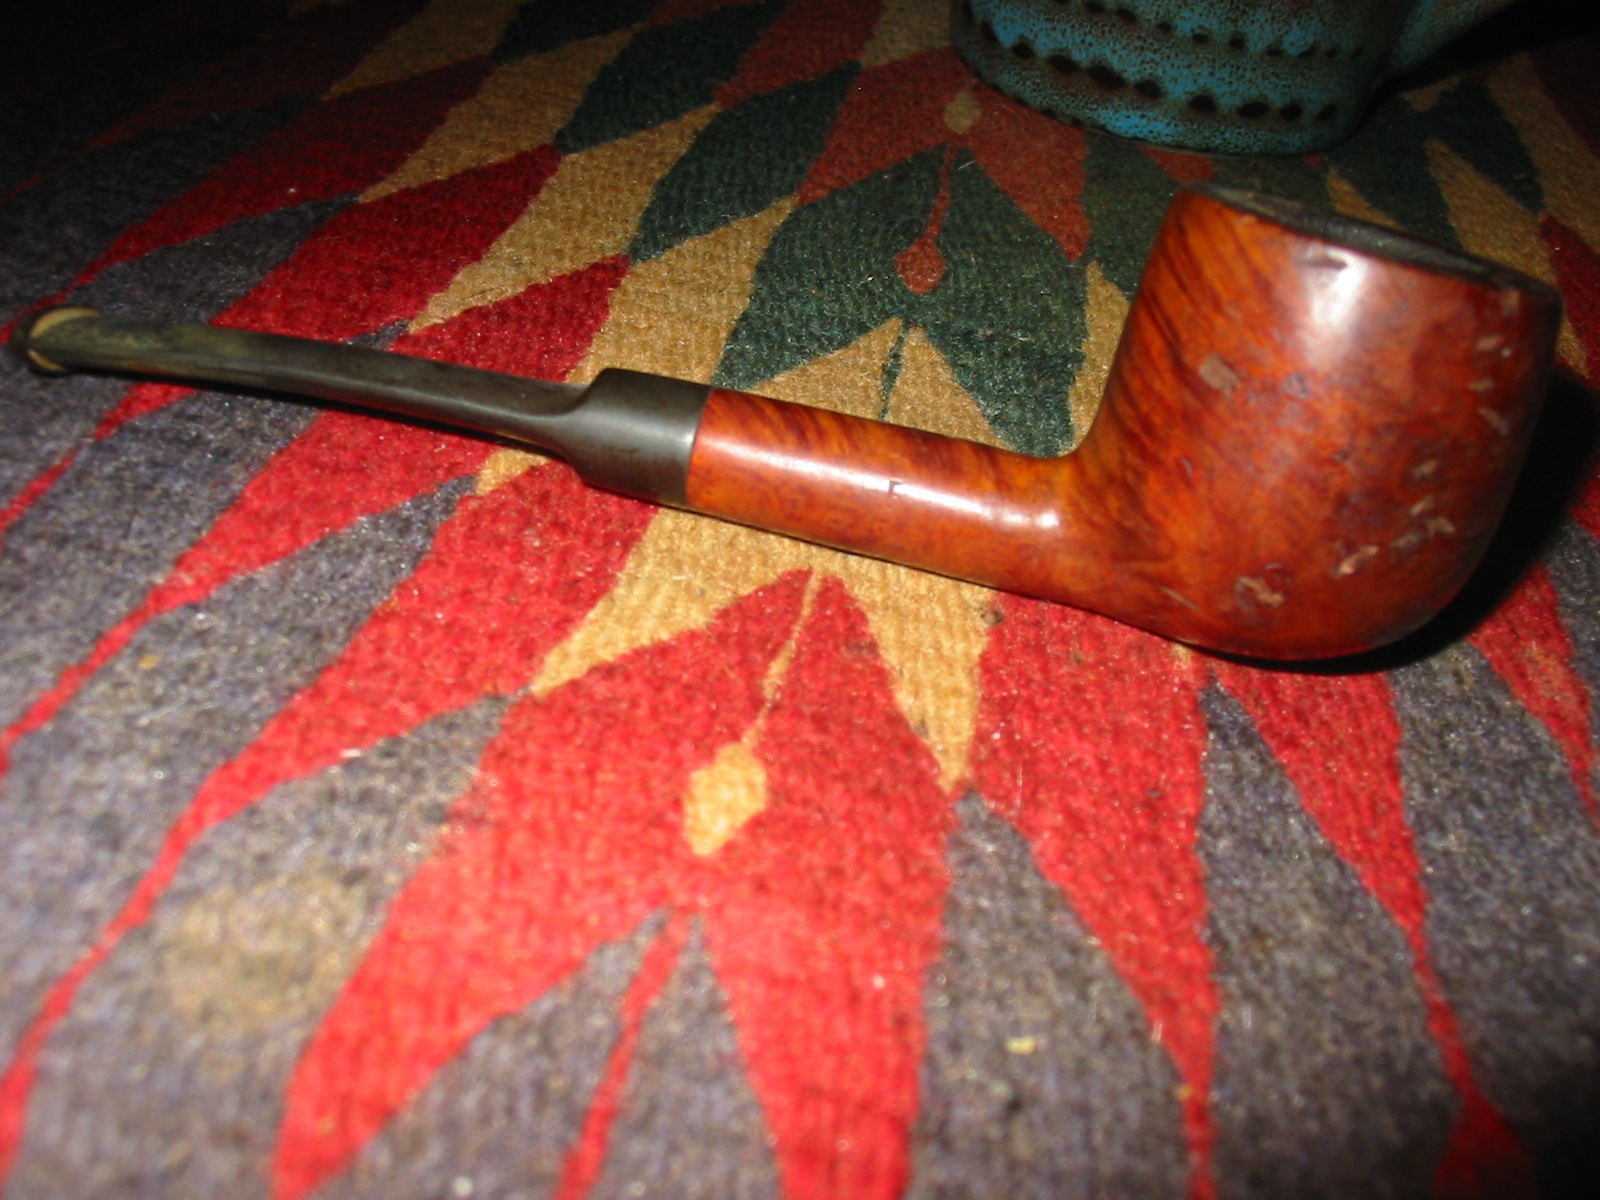
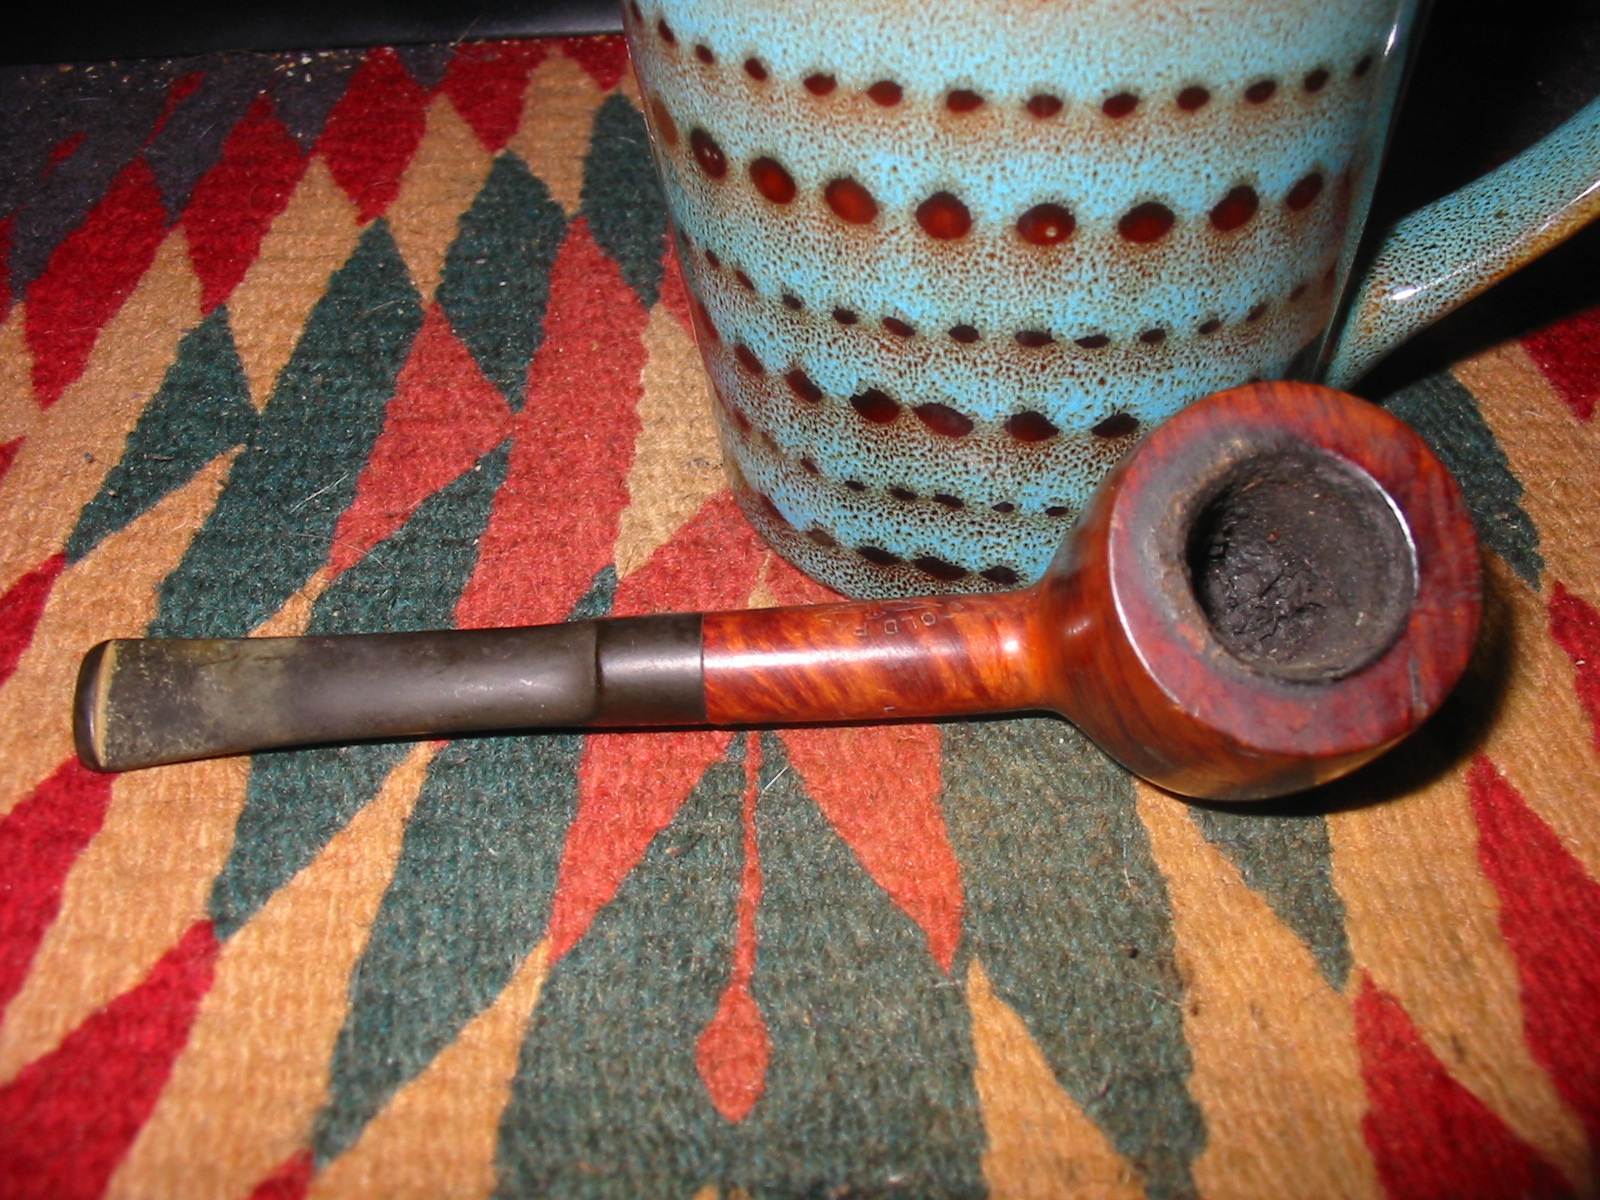
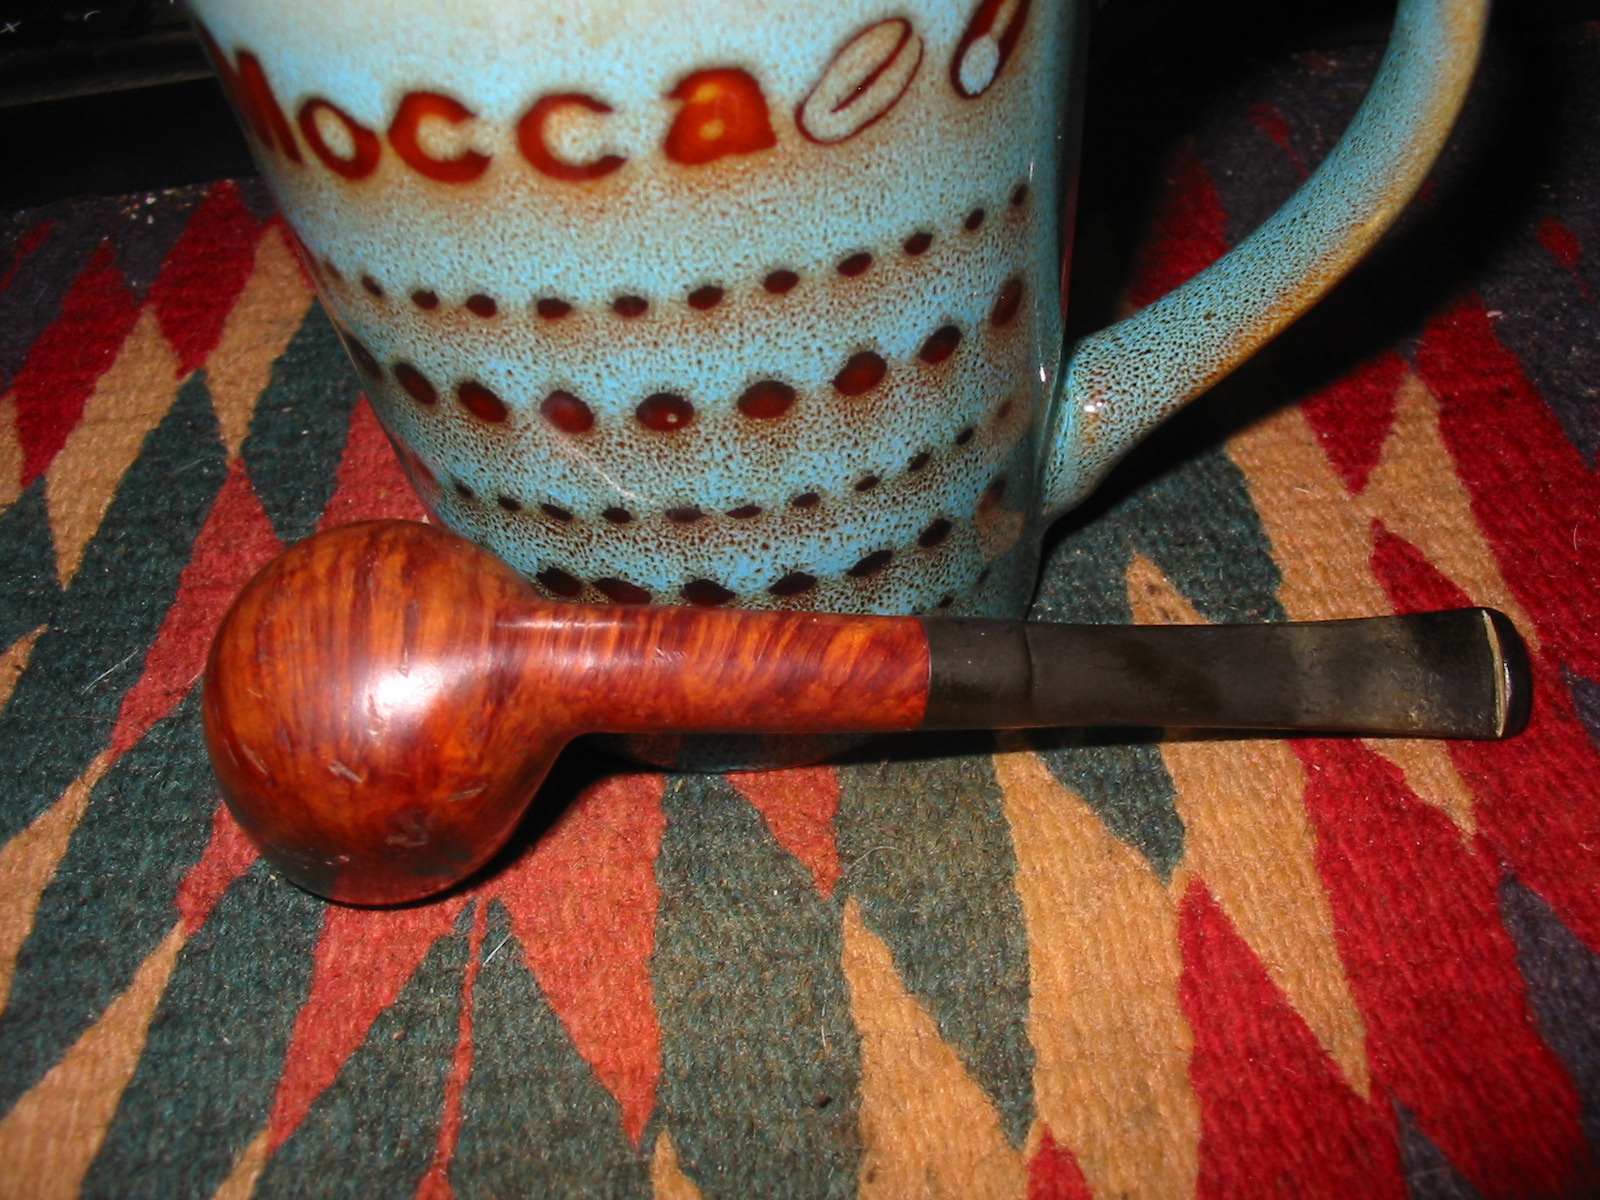
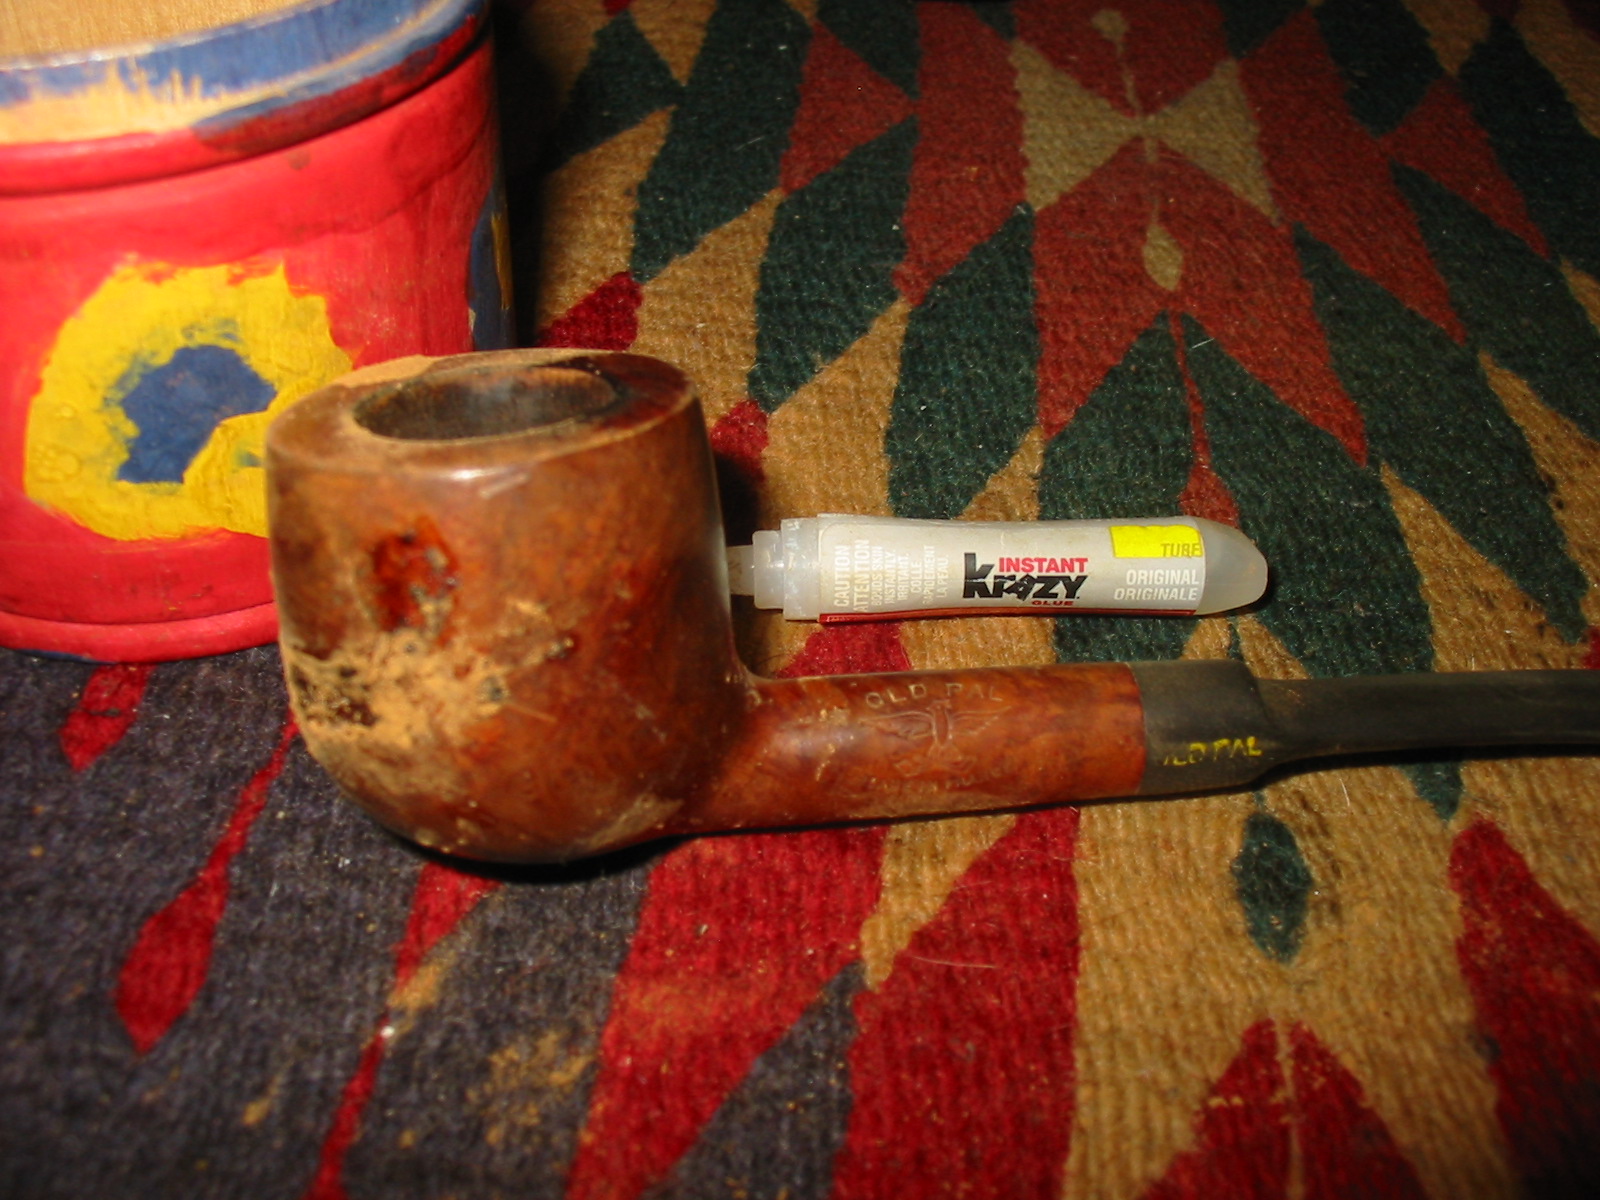
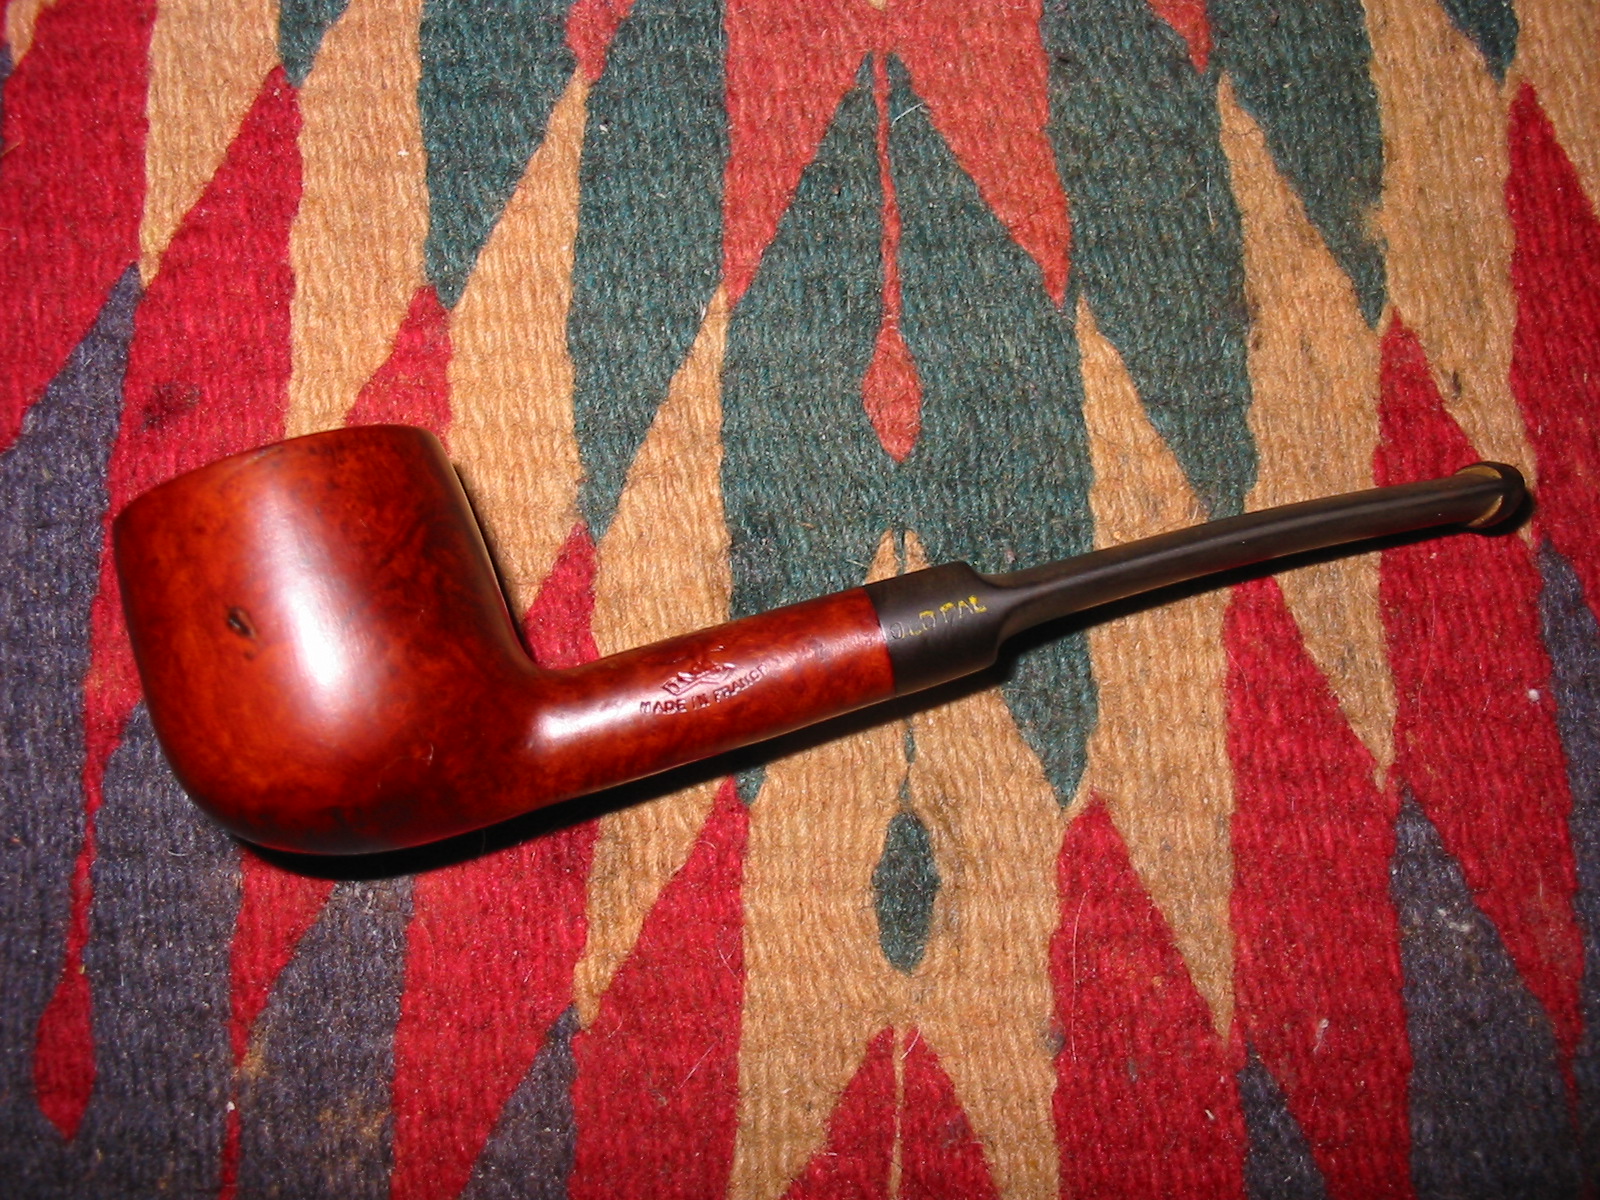
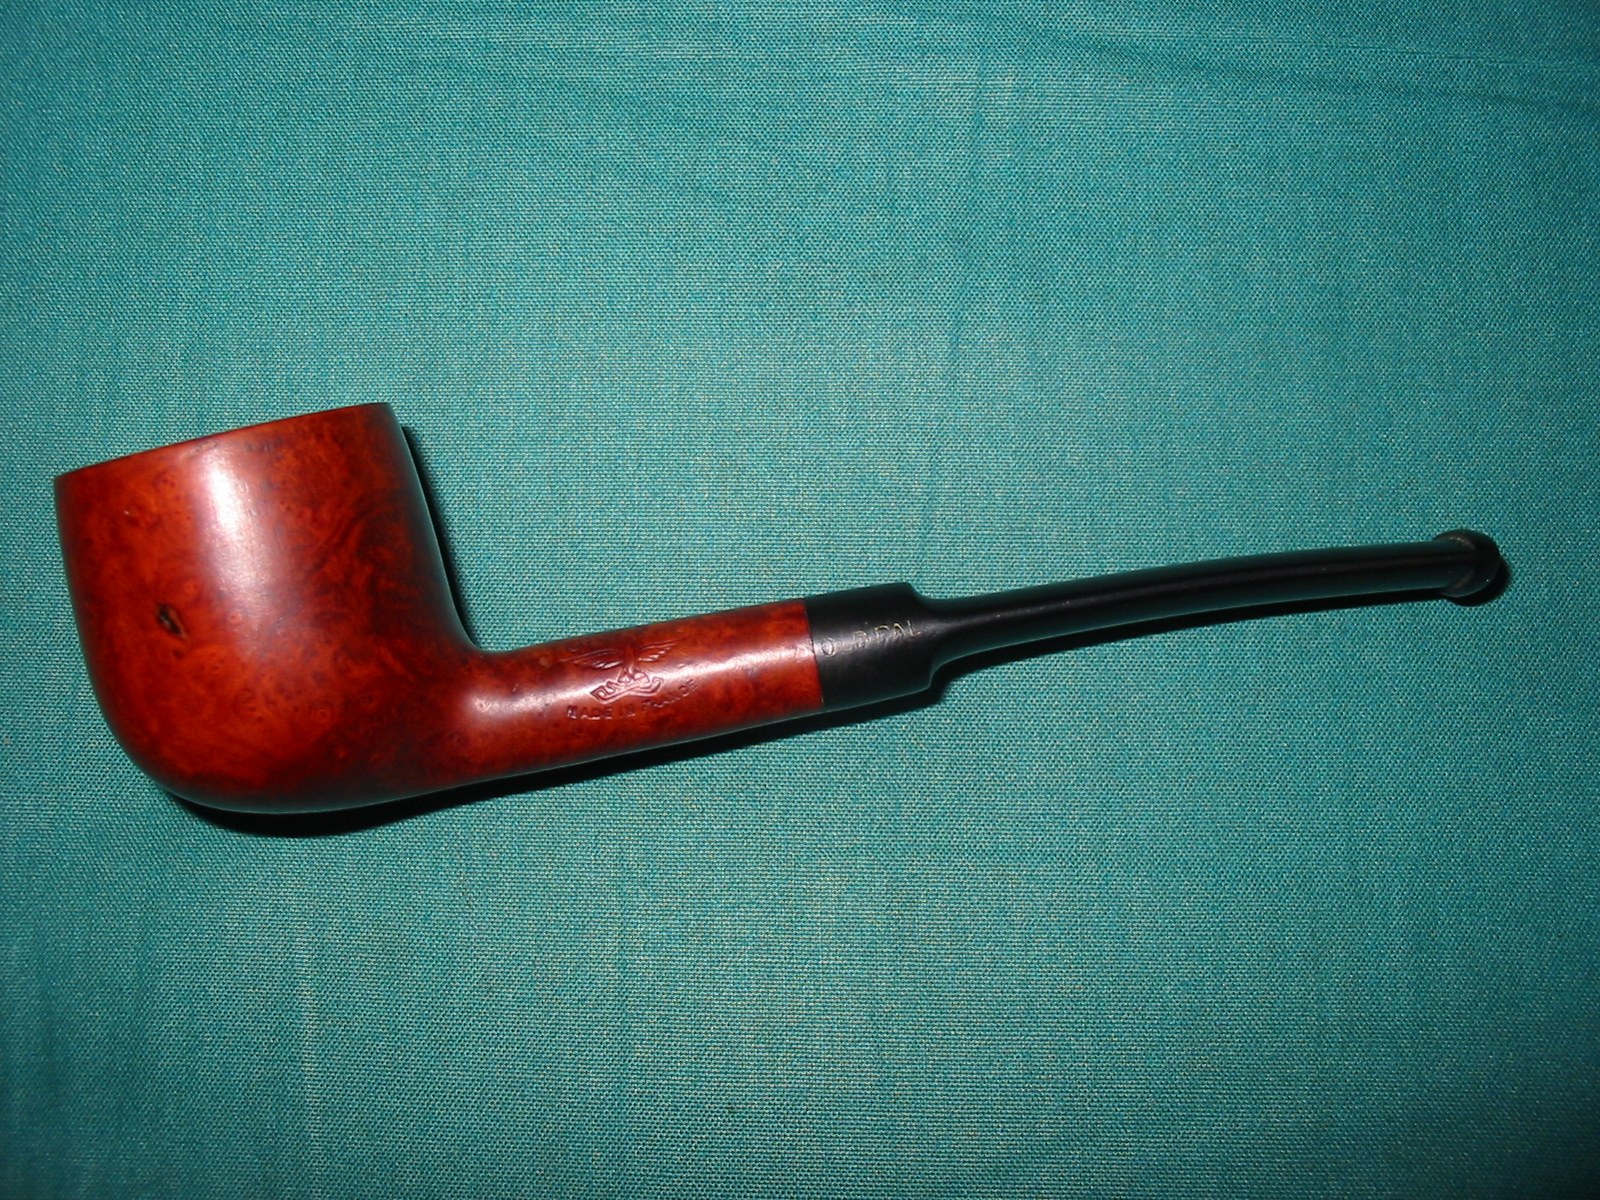
I just finished cleaning up another of the old pipes I found on my trip. It is a petite pot shaped pipe with a pencil shank. The overall length is barely over 5 inches and the weight is negligible. It is stamped on the left side of the shank in arc – Old Pal, over an Eagle with spread wings and then underneath Made in France.
oldpal2b
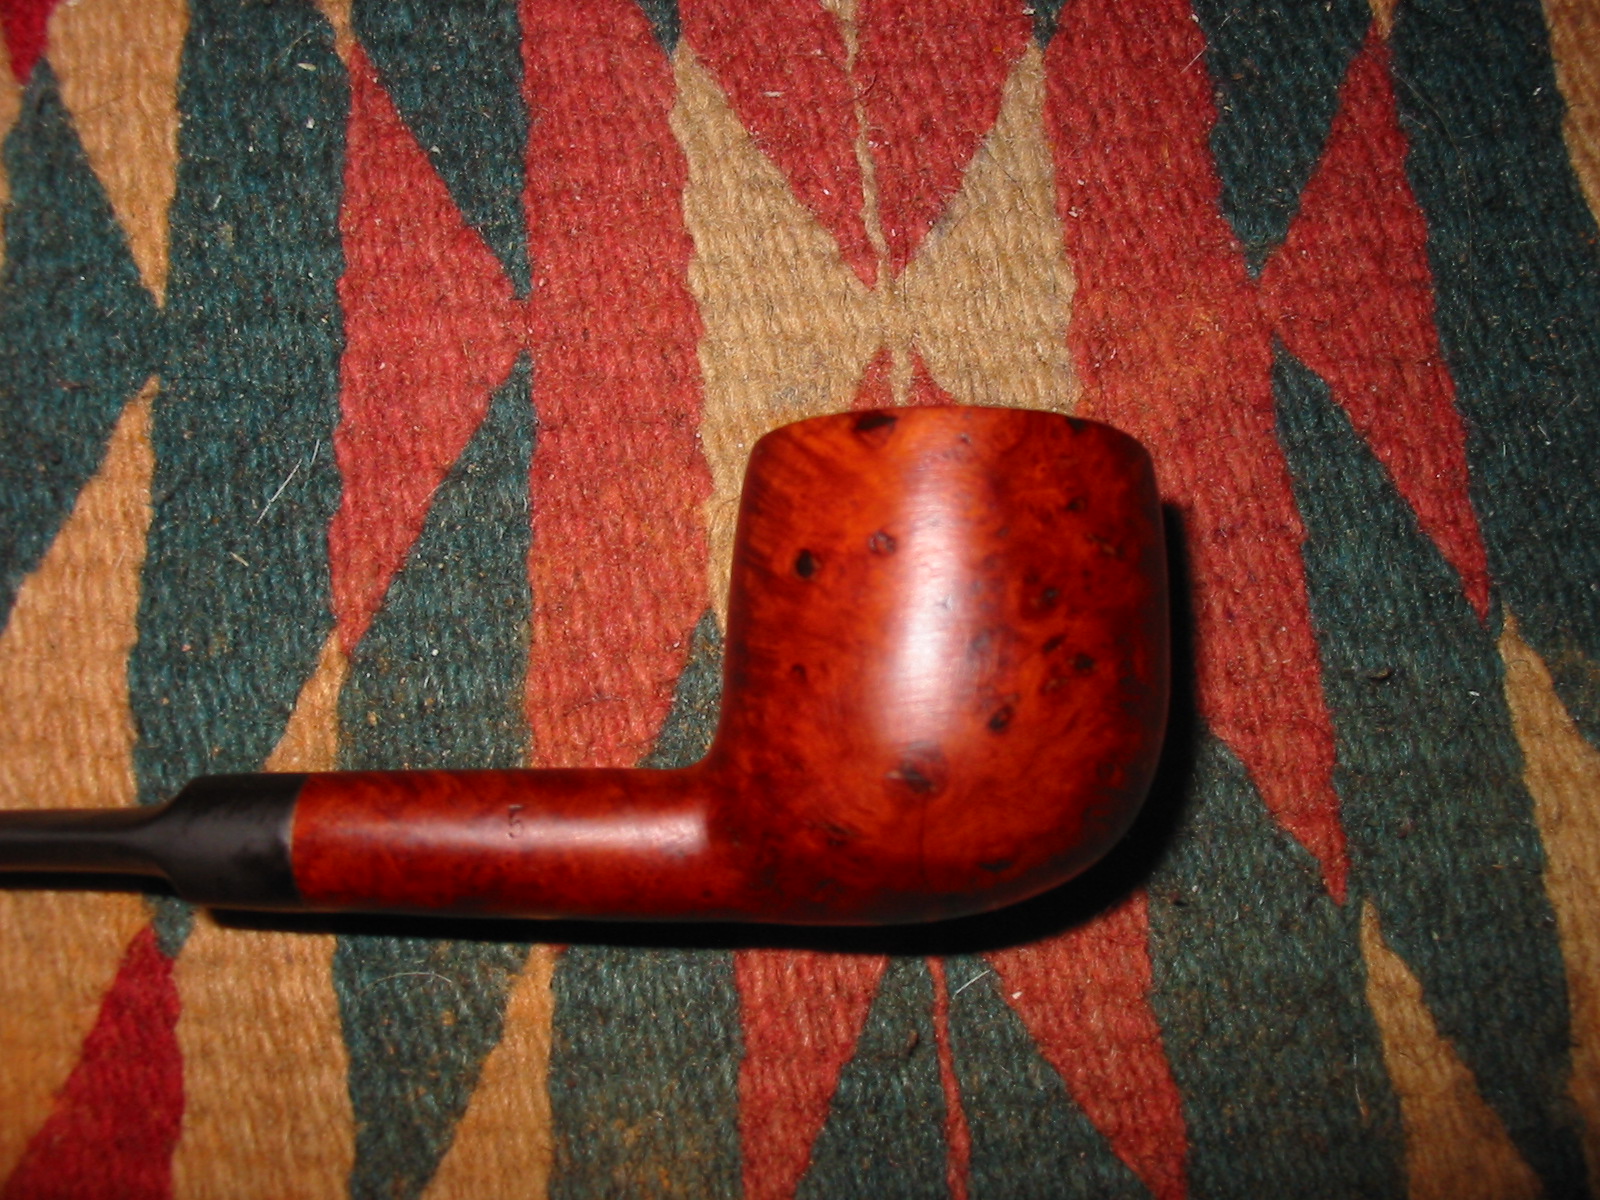
On the right side of the shank it is stamped 5 which I assume is the shape number. The stem is also stamped with the words OLD PAL on the left side of the saddle portion. On this particular pipe it is faint. In checking on the background information on “Who Made That Pipe” I found that it had two French makers for Old Pal listed. The first of those is Marechal Ruchon and Cie. (Incidentally it is the company that owned the GBD brand). The second maker listed is Rubinovich & Haskell Ltd. The bird emblem is probably the key, but I can find no reference to it. My own thinking is that the brand was made by Marechal Ruchon & Cie. I was able to dig up this brief summary of the MR&C brand. Ganeval, Bondier and Donninger began making pipes in 1850 and rapidly gained prominence in briar pipe making. Of the three, Bondier survived the others by 30 years, but new partners took their places. The name of the company changed to Bondier Ulrich & Cie, then Bine Marechal & Cie and finally to A Marechal, Ruchon & Cie. August Marechal and Ferdinand Ruchon saw the firm into the 20th century, their names being used for the company for well over 50 years.

Prior to 1899, Marechal, Ruchon & Co. became A. Oppenhiemer’s sole agent for cigarette papers but still remained in the pipe making business. Then in 1902, Marechal, Ruchon & Co.. owners of GBD and referred to as French pipe makers, merged with A. Oppenhiemer. In the 1915 London Directory of briar pipe makers one will find: “”Marechal, Ruchon & Co. – 38 Finsbury Sq. E.C.; London works, 15 & 16 Featherstone St. E.C. and Oppenhiemer, A. & Co. – 38 Finsbury Sq. E.C. listed separately.

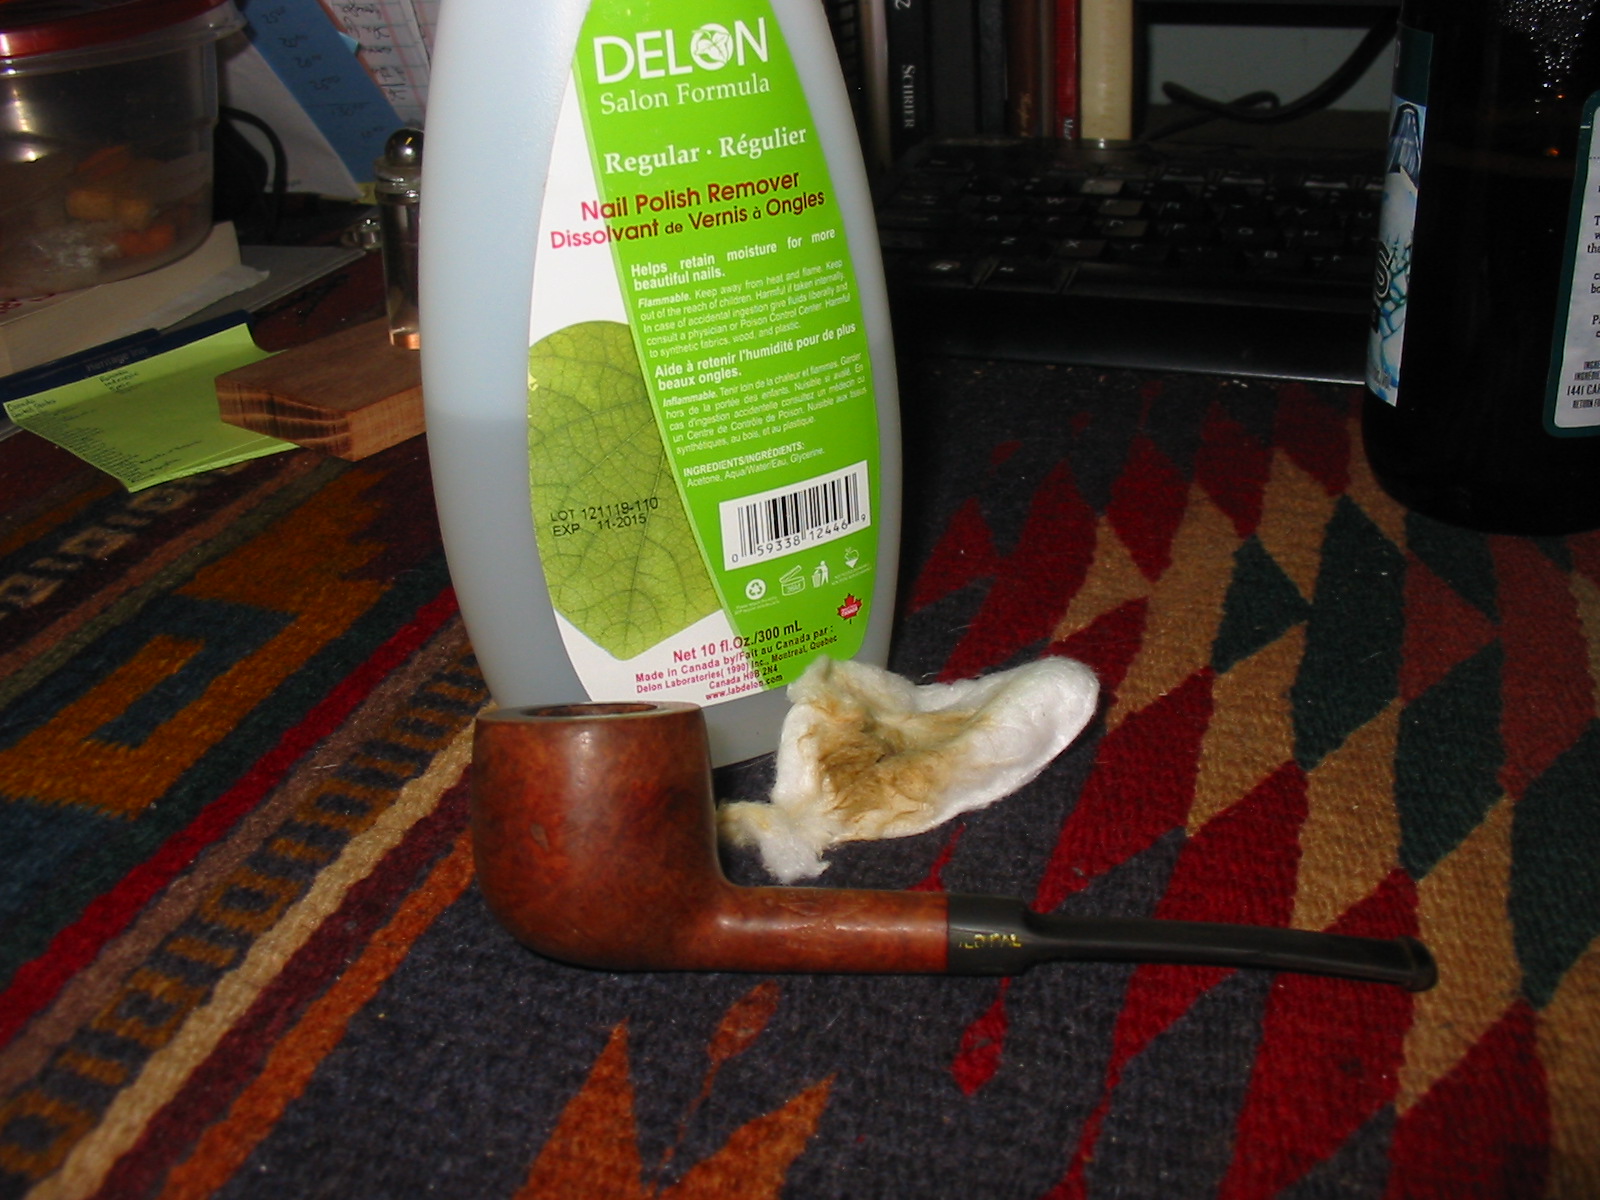
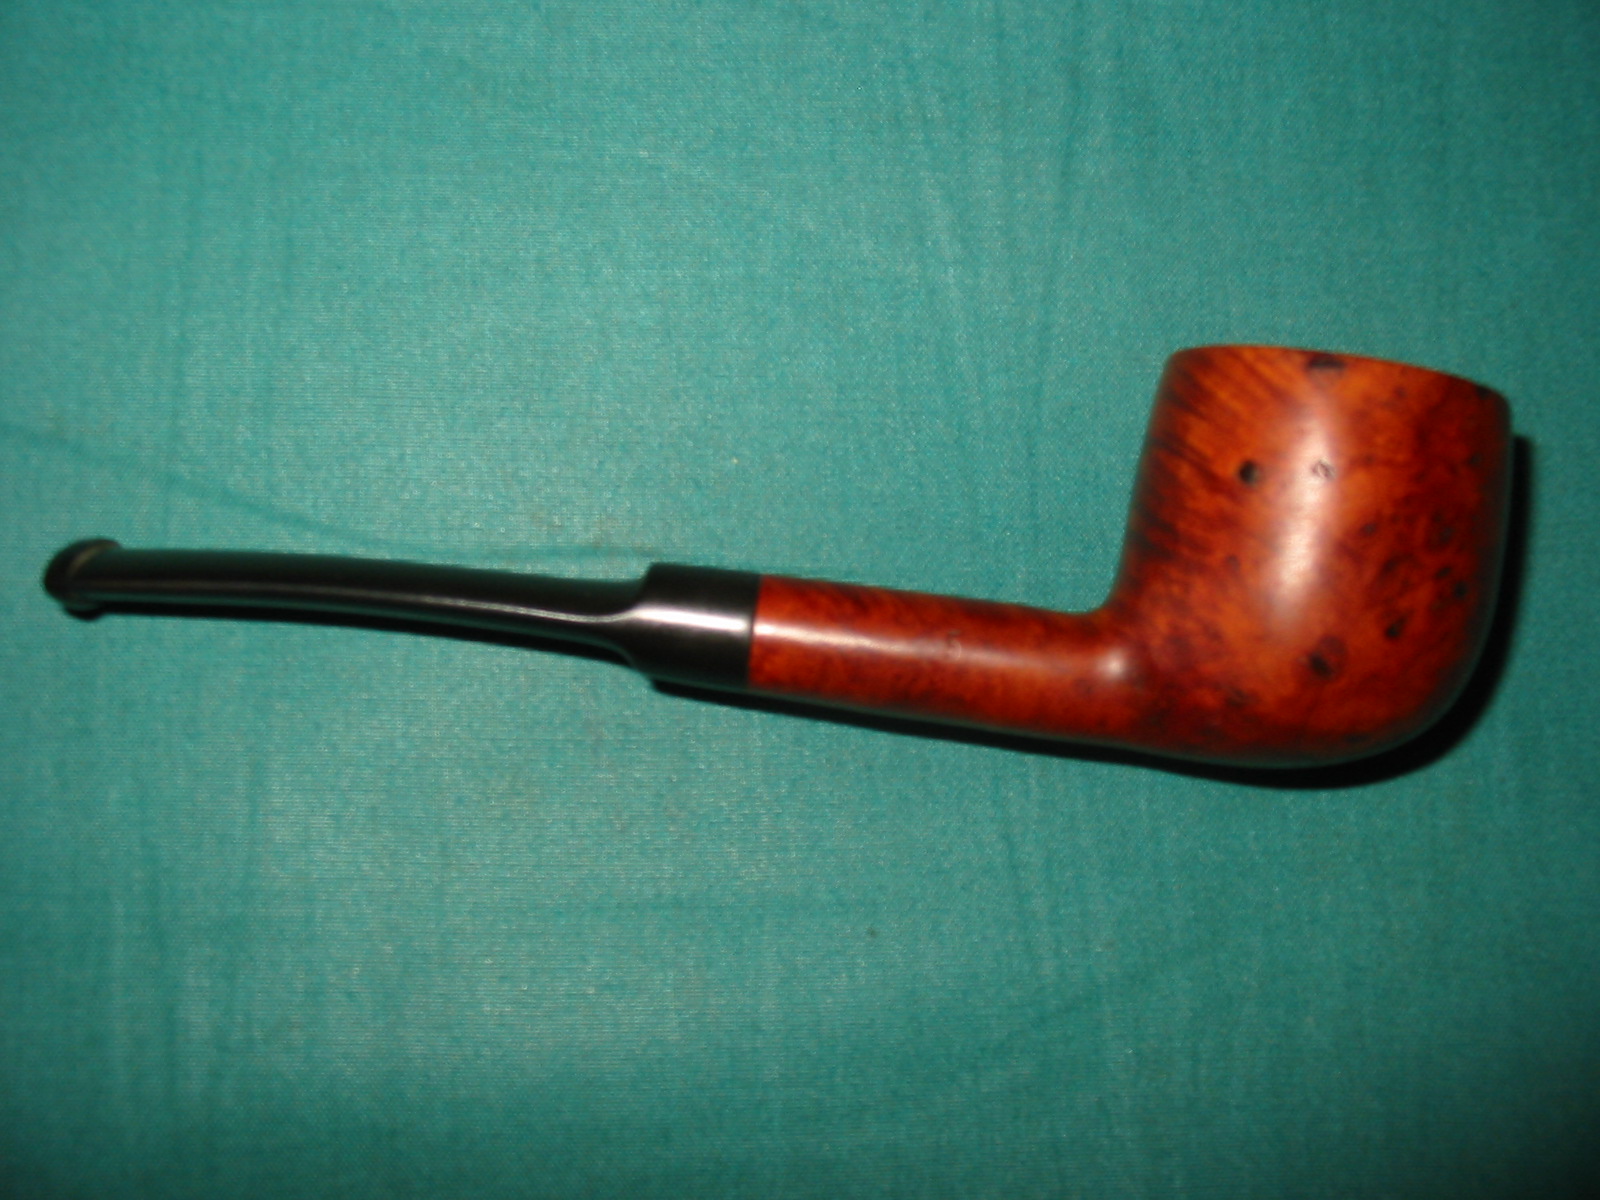
With that background information I worked on this old pipe to clean it up and restore it. When I picked it up the bowl was badly caked and packed full. The rim was dirty and tarred with what appeared to be a fill on the top of the rim right side. The entire right side of the pipe was full of fills of various sizes and shaped. There was one fill on the left side as well. The grain on the bowl was mixed and the finish was pretty beat up. The fills were shrunken and they left small pits in the surface of the pipe. The stem was oxidized and had tooth chatter on both sides near the button. The shank and airway were dirty and tarry. When the stem was removed there was an interesting flared tube that extended into the shank from the end of the tenon. The end looked like the bell of a horn. This was badly tarred and the inside of the tube was packed with debris.
IMG_2048

IMG_2049

IMG_2051

IMG_2052

I separated the stem and the bowl. The bowl was reamed with a PipNet pipe reamer back to a thin cake. Then I dropped the bowl in an alcohol bath to soak away the grime and to soften the fills. I drop the stem in an Oxyclean bath to raise the oxidation and soften it. I scrubbed both while in their respective baths to loosen the grime and buildup on the surfaces. I removed the bowl from the alcohol bath after two hours of soaking. I cleaned out the inside of the shank and the bowl as well as the inside of the stem. The trumpet like tube came out of the tenon and I cleaned it inside and out and reset it in the tenon. It is an interesting contraption as it is flared and the flared end rests against the end of the mortise directing the smoke directly into the mouthpiece. I have not seen that design before (see the photo below after the stem cleanup paragraph).
IMG_2067

IMG_2053

IMG_2066

IMG_2068

IMG_2071

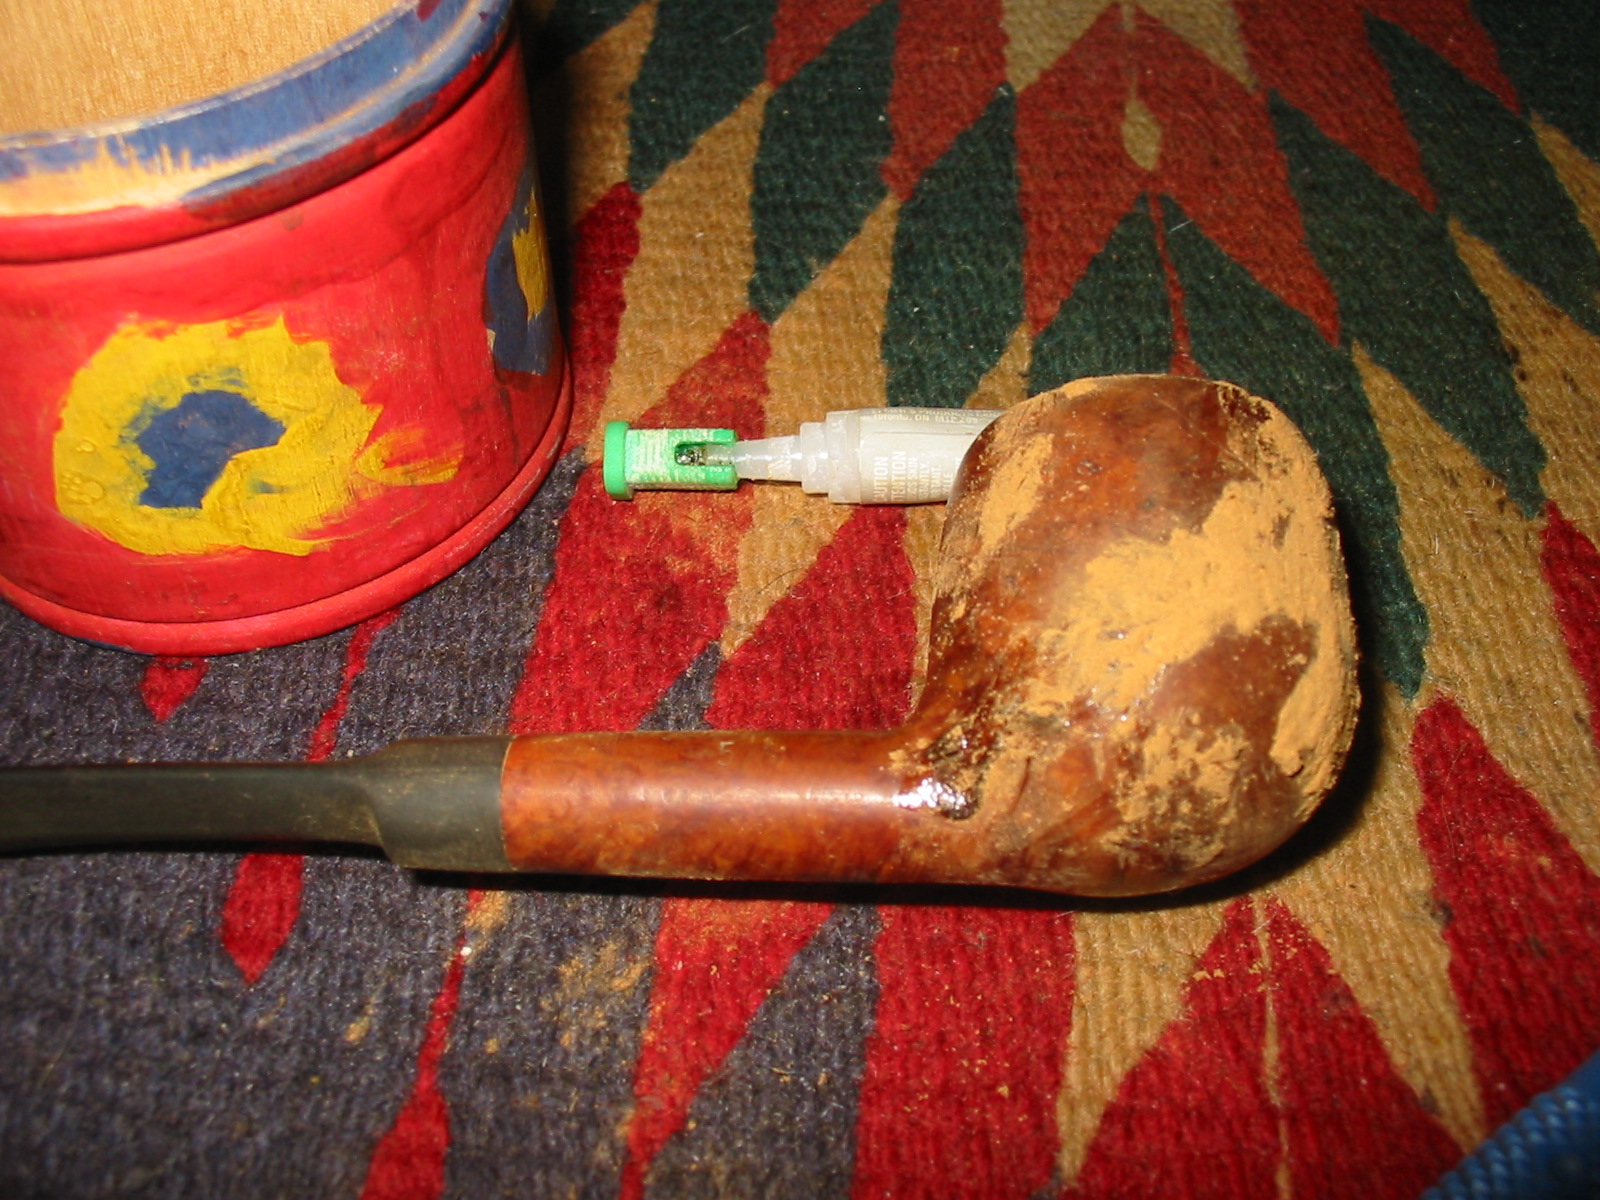
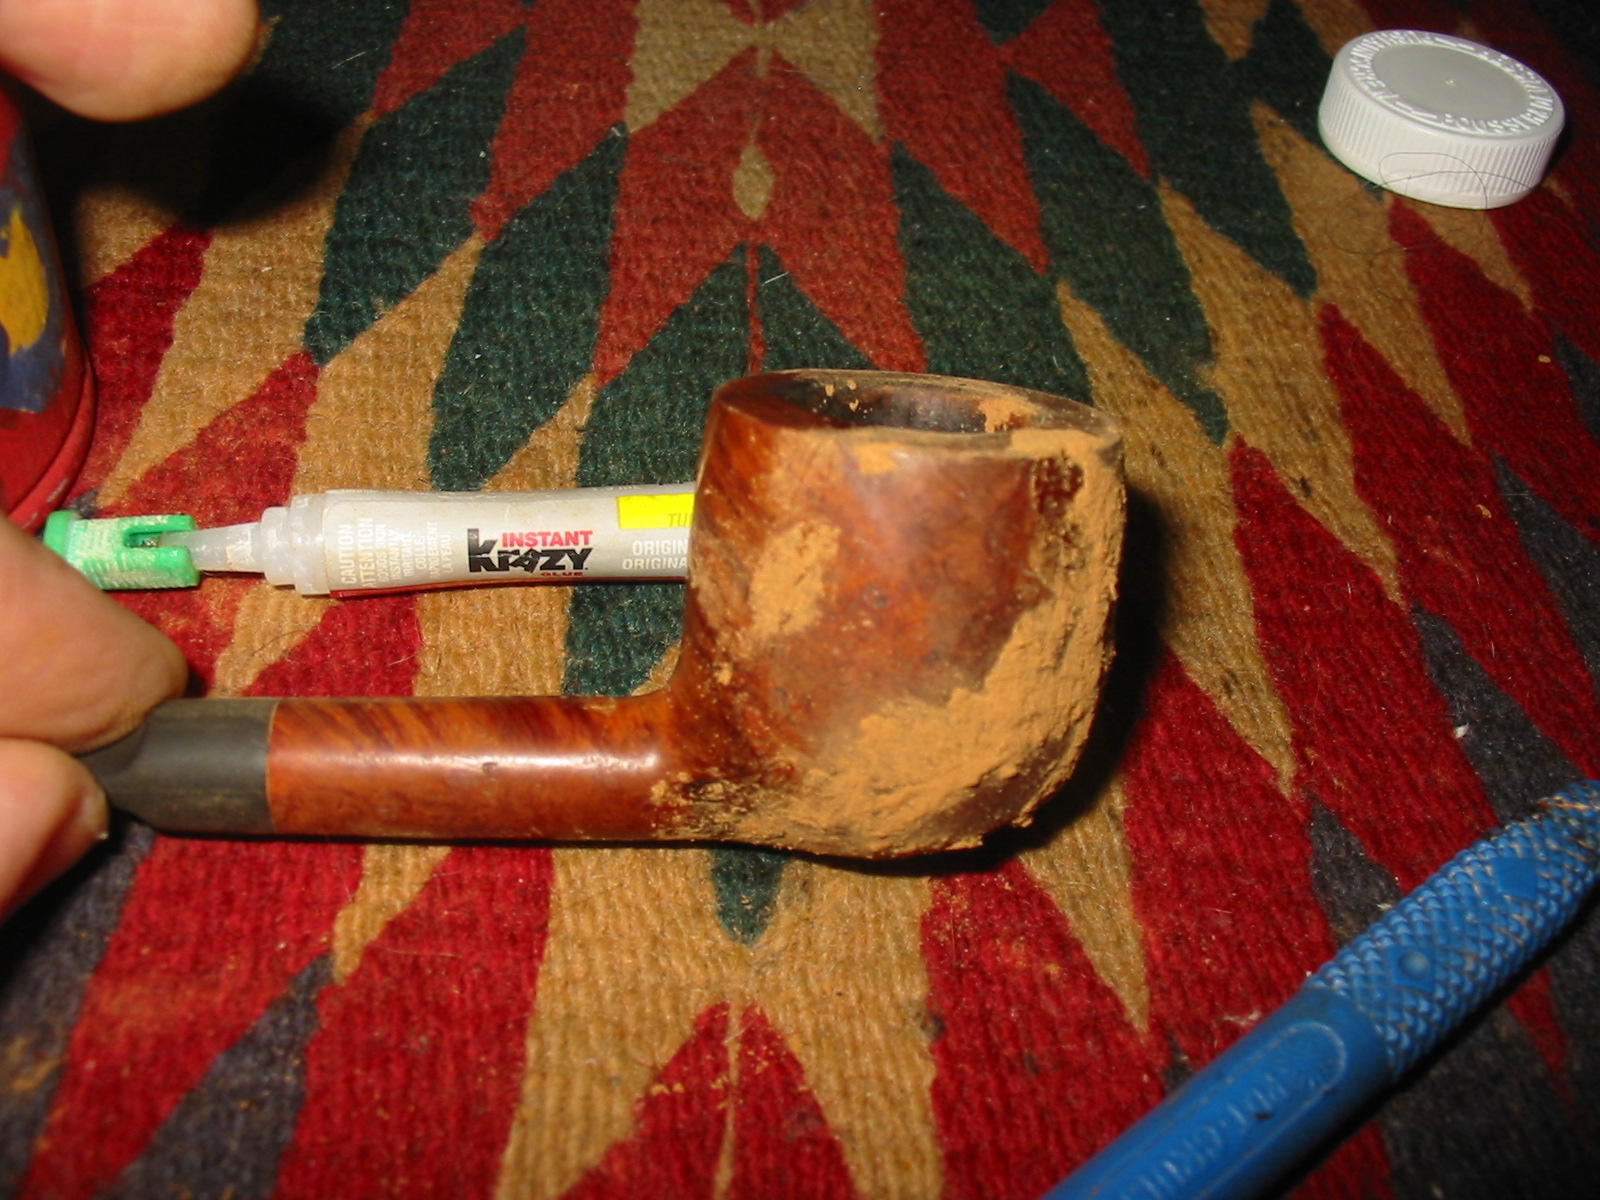
I used a dental pick to dig out the fills that had softened in the bowl. My objective was to remove them altogether and replace them with a briar dust and superglue fill that turns black and gives a different look than the red putty fills.
IMG_2079

After removing the fills I wiped down the bowl with acetone on a cotton pad to remove the finish from the bowl and to remove extraneous dust from the holes where the fills used to be. I repeated this process until the bowl was clean. Once finished I used a drop of superglue in each pit and then pressed briar dust into the holes using a dental pick. I repeated the process until the fills were repaired. I then sanded the bowl to remove the excess briar and superglue fill material with 220 grit sandpaper, medium grit sanding sponges and a fine grit sanding block.
IMG_2081

IMG_2082

IMG_2089

IMG_2090

IMG_2091

IMG_2092

IMG_2093

The black marks on the right side of the bowl highlight the fills in the bowl. I have often used a permanent black marker to blend in the fills to the grain. I decided to try that with this pipe as well.
IMG_2094

IMG_2095

I gave the bowl several coats of dark brown aniline stain mixed 1:1 with alcohol. I applied the stain, flamed the bowl, reapplied and reflamed until the colour was even over the entire surface. I then took it to the buffer and buffed the bowl with red Tripoli and White Diamond to polish the stain. I also wanted to see how well the fill material was working. I have found that as it dries it can still shrink.
IMG_2098

IMG_2099

IMG_2100

IMG_2101

I brought it back to the work table and gave it a coat of linseed oil.
IMG_2102

IMG_2103

IMG_2104

The fills had shrunk and left divots in several spots so I reapplied the superglue and briar dust (less this time around). I sanded the bowl with a sanding sponge and a fine grit sanding block to smooth out the surface. I reapplied the stain and the linseed oil and then buffed the bowl.
IMG_2105

IMG_2110

IMG_2109

IMG_2108

IMG_2107

IMG_2106

I took the stem out of the bath and wiped it down. The majority of the oxidation wiped off with a damp cloth and then I polished it with Meguiar’s Scratch X2.0 and wiped it off the stem. I wiped the stem down with a polishing cloth and buffed it with White Diamond.
IMG_2080

IMG_2111

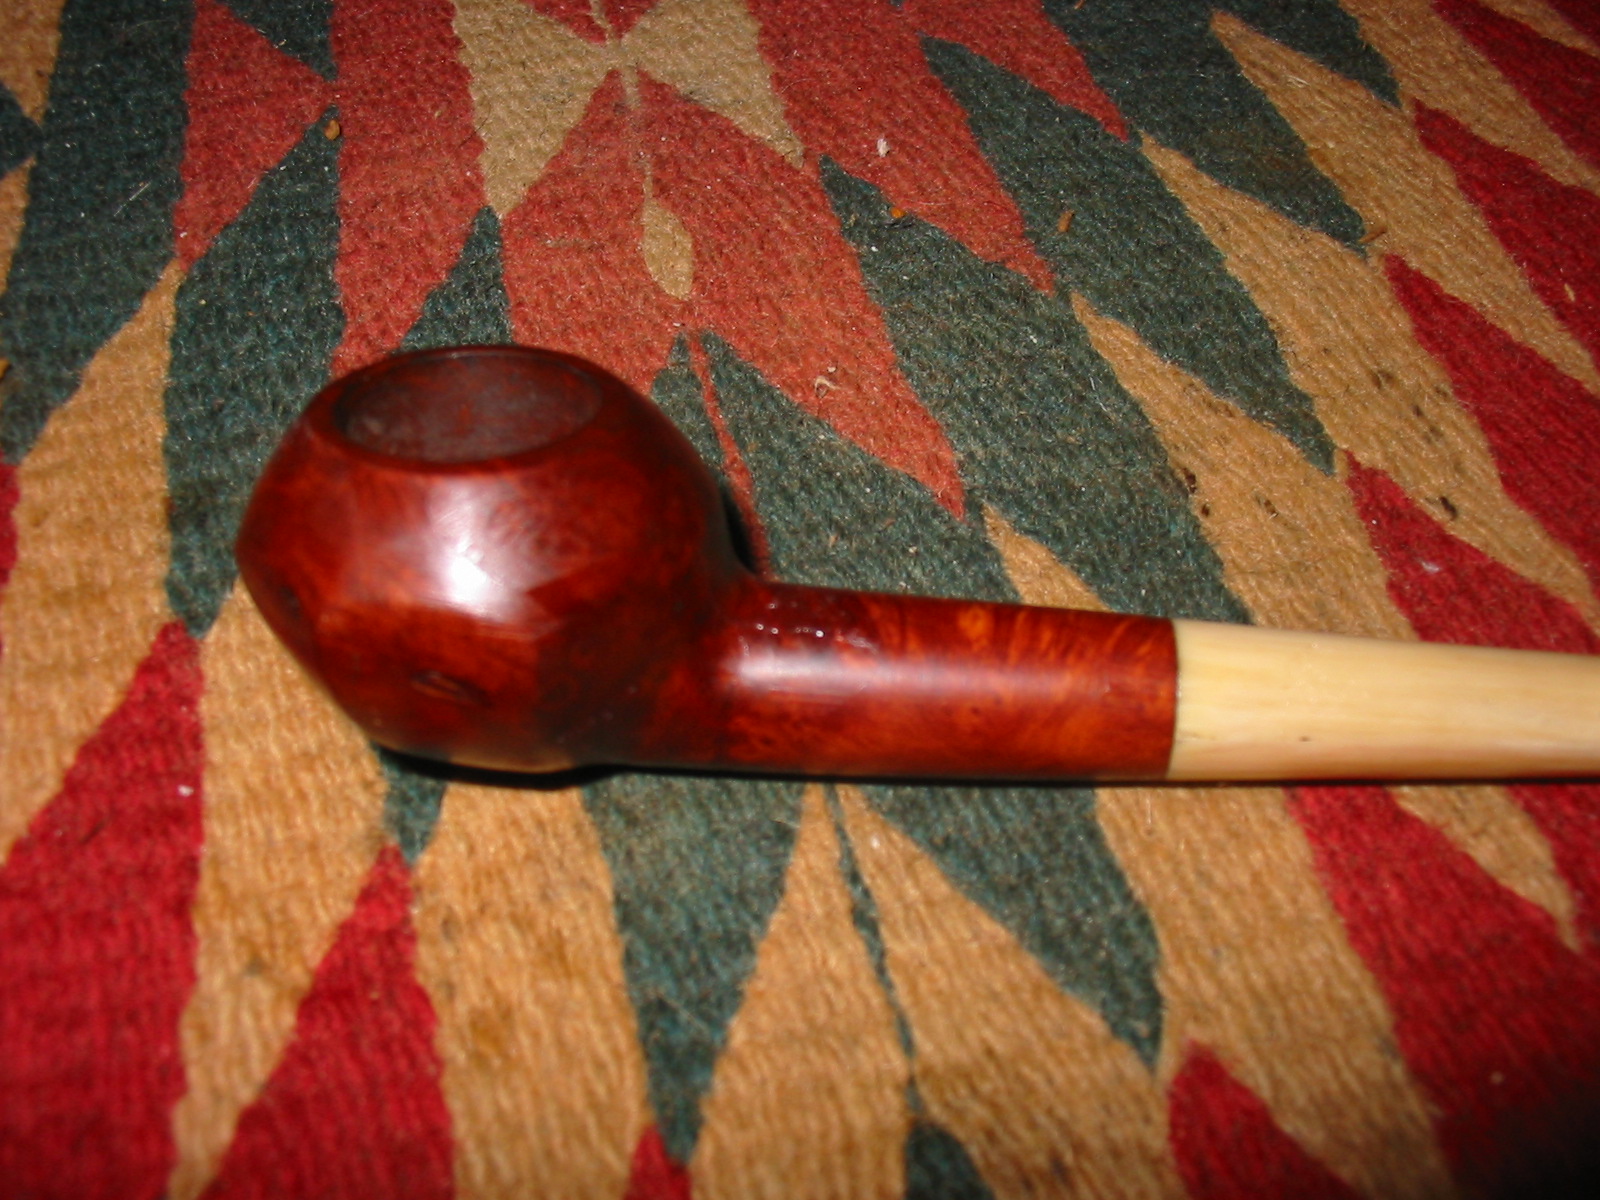
I applied a coat of Obsidian Oil and when dry rubbed it off. I reinserted the stem and buffed the stem with multiple coats of carnauba wax. I took the pipe to the buffer and buffed the entirety with carnauba wax and a soft flannel buff to a shine. The following pictures show the finished pipe.
IMG_2112

In the bright flash of the camera the fills on the right side of the bowl appear to stand out more than they do in the natural light. They tend to look dark spots in the birdseye of the grain. They do not stick out as badly as they appear in the photo below.
IMG_2113

IMG_2115

IMG_2114

The final picture I have included is one of the Old Pal pipe with a package of Old Pal Pipe Cleaners that I picked up at an antique shop in Edmonton. The two form a nice complement to one another.
IMG_2117

A Schulte deLuxe Reborn – by Joey Bruce


Blog by Joey Bruce

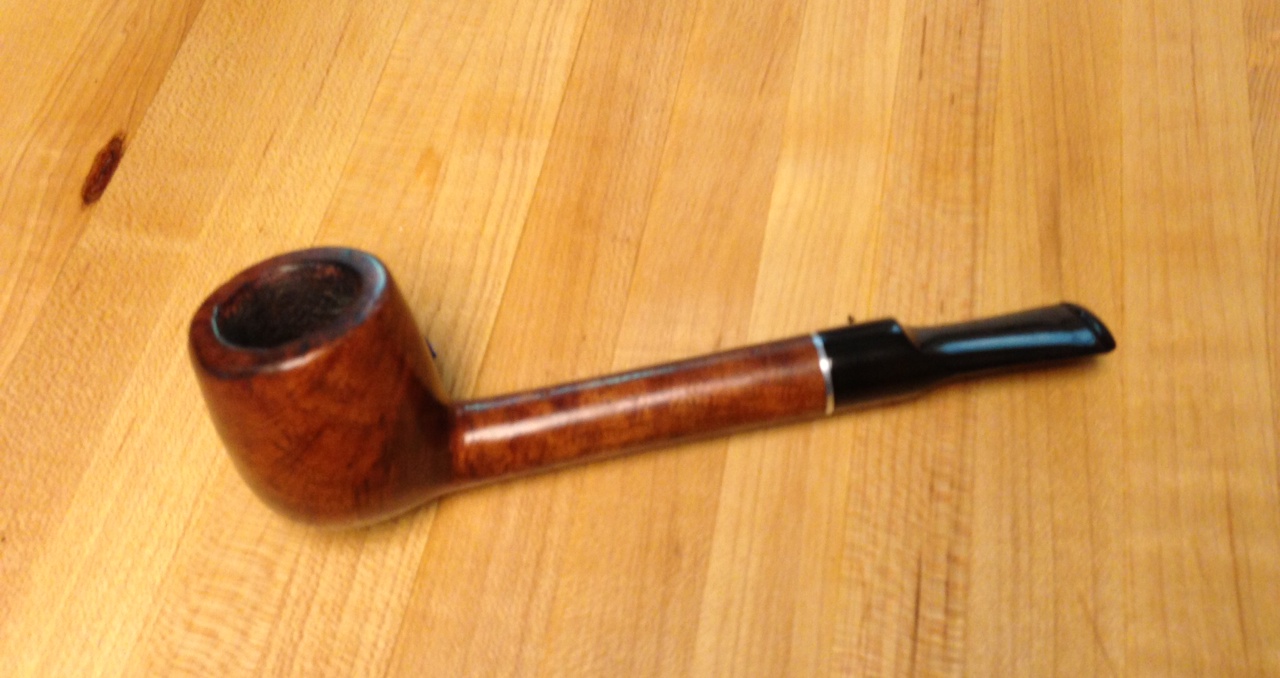
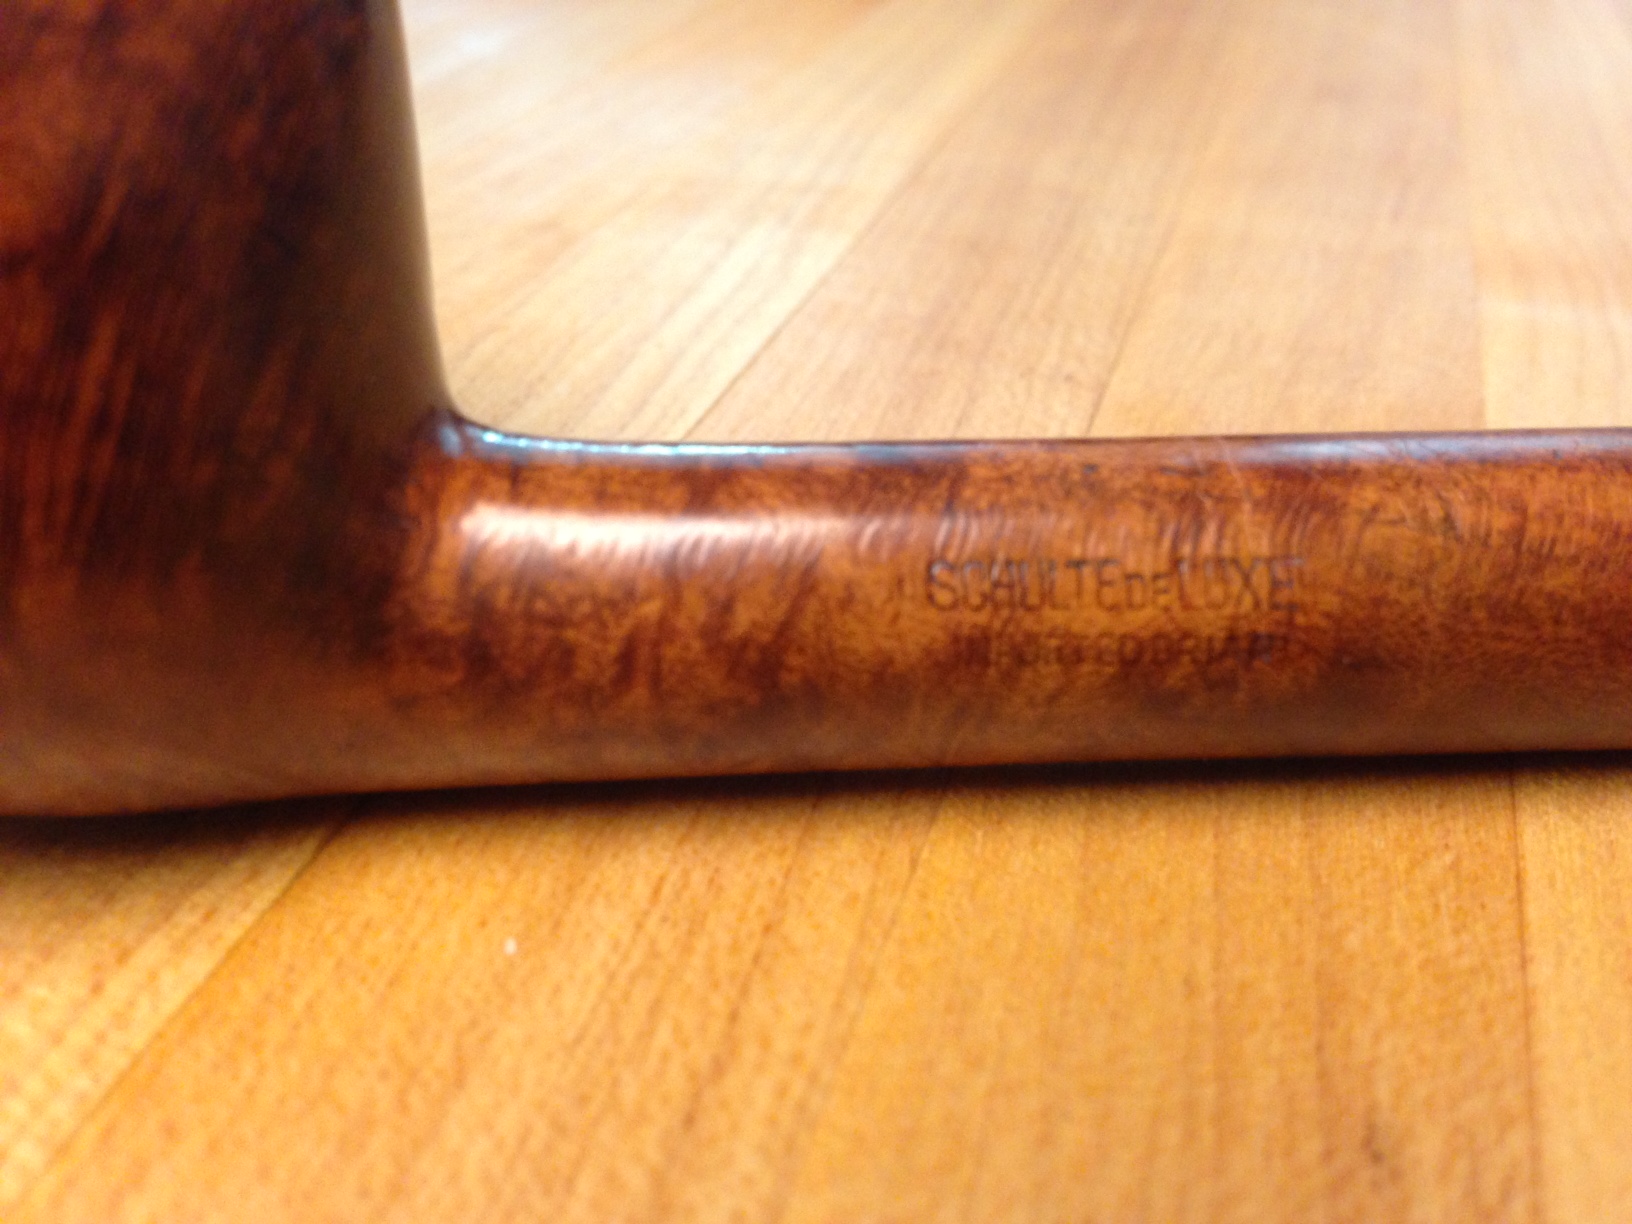
Joey has been a reader of the blog for a while now. Then about a month ago now I received and email from him with some questions on an old pipe he had picked up. It turned out to be a WDC bulldog that was in rough shape. We exchanged a few emails and over the course of reworking that old-timer I could see that Joey was hooked on this hobby! I invited him to do a write-up on some of his work and post it here for others to be encouraged and challenged. Last evening he sent me this article on an old Schulte deLuxe that through his efforts had been reborn. What follows is his article and photos. Thank you Joey for taking the time to write this up and send a copy to me. It is great to have you posting on the blog as a writer. Enjoy his work readers.

Hello all. Just dipping my toes into the pipe refurbishing world. I’ve been reading the posts here obsessively for a while now and couldn’t resist trying it for myself. I’ve always loved restoring things whether it’s, old bikes, cars or motorcycles. All the way to obscure things like pens and sewing machines. So it was a natural move into this. Hopefully I won’t bore you. At the very least you’ll be able to see the difference between and amateur like me and the real deal like Steve and Greg.

I recently bought a few estate pipes off eBay. Most were in such great shape they didn’t need anything more than a spit shine. A few I used as practice. Trying out different techniques I’ve read here and see what I like the best. This weekend I went to a flea market and grabbed a bunch of old cheapos that were laying in a box for a few bucks. Figured I’d get more practice and this time actually take pictures.

Schulte1

Schulte3

I grabbed the Schulte deLuxe first as that one seemed like it would be the easiest. First I soaked the stem in an Oxy Clean and water solution (no real ratio. Just about half a tbs to 3/4 water. But really just guessed) to bring out the oxidation. Then I wet sanded it with 1500 grit sandpaper (all I had. Would have been easier to work my way up to that but I just went with what was here) until all the oxidation was removed. After a little elbow grease I took it over to the polishing wheel (Ryobi bench grinder with two 6″ polishing wheels) and hit it up with some red rouge. Working it back and forth until it had a nice smooth shine. Then moved to the other wheel with Eastwood Supply’s version of White Diamond. Working it with a much gentler touch. Wiped off the residue and voila. Better than new.

Schulte2

Schulte4

Schulte5

I moved onto the bowl. This time I decided to try wet sanding the bowl just to see what would happen. I hypothesized that a quick wet sand might just remove the grit and grime. Turns out it quickly moved right past that and into the stain. I probably won’t do that again unless the bowl needs serious work but it was worth a shot. Wet sanding did work well on the top of the bowl to remove the tar. Much quicker than the spit shine method.

Schulte6

Schulte7

You can see how one turn on the bowl with the red rouge turns the wet sand into a nice shine. Probably my favorite part of this whole thing is when you break it all down to its base and start to rebuild it.

Schulte8

Schulte11

Schulte10

Schulte9

I did the same to the bowl as I did to the stem. Took about an hour on the wheel for both. And I’m pretty happy with how it turned out. I have yet to polish them with any wax to keep the shine up. I just haven’t picked any carnauba wax up and I’ve noticed the super bright shine dulls after a few days so I’ll be sure to grab some wax ASAP.

If you’re reading still thanks and I hope this helps anyone who is just getting started.

Cheers.

’63 Dunhill 552 Restoration


Blog by Al Jones

I found this 1963 Dunhill shape 552 on Ebay last week. The auction ended early in the week at an odd time and it went largely unnoticed. It looked to be in pretty decent shape, but with some bite marks on the bottom of the stem. It is a Group 4 pipe in Bruyere finish (A = Bruyere) At first, I thought it was a Rhodesian, then later thought it looked more like a tomato. Neill Archer Roan commented that it had some Diplomat DNA.

The pipe was delivered today. It was pretty much as pictured, but I also discovered it is a 6 mm filter pipe. The briar was in great shape, with a little tar and rim darkening. There were no dings or bruises to deal with. The stem was also in decent shape and only lightly oxidized. There were a few light teeth marks on both sides of the stem, and all but one lifted out with some heat from a lighter flame.

Dunhill_522_Before (1)

Dunhill_522_Before (3)

Dunhill_522_Before

dunhill_rhodesian-5dunhill_rhodesian-4Dunhill_522_Before (2)

The bowl had a fairly thick cake and I reamed it with my Castleford bit set. The bowl was then soaked with Everclear and sea salt.

I polished the stem with some 800 grit wet paper, followed by 1500 and 2000 grade. Then I moved to the micromesh, 8000 and 12000 grades were used. I gave the stem a light buff (mounted to the briar) with some White Diamond. I have a bar of jewelers “Red” rouge on order and I’m curious to see how it compares to the White Diamond for finish work. The stem has some odd marks in the vulcanite, almost like an imperfection. I could not remove them by sanding or buffing.

I polished briar lightly with some 8000 grade micromesh, keeping away from the weak nomenclature. I then buffed the bowl, again lightly with White diamond and then several coats of carnuba wax.

After searching online for several days, I couldn’t find out much about this shape. I found only one other shape 552, a shell finish pipe sold at an Ebay auction in 2007. The 552 is also not on any Dunhill shape chart (Loring, etc.). On the SmokersForums.uk in the “Streets of London” social group, one member there, dmcmtk (Dave) said he has a shape 556 from 1963. He had heard Dunhill was experimenting with shape variations at this time and perhaps my 552 was part of that experimentation. I have emails out to several Dunhill collectors, but haven’t yet received a reply. If you know anything about this shape number, please comment.

Here’s the finished pipe.

Dunhill_522_Finished_Gallery

Dunhill_522_Finished (3)

Dunhill_522_Finished (4)

Dunhill_522_Finished (5)

Dunhill_522_Finished (1)

Dunhill_522_Finished (2)

Churchill’s Bent Pot


Blog by Steve Laug

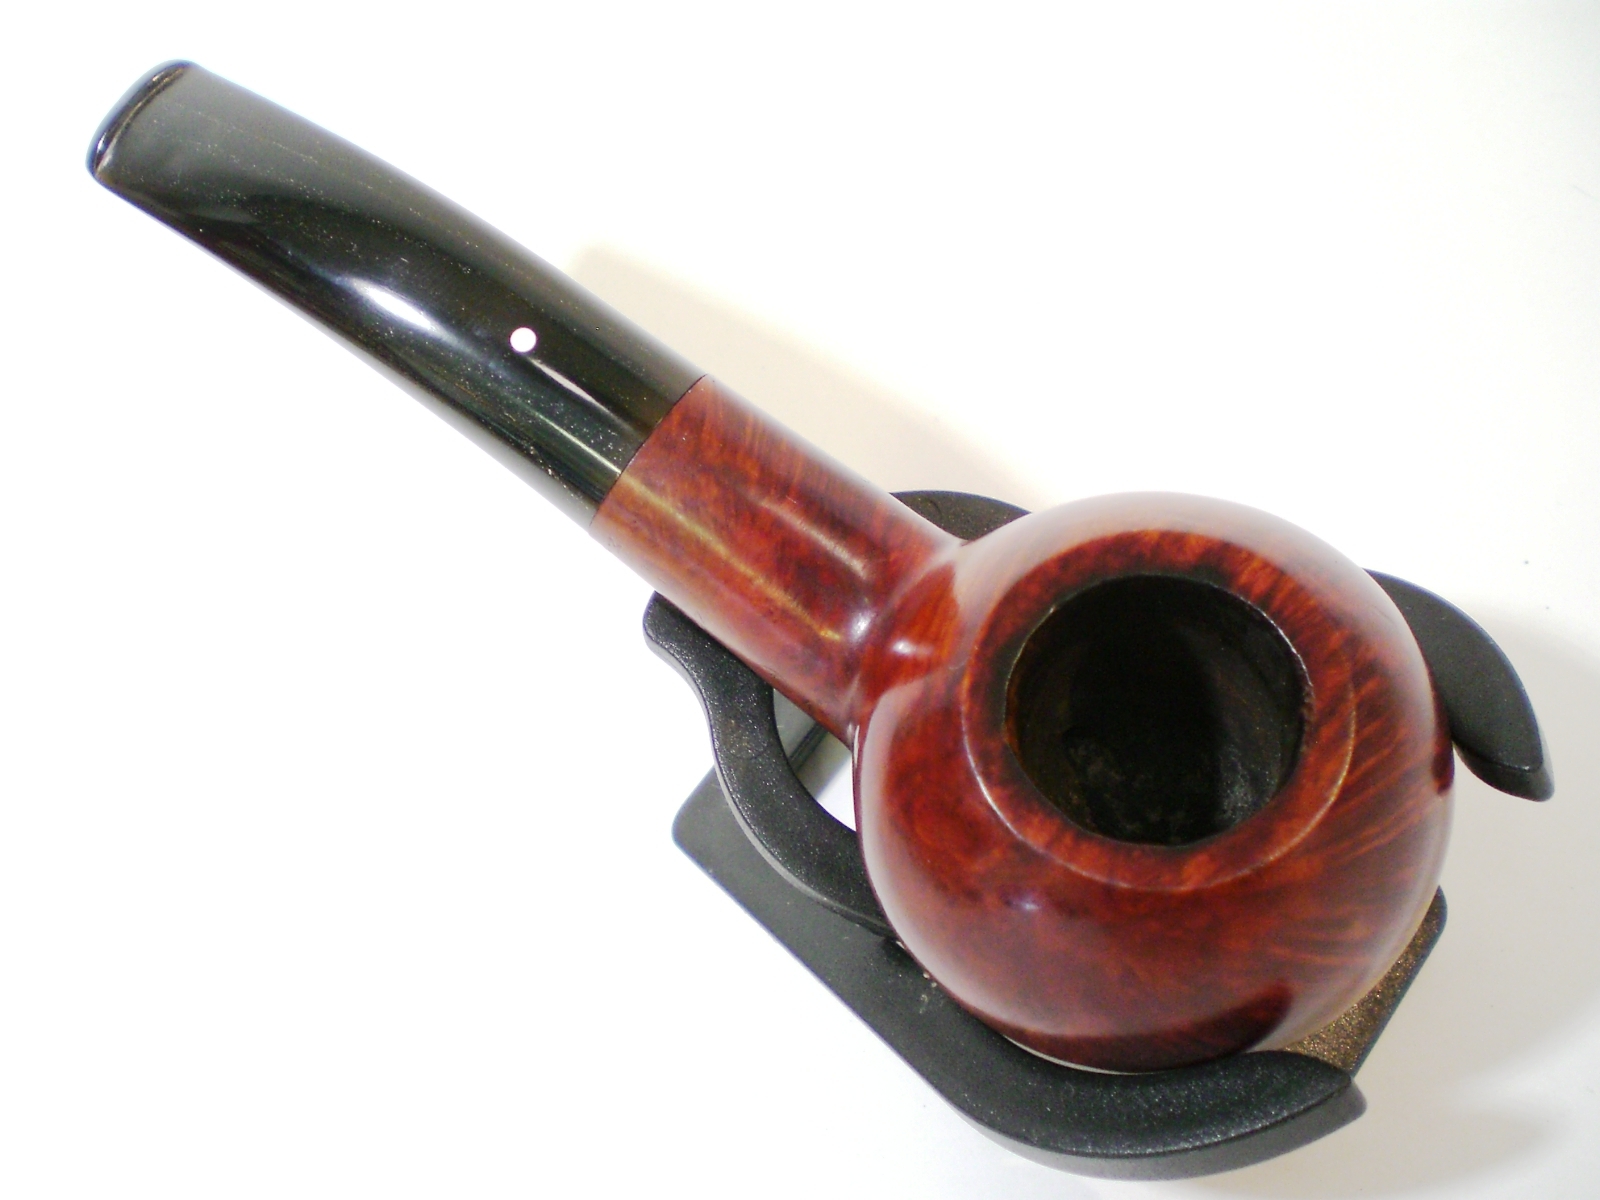
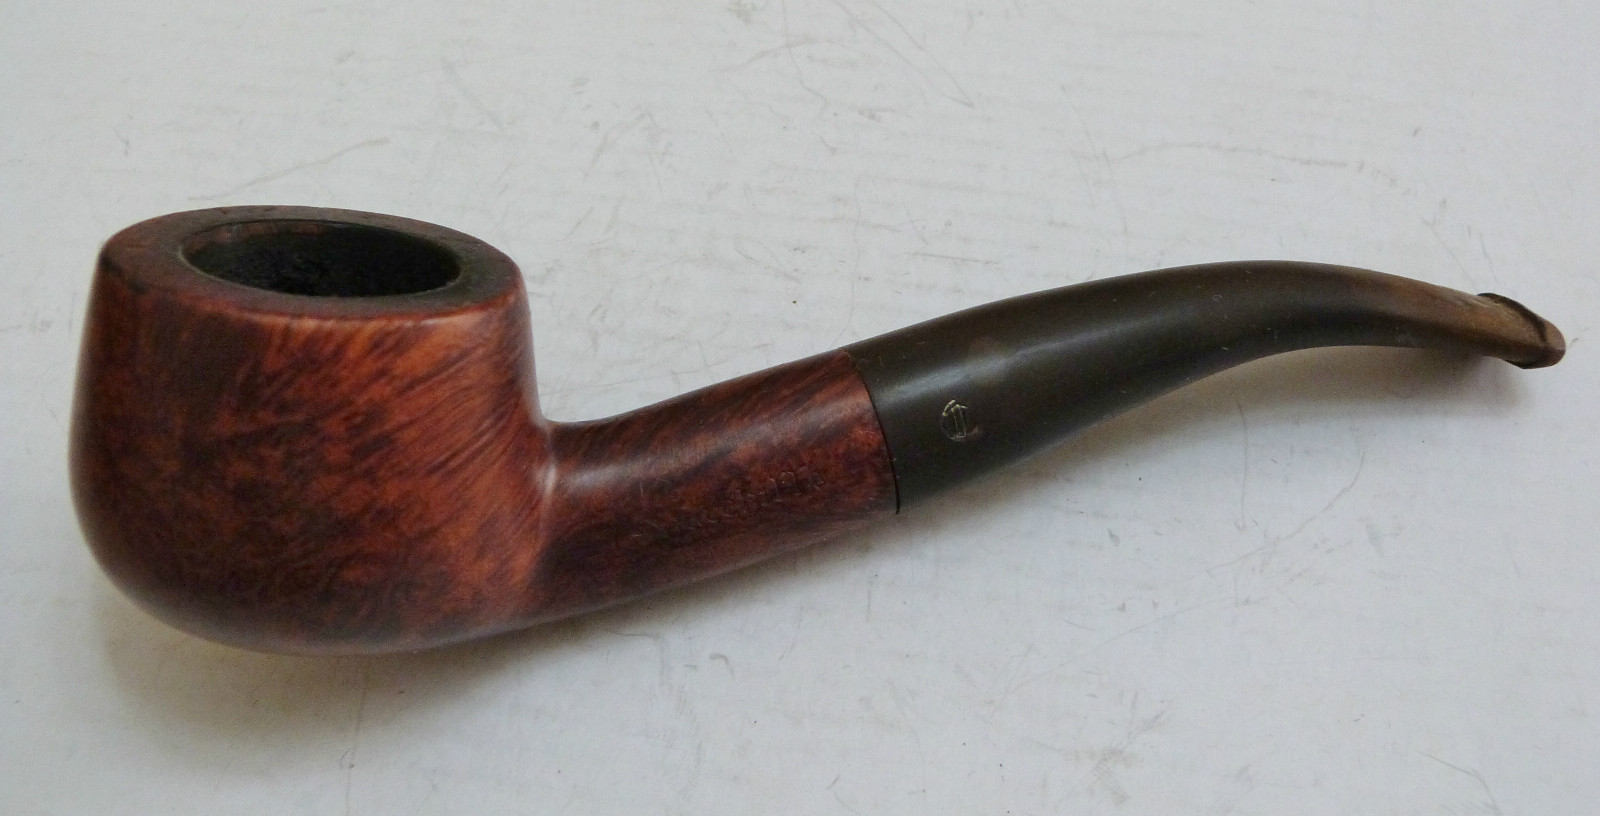
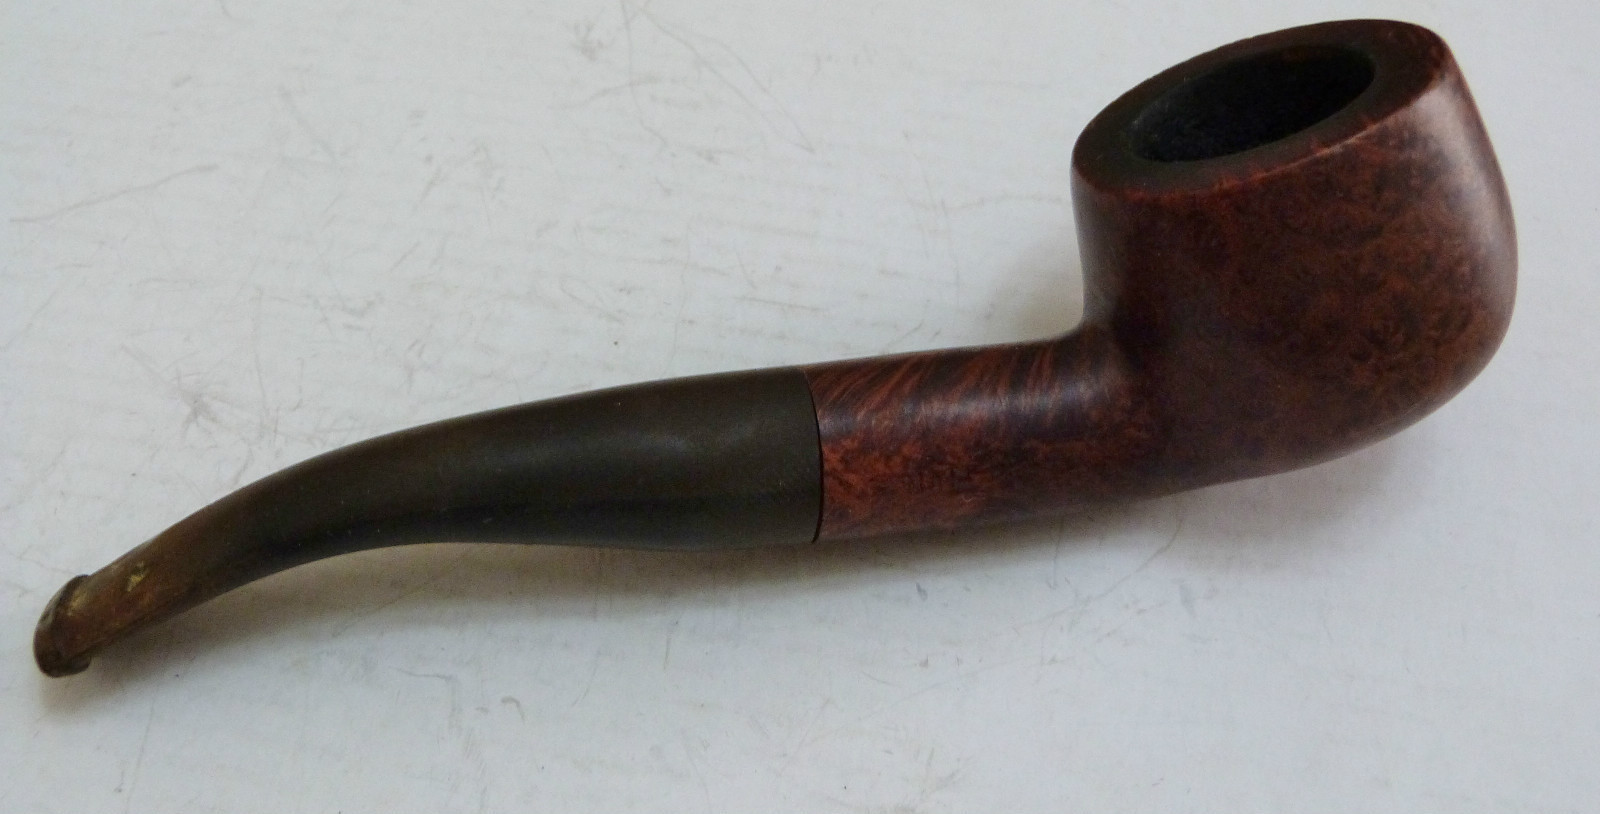
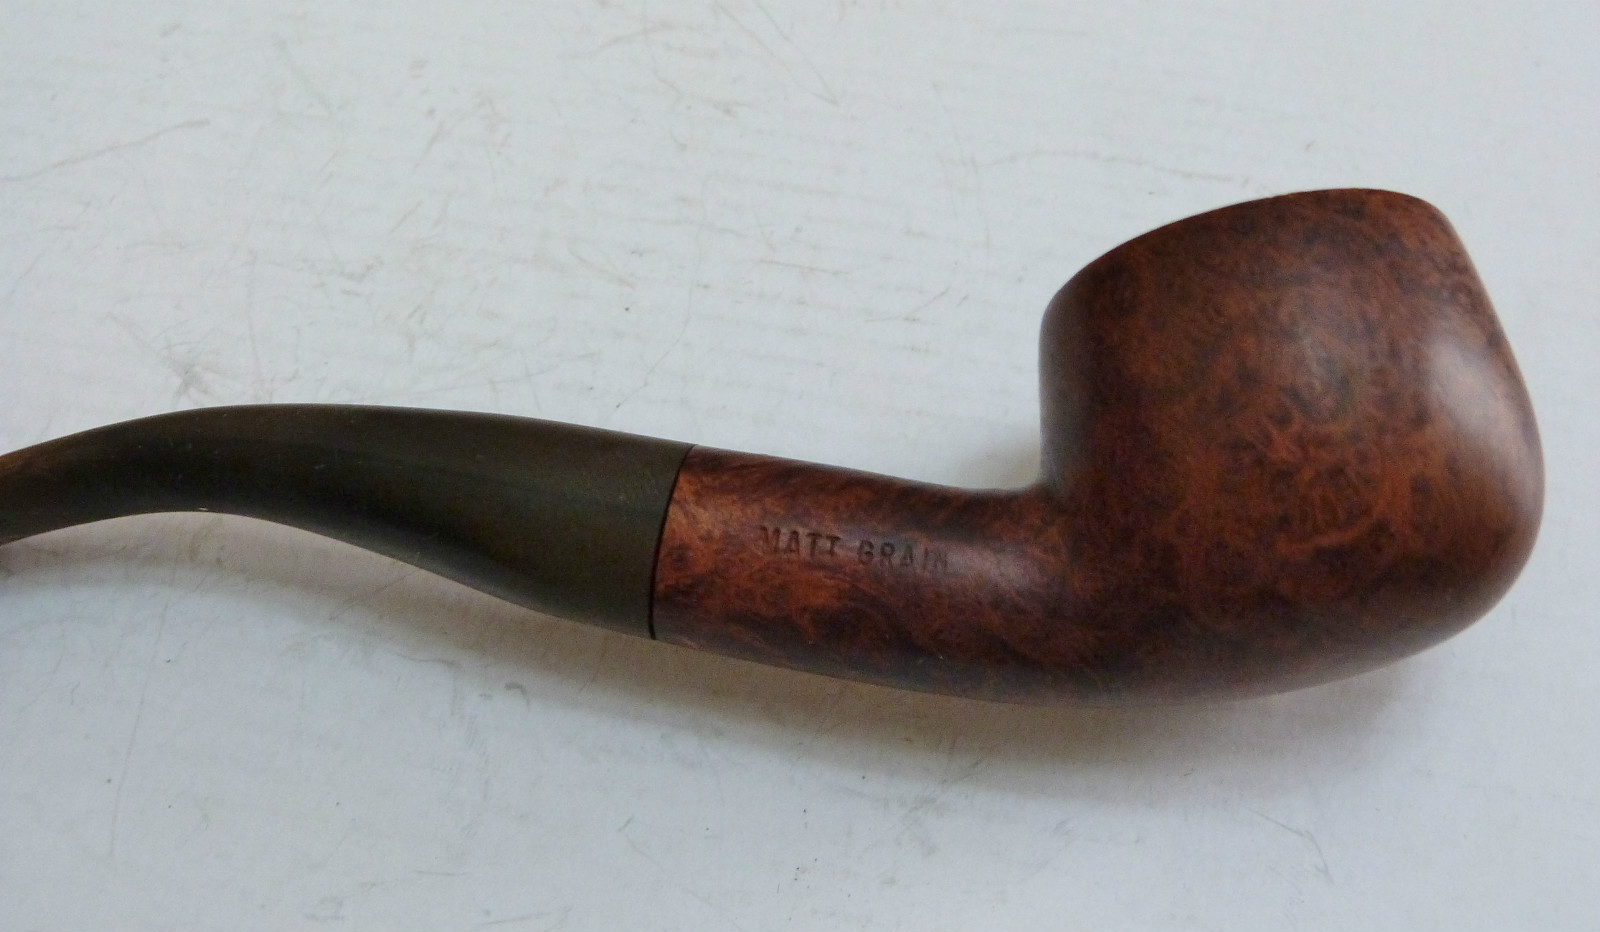
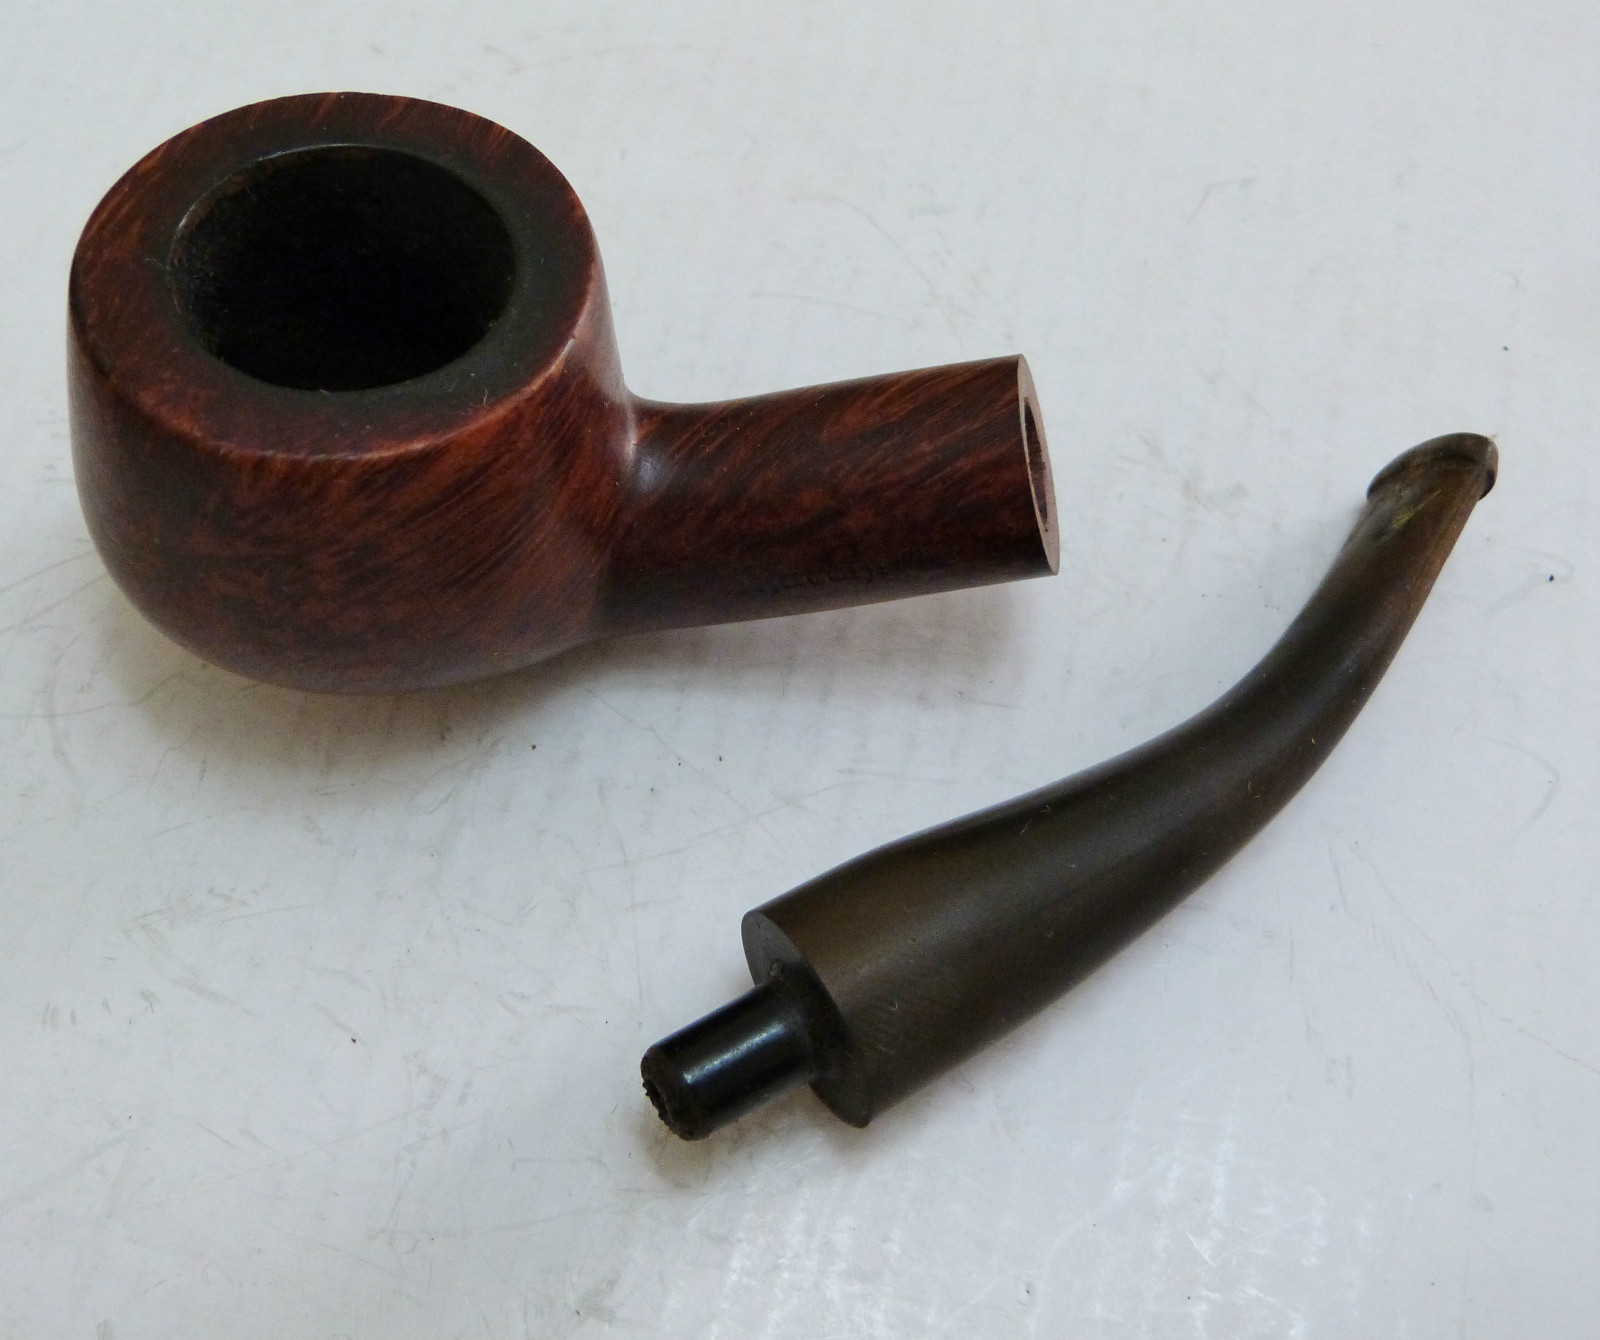
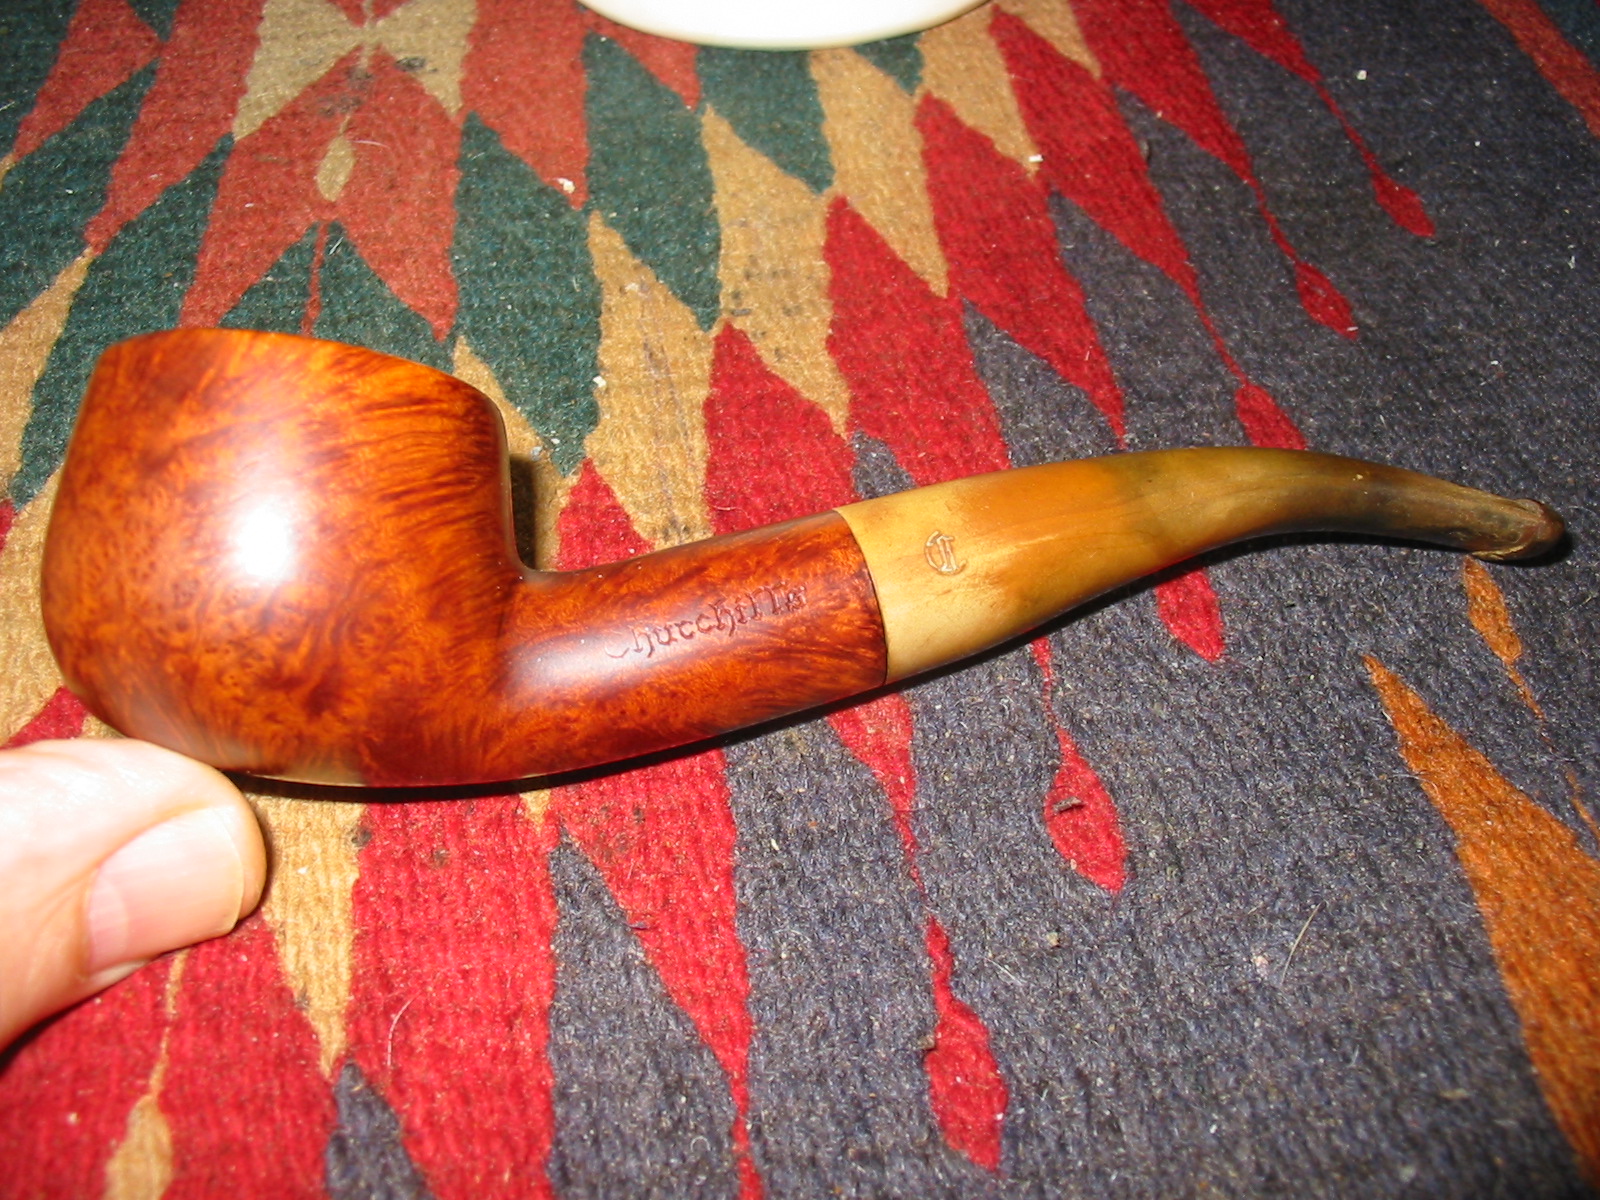
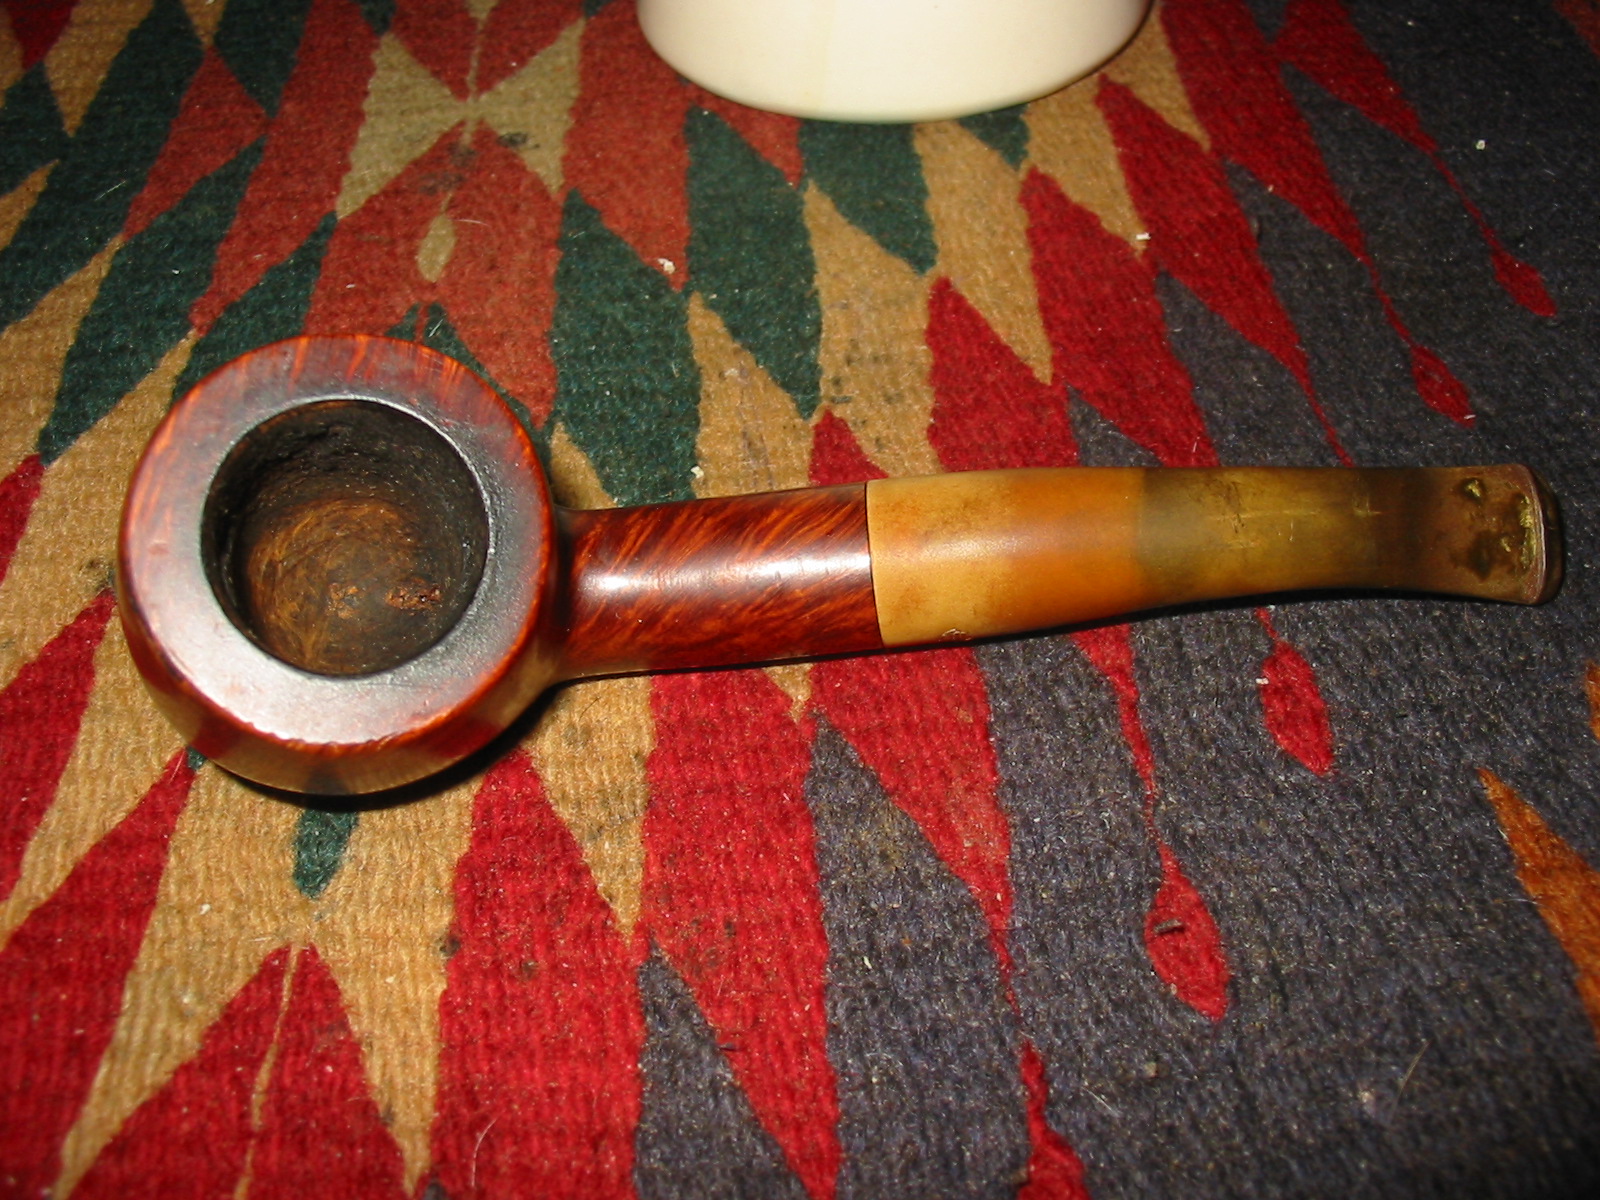
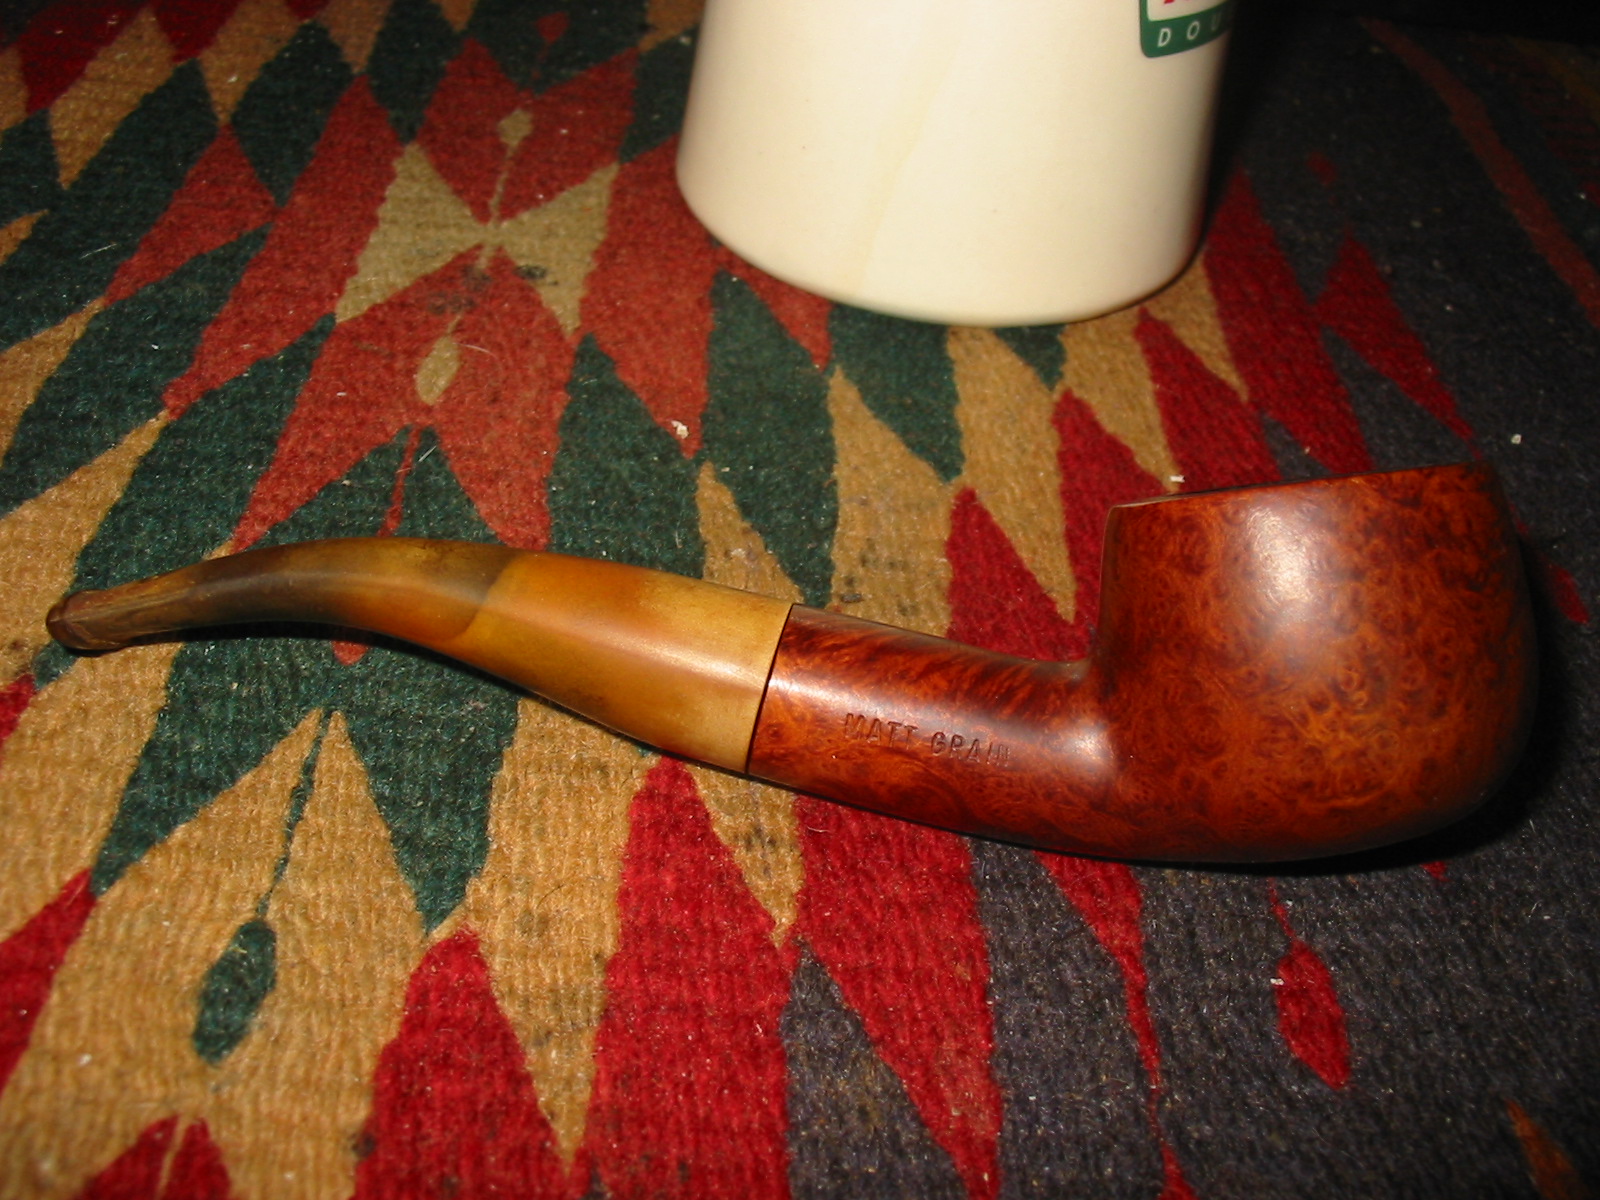
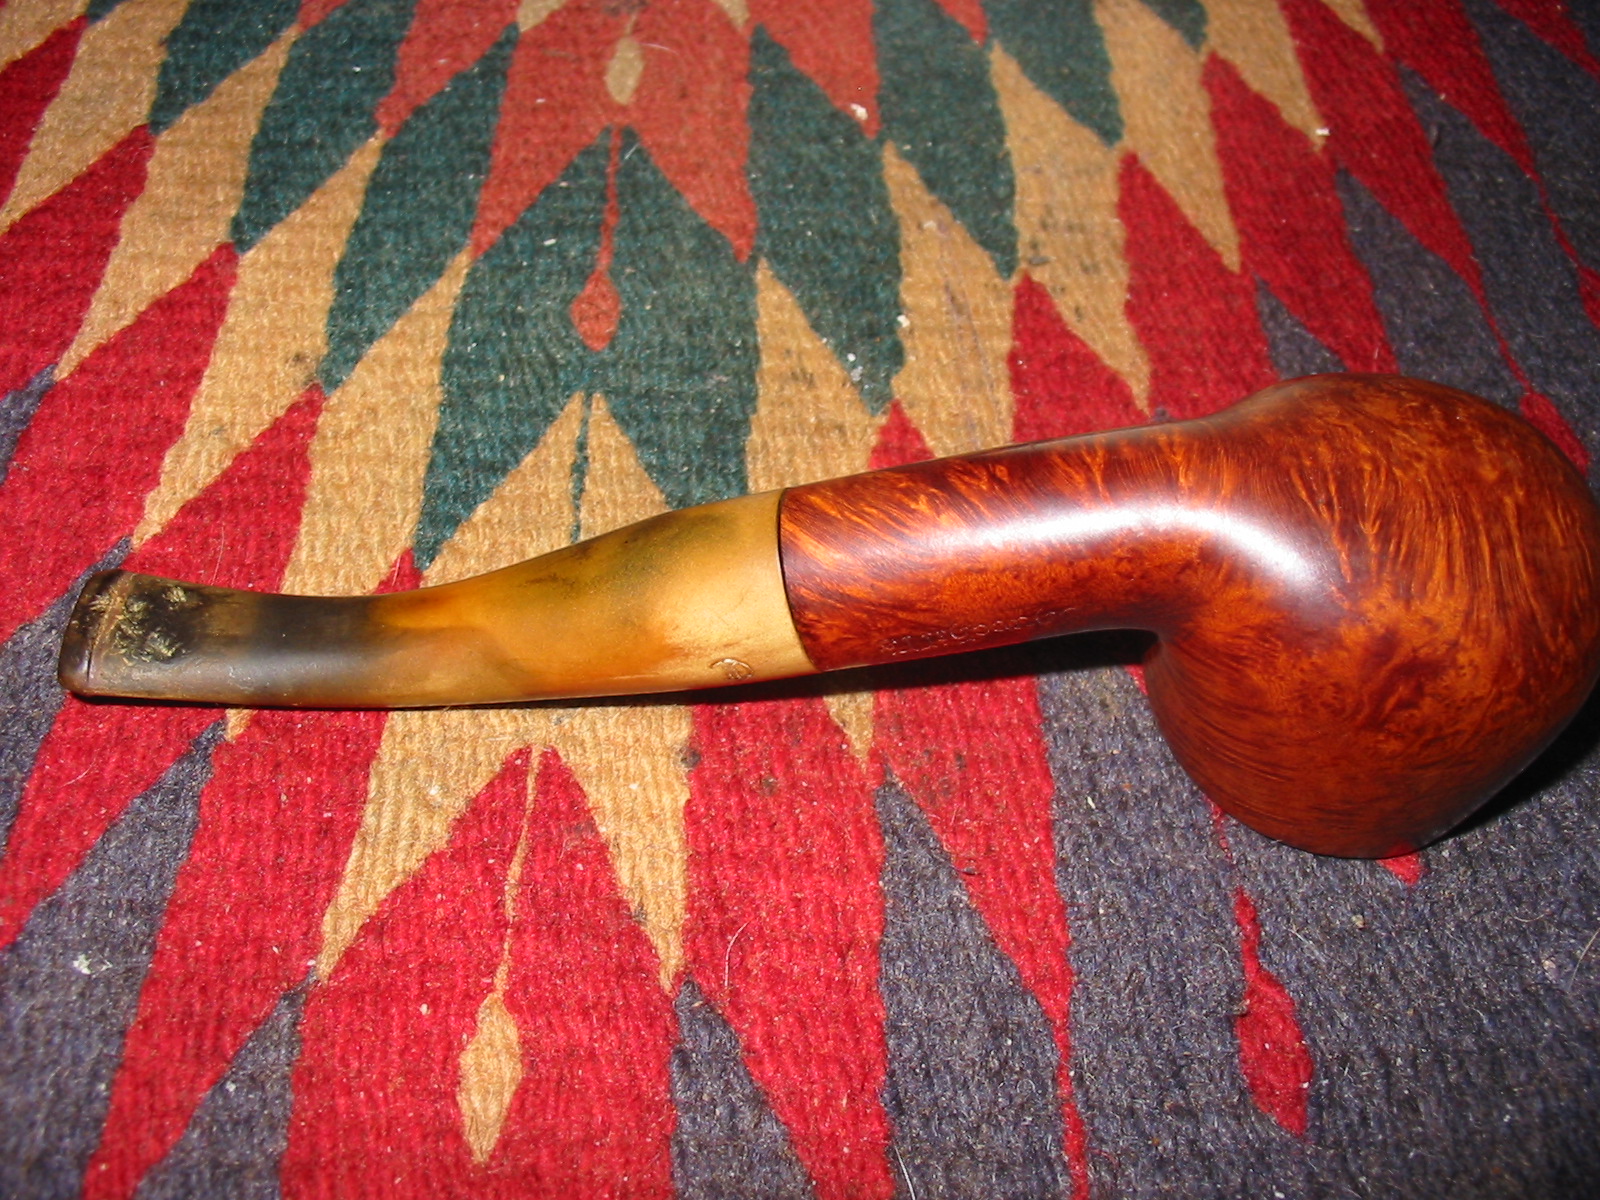
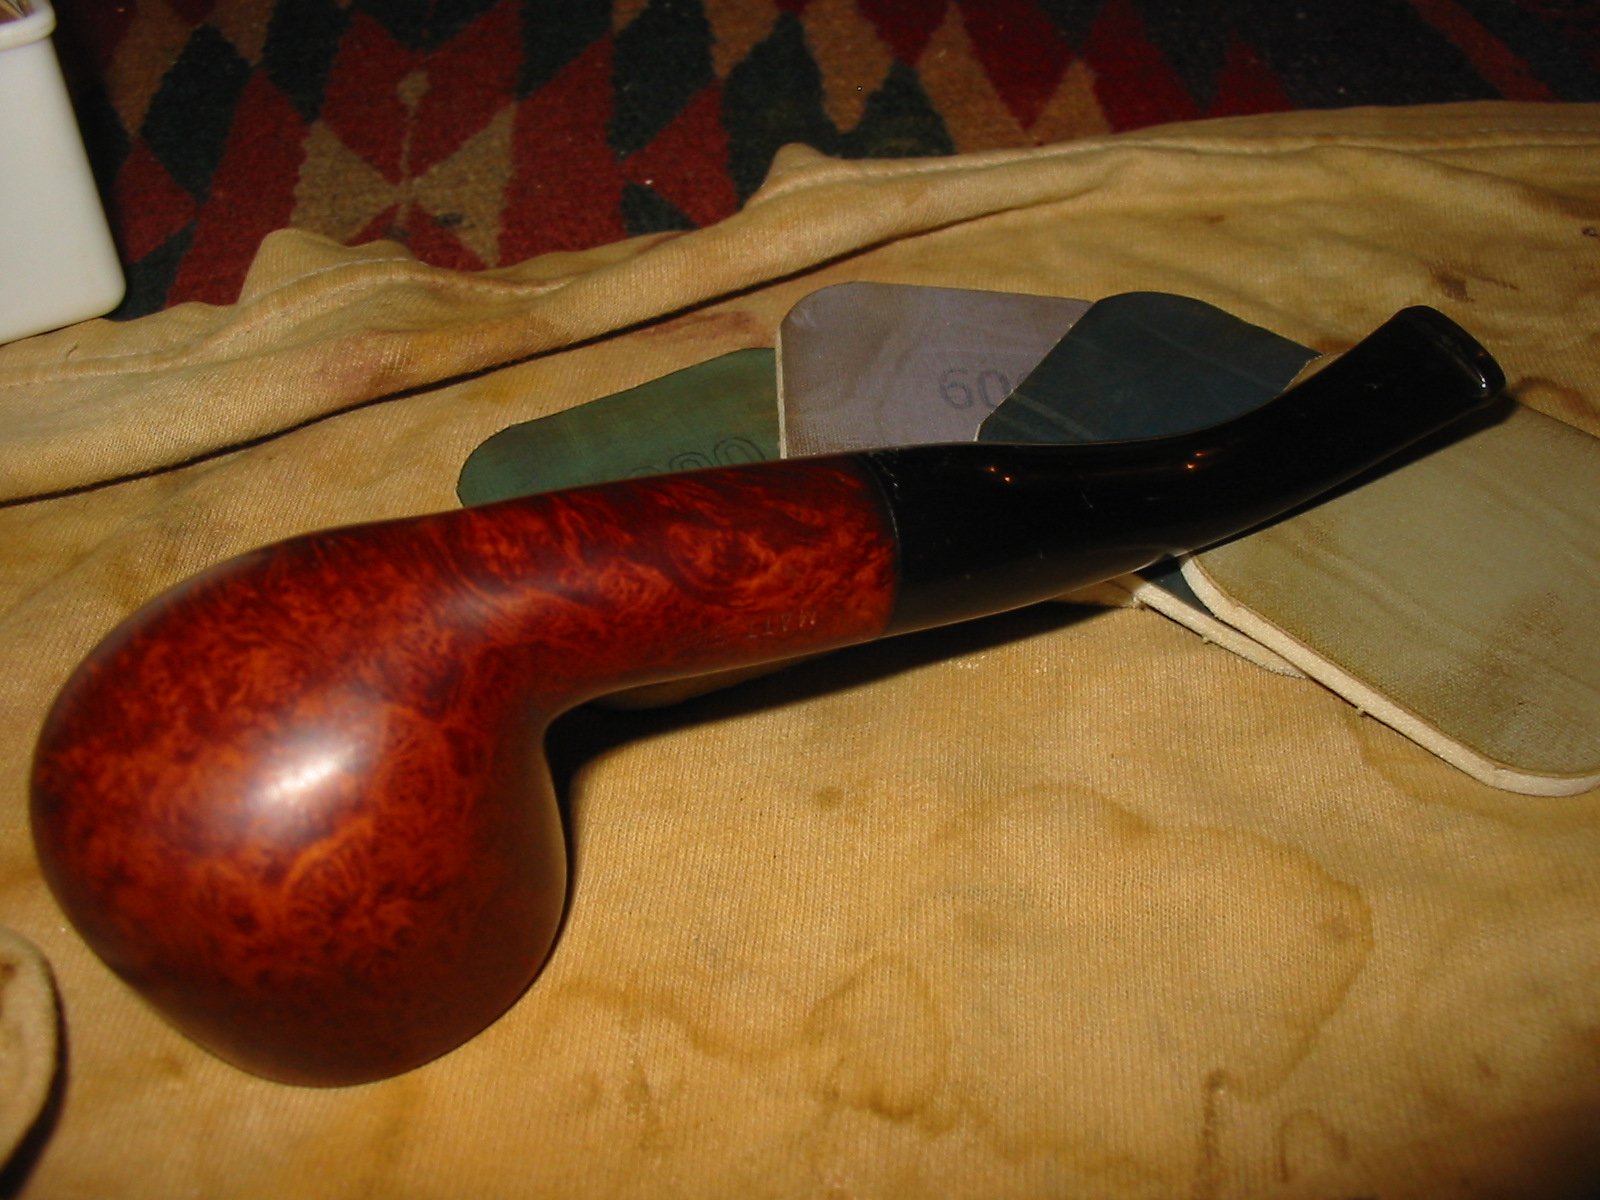
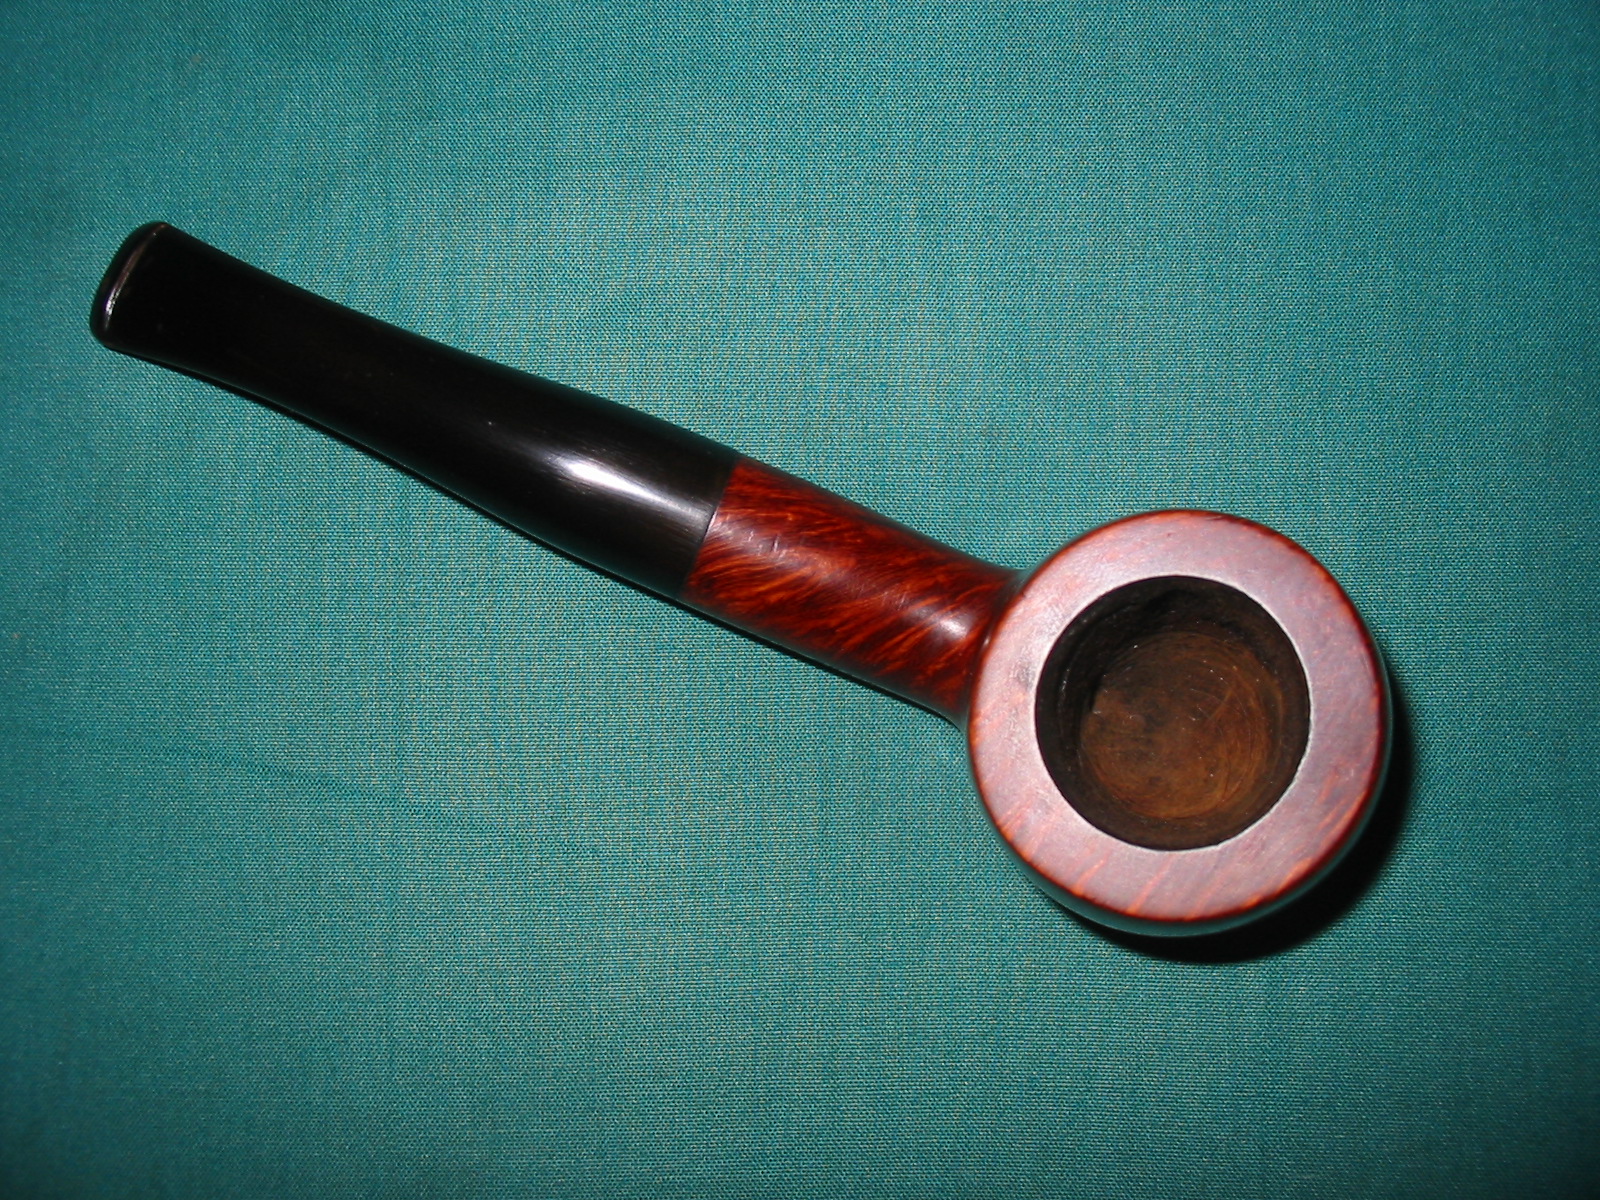
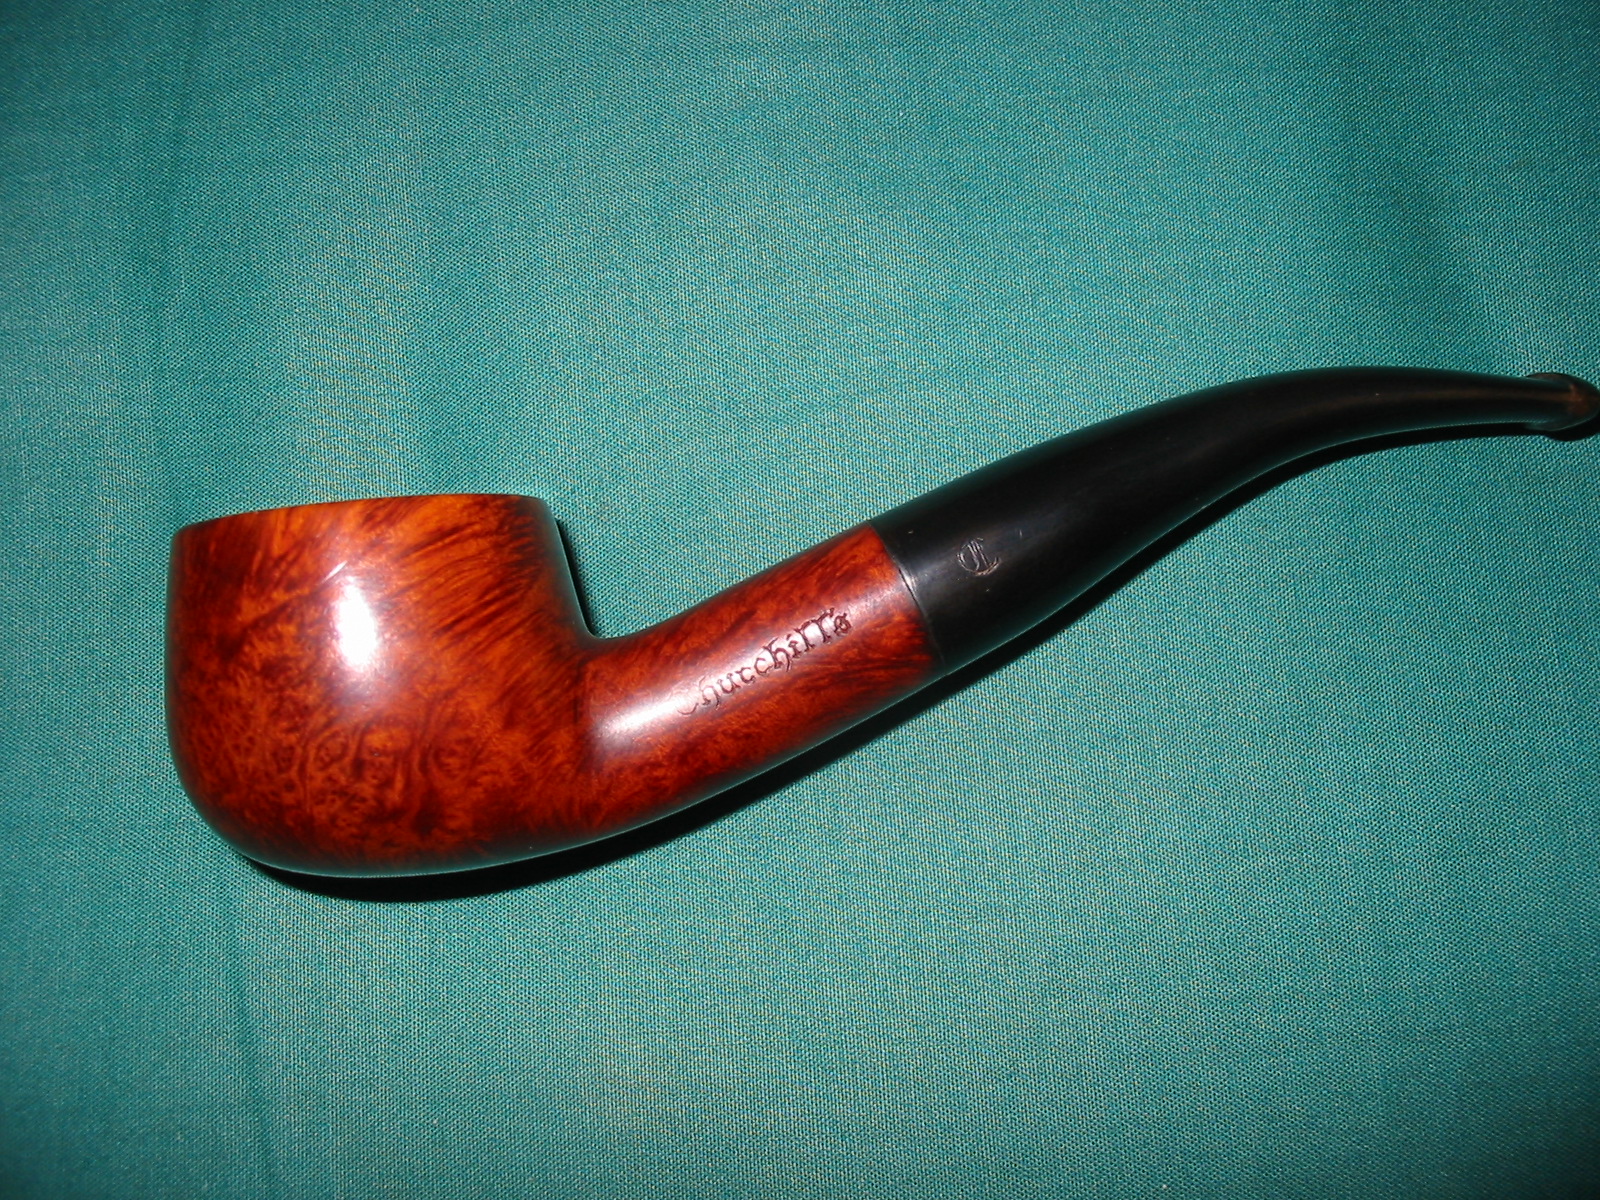
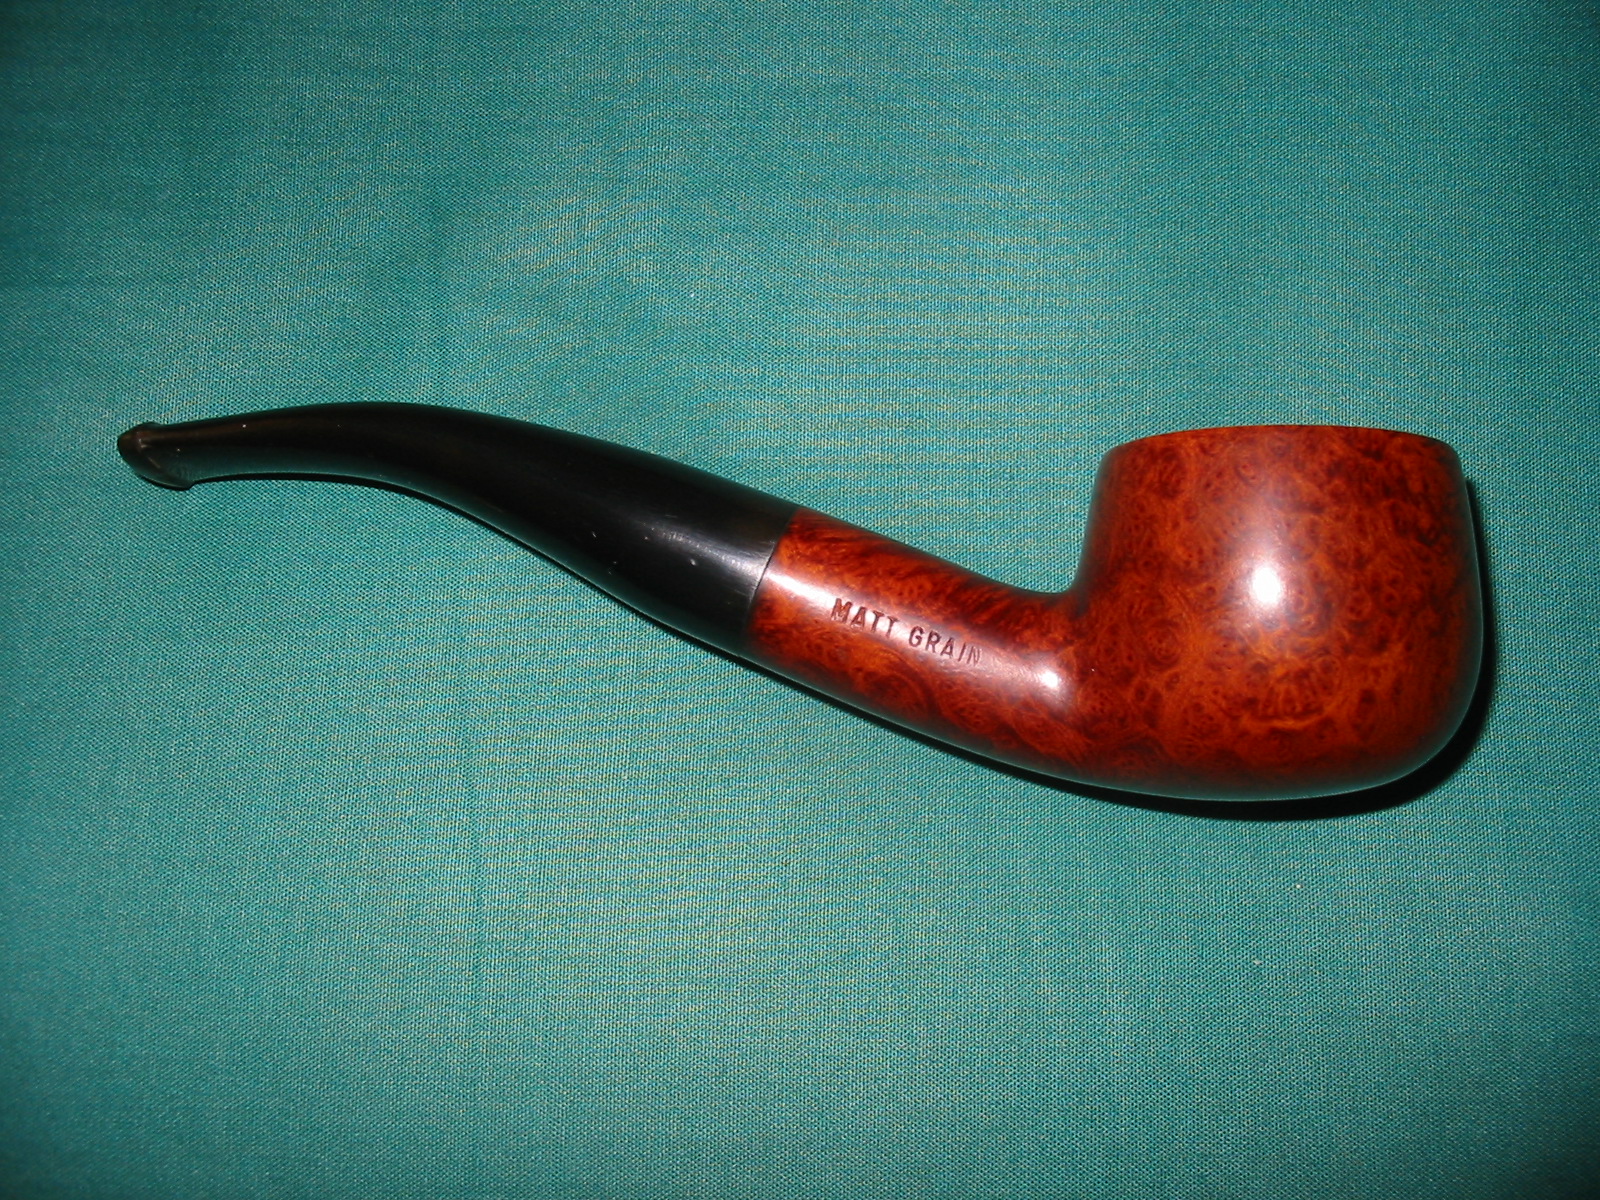
I saw this pipe come up on Ebay and love the shape. Some have called it a bent pot but I am not sure that the name captures the shape but I will call it that nonetheless. Churchill’s was not a brand I was familiar with but it looked very good. The stamping on the pipe is very simple on the left side of the shank it is stamped Churchill’s and on the right side it is stamped Matt Grain. The bowl had been reamed back by the seller before shipping and was well done. No damage to the roundness of the bowl. The inside of the shank was filled with chips of carbon from the reaming and they were stuck in the tar in the shank. The buildup was enough that the stem did not seat in the mortise and there was a gap in the fit of the stem and shank. The rim had some tarry buildup. The stem sat at an angle to the shank as if the tenon was bent slightly. There were three deep tooth marks on the top and the bottom of the stem near the button. The oxidation was present but not heavy at this point. The stem was also plugged with tars and the airflow was very constricted. There was an old English style C stamped on the stem. The first nine photos below were provided by the Ebay seller.

Churchill 1

Churchill 2

Churchill 3

Churchill 4

Churchill 5

Churchill 6

Churchill 7

Churchill 8

Churchill 10

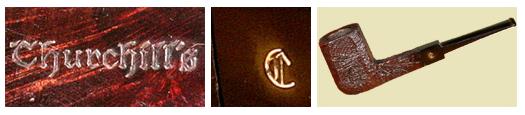
Logo NEW Logo 2012 Small

I am fairly certain that the pipe came from Churchill’s Tobacco Shop in Norwich, England. I found the following information on the Pipes and Logos website http://pipephil.eu/logos/en/logo-c4.html On the site there is a small paragraph which I have copied as follows: “Churchill’s Tobacco shop is situated in St Andrew’s Street at the corner of Bridewell Alley in Norwich, England. The shop was next to a church and at the bottom of two hills, and that’s how it became “Churchill’s”. Former manager: John Elvin (retired on May, 31 2008). Current owner (2008): Keith Garrard.” I have included these pictures from that website as they show the stamping on both the shank and stem that is identical to the pipe that I have just refurbished.

Church

According to the Churchill’s website it is the last remaining specialist tobacconist in Norwich, originally standing at 32 St Andrews Street for over 23 years. http://www.churchillsofnorwich.com/index.php?_a=viewDoc&docId=1 The site also notifies the shop’s clients that Keith Garrard, who had a wealth of knowledge and was an avid pipe and cigar smoker himself, passed away on 23rd March 2012. His wife Coral continues to maintain the business in his honor.

I decided to try to remedy the bent tenon on the pipe to begin with. I heated it in a cup of boiling water to try to adjust it and tighten the fit in the mortise. I was able to adjust the fit and get a good tight seat with no gap between the shank and the stem. However, in the process the water oxidized the stem badly. The four photos below show the adjusted fit of the stem and also clearly show the bite marks on the stem – top and bottom near the button.

IMG_1738

IMG_1739

IMG_1740

IMG_1741

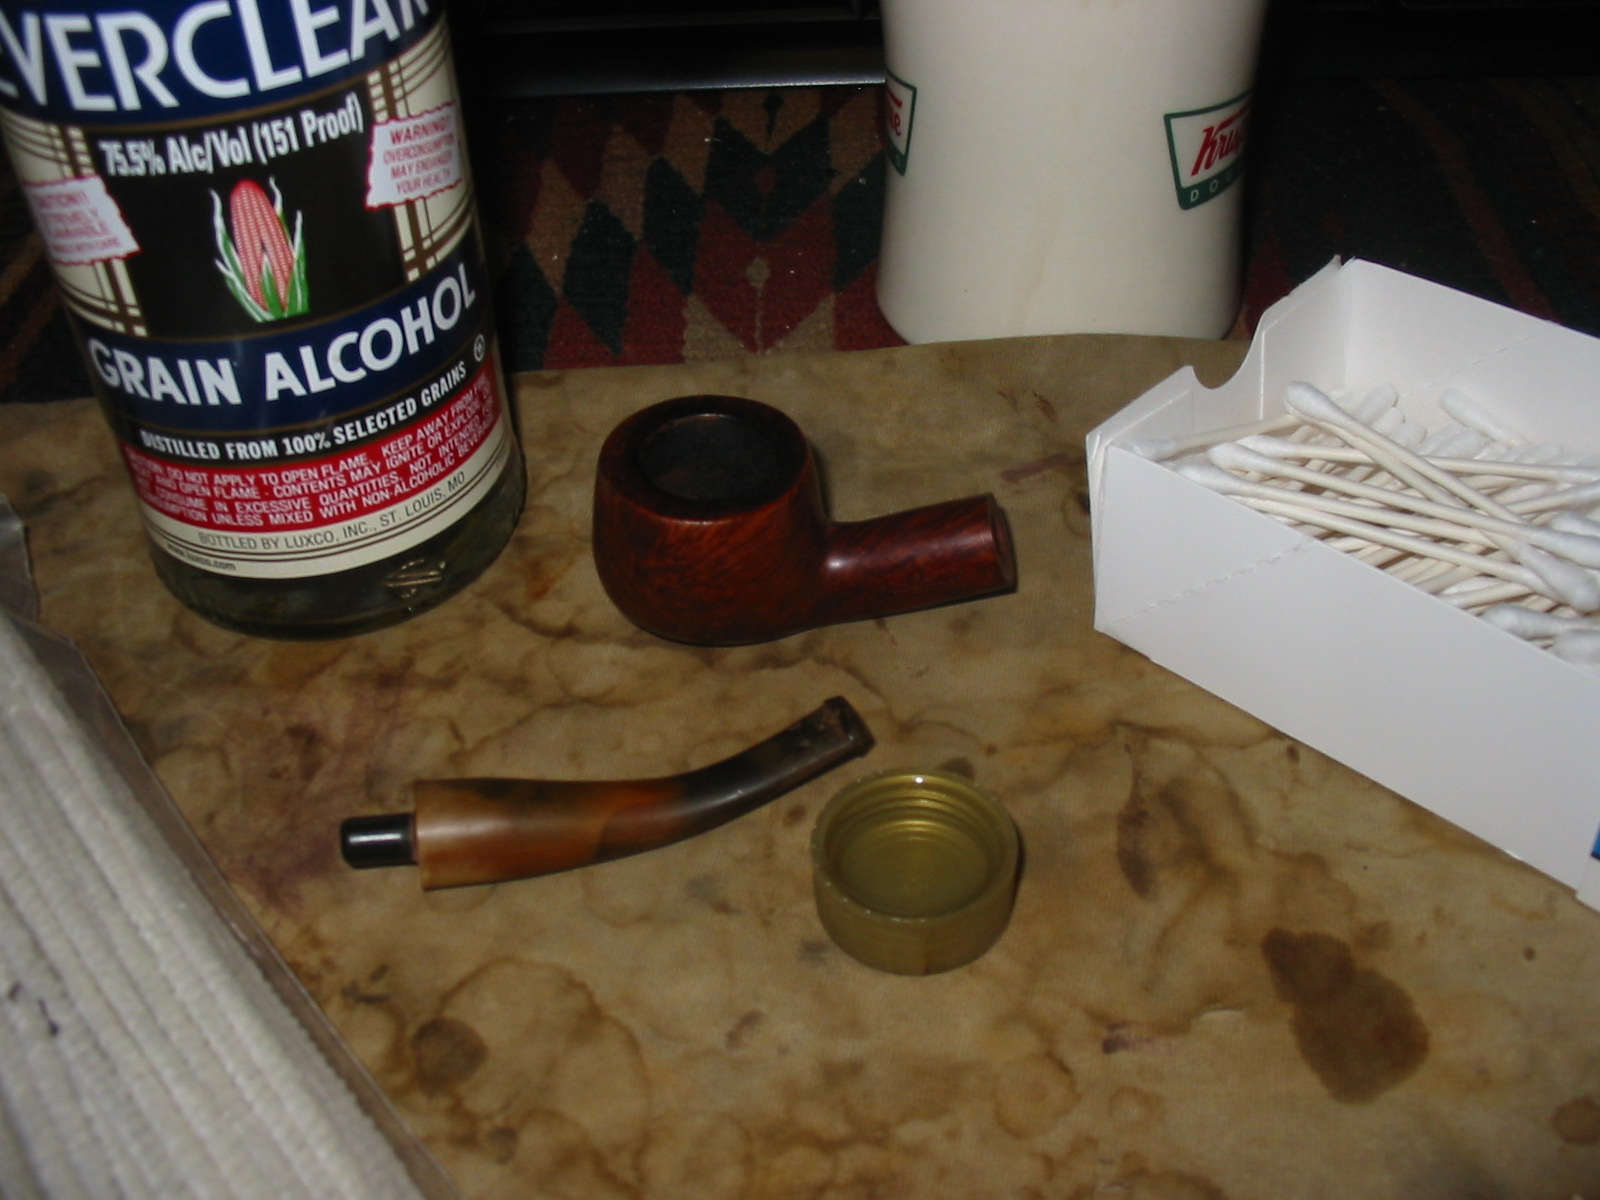
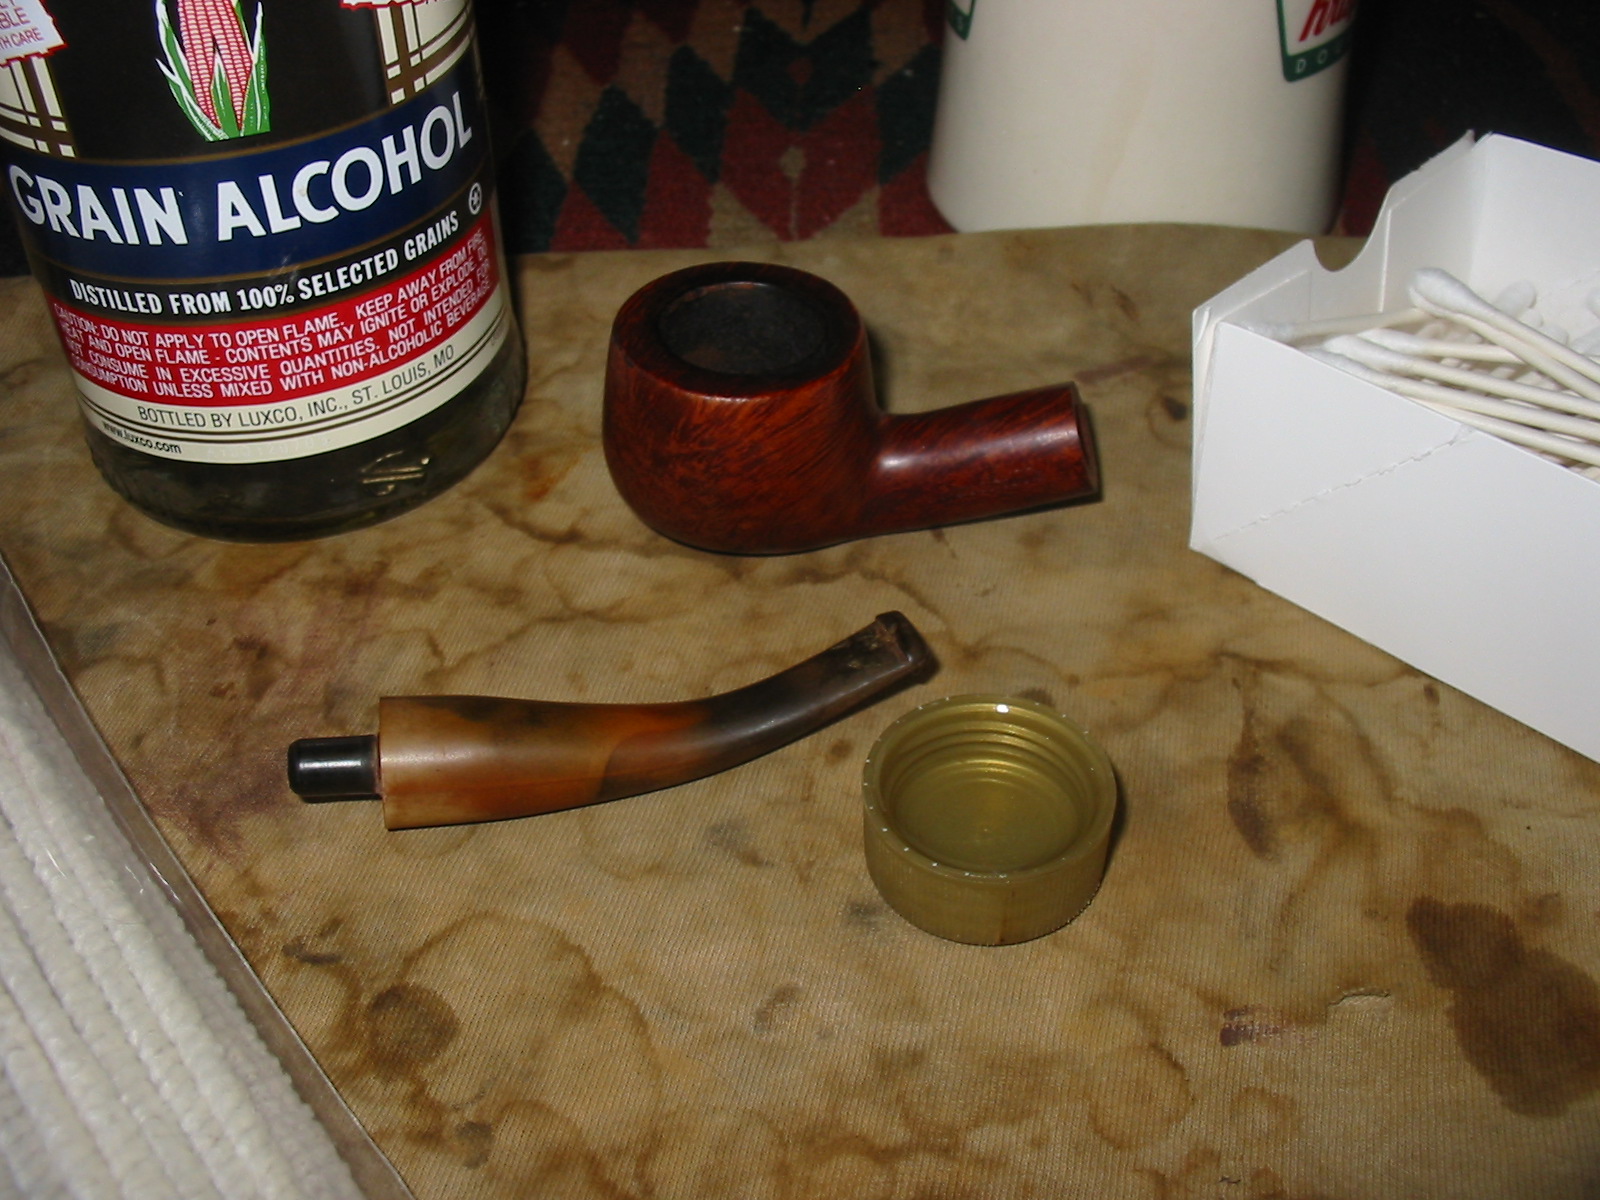
I scrubbed the inside of the shank with Everclear and cotton swabs. I cleaned the airway with bristle pipe cleaners and then fluffy pipe cleaners. I continued to scrub it until the pipe cleaners and cotton swabs came out clean. I cleaned the rim of the bowl with saliva and a cotton pad until the grime was gone. It took a bit more than a cotton pad and saliva so I also used a very fine grit sanding block to knock off the remaining tar, being careful to not break the finish.IMG_1743

IMG_1744

IMG_1745

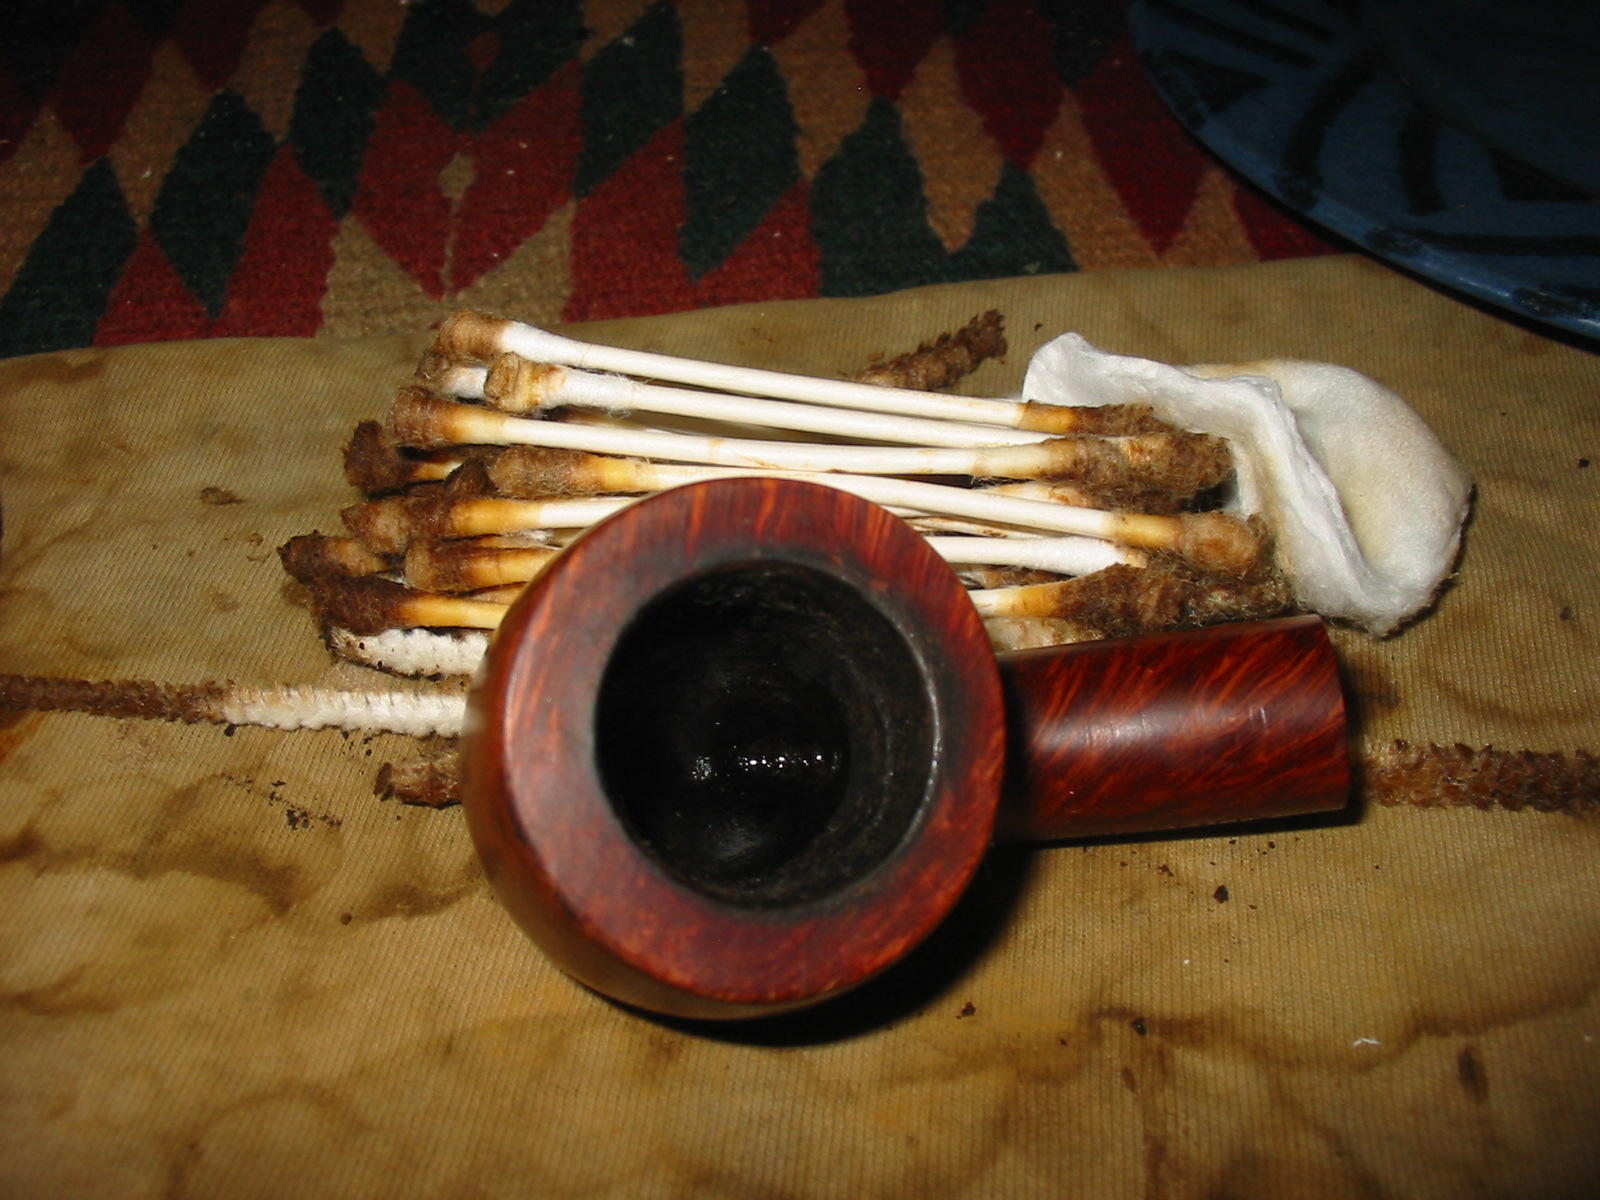
The stem took a bit of work as it was plugged with grit and tar. I used a dental pick to clean out the slot. To the right of the stem in the photo is some of tar and grit I picked out of the slot. I used a straightened end of the pick to clean deeply in the slot. I then used pipe cleaners soaked in Everclear and pushed them through the blockage. I also opened the slot with needle files to facilitate easy access with pipe cleaners. The slot was very narrow which also made the blockage hard to get at.

IMG_1746

I sanded the stem with 220 grit sandpaper to clean up the surface around the bite marks. In the next three photos the bite marks are visible. I heated them to lift them as much as possible. The bite marks on the top were less troublesome than the ones on the underside. Fortunately the stem was quite thick so that the tooth marks did not go all the way through the vulcanite.

IMG_1747

IMG_1748

IMG_1749

I picked the tooth marks clean with a dental pick and then used black super glue to patch the deep marks that remained. Once the glue had cured and was hard I sanded the patches with 220 grit sandpaper and then a medium grit sanding sponge to smooth out the surface and blend in the patch. The next three photos show the patch after it had been applied and after sanding.

IMG_1750

IMG_1752

IMG_1753

I sanded the stem with micromesh sanding pads from 1500-12,000 grit to finish removing the oxidation and the scratches left behind by the various sandpapers I used. The next series of photos show the progress of the shine after each group of sanding pads.

IMG_1755

IMG_1756

IMG_1757

IMG_1758

IMG_1761

IMG_1762

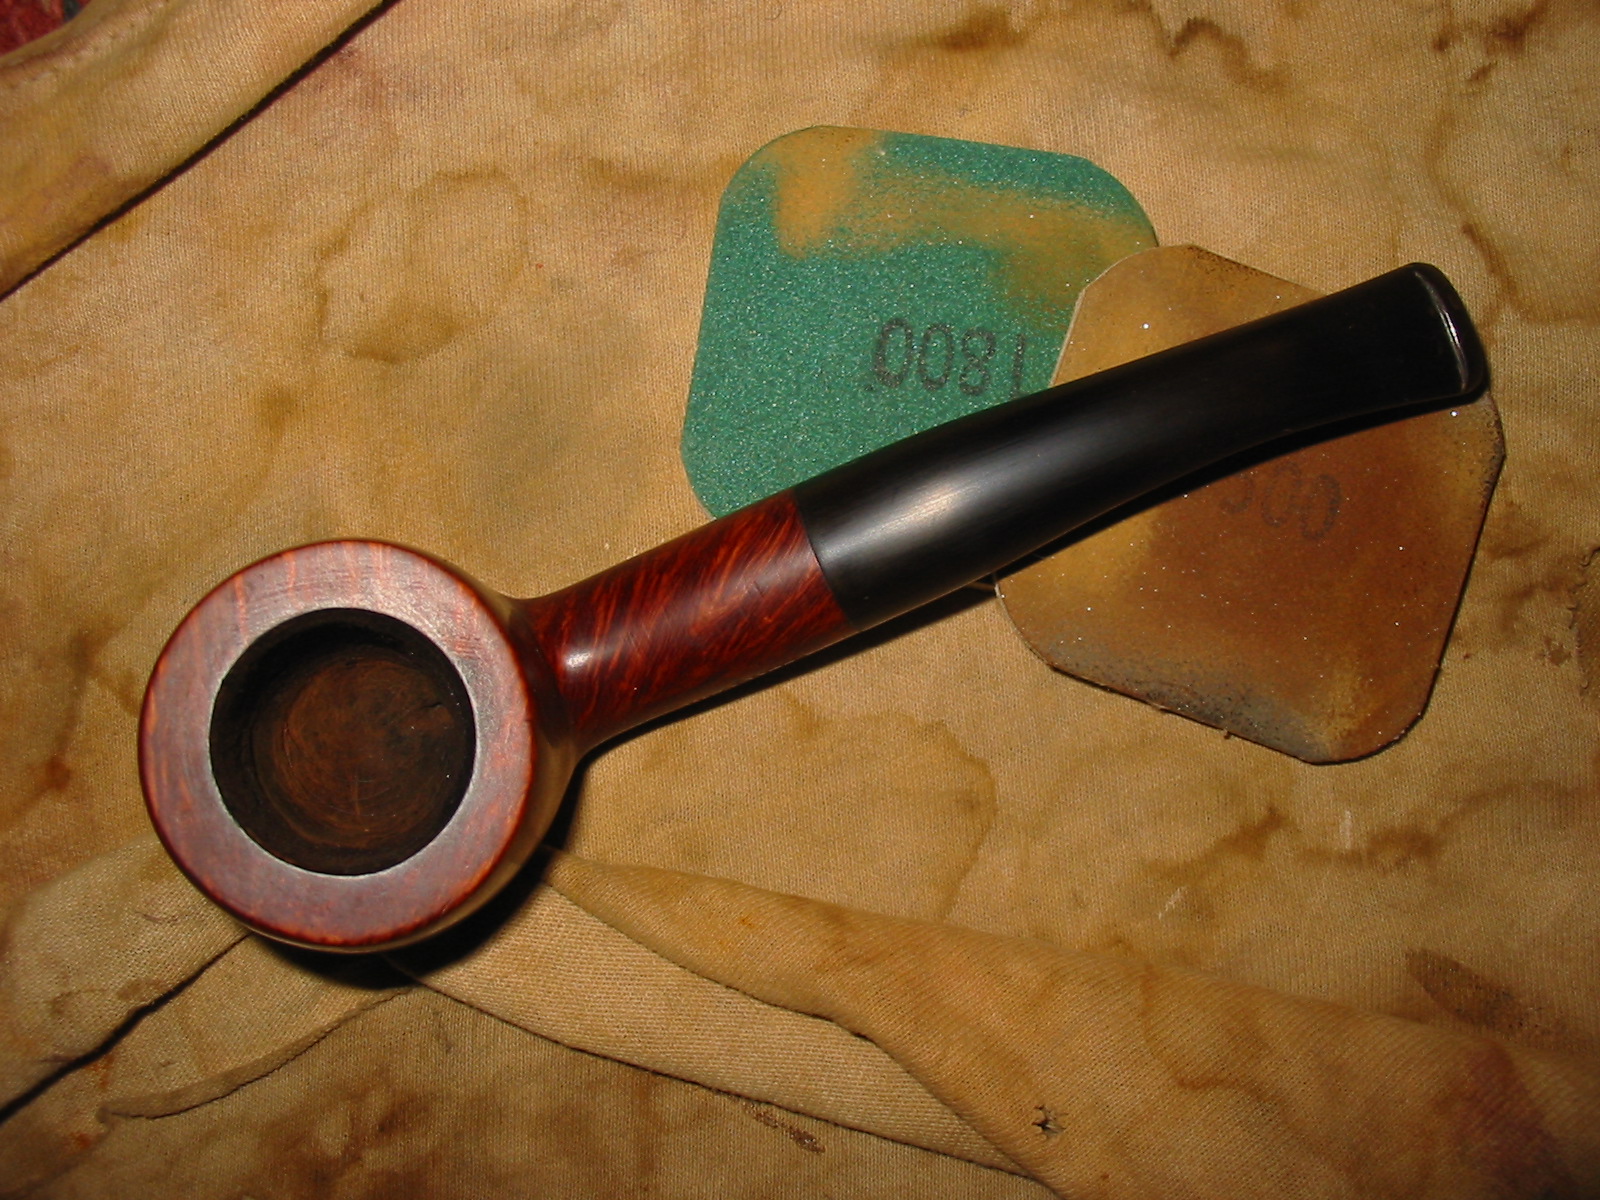
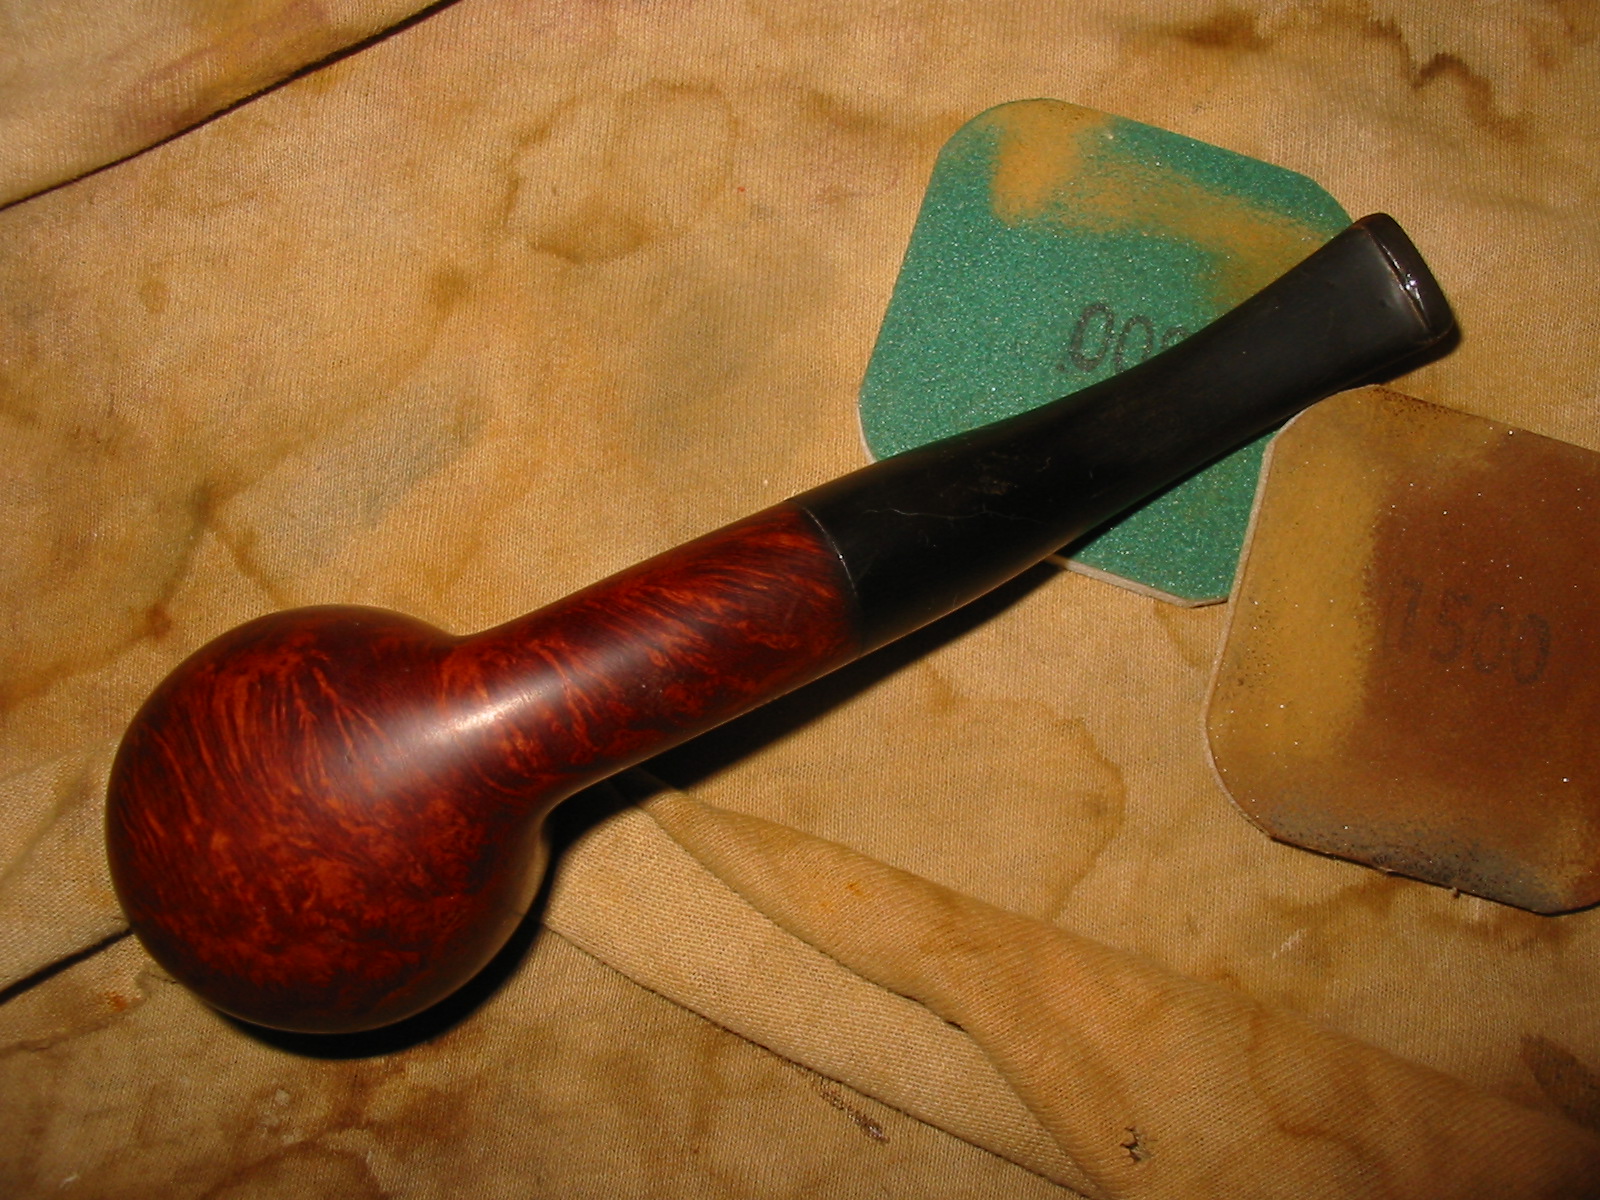
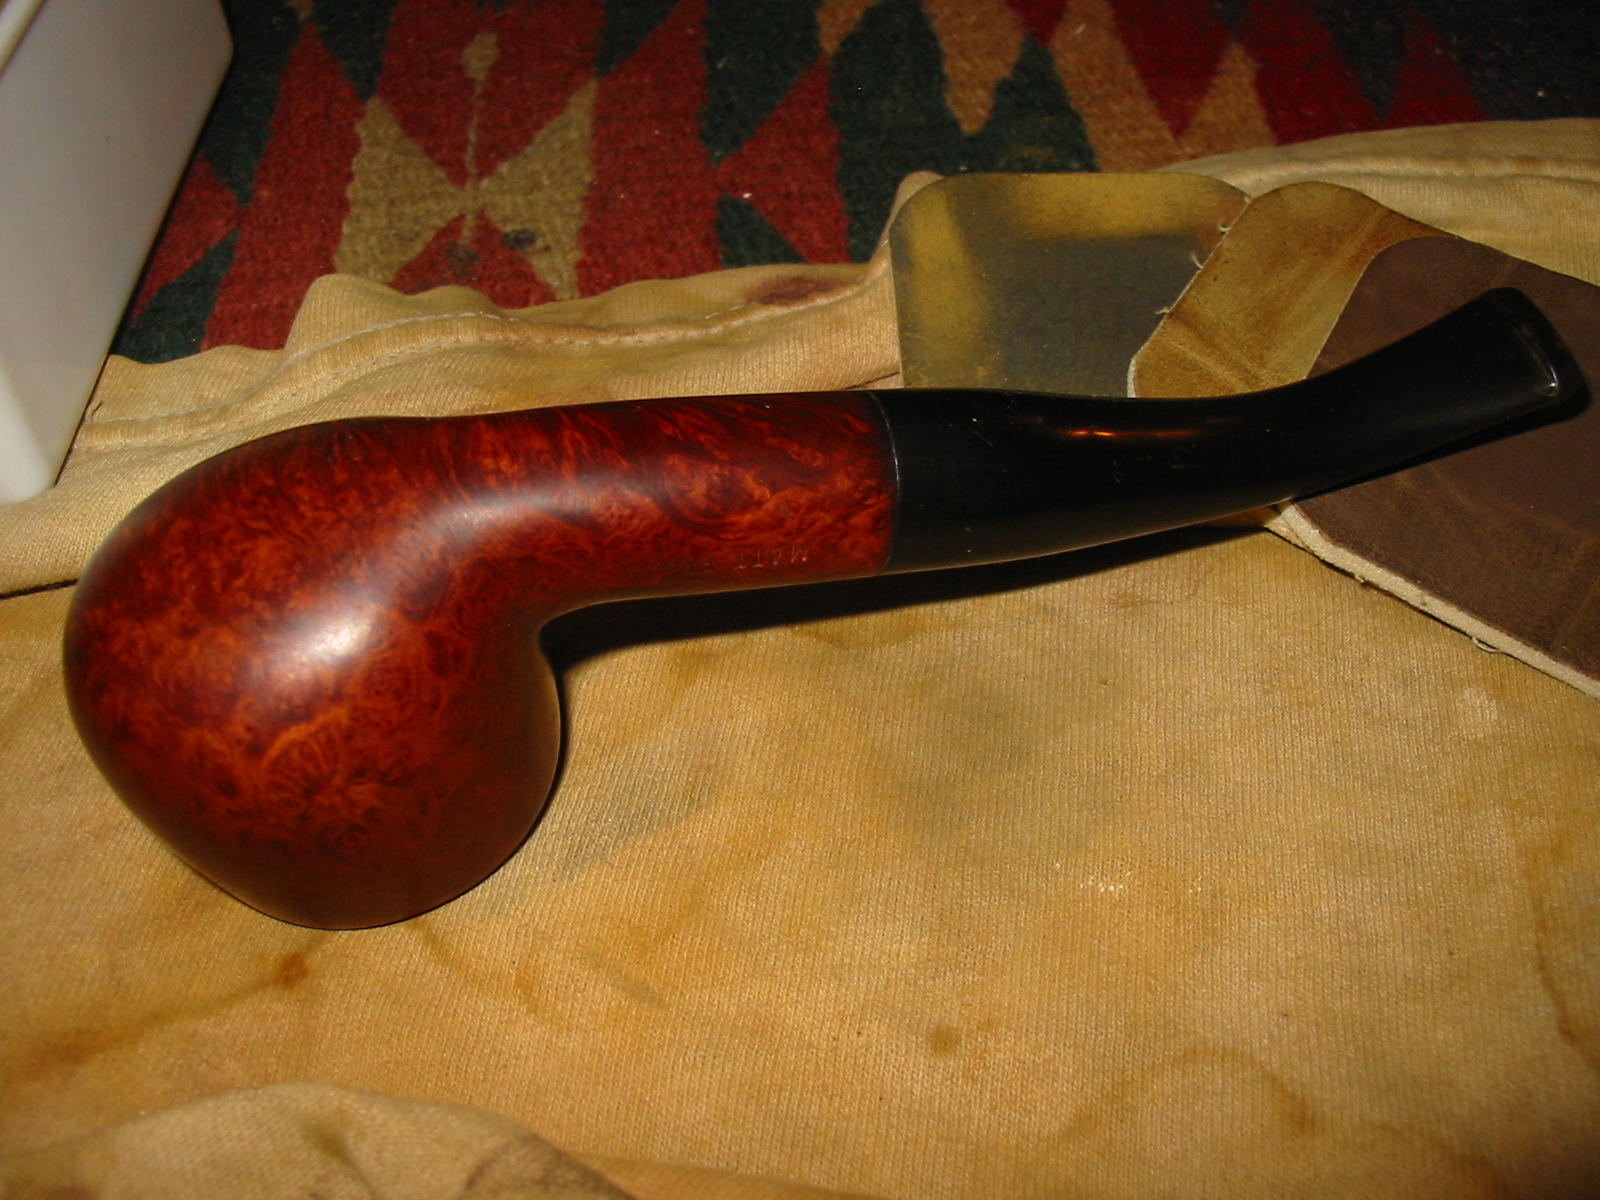
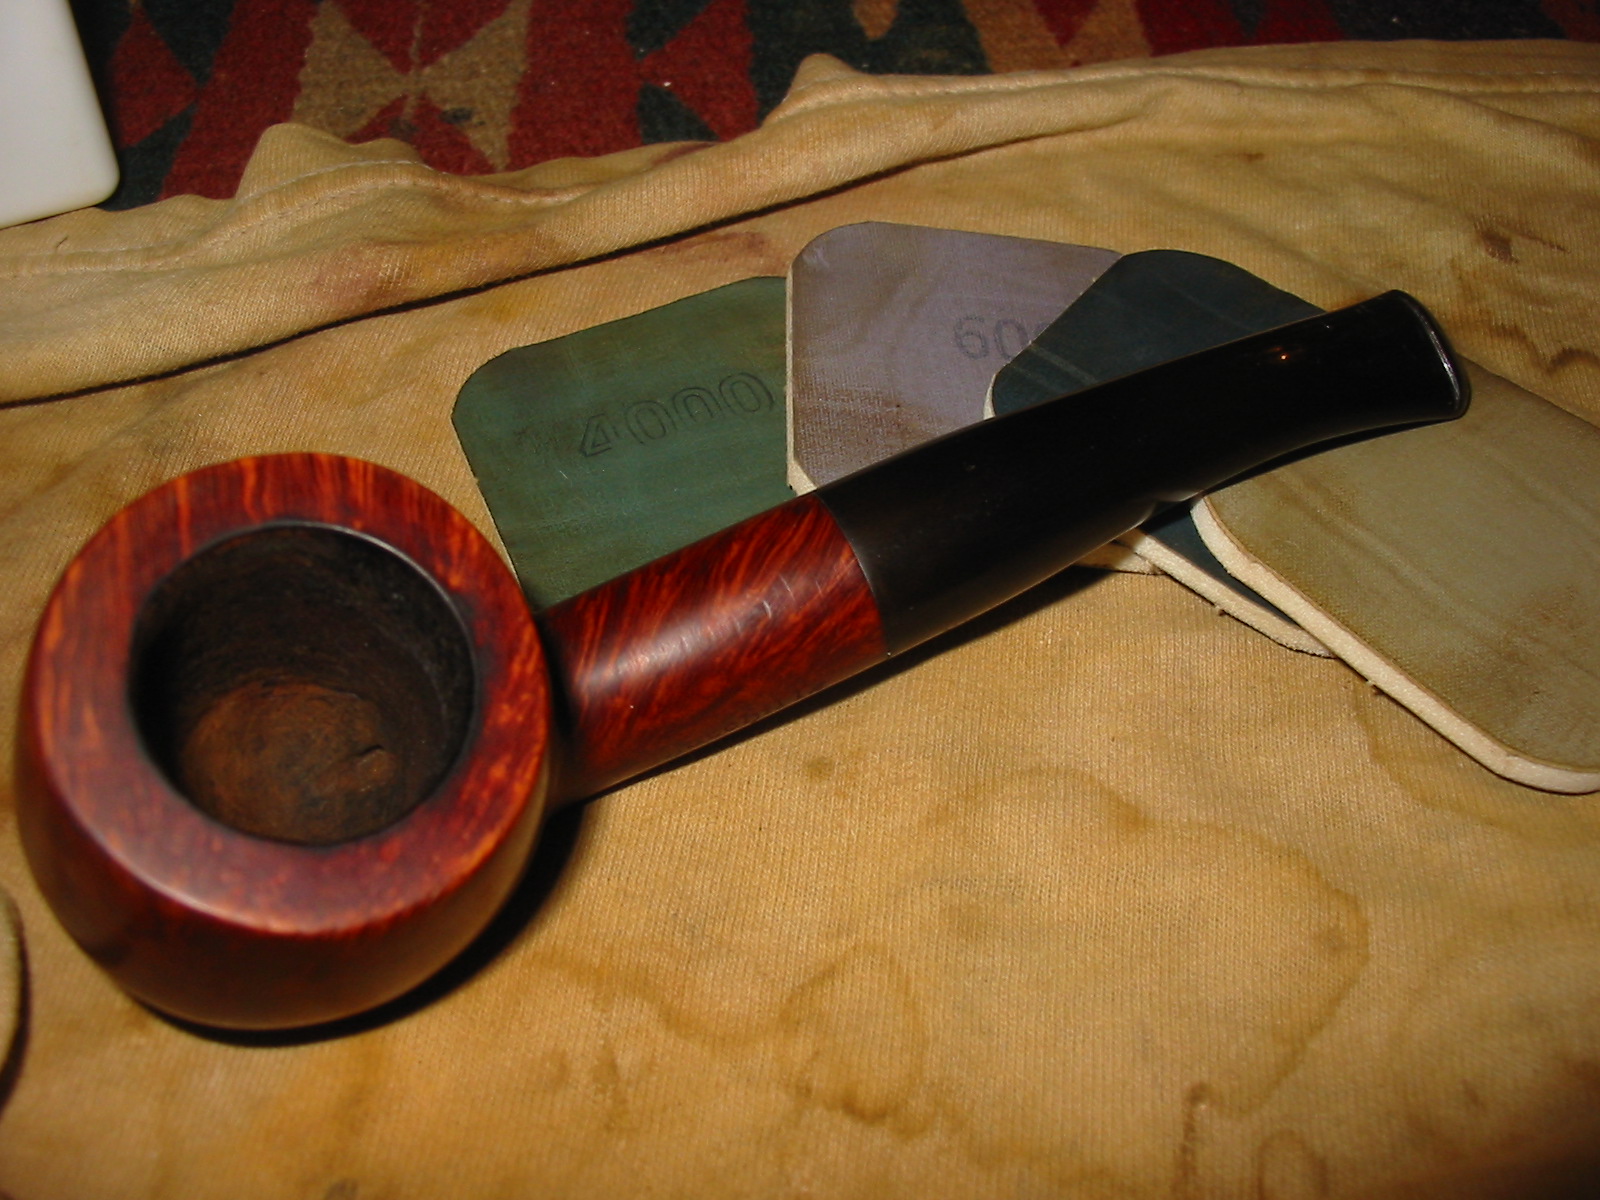
I wiped the stem down with Obsidian Oil and rubbed it into the surface of the stem. Once it had dried I rubbed it and polished it with a shoe brush before taking the pipe to the buffer. I buffed it with White Diamond and then carnauba wax. I gave it a polish with a clean flannel buffing wheel. The next four photos show the finished pipe. I really like the way the matte finish came alive. The grain really pops. This was an easy refurbish as the finish was in very good shape under the top layer of grime.
IMG_1770

IMG_1771

IMG_1772

IMG_1773

Another Loose Stem Fix


Blog by Greg Wolford

As I undertook this project I had no idea that Steve was writing and posting an article on tightening a loose stem. But when I saw it I figured that since this was a little different fix, and the pipe was already blogged about here, I would go ahead with the article.

If you have read the story of Big-Ben then you know I had to restem it. It was the first time I’d done this and the first use of my new tenon turning tool, too. So, in my haste and excitement I made a goof, one that Ric Farrah was kind enough to comment on: I had not cleaned the shank out real well before fitting the stem, leading to a loose new stem.

I tried beeswax and “smoking it in” but neither of these worked on this particular problem; as Steve noted often an application of beeswax and use will tighten up an estate pipe stem. But I suppose since this was just a goof on my part and the stem had not been for properly these solutions weren’t going to work.

I was aware of the tools sold for stretching a tenon, the pluses and minuses that Steve mentioned. But I wasn’t really inclined to buy one at this point, especially since I had another idea on what might work: a drill bit! So, since the two easy fixes failed I went down to the shop to try out this new-to-me idea.

I removed the stem from the pipe and checked the size of the air-hole against my set of drill bits. I thought I had drilled it out to 5/32 so this is where I started. However, I soon realized that I had drilled it at 9/64 so I took both of these sizes and the stem to the heat gun set up.

I almost always use leather gloves when I use my heat gun; things can get real hot, real quick. And since I was using steel drill bits I definitely wanted the hand protection. So, I donned the gloves and turned the heat gun on low to start stretching!

Now, the first thing I need to say here is when doing this you are inserting the blunt end of the bit that normally gets chucked into the tenon. The sharp end is the turning end, in your hand for this procedure. This part is very important.

I began to heat the tenon slowly, checking every several seconds on the progress; I only wanted it warmed enough to be slightly softened, not so soft that it could easily be deformed or badly bent. Keeping the tenon moving, I would take the smaller bit and try to insert it in the air hole until it went in. At this point I worked very gently to get the bit inside the tenon the entire length of the tenon, removing the bit/tenon from the heat. I kept the bit turning slightly while it was inside the hole so it wouldn’t stick. After about a minute I gently removed the bit and allowed the tenon to cool a few minutes before checking the fit, which ended up being too loose still. So, I picked up the larger bit and began the whole process over, this time resulting in a perfect fit: good and snug with no “play” or slipping but not too tight either. Finally, the new stem was fit properly!

I left of overnight and loaded it up the next morning, checking the for again; it was still perfect, like it had been made for it (a little humor there)! The pipe smoked good before the adjustment but it now smokes very well with a good fit on the stem, part of which I’m sure is in my head, not fussing or worrying about the bowl falling off.

I found this fix very simple and expect to use it again in the future: it was done with tools/items I had on hand and only required a bit of patience and slow going to do right. Of course if I’d applied that idea to turning the tenon to start with I wouldn’t have had to refit the the stem. But then I’d not have had the opportunity to try out this fix if I had done it right to start with either: I suppose that is the silver lining in this cloud of errors!

20130822-211846.jpg

City de Luxe 9438


Blog by Al Jones

I have a number of GBD 9438’s on my rack and it is a favorite shape. I’ve always admired the City de Luxe stem logo but didn’t yet own that brand, a GBD second line. I didnt’ find much about the City de Luxe line, other than it appears to have existed since 1921. I couldn’t resist this 9438 shape I found on Ebay. Below is a copy of an old Oppenheimer ad I found on the web.
City_de_Luxe_Ad_Oppenheimer

This one has a “twin bore” stem. I’ve never owned a twin-bore pipe and always considered it to be somewhat of a gimmick. I’ll have to see how it smokes to reserve judgement.

This is the pipe as it was delivered. The briar was in good shape with only a dulled finish and some tar build up on the rim. The stem was oxidized but also in very good shape.
City_DeLuxe_9438_Ebay

City_DeLuxe_9438_Ebay2

City_DeLuxe_9438_Ebay5

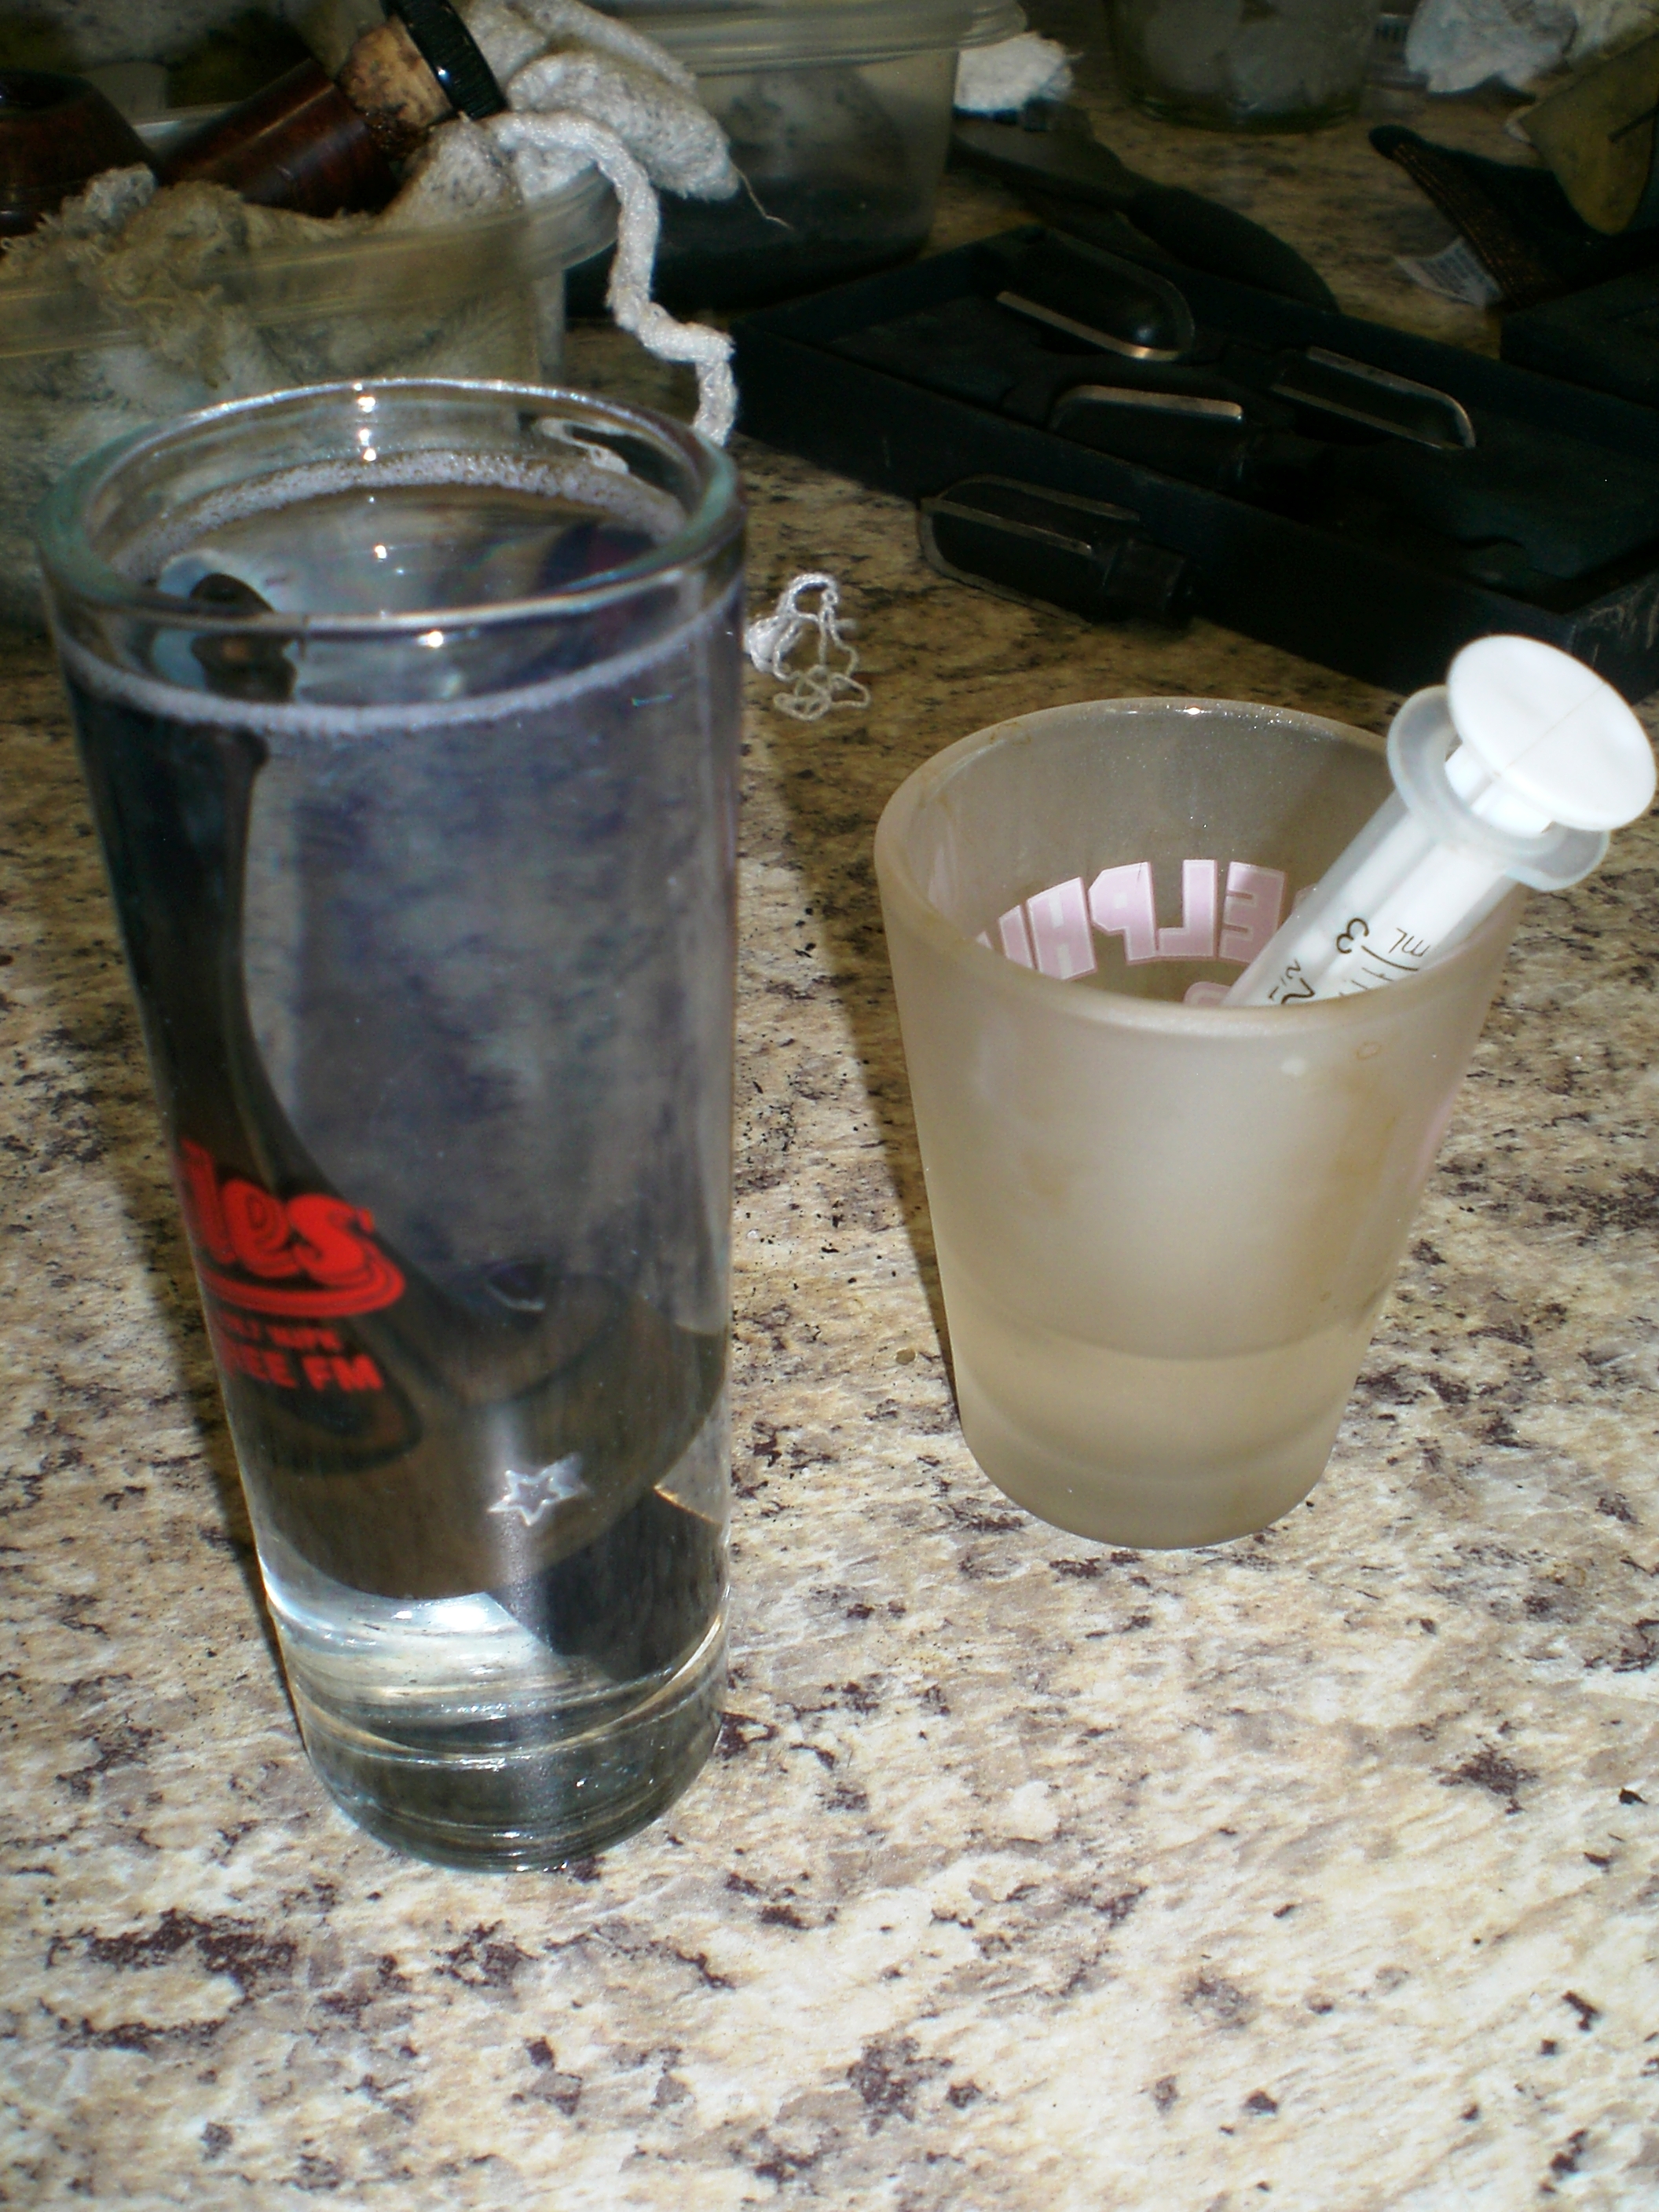
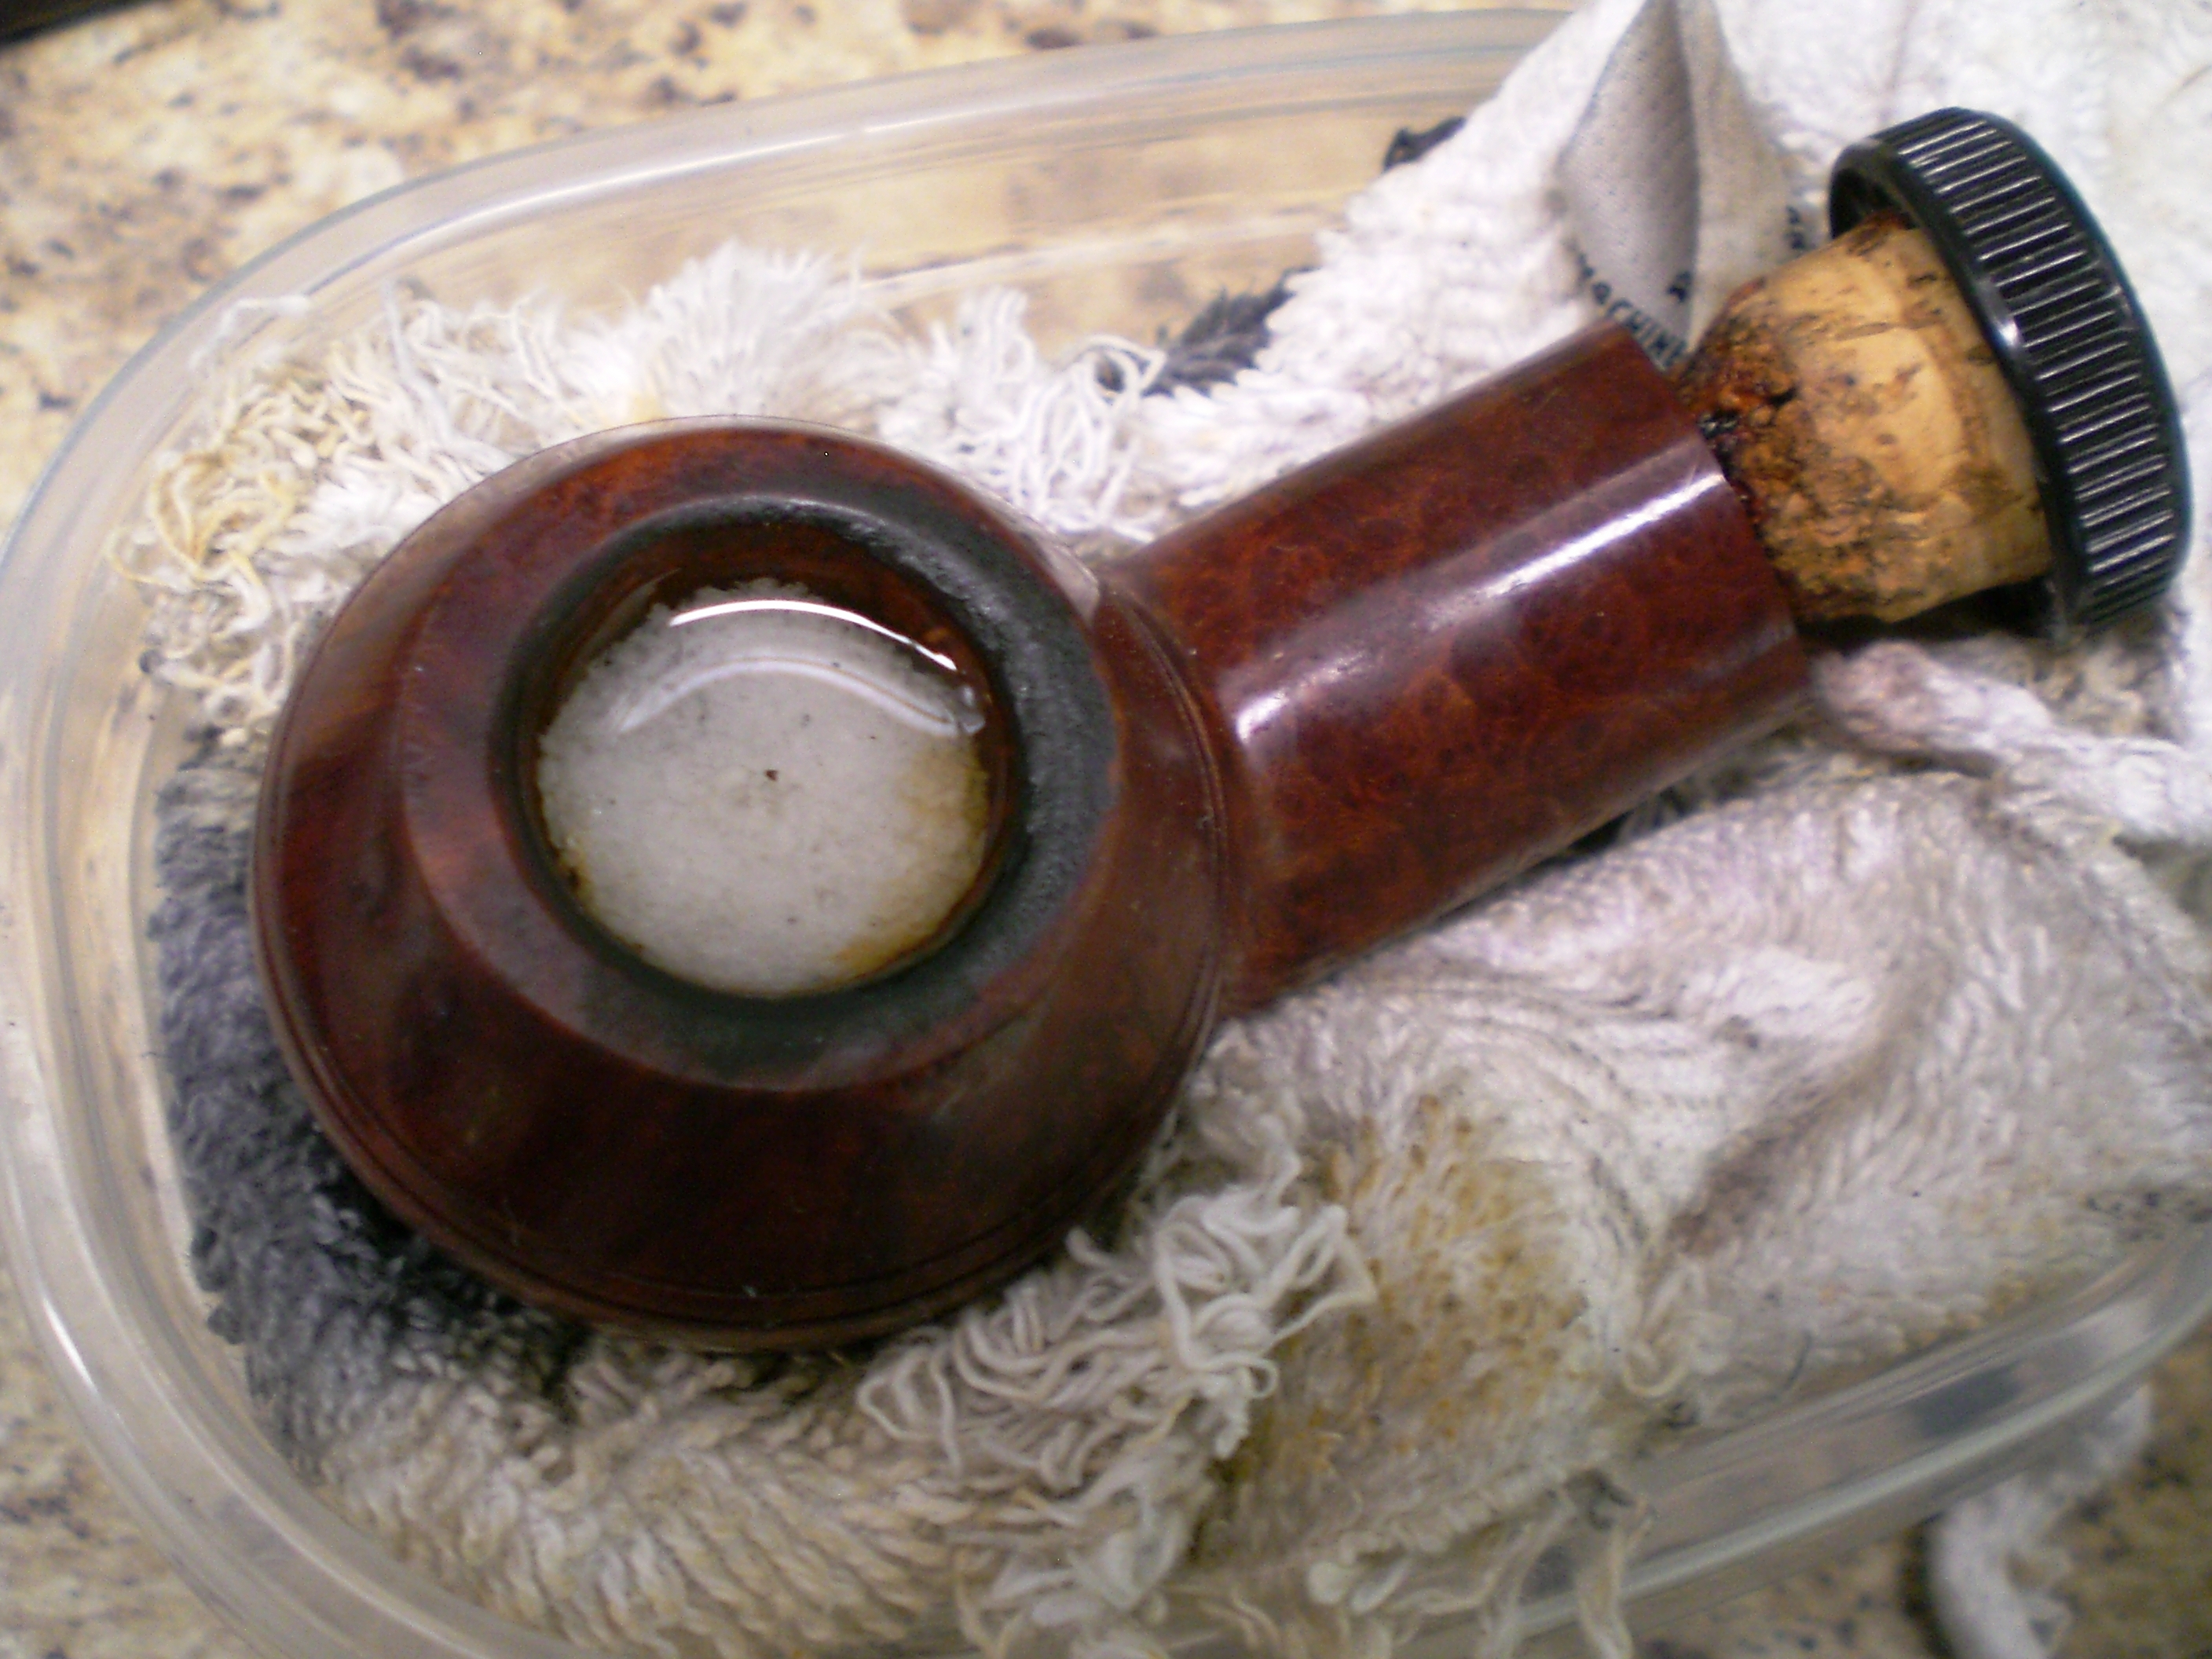
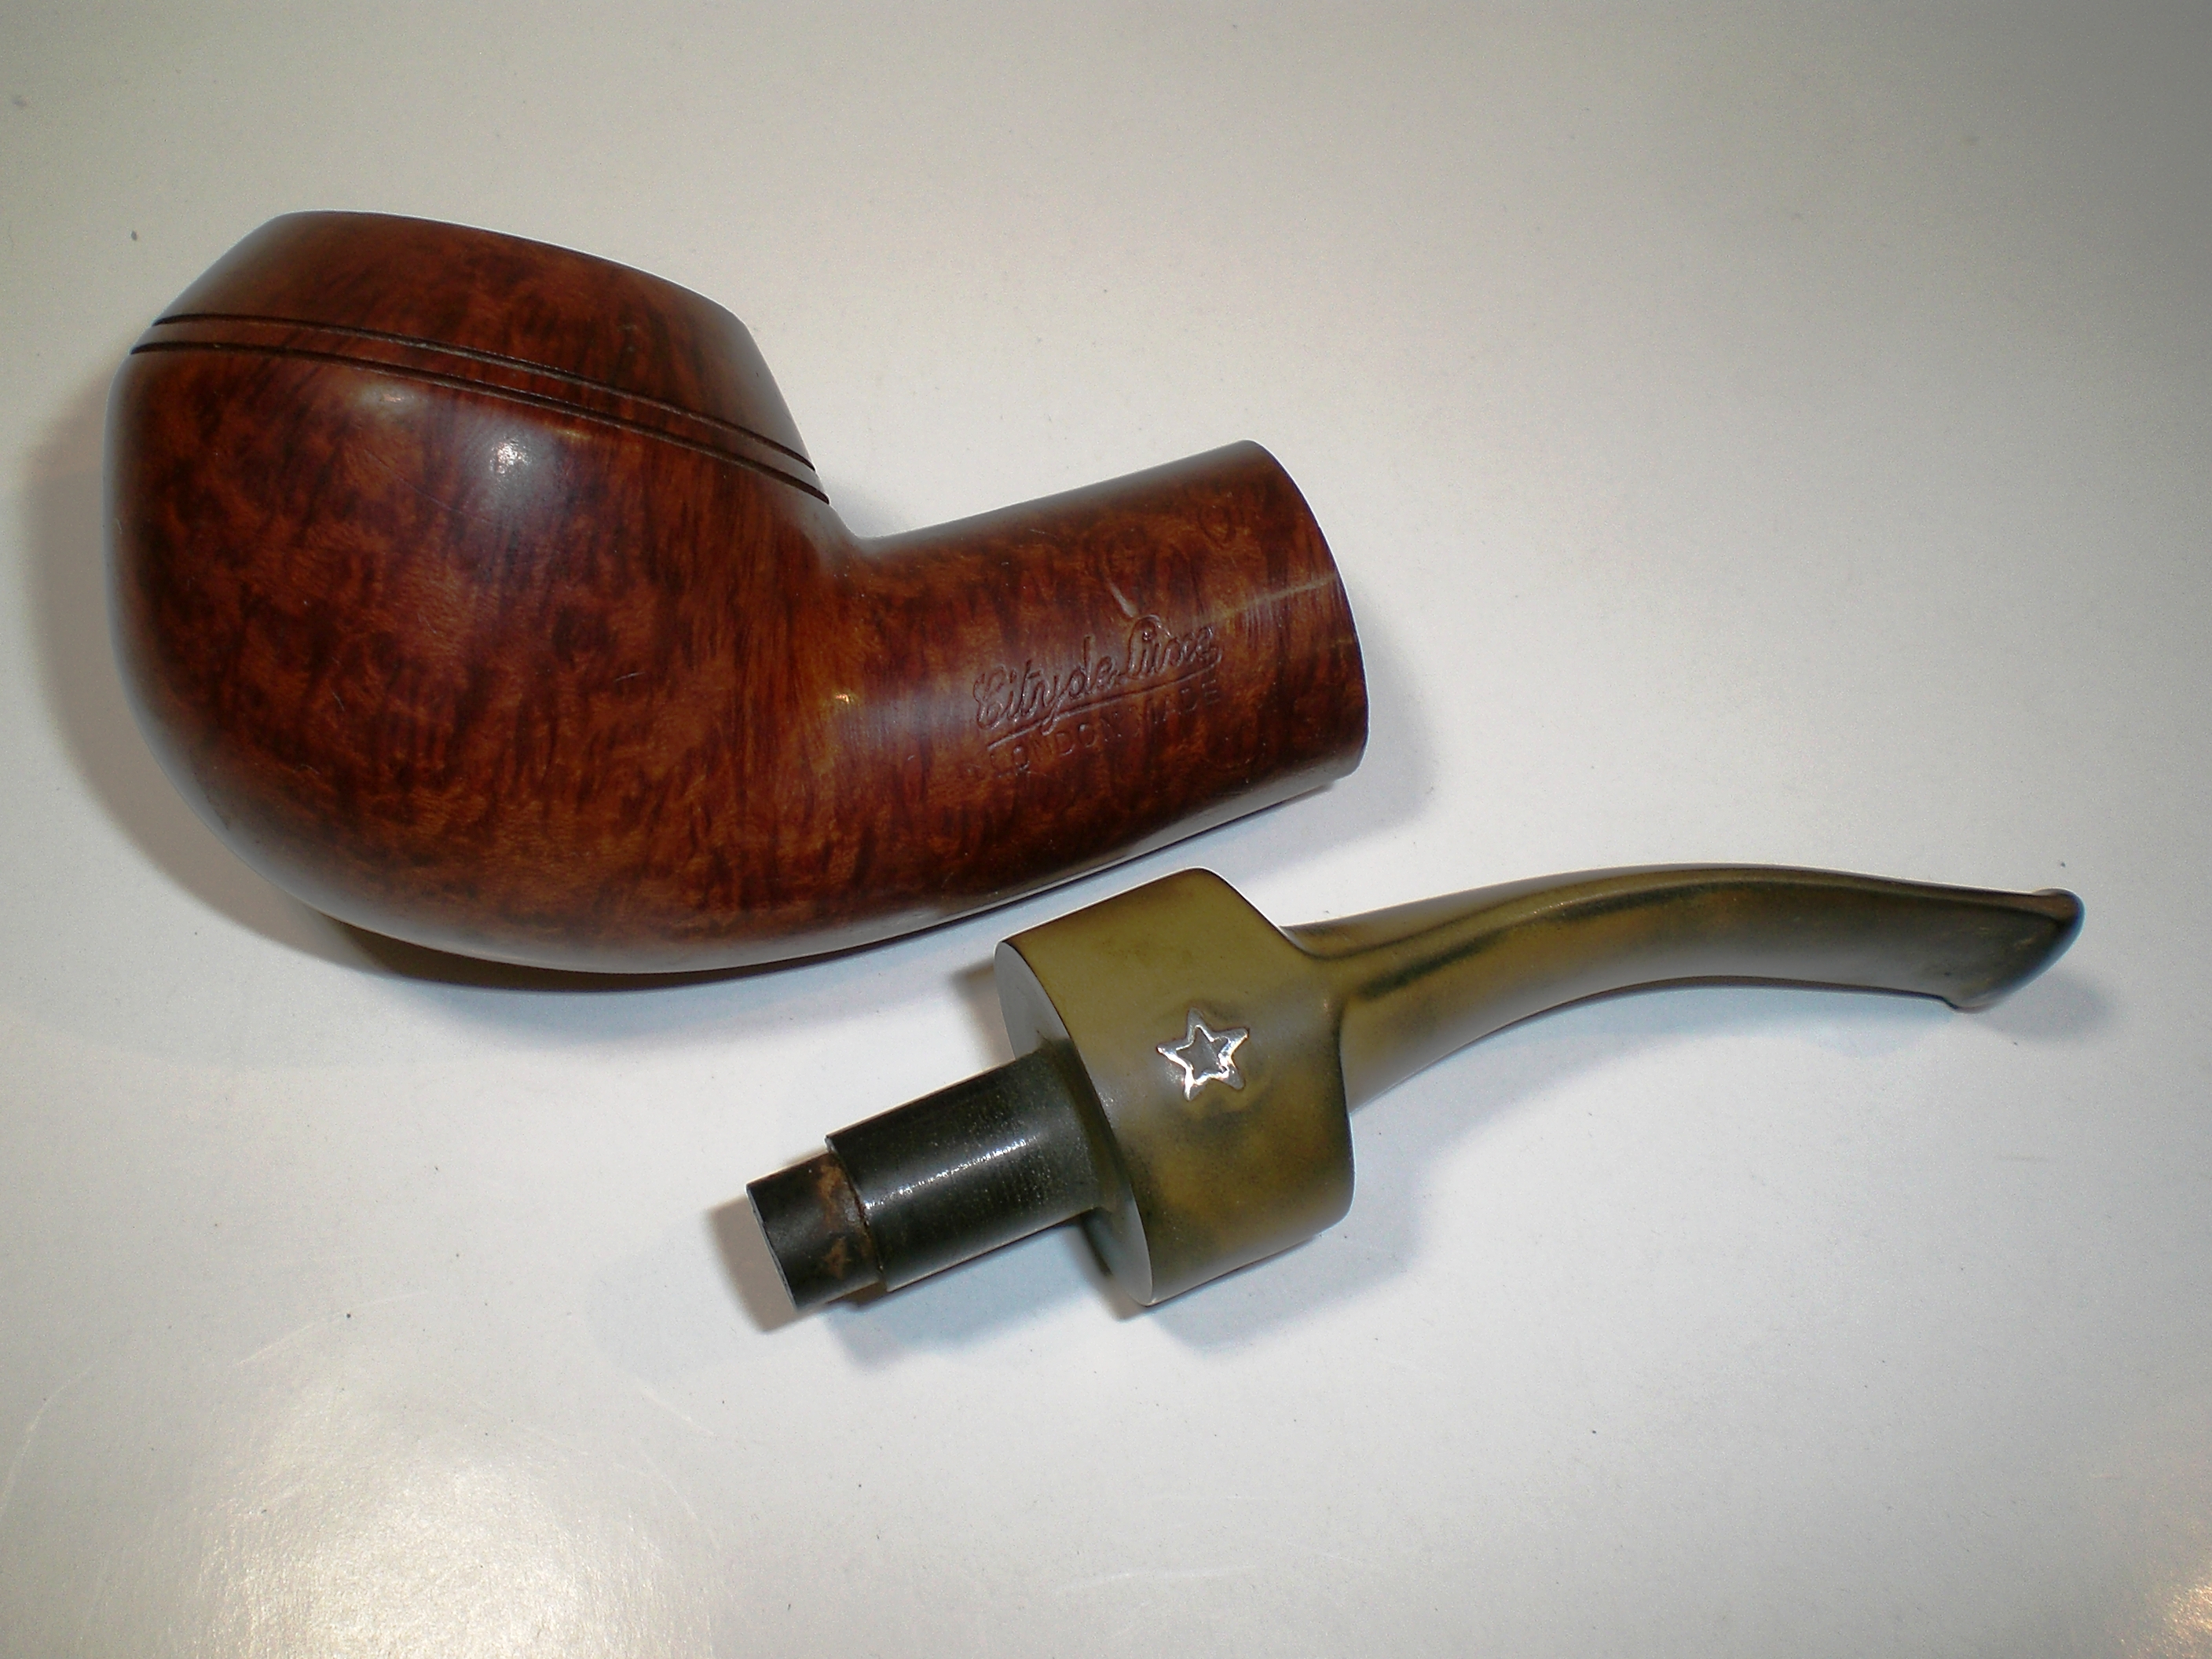
I reamed the bowl and soaked in with some alcohol and sea salt. While the bowl was soaking, I also soaked the stem in a mild solution of Oxy-Clean. I put a dab of grease on the Star stem logo. I use shot glasses to hold my alcohol and add it to the bowl/salt with a dog medicine syringe. Another shot glass makes a good container for soaking the stem.
City_DeLuxe_Process (7)

City_DeLuxe_Process (1)

I easily removed the bowl top tars with a wet cloth and elbow grease. The bowl was then buffed with Tripoli, White Diamond and then several coats of Carnauba wax.

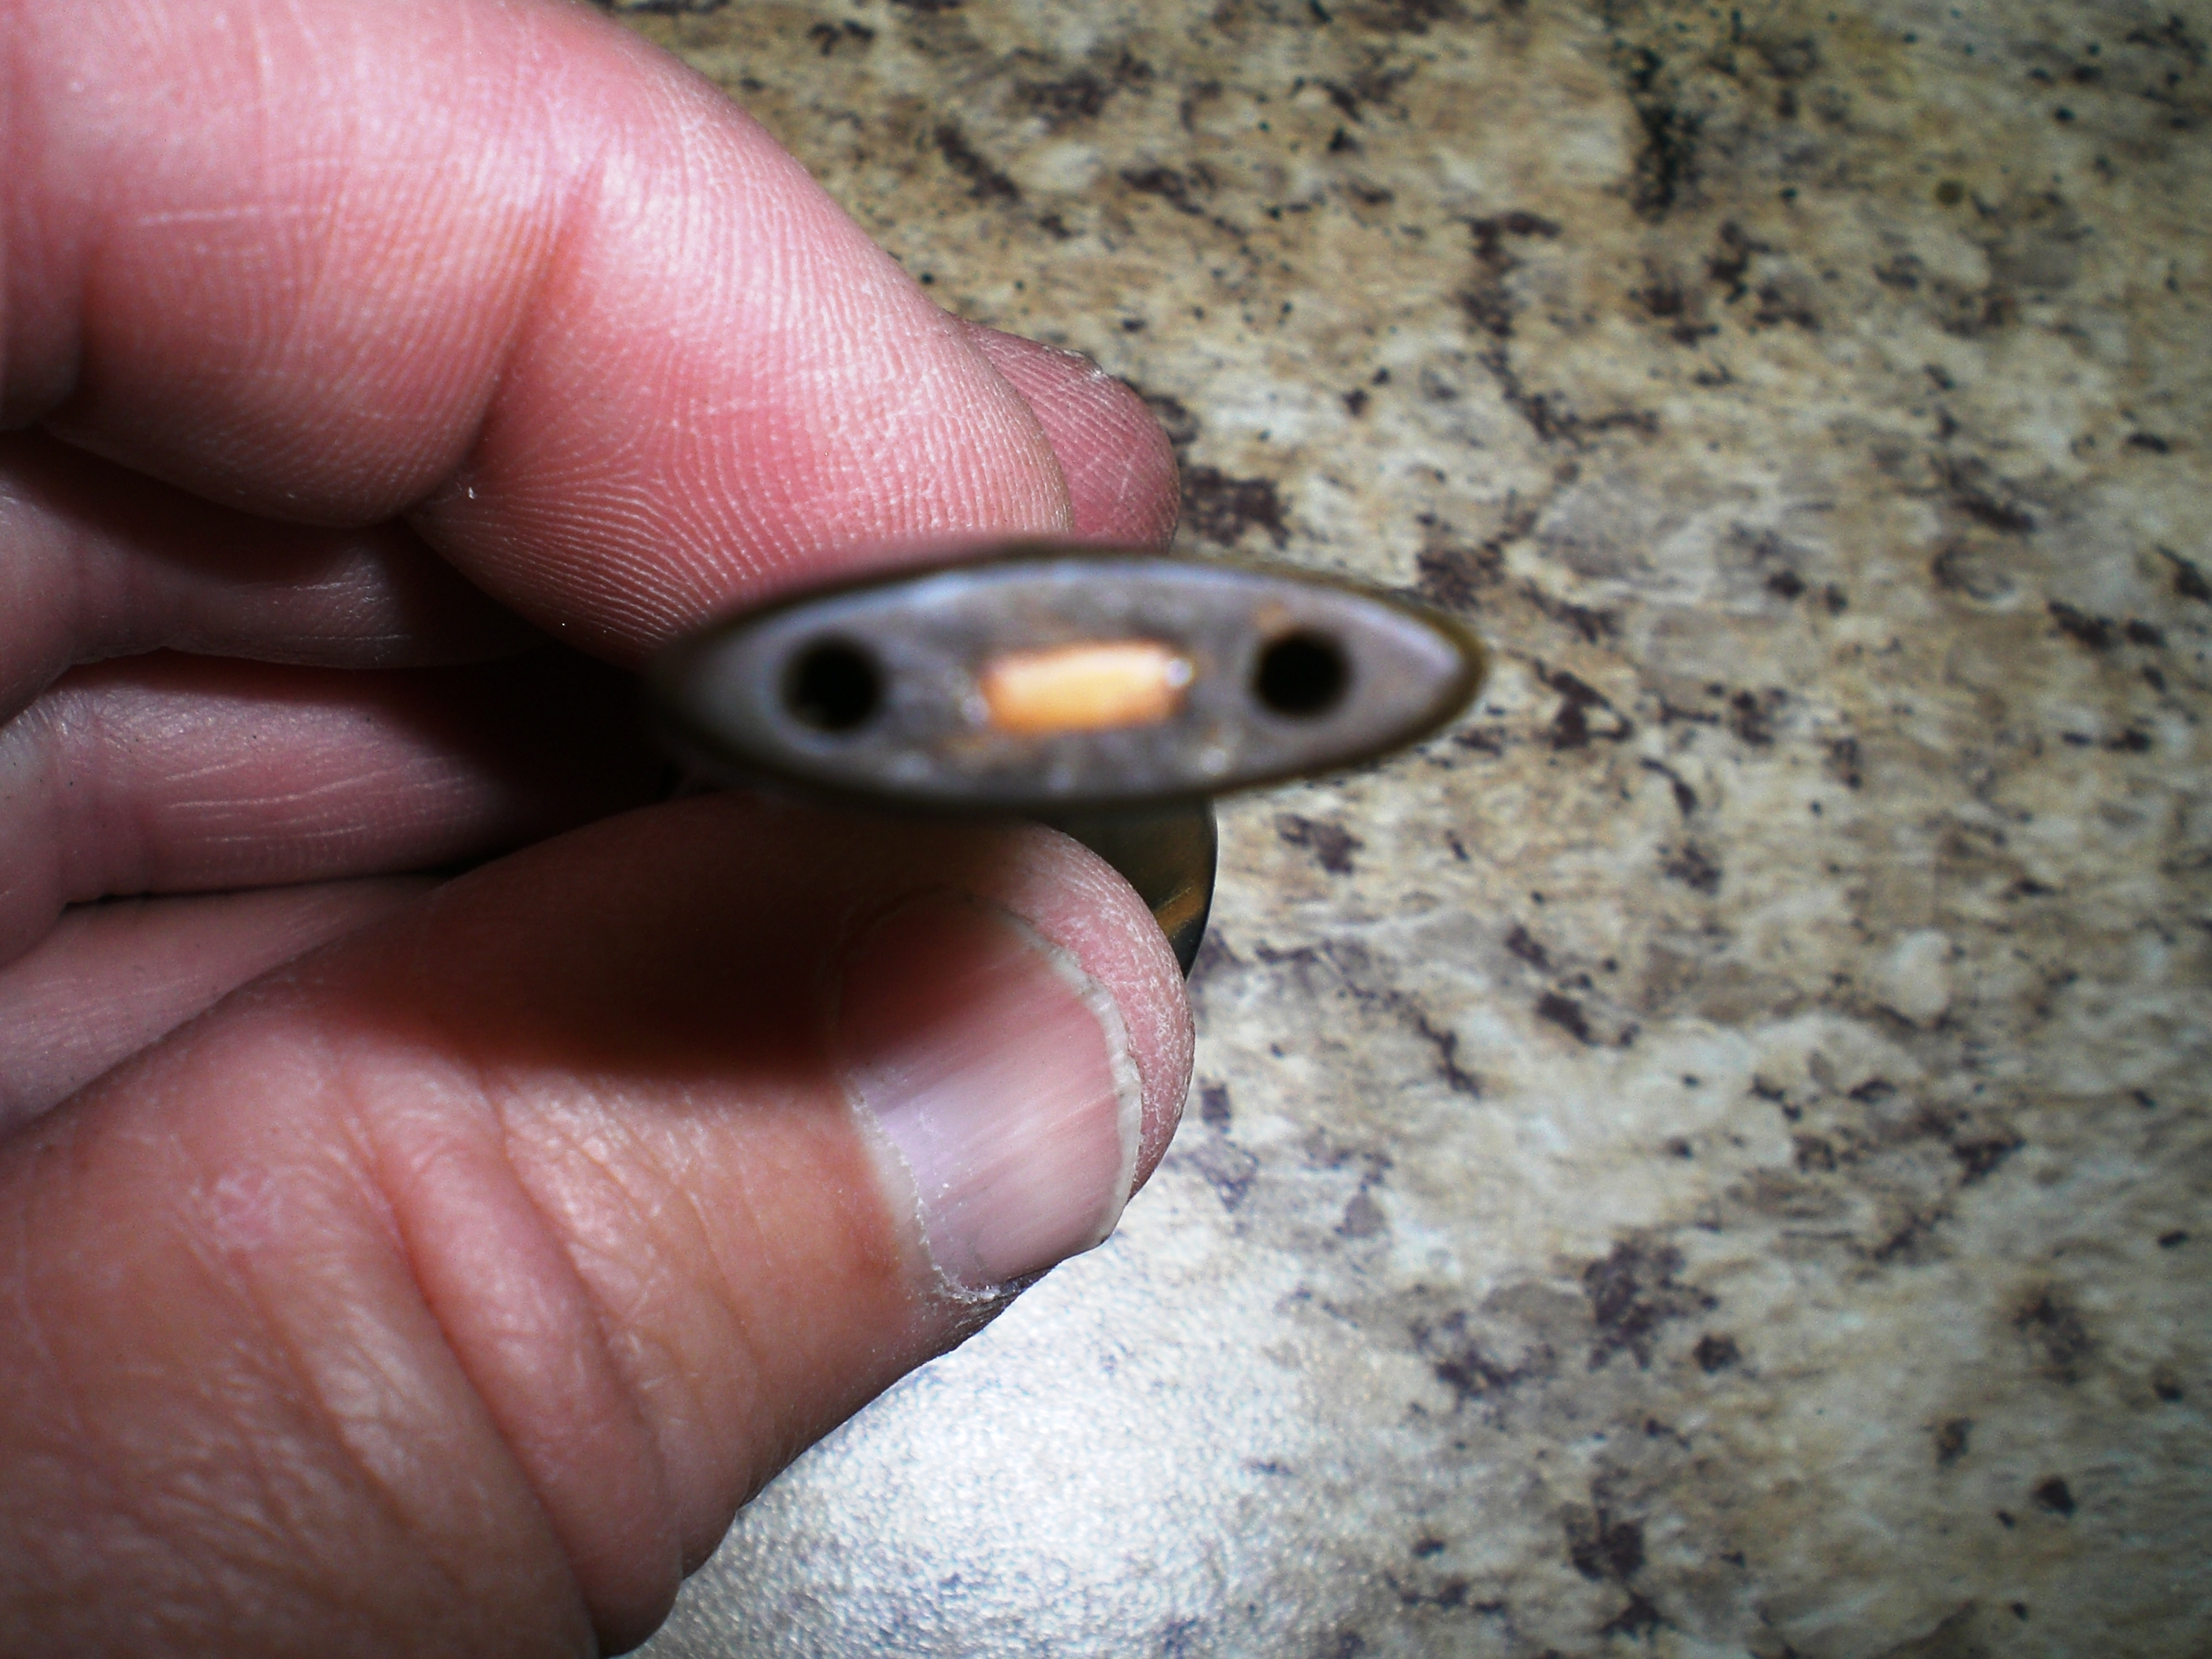
The next step was to clean the stem. One of the twin-bore draft holes was plugged with tobacco build-up, but a cleaner and alcohol freed the blockage. Curiously, there is a white plastic plug at the button. I was hoping perhaps it led to a traditional draft hole, but is only about 1/4″ deep. I’m not sure why that was drilled or inserted. I suspect the City de Luxe stems are premade. Even cleared, the draw was somewhat tight. I opened up the tenon end with several drill bits and I hope that makes the smoking draw easier.

City_DeLuxe_Process (6)

The Oxy-clean soak loosened the oxidation, so I started with 800 grit wet sandpaper. I like to use the highest grade paper possible to start as I want to remove as little stem material as possible. I progressed to 1000, 1500 and 2000 grades wet paper than moved to the 8000 and 12000 grades of micromesh. The stem was then buffed with white diamond rouge and a final buff the Blue Magic auto plastic polish. Below is a shot of the stem after the 800 grade paper and the polished bowl.

City_DeLuxe_Stem_Soak

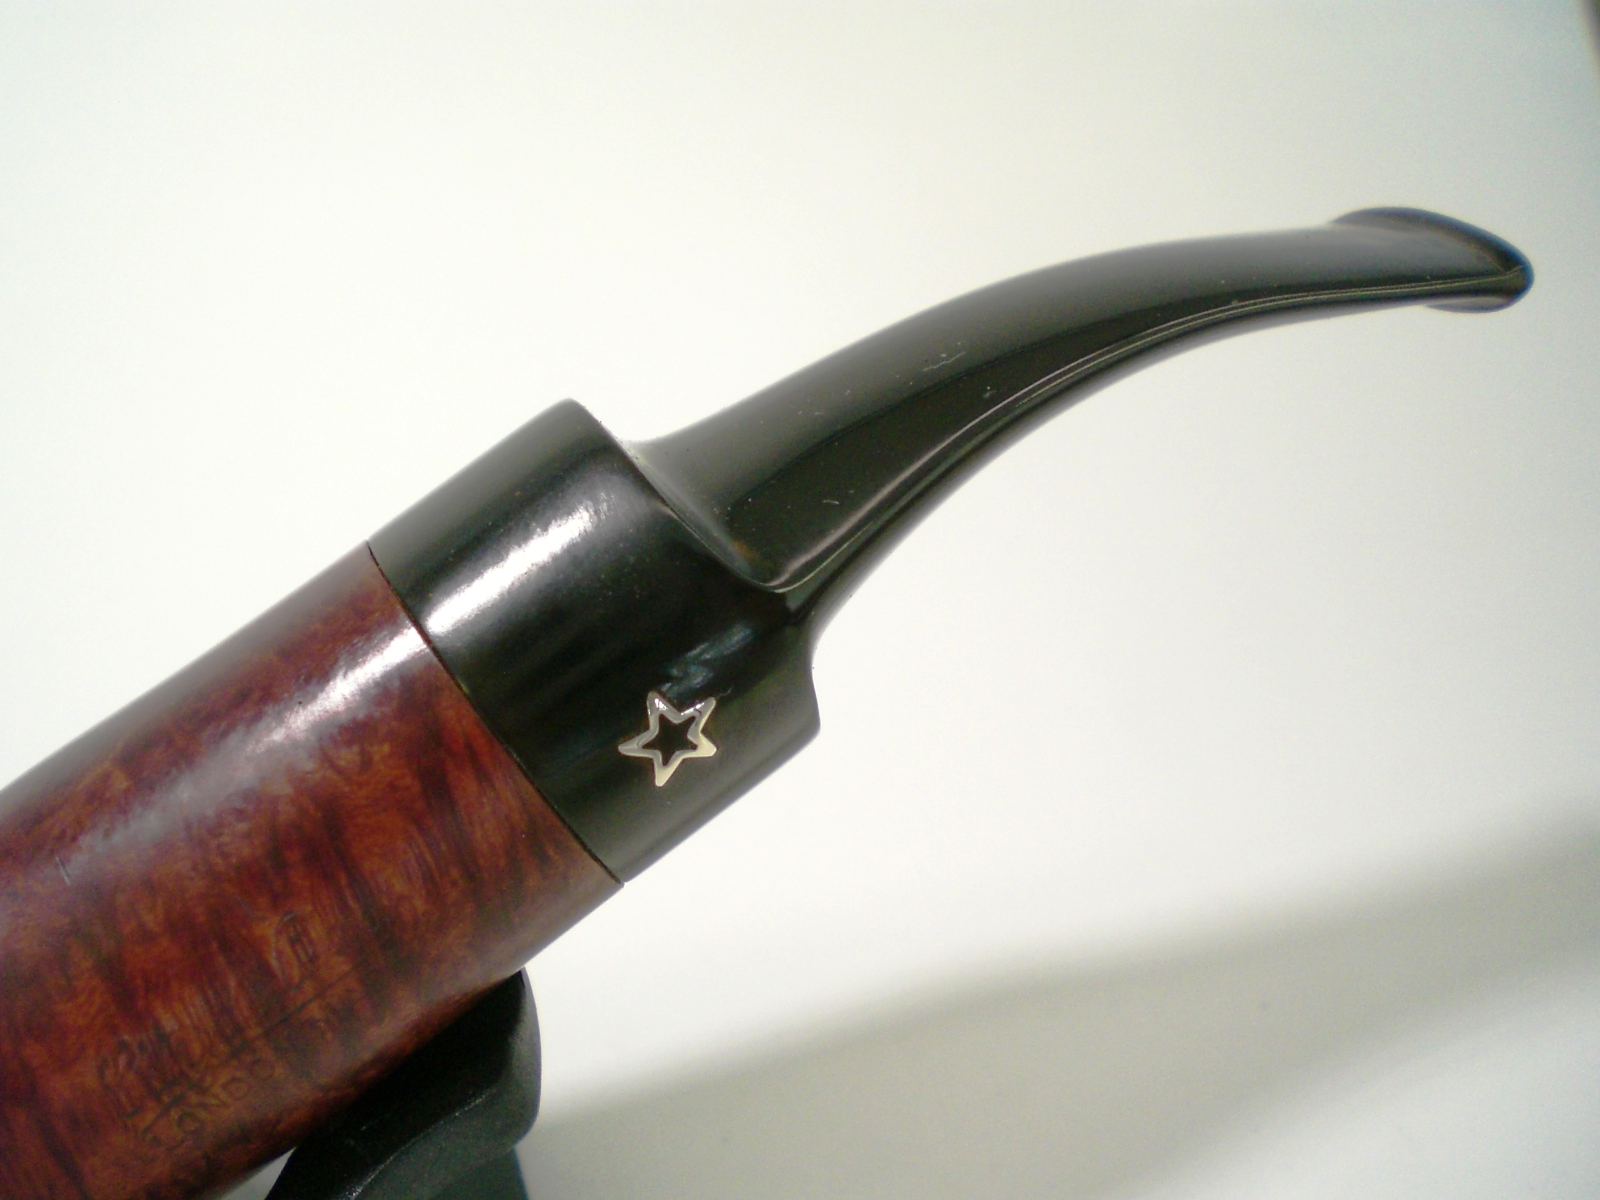
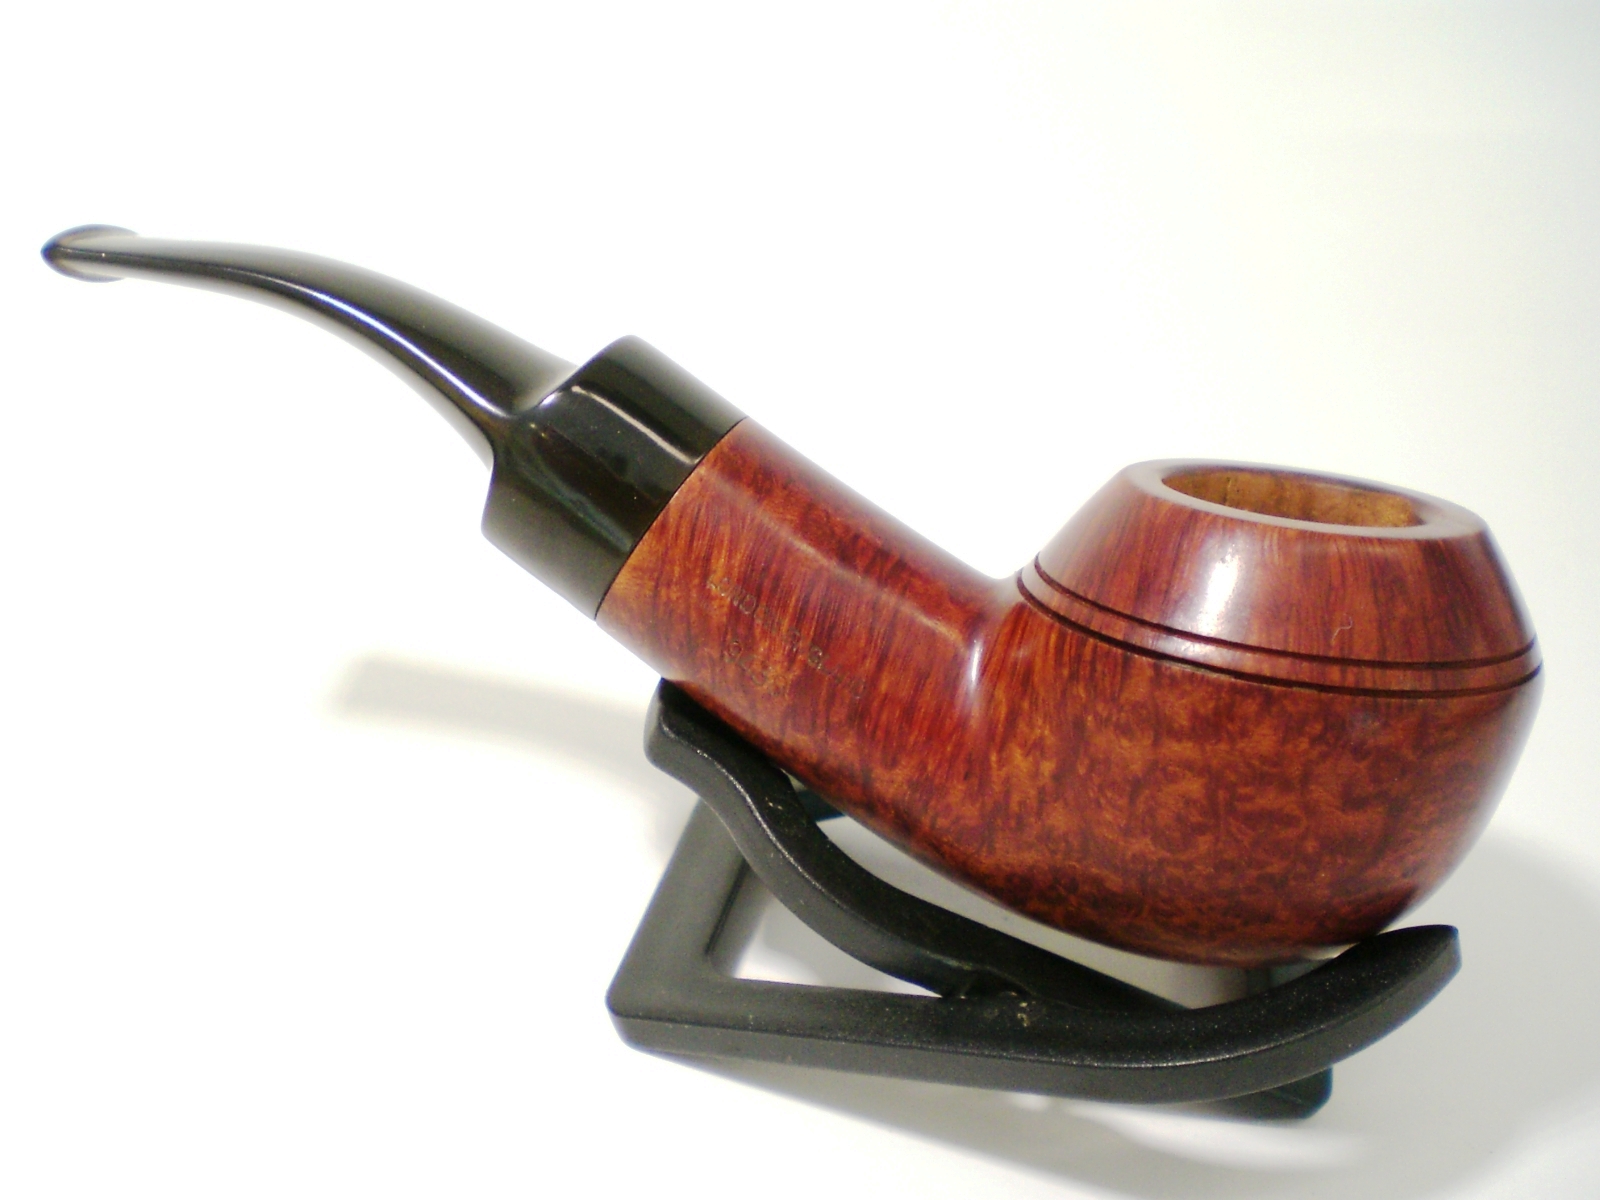
Below are pictures of the completed restoration a relatively easy task.

City_DeLuxe_9438_Finished (1)

City_DeLuxe_9438_Finished (2)

City_DeLuxe_9438_Finished (3)

City_DeLuxe_9438_Finished (5)

City_DeLuxe_9438_Finished (7)