Blog by Steve Laug
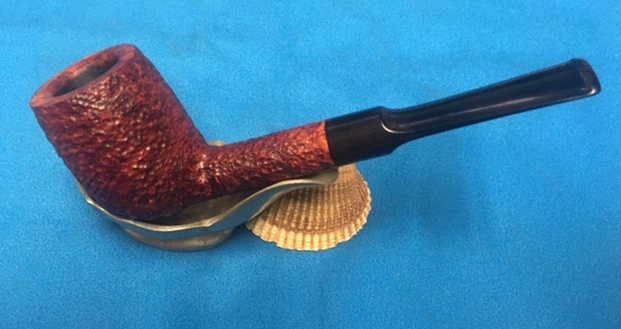
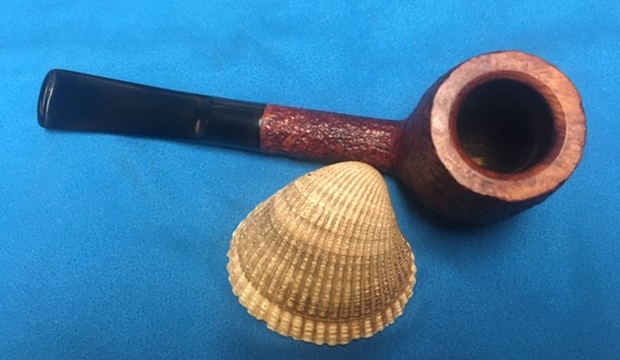
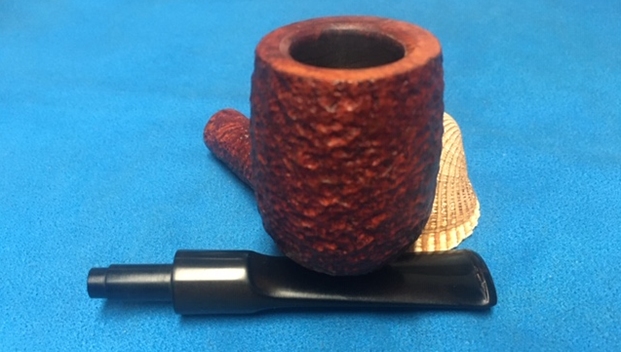
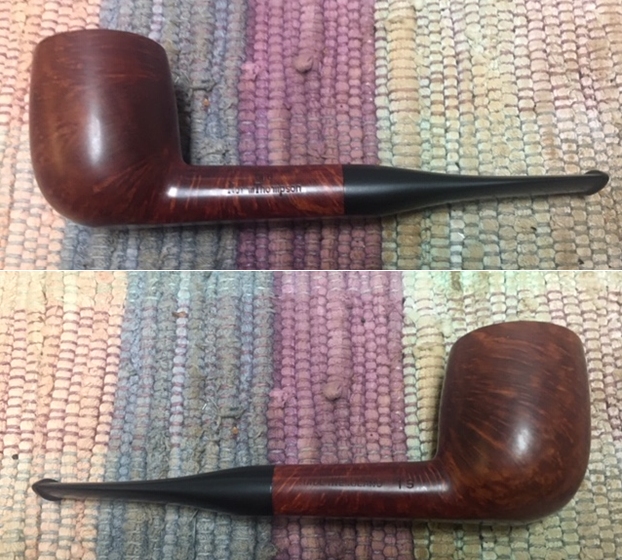
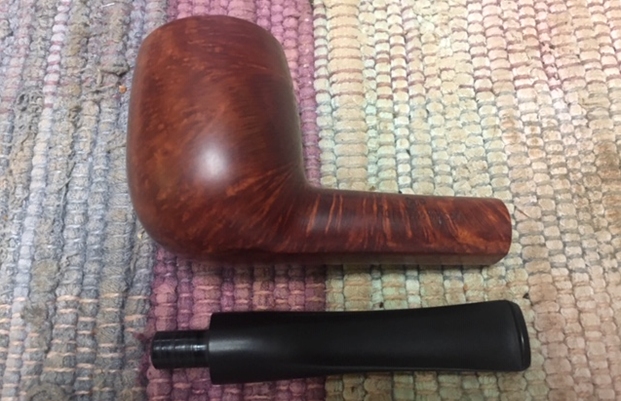
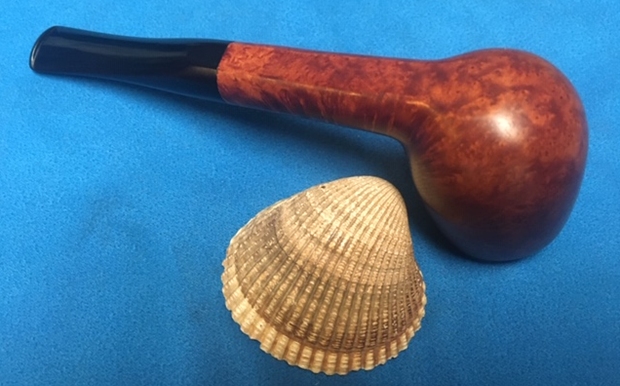
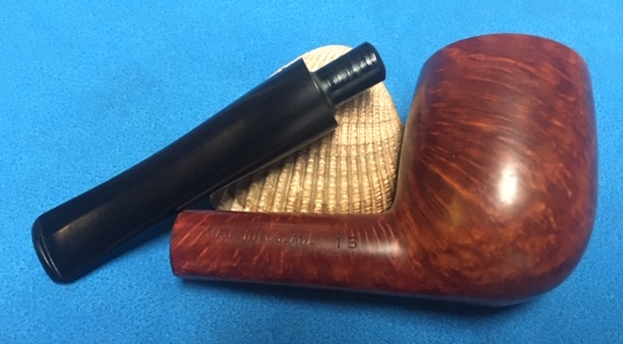
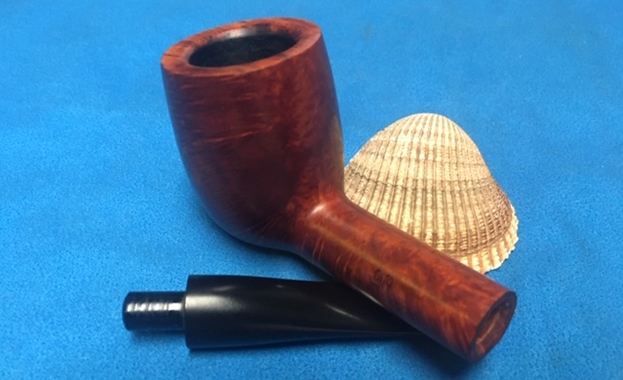
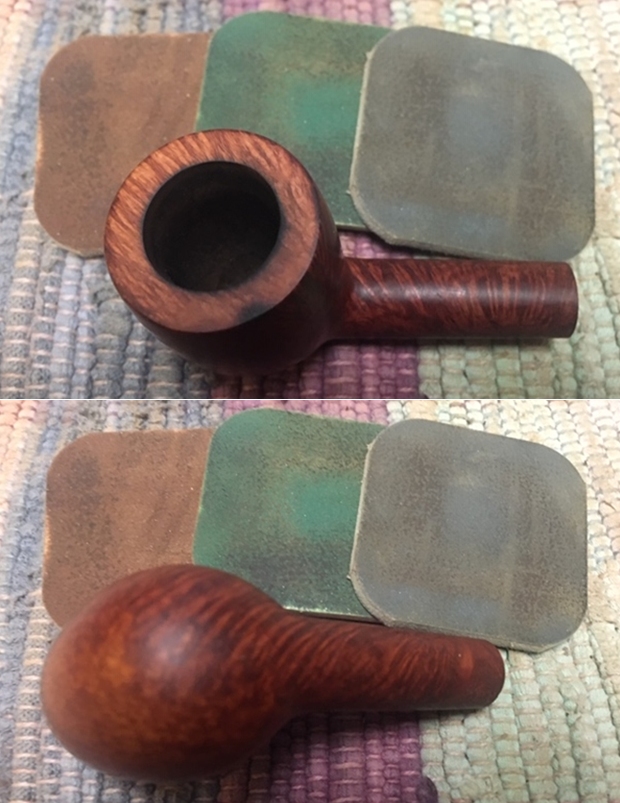
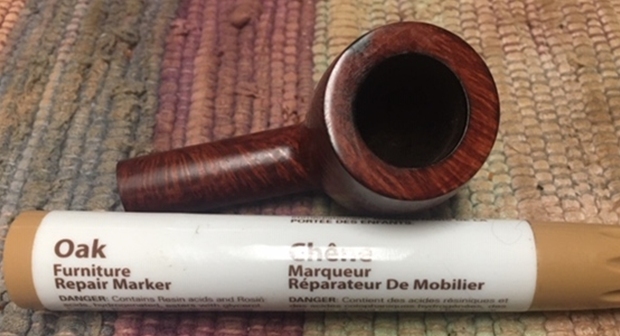
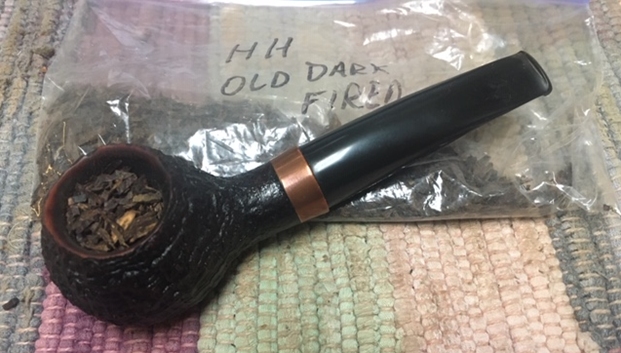
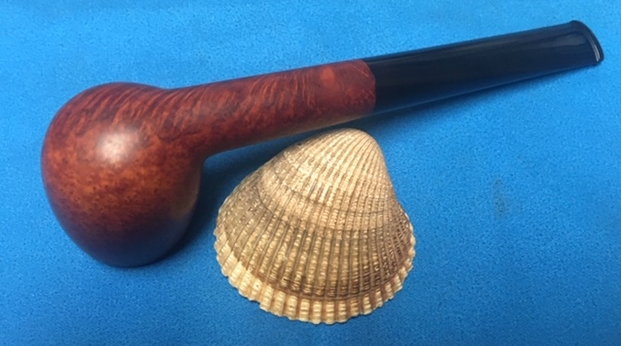
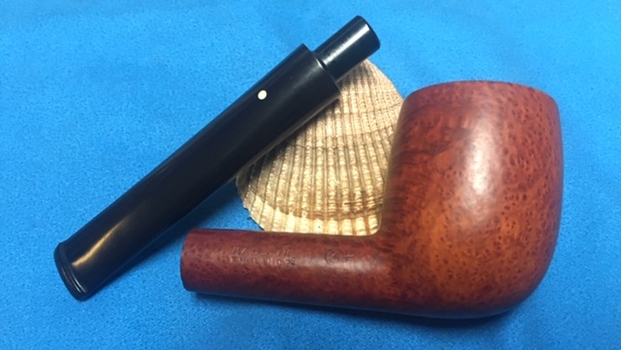
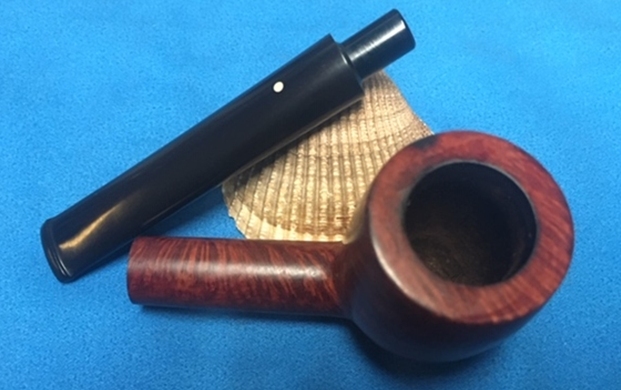
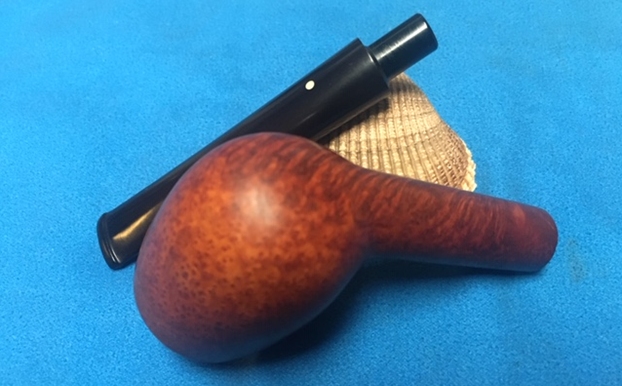
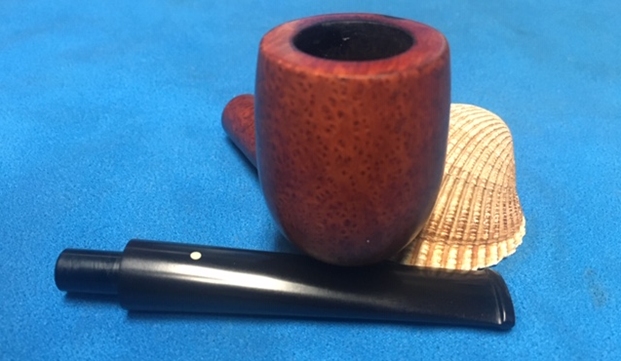
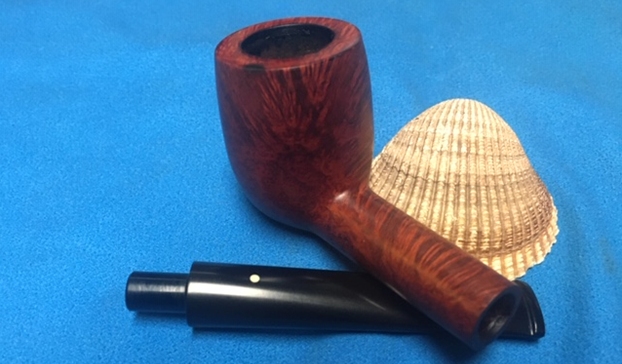
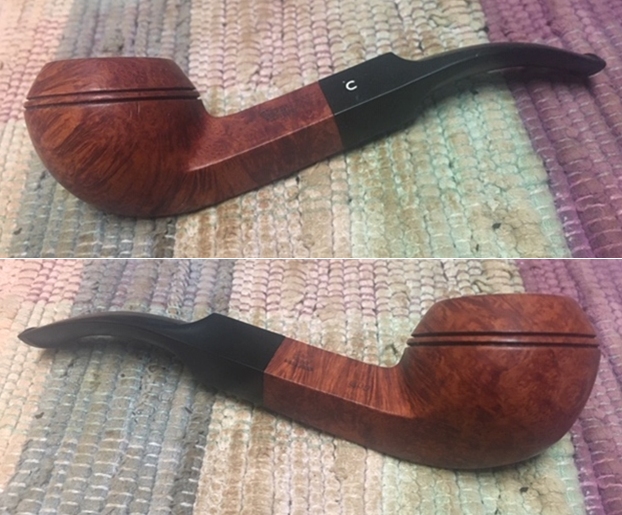
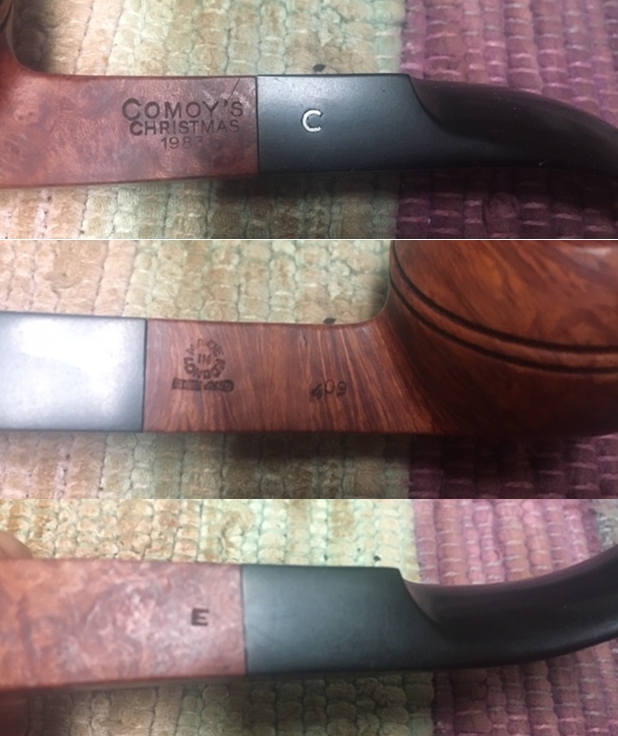
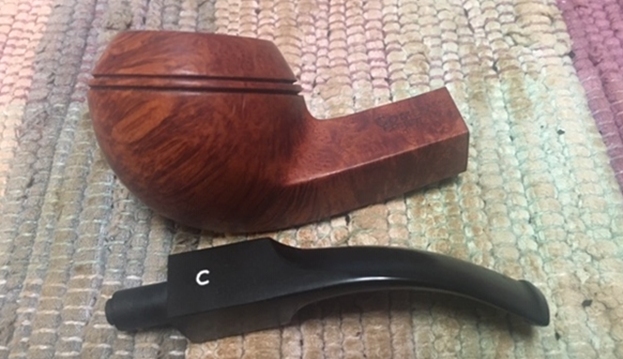
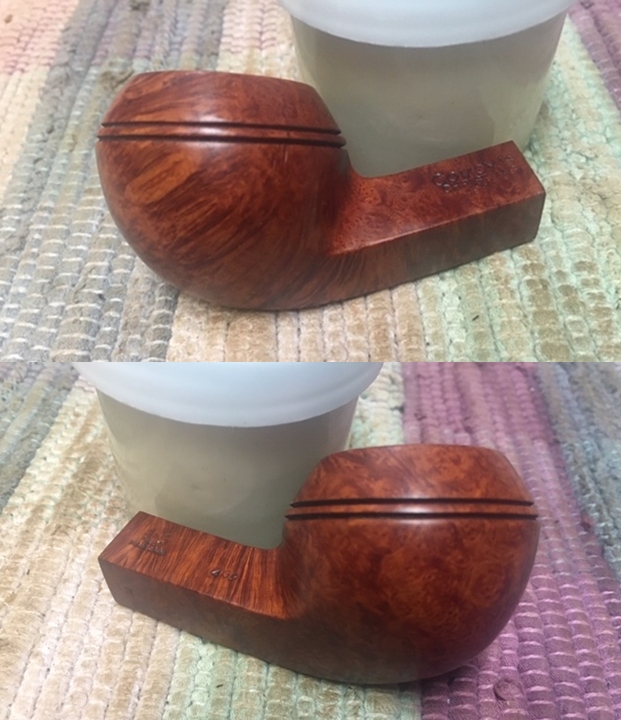
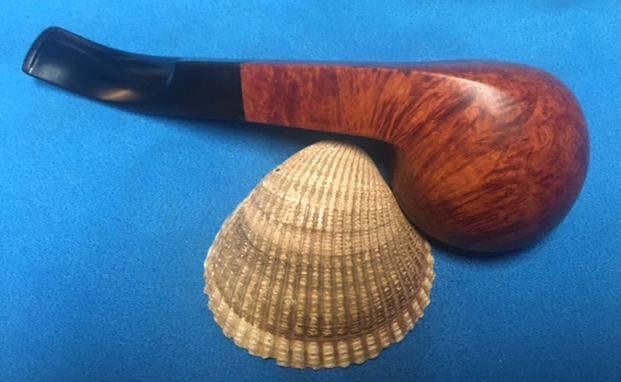
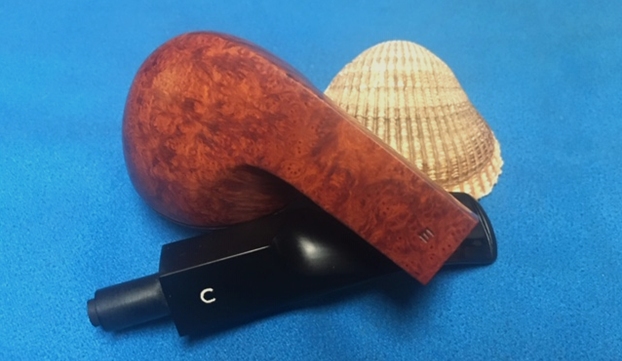
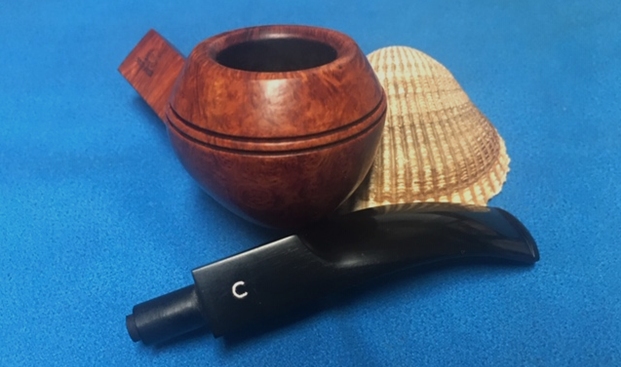
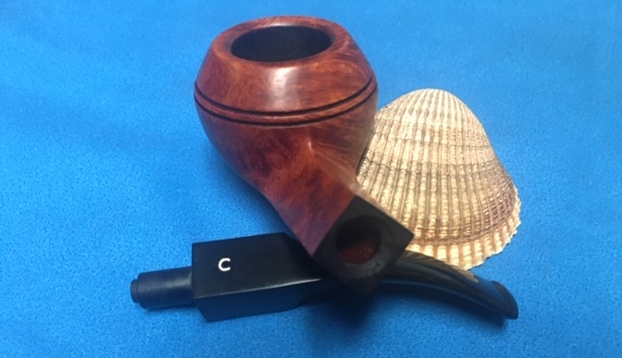
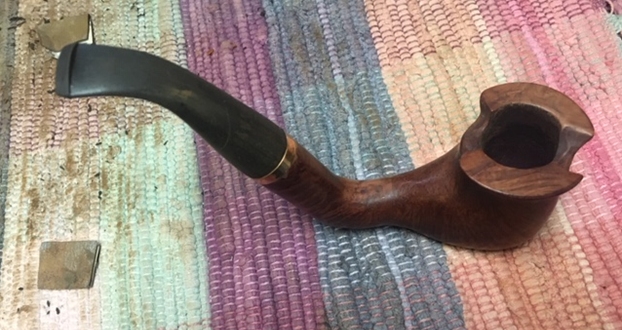
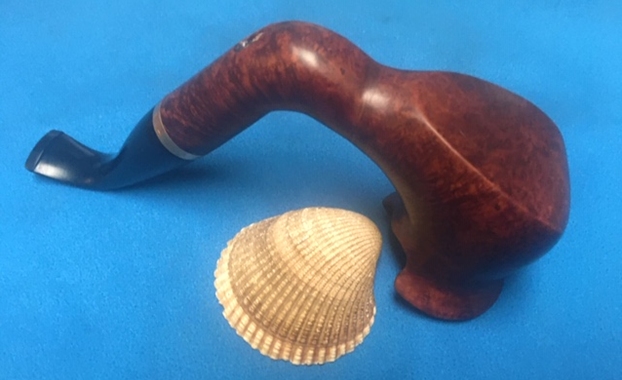
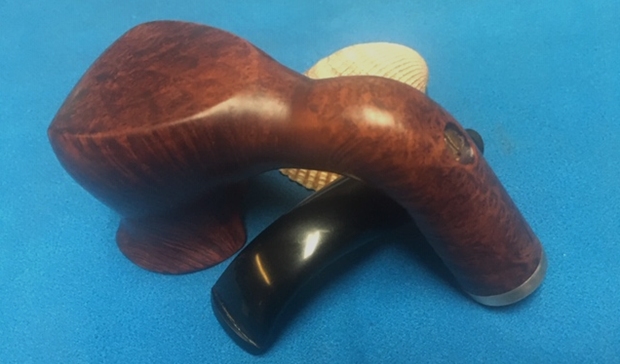
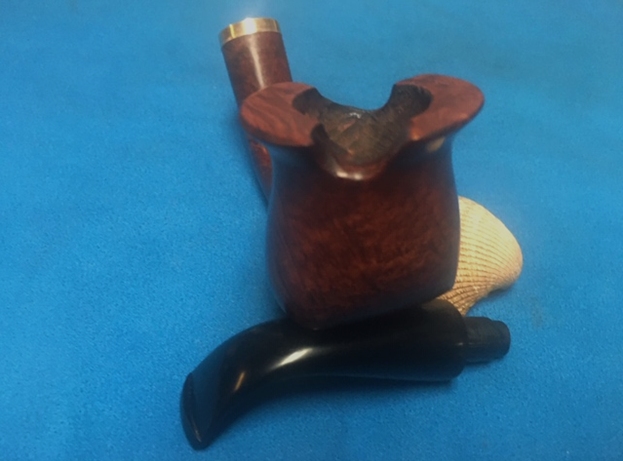
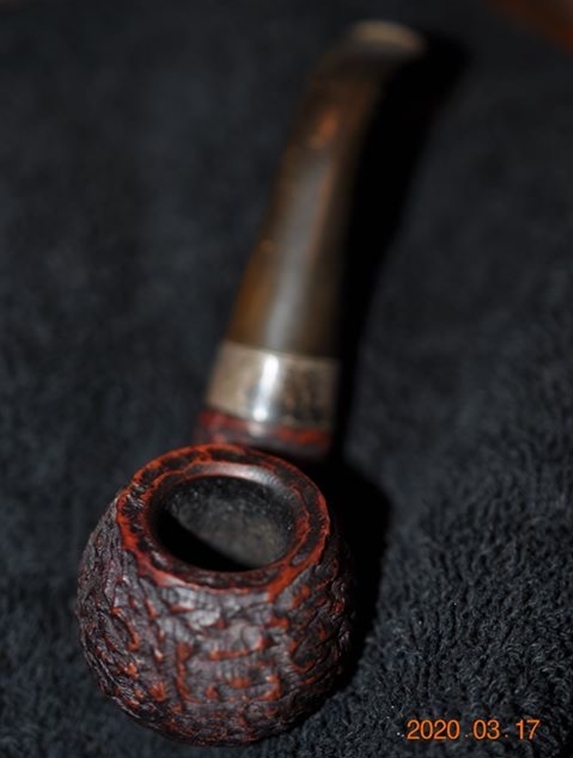
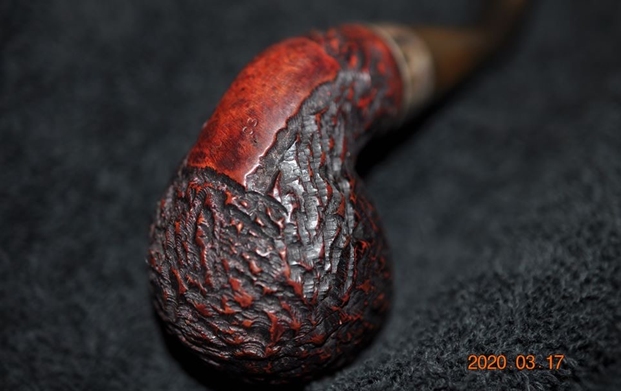
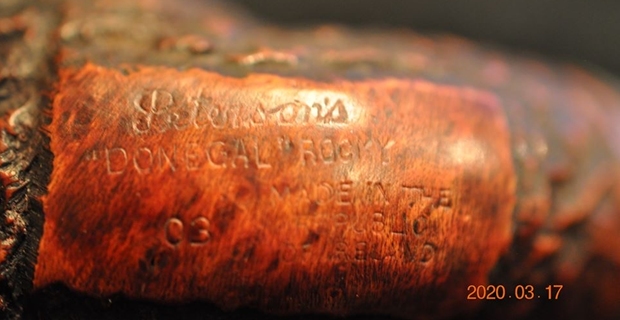
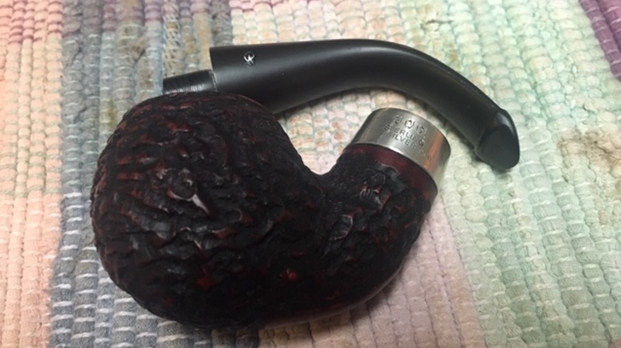
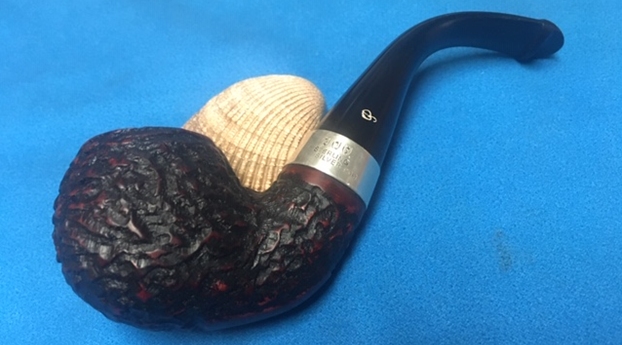
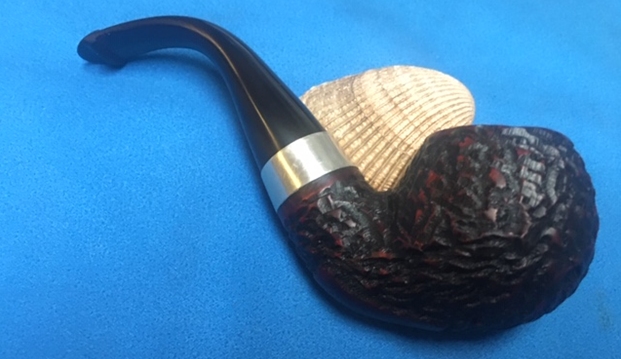
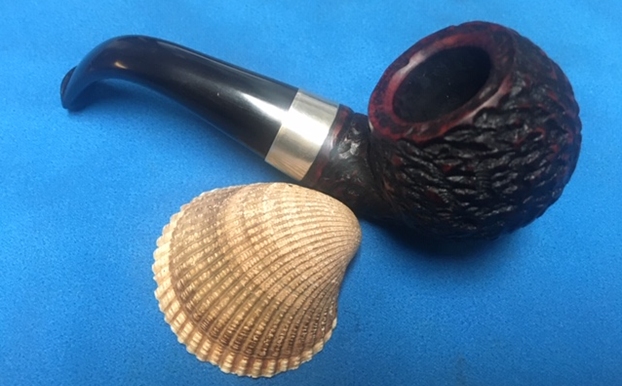
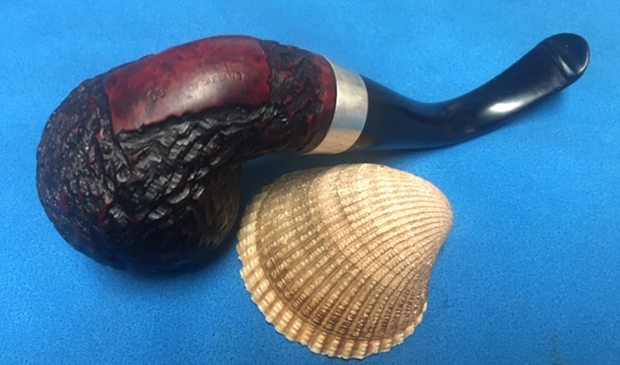
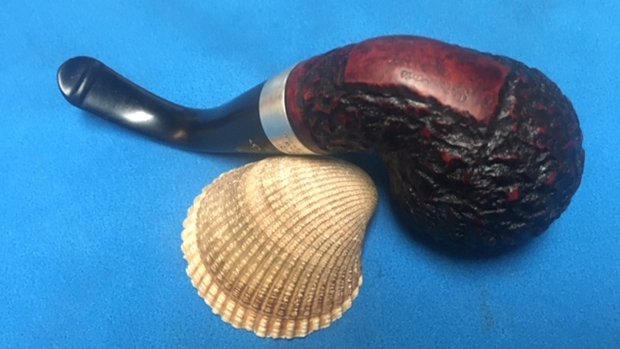
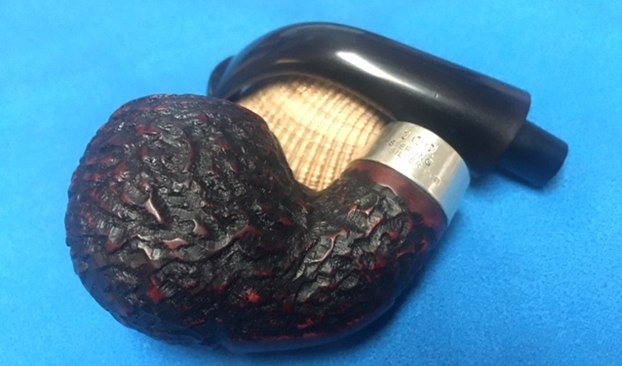
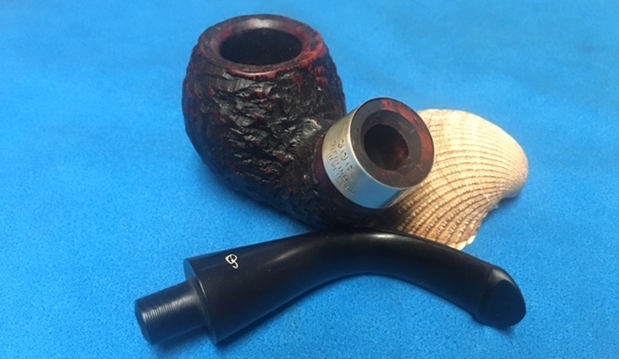
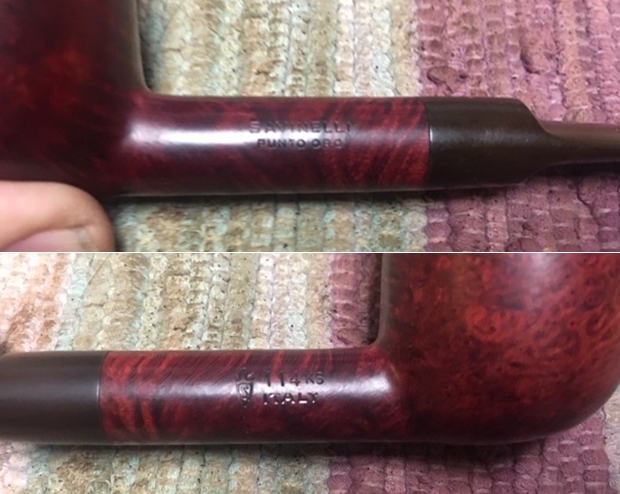
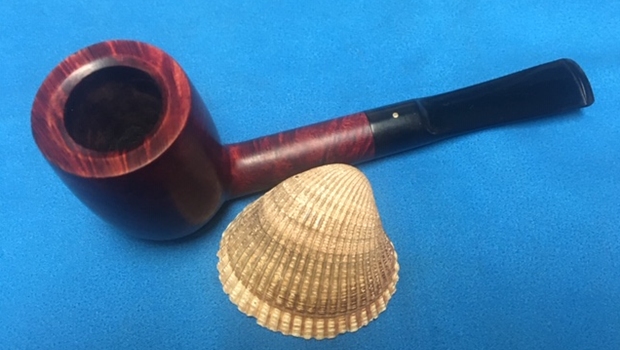
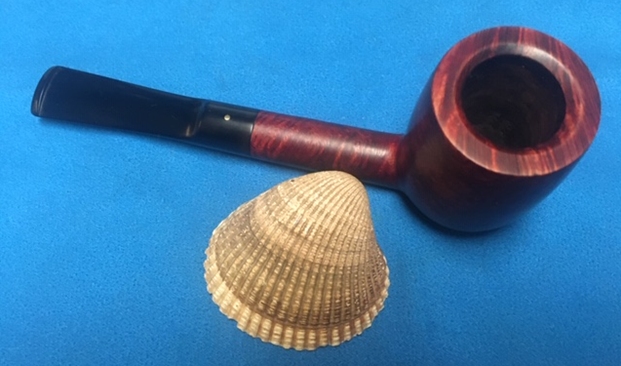
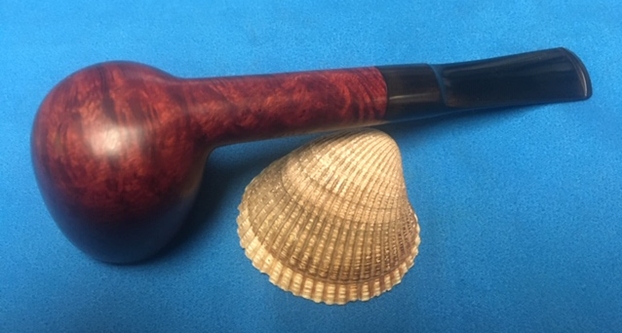
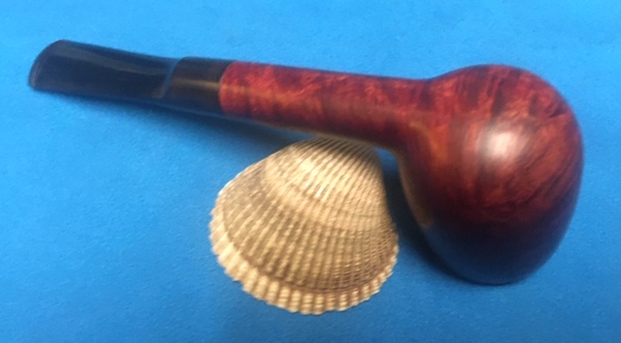
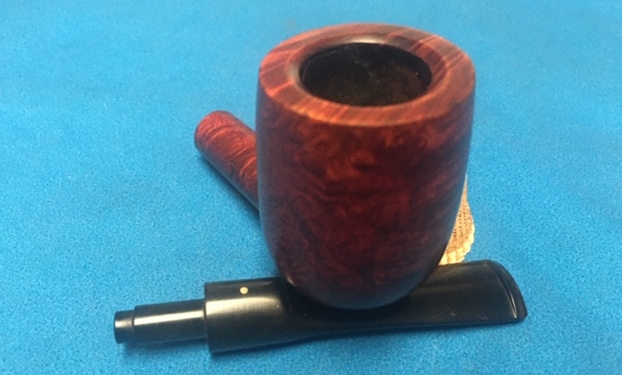
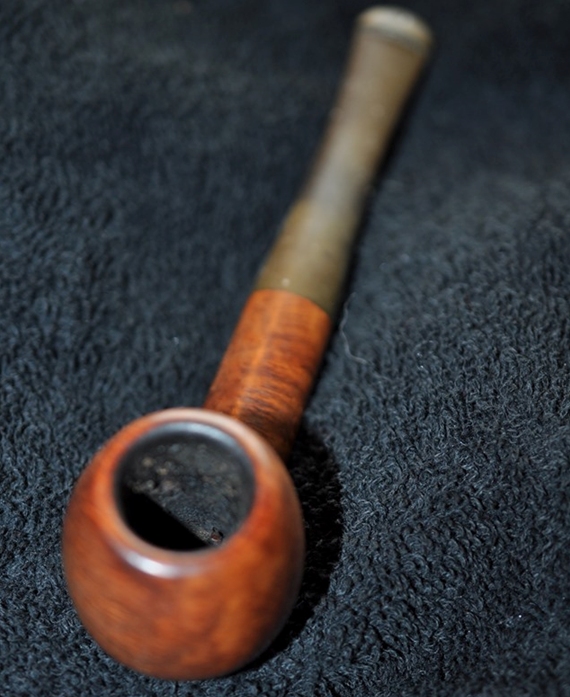
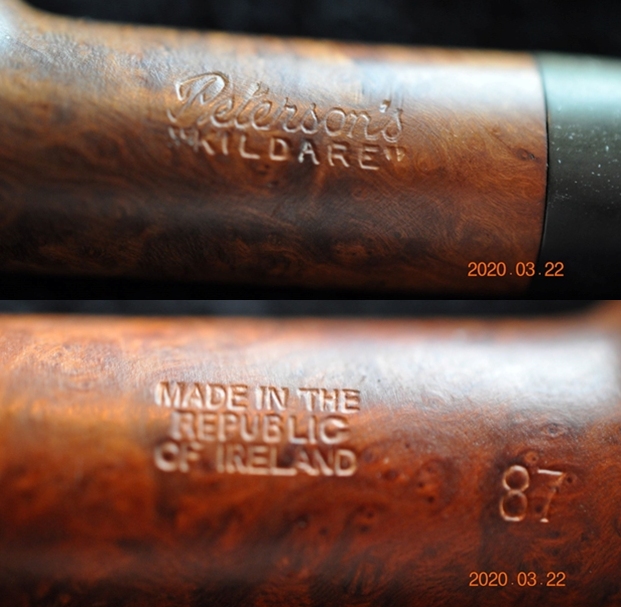
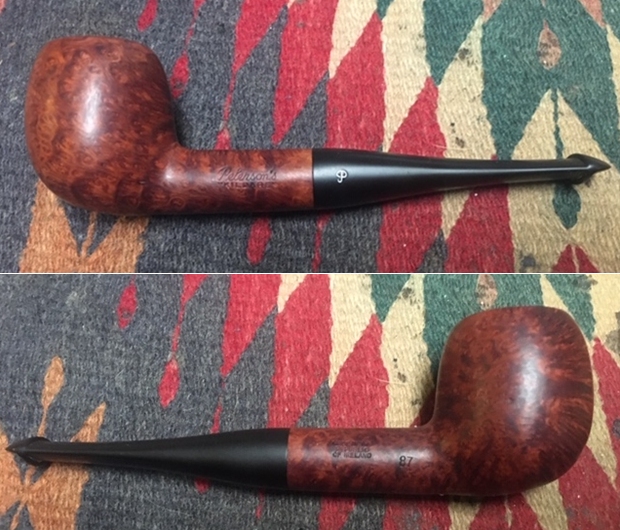
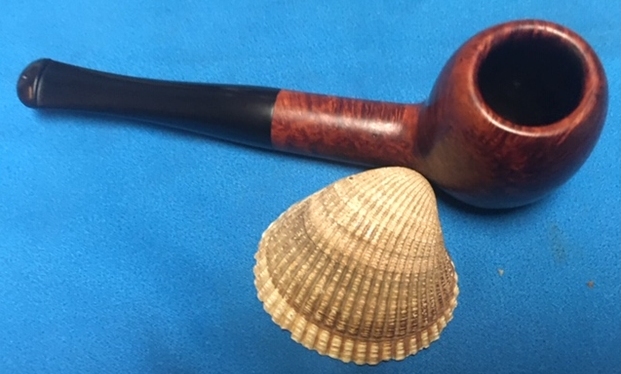
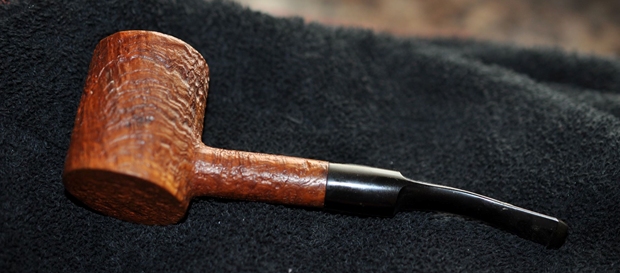
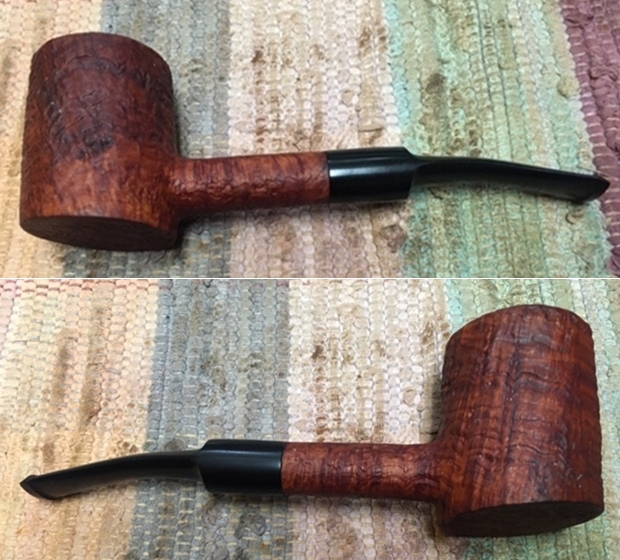
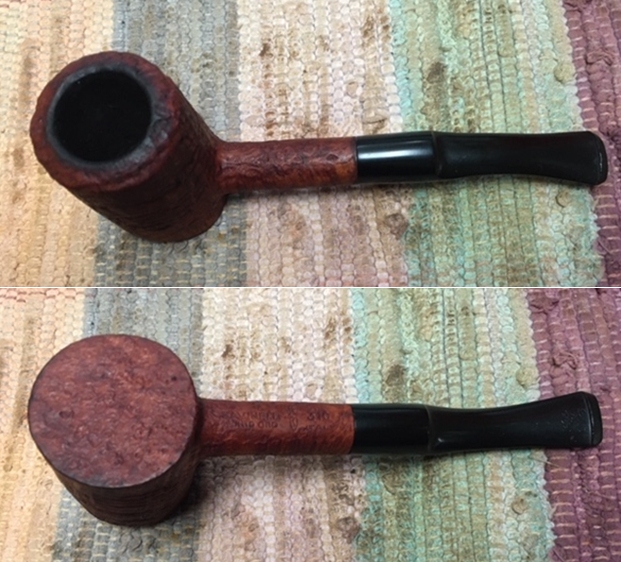
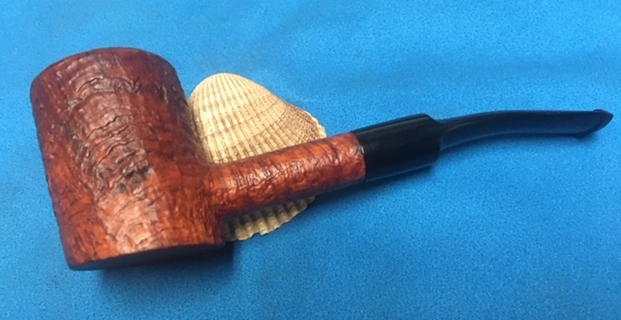
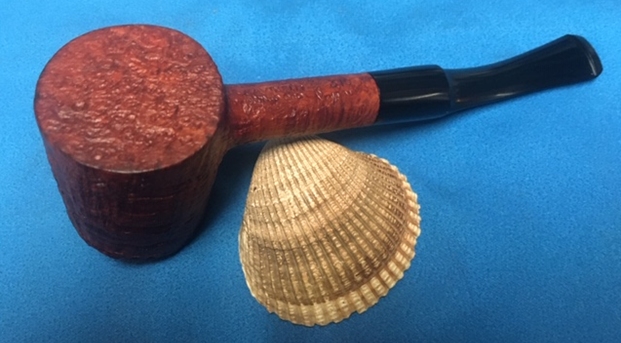
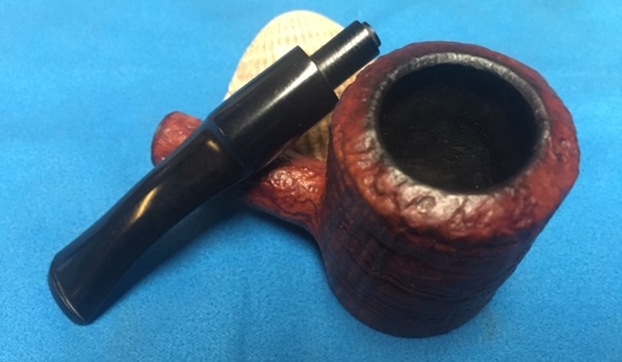
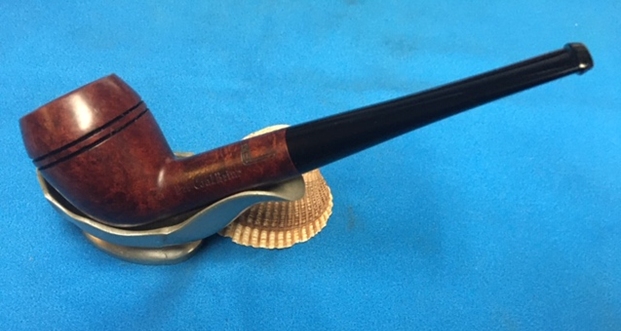
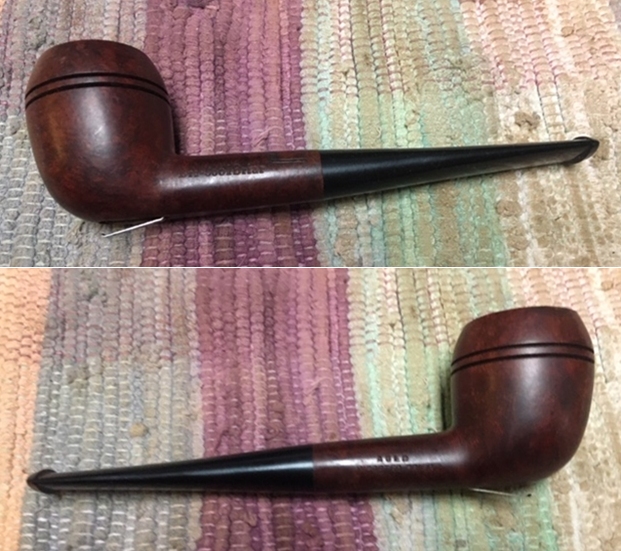
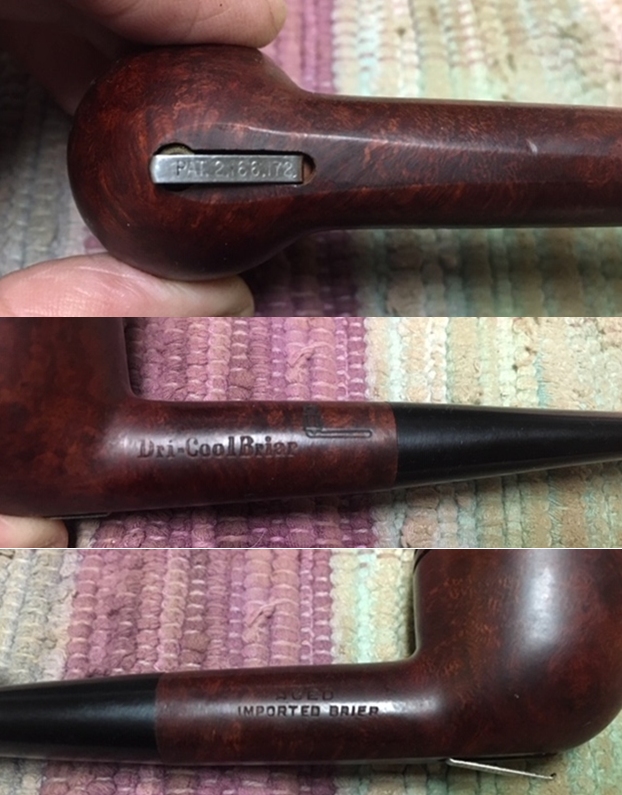
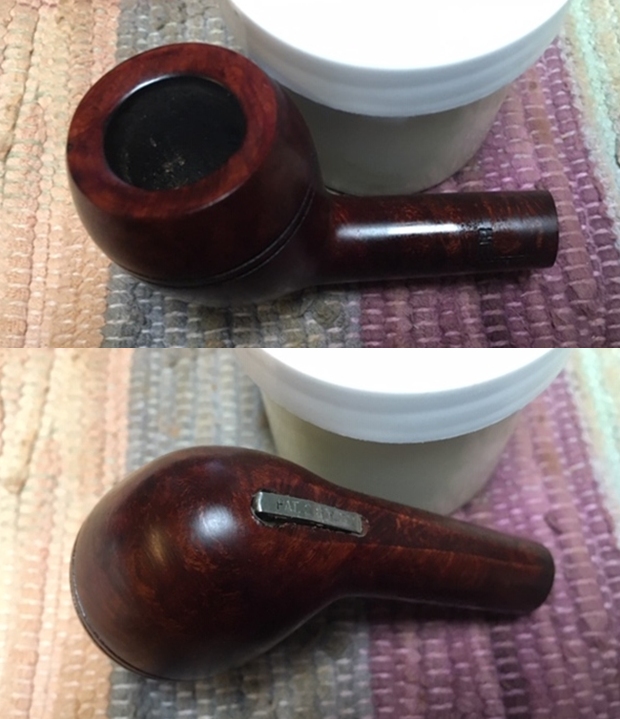
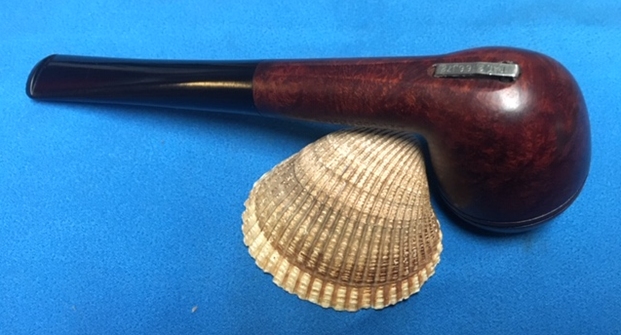
The next pipe on the table came to us from one of Jeff’s pipe hunts. It is a nicely rusticated saddle stem Billiard with a smooth rim top with a bevel on the inside edge of the bowl. It is stamped with Oscar over Aged Briar on the heel of the bowl followed by the Savinelli “S” shield and the shape number 127 over Italy. The stamping is clear and readable though the shape number is hidden slightly by the rustication. The pipe has a combination of brown stains and the tight rustication is not only tactile but also lends a sparkle to the finish. The finish was very dirty with grime ground into the bowl. The bowl had a thick but even cake in the bowl and a heavy lava overflow on the beveled inner edge of the top and top toward the back of the bowl. There was darkening on the briar around the inner beveled edge and the top of the rim. The stem was oxidized and there were tooth marks and chatter on both sides and on the top and bottom edges of the button. Jeff took photos of the pipe before he cleaned it up.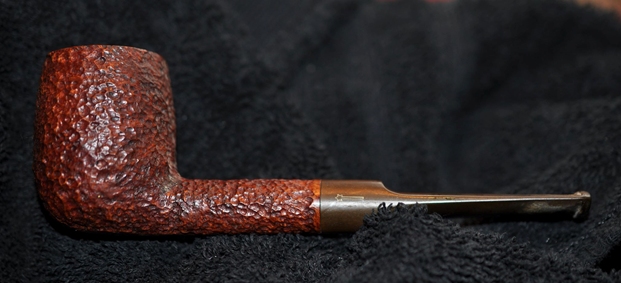
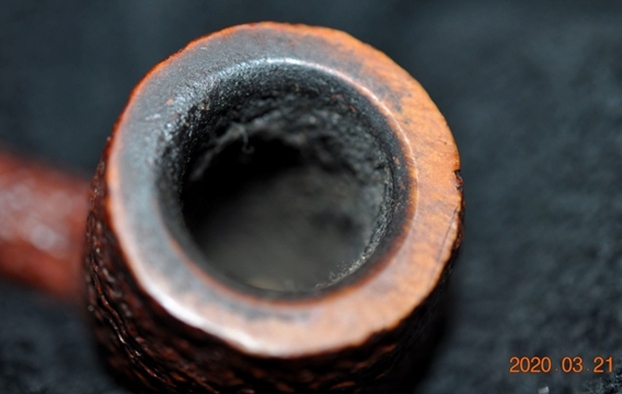
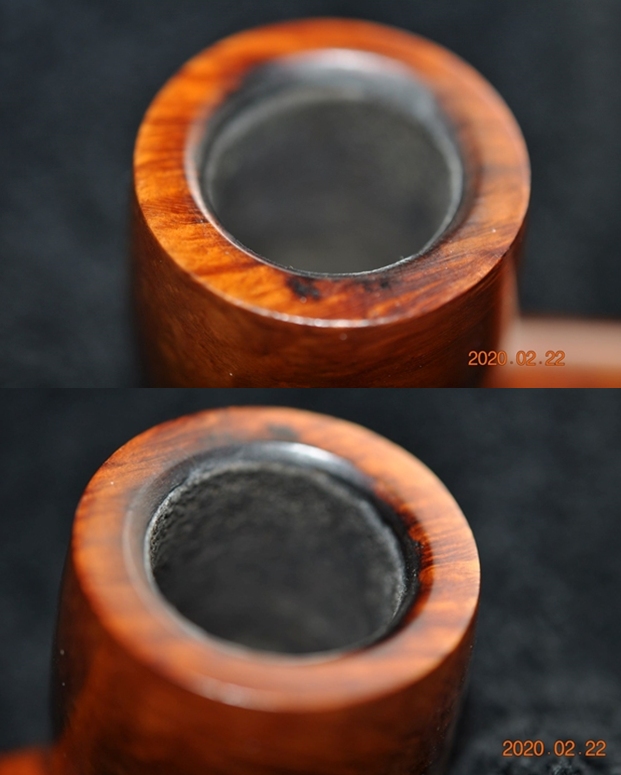
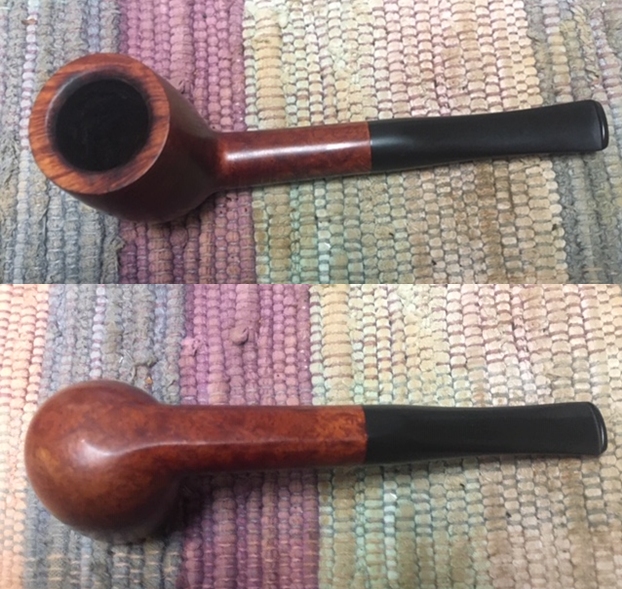
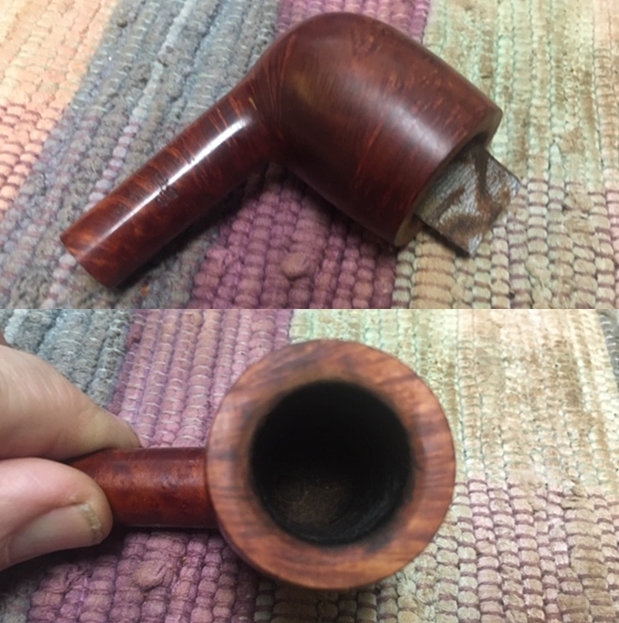
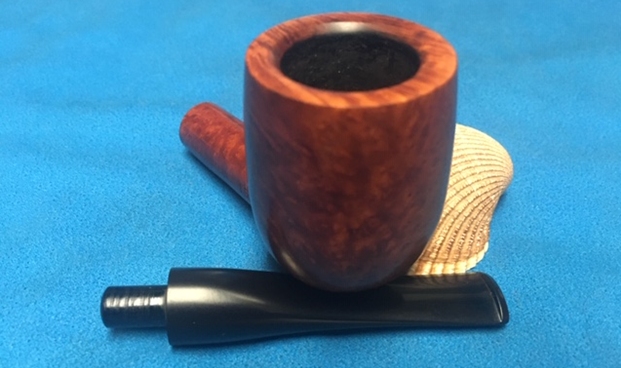
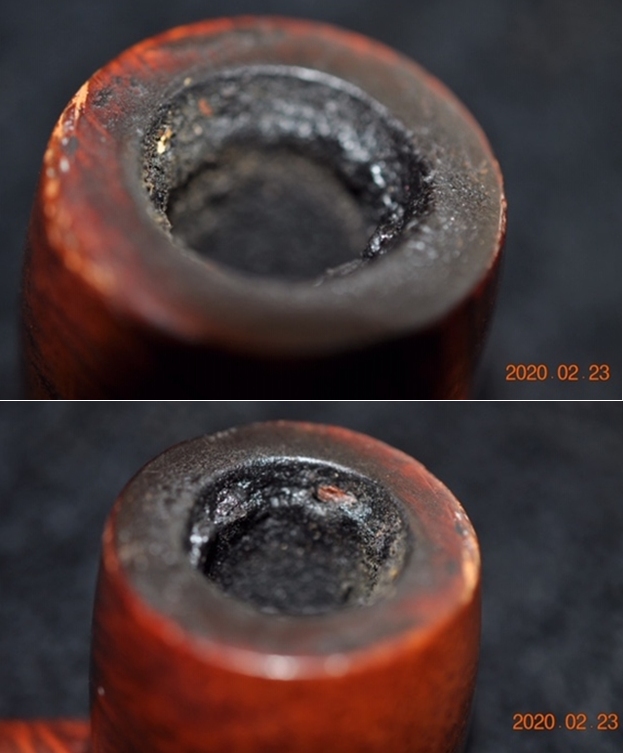
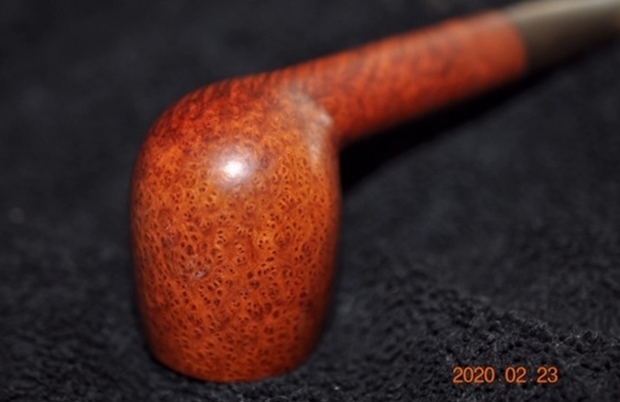
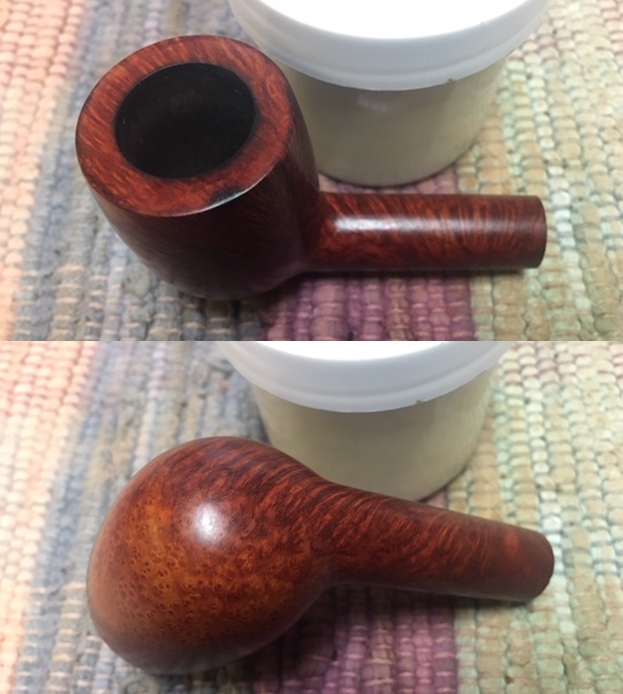
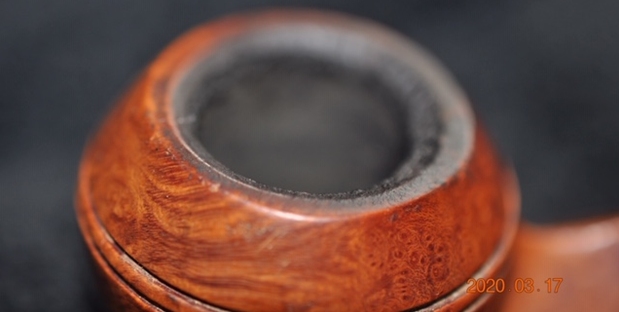
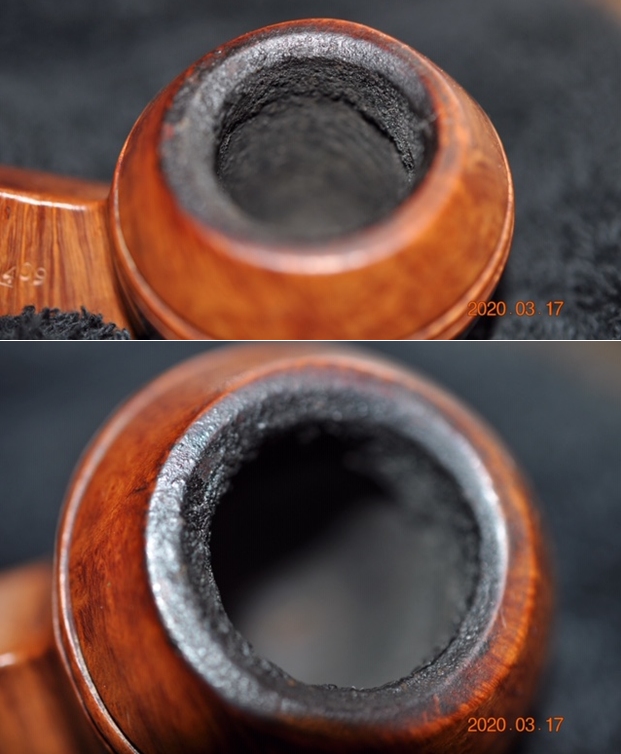
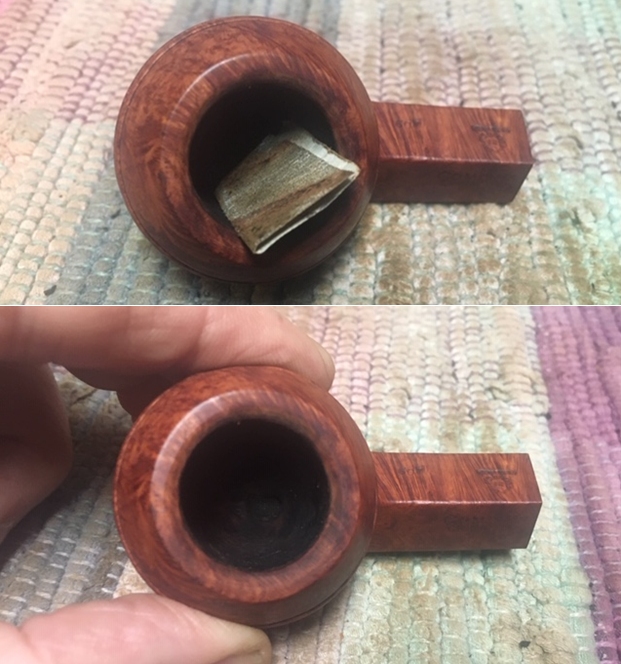
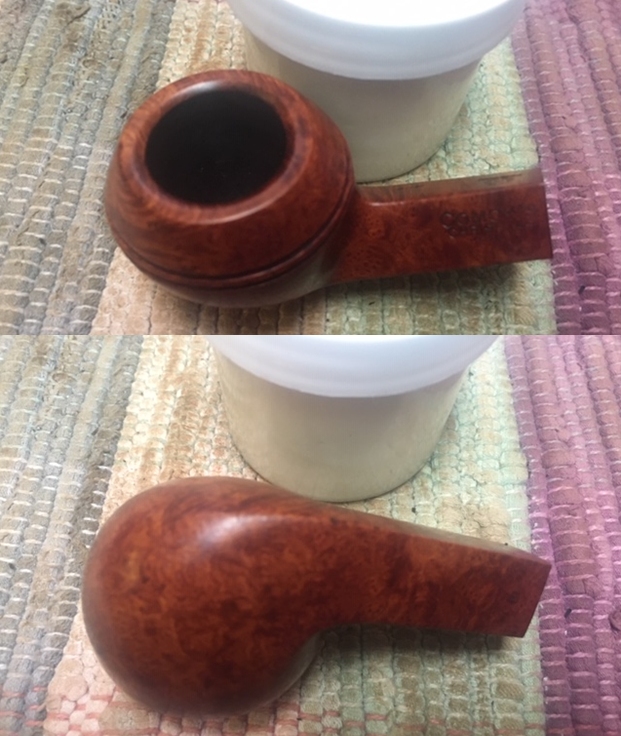
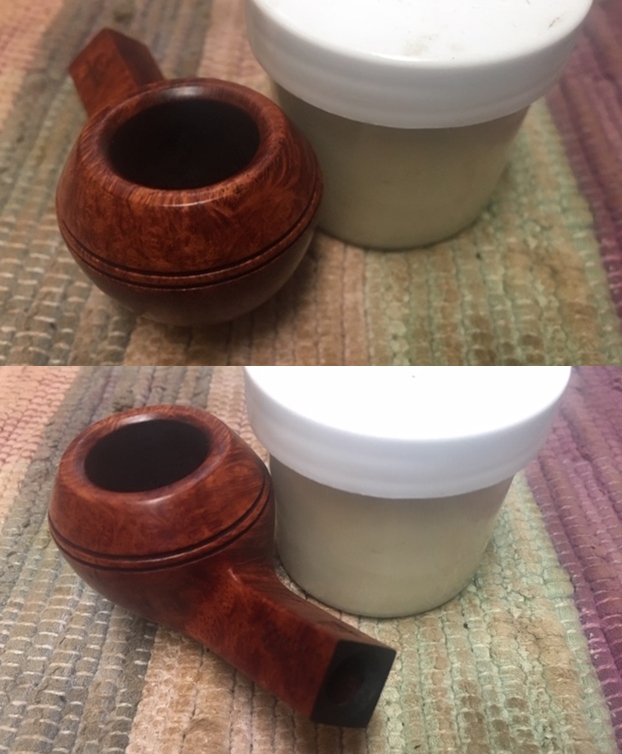
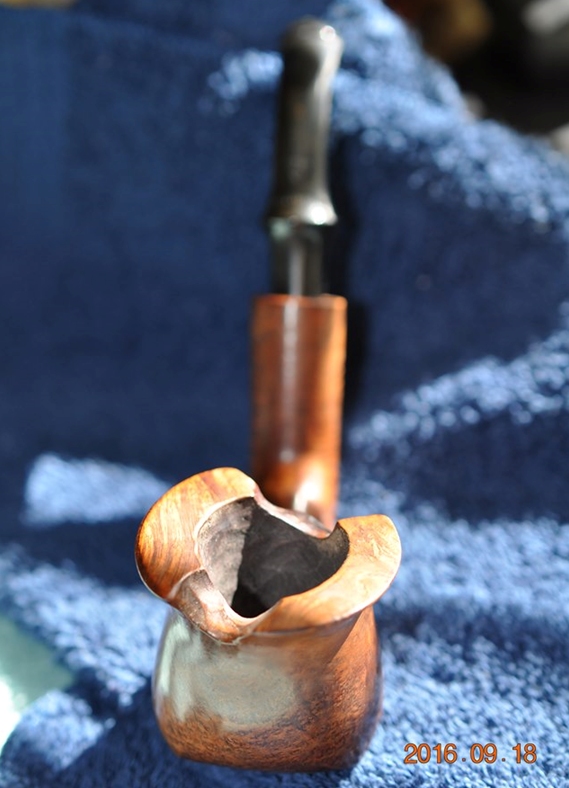
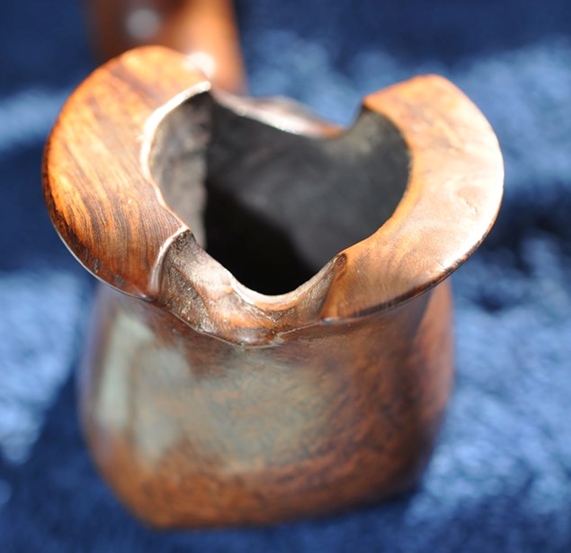
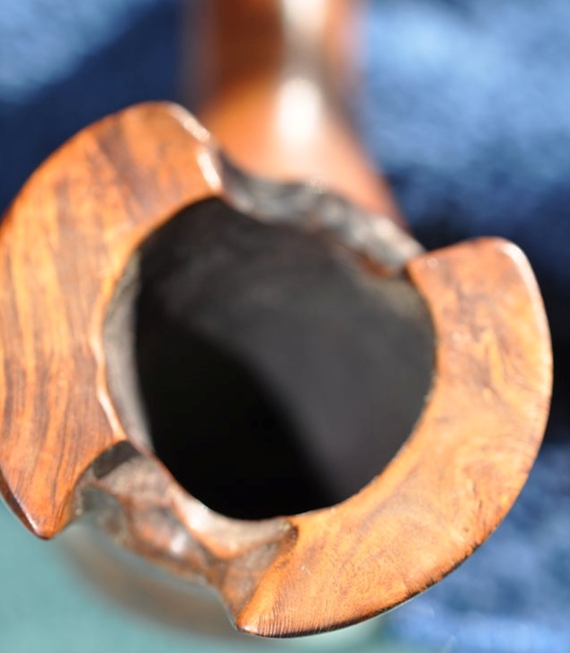
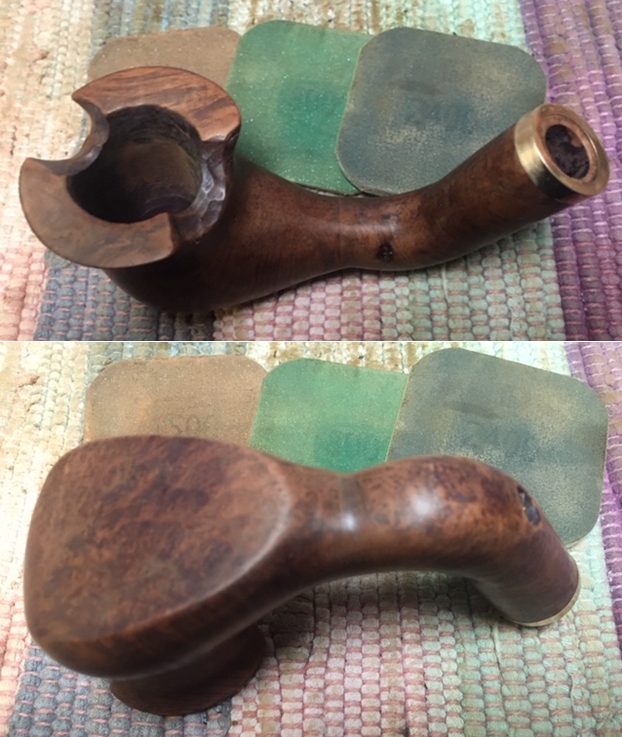
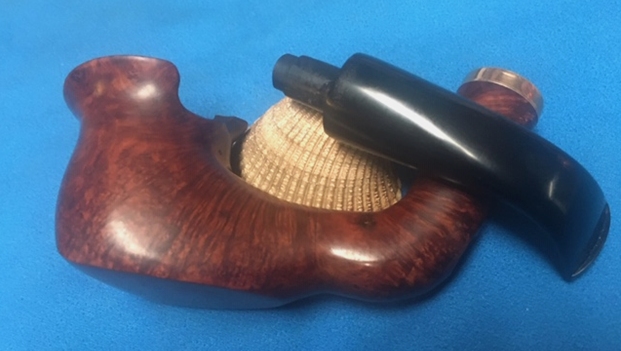
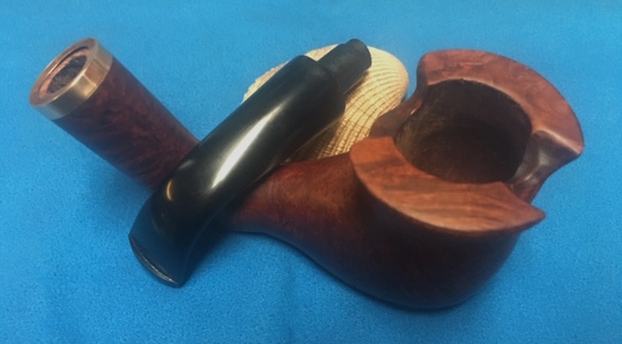
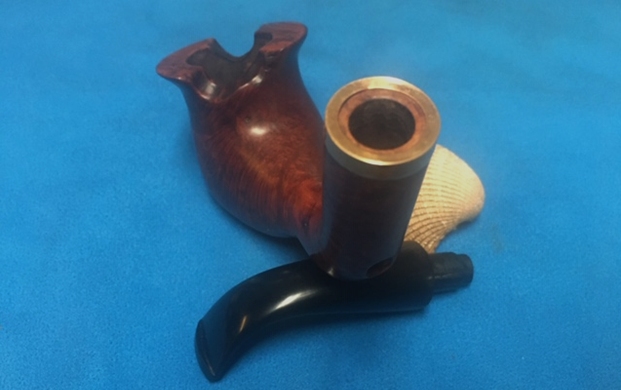
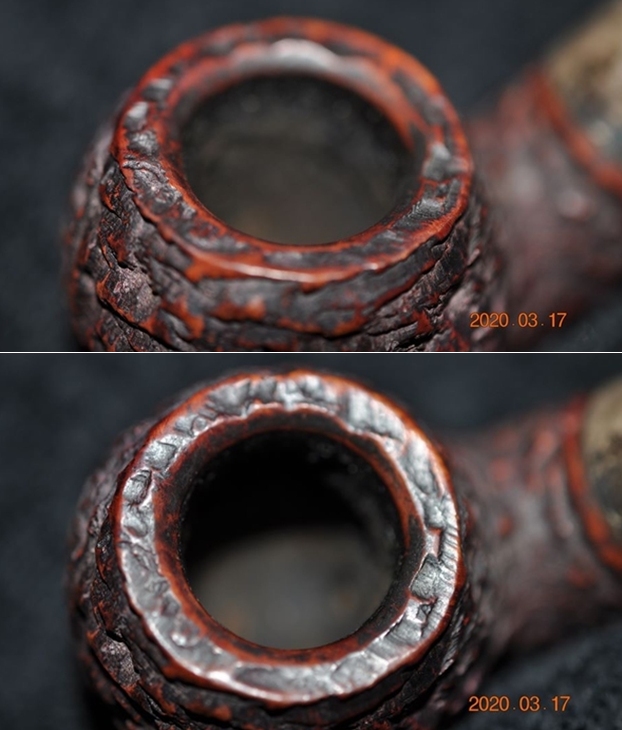
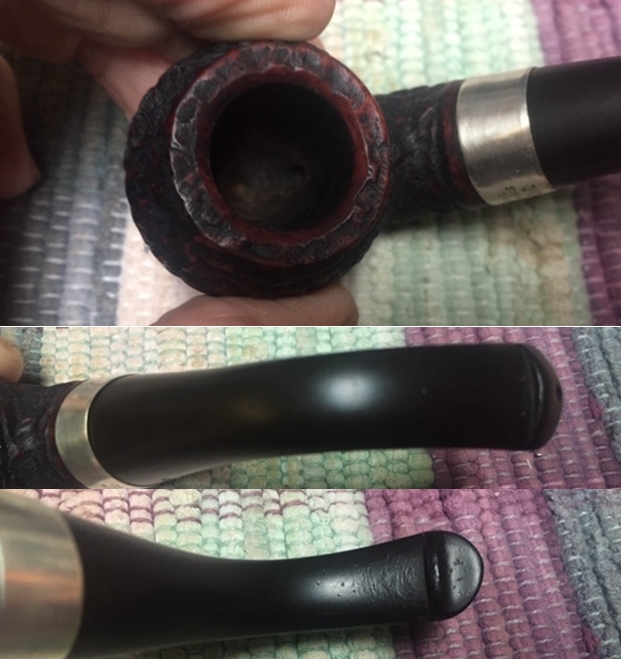
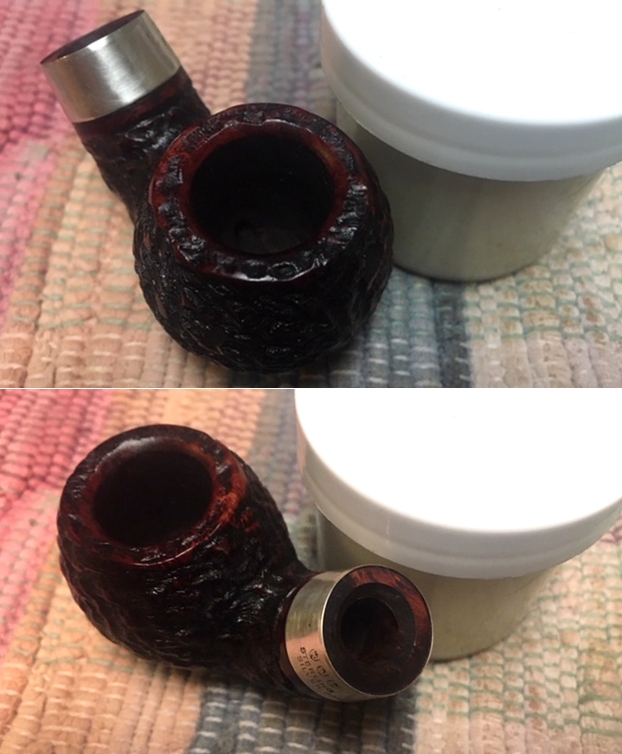
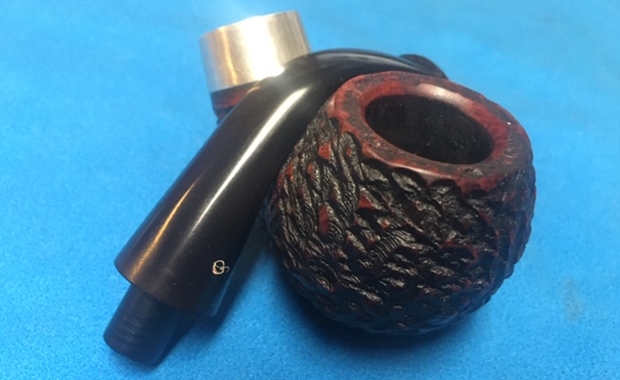
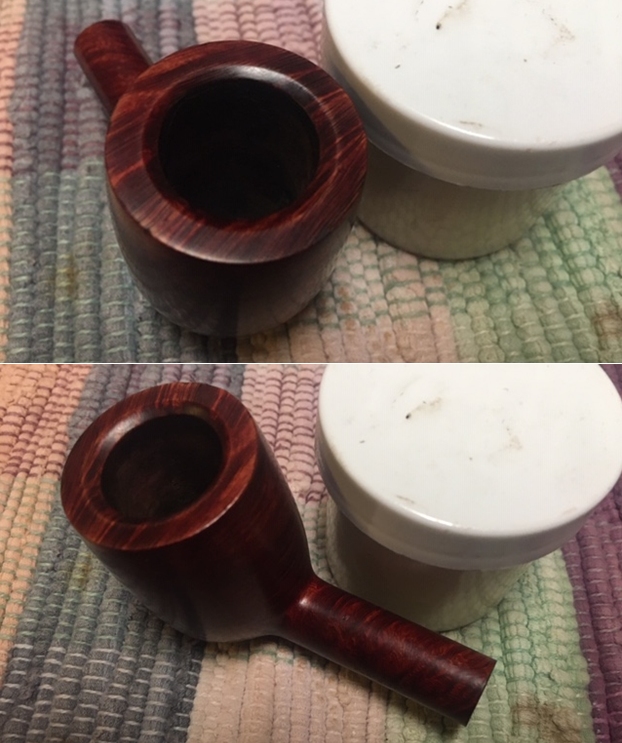
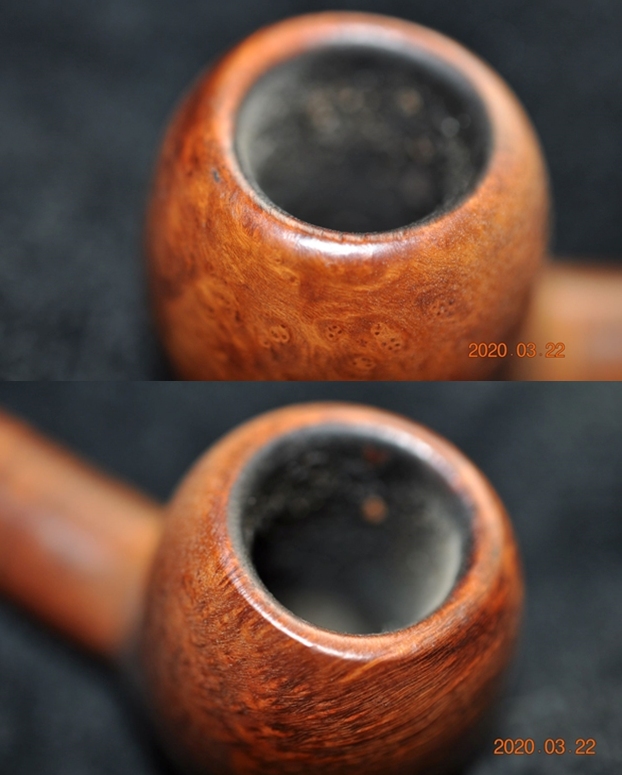
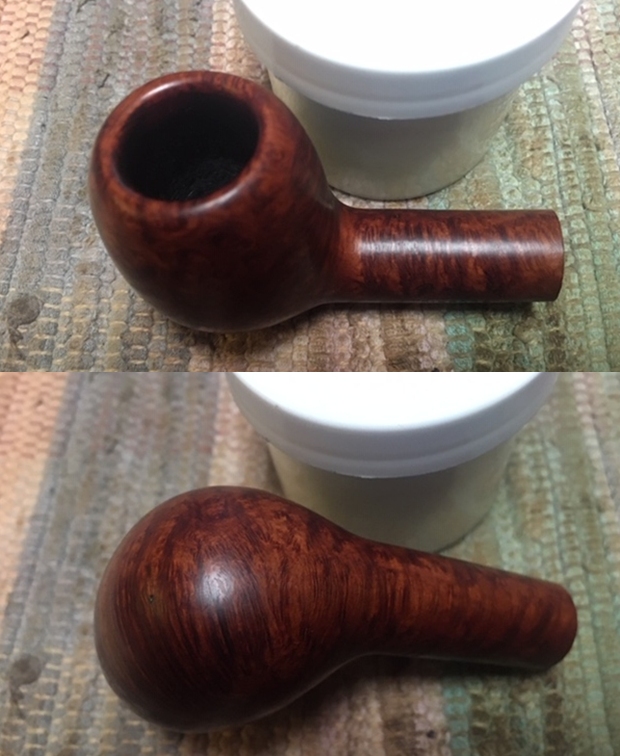
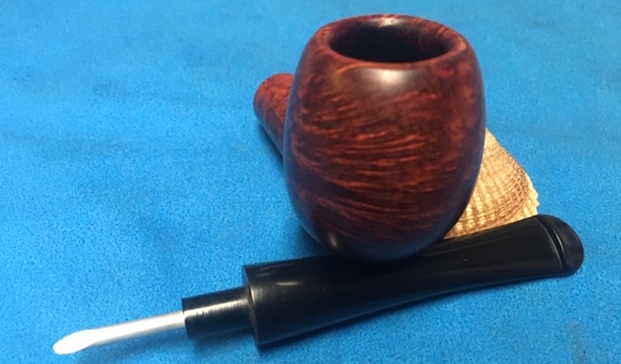
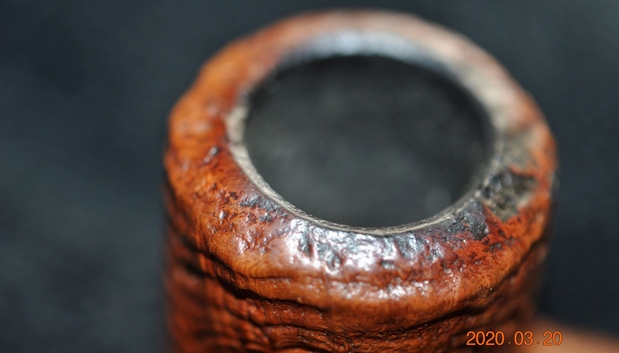
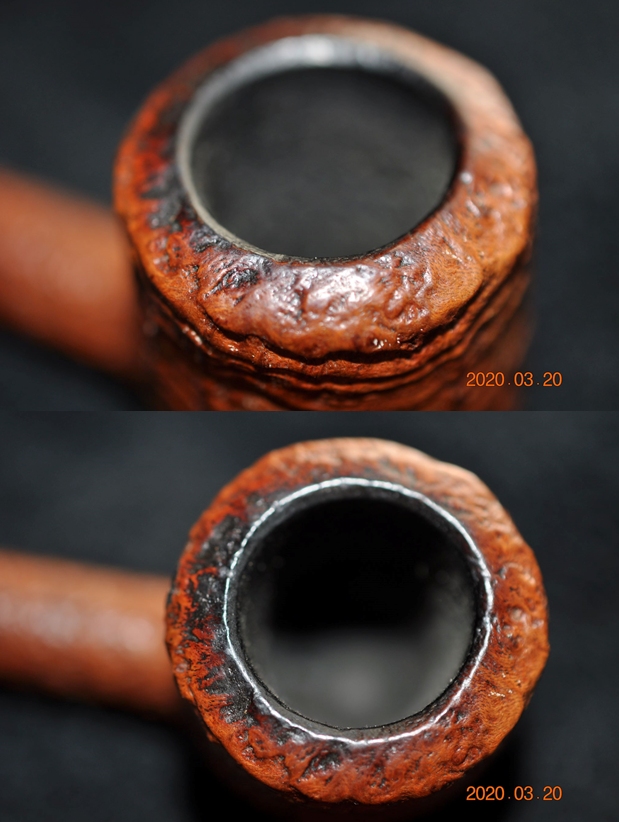
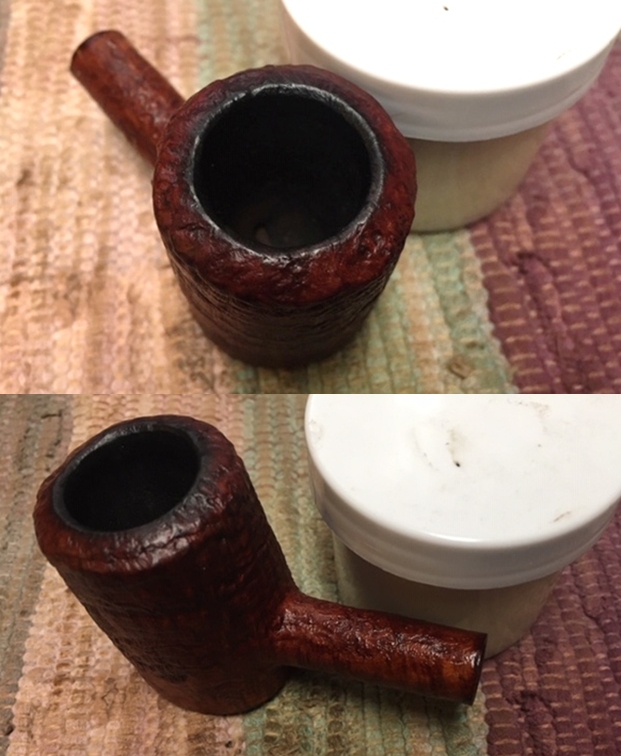
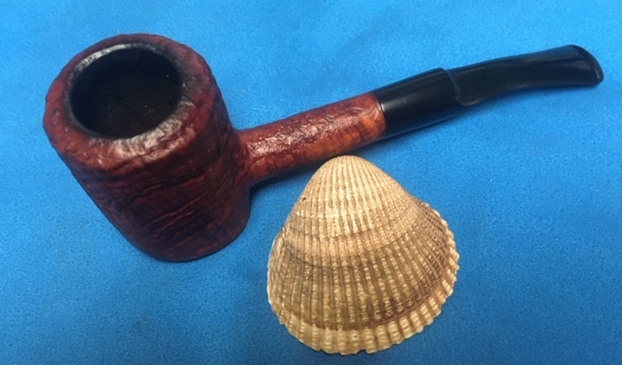
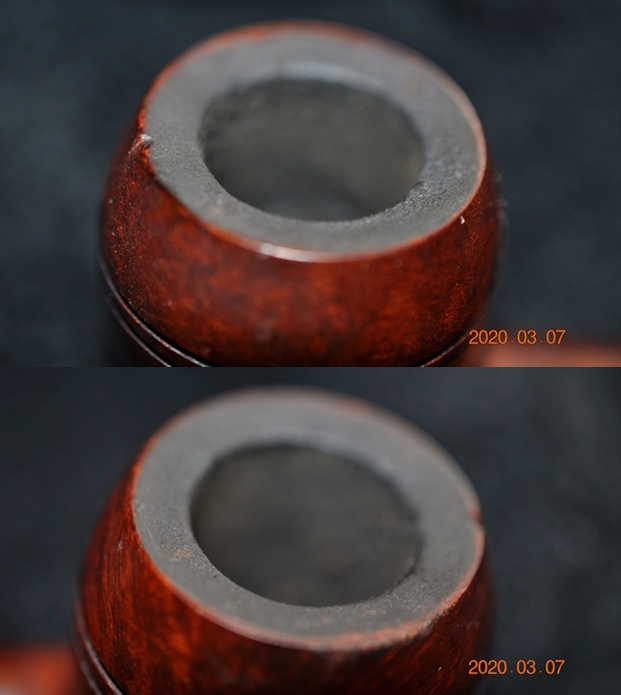
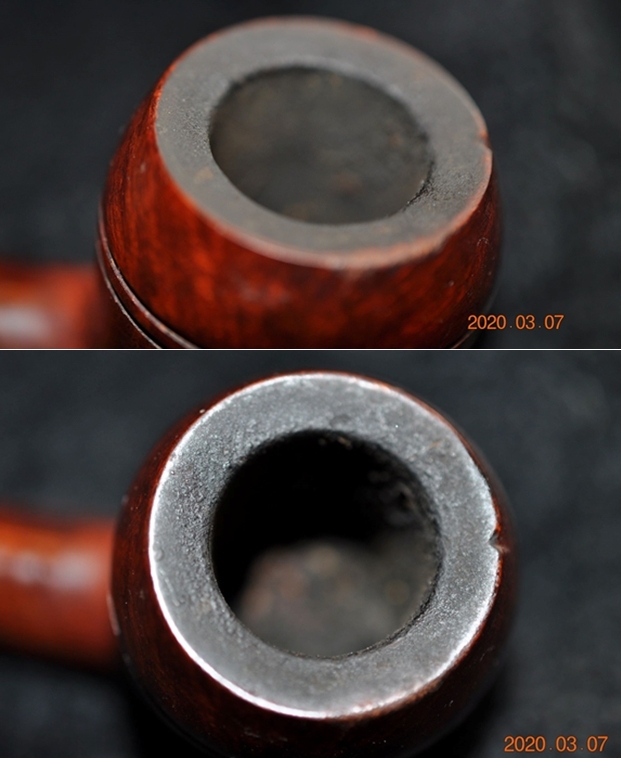
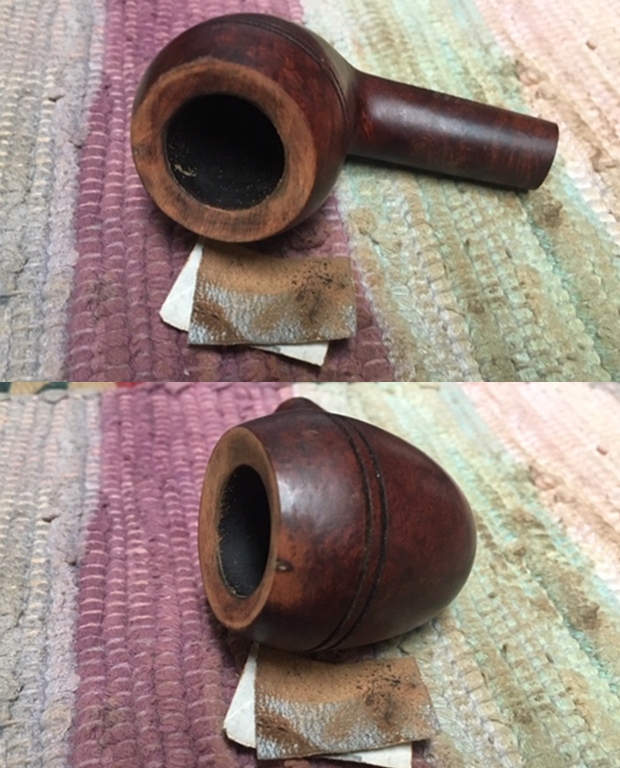
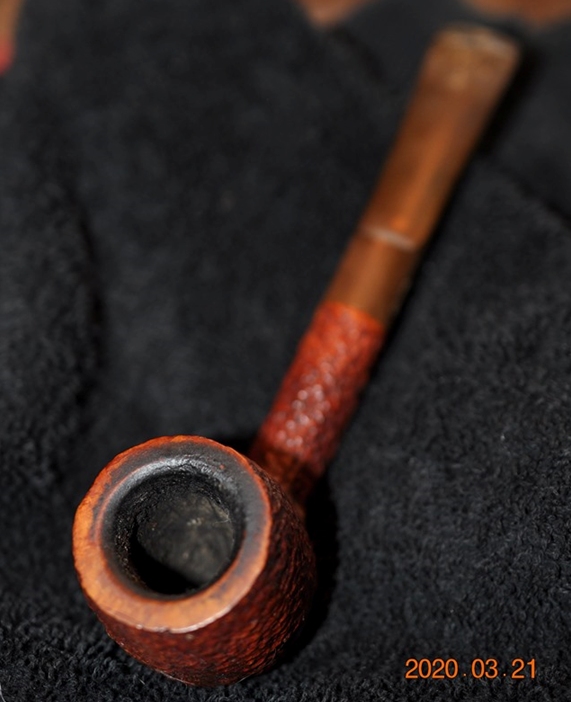 Jeff took photos of the rim top to show the thick cake in the bowl and the lava overflow on the beveled inner edge of the rim.
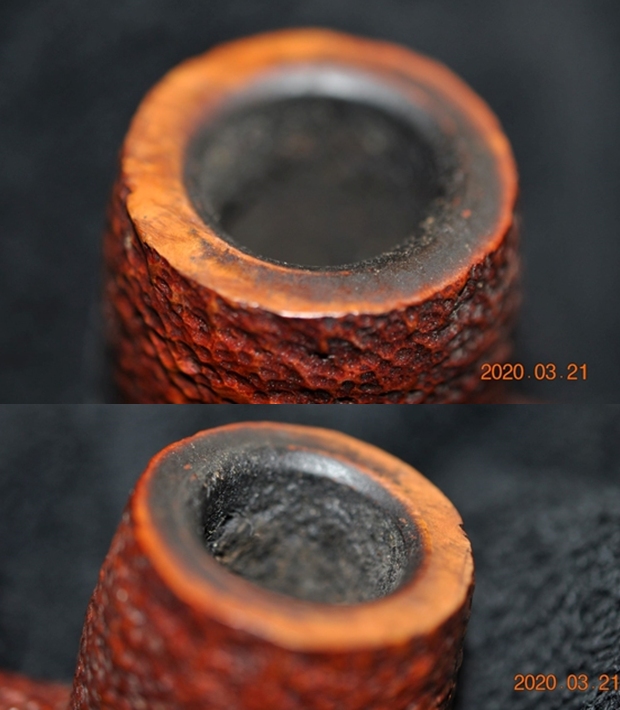
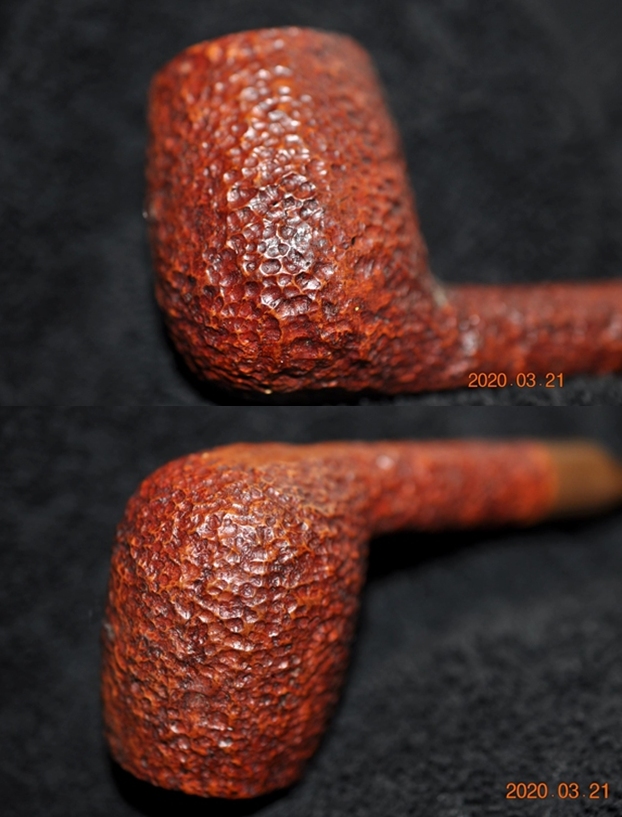
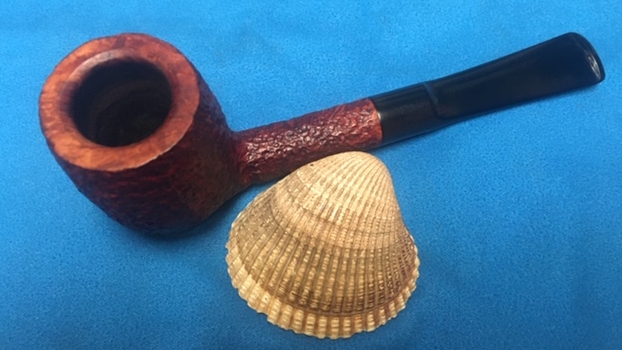
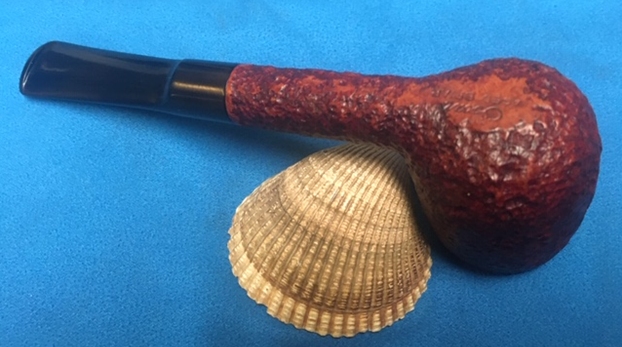
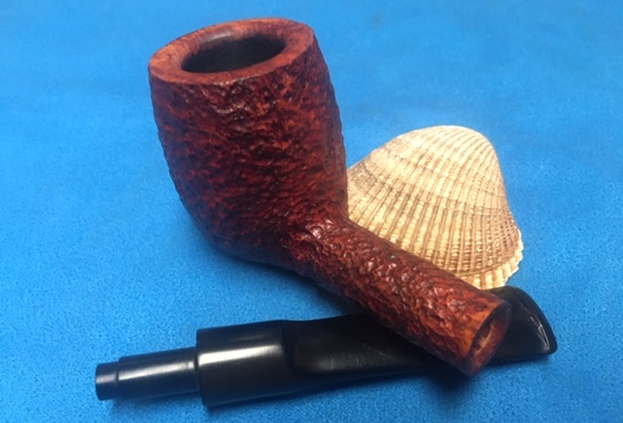
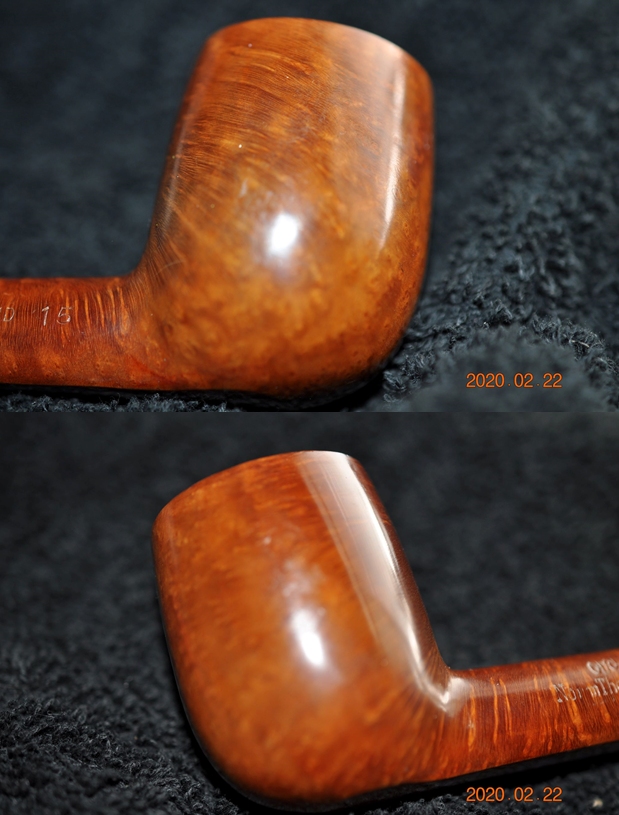
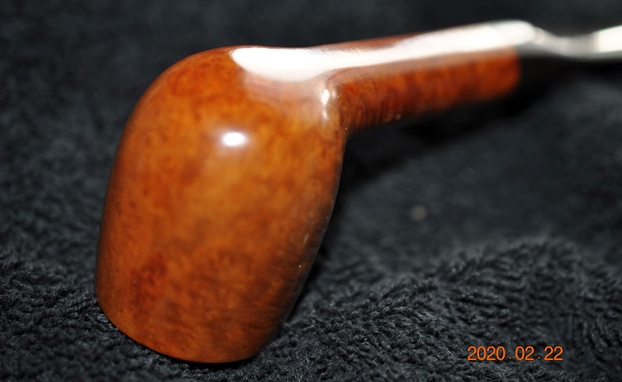
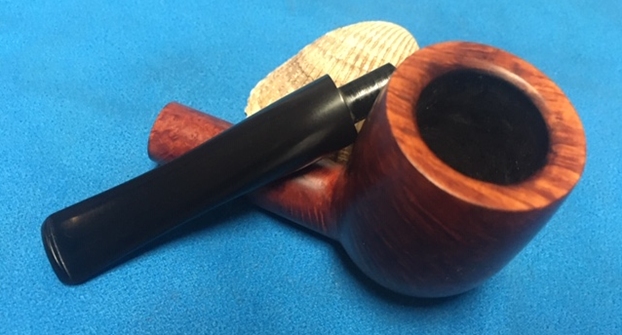
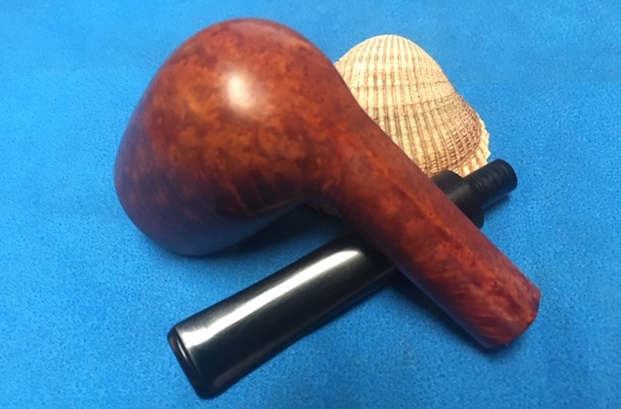
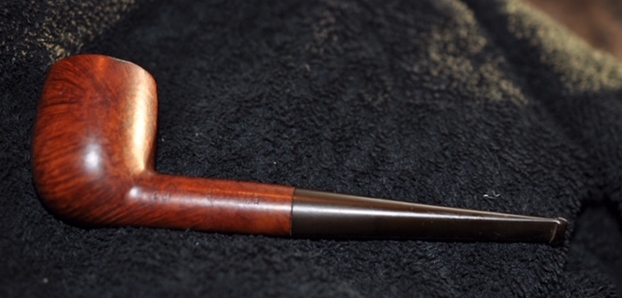
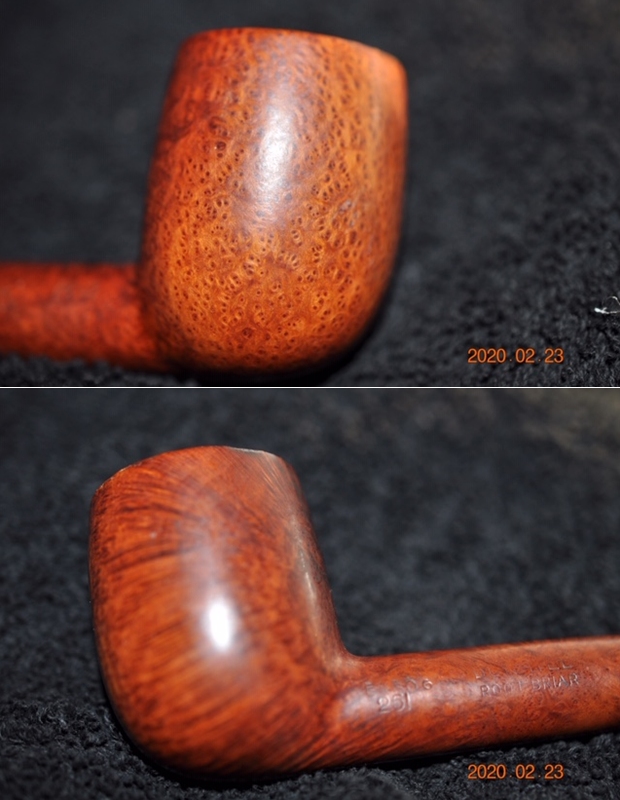
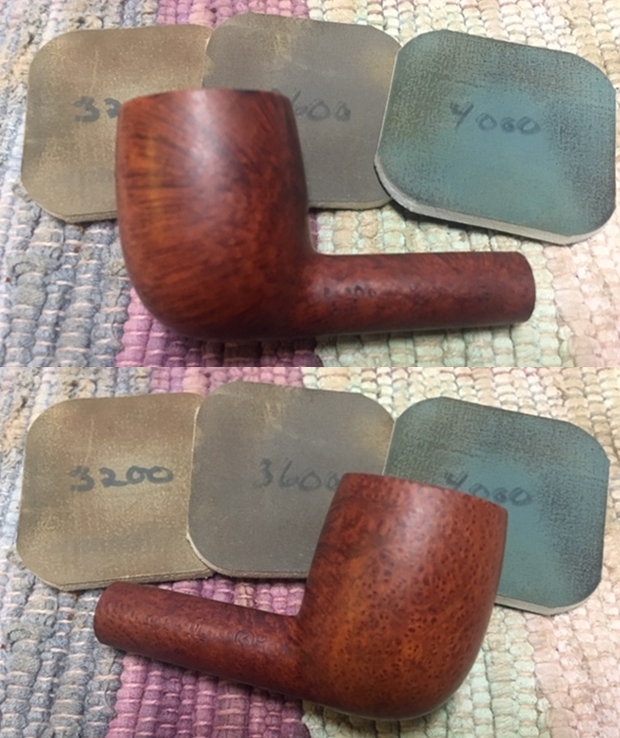
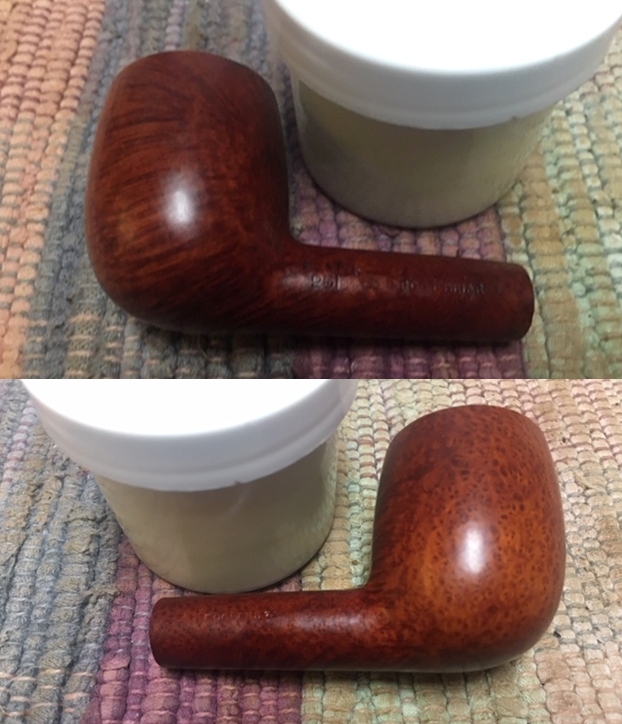
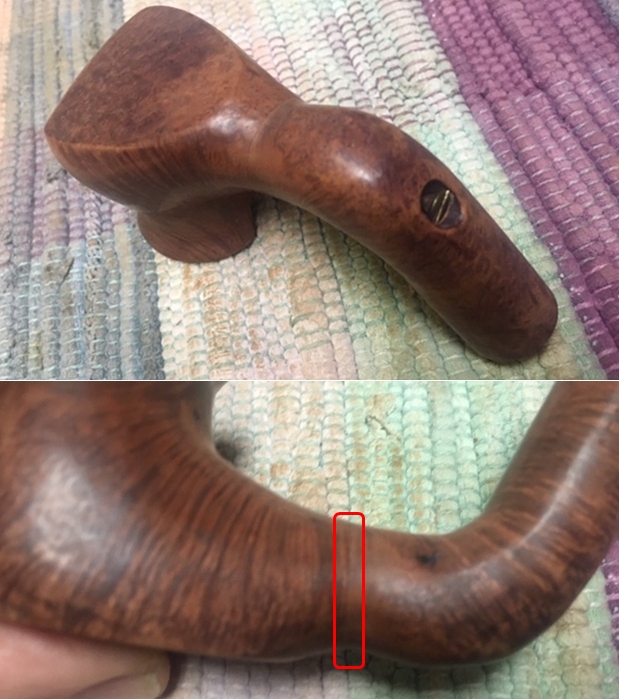
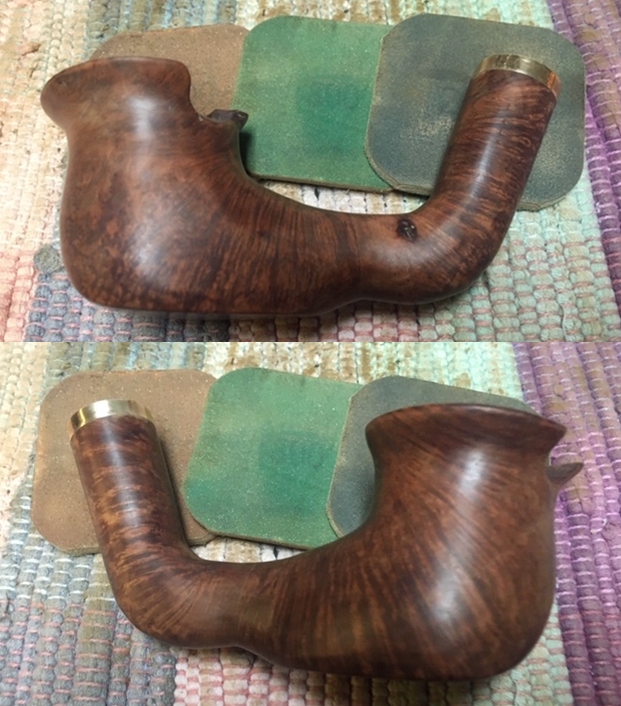
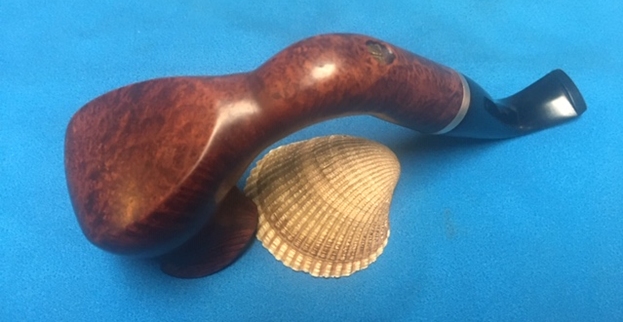
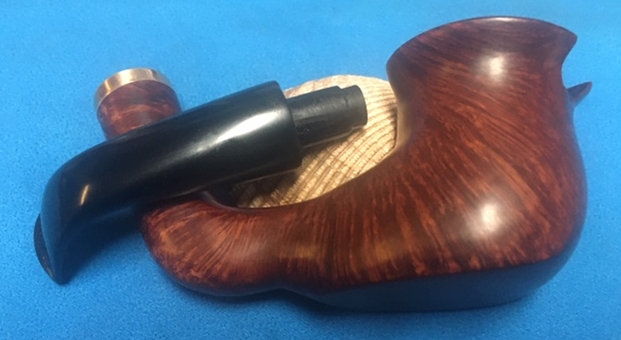
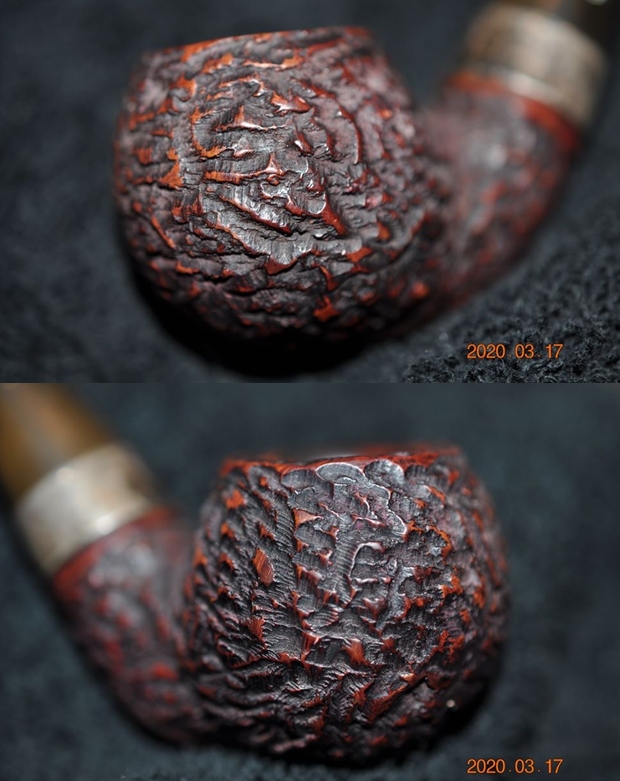
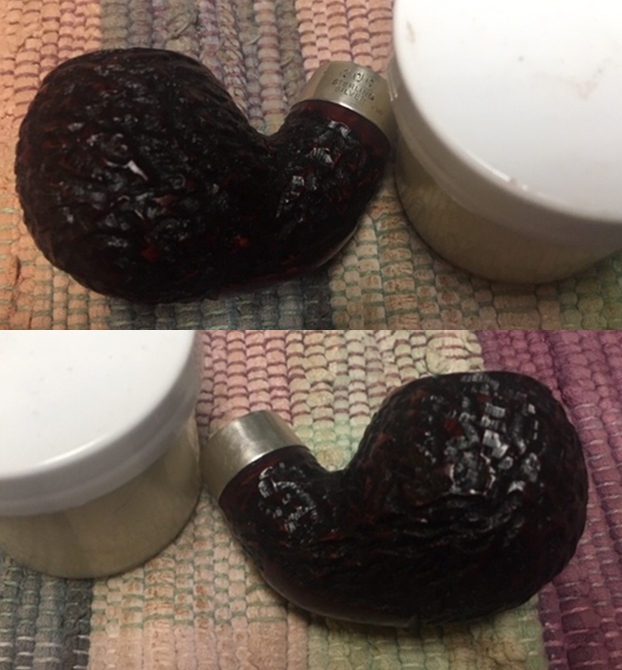
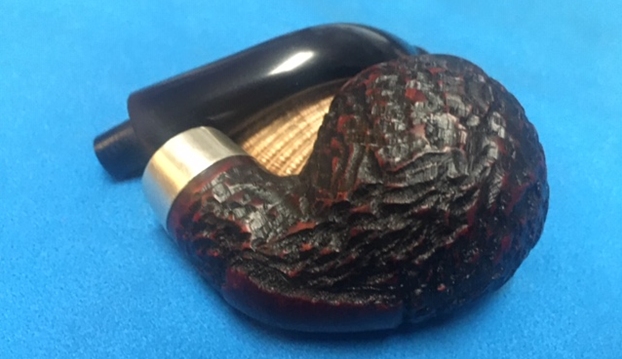
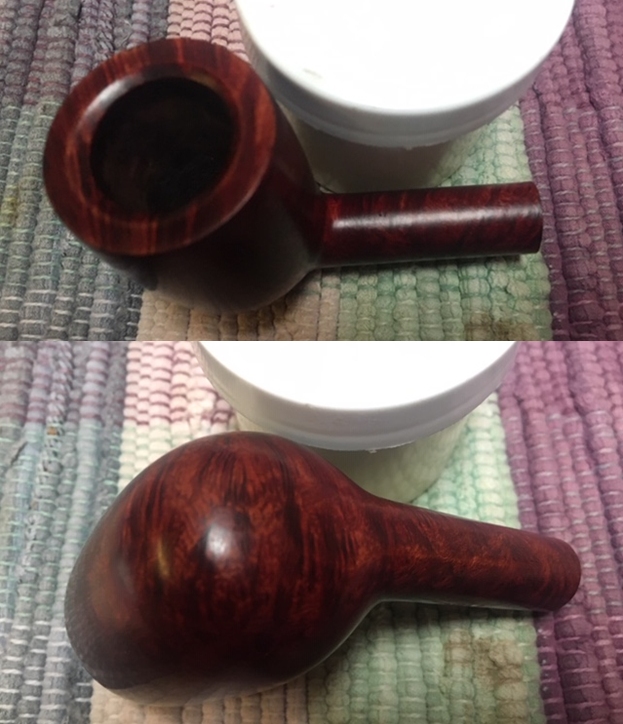
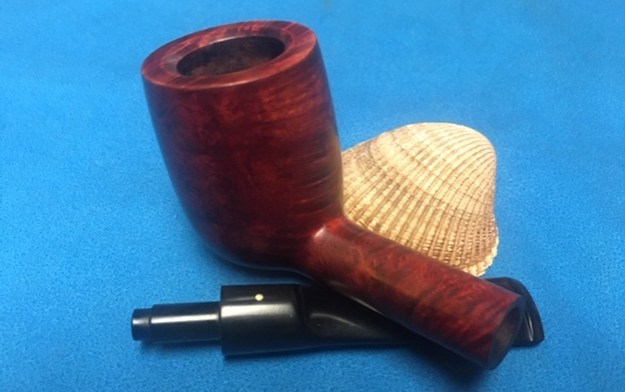
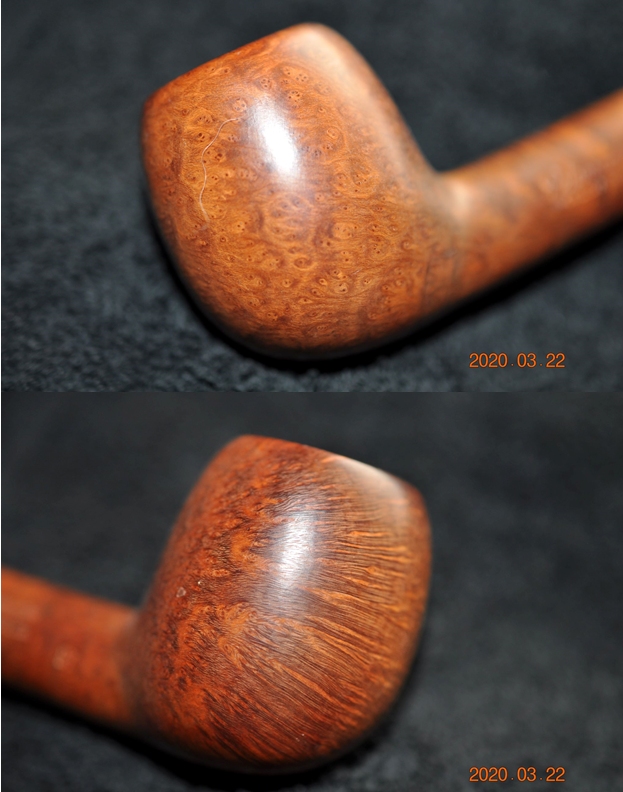
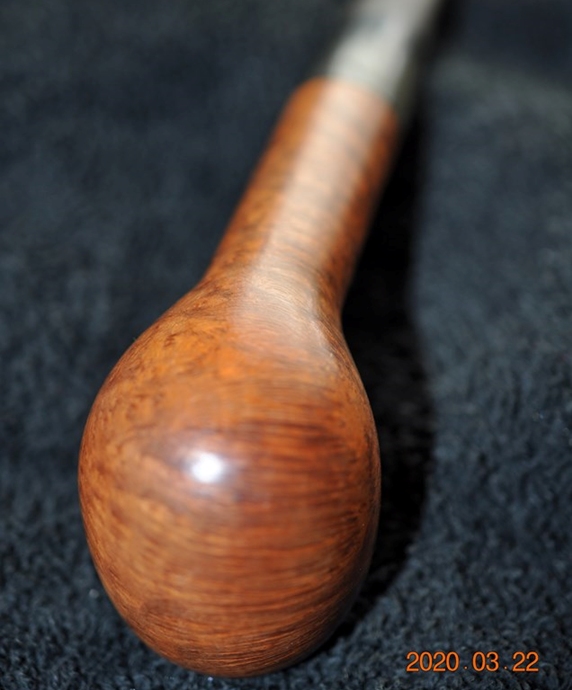
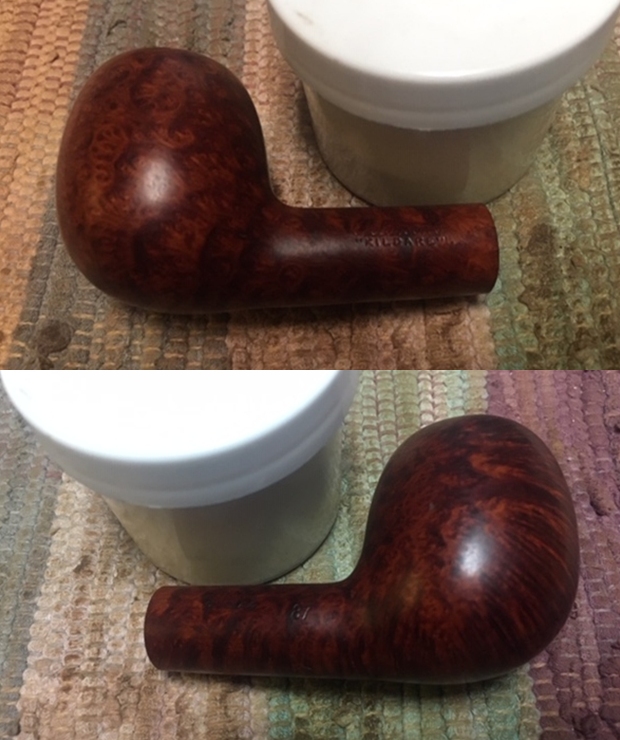
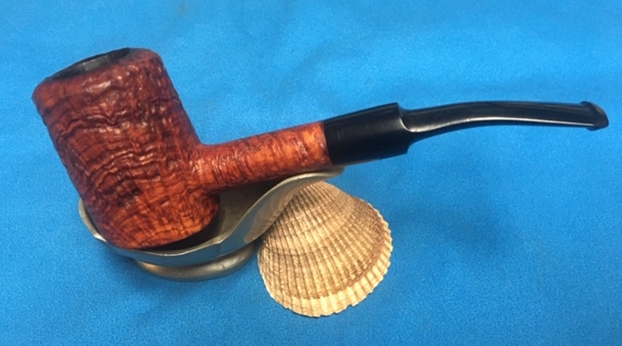
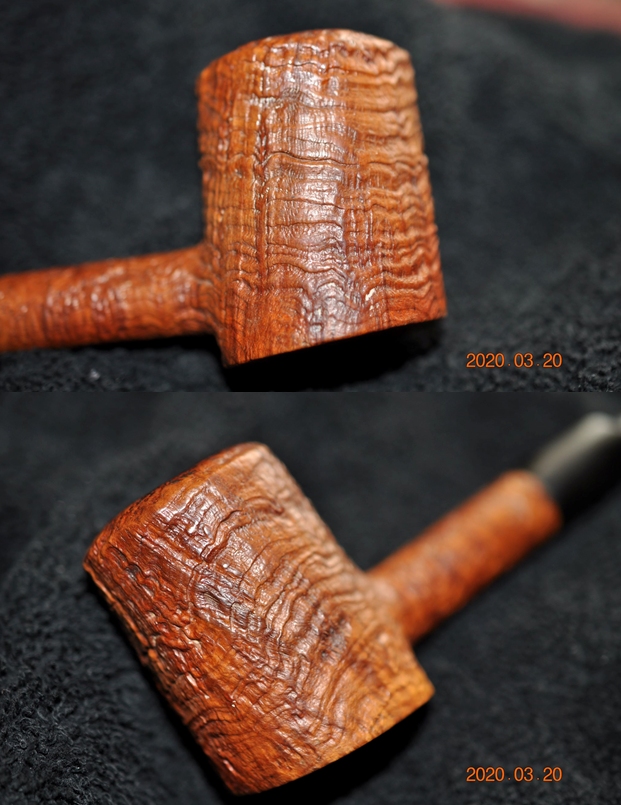
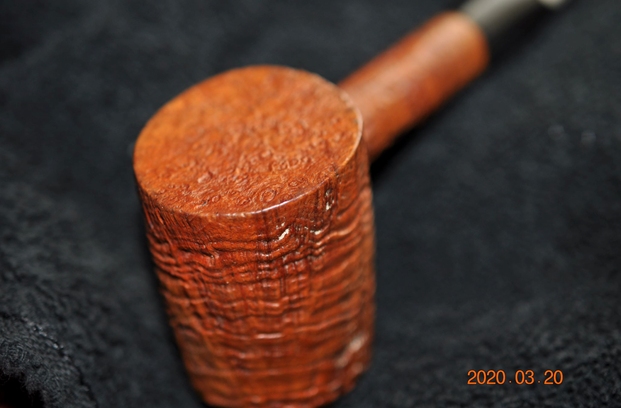
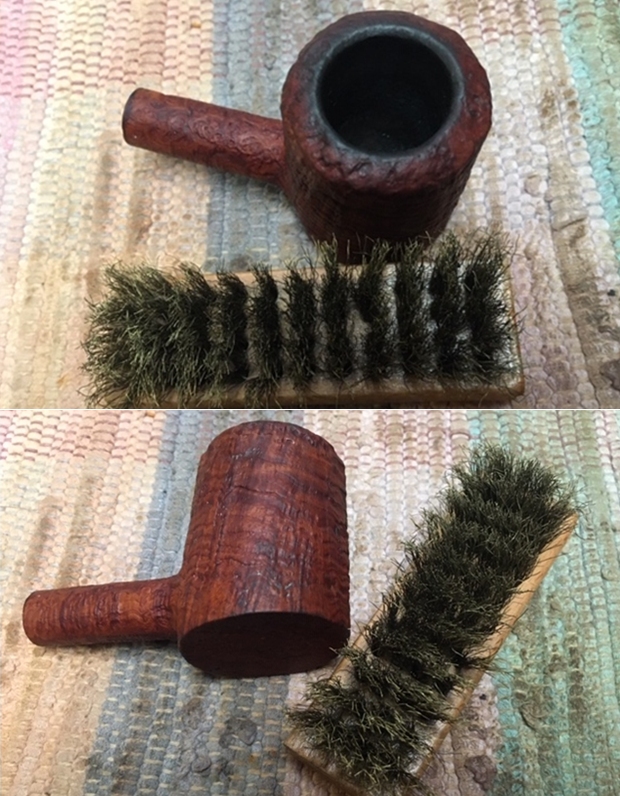
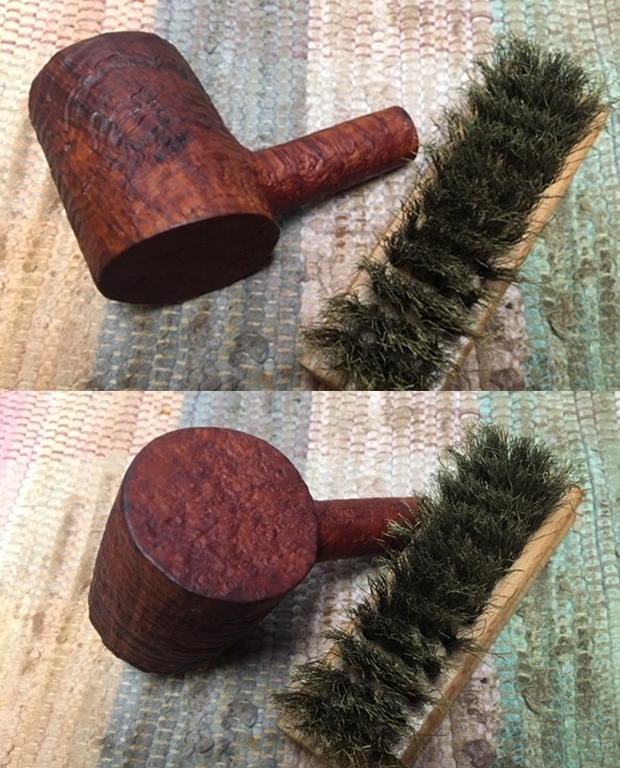
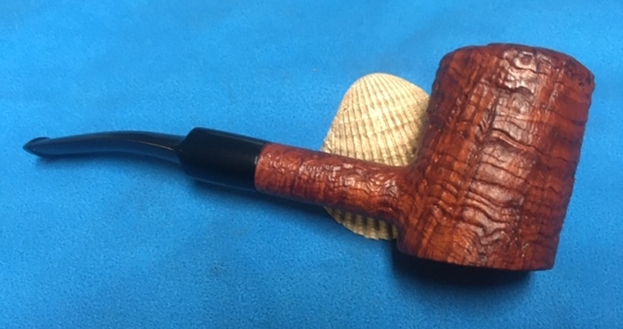
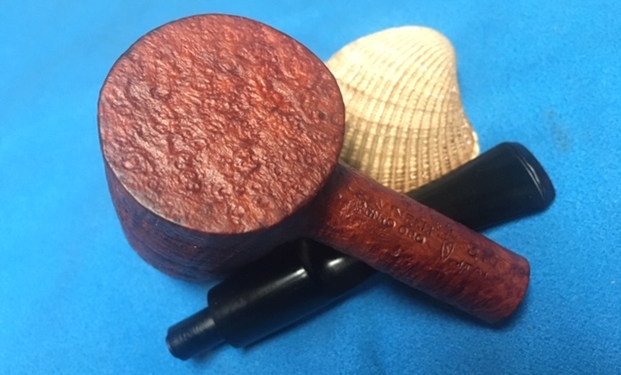
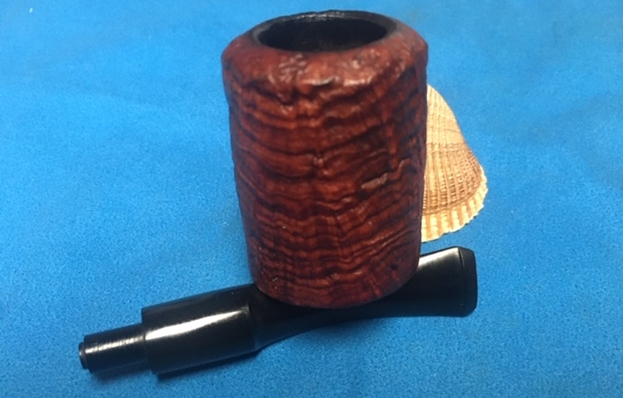
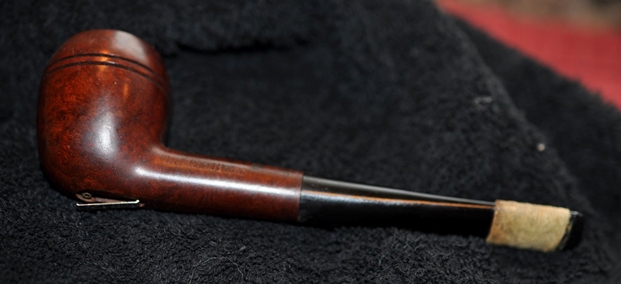
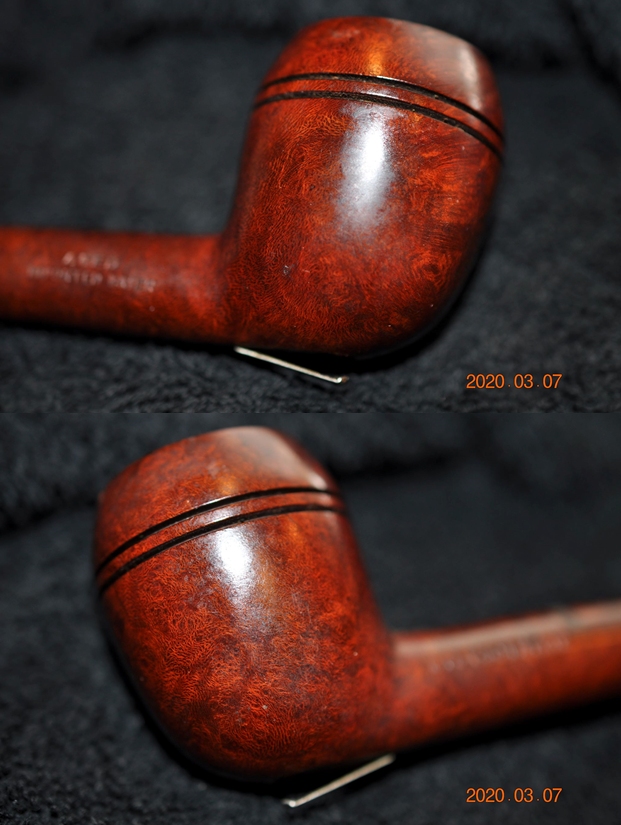
 Jeff took some photos of the bowl sides and heel to show the tight rustication pattern that was around this bowl. It is a nice looking pipe.
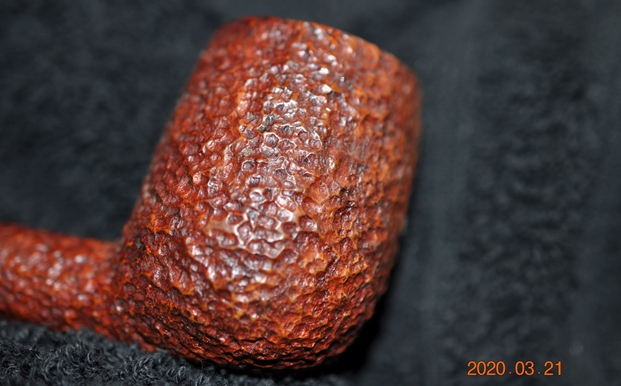
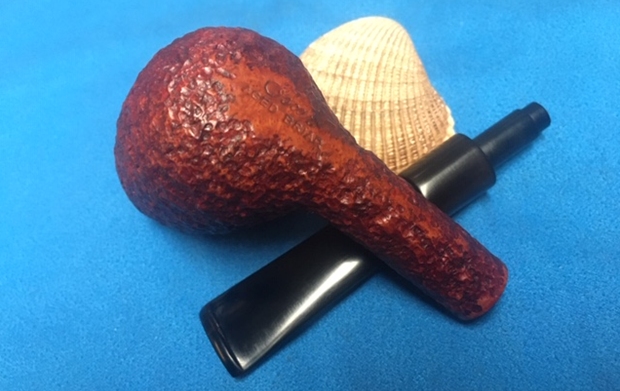
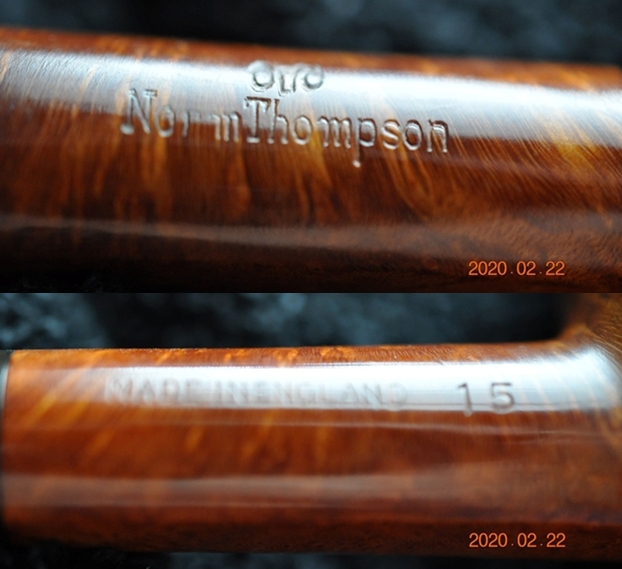
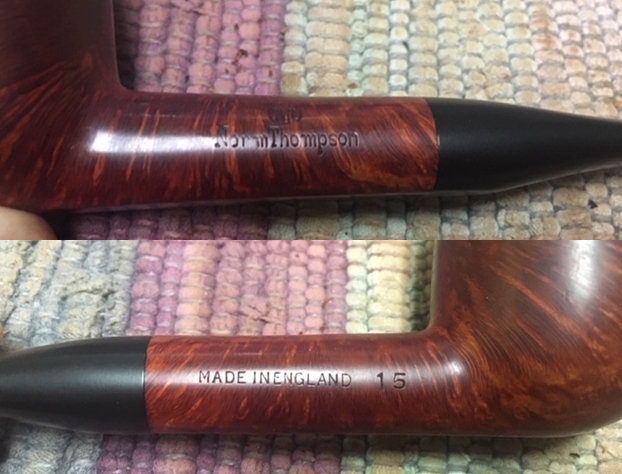
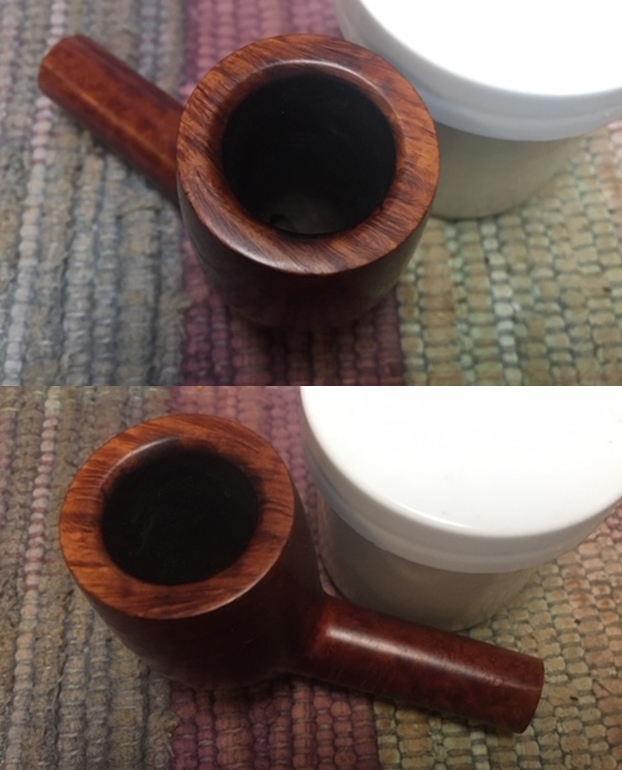
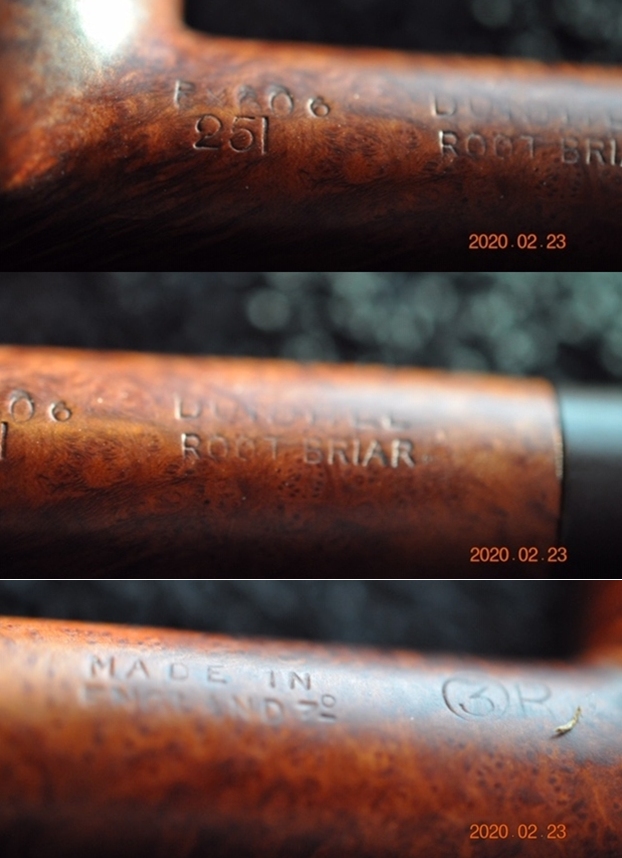
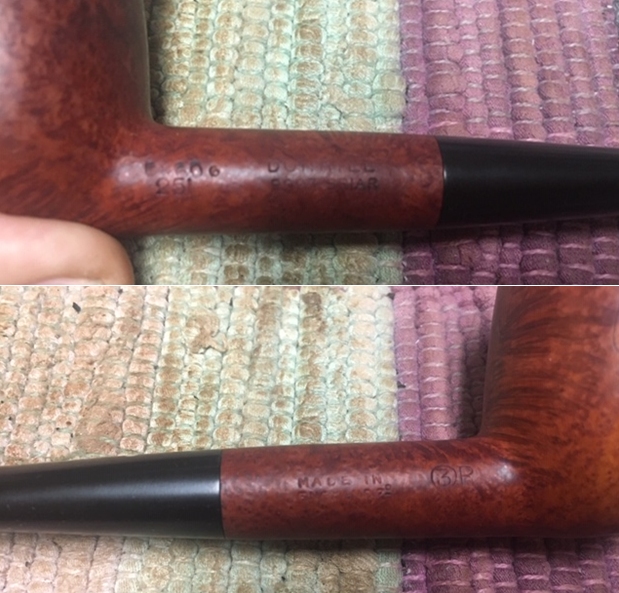
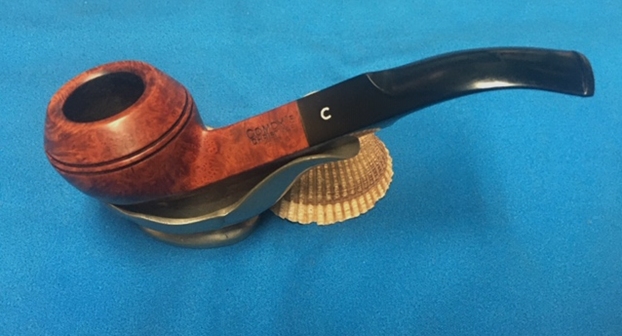
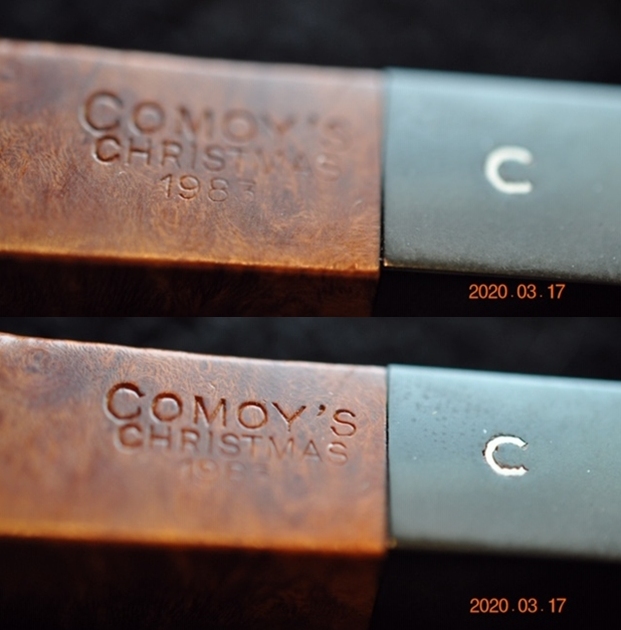
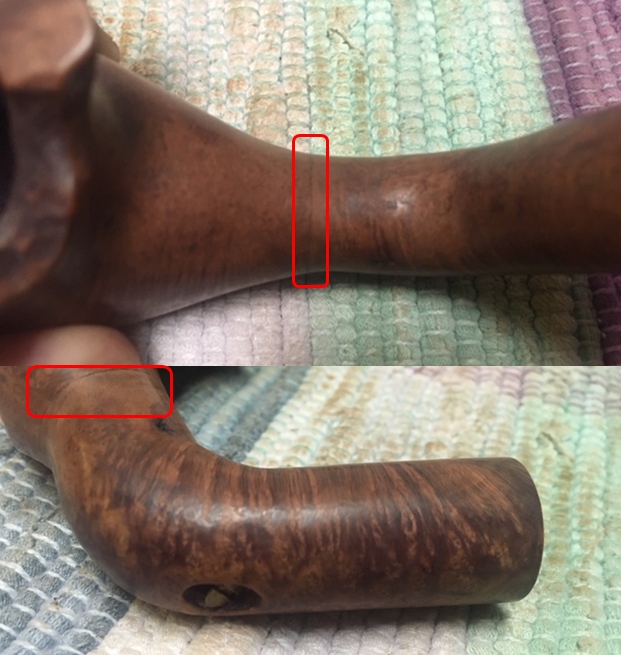
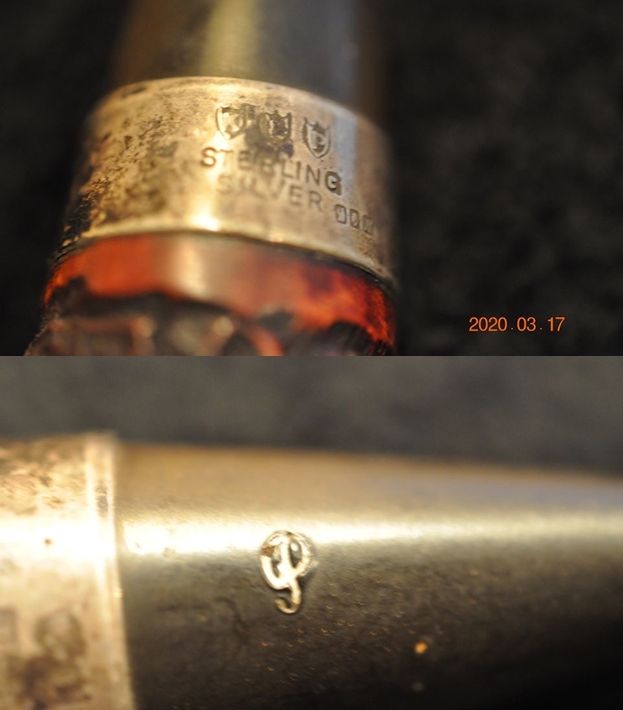
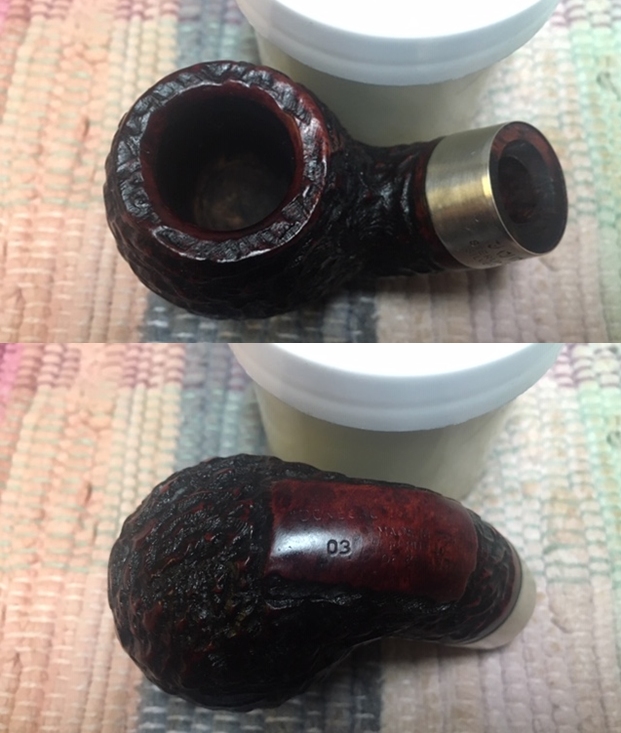
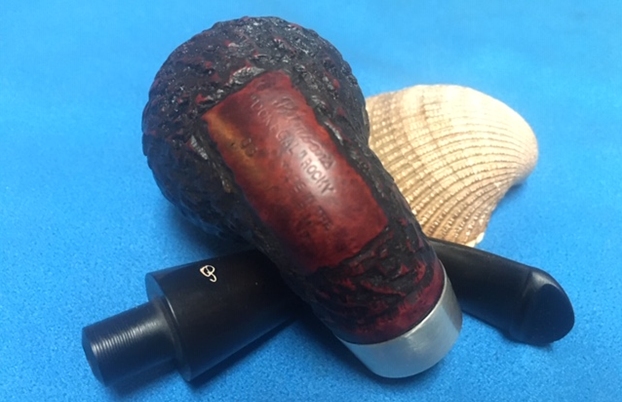
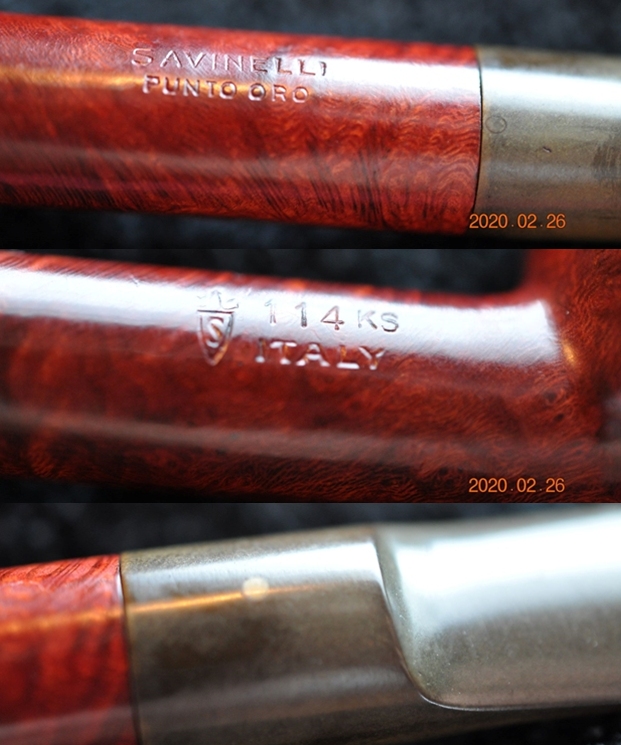
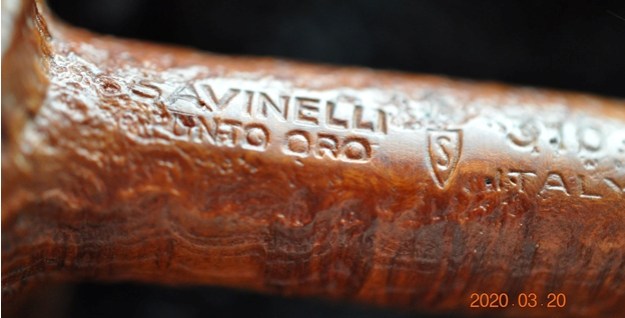
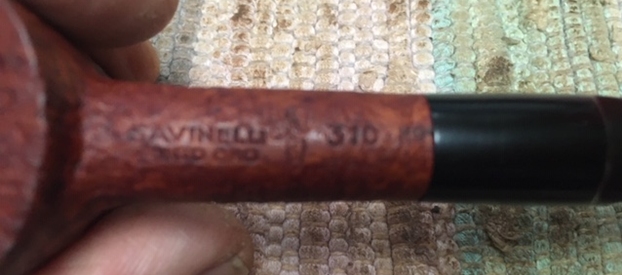
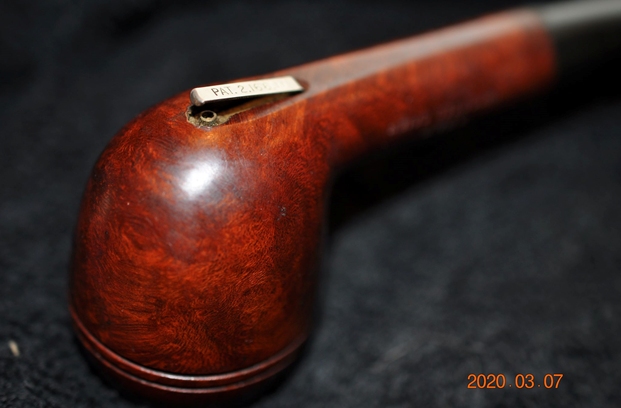
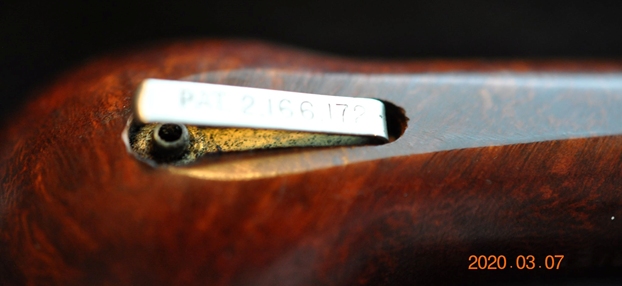
 The stamping on each side of the shank is shown in the photos below. They look very good and readable. The shooting star logo on the stem side is clear but faint. I am hoping that it can be repainted once it is clean. It all depends on how deep the stamping on the stem side is.
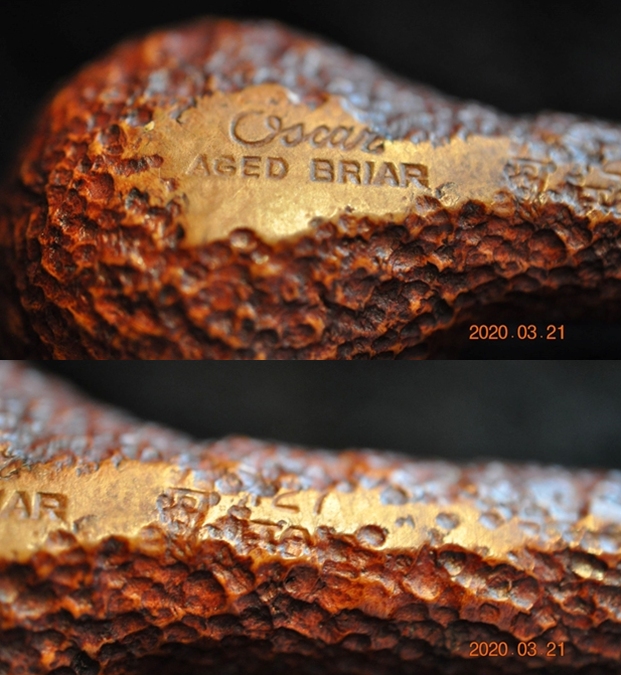
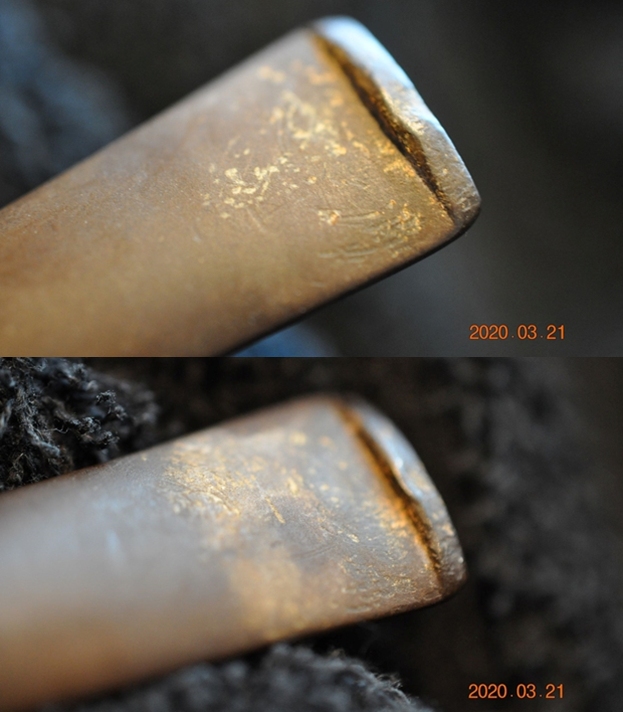
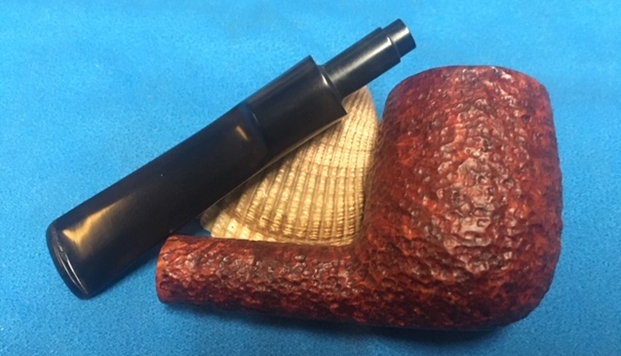
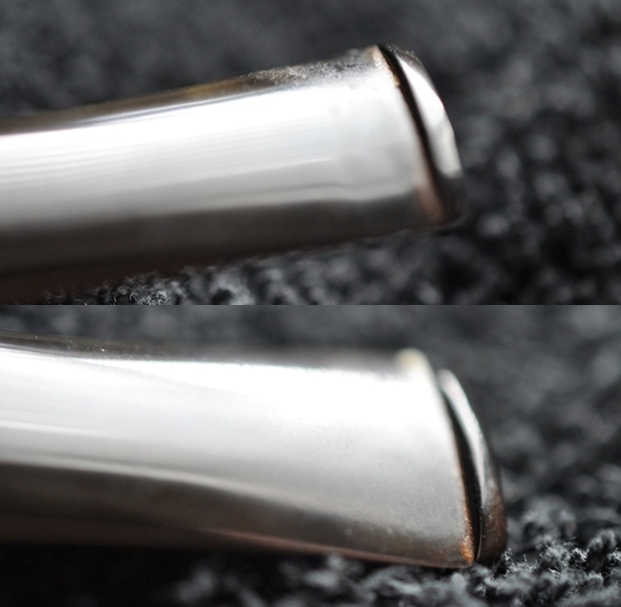
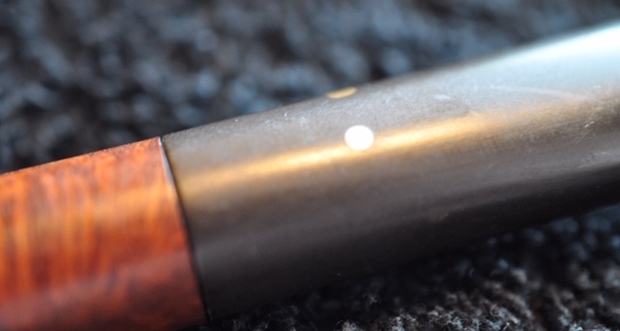
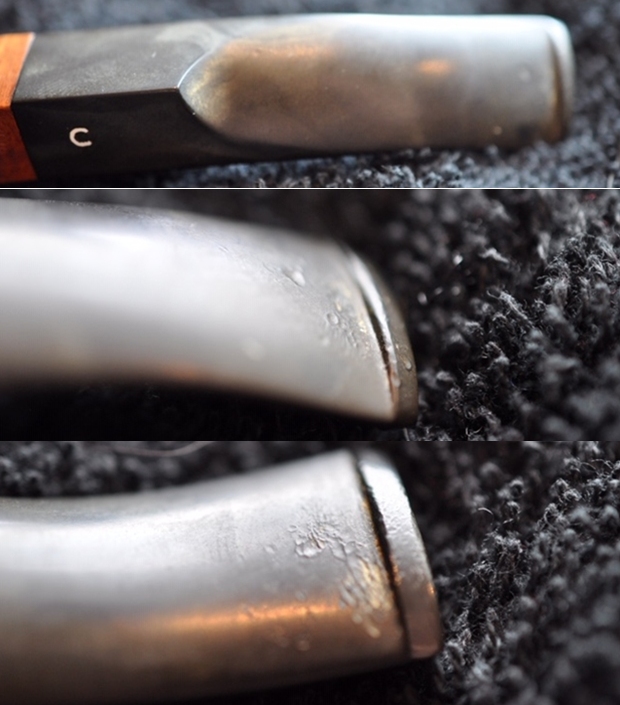
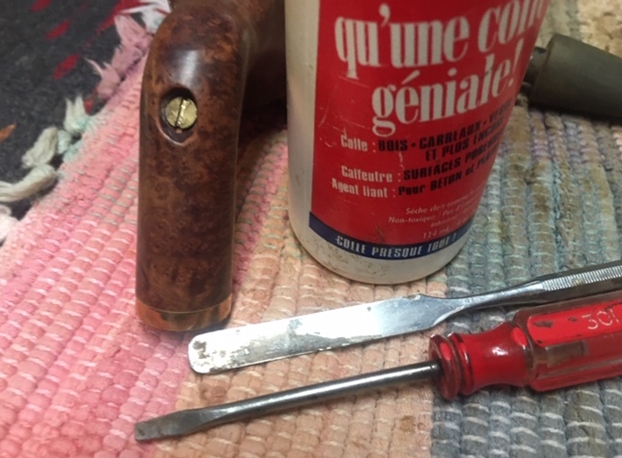
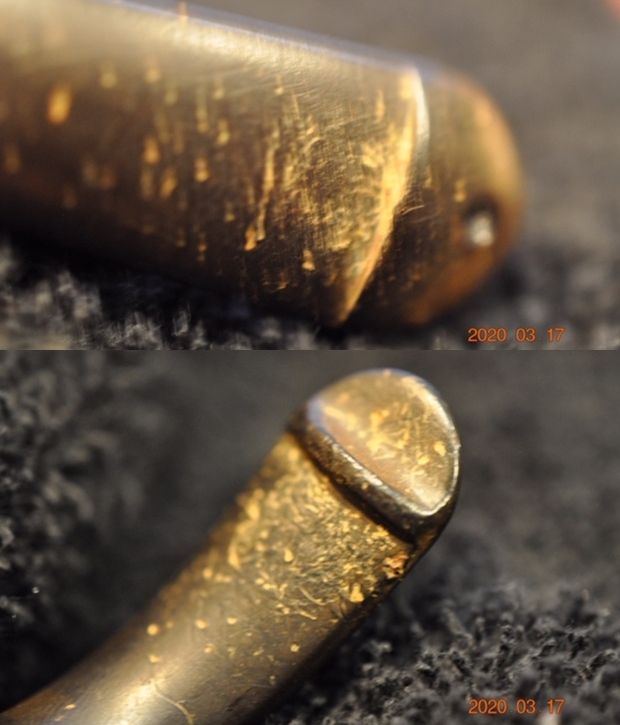
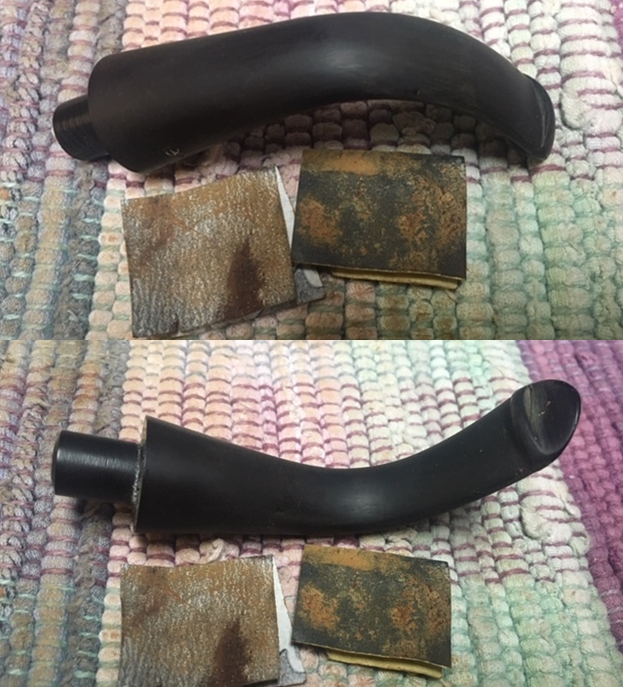
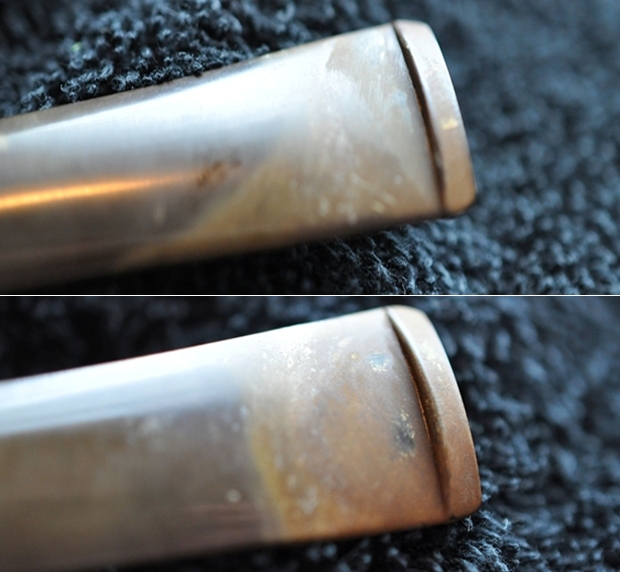
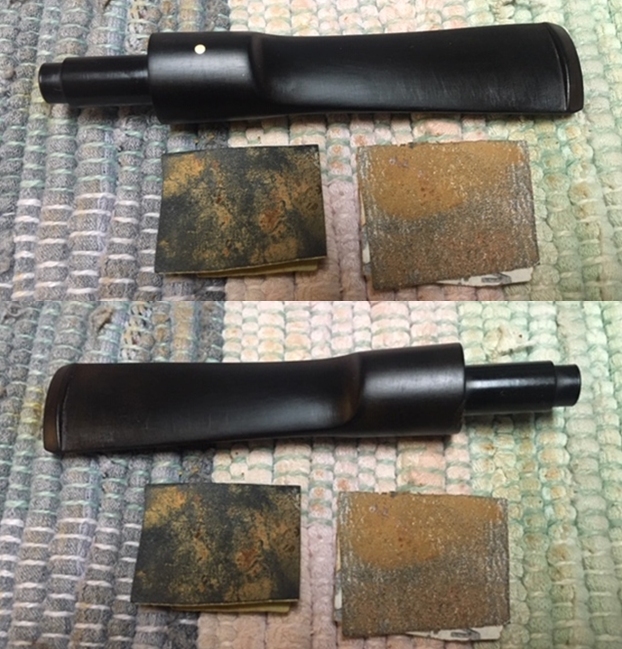
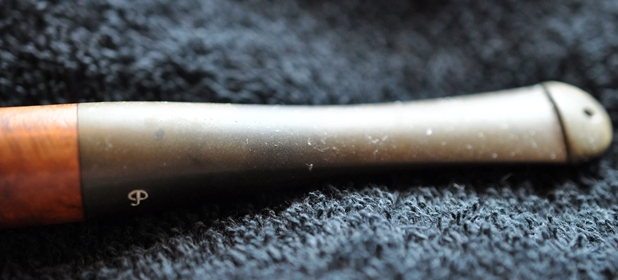
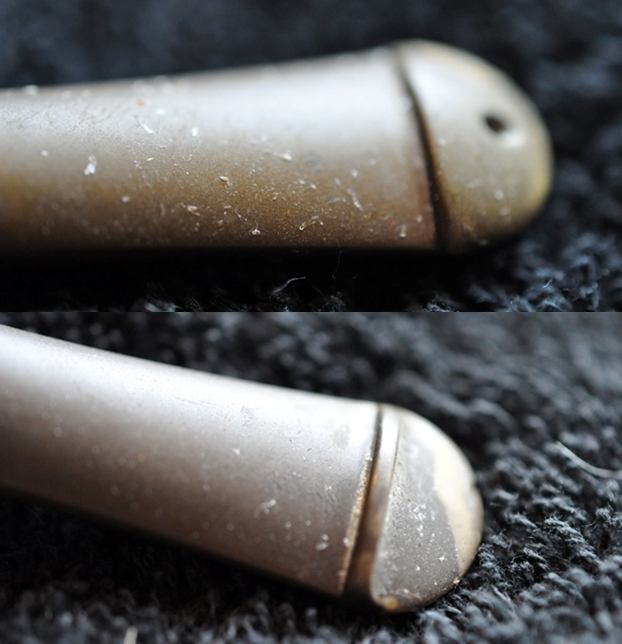
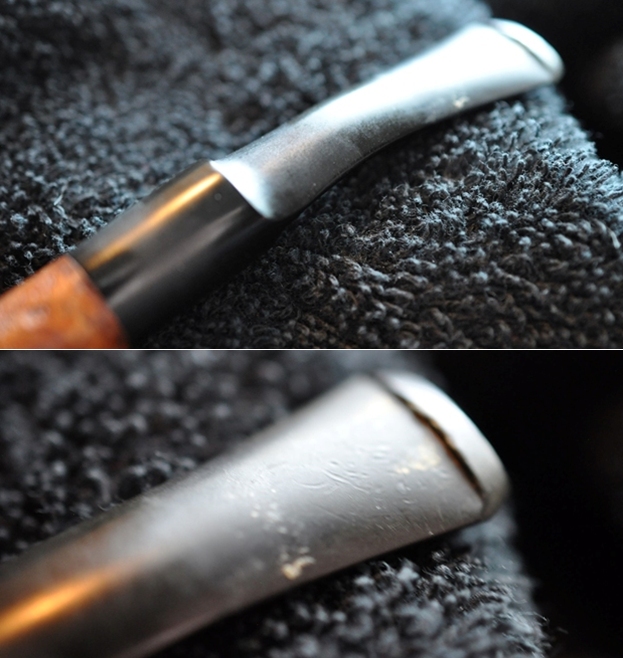
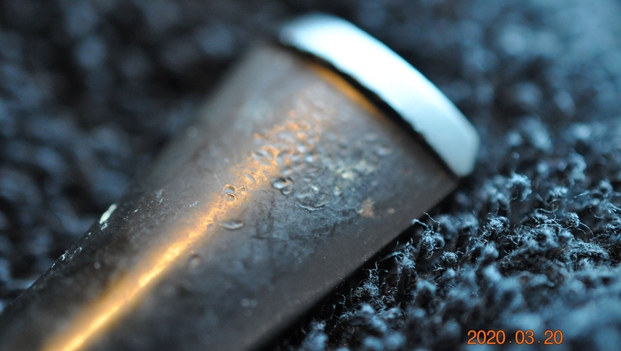
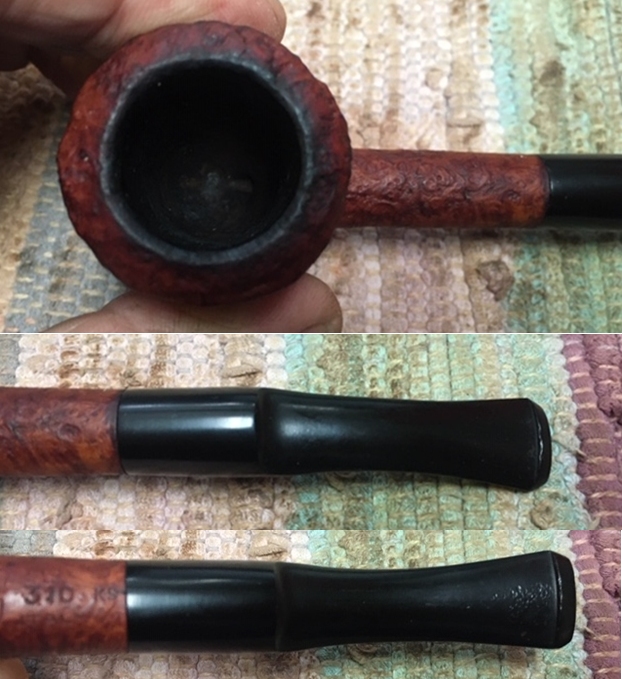
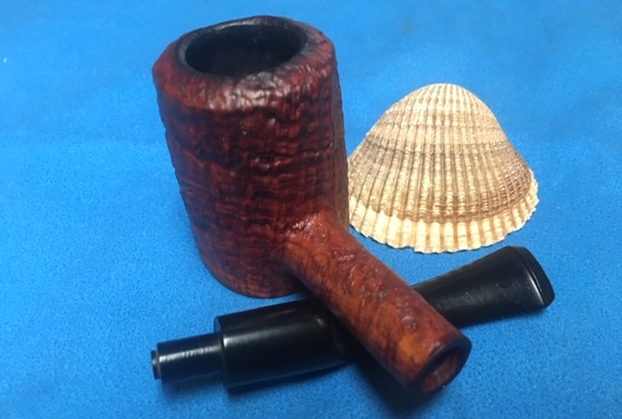
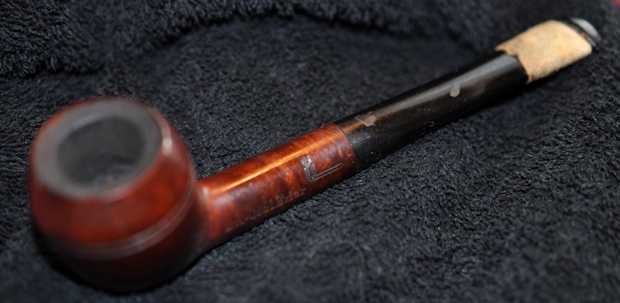
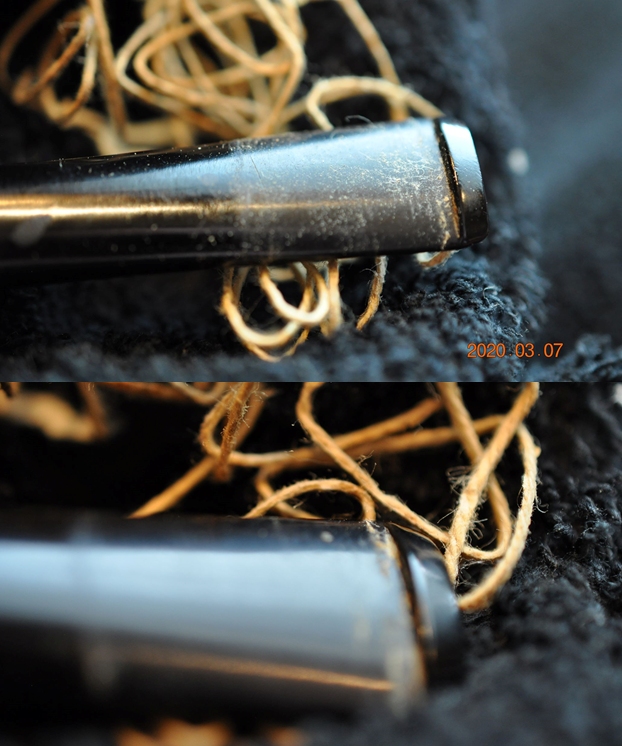
 The stem was a very good fit to the shank. It was oxidized, calcified and had debris stuck to the surface of the vulcanite. It also shows the tooth marks on the stem and on the button surface.
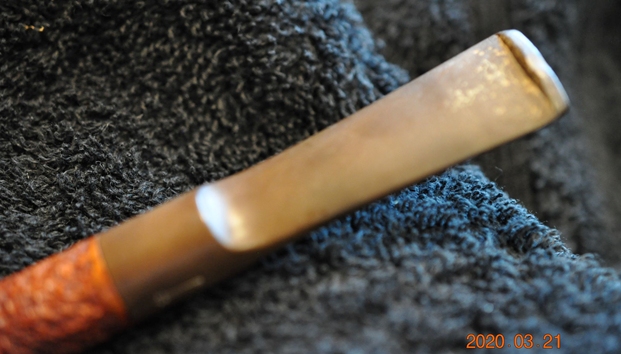
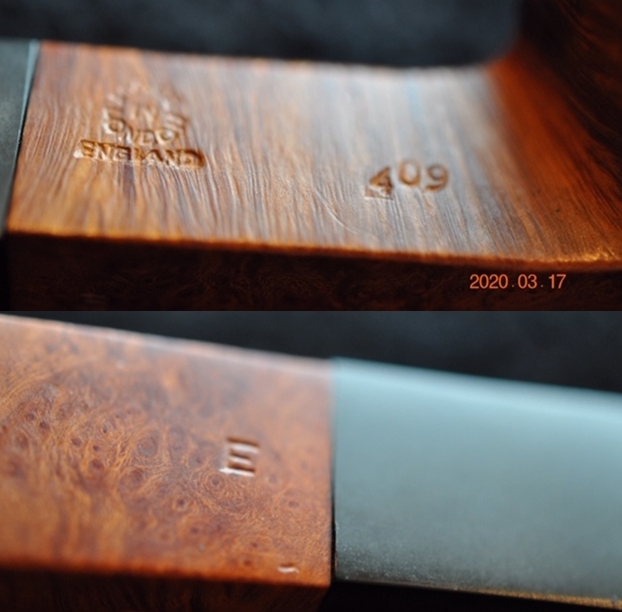
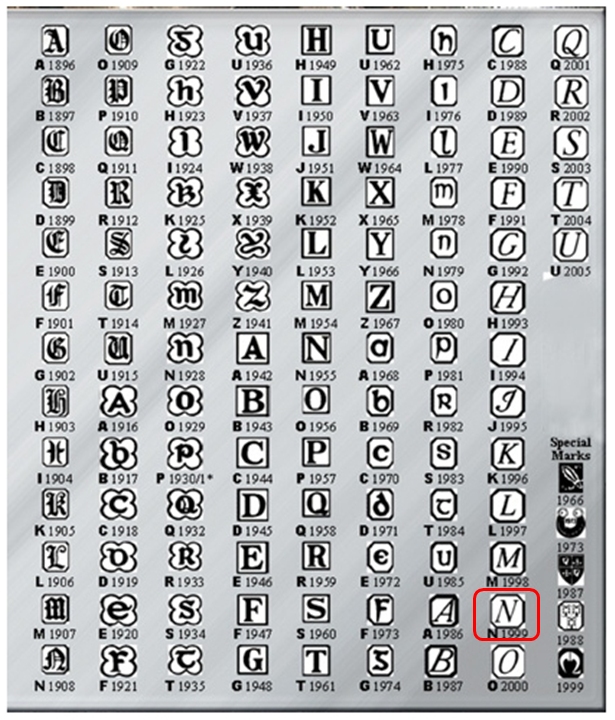
 I confirmed that the shape number stamping, partially hidden by the rustication is indeed 127 by comparing it to the Savinelli Shape Chart that I have. I have drawn a red box around the shape on the chart below.
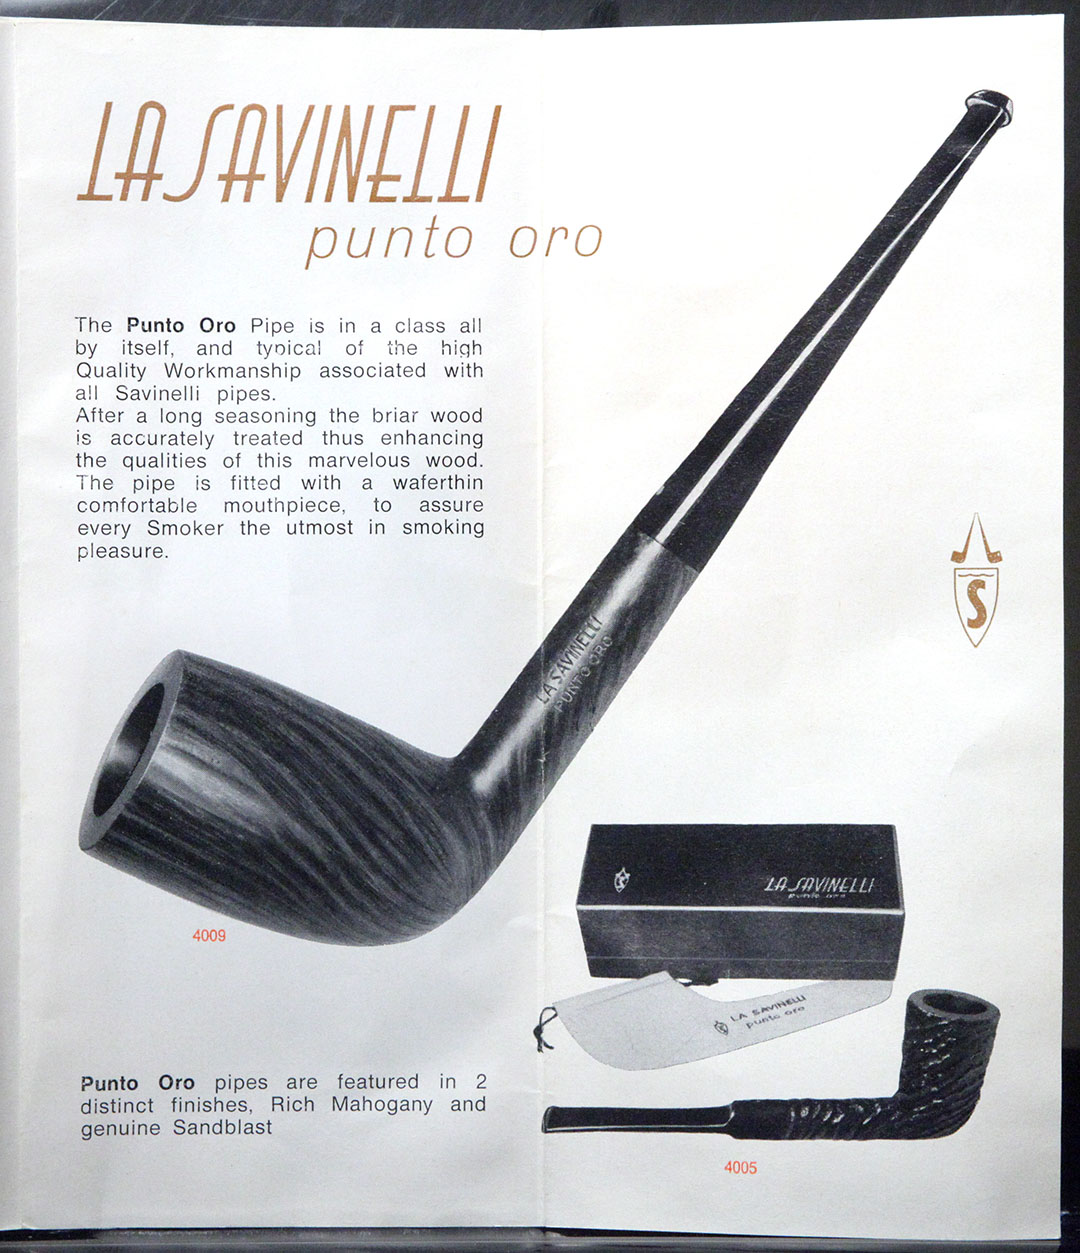
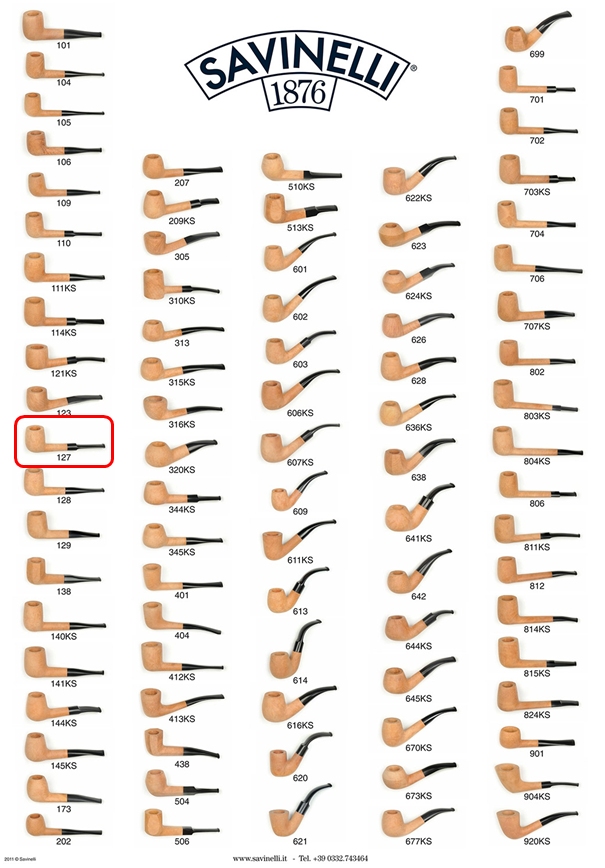 For some background give the article on Pipedia are as it includes a well written history of the Savinelli brand. (https://pipedia.org/wiki/Savinelli). I turned to work on the pipe itself. Jeff had done a great job cleaning up the pipe as usual. He reamed the pipe with a PipNet reamer and cut back the cake back to the bare briar. He cleaned up the walls with a Savinelli Fitsall Pipe Knife. He scrubbed the interior of the bowl and shank with pipe cleaners, cotton swabs and alcohol to remove the tars and oils. He scrubbed the exterior of the pipe with Murphy’s Oil Soap and a tooth brush to remove the grime from the finish. He worked on the rim top lava and darkening with the soap and tooth brush. He scrubbed the inside of the stem with alcohol and pipe cleaners. He scrubbed the exterior with Soft Scrub and then soaked it in Before & After Deoxidizer. He washed it off with warm water to remove the deoxidizer. The pipe looked far better. The stamping on the side of the stem was very light and the white that had remained was gone. I took photos of the pipe when I received it before I started working on it.
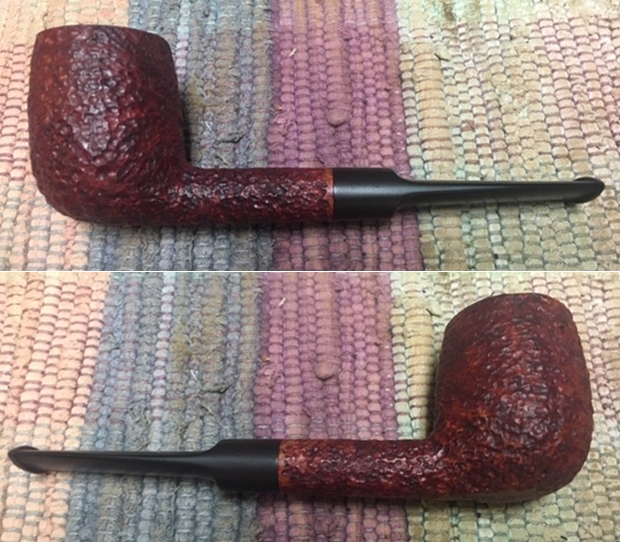
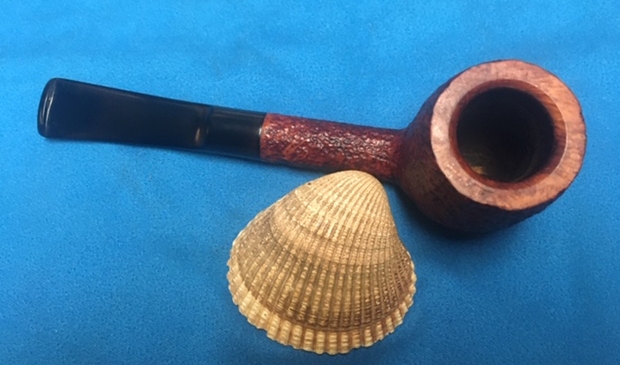
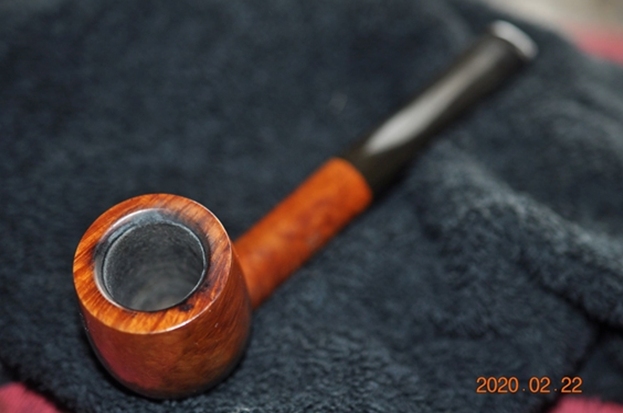
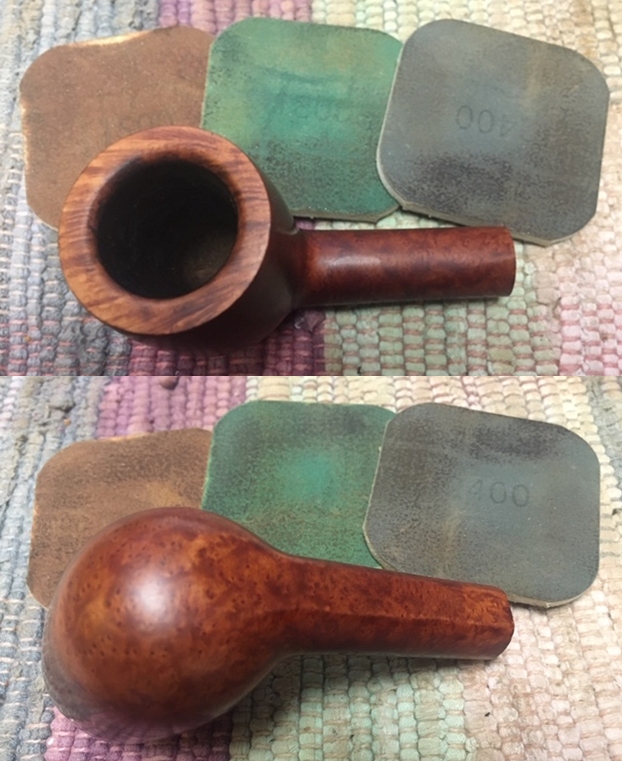
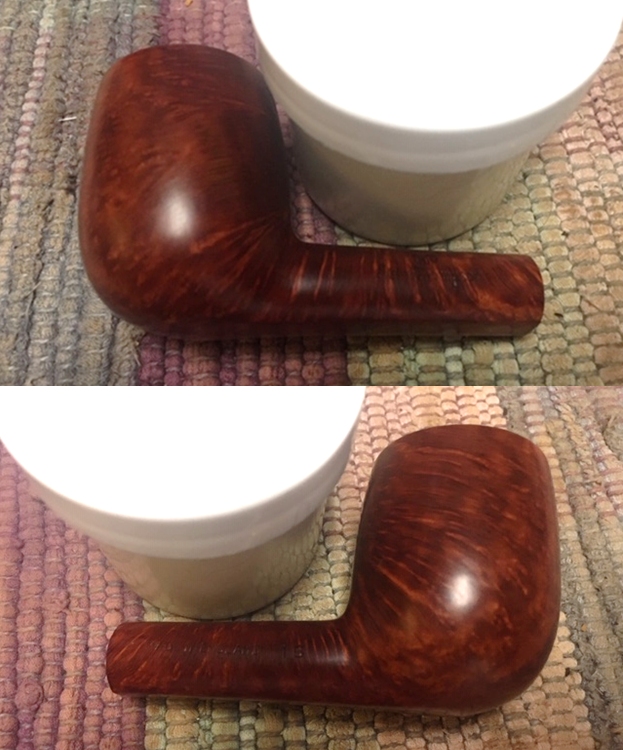
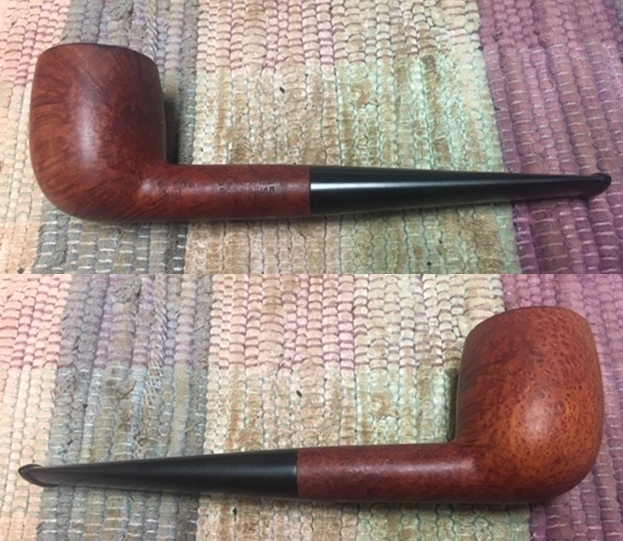
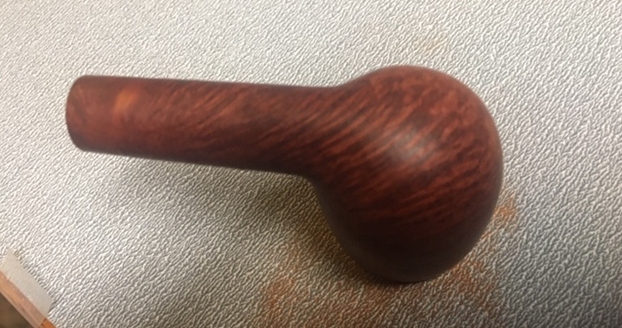
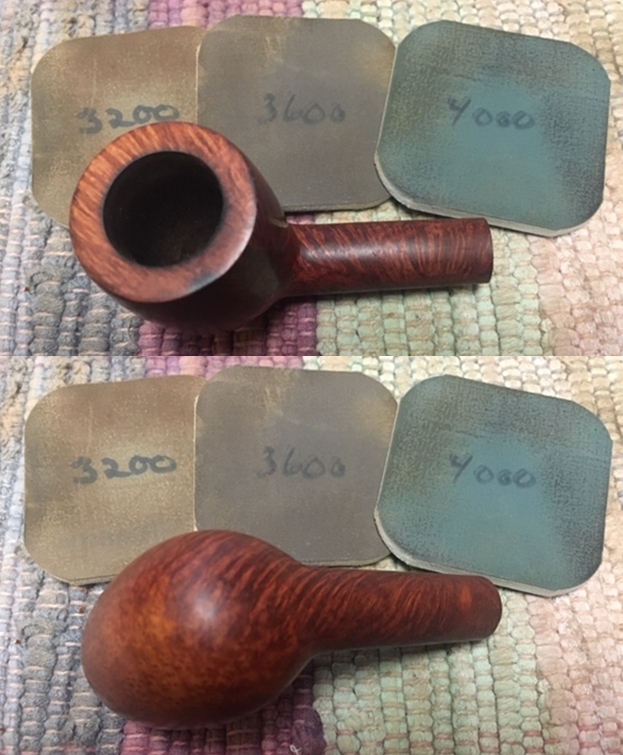
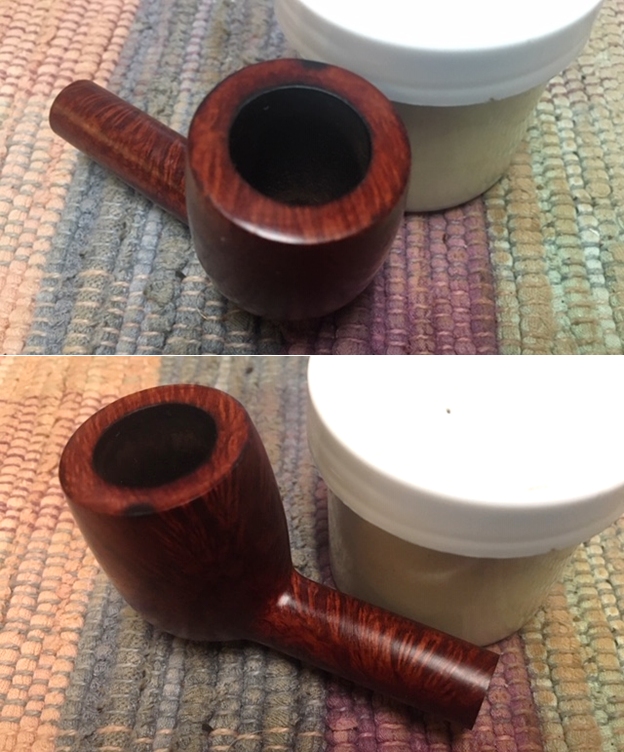
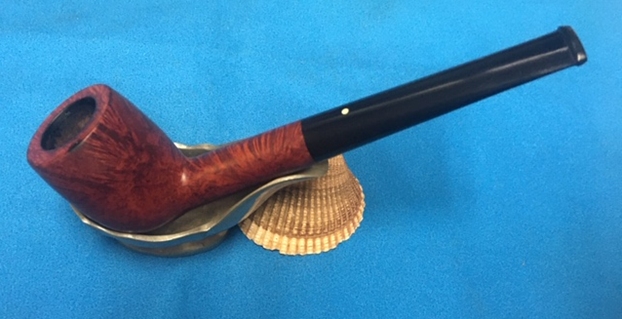
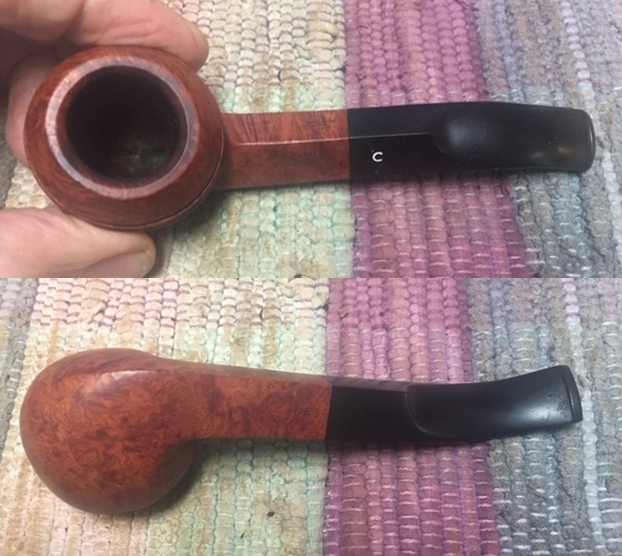
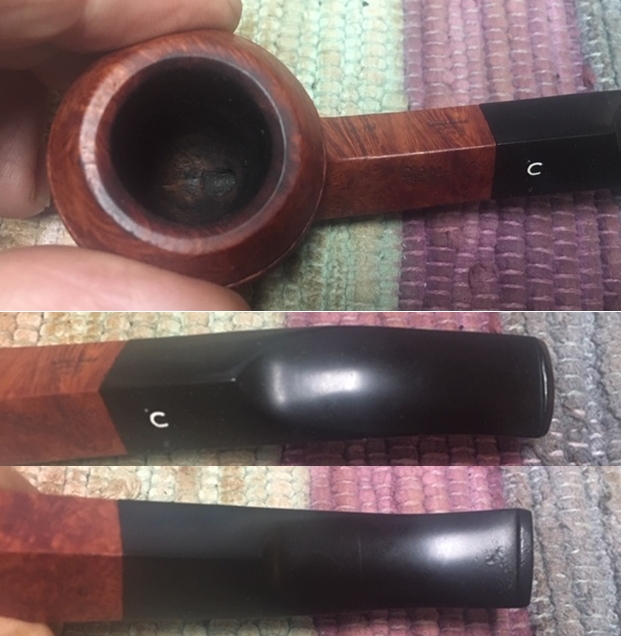
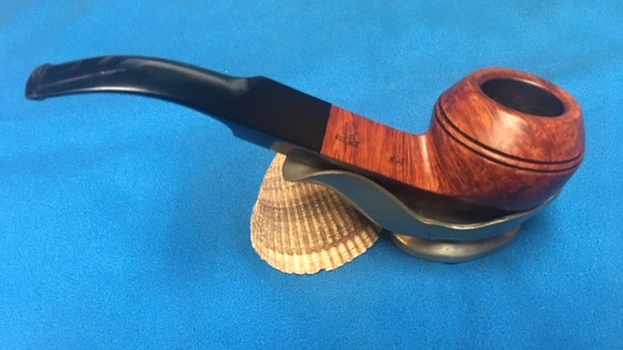
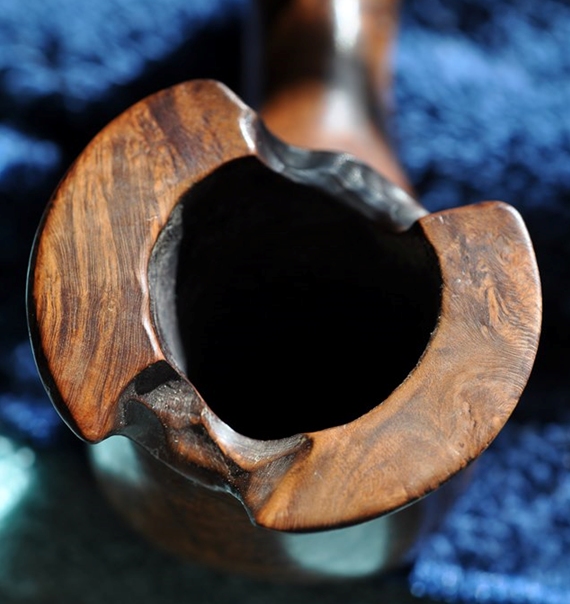
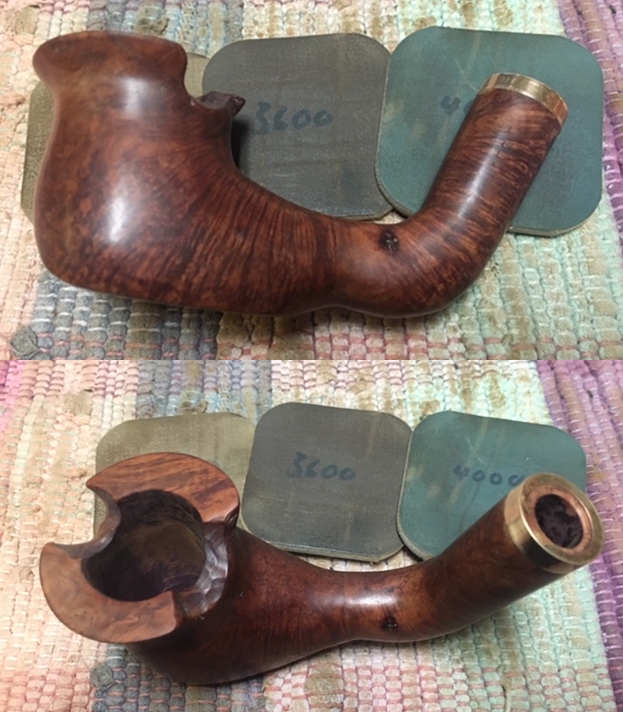
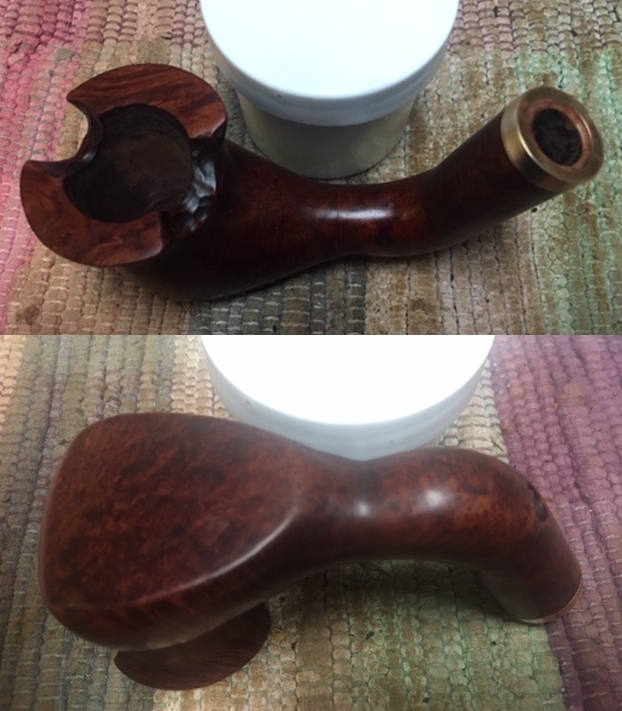
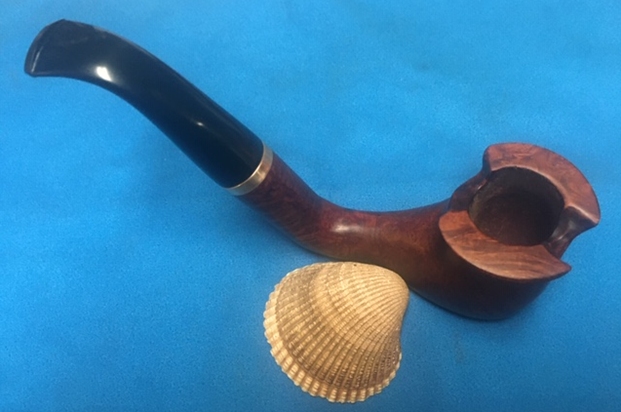
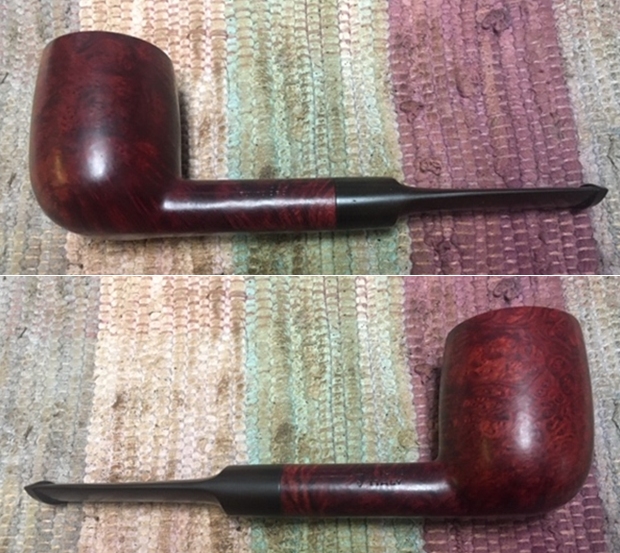
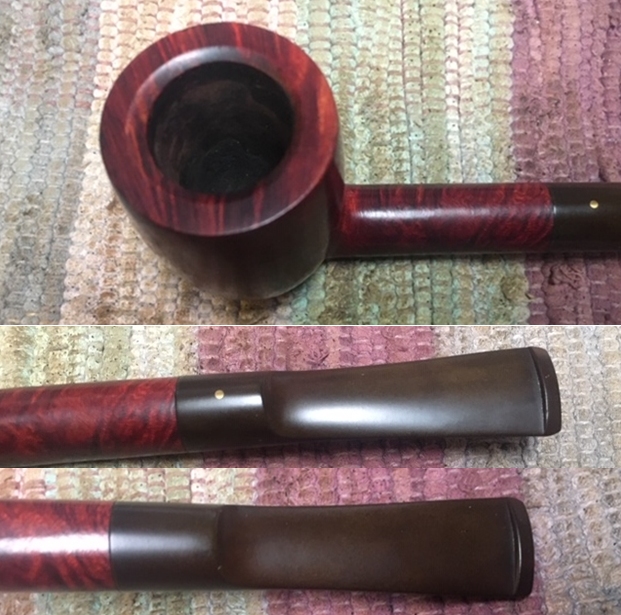
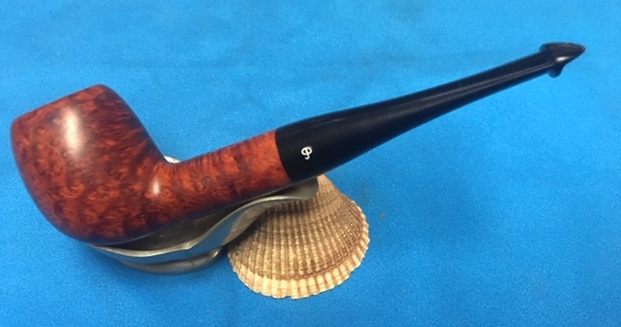
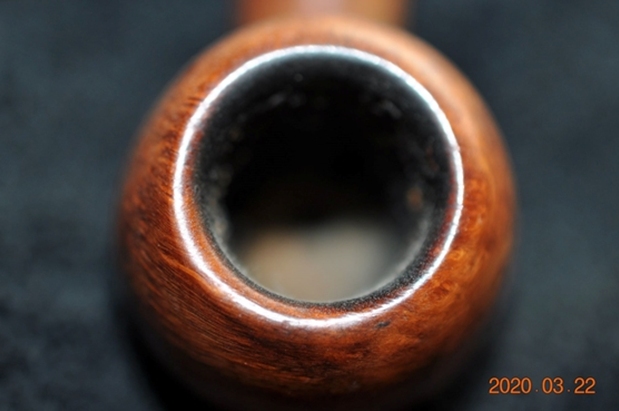
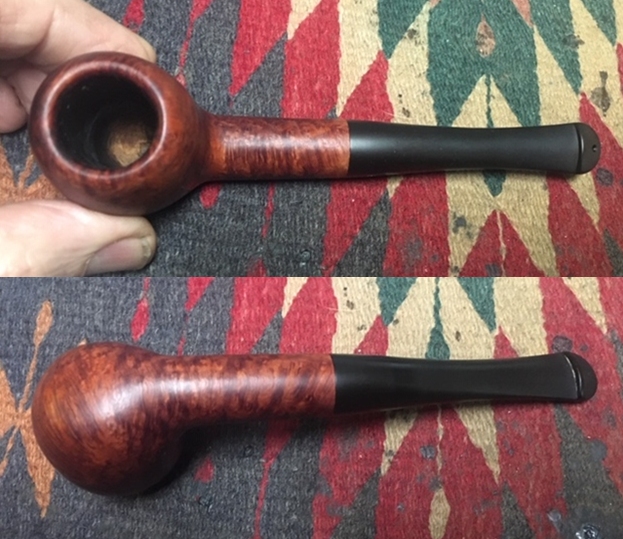
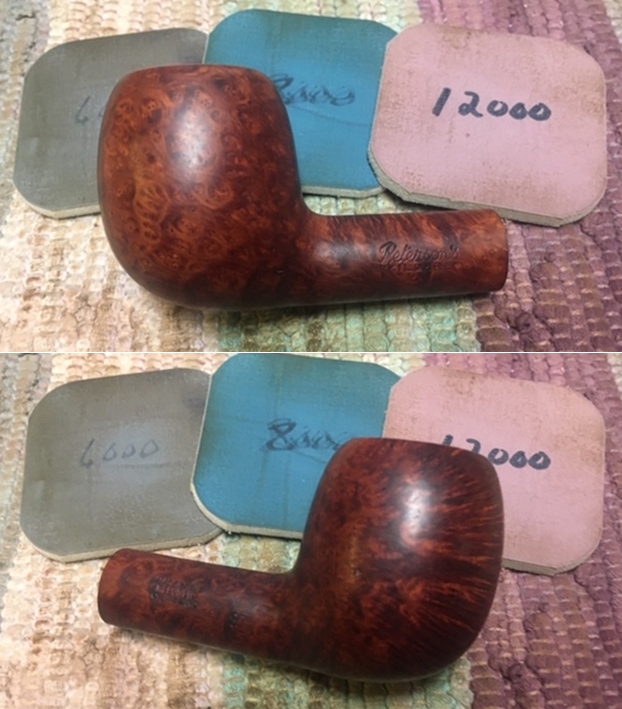
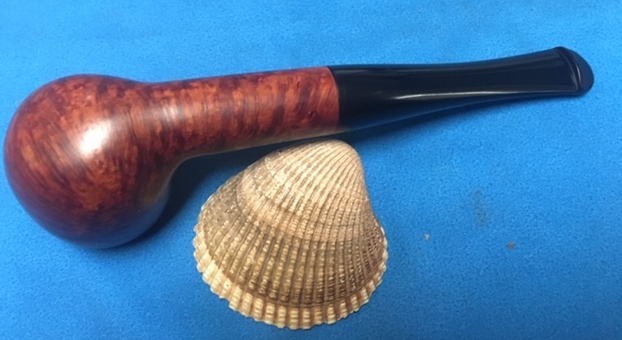
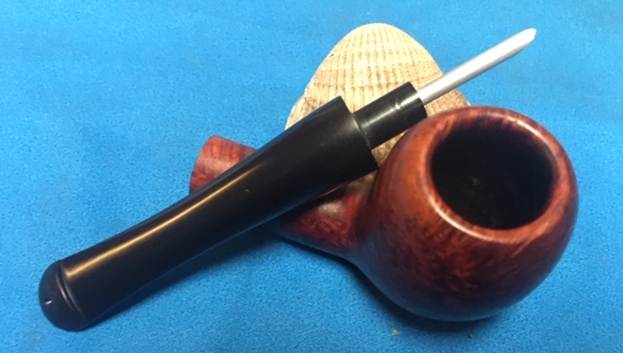
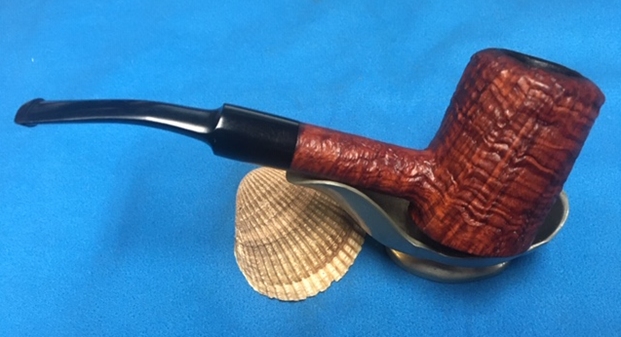
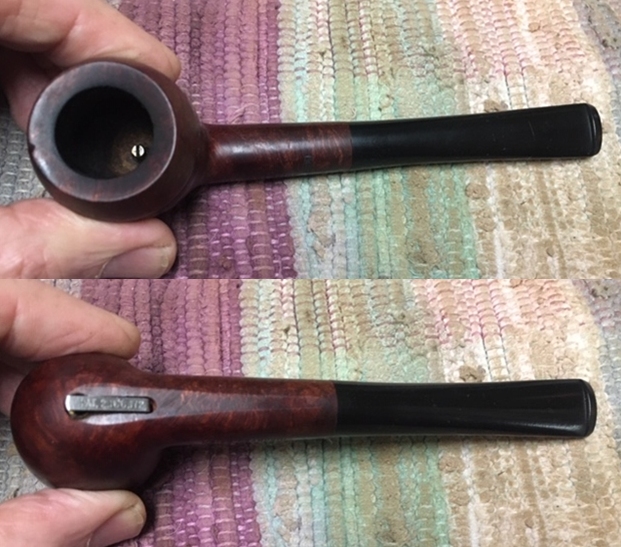
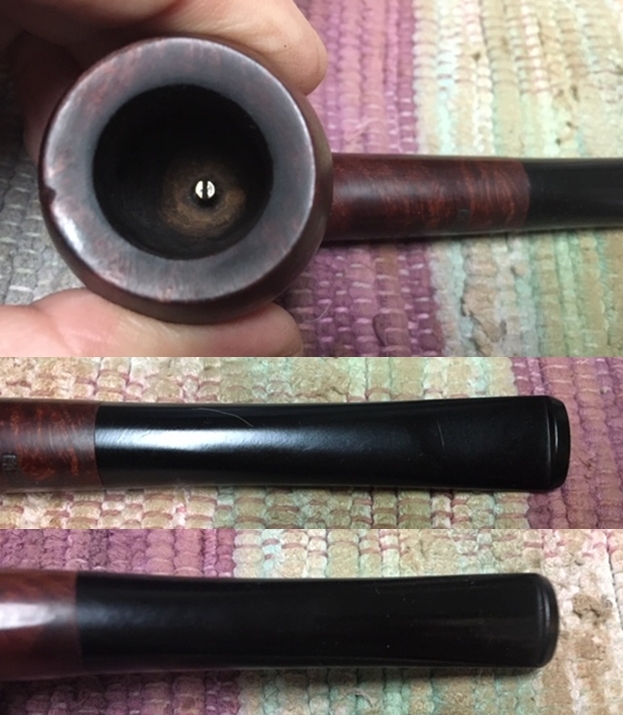
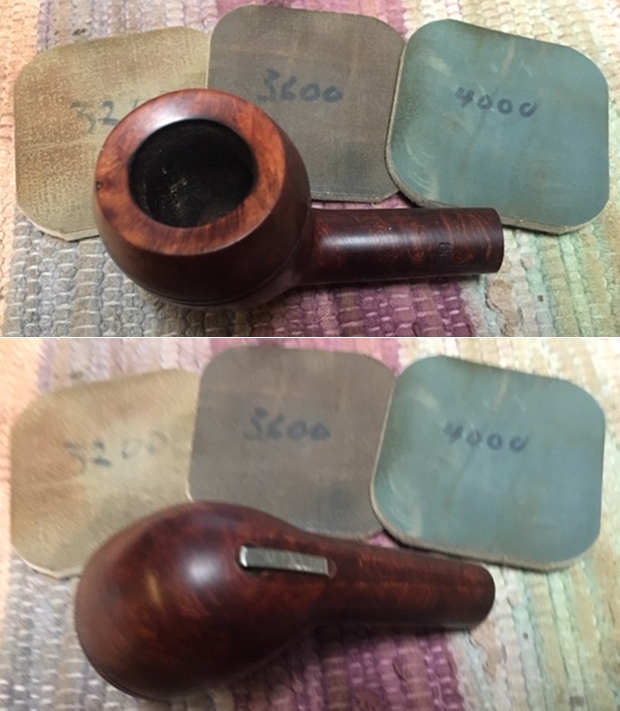
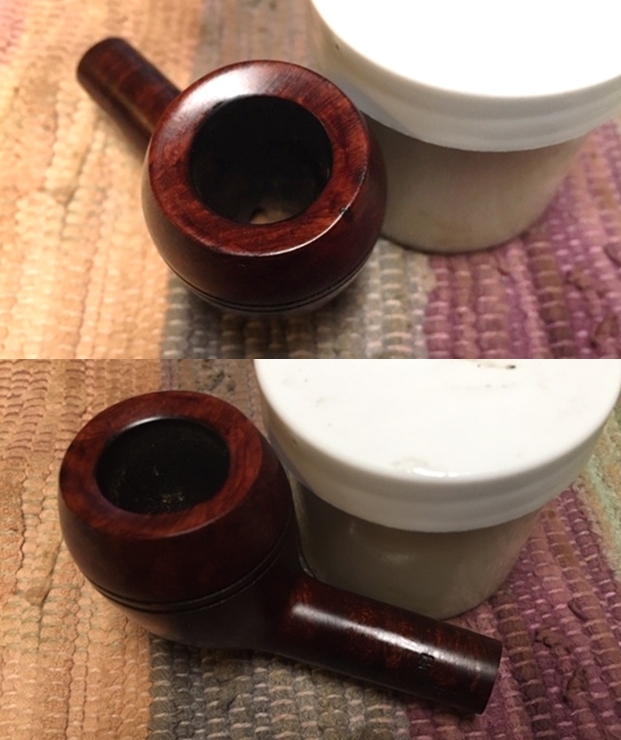
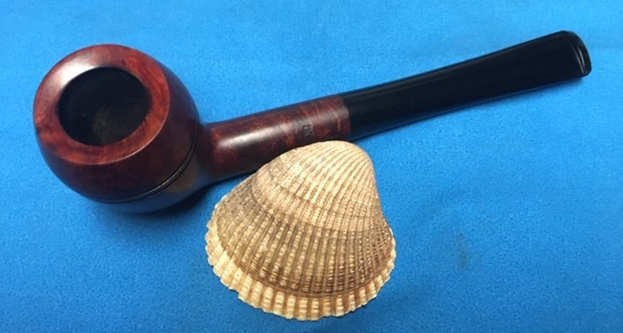
 I took photos of the bowl and rim top as well as the stem to show how clean they were. You can some spots on the inner edge and the top where some darkening remains. The stem looks clean of oxidation and the tooth marks and chatter are very clear in the photos.
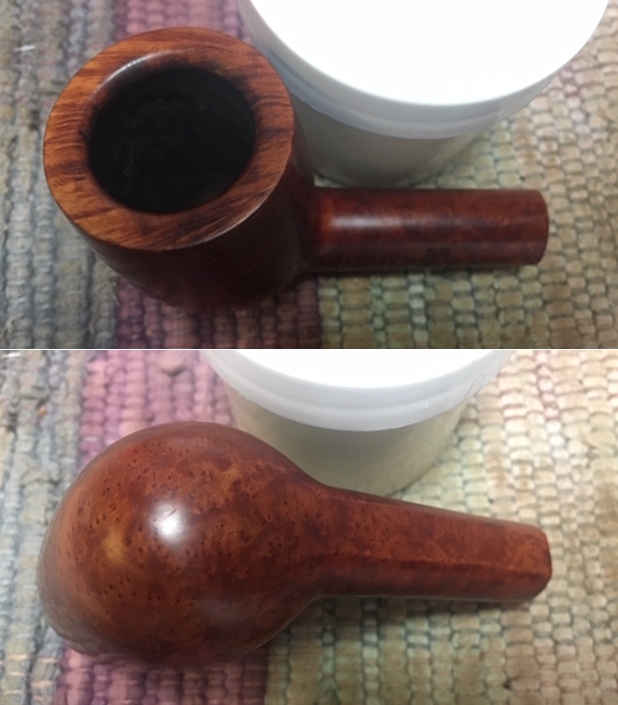
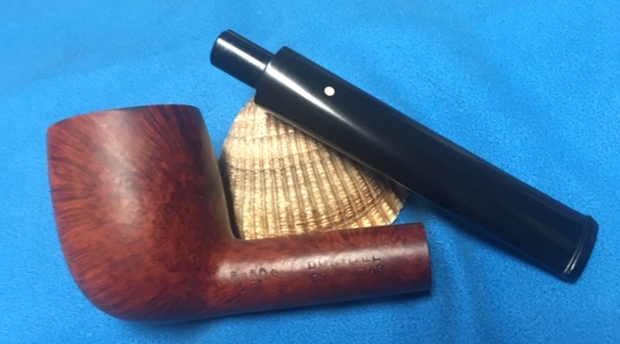
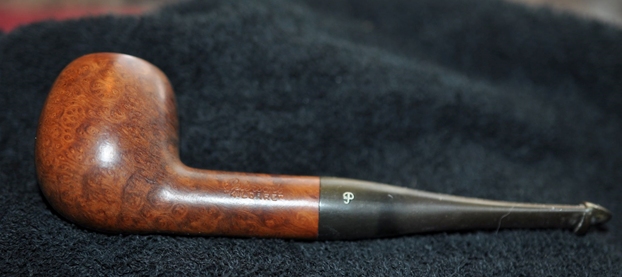
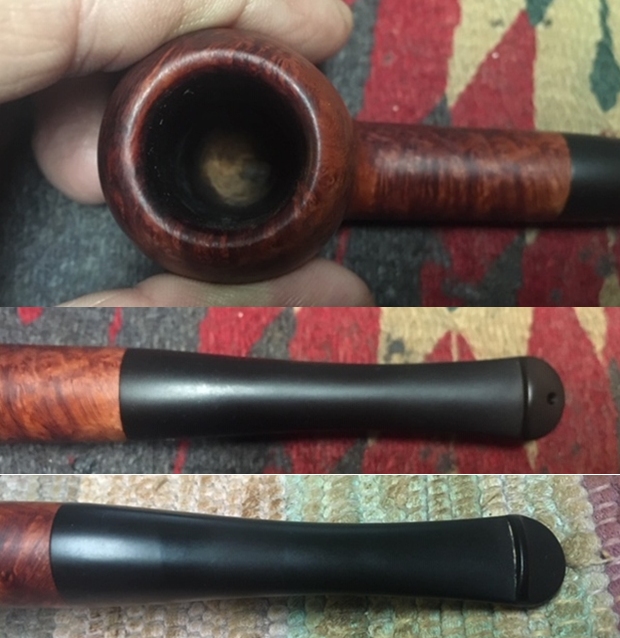
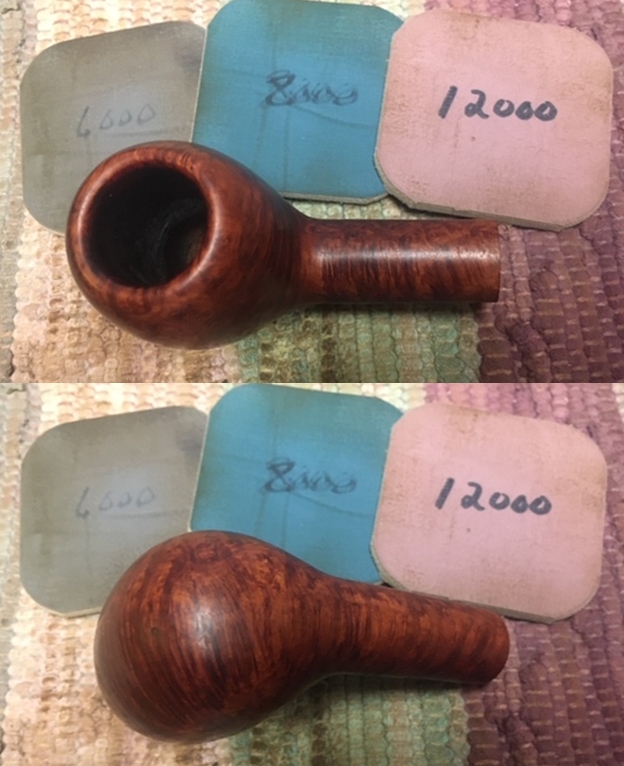
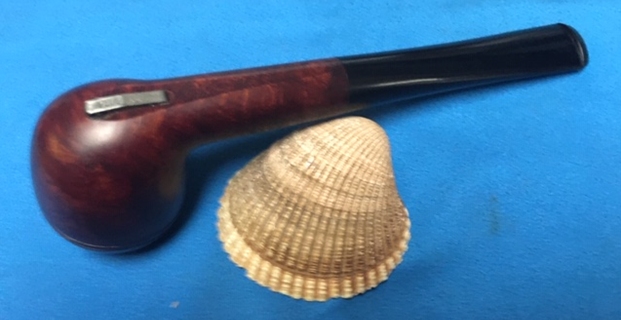
 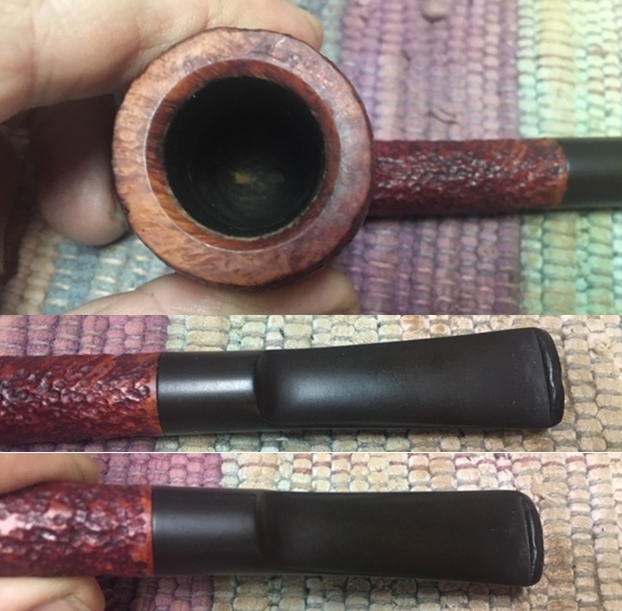 I took a photo of the stamping on the underside of the bowl and shank. The stamping is clear and readable as noted above.
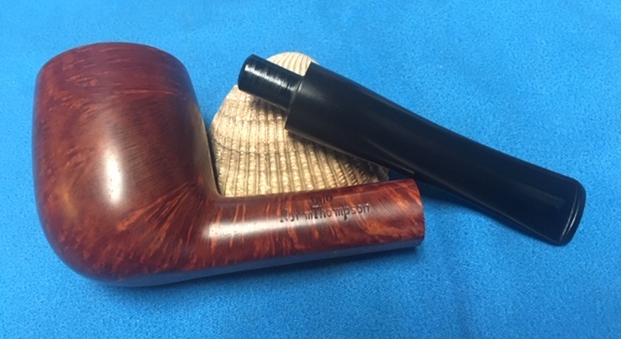
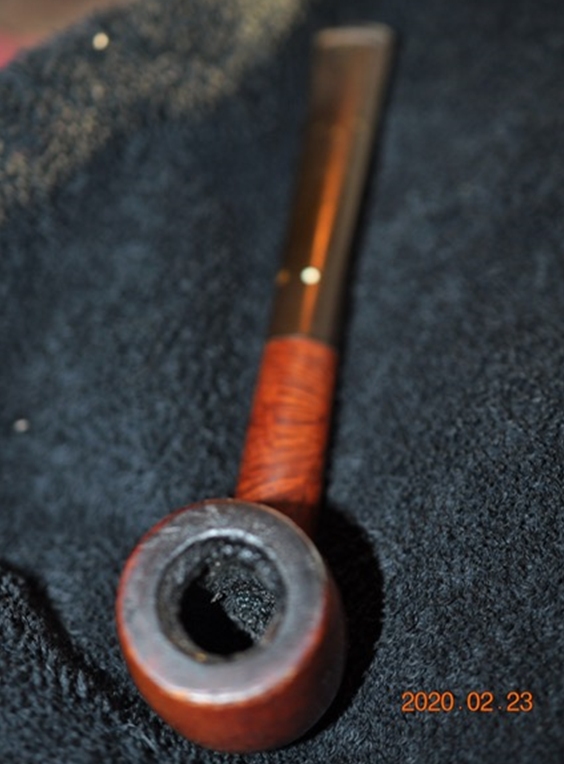
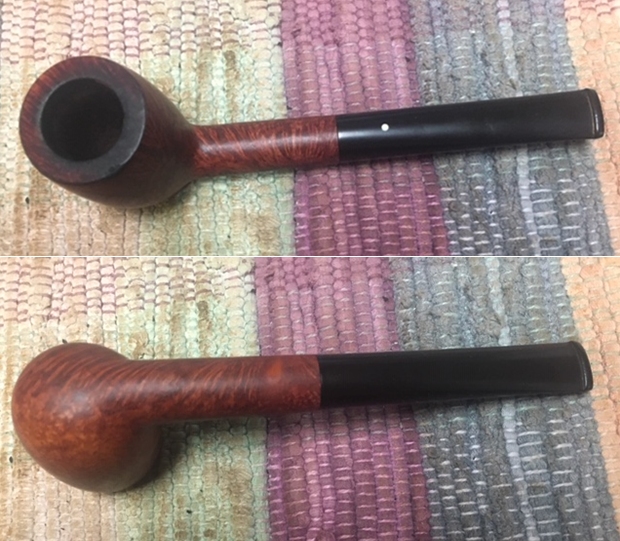
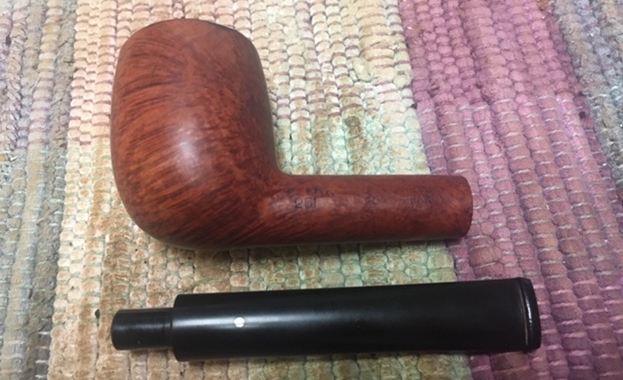
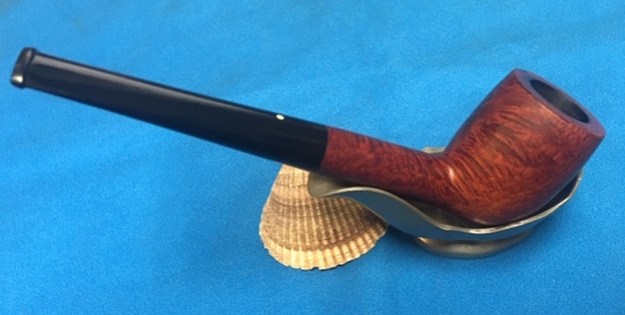
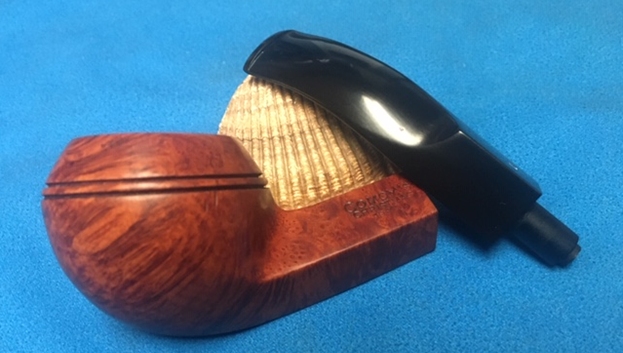
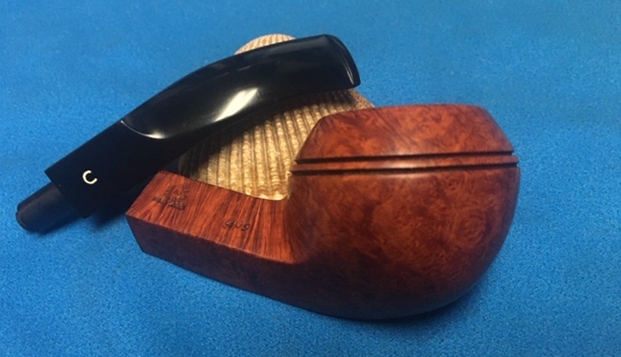
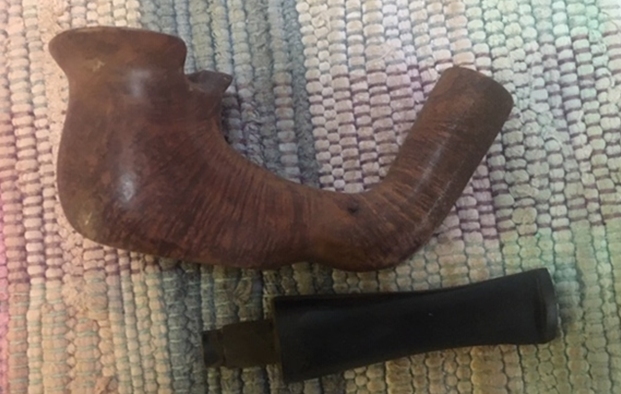
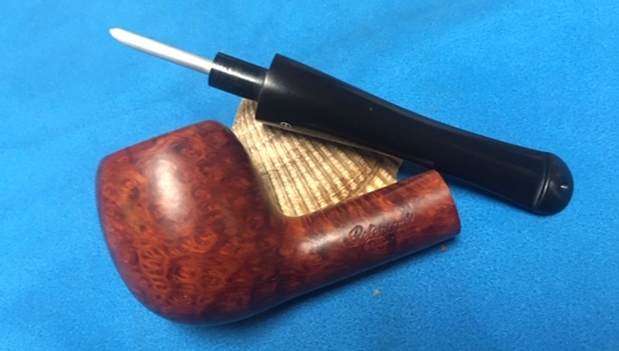
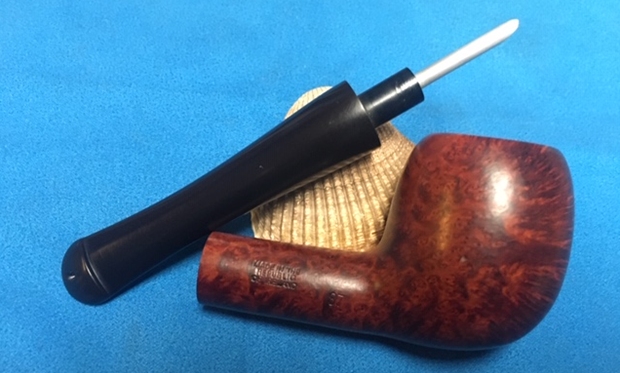
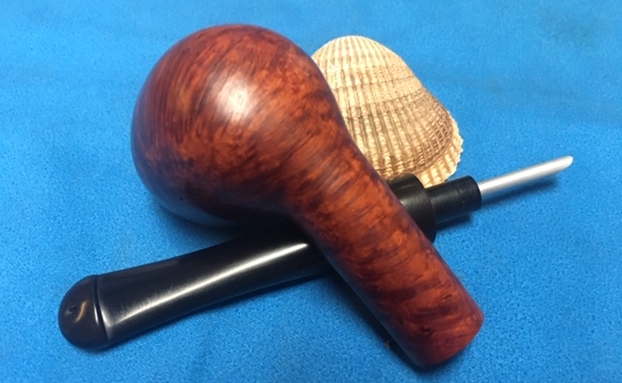
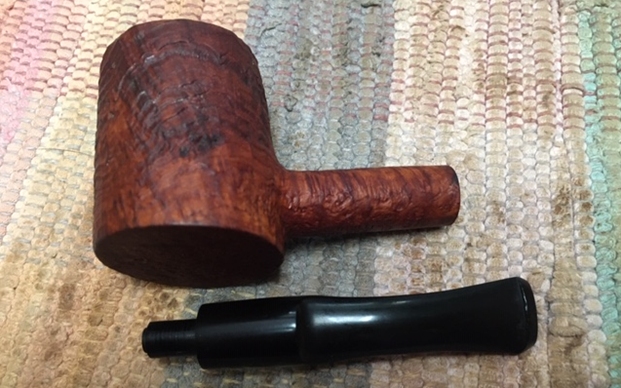
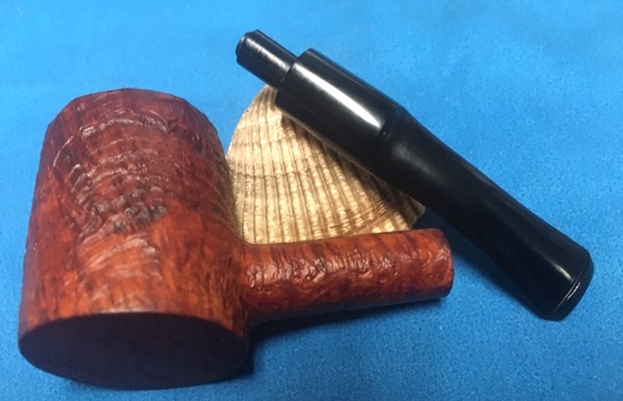
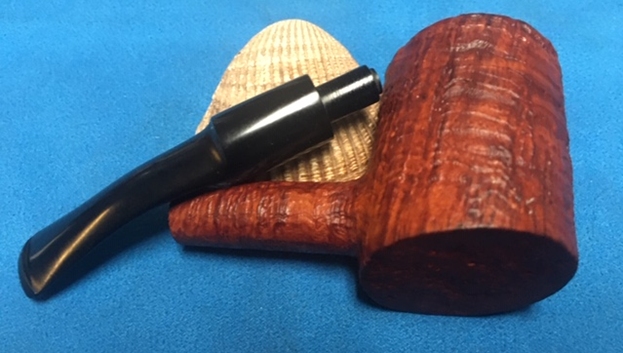
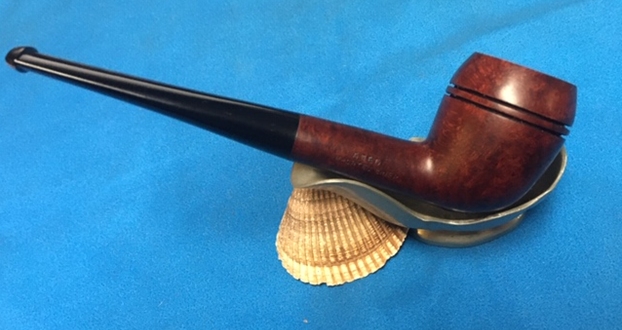
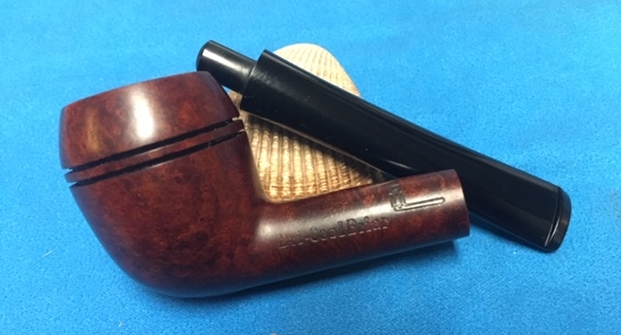
 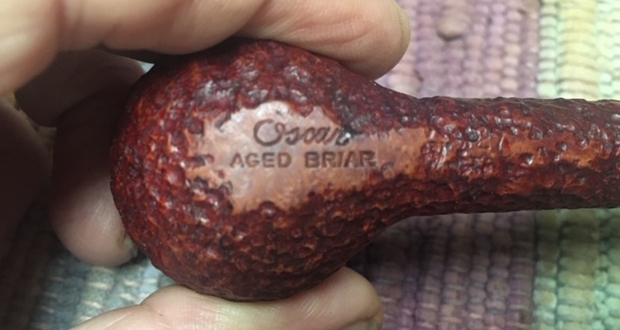 I took a photo of the pipe with the stem removed to show the overall look of stem, tenon and profile of the pipe.
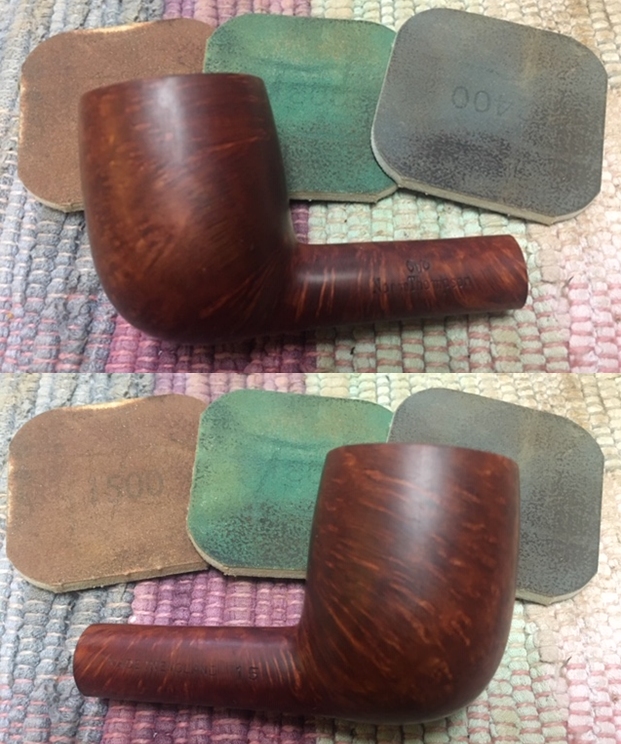
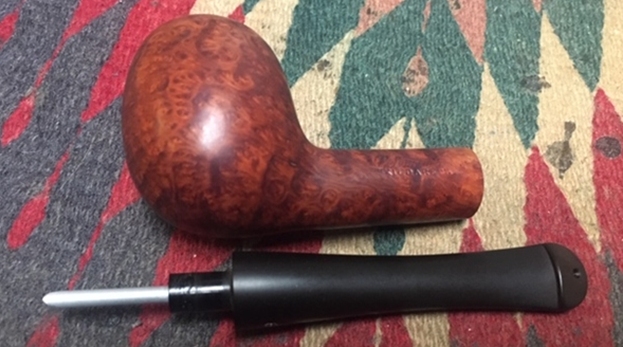
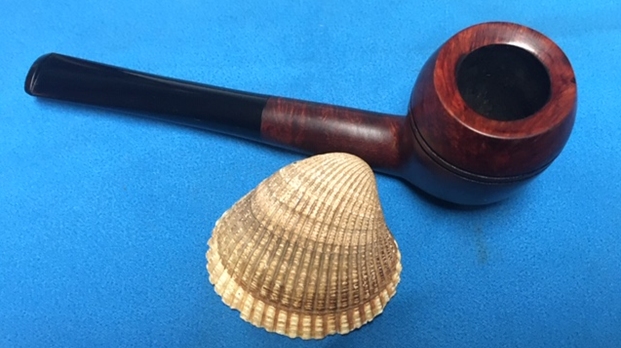
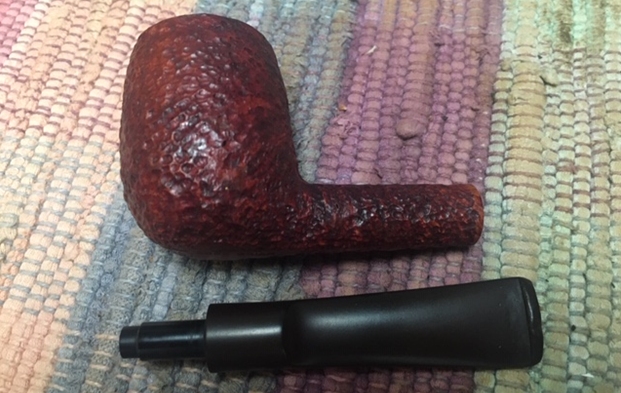 I decided to start my work on the pipe by addressing the darkening on the rim top and beveled inner edge. I used a folded piece of 220 grit sandpaper to work edge to remove the darkening. It took a bit of work but I was able to remove the majority of it and the end product looked much better.
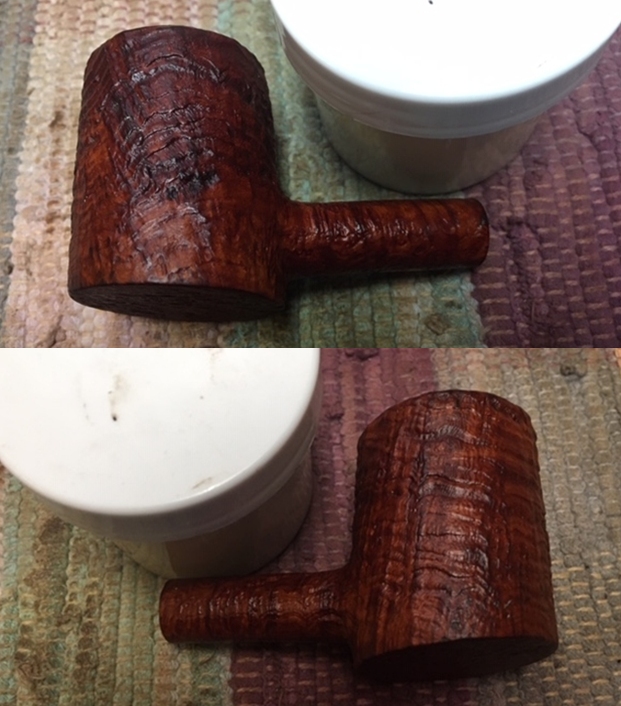
 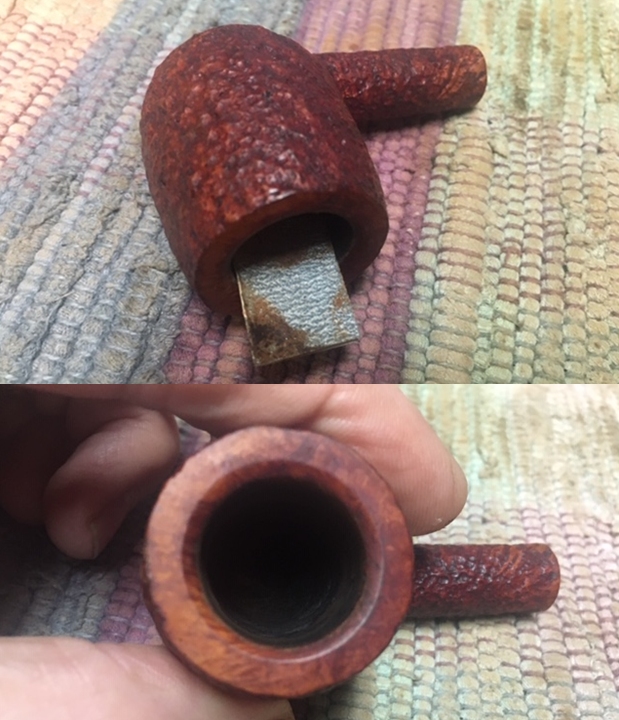 Because the bowl and rim top looked so good I decided to move on to rubbing the briar down with Before & After Restoration Balm. I worked it into the briar with my fingertips and a horse hair shoe brush to get it into the crevices. The product works to clean, enliven and preserve the briar. I let it sit for 10 minutes while I worked on the stem. After the time passed I buffed it with a cotton cloth to deepen the shine. The briar really comes alive with the balm.
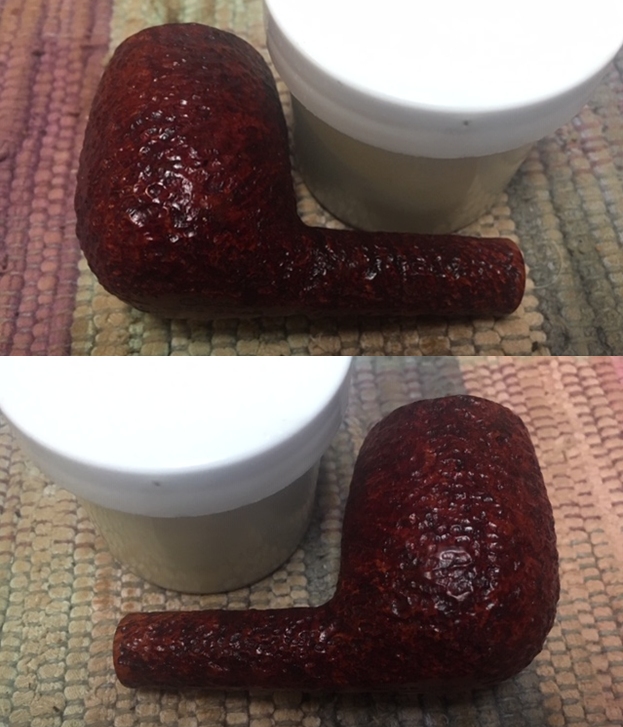

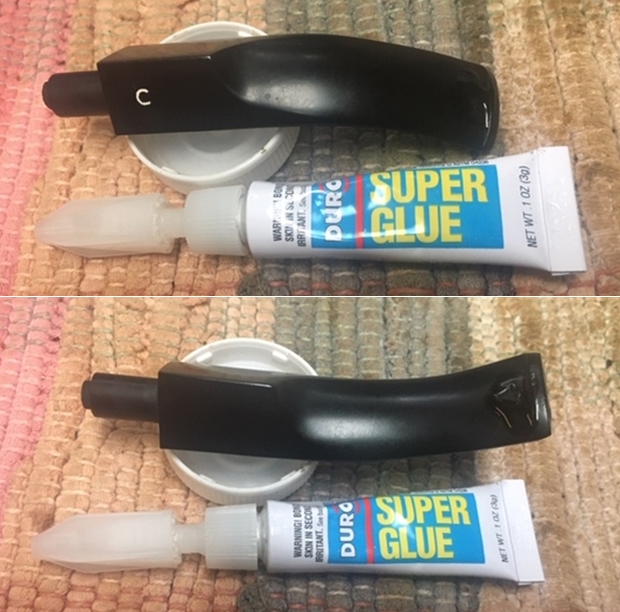
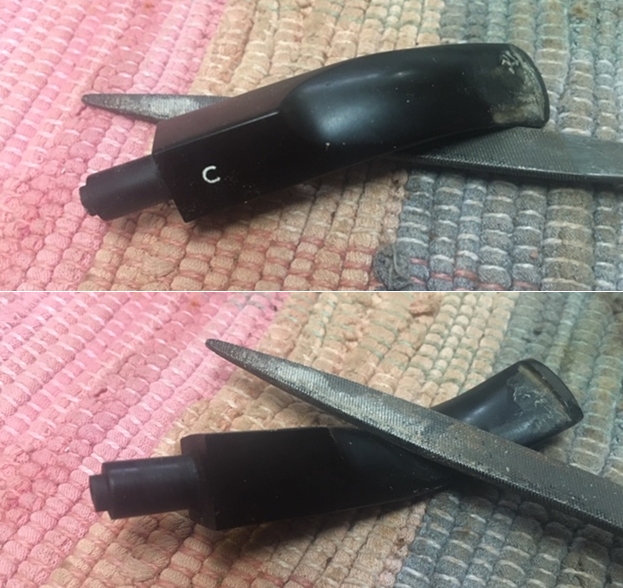
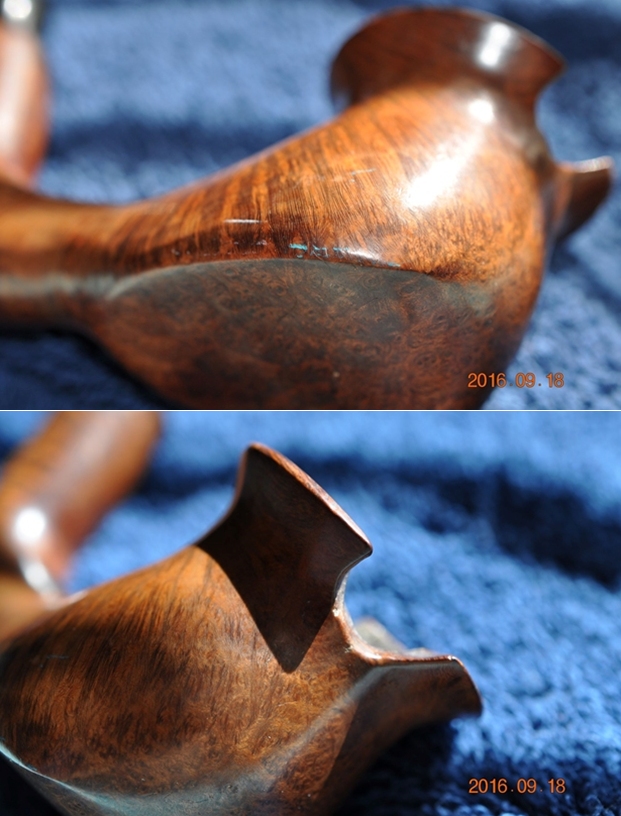
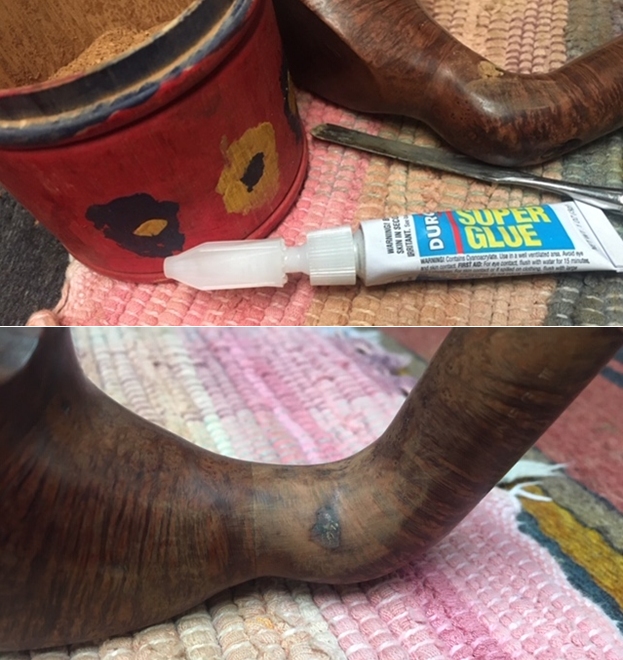
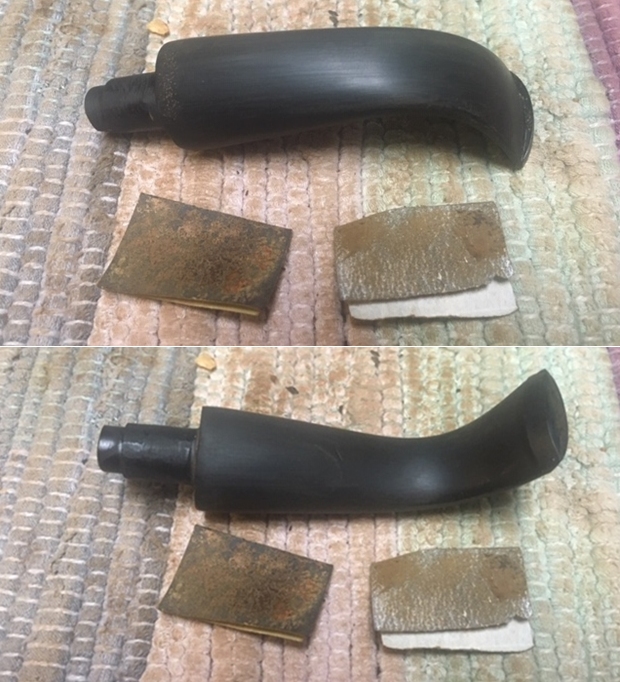
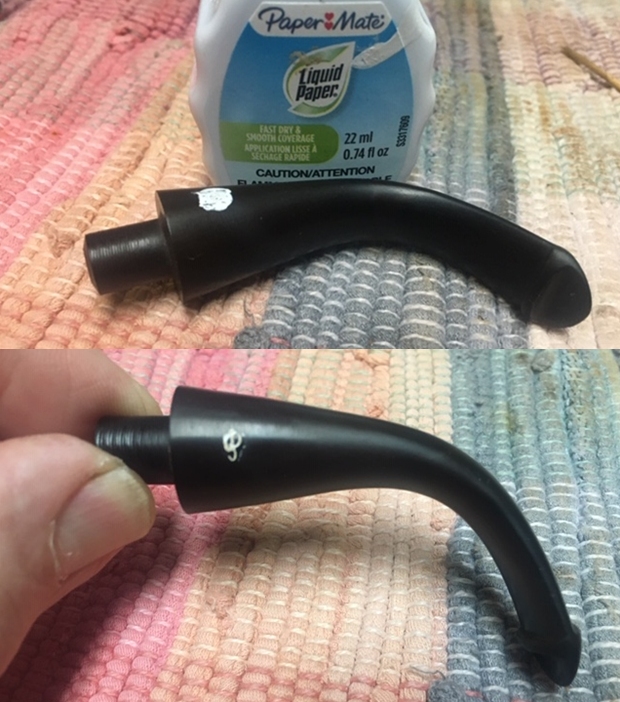
 I set the bowl aside and turned my attention to the stem. The deep tooth marks and the deep marks on the top and underside of the stem needed to be filled in and reshaped. I filled them in with clear super glue. I purposely overfill the spots so that as they cure and shrink they will still fill in the damage. Once the glue cured I used a needle file to recut the button edge and shape the button surfaces. I flattened the fills on the top and underside of the stem at the same time.
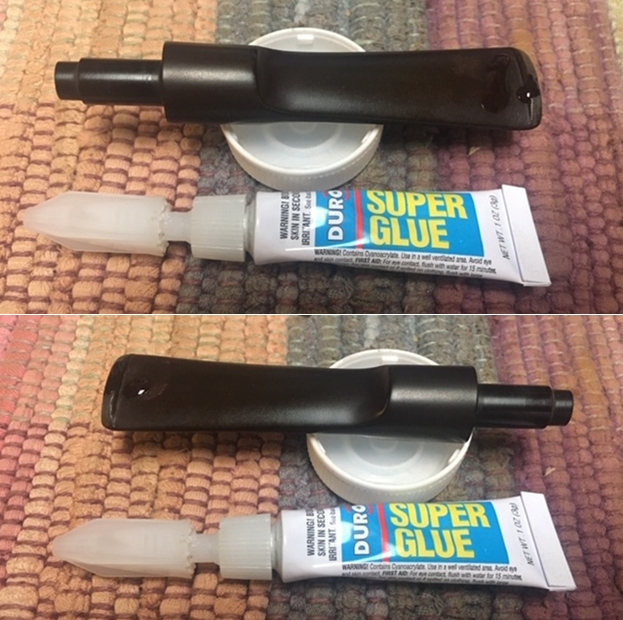
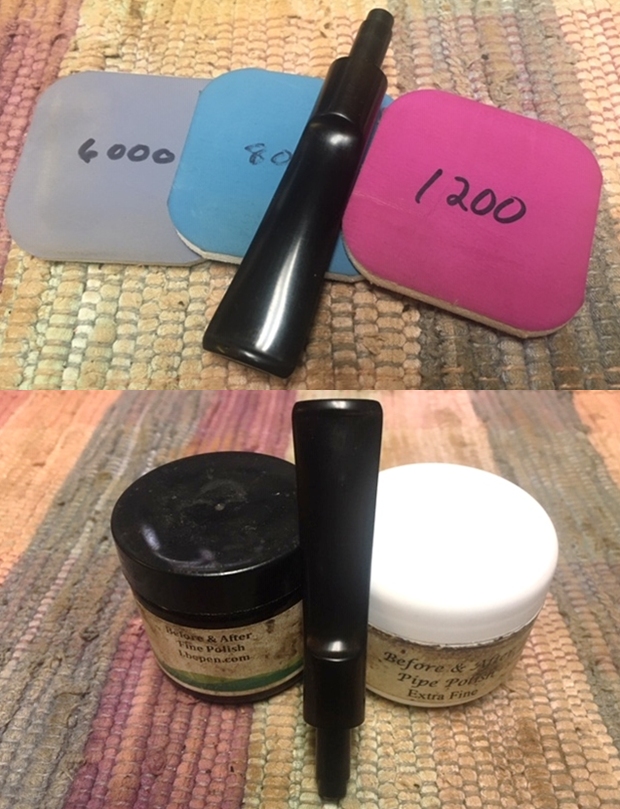
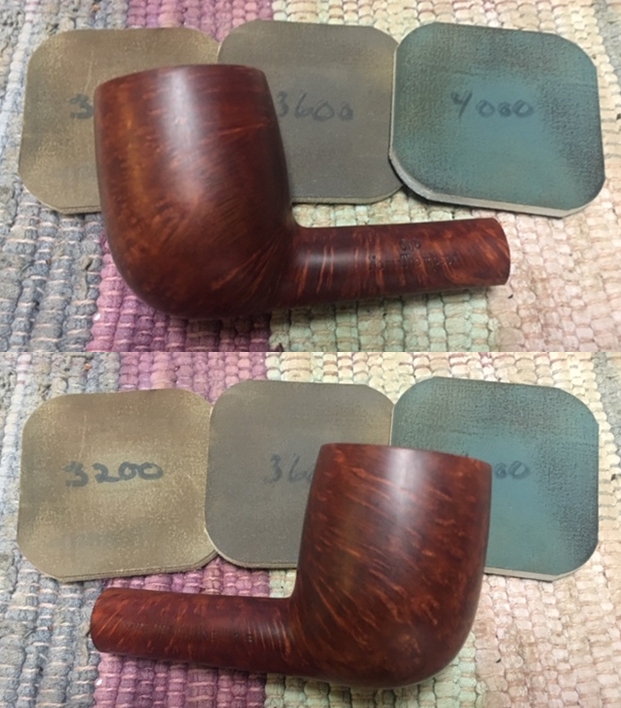
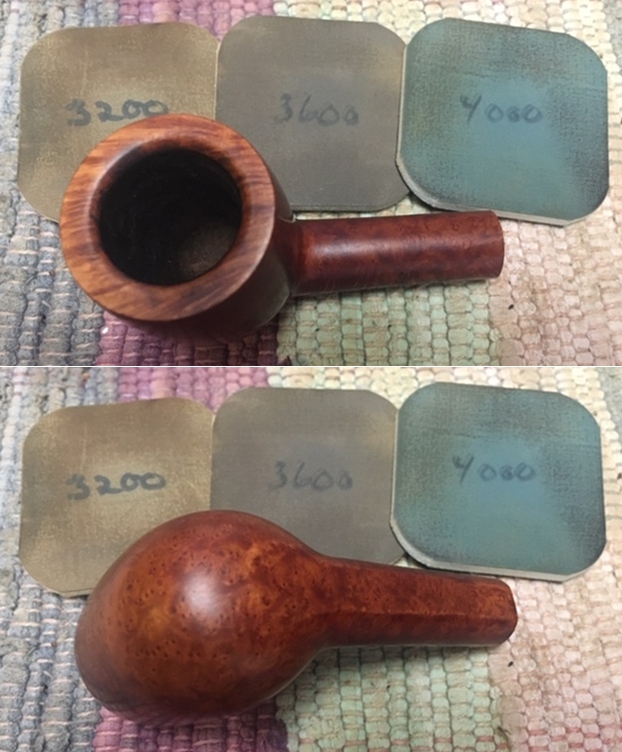
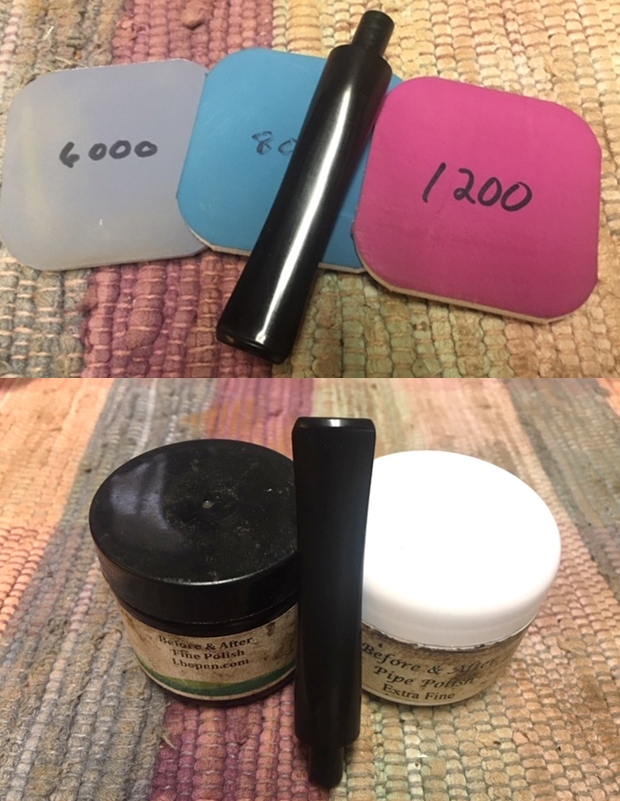
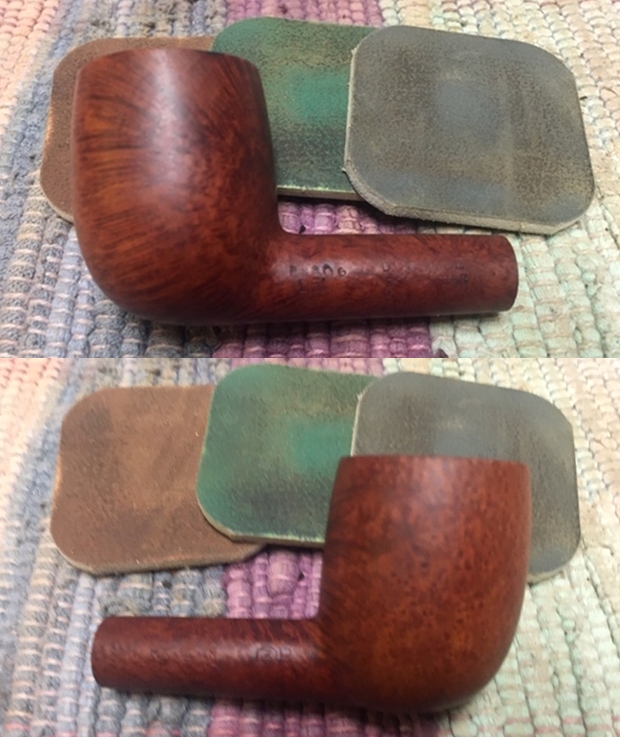
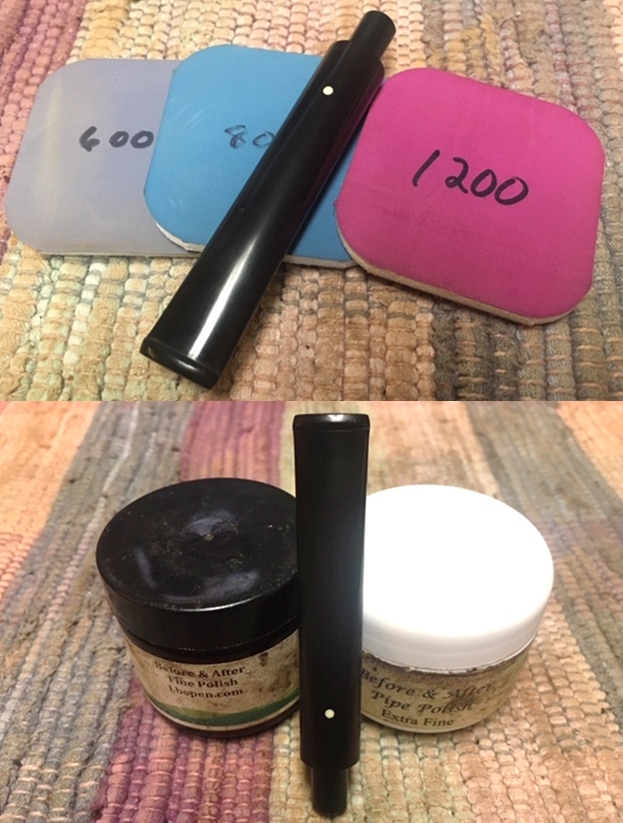
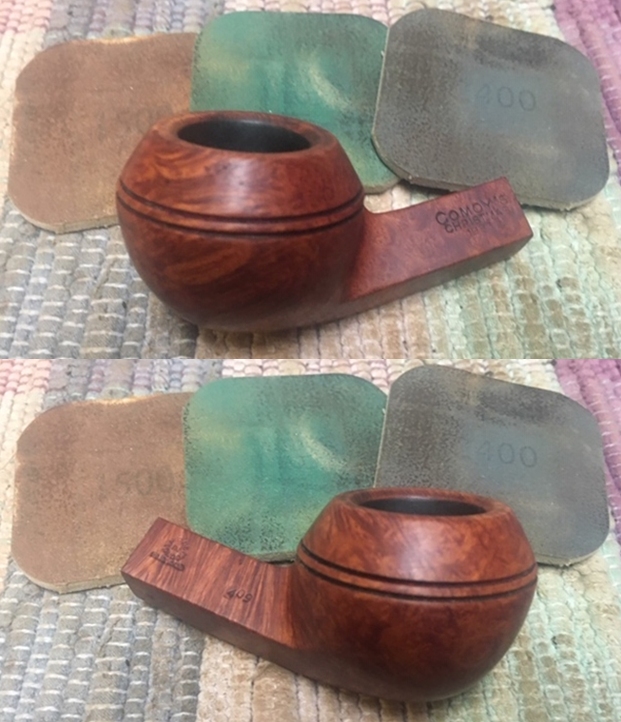
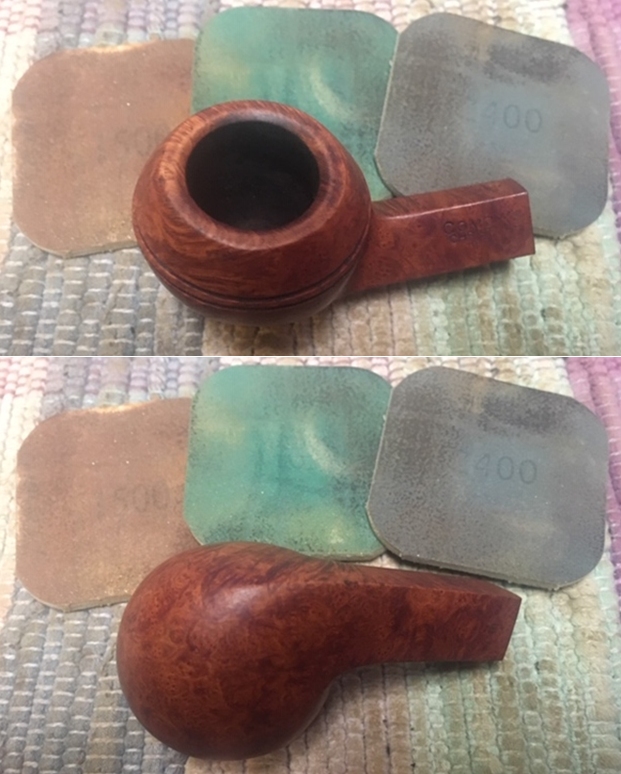
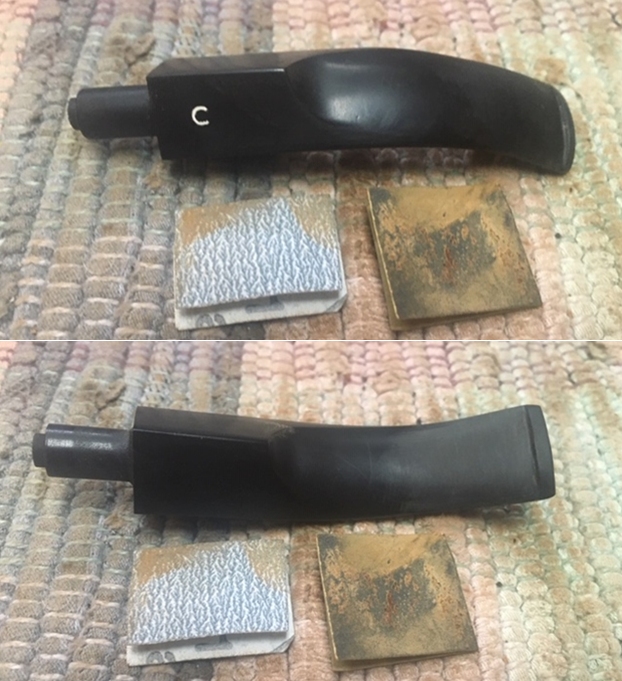
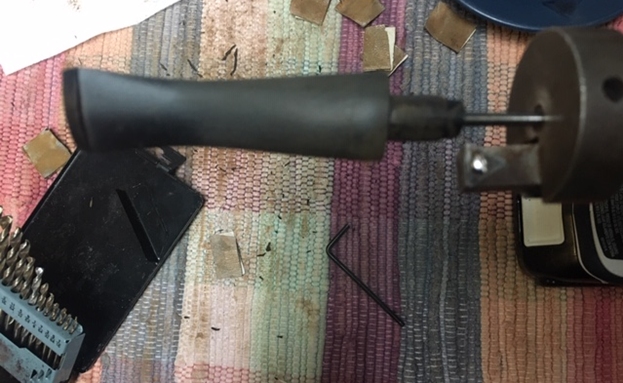
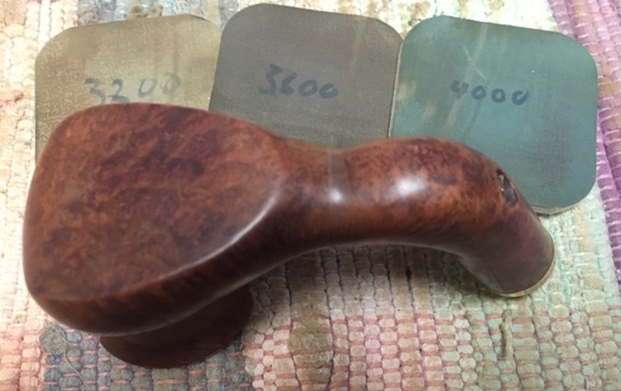
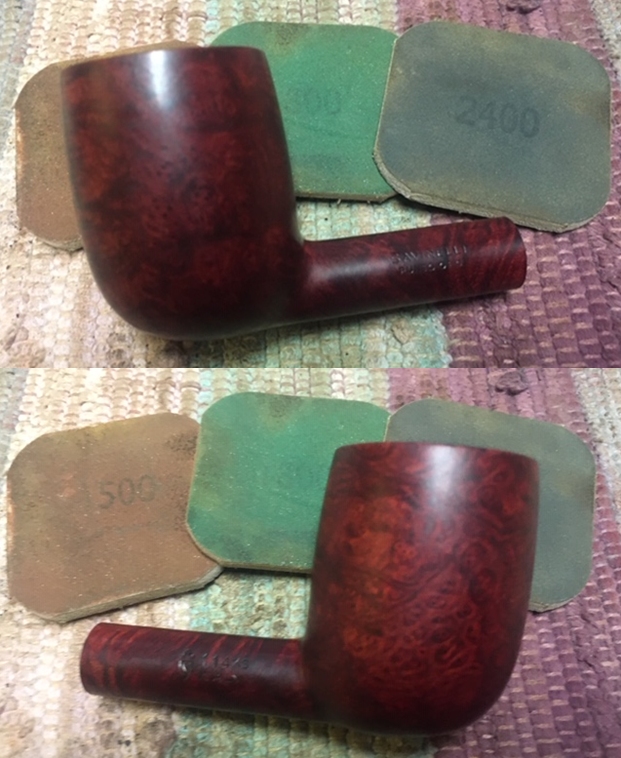
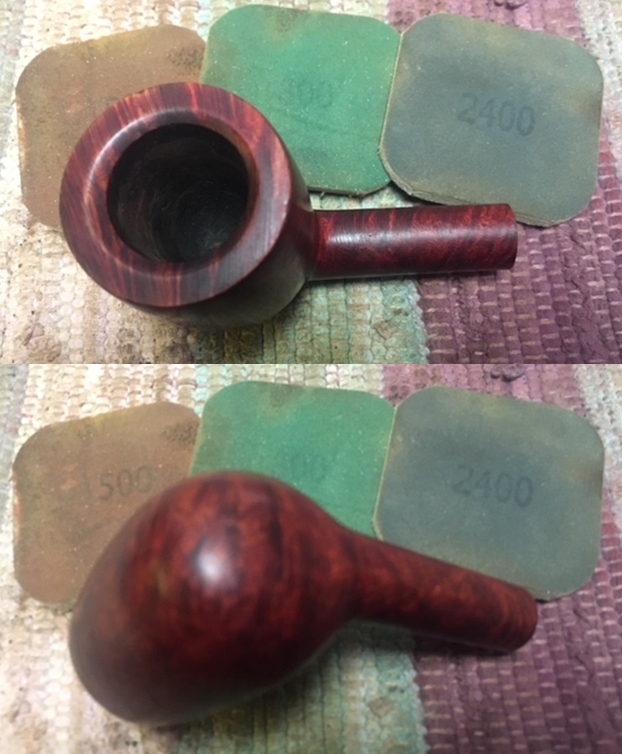
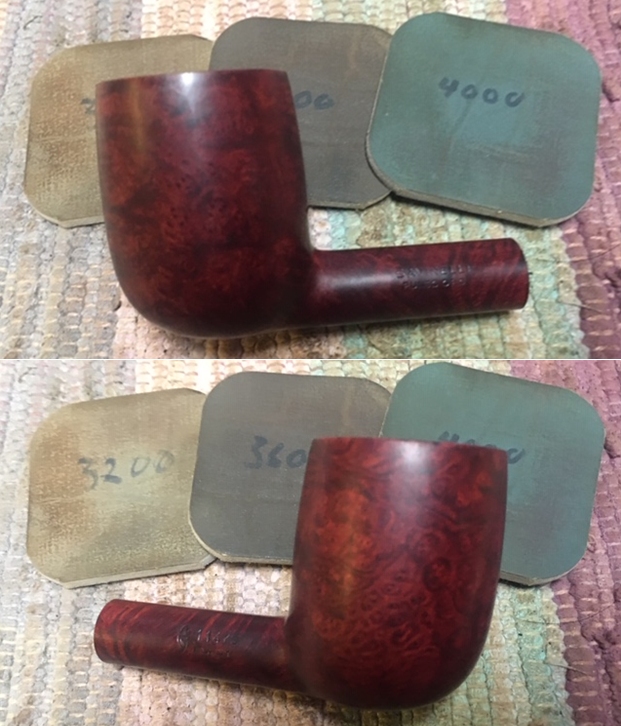
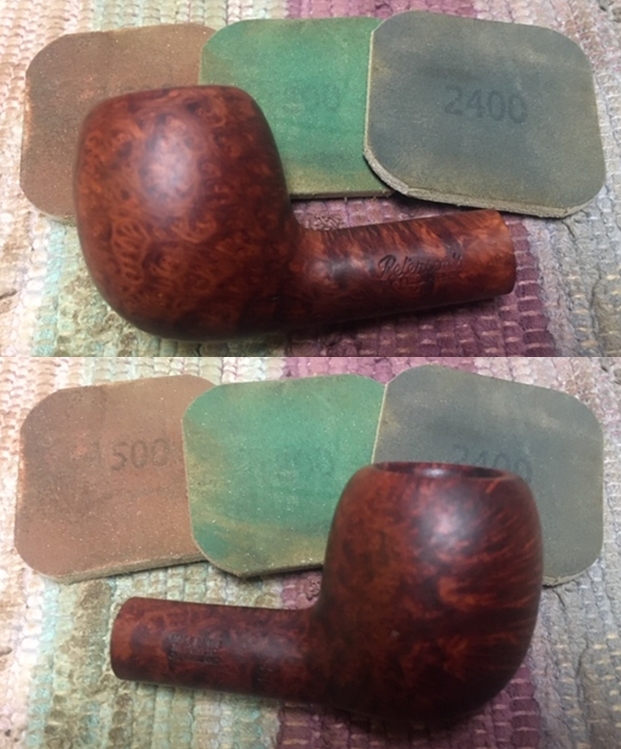
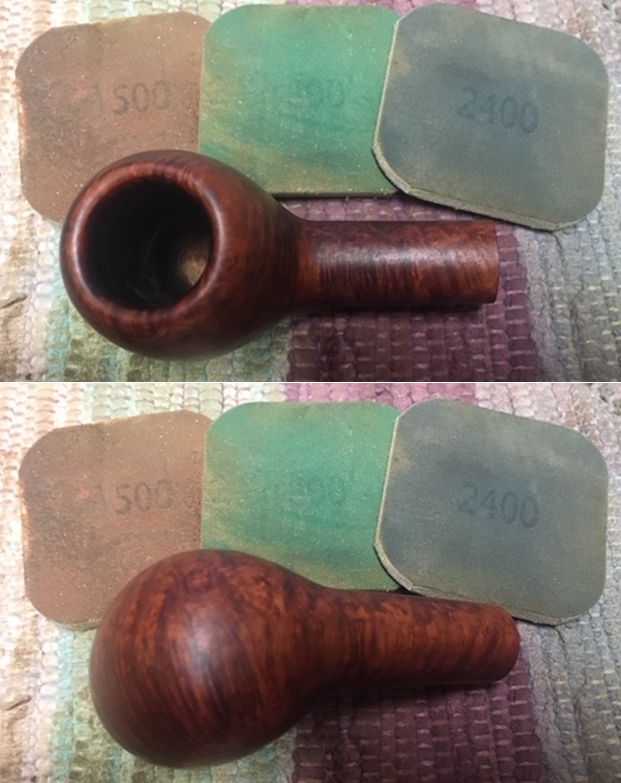
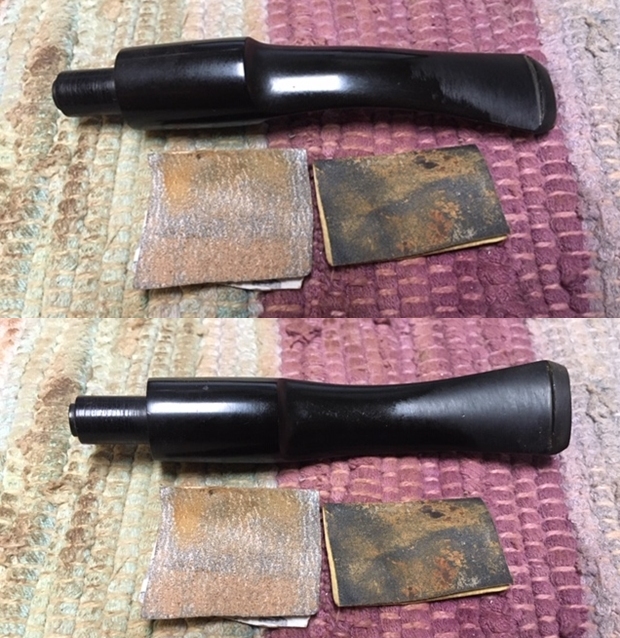
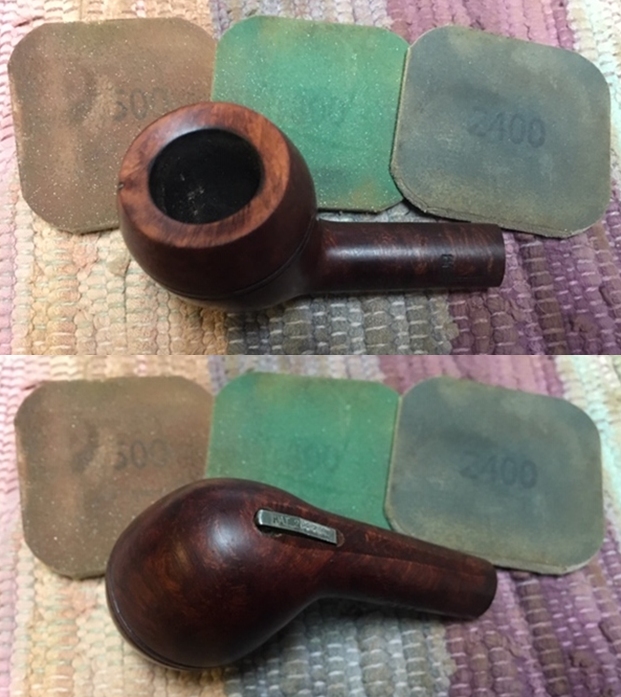
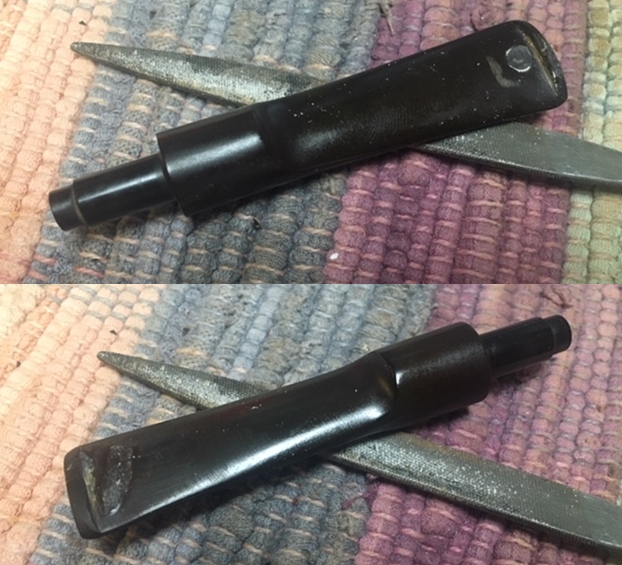 I sanded the repaired button and stem surface with 220 grit sandpaper to blend them into the surface of the button and stem. I started polishing the stem with 400 grit wet dry sand paper.
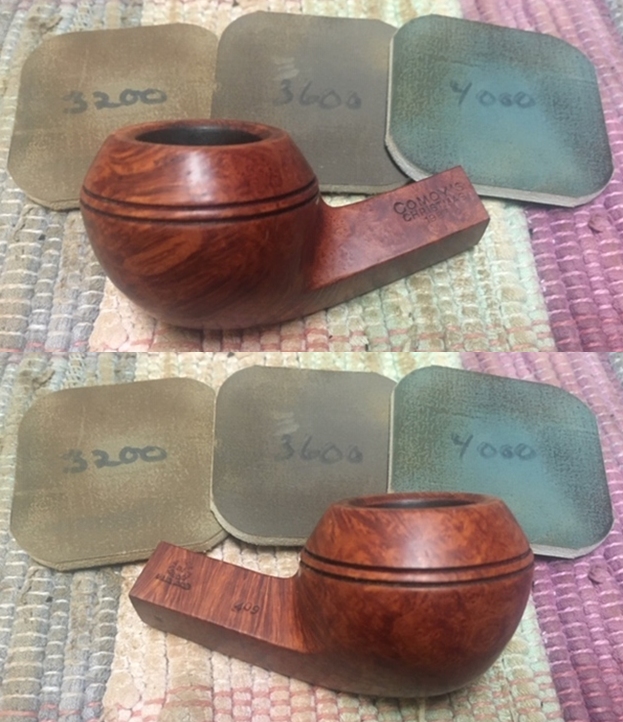
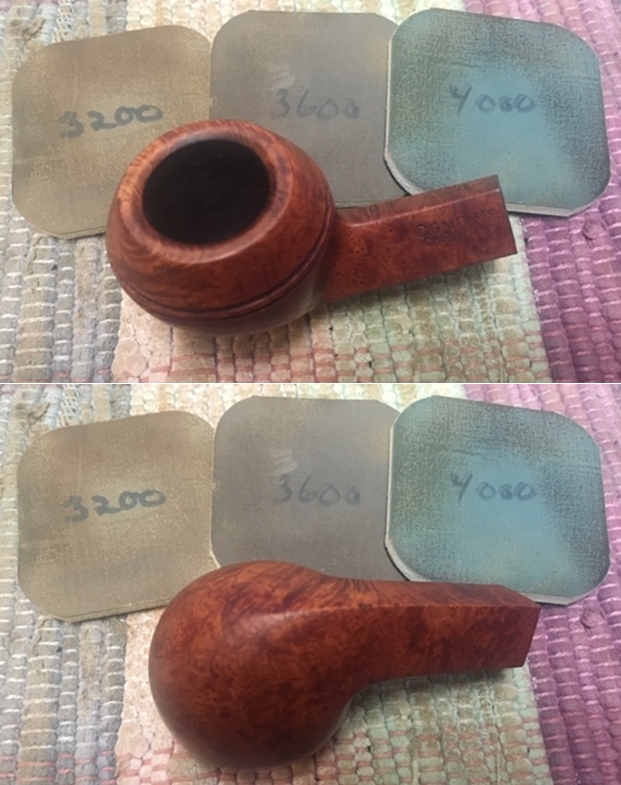
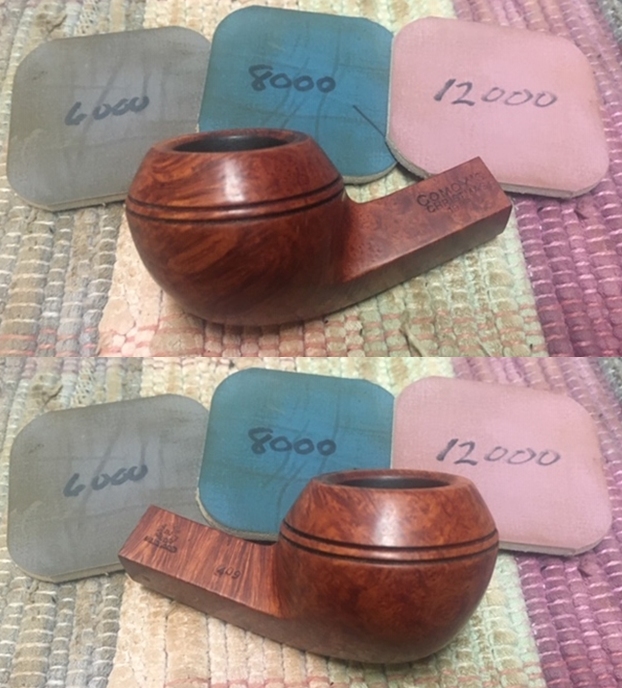
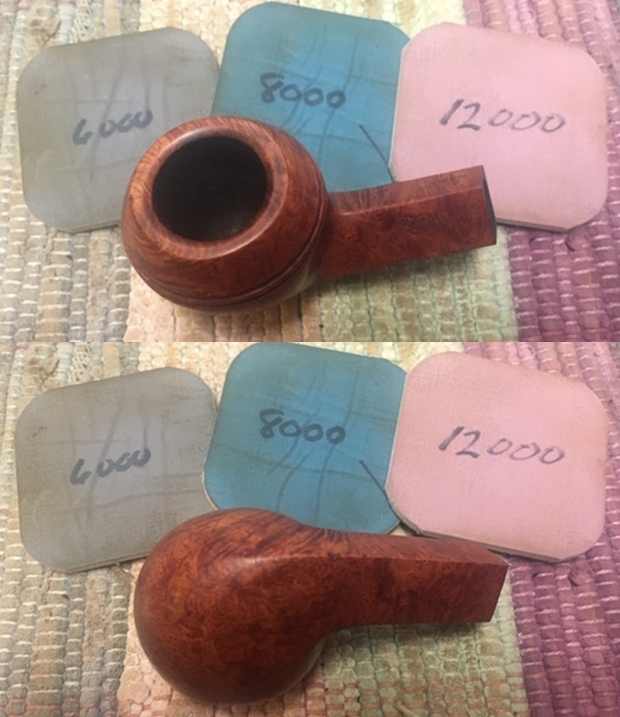
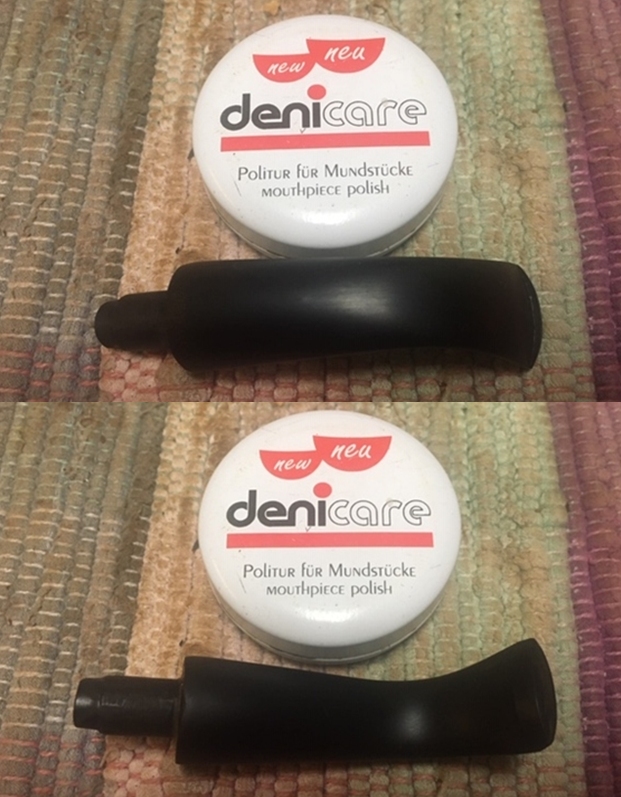
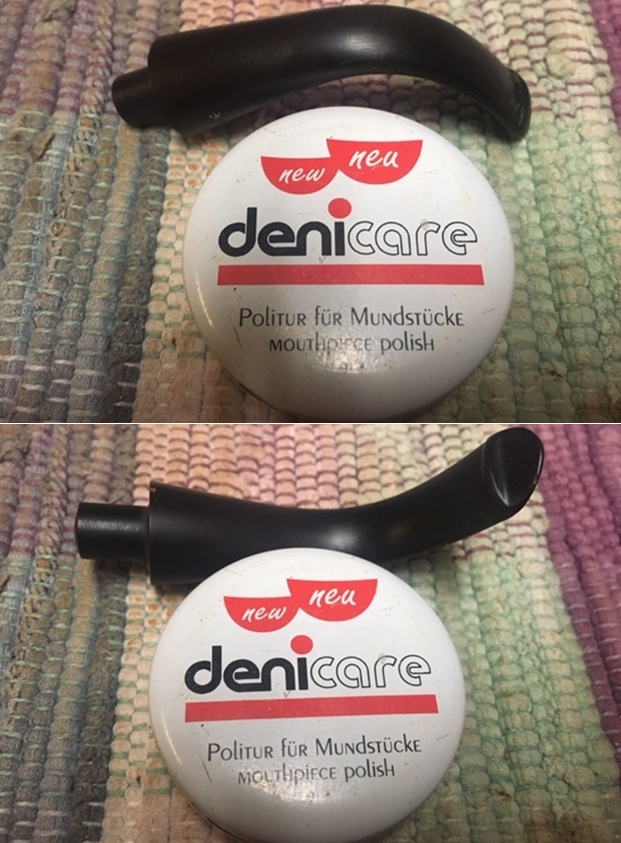
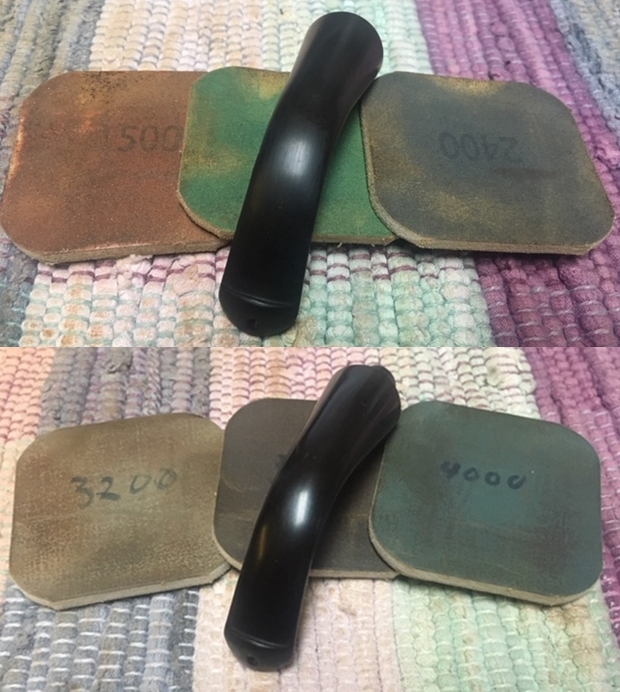
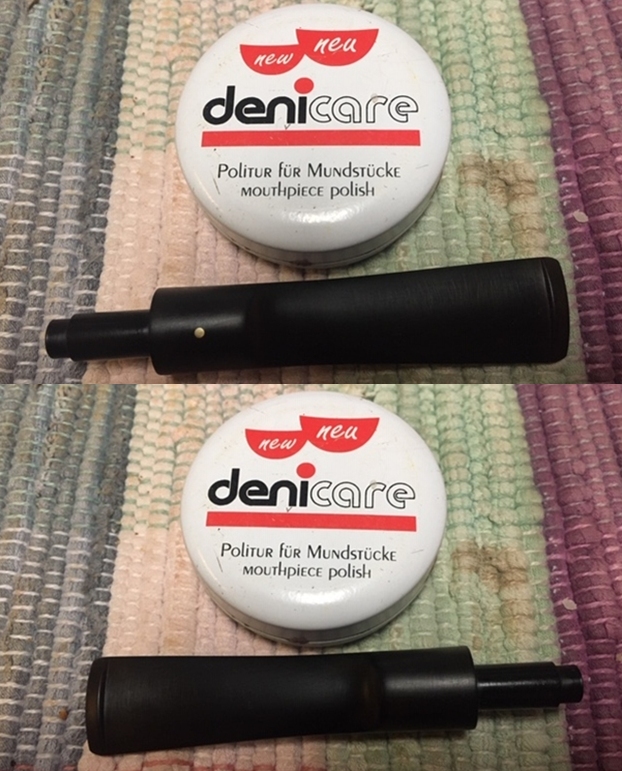
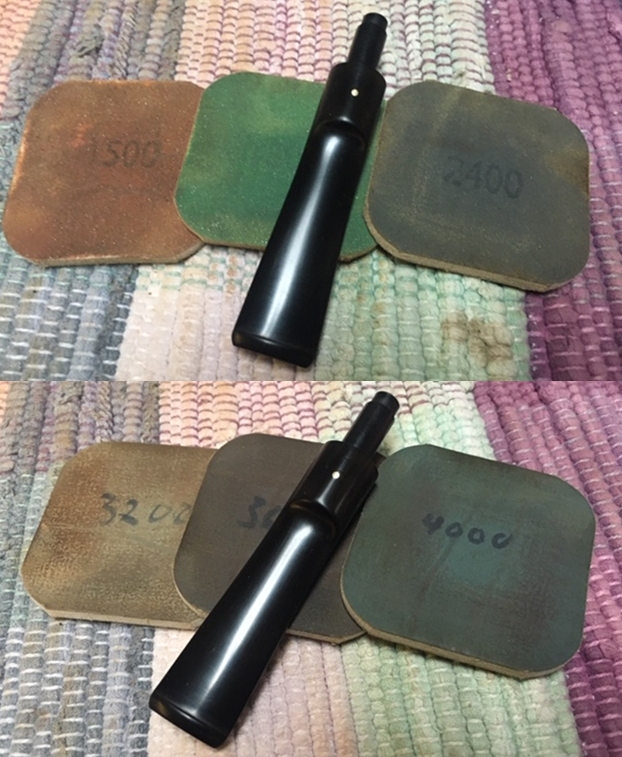
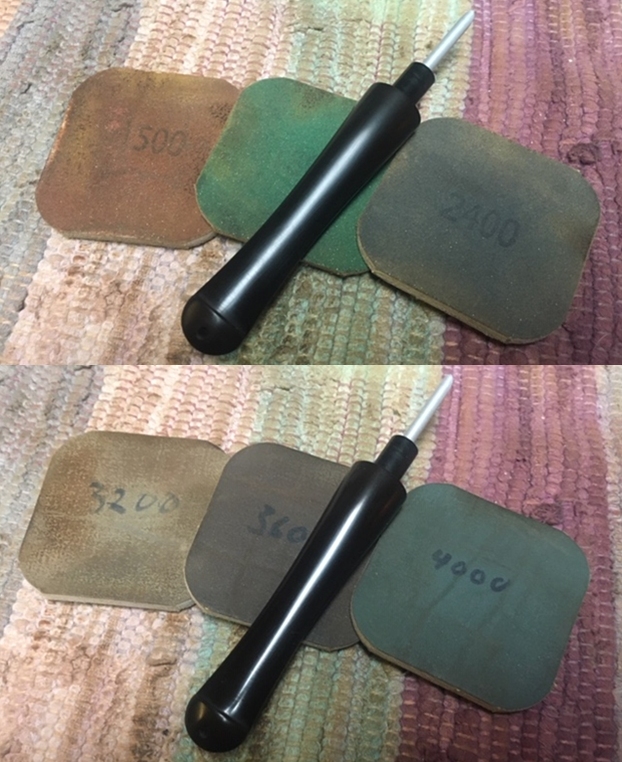
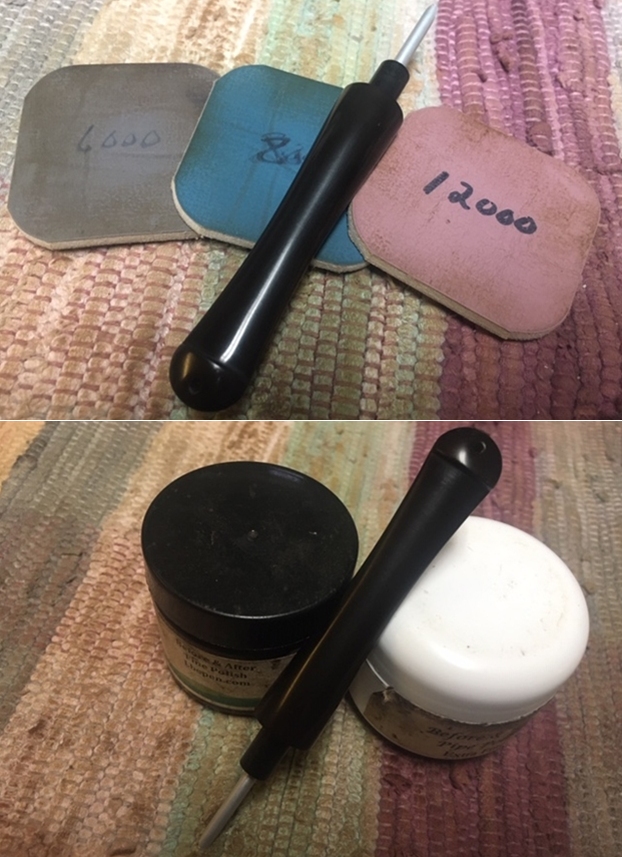
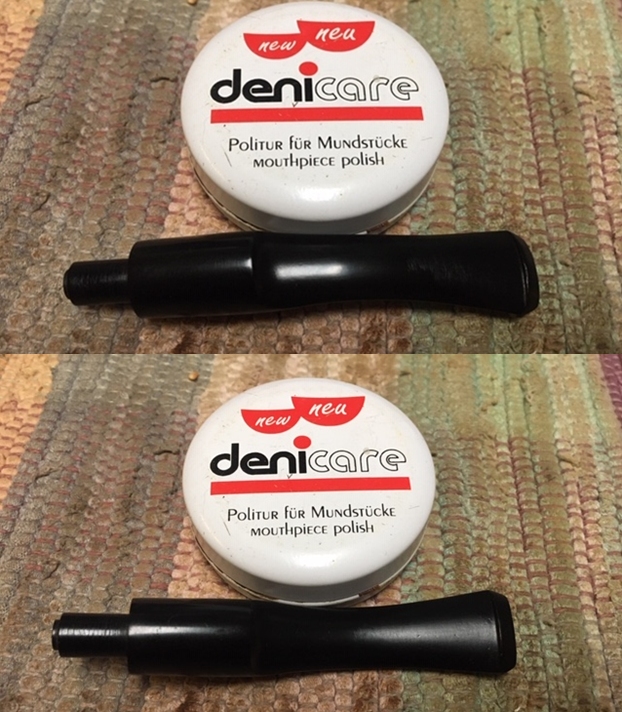
  I rubbed the stem down with Denicare Mouthpiece Polish – a red, gritty Tripoli like substance that is a paste. I rubbed it into the surface of the stem and polished it off with a cotton pad. I have found that is a great intermediary step before polishing with micromesh pads. I am not sure what I will use once the final tin I have is gone!
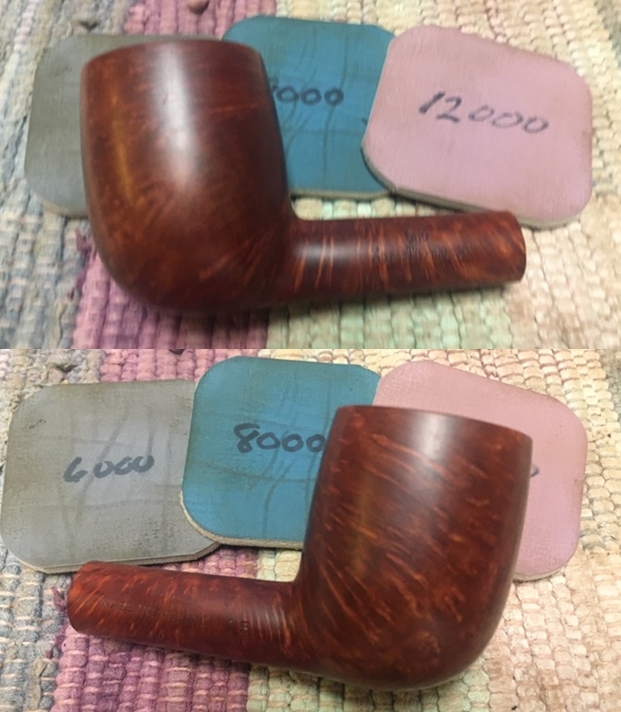
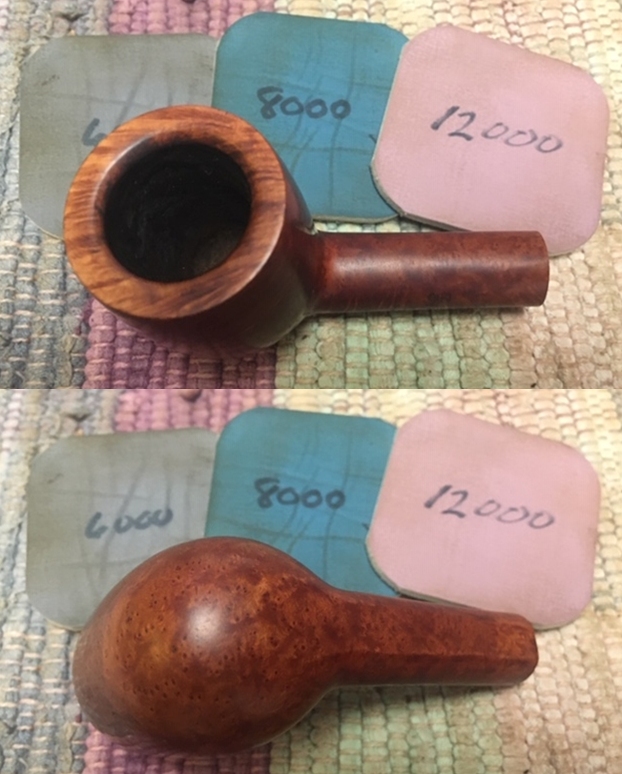
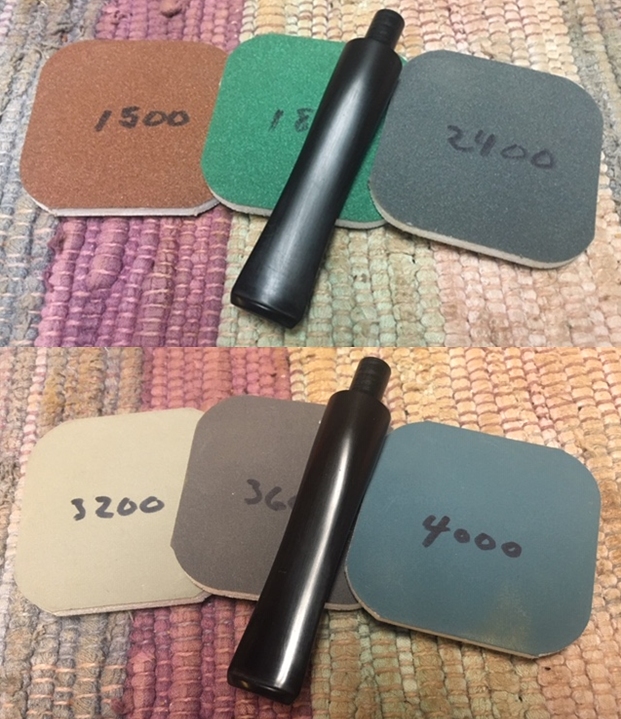
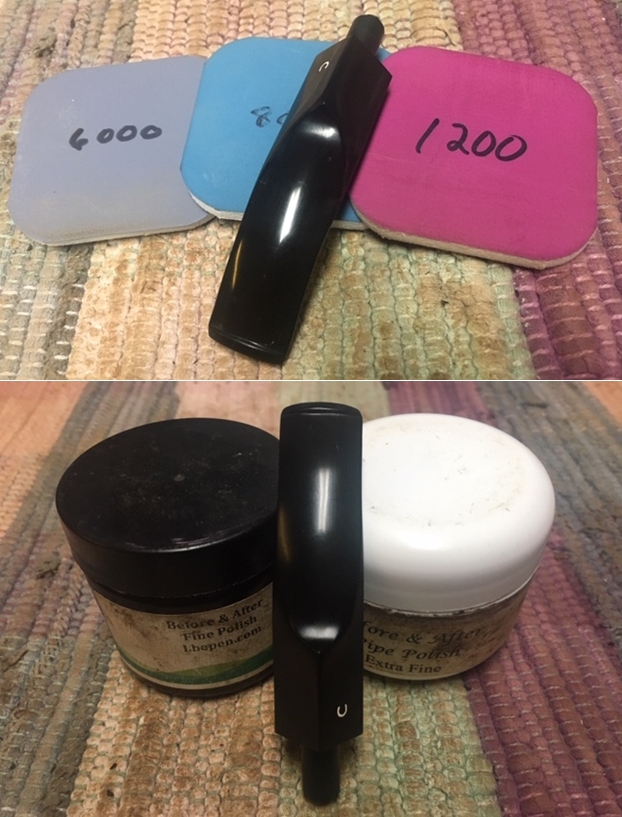
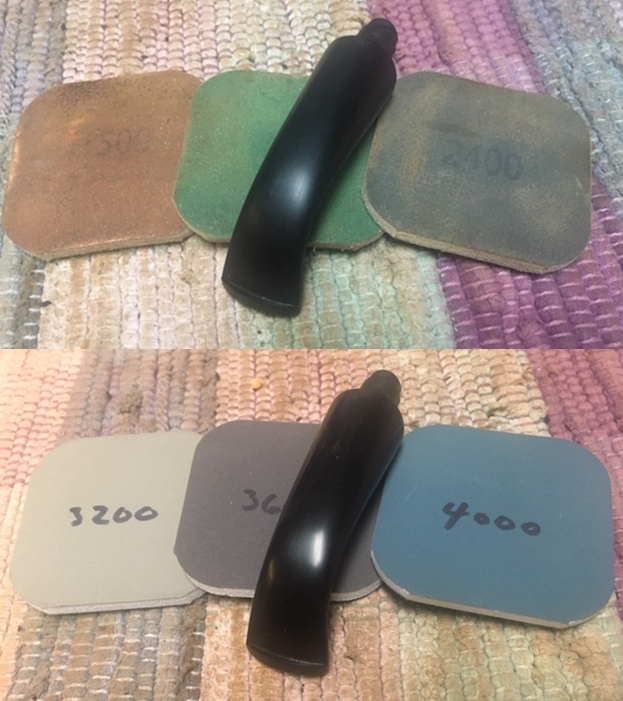
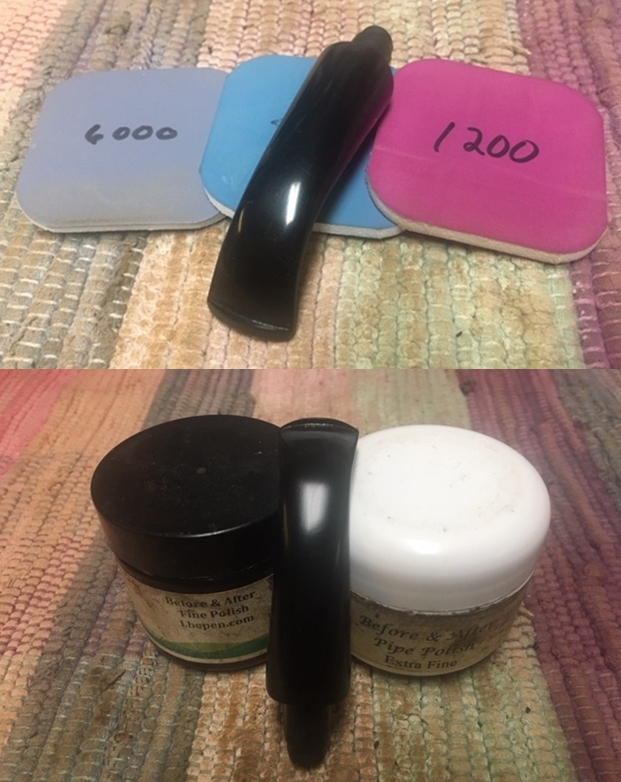
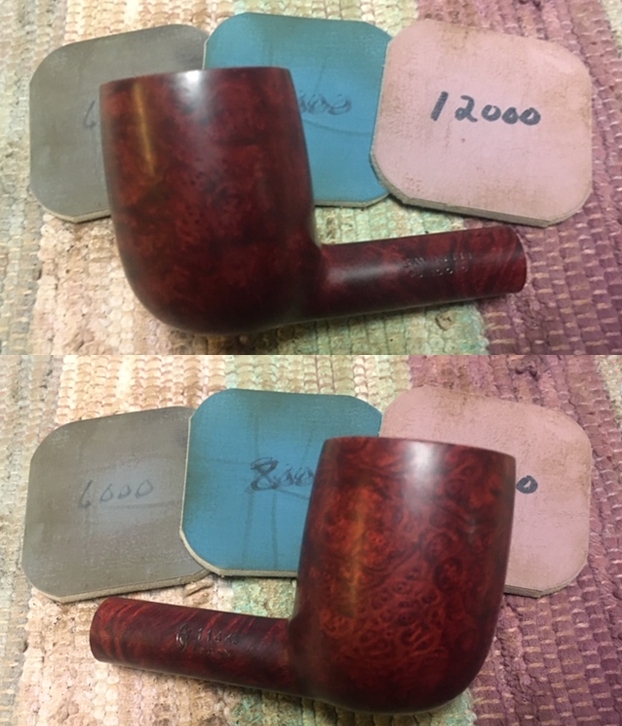
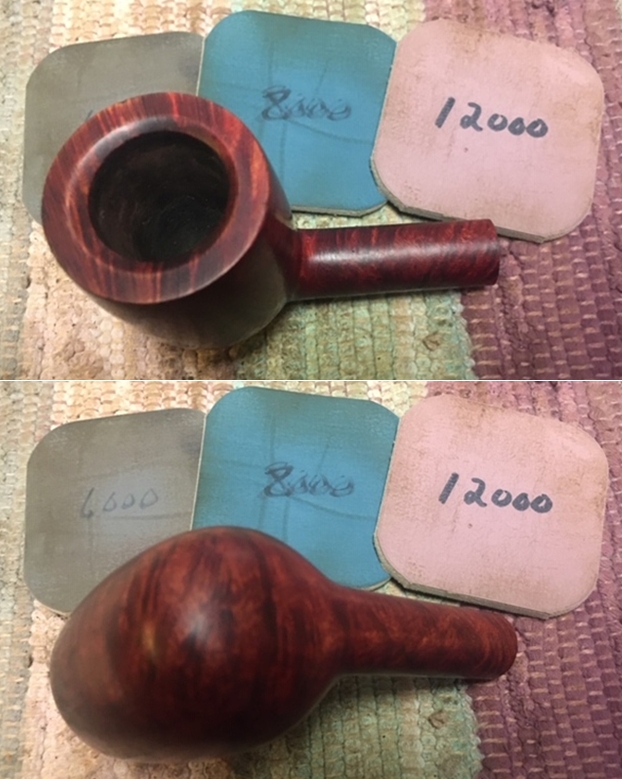
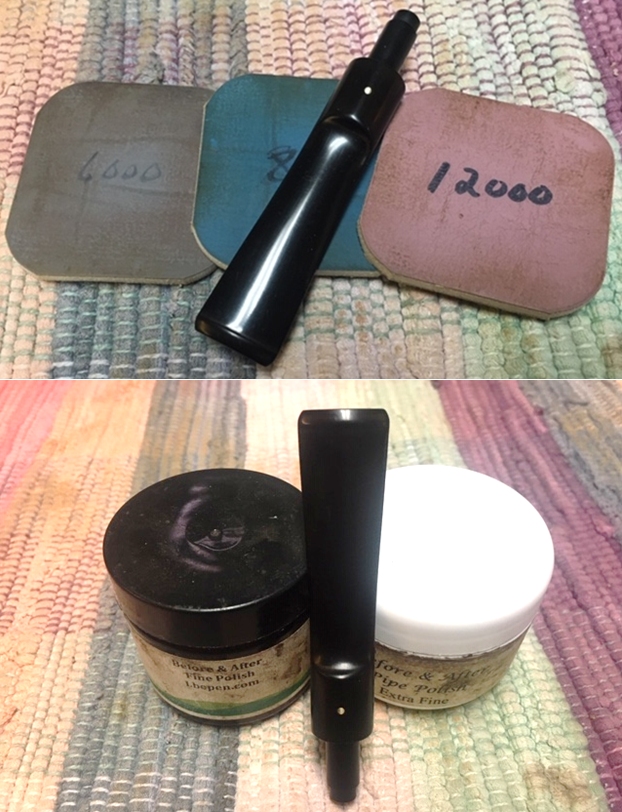
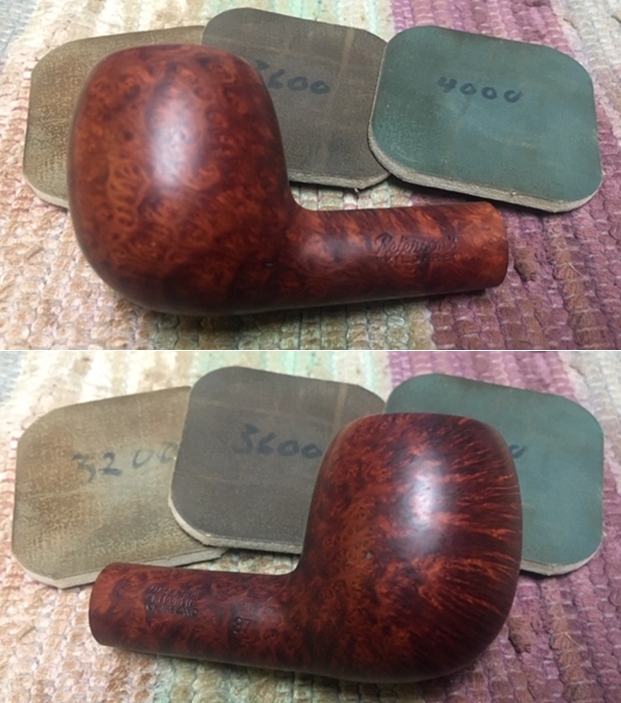
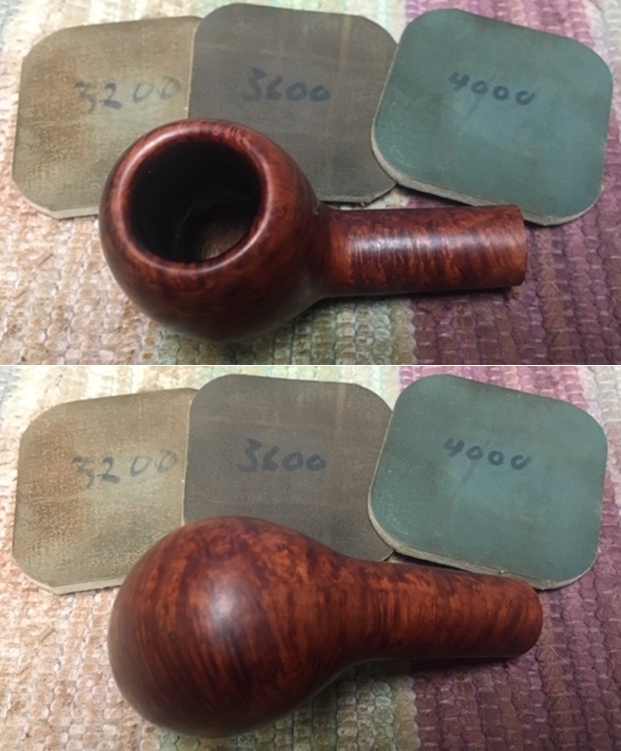
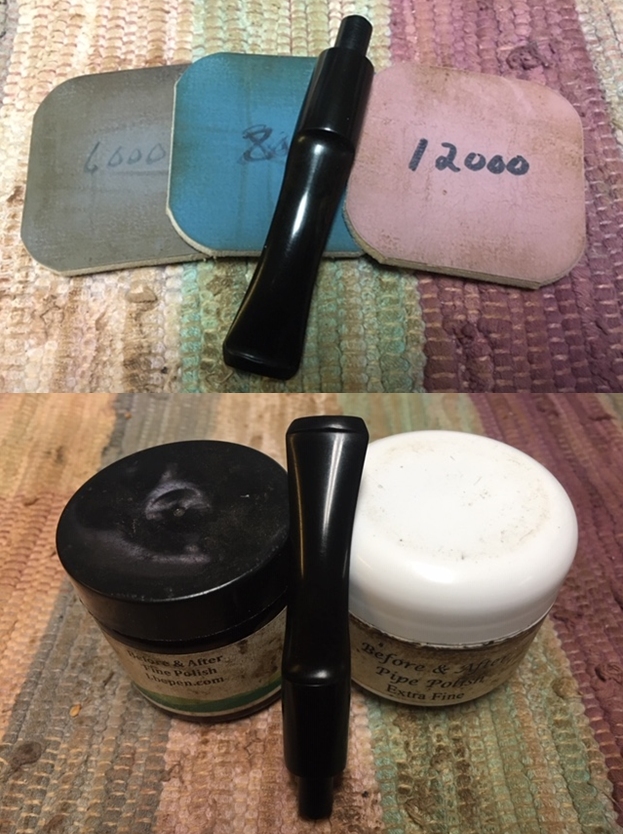
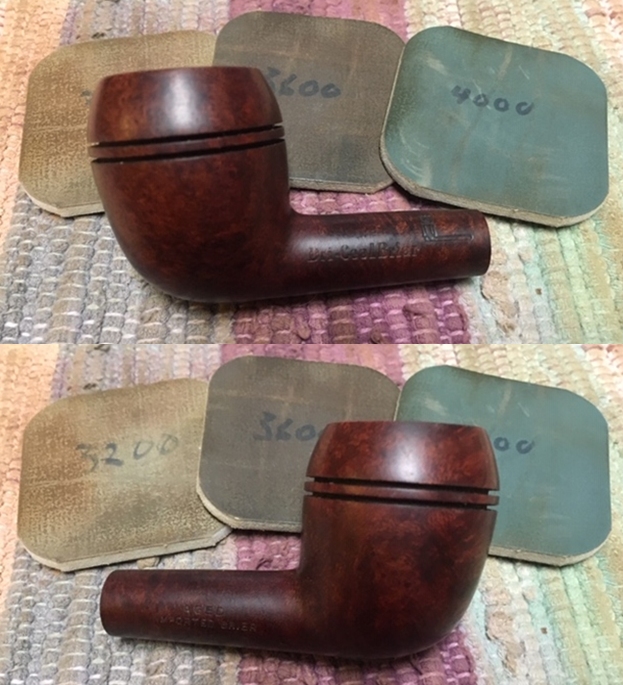
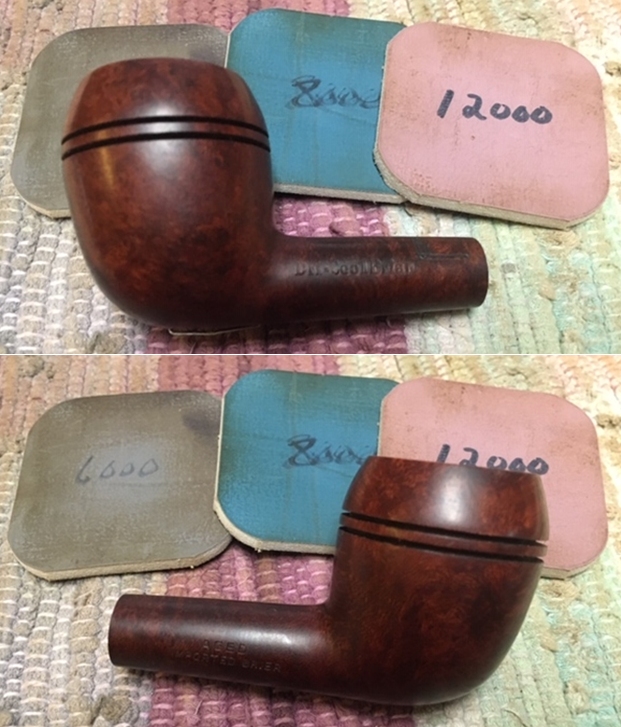
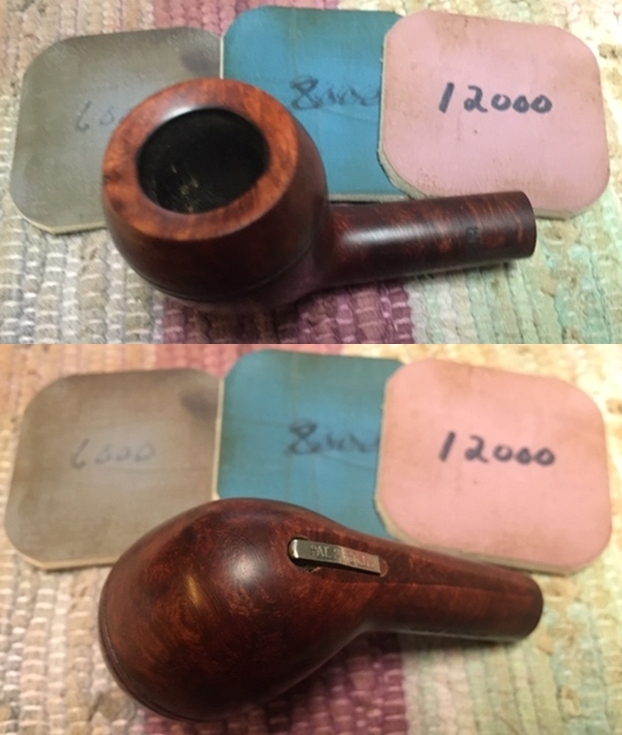
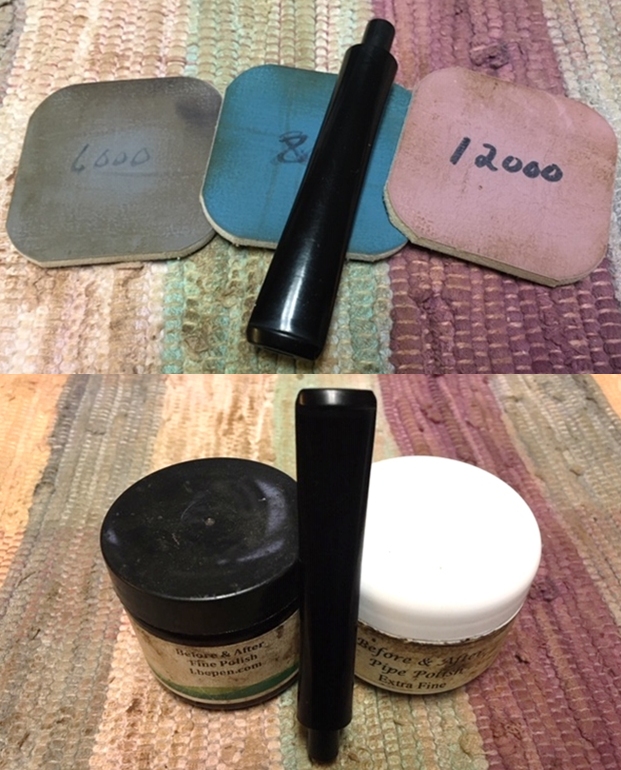
 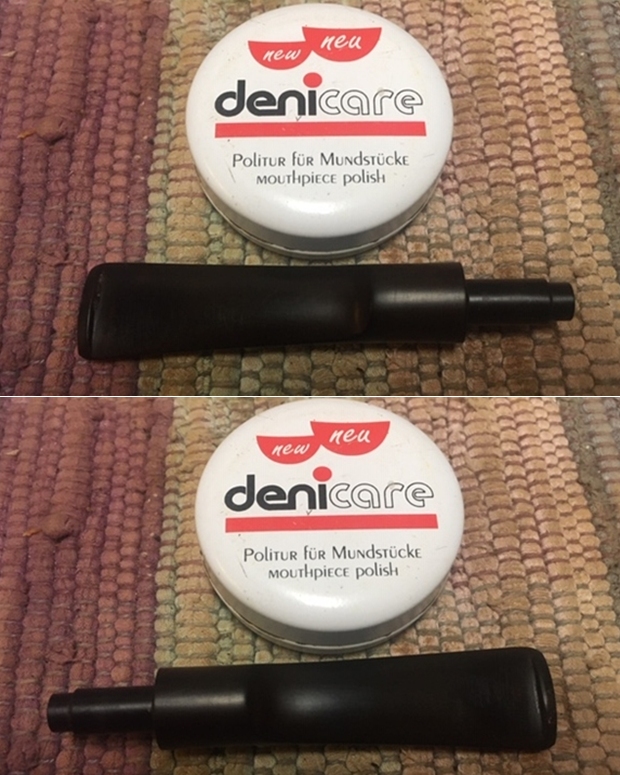 I polished the vulcanite with micromesh sanding pads – 1500-12000 grit pads. I wiped it down with Obsidian Oil after each sanding pad. I used Before & After Pipe Polish – both Fine and Extra Fine to further polish the stem.
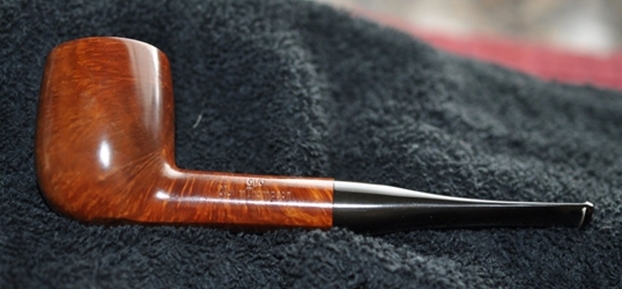
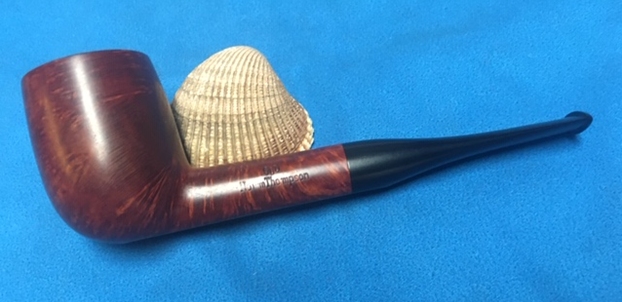
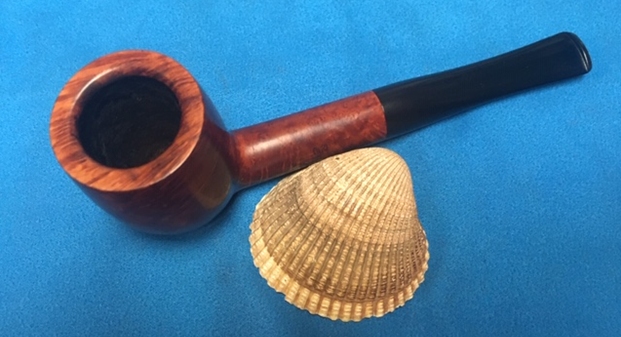
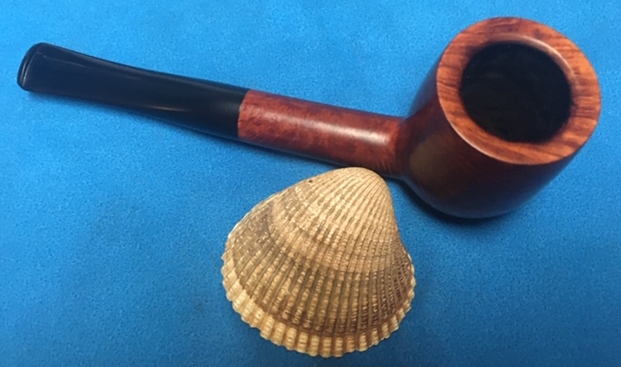
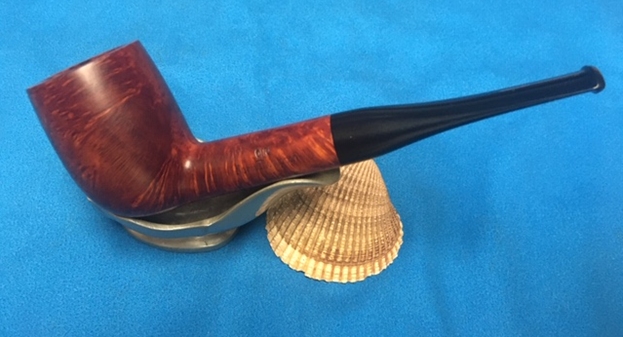
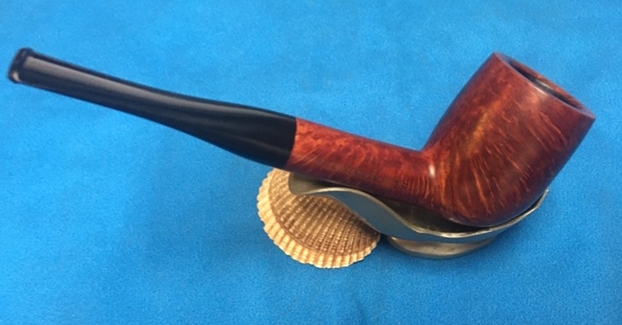
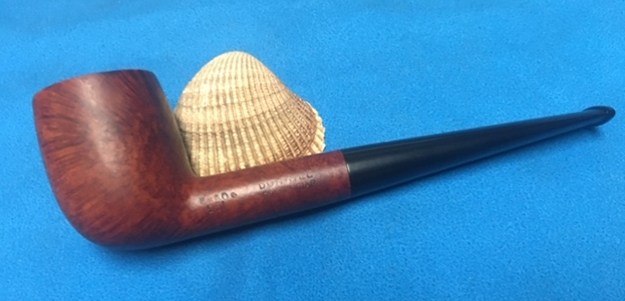
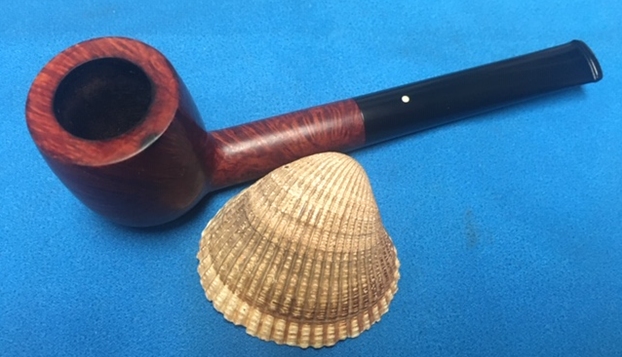
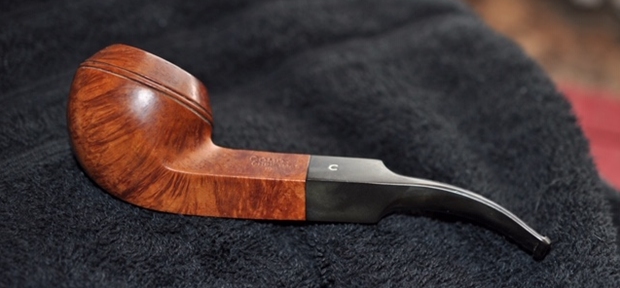
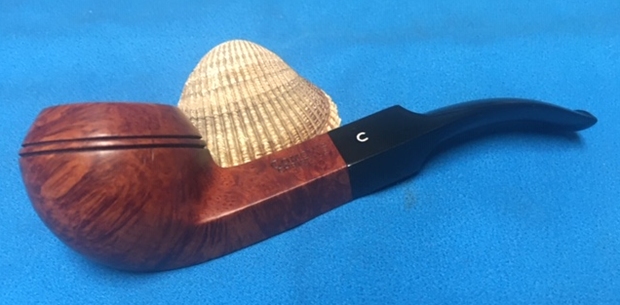
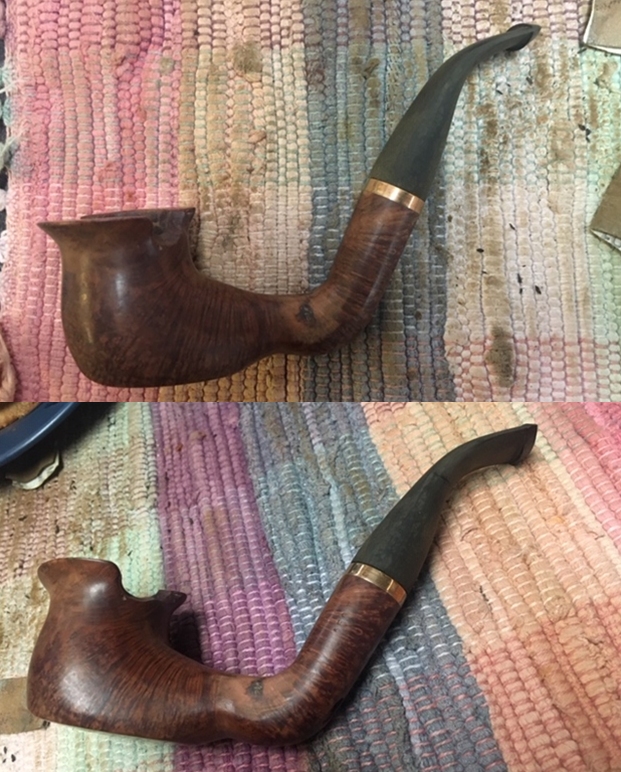
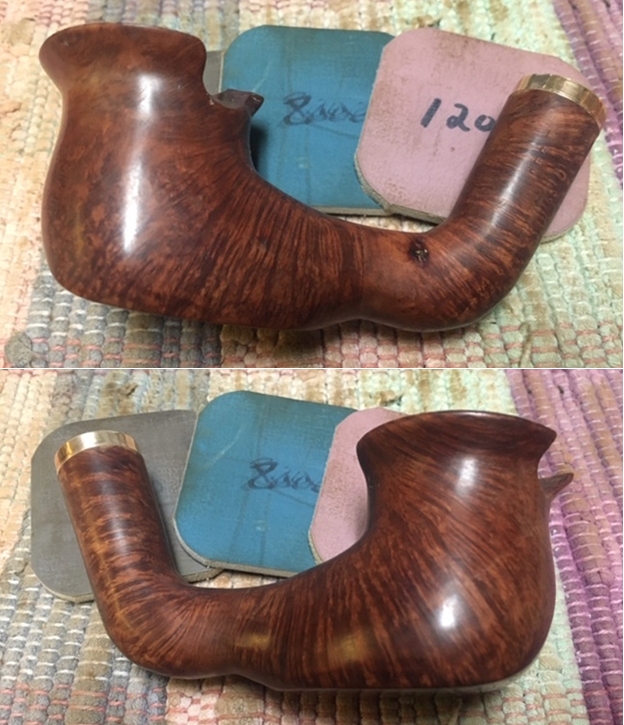
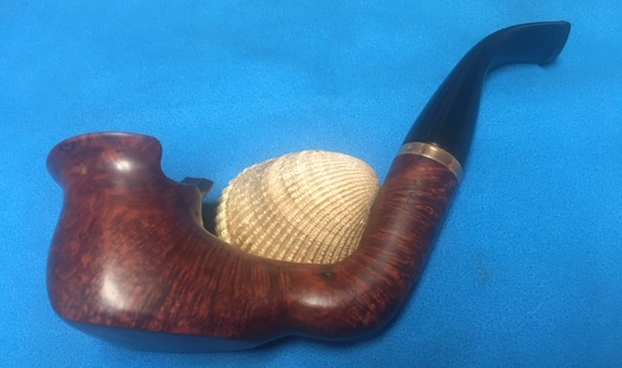
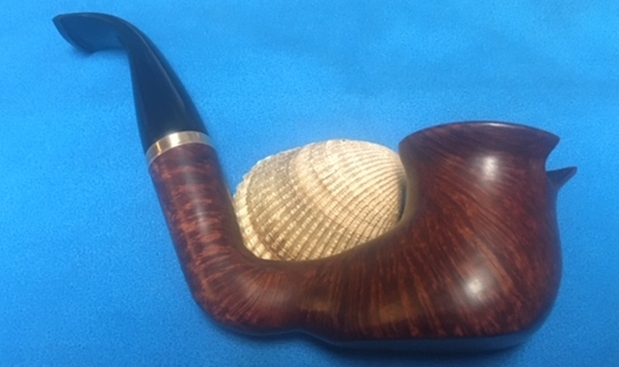
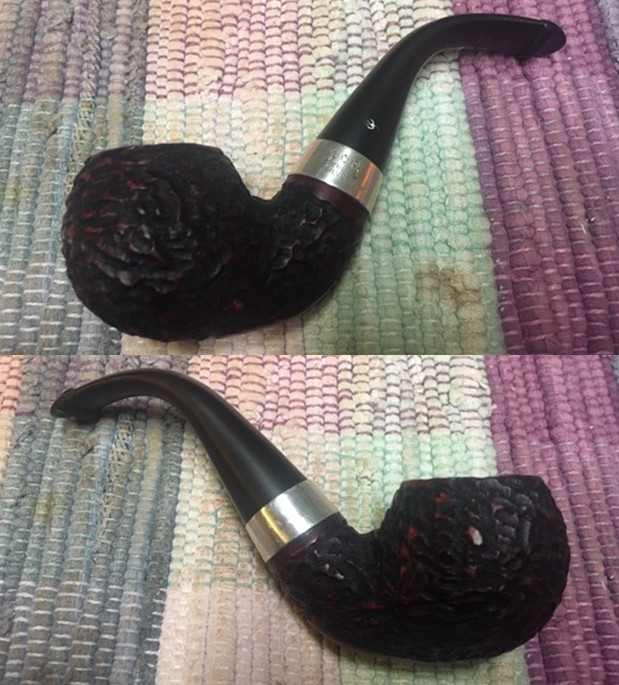
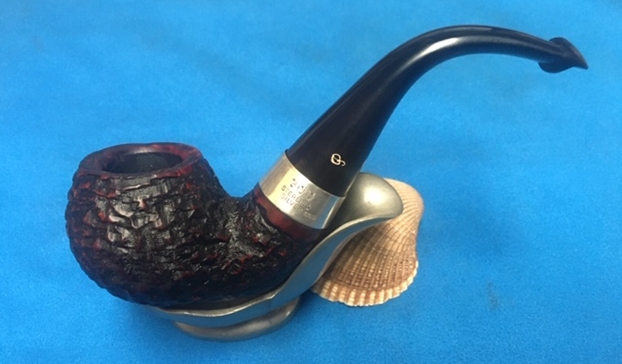
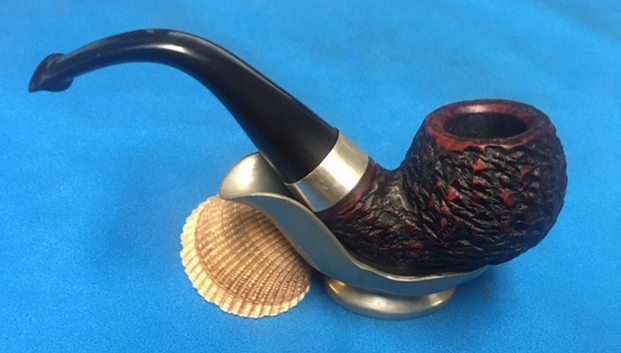
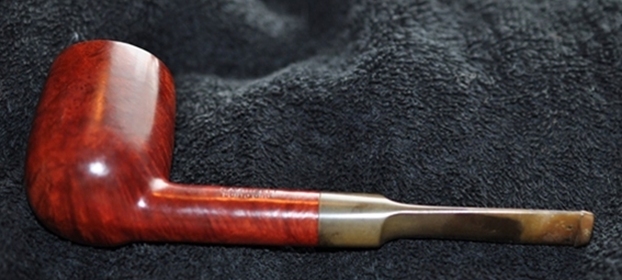
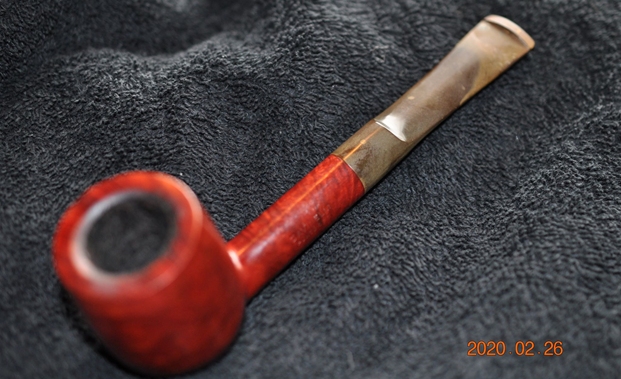
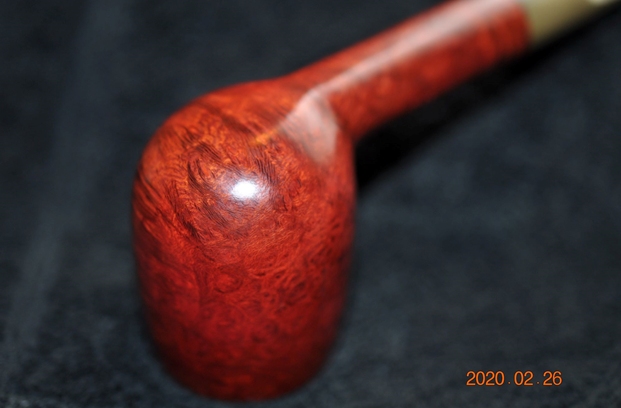
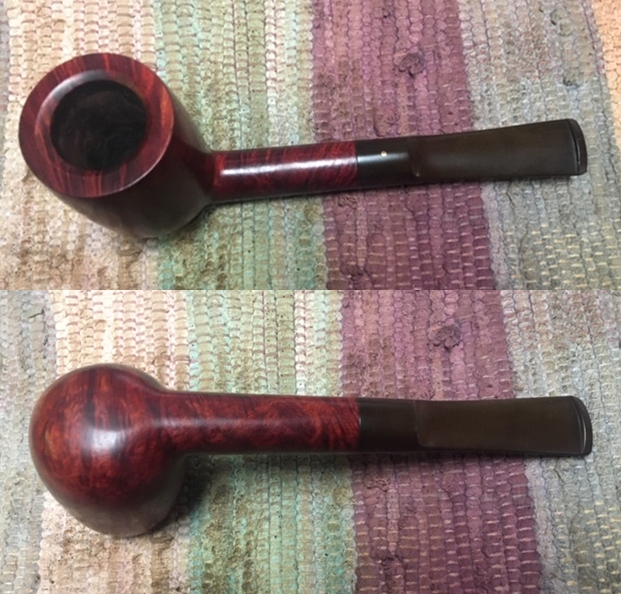
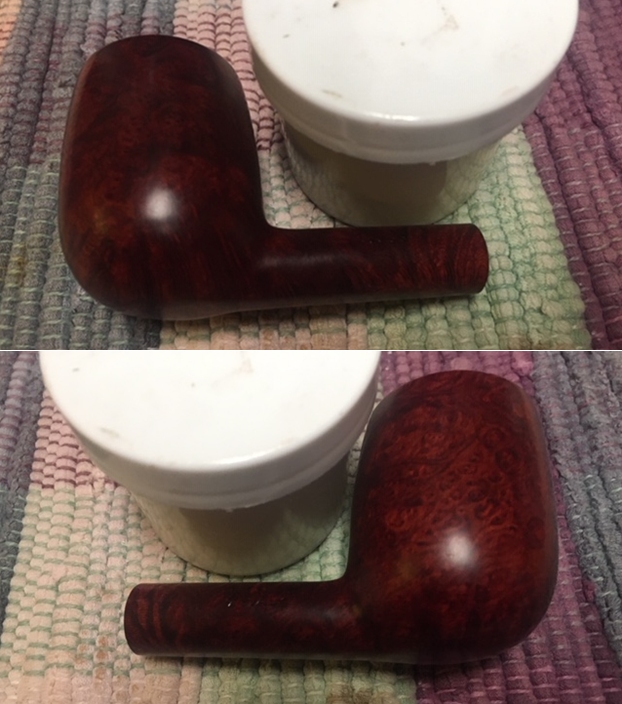
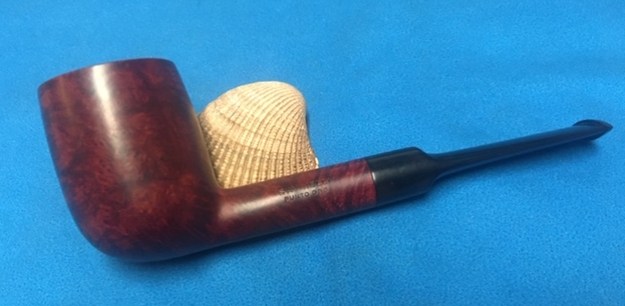
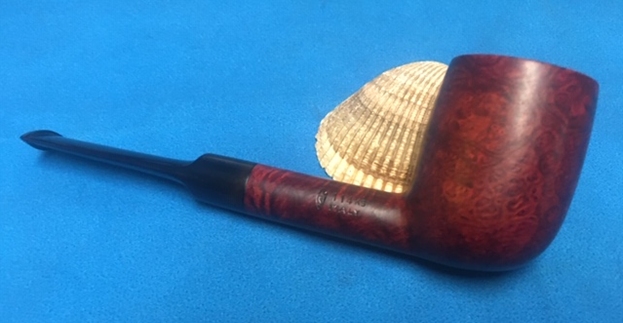
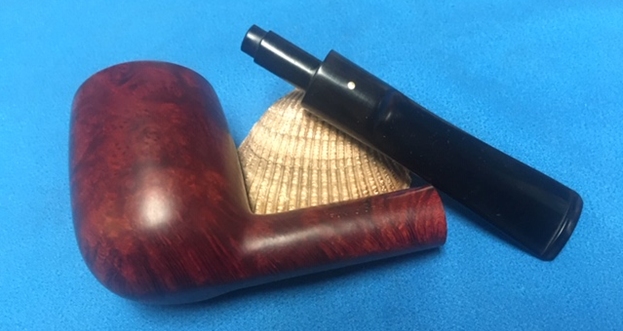
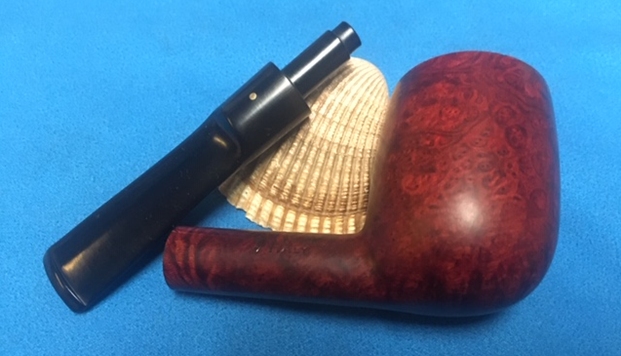
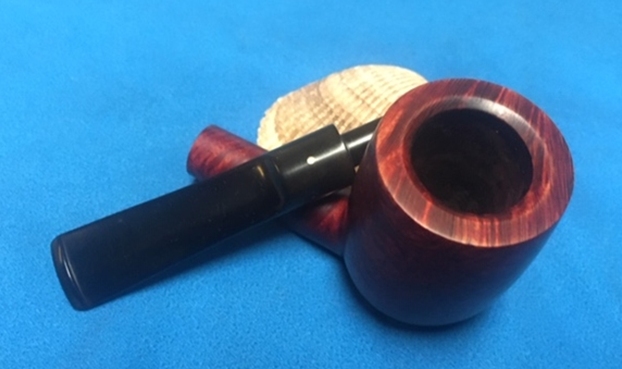
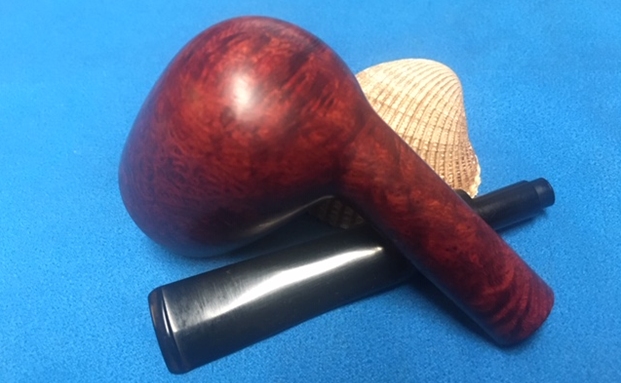
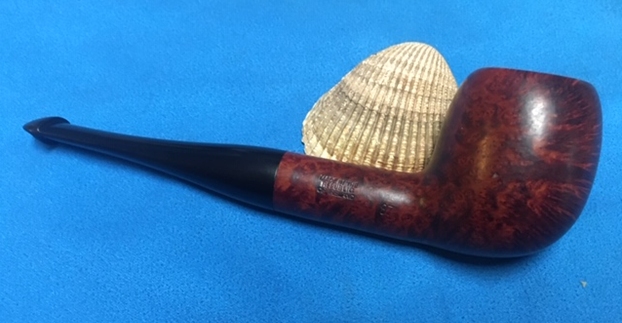
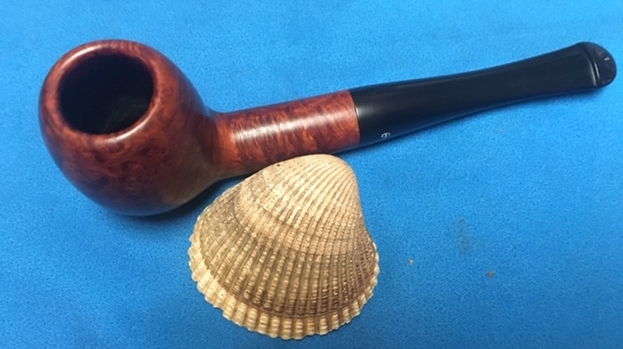
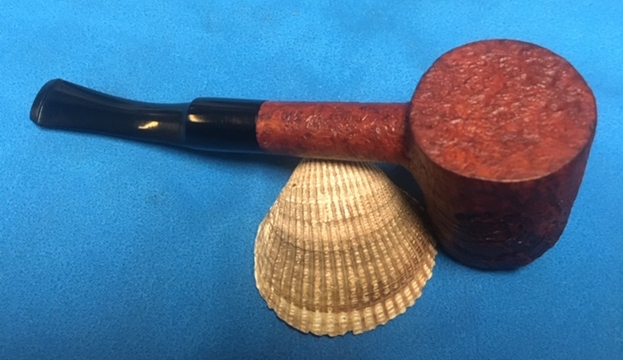
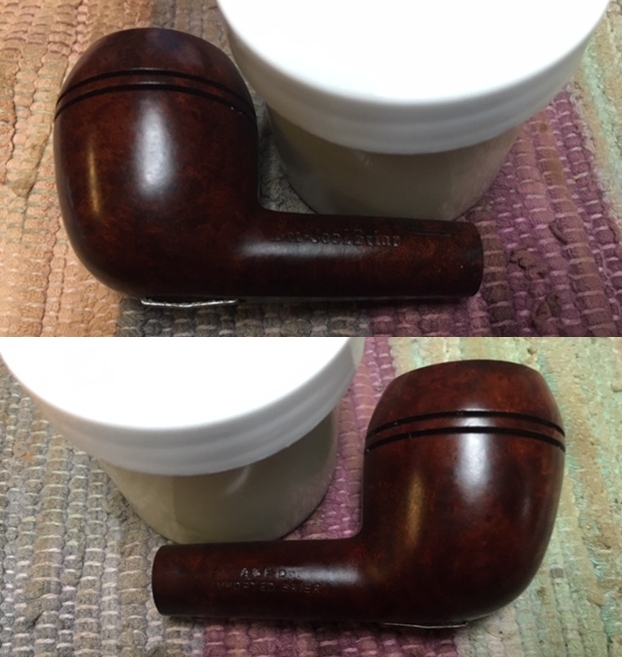
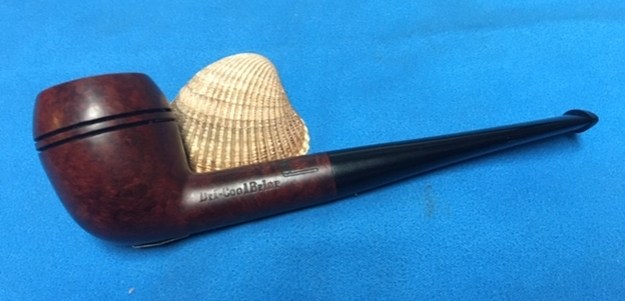
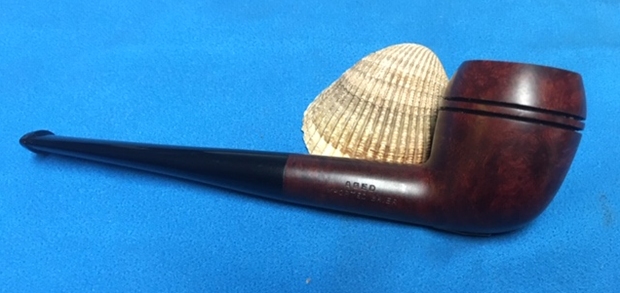
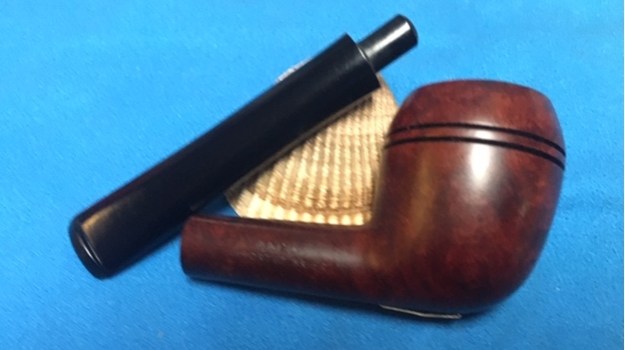
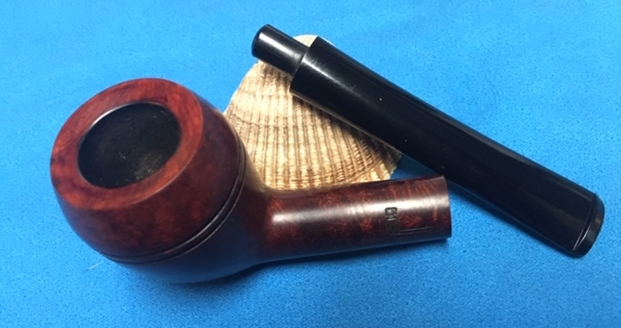
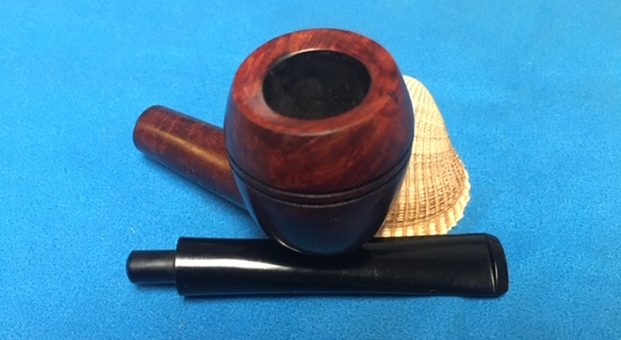
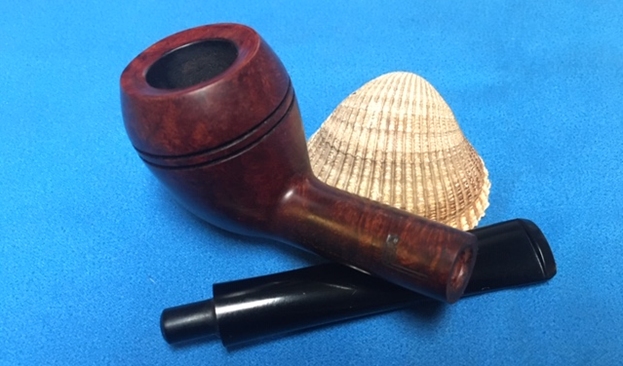
 This Savinelli Oscar Aged Briar 127 Billiard is a nice looking pipe. The mix of brown stains highlights the rustication around the bowl sides and the heel. The finish on the pipe is in excellent condition and the contrasting stains work well and almost sparkle on the pipe. The polished black vulcanite taper stem adds to the mix. It was impossible to save the shooting star logo it was just too far gone. I put the stem back on the bowl and carefully buffed the pipe with Blue Diamond on the buffing wheel using a light touch on the briar. I gave the bowl multiple coats of Conservator’s Wax by hand and the stem multiple coats of carnauba wax on the buffing wheel and followed that by buffing the entire pipe with a clean buffing pad. I hand buffed the pipe with a microfiber cloth to deepen the shine. The finished Oscar Aged Briar rusticated Billiard is quite nice and feels great in the hand. It is also a sitter with a flat bottom. Give the finished pipe a look in the photos below. The dimensions of the pipe are Length: 5 ½ inches, Height: 1 ¾ inches, Outside diameter of the bowl: 1 ¼ inches, Chamber diameter: ¾ of an inch. Thanks for walking through the restoration with me as I worked over another beautiful pipe. This pipe will be added to the Italian Pipe Makers section of the rebornpipes store soon. If you want to add it to your collection send me an email or a message! Thanks for your time.
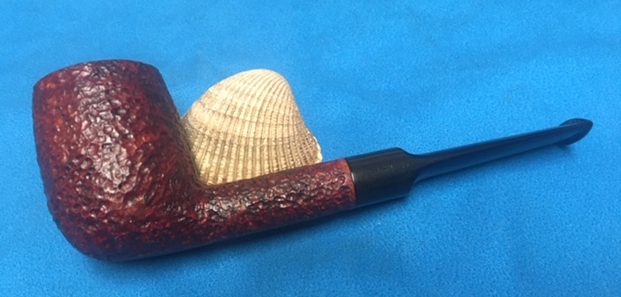


