by Steve Laug
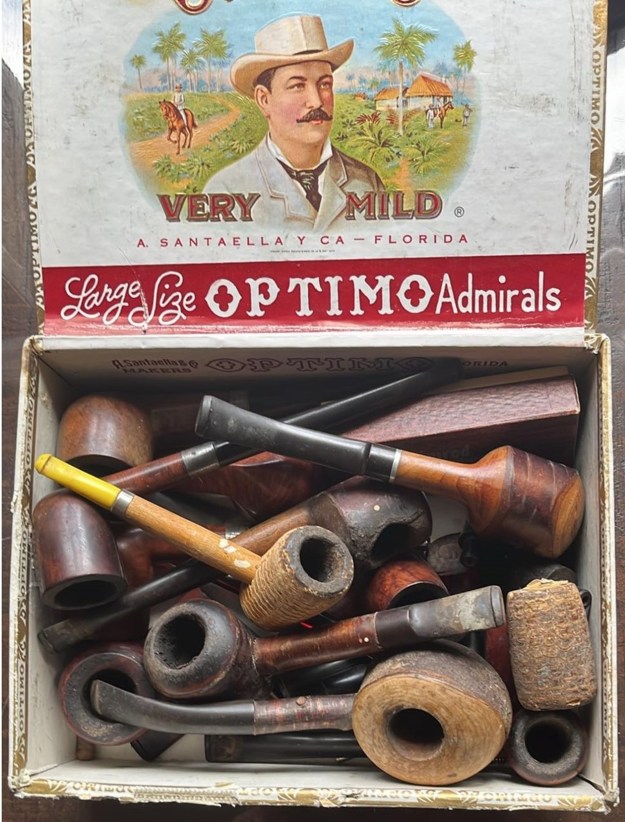
This older MLC billiard (almost a Bing Crosby shape though certainly a predecessor) is early 20th century pipe. It came to us from Mark in Missoula, Montana, USA and was a pipe from his Grandfather’s collection. He sent us a cigar box of pipes from that collection that included a lot of interesting pipes for us to work through. Mark also included a biographical sketch on his Grandfather, W.B. Bollen (written by Mark’s Father). His Grandfather, WB Bollen was quite involved in the state of Oregon and the Pacific Northwest of the USA in the field of agriculture through Oregon State University in Corvallis, Oregon. The sketch is called Recollections of W.B. Bollen and I am in the midst of reading it while I work on the first of these pipes – the MLC Billiard.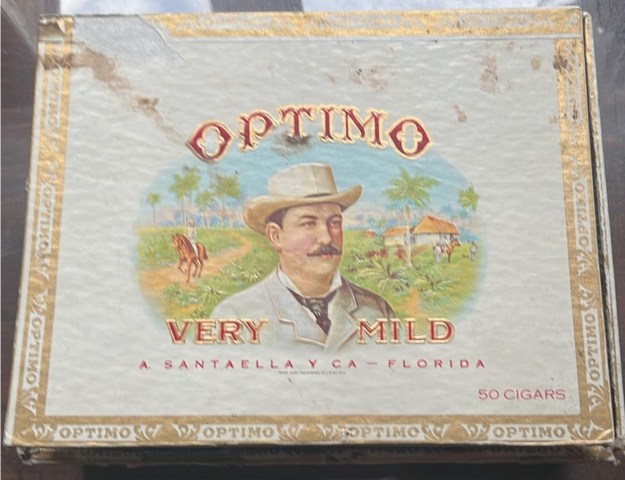
 According to Pipedia, (https://pipedia.org/wiki/M._Linkman_%26_Co) the initials MLC stand for M. Linkman Company which was thought to mean Mary Linkman Company. They were a Chicago based company that produced both briars and meerschaums. The company was named for the mother of the same Linkman who branded pipes under that same name and then eventually became the Dr. Grabow pipe manufacturer with which we are familiar. Pipephil’s site gave a little more information at this link (http://www.pipephil.eu/logos/en/logo-l4.html). M. Linkman and Co. was established by Louis B. Linkman and August Fisher in 1898. The company closed down in the 1950s and the Dr Grabow branch was sold to Henry Leonard and Thomas Inc.(HLT), There was also a note that early Linkman’s pipes were stamped MLC in an oval.
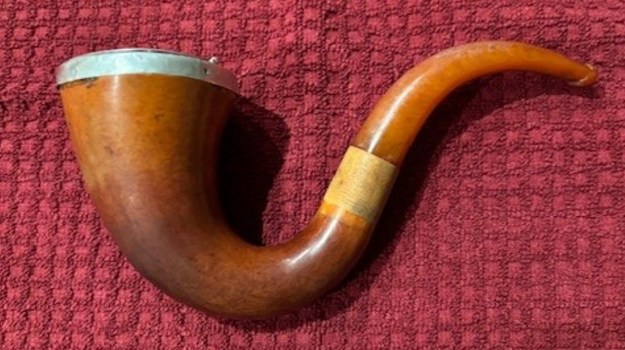
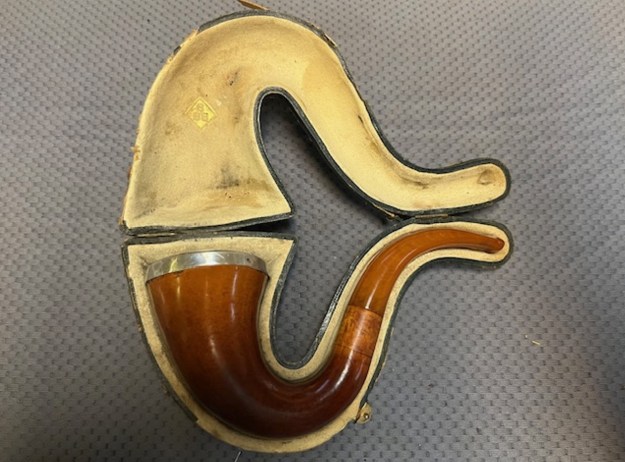
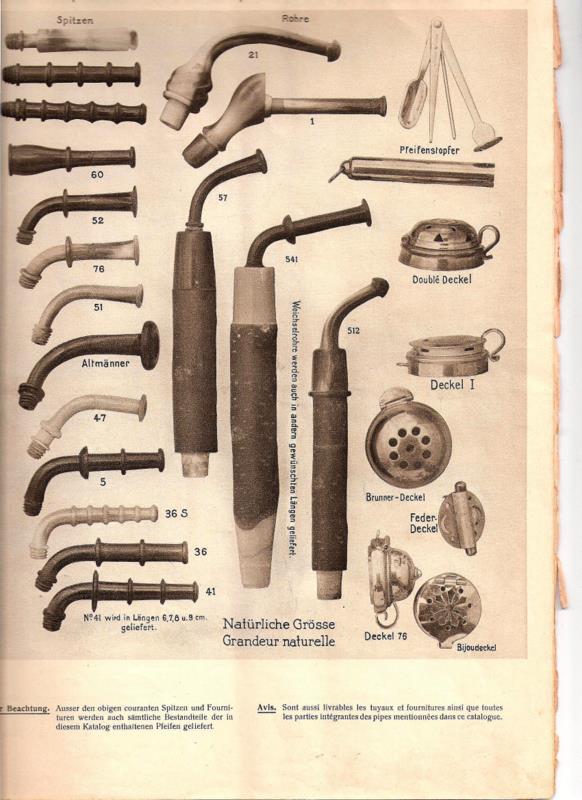
I have written a bit more about the MLC brand on several early blogs (https://rebornpipes.com/2016/11/12/an-interesting-the-nuvo-mlc-italian-briar-hidden-in-a-wdc-case/ https://rebornpipes.com/2017/08/17/restoring-a-sad-old-mlc-bent-billiard/). The second link included this older photo of the Linkmans that is really fascinating. I am including it below.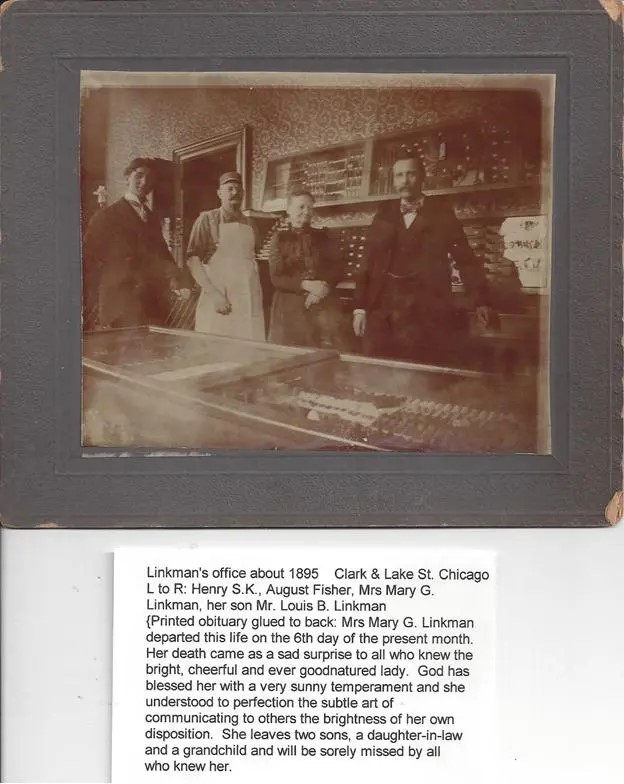 If you have followed this blog for a while you have come to know that I love really old pipes and this one fits into that category of pipes. It is stamped MLC in an oval over Redmanol over French Briar on the left side of the shank. The stamping is faint but readable with a light and lens. There are no other stampings on the briar. The band is Sterling Silver and is dented and worn but also bears the MLC oval logo stamped on the topside. It is a pencil shank billiard with a thin
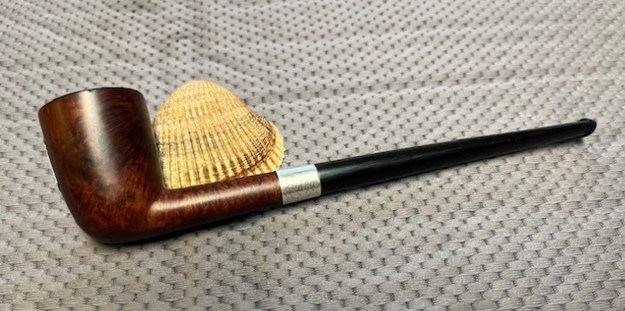
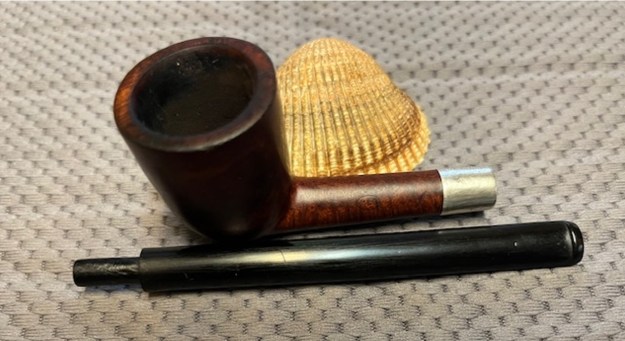
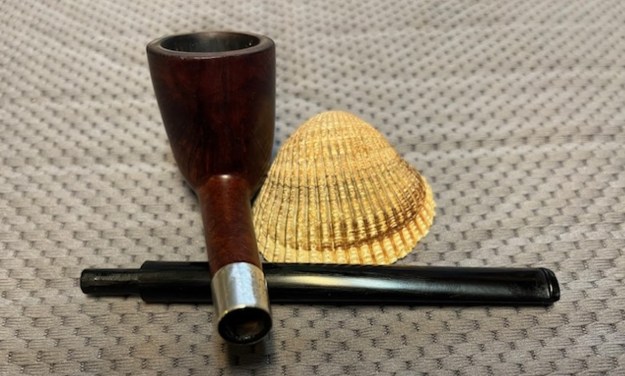
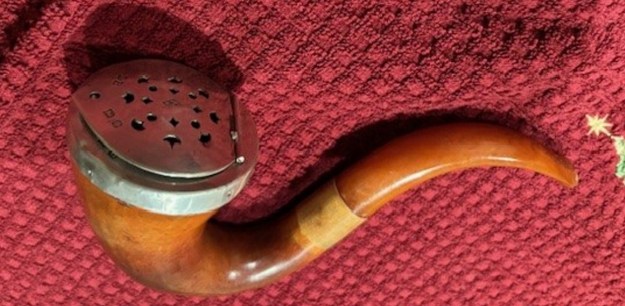
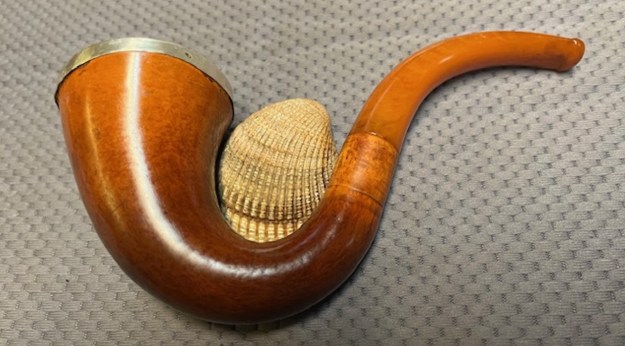
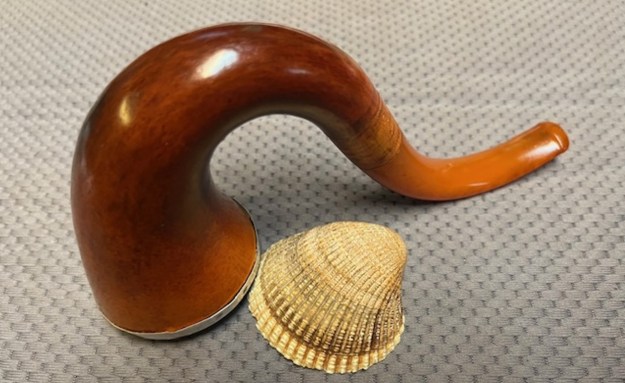
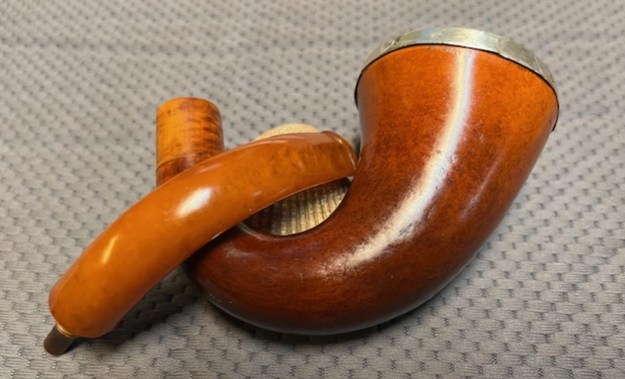
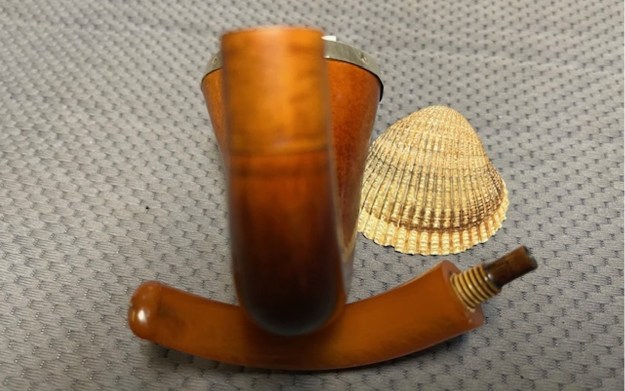
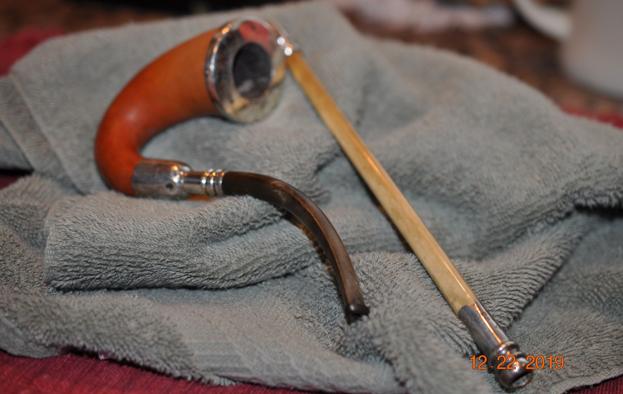
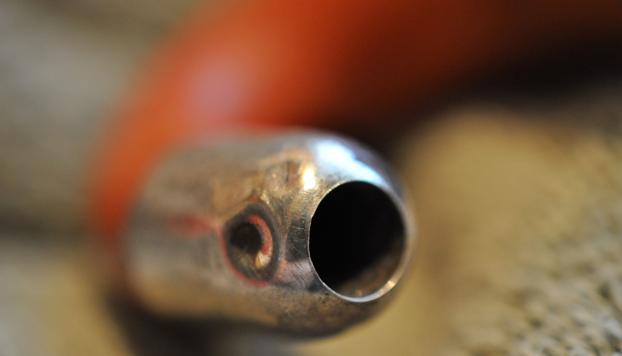
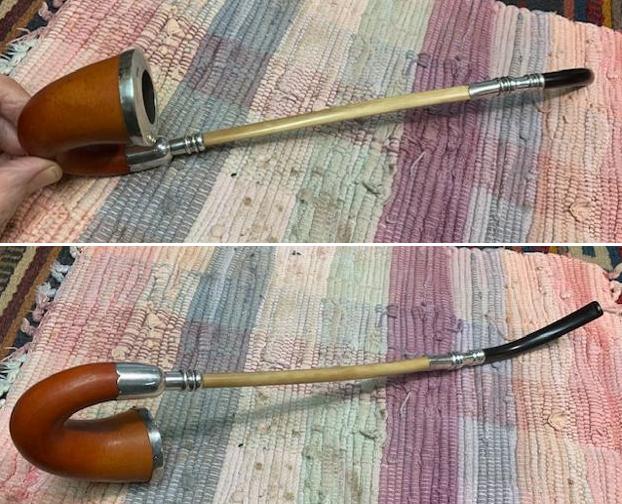
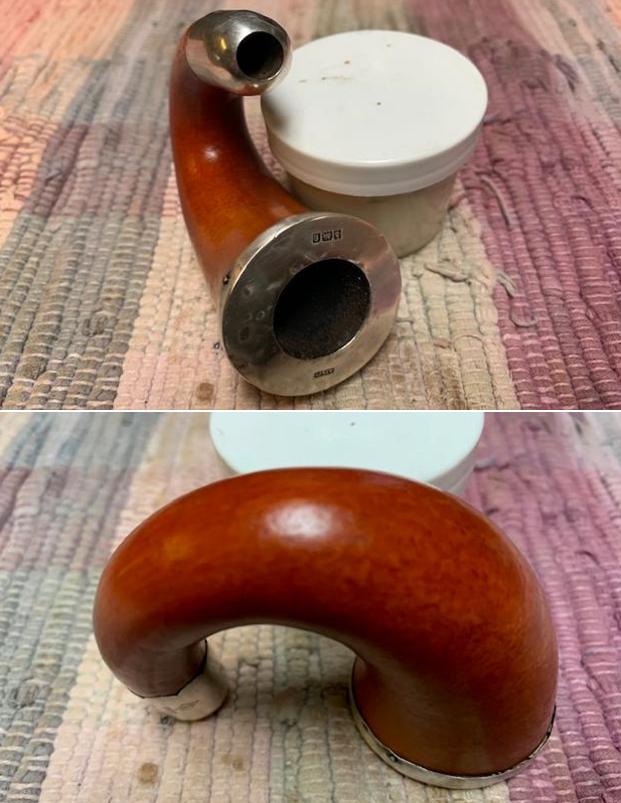
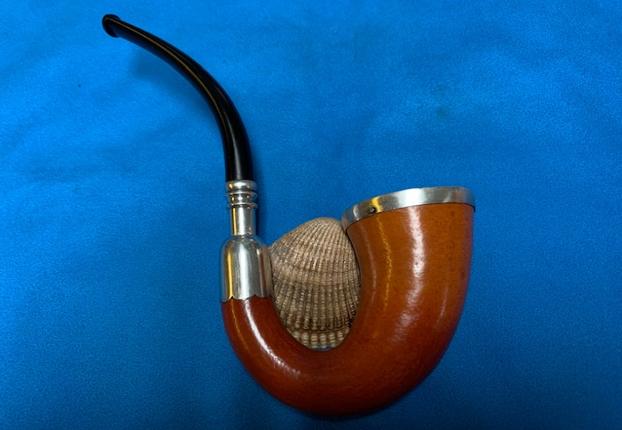
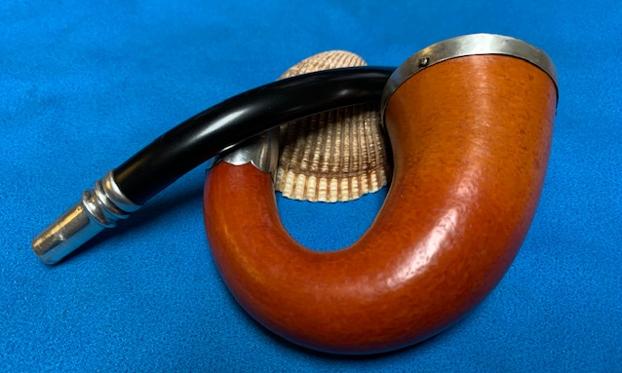
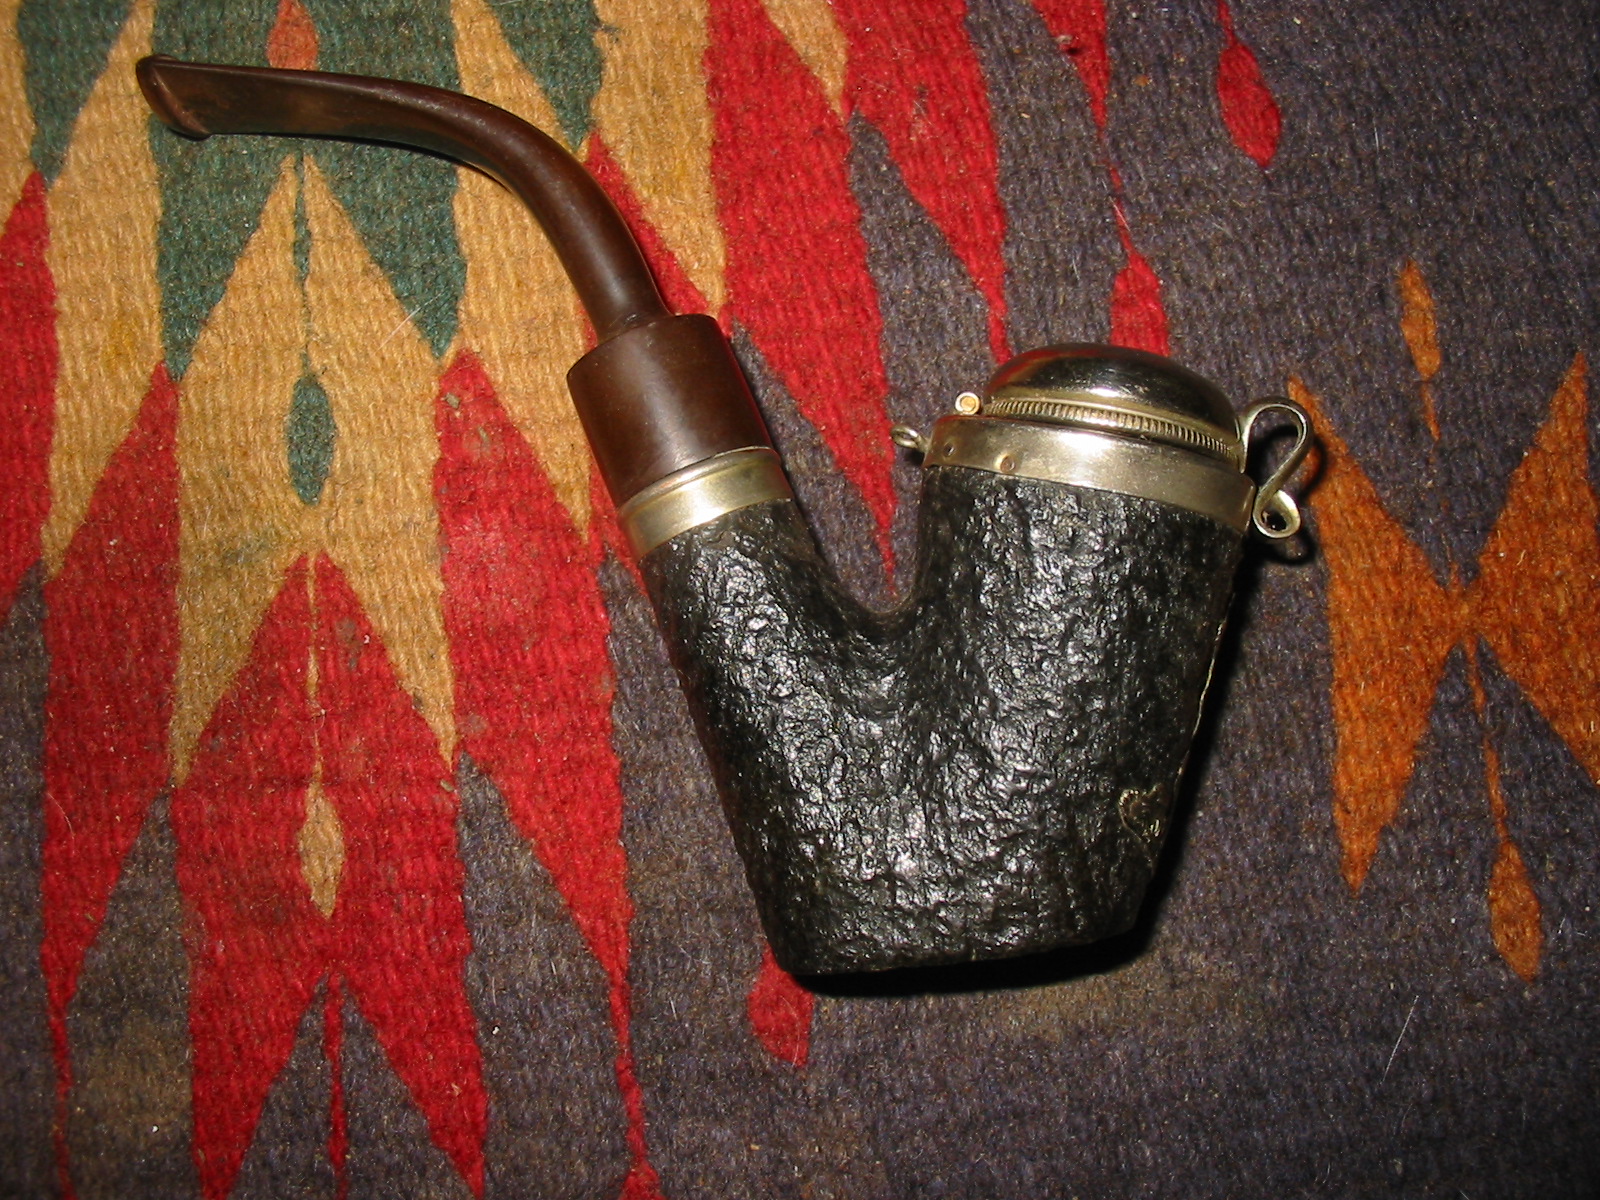
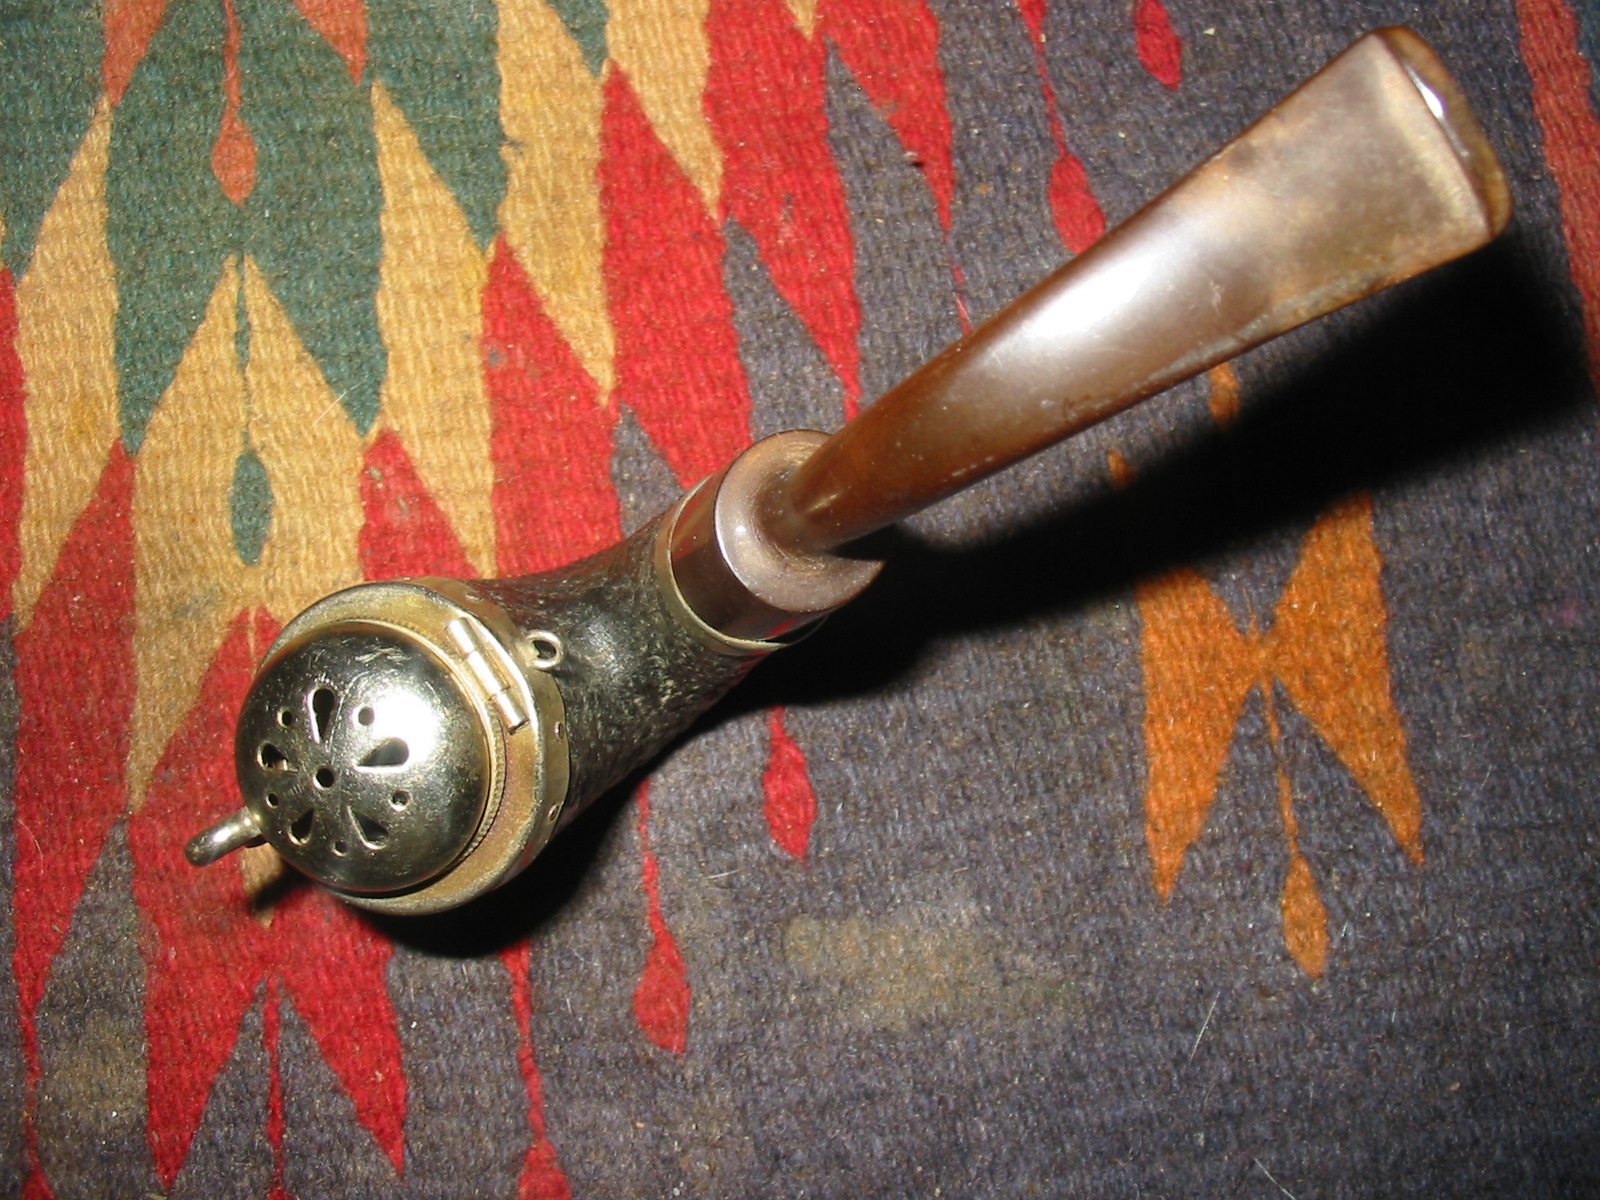
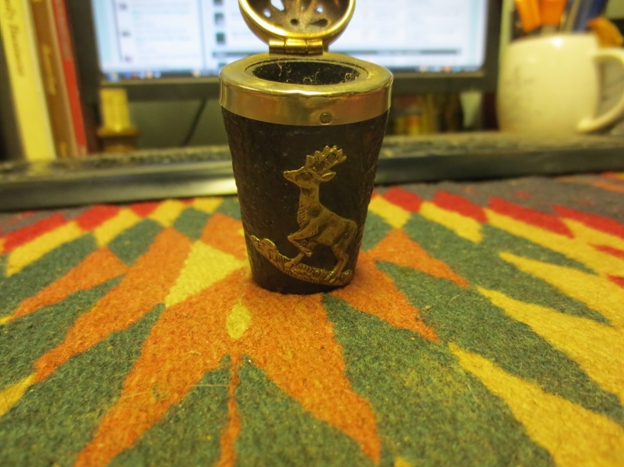
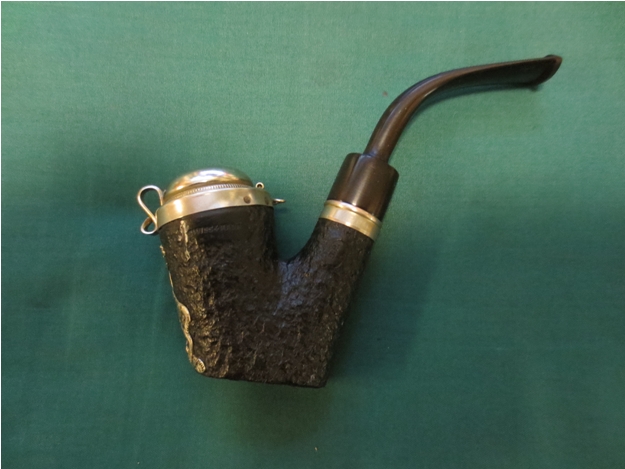
  “unbreakable” tube lined Redmanol stem. The bowl exterior was absolutely filthy. There was darkening and oils ground into the briar. The thick cake in the bowl and the lava coat on the edges and rim top made it hard to know what the condition of the rim edges. There also appeared to be a thin hairline crack on the backside of the bowl from the rim edge about 2/3 of the way down to the shank. There was also a large silver “O” on the front of the bowl which I believe refers to Oregon Agricultural College (which later became Oregon State University). As with other schools in the 1920s pipes were made honouring the institution and were available to graduates and students. This fits the time frame for this pipe. W.B. Bollen received his BS in Horticulture in 1921 and an MS in Soil Bacteriology in 1922, both from Oregon Agricultural Colledge. I am fairly certain that this dates the pipe that I am working on. The Redmanol Stem was in good condition with the usual chips, nicks and tooth marks of a pipe that is over 100 years old. Jeff took the photos that follow before started the cleanup. You can see from the photos the condition of the pipe.
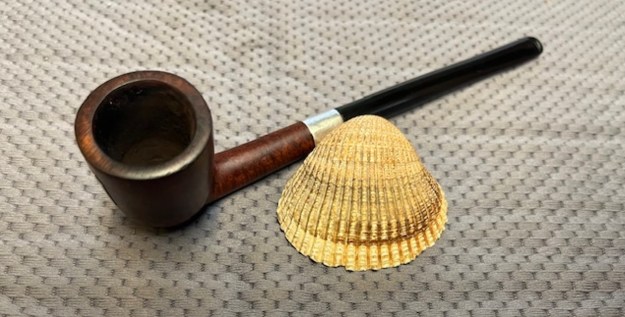
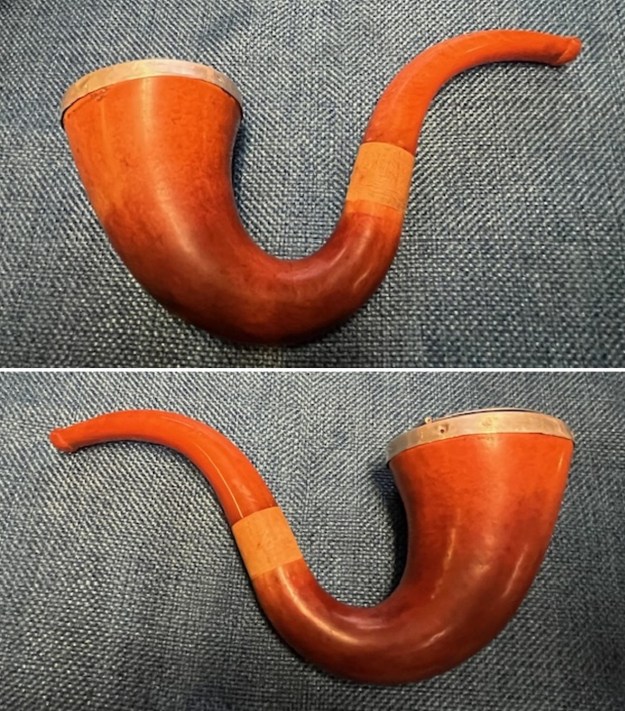
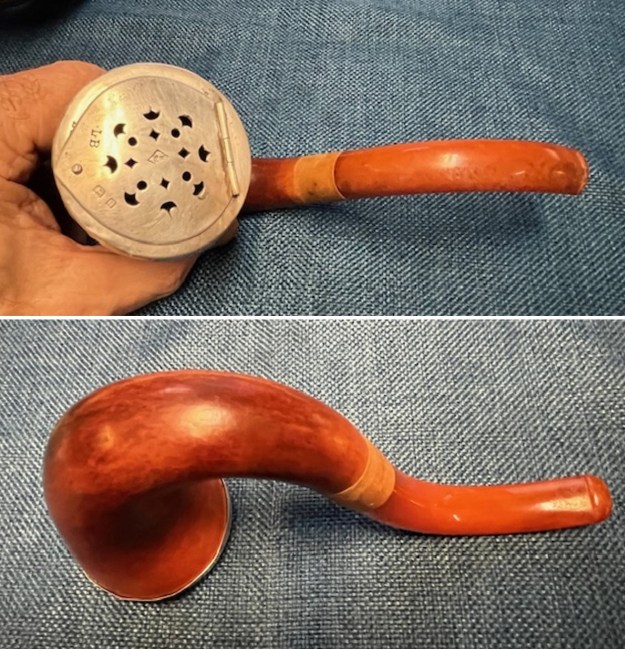
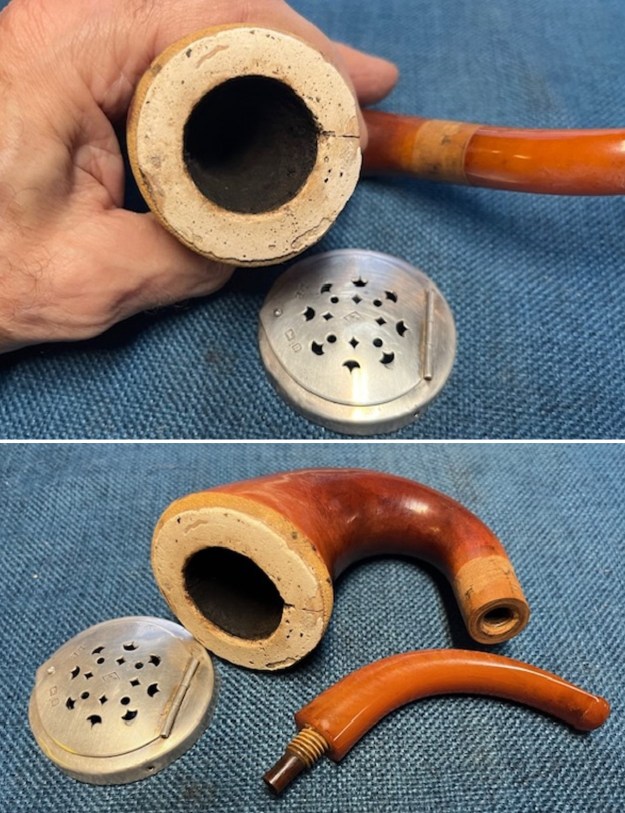
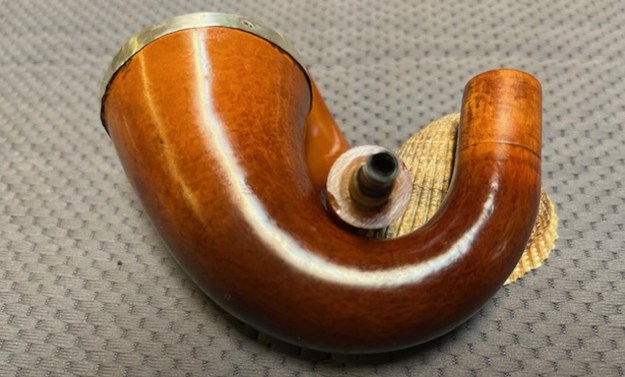
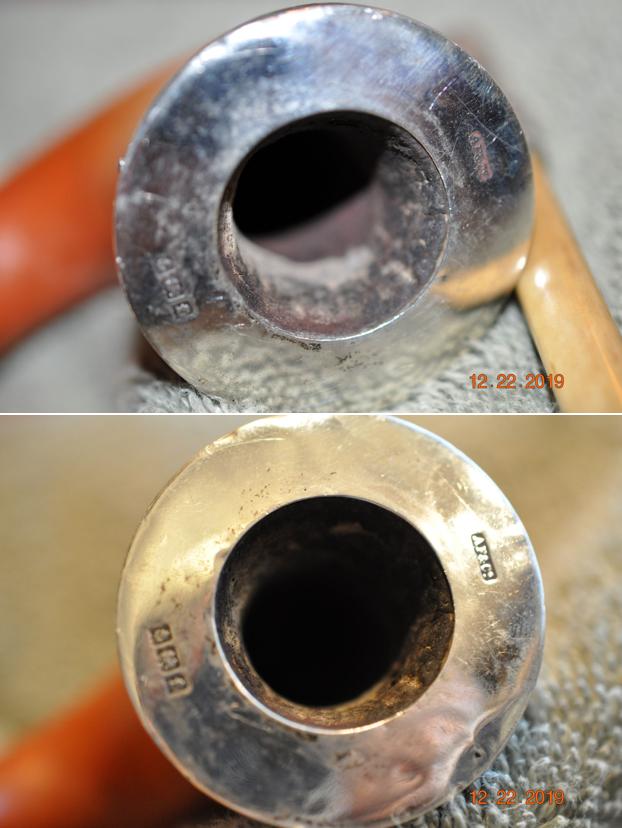
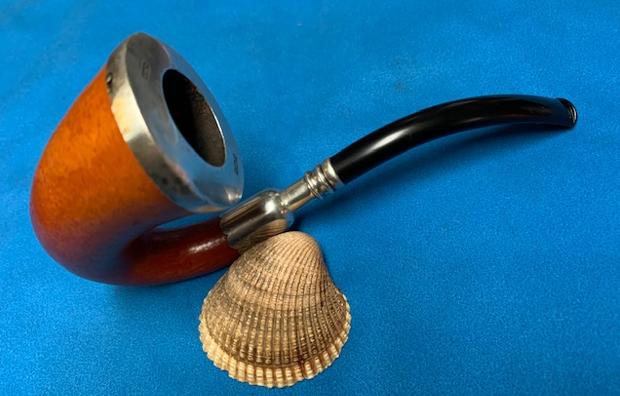
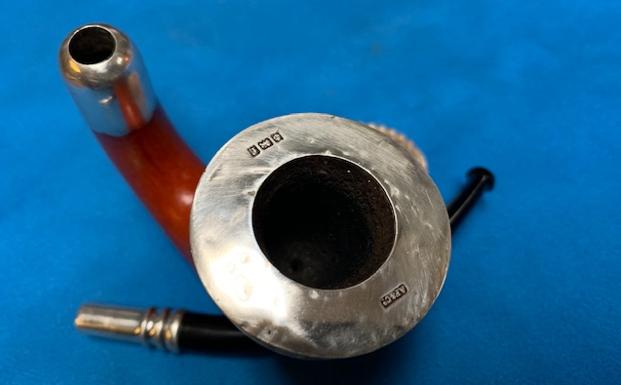
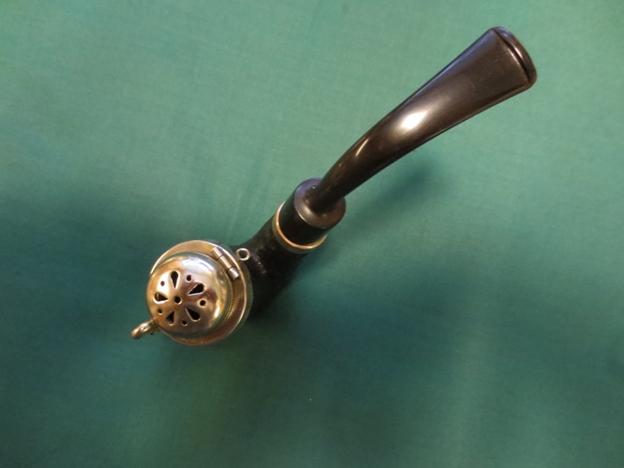
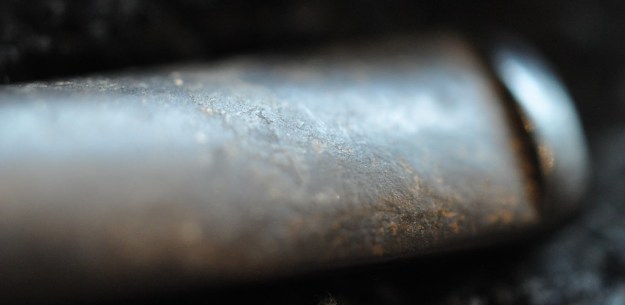
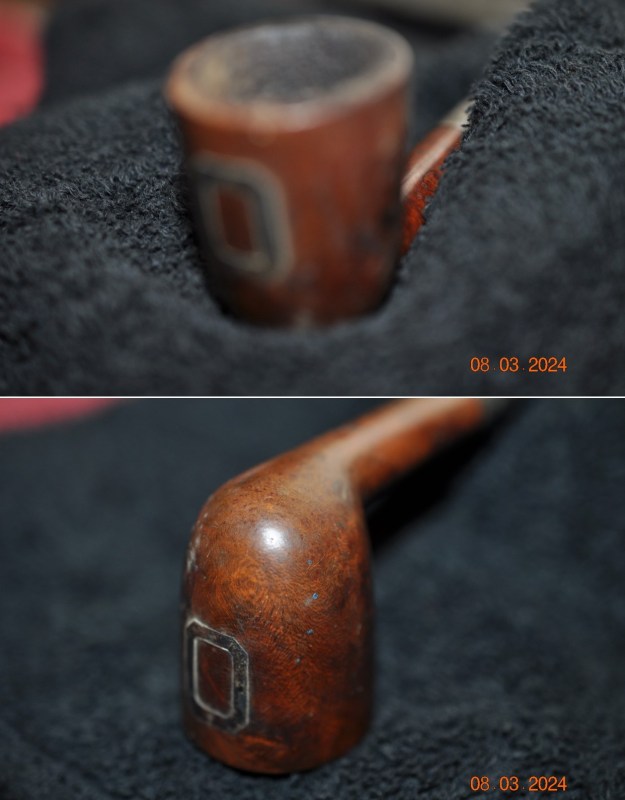
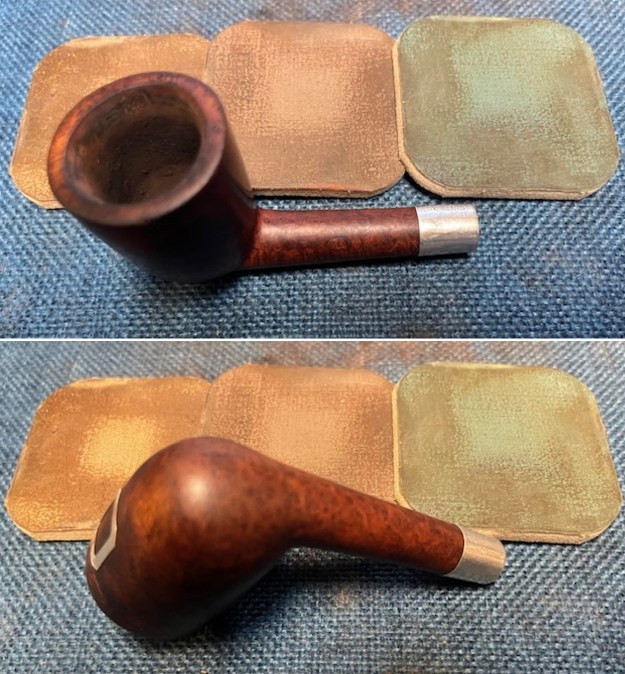
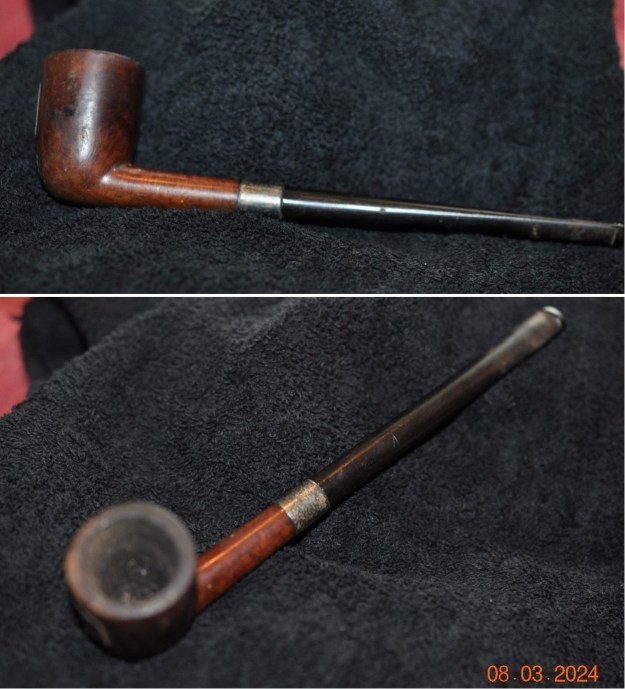 He took photos of the rim top and bowl to show the condition of the pipe. You can see the thick cake, the lava on the rim top, an out of round inner edge and a potential crack on the rim top at the back of the bowl. He also took photos of the Redmanol stem to show its condition as noted above.
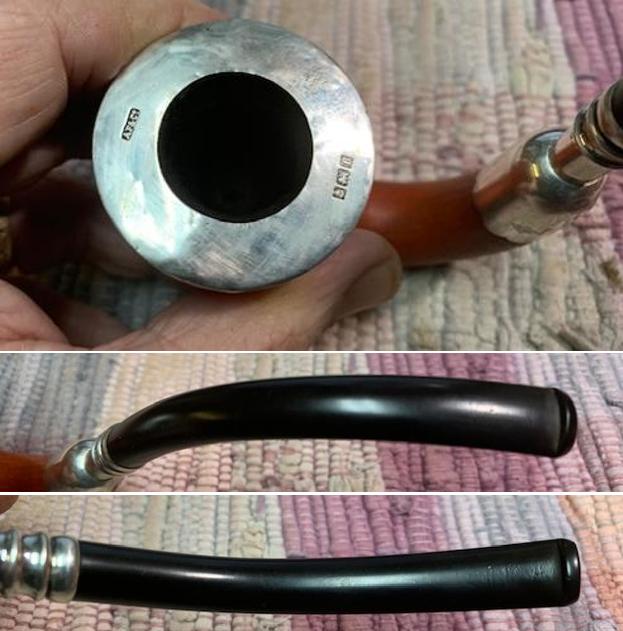
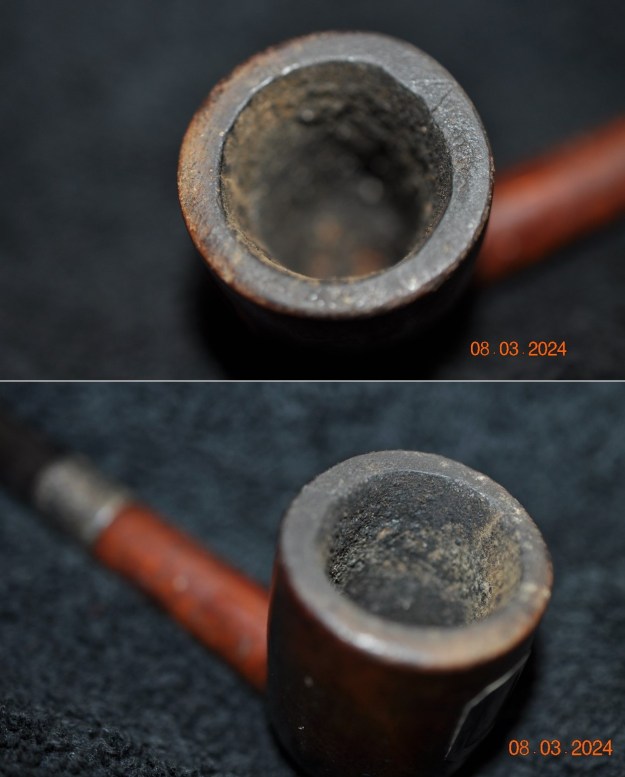

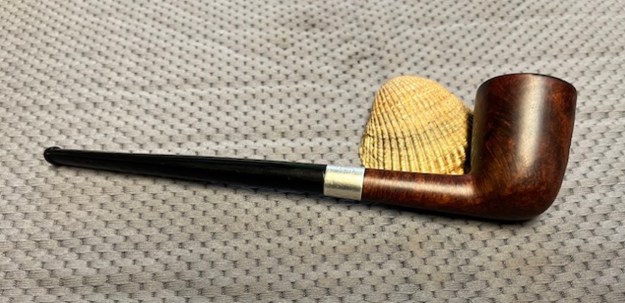
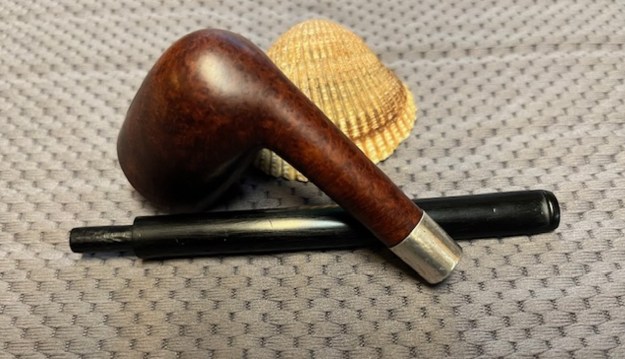
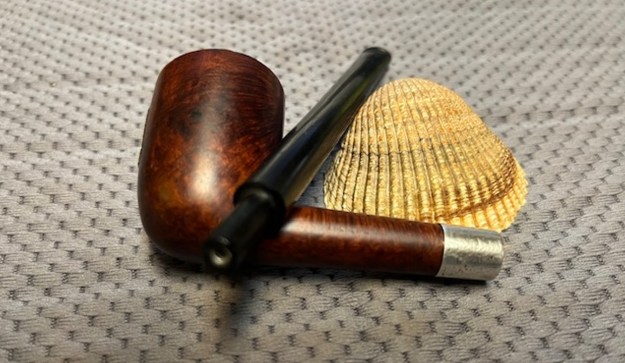
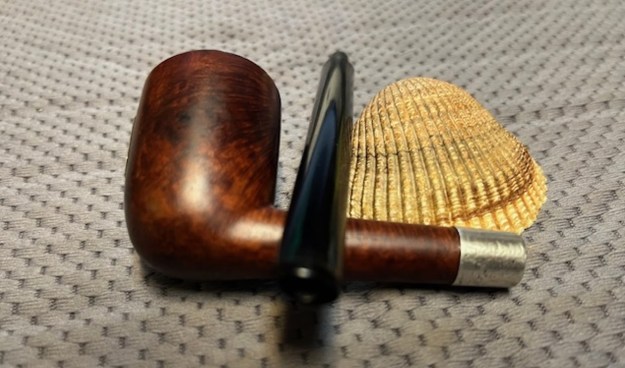
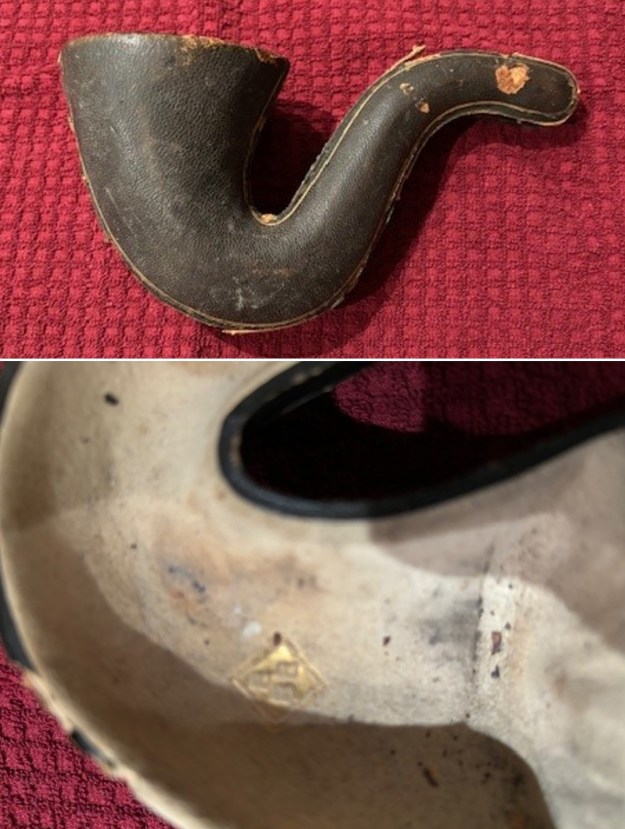
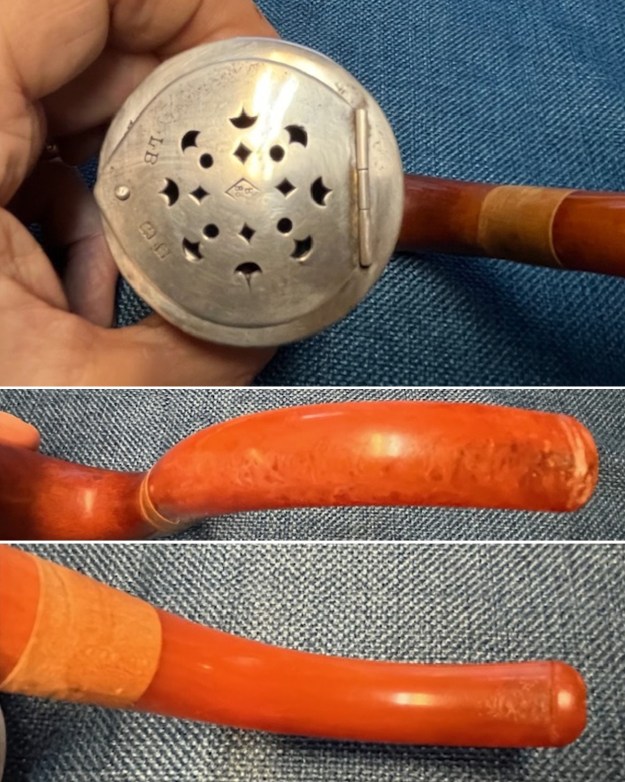
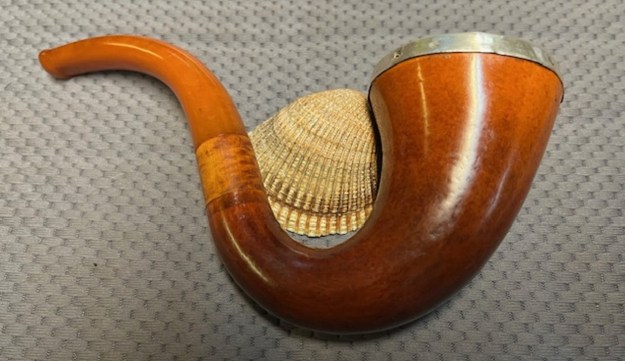
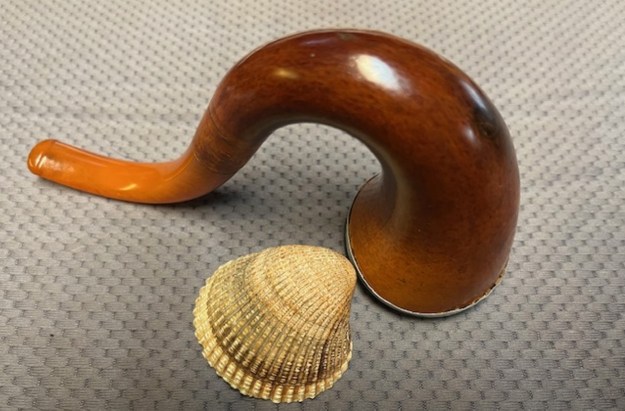
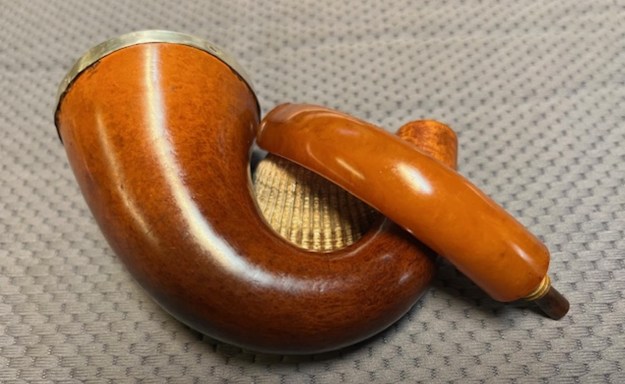
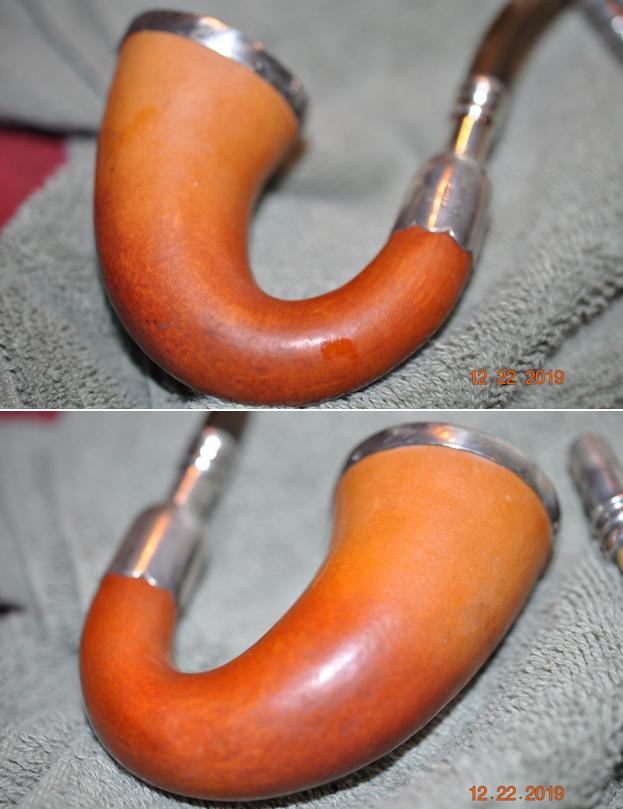
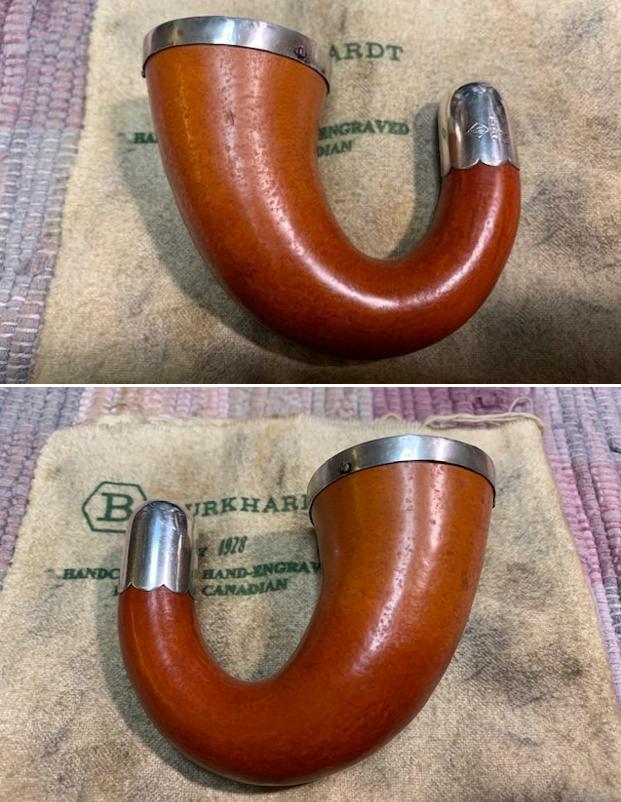
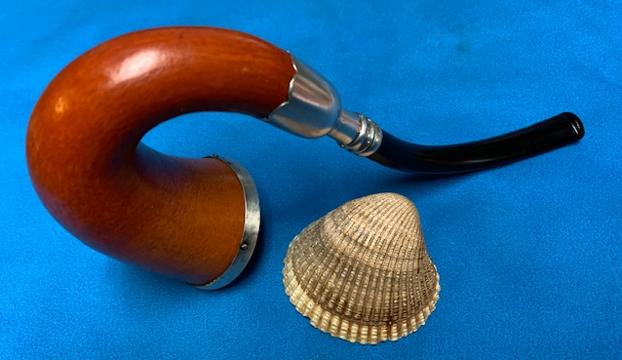
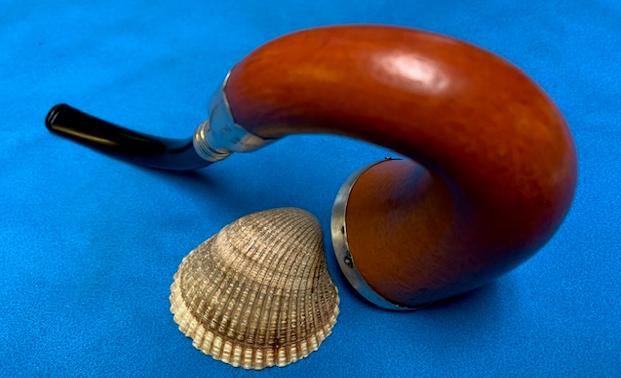
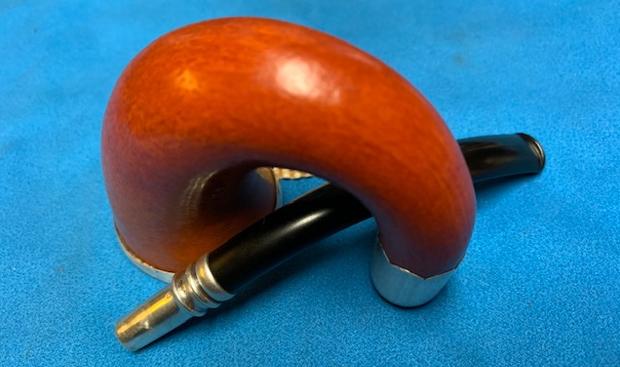
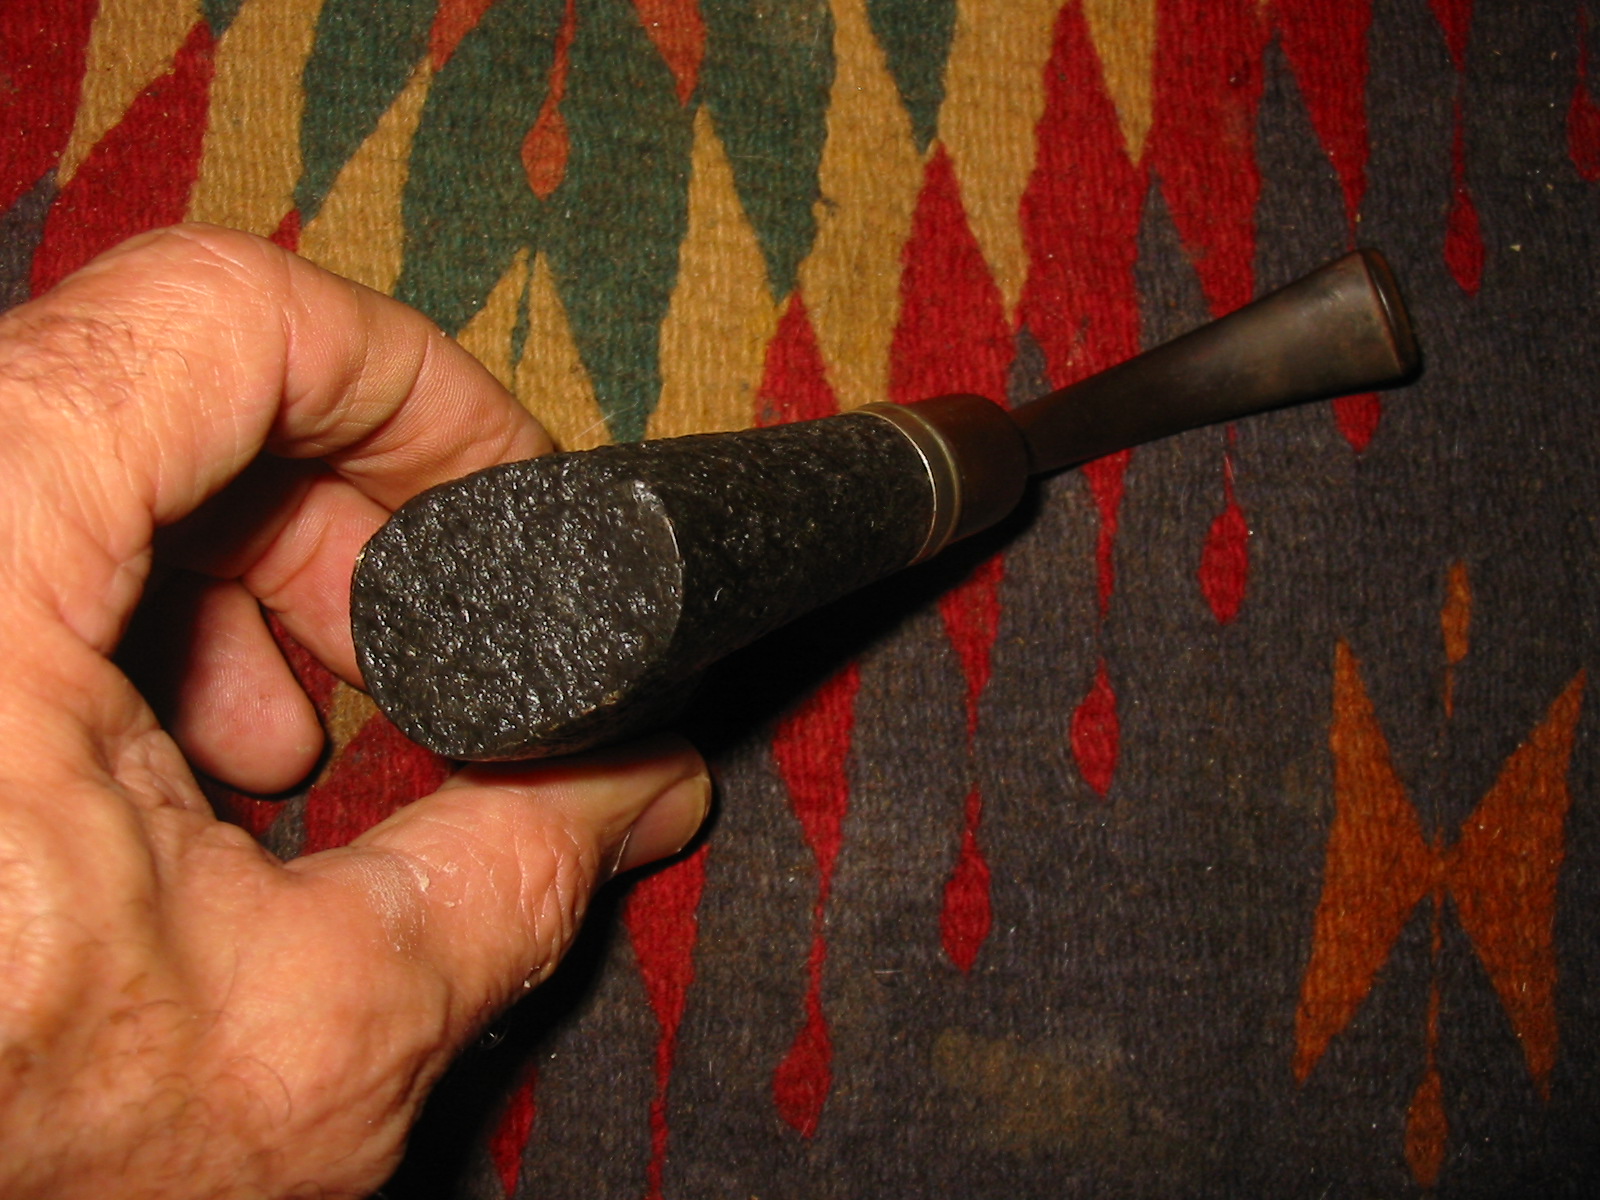
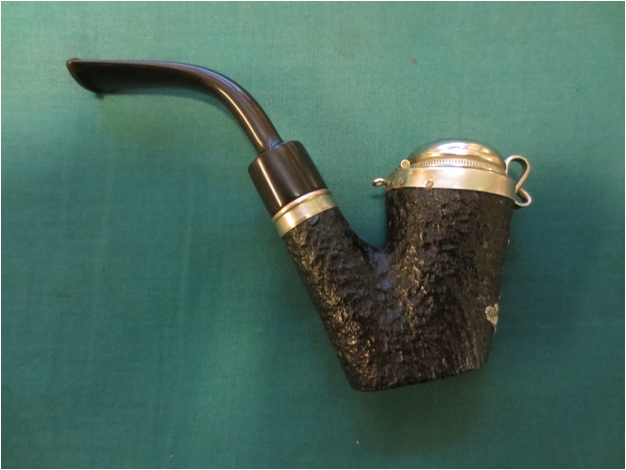
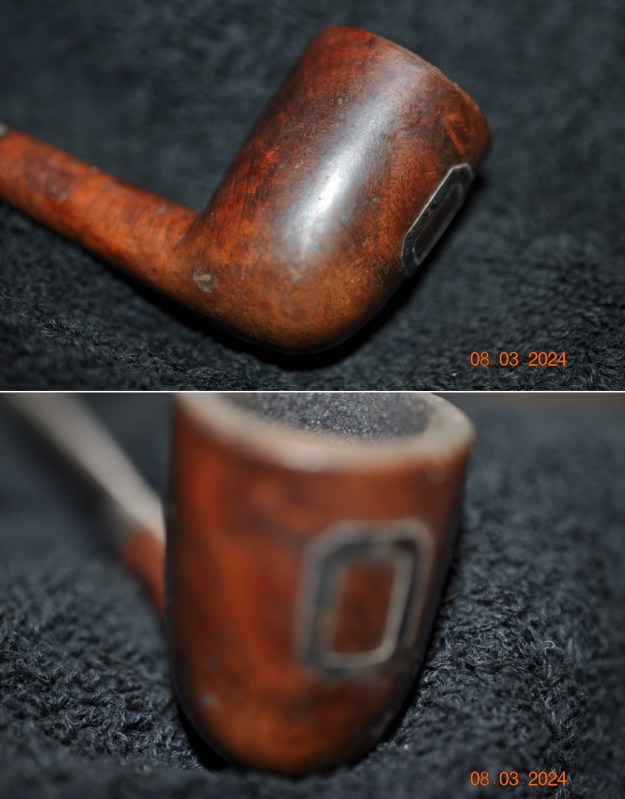
 He took photos of the sides of the bowl to show the grain underneath the dirt and grime ground into the finish. You can also see the nicks in the briar and the oxidized silver O that is on the front of the bowl. There is a lot of beauty underneath the grime.
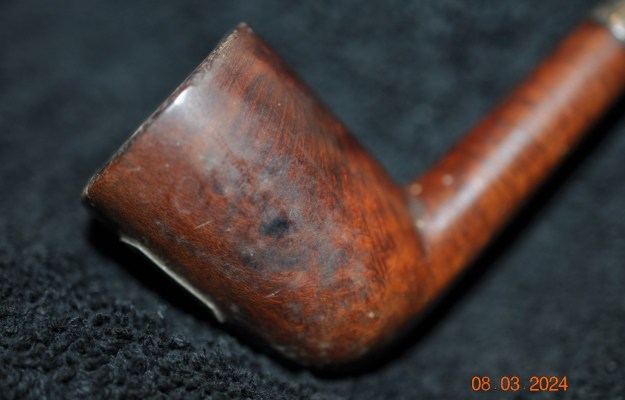
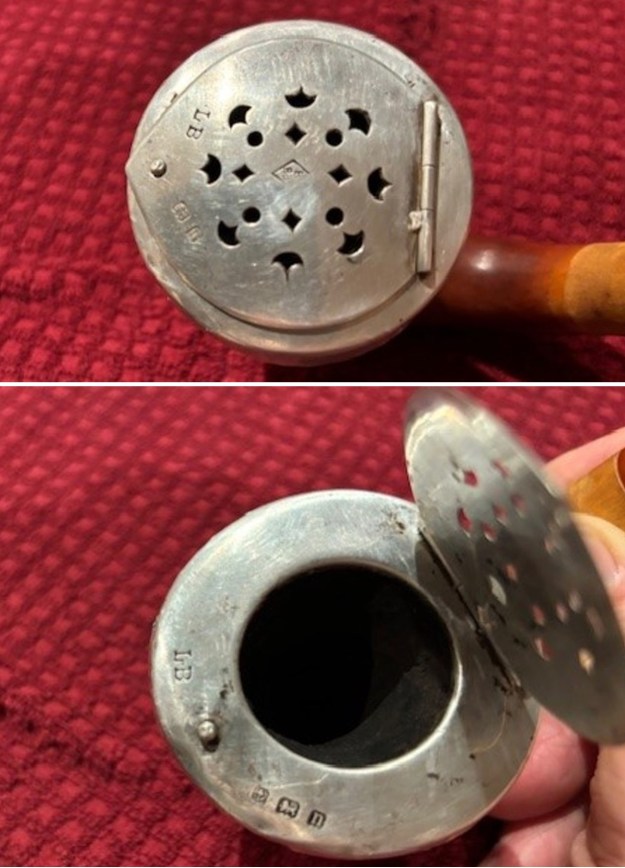
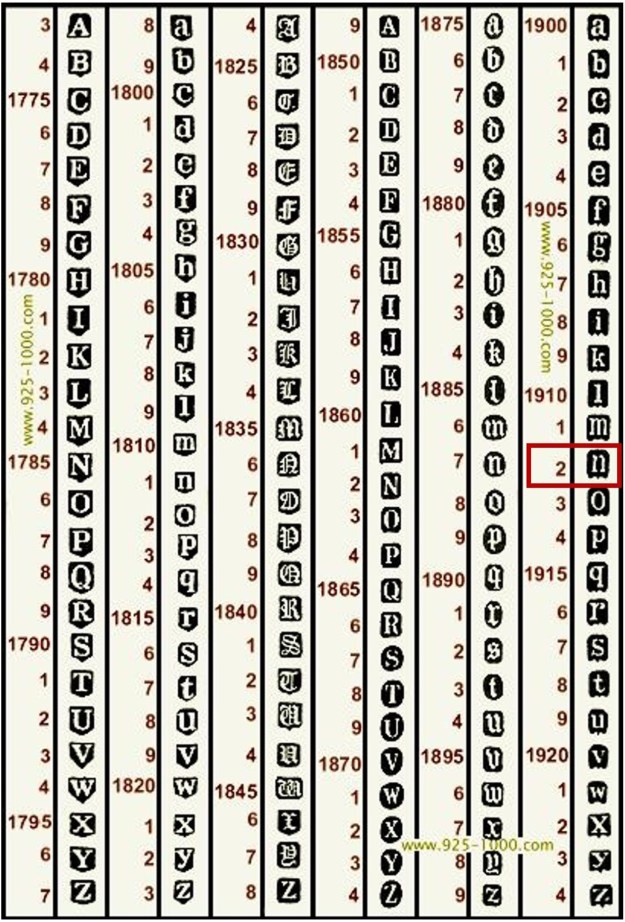
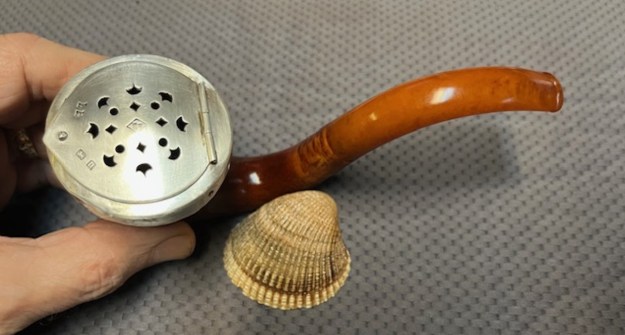
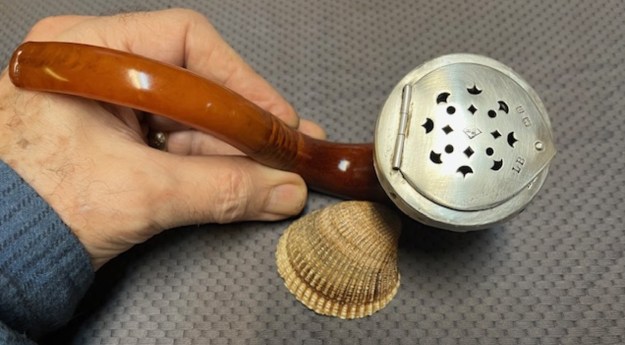
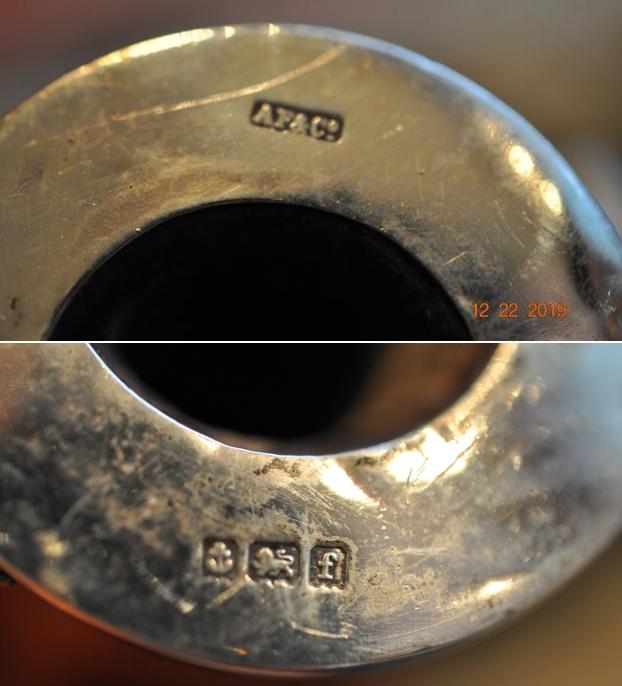
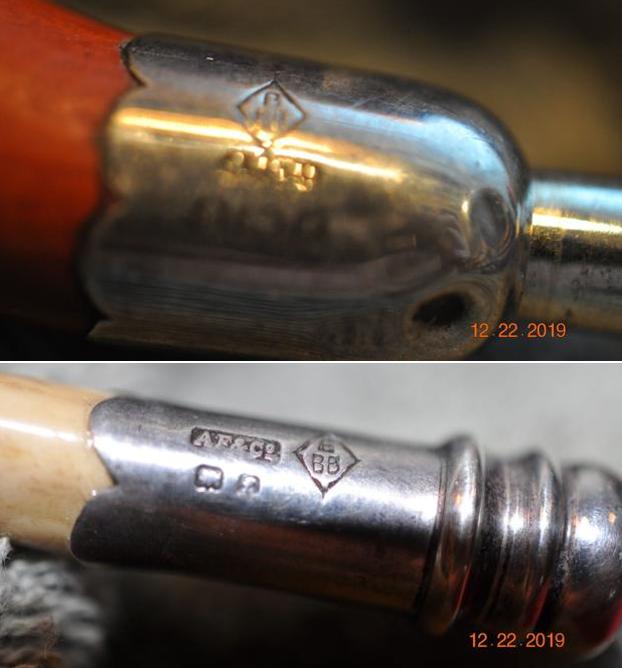
 While he was unable to capture the stamping on the shank side he was able to capture the stamping on the silver band. Underneath the oxidation and scratches, it is still clear and reads MLC in an oval over Sterling.
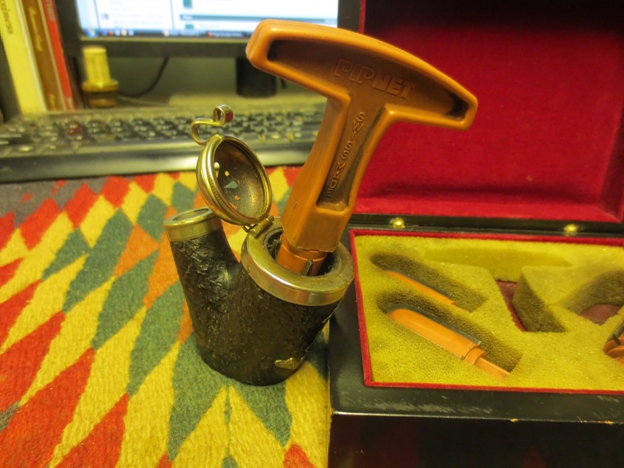
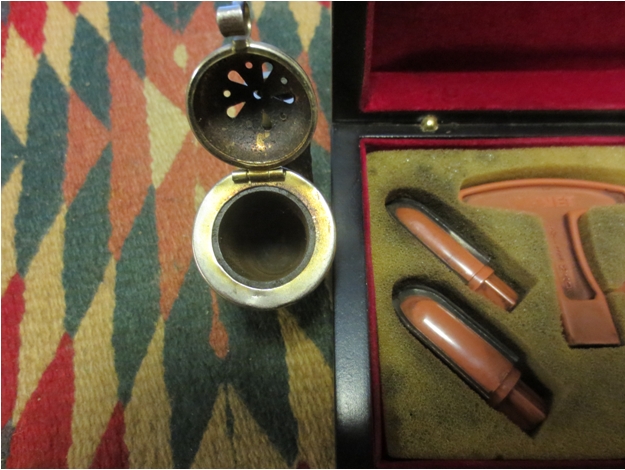
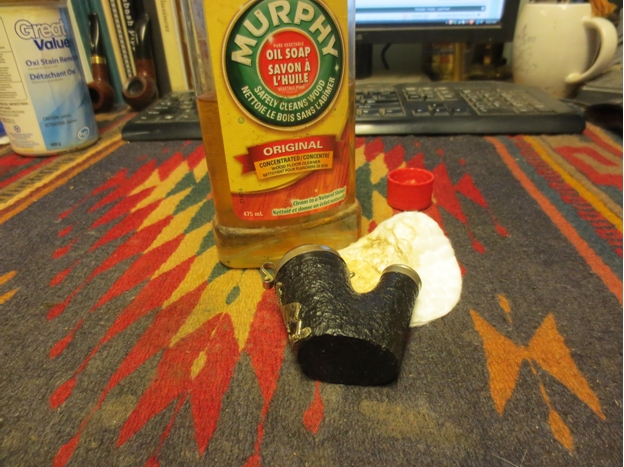
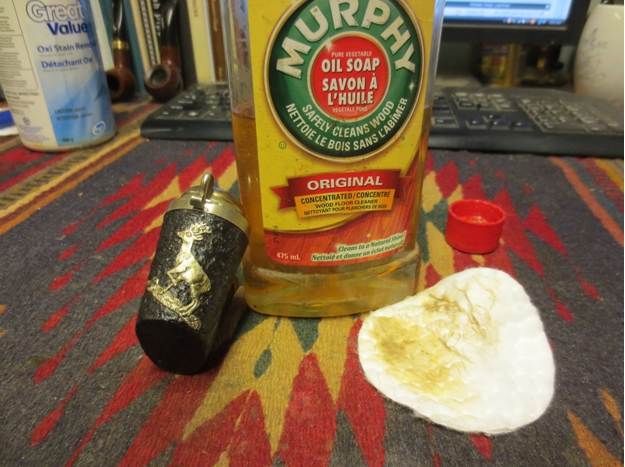
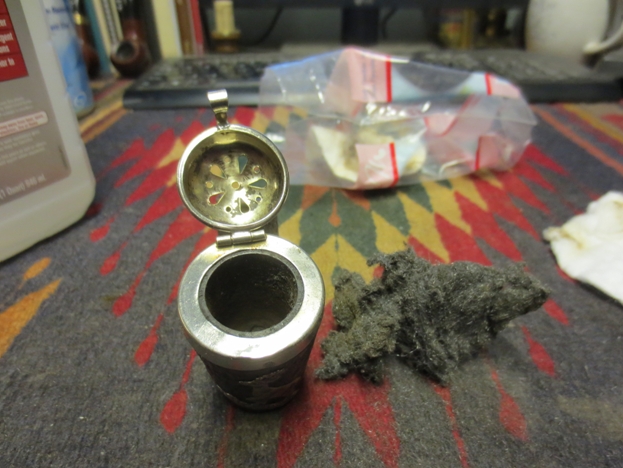
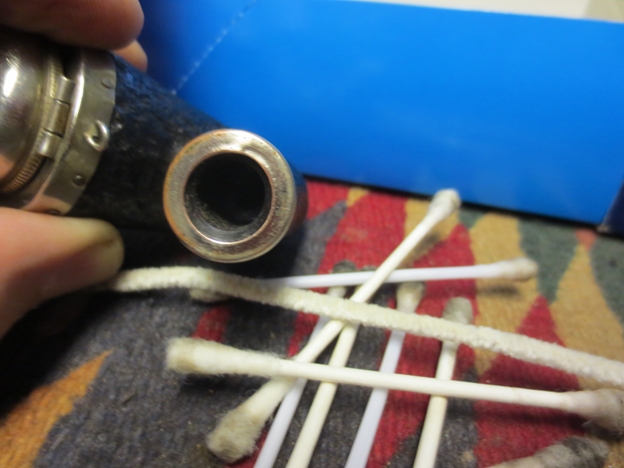
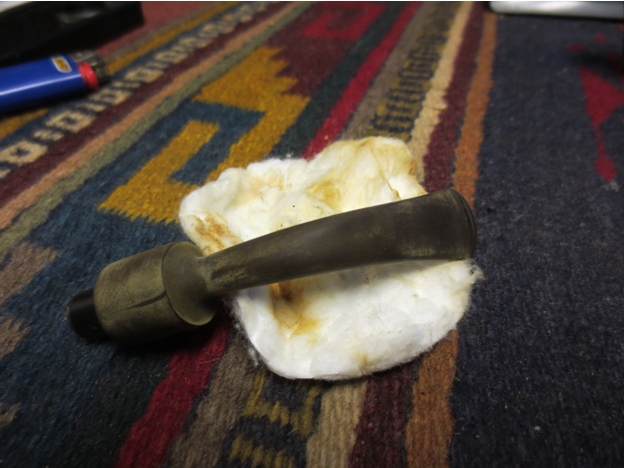
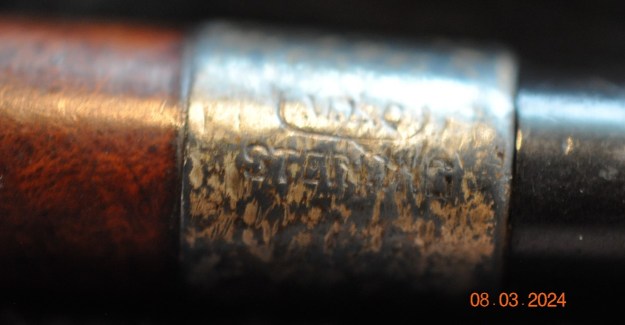 Now that I knew a bit of the history of the pipe both in terms of the maker and the pipeman who enjoyed it, I turned to work on the pipe itself. Jeff had thoroughly cleaned up the pipe. He had reamed the pipe with a PipNet pipe reamer back to bare briar and removed the remnants of the cake with a Savinelli Fitsall Pipe Knife. He scrubbed the bowl with undiluted Murphy’s Oil Soap and a tooth brush. He rinsed it under running warm water to remove the soap and grime. He cleaned out the inside of the shank and the airway in the stem with alcohol, cotton swabs, pipe cleaners and shank brushes. He soaked the stem in Briarville’s Pipe Stem Deoxidizer and rinsed it off with warm water. I took photos of the pipe before I started my part of the restoration work.
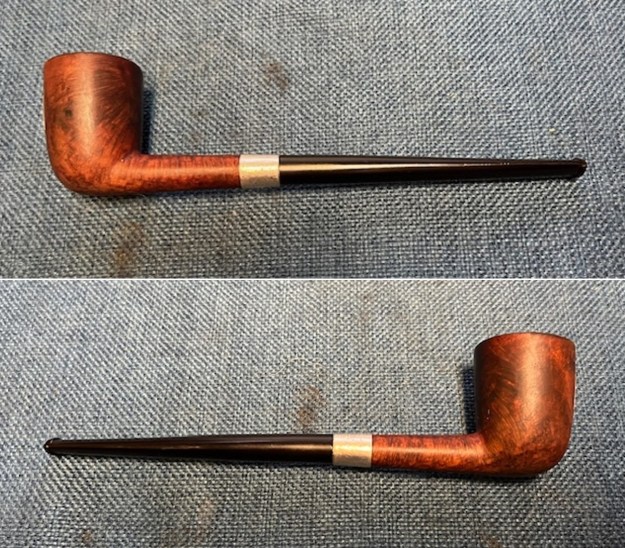
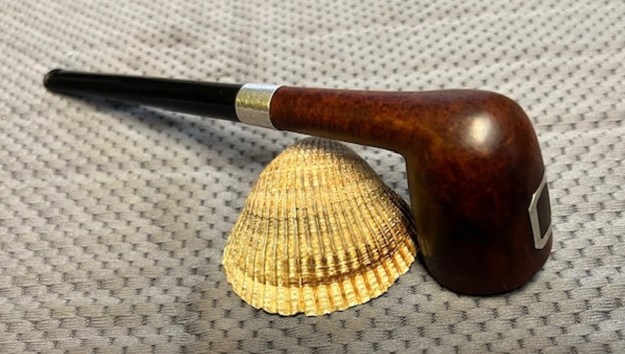
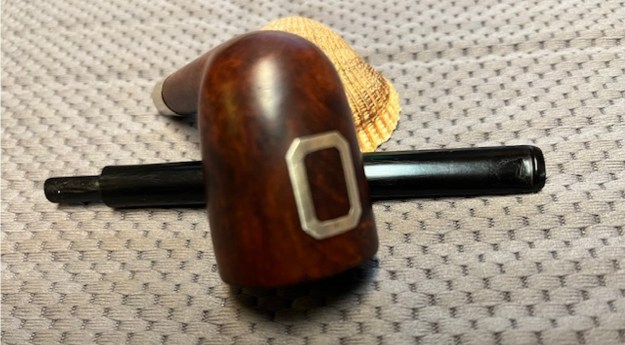
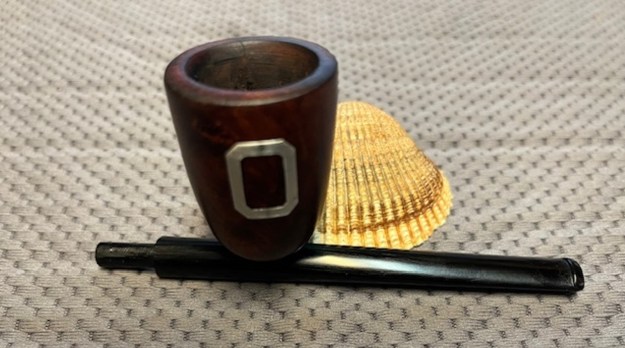
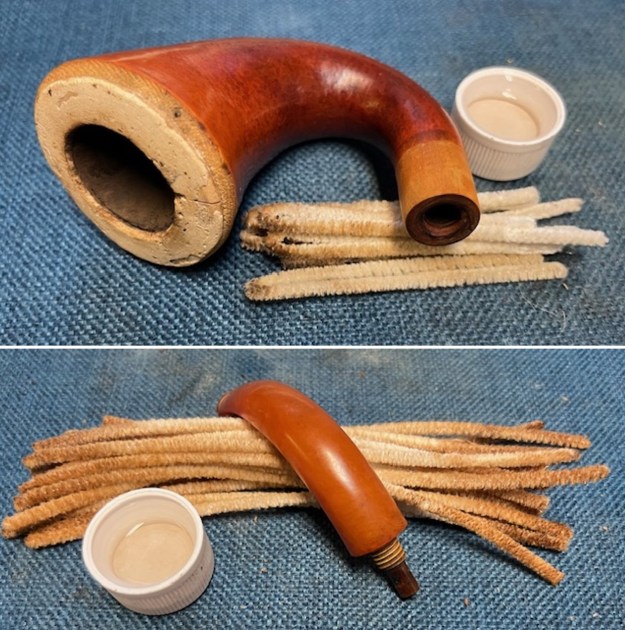
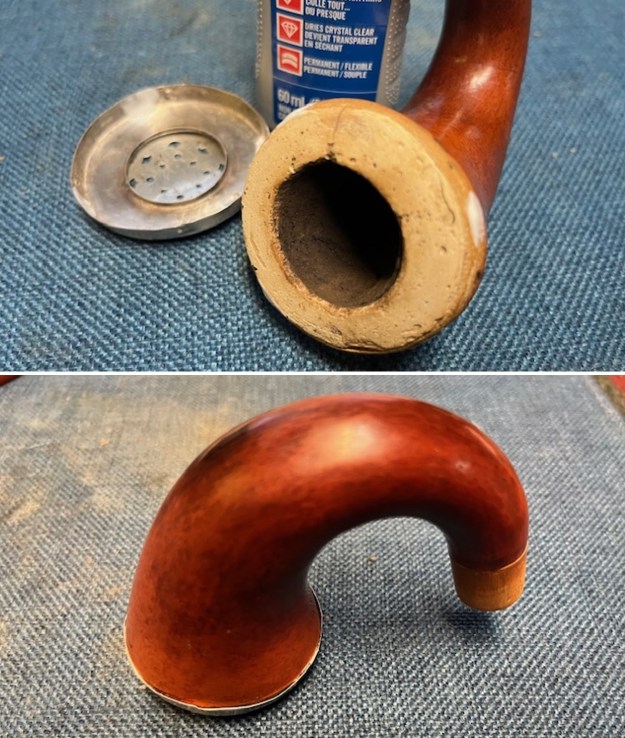
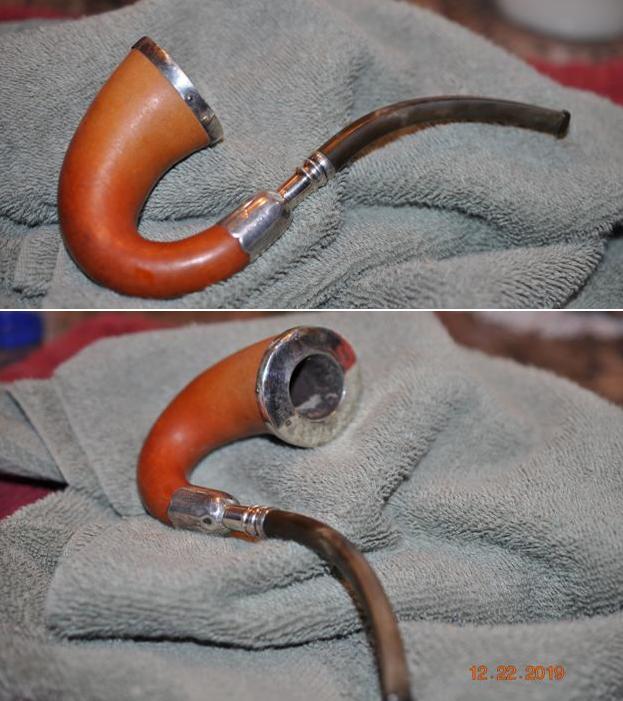
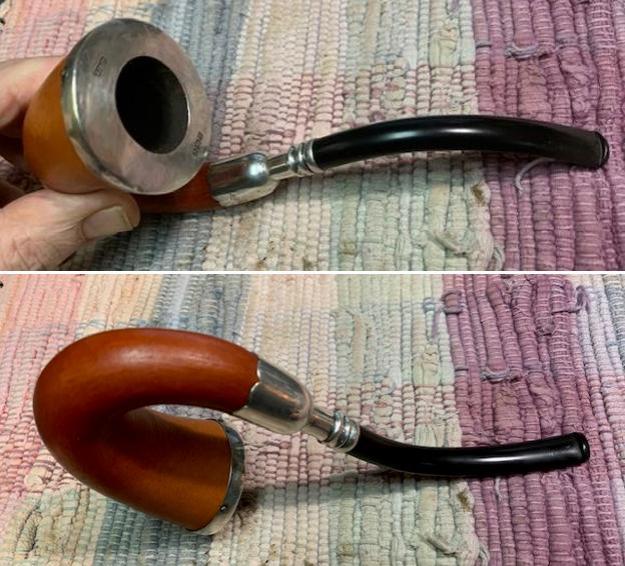
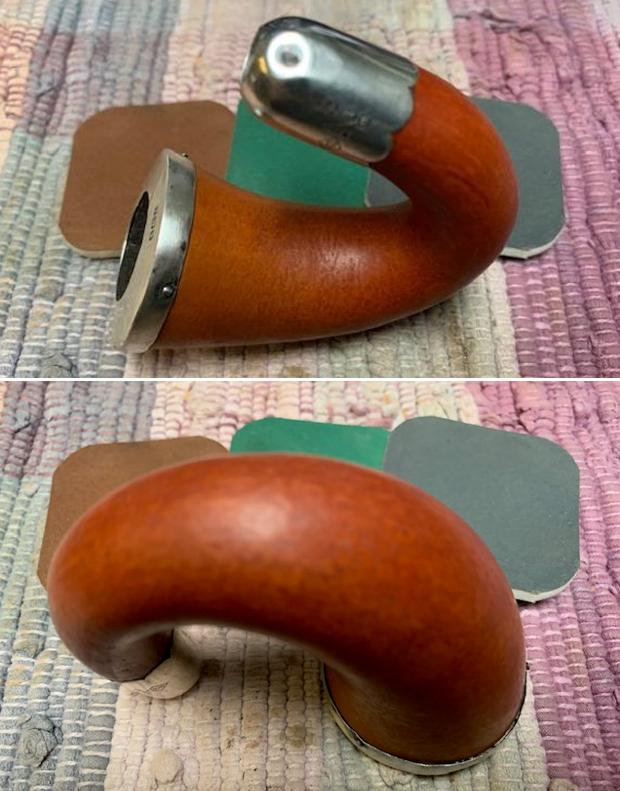
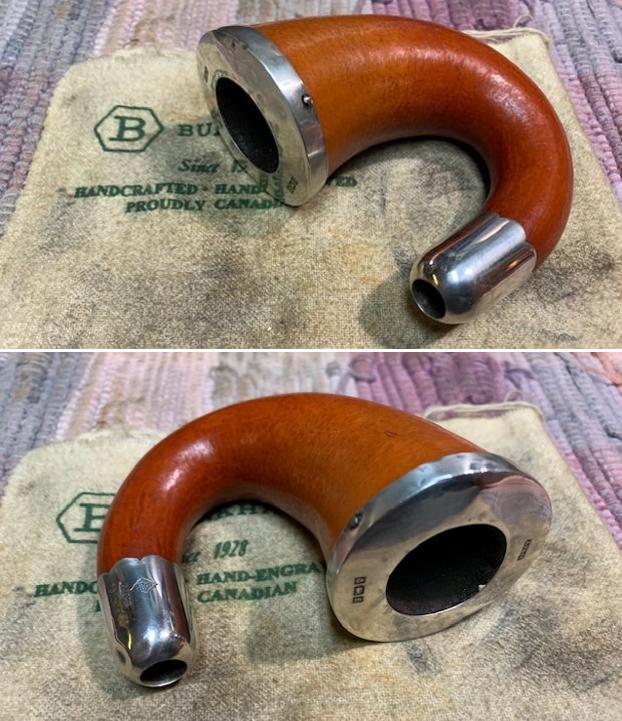
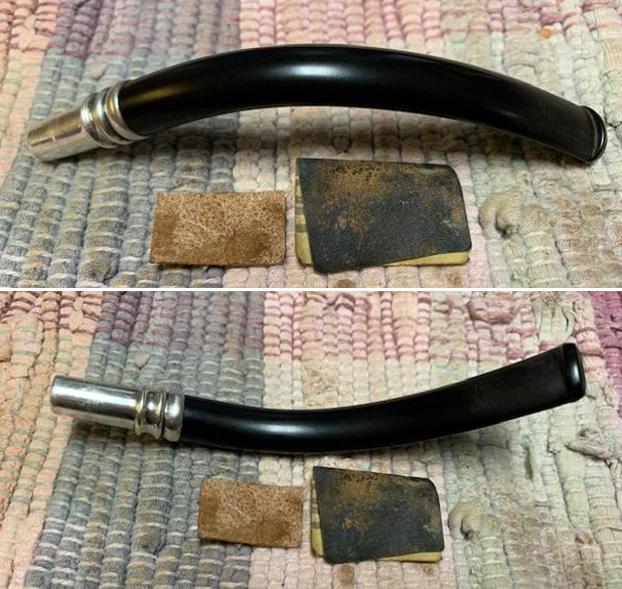
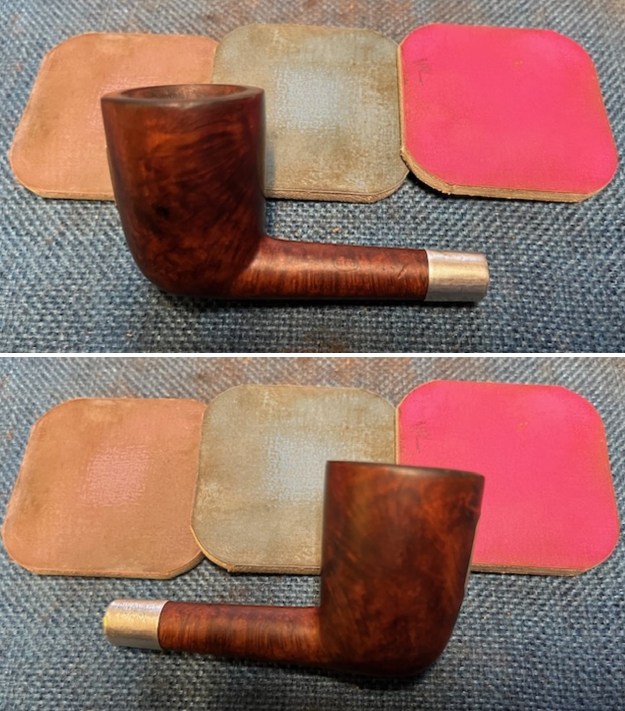
 I took photos of the bowl and rim top to show the clean condition. The damage on the inner edge of the bowl is evident as is the crack on the rim top above the crack on the back of the bowl. The crack extends across the rim top and just slightly into the bowl. That is to be expected. The bowl walls look very good. The Redmanol Stem looks very clean and the chips and nicks are visible the length of the stem. The silver band looks far better.
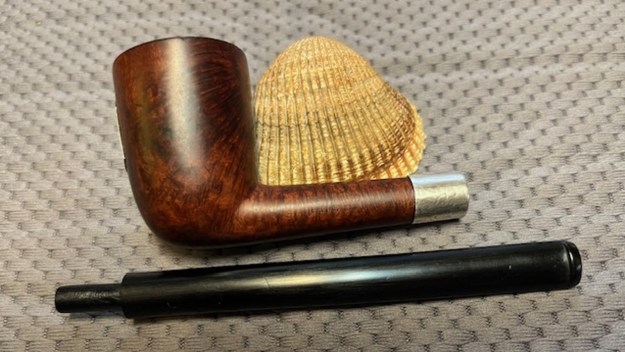
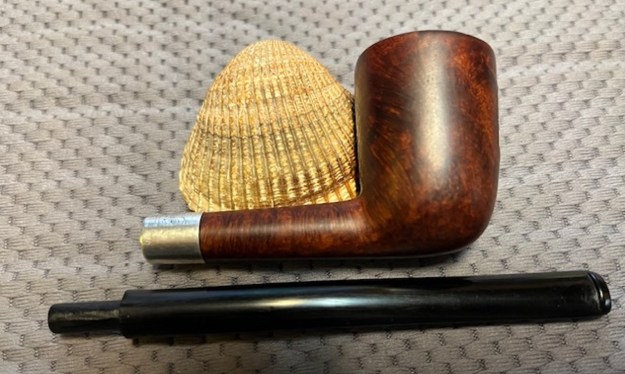
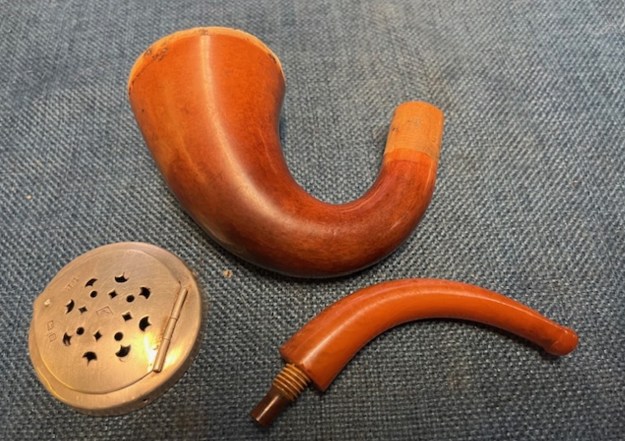
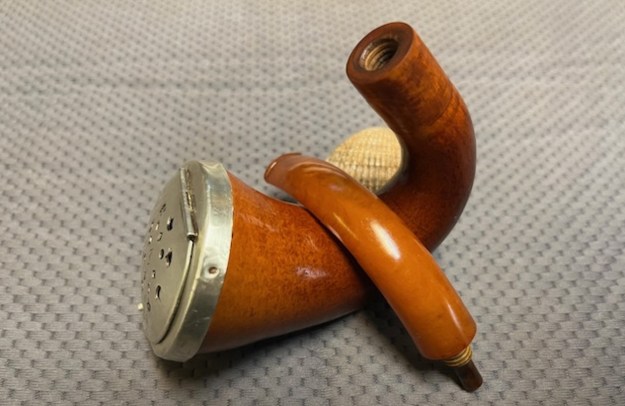
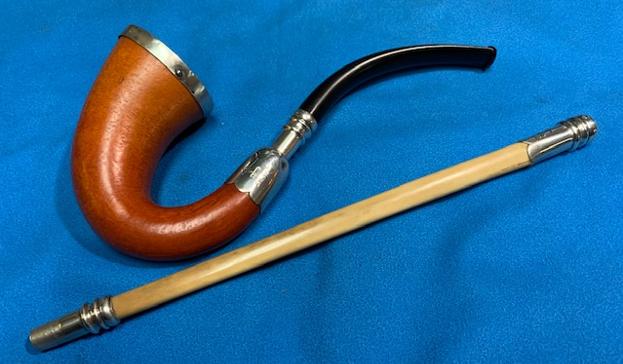
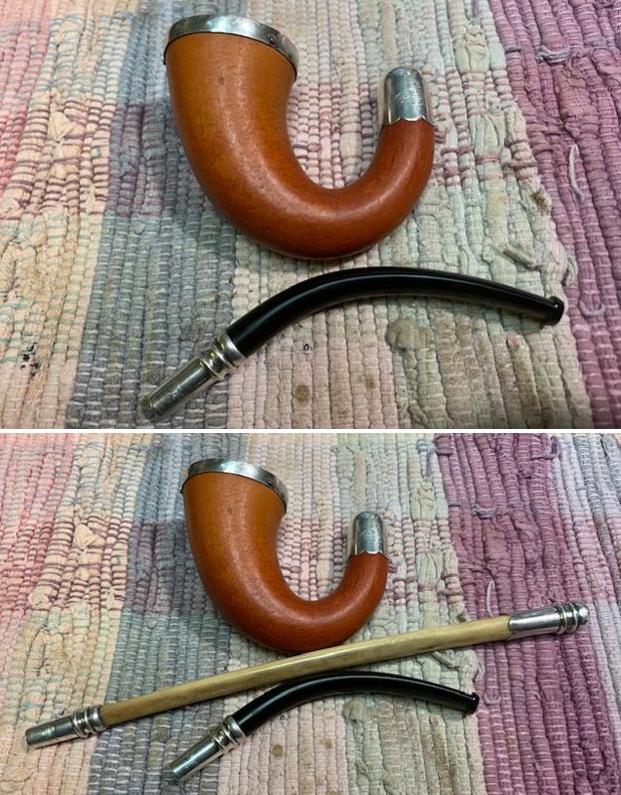
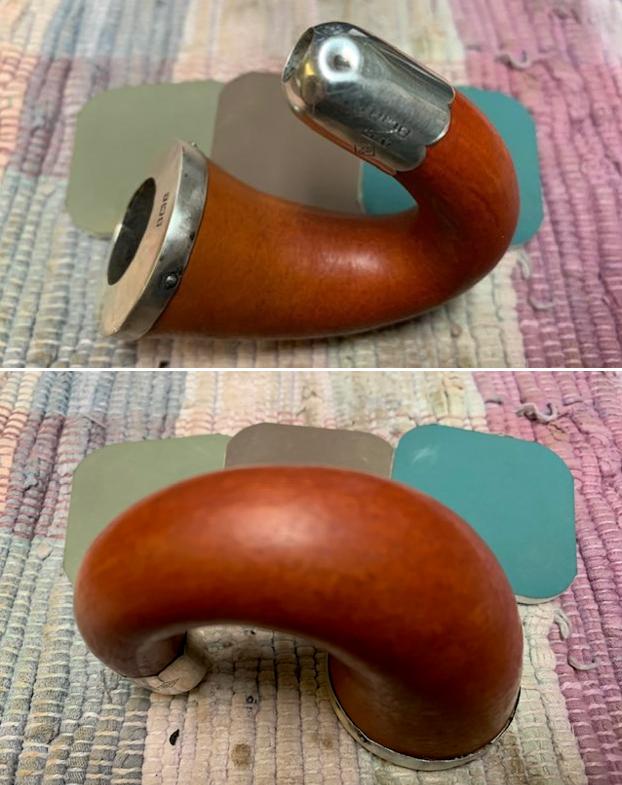
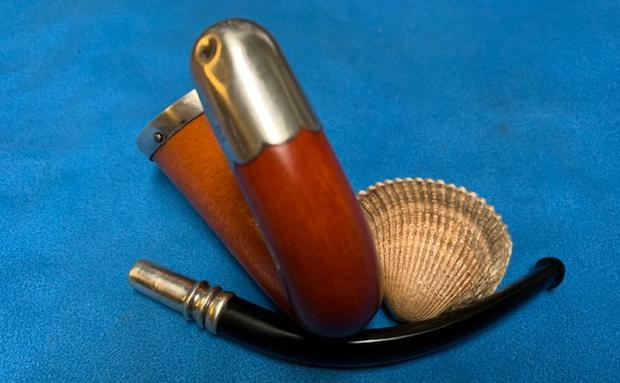
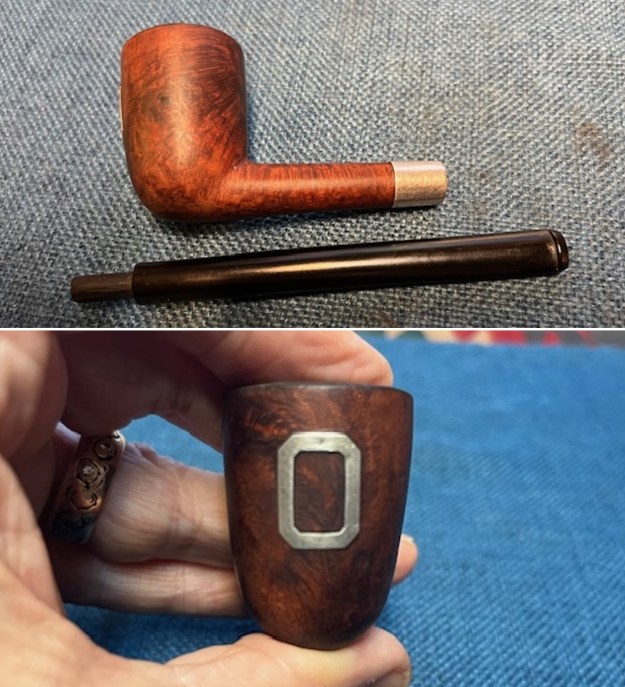
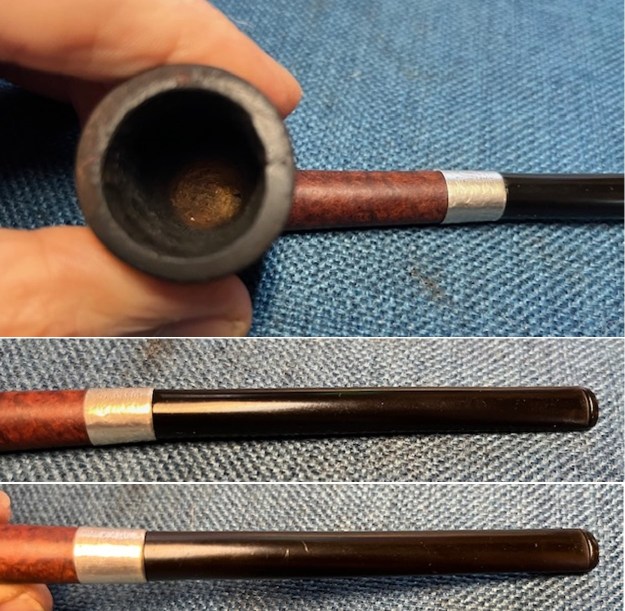 I tried to capture the stamping on the shank side and band in the photos below. They are faint and very hard to capture. It is there but hard to see with out a lens. I removed the stem from the shank and took a photo of the parts of the pipe. It is a beautiful pencil shank pipe. I also took a photo of the Silver “O” on the bowl front. It is nicely done and the tarnish is gone.
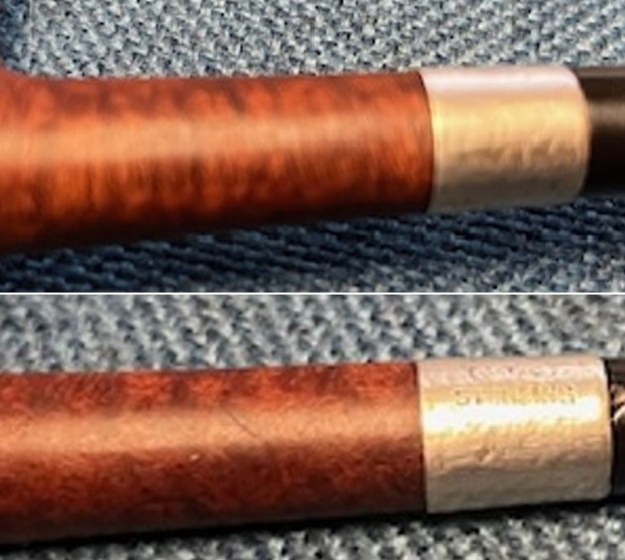
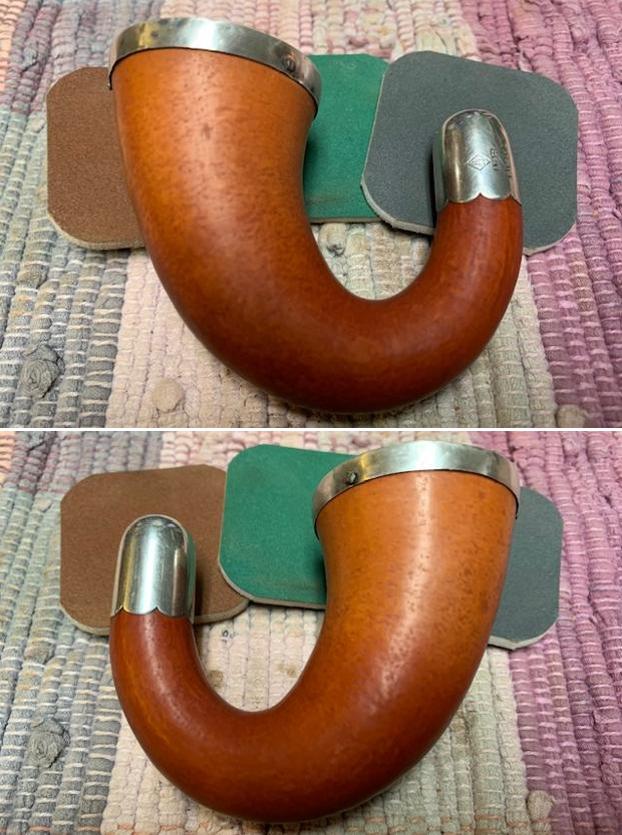
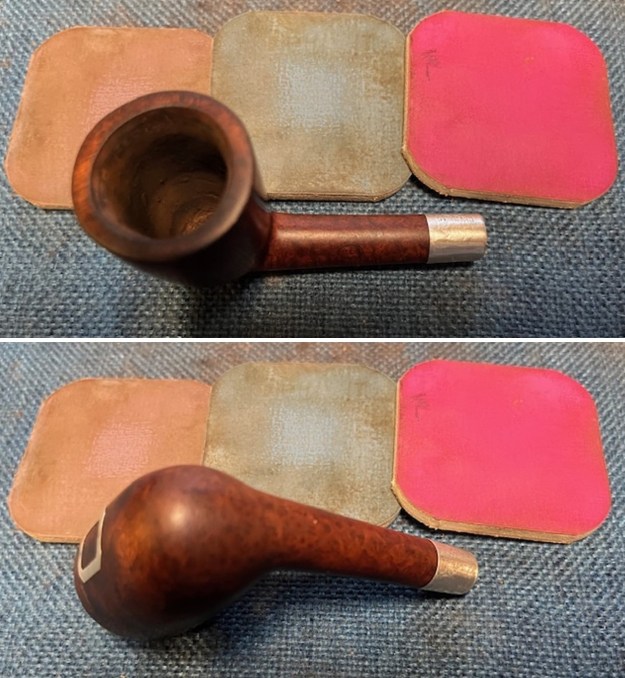
 I decided to address the out of round inner edge of the bowl first. I used a folded piece of 220 grit sandpaper to smooth out the damage on the edge and to give it a slight bevel to bring it back to round. I sanded out the damage on the rim top to smooth it as well. It definitely looks better.
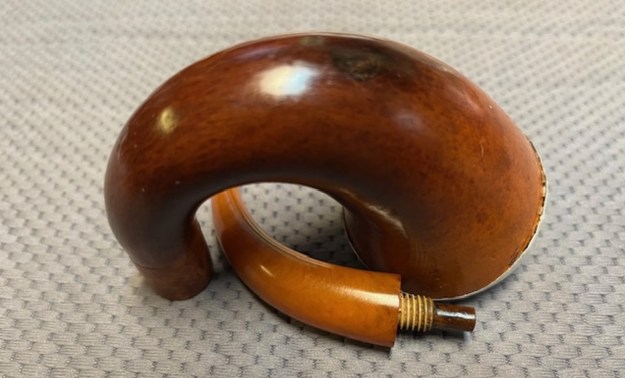
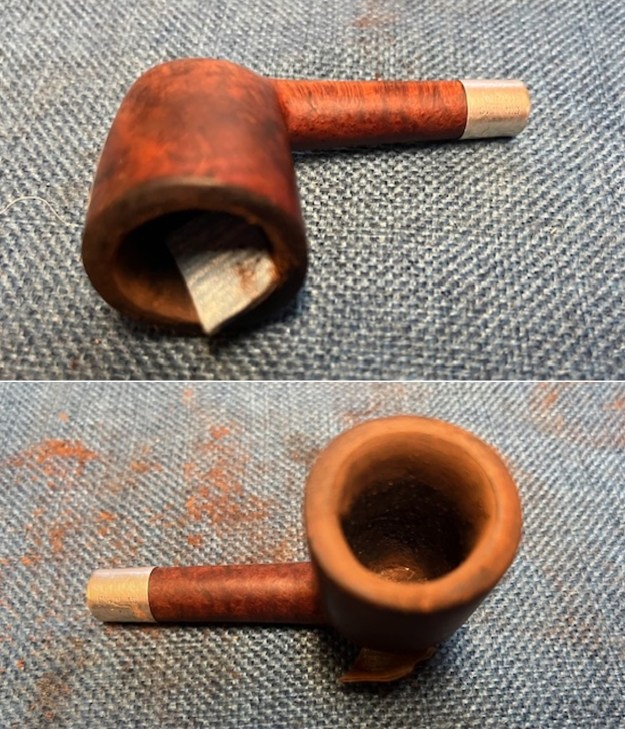 I turned to deal with the crack in the back of the bowl that I mentioned above. The first photo sows the crack. It is hairline and starts on the rim top as shown above and extends down the bowl about 2/3 of the distance to the shank. It is a single crack so I used a small micro Drill bit on my Dremel and put a small hole at the bottom of the crack to stop it from going further. You will notice some small nicks in the surface of the briar where the drill hit as I guided it to the crack end.
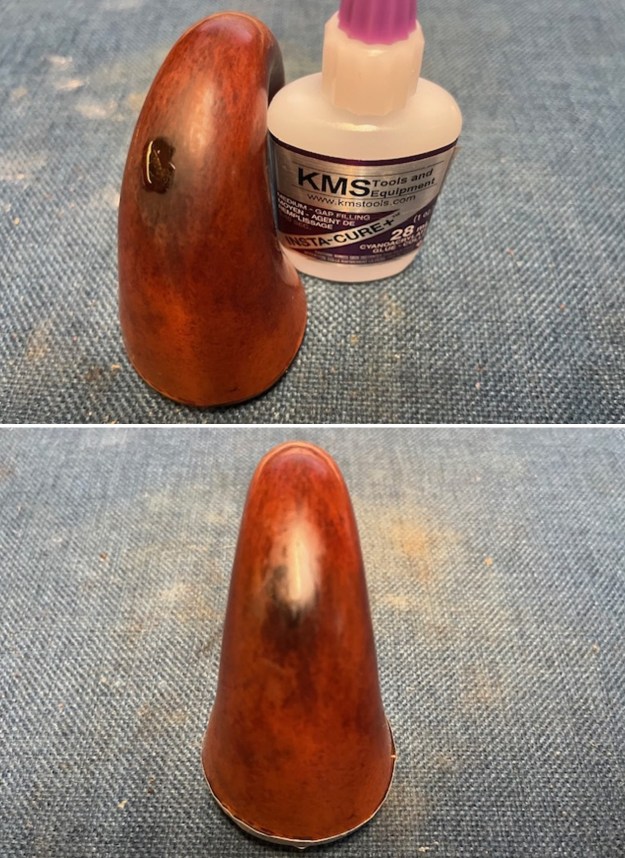
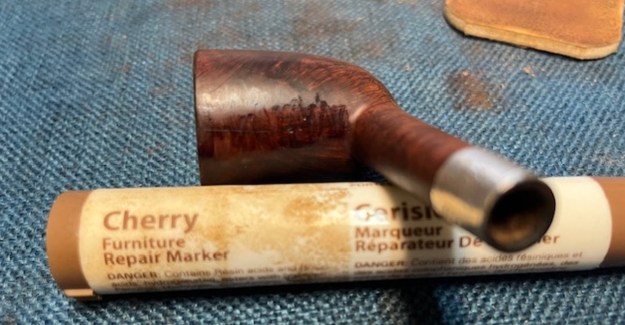
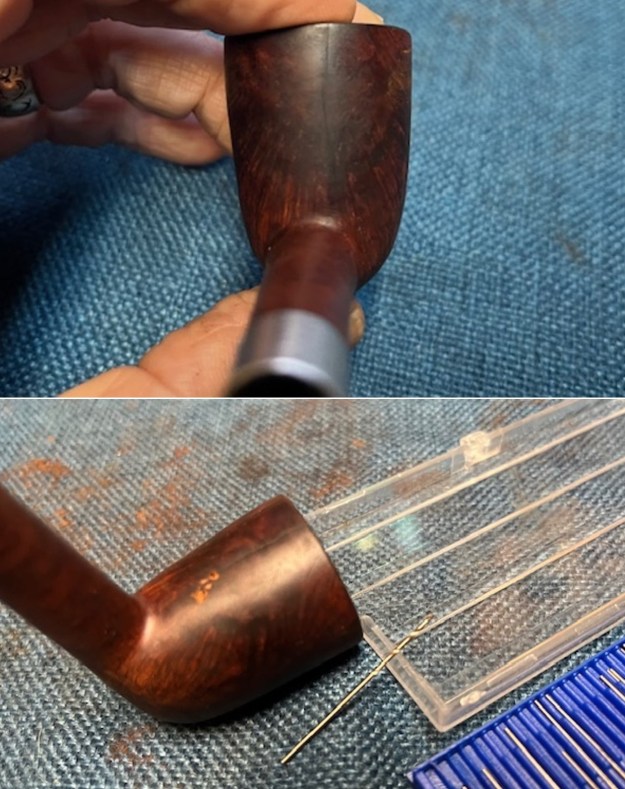 I wiped the back of the bowl down with alcohol on a cotton pad to clean up any debris from the drilling and any that might be in the fine crack. I ran a thin bead of clear CA glue down the crack and in the drill hole and nicks. I used a dental spatula to press fine briar dust into the crack through the glue. Once it cured I sanded the repaired area with a folded piece of 220 grit sandpaper to smooth out the repair. I polished it with a 400 grit sanding pad and then stained the area with a Cherry stain pen to match the rest of the surrounding briar.
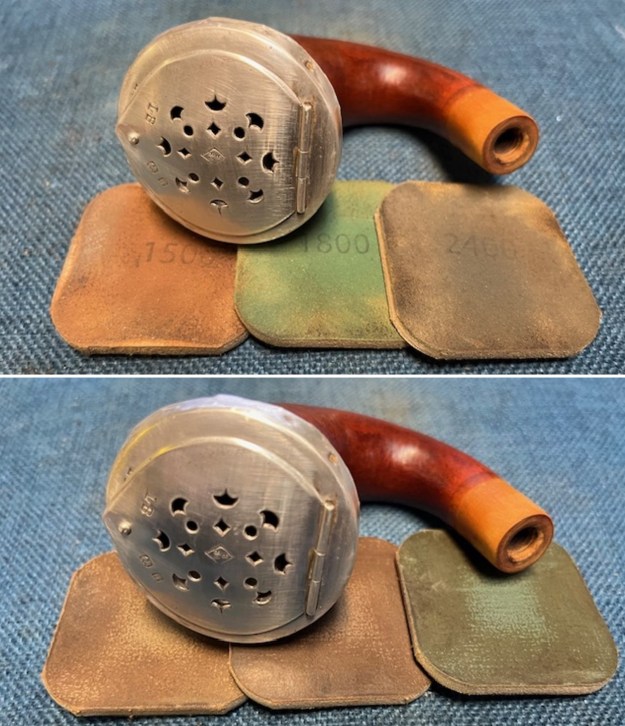
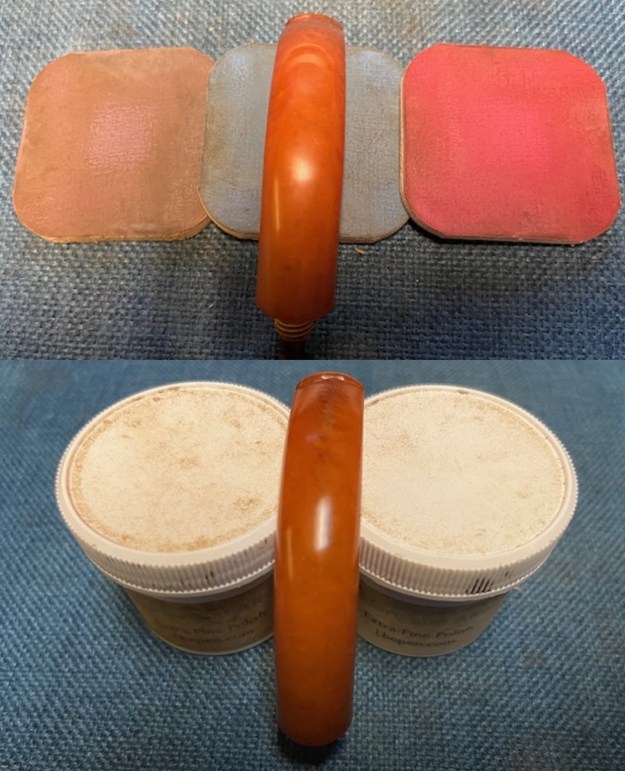
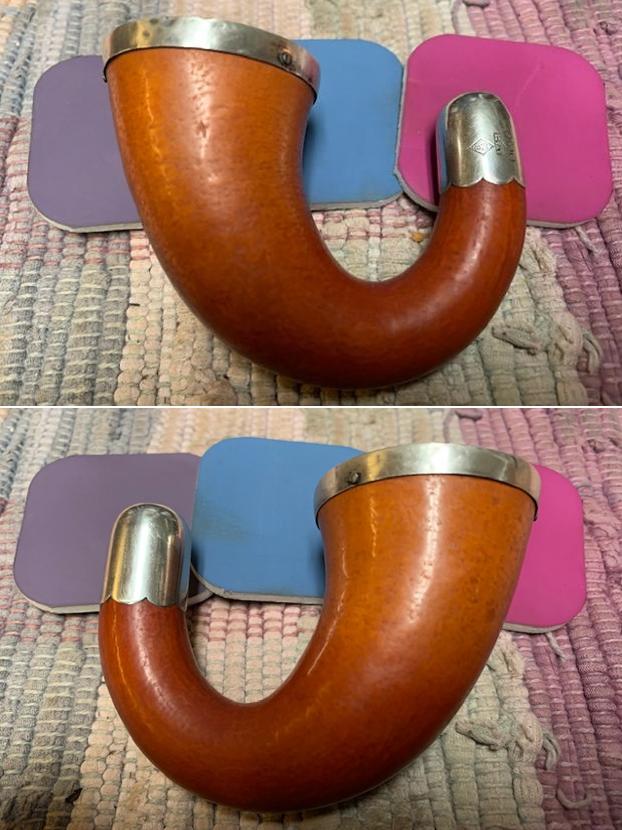
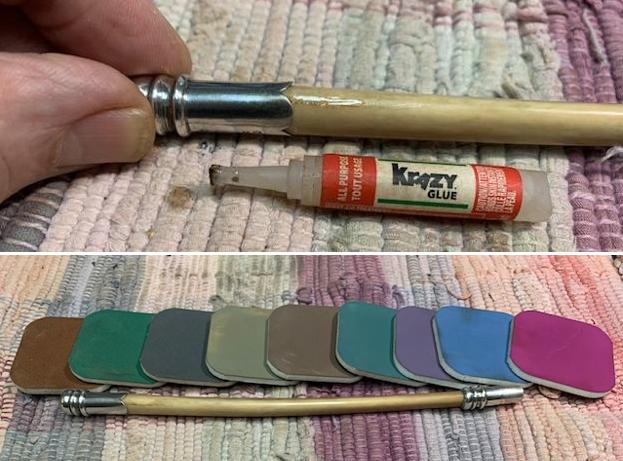
 I polished the briar with micromesh sanding pads – dry sanding with 1500-12000 grit sanding pads. I wiped the bowl down with a damp cloth after each pad. I take photos of the three groups of pads for my own viewing primarily as I am looking for progress in polishing. Once again, by the end of the process it looked quite good.
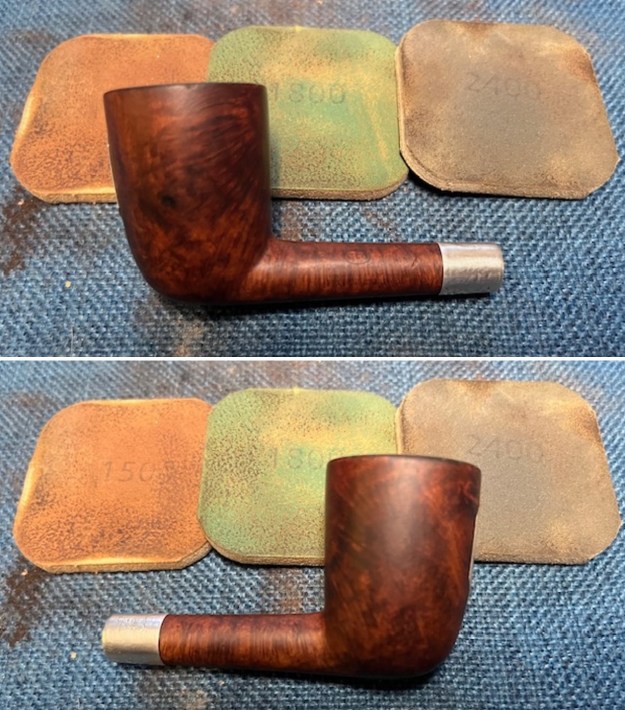
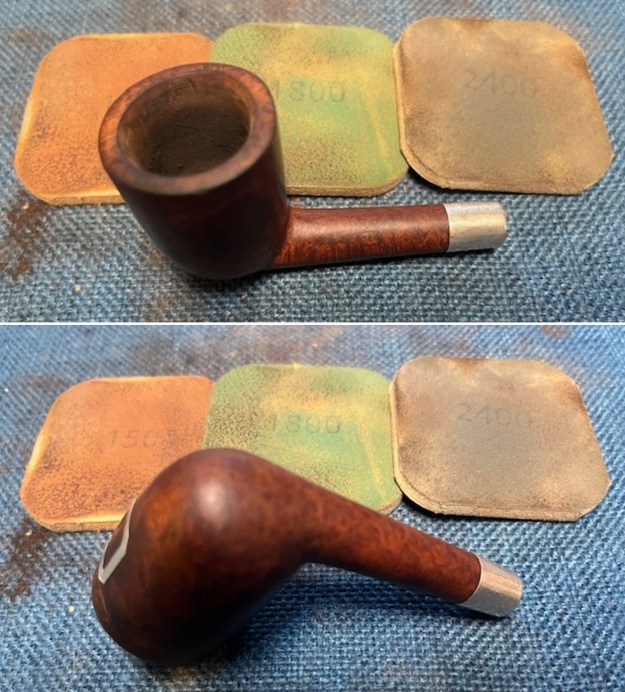
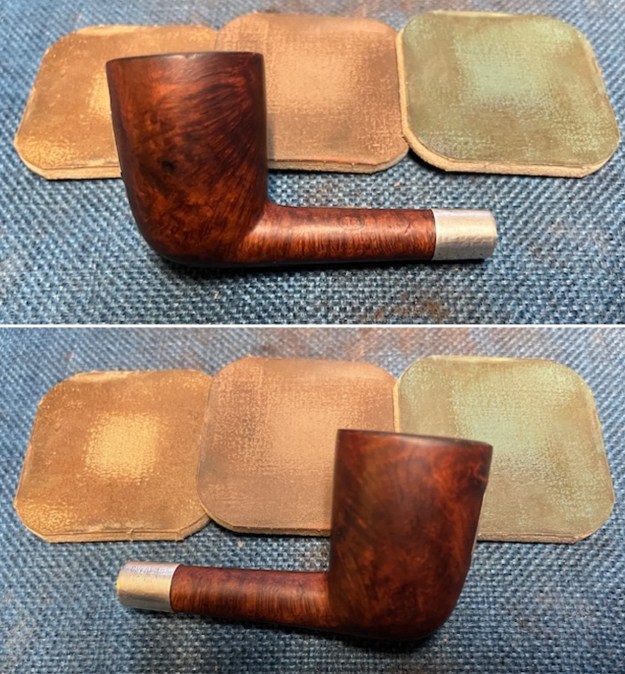
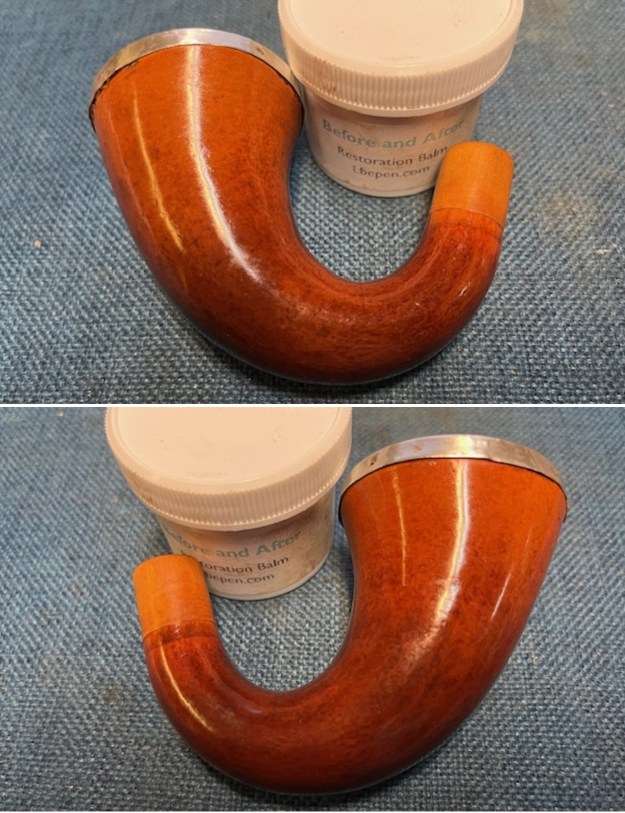
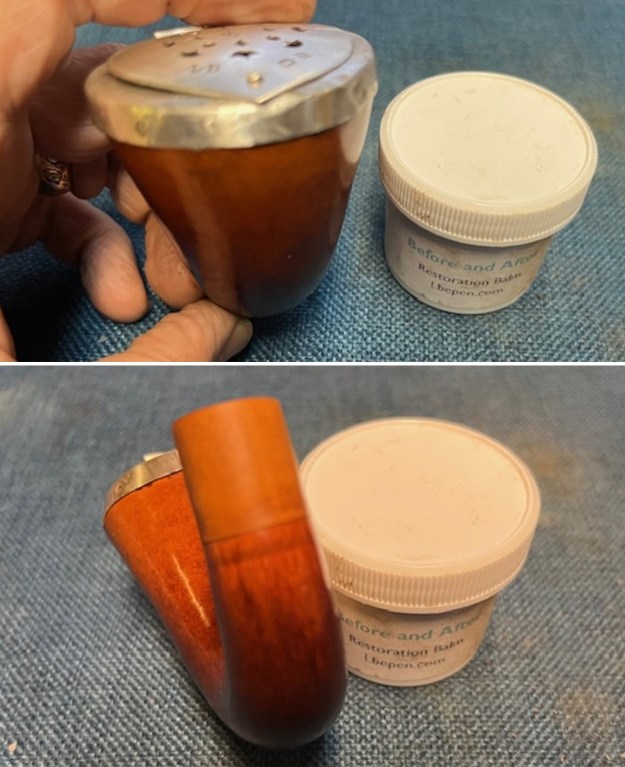
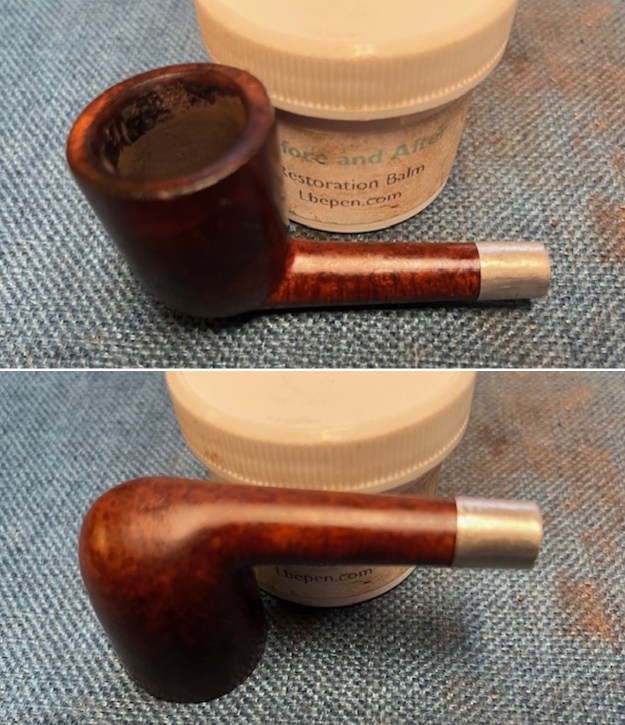
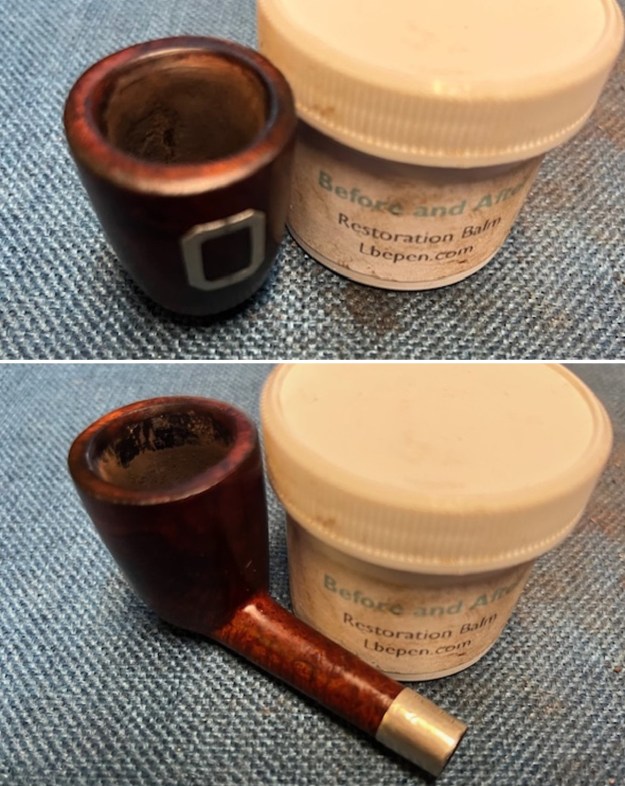
 I rubbed the bowl and shank down with Before & After Restoration Balm. I worked it into the surface of the bowl sides and shank with my fingertips. It works to clean, enliven and protect the briar. I let the balm sit for 15 minutes and buffed with a cotton cloth to raise the shine. The grain came alive.
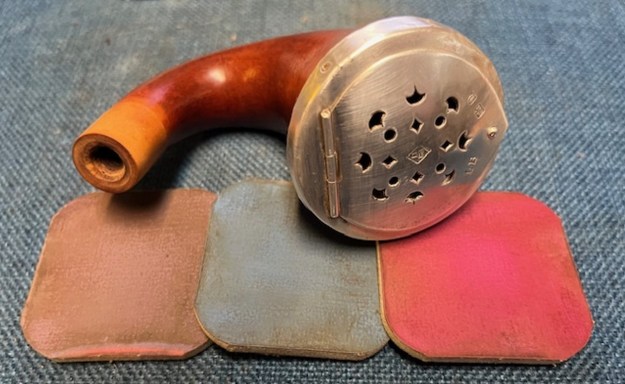
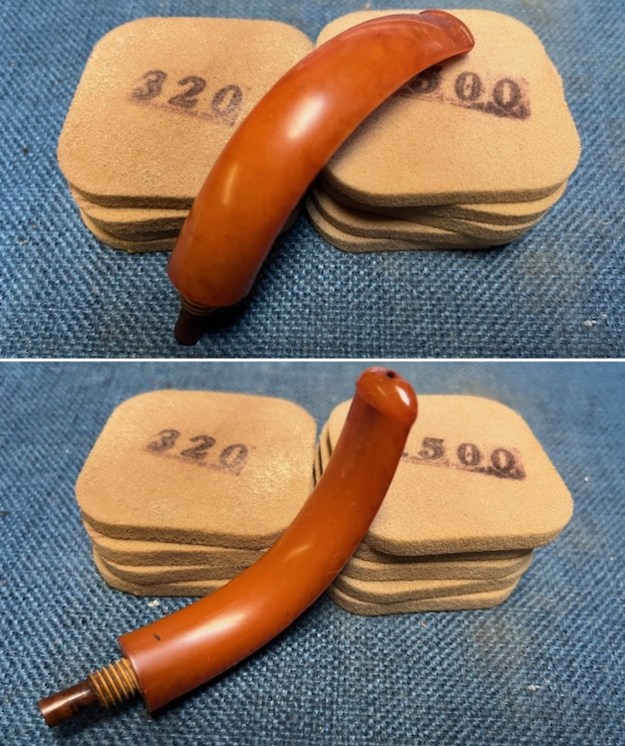
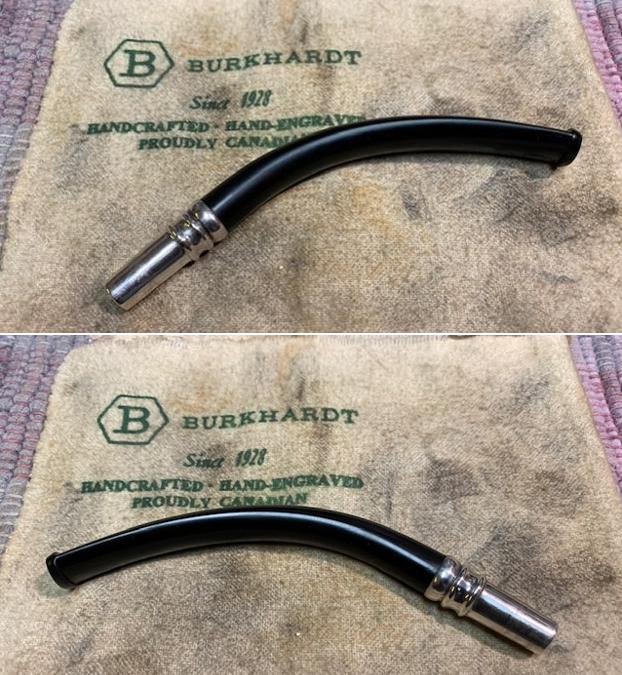
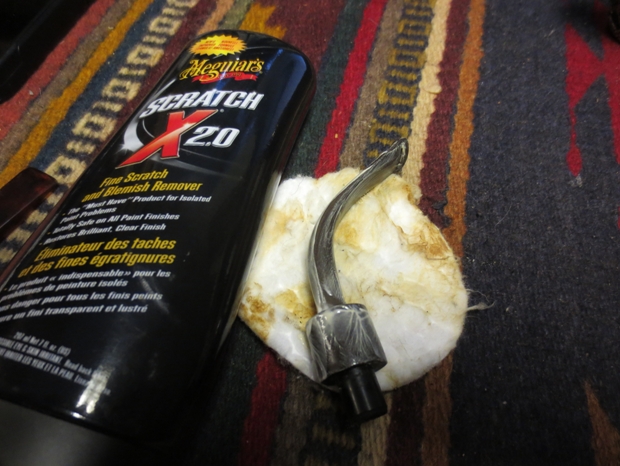
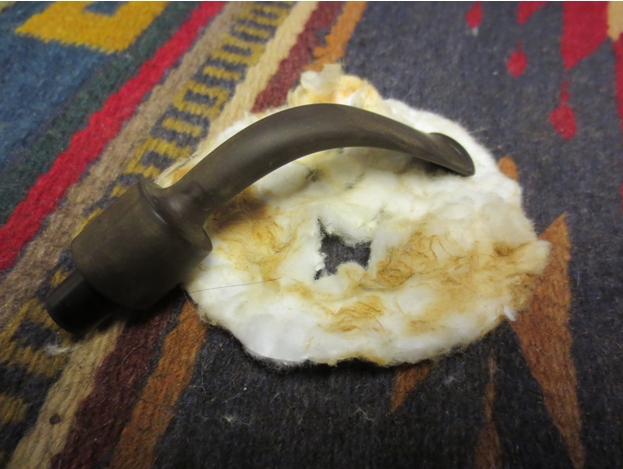
 I set the bowl aside and turned my attention to the stem. The scratches, tooth chatter and marks easily were addressed by dry sanding the stem with 320-3500 grit sanding pads. I wiped it down after each pad with Obsidian Oil. It looked very good at this point in the process.
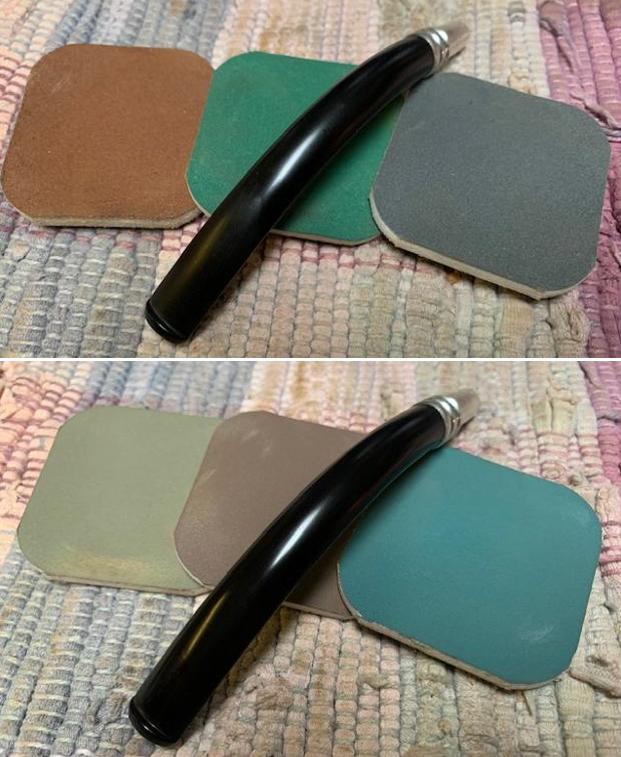
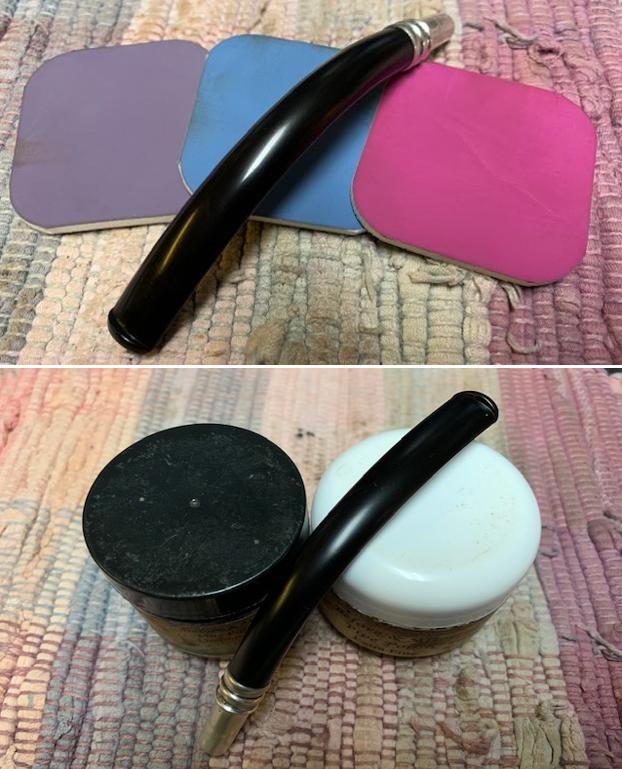
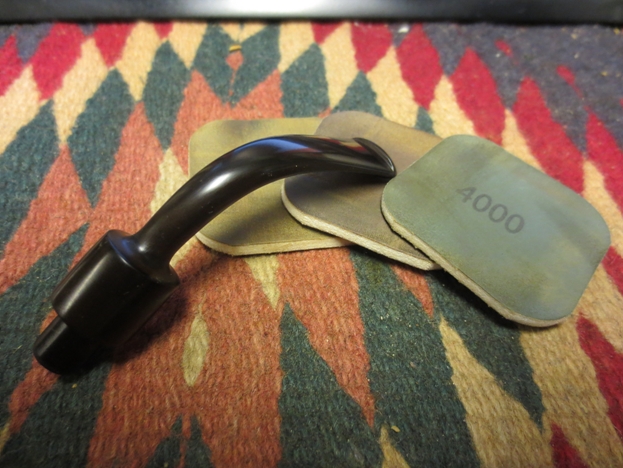
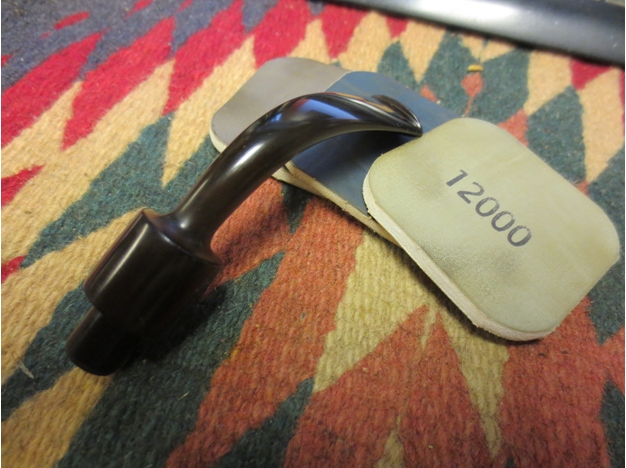
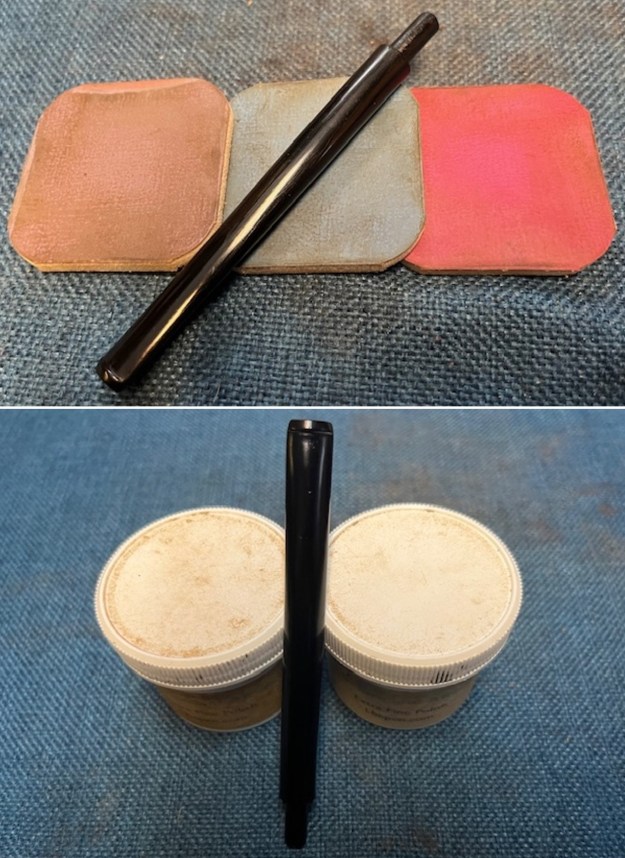
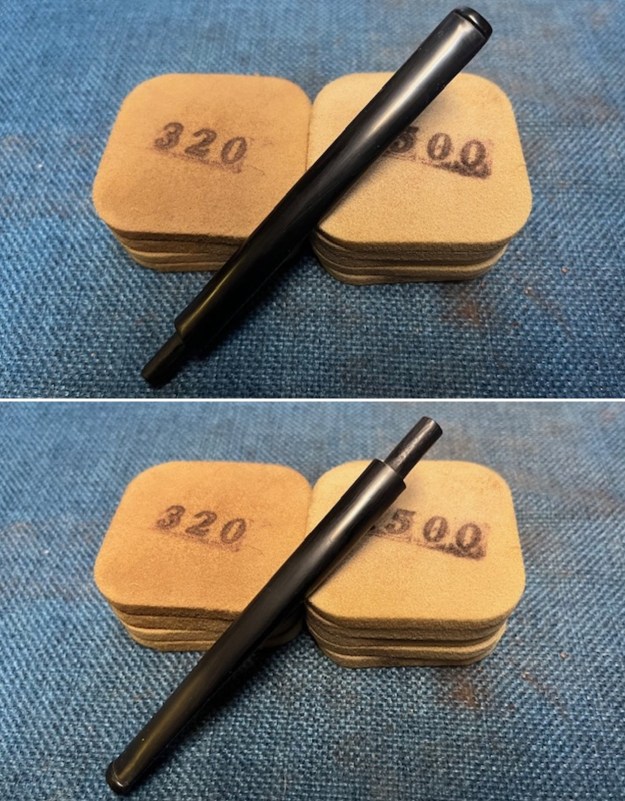 I polished the Redmanol stem with micromesh sanding pads – 1500-12000 grit pads to further remove the remaining scratches. I wiped the stem down with Obsidian Oil after each sanding pad. I used Before & After Pipe Polish – both Fine and Extra Fine to further polish the stem. I rubbed it down with a final coat of Obsidian Oil and let it dry.
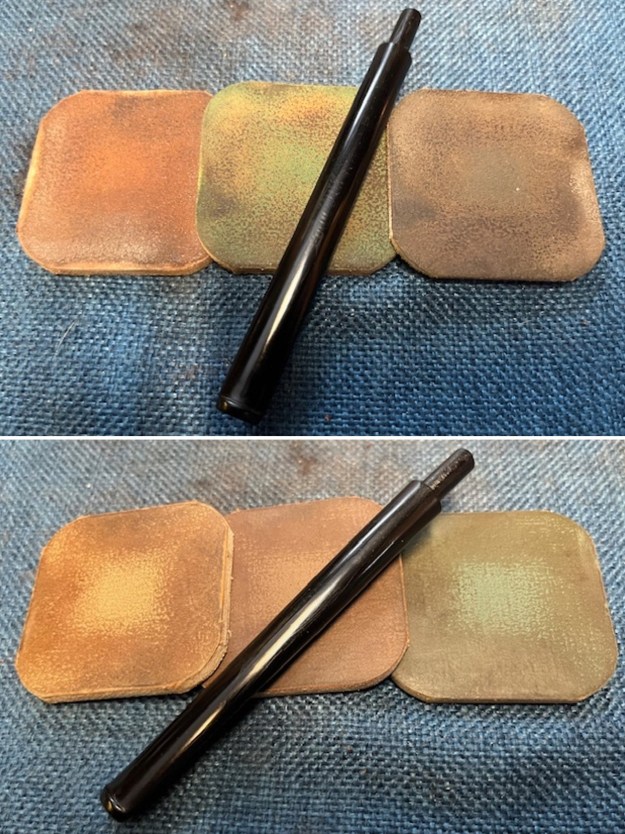
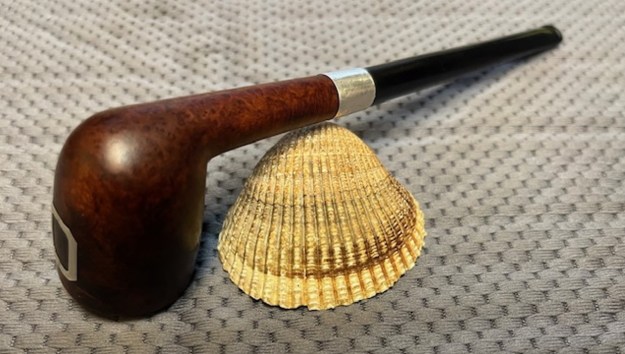
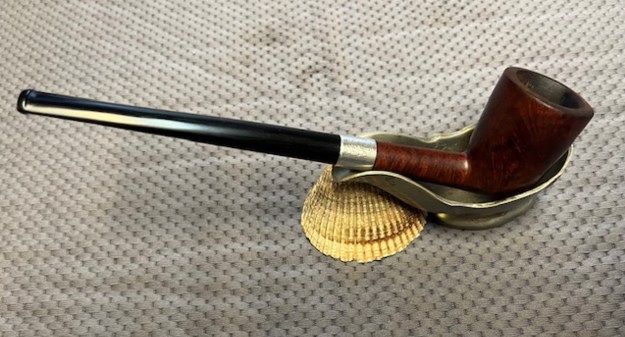
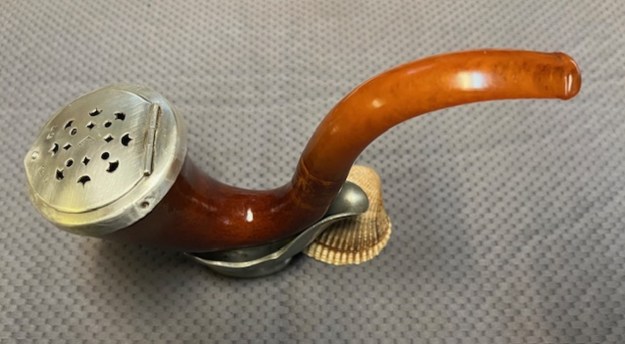
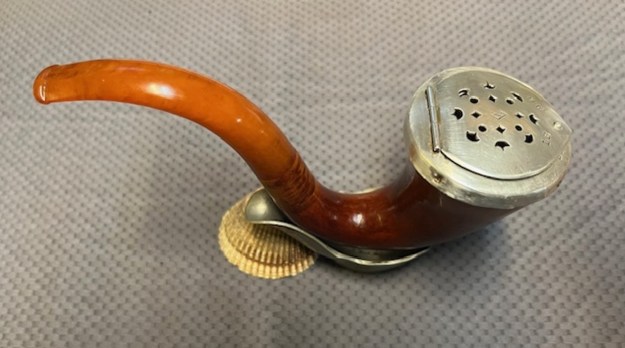
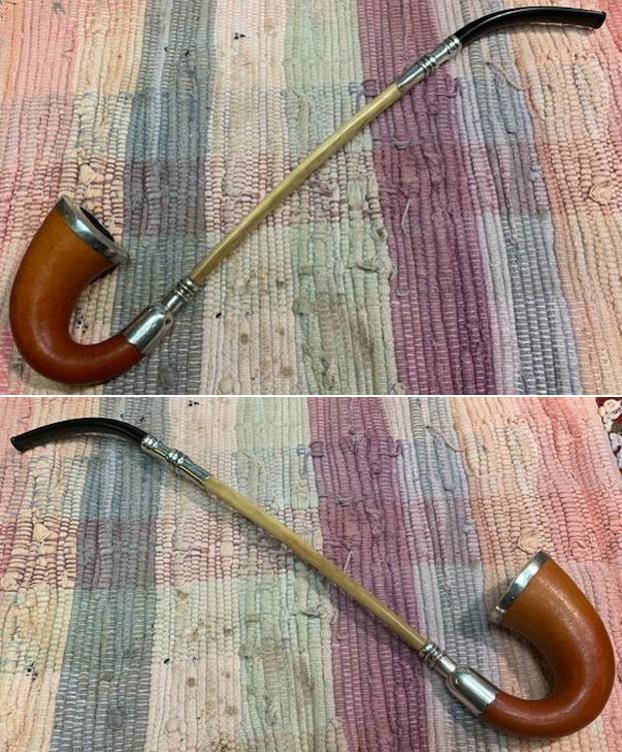
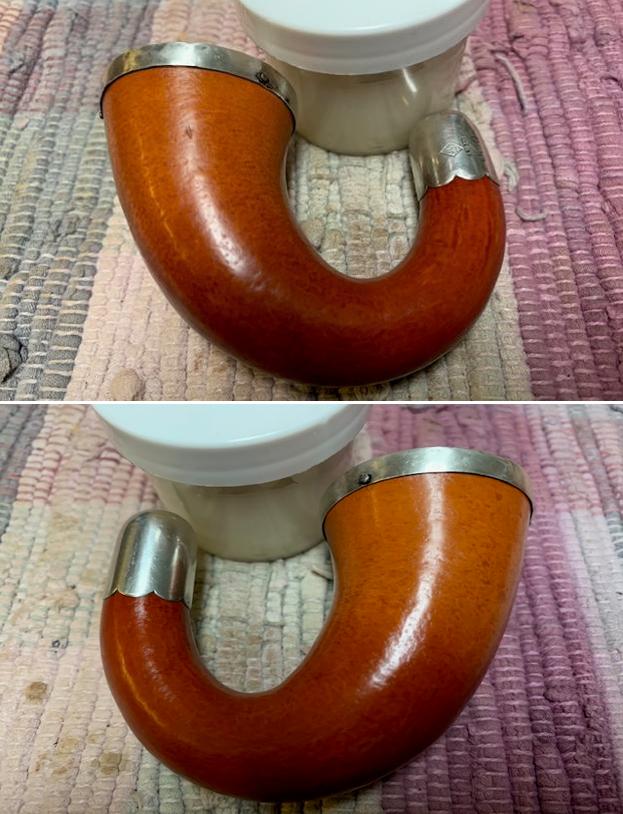
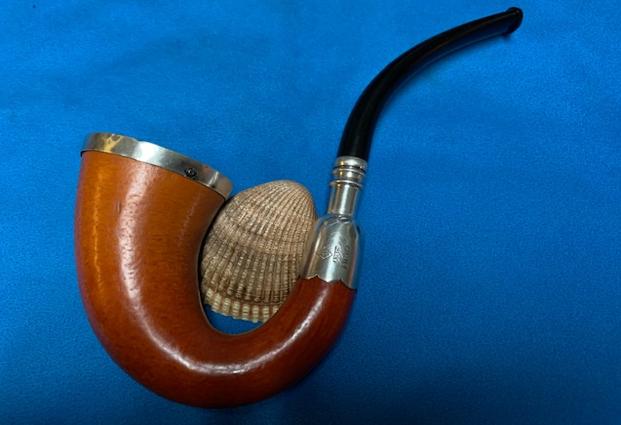
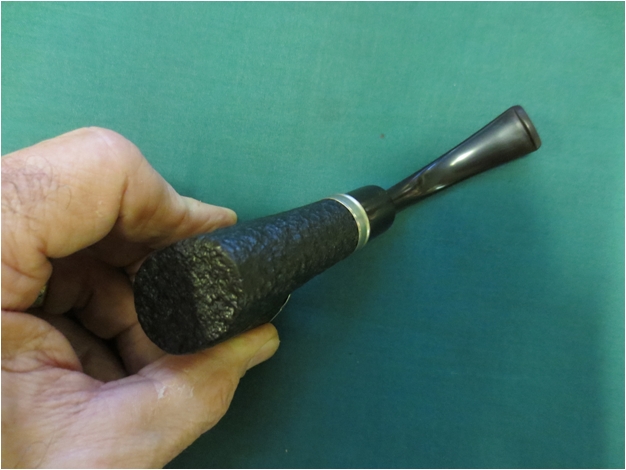
 This 1920s MLC Redmanol French Briar Pencil Shank Billiard with a Redmanol stem is a great looking pipe with some interesting scalloping around the sides of the bowl. An added bonus if you are an Oregon Agricultural College Fan there is a silver “O” on the front of the bowl. The beautiful grain around the bowl is quite stunning and works well with both the shape and the polished silver band and “O” and the Redmanol taper stem. I put the stem back on the bowl and carefully buffed the pipe with Blue Diamond on the buffing wheel using a light touch on the briar. I gave the bowl and the stem multiple coats of carnauba wax on the wheel and followed by buffing the pipe with a clean buffing pad. I hand buffed the pipe with a microfiber cloth to deepen the shine. The finished MLC Redmanol French Briar Billiard fits nicely in the hand and feels great. Give the finished pipe a look in the photos below. The dimensions of the pipe are Length: 6 ¾ inches, Height: 1 ½ inches, Outside diameter of the bowl: 1 ¼ inches, Chamber diameter: 7/8 of an inch. The weight of the pipe is 24 grams/.85 ounces. I will be putting it on the rebornpipes store in the American Pipemakers Section shortly. If you are an avid Oregon fan or know one then this is the piece of history for you. Send me a message or an email. Thanks for reading this blog and my reflections on the pipe while I worked on it. I appreciate your support and time!