Blog by Steve Laug
 In January Jeff found out about an estate sale in Pocatello, Idaho, USA. It turned out that the sale was for a fellow Jeff and I had purchased pipes from in the past, Gene. He had been the owner of Outwest Tobacco in Pocatello (long closed now) and I bought tobacco and other smoking items from him in the past. As I think about it now, it seems that I had known Gene for over 30 years Jeff and I had been to his home and enjoyed coffee and a few pipes together. I have no idea how many pipes we bought on those visits as well as to the antique shop of his daughter. I know that there were many pipes. When we heard that it was Gene’s personal collection that was for sale and that he had passed away we decided for Jeff to go to the house and have a look. He went on January 25, 2024 to scope it out as we had seen his personal collection of pipes and there were definitely some among those well smoked old warriors that would be great to pick up. Perhaps there would even be one that could join my own collection in memory of Gene.
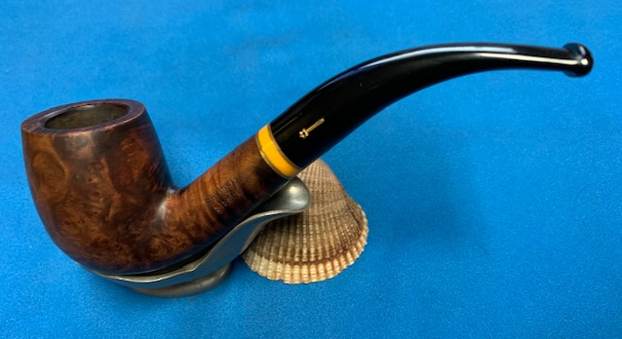
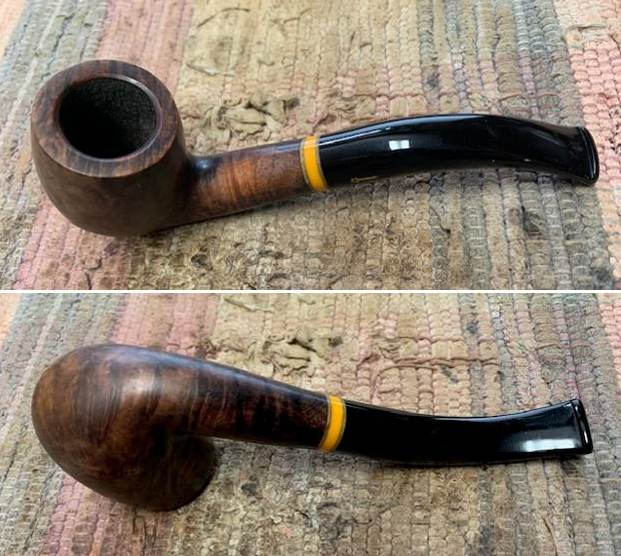
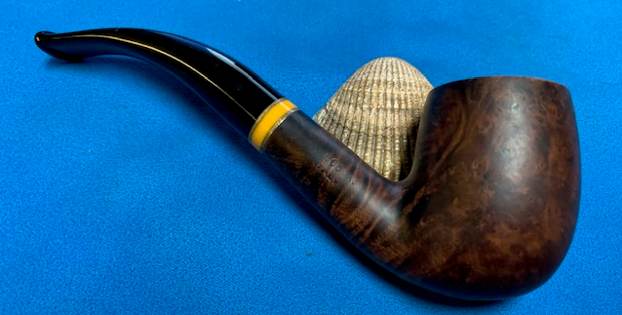
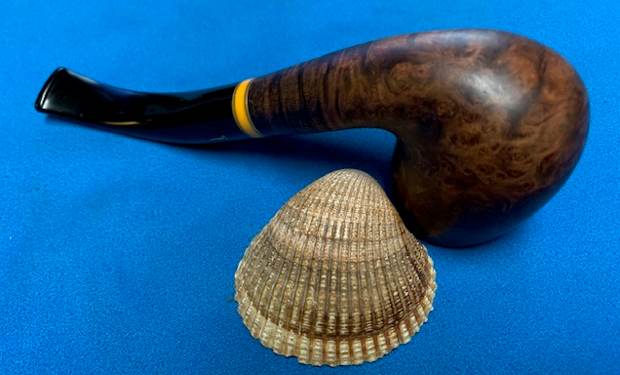
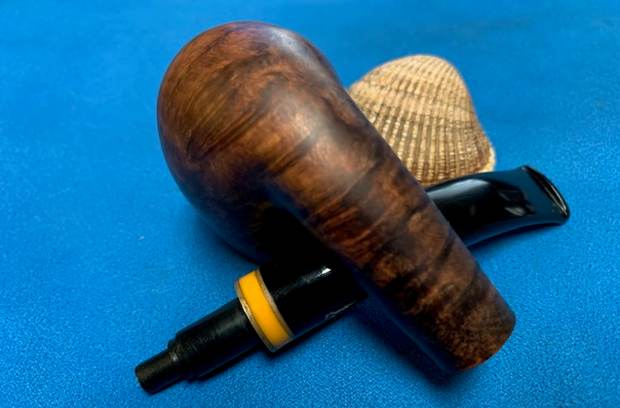
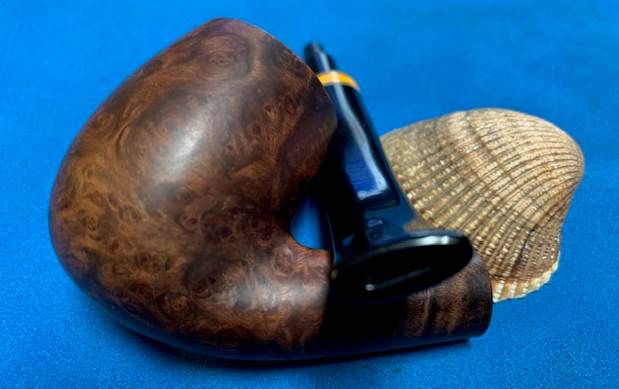
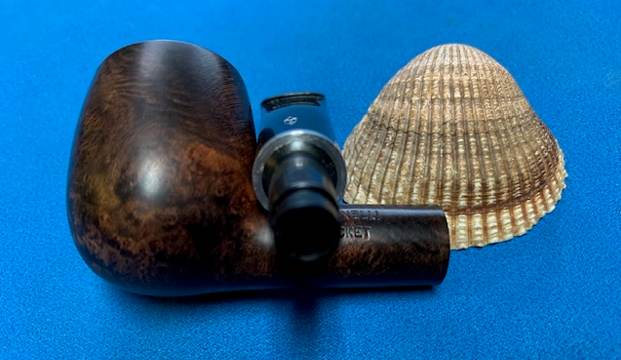
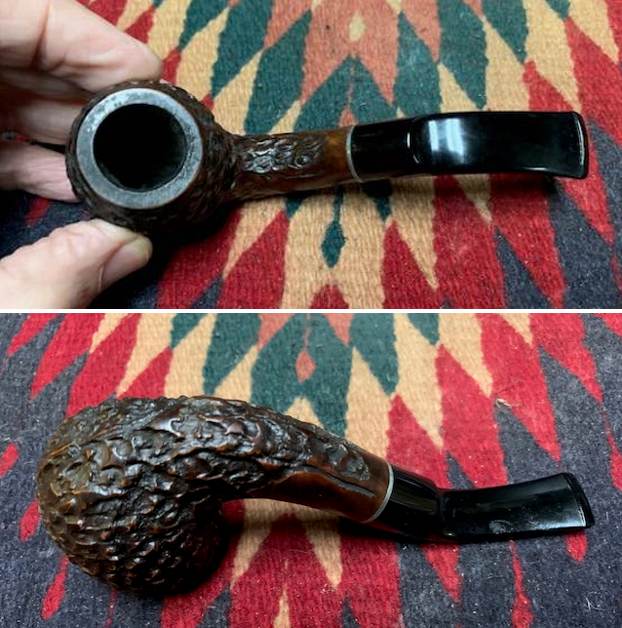
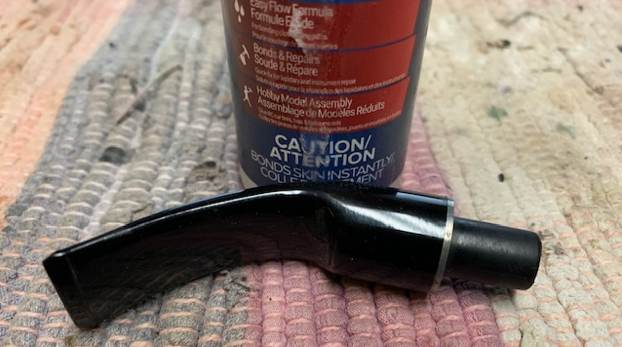
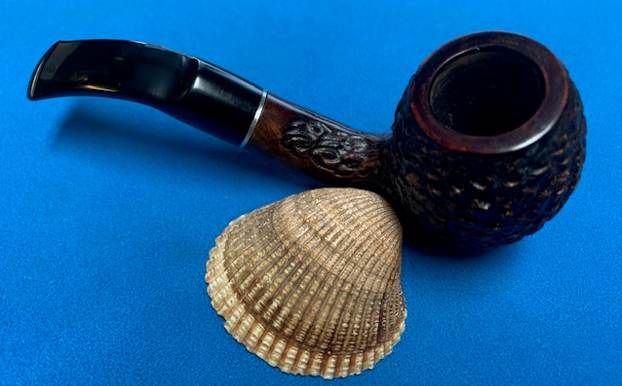
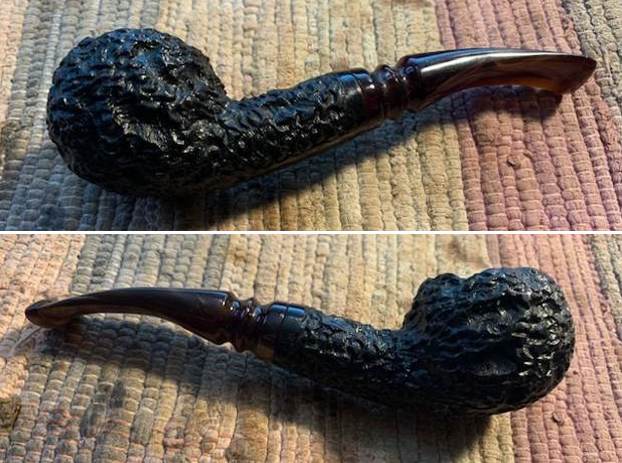
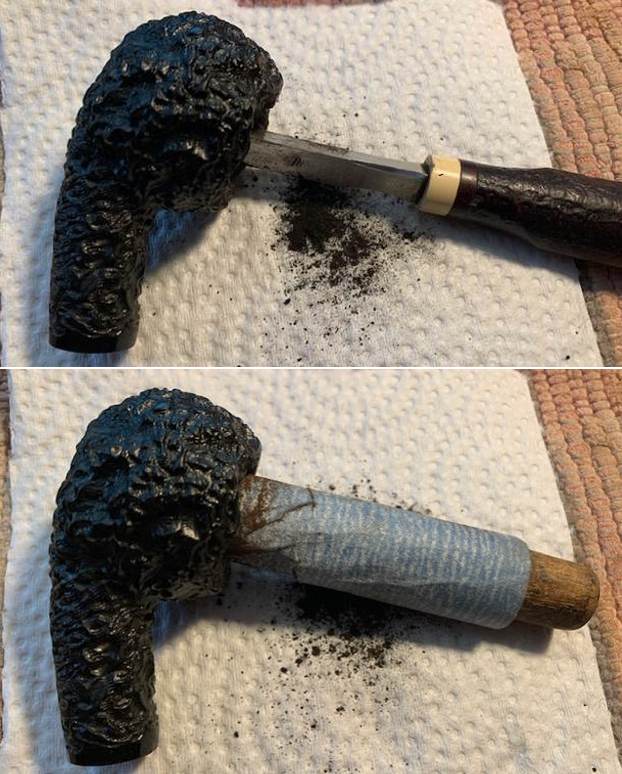
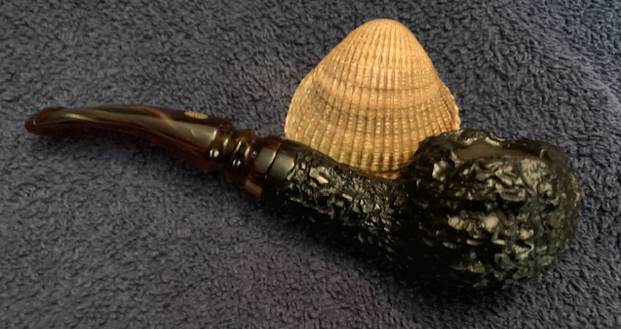
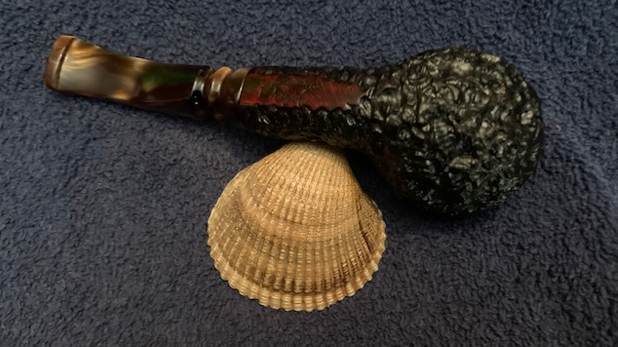
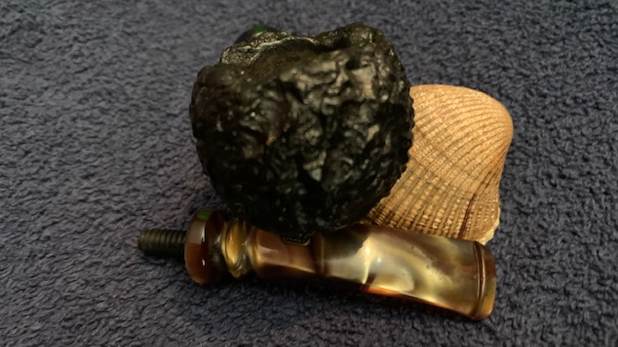
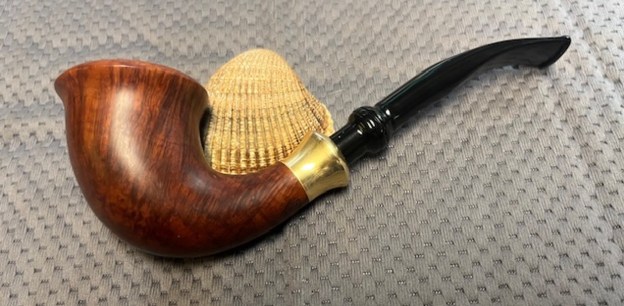
Jeff went to the house and looked through the racks, pipe bags, tobacco both bulk and tinned as well as a variety of pipes. All the pipes were well smoked and needed serious cleaning. One the pipes he picked up was this Stanwell Hans Christian Andersen with a black fancy acrylic stem. It was very dirty and was a natural coloured pipe when it started. The smooth finish around the bowl was dirty and had hand oils ground into the grooves. The bowl had a thick cake that overflowed in lava onto the rim edge and top of the bowl. The stem was a turned fancy acrylic that was very dirty and had the marks of a rubber Softee Bit on the end. It had become discoloured and there was a line where the debris from smoking had accumulated along the edge and under the bit protector. The good news was that there were no tooth marks or chatter. The rest of the acrylic stem was dirty and had lost the characteristic shine. The pipe was stamped on the underside of the shank next to the polished brass ferrule. It read Stanwell [over] Hans Christian [over] Andersen and was somewhat double stamped and hard to read. The fancy acrylic stem had a ball just above the fit in the brass ferrule. Jeff took photos of the pipe so I could have a sense of what it looked like before he started his work on it.
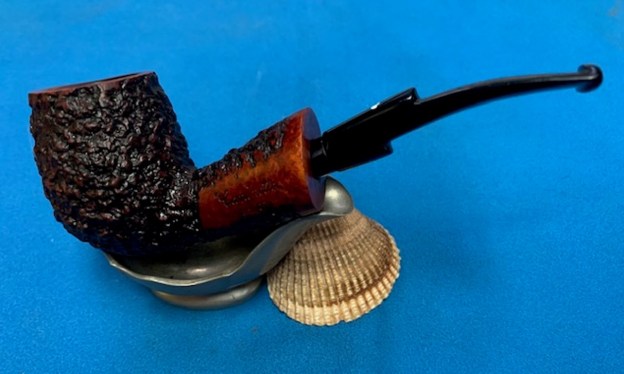
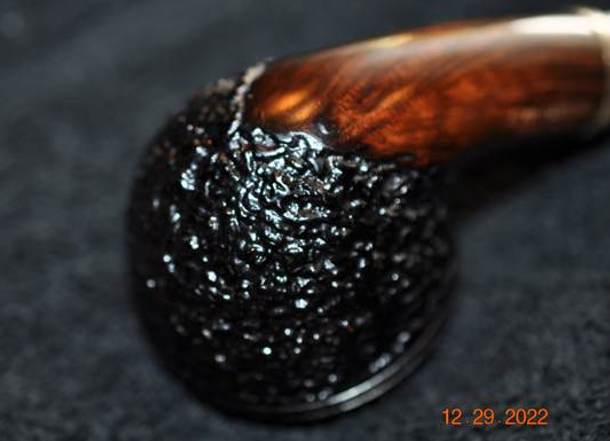
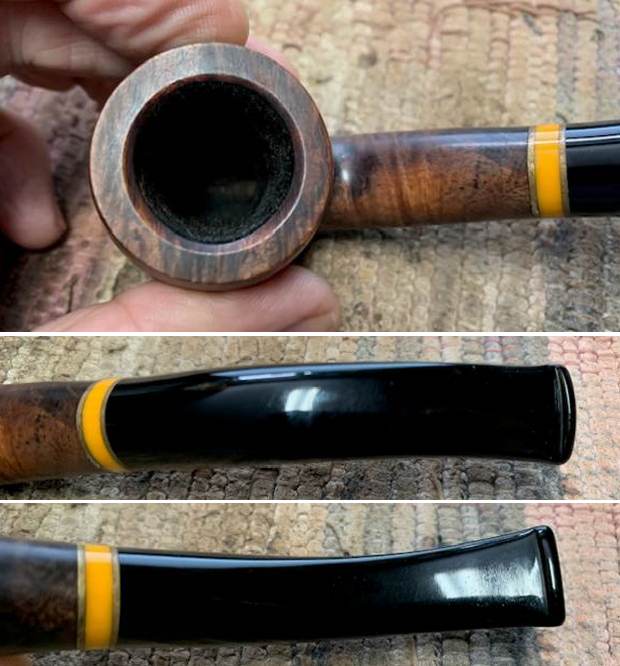
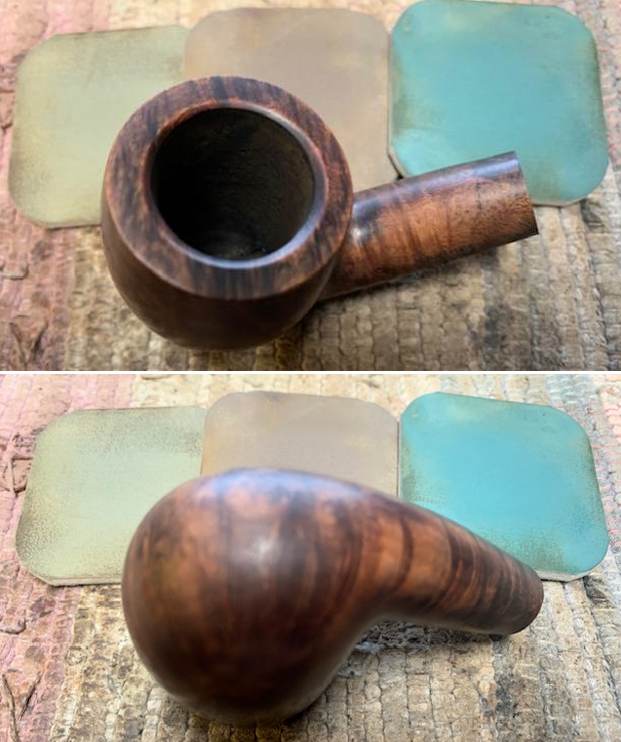
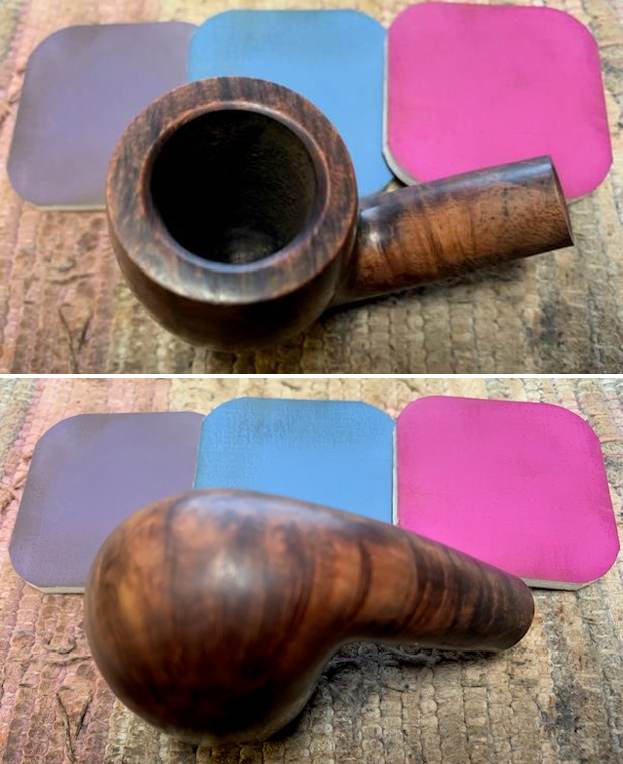
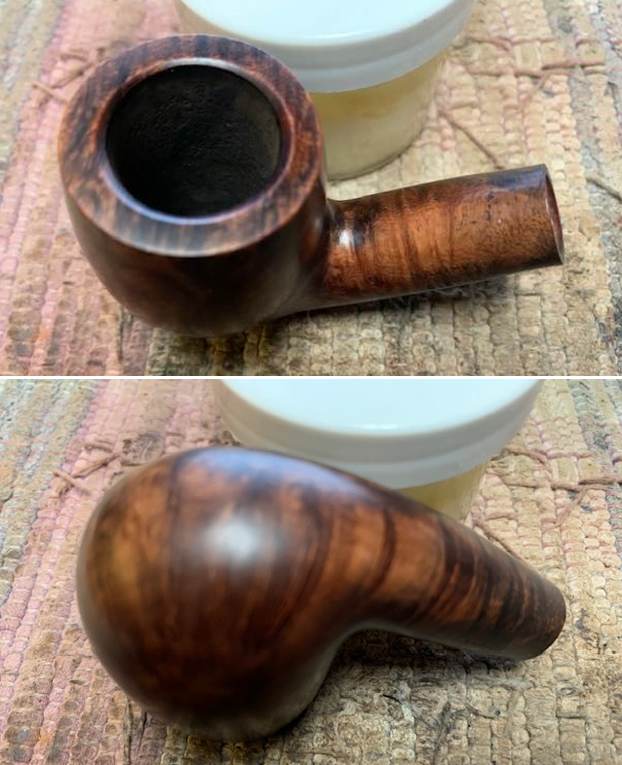
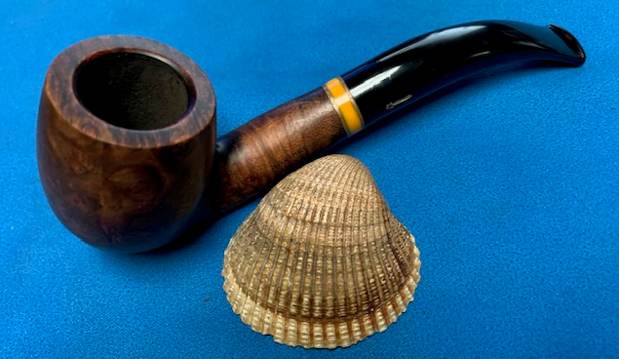
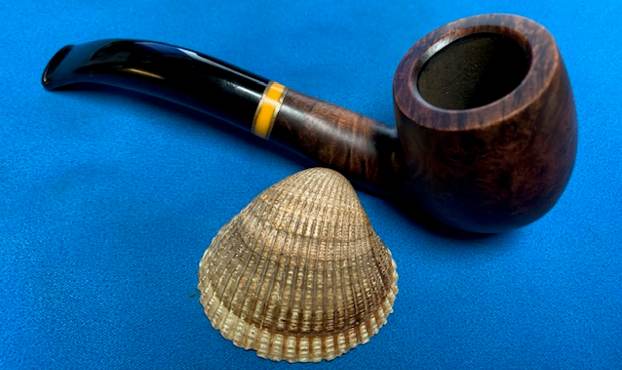
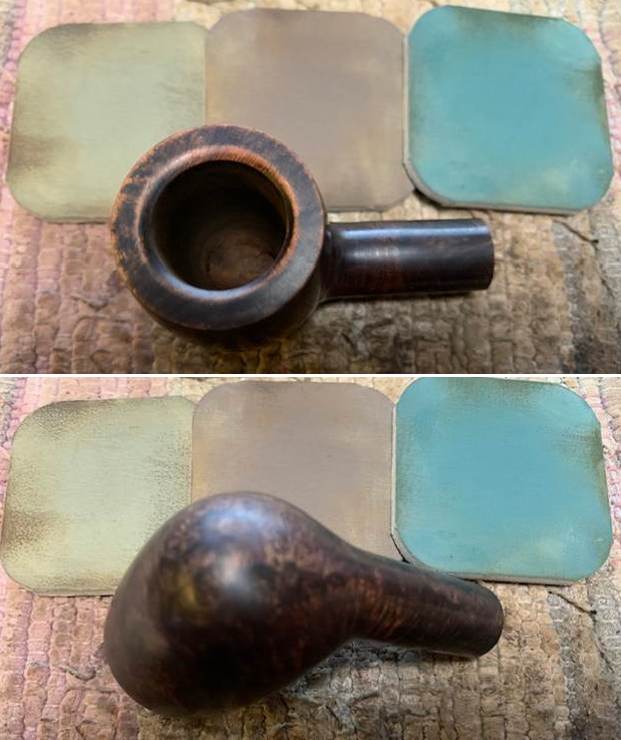
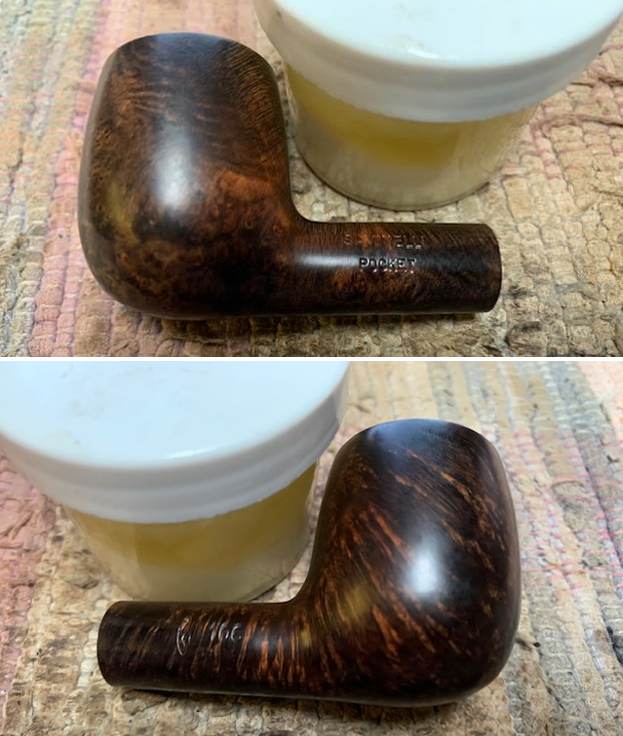
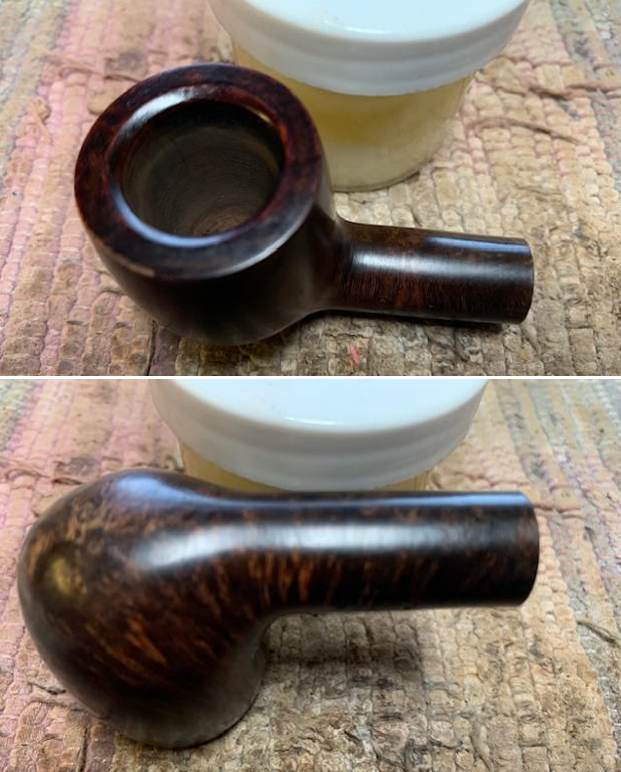
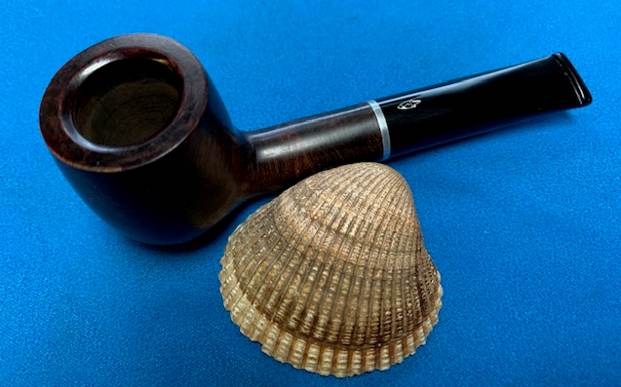
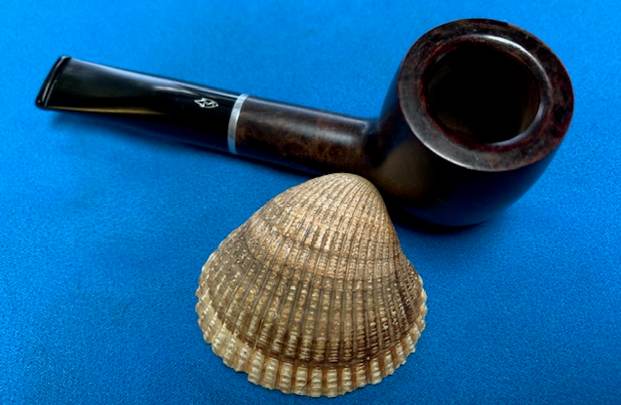
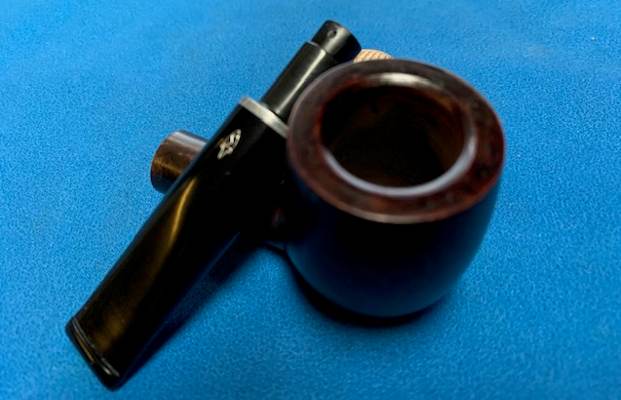
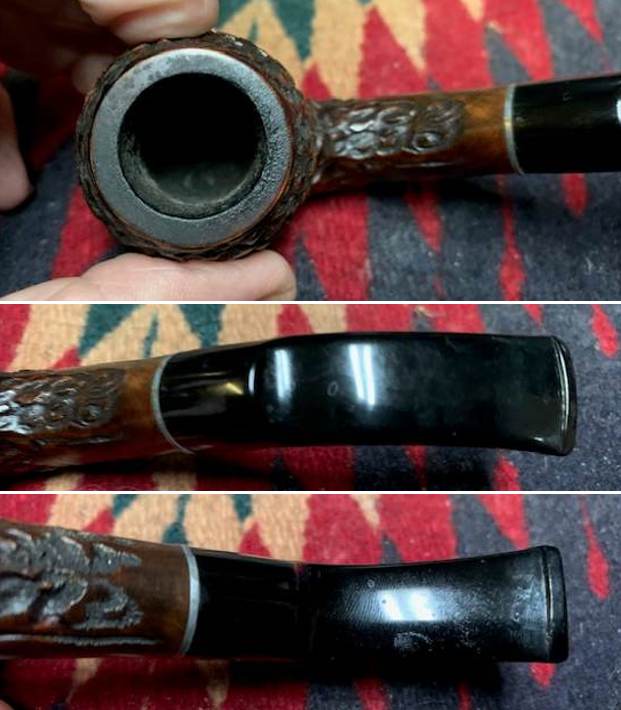
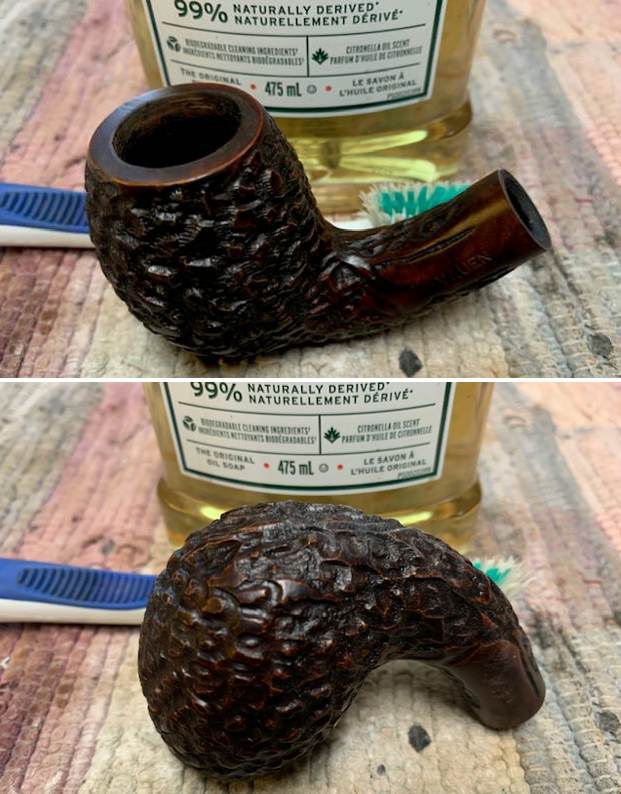
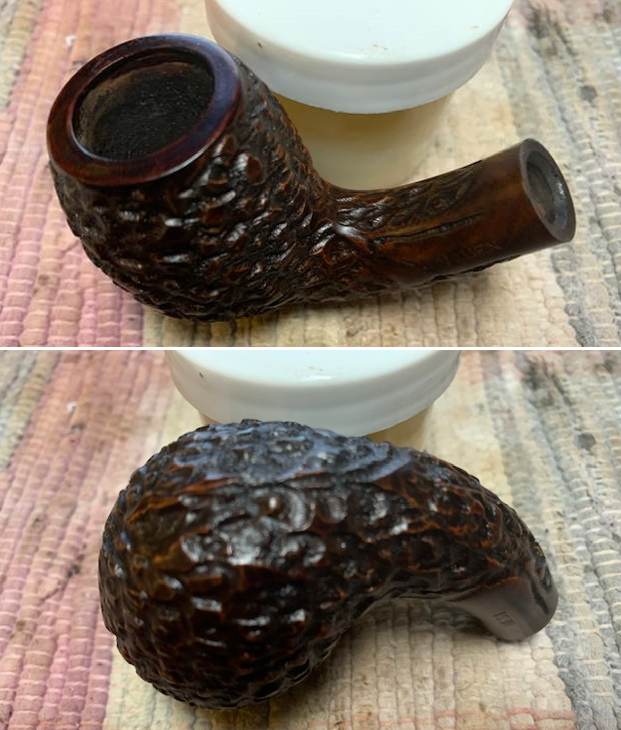
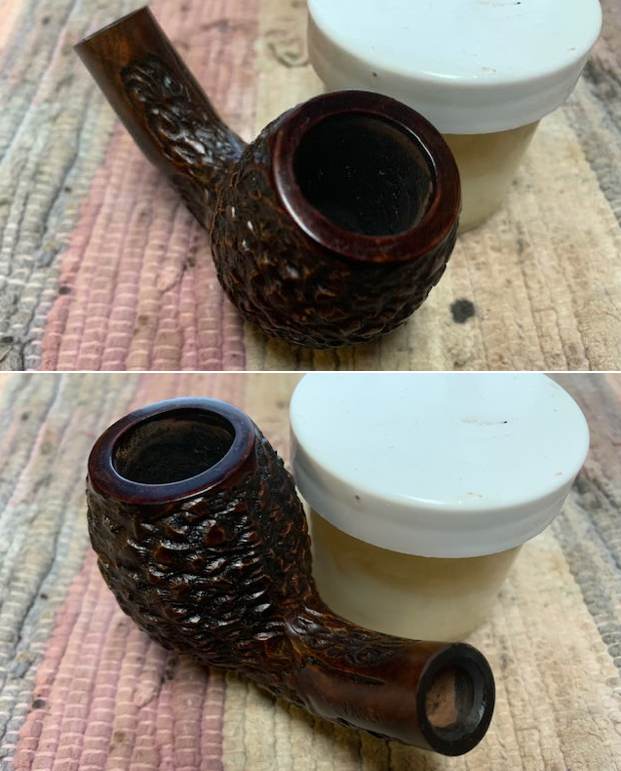
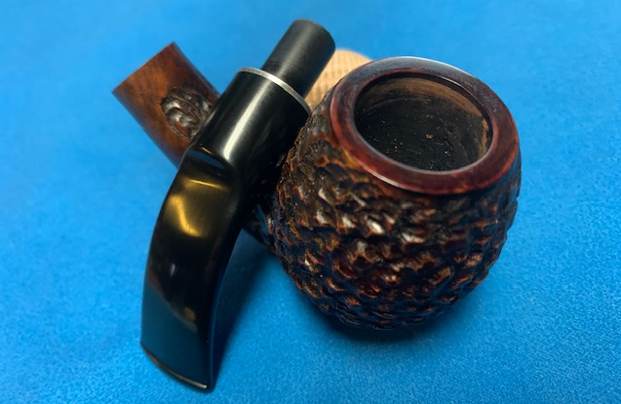
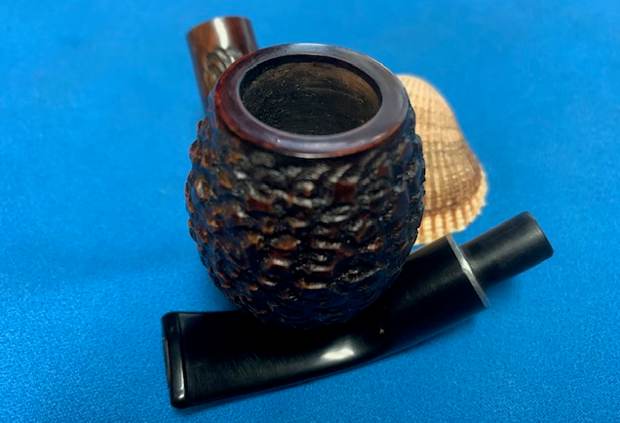
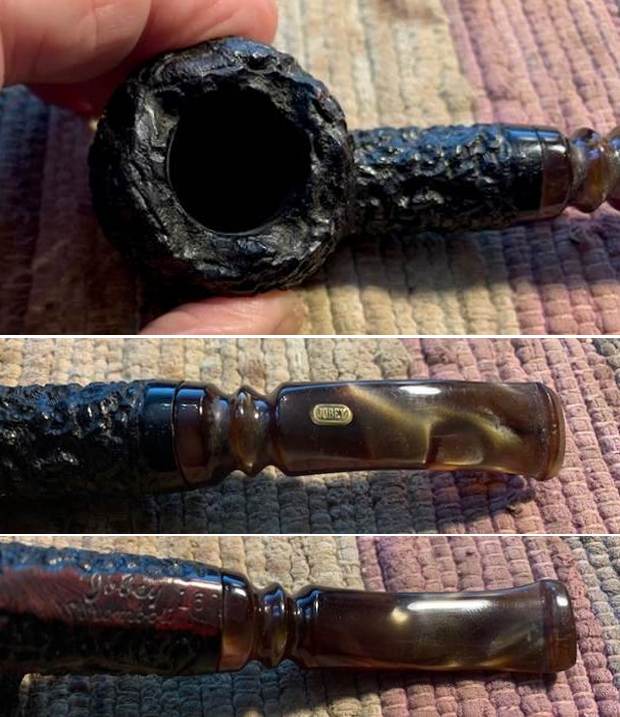
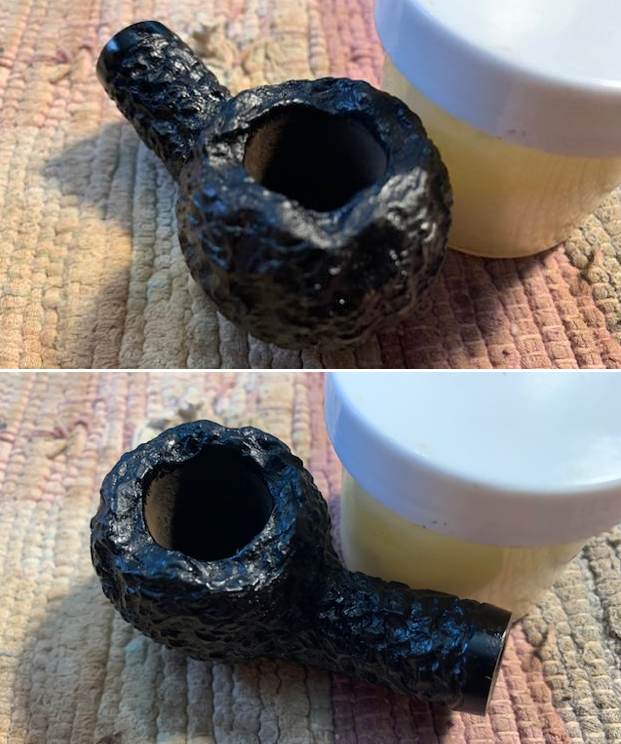
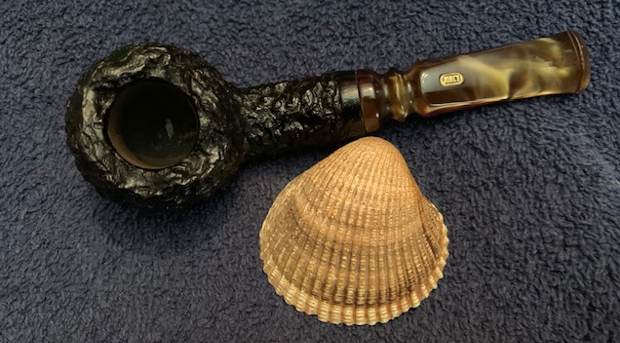
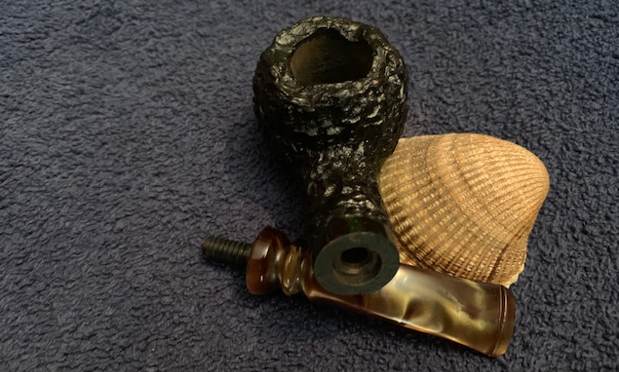
 Jeff took photos of the stem surfaces and the bowl and rim to give a sense of condition of the pipe. You can see the thick cake in bowl and the lava overflow on the edges and rim top of the bowl. It is had to know if there is any damage as the cake and lava is quite thick. The stem surface is very dirty and you can see the area on the end of the stem where the Softee Bit had protected it from chewing but had left it dirty and discoloured.

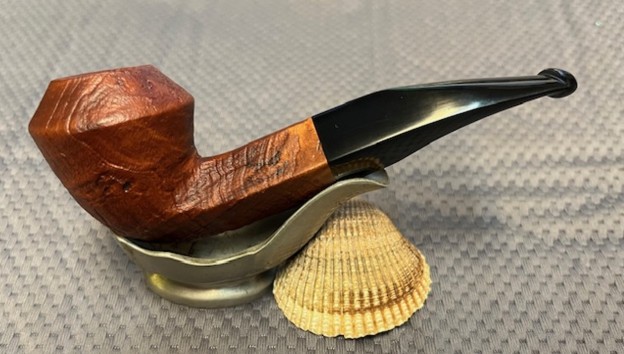
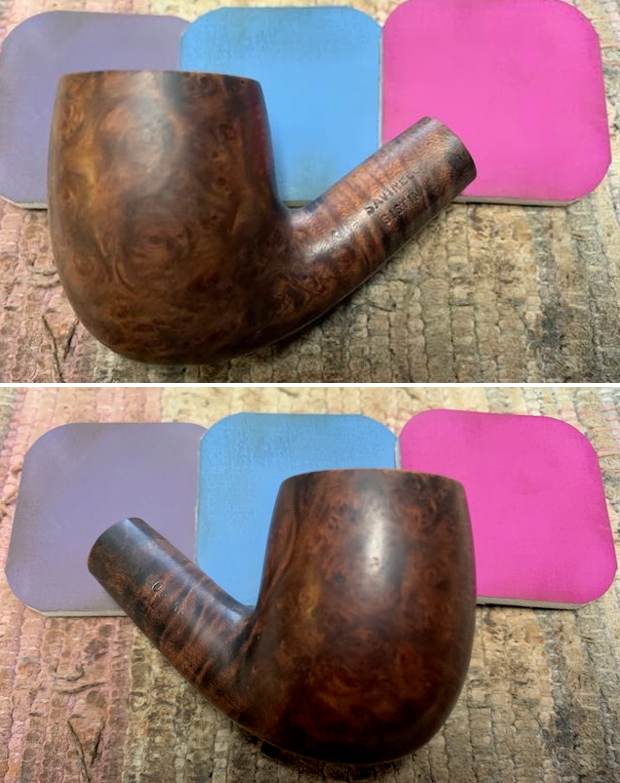
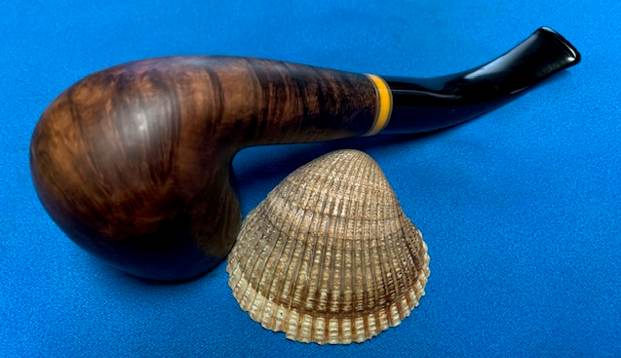
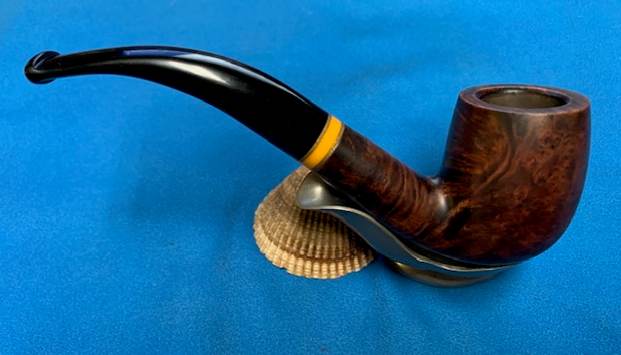
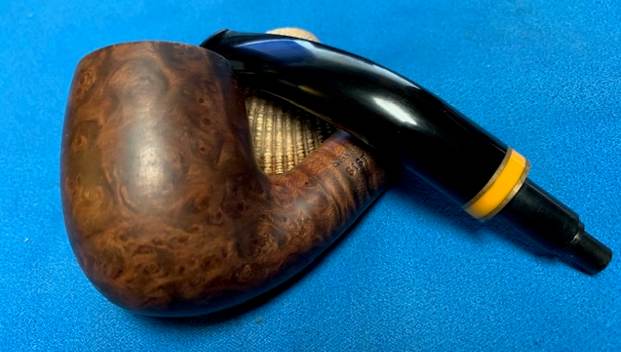
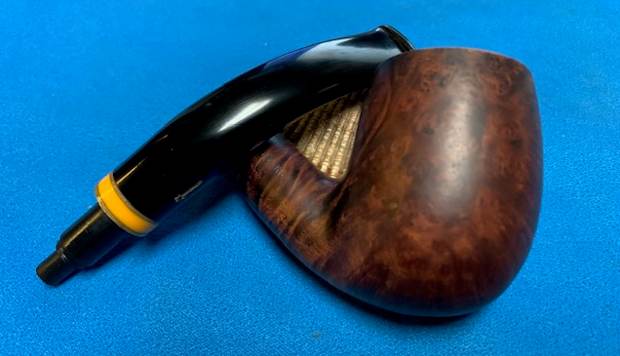
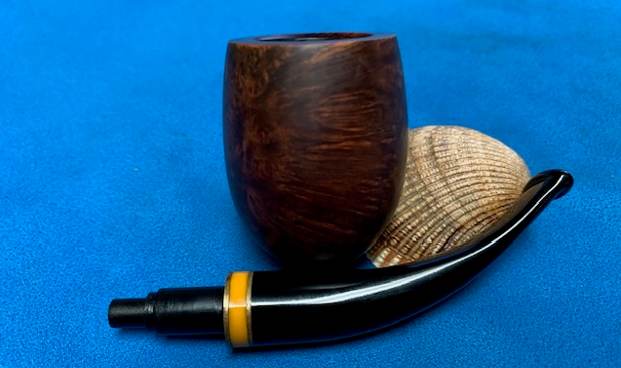
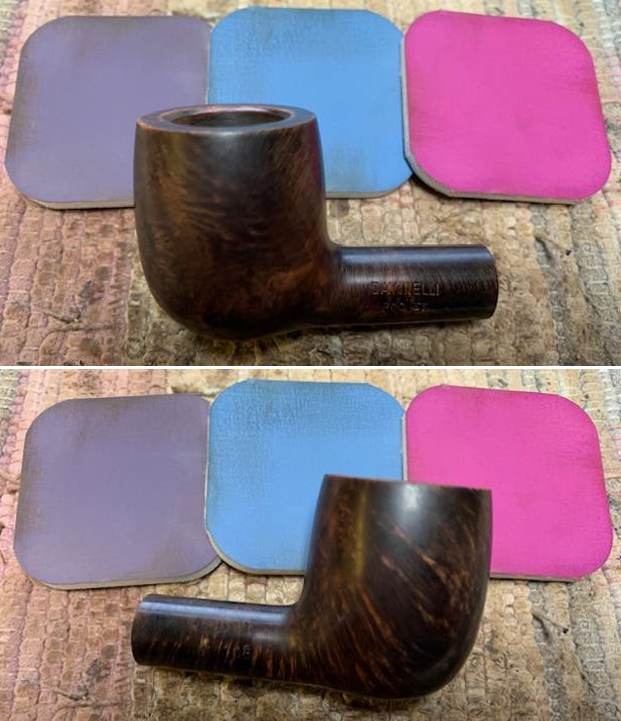
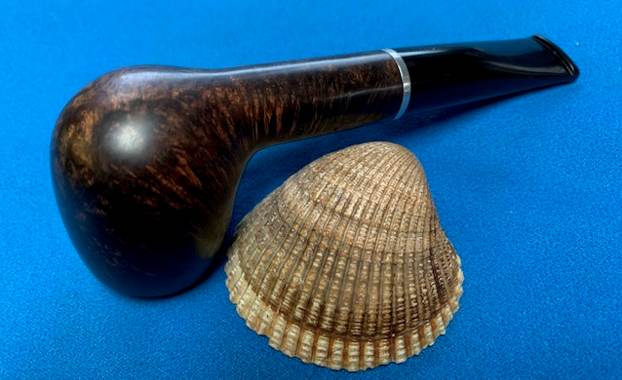
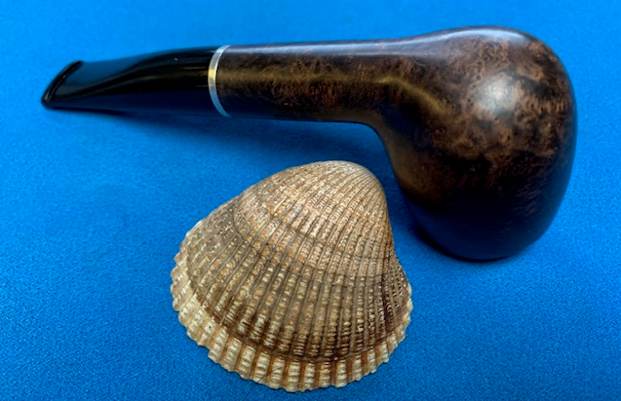
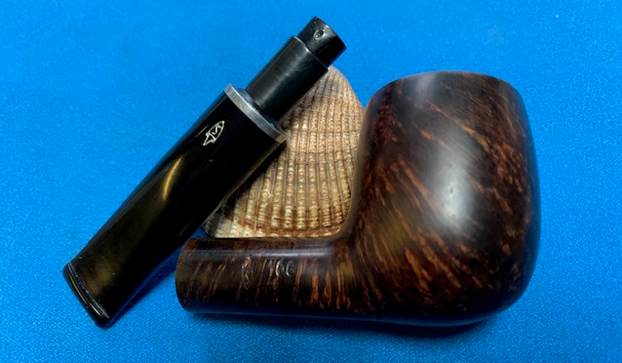
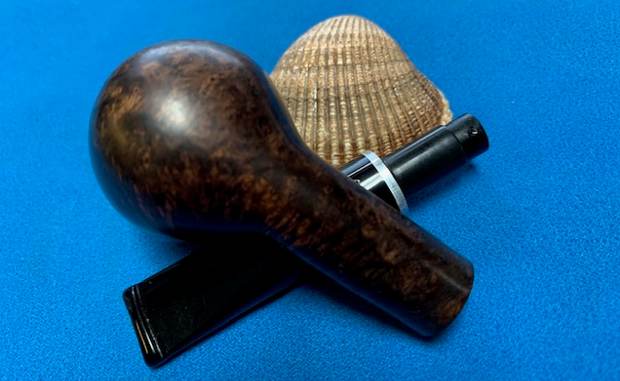
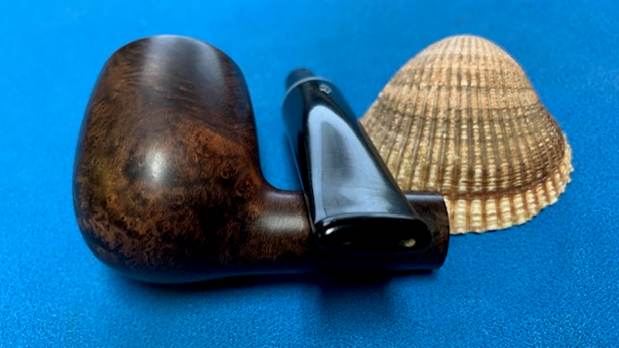
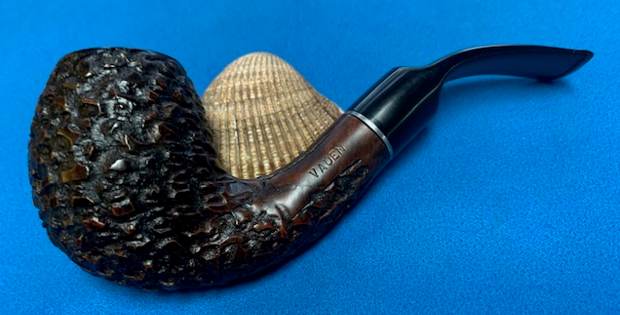
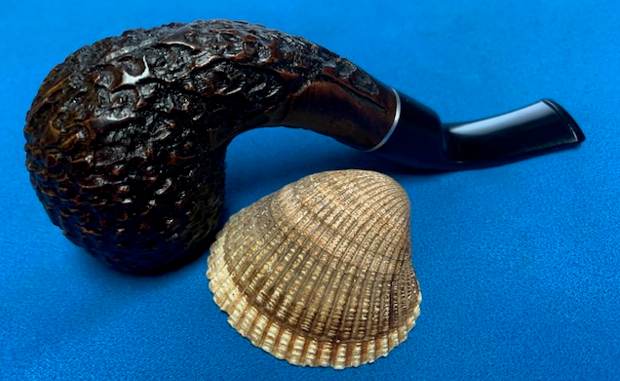
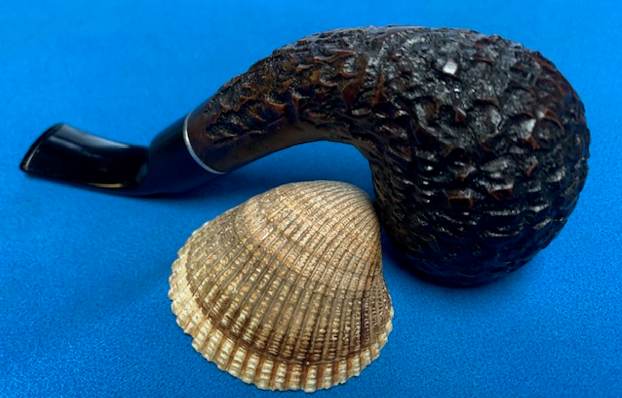
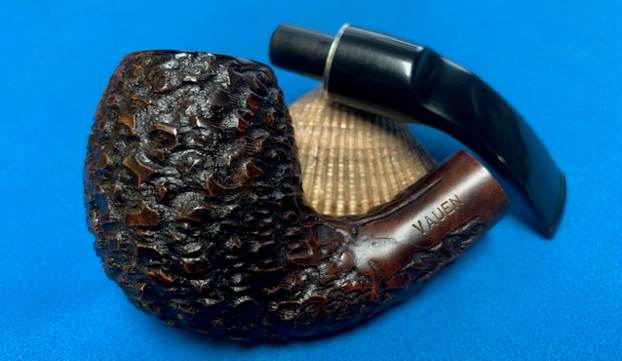
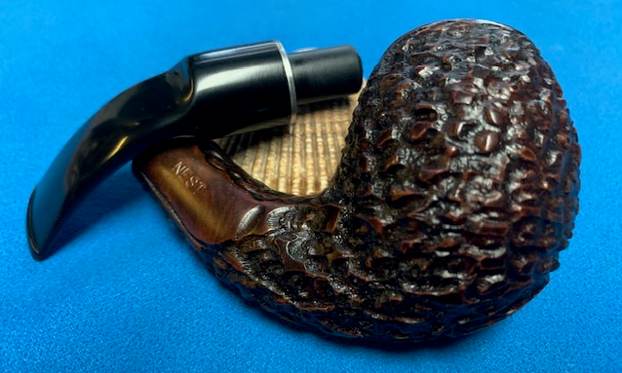
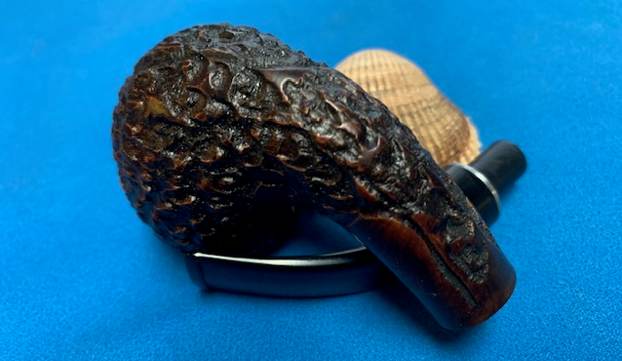
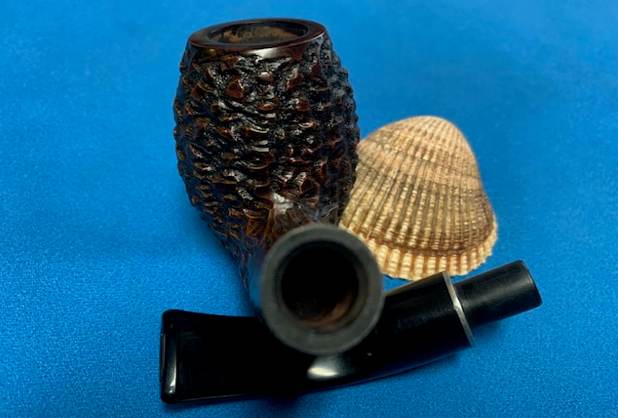
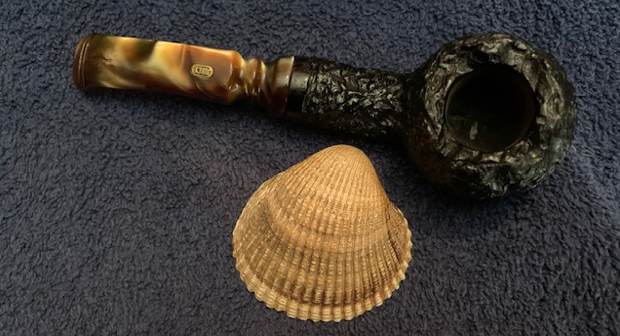
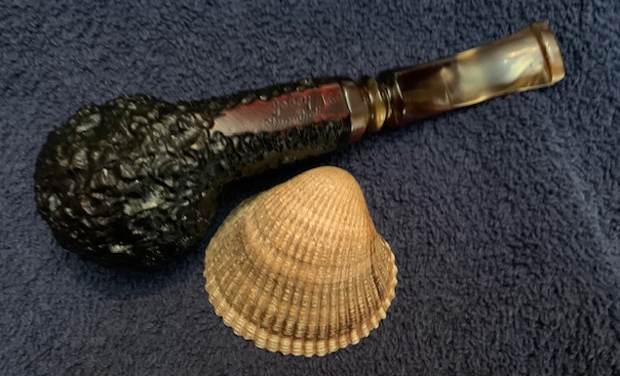
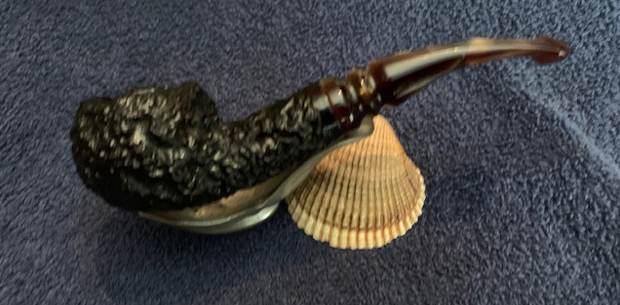
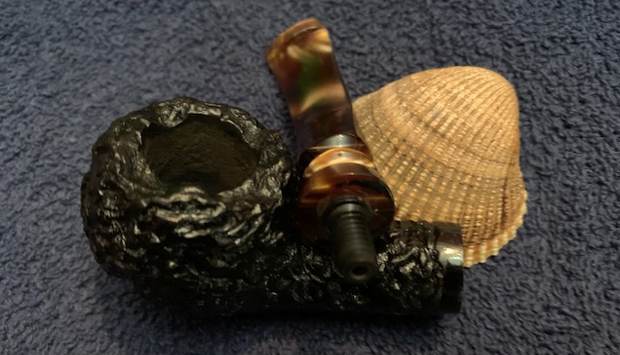
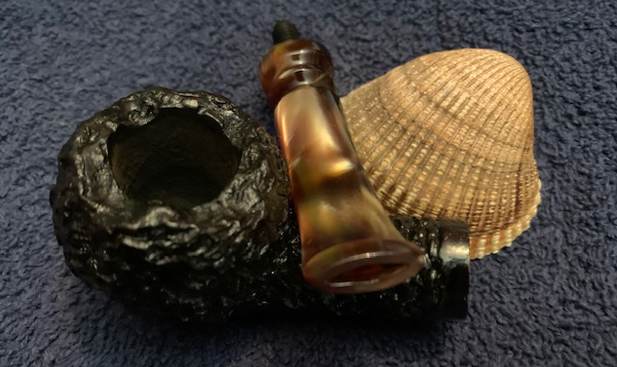
 He also took photos of the sides of the bowl and the heel to show the interesting grain that went around the bowl. The grain is beautiful and the brass ferrule on the shank end is quite nice. You can see the oils and debris in the grooves of the blast.
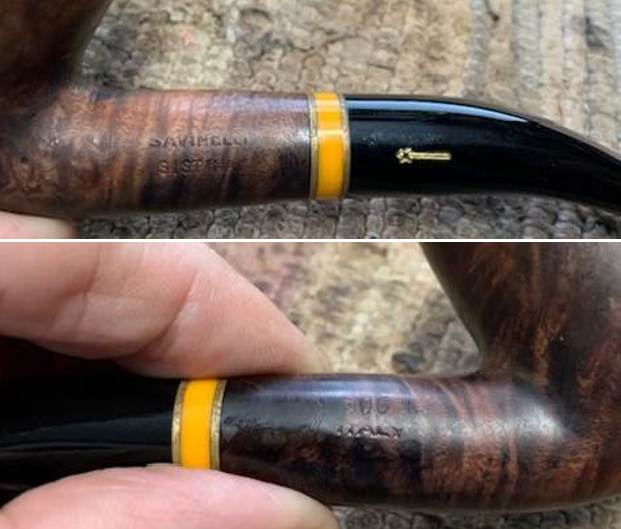
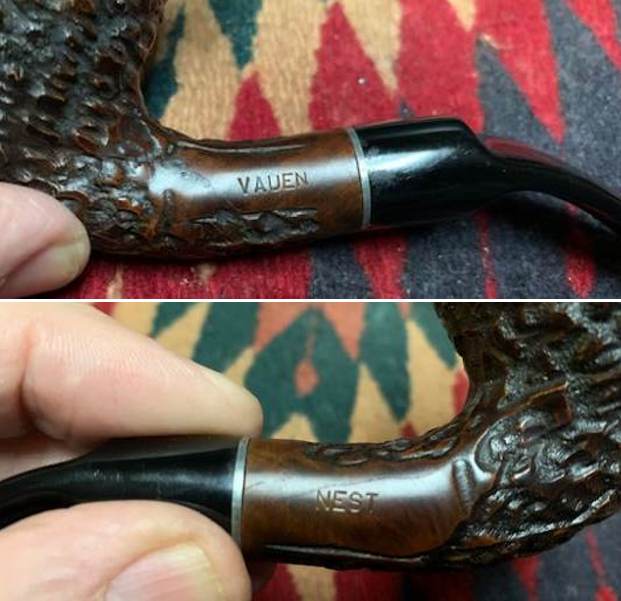
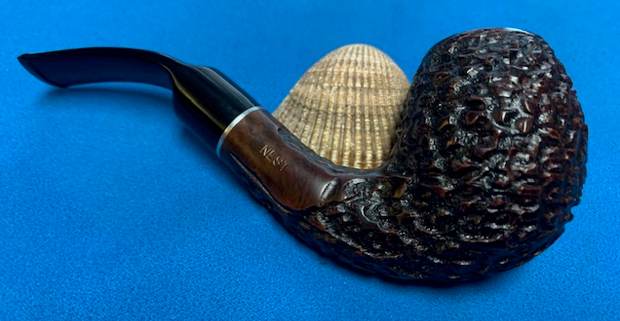
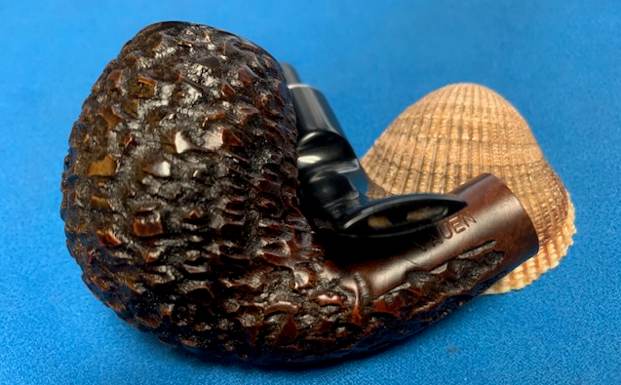
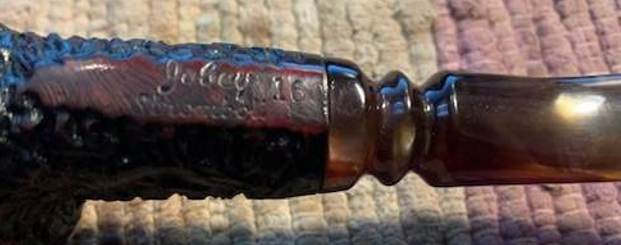
 He took photos of the stamping on the underside of the shank. It is double stamped but it can be read with some work can be read as noted above.
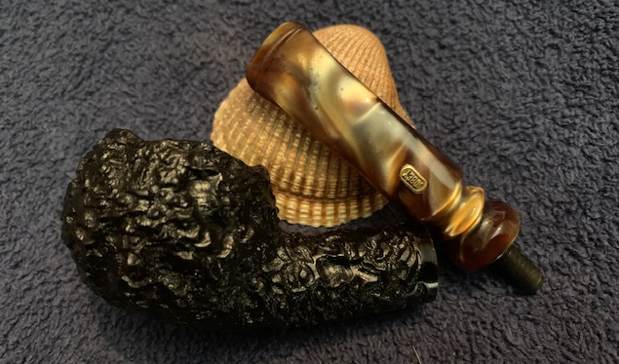
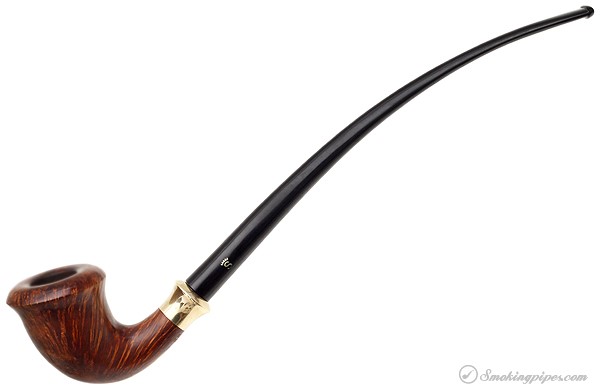
 After the sale I was chatting with Jeff and he showed me the pipe and also a few stems he had picked up. I recognized the pipe was a Stanwell Hans Christian Andersen commemorative pipe and asked about the longer stem. He went through the stems and sure enough the second, longer stem had been sold separately. It had the Stanwell gold Crown S logo on the left side of the long taper. It was one of those happy “accidents” and we reunited the stem and the pipe so we now have the pipe as it was issued with the short and the long stem. The two different stems allow the pipe to be smoked as a “regular” calabash, the other stem, much longer, allows it to be smoked as a churchwarden.
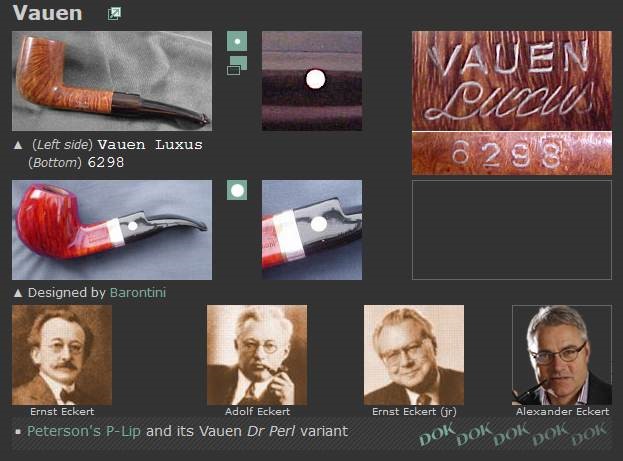
  I have the same pipe in my own collection and sadly have to say that I do not use it too often. I am not sure why but I don’t seem to think about it. I know roughly that I picked it up in the early 2000s but could not remember the date or much else about it. I remember that it came in a tube container with the characteristic Stanwell blue colour and logo of the smoking man on the tube. It is a beautiful pipe. I thought I might reacquaint myself with the information on the pipe to get a handle on the design, the commemoration that it is made for and perhaps even the time frame of its manufacture. I turned first to Pipephil’s site to see what he had there (http://pipephil.eu/logos/en/logo-stanwell.html). I almost always go there first because it is a very succinct summary of the data available and generally it is correct. I did a screen scan of the section on the HCA pipe. It is different from this one and my own in that it is not a Hans Christian Andersen 2 pipe. However, it does pin down the information about the line. It was a limited series pipe made for the 200th birthday anniversary of Hans Christian Andersen. It states that the pipe was introduced in 2005 which corresponds to my memory of when I purchased my HCA 2.
 Limited series for celebration in 2005 of the 200th birth anniversary of Hans Christian Andersen.
From there I turned to Pipedia and read over the article there. While they had a photo of an HCA 2 pipe there was nothing to be added to the information above. I went on to do a Google search to see if I could find any more information on the line and particularly this HCA 2. I found a listing on Goodfellas Cigar Shop – a Canadian shop I have visited in the past so I followed that reference to their site (https://www.goodfellascigarshop.com/products/stanwell-hans-christian-andersen-pipe). I quote from their description of the line as it confirms the information from Pipe Phil.
Hans Christian Andersen from Stanwell is a series of limited production pipes named for the celebrated Danish author. They are unique in that they come with two stems, a regular length stem and a churchwarden length stem. Both set ups are very aesthetically pleasing. Enjoy the flexibility of setting up your pipe for a relaxing night at home reading or in a more compact, travel friendly form.
The Danish Pipe Shop also have one that was a filter pipe but it was similar to the one in hand (https://www.danishpipeshop.com/d/Stanwell-H-C-Andersen-2-Smooth-9mm-i2505.html).
I also found a thread on Pipesmagazine forums talking about the HCA 2 pipe that included a quote from Sykes Wilford of Smokingpipes.com in which he give some more background on the pipe in terms of design (https://pipesmagazine.com/forums/threads/stanwell-hans-c-andersen-2.65693/). I quote from that below:
The Hans Christian Andersen “II” shape, a very attractive bent Dublin, is roughly modeled on the classic Stanwell bent Dublin shape, the “140”, designed for Stanwell by Jess Chonowitsch. The lithe lines as the bowl gradually merges into the curving shank are unmistakably Chonowitsch designed. As is the case with all HCA series pipes, it comes with both a regular length stem and a churchwarden length stem. — Sykes Wilford
I turned to smokingpipes.com to see what they had on the HCA 2 pipe and I found a link to the identical pipe, the HCA 2 with a brass army mount rather than the nickel one that is common (https://www.smokingpipes.com/pipes/estate/denmark/moreinfo.cfm?product_id=105478). I quote from Eric Squires on the site in his description and found some confirmation regarding the army mount on this one and leads me to confirm what I was already beginning to think about it being an early edition of the pipe. I also included the photos and the credit line on them as it is so much like the one I am working on.
Given that this particular Stanwell HCA estate pipe sports a brass, rather than nickel army mount, I’d wager it’s from an earlier point in this signature series’ lifetime. It’s fared well, though, and also happens to feature some pretty sound flame grain on either flank. — – Eric N. Squires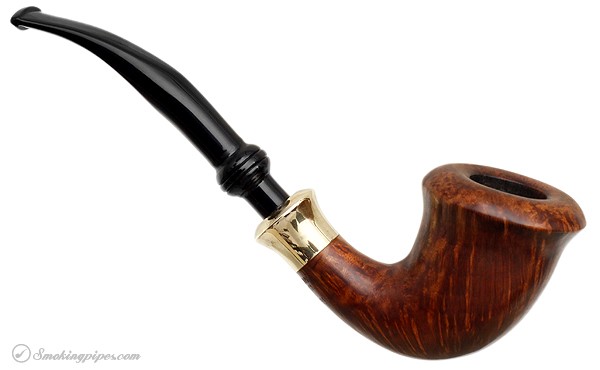
 I found a great video on Youtube about the HCA 2 put out by Al Pascia that gives a great view of the pipe. I have been in that shop in Milan so it brought back memories for me. I have included the link below.
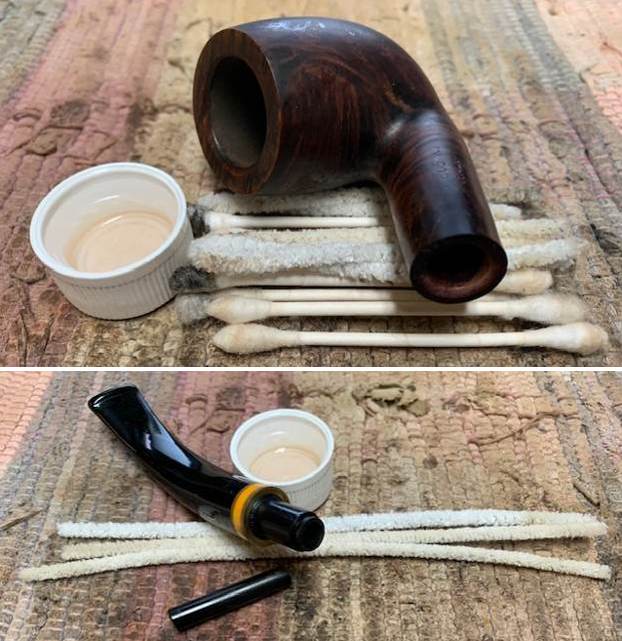
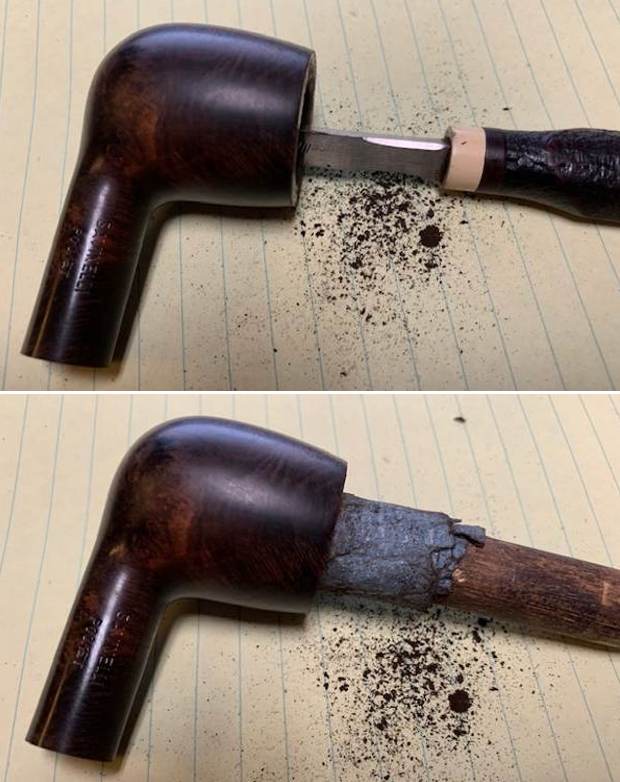
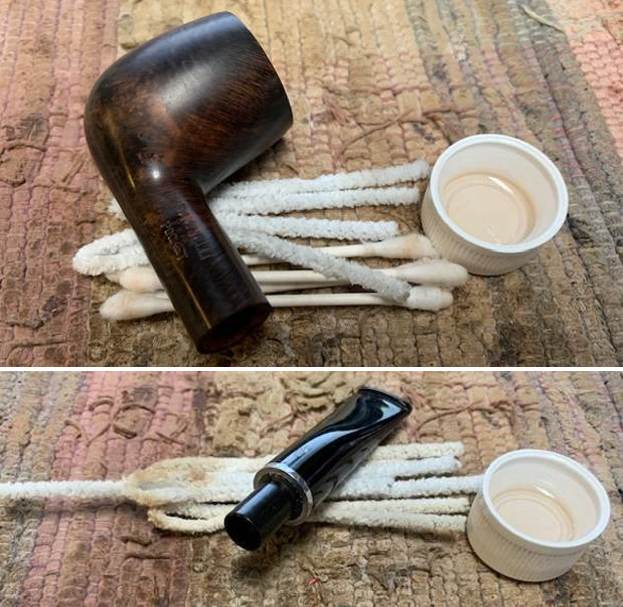
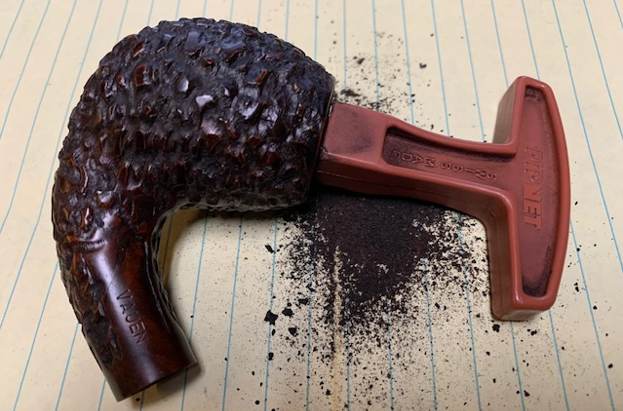
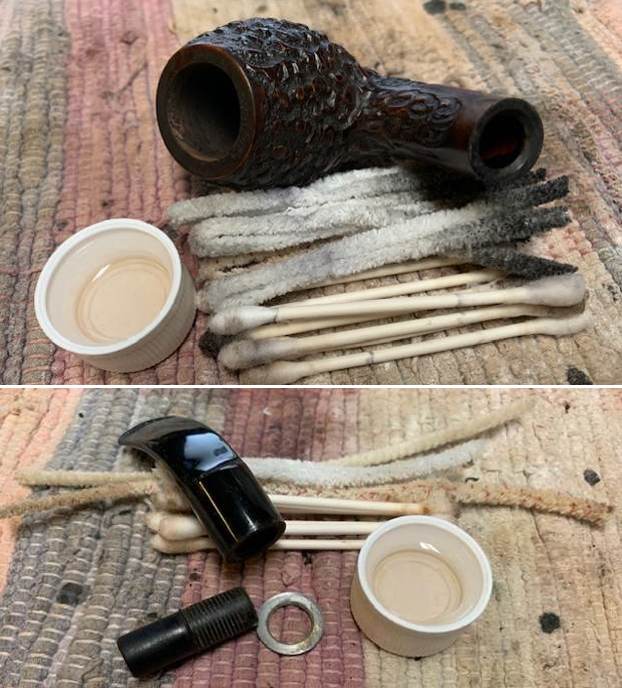
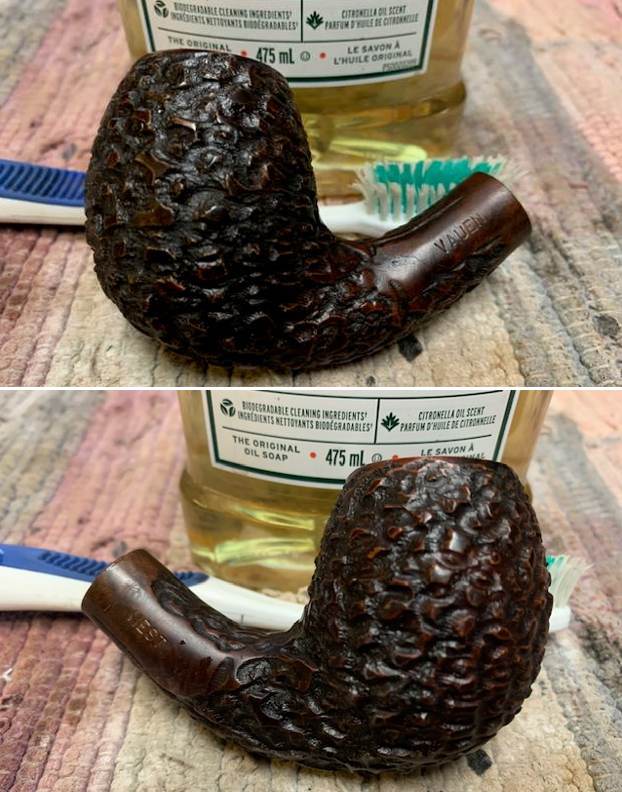
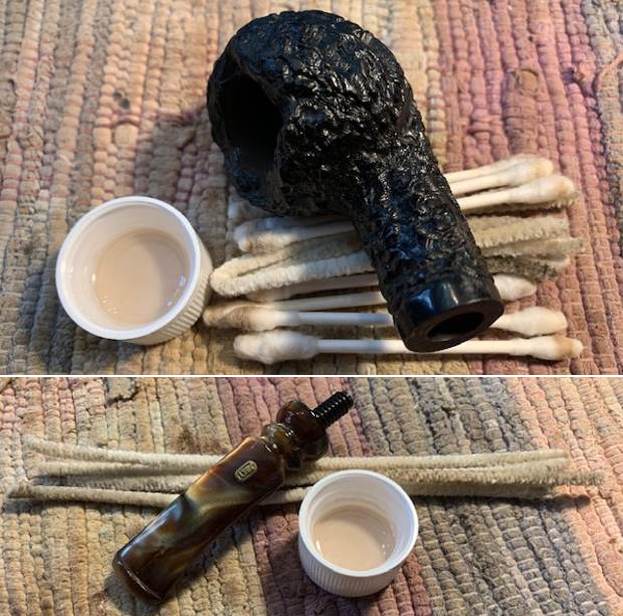
Now it was my turn to work on the pipe. Jeff had done an amazing cleanup of the pipe. He reamed the light cake with a PipNet reamer and cleaned up that with a Savinelli Fitsall Pipe Knife. He scrubbed the internals of the bowl and stem with alcohol, cotton swabs and pipe cleaners. He scrubbed the externals with undiluted Murphy’s Oil Soap and rinsed the bowl off with running water. He soaked the stem in Briarville’s Pipe stem Deoxidizer and once it had soaked rinsed it off with warm water to remove the residual solution. He dried it off and rubbed it down to remove any oxidation that was still on the stem. The pipe looked very good when I received it.
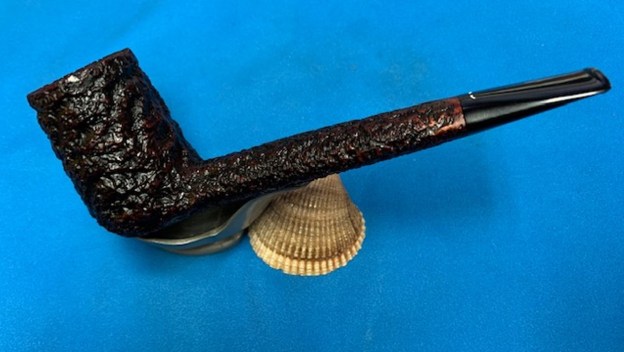
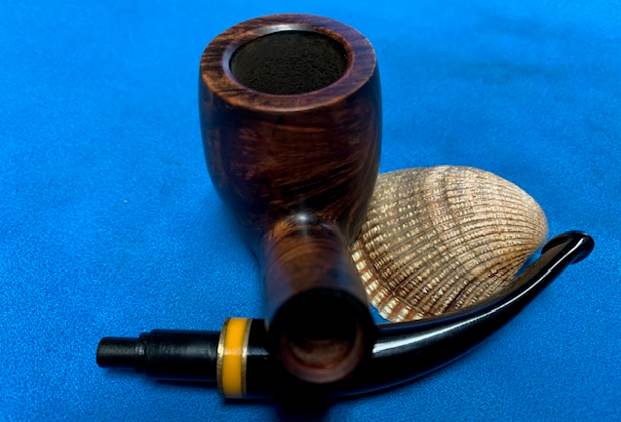
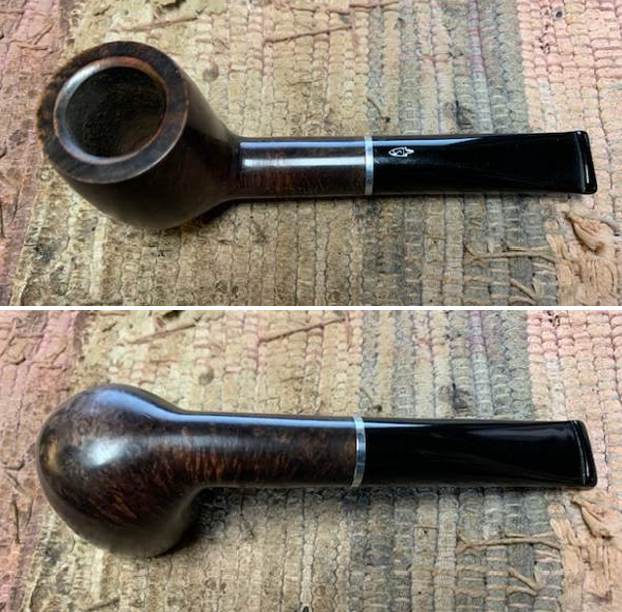
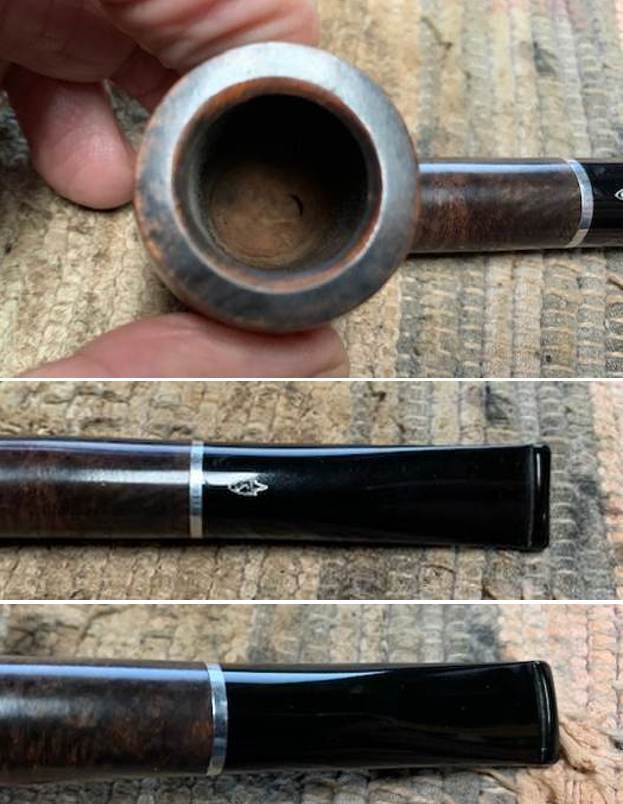
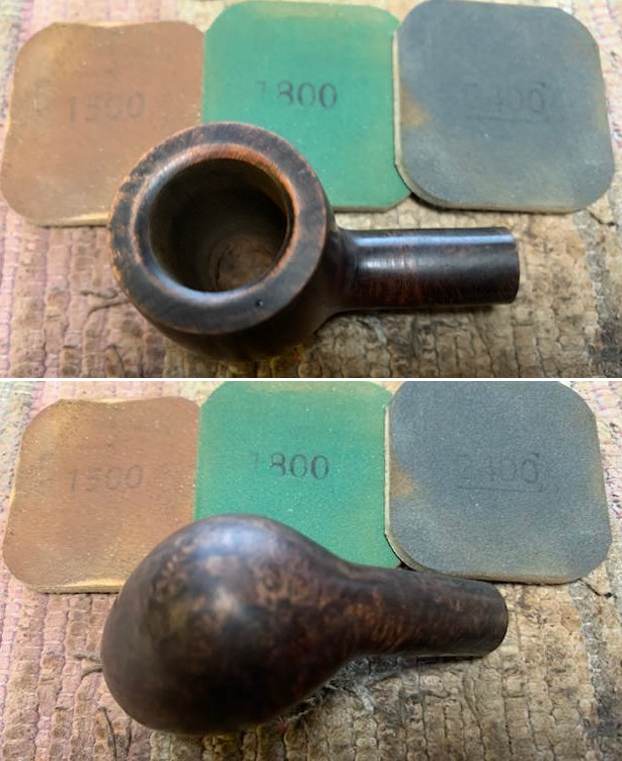
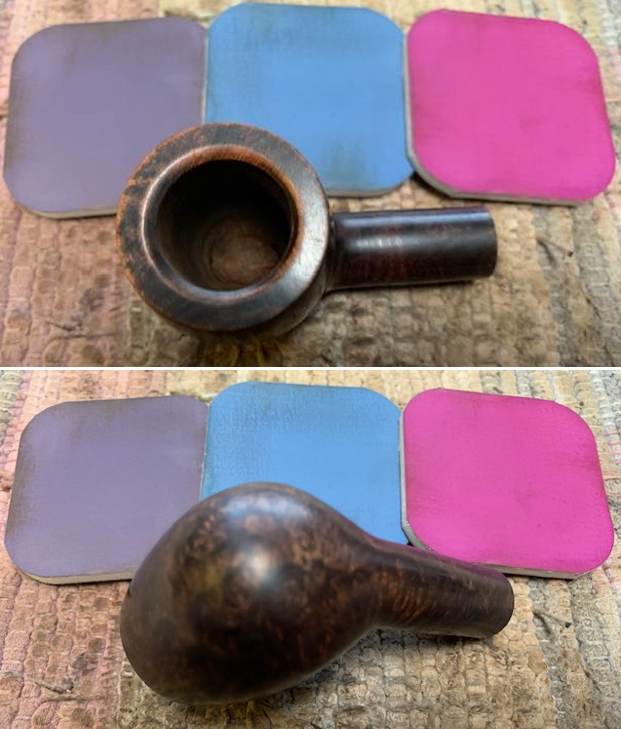
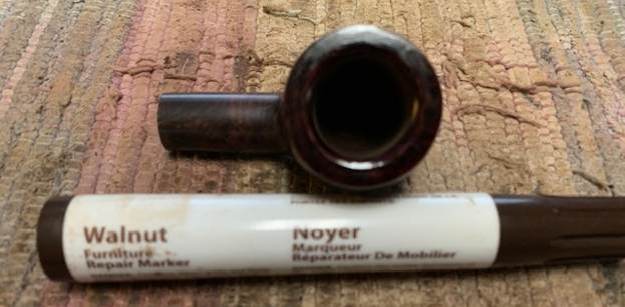
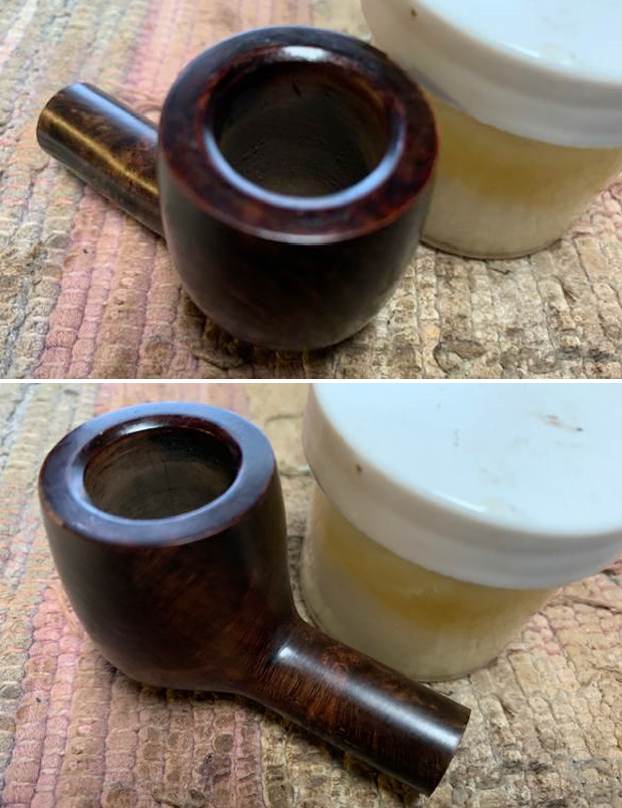
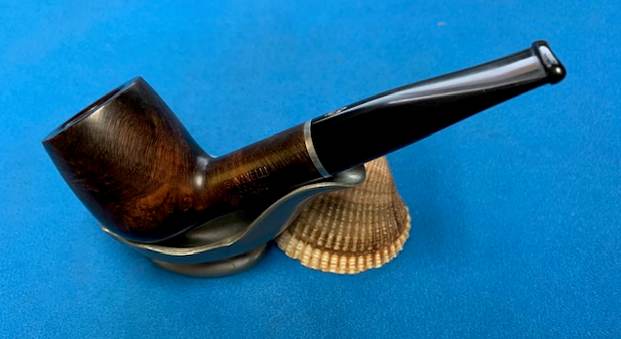
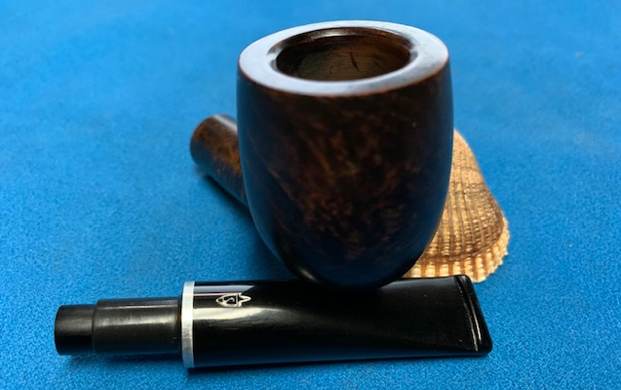
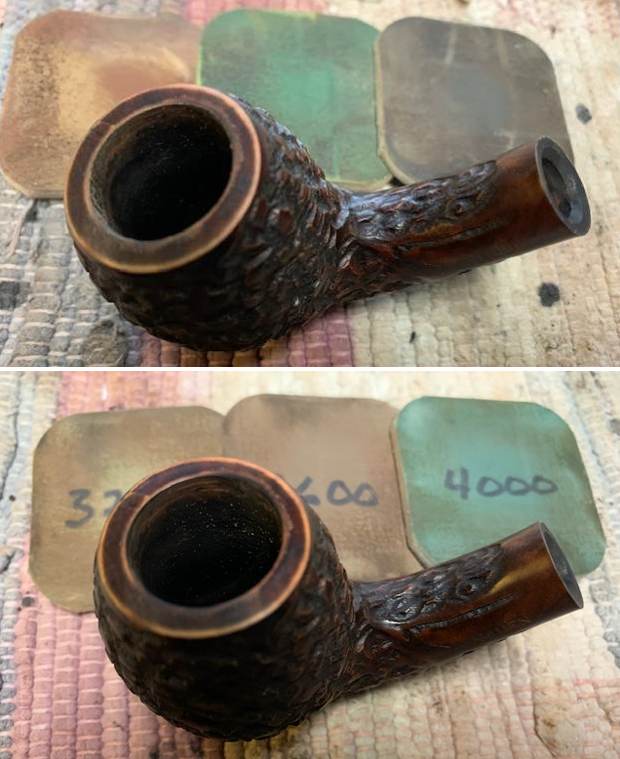
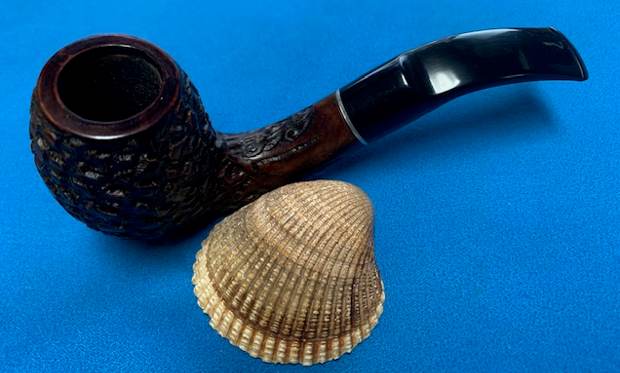
 I took a photo of the rim top to show the condition. You can see the clean bowl. The bowl is in excellent condition and the rim top looks very good. The stem came out looking quite good. It only needed to be polished.
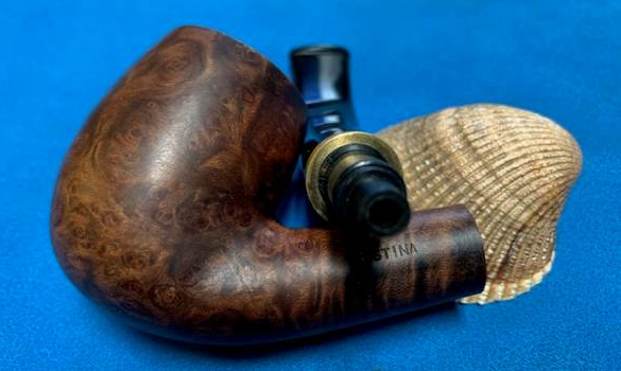
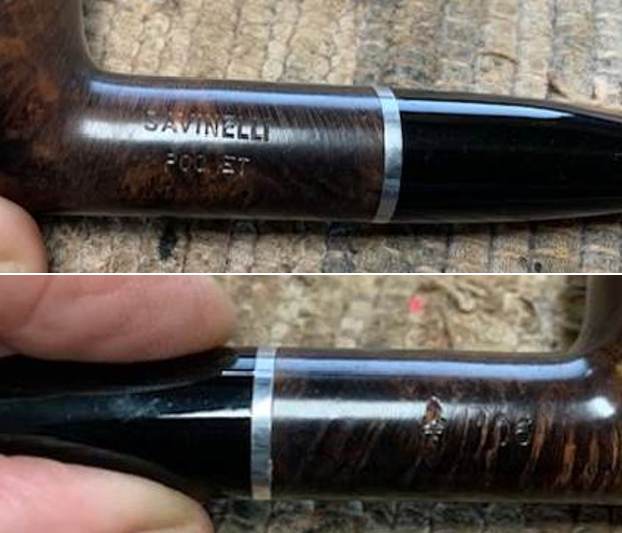
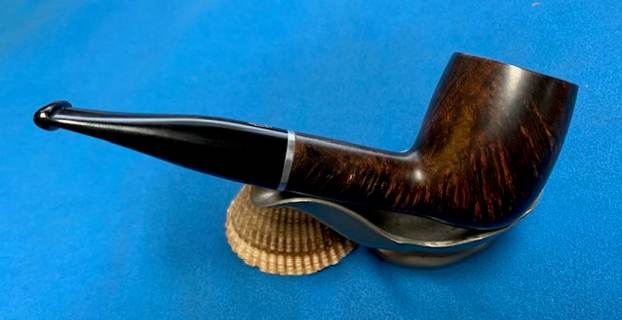
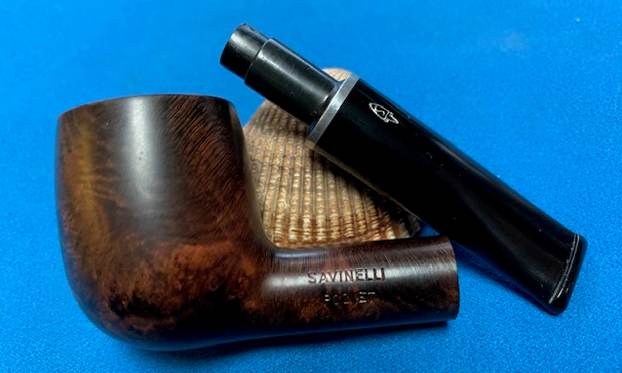
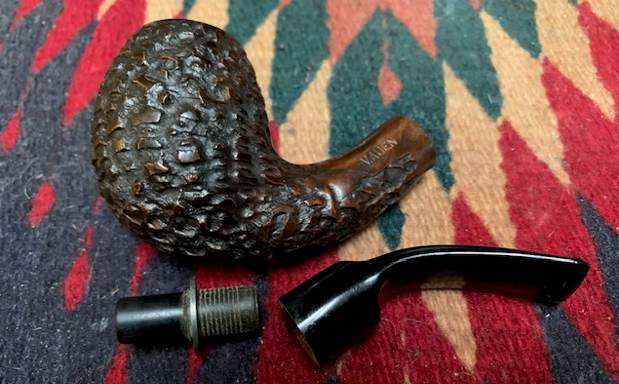
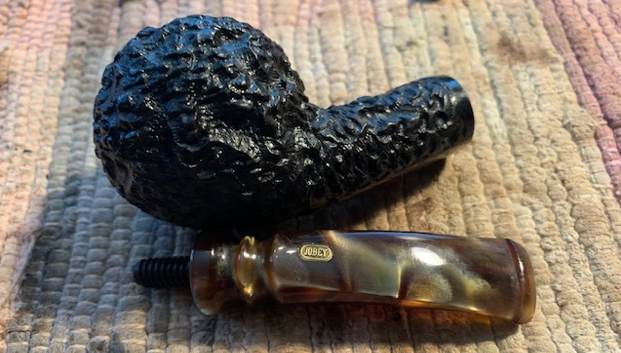
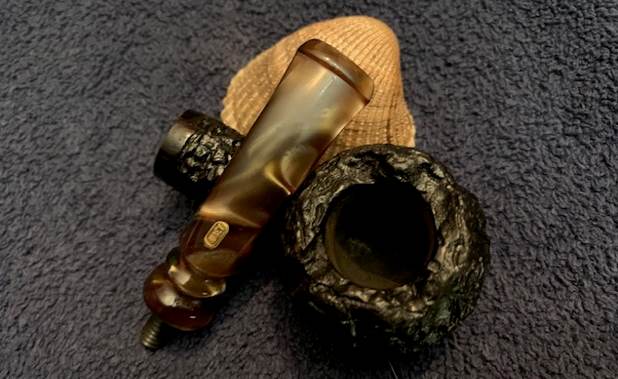
  I took a photo of the underside of the shank to show the stamping. The photo clearly shows the stamping and is actually more readable in person. I removed the stem from the shank and took a photo of the pipe parts to show what I was working with. I also took photos of the pipe with the longer Churchwarden stem in place. It is a nice looking pipe.

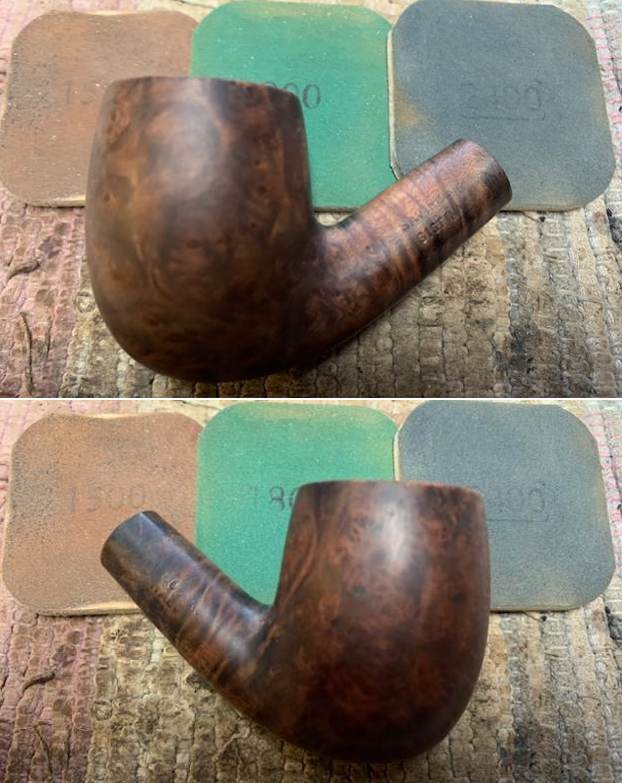
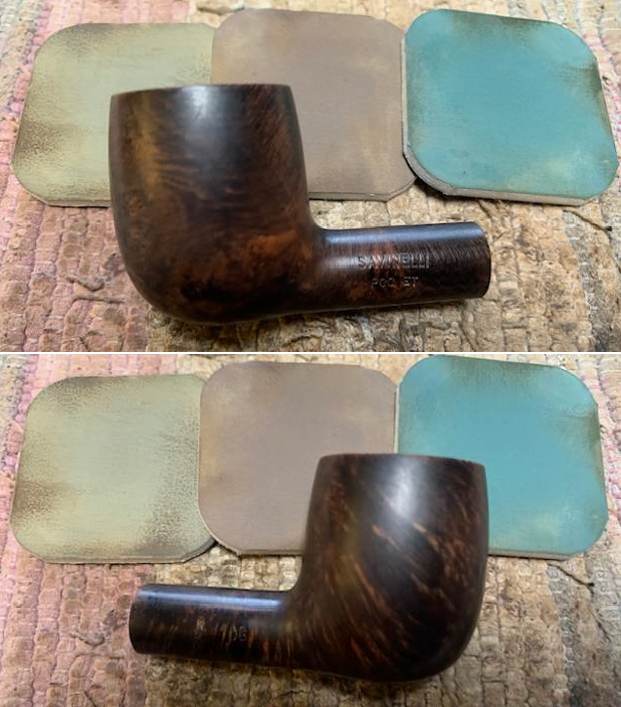
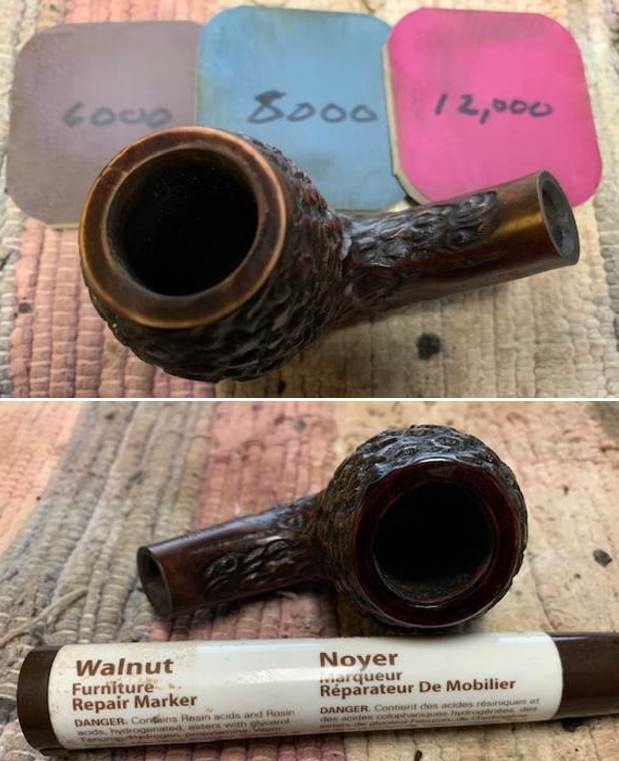
 The pipe had cleaned up so well that I turned to polish the briar with micromesh sanding pads. I dry sanded it with 1500-12000 grit sanding pads and wiped the bowl down after each pad with a damp cloth. By the final pads the briar really had a shine.


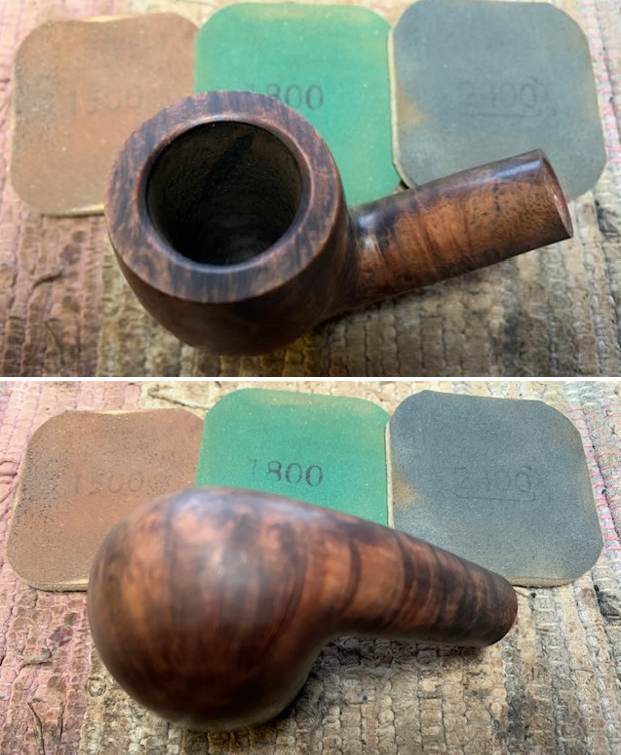
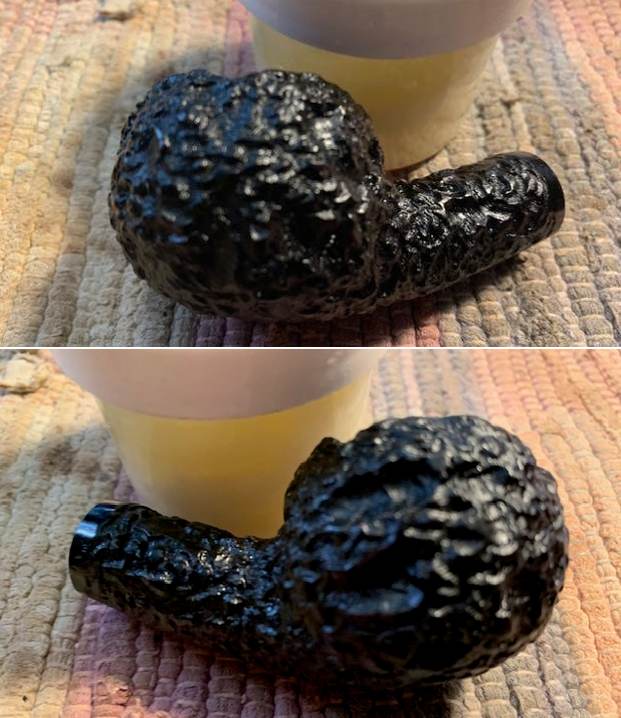
 I rubbed the briar down with Before & After Restoration Balm. I worked it into the briar with my fingertips and a horsehair shoe brush to work it into the nooks and crannies of the sandblast finish. The product works to clean, enliven and preserve the briar. I let it sit for 10 minutes then I buffed it with a cotton cloth to deepen the shine. The briar really comes alive with the balm.

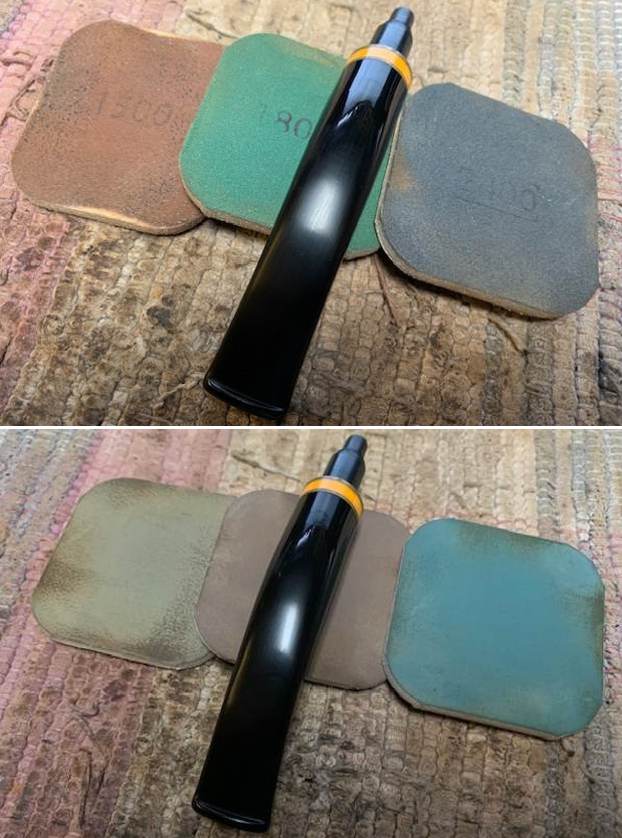
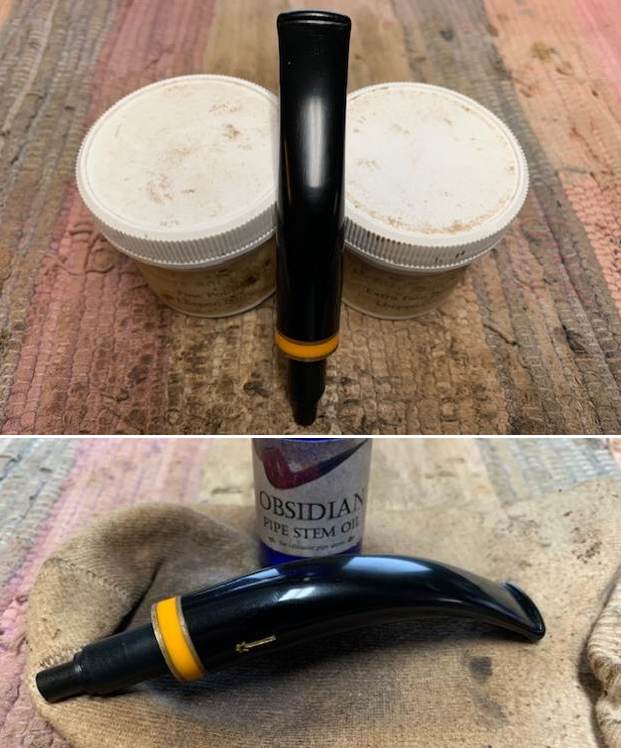
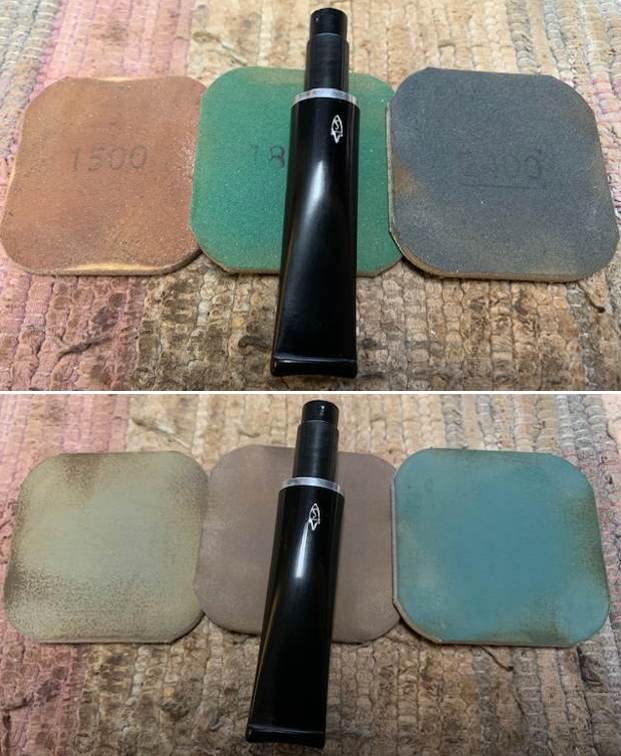
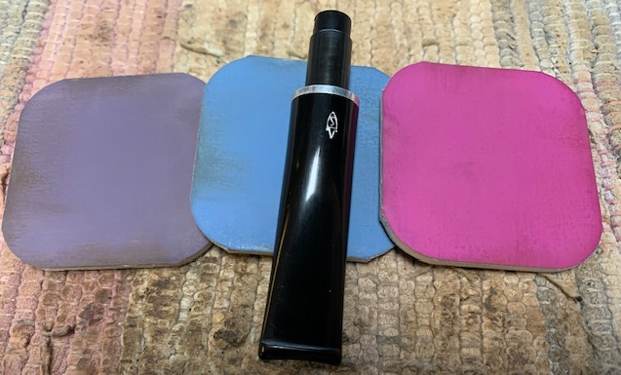
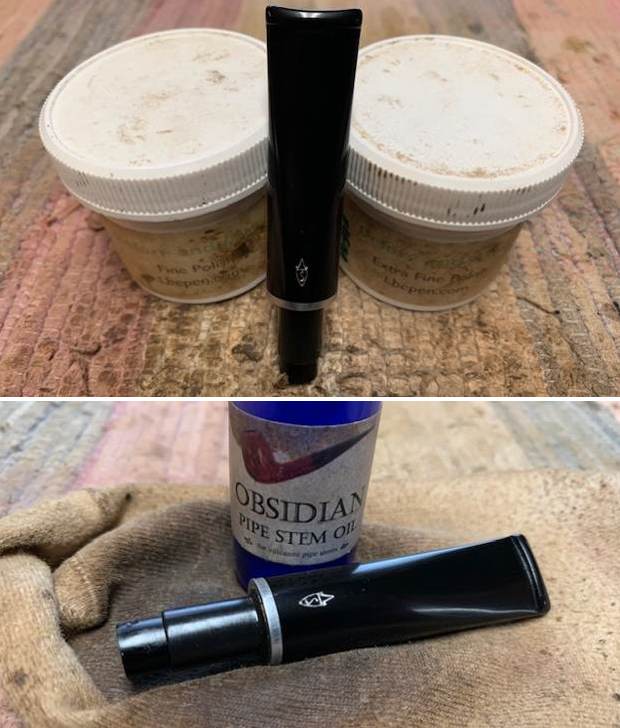
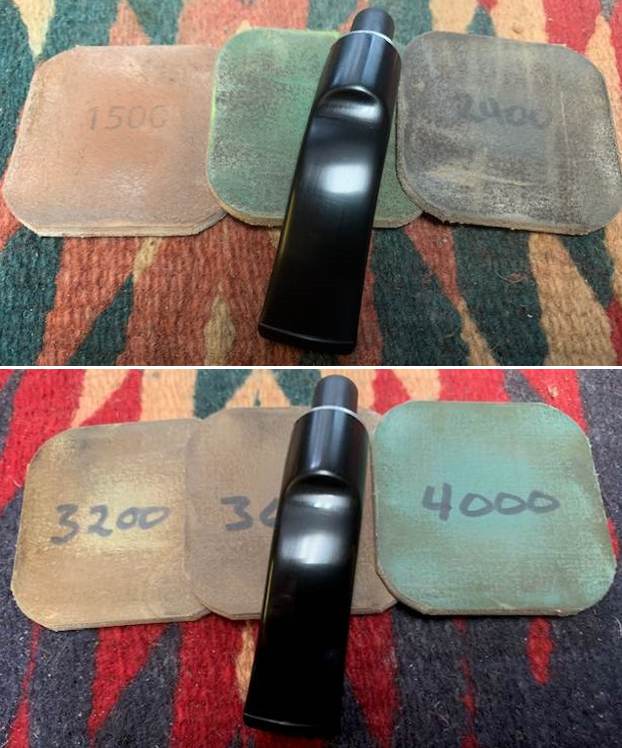
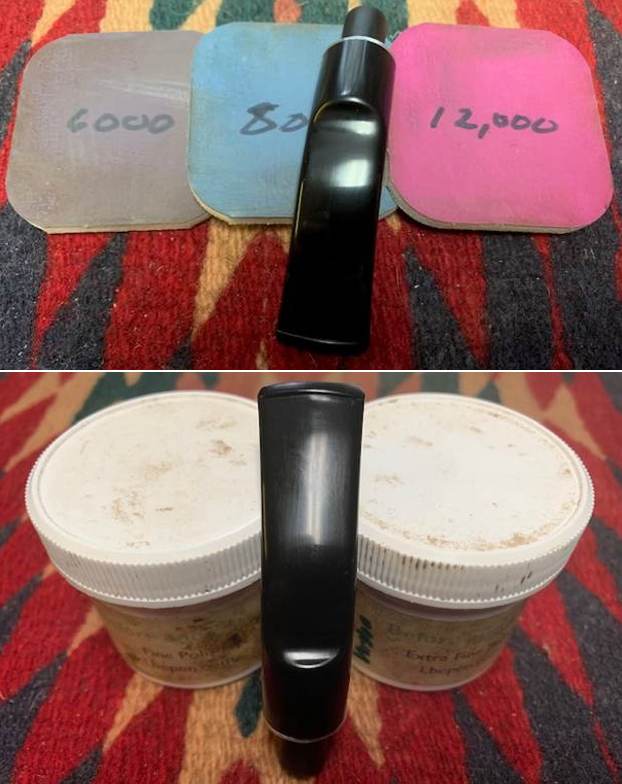
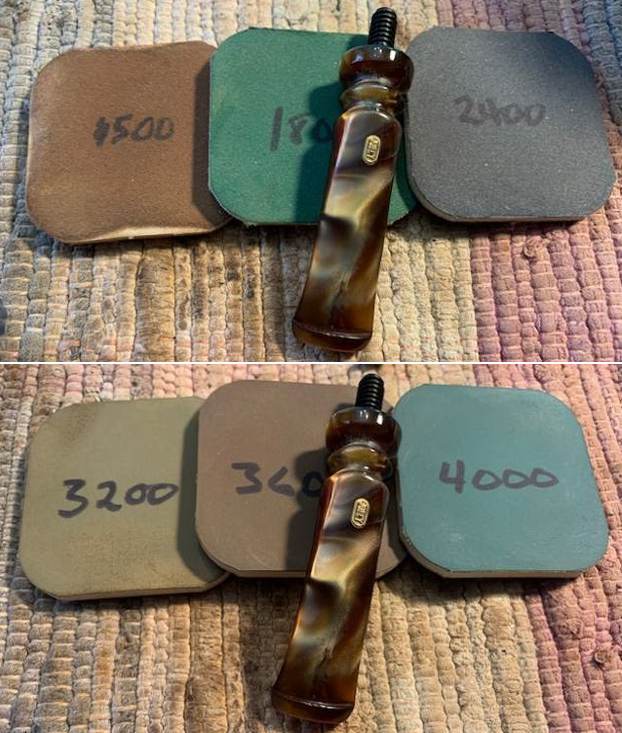
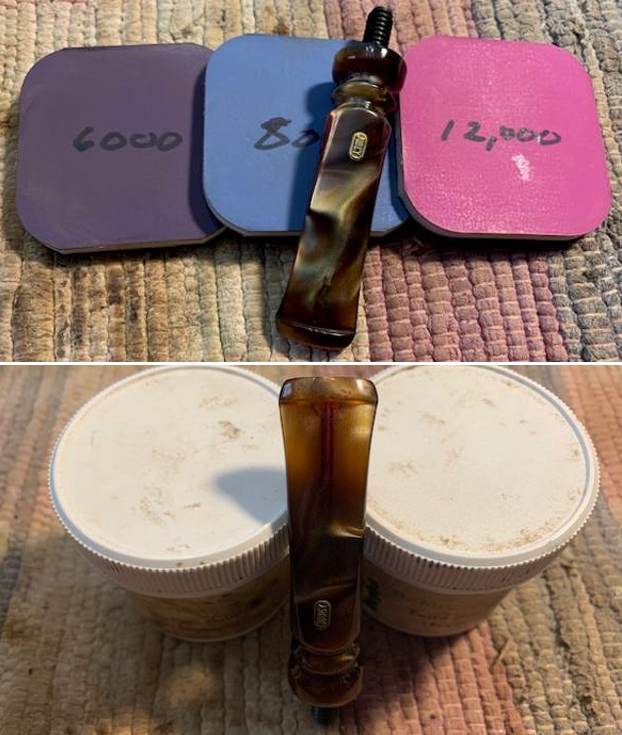
 I set aside the bowl and turned my attention to the stems. I polished the acrylic with micromesh sanding pads – 1500-12000 grit pads. I wiped them down with Obsidian Oil after each sanding pad. I used Before & After Pipe Polish – both Fine and Extra Fine to further polish the stem.
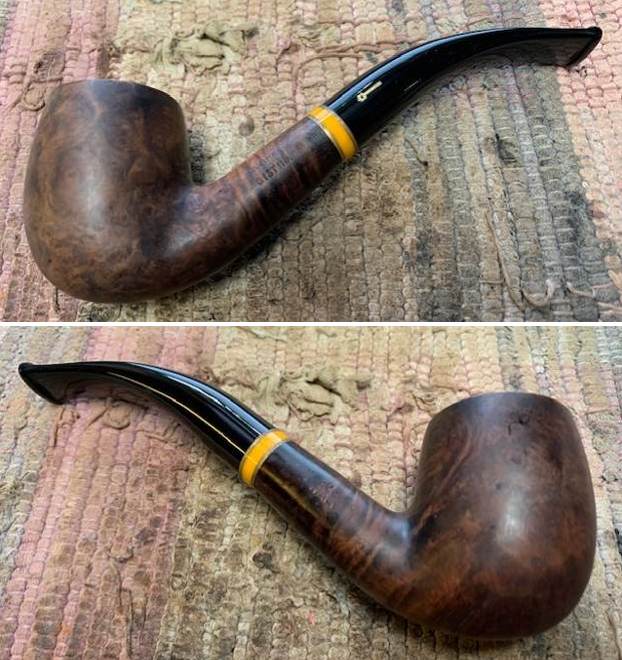
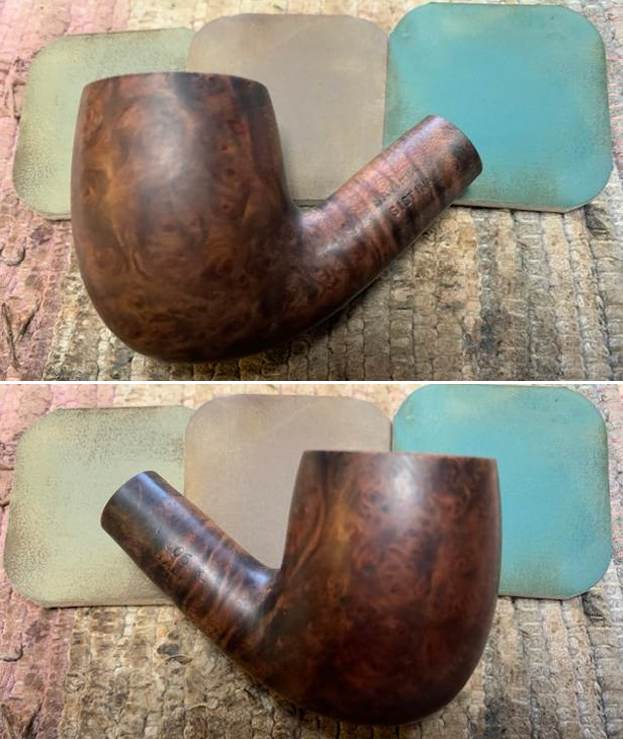
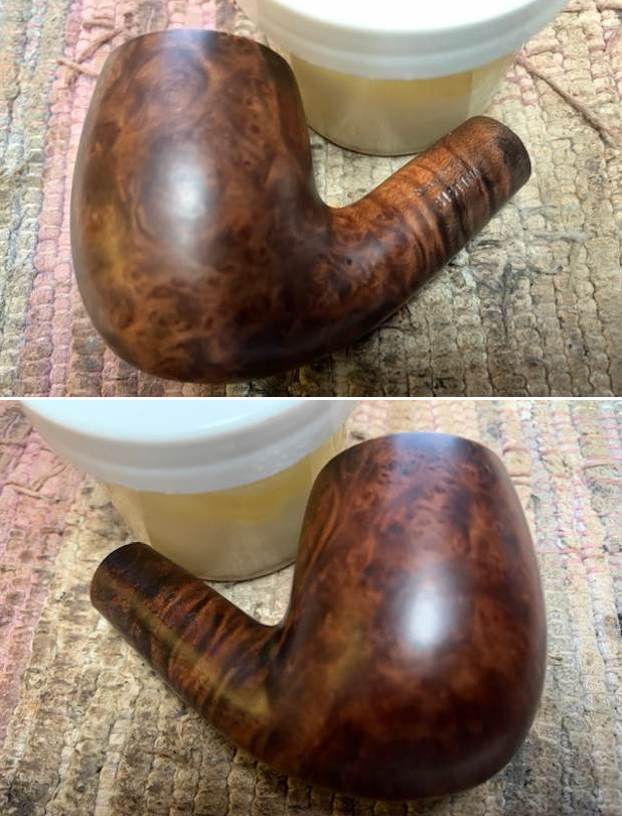
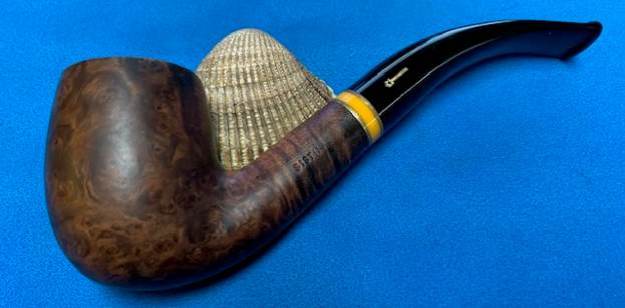
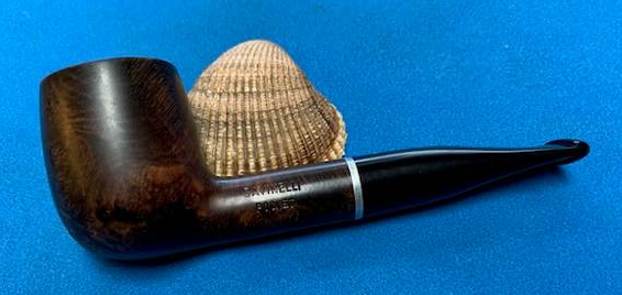
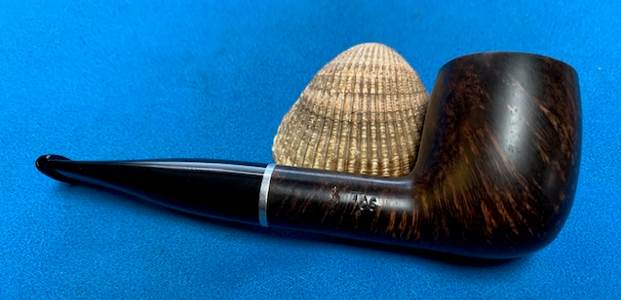
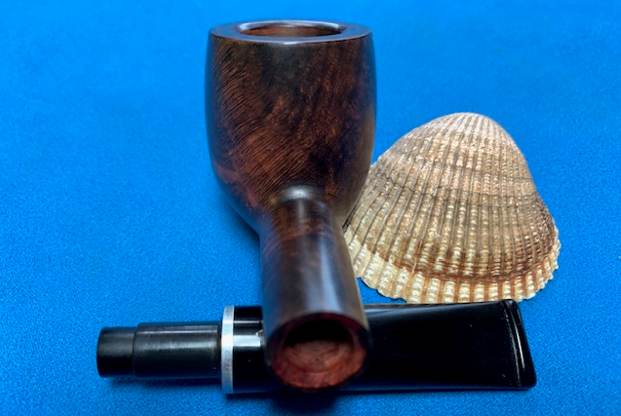
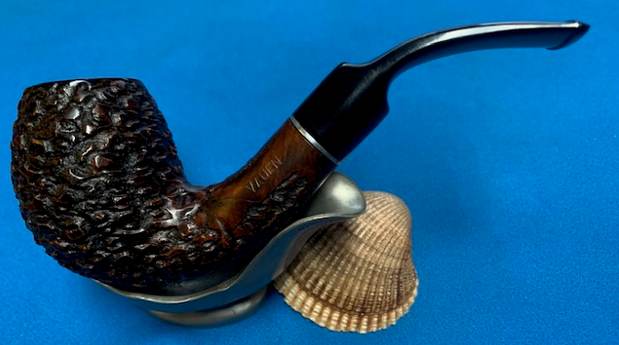
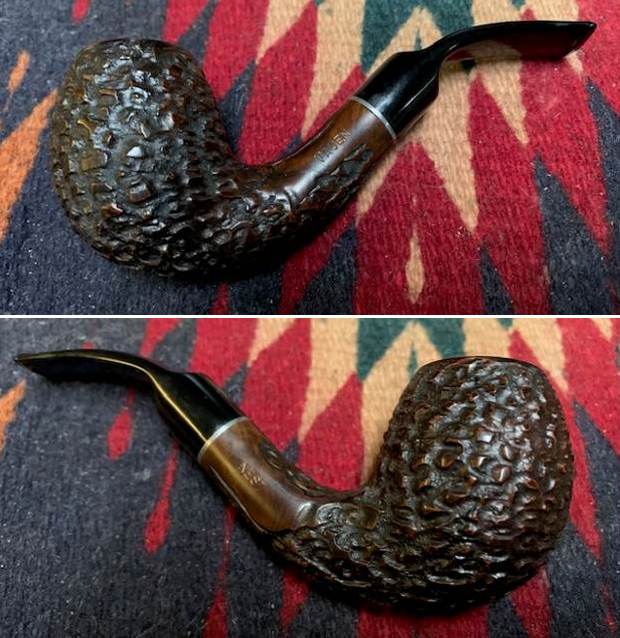
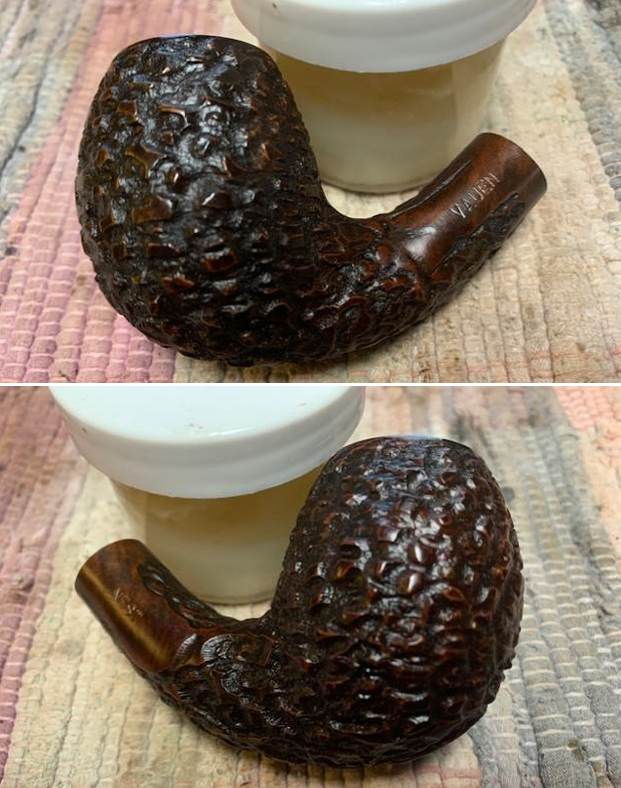
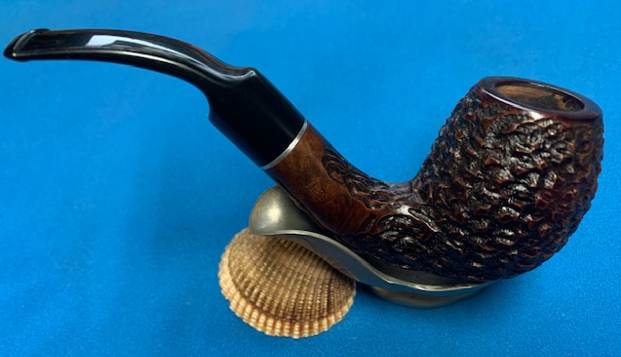
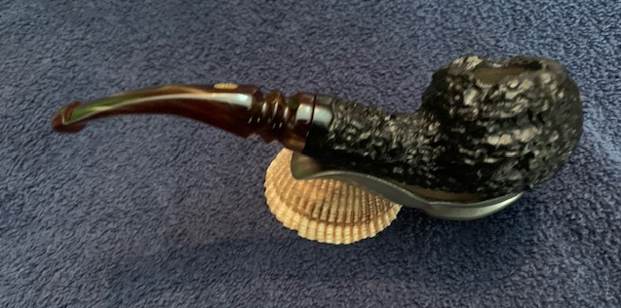
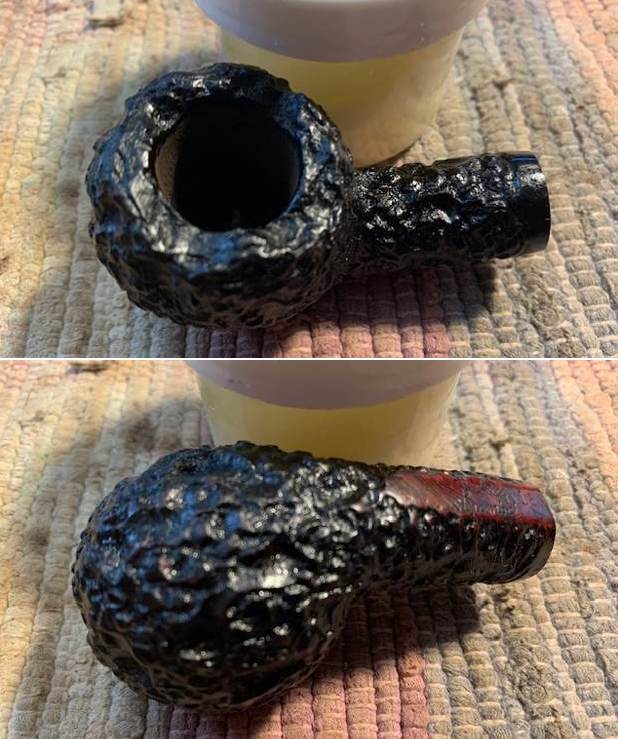
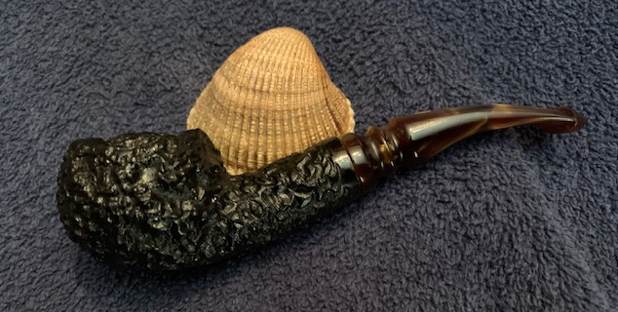
 This Hans Christian Andersen 2 Calabash Dual Stem has a beautiful, reddish brown finish that highlights some beautiful grain. The shorter and longer polished stems add to the mix. I believe the stems are acrylic and have a rich shine to them. I put the stem back on the bowl and buffed the pipe with Blue Diamond on the buffing wheel being careful to not buff the stamping. I gave the bowl and the stems multiple coats of carnauba wax on the buffing wheel and followed that by buffing it with a clean buffing pad. I hand buffed the pipe with a microfiber cloth to deepen the shine. The finished Stanwell HCA 2 is quite stunning and feels great in my hand. Give the finished pipe a look in the photos below. The dimensions of the pipe with the two stems are Short Stem Length: 6 inches, Long Stem Length: 10 inches, Height: 2 inches, Outside diameter of the bowl: 1 ½ inches, Chamber diameter: ¾ of an inch. The Short Stem Weight of the pipe is 1.73 ounces/49 grams; the Long Stem Weight of the pipe is 1.80 ounces/51 grams. Thanks for walking through the restoration with me as I worked over another beautiful pipe. I am going to putting the pipe on the rebornpipes store in the Danish Pipe Makers Section. If you are interested in adding it to your collection let me know. Thanks for your time.