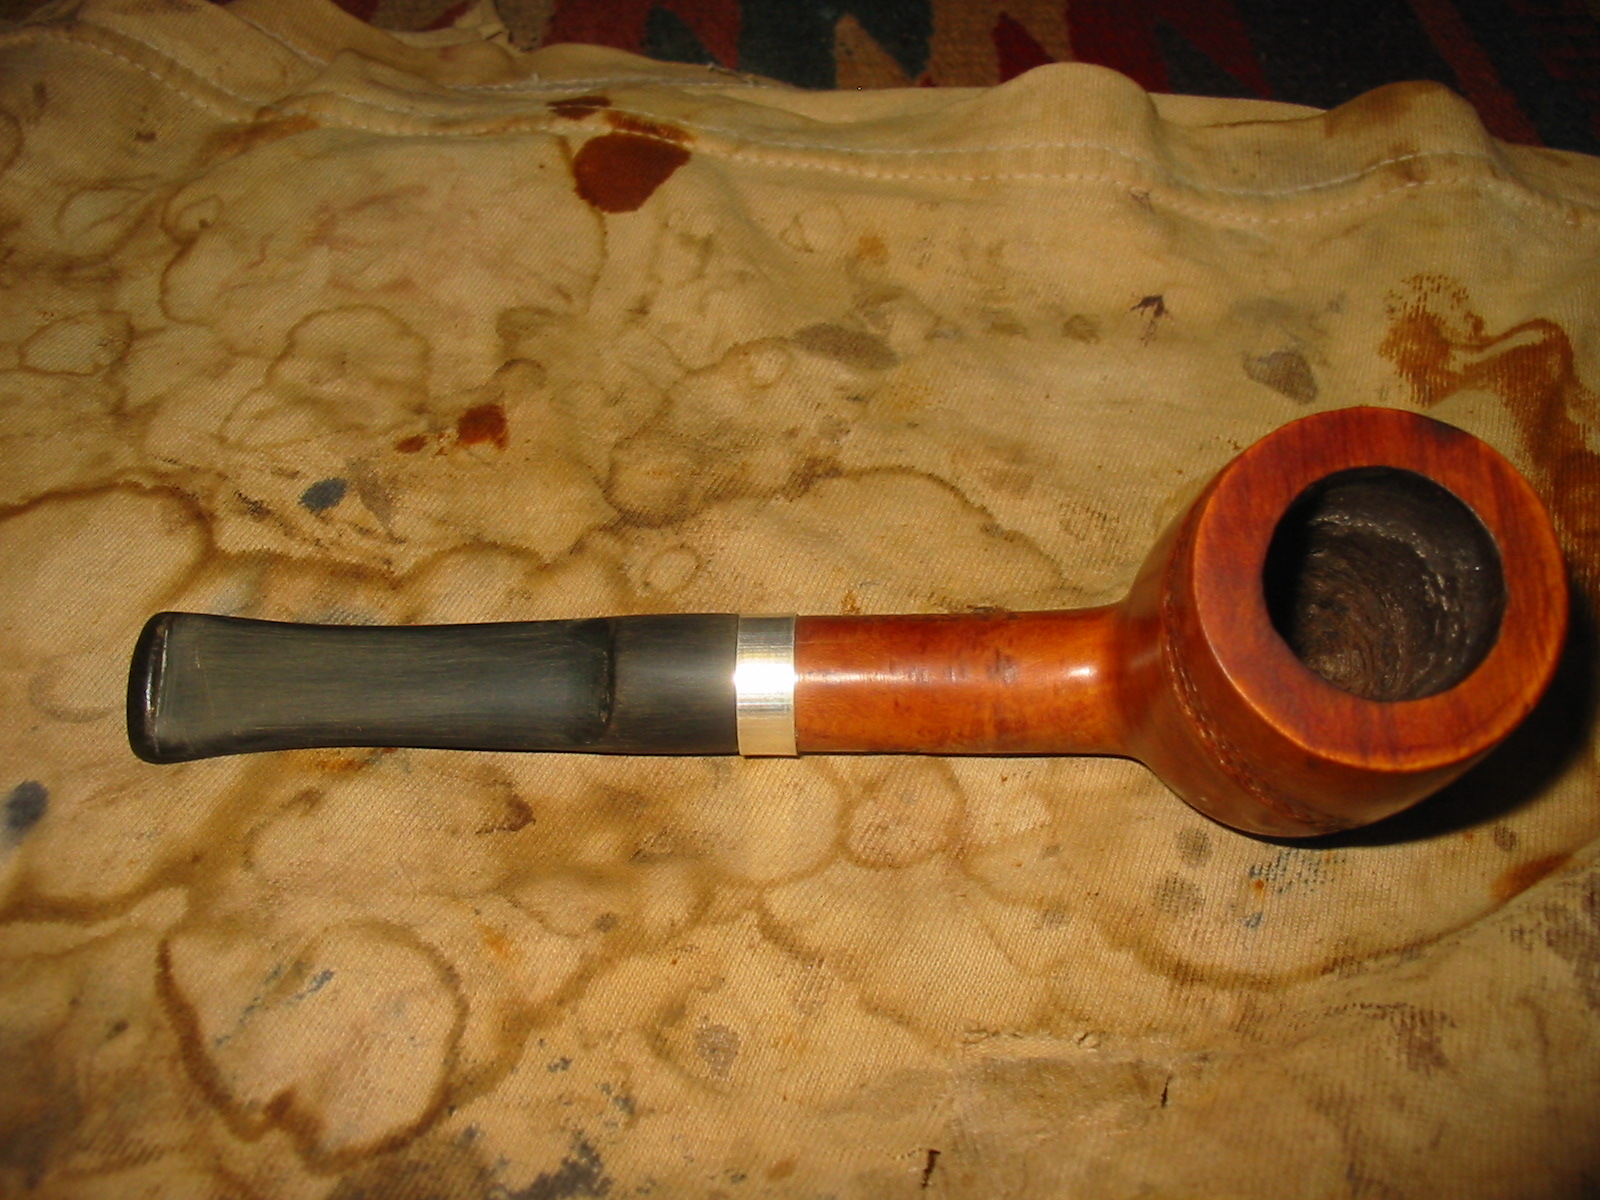
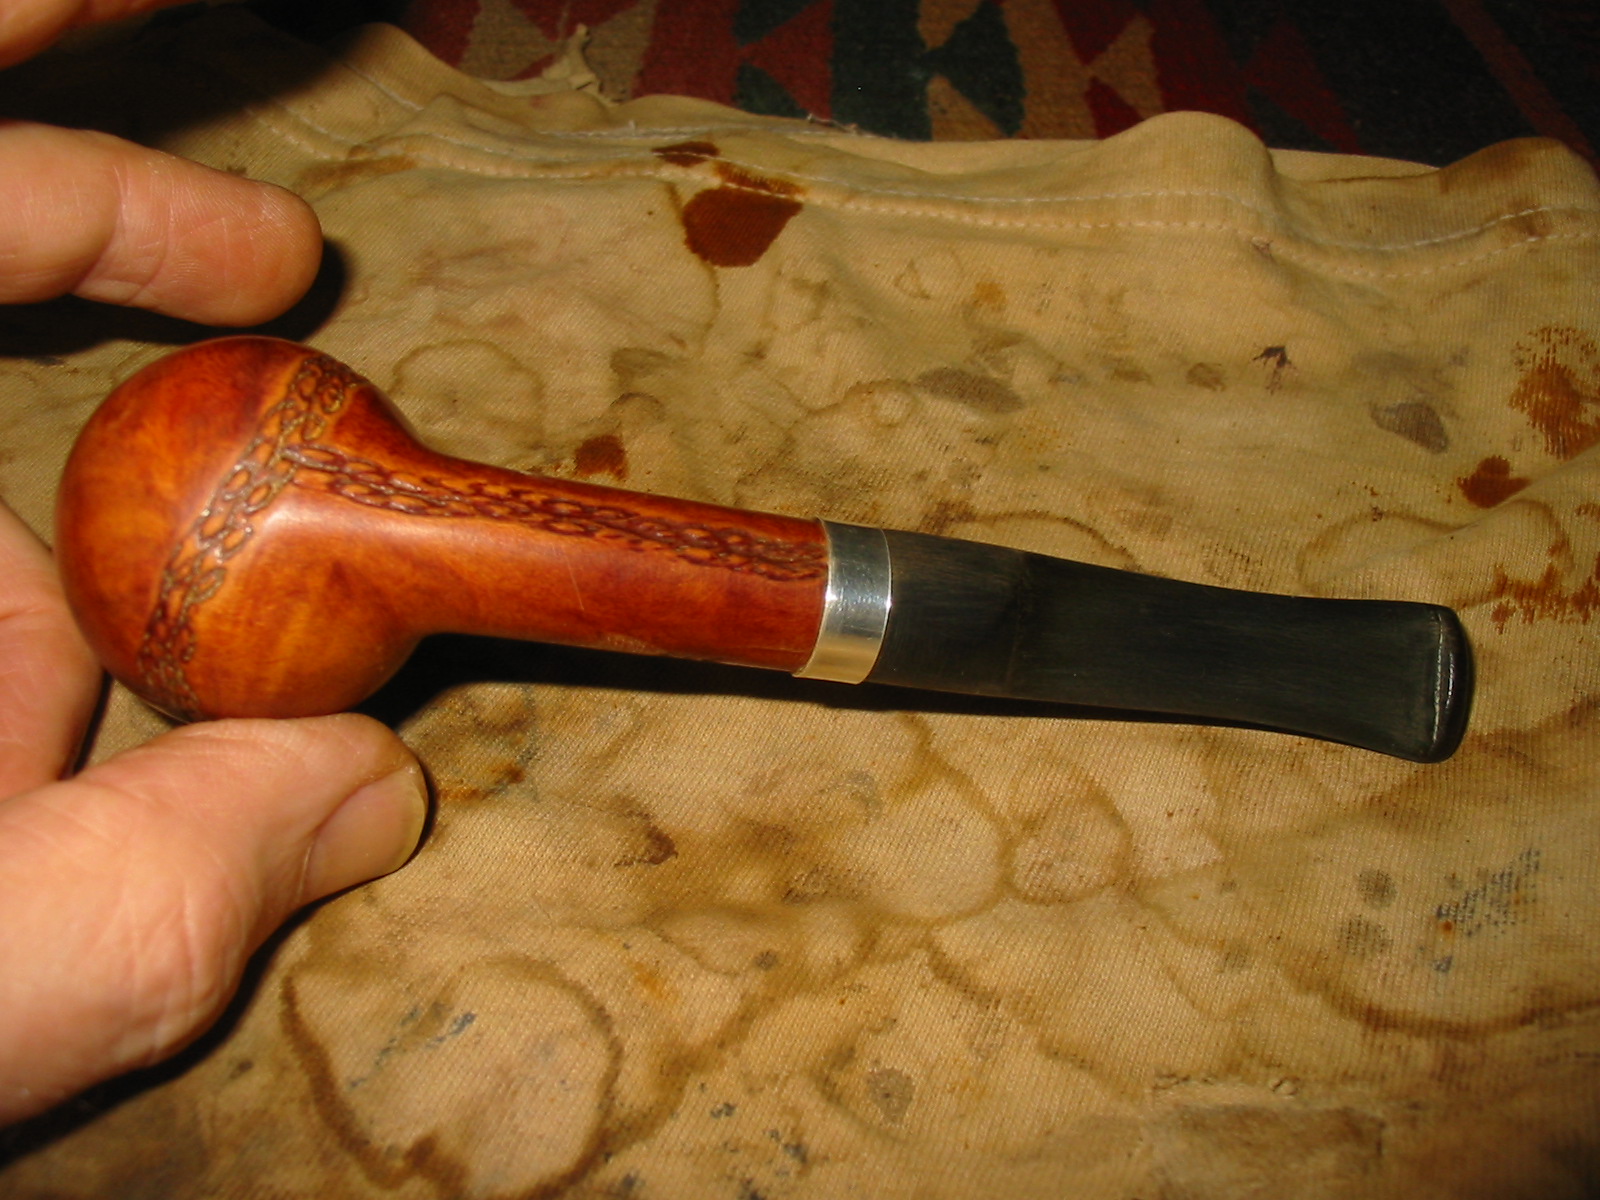
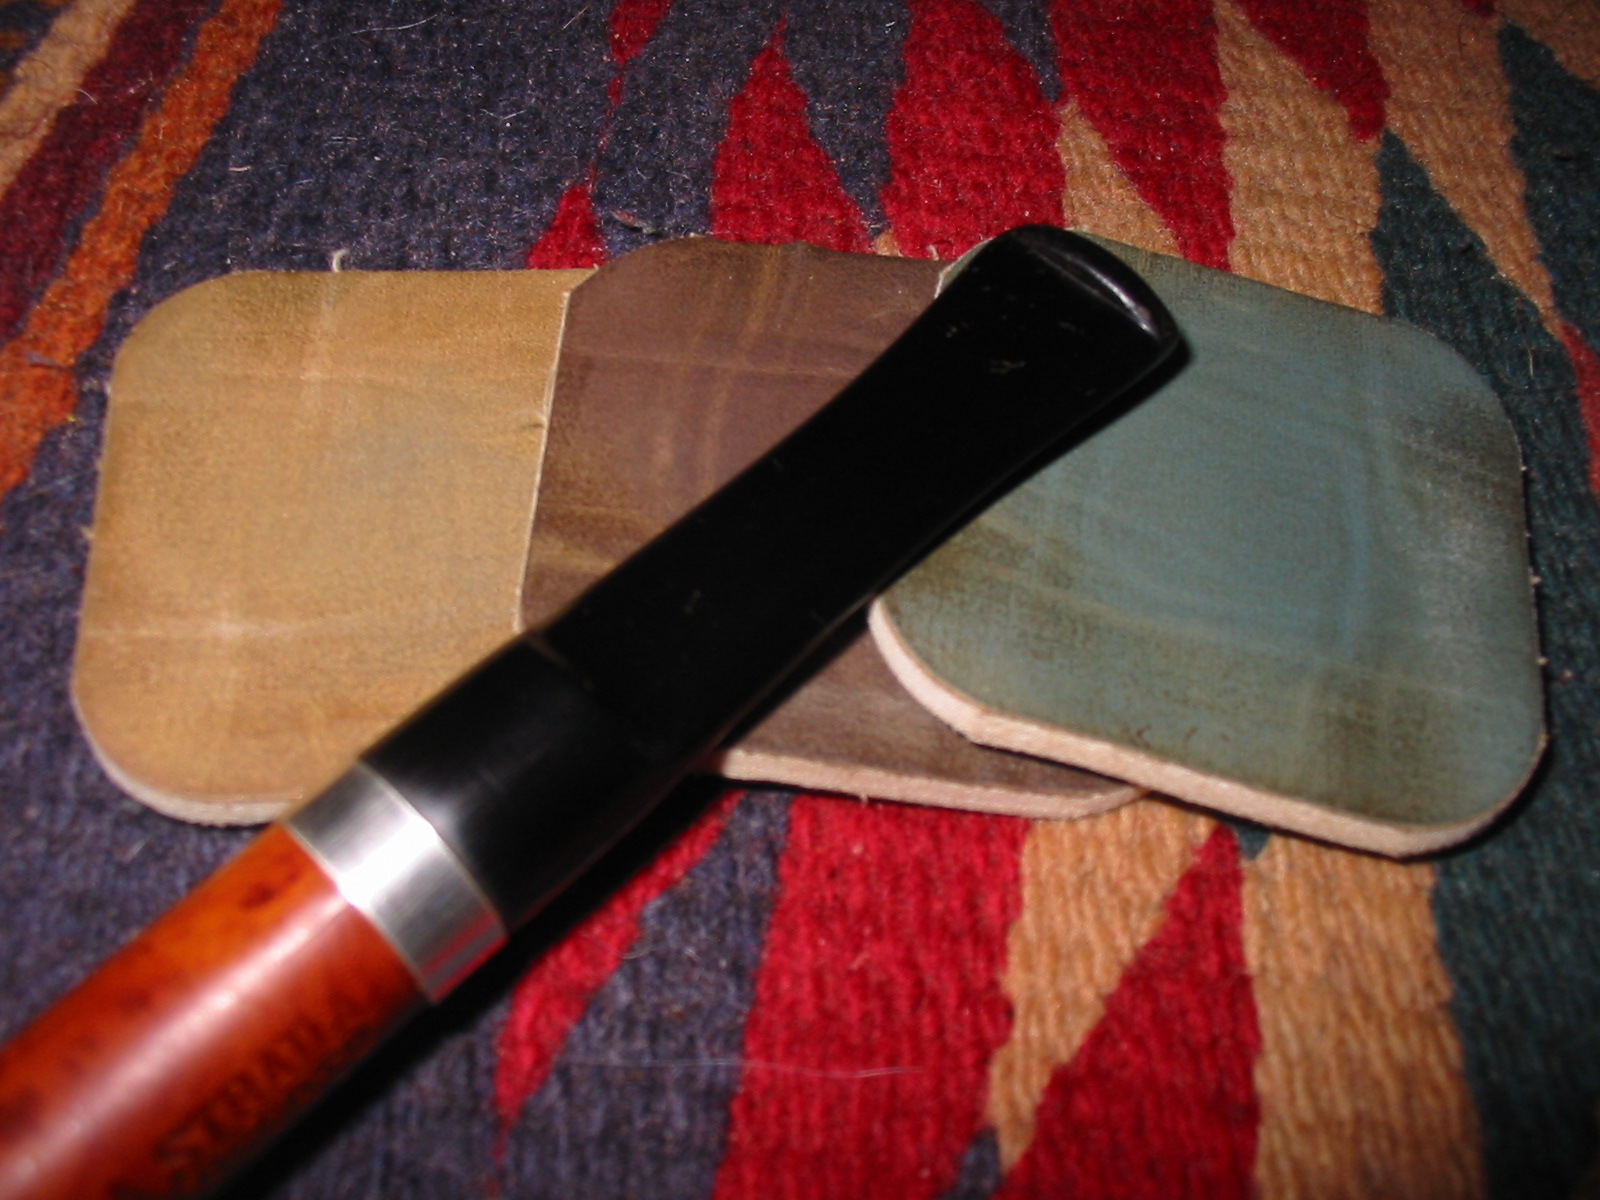
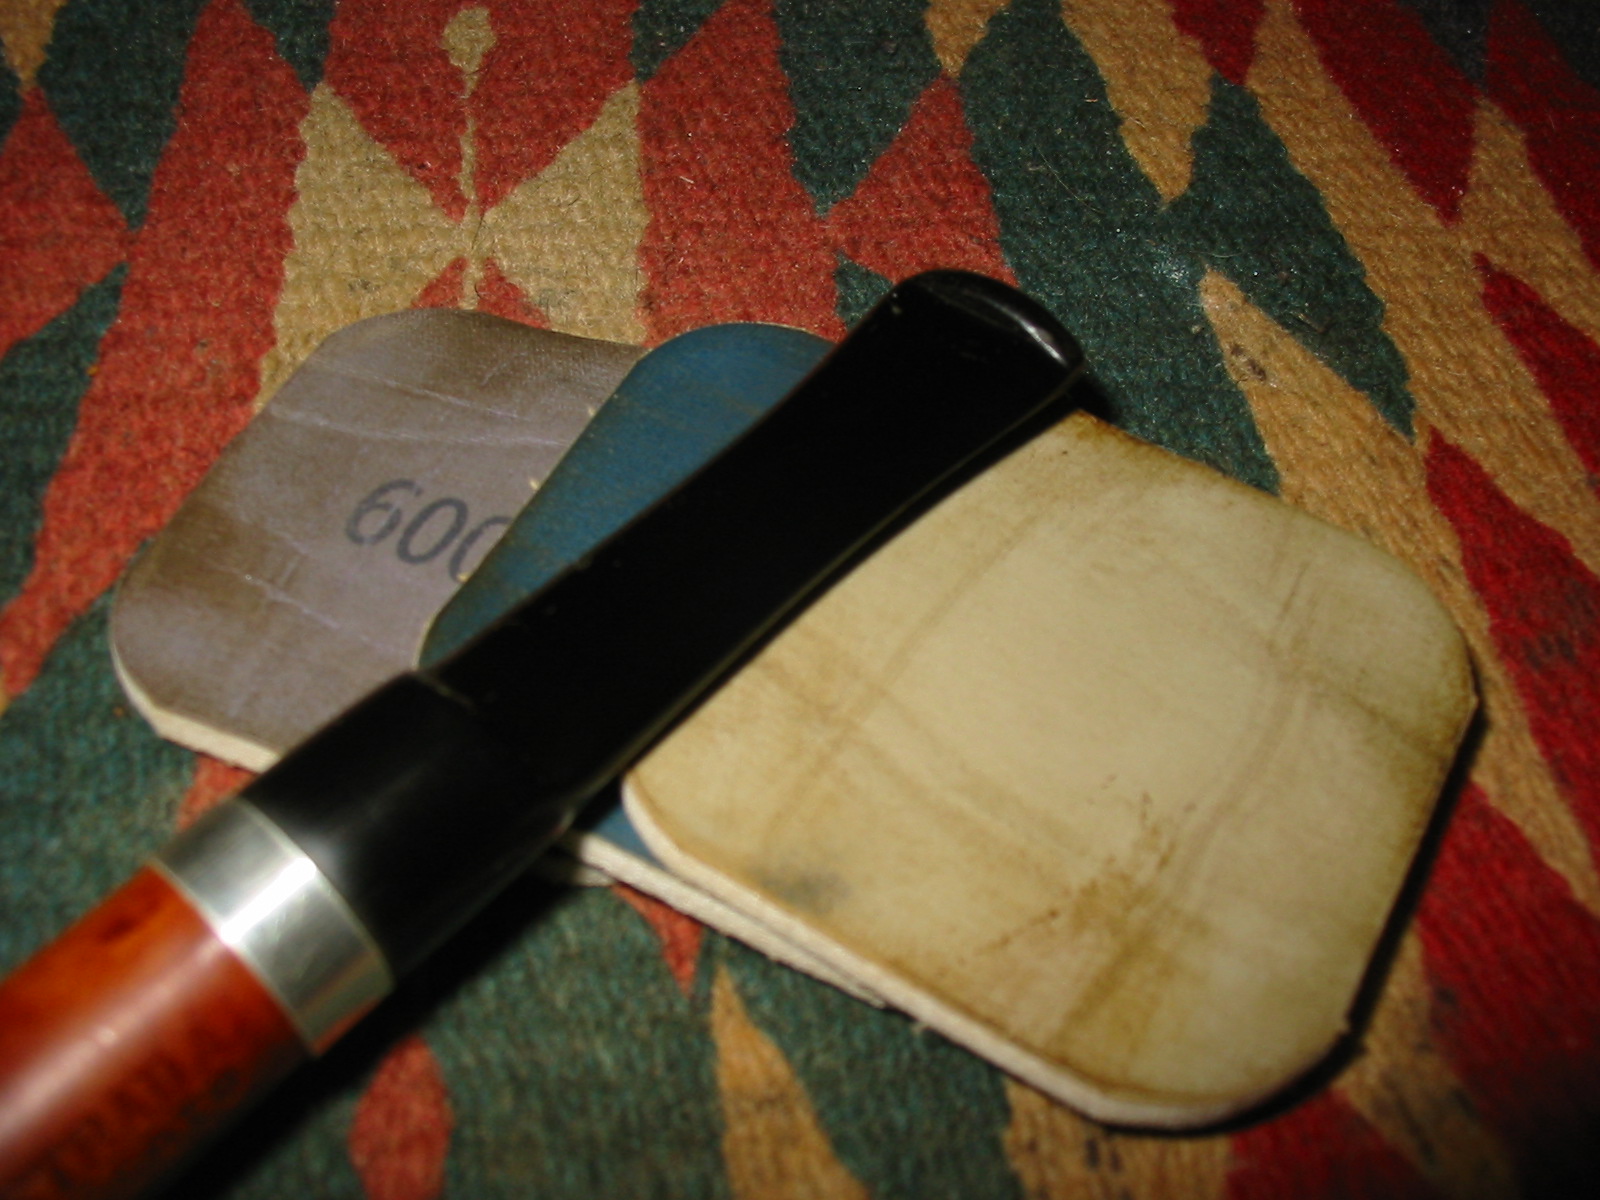
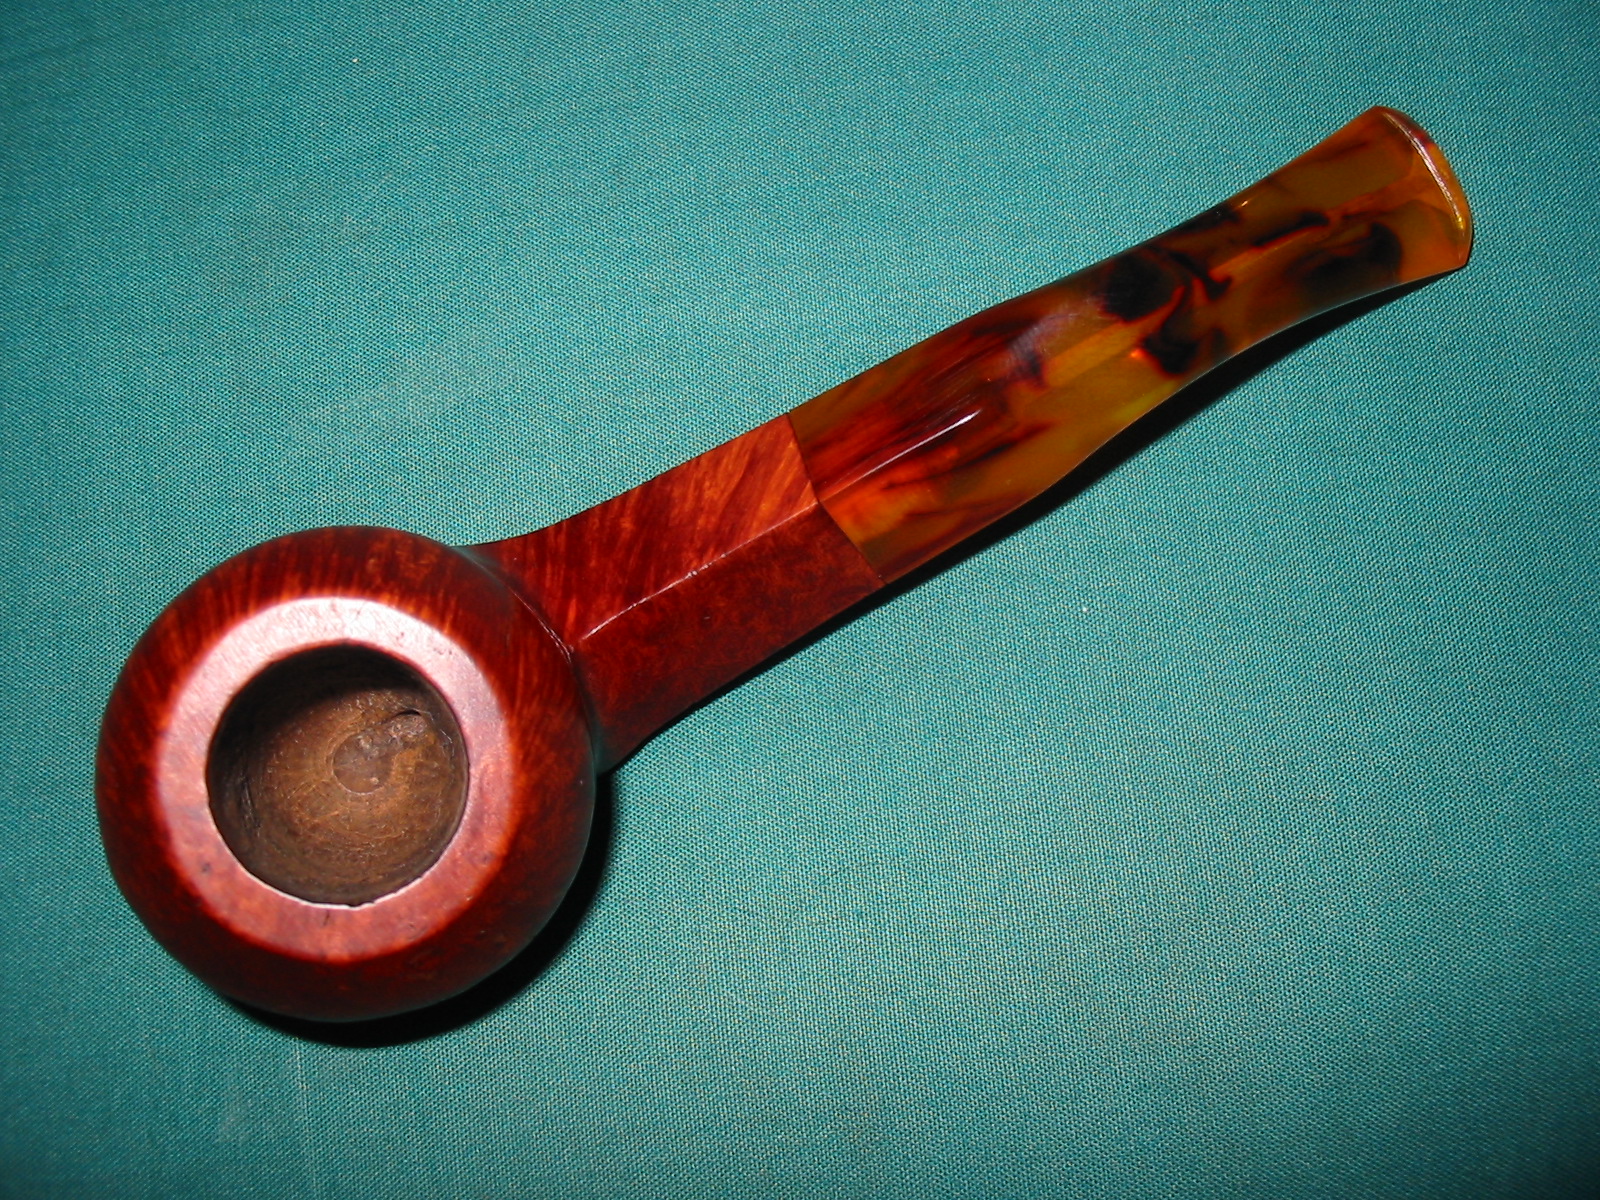
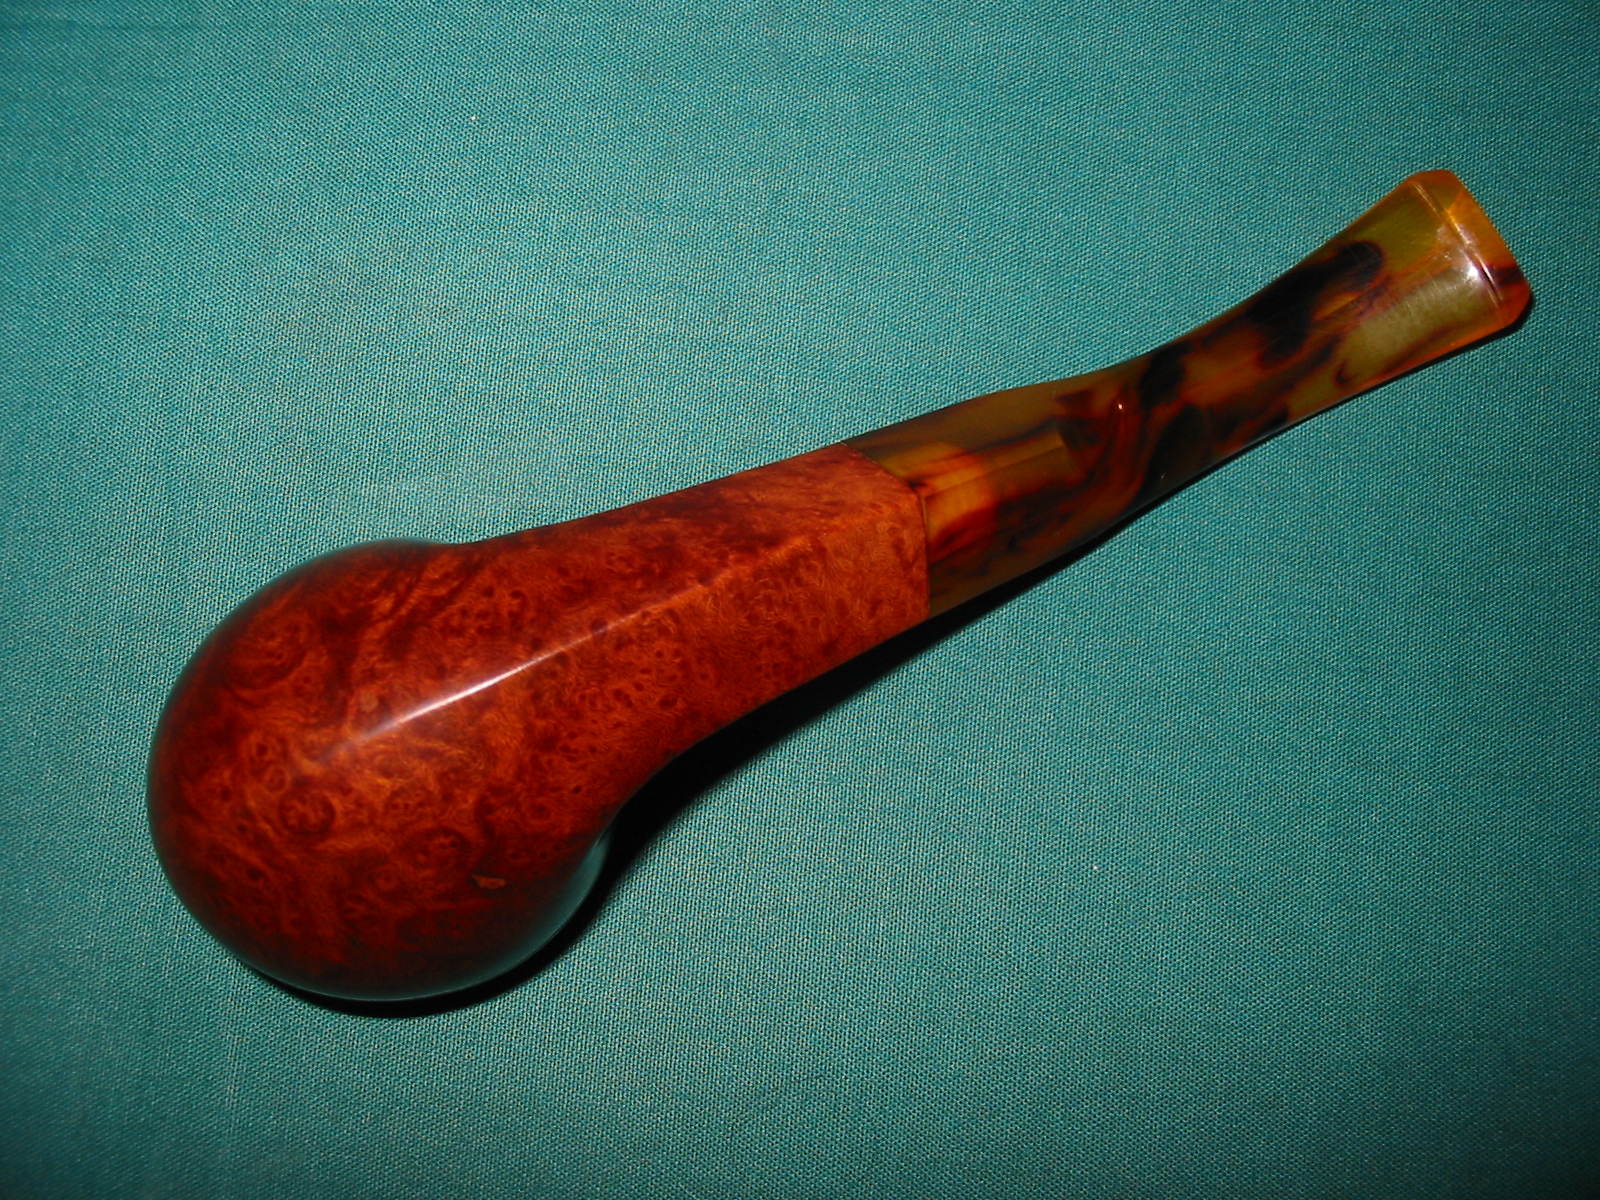
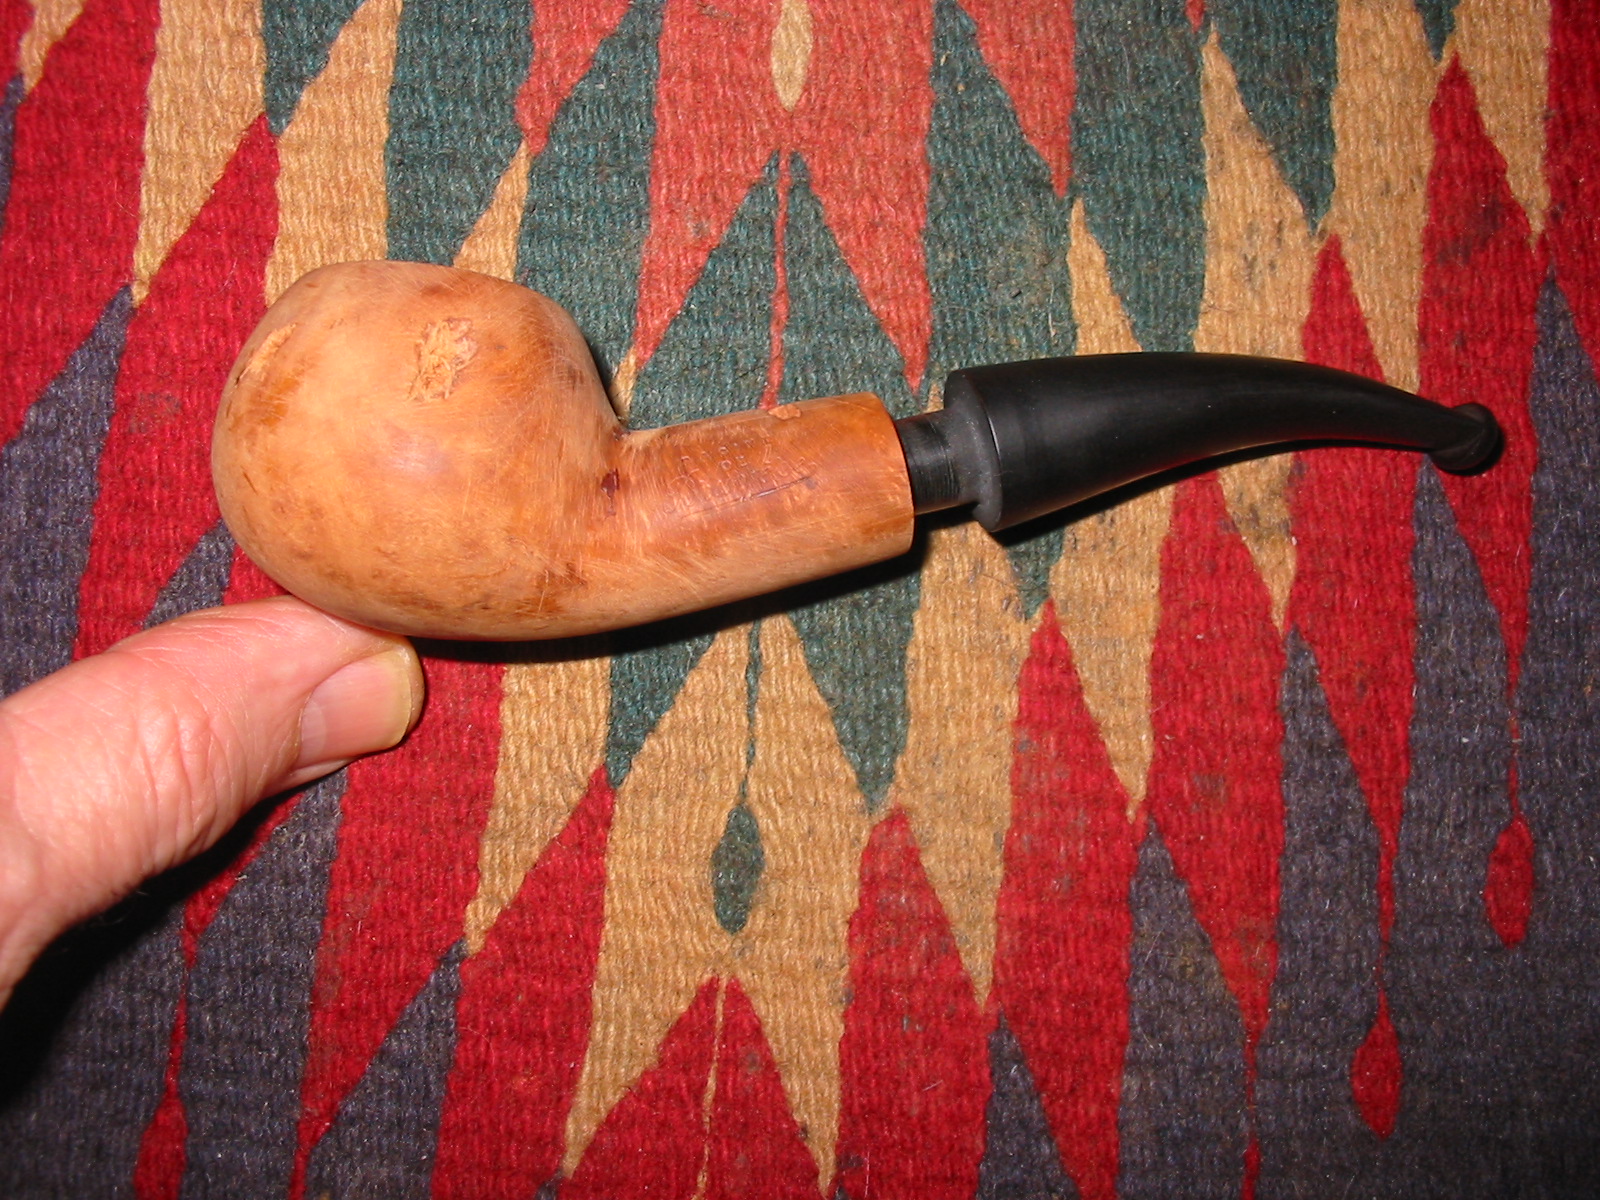
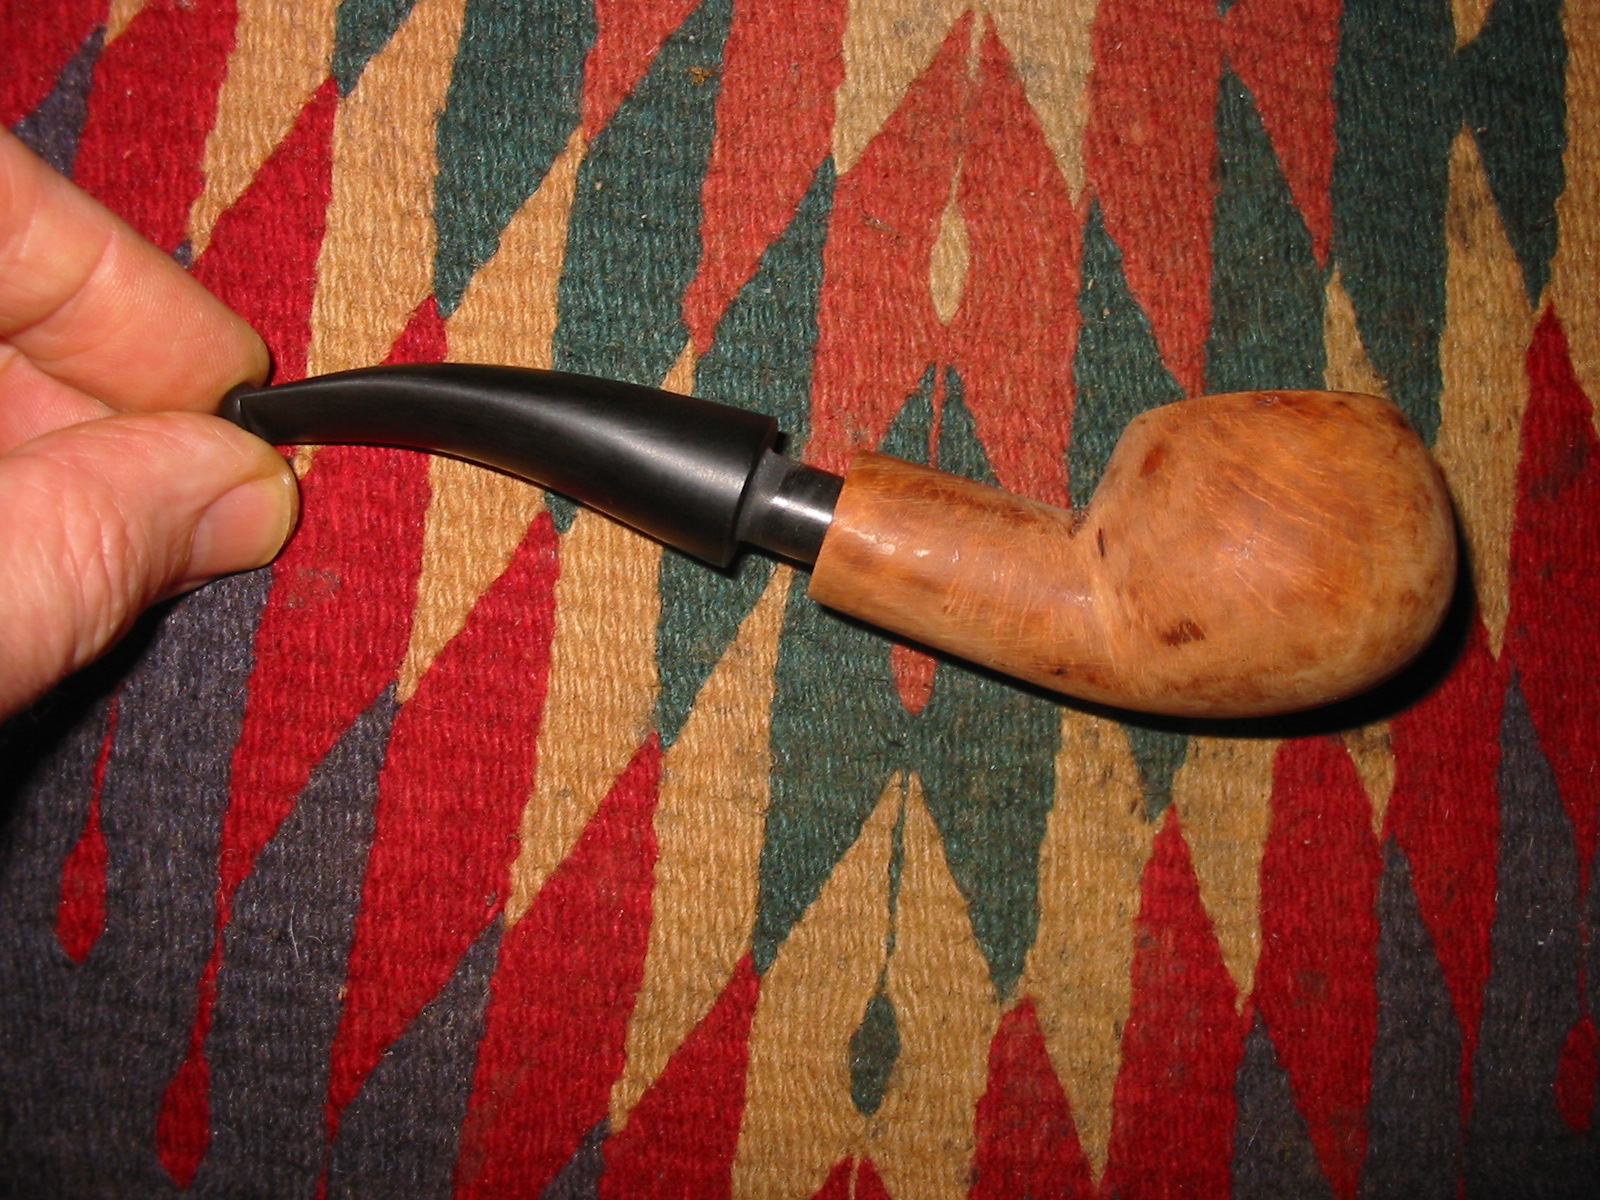
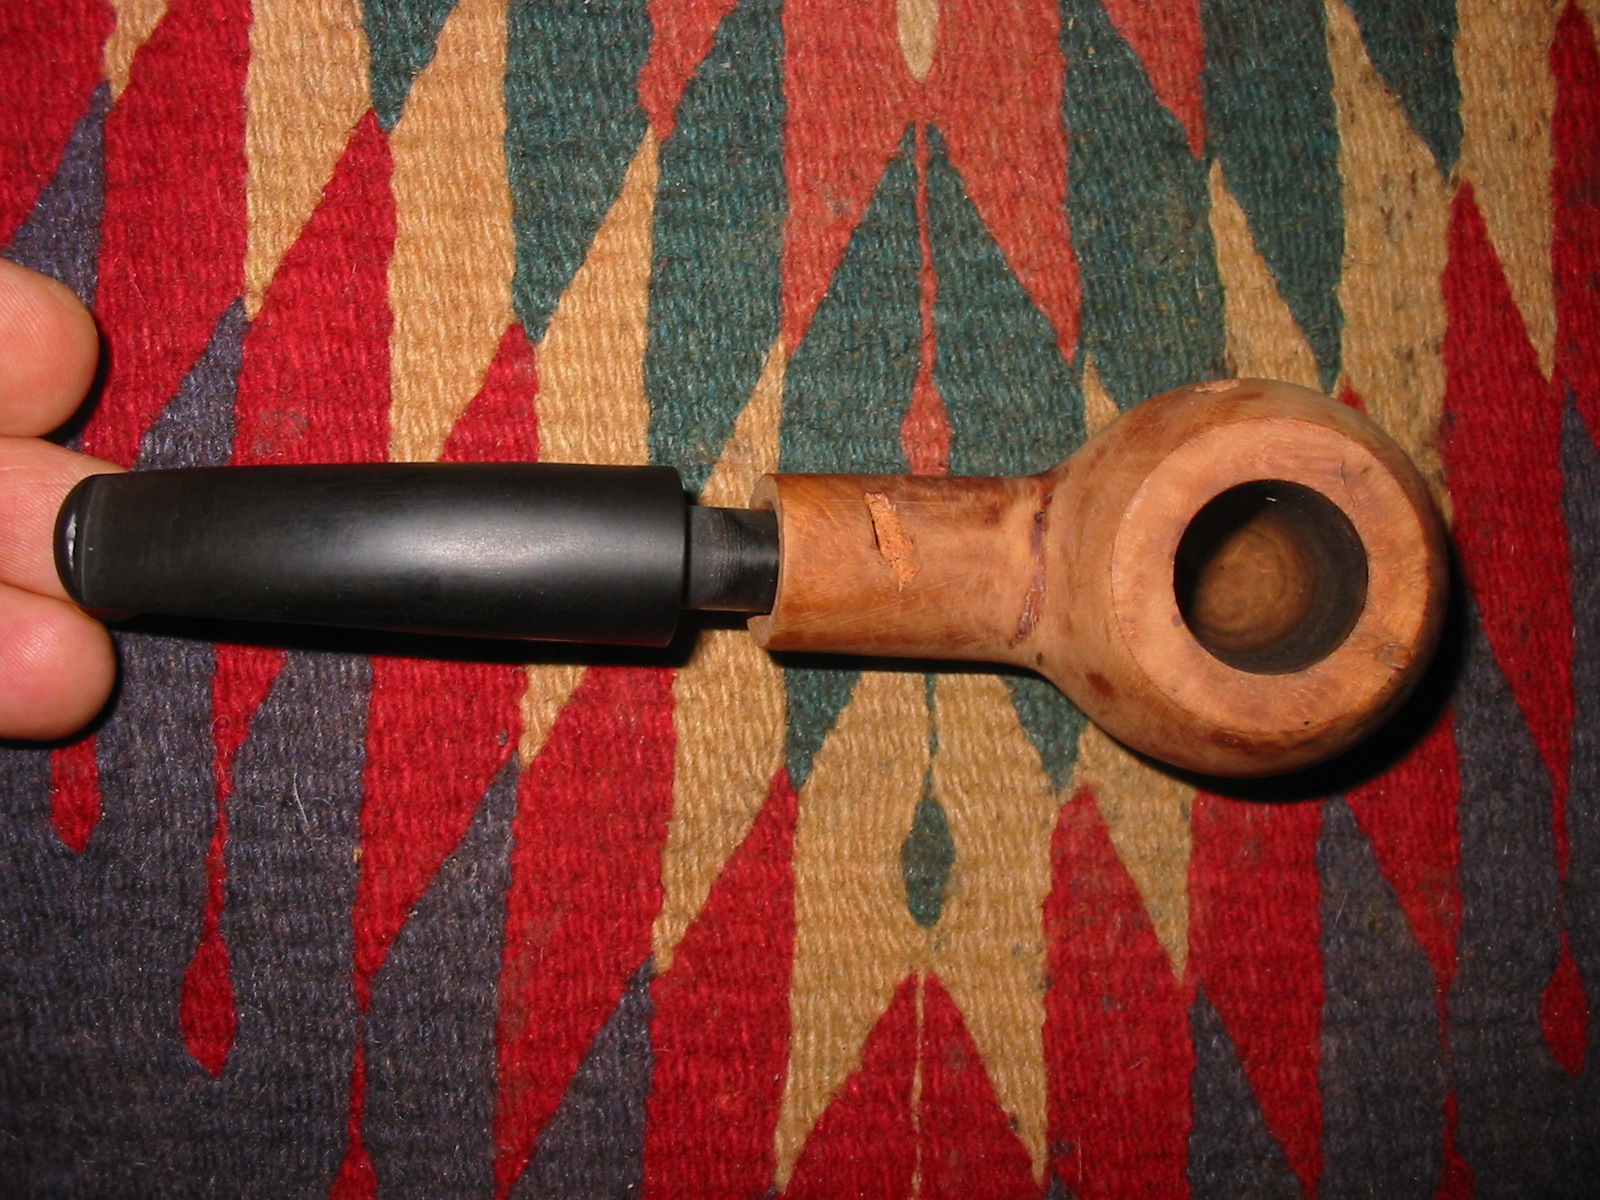
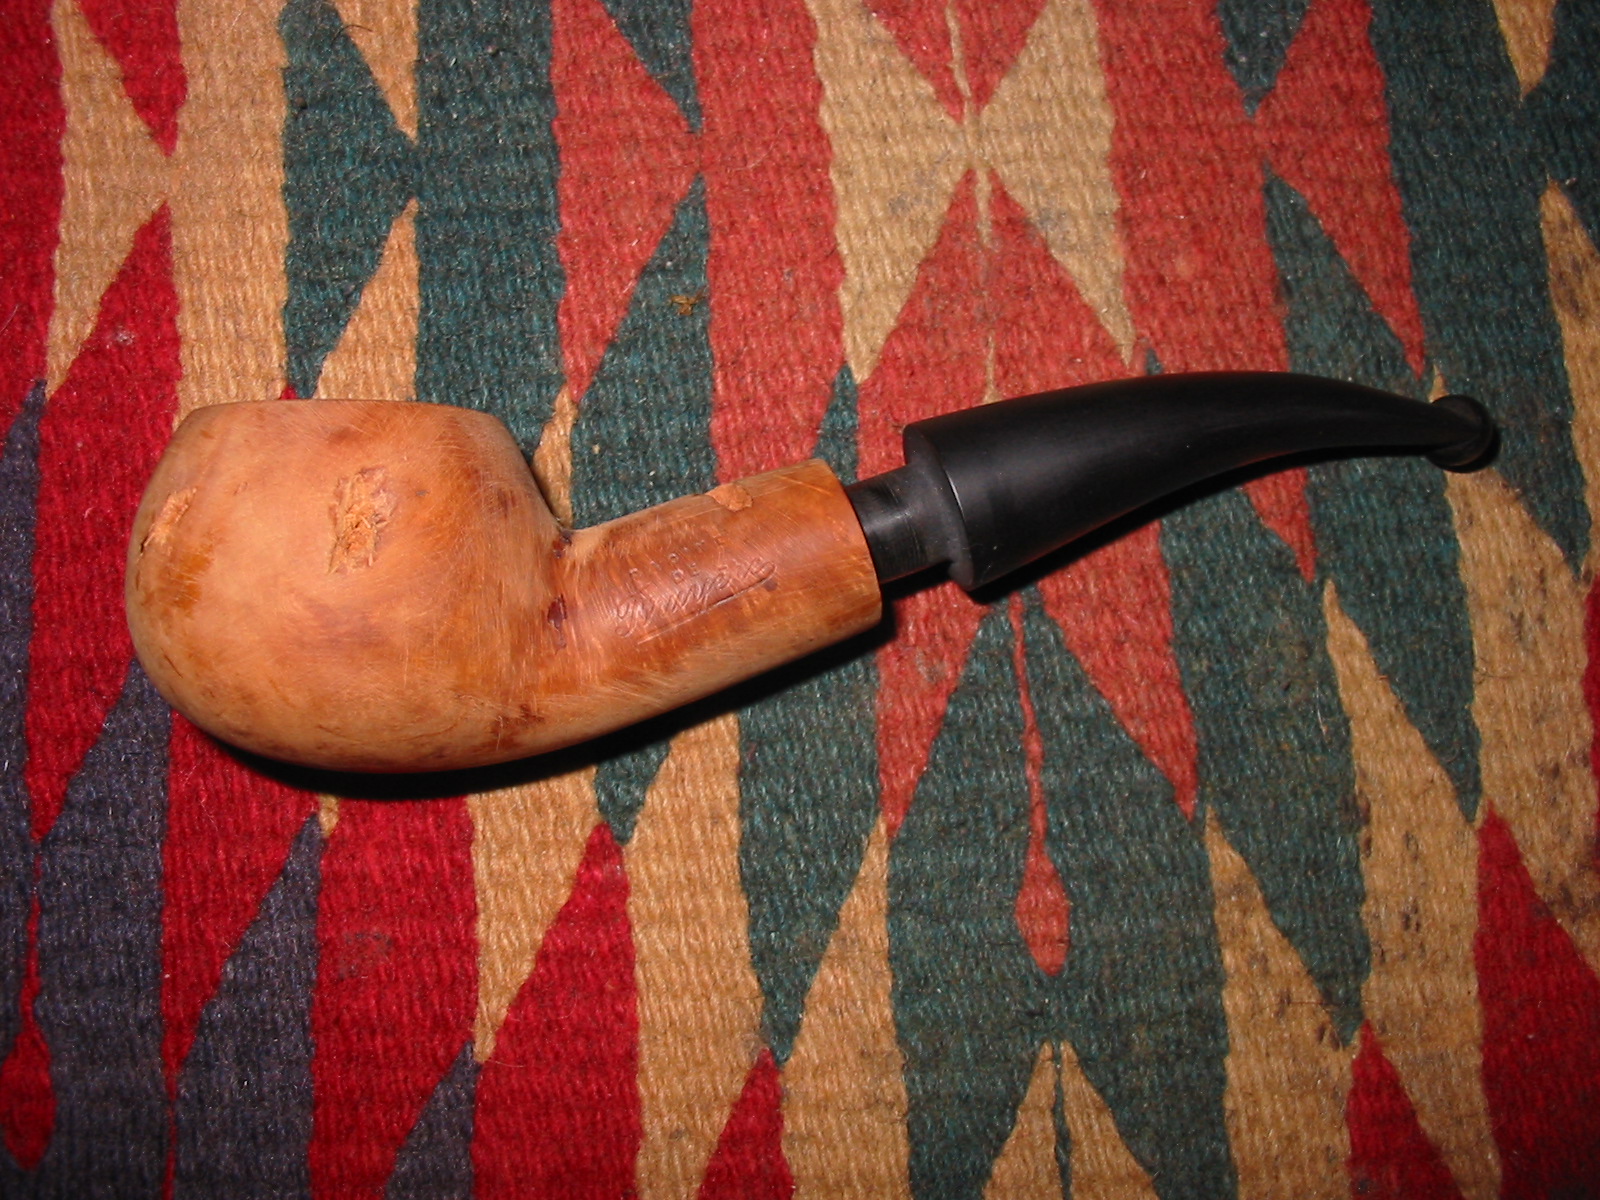
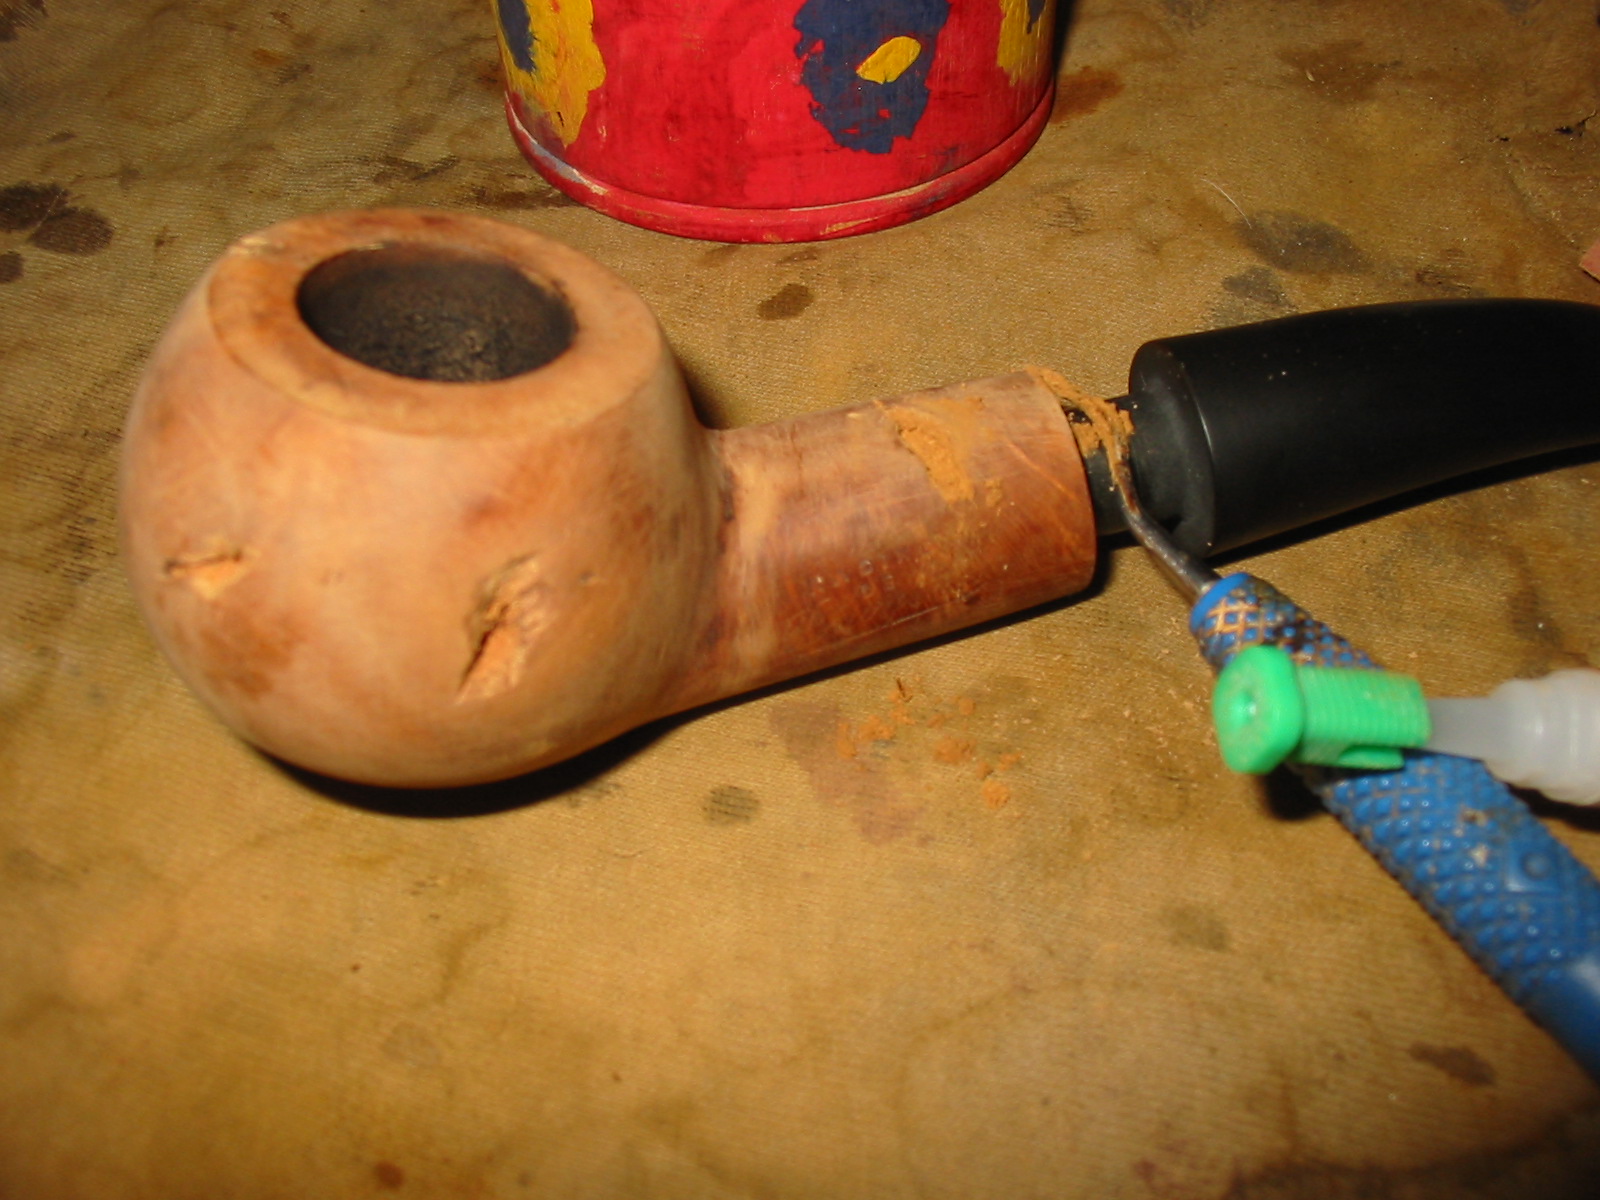
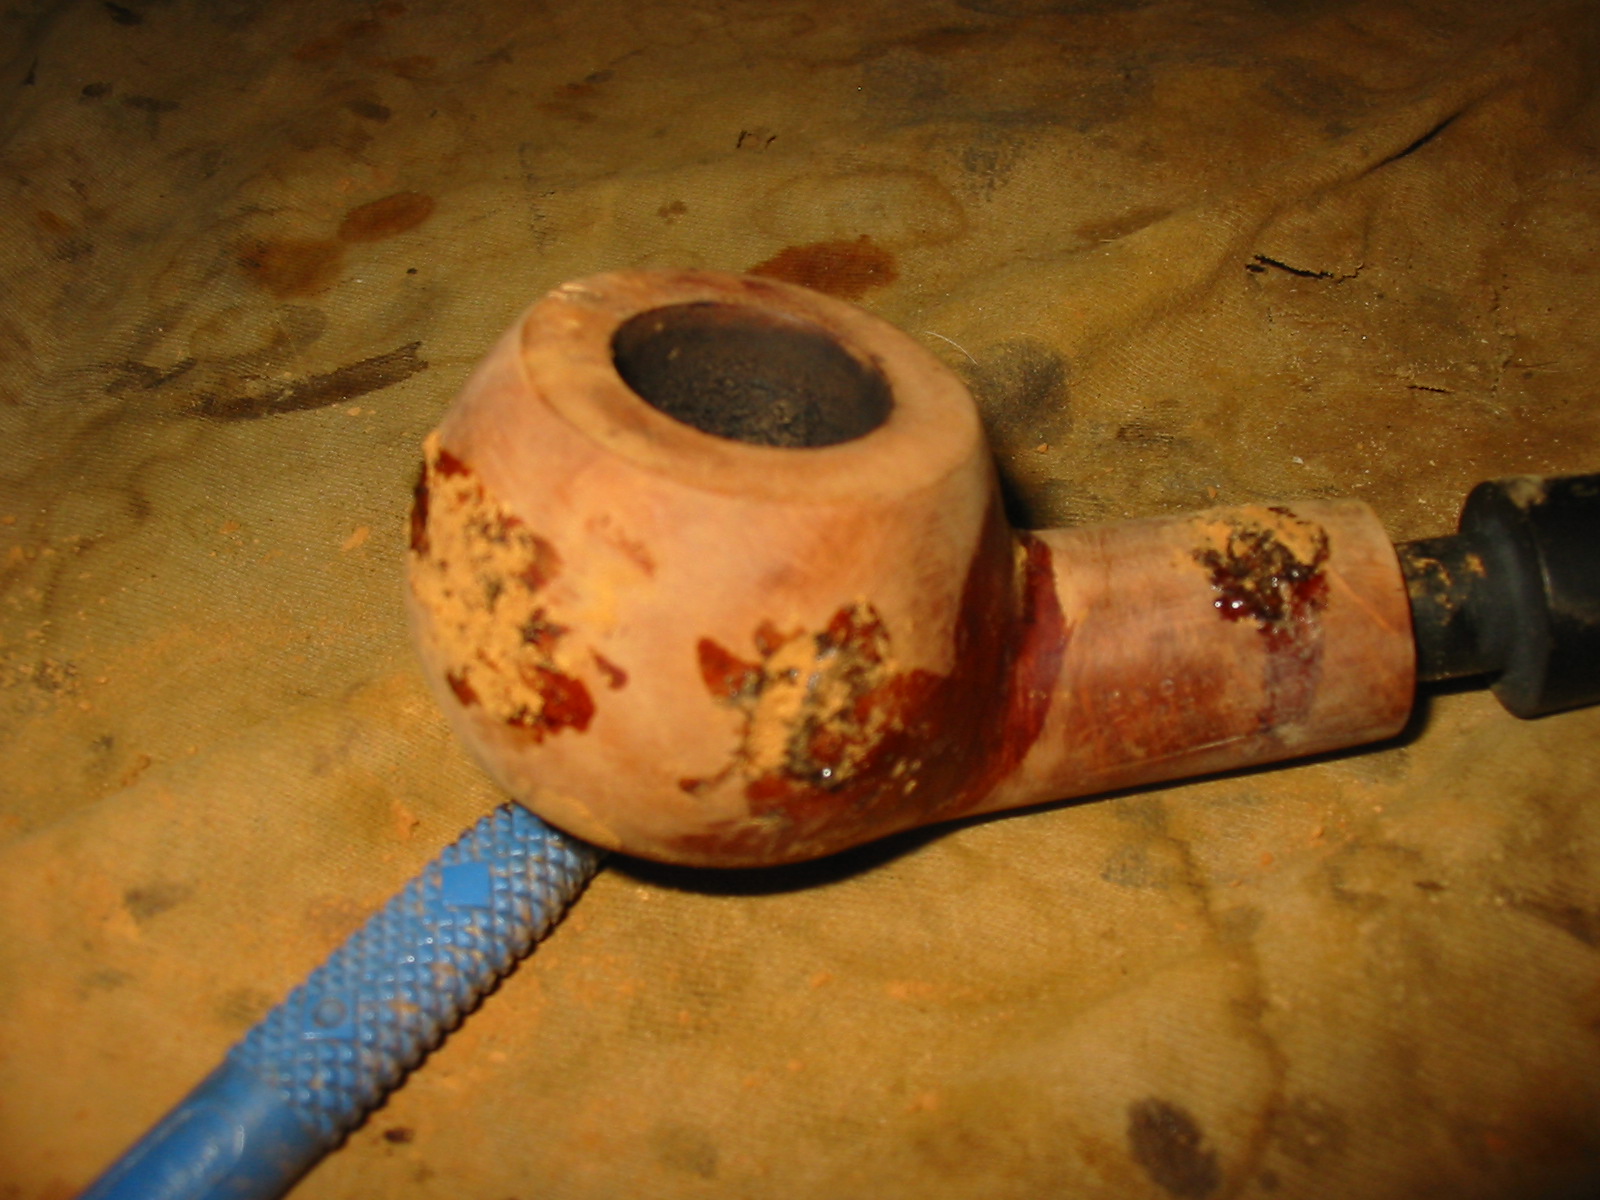
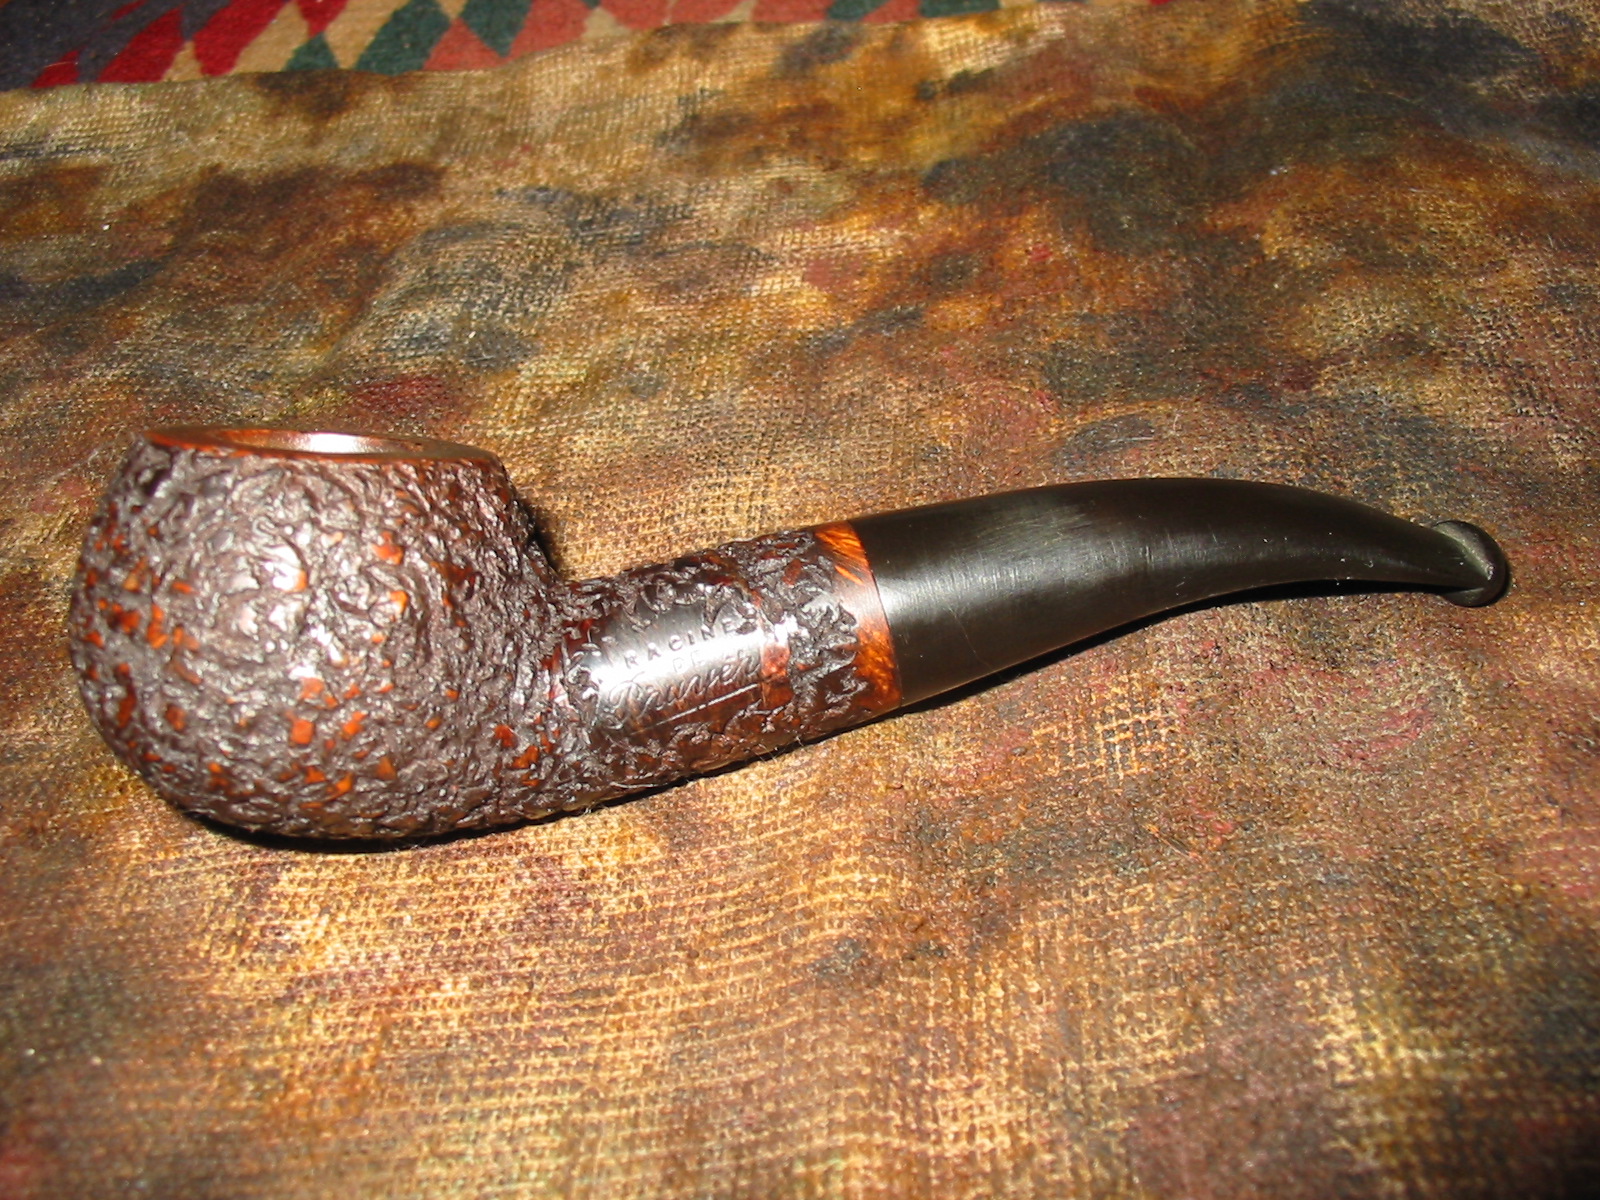
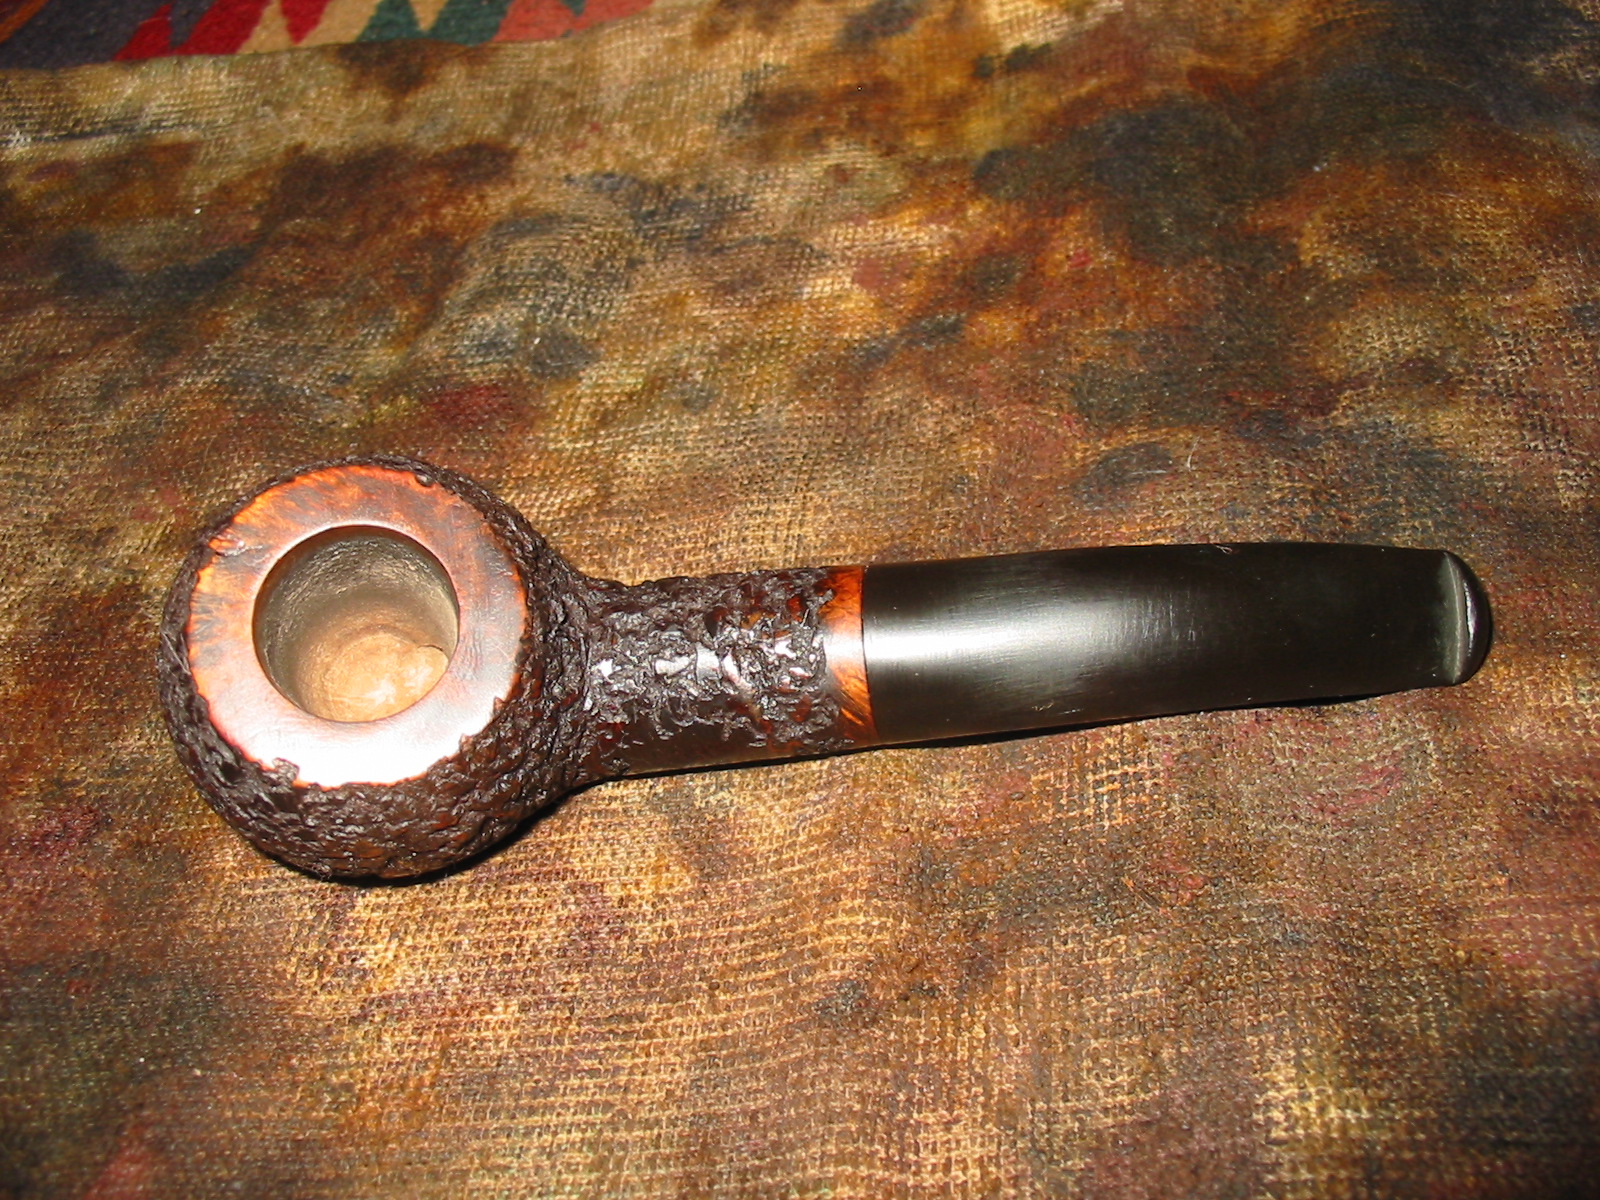
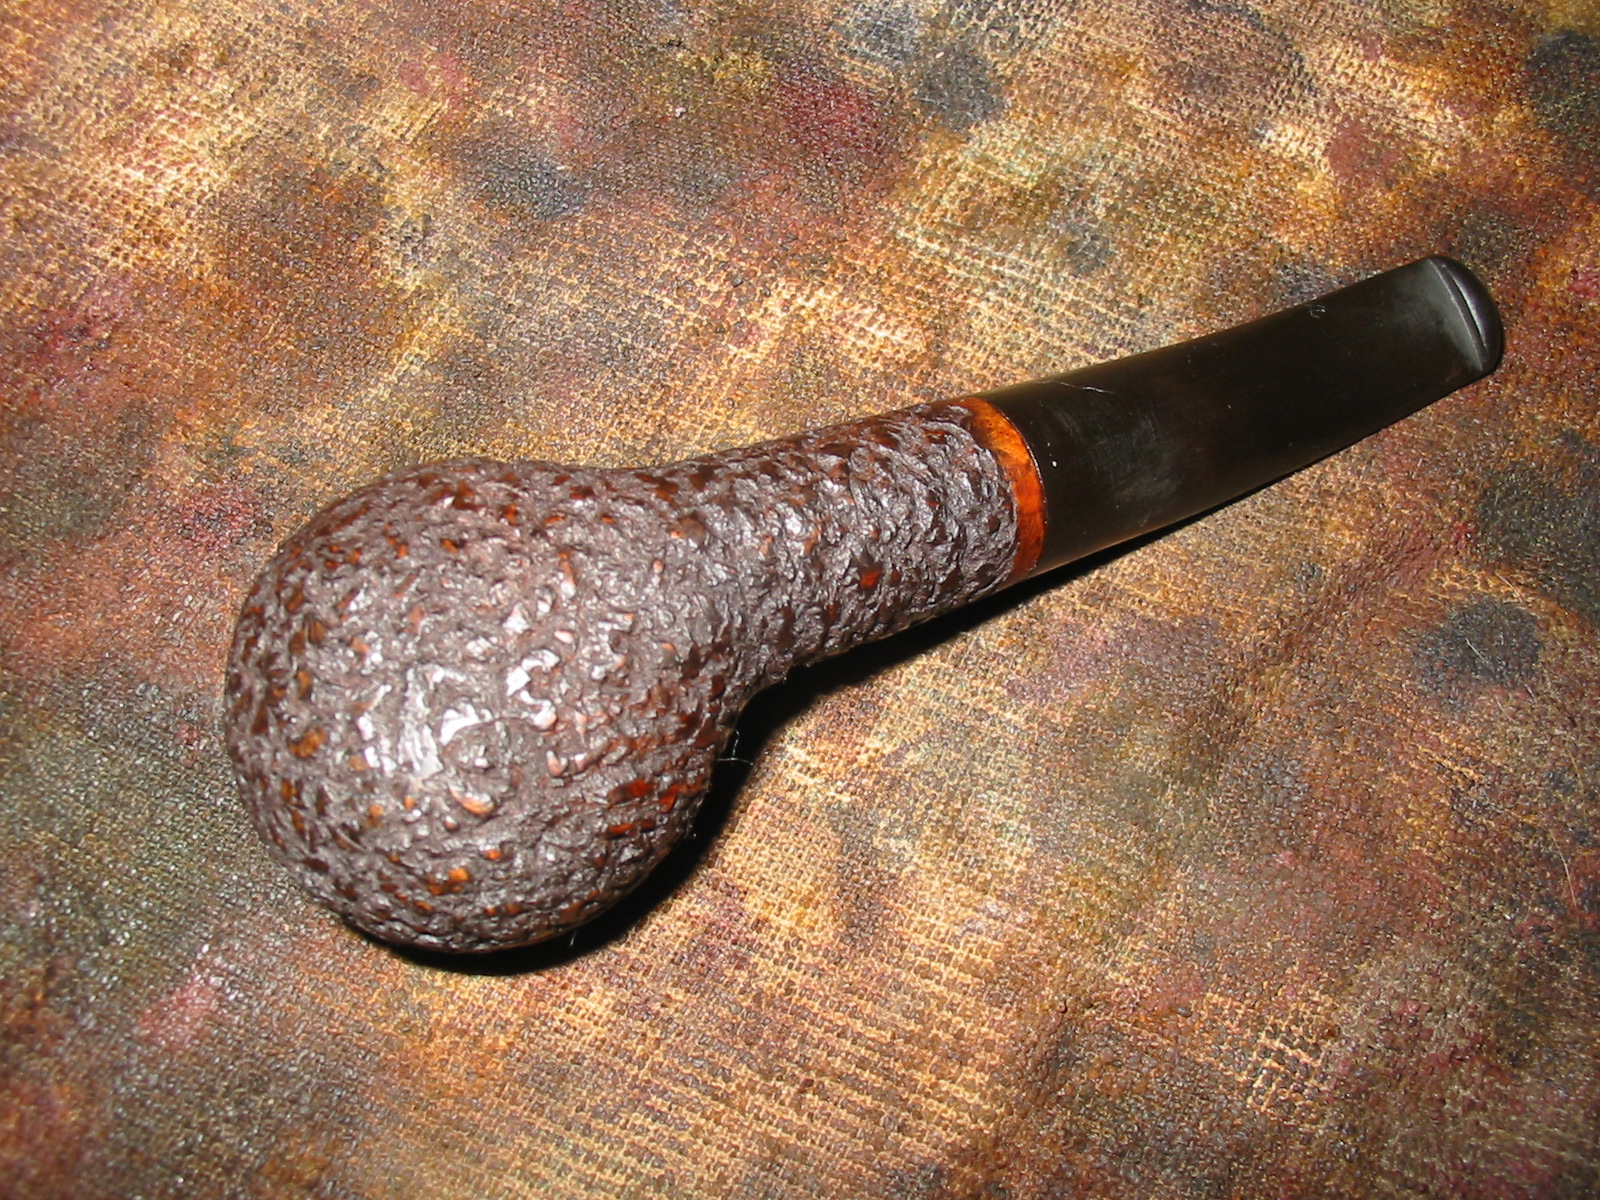
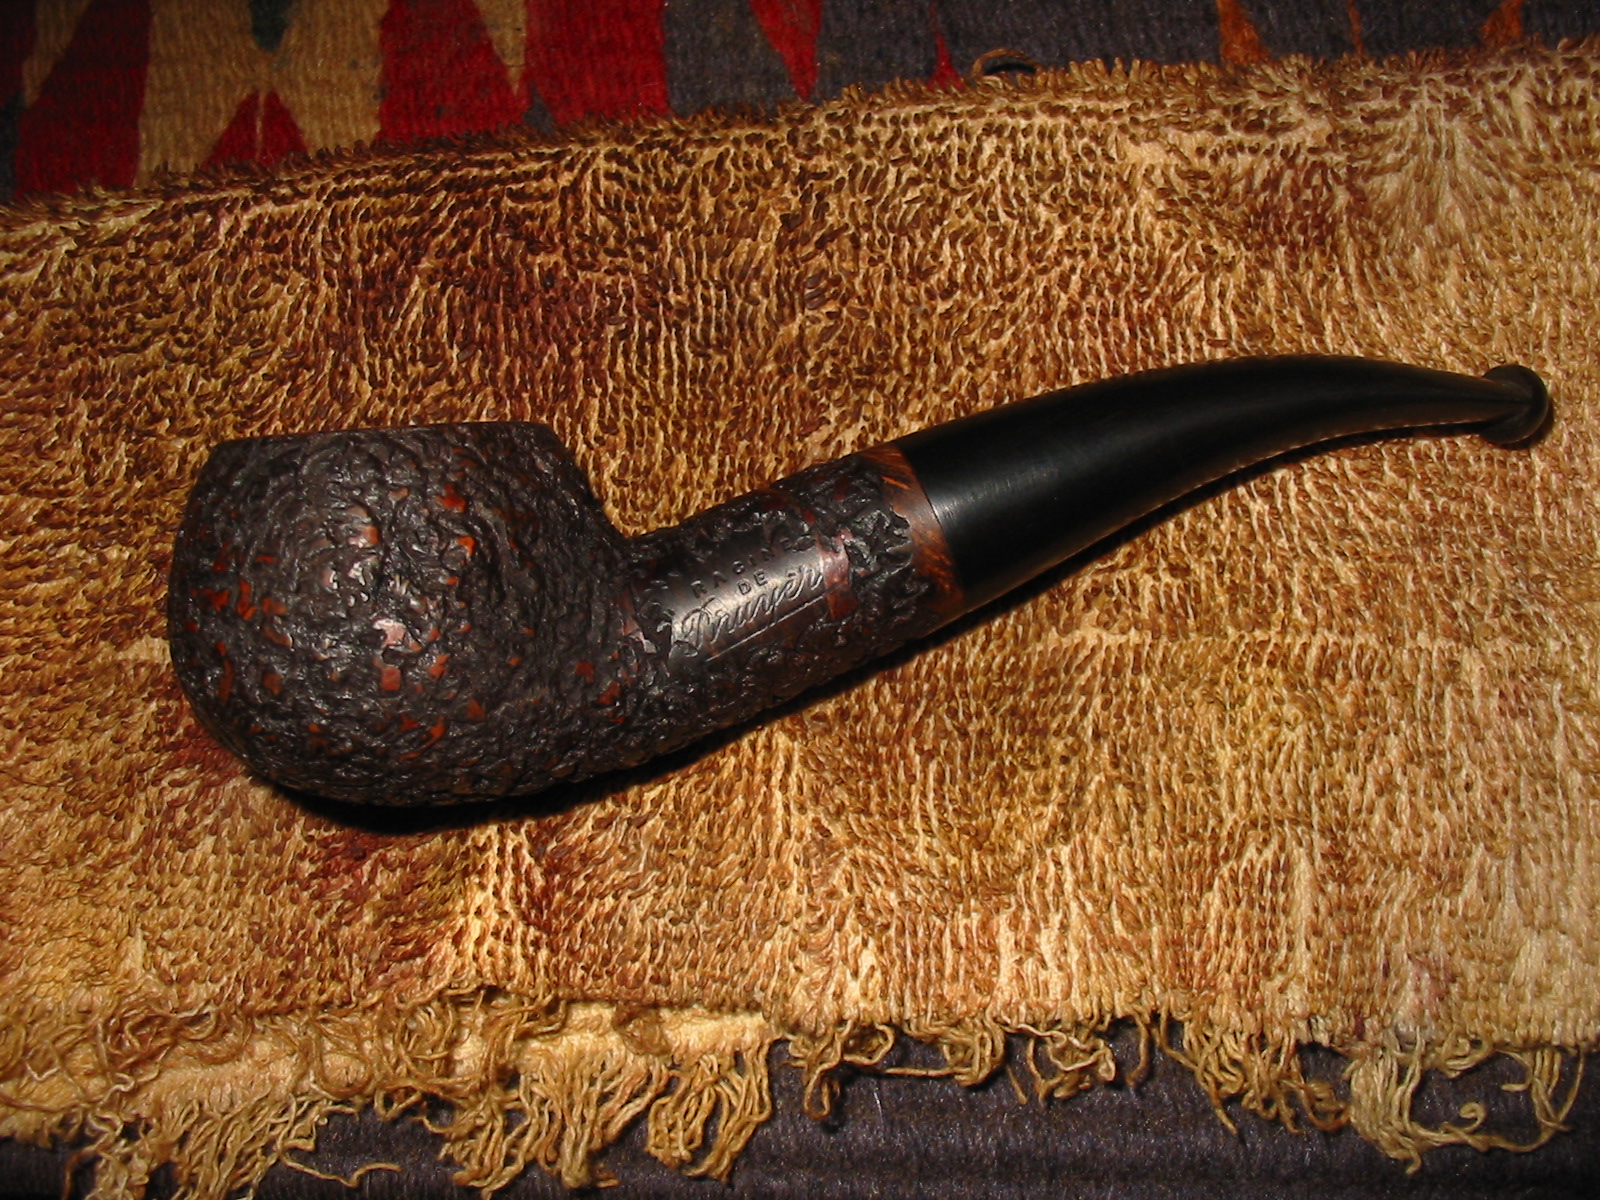
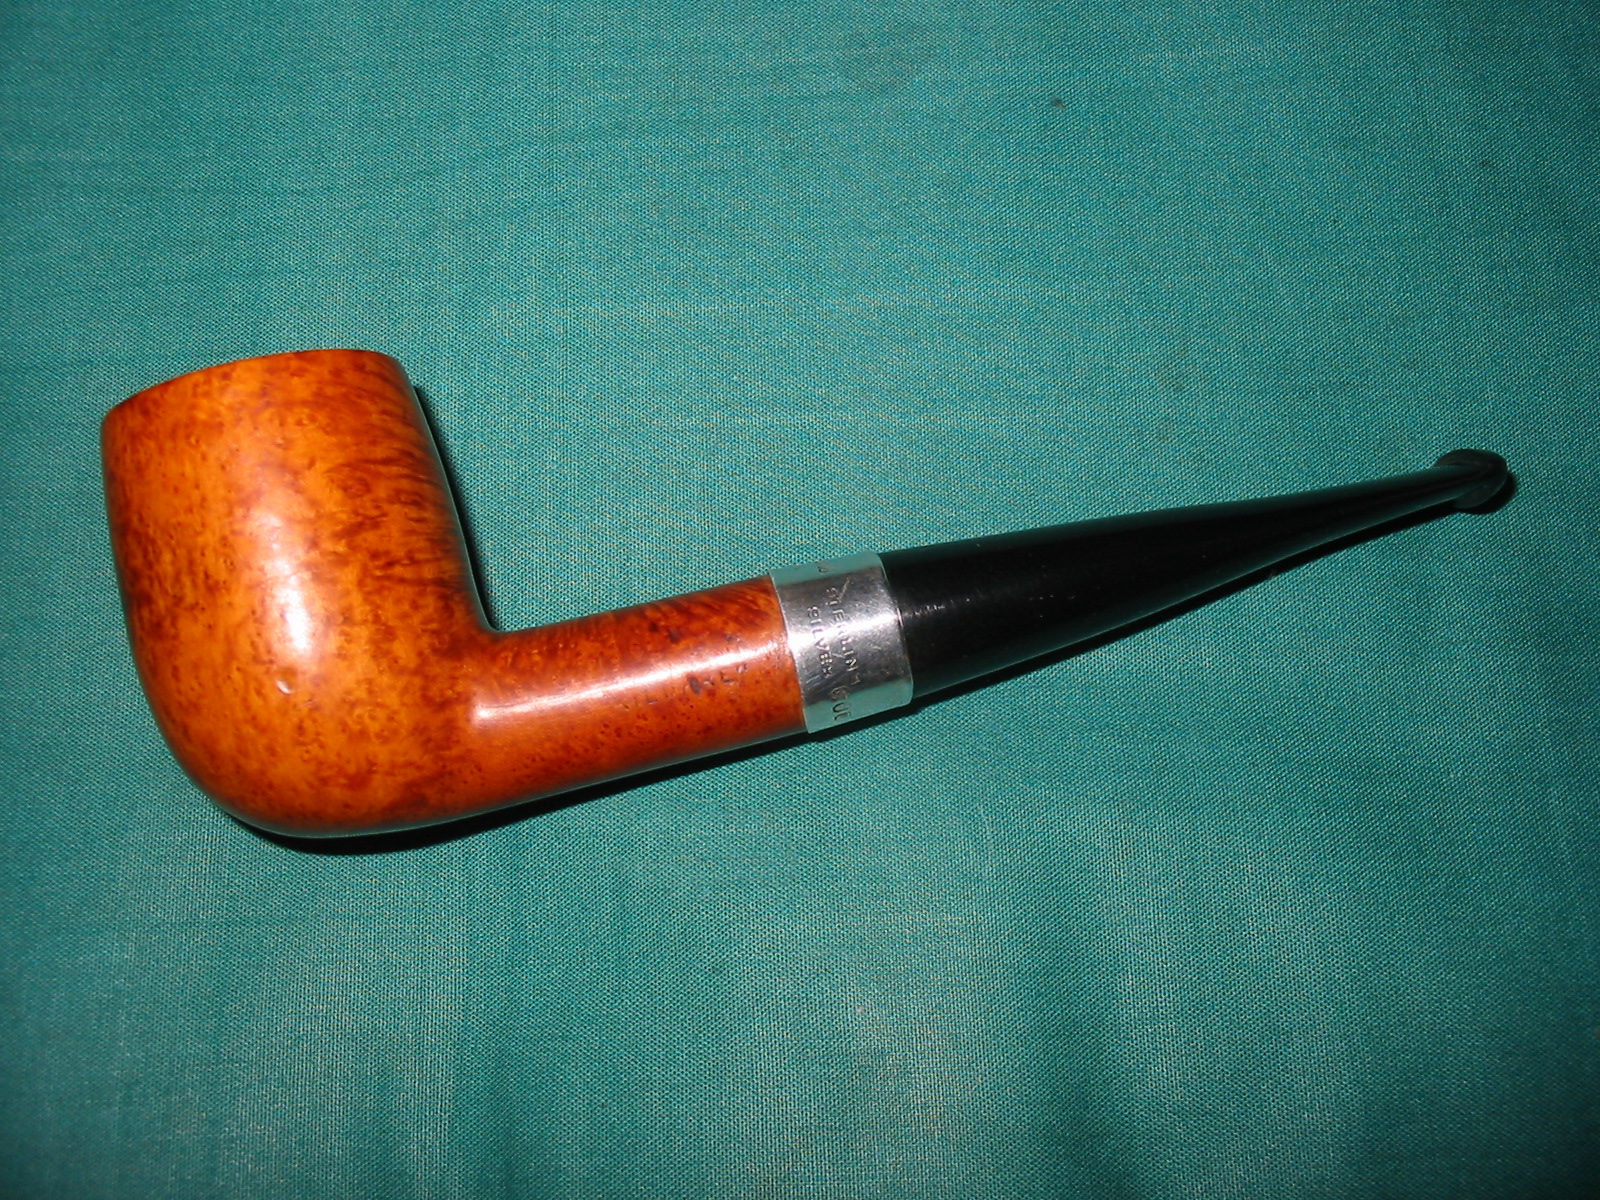
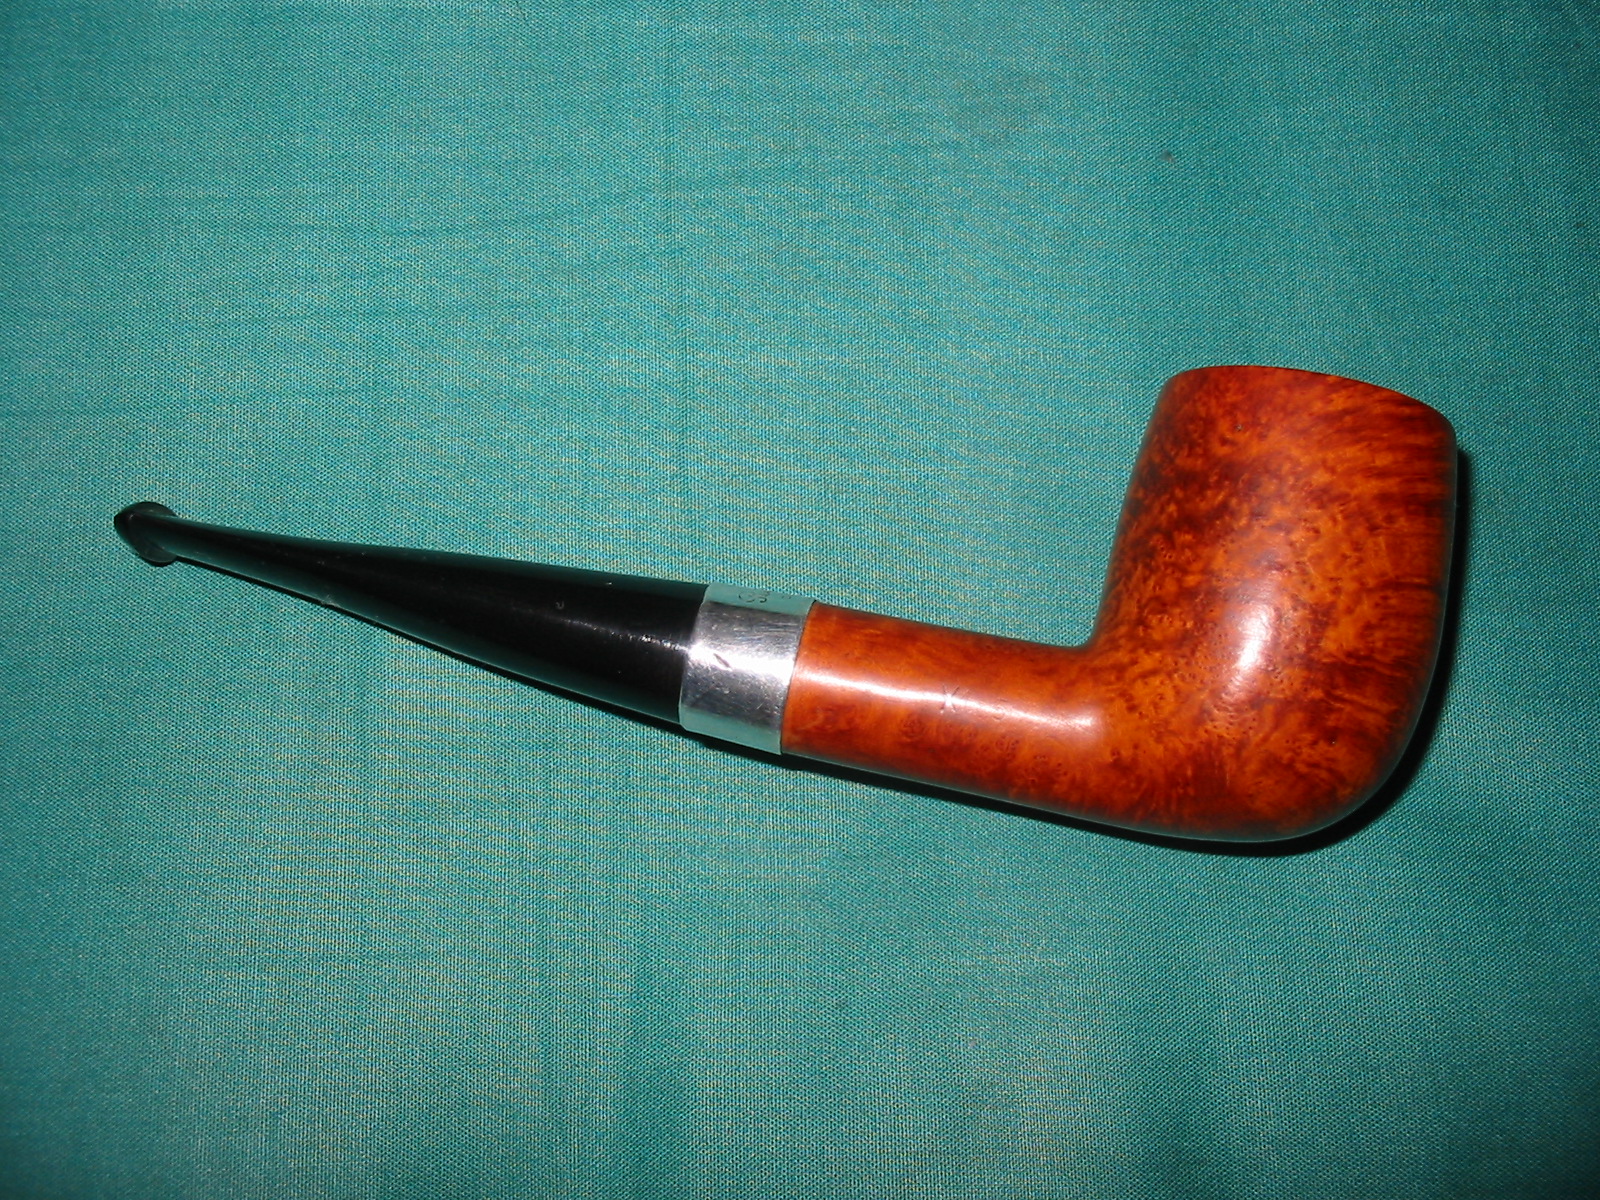
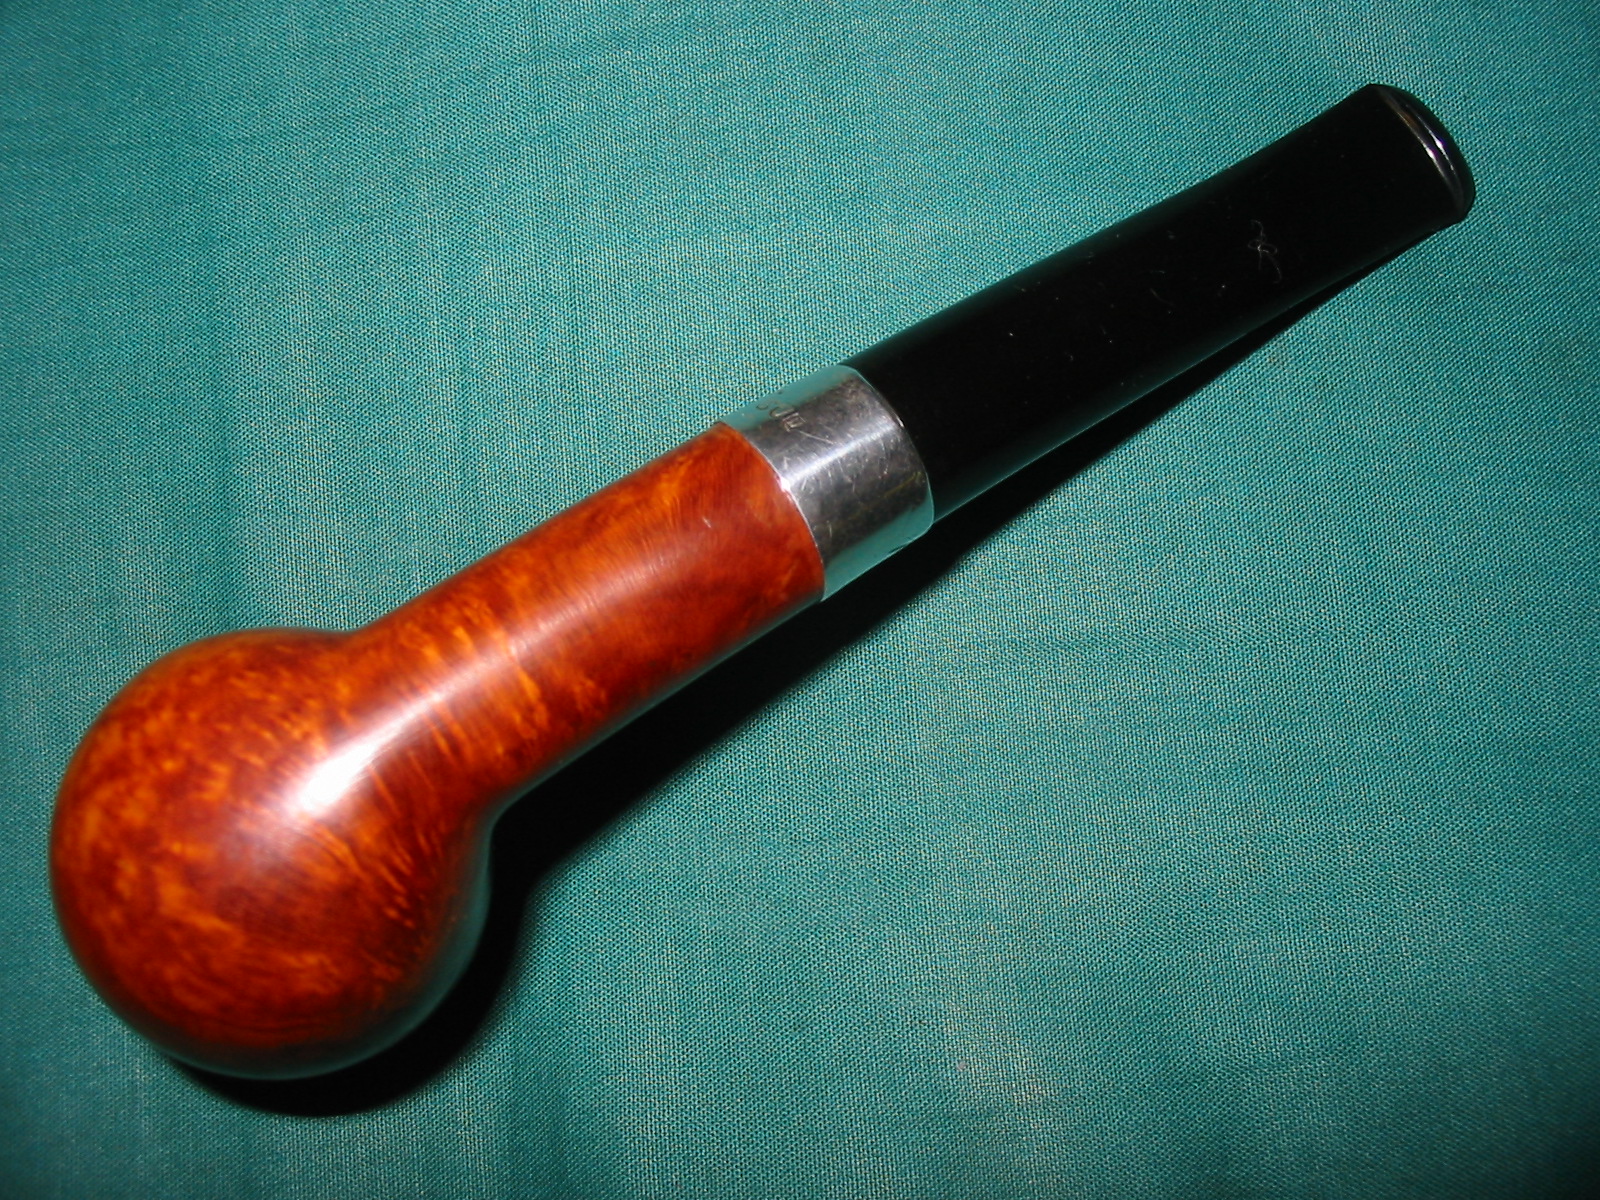
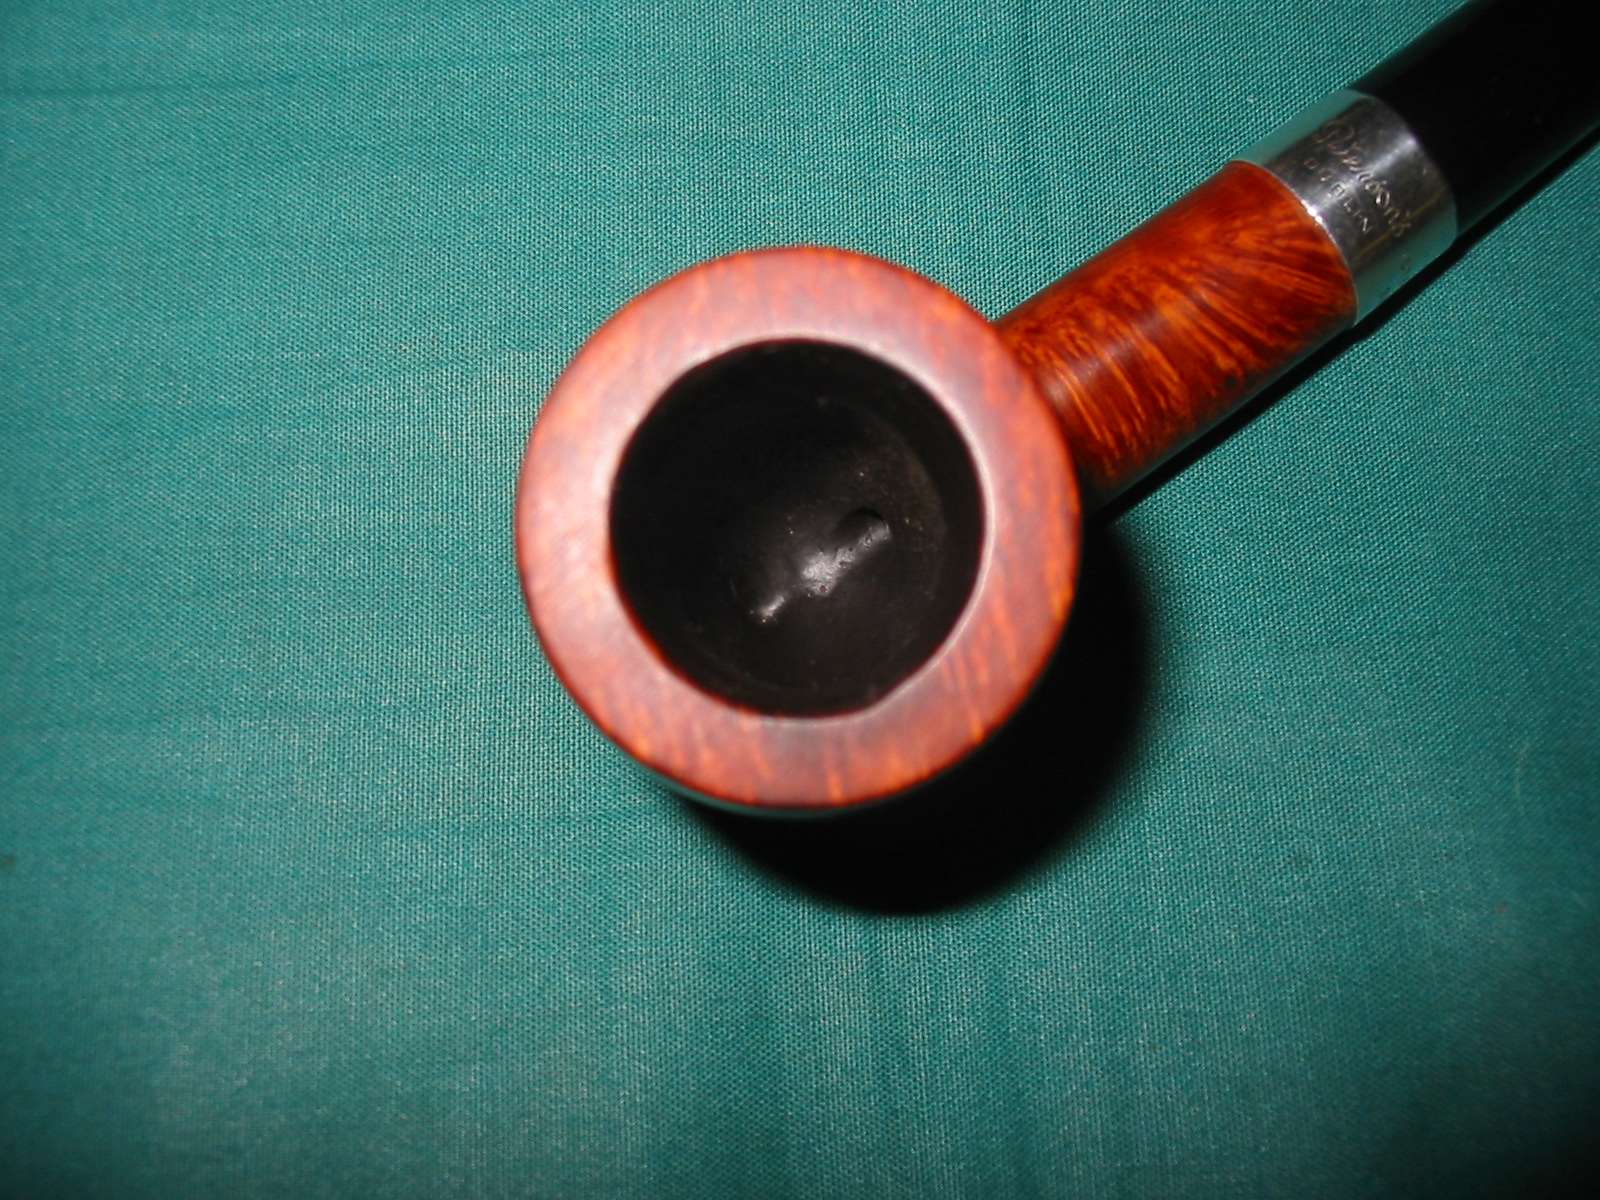
Tag Archives: polishing a stem

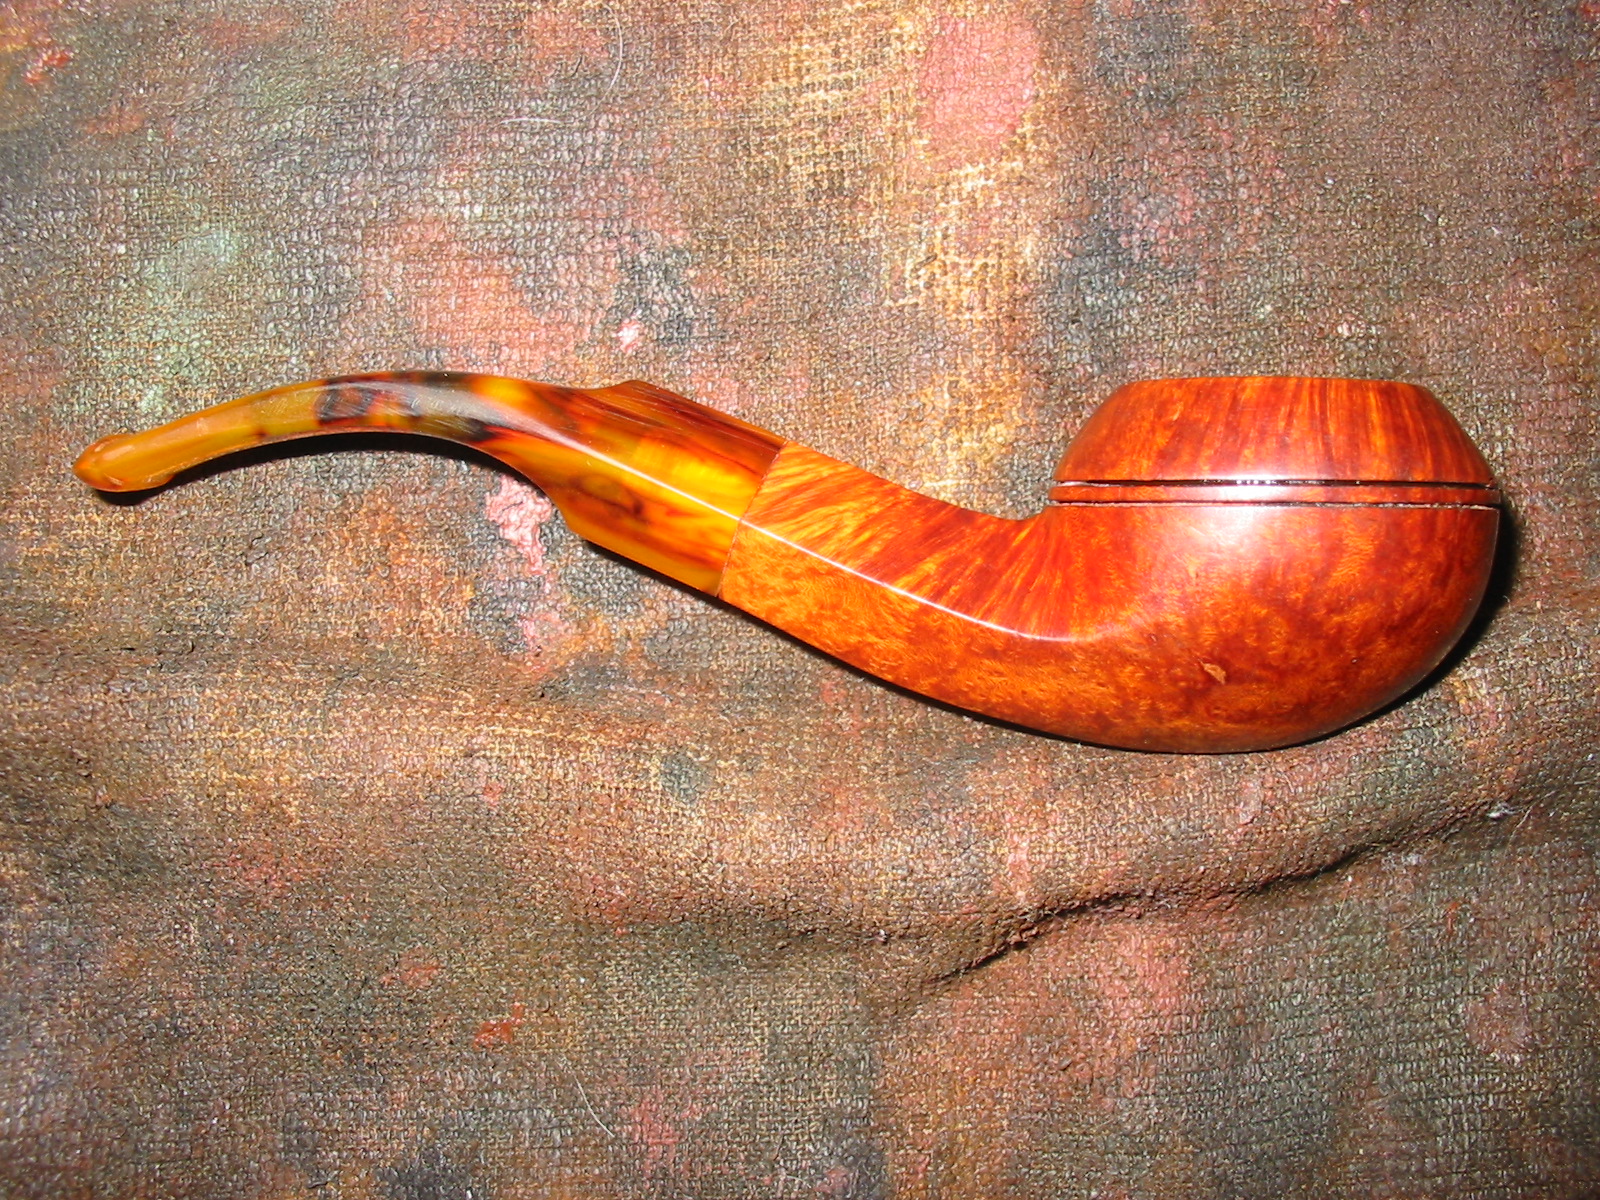
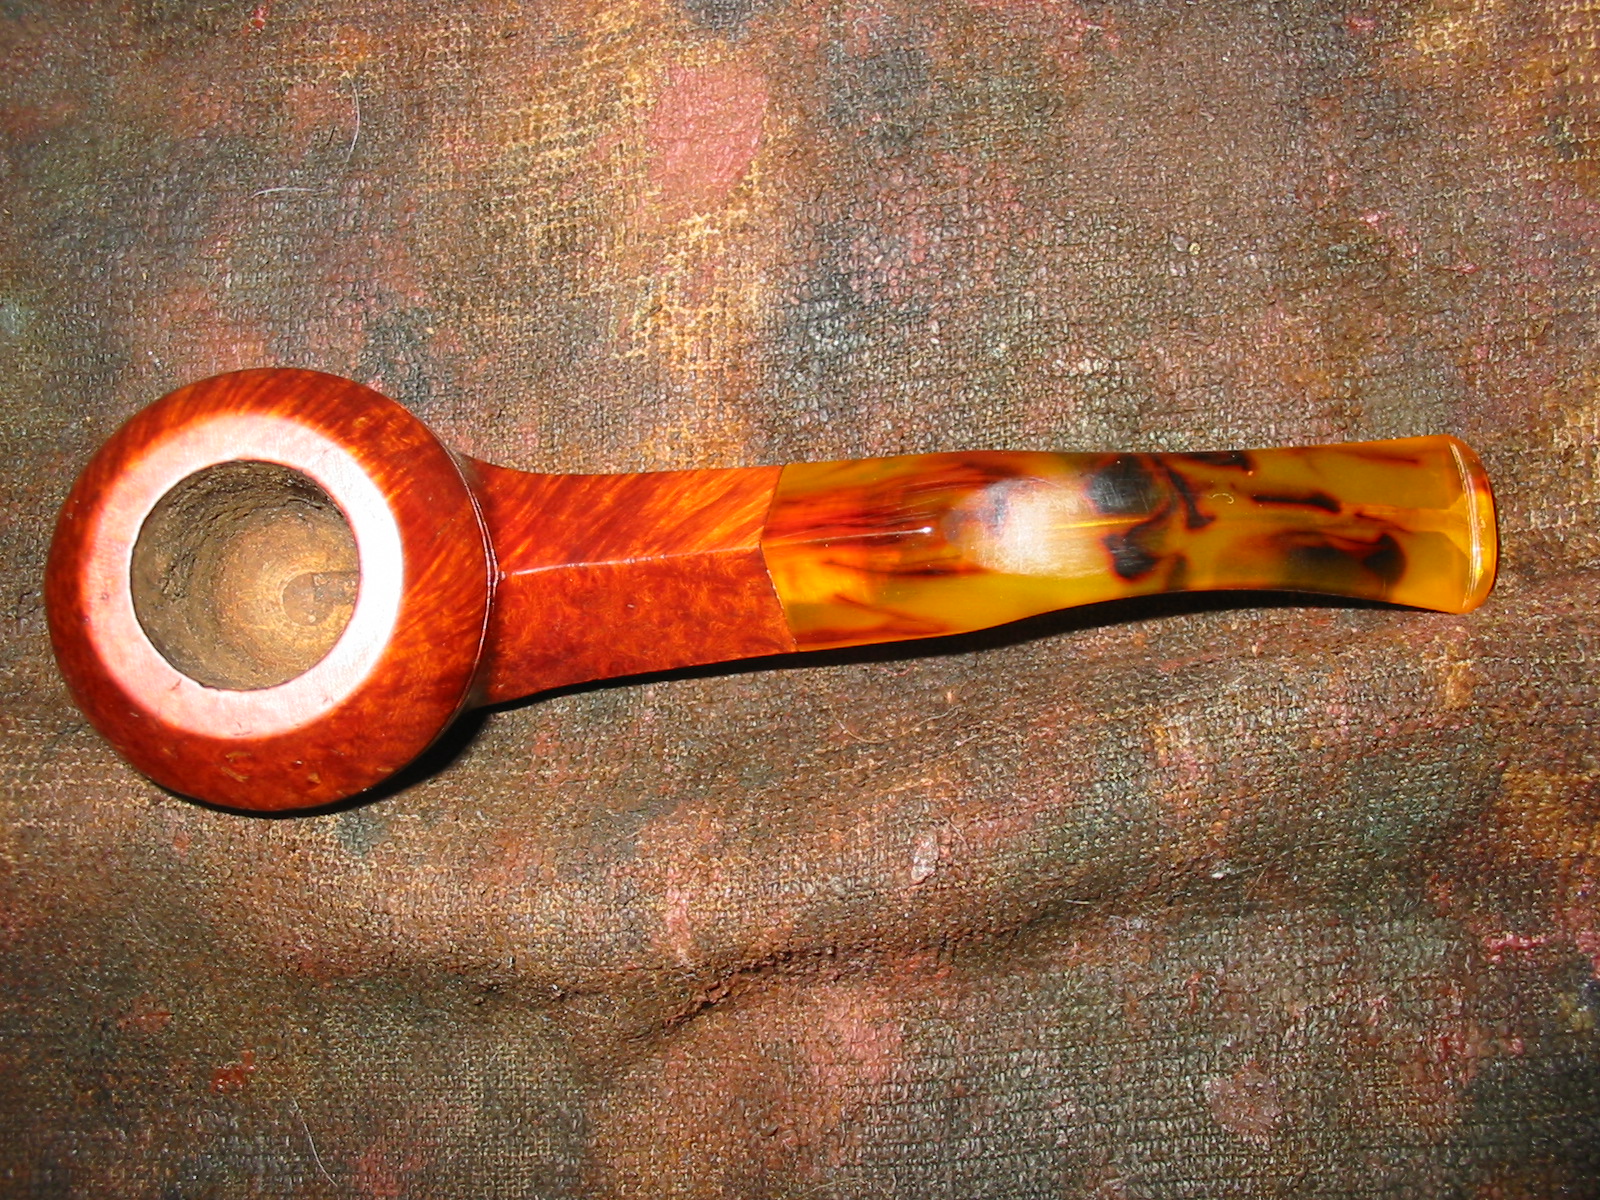
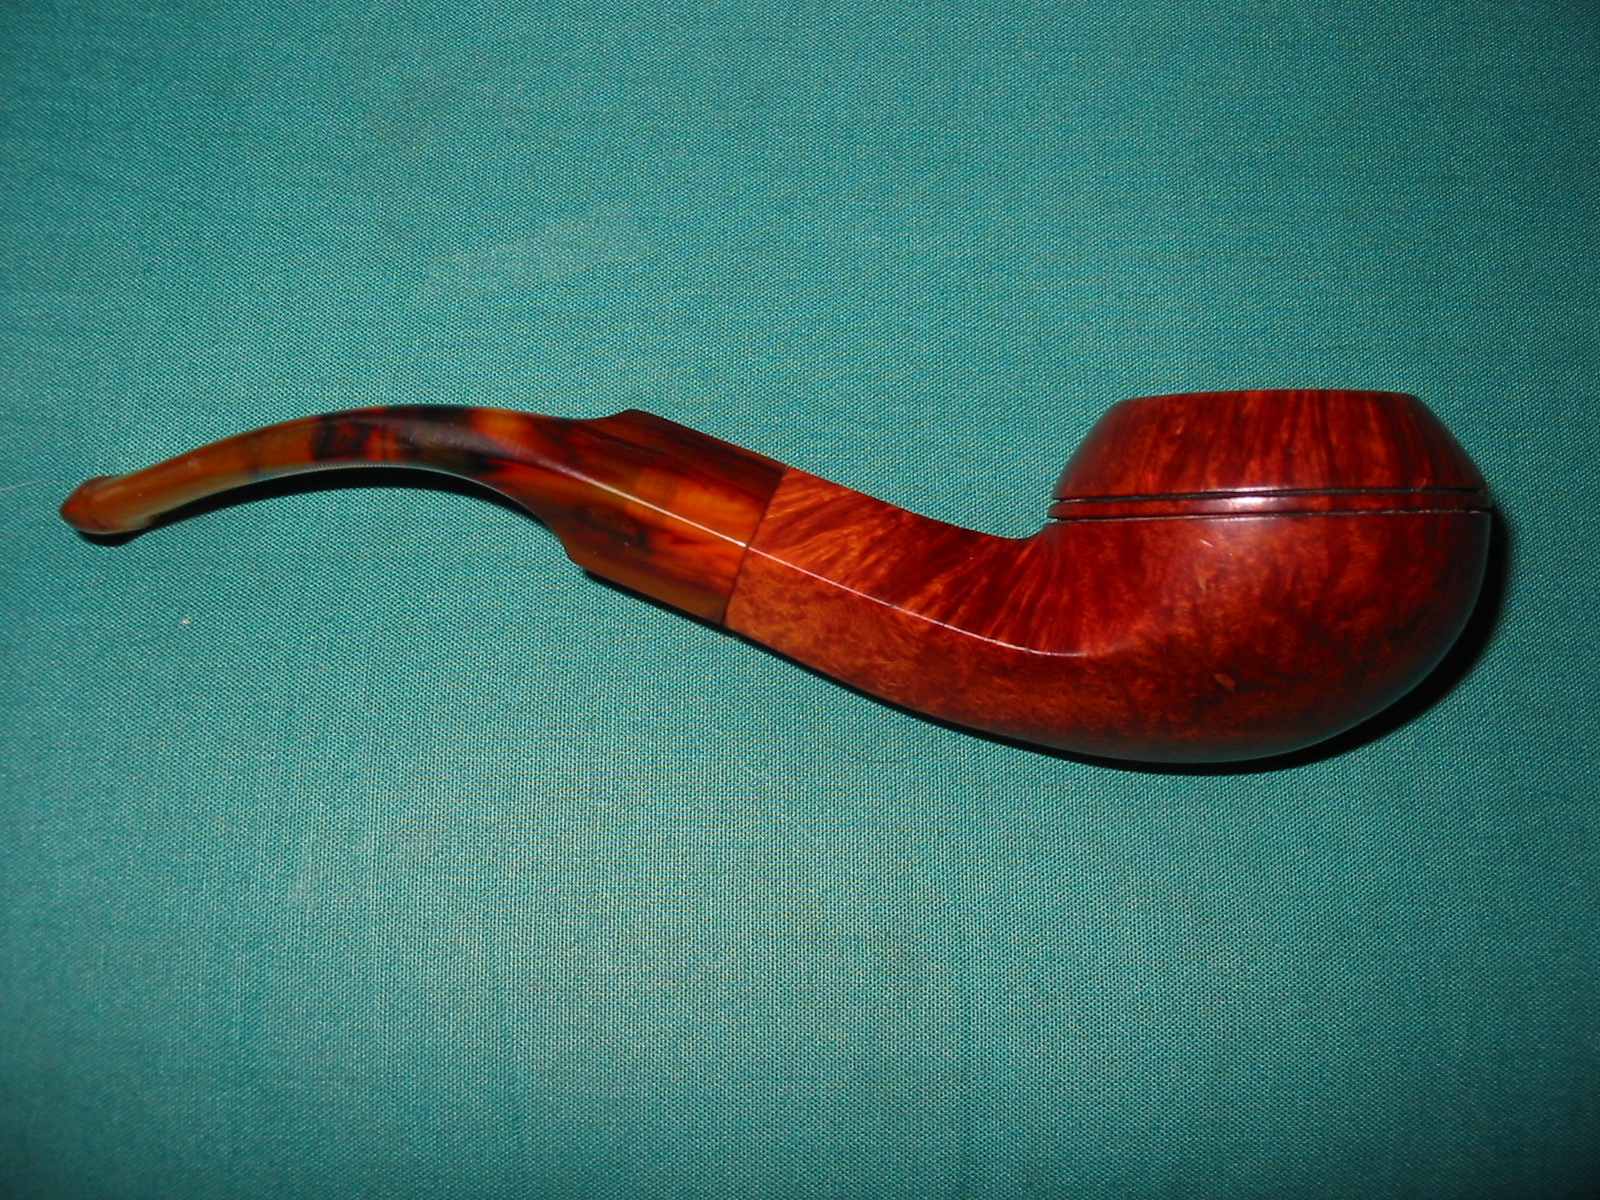
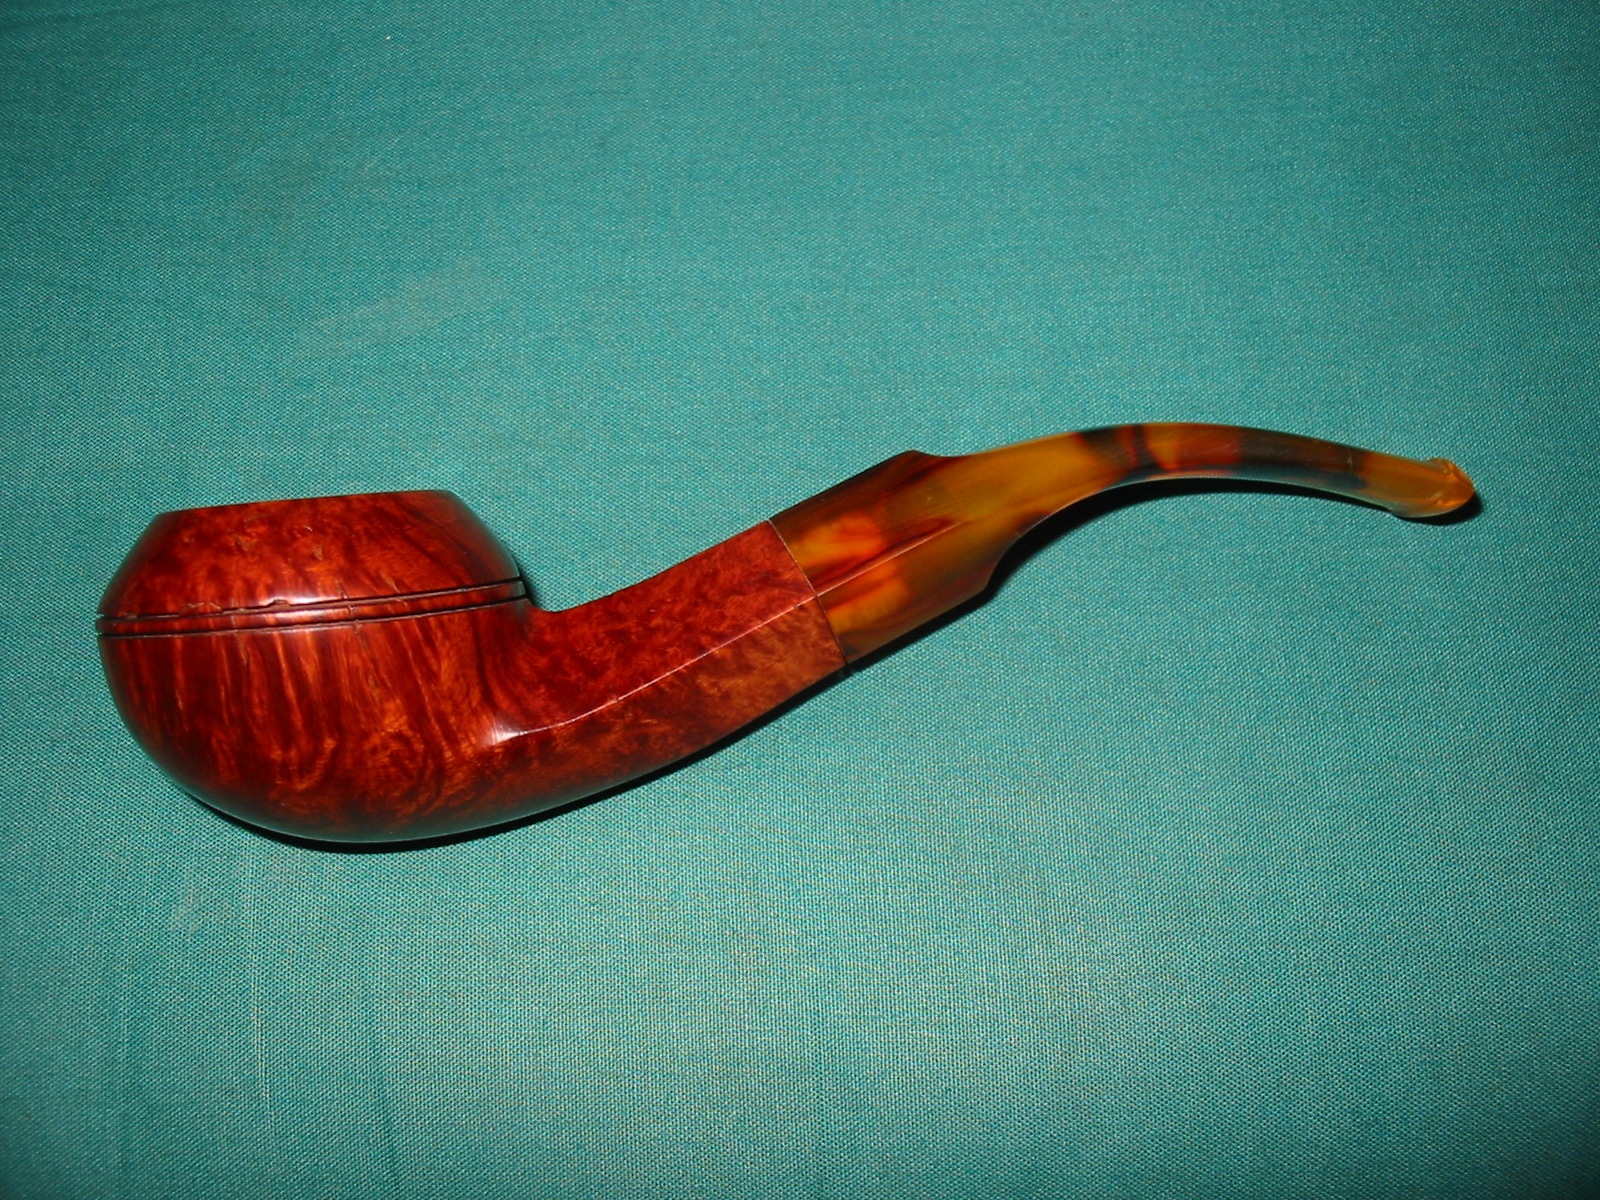
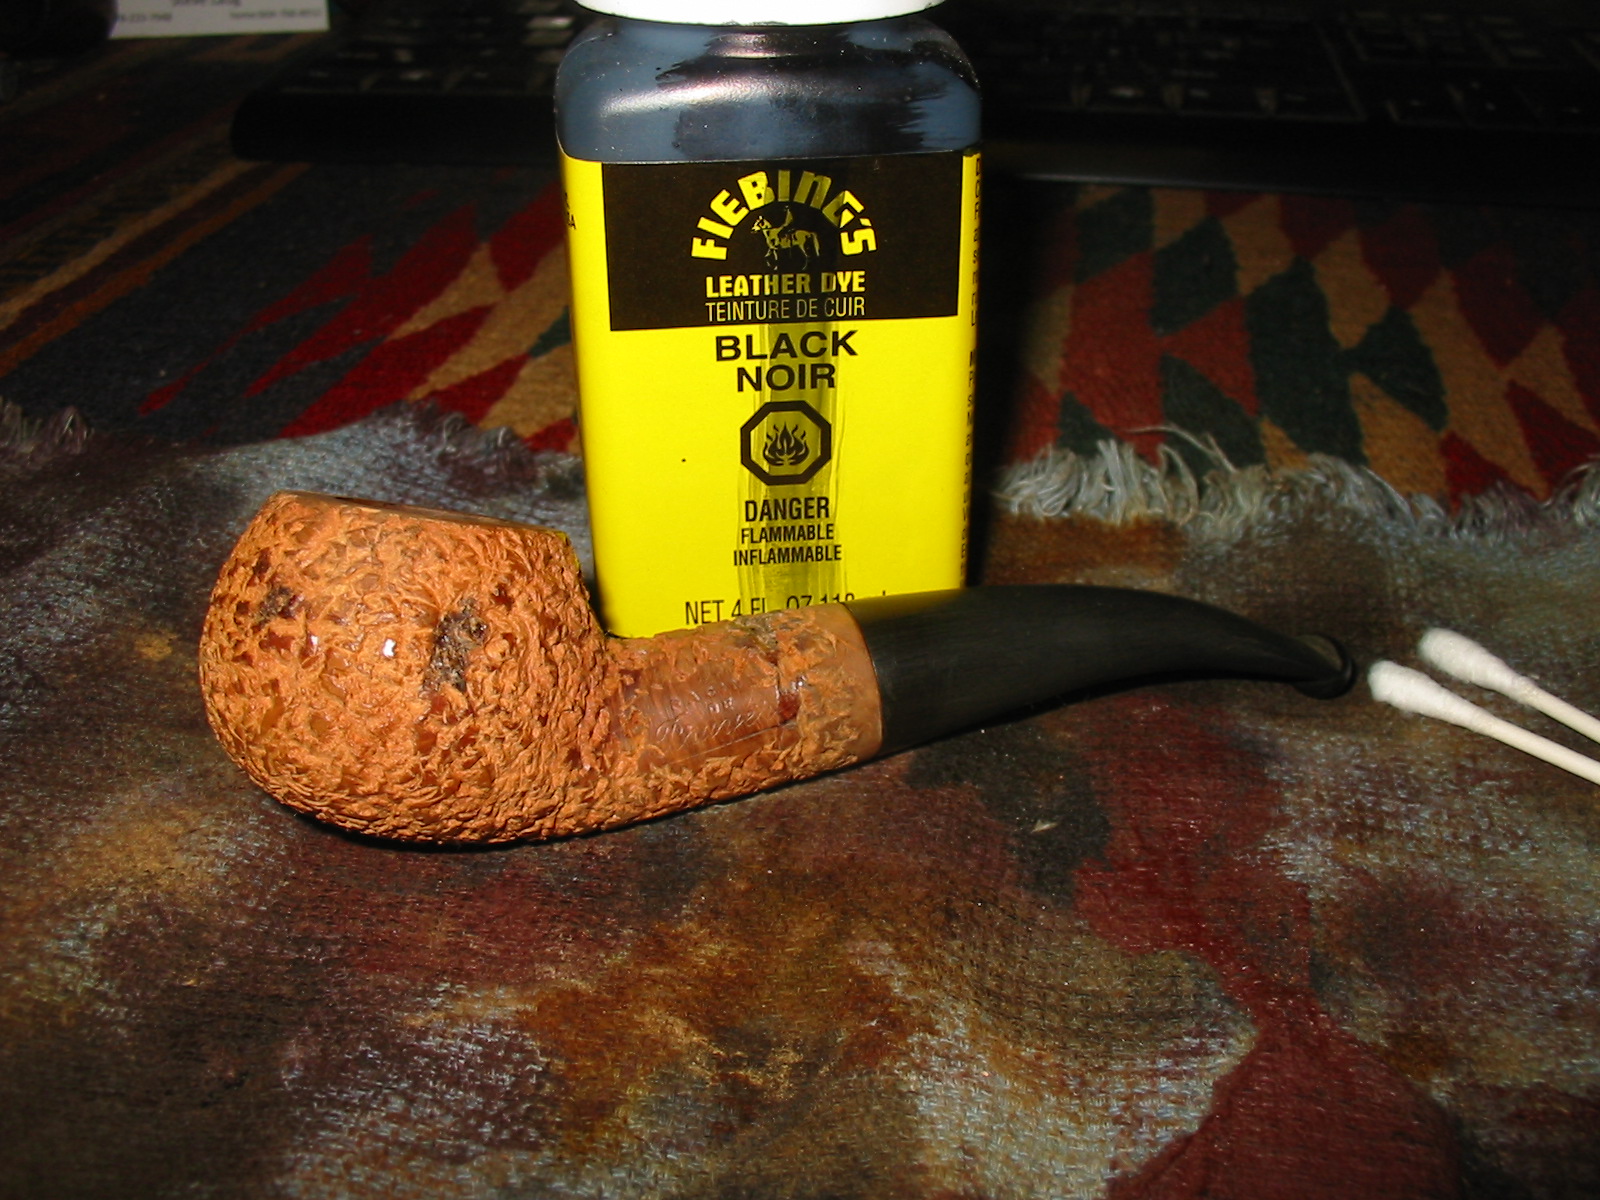
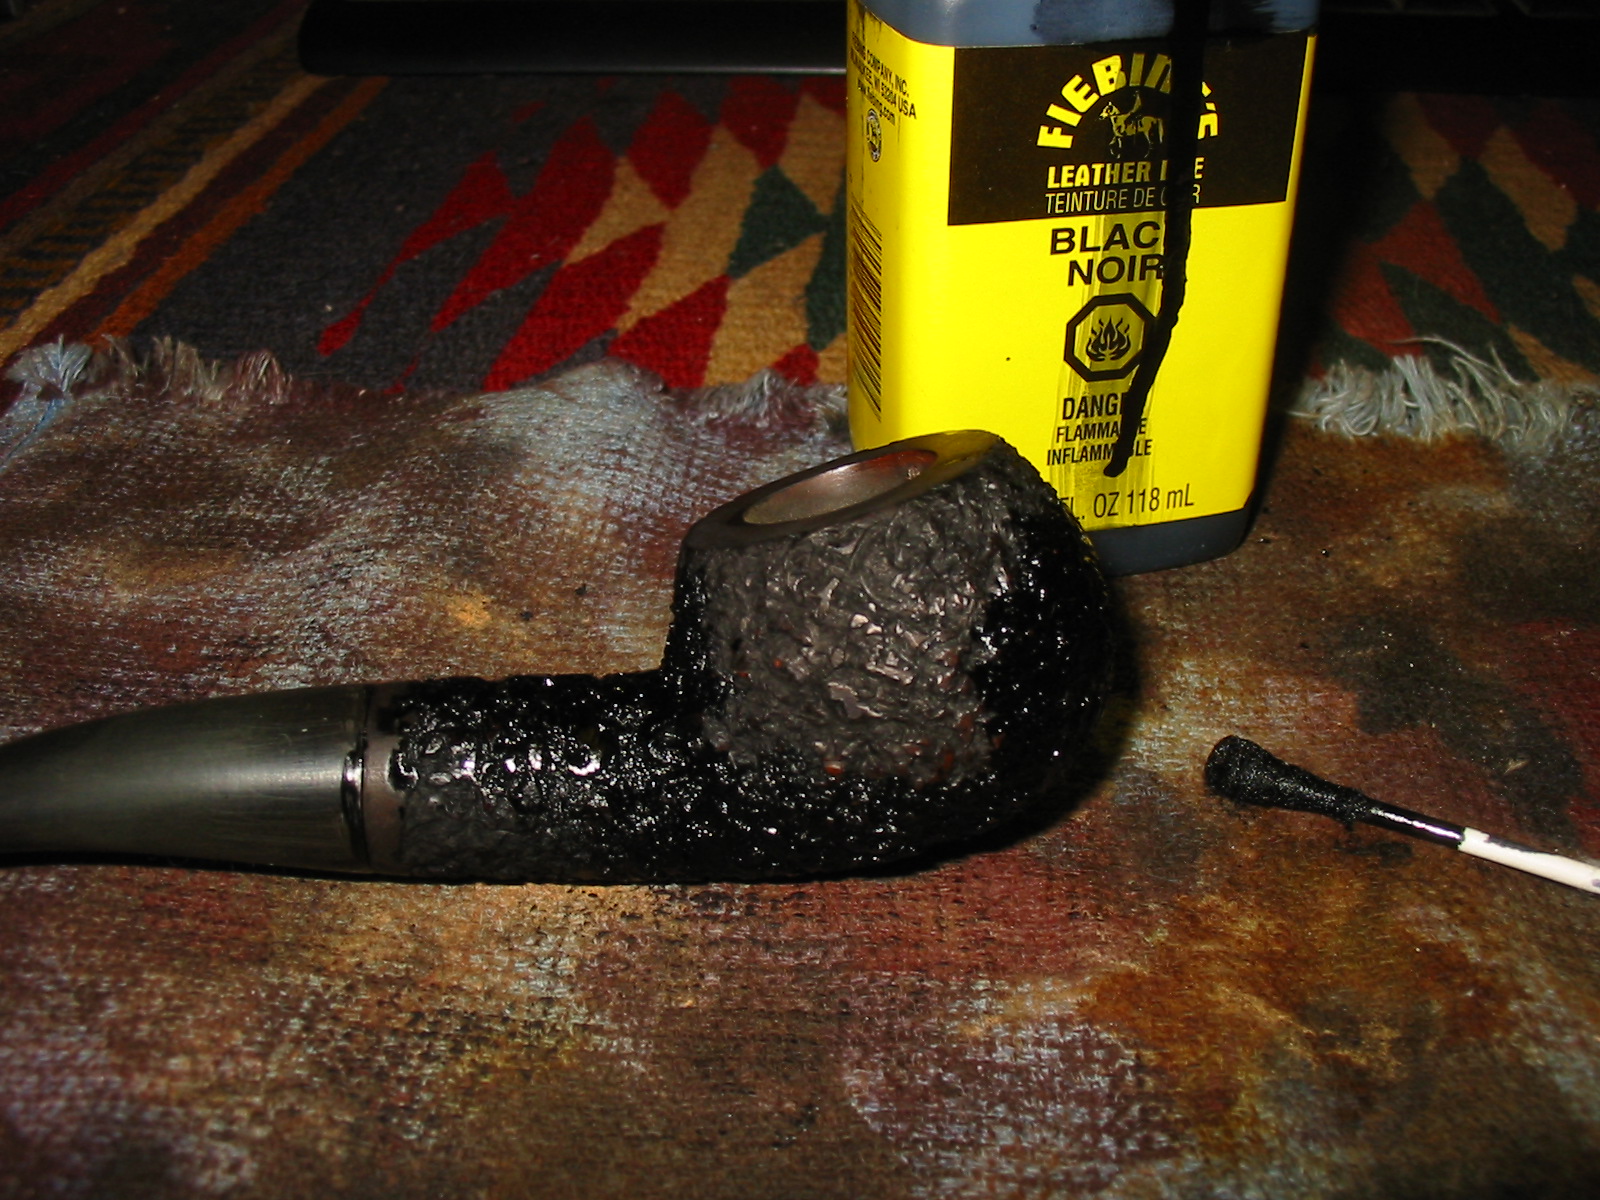
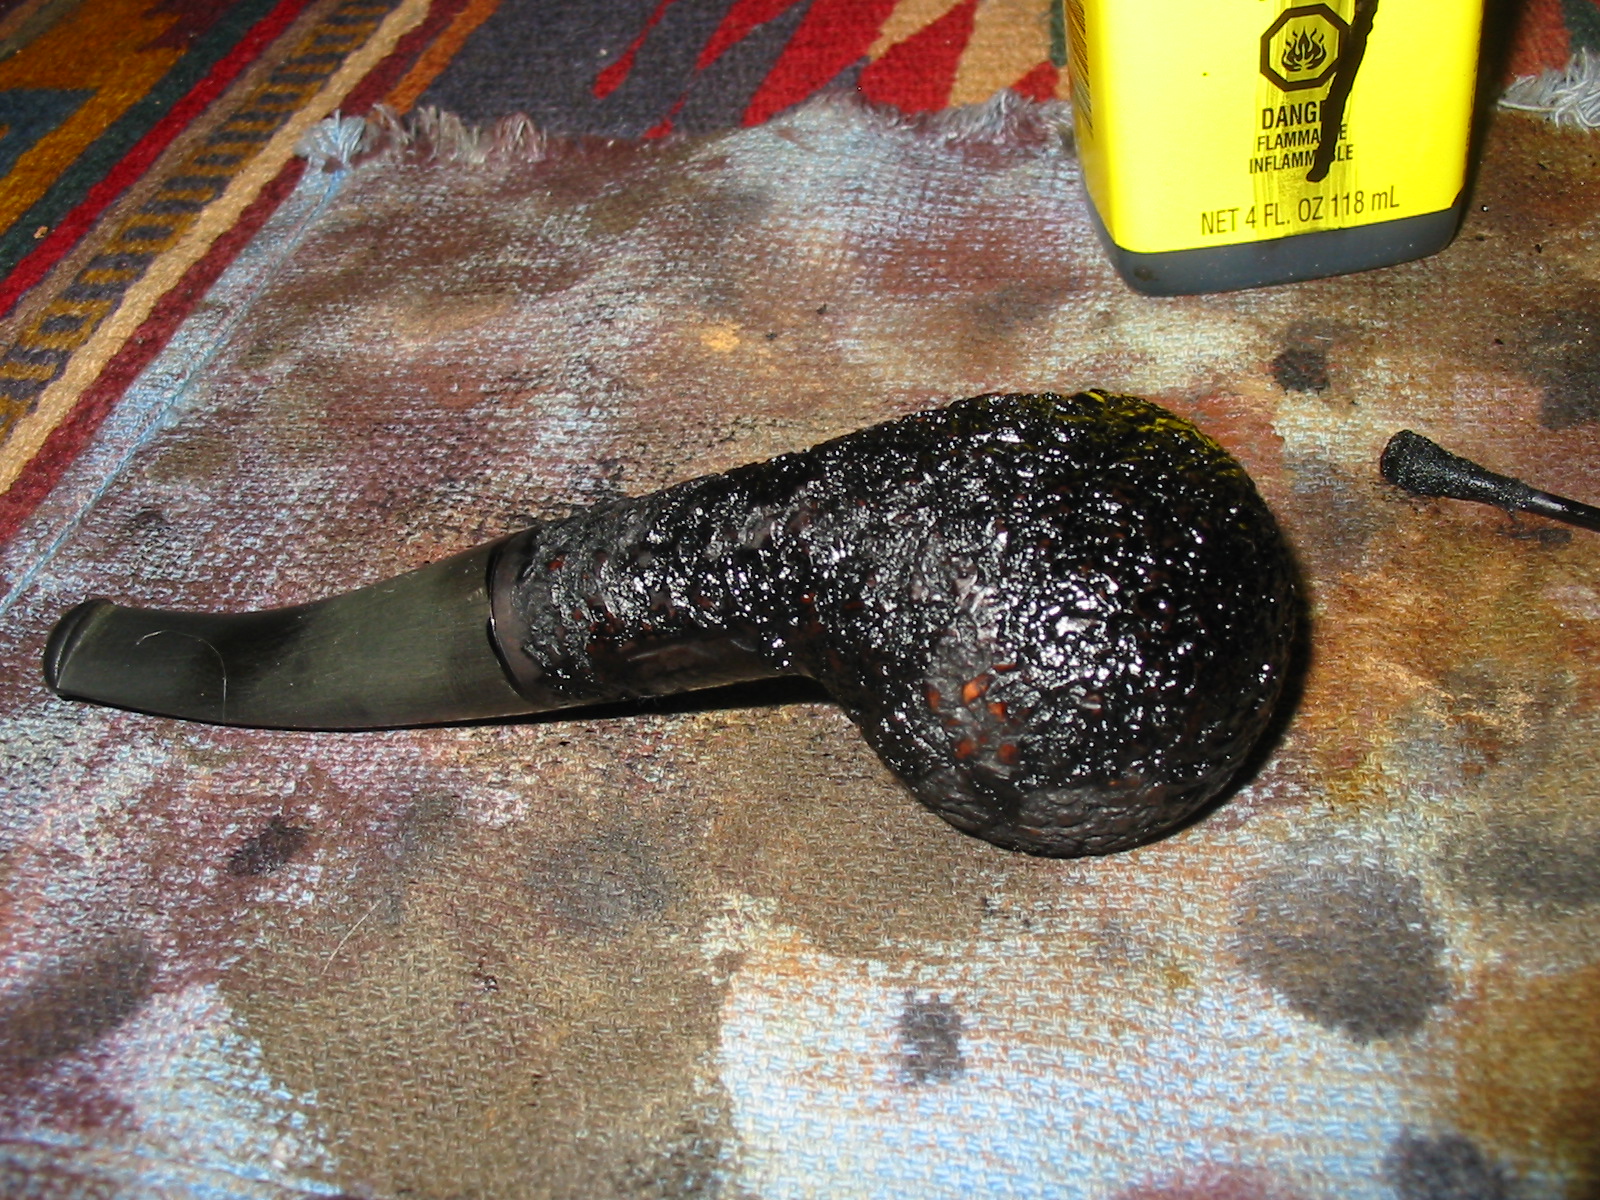
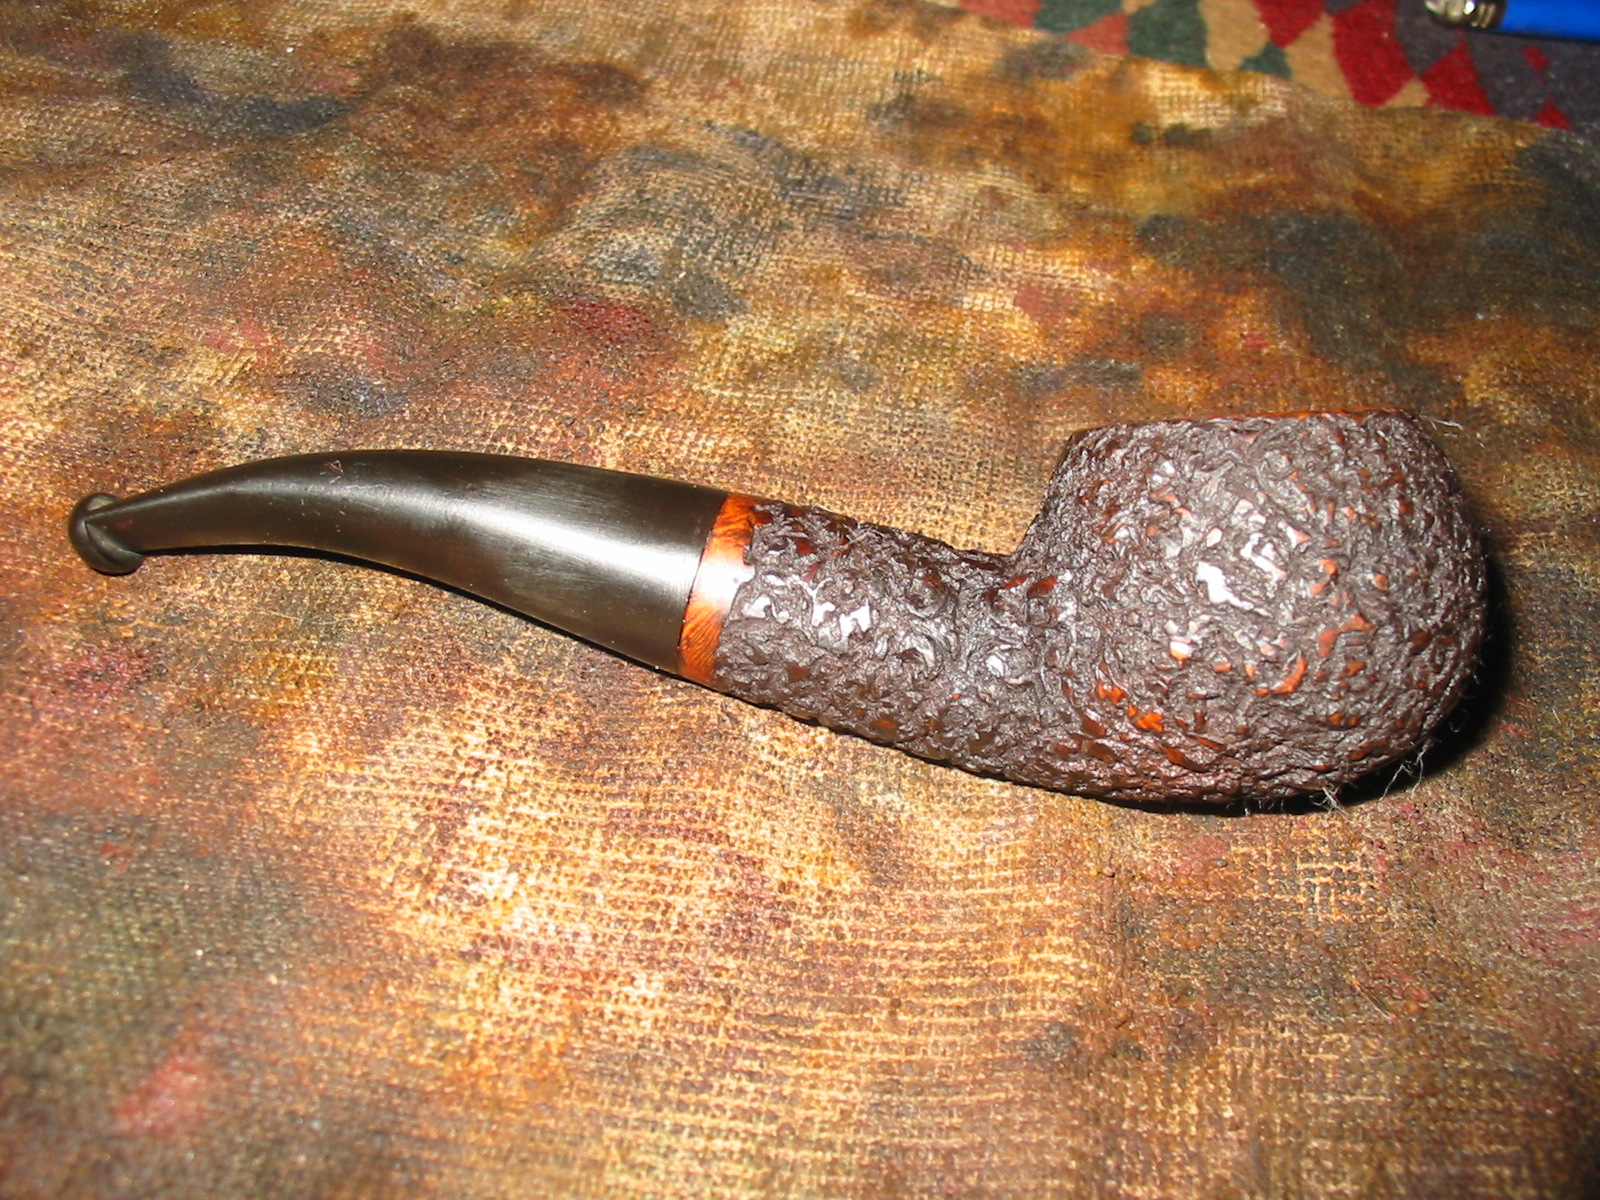
Reworking a La Strada Staccato 213 Billiard


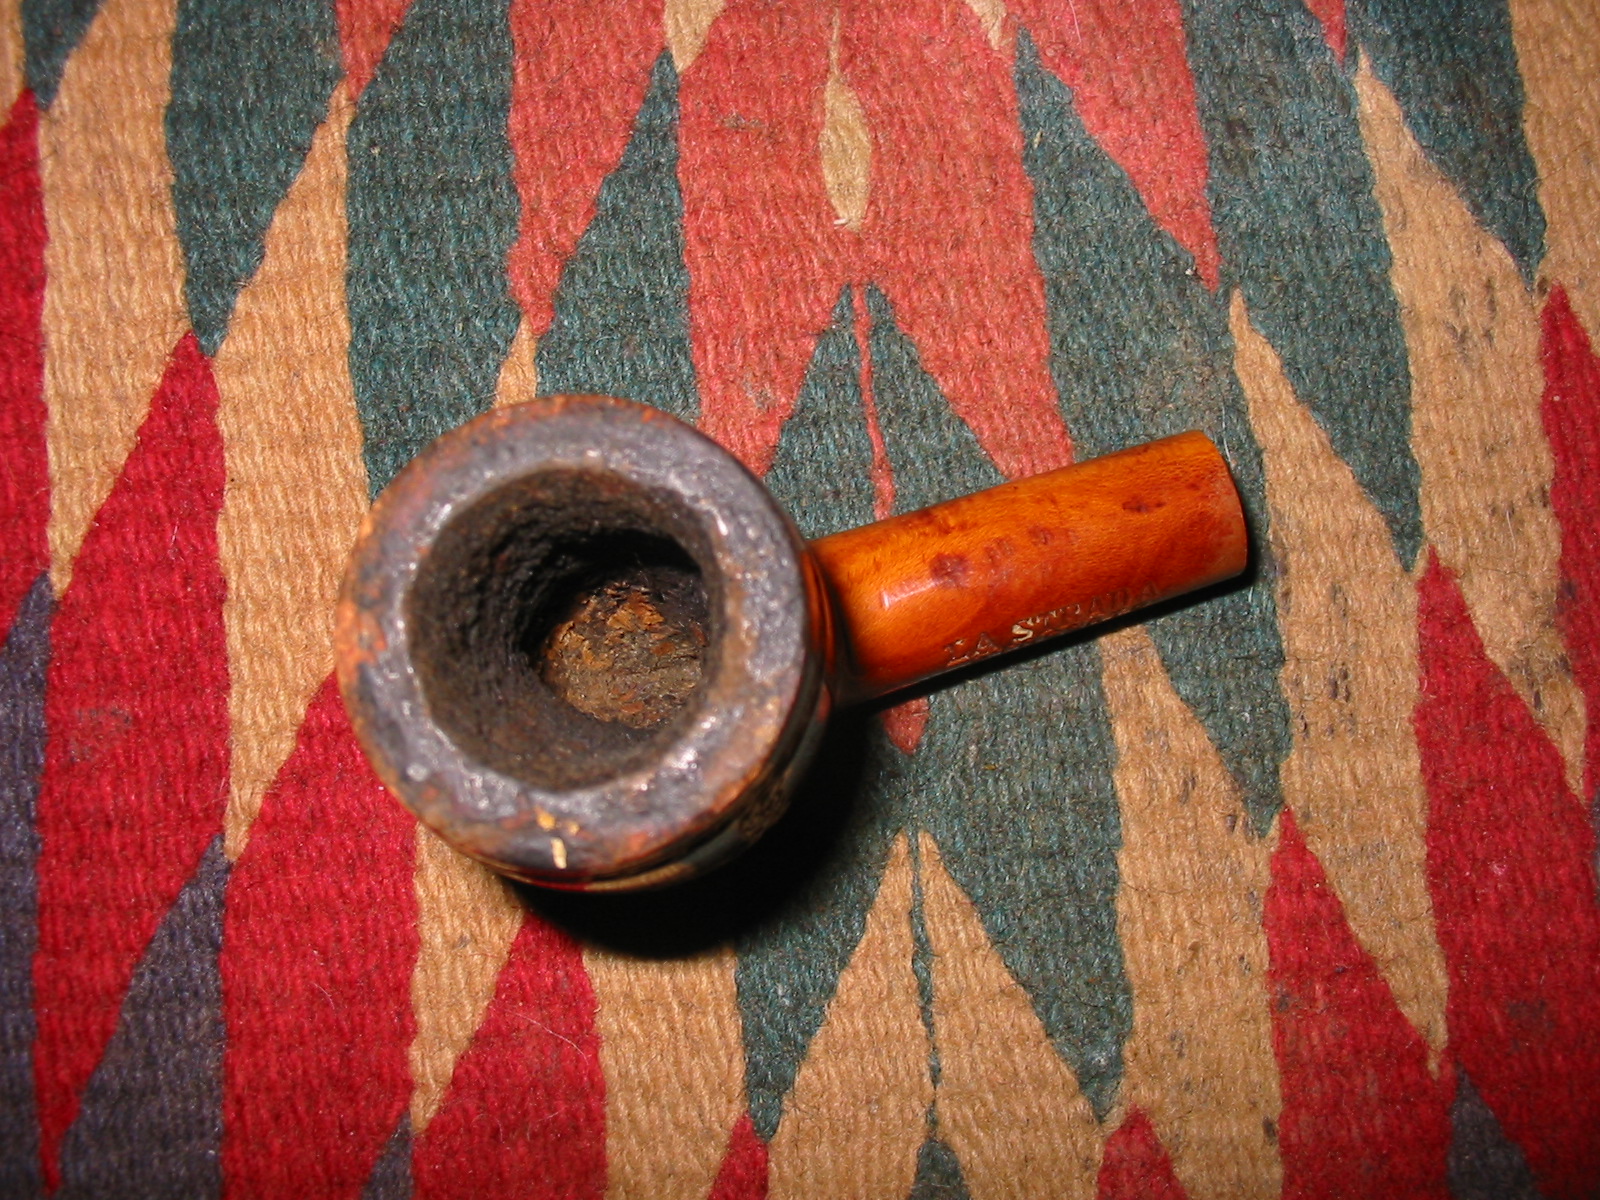
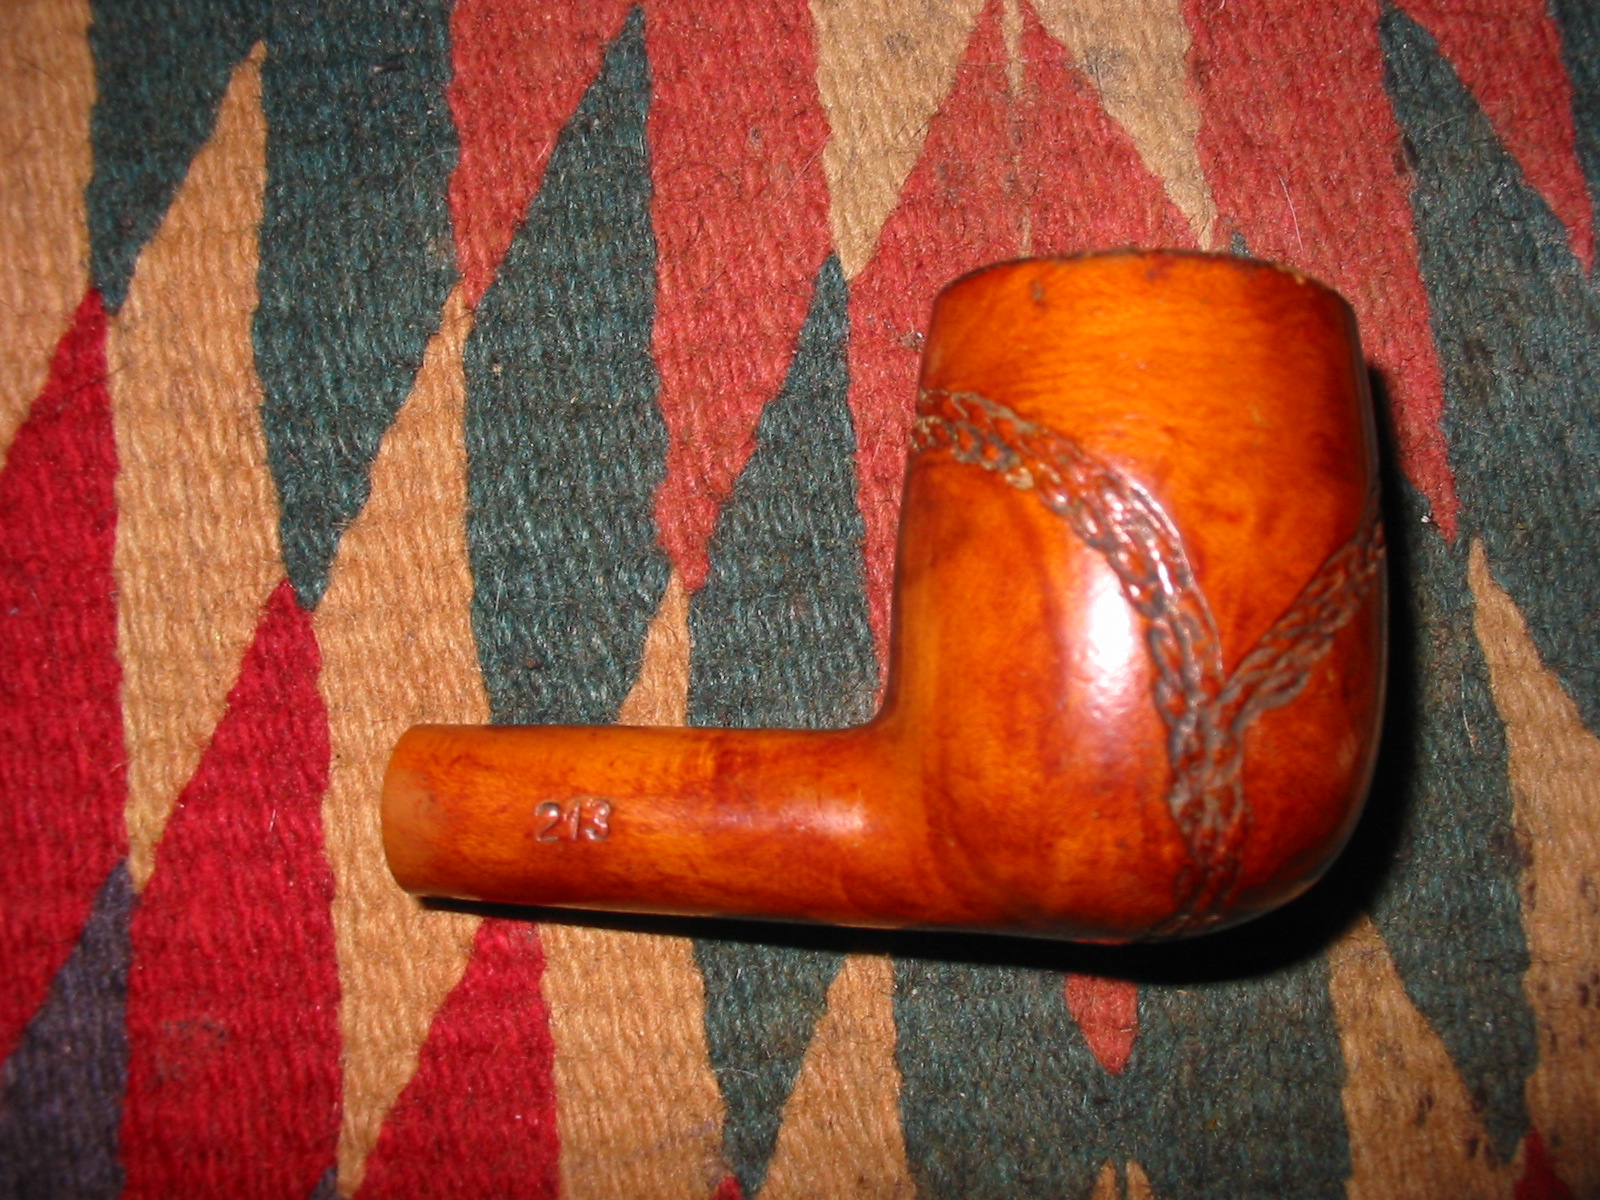
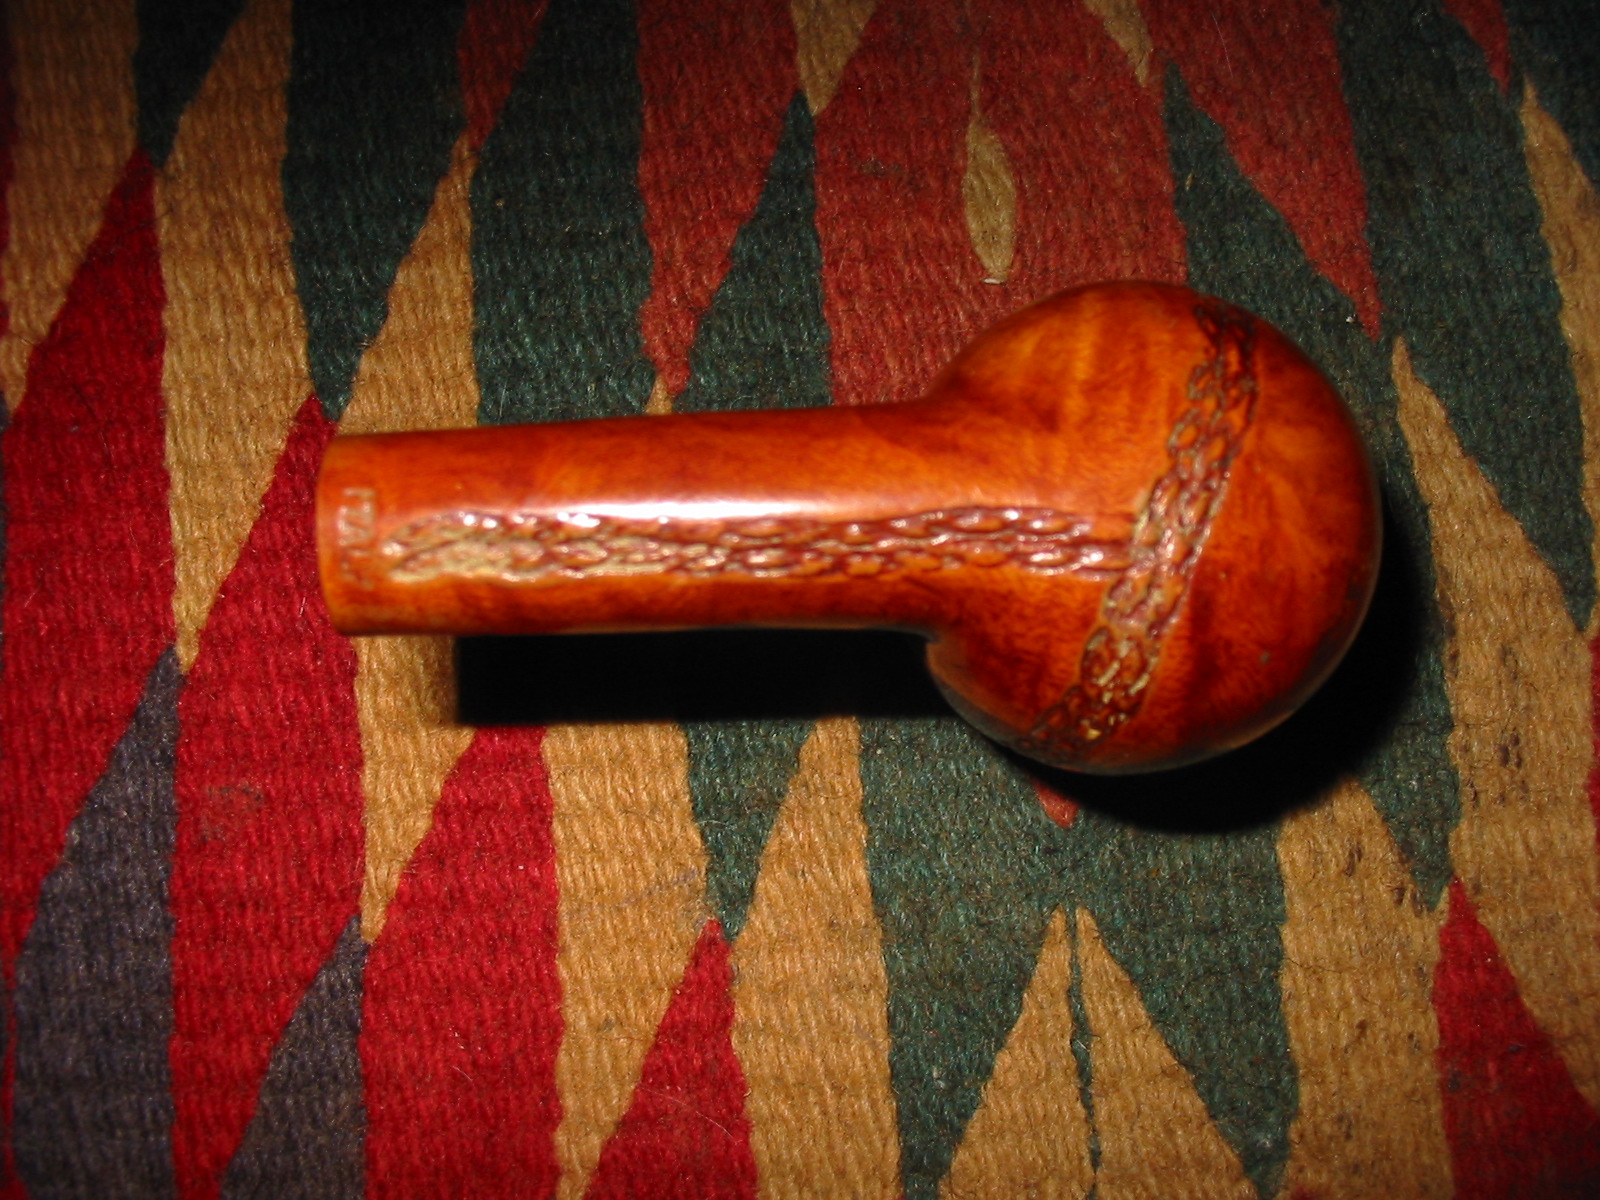
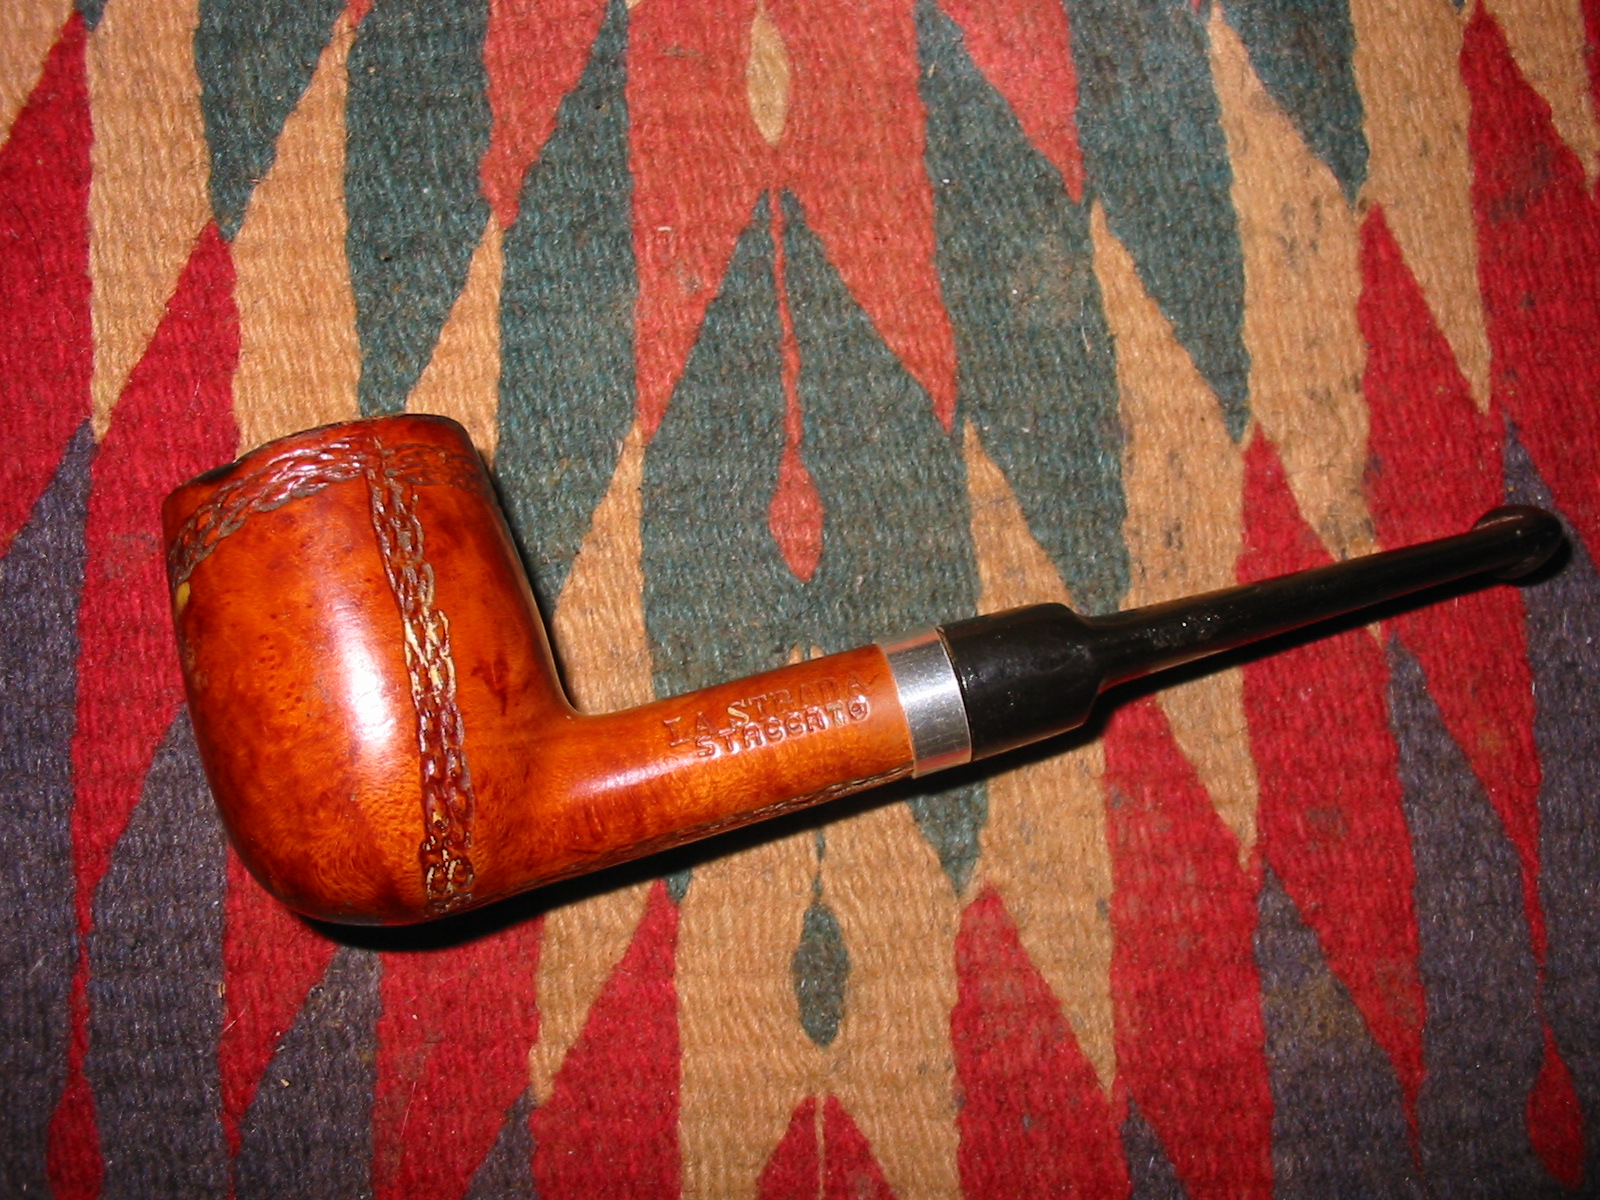
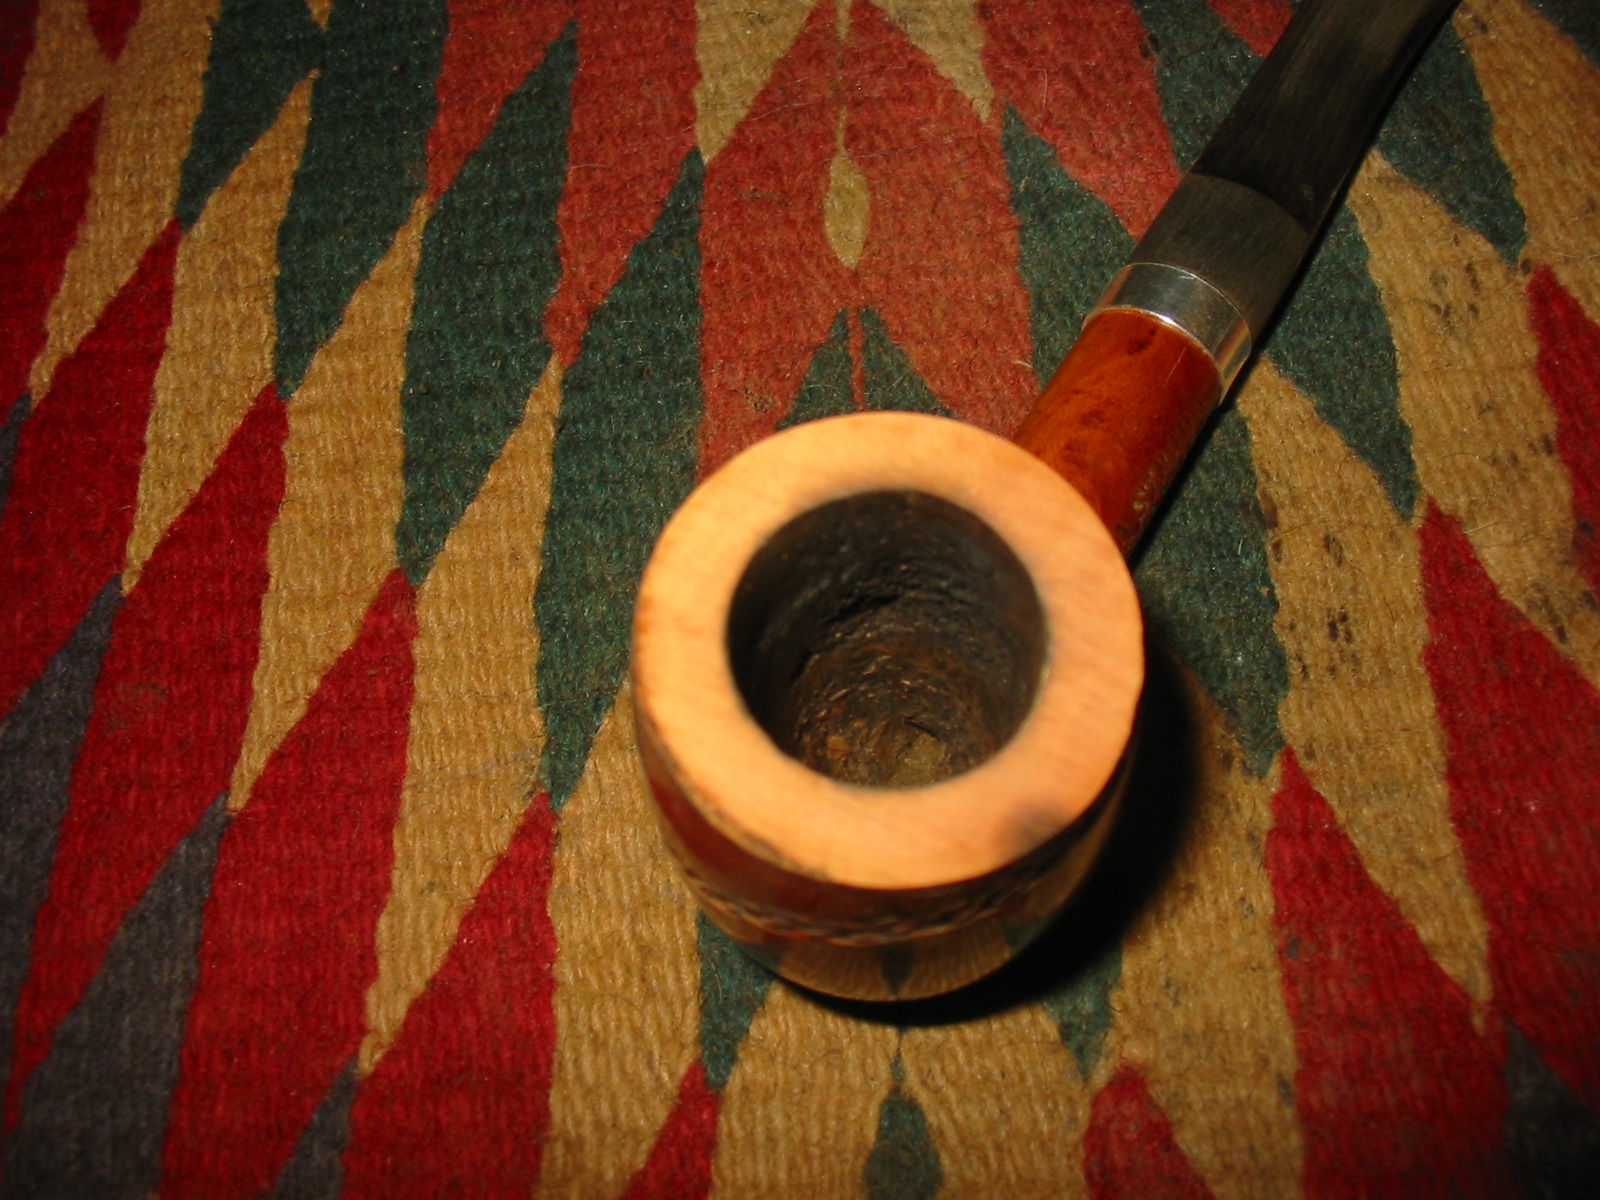
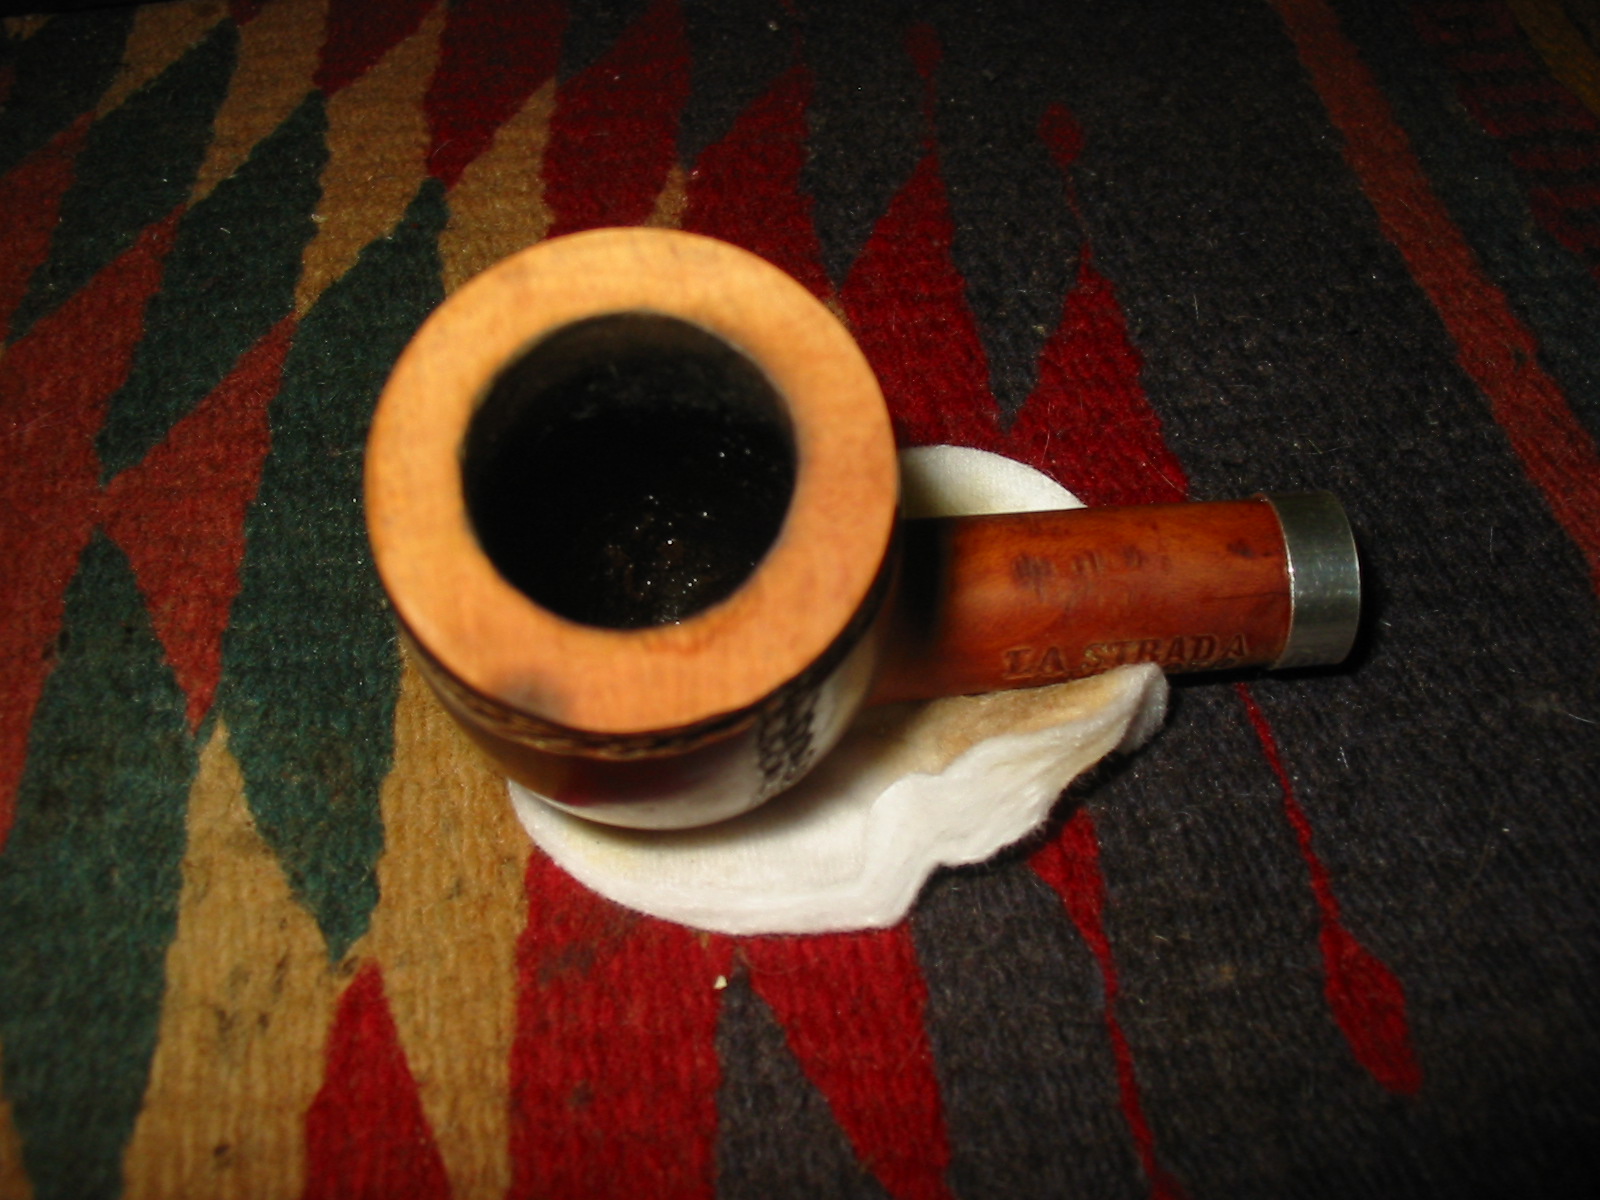
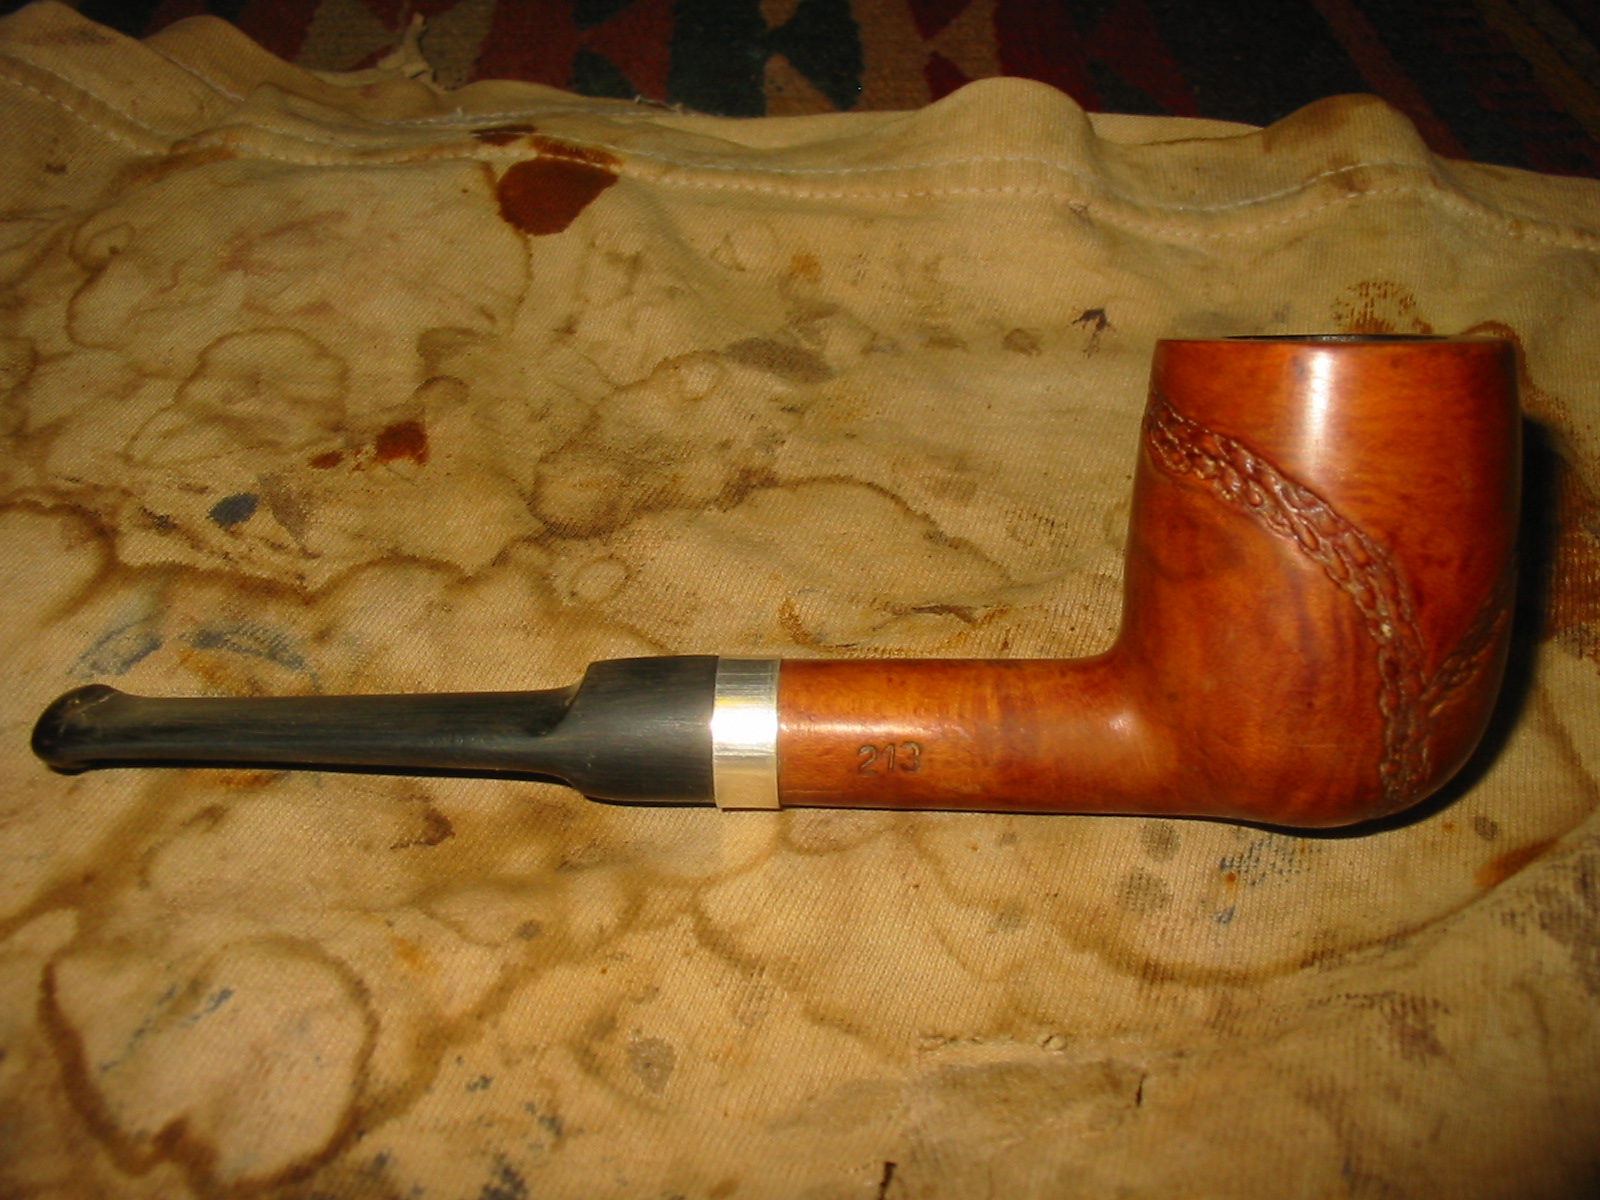
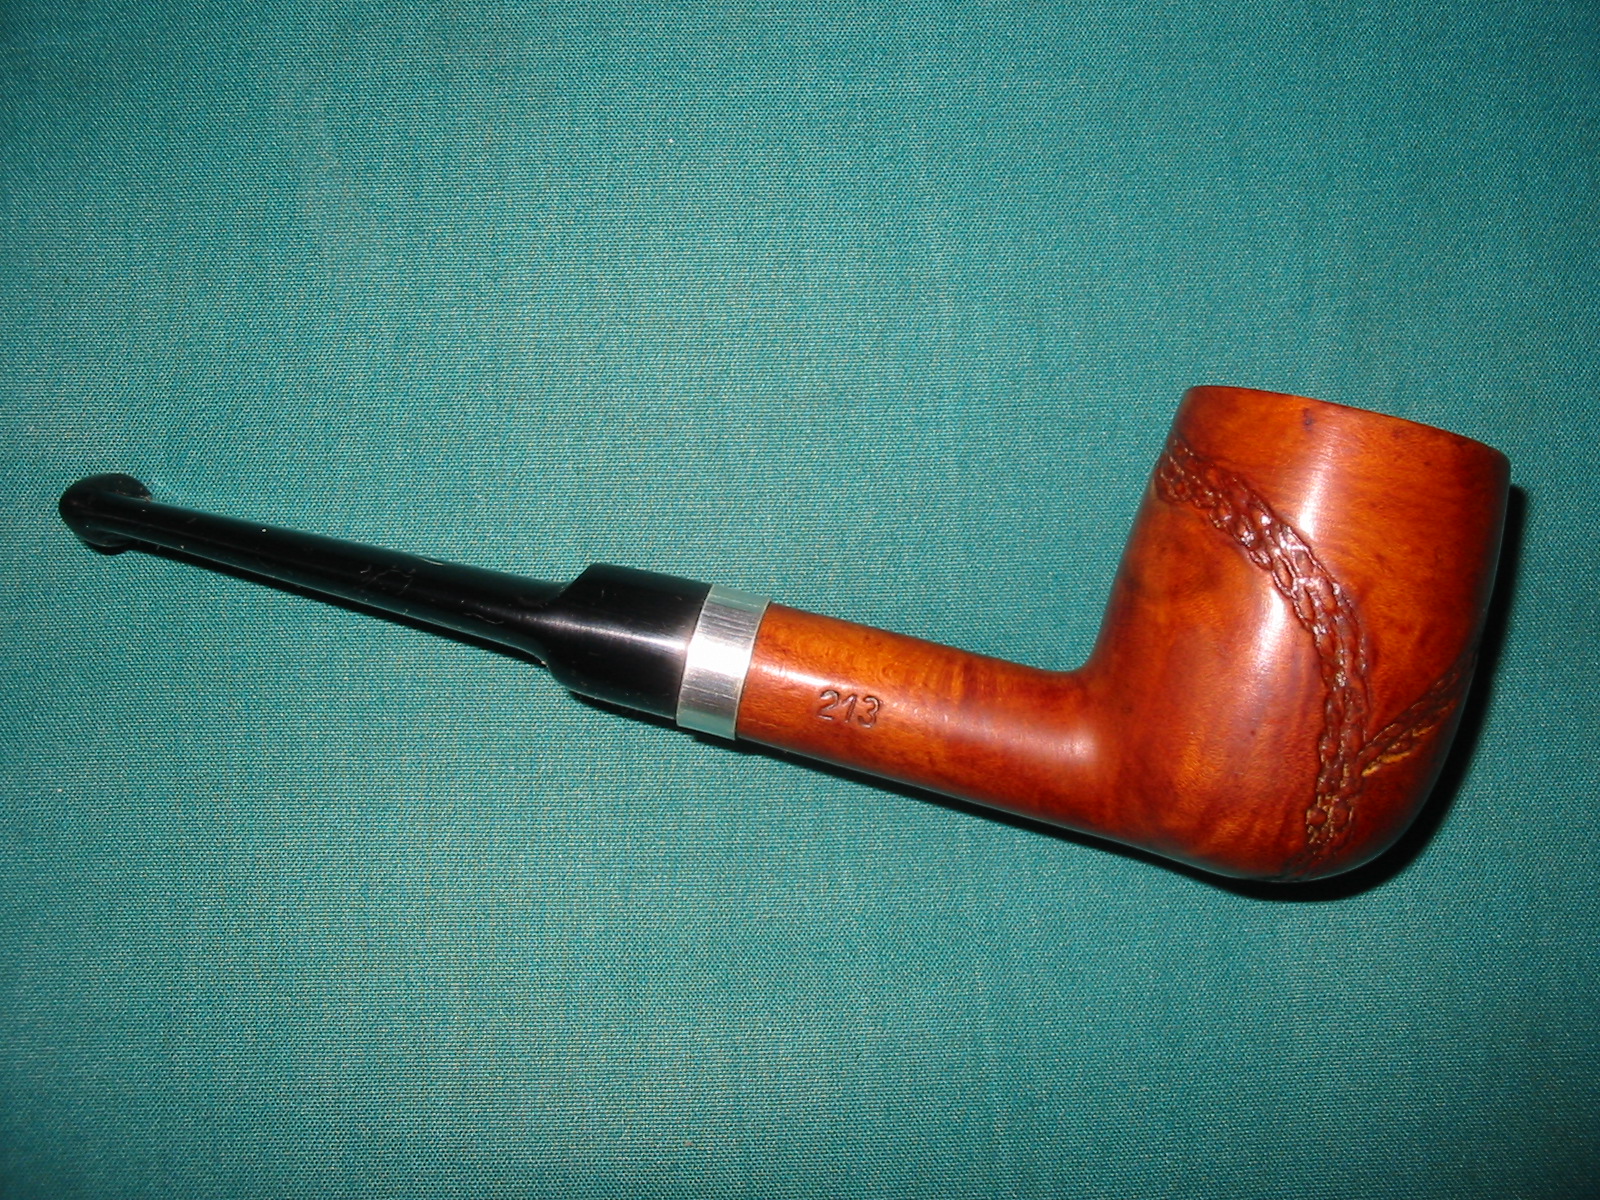
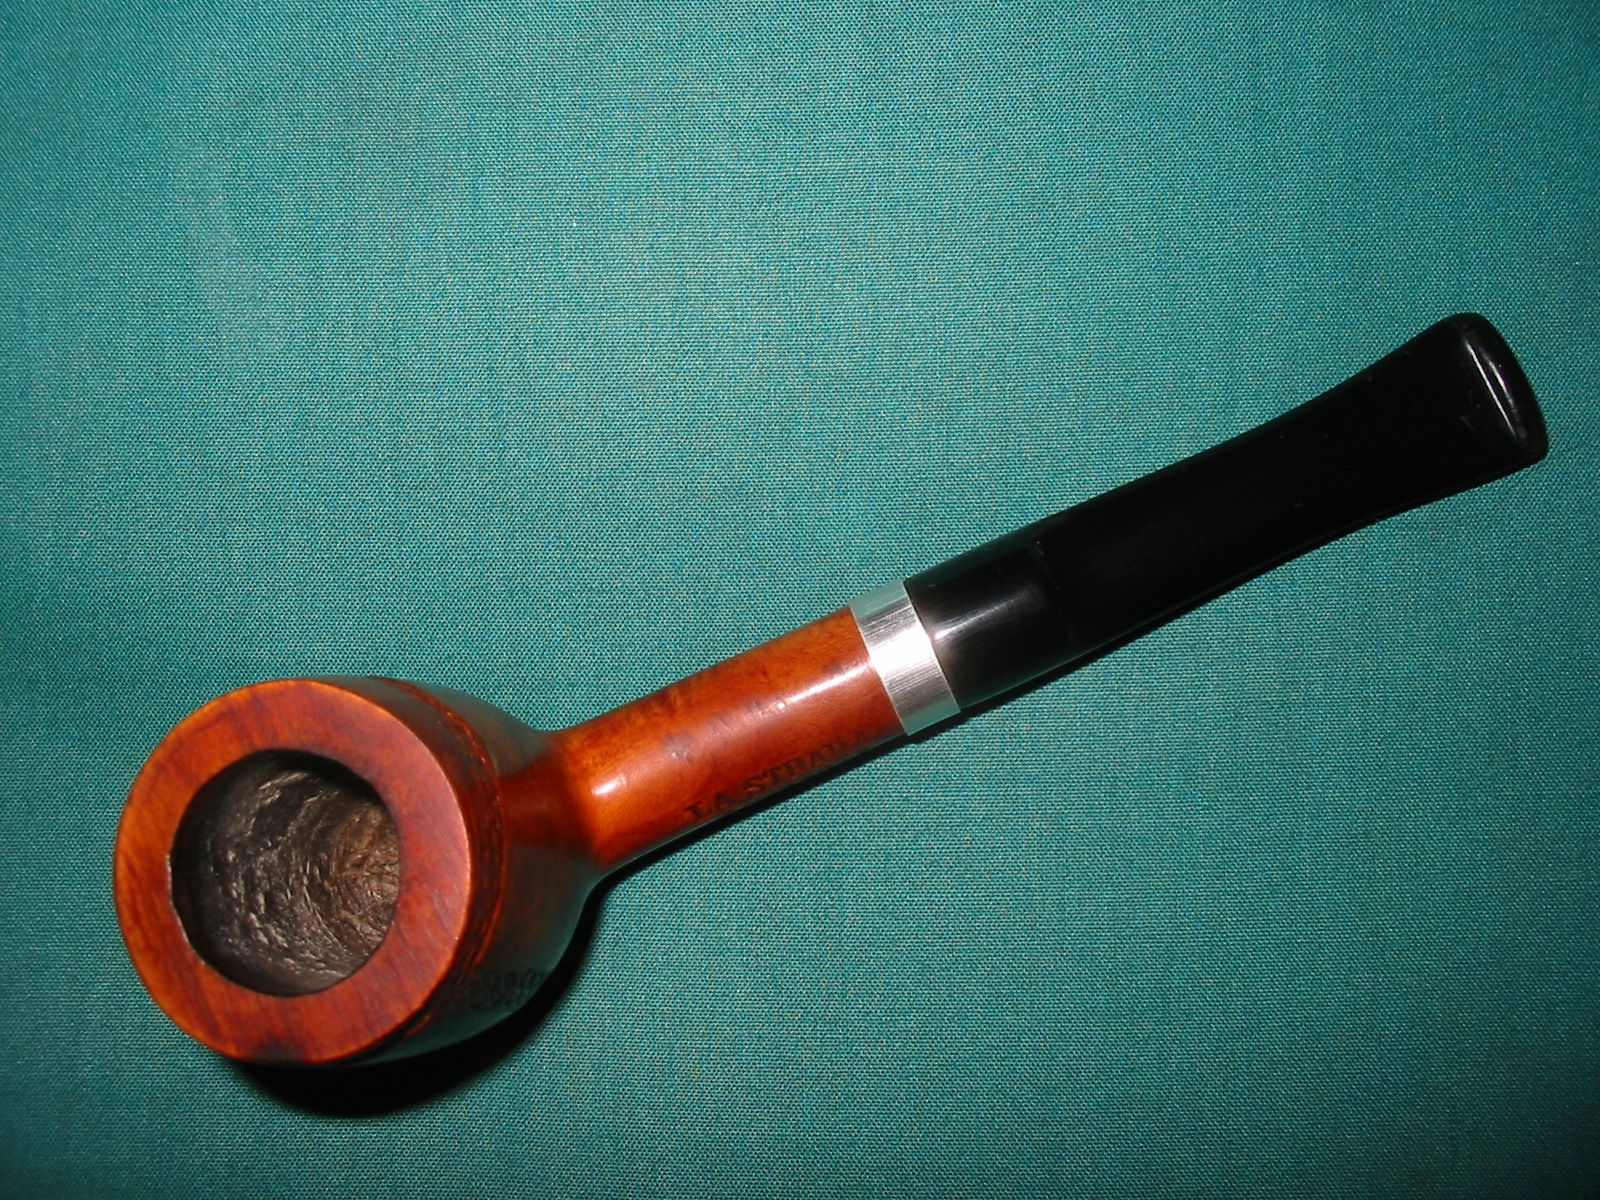
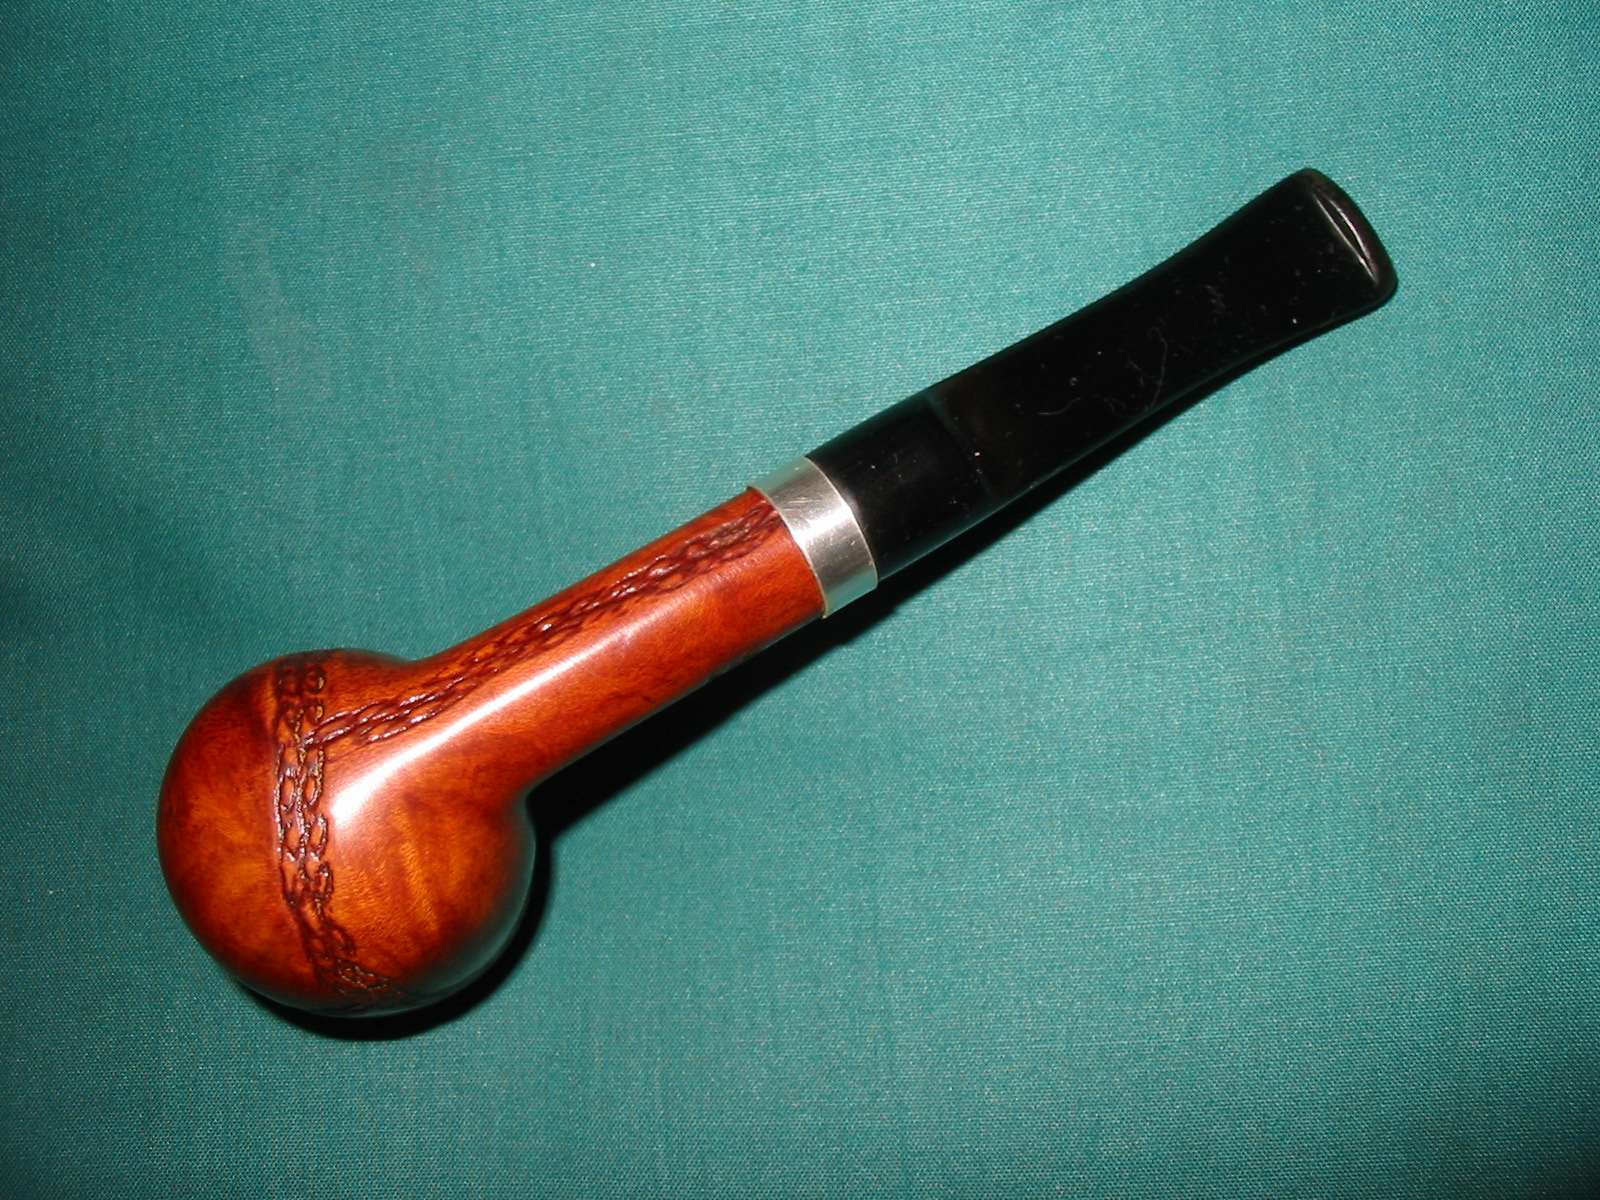
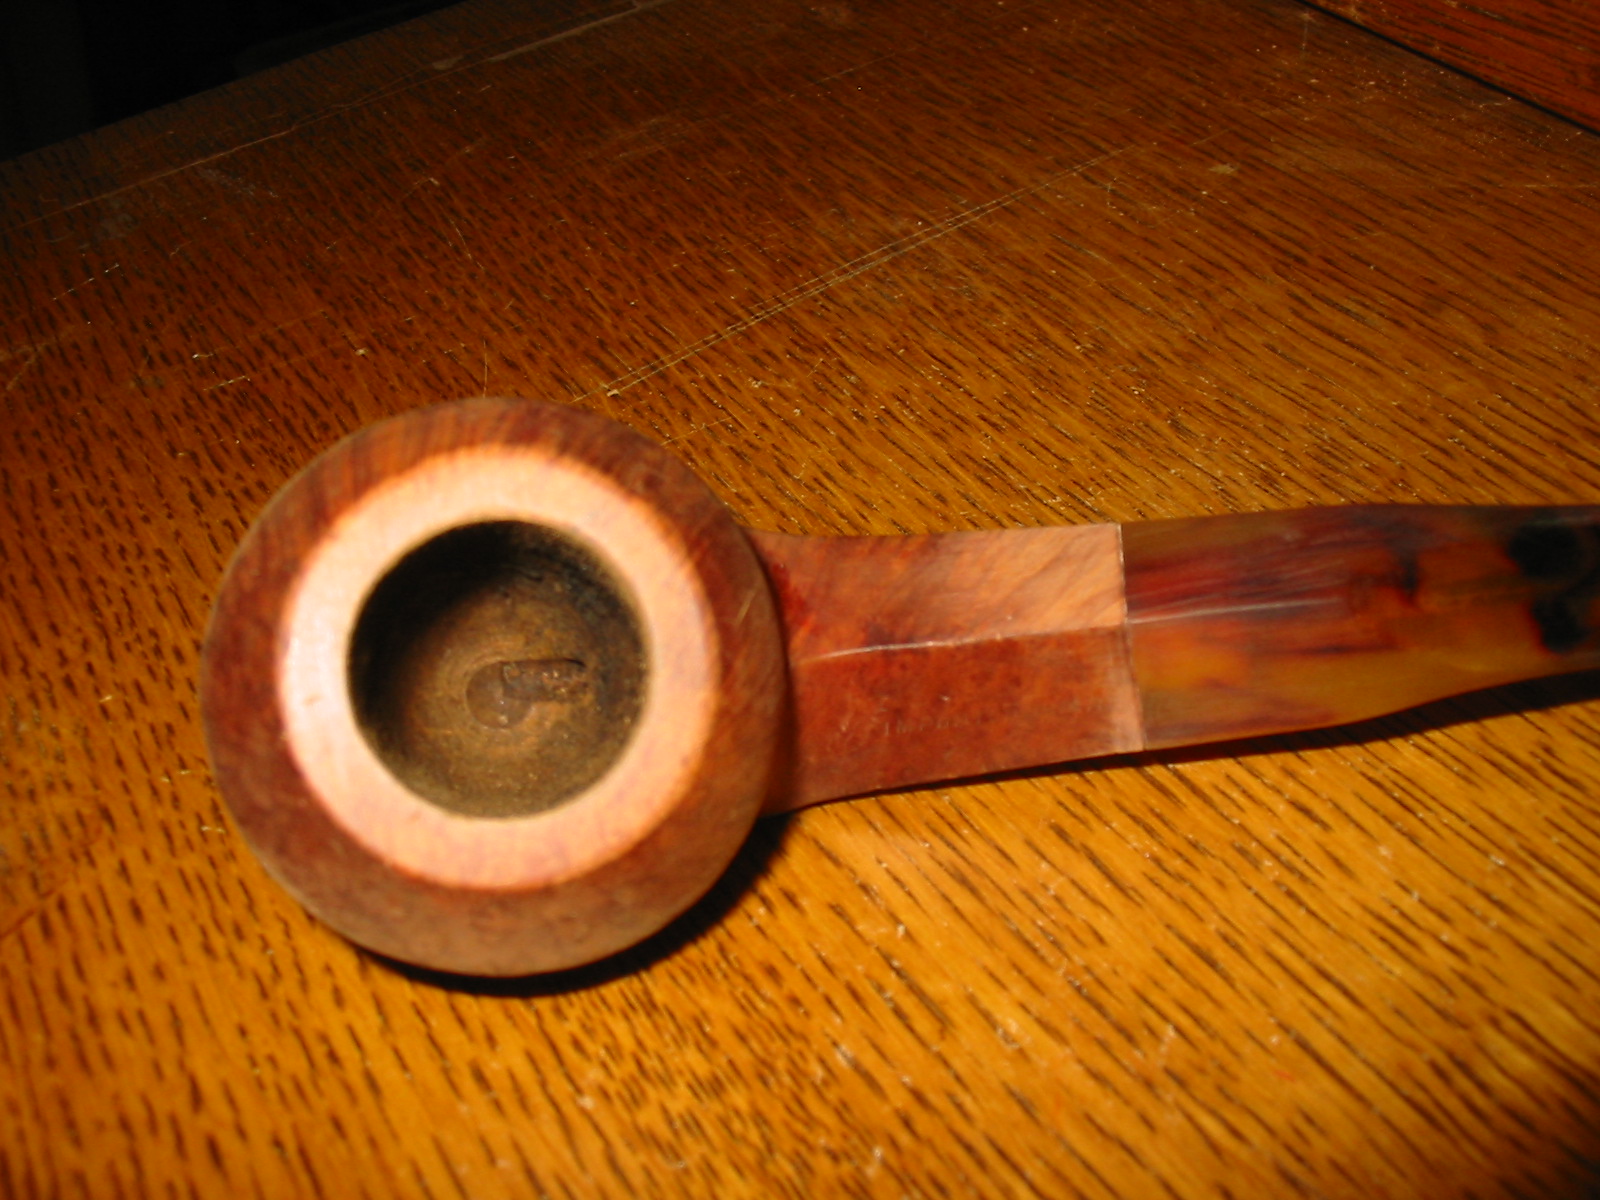
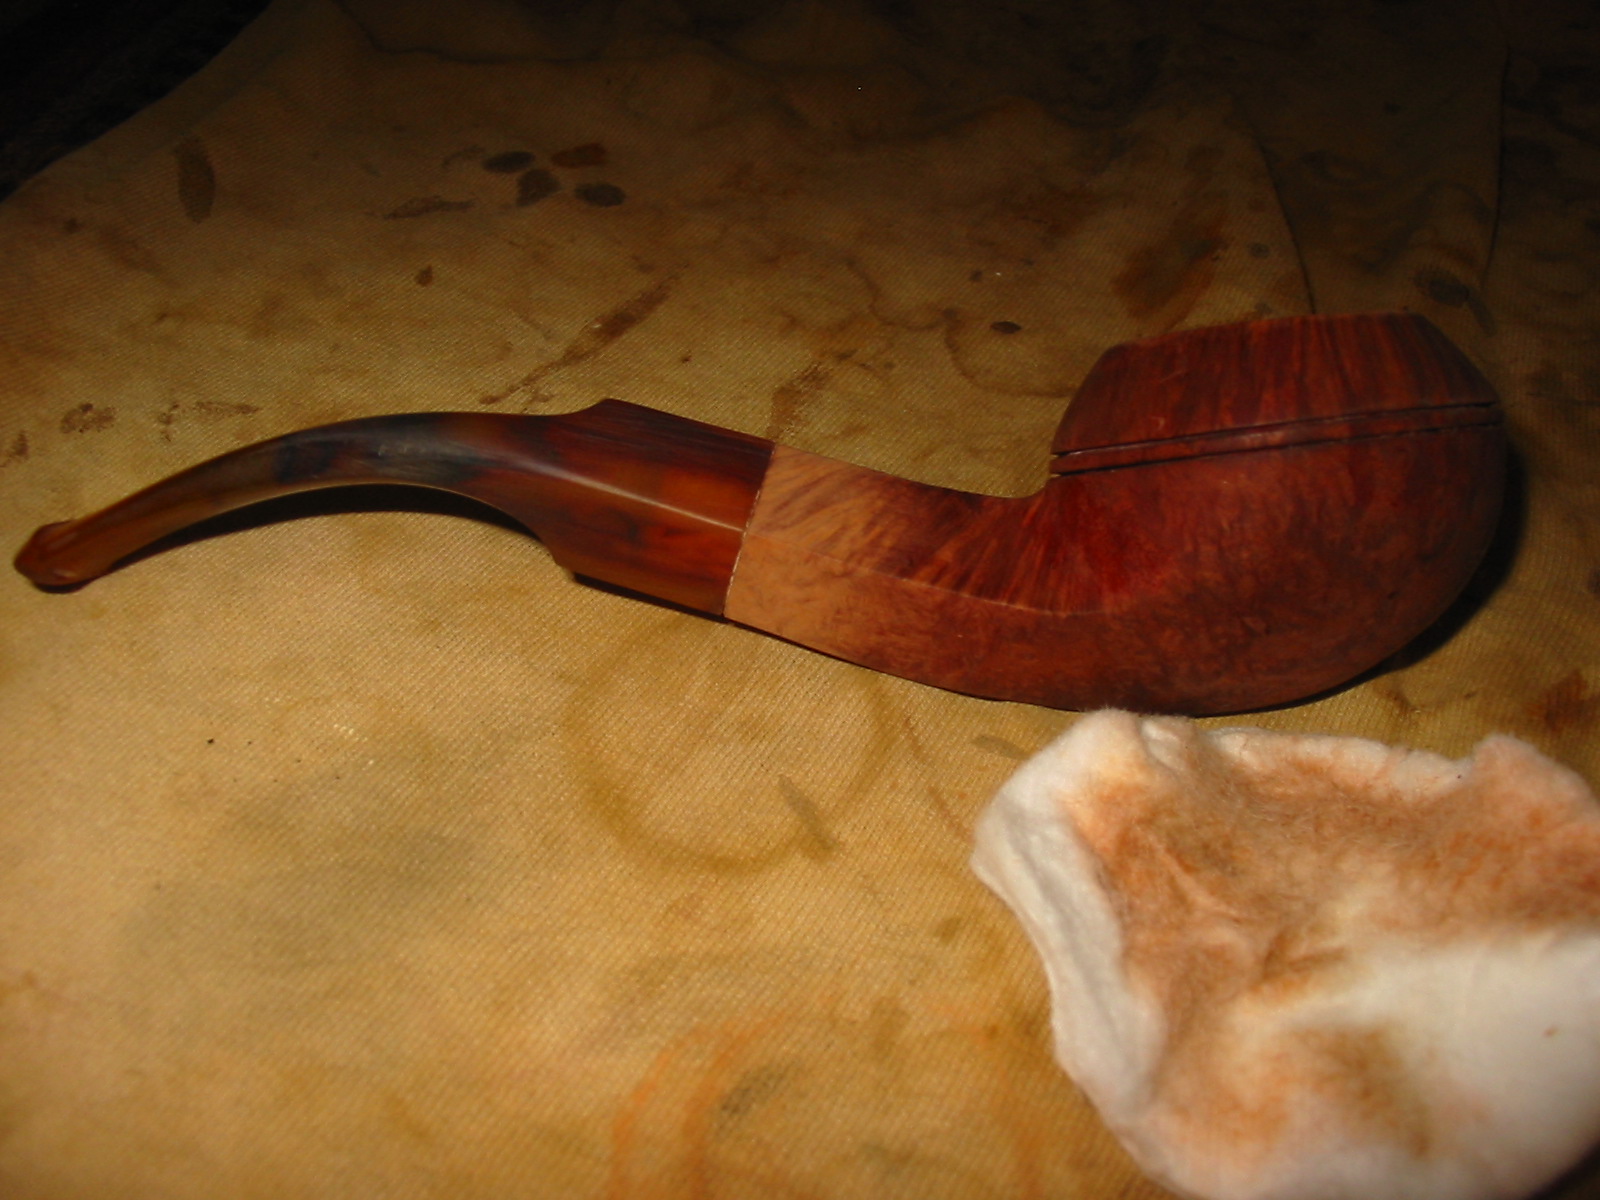
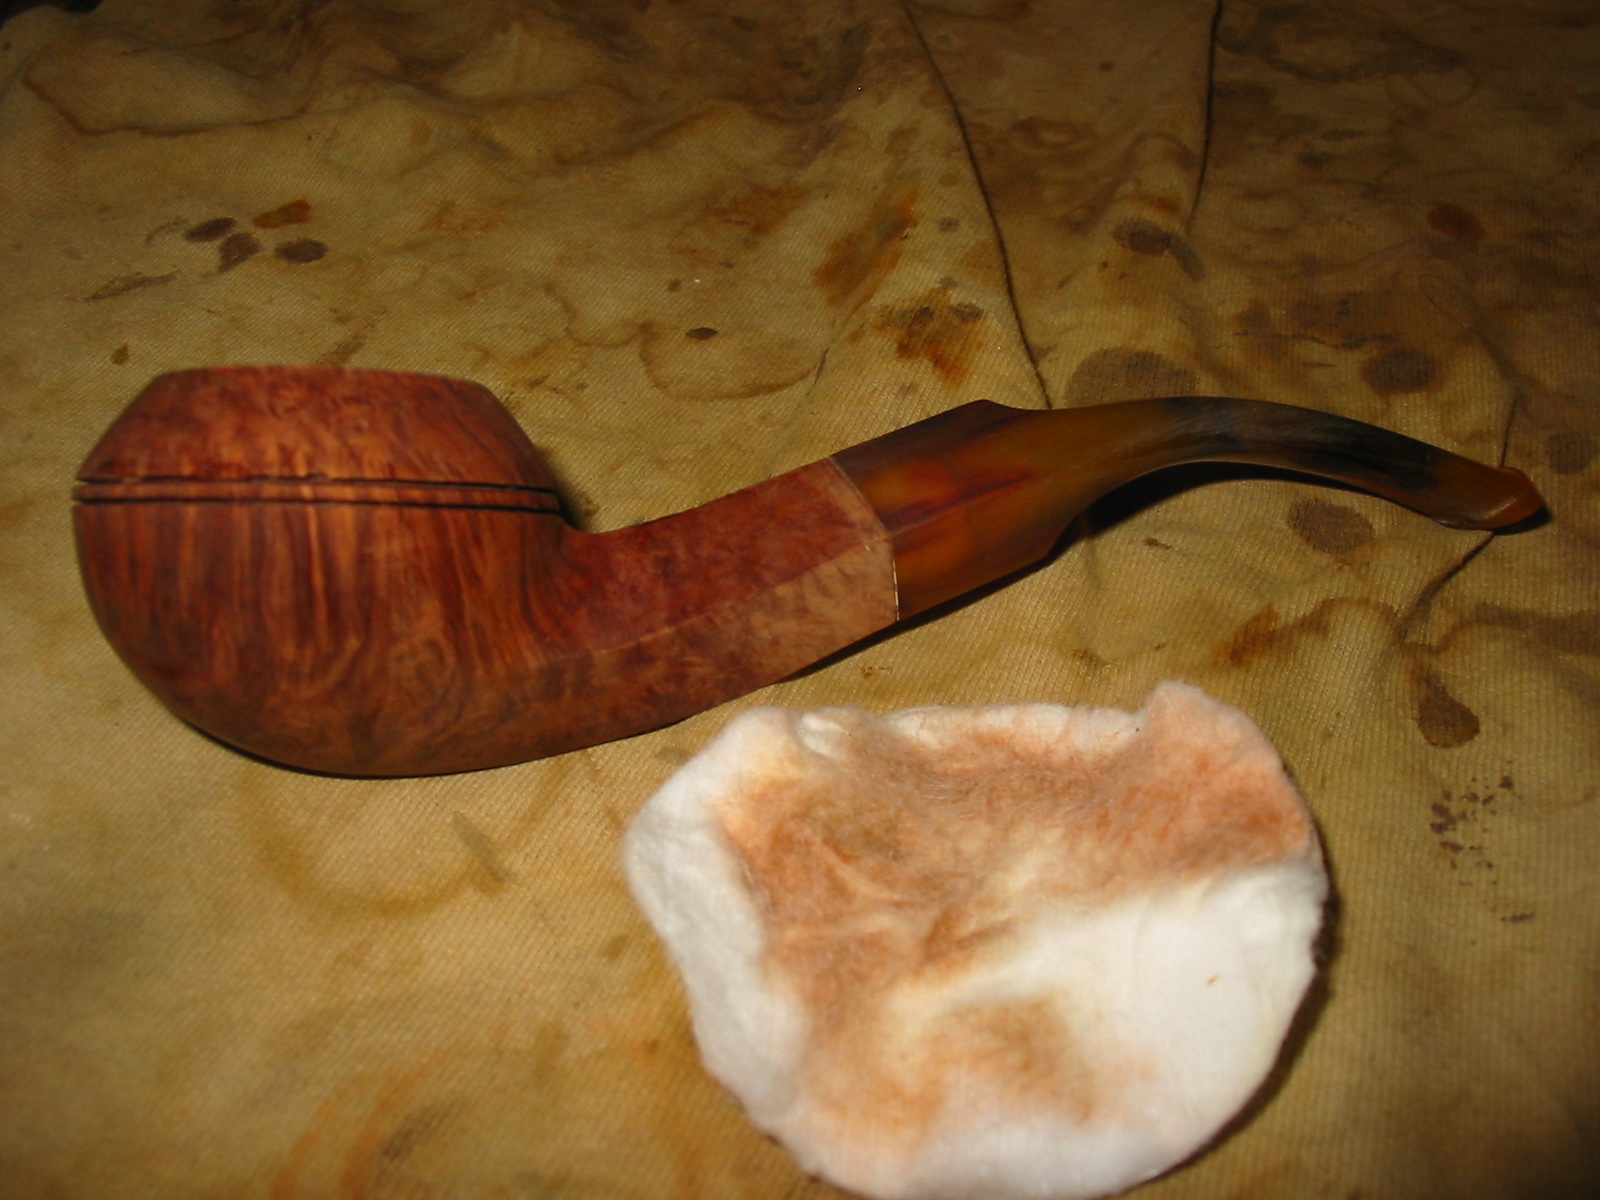
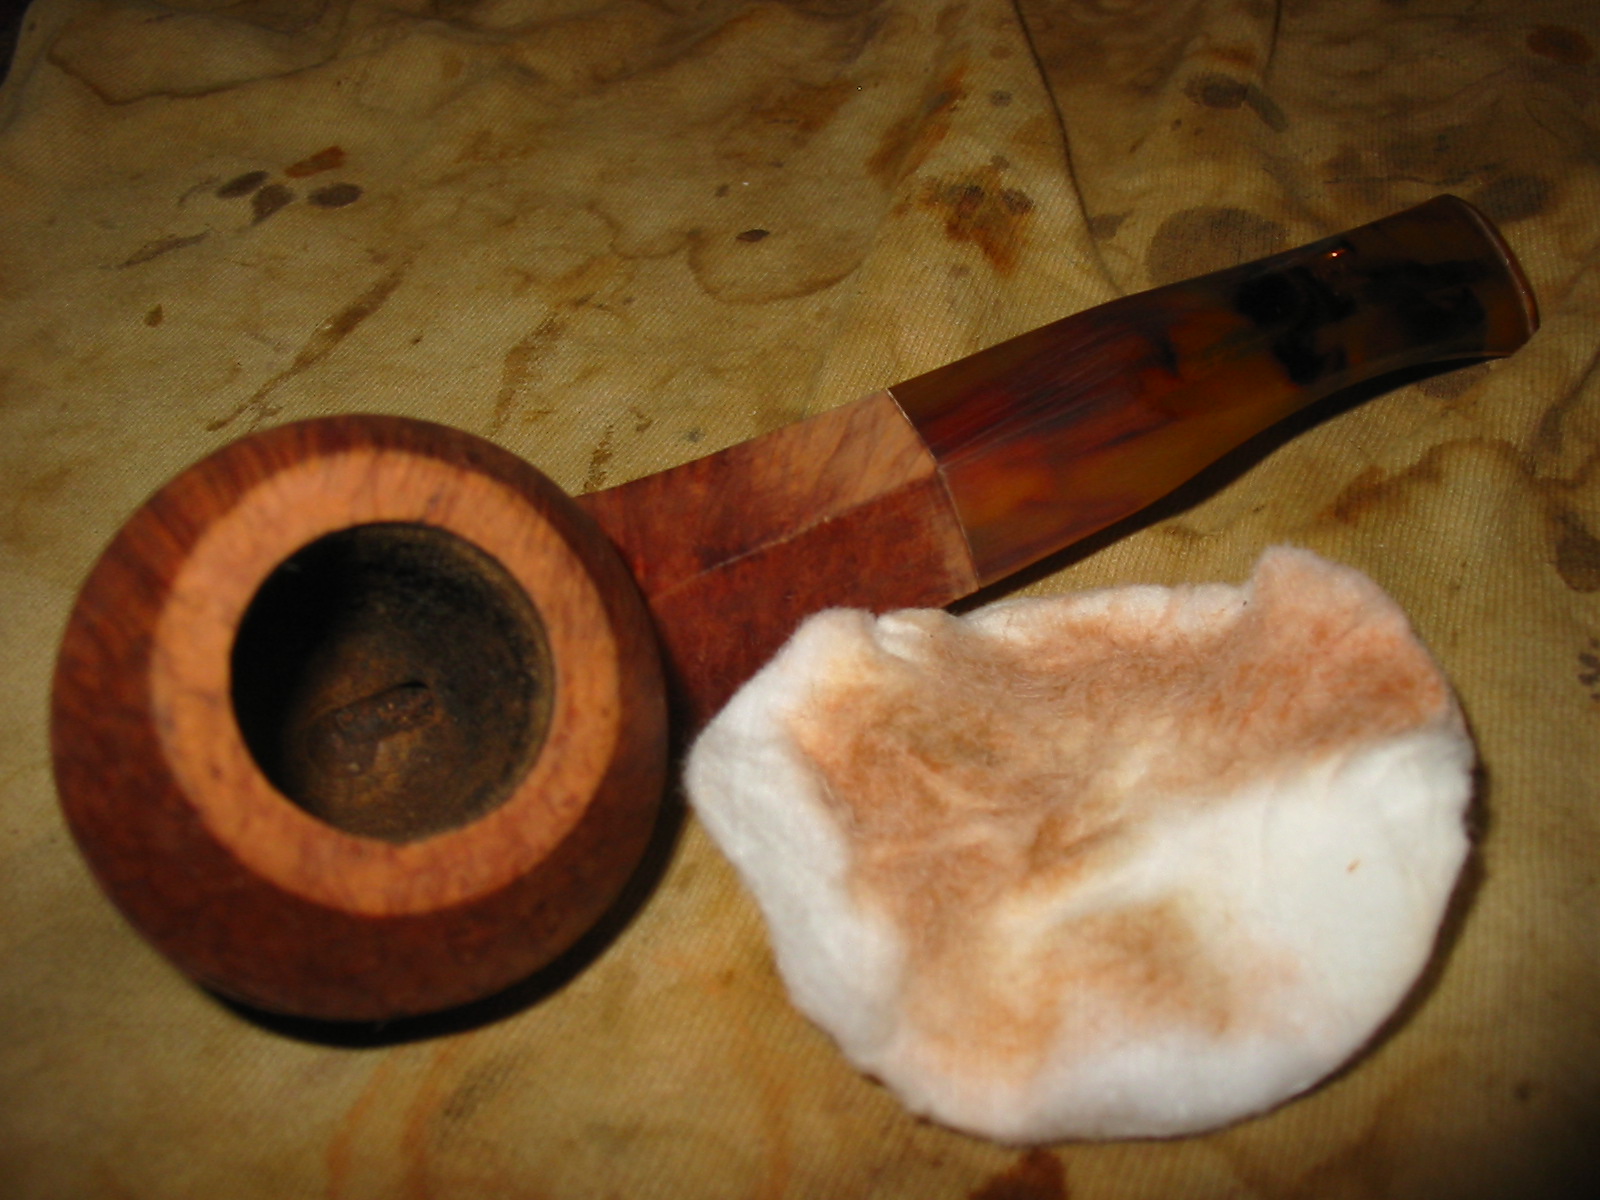
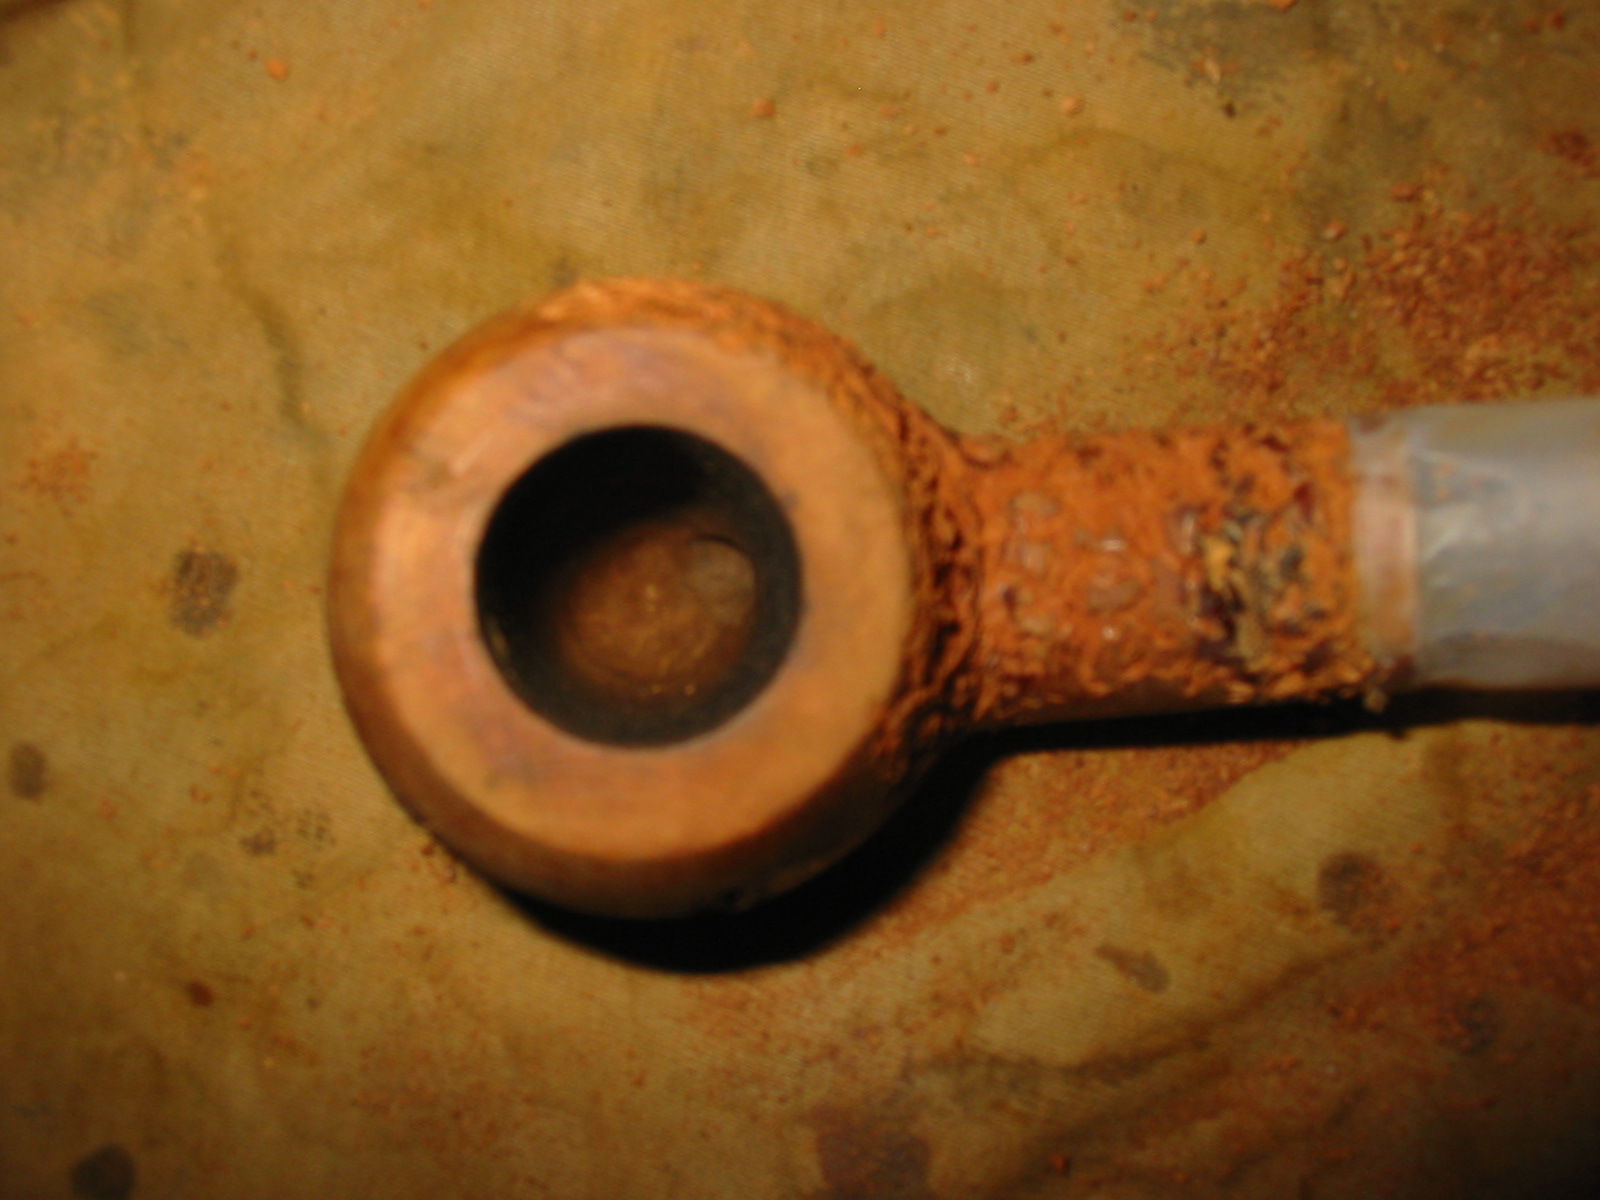
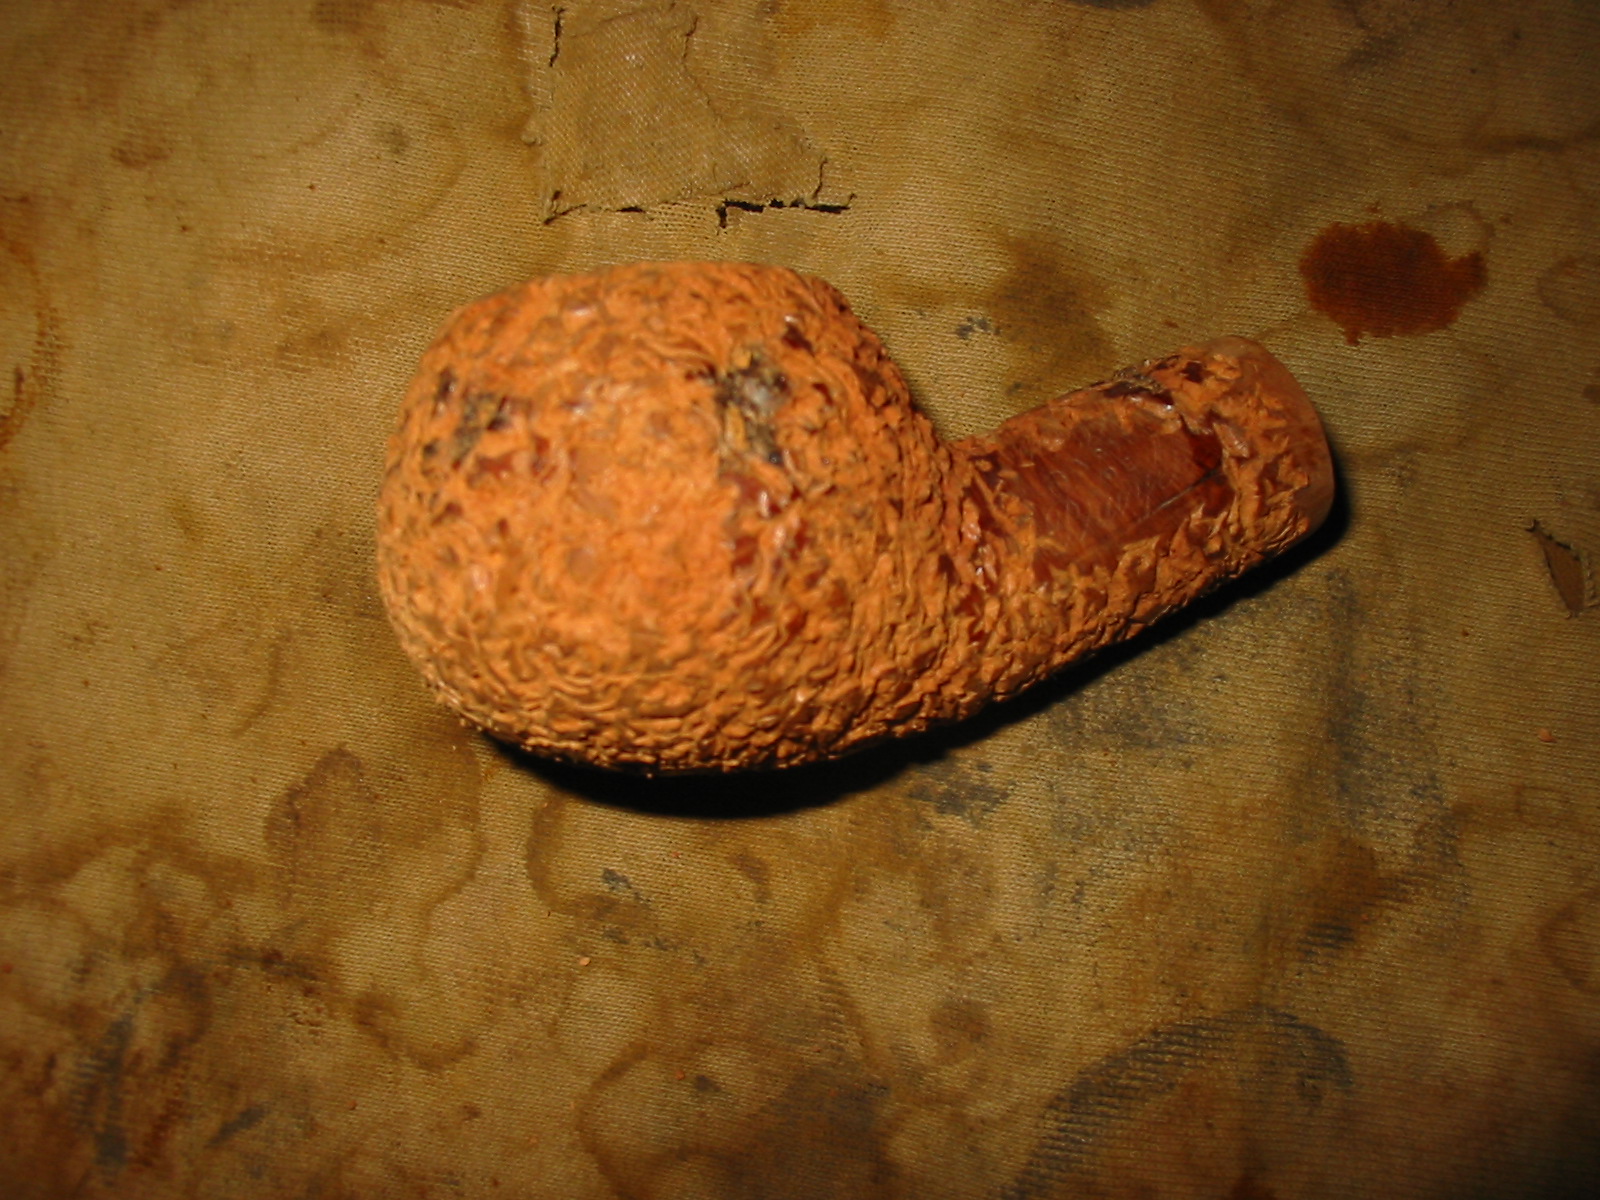
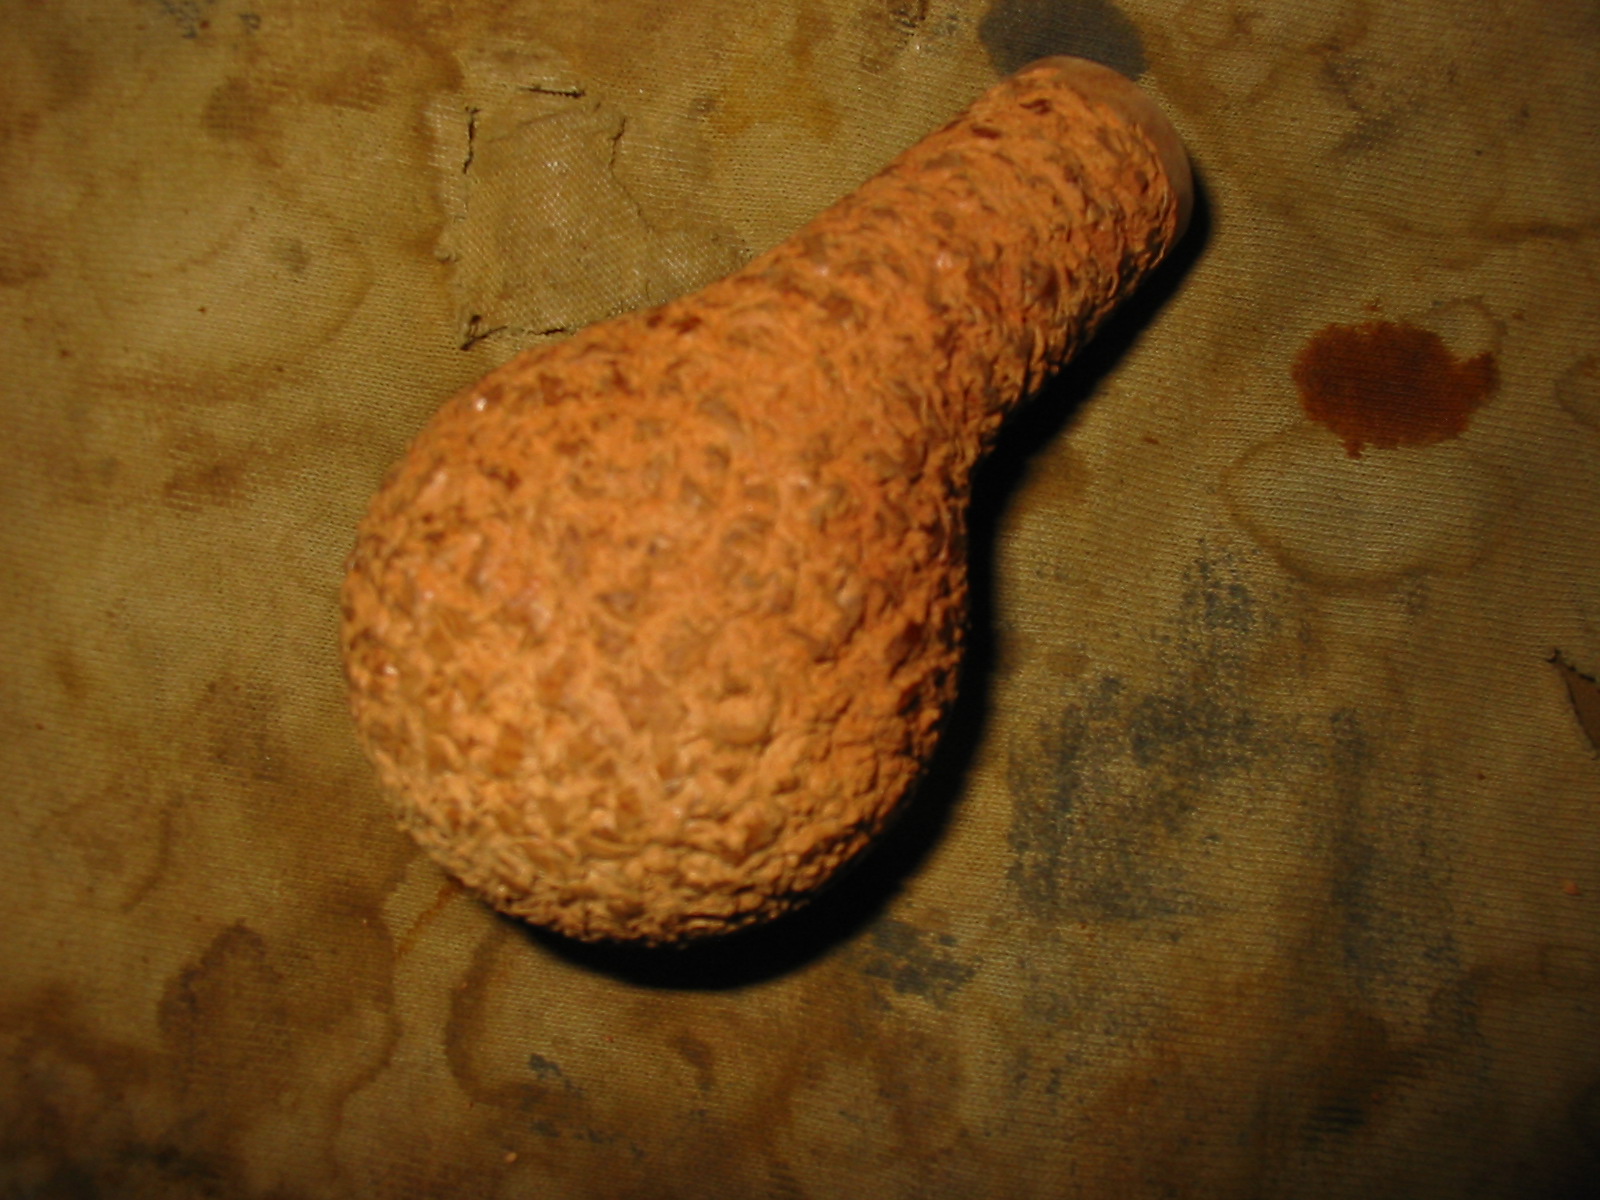
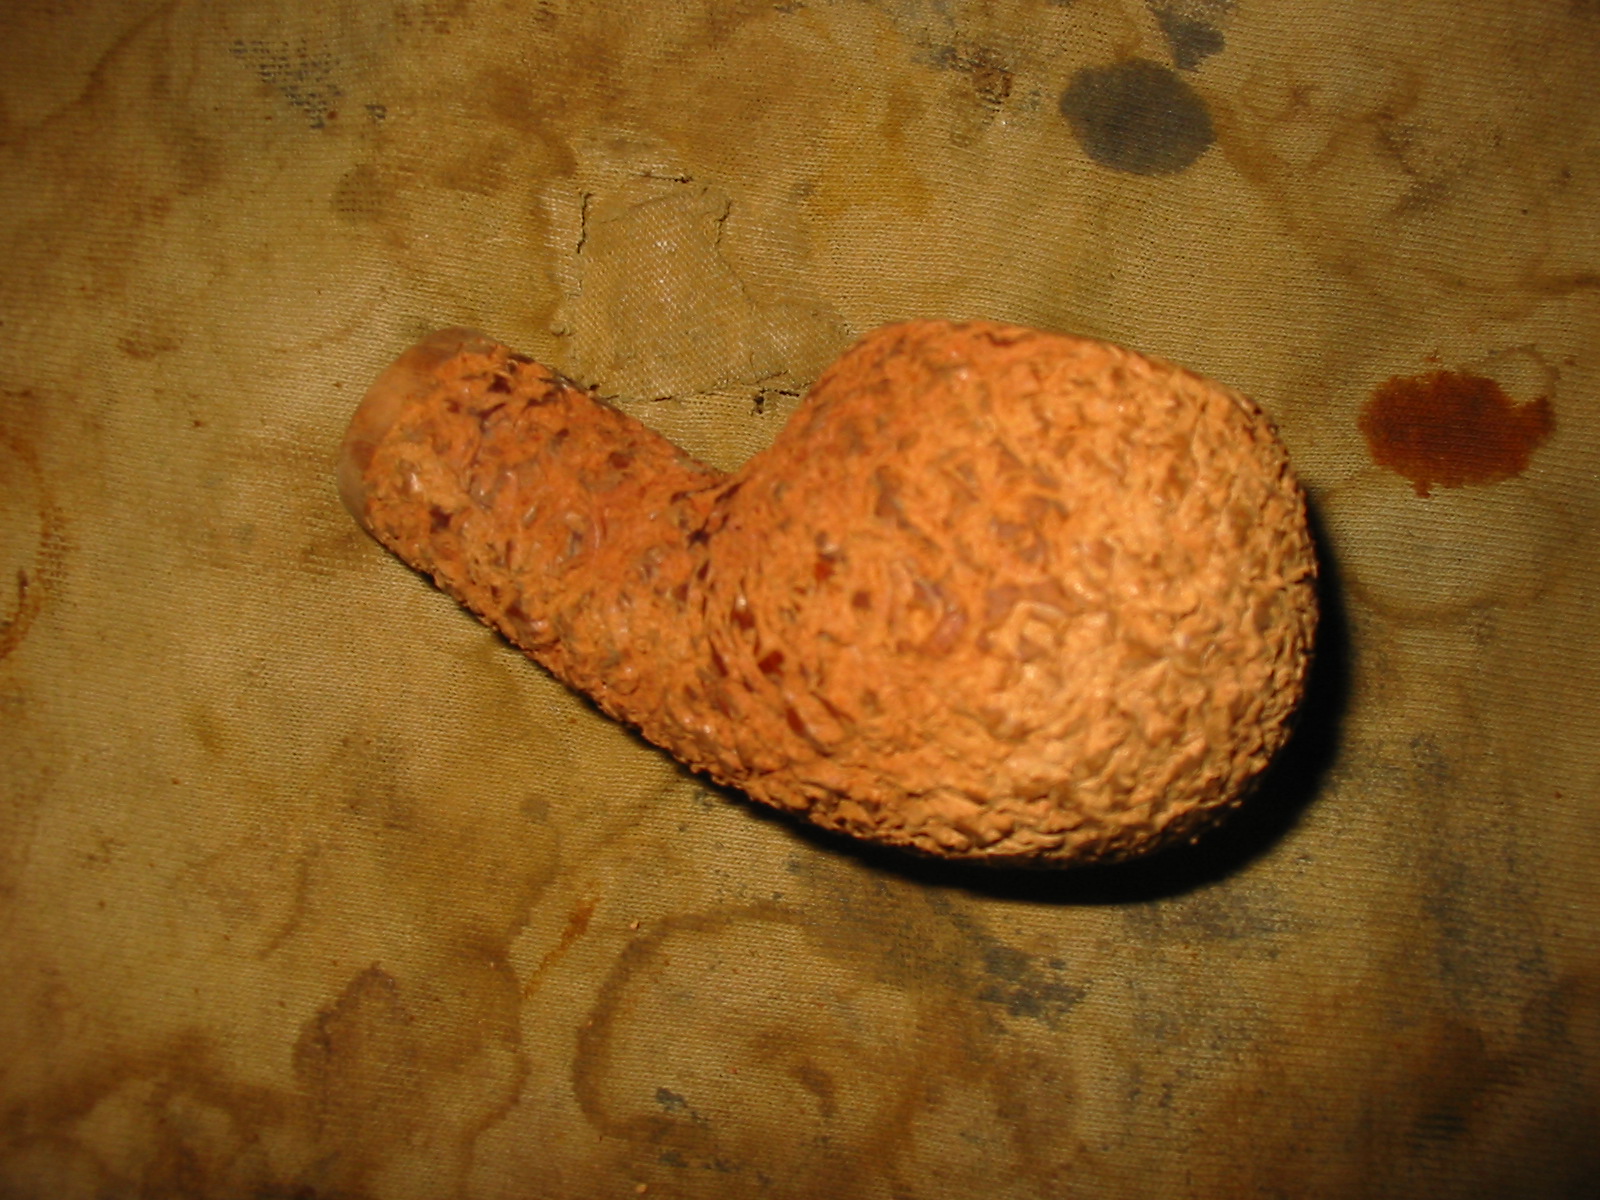
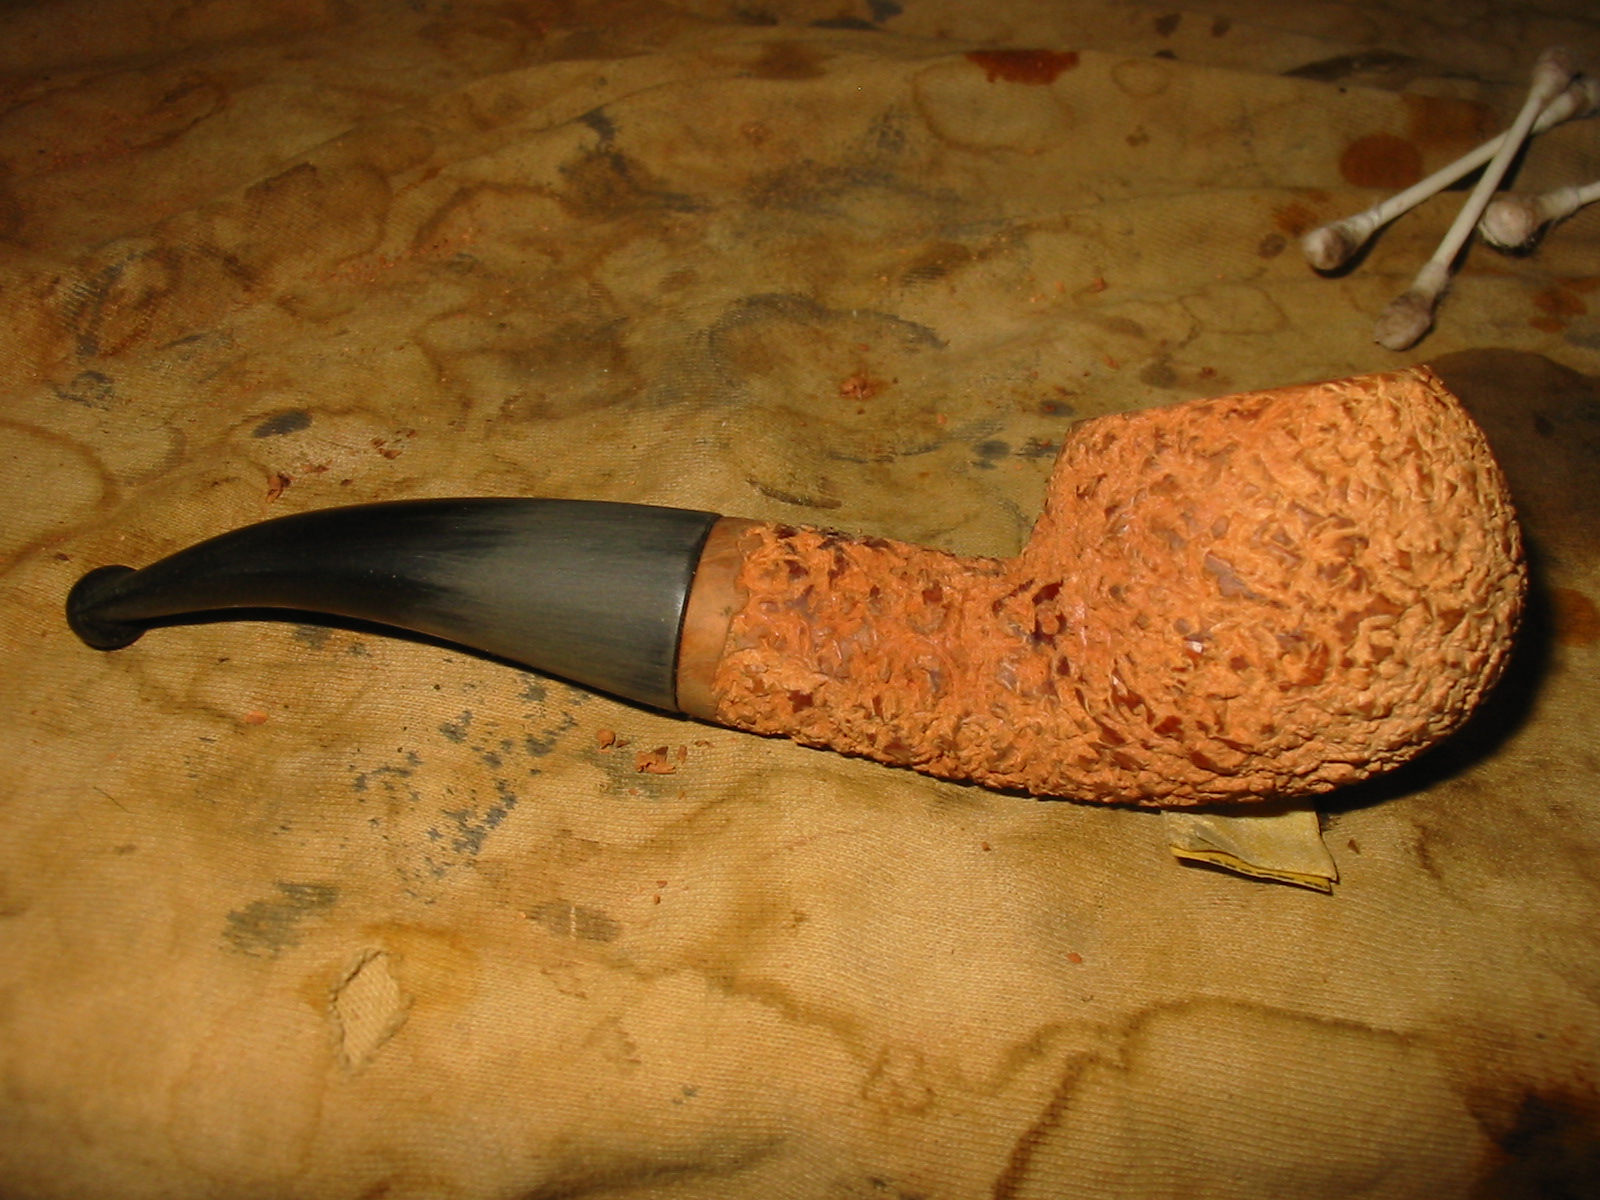
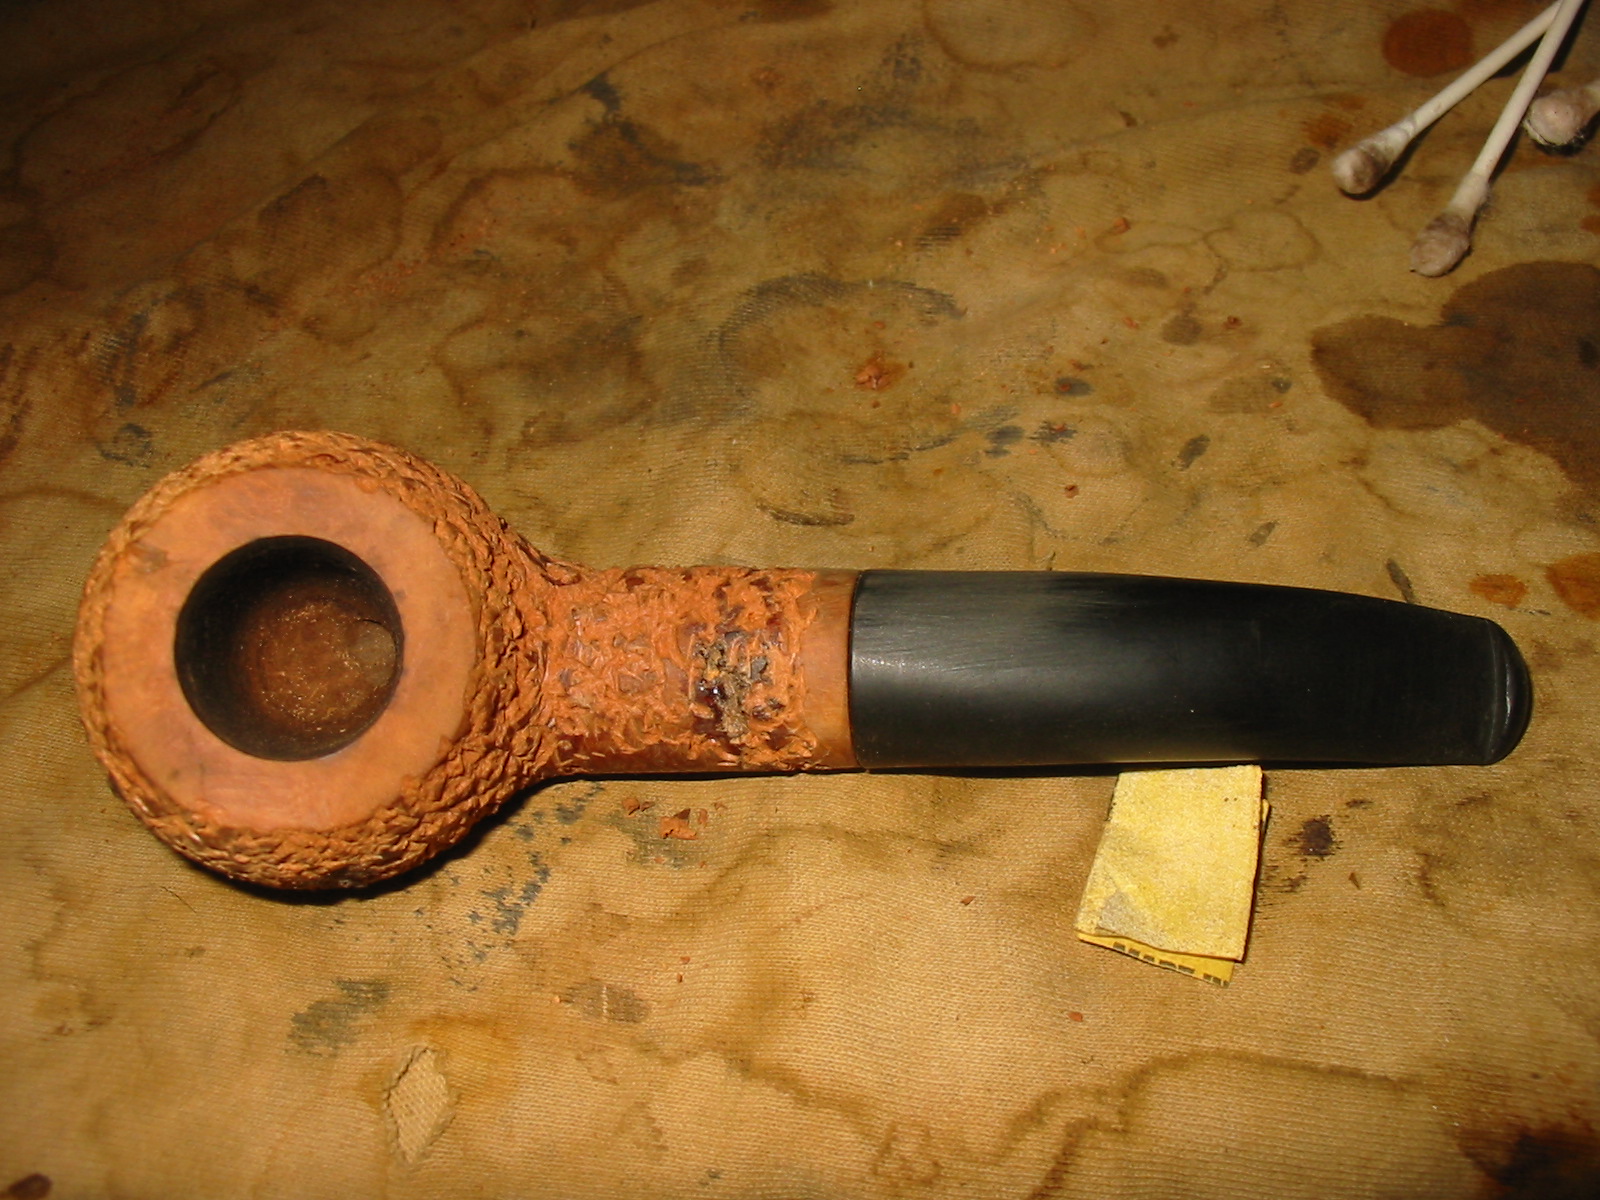
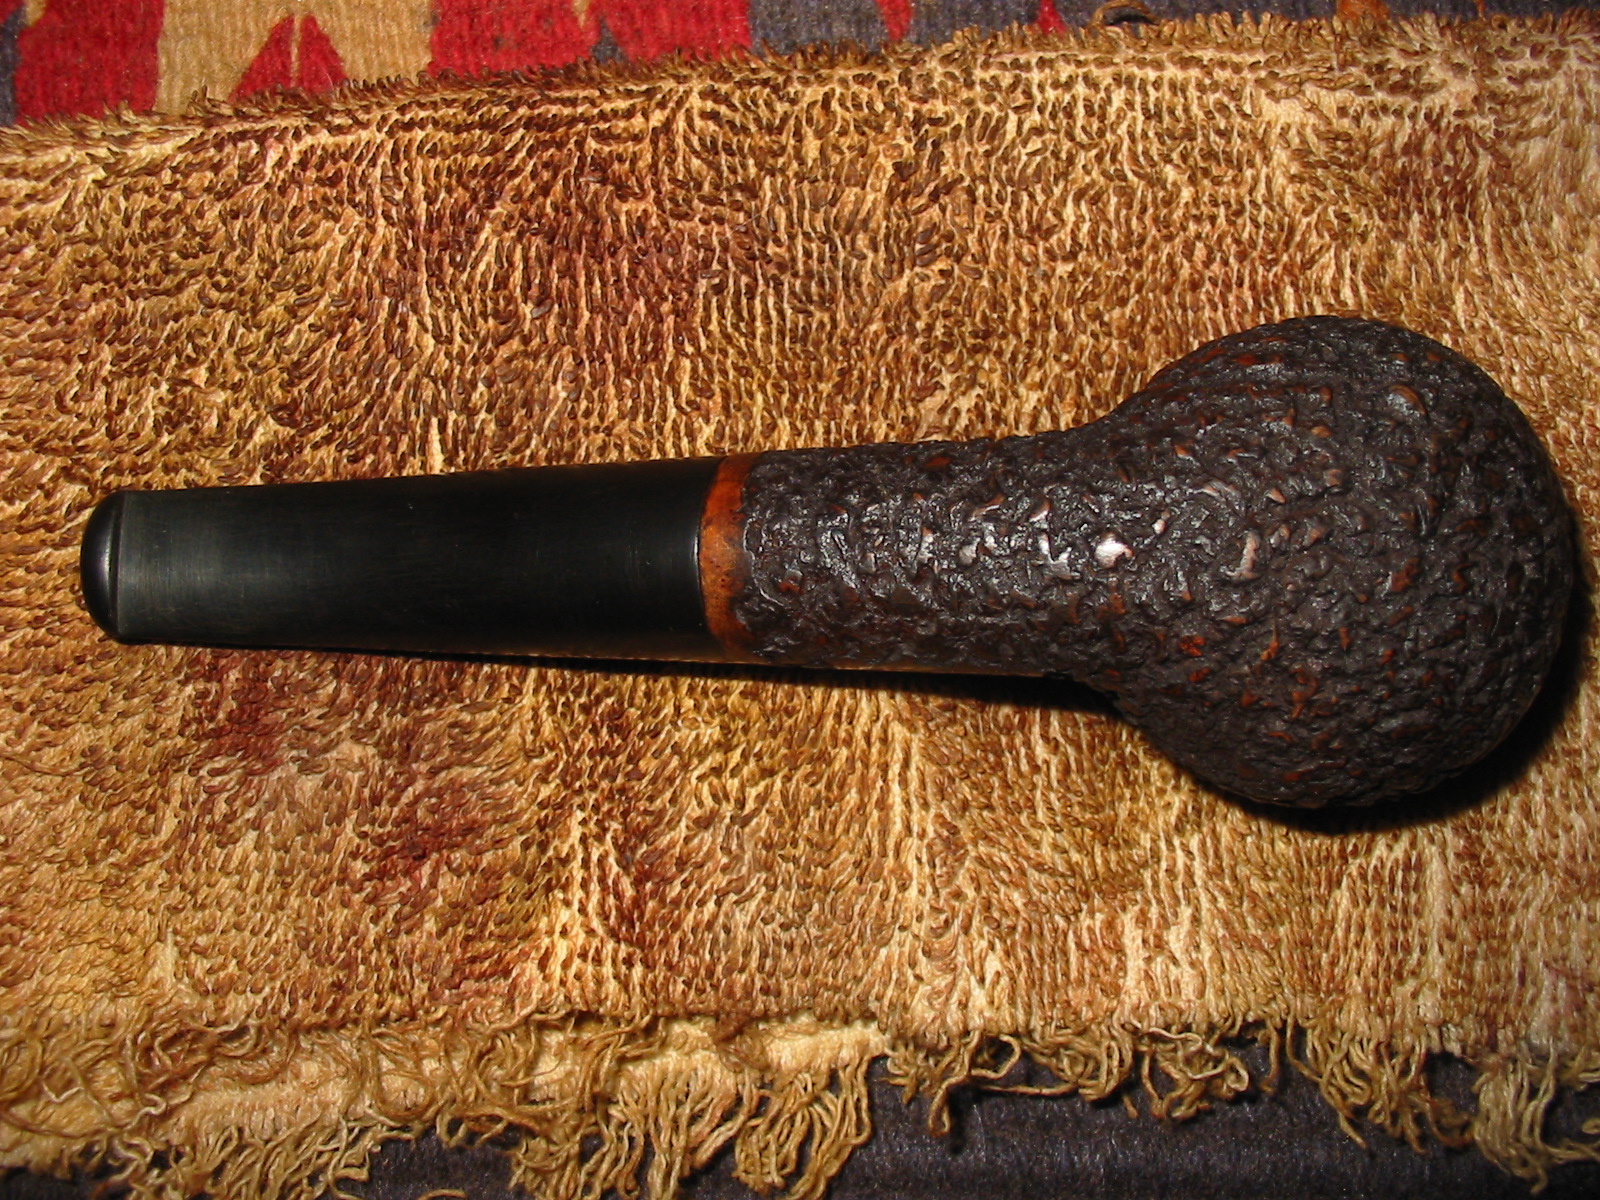
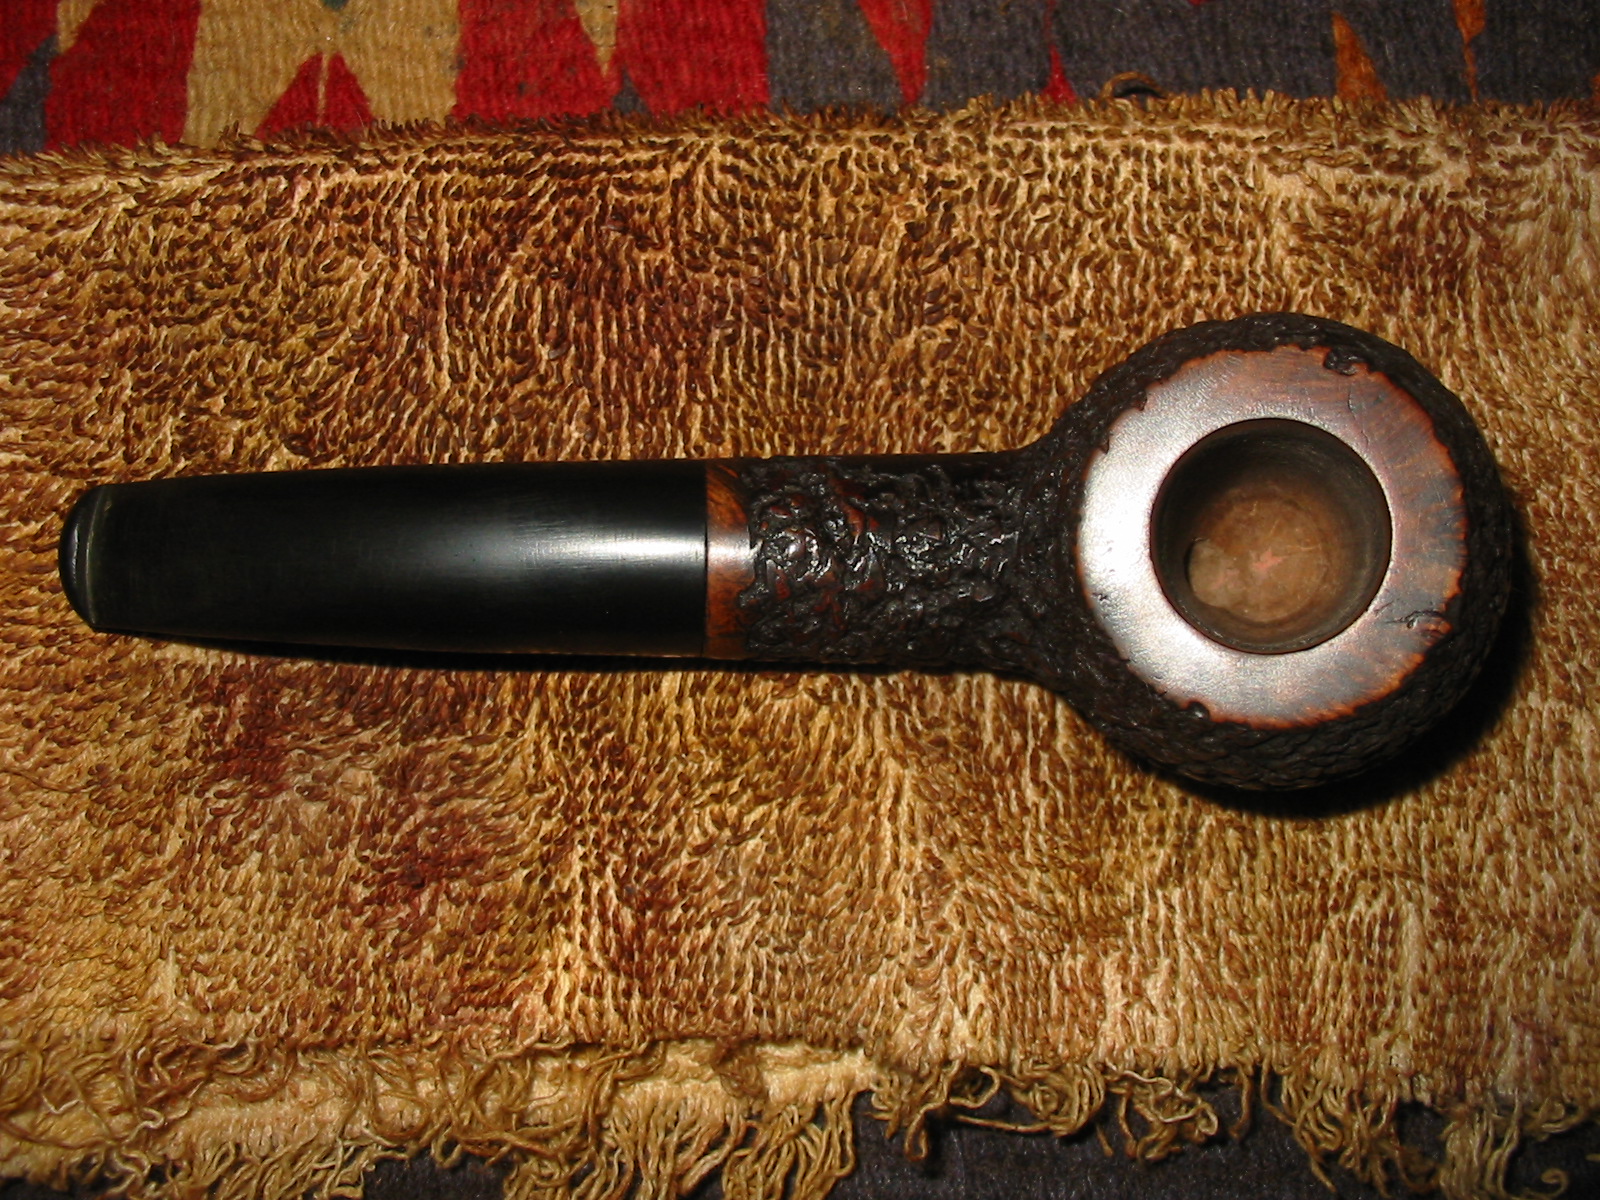
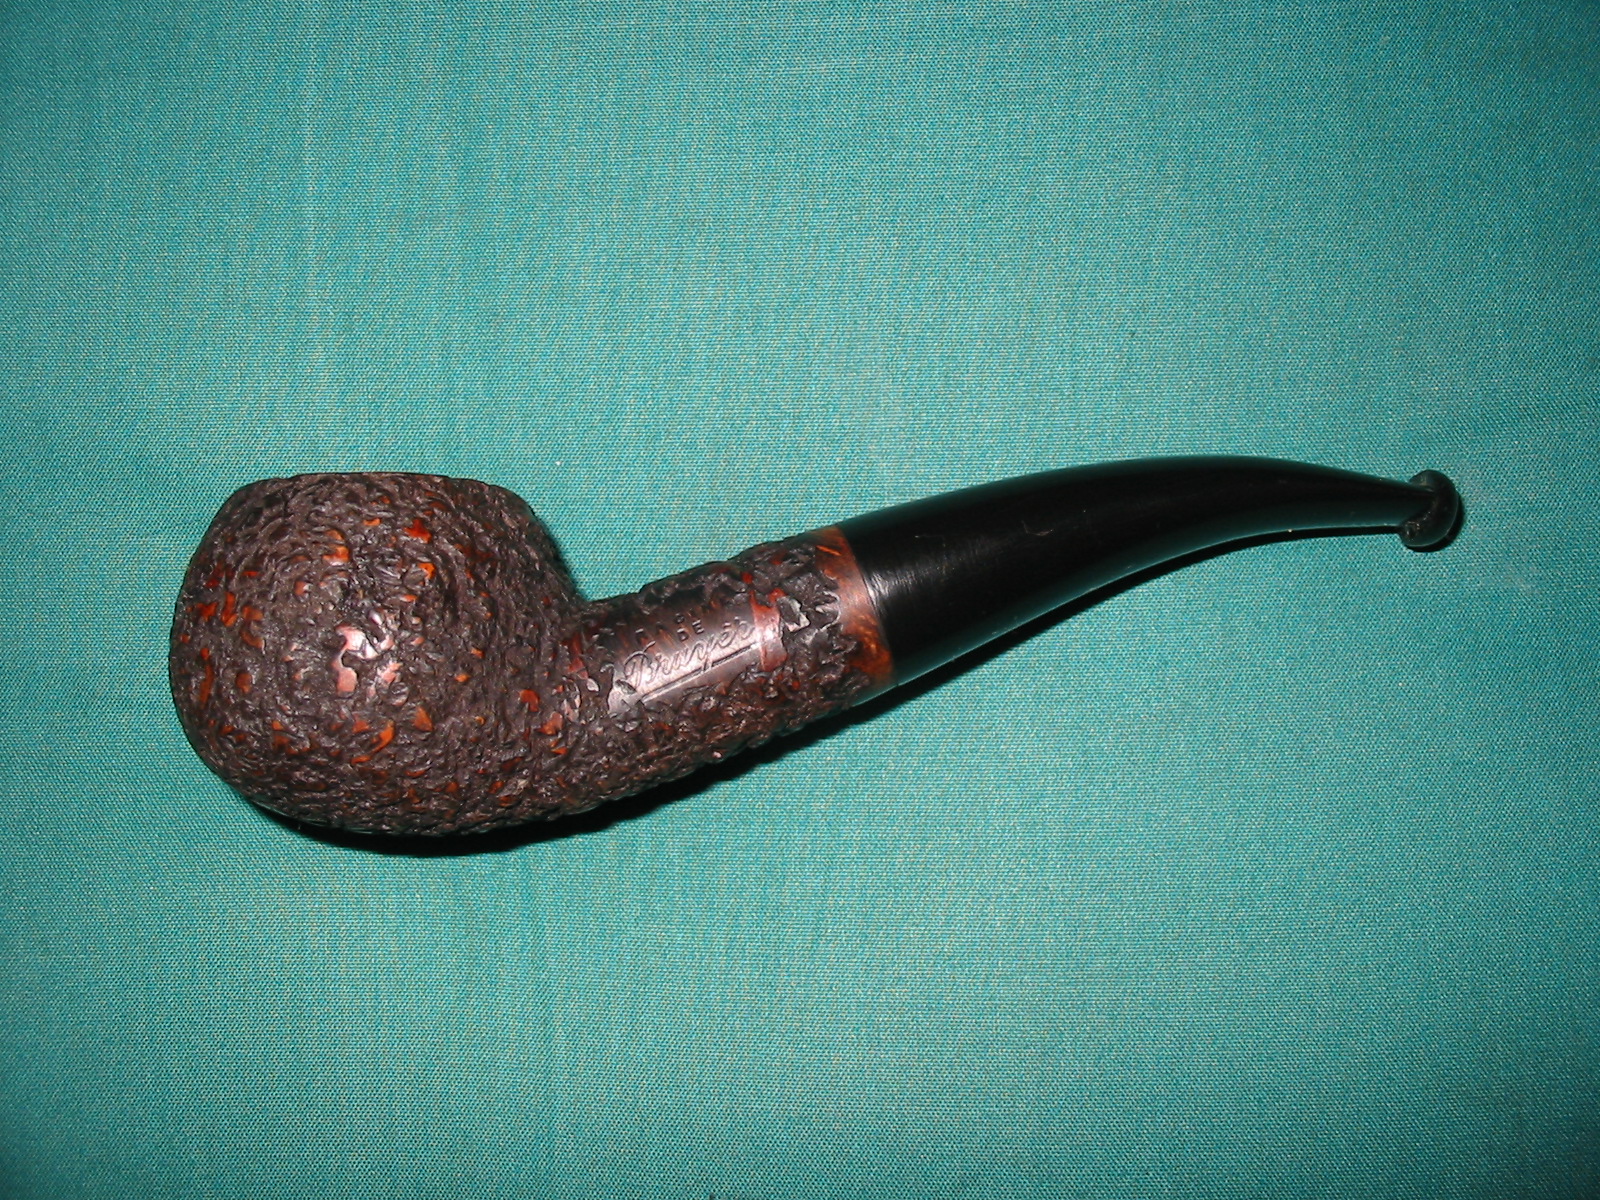
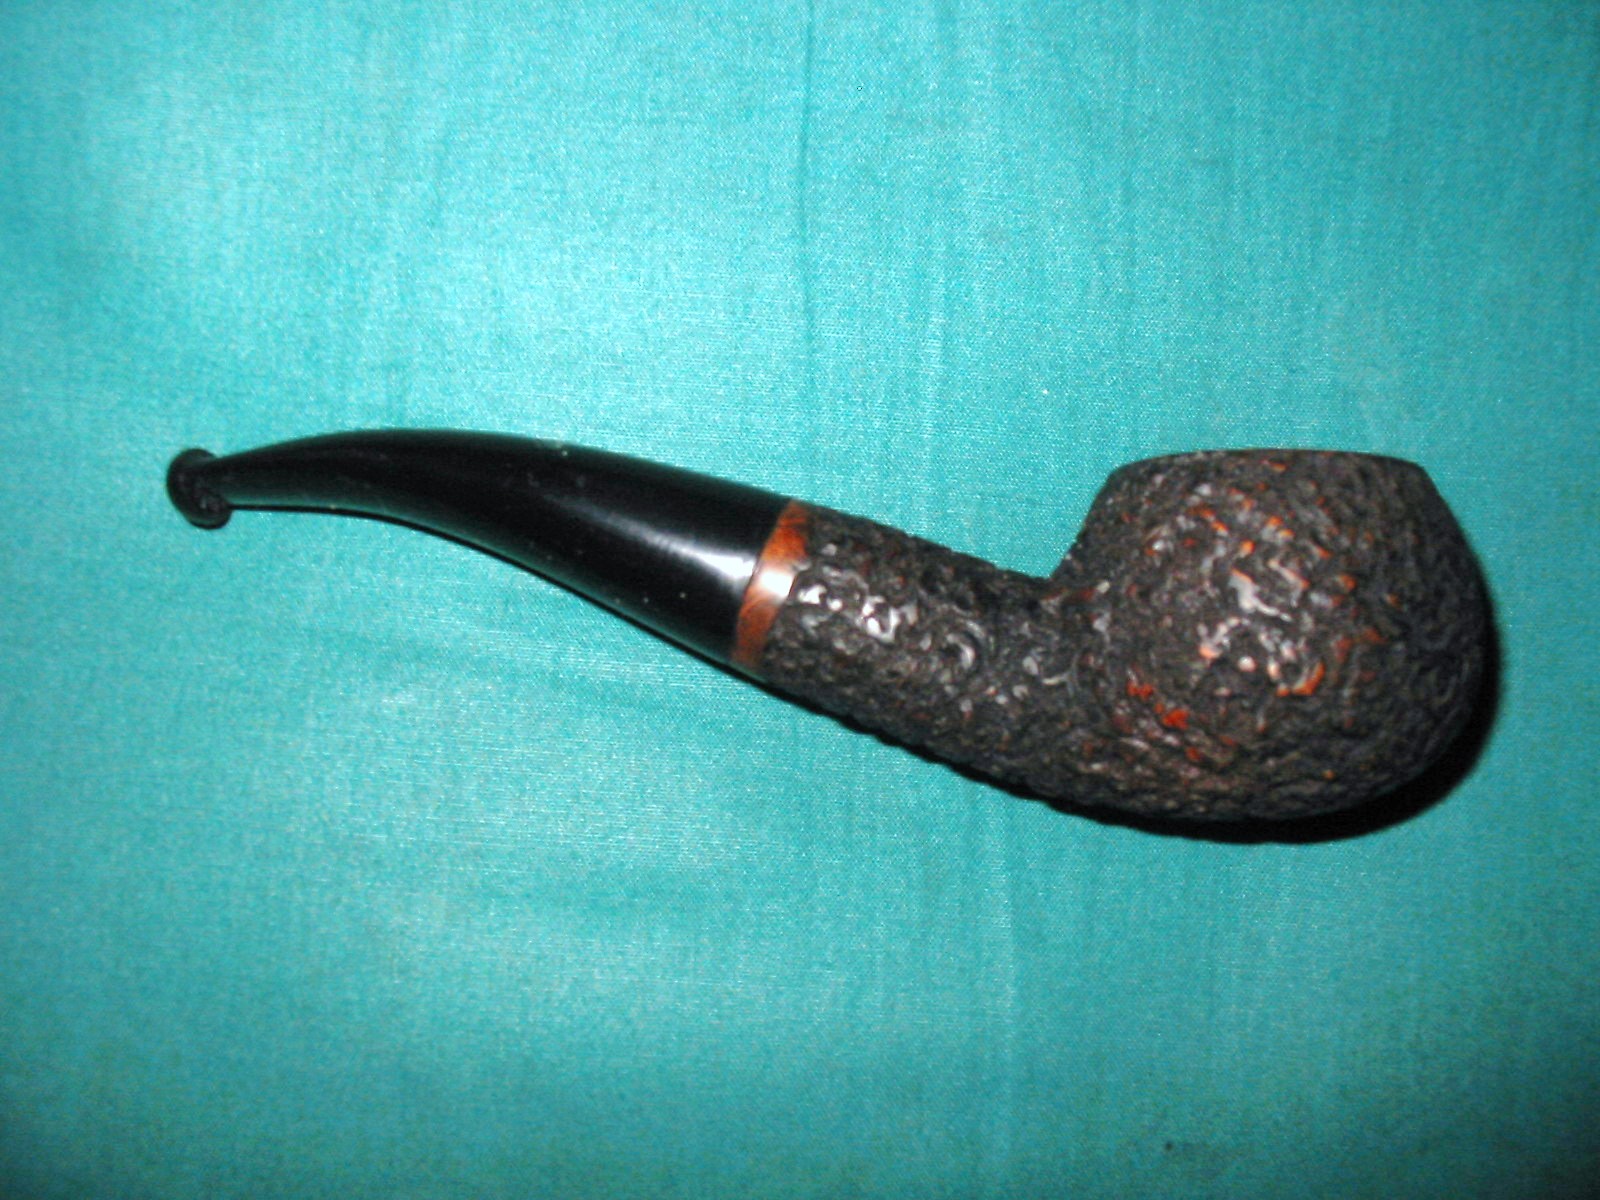
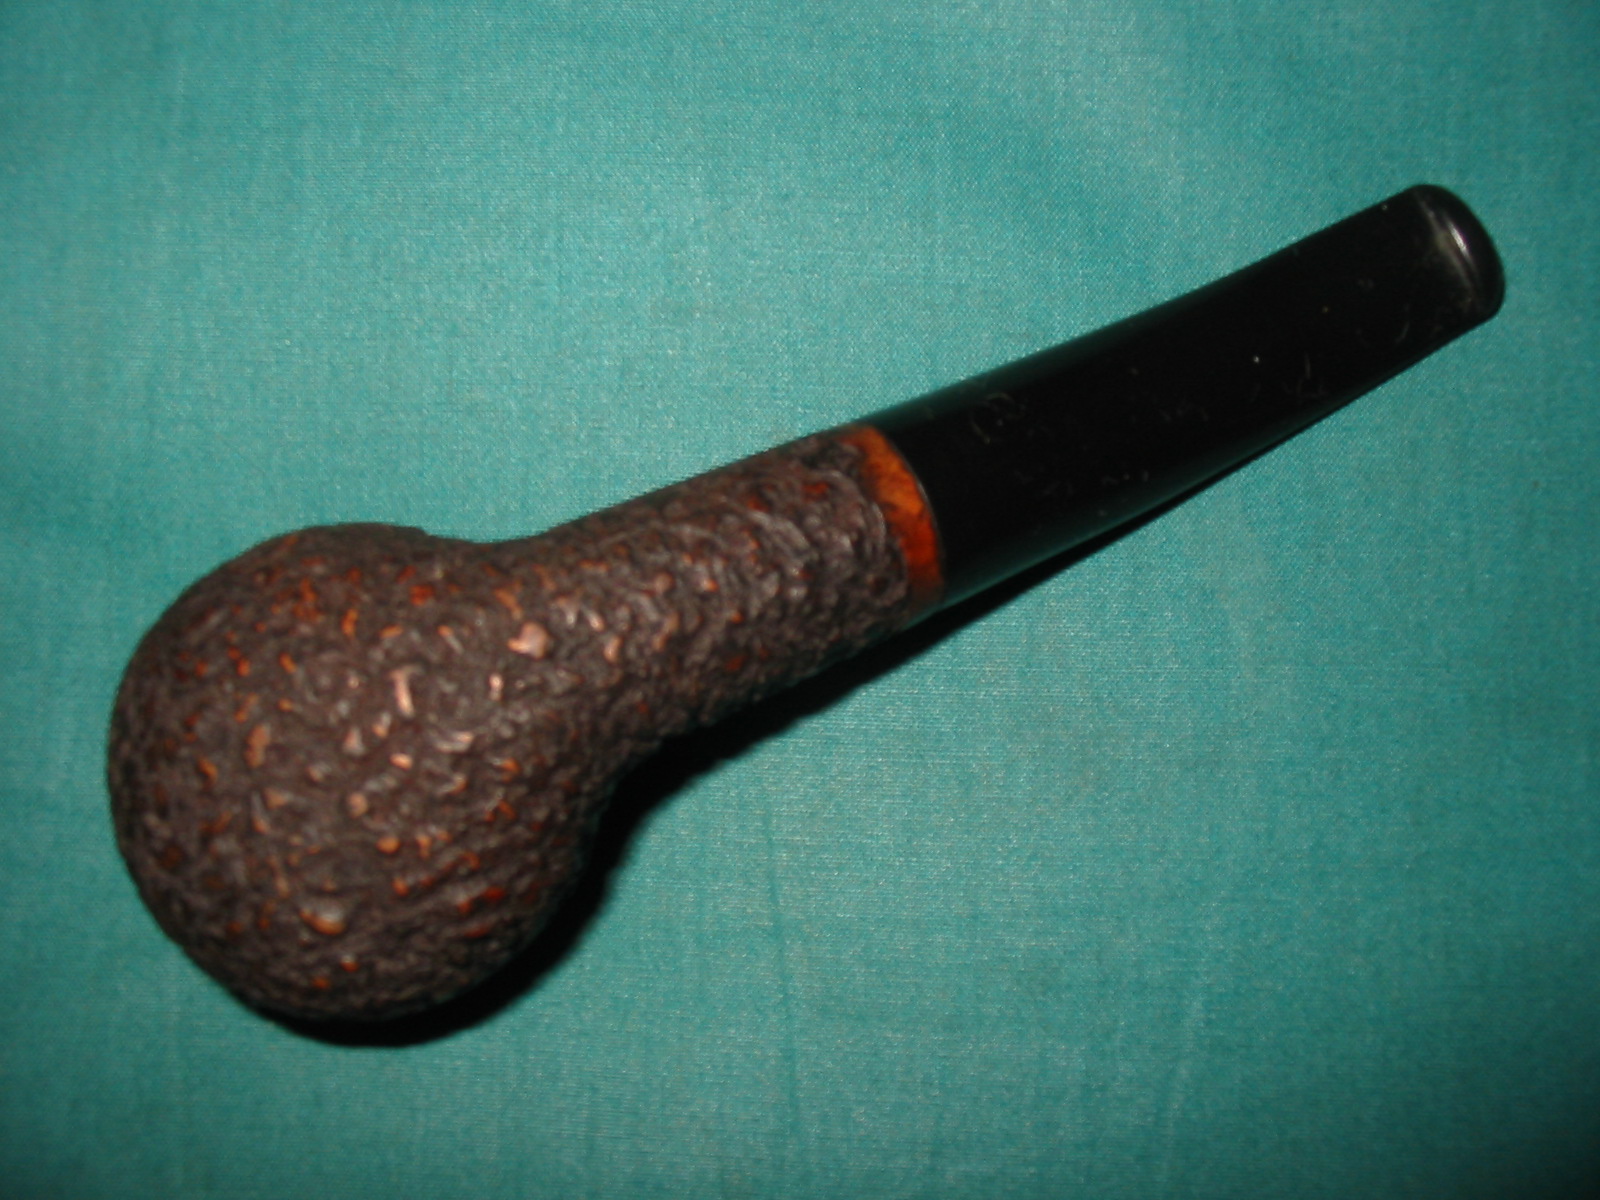
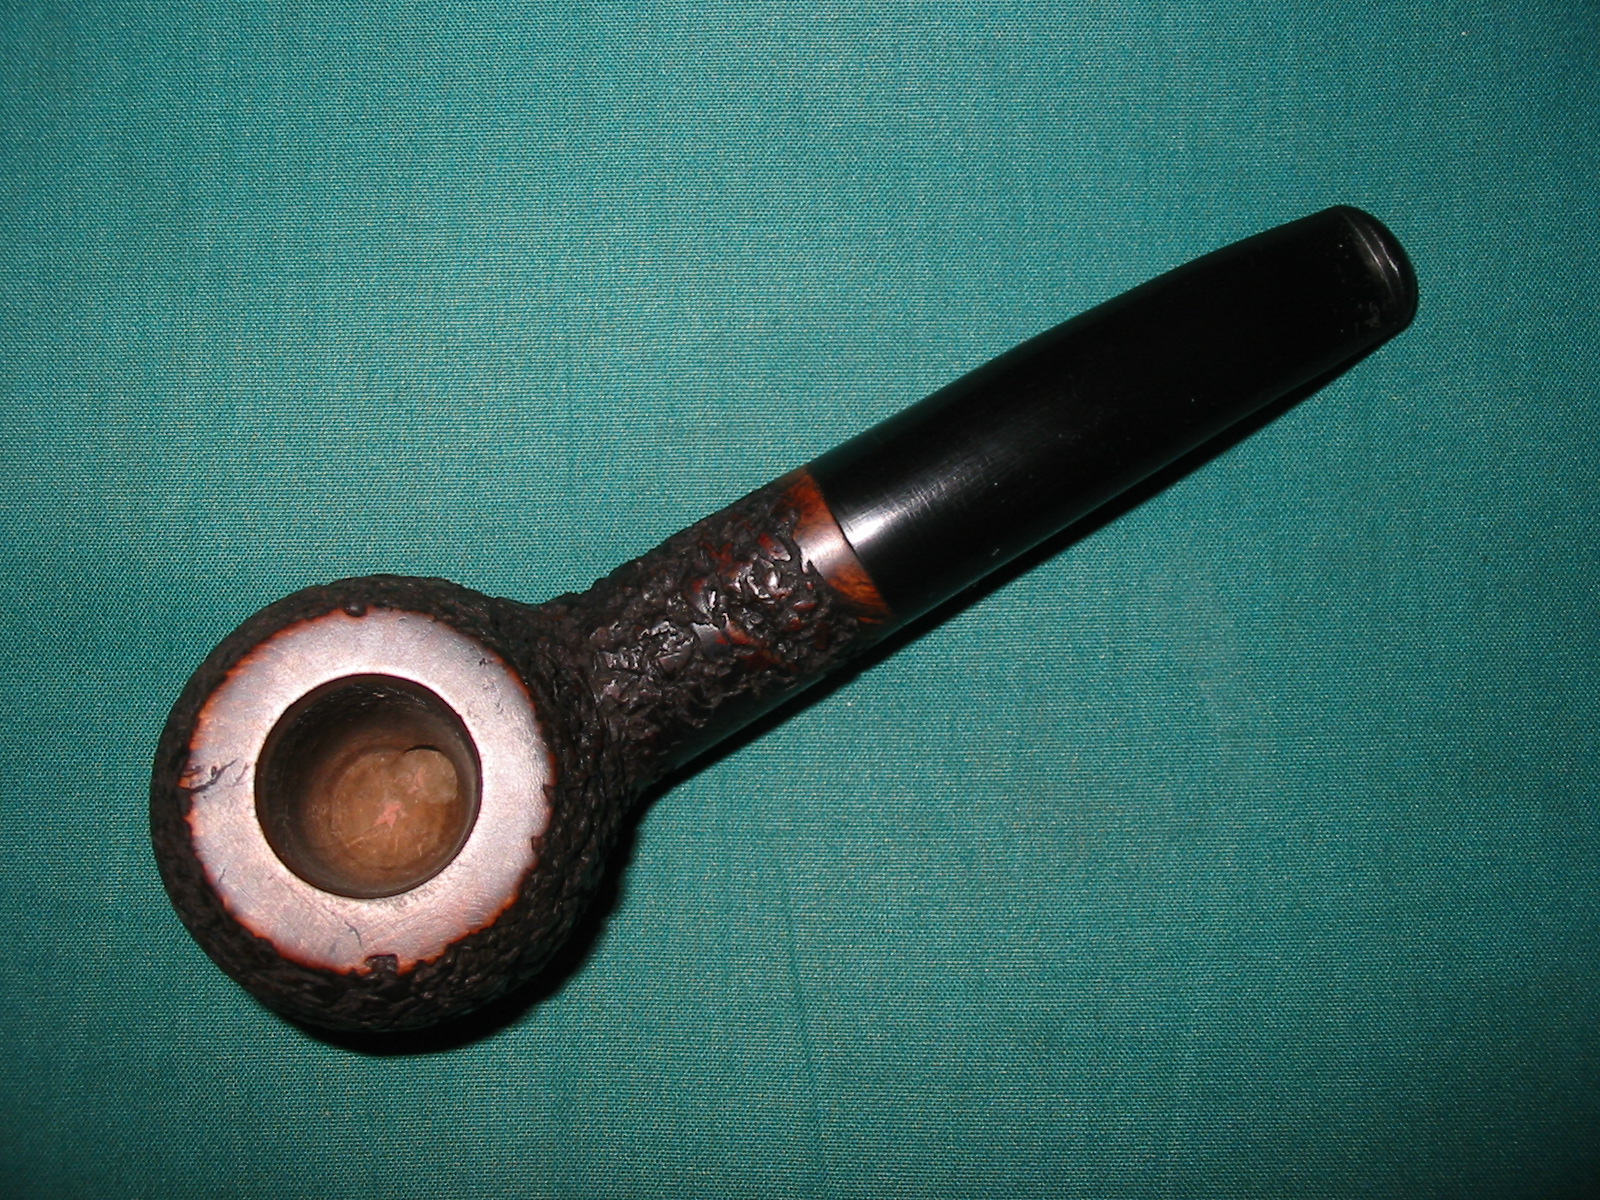
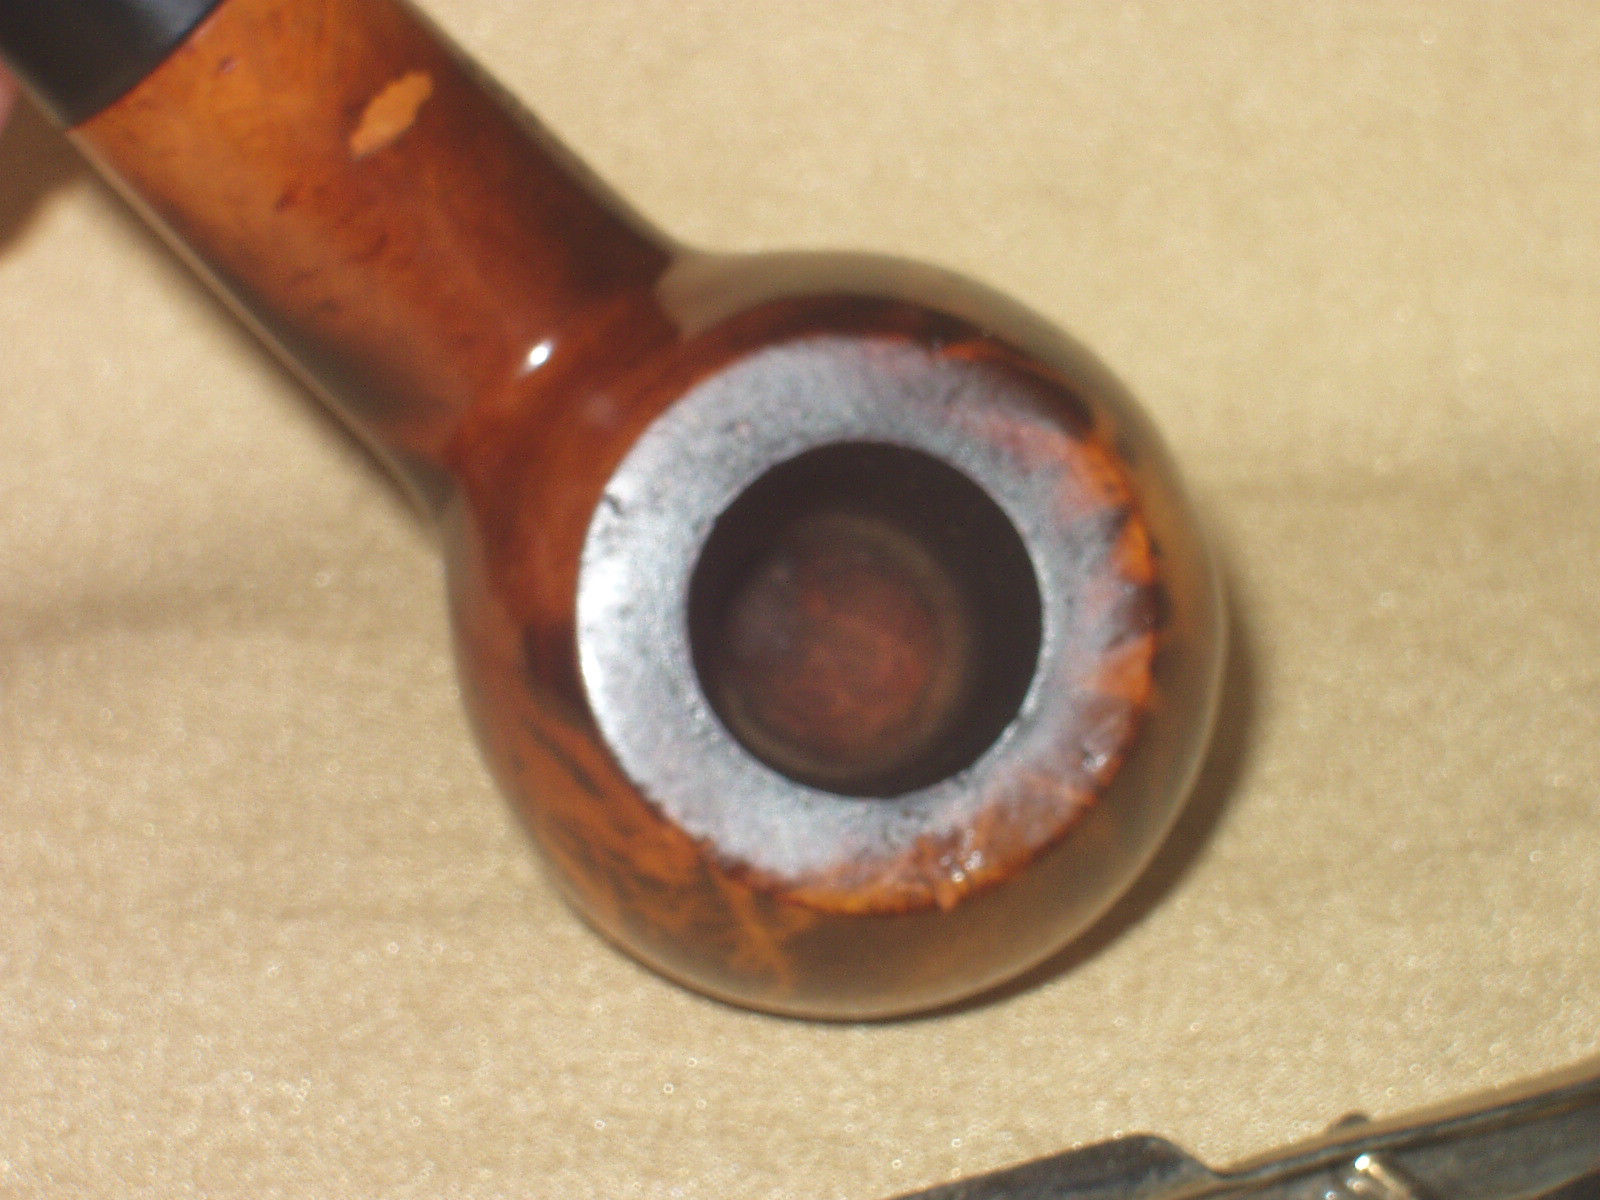
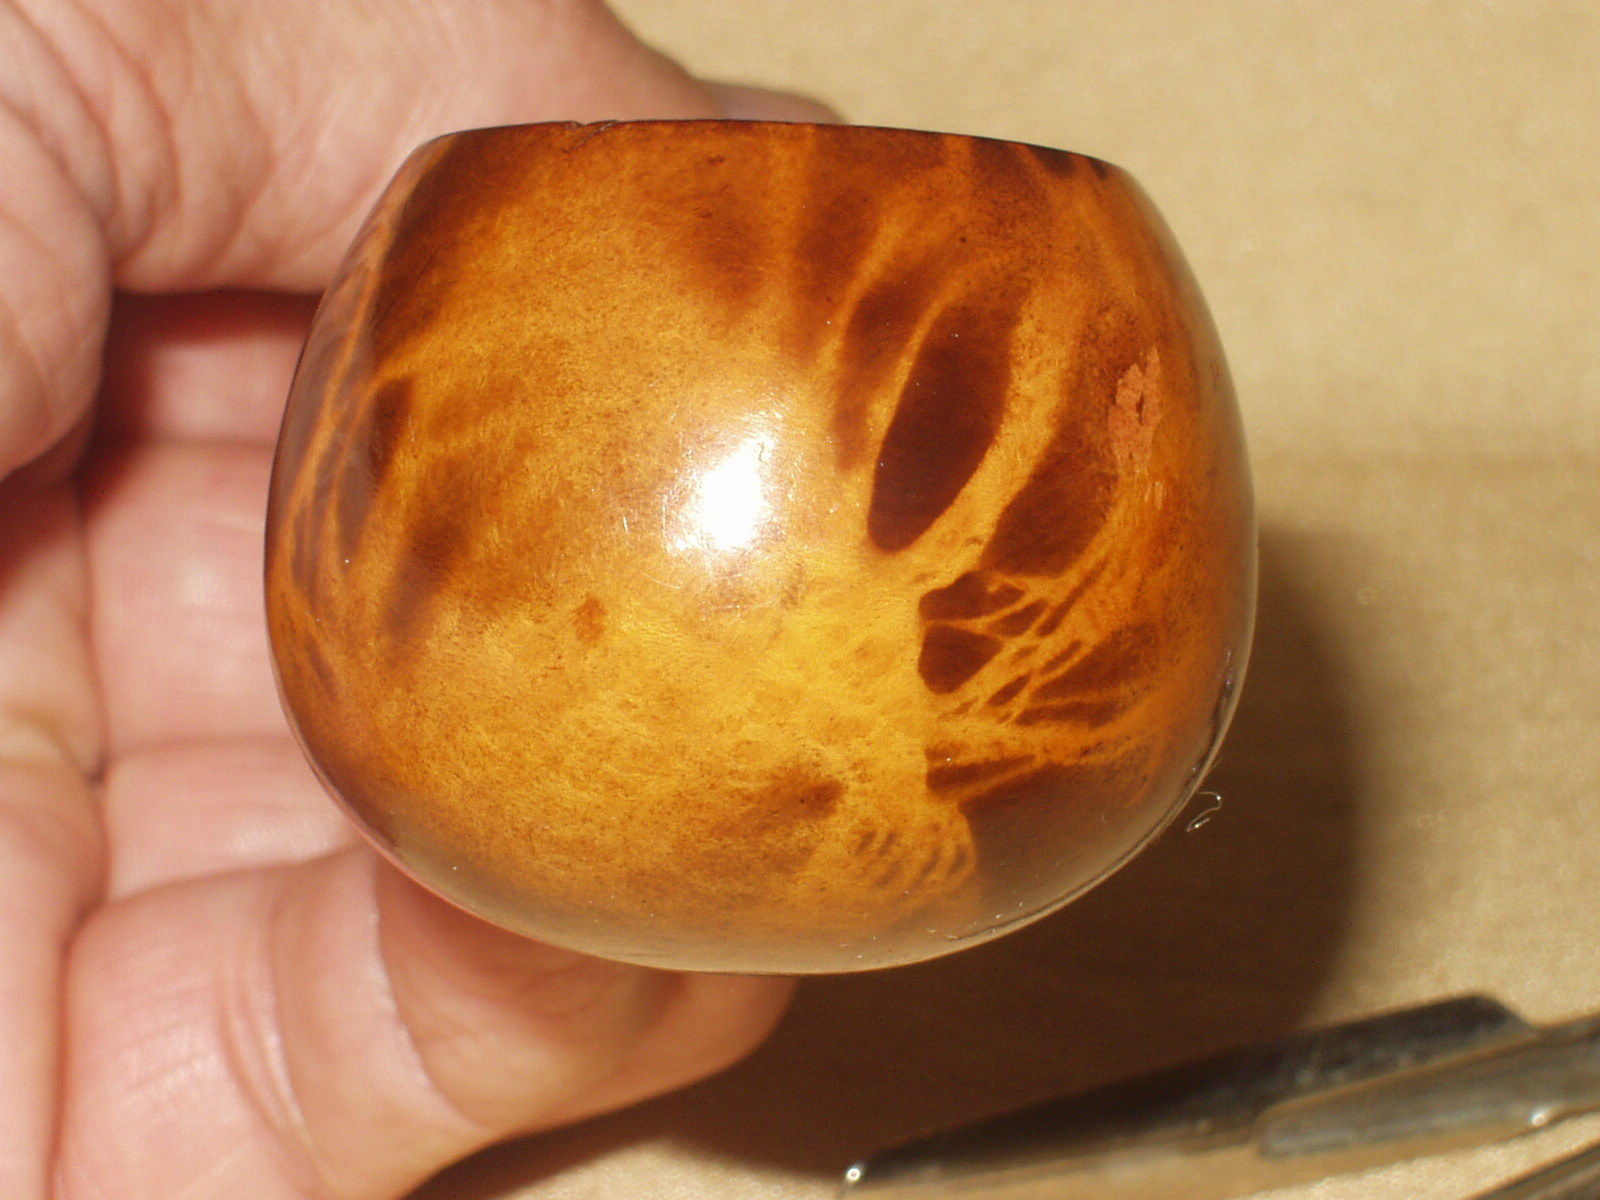
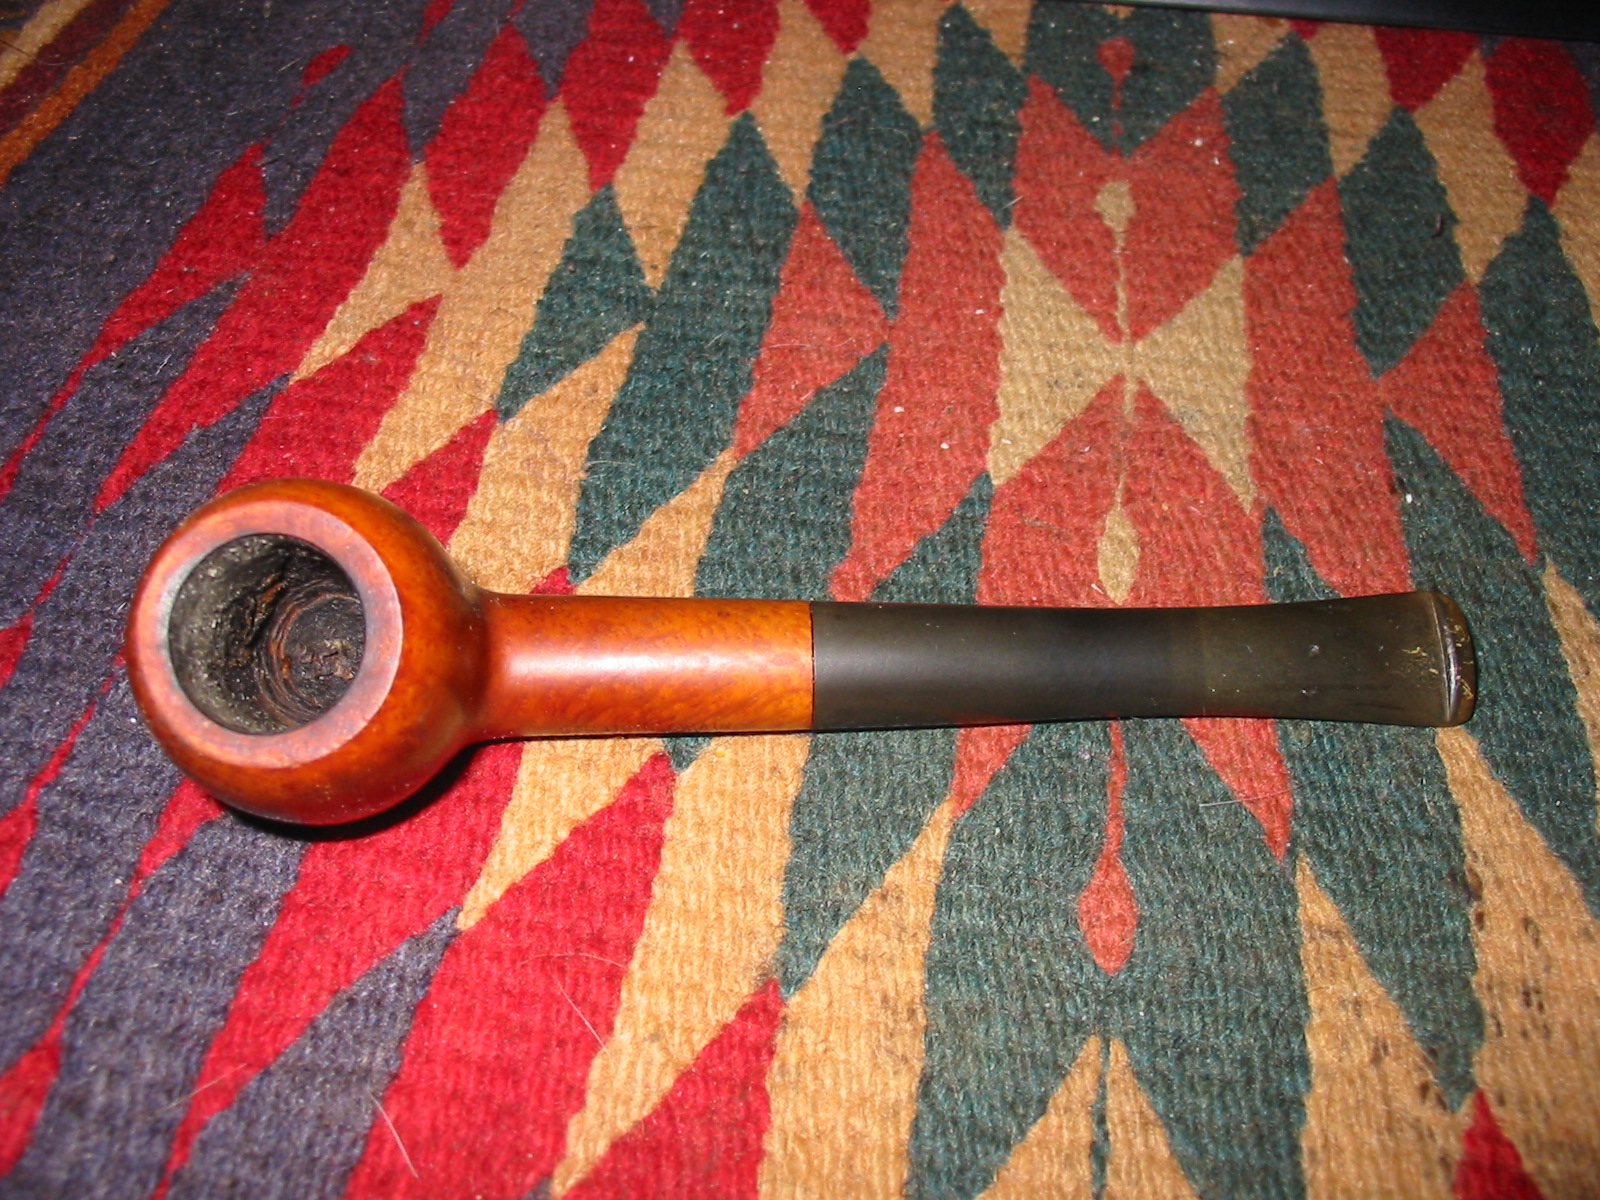
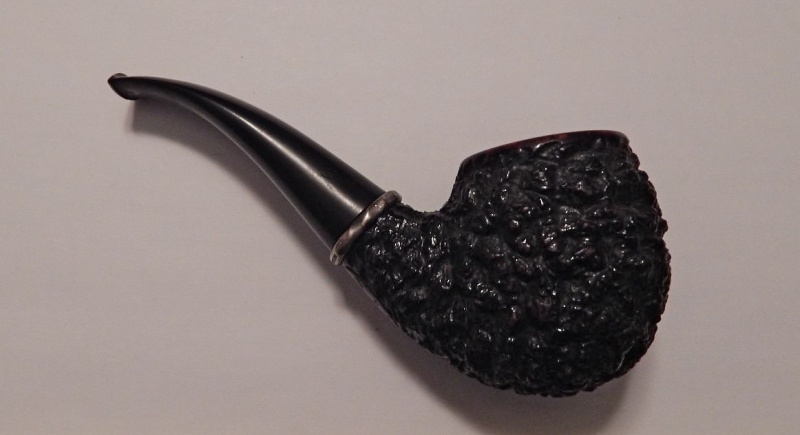
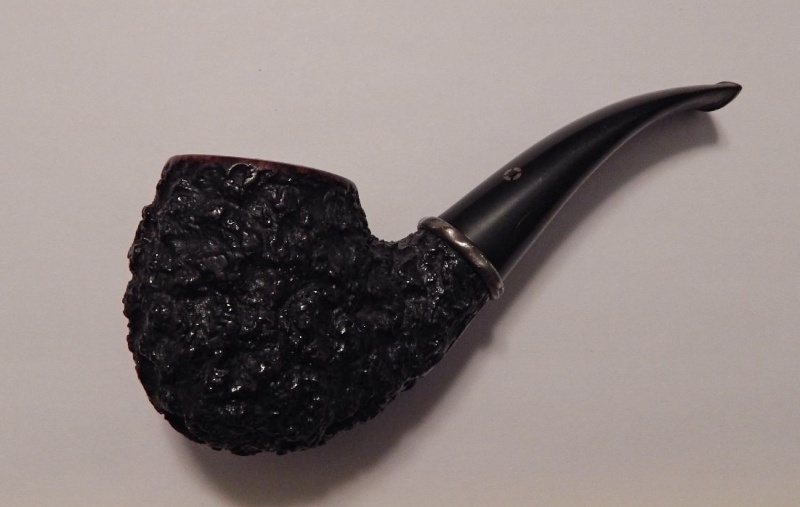
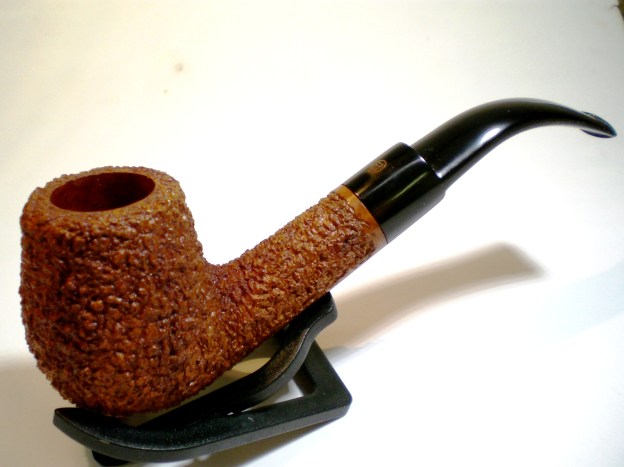
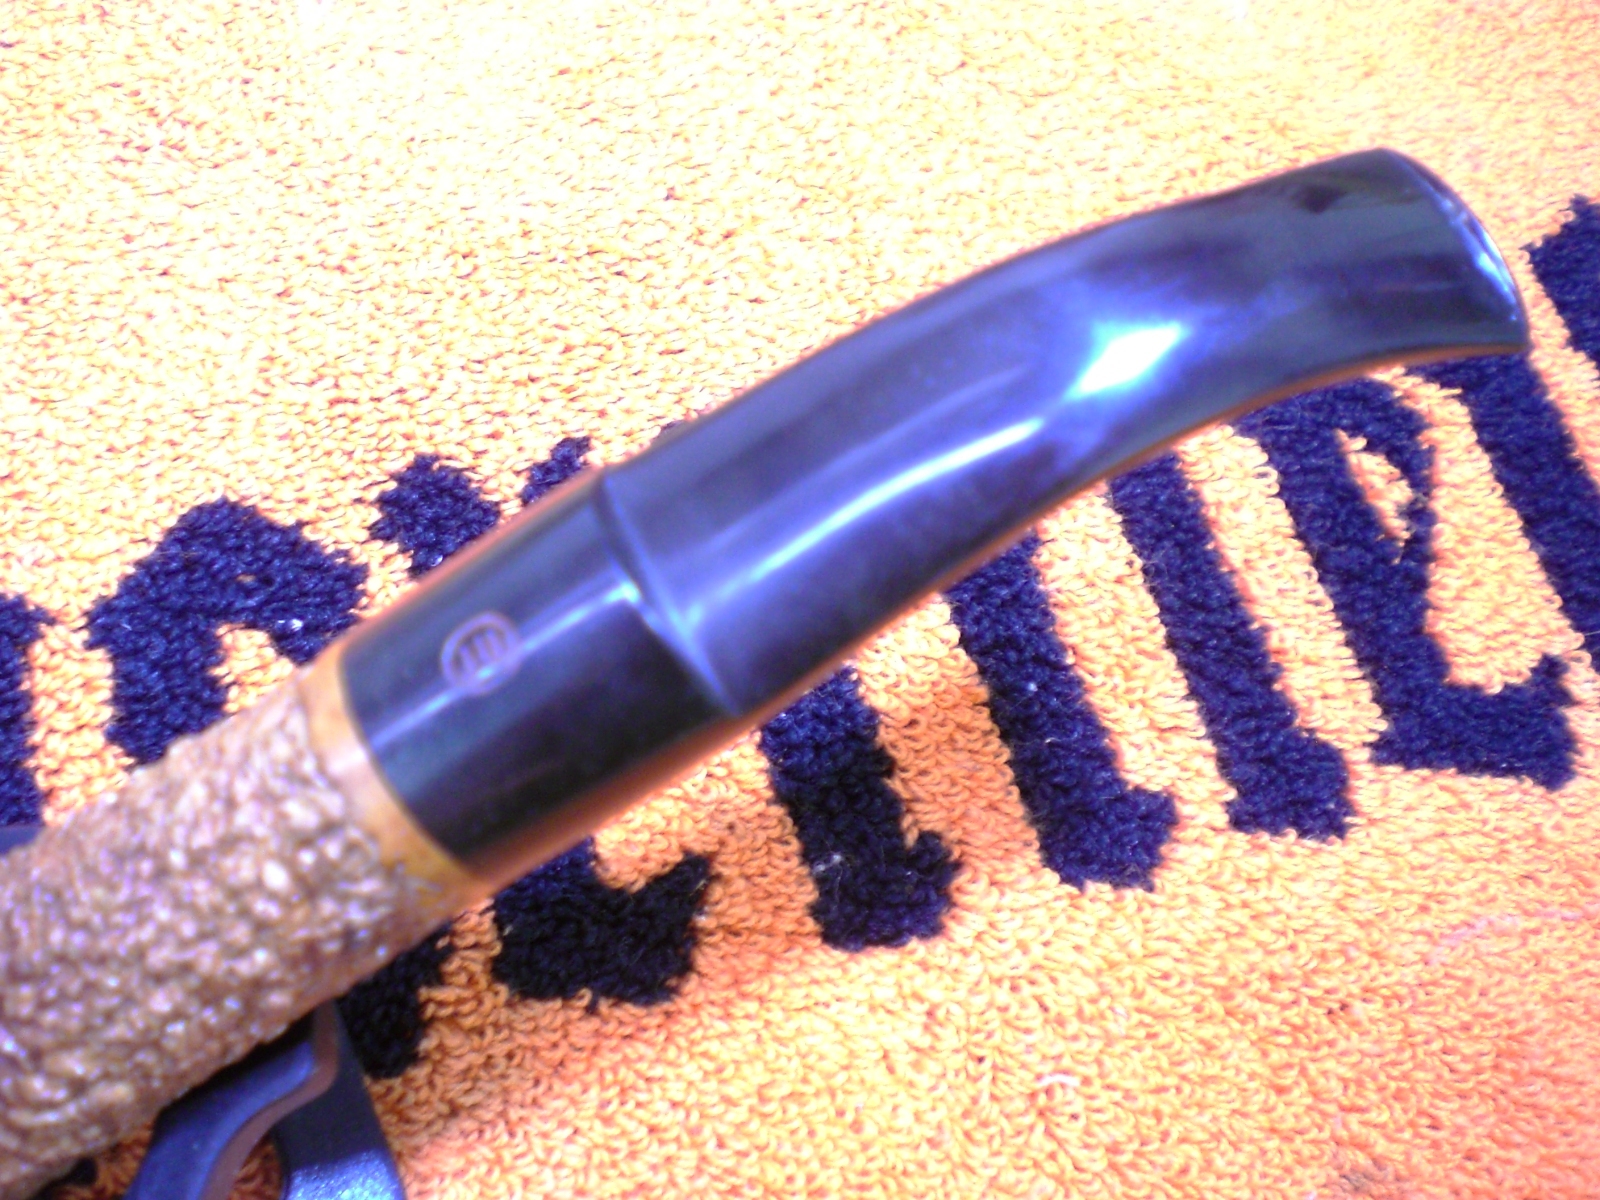
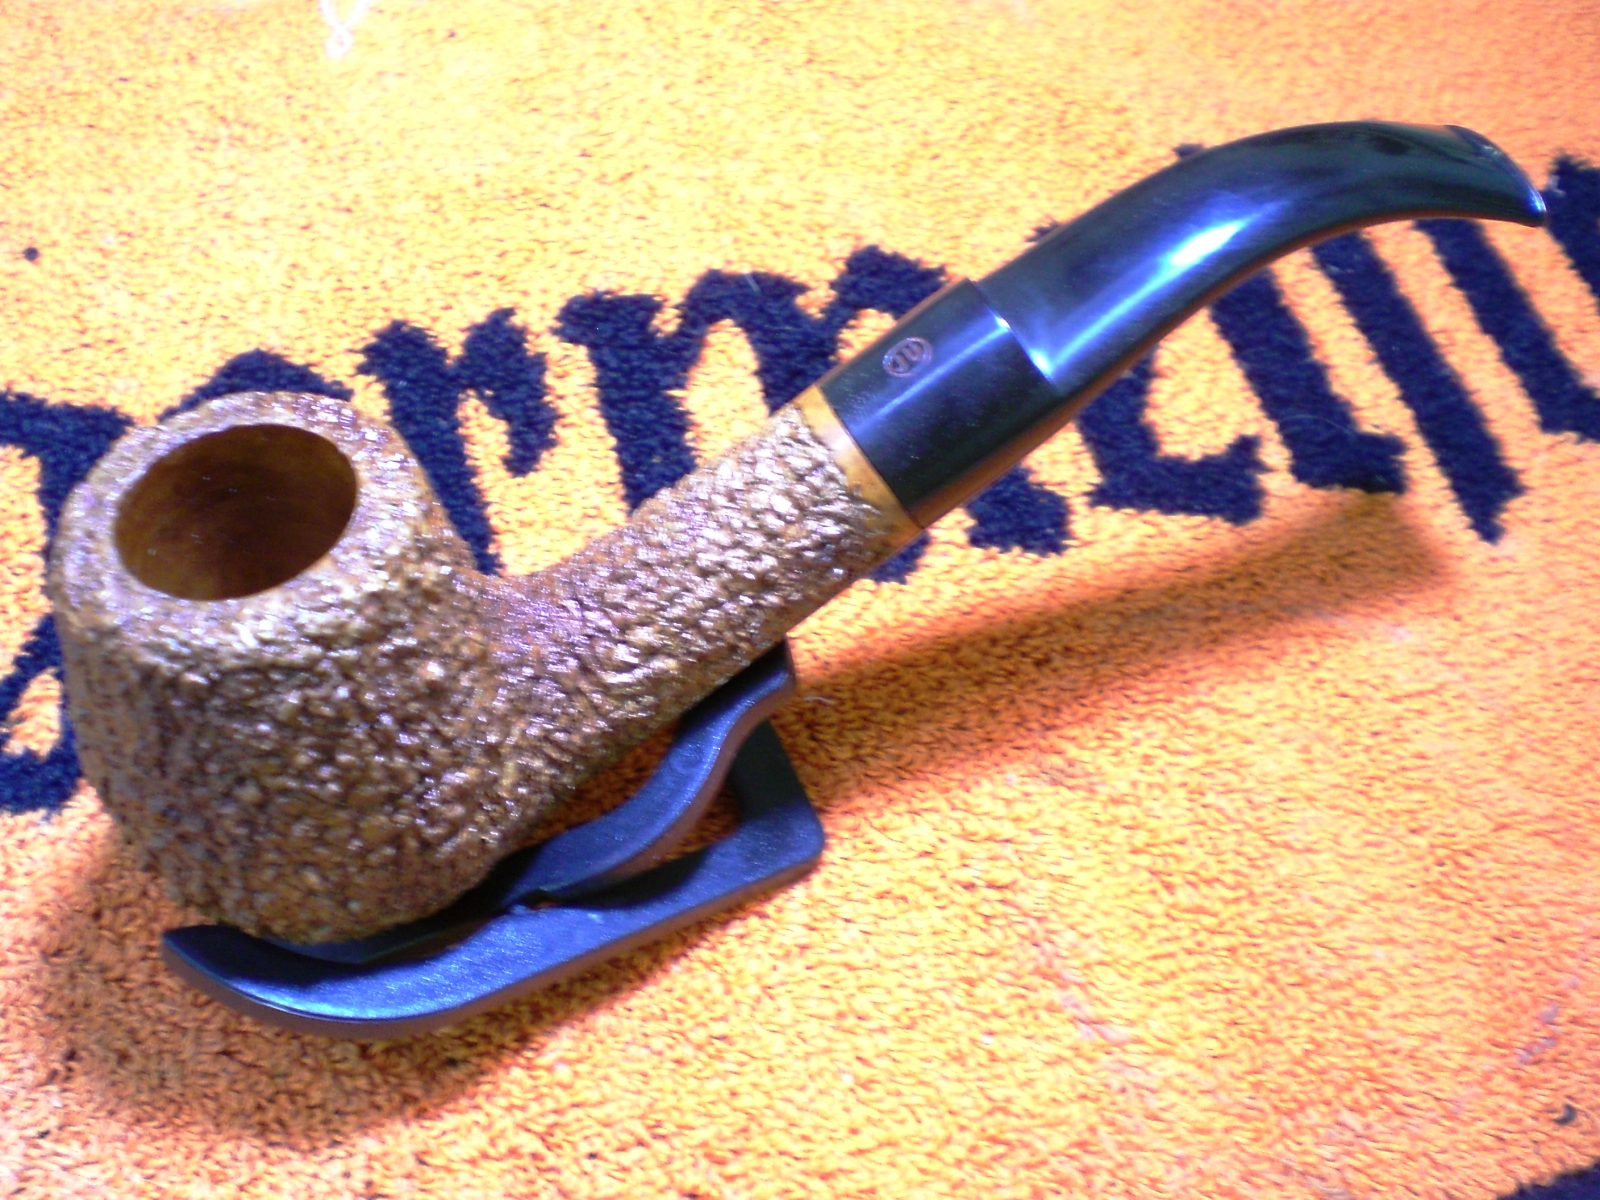
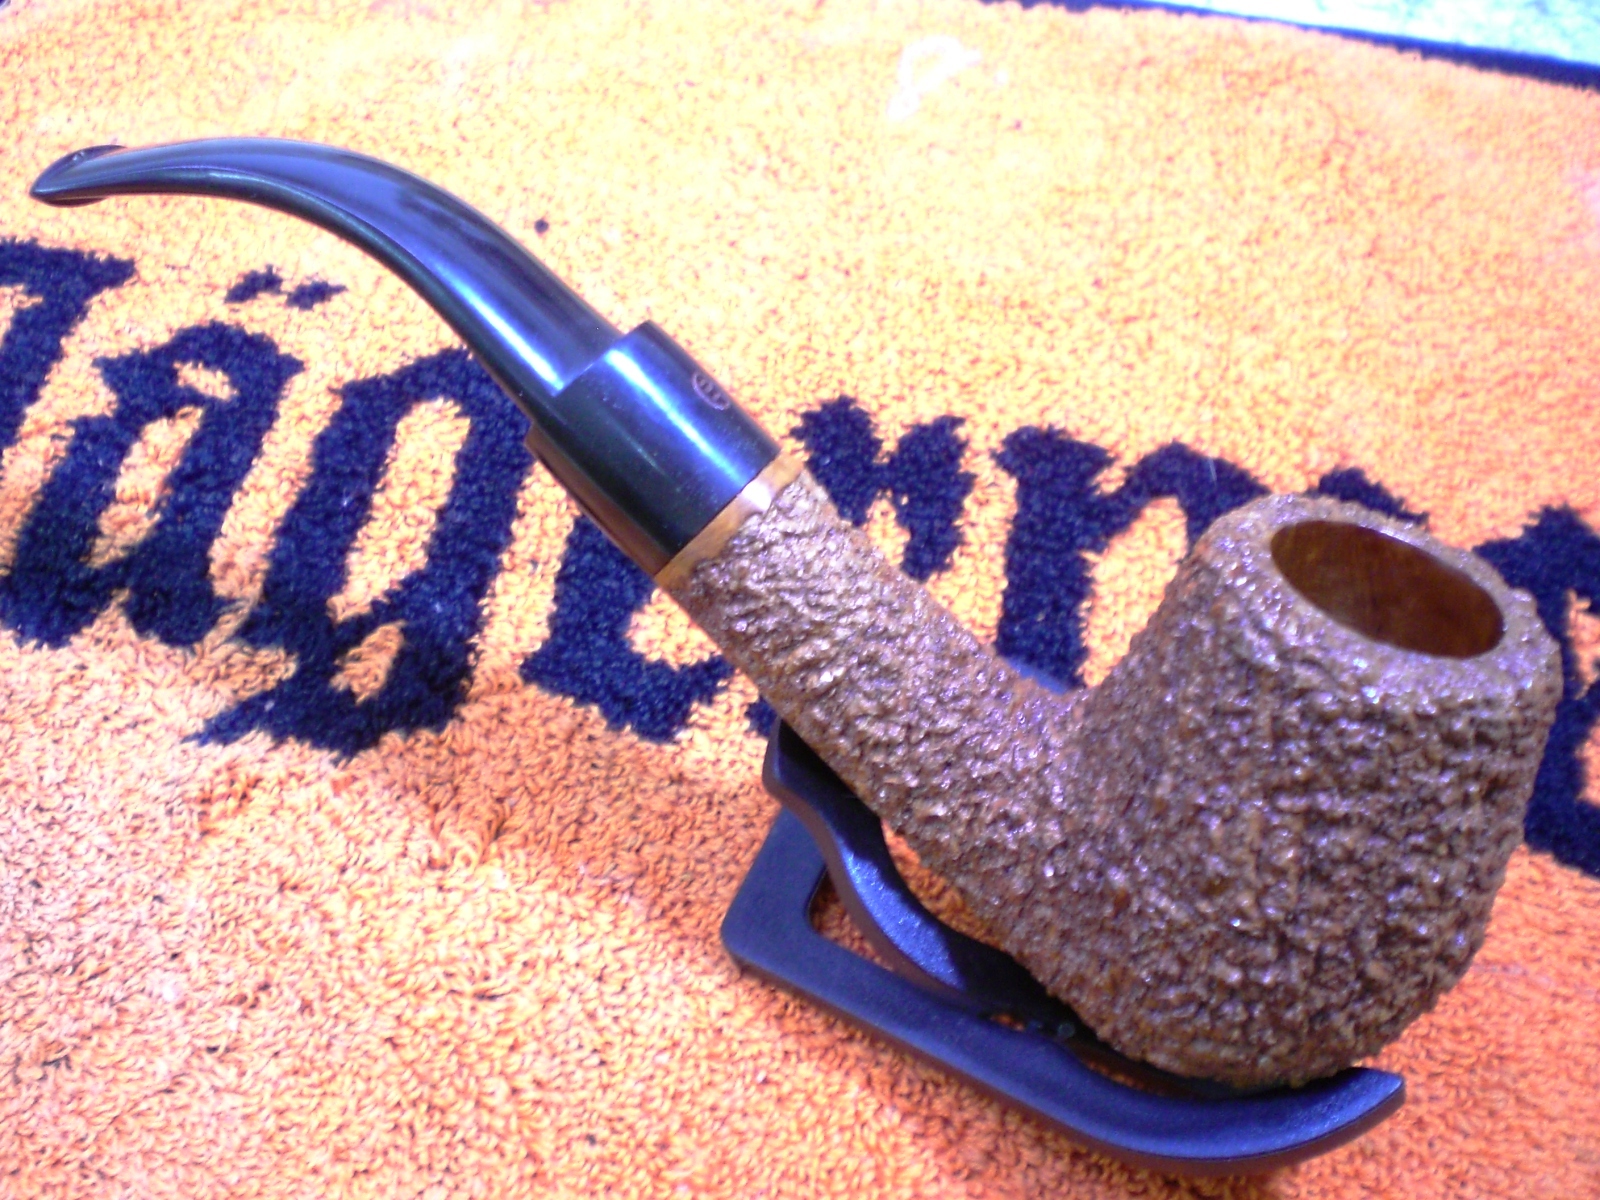
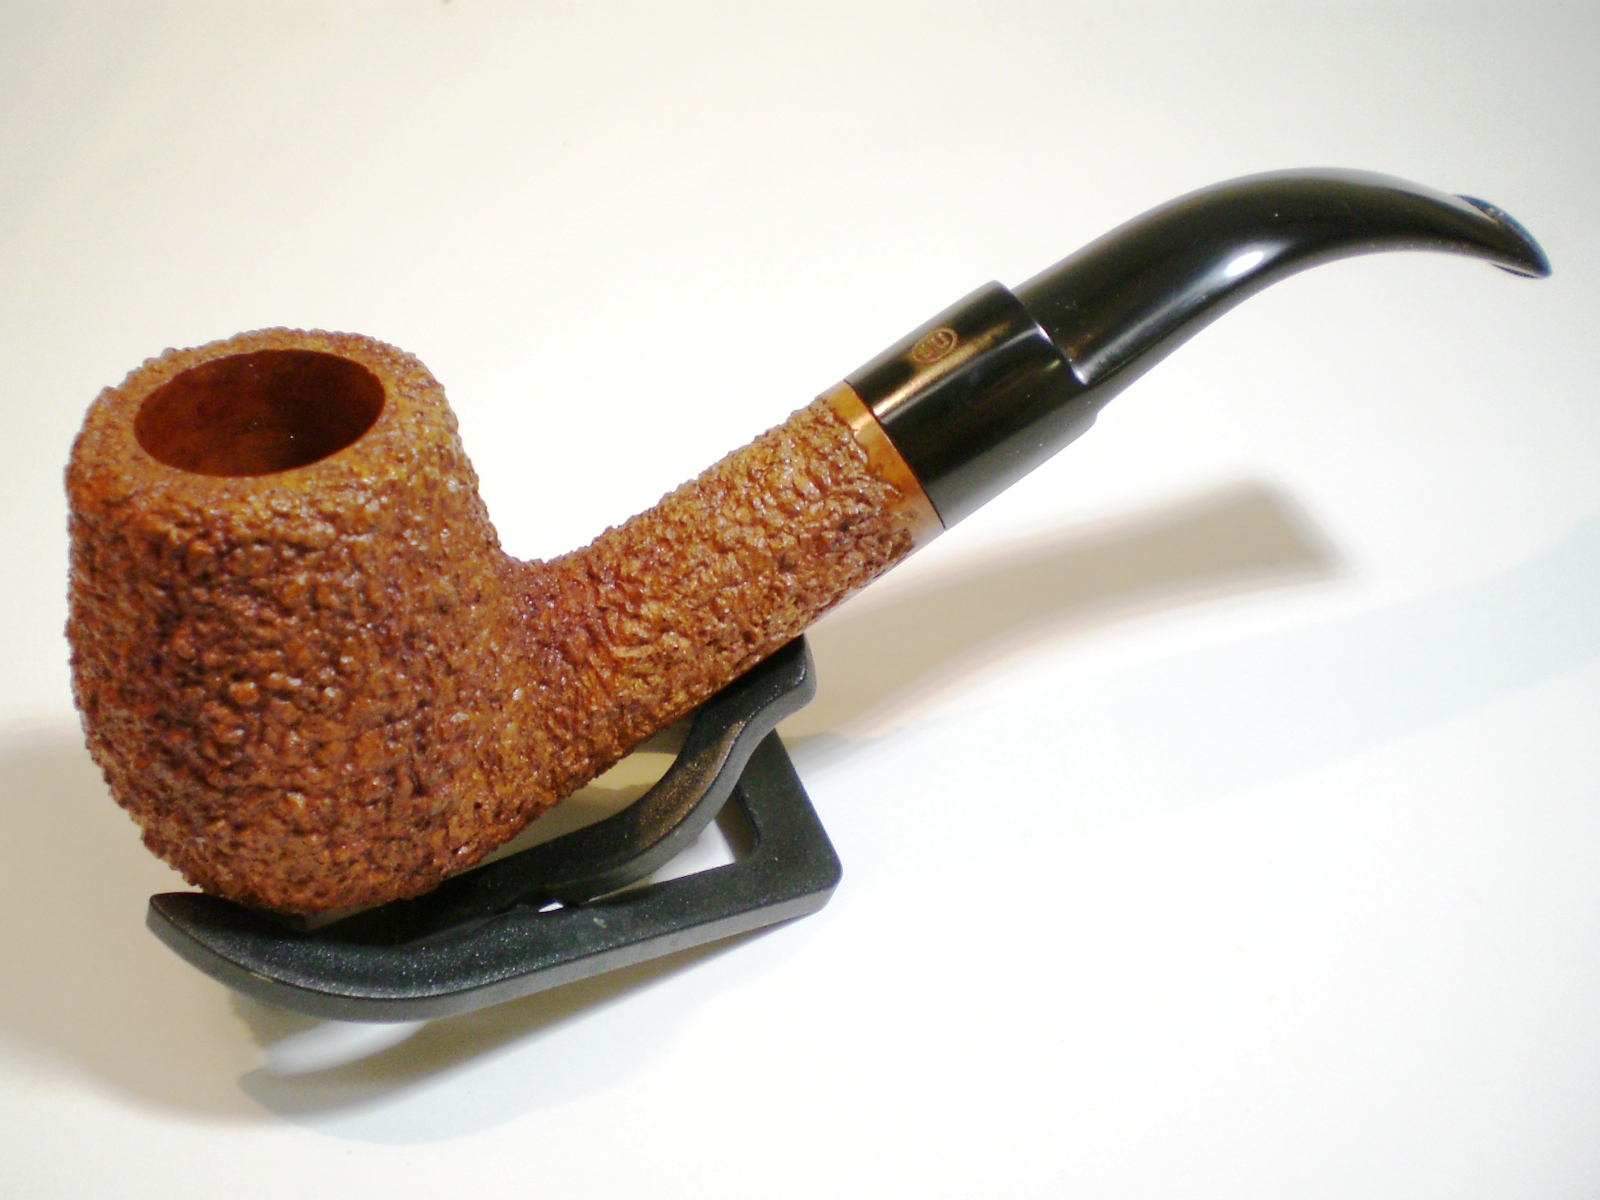
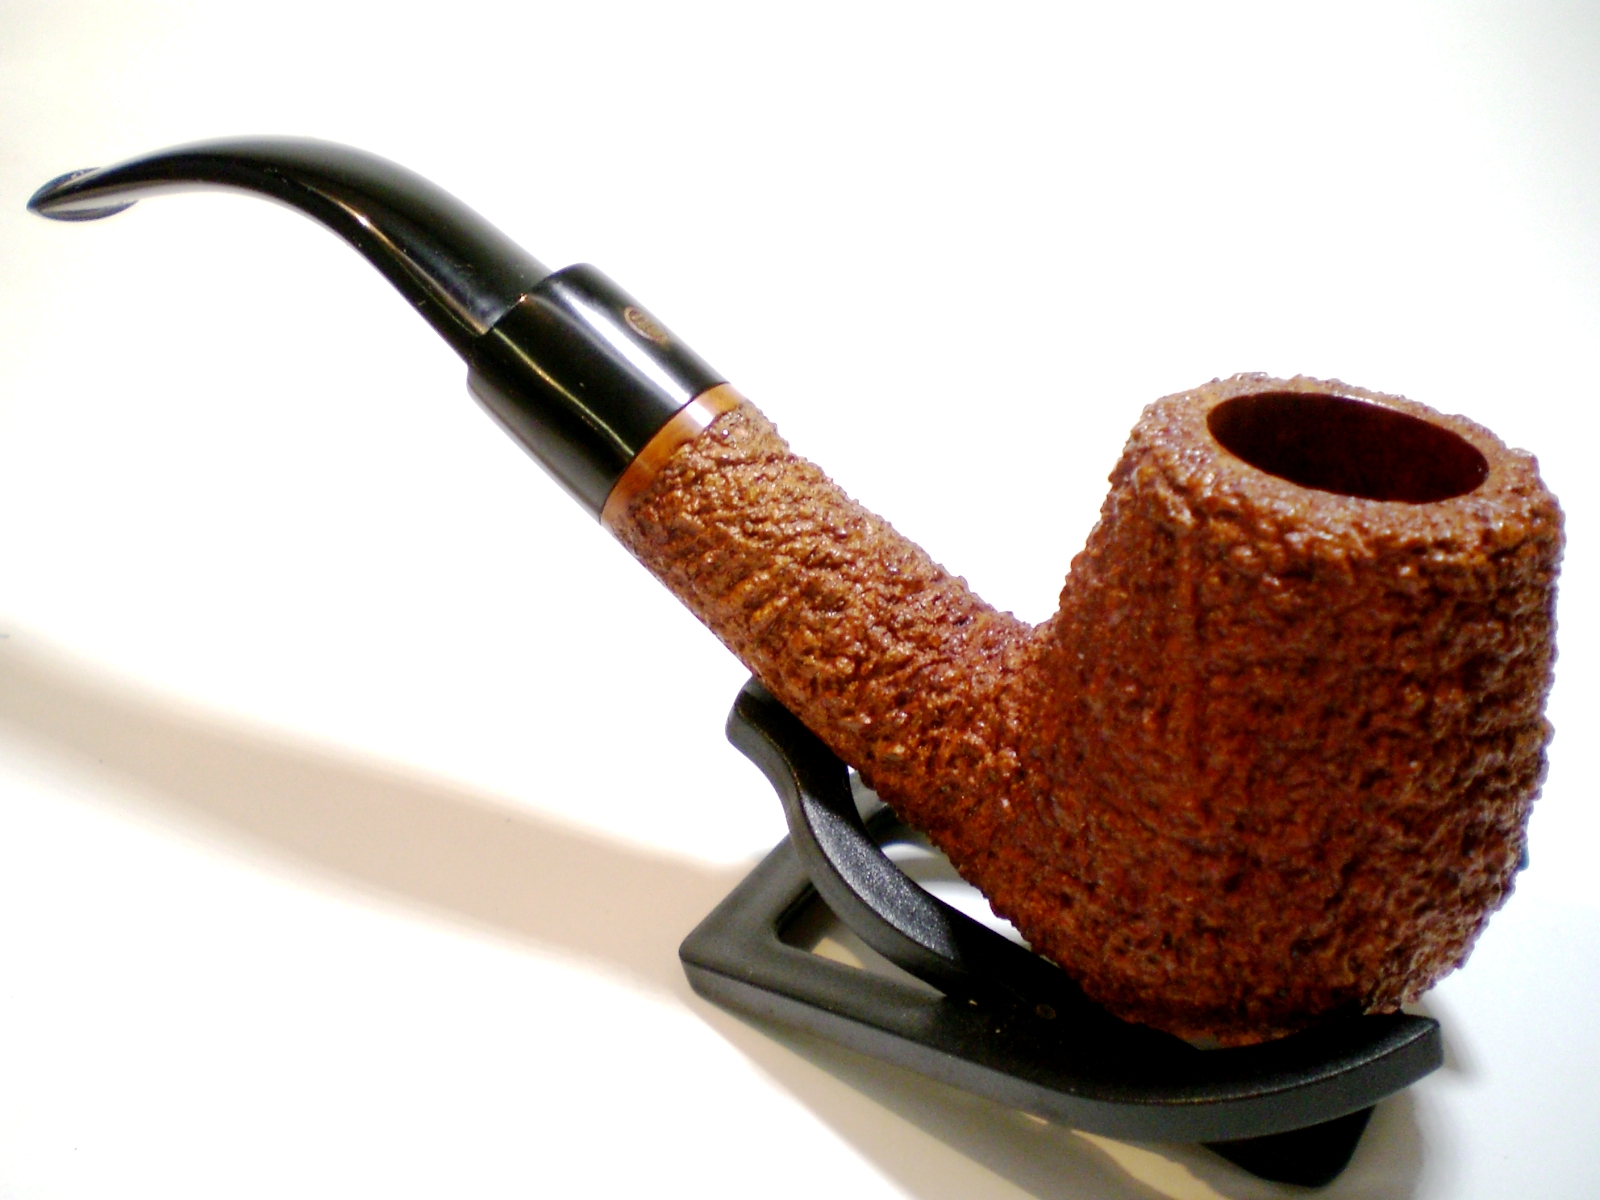
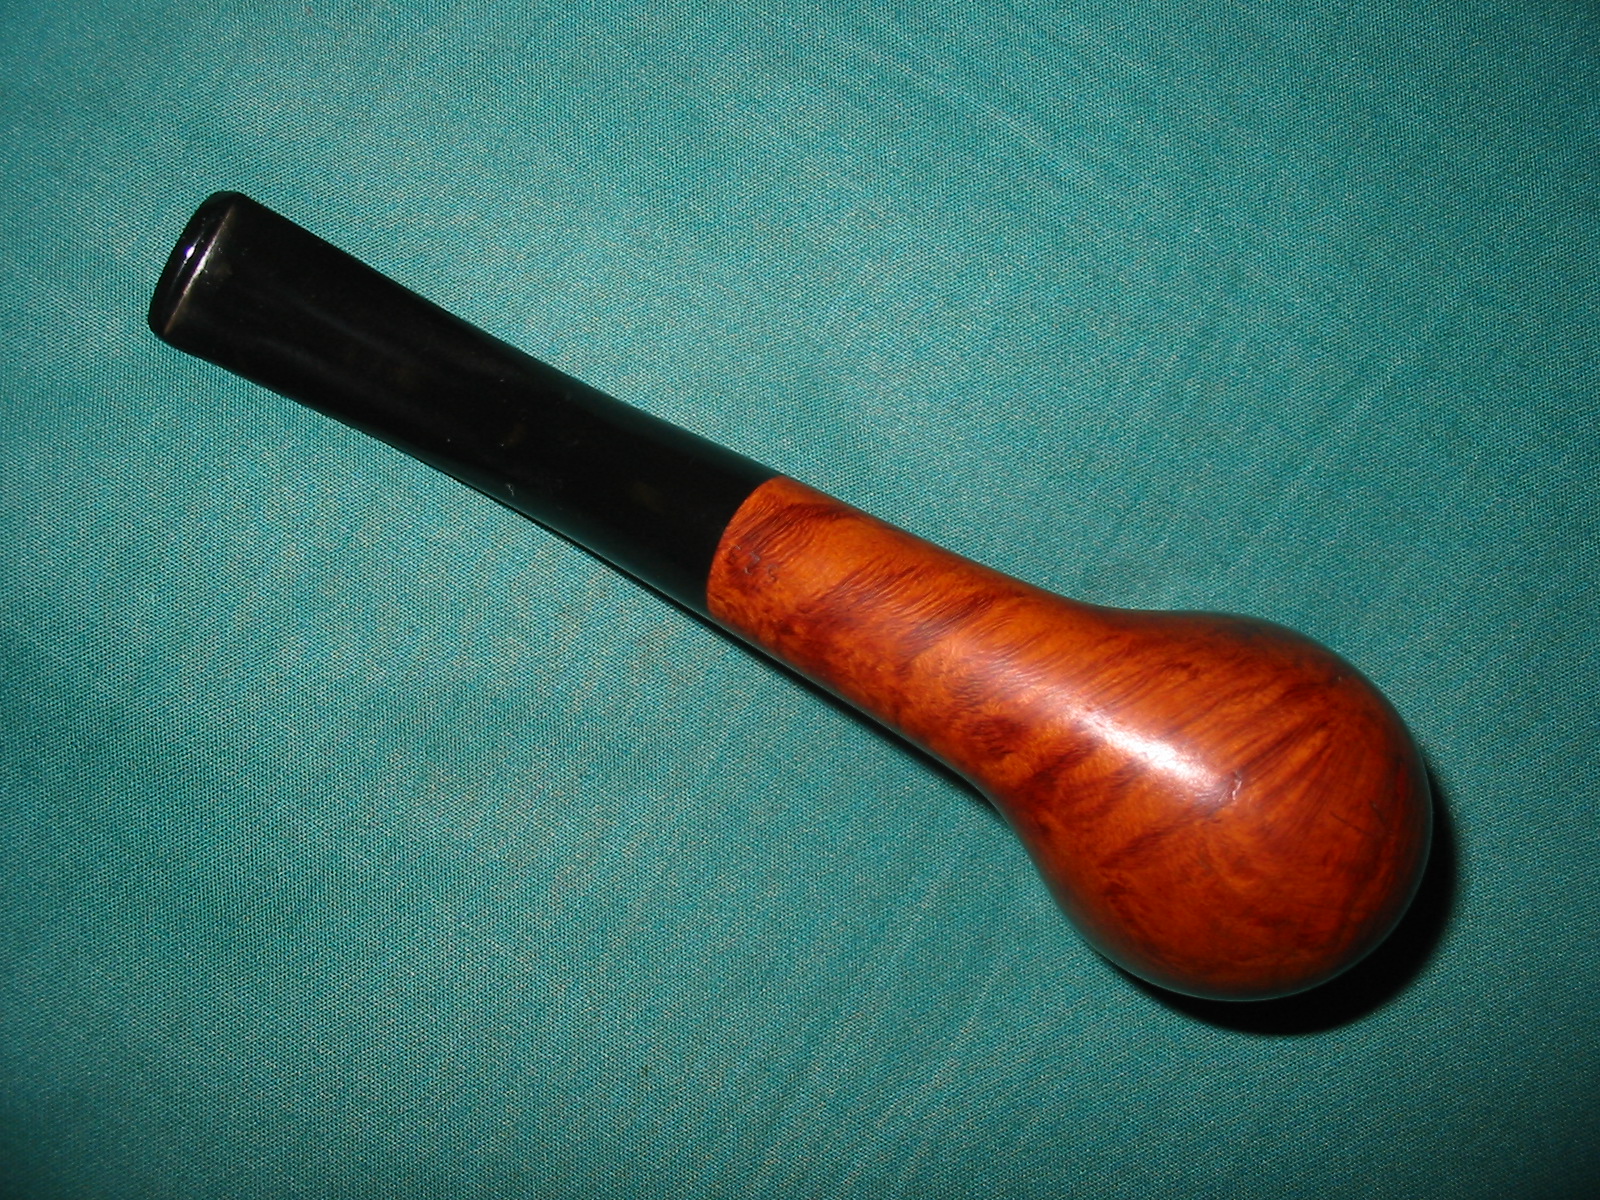
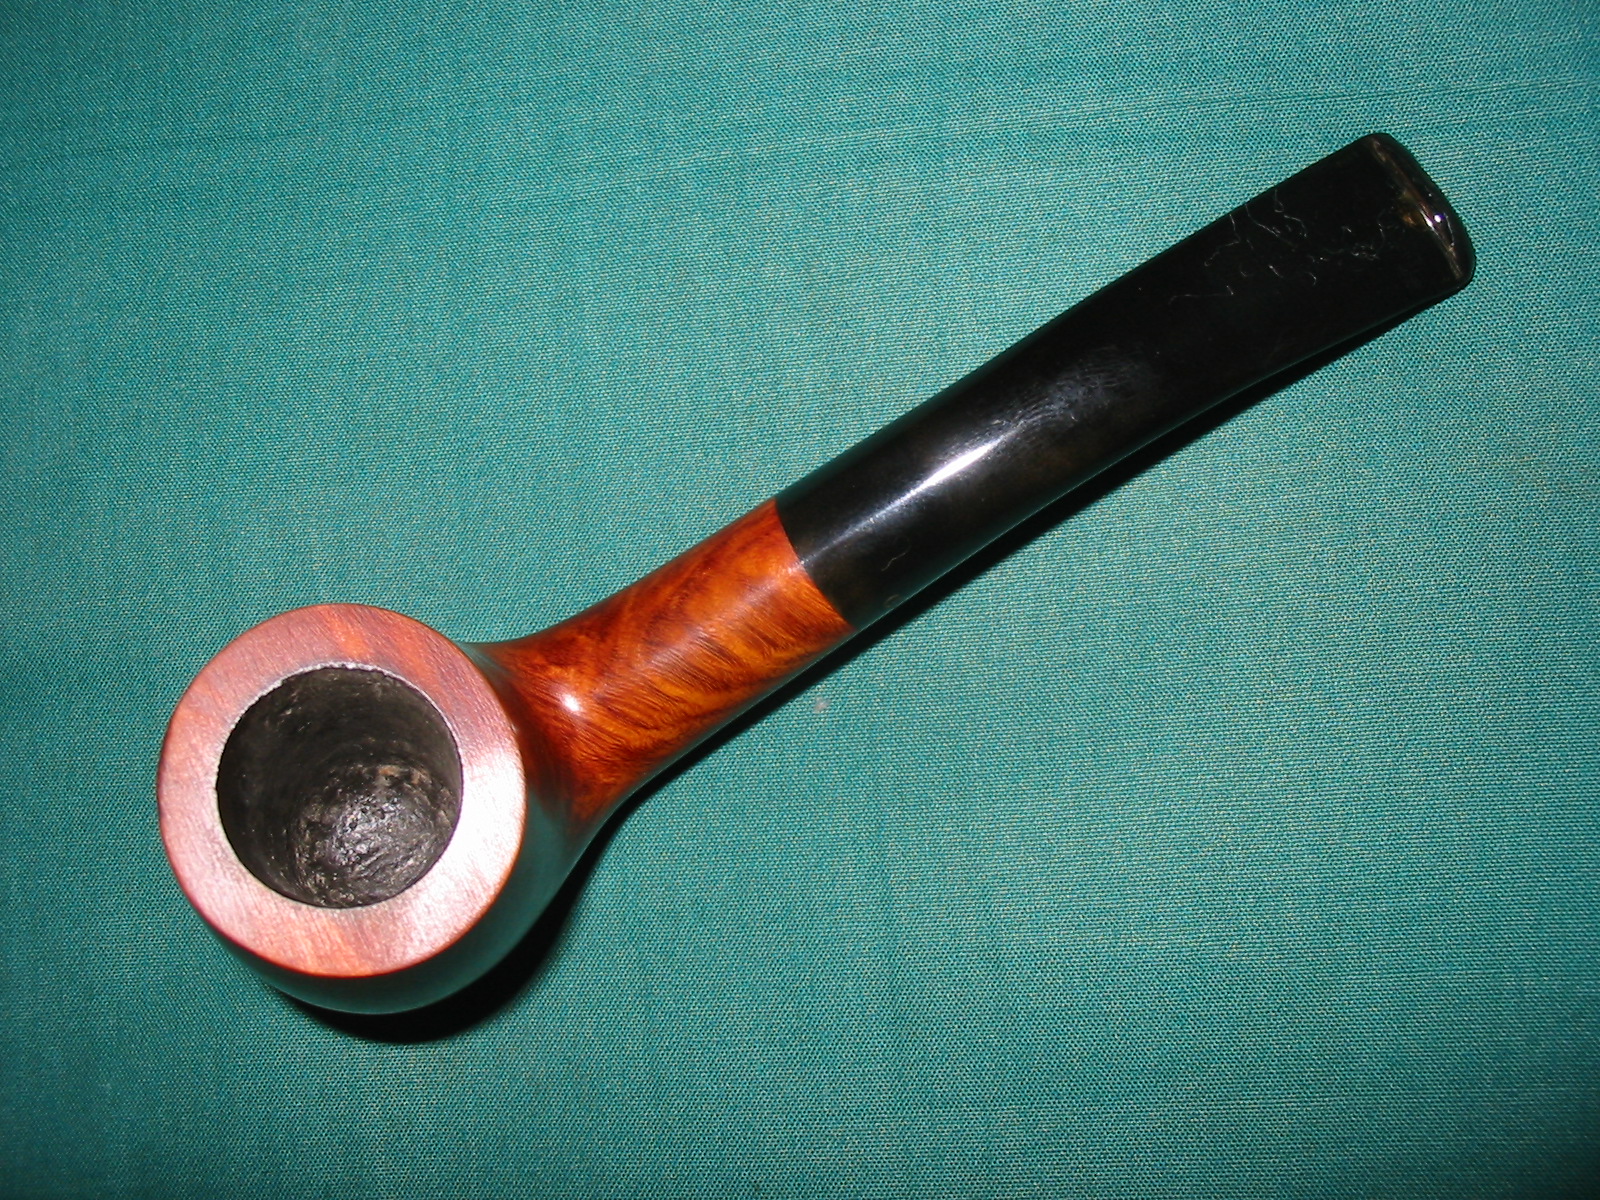
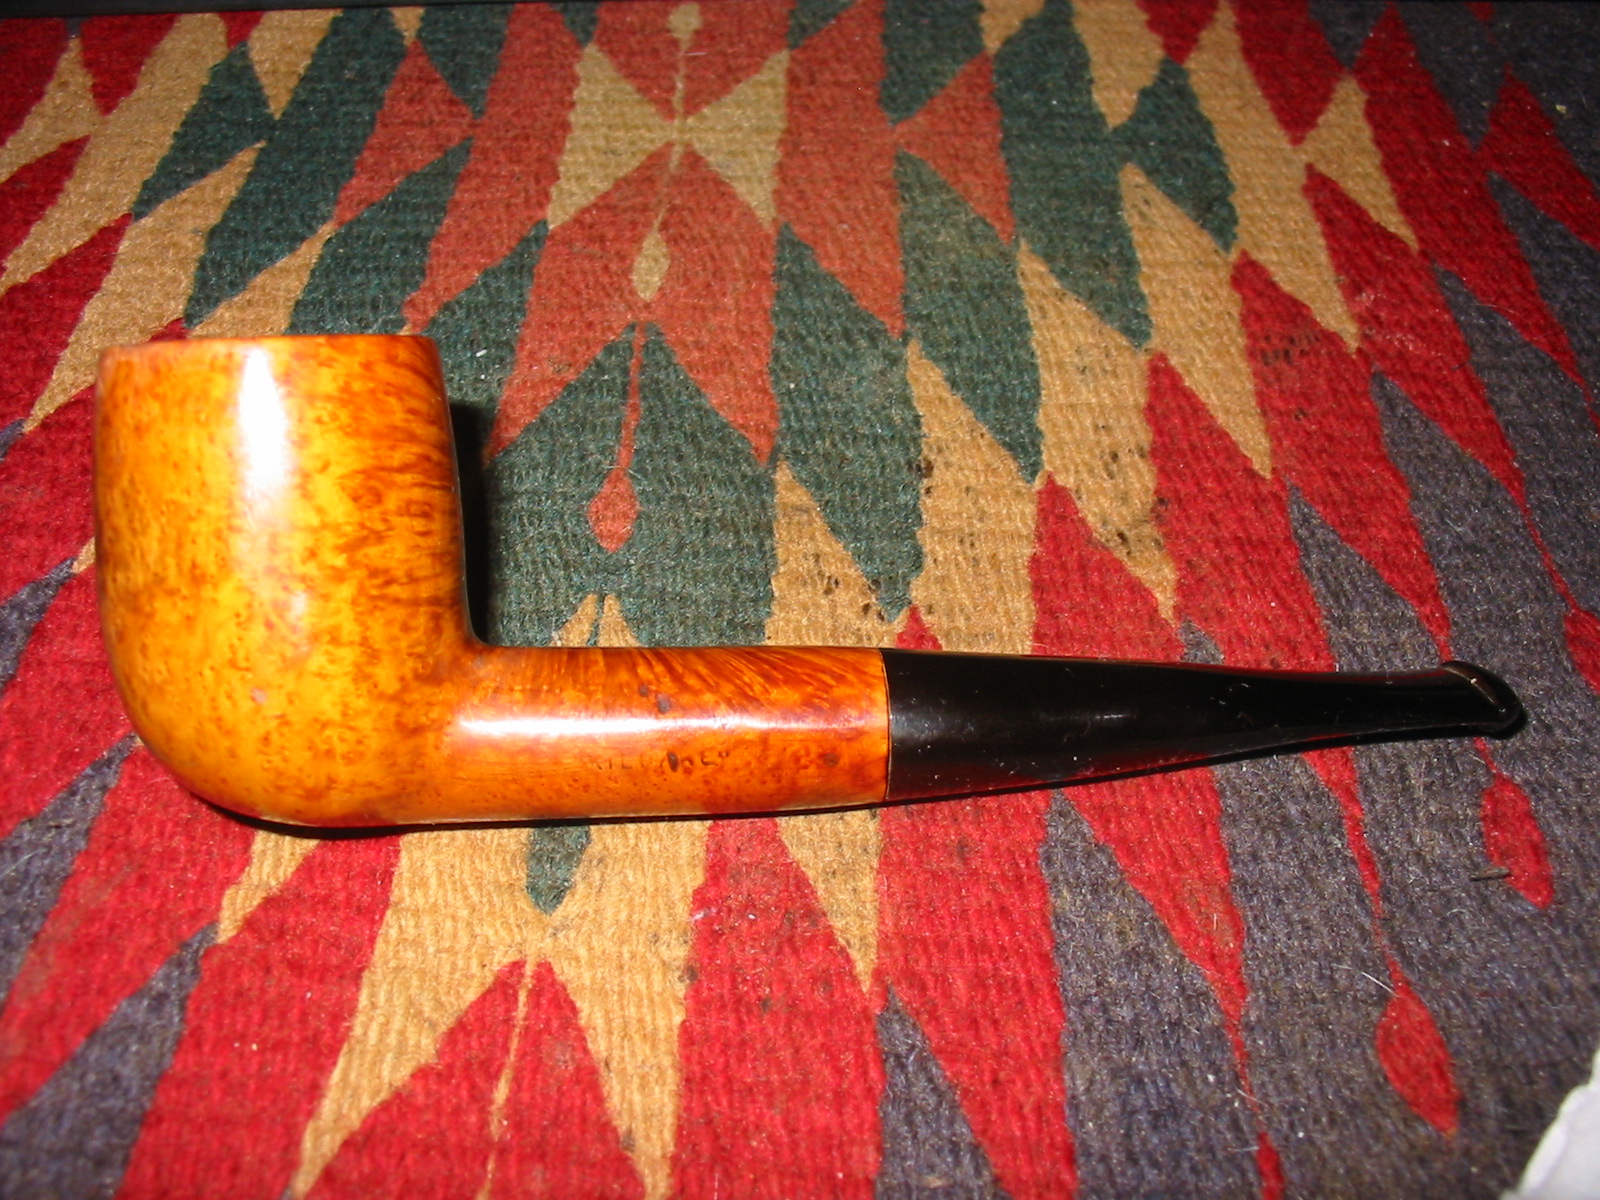
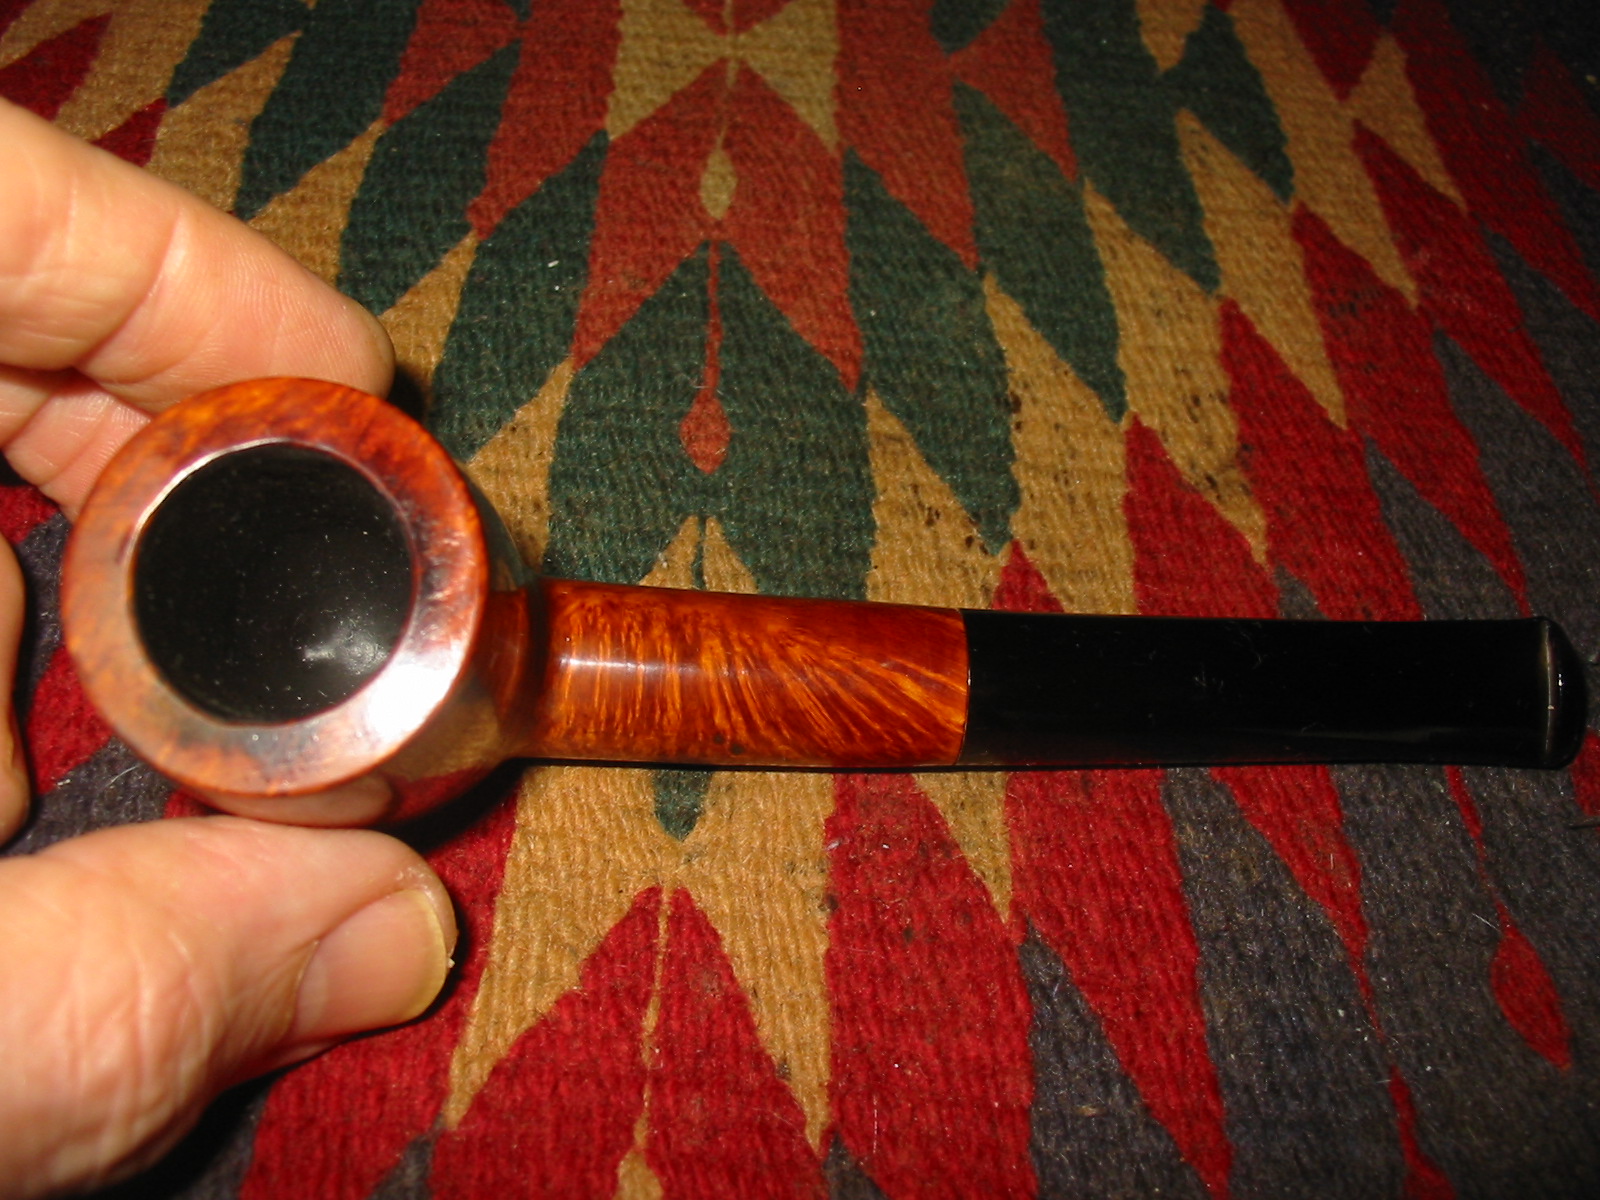
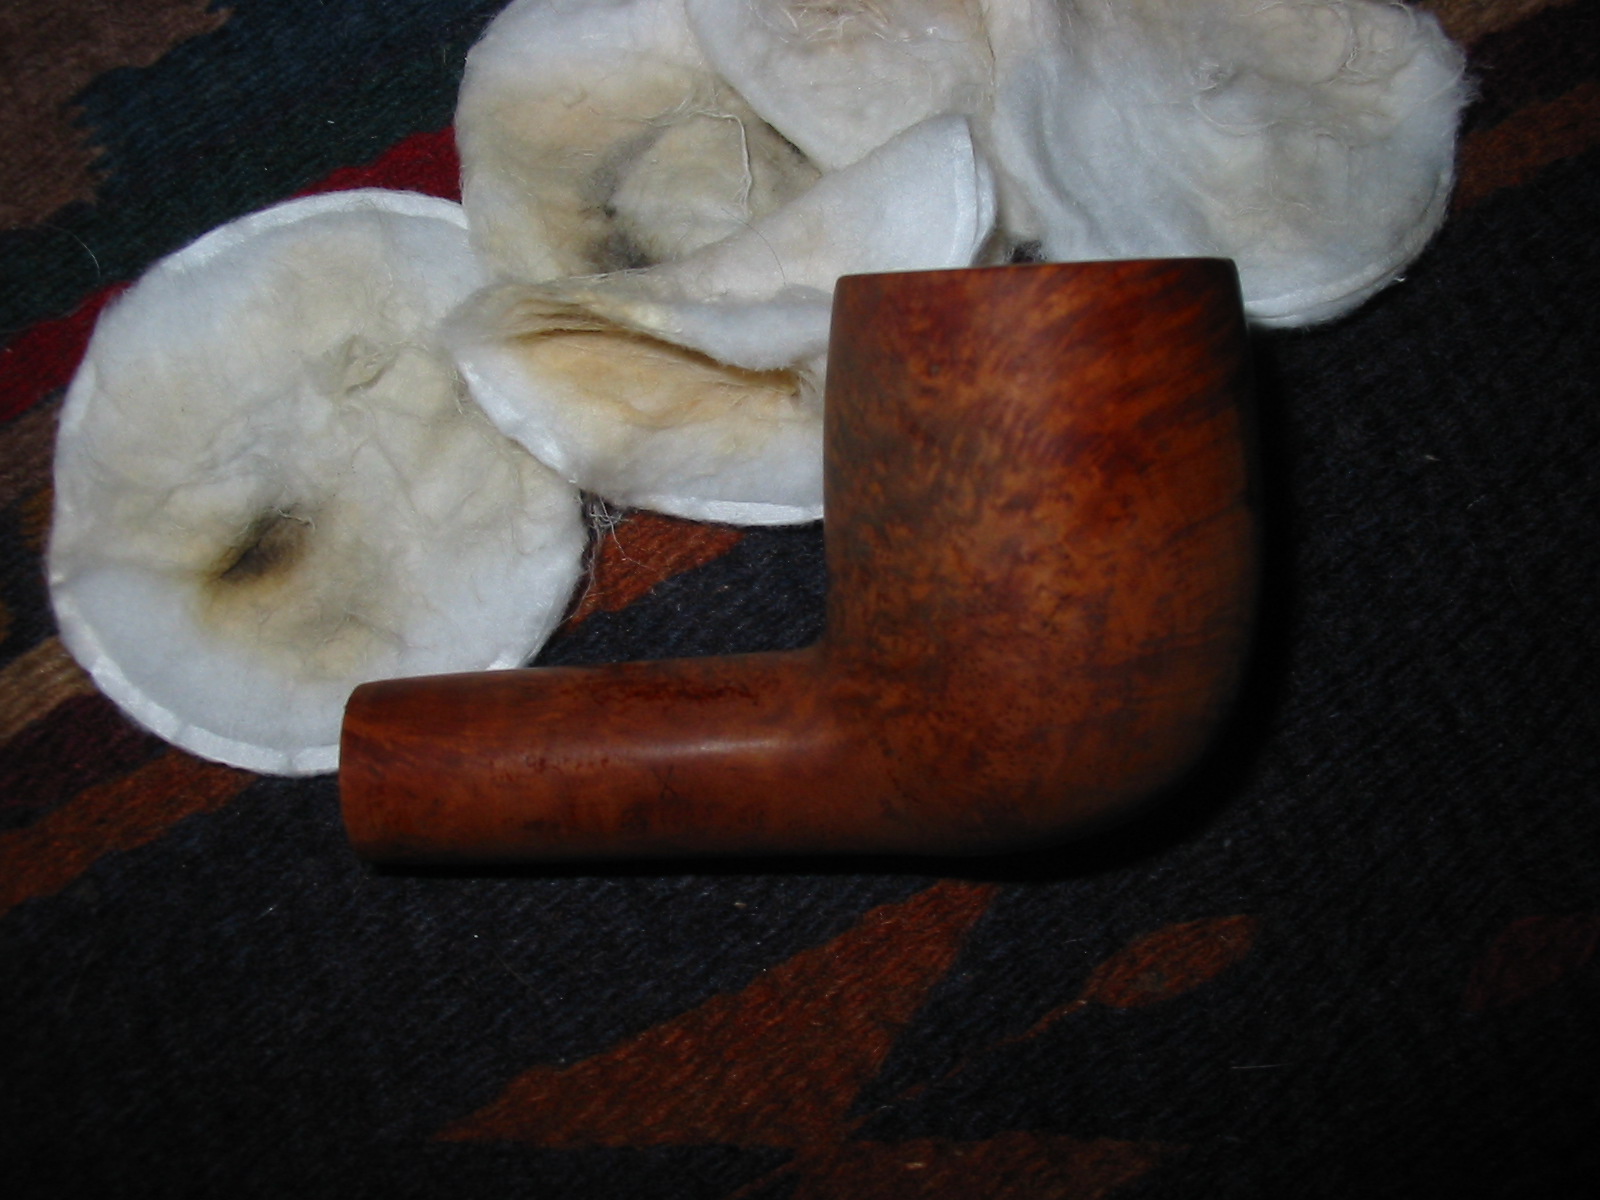
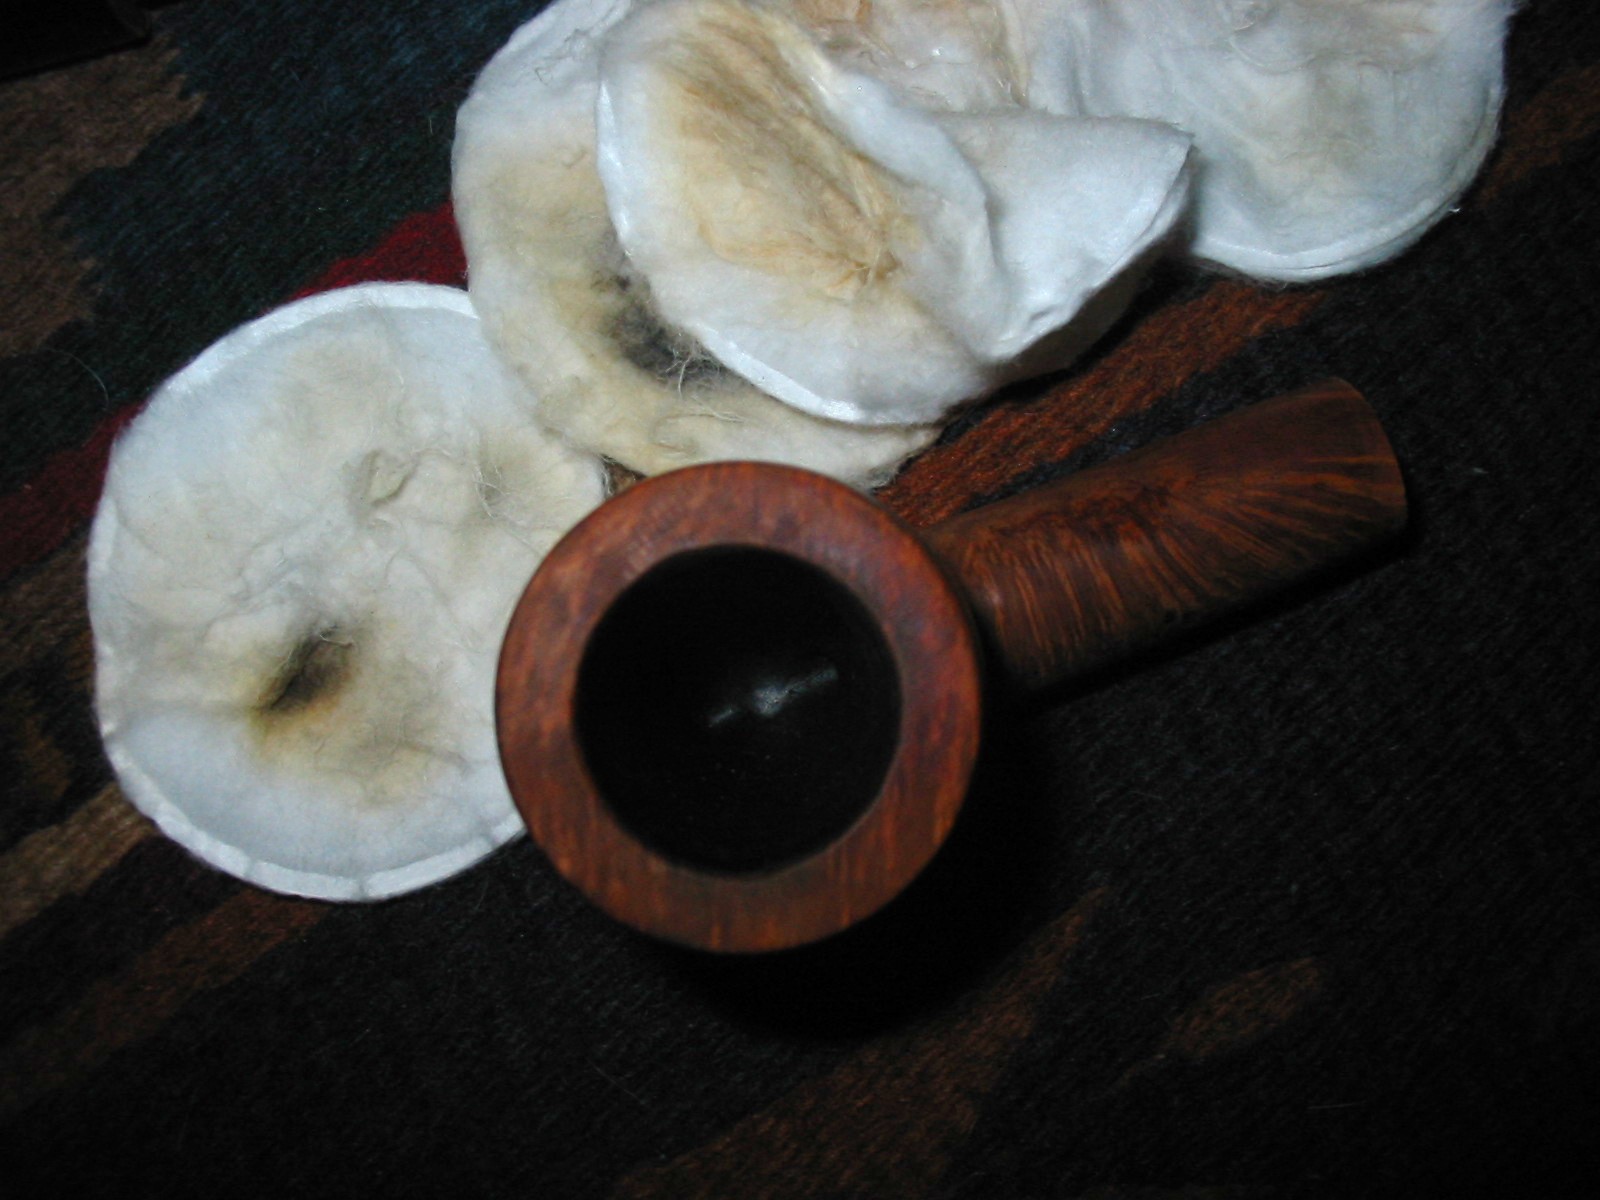
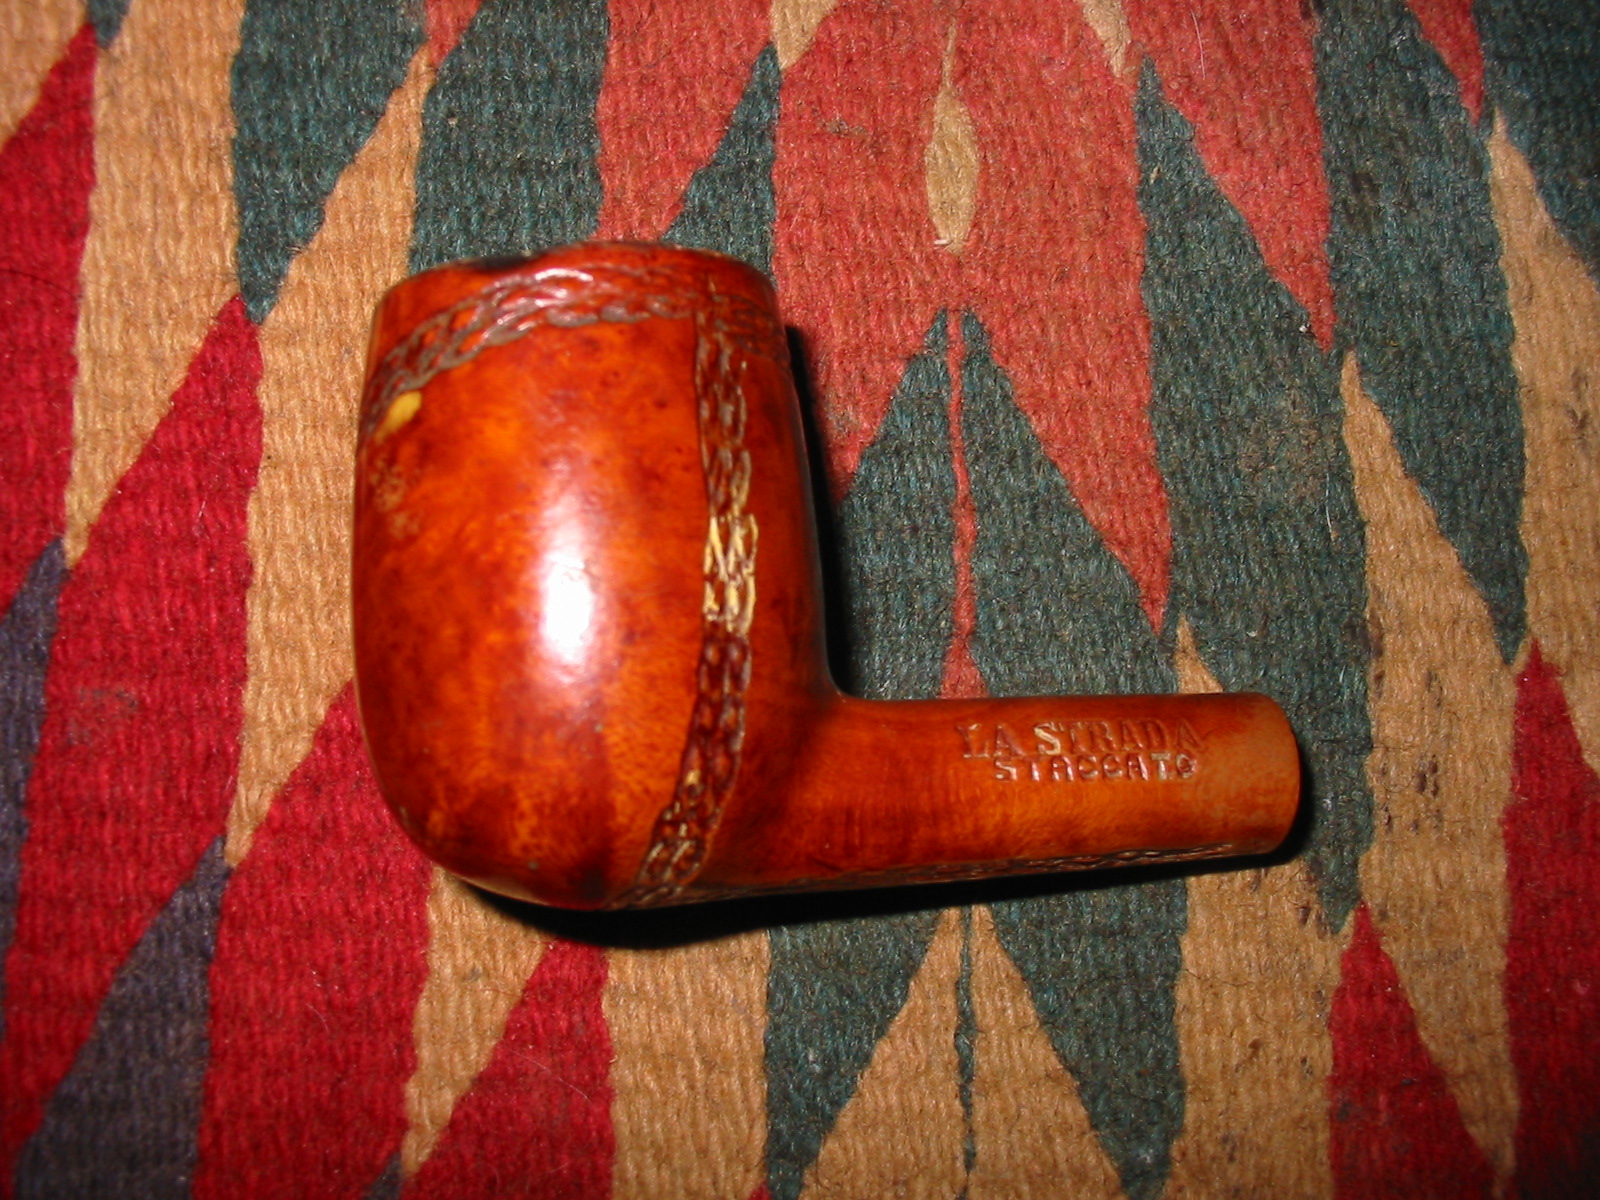
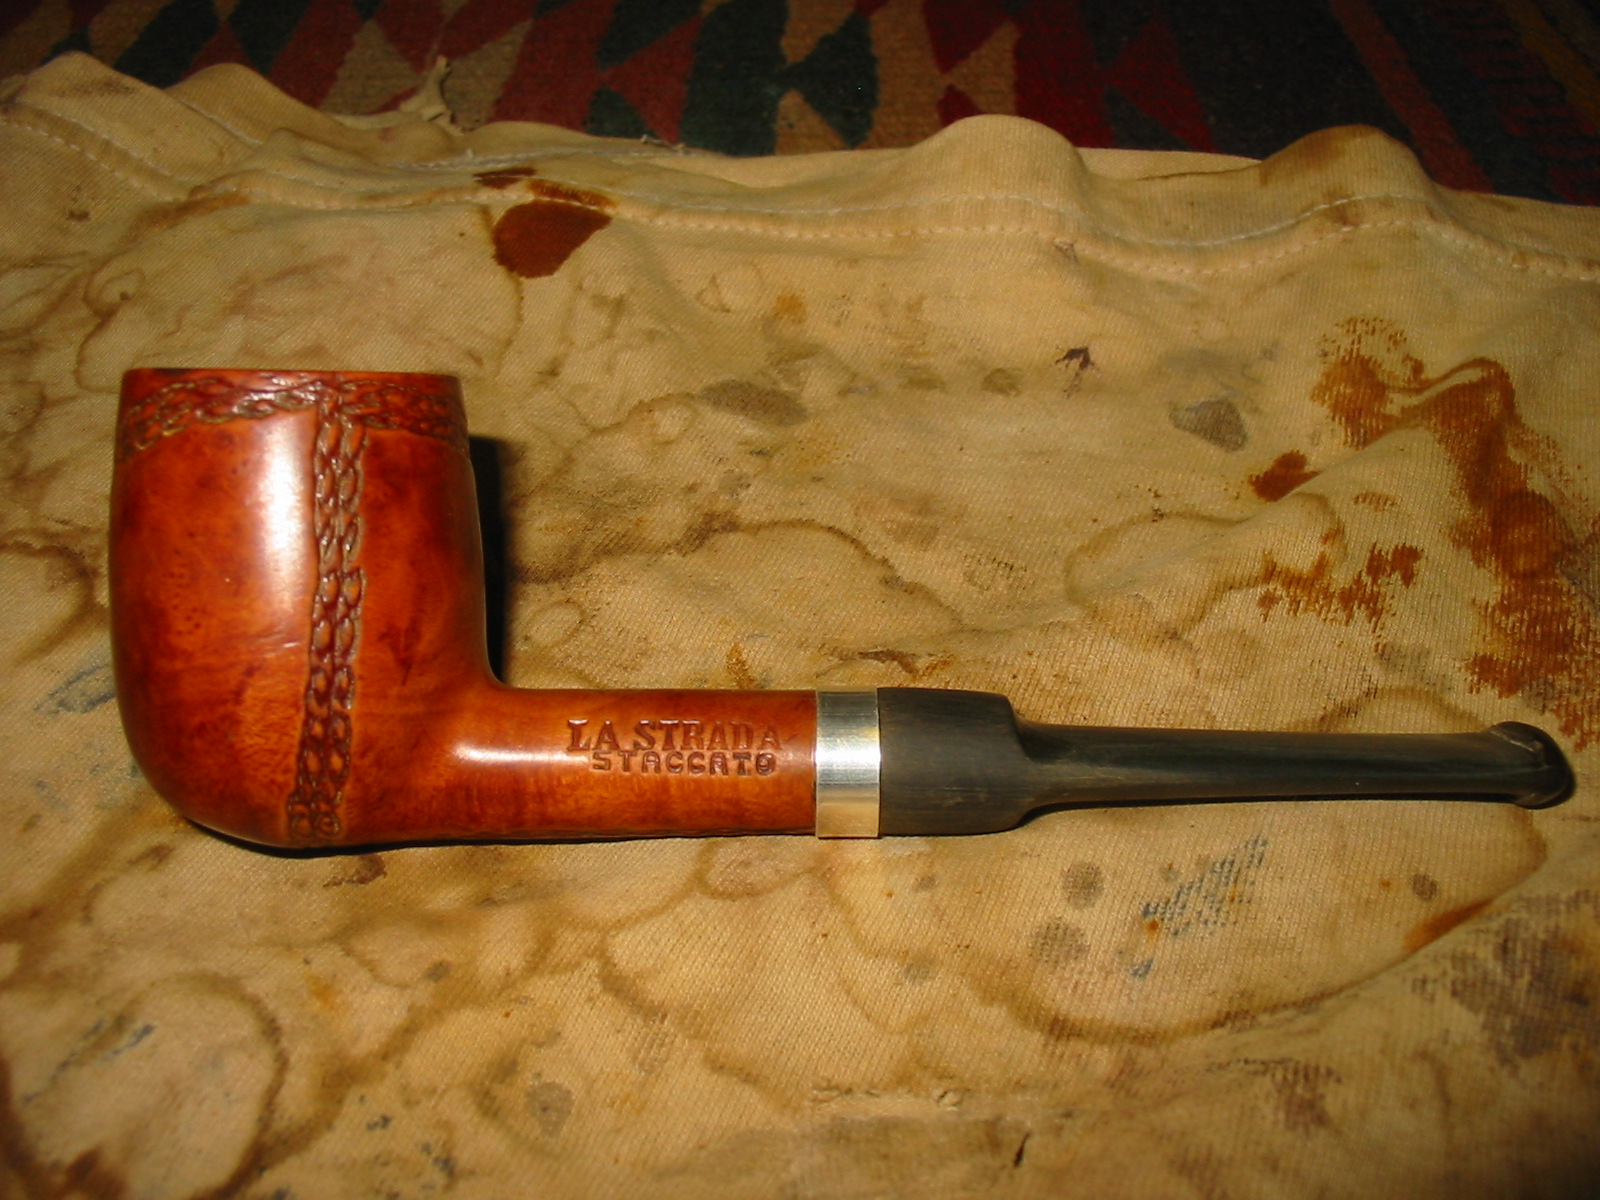
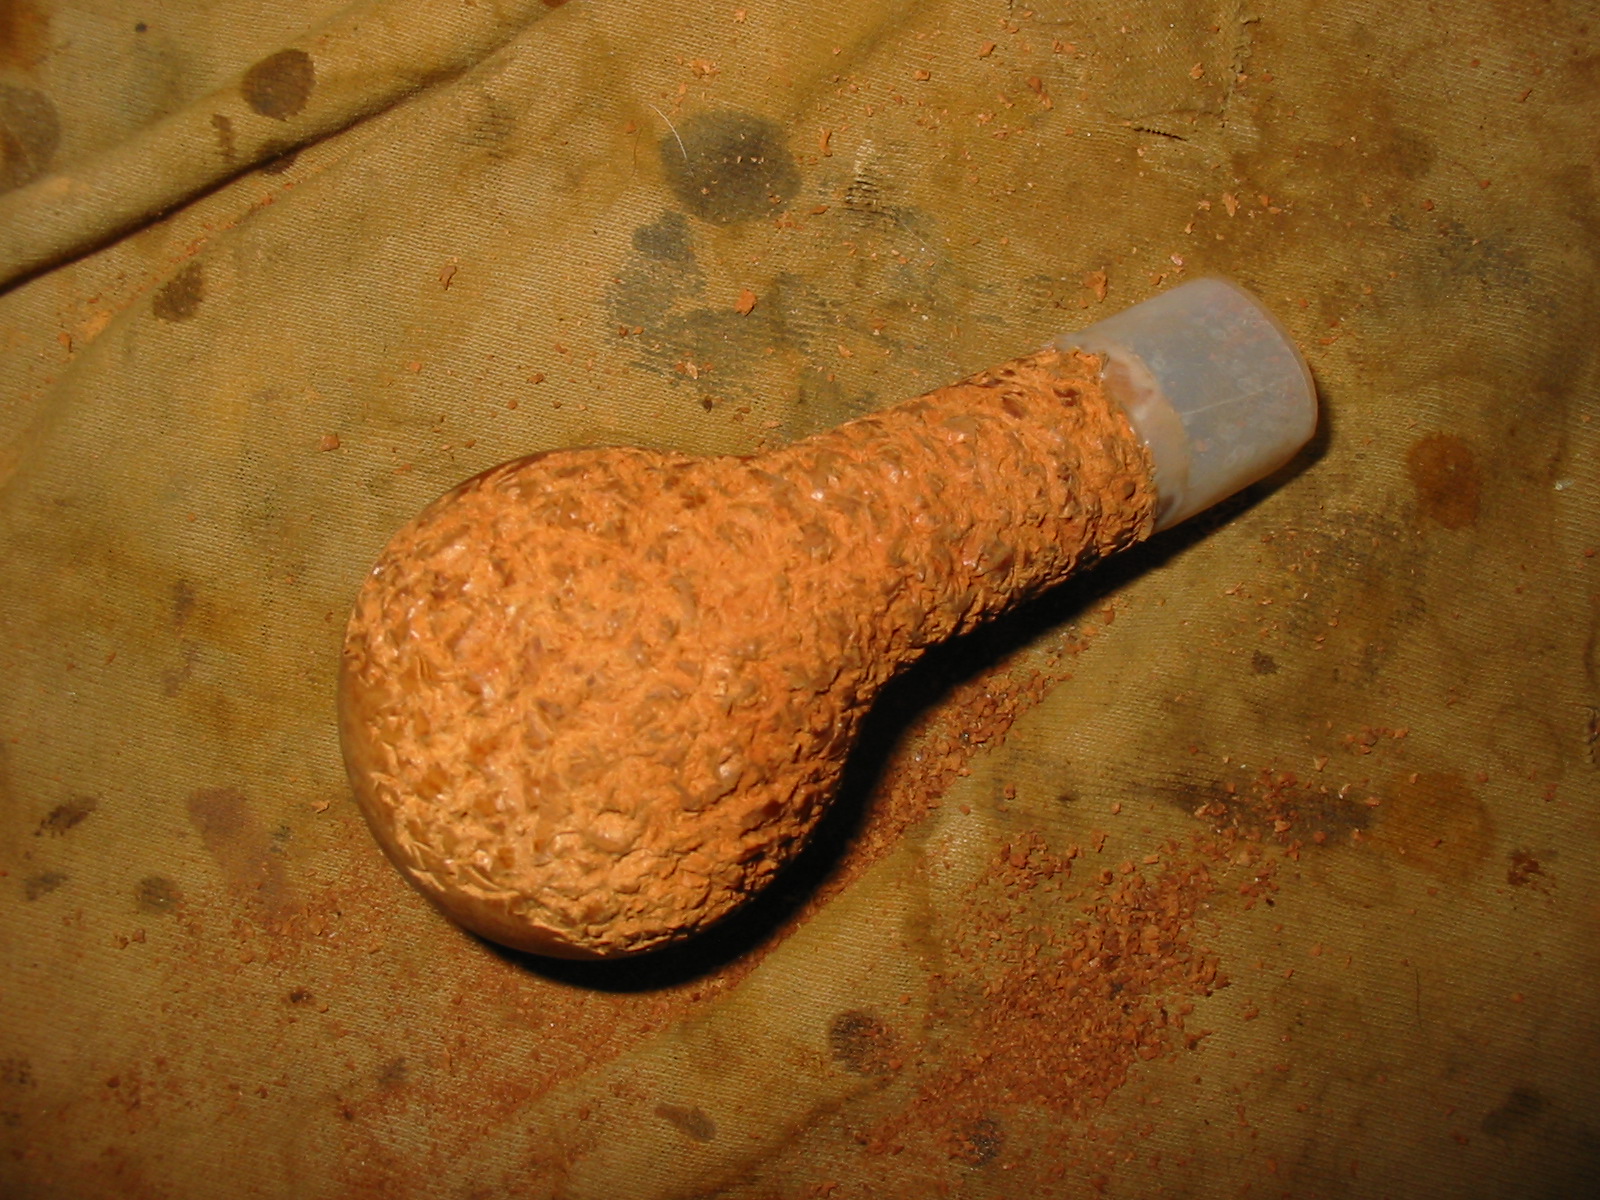
The last of the bowls that came to me as a gift from Andrew was a La Strada Billiard bowl. It was stamped La Strada over Staccato on the left side of the shank and shape 213 on the right side. It needed a stem and it had a few minor issues that needed to be addressed. The finish was an interesting rope rustication pattern that went around the bowl like a lasso and the finish under the rope pattern was leatherlike in terms of colour and look. Over the top of the finish was a plastic clear coat that added a perma shine to the bowl. The rim was in very rough shape and had been hammered on to hard surface in tapping out the dottle. The build up on the rim covered the damaged roughness of the surface. The bowl was badly caked on only one side of the bowl. The shank was clean and looked undamaged. There was no stem with the bowl and the shank was very clean.
IMG_5072

IMG_5073

IMG_5074

IMG_5075

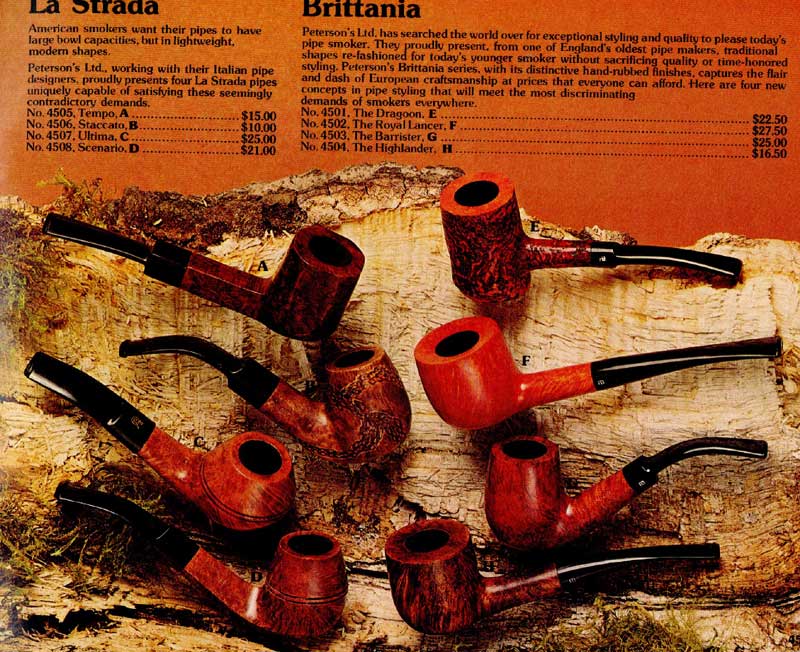
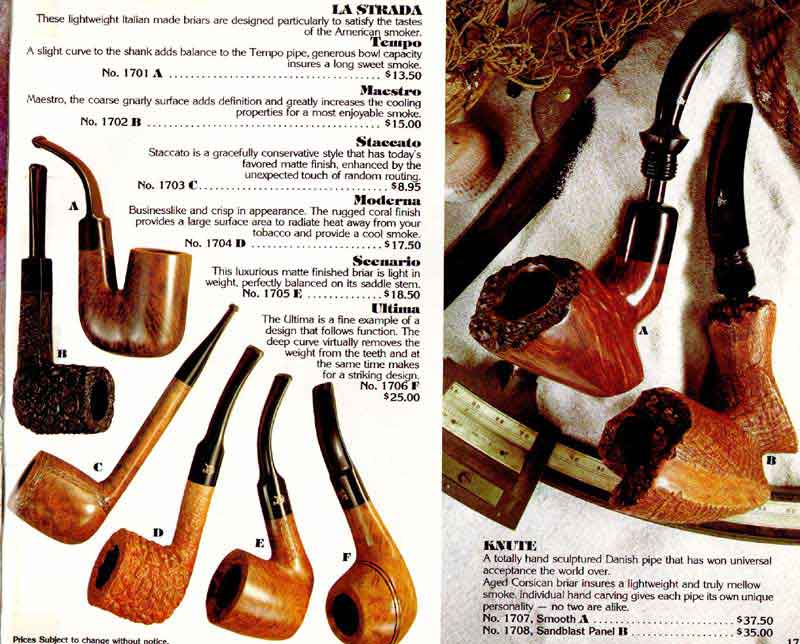
The La Strada was once again a brand with which I was unfamiliar. I had some vague memory of seeing them sold through Tinderbox but was not sure about that memory. I did a bit of research and found that indeed they had been sold there. They were Italian Made. Here is a page from a Tinderbox catalogue showing the brand. The catalog describes the pipe as “a gracefully conservative style that has today’s favoured matte finish, enhance by the unexpected touch of random routing.” The price was a princely $8.95-$10.00.
5tbox12

4tbox26

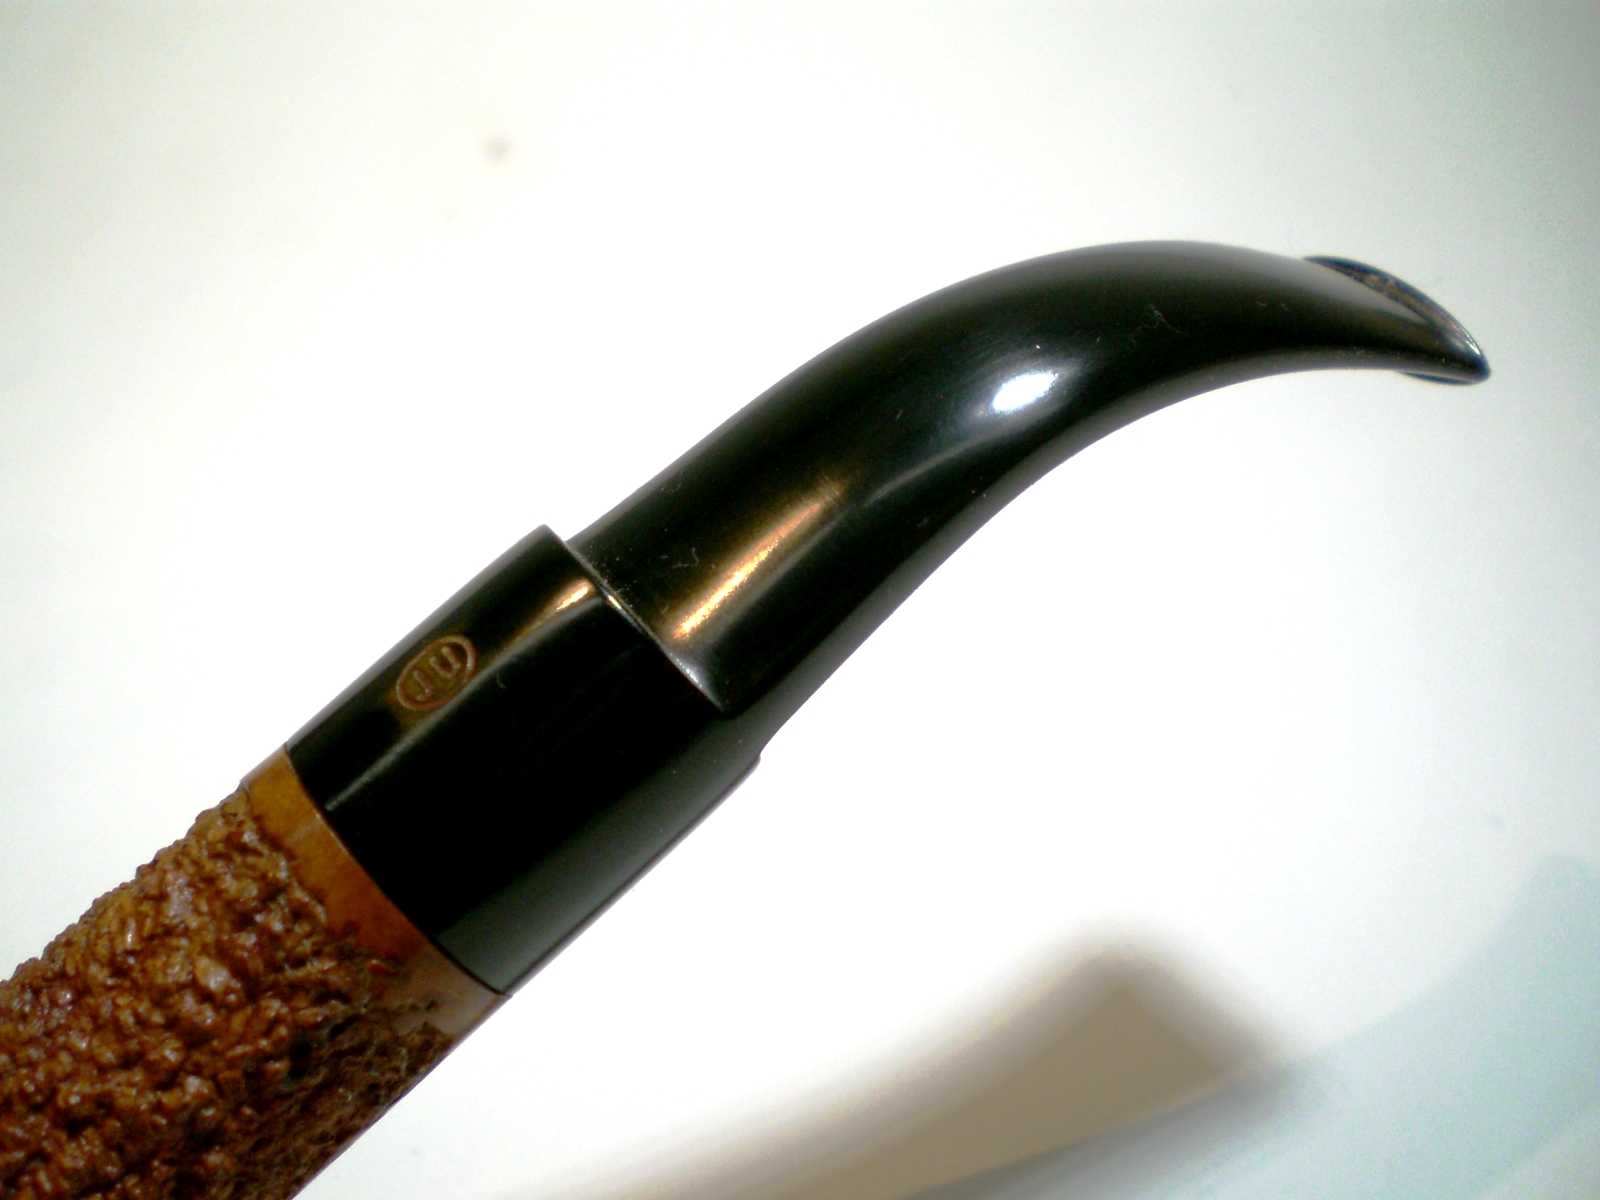
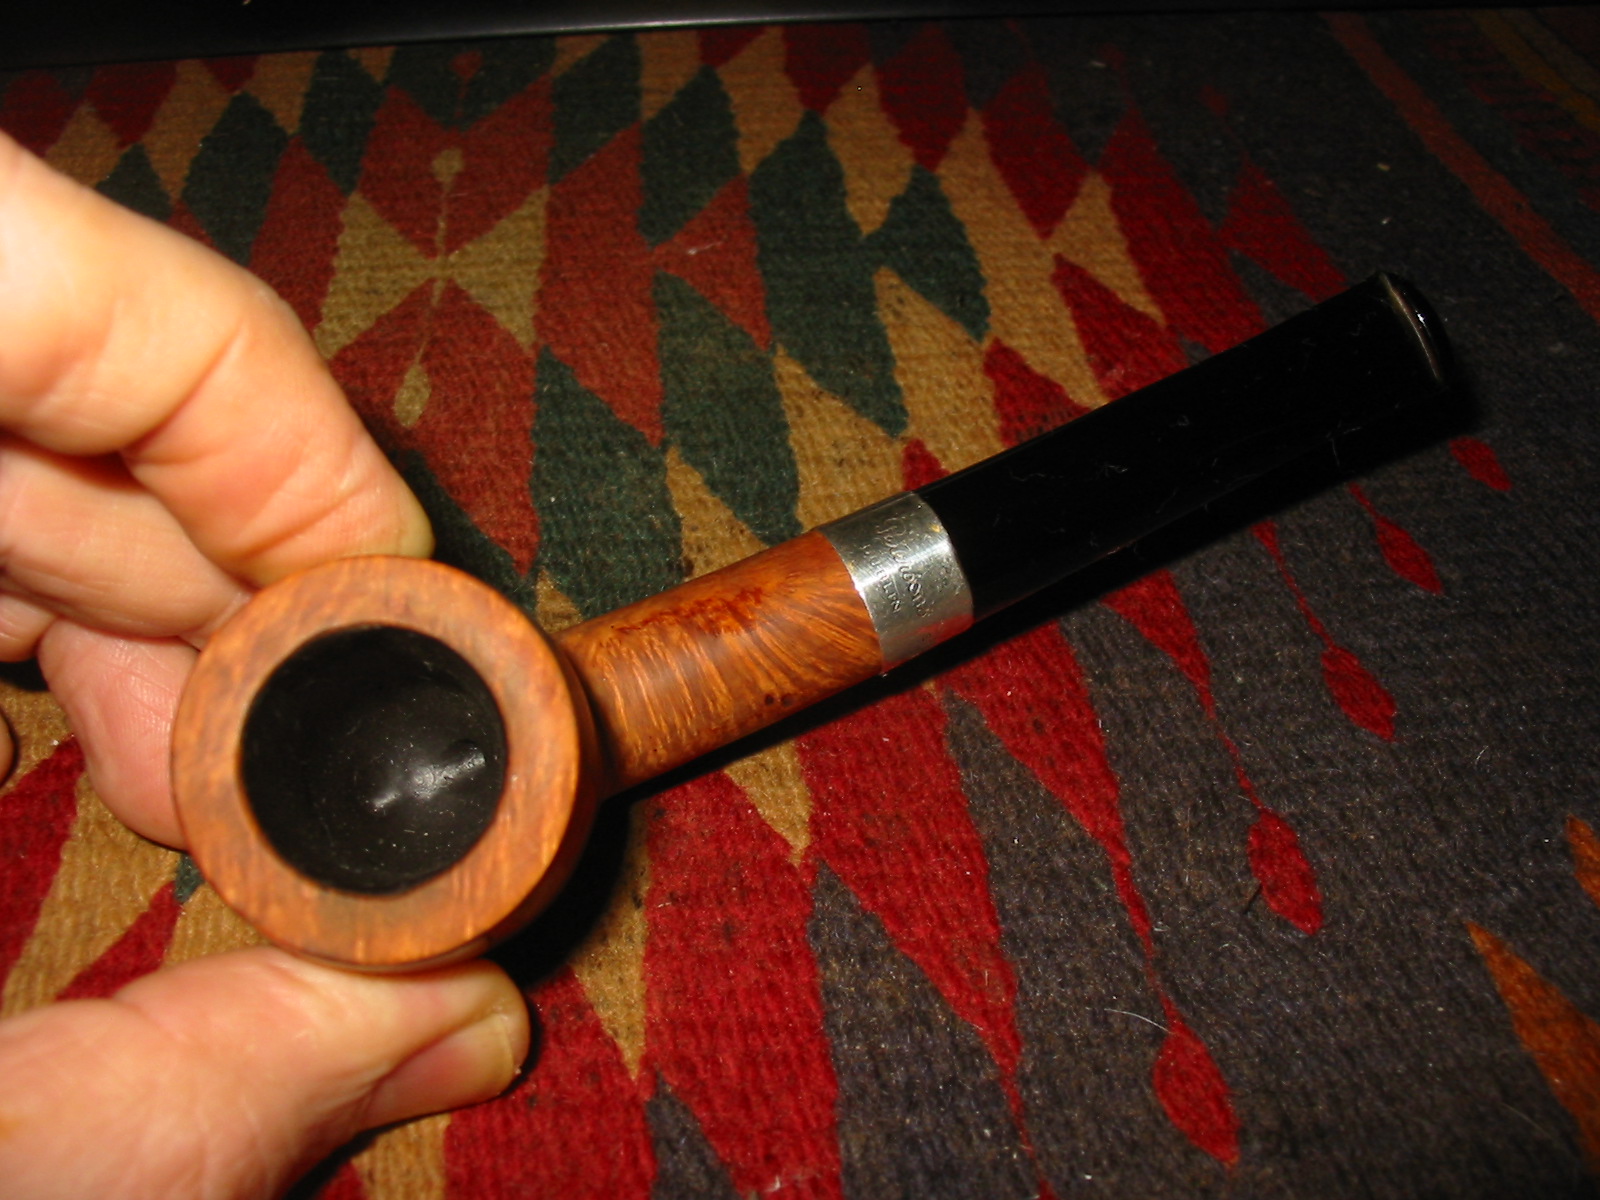
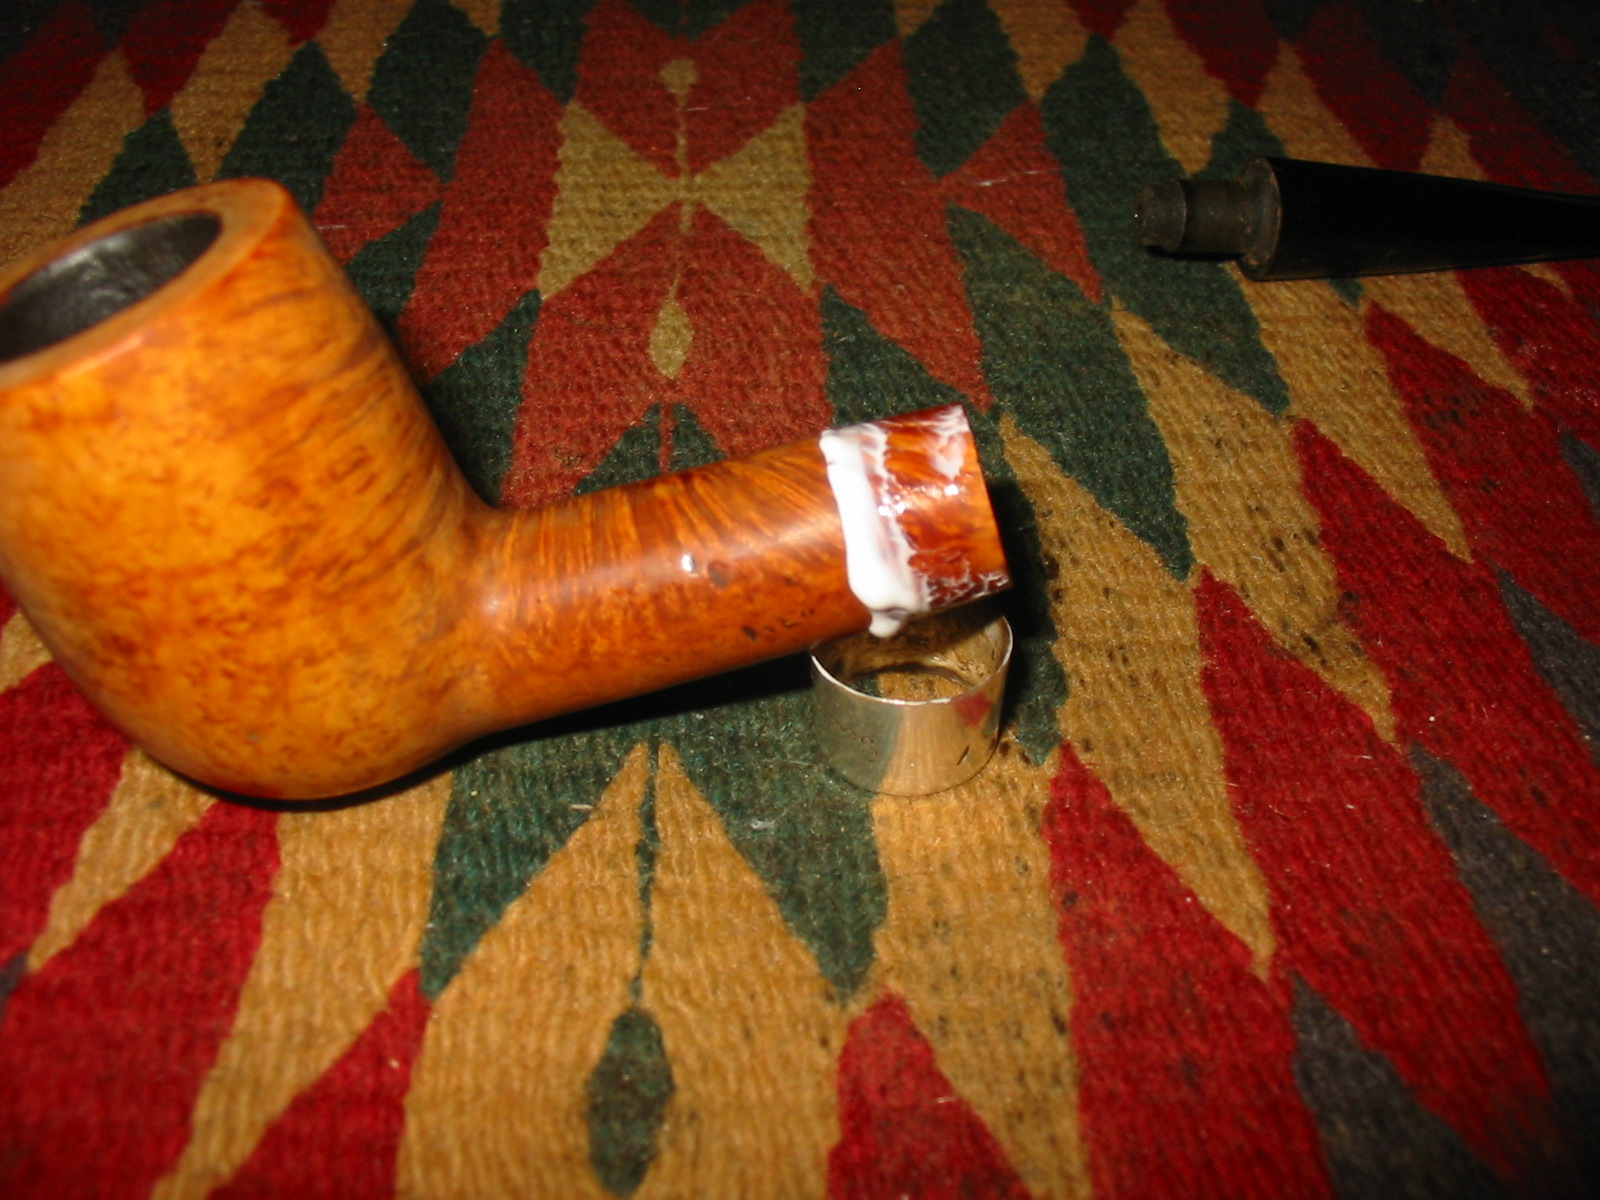
I sorted through my stems and found one that fit very nicely in the shank. When I inserted it there were two cracks revealed, one on top and one on the bottom of the shank. I honestly don’t know if they were present or if the happened when I put the stem in place. It was not a tight fit so I am unsure. It honestly did not matter as banding it would not be a problem. I found a silver band I had in my kit that was a good fit and pressed it into place on the shank. I heated the band with a heat gun and then pressure fit it onto the shank.
IMG_5077

IMG_5078

IMG_5079

IMG_5080

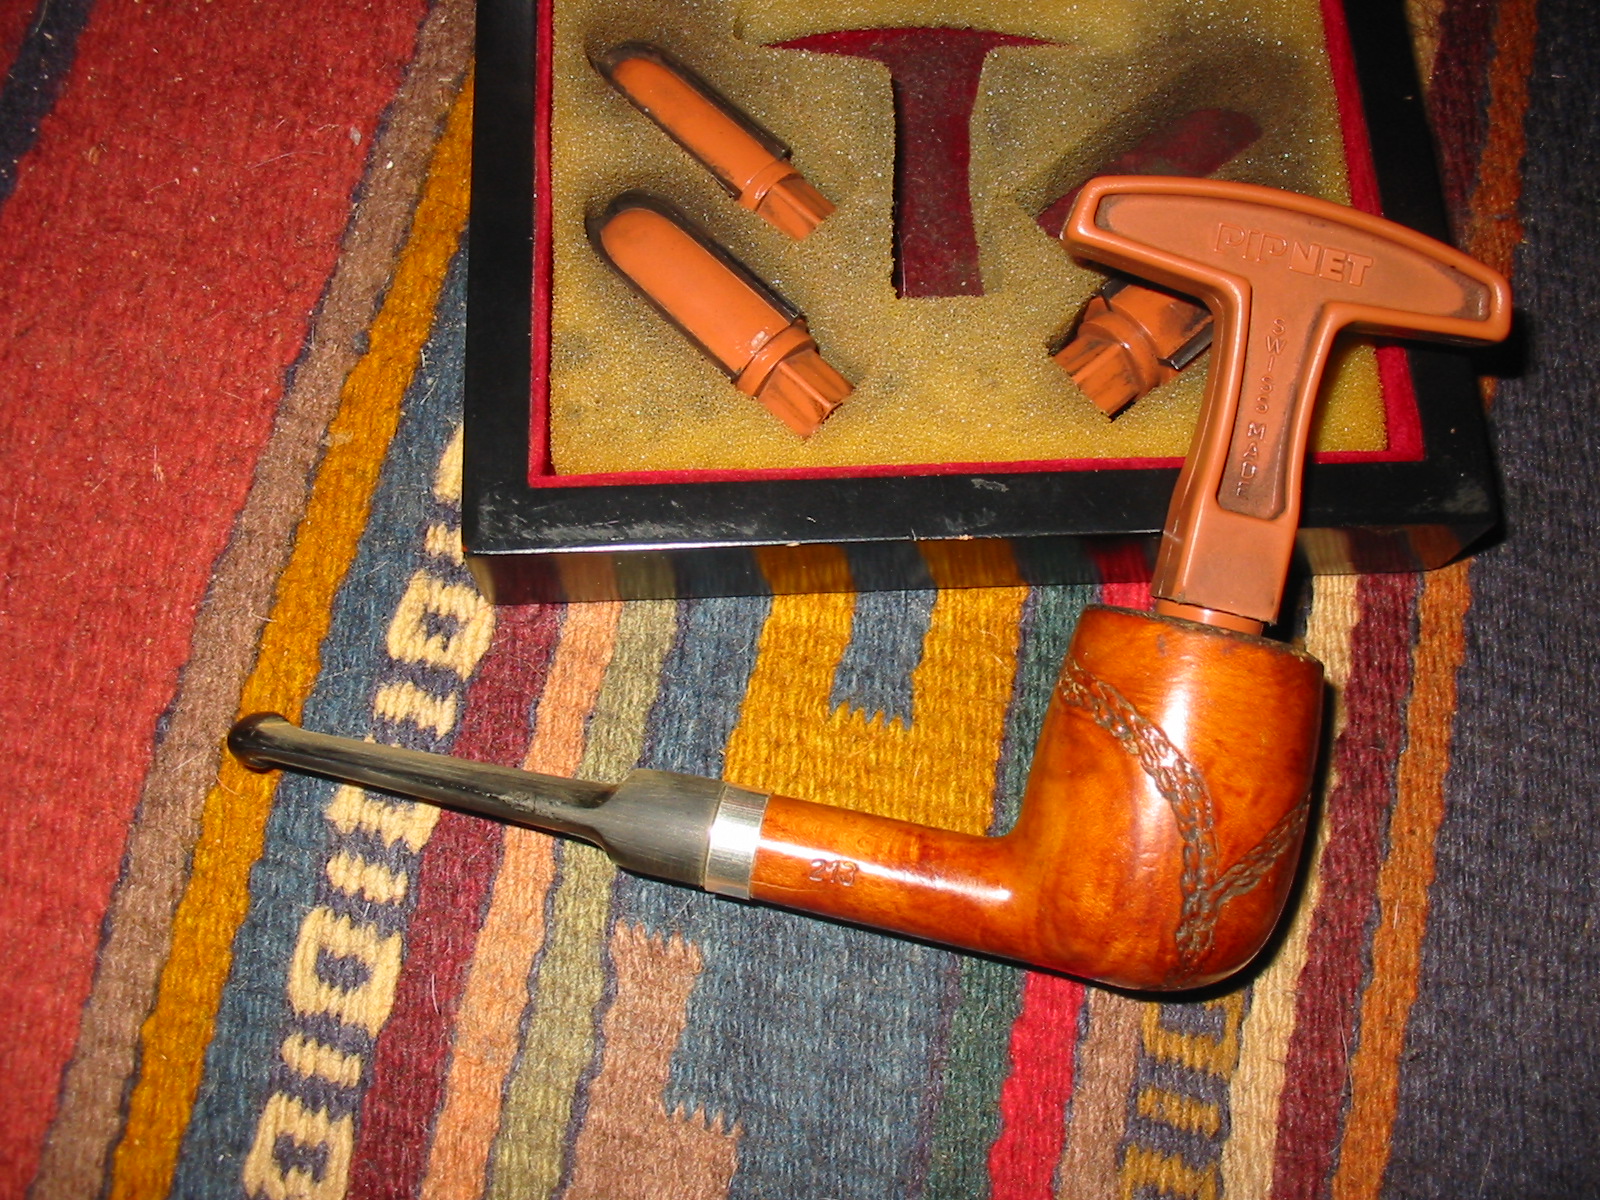
I reamed the bowl with a PipNet reamer (this seems to be more and more my reamer of choice in refurbishing).
IMG_5082

I set up my topping board and then topped the bowl with 220 grit sandpaper. I removed enough of the surface of the rim to take away the damage to the top and the front of the bowl. There were also some burn marks on the left side of the rim that I was able to sand out the majority of damage.
IMG_5083

IMG_5084

IMG_5085

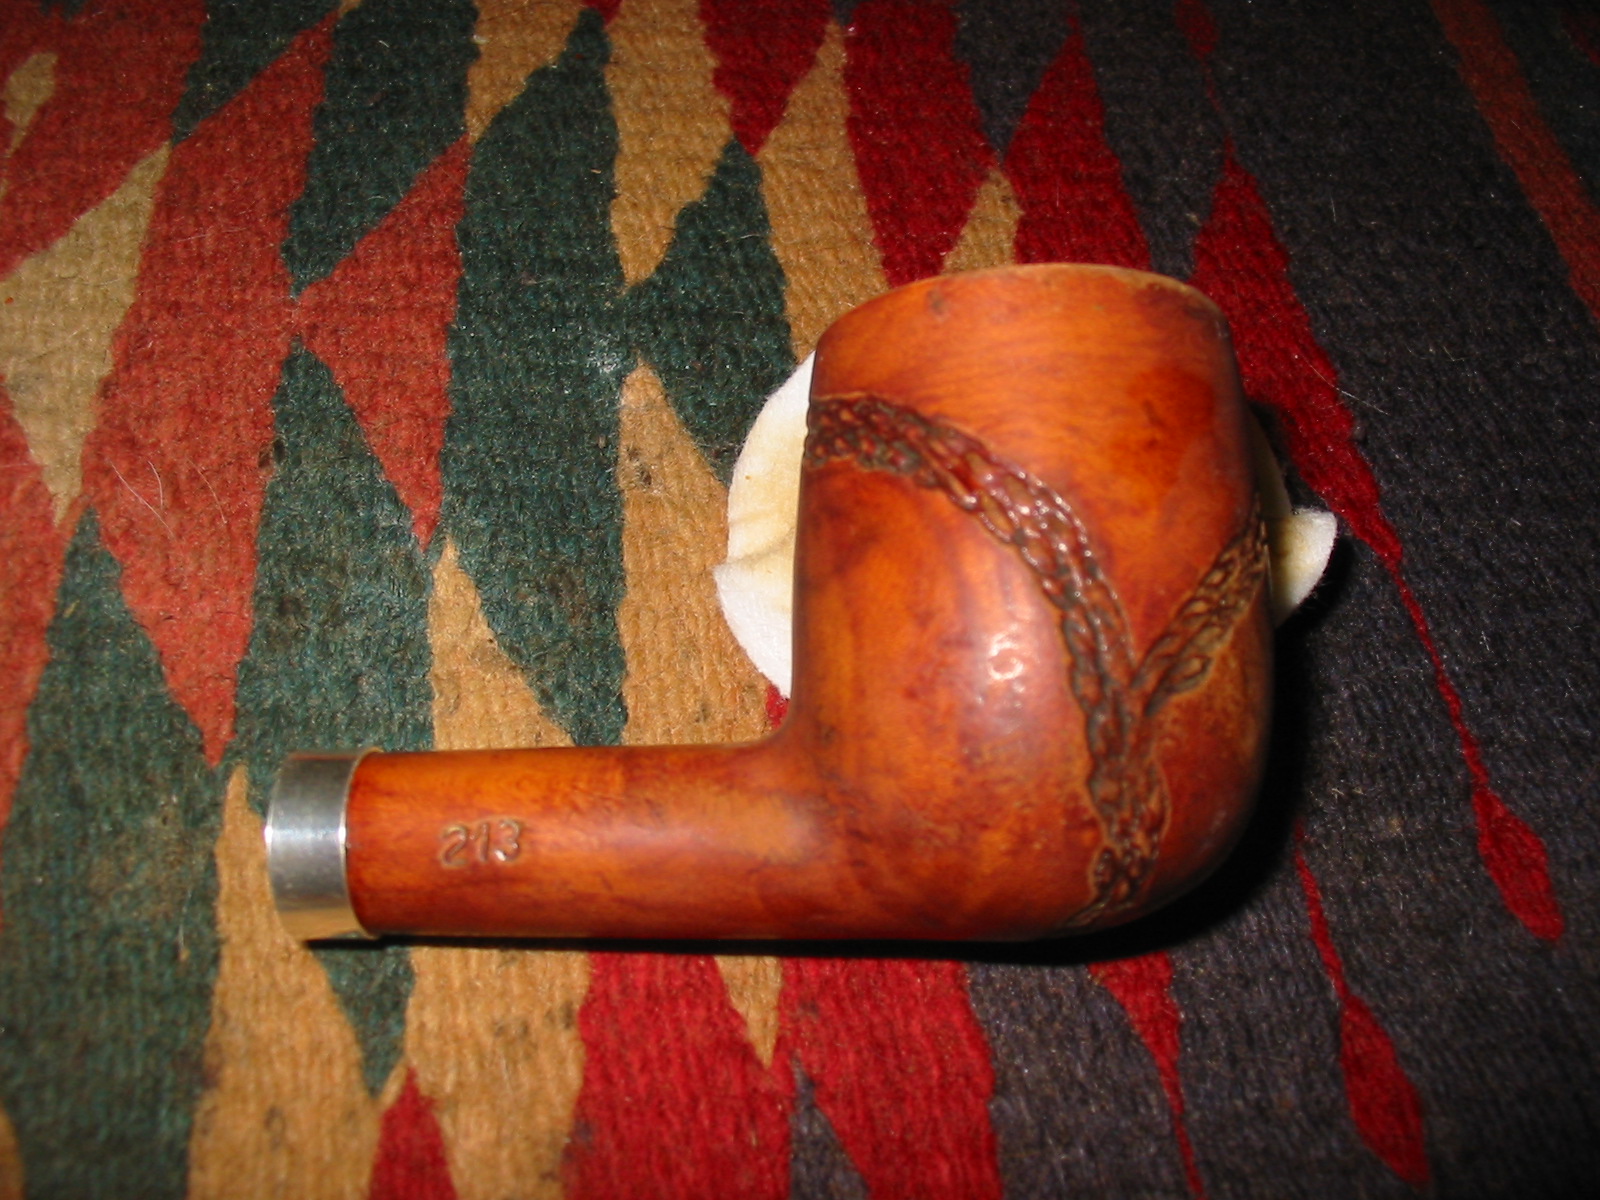
I wiped down the bowl with acetone to try to break up the plastic/shiny finish that was on the bowl and was not able to remove it. The thick coat had bubbles that were thick around the rope rustication areas on the left side of the bowl. I finally put the bowl into an alcohol bath and let it soak overnight to try to break up the finish.
IMG_5086

IMG_5087

IMG_5088

IMG_5089

I took the bowl out of the alcohol bath and sanded it with a medium grit and a fine grit sanding sponge and was able to break through the finish and finally remove it. I wiped the bowl down again with acetone on cotton pads and the bowl was clean. I stained it with a dark brown aniline stain mixed 2:1 with isopropyl alcohol and applied and flamed it until the coverage matched the rim to the rest of the bowl. I buffed the bowl with White Diamond on the buffing wheel and brought it back to the work table and set it aside to work on the stem.
IMG_5090

IMG_5091

IMG_5092

IMG_5094

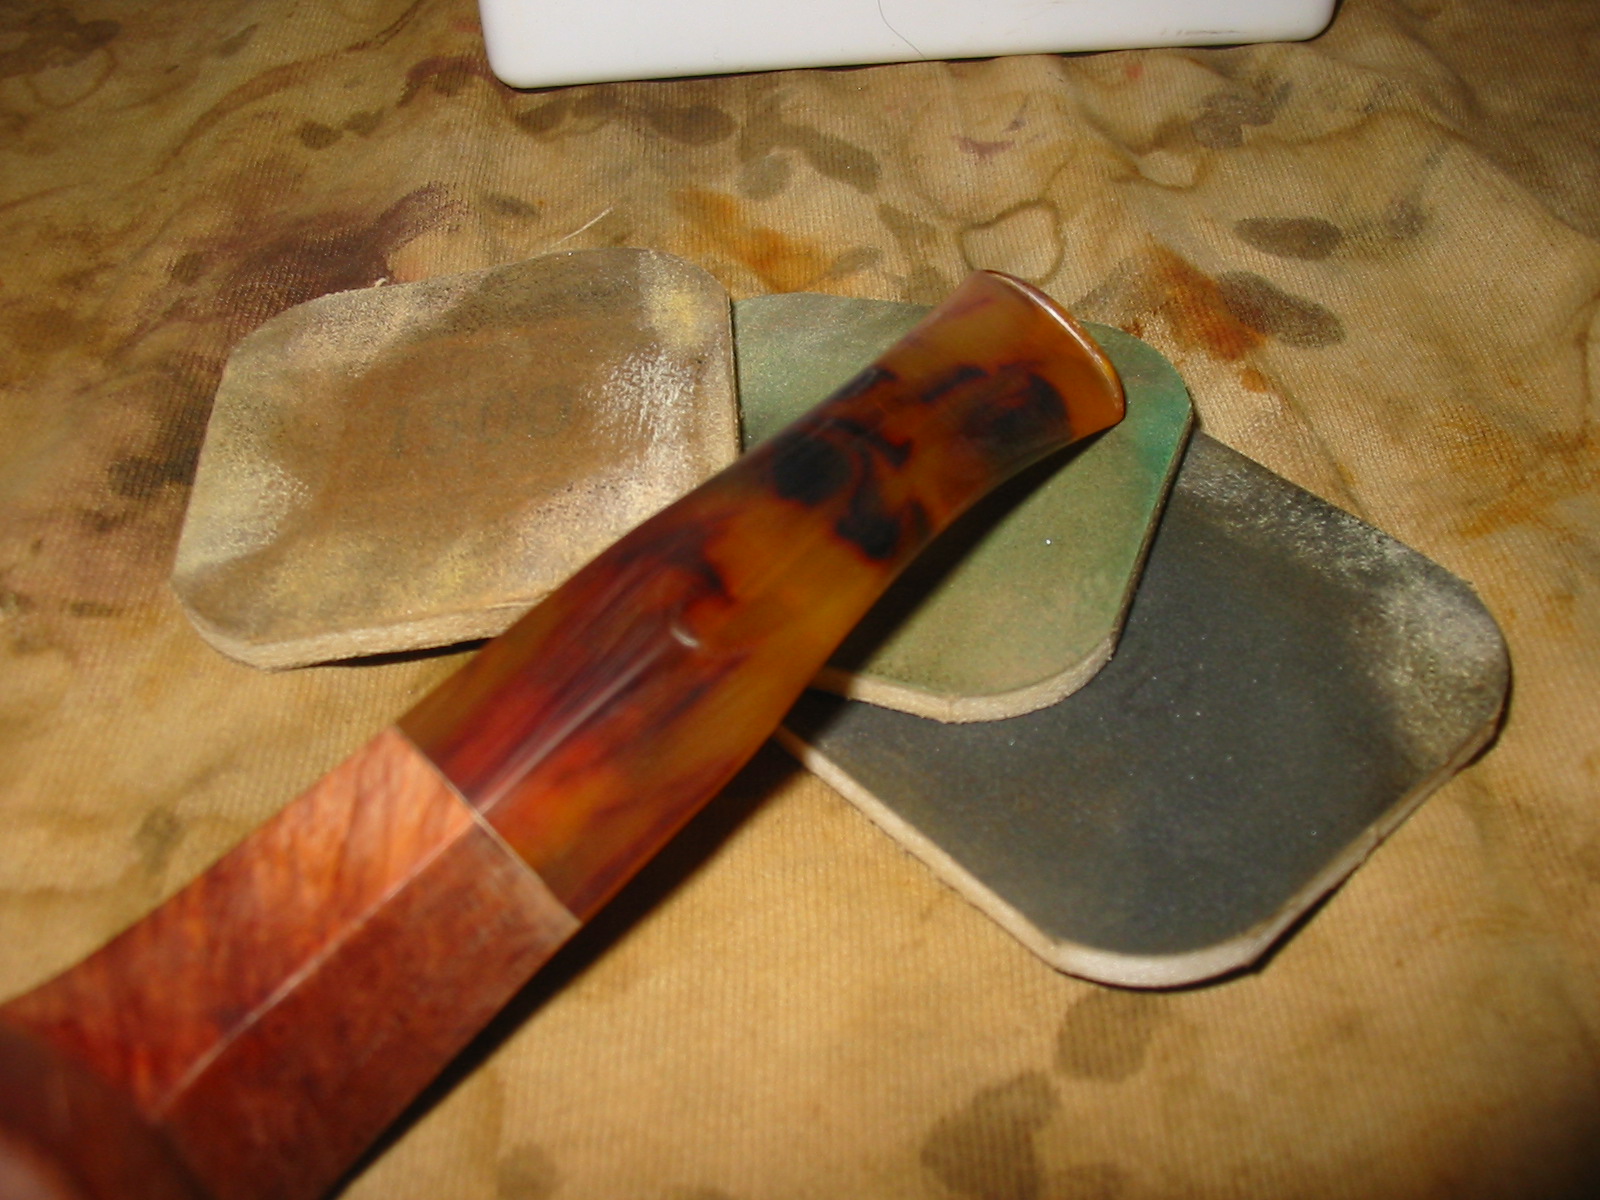
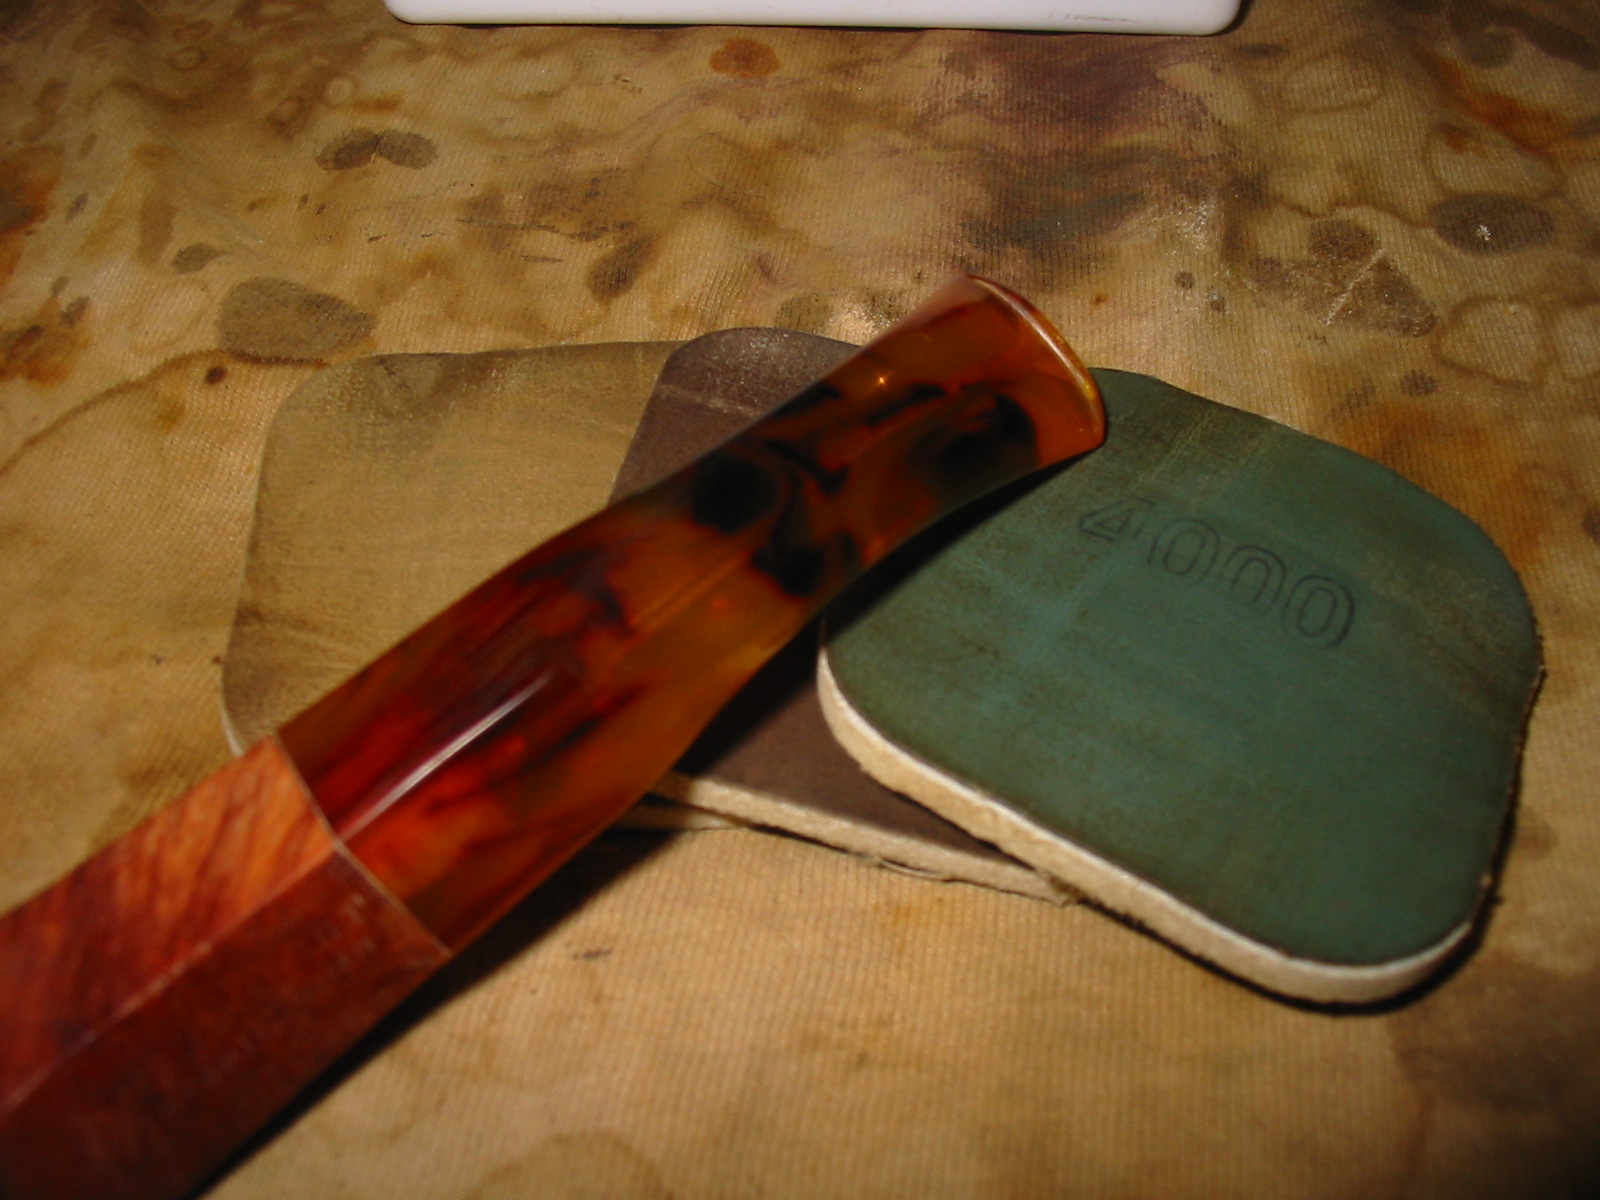
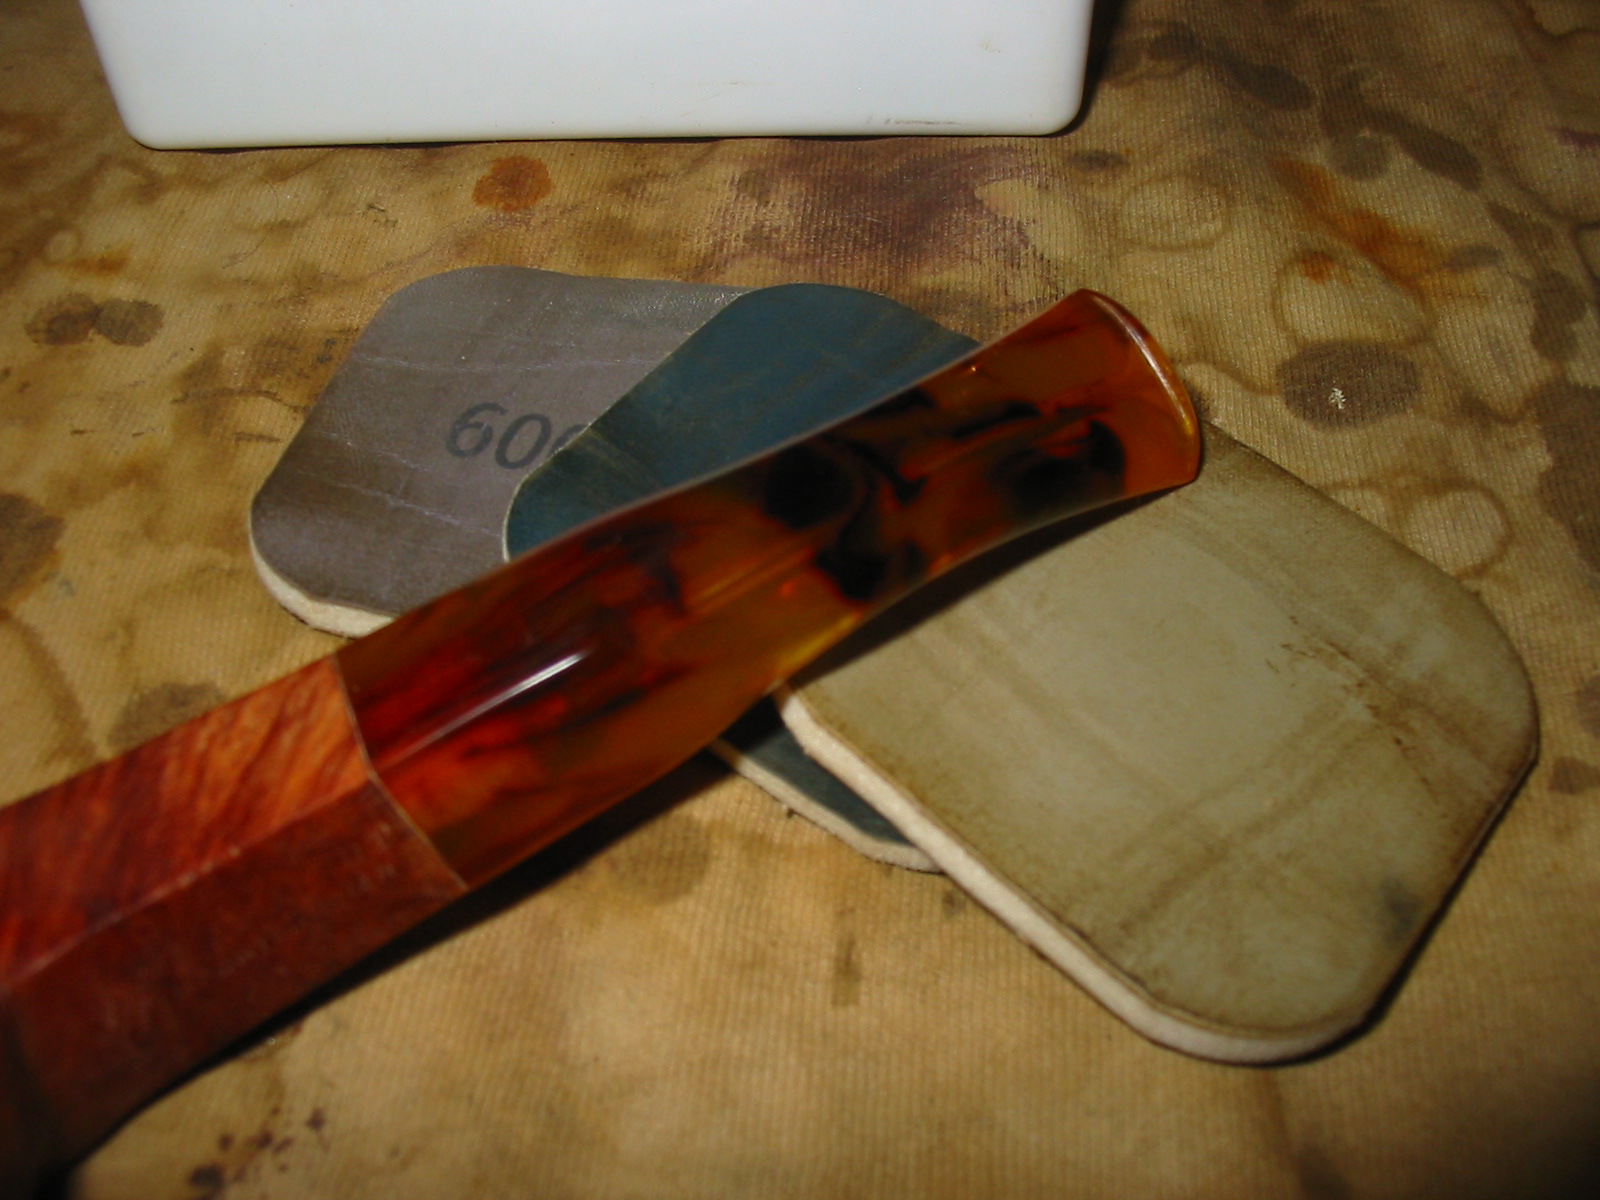
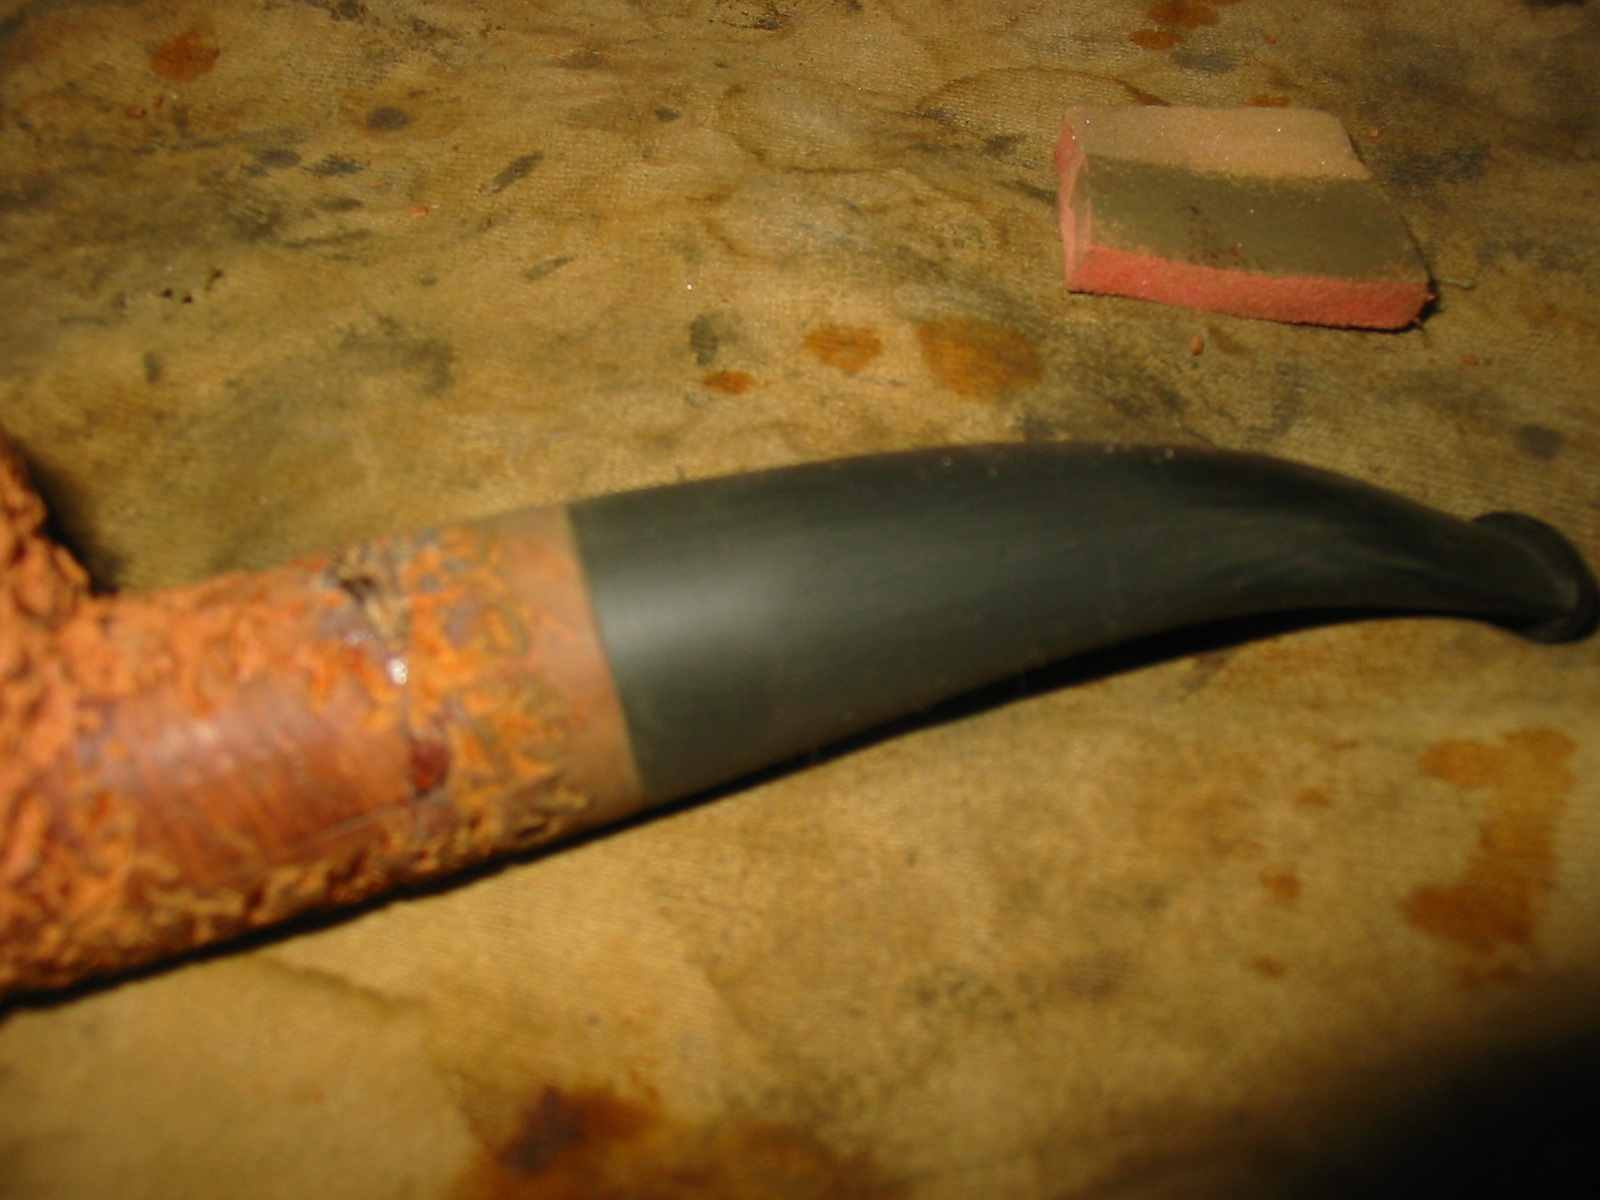
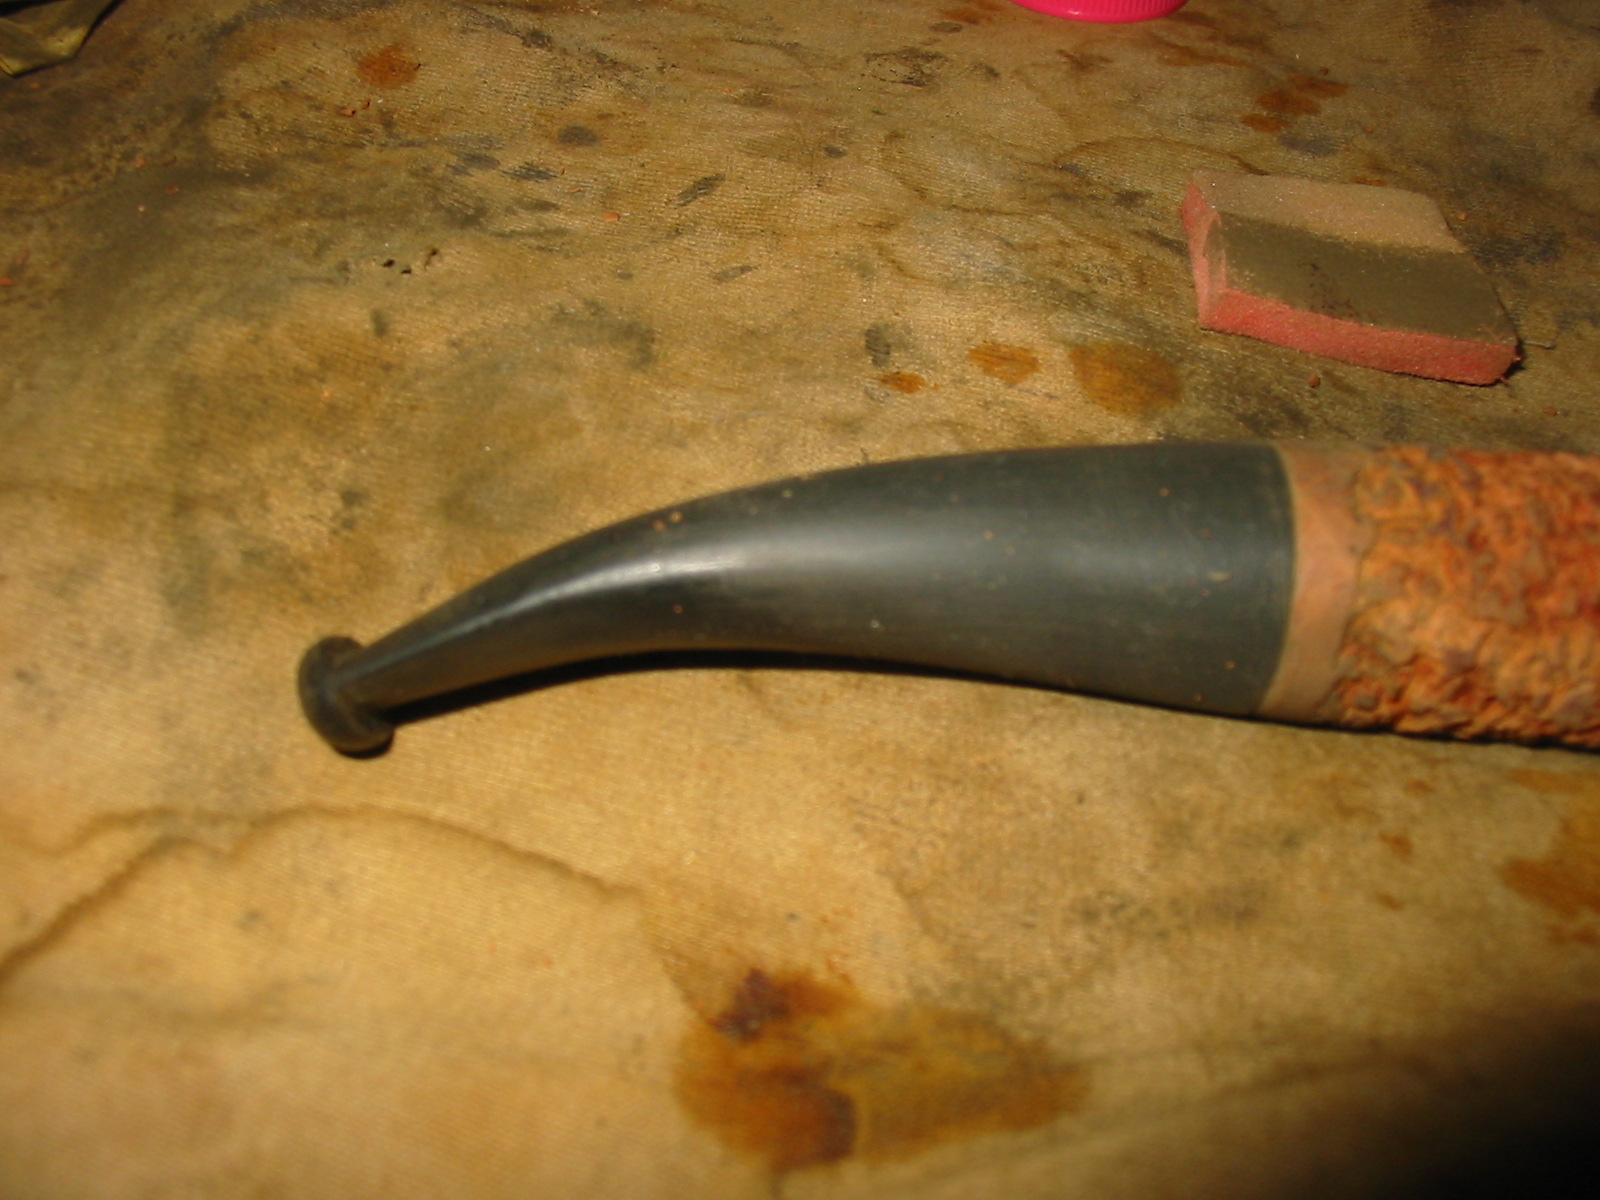
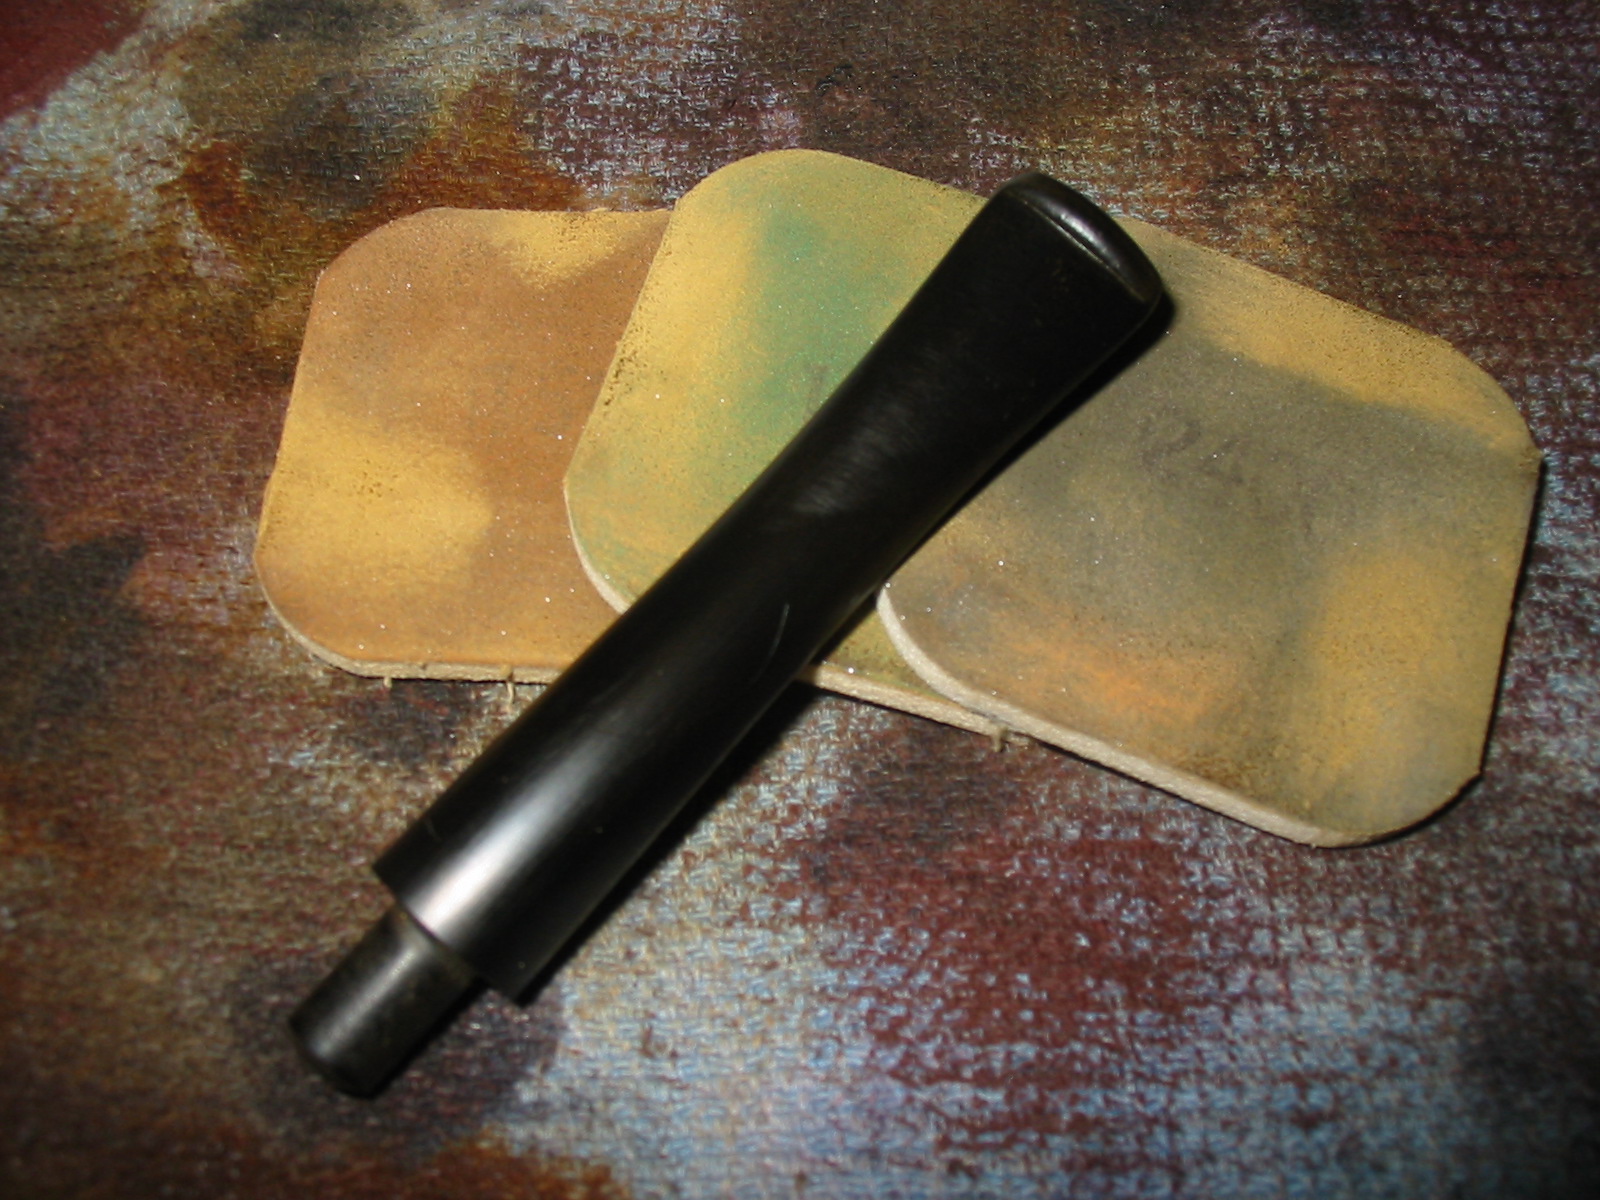
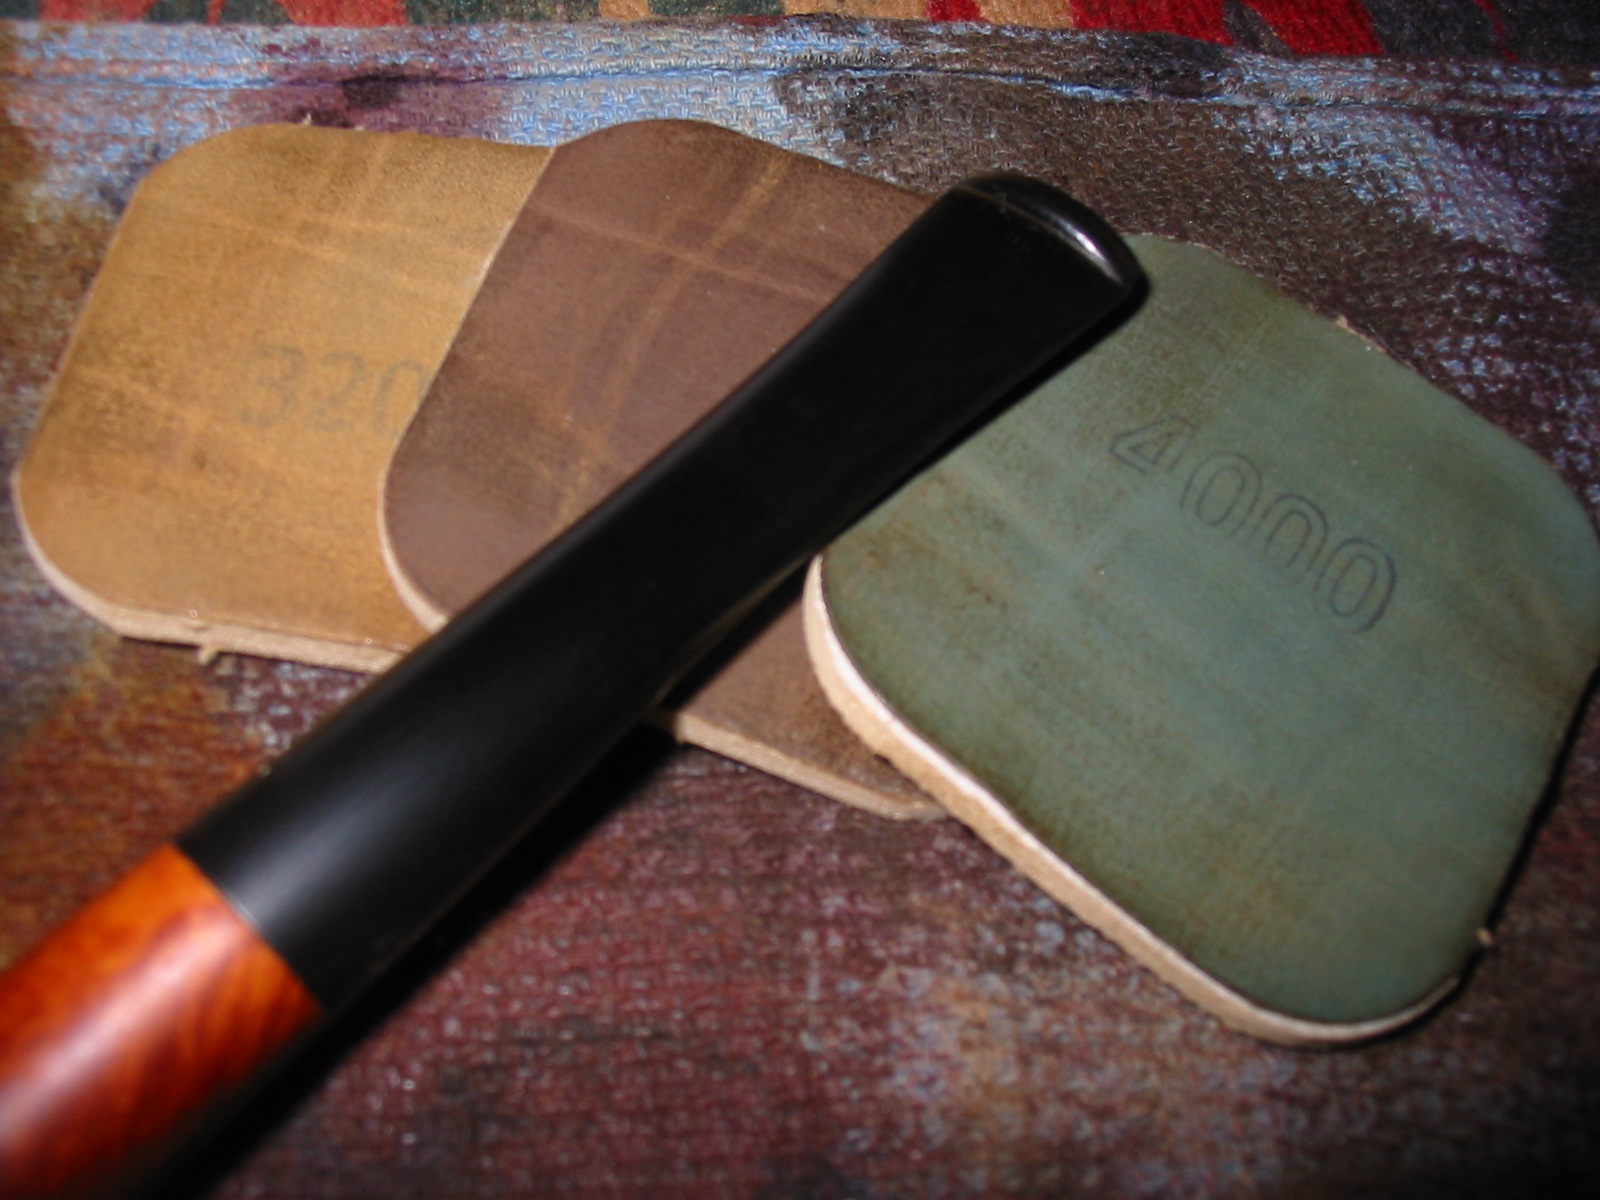
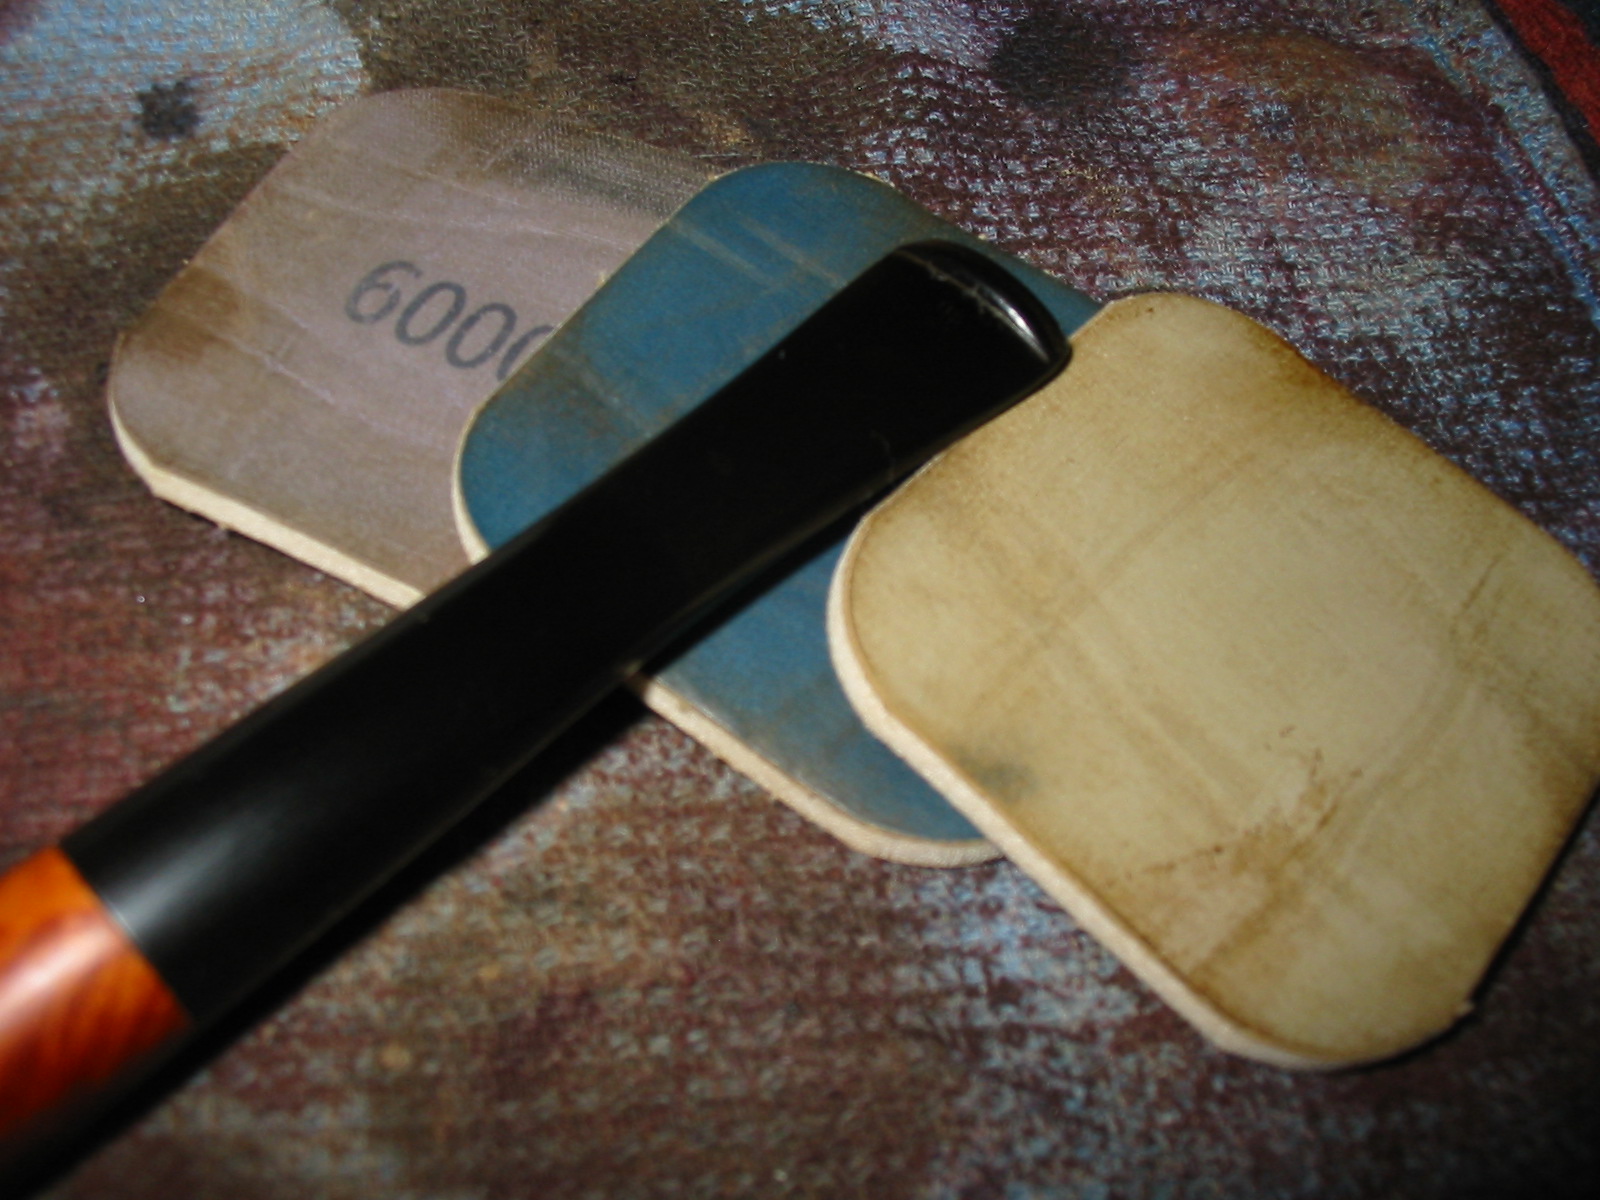
I sanded the tooth marks on the stem with 220 grit sandpaper and then a medium grit sanding sponge until they were no longer visible. I then used micromesh sanding pads to finish the stem. I wet sanded with 1500-2400 grit pads and dry sanded with 3200-12,000 grit pads. I rubbed down the stem with Obsidian Oil and when dry buffed it with White Diamond.
IMG_5095

IMG_5096

IMG_5097

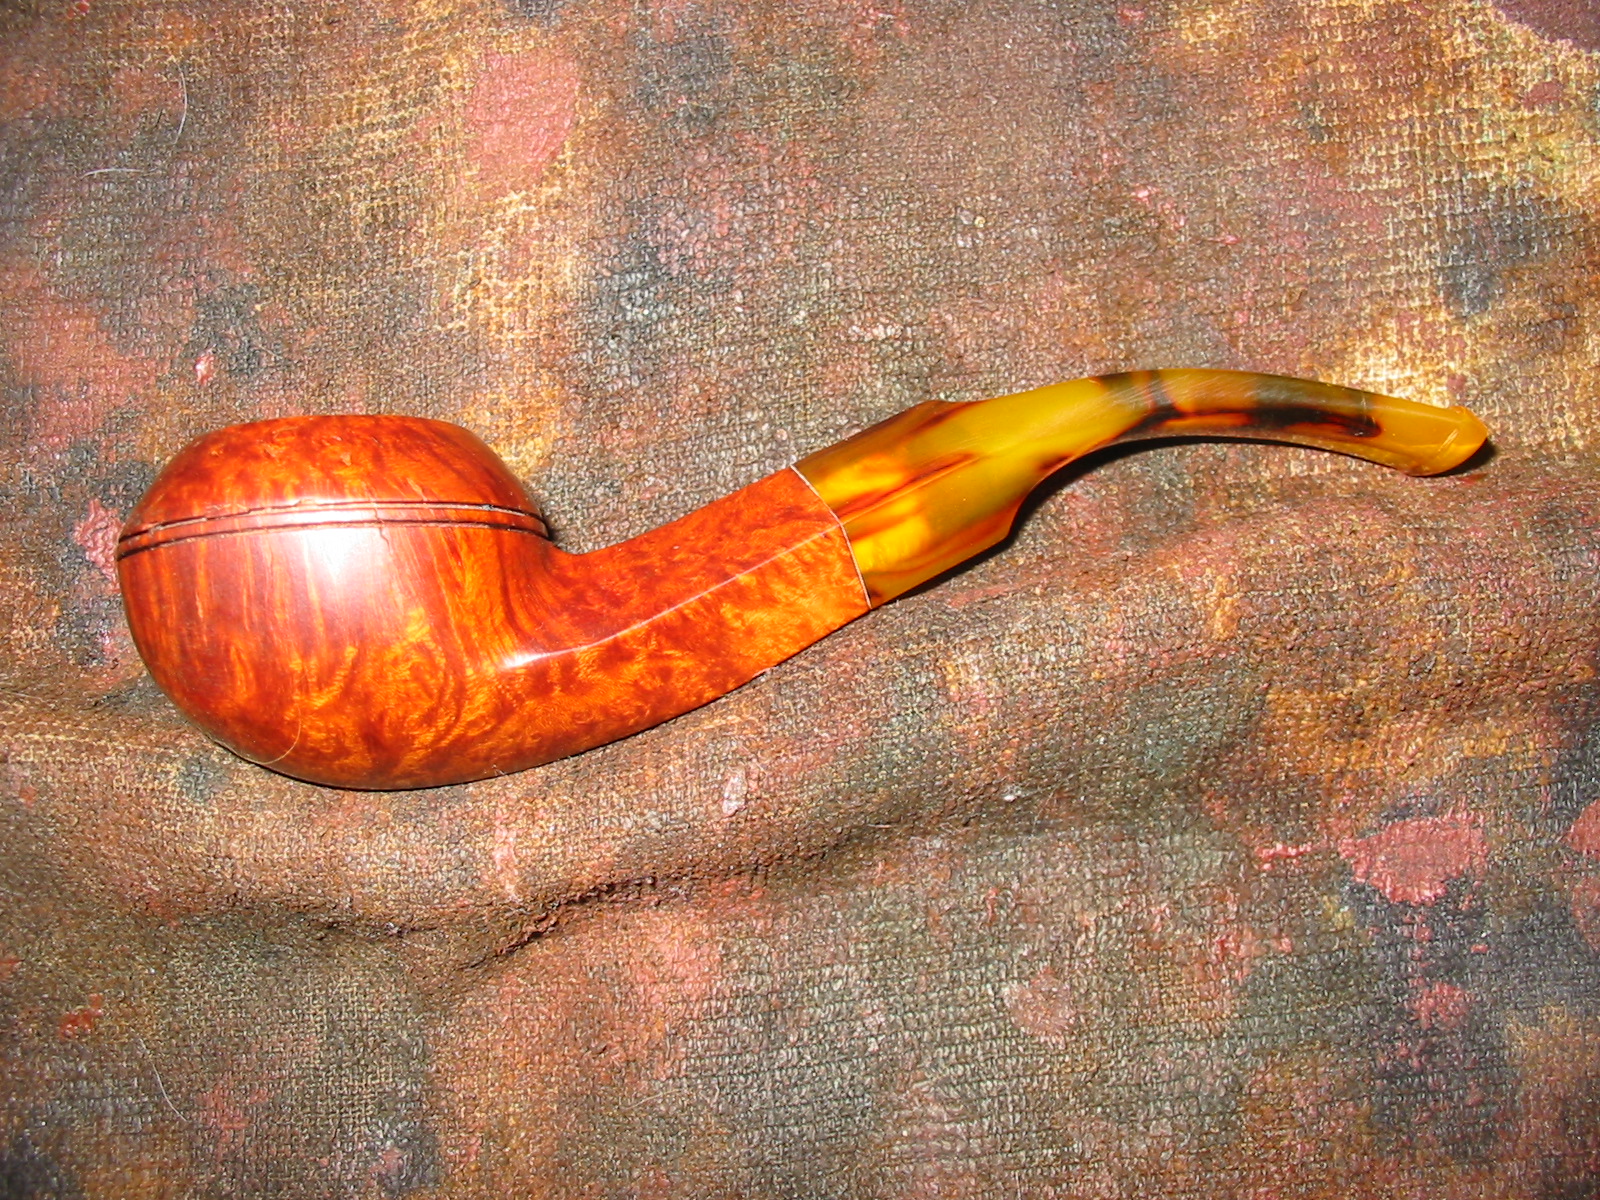
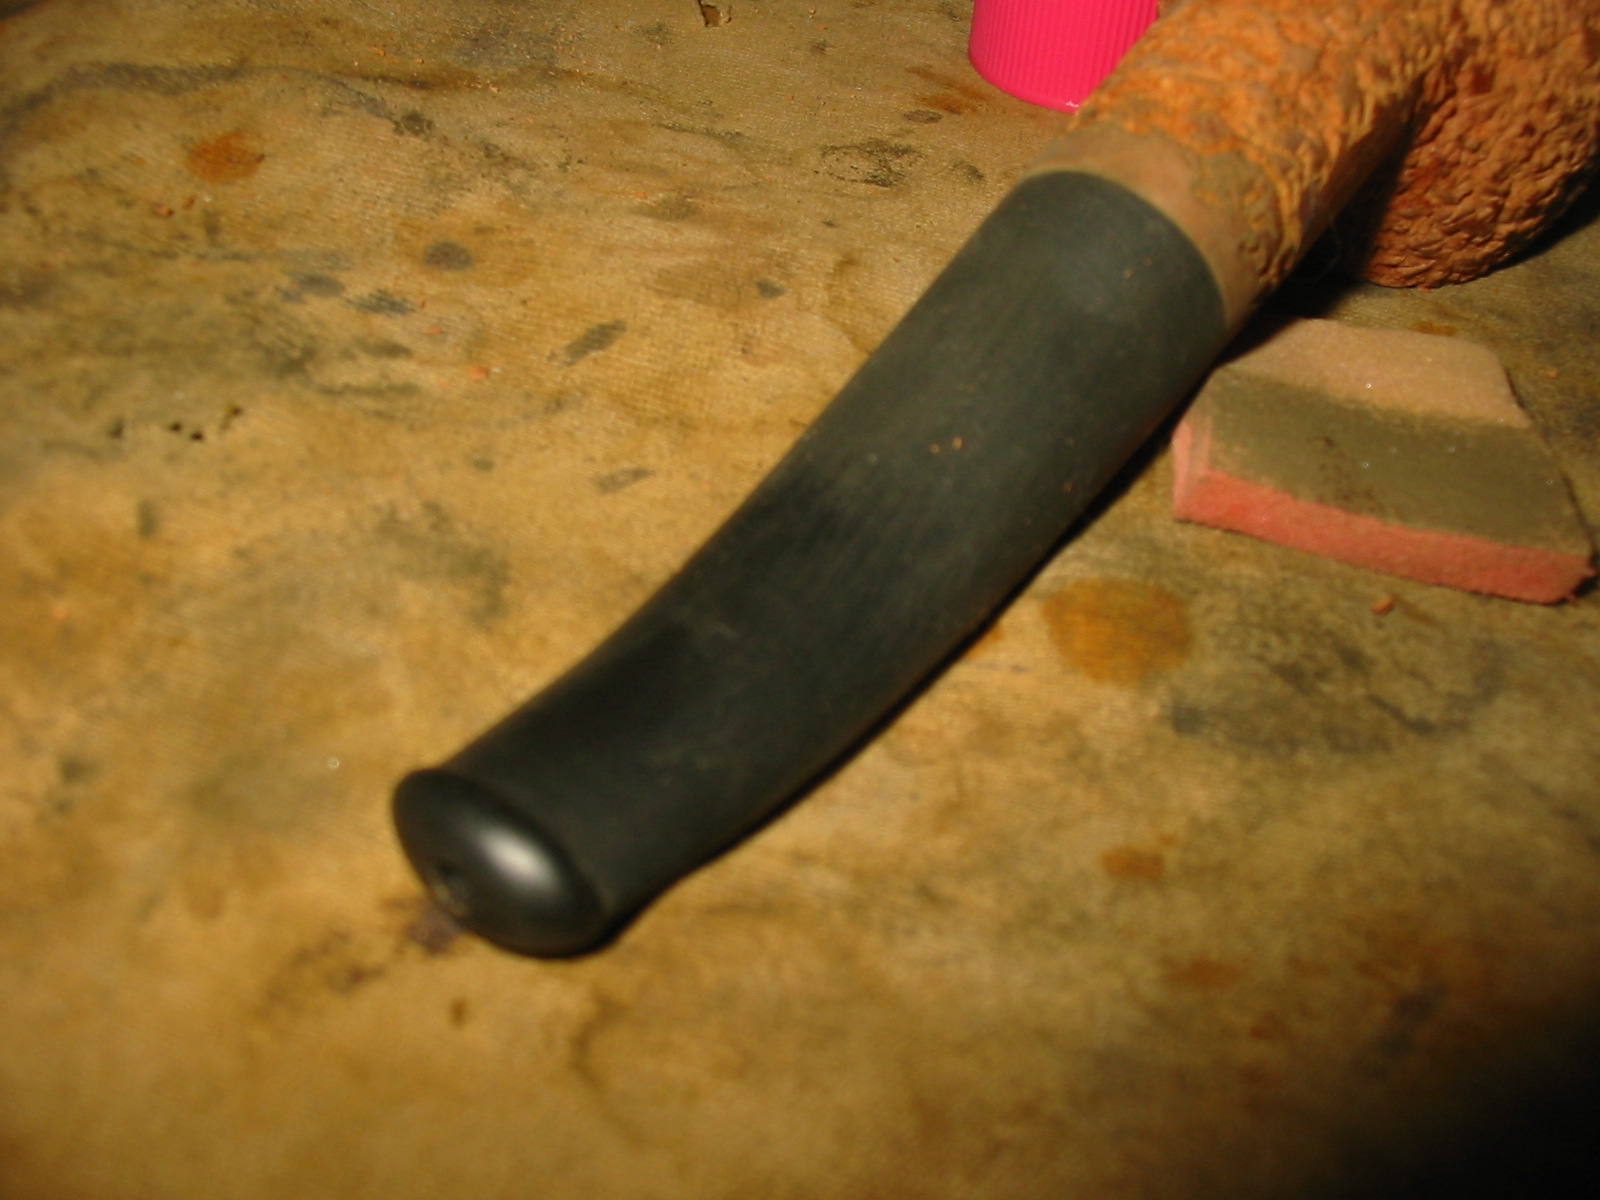
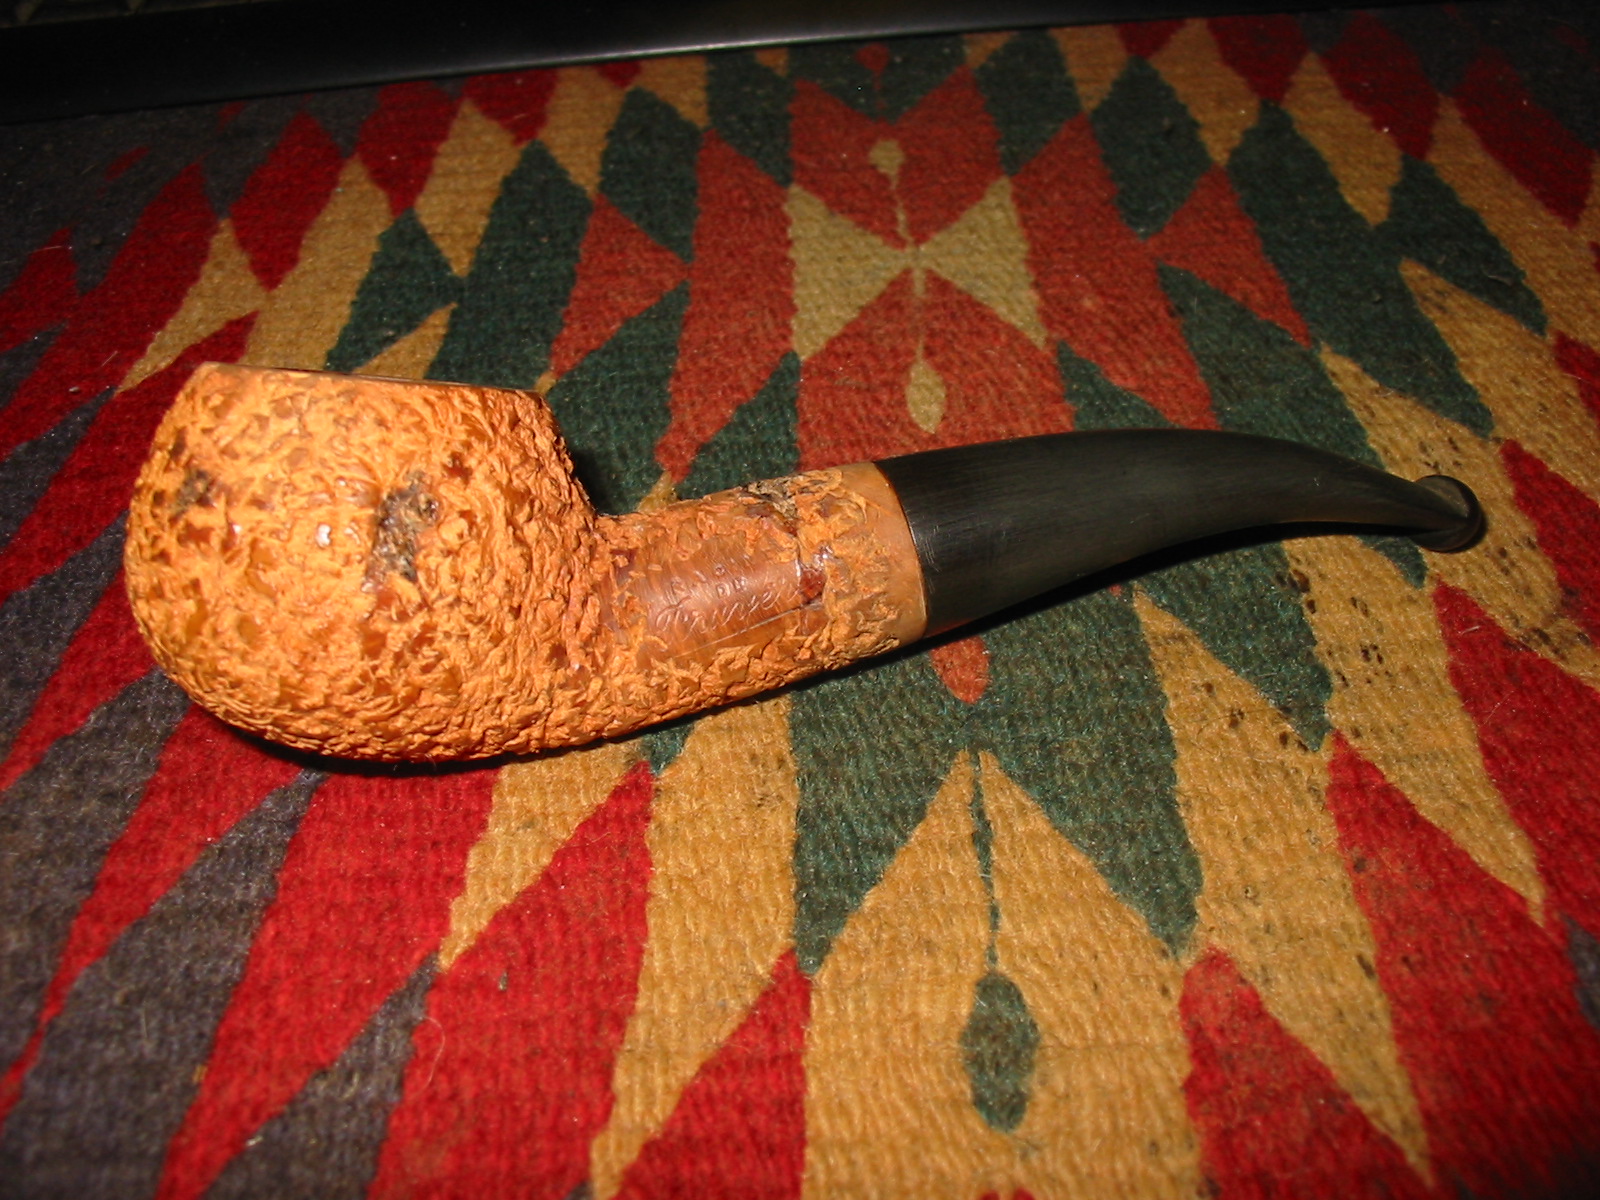
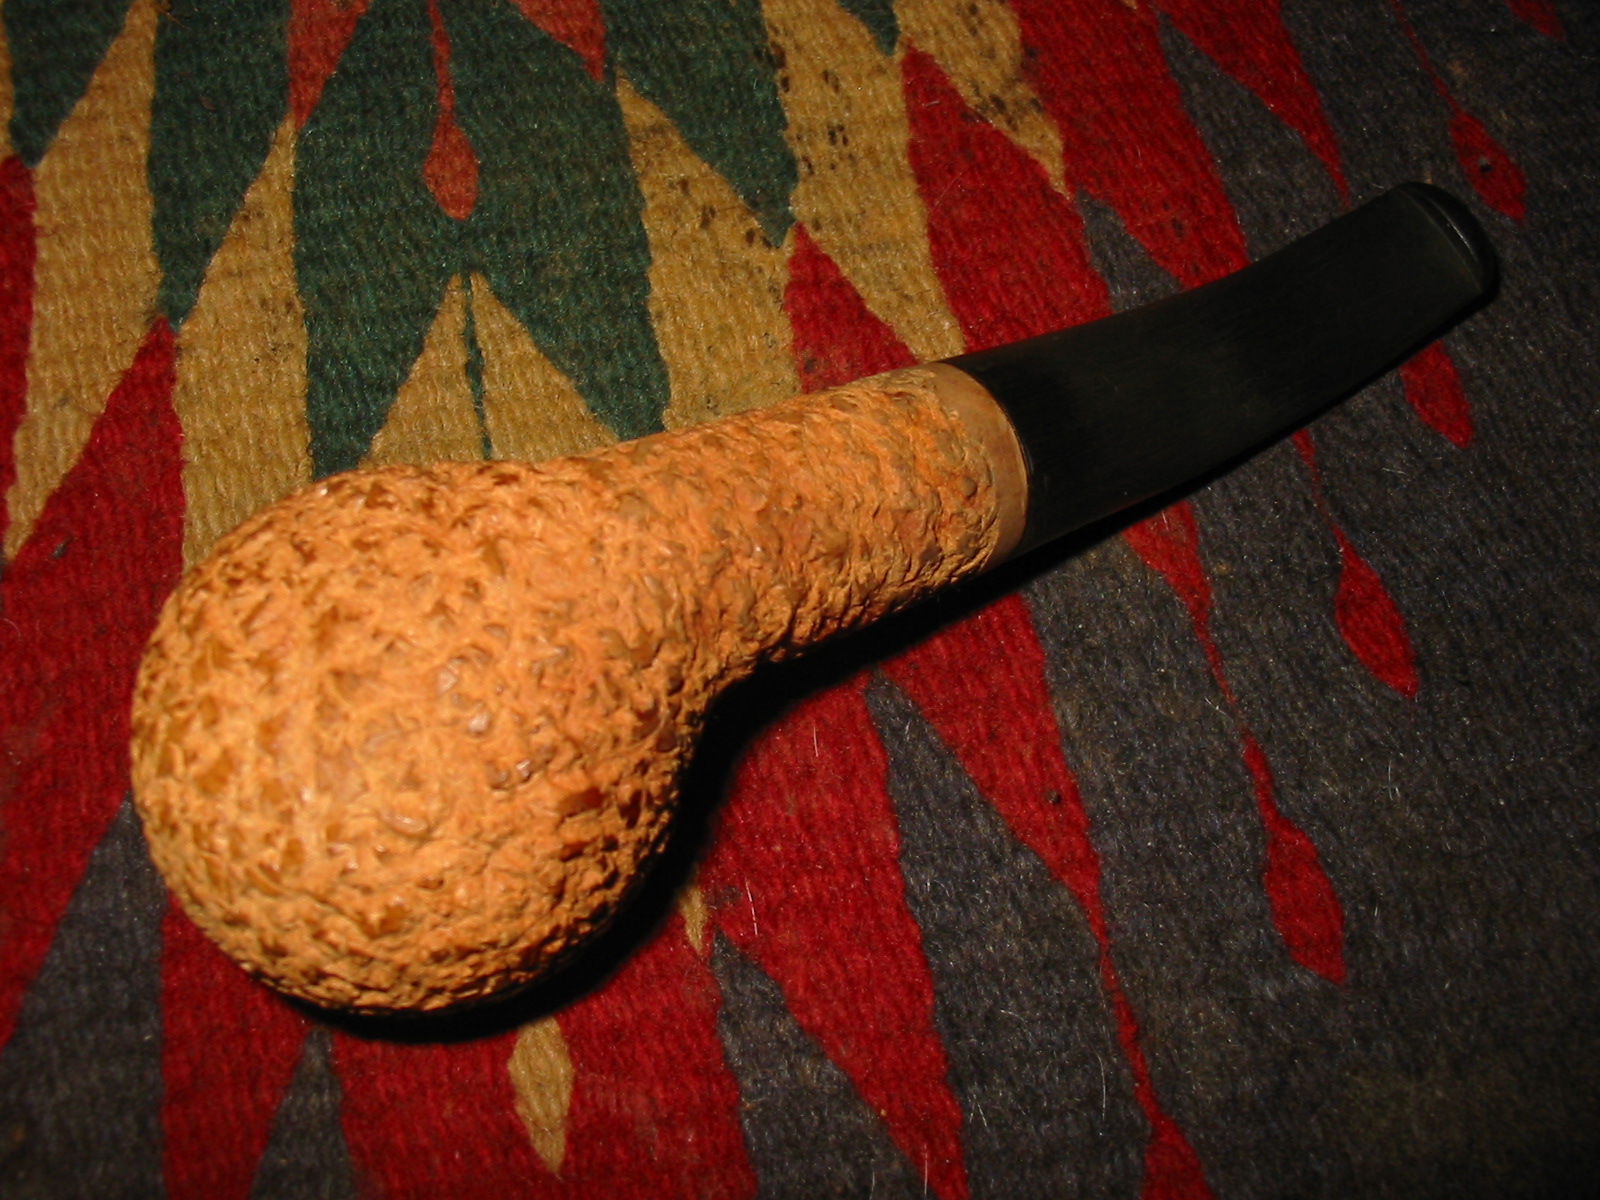
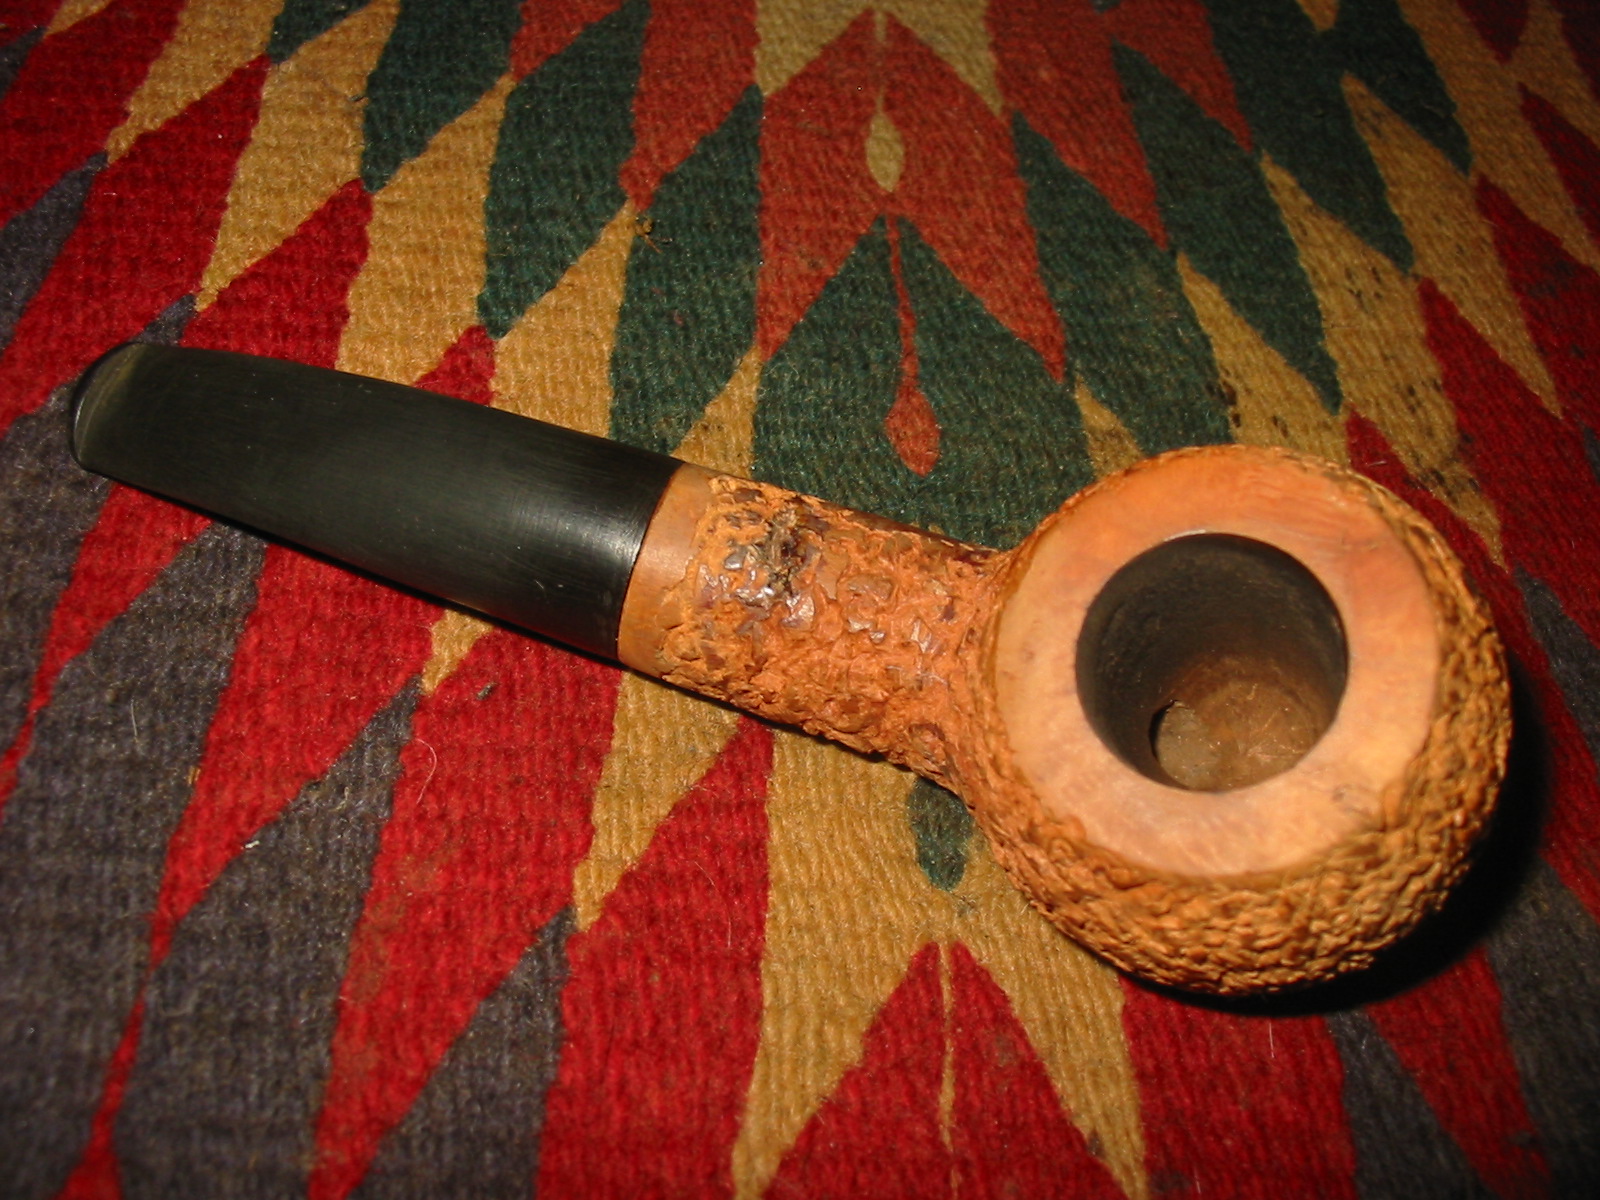
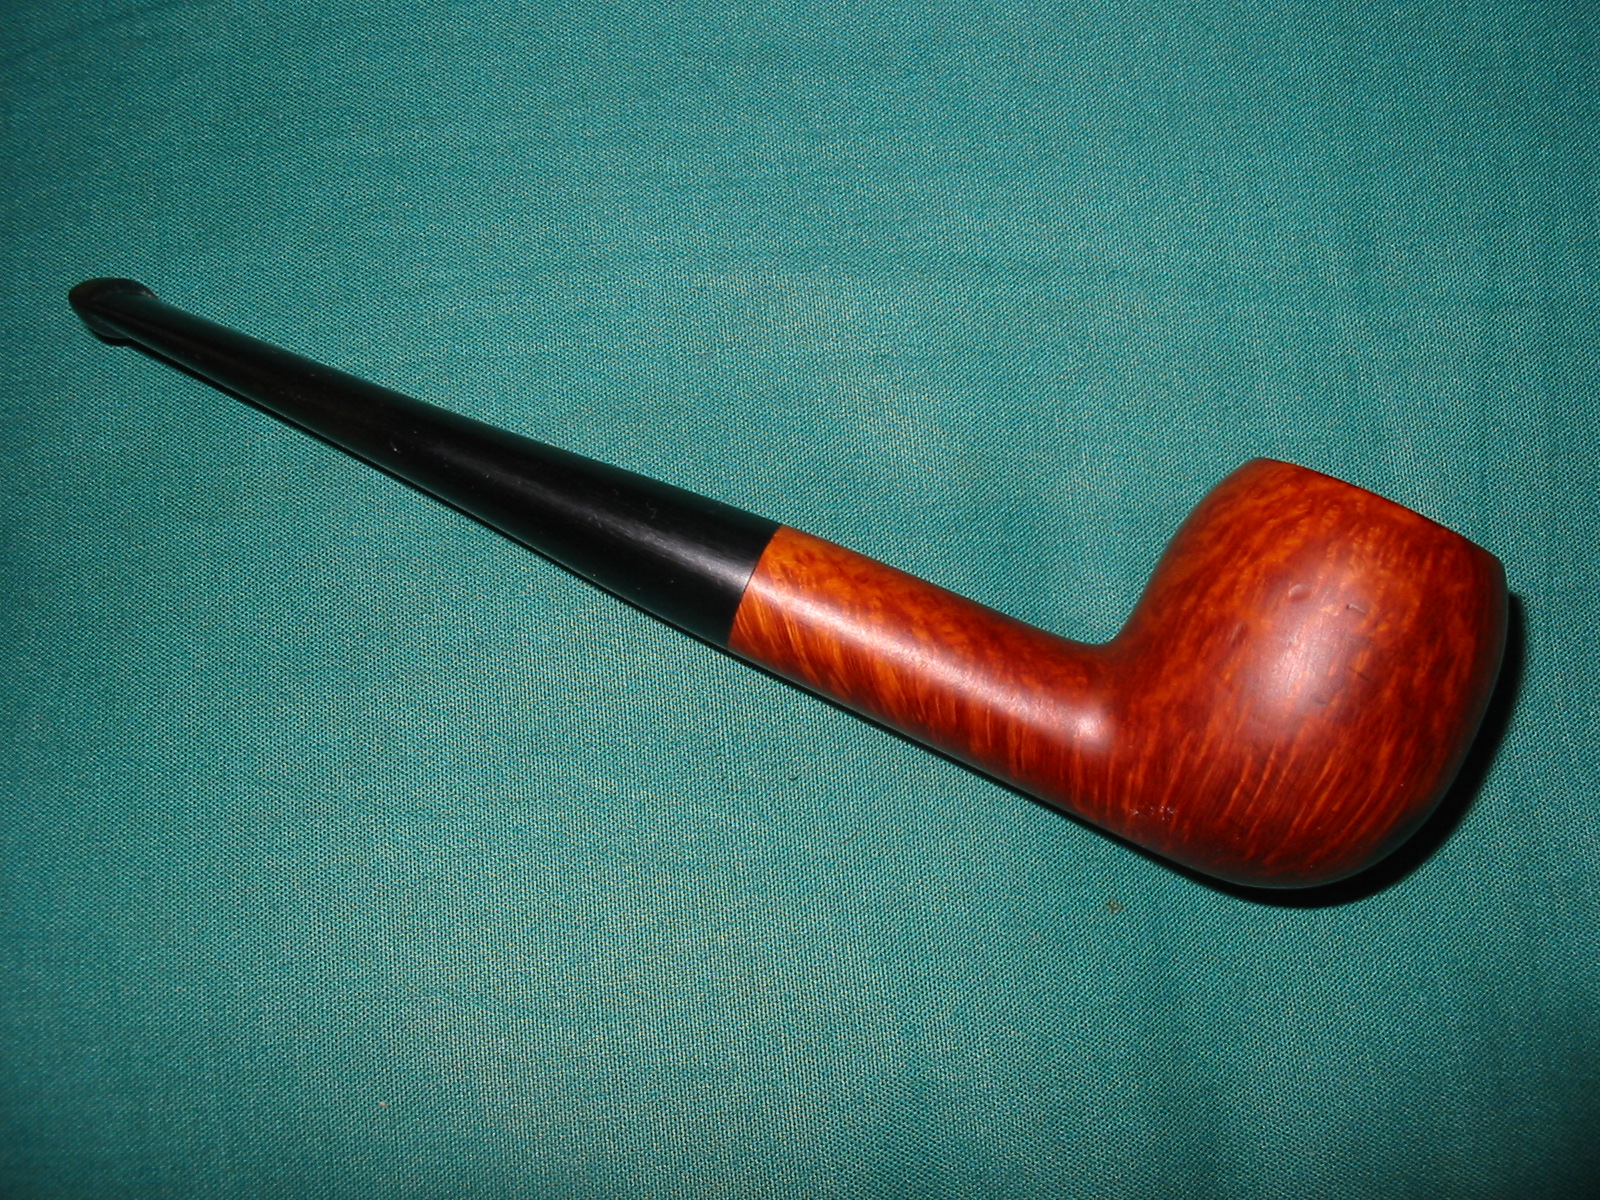
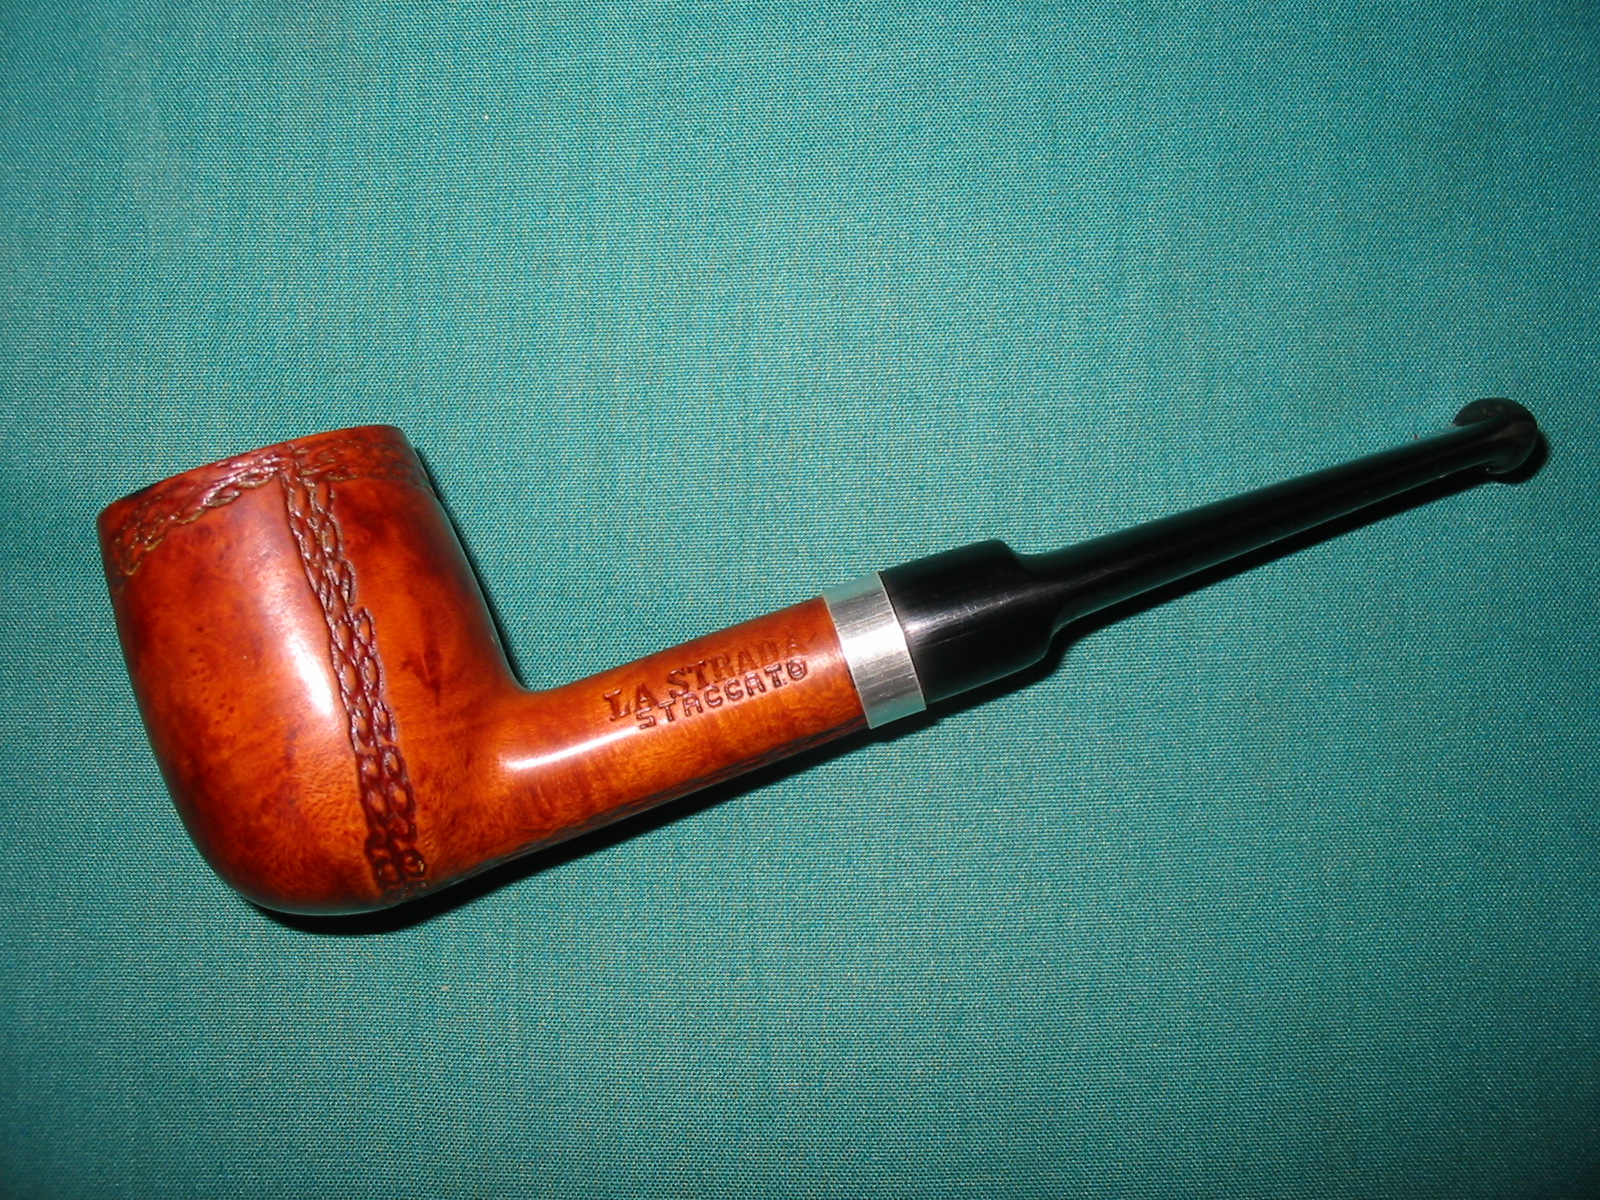
I polished the silver band with silver polish and micromesh sanding pads and then buffed the pipe and stem with White Diamond. I gave the pipe multiple coats of carnauba wax and buffed it to a shine with a soft flannel buffing pad. The finished pipe is shown in the photos below. It is ready for its initial and should make someone a good pipe in the long run.
IMG_5098

IMG_5099

IMG_5100

IMG_5101

A Kaywoodie Reworked, with a Little Mystery!


Blog by Greg Wolford

This year has not been a banner one, so far, for me personally. The harsh weather, an accident, and a failure of one of my orthotics has had me mostly sidelined since the first of the year. My workshop is downstairs, in the garage, and it isn’t exactly the warmest, most comfortable place to work in the temperatures we’ve had, not to mention the difficulty of actually getting myself up and down the stairs … but I digress … so I’ve been able to do very little work on either of my hobbies so far in 2014.

Last week my wife had a little pity on me and allowed me to bring a few necessary tools and supplies up to the kitchen so I could work on a few old pipes; leather work is out of the question until the temperature and my body cooperate. I think she knew I was getting a bit restless, not being able to get into any of my projects. When I said she “allowed” it, she corrected me with “I didn’t say you could do that” but she didn’t send it all back down to the shop either, so I take that as permission I told her! LOL

Now, I must admit that my photographs, when I remember to take them (that’s a preview hint that I haven’t remembered as often as I should have), aren’t as good as I would like but I don’t have as good a set-up as I normally do. So, I ask you to bear with me on the quality and quantity of them.

Sometime back I acquired an older Kaywoodie model 33. It is an apple shape with a rounded bowl-top. The pipe was in pretty good condition other than the front edge was damaged from being knocked-out and the bottom of the stem had been bitten off. because of the stem damage I put off working on this pipe for months; I wanted to save the stem but didn’t have the black super glue yet, which I planned on using, to do the job. Here are a couple of photos (all I could find) of it before I started working on it.

Kaywoodie Apple (10) Kaywoodie Apple (11) Kaywoodie Apple (13)

Unfortunately all I can find are some photos that I used it as a “prop” in and one of the underside of the stem. You can see the pipe itself wasn’t too bad but the stem was another story.

Initially I tried to patch the chip with black super glue; I tried this three times: the first attempt the pipe cleaner I was using as a plug absorbed all the glue and the other two times, using different materials for the plug, the patch failed. It turned out that the chip was just too large for me to patch well so I decided to cut it off and file a new button since there seemed to be plenty of room to work with on this stem.

I used a hacksaw on a small frame to remove just behind the bite through. When I looked at the air hole I noticed two things, neither good: first I had closed off the airway accidentally with the glue and second the air hole wasn’t drilled center. I fixed the glue-plug problem quickly by drilling out the hardened glue with a pin vice and then picking out the small fragments that were left. One problem down – now onto forming a new button and slot.

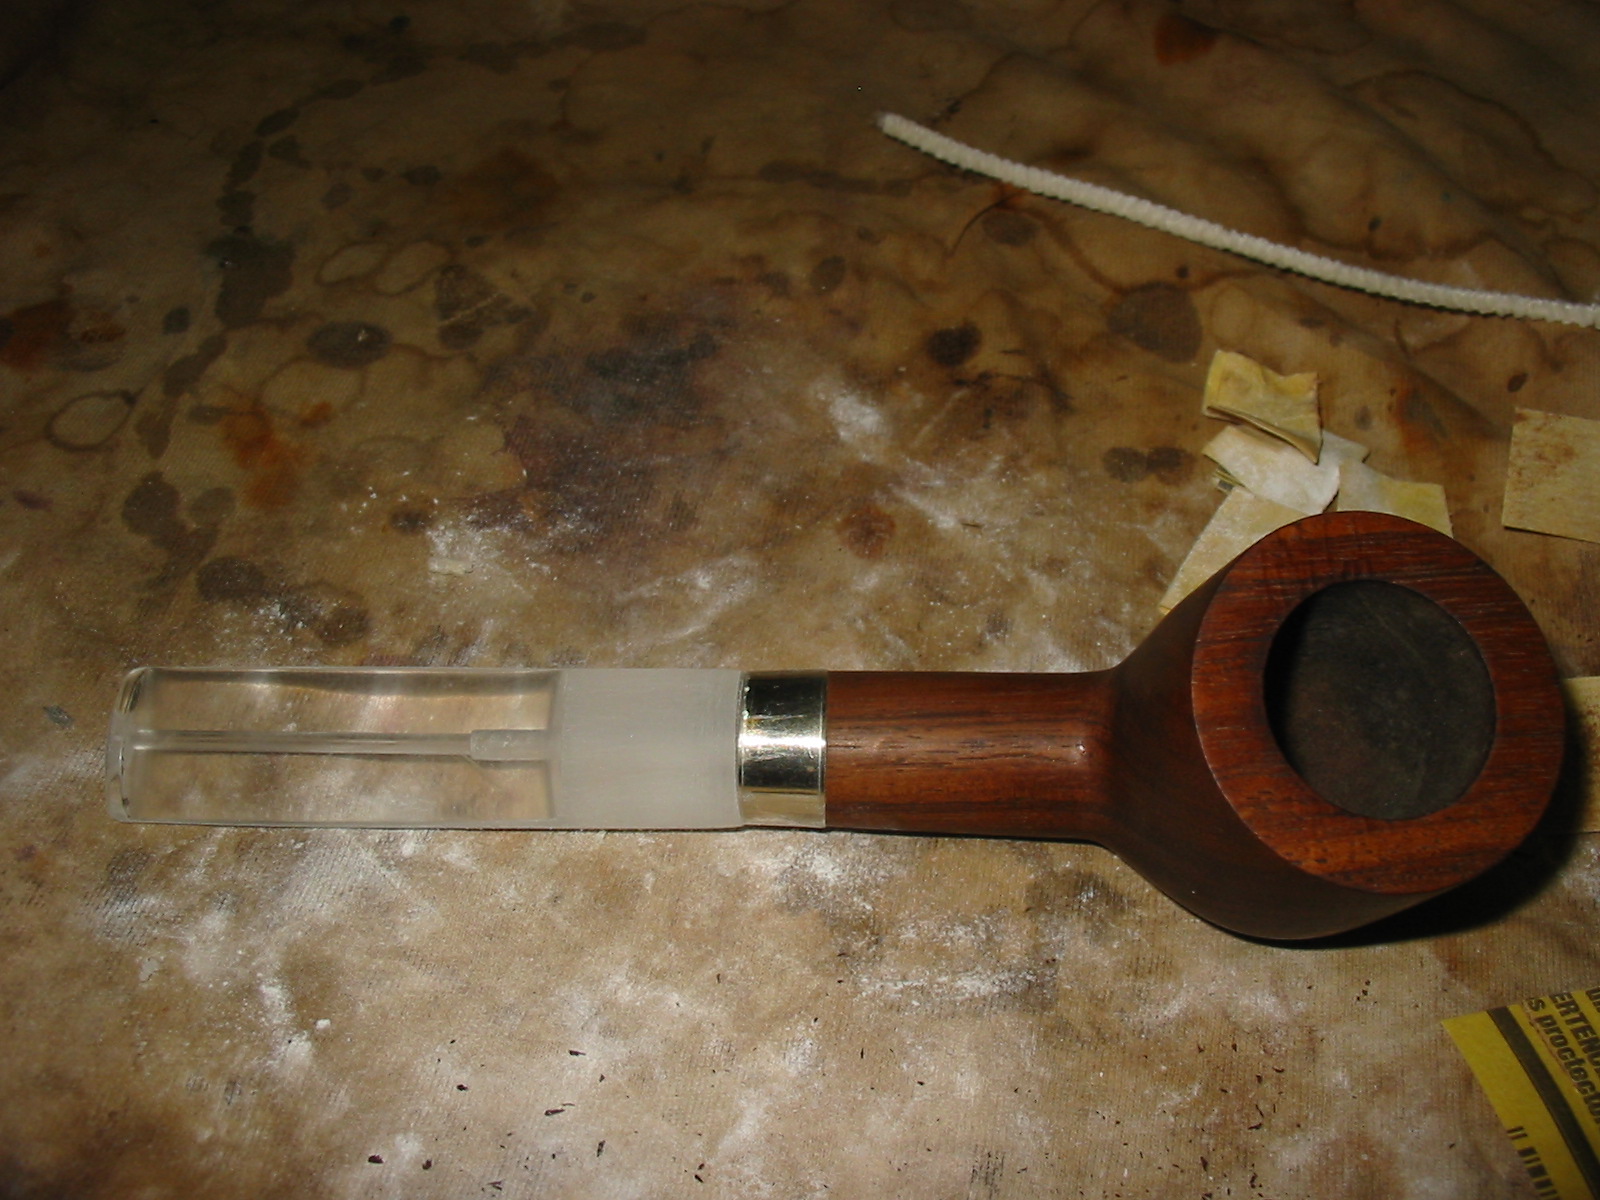
I used various needle files to shape the new button, being timid about not getting it too thin. I recently bought a new set of Kobalt needle files, a big upgrade from my old ones, and found that this (only my second or third time making a whole new button and transition) went much smoother and faster than in the past. I also used the files and a bit of sandpaper to open and funnel the slot, again I was a bit timid in not going too thin; I have done that once and suffered a cracked bit afterward. This is a fair representation of what I ended up with:
Kaywoodie Apple (8)

Once I had the stem to my satisfaction I turned to the stummel.

I had at some time past already reamed the bowl lightly, it had very little cake, and cleaned the shank and stem. I now began by cleaning the stummel with acetone wetted cotton pads to remove the old finish and dirt. After the acetone I moved on to some alcohol wetted pads to lighten up the grime on the bowl top. When it was sufficiently clean I decided to use some 400 grit sandpaper to lightly smooth the edge damage. I didn’t know it at the time – because I failed to look first, a fault I have all too often – but the rim was supposed to be rounded. Luckily I liked the general look of the rounded top and thought it might be the way it was supposed to be so I wanted to keep it rather than topping the entire bowl. I personally like, in general, the less sharp lines on a bowl top so this was an easy choice – one that turned out to be a good one as well.

Once I had reduced the damage to the rim and front, keeping the shape as close to original/symmetrical as I could, I moved to micro mesh pads to sand and polish the bowl top. After getting through the first two grades I thought the entire pipe would look nice just polished with the micro mesh. At this point I reassembled the pipe and began to look for nomenclature to avoid during my polishing; this is when I discovered my “mystery”.

On the bottom of the stem, a origianl Kaywoodie, three-hole stinger with white clover logo, I saw something I had never seen before: there was stamping on the vulcanite “D-2”. This immediately intrigued me; I knew I would have to find out more about that … but lets’ wait a paragraph or two on that.

Kaywoodie Apple (9)

I polished the entire pipe with all of the micro mesh grits in order from 1500 – 12000, avoiding all of the stamping, including on the stem. I wet sanded the stem (only) through 4000, then polished the stem with plastic polish, before finishing the entire pipe through 12000 grit. I then applied Halcyon II wax to the entire pipe and hand buffed it. I was really pretty pleased with the results, considering I didn’t have access to my buffer and this was, more or less, my first experience with the Halcyon wax.

Kaywoodie Apple (2) Kaywoodie Apple (3) Kaywoodie Apple (5)Kaywoodie Apple (4)Kaywoodie Apple (6) Kaywoodie Apple (7) 

I missed some file marks on the stem, and the “bits” near the bit; I figure when I can properly buff the pipe I will get those taken care of, as well as put a better shine on it with some carnauba wax. But until then I am enjoying this old gal just as she is!

The stem still has oxidation near that stamping, which I began to research after I finished the work on the pipe. None of the other Kaywoodies I have, or have ever had, have any stamping on their stems like this one does. I scoured the ‘net and asked as many folks as I could think of to no avail … well, almost none. I am a member of the Kaywoodie Pipes Group on Facebook and one of the members there is Bill Fuerbach is as well. He saw my question that I posted about the stamping in that group and replied as follows:

Hey guys. I’ve seen this also on some older Kaywoodie stems. unfortunately at this time I don’t know what the significance is. :(:(

So unfortunately there is not yet an answer to what the stamping means or its significance is – and the mystery remains …  If by chance anyone what reads this knows the answer I would really appreciate it is you would leave a comment with the answers!

Edit

I received an email from Chris at PipePages about this question. He said in his personal opinion, and that it is only a guess, that it could be a factory replacement stem and the number was a style/guide for the repairman to know which stem to use. Although it is only a shot-in-the-dark type of guess, it seems like a plausible answer to me.
Alternative Woods: Refurbishing and Restemming a Black Walnut Pot


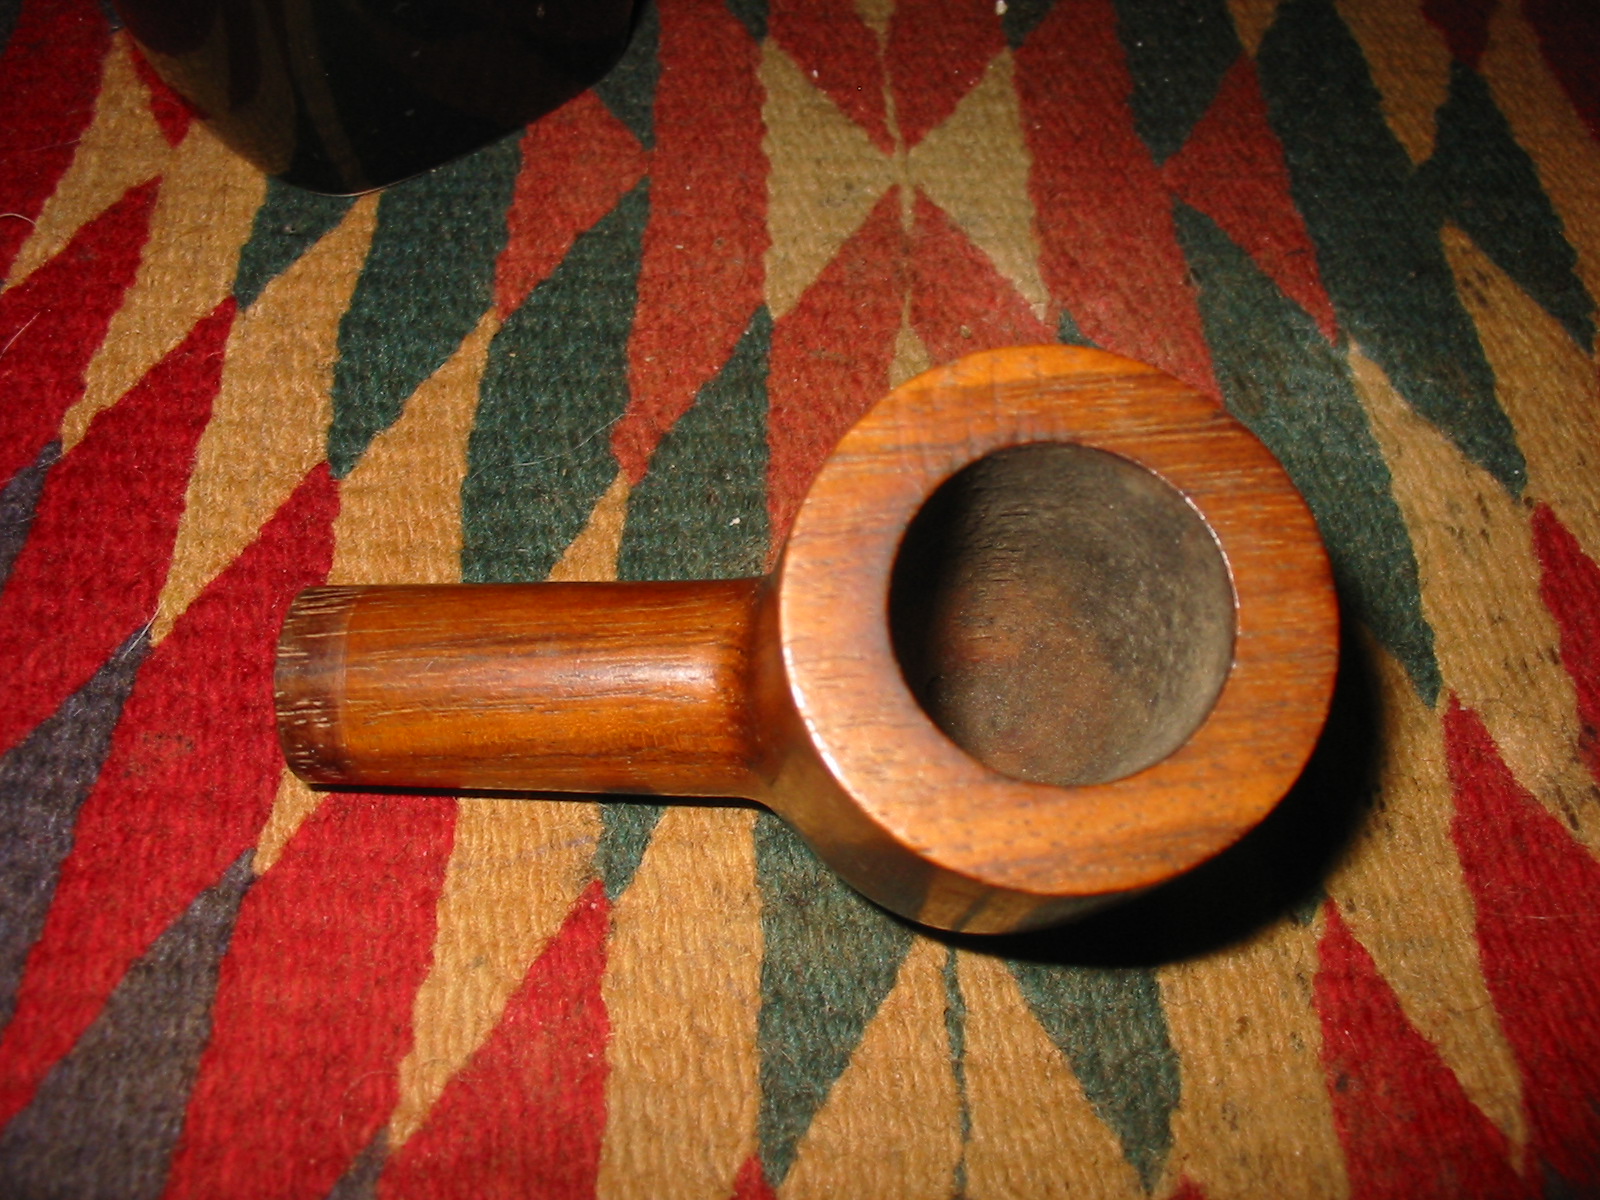
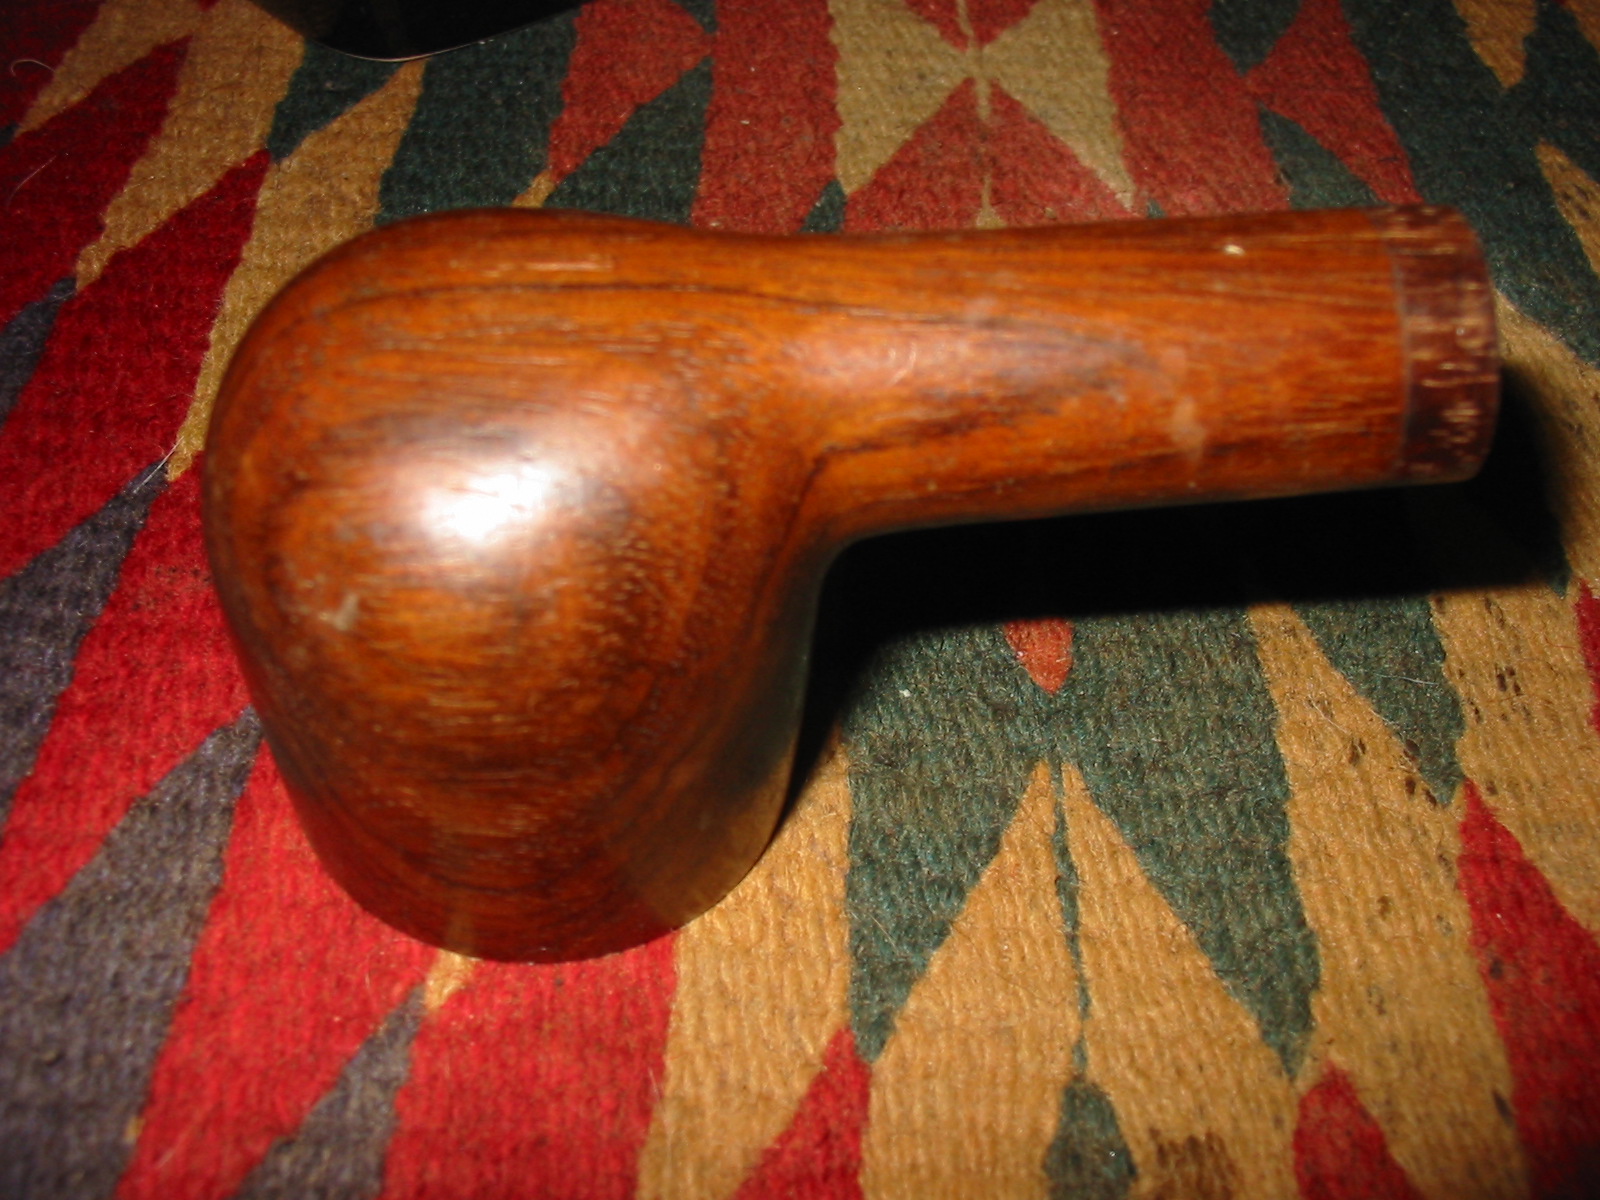
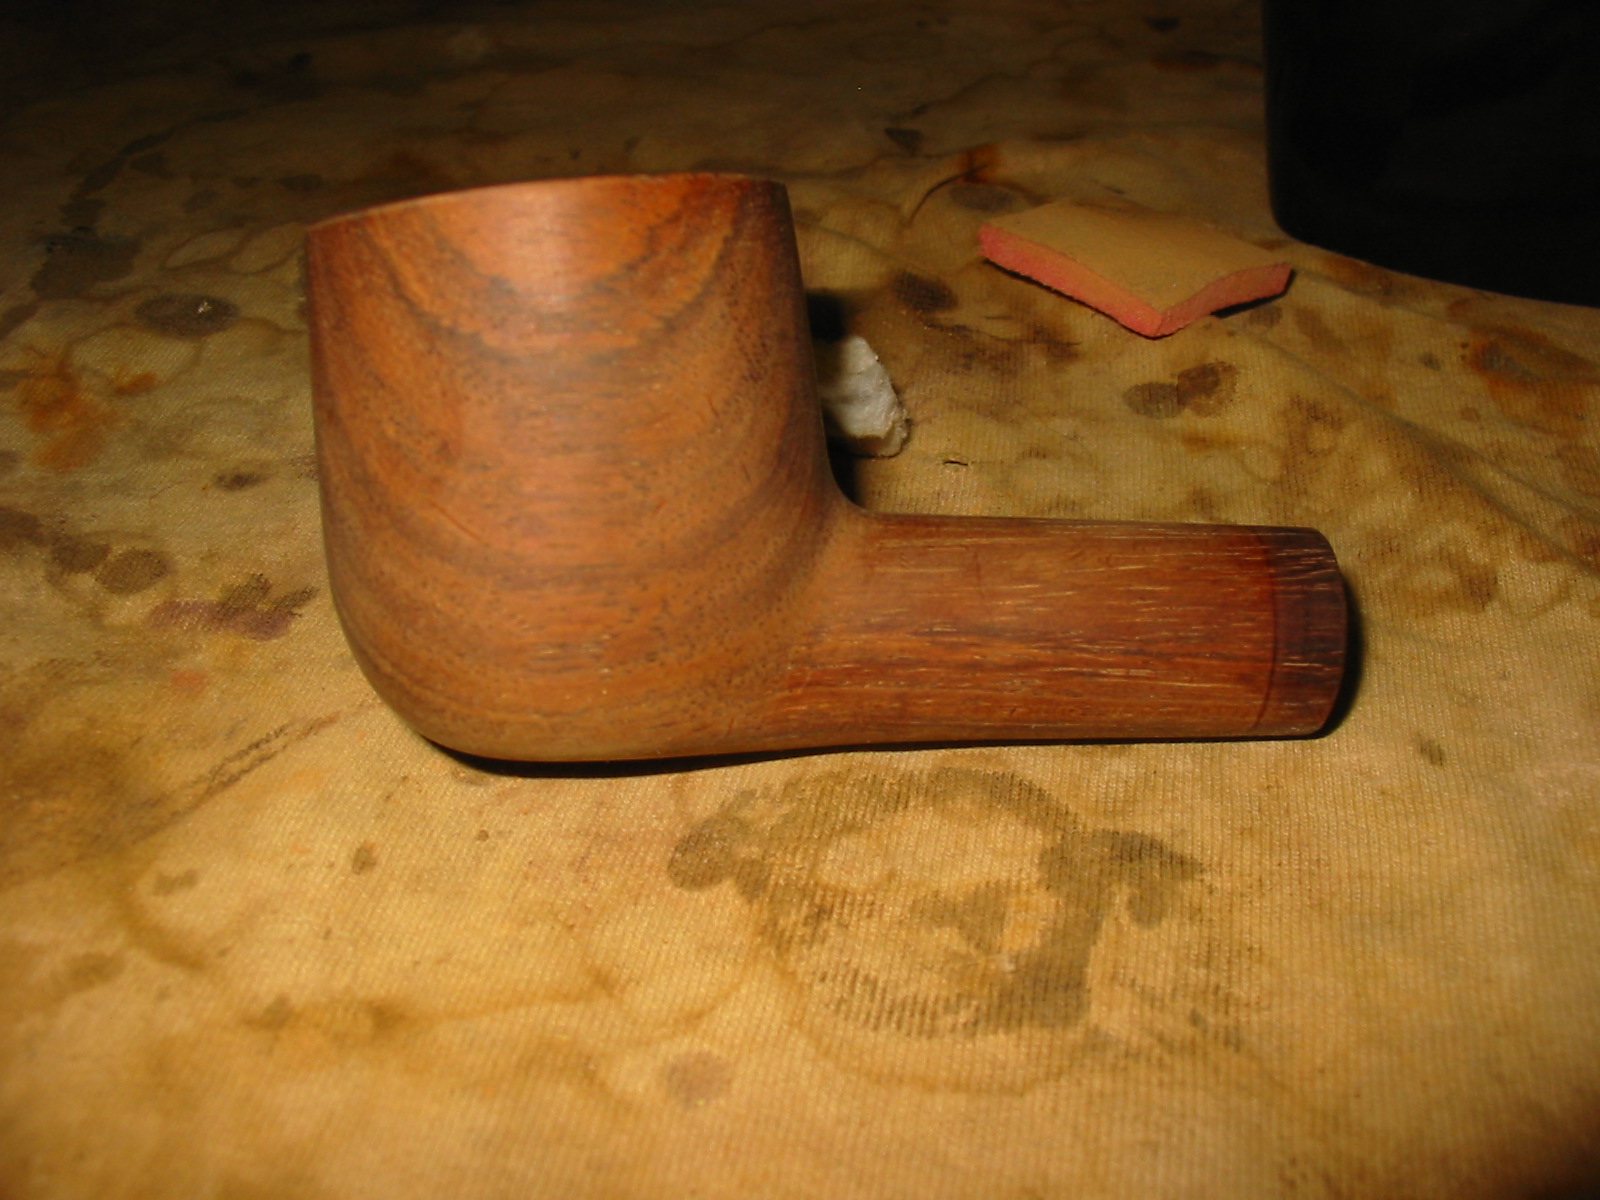
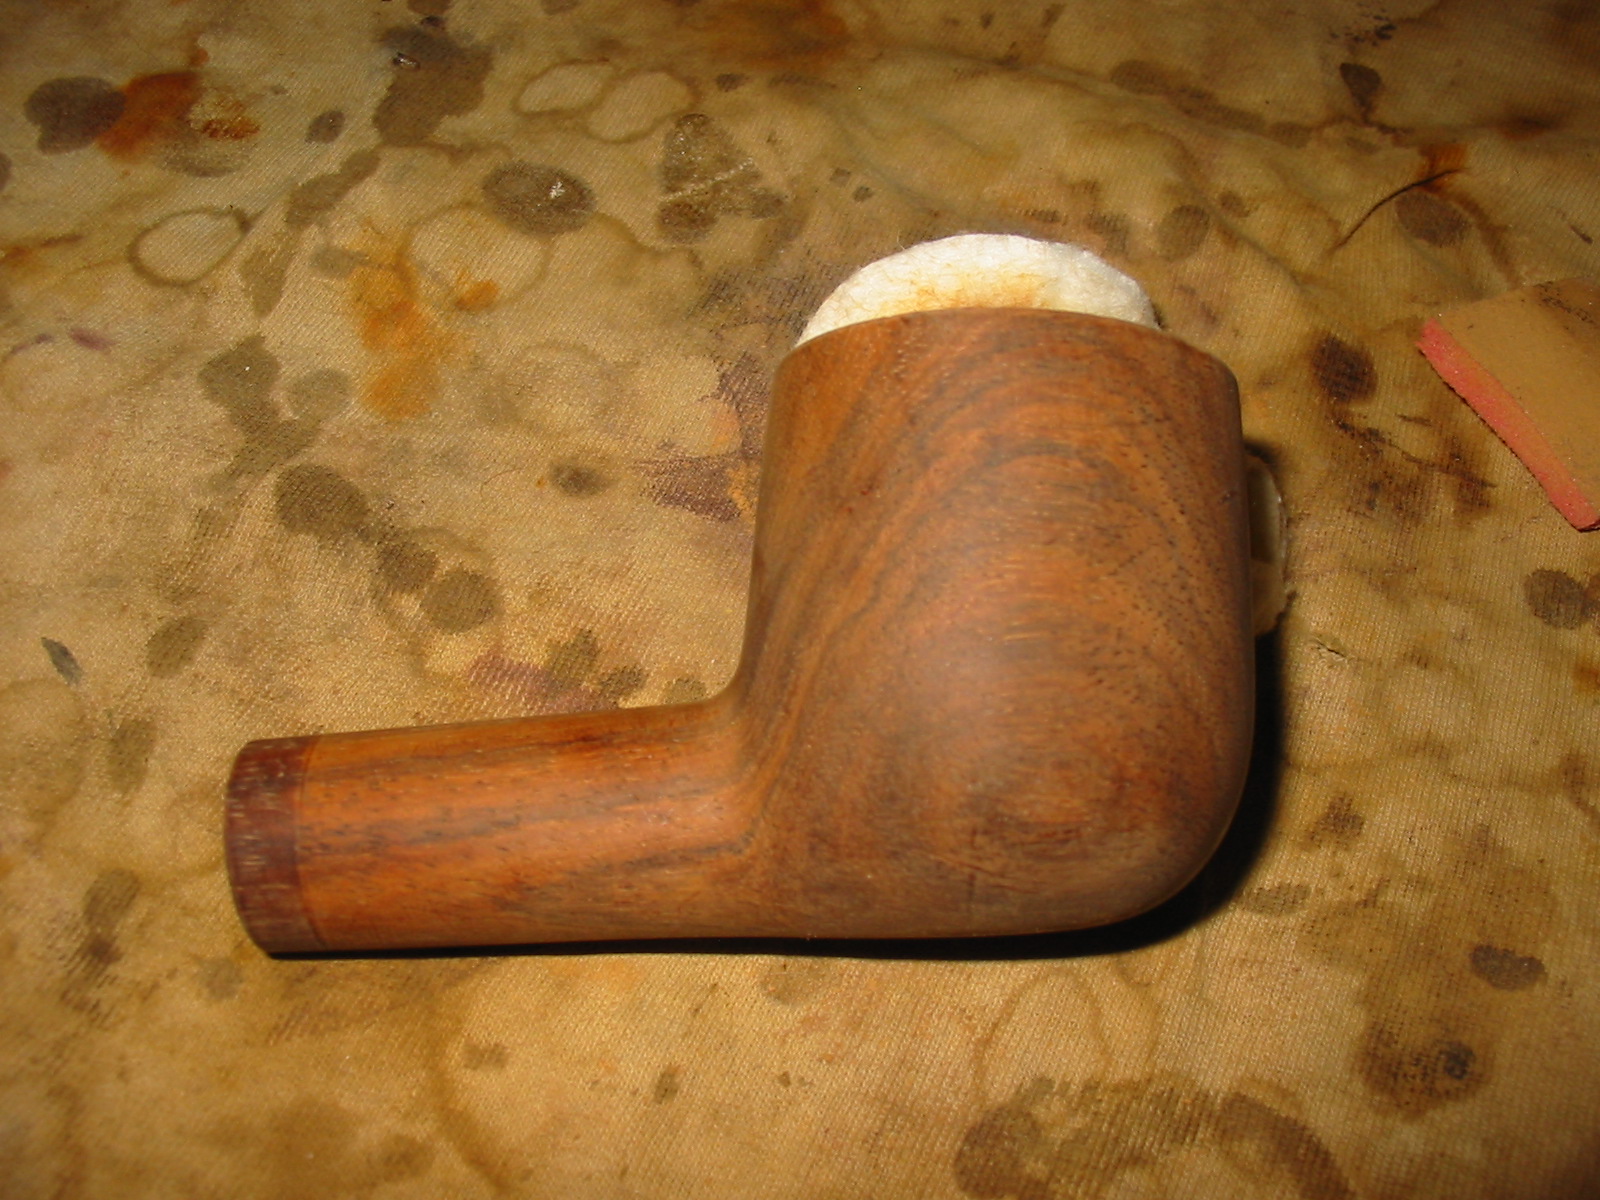
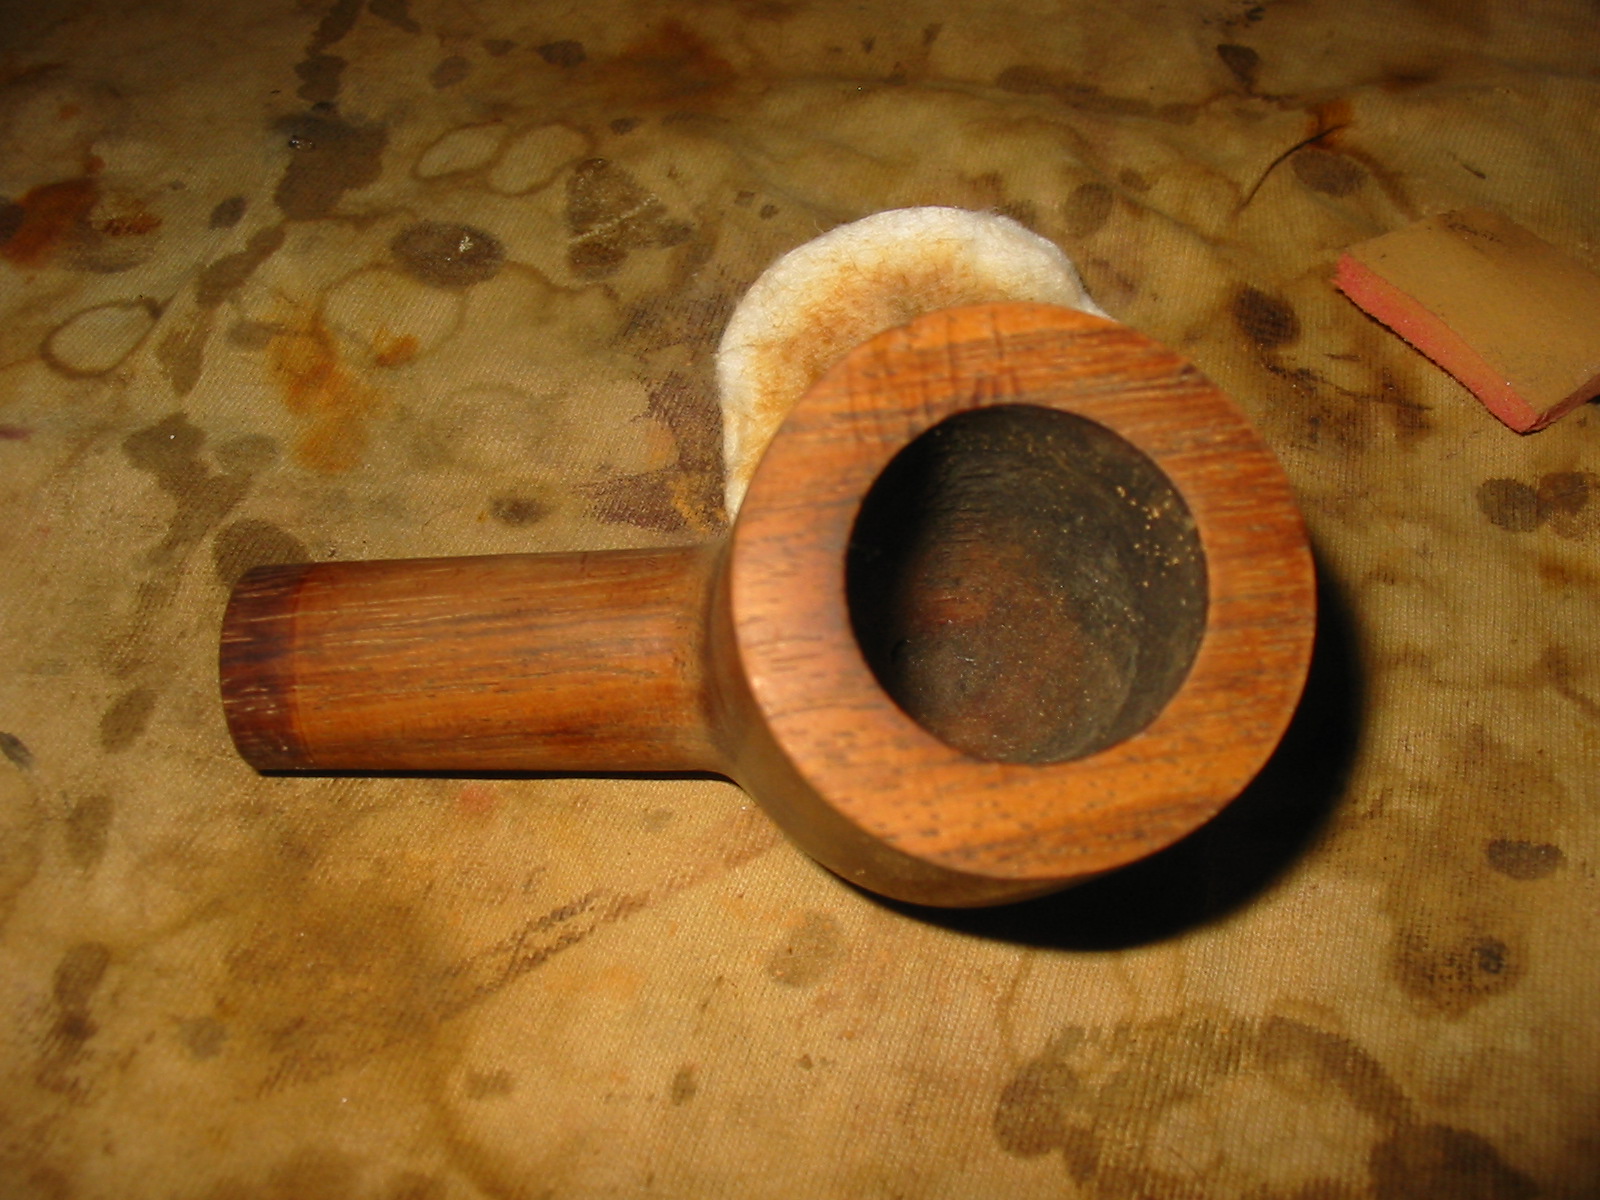
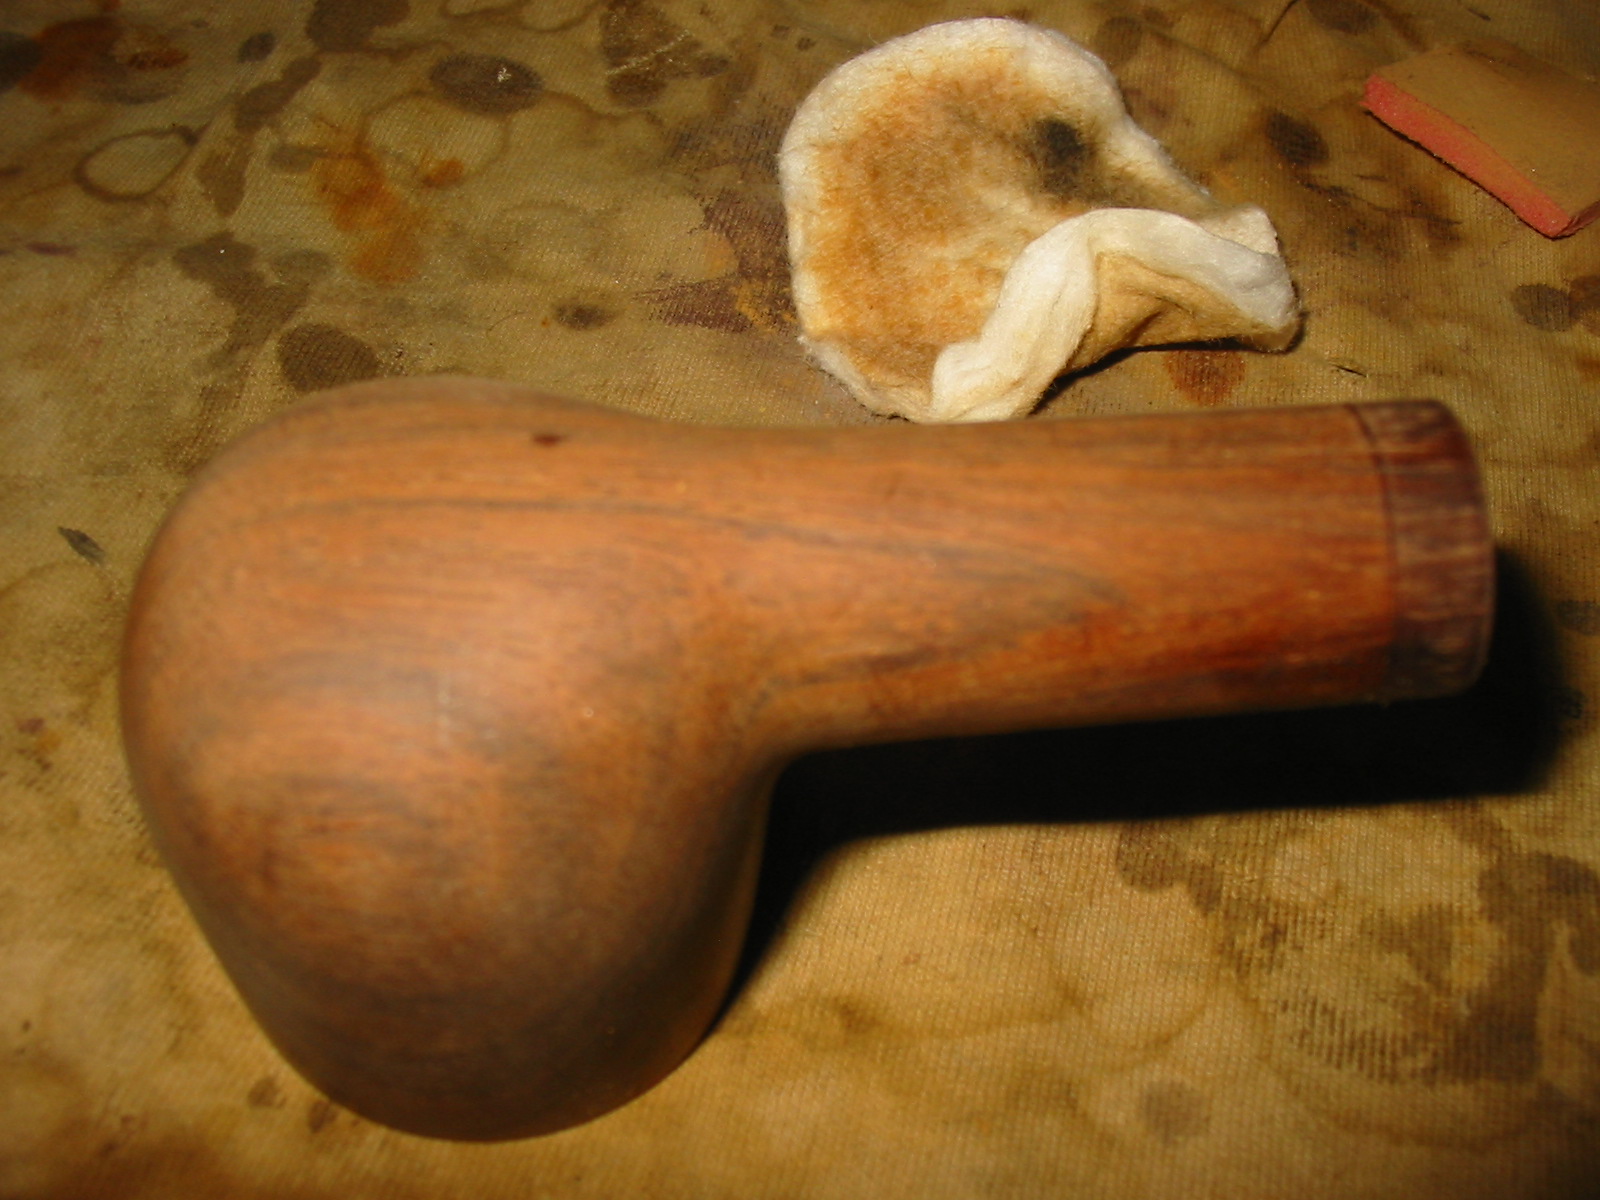
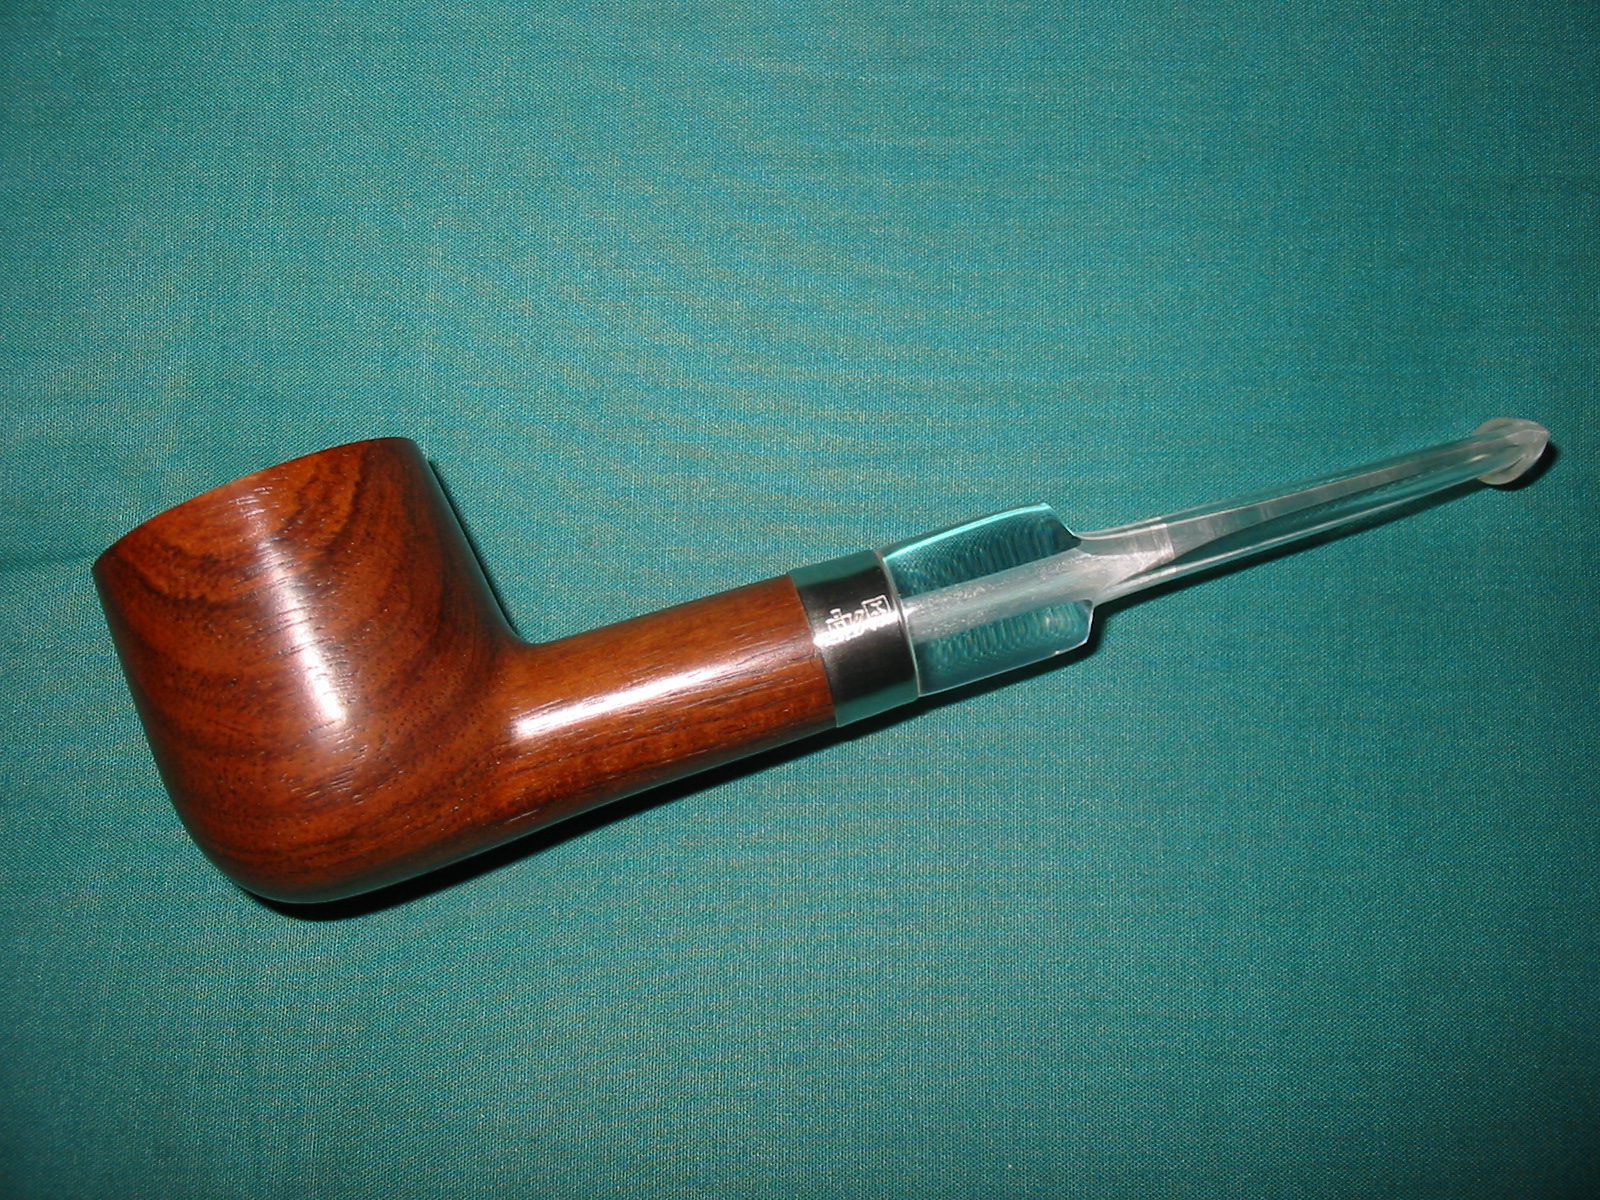
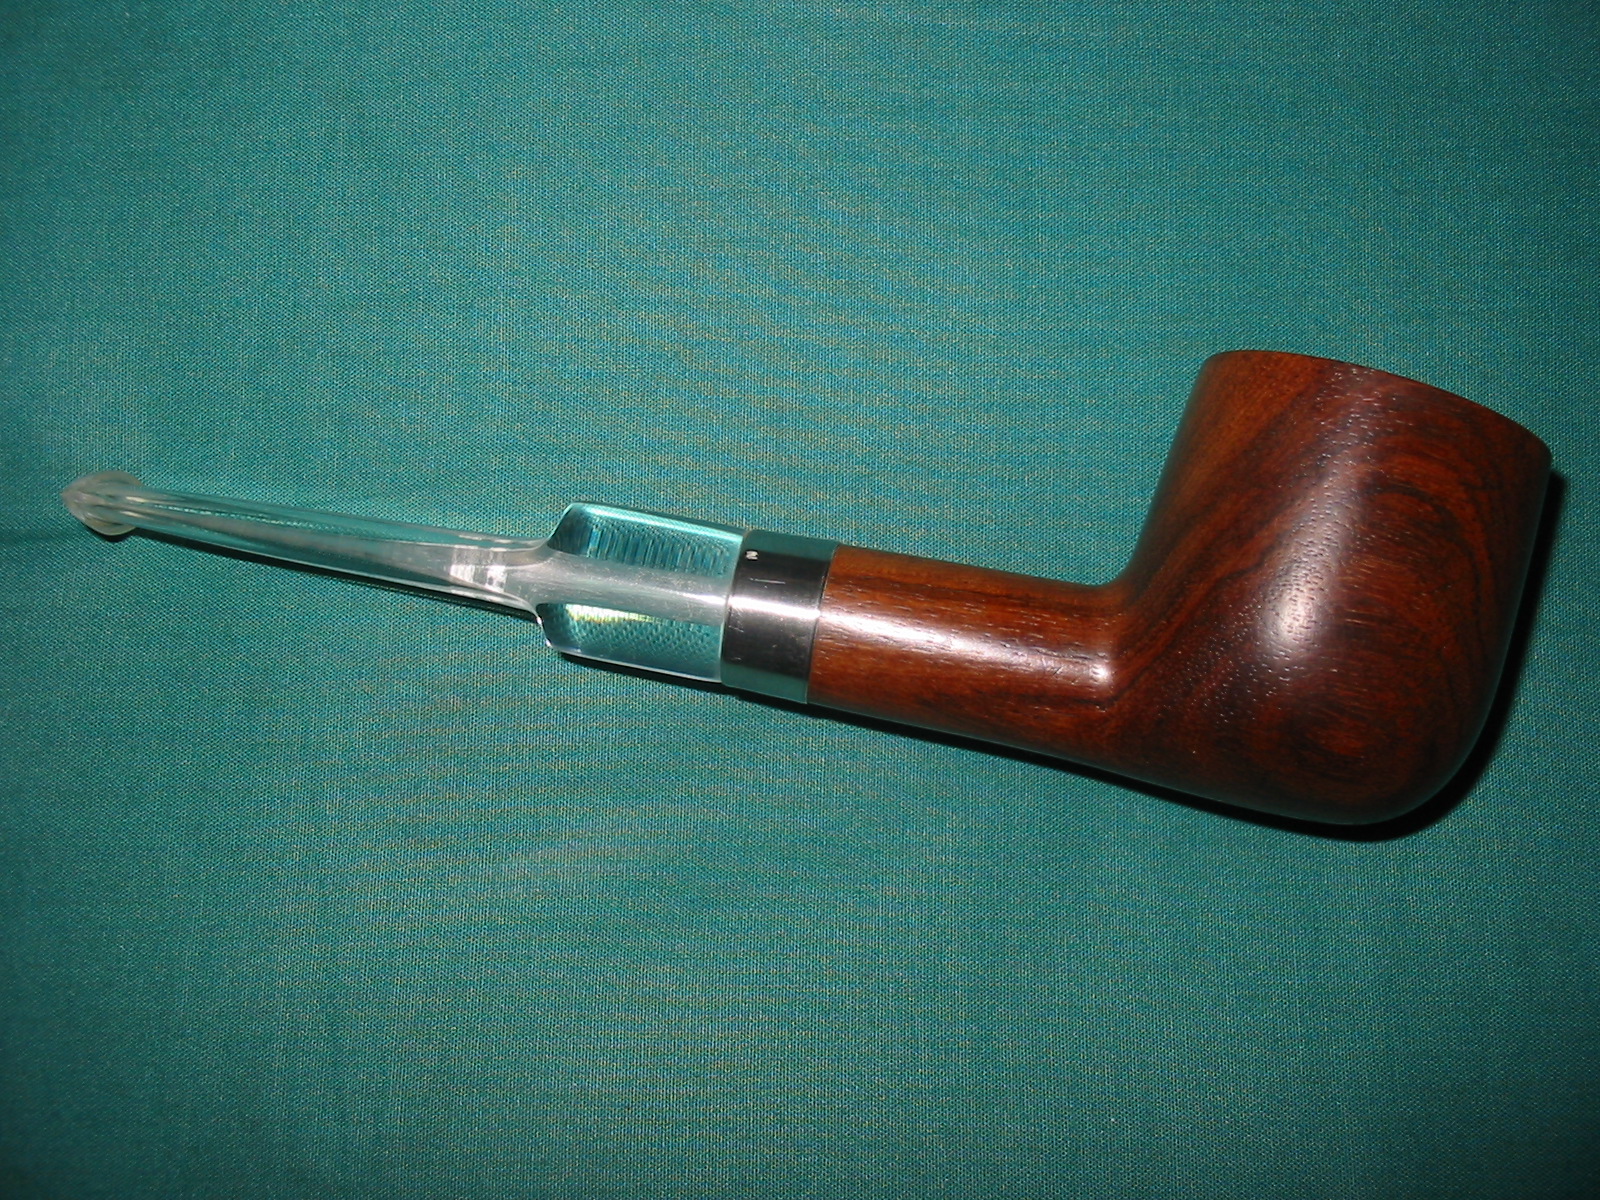
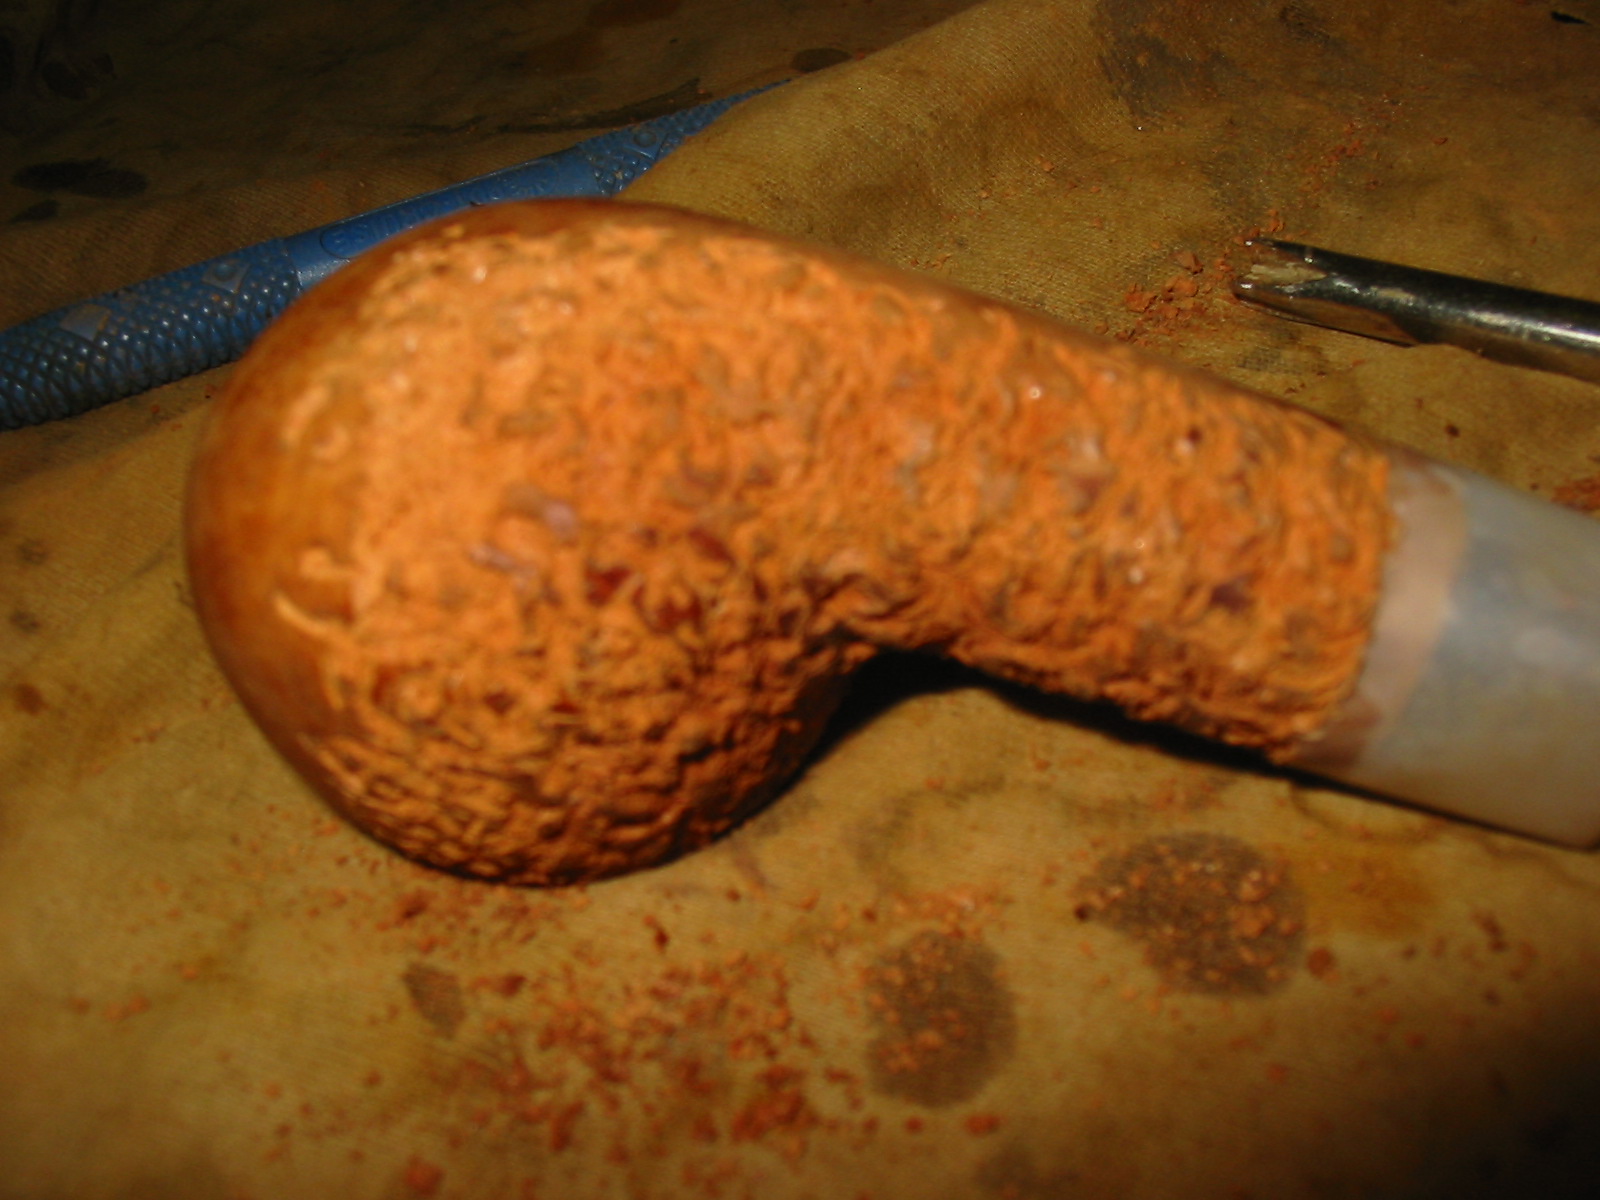
I received this pipe bowl as a gift from a friend in exchange for some work I did on one of his pipes. I took it out of the box and put it in the refurbishing box without giving it much of a look. Today I took it out of the box and looked it over. It is well made; the airway is drilled straight and comes out the bottom of the bowl. The drilling is accurate and clean. The mortise is smooth and clean. The bowl has been smoked very little as the bottom half is still fresh wood. The shank is clean and there are no tars. The wood is clean with a few dings and dents. There seems to be a slight finish on the bowl – varnish or something. It also appeared to have a band on the shank originally as there is a stain from the metal on the end of the shank. It came to me without a stem. Today I will take care of that.
IMG_4987

IMG_4988

IMG_4989

IMG_4990

I wiped down the bowl with acetone and cotton pads to remove the finish and sanded it with a medium grit sanding sponge. I wiped and sanded until the finish was gone from the bowl and then wiped it down a final time. The smell of the sanding dust as well as the grain told me that I was dealing with a well made walnut, probably black walnut pipe. This one would clean up very nicely.
IMG_4991

IMG_4992

IMG_4993

IMG_4994

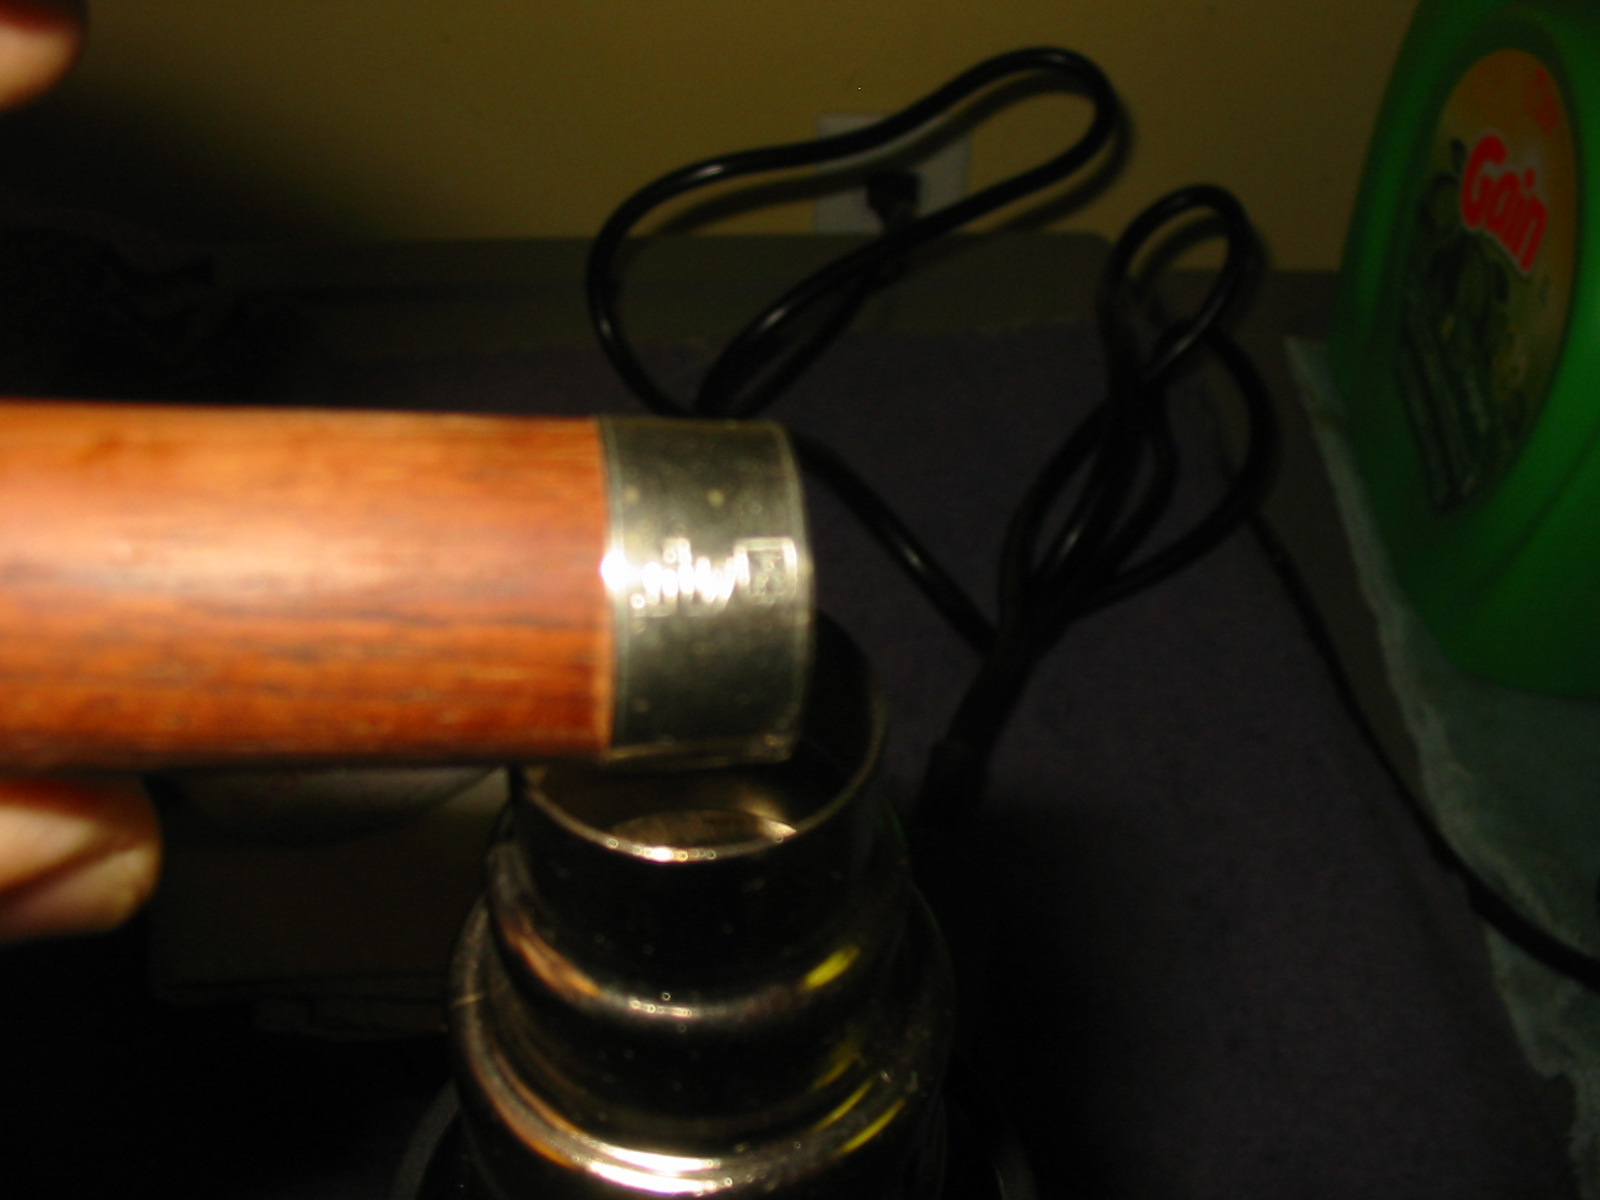
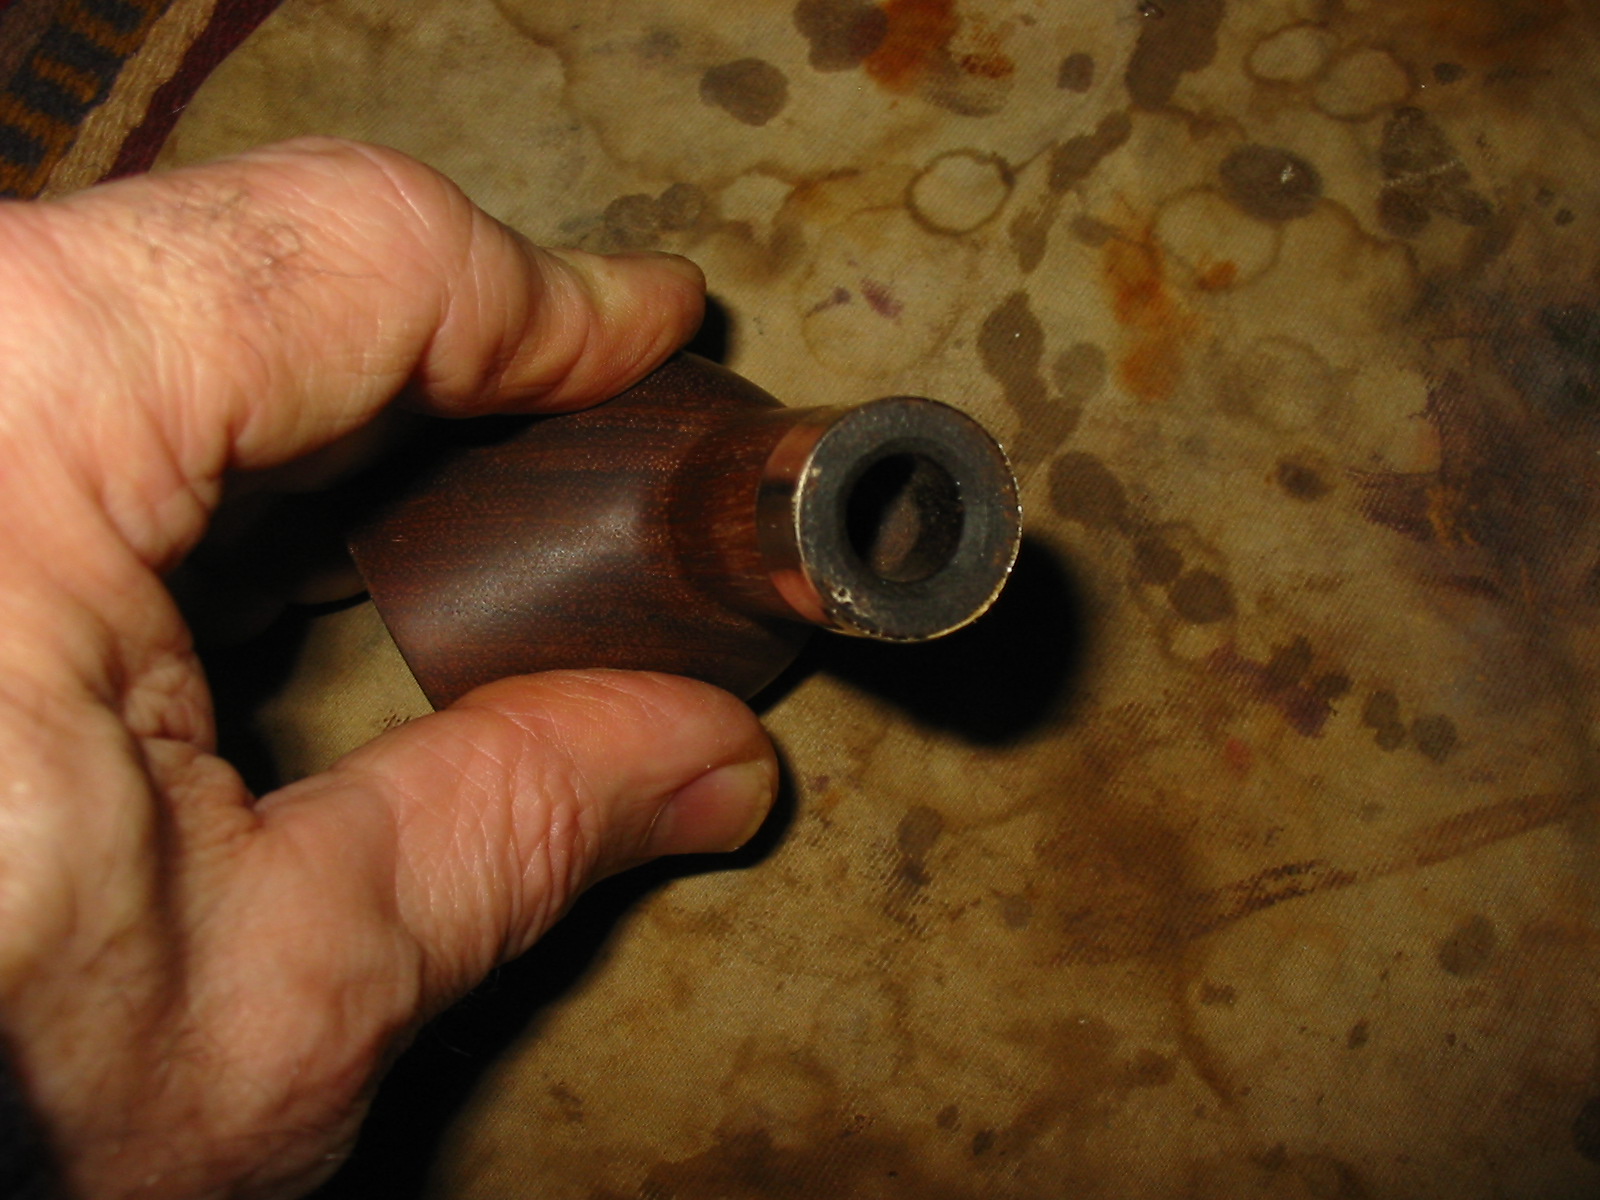
Since I could not remove the stain left behind by the previous band I decided to reband the pipe. I found a nickel band in my band collection that would be a perfect fit. I heated it with the heat gun and the pressed it into place on the shank. I cleaned up the shank end of the pipe once the band was in place and widened the bevel on the inside end of the mortise to fit the new stem that I would fit for the pipe.
IMG_4995

IMG_4996

IMG_4997

IMG_4998

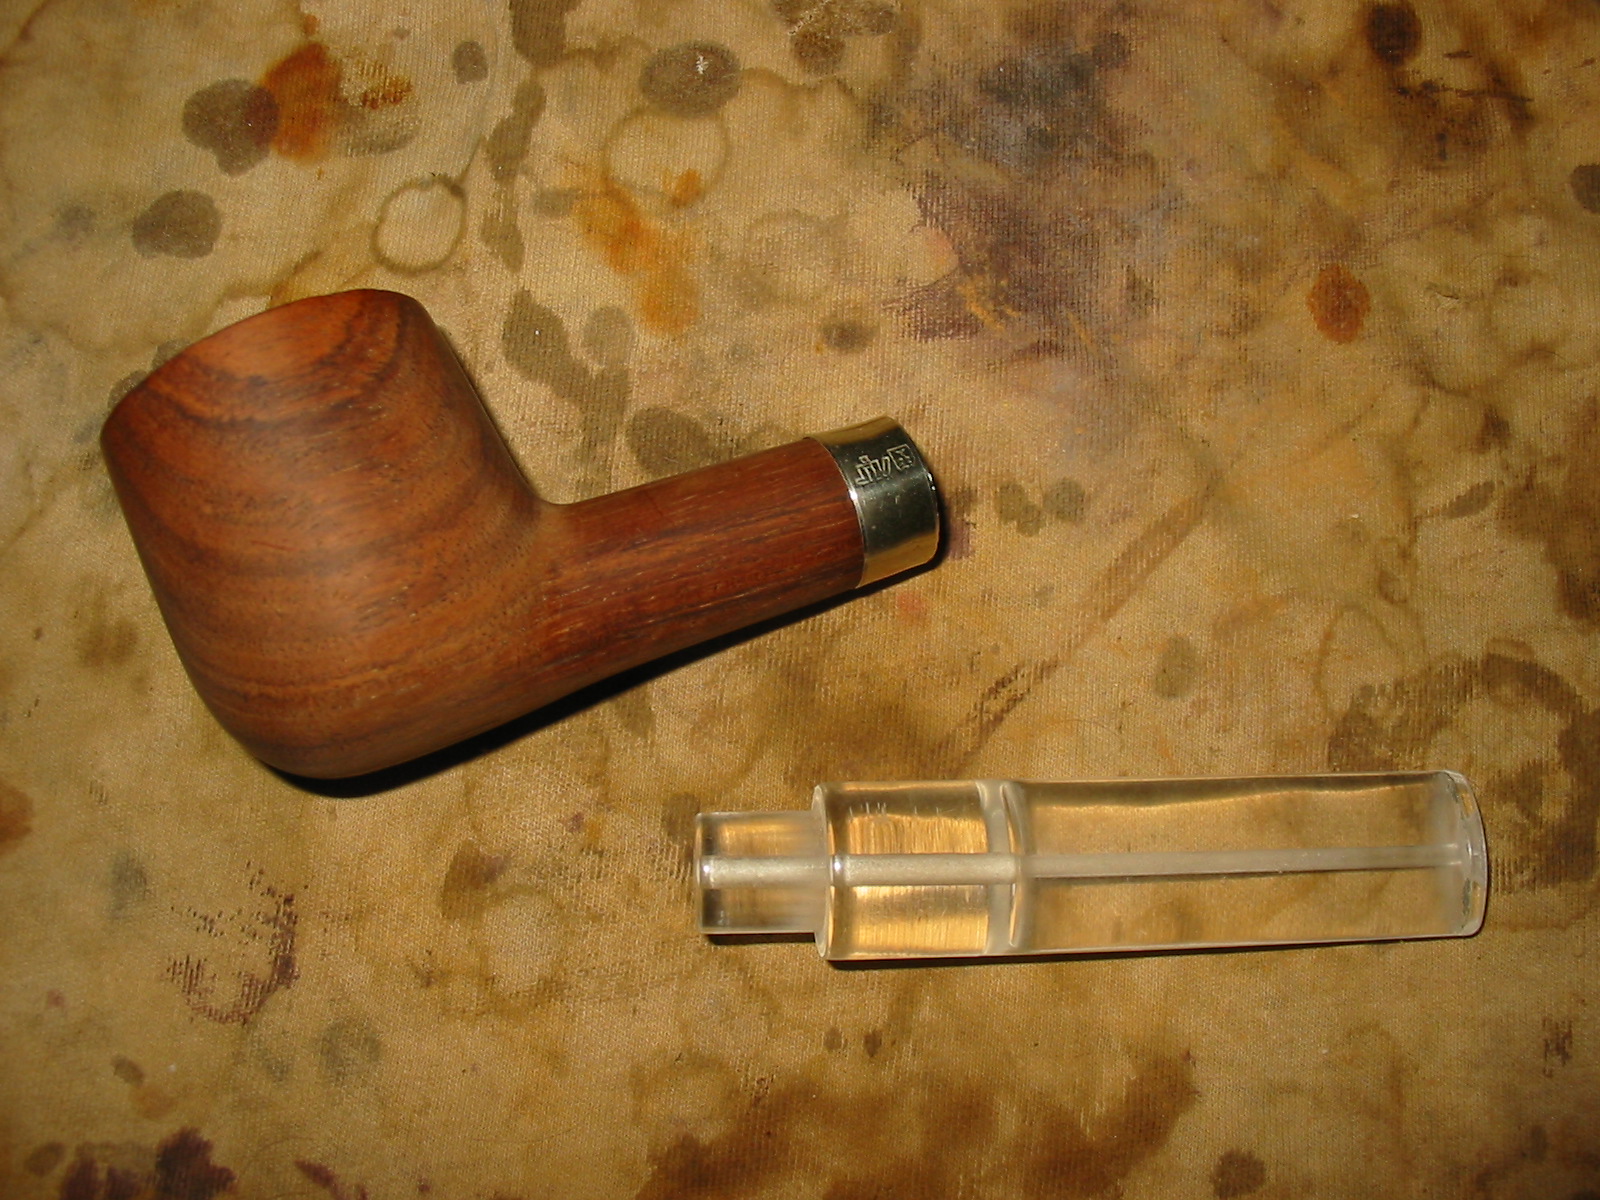
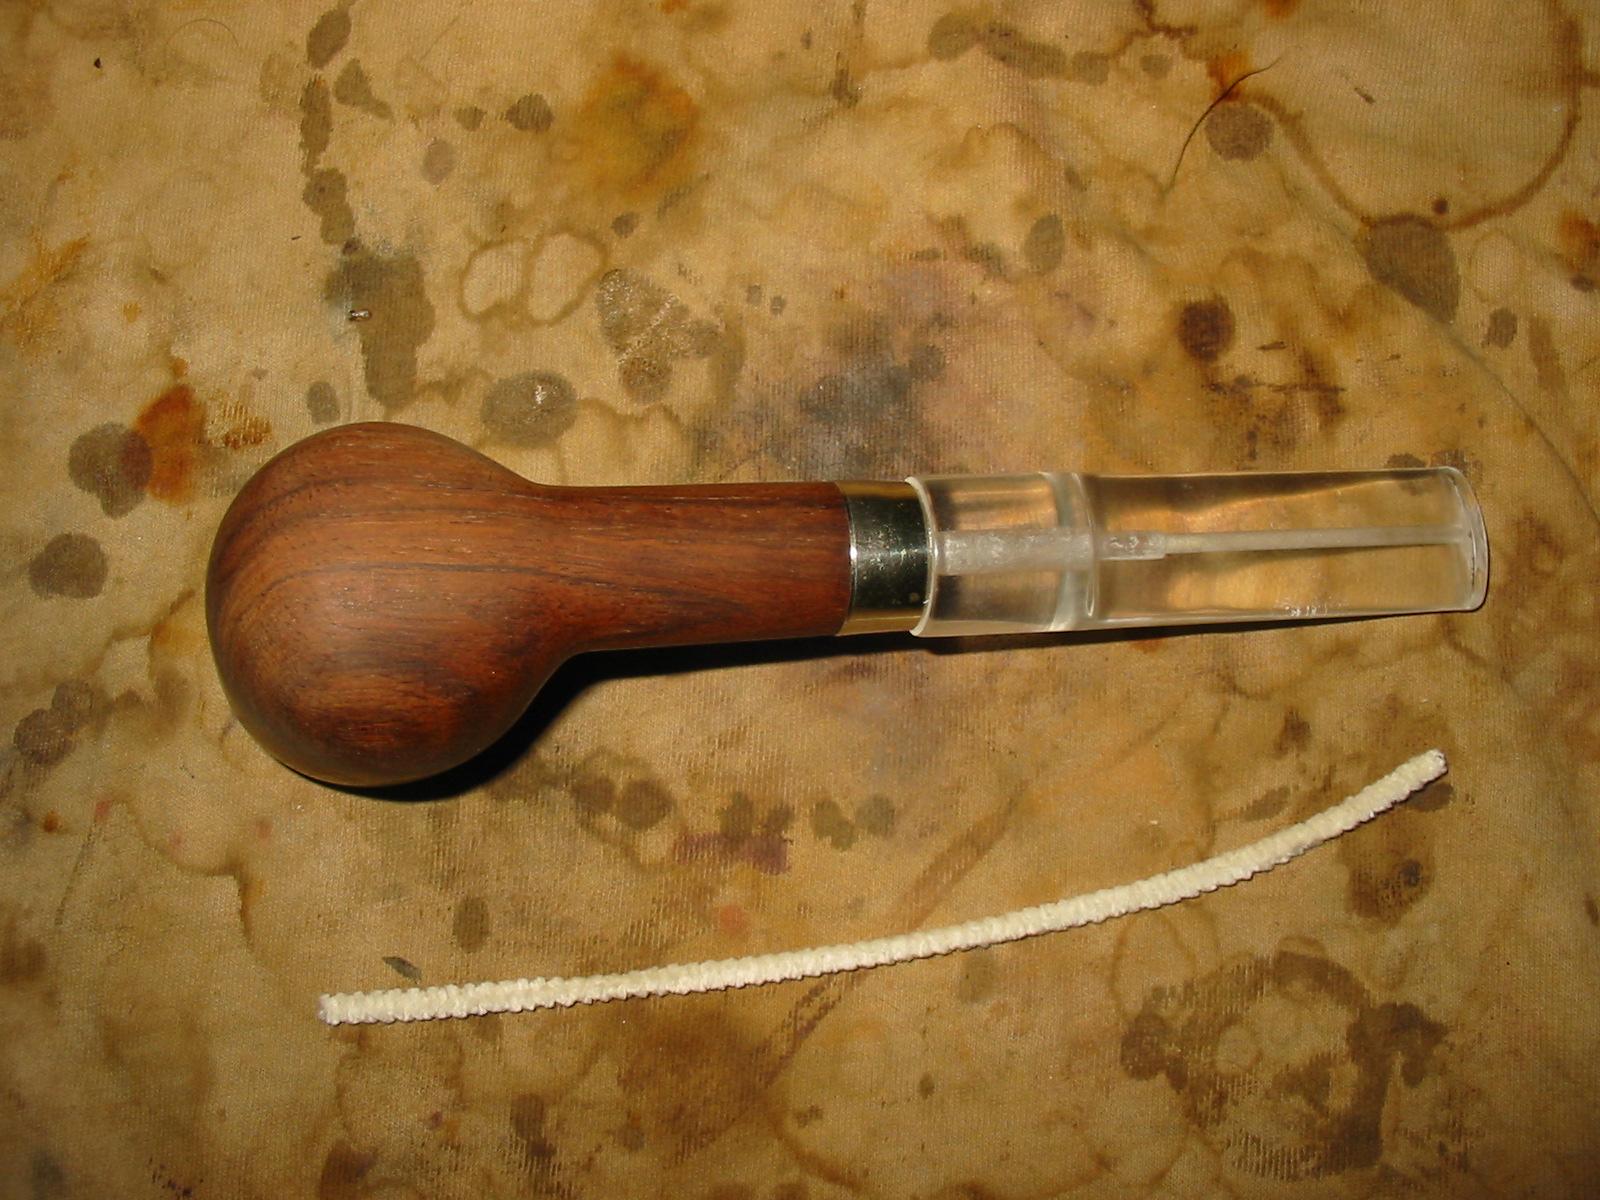
I went through my can of stems and found three different stems that would work with this pipe. Two of them were vulcanite and one was a clear acrylic. I have not done much work with clear acrylic and never turned the tenon to fit a pipe so this one seemed to be the way to go. Each pipe has to be a bit of a learning experience. Besides I liked the way the clear acrylic looked with the walnut bowl and the silver band.
IMG_4999

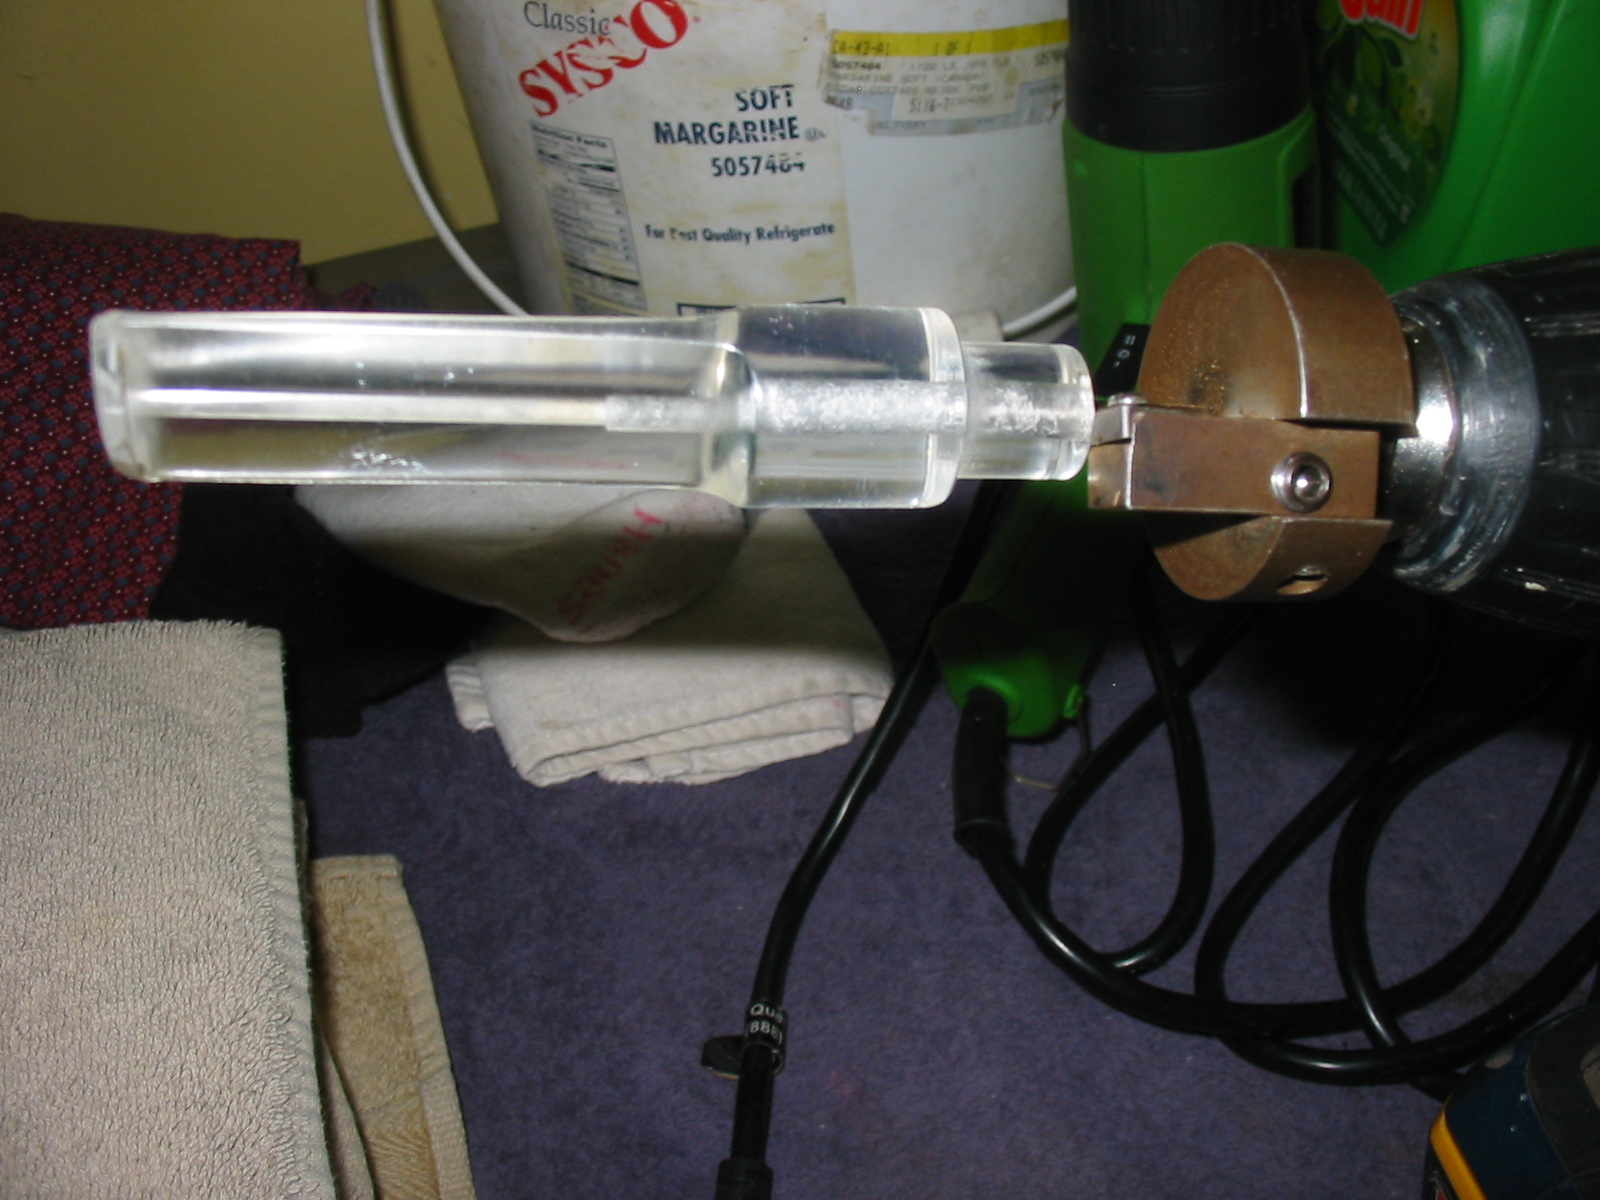
I drilled the airway in the stem to fit the end of the PIMO tenon turning tool and then put the tool on my drill and slid the stem in place. I adjusted the cutting head on the tool to cut off enough material to get a close fit on the stem. The tool is touchy in terms of accurate adjustments so I eyeball it close and then sand it by hand until it fits the shank.
IMG_5000

I pushed the stem in place on the walnut bowl and set it down to look at the overall appearance of the pipe. The clear stem was going to work well once I had shaped it to fit. The walnut was already darkening from the oils in my hands. This was going to be a beauty once it was finished.
IMG_5001

IMG_5002

IMG_5003

IMG_5004

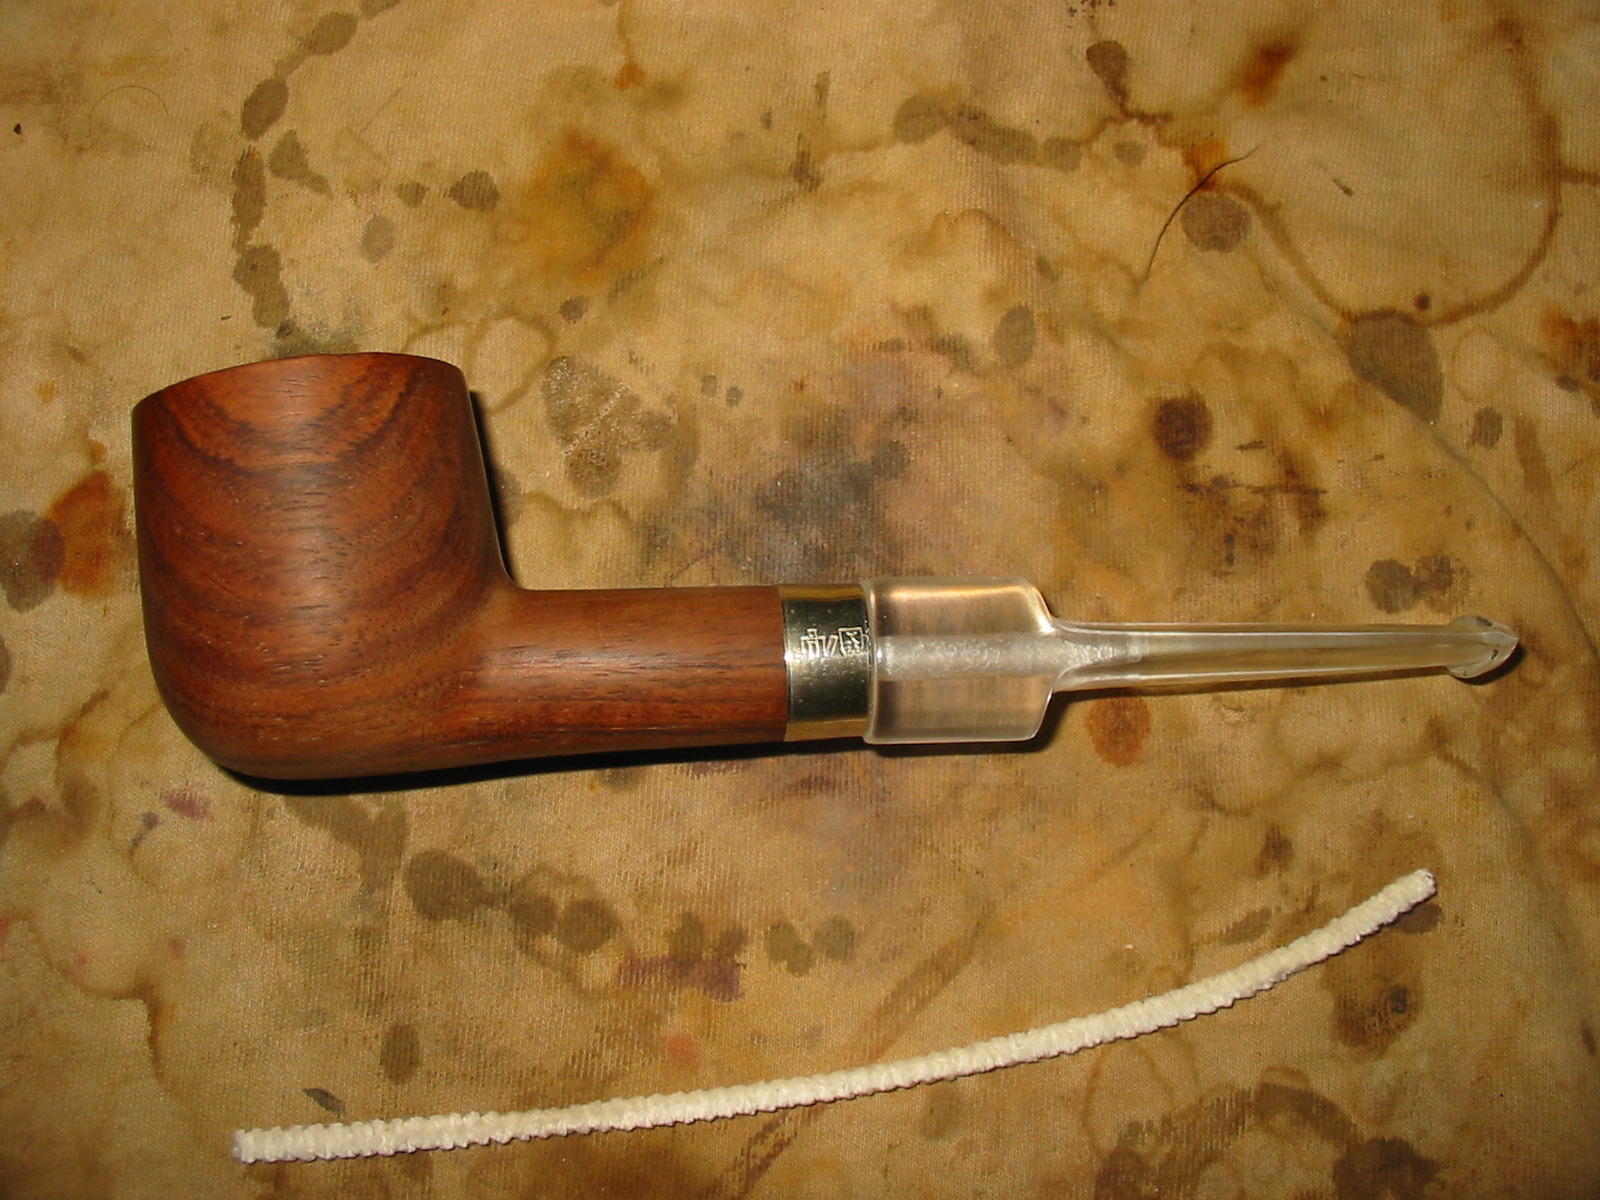
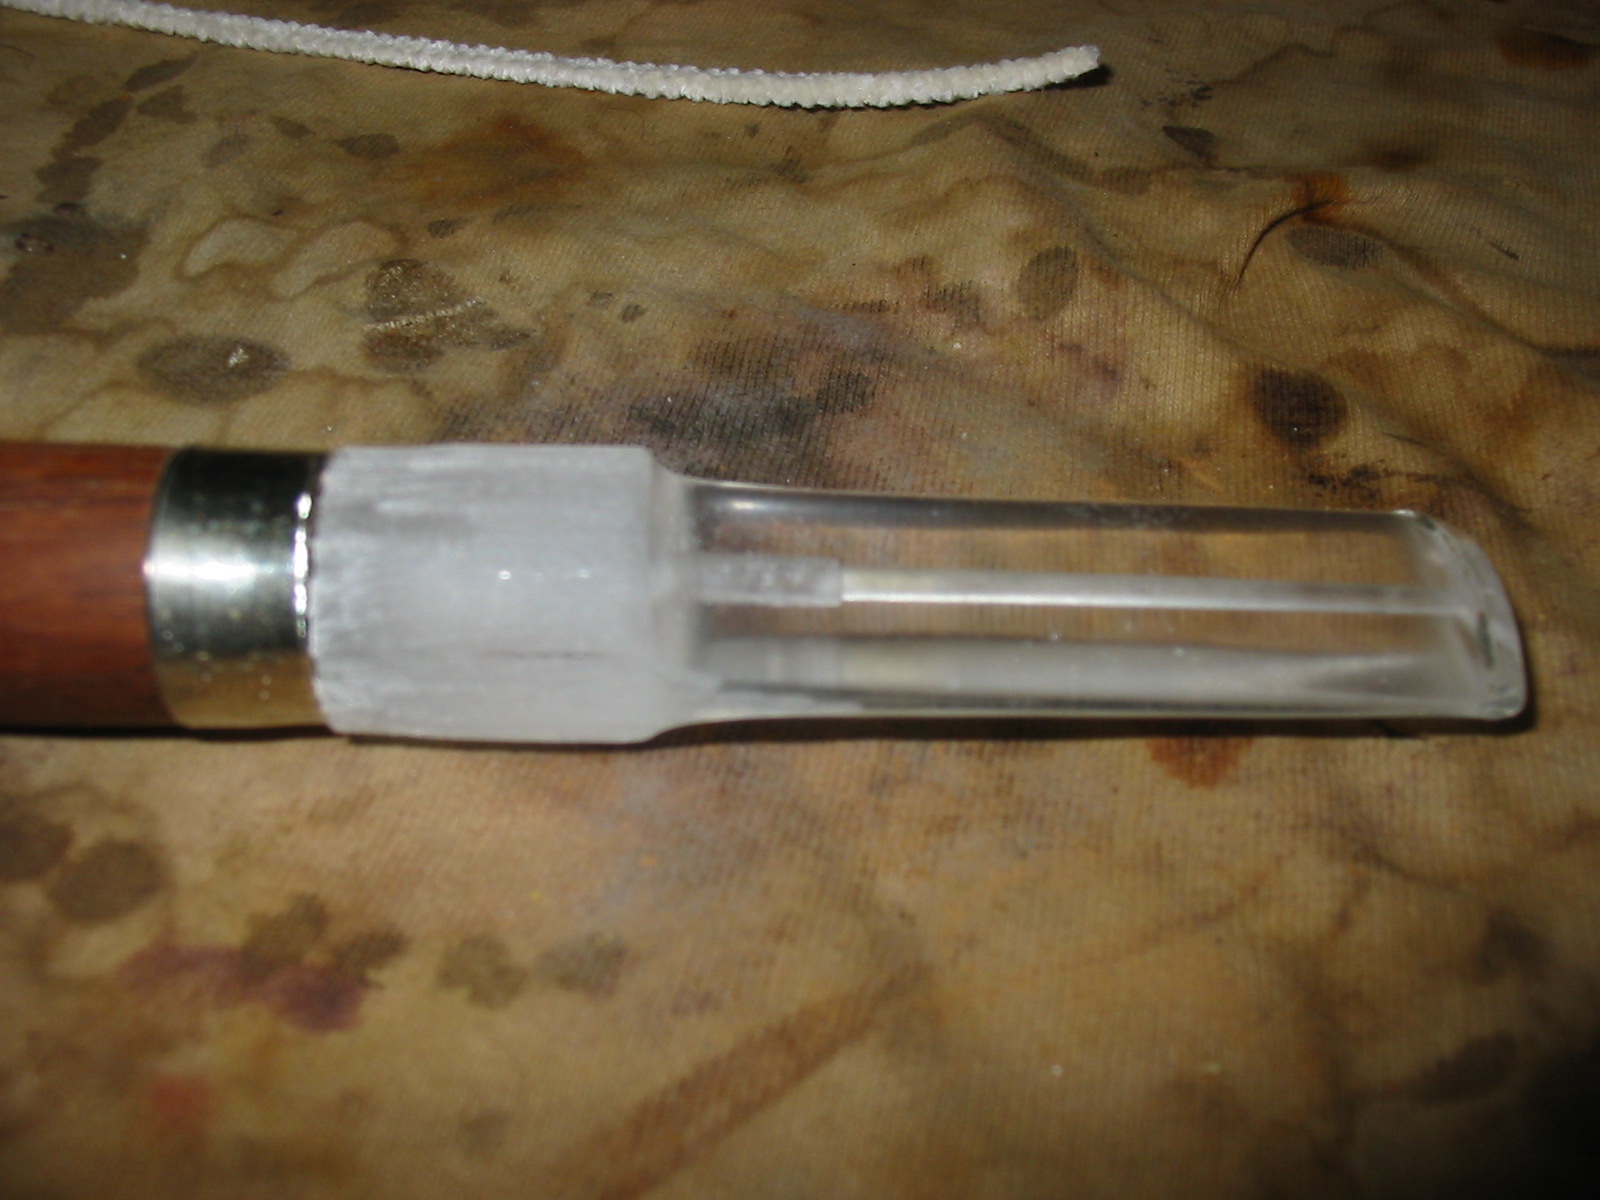
The diameter of the stem and that of the shank were different. The stem was significantly larger than the shank of the pipe. I used a Dremel with a sanding drum to sand off excess acrylic material. I proceeded with that slowly and carefully as I did not want to nick the band or damage the pipe bowl.
IMG_5006

IMG_5007

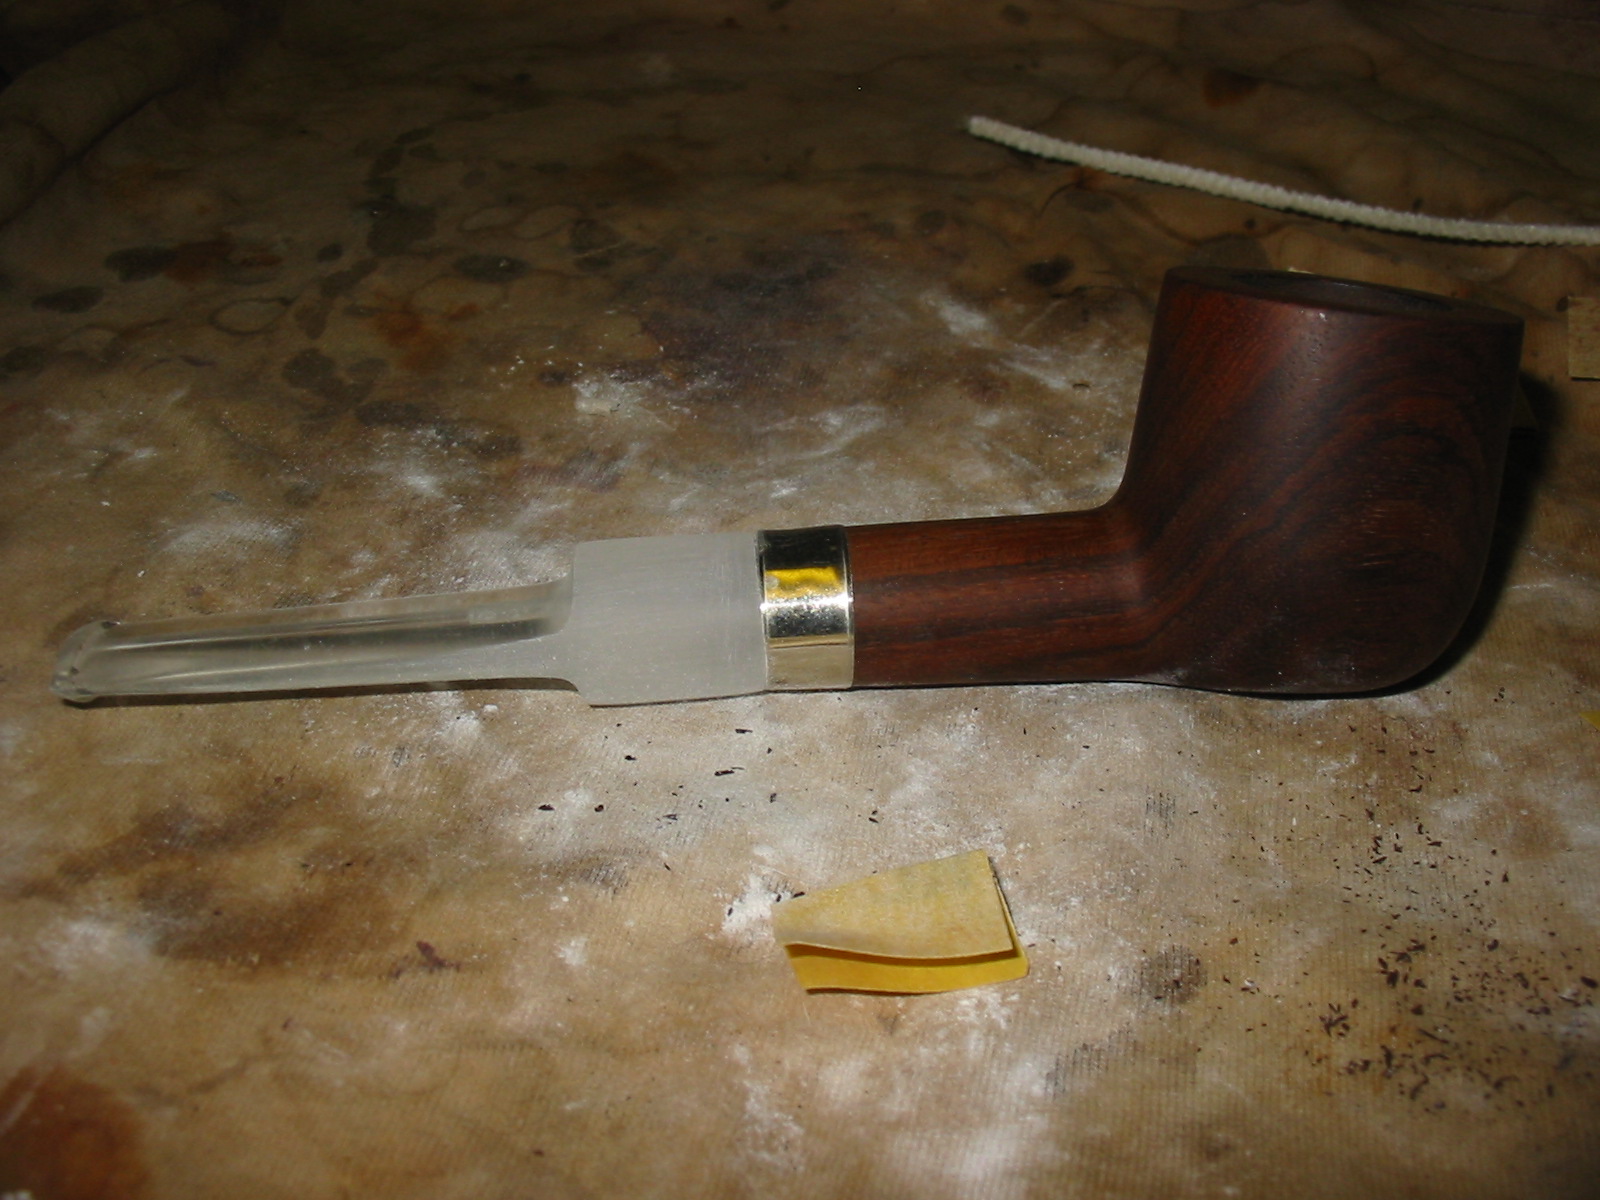
I took the material down as close as possible with the Dremel and then did the rest of the sanding by hand with 220 grit sandpaper. It took quite a bit of time and several return trips to the Dremel before I had the shank and the stem diameter matching. The following photos show the progress on the stem with each one taking it a step closer to the finish.
IMG_5008

IMG_5009

IMG_5010

IMG_5011

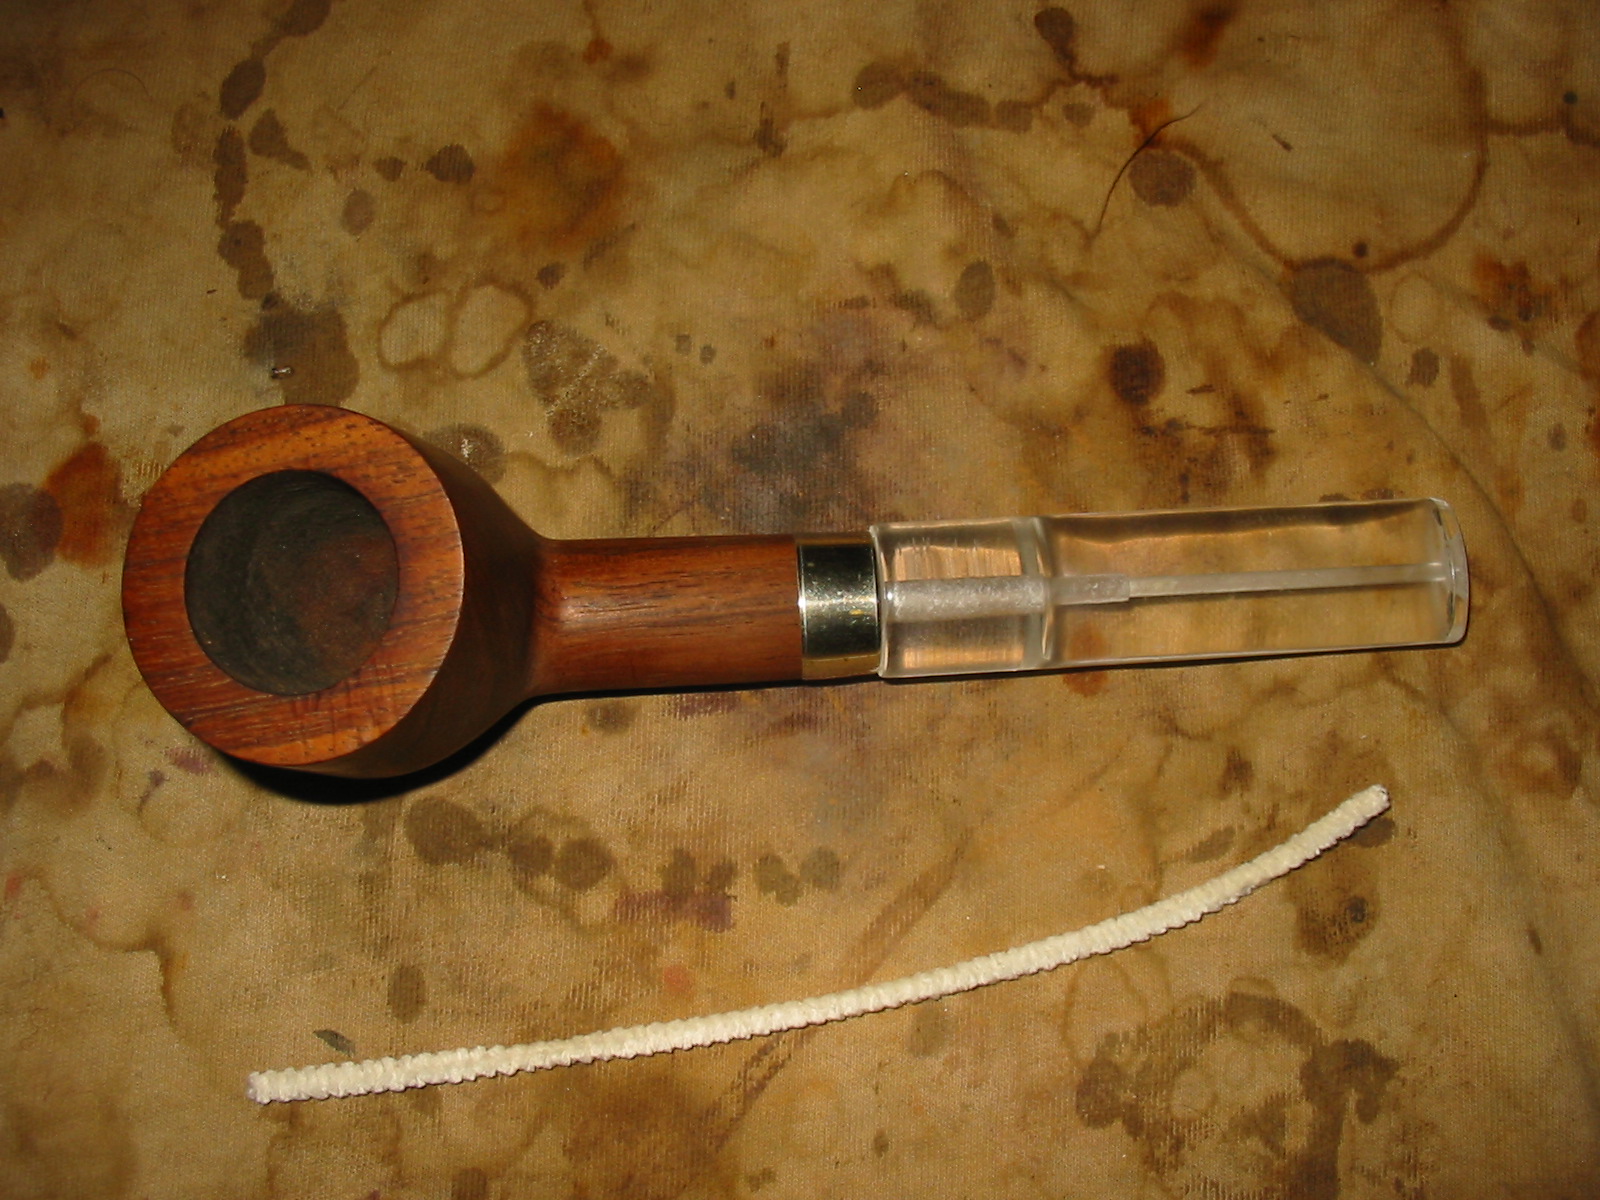
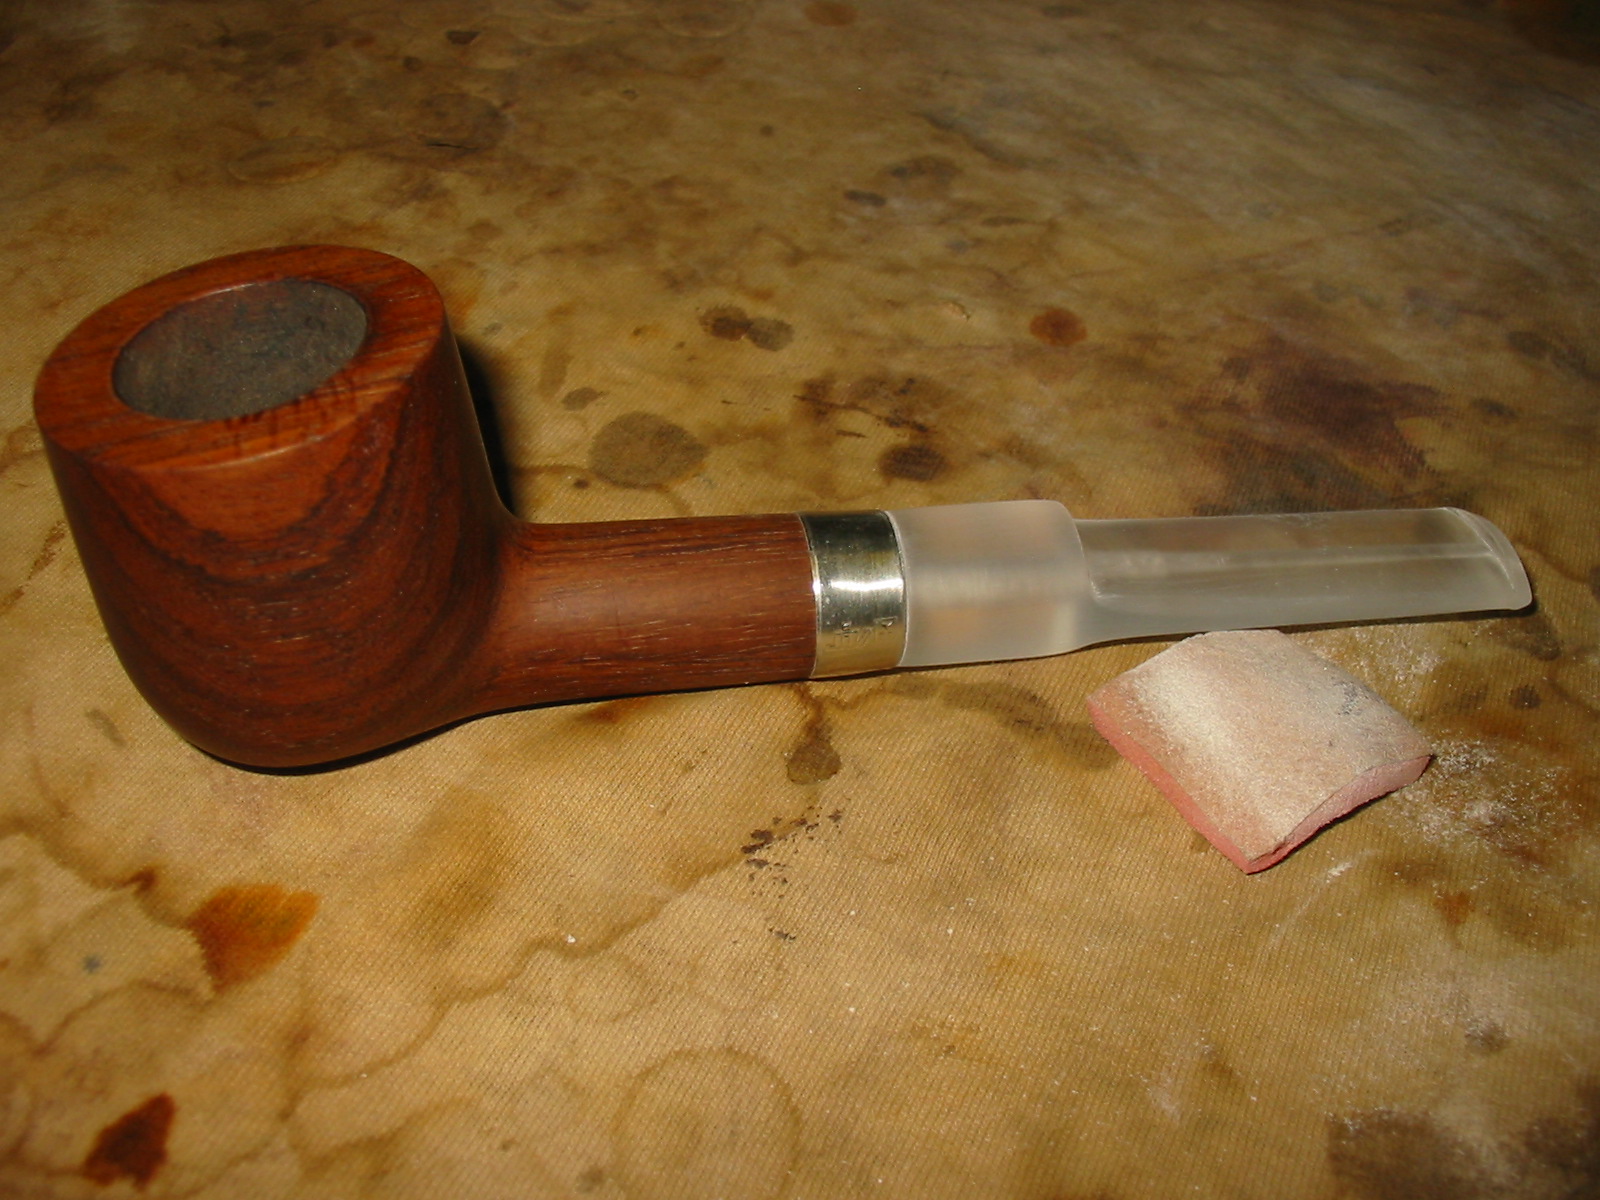
When I finally had the fit correct with the 220 grit sandpaper I switched to a medium grit sanding sponge to further refine the fit and to remove the scratches left behind by the sandpaper. I finished sanding with the medium grit and used a fine grit sanding sponge to sand the stem again. When finished the stem looked opaque and the shape was done. All that remained was to polish the stem.
IMG_5012

IMG_5013

IMG_5014

IMG_5015

Before sanding it further I used a needle file to smooth out the transition in the airway between the stem airway and the place where the drill bit ended when I worked on the tenon. I was able to even out the transition and taper it for a smooth and seamless transition. The walnut was continuing to darken from my hands as I worked on it. I also stopped and sanded the rim of the pipe to remove the deep scratches that were present when I received it.
IMG_5016

IMG_5017

IMG_5018

IMG_5019

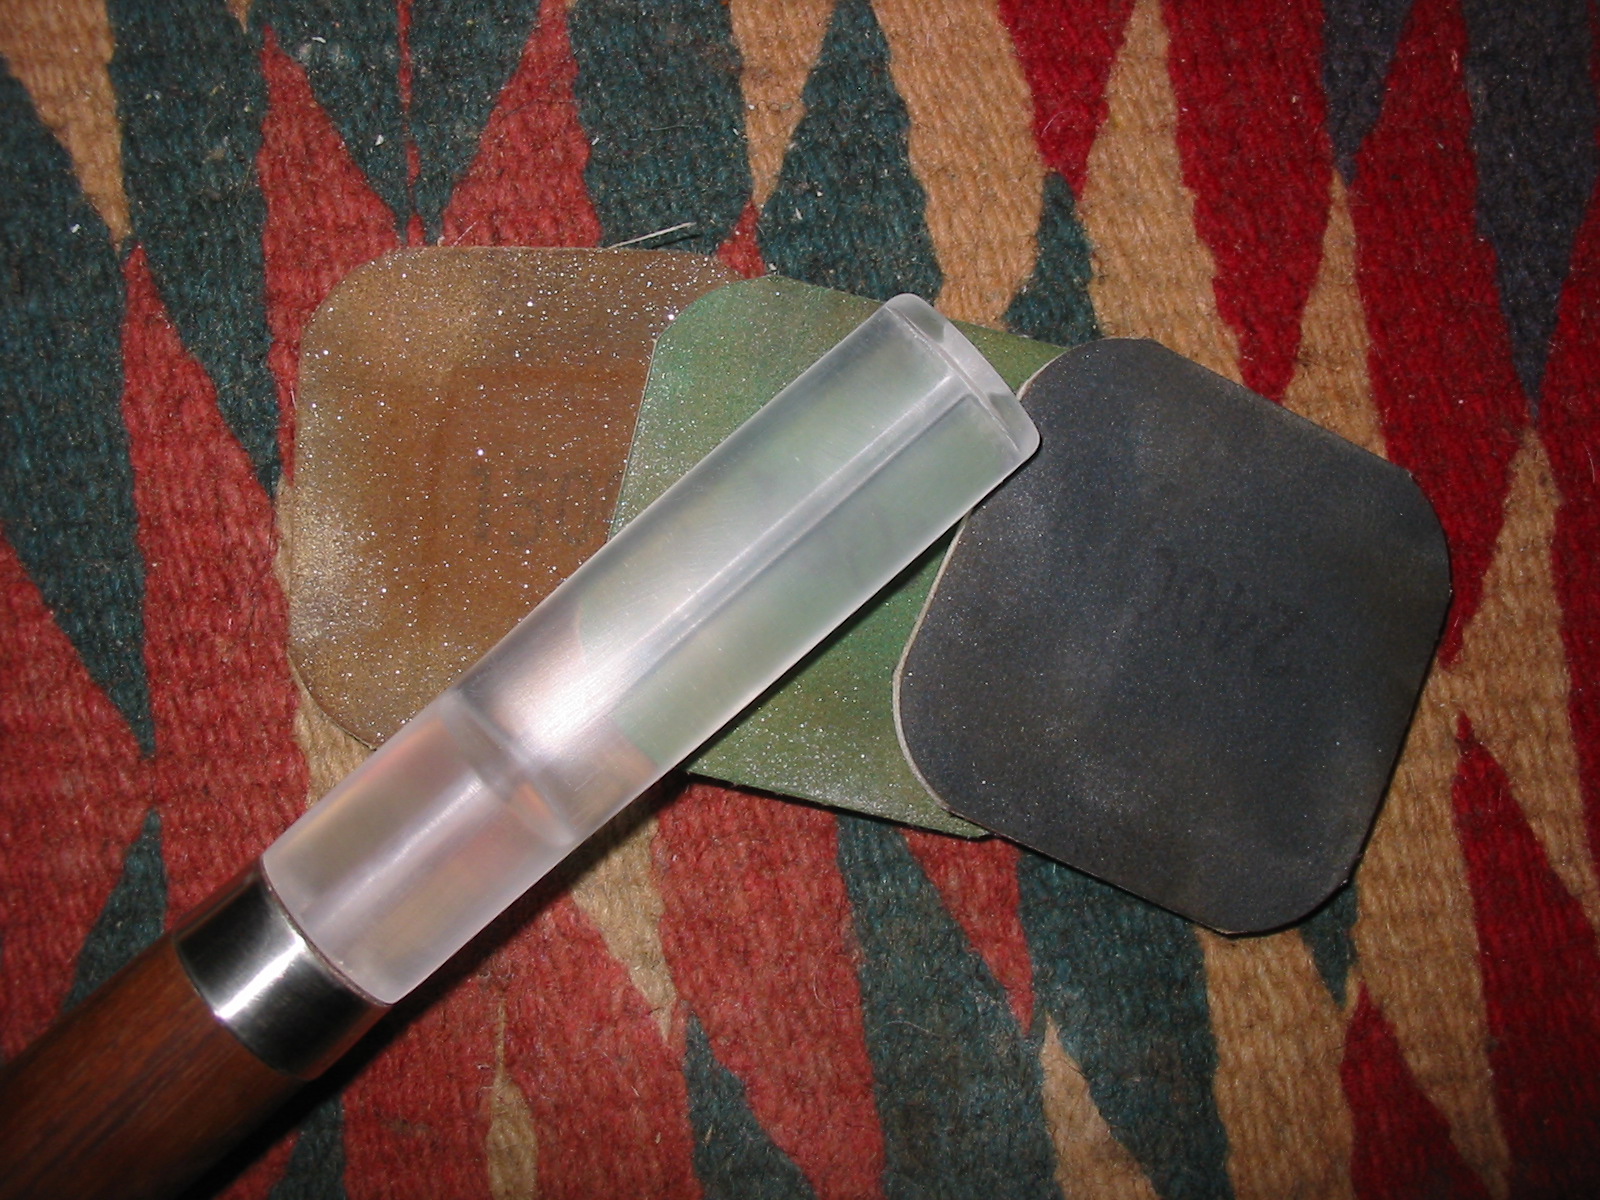
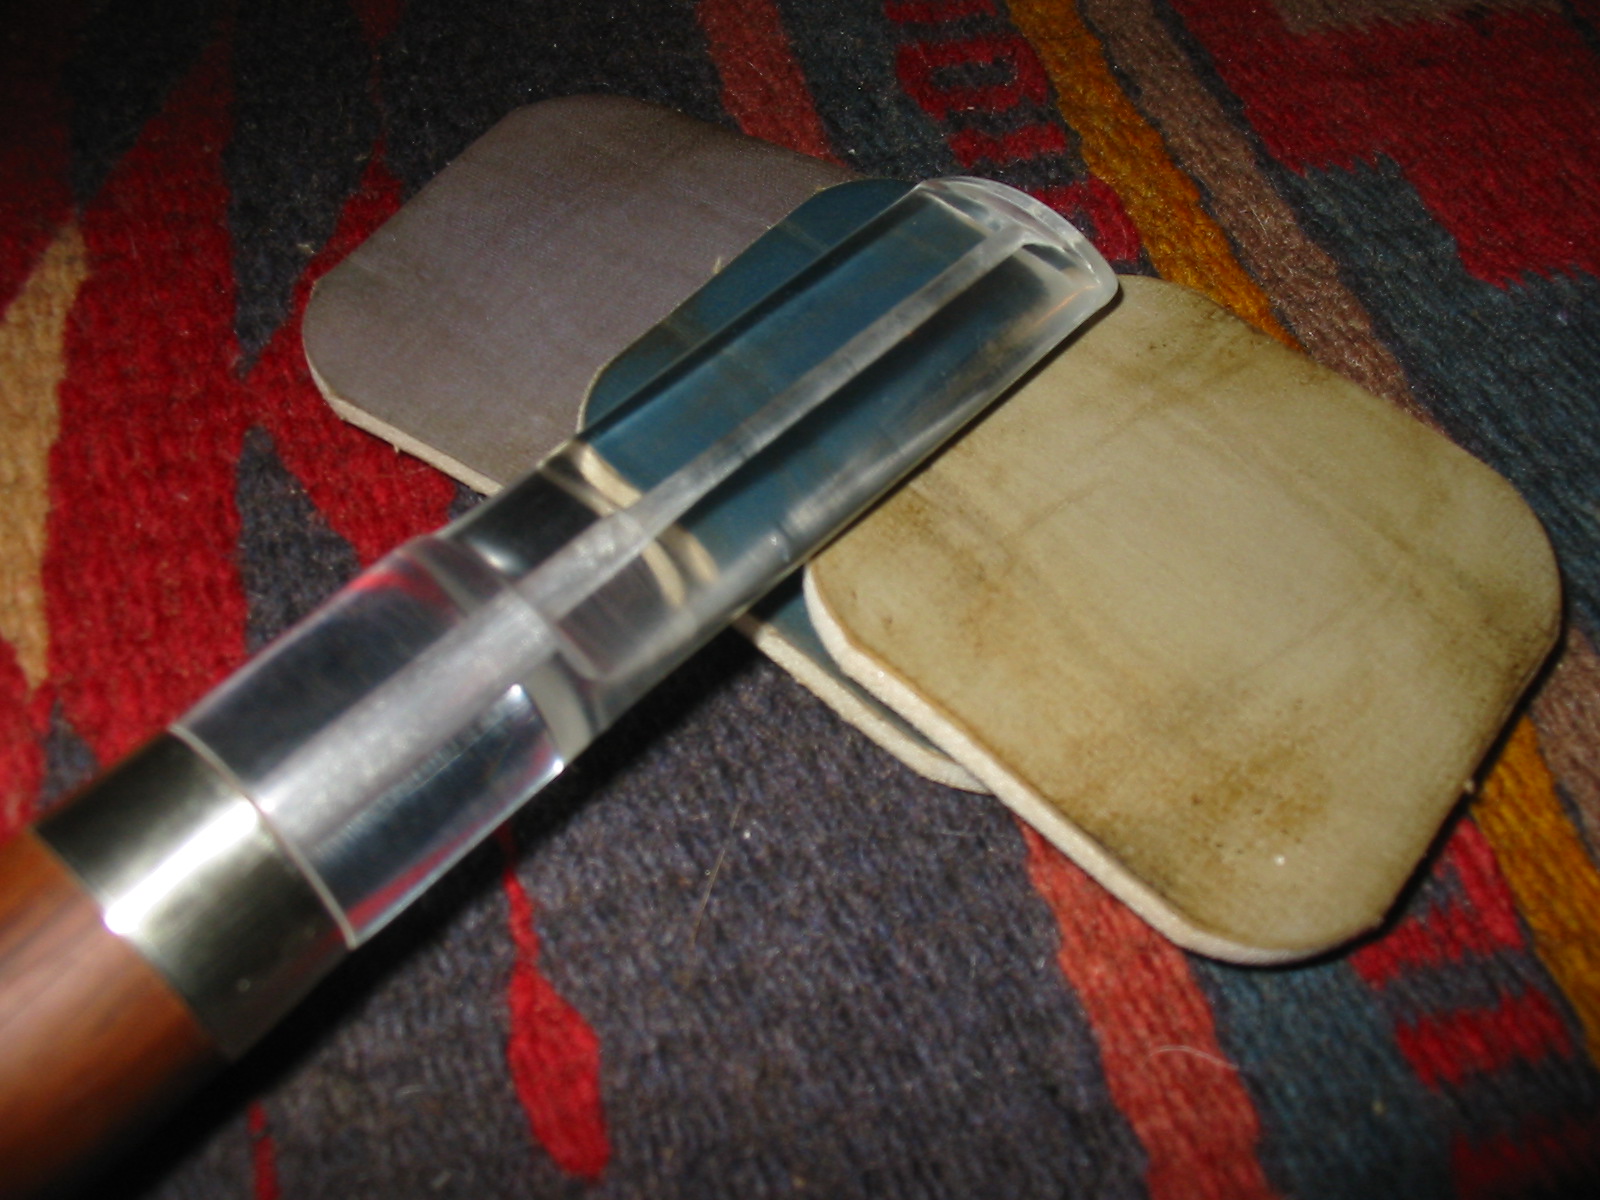
I wet sanded the stem and the band with 1500-2400 grit micromesh sanding pads and then dry sanded with 3200-12,000 grit pads. I wiped the stem down between each grit of micromesh with a damp cloth to remove the sanding dust and to further polish the stem.
IMG_5020

IMG_5021

IMG_5022

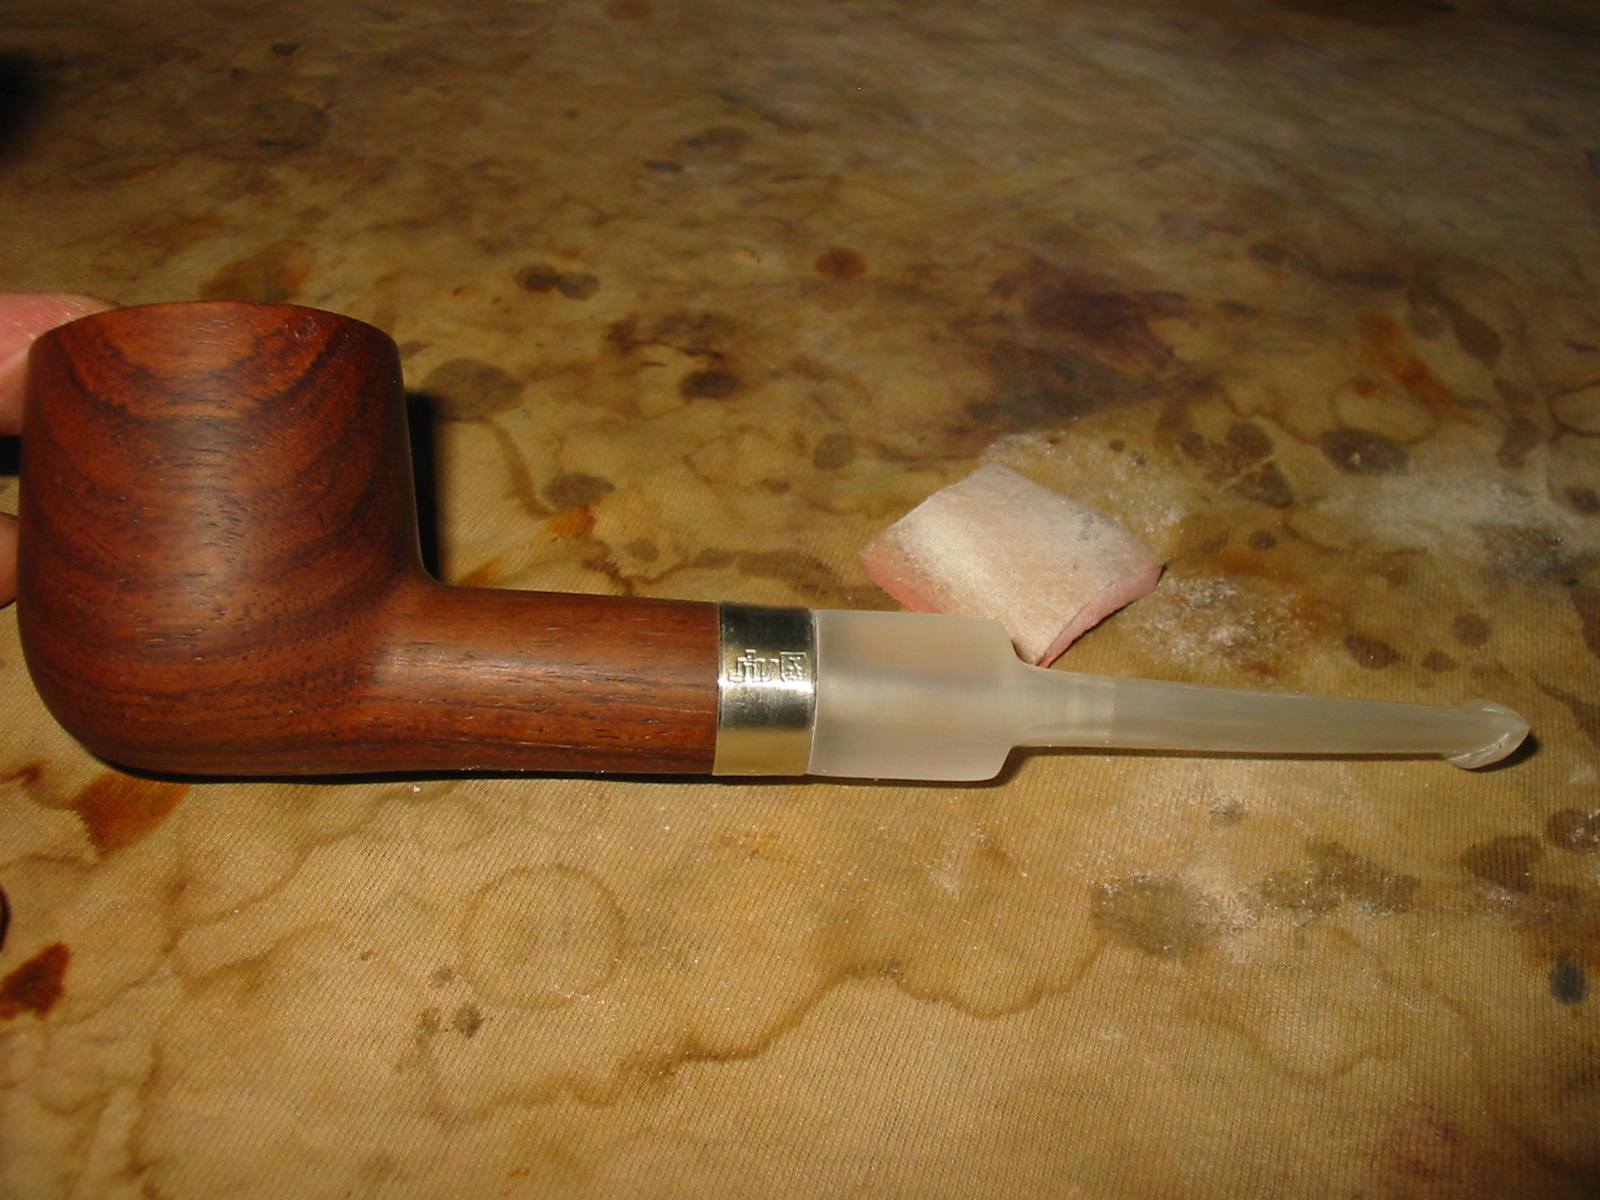
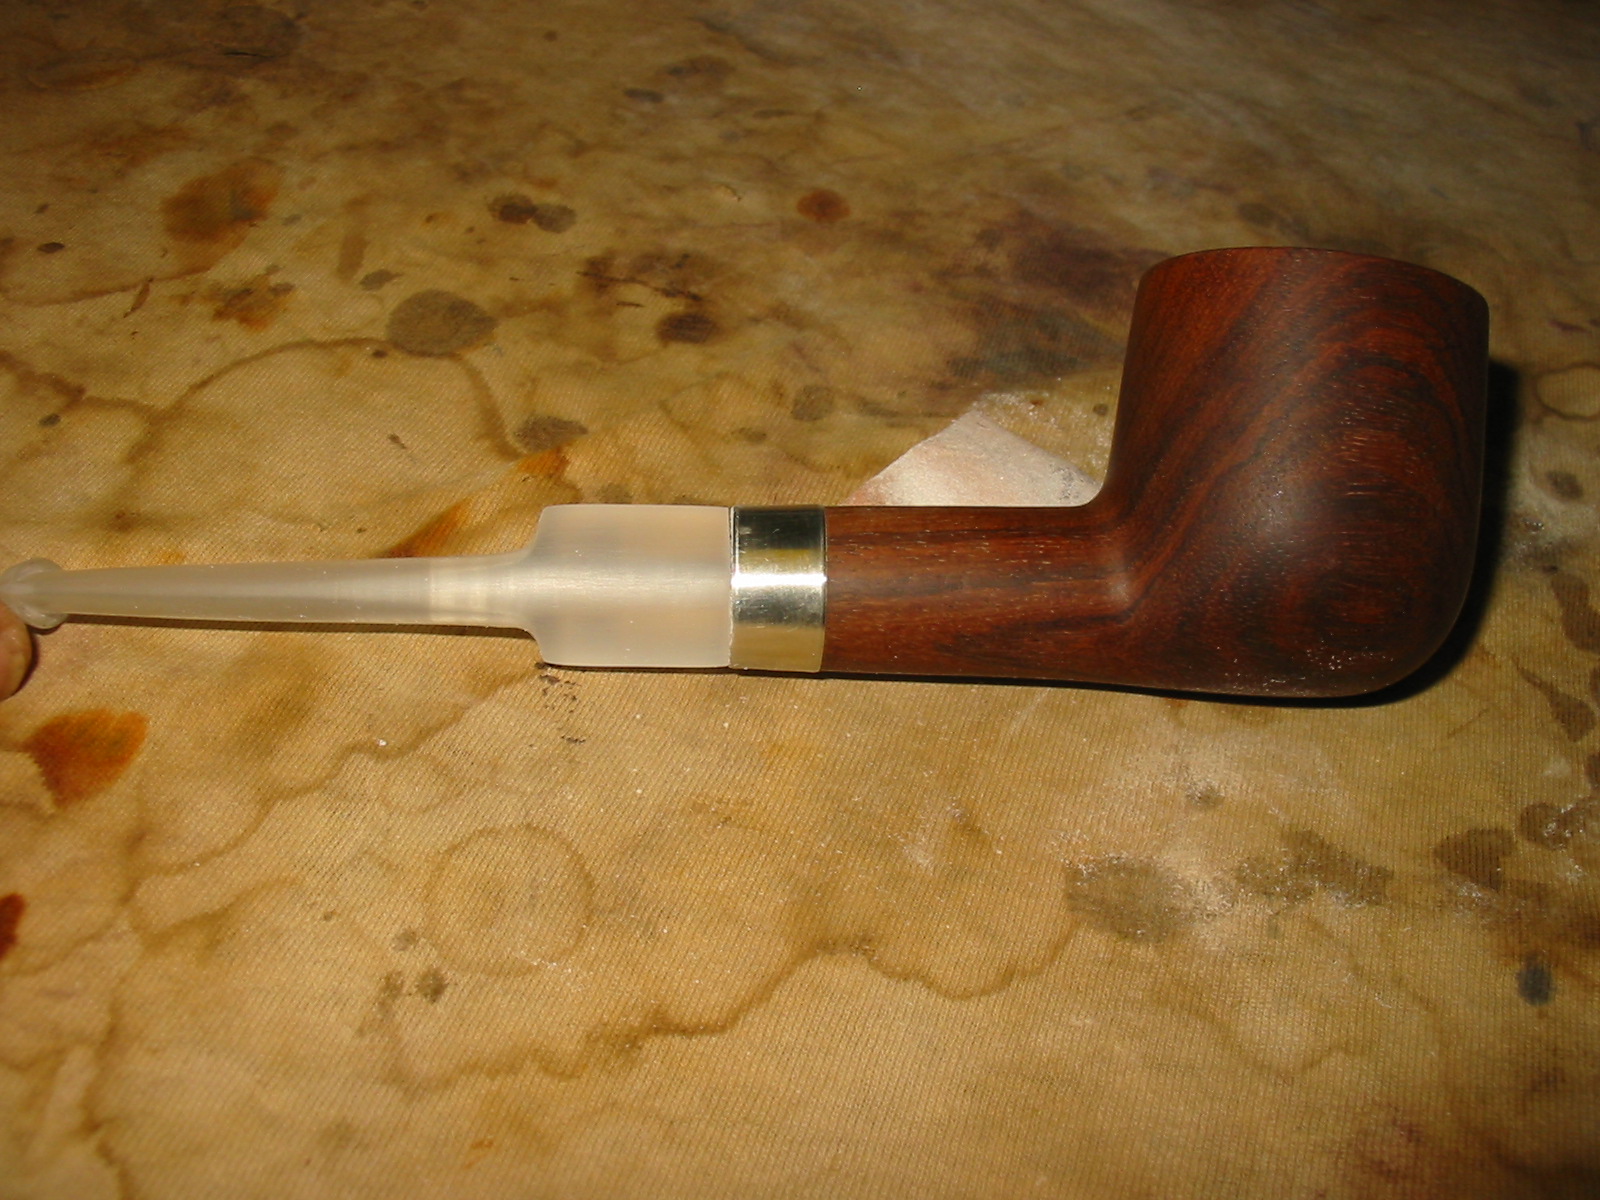
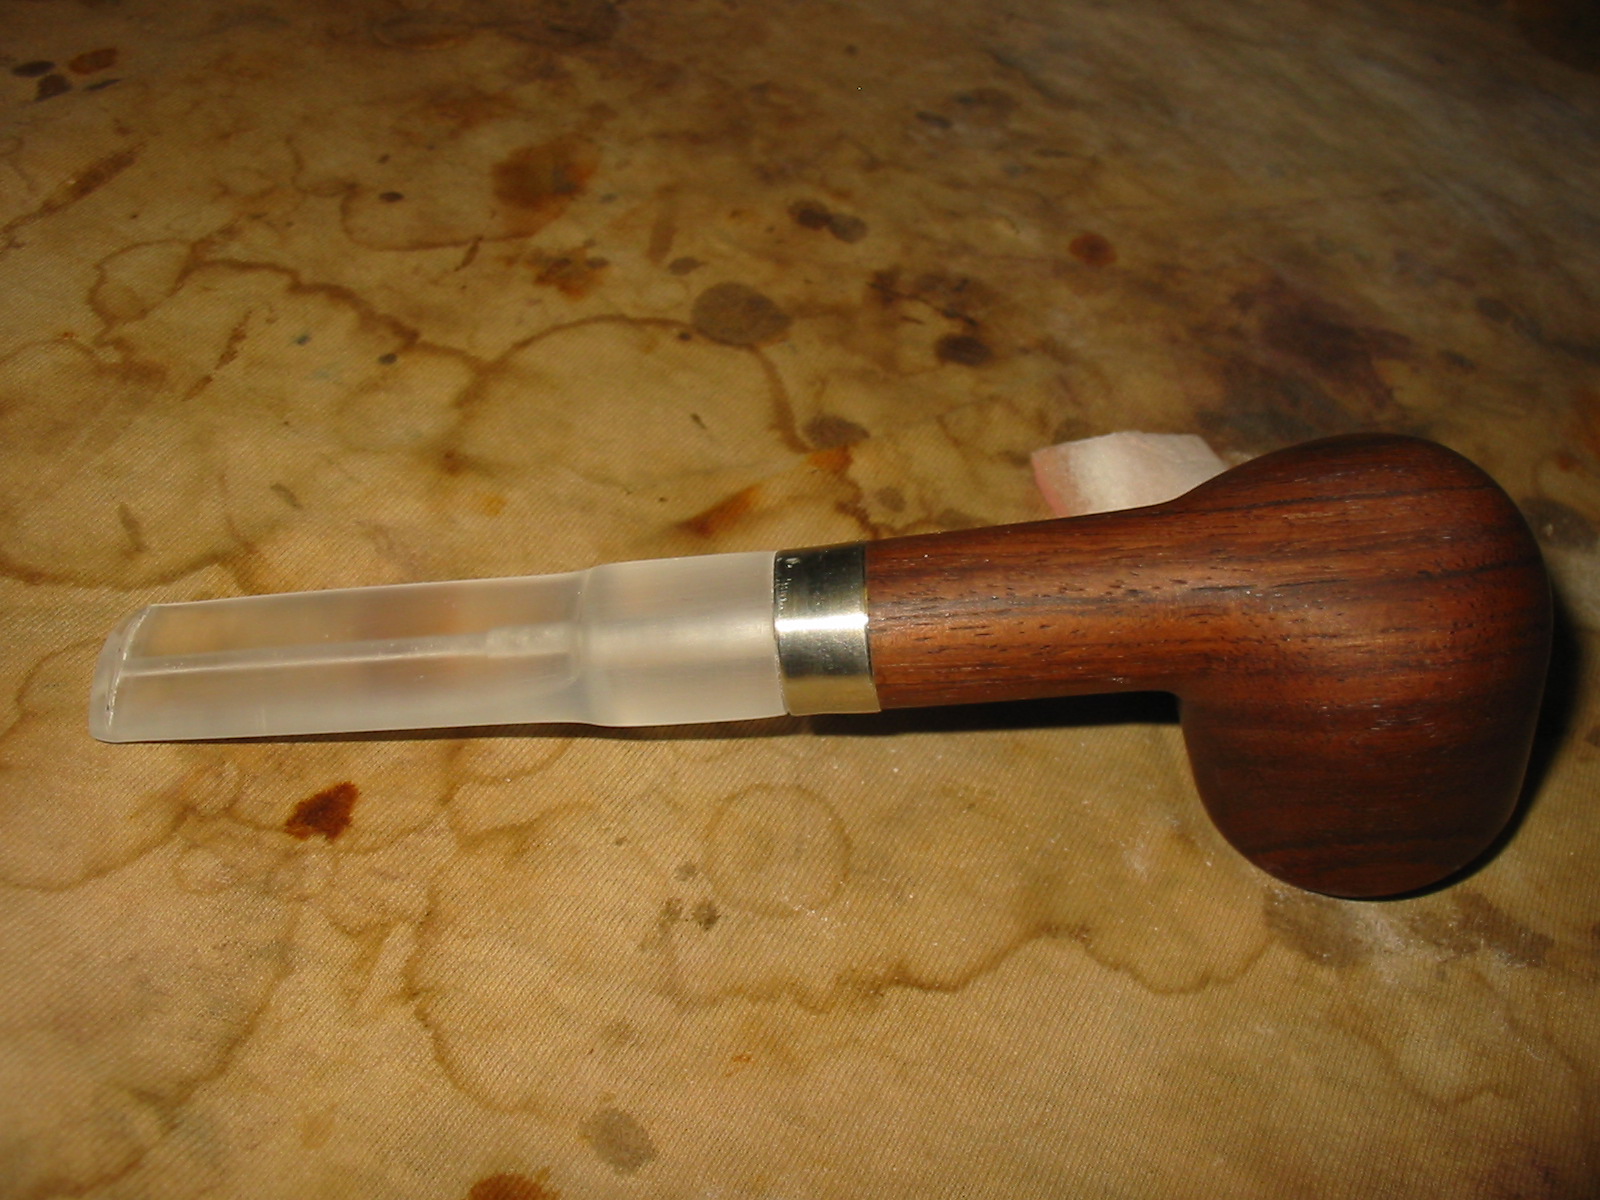
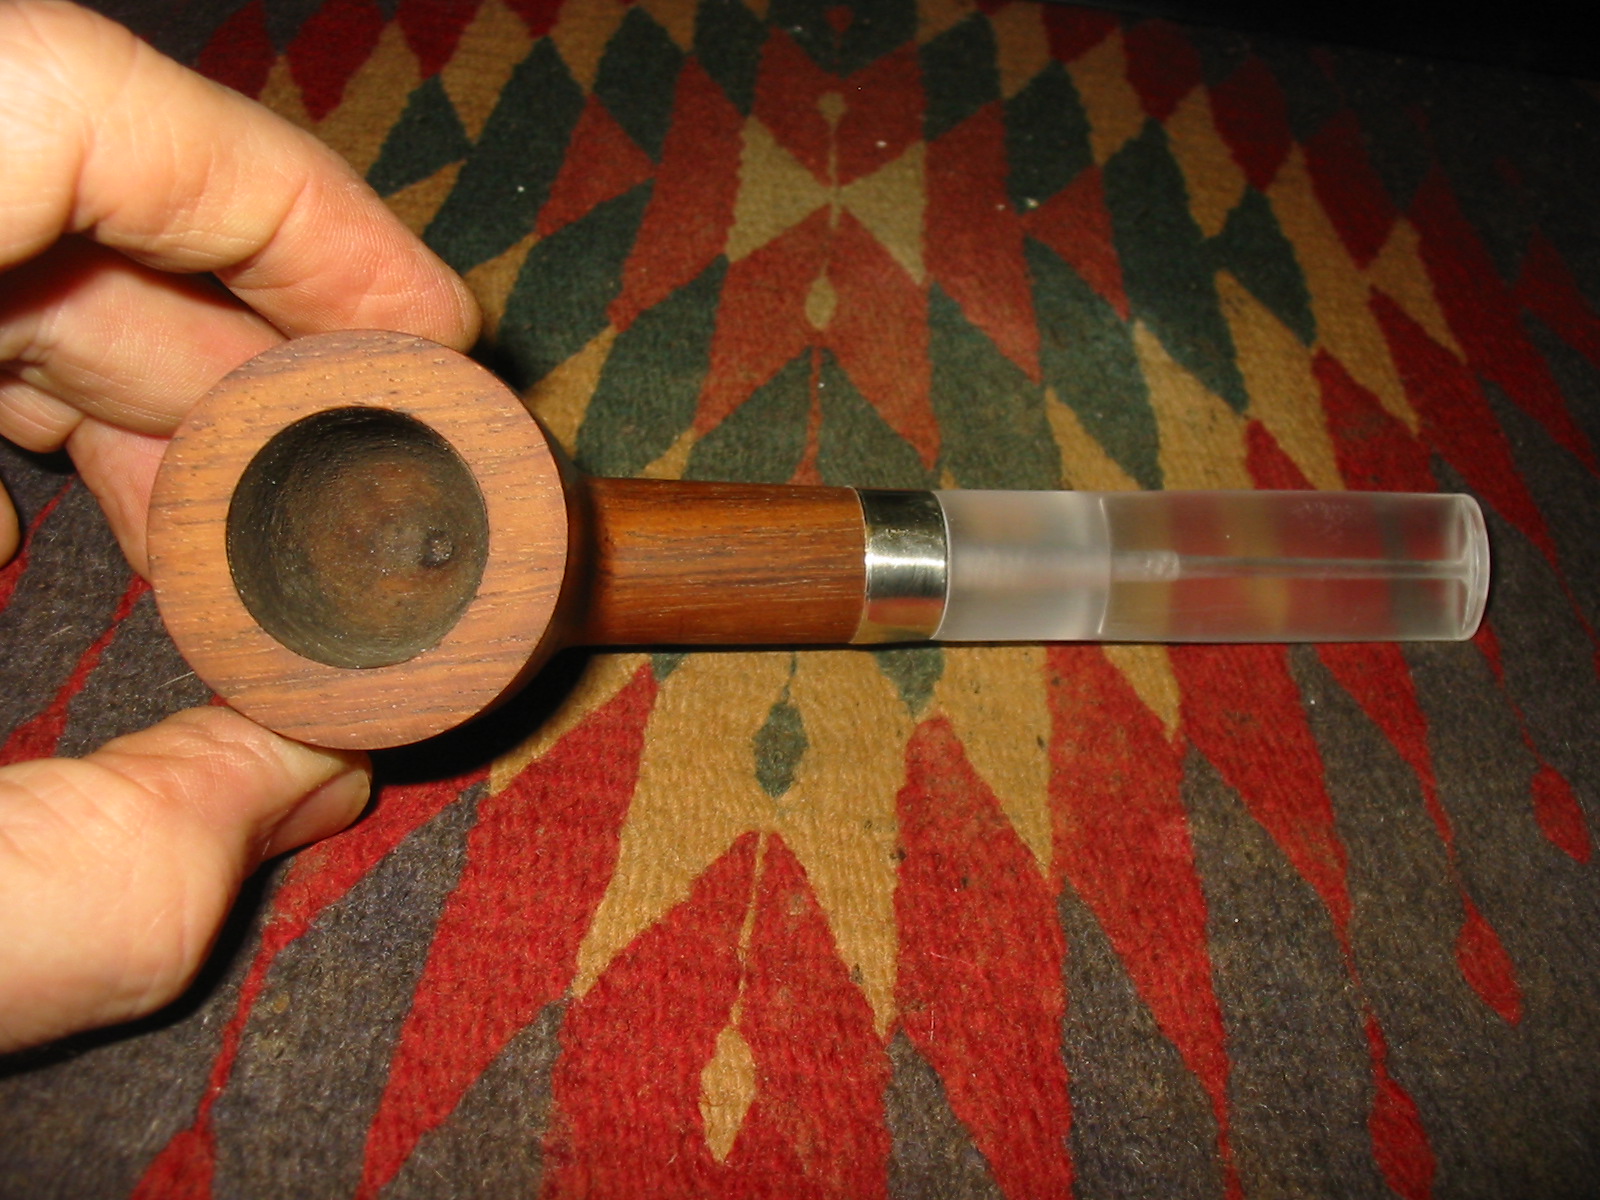
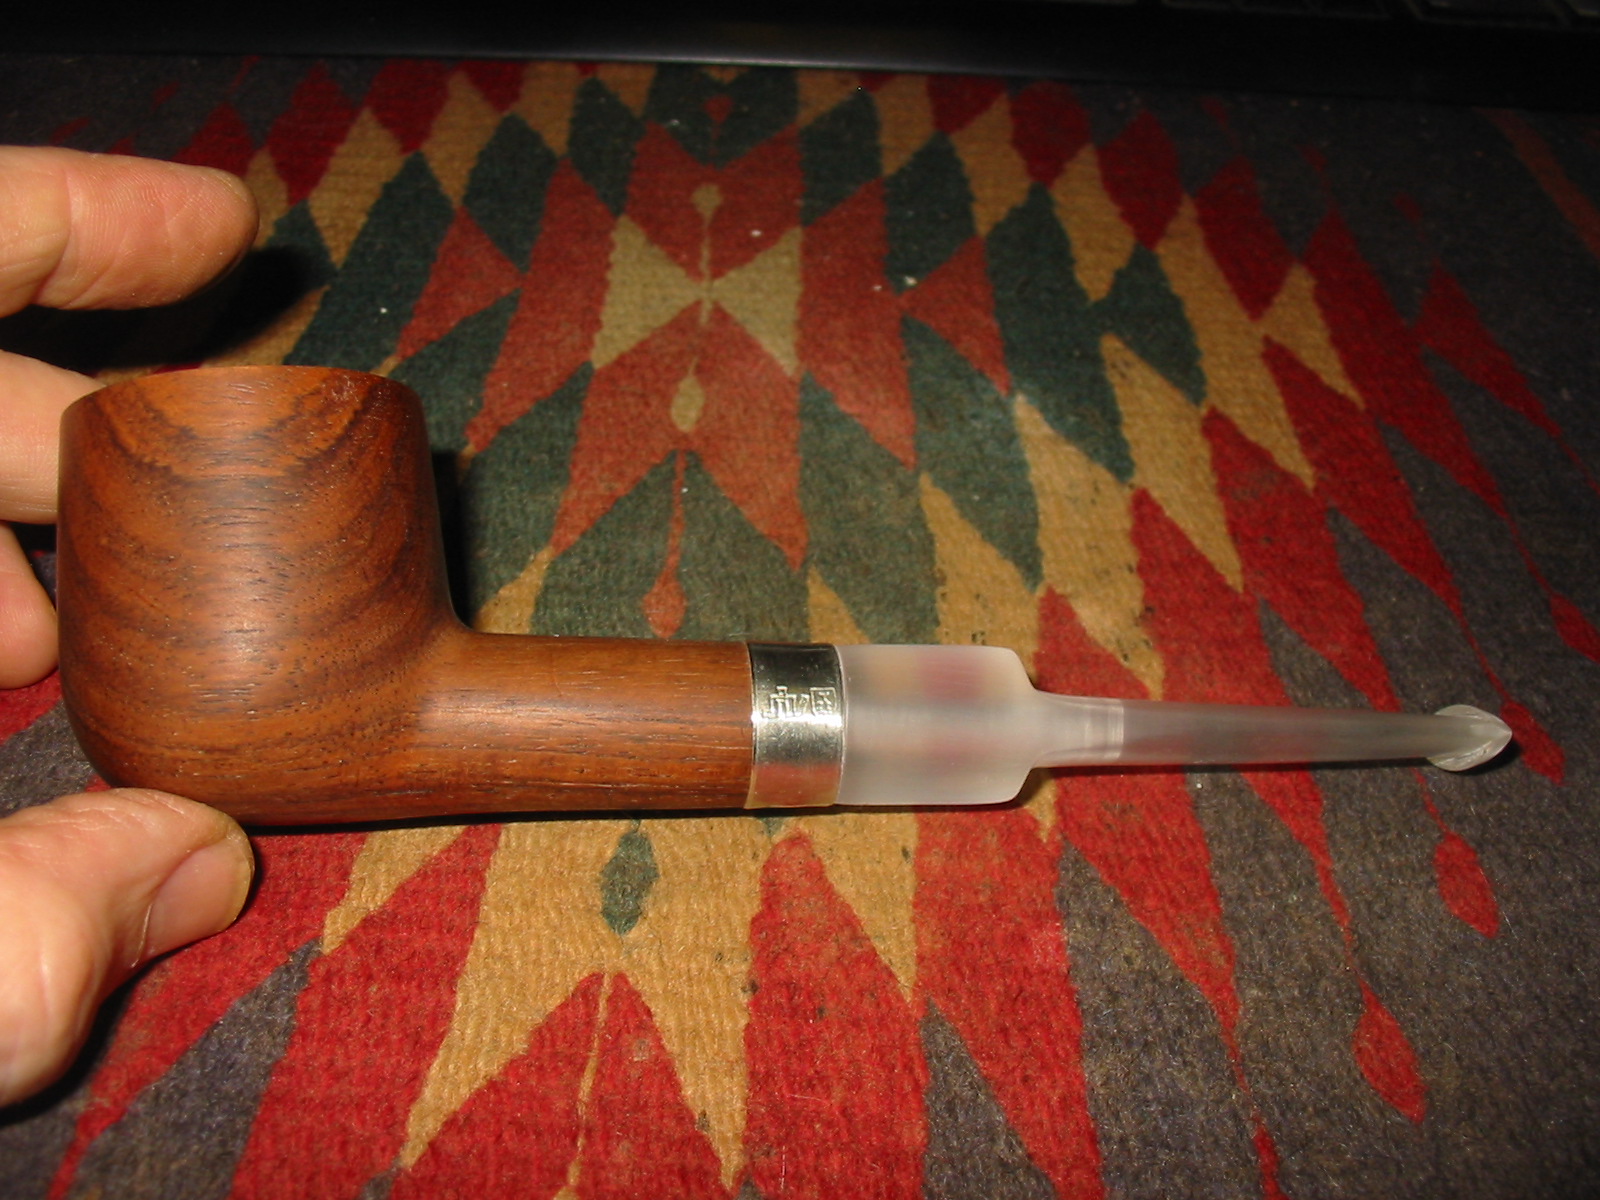
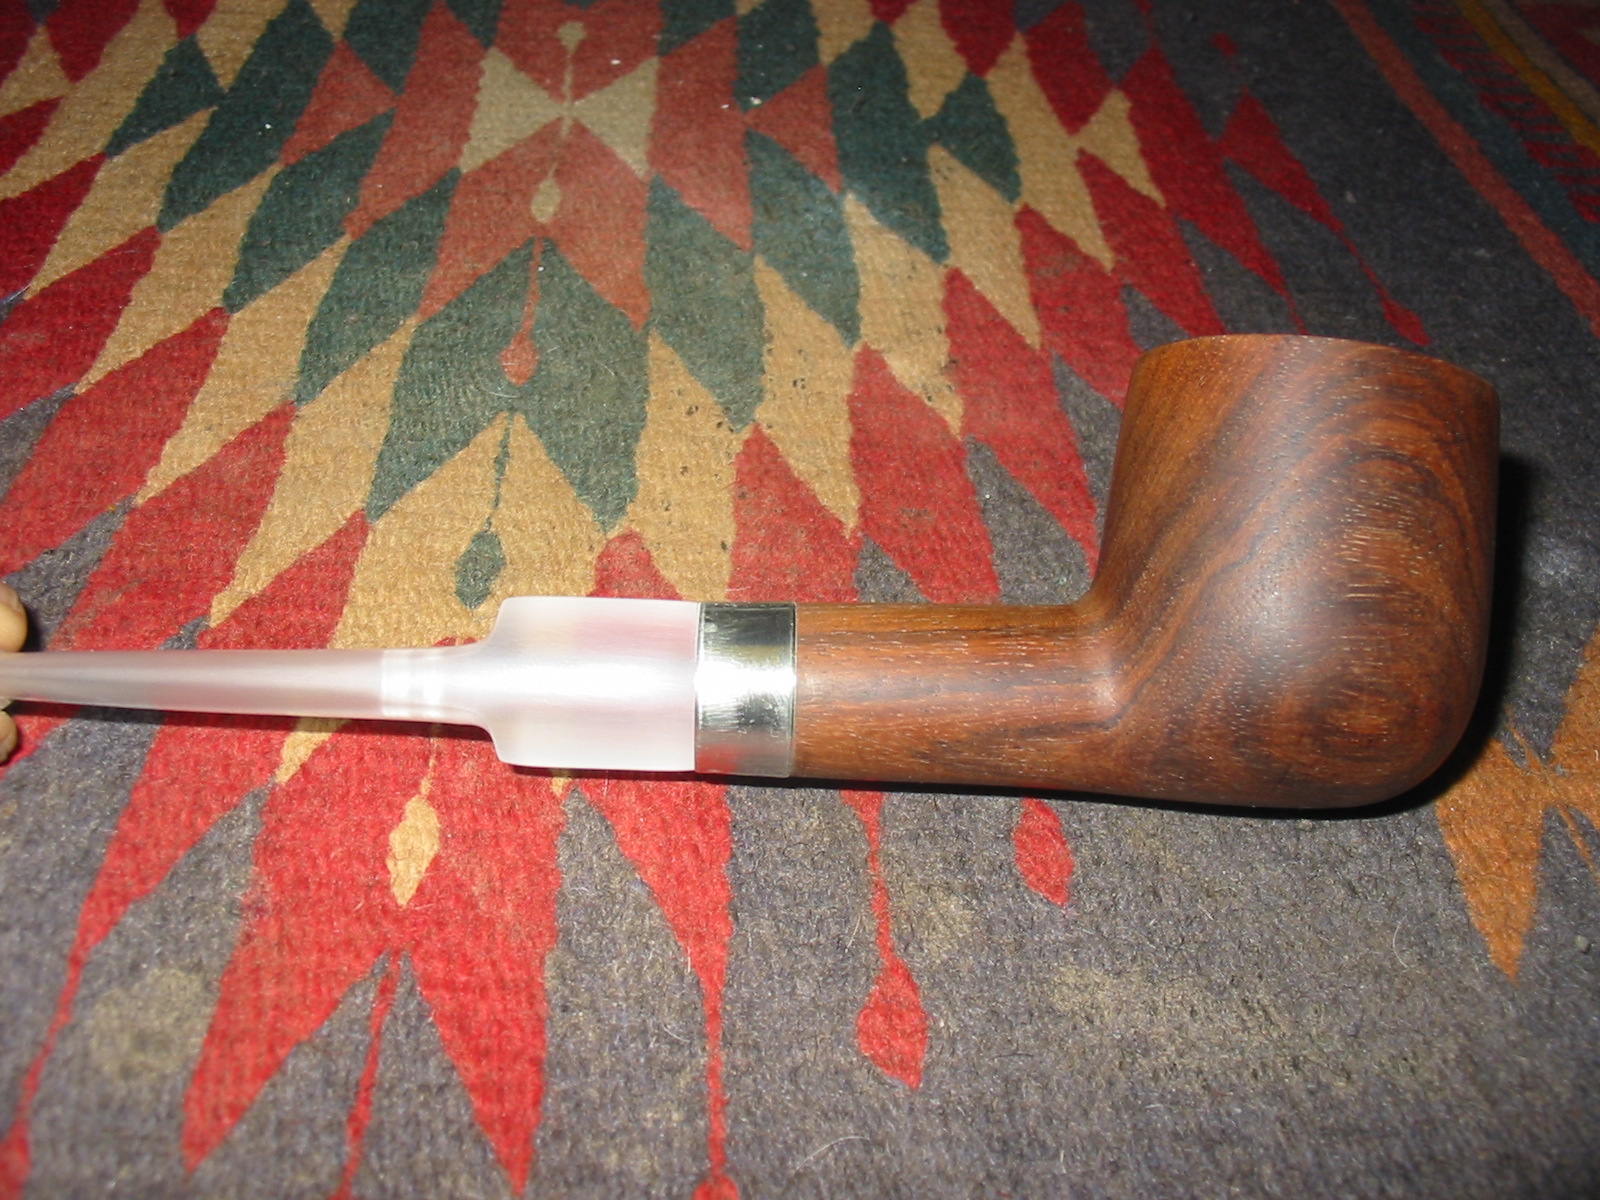
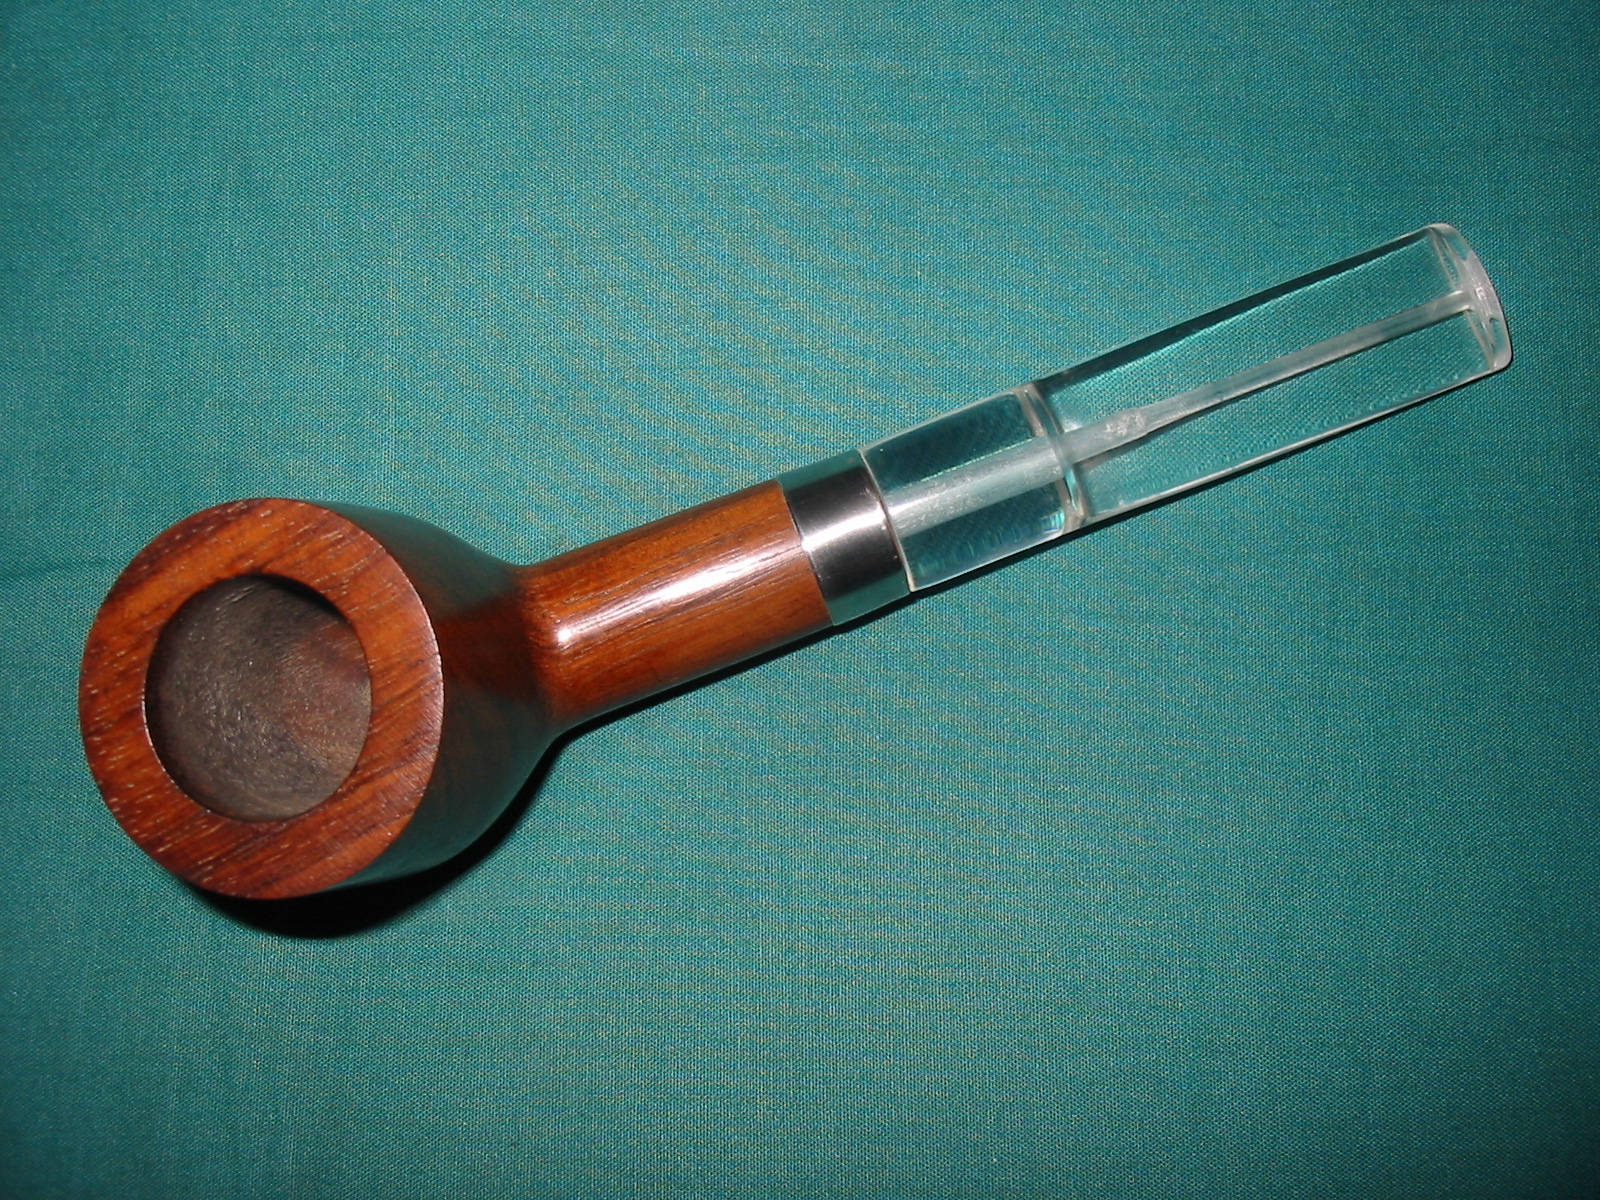
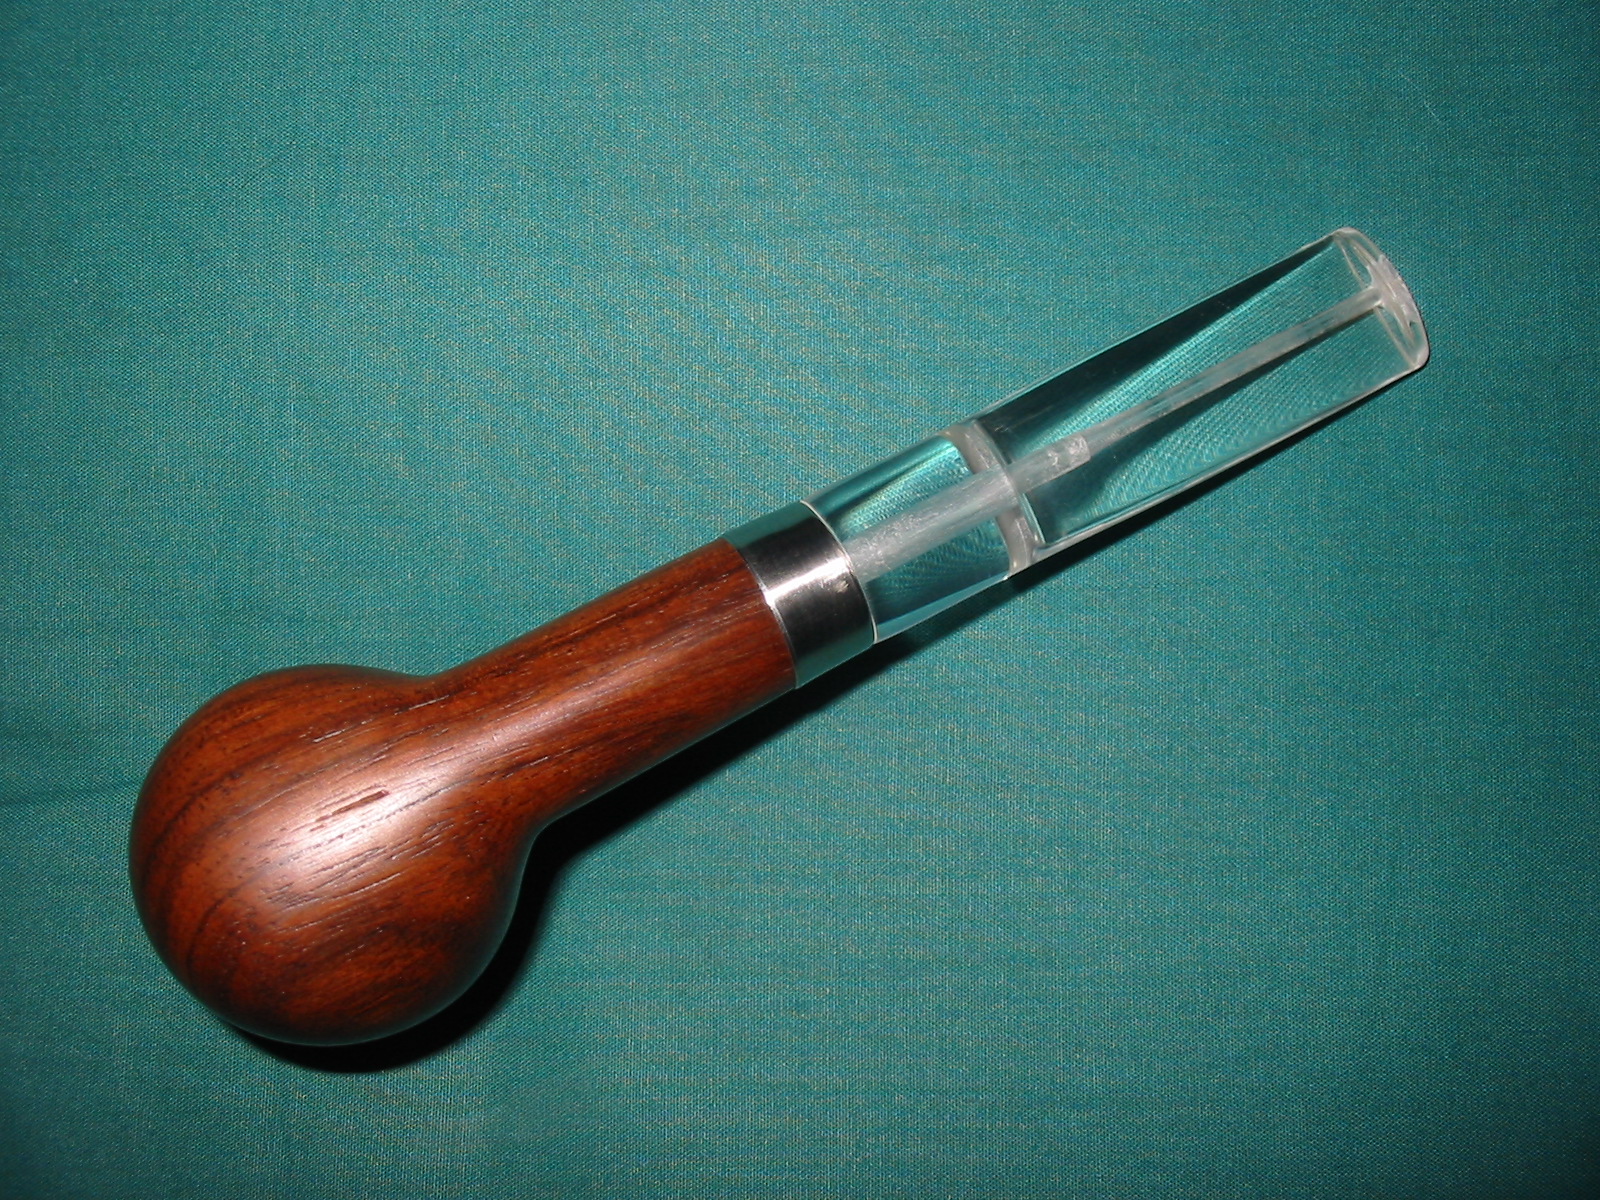
After I finished sanding the stem and the band with the micromesh pads I took the pipe to the buffer and buffed it with White Diamond to further polish it. I rubbed the stem down with Obsidian Oil and when it was dry gave the pipe and the stem multiple coats of carnauba wax and a final buff with a soft flannel buff. The finished pipe is shown below. The bowl has only been given a wax coat and no stain. The finish is natural and I believe that it will continue to darken as it picks up the oils from my hands when I smoke it.
IMG_5023

IMG_5024

IMG_5025

IMG_5027

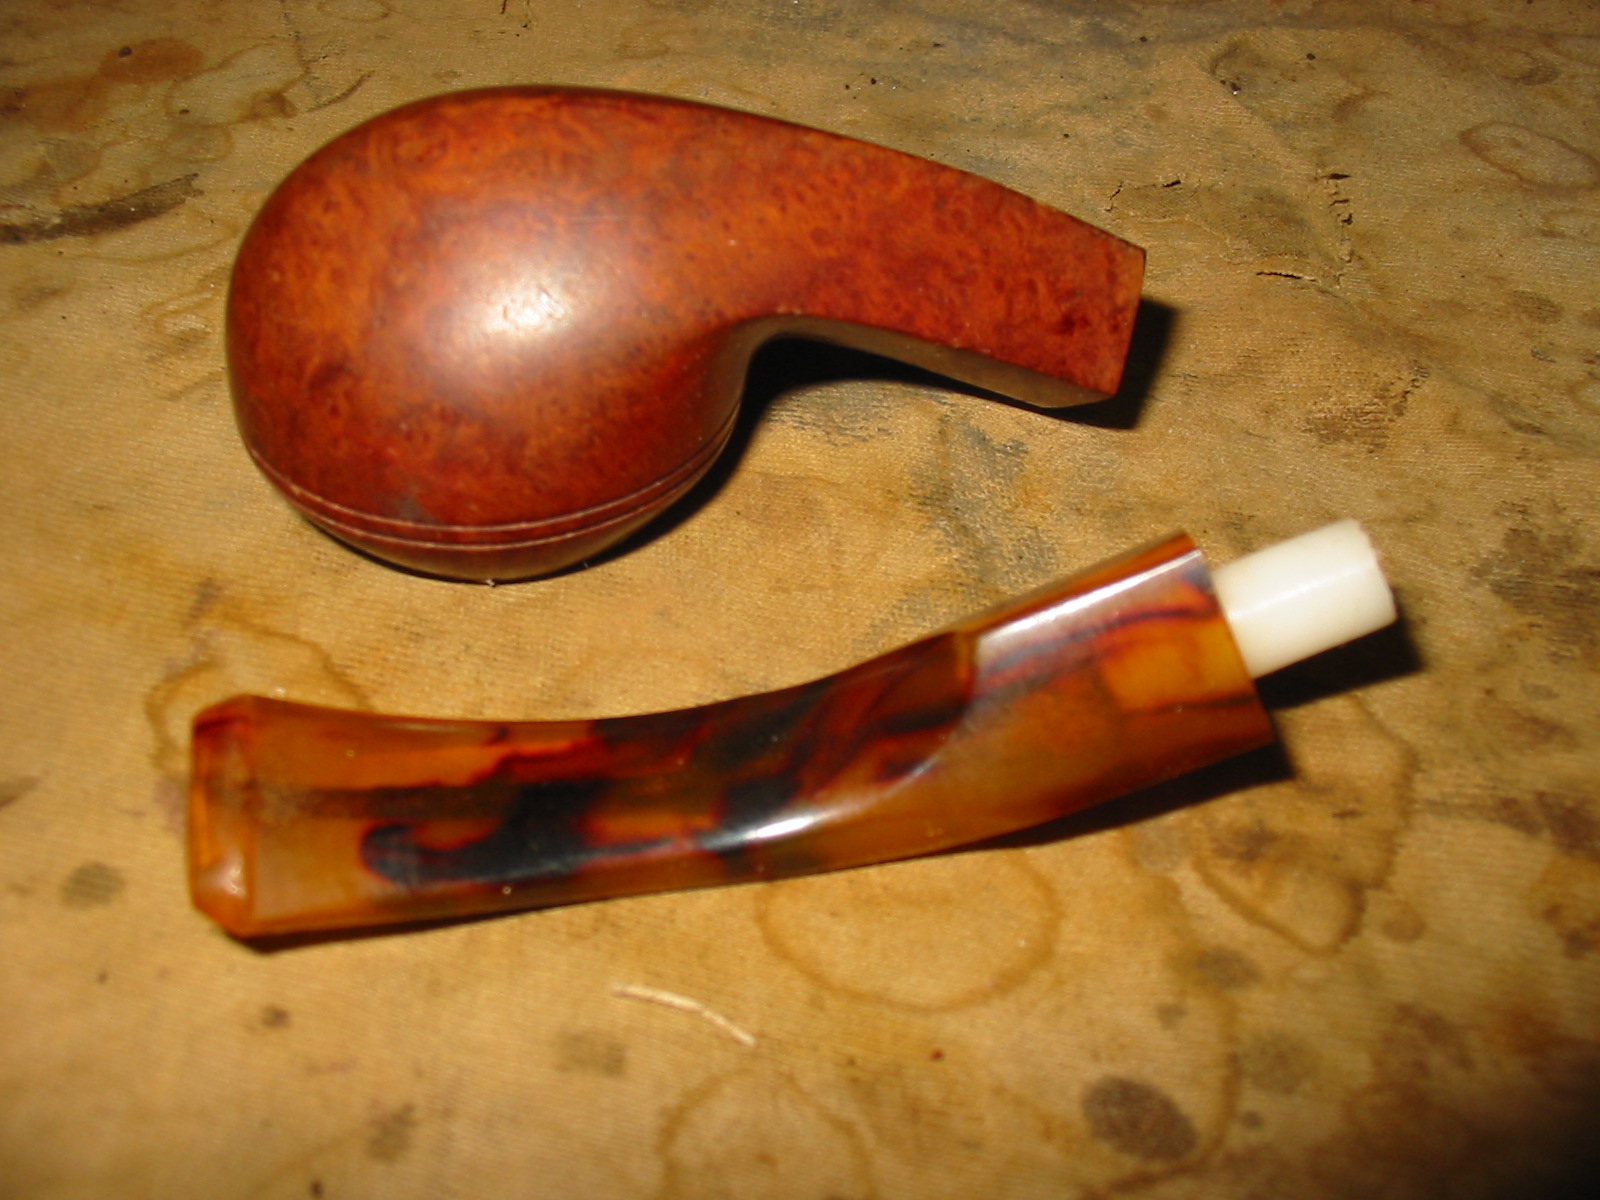
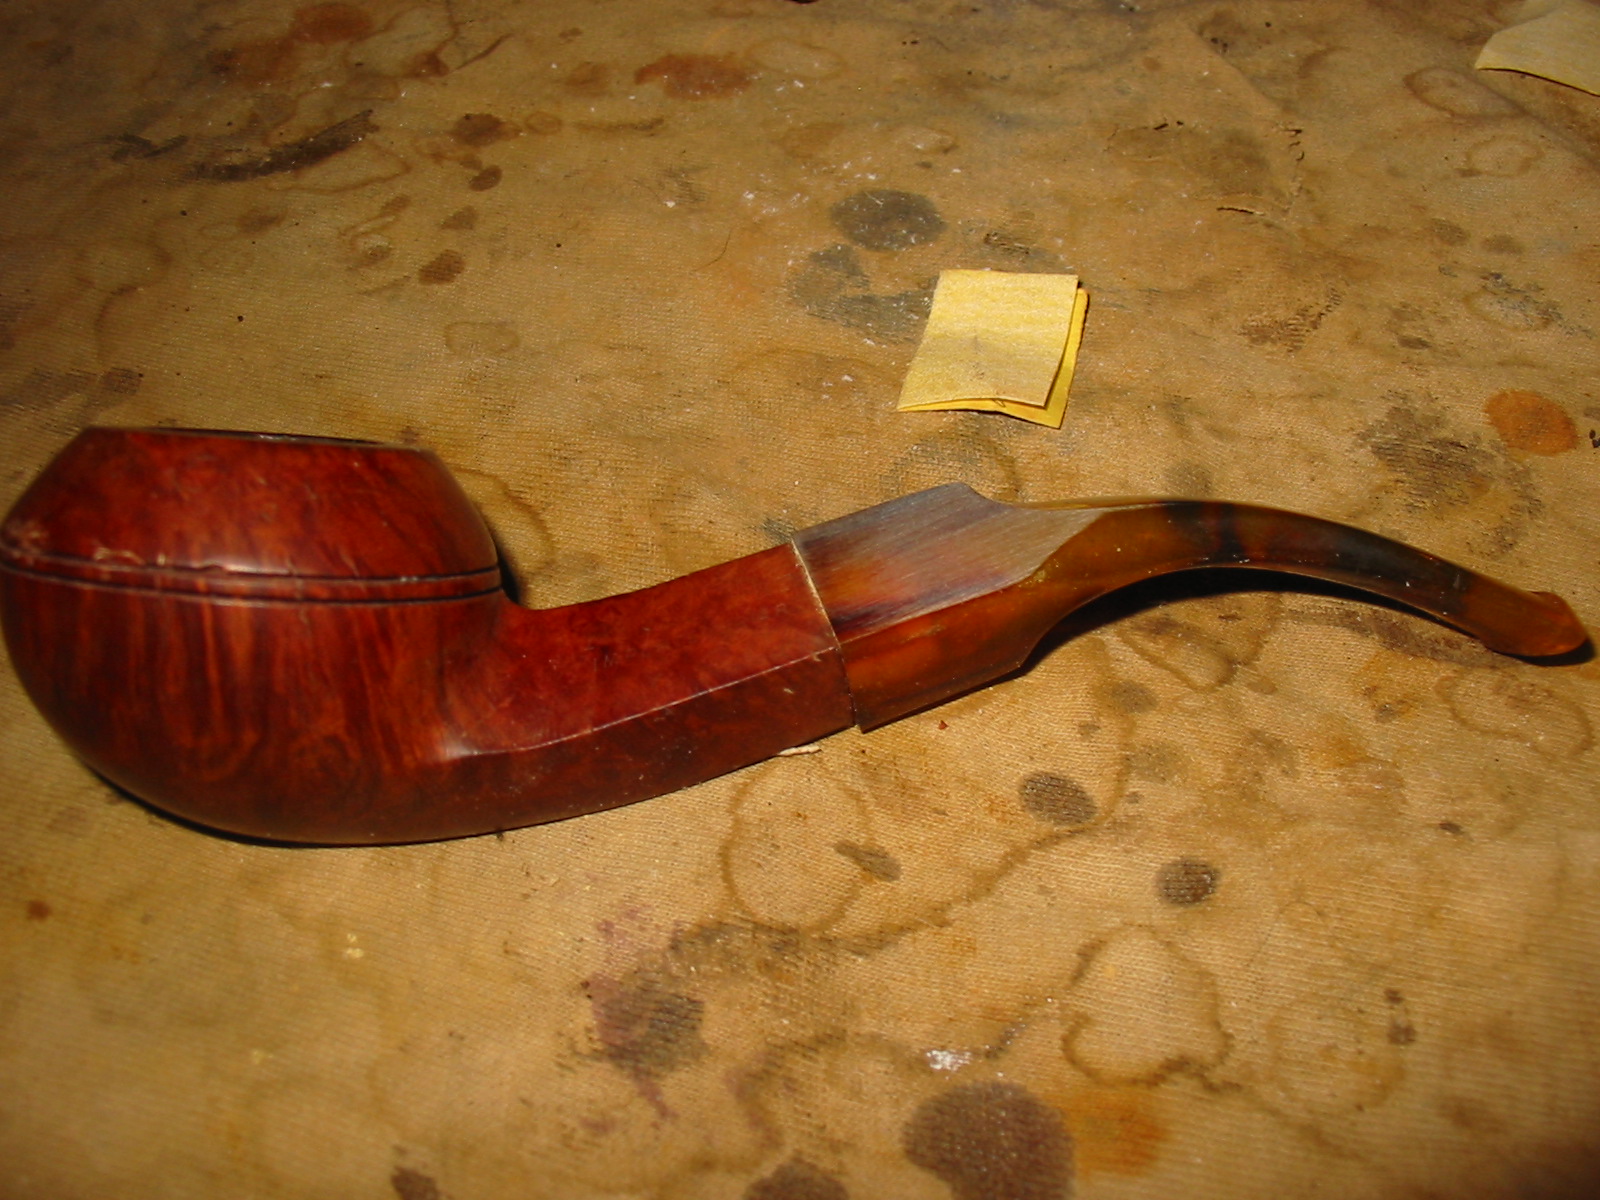
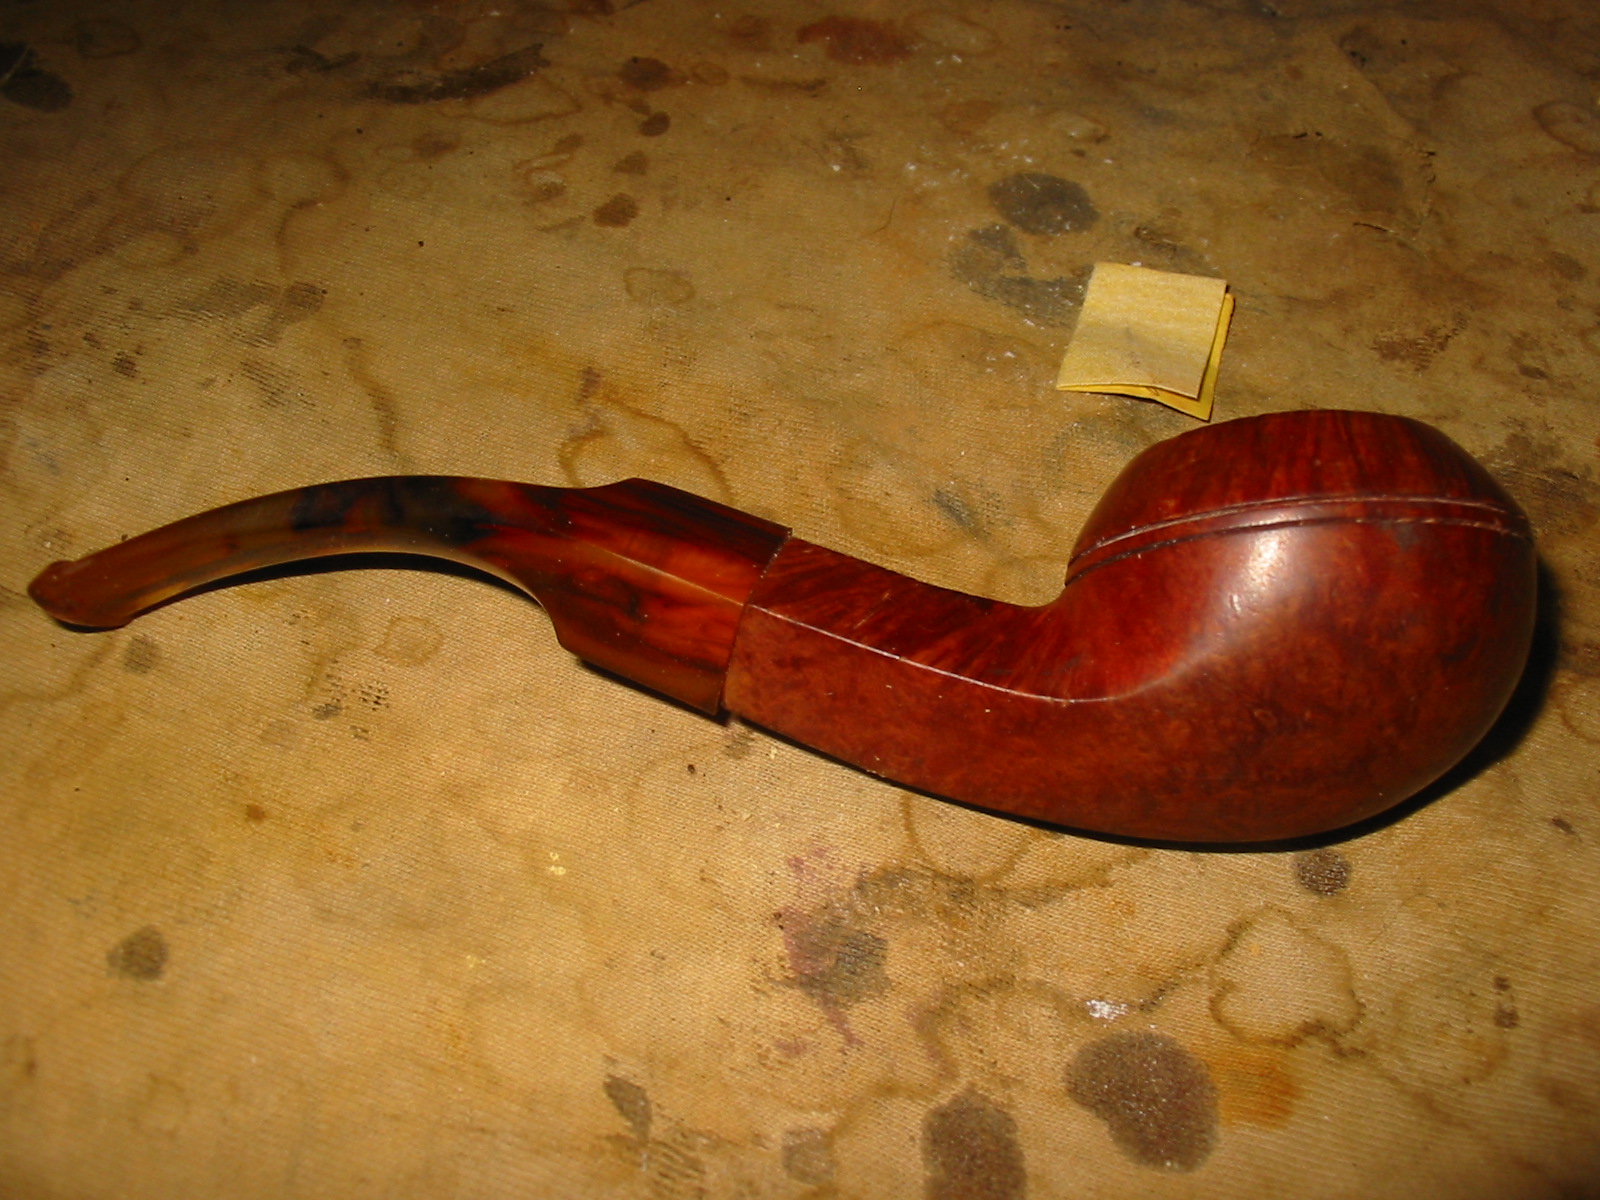
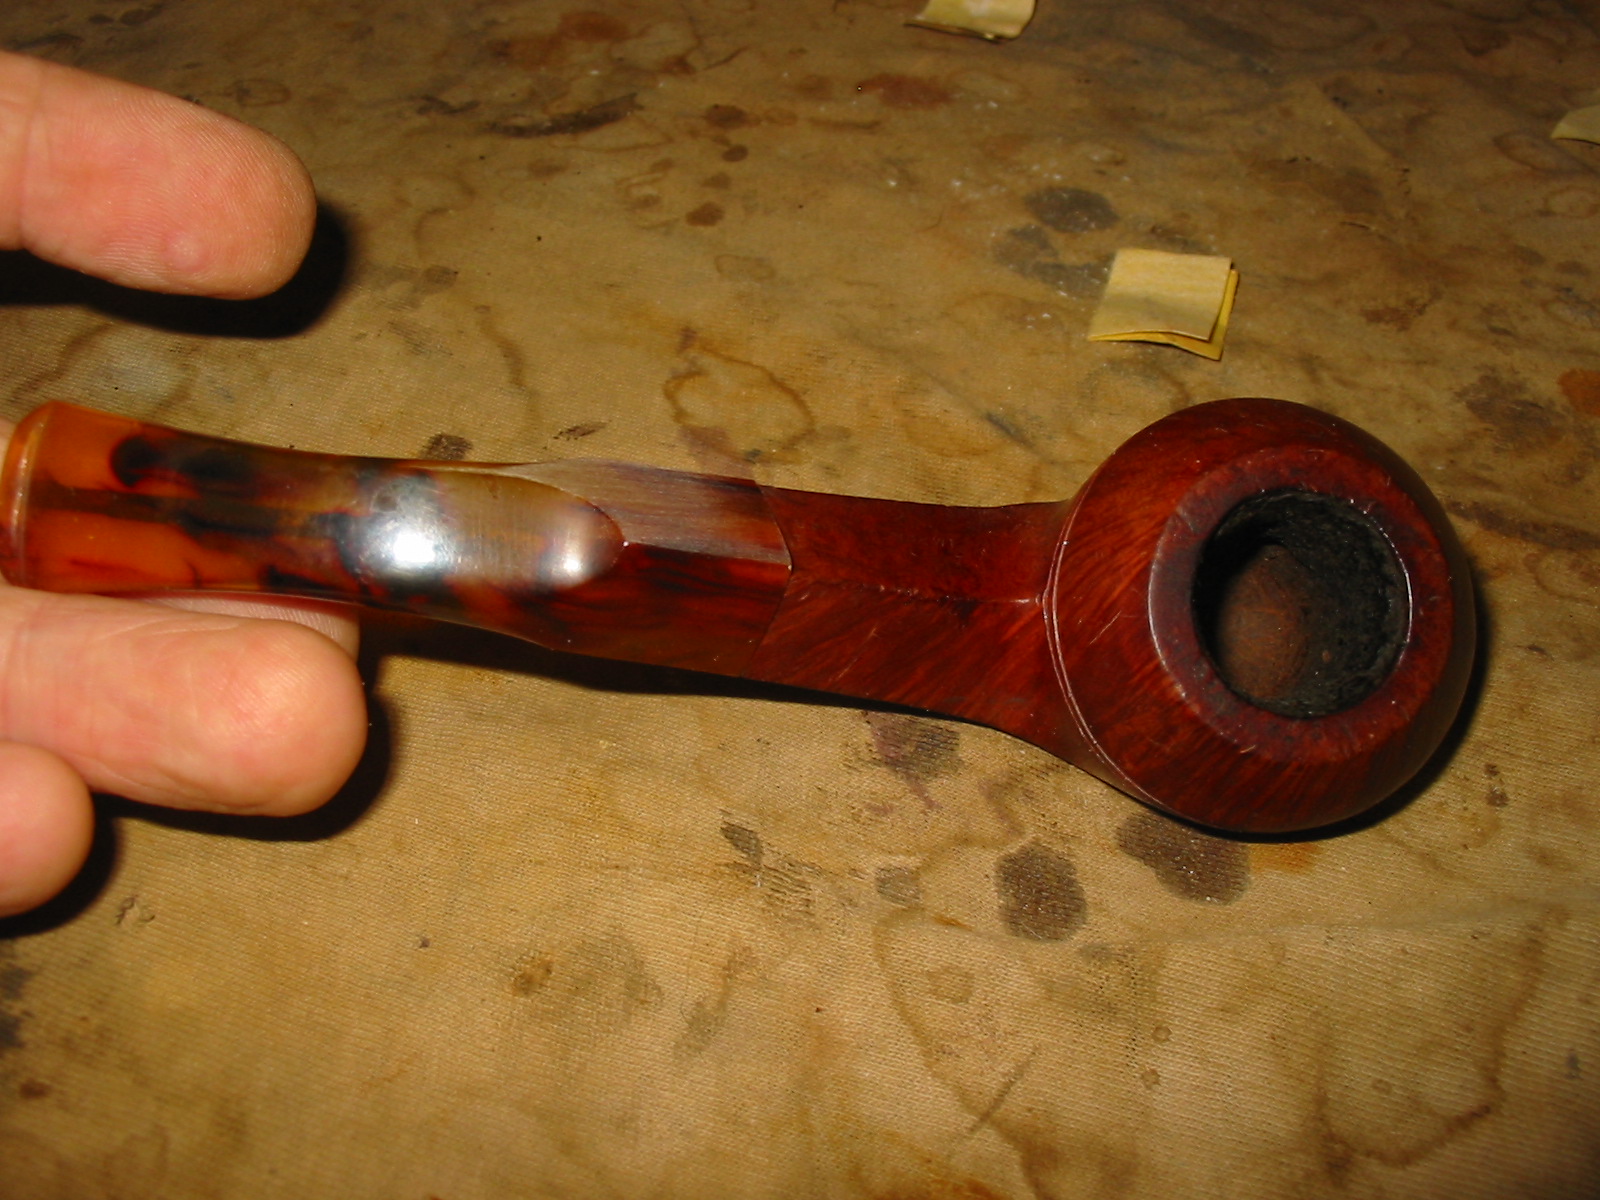
Restemming and Reworking a Rembrandt Bulldog


Blog by Steve Laug

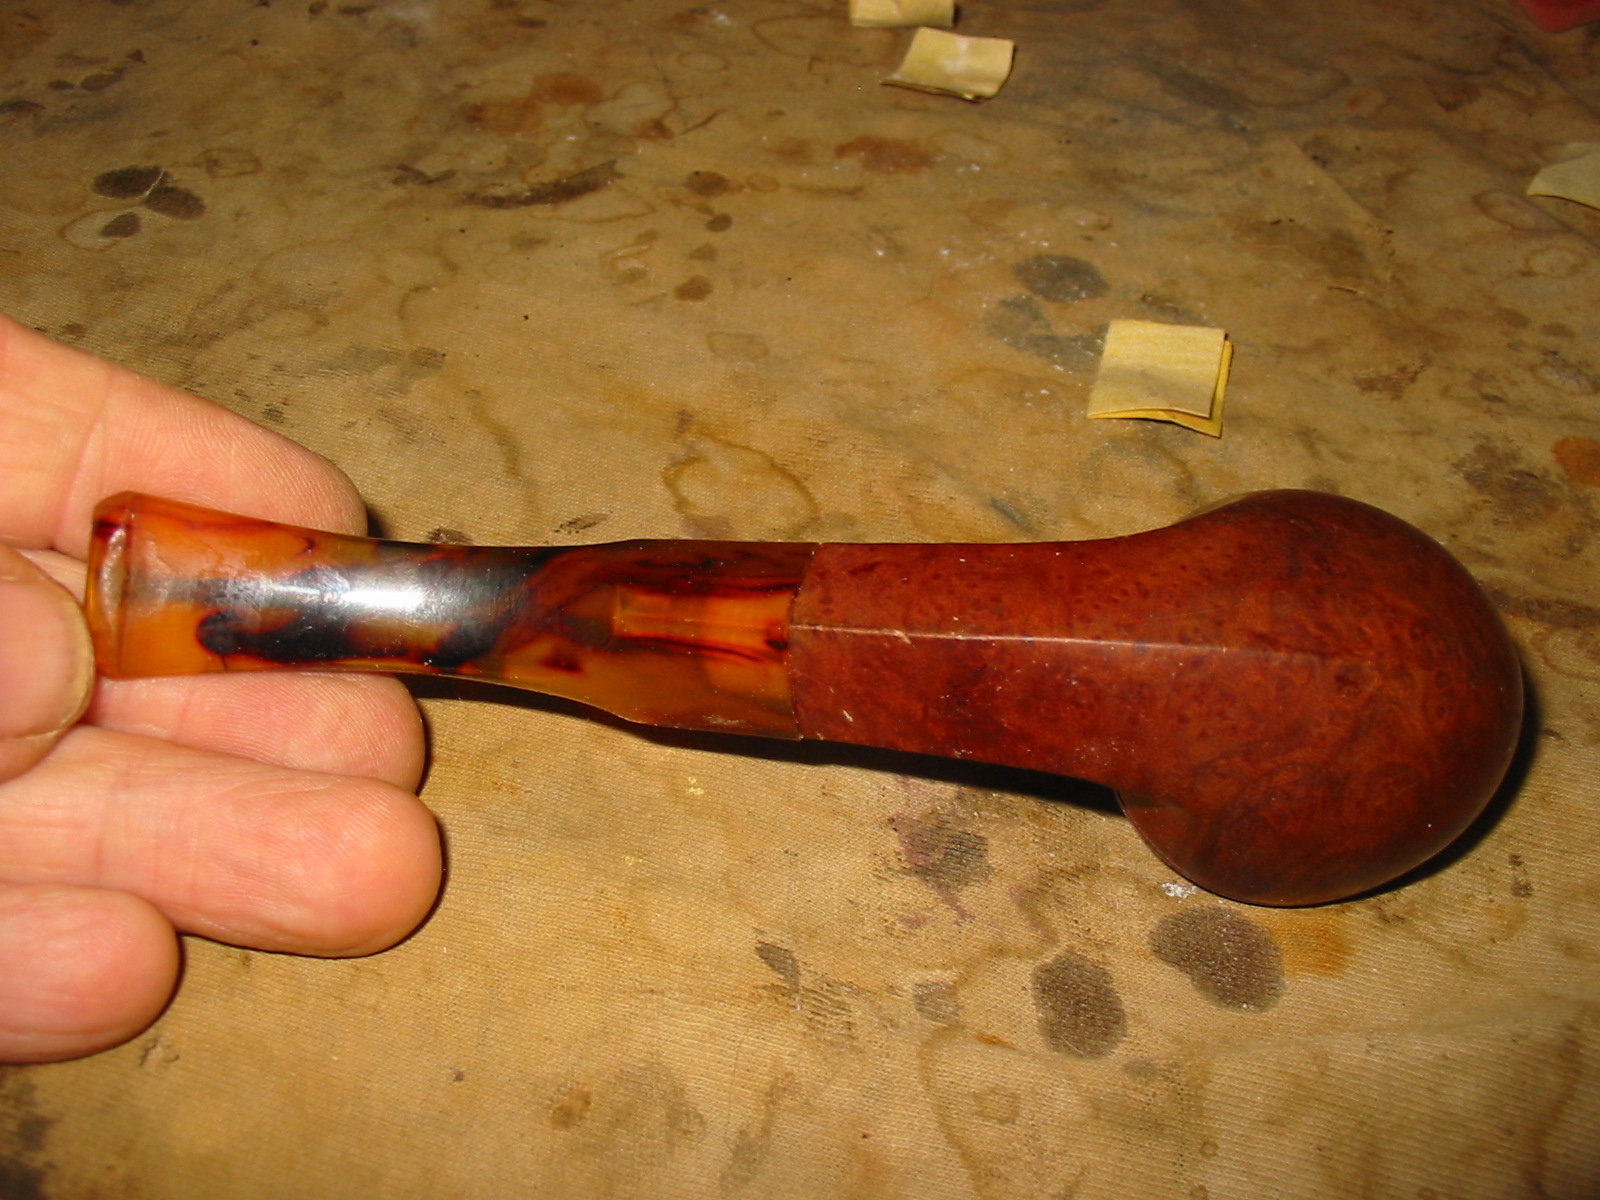
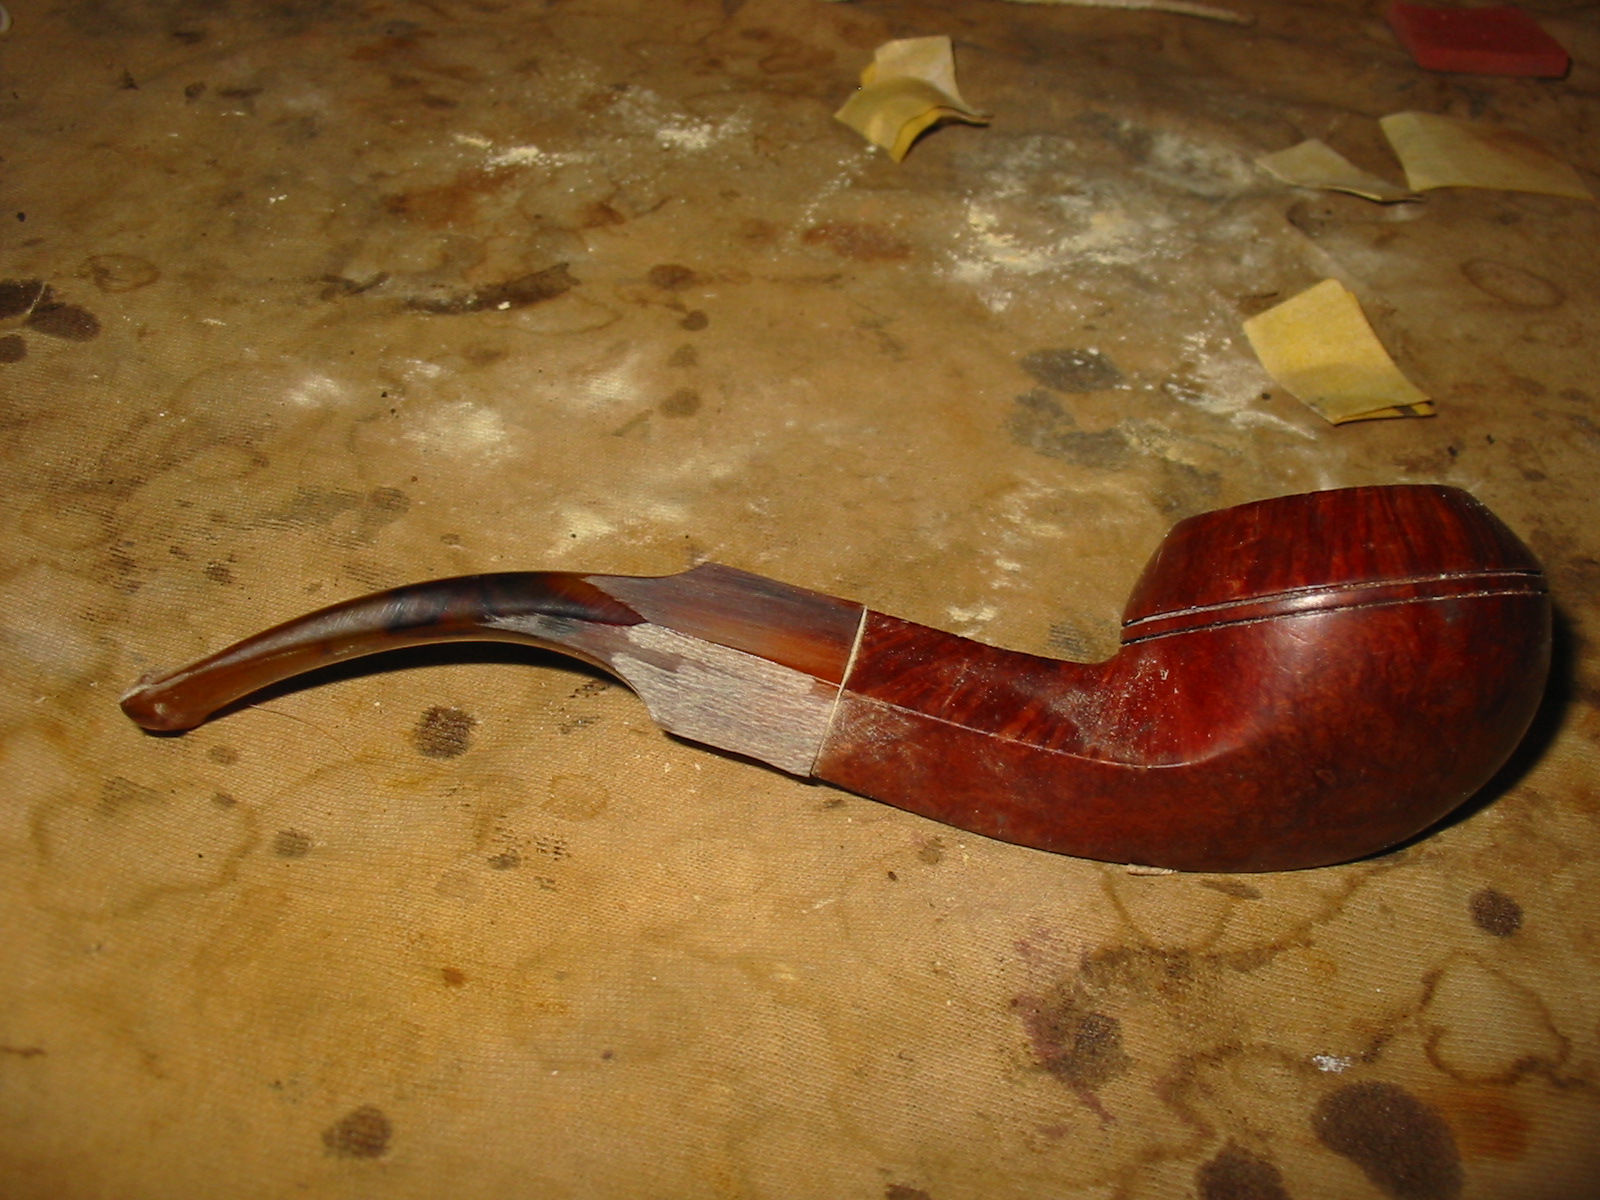
Another bowl that was sent to me was a nice bent bulldog shape that needed a stem. It was in good shape. The bowl needed to be reamed and the top of the rim lightly topped. It was stemless so I needed to make a stem for it. It was stamped on the left side of the shank Rembrandt over Imported Briar. In researching it on the web I found that the company that made the pipe was The National Briar Pipe Co. It was homed in Jersey City, New Jersey. They produced several brands that I have seen over the years: Biltmore, Forecaster, Honeybrook, King Eric, Kleenest, Mayflower, Rembrandt, Sir Sheldon, The Doodler (created and formerly produced by Tracy Mincer, †1966). Typically the original stem of Rembrandt pipes bore a logo on the left side of the stem – a capital “N” in italics. This bowl had some ding marks on the cap on the left side. There was some damage to the briar between the double rings on the cap.

IMG_4952

IMG_4953

IMG_4954

IMG_4955

I sorted through my stem can and found a nice amberoid acrylic stem that would look great with the bulldog bowl. It needed a tenon so I used a piece of white Delrin that was a perfect fit in the hole in the stem. I scored the Delrin with a hack saw so that the glue would have a surface to stick to. I swabbed then tenon down with superglue and pressed it into the stem.
IMG_4956

IMG_4958

Once the glue had set in the stem and the tenon was firmly in place I sanded the tenon down with a folded piece of sandpaper to get a snug fit. I pushed it into the shank and it fit nicely against the shank. The diamond shank was smaller than the diamond saddle on the stem so I needed to sand it down to fit the shank.
IMG_4959

IMG_4960

IMG_4961

IMG_4962

I used 220 grit sandpaper to start the process of shaping the stem and then a sanding drum on a Dremel to bring down the sides of the diamond close to the shank dimensions. I finished the fit with sandpaper and a sanding sponge.
IMG_4963

IMG_4964

IMG_4966

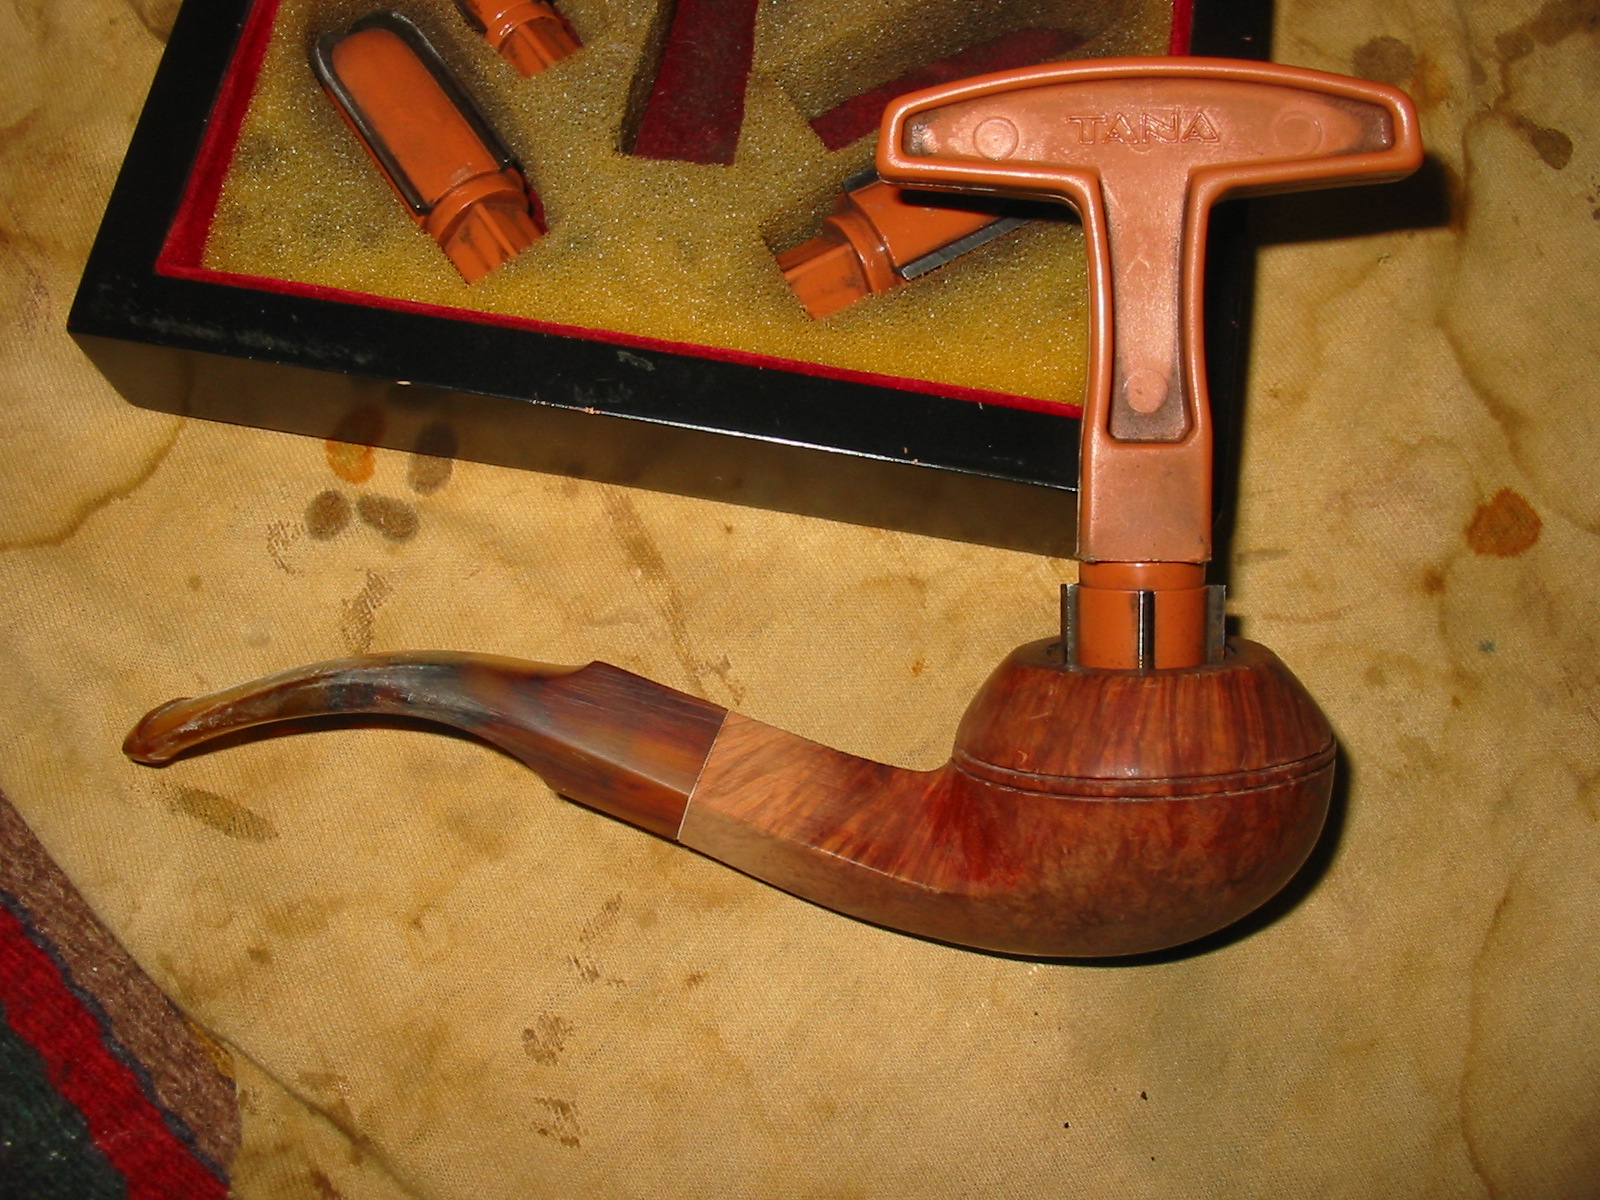
I sanded the stem and the shank with sandpaper and a sanding block until the transition between them was smooth to touch. I reamed the bowl with a PipNet reamer and took the cake back to the wood.
IMG_4967

IMG_4968

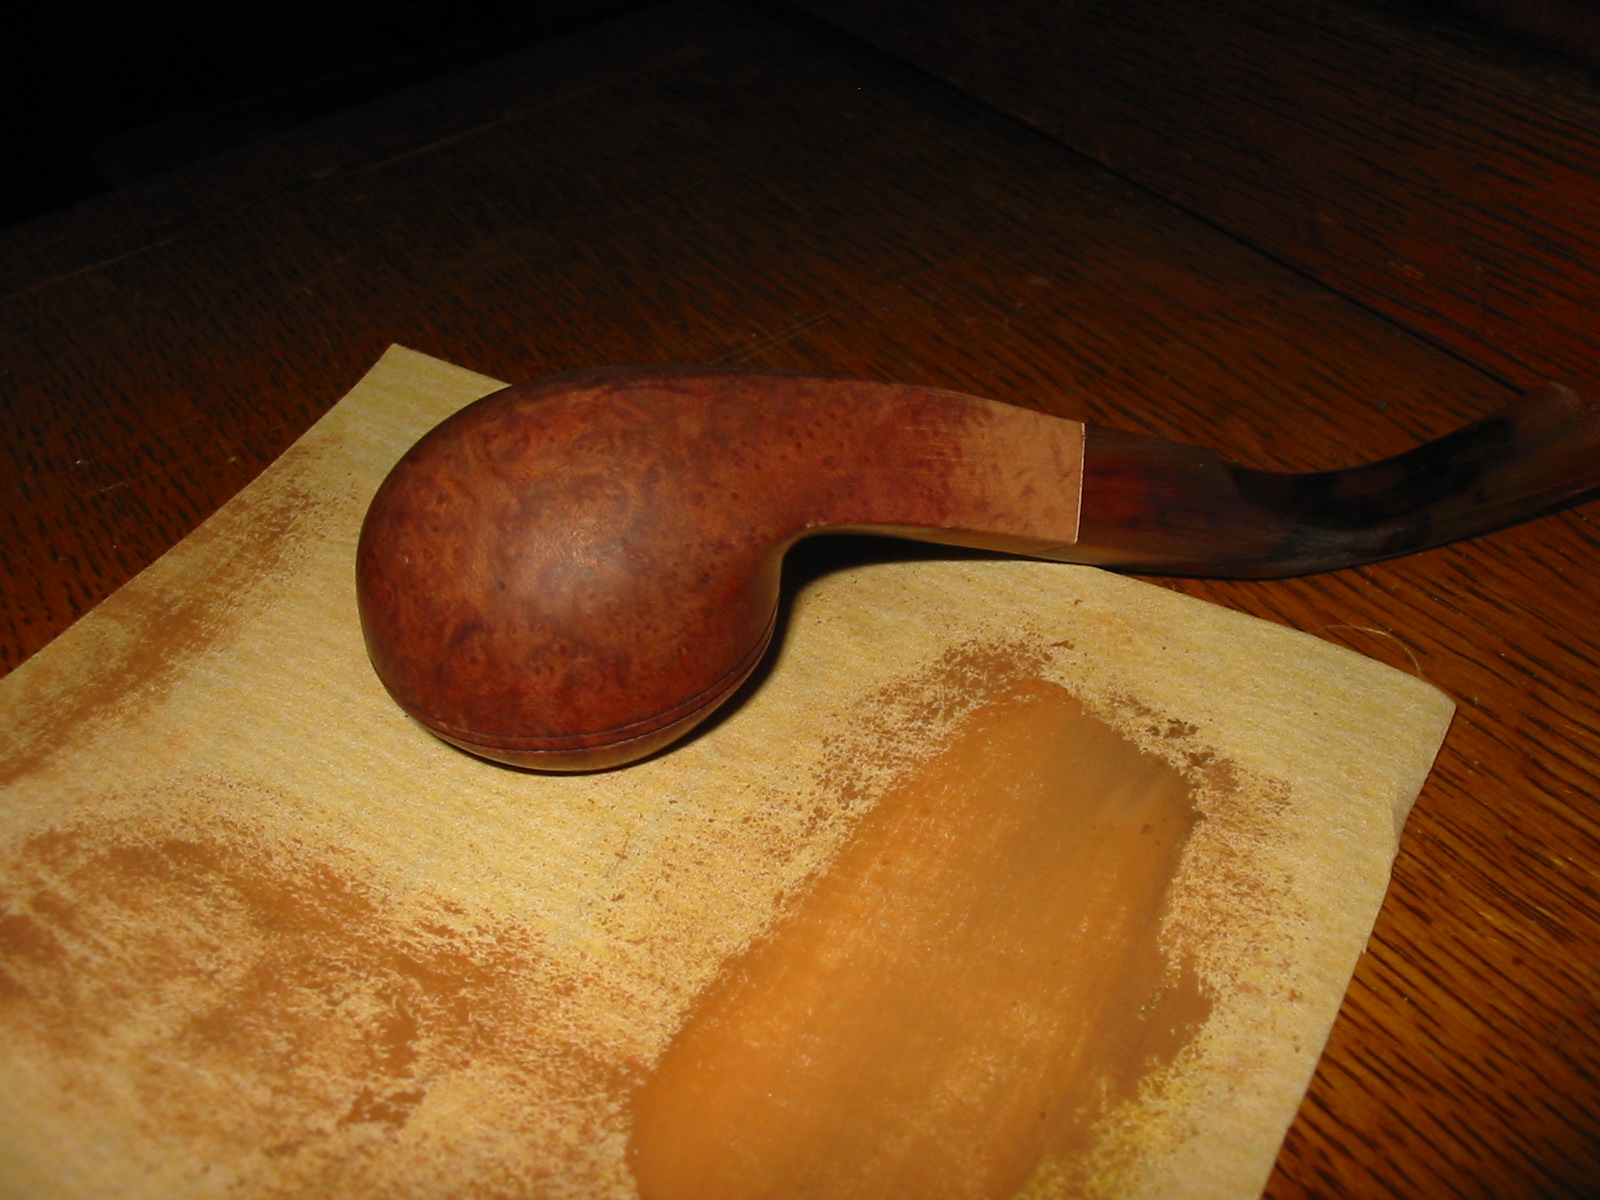
I set up my topping board and sandpaper and lightly topped the bowl to remove the nicks and cuts in the surface of the rim. I followed up on the sanding board with a sanding block laid on the board and once again turned the bowl into the sanding block to smooth out the scratches left behind by the sandpaper.
IMG_4969

IMG_4970

I wiped the bowl down with acetone and cotton pads to remove the finish and make the restaining of the bowl more consistent. I have found that when I have sanded the shank and the rim it is easier to remove as much of the finish as possible before I restain the pipe.
IMG_4972

IMG_4973

IMG_4974

IMG_4975

I sanded the stem with my usual array of micromesh sanding pads – wet sanding with 1500-2400 grit pads and dry sanding with 3200-12,000 grit pads. I rubbed the stem down with Obsidian Oil and then did some more work on the bowl.
IMG_4976

IMG_4977

IMG_4978

I stained the bowl with a dark brown aniline stain thinned 2:1 with isopropyl alcohol. I stained and flamed the stain and repeated the process until the coverage on the shank and the rim matched the bowl. I hand buffed the pipe with a soft cotton cloth to see where I stood with the finish on the bowl.
IMG_4979

IMG_4980

IMG_4981

IMG_4982

I gave the pipe another coat of the stain and then took the pipe to the buffer and buffed the bowl and stem with White Diamond. When I had finished I buffed it with multiple coats of carnauba wax and then with a soft flannel buff to finish the shine. The completed pipe is shown in the photos below. I really like the way the stain and the striations in the stem work together. I think that this one may well stay I my own collection!
IMG_4983

IMG_4984

IMG_4985

IMG_4986

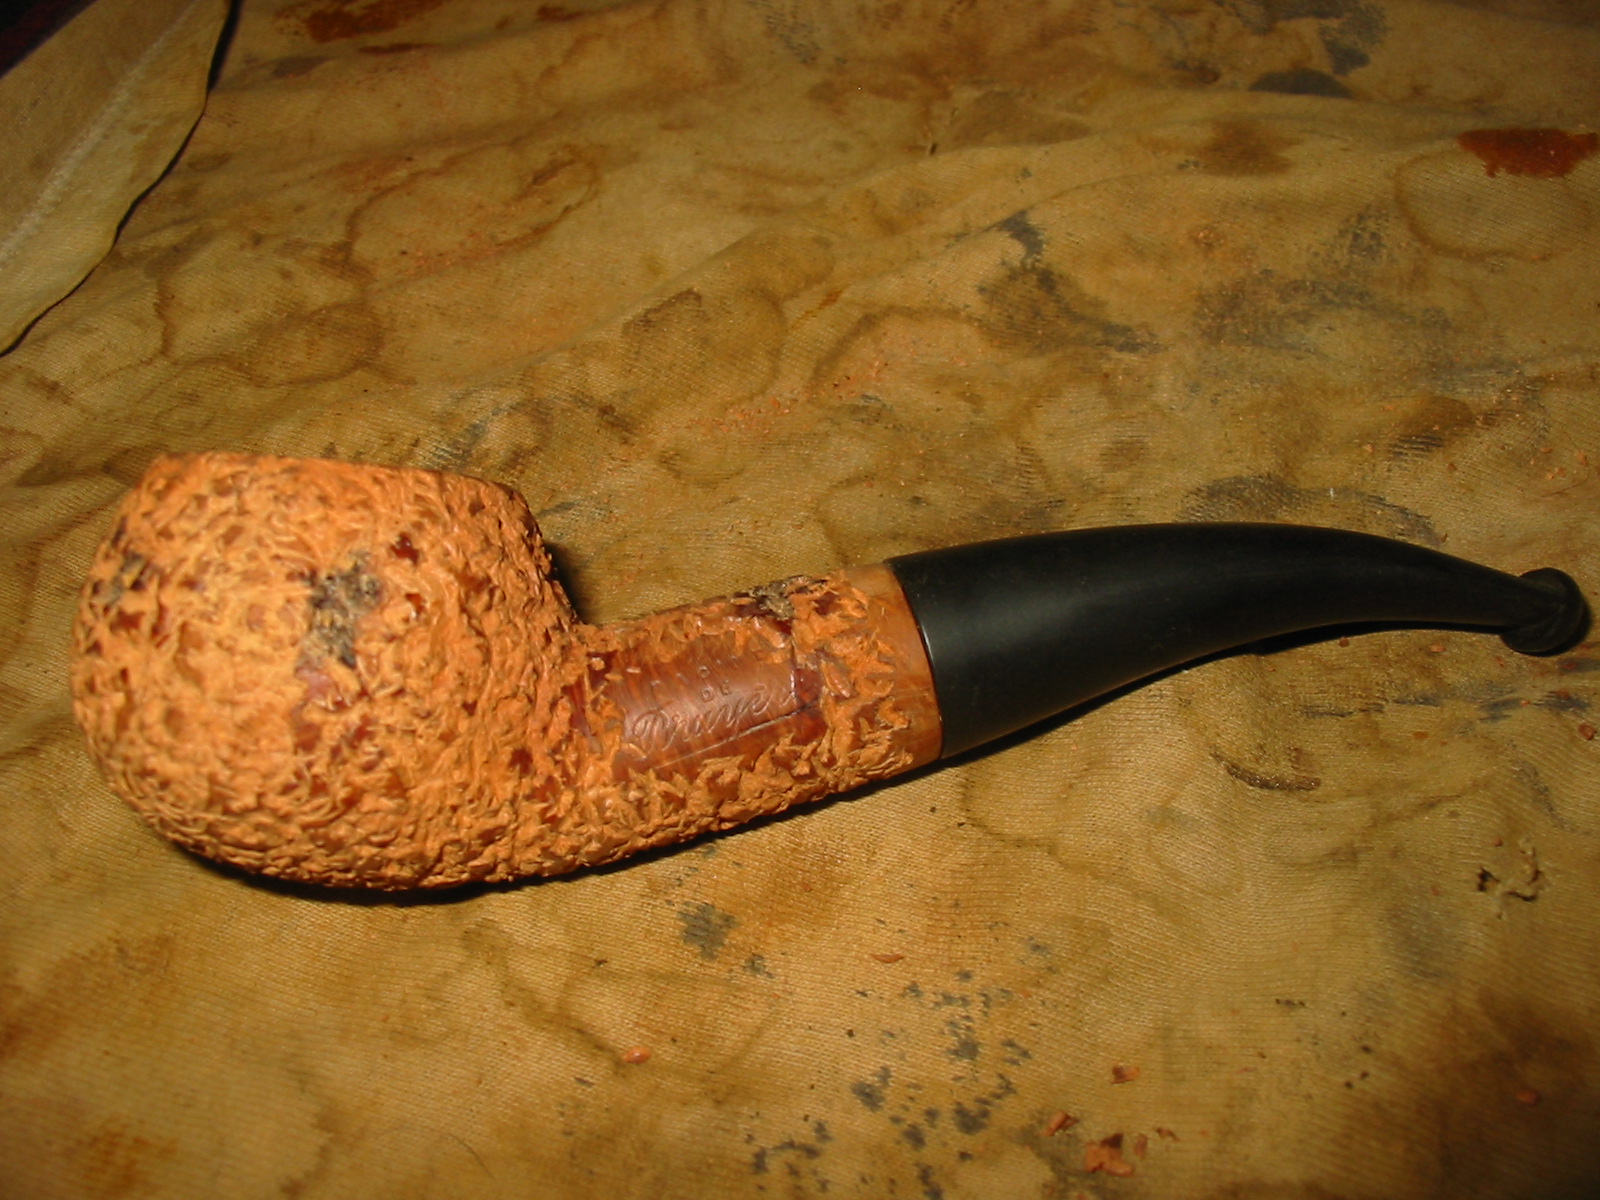
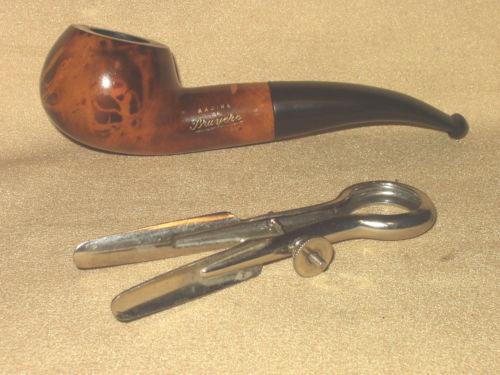
Rustication & Rebirth of a Racine de Bruyere Author


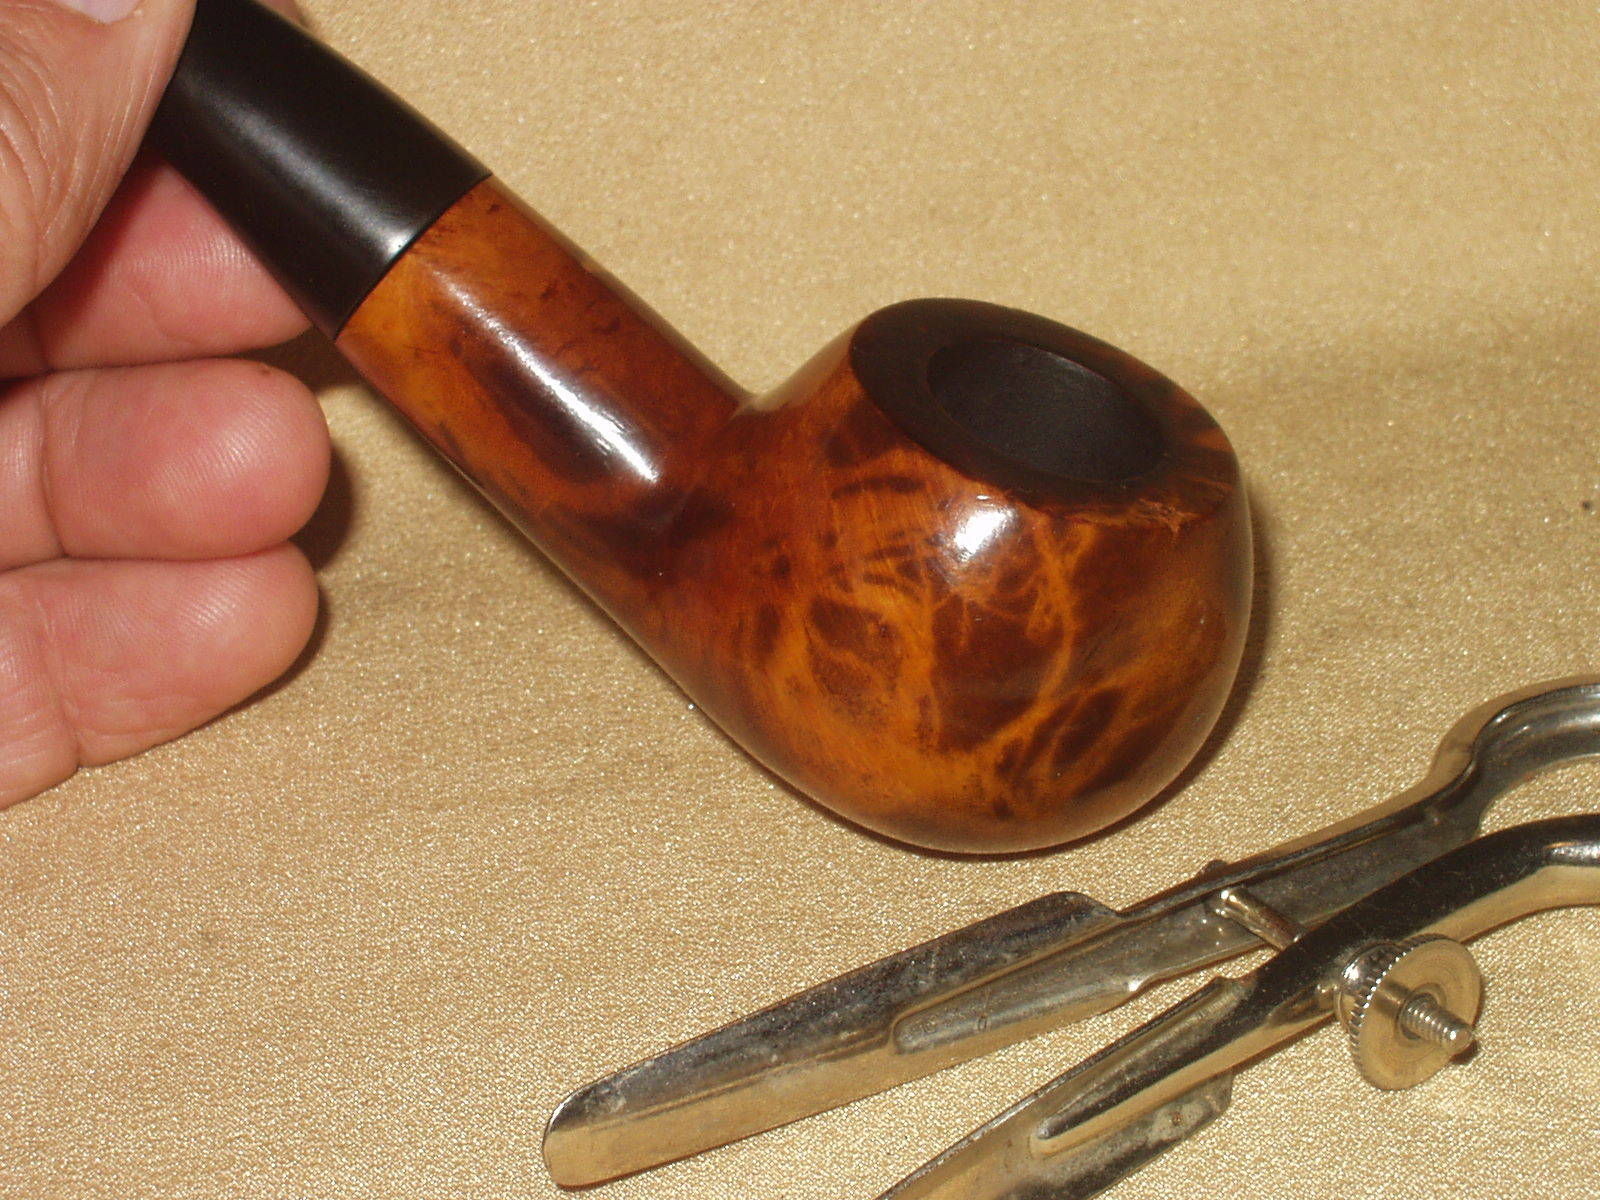
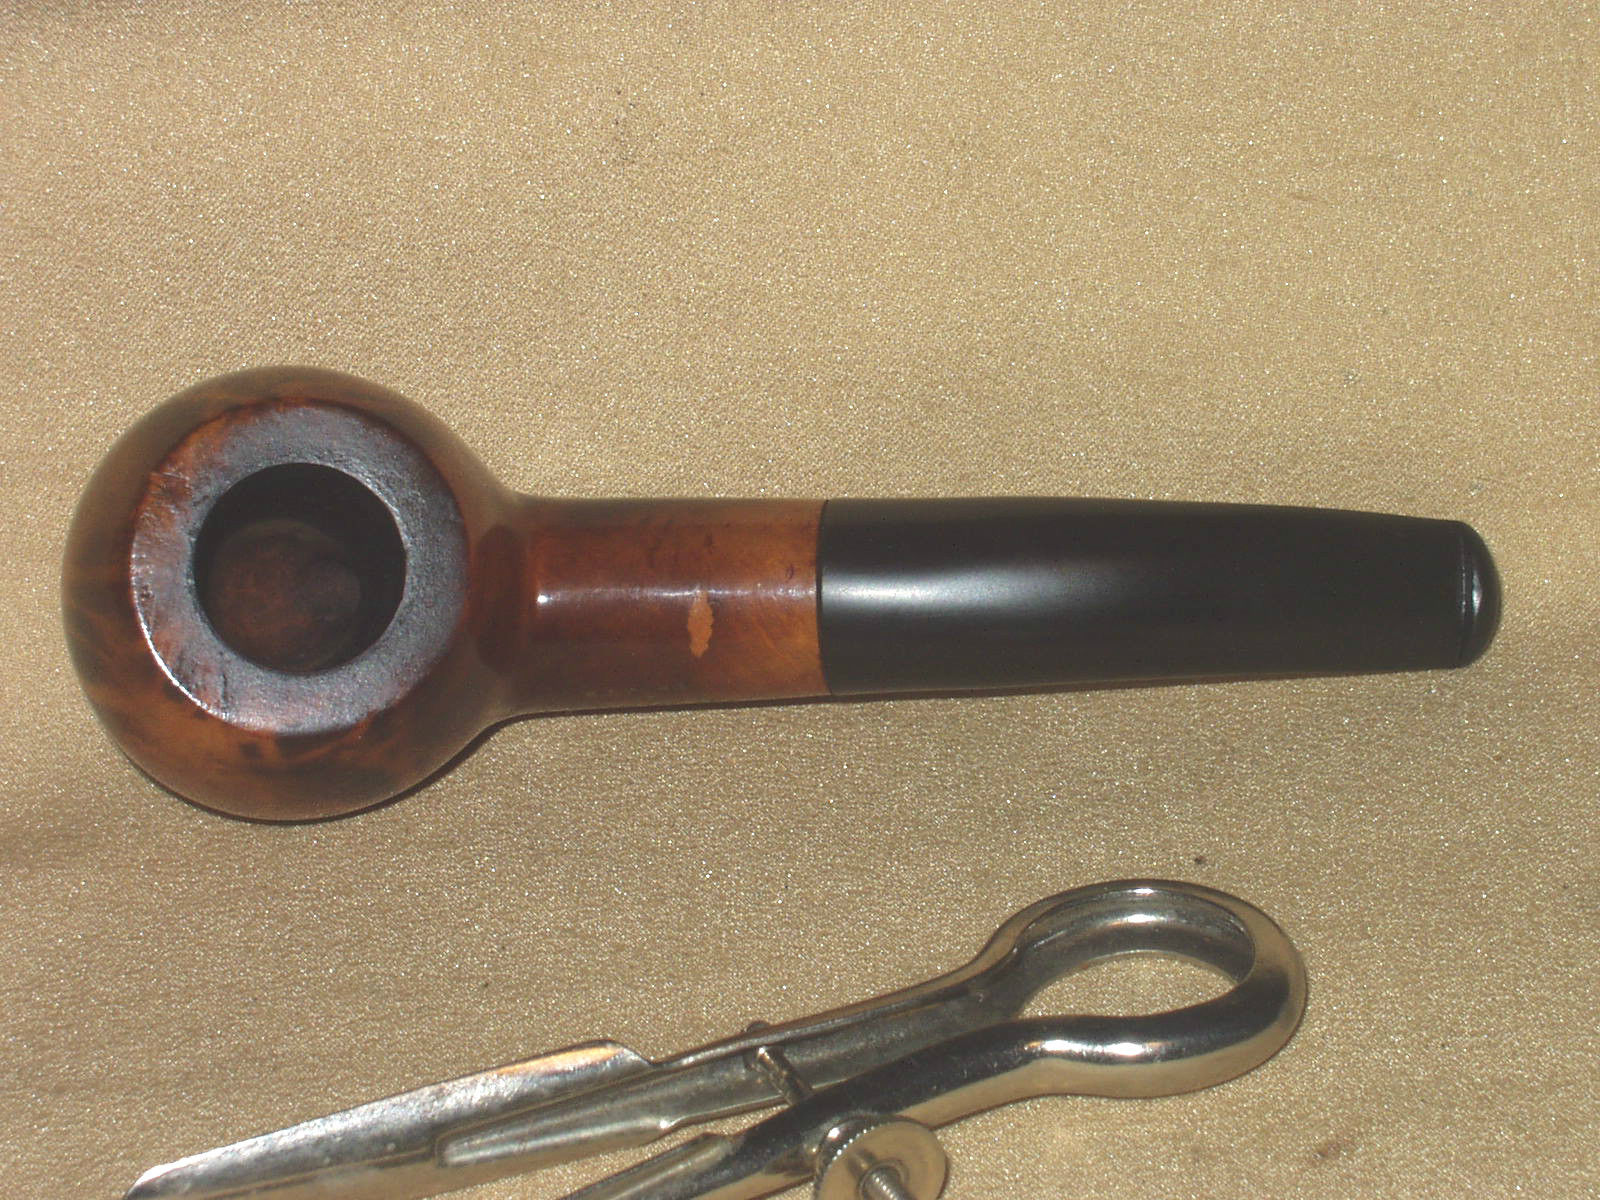
Another pipe that Mark included in the trade was stamped Racine de Bruyere. I have no idea about the maker or the time period of the pipe. The stem is an older style orific button (round hole in an end cap style button). Ron had stripped the finish off of the bowl and also had picked out the fills. The flaws in the briar that remained behind sans fills were deep crevices. The stem was stuck in the shank and would not insert the whole way. The stem itself was in great shape – good, hard older vulcanite. There was minor tooth chatter at the button on the top and the bottom of the stem. Once I had removed the stem the tenon was in great shape with a Dunhill style inner tube that extended all the way from the tenon into the airhole in the bowl. The photos below show the extent of the damage to the bowl in terms of the serious flaws in the briar. On top of the shank, on the left side and on the front of the bowl there were deep holes. There were also minor holes in other areas around the bowl. The shape is actually one of my favourite shapes so it would of course be worked on and brought back to life.
IMG_4748

IMG_4749

IMG_4750

IMG_4751

IMG_4752

IMG_4753

I used a dental pick to scrape away the debris in the pits. There were loose bits of briar and dust build up. I wiped the bowl down with acetone on a cotton pad to remove surface grit. I packed briar dust in layers alternating with superglue into the pits. Once they were filled to the top I tamped them down and then dripped superglue into the briar dust. I added more briar dust and also more superglue.
IMG_4754

IMG_4755

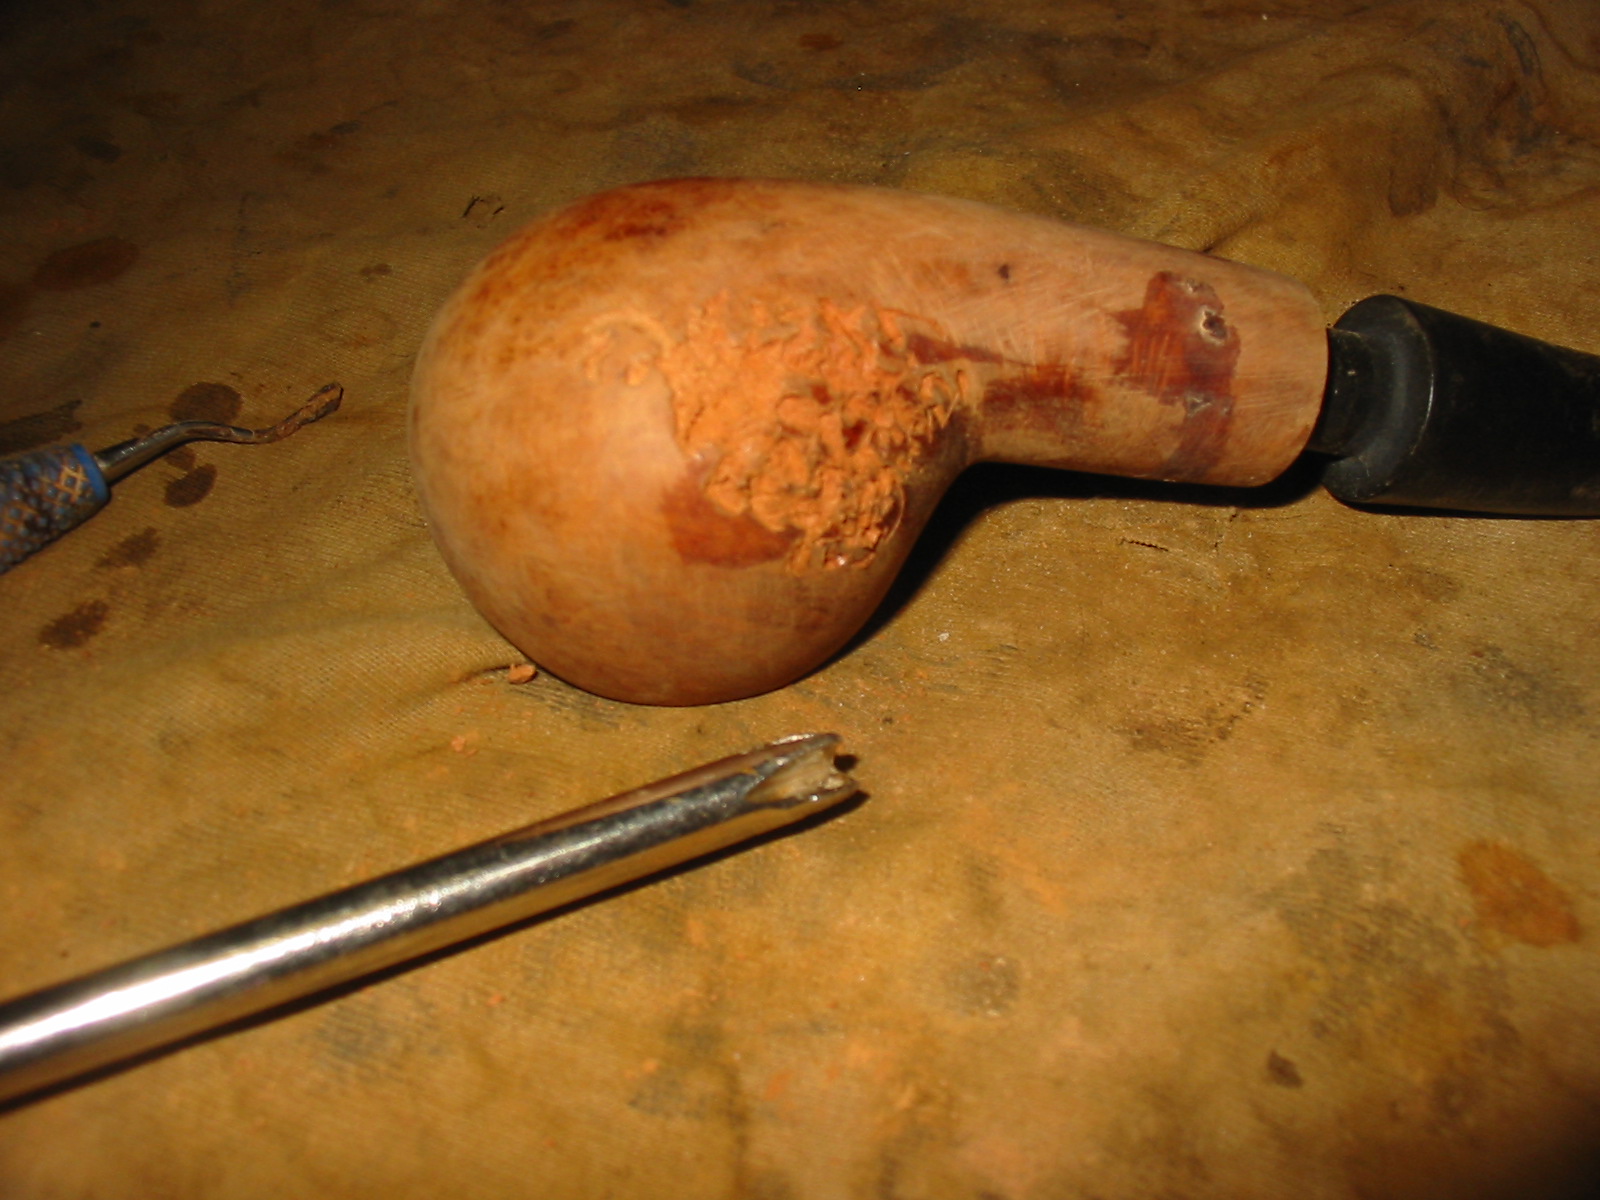
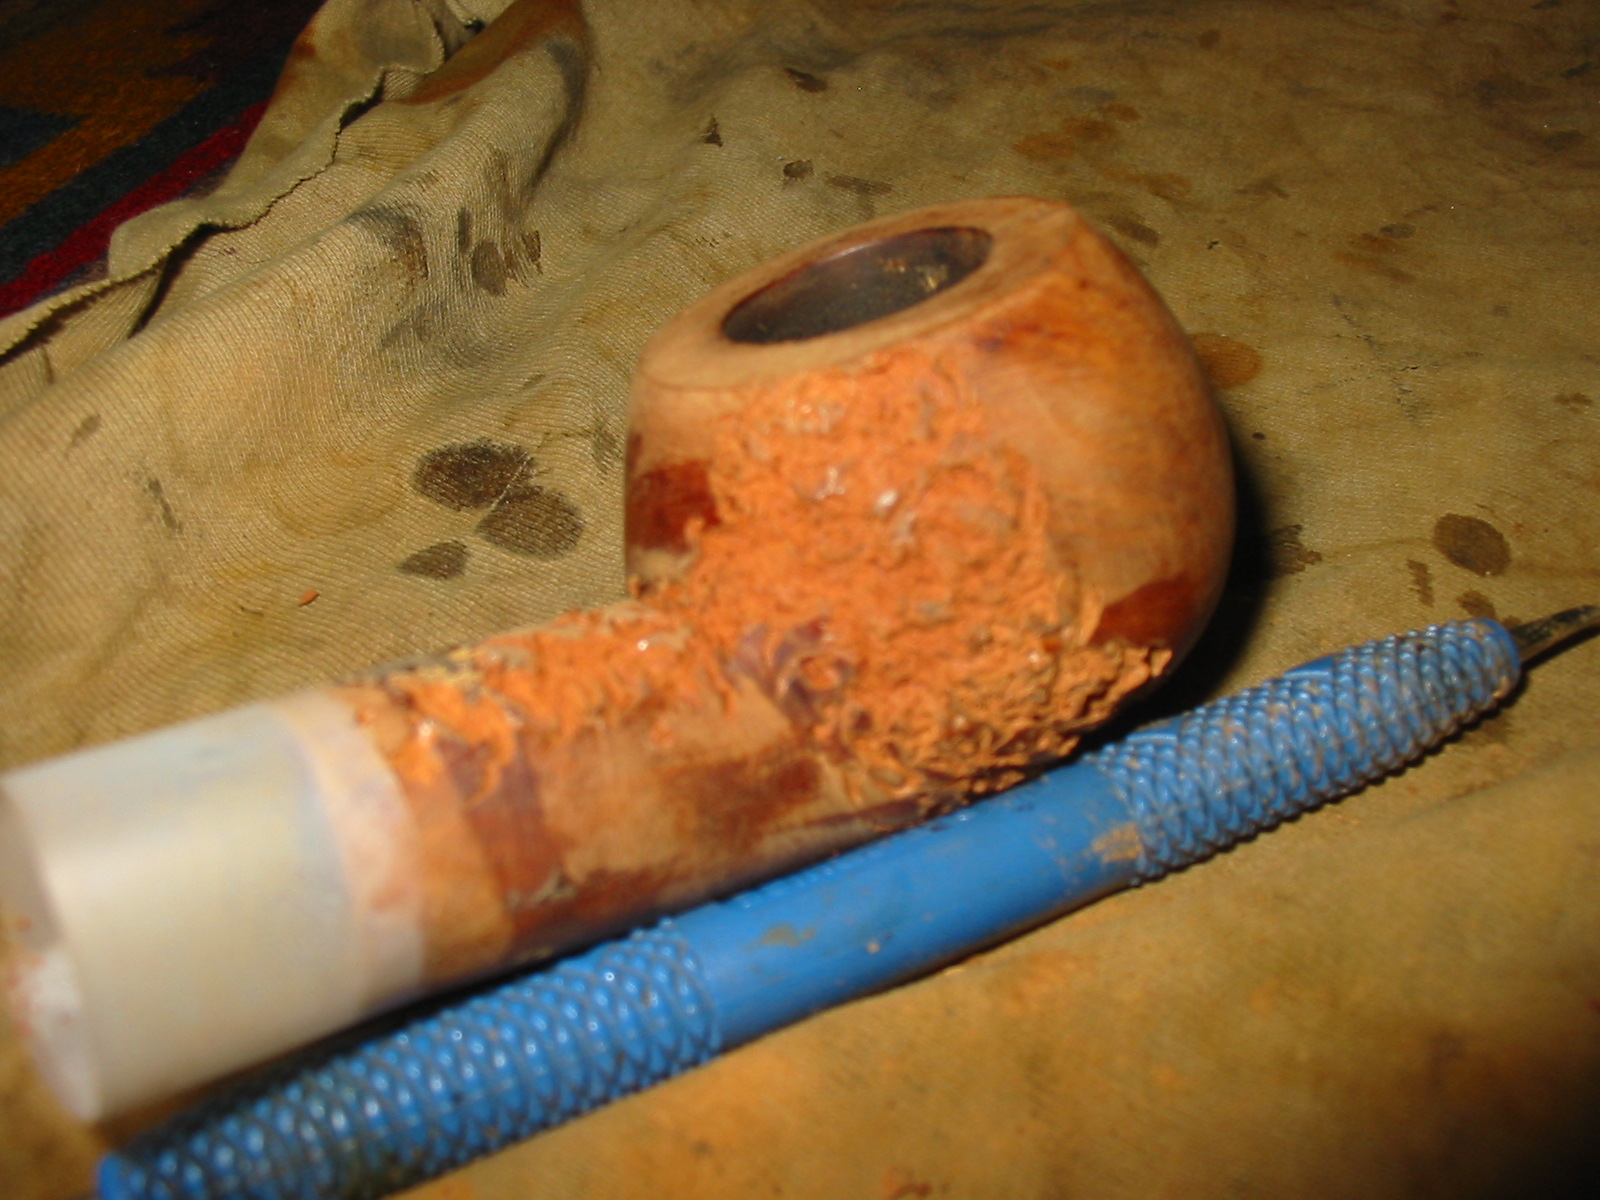
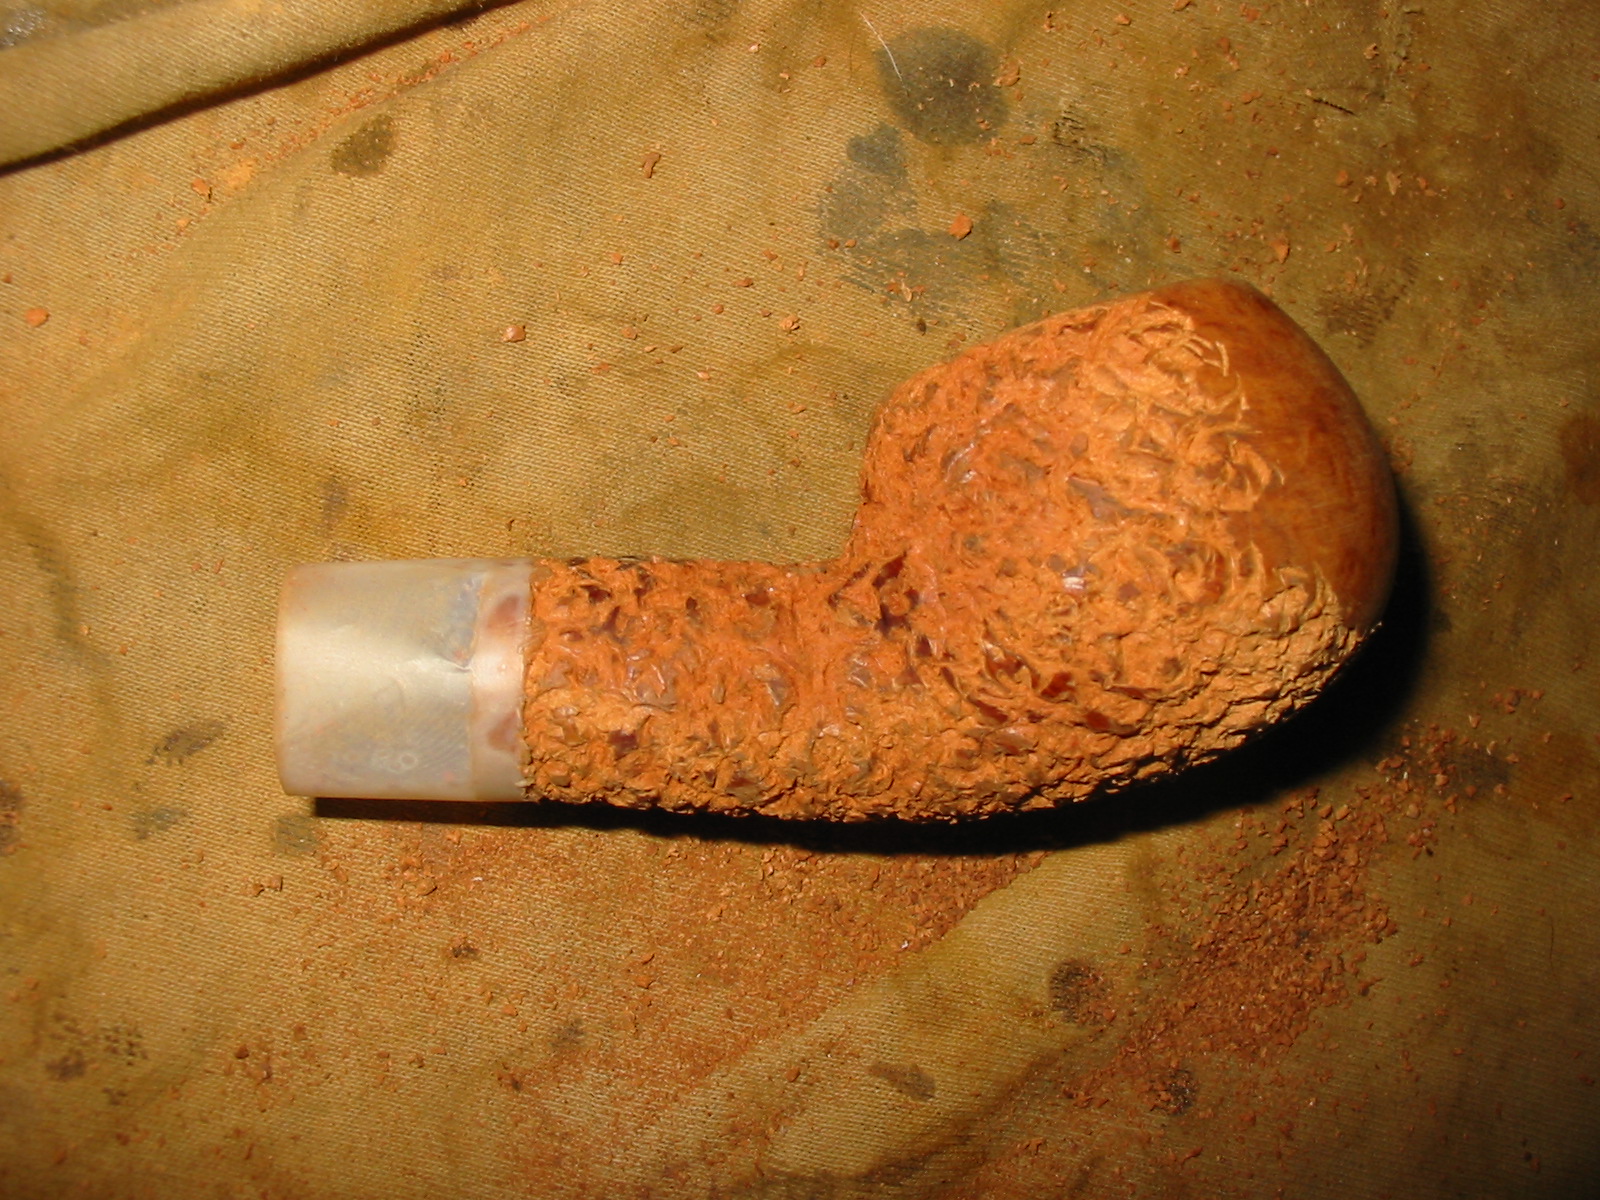
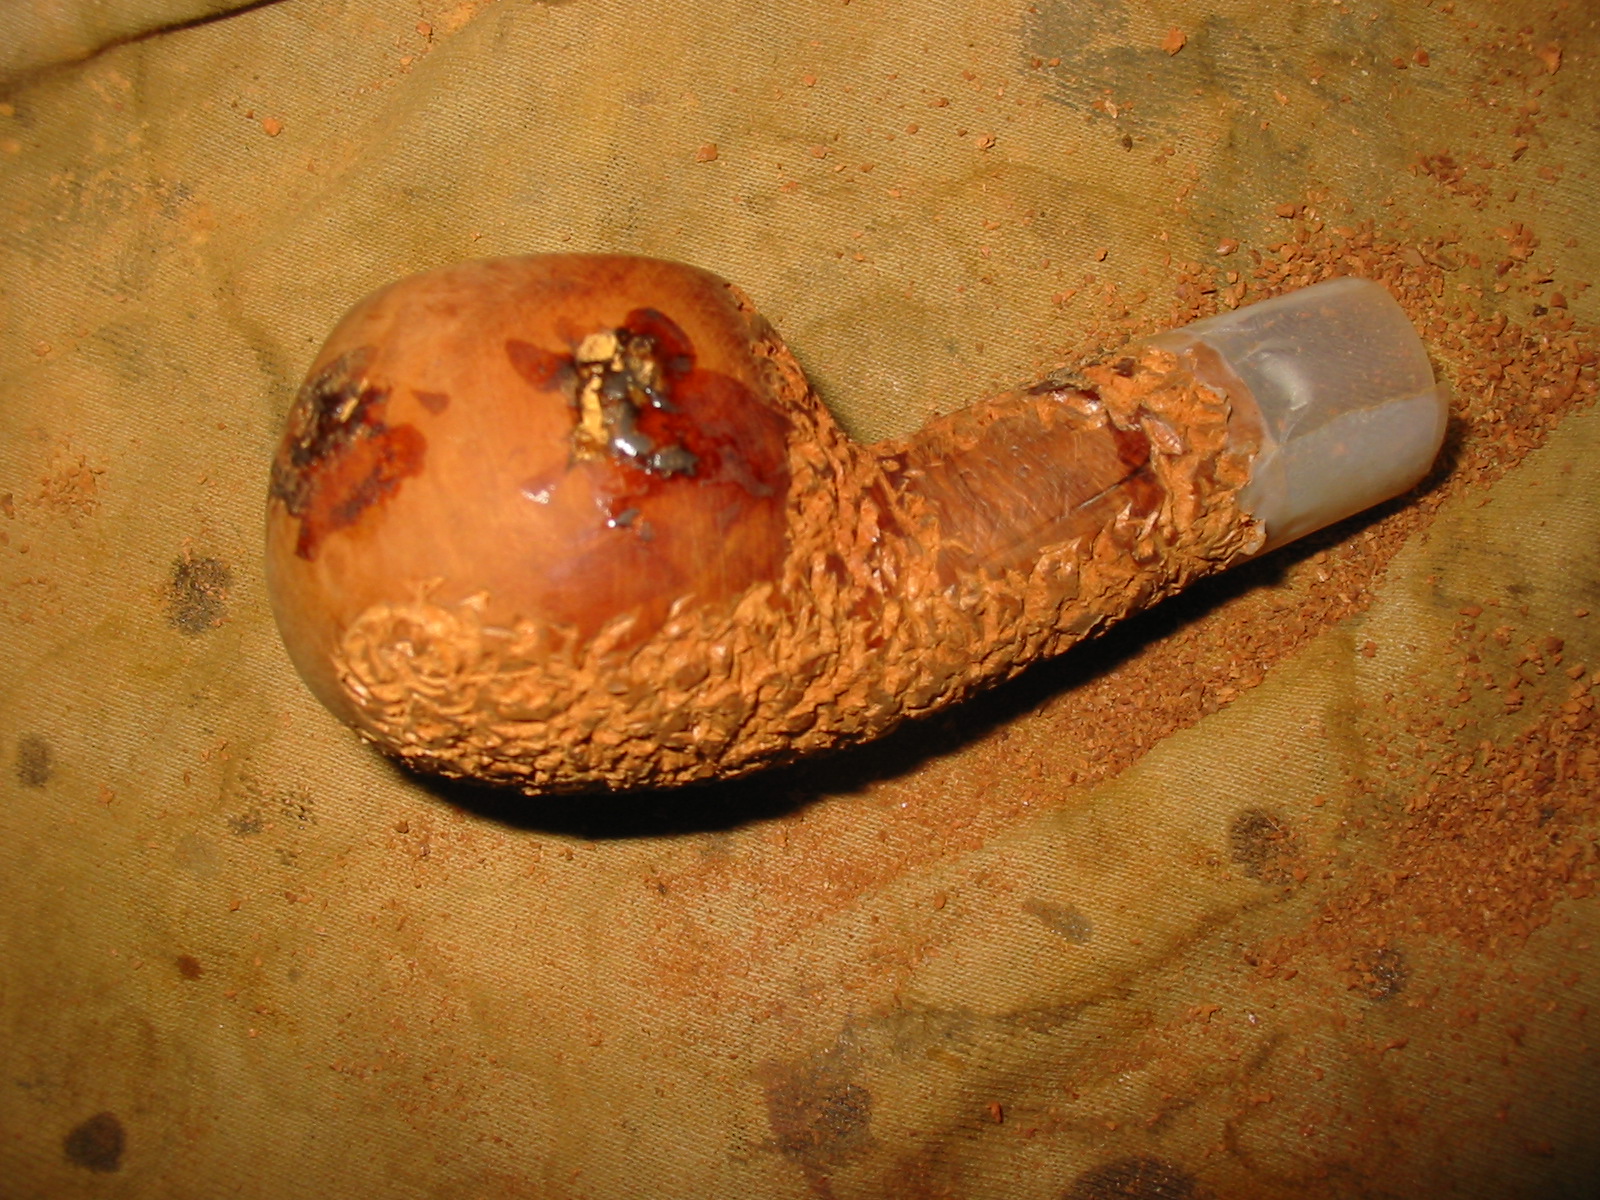
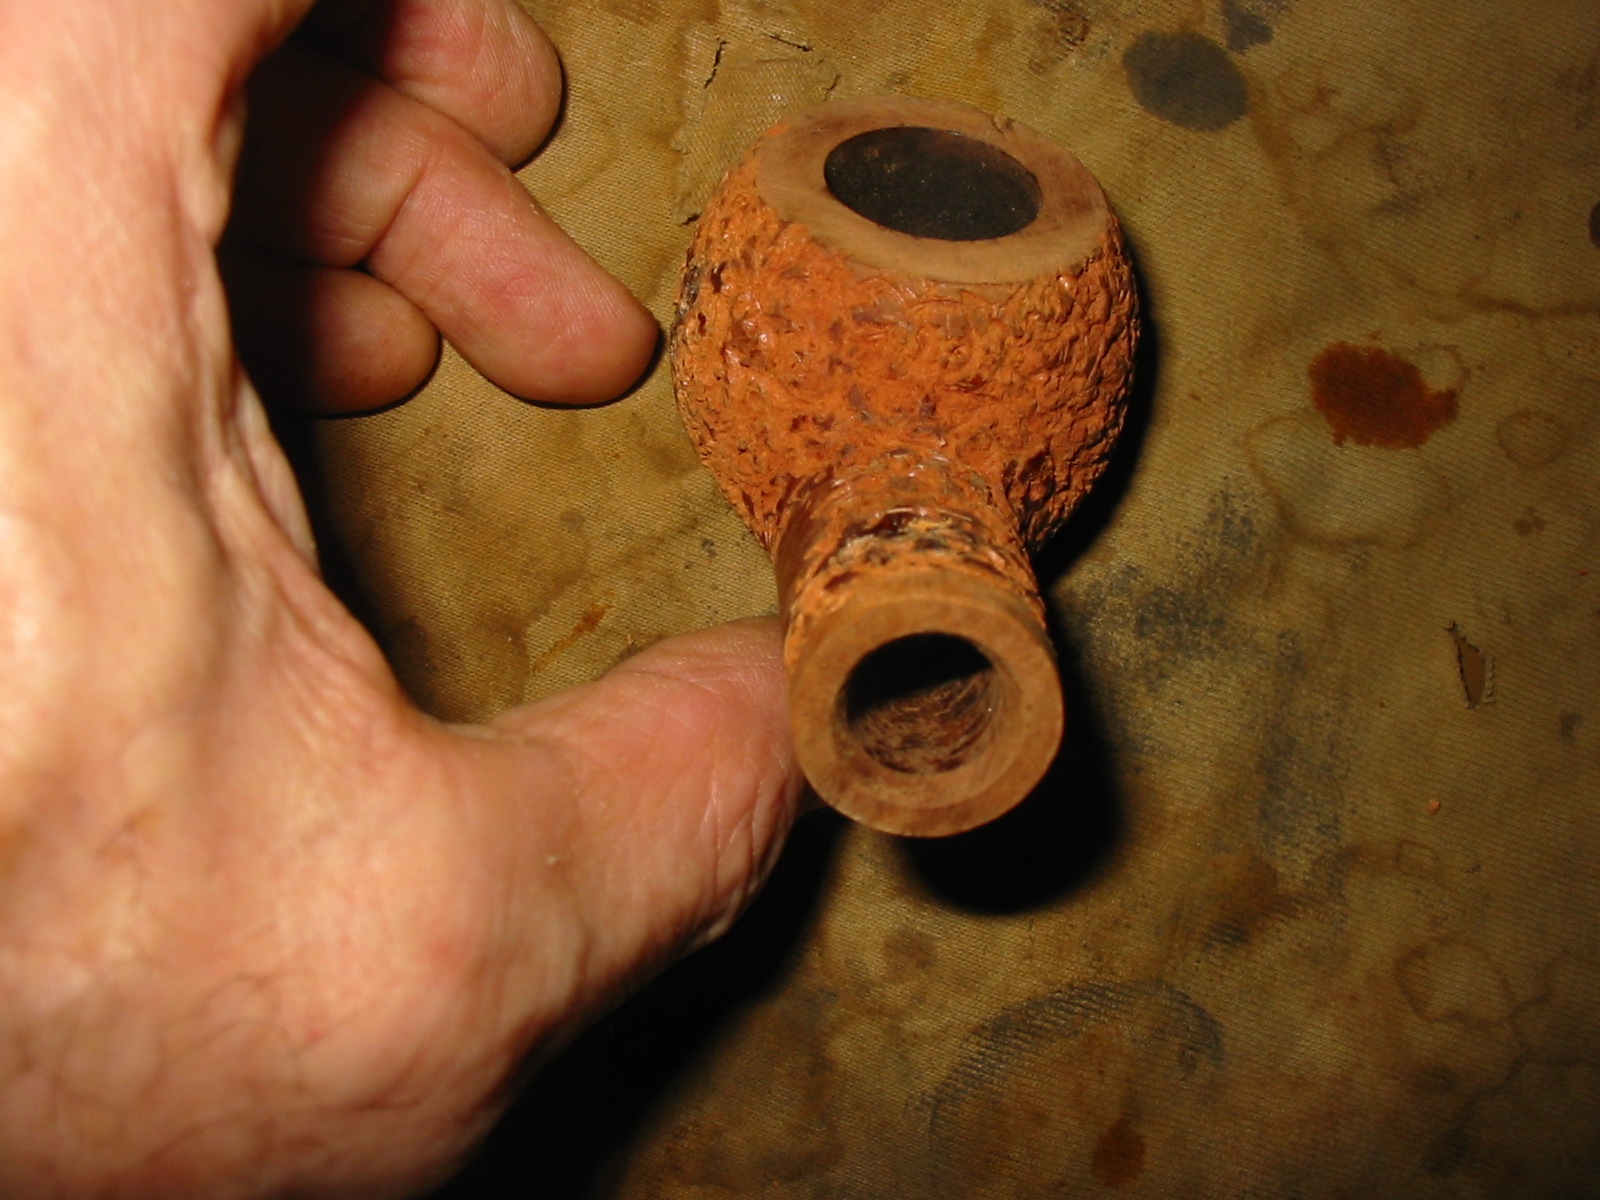
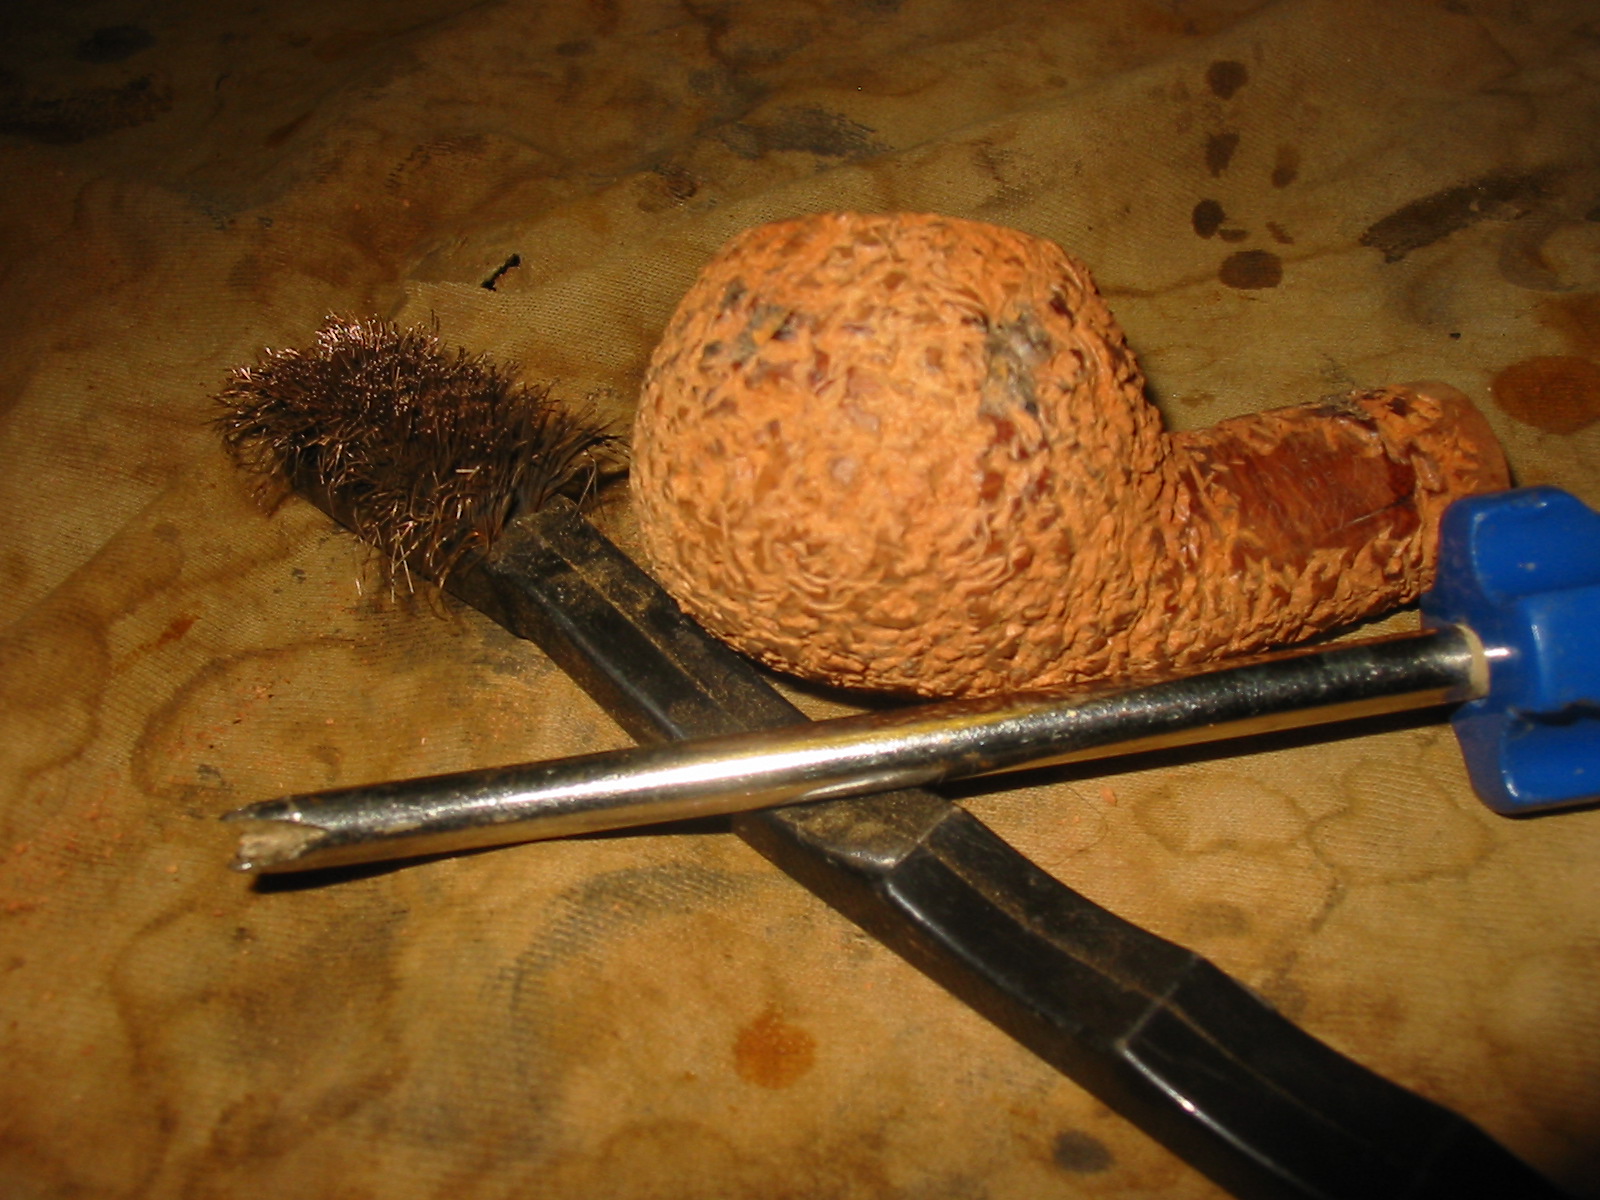
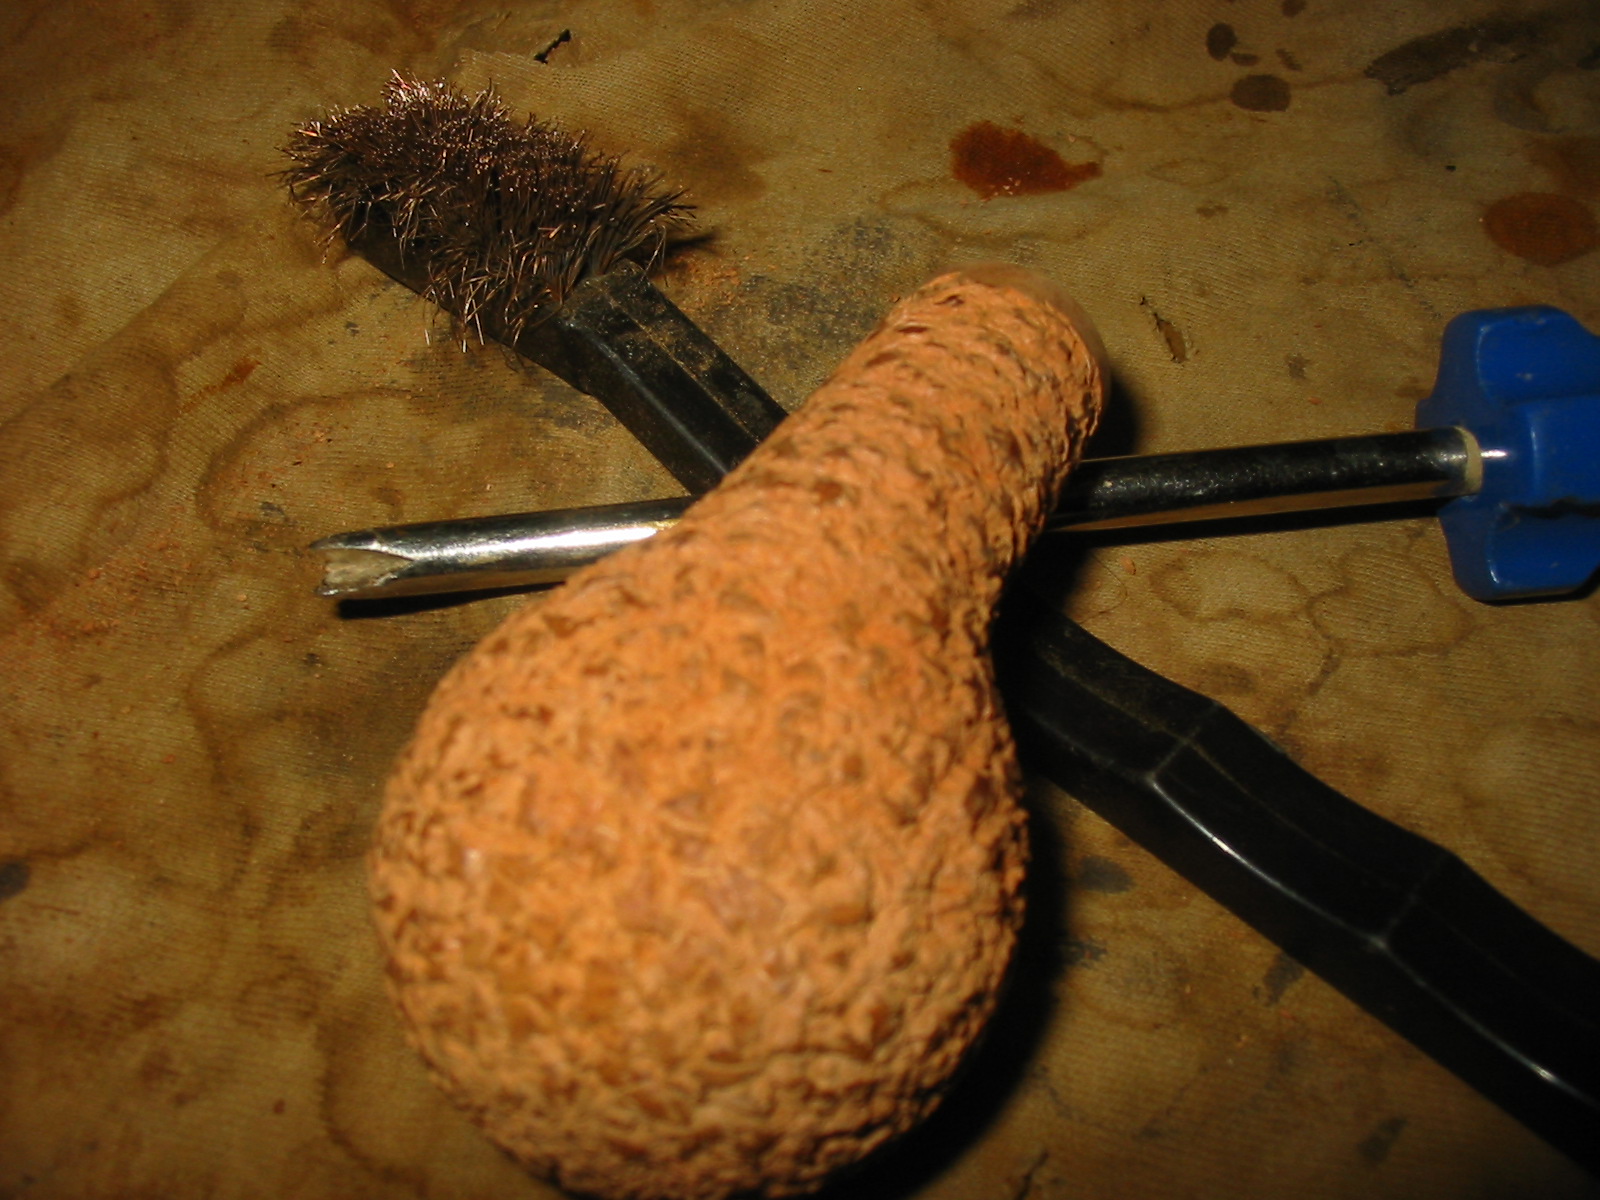
The sandpits, even with the fills, were large and there were many other small pits around the bowl. It made it an easy decision to rusticate the bowl. I used the modified Philips screwdriver to rusticate the bowl. I wrapped several layers of tape around the end of the shank so that I could leave a smooth band there making a stem fit more simple. I also put a piece of tape over the stamping on the left side of the shank. The next series of thirteen photos shows the progressive rustication of the bowl. I decided to do a deep rustication so I worked the tool deep into the wood of the bowl.
IMG_4756

IMG_4757

IMG_4758

IMG_4759

IMG_4760

IMG_4761

IMG_4762

IMG_4763

IMG_4764

IMG_4765

IMG_4766

IMG_4767

IMG_4768

When the rustication was complete I used a brass tire brush on the surface of the briar to knock off the sharp points and loose pieces of debris from the work of the tool. My aim was to leave behind some smooth spots that would end up have a contrast stain on them when I was finished.
IMG_4769

IMG_4770

IMG_4771

In order to get the stem to seat properly in the shank I used a knife and beveled/chamfered the inside edge of the mortise so that the stem would sit well. I also found in measuring the tenon that it was slightly too long for the mortise and the original manufacturer had left the end slightly at an angle so that it did not seat well in the mortise. I used a file to reseat the tenon and then put the stem in place. The fit was good, but the diameter of the stem was slightly more than the diameter of the smooth band on the shank so I sanded the band and the stem with 220 grit sandpaper. I was able to remove the excess diameter and bring the stem into line with the shank. I finished sanding it with a medium and fine grit sanding sponge to remove scratches.
IMG_4772

IMG_4773

IMG_4774

IMG_4775

IMG_4776

IMG_4777

IMG_4778

With the sanding finished the fit was tight and the transition was smooth. I scrubbed down the shank and the stem with some Everclear on a cotton pad to get rid of the sanding dust from the stem. With that done the pipe was ready to stain.
IMG_4779

IMG_4780

IMG_4782

IMG_4783

I decided to use a black aniline stain as the undercoat of the pipe. The stain would hide the repaired flaws well as they were also dark. I applied the stain with a cotton swab and made sure that it went into all the nooks and crannies of the briar.
IMG_4784

IMG_4785

IMG_4786

IMG_4787

IMG_4788

Once the stain was applied I flamed it with a lighter to set the stain and then took it to the buffer to see if I could buff away the stain on the higher parts of the rustication. I used red Tripoli to do the buffing. I kept a pretty light touch as I did not want the Tripoli to build up in the rustication. With that done, the finish was closer to what I was aiming for. I still wanted a few more of the high spots showing.
IMG_4790

IMG_4791

IMG_4792

IMG_4793

I wiped the bowl down with Everclear on a soft cloth to remove some more of the black and then buffed it with White Diamond. I then gave it a top coat of oxblood stain to bring out the contrast and highlight the high portions of the rustication. I buffed it again with White Diamond.
IMG_4794

IMG_4795

IMG_4796

IMG_4797

To remove the tooth chatter and the scratches from fitting the stem to the shank I used my usual array of micromesh sanding pads. I wet sanded with 1500-2400 grit pads and dry sanded with the 3200-12,000 grit pads. I rubbed the stem down with Obsidian Oil and let it dry.
IMG_4798

IMG_4800

IMG_4802

Once the stem was done I used 2400 grit micromesh sanding pads and dry sanded the high spots on the rustication on the bowl and the shank to further accentuate the contrast. I buffed the bowl lightly with White Diamond and then buffed the pipe as a whole with White Diamond yet again. Once it was done, I gave the stem multiple coats of carnauba wax. I also gave the bowl a very light buff with the carnauba wheel – too heavy a touch and the wax fills in the crevices of the rustication. I then hand buffed it with a shoe brush to finish the shine. The completed makeover is shown in the photos below. The pipe is ready to enter into a new chapter of its life.
IMG_4803

IMG_4804

IMG_4806

IMG_4807

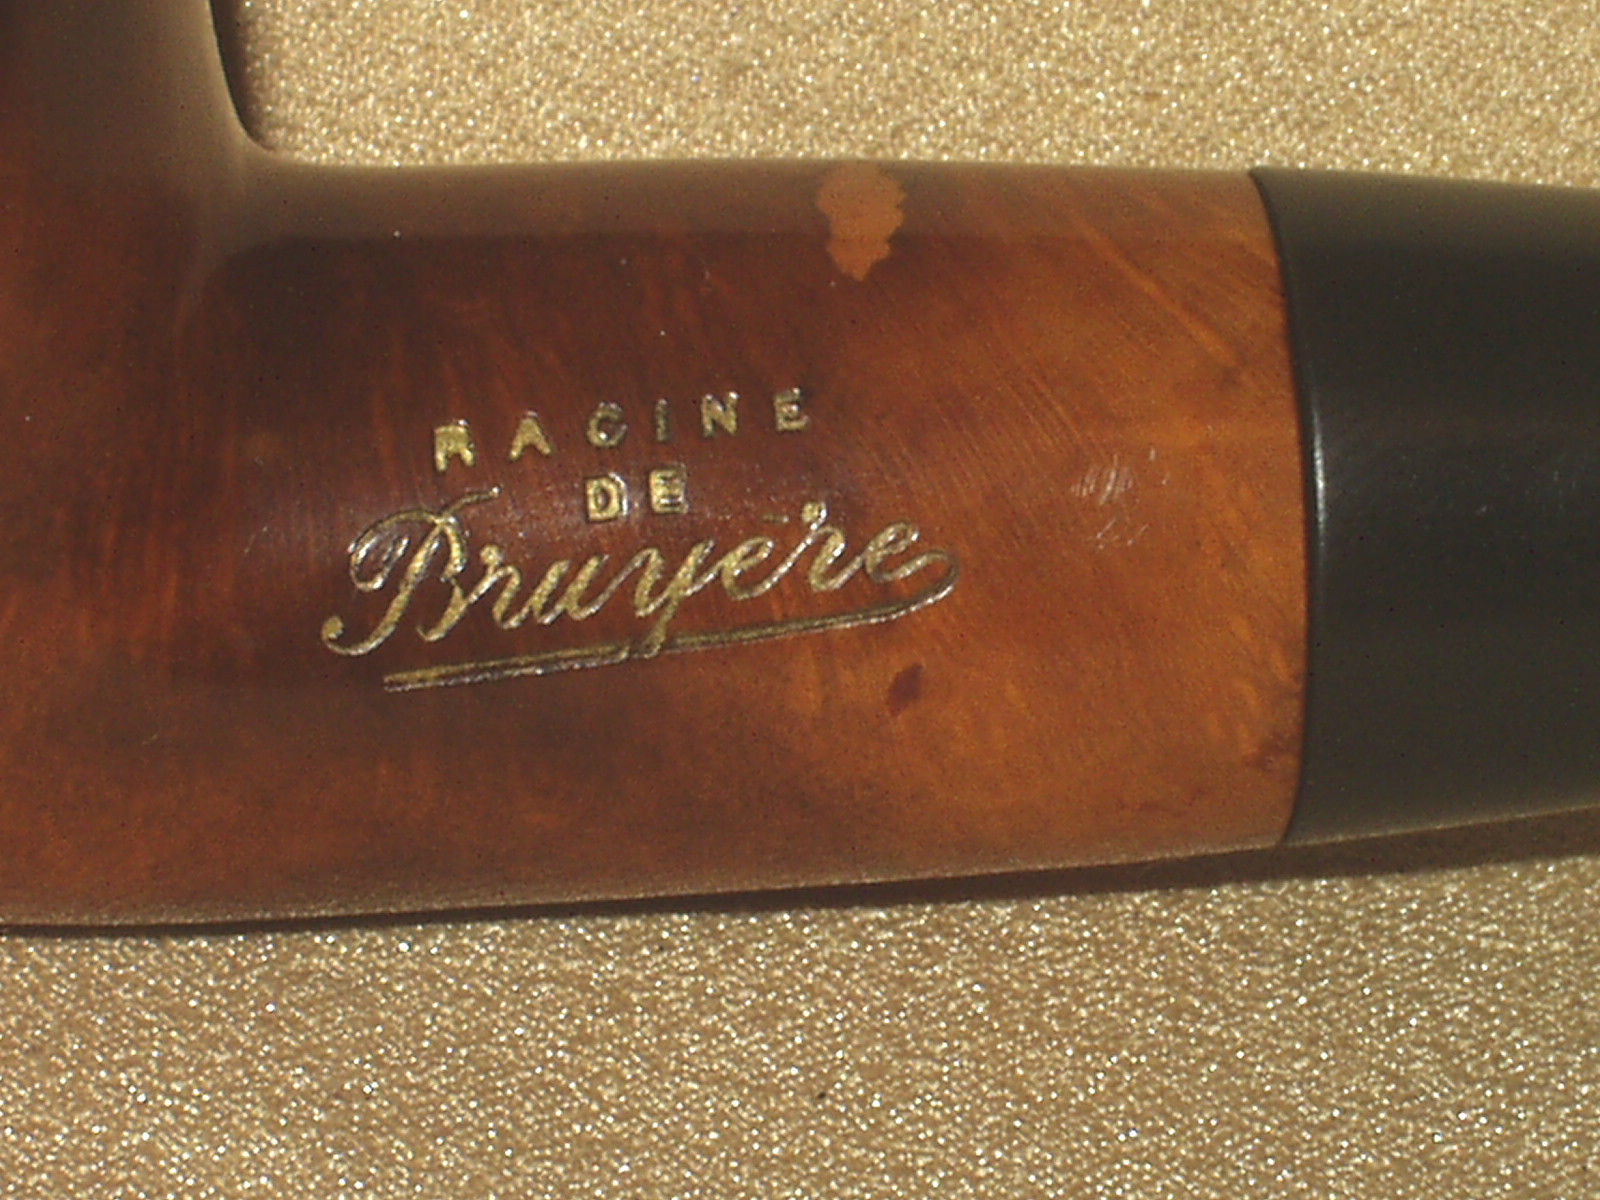
Since posting this I have found out some information about the stamping. Racine de Bruyere means Genuine Briar. It was stamped on pipes coming out of St. Claude. The stamping does not define the maker but the region. The pipe was probably made in late 20’s to early 30’s. I found the original eBay sale description that showed the pipe as it was when Mark received it. I have included those pictures below. Note the gold leaf/paint in the stamping.
Racine2

Racine3

Racine4

Racine5

Racine6

Racine7

Racine8

Racinea

Refurbishing a Pipe for a New Pipe Smoker – A Straight Grain Apple


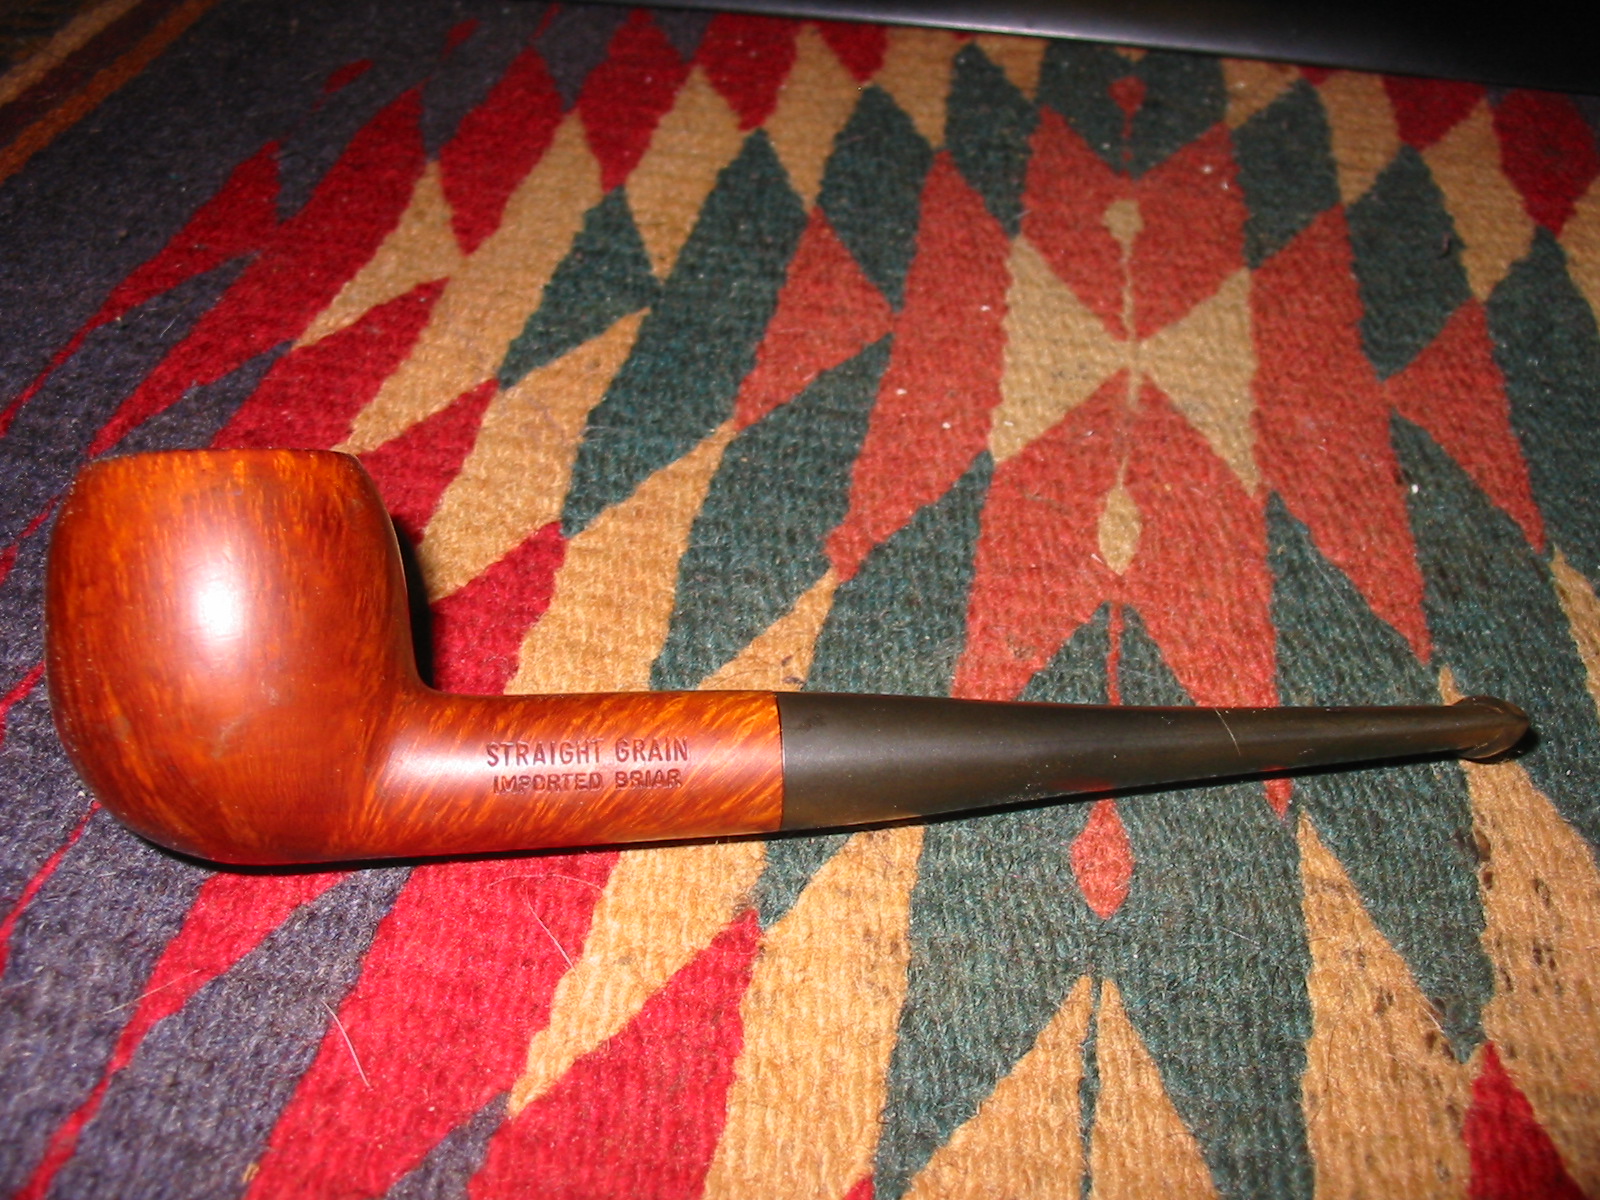
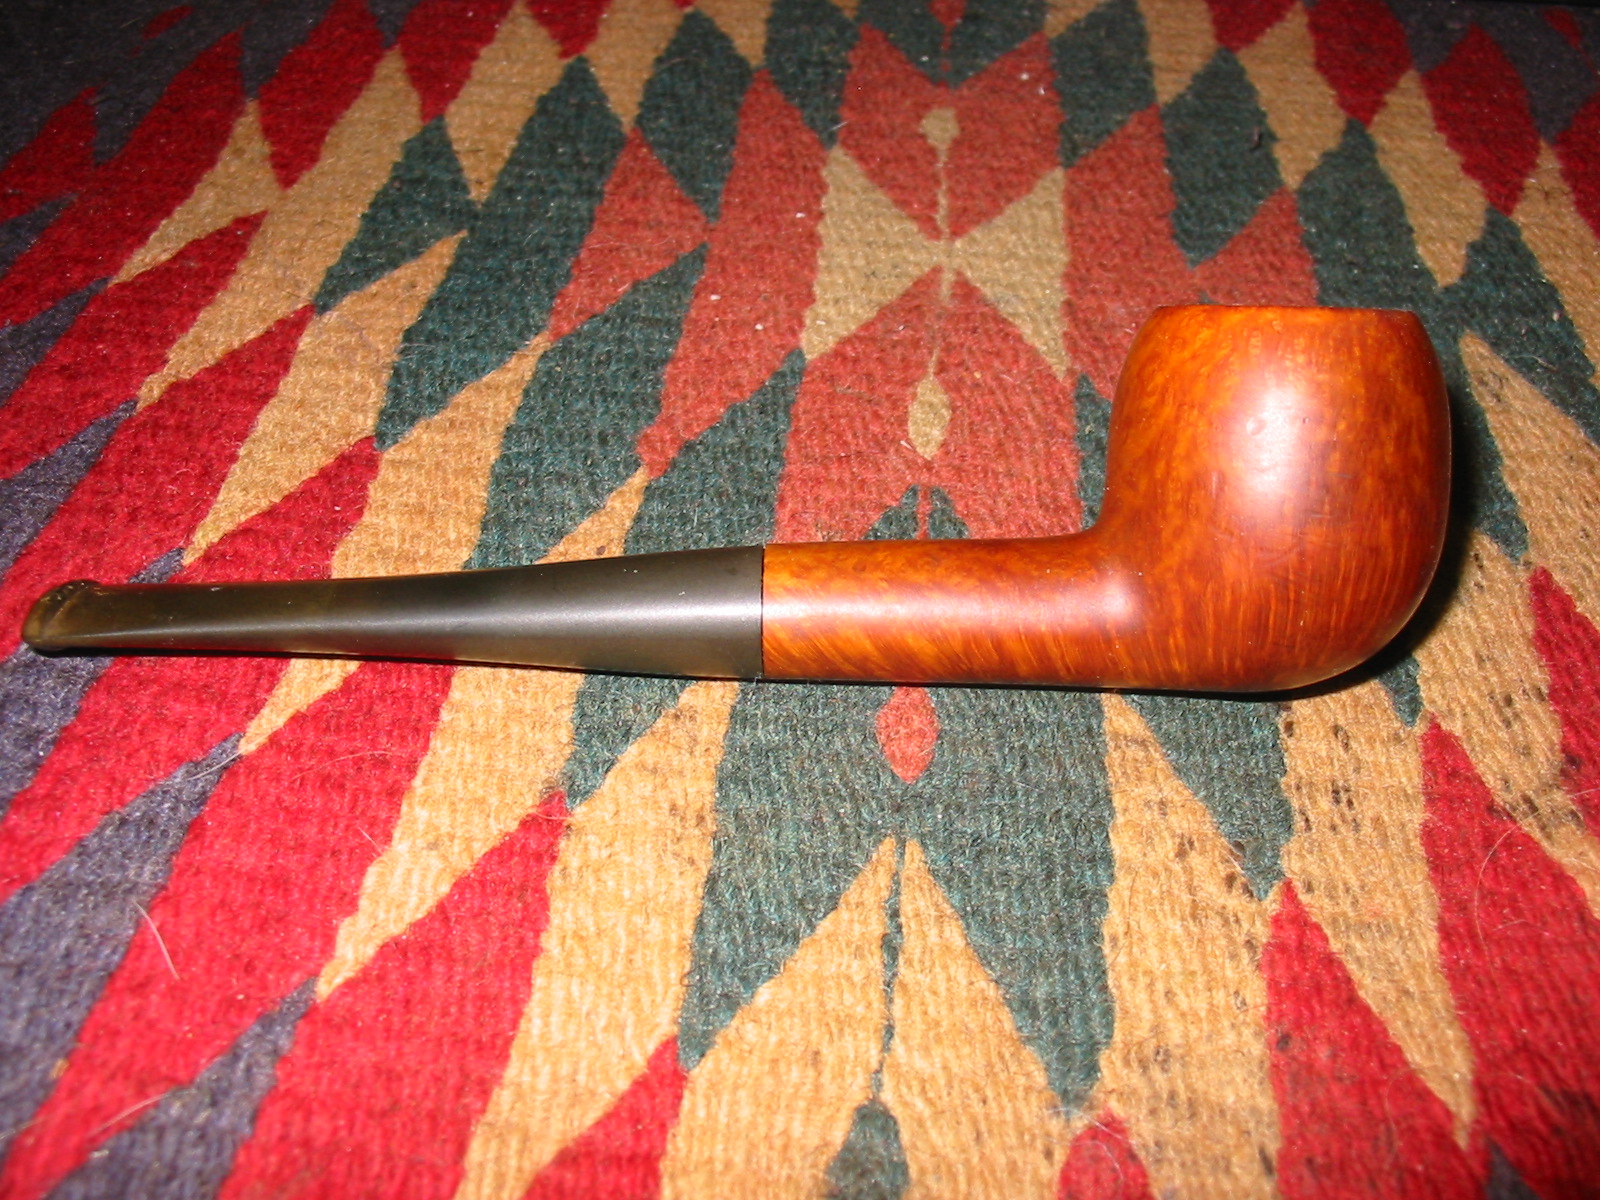
This past weekend I was in Lethbridge, Alberta as the speaker at a retreat for a friend of mine. As usual I took along my pipe and some tobacco and planned to sit on his front porch and enjoy a few bowls during the course of the weekend. We were sitting one night in his living room enjoying good conversation and a pint when he commented that he had been thinking of smoking a pipe. He wanted to know if I would teach him the ropes. Of course I agreed and the next afternoon we visited a couple of antique shops in search of a pipe for him. My experience in helping a newbie start is to find a seasoned pipe that is in good shape and use it to introduce the art of pipe smoking. The seasoned or estate pipe is already broken in and if it has been cared for is not too difficult to clean up and restore. We found just the pipe at the third shop we visited. It is a nice apple shaped pipe that was in fairly decent shape. He paid the $9 price on the pipe and we took it home.

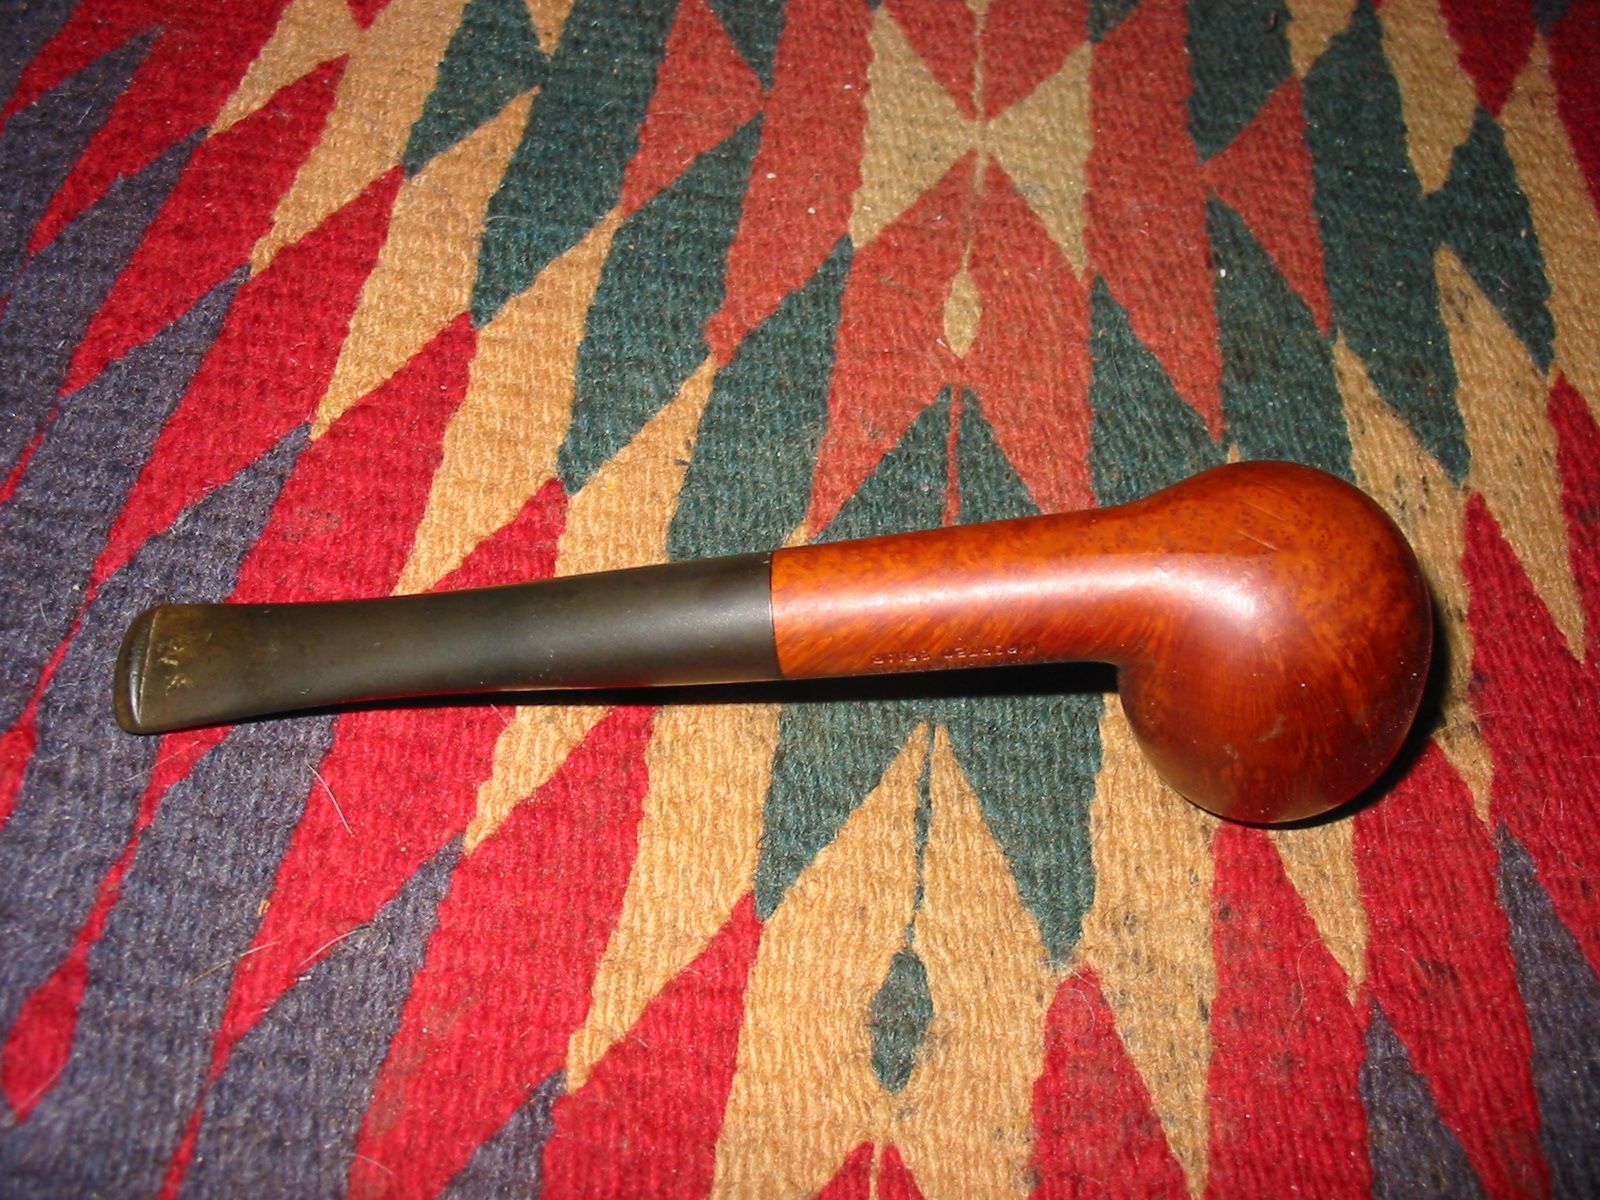
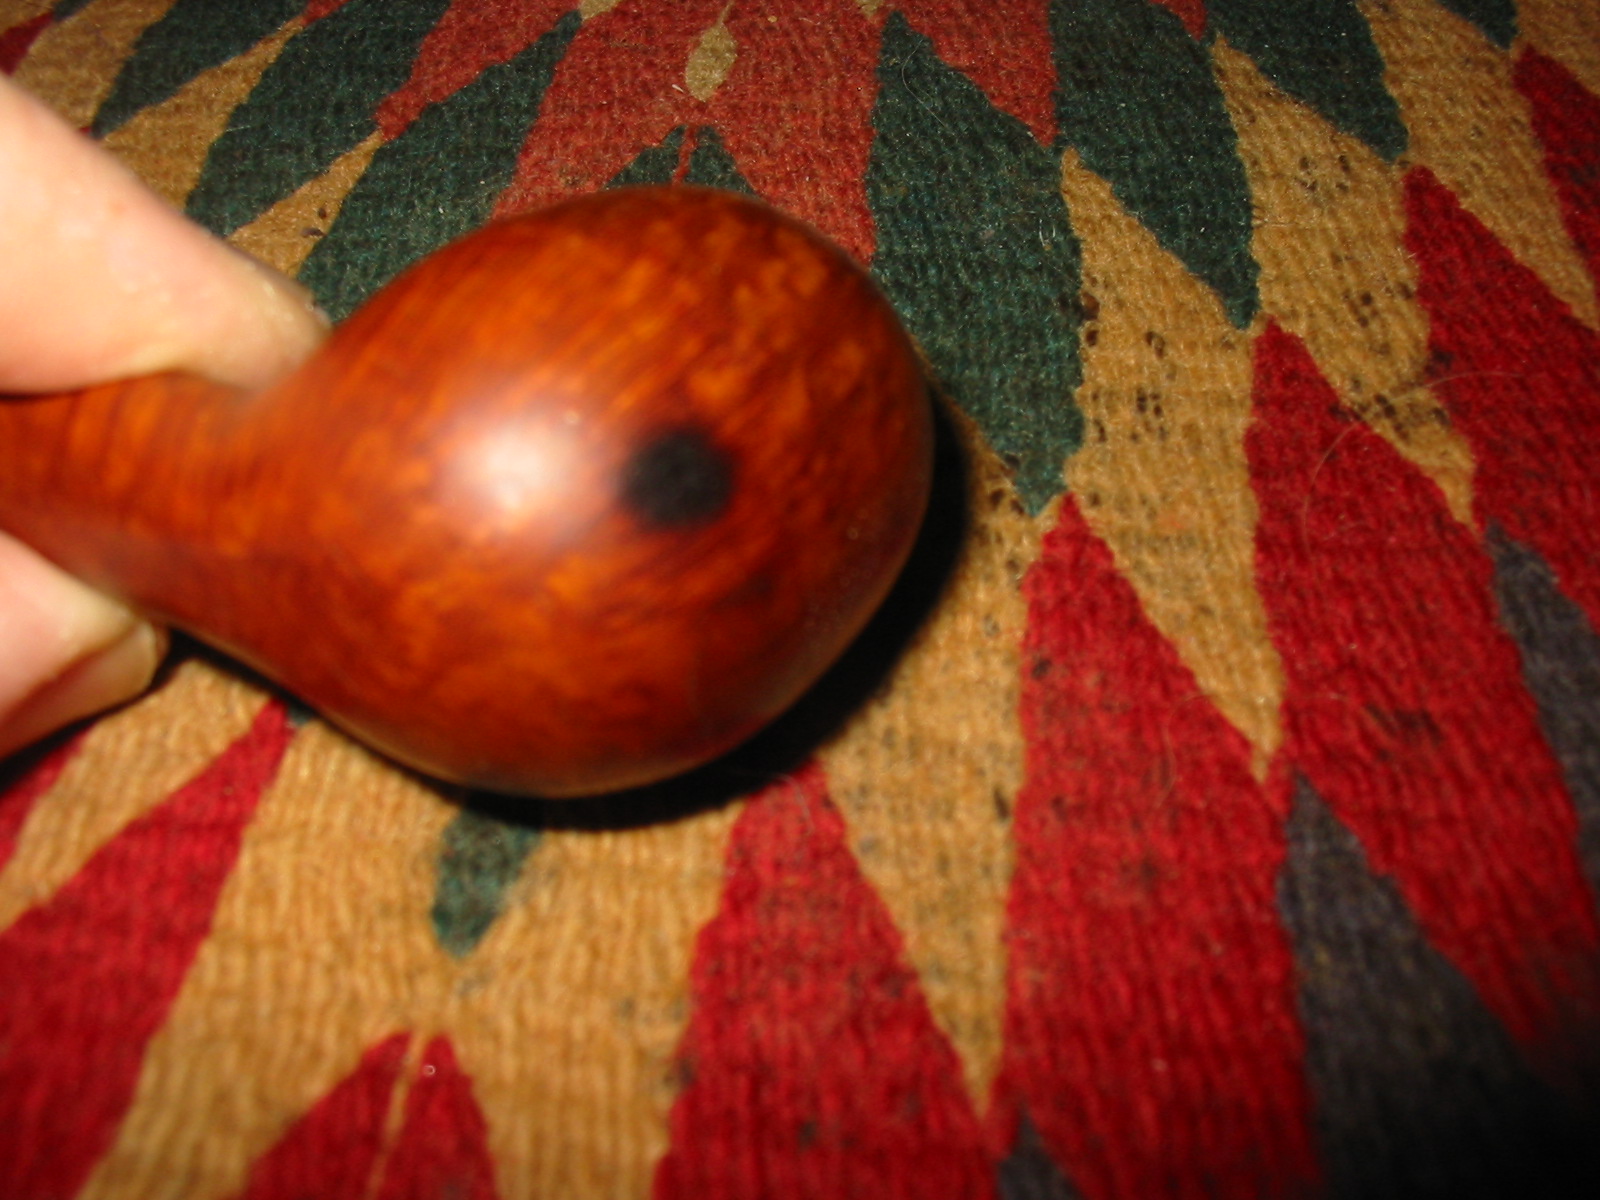
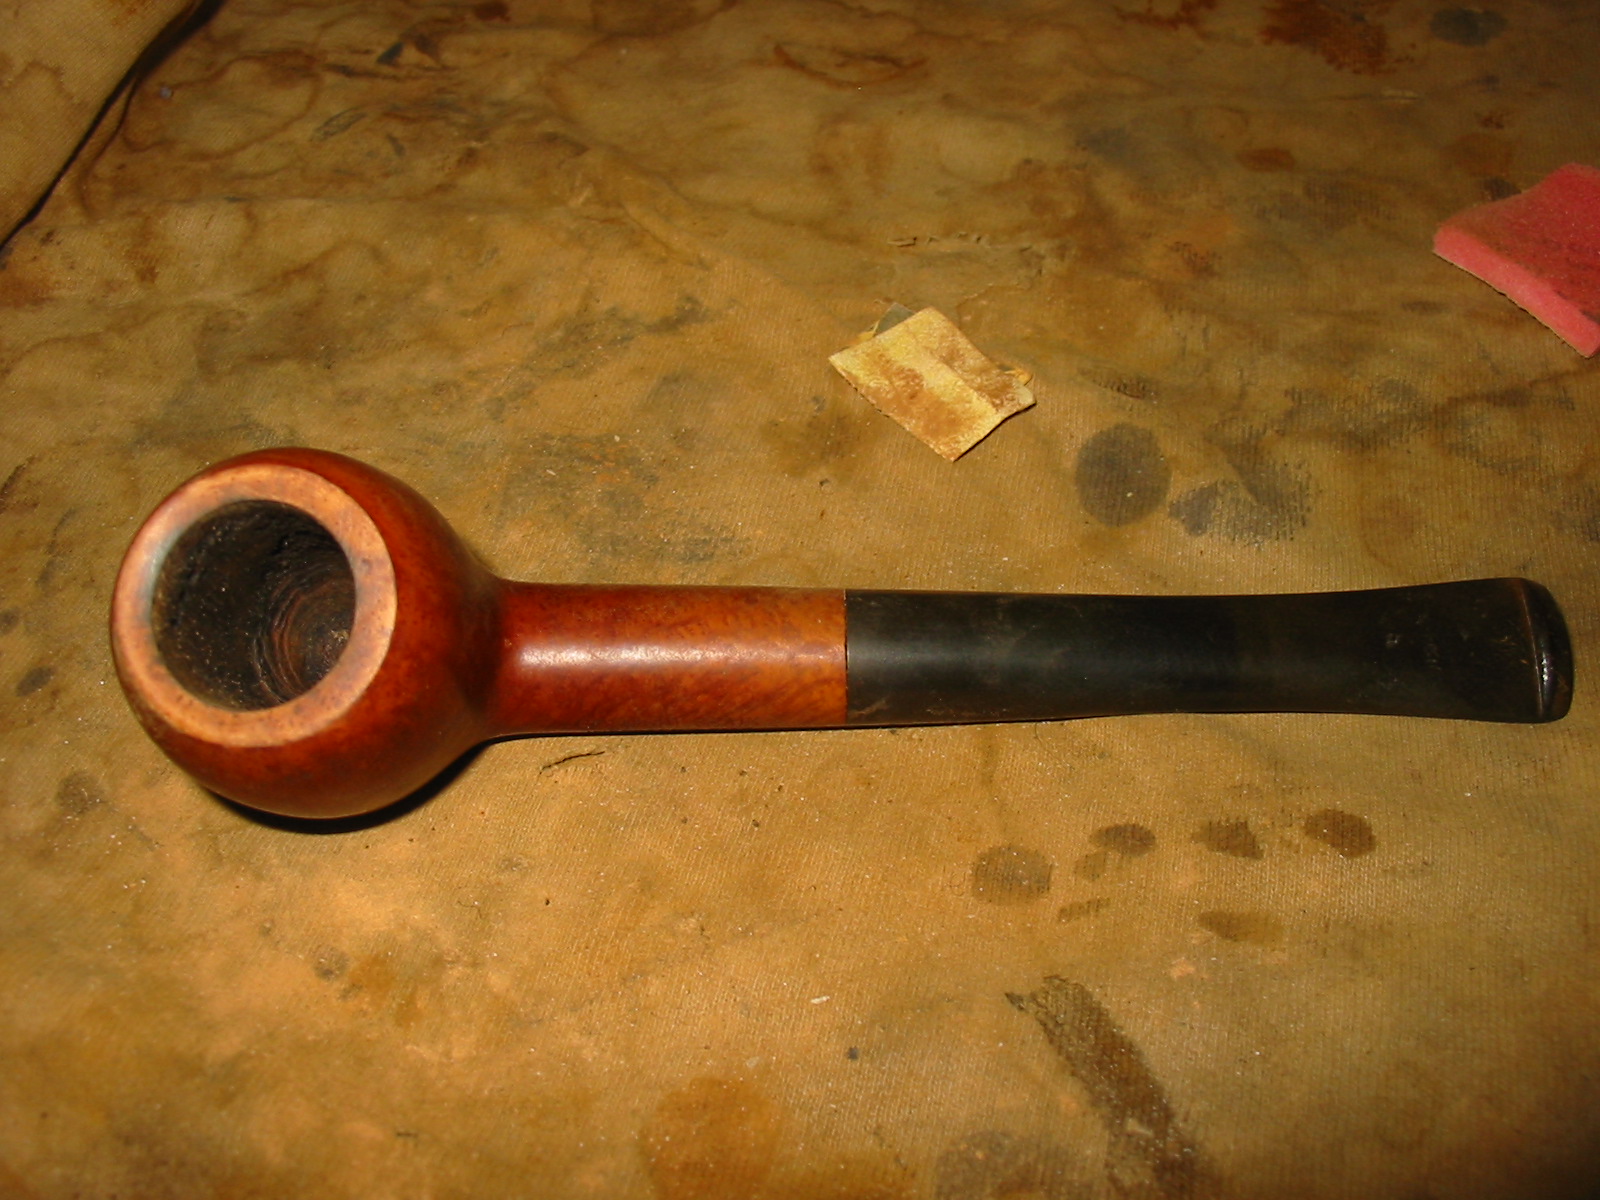
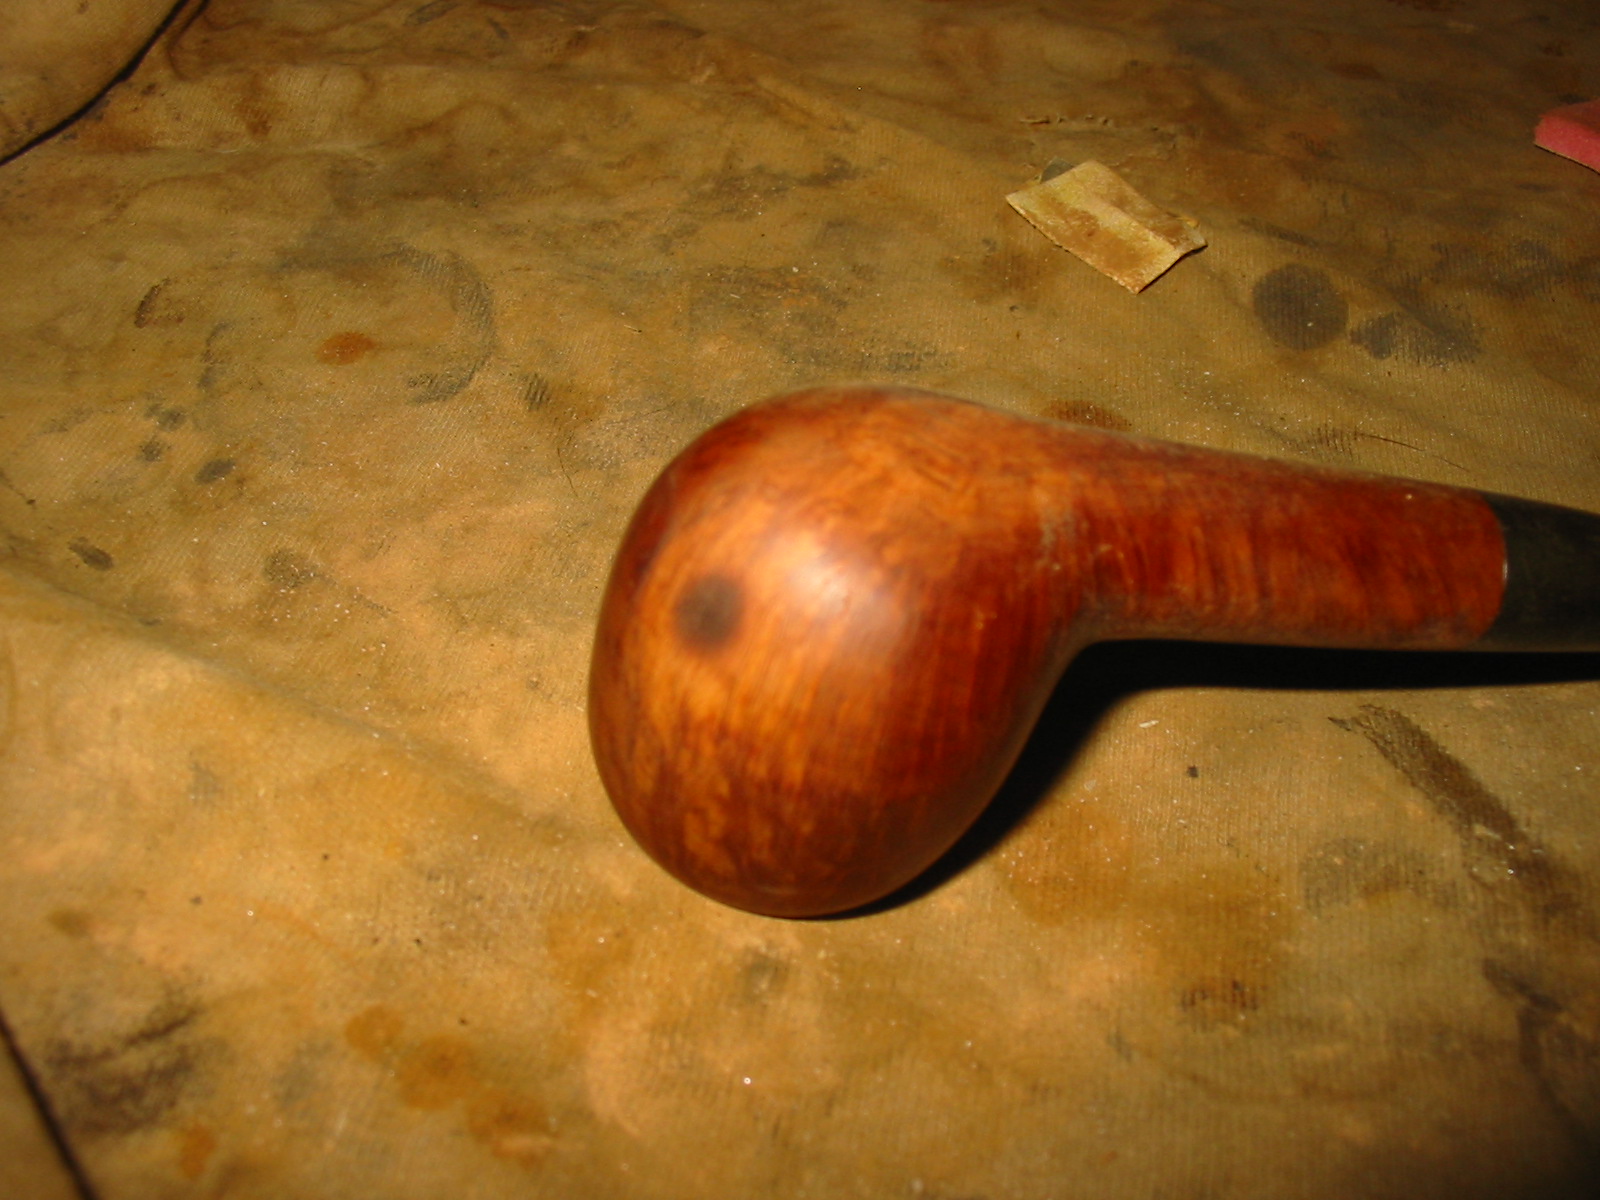
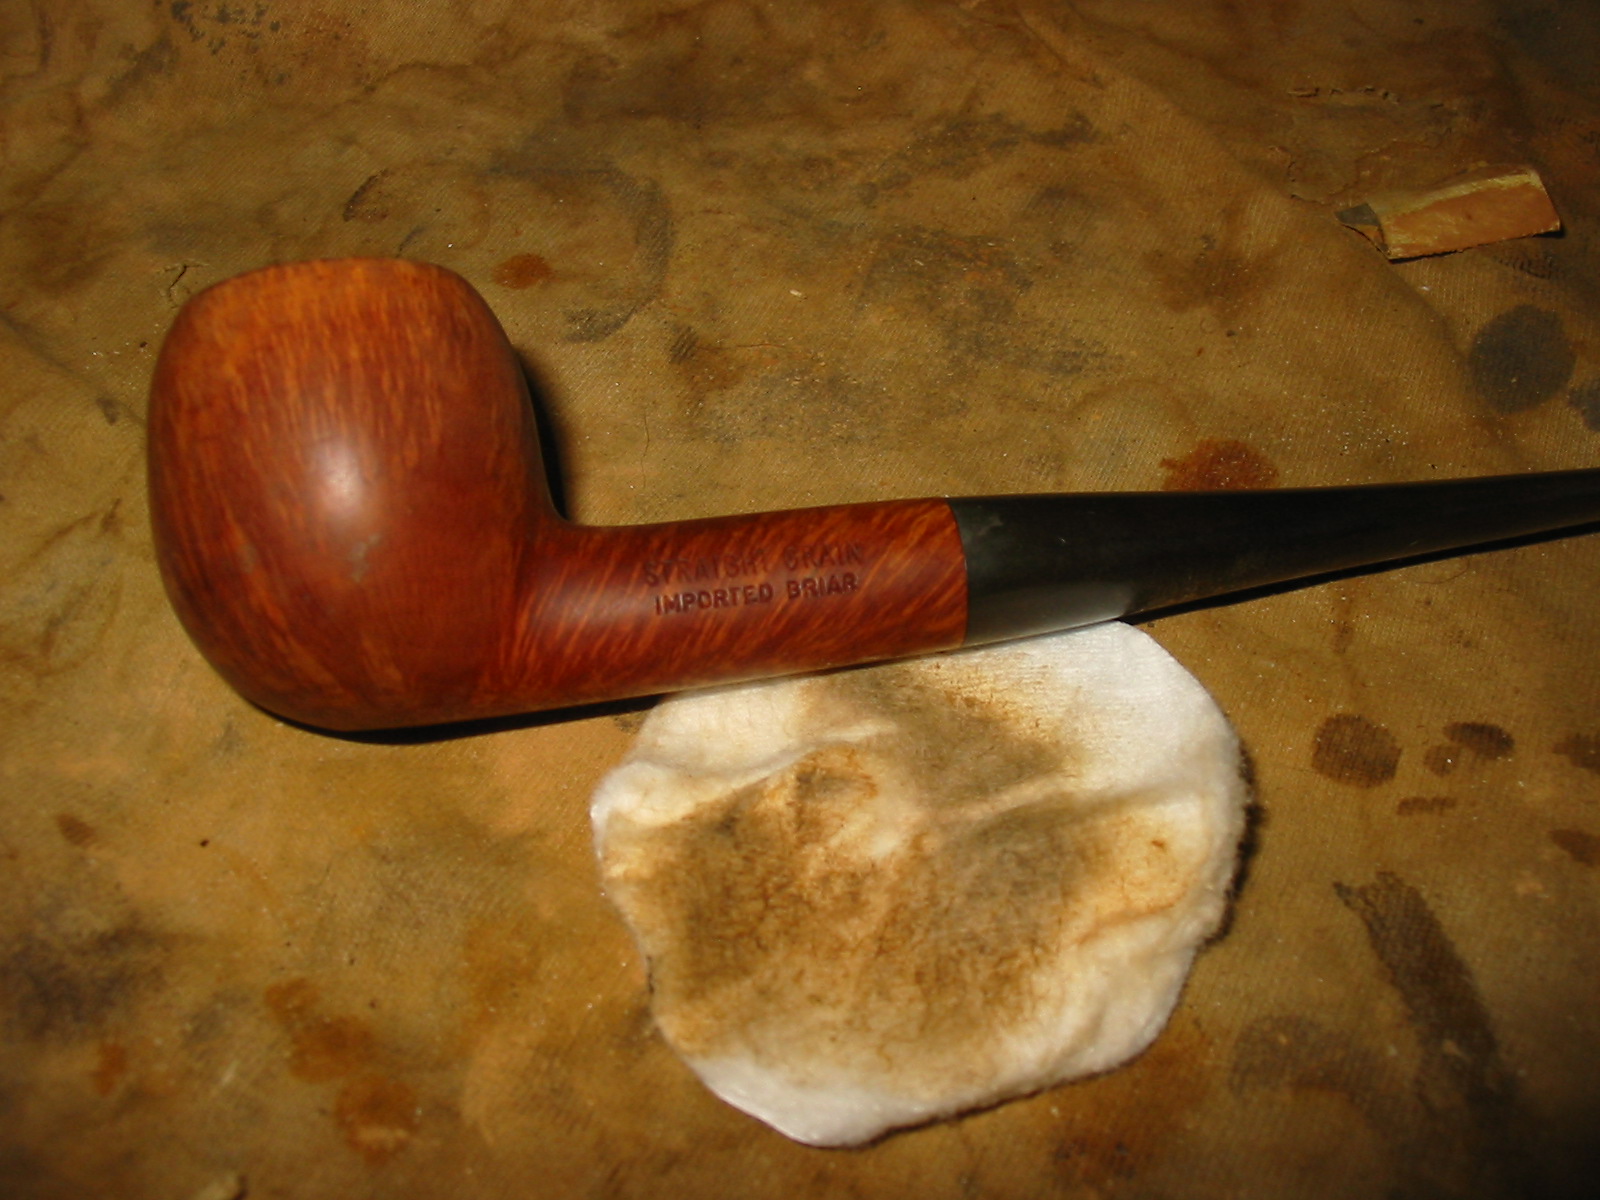
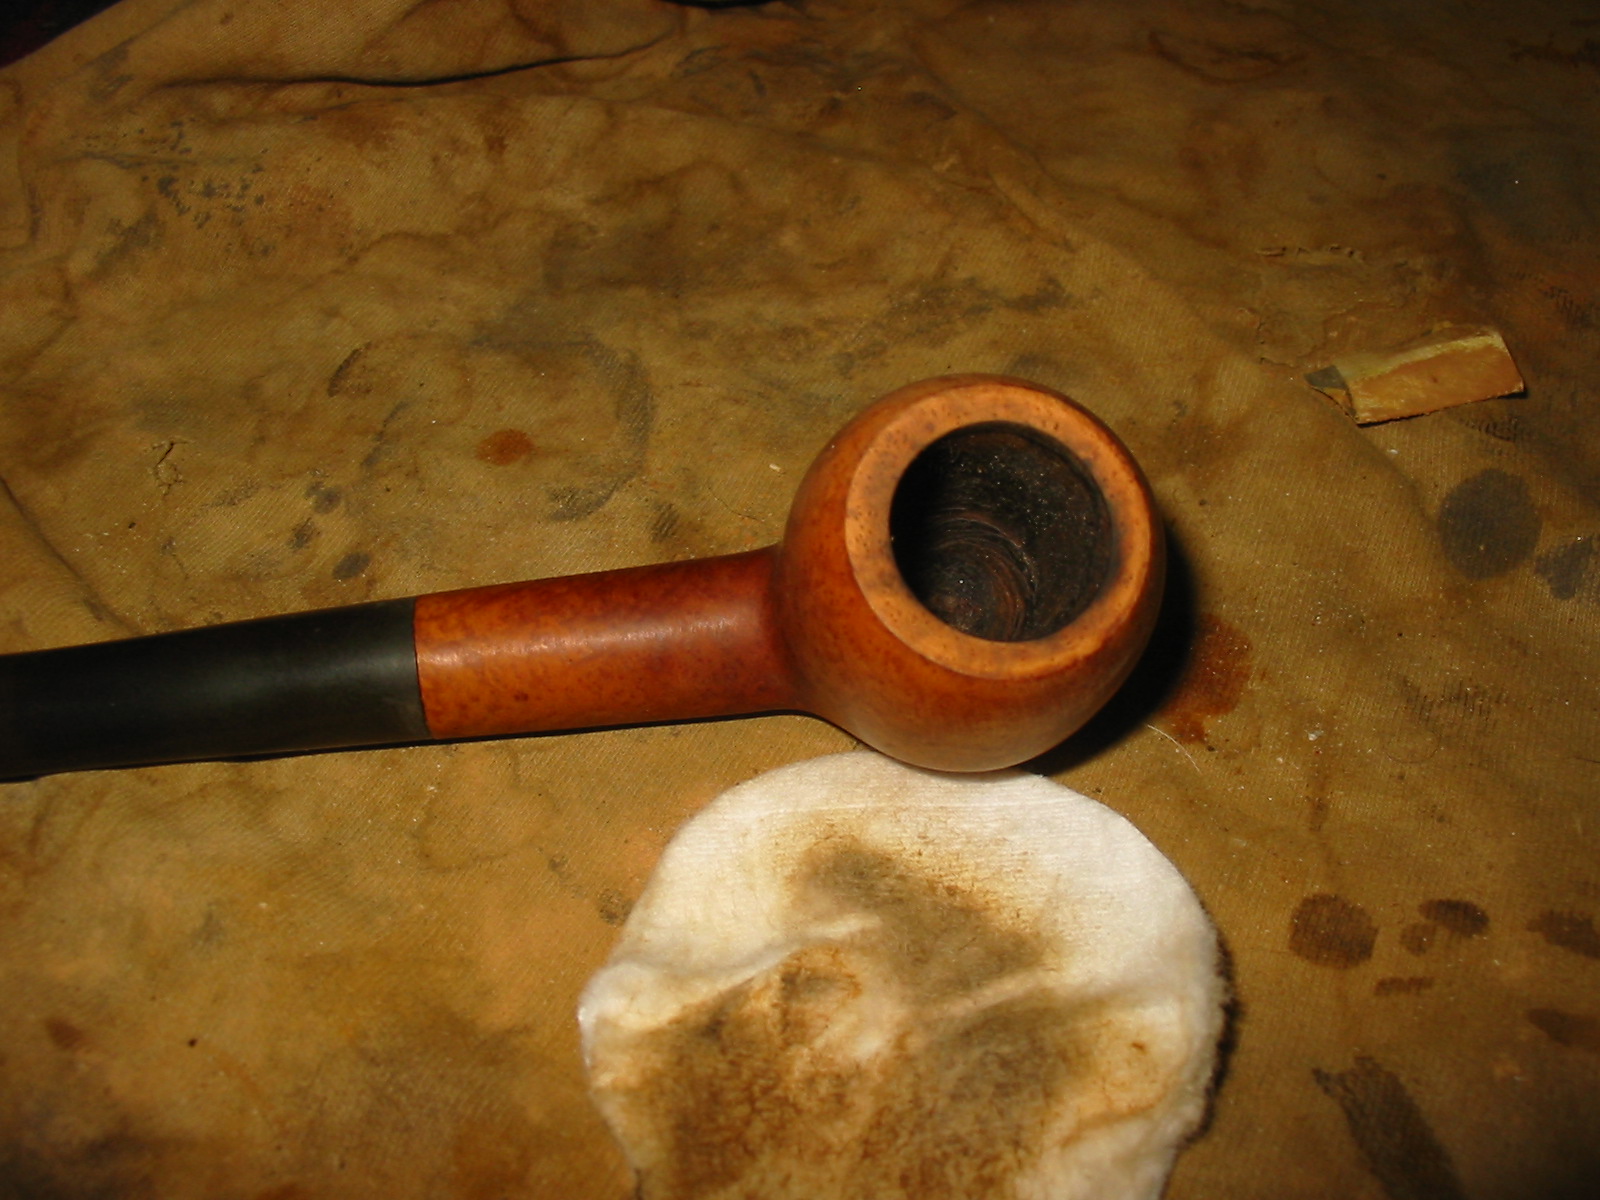
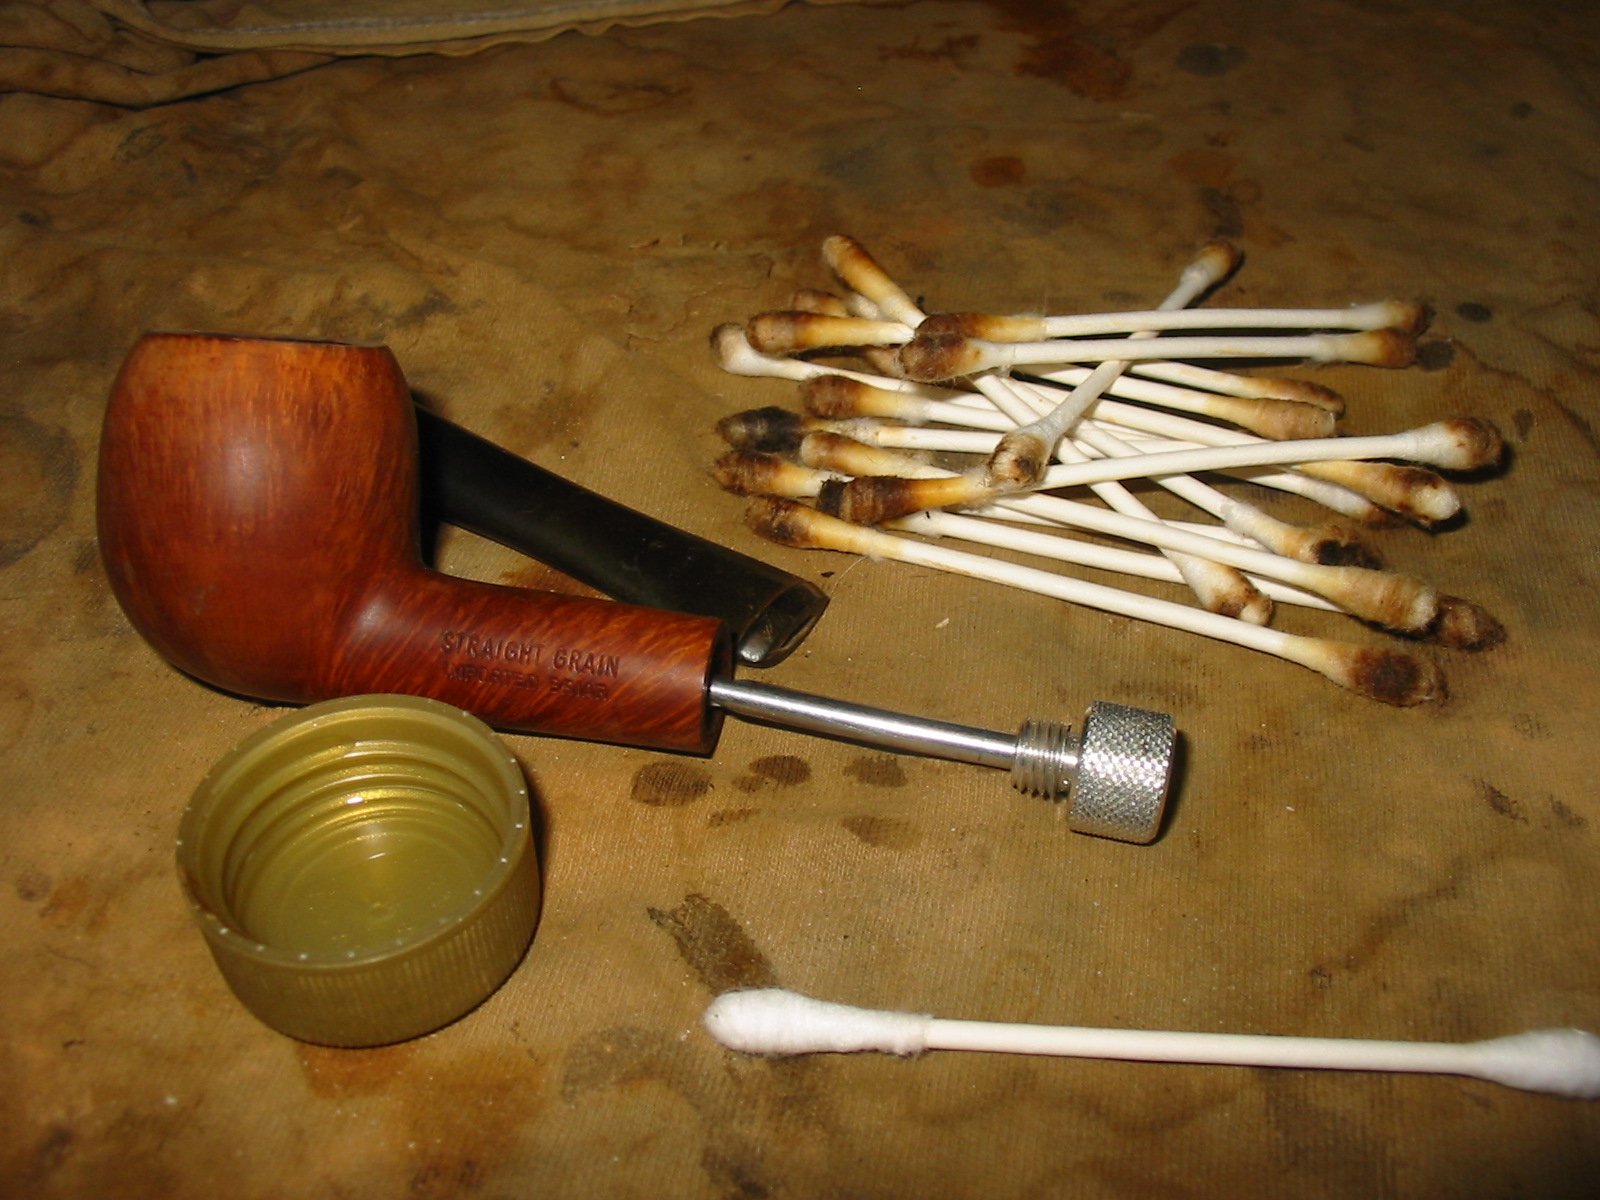
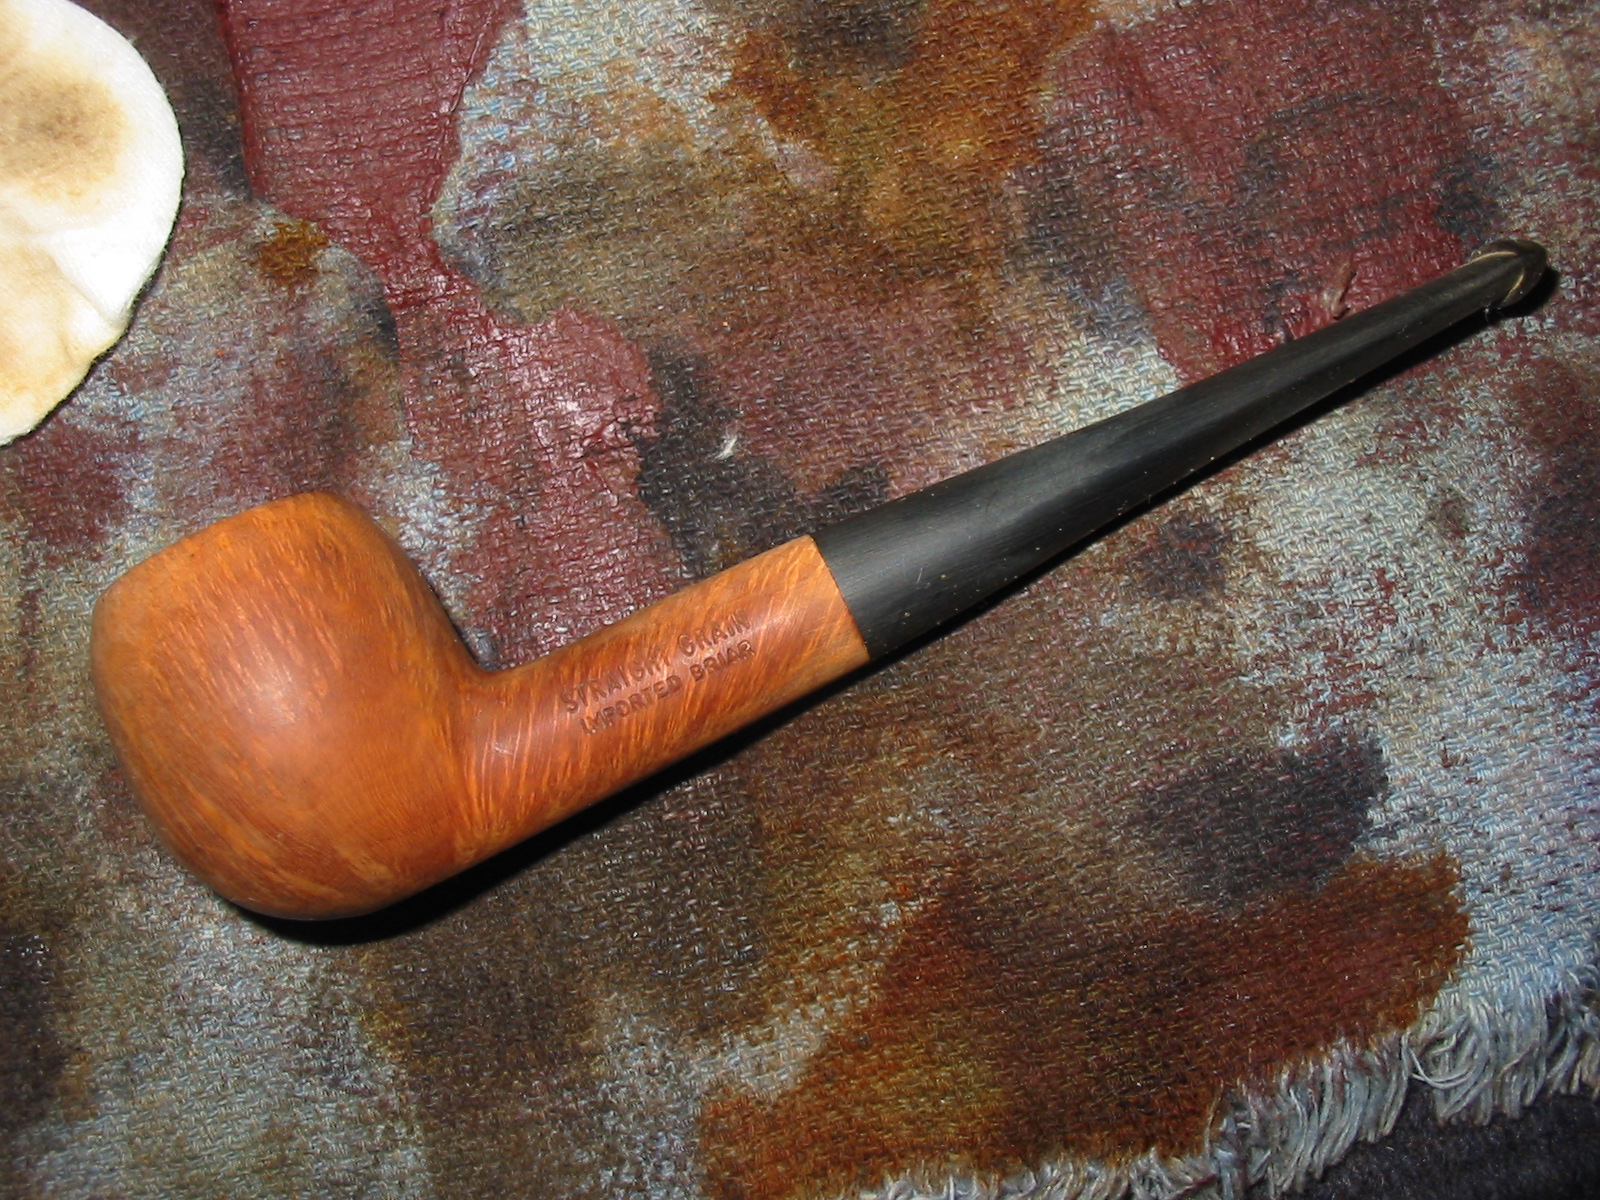
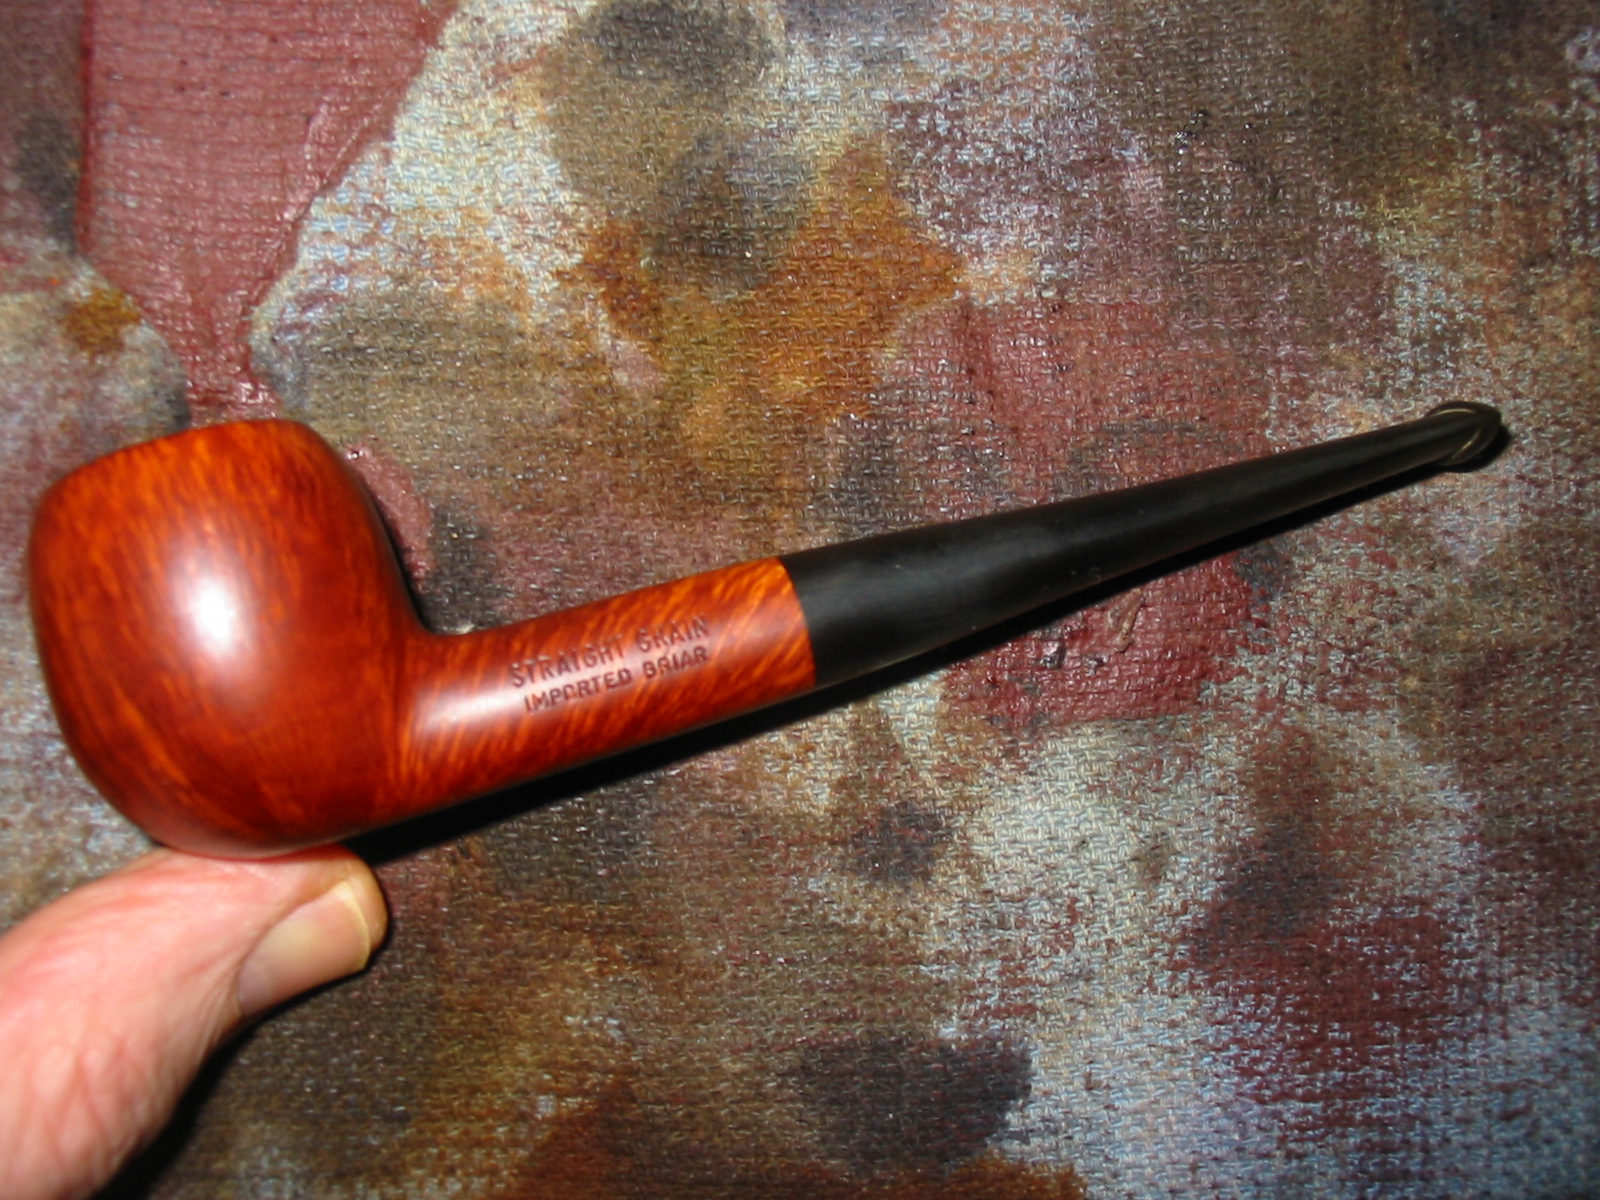
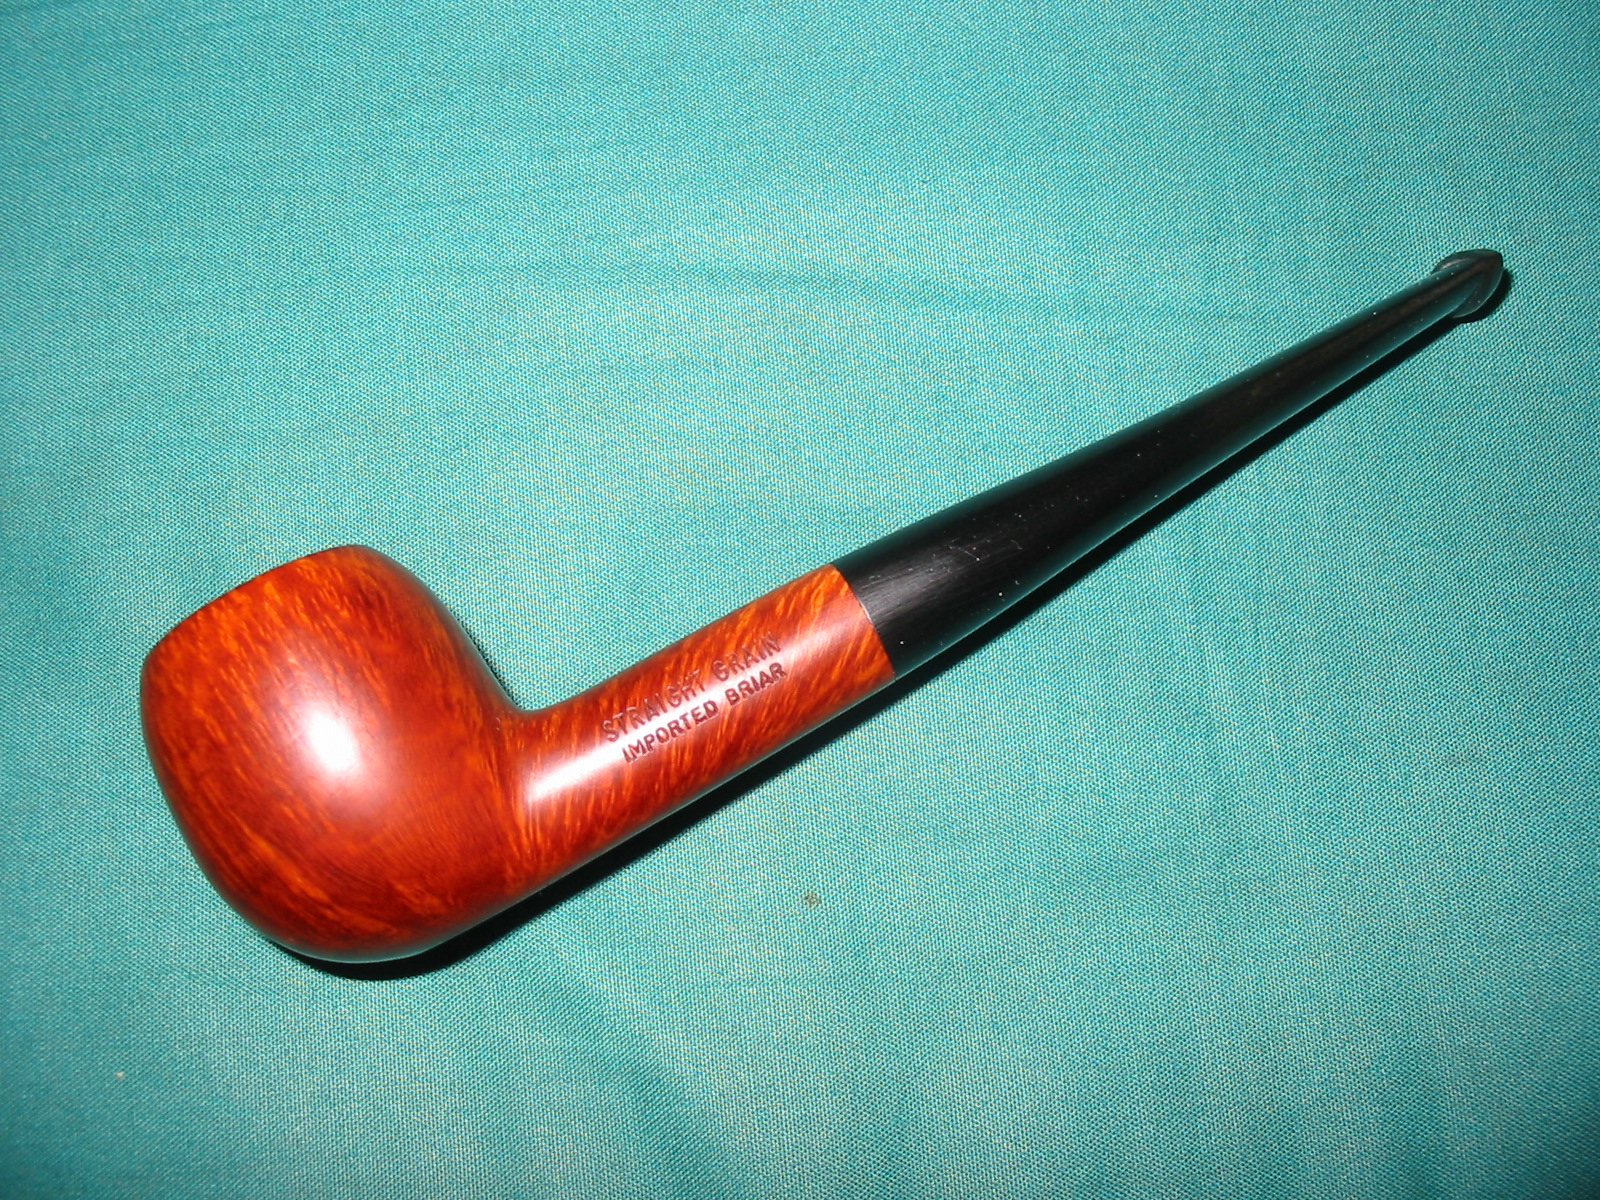
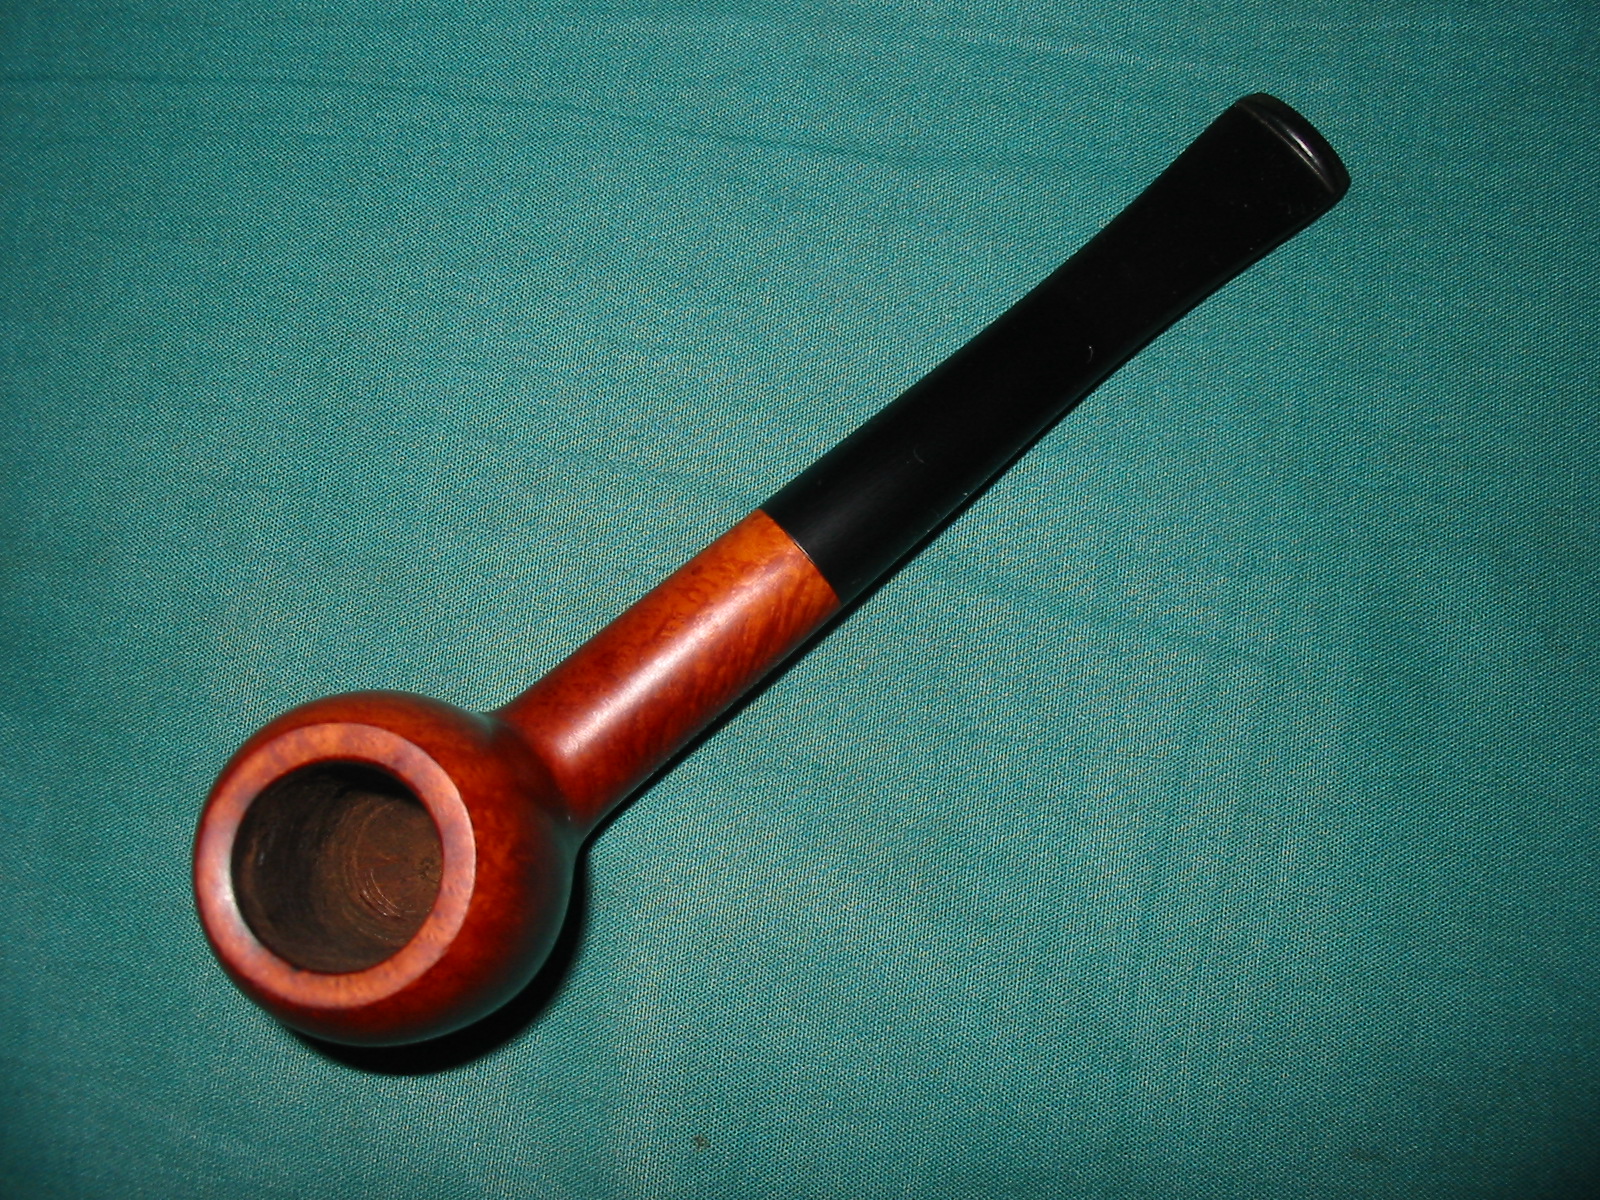
I asked him for some isopropyl alcohol, some cotton swabs, cotton makeup pads, and a sharp knife. I had some pipe cleaners with me so that we could field dress the pipe and clean it enough that he could smoke a bowl with me. The pipe had a slight burn on the front right of the bowl toward the bottom from having laid it in an ashtray and having it come in contact with a cigarette. The rim was caked and dirty with buildup but undamaged. The bowl was caked and had some burnt tobacco in it. The stem was lightly oxidized and there was light tooth chatter near the button. There was a stinger apparatus in the tenon of the stem. The stamping on the pipe was on the left side and read Straight Grain over Imported Briar. There was no other stamping on the pipe.

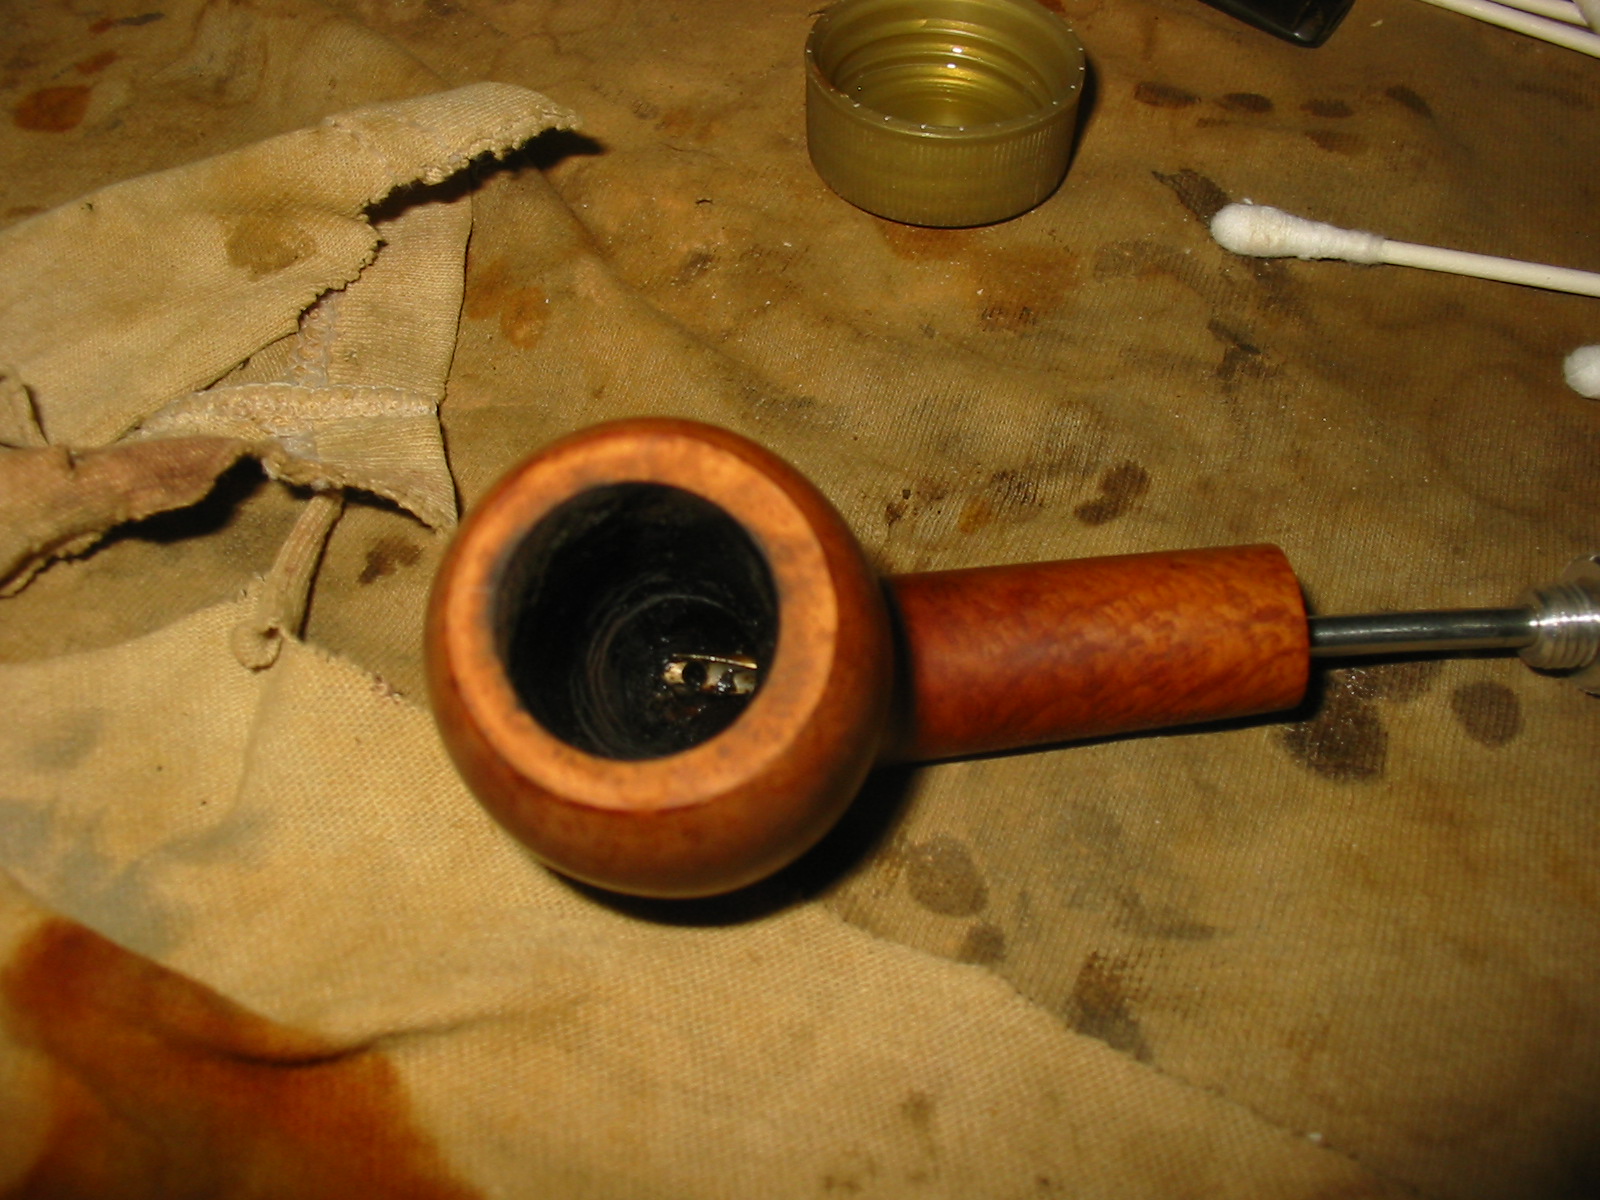
I carefully reamed the bowl with the pocket knife to remove a large portion of the cake. I scrubbed the top of the rim with the cotton pads and saliva until I removed the buildup on the rim. I cleaned out the inside of the shank with the pipe cleaners and the cotton swabs and isopropyl alcohol. I removed the stinger, threw it away and scrubbed the exterior and the interior of the stem to make it ready for him to smoke. Once finished we loaded a bowl of tobacco – a light English blend and headed to his front porch to have a bowl. It took some work to get the hang of lighting and keeping the bowl lit but it worked well after several tries. We enjoyed the visit and the smoke and then headed back inside.

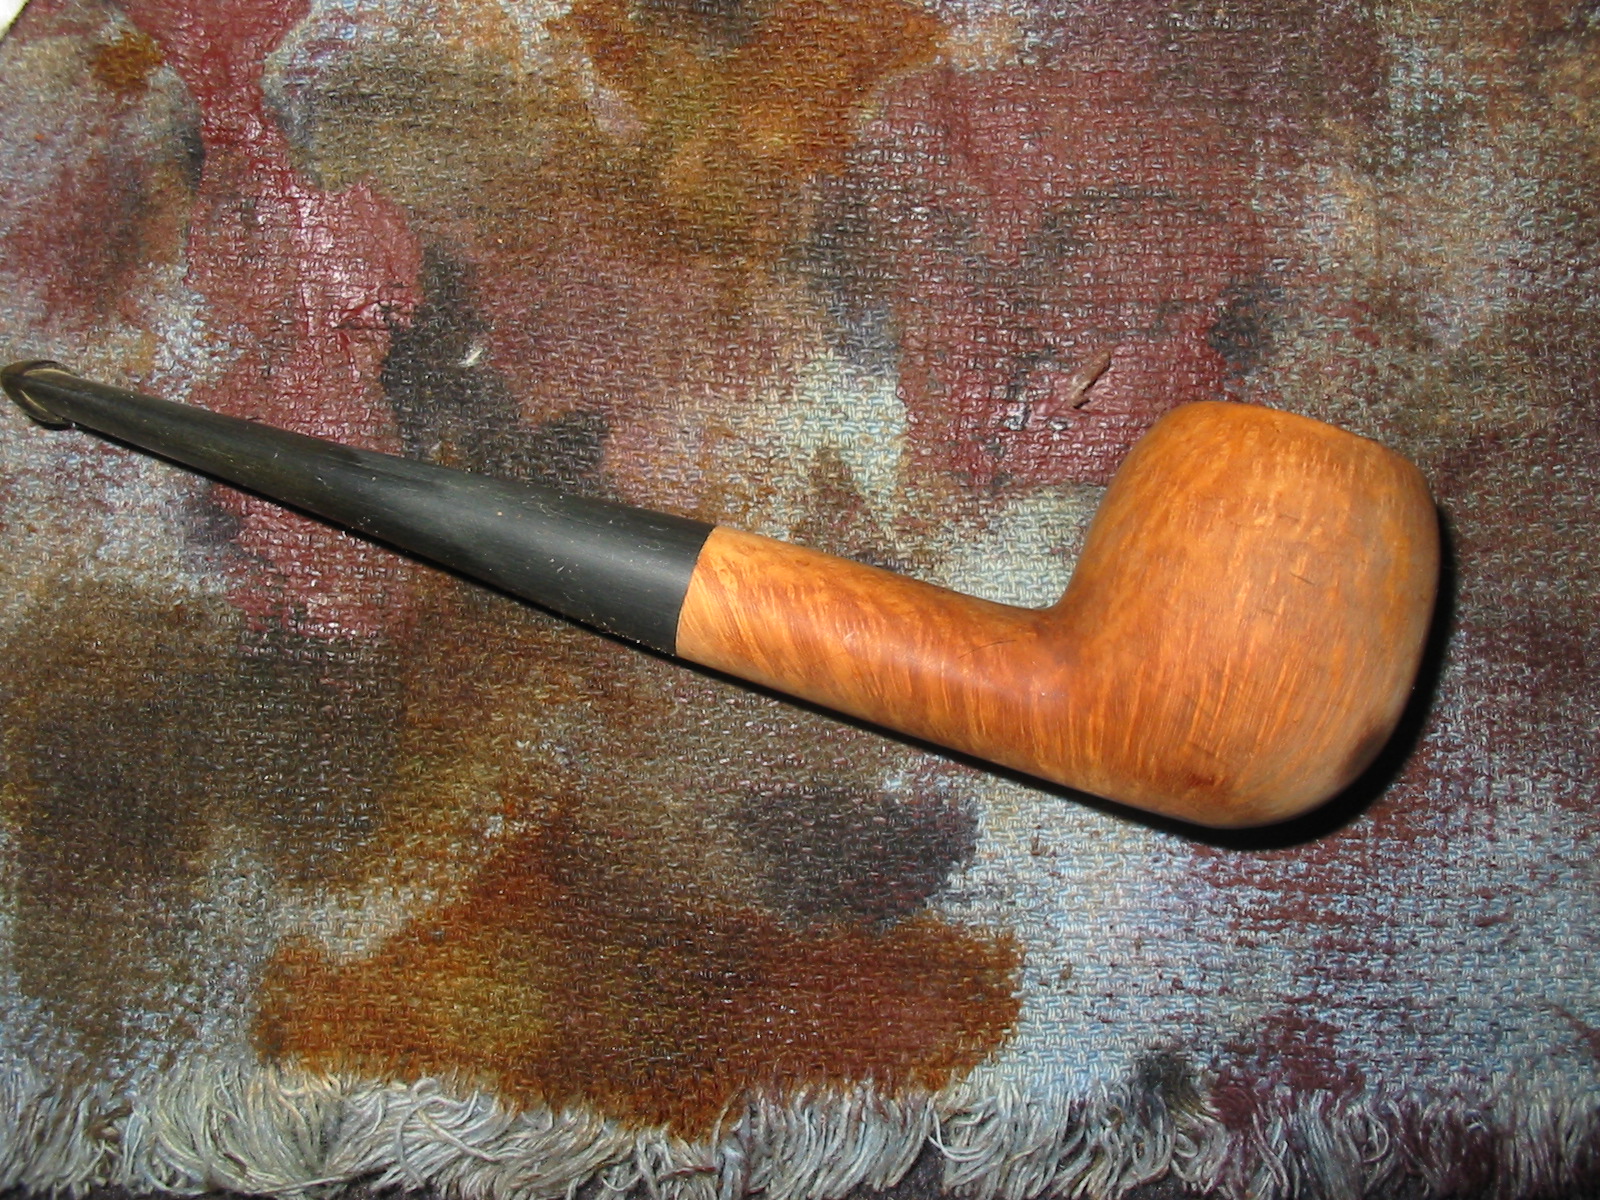
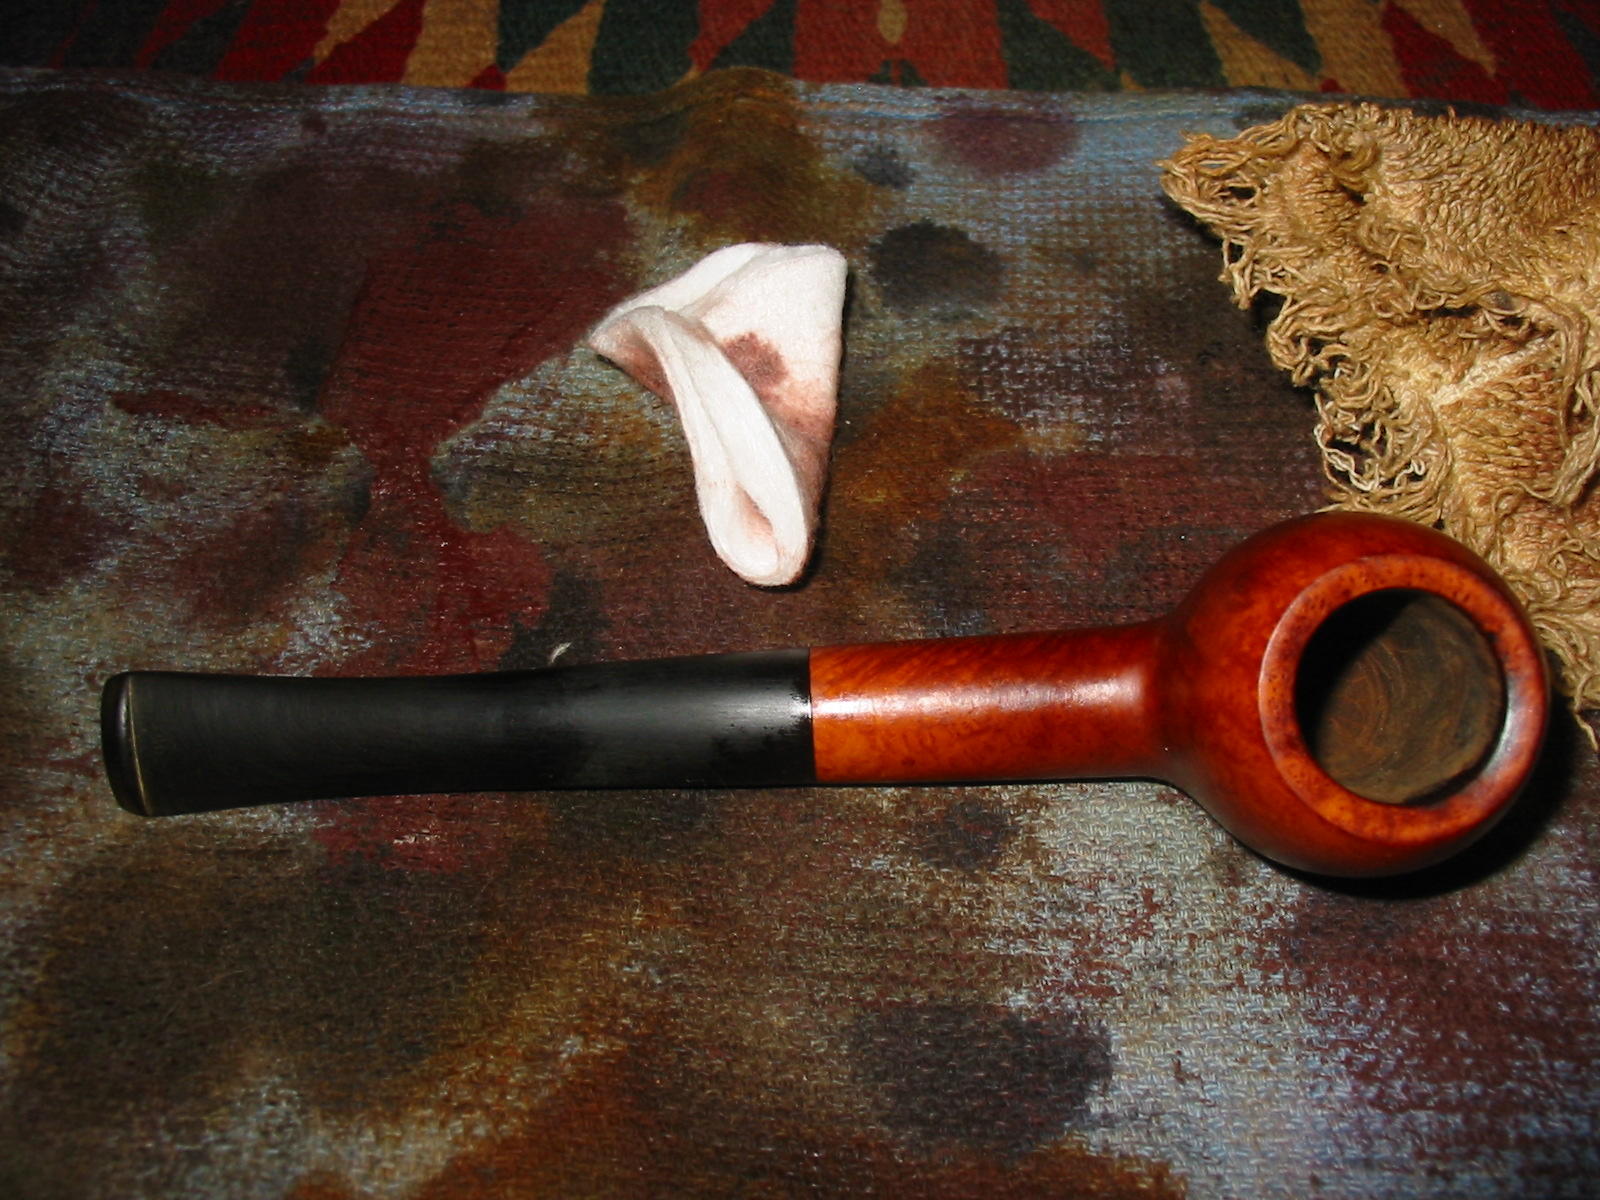
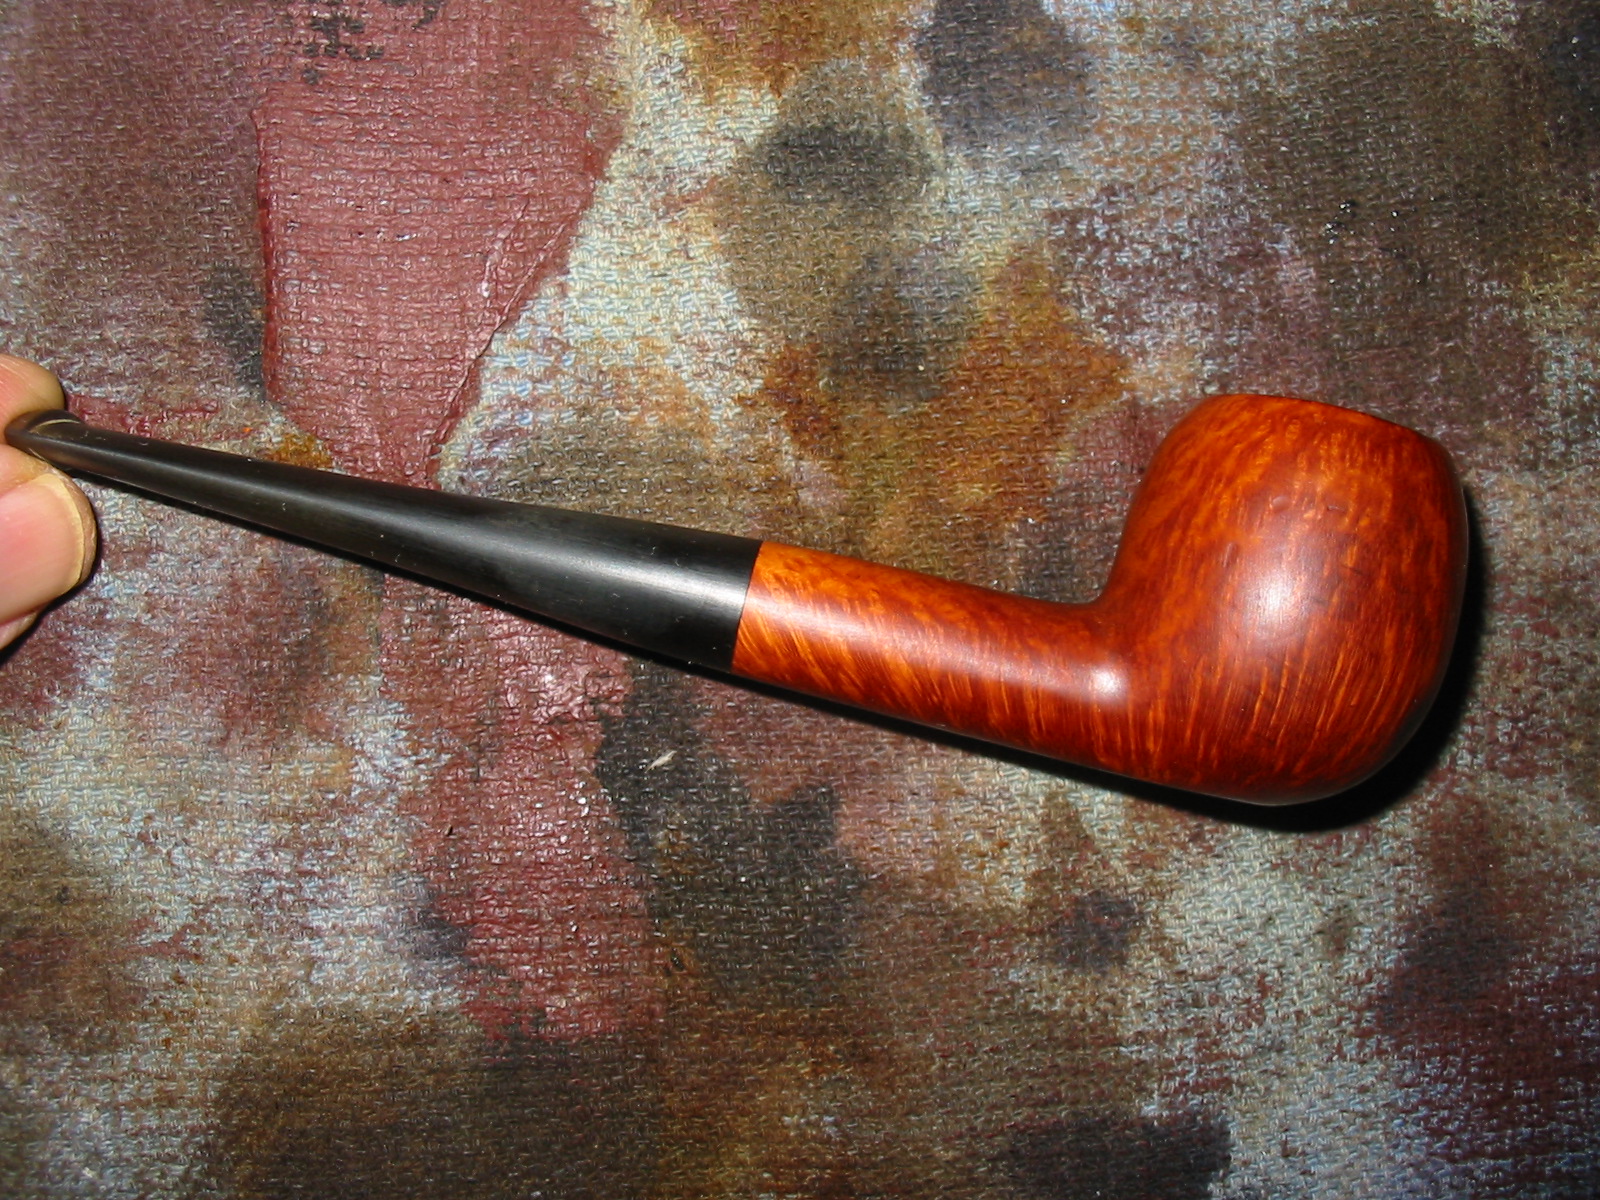
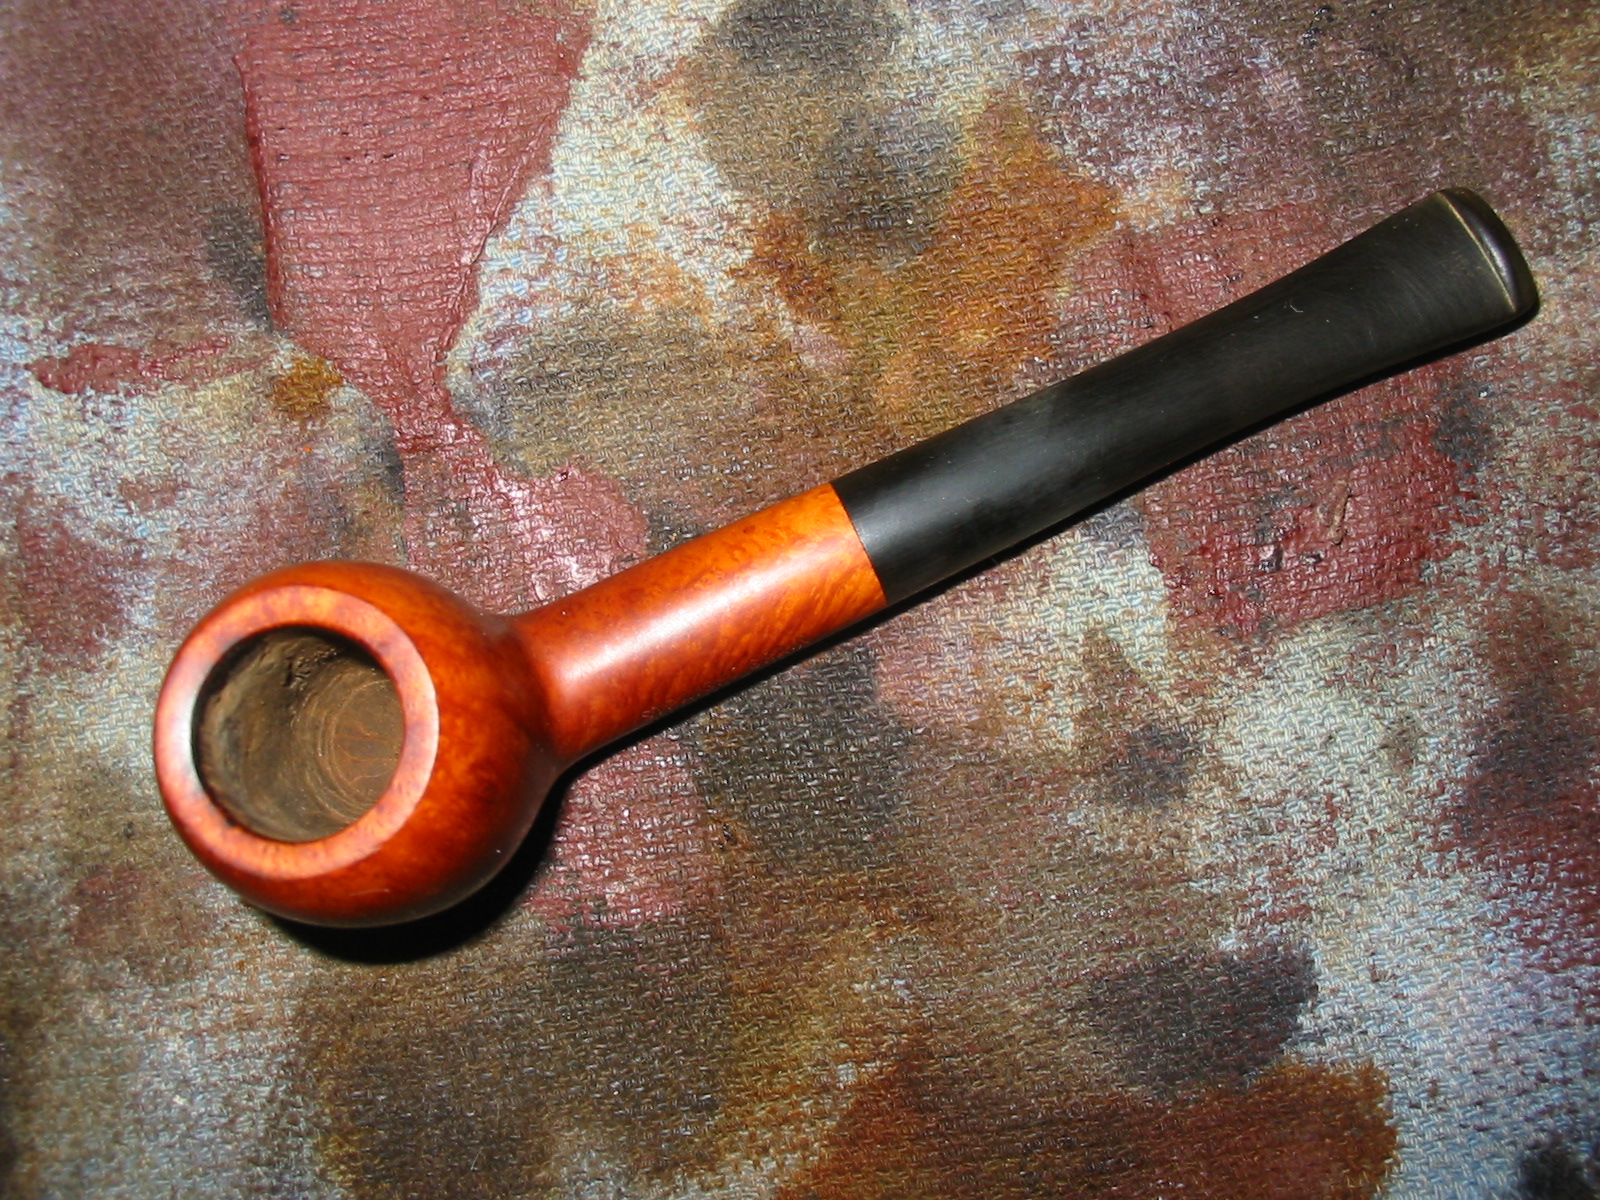
When I headed back to Vancouver I took the pipe with me to give it a more thorough cleaning and polish. The photos below show the pipe when I put it on the work table to give it a thorough work over.
IMG_4615

IMG_4616

IMG_4617

IMG_4618

The next photo shows the cigarette burn mark on the bowl. It was not too deep and did not char the wood but it was deep enough that it could not be sanded out without damaging the shape of the bowl.
IMG_4620

I sanded the burn mark and the rim to clean up the burn on the front inner edge. I used 220 grit sandpaper to start with and followed that with a medium grit sanding sponge.
IMG_4621

IMG_4622

I wiped the bowl down with acetone on cotton pads to remove the finish from the bowl and to prepare it for new staining.
IMG_4623

IMG_4624

IMG_4625

IMG_4627

The slot in the stem was tight and hard to get a pipe cleaner to pass through easily so I decided to open the slot open with needle files. I shaped it and opened it and then sanded it with a folded piece of 220 grit sandpaper.
IMG_4628

IMG_4629

IMG_4631

IMG_4632

I reamed the bowl and cleaned out the shank with isopropyl alcohol and then used pipe cleaners. I used the drill bit in the KleenReem pipe reamer to open up the airway into the bowl from the shank. The tars had clogged the airway so the drill bit opened it and cleaned up the buildup on the sides of the airway.
IMG_4633

IMG_4634

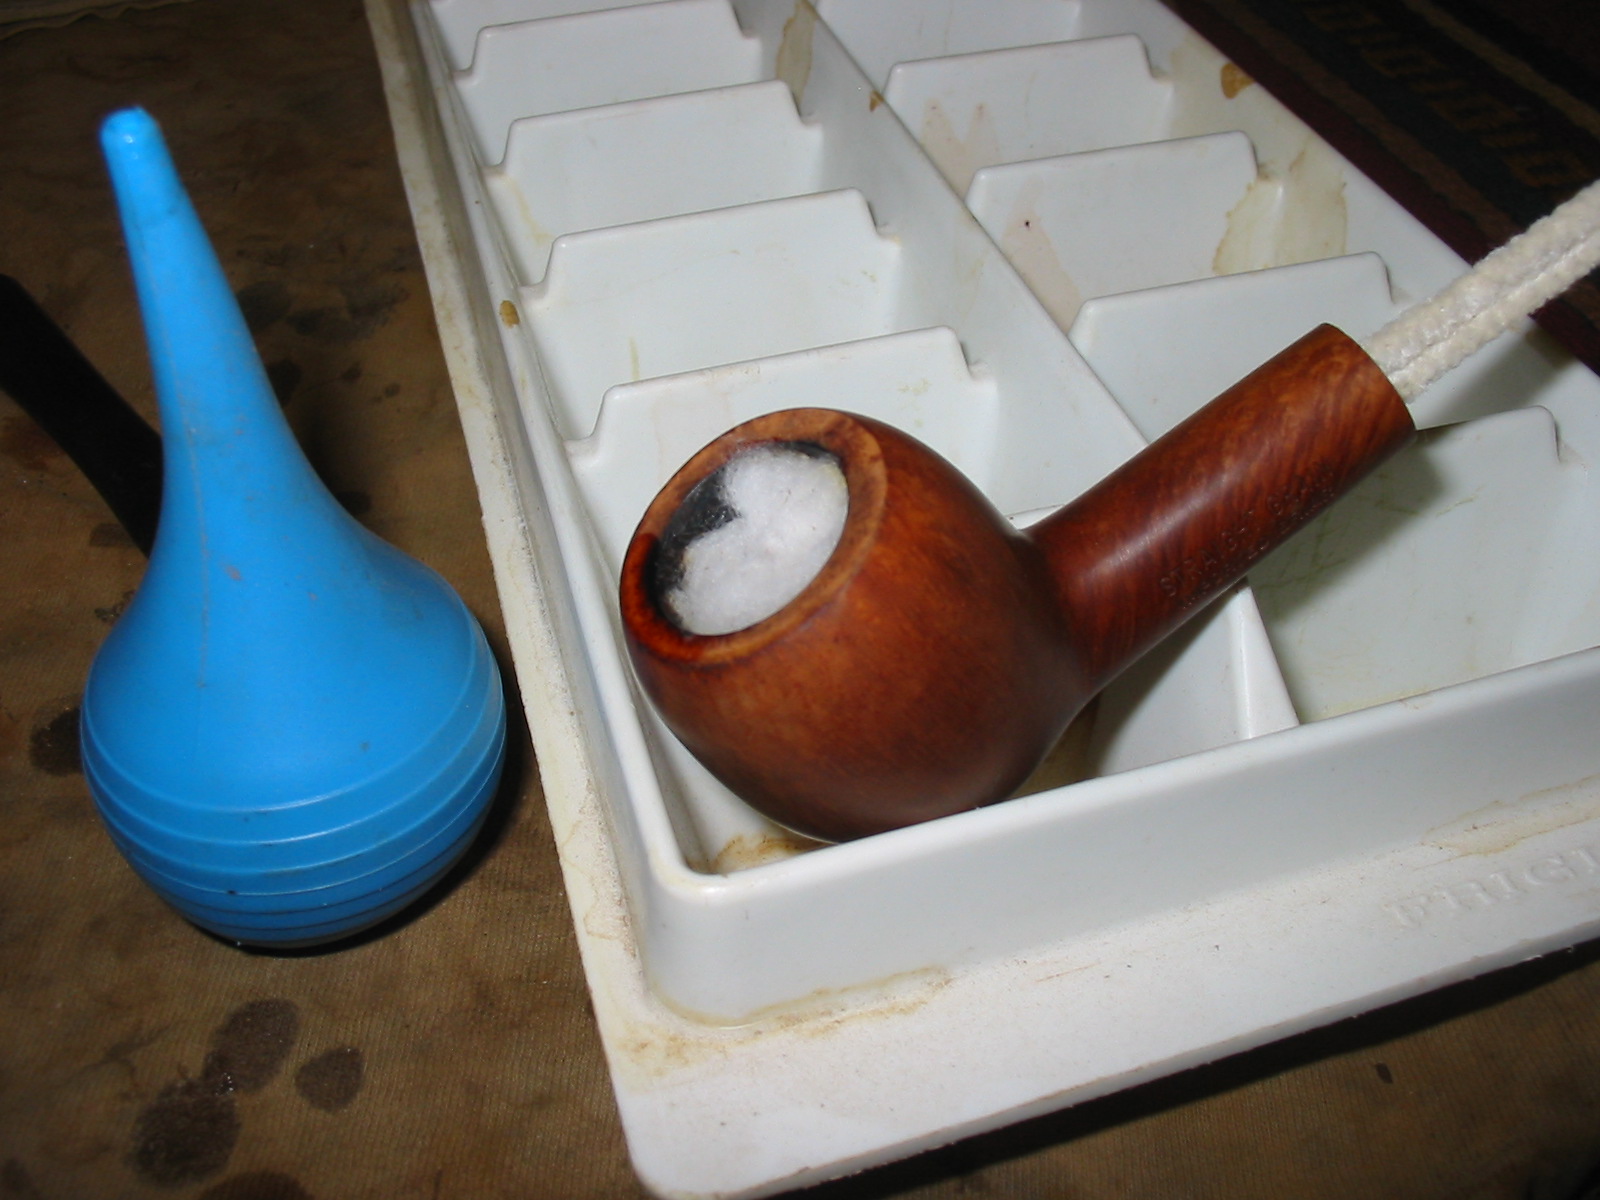
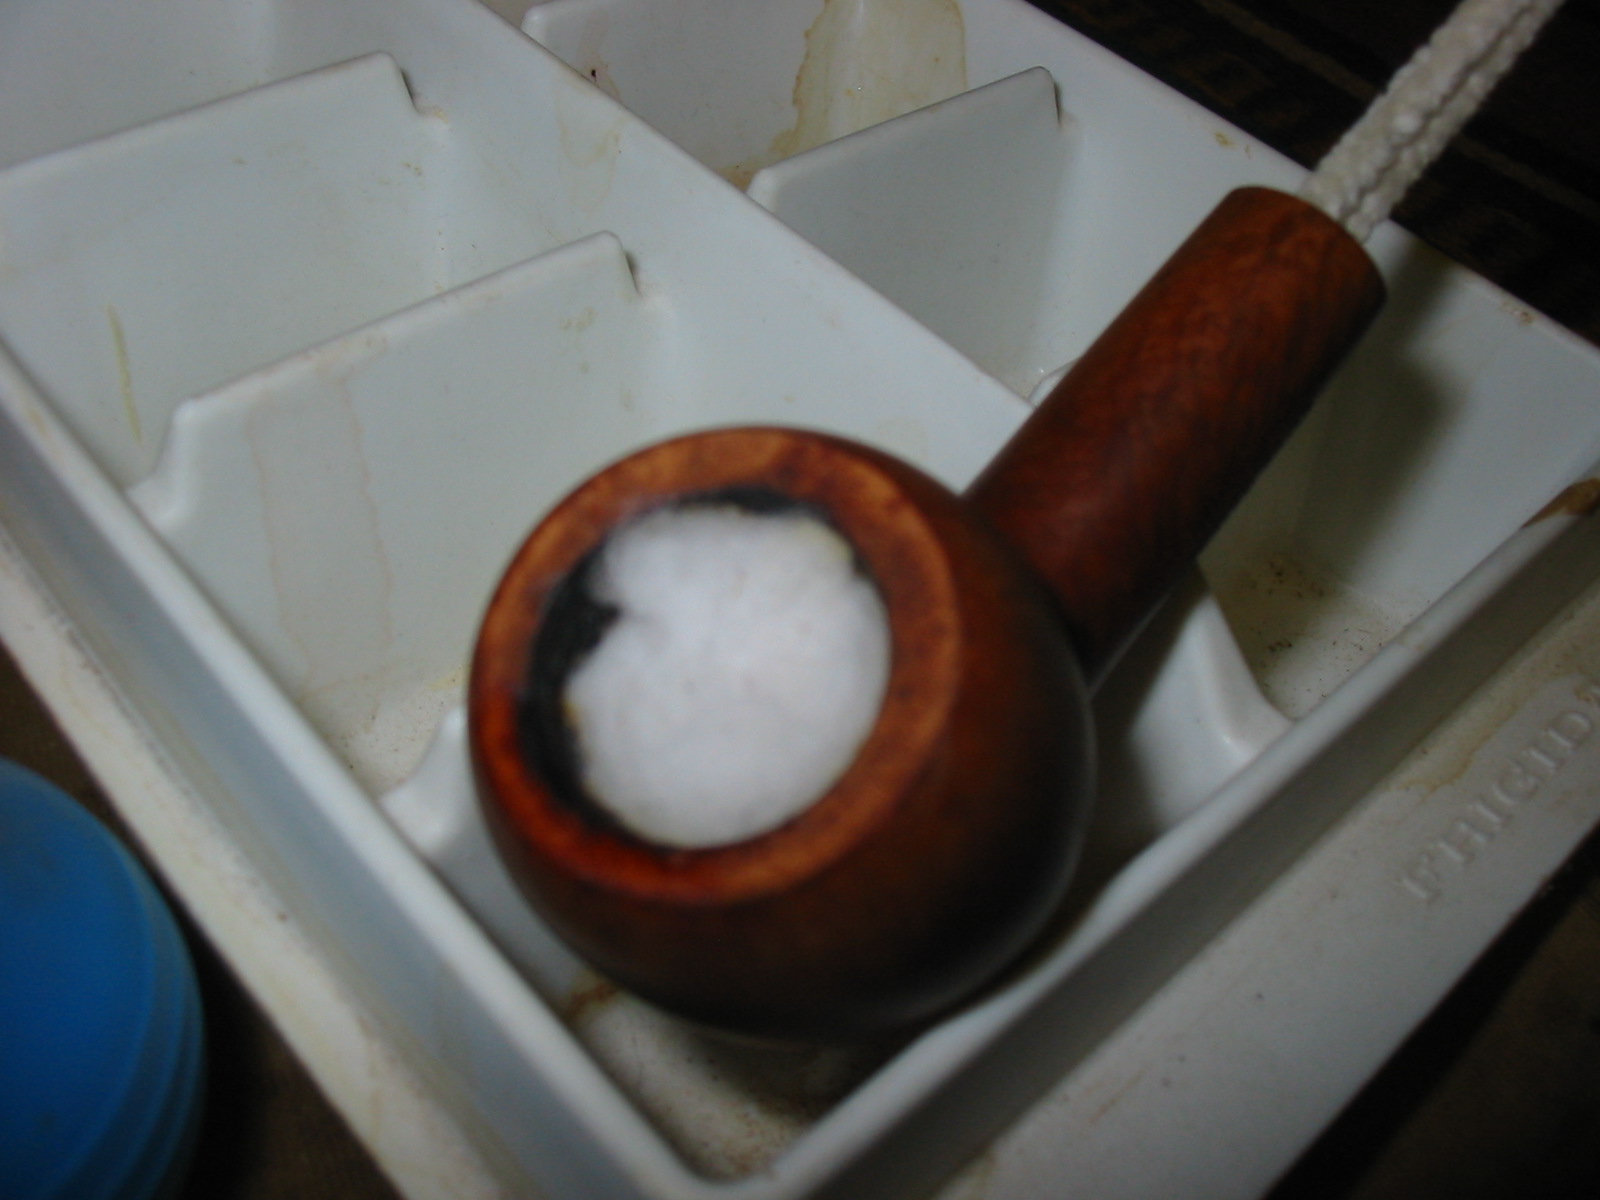
I decided to do a cotton boll and alcohol soak on the bowl. I stuffed the bowl with cotton and used an ear syringe to fill it with Everclear. I set the bowl in an old ice cube tray to let it soak while I was at work. The alcohol leaches out the tars in the bowl into the cotton and leaves the pipe fresh inside.
IMG_4635

IMG_4636

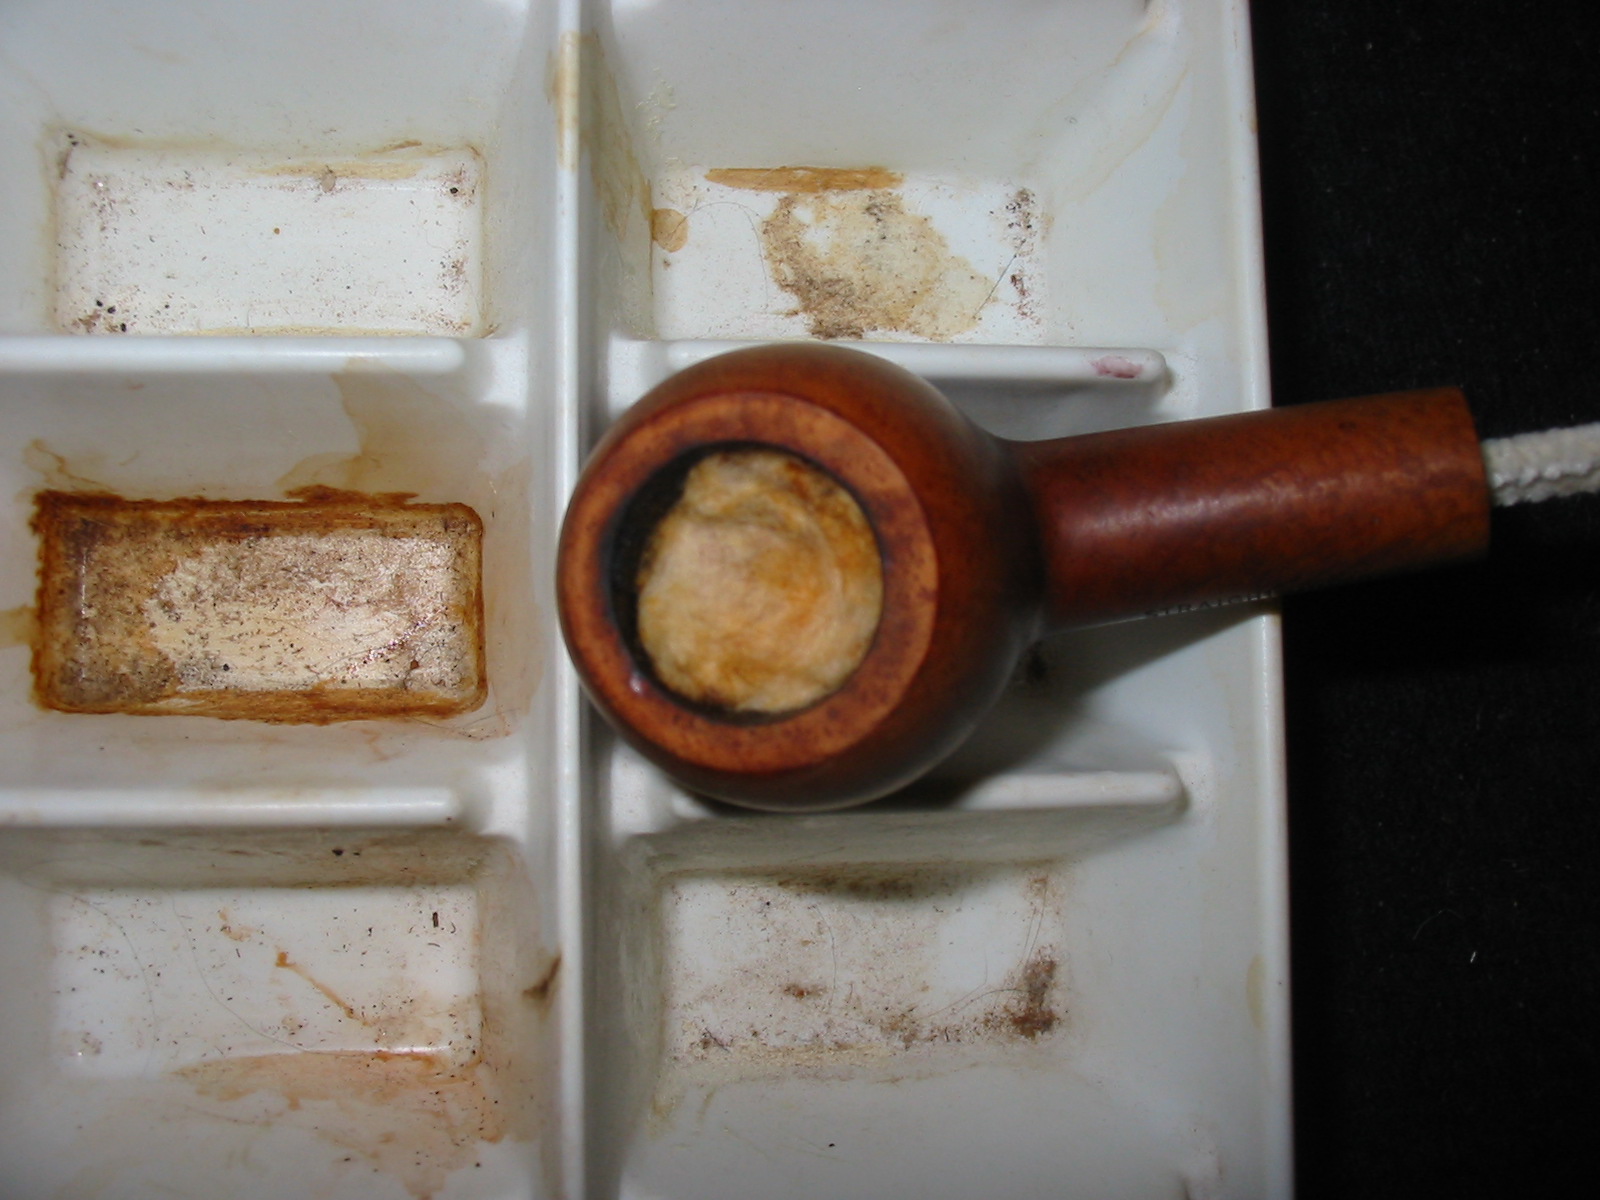
It sat in the tray for about 10 hours soaking. The cotton boll was soaked and brown coloured from the tars that leached out of the bowl.
IMG_4639

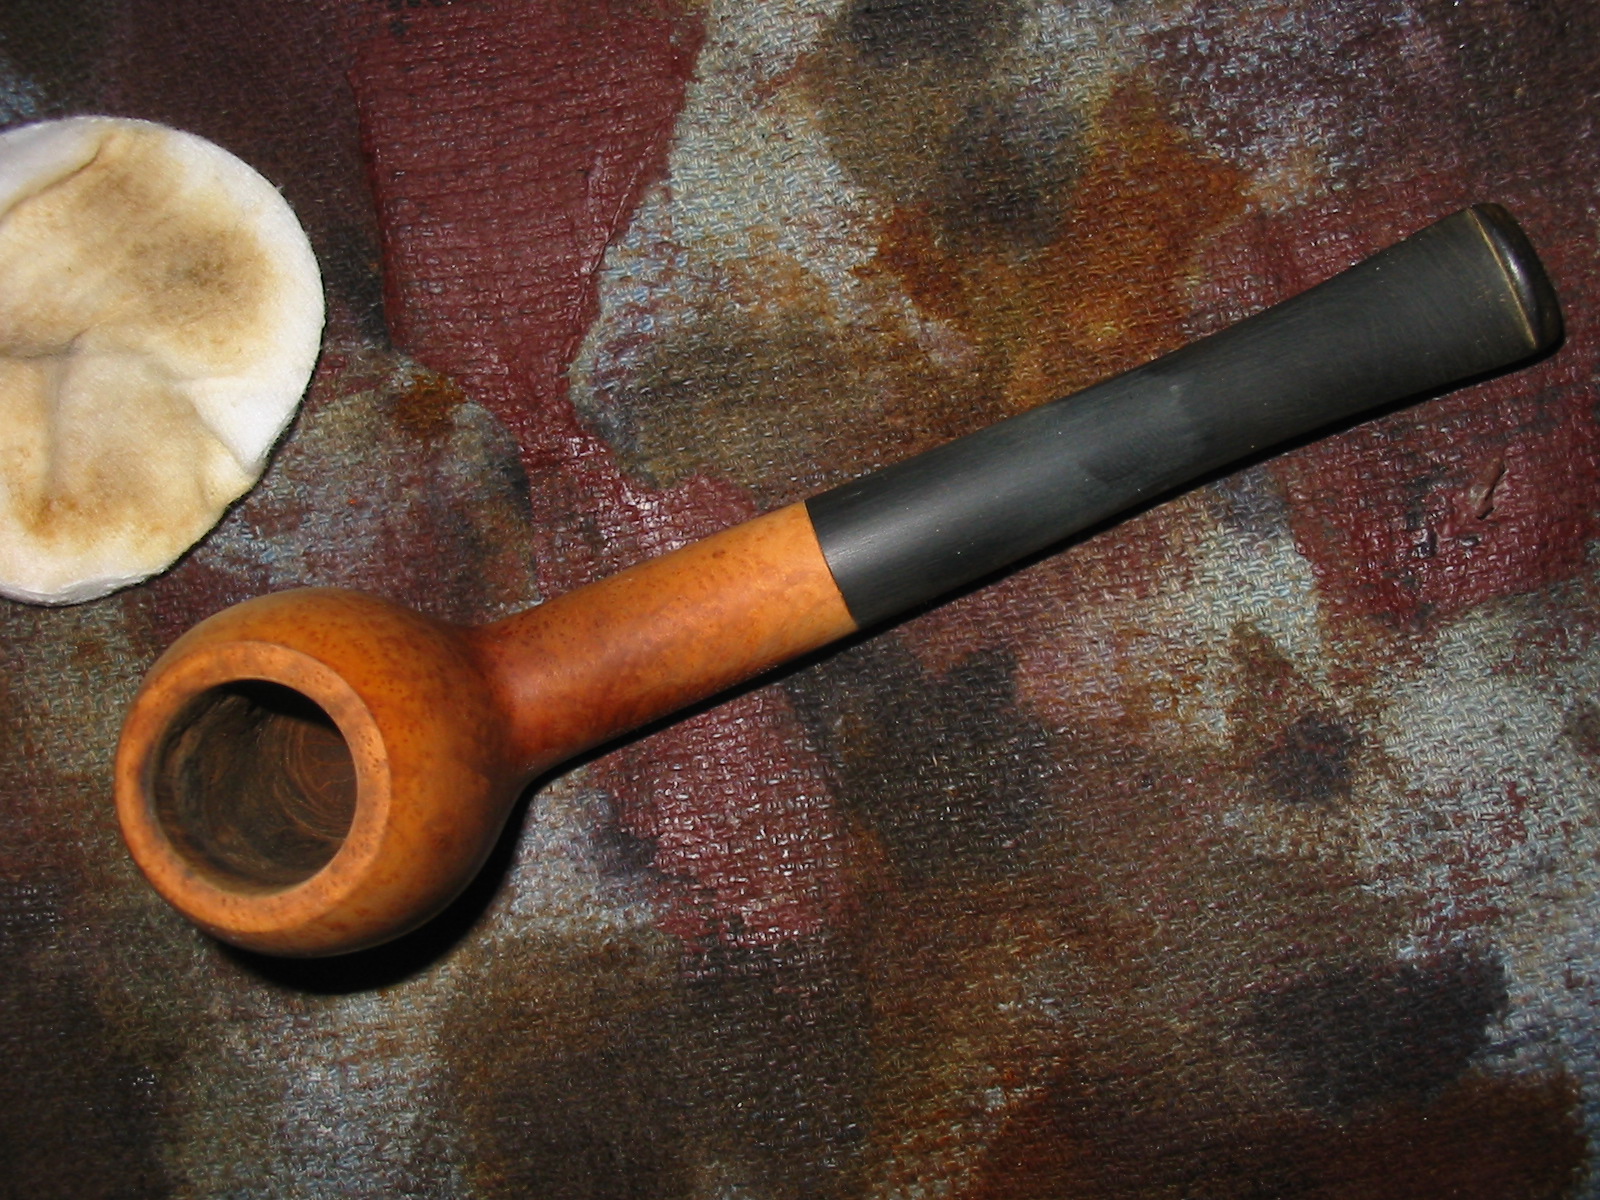
I took the cotton out of the bowl and then lit the alcohol remaining in the bowl with a lighter. It quickly burned the alcohol out and left the bowl dry. I used a folded piece of sandpaper to work on the inner edge of the rim to remove the burned spot on the front inner edge. I also used a PipNet reamer to remove the remaining cake that I had missed earlier. I wiped the bowl down a final time with acetone on cotton pads to remove the grit and grime that came out with the cleaning of the bowl.
IMG_4640

IMG_4641

IMG_4642

IMG_4643

I stained the bowl with an oxblood stain as an undercoat. I applied it and then flamed it. I hand buffed the bowl once the stain was dry.
IMG_4644

IMG_4645

IMG_4646

For the second coat of stain I used a dark brown aniline stain thinned 2:1 with isopropyl alcohol. I hand buffed the bowl with a soft cloth and then took the pipe to the buffer and buffed it with White Diamond.
IMG_4649

IMG_4650

IMG_4651

IMG_4648

Once the staining of the pipe was finished I worked on the stem with my usual array of micromesh sanding pads – wet sanding with 1500-2400 grit pads and dry sanding with 3200-12,000 grit pads. I rubbed the stem down with Obsidian Oil and let it dry.
IMG_4652

IMG_4653

IMG_4656

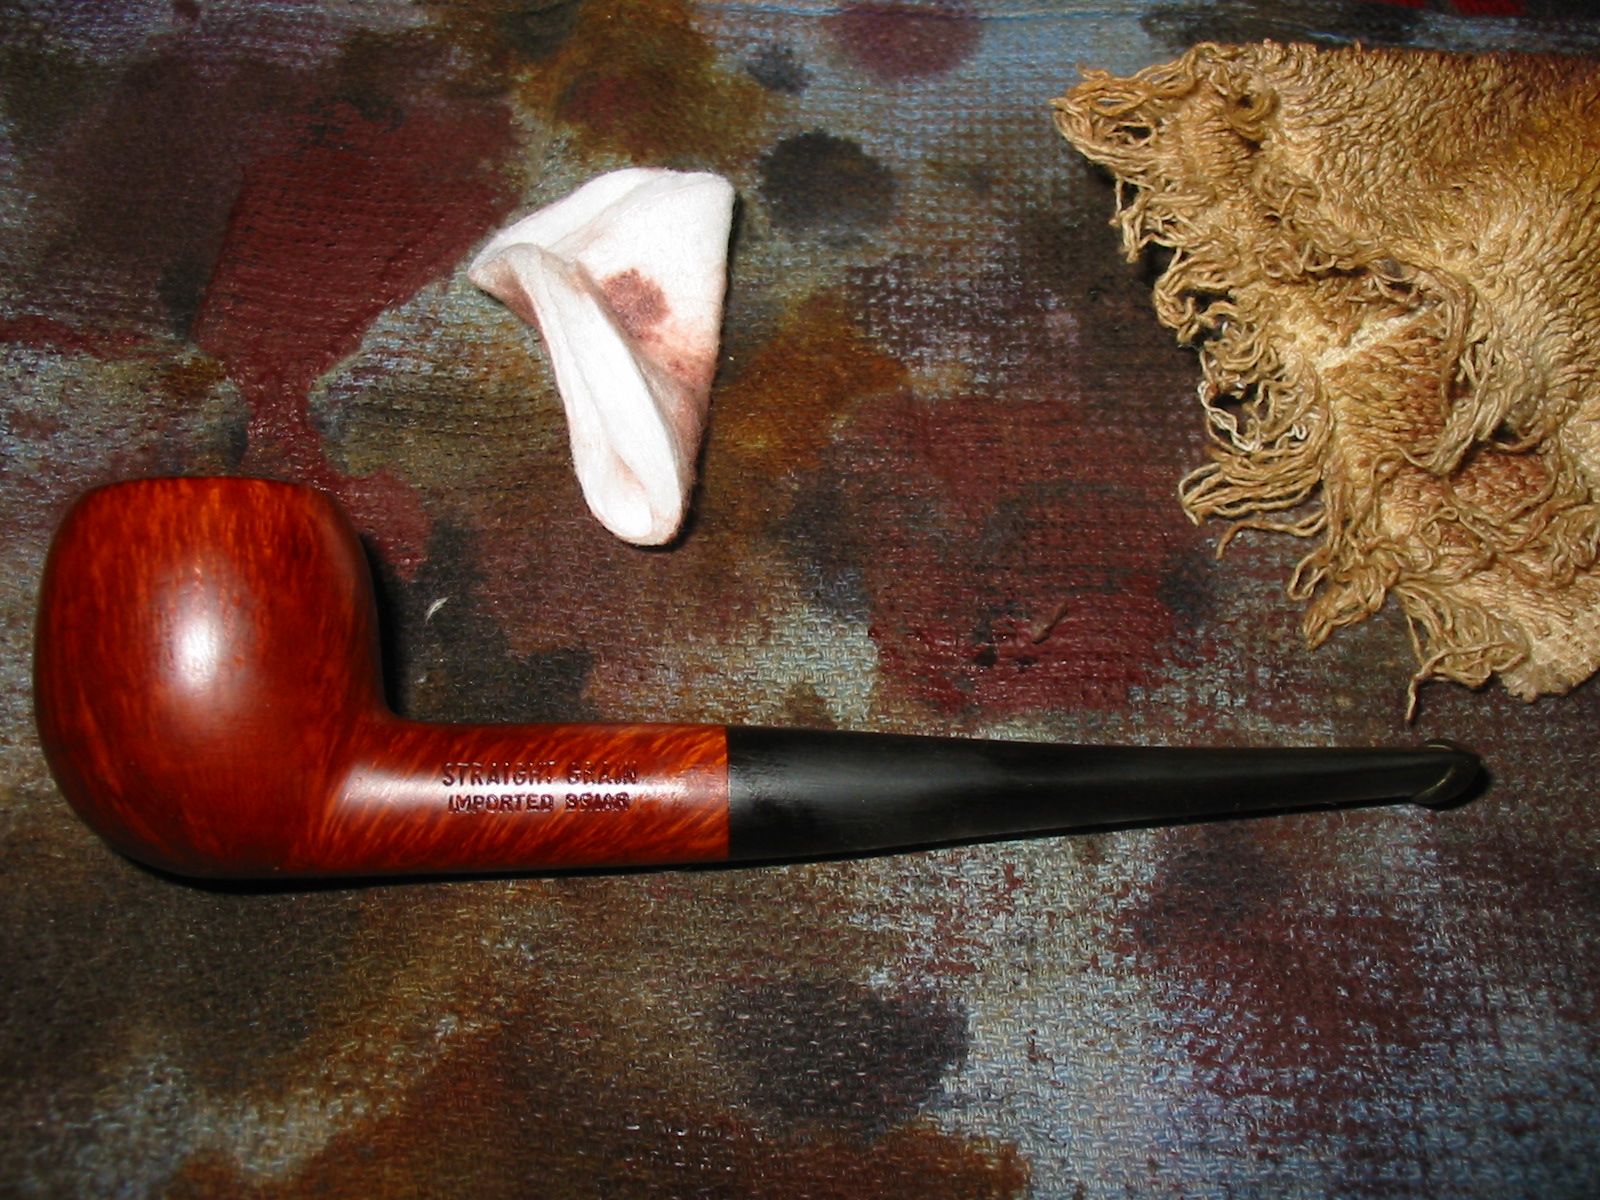
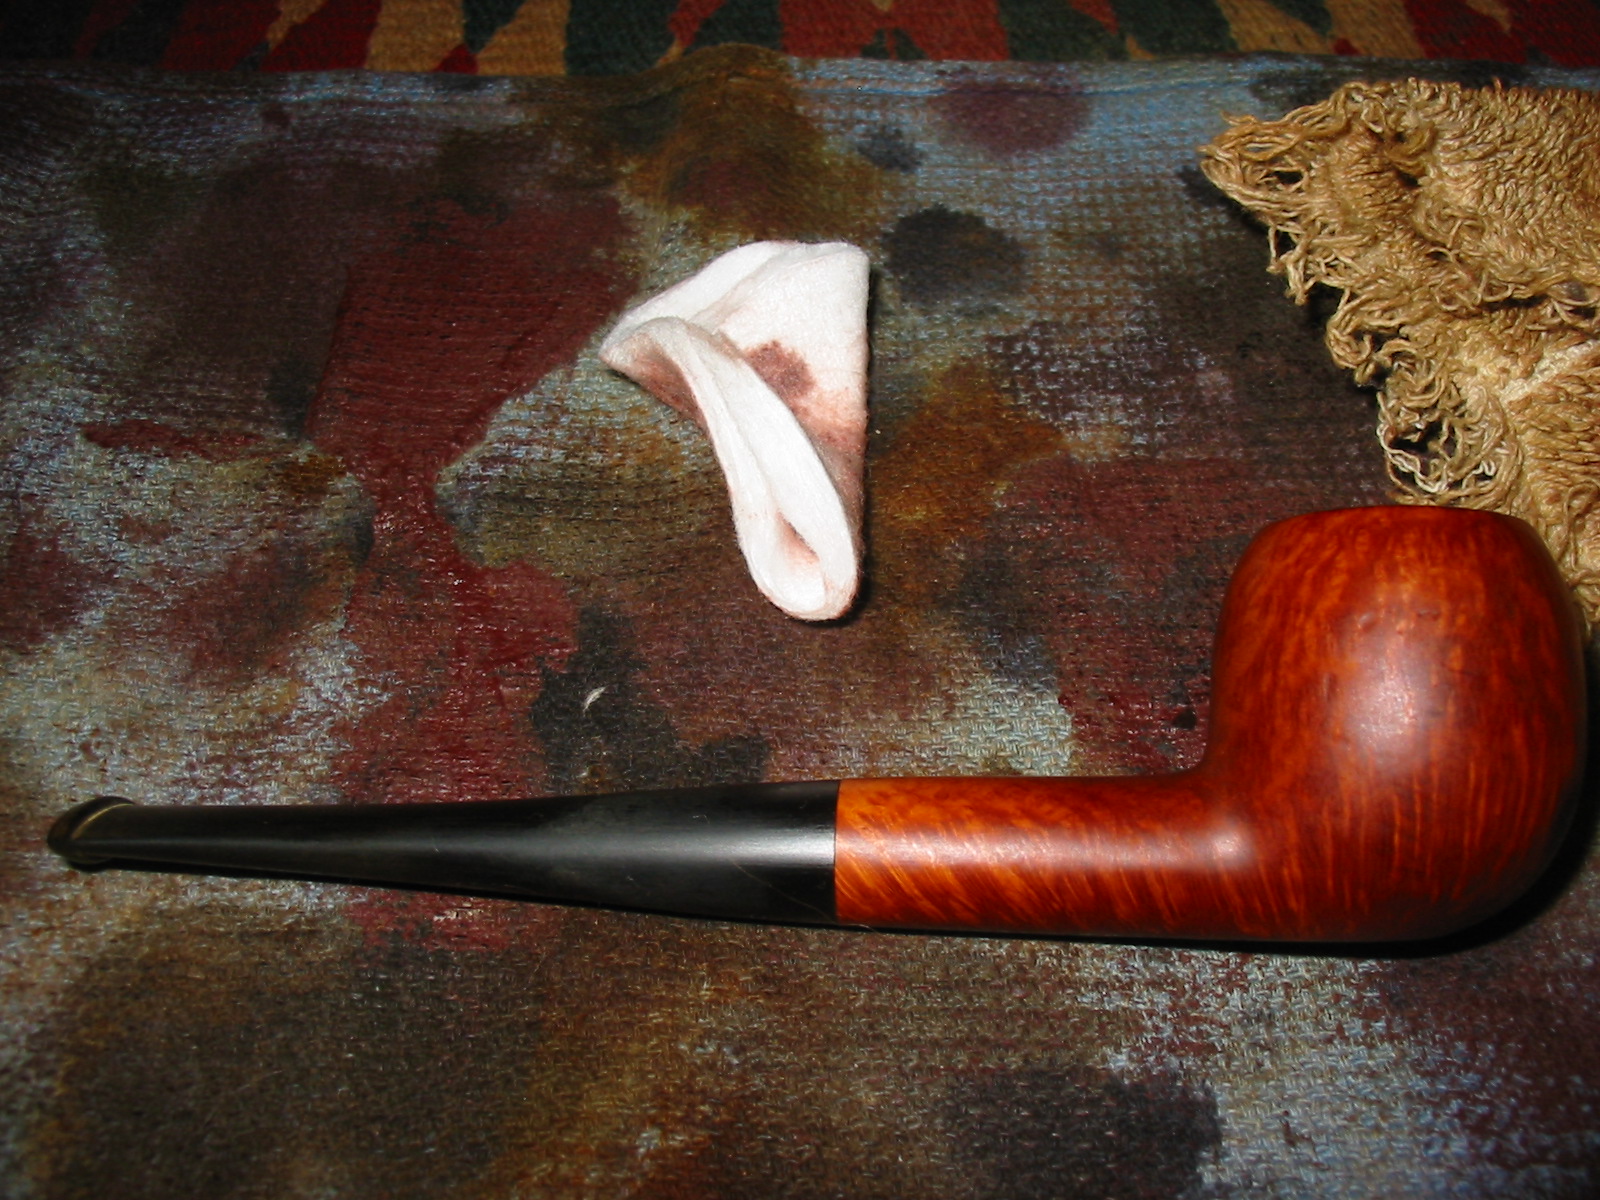
I took the pipe to the buffer and buffed it with White Diamond and then gave it multiple coats of carnauba wax. I finished by buffing it with a clean flannel buffing pad. The pictures below show the finished pipe. It is ready to send back to my buddy in Lethbridge. I think I will put a few samples of tobacco in the package with the “new pipe”. I think he will enjoy the improved version of his pipe.
IMG_4665

IMG_4666

IMG_4667

IMG_4668

Restoring a Larry Roush Bent Billiard


My friend Dave has a real knack for acquiring some very interesting pipes and occasionally they make their way to my workbench for cleaning. Dave posted this one on the Brothers of Briar forum and I was immediately drawn to it. In the sellers pictures, it looked in great shape, but when Dave had it in had there was some ghosting and it needed a general clean up – that was my good fortune!

At a casual glance, this Grade 7 Carved pipe didn’t impress me, but as I started to work on the various areas, the craftsmanship was really apparent. The pipe had a pretty heavy cake, the stem was bit faded and curiously it has a small dent on the side and a scratch on the other side. The stem had a small tooth indention on the top and bottom of the stem. These were very shallow and I knew they would be challenging to remove completely.

I managed to lose my “Before” photos, but the seller supplied these to Dave.

Larry_Roush_Before 2

Larry_Roush_Before 1

The good news for Dave was that someone really loved this pipe!

I reamed the heavy cake from the pipe and then used the retort, as Dave had mentioned it had heavy ghosting. To be completely sure the ghosting was removed, I also soaked the bowl with alcohol and sea salt. I was pretty confident that I had removed the ghosting, but only a smoke would determine my ultimate success. The more I handled the “carved” bowl, the more it grew on me.

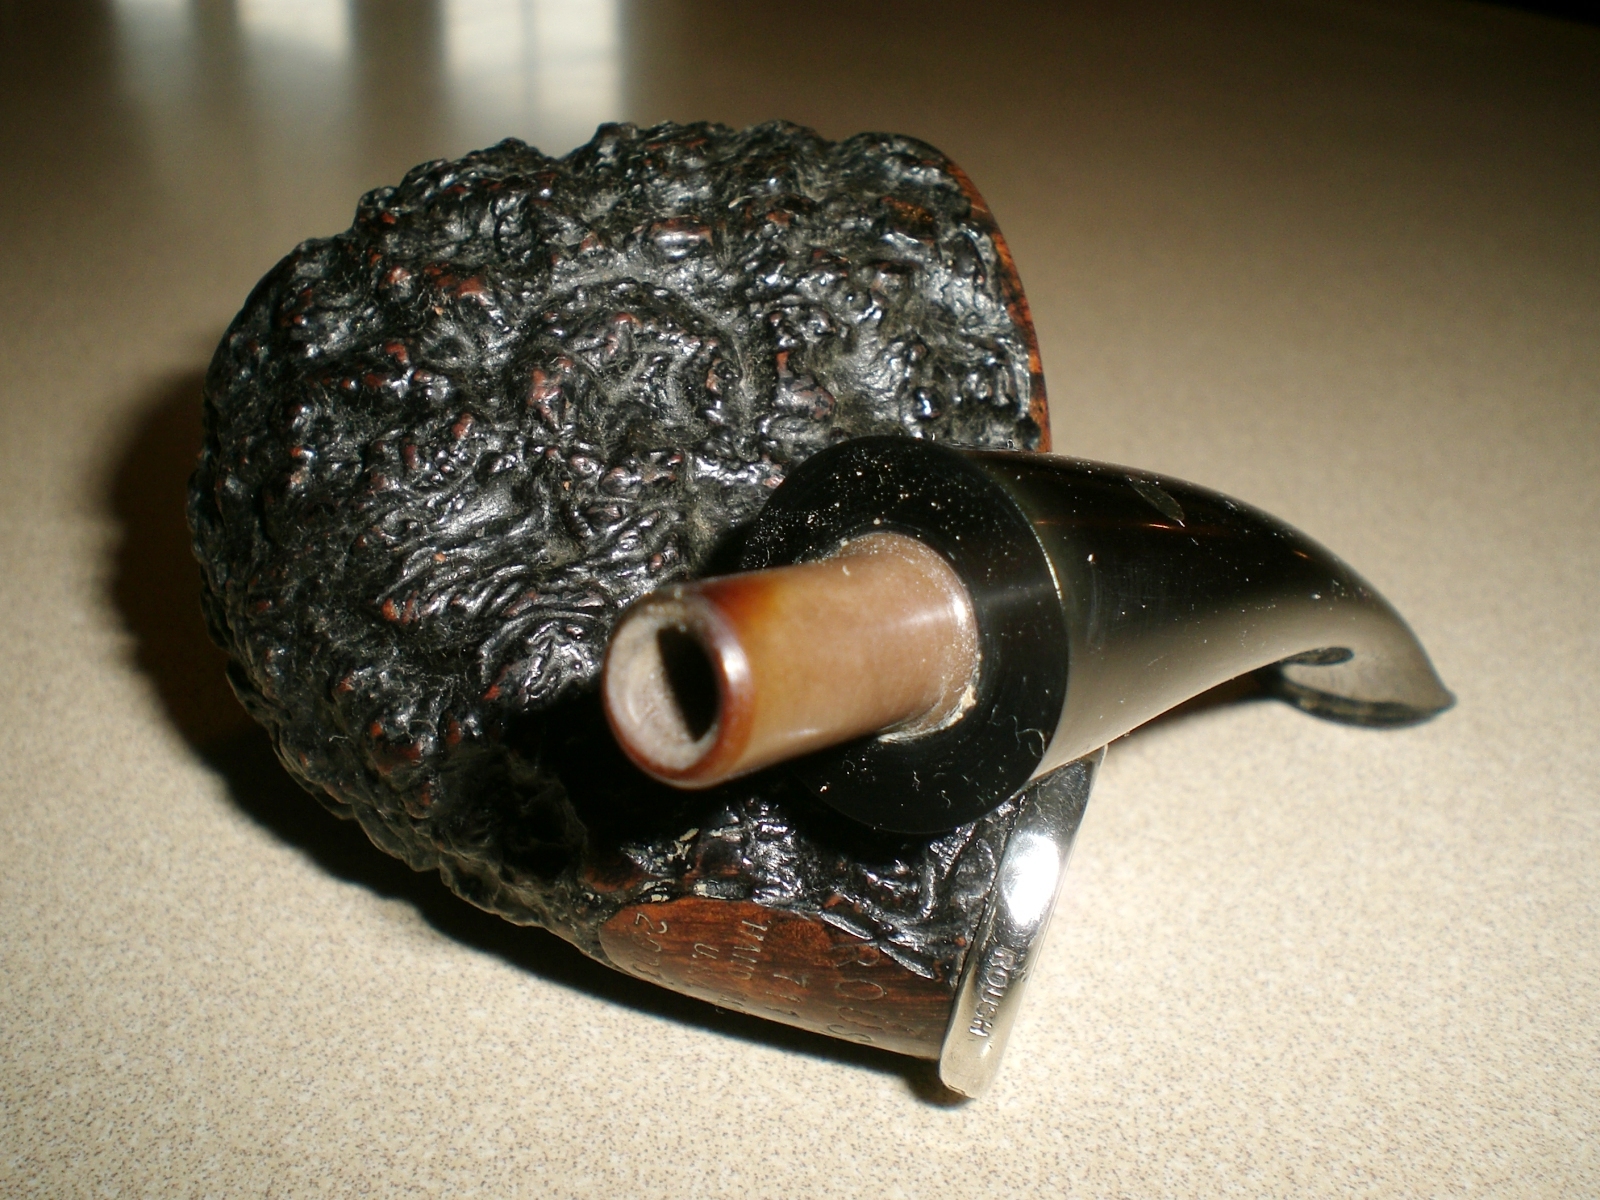
The pipe had a beautiful silver ring that was stamped “Roush” and “Sterling”. I love slim stem rings and think this is a lovely aspect to the pipe. The shank/stem junction was polished and even chamfered a bit. The pipe had what appeared to be a Delrin tenon which was nicely finished as well.

The small side dent and scratch on the vulcanite stem took some 800 grit wet paper to remove. The stem was then polished with 2000 grit paper and then 8000 and 12000 grit micromesh paper. I was able to diminish the two teeth dents, but not completely remove them. I tried to cover them with the black Stew-Mac Superglue, but they were to shallow for it to adhere well.

I polished the bowl top with some White Diamond and then several coats of Carnuba wax. I waxed the bowl by hand with some Halycon wax and an old tooth brush. I used some metal polish the brighten the sterling silver ring.

I sent the finished pipe back to Dave and he reports that I was successful in removing the ghosts. Larry Roush pipes command premium prices and after examining one quite closely, I came away very impressed with his work.

Roush_Dave_J (6)

Roush_Dave_J

Roush_Dave_J (1)

Roush_Dave_J (3)

Roush_Dave_J (4)

Roush_Dave_J (5)

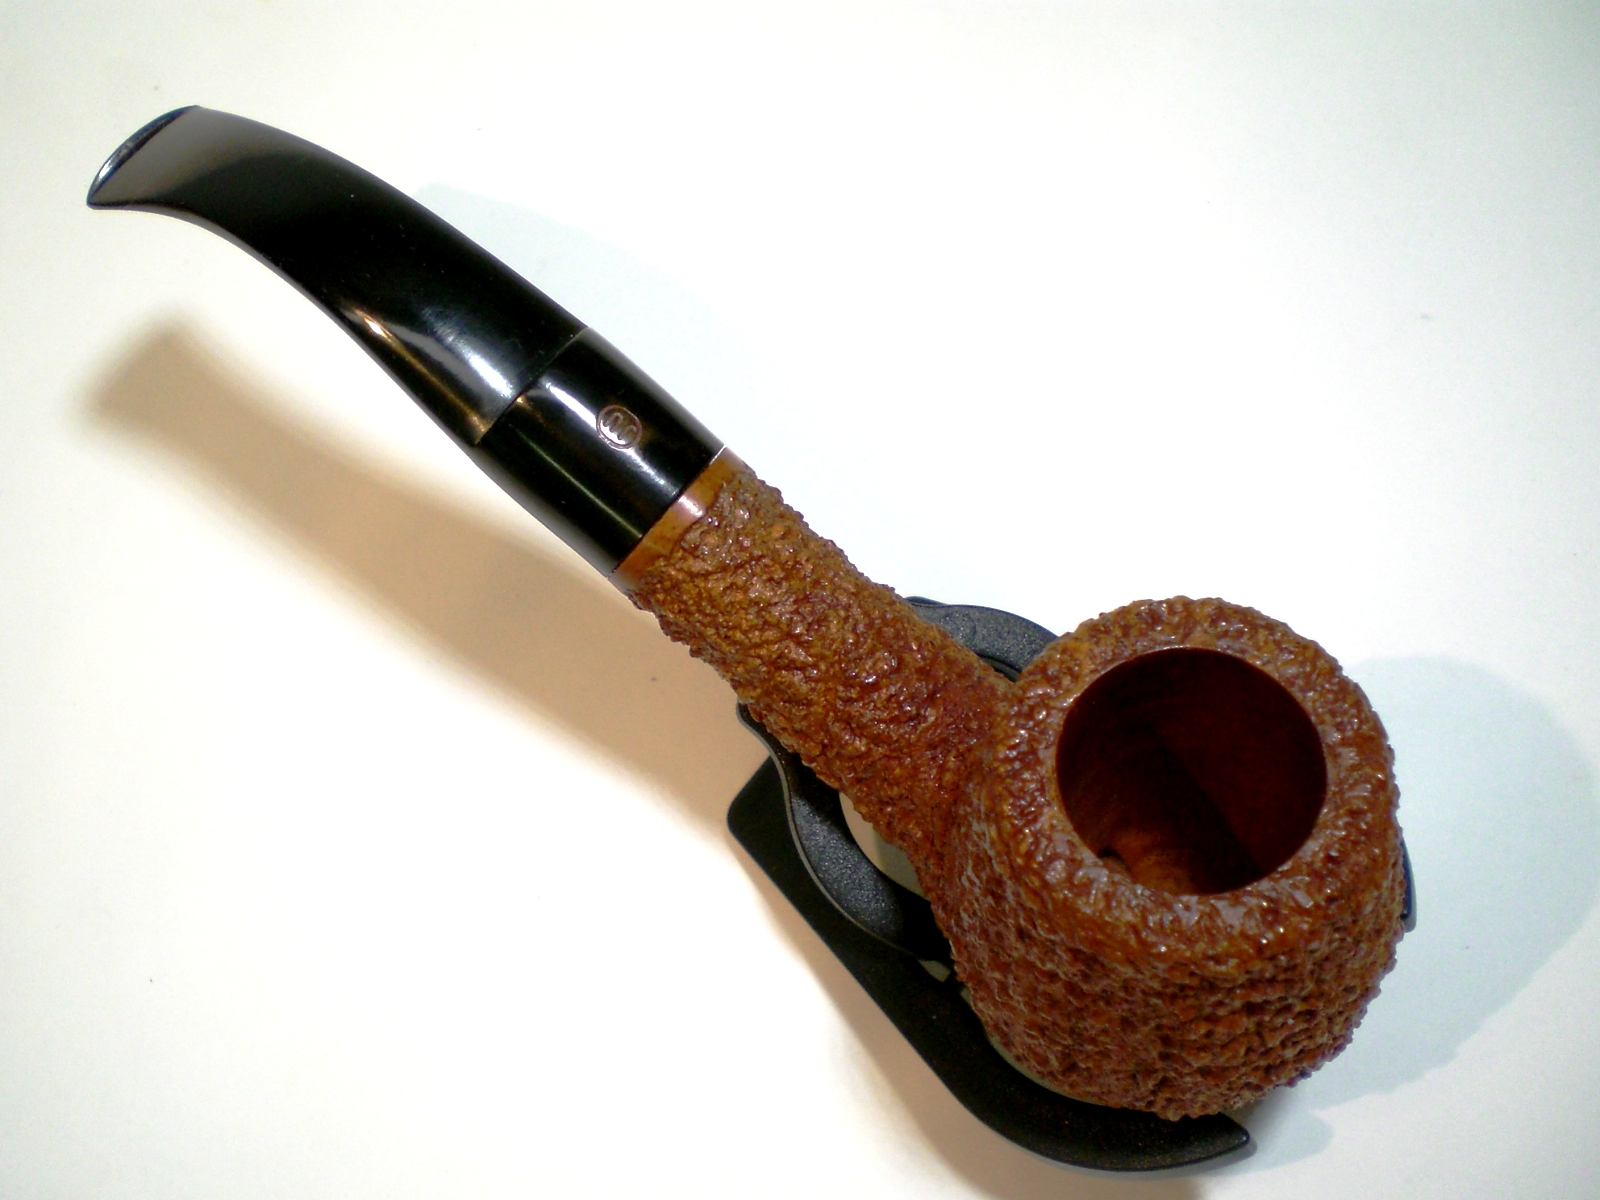
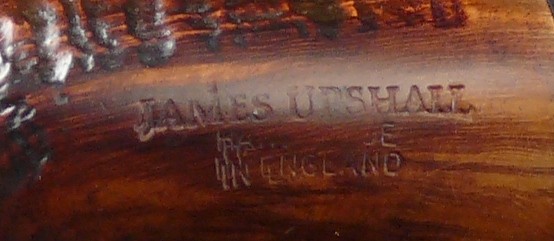
James Upshall Bark (Unsmoked) Restoration


As my screen name for this blog implies, I’m a pretty big James Upshall fan. To this point, all of my Upshalls are smooth pipes of the various grades (P, S, B and ungraded). This pipe, my 8th Upshall, was advertised as “unsmoked”. The Ebay pictures were lousy, but the price was right and the seller took refunds, so I rolled the dice. I was pleasantly surprised with a beautiful Bark finish pipe and in perfect, unsmoked condition. Of course the stem was oxidized, which proved to be more stubborn than it appeared.

James_Upshall_Bark_Before (1)

James_Upshall_Bark_Before

James_Upshall_Bark_Before (3)

I didn’t want to soften or damage any of the stem edges on the saddle stem, so I started with a relatively fine, 2000 grit wet paper. I used a combination of popsicle stick and small, flat needle file to get the oxidation out of the creases. That took considerable effort, but I’m pleased with the results. I followed next with 8000 and 12000 grades of micromesh, also utilizing the sticks. Working around the small, stamped logo, was challenging. The stem was then buffed with white diamond and then plastic polish.

I worked in some Halycon II wax on the bowl, which was in mint condition. I used an old toothbrush to work the wax into the rough finish and then buffed it with a clean cloth.

I’m very excited to smoke this one, as it is my first unsmoked James Upshall. I’ve handled other Bark finish Upshalls in the past and some of the stem work was not to my liking. This one looks to have a good grade of vulacanite and has the feel I’m accustomed to on my polished Upshalls. The button is particularly appealing and has perfect mouth feel. I’m not a real clencher, so smaller profile buttons are to my liking. The Bark finish feels superb in my hand and it is a bit similar to the Sea Rock on my Castello. After the Rhodesian and Bulldog shapes, the classic Bent Billiard is next on my preferred shapes list.

I have several large Upshalls in my collection and I’m focusing on obtaining only smaller pipes now. Fortunately, this one isn’t too far out of my comfort zone at 60 grams. It is also about the same size as my Castello 4k pipe (also a bent billiard).

James_Upshall_Bark_Gallery (6)

James_Upshall_Bark_Gallery (1)

James_Upshall_Bark_Gallery (2)

James_Upshall_Bark_Gallery (3)

James_Upshall_Blasted - SAMPLE

Topping a Badly Damaged Georg Jensen Bent Billiard


Blog by Steve Laug

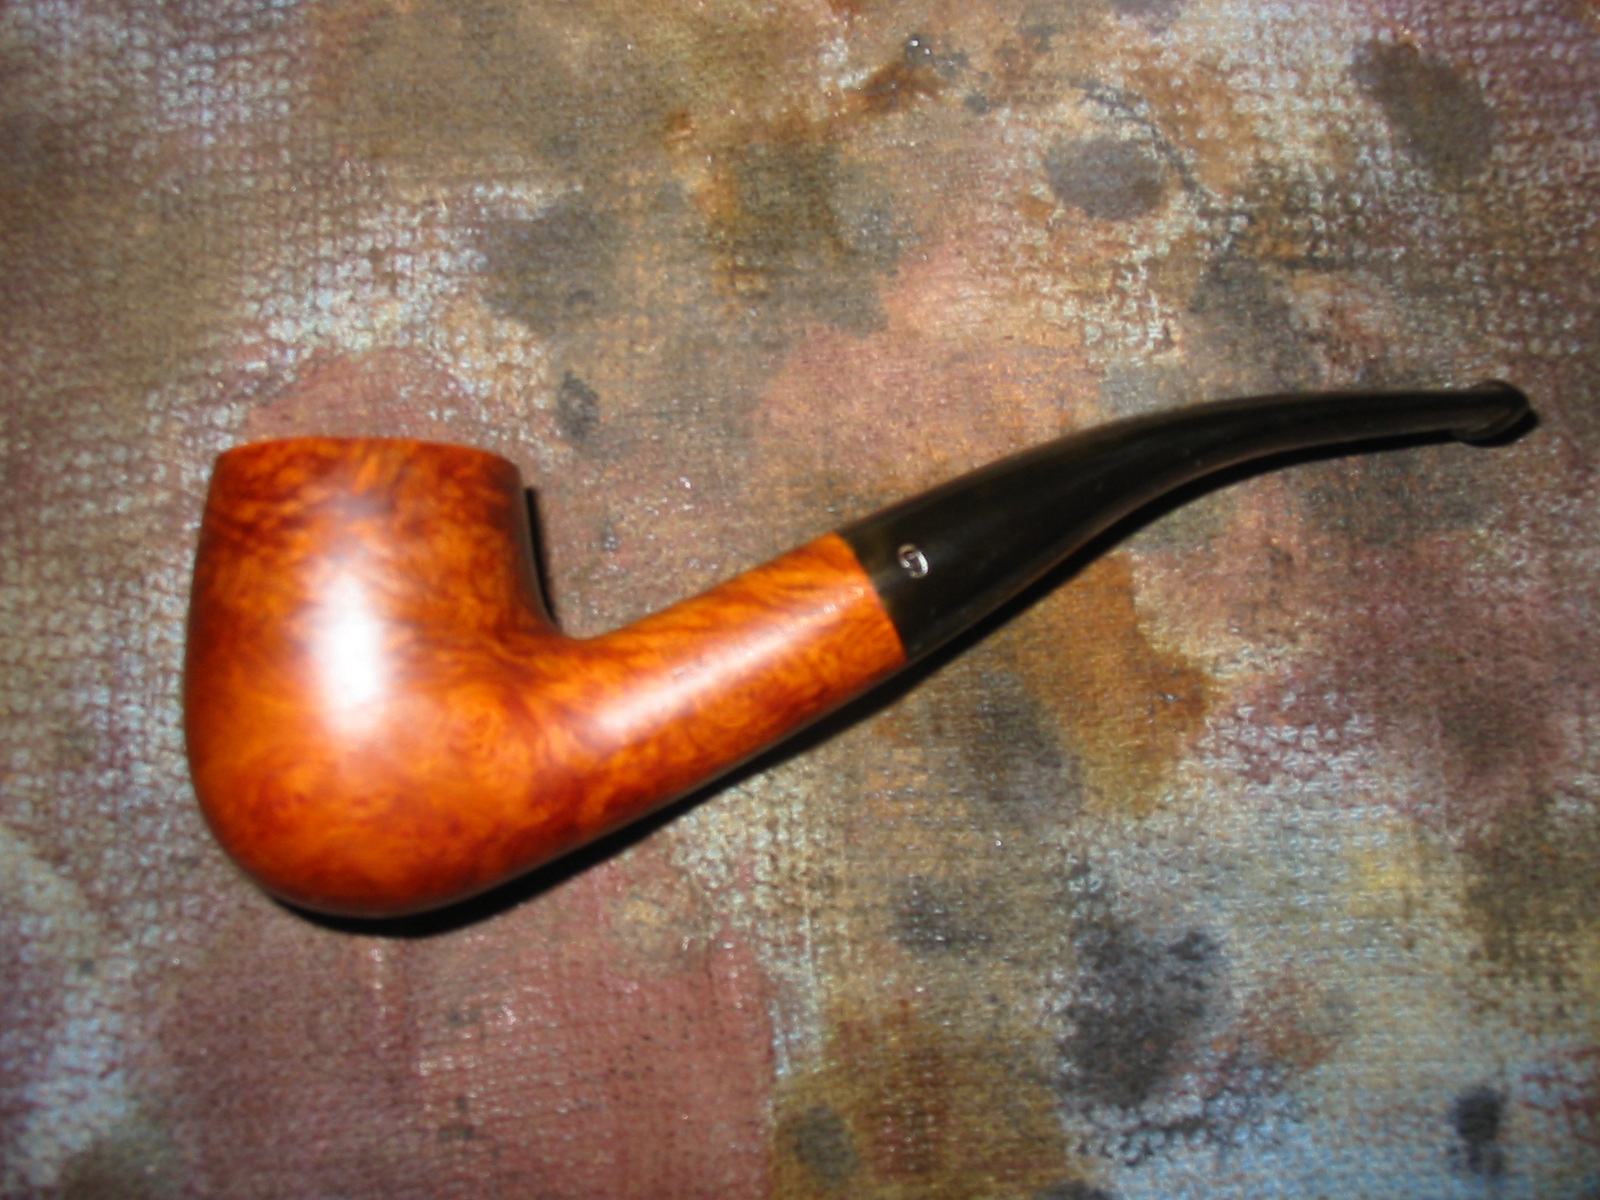
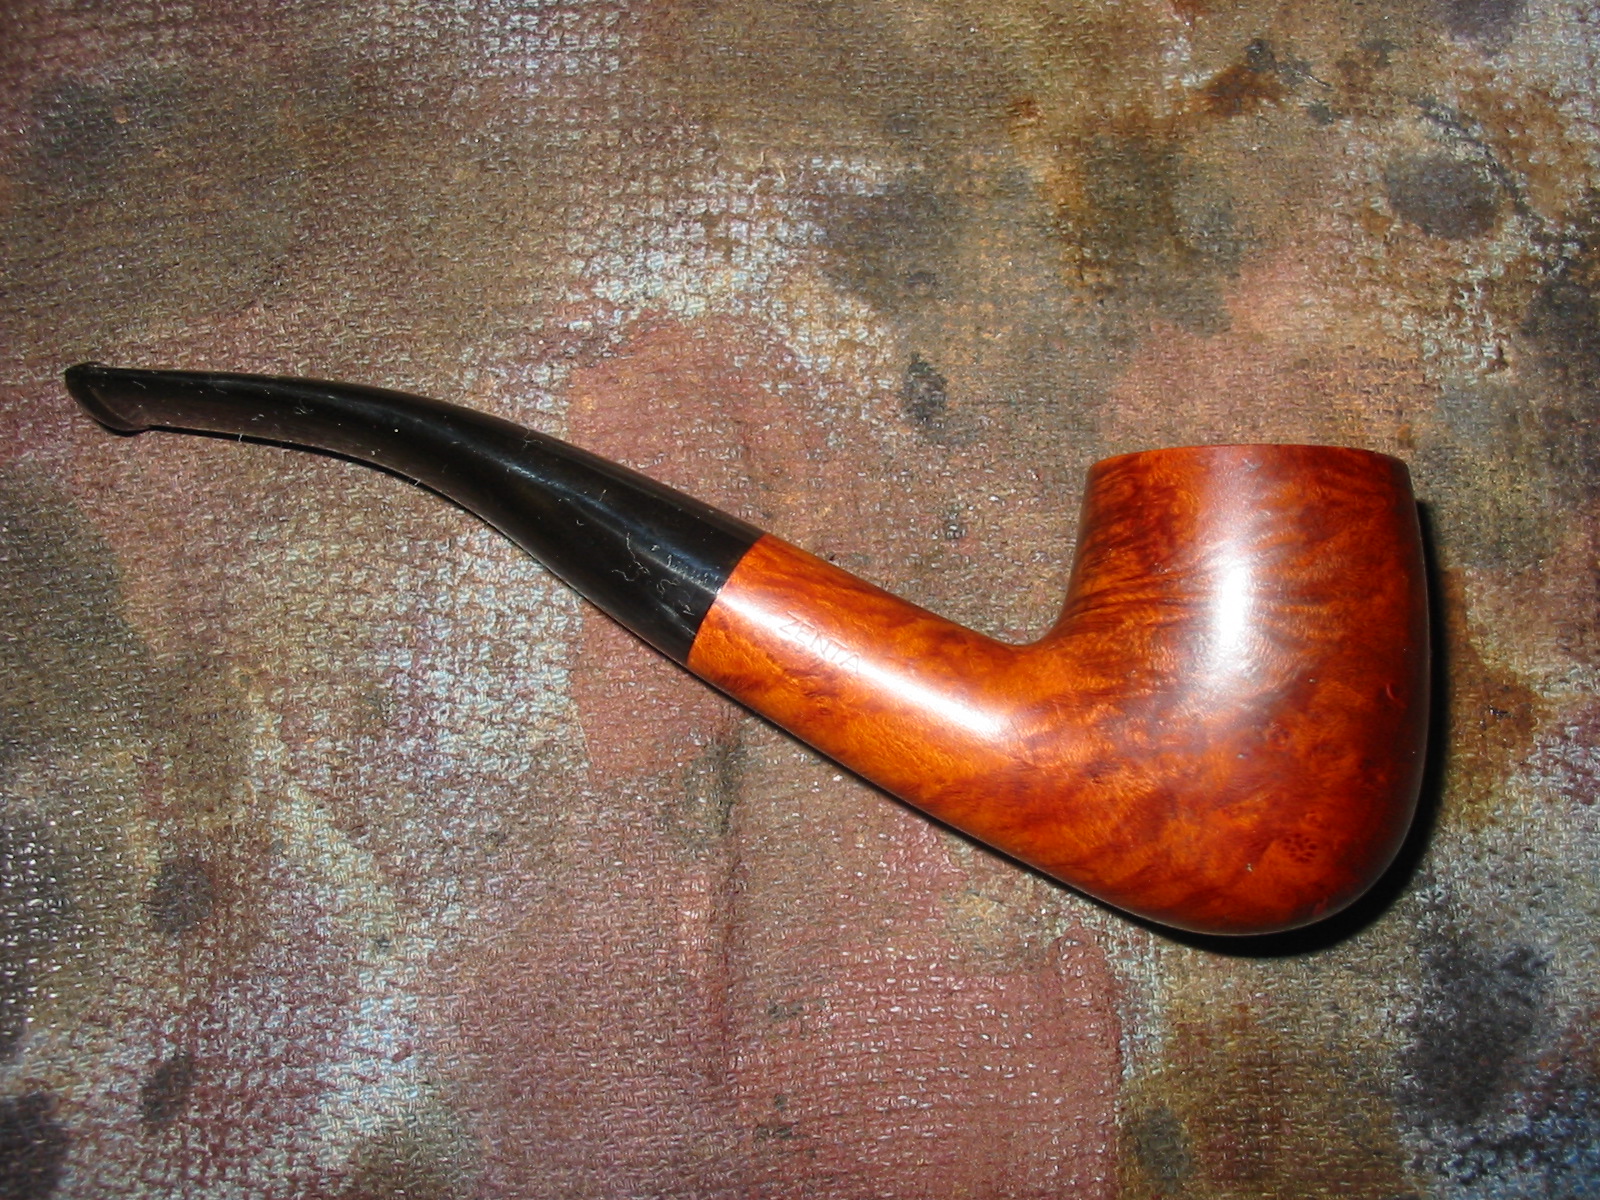
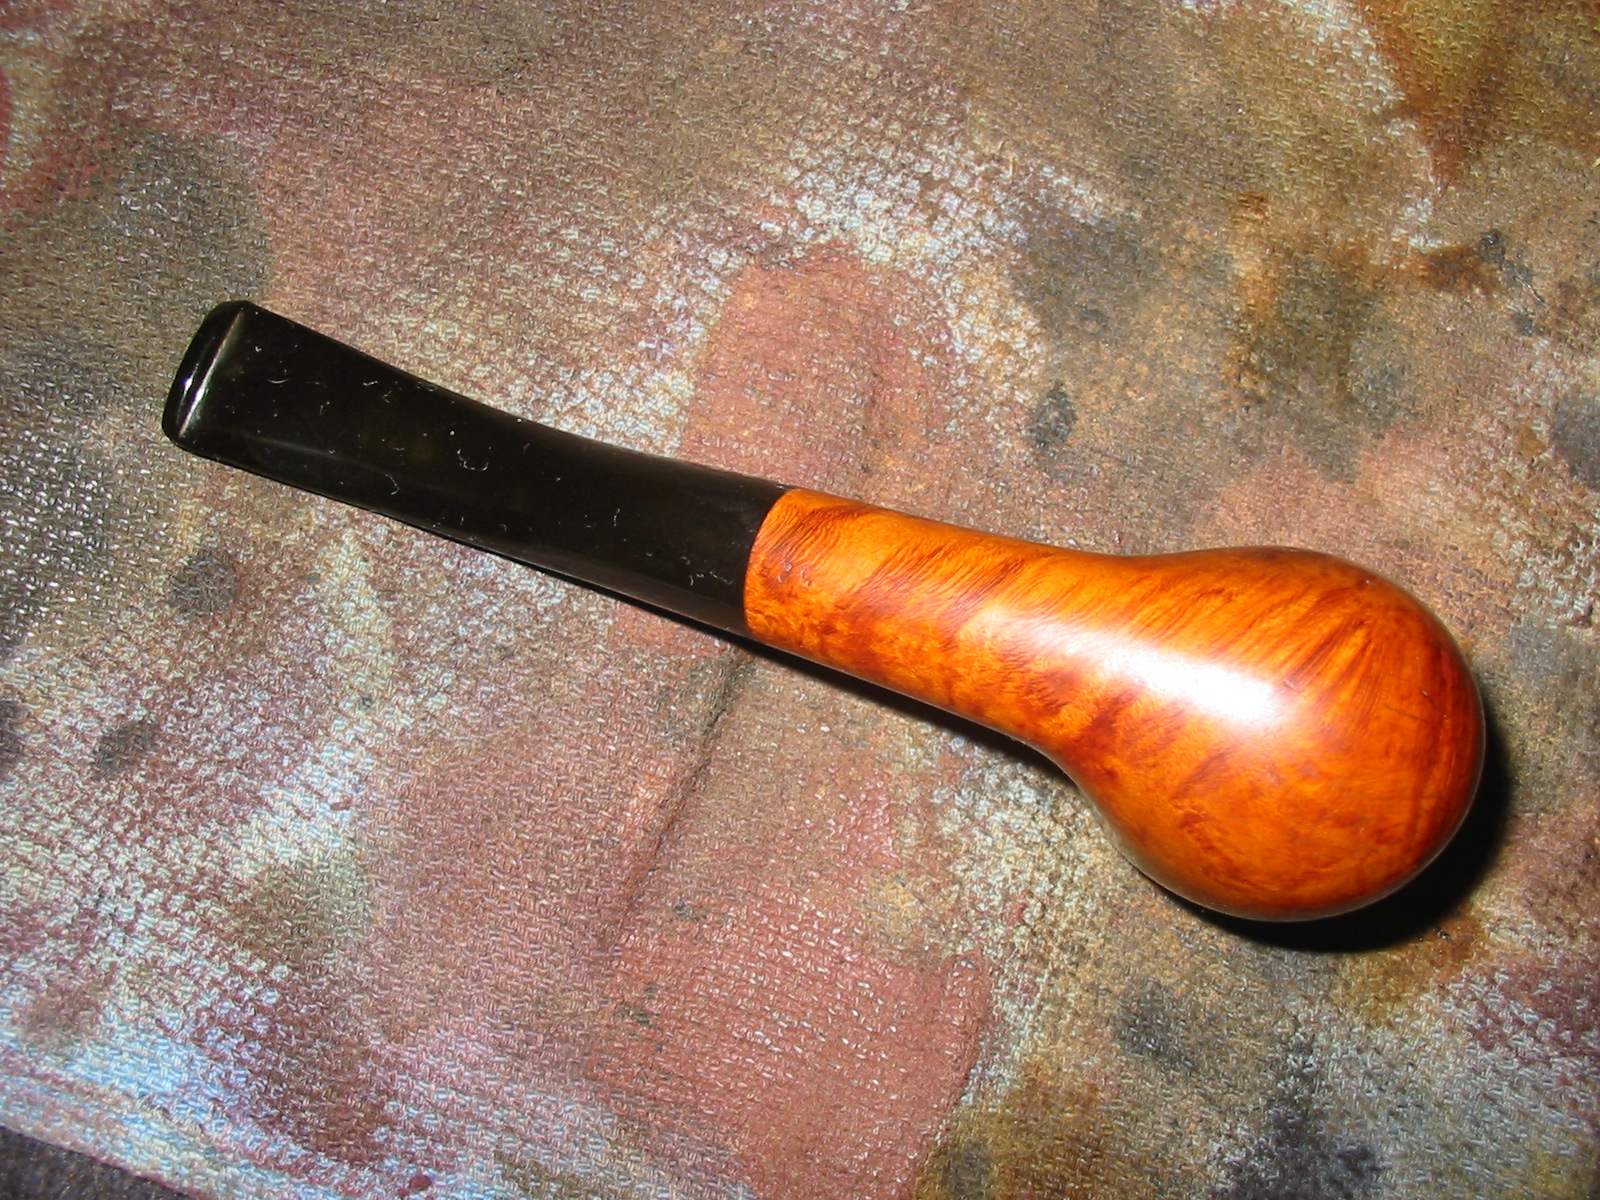
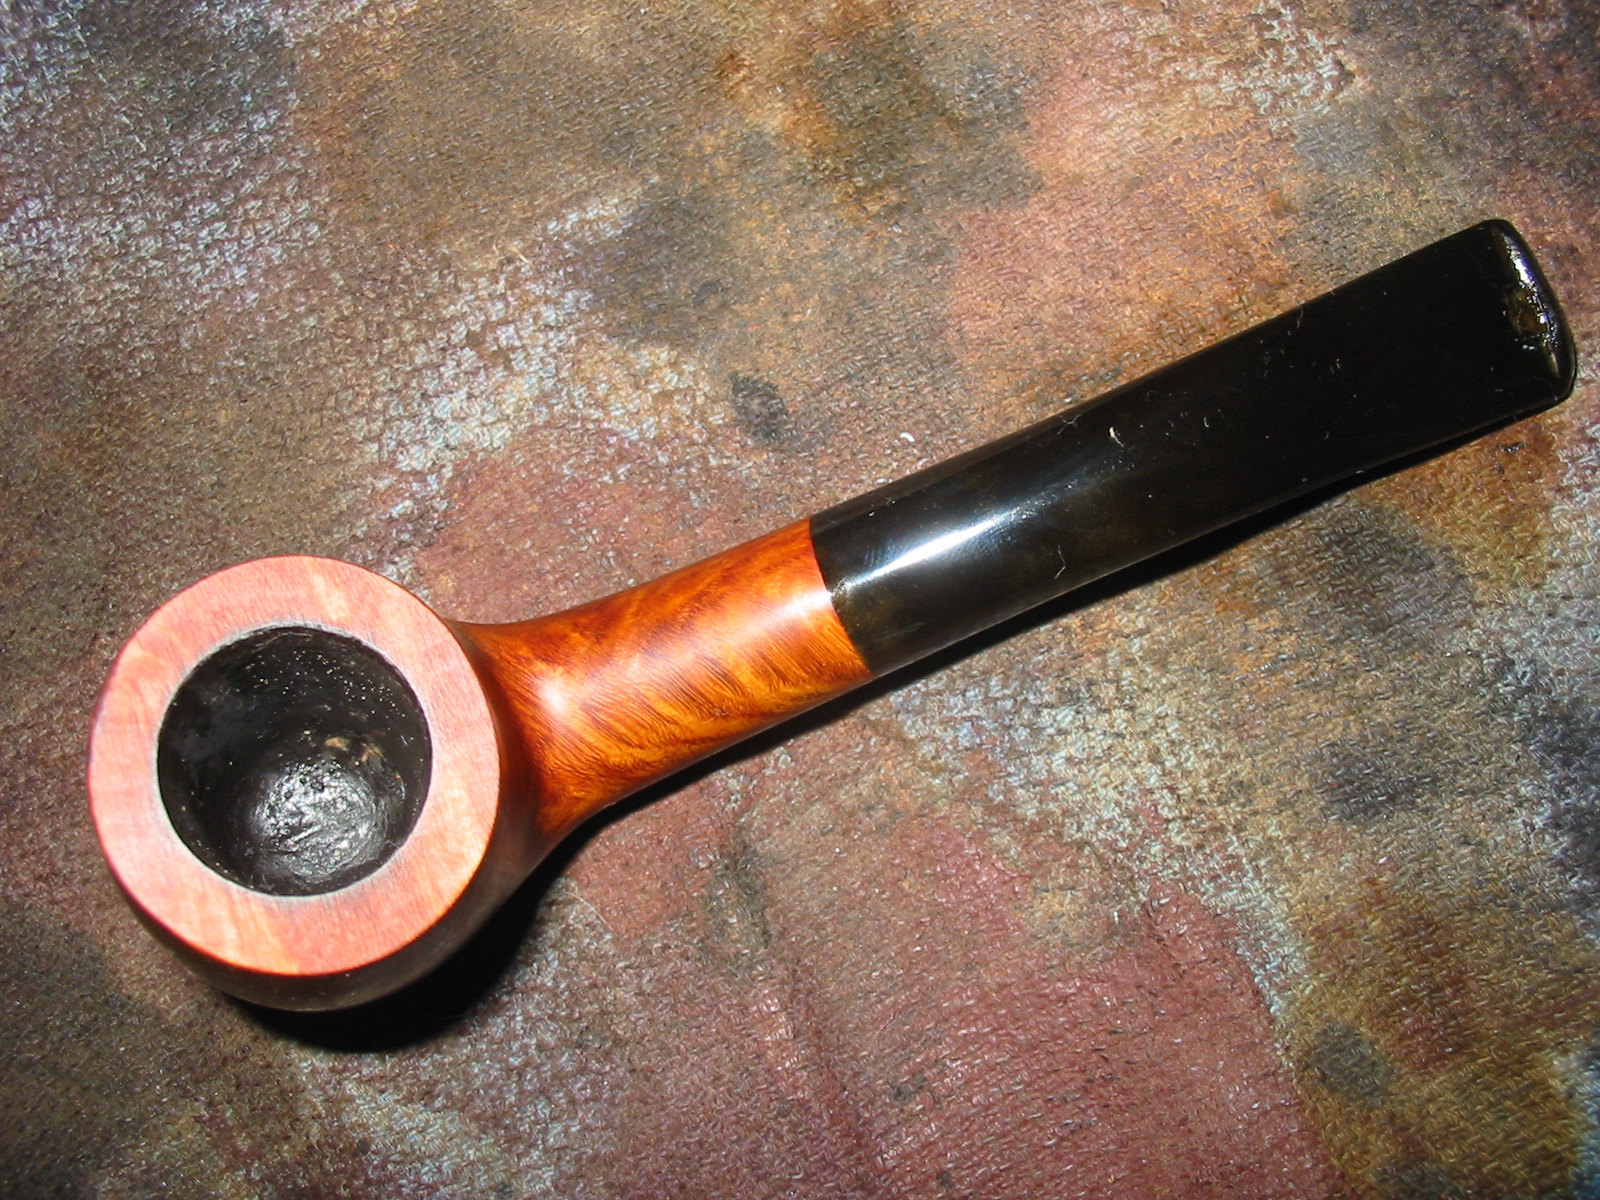
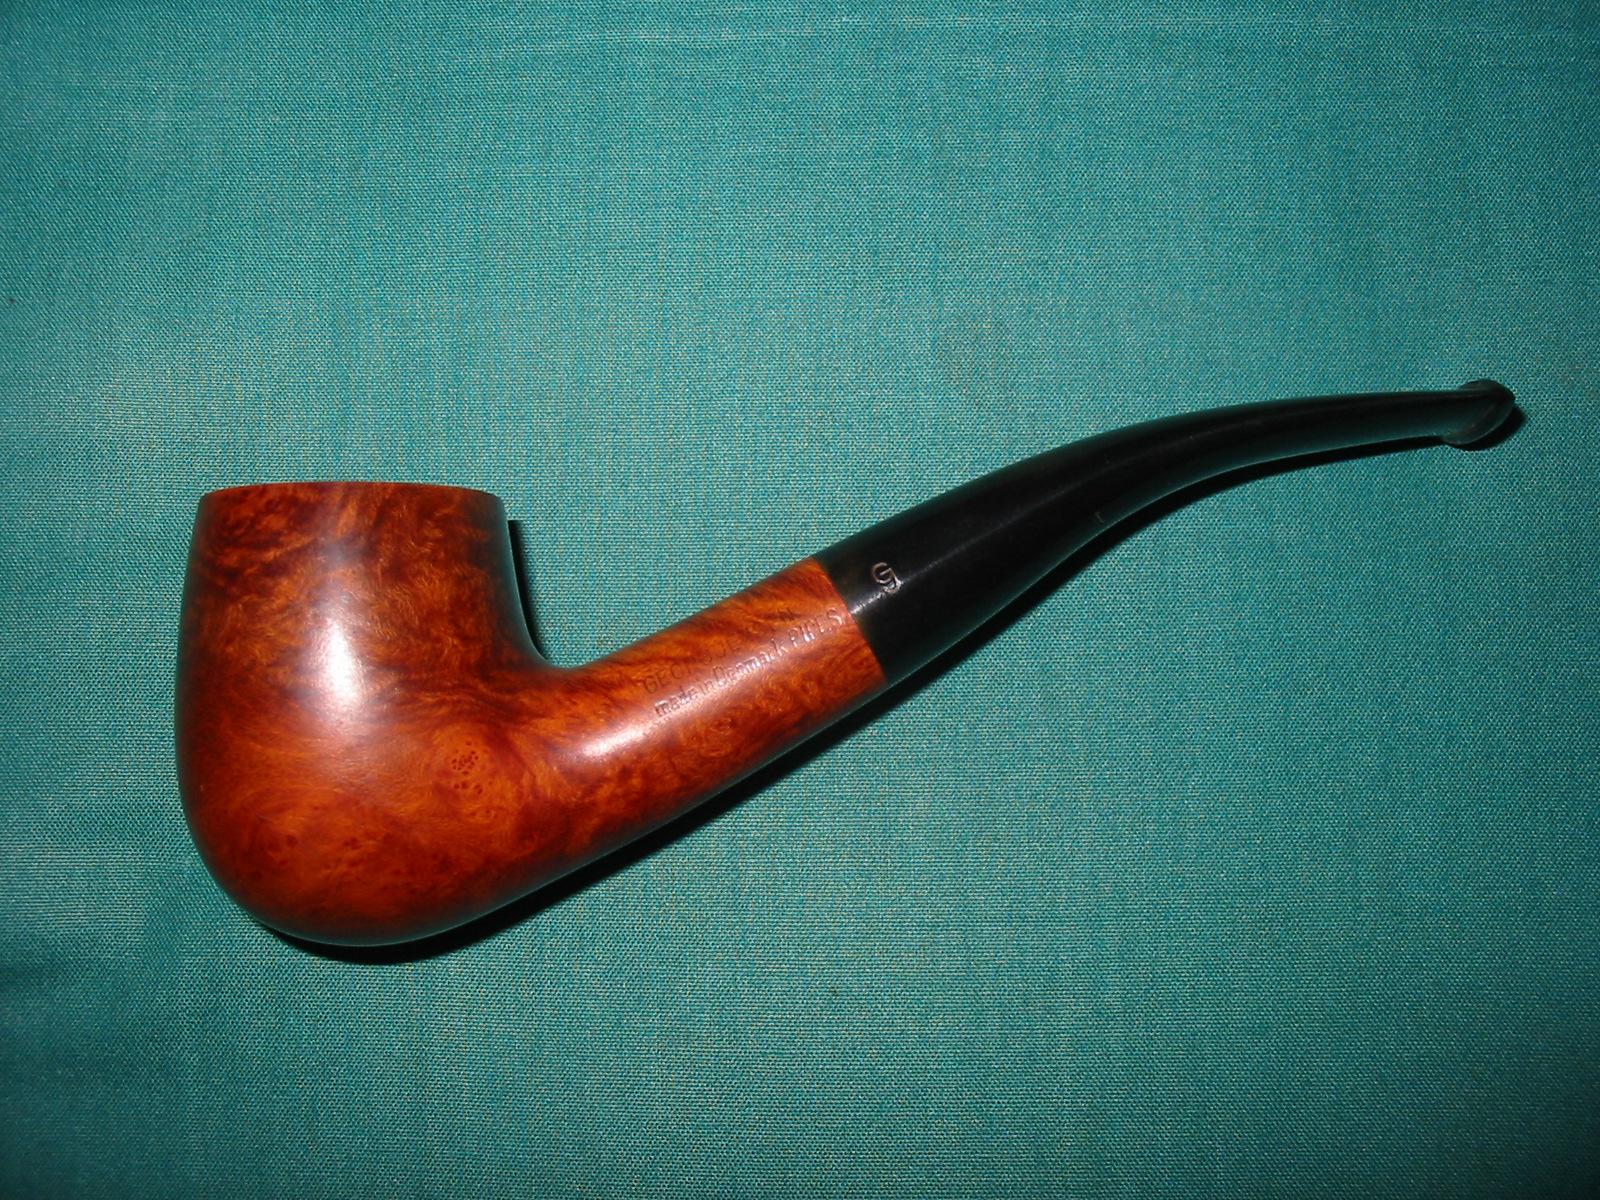
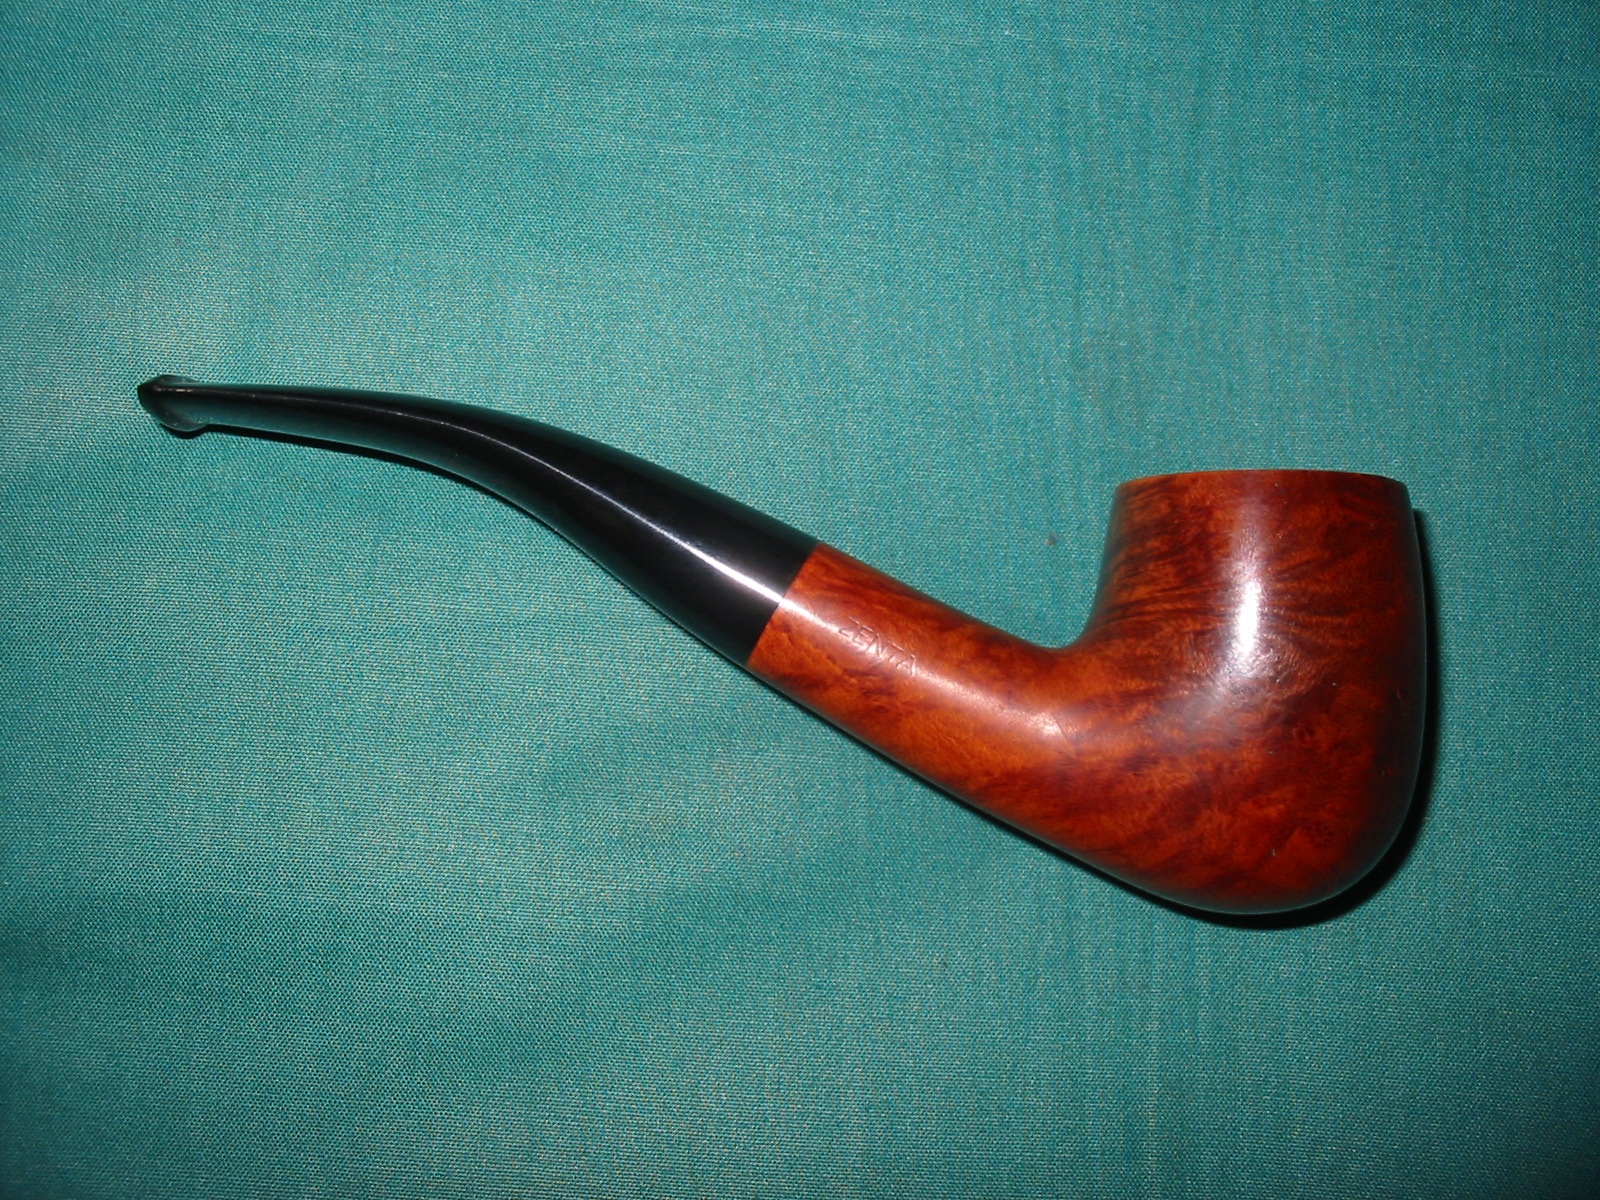
In the process of going through the box of pipes for the Vancouver Pipe Club to put back the ones I had worked on, I found another that really needed attention. I just could not leave it in the box as the damage looked awful and I knew it could look so much better. It is an oddly shaped bent billiard to me but it had a quaint quality about it that I liked. It is stamped Georg Jensen over Made in Denmark Pipes on the left side and Zenta on the right side. On the underside of the shank it is stamped 525. I am assuming that is a shape number. The stem was oxidized around the shank. The bowl had been coated with varnish – even over the grit on the surface. There were also finger prints in the varnish. The worst part of the pipe was the rim. It was worn down on the front side and the varnish had covered the rough surface of the beat up briar. It was also burned on the back inner edge of the rim and onto the rim surface. The inner edge of the rim was also damaged and nicked and gouged out of round. The stem had one tooth mark on the topside near the button.
IMG_4431

IMG_4433

IMG_4434

IMG_4435

I have included the next two close-up photos to show the rim damage. The front edge is very worn, the back inner edge is burned and the inner edge of the rim is clearly gouged and marked. Fortunately the damage did not extend deeply into the bowl was limited to the top 1/8th inch of the bowl top. The bowl had also been coated with a black rubbery bowl coating. I chose to leave it as the bowl also had some gouges in the bottom from the knife that someone used to ream the bowl.
IMG_4436

IMG_4437

I set up my board and sandpaper that I use for topping pipe bowls and sanded the top of the rim. This one was a little tricky in that the front slope was lower than the rest of the rim. I worked the back half of the rim first to bring the height down to the same place as the highest portion of the front slope. Once I had that done it was an easy matter to proceed with topping the rest of the rim. I worked until I had removed the burn damage and the rough front edge and had a flat, smooth and rim with an even circumference.
IMG_4438

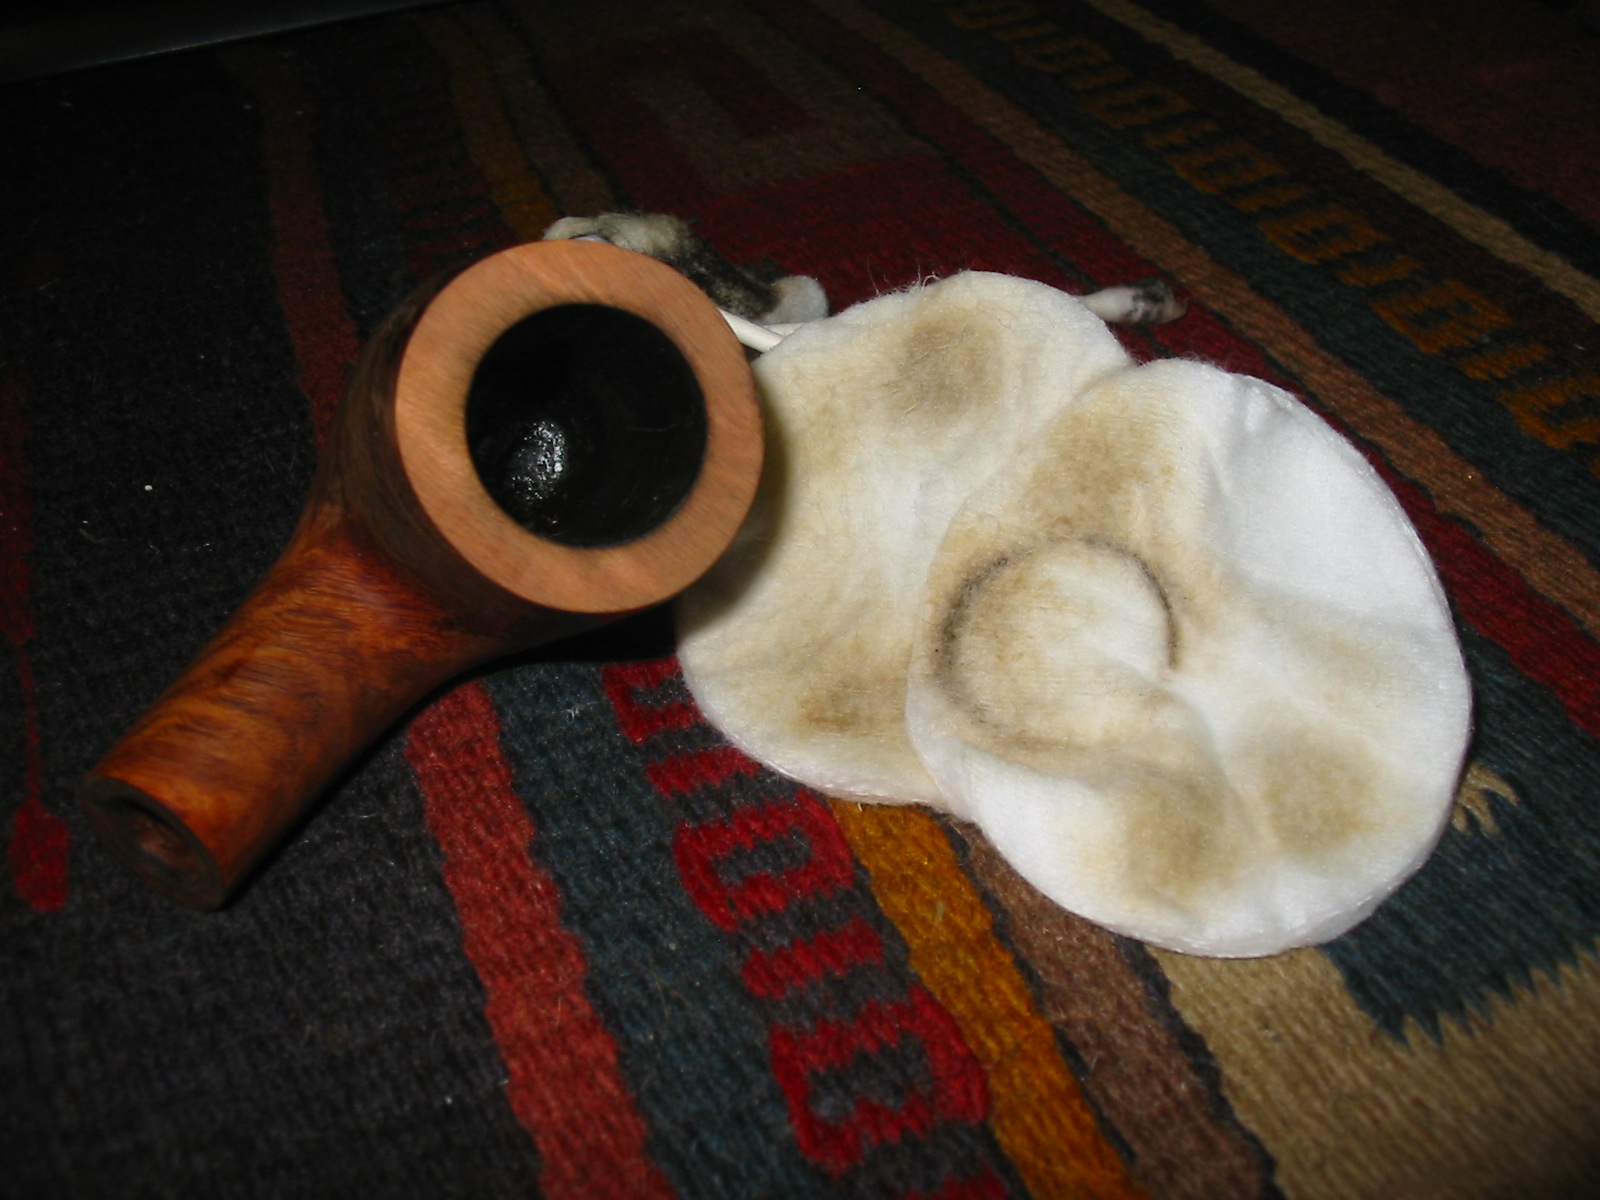
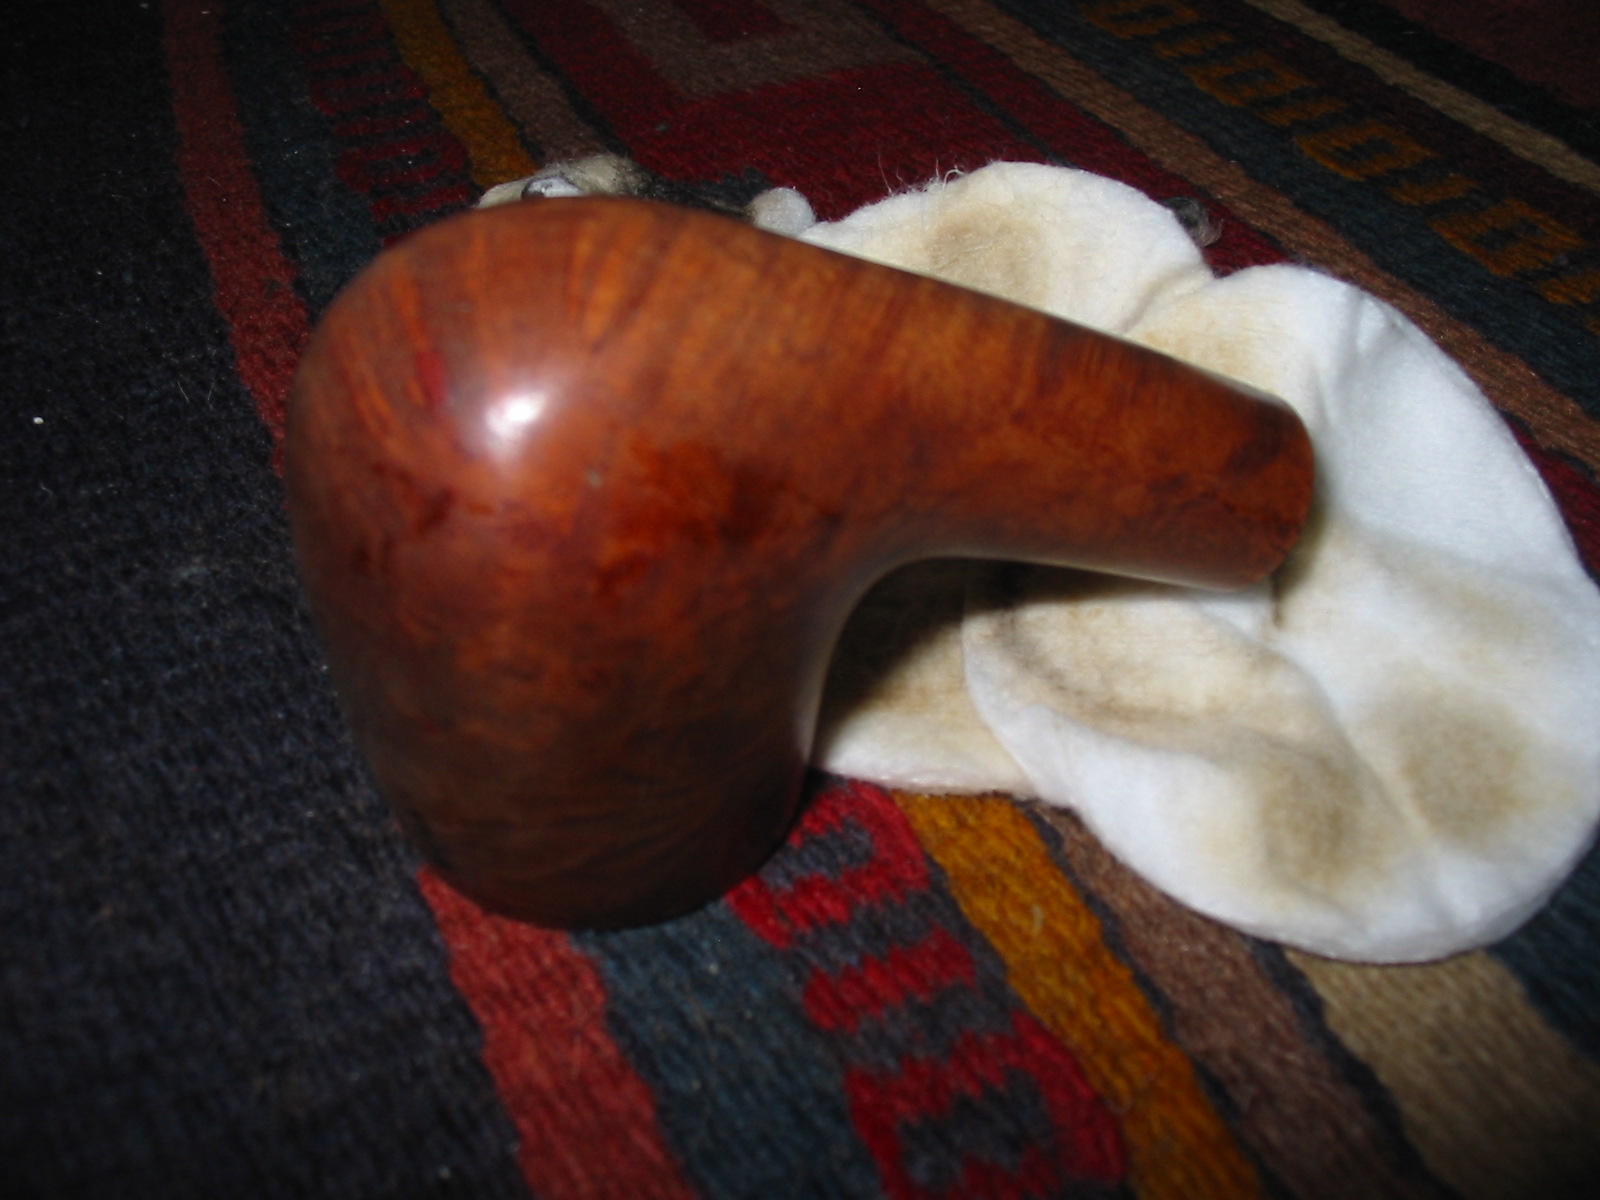
I wiped the bowl down with acetone on cotton pads to remove the varnish coat and the rest of the finish so that I could blend in the stain on the freshly topped rim with the rest of the pipe.
IMG_4439

IMG_4440

IMG_4441

IMG_4443

I used MinWax Red Mahogany stain to restain the pipe. I rubbed it on and then wiped it off several times until I had the even coverage I wanted on the bowl. I had buffed it with a cotton cloth to give it a slight shine and get a feel for the overall look of the stain on the bowl. I retouched the stain on the rim to darken it slightly. I lightly buffed the bowl with White Diamond and gave it an initial coat of carnauba wax.
IMG_4444

IMG_4445

IMG_4446

IMG_4447

The tooth mark on the top of the stem needed to be heated to lift it as much as possible and then I used some superglue to finish the repair. I sanded it with 220 grit sandpaper to feather it into the surface of the stem. I followed that with a medium and fine grit sanding sponge. I finished the stem with my usual array of micromesh sanding pads – wetsanding with 1500-2400 grit pads and dry sanding with 3200-12,000 grit pads. I rubbed the stem down with Obsidian Oil and then buffed the pipe with White Diamond. I gave it multiple coats of carnauba wax to finish. The completed pipe is shown in the photos below. I also included a photo of the top of the rim to show the repair. The pipe is now ready to join the rest of the ones heading to the Vancouver Pipe Club. It should provide years of service to the pipeman who takes it home.
IMG_4450

IMG_4451

IMG_4452

IMG_4453

IMG_4454

Reworking a Peterson’s Kildare X105


I picked up this old pipe primarily for the shape. It has the chunky look I like in a pipe. The bowl has some nice grain on it and that was attractive as well. The stamping was too faint to read in the shop but when I got home with a bright light and a loupe I was able to see the stamping more clearly – though it is very faint. The left side of the shank says Peterson’s over Kildare and the right side says Made in England and the shape number of X105 (at least that is what the stamping of the number looks like). The pipe was in decent shape and would clean up quite nicely. The finish was not too bad though the previous restorer had given it a coat of varnish or something that was quite heavy. There were finger prints still in the varnish coat. The bowl was reamed and clean and the shank quite clean. The rim had some buildup that had been varnished over which gave it a damaged appearance. The stem seems like a replacement but I cannot be sure as the fit is very well done. It was in great shape with minimal oxidation and slight pitting on the surface of the vulcanite. There were not any tooth marks or chatter.
IMG_4342

IMG_4343

IMG_4344

I decided to remove the varnish coat (it seems like I have had to do that a lot lately with the pipes I am reworking for the pipe club). I wiped down the bowl with acetone and cotton pads until I had removed the varnish and the stain. I scrubbed the rim with the acetone and pads as well to remove the buildup under the varnish. It came of quite easily and turned out to be undamaged. There was a slight darkening of the rim on the left side toward the front but no damage to the area.
IMG_4345

IMG_4346

IMG_4347

IMG_4349

While I was working on it I remembered that I had picked up a Peterson sterling silver band that would probably fit this pipe very well. I dug it out of my box of bands and gave it a try on the shank. It fit perfectly on the shank. I like the look of the bling and the added perk of it being a Peterson stamped sterling silver band was bonus!
IMG_4350

IMG_4351

IMG_4352

I put wood glue on the shank to anchor the band (no repairs were necessary and the band was purely adornment) and pressed the band into place. I rotated it so that the Peterson engraving was on the top of the shank.
IMG_4353

I stained the bowl with MinWax Medium Walnut and Red Mahogany stain to get a reddish brown tint to the briar. I rubbed it on the pipe and then off again. I did the same with both colours. When it was dry I hand buffed it with a soft cotton cloth.
IMG_4357

IMG_4358

IMG_4359

IMG_4360

The stem was lightly oxidized and slightly pitted so I decided to work it over with the micromesh sanding pads. I used the usual method I have developed as a habit over the years and wet sanded with 1500-2400 grit pads and dry sanded with 3200-12,000 grit pads. I buffed the stem with White Diamond and rubbed in some Obsidian Oil to preserve the vulcanite.
IMG_4362

IMG_4363

IMG_4364

When the stem was done I reinserted it into the shank and buffed the entire pipe with White Diamond. I avoided buffing the silver as I find that it darkens the wheels and also the wood and vulcanite on both sides of the band. So once I had finished buffing the pipe I gave it multiple coats of carnauba wax and then buffed it with a clean flannel buff. I took it back to the work table and polished the silver band with a jeweler’s cloth and then applied some wax on the band to slow down the oxidation of the silver. The finished pipe is pictured below. I also have included a picture of the finished rim to show the cleanup results. The pipe is cleaned and ready to be smoked. The addition of the silver band worked well in my opinion and I like the finished look of the old timer quite a bit.
IMG_4365

IMG_4366

IMG_4367

IMG_4368

IMG_4369