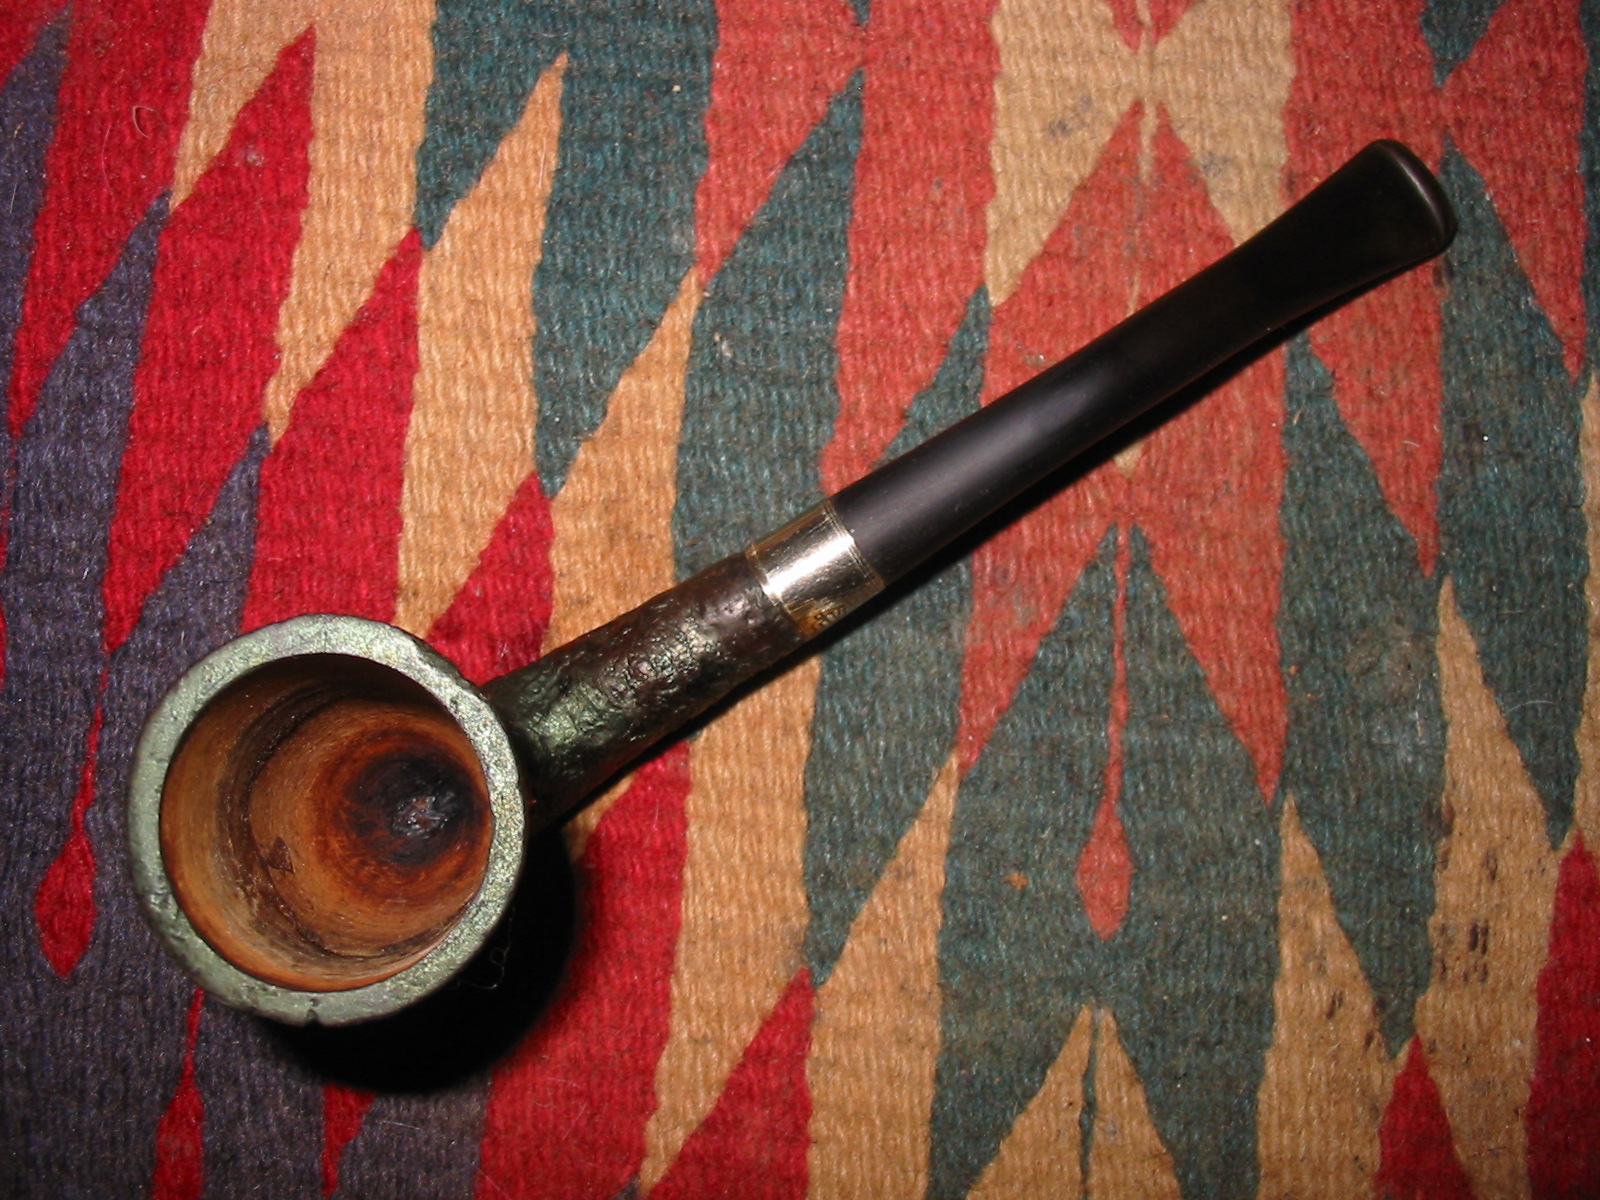
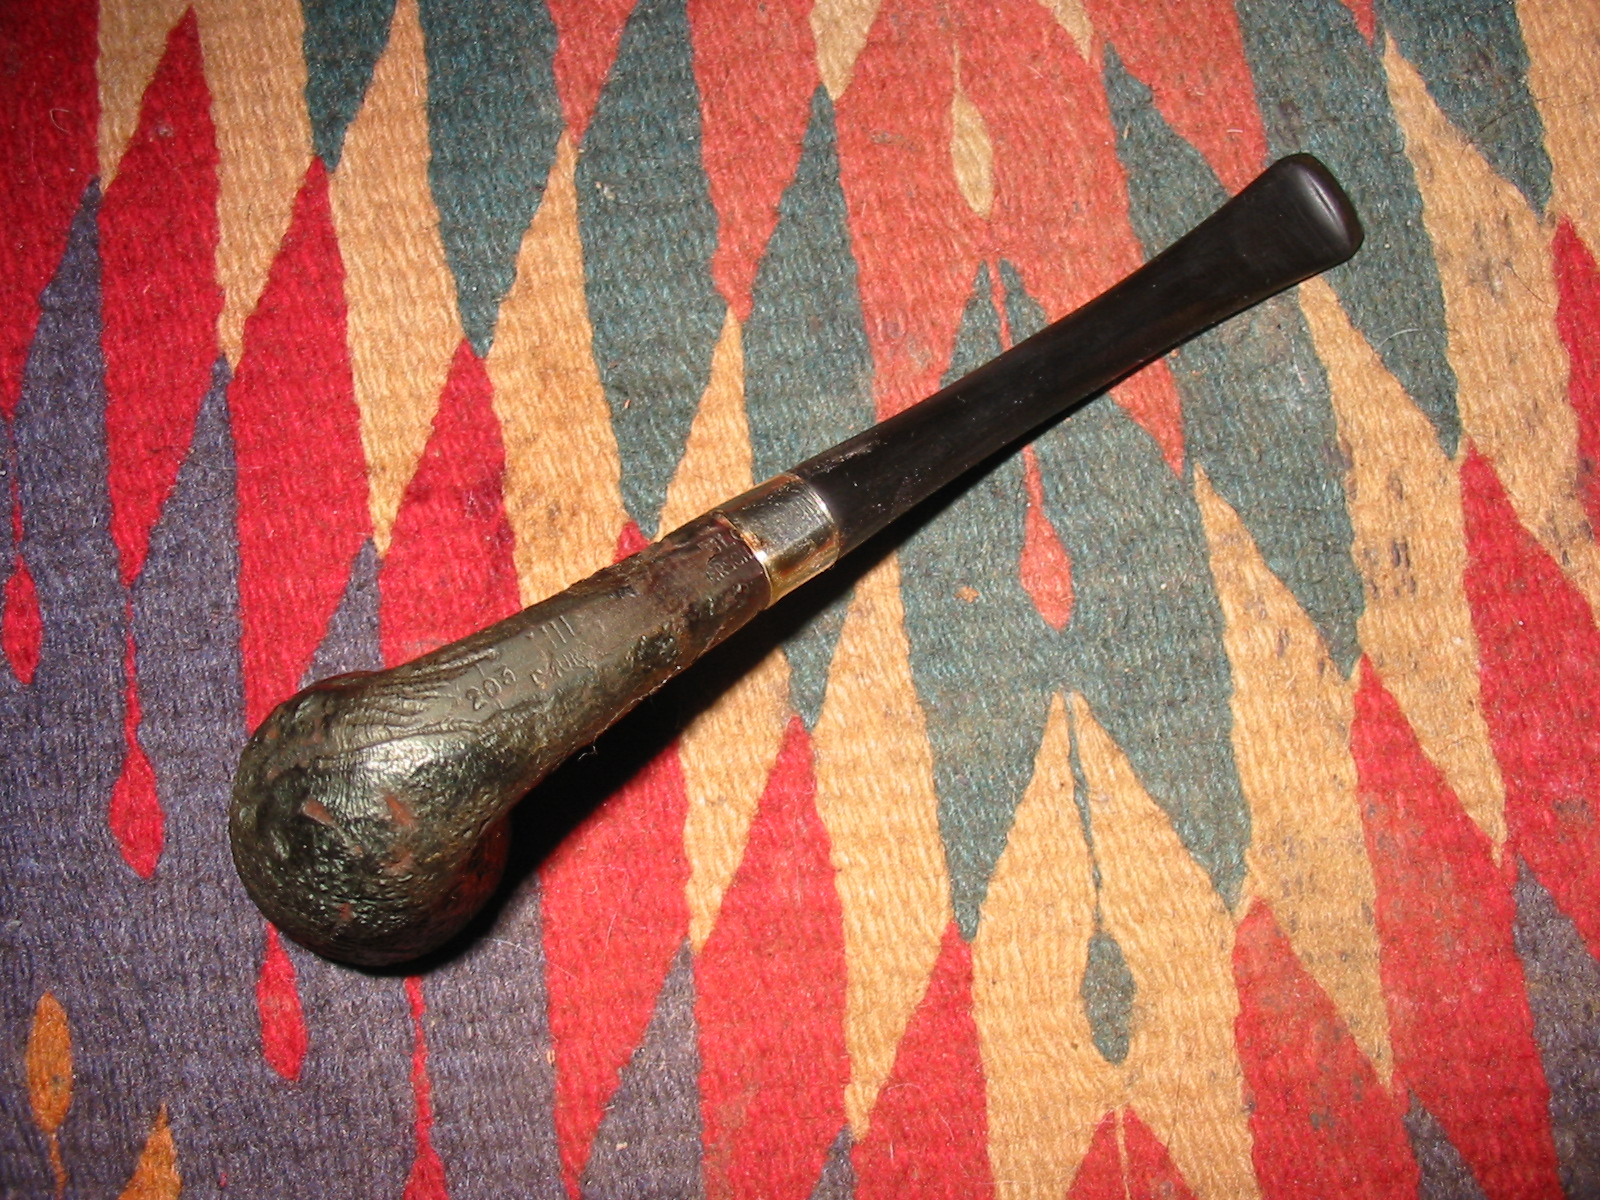
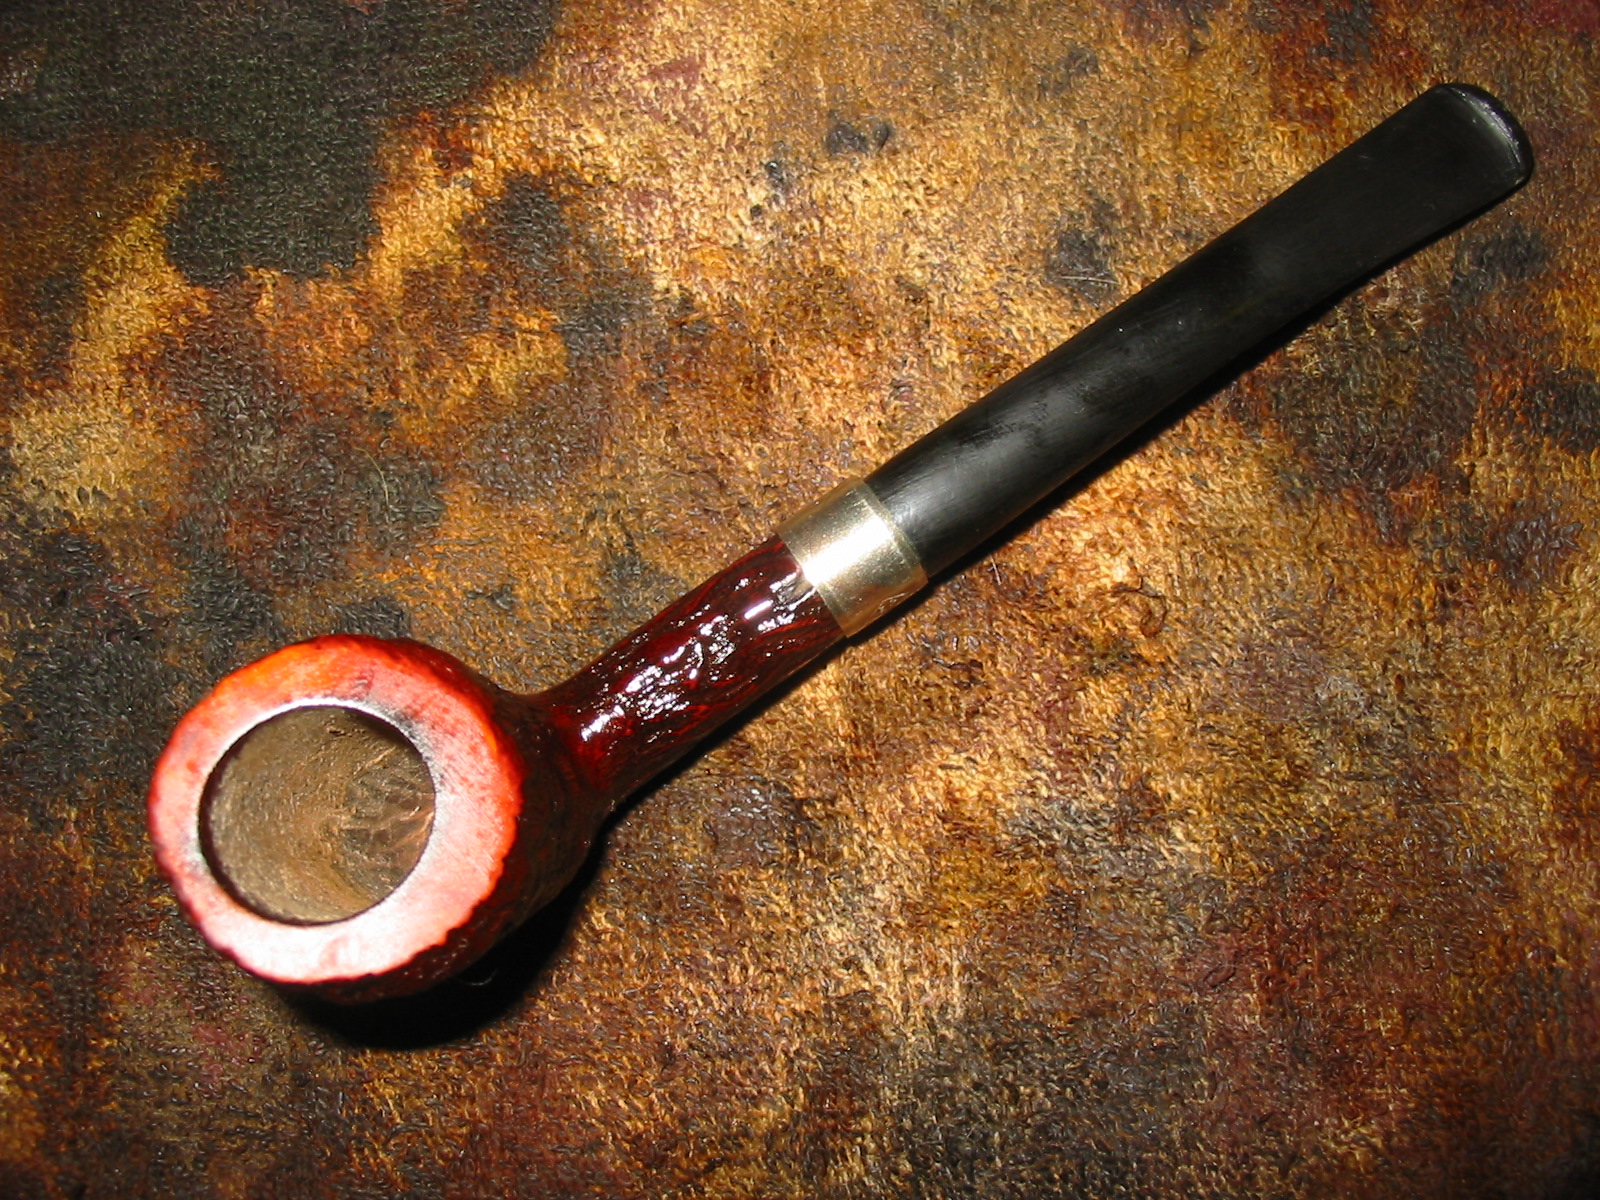
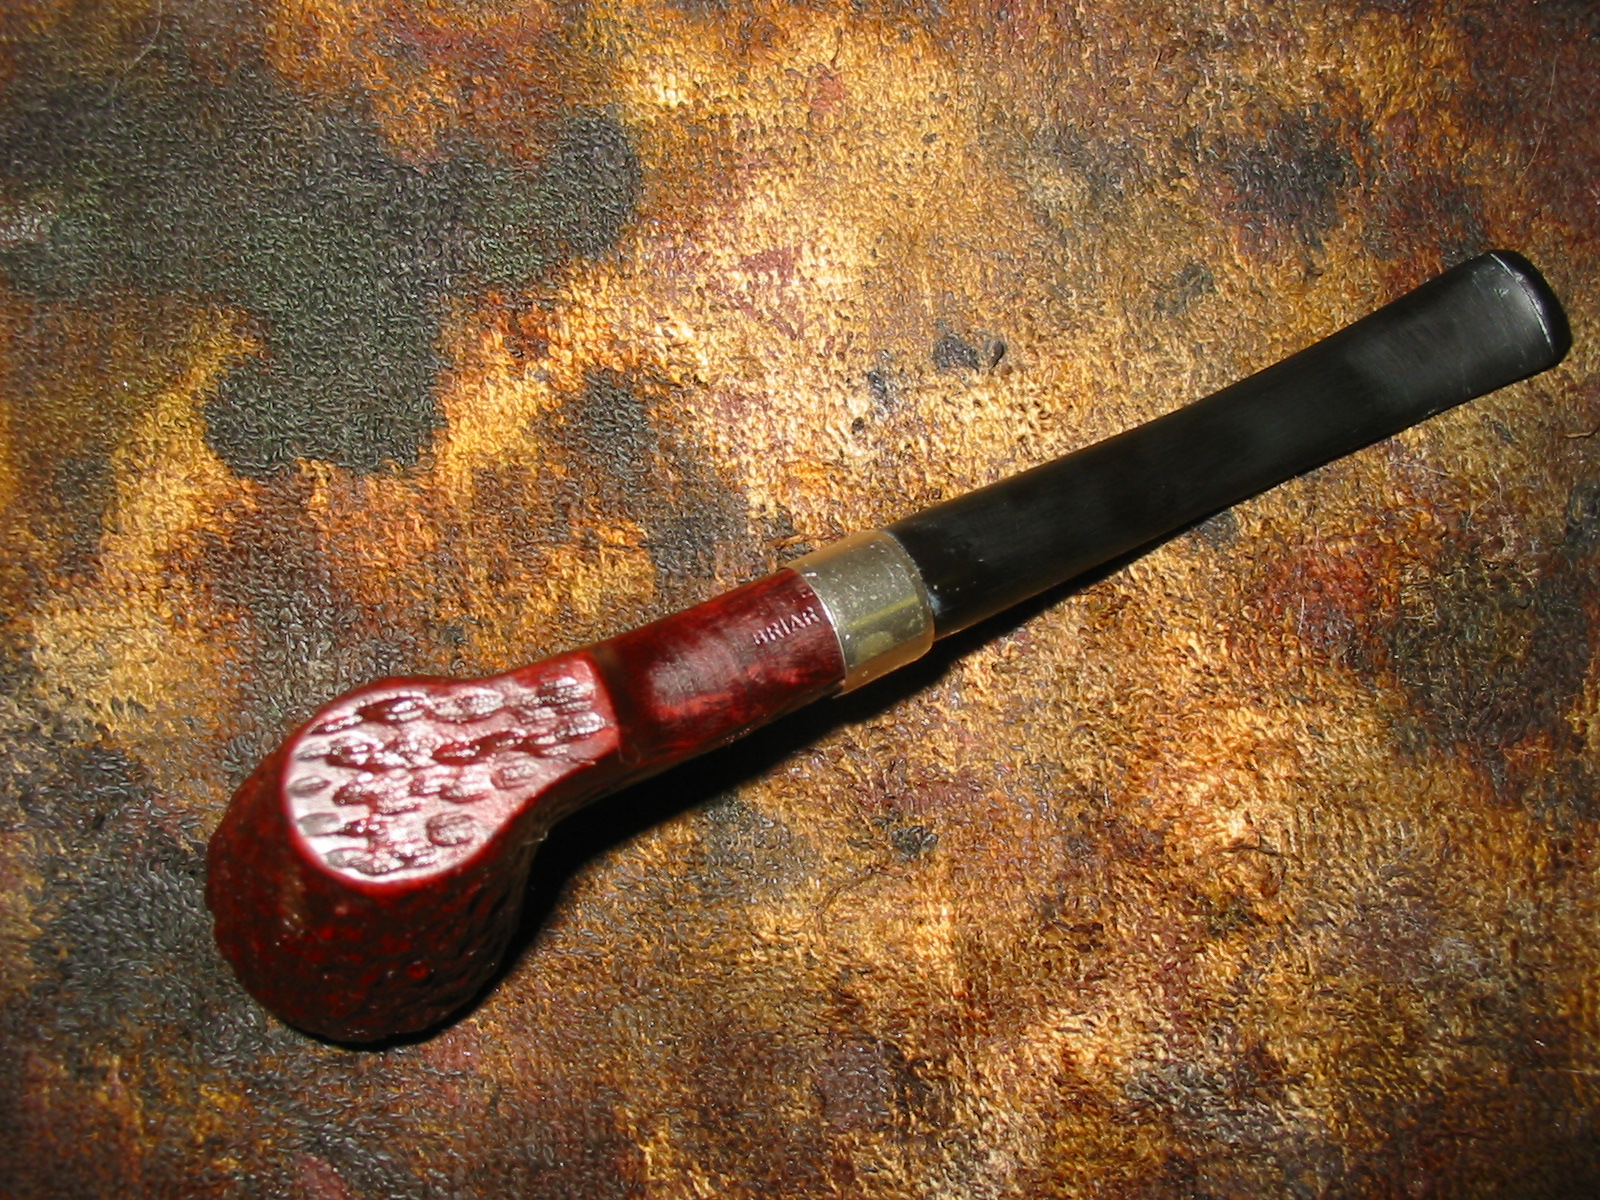
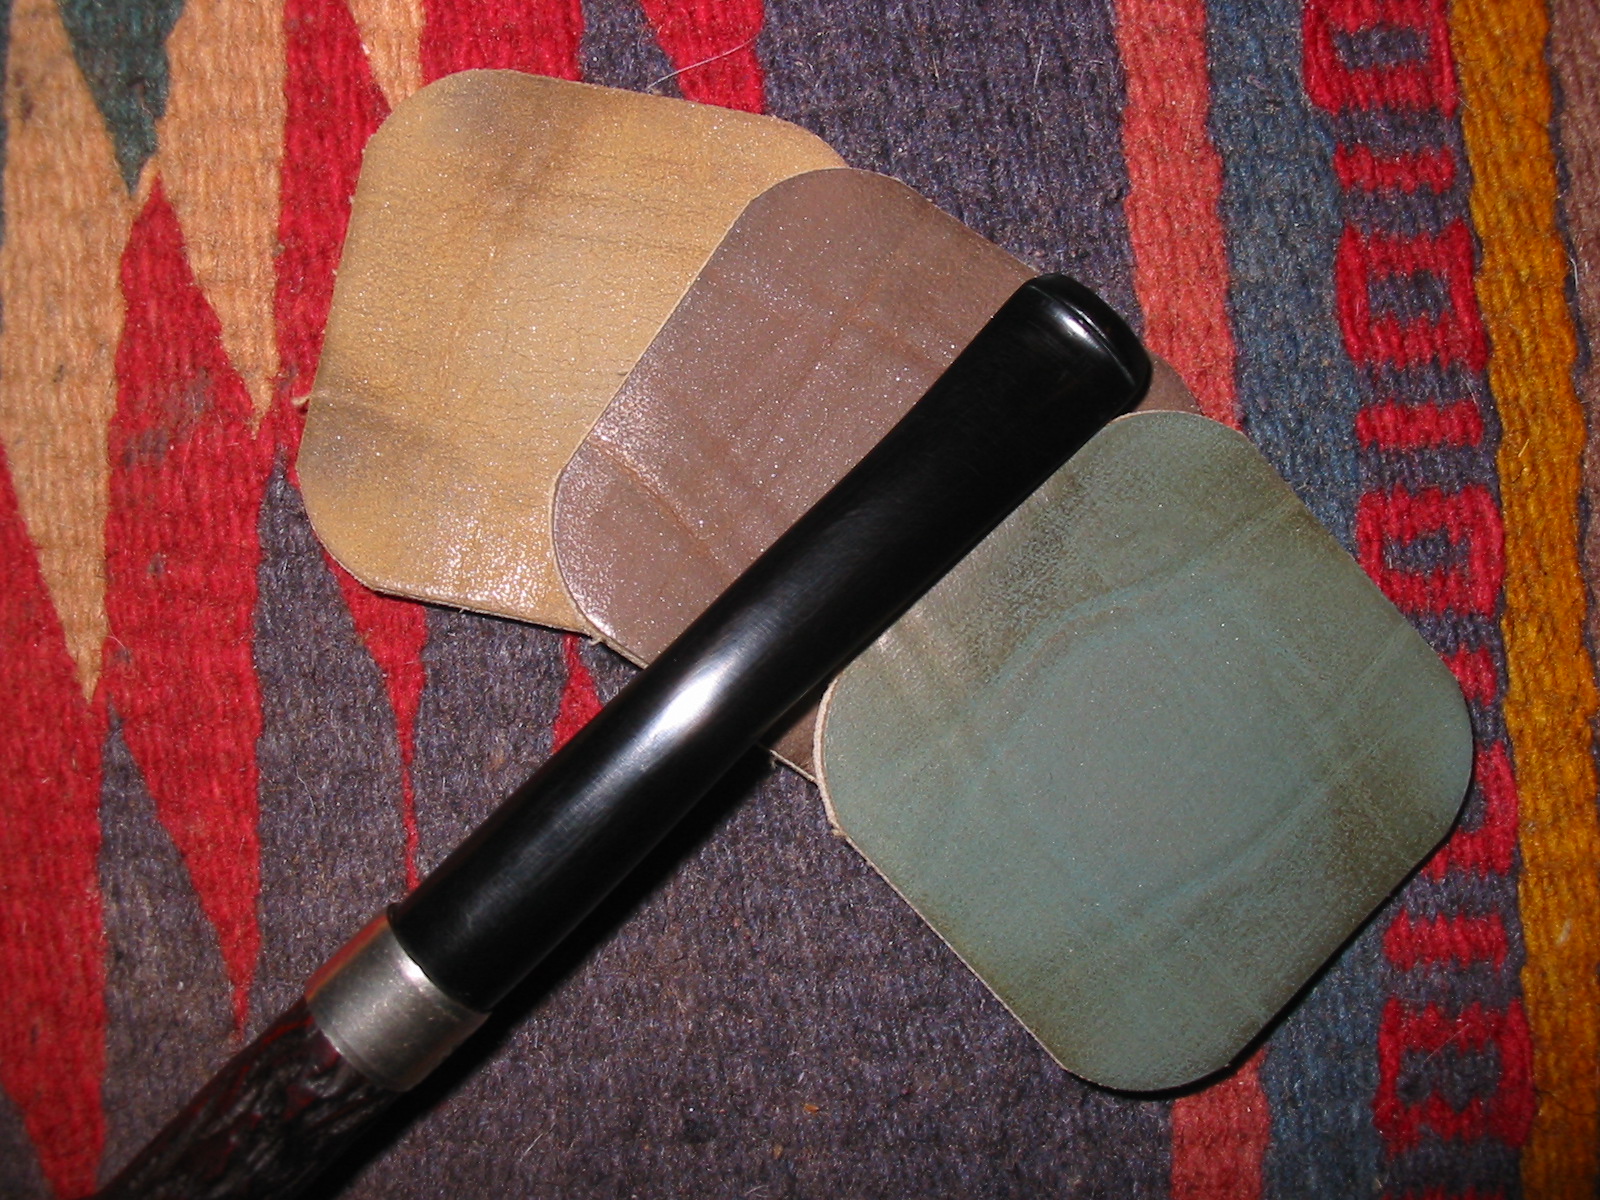
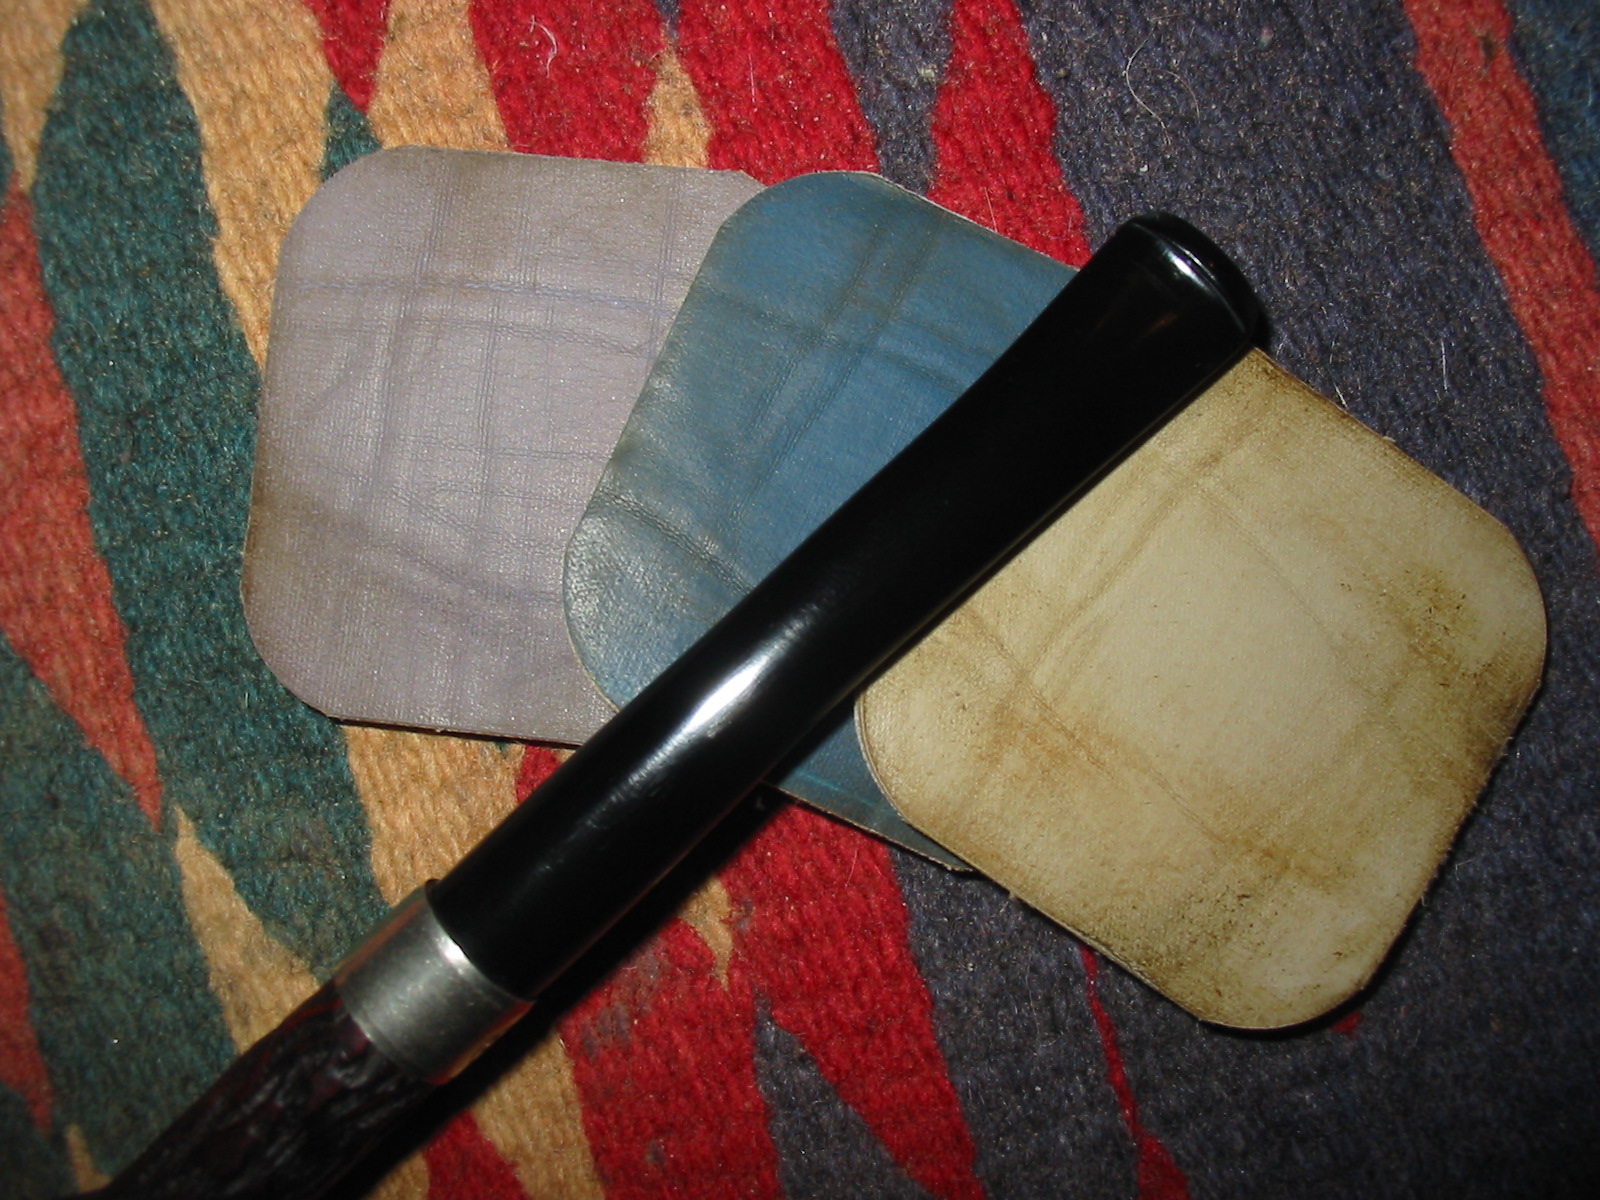
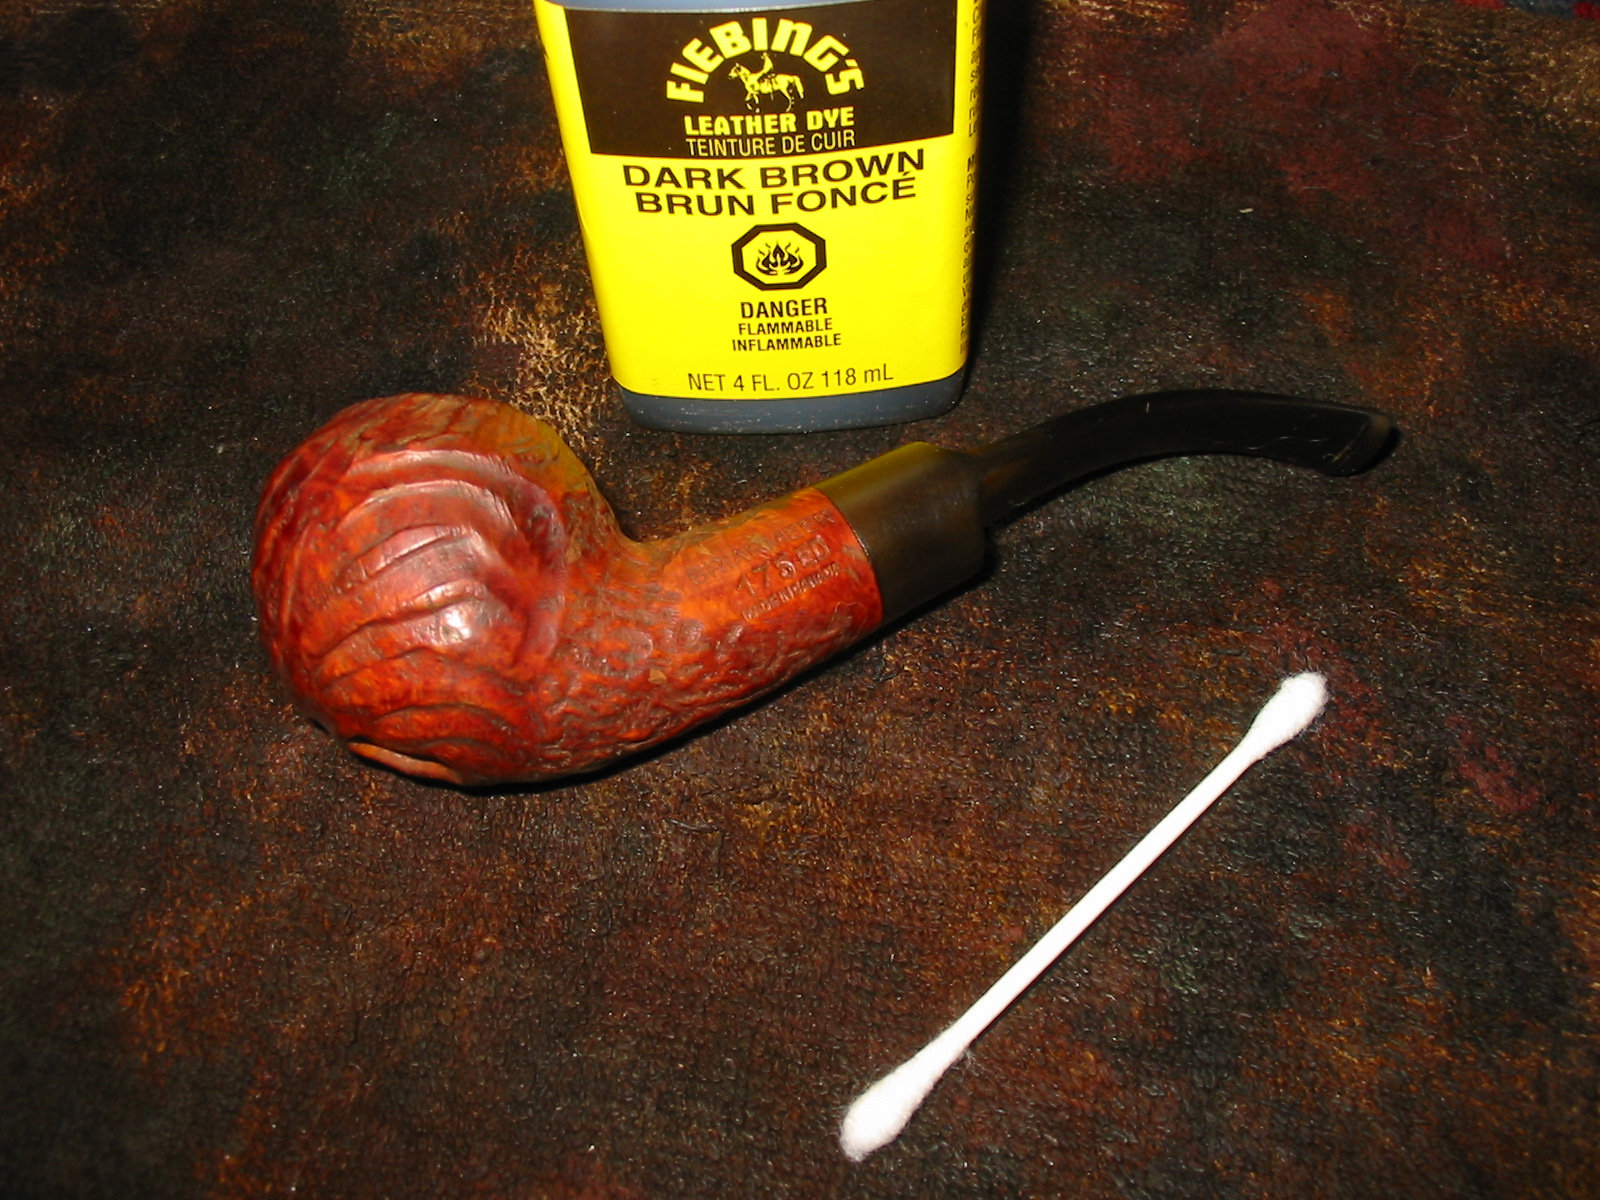
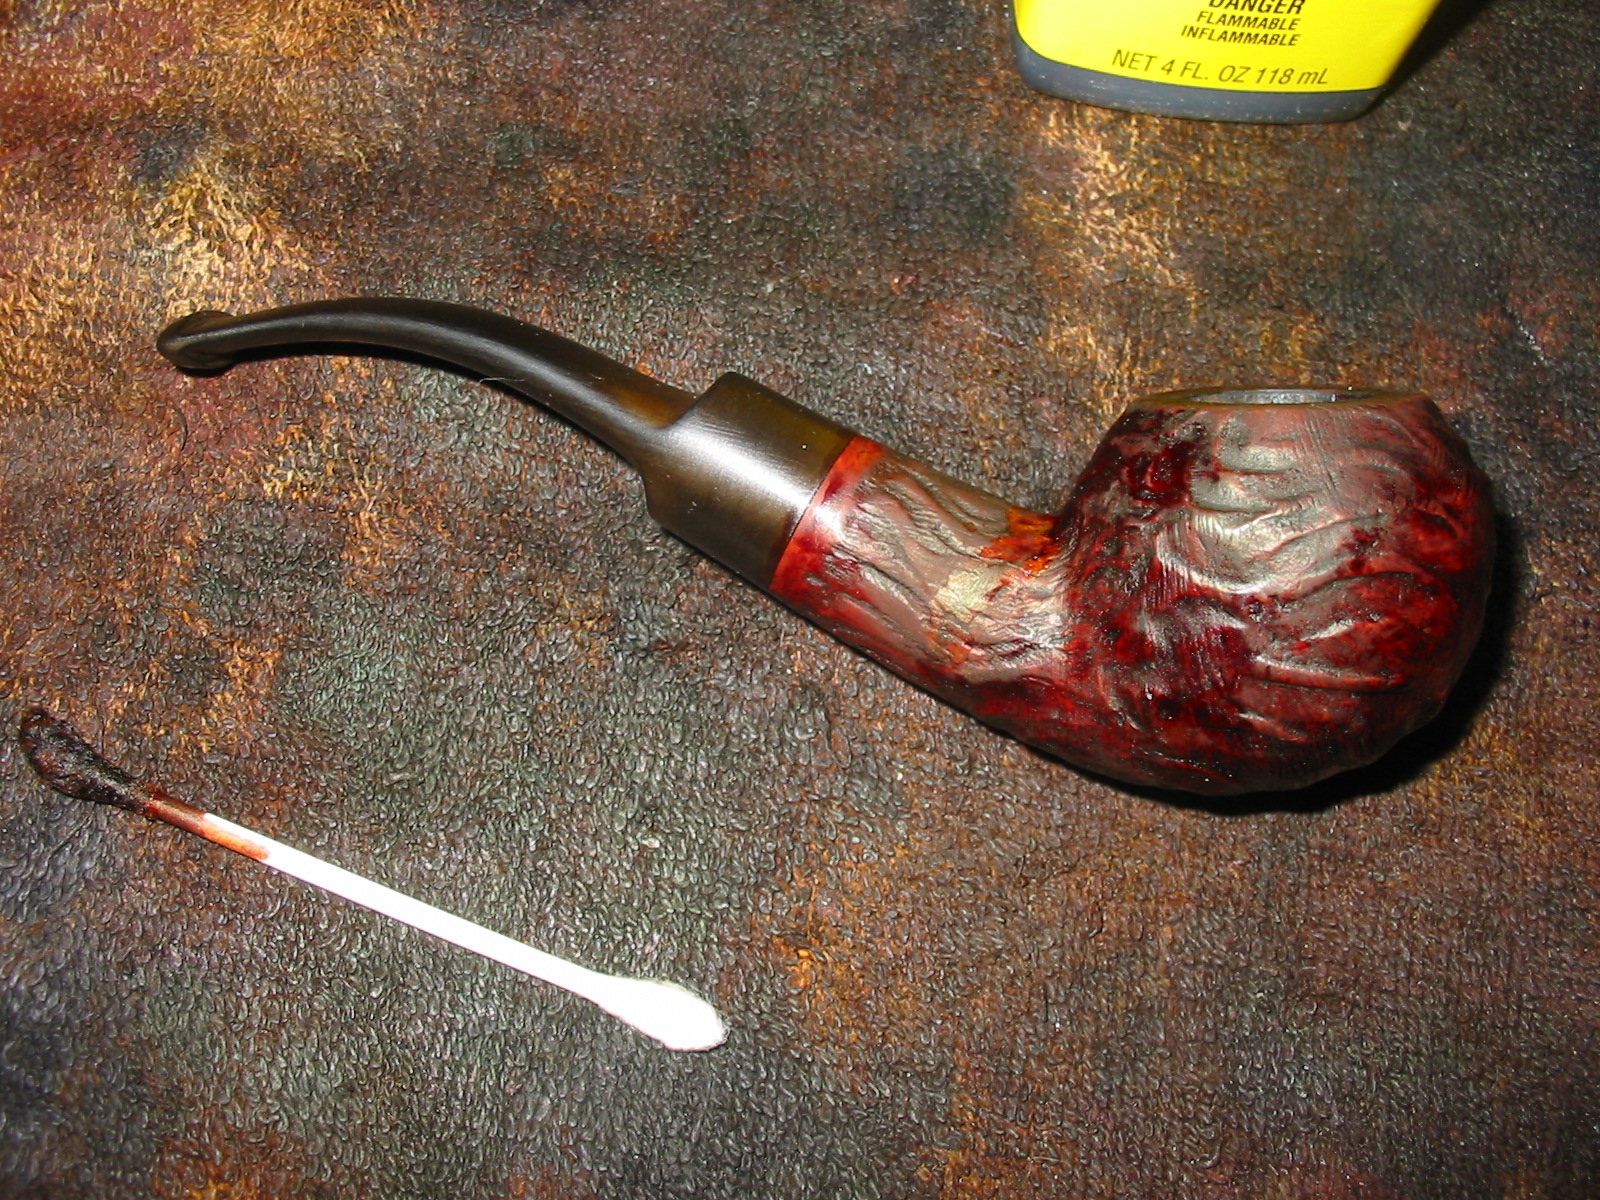
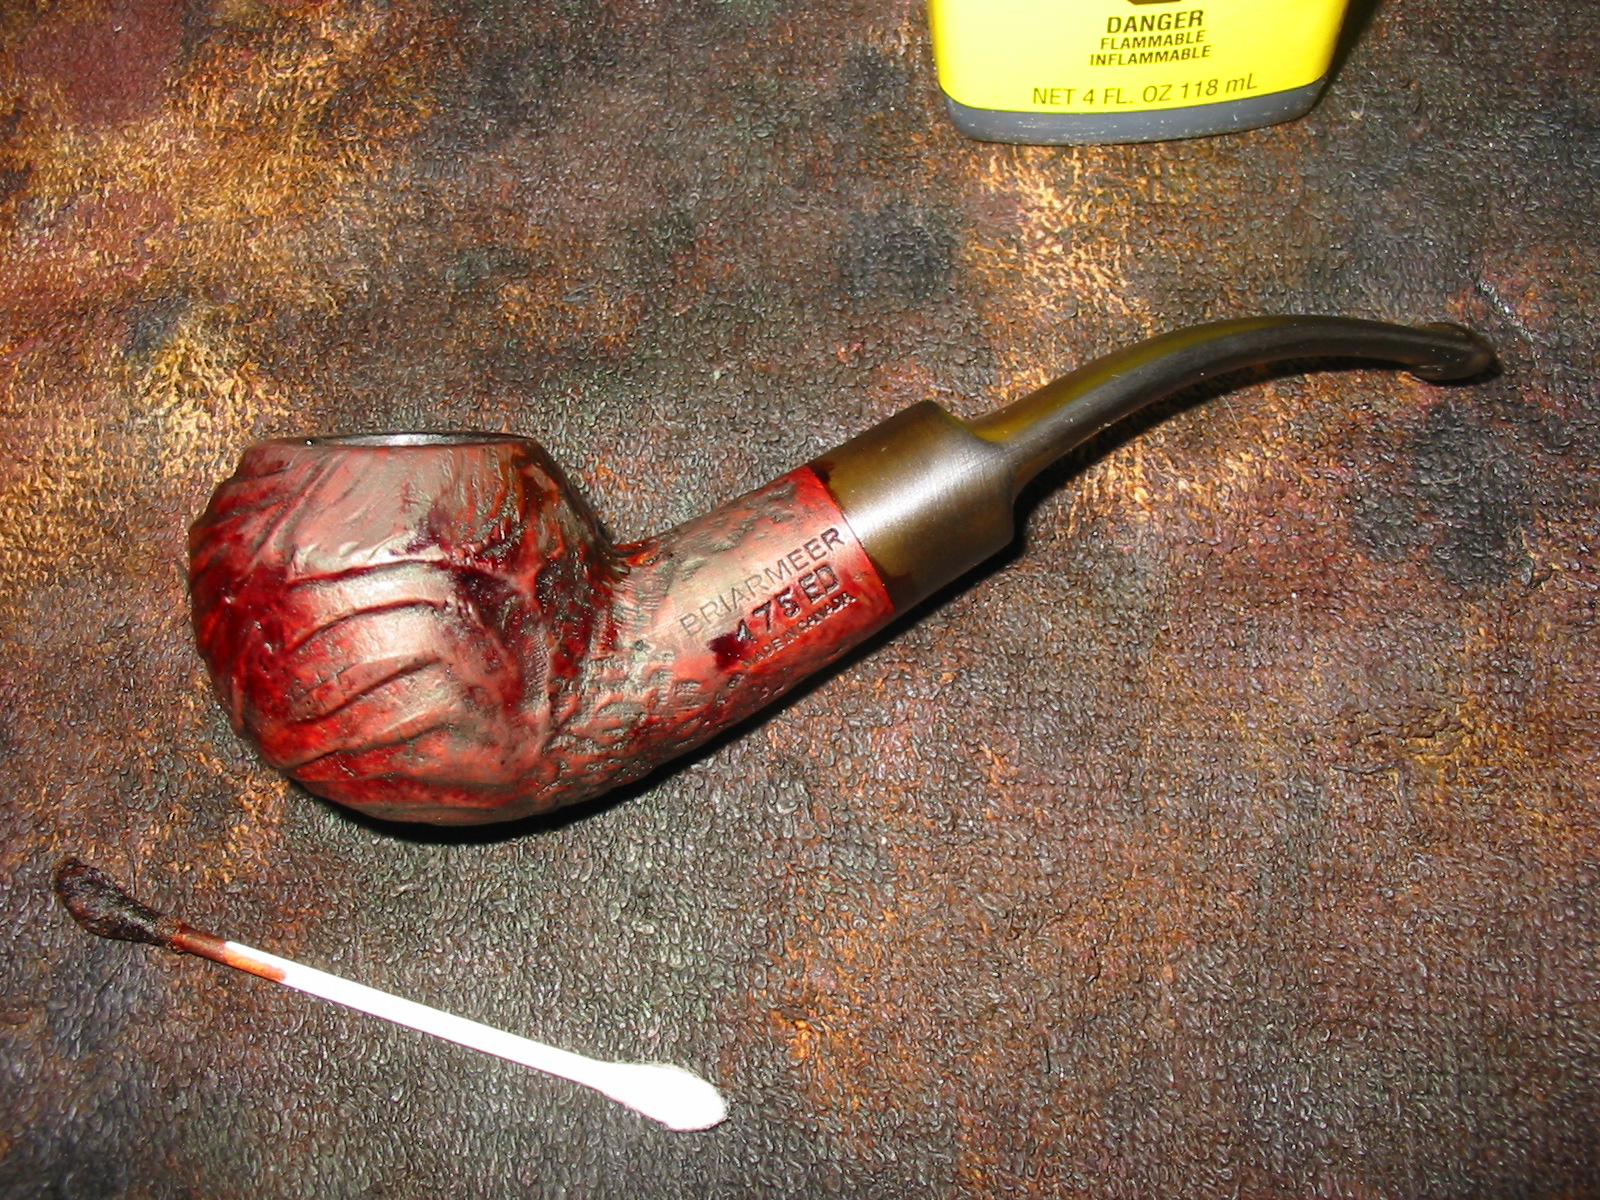
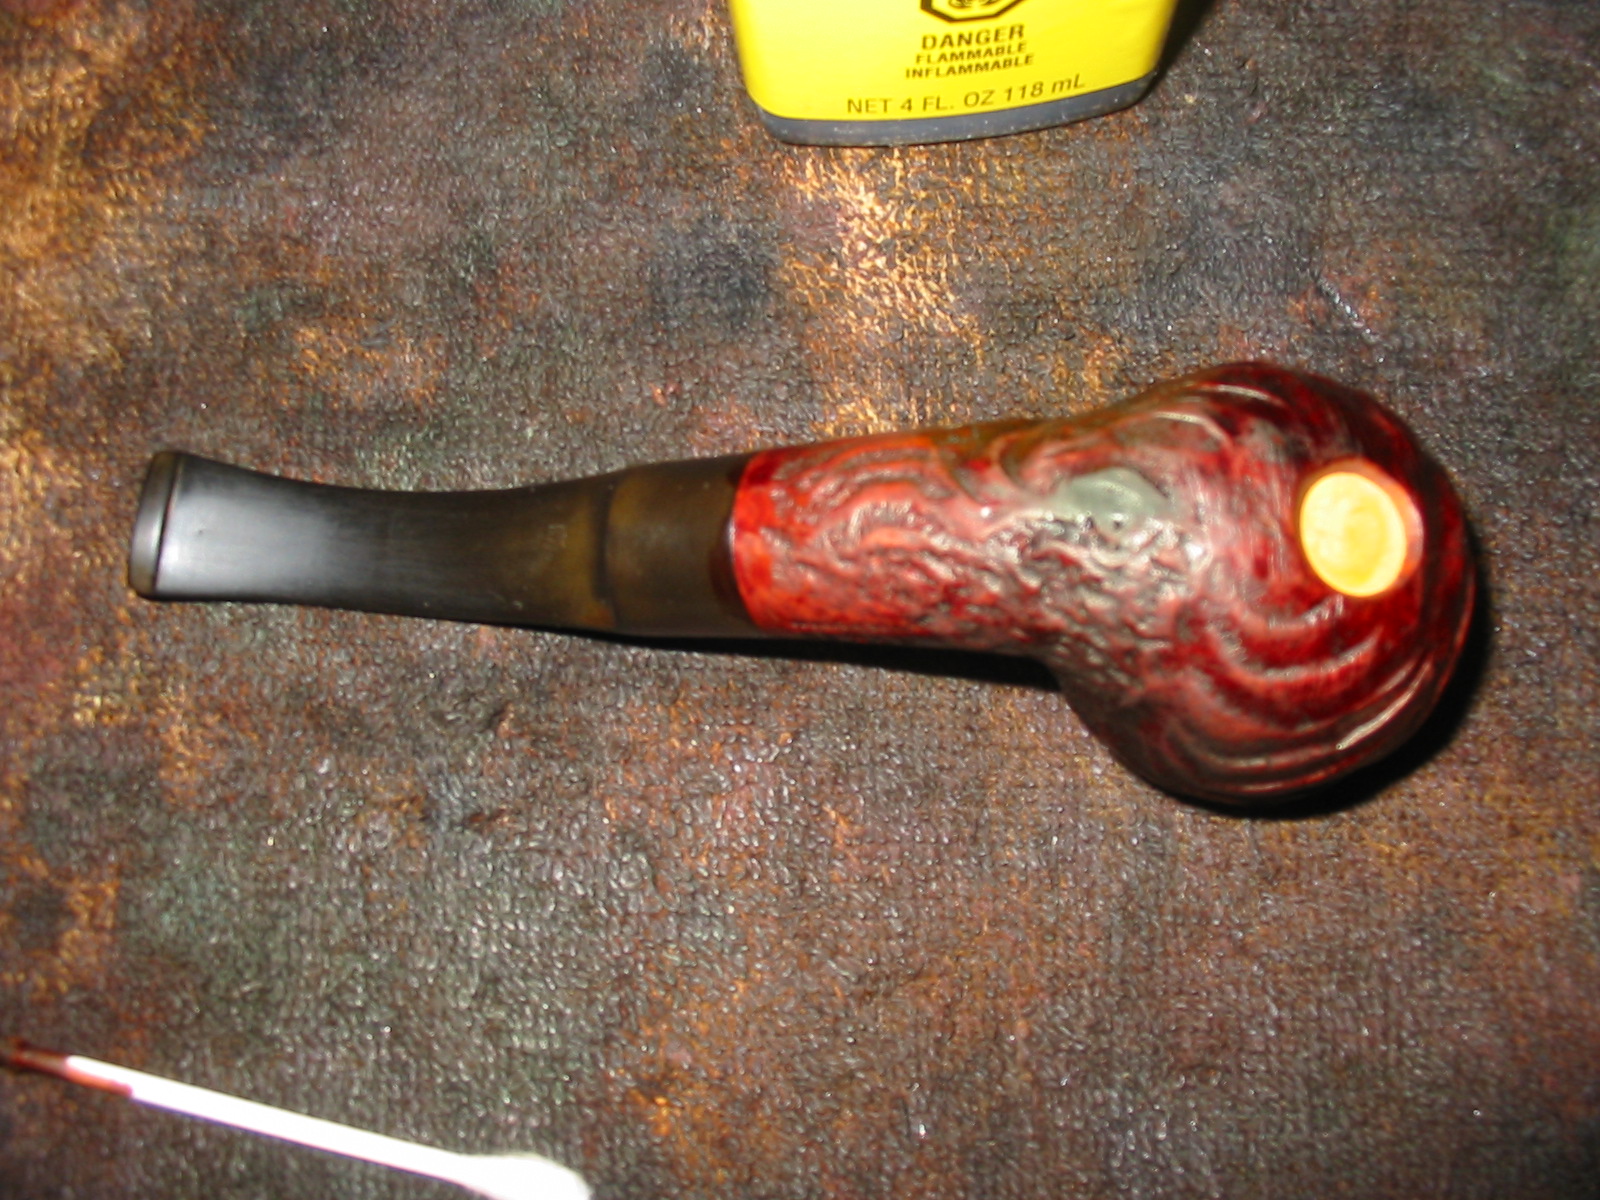
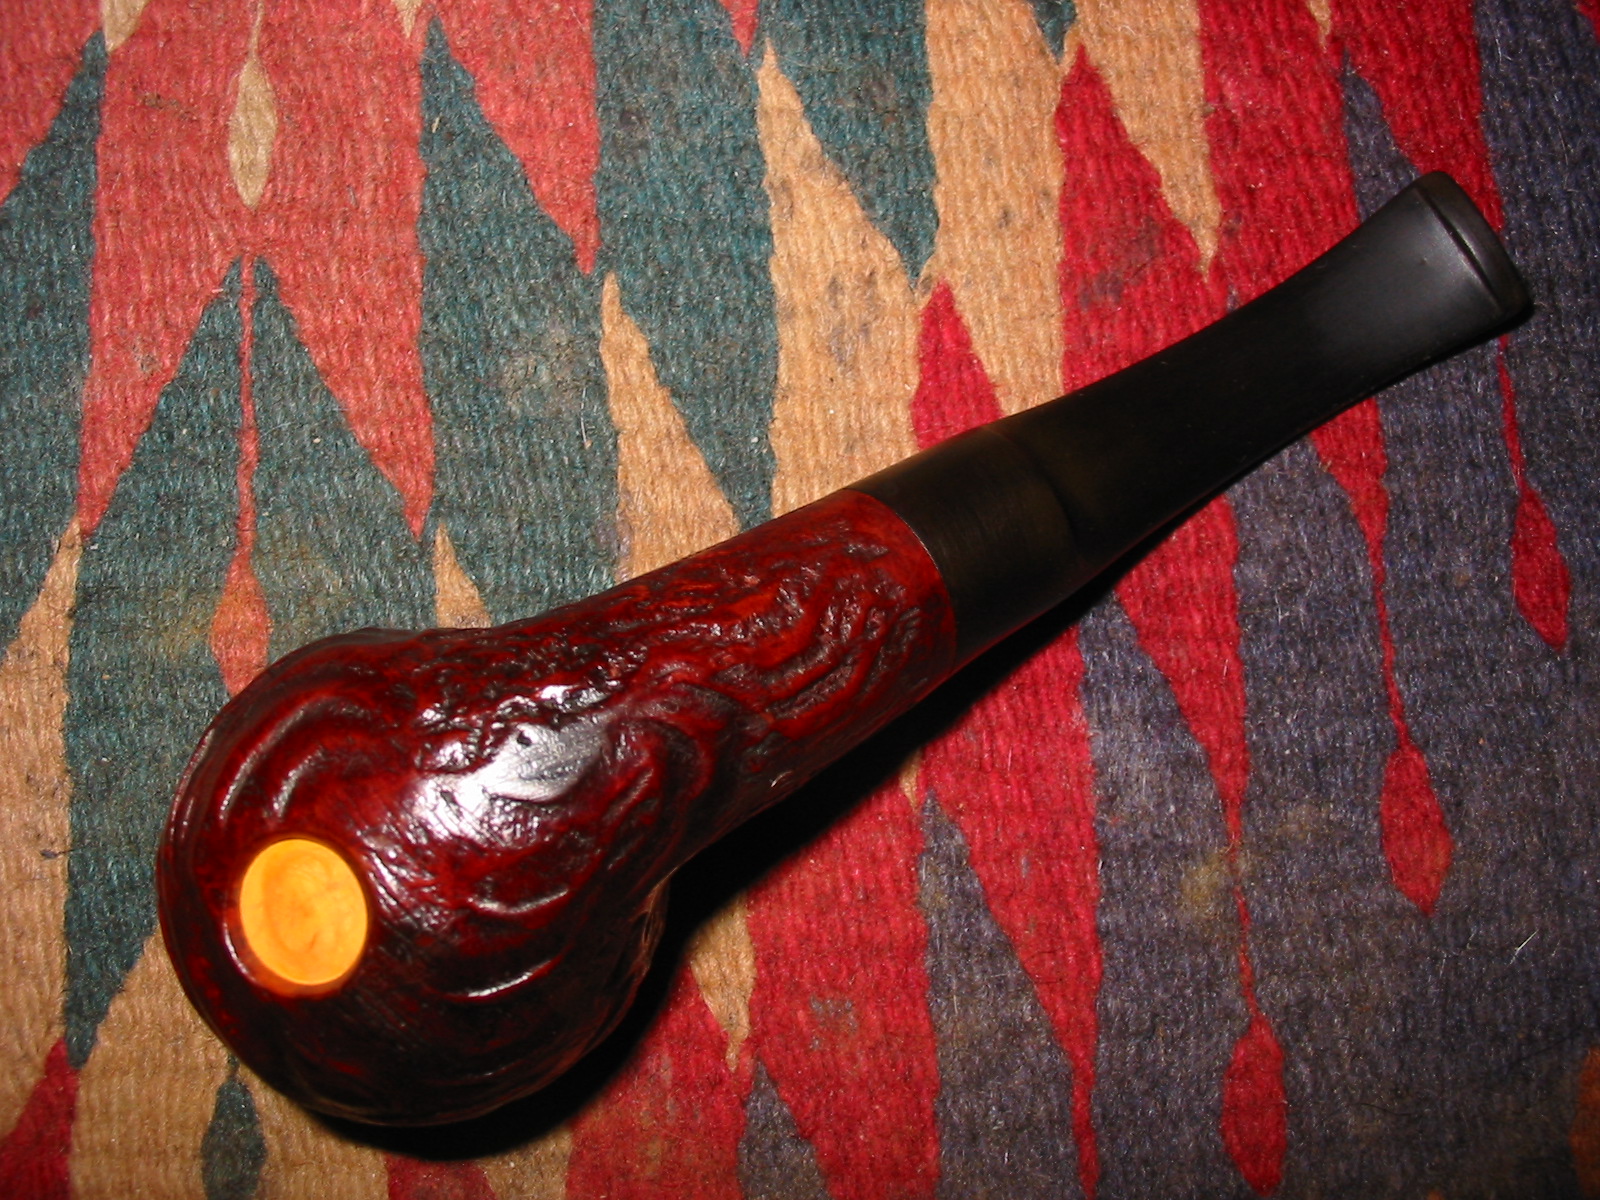
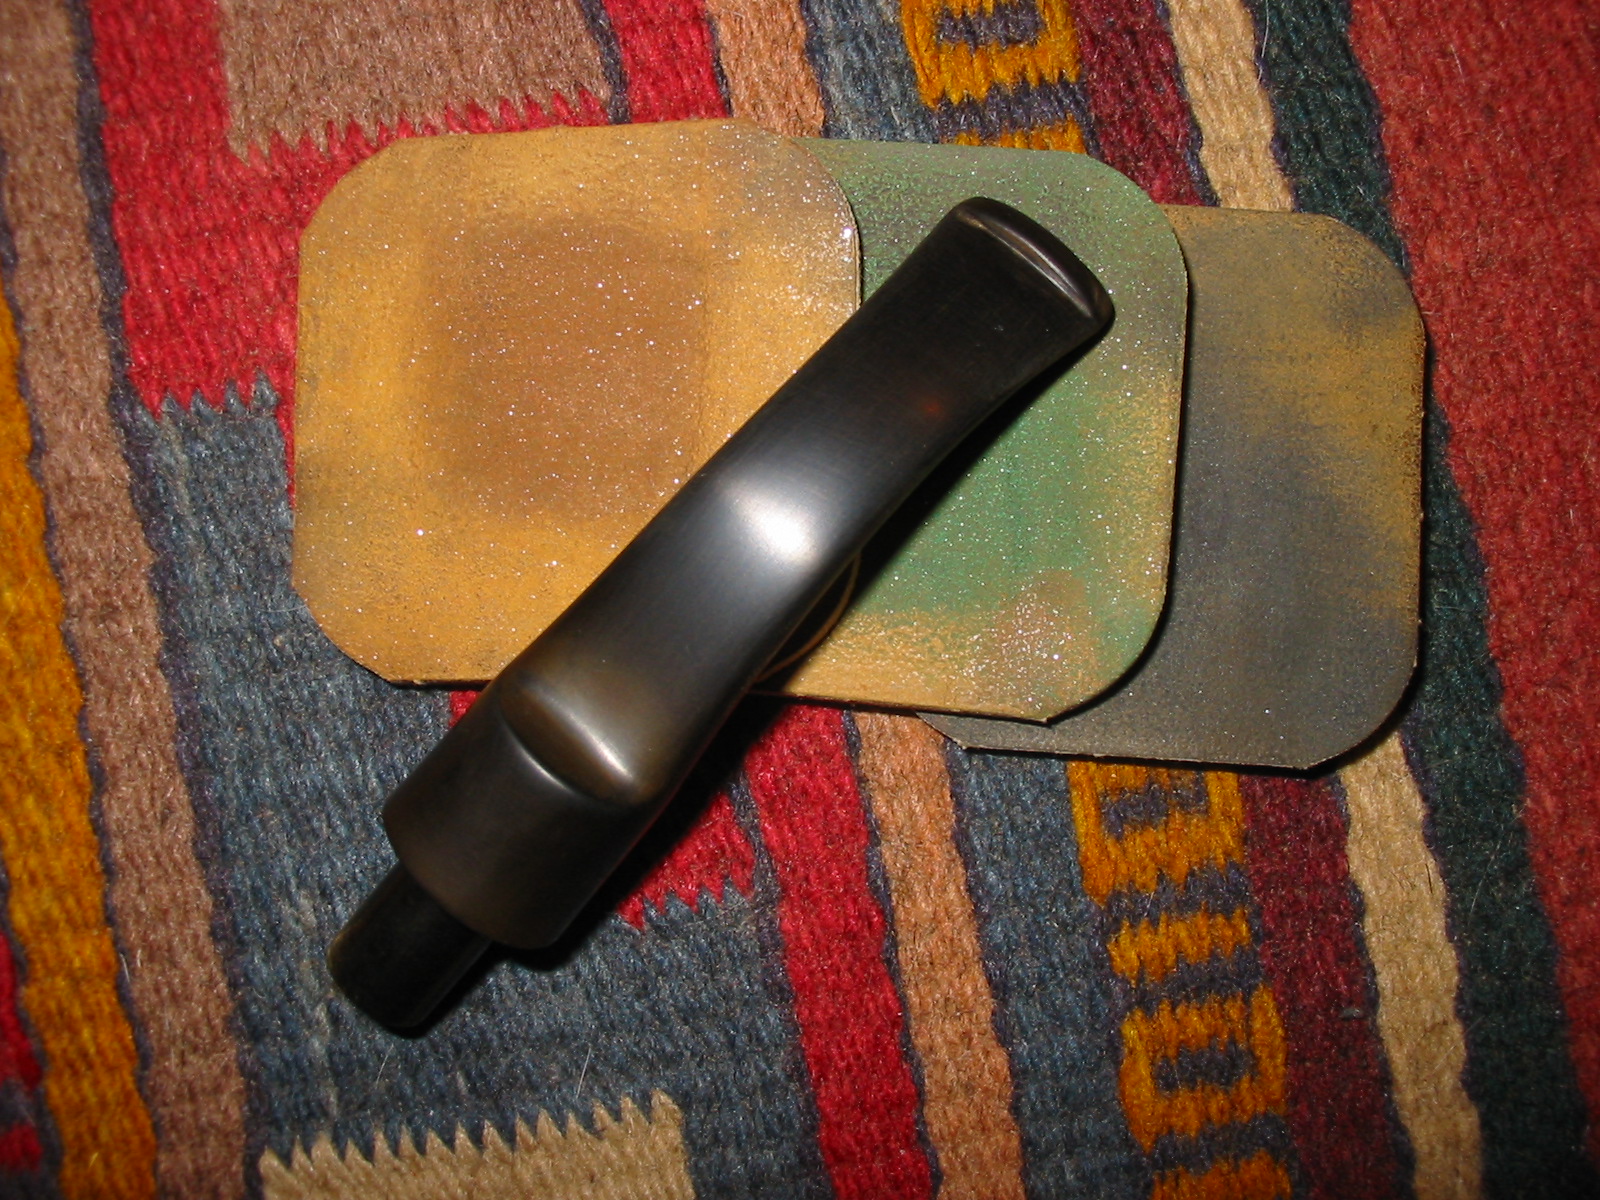
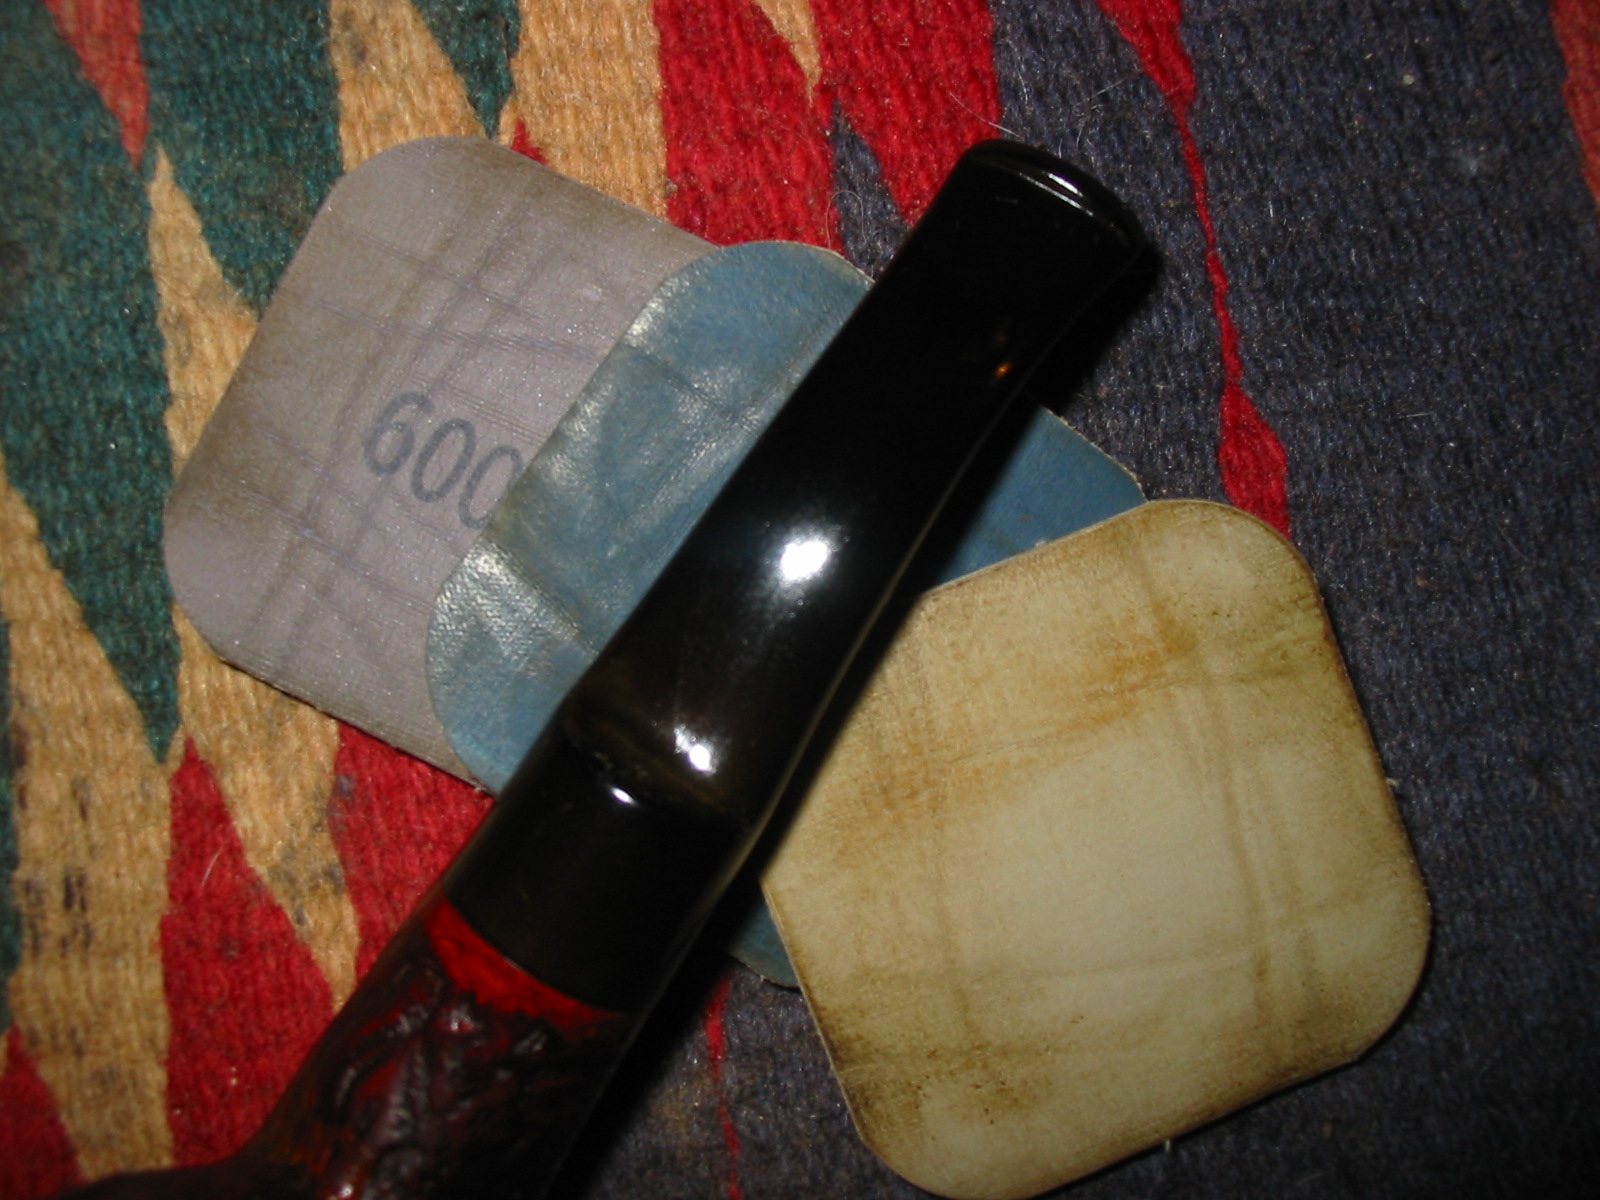
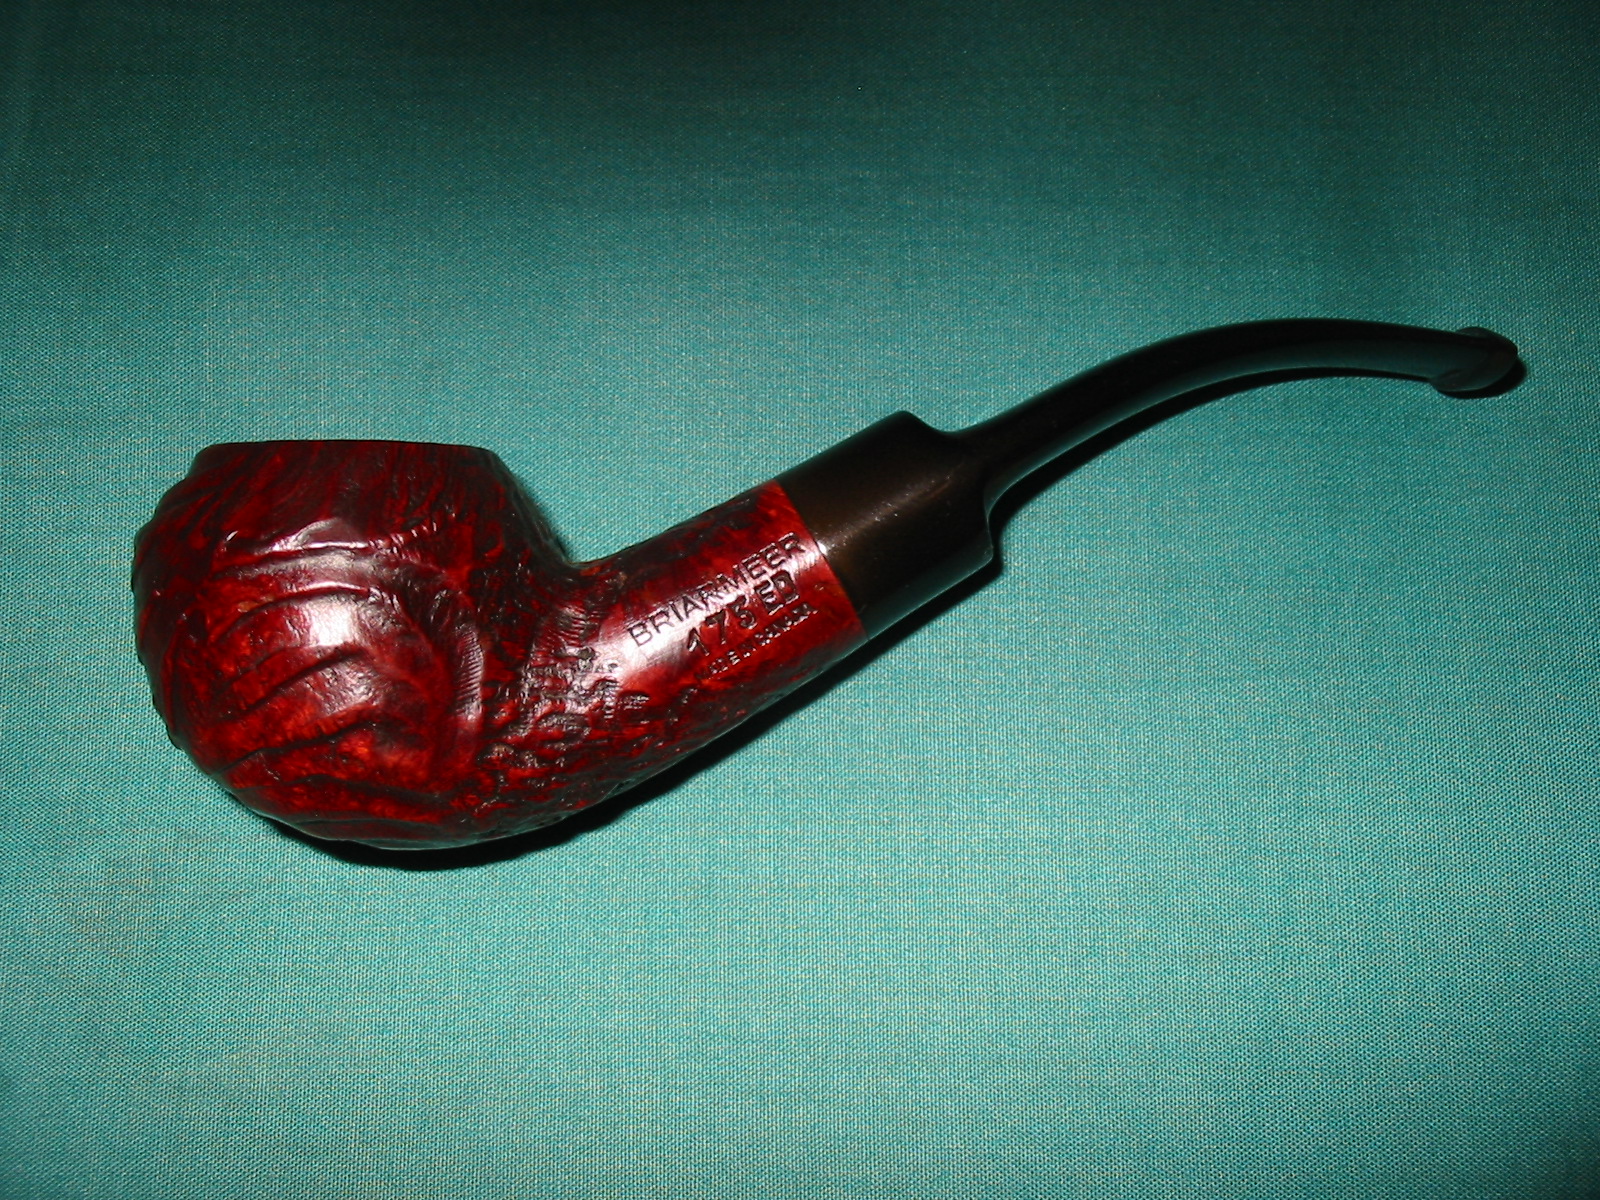
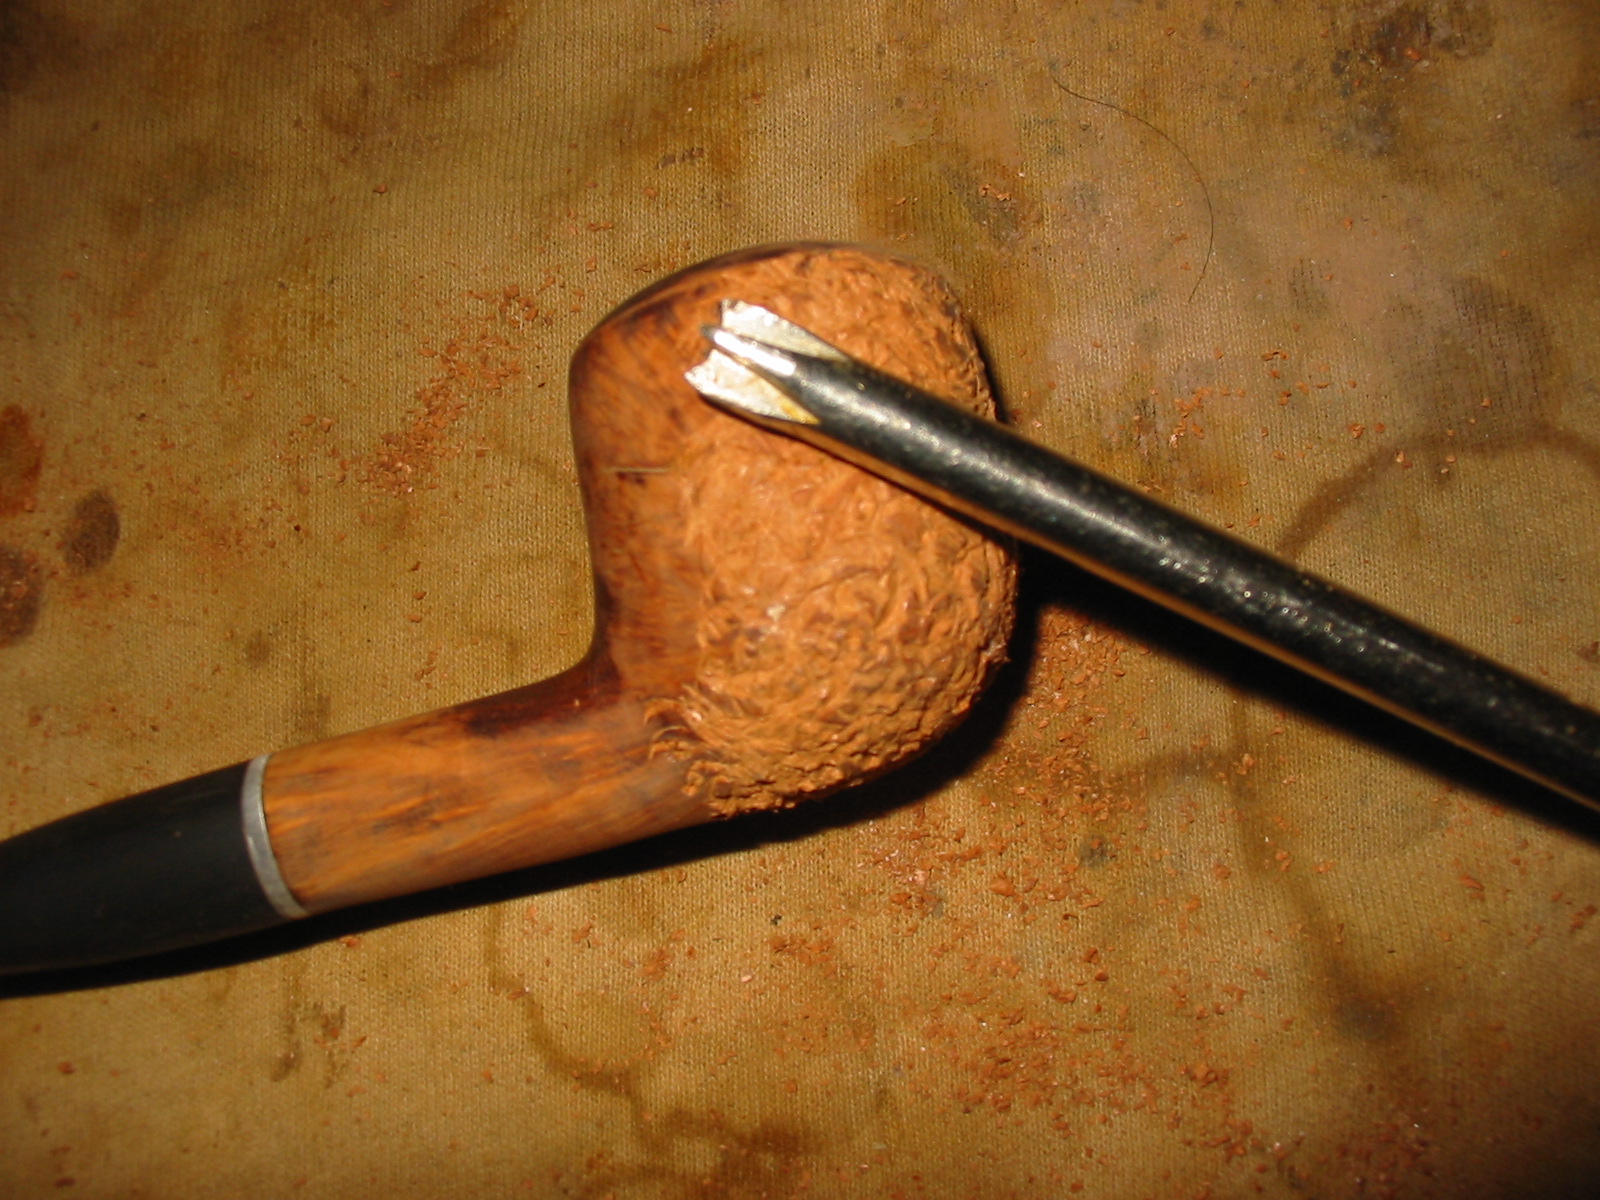
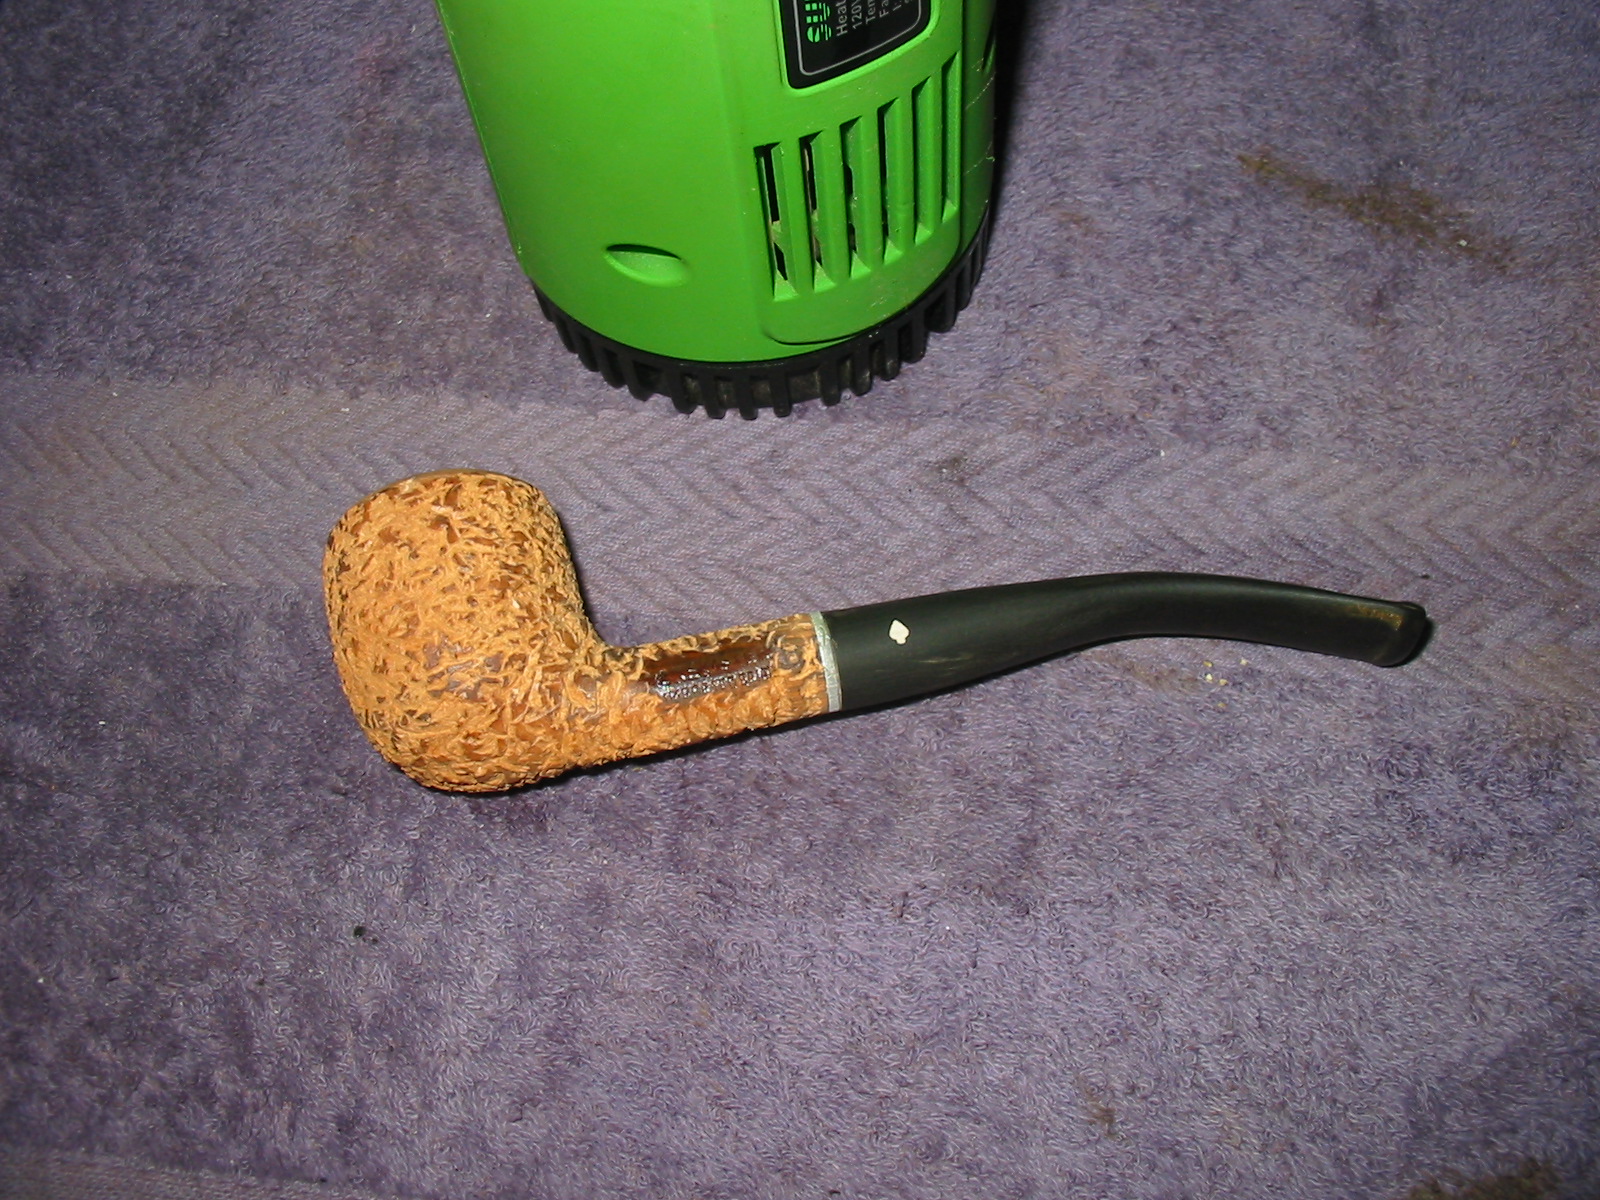
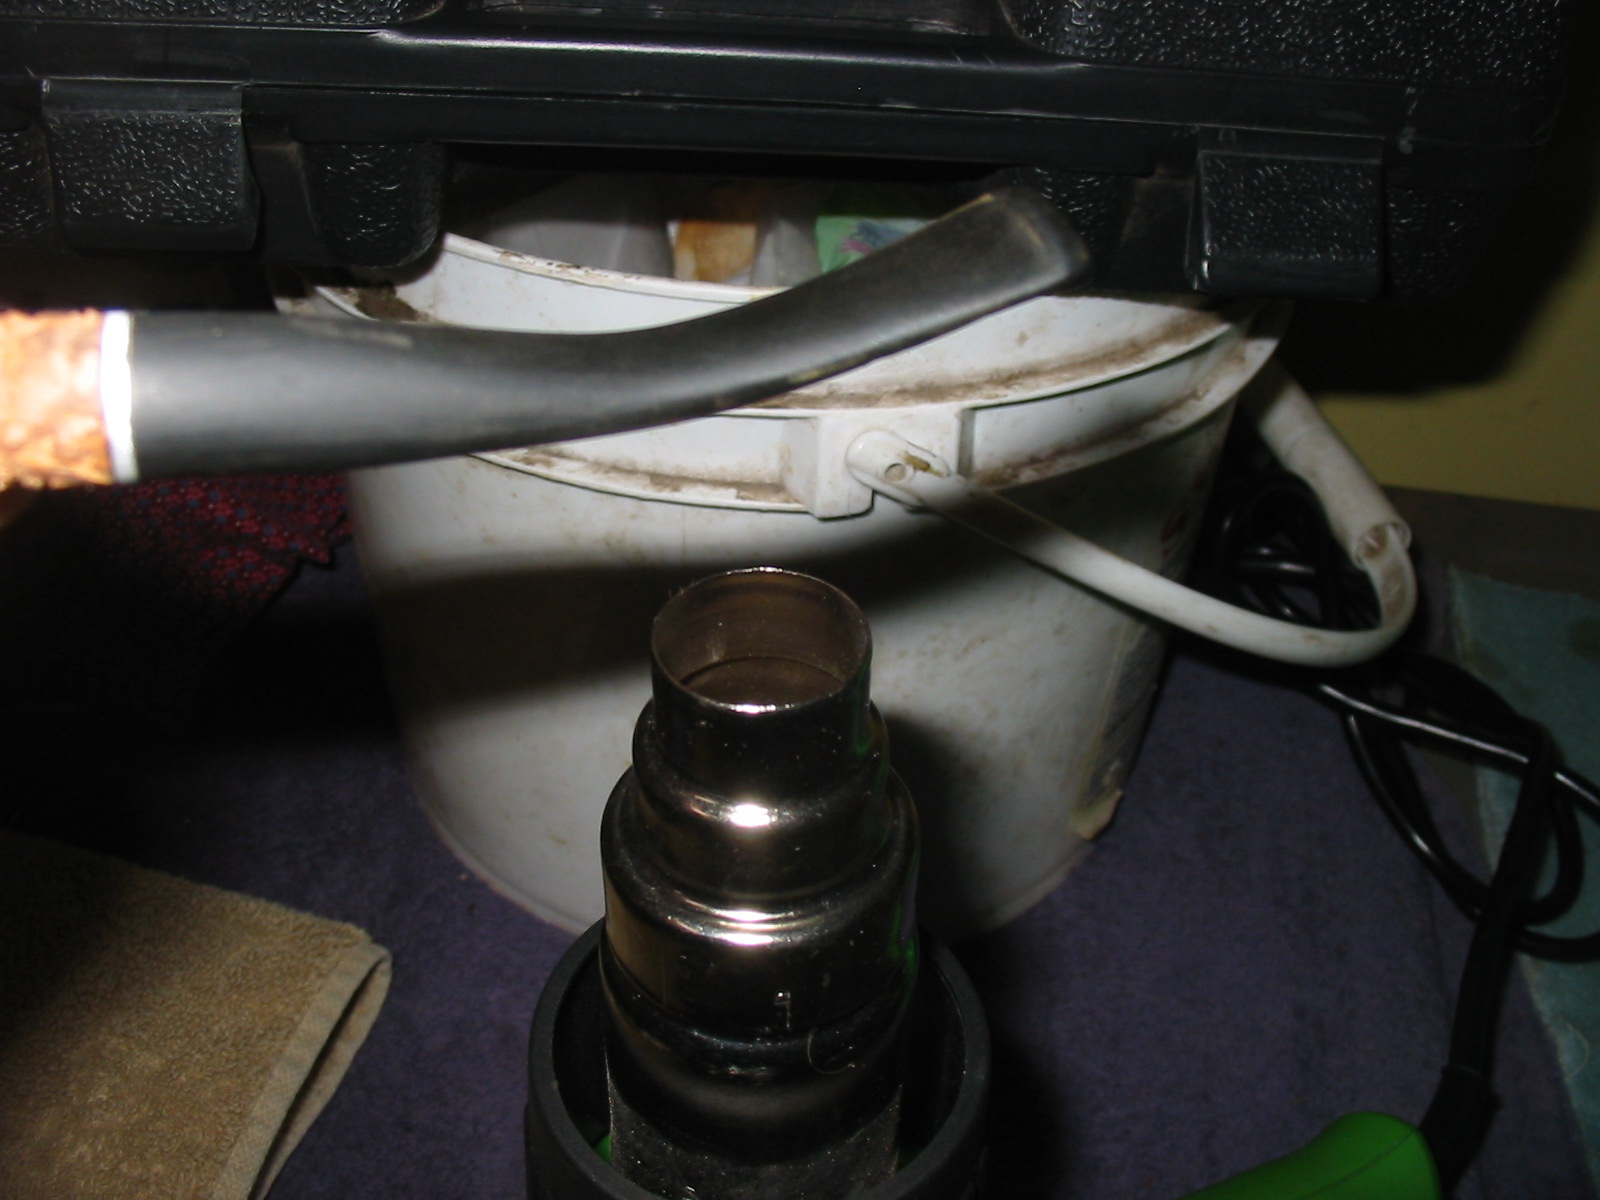
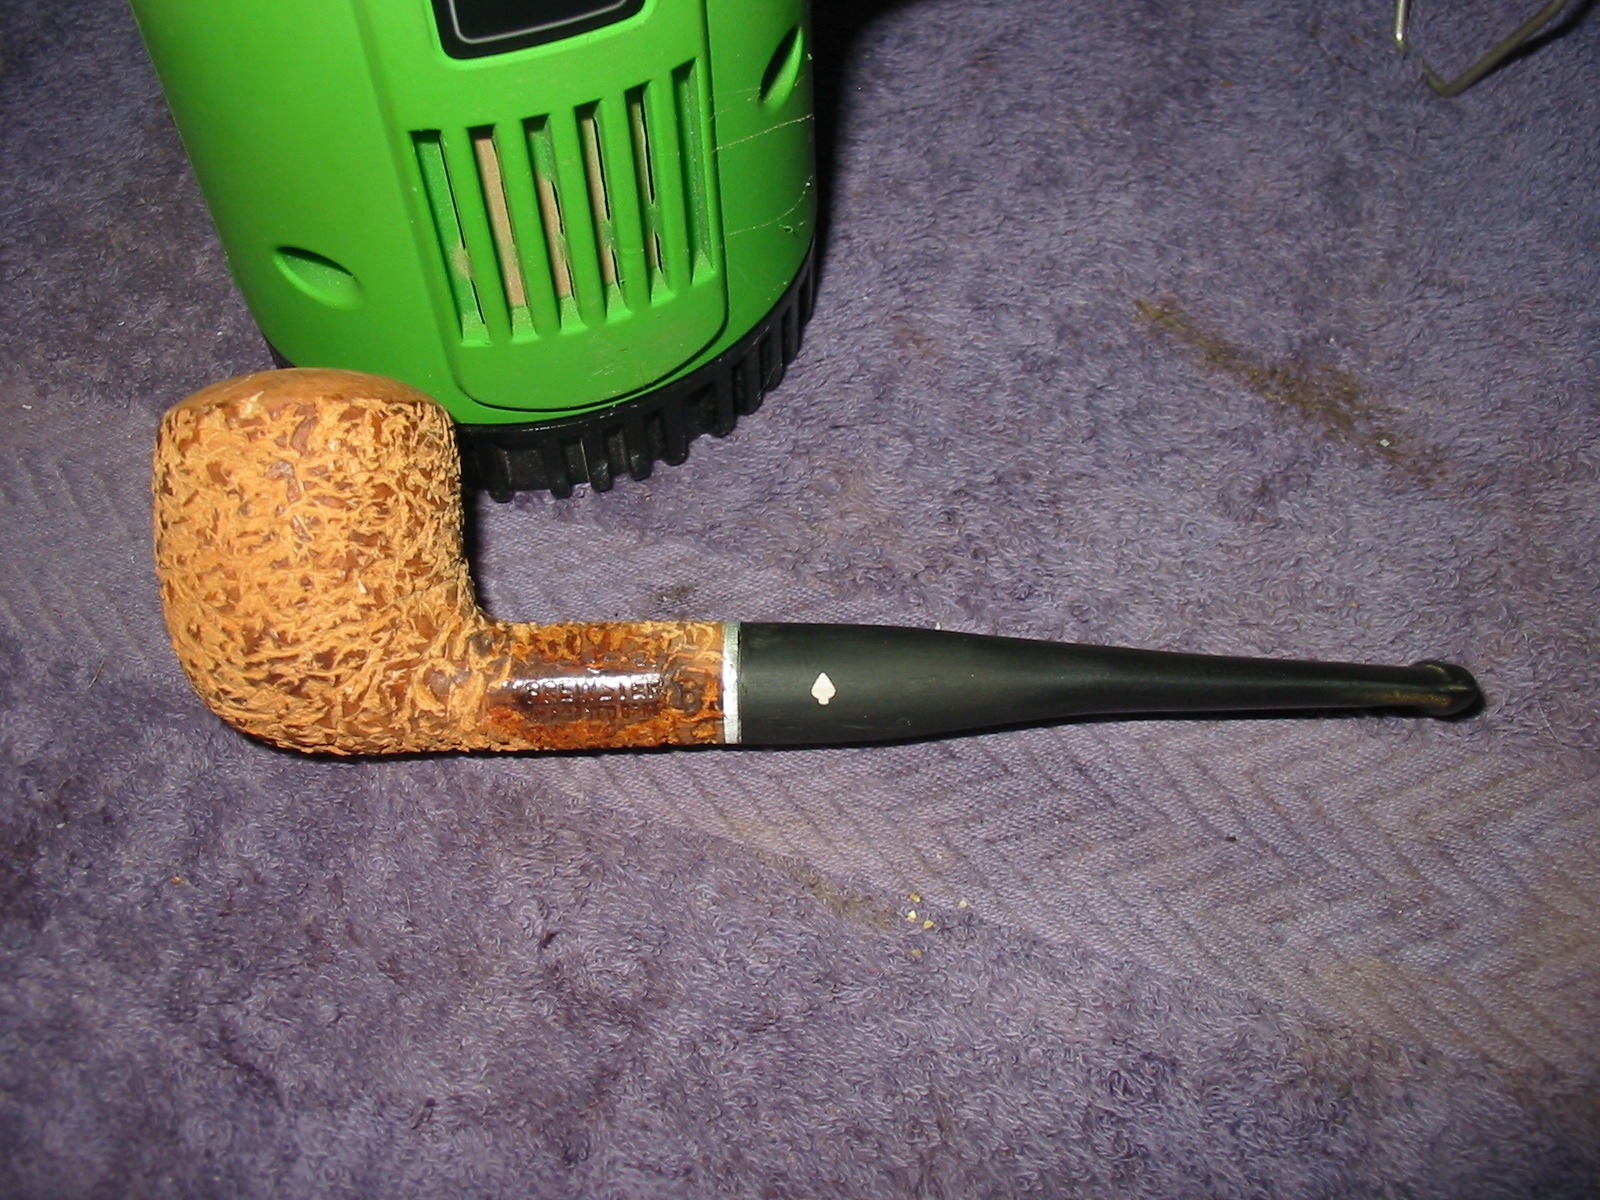
Tag Archives: polishing a stem

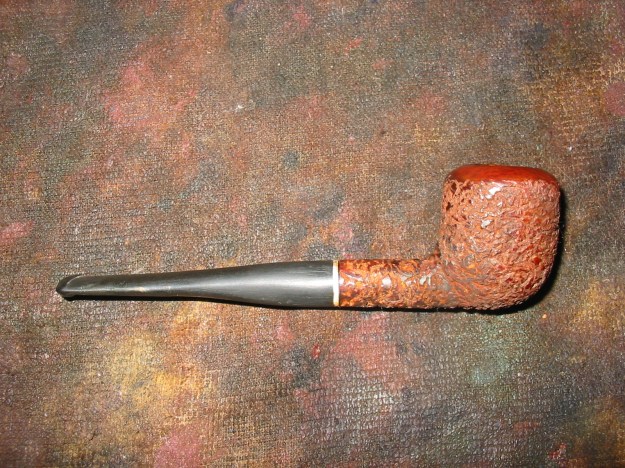
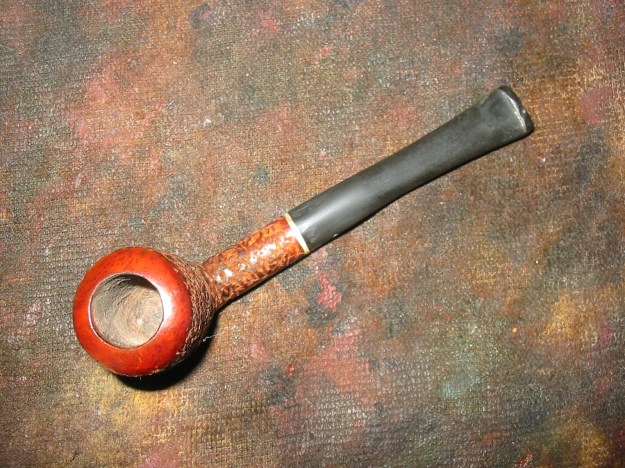
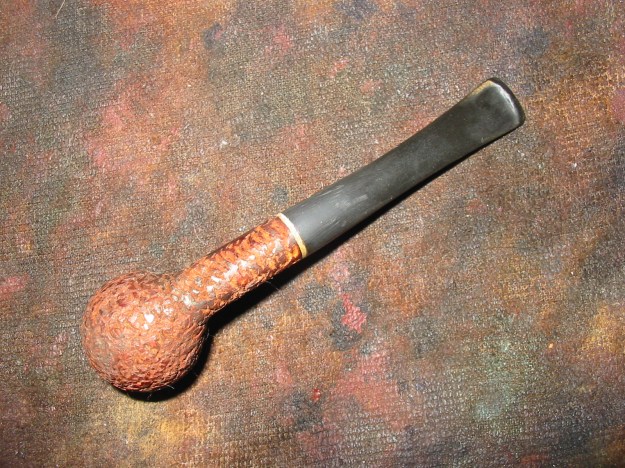
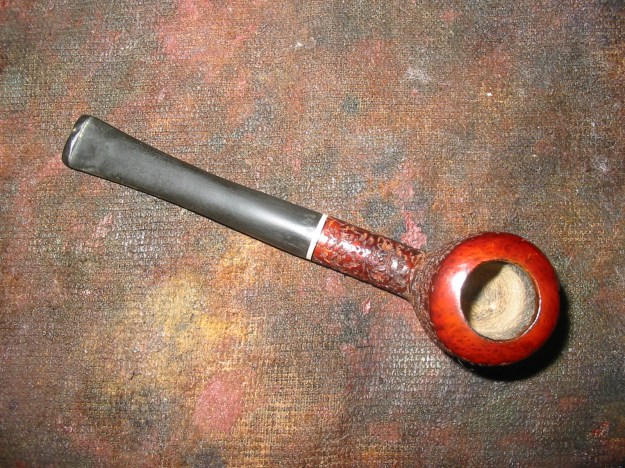
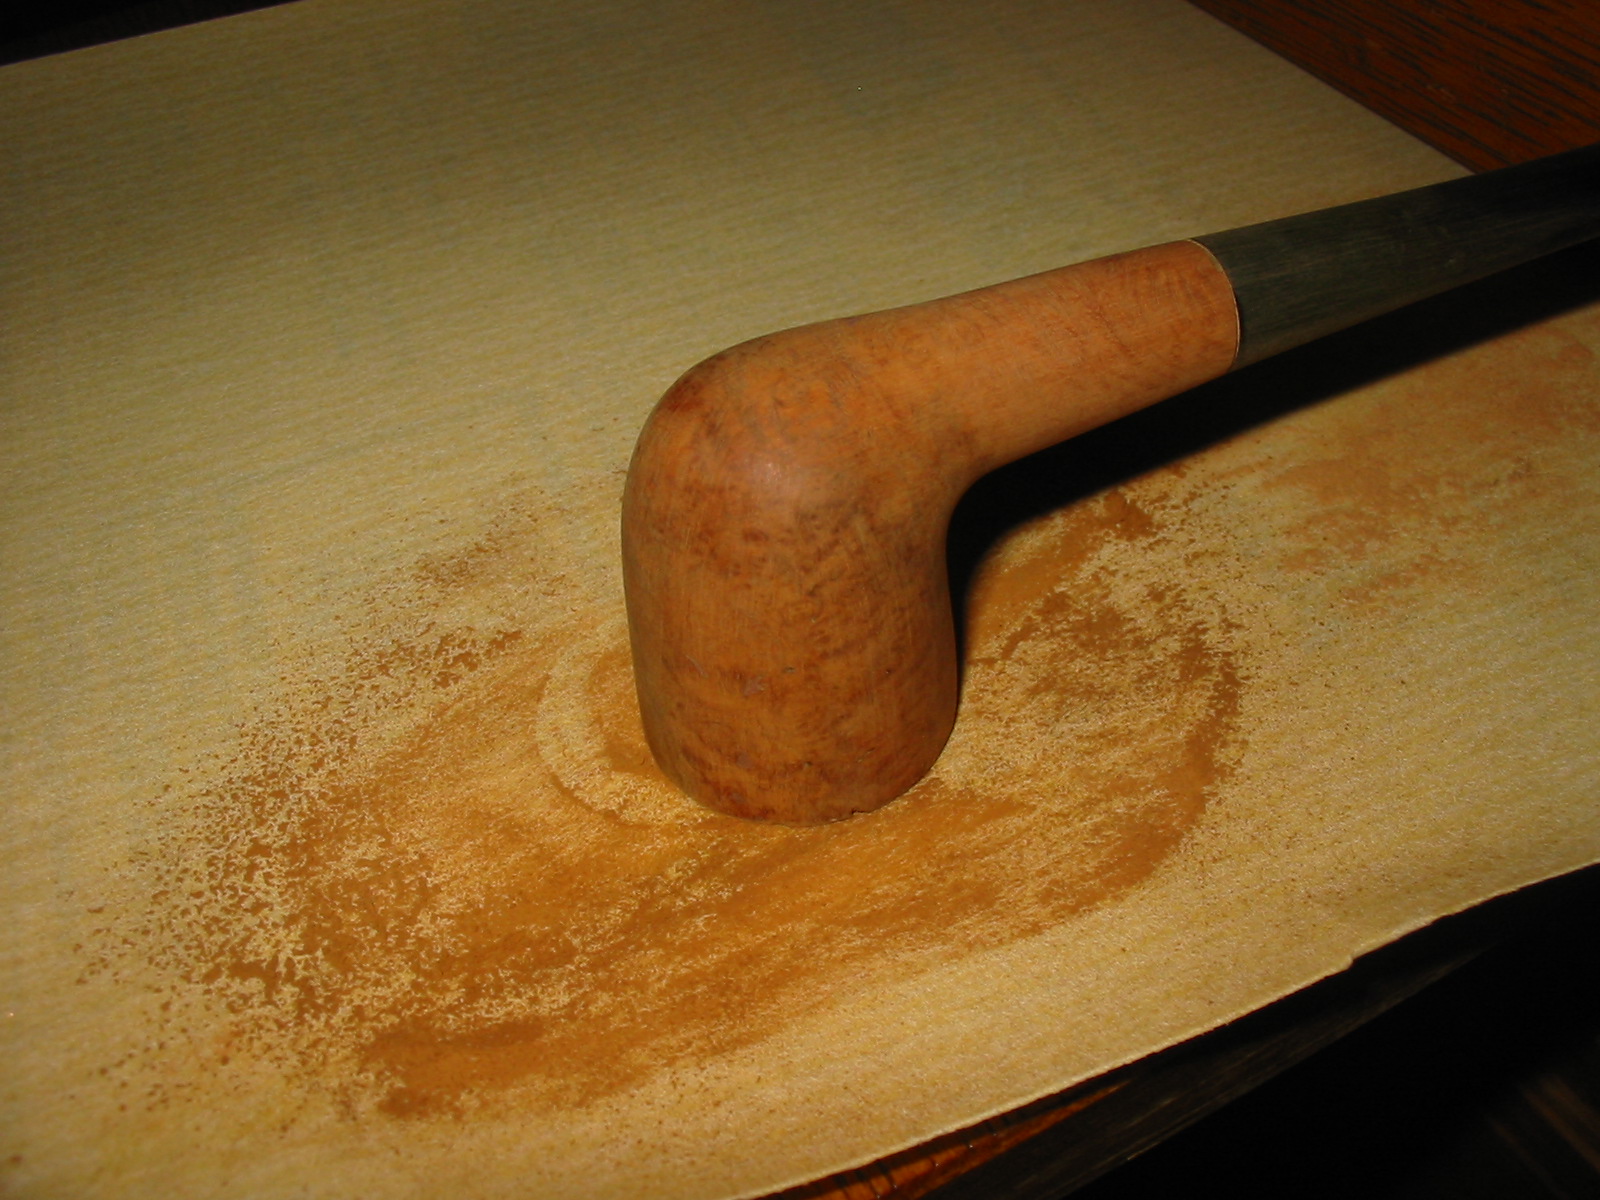
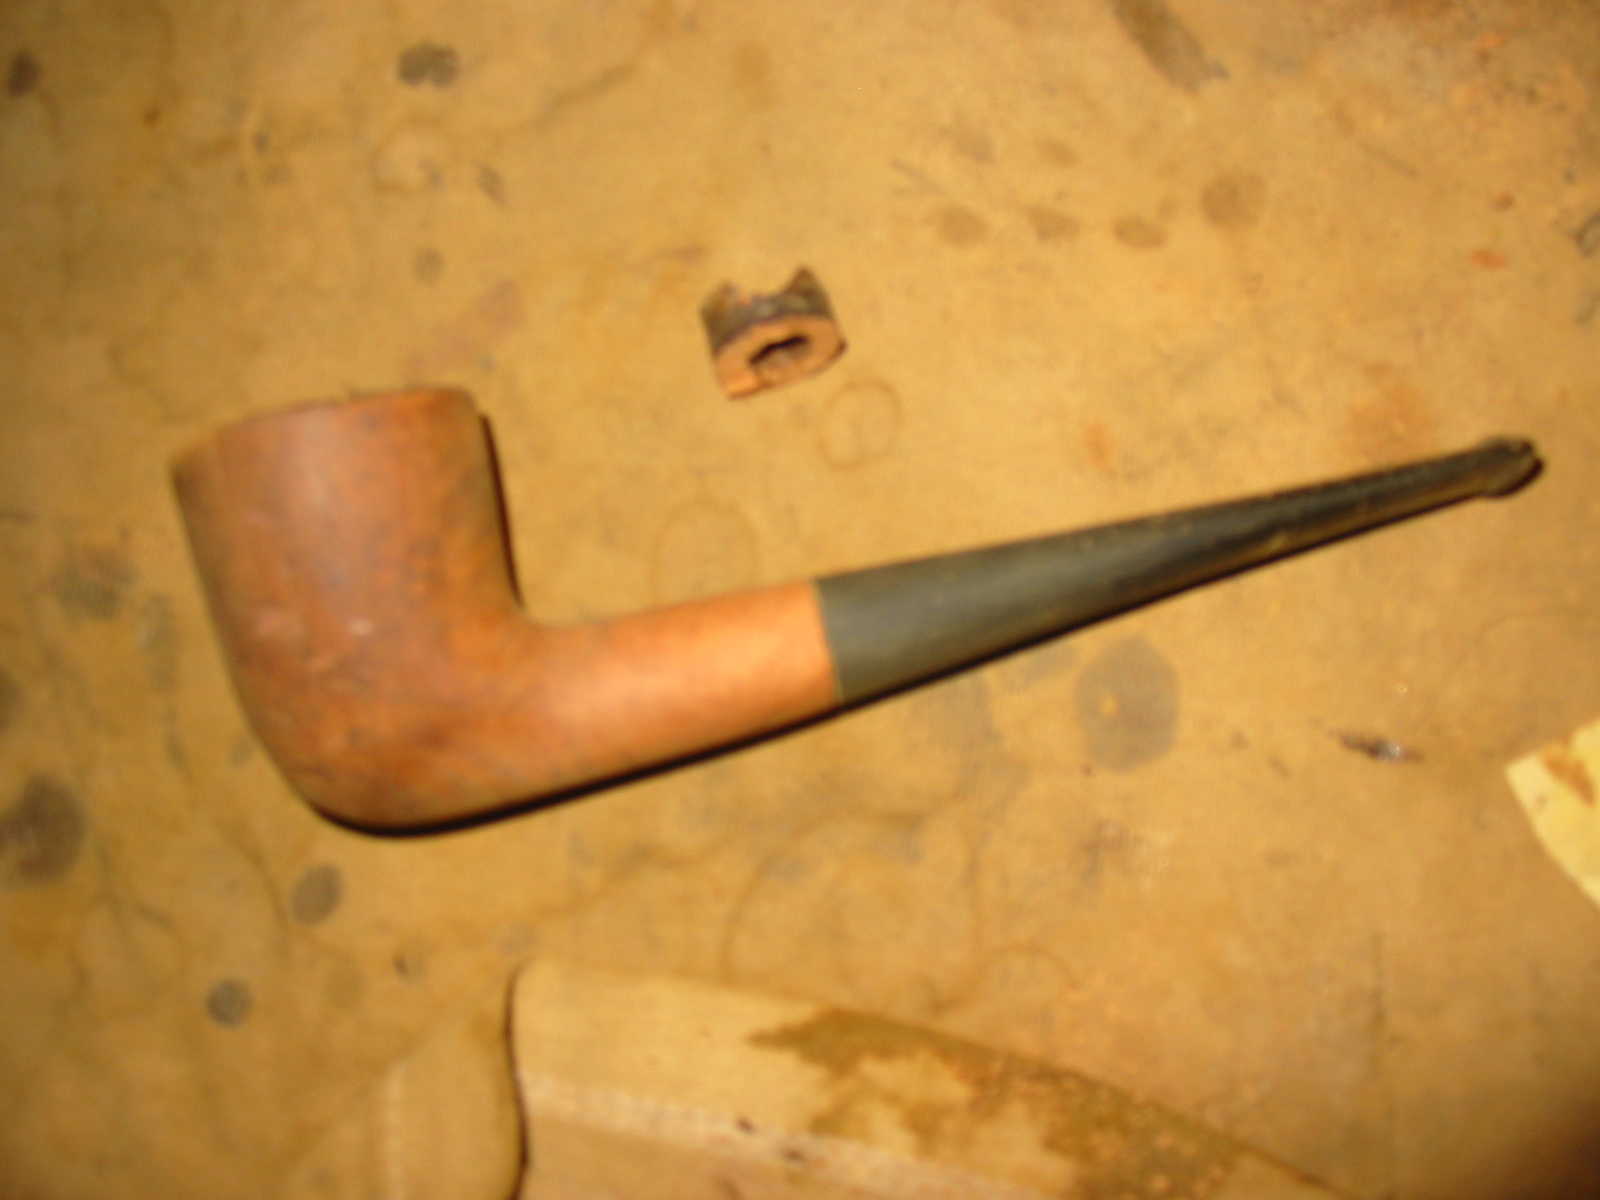
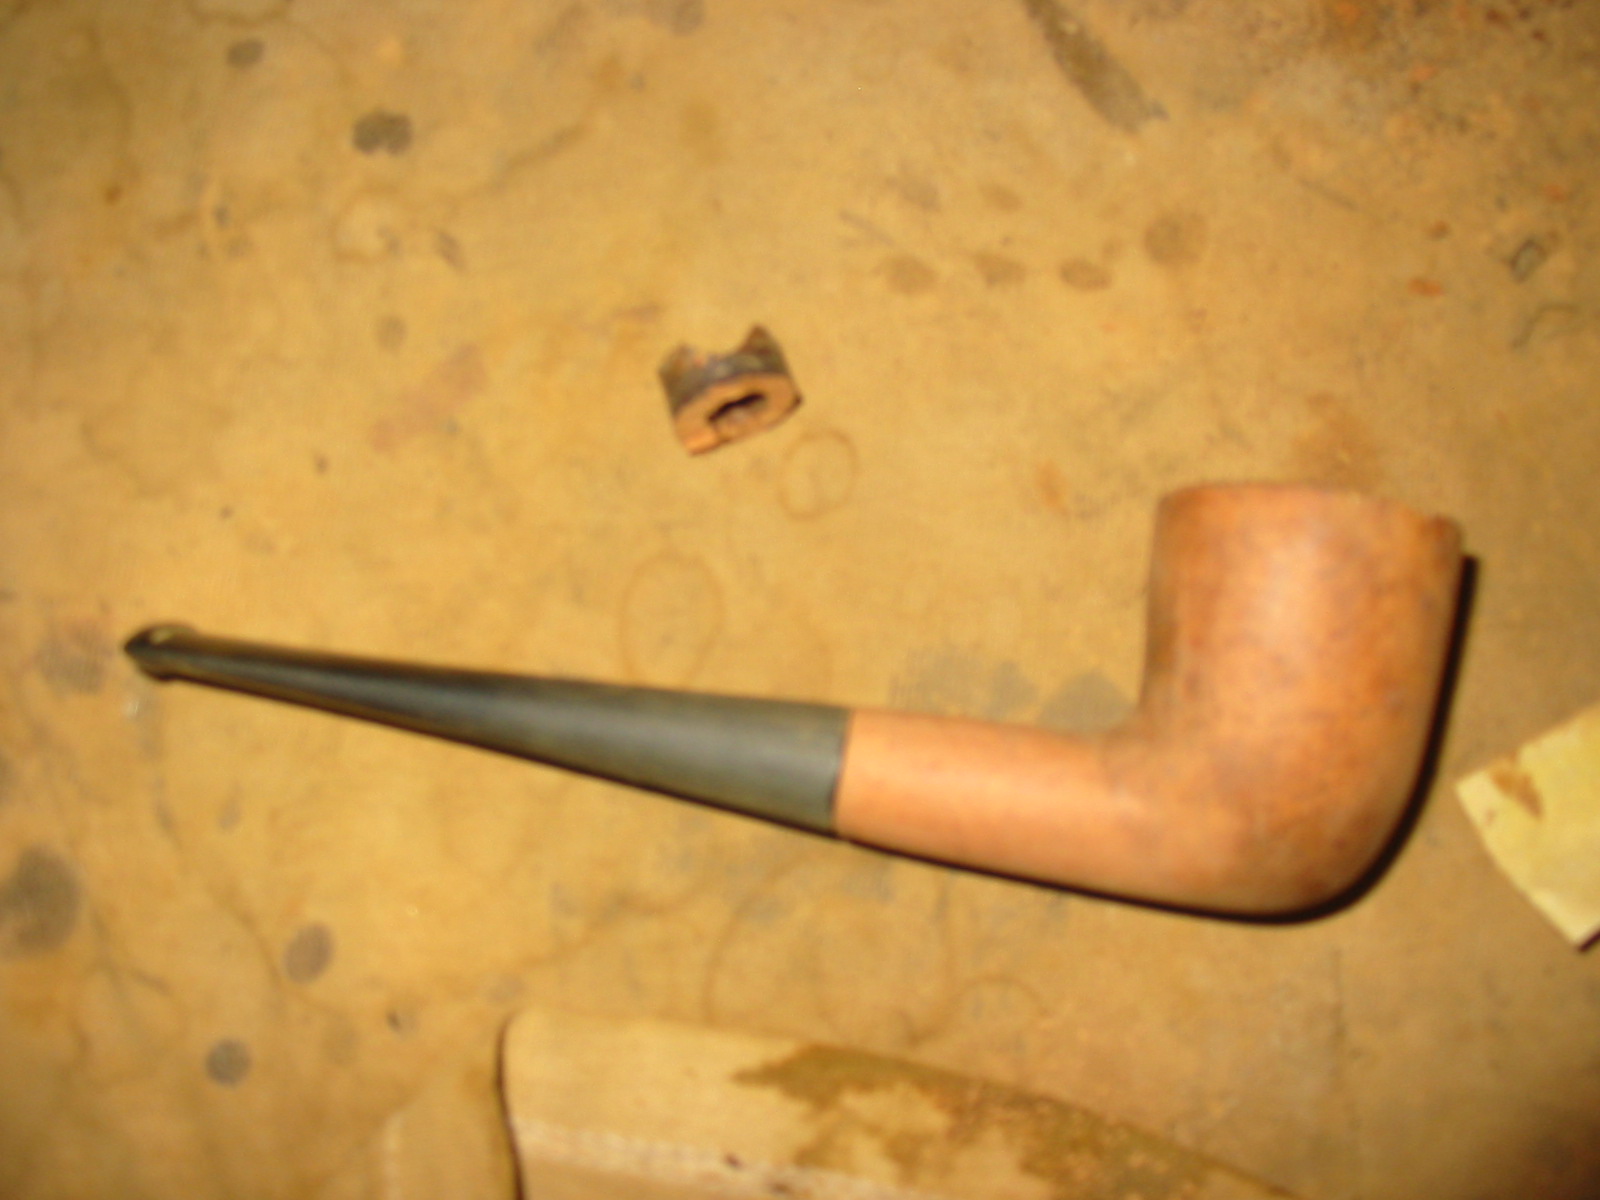
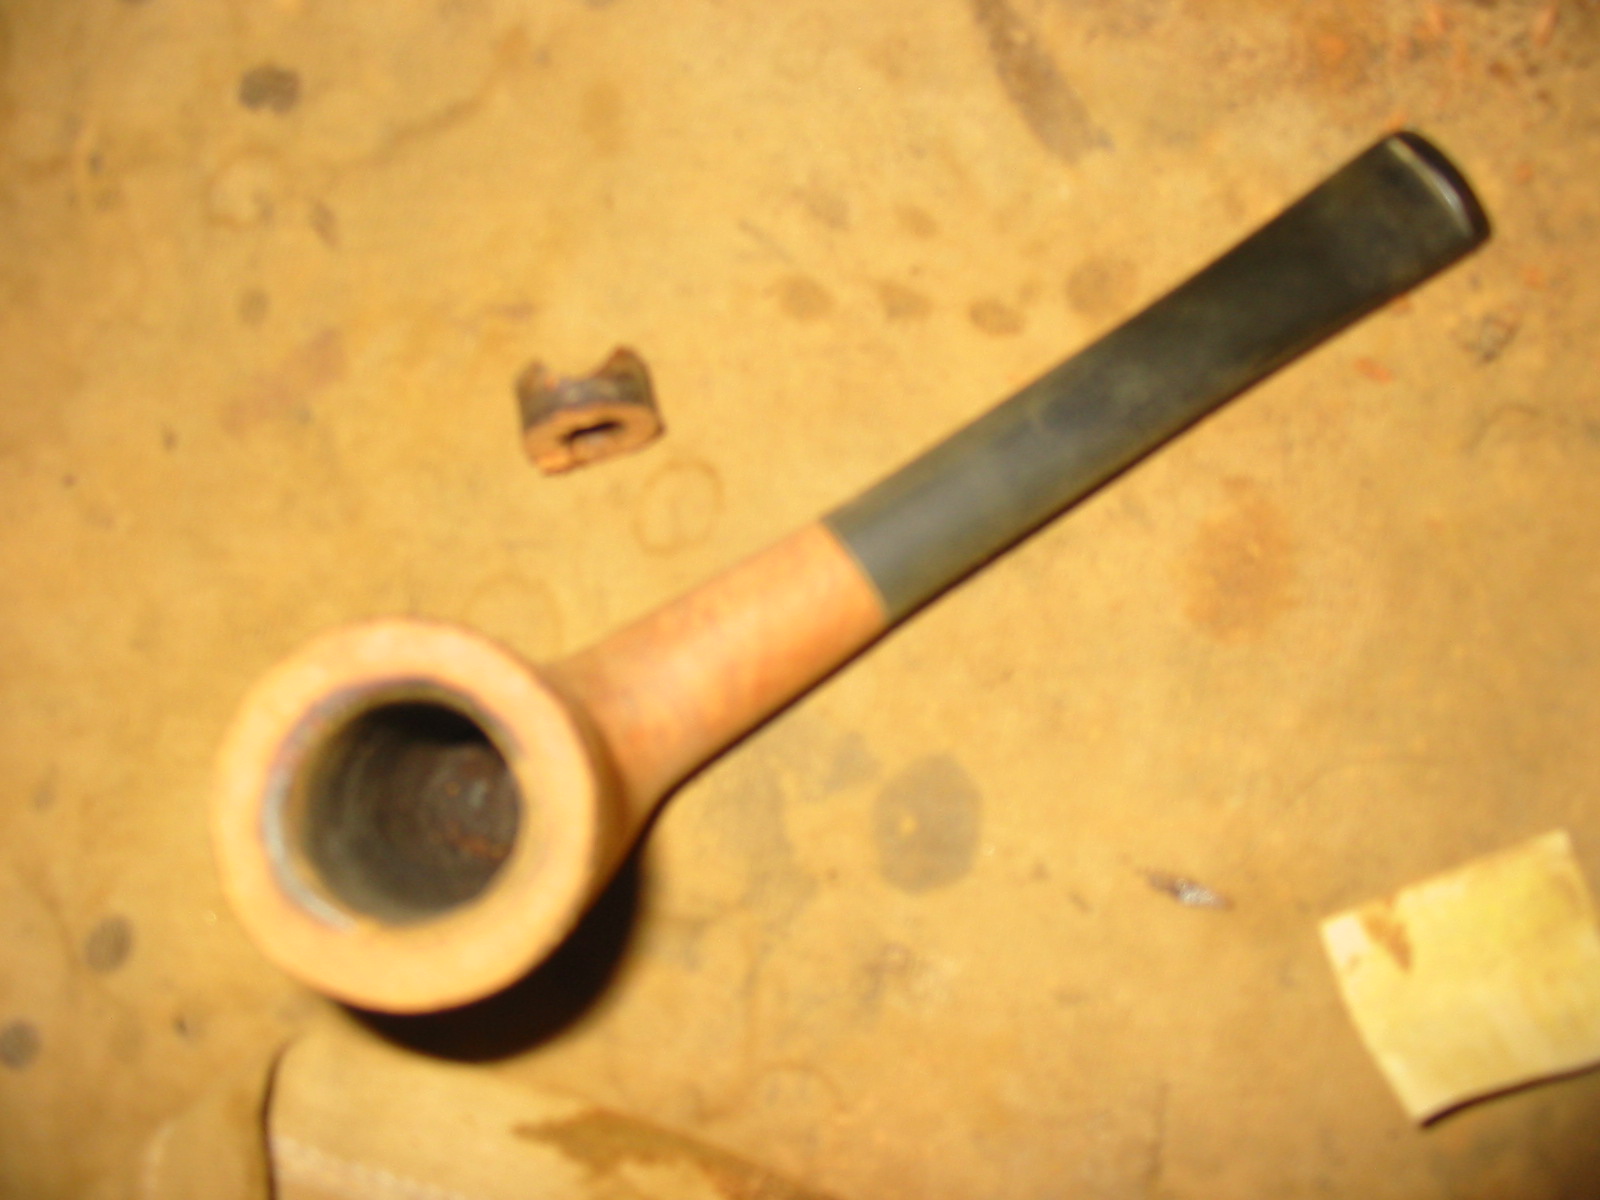
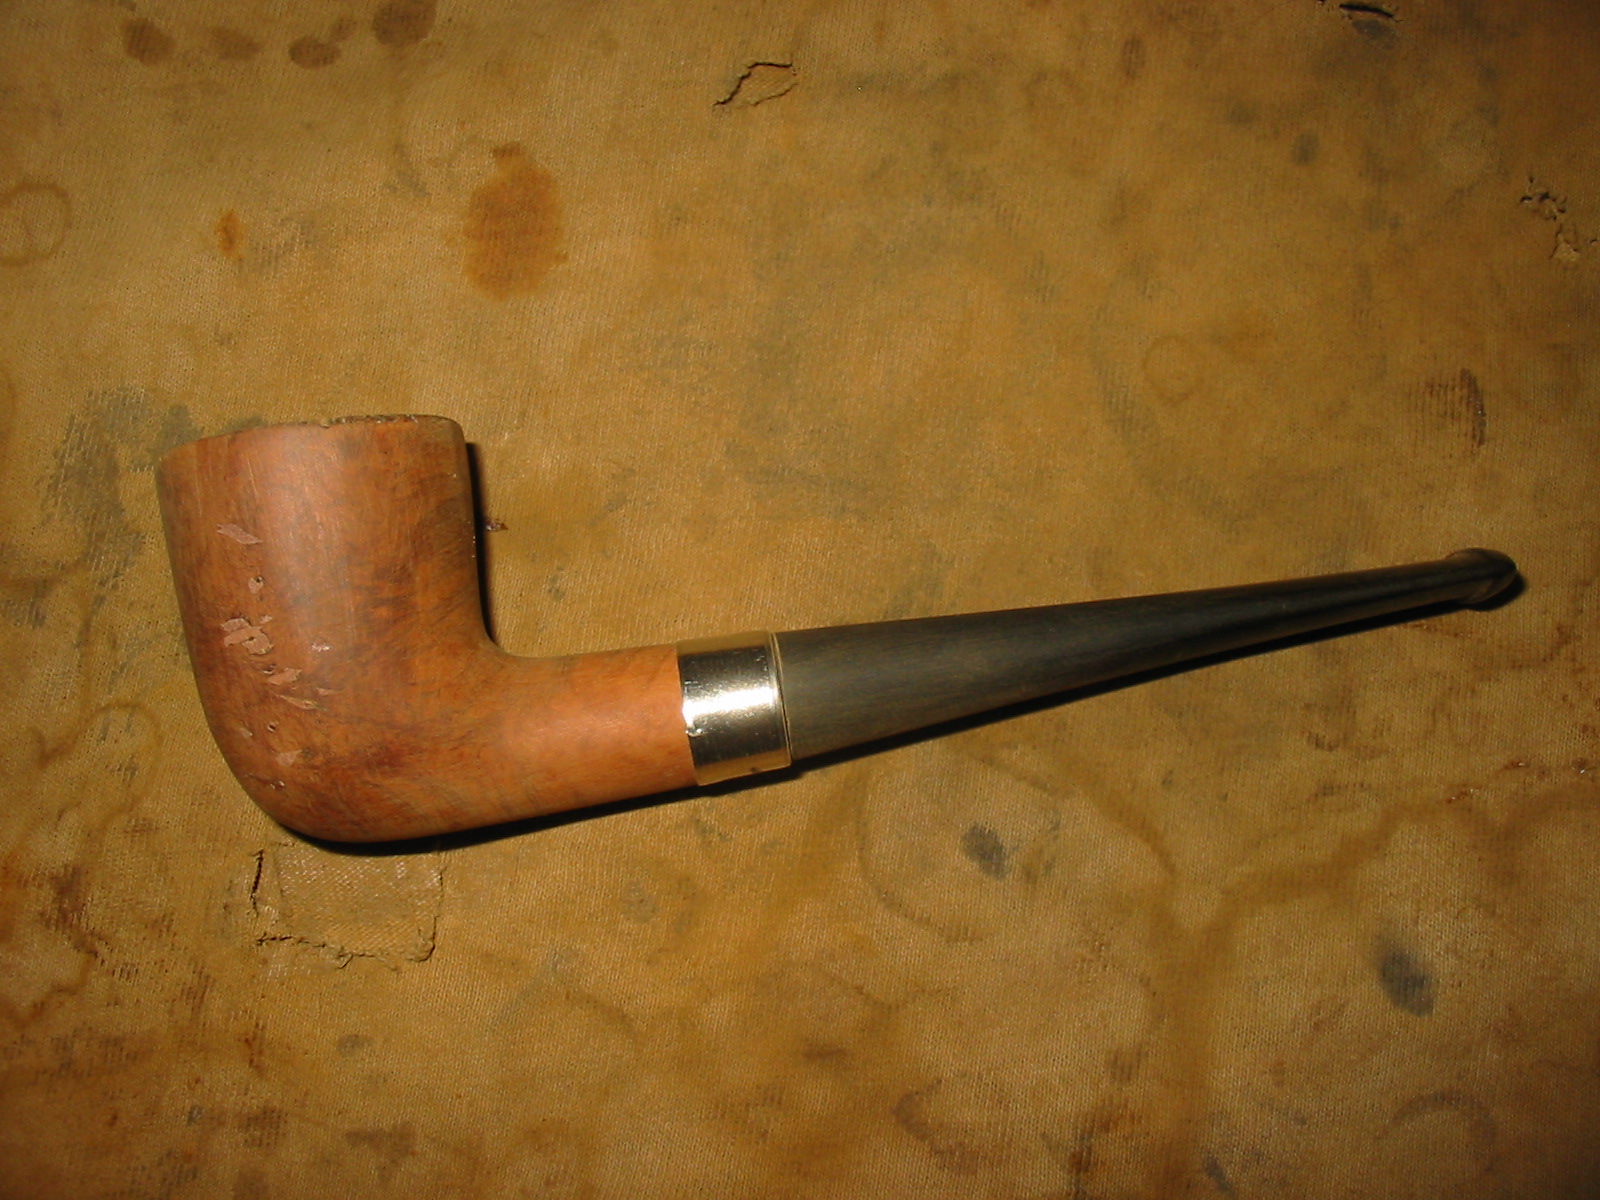
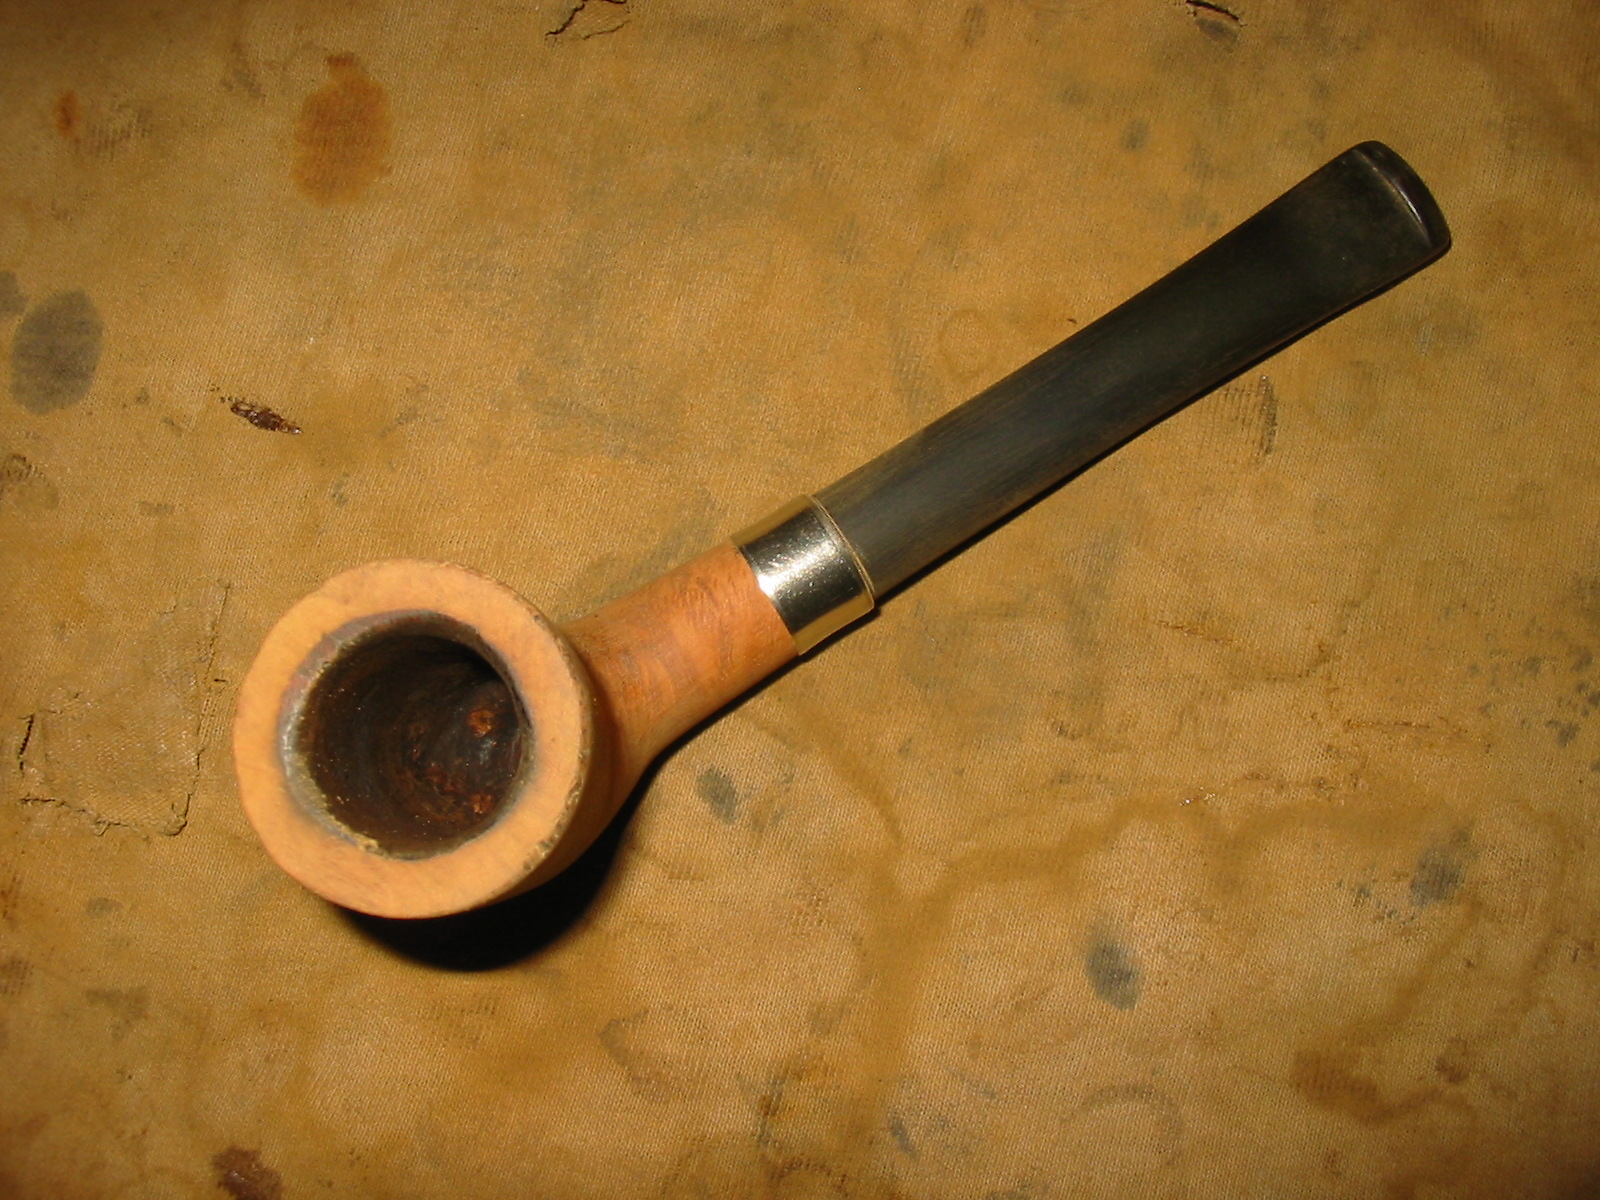
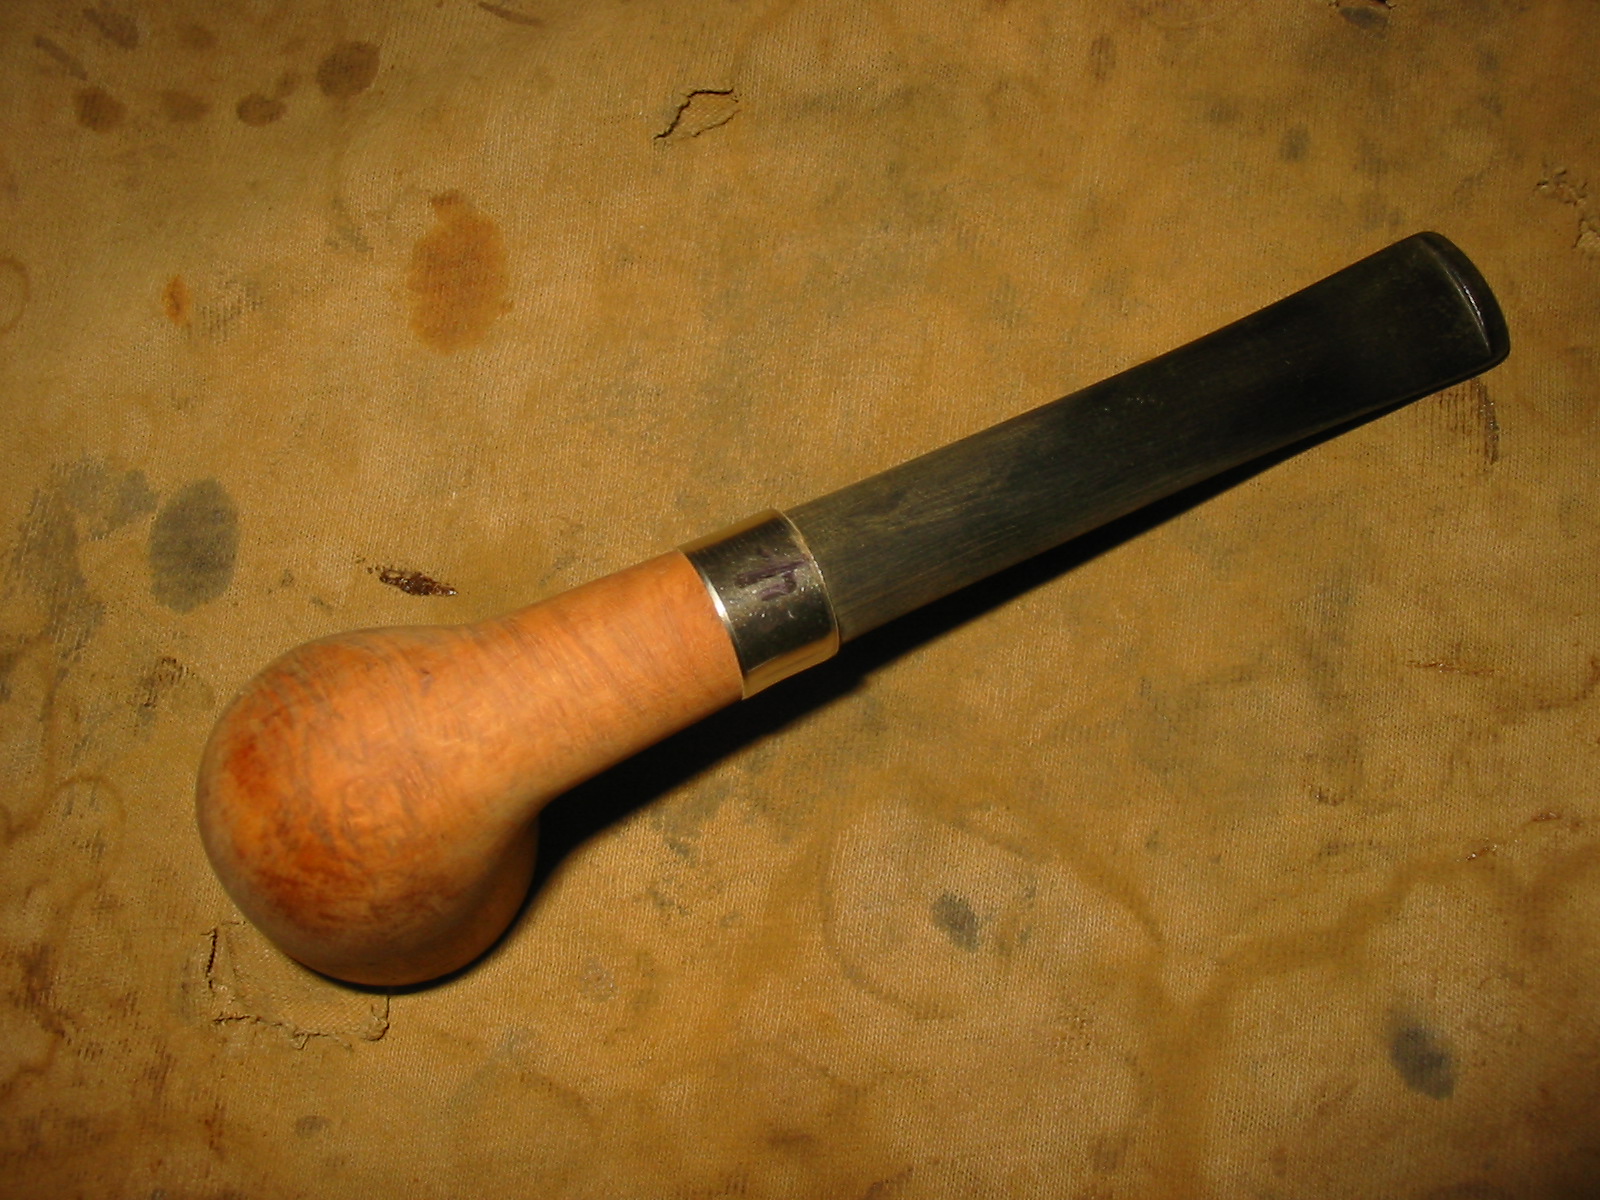
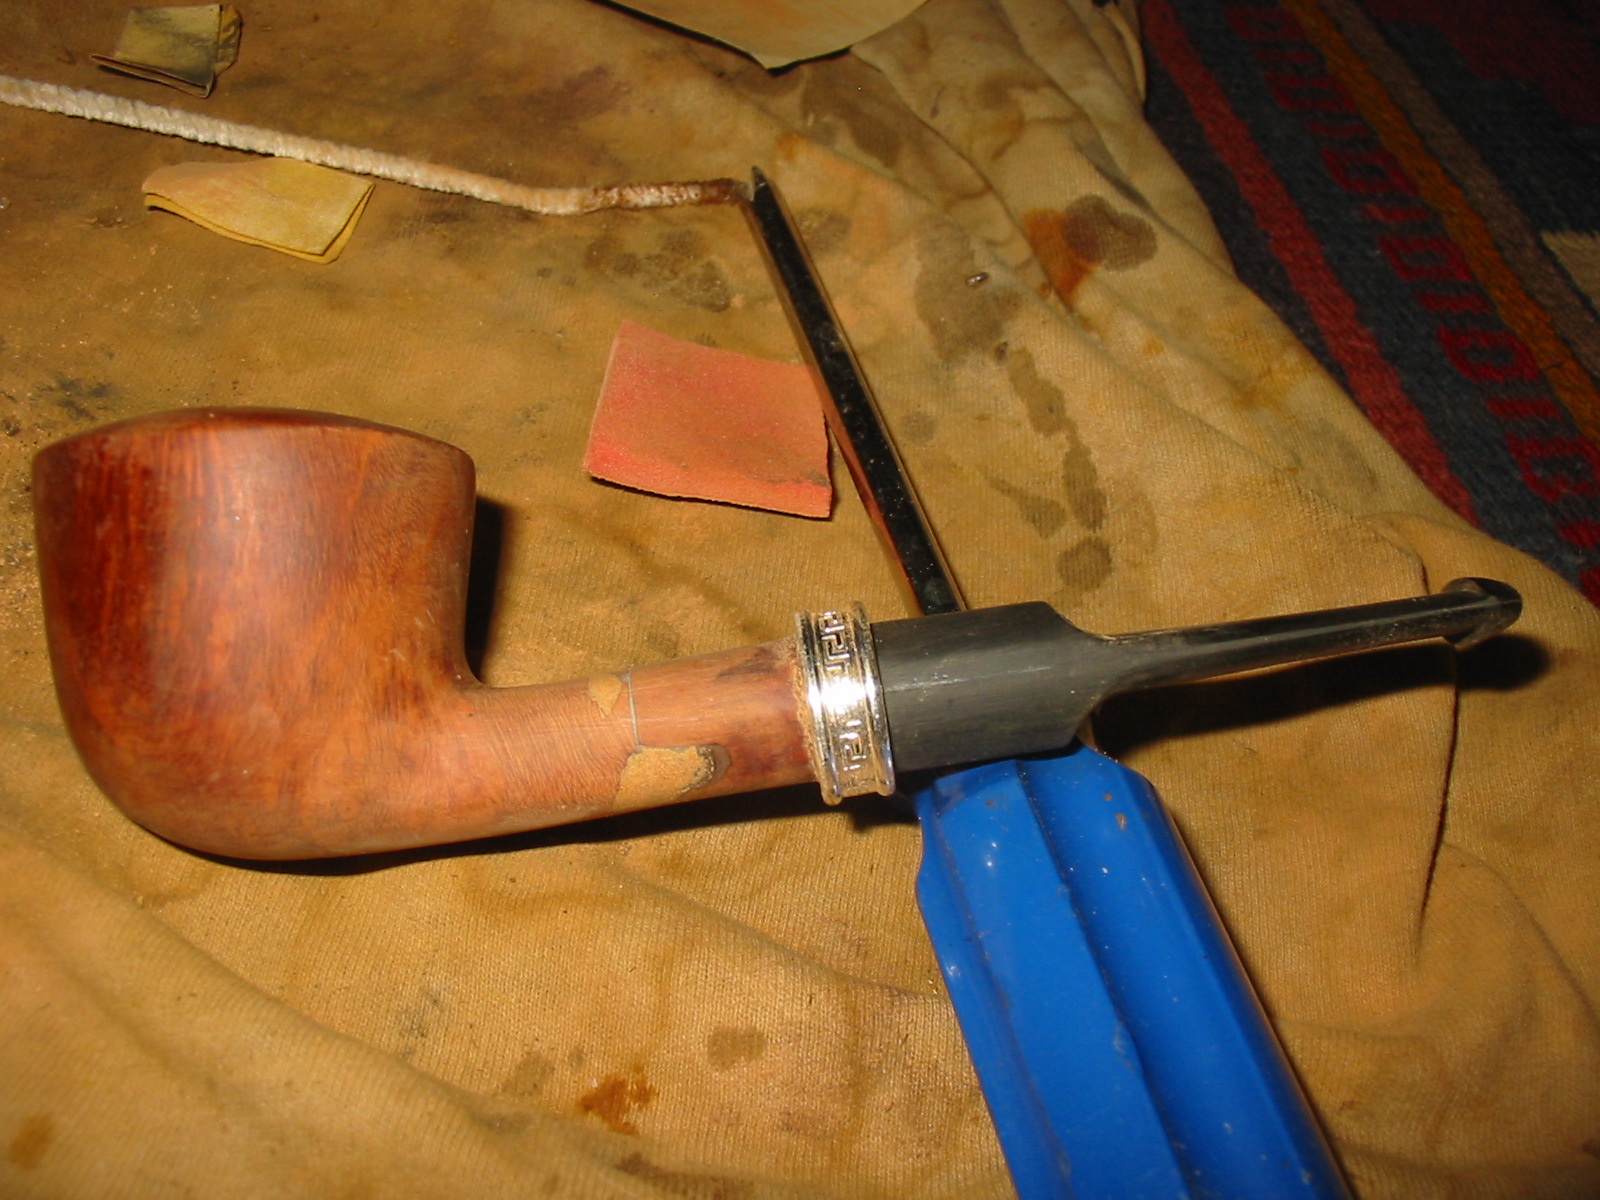
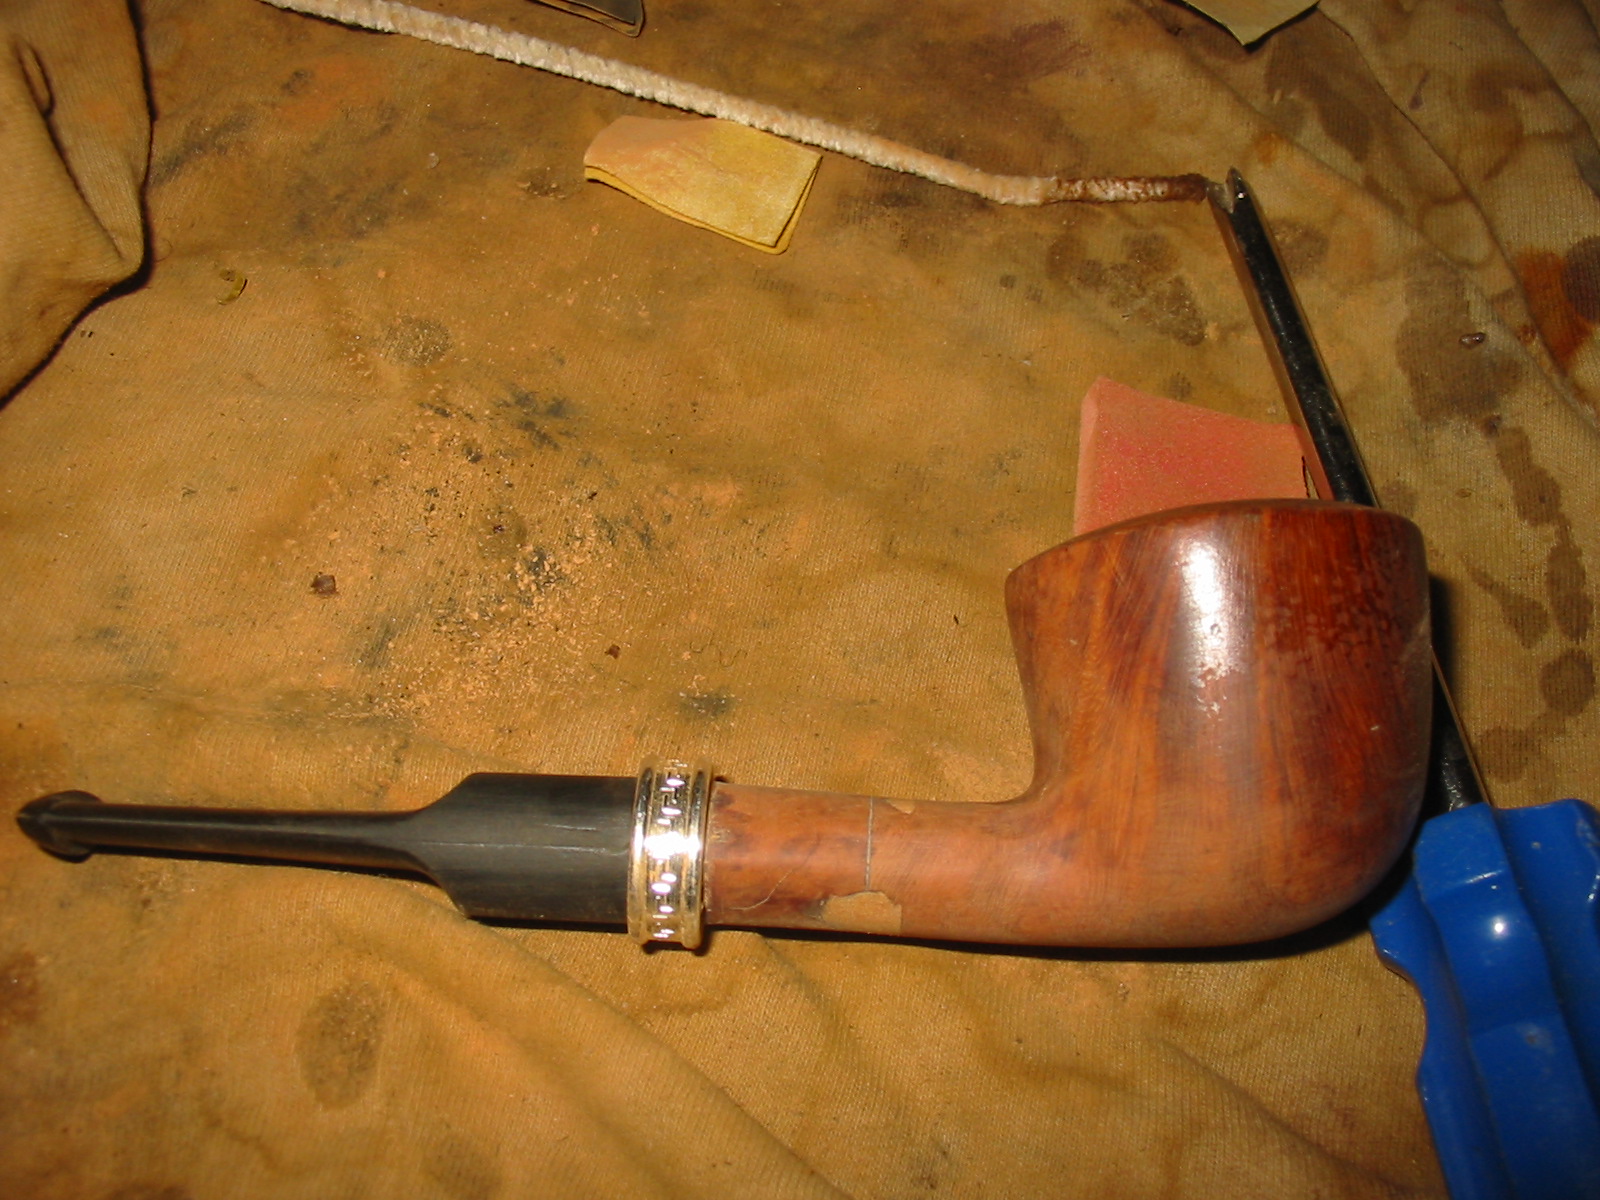
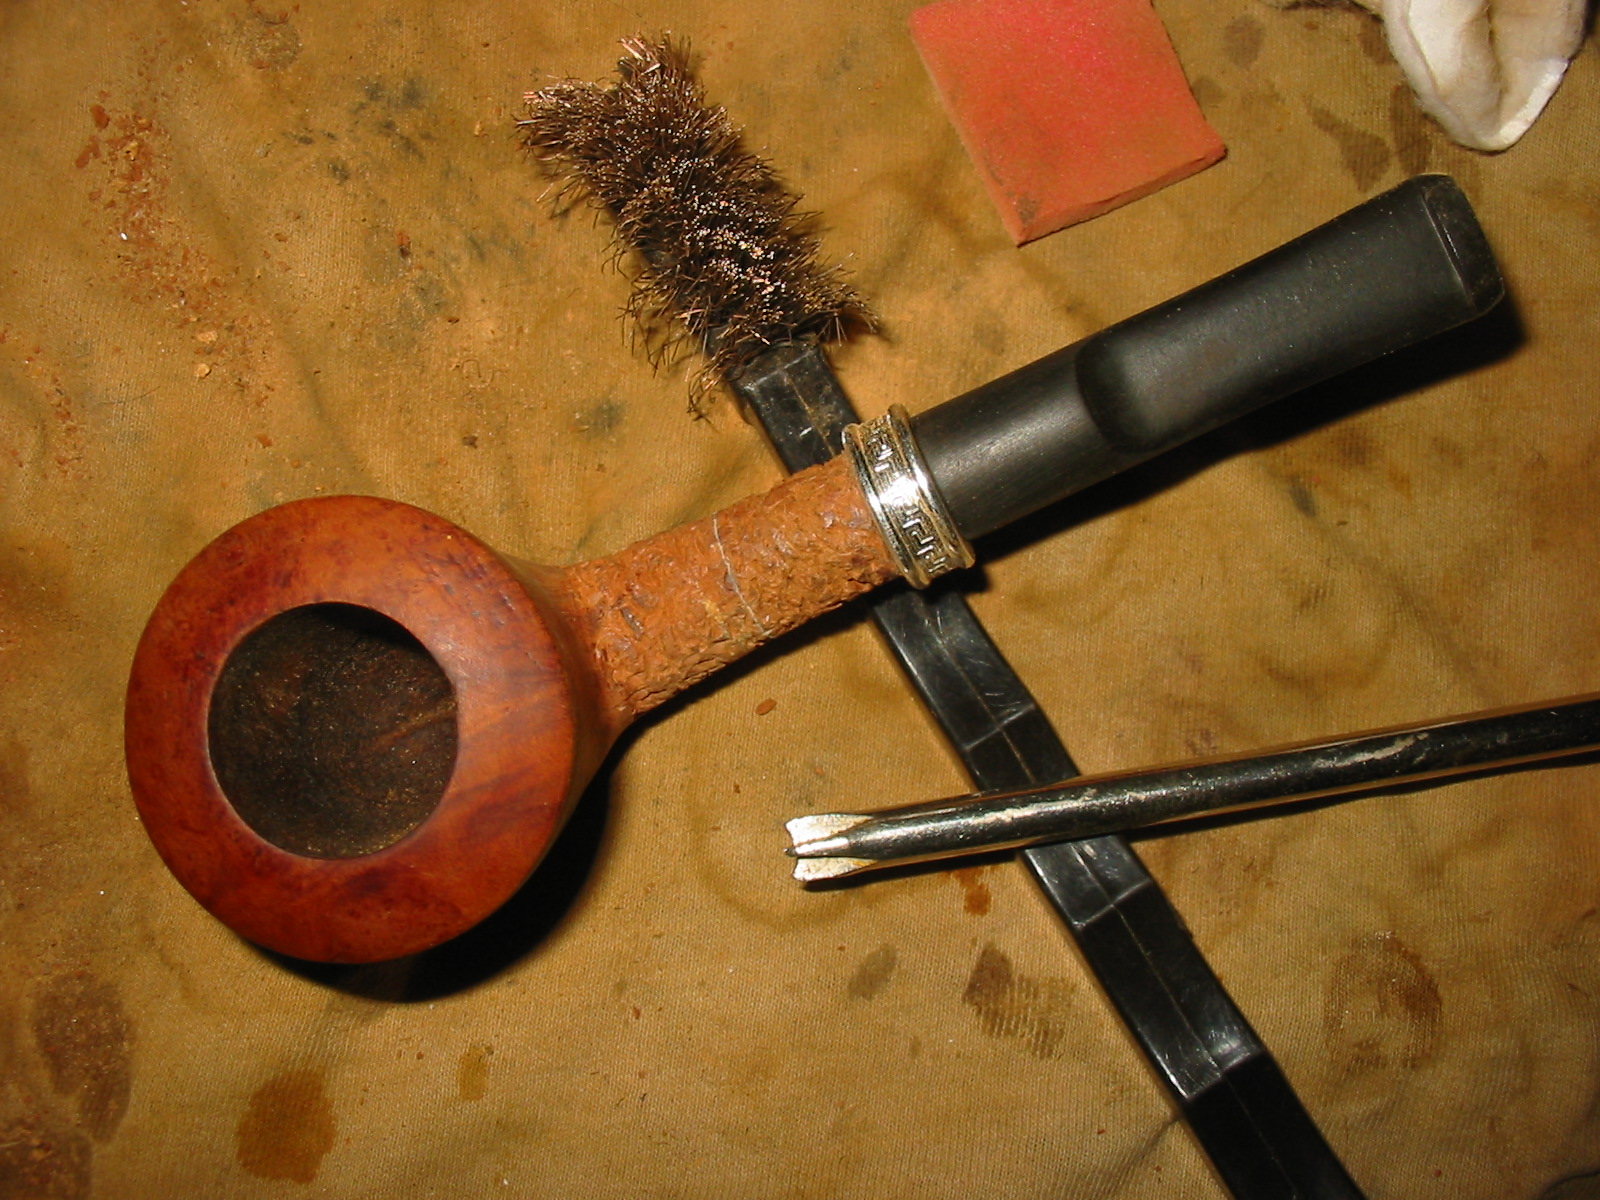
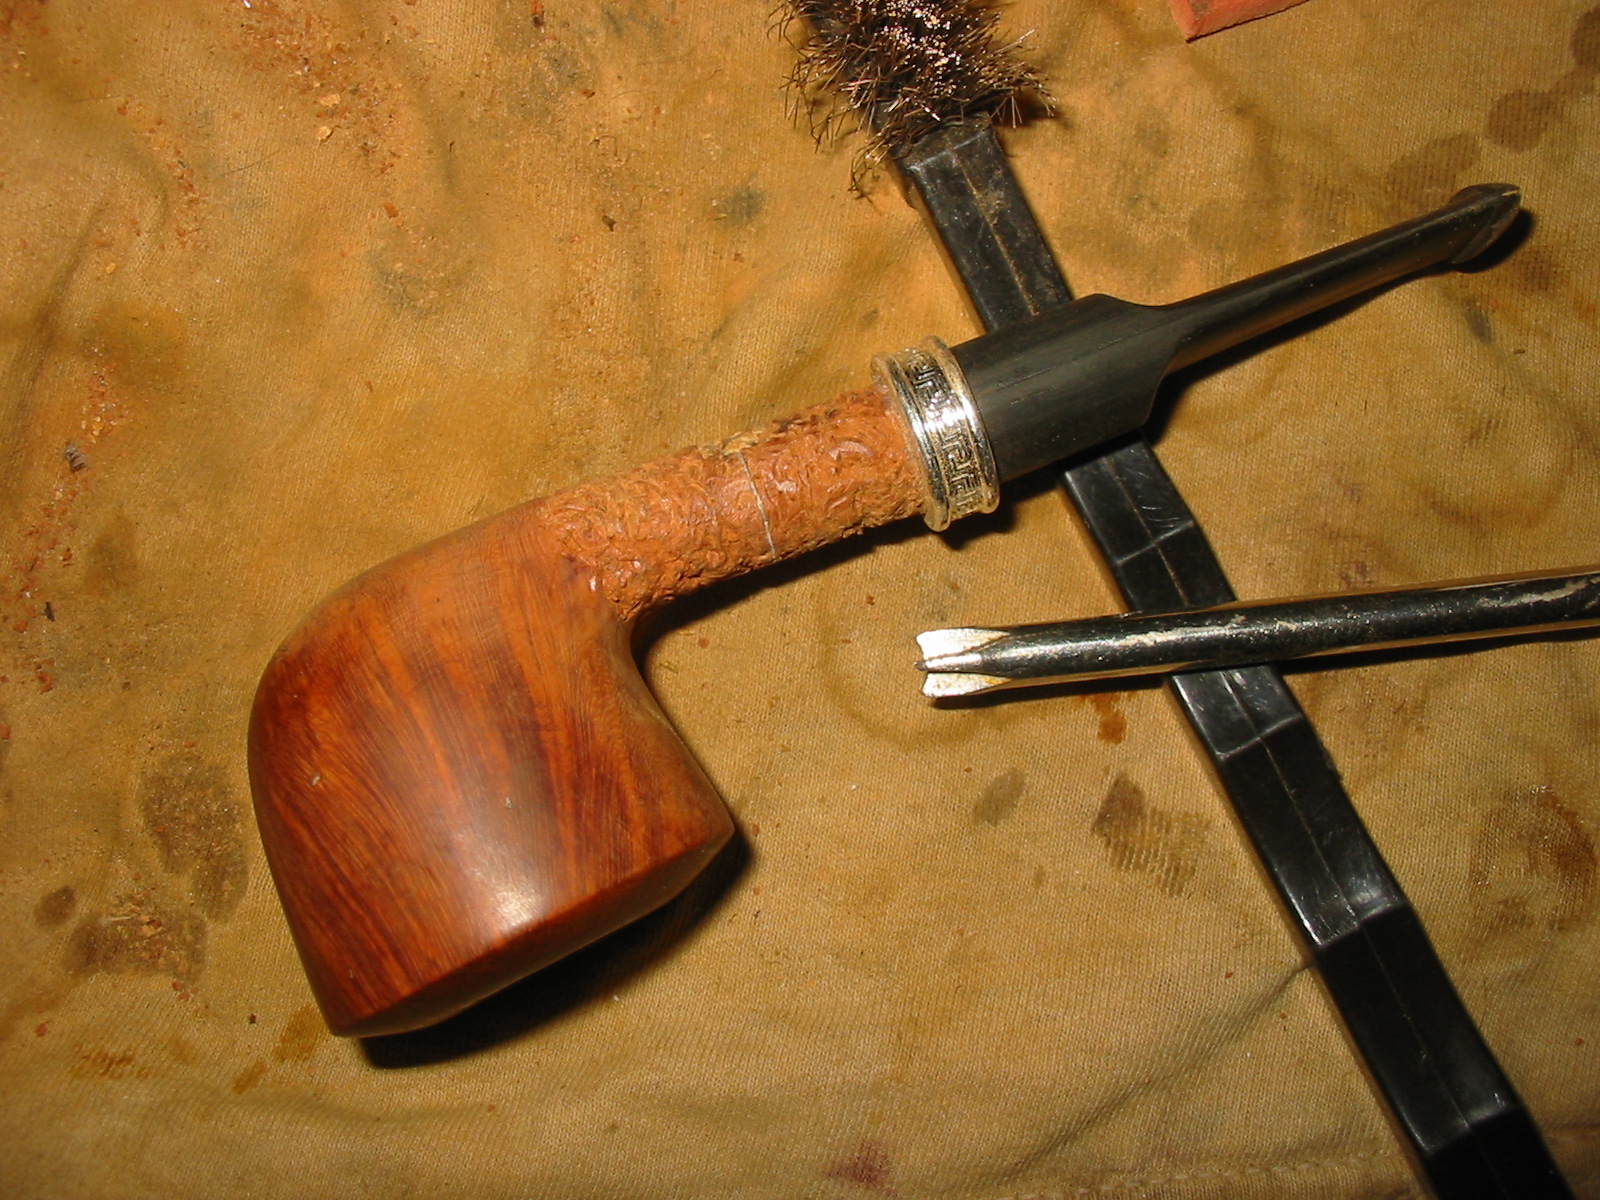
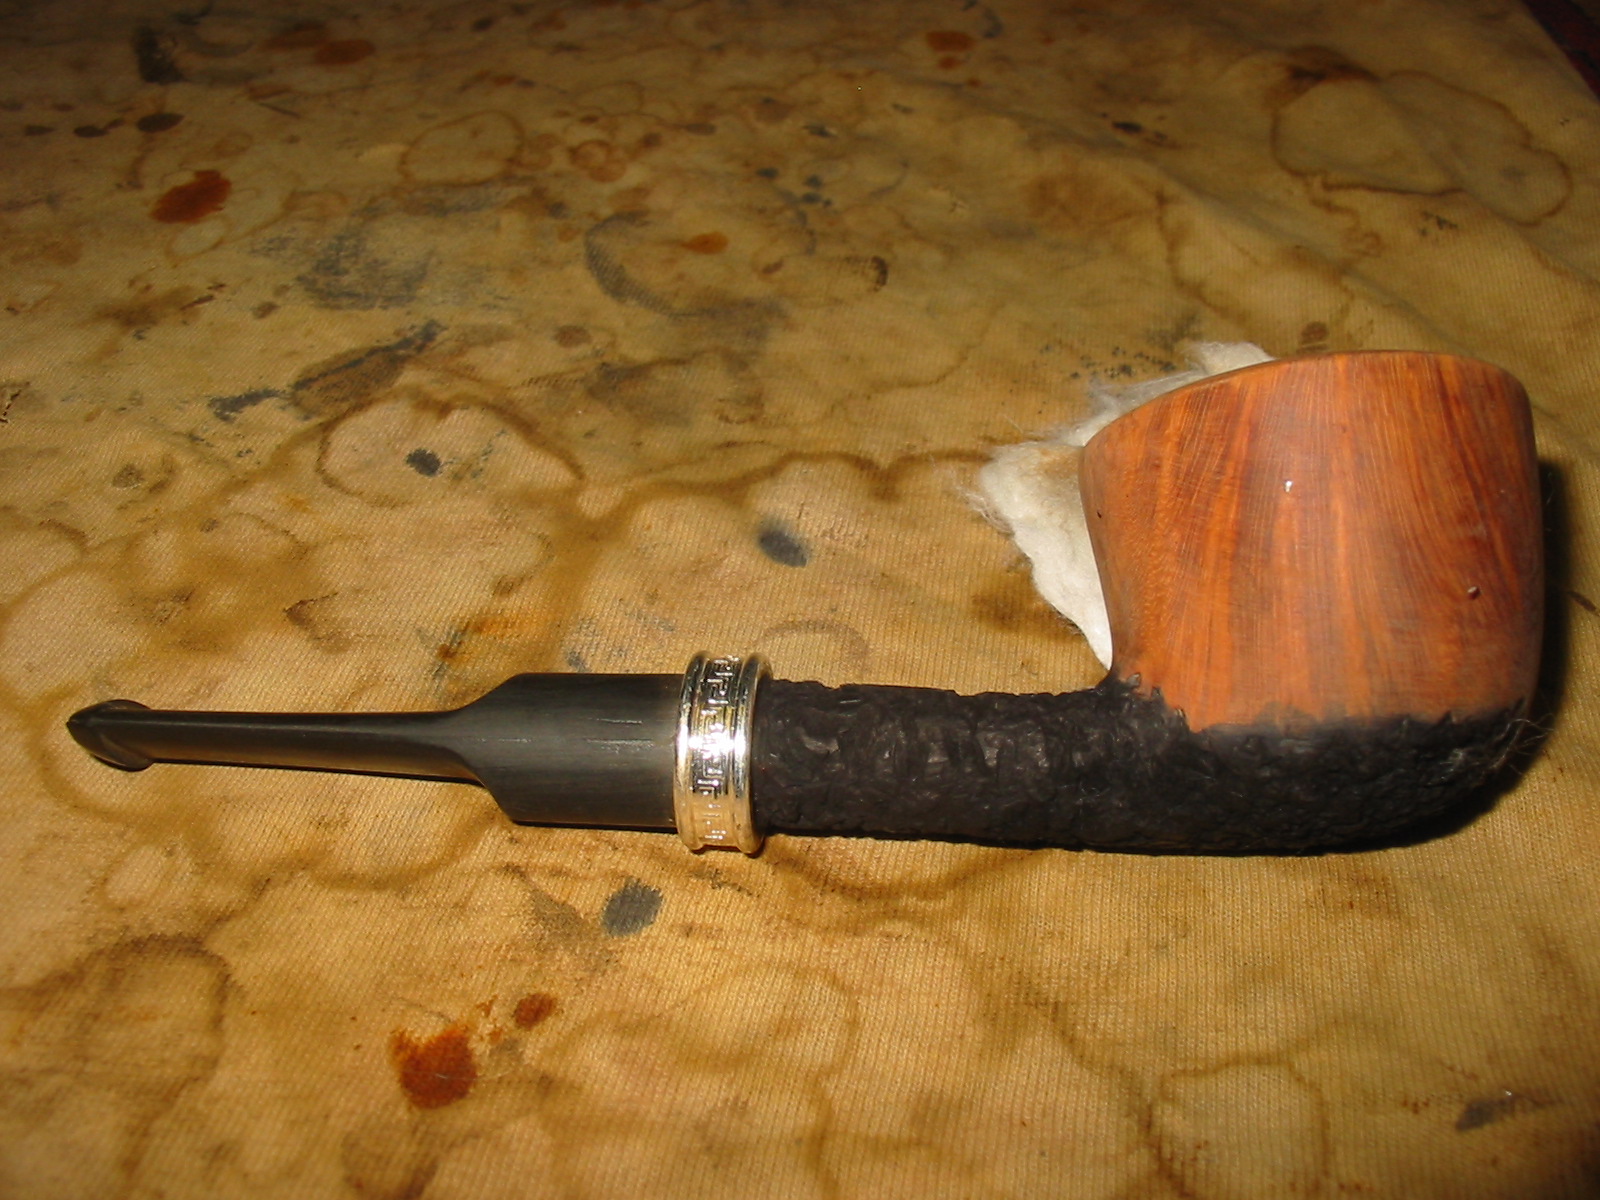
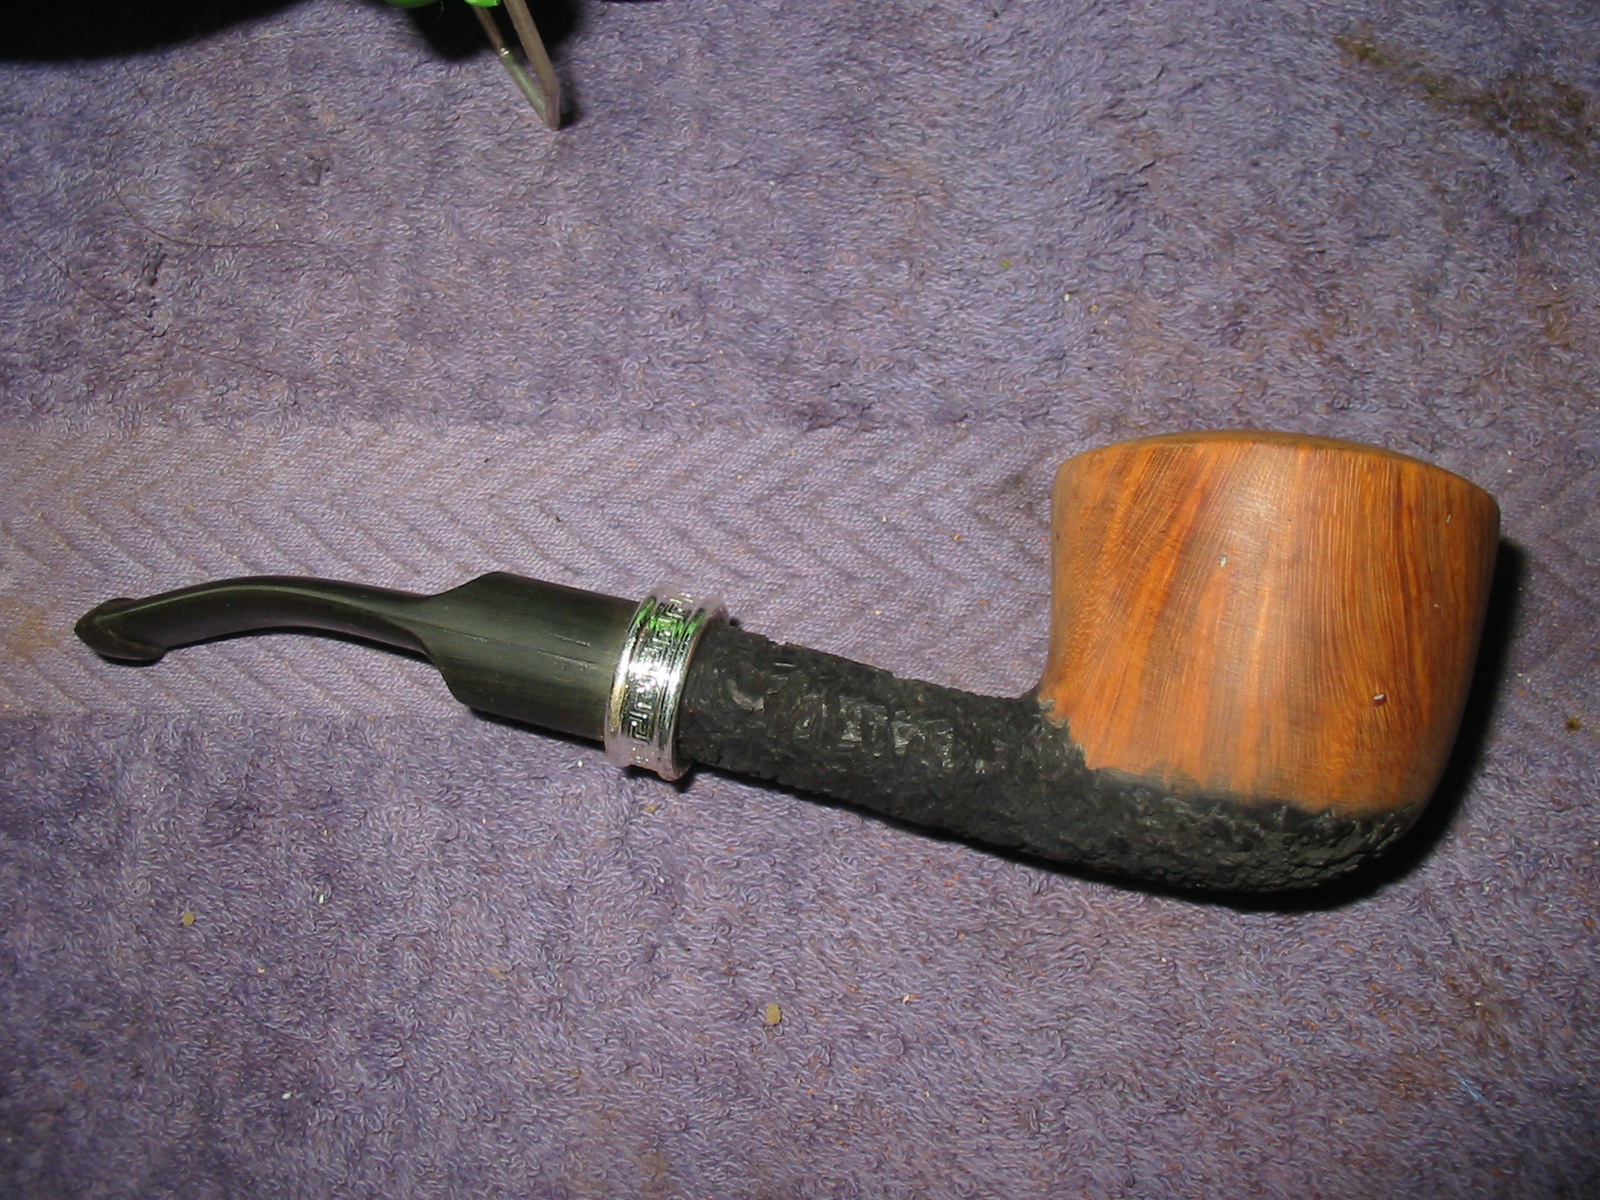
Cutting Back a Broken Shank and Reworking a No Name Dublin


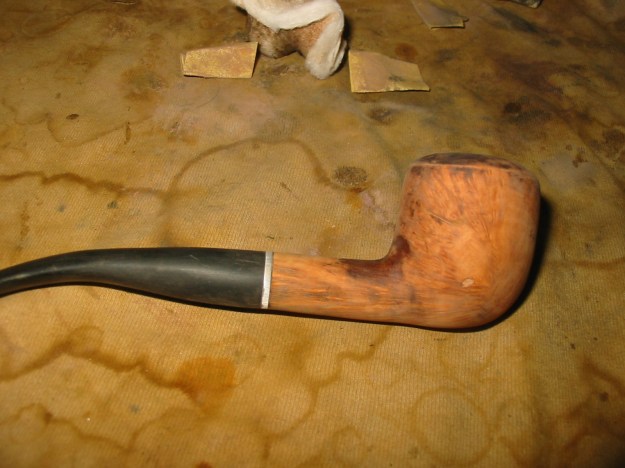
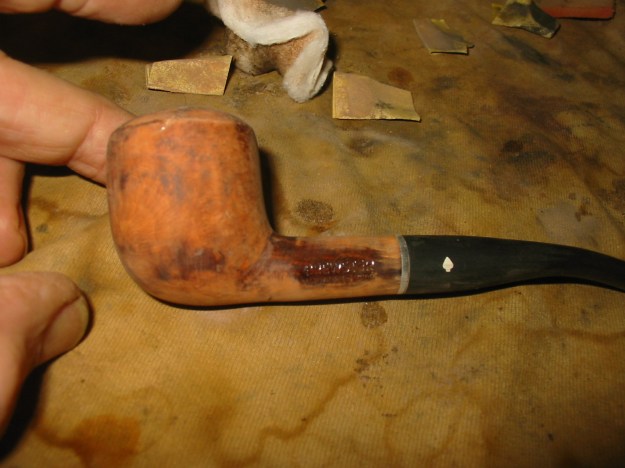
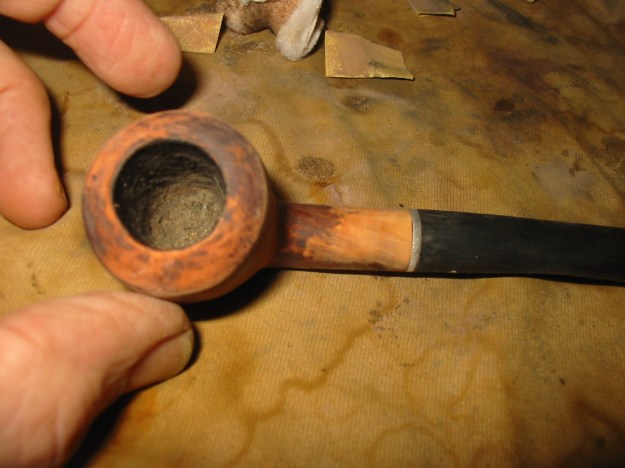
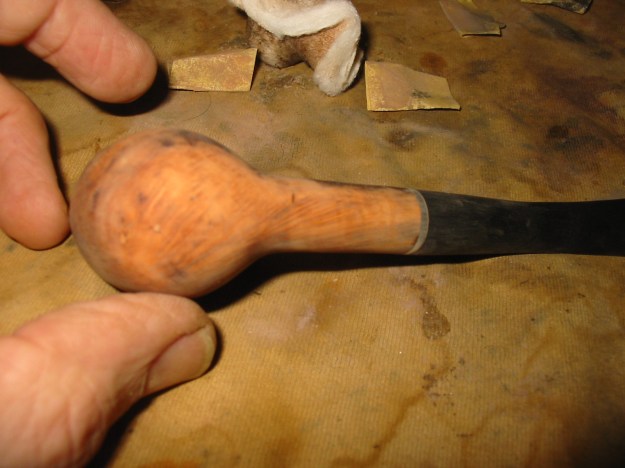
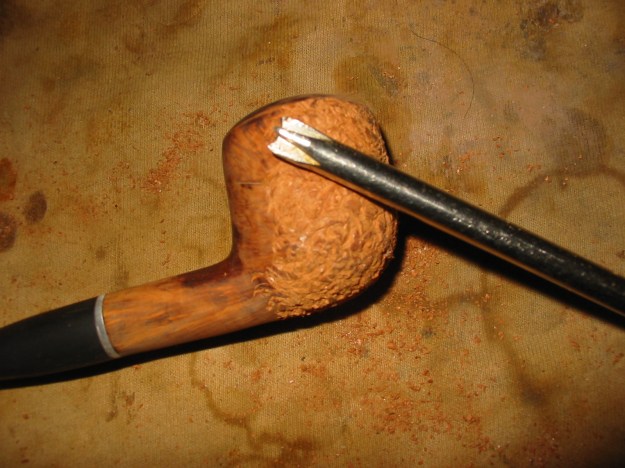
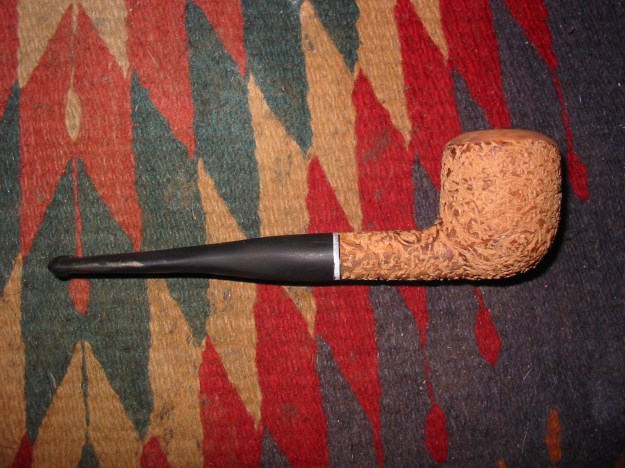
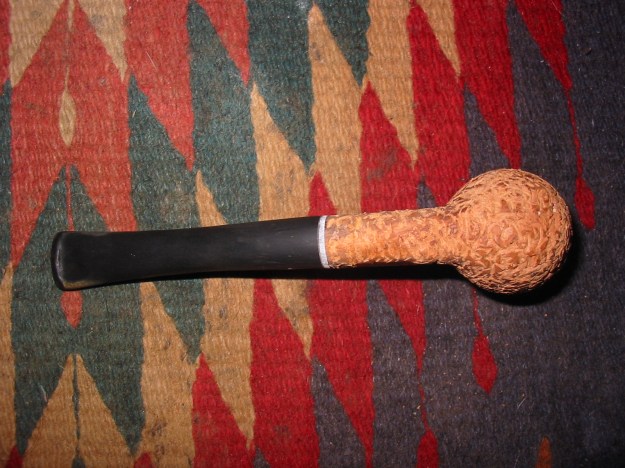
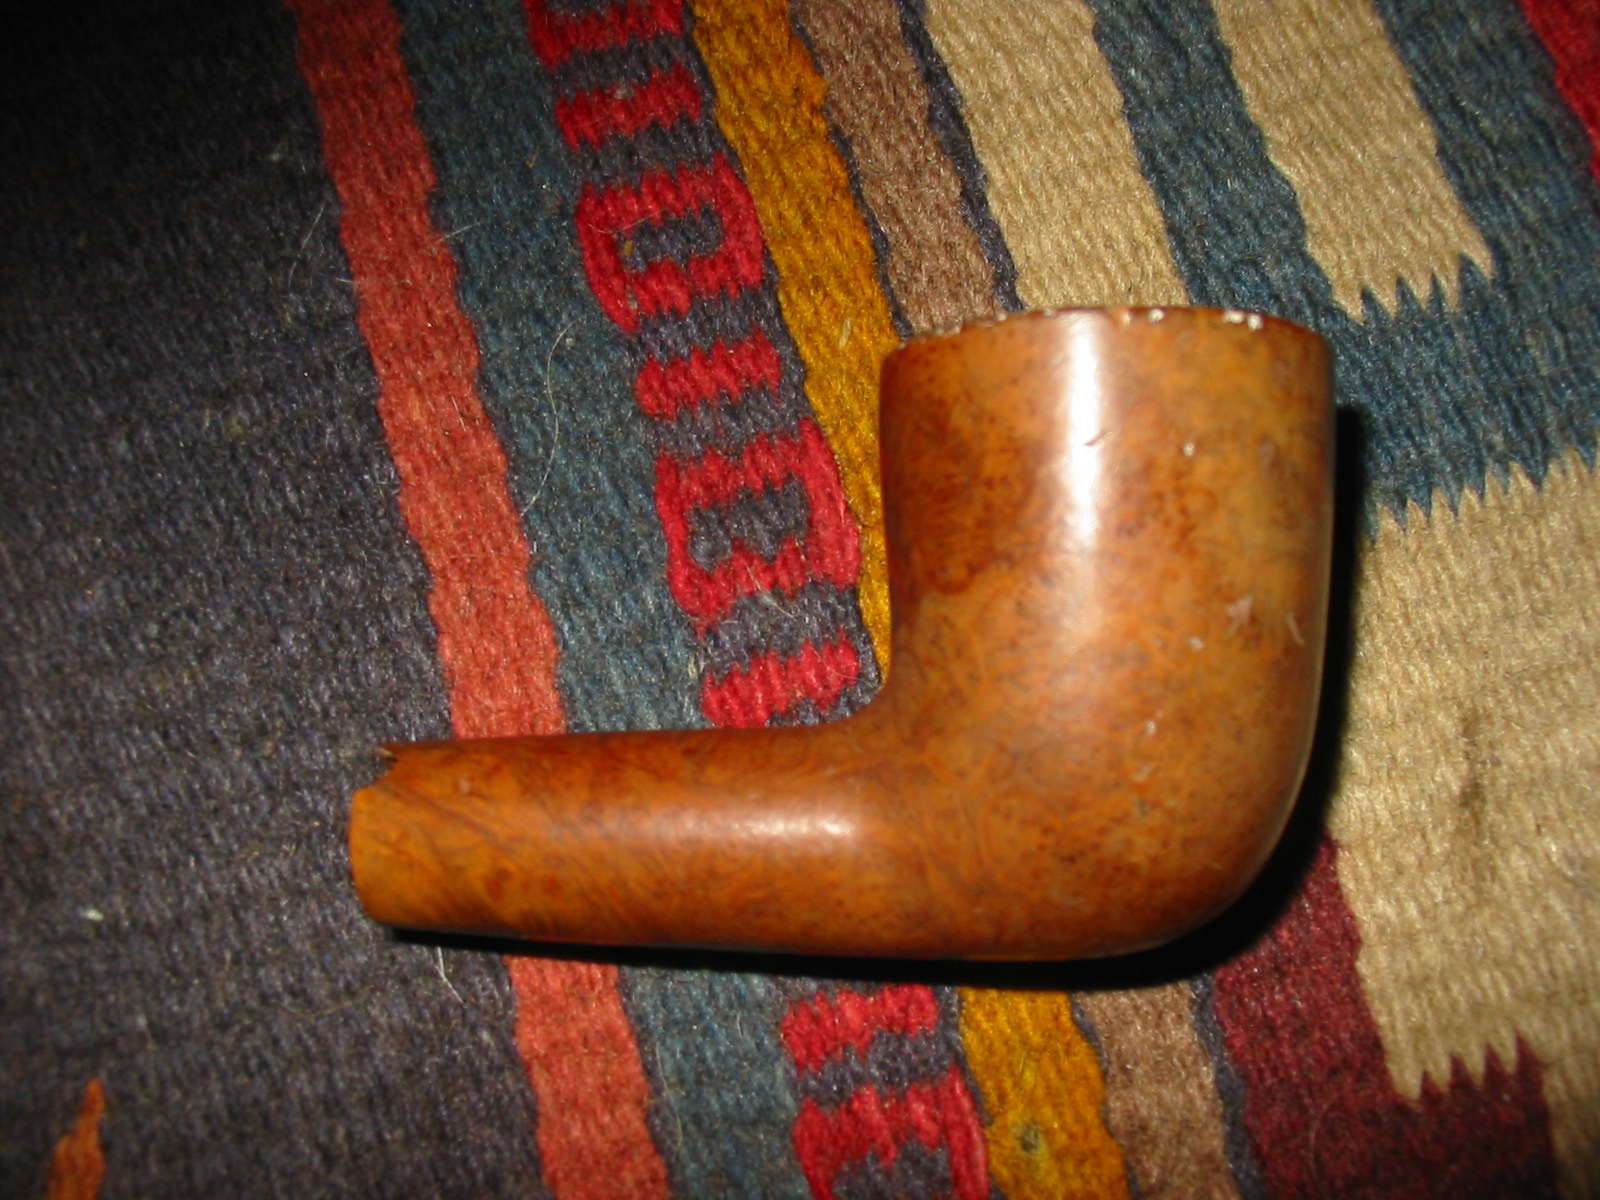
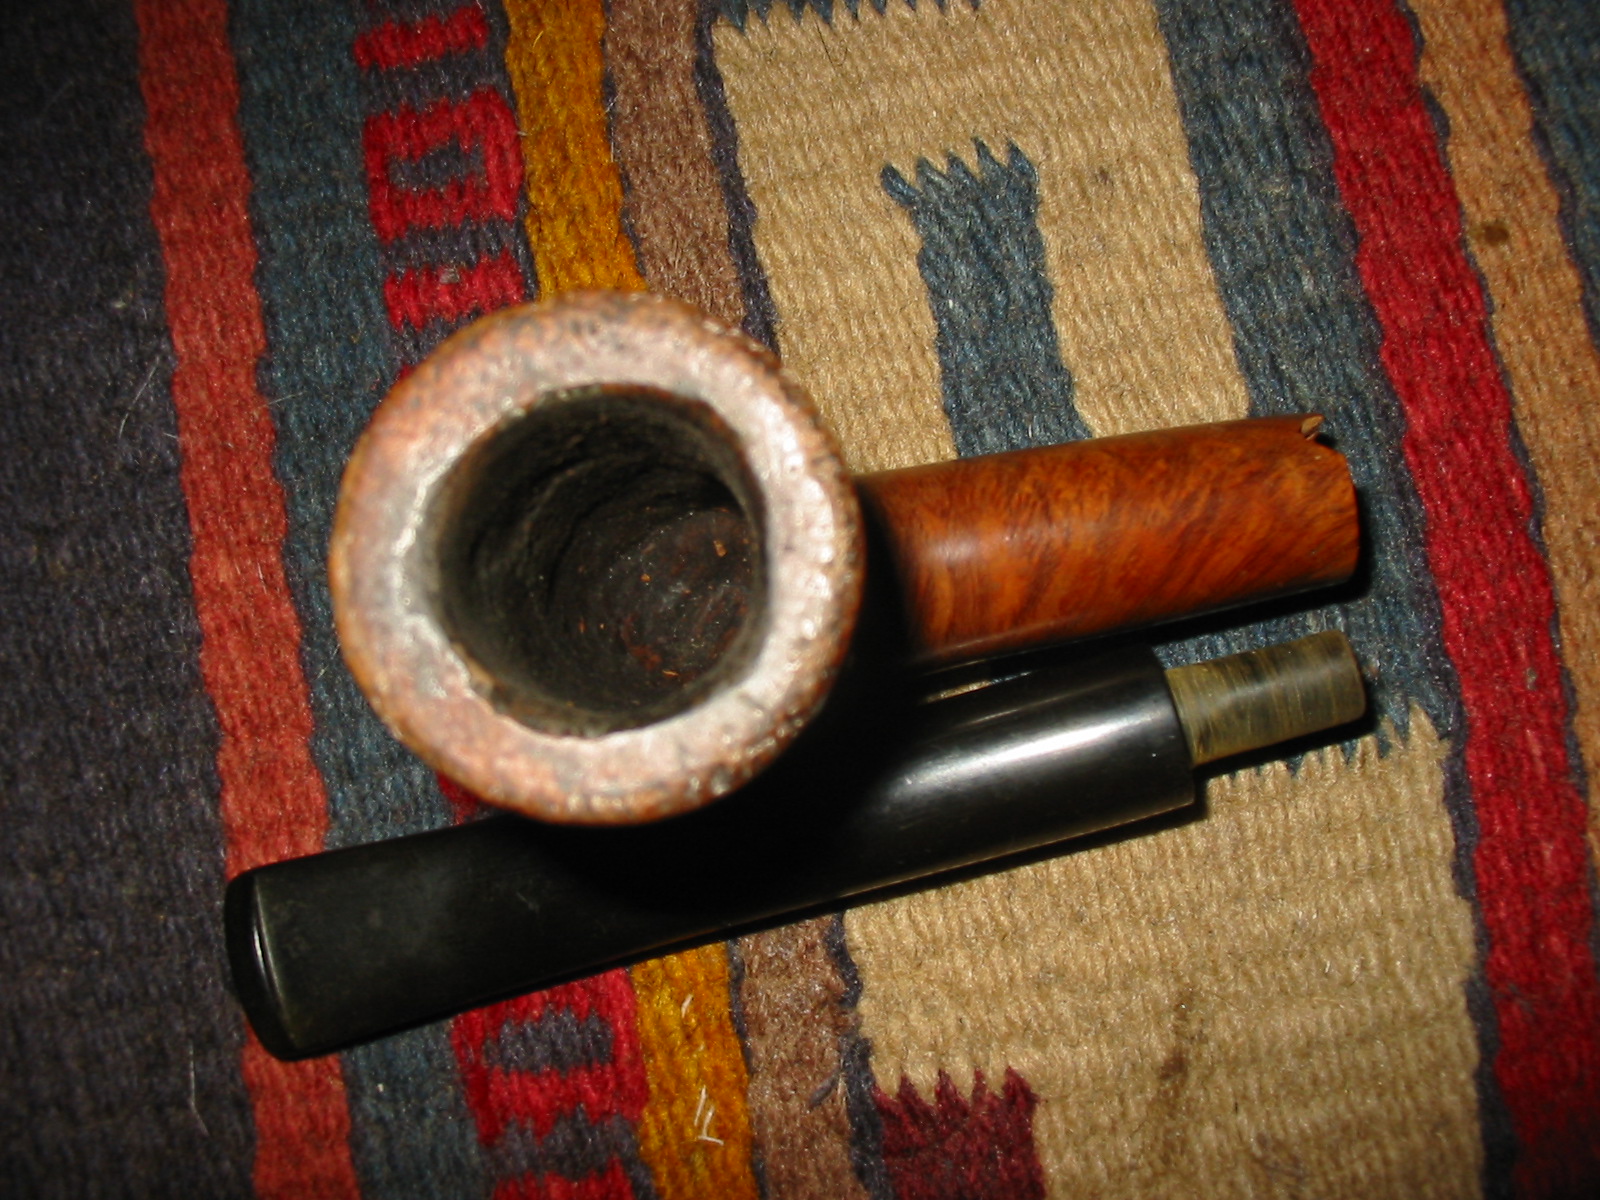
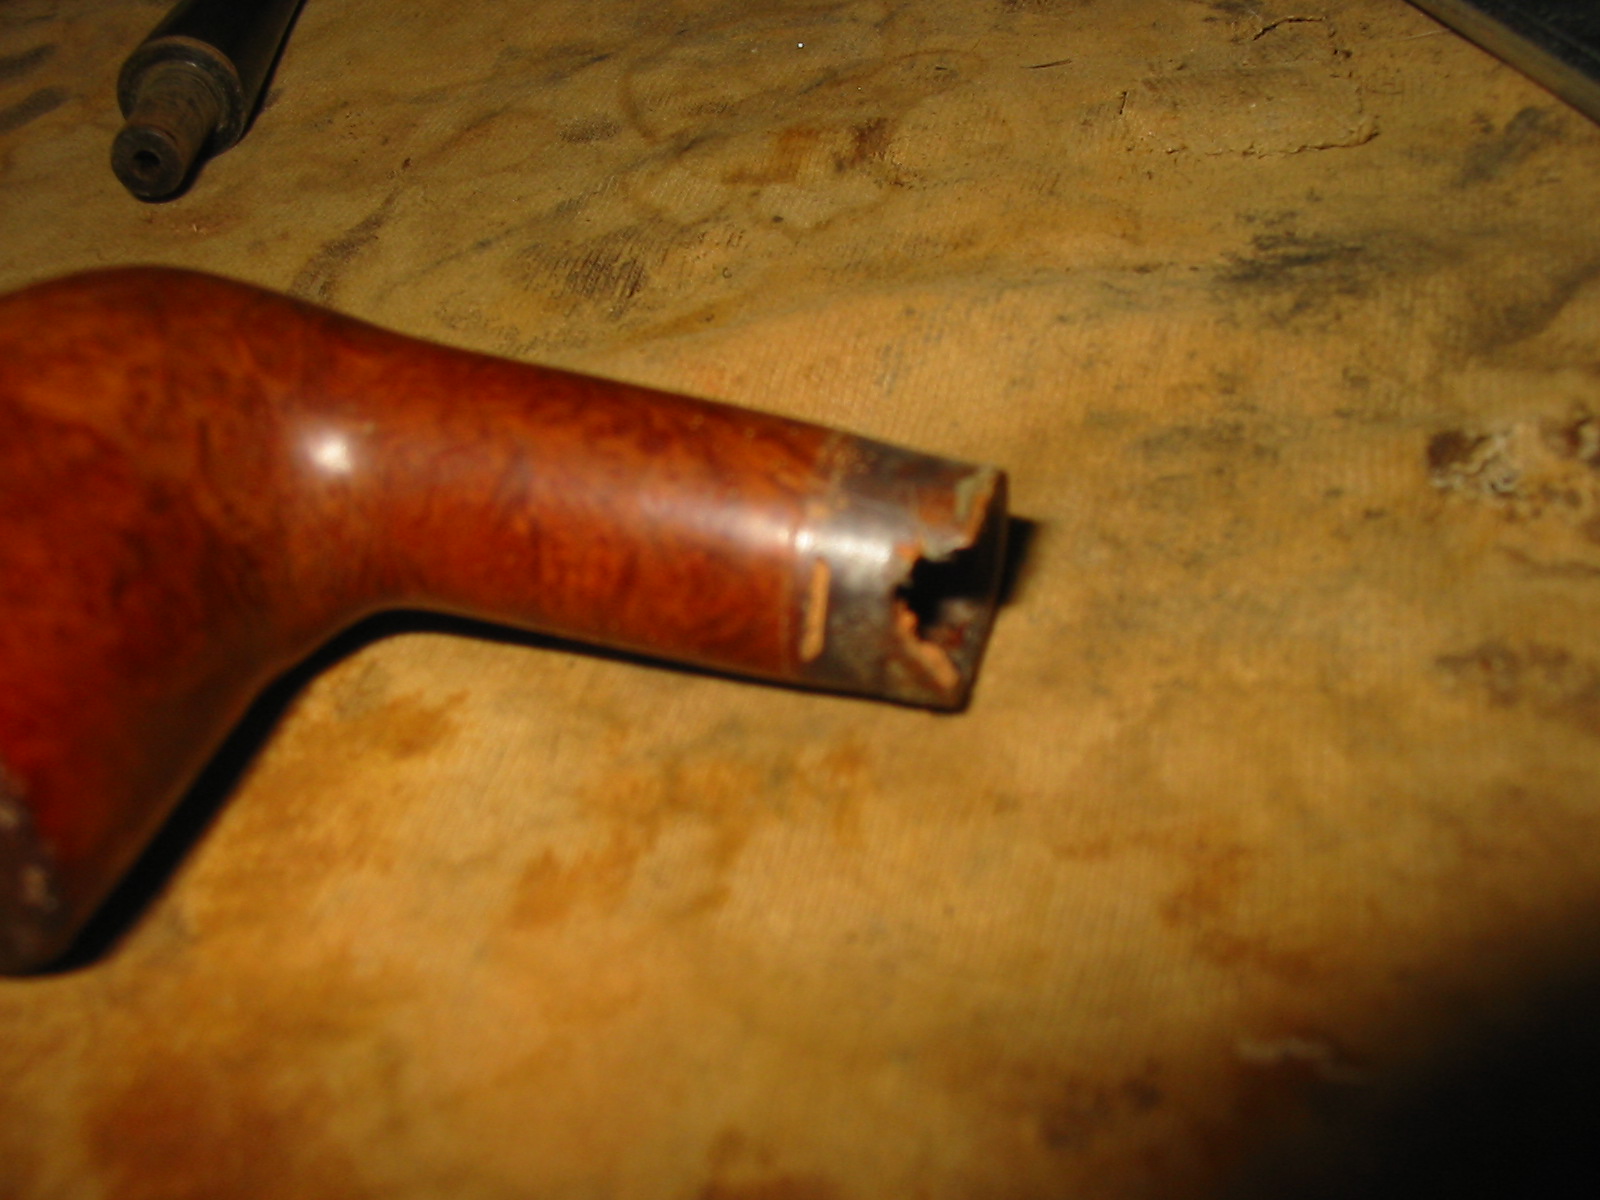
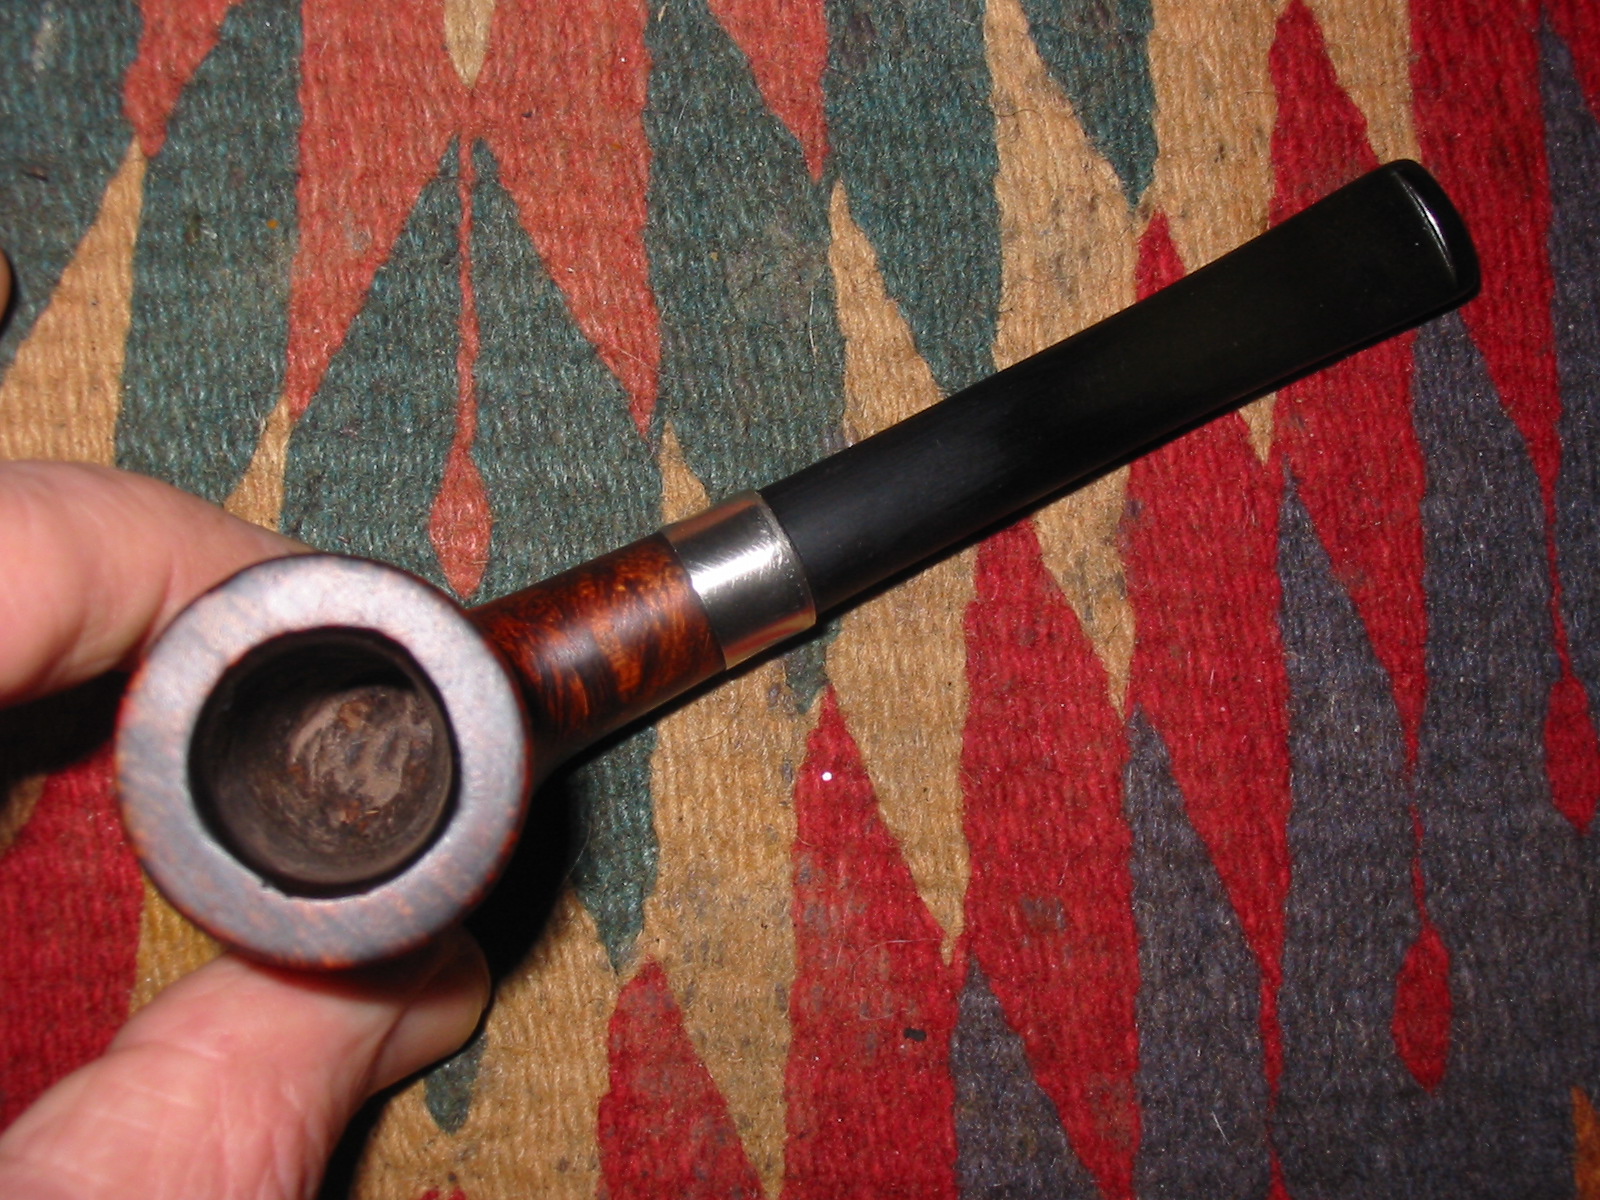
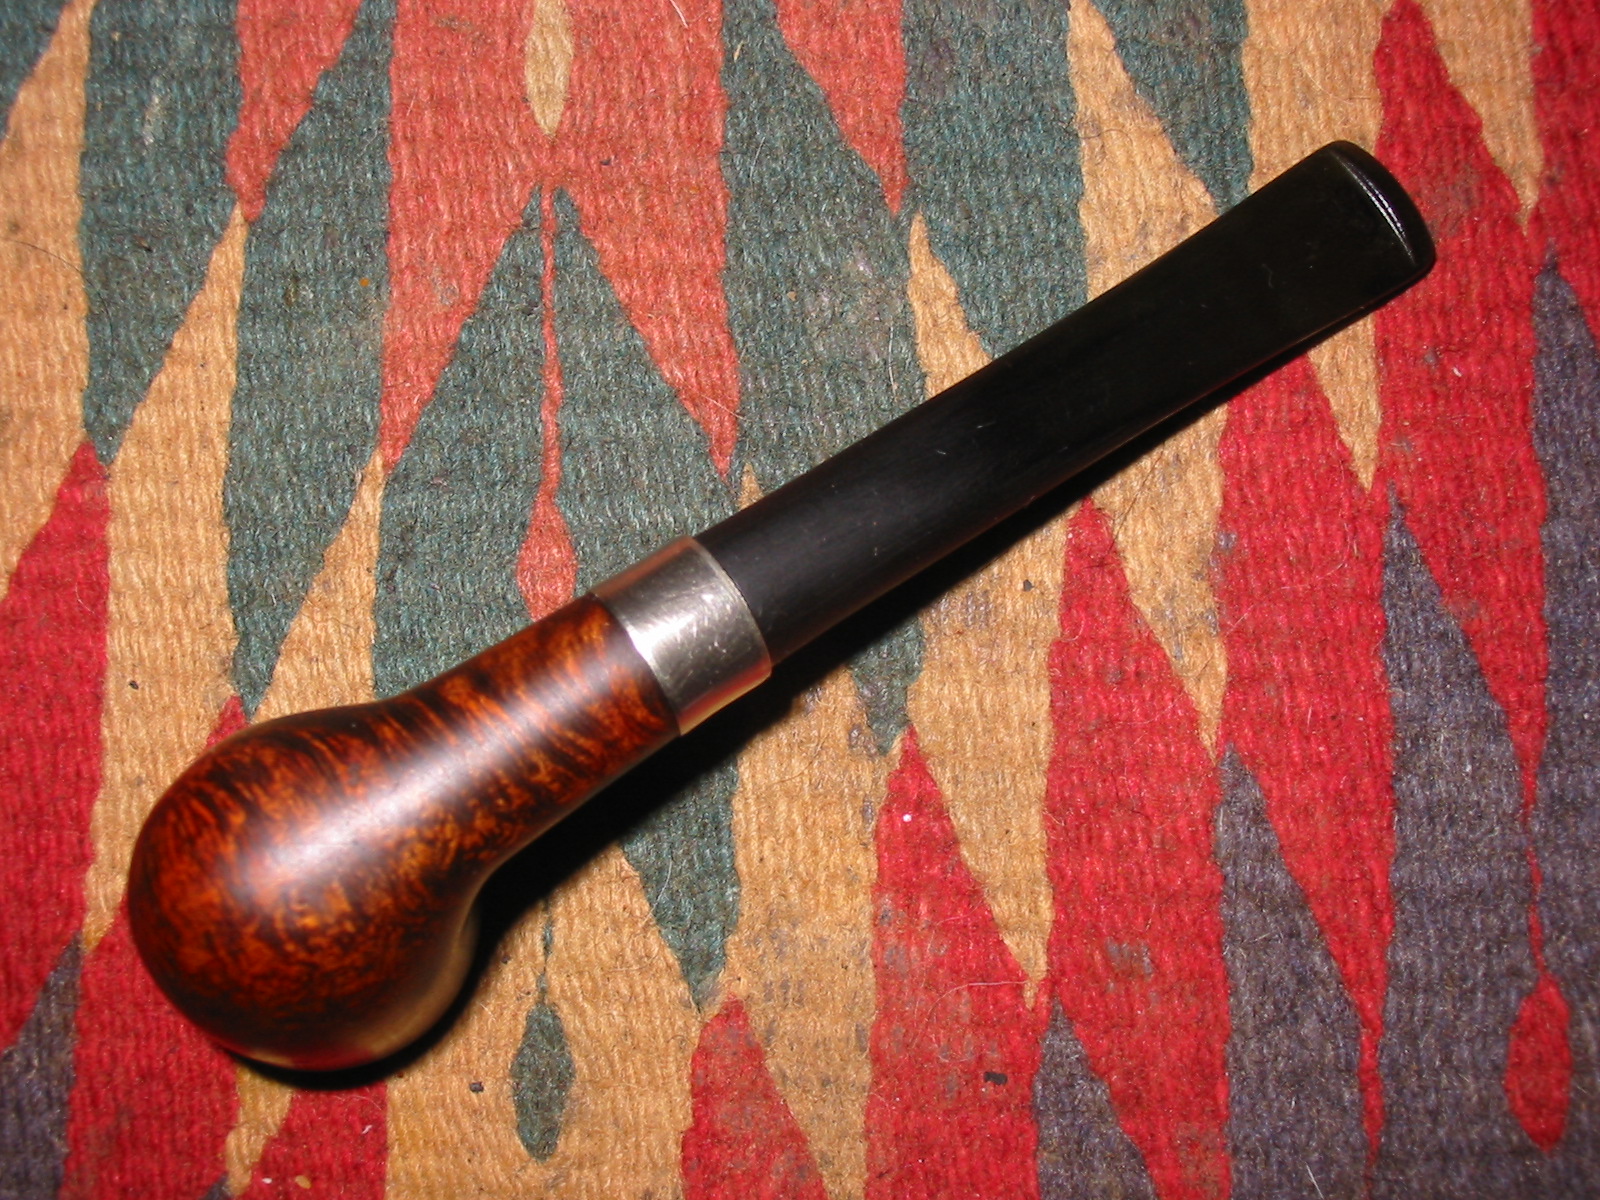
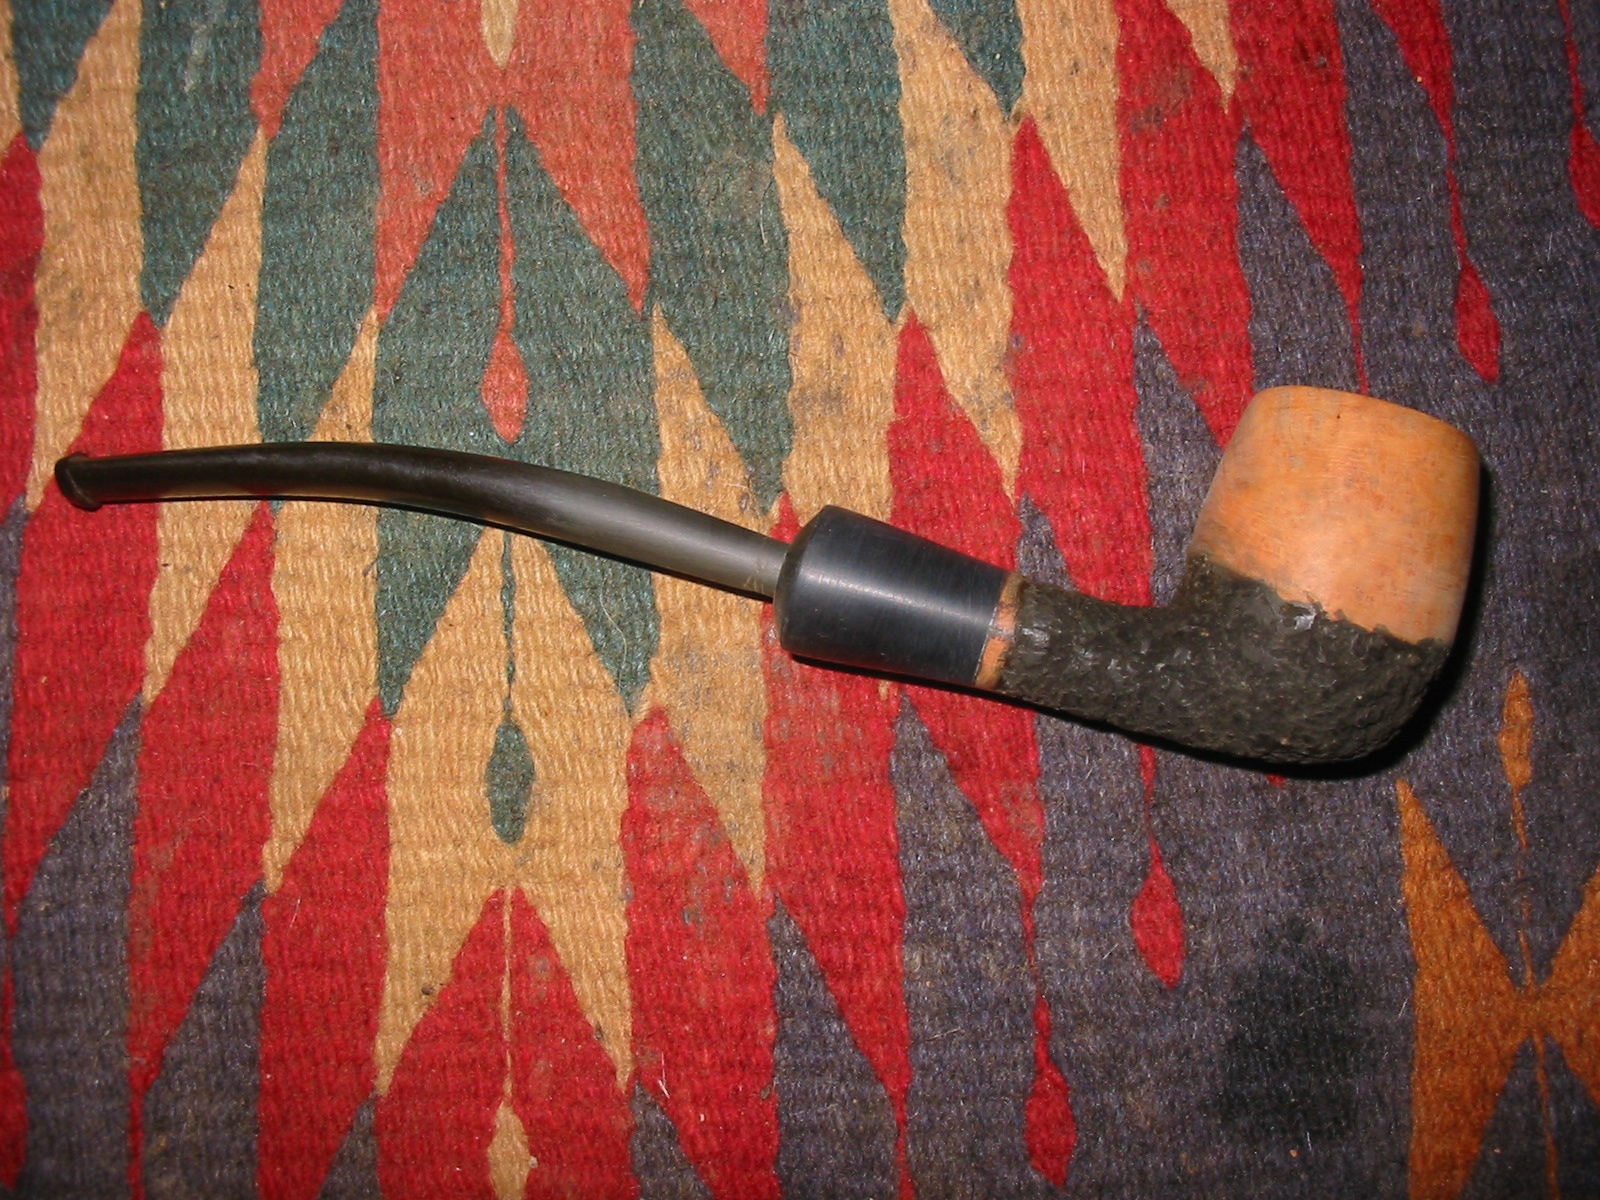
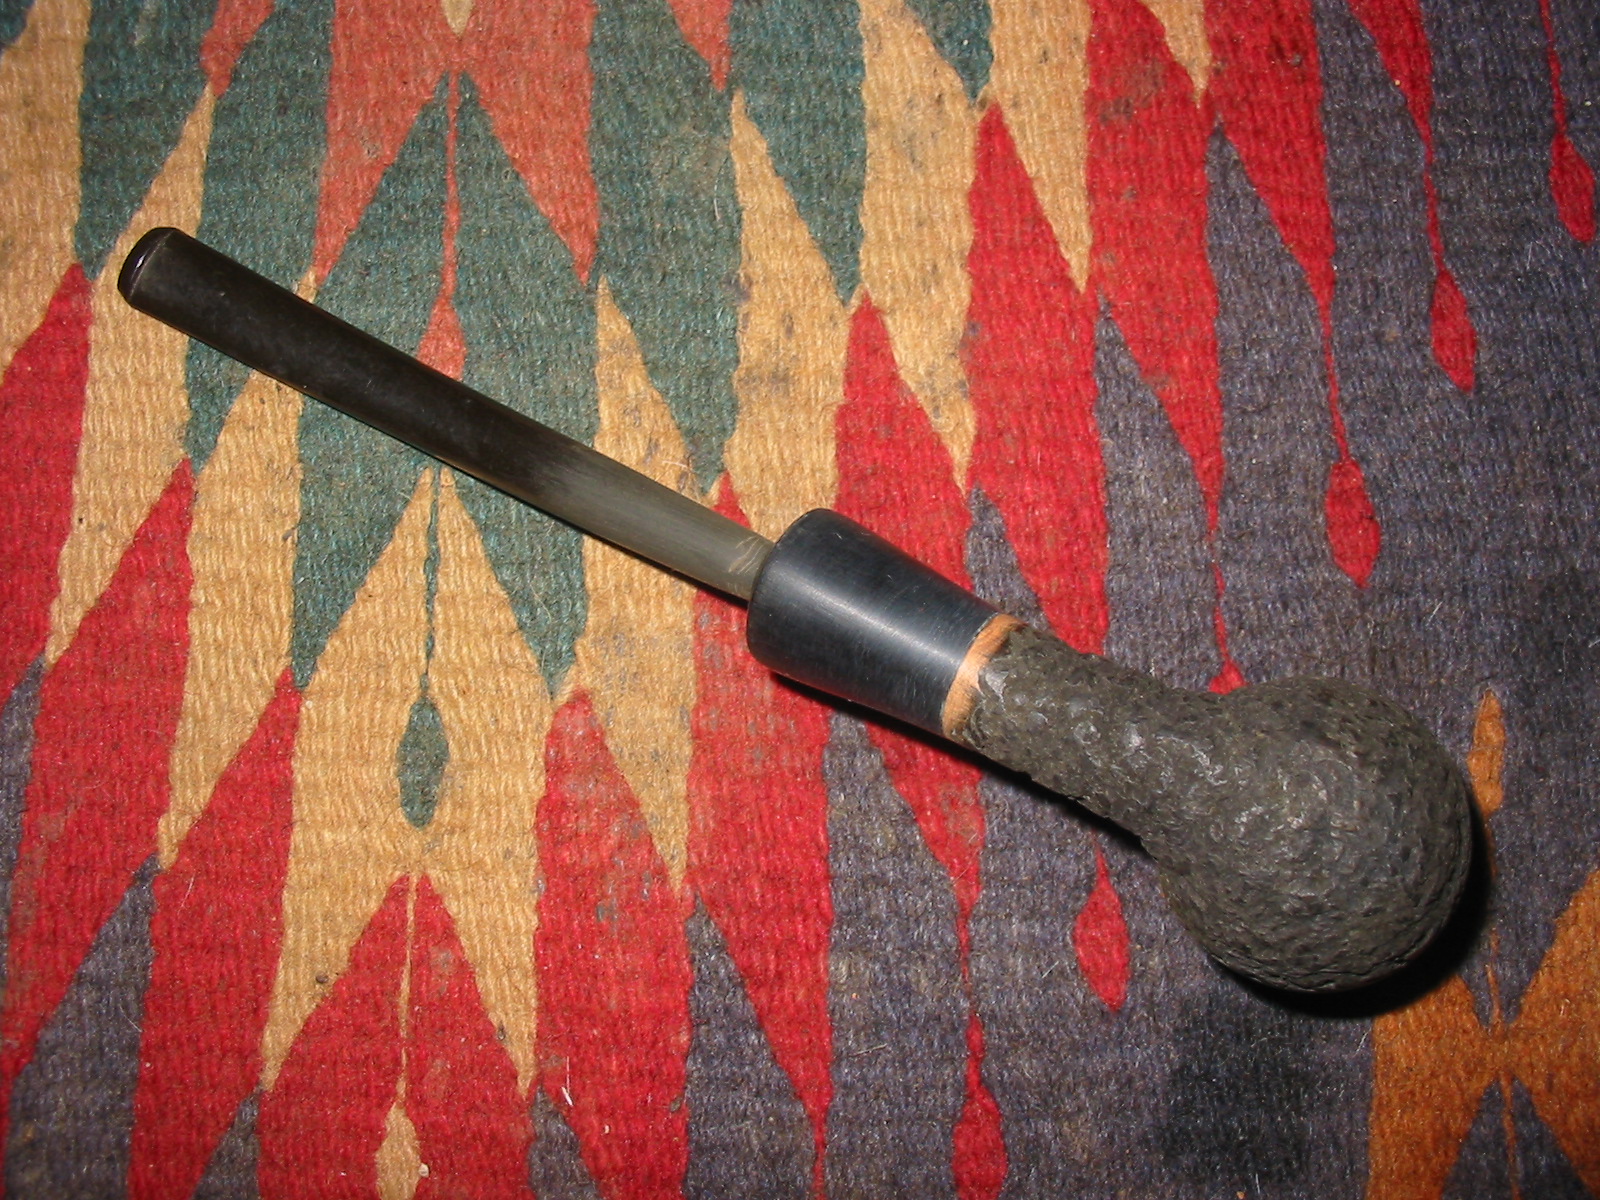
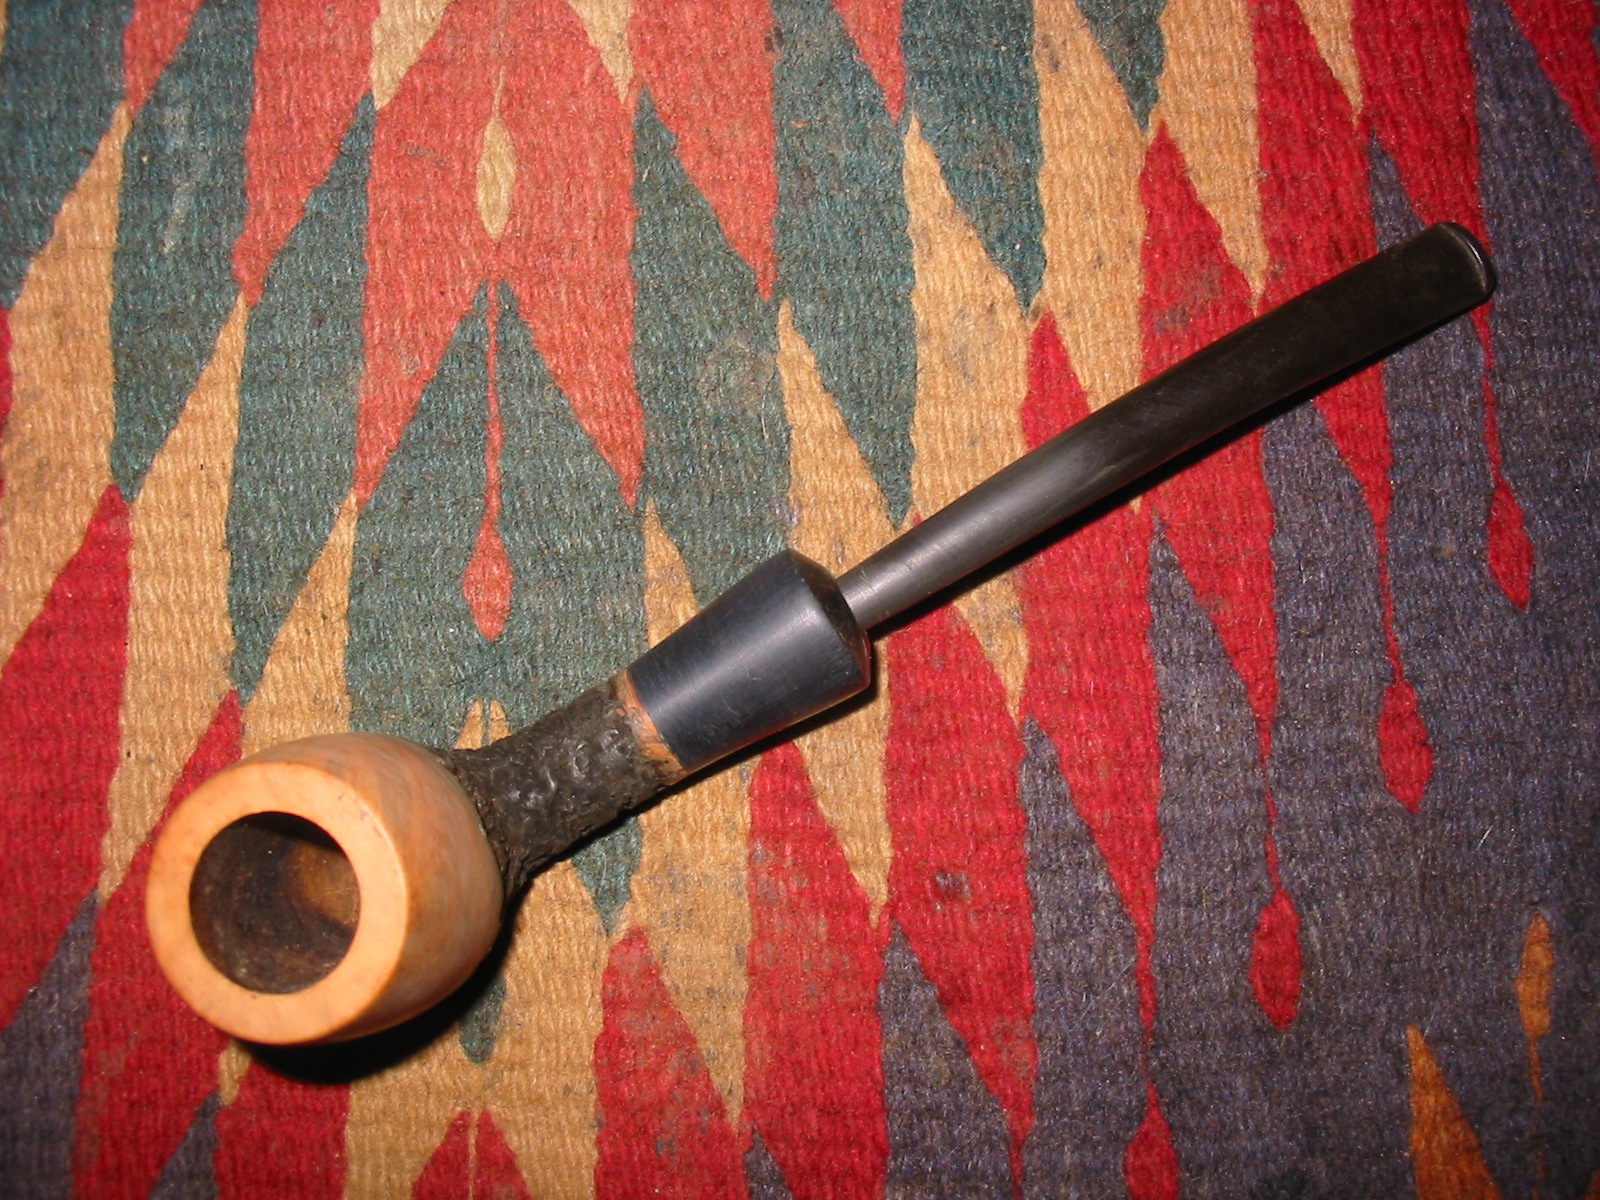
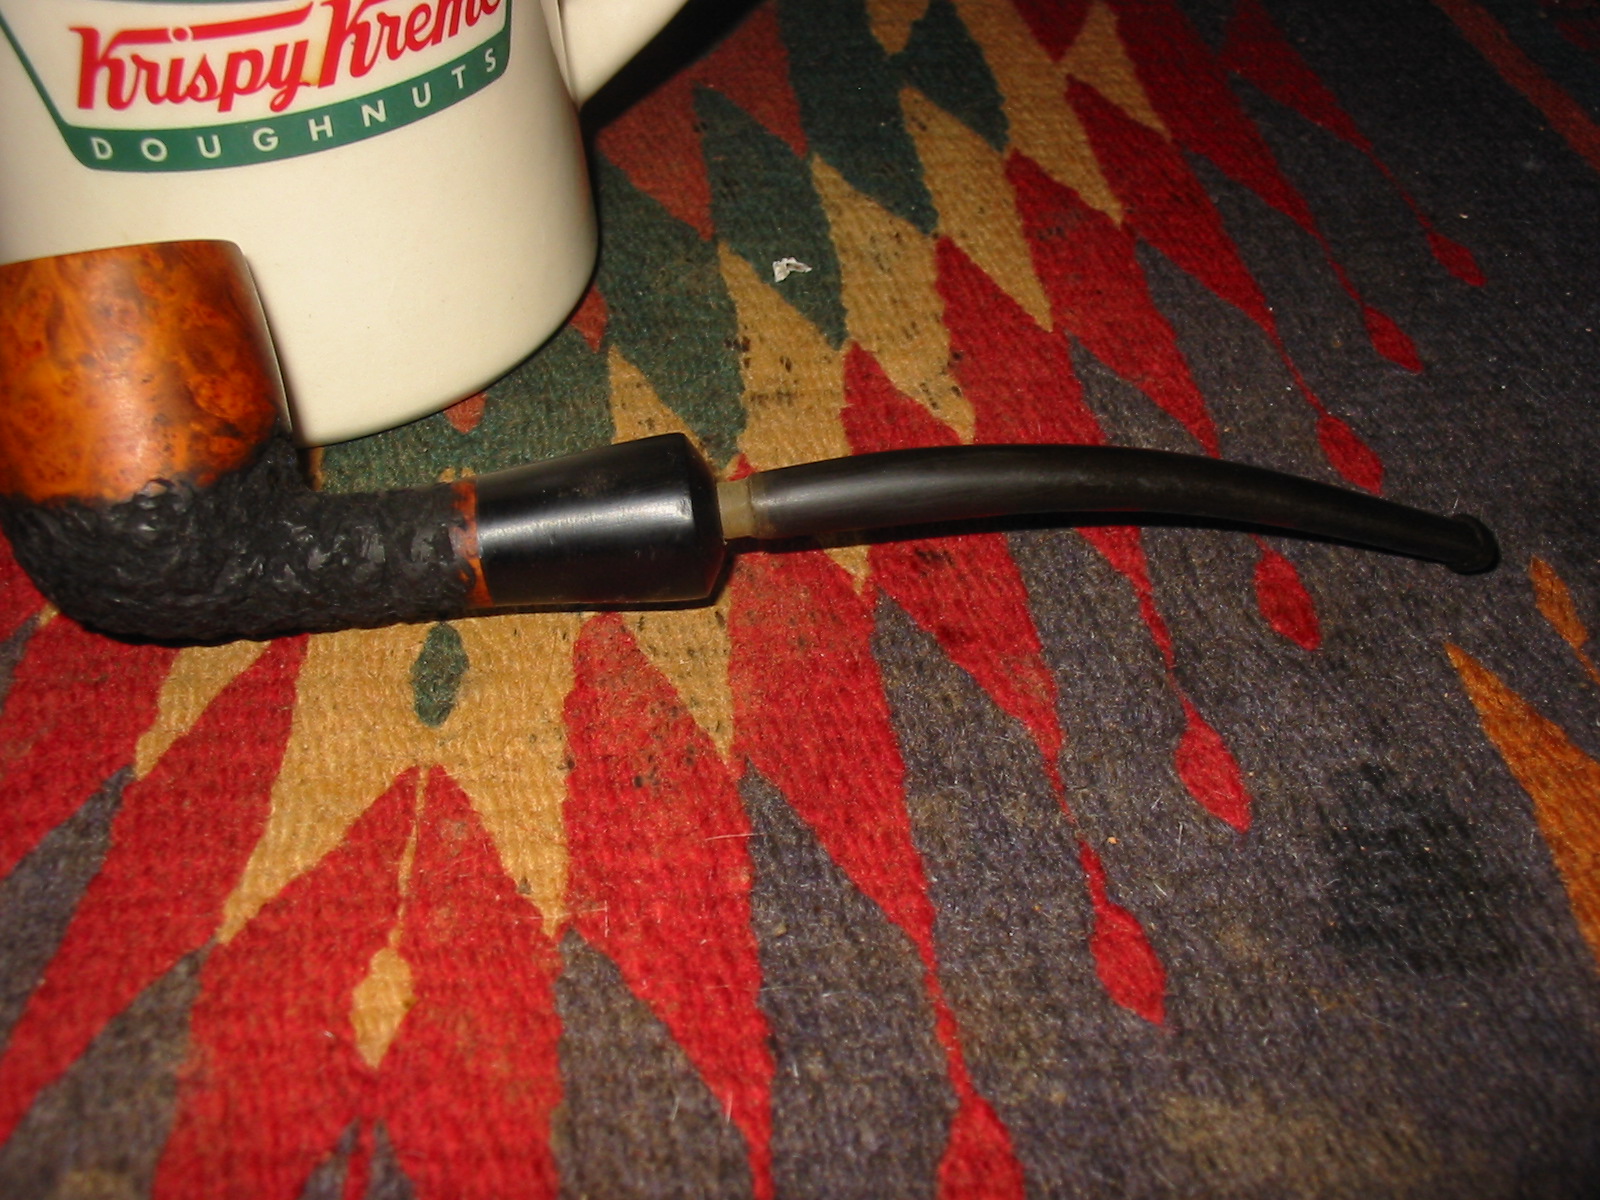
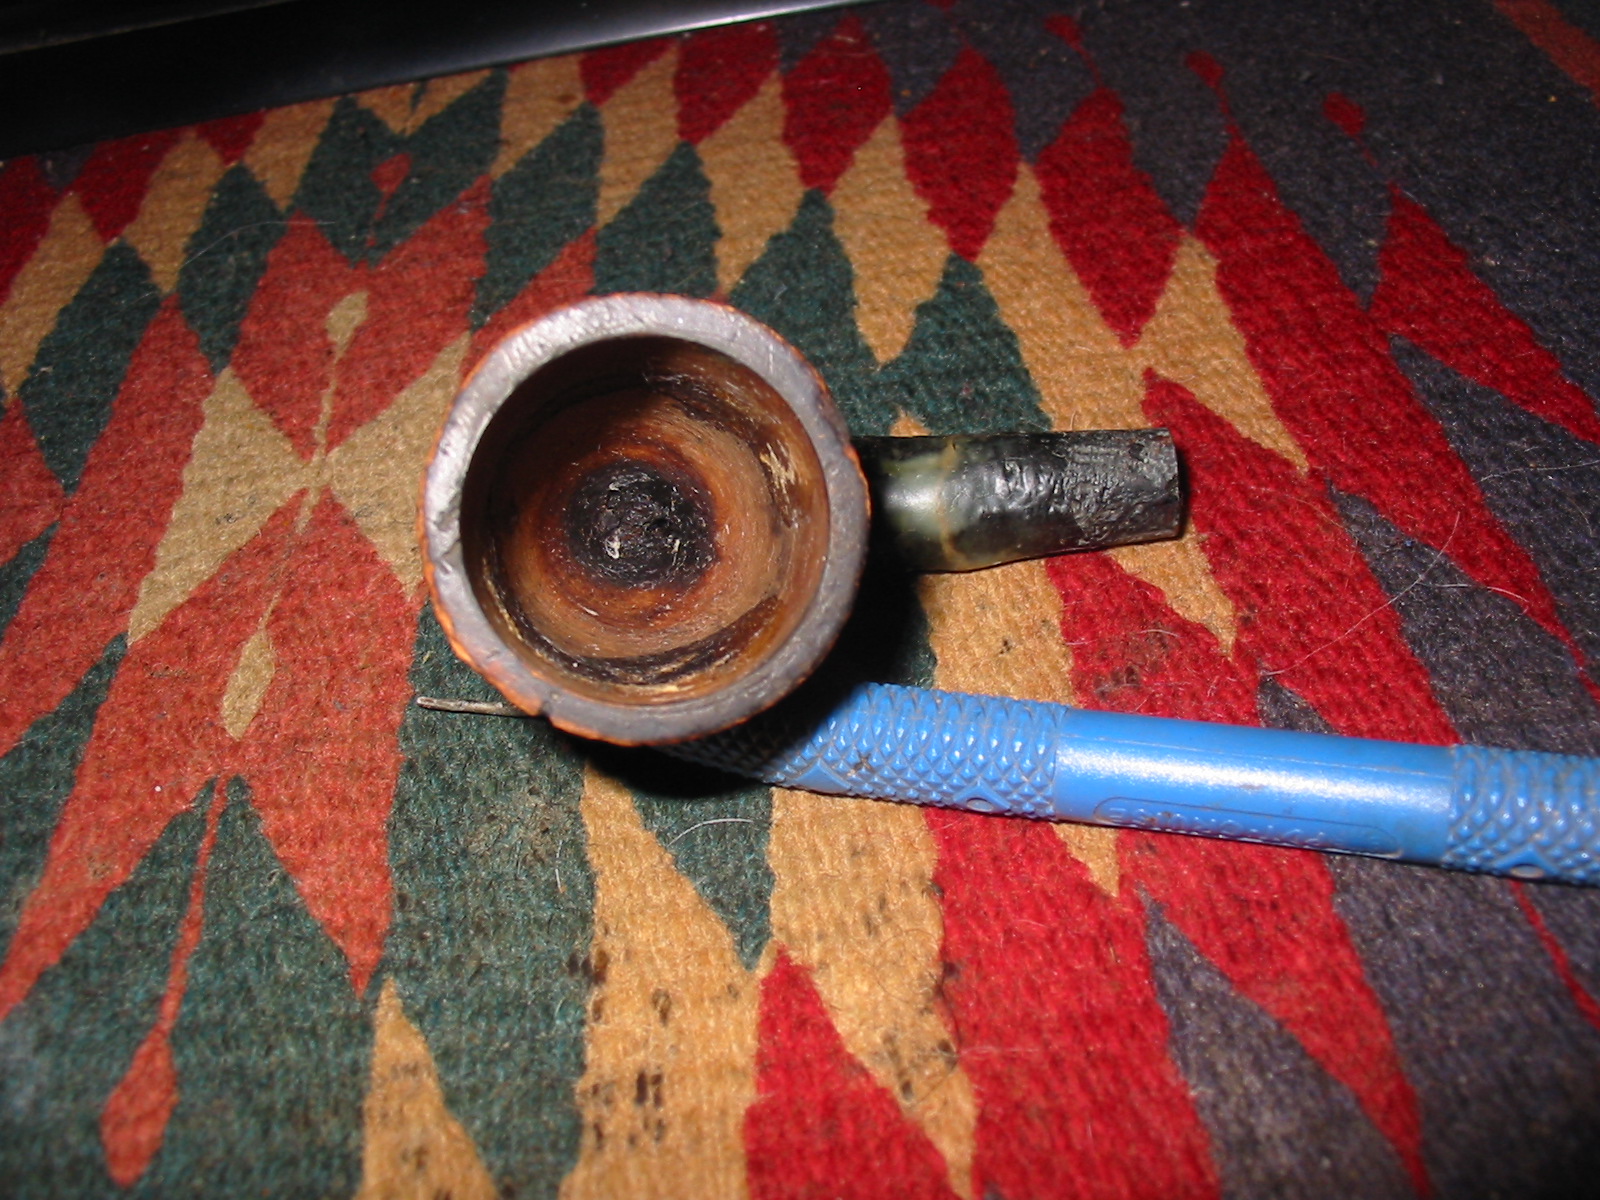
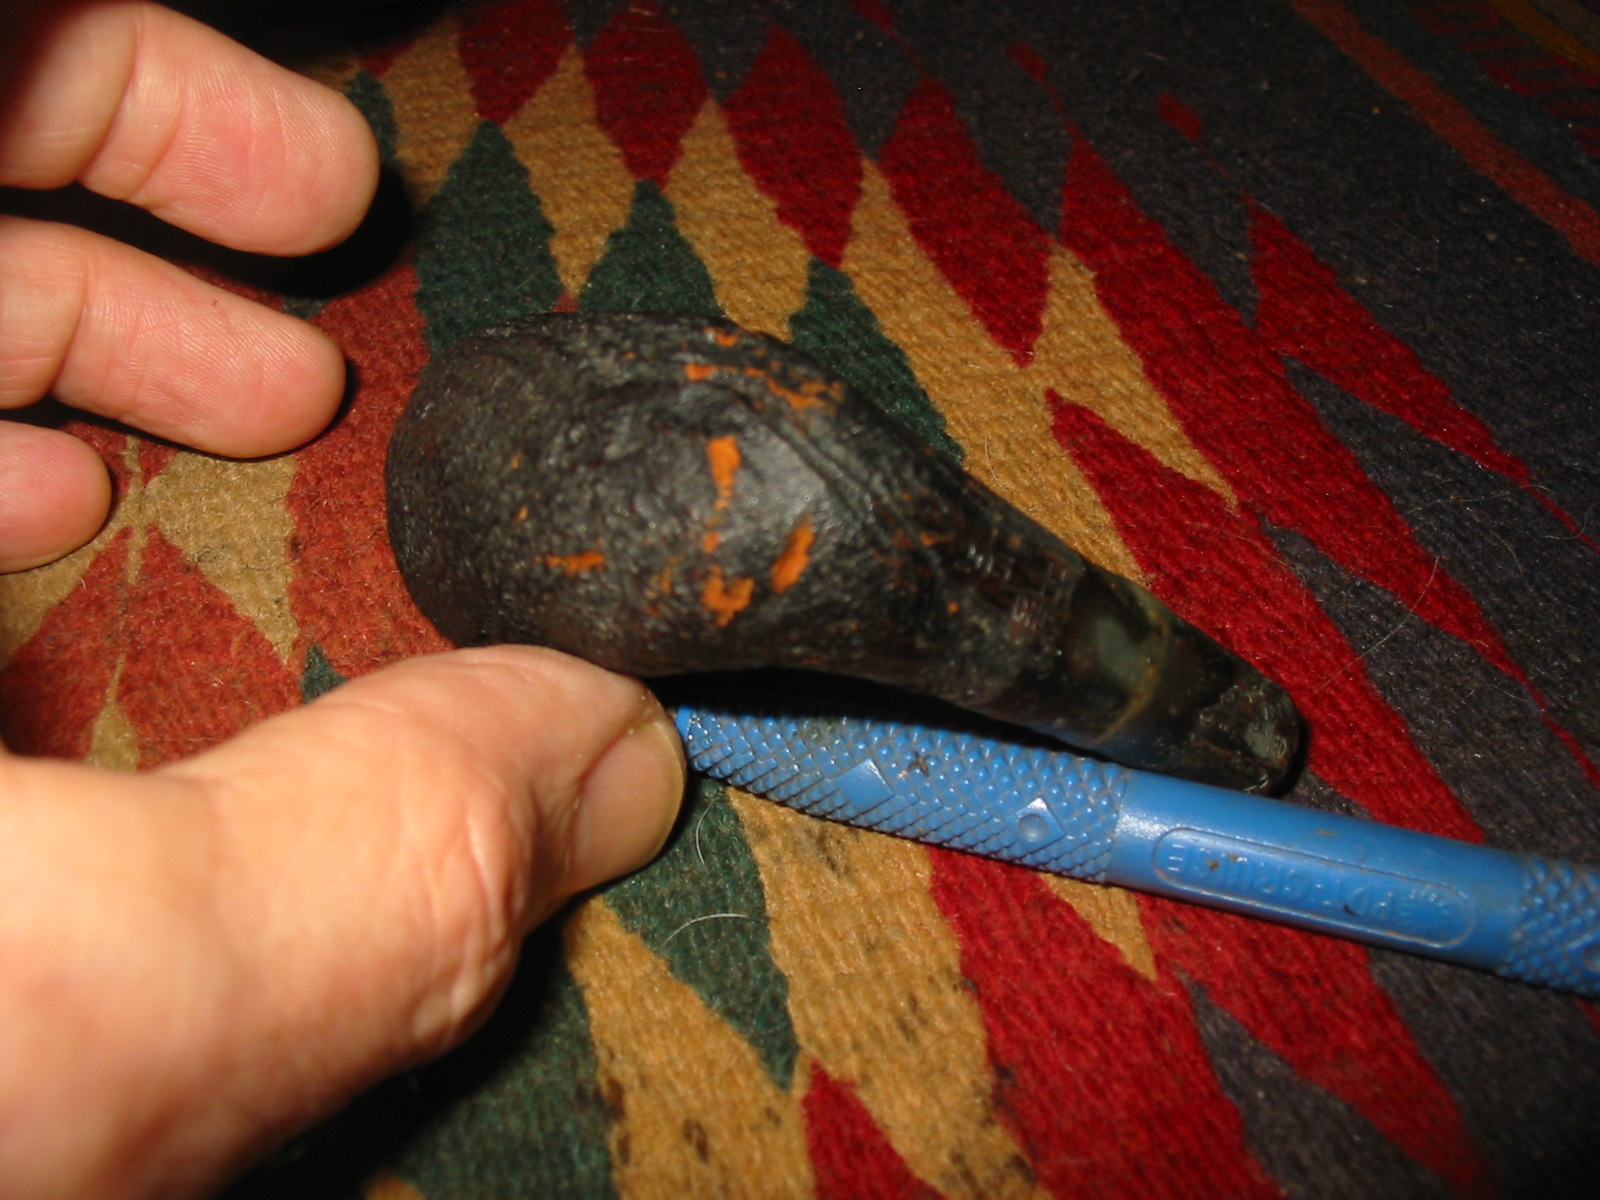
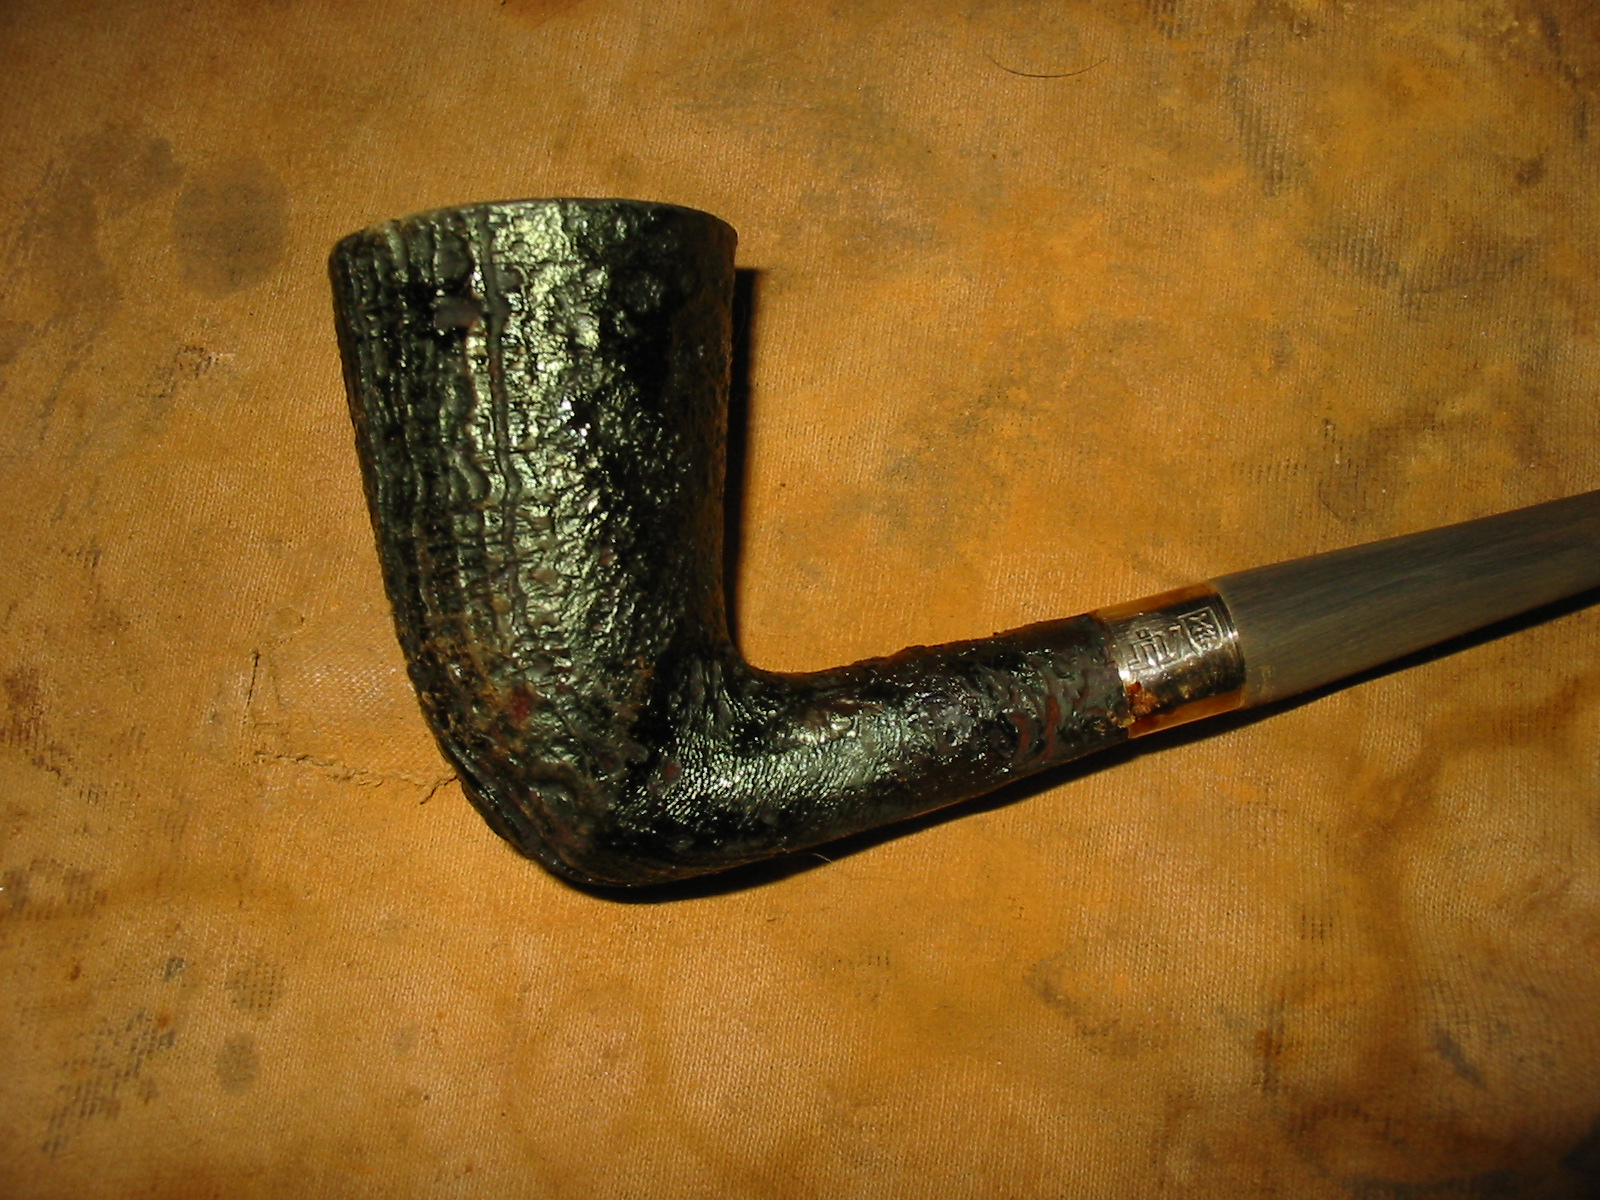
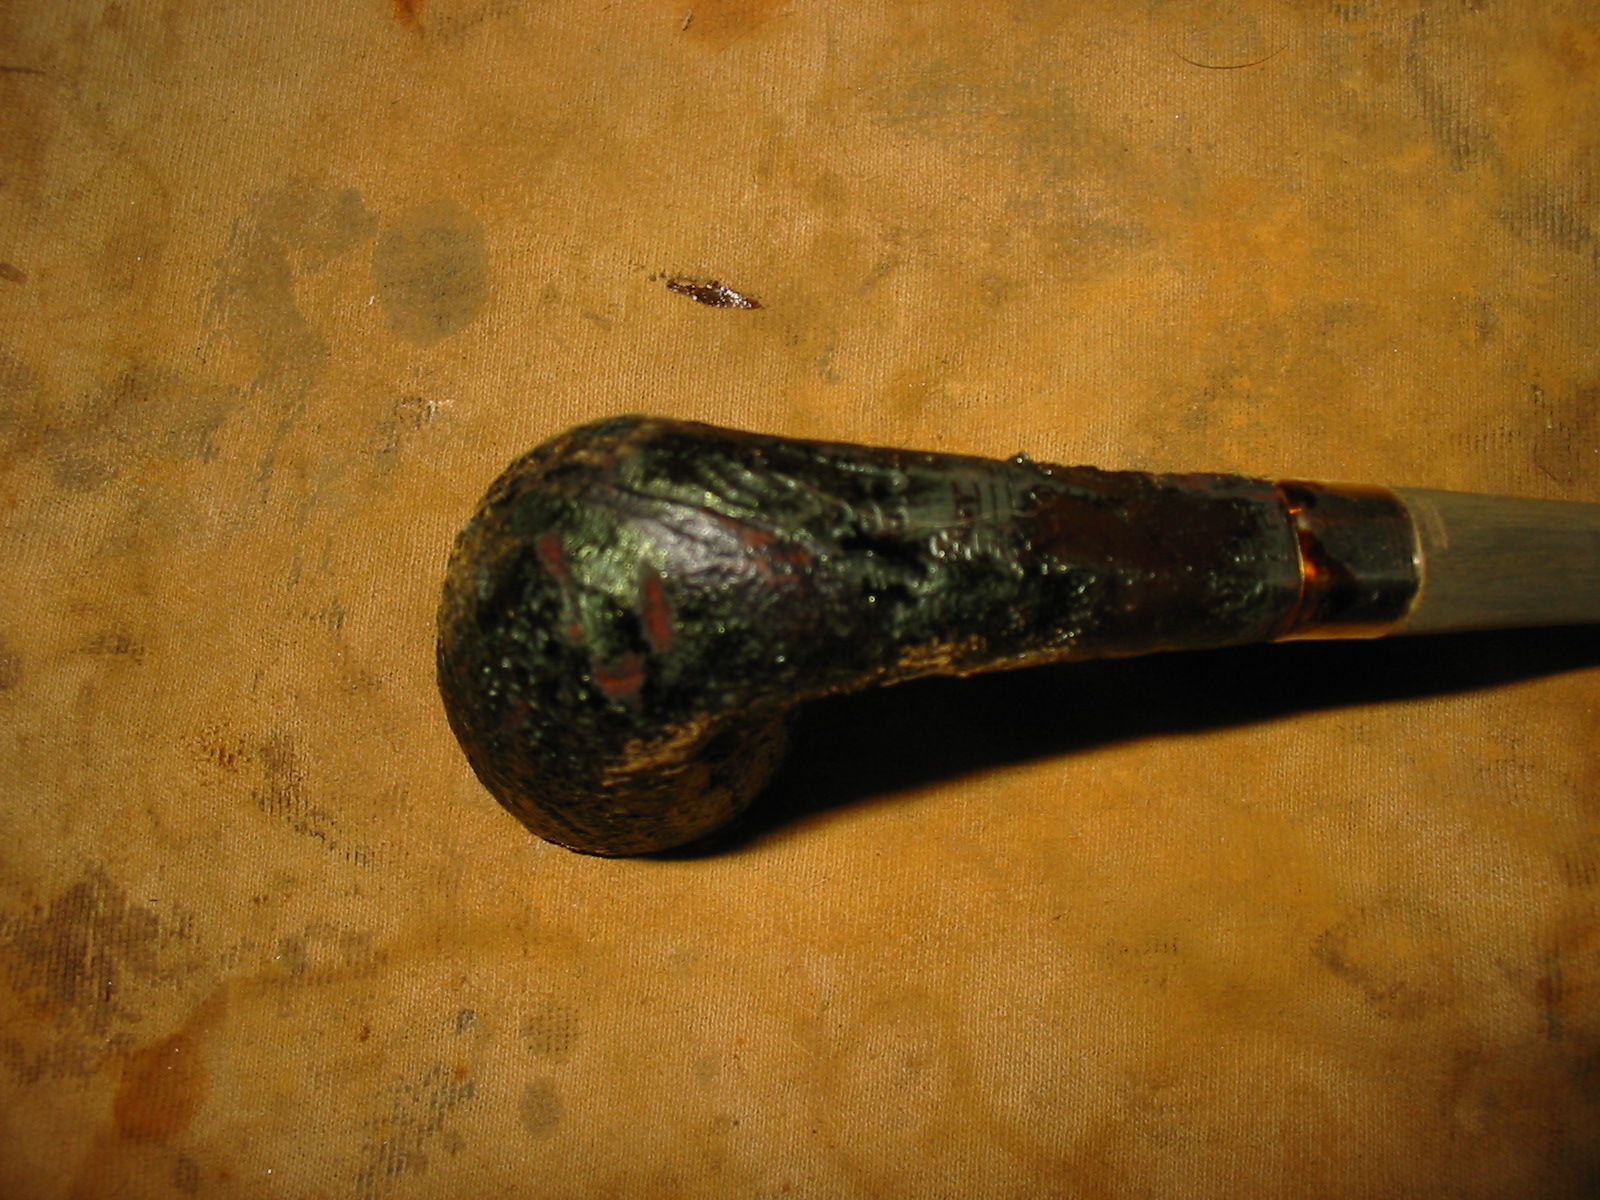
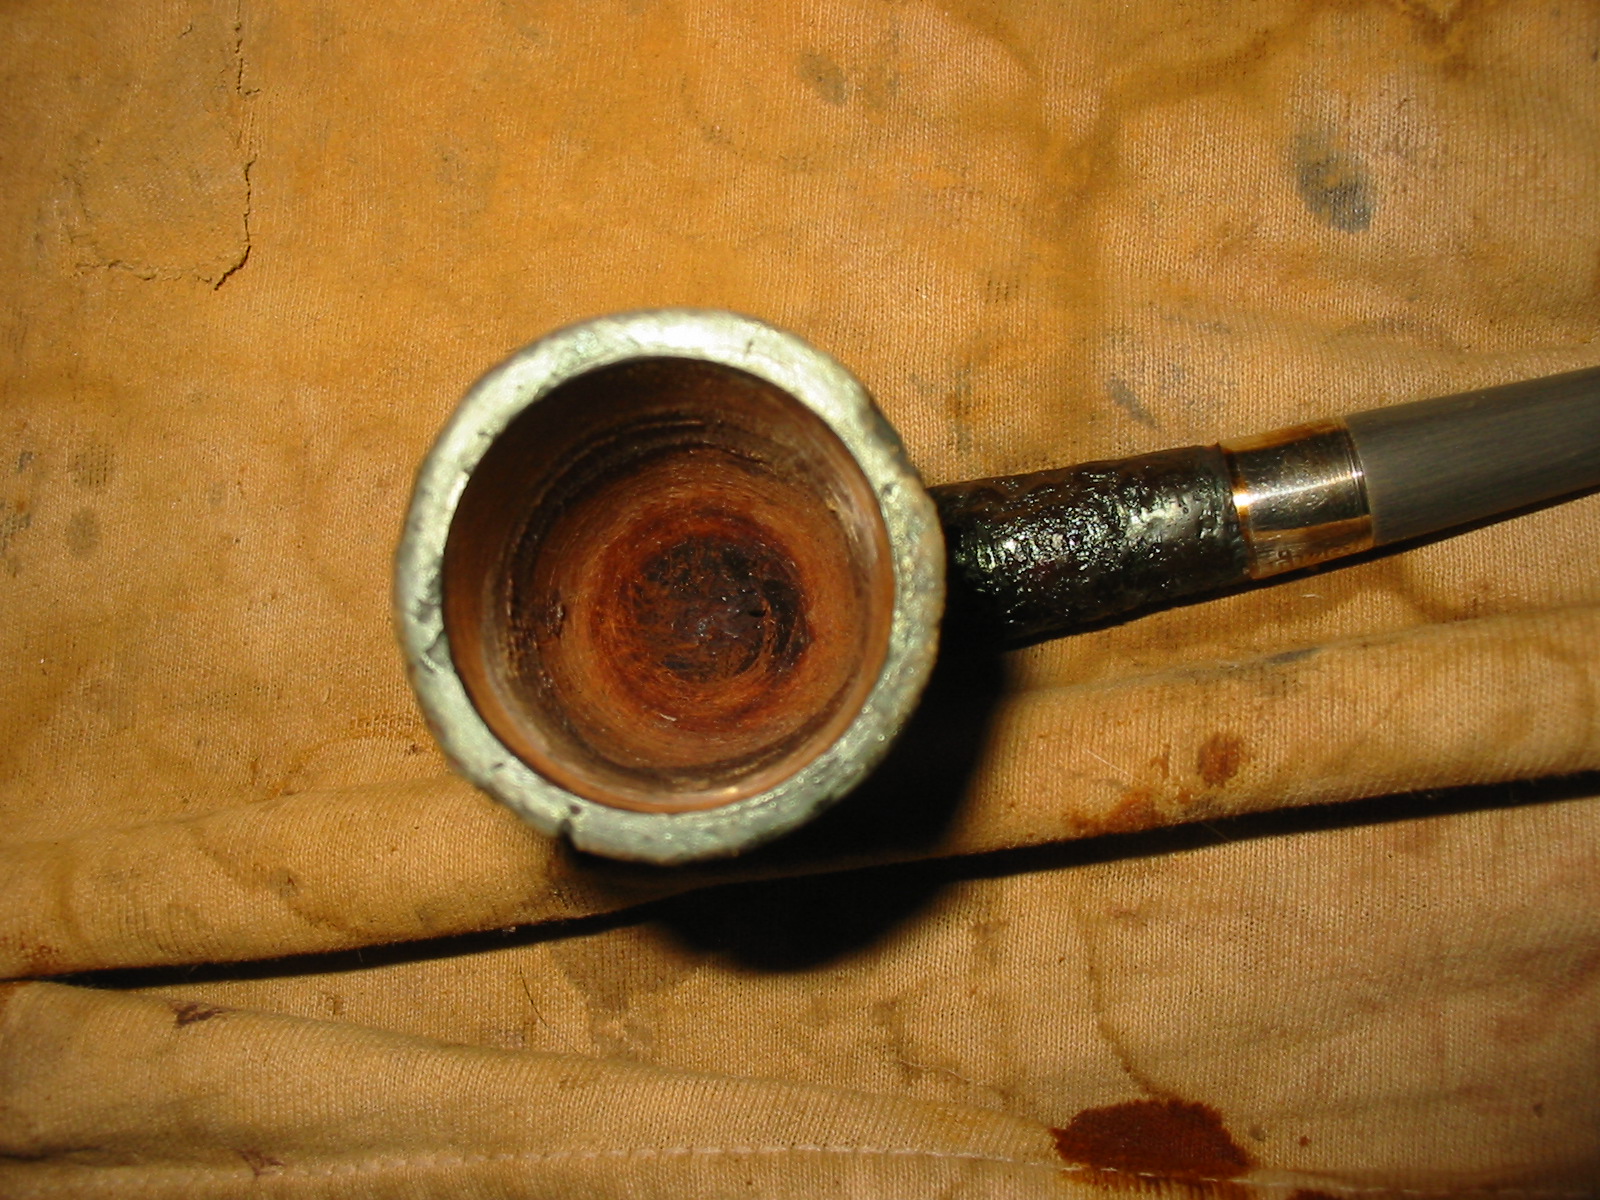
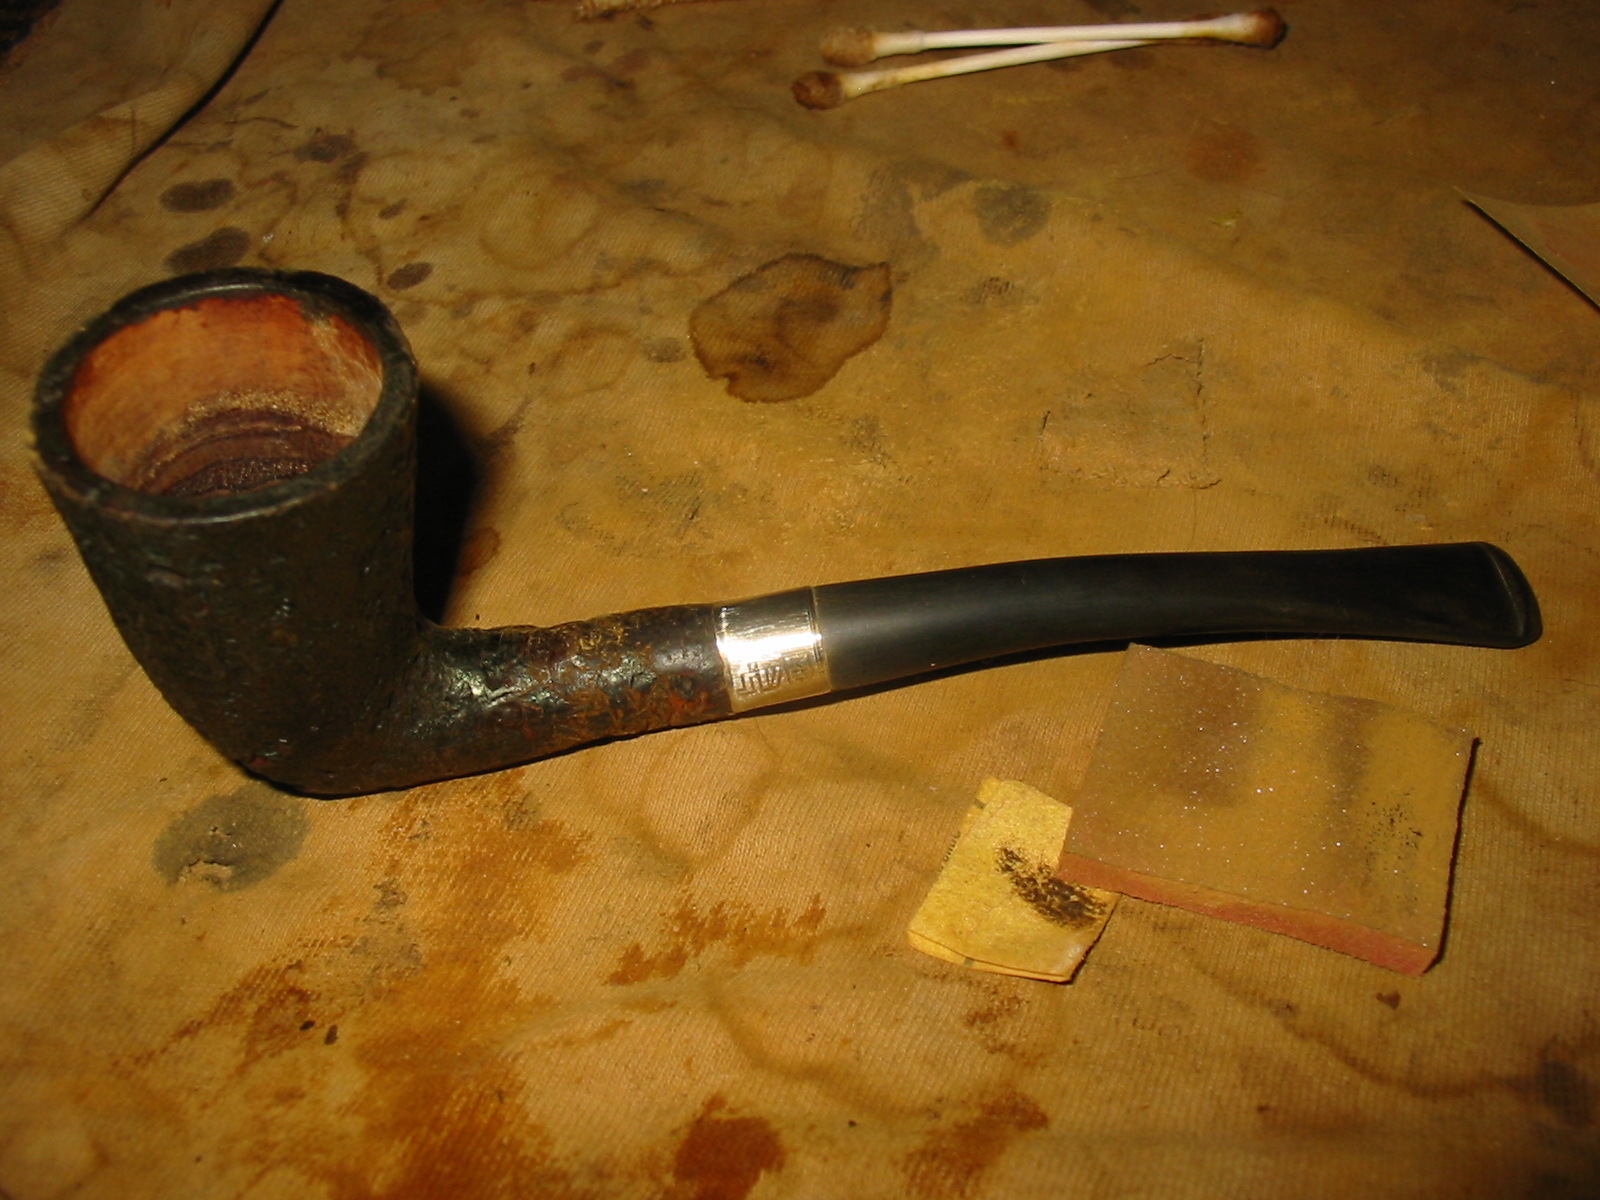
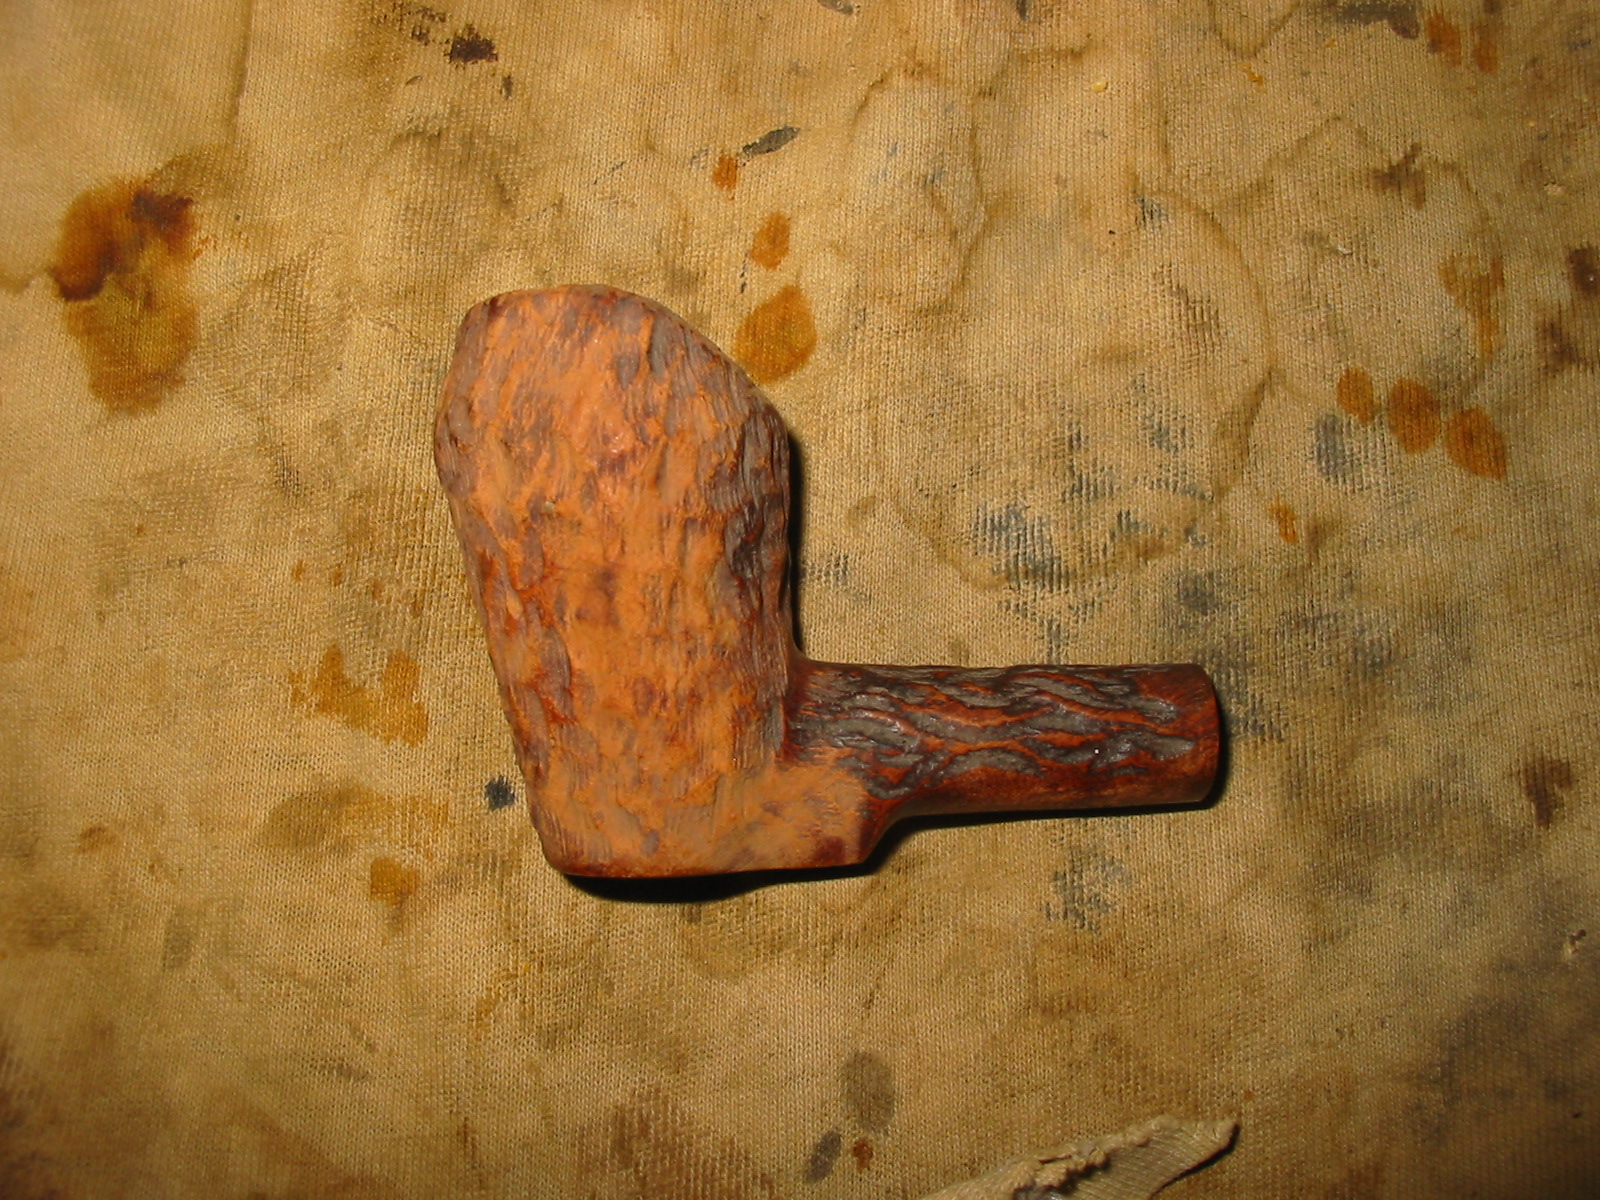
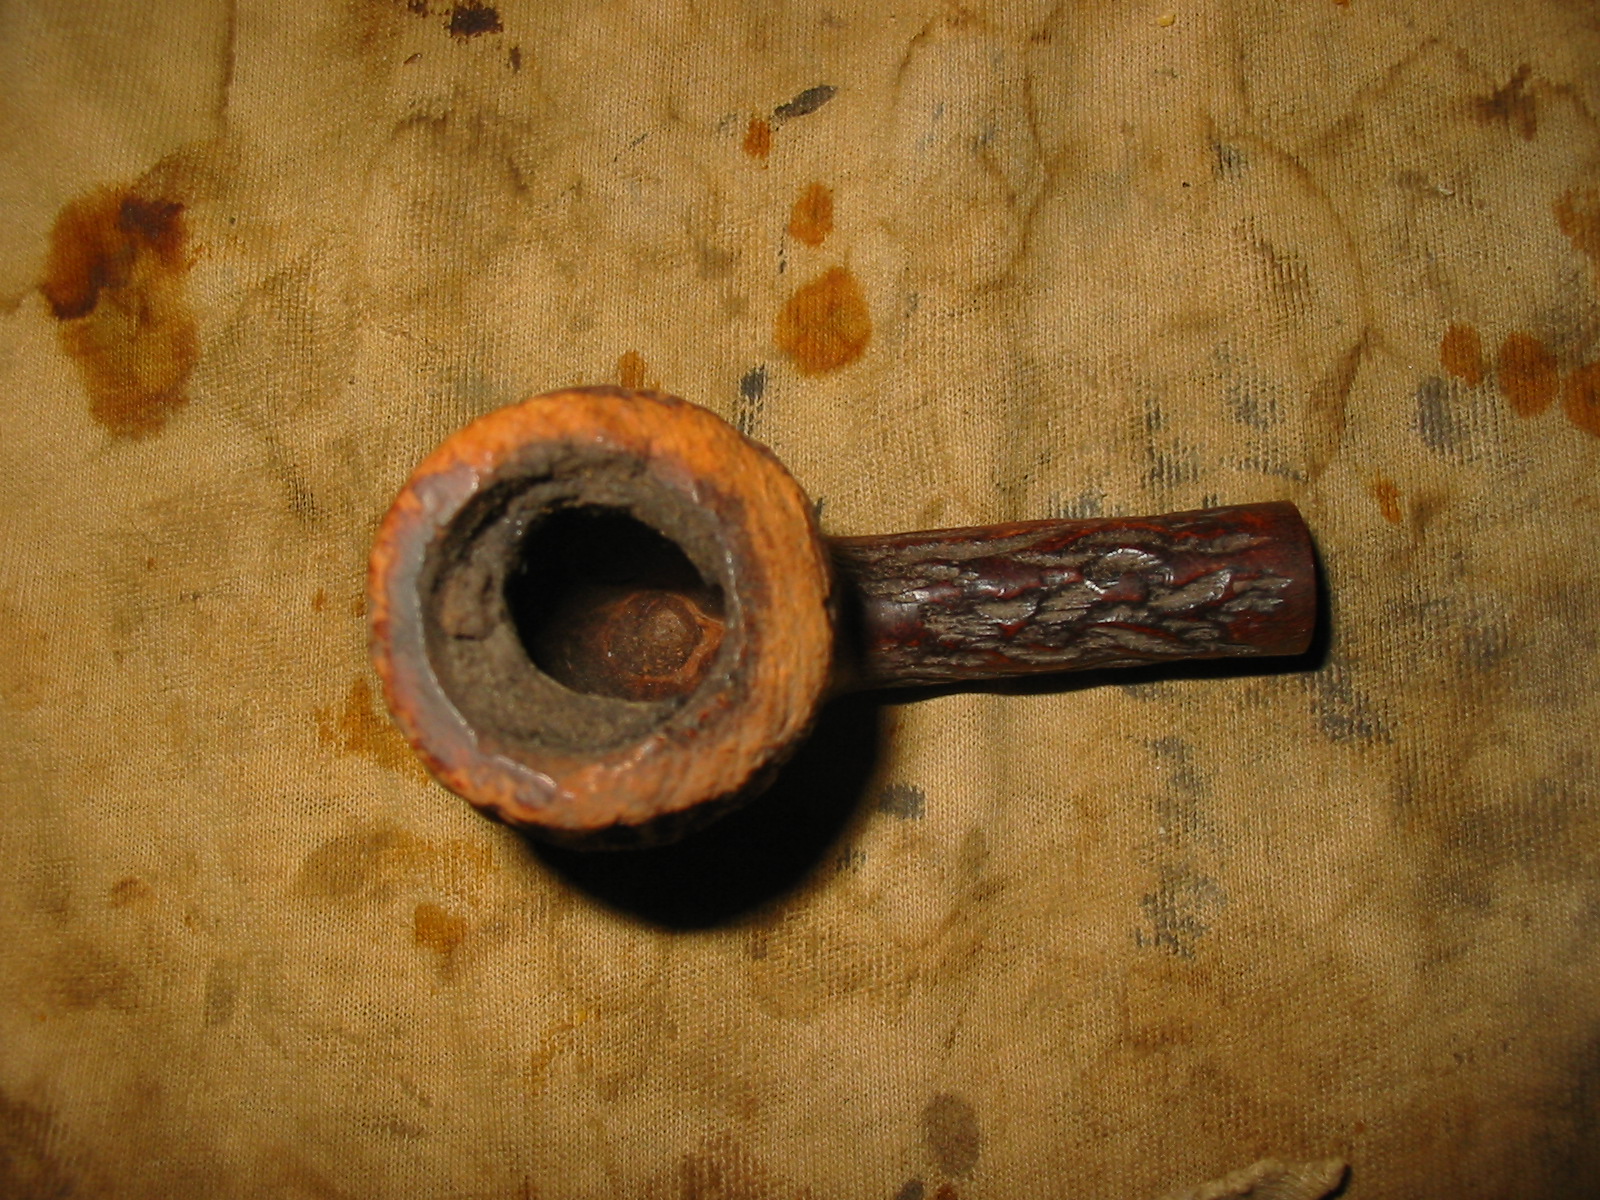
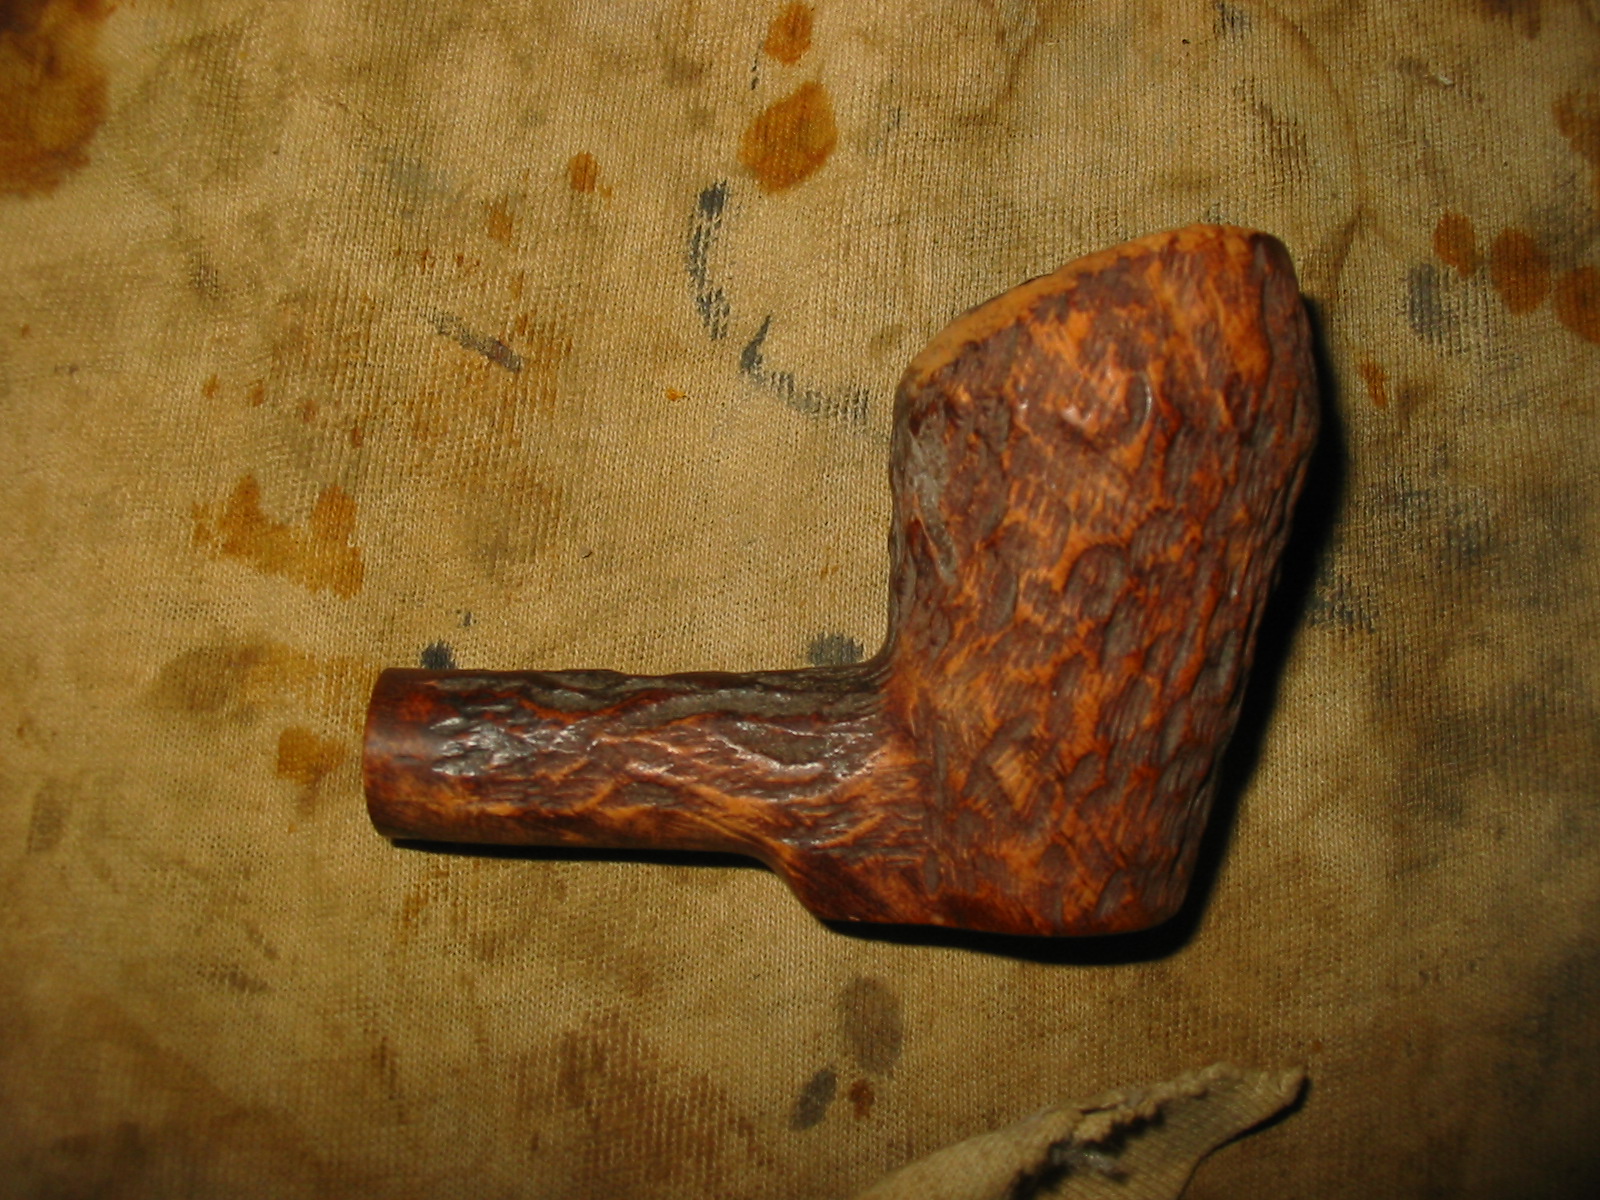
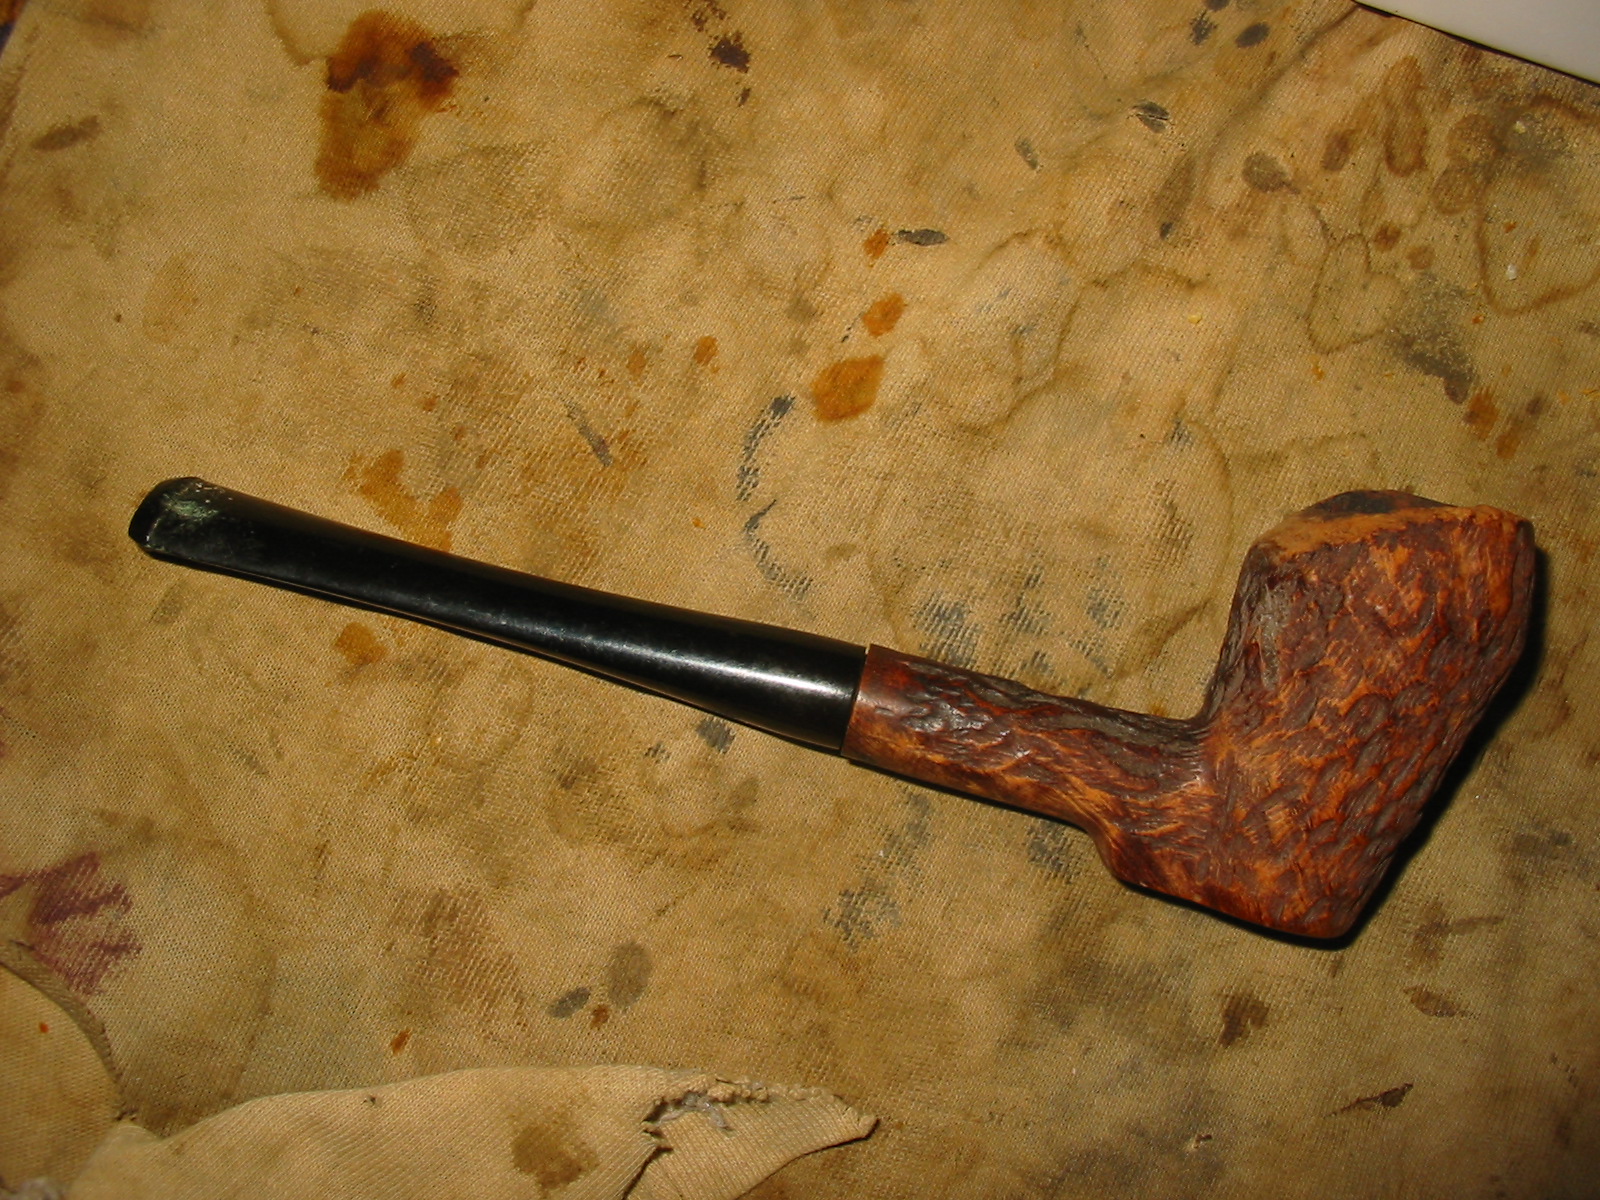
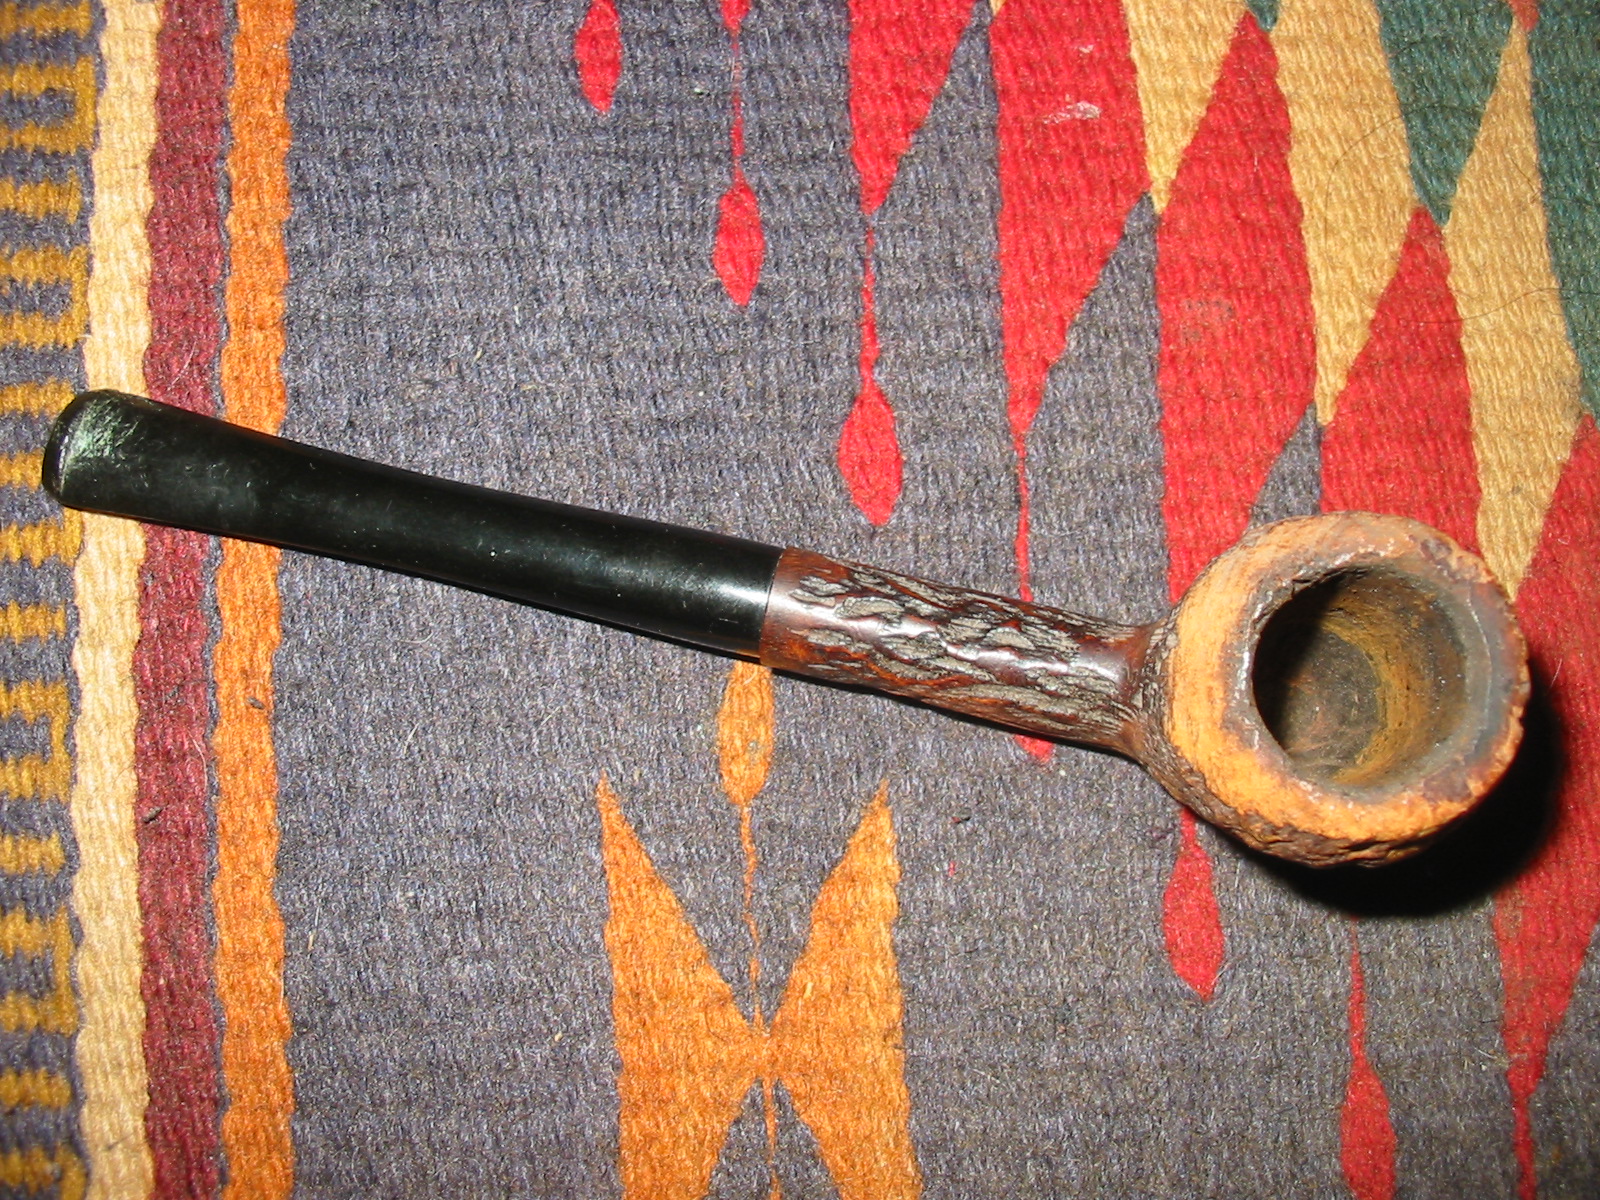
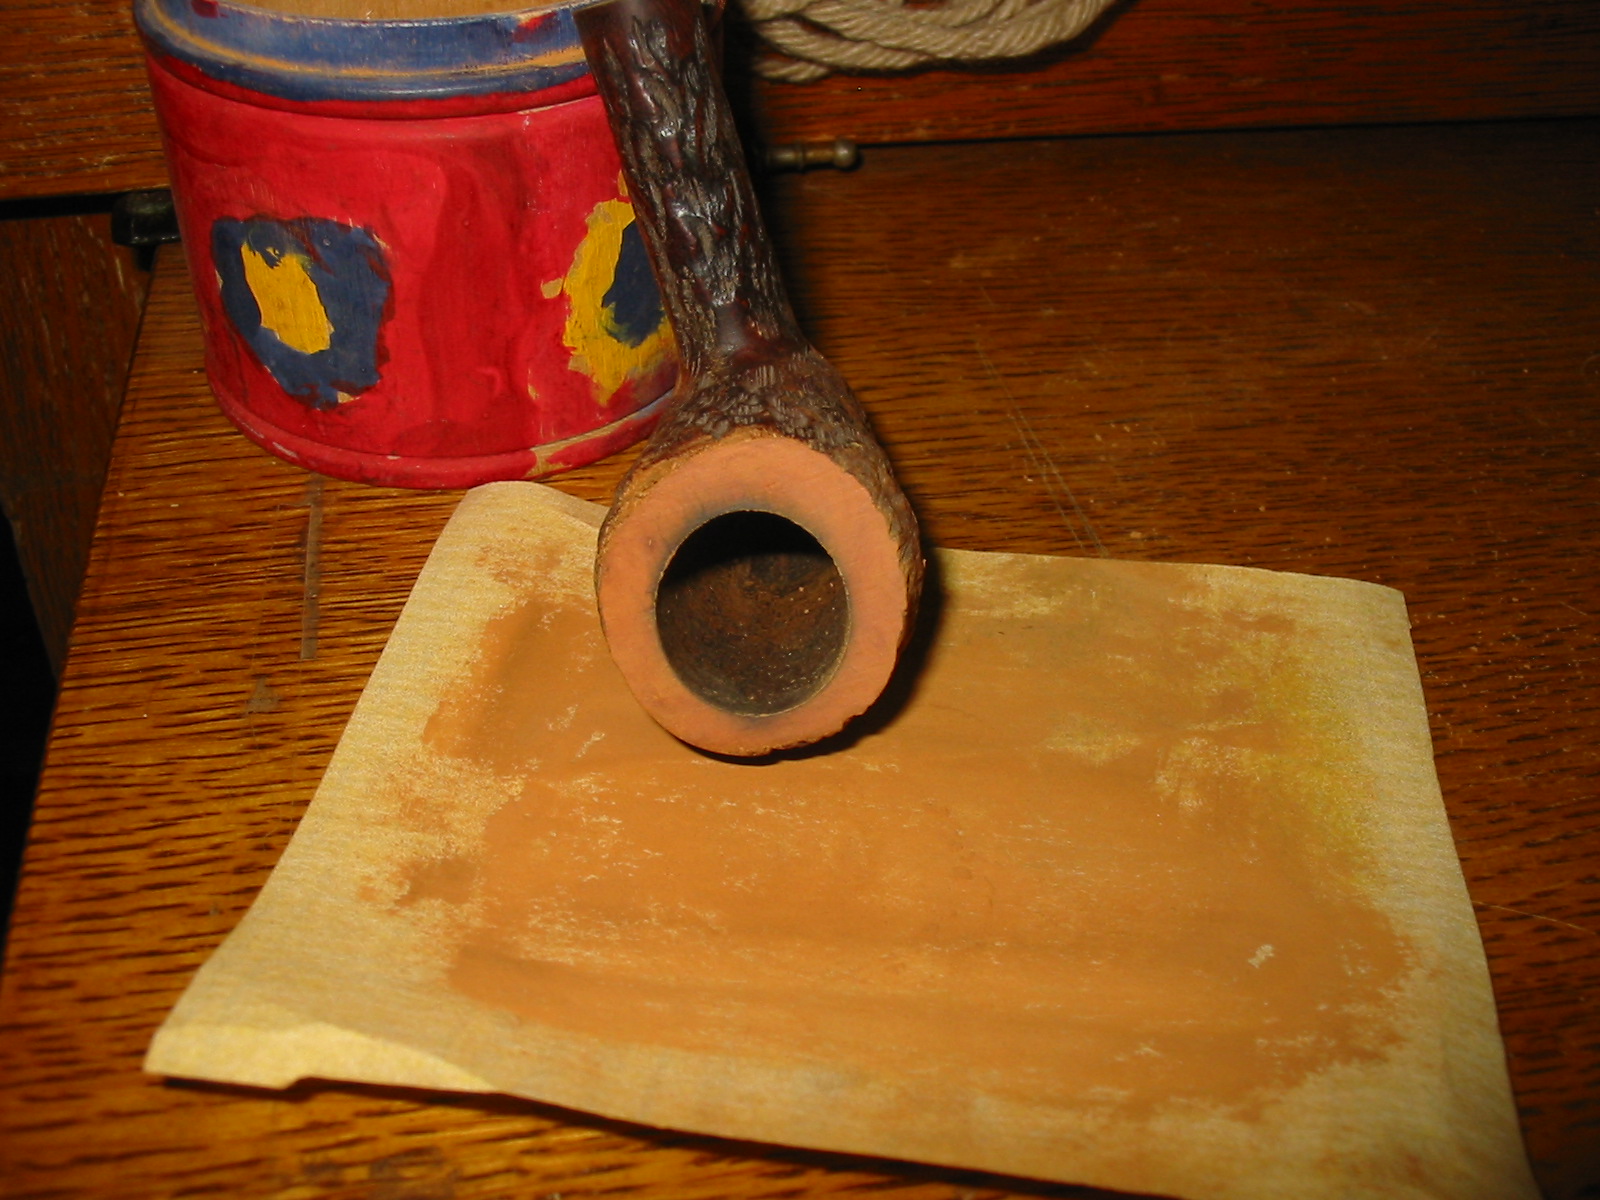
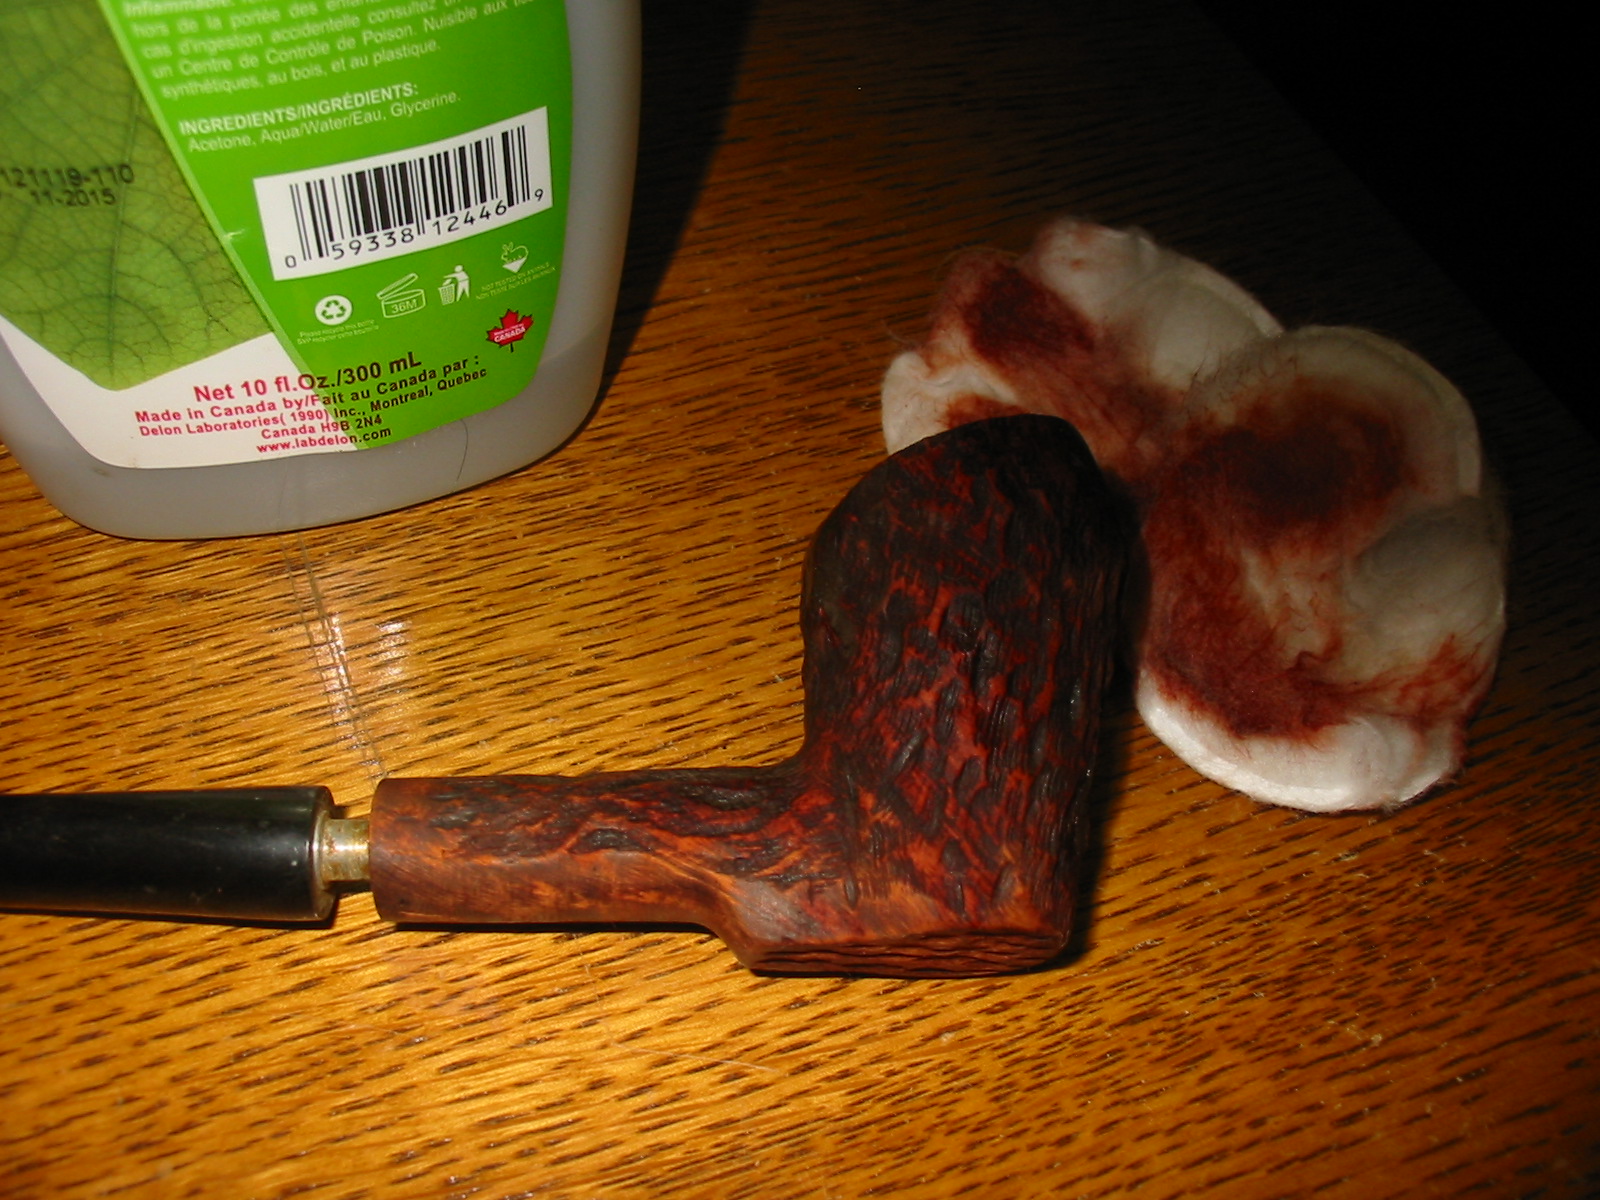
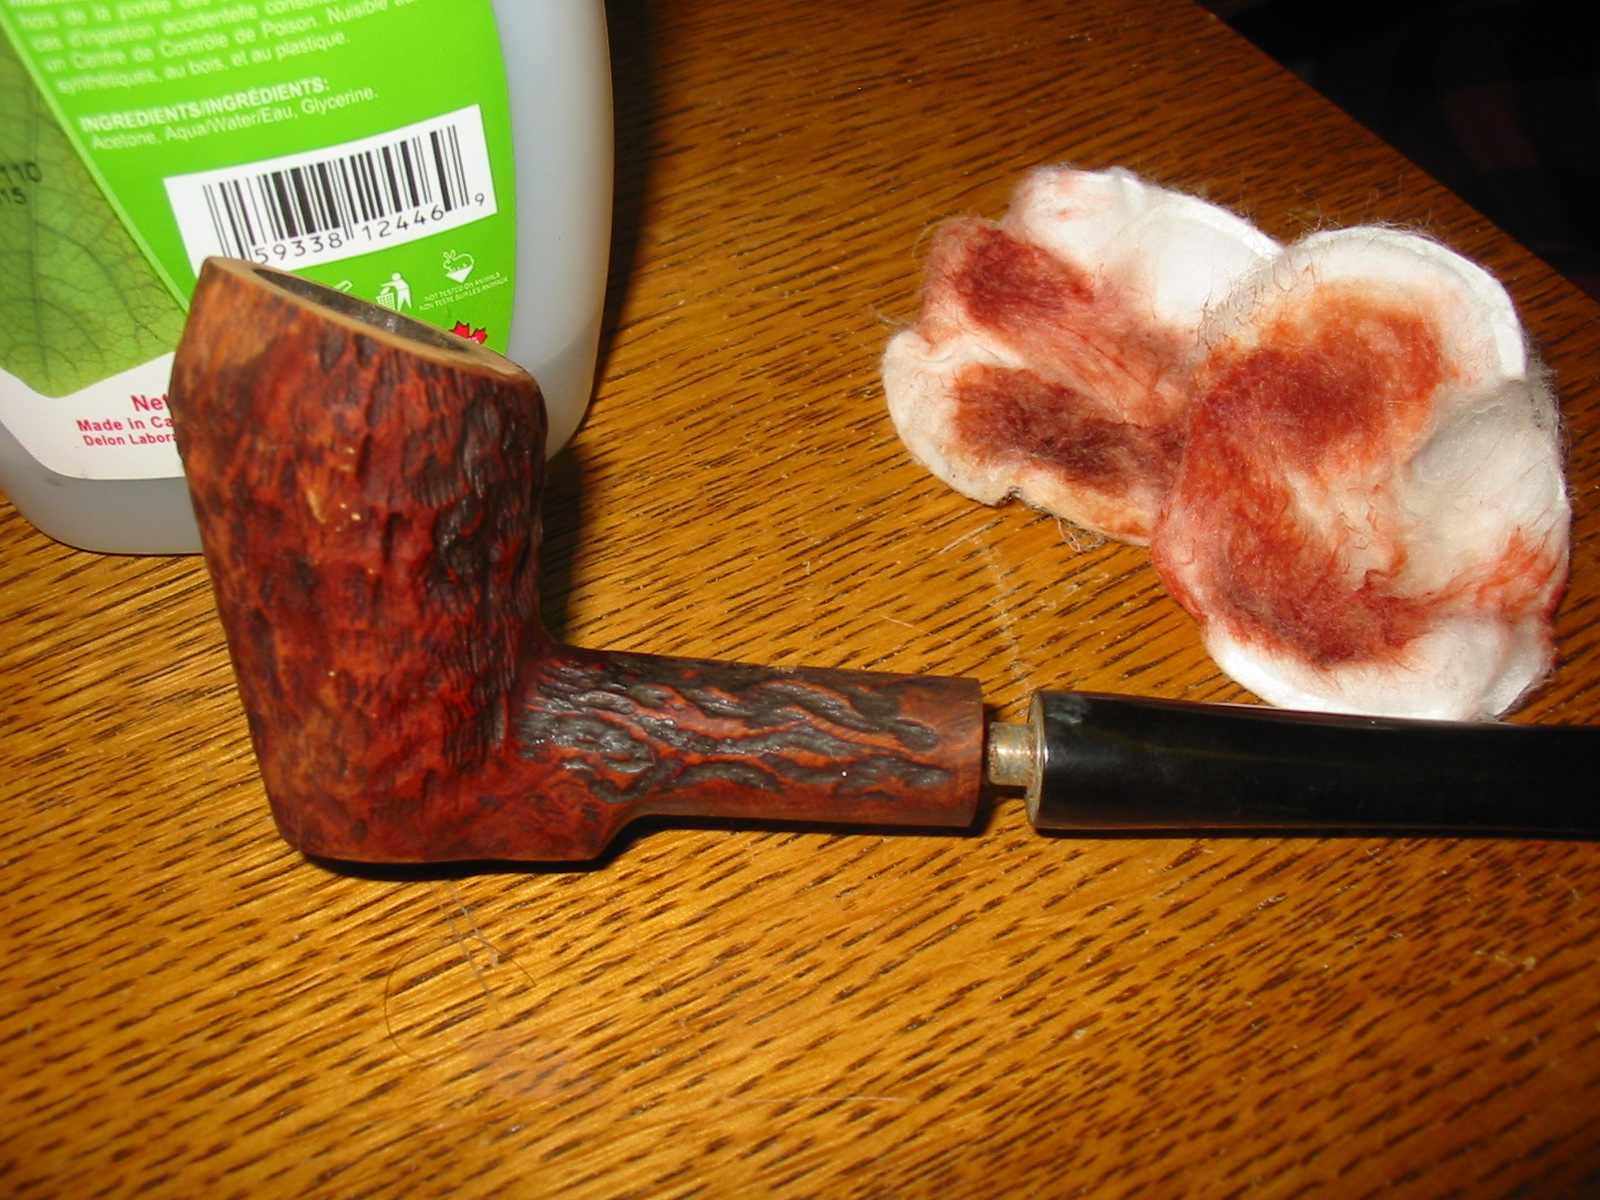
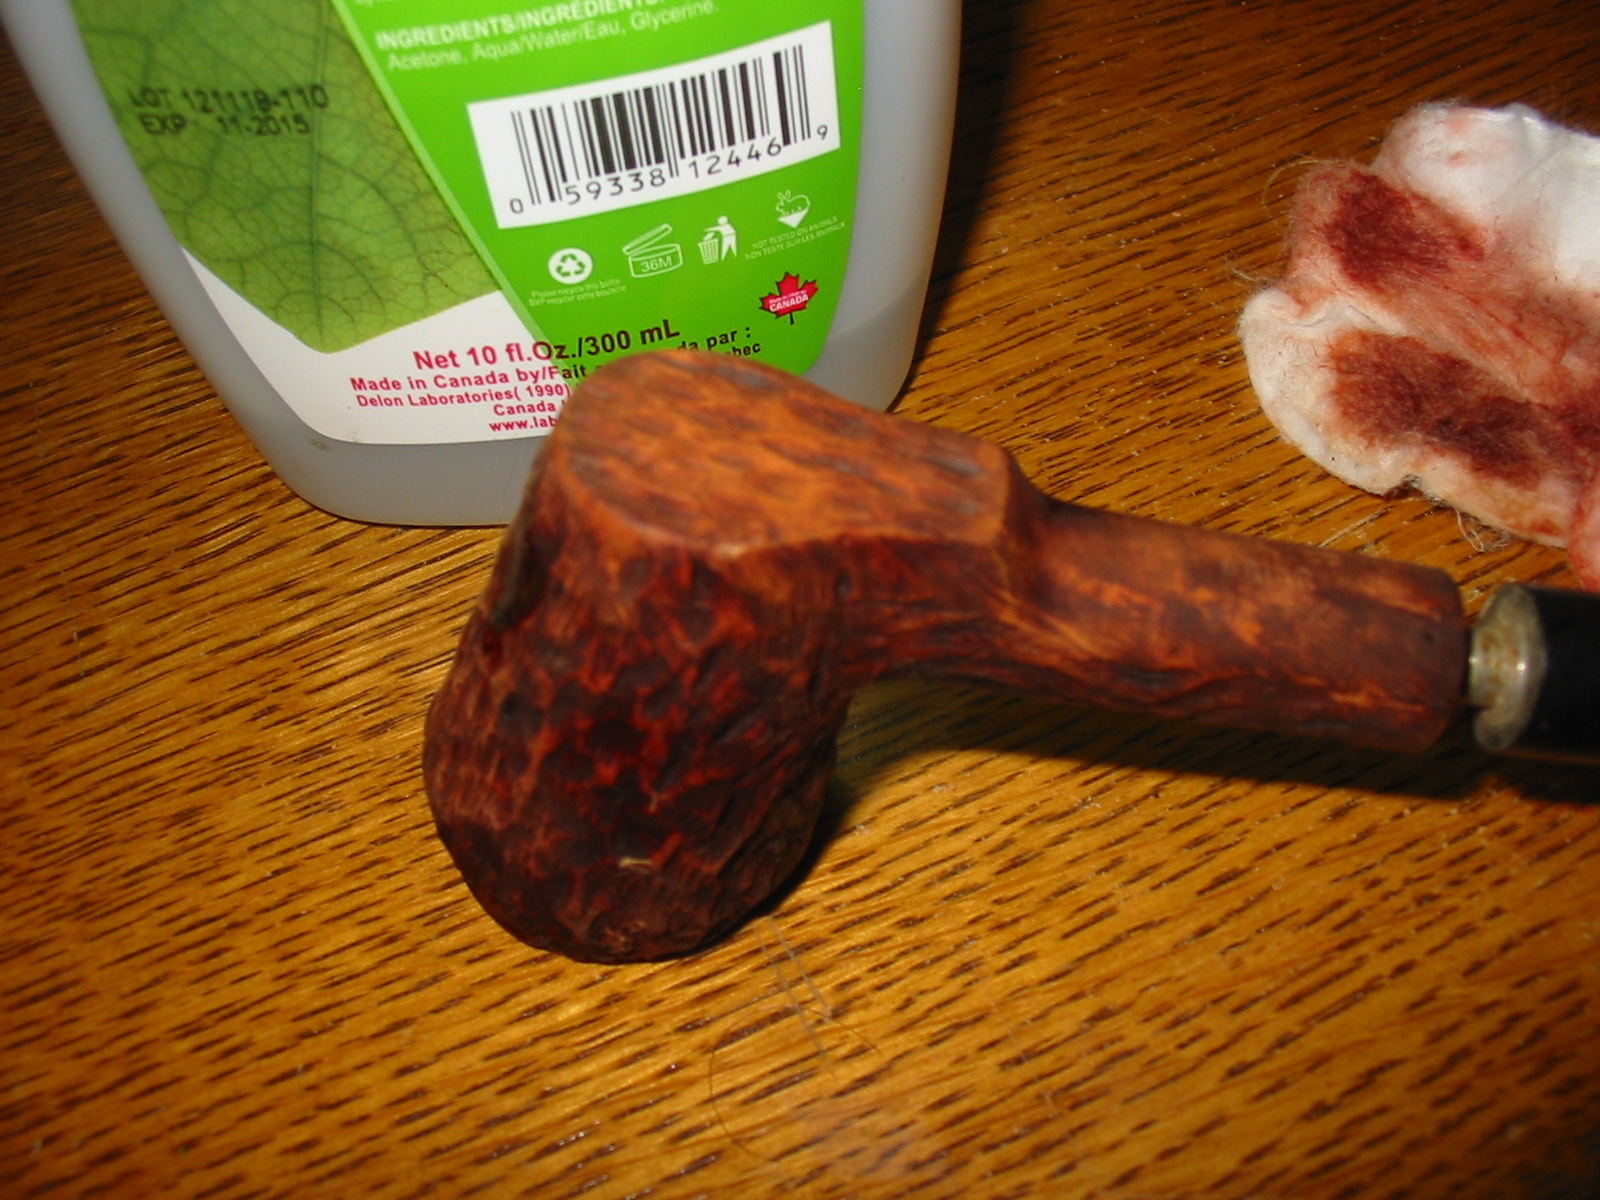
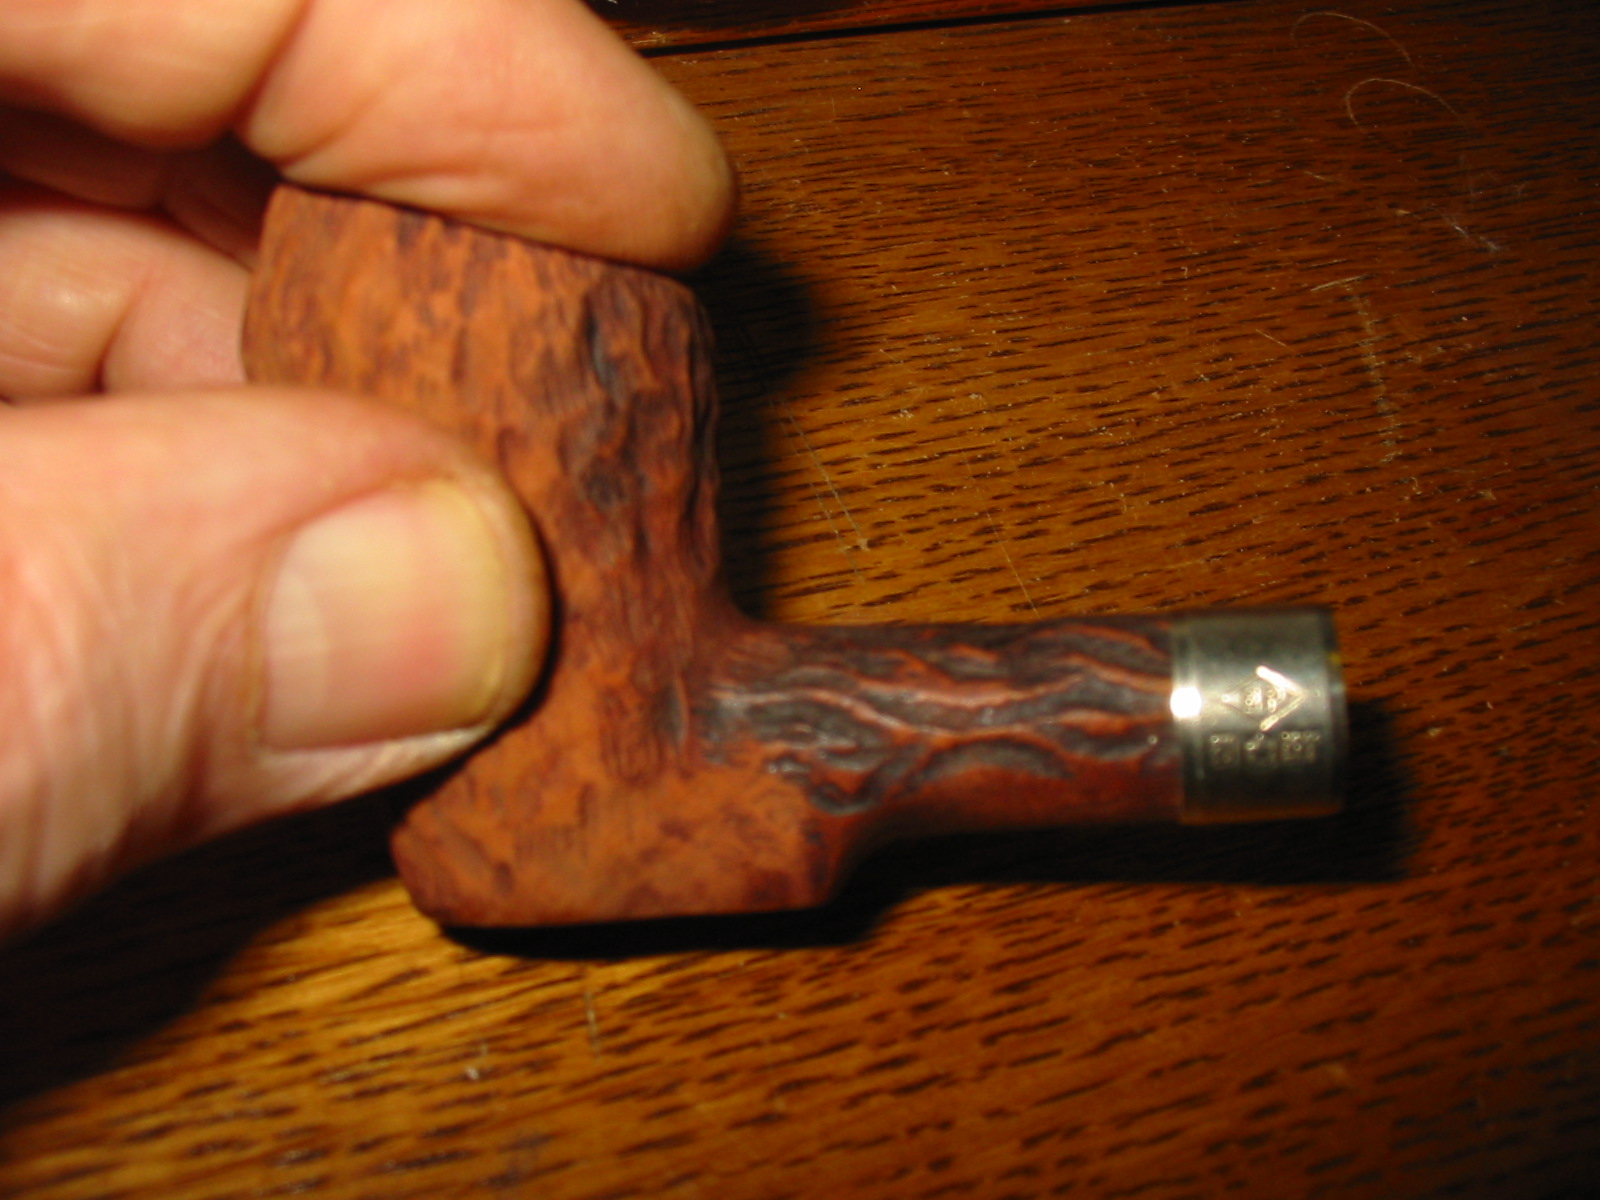
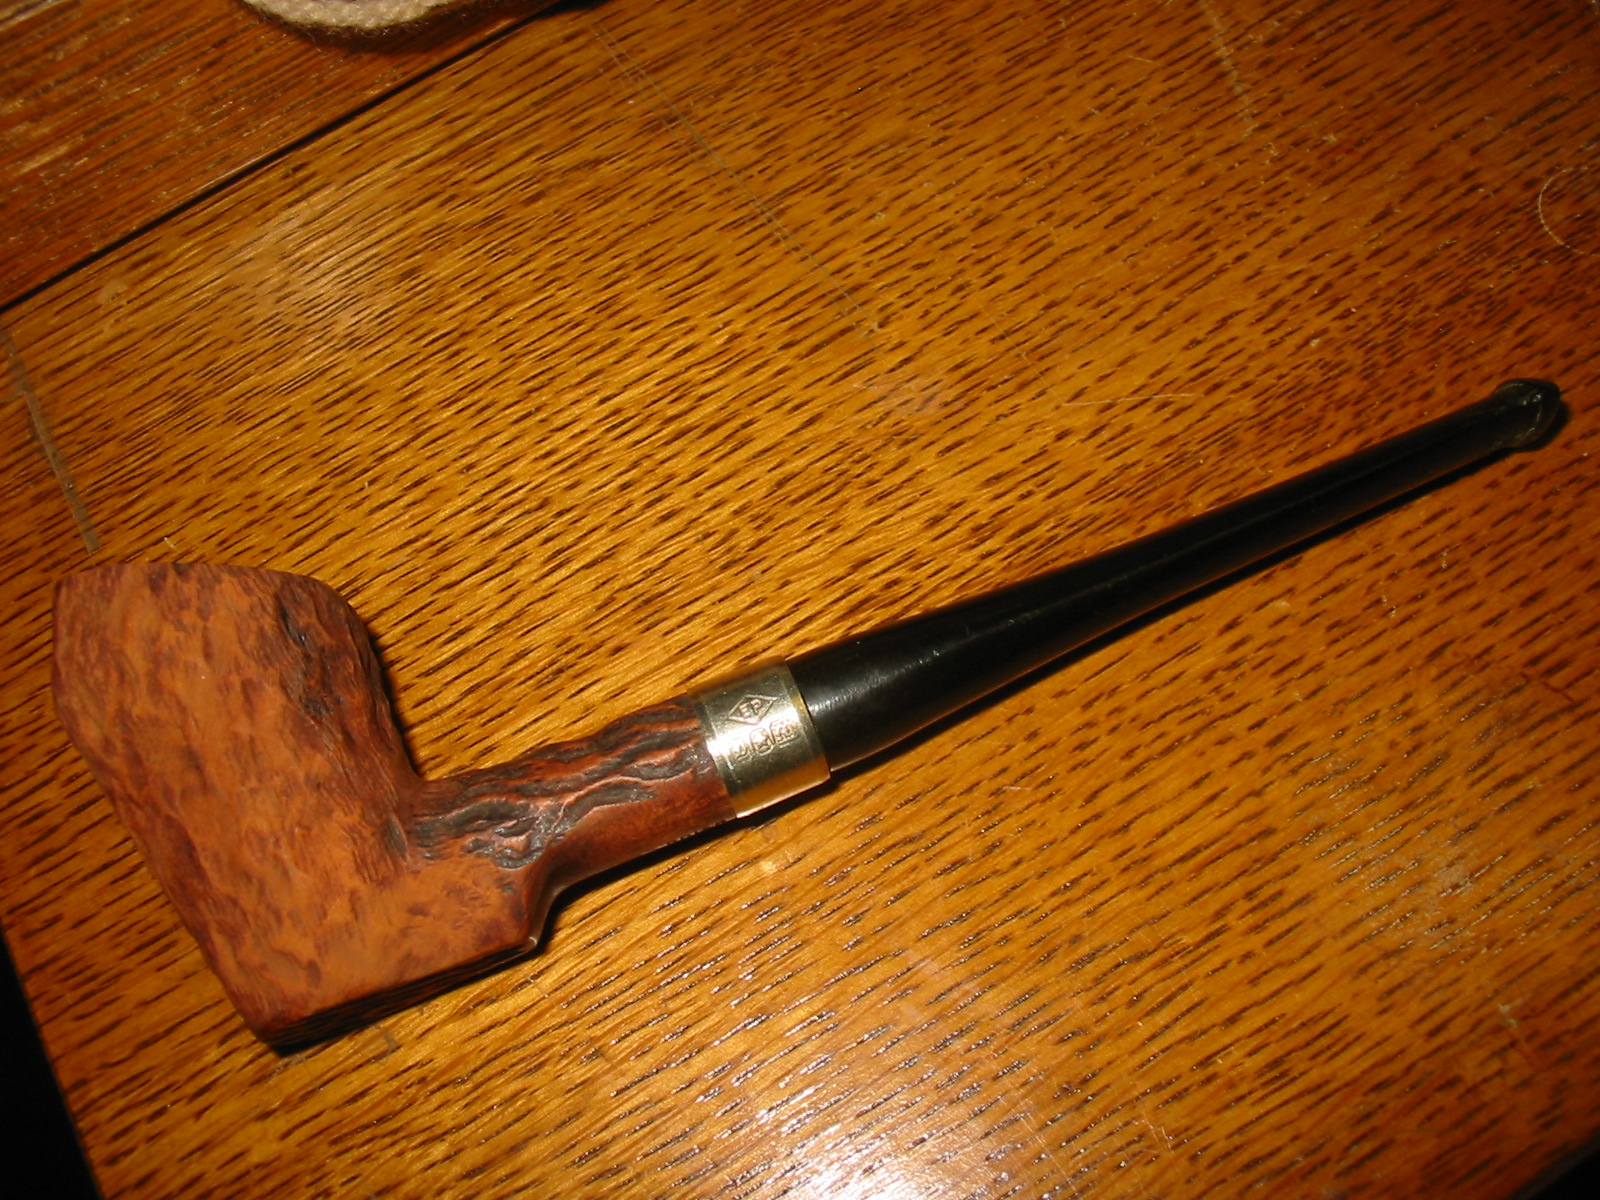
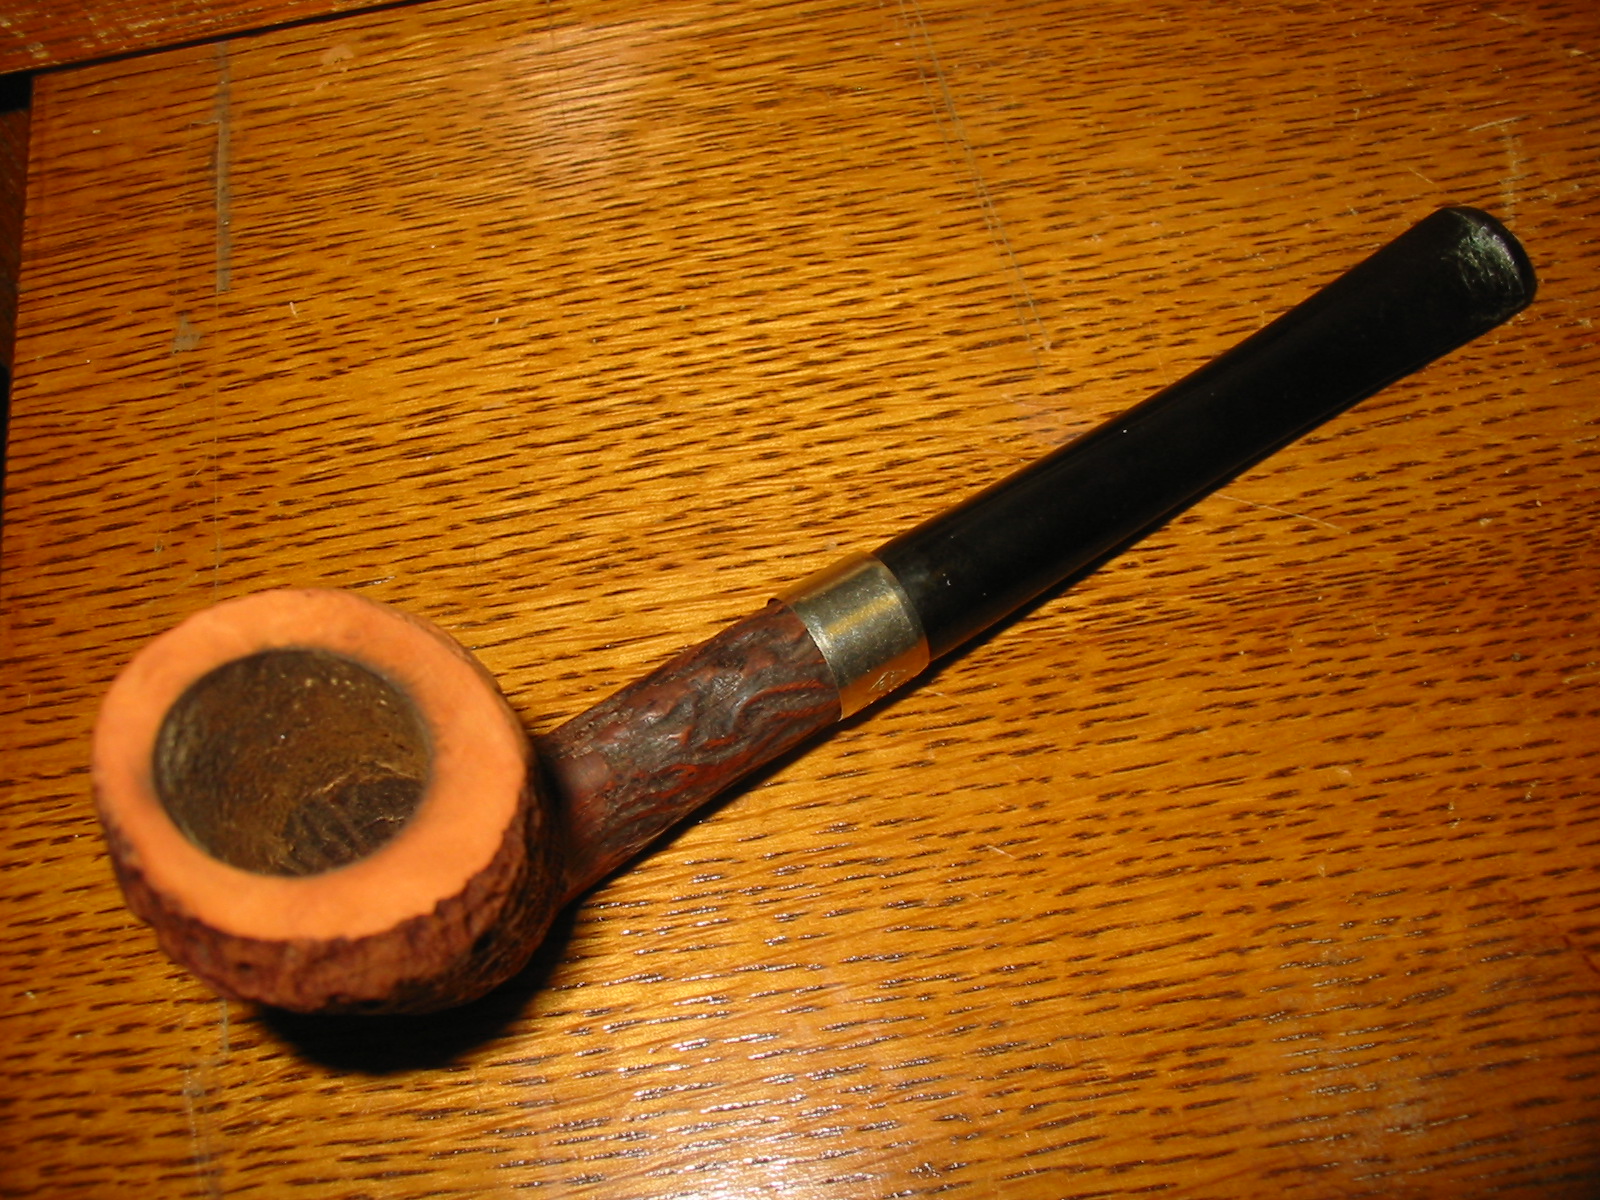
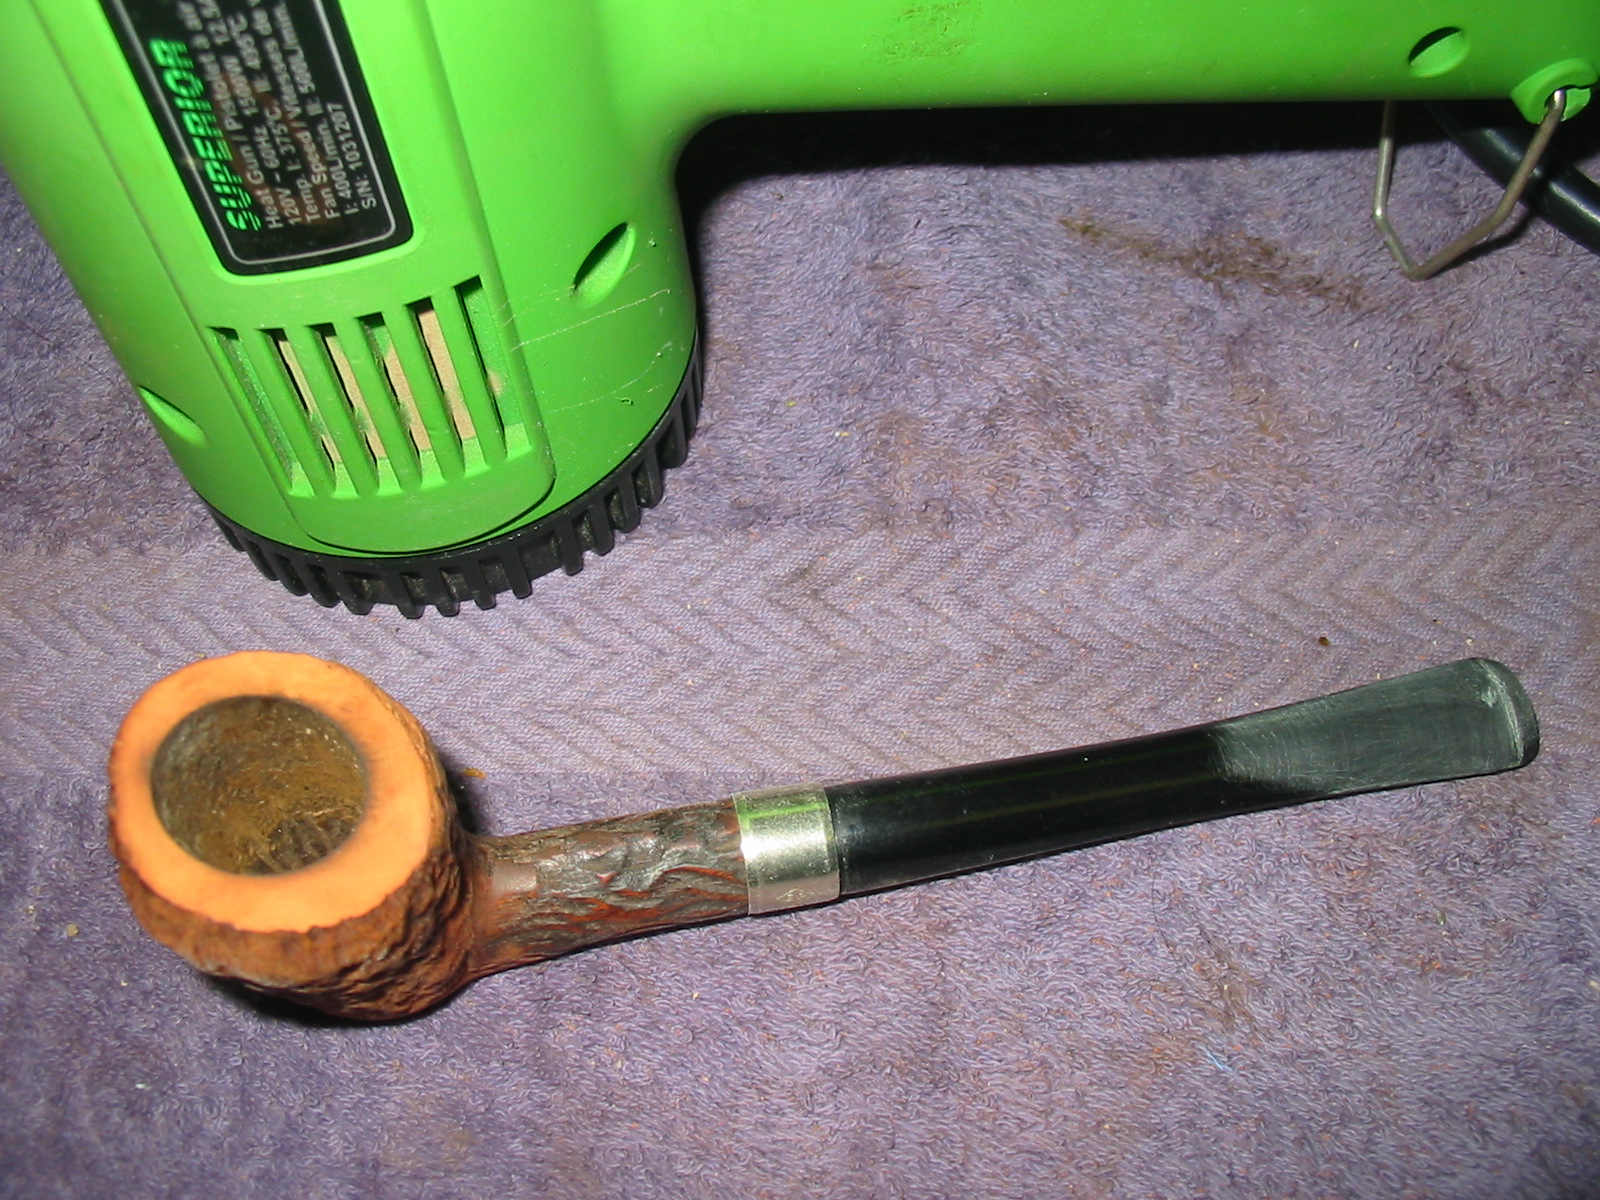
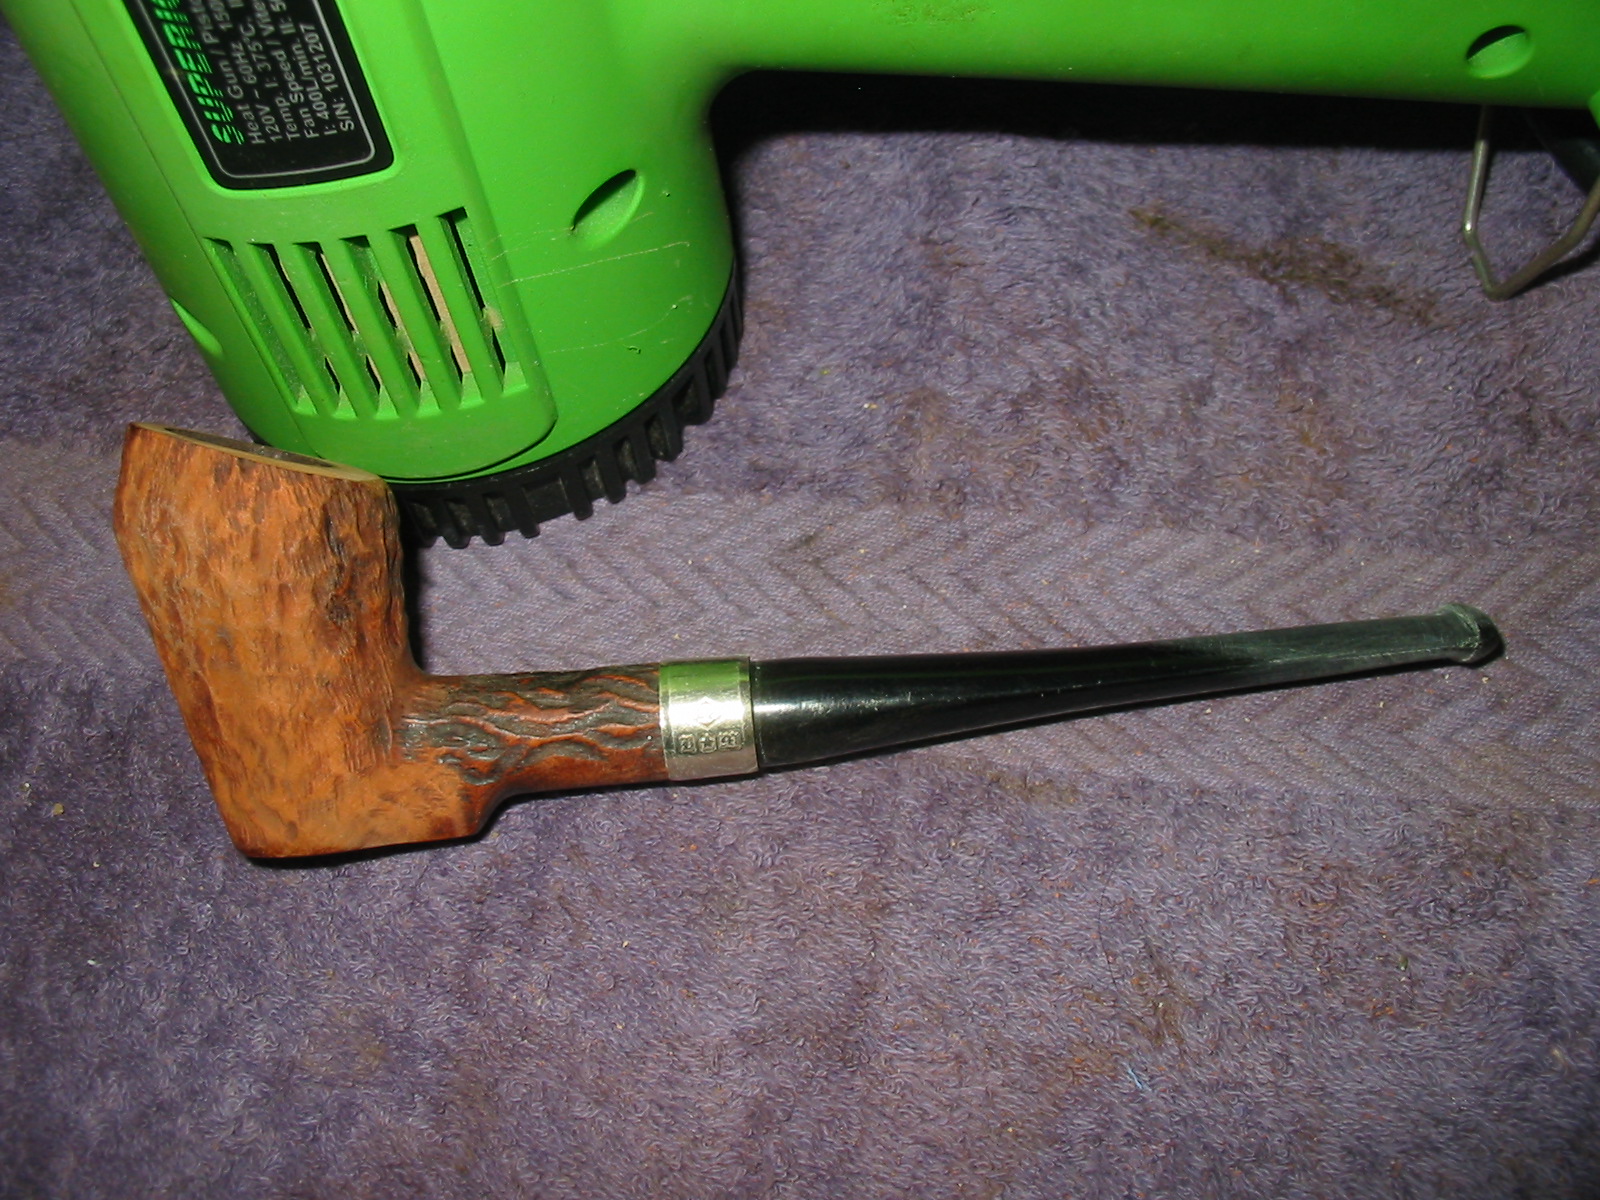
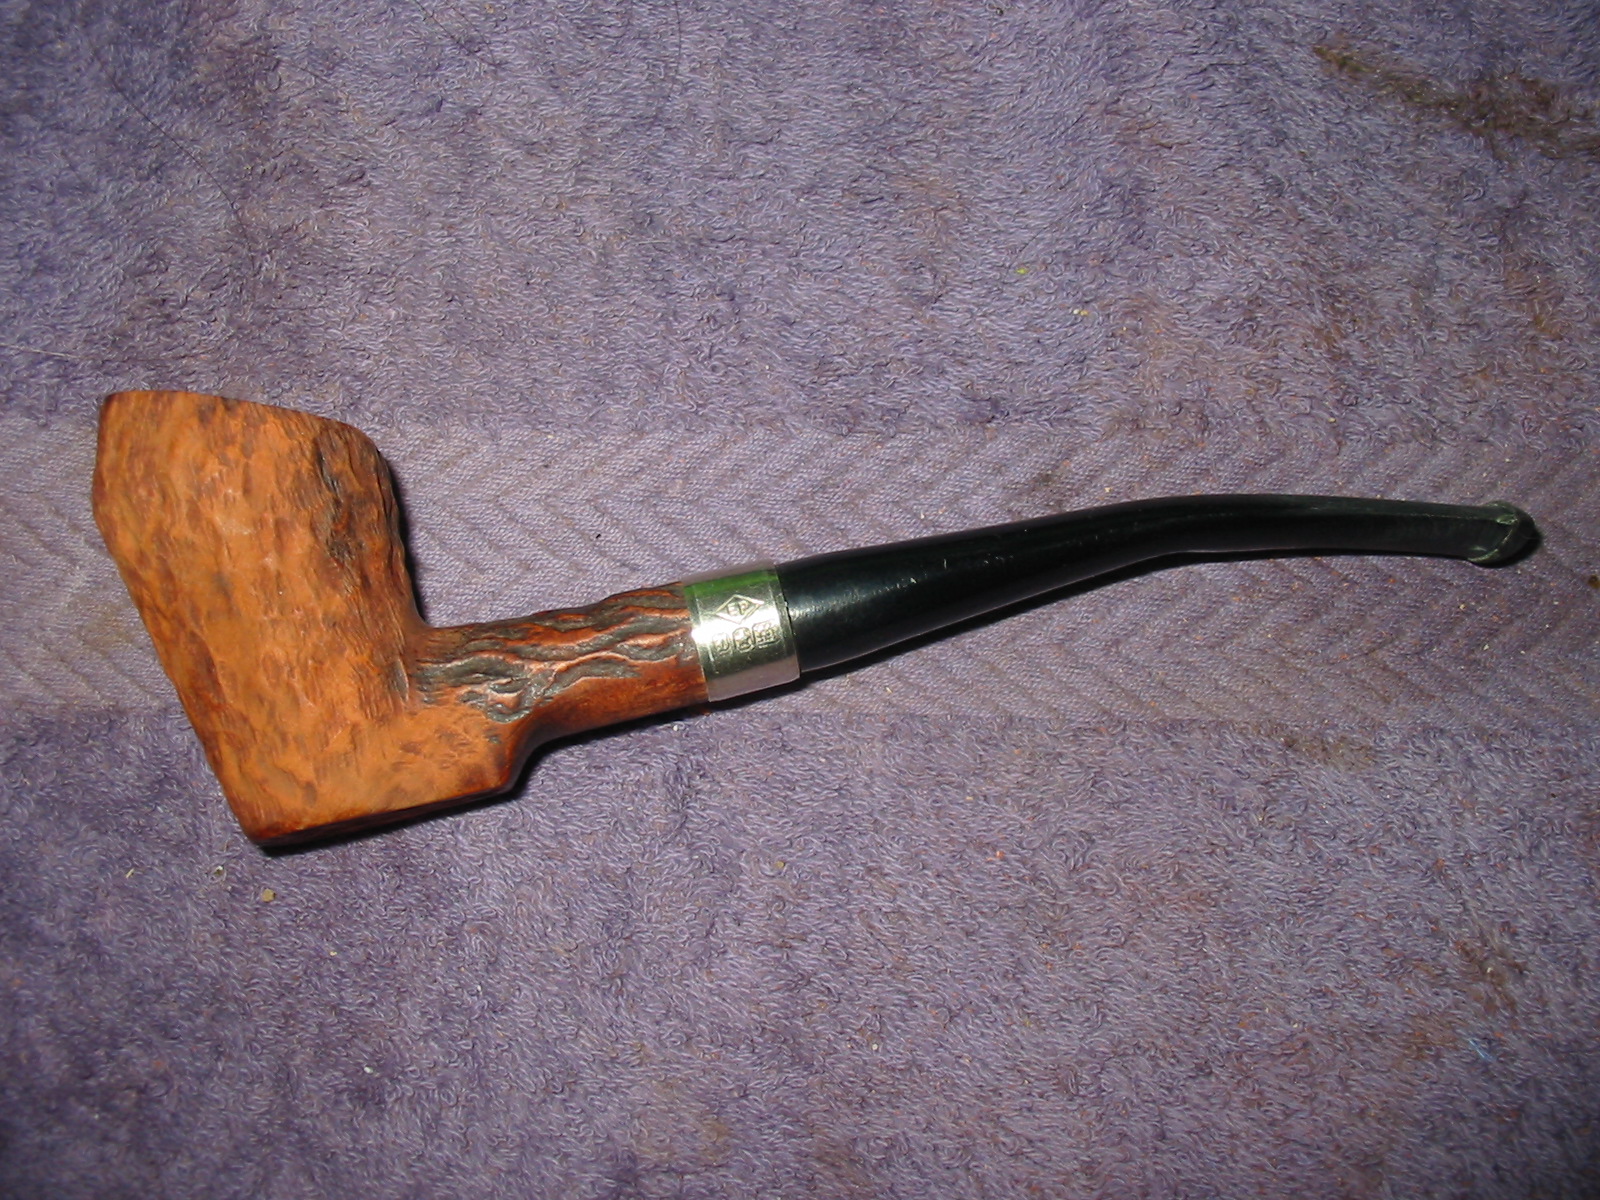
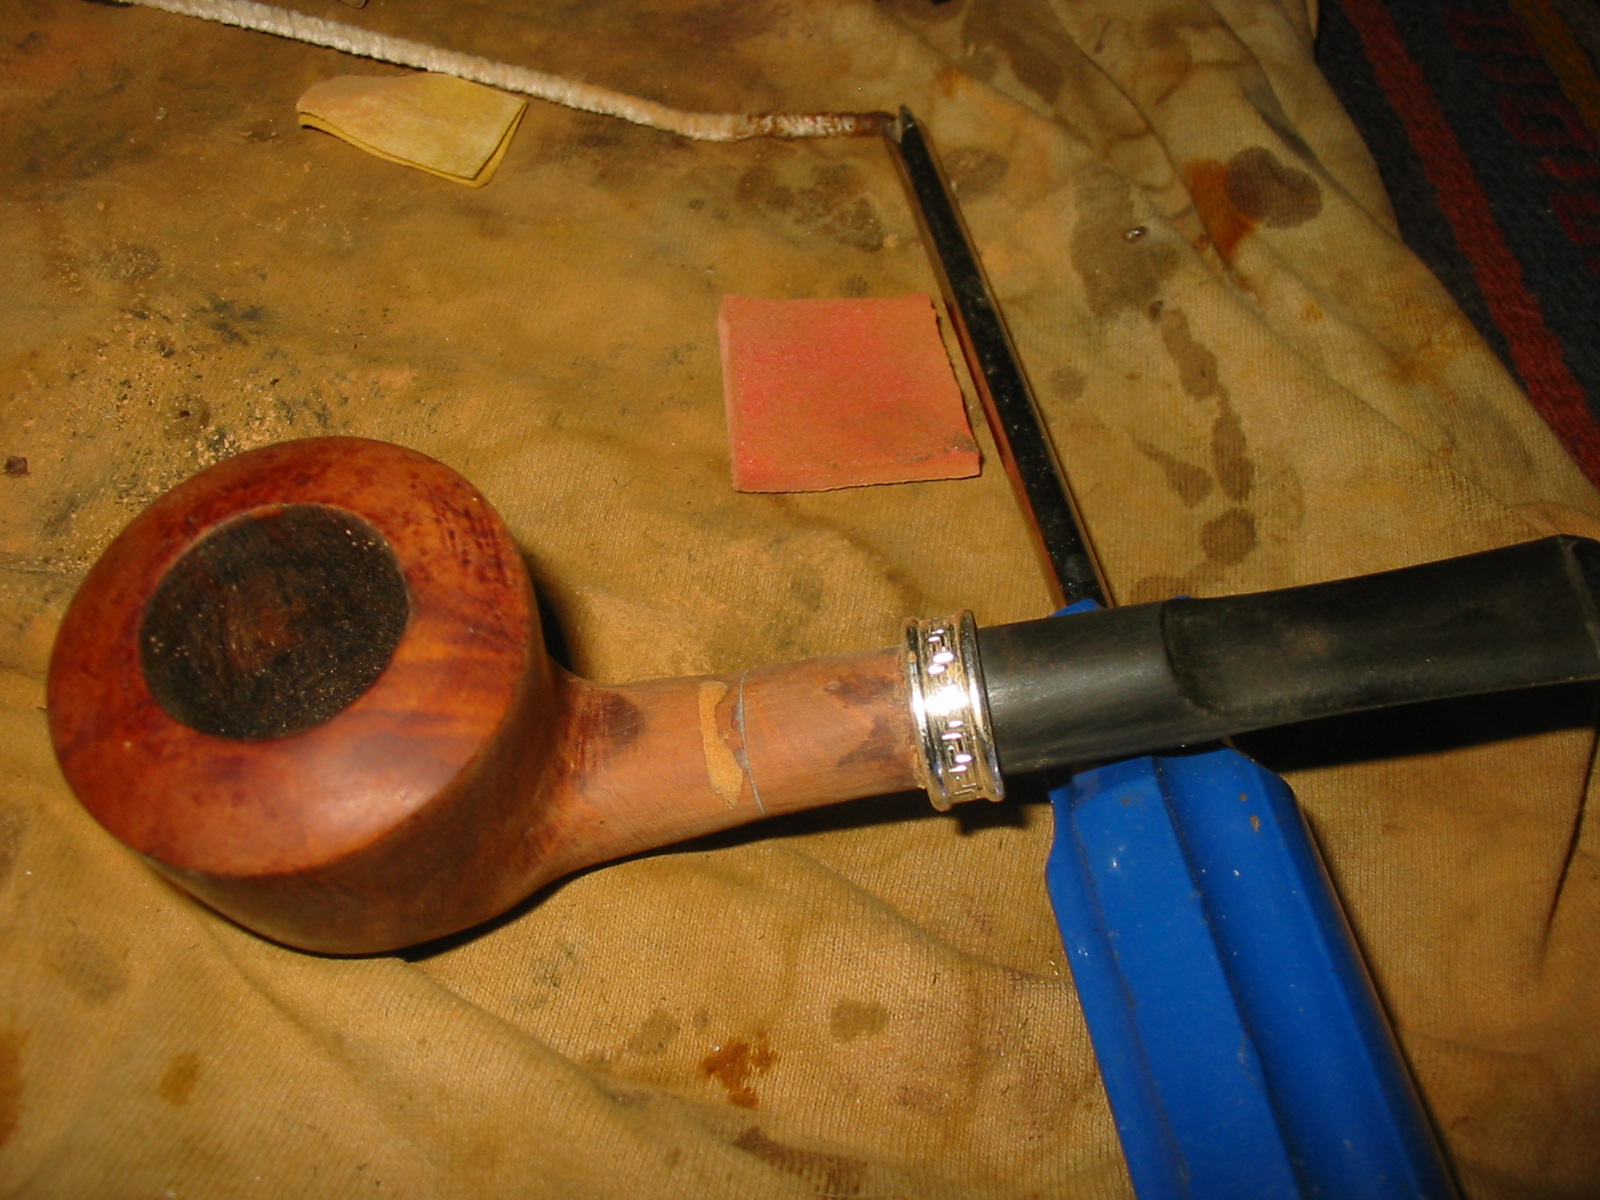
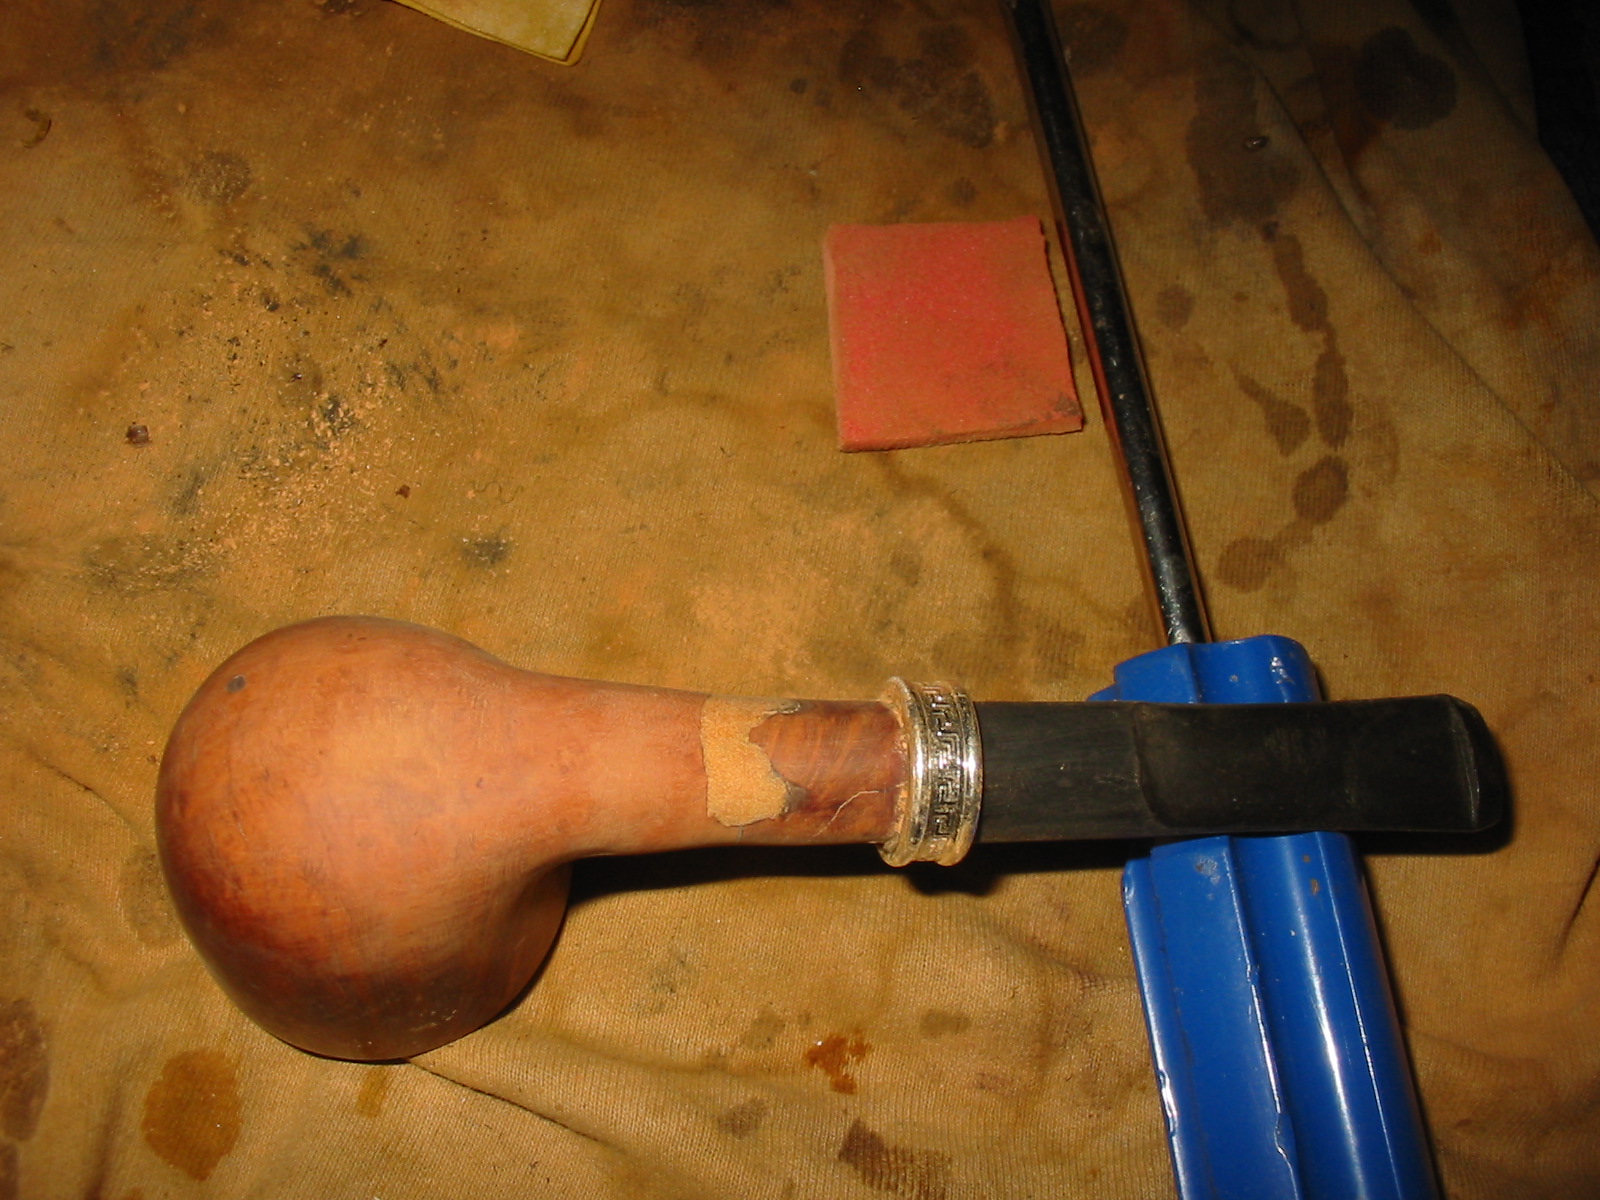
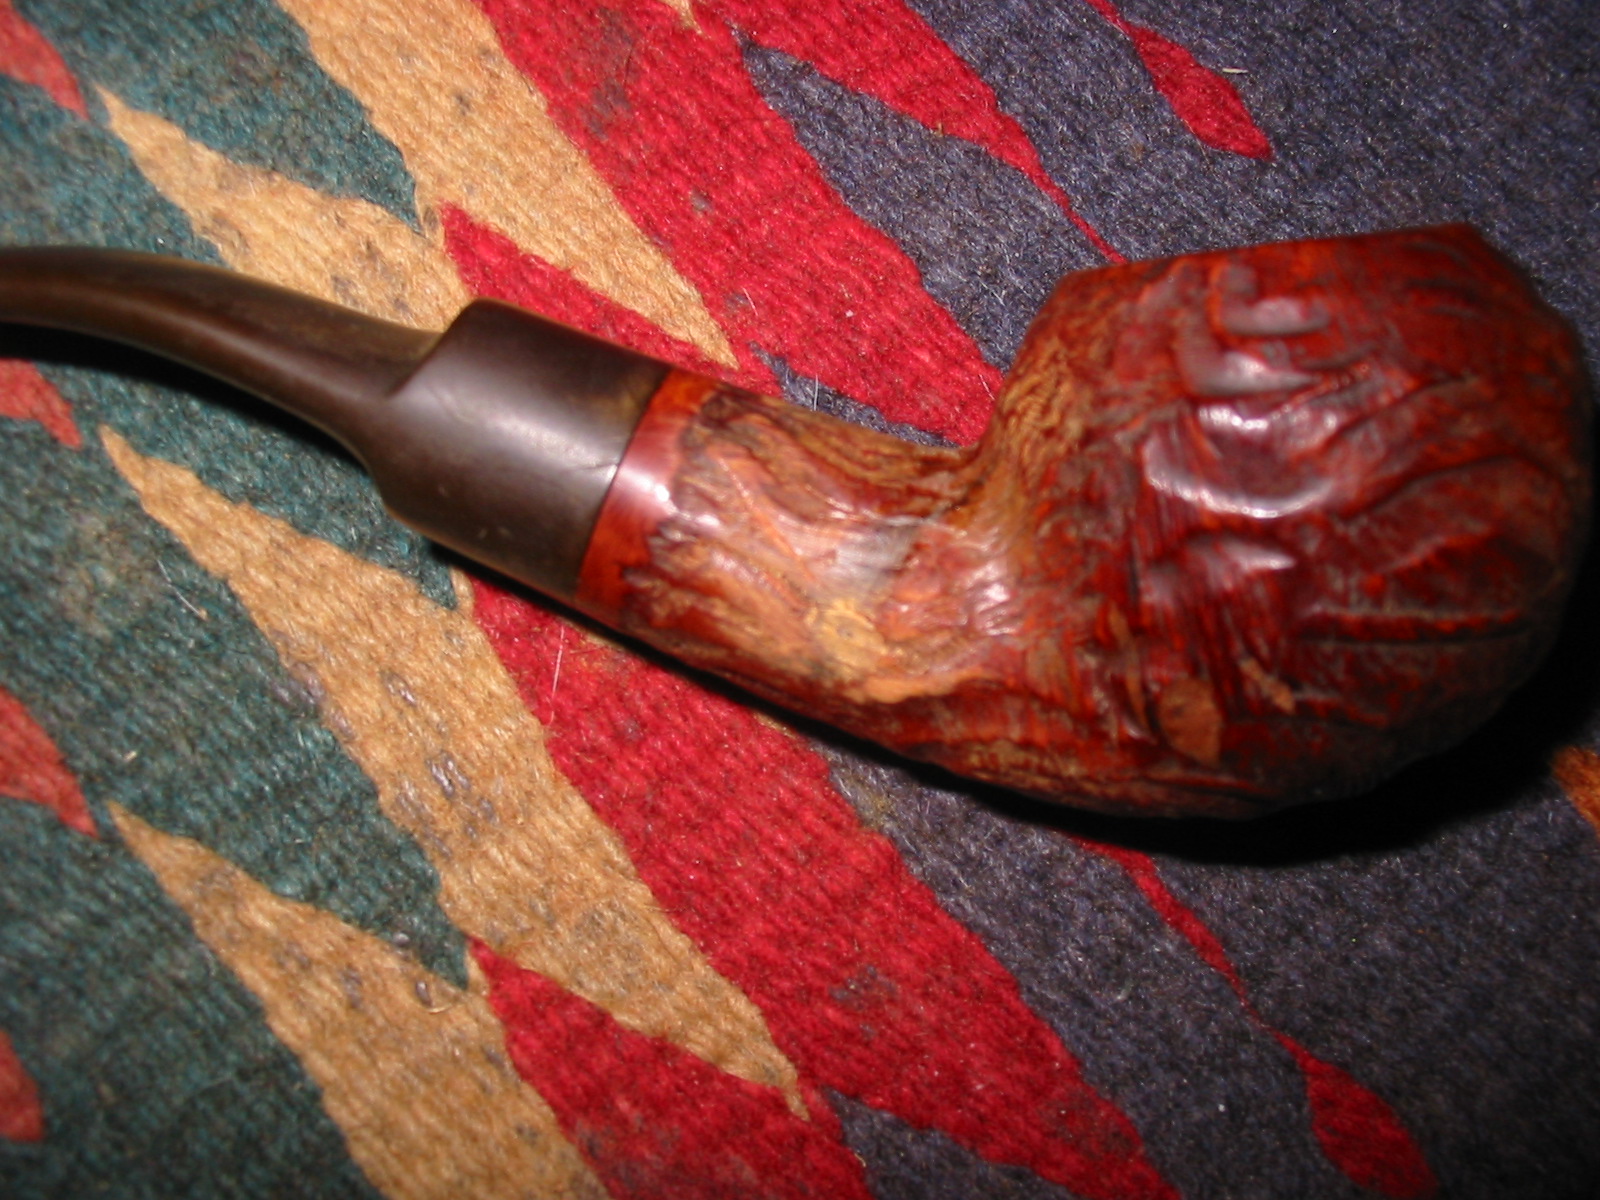
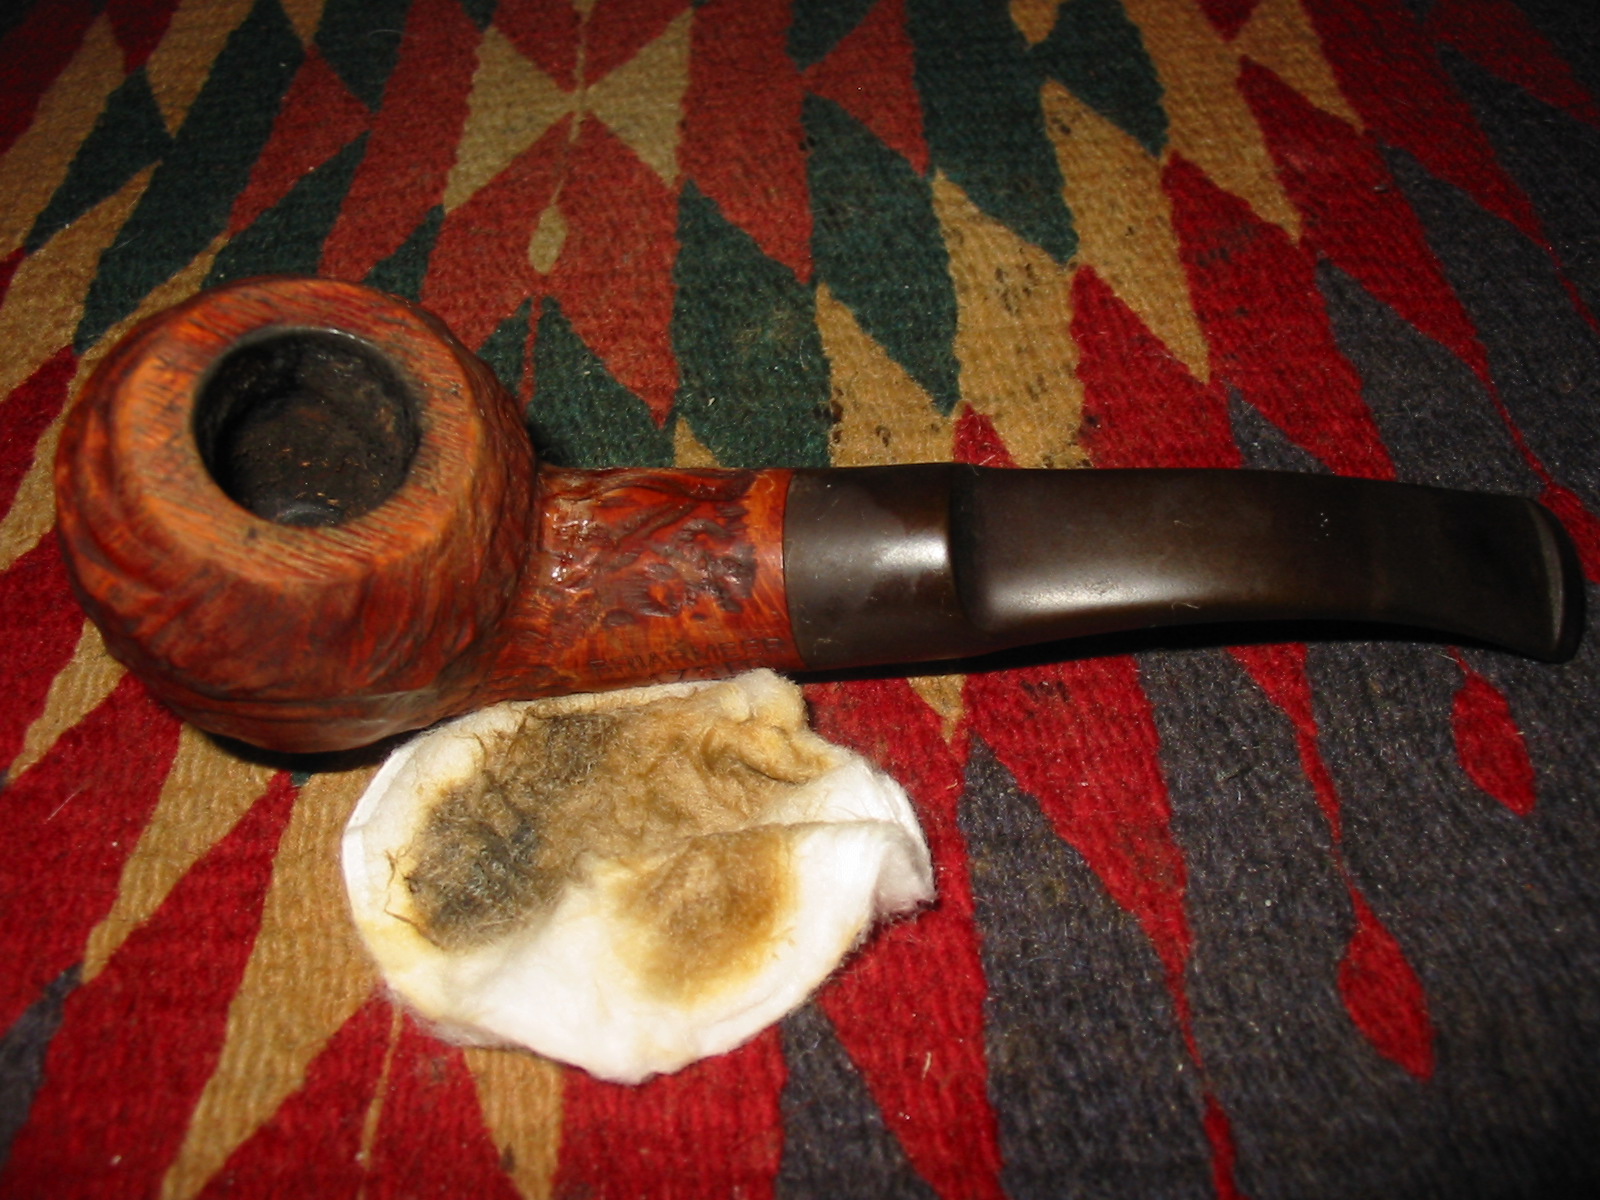
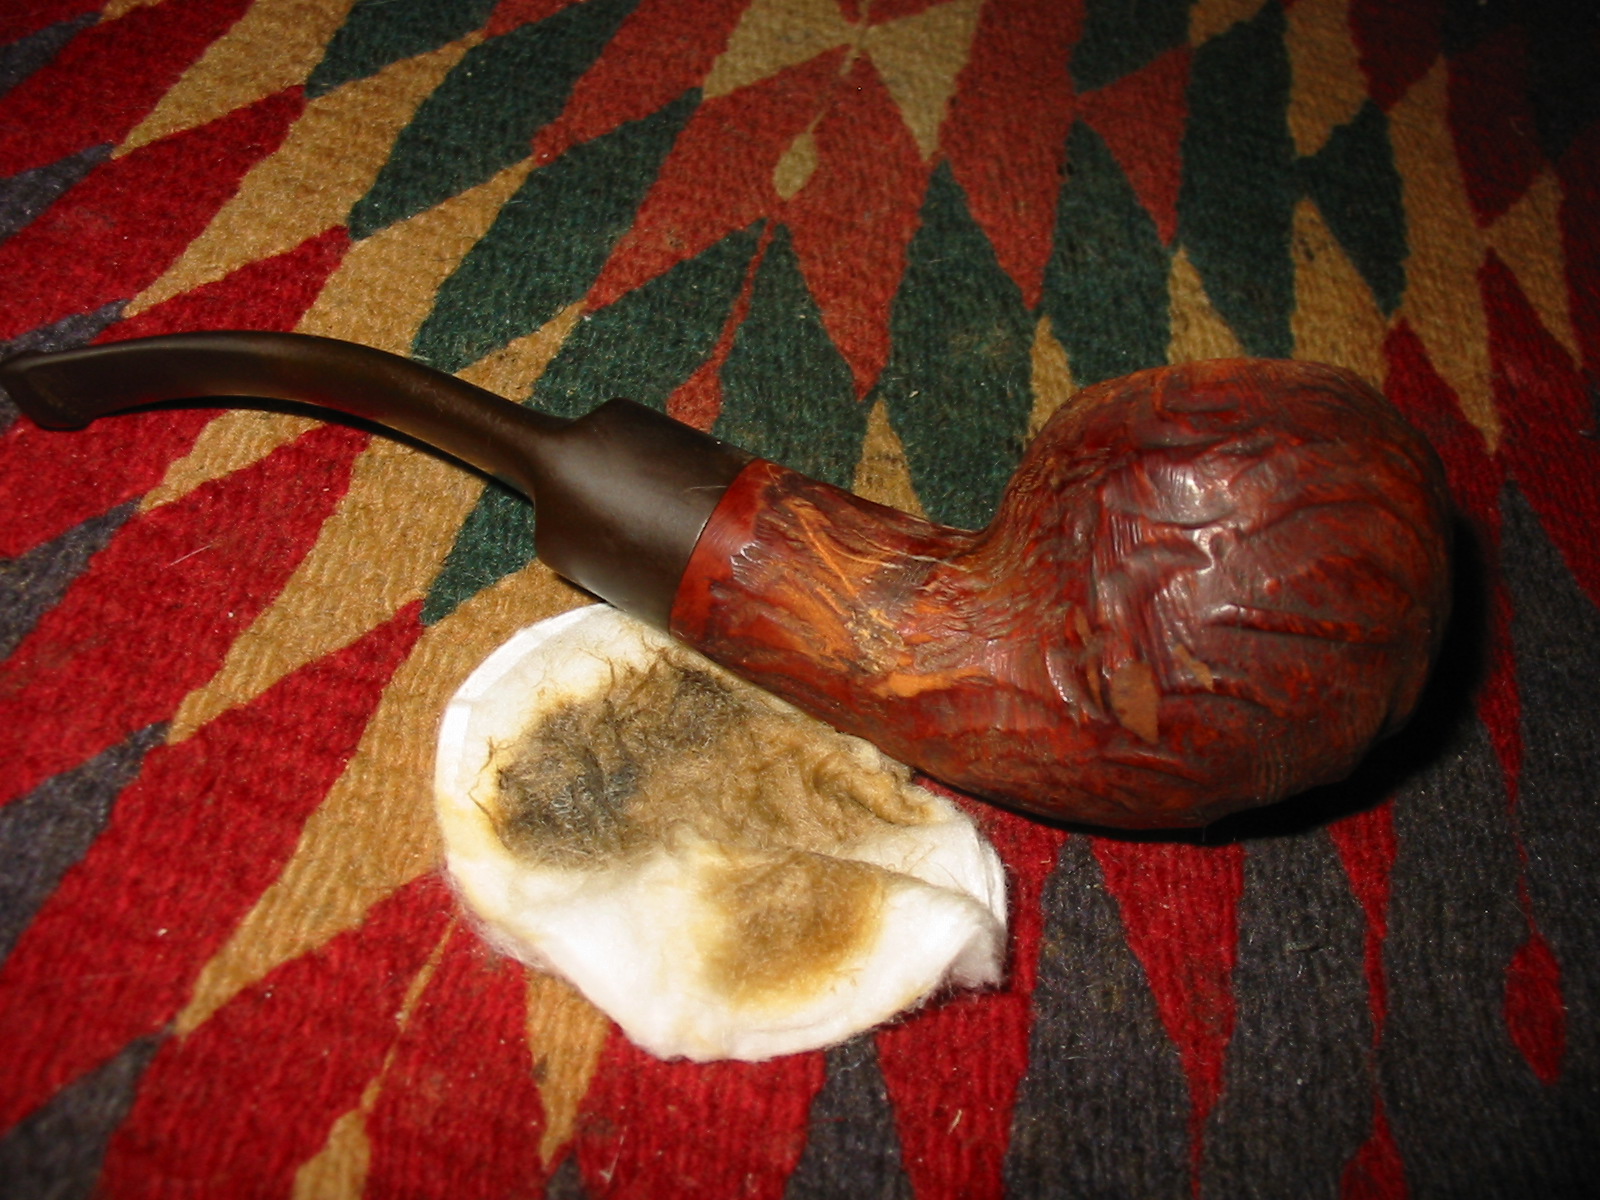
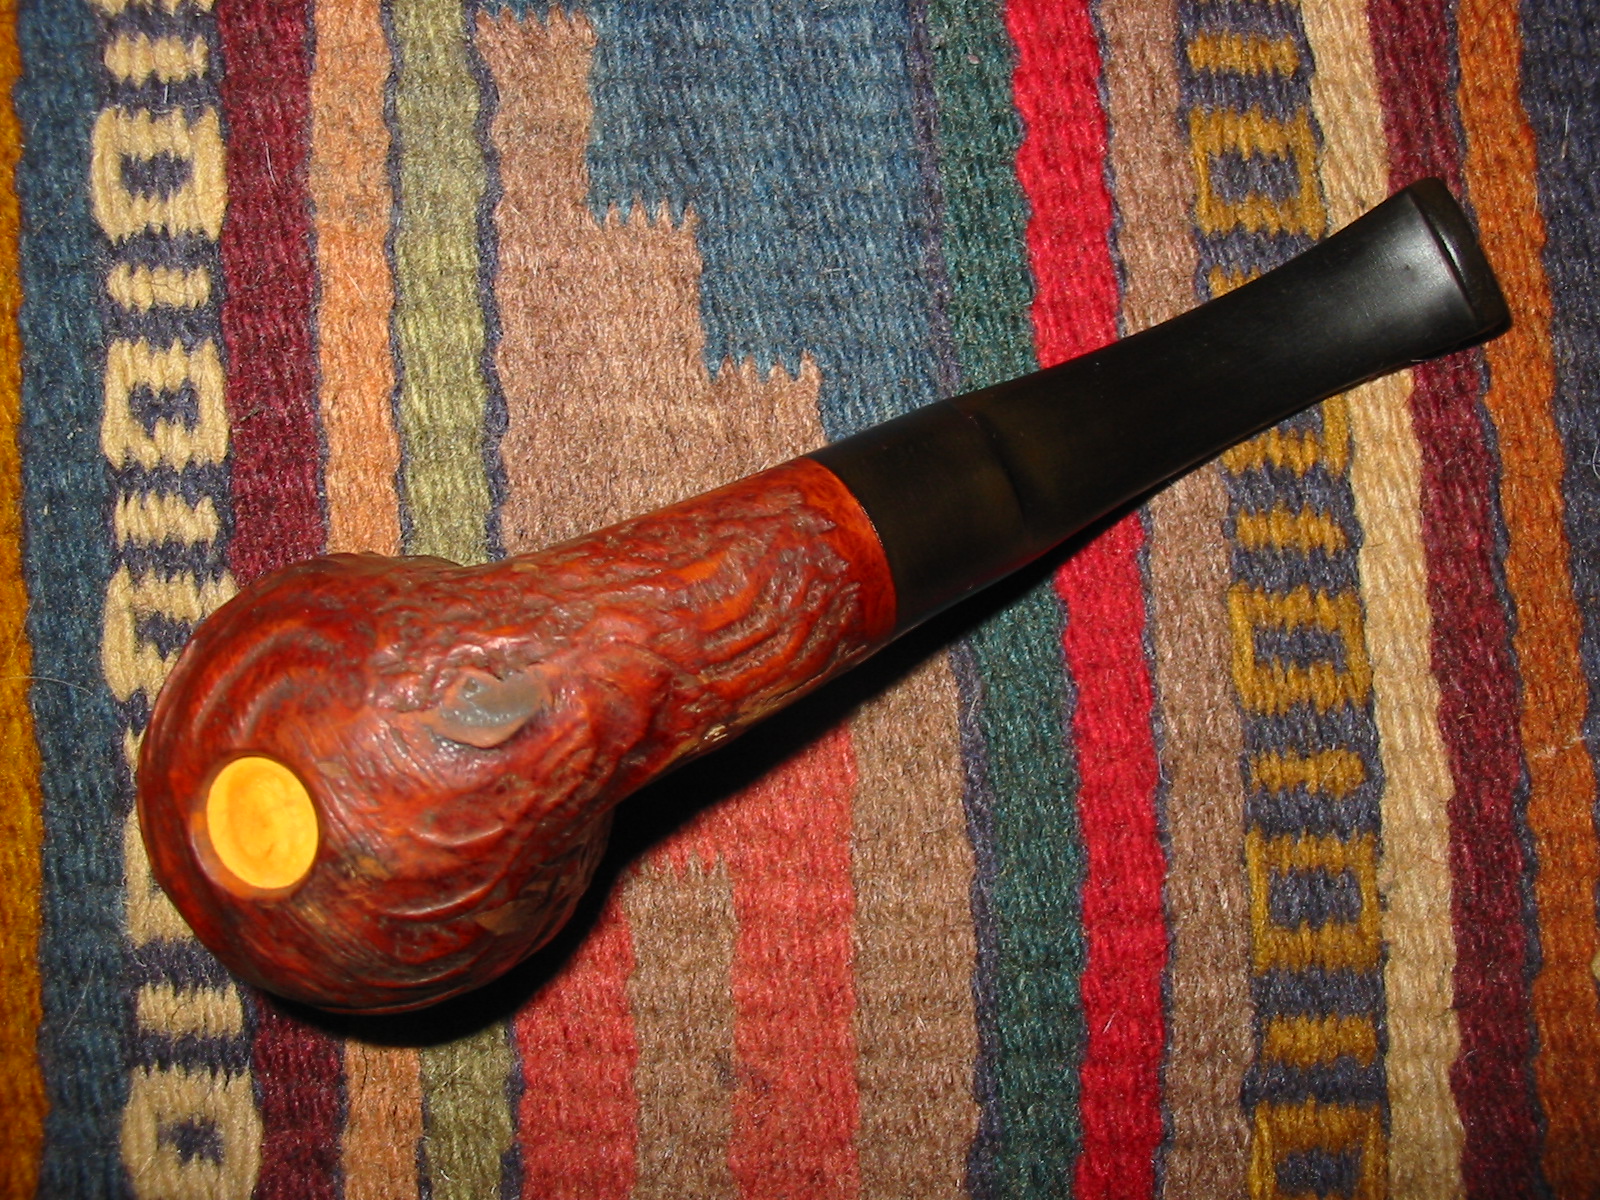
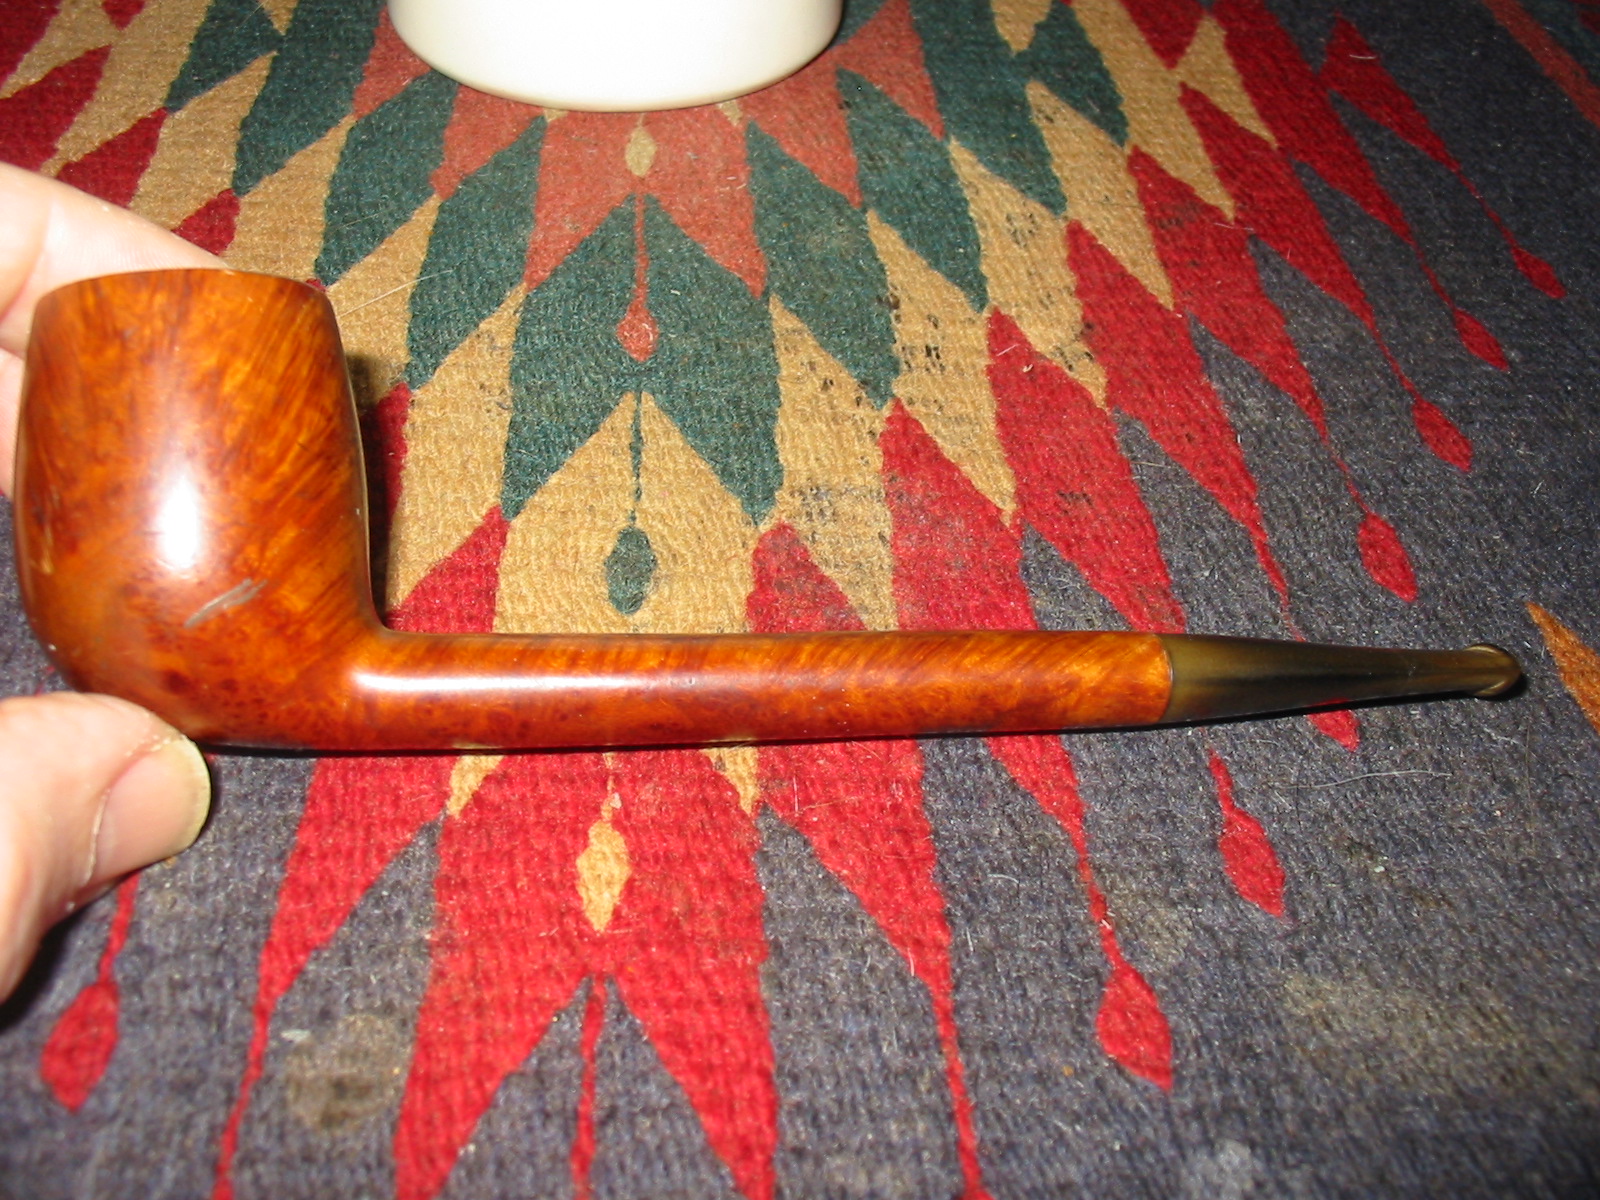
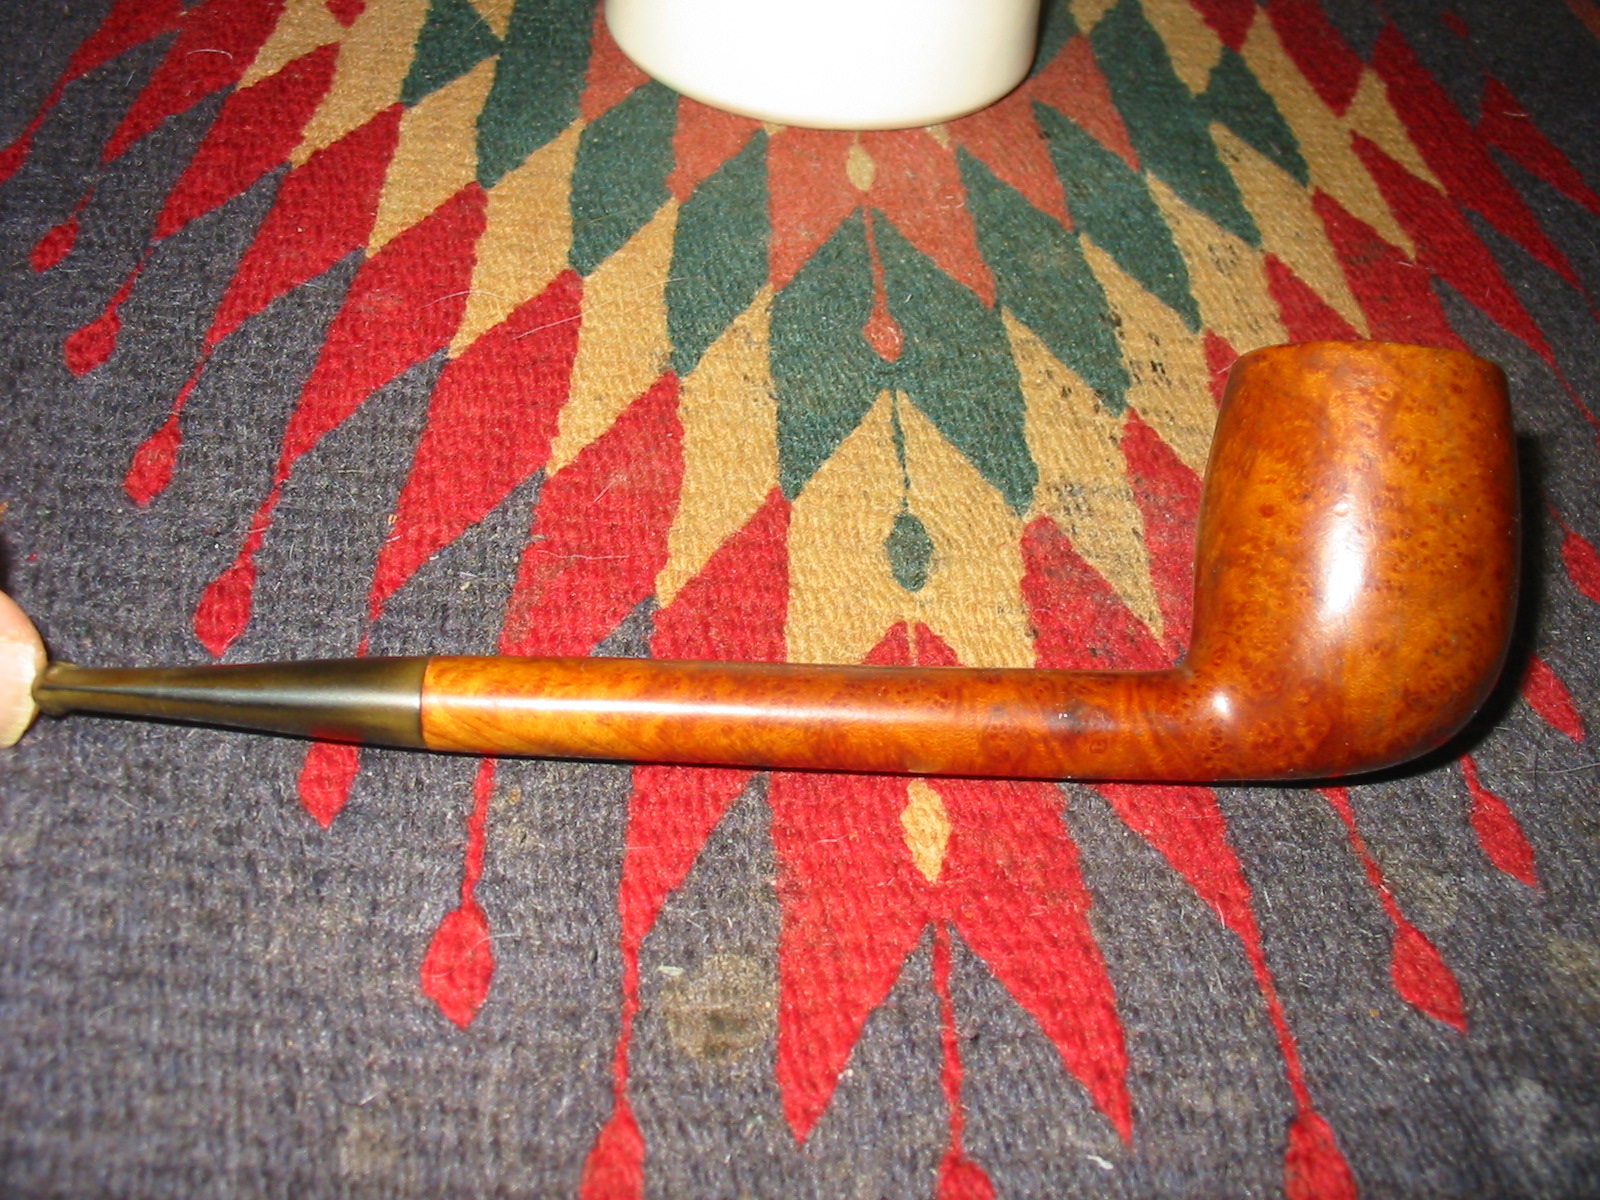
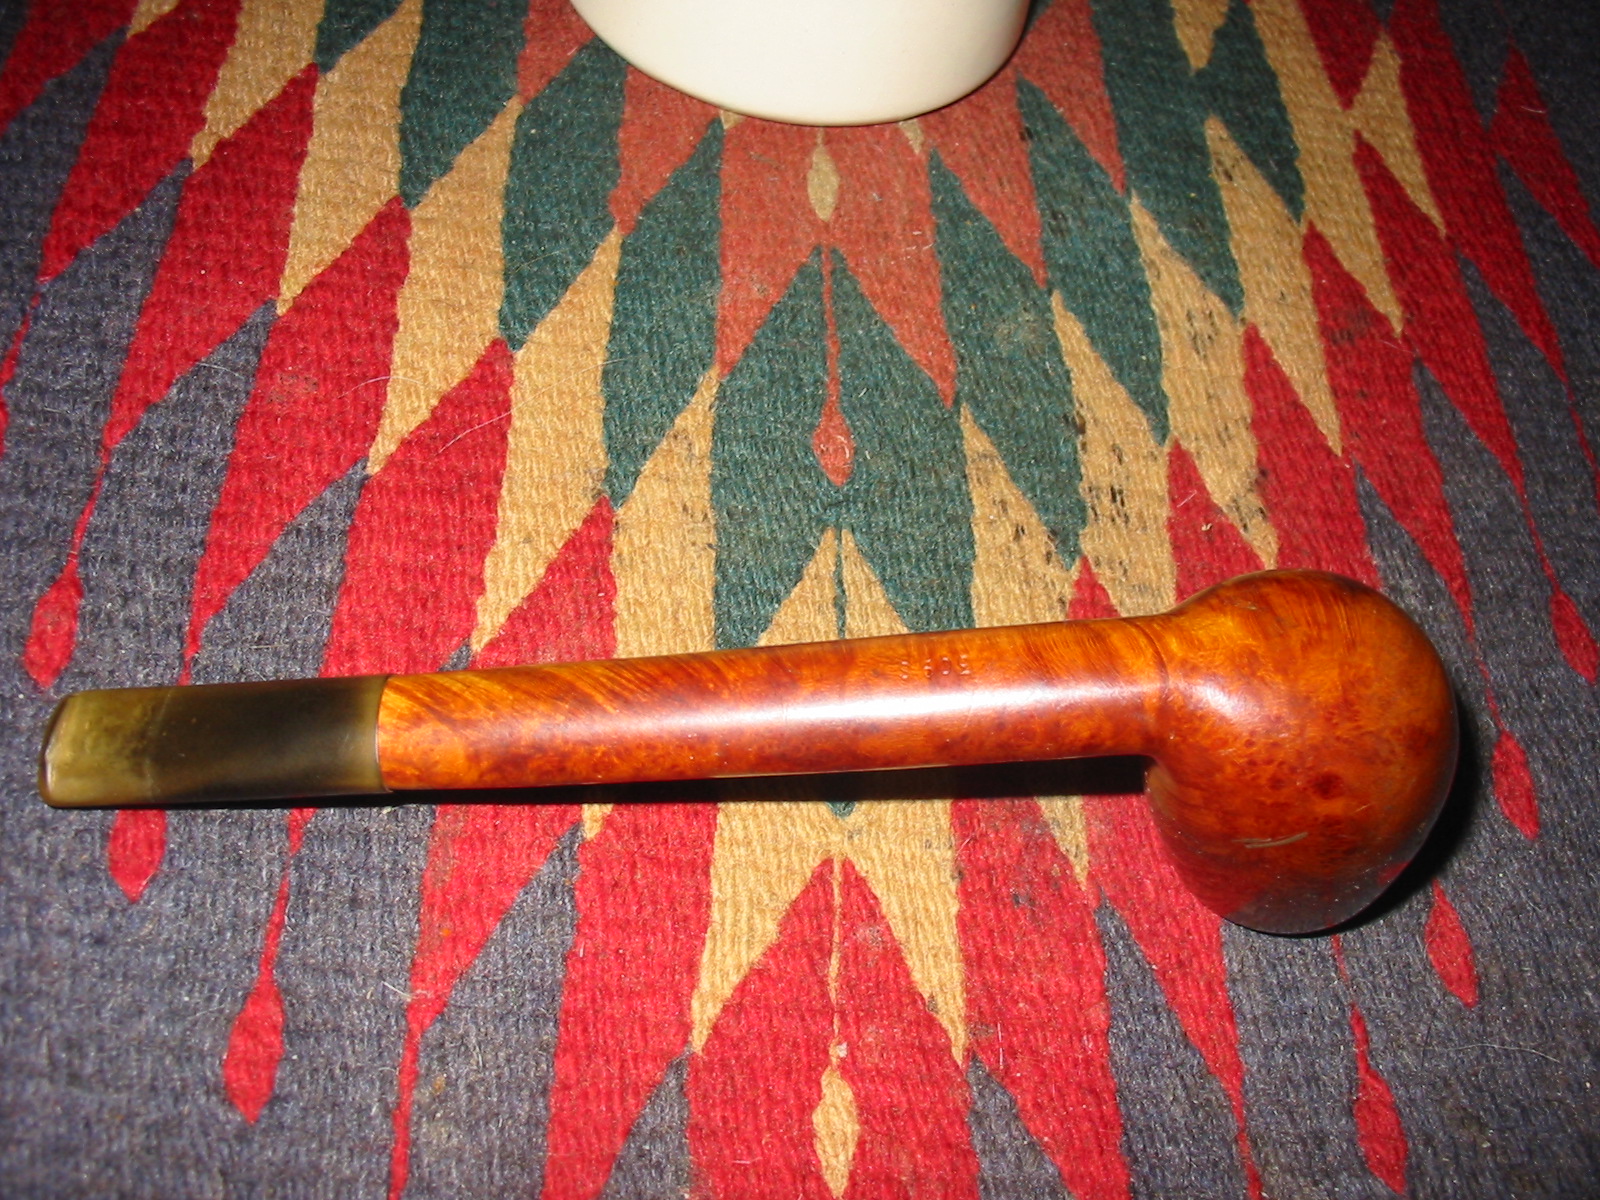
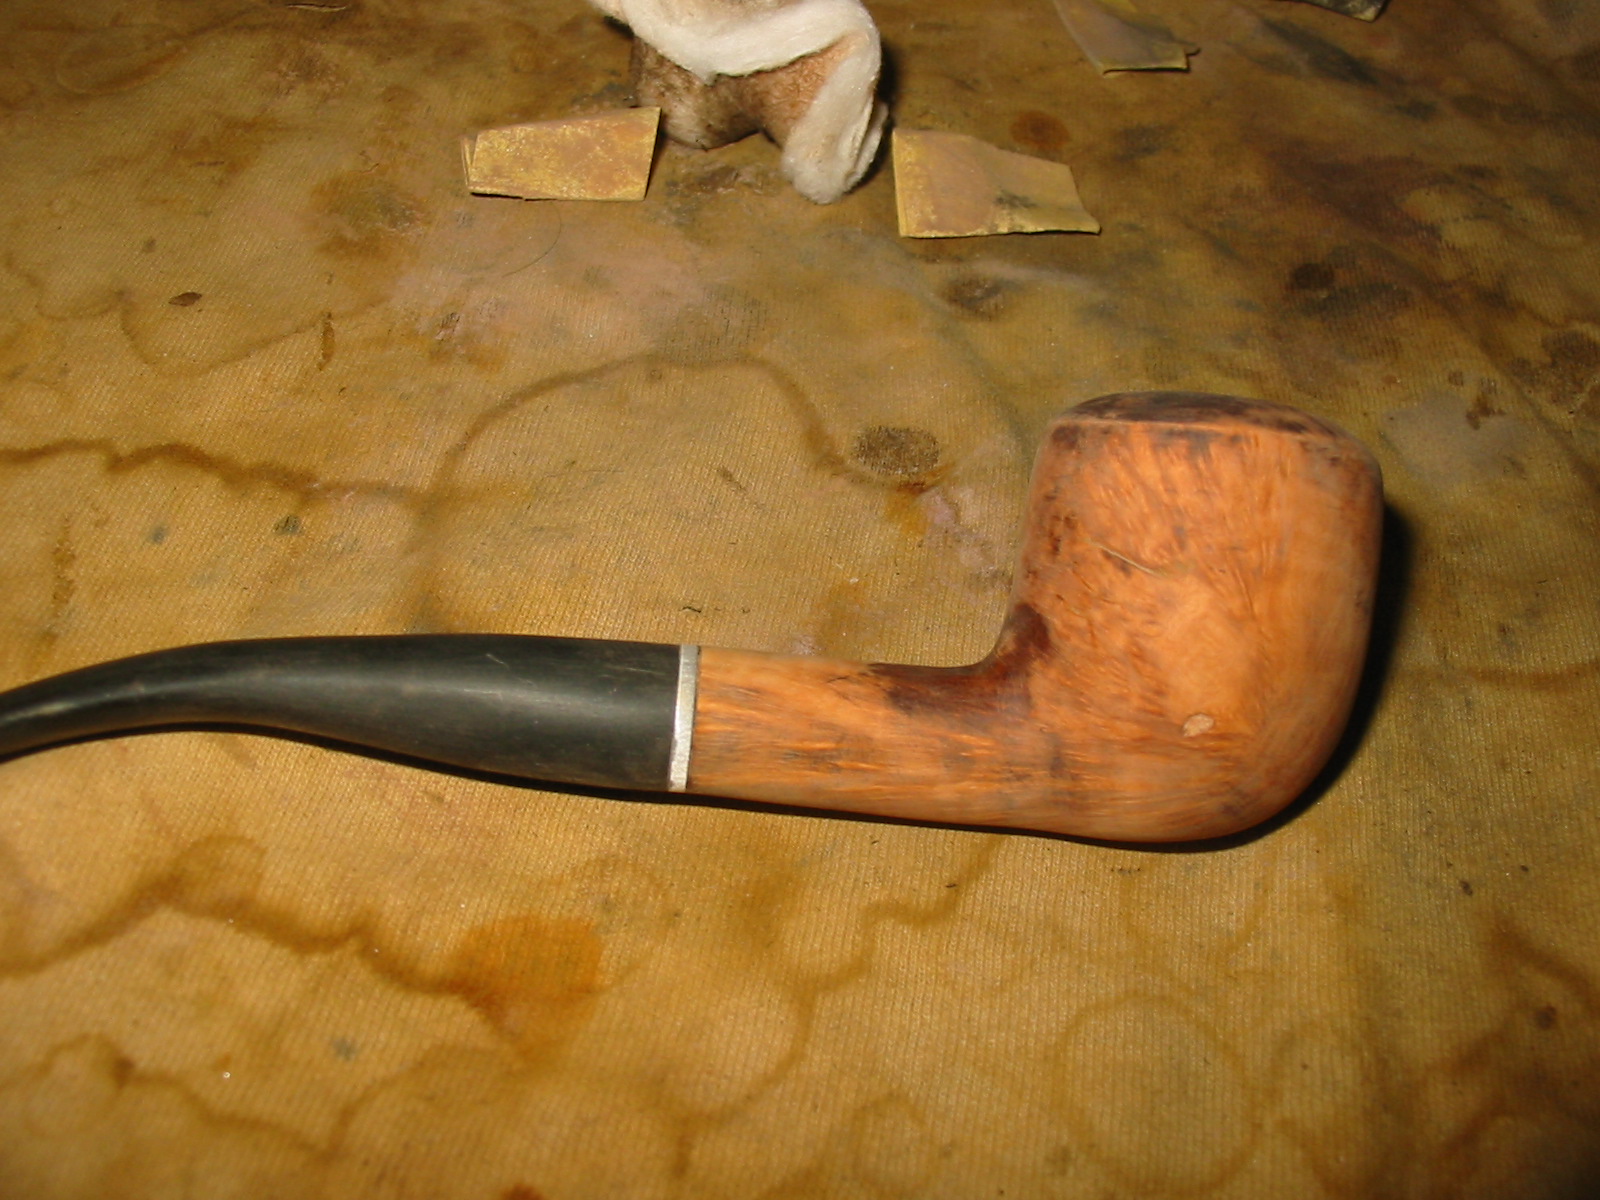
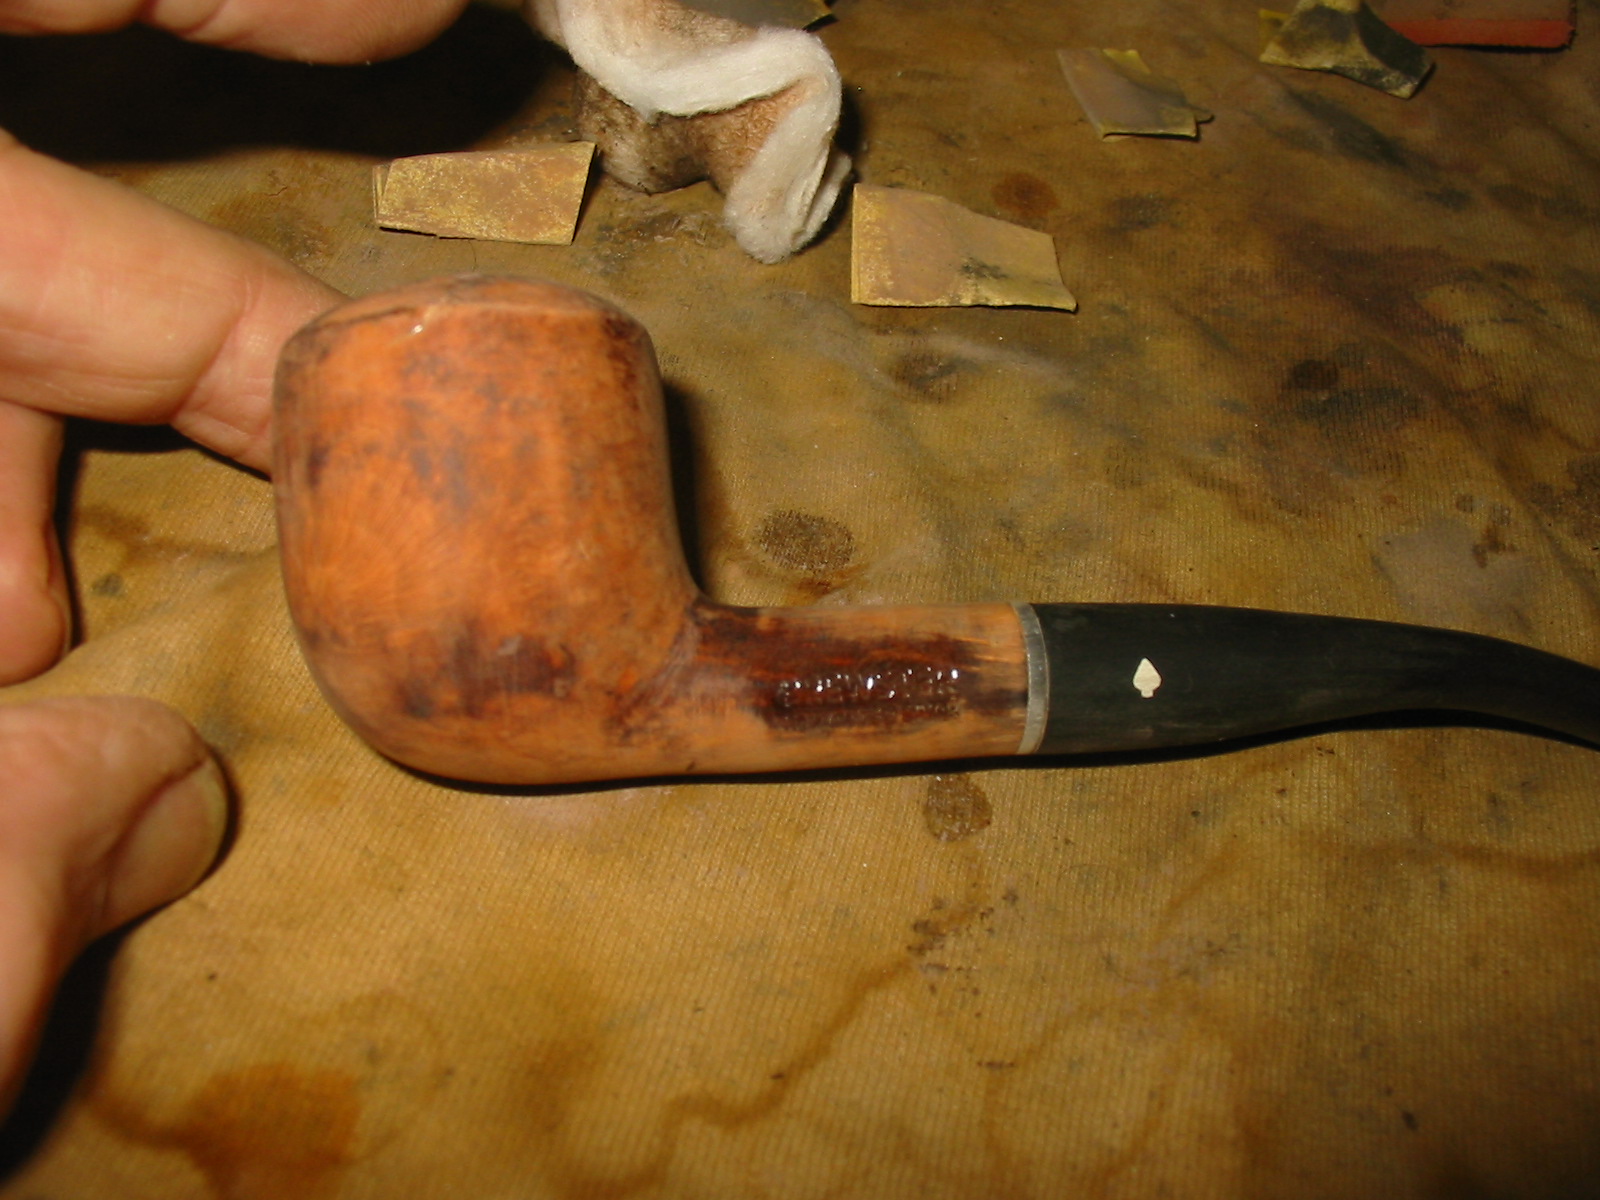
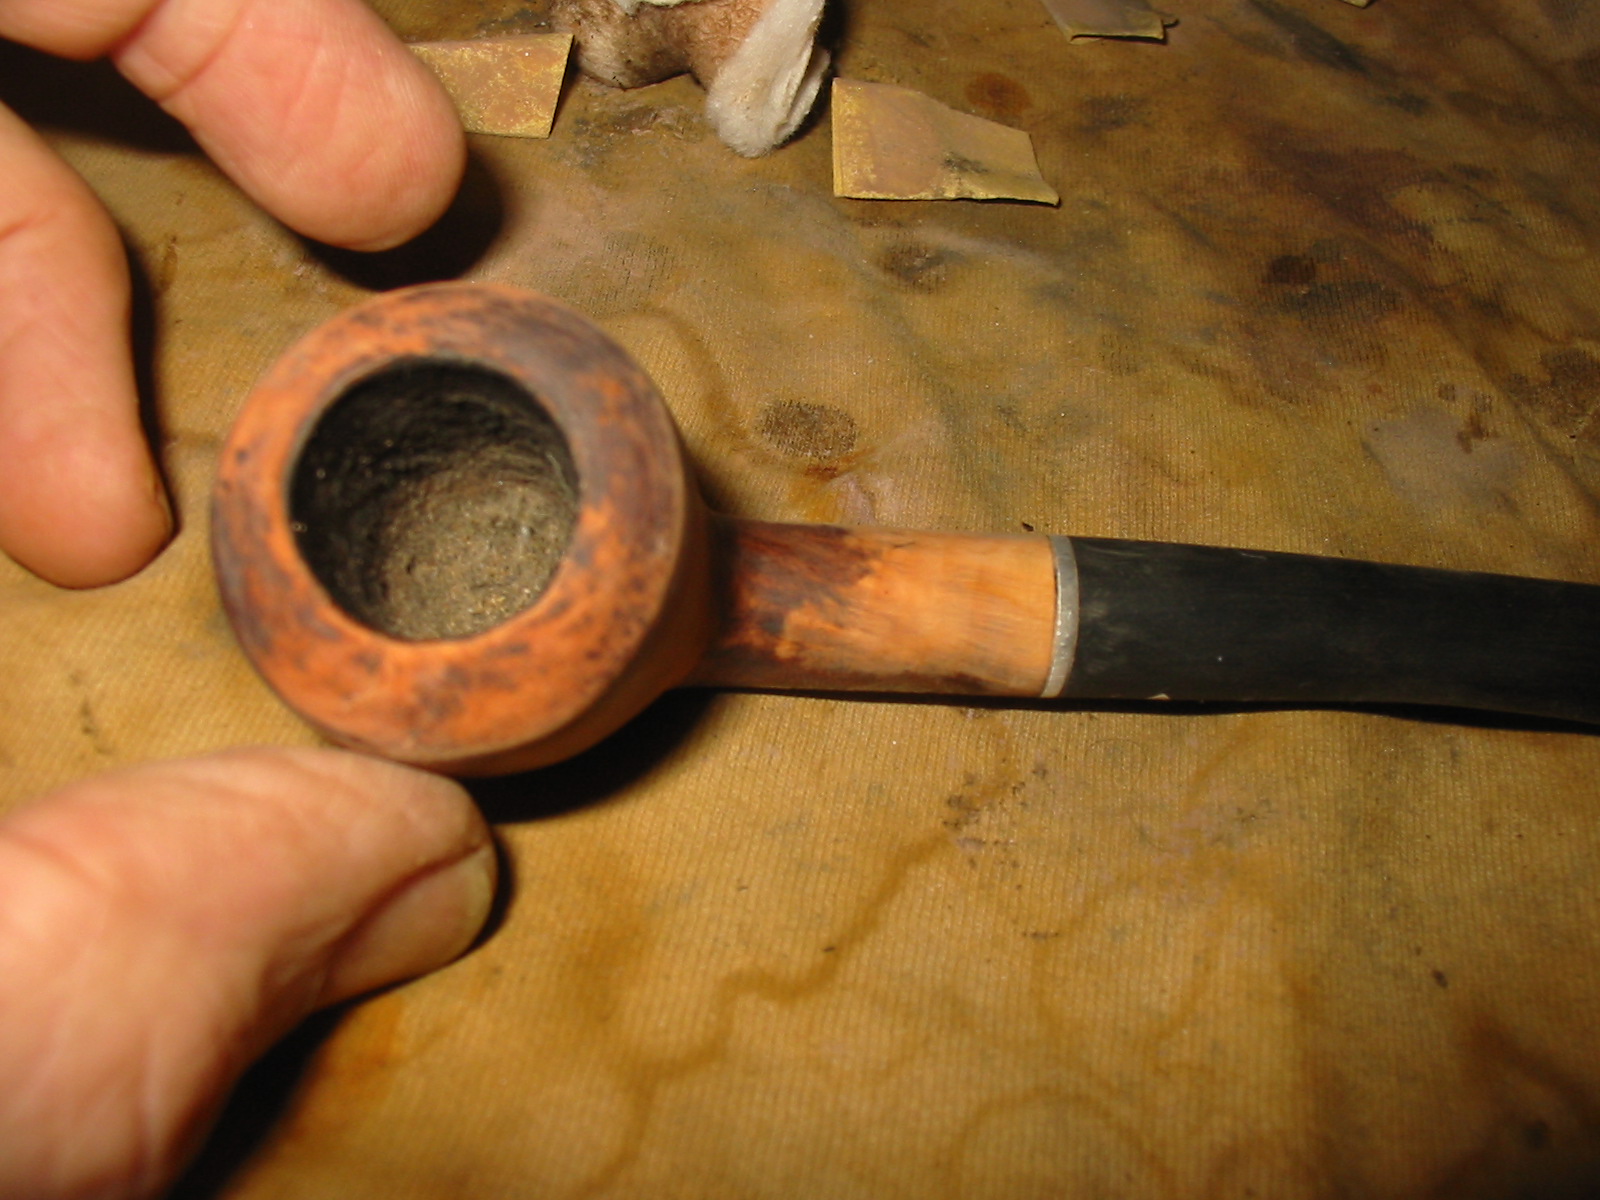
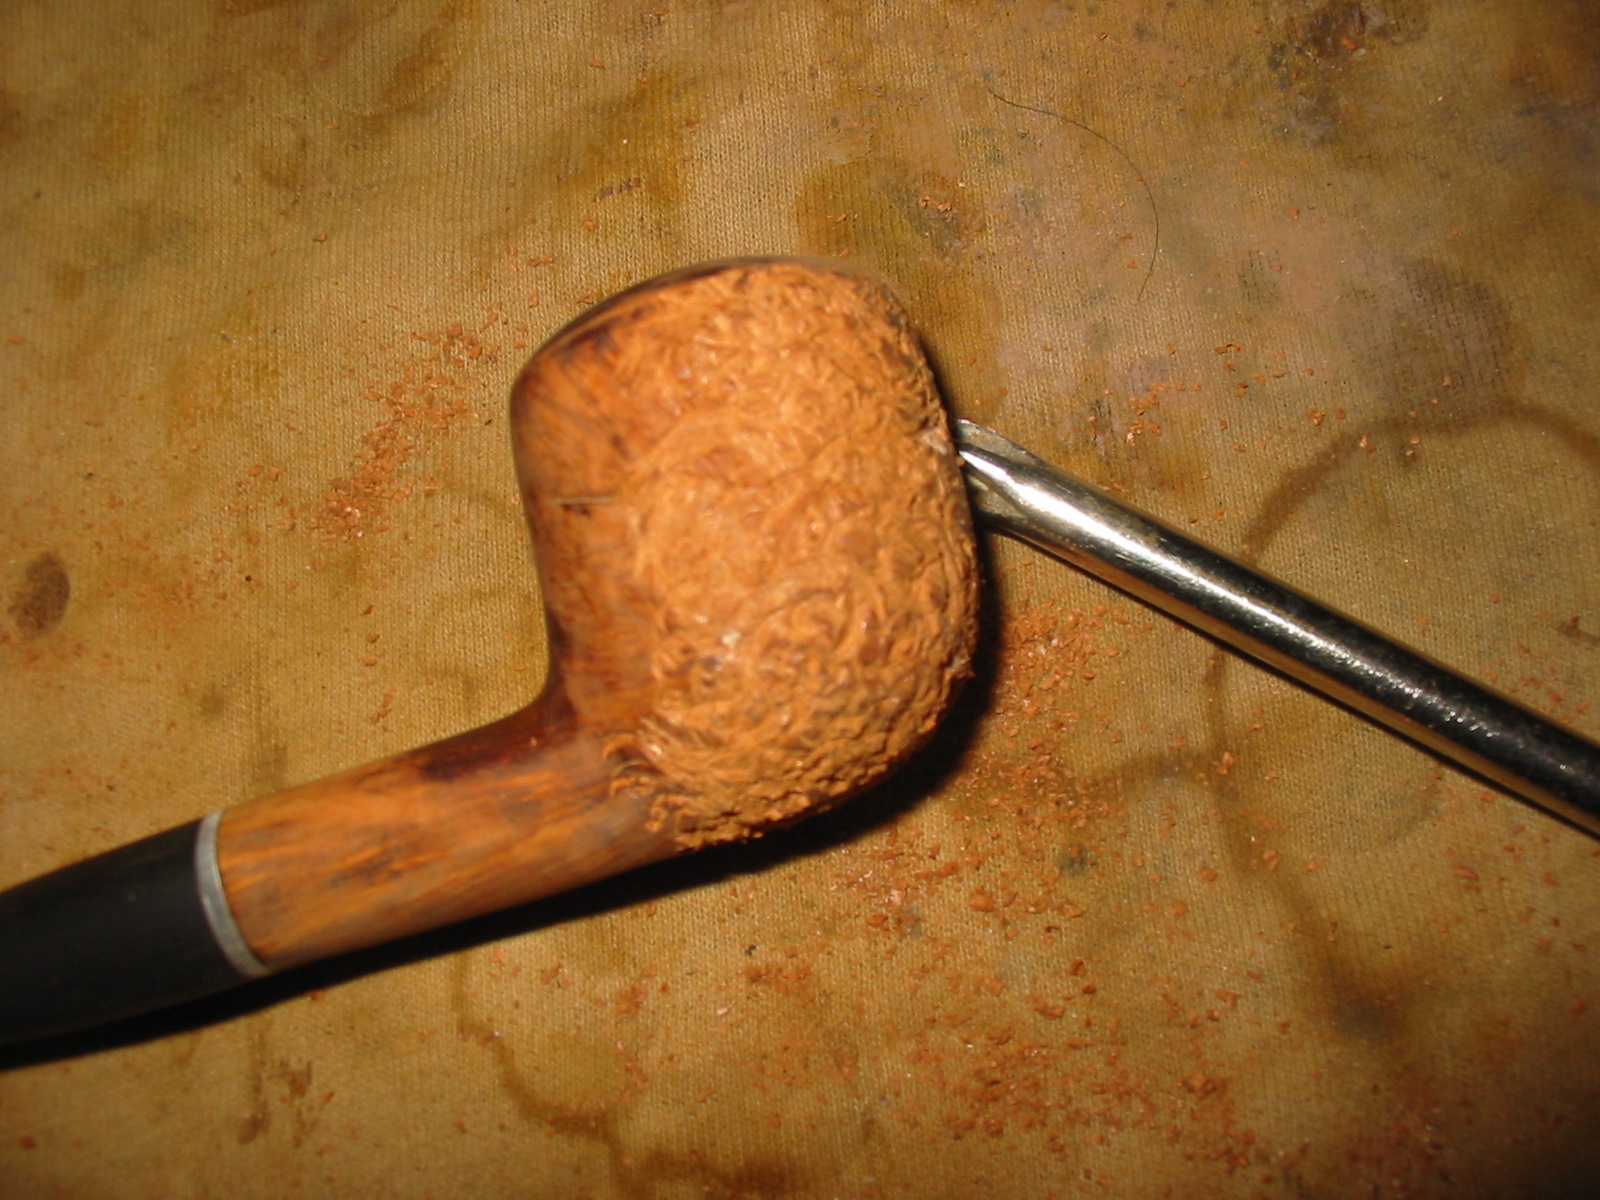
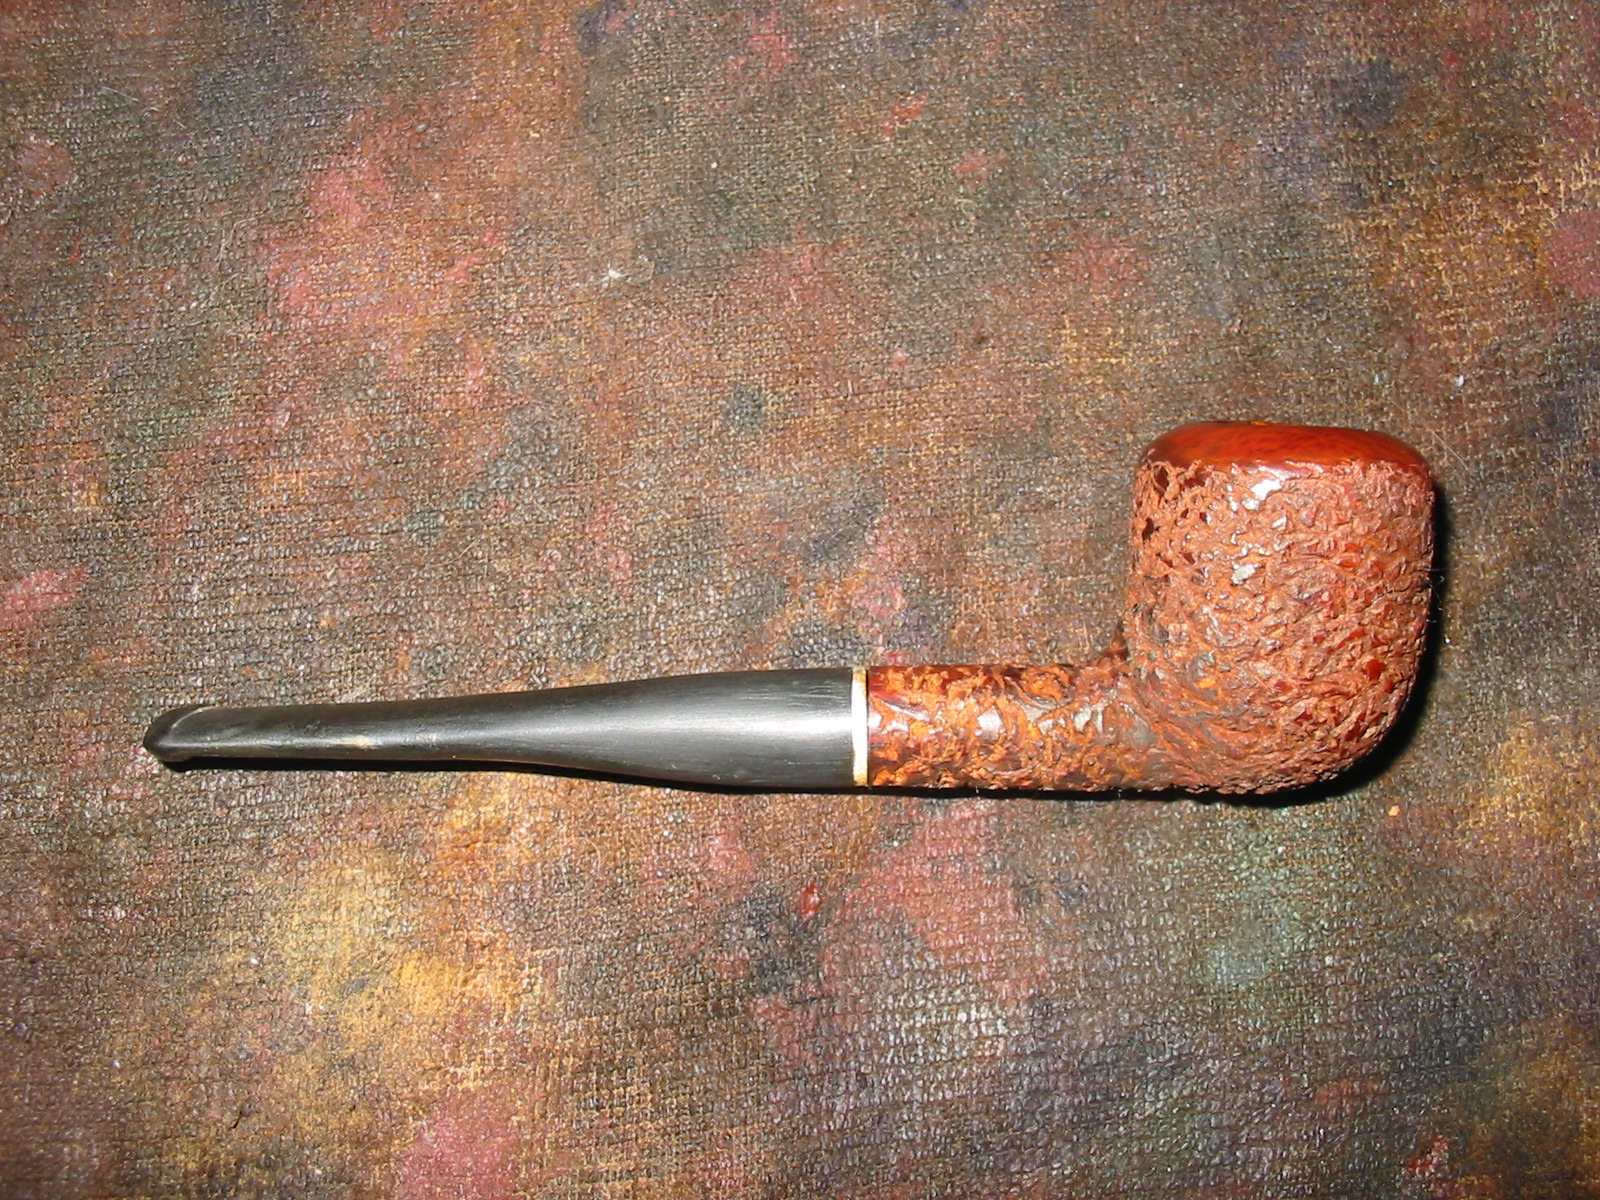
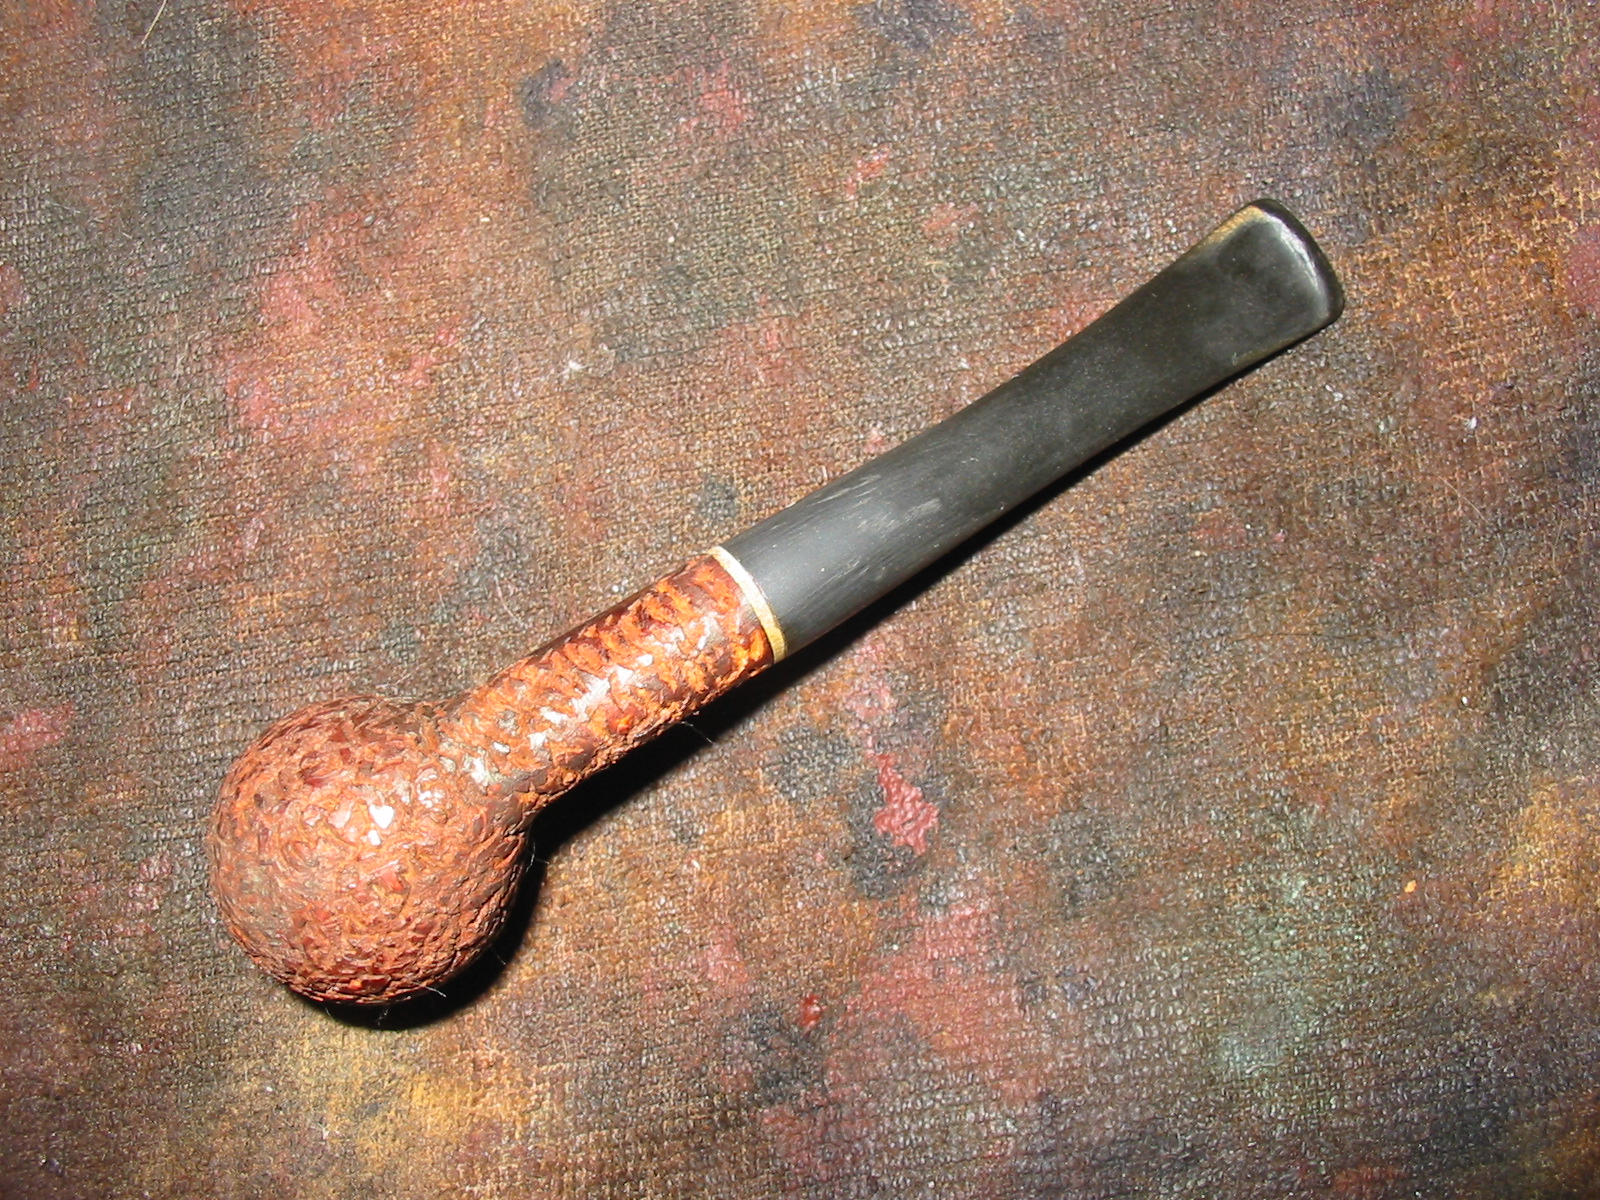
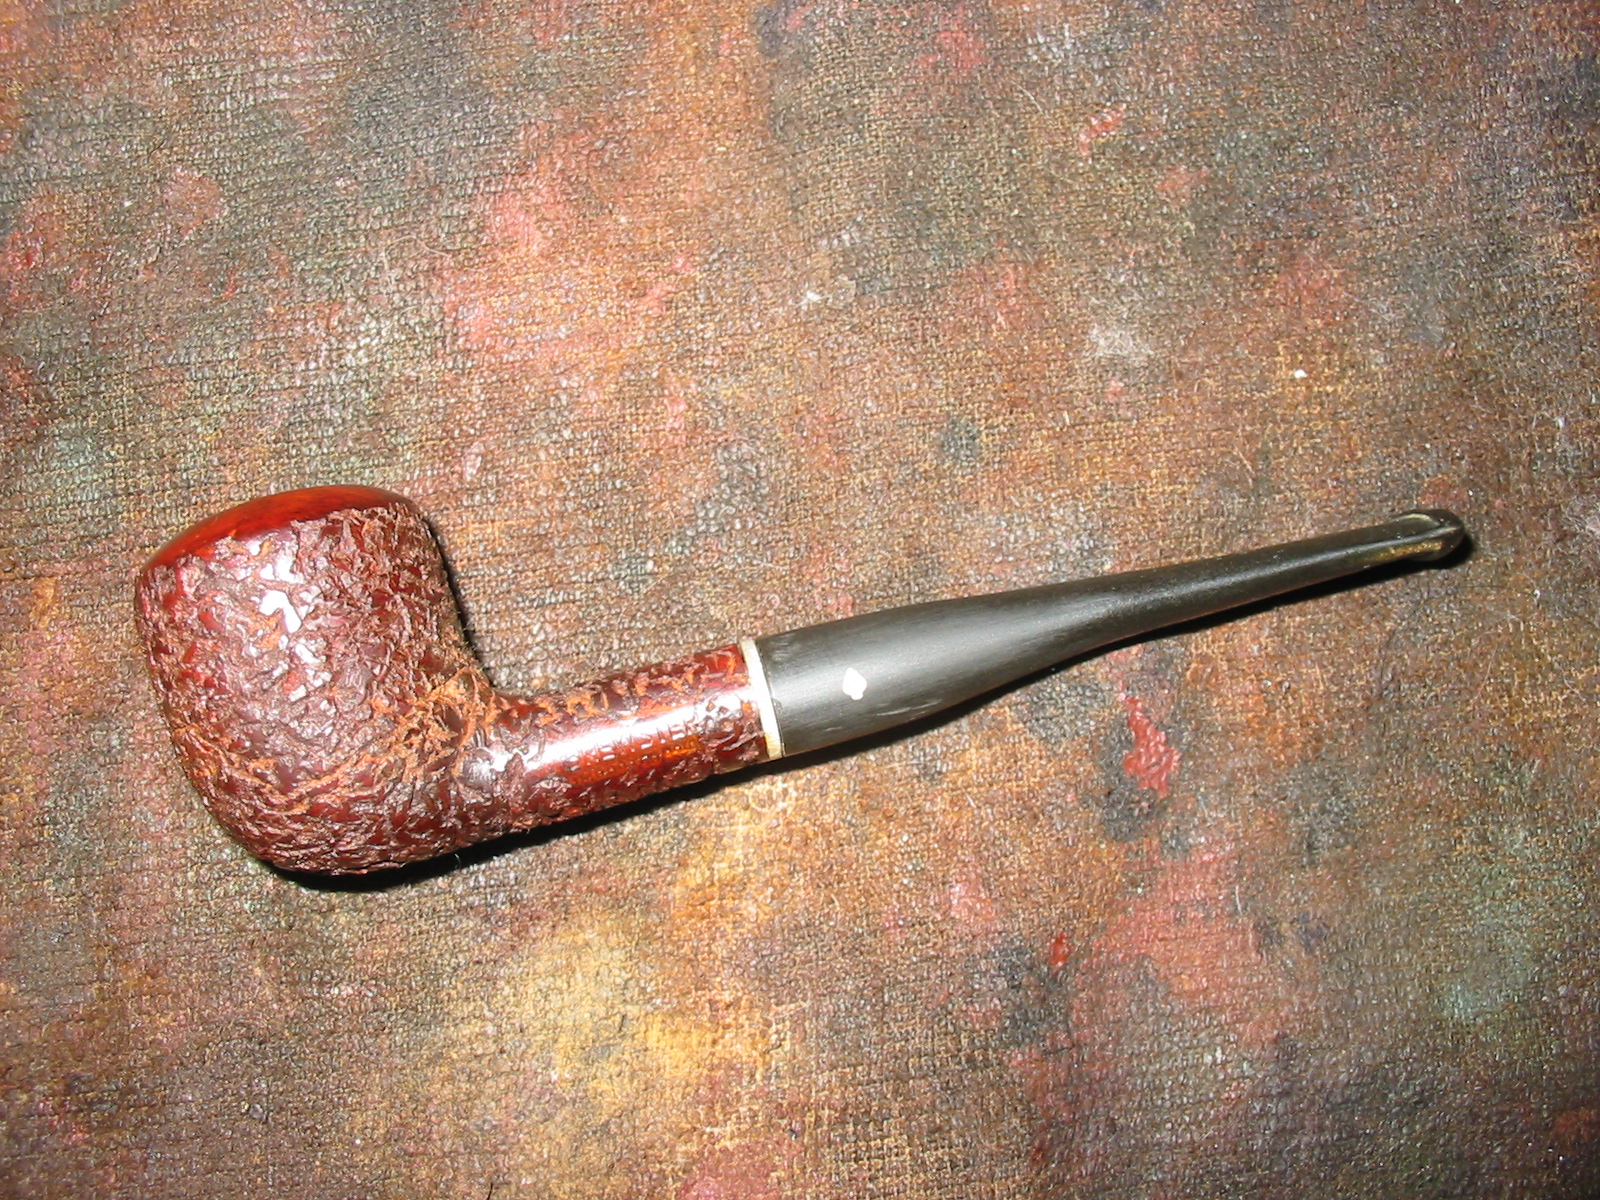
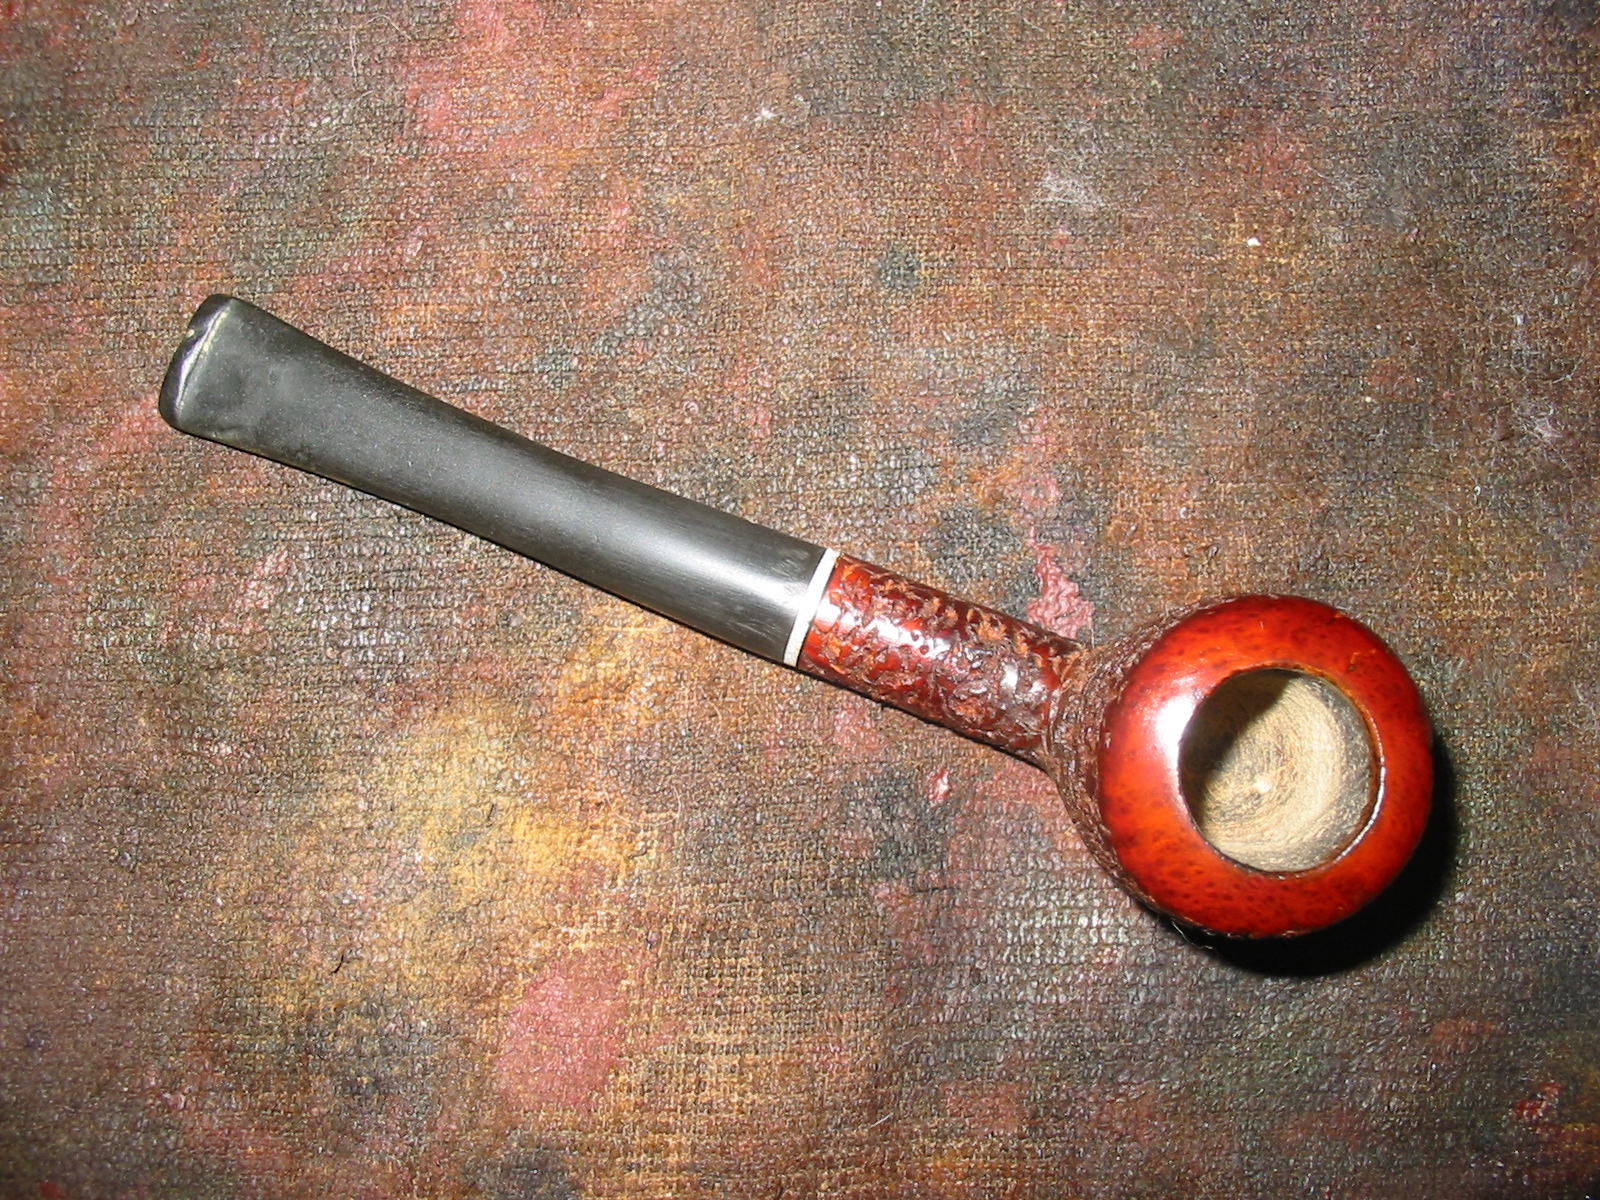
In keeping with the theme of my last few posts about my recent pipe restorations the pipe I took on in this repair/restoration was in fairly bad shape. The rim was damaged on the top and the outer edge had been beaten badly and was rough to the touch. The inner edge had been reamed out of round somewhere in the distant past of its life. The bowl finish was “finished”. It was in rough shape. The left side had many fills and divots on the surface. It looked as if it had been dropped on concrete or rocks. The shank was much the same but worse in that the end on the top right side had a large chunk of briar missing. It did not have a stem but that was the least of the concerns at the moment.
IMG_5771

IMG_5772

IMG_5773

IMG_5774
I went through my can of stems and found one that would work. The diameter and length were correct for this size pipe. However I had to decide what to do with the missing chunk of briar. I could band it and cosmeticly hide the missing piece under the band or I could cut back the shank, shorten it and then band and restem the pipe.
IMG_5775

IMG_5776

IMG_5777
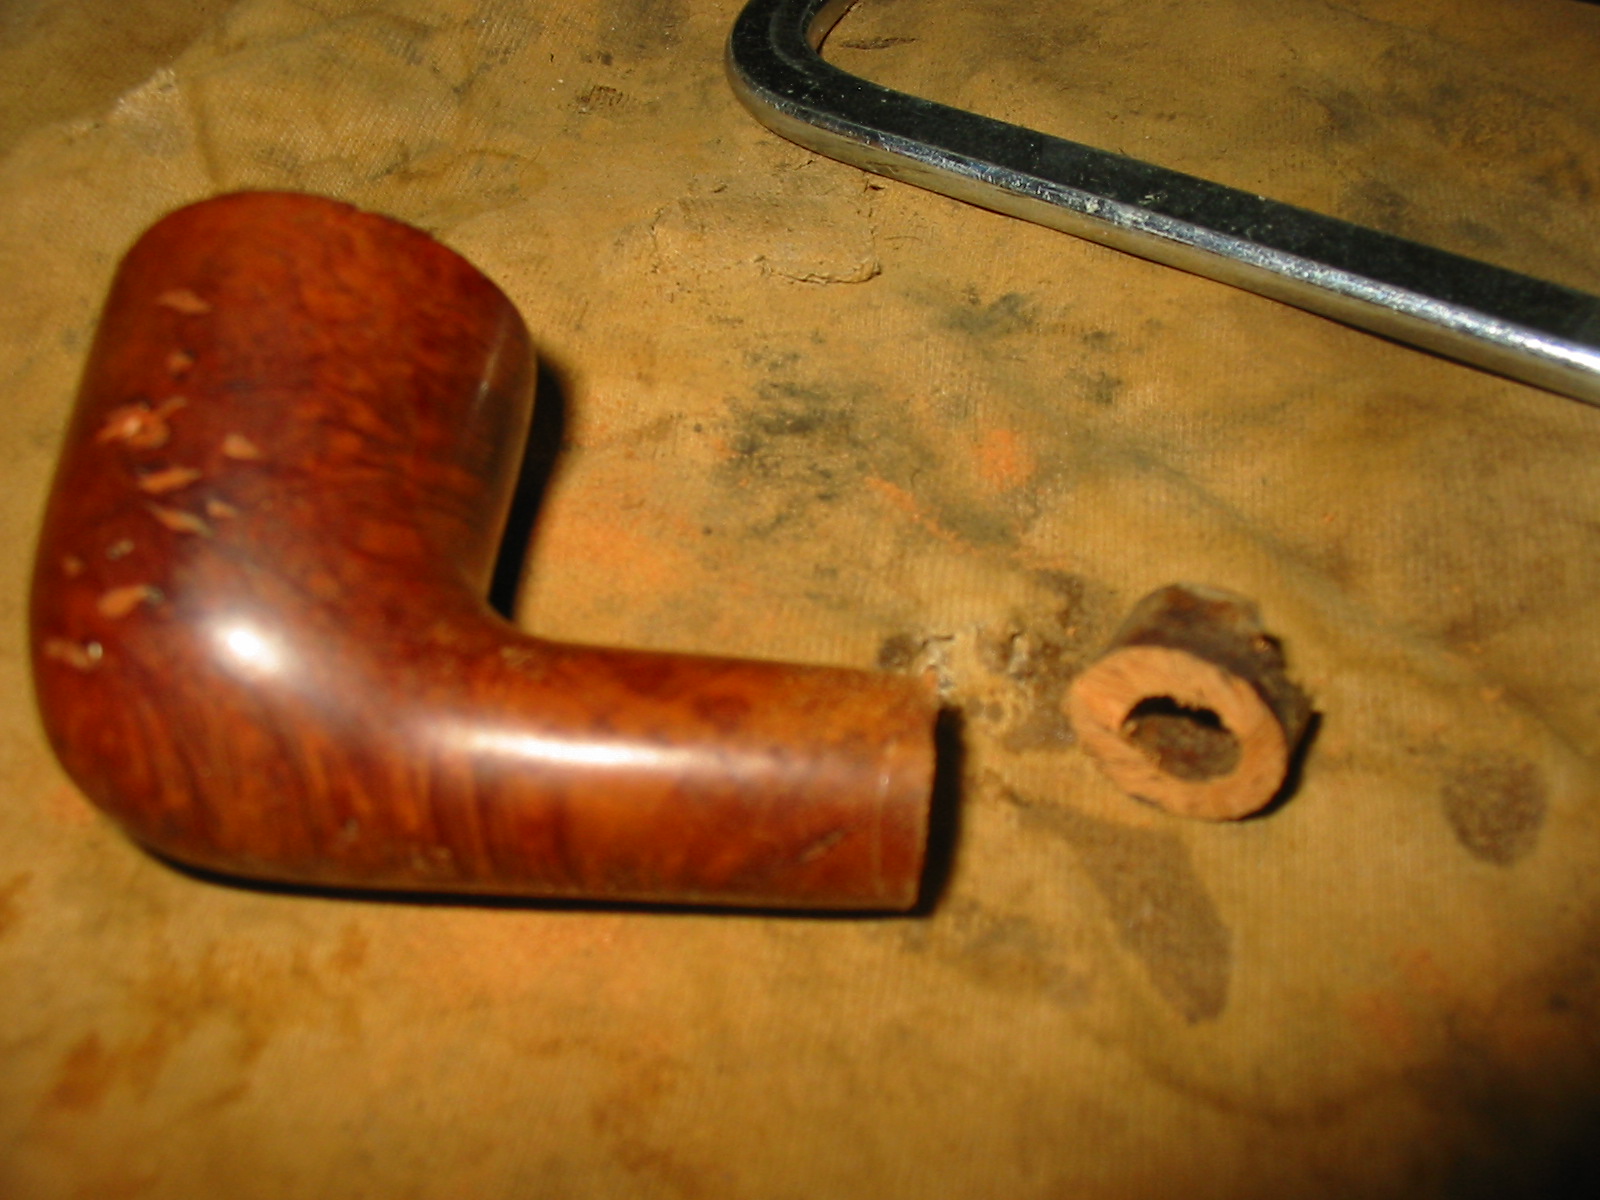
I removed the band – this is slightly harder than the simple words sound. It really involved cutting the metal and peeling it off the shank. I was not happy with the look so I decided to cut off the damaged end of the shank. What made this a happy solution to me was that the shank itself was not cracked. There were no cracks radiating from the area of the missing piece of briar.
IMG_5778
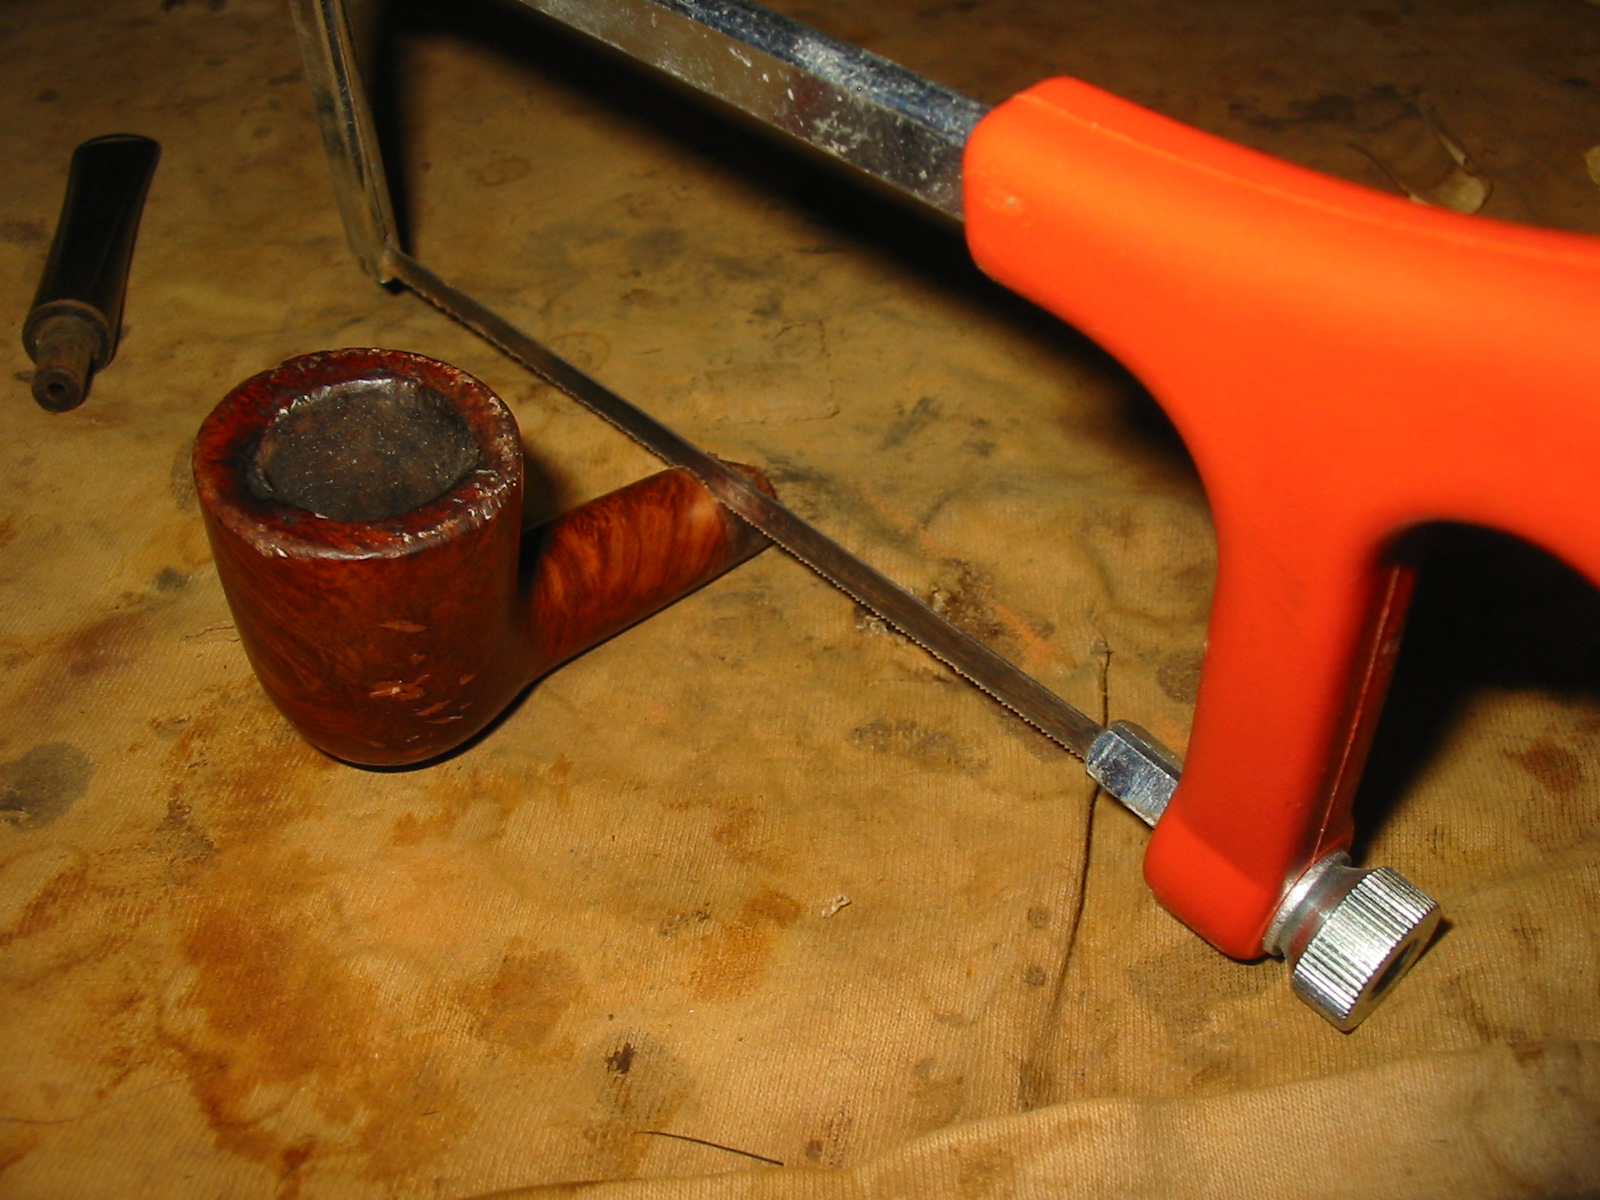
When cutting back a shank I use a small hack saw with a fine toothed blade to do the work. I am limited to hand tools as I do not have a shop. The problem with this method is that it is very difficult to get a good, clean, straight cut with a hand saw. I followed the scoring left behind by the band as I sawed around the shank.
IMG_5779
Even in being careful and working slowly the shank end was not perfectly square. That would have to be dealt with later.
IMG_5780
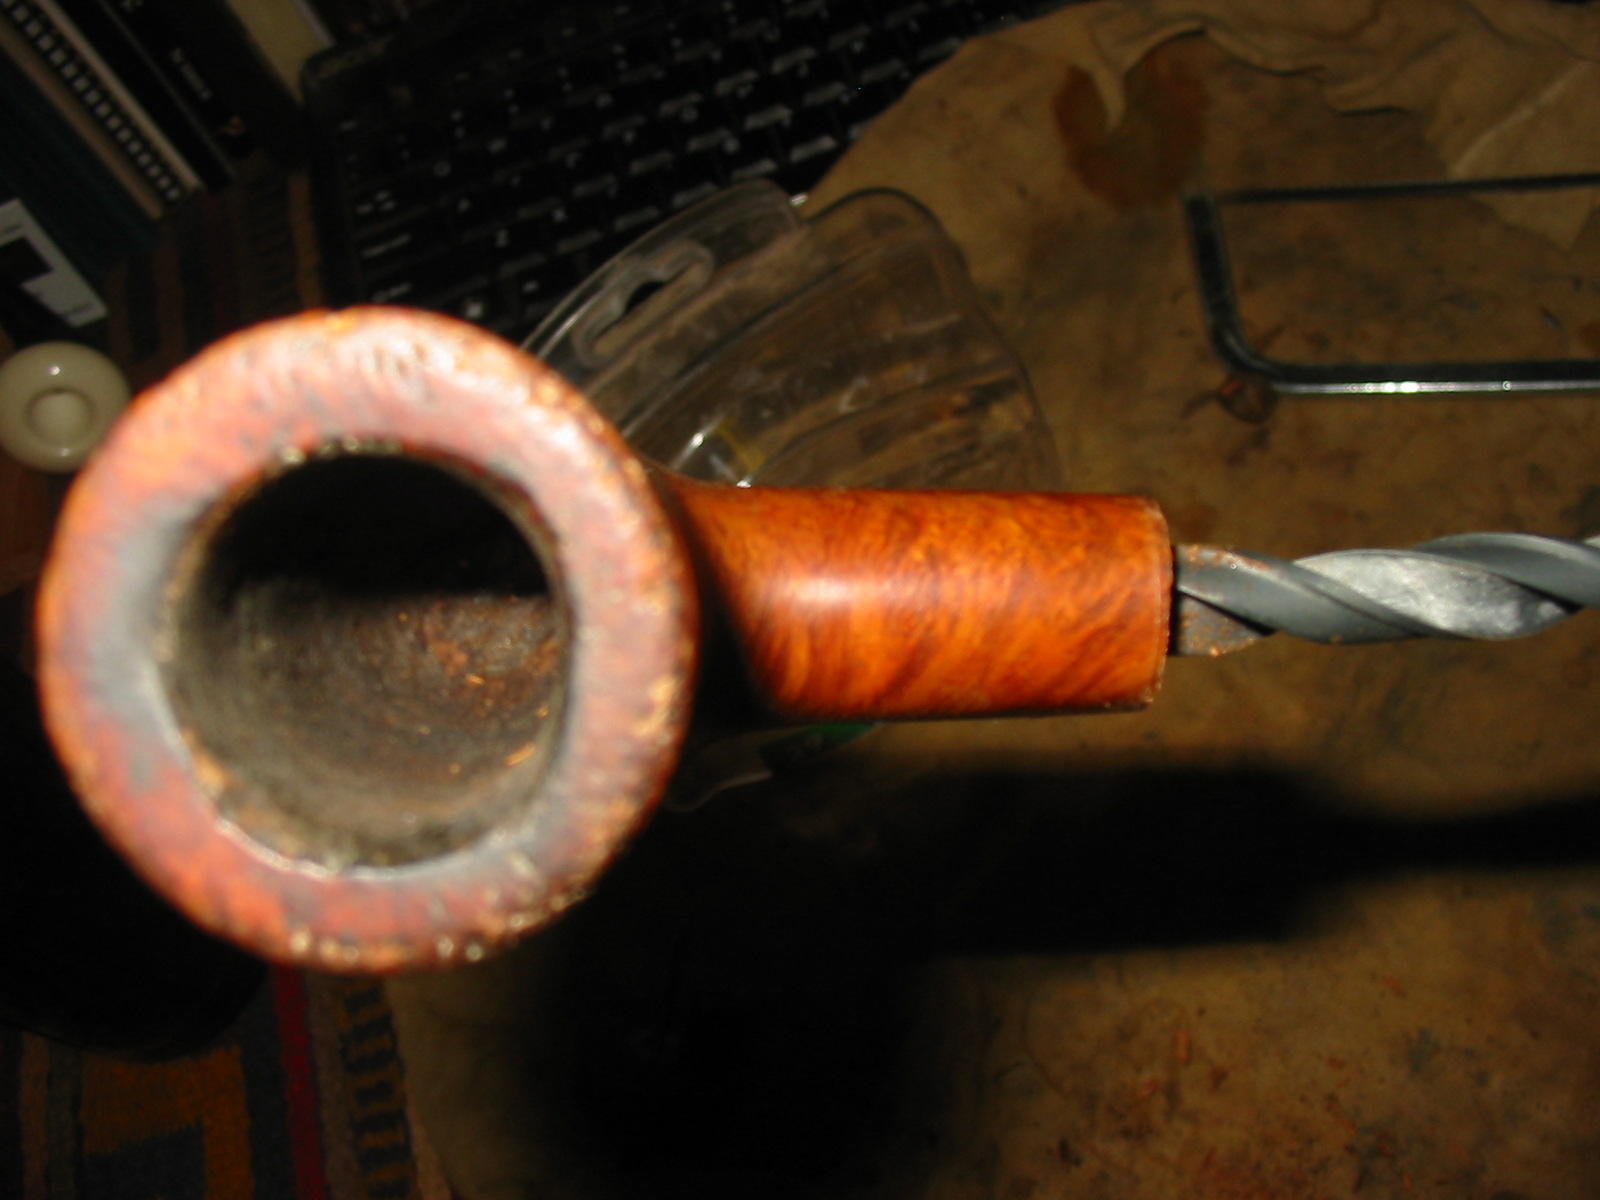
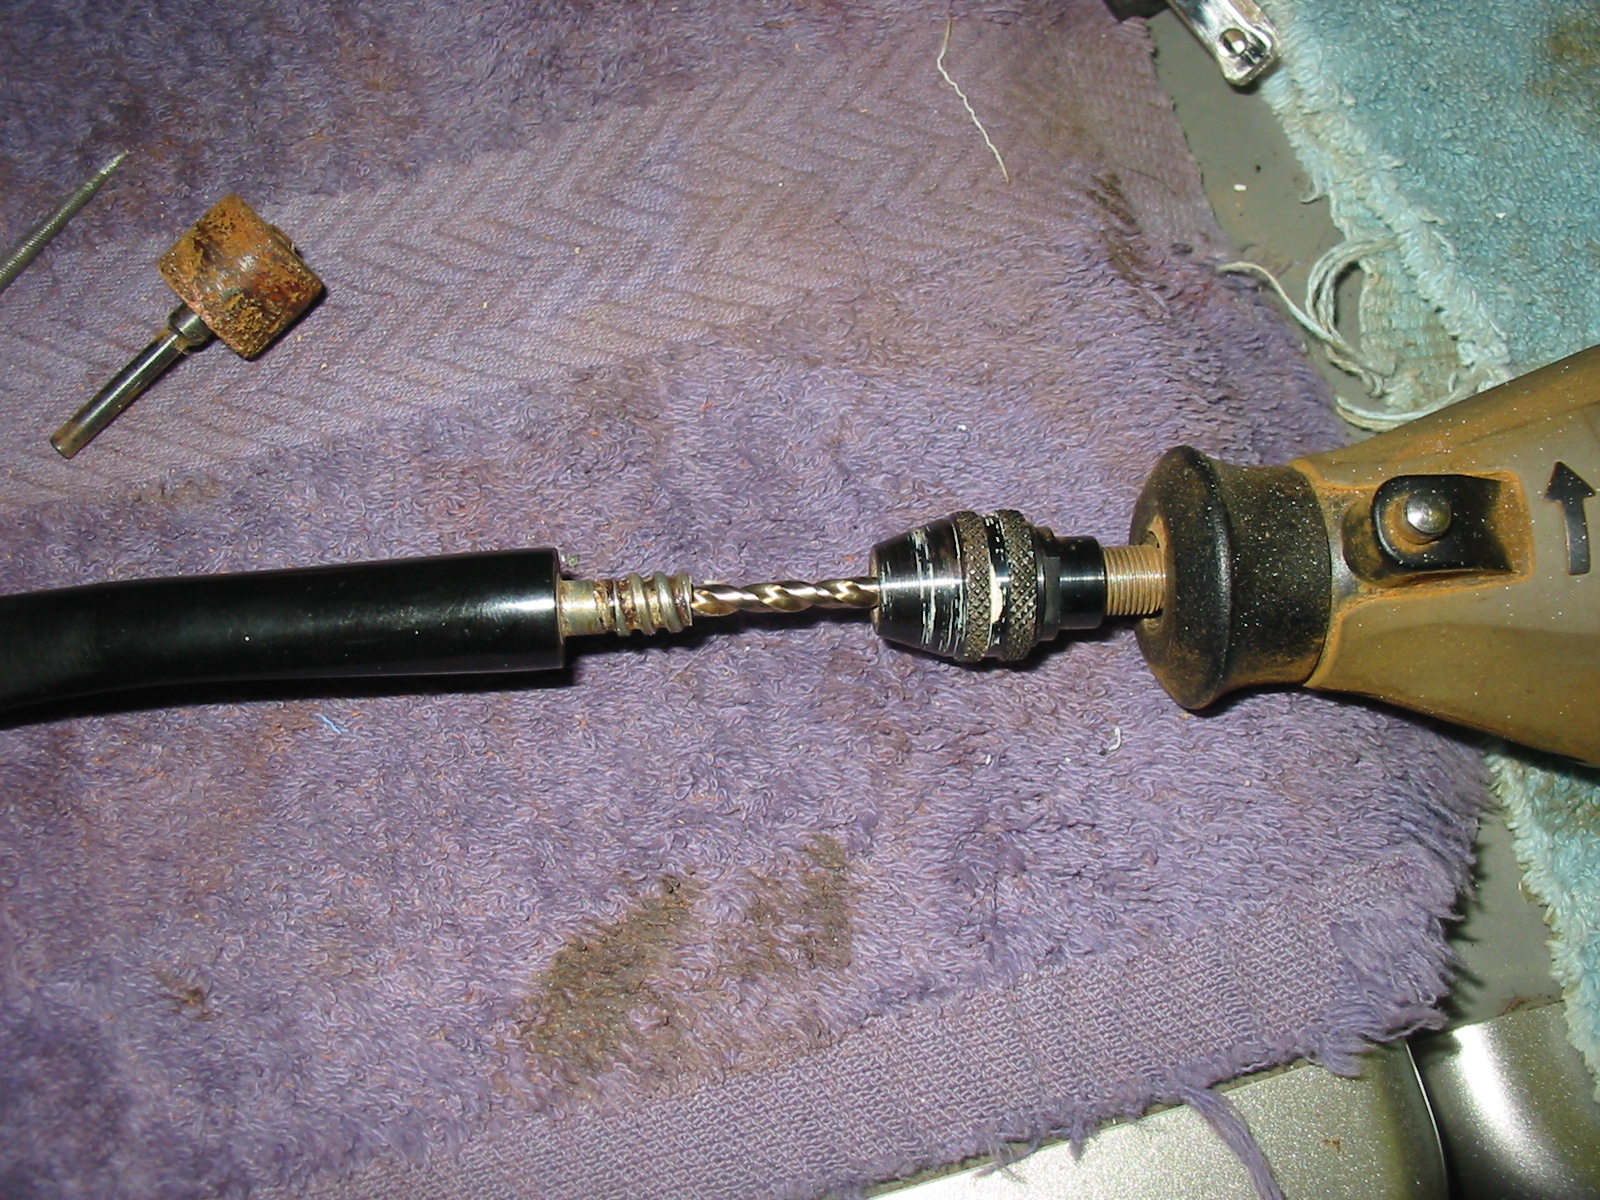
I needed to deepen the mortise area as I had removed a major piece of it by shortening the shank. I started with a drill bit that fit well in the existing mortise and turned it in by hand. I worked up to the correct size bit – each time anchoring the bit in my hand drill and turning the bowl onto the bit by hand. I did not want to risk using the power and having the bit go right through the bowl. I have a pin vise but it was not large enough to hold a bit this size so I improvised.
IMG_5781

IMG_5782
Once I had the airway drilled in the shank I set up a topping board to sand down both the end of the shank and the rim. I started with the shank end hold the bowl against the sand paper and making sure that it was straight up and down vertically and sanded the end of the shank to face it. I also topped the damaged rim to remove the damage to the surface and the edges of the bowl. I sanded the bowl down with sandpaper in preparation for the topping. The shank needed to be re-tapered to match the diameter of the stem and to give it more of a flow from the bowl to the stem. I used 220 grit sandpaper to taper the shank and to sand the bowl.
IMG_5783

IMG_5784

IMG_5785

IMG_5786

IMG_5787
Once I had a good fit on the stem and the shank and the bowl was topped and the finish cleaned up I decided to put a band on the shank. I thought that the shiny bling of the band would be a nice contrast to the stain I intended to use. I heated the band and pressed it onto the shank.
IMG_5788

IMG_5789

IMG_5790

IMG_5791
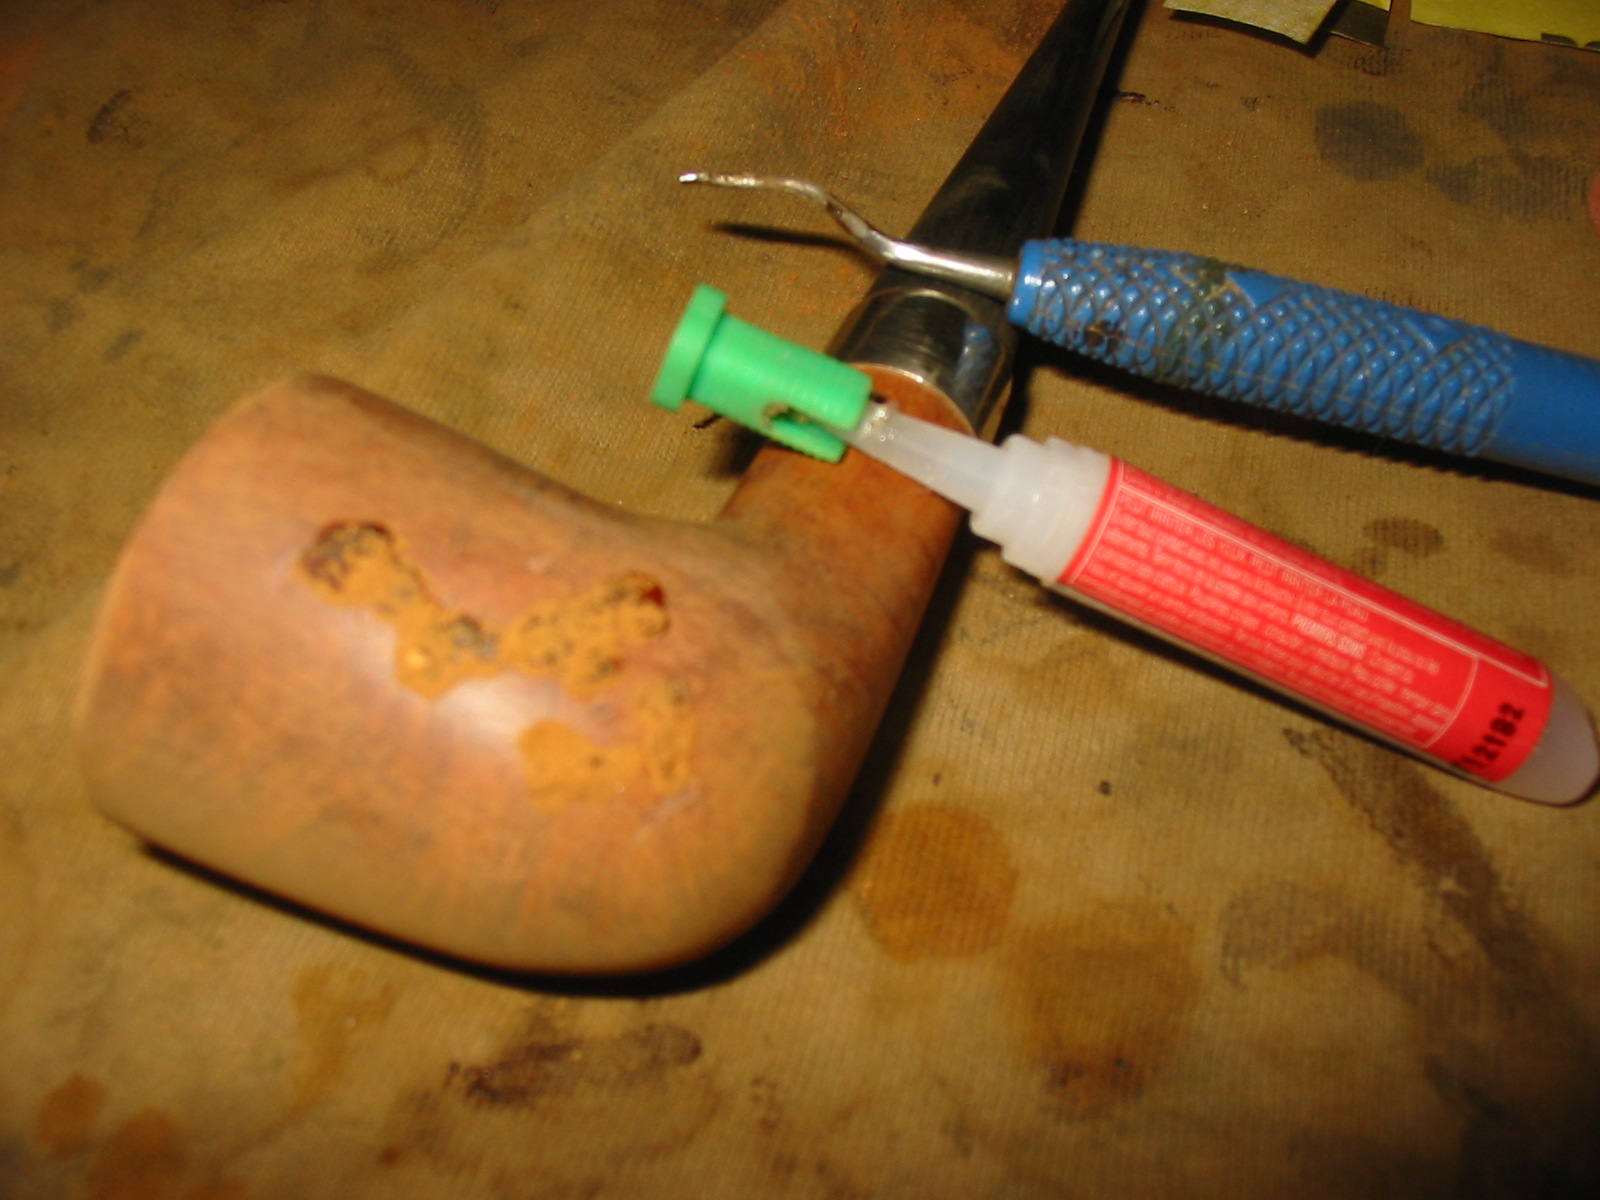
With the band in place and the stem fitting well it was time to address the finish of the briar. The left side damage needed to be cleaned up and repaired. I picked out the loose fill material with a dental pick. I washed down the surface of the bowl with acetone on cotton pads to remove dust and clean up any loose pieces of fill material. I roughened the edges of the divots and crevices on the briar and then filled them with briar dust and superglue.
IMG_5793
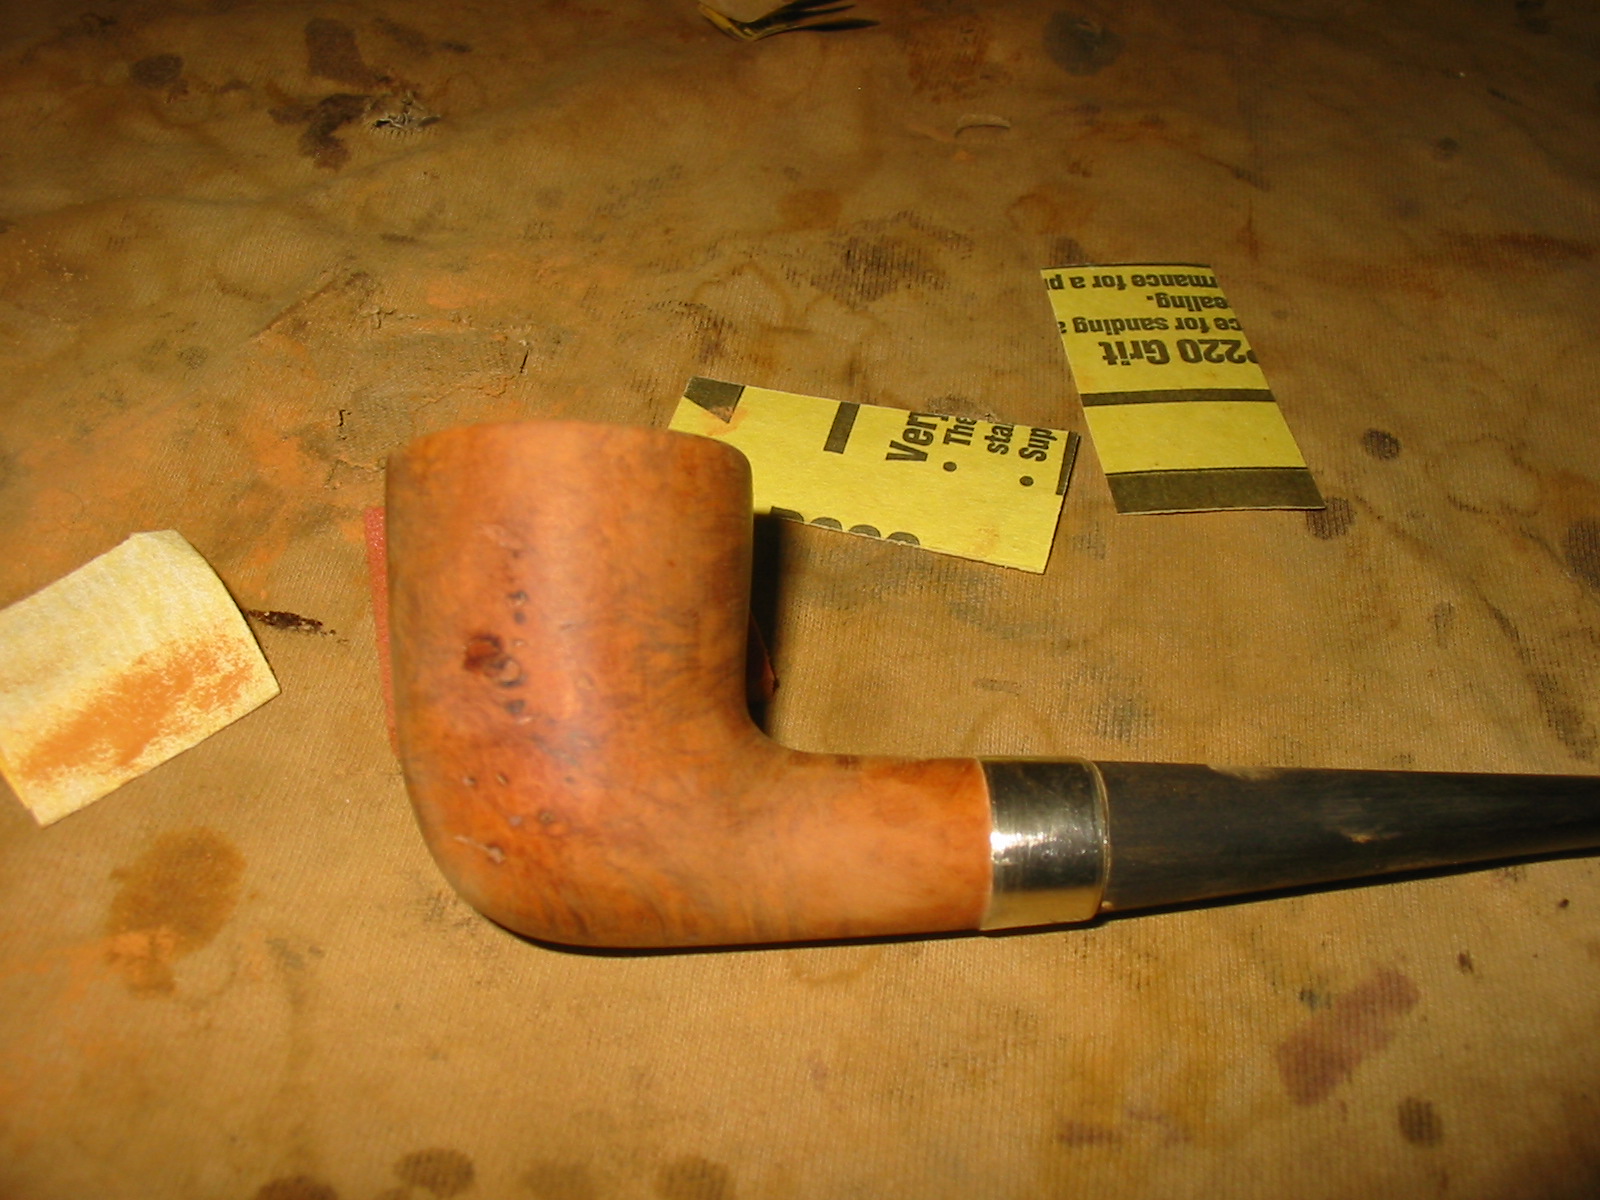
I sanded the repaired area with 220 grit sandpaper to remove the excess material and smooth out the surface of the bowl.
IMG_5794
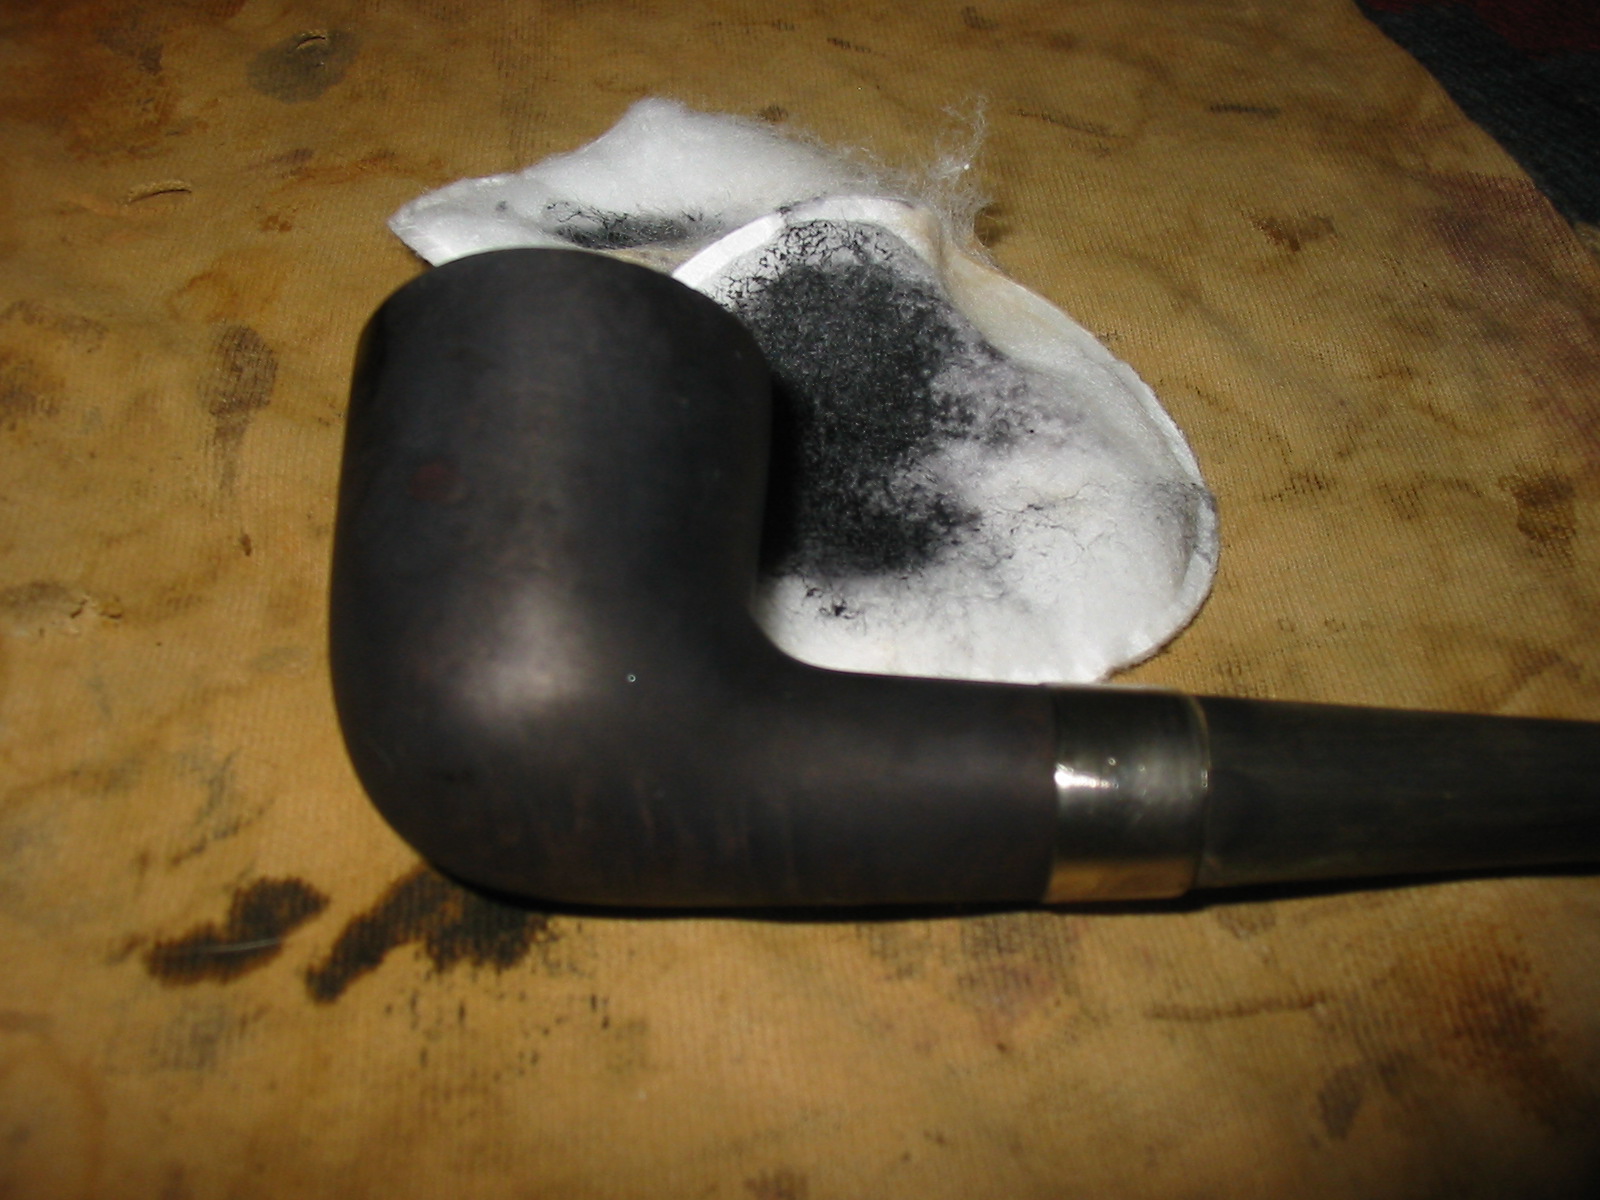
I sanded the bowl with medium and fine grit sanding sponges to remove the scratches and prepare the surface for staining. I wiped it down with isopropyl alcohol on a cotton pad to pick up any surface dust before staining. I am continuing to experiment with contrast stains so I gave the bowl a heavy coat of black aniline stain. I flamed it and heated it to set the stain deep in the grain of the bowl. This particular bowl had some really stunning birdseye on the sides and great cross grain on the front and back and underside of the shank and bowl. I wanted to highlight that grain and make it pop.
IMG_5795
Once the stain was dried I wiped the bowl down with acetone on pads to remove the surface stain and then buffed the pipe with red Tripoli. I wanted to remove as much of the stain on the surface as possible while leaving it in the grain and around the birdseye. I sanded the bowl with medium and fine grit sanding blocks and sponges to get the surface down to the place the grain was highlighted. I then rubbed the bowl down with olive oil and buffed it with White Diamond to make the bowl shine.
IMG_5796

IMG_5797

IMG_5798

IMG_5799
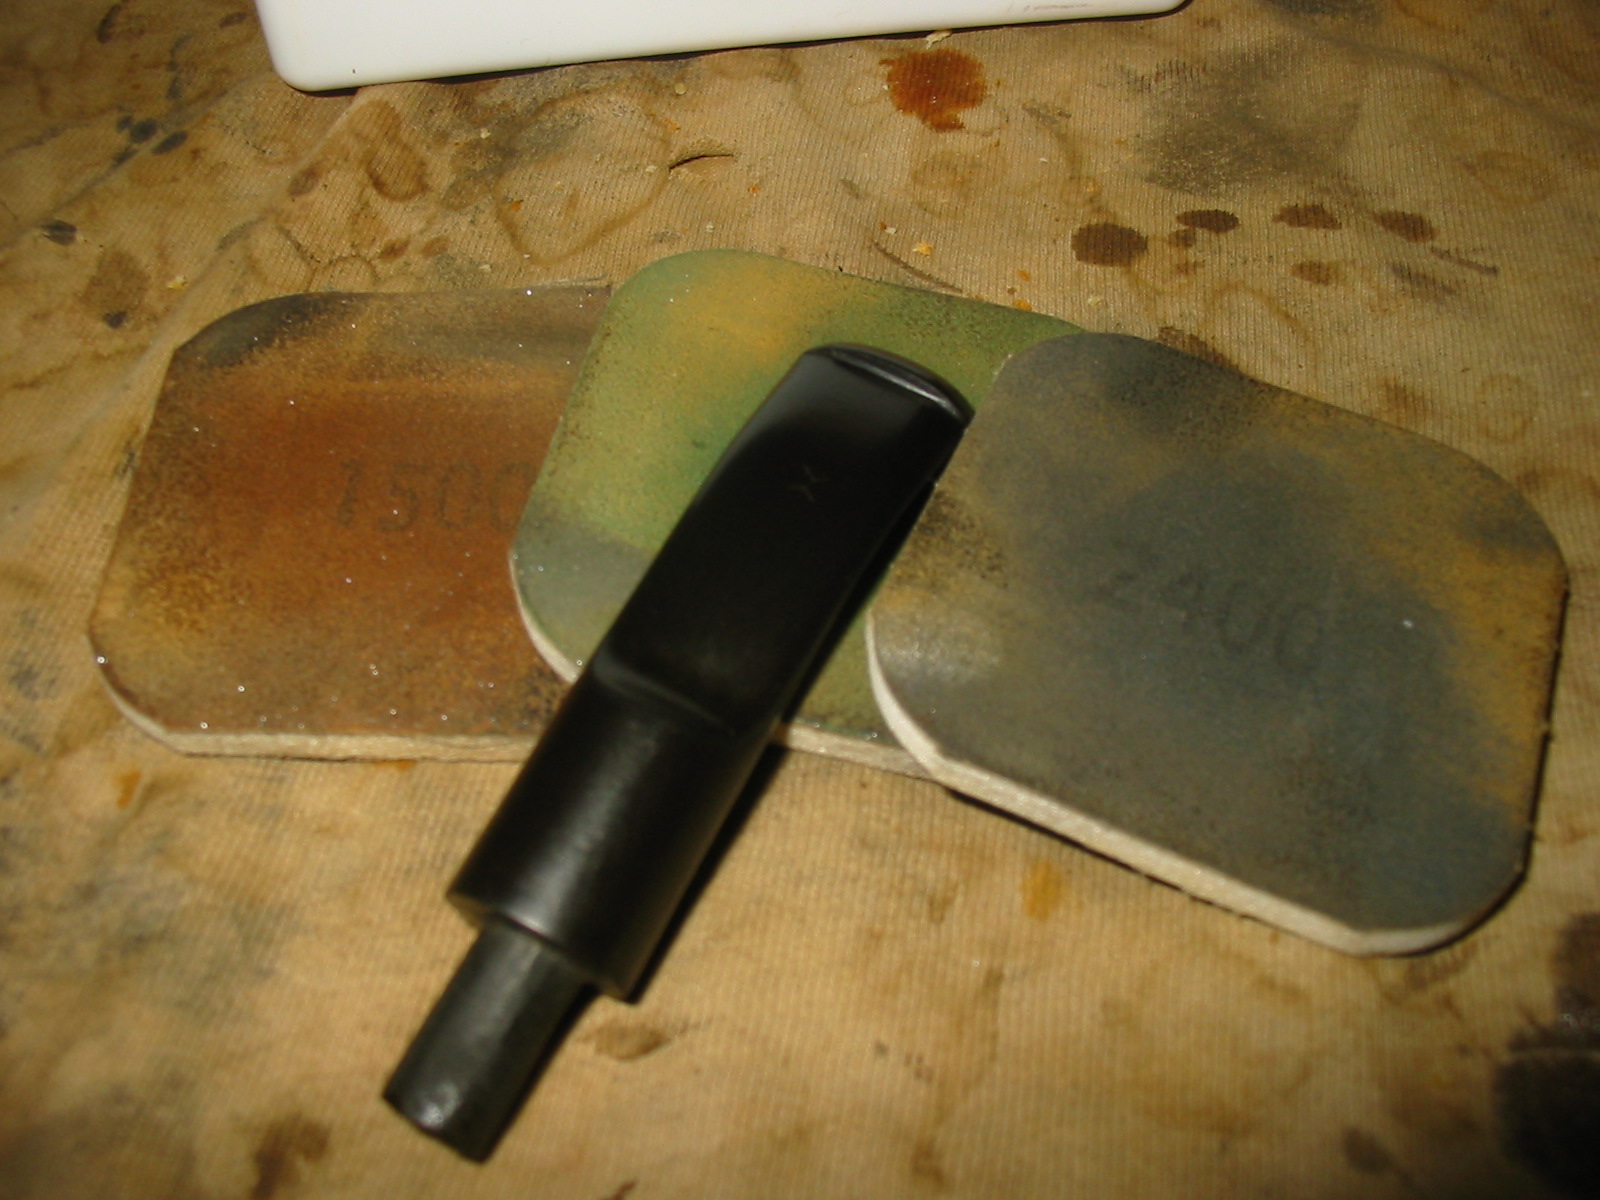
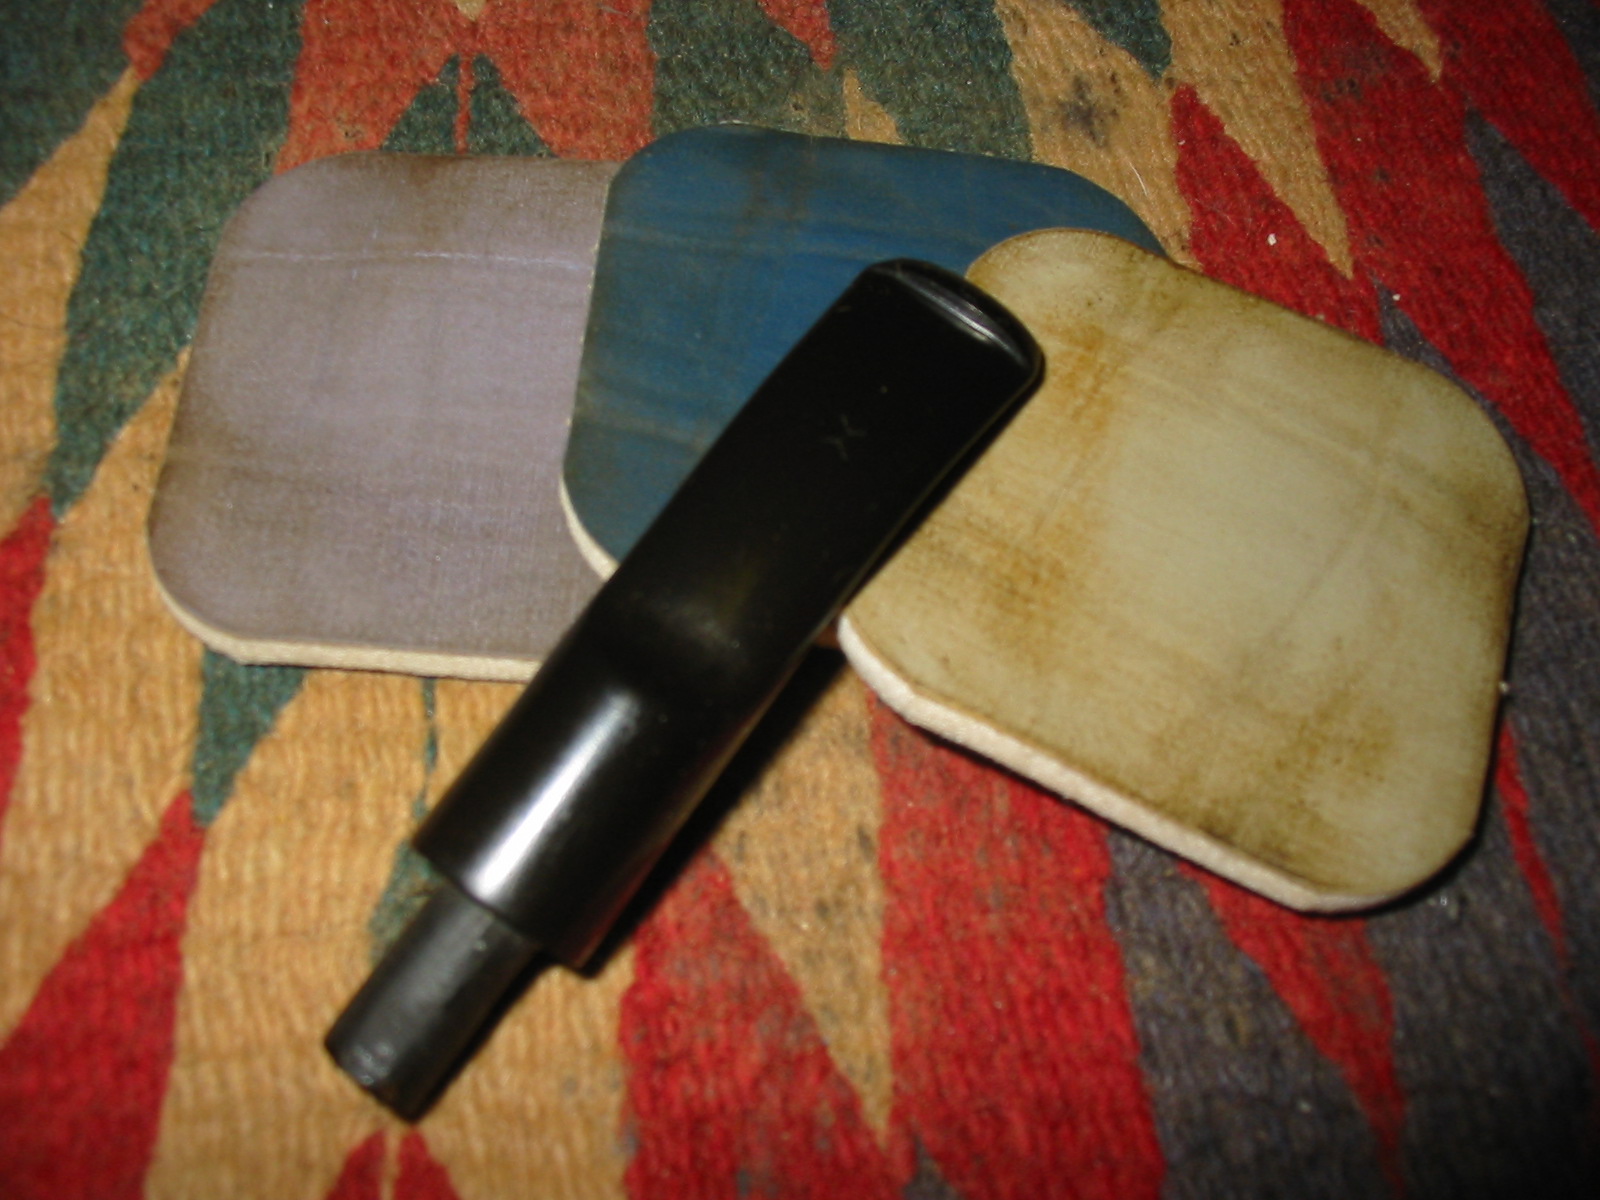
I was happy with the contrast on the contrast stain and the look of the bowl at this point but now needed to work on the stem and the band. I sanded the stem with medium and fine grit sanding sponges to remove the scratches. I sanded the band with a fine grit sanding sponge as well. I then sanded the stem, band and the bowl with micromesh sanding pads. I wet sanded the stem with 1500-2400 grit pads and dry sanded the bowl with the same grit pads. I dry sanded the bowl and the stem with 3200-12,000 grit pads to finish polishing them both. I rubbed the stem down with Obsidian Oil and then when dry I buffed the bowl and stem with White Diamond.
IMG_5800

IMG_5801

IMG_5806
The series of four photos below show the bowl and stem after sanding with the micromesh sanding pads. The finish on the bowl is exactly what I was aiming for. The translucency of the finish was perfect. The fills and damage on the left side of the bowl all but disappeared – not just hidden by the finish by smooth to touch as well.
IMG_5802

IMG_5803

IMG_5804

IMG_5805
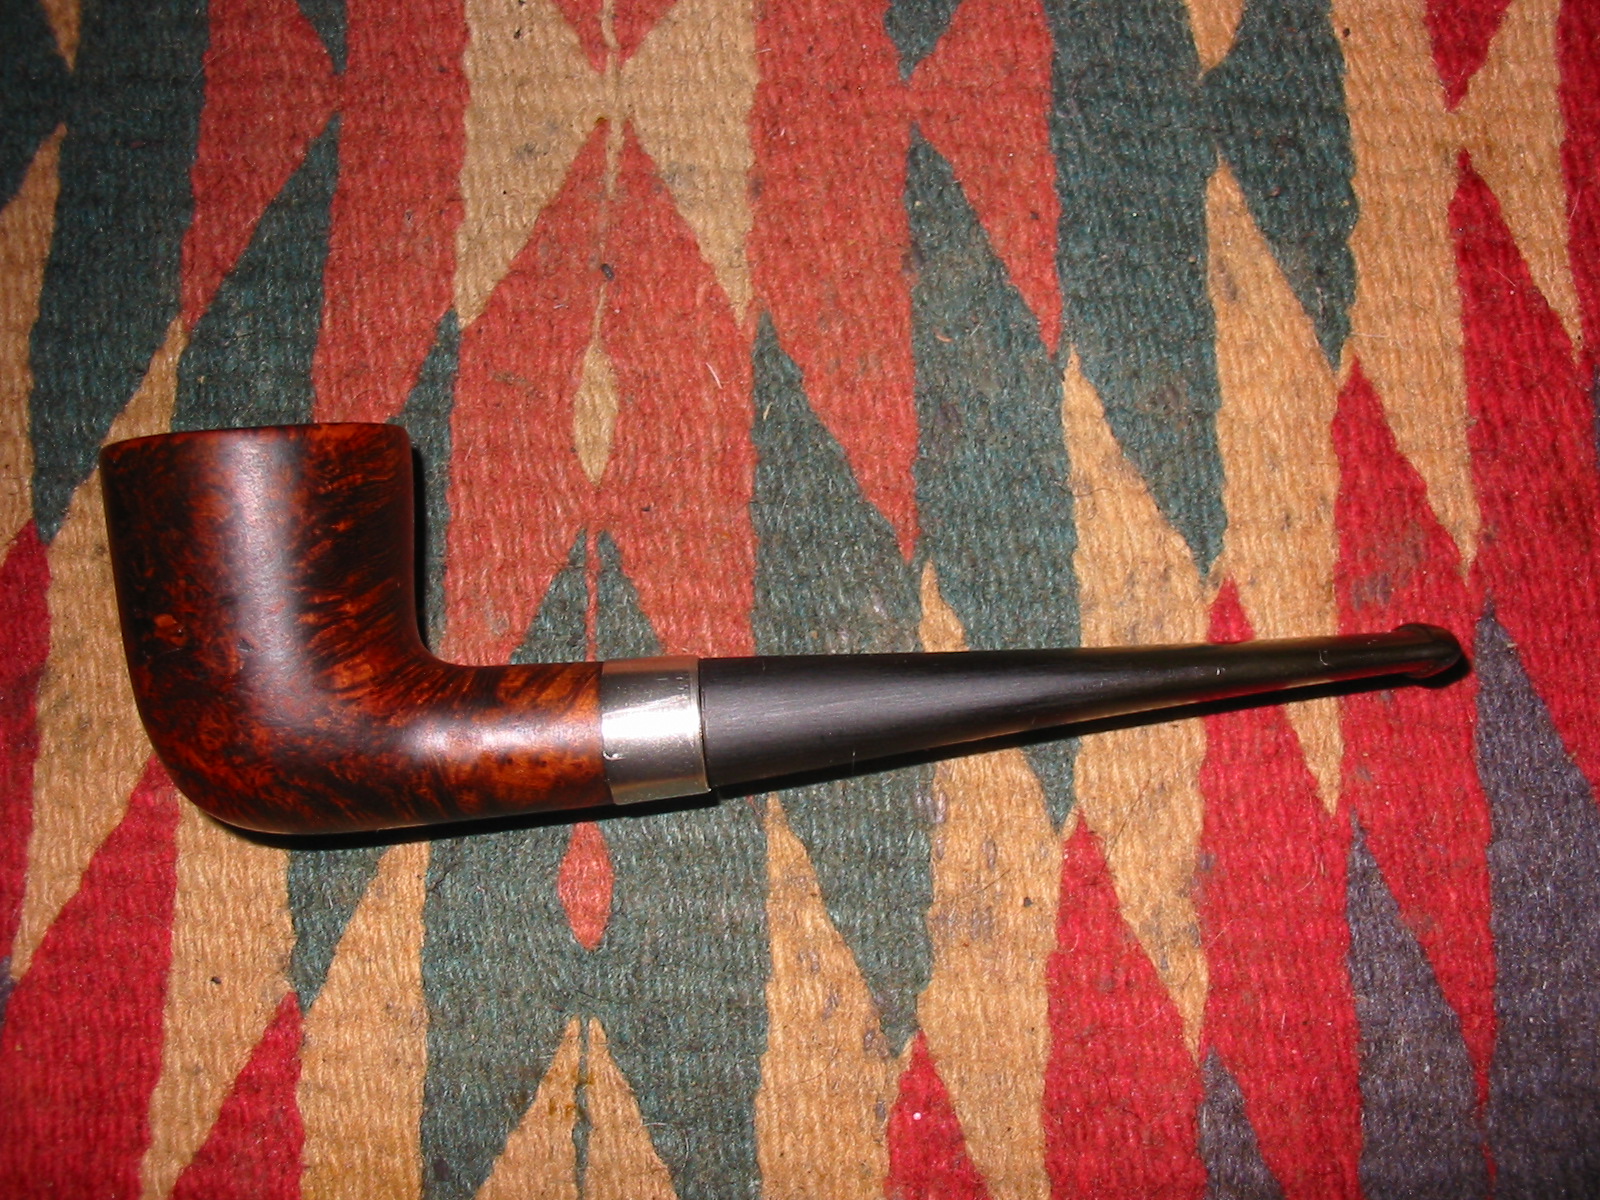
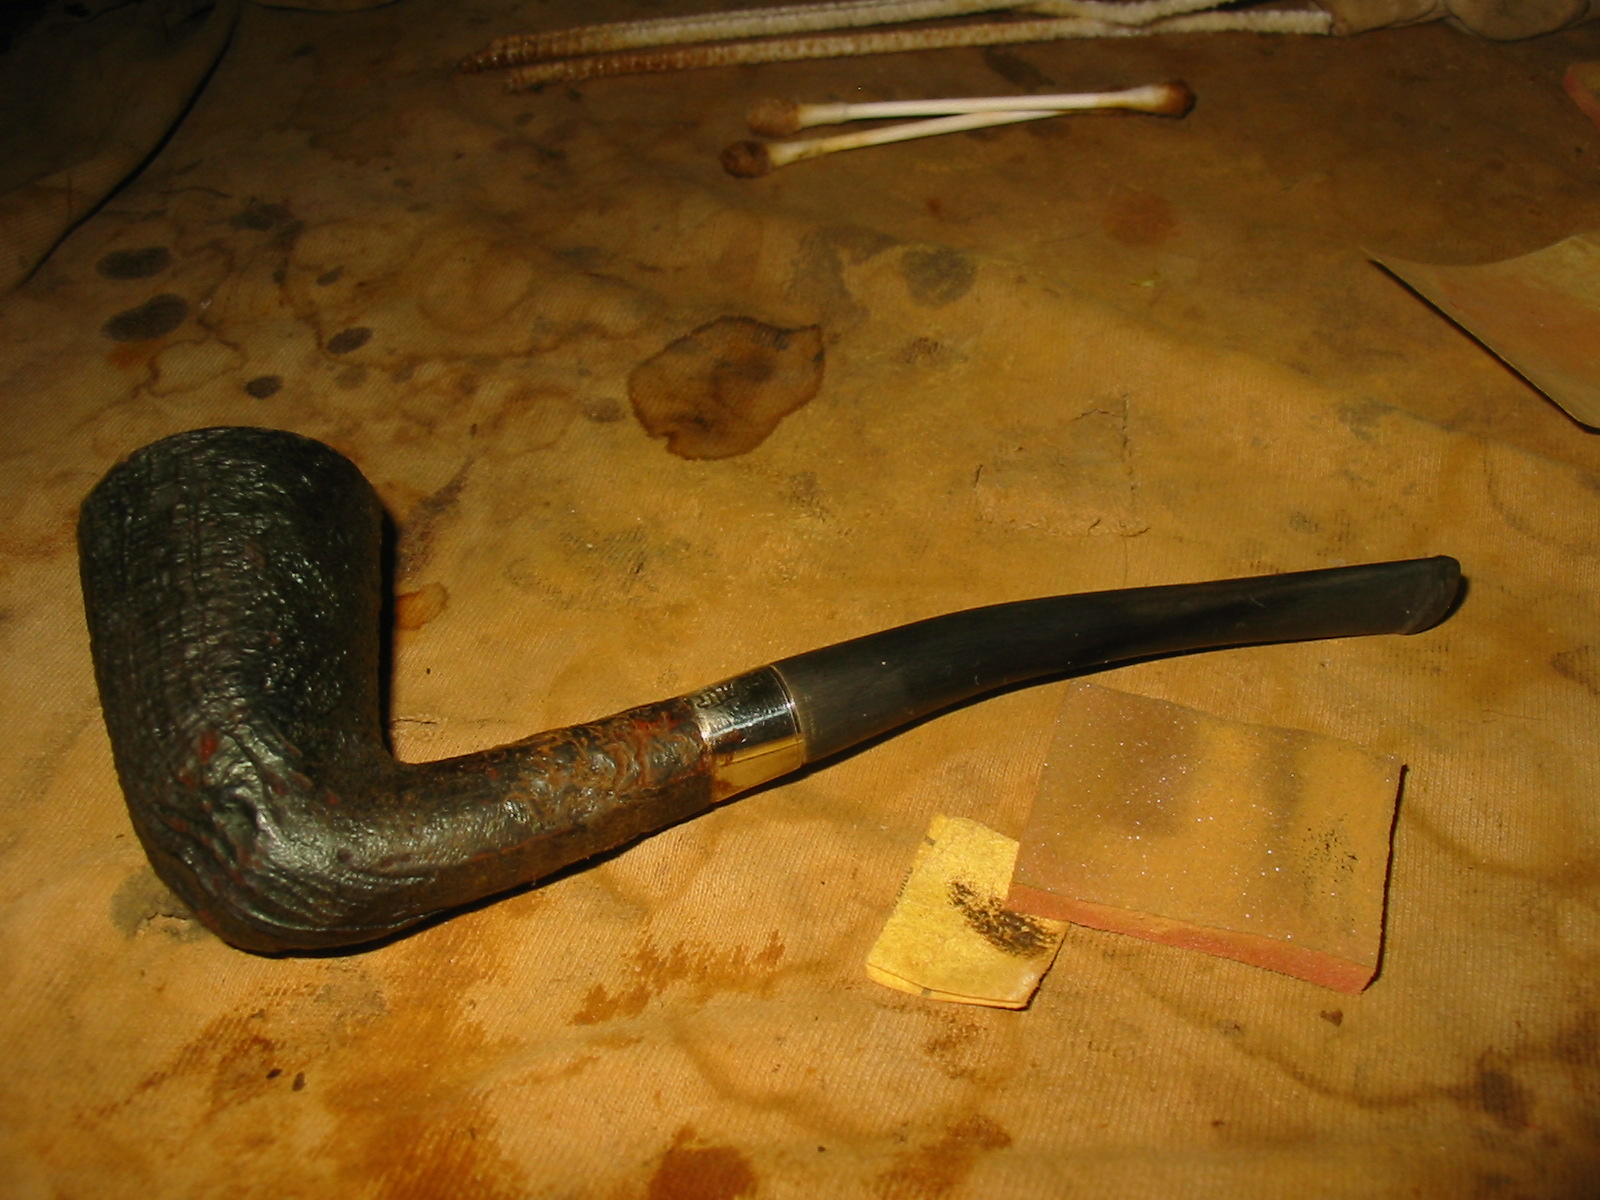
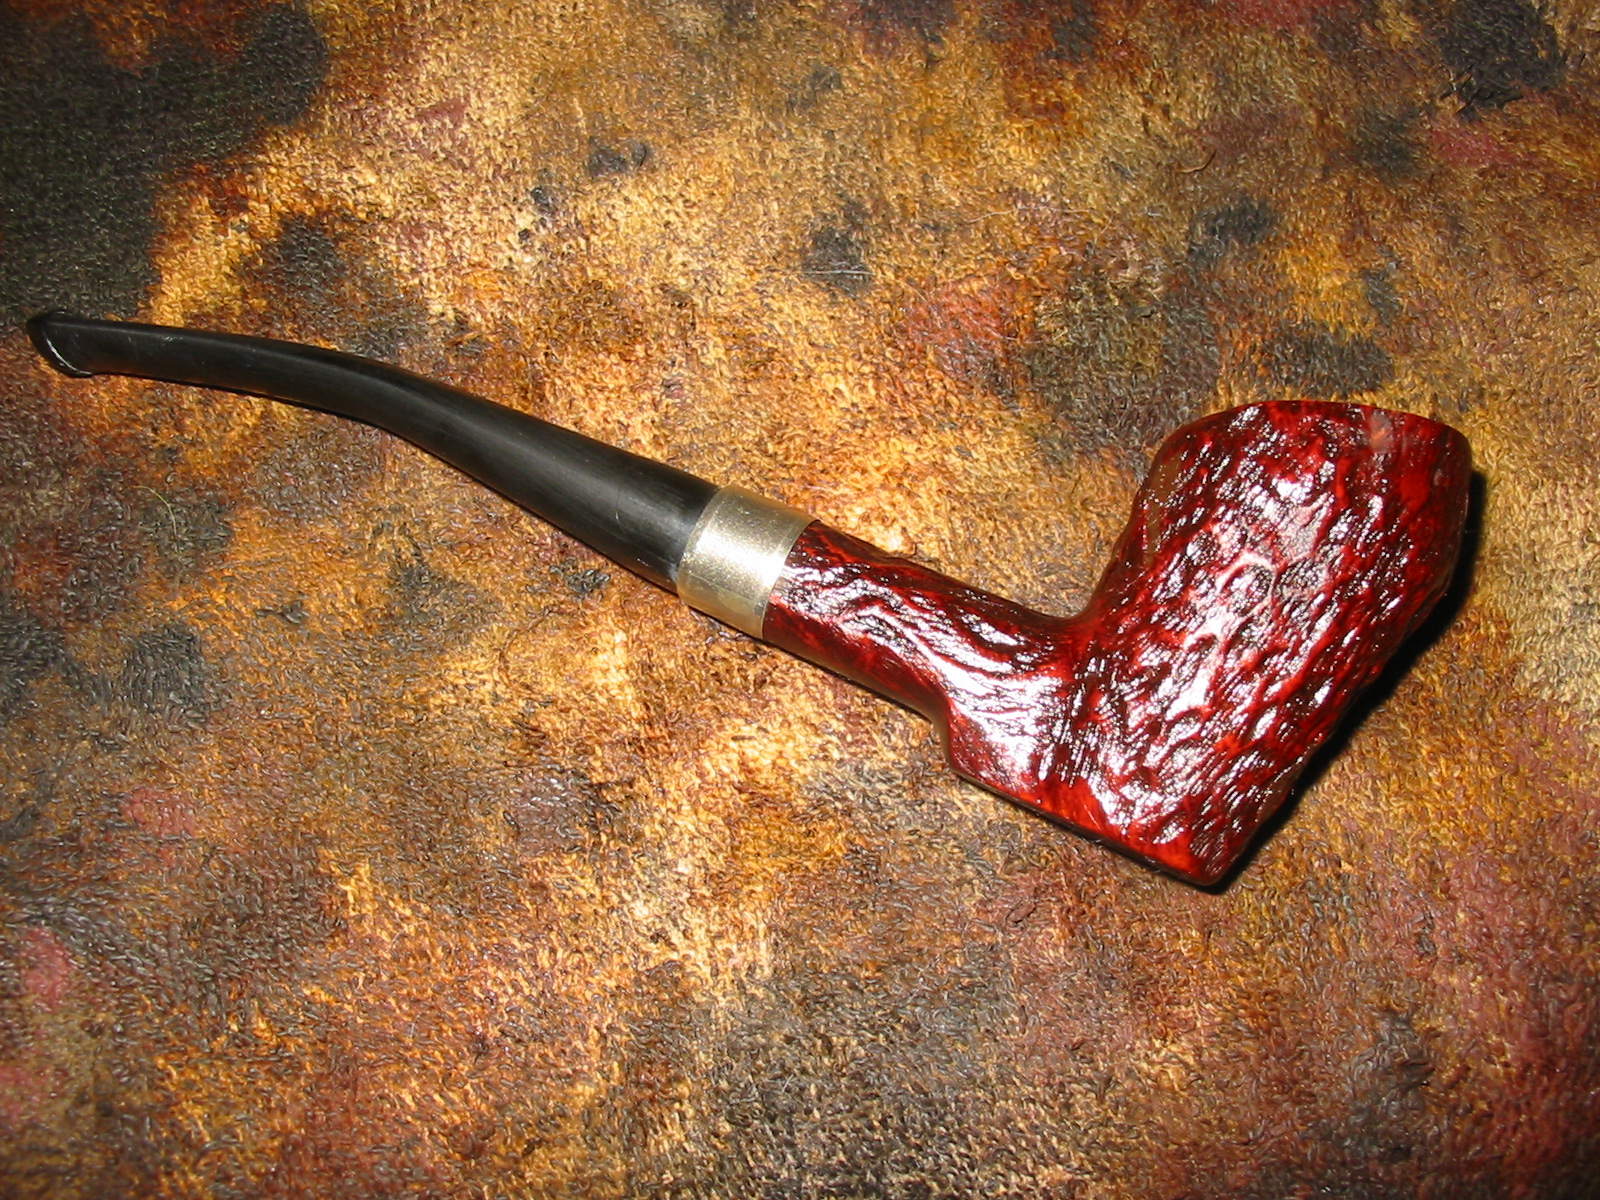
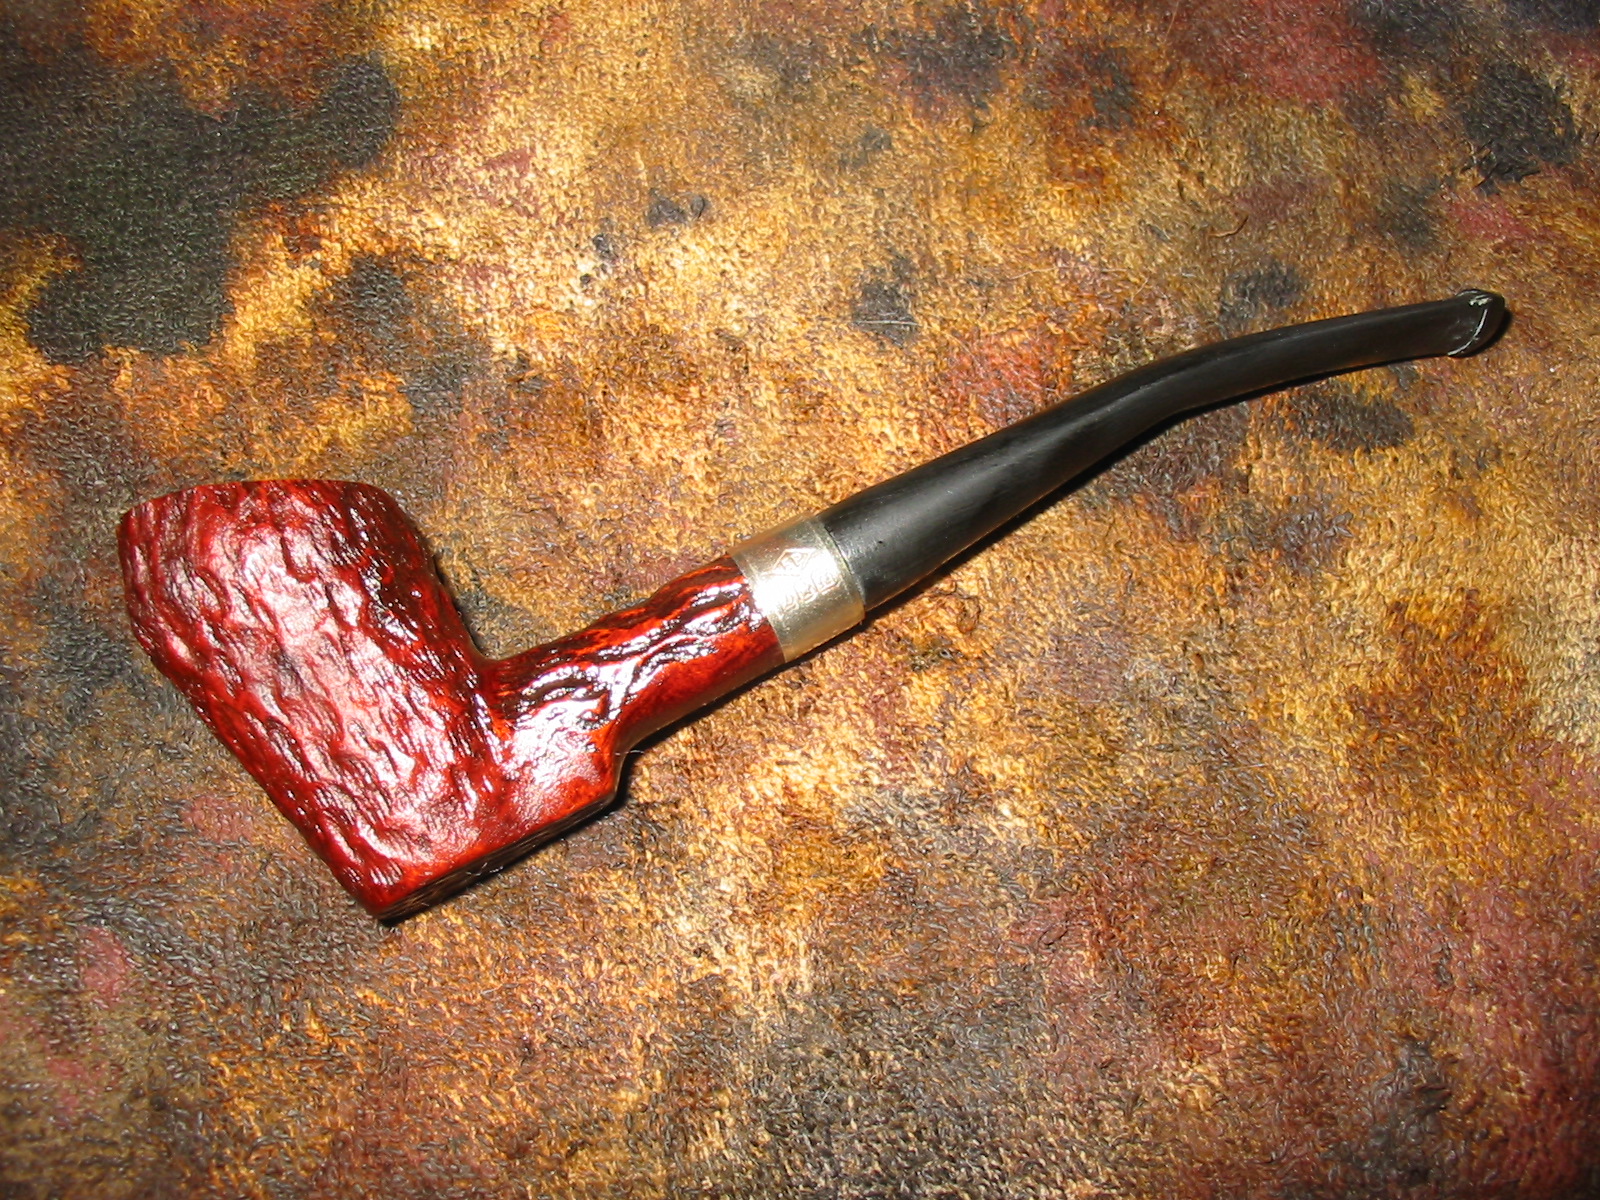
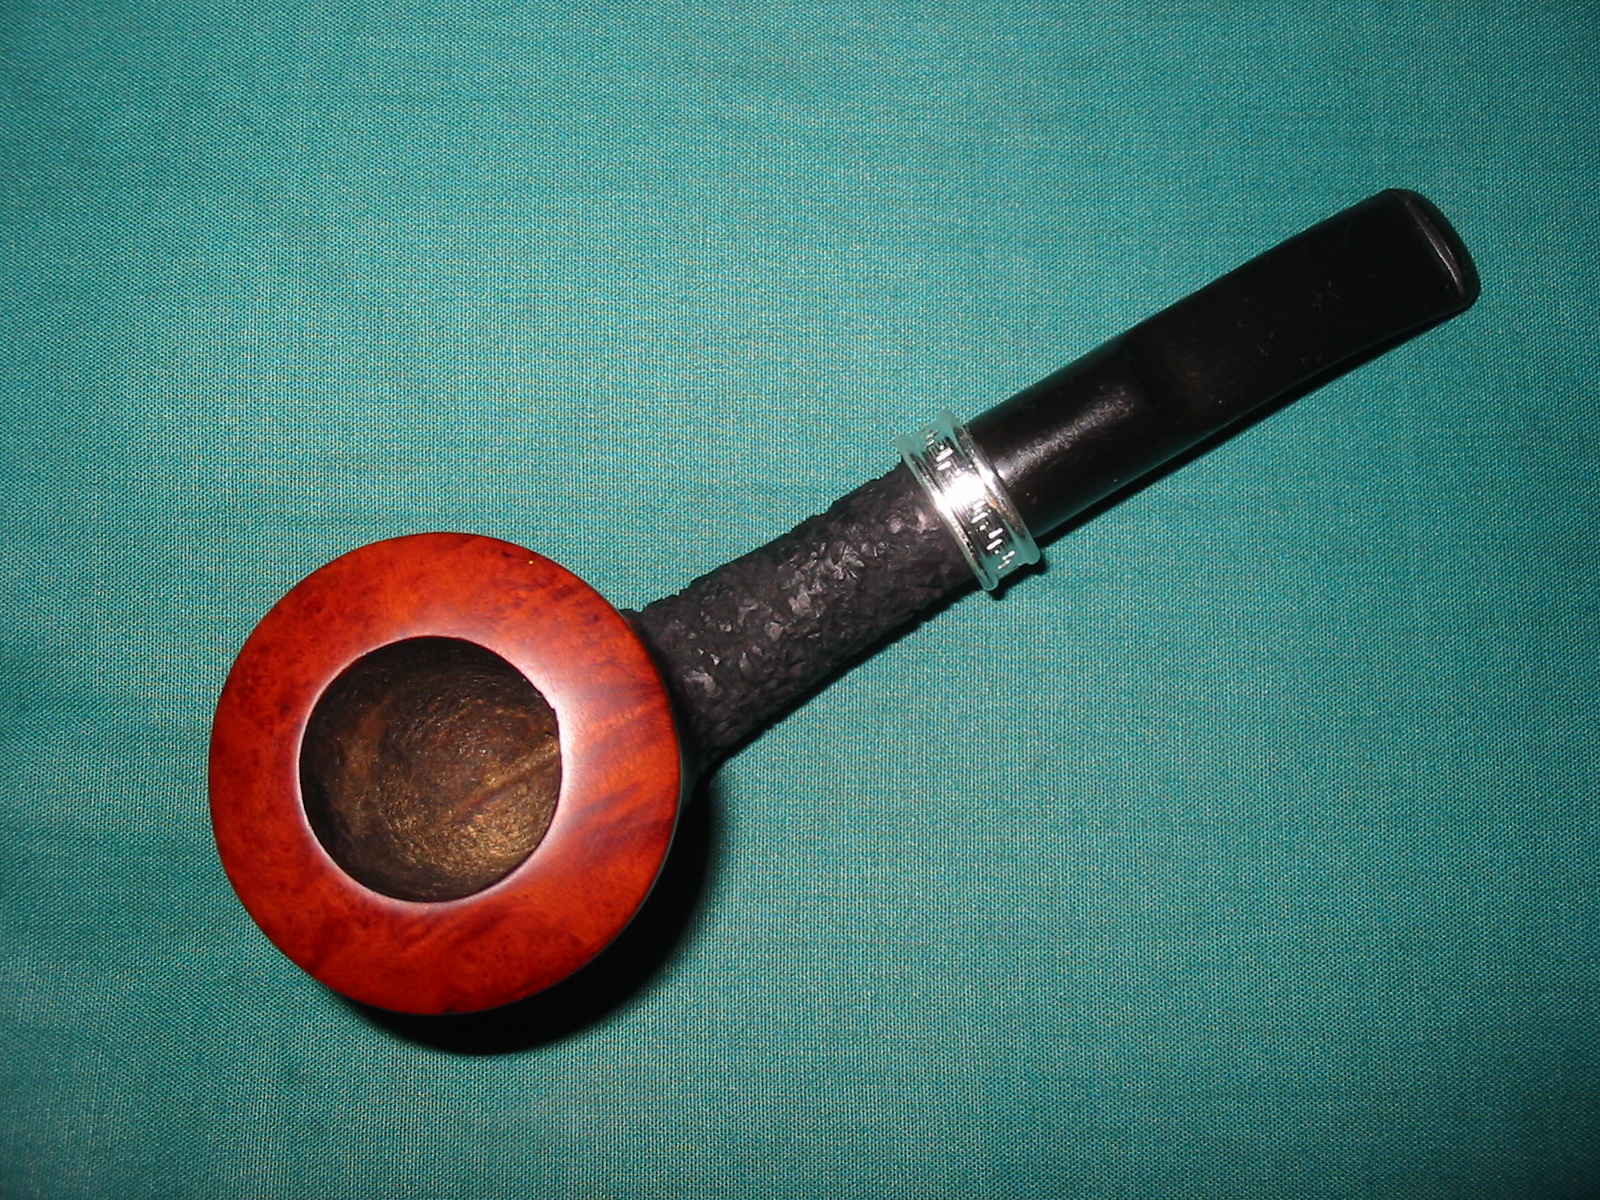
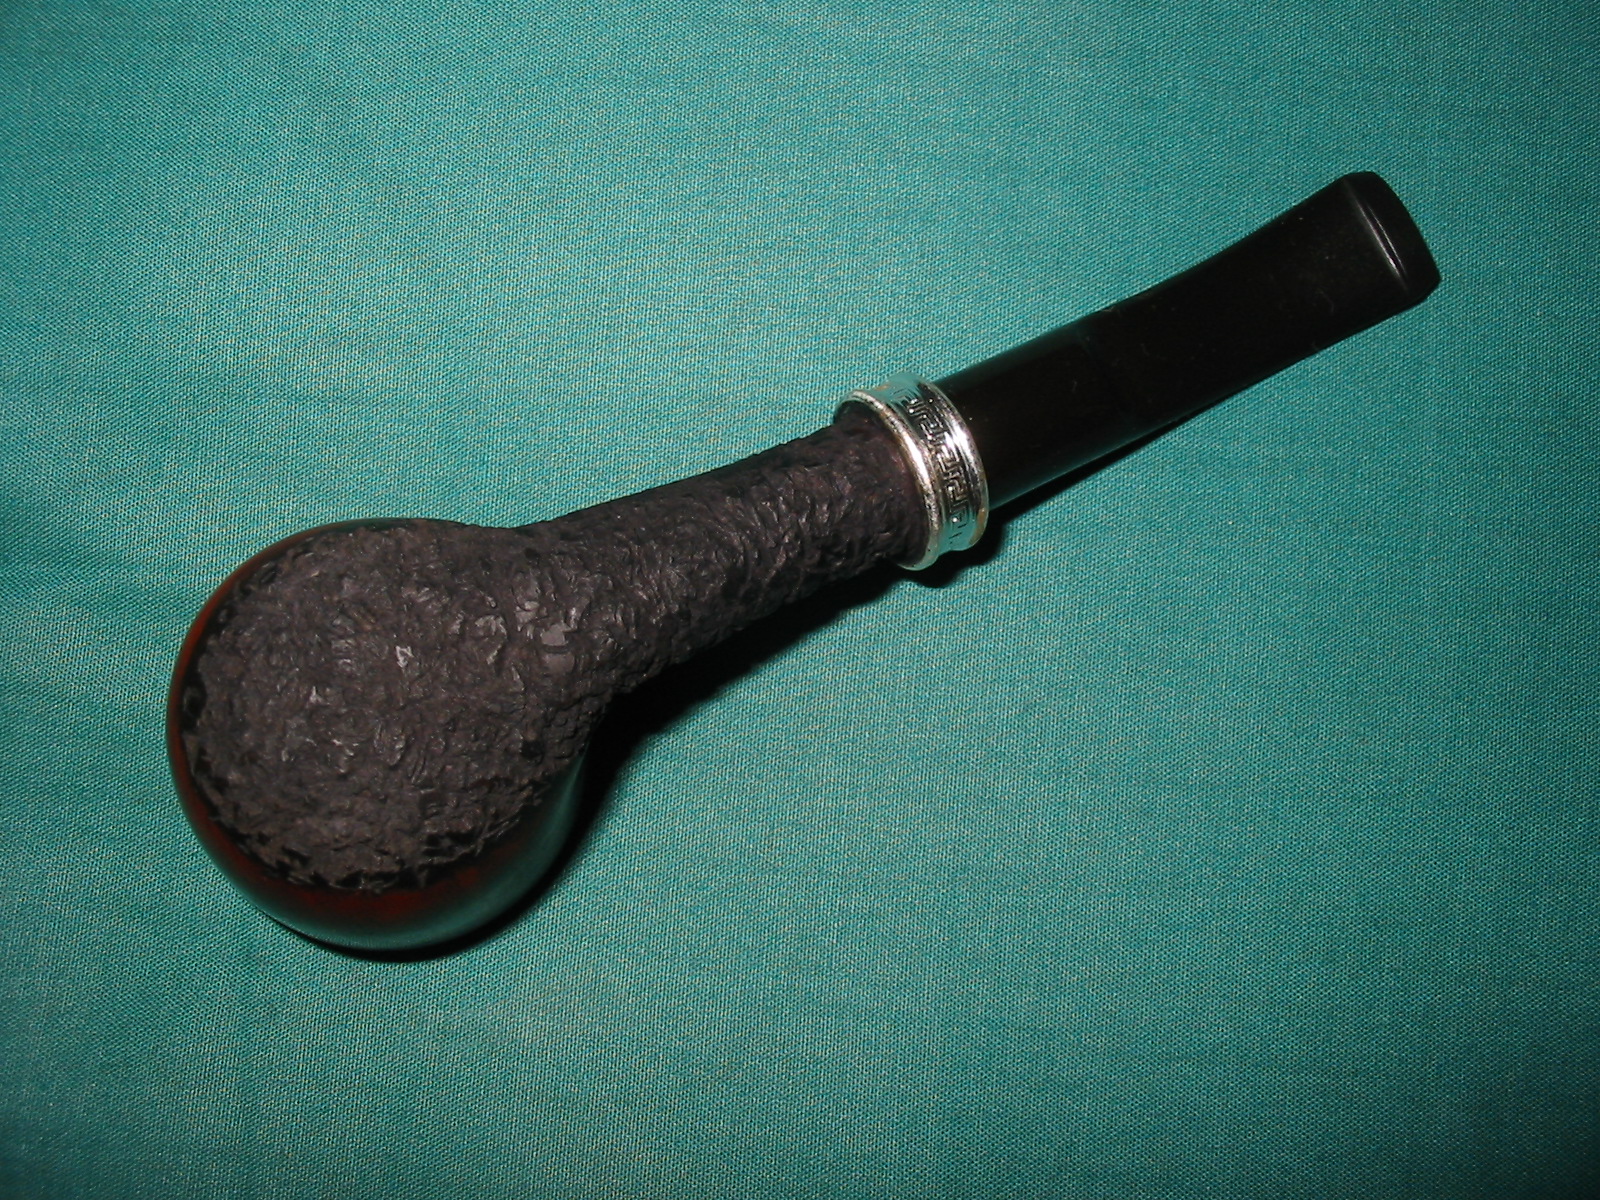
I buffed the pipe one last time with White Diamond and then gave the bowl and stem multiple coats of carnauba wax to polish and protect it. I finished by buffing with a clean flannel buff to lift the shine. The finished pipe is shown below and is ready for its inaugural smoke. The bowl and pipe came out well in my opinion and should last a long time in the hands of the person whose rack it eventually will grace.
IMG_5807

IMG_5808

IMG_5809

IMG_5810
I just reworked the inner rim of the bowl. I did a write up on the process and posted it here: https://rebornpipes.wordpress.com/2014/03/28/repairing-an-out-of-round-bowl/

Learning something new while repurposing this damaged pipe bowl – adding a shank extension.


Blog by Steve Laug

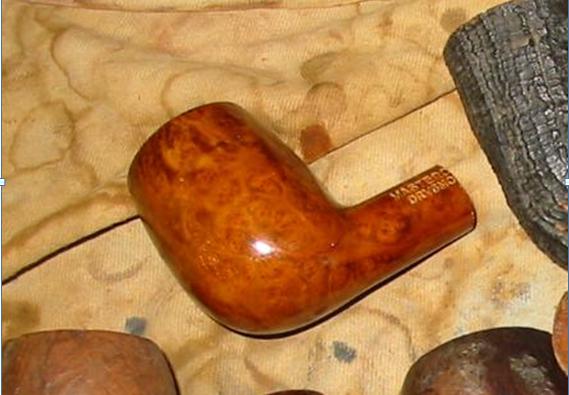
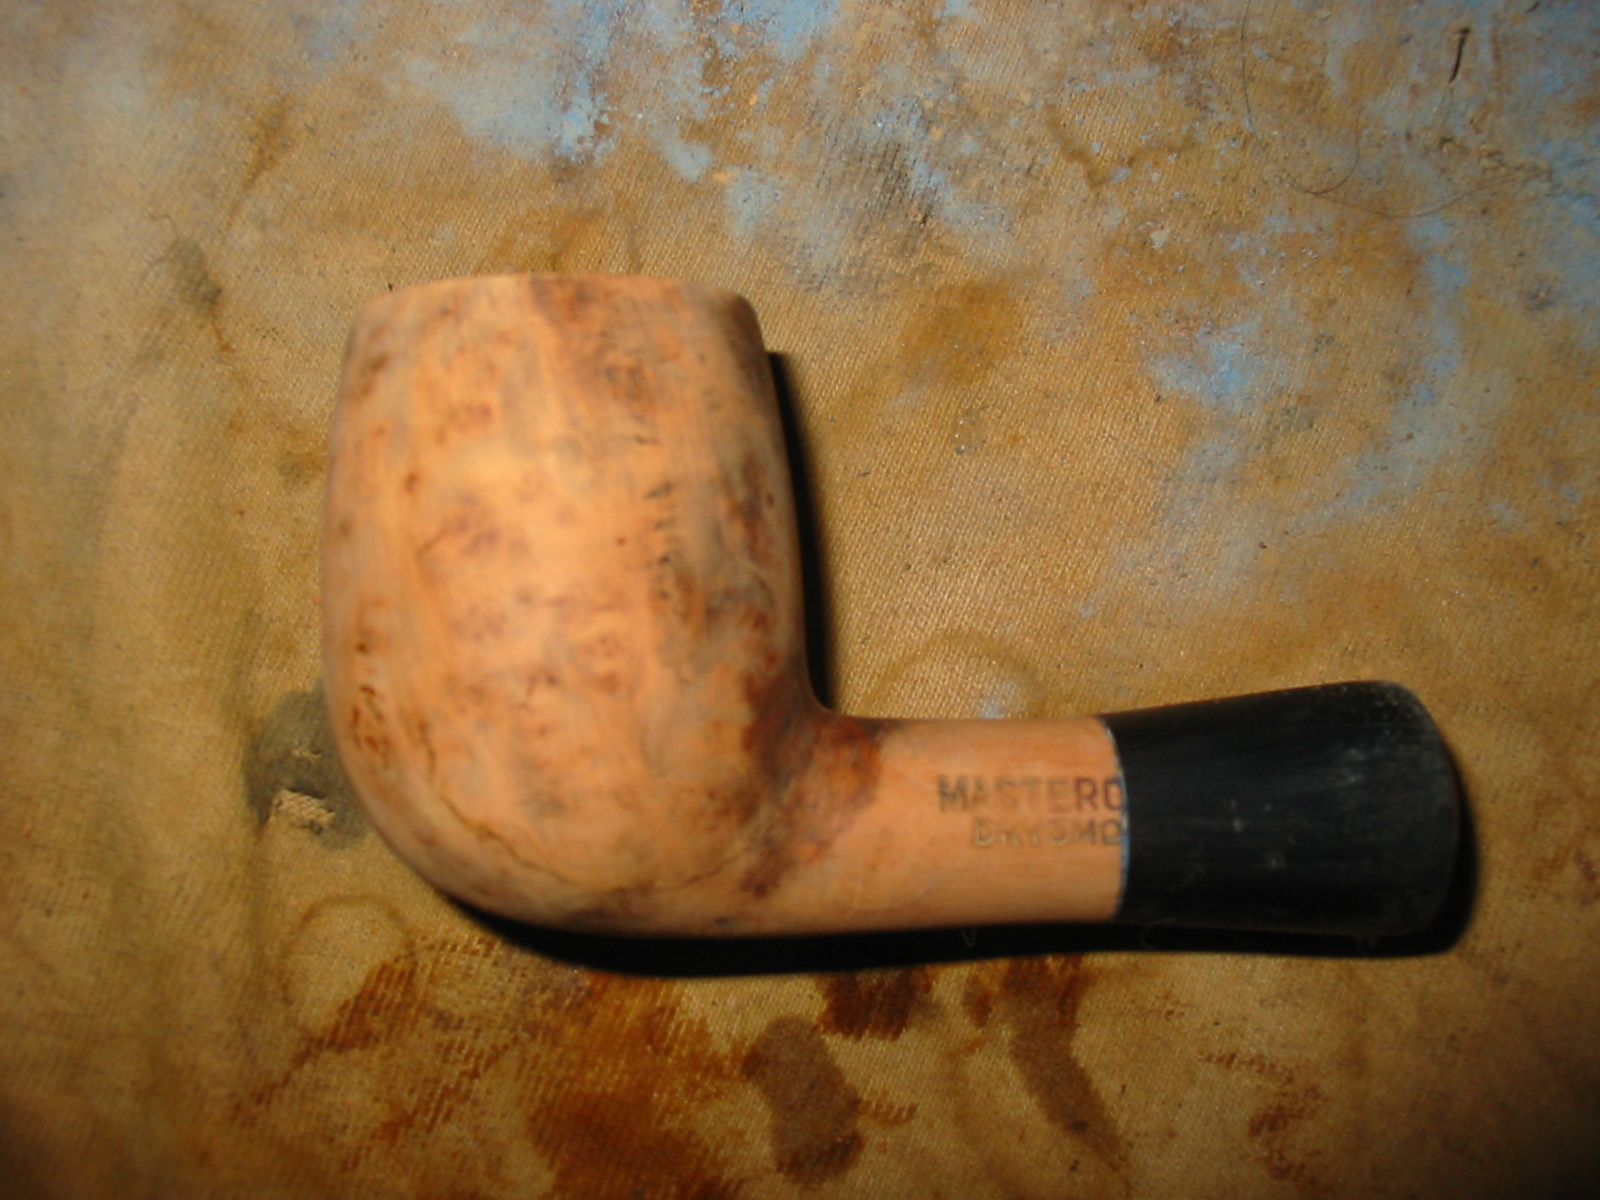
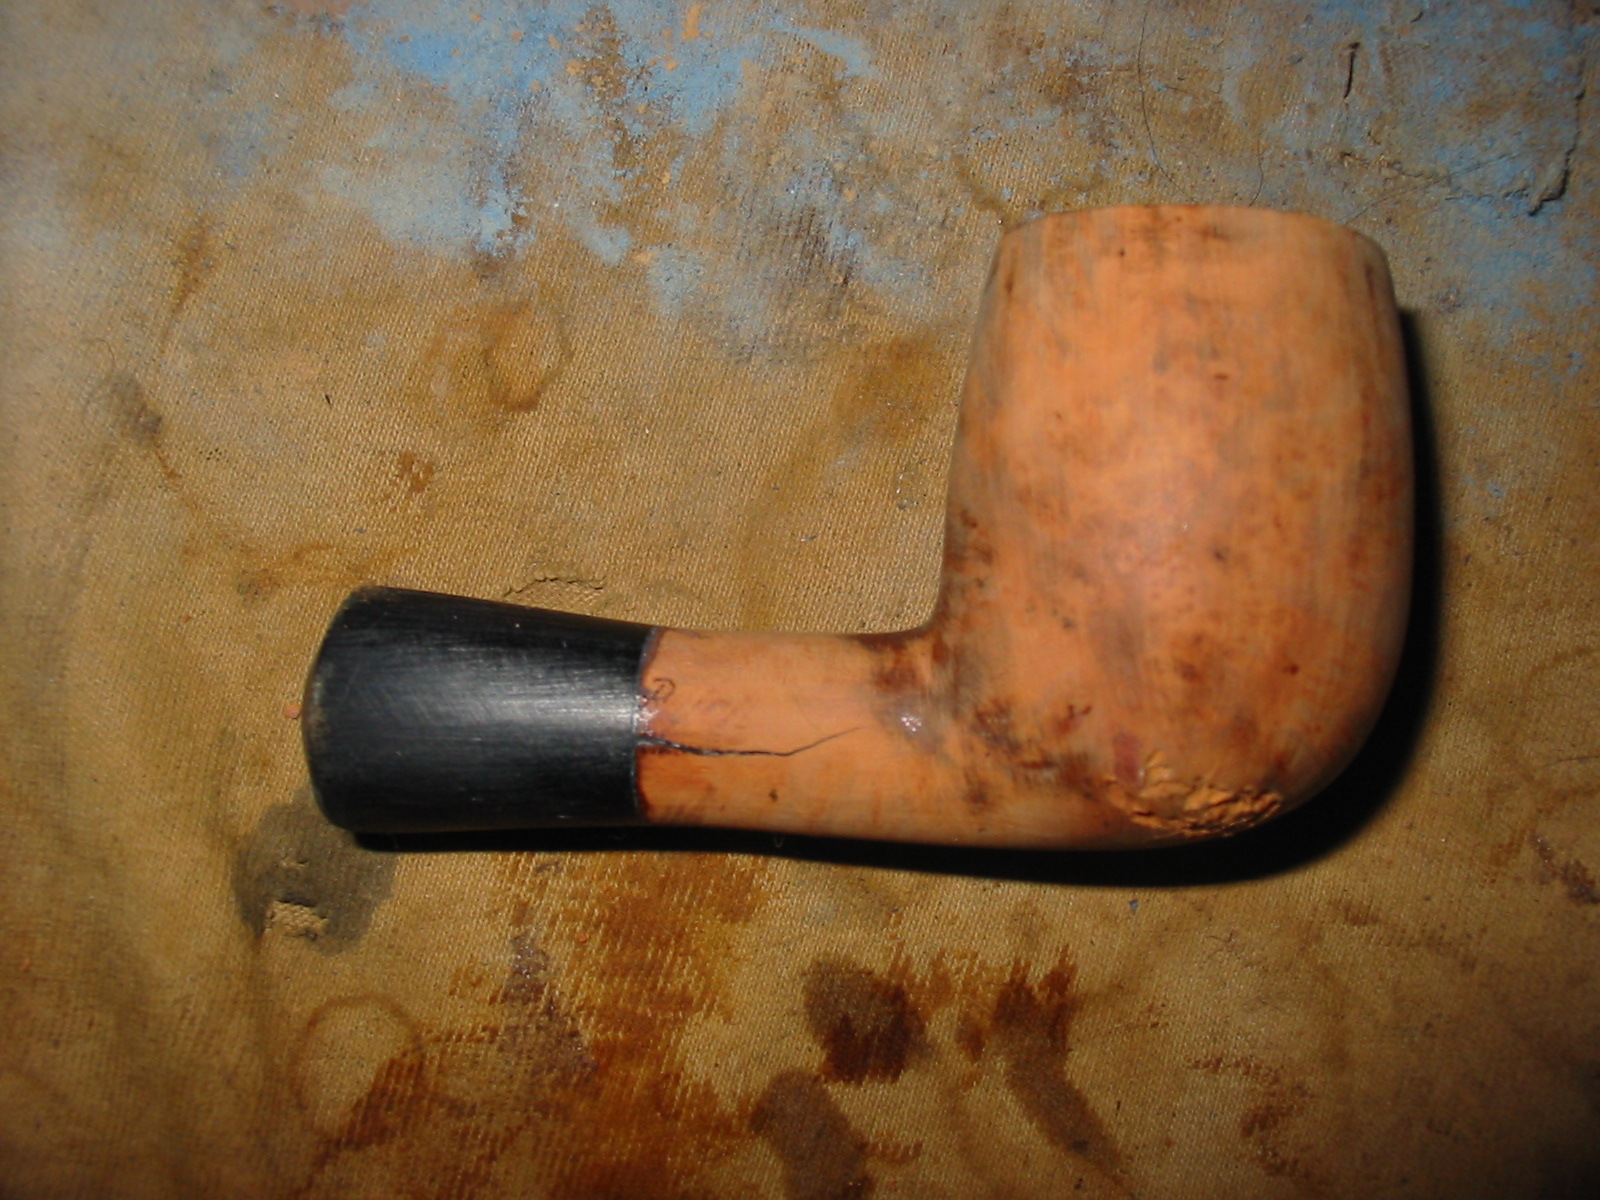
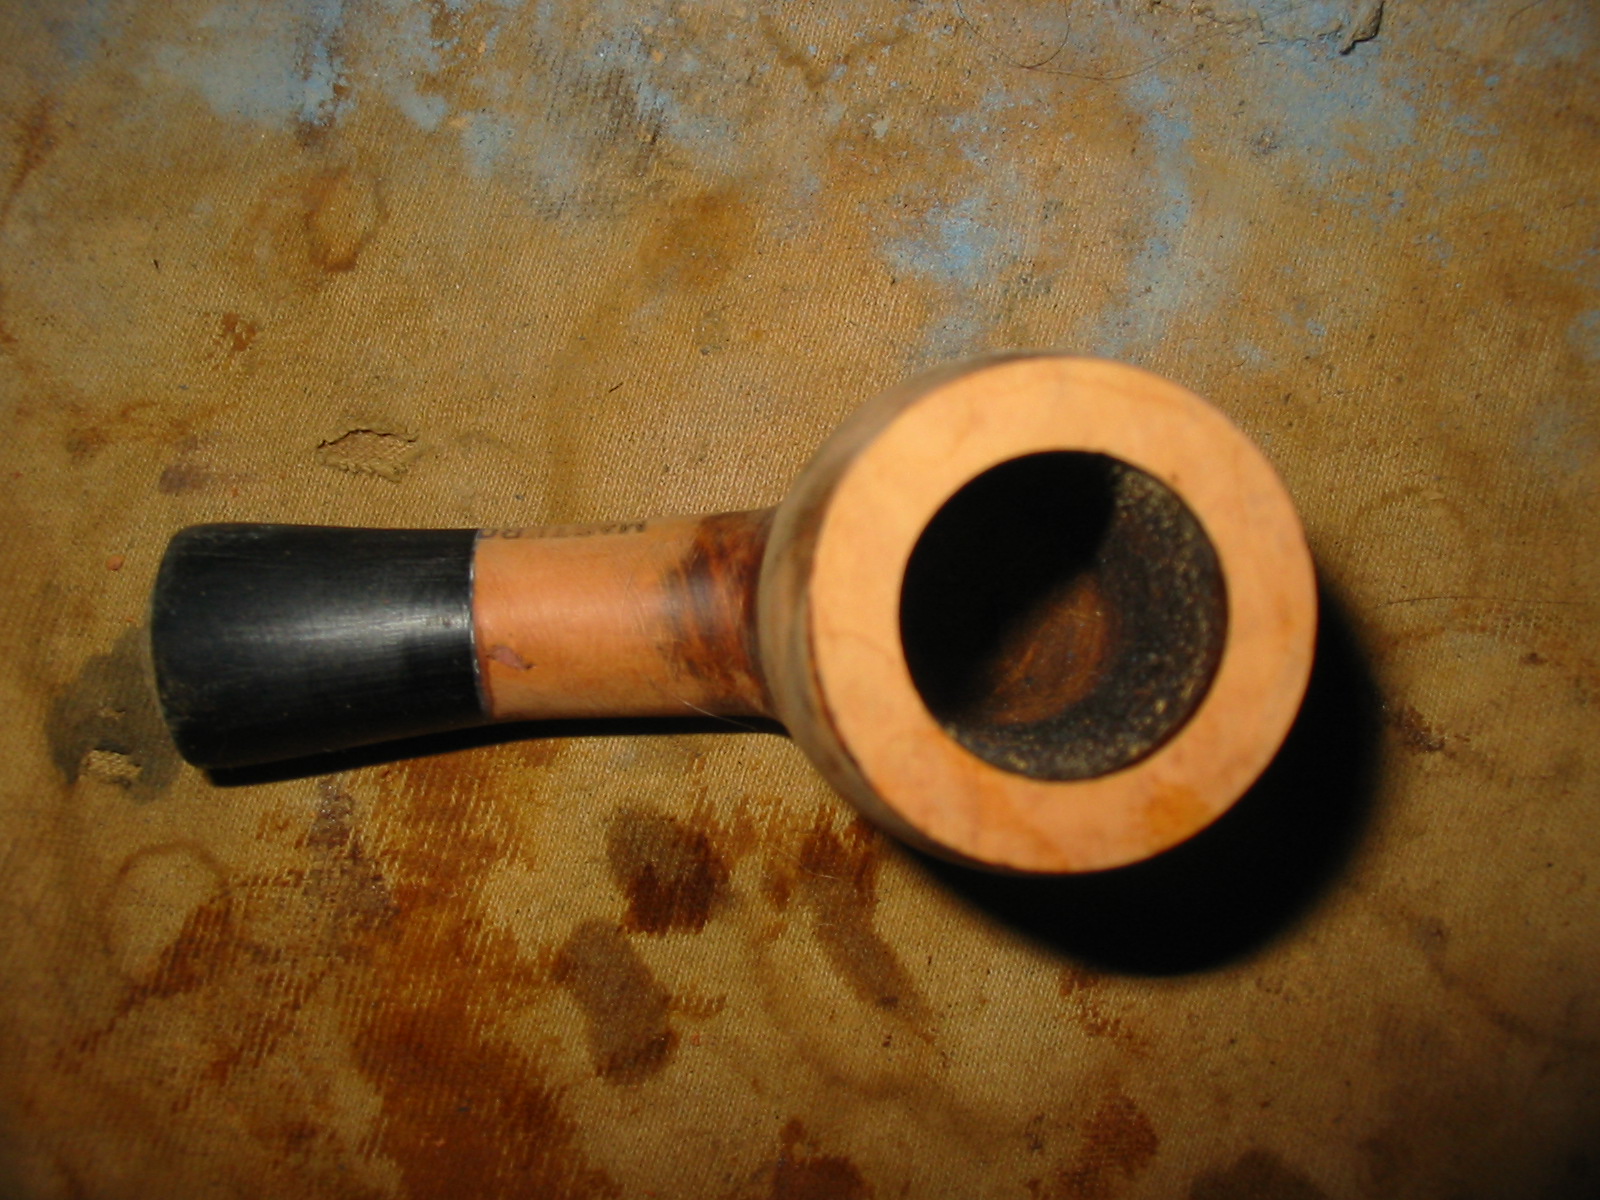
One of the pipe bowls I was recently gifted was an unsmoked Mastercraft Drysmoke bowl that had the shank cut back to half of its original length. The cutback was done poorly – crooked cut with a dull saw. It had cut right through the stamping on both sides of the shank and was crooked.
Dry smoke
The bowl had a very heavy coat of urethane on it as well. There was some nice grain on part of the bowl but the bottom had some hack marks where it looked like the saw had jumped. I took some time to look it over and try to figure out what I was going to do with it. I was not sure and looked at the end of the cut off. I knew I would have to face the end of the shank to even things up no matter what I did with it. I could easily have just drilled the mortise large and cut a new stem for it. It would have ended up a short shank billiard and that would have been fine. However in the midst of the review I decided that it was time to learn something new. I have always wanted to learn how to do shank extensions so I figured this was a great candidate for my schooling. I flattened the end of the shank squaring it like I do when topping a bowl. I had an old vulcanite shank extension I scavenged somewhere. I had played around with it and sanded away part of the end that faced on the shank of the pipe before I threw it in my parts box. It was a mess as it was but it might just work. I also had some white Delrin tenon material that would work well. I had already turned it almost to the correct size with my Dremel and sanding drum. Maybe these parts would all come together and help me craft something different. What the heck it was worth a try and I would learn a lot in the process.
IMG_5514
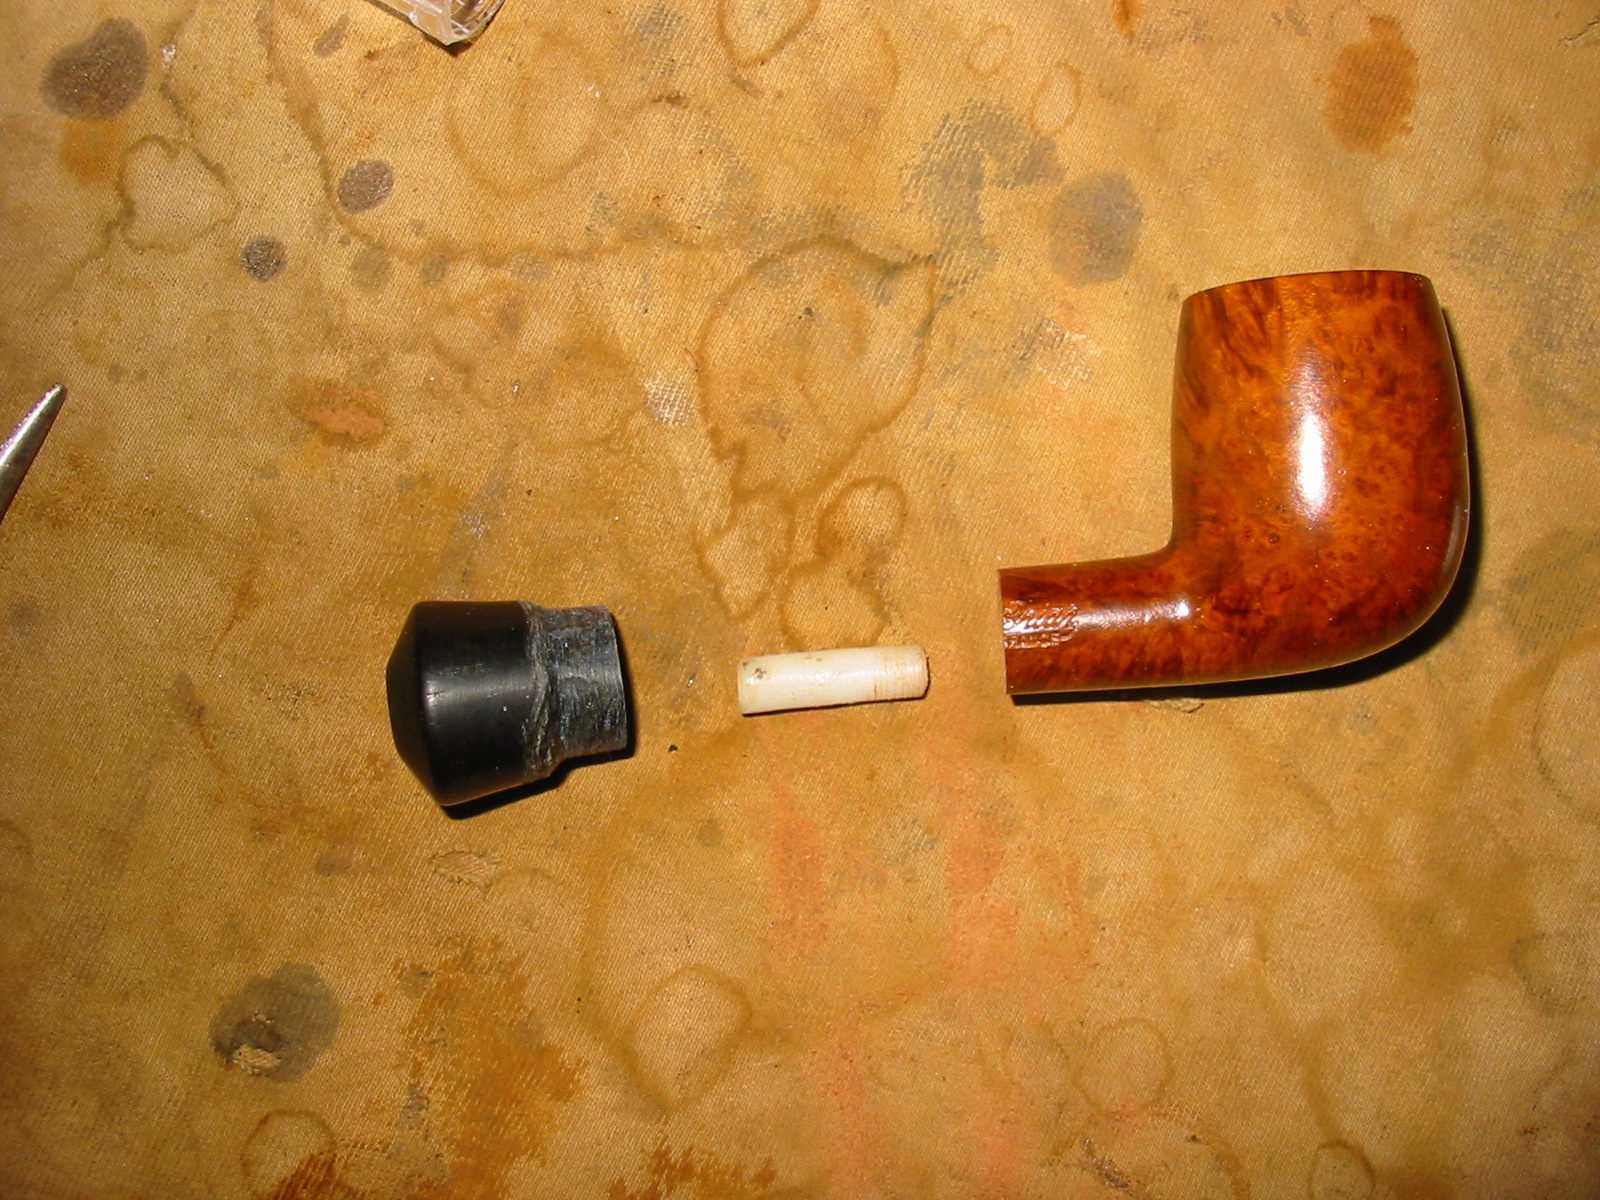
The photo above shows all the parts laid out for the connection. I faced the end of the shank using a sanding board in the same manner I used to top a bowl rim. It took a bit of work and focus to get it flattened out and perfectly horizontal. (Oh to have a lathe to do this kind of thing.) I used the Dremel with the sanding drum to fine tune the diameter of the Delrin so that it would fit well in both the end of the cut of shank and the vulcanite extension. I wanted the two parts to face smoothly against each other. I put it together to make sure I had the fit right
IMG_5515
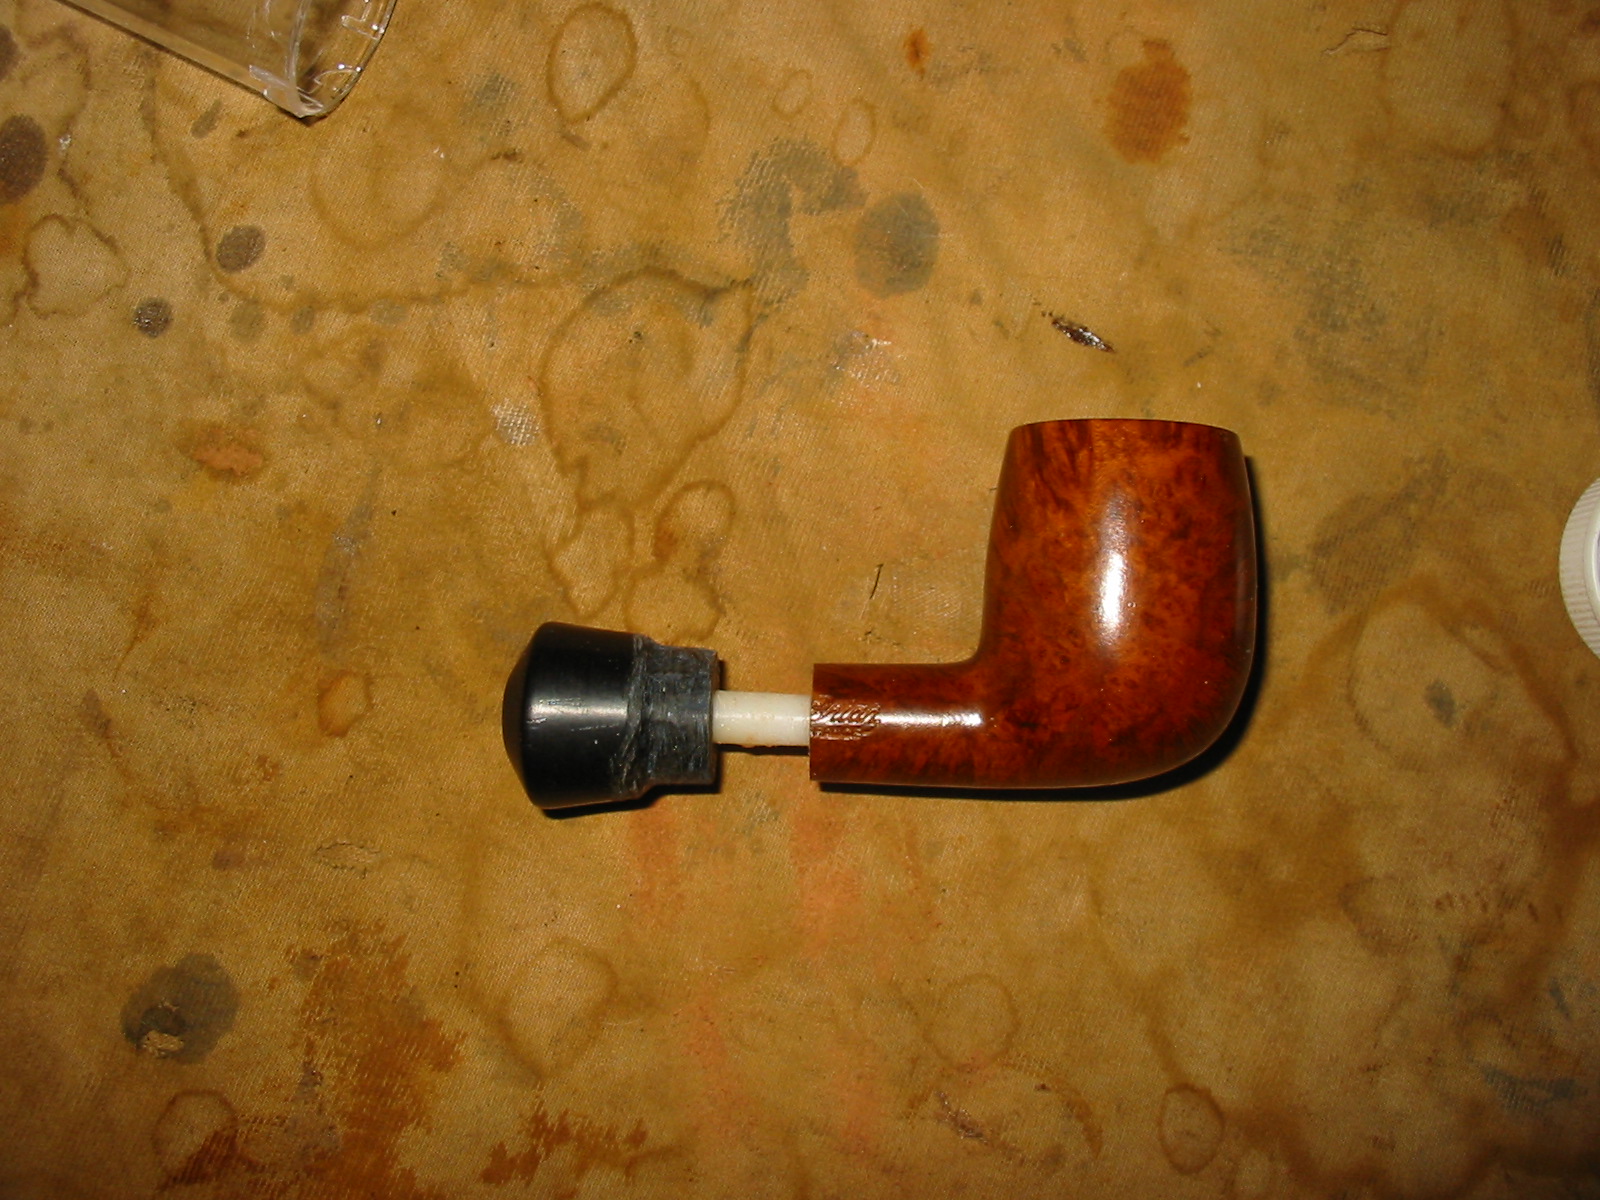
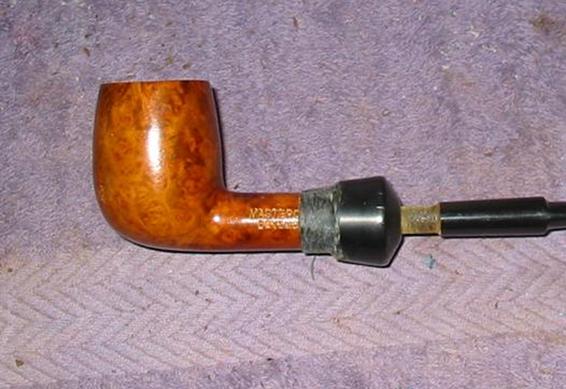
I put glue on the end of the tenon and pressed it into the shank and then repeated the process and pressed the extension in place. The fit against each other was exactly what I wanted. I ran some superglue in the joint between the two materials and when it dried I would sand it down. I had an old stem that had the right tenon size and inserted it to have a look. I wanted to see what the newly glued shank extension would look like with a stem in place. The joint looked good and a stick bit stem would work well when I got to that point in the process.
glued shank
I removed the excess material of the extension with the Dremel and sanding drum and a lot of hand sanding with 220 grit sandpaper. I wanted to make the extension slightly flared and the transition between the shank and the extension smooth and seamless. I was going for a taper back from the bowl to the end of the shank. I also wiped the bowl down with acetone on cotton pads to remove the urethane finish. It was a tough go so I sanded the bowl and shank. I decided to not worry about sanding the partial stamping that was left on the shank as it was no longer a Mastercraft pipe at this point.
IMG_5518
In the process of adding the Delrin I noticed that there was a crack in the shank on the right side of the pipe. It was present before I inserted the tenon, but the insert opened it up. I dripped some super glue in the crack before I put the Delrin insert in place. I knew that the insertion of the tube in the shank from the cut end to the end of the airway would give strength to the repair and also remove the pressure on the shank. I also knew that there would no more stress on the crack once the extension and tube was in place. After sanding the shank and extension I did some cosmetic work on the crack and filled it with superglue and briar dust. Once it was dry I sanded that area of the shank until it was smooth.
IMG_5519

IMG_5520
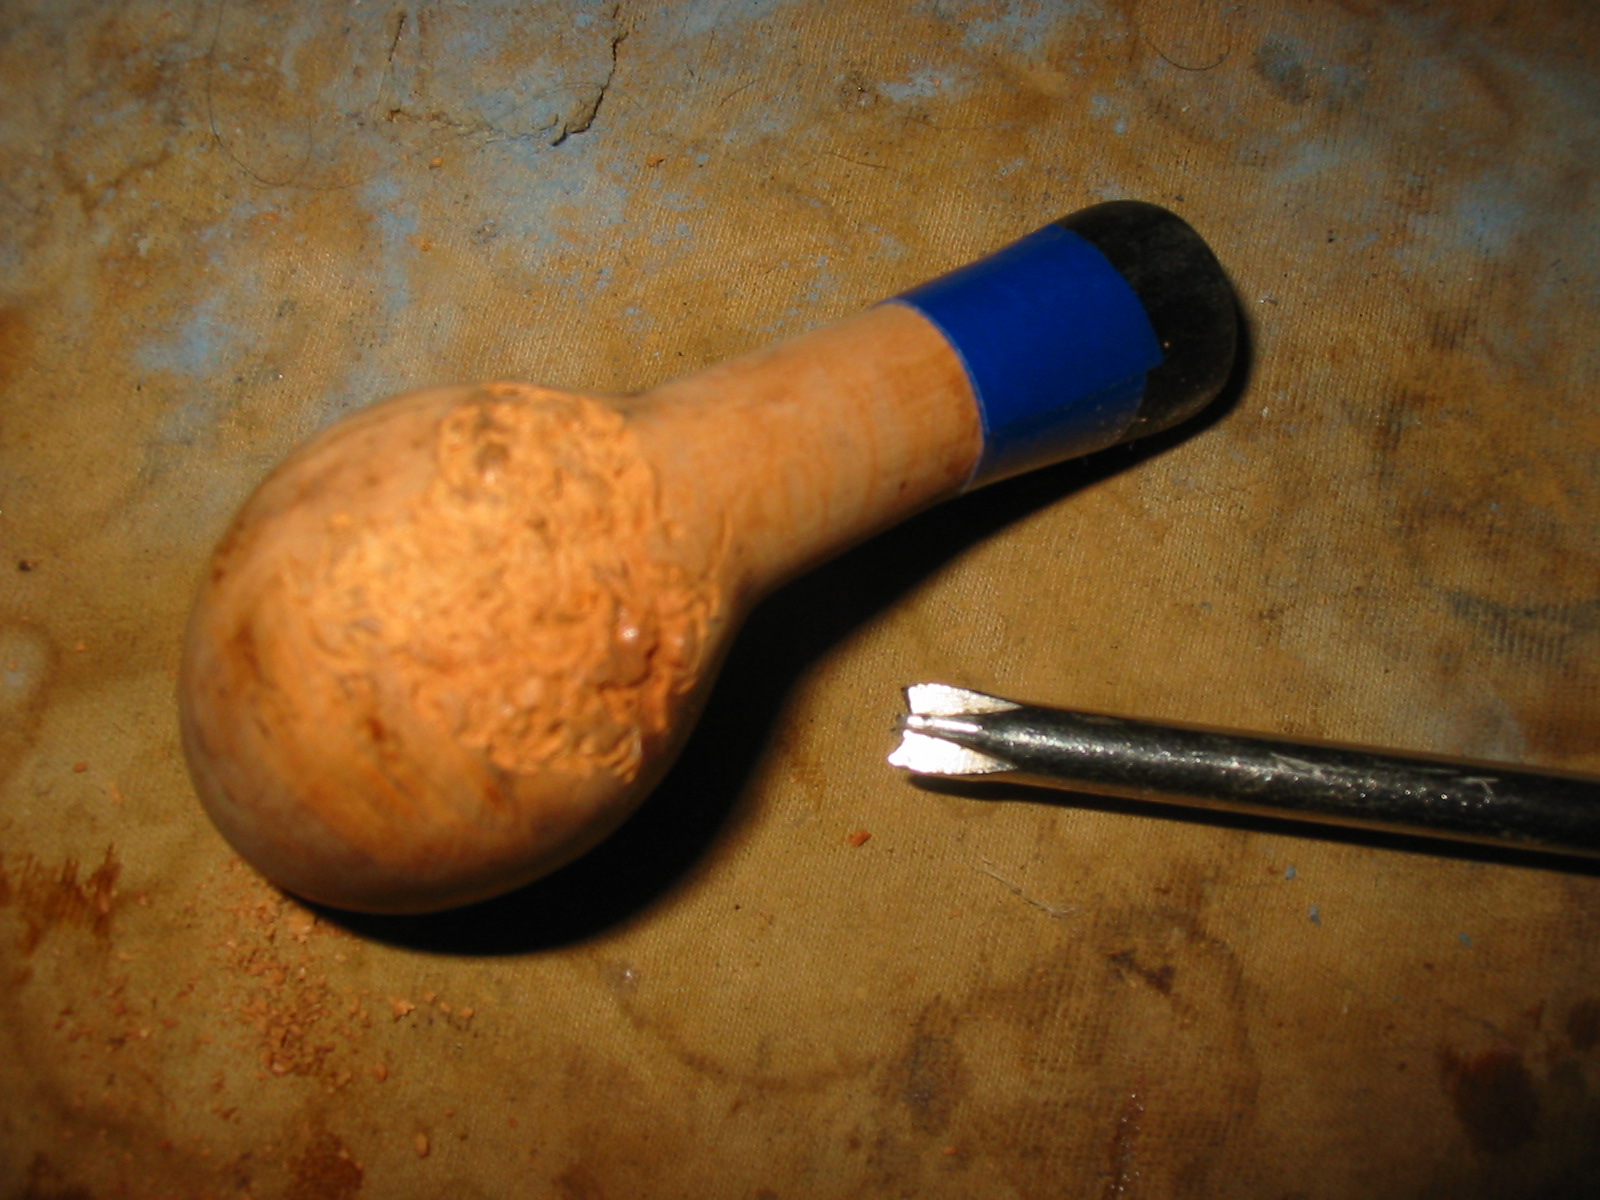
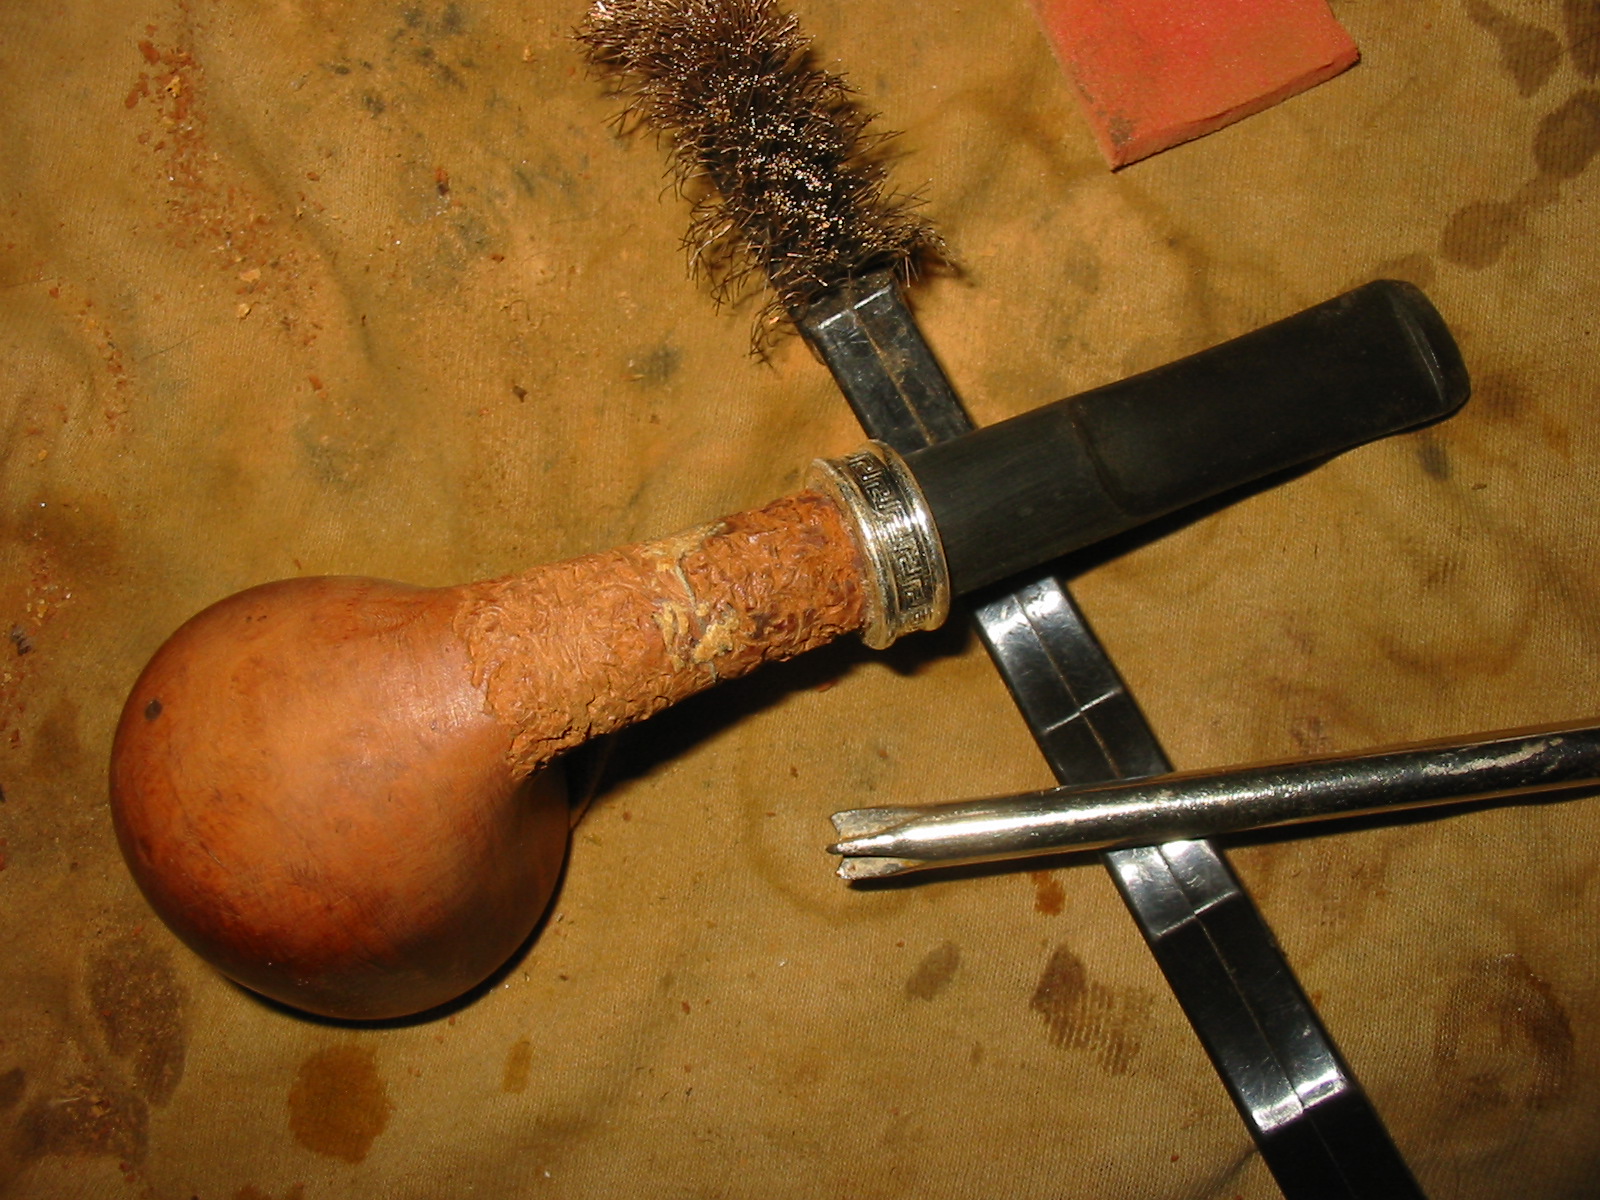
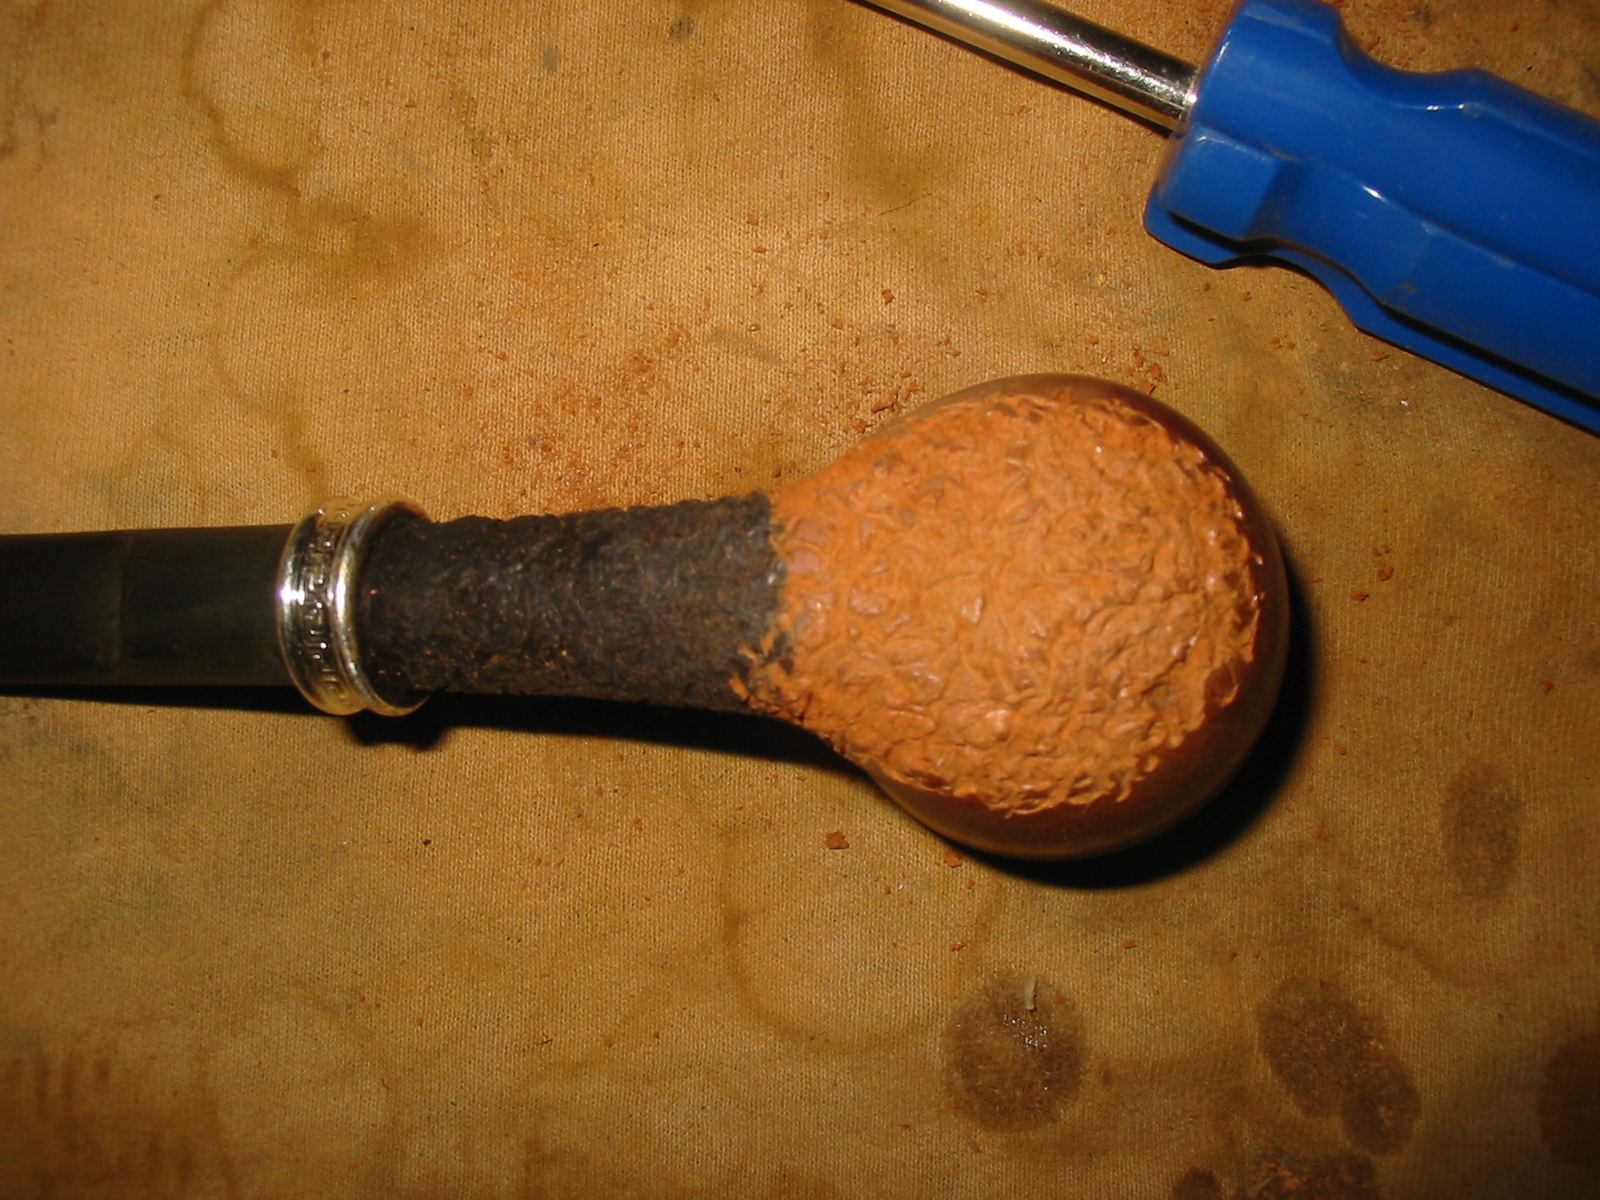
With the crack and repair being very visible and knowing that it would not disappear in the stain I decided to rusticate the shank and the bowl bottom. I did not worry about the visibility of the repair as the entire pipe is a repair job. I have been reading a lot about John Calich and his use of rustication and smooth finishes in the same pipe and the contrast stains to highlight the transition between finishes so I decided to try that out with this bowl. I wanted a thin band of smooth briar around the joint so I taped off the area and did the rustication with my modified Philips screwdriver. I rusticated the shank and the bottom of the bowl. I used a brass bristle tire brush to go over the rustication and knock off the rough areas. I buffed it with red Tripoli to further smooth out the rustication slightly.
IMG_5522
I stained the bowl bottom with black aniline stain and flamed it. I repeated the staining and flaming until I had a good even coverage on the rusticated portion of the bowl. I cleaned up the smooth areas next to the stained rustication with sandpaper to remove the slight bleed from the black stain. I wiped those areas down with acetone on a cotton swab to clean the transition areas.
IMG_5523

IMG_5524

IMG_5525

IMG_5526
I found the stem I wanted to use in my can of stems. It was a slender military bit with a slight taper. I liked the look of the stem. I put it in place for the next photos. It is not stuck deeply enough into the mortise because of the taper to the end of the stem. It will need to be turned down slightly to get a good snug fit deep in the mortise.
IMG_5527

IMG_5528

IMG_5529

IMG_5531
Before going to bed last evening I rubbed down the bowl and stem with Olive oil. I wanted it to penetrate the vulcanite extension, stem and the bowl (smooth and rusticated portions) to give a bit more life to the rubber and the briar. This morning when I got up I worked on the end of the stem to get a deeper fit into the mortise. I used the PIMO tenon turning tool adjusted as small as possible and turned the first inch of the stem to get a tenon. I sanded it with 220 grit sandpaper to bring it down to the diameter of the inside of the mortise. The next two photos show the stem sanded enough to go half way into the mortise. It would take a lot more sanding before it sat against the end of the mortise.
IMG_5532

IMG_5533
Ah progress! Got the stem fit right – it is snug and deep in the mortise now. I sanded the tenon until it fit well. I also sanded the transition from the end of the tenon to the taper on the rest of the stem. I wanted the fit against the shank extension to be snug without the edges of the tenon showing when the stem was in place. This pipe has turned out to be a great lesson for me in the school of pipe repair up to this point. I am looking forward to “graduating” from this project at this point.
IMG_5534
I sanded the bowl, the smooth band at the union of the extension and the briar and the vulcanite of the stem and extension with micromesh sanding pads. I wet sanded with 1500-2400 grit pads to remove any scratches in the briar and the shank extension from sanding with the fine grit sanding sponges. The photos below show the bowl and stem after I had sanded them with the early grits of micromesh. I wiped down the bowl and the stem with a cotton cloth and then rubbed Obsidian Oil into the vulcanite extension and stem.
IMG_5535

IMG_5536

IMG_5537
I stained the smooth parts of the bowl and shank with a cherry stain using a cotton swab and wiped it off with a soft cloth. I hand buffed the bowl and shank with a shoe brush to give it a quick polish.
IMG_5539

IMG_5540

IMG_5541

IMG_5542
Once that was finished I continued to sand the stem with the micromesh sanding pads. I had already wet sanded the extension and the stem with the earlier grits of pad so now it was time to dry sand them with the remaining pads – 3200-12,000 grit.
IMG_5543

IMG_5544

IMG_5545

IMG_5546
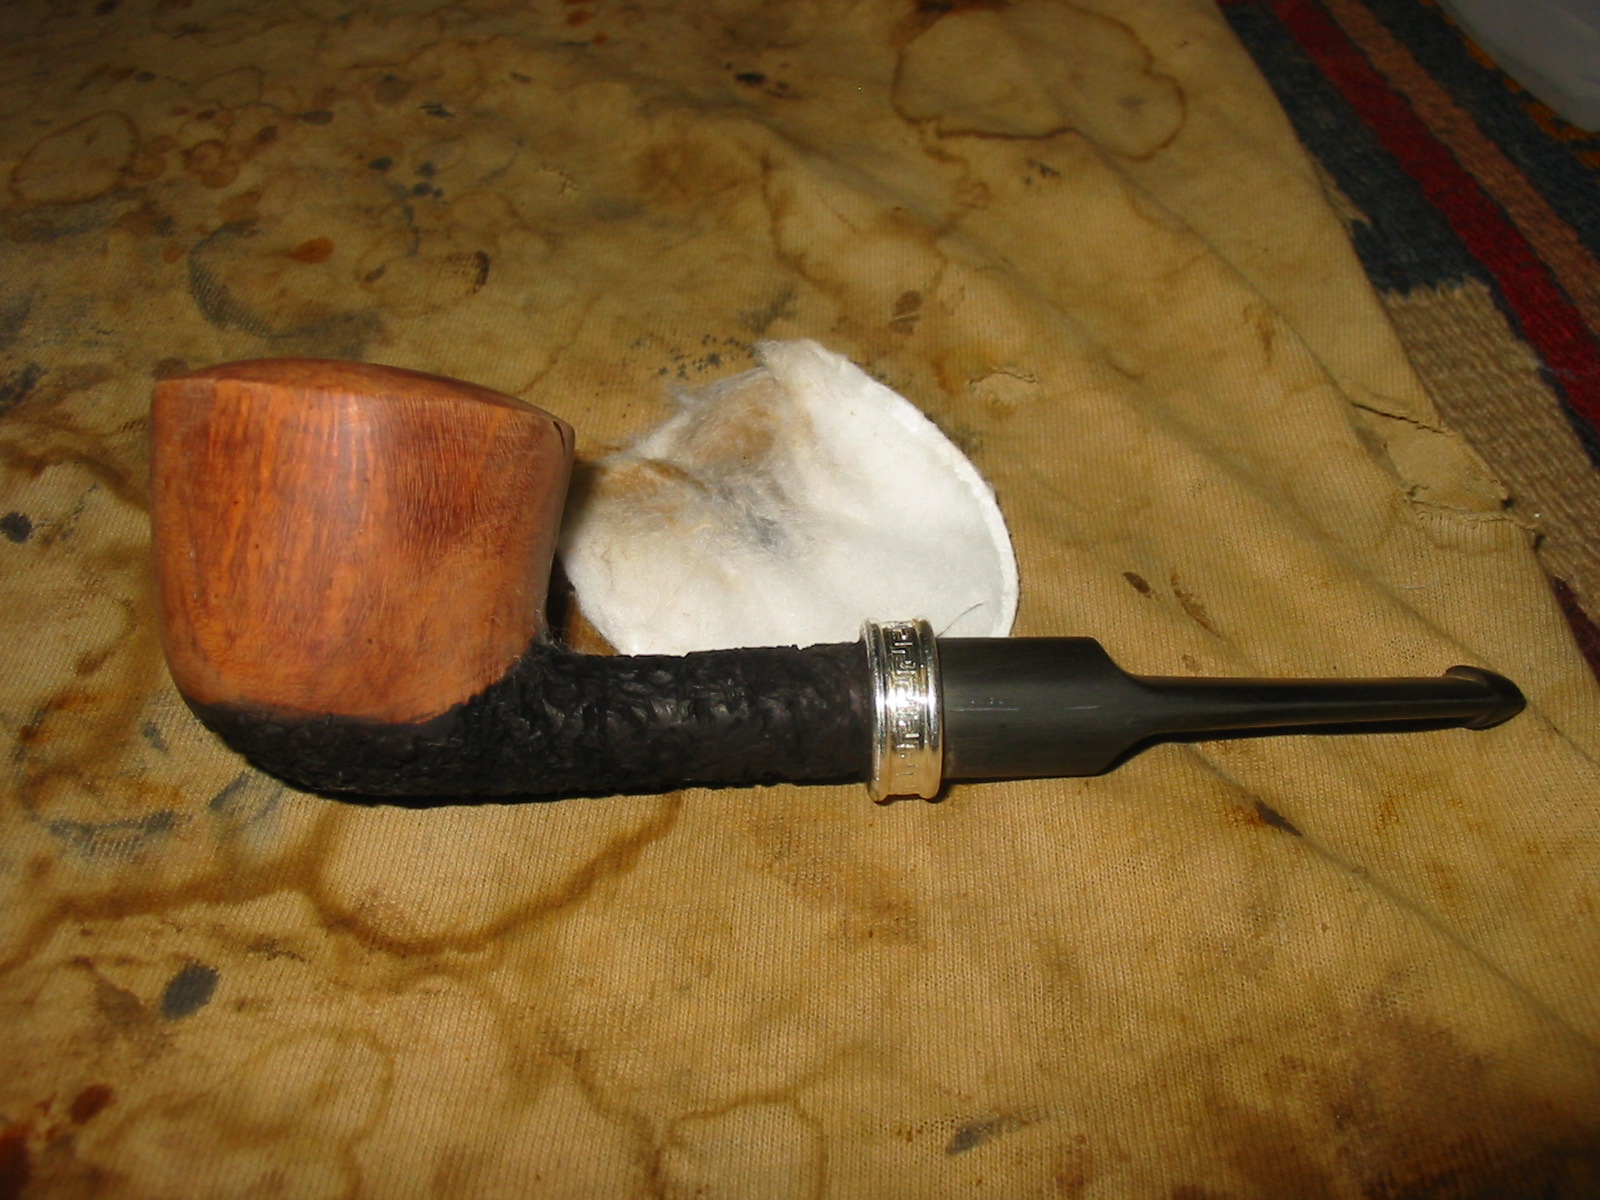
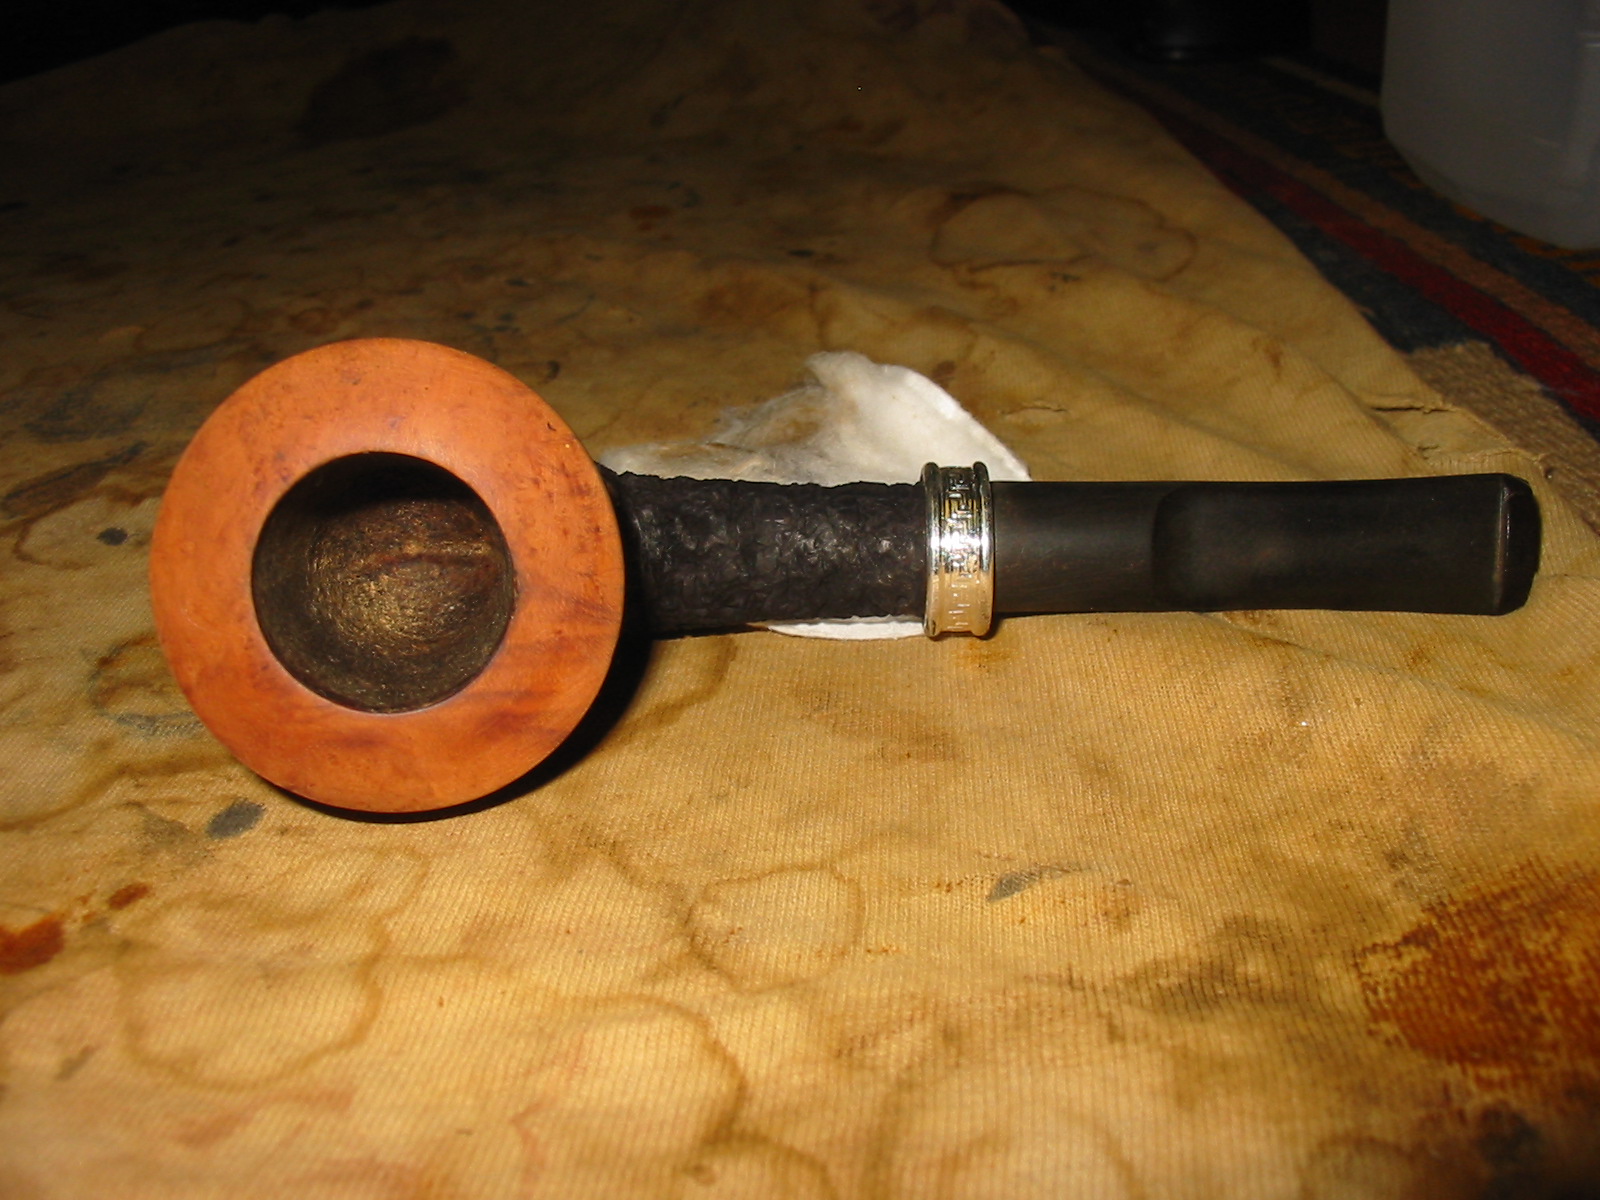
When I finished sanding with the micromesh sanding pads I rubbed the vulcanite extension and stem down with Obsidian Oil and when it was dry gave the stem, extension and smooth portions of the pipe a buff with White Diamond. I gave the smooth areas of the pipe and the vulcanite multiple coats of carnauba wax. I buffed with a soft flannel buff to give it a shine. The finished pipe is shown in the photos below. It has come a long way from the cut off bowl that I started with in the beginning of this restoration. I think rather than restoring this one I have actually repurposed a bowl – a phoenix rising from the ashes. Now I have another new pipe to fire up and try out later today.
IMG_5547

IMG_5548

IMG_5549

IMG_5550

A Hilson Meerlined Tall Dublin Reborn into a Briar Calabash


Blog by Steve Laug

I received this old briar bowl from a friend and decided to see what I could do with it. It was in pretty rough shape. The shank had been damaged and repaired with some kind of epoxy as the gel surface of the crack was hard as rock. The repair was actual the most substantial part of the bowl. The bowl had an amazing deep and craggy blast to it but the finish itself was worn. Fortunately the wear was not deep and the cragginess was not too badly affected. The rim was smooth but the edges were slightly worn. The bottom of the exterior of the bowl showed the most nicks and damage to the finish. There were marks from looked to be a band on the shank. The inside of the bowl was quite clean. Originally it looked as if it had a meerschaum lining and the glue that had held that bowl in place was gone and just a small remnant of the glue was on the interior walls of the bowl. The bottom of the bowl was stained with tobacco so evidently the meerschaum lining must have crack and seepage darkened the bottom of the bowl.
IMG_5393

IMG_5394

IMG_5395

IMG_5396

I cleaned out the inside of the bowl with cotton swabs and isopropyl alcohol. Once I had it clean I worked on the resin on the shank repair. I sanded it until it was flush with the surface of the rest of the shank so that it did not bulge. I continually checked to see if I was weakening the repair but the shank was solid. I used the dental pick and my modified Philips screwdriver rusticator to rusticate the area around the resin repair. I also found a band in my box that fit the shank perfectly and pressed it into place. The band was more for bling than as the shank was not cracked or damaged. I also went through my stem can and found a stem that fit the diameter of the shank, turned it with the PIMO tenon turning tool and fit is in place. It would need to be reduced slightly in diameter to fit well with the band. I wiped down the bowl and shank with isopropyl alcohol on a cotton pad. I did not want to chance acetone as I was worried about it dissolving the resin on the shank repair. As I did not know what was used in the repair I did not want to chance further damage.
IMG_5397

I stained the bowl with a dark brown aniline stain. I applied it, flamed it, applied it again and flamed it again. To get an even coverage on the sandblast finish it would take more than three applications and flamings to make the stain even. The photos below show the bowl after three coats of the stain. It would need to be repeated later in the process to get the rough places stained.
IMG_5398

IMG_5399

IMG_5400

IMG_5401

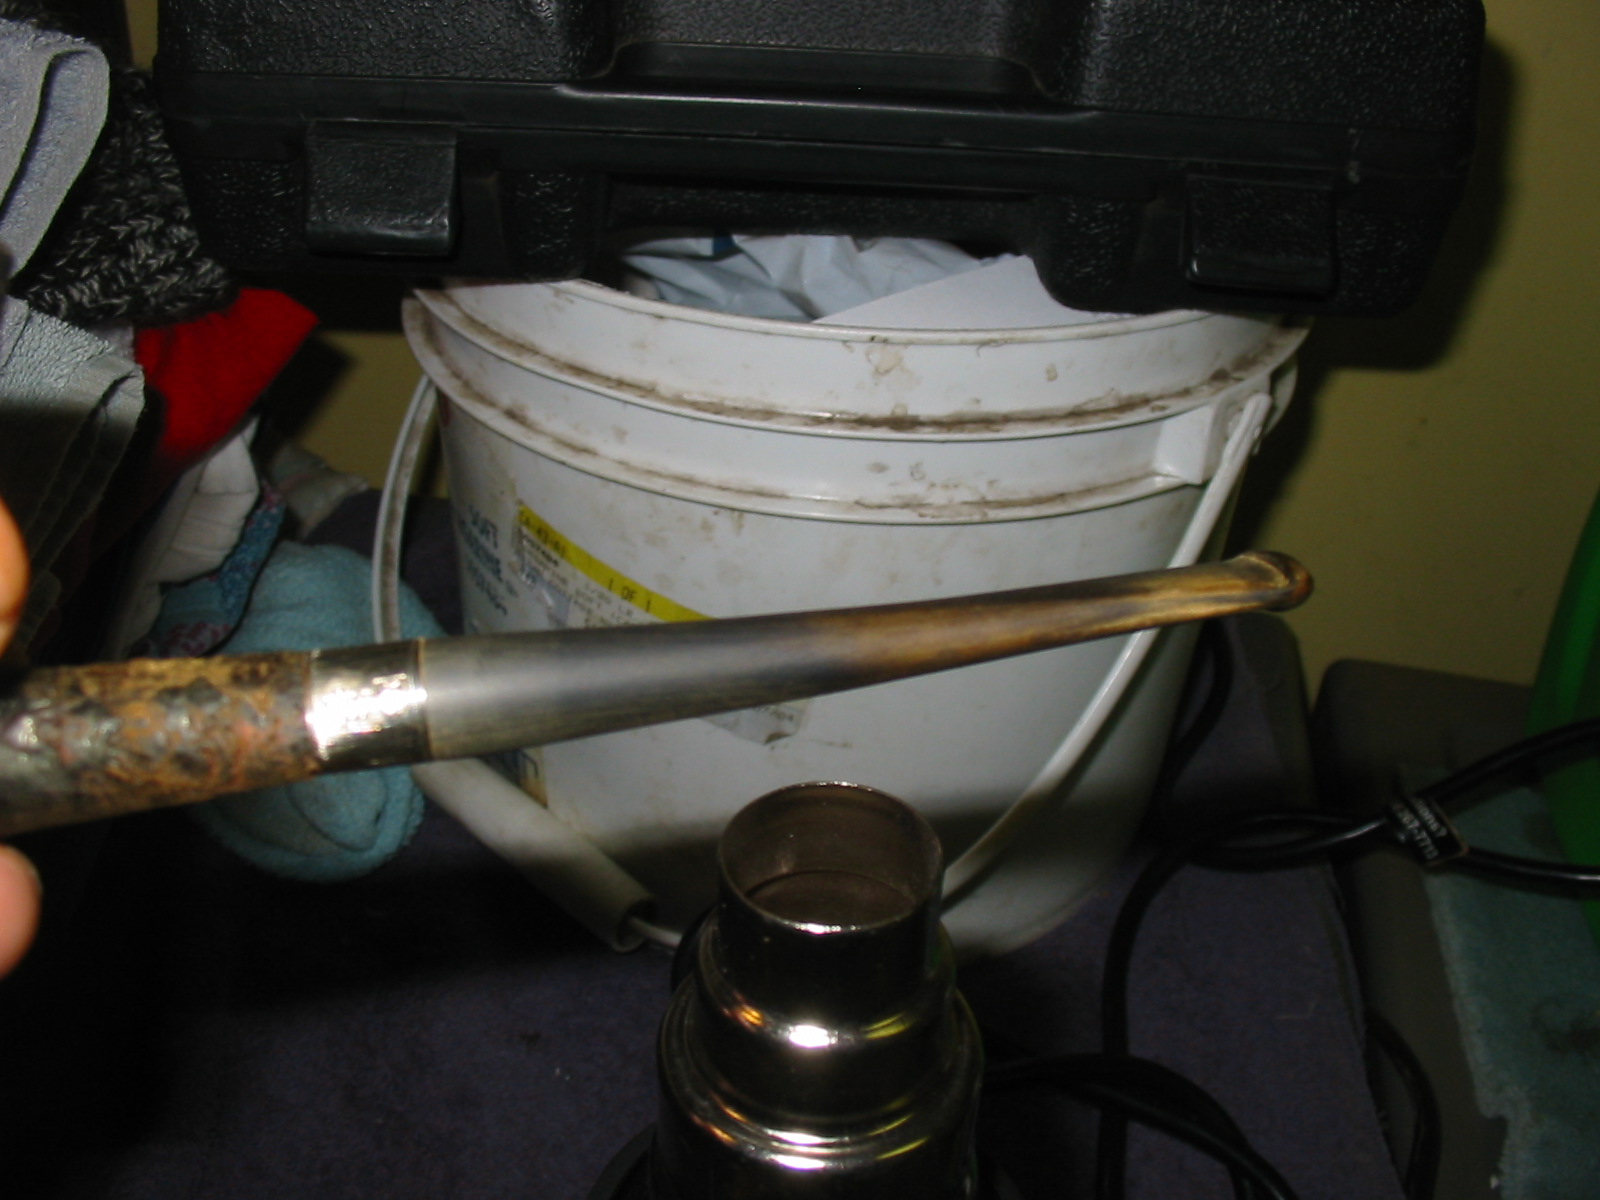
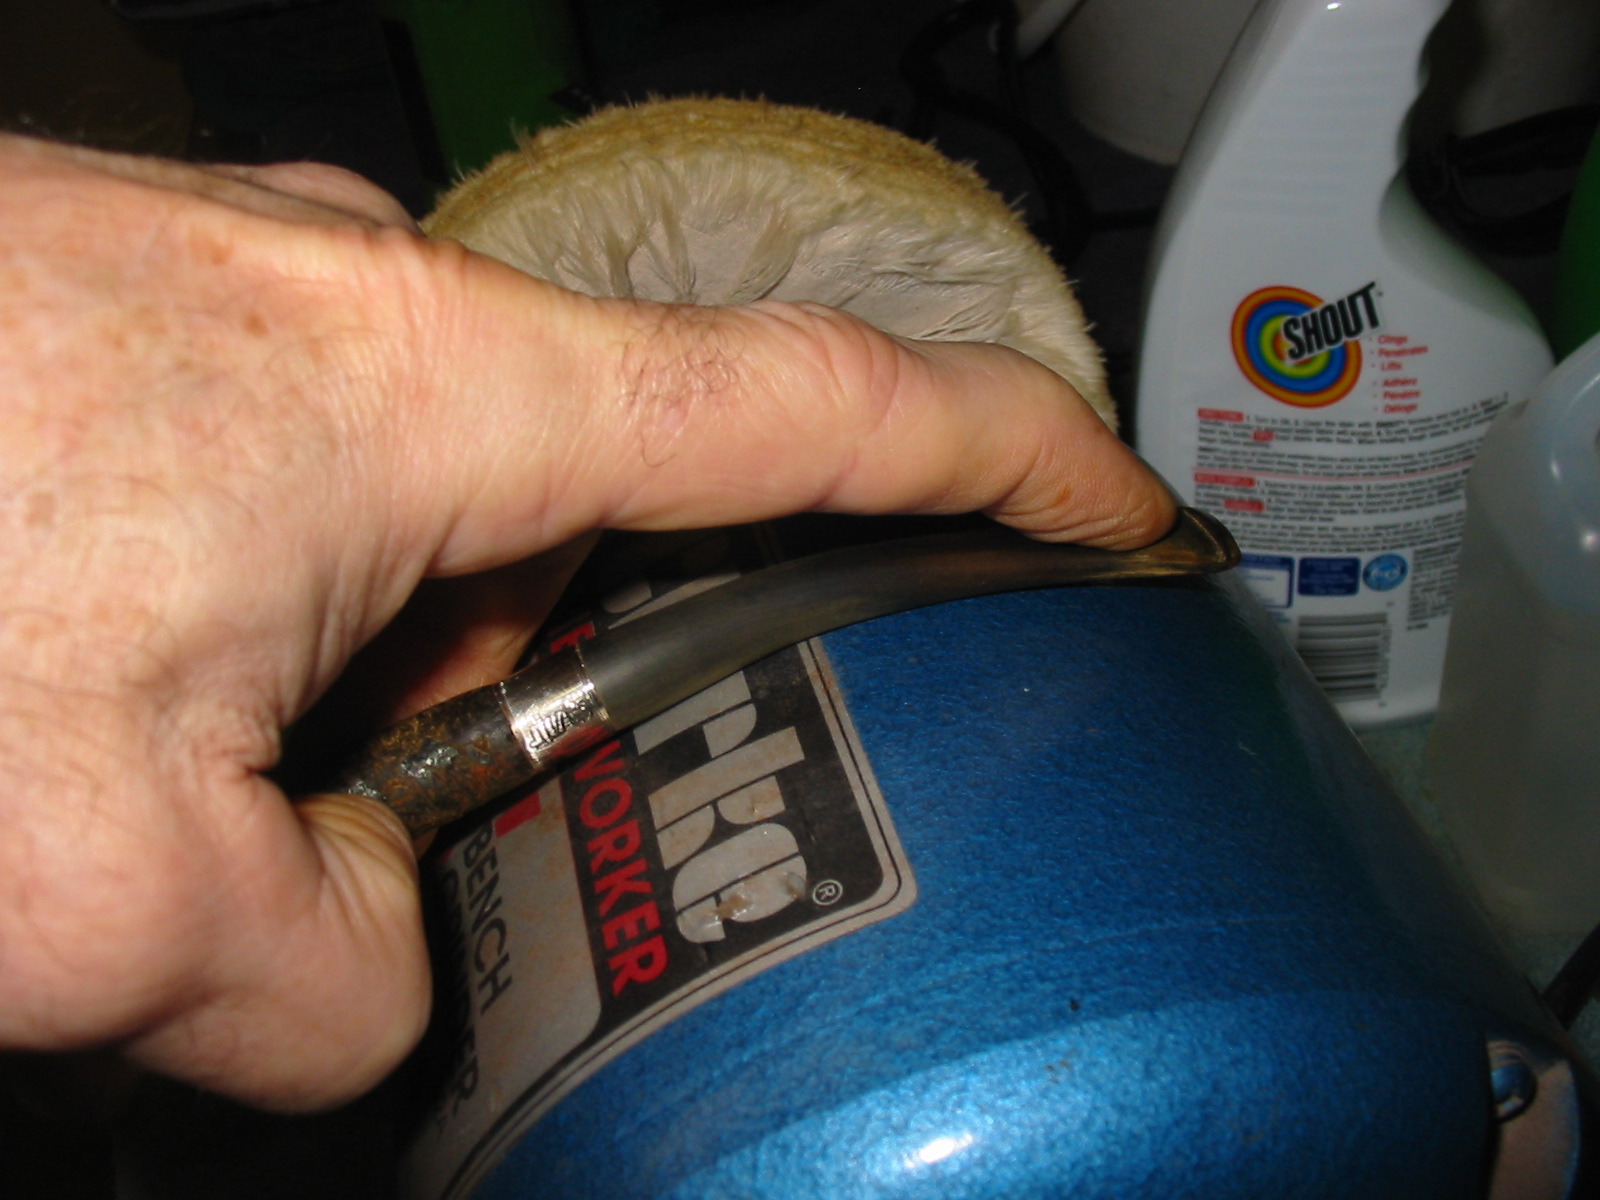
I sanded the stem with 220 grit sandpaper and with a medium and fine grit sanding sponge to make the fit against the band work well. Once the shape and the fit of the stem were correct I used a heat gun to bend the stem to an angle that worked well with the look of this pipe. For the angle I used the curve of my buffer to press the softened stem over. When I had it bent I held it as it cooled and then set the bend with cool water.
IMG_5402

IMG_5403

IMG_5404

IMG_5406

IMG_5407

After bending I resanded the stem with the sandpaper and sanding sponges. Once the majority of the scratches were gone it would need to be sanded with the micromesh sanding pads but I wanted to do some more work on the bowl and shank before finishing the stem.
IMG_5408

IMG_5409

IMG_5410

IMG_5411

I roughened the shank some more to give it a closer look to the sandblast of the bowl. I heated the bowl with the heat gun to warm up the briar before giving the bowl and shank yet another coat of the aniline stain. I gave it the fourth coat of the stain, flamed it and the coverage was finally what I was looking for on the pipe. The shank and the bowl bottom took the stain this time and matched the rest of the bowl.
IMG_5412

IMG_5413

I hand buffed the bowl with a shoe brush and then gave it a light buff with White Diamond on the buffing wheel. I took it back to the work table and gave it several coats of Halcyon II wax which works well on sandblast and rusticated finishes. I buffed it with the shoe brush to bring up the shine. The next three photos below show the bowl after the final stain and light buff.
IMG_5415

IMG_5416

IMG_5417

At this point in the process I used a cotton swab dipped in stain to touch stain the places on the shank the underside of the bowl that were lighter than the rest of the bowl. I let it dry completely over night and then hand buffed the bowl.

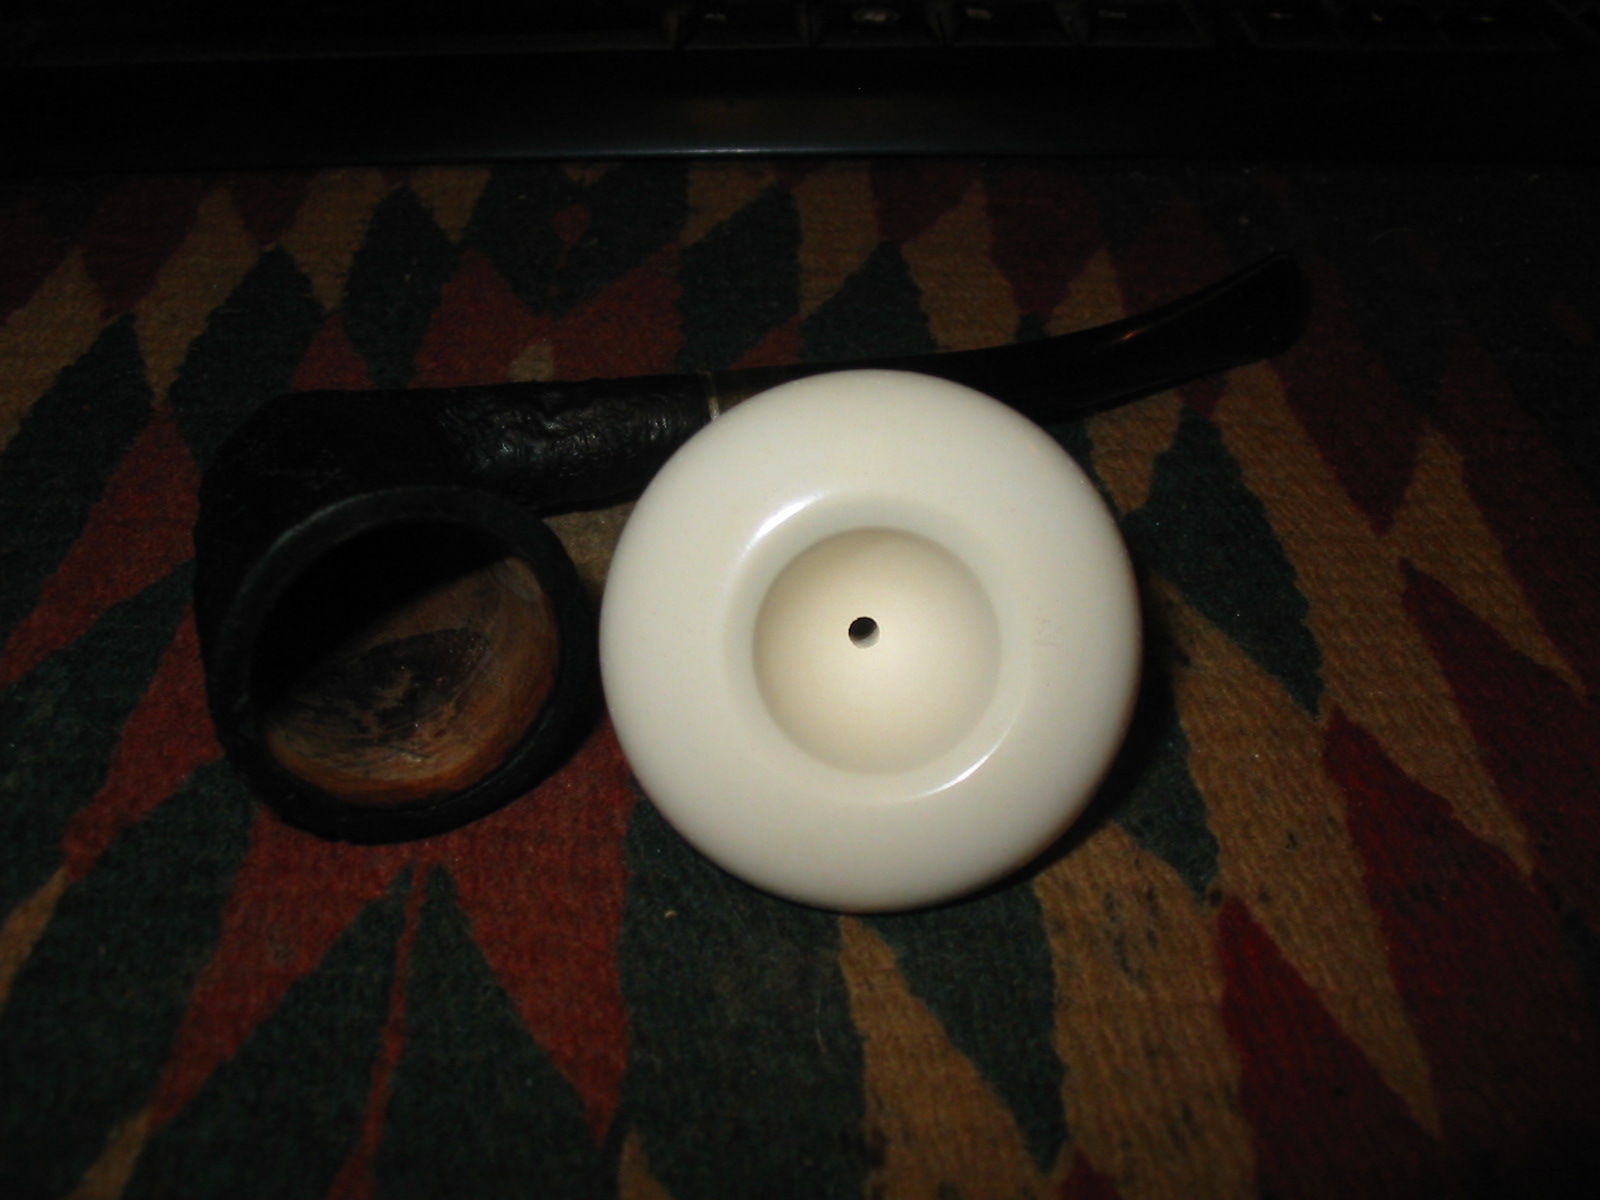
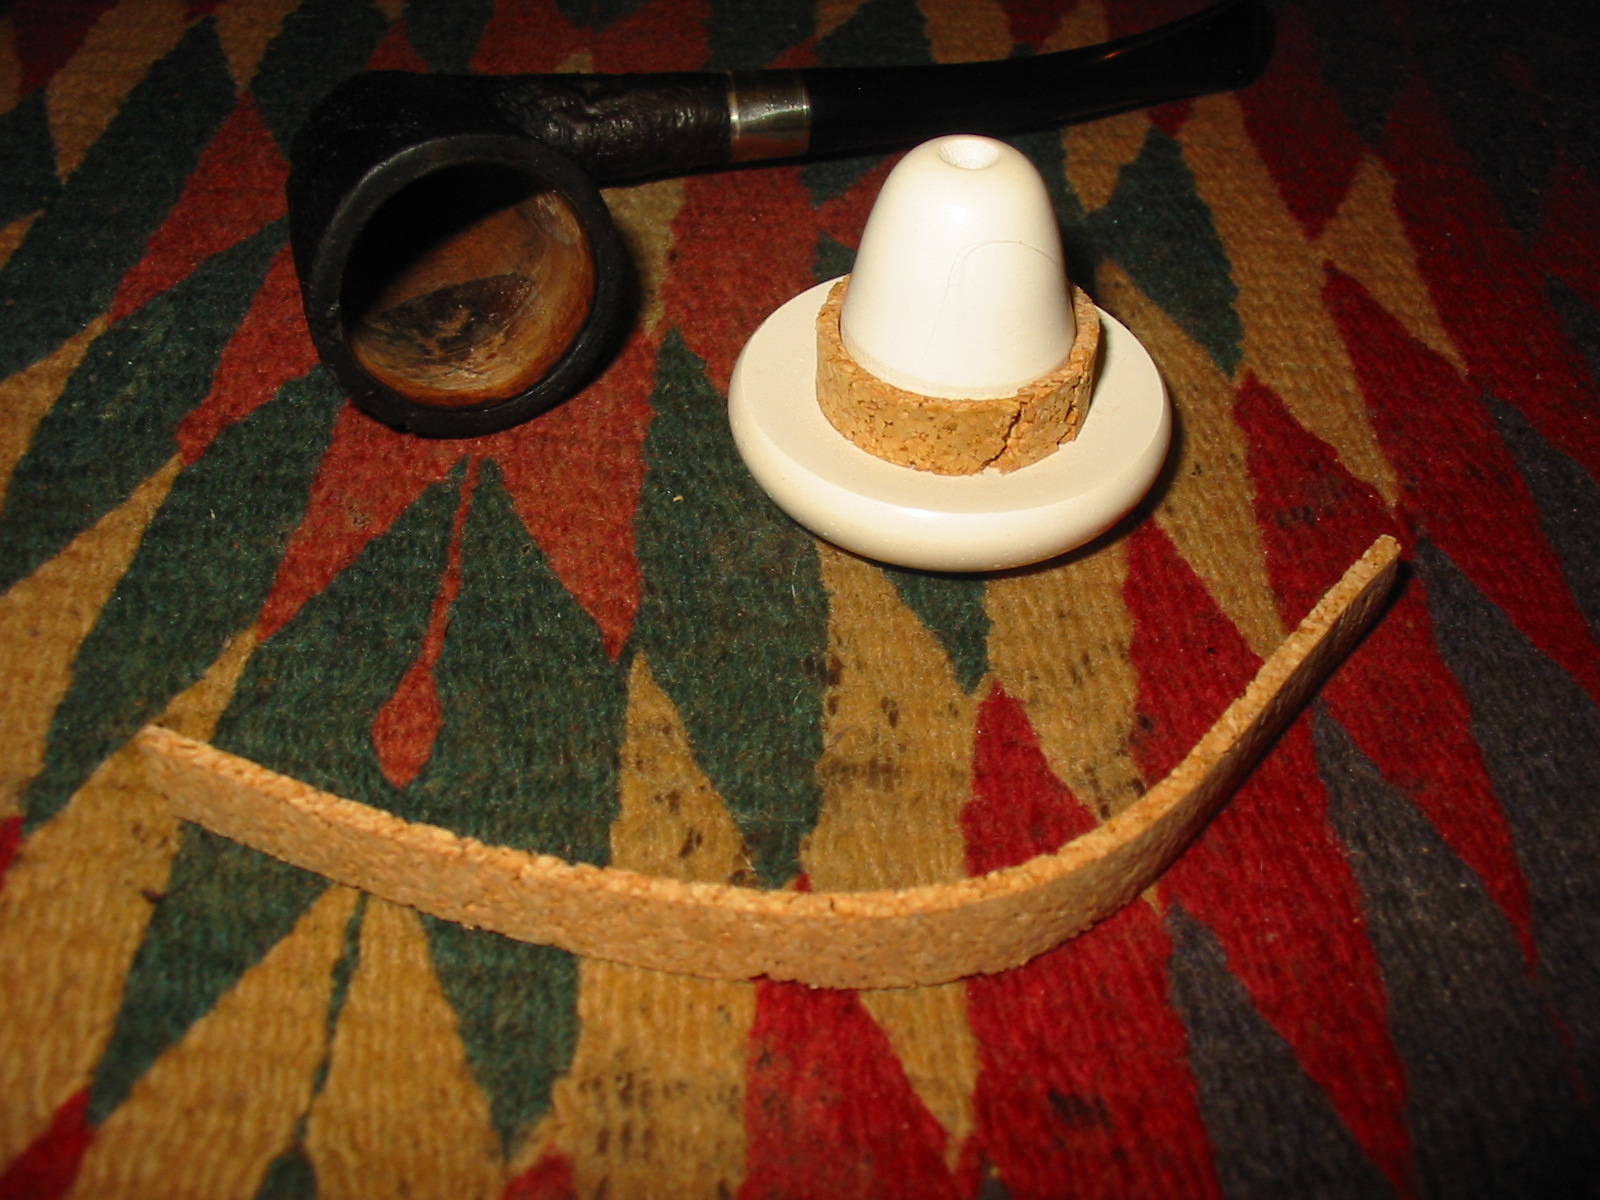
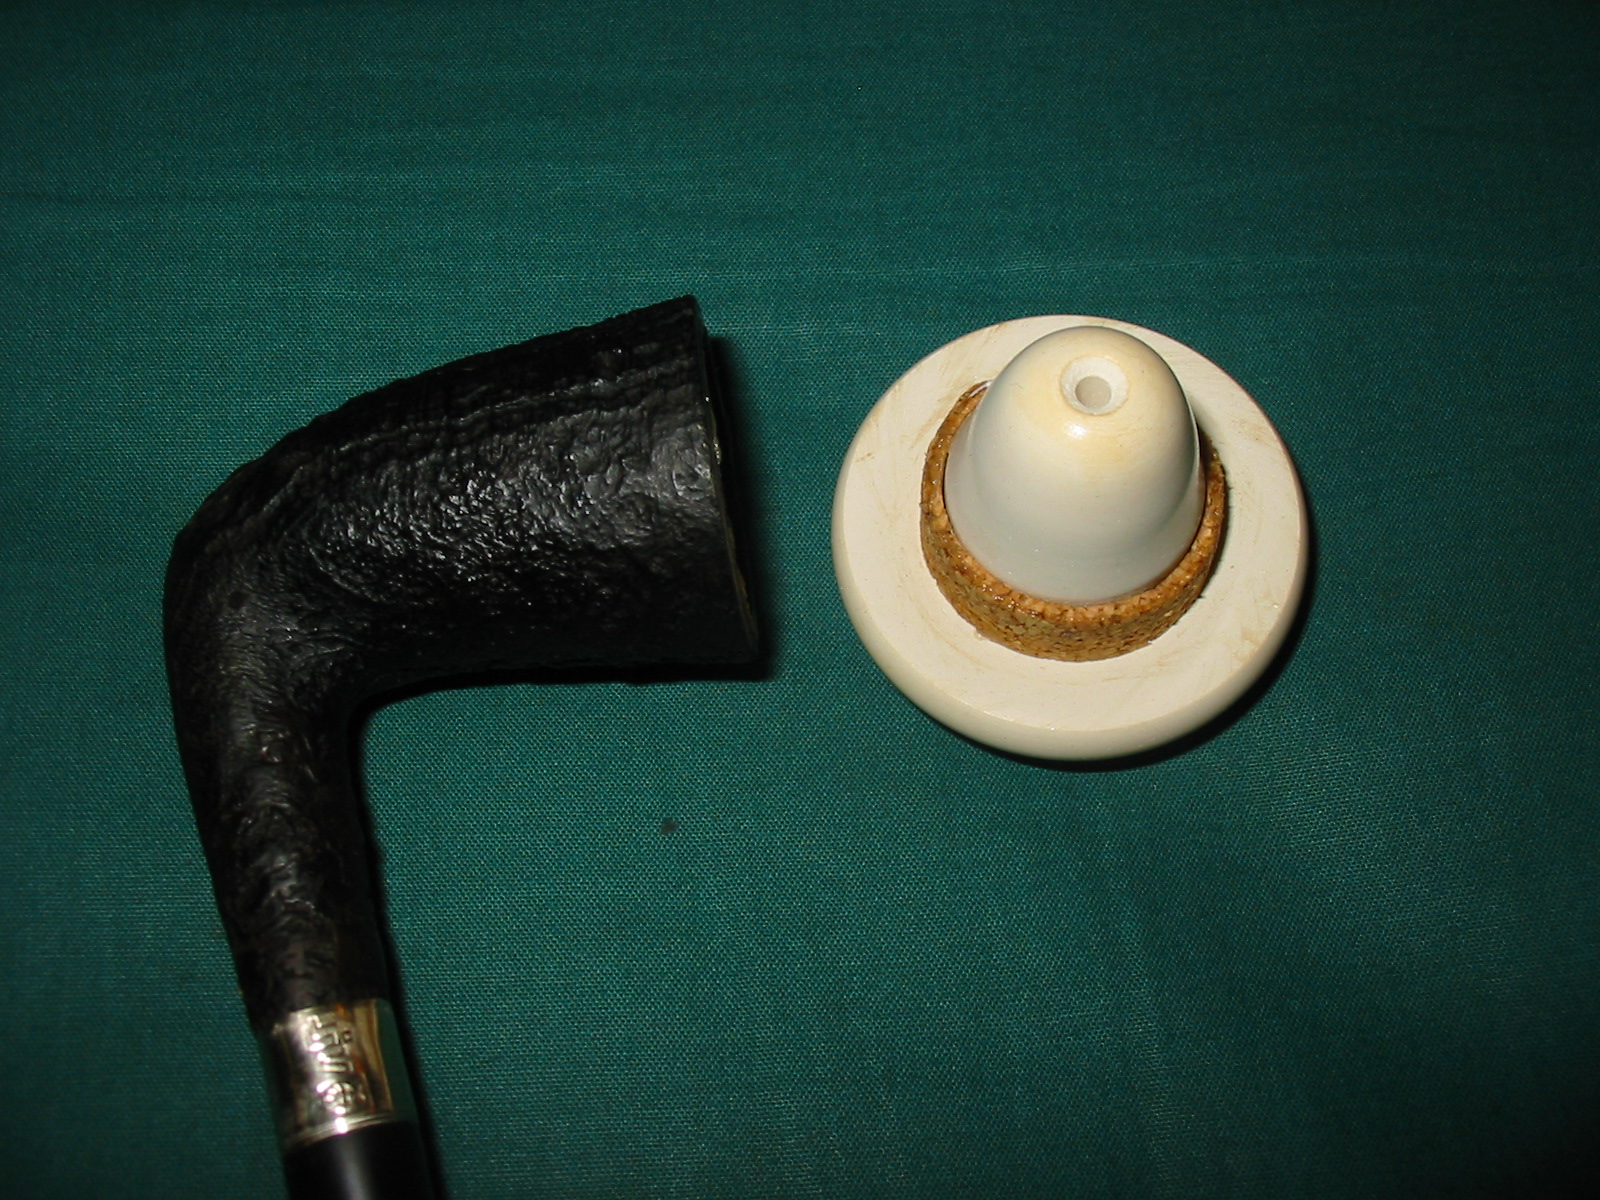
In a phone call with Tim West of J.H. Lowe Pipe Repairs I discussed the possibility of making this pipe a Briar Calabash. I gave Tim the dimensions of the bowl and he happened to have a bowl that was originally made for Pioneer Calabash pipes that was the correct dimensions. He sent along several strips of cork that would be used for making a gasket to give the meerschaum cup a snug fit in the briar bowl.
IMG_5501

I cut a strip of cork and glued it to the bowl with super glue. I used a small piece of the cork to fill the gap between the ends of the strip. Once the glue dried I sanded the cork gasket until it was the proper diameter for the briar bowl.
IMG_5502

IMG_5507

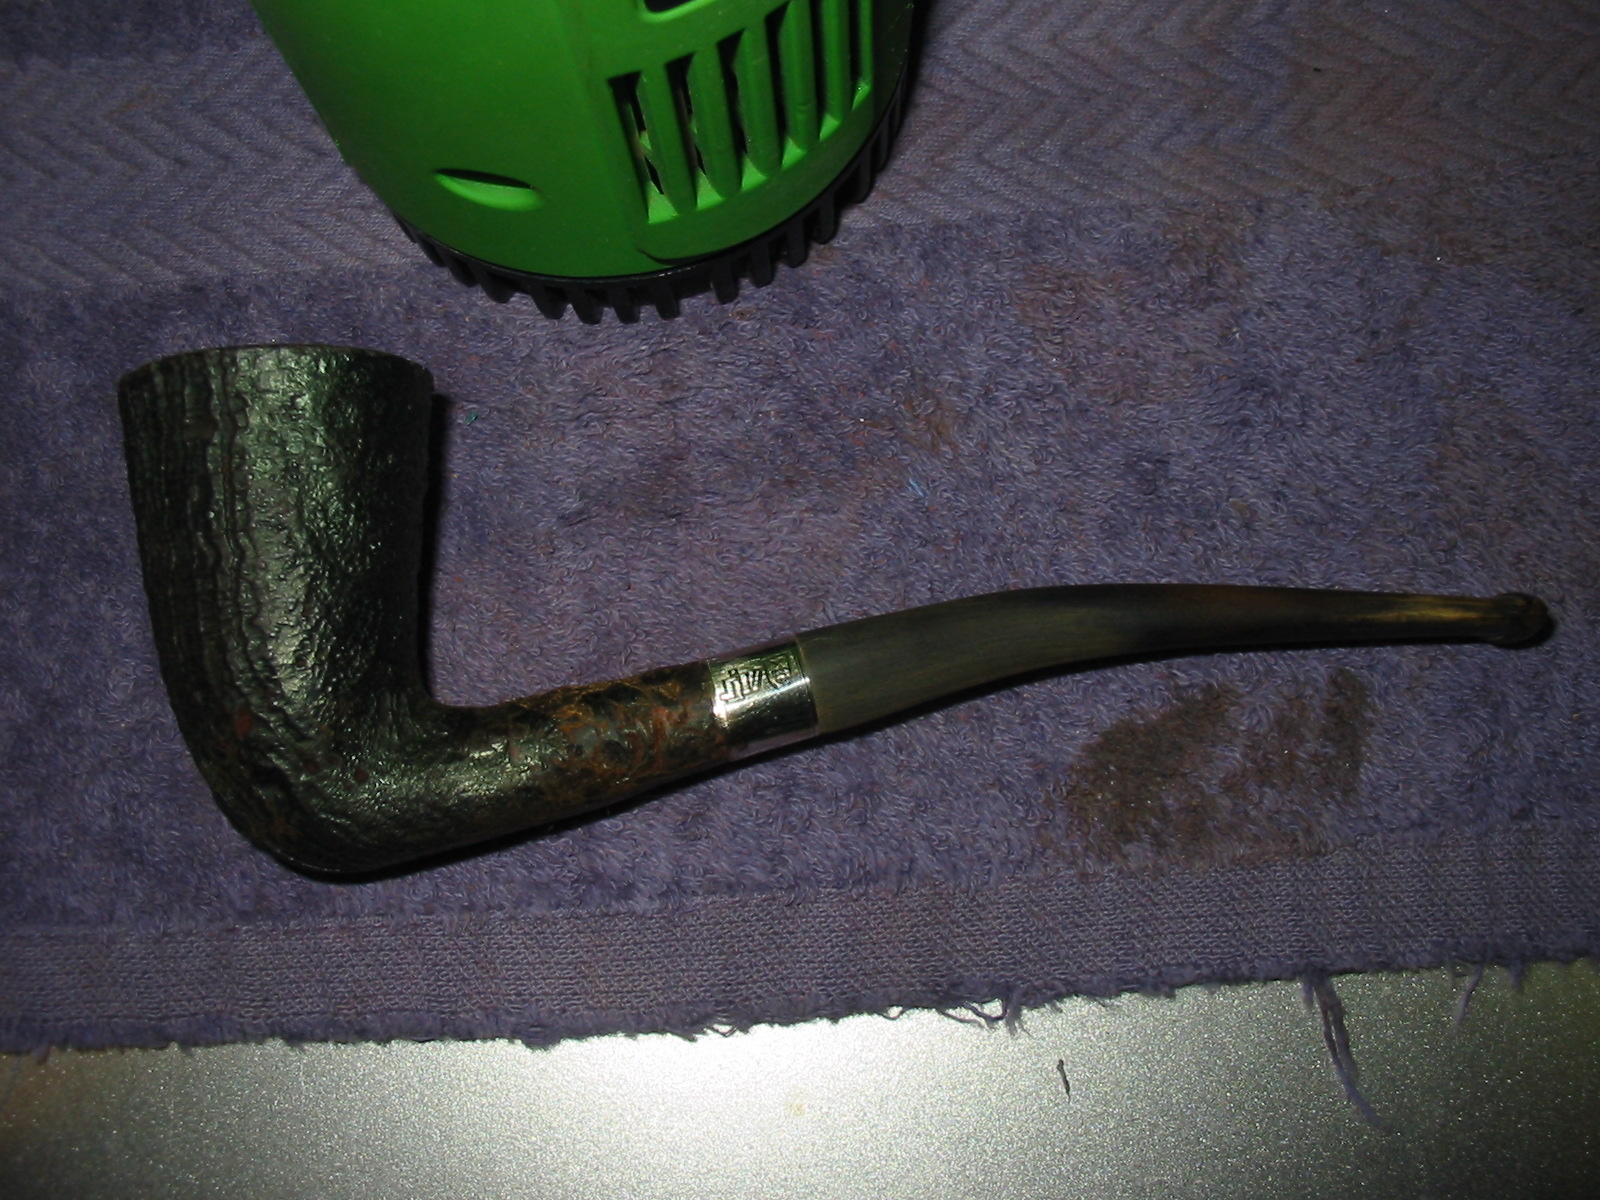
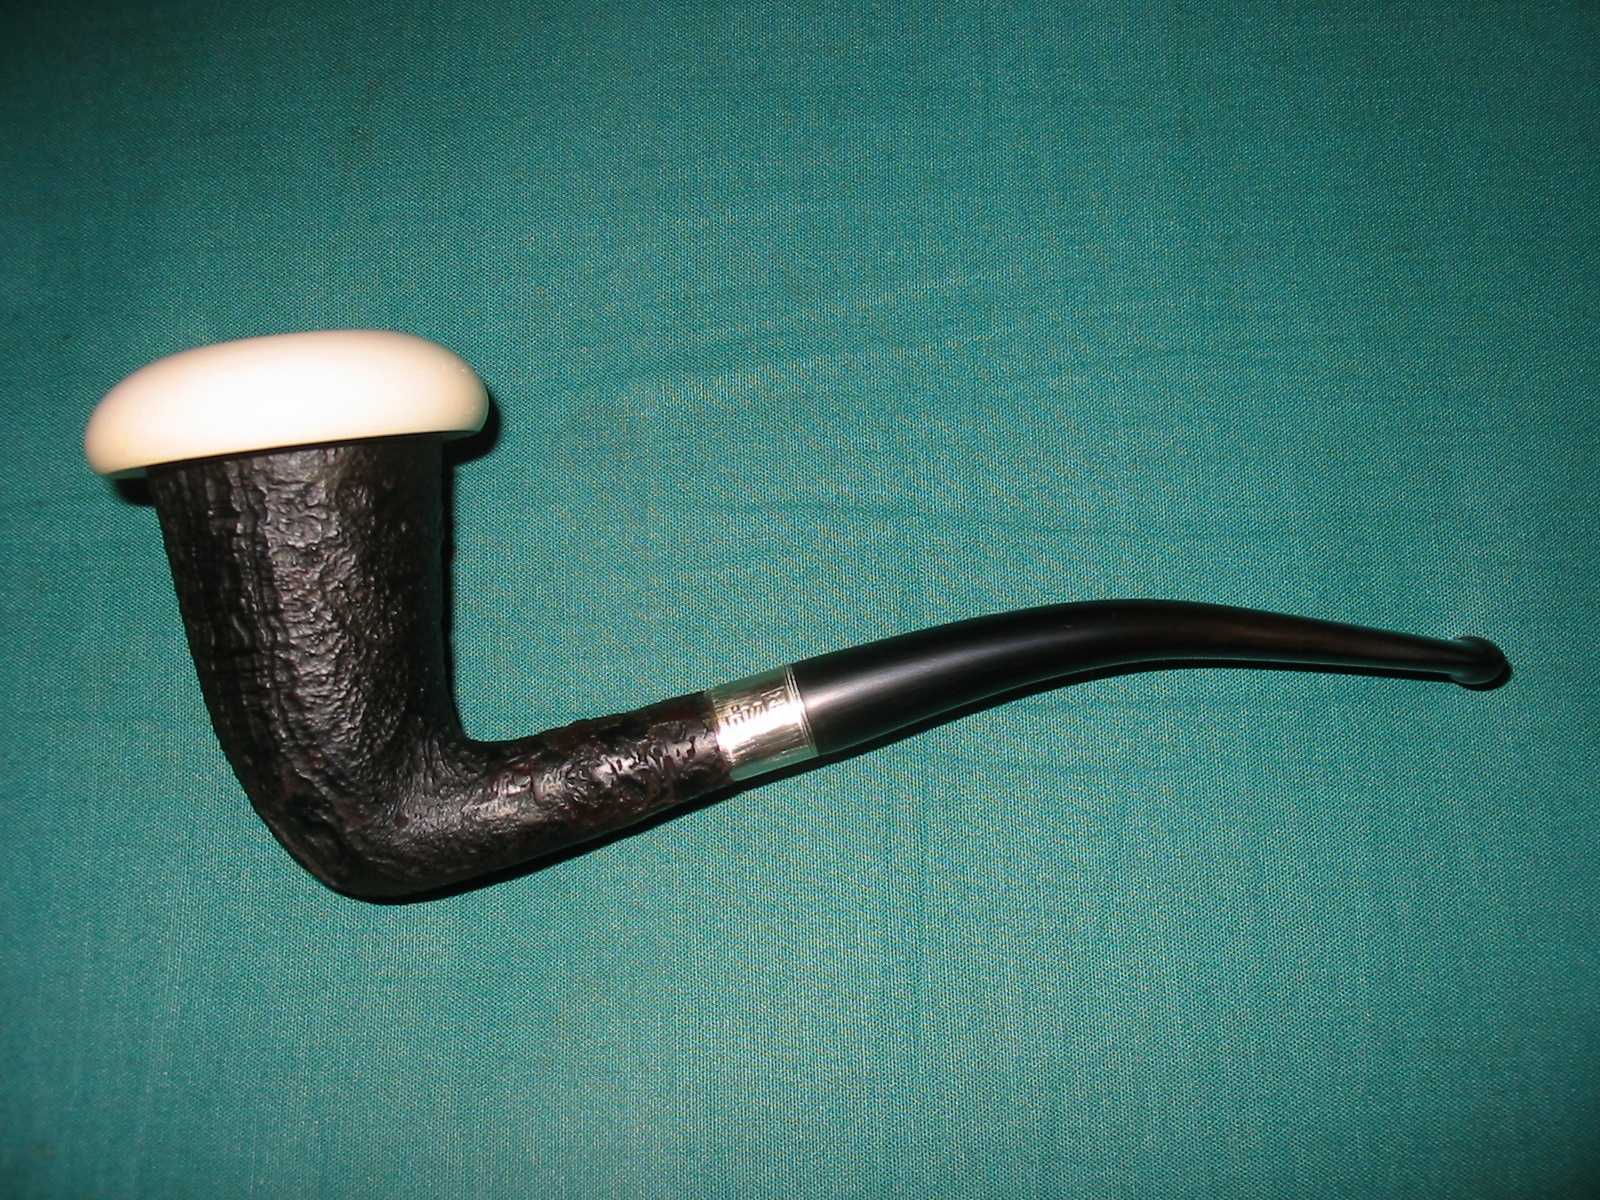
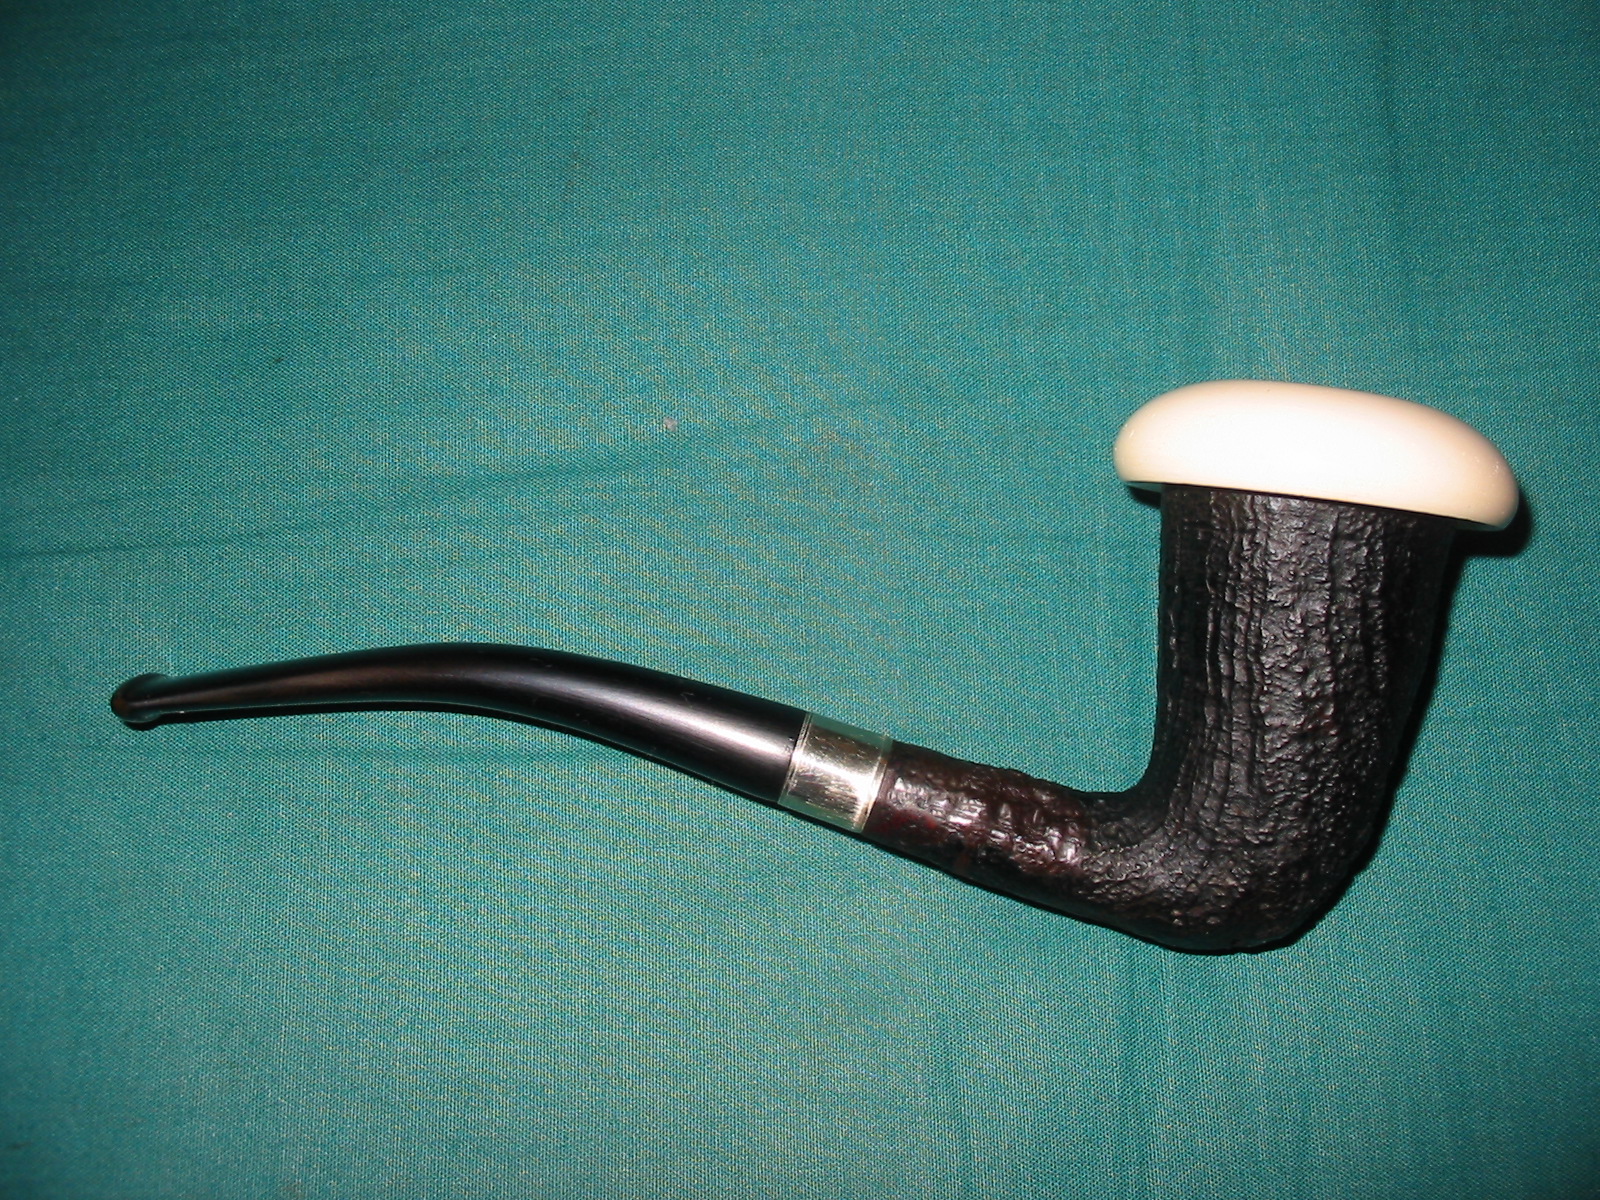
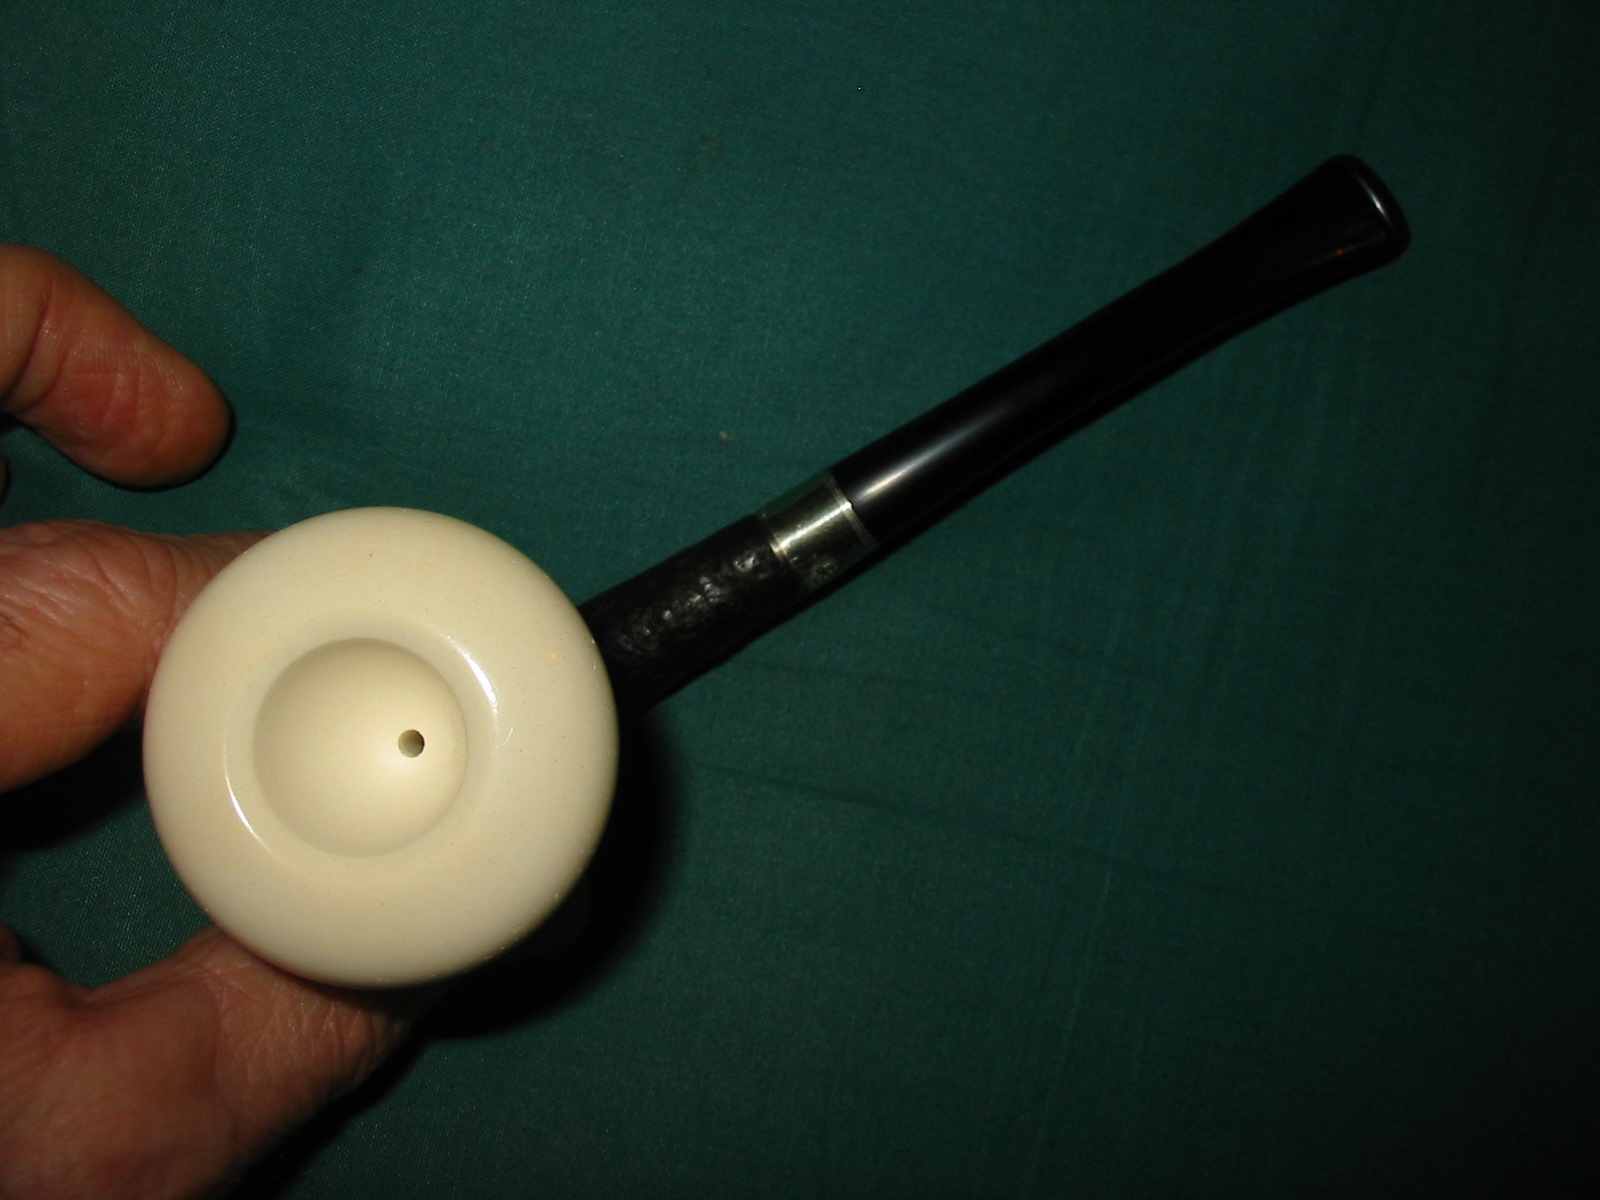
I used some Vaseline and lubricated the cork gasket and then used my finger to coat the inside edge of the briar bowl where the cork would sit. I then pressed the meerschaum cup into place in the briar bowl. The finished Briar Calabash pipe is shown in the photos below. The polished gloss of the white meerschaum bowl looks great against the sandblast dark brown briar bowl. The silver band gives a bit of contrast to the pipe. The draught on the pipe is perfect and the feel of the new Calabash in the hand is great. The pipe is still light in weight and the thin pencil shank and stem work well. Now all that remains is to load it up and have the inaugural smoke.
IMG_5508

IMG_5509

IMG_5510

IMG_5511

Restoring an old Bruyere Extra Chubby Billiard


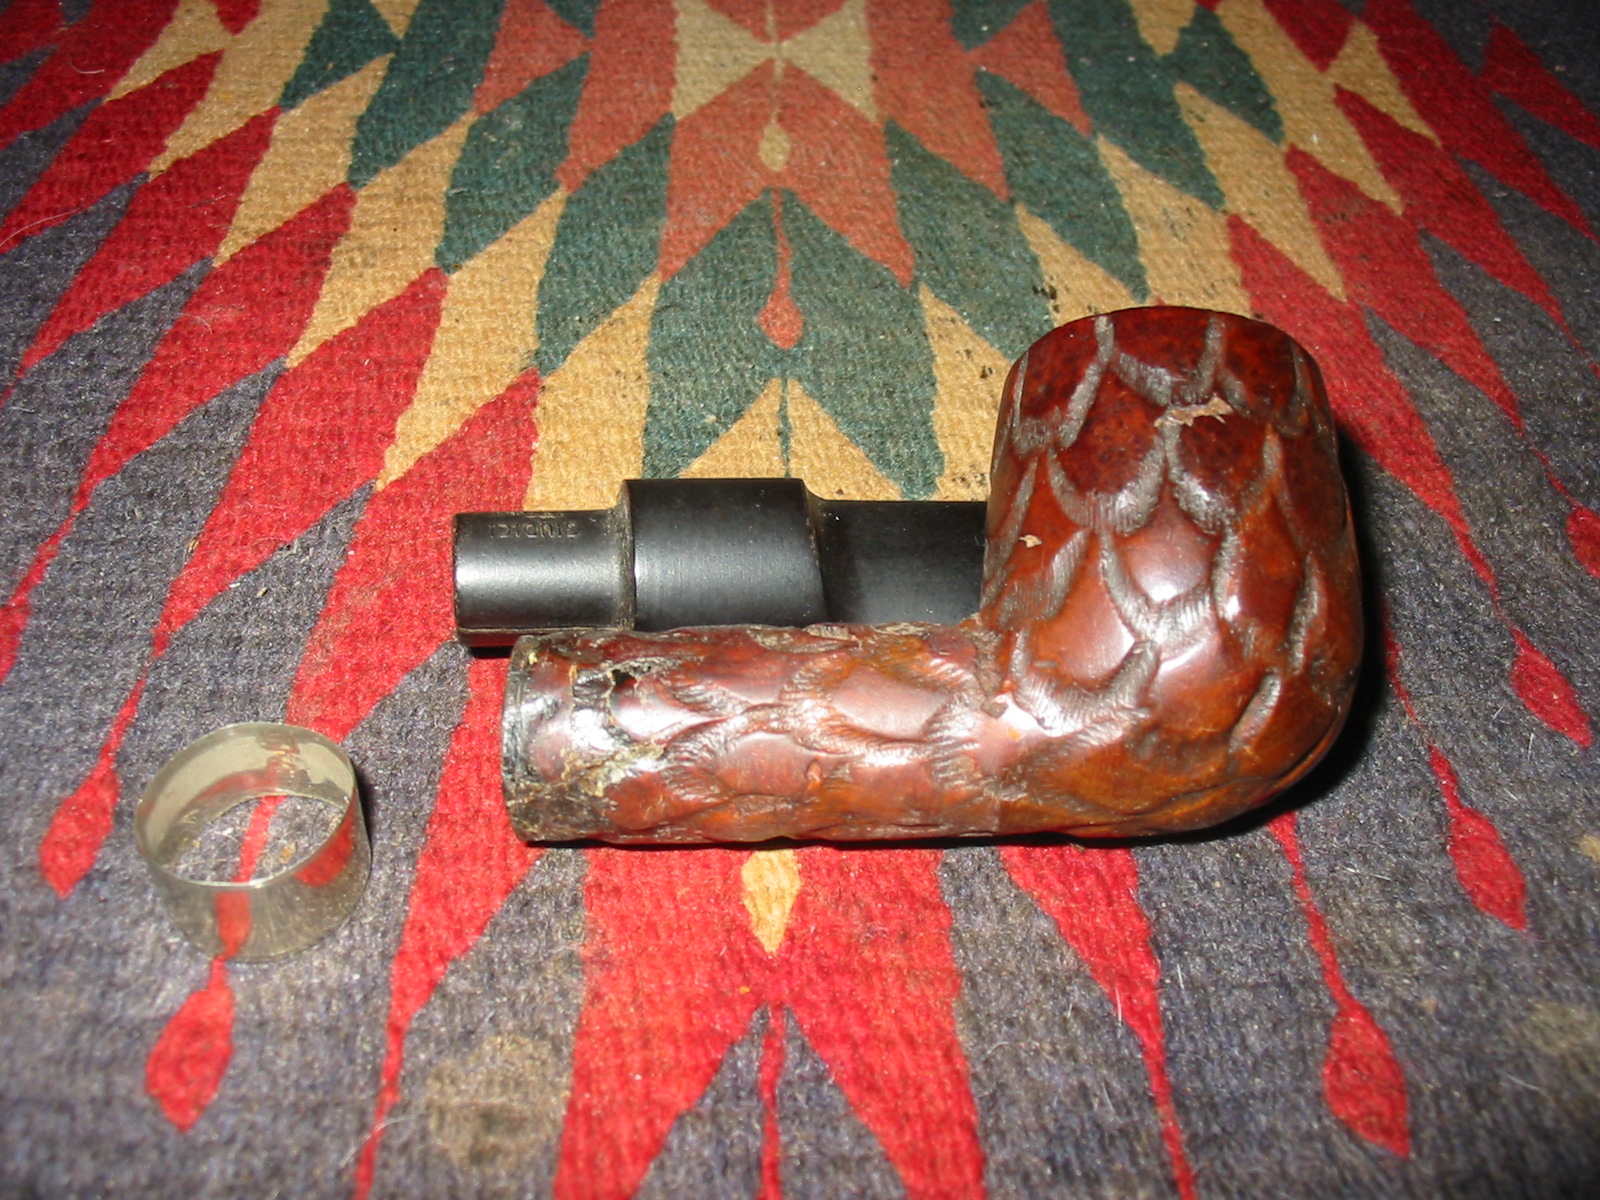
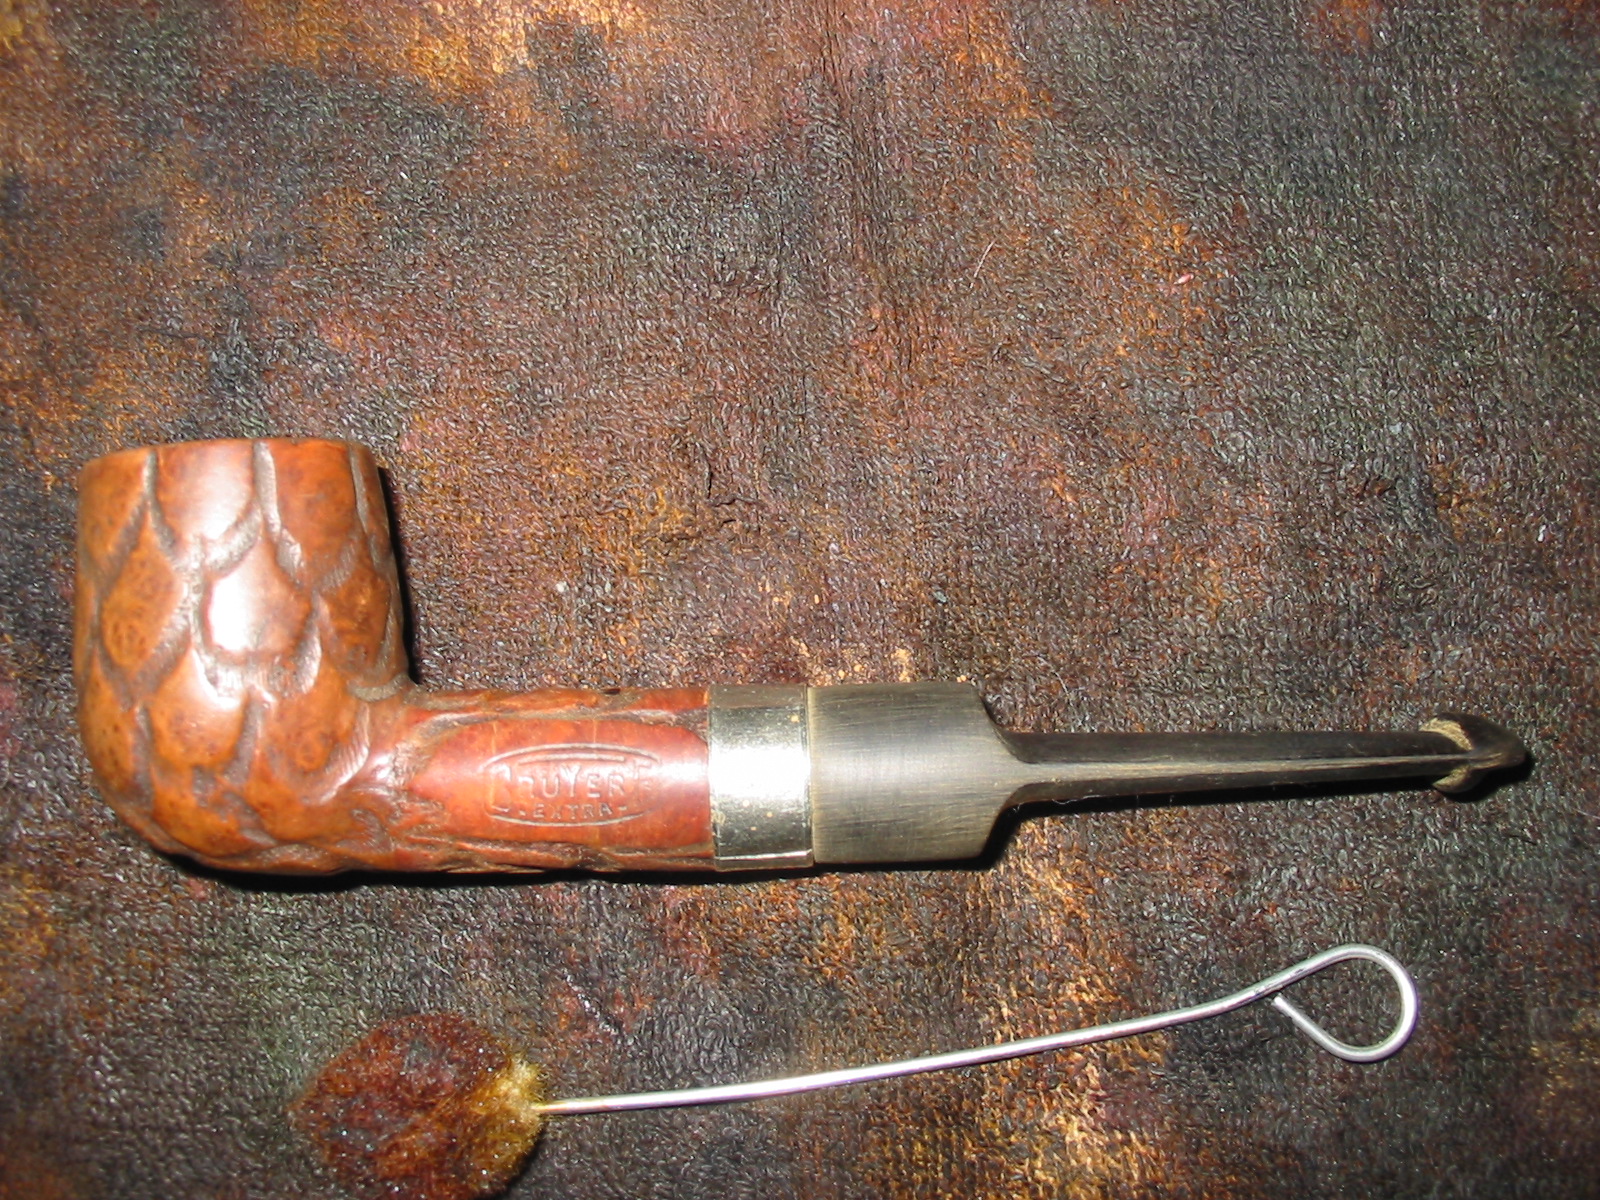
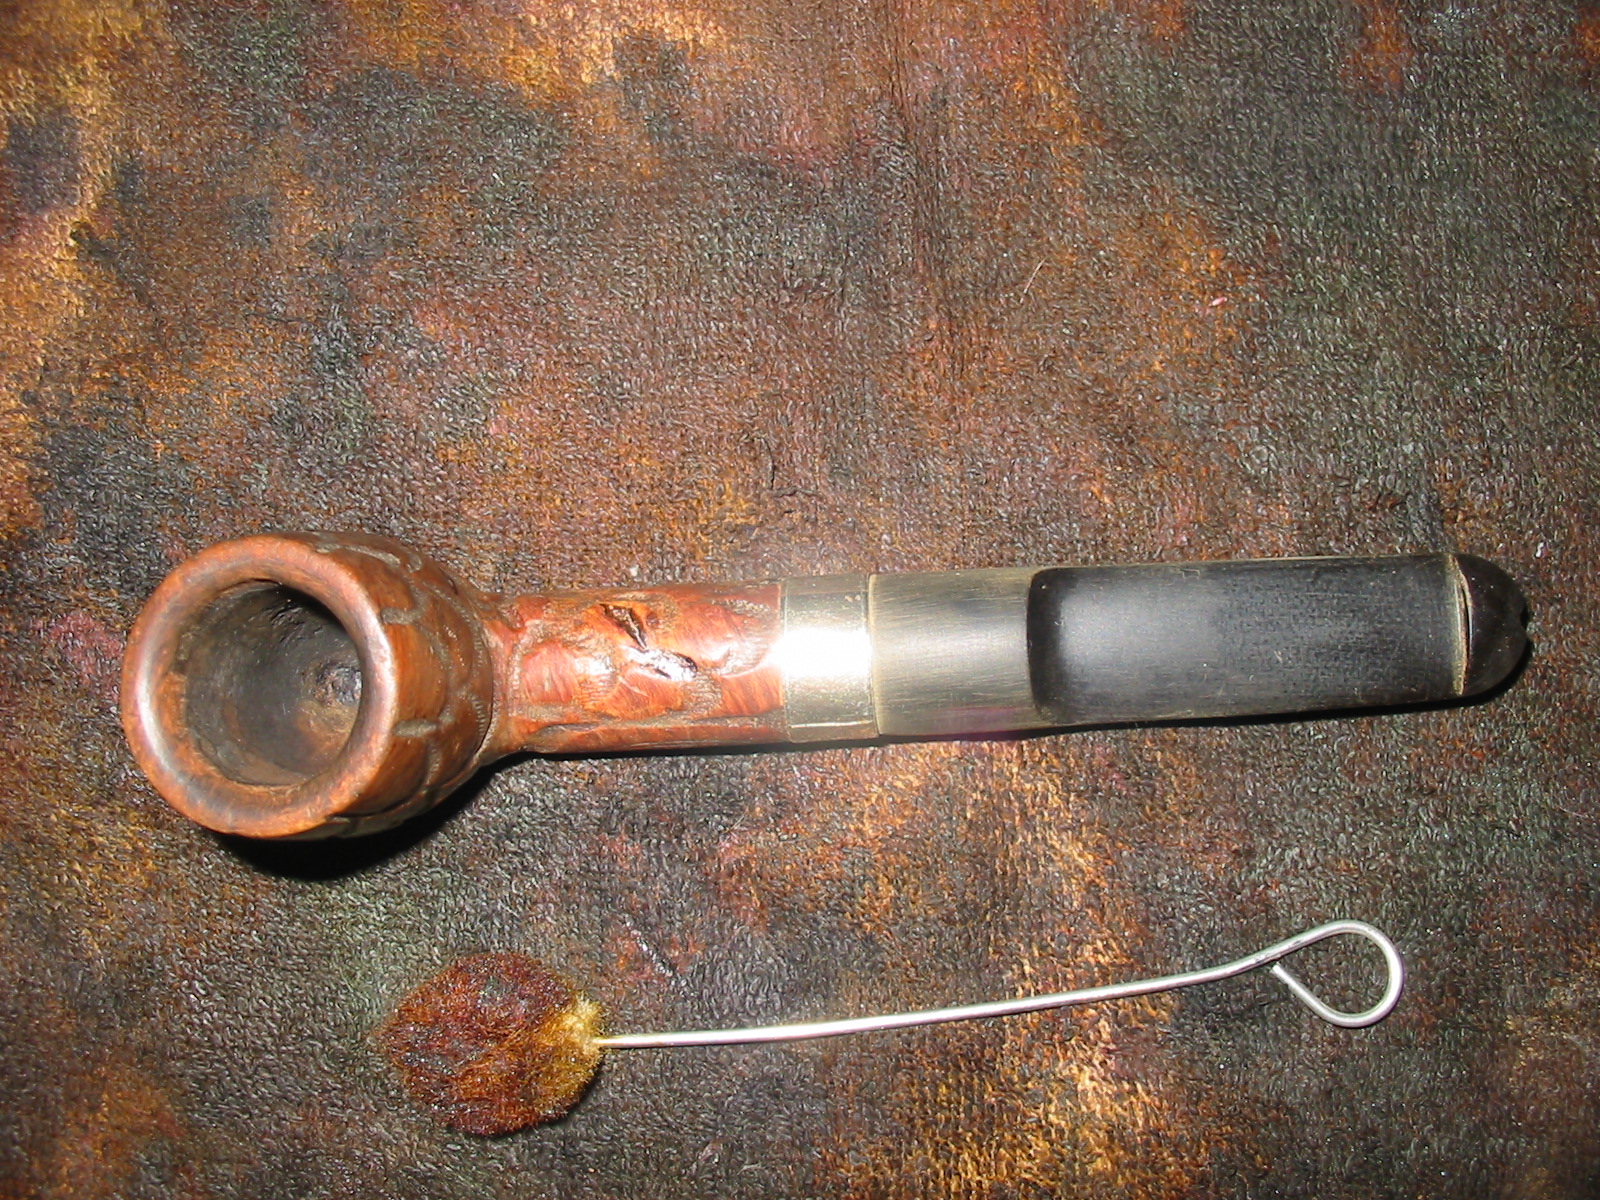
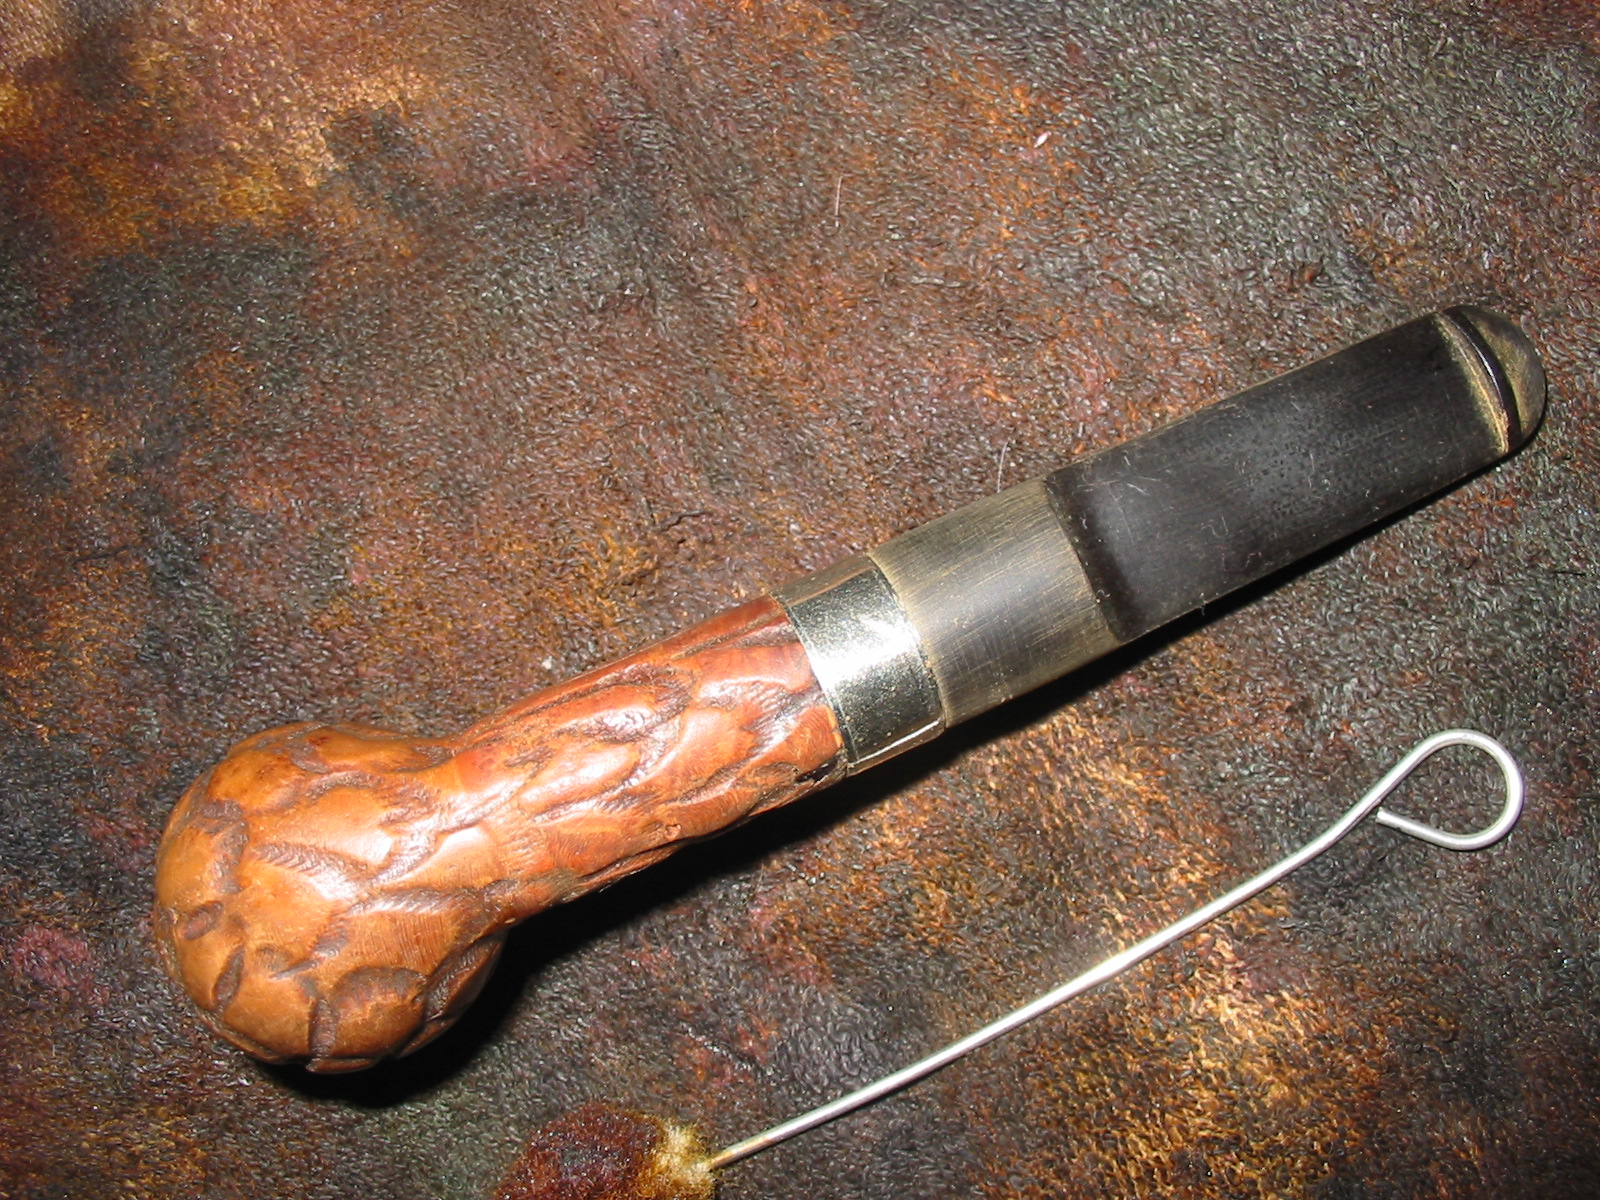
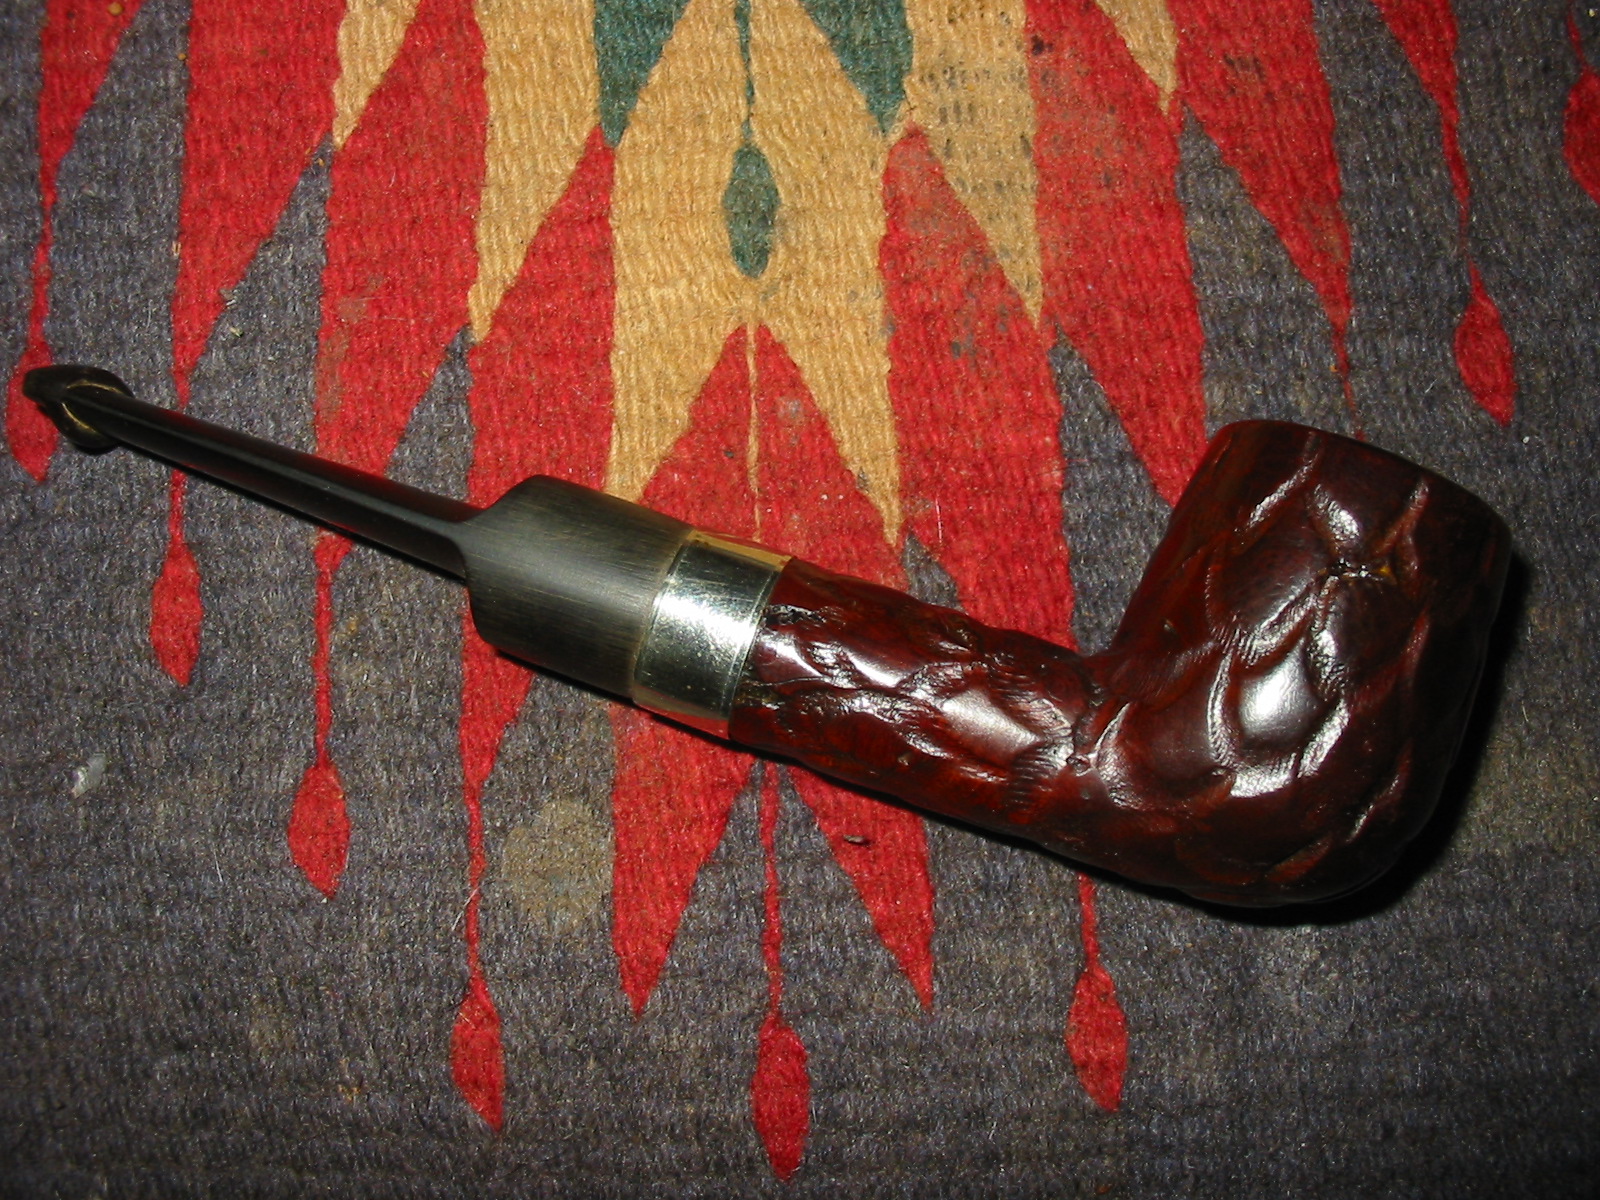
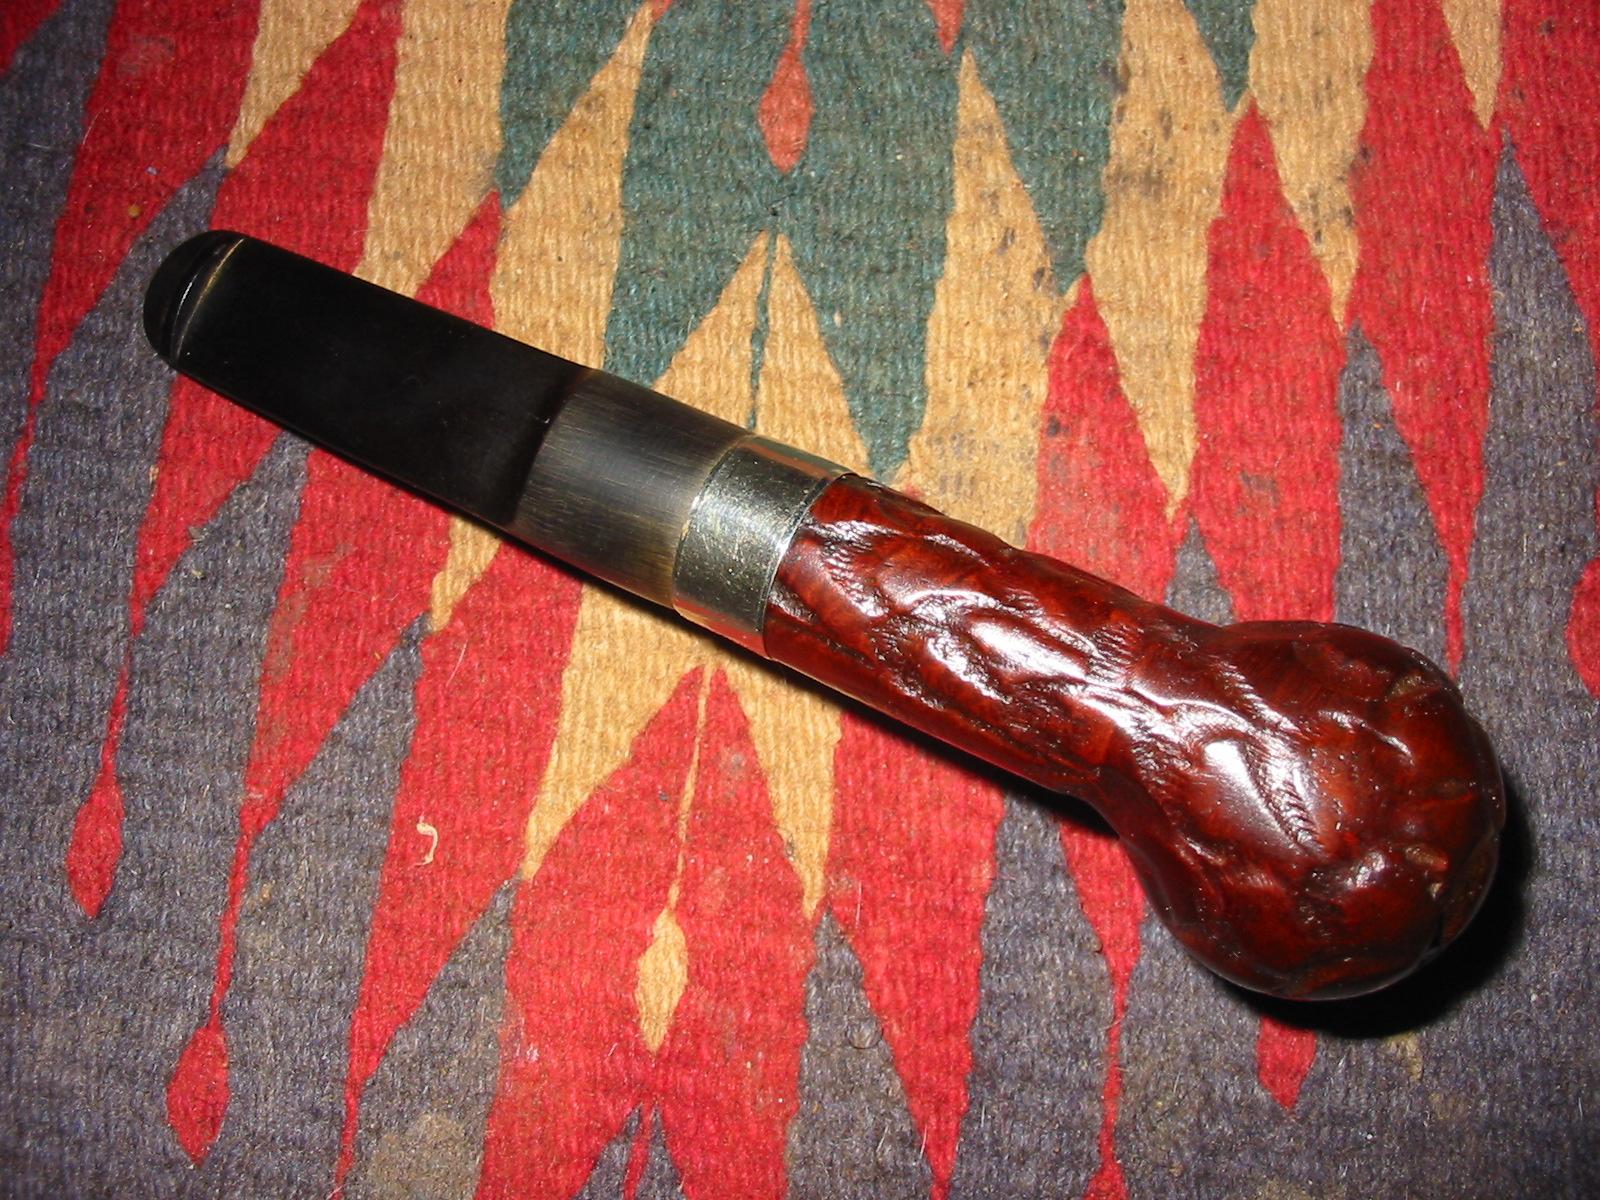
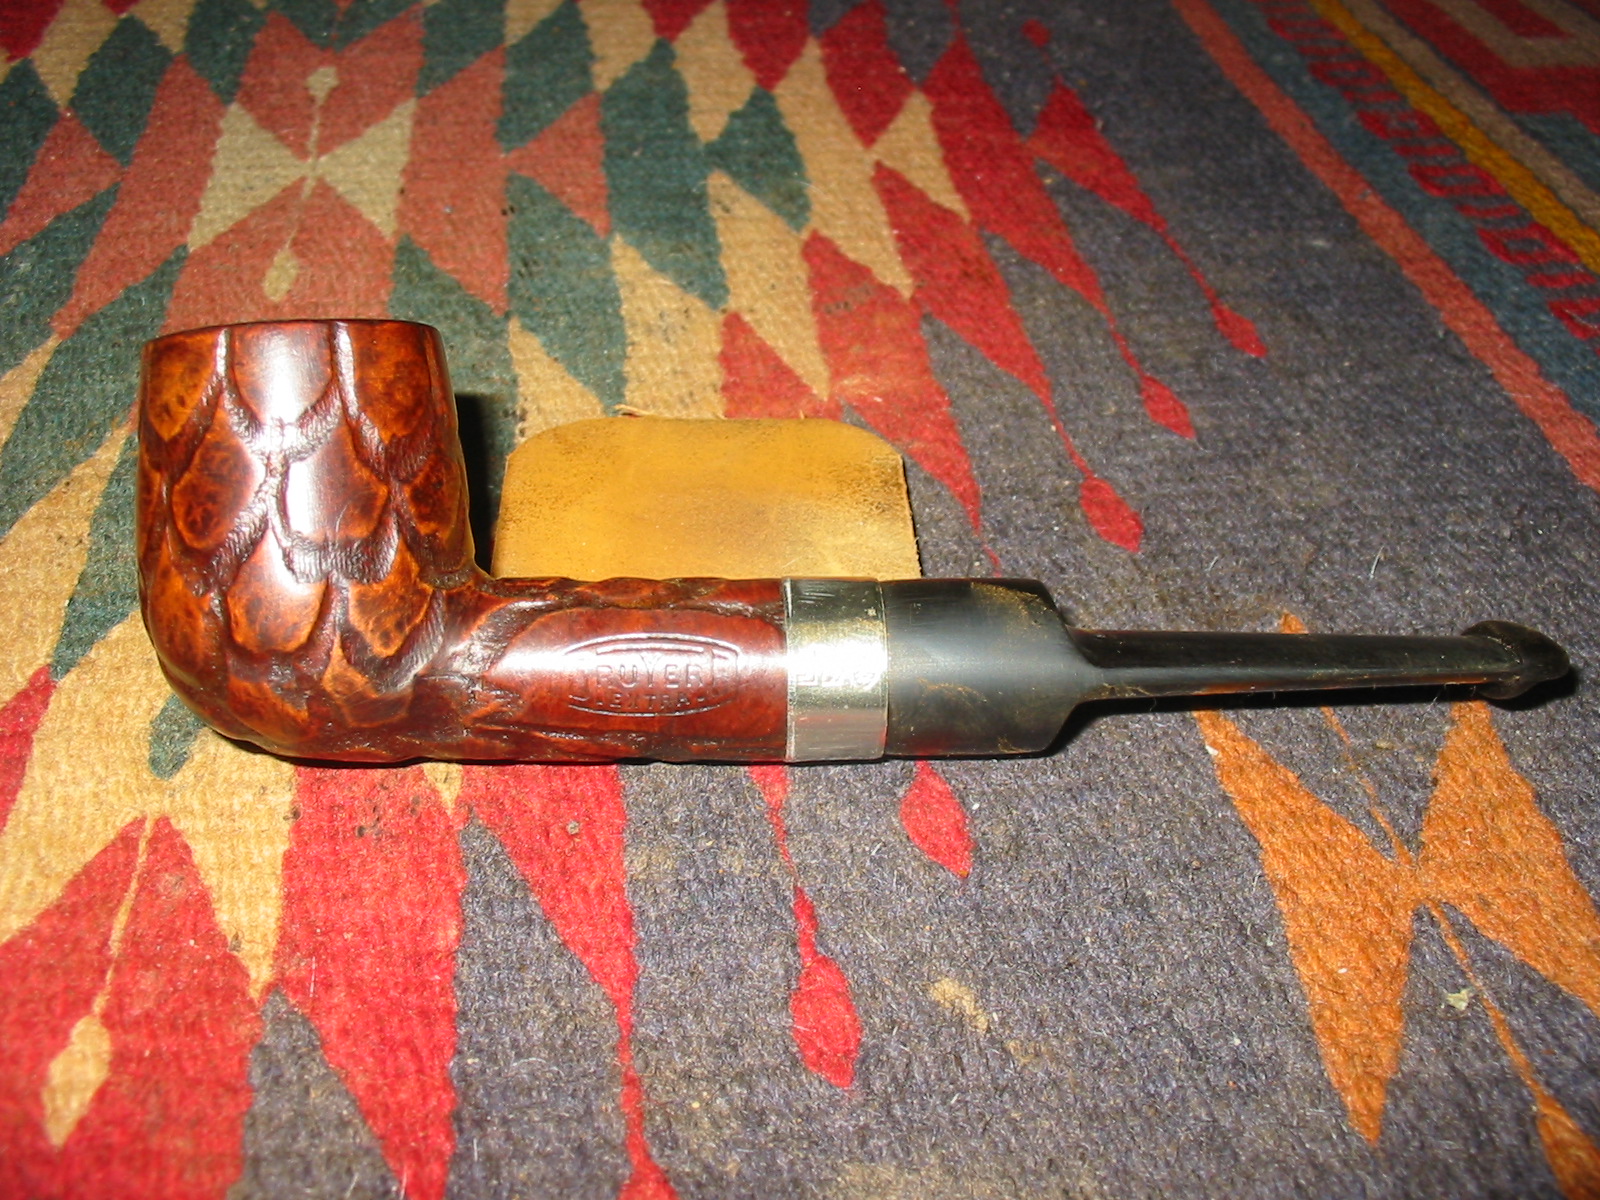
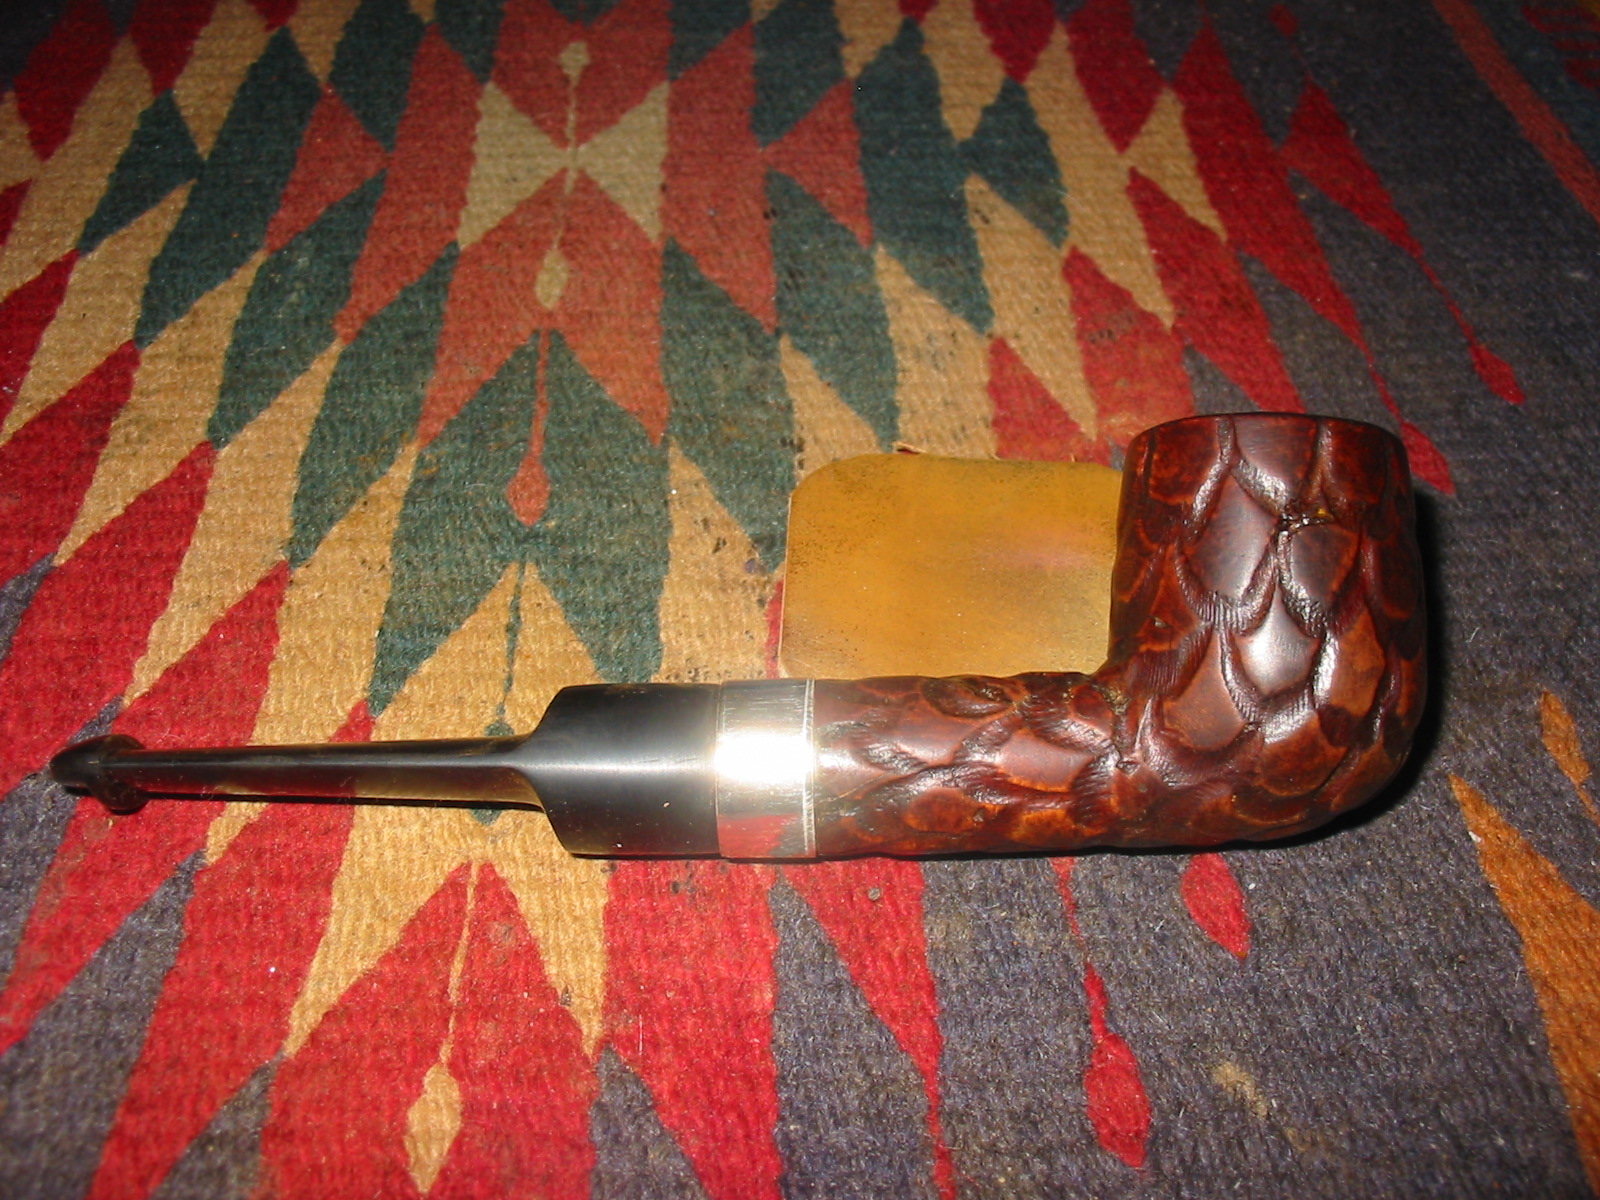
Yet another gift pipe is on the worktable. It is an interesting bowl. The exterior is carved with what looked like scales. There were several sandpits in the trails surrounding the scales. The shank had several cracks and looked as if it had previously sported a band. By appearances the band that was missing looked like it had been original rather than an addition for repairs. But the repairs were there nonetheless. The bowl was caked and the finish very dirty. It was worn away to a large degree. The fascinating part of the bowl was the drilling of the airway. The end of the mortise, which is quite large, is concave. At the end of the concave mortise there are two holes drilled looking like a colon “:”. The top hole is the airway leading into the bowl and the bottom hole is about a ½ inch deep and ends. With a stem in place the mortise looks to serve as a second chamber for cooling the smoke. The shank is stamped Bruyere over Extra in and oval with the ends flattened. There is no other stamping on the shank.
IMG_5462

IMG_5463

I went through my box of bands and found one that would work well on the cracked and repaired shank of the pipe. I also found a stem in my can of stems that would work well with this pipe. The tenon needed to be quite large in diameter to fit the large mortise. The stem I had was a faux Peterson stem. The airway was directly in the end of the button not on the top. Thus the look was Peterson like but the stem was actually a straight airway from tenon to button.
IMG_5460

IMG_5461

IMG_5464

I added some wood glue to the area of the shank that the band would be pressed on and then heated the band and pressed it onto the shank. I reamed the bowl with a PipNet reamer to take the cake back to bare wood. I also scrubbed the rim down as it had a chamfered inner edge around the bowl.
IMG_5466

IMG_5467

I wiped down the bowl with acetone on cotton pads to remove the remnants of the finish and to clean up the debris and dust in the carved trails between the scales on the bowl and shank. I picked out the debris in the flaws in the trails, scratched the surface surrounding the flawed areas and then packed in briar dust with a dental pick and dripped superglue into the dust. I lightly sanded the areas of the fills and wiped the bowl down again with acetone on the cotton pads.
IMG_5468

IMG_5474

IMG_5476

IMG_5477

IMG_5478

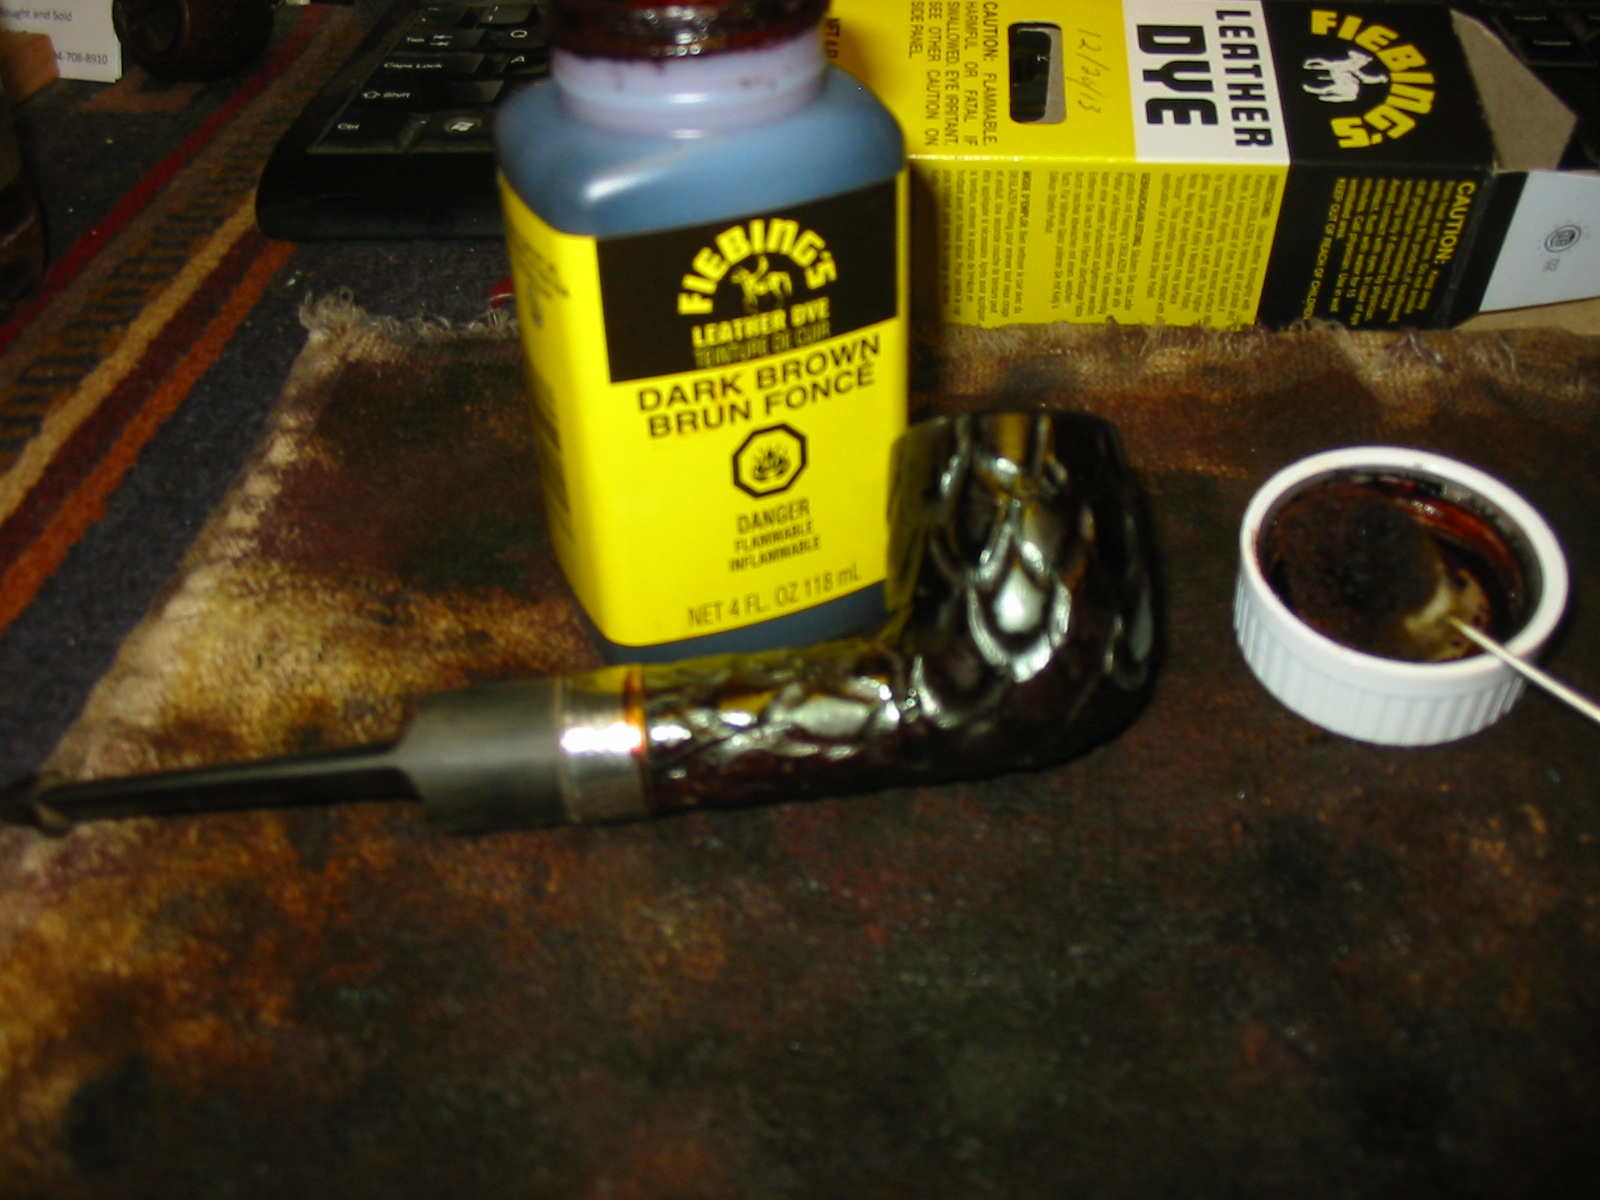
With the repairs completed, the band in place and the stem fitted to the shank it was time to stain the bowl. I wiped it down a final time to remove any remaining dust and debris before staining. I decided to use a dark brown aniline stain and applied it with the dauber that comes with the Feibings Shoe Dyes. The dauber works well on the wider grooves between the carved scales on the finish. I applied the stain, flamed the finish, reapplied the stain and flamed it again until the coverage of the stain was even.
IMG_5479

IMG_5480

I wanted a contrast to the finish – dark stain in the grooves of the trails and a bit more opaque stain on the surface of the scales so I wiped the bowl down with isopropyl alcohol to reduce the stain colour on the smooth surfaces of the finish.
IMG_5481

IMG_5483

IMG_5484

IMG_5485

I buffed the bowl with Red Tripoli and White Diamond on the buffing wheels to polish the bowl and give me an idea of the look of the finish once polished.
IMG_5486

IMG_5487

IMG_5488

IMG_5489

I sanded the smooth surfaces of the bowl with a 1500 grit micromesh sanding pad to further lighten the stain and allow the grain to pop through. The smooth surfaces had birdseye on most of them and I wanted that to stand out on the pipe.
IMG_5490

IMG_5491

IMG_5492

IMG_5493

I sanded the stem with 220 grit sandpaper to make the fit the shank even around the circumference of the saddle portion of the stem. I sanded it with medium and fine grit sanding sponges to remove the deeper scratches on the stem. I then used my normal line of micromesh sanding pads – wet sanding with 1500-2400 grit pads and dry sanding with 3200-12,000 grit pads. I also sanded the nickel band to polish it and remove the small scratches that were present in the finish.
IMG_5494

IMG_5495

IMG_5496

I rubbed the stem down with Obsidian Oil and once it was dry buffed the bowl and stem with White Diamond. I gave the pipe and stem multiple coats of carnauba wax and polished it with a clean flannel buff to finish the process. The old pipe has a new look and a great feel. I look forward to giving it a try to see how the second chamber – the reverse calabash actually works on this pipe. The photos below show the finished pipe ready to use!
IMG_5497

IMG_5498

IMG_5499

IMG_5500

An Edwards 7377 Pipe Cleaned & Repaired


I first talked with Morty from Ontario on Pipe Smokers Unlimited online forums (PSU). She had found an old Altesse Briar with an Amber stem and found that I had the same pipe. In fact from what we could find and the responses we got we had the only two around! We exchanged quite a few emails and I did a few repairs and some stems for her. She has caught the refurbishing bug and has posted quite a few pictures of her work on the PSU Pipe Restoration Forum. She has been smoking a pipe off and on most of her adult life. She enjoys buying old estate pipes and cleaning them up and refurbishing them. She says that she has learned much from the blog and from other members on PSU. I have enjoyed seeing her work and have asked her to write-up some of her work and post it on rebornpipes for others to enjoy. Thanks Morty for being willing to do this for us. Enjoy this first post she has provided. I love the lines of this old pipe and the grain. Morty did a great job on restoring it. Without further introduction I give you Morty’s own words regarding this refurb.

I bought this Edward 7377 Long Bent Stem Pipe that was in bad condition and needed quite a bit of TLC.
morty1

I first reamed the bowl, did an alcohol and salt treatment. The bowl shank had a crack that was mostly covered by the silver band. I sanded the bowl with 100 grit, 220 grit sandpaper, and used medium and fine grit sanding sponges. I also topped the bowl as it had some slight char and some nicks that the topping easily dealt with.

I continued sanding the bowl with very fine grit sand paper before I dealt with the crack.
The crack in parts went right through, I wiped down the bowl with acetone to remove any remaining dirt and dust. I super glued the crack. allowing some to soak through to the inside.
I left this to set overnight.
morty2

I soaked the stem in Oxy Clean overnight as well. The next day I first removed most of the raised oxidation by scrubbing it down with a Magic Eraser, I find this makes the next steps easier and go much more quickly. The Magic Eraser removed most of the oxidation, I wet sanded with 1500 – 2400 grit, dry sanding with 3200 – 12,000 grit micromesh pads. Cleaned the inside of the stem with a test tube brush, and with many soft and bristle pipe cleaners, making sure the button is also spotless. Finally when the pipe cleaners come out spotless I will run a soft pipe cleaner through with Rum 151, this not only sanitizes the stem it can also grab any missed gunk.

I cleaned the silver band with fine steel wool. The next day I worked on the crack that was set now with the super glue. I sanded this down carefully and replaced the now clean silver band. The bowl cleaned up well as did the stem. I decided to use Olive Oil to bring out the grain, but also to darken the bowl a bit. Following Coastie’s (John William’s) method, I applied a small amount, rubbed it in with my hands, removed any excess and let it sit overnight. The next day buffed with a micro fiber cloth, and wow. !!! This had really brought the grain out and left a nice rich color to the bowl. I polished the bowl with Paragon Wax. I am pleased with the results on this very nice old Edwards Pipe.
Morty3

morty4

morty5

Giving New Life to an Old, Tired Unique


I am not sure who the maker of this pipe original was. It has some rustication patterns that remind me of Dr. Grabow. It has a metal screw mount mortise. The flat base that extends from the bottom of the bowl backward toward the stem also has similarities to a Grabow shape. But this one is only stamped Imported Briar on the bottom of the shank. When I received it the bowl was in rough shape. The finish was gone. The stem was gone, the rim was a beaten and worn down mess. I think originally the rim was probably straight across but it was worn and beaten to the point that it was now angled. If indeed it was originally angled then the rim was badly beaten. Either way it was rough. The cake in the bowl was quite thick. The internals of the shank and airway were quite clean – that was a surprise. The briar was solid and relatively thick and sound.
IMG_5281

IMG_5282

IMG_5283

IMG_5284

As I looked at it and studied it there was something about it that drew me to the shape. The wear and tear still did not hide the fact that there was some life still left in this old pipe. I went through my can of stems and found an old screw mount stem. The stinger apparatus on it was slightly different than the old Grabows that I had seen but it would work. The draw on the stem was very constricted anyway so I figured I would end up cutting the stinger off and drilling out the metal tenon. The stem has lots of tooth marks and chatter but was solid. It was a nylon stem and not vulcanite so it was a little trickier to work with. The diameter was also slightly off and the stem was overturned once it was on the shank.
IMG_5285

IMG_5286

IMG_5287

IMG_5288

I heated the metal tenon with a heat gun until the glue softened and then turned it in the shank until it lined up. This type of tenon is actually very easy to realign.
IMG_5290

IMG_5291

IMG_5292

Once the stem was aligned I reamed the bowl with a PipNet reamer and heads taking the bowl back to bare wood. I wanted to see what the shape of the bowl under the cake was like to assess whether I wanted to continue to put time into the pipe. The interior bowl was actually in excellent shape under the cake. This pipe must have been a good smoker – someone’s favourite pipe.
IMG_5300

IMG_5301

I set up a topping board and sanded the rim at the angle of the bowl to even out the top and to minimize the damage. The back edge was very ragged from tapping the pipe out, or using it as a hammer! It took some time to get the top flat and the angle correct from the back of the bowl to the front edge.
IMG_5302

IMG_5303

I wiped the bowl down with acetone on cotton pads to clean up the grime in the grooves of the rustication and to even out the remaining stain coat. There was also some varnish left on the shank that I wanted to remove.
IMG_5304

IMG_5305

IMG_5306

Once the finish was gone I experimented with a metal band. The shank was not cracked or broken. It was solid but I wanted to see what the shiny silver would look like against the rugged rustication. I also wanted to minimize the slight difference in the diameter of the shank and the stem. I decided I liked the look of the band so I heated it with the heat gun and pressed it into place on the shank. I liked the finished look of the nickel band. I feel it gives a bit of bling to a rough looking pipe.
IMG_5307

IMG_5308

I screwed the stem in place to have a look at the fit and finish of the pipe as a whole. I thought to myself that it would work well. I would need to give the stem a bend to make a correct fit to the sitter style of the bowl but it would work.
IMG_5309

IMG_5310

I decided to sand out the tooth marks and chatter as much as possible. I was hoping that the heat would lift the marks a bit. I heated the stem with a heat gun to do the bending. I bent it over a rolling pin. It took awhile for the nylon to be flexible enough to bend. Bending nylon stems is far trickier than vulcanite. It does not seem to have the memory of vulcanite so once bent it remains even if heated and has to be pressed back into shape. It also kinks very easily so you have to be very careful when bending it. I have also found that the wire in a pipe cleaner heats up and the pipe cleaner can stick to the inside of the stem. All of the above make it a pain to bend this type of stem.
IMG_5313

IMG_5314

IMG_5315

I finished the bend and set it with cold water. I was not happy with the overall look and flow of the stem. The bend was correct in terms of allowing the pipe to sit flat on the bottom of the bowl with the tip of the button arching to touch as well but the flow/arch of the stem was not right. I reheated and tried it a second time and still it did not quite work. I decided to stop and revisit that later.
IMG_5316

The draught on the pipe bowl was wide open and easy but the stem itself was very constricted. The stinger apparatus had a slotted entry into the stem. It was very narrow and seemed to extend quite a distance up the stem. A pipe cleaner would not pass through the stem and the stinger. I decided to sacrifice the stinger end so I sawed it off with a hack saw and then drilled out the airway in the metal tenon. As can be seen in the photo below the drill bit went a long ways into the stem before it broke through the slotted airway. Once I had opened the airway in the stem and removed the stinger the draught on the pipe was excellent – open all the way and passing a pipe cleaner with ease.
IMG_5317

I stained the bowl with an oxblood aniline based stain. I flamed it and restained until it was well covered. I then buffed the bowl with White Diamond on the buffing wheel. The photos below show the bowl after the staining and buffing. The colour of the briar after the stain coat was workable. The black undertones that were deep in the grooves of the rustication worked well with the red of the oxblood stain. The rim colour matched the bowl and the birdseye grain showed nicely on the flat of the rim.
IMG_5318

IMG_5319

IMG_5320

IMG_5321

The stem being nylon required all handwork. I could not use the buffer on it as it would melt and make more work than I desired to do on this pipe. Before I sanded it I used the heat gun to rebend the stem and get the angles and bend correct. Once I had that done I sanded it with 220 grit sandpaper and then with a medium and a fine grit sanding sponge. I then sanded the stem with my usual array of micromesh sanding pads – wet sanding with 1500-2400 grit pads and dry sanding with 3200-12,000 grit pads.
IMG_5325

IMG_5326

IMG_5327

I rubbed the nylon down with Obsidian Oil and once it was soaked in I hand buffed it with Paragon Wax. I gave it multiple coats of the wax to preserve it. I buffed the bowl with White Diamond and then gave it multiple coats of carnauba wax with a light touch to keep the wax from building up deep in the grooves of the rustication. The next series of photos show the finished pipe. The side profile photos show the pipe in the sitter position and also from an angle. The top and bottom view photos show the new finish on the rim and the shape of the bottom of the pipe. This old worn pipe is now freshly reworked and ready to give many more years of service.
IMG_5328

IMG_5333

IMG_5329

IMG_5332

IMG_5330

IMG_5331

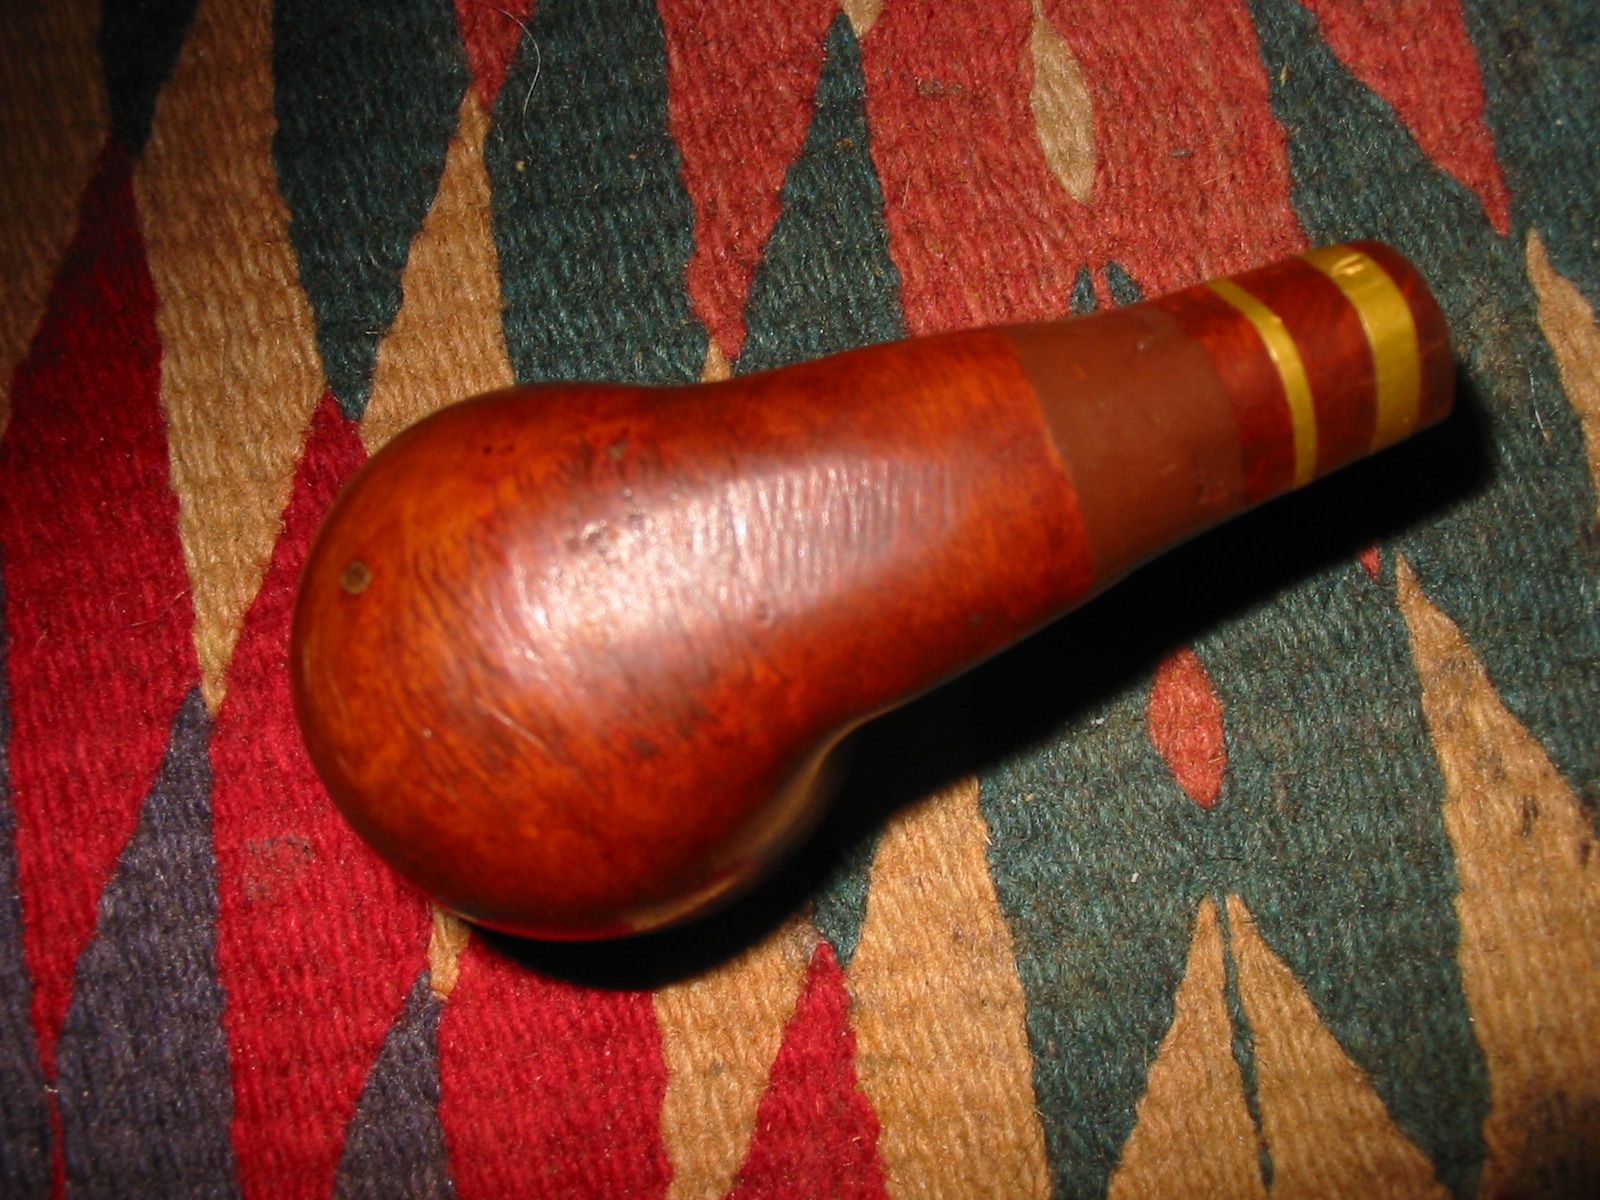
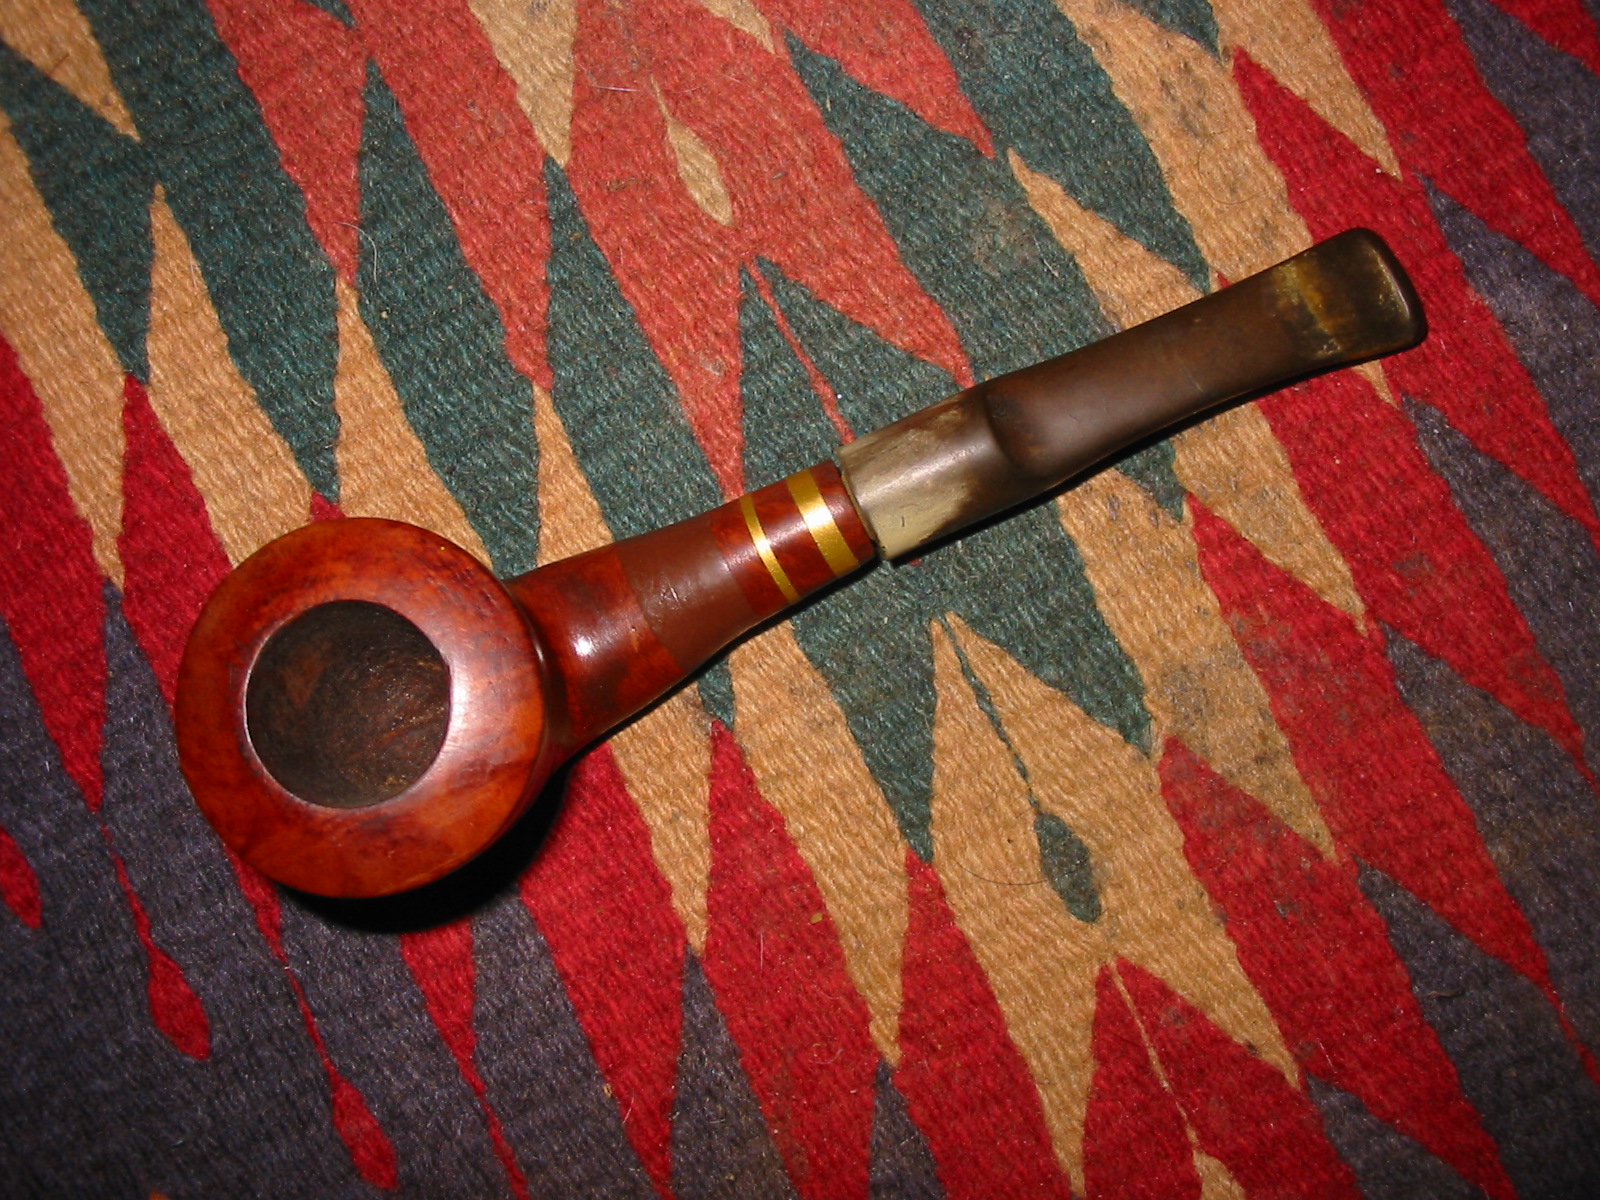
Reworking a No Name Pipe Bowl – Adding Rustication and Bling


Blog by Steve Laug

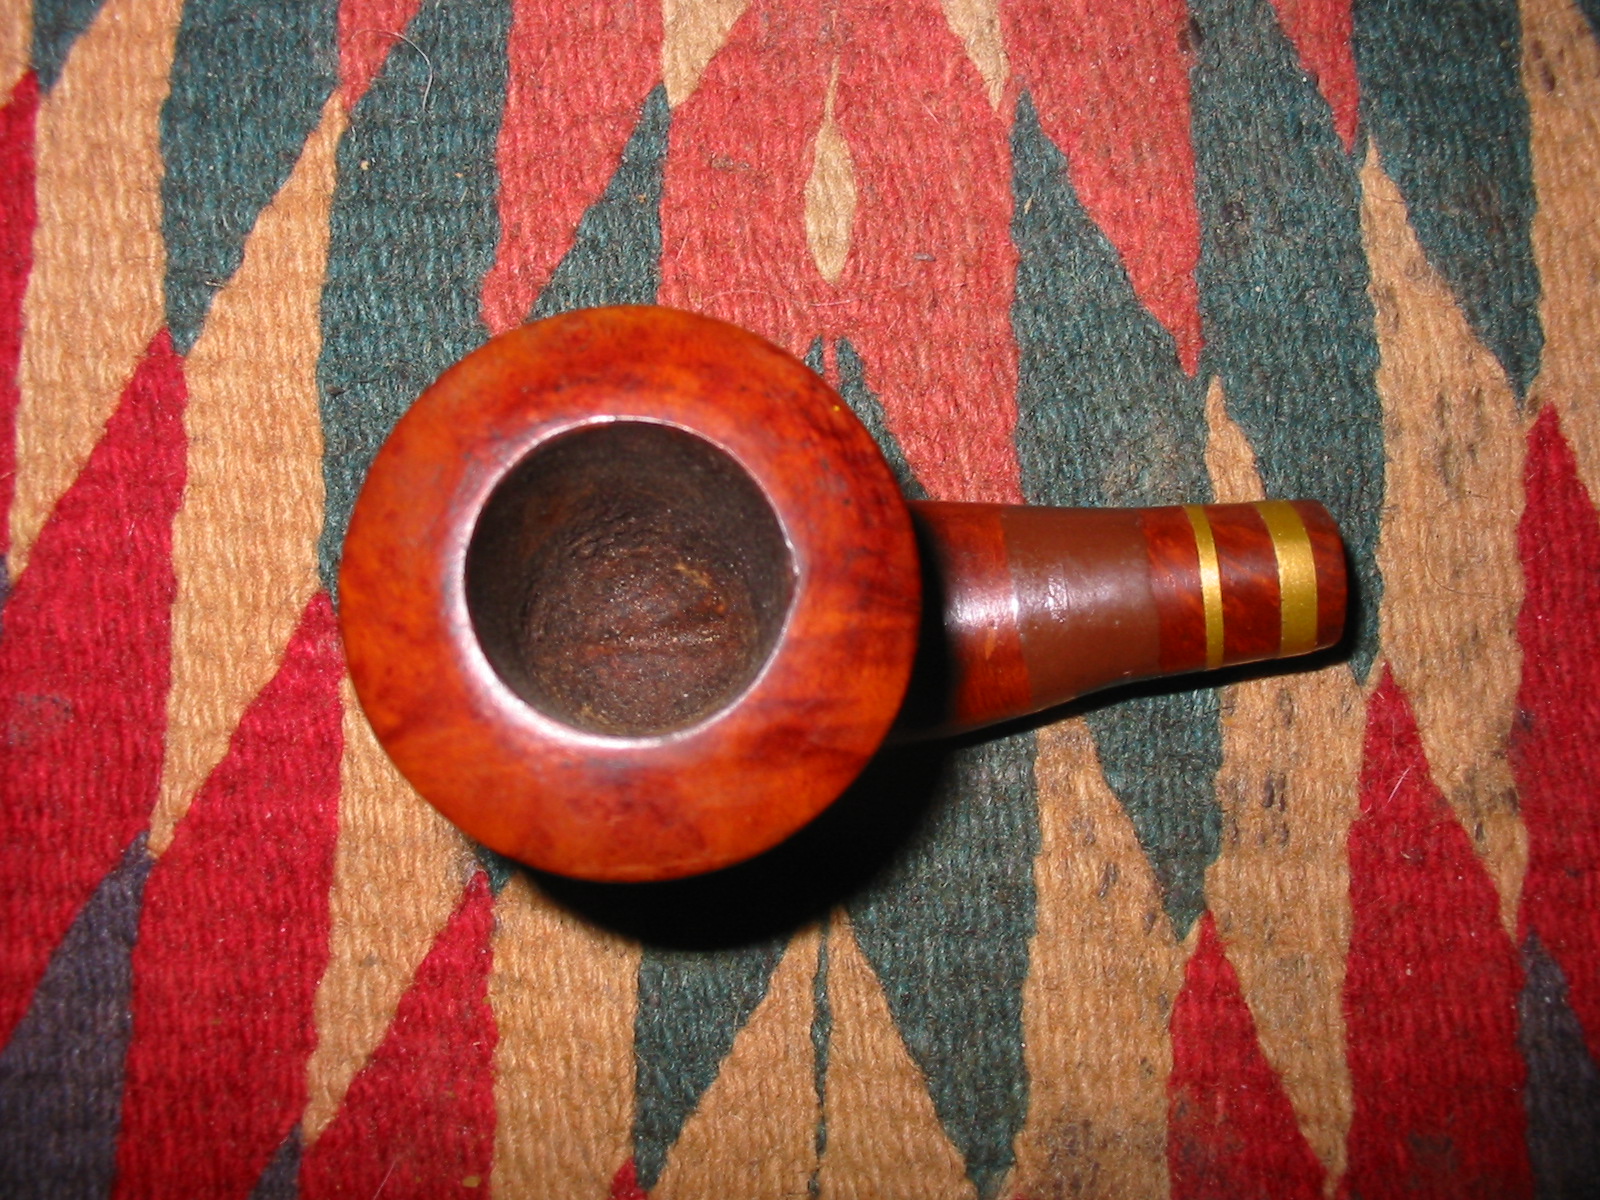
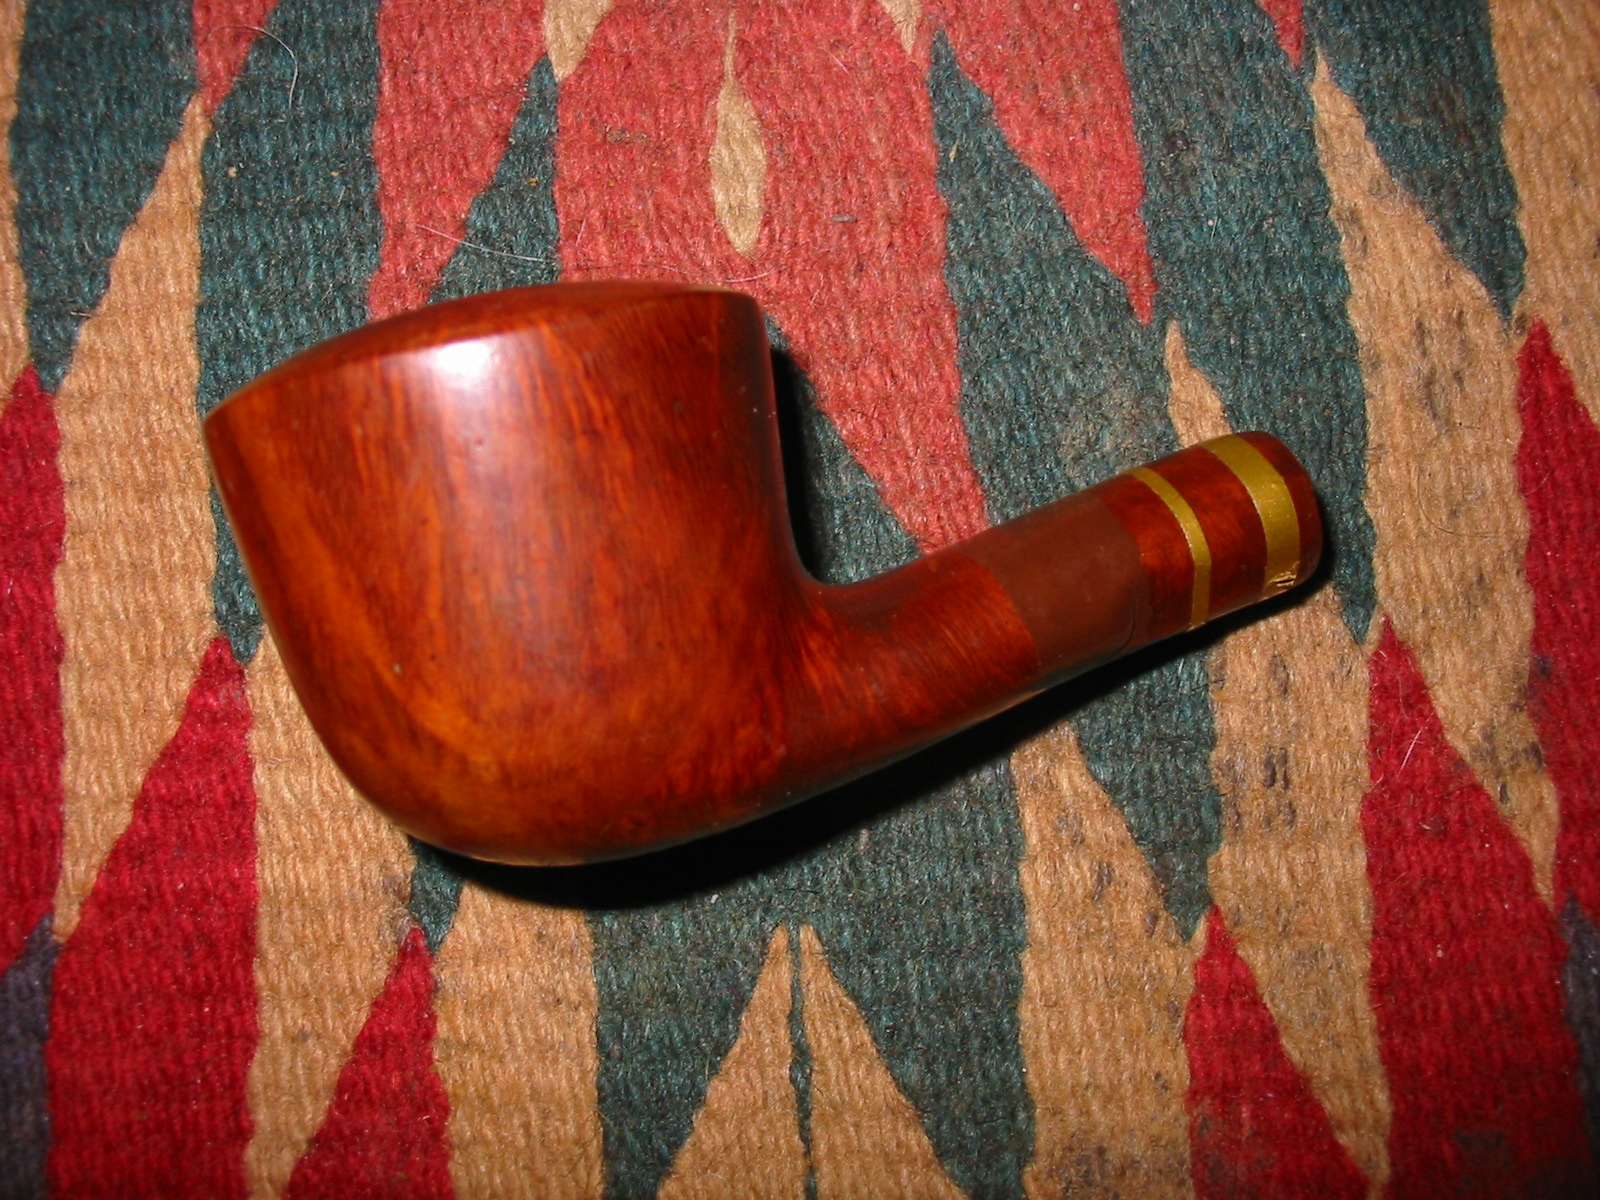
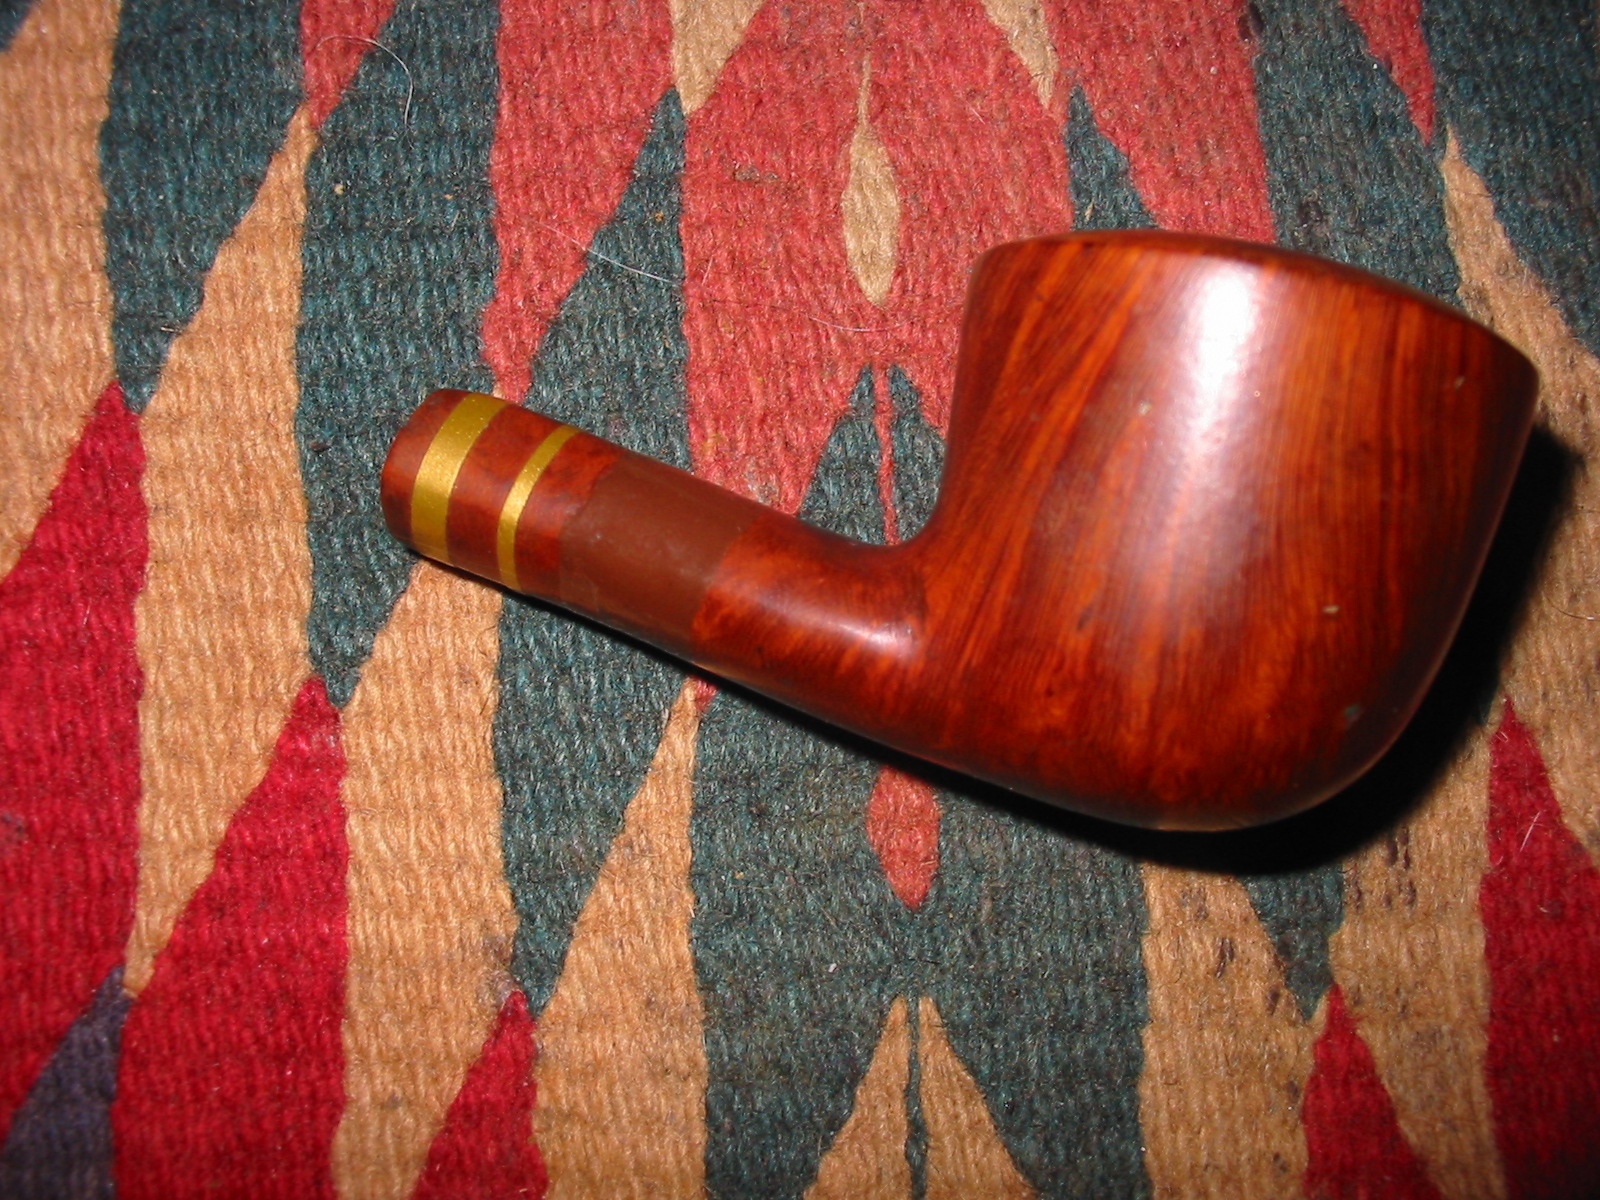
Andrew is turning out to be a great source of older pipe bowls in need of stemming. I received this old bowl in the mail from him not to long ago. It had a look to it that was interesting to me. The shank had been reworked somewhere along the way. I think that originally it may have had a diamond shank. Someone had carved it by hand into an almost round end and flattening as it moved toward the bowl. They had added three bands of coloured tape to the shank to dress it up. The first two bands were thin gold tape and the third was a wide swath of dark brown tape. The bowl was clean and reamed and the inside of the shank was also clean. The underside of the shank and bowl were rough. I think that the person who had reworked this bowl had used a knife to work on it and had not sanded it smooth after his work. There were also some pretty deep dents and grooves on the bottom of the bowl.
IMG_5255

IMG_5256

IMG_5257

IMG_5258

This old pipe bowl provided a challenge to me. The tape had to go but I had no idea what was underneath and hidden by it. The funky shape of the shank also needed to be reworked to give it a more artistic and shapely appearance. The restemming would also be a challenge in that the shank was not round at this point but very oddly shaped with all sides being unequal. I found an old saddle stem in my box of stems and tried that first – to me it was too long and gave the pipe an unbalanced look so I dug through my can of stems and found a saddle stem that was shorter that would look nice on the pipe.
IMG_5259

I peeled off the tape and underneath the two gold tape bands was a small crack in the shank. Underneath the brown tape was a huge fill on the top and underside of the shank. I used a Dremel with a sanding drum to reshape the shank and bowl union and also to reshape the end of the shank. I had a nice sterling silver wedding ring band that would work well on this pipe bowl so I reshaped the end of the shank with 220 grit sandpaper after the Dremel work and then applied all purpose white glue on the shank and pressed the silver band into place. Once it was in place I could see that the end of the shank was not straight but had been cut off at an angle. With the band in place I used the Dremel and sanding drum to straighten up the end of the shank. I finished that work by using the same sanding board set up I use for topping bowls. With all that finished I put the stem in place and sanded the bowl and shank until it was a clean smooth shape. I wiped the surface down with acetone on cotton pads to remove the urethane finish that the previous person put over all the bowl and tape. In the next four photos below the size of the large fill is obvious.
IMG_5260

IMG_5261

IMG_5262

IMG_5263

With the shaping of the bowl and shank finished and looking more balanced I had to make a decision on how to deal with the large fills on the shank. There were also several sand pits on the bottom of the bowl that needed to be addressed. I weighed my options and decided to rusticate the shank. I used the modified Philips screwdriver to rusticate the shank first. At this point I left the bottom of the bowl smooth and just worked on the shank. Once I had rusticated it I used a small brass tire brush to smooth out the roughness of the rustication. I find that the brush knocks off the loose pieces of briar and gives the finish a contrast of highs and lows. The rustication looked good against the wedding band and the smoothness of the vulcanite. I also liked the look of the rustication against the smoothness of the bowl.
IMG_5264

IMG_5265

IMG_5266

IMG_5267

I stained the shank with a black aniline stain. I applied it heavily with a cotton swab and flamed and repeated the process until I had a good matte black finish on the shank. At that point I decided to carry the rustication to the bottom of the bowl and slightly up the sides and curve it into the top of the shank bowl union.
IMG_5268

I stained the bottom of the bowl to match the shank colour. I applied a black aniline stain to the bottom and restained the shank at the same time. I flamed the stain and repeated the process until I had the coverage that I wanted on the bottom of the bowl. I then sanded the rest of the bowl with 200 grit sandpaper and then a medium and a fine grit sanding sponge. I finished by sanding it with 1500-2400 grit micromesh sanding pads. I wanted to have the briar clean and smooth on the upper portion of the bowl. The grain on that part of the bowl was quite nice. I wiped down the bowl with isopropyl on a cotton pad to remove the sanding dust. The state of the bowl at this point is shown in the next four photos below.
IMG_5269

IMG_5270

IMG_5271

IMG_5272

It was time to bend the stem so I heated the stem until it was pliable with a heat gun set on the lowest setting. I bent is over a rolling pin to the angle that I wanted and set the angle with cold water. This particular stem evidently was good quality vulcanite as it did not have any oxidation and the water did not bring any to the surface. That was a real gift in this process as I would have had to work out the oxidation on the stem as well. The next series of photos shows the process and the finished look of the bend.
IMG_5273

IMG_5274

IMG_5276

At this point I reflected on what I wanted to do with the upper part of the bowl. I could stain it with a variety of colours to contrast with the rusticated black portion of the shank and bowl bottom but I was not certain I wanted to do that. I finally decided to rub down the bowl with olive oil to bring out the grain. I rubbed it in by hand and repeated that until it was finished. I gave the bowl a light buff with White Diamond to give it a shine. I will still need to give it several coats of carnauba wax but the look works for me. The grain pops with the oil finish. The next series of four photos show the bowl finish at this point in the process.
IMG_5277

IMG_5278

IMG_5279

IMG_5280

I liked the overall appearance of the pipe. It was certainly significantly different from the bowl that it was before I started. The old bowl had a more elegant look to it now and felt great in the hand. The chunky wedding band contrasts well with the shape and the finish of the bowl. Now it was time to work on the stem. I sanded the stem with 220 grit sandpaper to remove the casting marks on the sides of the saddled and blade of the stem. I followed that by sanding with medium and fine grit sanding sponges to further remove the scratches to the vulcanite. I finished the sanding with my usual list of micromesh sanding pads – wet sanding with 1500-2400 grit pads and dry sanding with 3200-12,000 grit pads. I rubbed the stem down with Obsidian Oil and let it soak in to the stem material.
IMG_5293

IMG_5294

IMG_5295

I buffed the finished pipe and stem with White Diamond and then gave it multiple coats of carnauba wax. I was careful to not get wax on the rusticated portion of the bowl and shank. The finished pipe is pictured below. It seems to me to have a much more dignified appearance than what it started with. I like the tactile feel of the bowl in my hand while at the same time maintaining the beautiful straight and flame grain on the bowl. I think this one will stay in my collection for quite awhile.
IMG_5296

IMG_5297

IMG_5298

IMG_5299

Restoring a Briarmeer Rhodesian 175 ED that was Made in Canada


Blog by Steve Laug

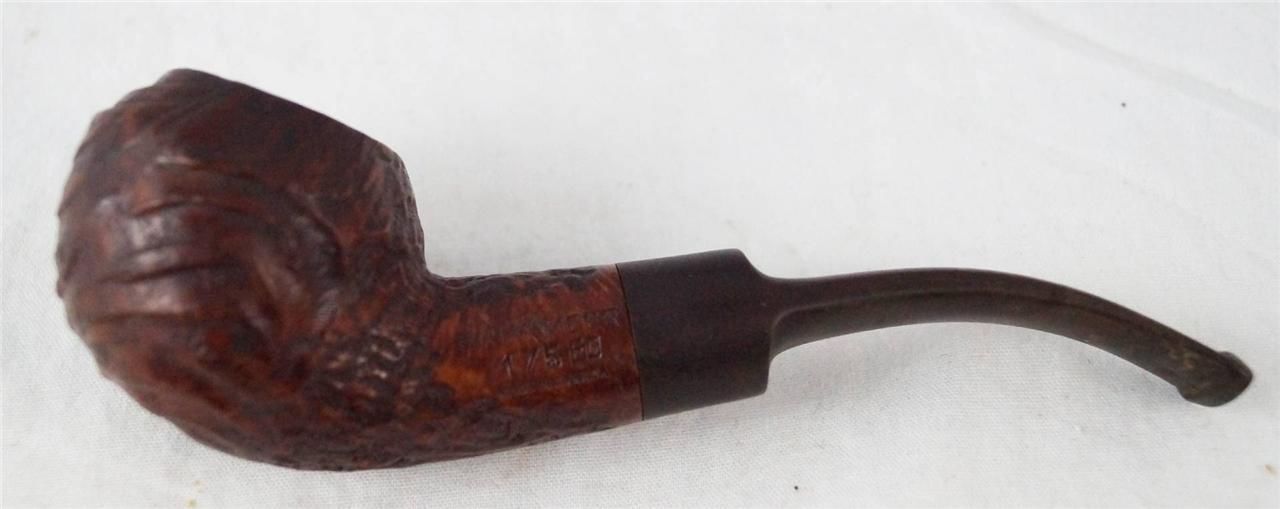
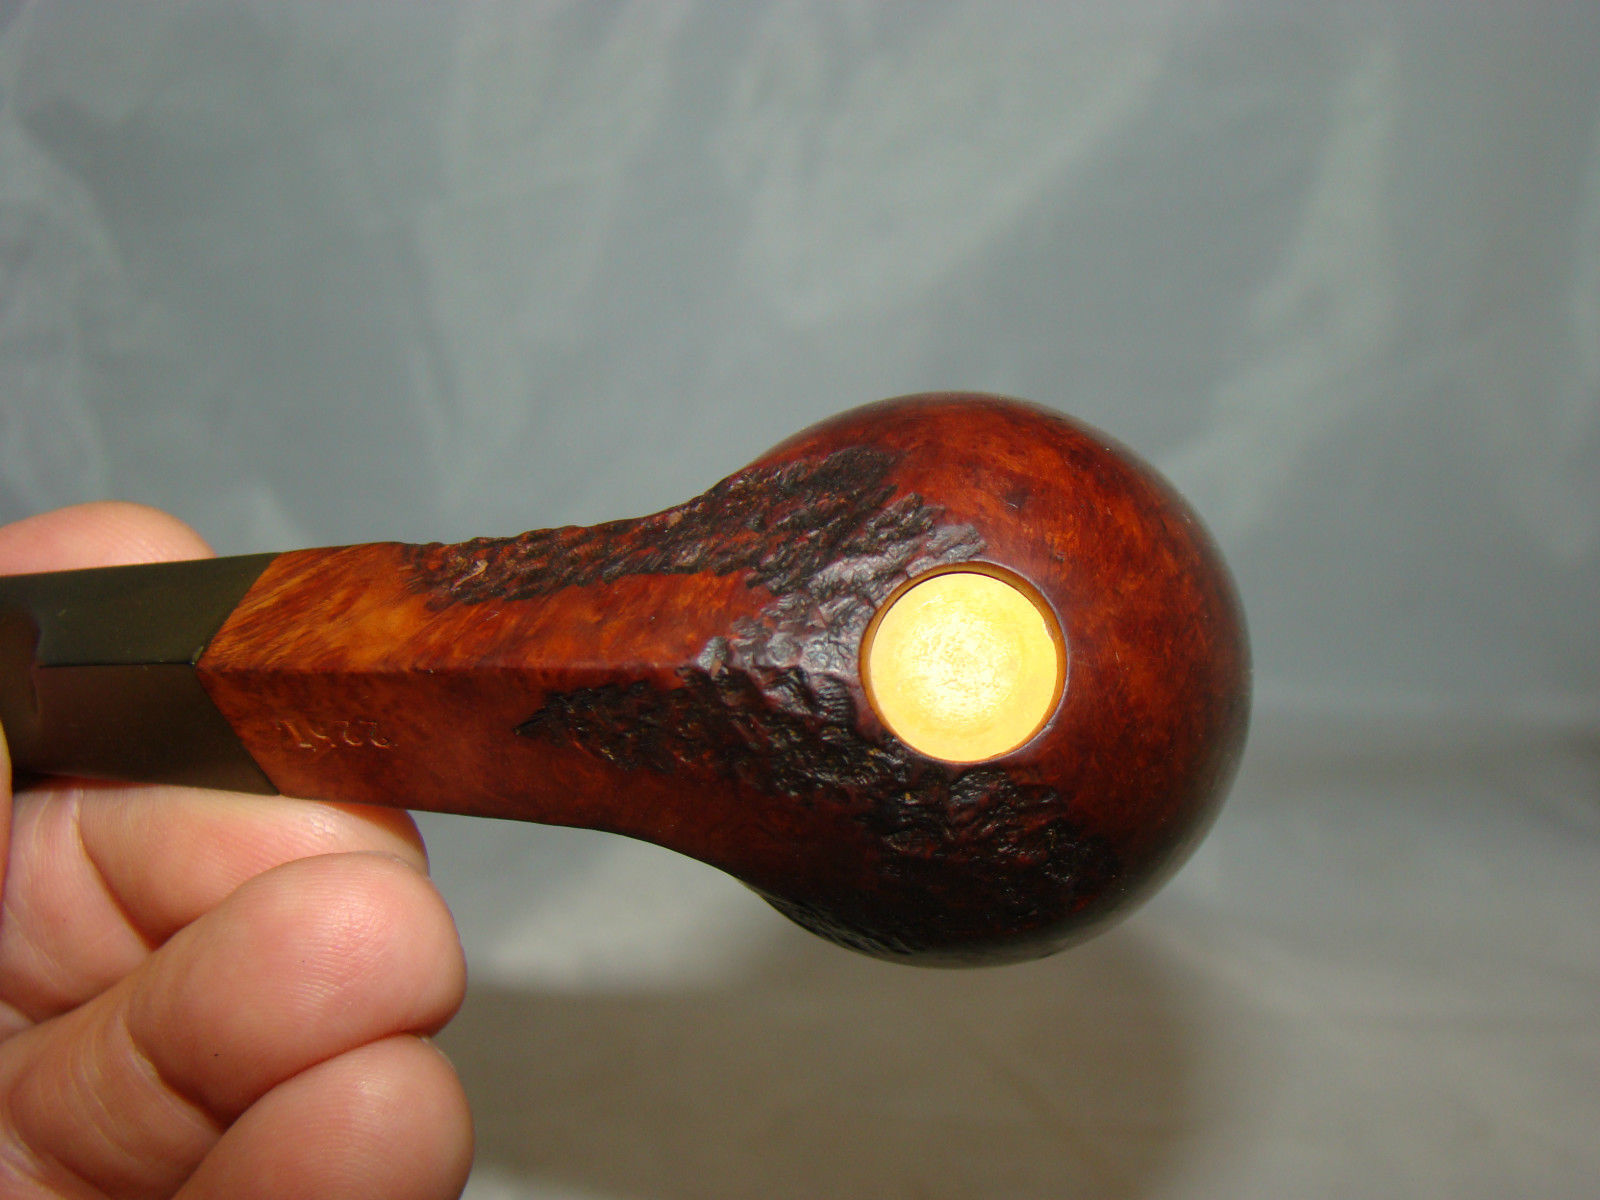
I received an email from Andrew saying that he had a pipe he wanted to send my way. It was my kind of shape – a Rhodesian. He said that it was an odd pipe in that on the bottom of the bowl it had a slightly inset circular divot. The round inset was almost like a poorly made plug on the bottom of the bowl, or one that had shrunken with time. He thought that it would be a great challenge for me to do a repair on it. The stamping on the pipe shank was Briarmeer 175 ED Canada.
Briarmeer1

The brand was one I had not heard of before. And since I am in Canada I wanted to try to figure out where the pipe was made and what the plug was about. The name seemed to suggest that it was a meerlined pipe or at least included meerschaum in some form or fashion. Yet when I emailed Andrew about it he replied that there was no meerschaum lining present in the bowl. Instead it was just a nice looking briar pipe with the strange, misfit looking round plug on the bottom of the bowl.

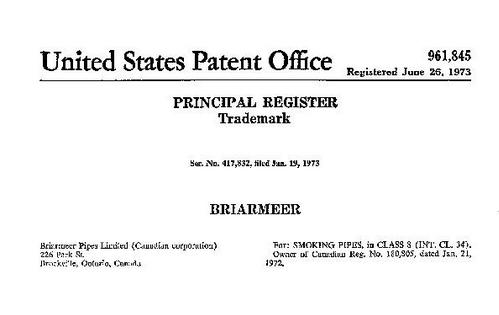
This would require some research to see what I could find out. I went online and searched for any information that I could find regarding the brand. I wrote to the trademark attorney who was listed as the representative of the brand and received a very cryptic answer that was not helpful at all. I did learn however that Briarmeer pipes were made by Briarmeer Pipes Limited, 226 Park Street, Brockville, Ontario. The business was no longer present at that address and did not show up in any Brockville Business Directories available online or through the Yellow Pages .I searched the Canadian, American and British patent sites hoping to find a patent registration for the pipe but was not able to find one. I found a trademark registration document from the US patent office that showed that the brand or trademark was registered in the US in 1973. The document pictured below gives that information as well as the Canadian Registration Number 180,805 and that it was registered in Canada on January 21, 1972.
Briarmeer US Trademark patent

Using these registration numbers I searched both the Canadian and US patent records but could find no patent information available. From the public records it appears that the Briarmeer Company went out of business sometime in the late1980’s or early 1990’s and the name became public domain.

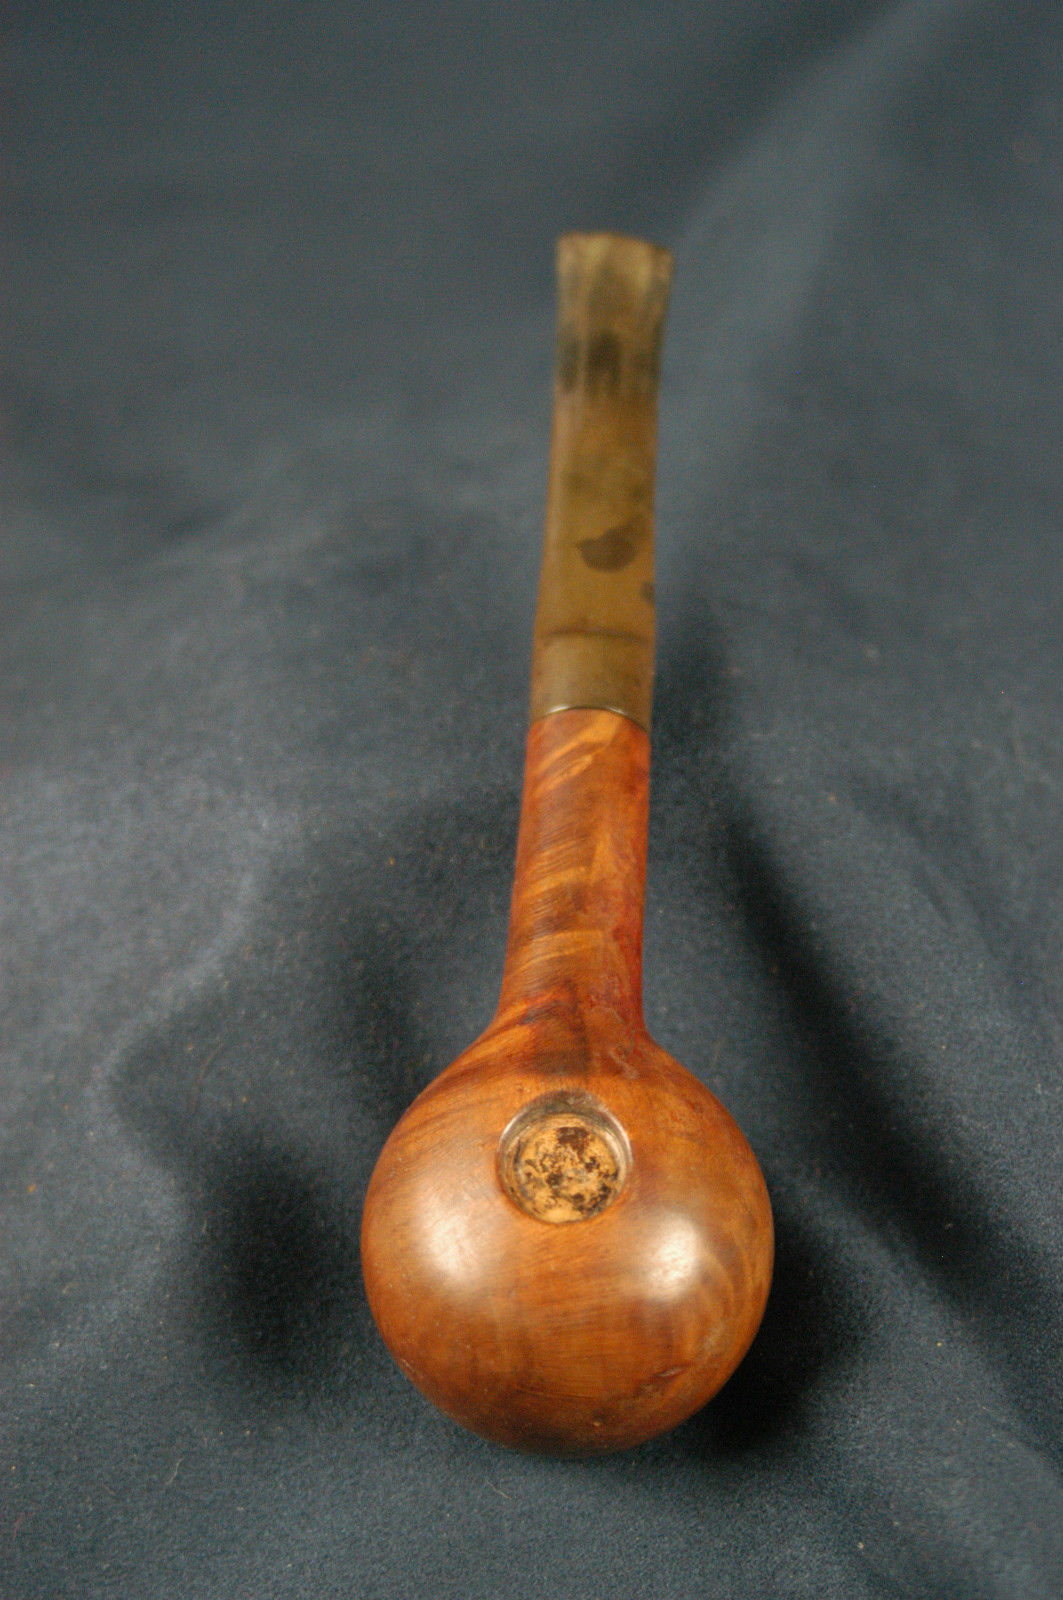
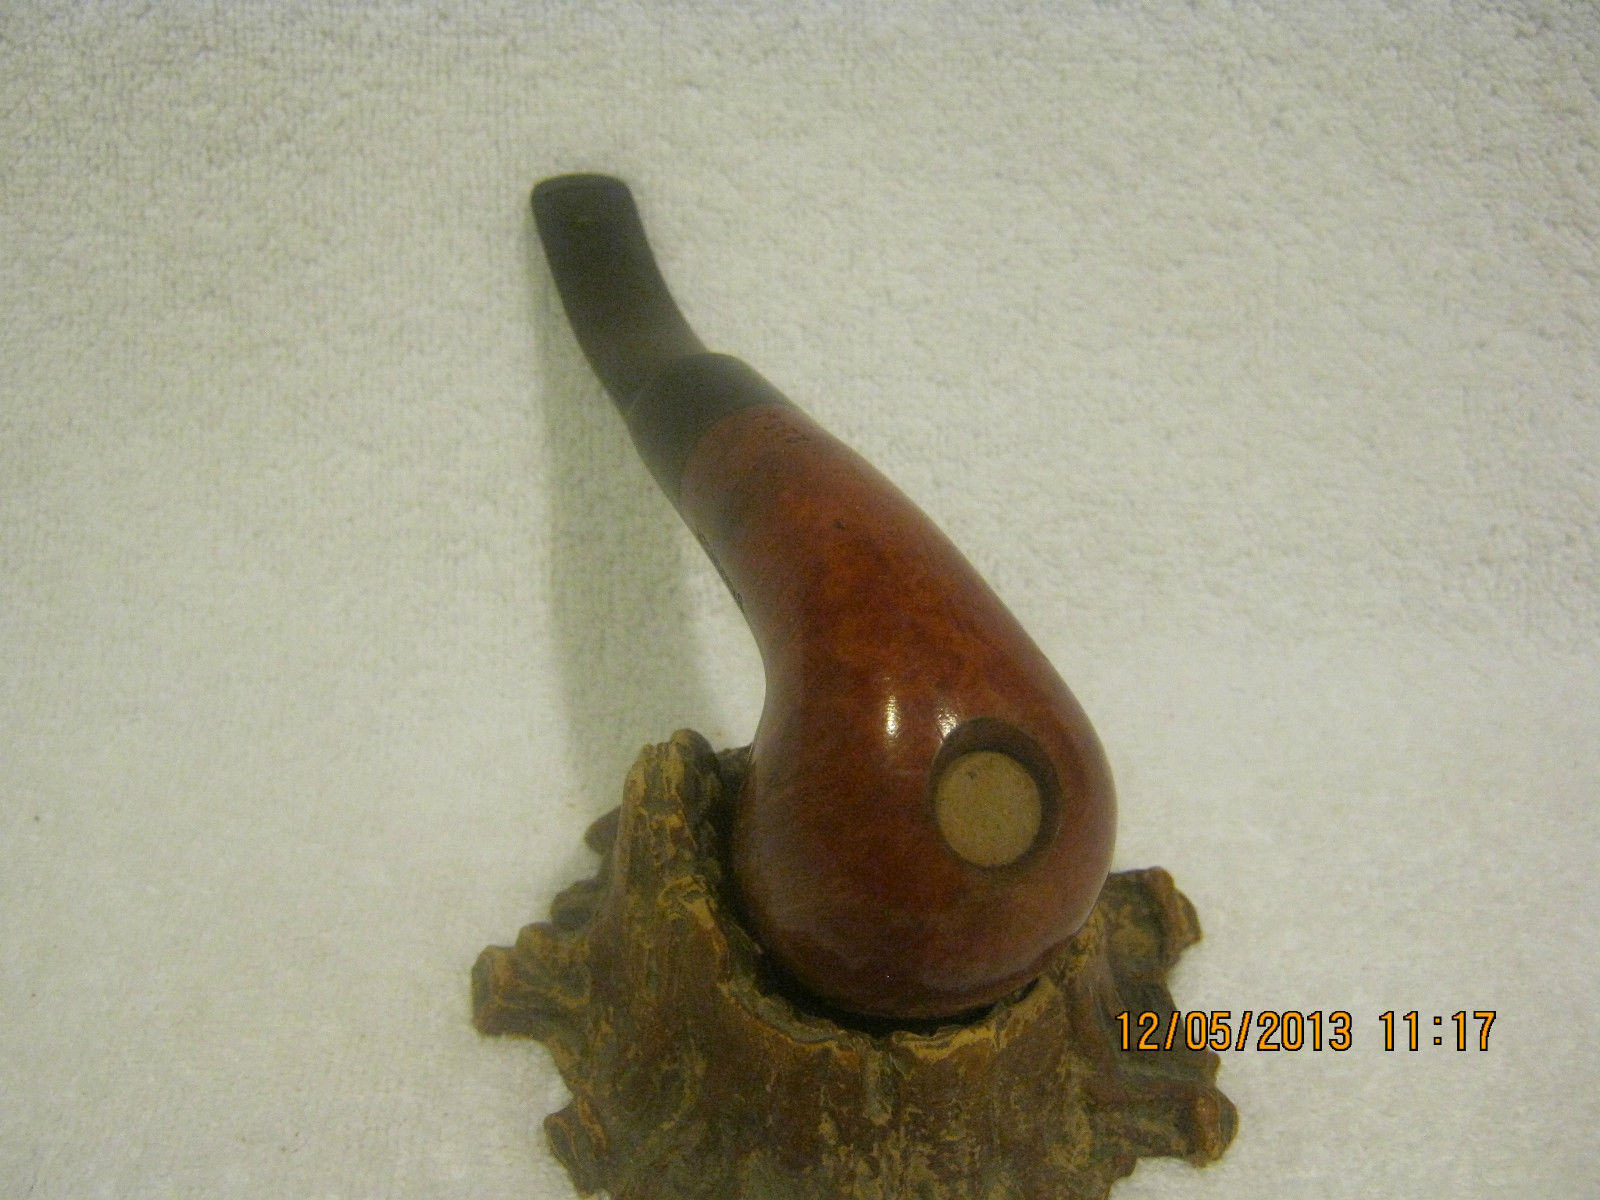
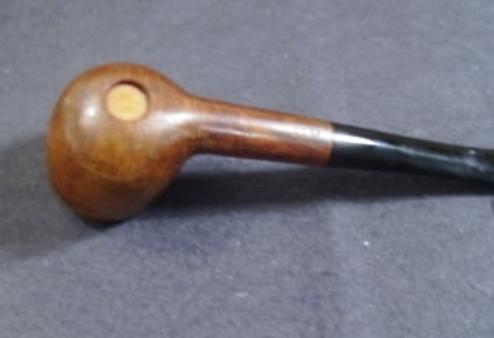
I was able to find out through further digging that the pipe is a variation on what Kaywoodiedid with its famous Carburetor.Kaywoodie had drilled a hole in the bottom of the bowl and inserted a metal airhole to introduce air into the bottom of the bowl to enhance burning of the tobacco. In the Briarmeer the drilled out area in the bottom of the bowl was significantly larger.It had been drilled out and a meerschaum disk inserted in the resultant hole. The draw hole was to be perfectly centered at the bottom of the bowl. From what I could find out the idea of using the meerschaum insert came to a Canadian engineer about 30+ years ago. He reasoned that the meerschaum bottom of the bowl would allow for a drier and cooler smoke while the briar would be sturdier than the meerschaum for the walls of the bowl.Now I knew what the inset on the bottom of the bowl was and where the Meer portion of the Briarmeer name came from.

I decided to see if I could hunt down some photos of the pipe. I had not noticed them before and did not figure I would find many available. I was wrong. I found quite a few clear photos online that showed the novel meerschaum insert with clarity. In all of the photos it was clear that the insert sits inset into the bottom of the bowl and there is a variance in the external bowl bottom and the depth of the inset meerschaum disk. I have included four of the photos I found to show the insert in the exterior bowl bottom. Some of the photos show a new and unsmoked pipe and other show an estate pipe. All have the pipes show the same variation in the depth of the bottom of the bowl and the depth of the meerschaum disk.
Briarmeer6

Briarmeer8

Briarmeer3

Briarmeer pipe bottom

I also learned that the American Company, Briarcraft who made the Smokemaster pipe also made a pipe with called the Briarmeer Acadian. The Briarcraft version of the pipe was a meerschaum lined pipe and was stamped with the Briarcraft logo, a B in a diamond on the shank and on the stem.However, the pipe I was gifted was not a meerschaum lined briar and it did not have the B stamp on either the shank or the stem. The stem appears to be original and the stamping on the shank clearly says that the pipe is Canadian made.

The pipe from Andrew arrived and it was indeed one of my favourite shapes. The finish was a little dirty and the rim had some carbon build up. The stem was oxidized and had some tooth marks on the underside of the stem near the button. There was also a darkened spot like a burn mark on the underside of the shank near the insert. There were several fills in the grooves of the rustication but I was fairly certain that when I restained the pipe they would be hidden. The meerschaum insert looked to be in very good shape from the outside of the bowl. Inside was caked with a fair amount of carbon and the insert was not visible looking into the bowl.
IMG_5192

IMG_5193

IMG_5194

IMG_5195
Upon closer examination it was evident that there was a crack in the shank on the right side that ran at an angle from mid-shank toward the back of the bowl shank union. The crack did not start on the bottom of the shank but rather started midway up on the right side of the shank and ended near the top middle of the shank. It was very clear under a lens that it was present. The next two photos, though slightly out of focus show the crack. It runs across the rustication pattern mid-shank.
IMG_5196

IMG_5197

I cleaned out the crack with a dental pick to remove the buildup of grime that filled it. The grime was evident through the lens. Once I had it clean when I viewed it through the lens I used superglue to repair the crack. Fortunately the crack did not go all the way into the airway. I checked the inside of the airway with a penlight and it was smooth and flawless. The repair externally would remove the visible damage.
IMG_5218

IMG_5219

I left the superglue to cure overnight and in the morning used the dental pick to clean out the grooves of the rustication and sanded the smooth portions of the briar surface with 220 grit sandpaper and then medium and fine grit sanding sponges. The photo below shows the repair after sanding and shaping.
IMG_5227

I wiped the surface of the bowl down with acetone on cotton pads to remove the damaged finish and enable me to blend in the patch when I restained the pipe. I scrubbed the rusticated rim of the bowl with the pads as well and was able to remove the carbon build up.
IMG_5228

IMG_5229

IMG_5230

I sanded the darkened area (burn?) on the bottom of the bowl to lighten it in preparation for staining. I wiped that area down with acetone on cotton pads afterward.
IMG_5231

I sanded the stem with 220 grit sandpaper and a medium and fine grit sanding sponge to remove the oxidation. I sanded the tooth marks on the underside of the stem near the button and was able to remove them.
IMG_5233

IMG_5234

IMG_5235

IMG_5236

I wiped the bowl down a final time with acetone, being careful not to scrub the insert with it. Once it was cleaned off I stained it with a dark brown aniline stain applied with a cotton swab. I avoided the meerschaum insert as I did not want to have the stain penetrate the meerschaum. I flamed the stain and reapplied it. I flamed it again and reapplied it again. After the final flaming of the bowl I set it aside to dry.
IMG_5238

IMG_5239

IMG_5240

IMG_5241

IMG_5243

When the stain had dried I buffed it with White Diamond on the buffer to even out the stain and give it a shine. I also applied a coat of Halcyon II wax to the rusticated surface and hand buffed the bowl with a shoe brush. The next four photos show the bowl after the buffing and waxing.
IMG_5244

IMG_5245

IMG_5246

IMG_5247

I worked on the stem with my usual group of micromesh sanding pads – wet sanding with 1500-2400 grit pads. I then buffed the stem with red Tripoli and White Diamond before going back to the work table and dry sanding with 3200-12,000 grit micromesh pads. I rubbed the stem down with Obsidian Oil and let it soak into the vulcanite.
IMG_5248

IMG_5249

IMG_5250

I buffed the finished pipe with White Diamond and then gave it multiple coats of carnauba wax. The finished pipe is shown in the photos below. The meerschaum disk inset into the bottom of the bowl is an interesting touch. I look forward to loading up a bowl and giving it a test run very soon. At the very least this is a great piece of tobacciana that still leaves a bit of mystery unsolved.
IMG_5251

IMG_5252

IMG_5253

IMG_5254

Restoring a Second Lumberman Deluxe Canadian by Comoys


Blog by Steve Laug

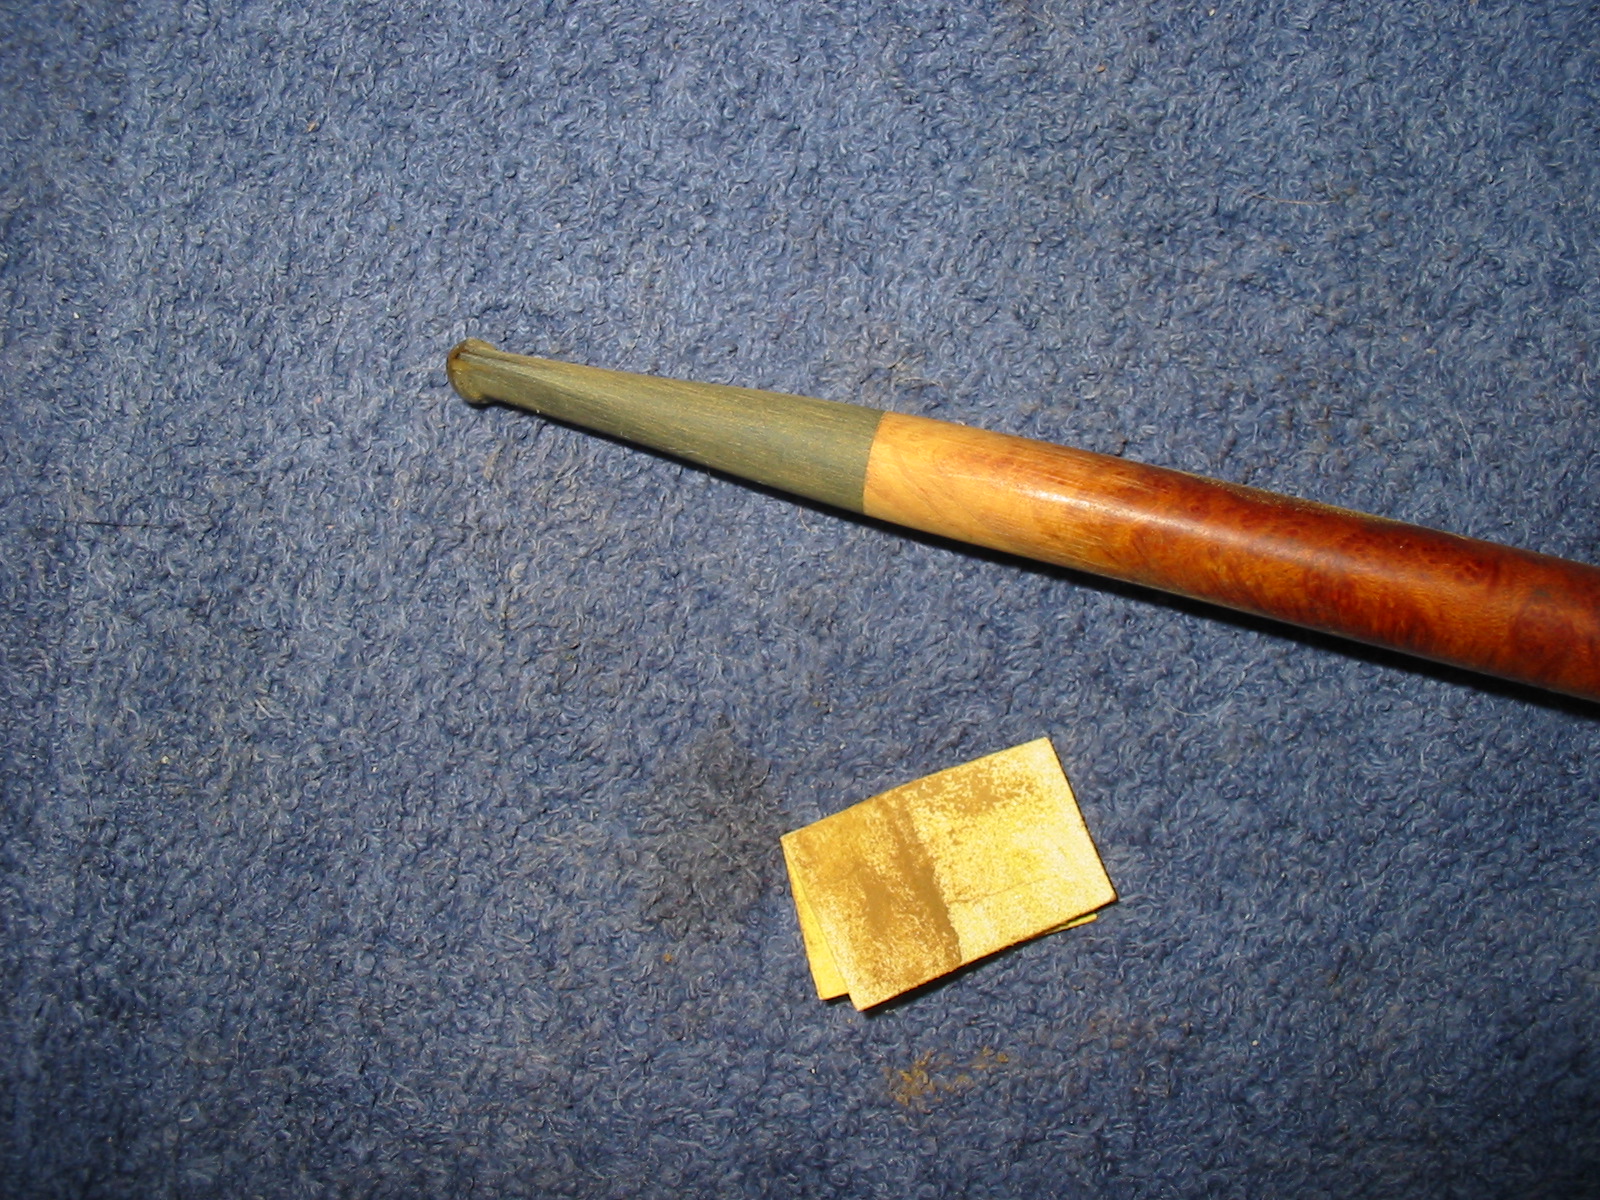
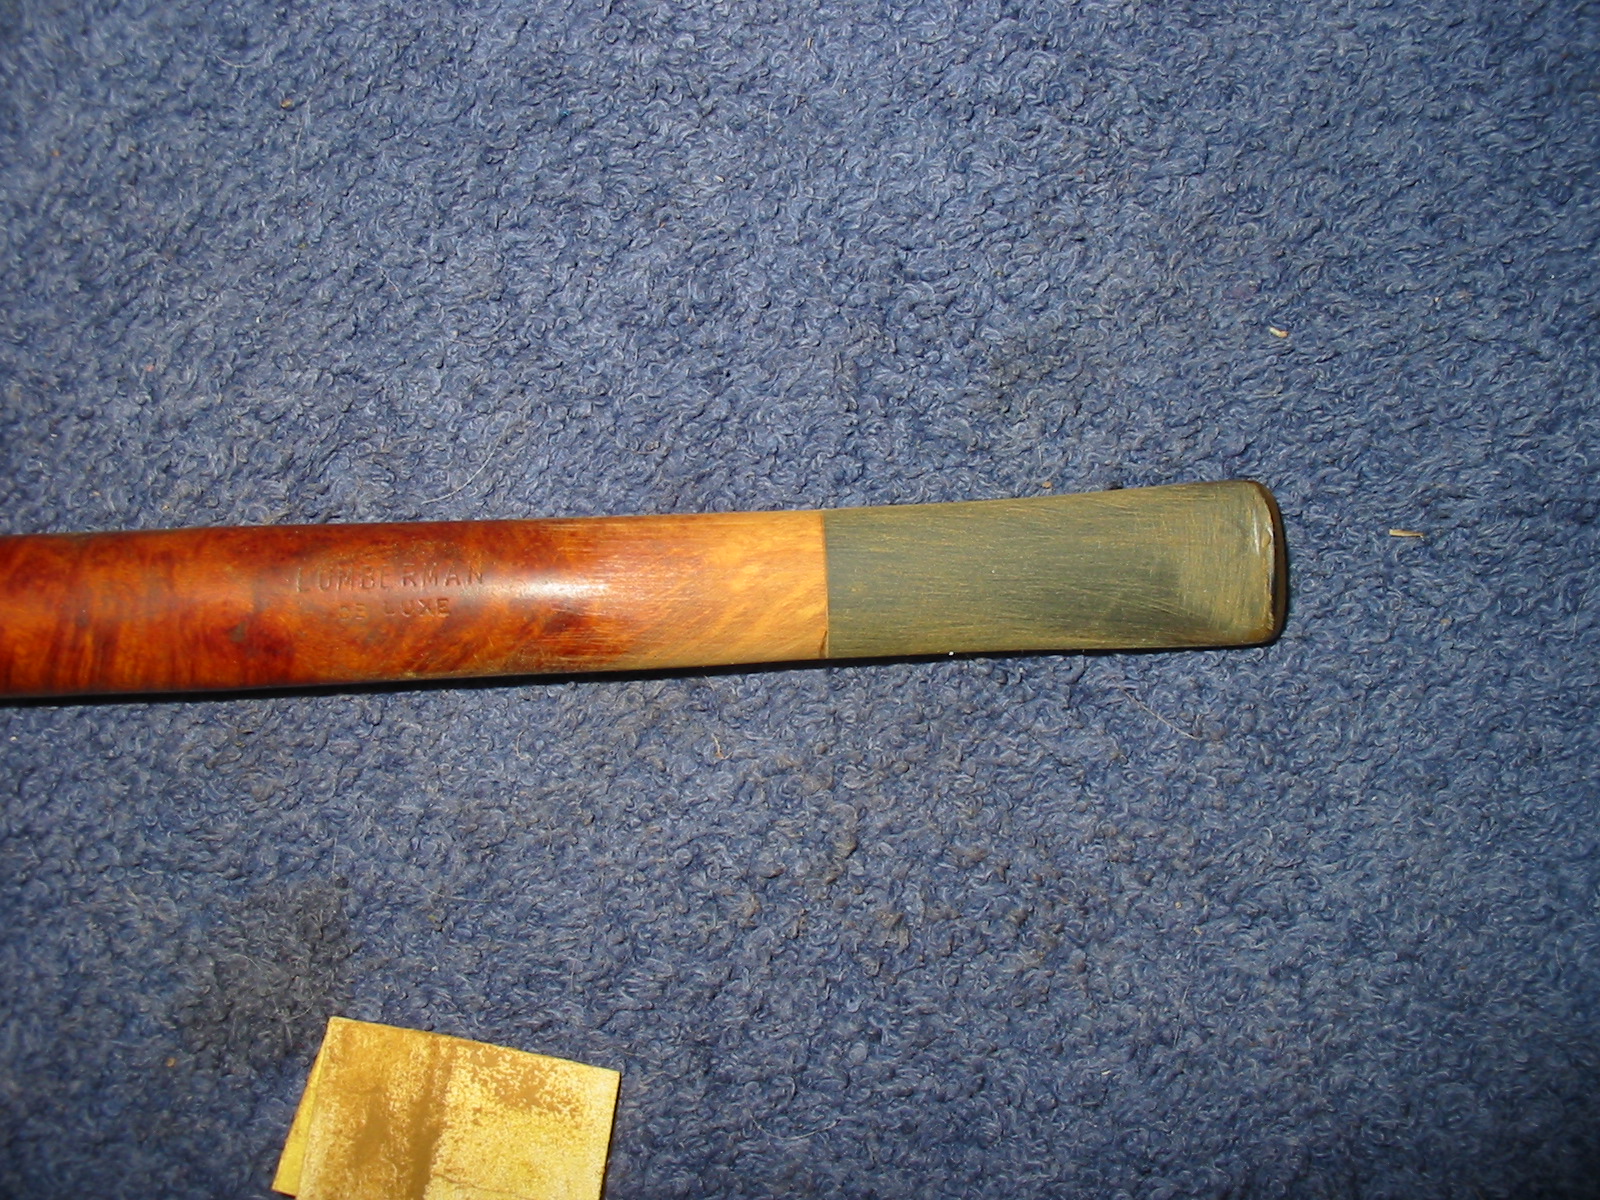
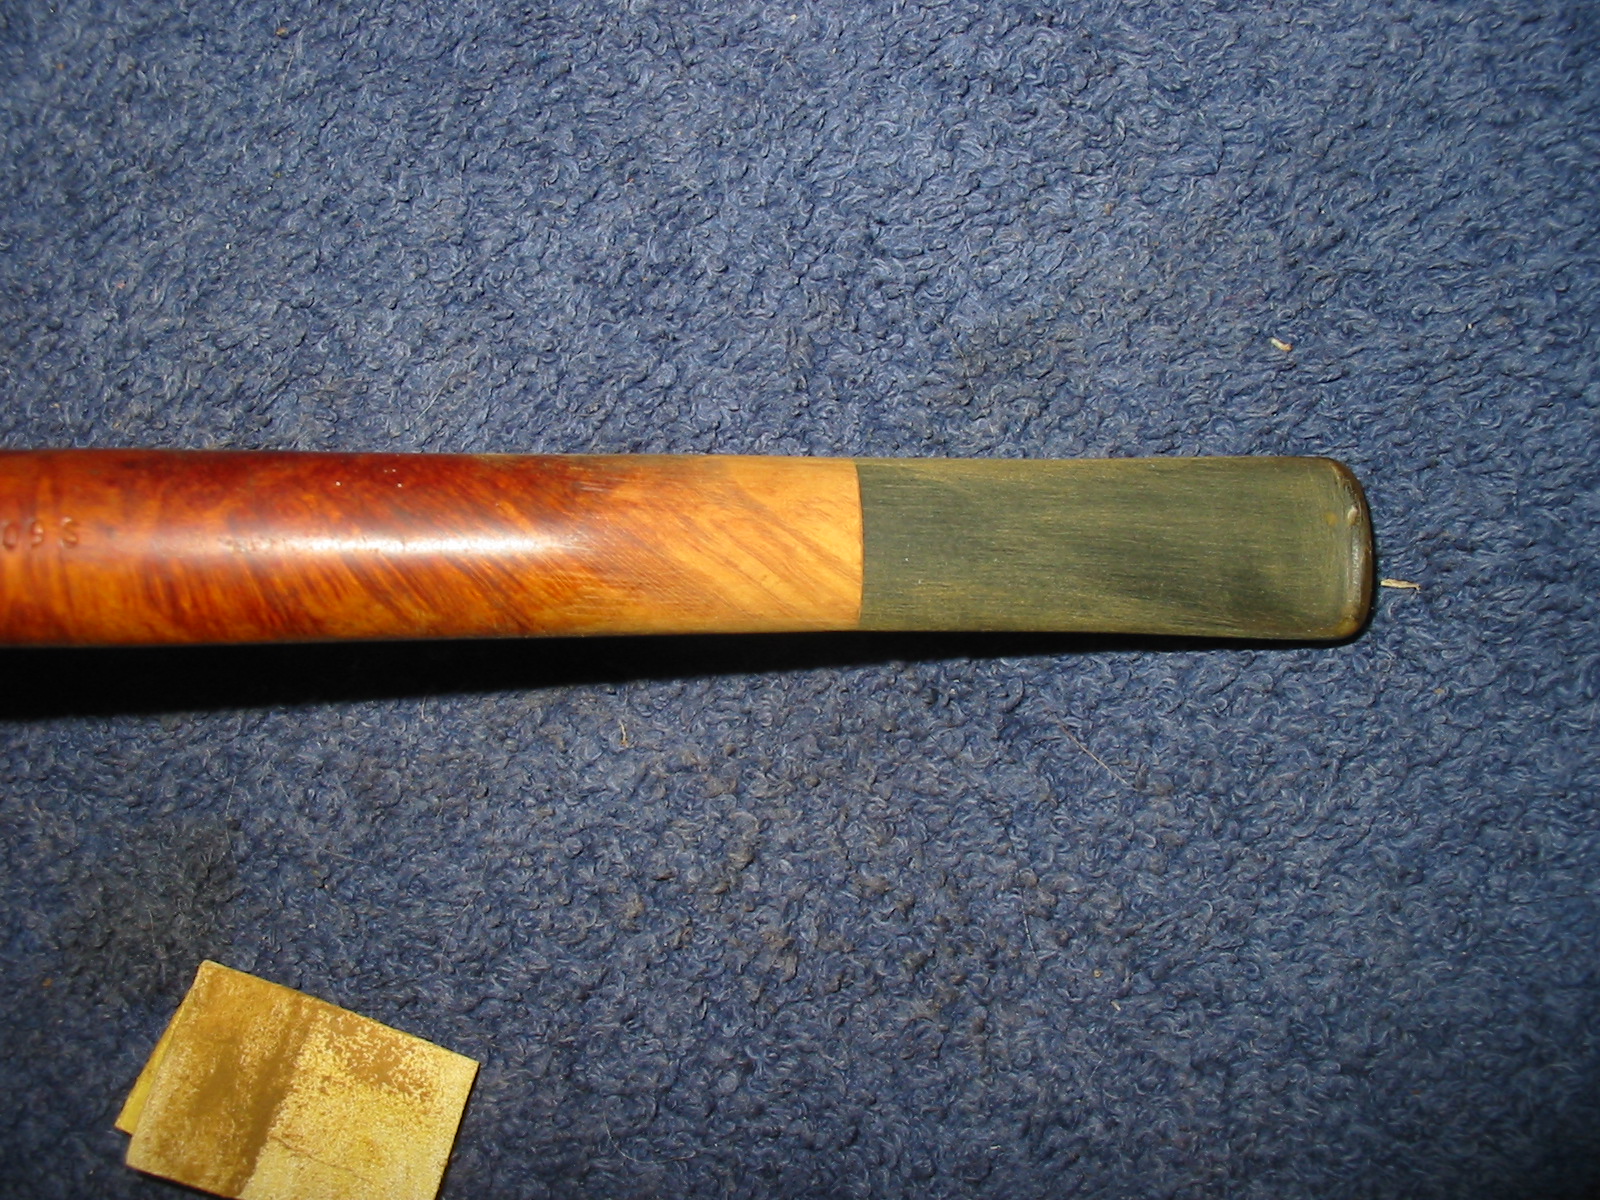
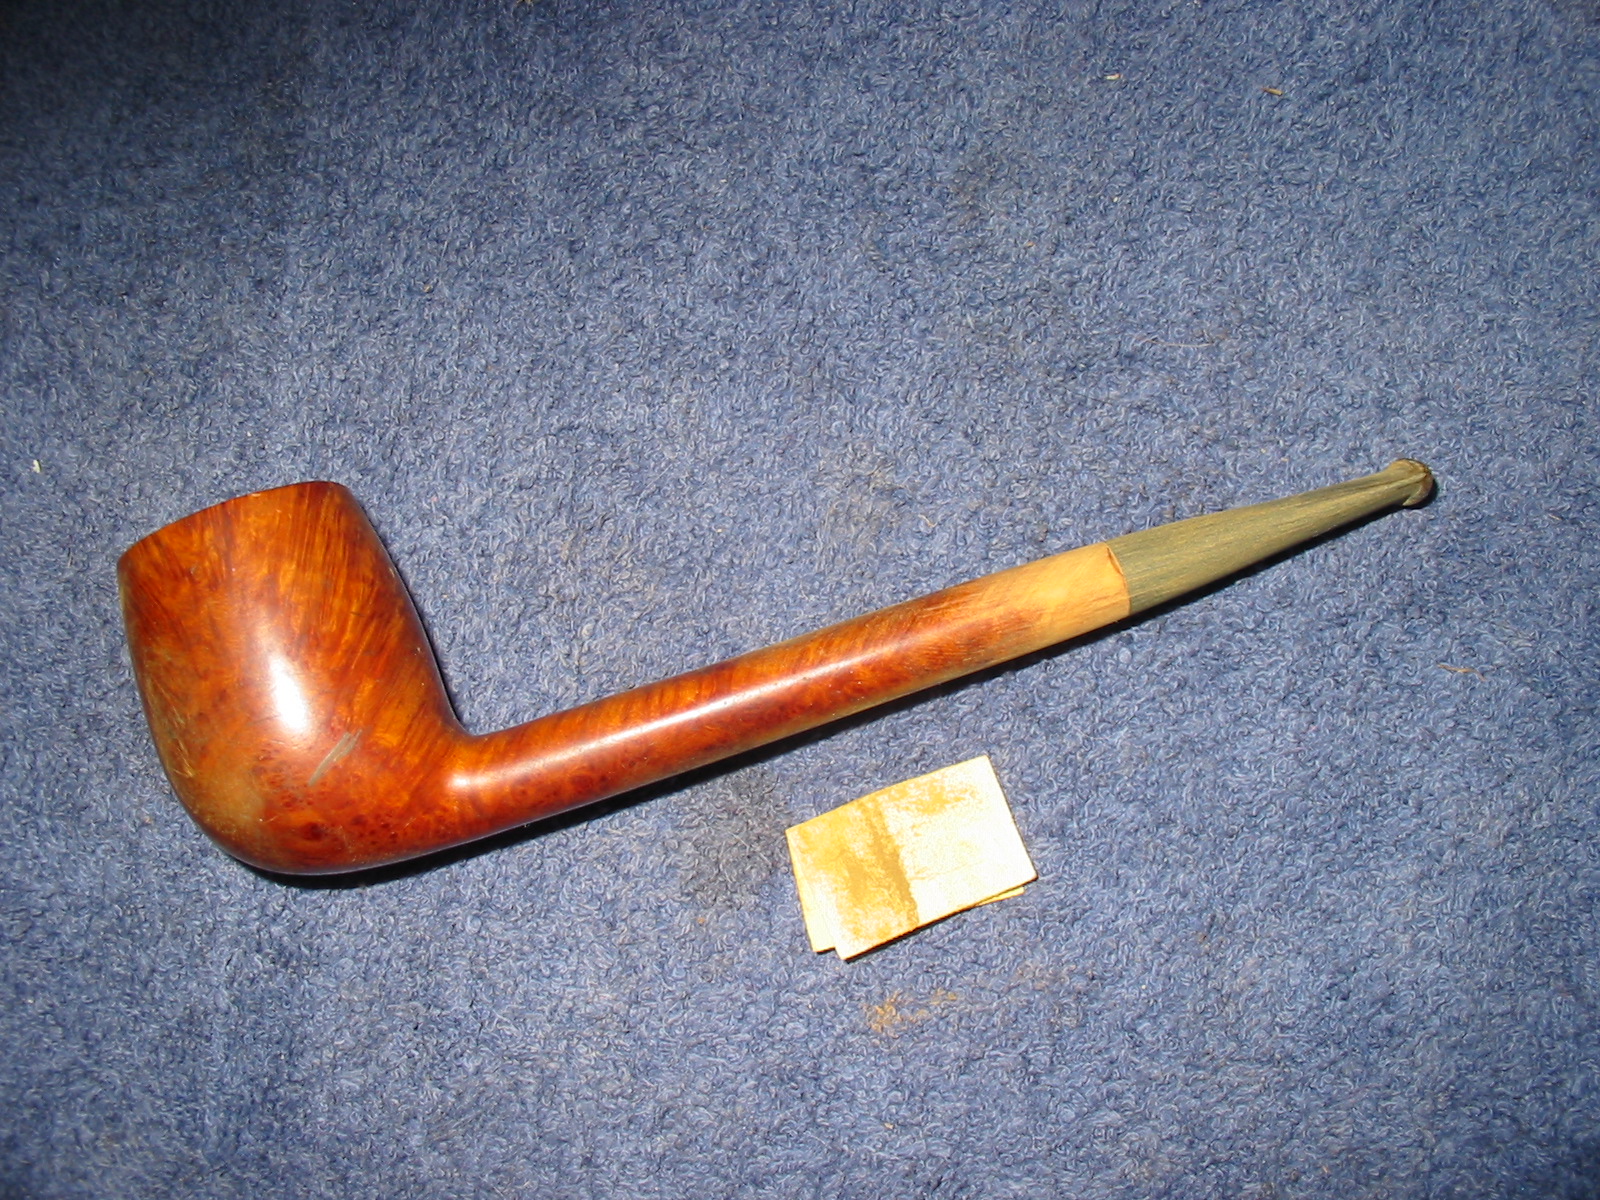
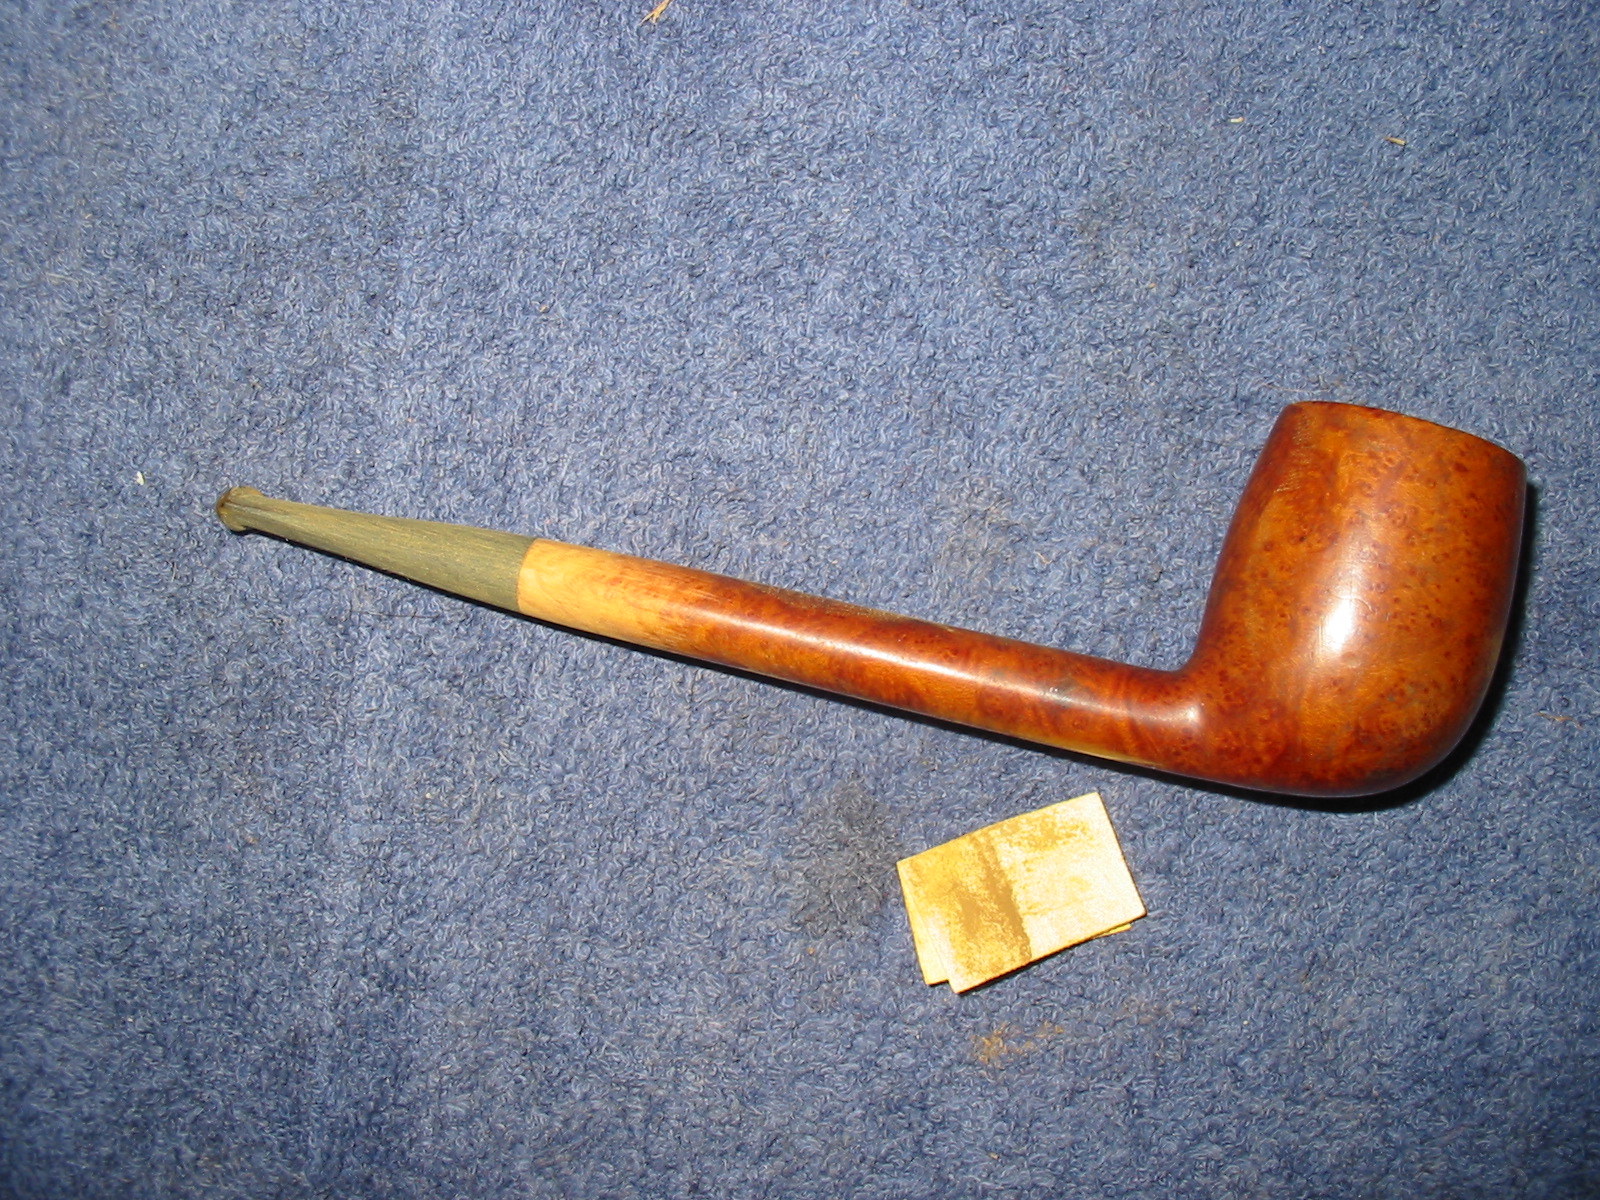
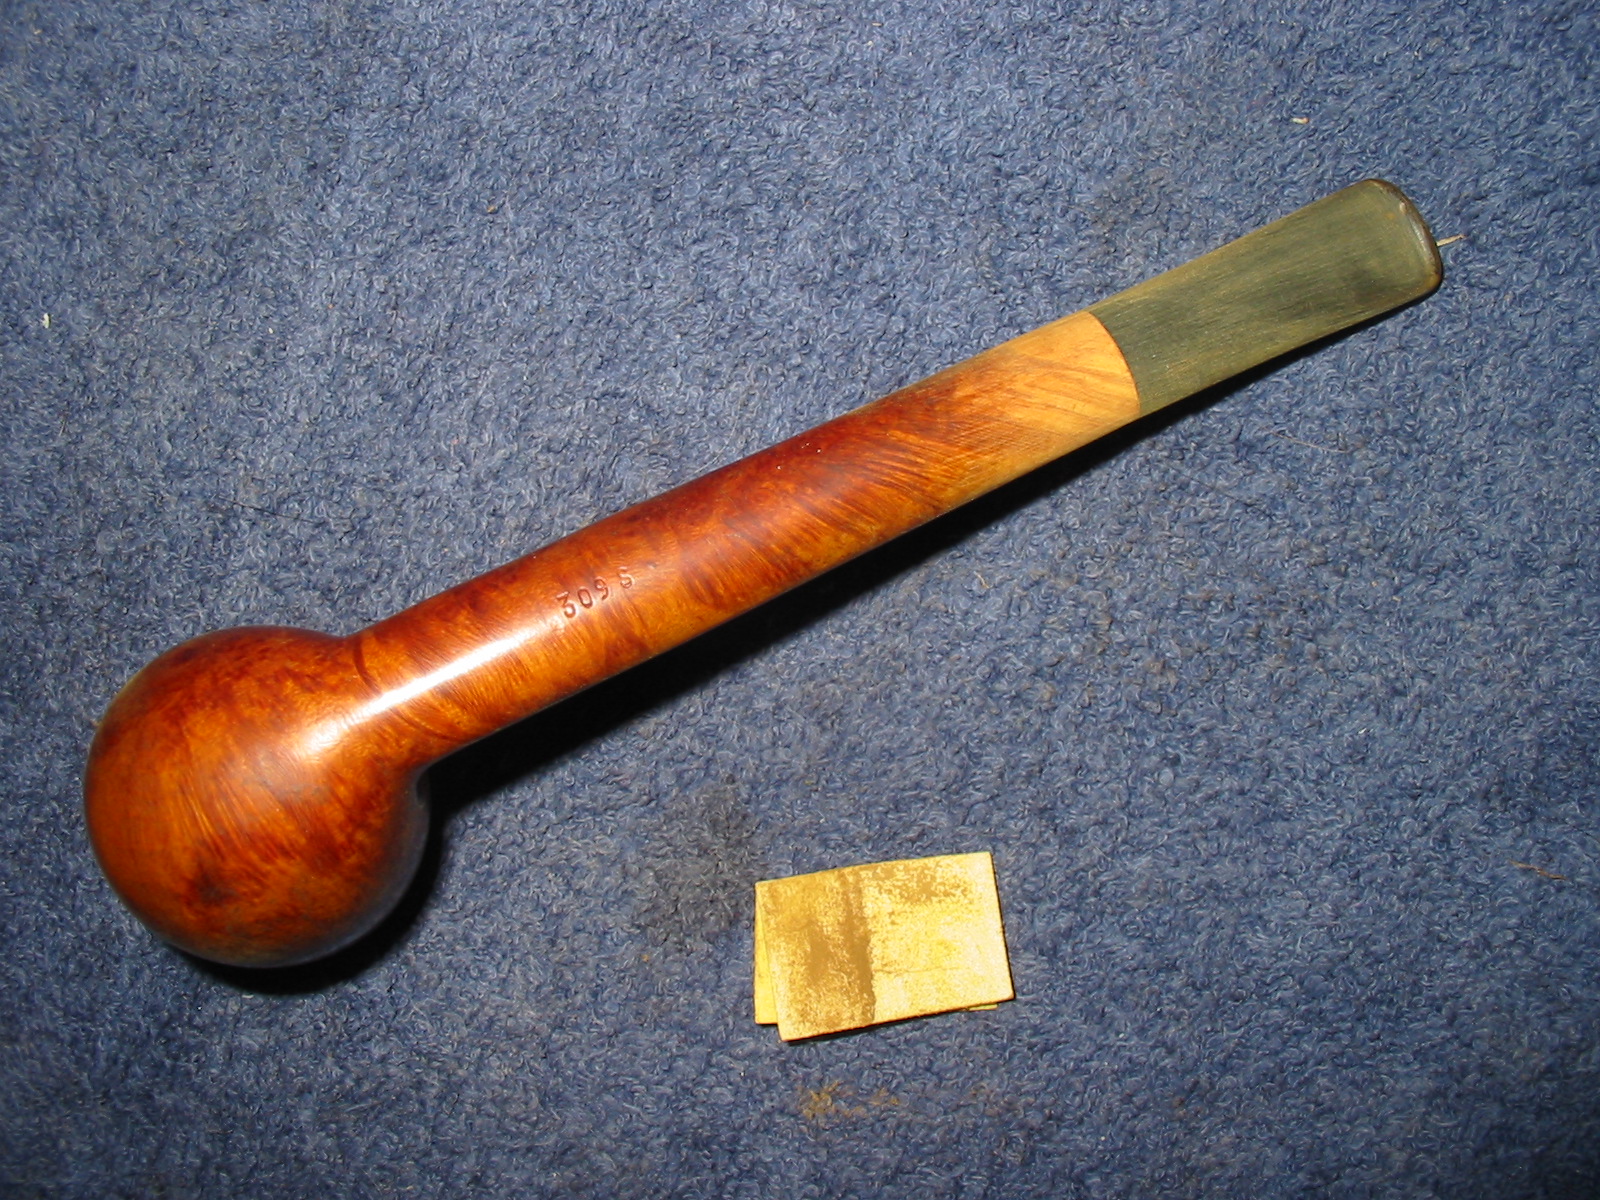
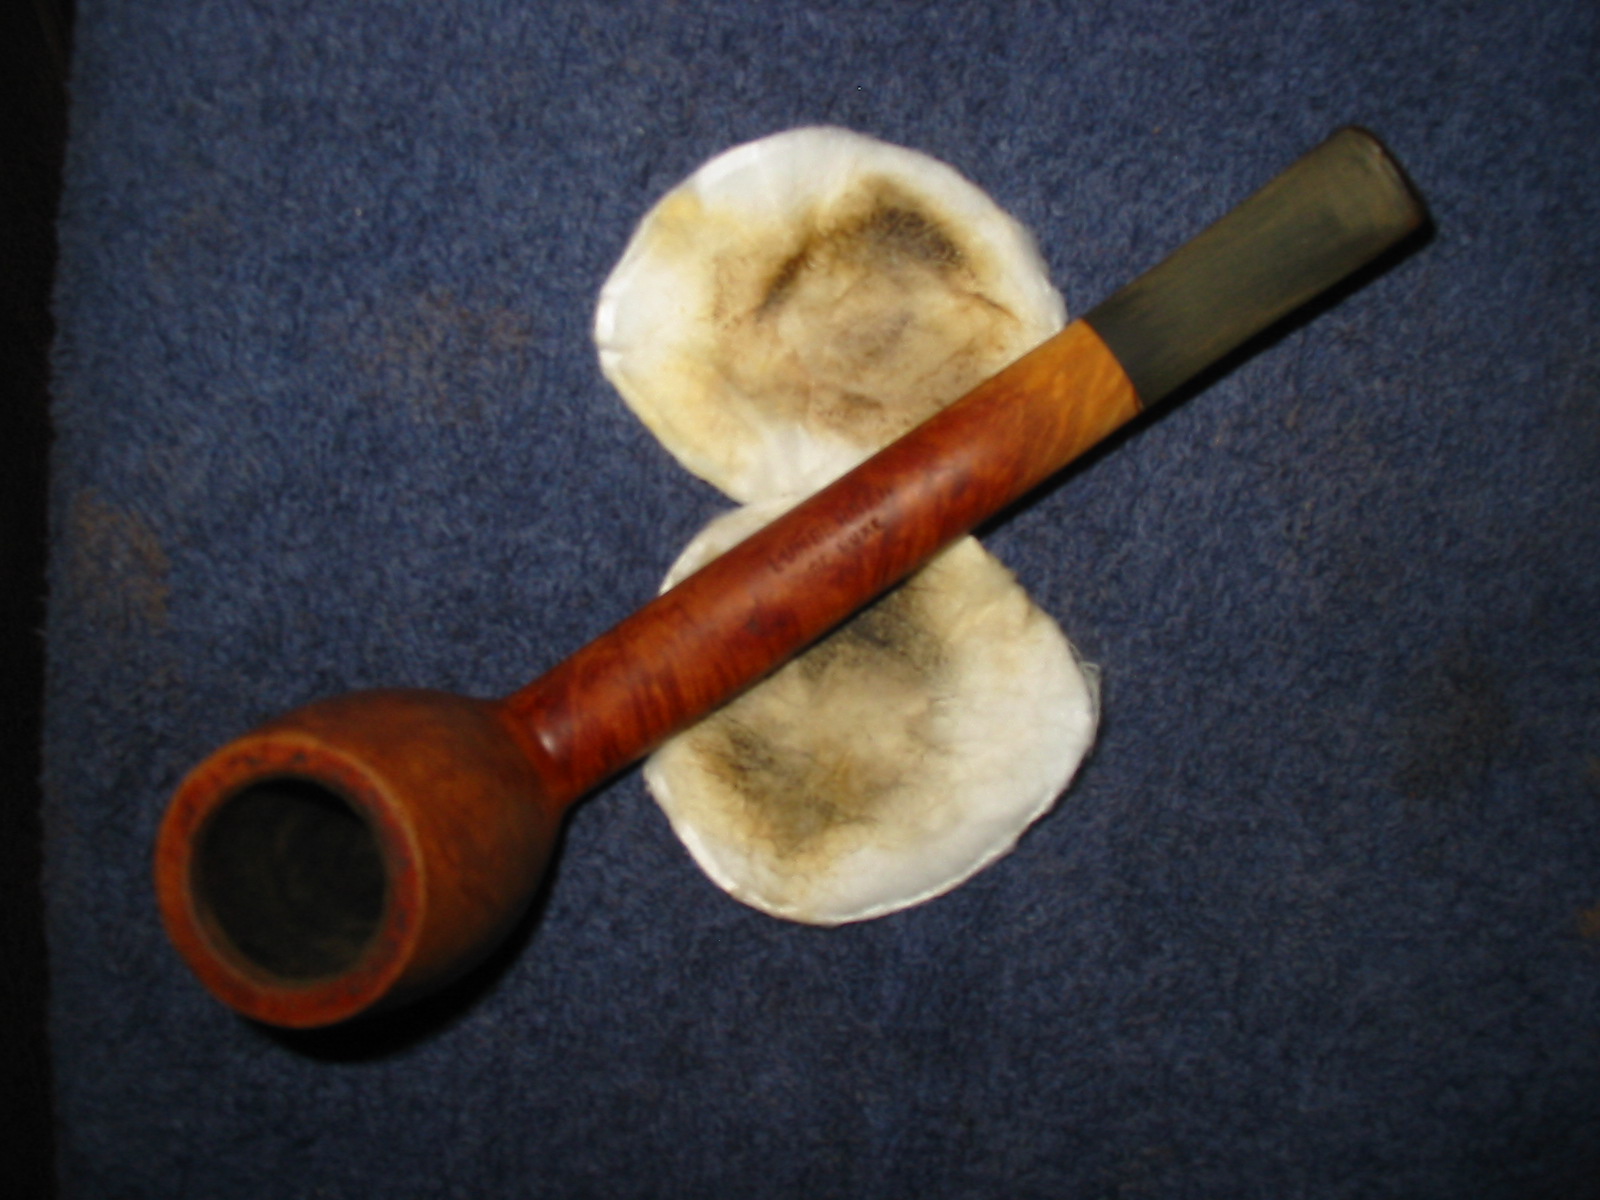
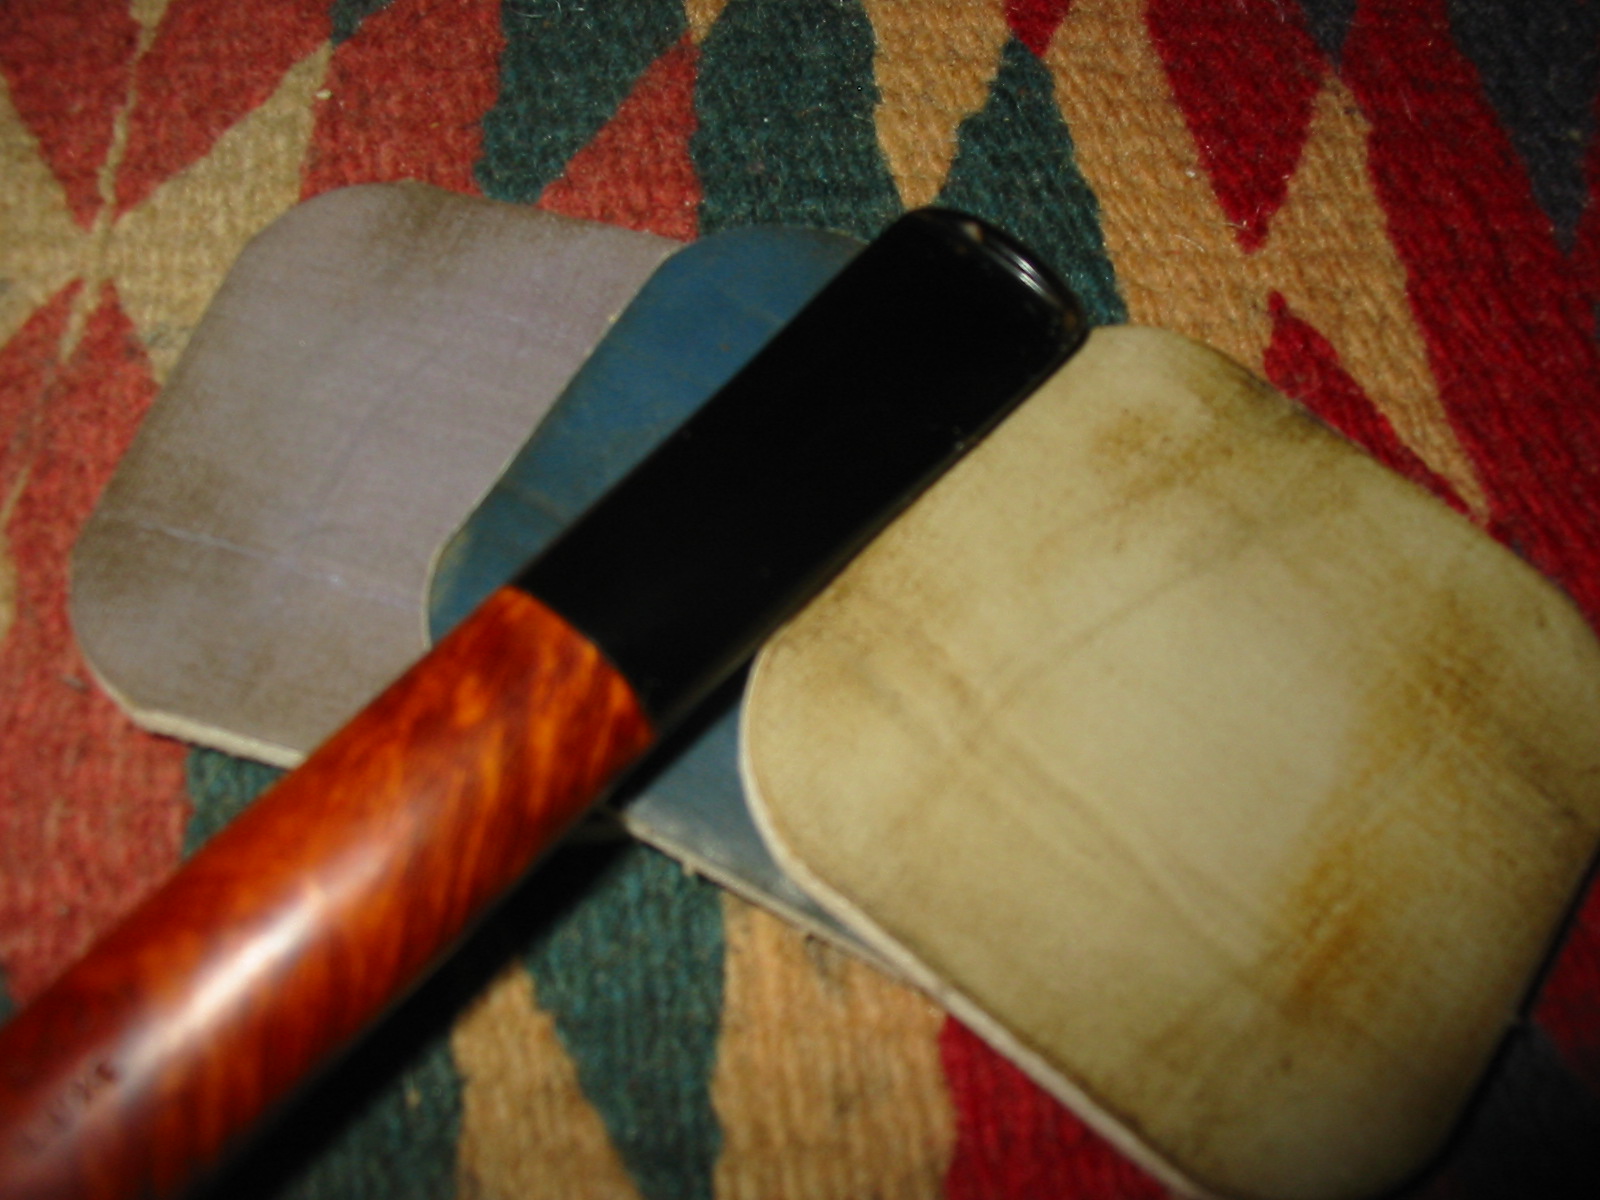
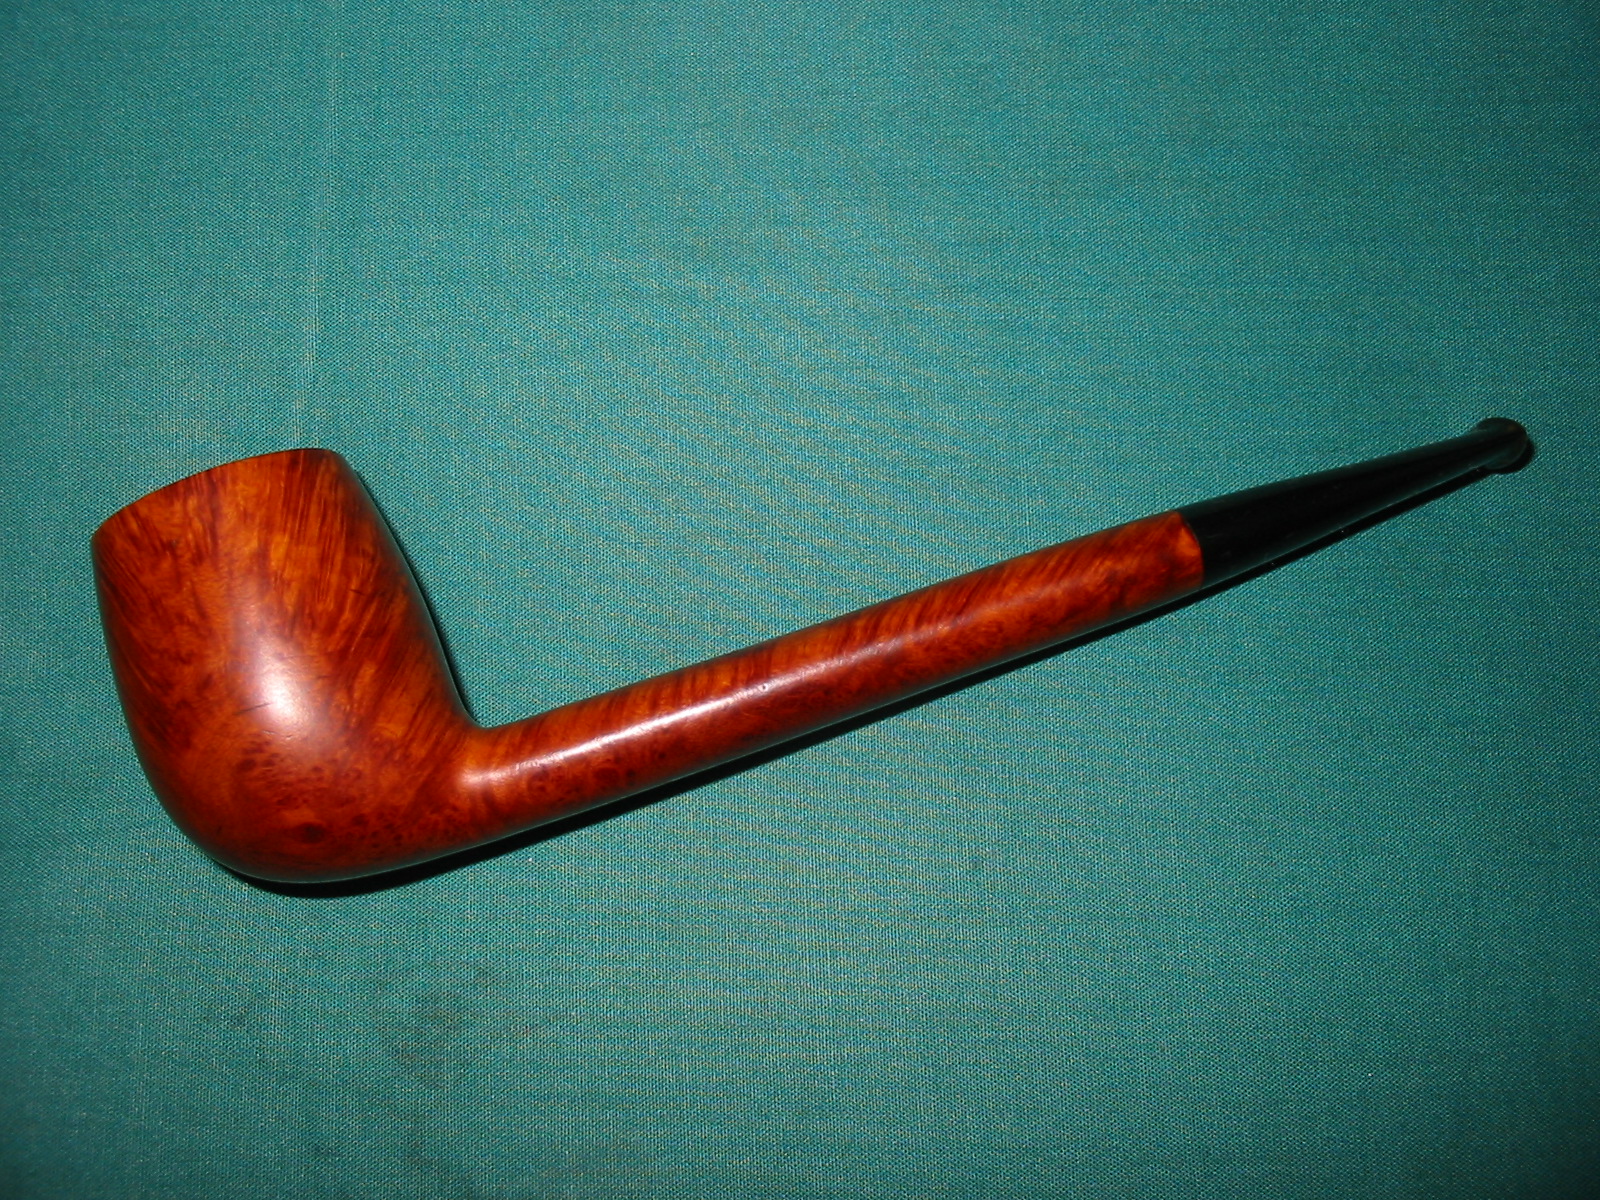
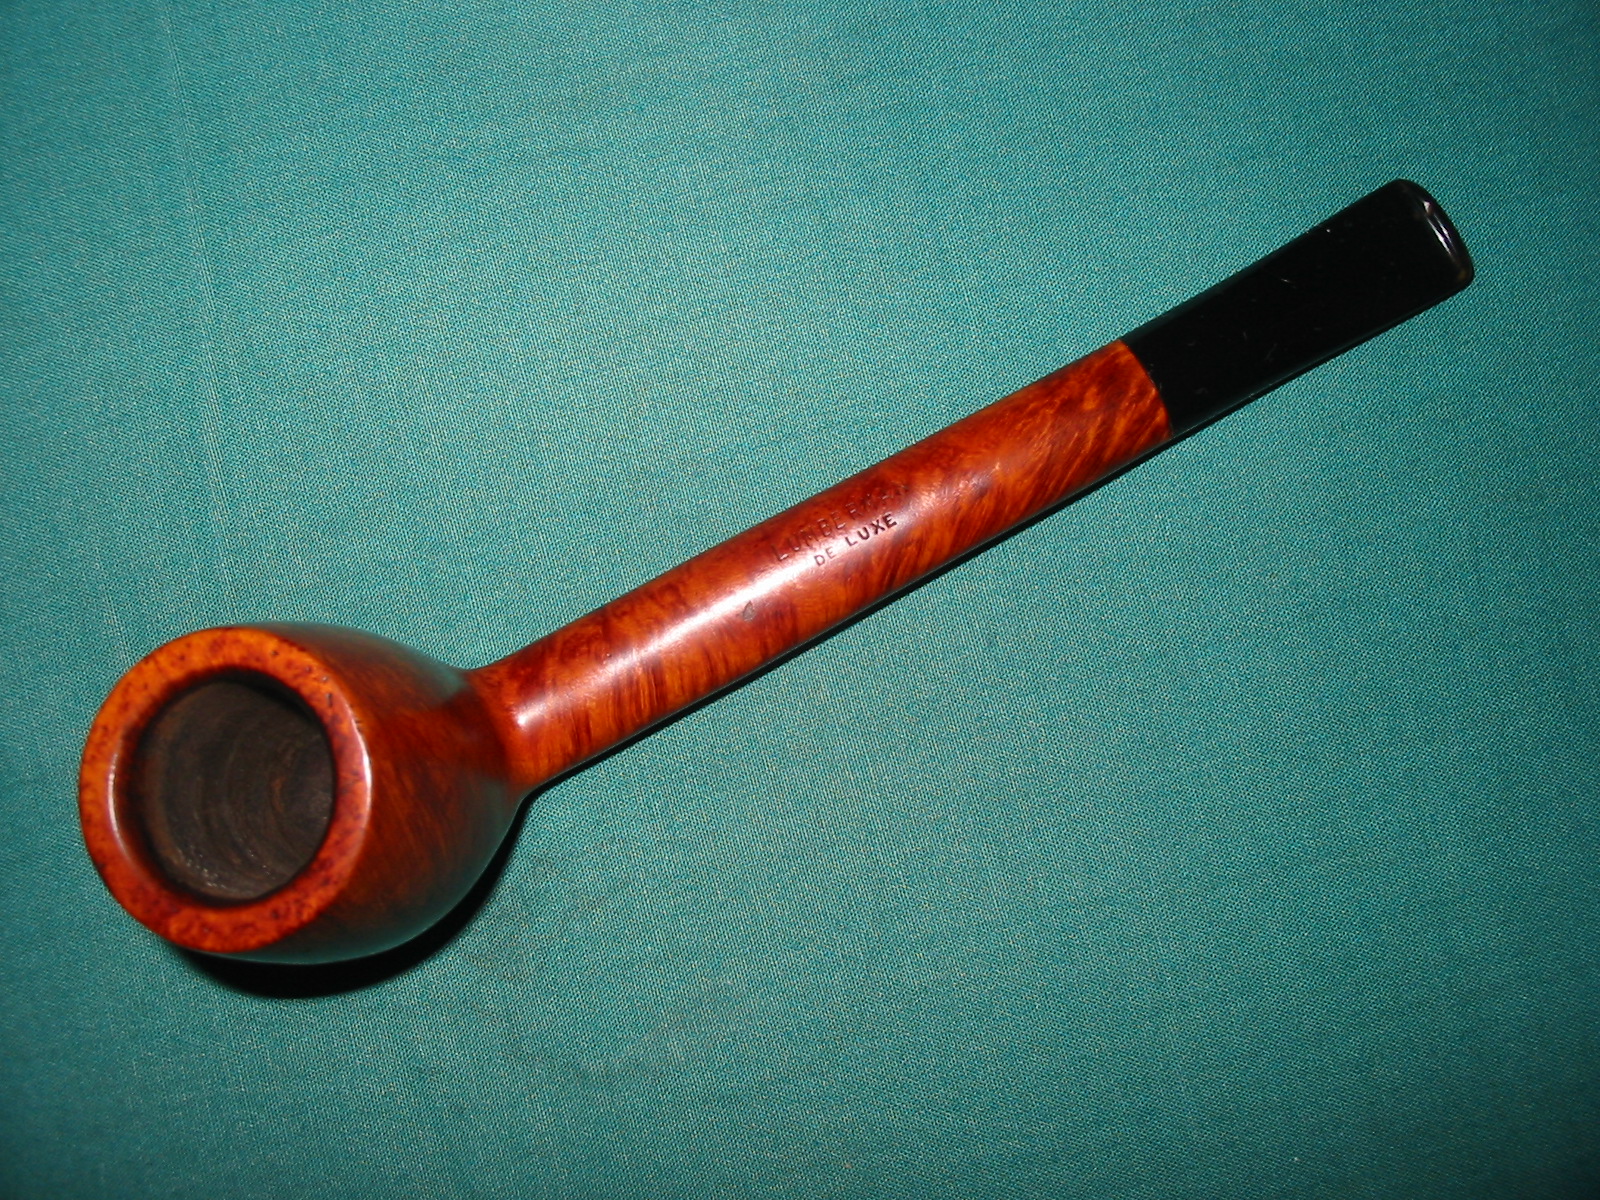
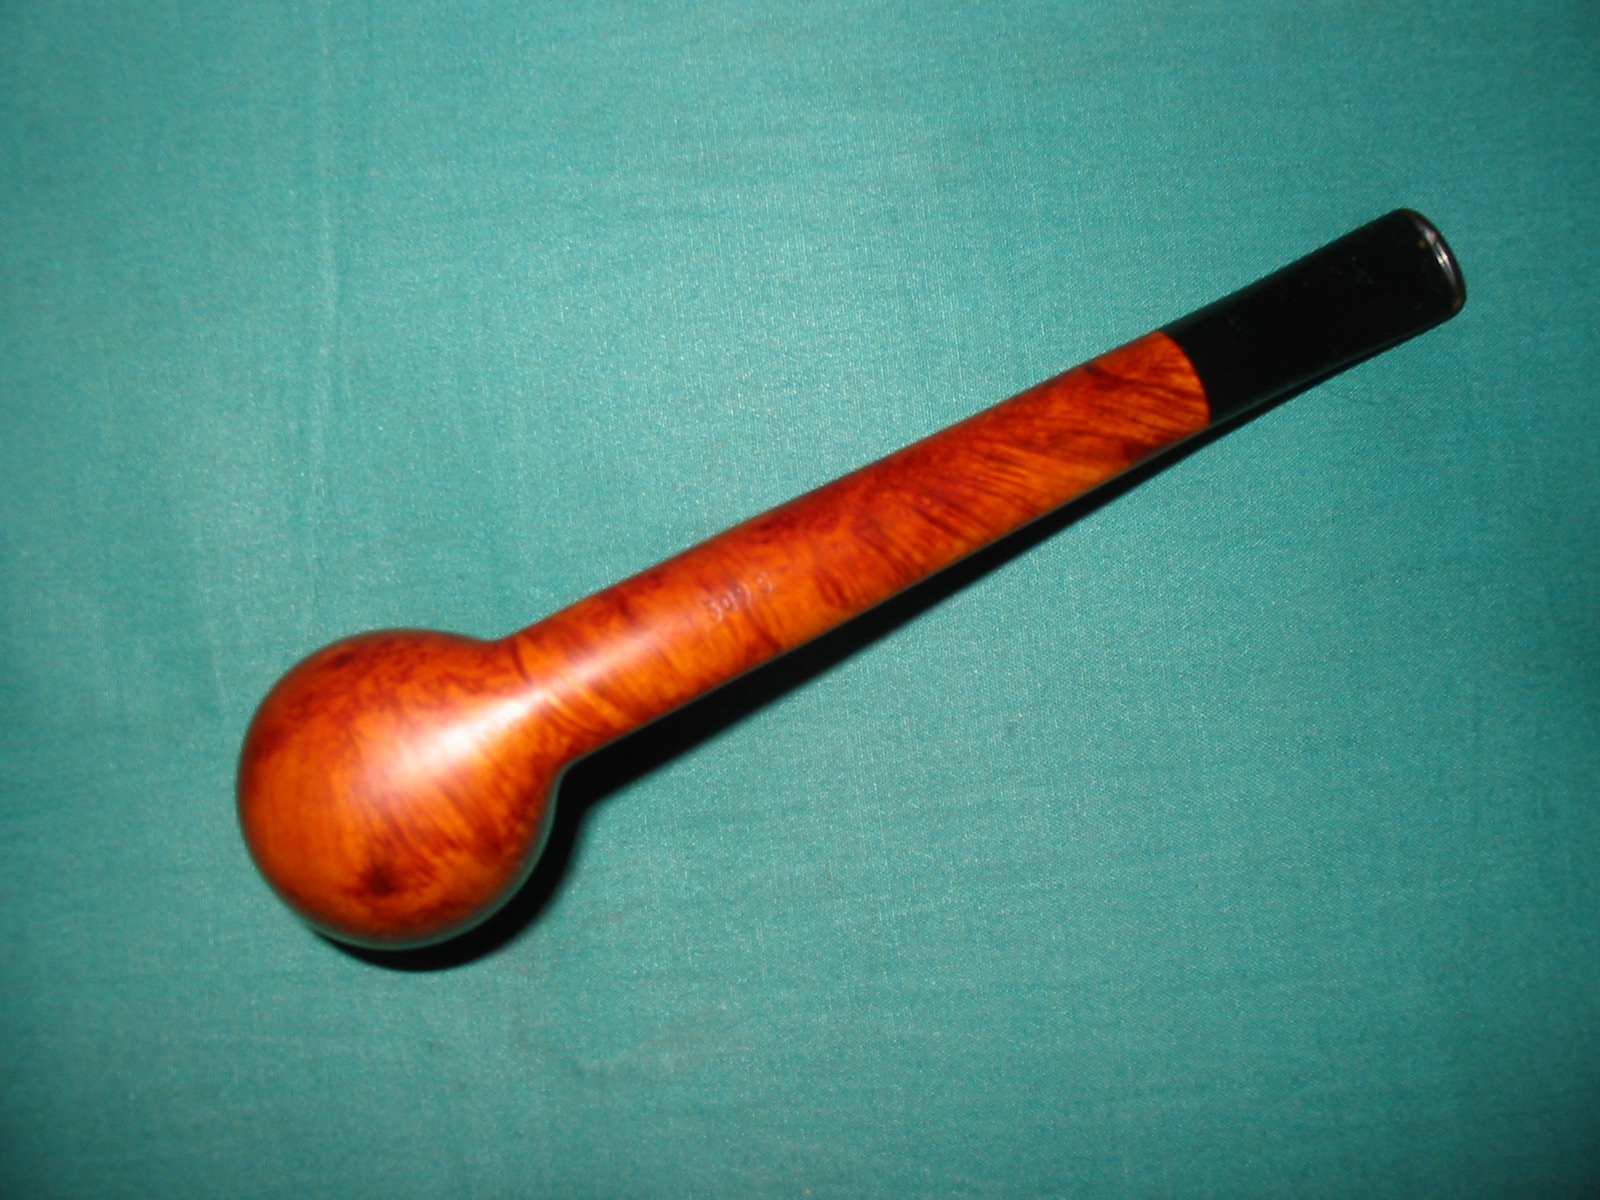
Andrew had a second LUMBERMAN DELUXE that he mentioned to me in a previous email when he sent me the other Lumberman to restem. He graciously gave the second one to me. In the photo below it is the one with the stem. It is slightly larger than the first one and also slightly longer as can be seen from the photo. It is stamped LUMBERMAN over DELUXE on top of the shank and on the underside there is no Made and London circle stamp. It is only stamped 309S. The pipe was in very good shape. There were no cracks in the long shank. There was one small sand pit in the top near the stamping. The bowl was slightly caked and the rim had some carbon buildup and many tiny pin pricks in the surface of the rim. The finish was dirty and had several sticky spots on the sides of the bowl. It was a gummy spot that seemed like the residue left behind by a price sticker. The stem was larger in diameter that the shank. It extended beyond the edge of the shank on both sides of the stem and also slightly on the bottom edge. The top edge fit well. There were also two tooth marks – one on top and on matching on the bottom of the stem near the button.
lumbermans

Before seeing these two pipes I had not heard of the Lumberman brand so Andrew had sent along some information that he had found on the web regarding the brand. He had gleaned the information from a Mr. Can EBay listing. In the previous blog post on the first LUMBERMAN I included Andrew’s information. I am also including it now as a quick reminder of the provenance of the brand. That posting read as follows:

“This Collectible Briar pipe is unique, extremely rare Comoy’s 309XL – a classic Canadian Shape. It has the arched Comoy’s nomenclature stamped over Deluxe (just as it appeared in the early 1930’s) both of which were stamped over Lumberman. For anyone already familiar with the stamping of Comoy Canadians that is enough to recognize that this is a rare and collectible Comoy.”

“During its history, Comoy’s has had three distinct sets of nomenclature, though they became somewhat blended in later years. The earliest Comoy nomenclature either had no Comoy stamping or a scripted, signature like forward leaning Comoy’s beneath which were featured names instead of shape numbers. Few of those names (Like Leman, Naval, Adelaide, and so on) are recognized even by the most ardent collectors. Then after World War I when Comoy began introducing what is sometimes called their Old Nomenclature (featuring the Prima, as the Top of the line with other lines like the Old Bruyere, Grand Slam, Lions Head, Lumberman, Lumberman Special and so forth) and arched Comoy’s stamping was used. In the 1930’s the Prima gave way to the Deluxe as the top of the line Comoy. Then just before World War II newer nomenclature started to appear (like Blue Riband, Specimen Straight Grain, and so on) and the Deluxe was replaced by the Royal Comoy. That New Nomenclature expanded dramatically after the War and blended with the modern nomenclature today.”

“The use of the arched Comoy’s ended with World War II and was replaced after the War with a straight line Comoy’s (along with the now famous country of origin stamping of a circular “Made In London” over a straight line “England”.”

“Prior to World War II with manufacturing facilities in both France and England, Comoy had pipes made in both locations. Most were easily identifiable by their country of origin stamping. There were several versions of Comoy’s Lumberman made in France and/or England. (They might have been the dame pipe but with different nomenclature.) “The Lumberman” and “The Lumberman Special were made in both factories. But none had the arched Comoy’s stamping.”

“After WWII Comoy’s reintroduced the Deluxe, discontinued the arched Comoy’s and continued various versions of the Lumberman. Perhaps Comoy’s best graded Lumberman was stamped Lumberman Deluxe – but it had no Comoy stamping. Lumberman was always stamped over Deluxe.”

“Normally Comoy offered to Canadian sizes designated by shape numbers 296 and 309. The difference was in the length of the Canadians. The 309 shape was Comoy’s longest Canadian and the 296 was shorter. However, the extra long Canadians were upgraded with the additional stamping of XL and the very longest were sometimes stamped XXL. Either upgrade was rare.” – The above was taken from correspondence Andrew included when he sent the pipe to me.

The previous blog post can be found at this link: https://rebornpipes.wordpress.com/2014/01/29/repairing-and-restoring-a-lumberman-deluxe-canadian-by-comoys/

The difference between this pipe and the previous one was that the stamping on the underside of the pipe lacked the Comoy’s circle Made in London stamp and also bore the shape designation of 309 but instead of X or XL it is stamped “S”. It is larger than the previous LUMBERMAN but the stamping appears to be a bit of an anomaly.

The next series of photos show the pipe as it appeared when I received it from Andrew. There was slight oxidation on the stem and the stem was larger as noted above.
IMG_5199

IMG_5200

IMG_5201

IMG_5202

I took several close-up photos to show the fit of the stem and how the sides and the bottom edge of the stem was larger than the diameter of the shank.
IMG_5203

IMG_5204

I refit the stem and sanded the sides of the stem until it matched the shank. I also sanded the shank lightly in order to make a smooth transition between the two. I used 220 grit sandpaper to take off the excess vulcanite and bring the stem in line with the shank. At the same time I sanded the tooth marks on the top and bottom of the stem at the button and was able to remove them.
IMG_5206

IMG_5207

IMG_5210

IMG_5212

I sanded the stem and shank with a medium and a fine grit sanding sponge and then a fine grit sanding block. The refit stem is shown in the next series of four photos.
IMG_5205

IMG_5208

IMG_5209

IMG_5211

I wiped the bowl and shank down with acetone and clean the stem and shank with isopropyl alcohol and pipe cleaners. I reamed the bowl with a PipNet reamer to take the slight cake back to the wood and even the buildup on the walls. It seemed to have a slight ridge of cake mid-bowl and I wanted the walls clean so that I could build up my own cake.
IMG_5213

IMG_5214

IMG_5215

IMG_5216

I sanded the stem down with medium and fine grit sanding sponges and then used my usual array of micromesh sanding pads. I wet sanded with the 1500-2400 grit pads and dry sanded with the 3200-12,000 grit pads.
IMG_5220

IMG_5221

IMG_5222

I rubbed the bowl down with a light coat of olive oil and the stem down with Obsidian Oil. Once it had been absorbed in both places I took the pipe to the buffer and buffed it with White Diamond on the wheel. I gave bowl and stem multiple coats of carnauba wax and then buffed the pipe with a clean flannel buff to give it a finish shine. The finished pipe is shown in the photos below. The fit of the stem matches the lines of the pipe and the oiled finish gives the pipe a look that is fresh and new. It is ready for its new maiden voyage.
IMG_5223

IMG_5224

IMG_5225

IMG_5226

ADDENDUM – I am copying this from the responses below so that it gets more readership.

Here is the info from the link Jacek supplied. Very helpful additional information. Thanks Jacek.
As many realize, Comoy is one of the oldest London Pipemakers with production started in France in 1825. Francois Comoy started making smoking pipes with his brothers in St. Claude, France in 1825. His son, Louis, took over the company and in 1848 helped guide it into the era of power-driven machines beginning what Comoy called a “Century of Progress.” His son, Henri, followed in the footsteps of his father and grandfather and moved Comoy’s to Clerkenwell in the City of London in 1879, and thus began “Comoy’s of London.” And his son, Louis, was the last family member to run the company.

During its’ history, Comoy’s has had three distinct sets of nomenclature, though they became somewhat blended in later years. The earliest Comoy Nomenclature either had no ”Comoy” stamping or a scripted, signature-like (forward leaning) “Comoy’s” beneath which were featured names instead of shape numbers. Few of those names (like the “Leman”, “Naval”, “Adelaide” and so on) are recognized even by the most ardent Comoy collectors. Then after World War I when Comoy began introducing what is sometimes called their “Old Nomenclature” (featuring the “Prima” as “Top-of-the-Line” with other lines like the “Old Bruyere,” “Grand Slam,” “Lions Head,” “LUMBERMAN,” “LUMBERMAN SPECIAL,” and so forth) an ARCHED “COMOY’S” stamping was used. In the 1930s the Prima gave way to the “DE LUXE” as the “Top-of-the-Line” Comoy. Then, just before World War II newer nomenclature started to appear (like “Blue Riband,” “Specimen Straight Grain,” and so on) and the “DE LUXE” was replaced by the “Royal Comoy”. That “New Nomenclature” expanded dramatically after the War and blended with the modern nomenclature of today.

The use of the ARCHED “COMOY’S” ended with World War II and was replaced after the War with a straight line “Comoy’s” (along with the now famous Country of Origin stamping of a circular “Made in London” over a straight line “England”).

Prior to World War II with manufacturing facilities in both France and England, Comoy had pipes made in both locations. Most were easily identifiable by their Country of Origin stamping. There were several versions of Comoy’s “LUMBERMAN” made in France and/or England. (They might have been the same Pipe but with different nomenclature.) “THE LUMBERMAN,” and “THE LUMBERMAN SPECIAL” were made in both factories. But NONE had the ARCHED “COMOY’S” stamping!

After World War II, Comoy reintroduced the “DE LUXE,” discontinued the ARCHED “COMOY’S” and continued various versions of the “LUMBERMAN”! Perhaps Comoy’s” best” graded “LUMBERMAN” was stamped “LUMBERMAN DE LUXE” – – – but it had no “Comoy” stamping. ”LUMBERMAN” was always stamped over “DE LUXE”!!!

Now look at the stamping on this Comoy Canadian – – – the ARCHED “COMOY’S” is stamped OVER “DE LUXE” (just as it would have been on a “Top-of-the-Line” Comoy’s De Luxe” in the early 1930s! In addition, that stamping is OVER “LUMBERMAN”!!! This Canadian is the only one I have ever seen with such stamping(s)!!!

Comoy offered truly elegant Canadians that were always perfectly shaped, light weight and fitted with “wafer thin” mouthpieces that are easy to hold in the mouth. Of course, they came in different lengths and finishes.

Normally, Comoy offered two Canadian sizes designated by Shape Numbers 296 and 309. The difference in the length of the Canadians. The “309” Shape was Comoy’s LONGEST CANADIAN, and the “296” was shorter. However, EXTRA LONG Canadians were ”upgraded” with the additional stamping of “XL” (creating a “309 XL”) and the very longest were sometimes stamped “XXL”!!! Either upgrade was rare, and this exceptional Canadian is stamped “309 XL”!!!

So looking at the title of this description one would expect to see a long, sleek Canadian of special length. It is not! It is a mere 6 3/8” LONG which is barely longer than average for most pipe makers!

The grain is not exceptional nor is the size (although the Bowl is a large Dunhill Group 4/5 Size which is larger than most “average” Canadians). But the Pipe has a HAND RUSTICATED RING around the Rim as well as a small HAND RUSTICATED “ARROWHEAD” or “TRIANGLE” on the bottom of the Shank! Both are unusual for any Comoy and ensure that this Canadian is UNIQUE (if only because no two rustications are identical).

Combining these features, you are looking at an EXCEPTIONALLY RARE, UNIQUE COMOY “LUMBERMAN”!!!

We cannot be certain of a date for this Comoy. It is an ARCHED “COMOY’S” over “DE LUXE” which dates it from the early 1930s. It is also a “LUMBERMAN” with a COMOY’s 3-PIECE “C” LOGO in the Mouthpiece dating it to the post-World War II timeframe; and it has the newer Country of Origin stamping which did not exist before World War II. So it would seem that this Comoy Lumberman/Canadian most likelydates from the late 1940’s which would seem to be the most reasonable time for such a Pipe to appear.

As the pictures reflect, this Canadian remains in PRISTINE CONDITION! The STRONG NOMENCLATURE confirms that! There are NO chips, dents or scratches to detract from the exterior finish. NO varnish, lacquer or shellac has been used to improve the appearance of the Pipe for the pictures (and temporarily fill scratches and toothmarks). And, NO coating has been applied to the inside of the Bowl to hide cracks, heat fissures or even burnouts. The Pipe shines as it did when it left the factory in London over 60 Years Ago!!!

This Canadian measures 6 3/8″ LONG with a Bowl 2″ TALL!!! The nomenclature is crisp and clear: “COMOY’S [arched and over] DE LUXE, LUMBERMAN, MADE IN LONDON [in a circle and over] ENGLAND, 309 XL”. The Famous Comoy’s 3-Piece White “C” Logo is inlaid in the Bit. So what you are viewing is an EXCEPTIONALLY RARE, and COLLECTIBLE COMOY CANADIAN!!! The fact that it is in PRISTINE CONDITION with particularly STRONG NOMENCLATURE makes it worthy of consideration by those desirous of accumulating a special Comoy collection!

Giving a Brewster Round Top Billiard a Face Lift


Blog by Steve Laug

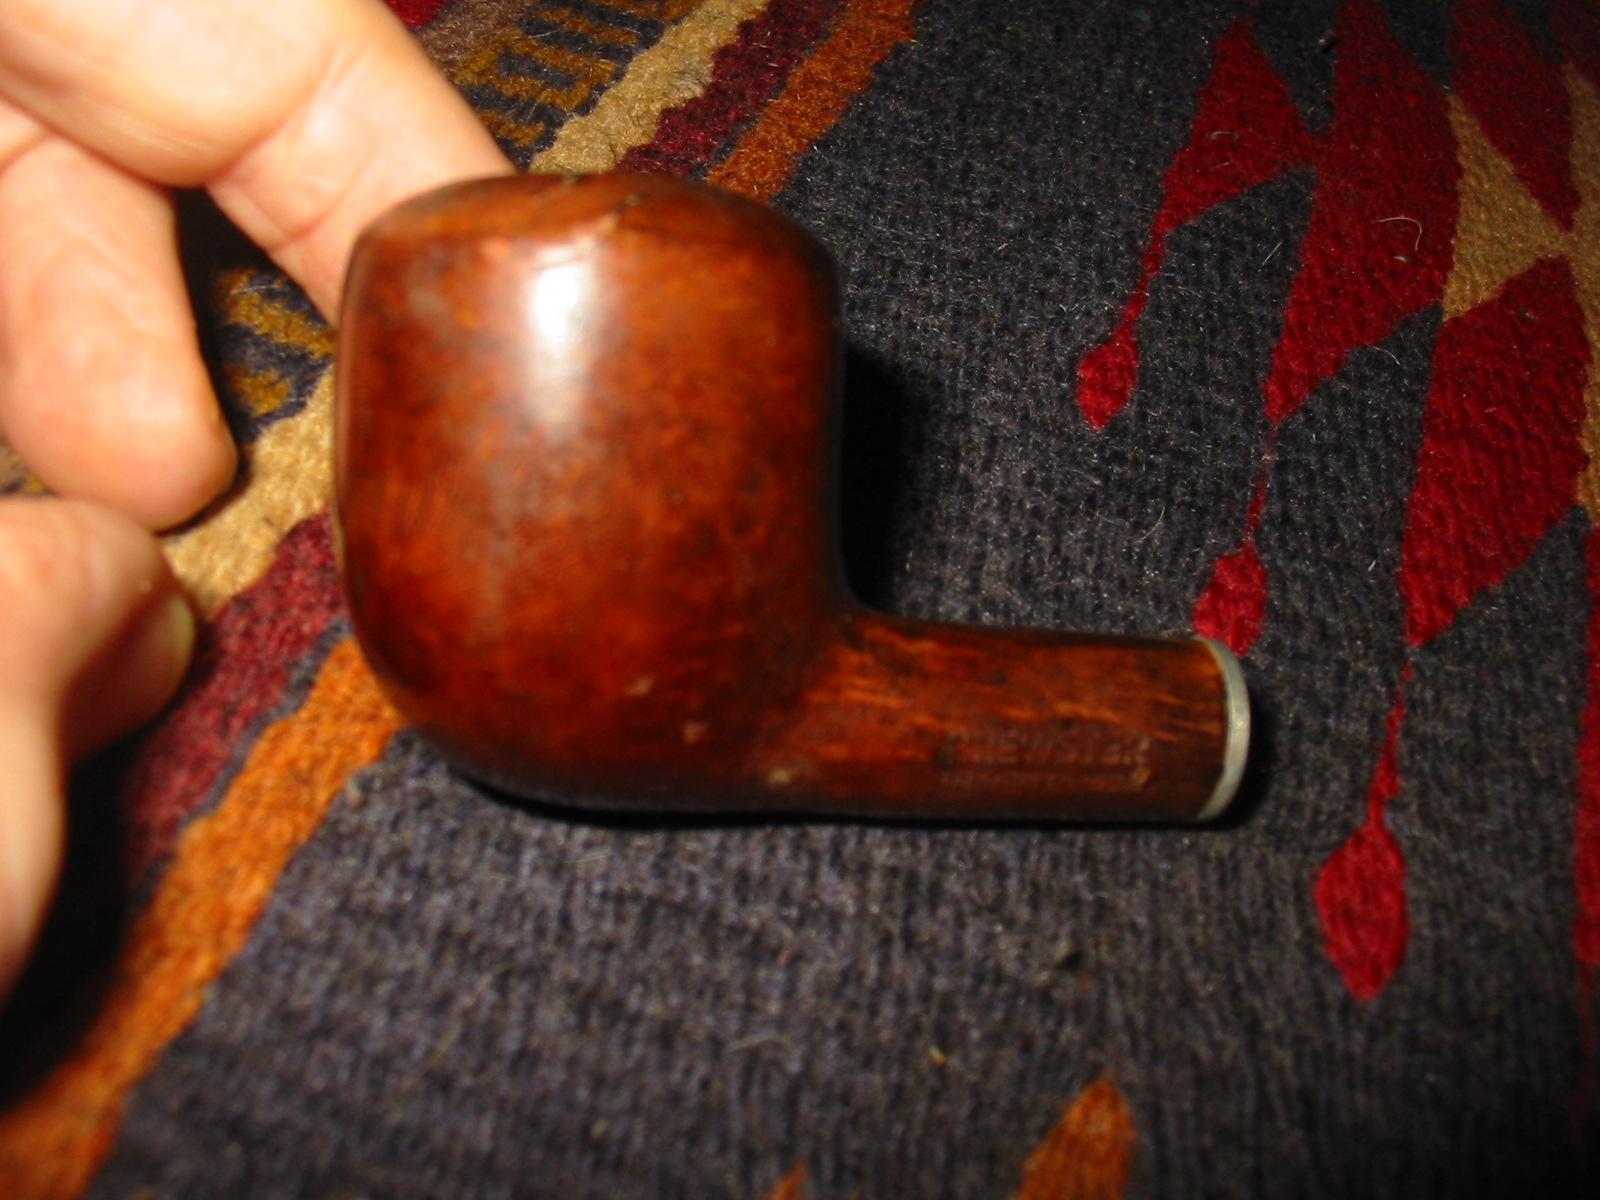
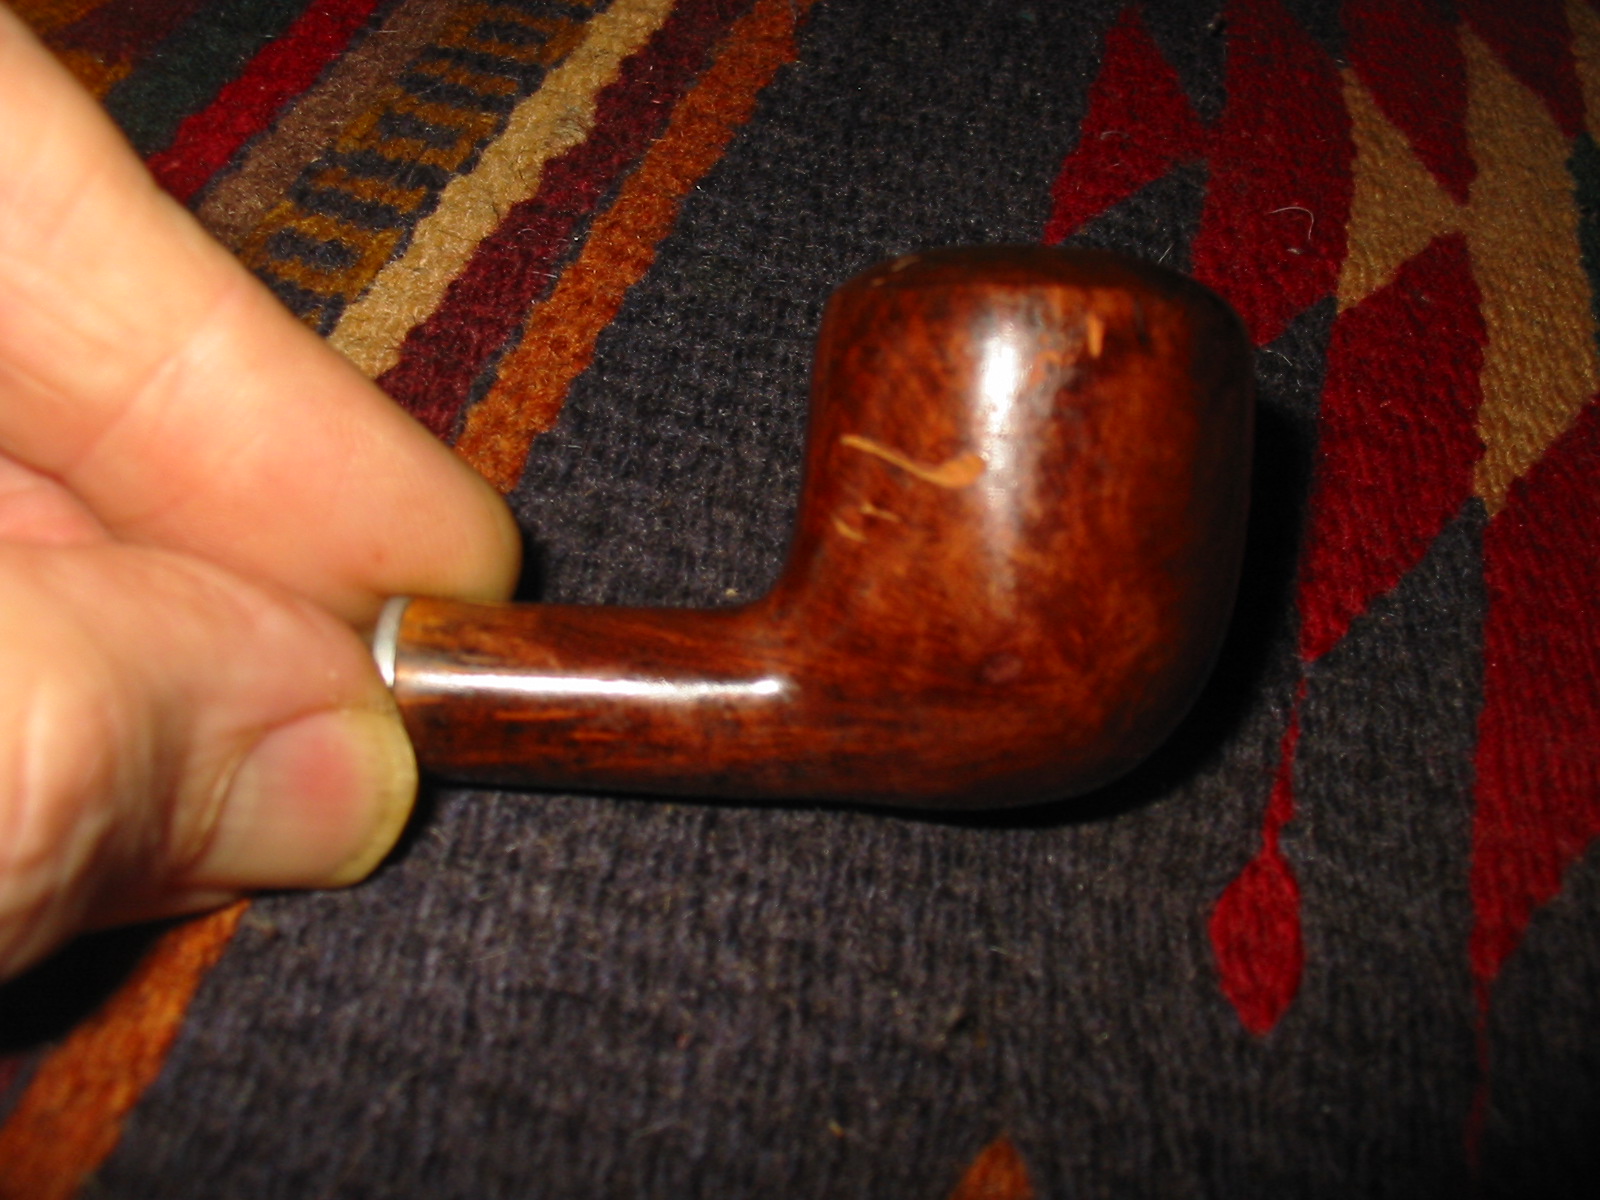
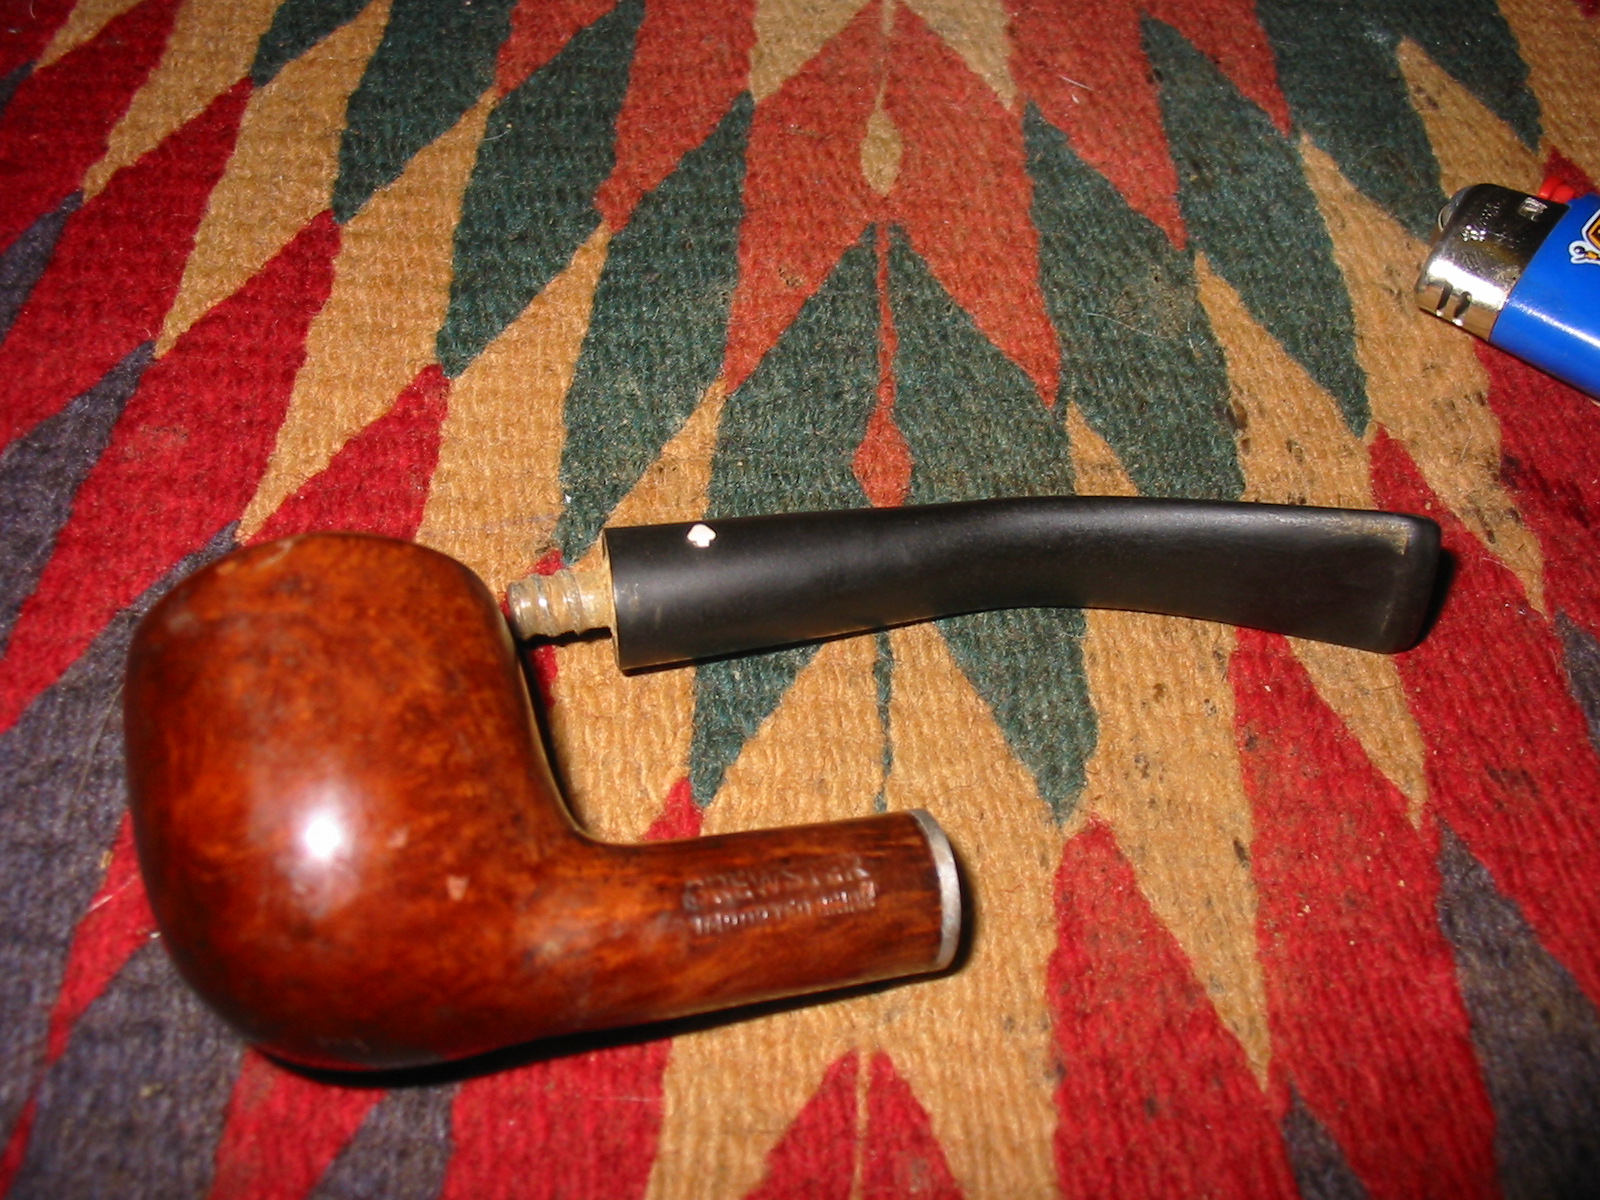
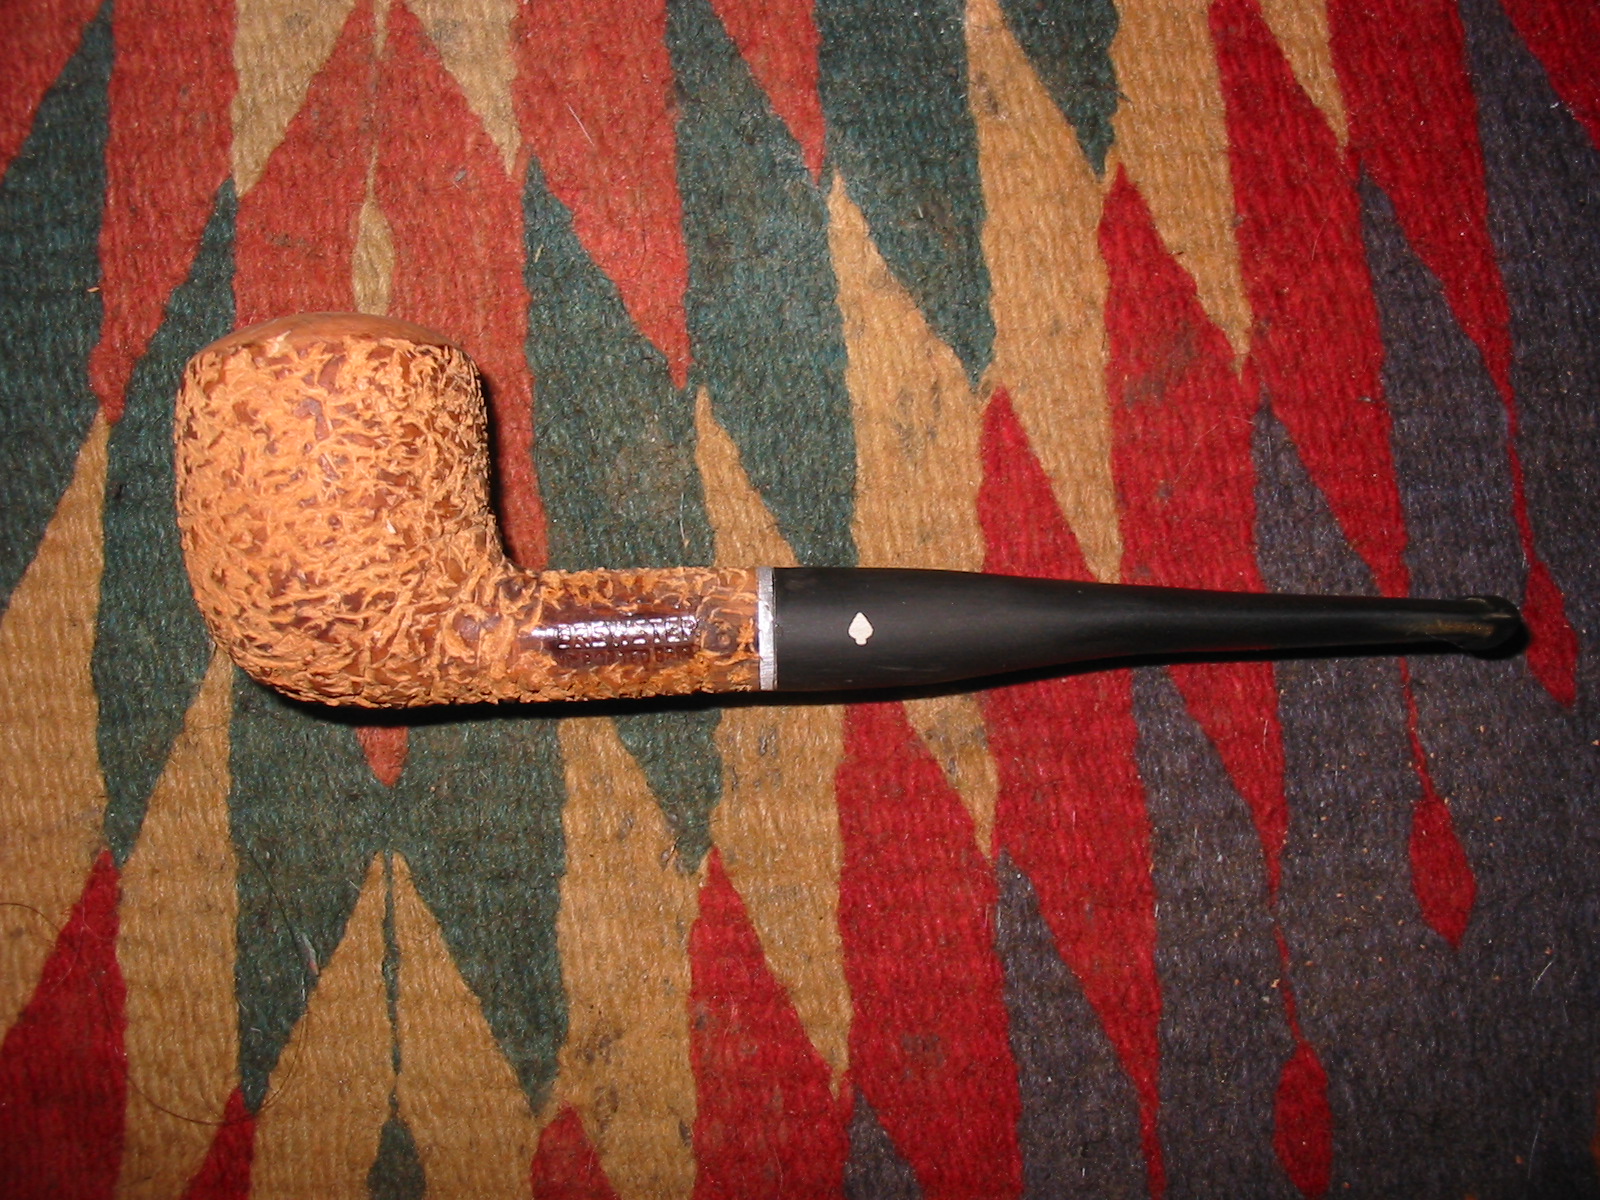
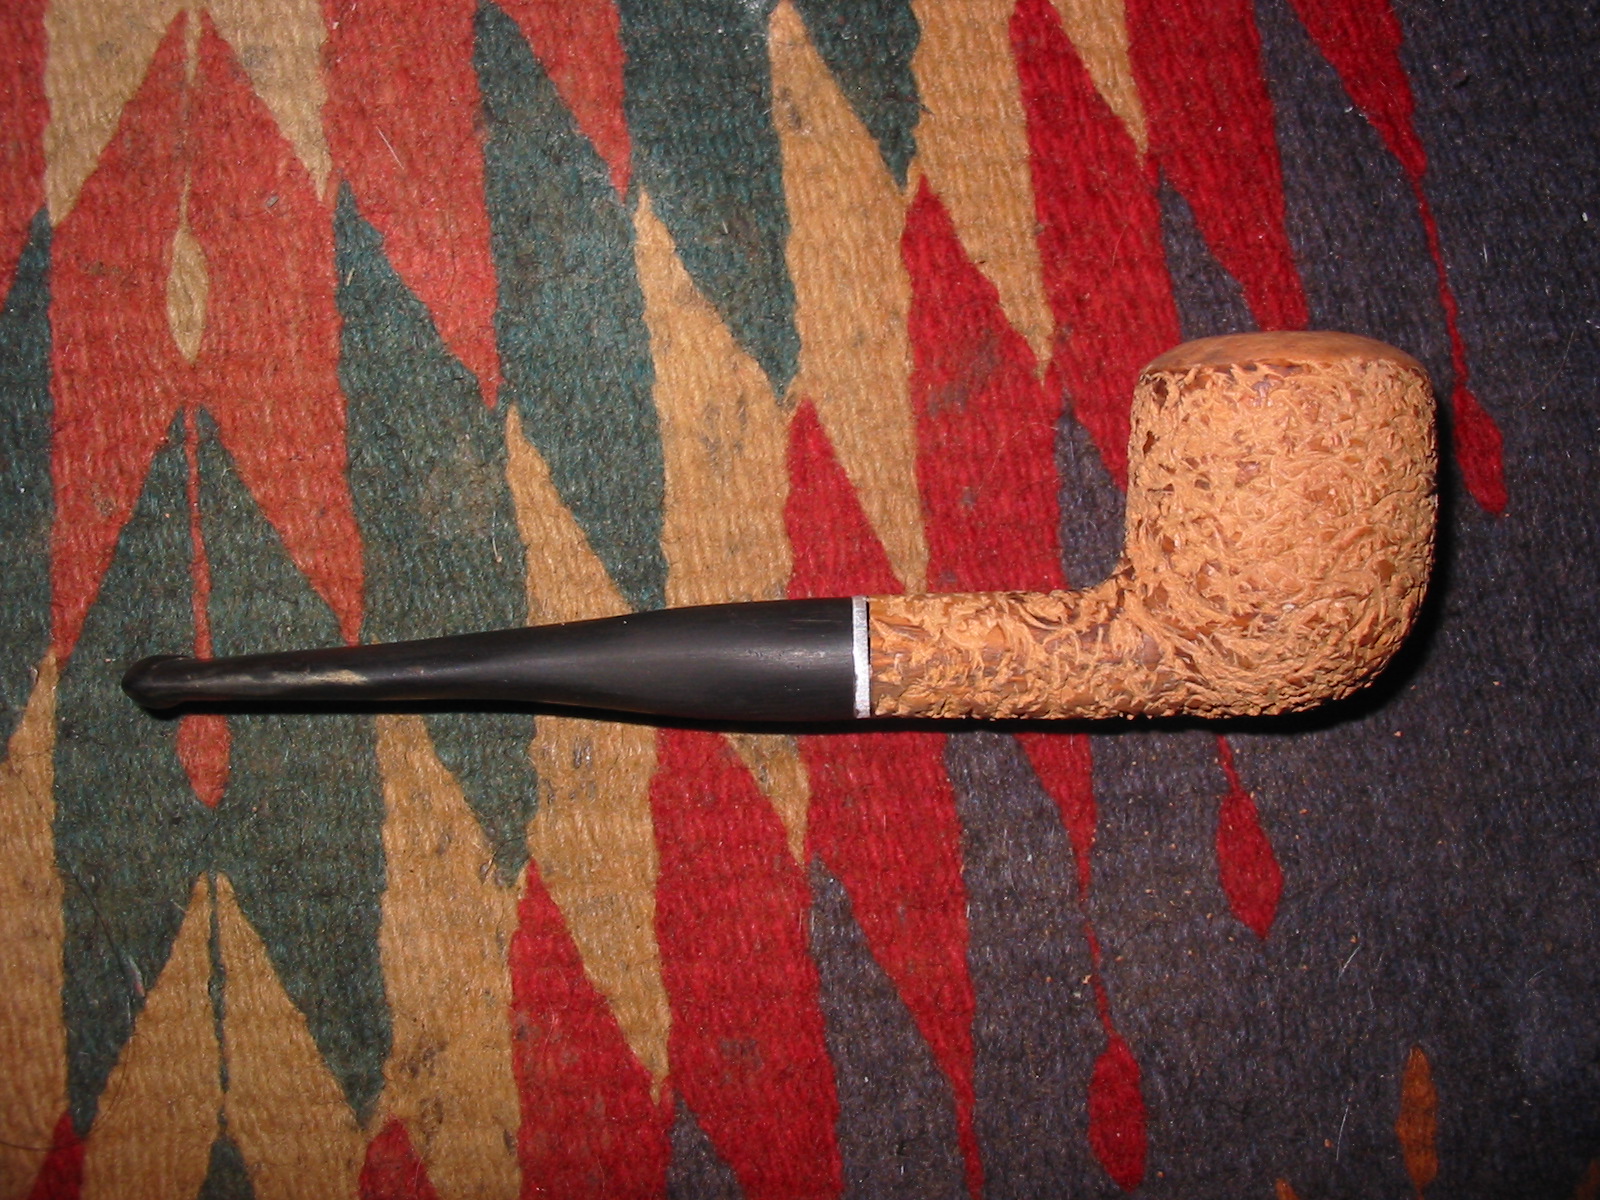
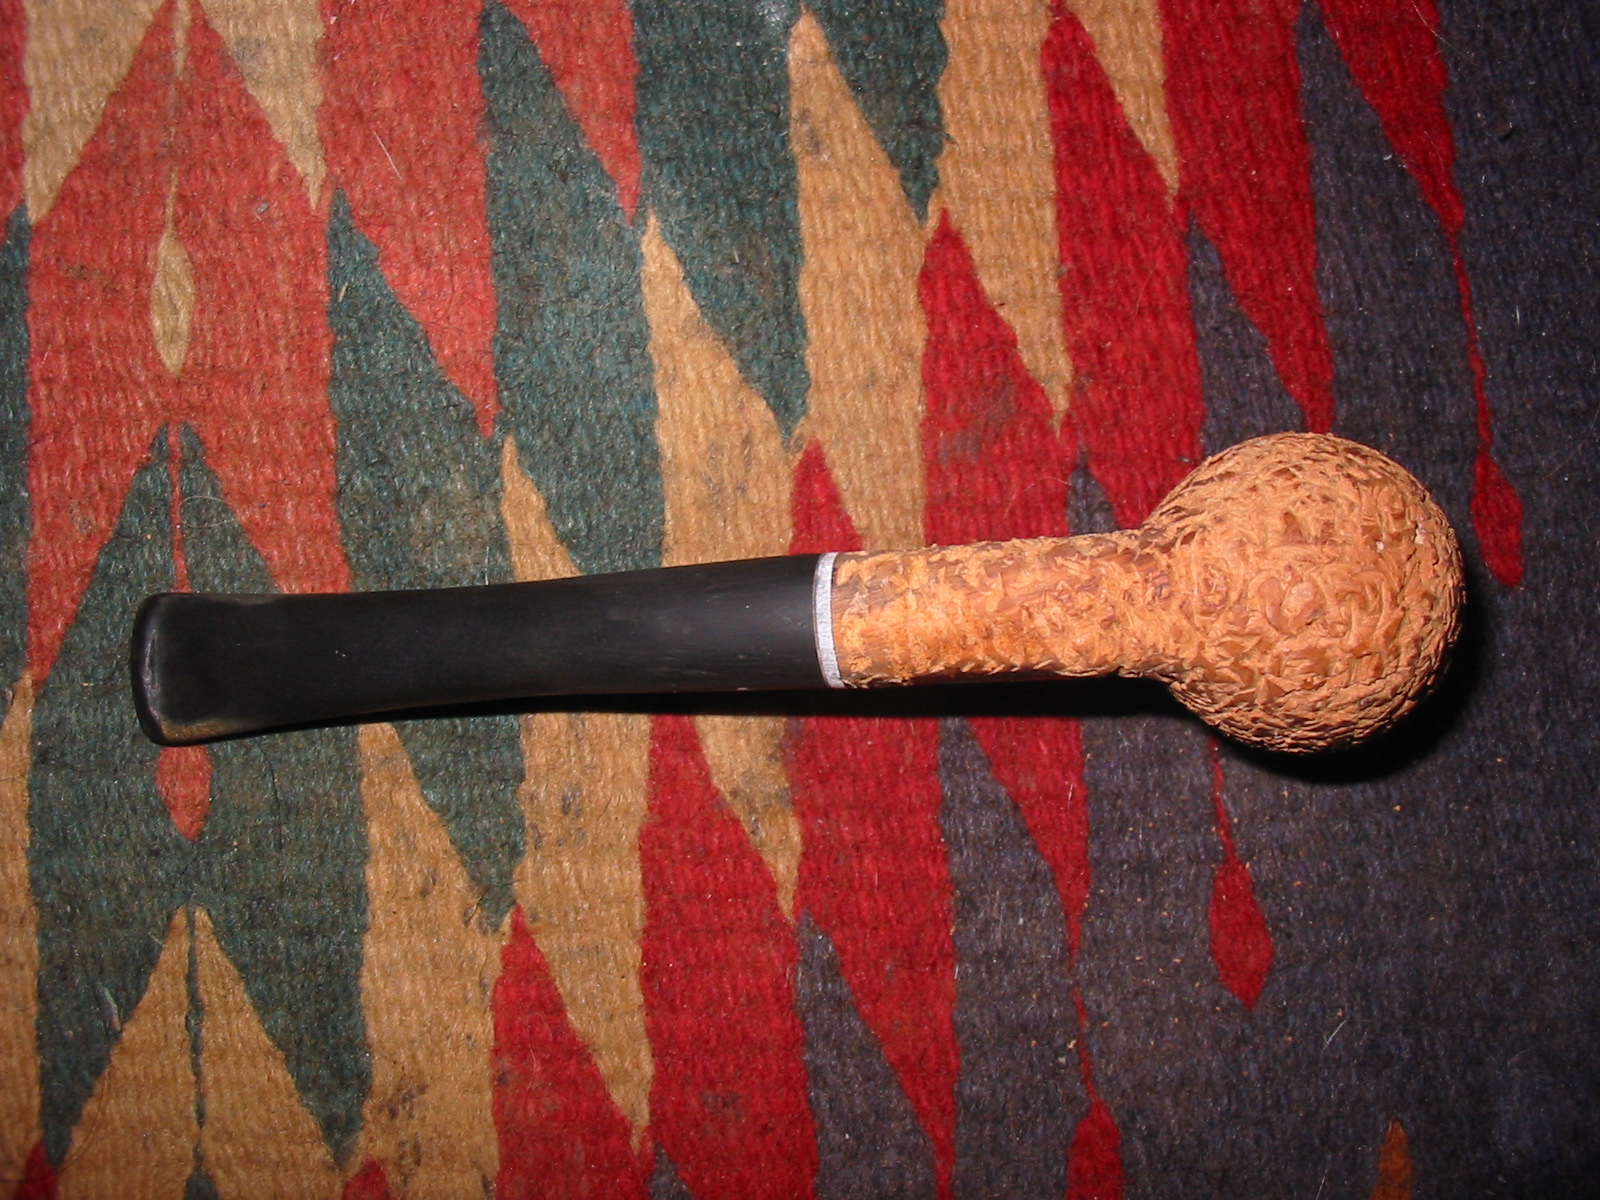
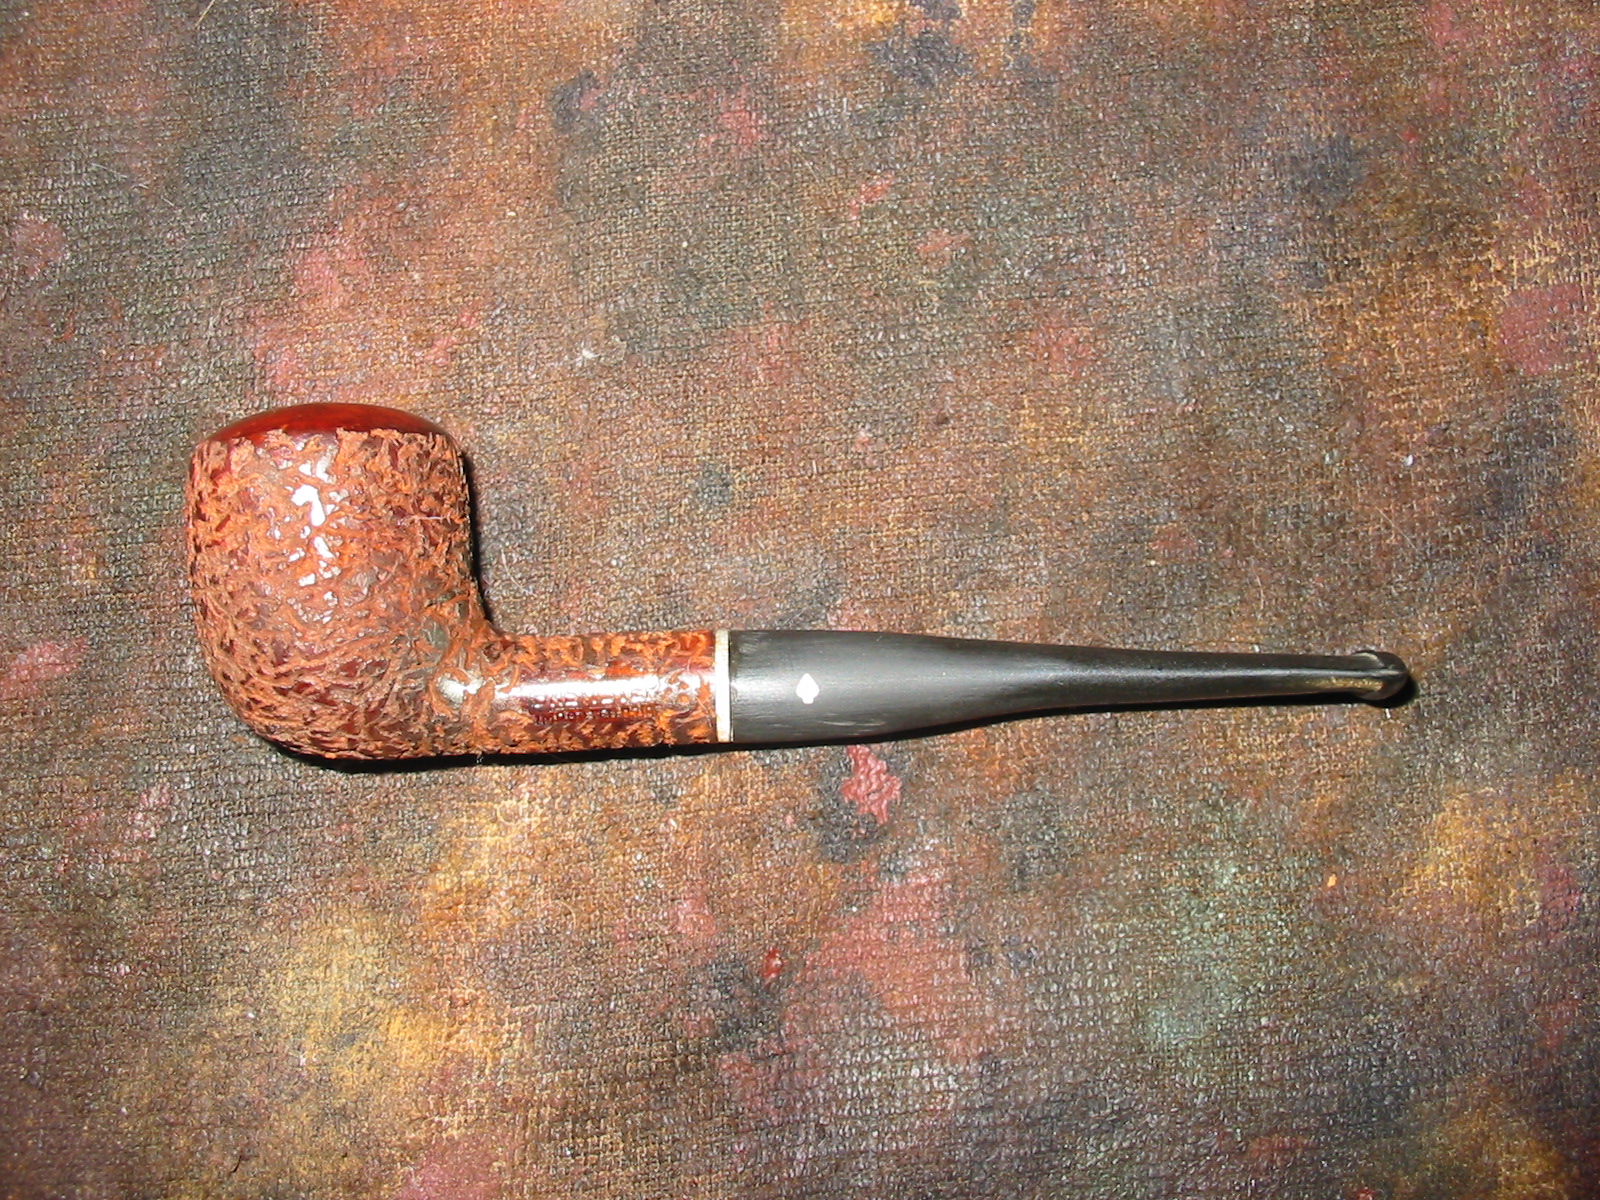
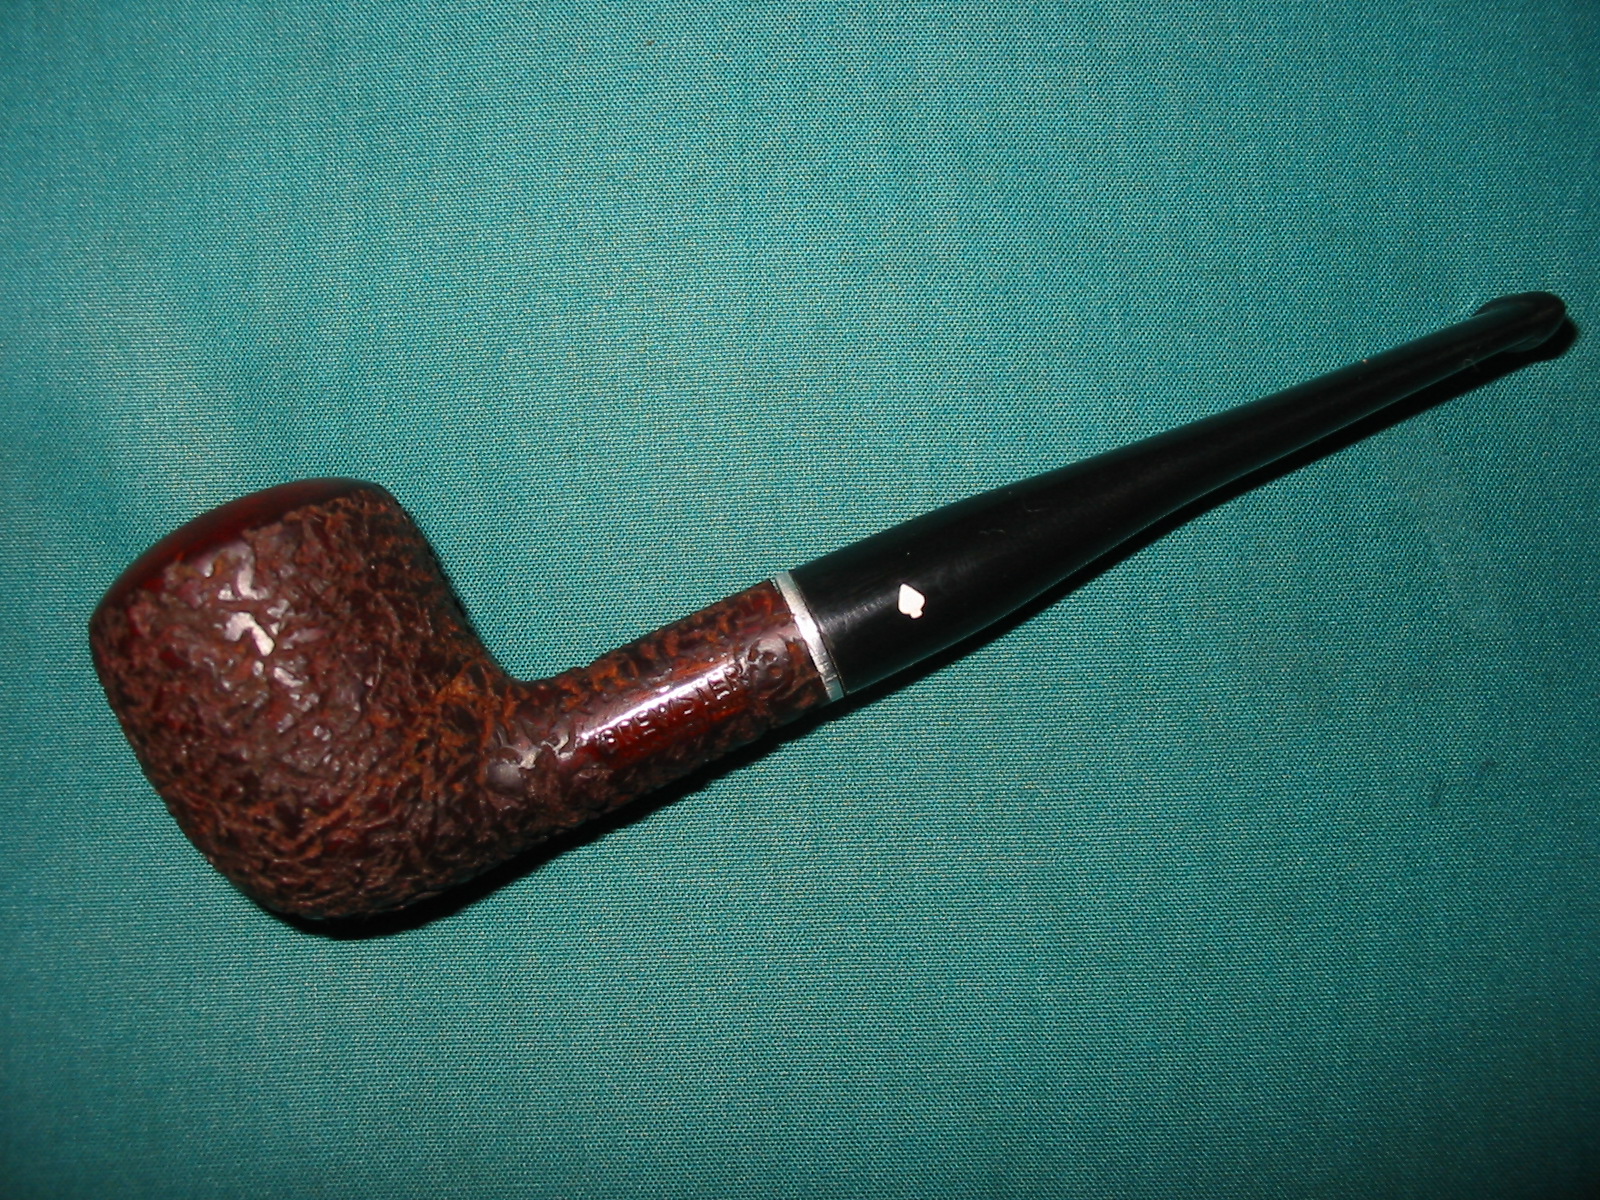
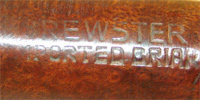
I was gifted a pipe bowl from a friend in exchange for some work on his Peterson. He had no idea of the brand or maker but thought I could have some fun with it. I dug it out of the refurb bin the other evening and began to work on it. I would need to clean it up and then restem it in the process as it did not come with a stem. It was stamped Brewster over Imported Briar on the left side of the shank with no other identifying stamping.
brewster1b
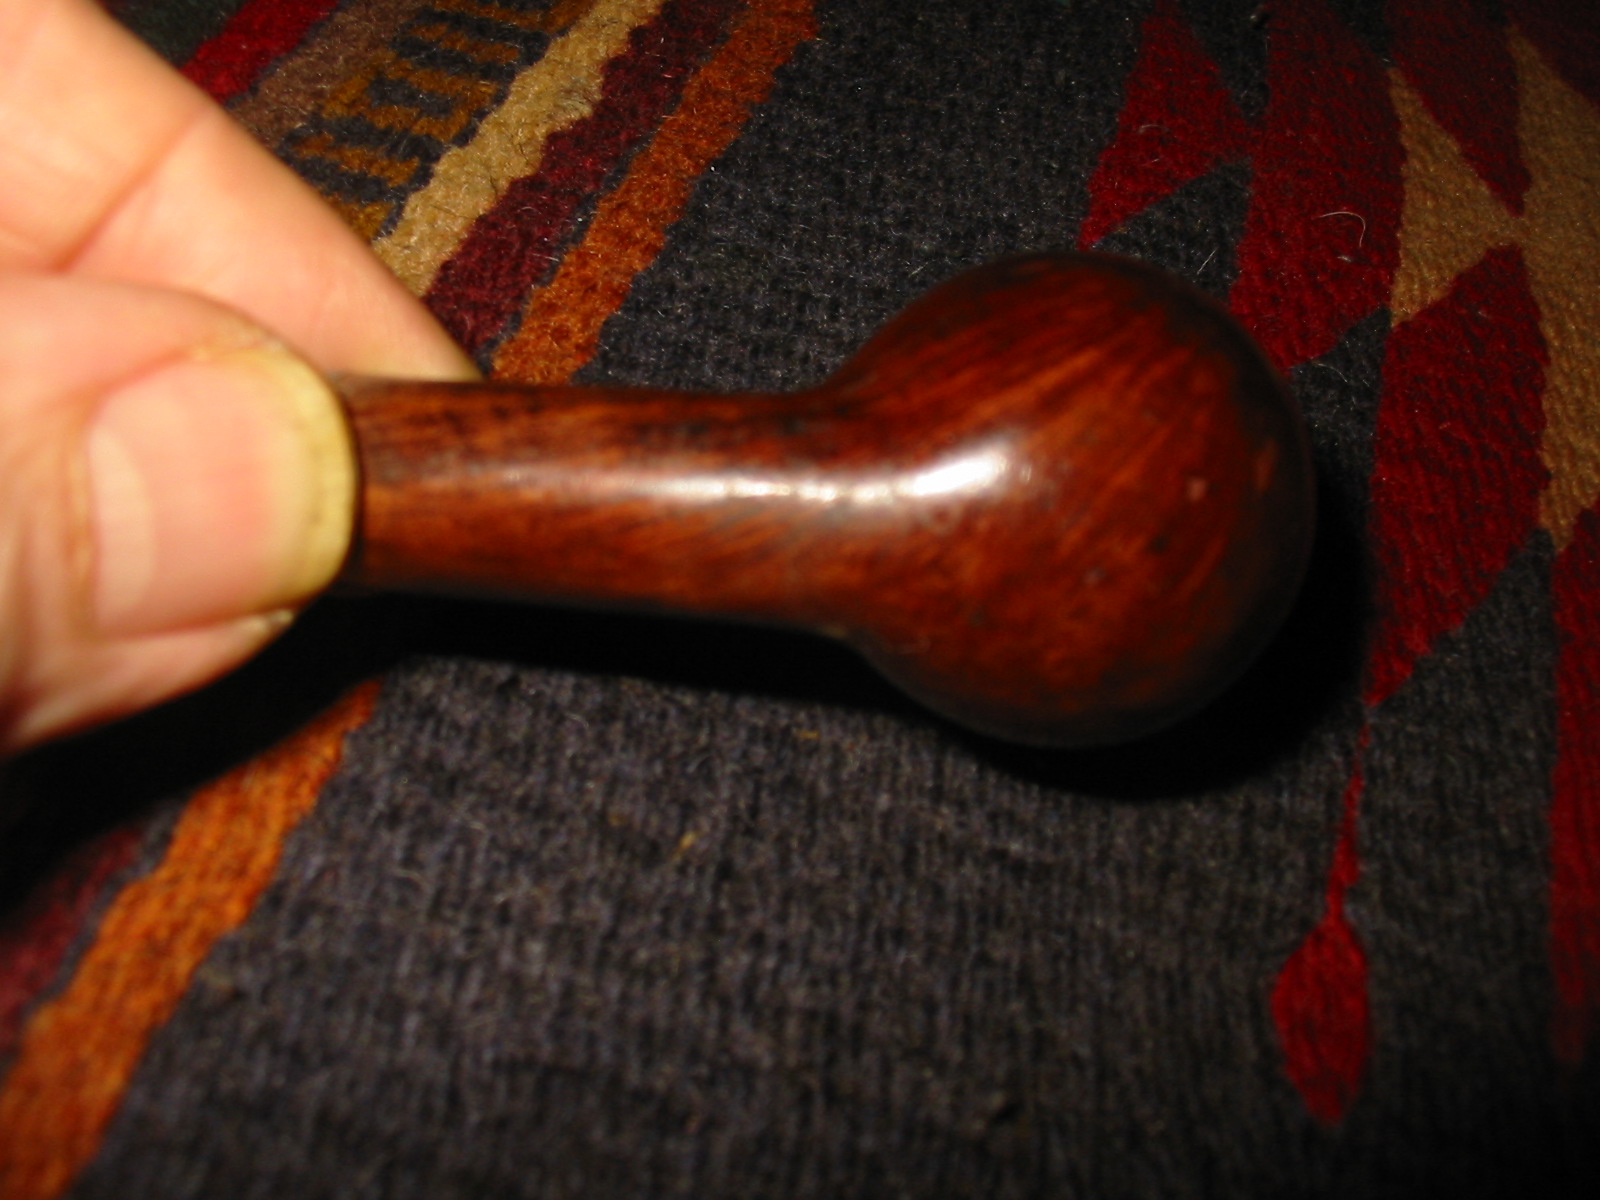
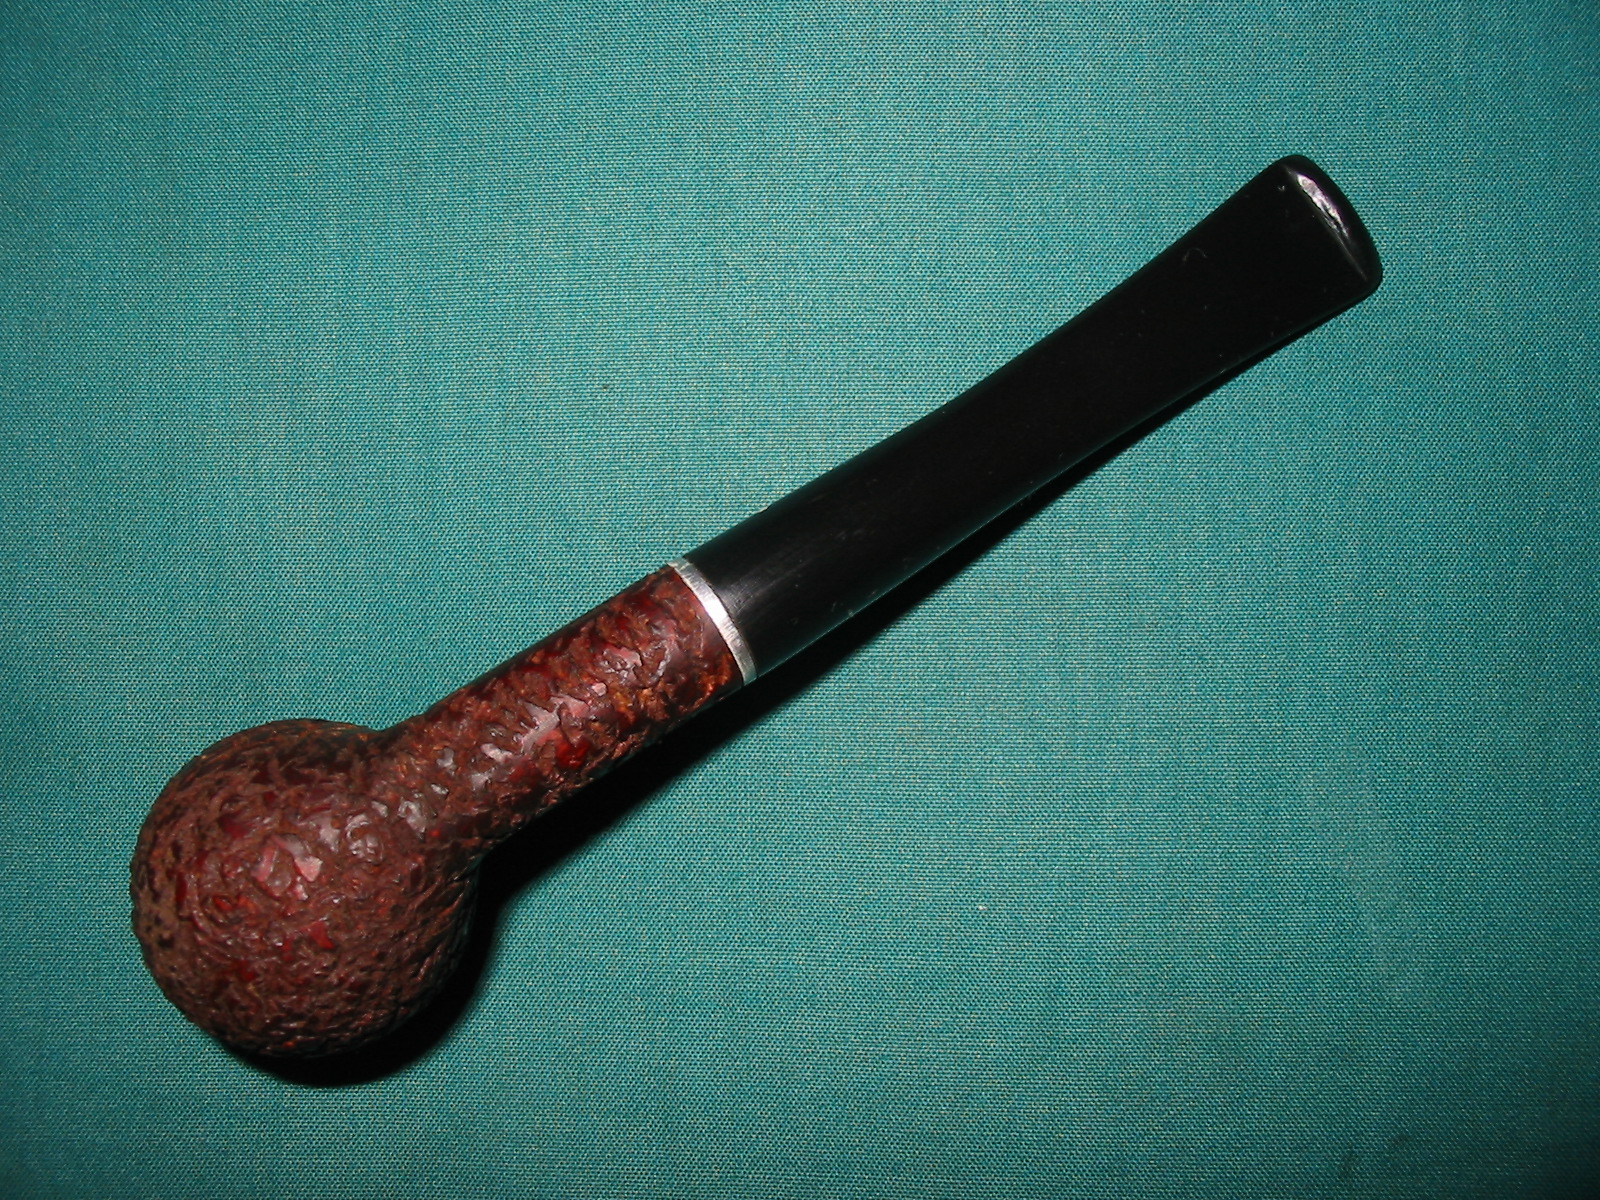
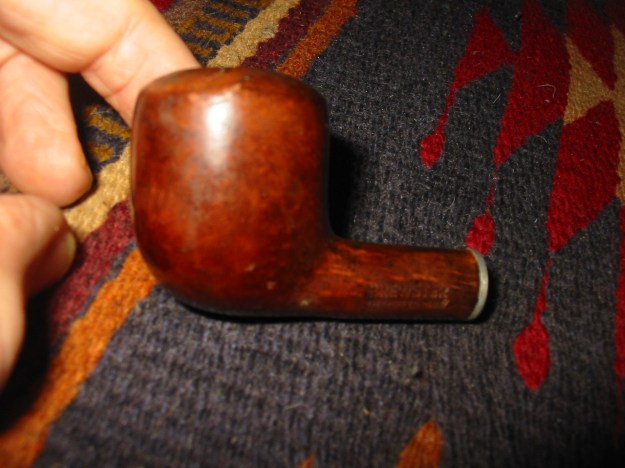
The finish seemed to be a very heavy lacquer that was cloudy with age. The shape was very interesting to me – a billiard like shape with a crowned rim, rounded and quite elevated. I like the looks of it. It is a small pipe – group 2 sized. There were a lot of putty fills on both sides of the bowl, the shank and the rim that would definitely show up once the lacquer finish was removed.
IMG_5103

IMG_5105

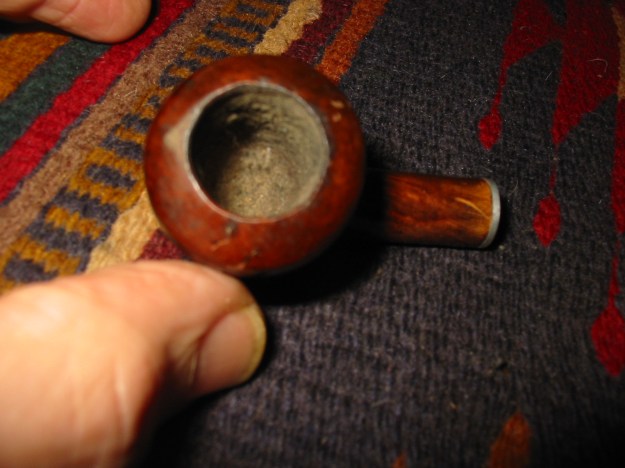
The bowl was in great shape with a light build up of cake that was the right thickness. There was no heavy smell of aromatics clinging to the pipe. The shank was clean and the metal insert in the mortise was also clean and in good shape. The thread pattern and the look of the metal fitment looked exactly like a Dr. Grabow set up.
IMG_5104

IMG_5106

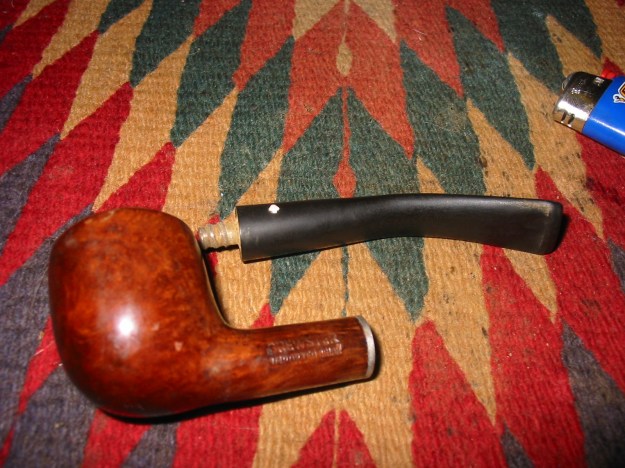
I had an old Dr Grabow stem here that was missing the stinger apparatus but the threaded tenon was in working order. I took it from the can of stems I have and gave it a try on the shank. It threaded in perfectly. It was overturned but it fit. This added some objective evidence to my assumption that this pipe had some connection to Dr. Grabow.
IMG_5107

Back Story of Brewster Pipes (If you get bogged down in the history you can skip ahead to the section on the refurbishing process).

At that point in the process I slowed down the cleanup and went to the computer. I was hooked and wanted to see what I could find out about the Dr. Grabow connection to Brewster, if there was one. I wanted to know who made the pipe so I did some research on the web and in some of my books to see what I could find out about the brand. From the book Who Made that Pipe I learned that the brand was Italian made followed by the words unknown maker. I looked on Pipedia and there found much the same information – Italian made followed by question marks as to the maker. After working the web with Google and other search engines the most I could find out was that slight information – the pipe was an export brand of an unknown Italian company.

I decided to take a different tack. I found the Grabow Company site online and wrote an email to their information centre seeking information on the brand. I decided to follow-up on my hunch from the stamping and the metal insert in the shank that somehow this pipe was related to Dr. Grabow pipes. I had no clue how but it certainly had the signs so I went to the Dr. Grabow forum on-line and posted my questions http://drgrabows.myfreeforum.org/index.php . I also did some reading on the forum of back posts and found one series of posts on the brand. I read the following and immediately had more questions. The Grabow connection was not clear but I had found that the pipe may have been a promotional item. Here is the quote that gave me the information”

“A couple months back, I scored a Brewster off eBay for five bucks. Research on this forum and the wild, untamed internet tells me the Brewster pipes were all made in one batch in 1964 as a promotional item for Sir Walter Raleigh.”

Last evening while relaxing, my iPhone vibrated notifying me of a new email. I picked up the phone and saw that I had a response to the questions that I had posted on the forum. Dave Whitney, author of the book on refurbishing called Old Briar, had responded to my request for information. What he sent me was extremely helpful and a true goldmine of information. His answer affirmed the Grabow connection and gave critical information that I had not been able to find anywhere. I have included that information in part below.

Dave Whitney: Here’s what I have from my accumulated notes on Brewster – much of it looks like it came off this forum, ted/td being one of the early ones to help build this forum and a former Sparta CEO:

All the Brewsters were “made” in about 64’… Brewster… is probably from Fratelli Rossi from 64’… Ted, an older pipe smoker than me, suggested the Brewster pipes are comparable to the Willard pipes, and that Brewsters were often sold either with tobacco, or in a coupon offer. For example Brewster was sold as a redemption offer with Brown and Williamson for Sir Walter Raleigh tobacco.

Further information came from Dr. B… I think (in my feeble state of mind, after today) that Brewster was sold as a redemption offer with Brown and Williamson for Sir Walter Raleigh tobacco. But, Mastercraft in 74 had a LOAD of them left. We (Mastercraft) sold them as closeouts along with several pipes in baskets of 4 dozen at $3.98. We also included a bunch of Mastercraft from F. Rossi at the same price……..Rossi pipes are another story……Remind me of the “sticky lacquer” and I’ll tell it…….ted

Mastercraft was founded by Bernard Hochstein, an Orthodox Jew. Old, White Haired, Santa Claus looking (still alive at 96, last time I knew), and he was REKNOWNED for his ability to “strong arm” the European pipe suppliers into selling pipes to M/C at a bargain. Probably the best (never say nothing) negotiator that I’ve ever met. He sold a business (Mastercraft) to UST for 6 million in STOCK. He’s probably worth 60 million today. Mr. Hochstein could negotiate a peace in the Middle East in a very few days, and talk all parties outta’ their pants in the process.

OK, so Mr H “rapes” the Italian suppliers even up till 1964 when the Surgeon General’s (SG) report comes out. As it turns out, “rape” works both ways. A supplier, Fratelli Rossi, (still in business) took an order in 1963 for over 1 million pipes at 1/2 dollar (US) per pipe. When the SG’s report comes out, Rossi has filled a small part of the order for Hochstein, and had orders for a great many more pipes than Hochstein ordered. Rossi decided to experiment with his lacquer …Whose pipes did he experiment on? Hochsteins.

When I started at Mastercraft we had 1215 cartons of pipes from Rossi…Mastercraft Standard….72 dozen per carton, with lacquer so “tacky” that if you held the pipe as if you were smoking it, you’d have to “shake” it out of your hand. Rossi left out the curing agent. Ever touched wet paint?……..After 10 years they were still STICKY…..after 20 years, they were still STICKY.

We fought these SOB’s for years, when finally Luther Marlow (you’ll see topics about him) concluded that we could re-spray them with the Grabow lacquer and sell em’. We did, and we did. Through a “drive” by the UST salesforce, we sold every one. So if you have a Mastercraft Standard with what looks to be “heavy” lacquer, you are probably right.

Hussar…..Rossi also made Brewster. Better lacquer job though… Brewster was sold as a redemption offer with Brown and Williamson for Sir Walter Raleigh tobacco. But, Mastercraft in 74 had a LOAD of them left. We (Mastercraft) sold them as closeouts along with several pipes in baskets of 4 dozen at $3.98.

When I started with Mastercraft in the early 70’s we had over 400 cartons of pipes from Hully. Each carton contained 60 to 80 dozen, most of which were stamped Brewster or Stetson and these had a base cost (from the 60’s or earlier) of $2.80 /dz. Some of the smaller pipes, called Southern Assortment were $1.90 / dz. May be partly to blame for them going out of business.

That was very helpful information on the brand. It gave a definitive date and origin to the pipe. The Italian connection was also clear. The Dr. Grabow link was also clear in Dave’s answer. Now I wanted to know something about maker, Rossi. Dave kindly included that information in his answer as well. It is as follows:

From approximately 1946 up to the end, Ferdinando Rossi II, a grandchild of the founder, headed the company. But after World War II the world of the pipe changed dramatically. Especially in Italy, where those big pipe factories mainly turned out pipes for the lower priced segments of the international mass markets. The demand for these pipes shrunk considerably as more and more smokers turned to cigarettes. Rossi got into this vortex as well. Little by little the number of pipes produced sank. This evolution was accelerated by the upcoming fame of pipes from Denmark. As well, new Italian brands established after the war like Castello, Brebbia or little later Savinelli operated cleverer and thus were more successful.

So the decline went on through the 1960’s and 1970’s, even though Rossi offered more than 800 possible shapes in dozens of lines and uncounted finishes. Besides the completely machine made pipes there were also some lines of semi-freehands and even quite considerable freehands were made. But all these efforts could not stop the fall anyway. Due to increasing financial difficulties Rossi closed down in 1985, just one year before the 100th anniversary.

In the years around 1870 and still later the bulk of Italian pipes was made by time taking and laboriously manual work. Mainly based on families who sold their pipes to travelling purchasers handing them on to some wholesaler. Most pipes were still made of box or olive wood.

Ferdinando Rossi from Milan was one of the most important wholesalers for tobacco related goods of northern Italy. When he attended one of his pipe suppliers in Saint-Claude in 1880 he got hooked on the idea to establish this manner of industrialised briar pipe production in Italy as well. Rossi went abroad several times to buy the hardware here and there because the special features of machines for pipemaking were secrets – well kept by the French in those days. Many machines and tools had to be modified on Rossi’s defaults.

[From the Catalogue “La Regina della Pipa” (1896)] He acquired a large area of land in Barasso in the province of Varese and founded the Fabbrica di Pipe di Radica Rossi in 1886. For sure there was no lack of skilled workers and Rossi personally recruited 30 craftsmen of different occupations from the environment to get started. After a few years the enterprise had developed well and entered into export trades. In 1892 e.g. the ledgers registered the first pipes shipped to Brazil.

One reason of success was the ultramodern conception of the factory and its equipment at the given time. To give an example: a system of canals invented by Rossi drove water to turbines propelling downstream generators, which supplied the entire machinery with electricity. Also lighting and heating were already electrically operated.

In the first years after 1900 Rossi grew steadily and became one of the ten biggest pipe manufacturers of the world. Rossi’s rapid ascent produced further foundations of pipemaking firms in the area.

I love finding out the old company histories of the pipes that I refurbish. I find that it gives a colour and flavour to the pipe I hold in my hands and rework. It gives me the back story on the pipe and adds another dimension to the work of refurbishing. I have included it here for those who enjoy the same kind of history.

The Refurbishing Process (for those of you who have skipped ahead to see the work here is where it begins.)

I screwed the old Grabow stem into the mortise fitment and found that it was overturned. I used a Bic lighter to heat the metal tenon in the stem to loosen the glue. I put the stem back in place and tried to turn it straight, to clock it, but it was not loose enough. I reheated and retried until it was loose. I then turned the stem into place and aligned it with the bowl. I then cooled it under cool running water to set the glue. From the photos below it can be seen that the diameter of the stem was off. In looking at it from the tenon end it was also not round. The bottom part of the stem and the sides were wider than the top portion.
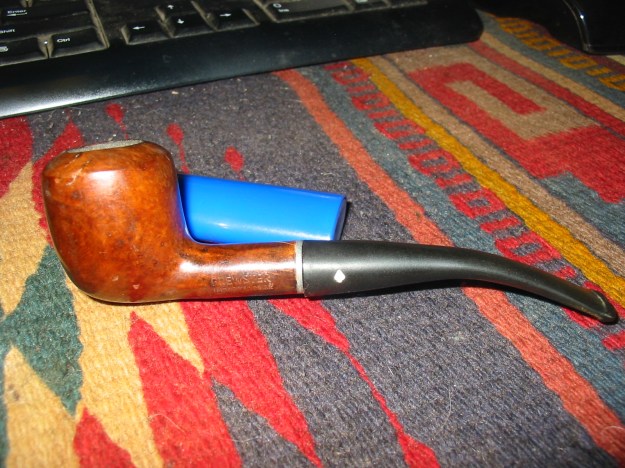
IMG_5108

IMG_5109

IMG_5110

I sanded the stem with 220 grit sandpaper to decrease the diameter but soon grew tired of hand sanding and decided to give myself a head start on the work. I used a Dremel with the sanding drum to remove the excess vulcanite of the stem. I then brought it back to the work table and sanded the shank to make the transition between the shank and the stem smooth and the bowl to remove the lacquer finish.
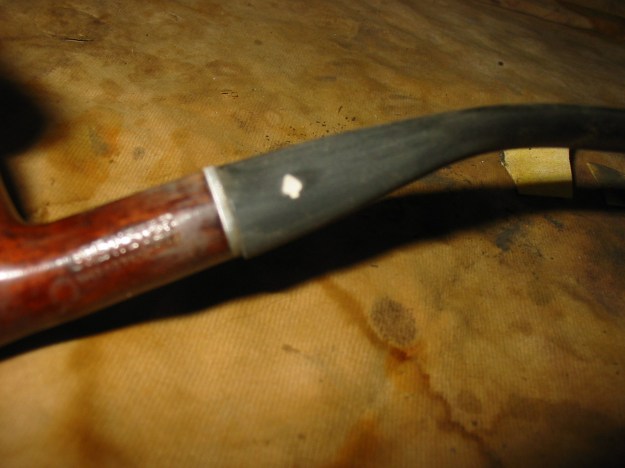
IMG_5112

IMG_5113

IMG_5114

IMG_5115

IMG_5116

Once I had removed the finish I could see that the number and the size and shape of the fills would make them hard to blend into the new stain. I made a decision to rusticate the bowl at that point in the process. I used the modified Philips screw driver to rusticate the bowl.
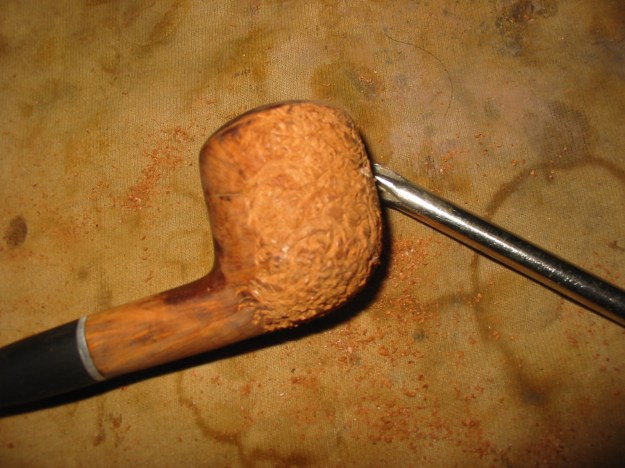
IMG_5117

IMG_5118

With the bowl rustication finished and the stem fit finished I set up my heat gun and heated the stem to take out the bend. This particular Brewster shape had a straight stem. I held it above the heat gun until the vulcanite softened and the stem began to straighten on its own.
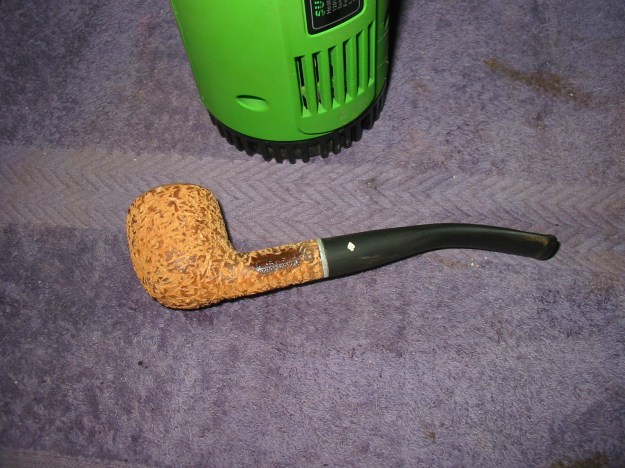
IMG_5119

IMG_5120

Once it was straight I set the shape by putting it under running water. The straightened stem can be seen in the photo below.
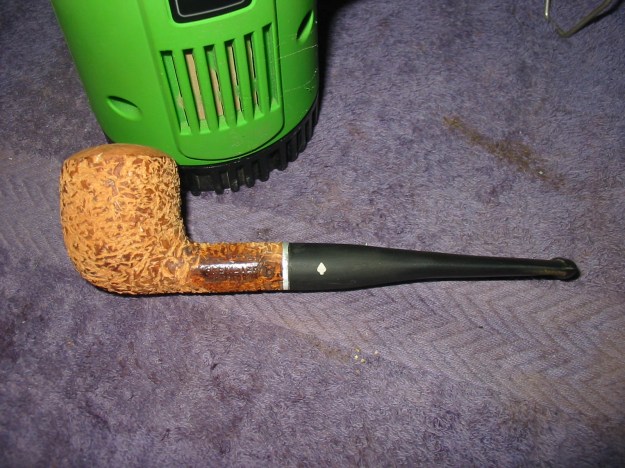
IMG_5121

I took the pipe back to my work table and went over the surface with a brass bristle brush to knock off the rough spots on the surface of the bowl. I also buffed it with Tripoli to smooth it out. I took the photos below to show the new look of the Brewster. The stem and the rustication looked good to me. The smooth rim and the patch with the stamping would look good once the pipe was restained.
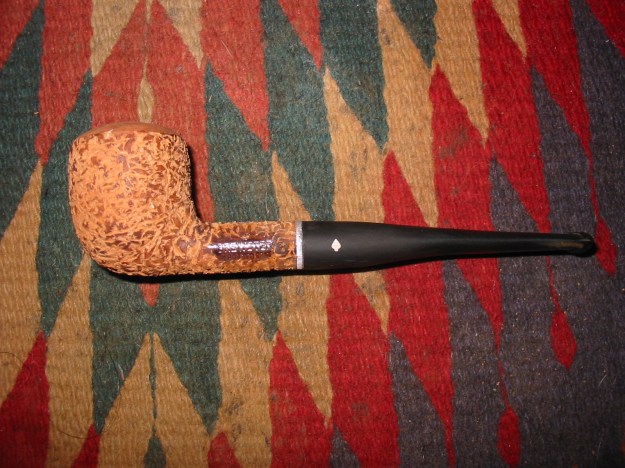
IMG_5122

IMG_5123

IMG_5124

I decided to give the pipe a contrast stain. For the bottom coat I used a dark brown aniline stain. I applied it with a cotton swab and flamed it. I repeated the process until the stain had covered the bowl evenly. The dark brown went deep into the crevices of the rustication.
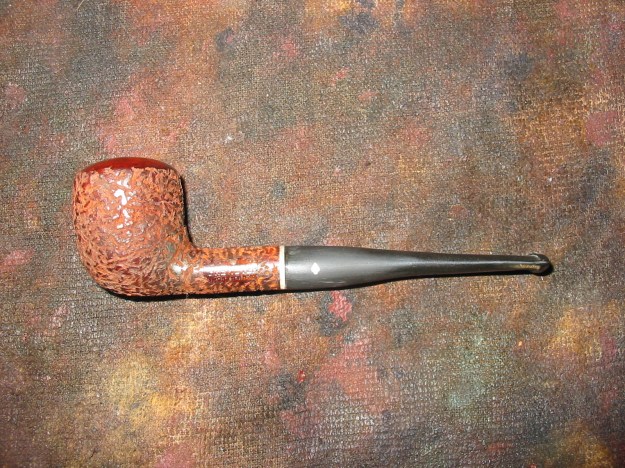
IMG_5127

IMG_5128

IMG_5129

IMG_5130

For the topcoat of stain I chose an oxblood aniline stain. I rubbed it onto the high points of the rustication with a cotton pad. My plan was to leave the dark brown in the crevices and the oxblood on the high points. I flamed the stain and then buffed the pipe with Tripoli.
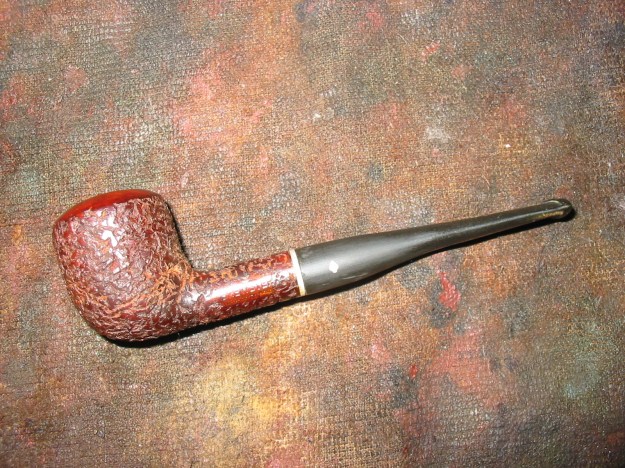
IMG_5131

IMG_5133

IMG_5134

I sanded the stem with 220 grit sandpaper to finish the shaping and then used medium and fine grit sanding sponges to removes the scratches left behind by the sandpaper. I followed that up by sanding the stem with micromesh sanding pads. I wet sanded with 1500-2400 grit micromesh pads and dry sanded with the 3200-12,000 grit pads. I rubbed the stem down with Obsidian Oil and when it was dry buffed the stem with White Diamond.
IMG_5136

IMG_5140

IMG_5141

I put the stem back on the bowl and buffed the whole pipe with White Diamond. I then lightly buffed the bowl and buffed the stem with carnauba wax. I wanted to preserve the vulcanite and give it a shine. I also wanted to give a shine to the high points of the rustication on the bowl and also polish the rim. The finished pipe is shown in the pictures below. The old Brewster, with all of its history since 1964, is ready to enter a new phase of its own personal history. The face lift I gave it brings it to a new place. It is my hope that this old timer will give someone a great smoke and endure beyond me. That, after all, is what refurbishing work is all about – extending the life of the old pipes and delivering them intact to the next generation of pipemen.
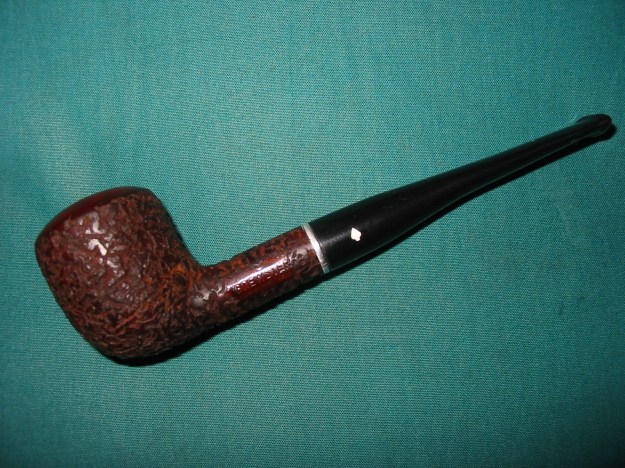
IMG_5142

IMG_5143

IMG_5144

IMG_5145