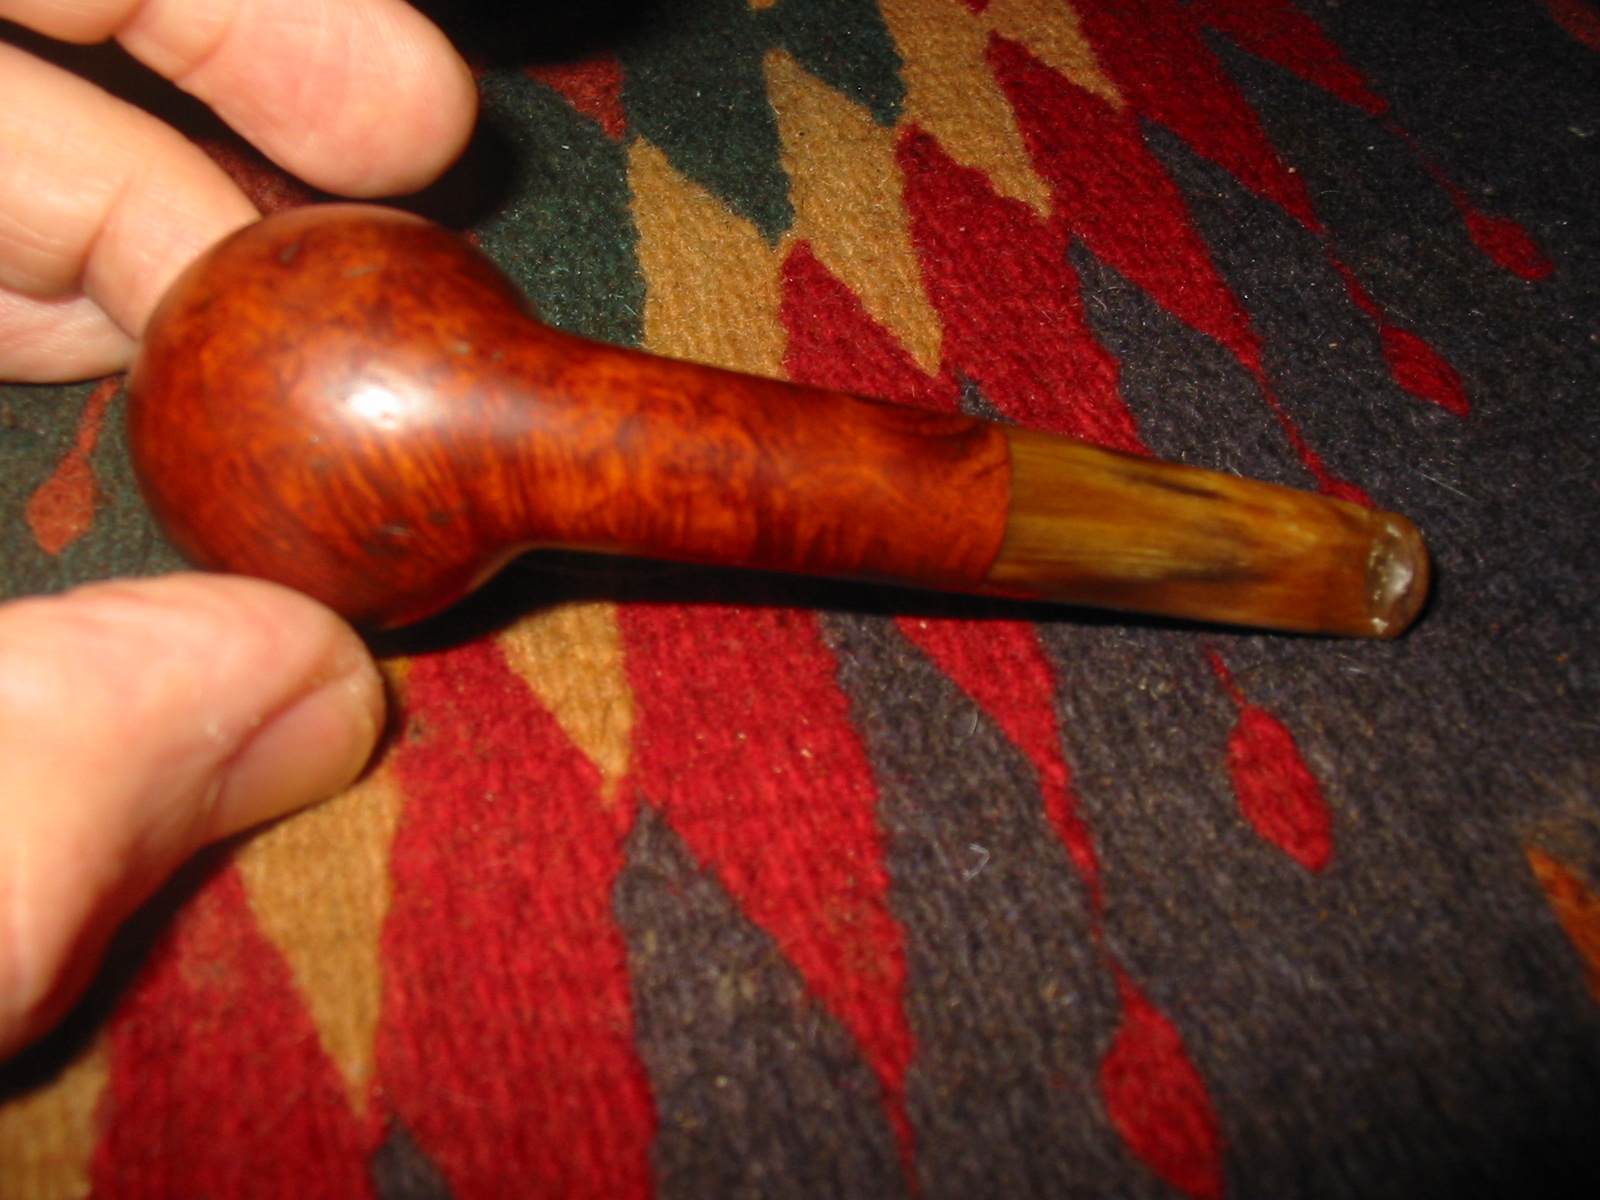
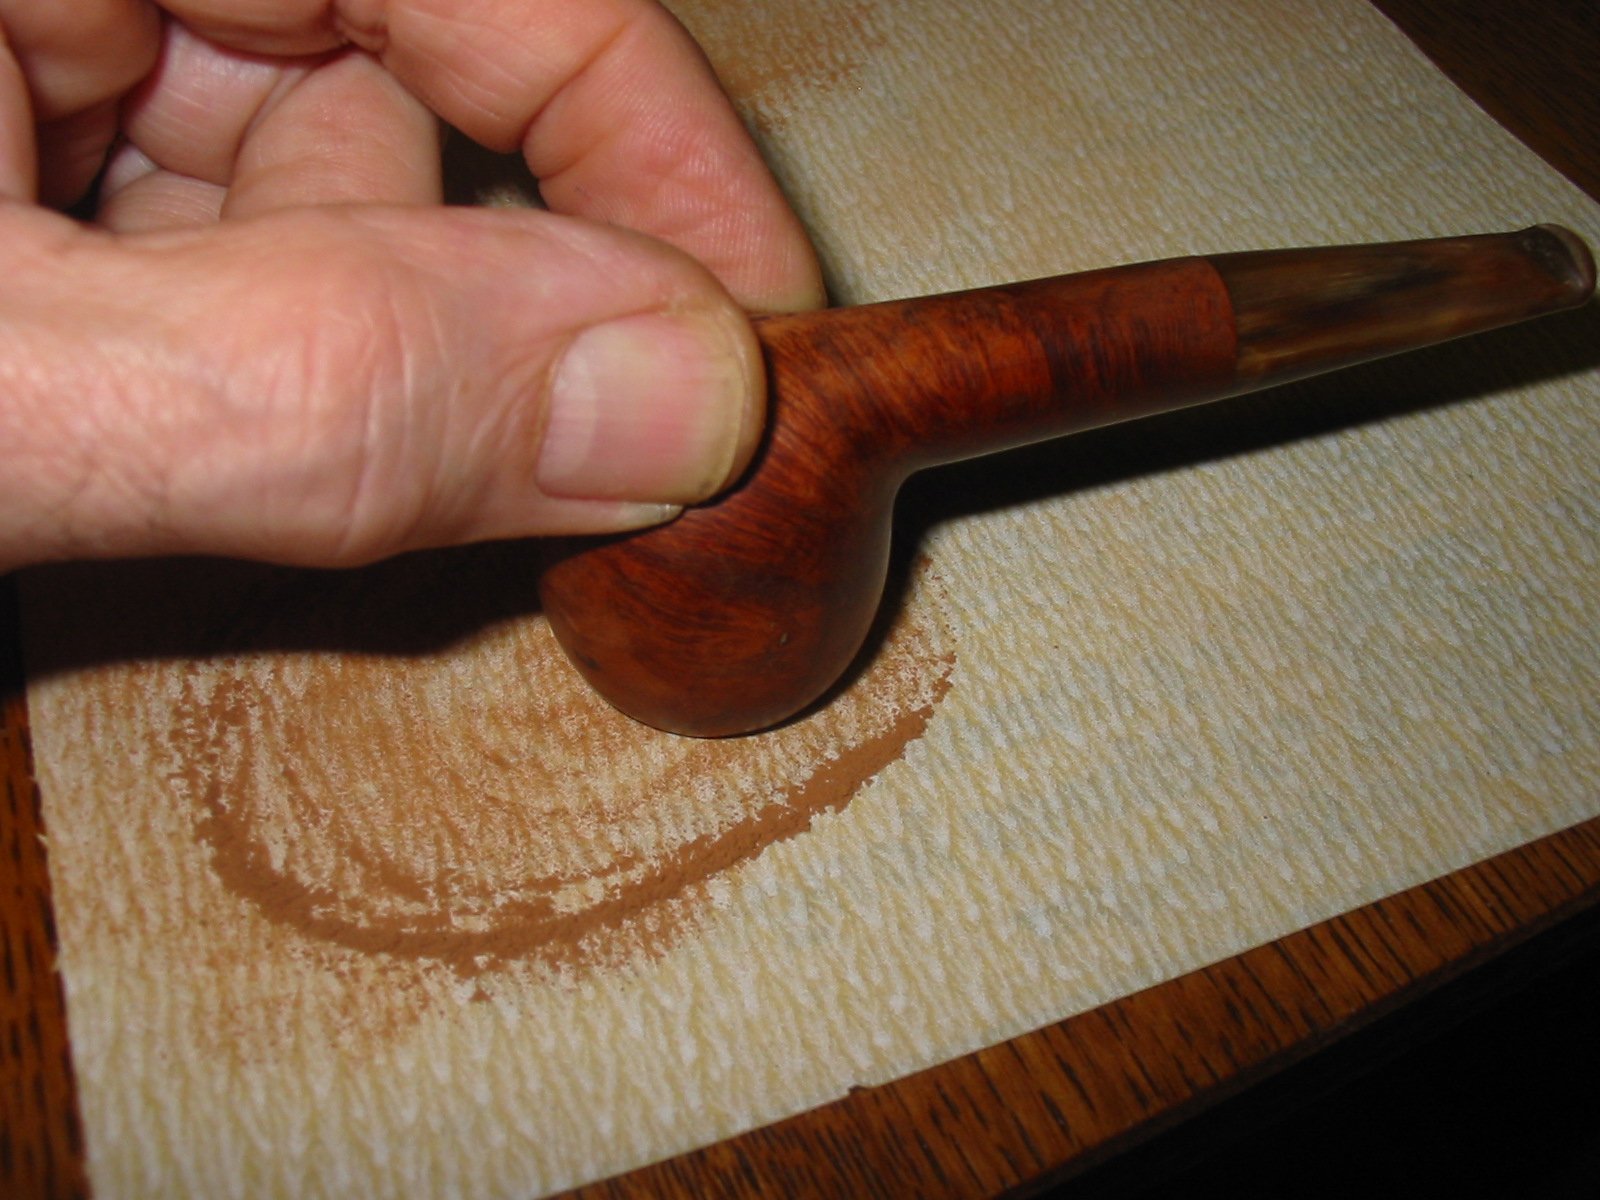
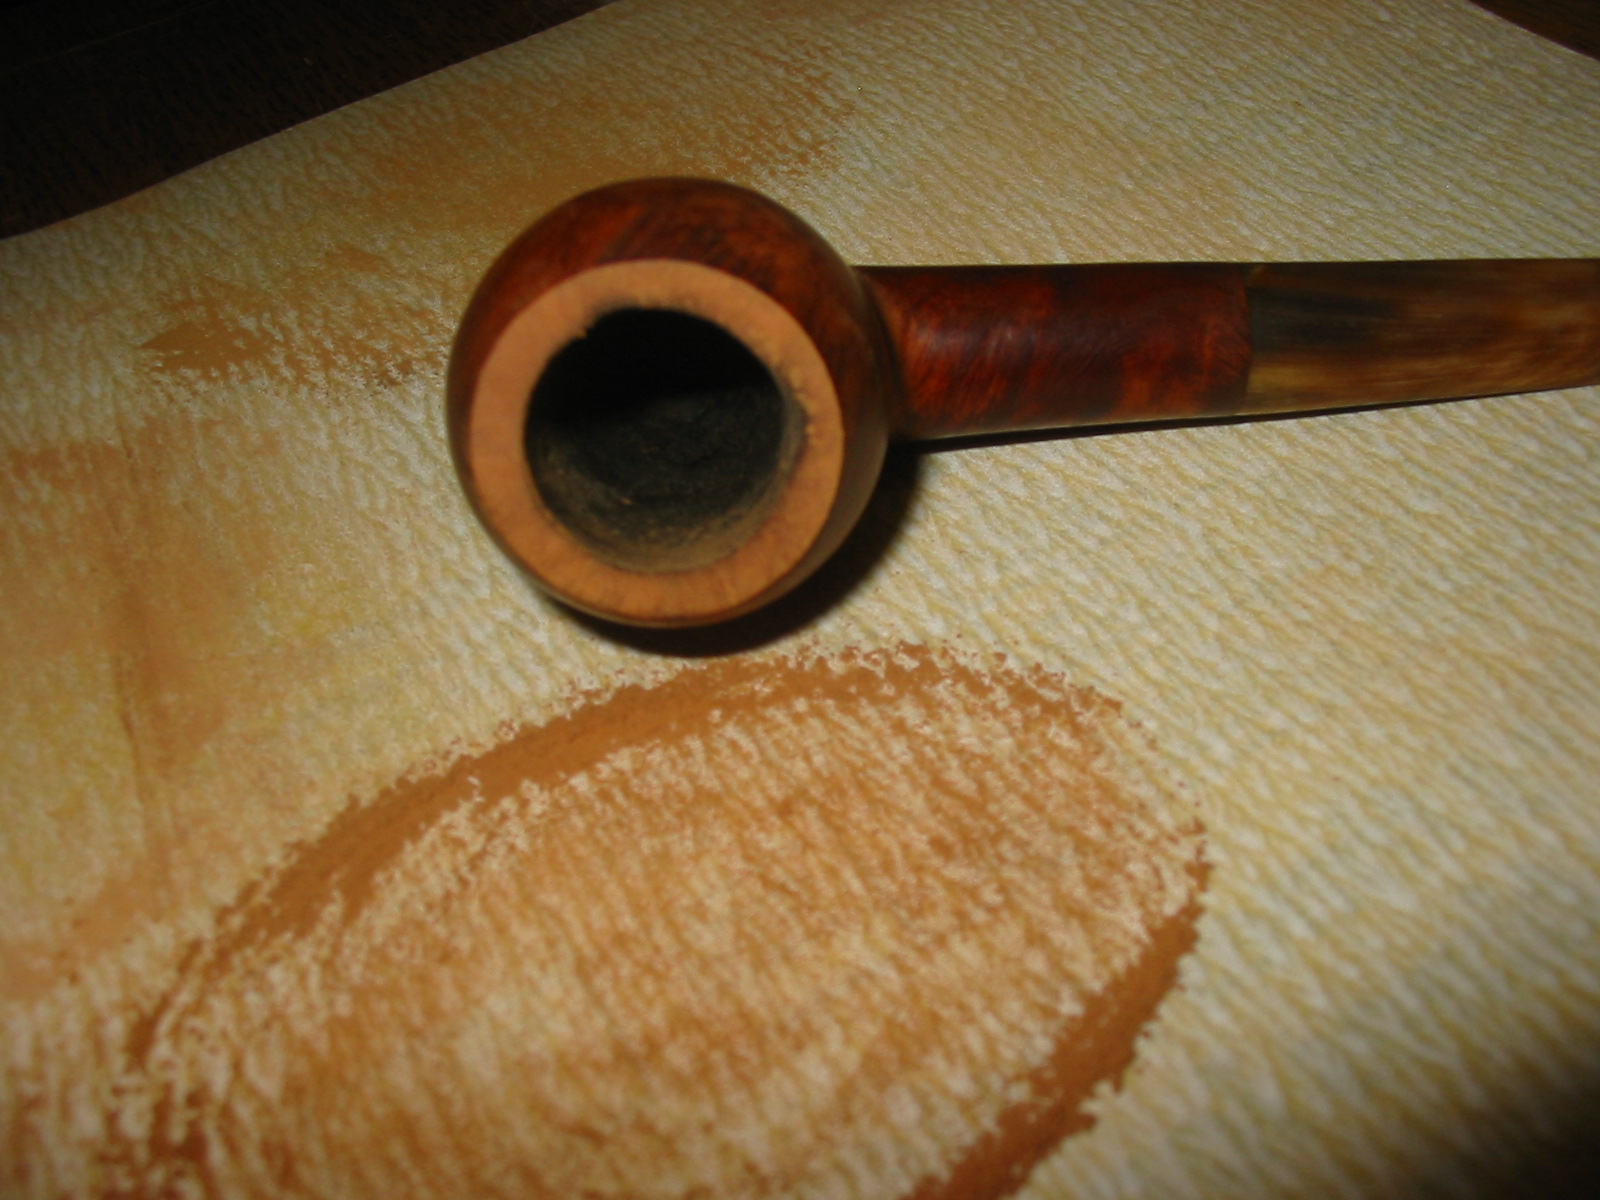
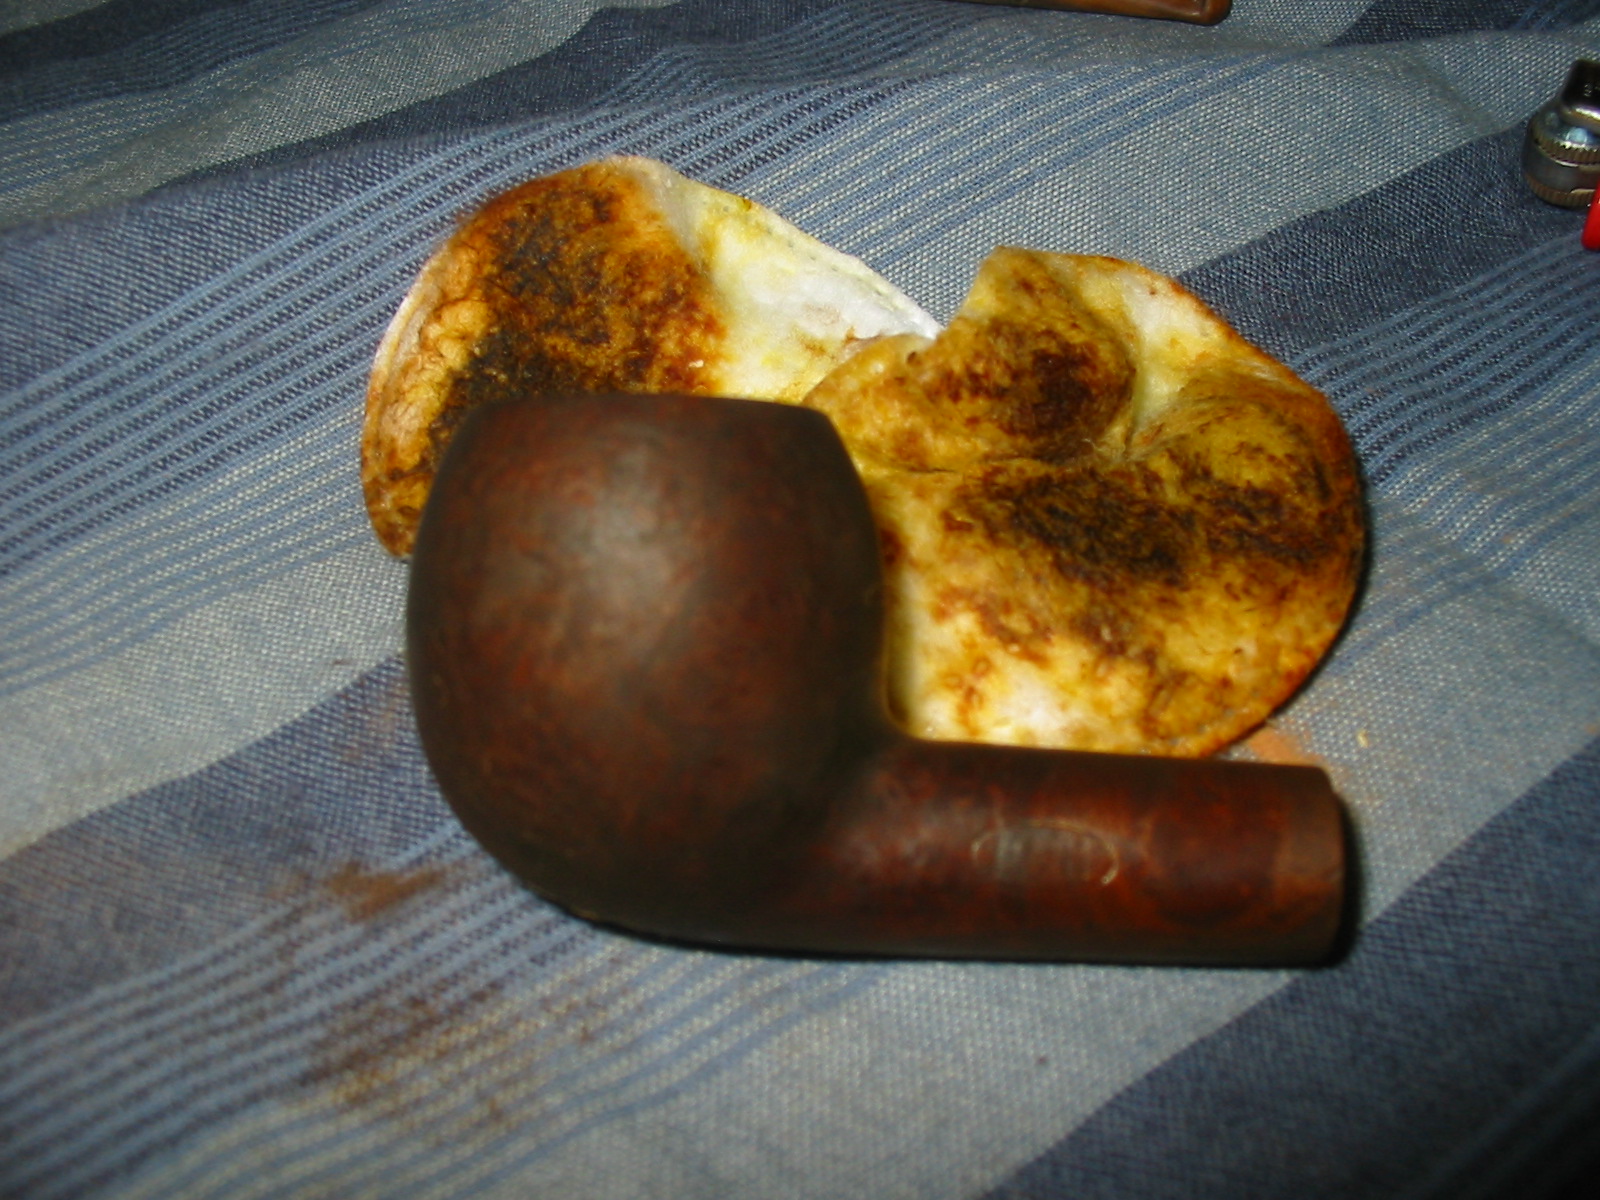
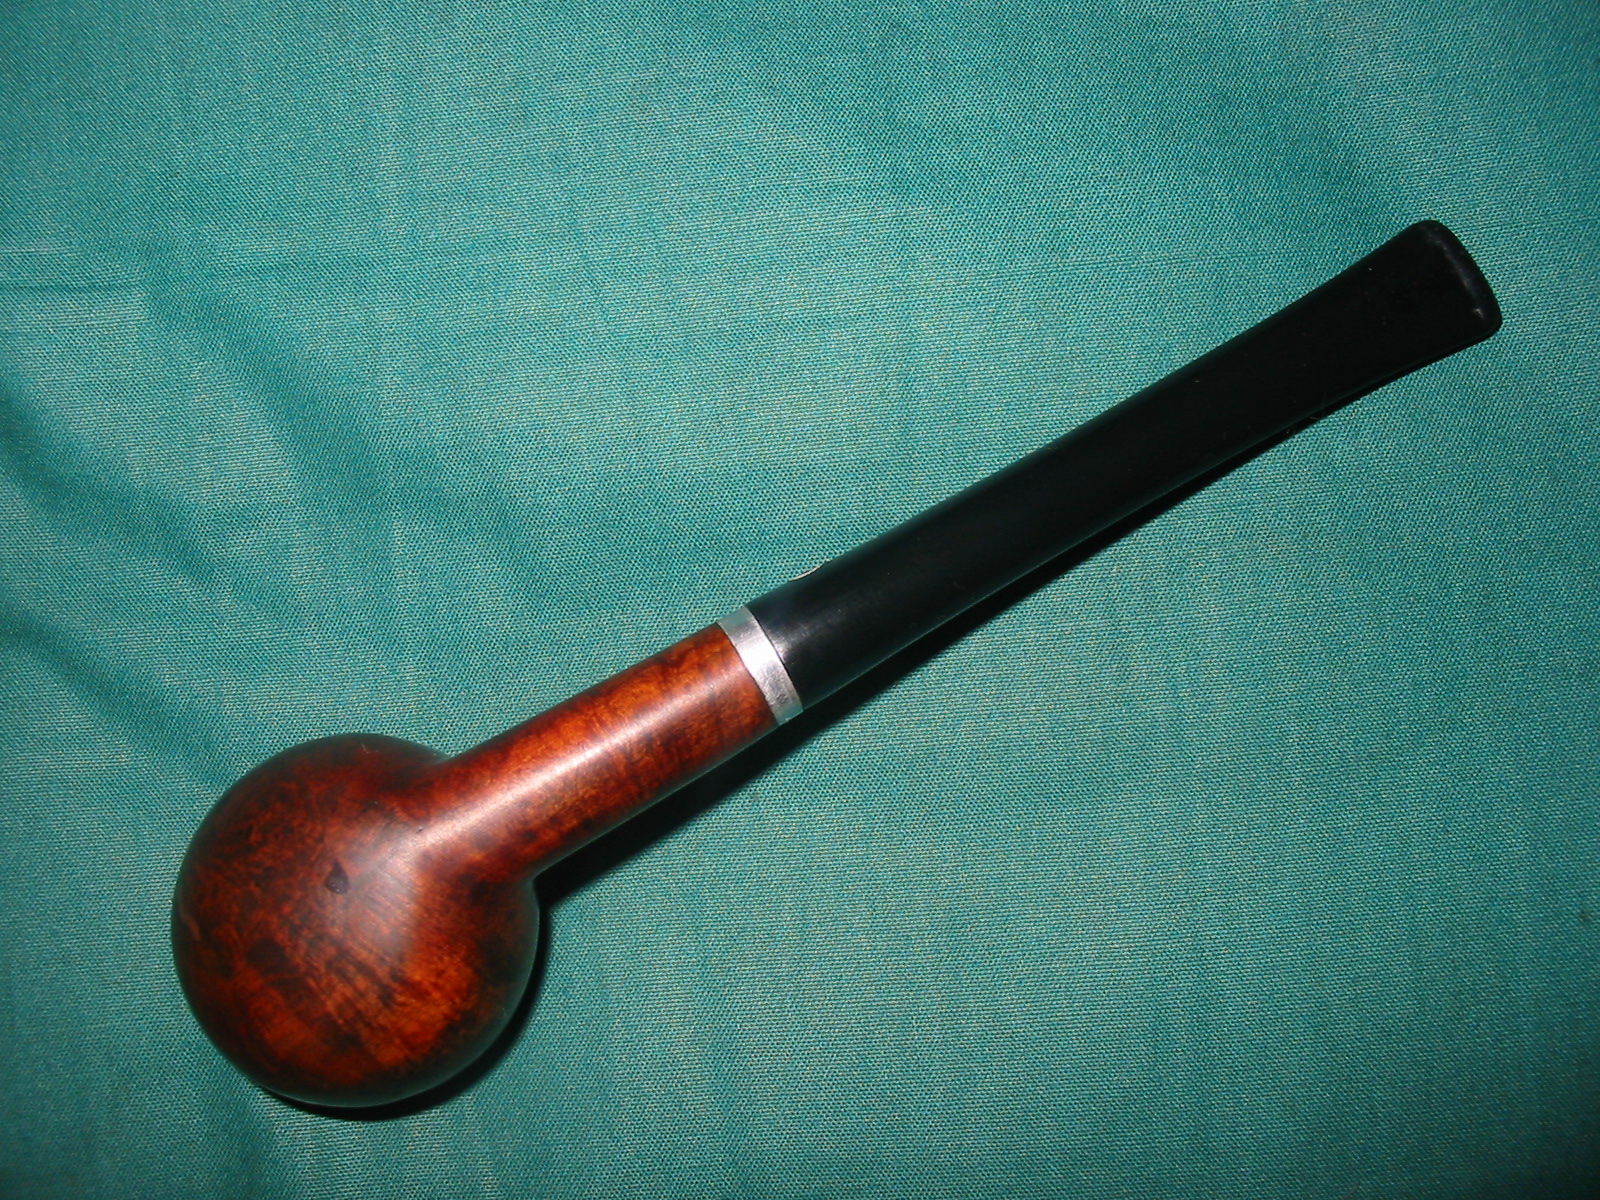
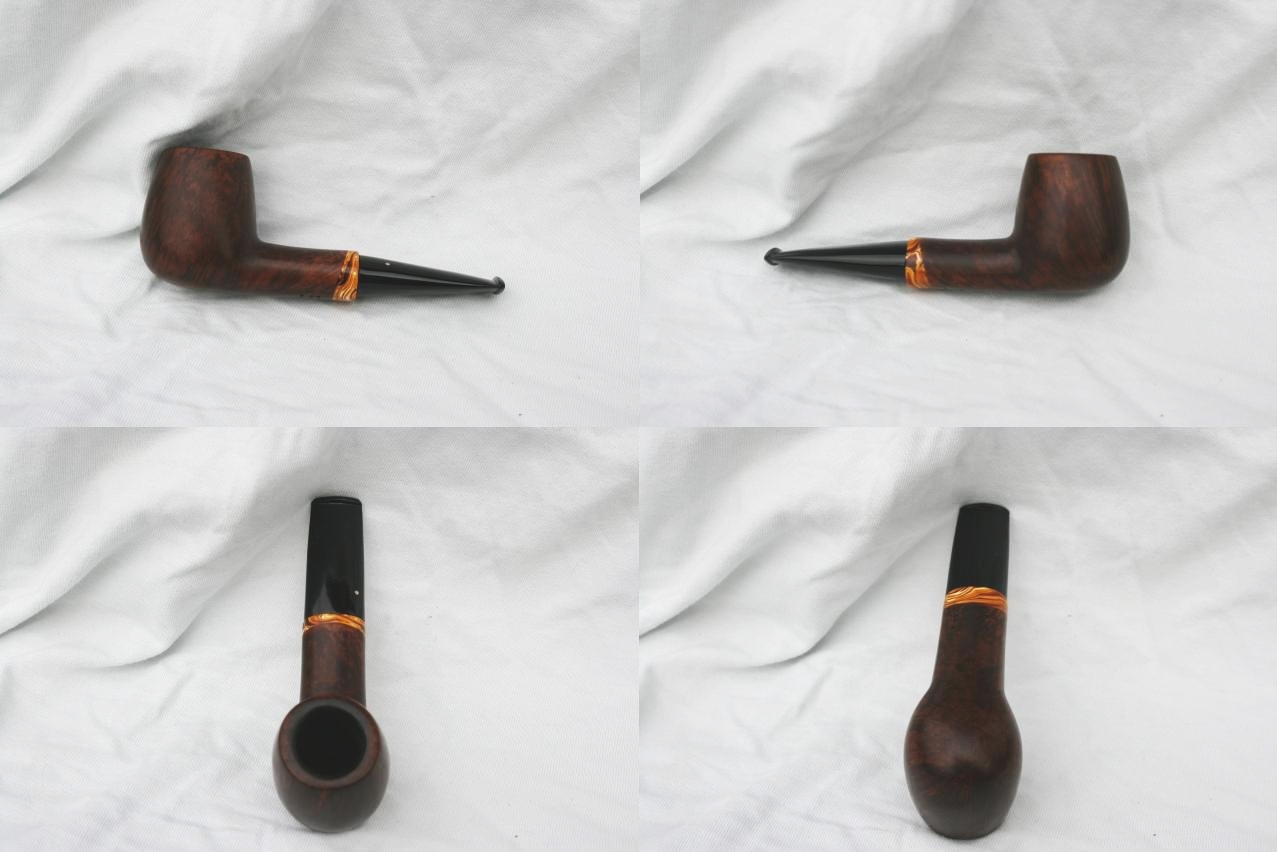
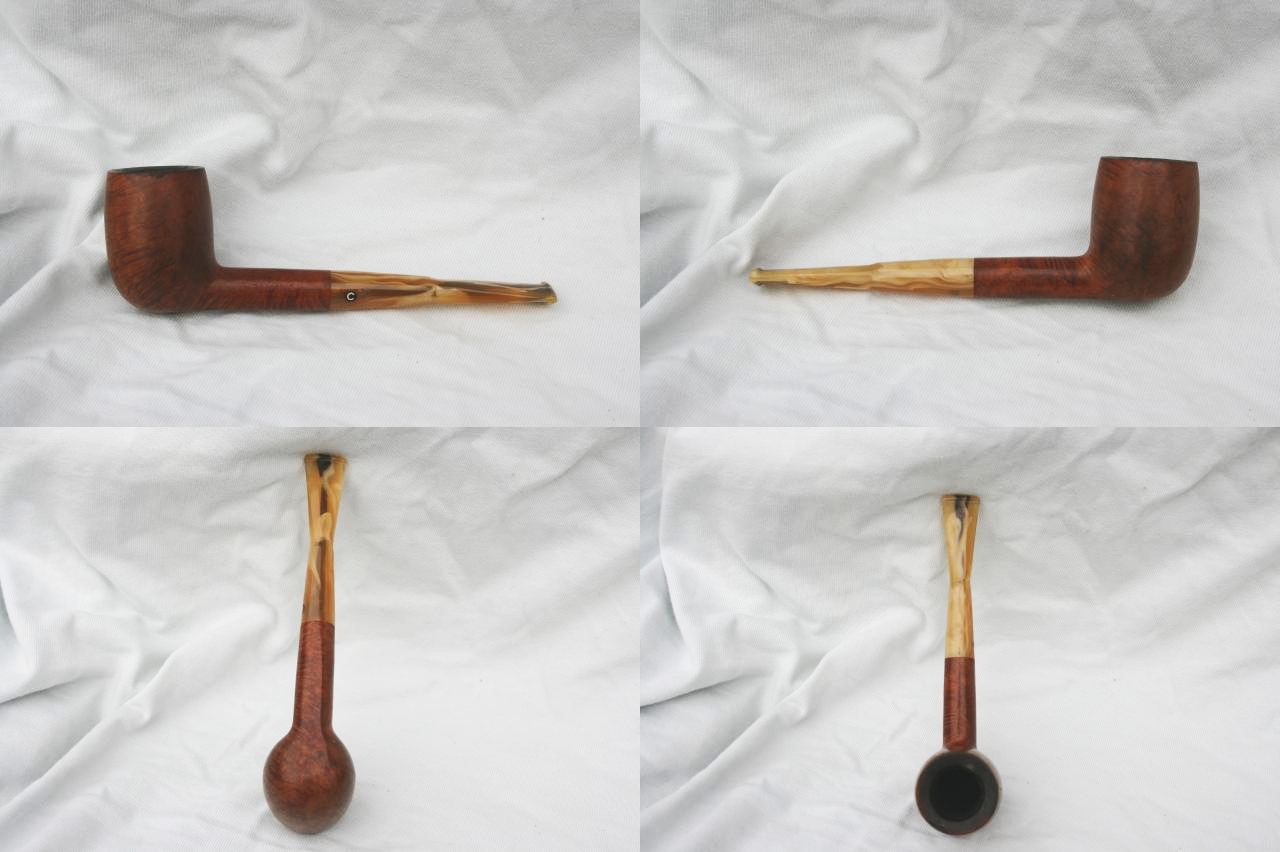
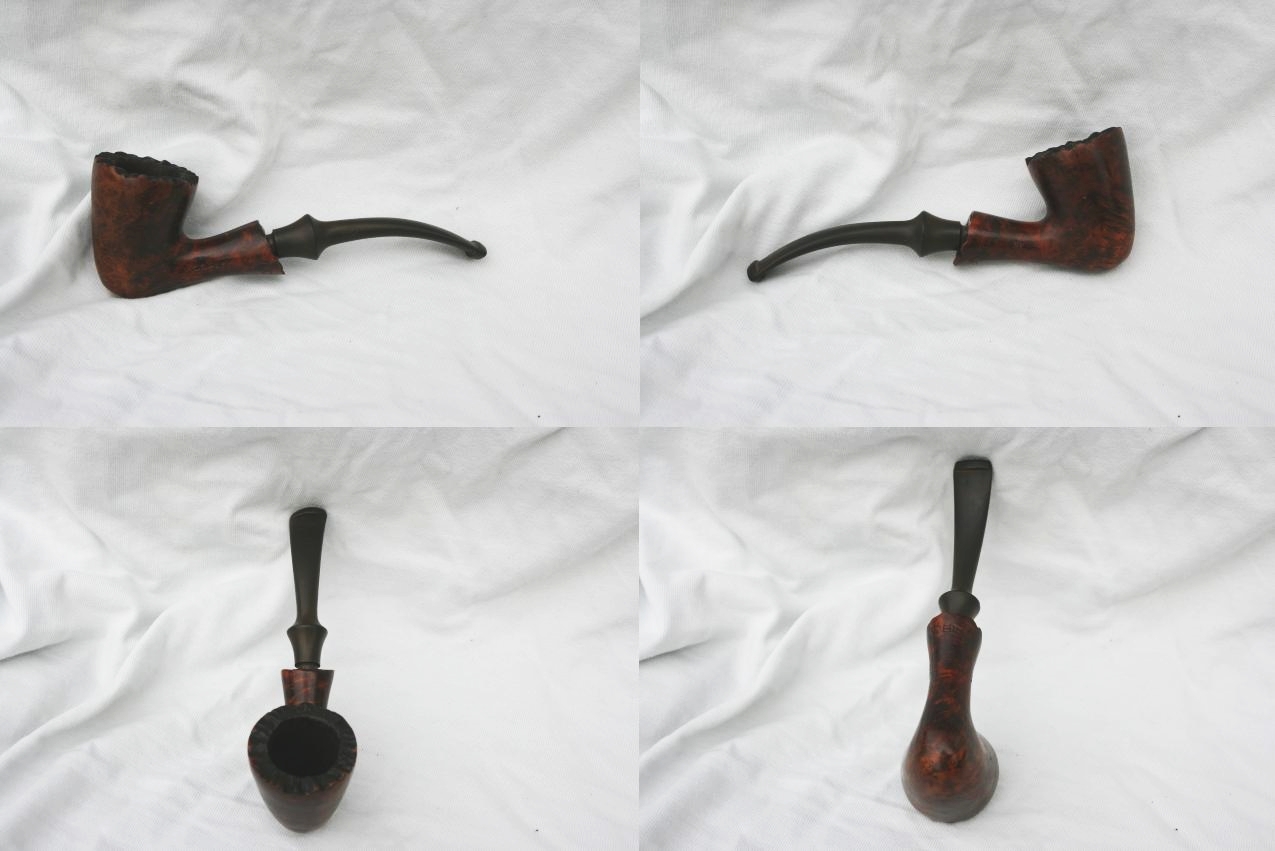
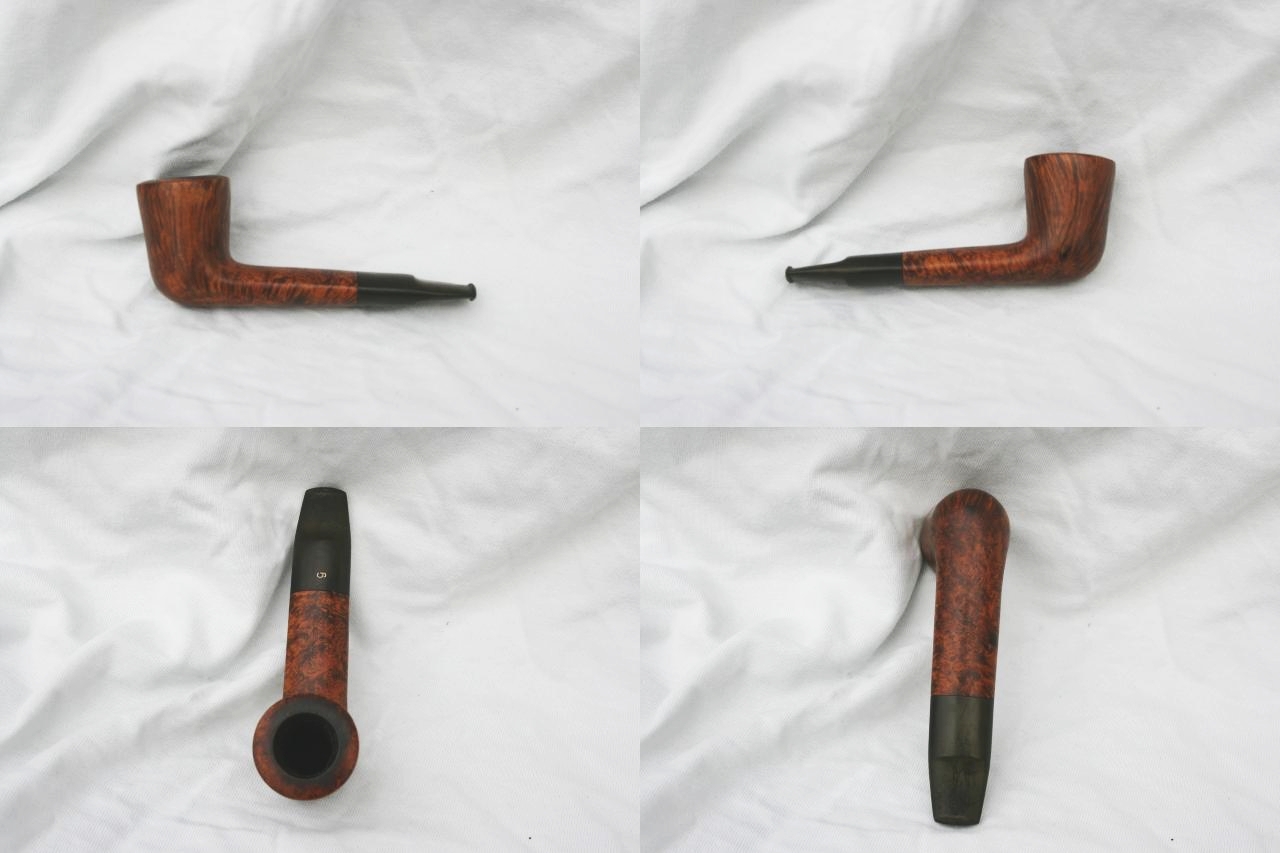
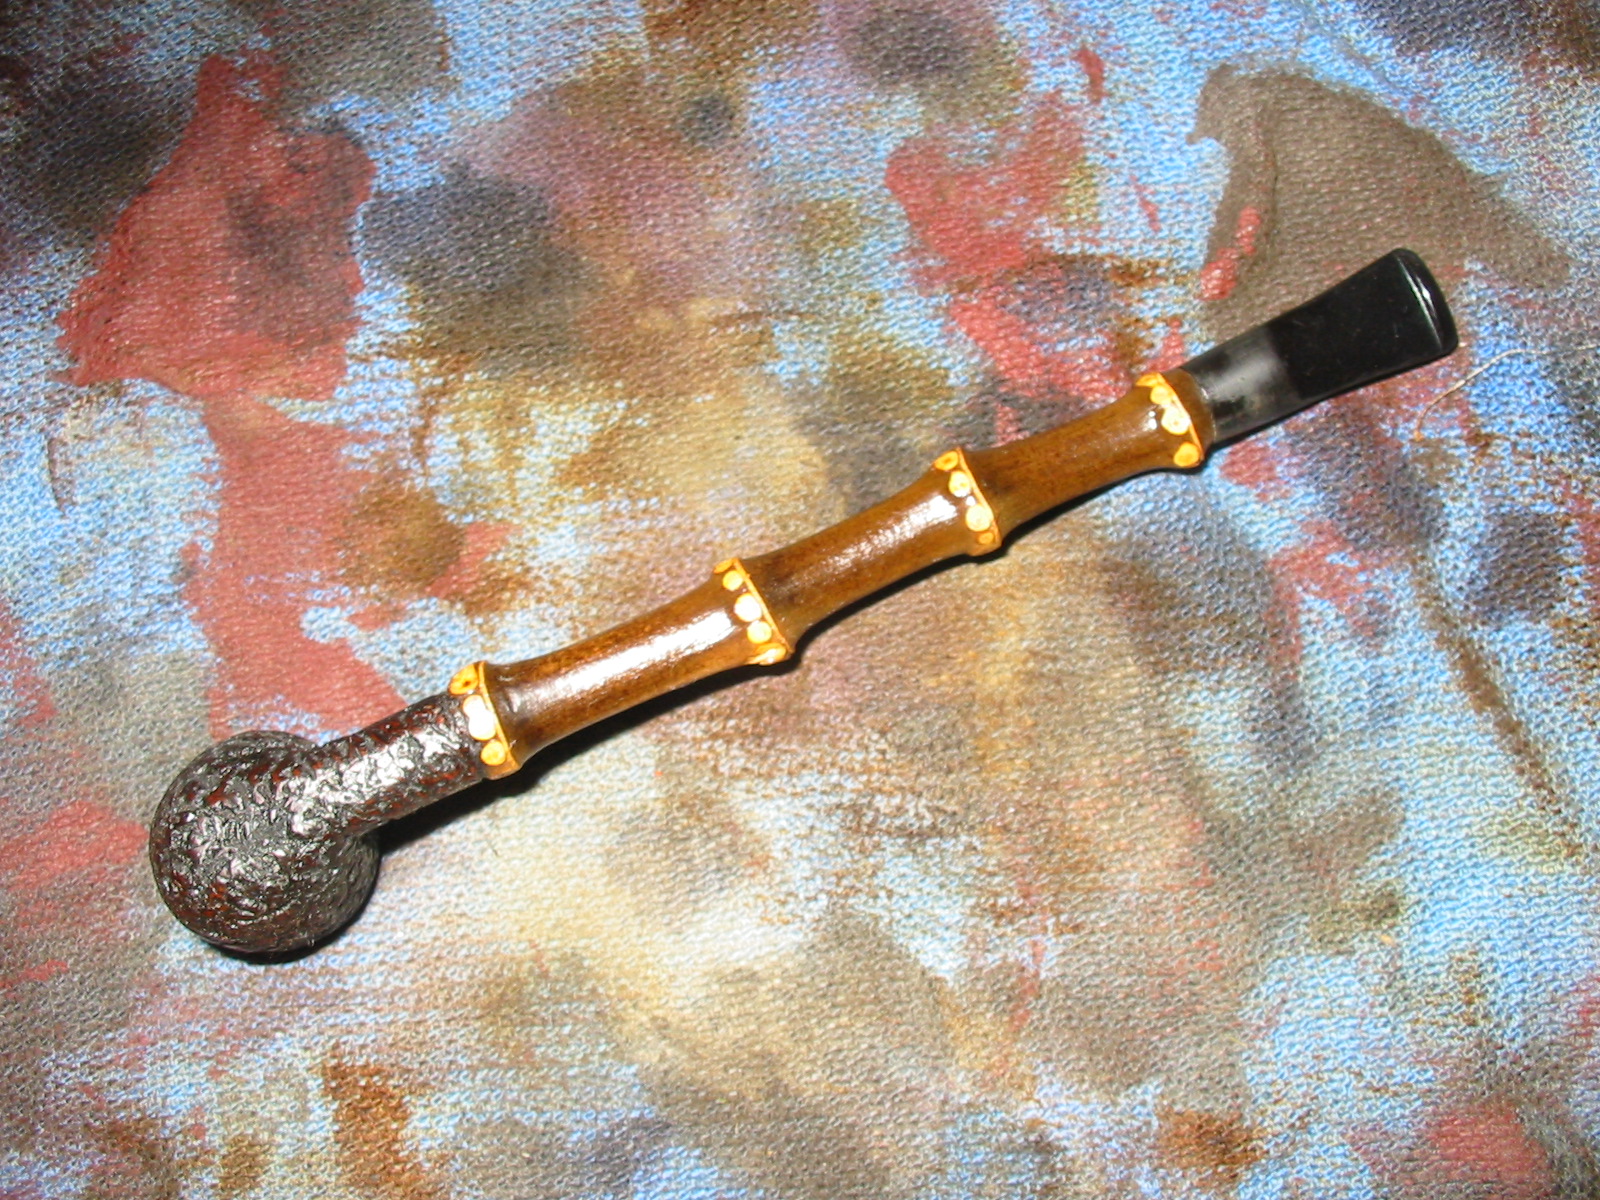
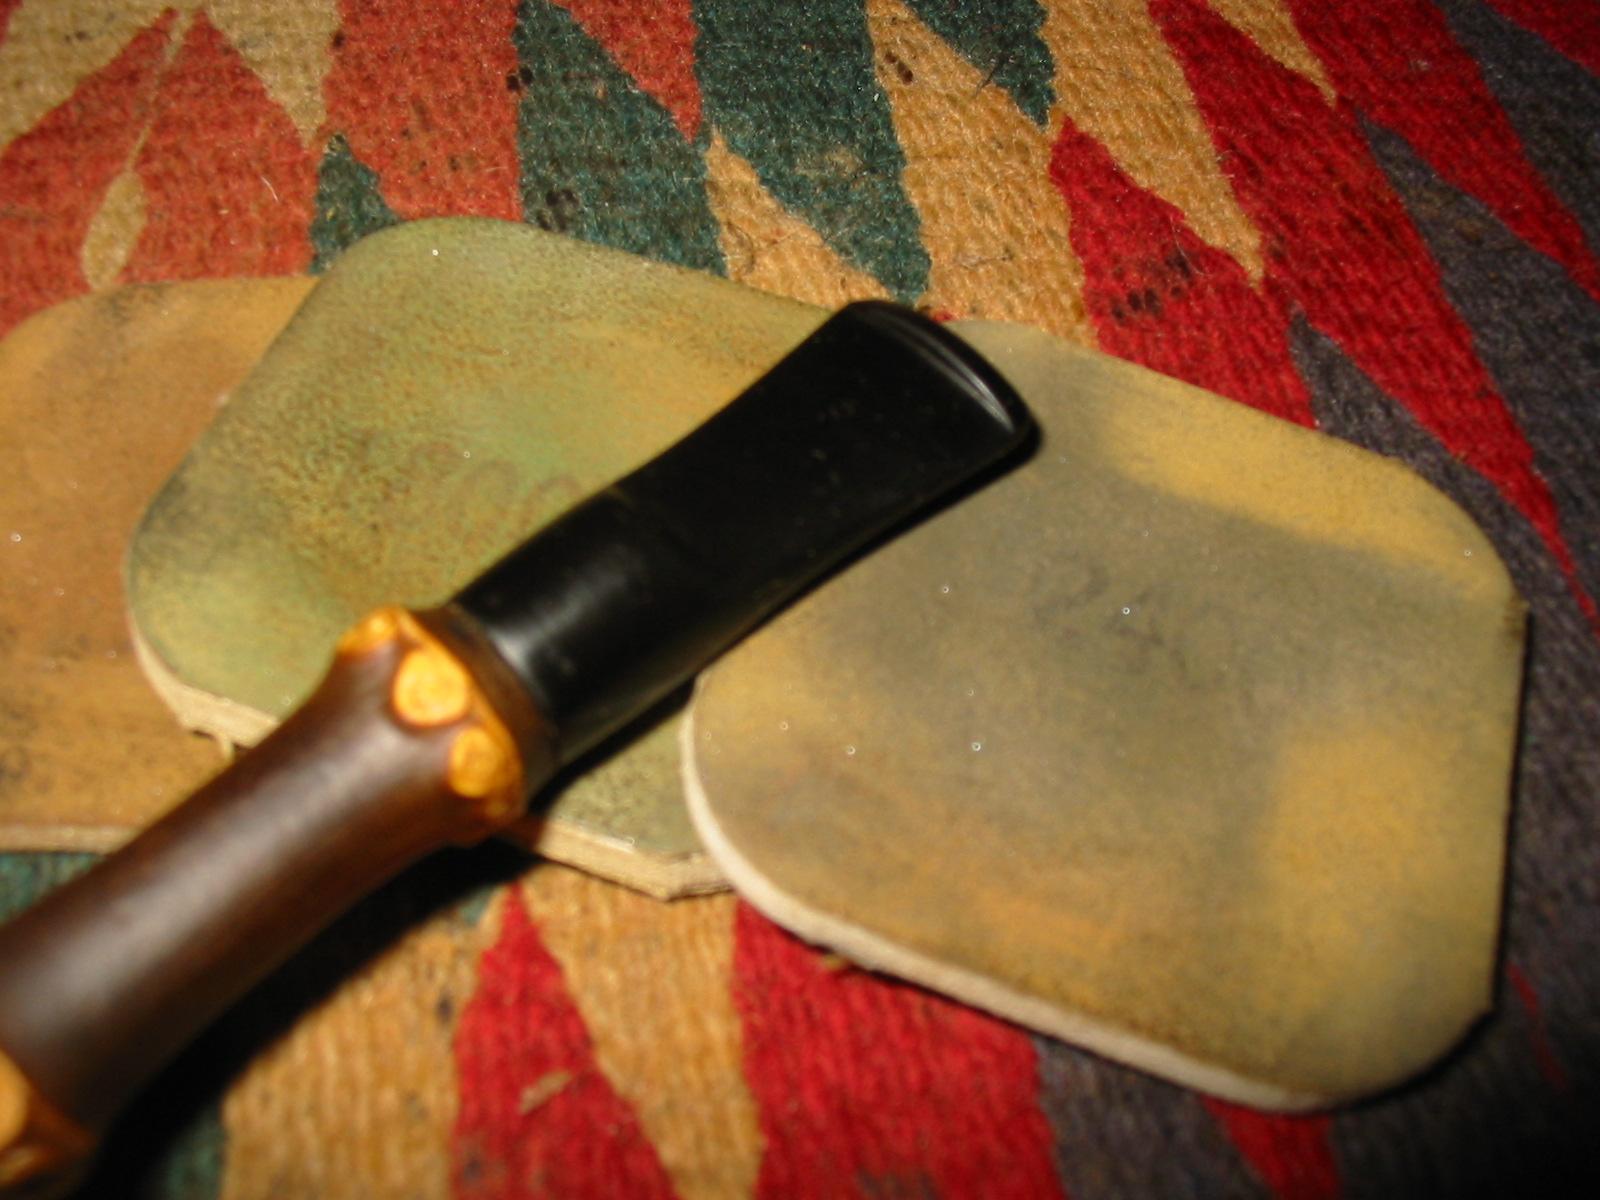
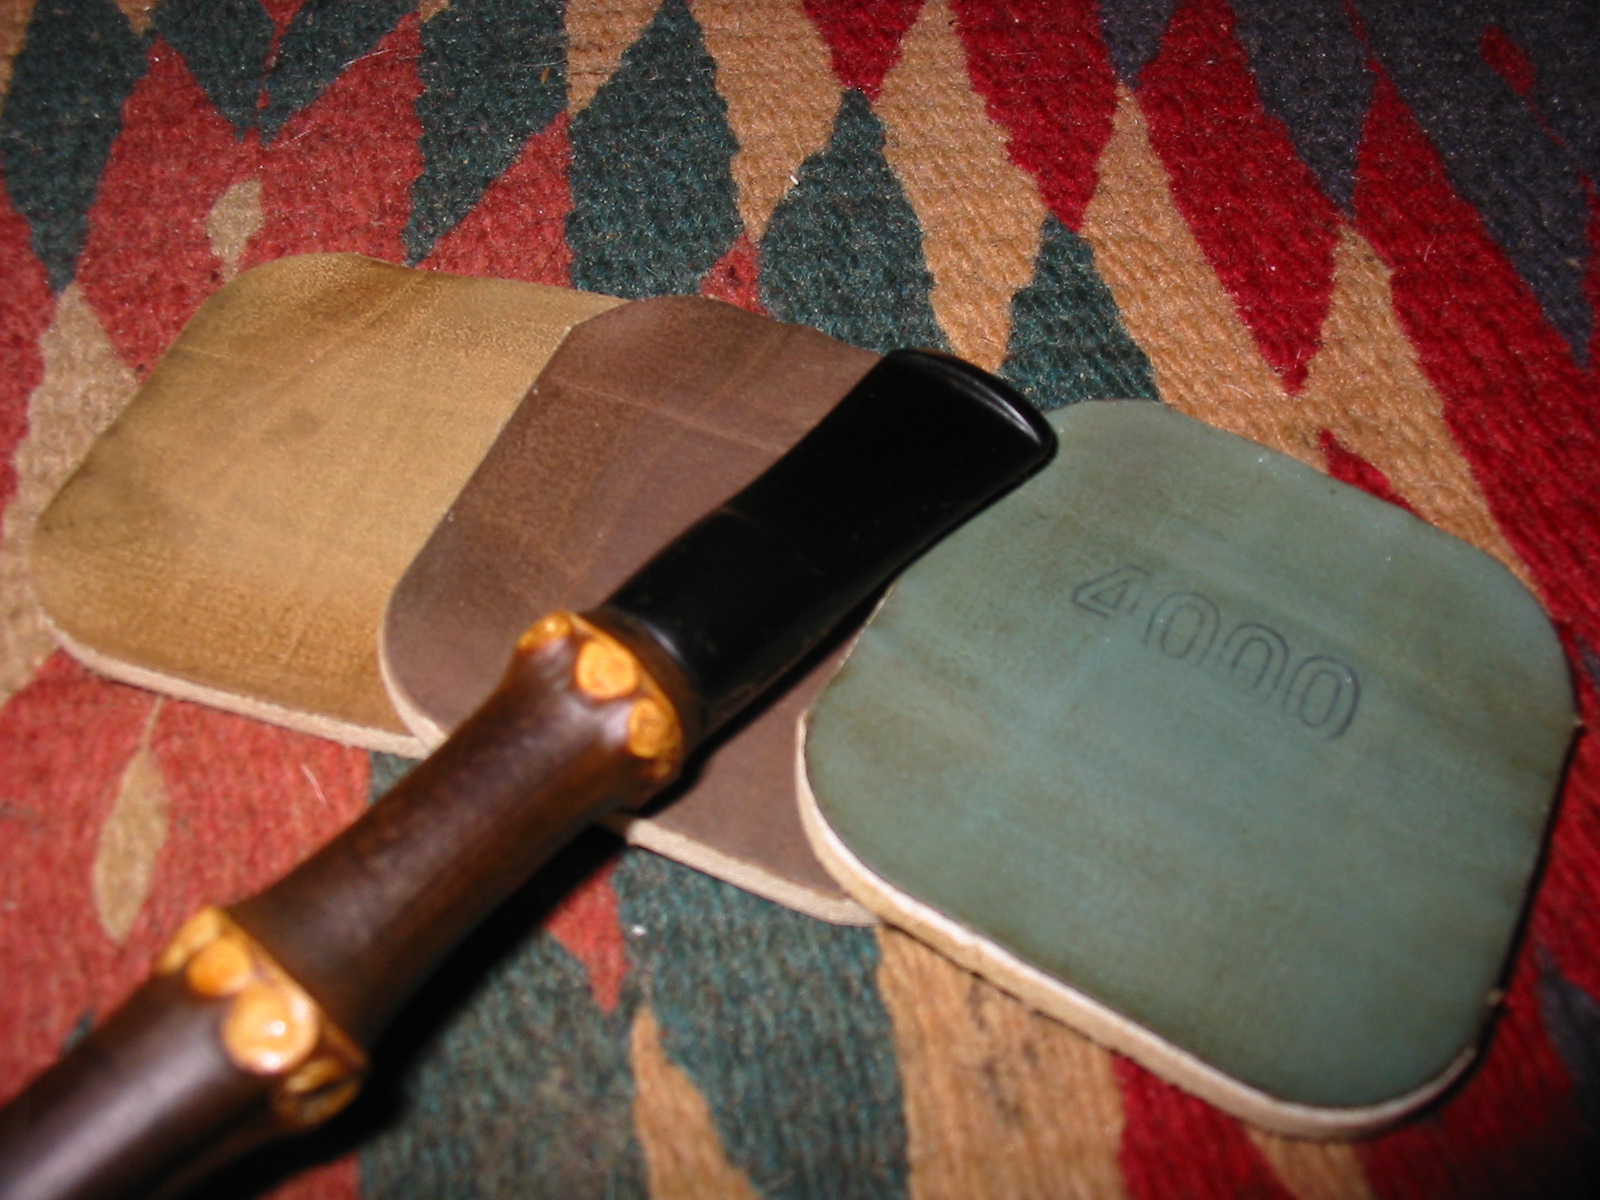
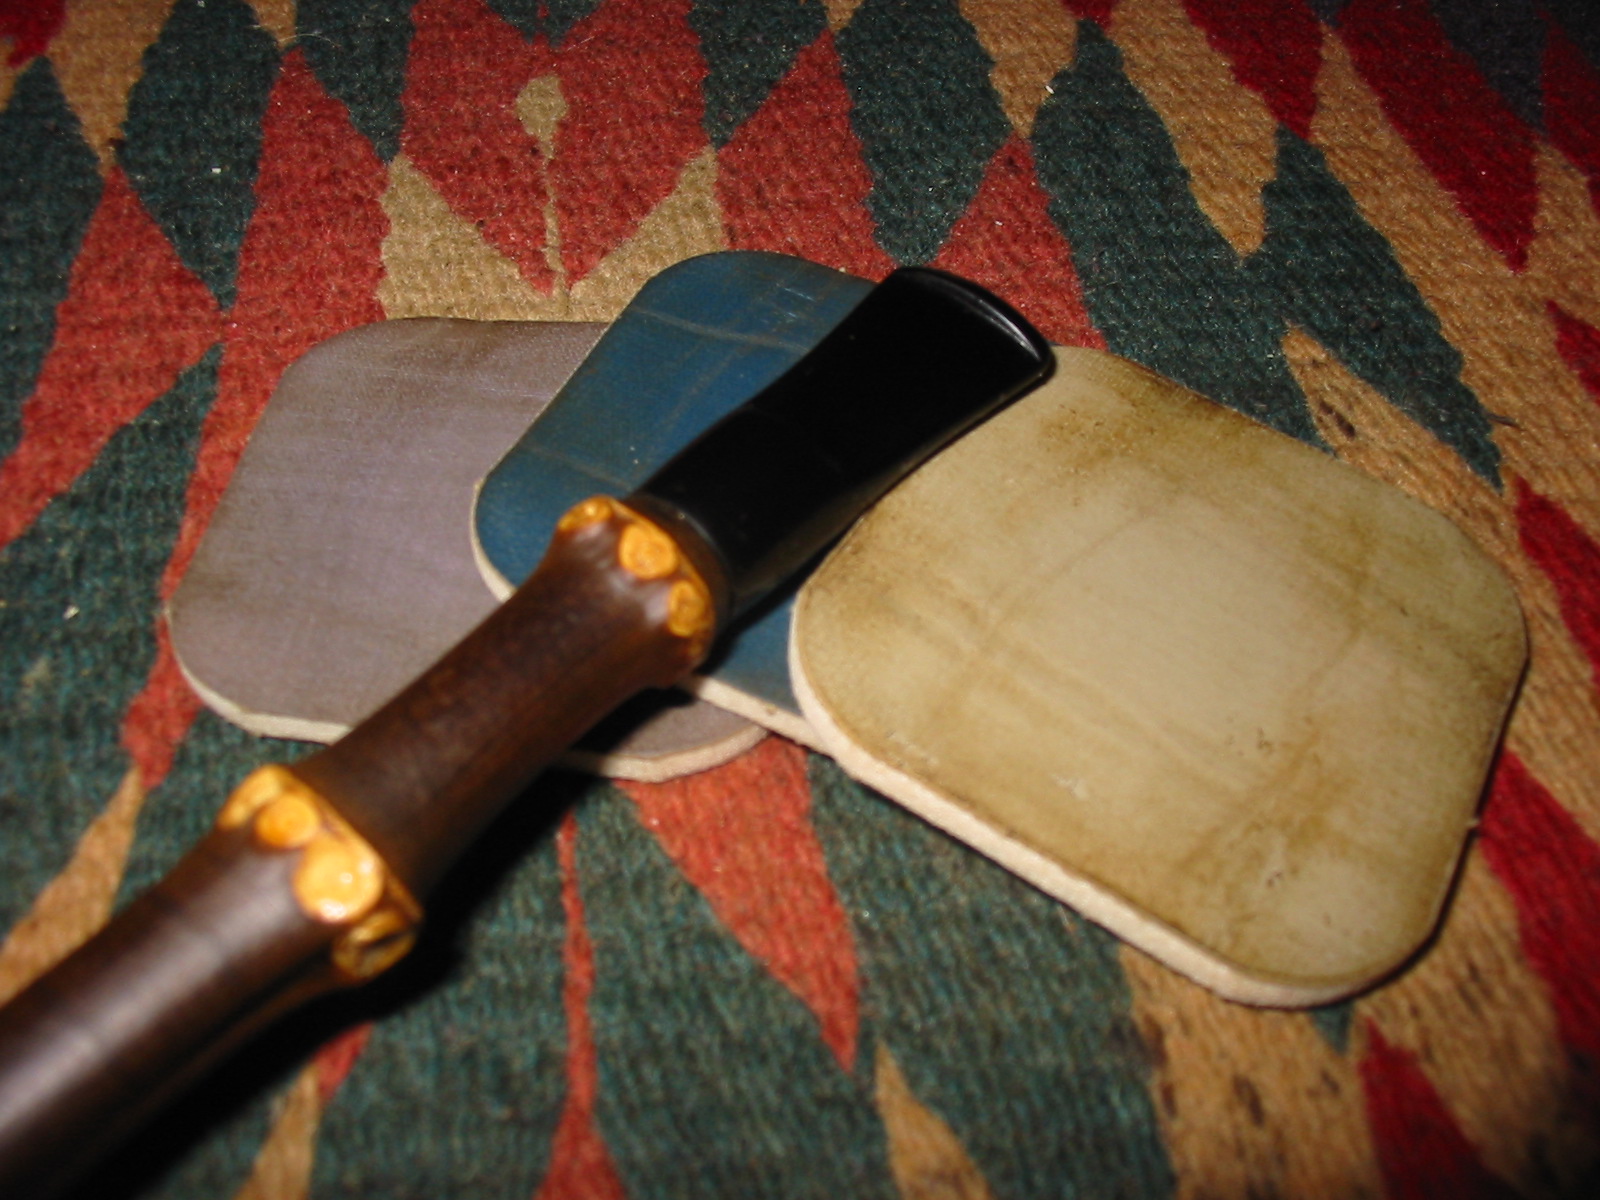
Tag Archives: polishing a stem

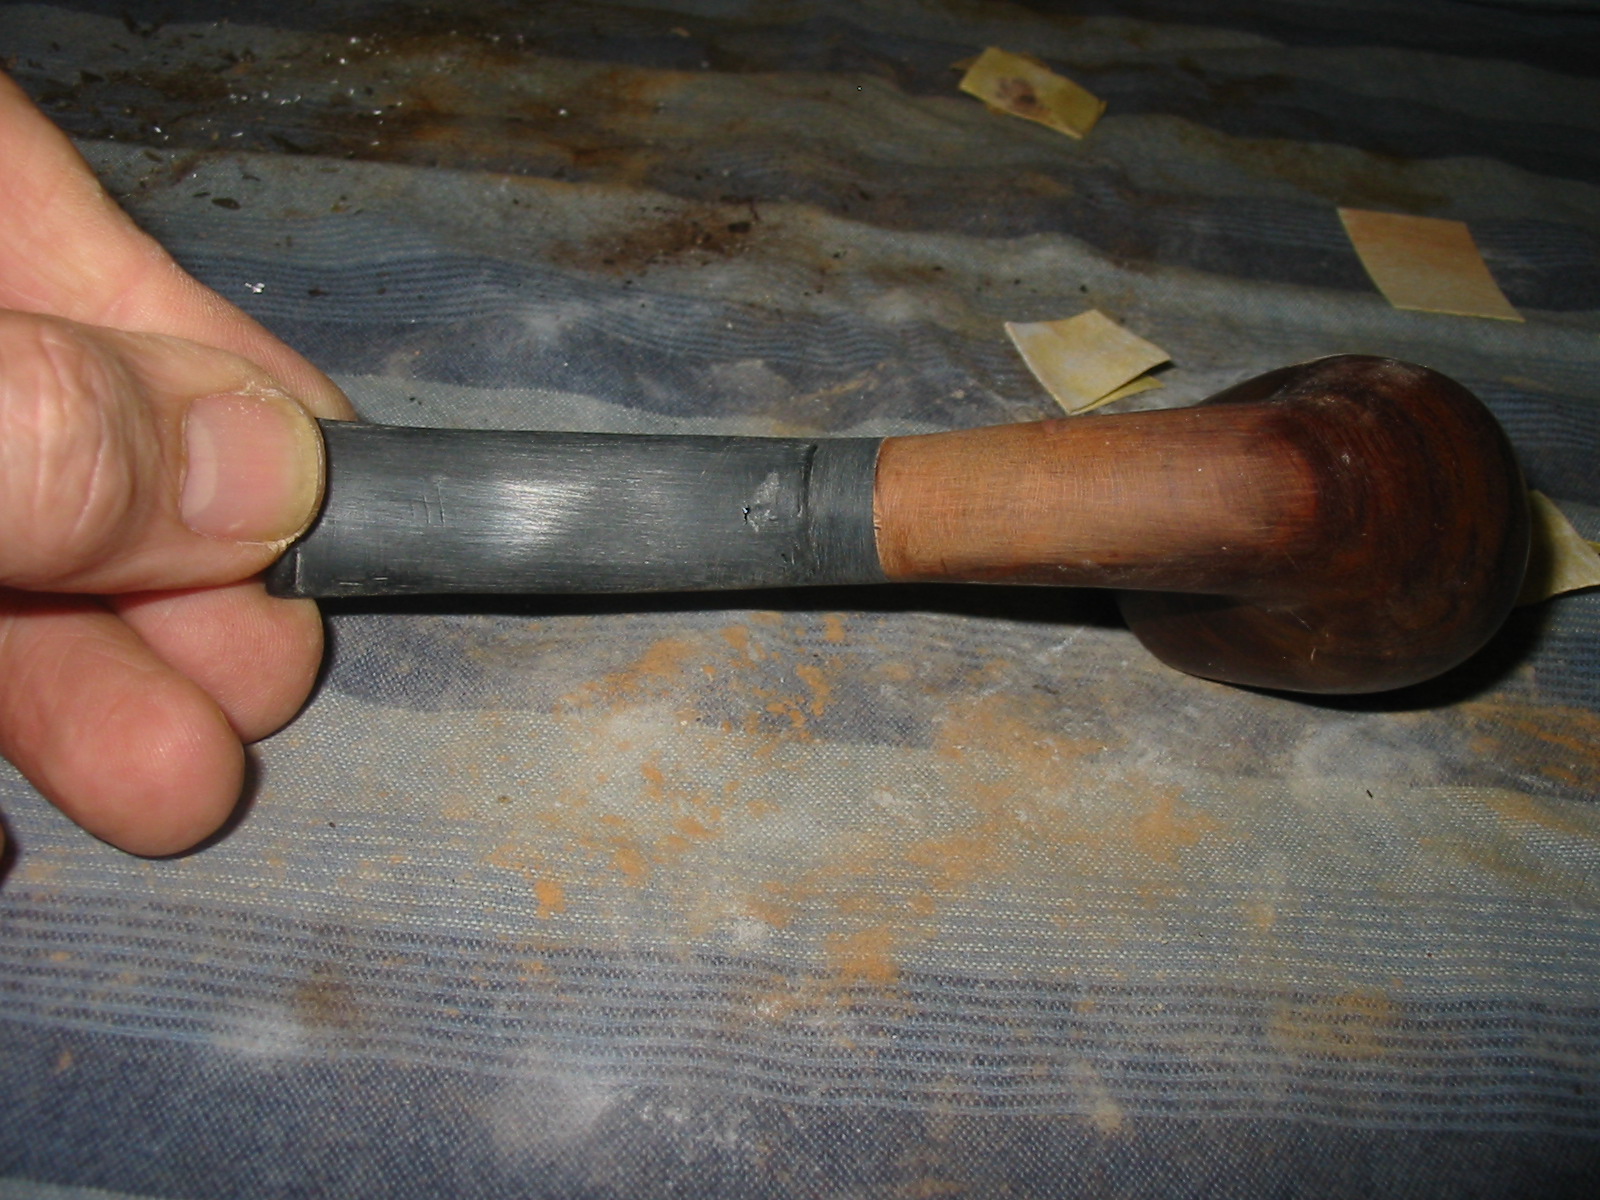
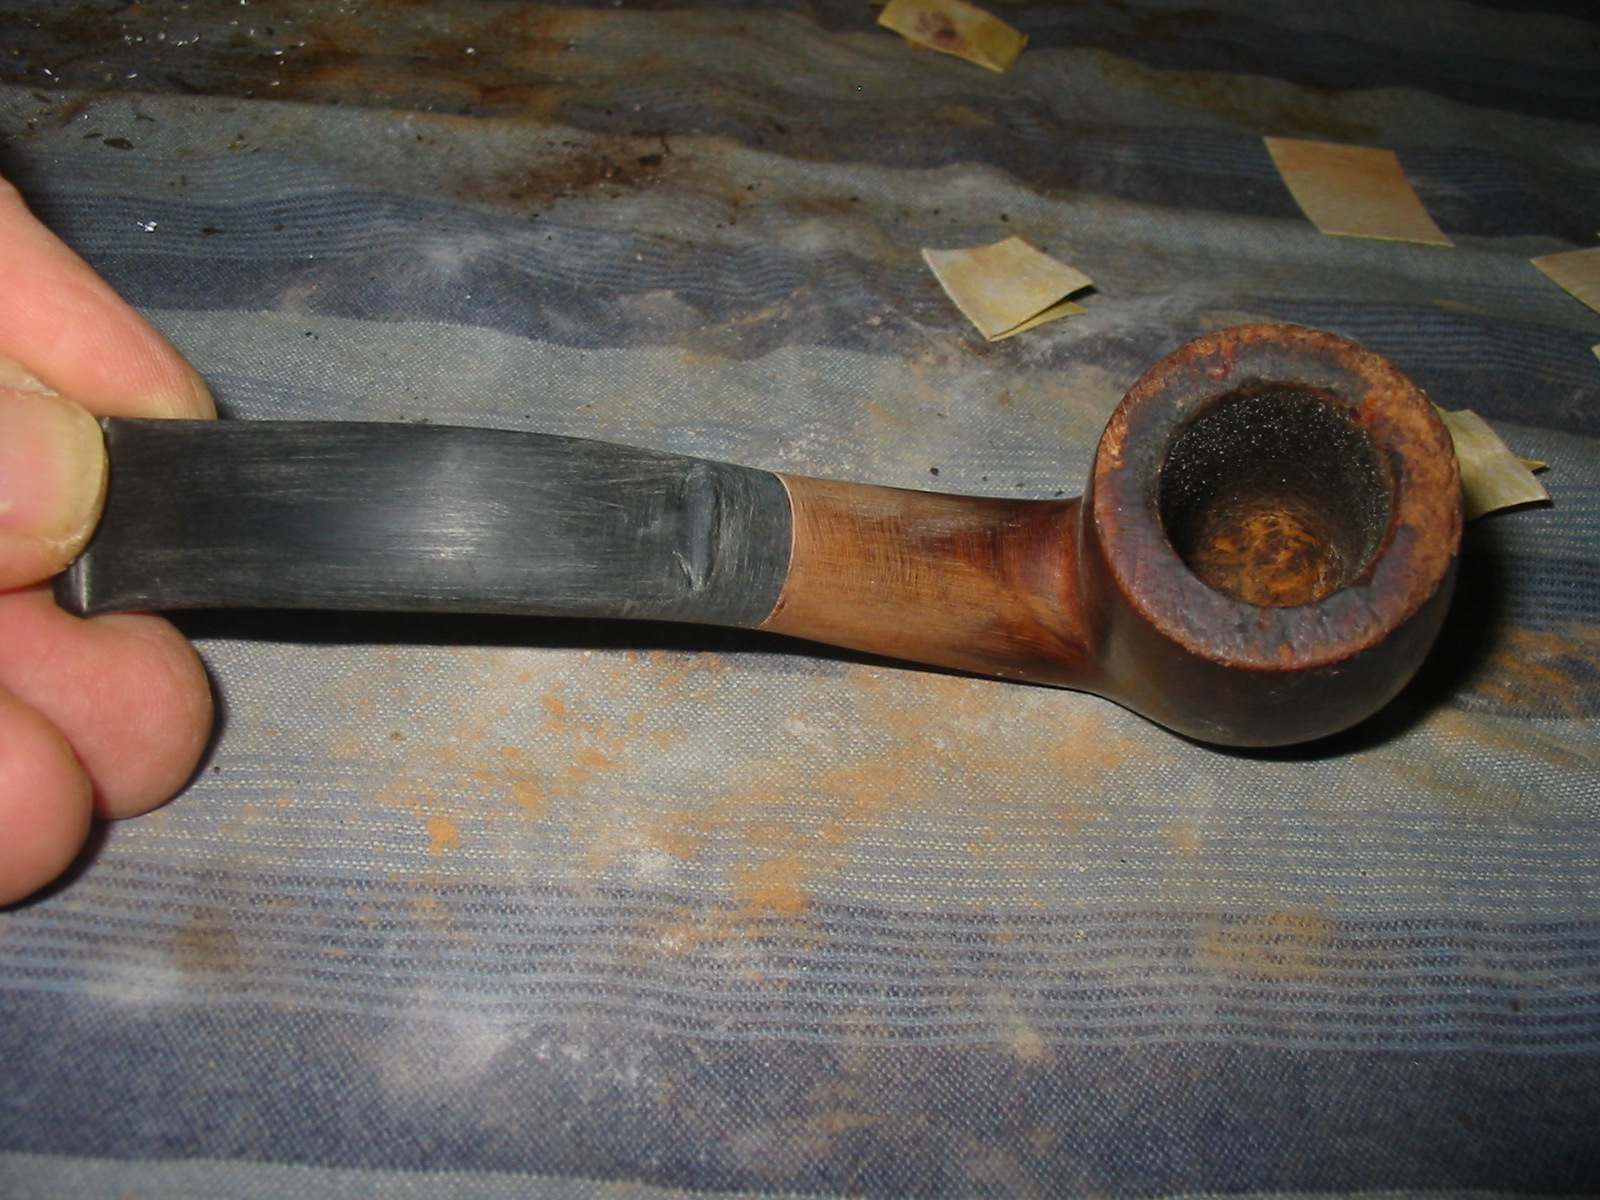
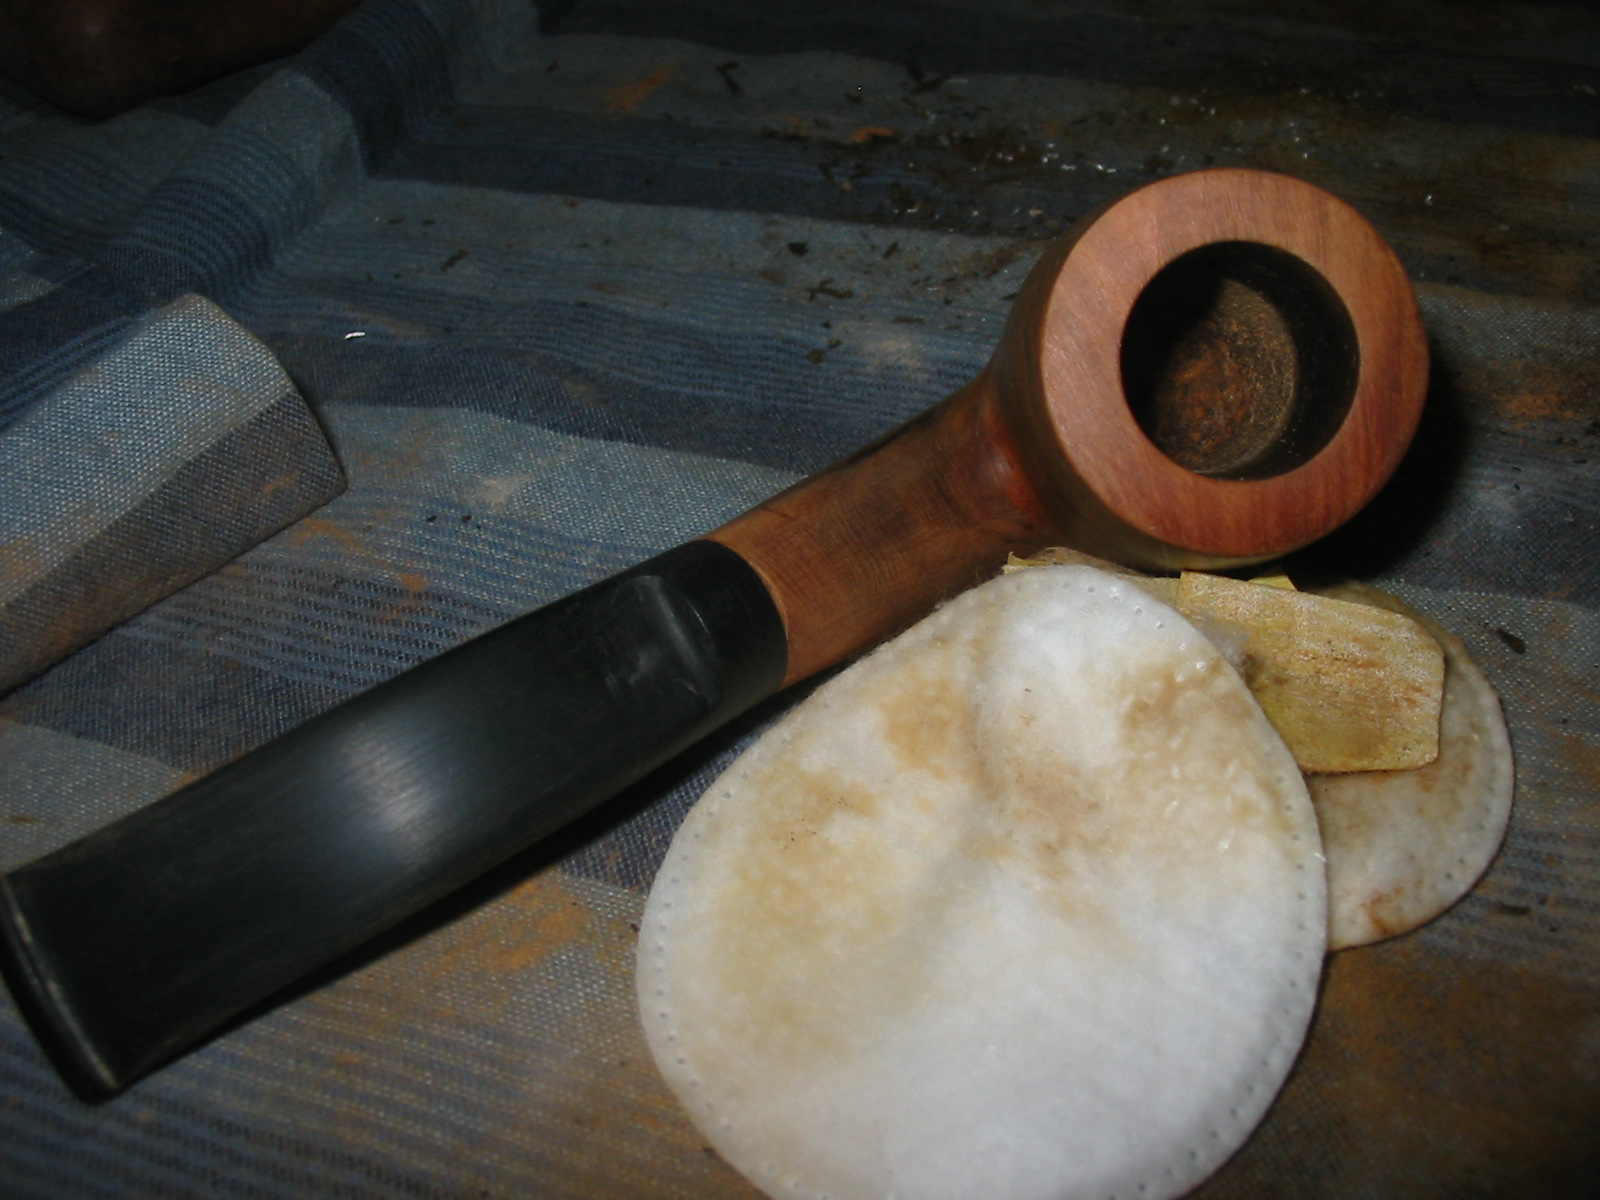
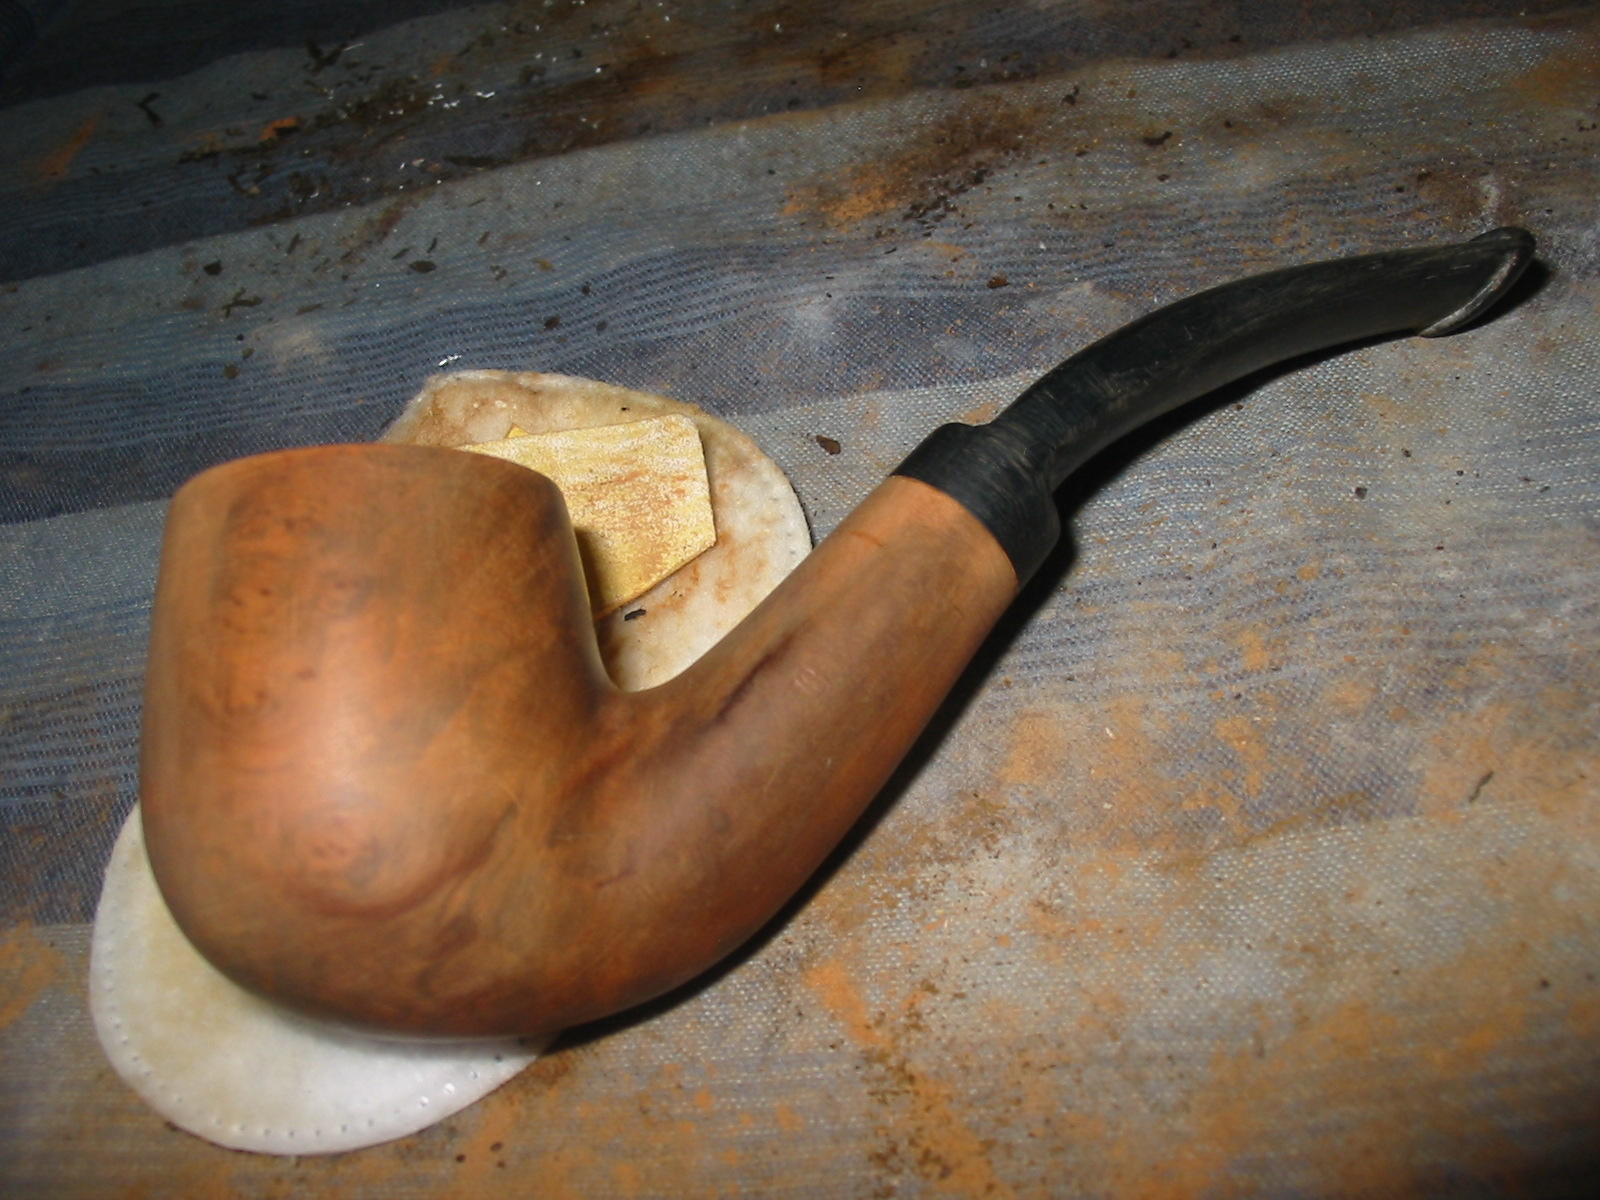
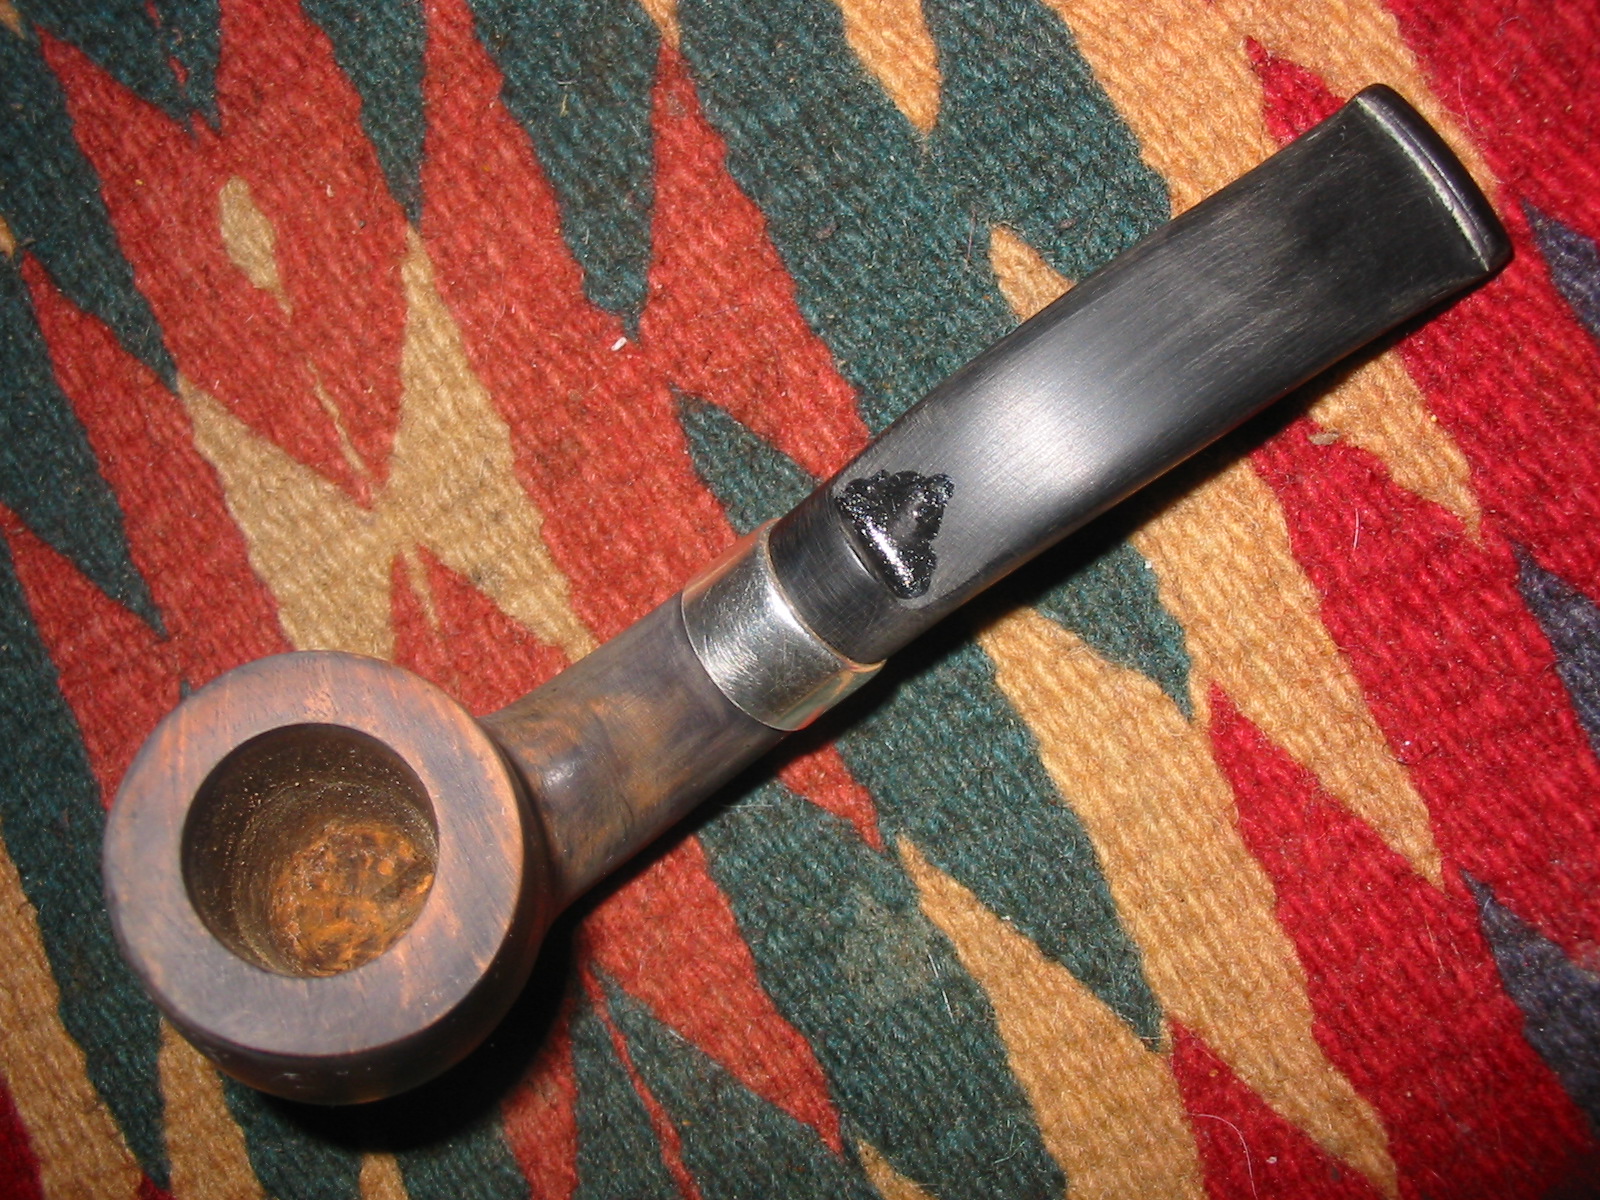
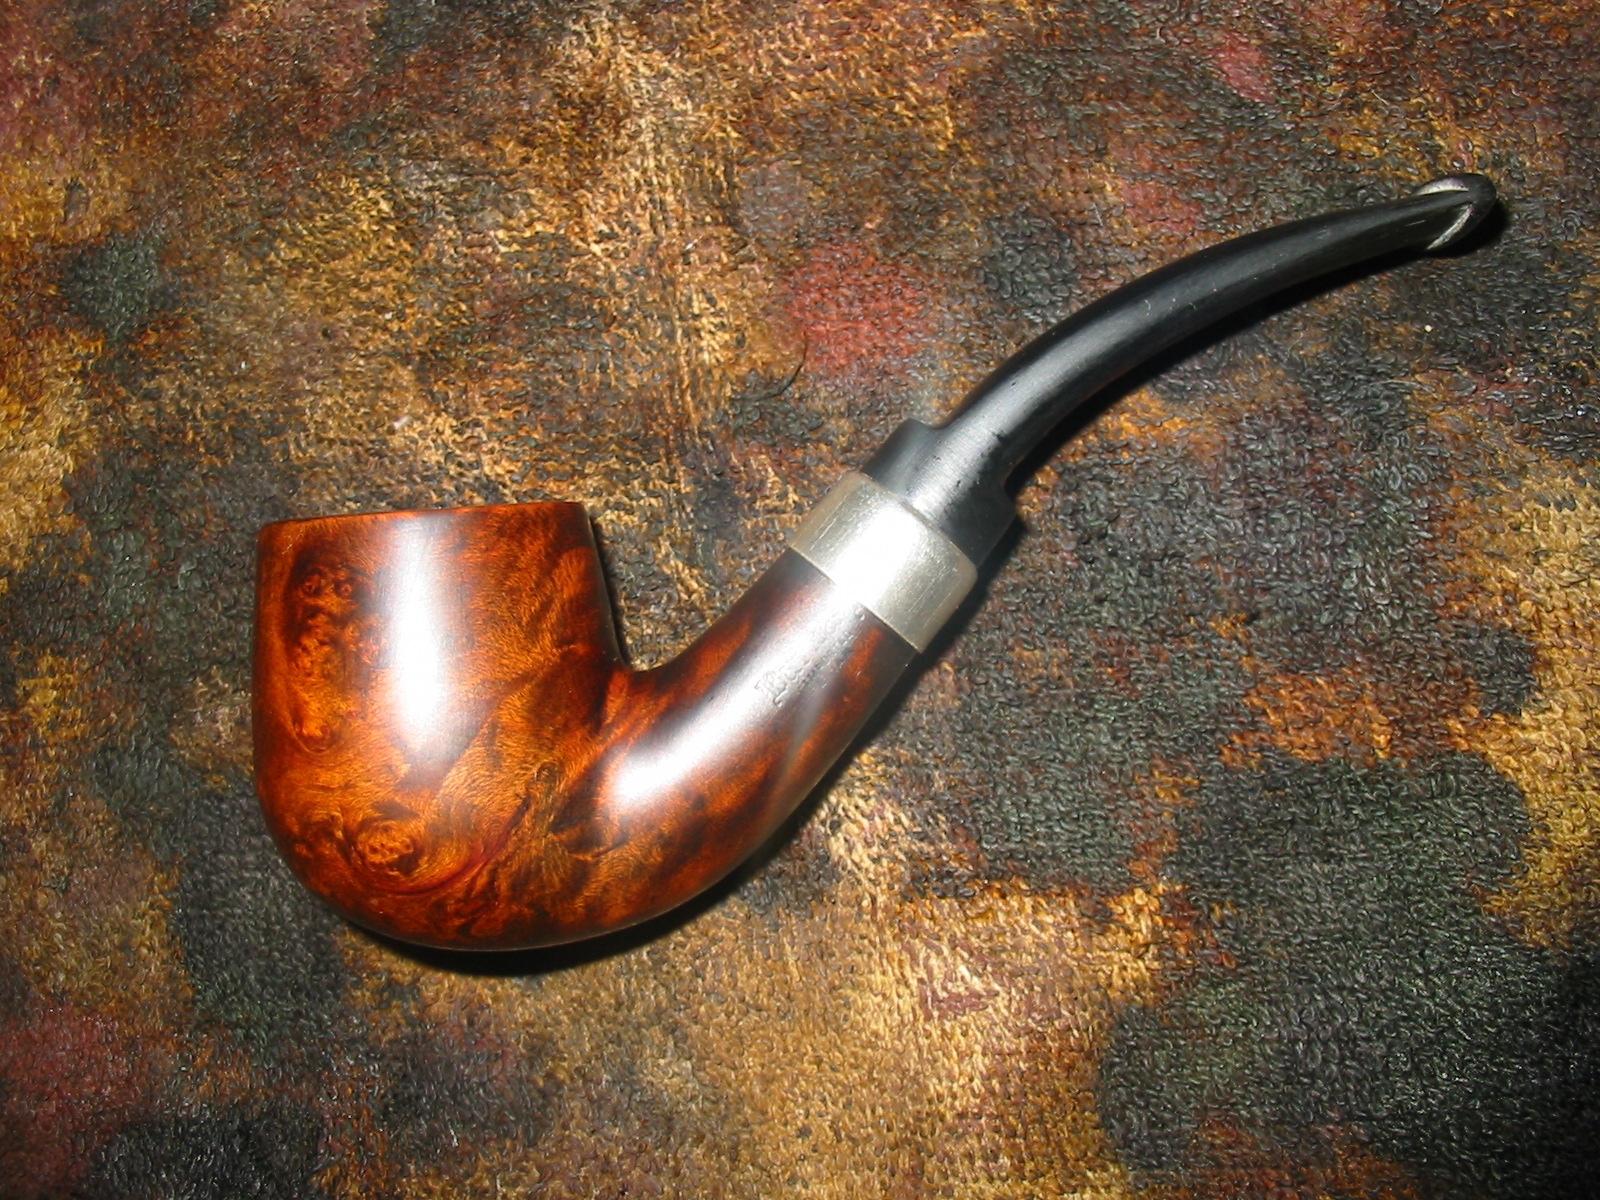
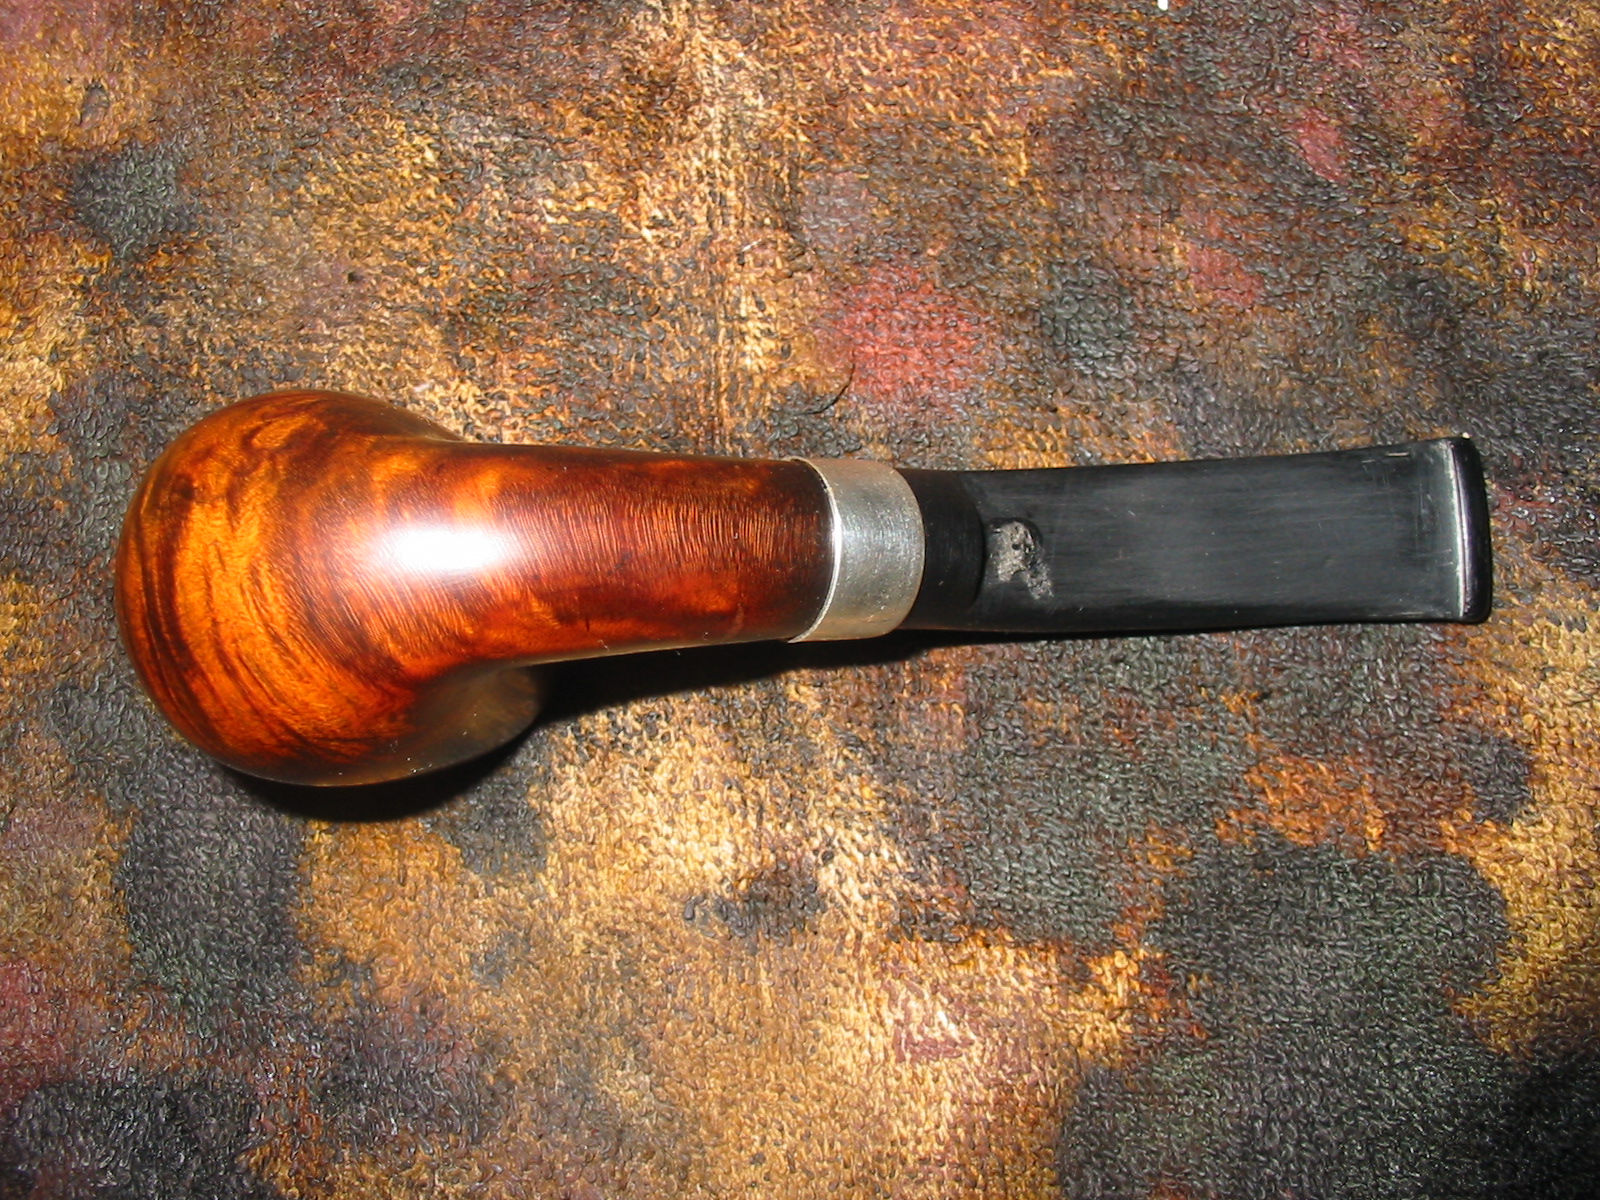
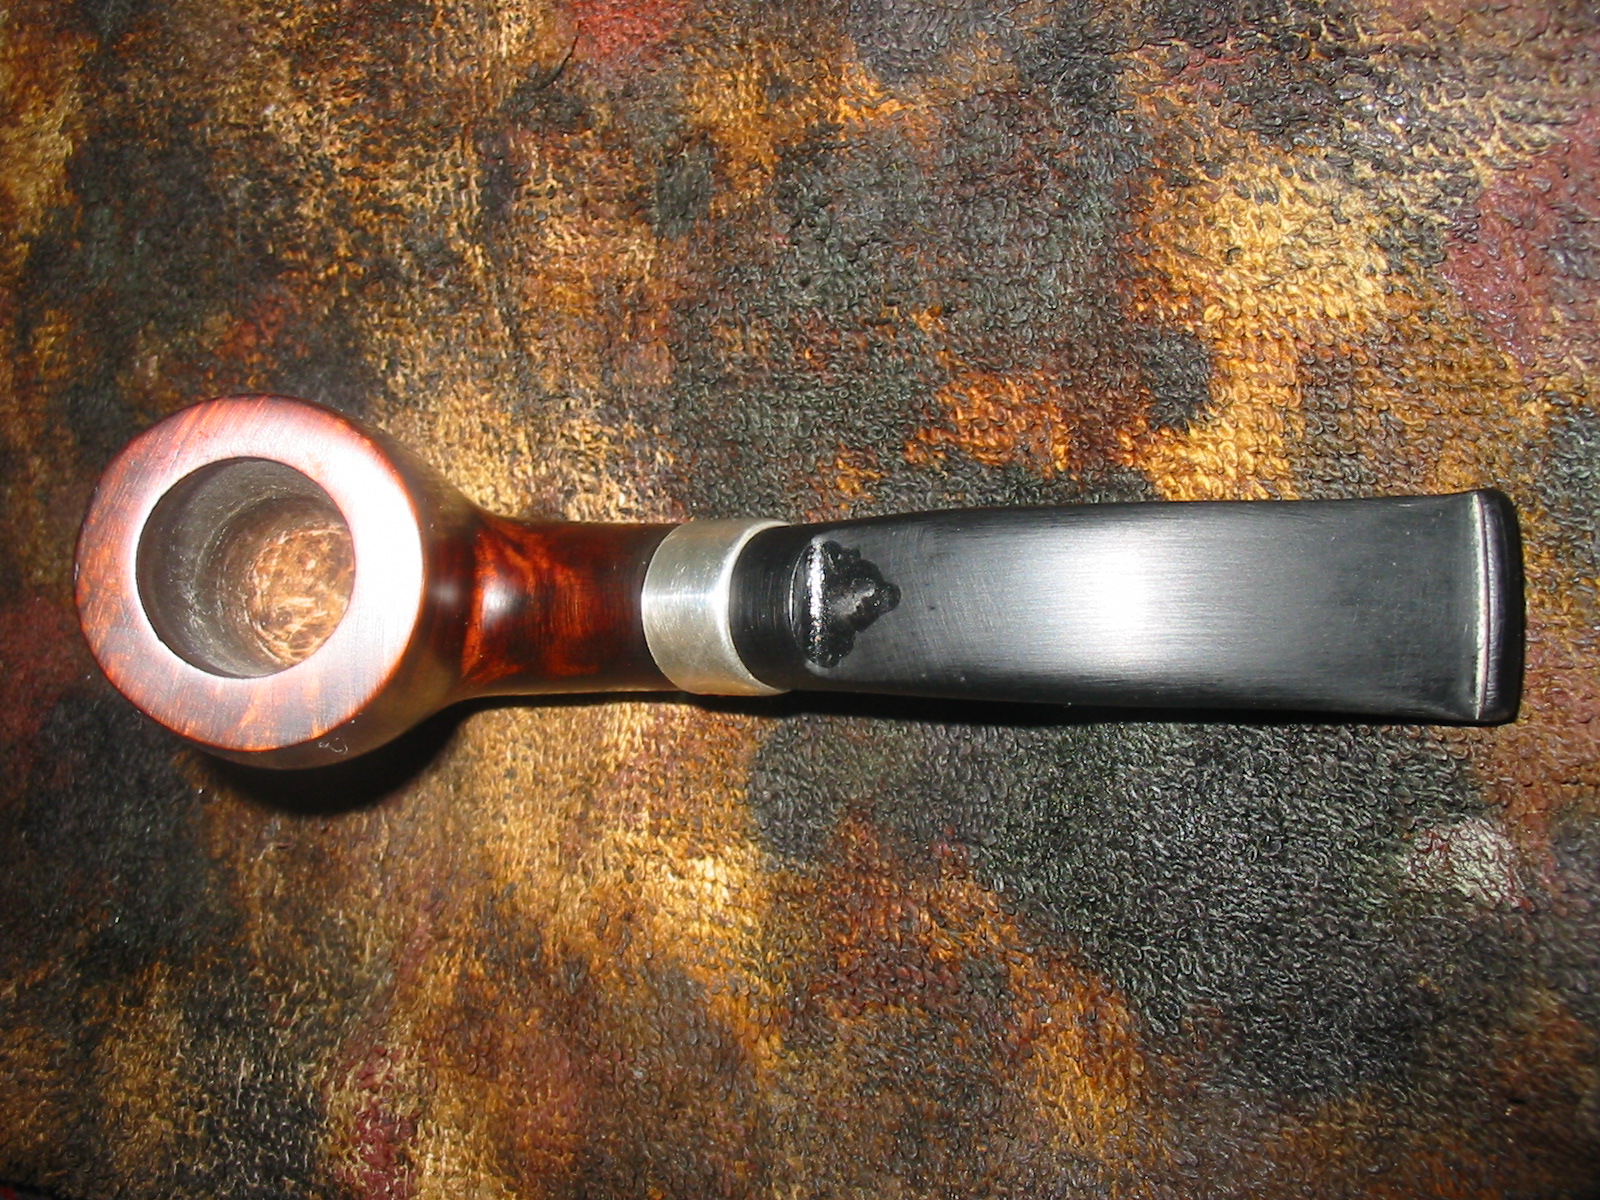
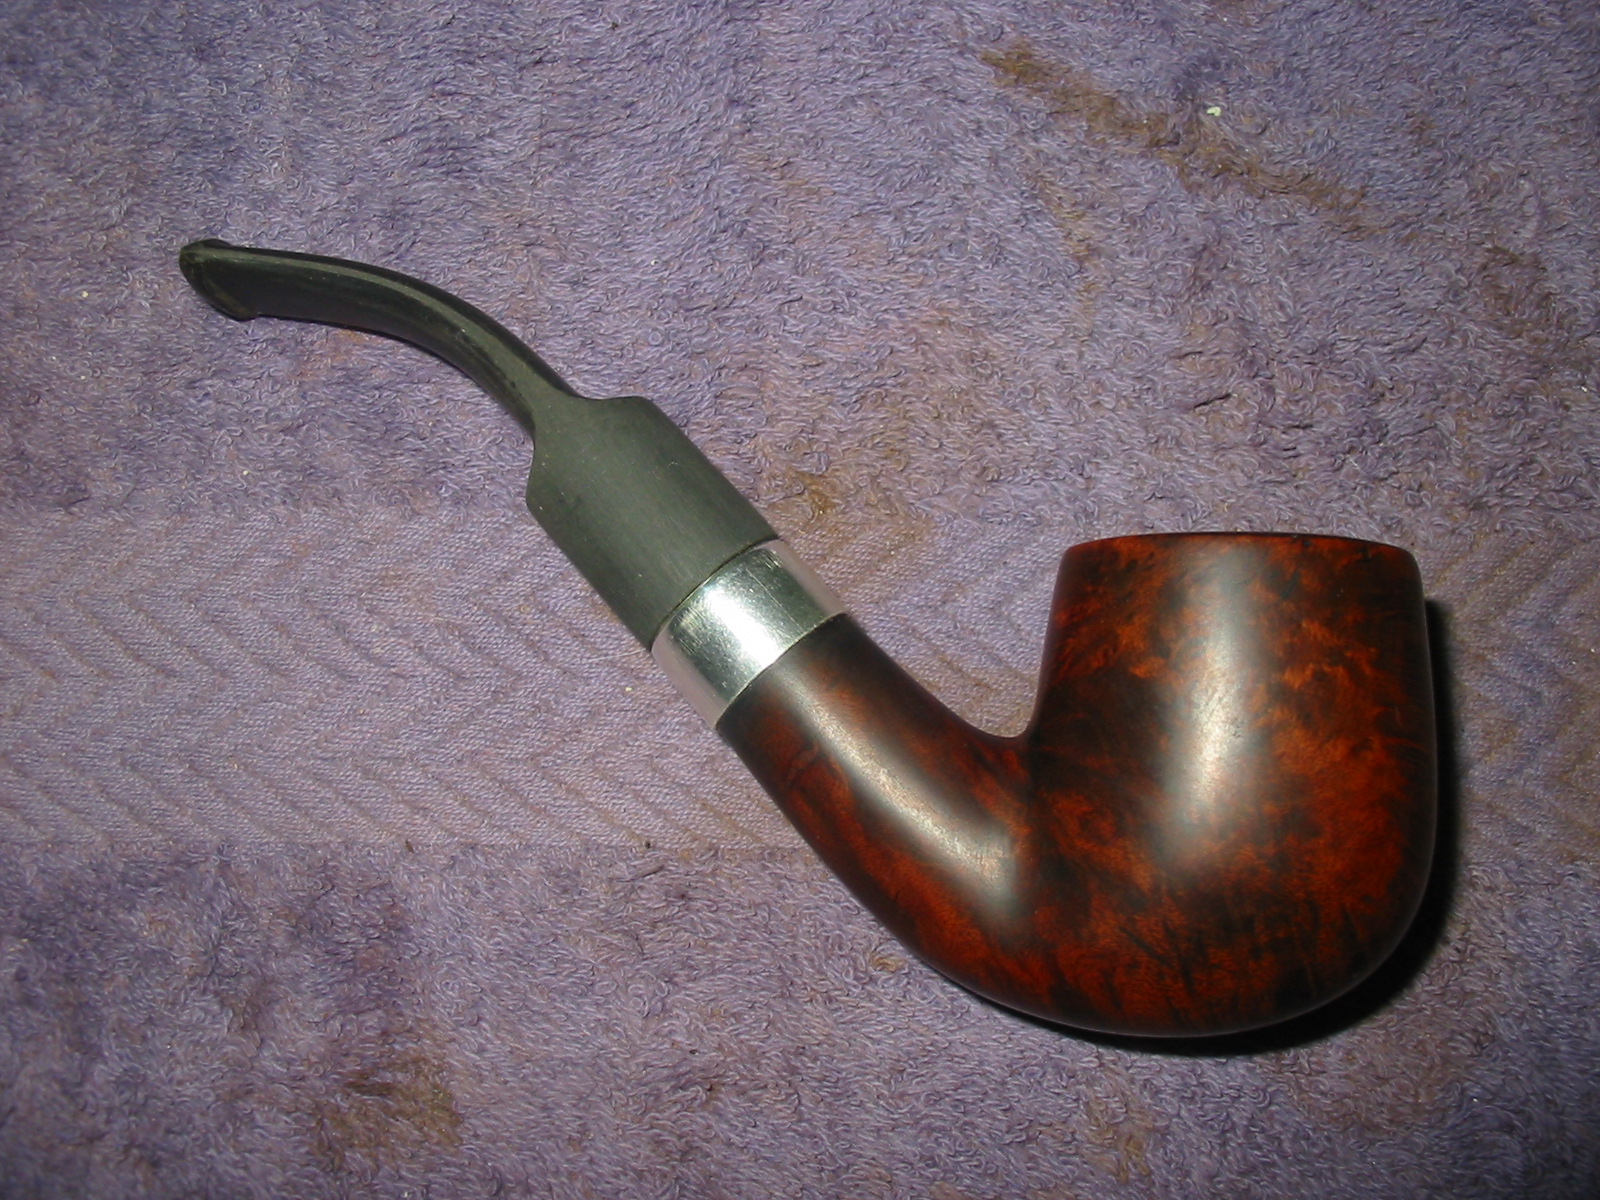
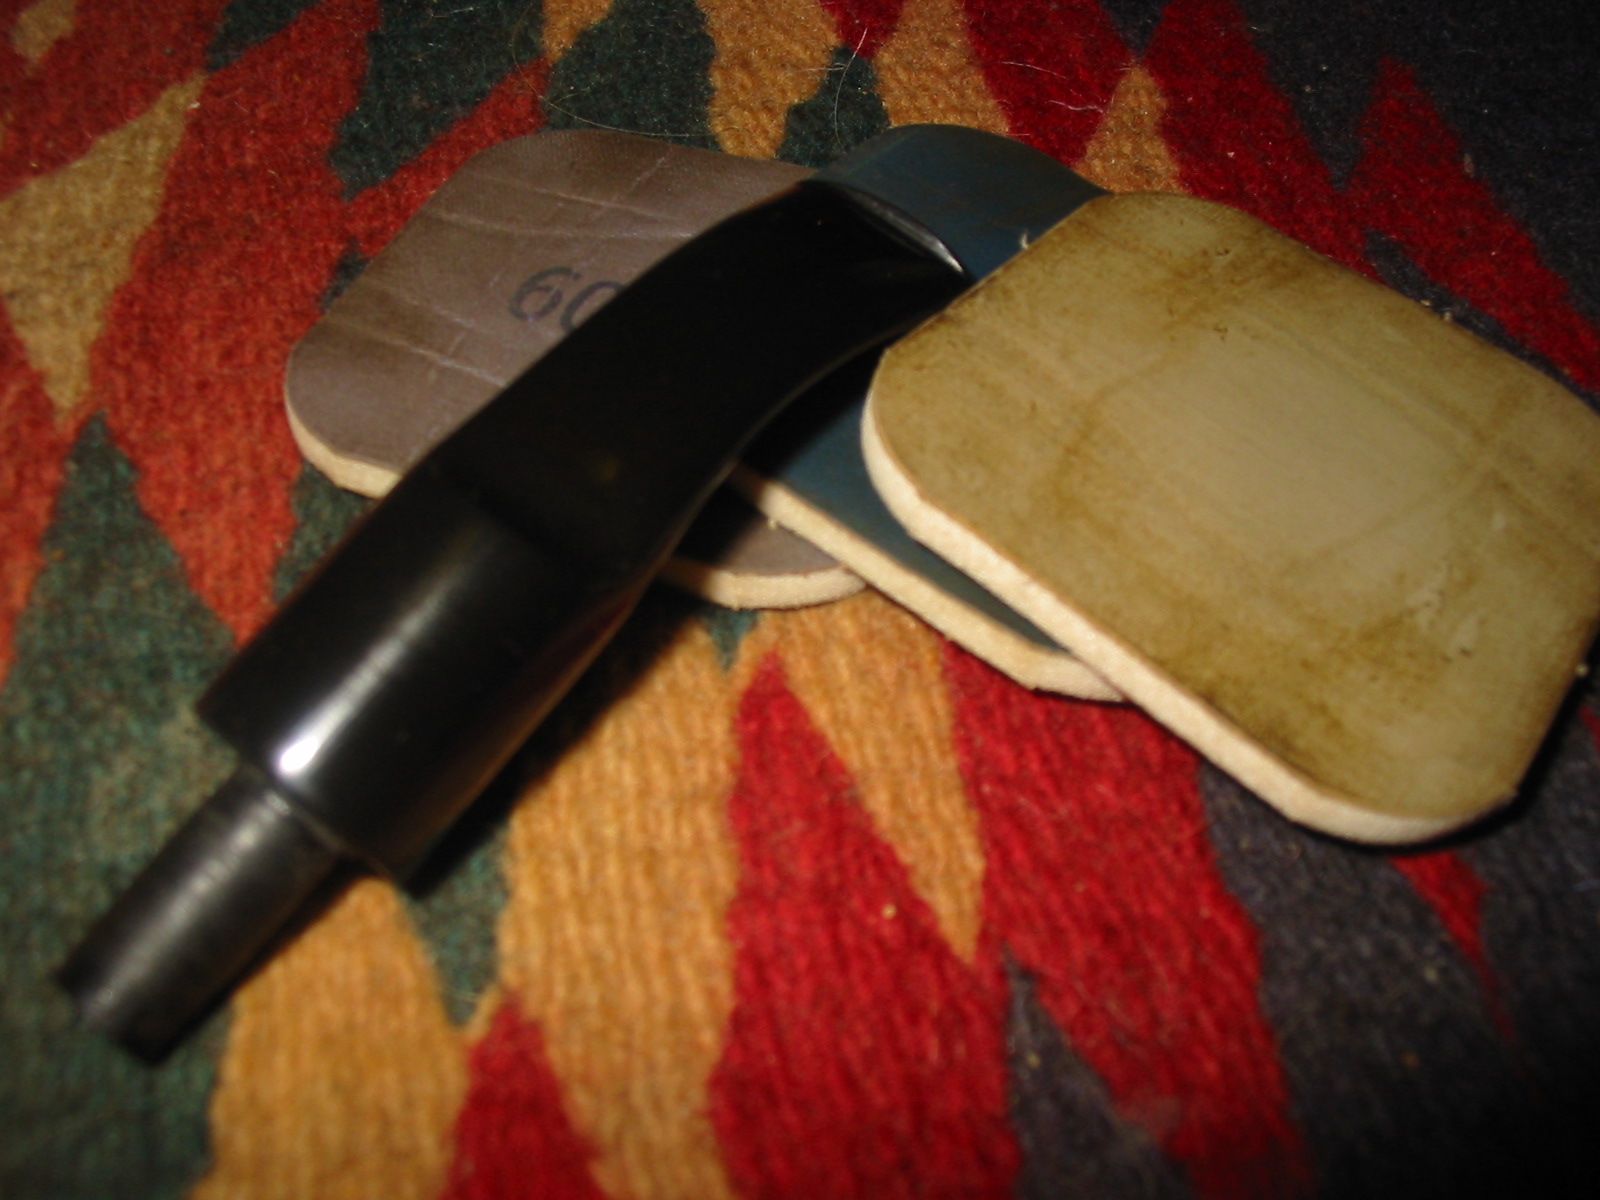
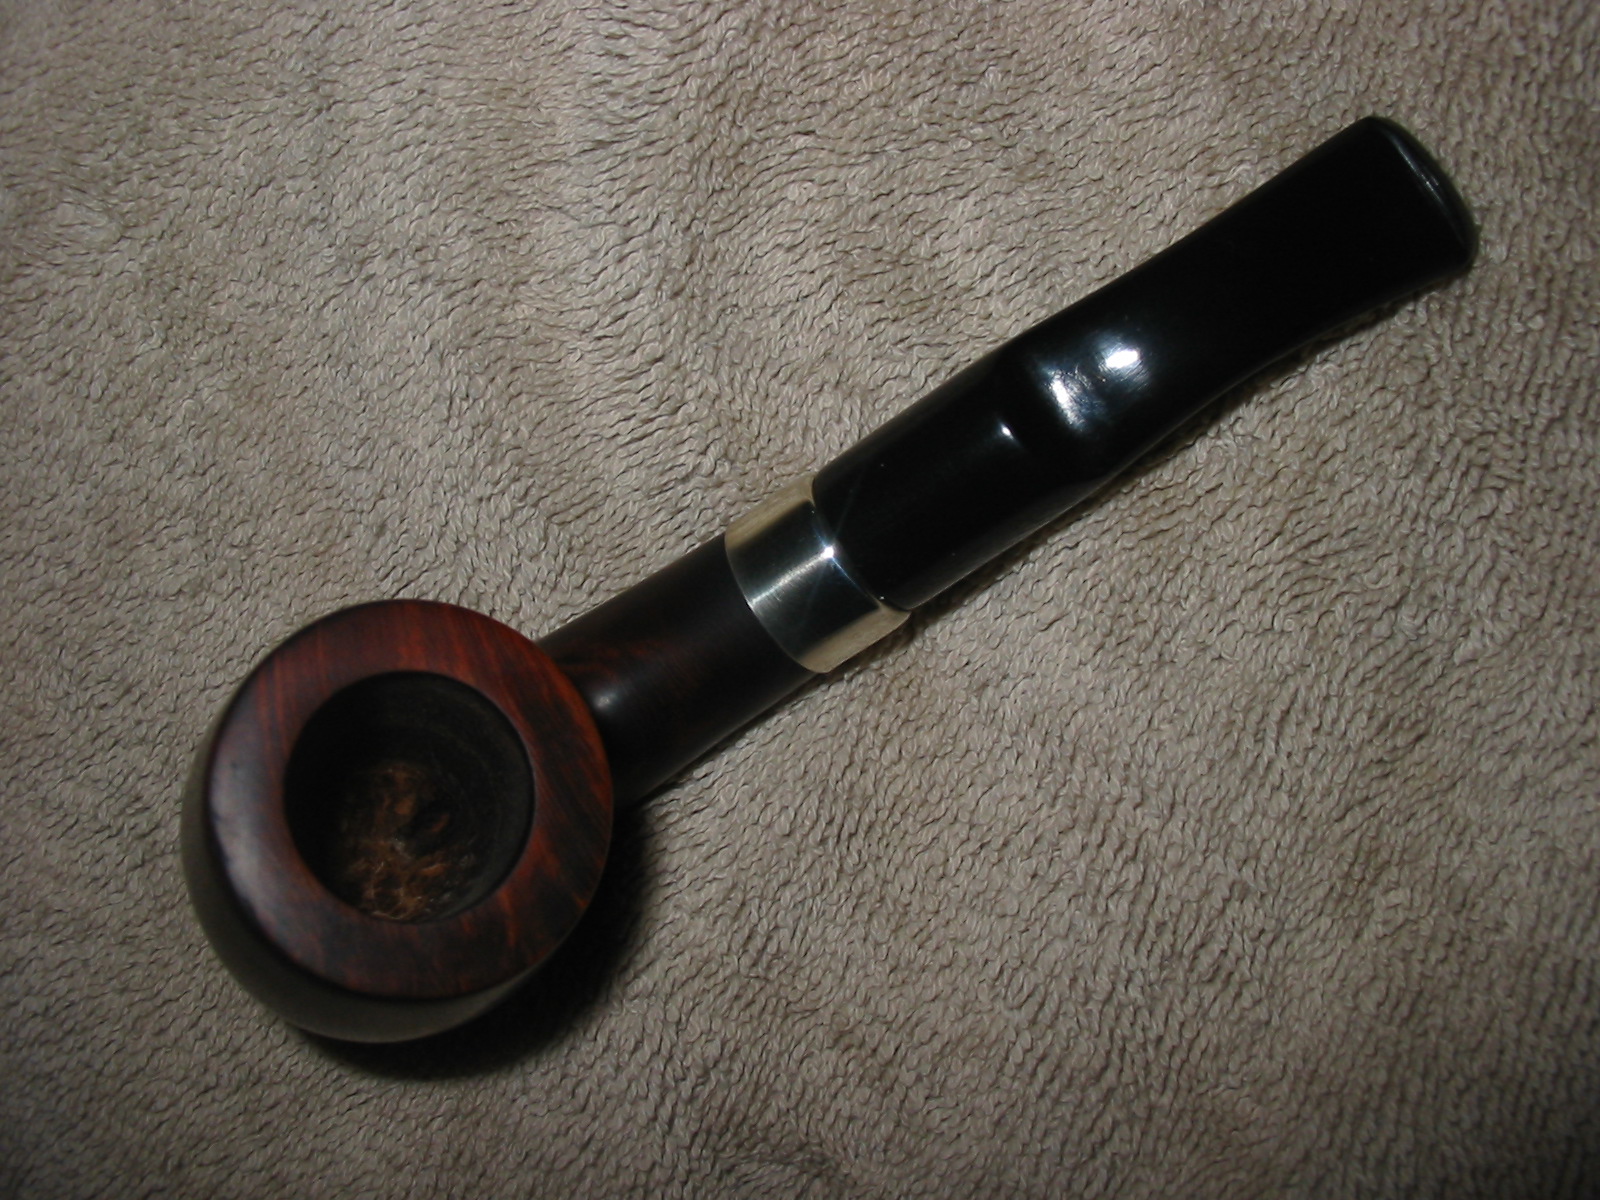
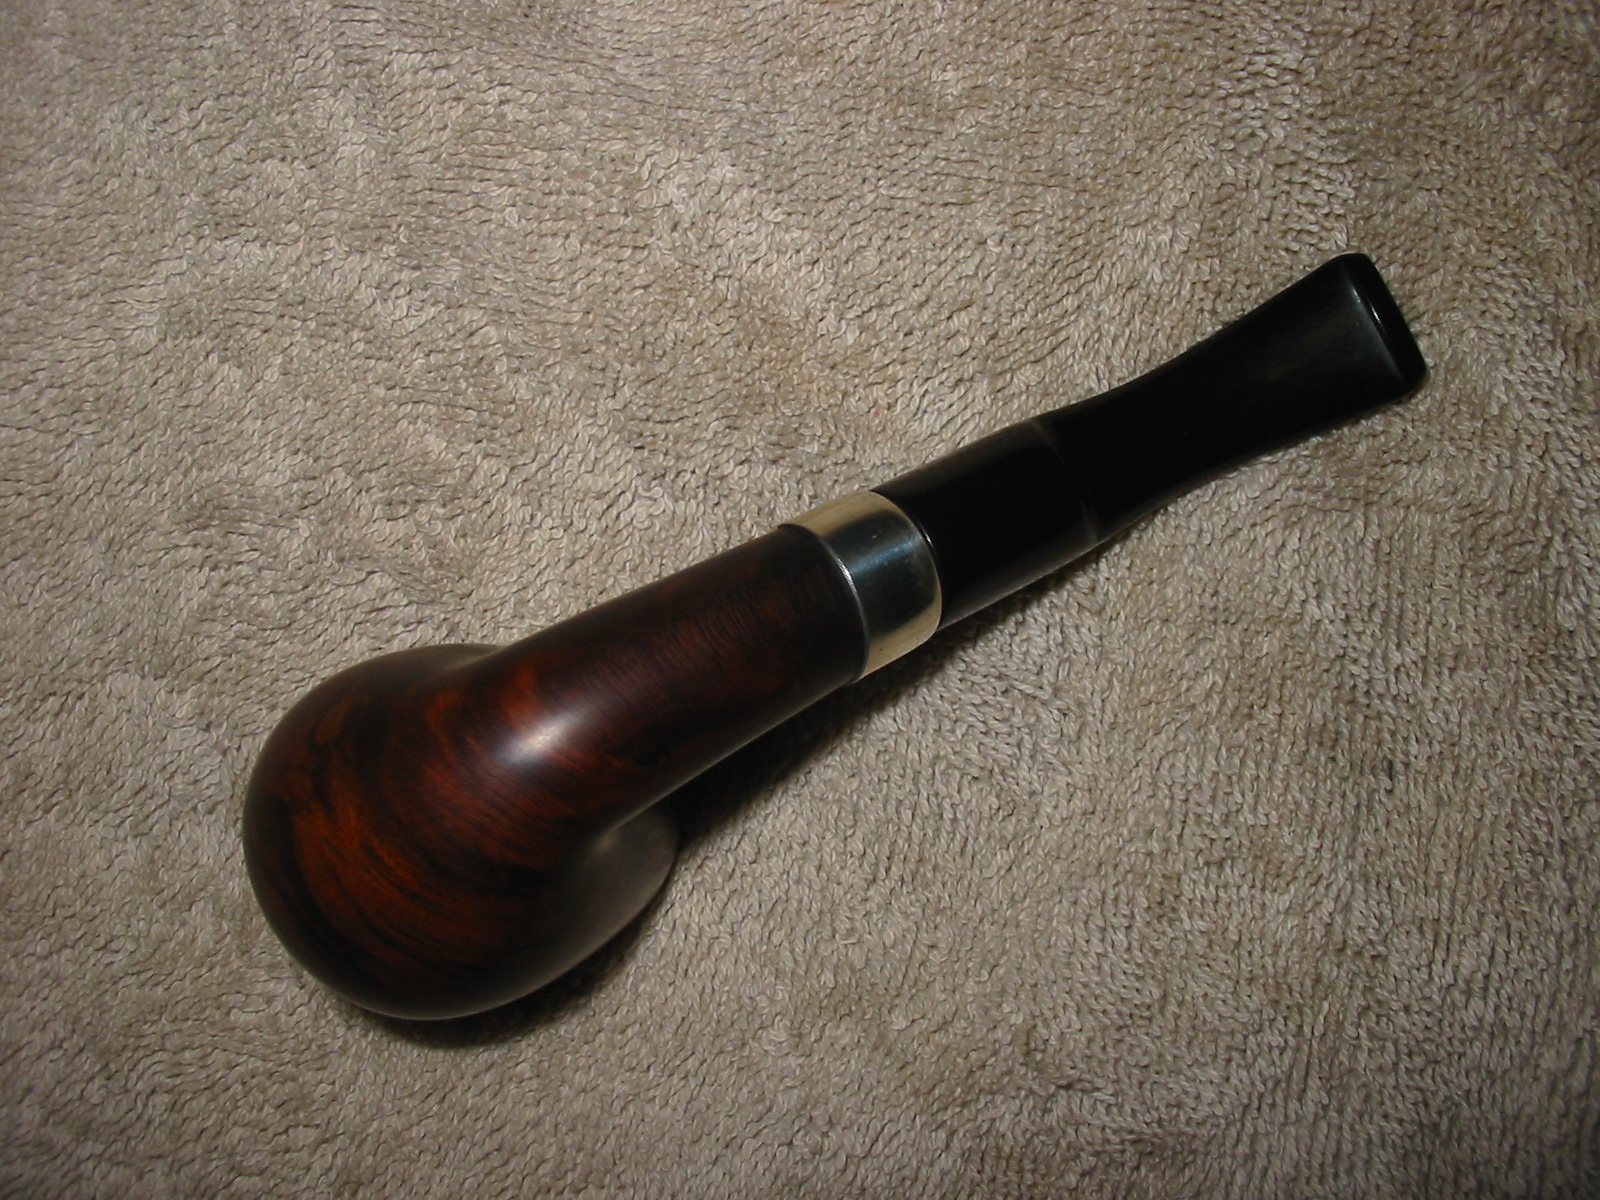
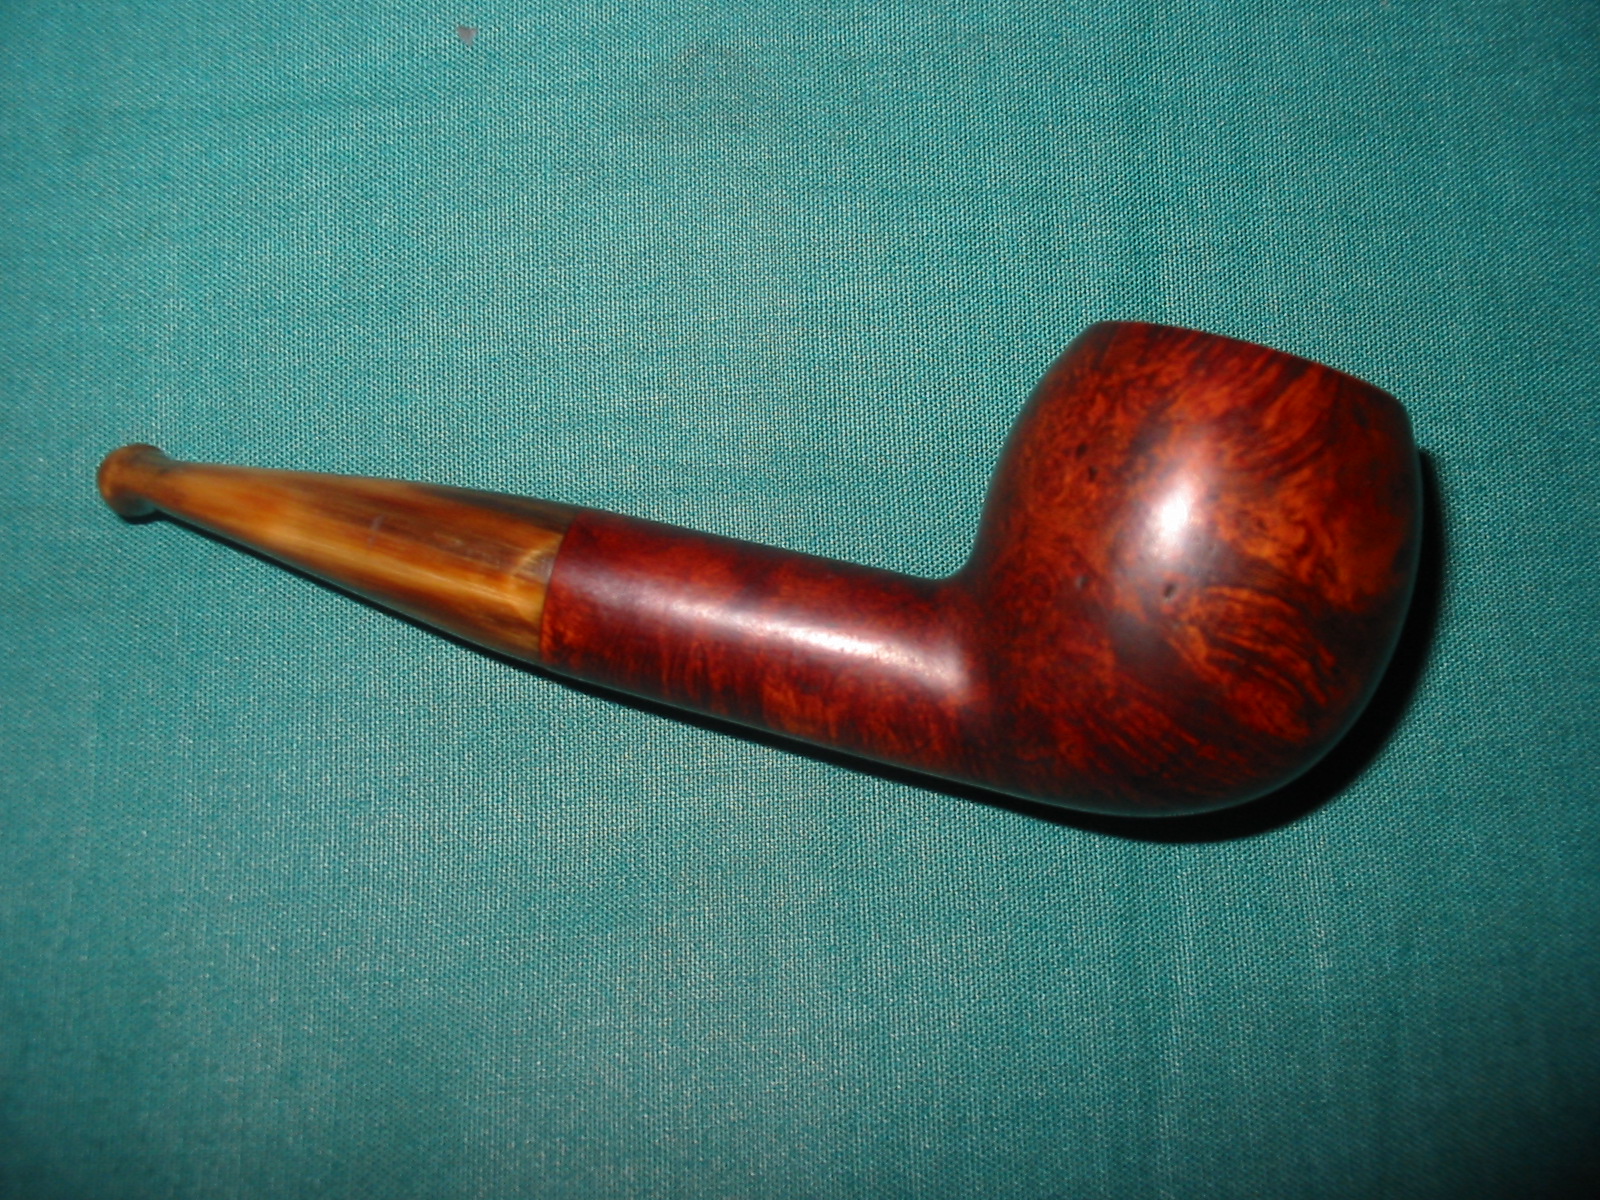
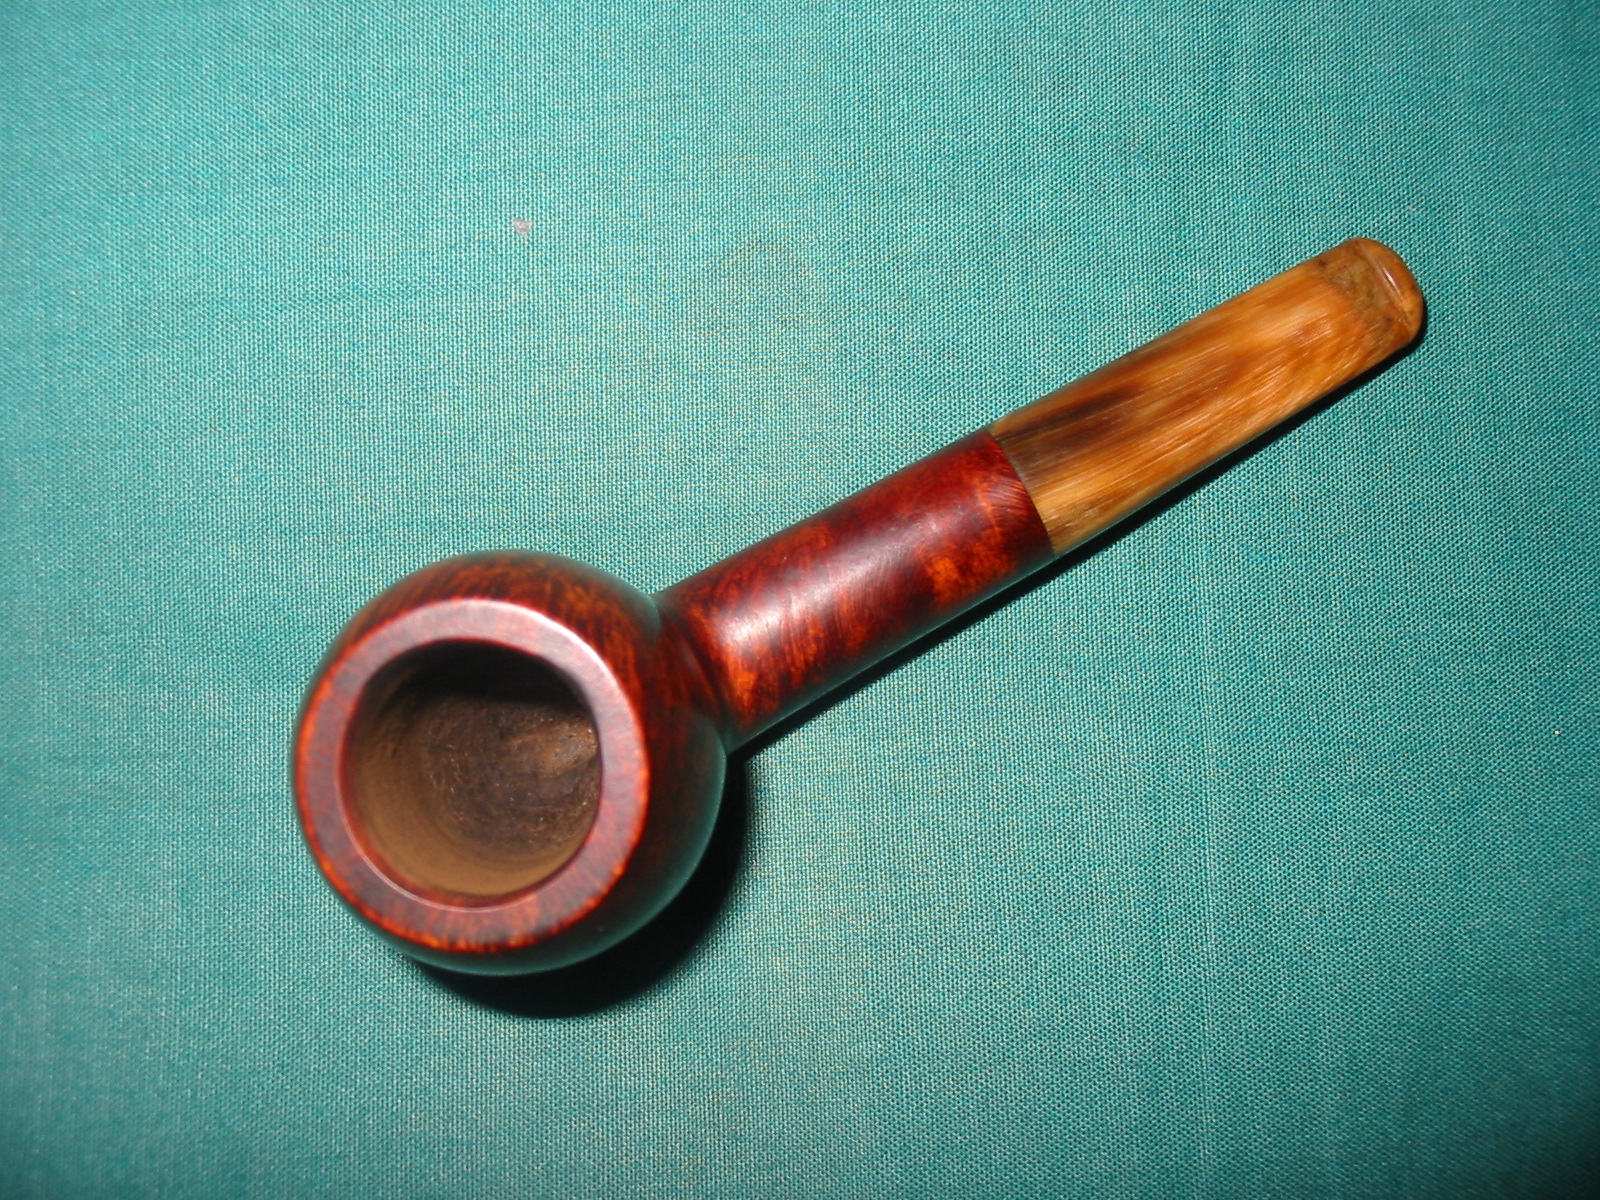
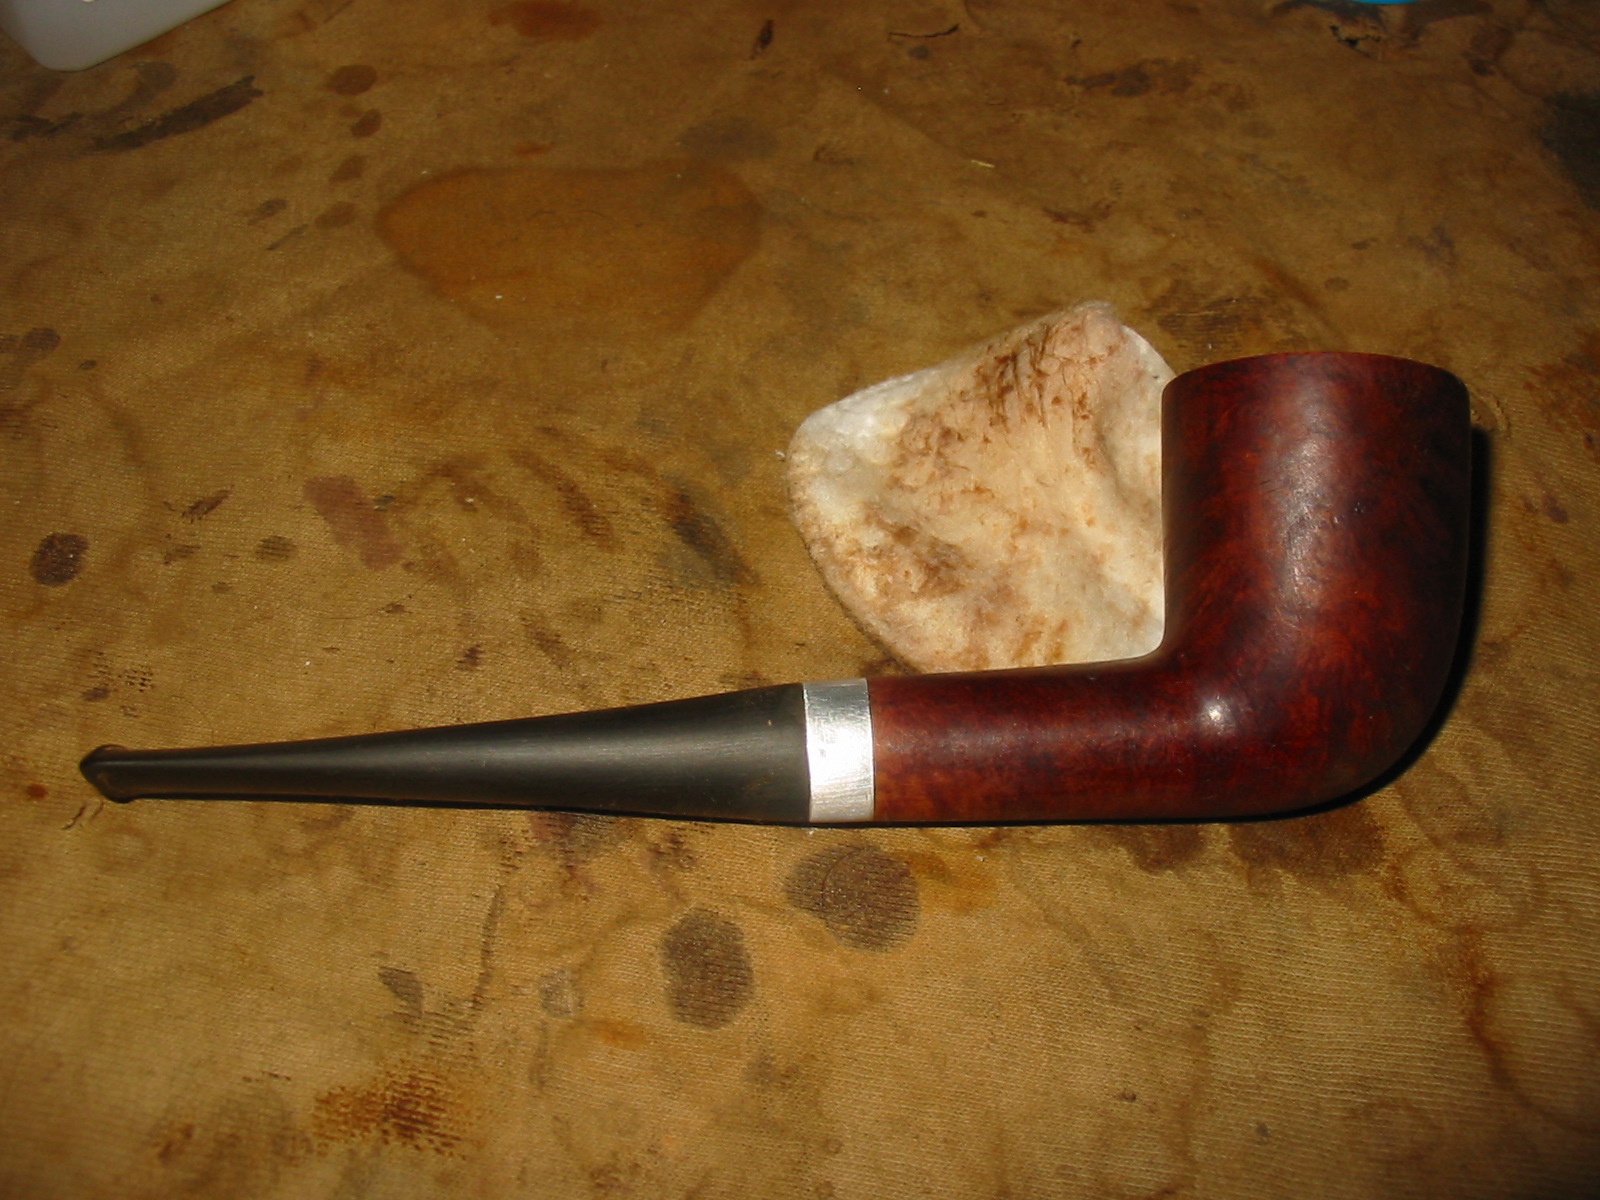
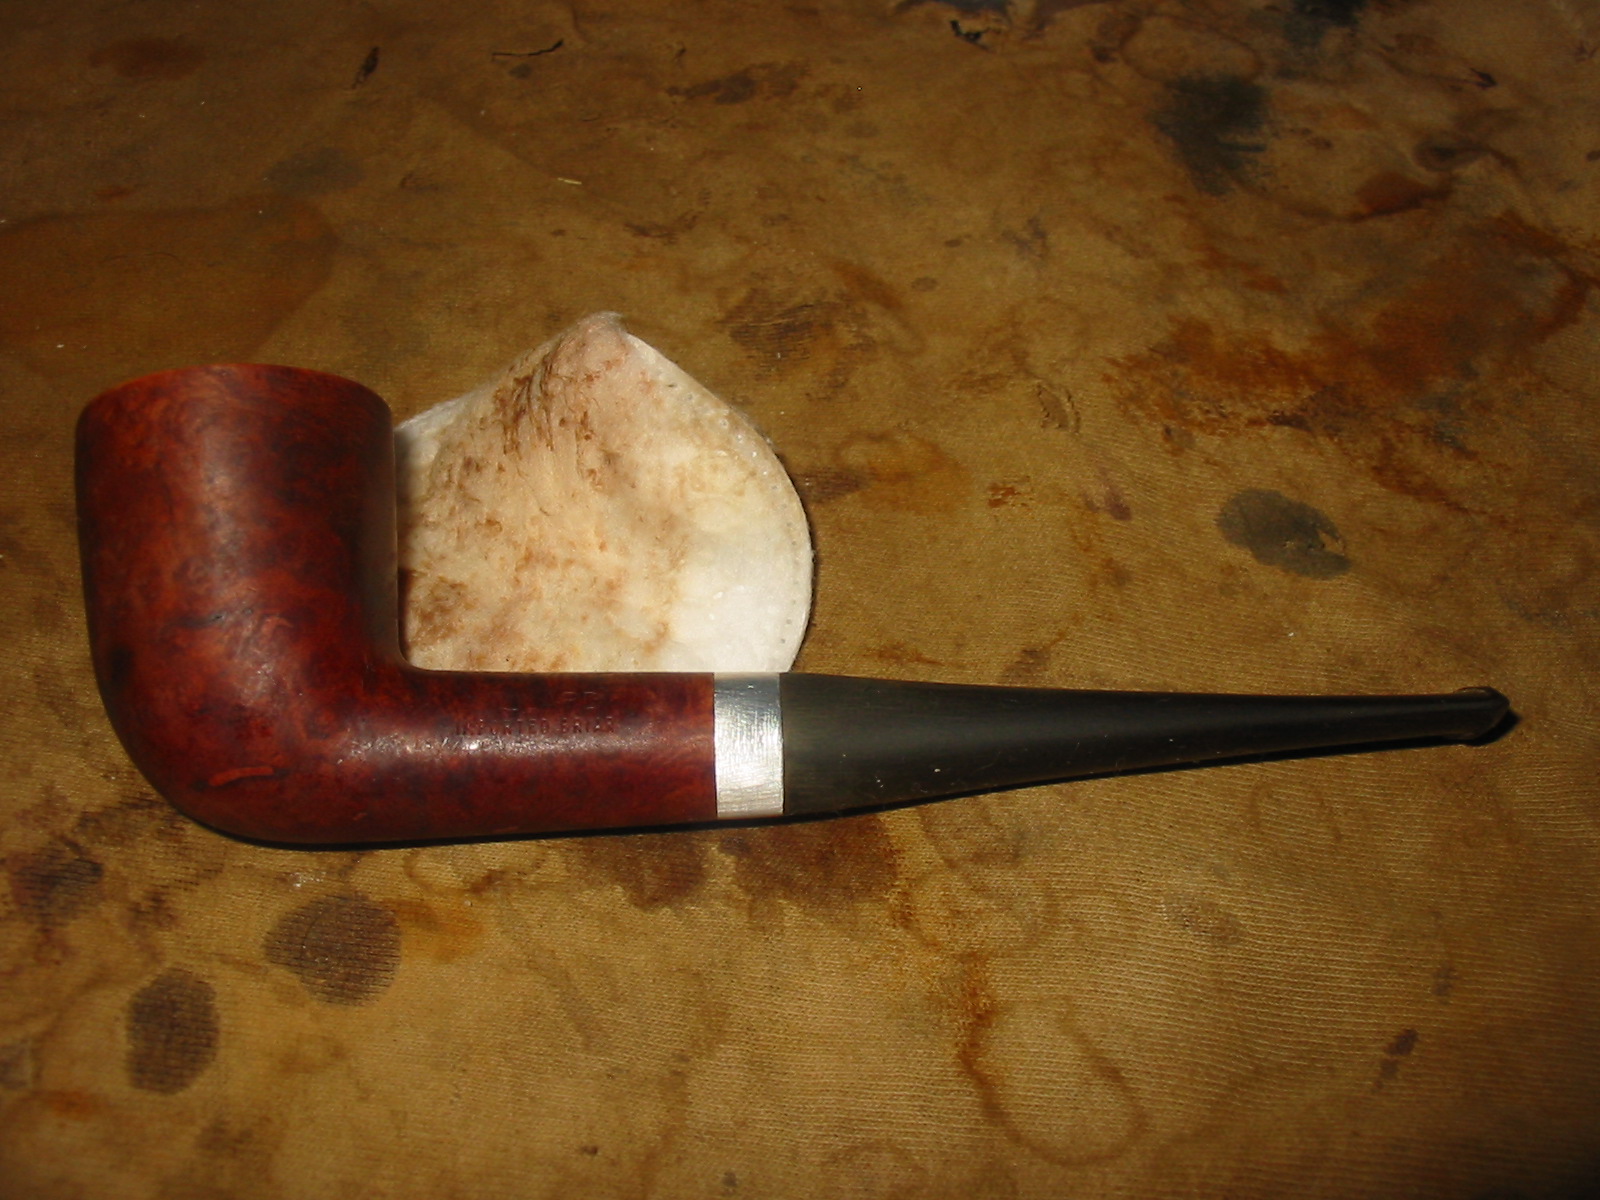
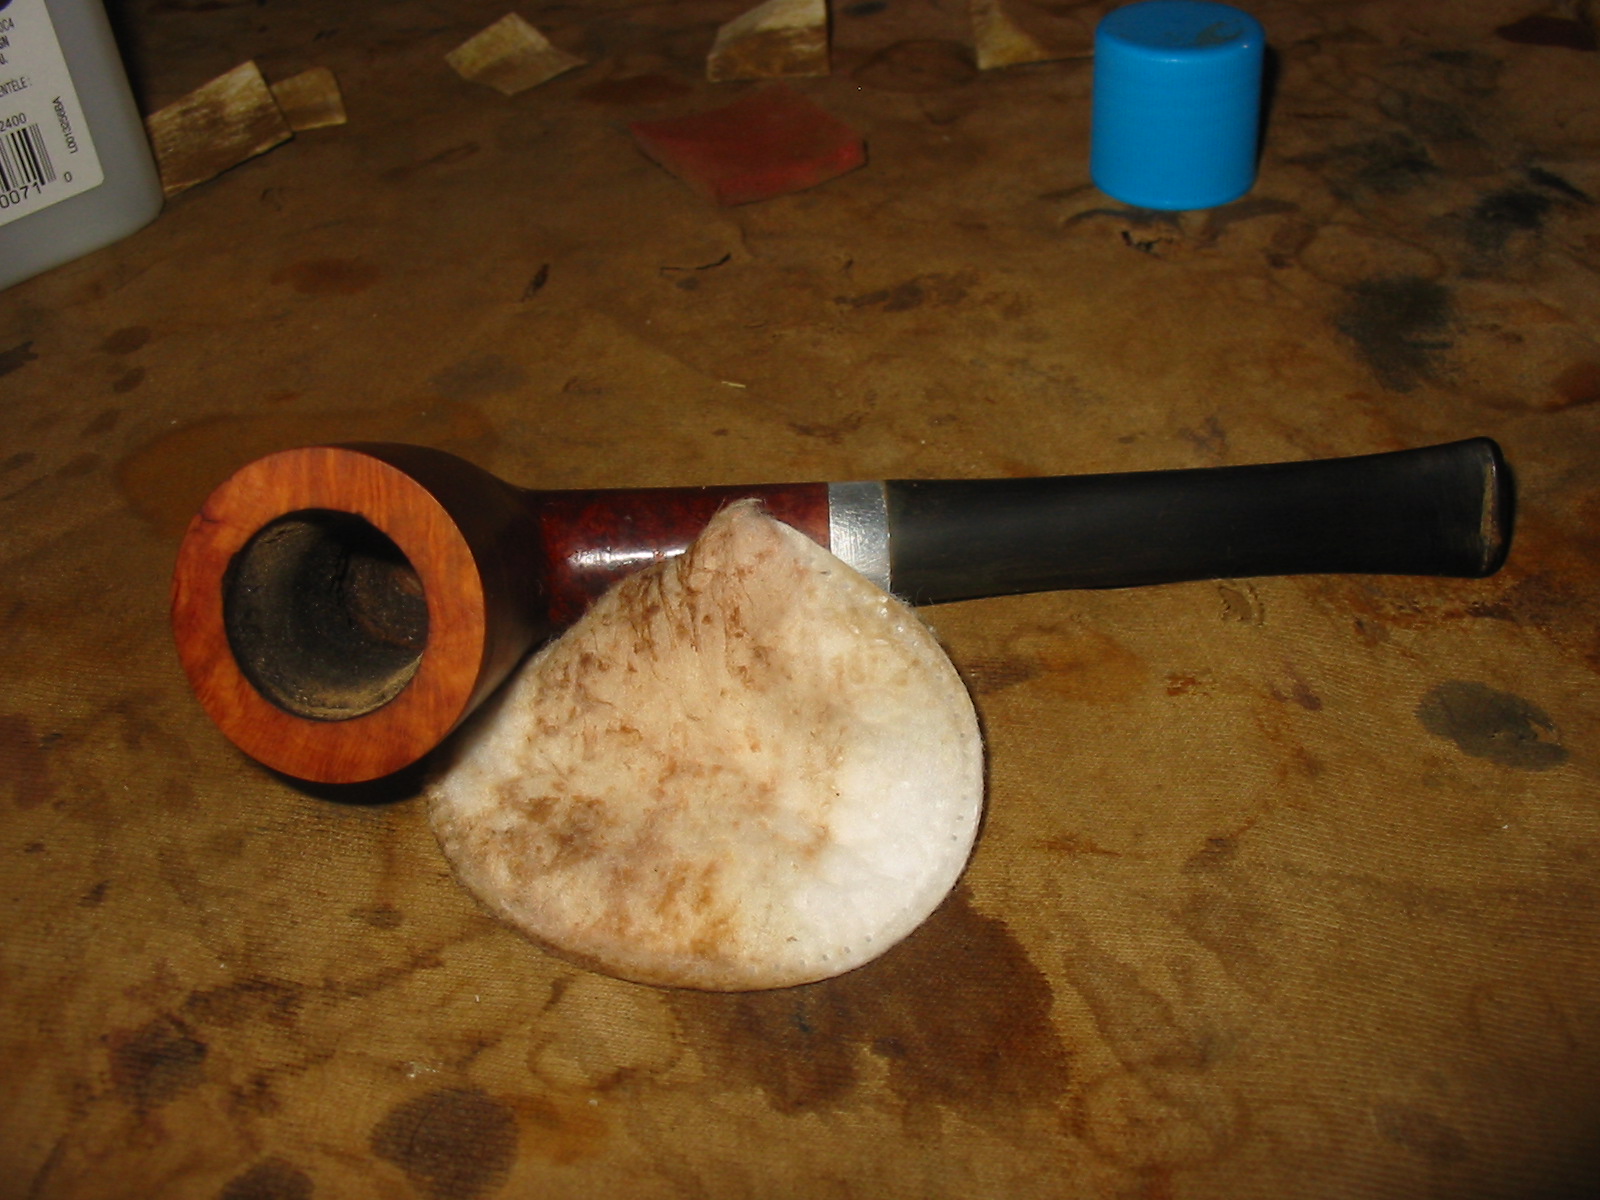
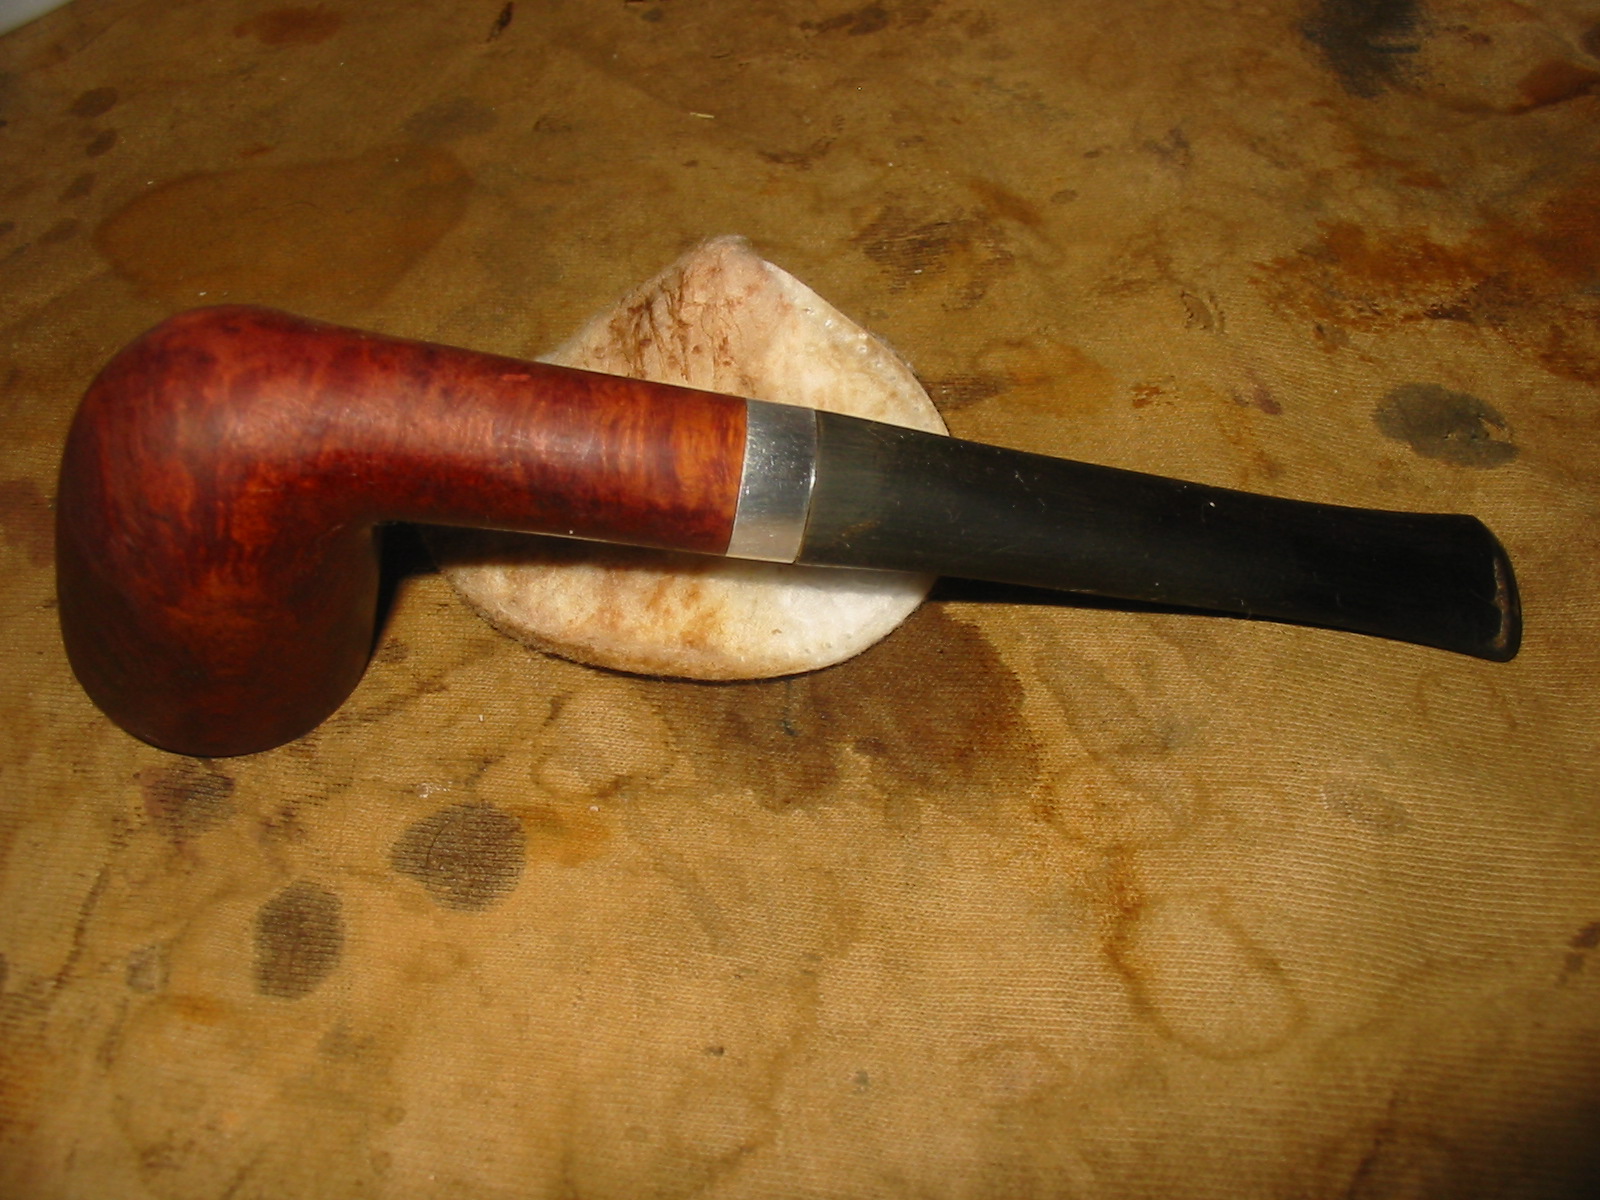
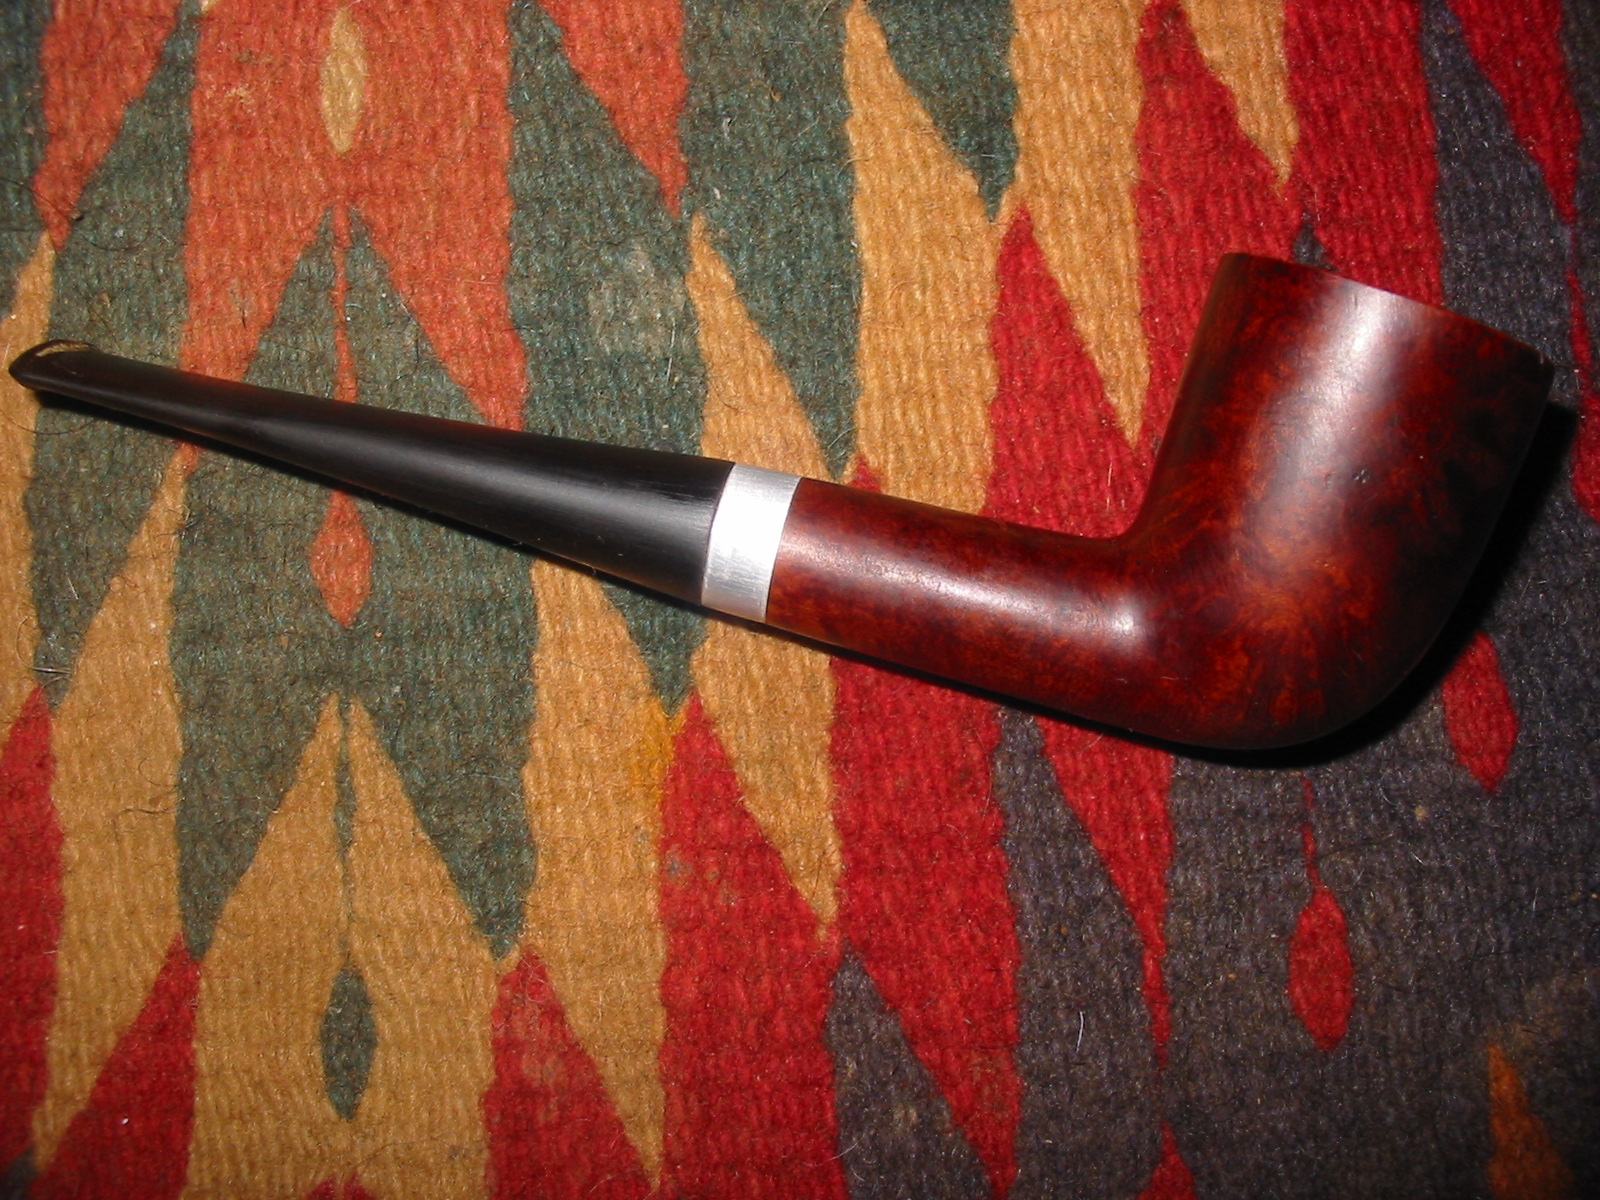
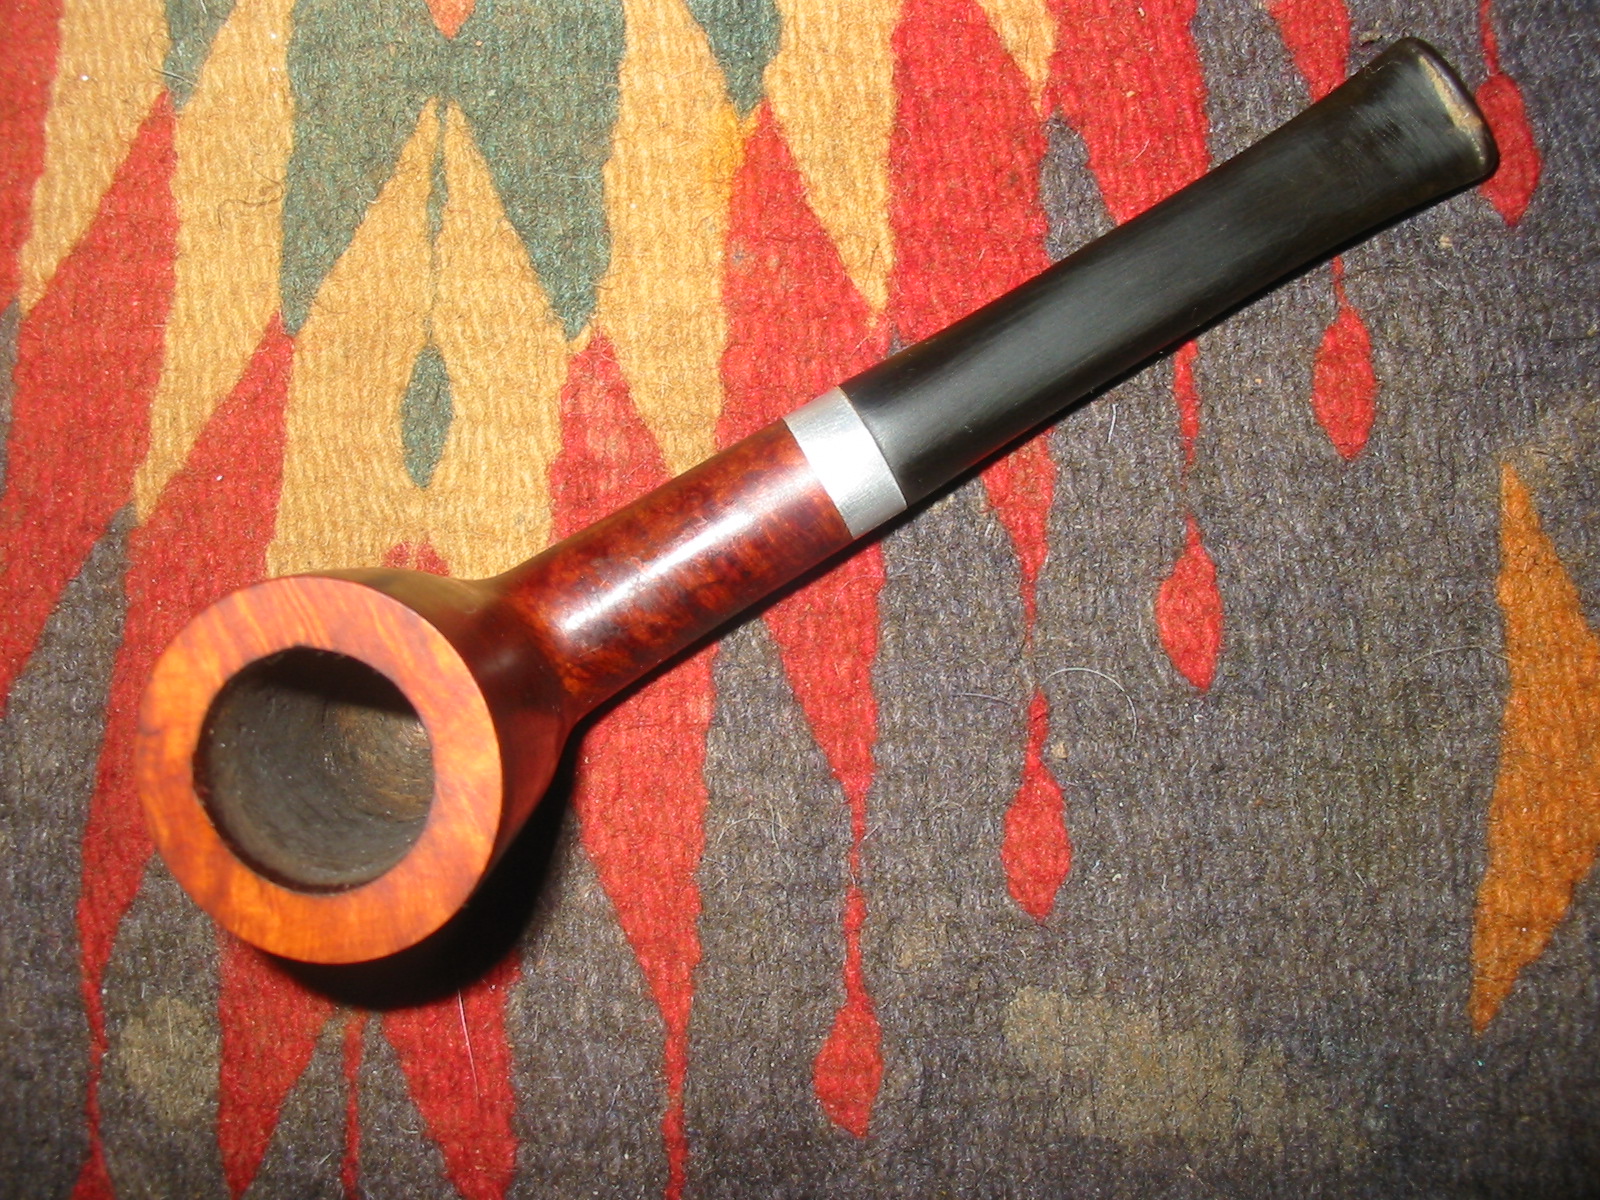
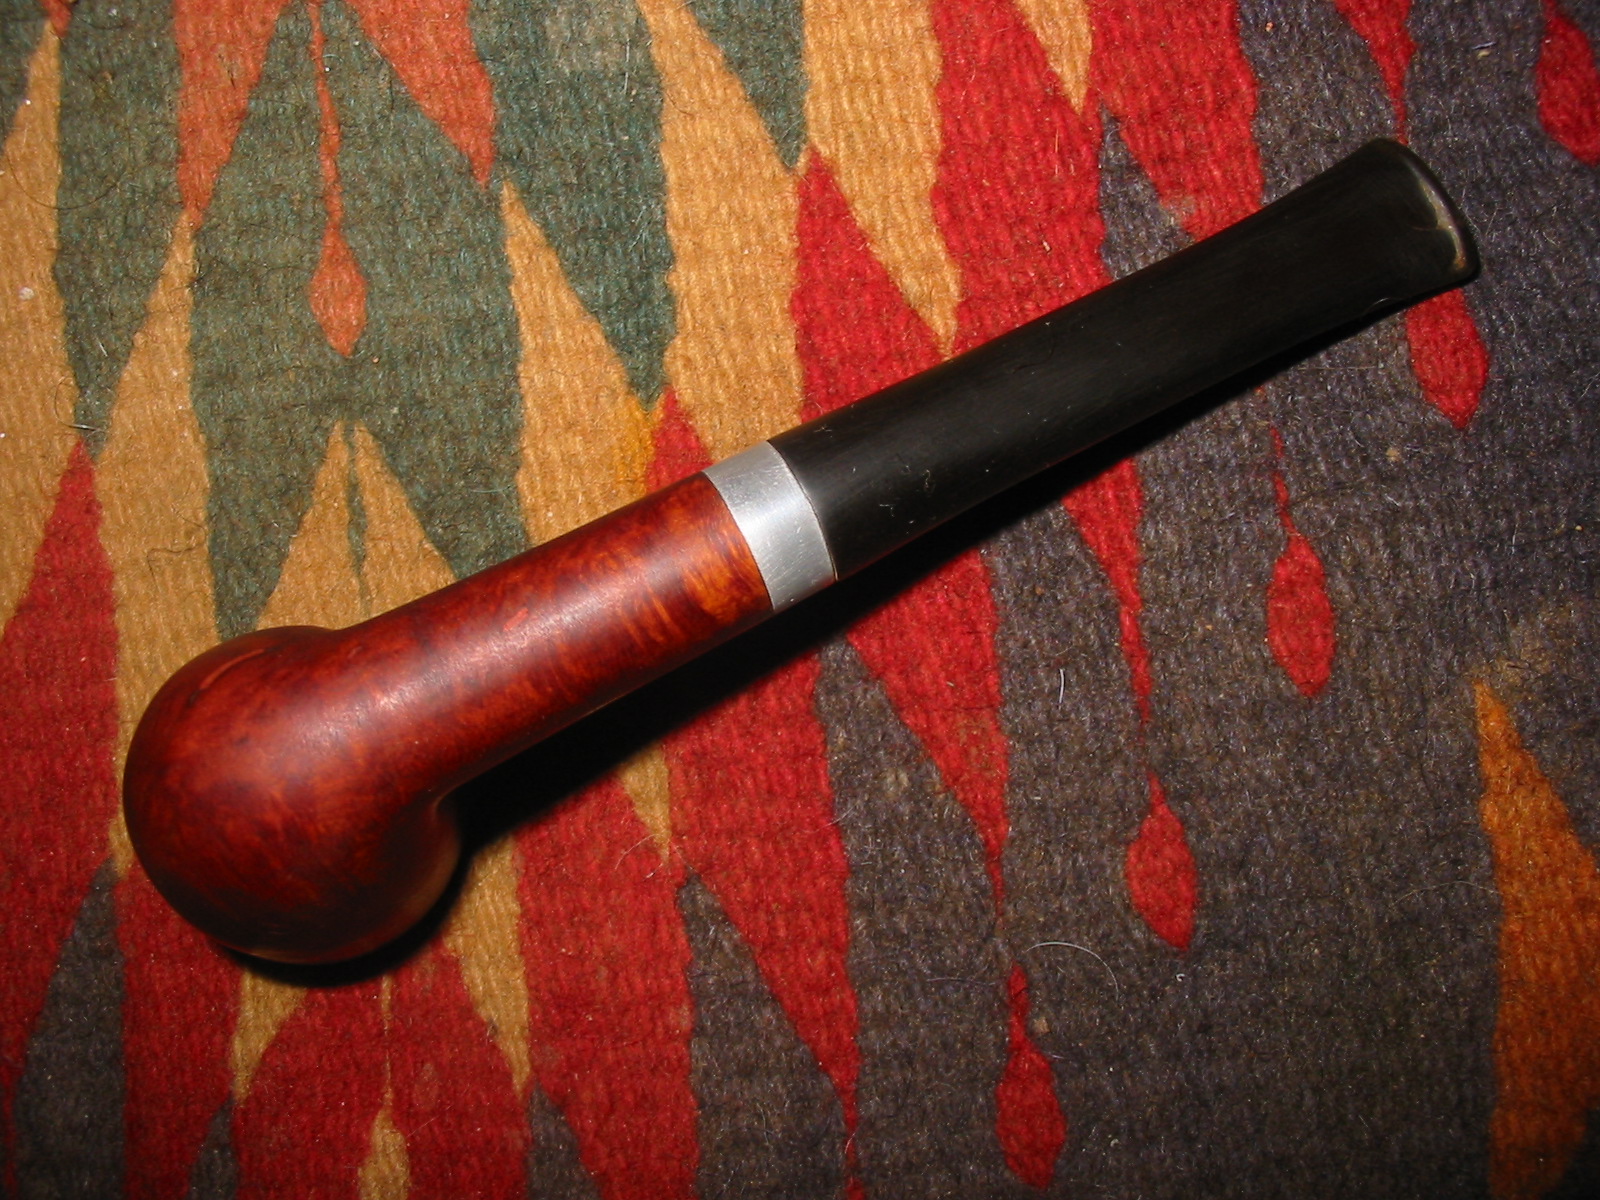
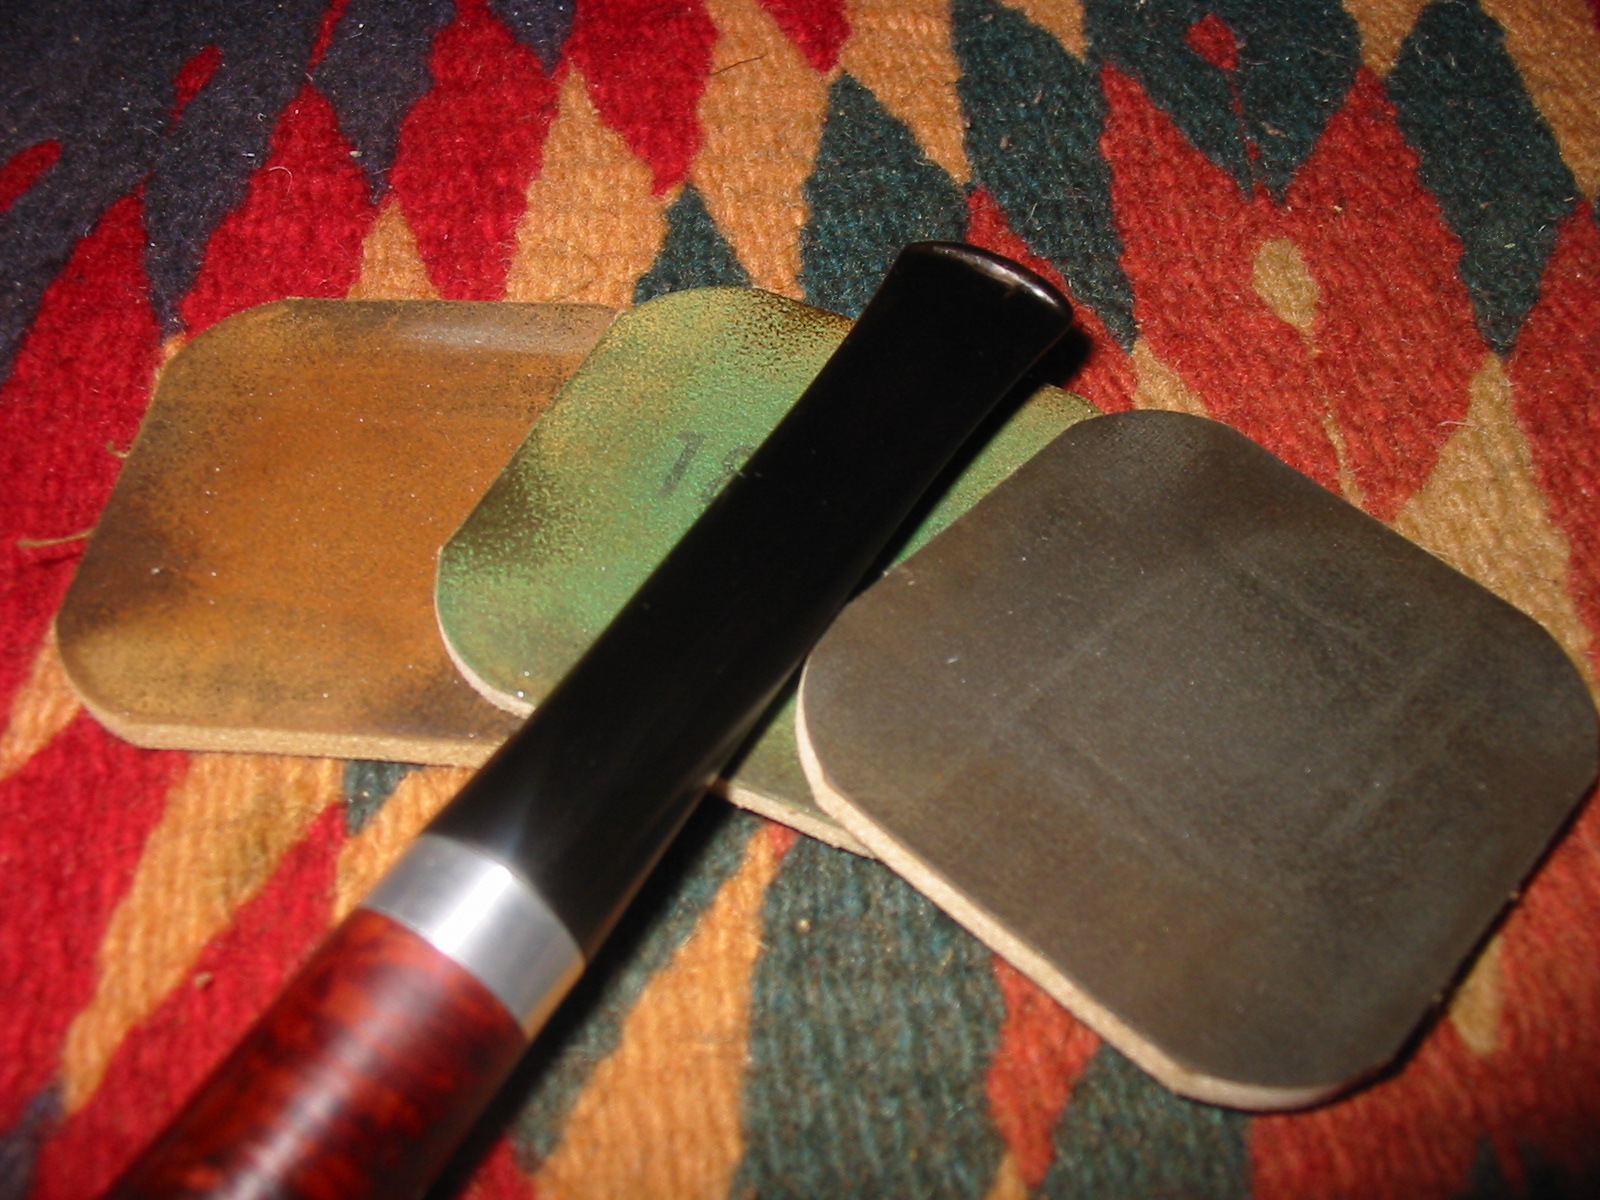
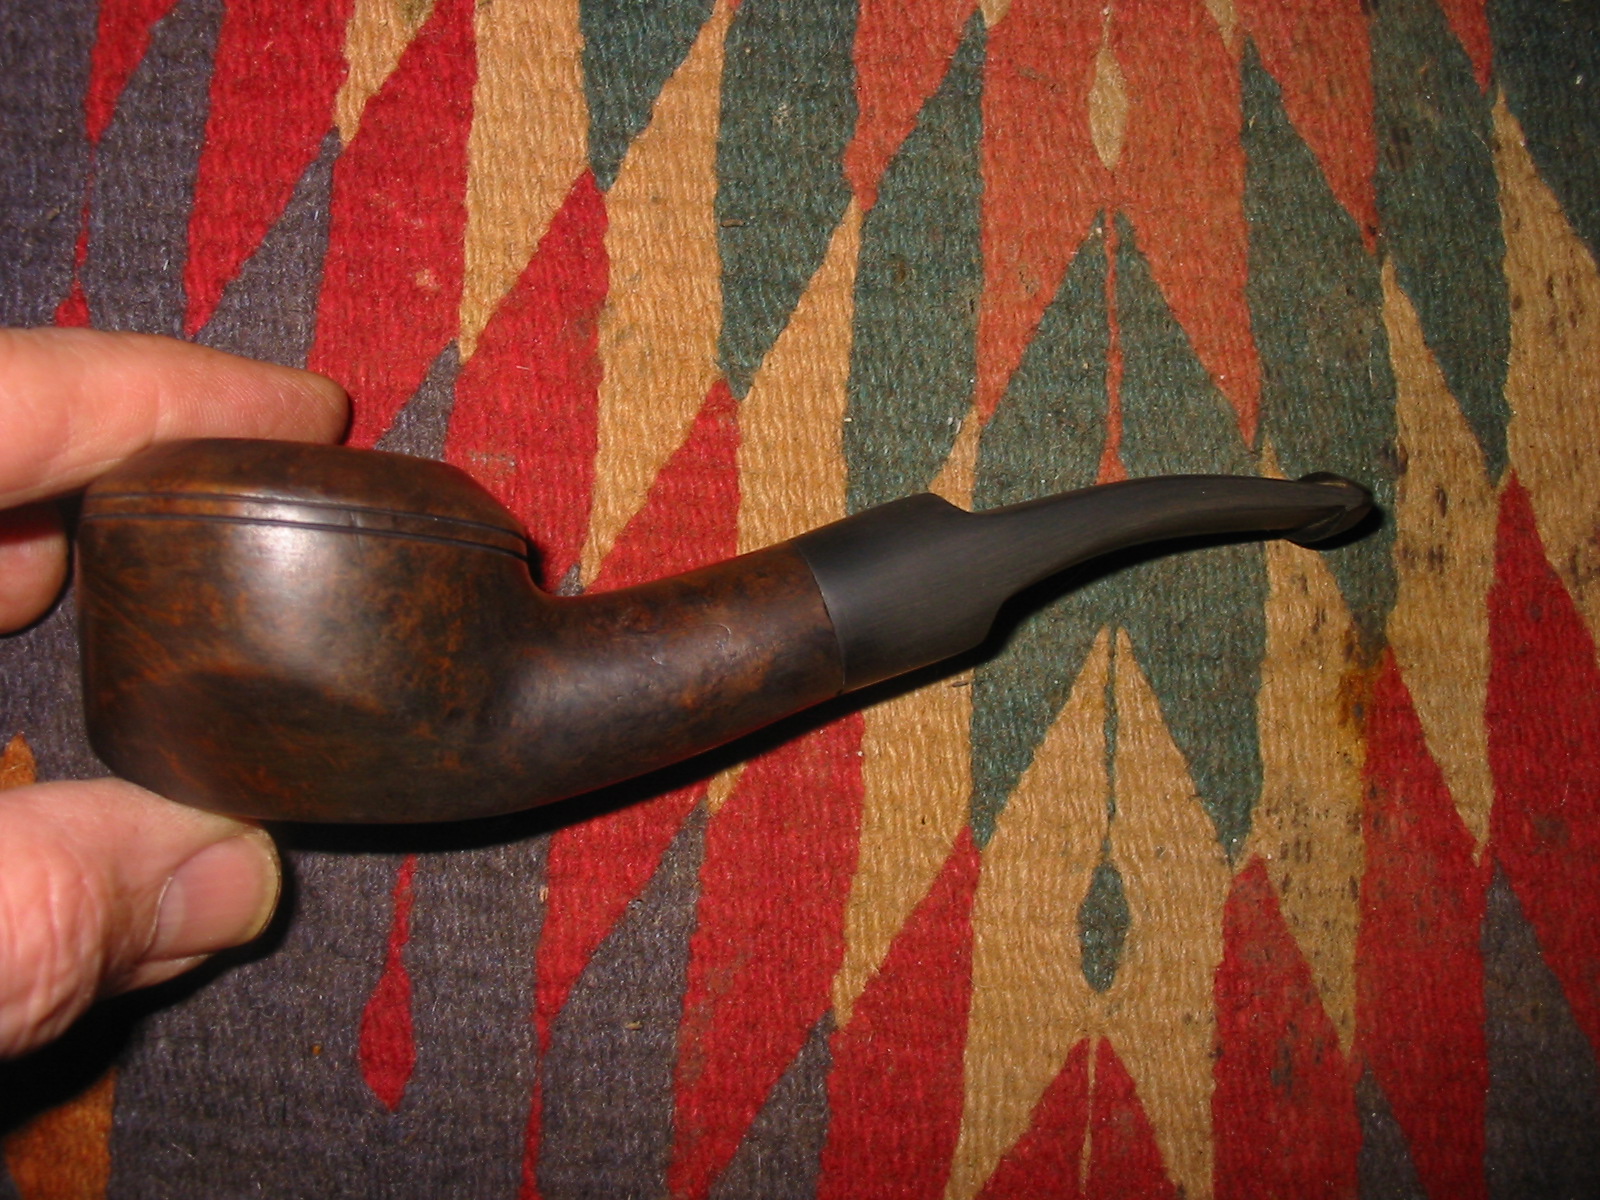
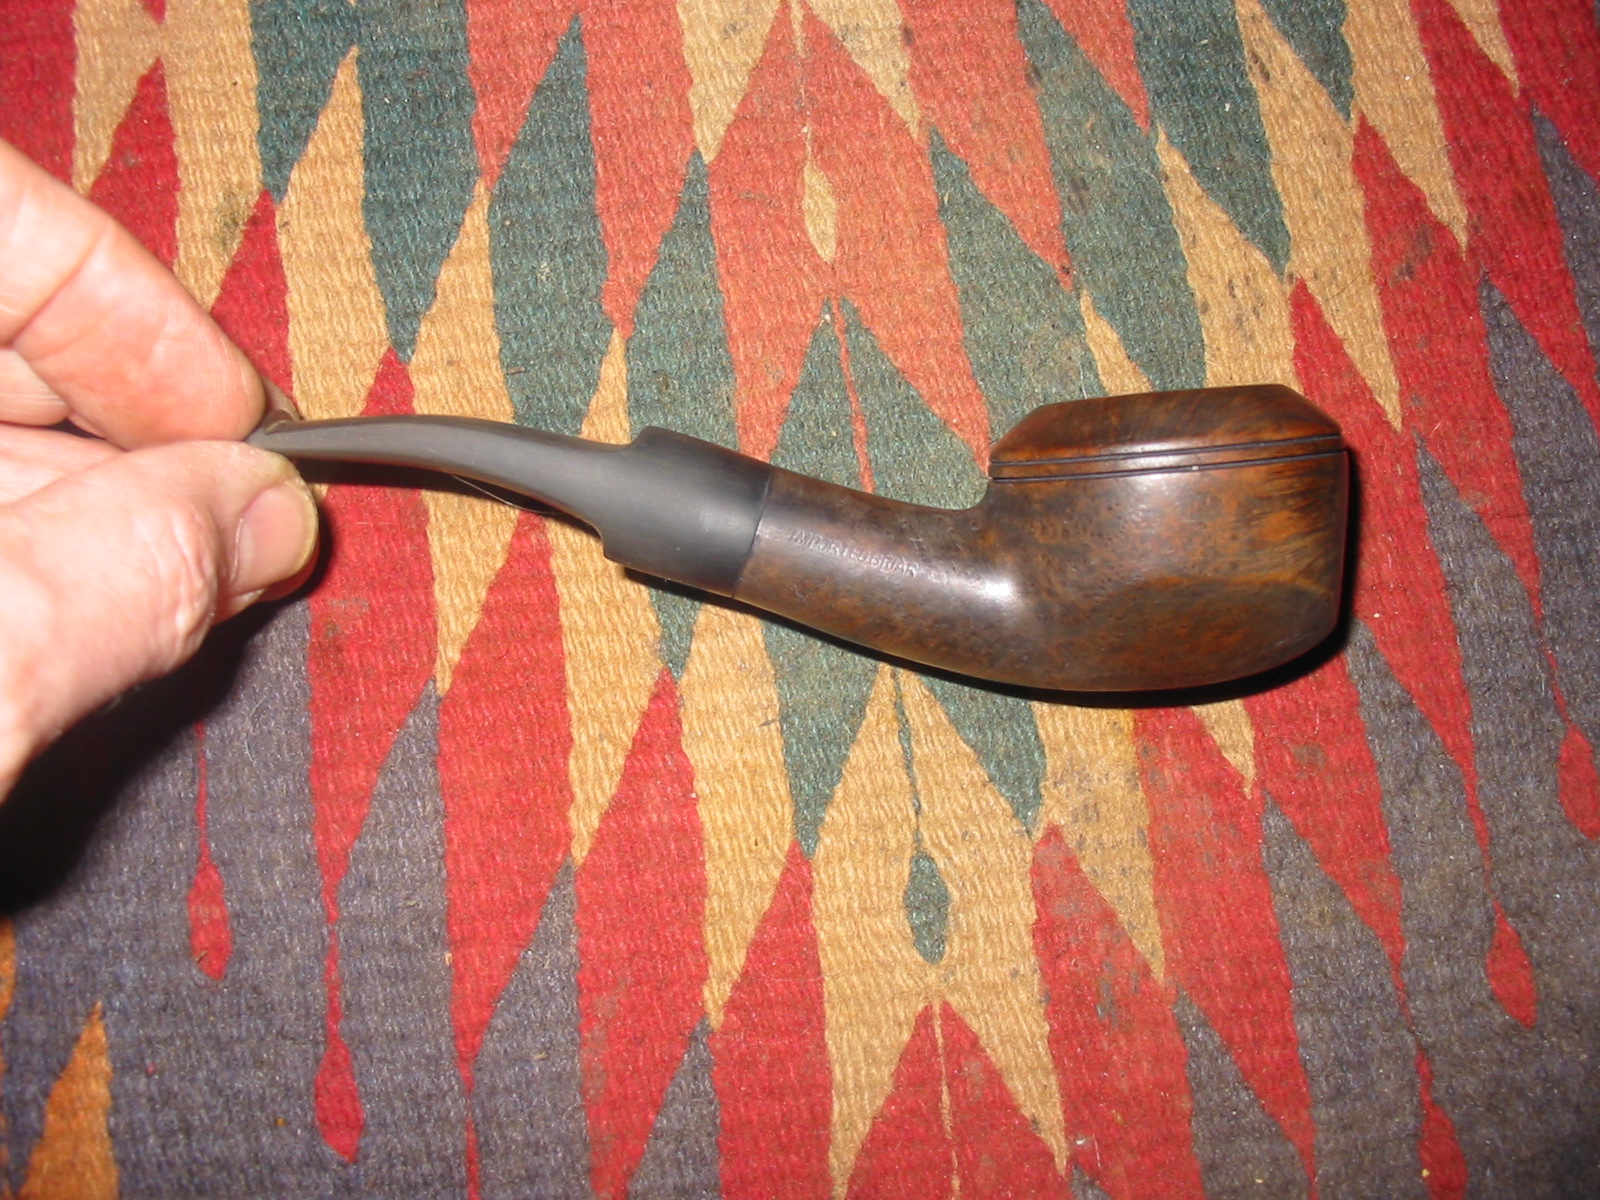
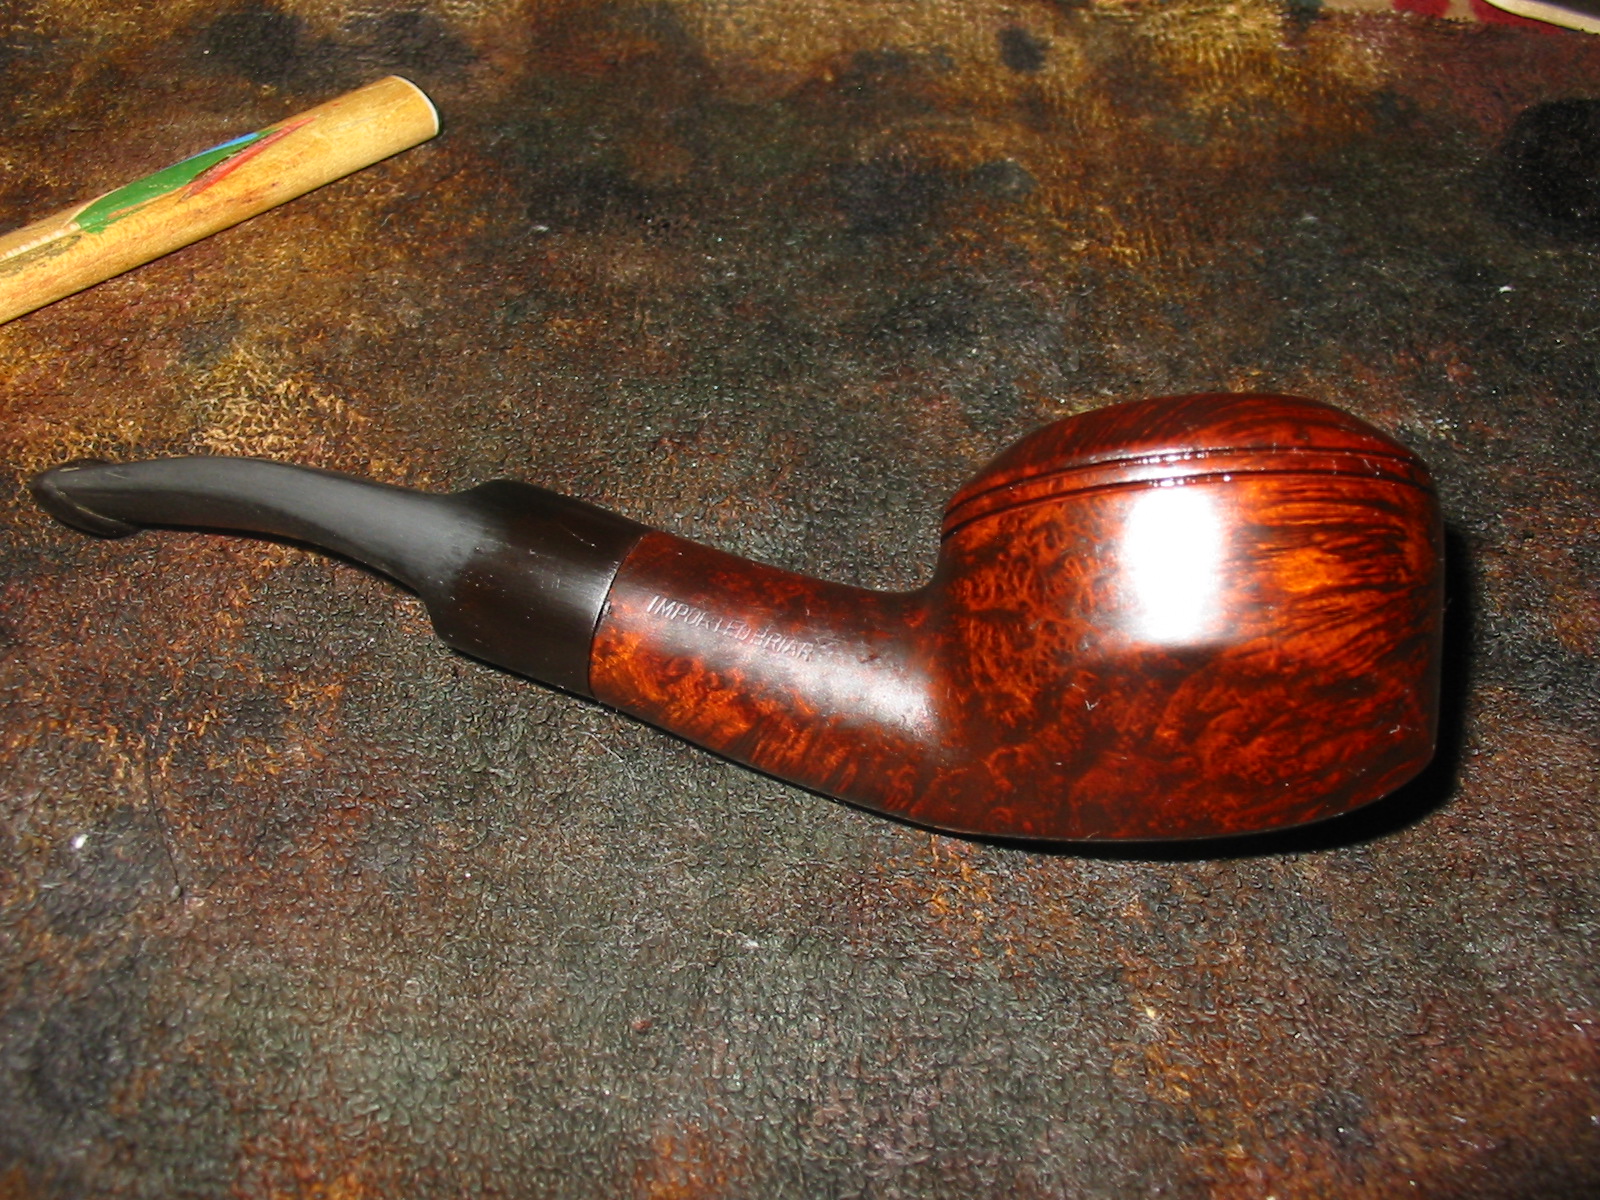
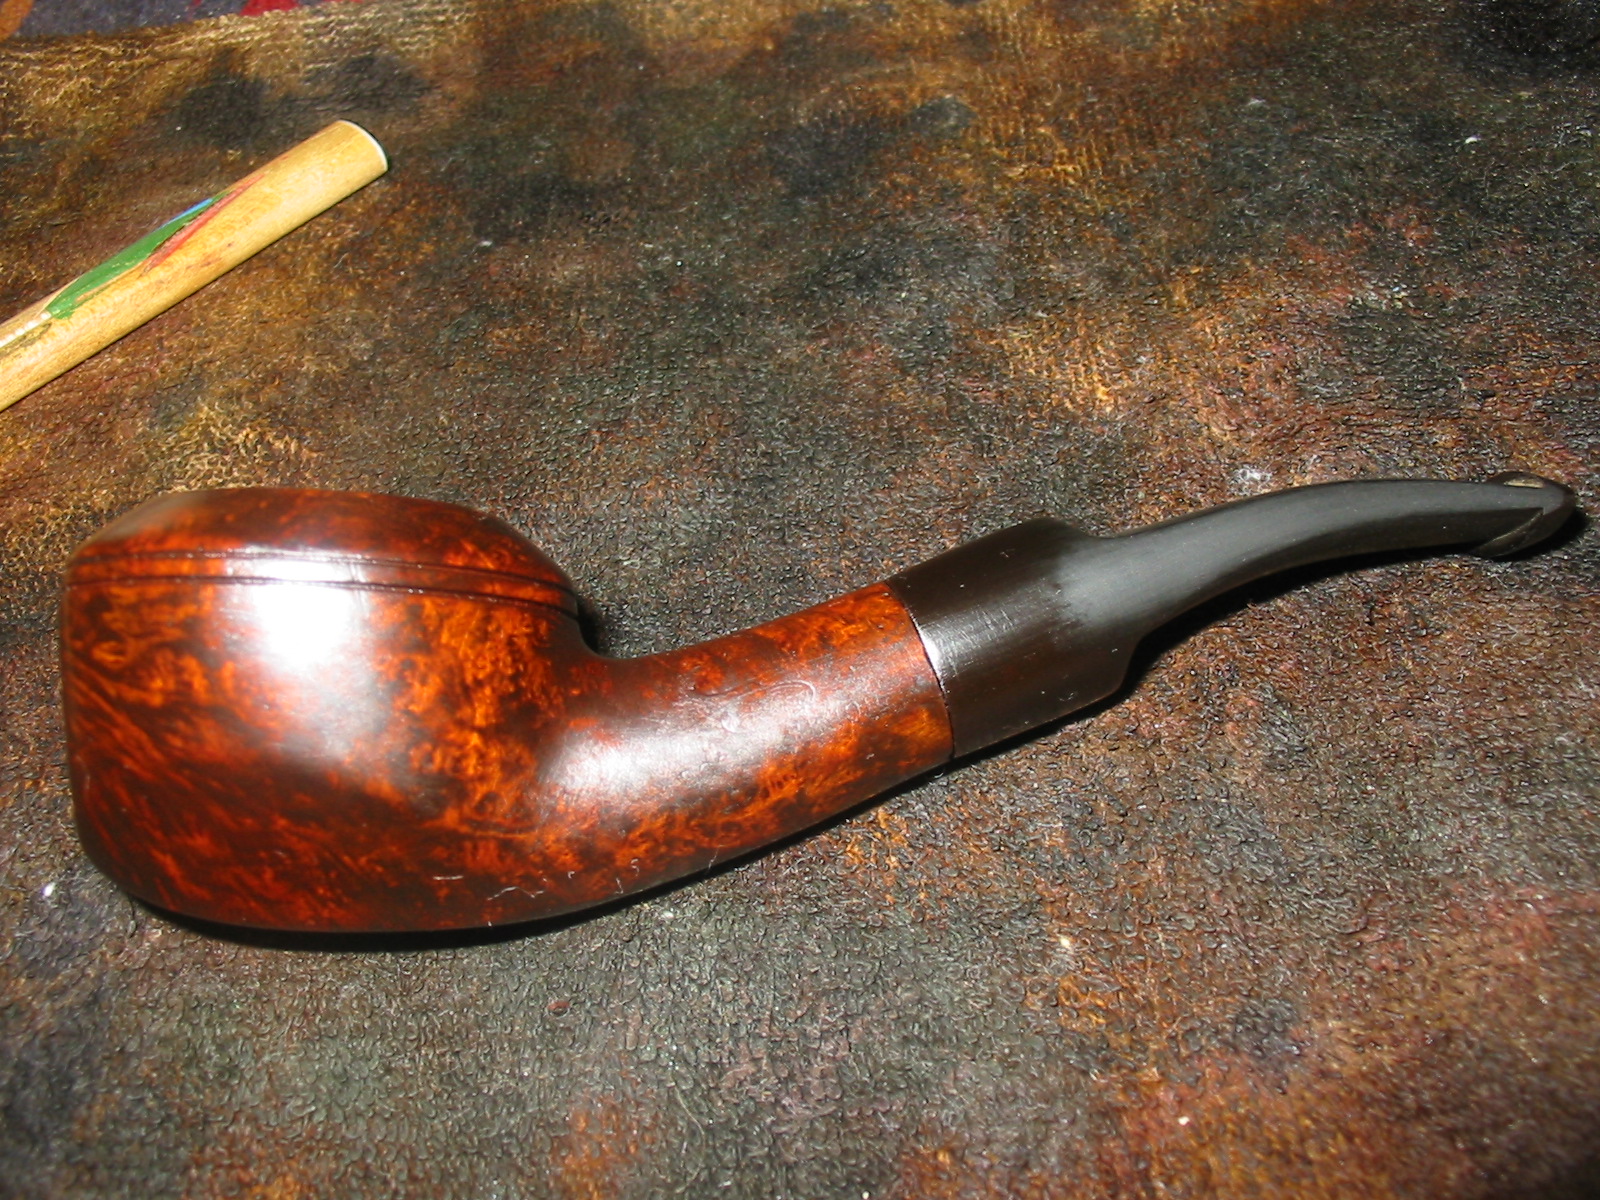
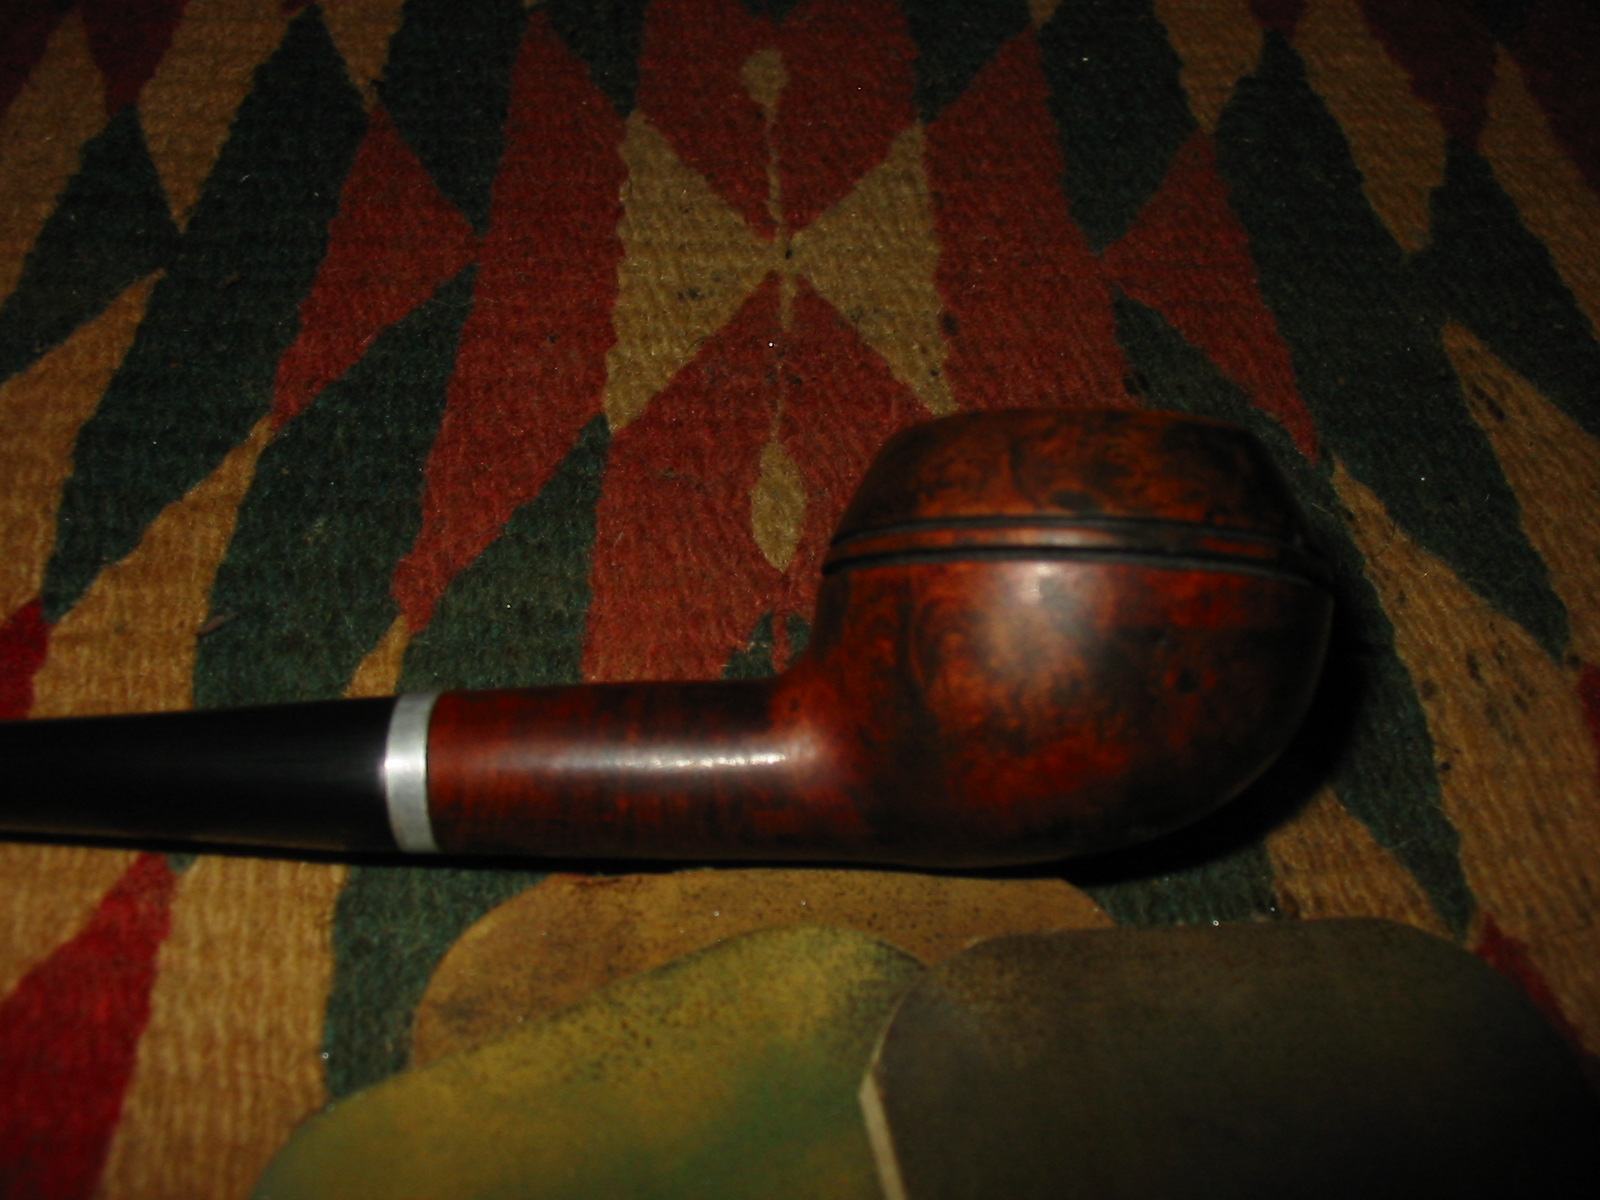
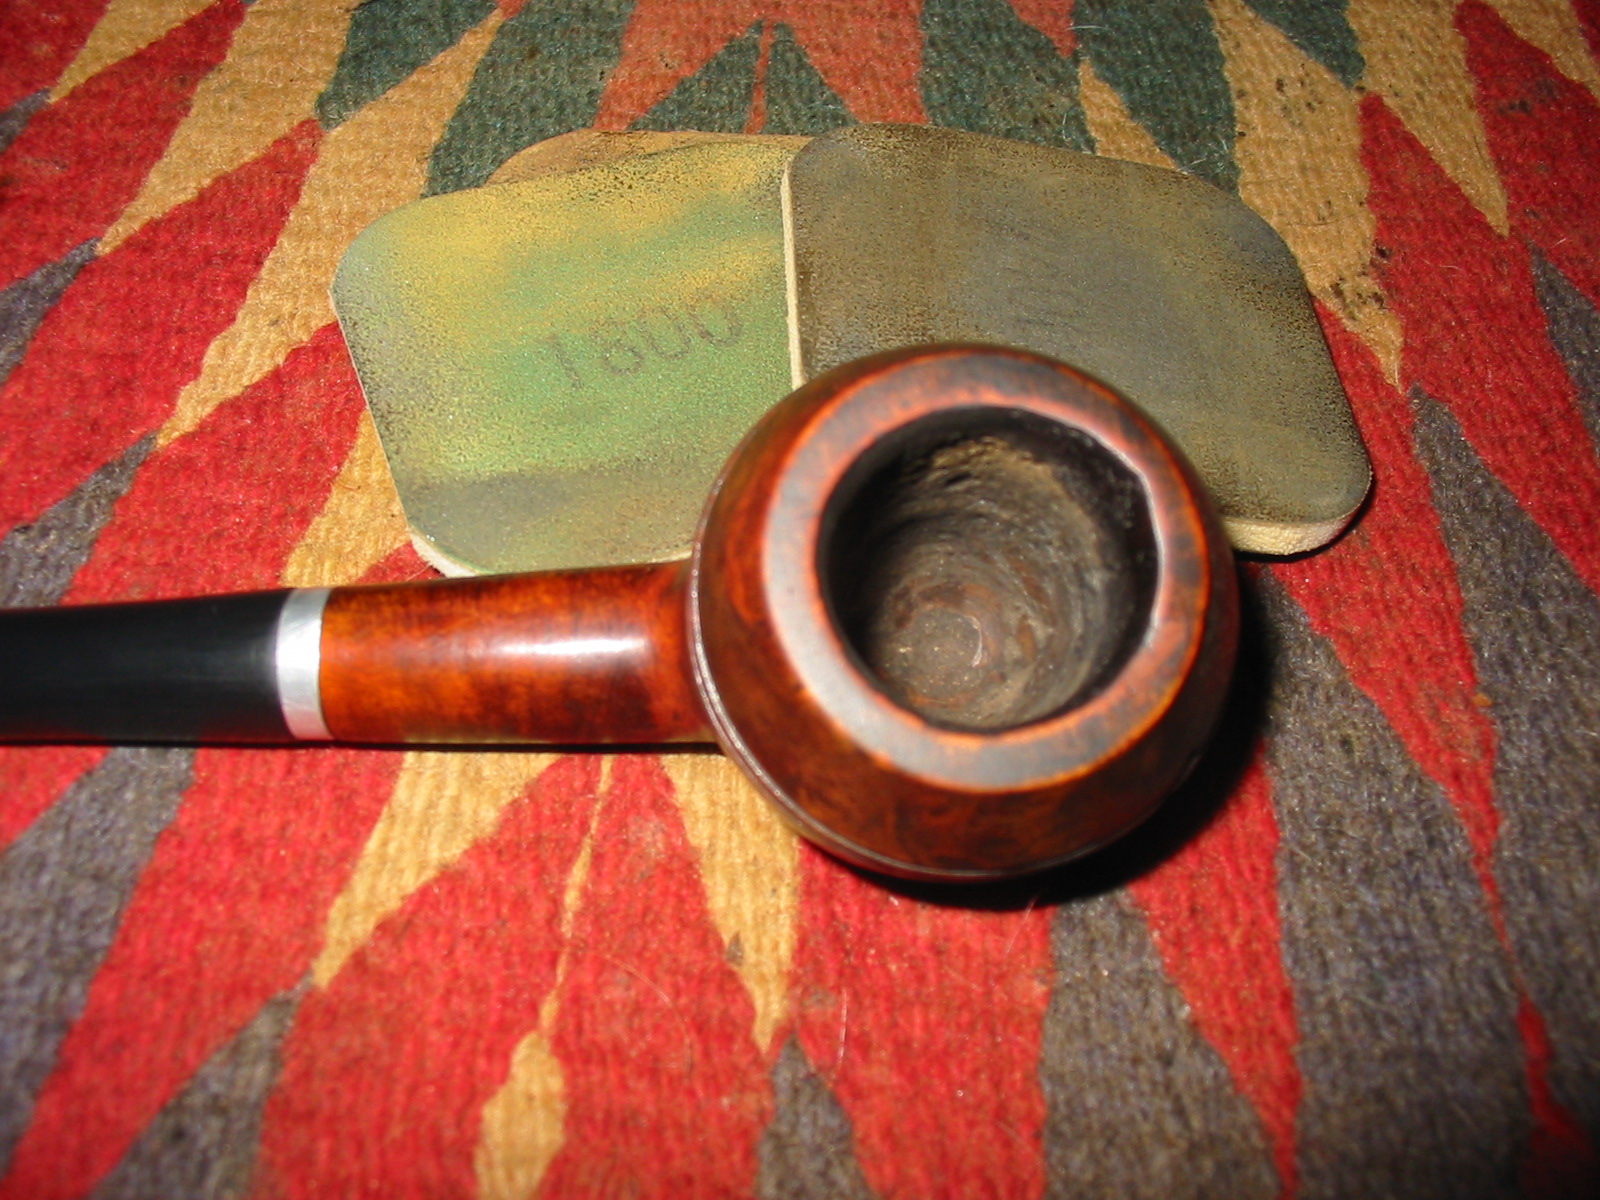
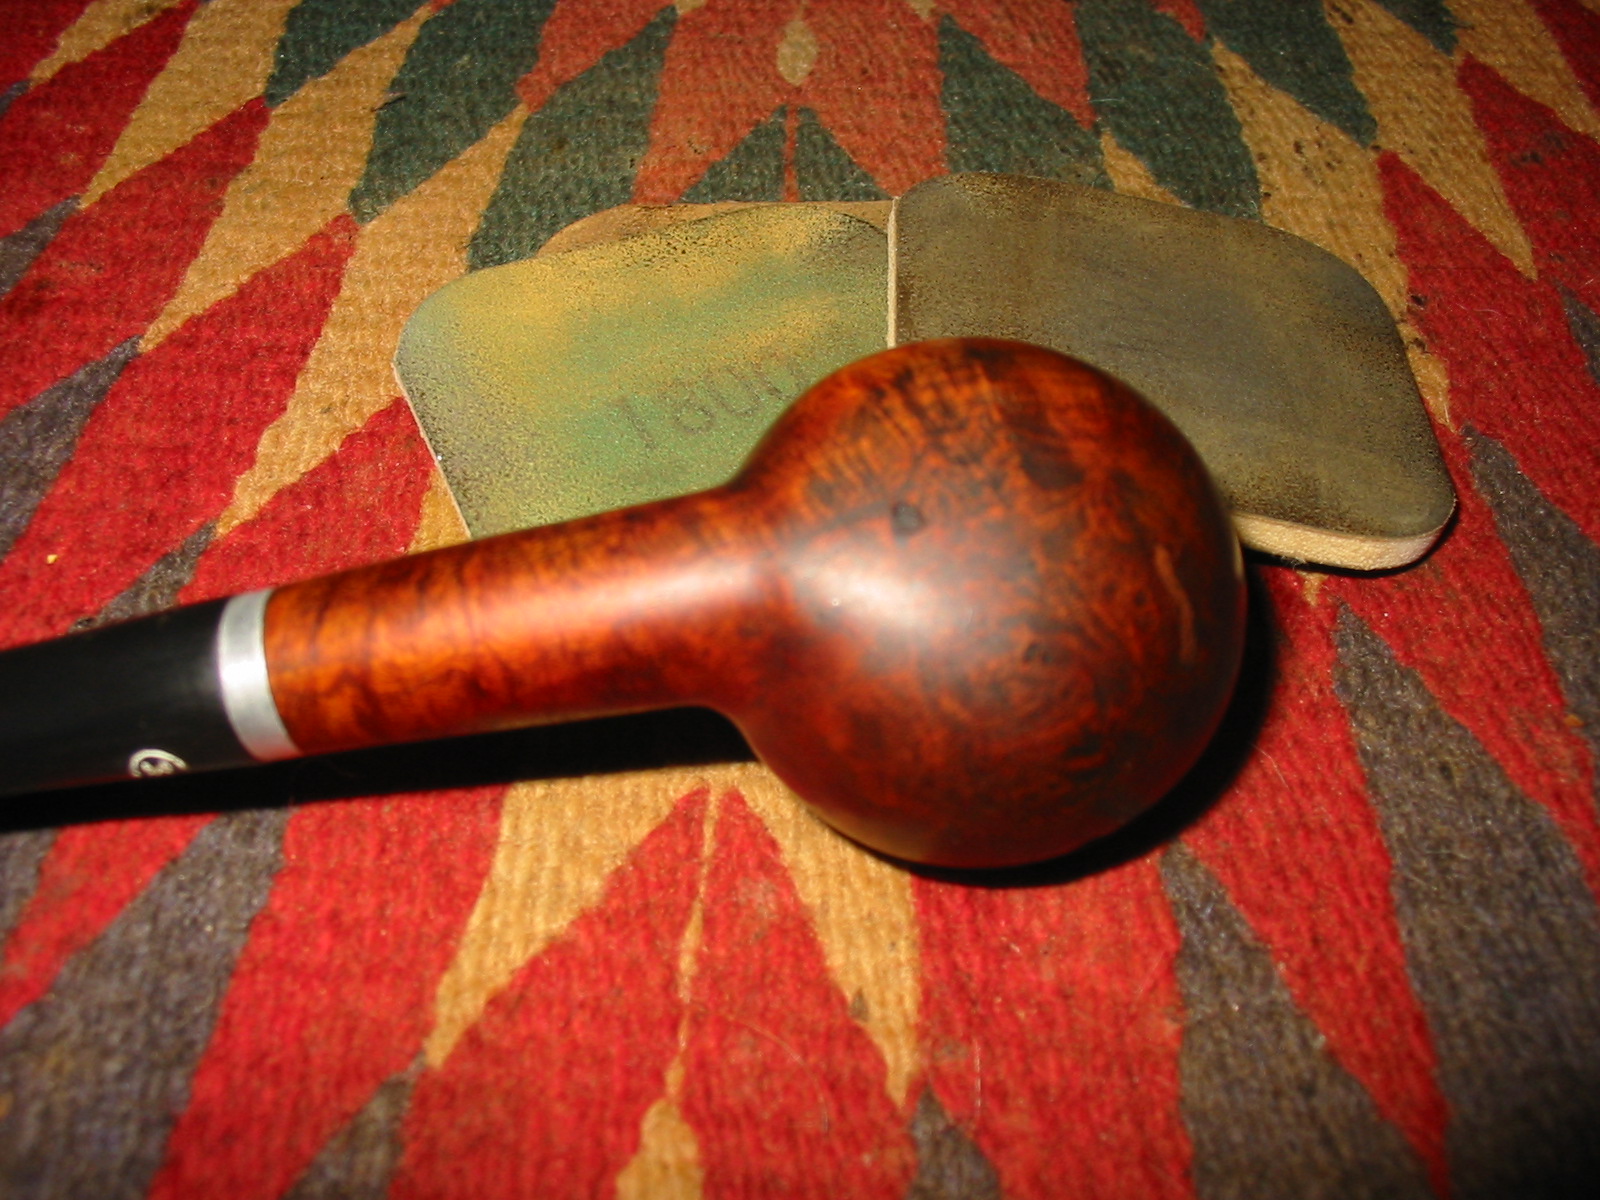
Restoring a Bent Billiard – Converting a threaded mortise to a push mortise


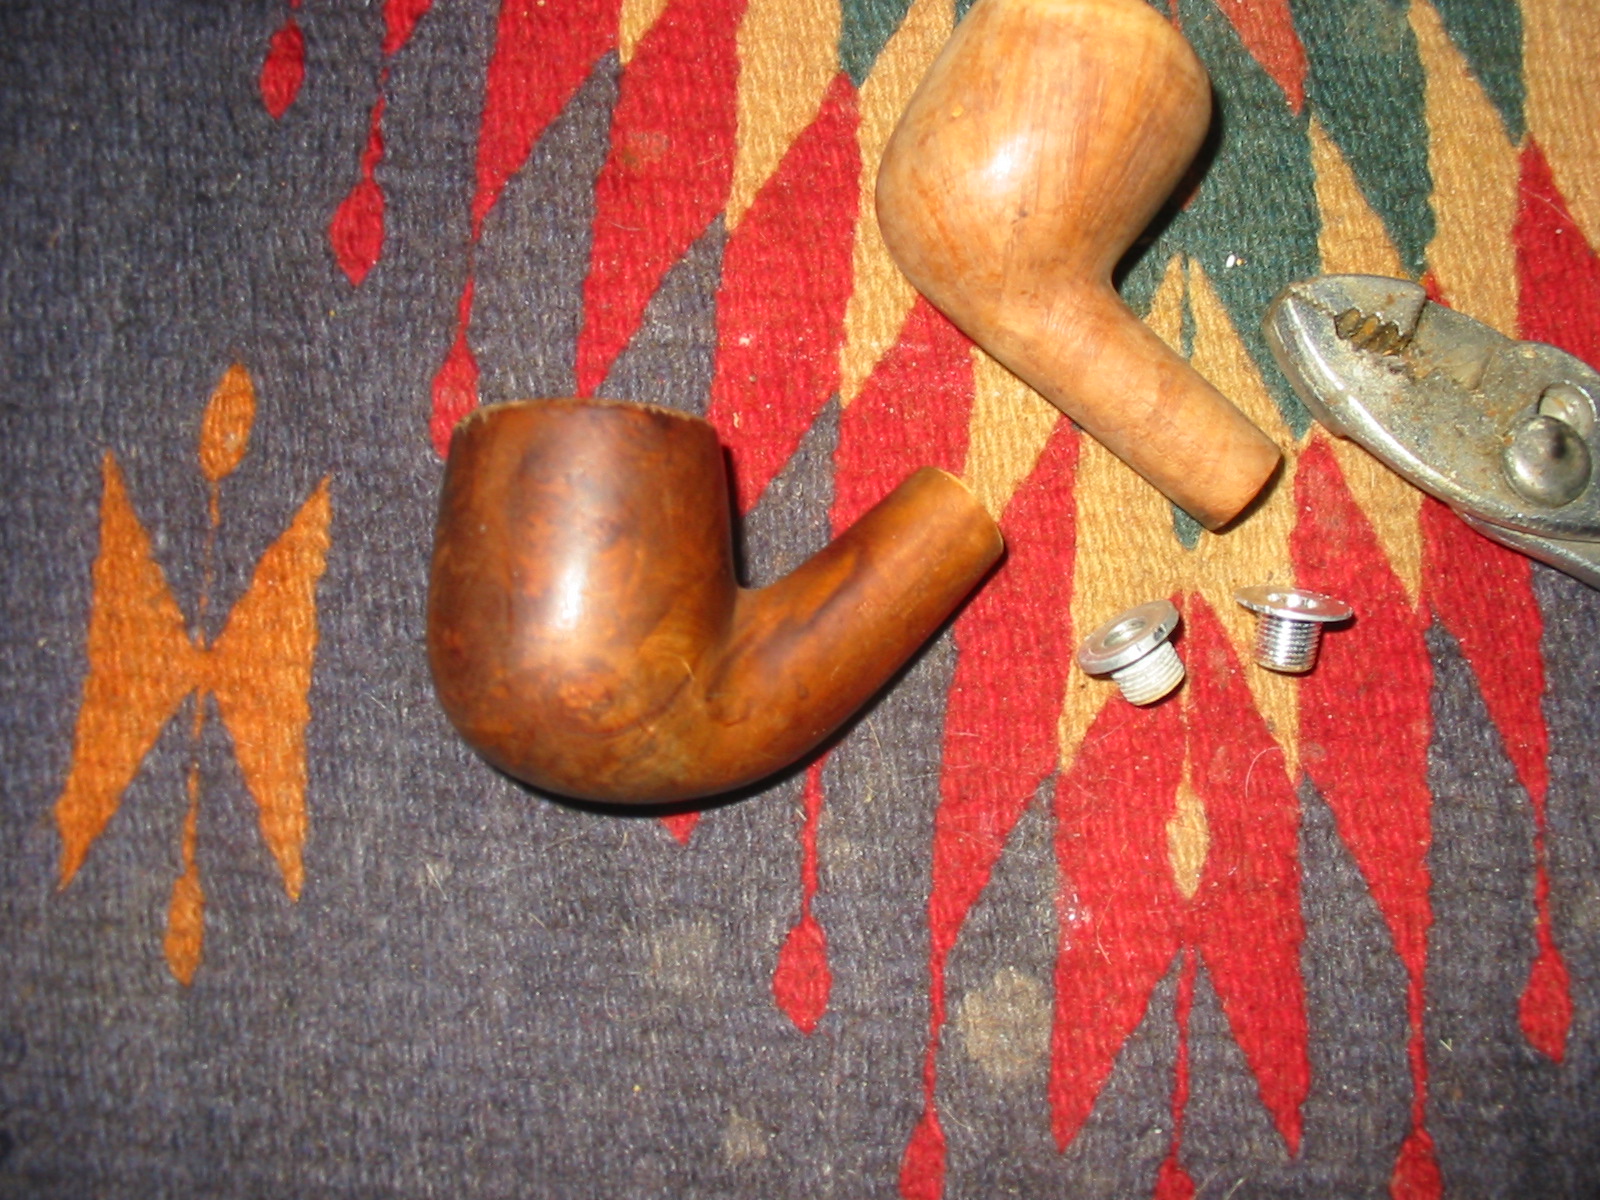
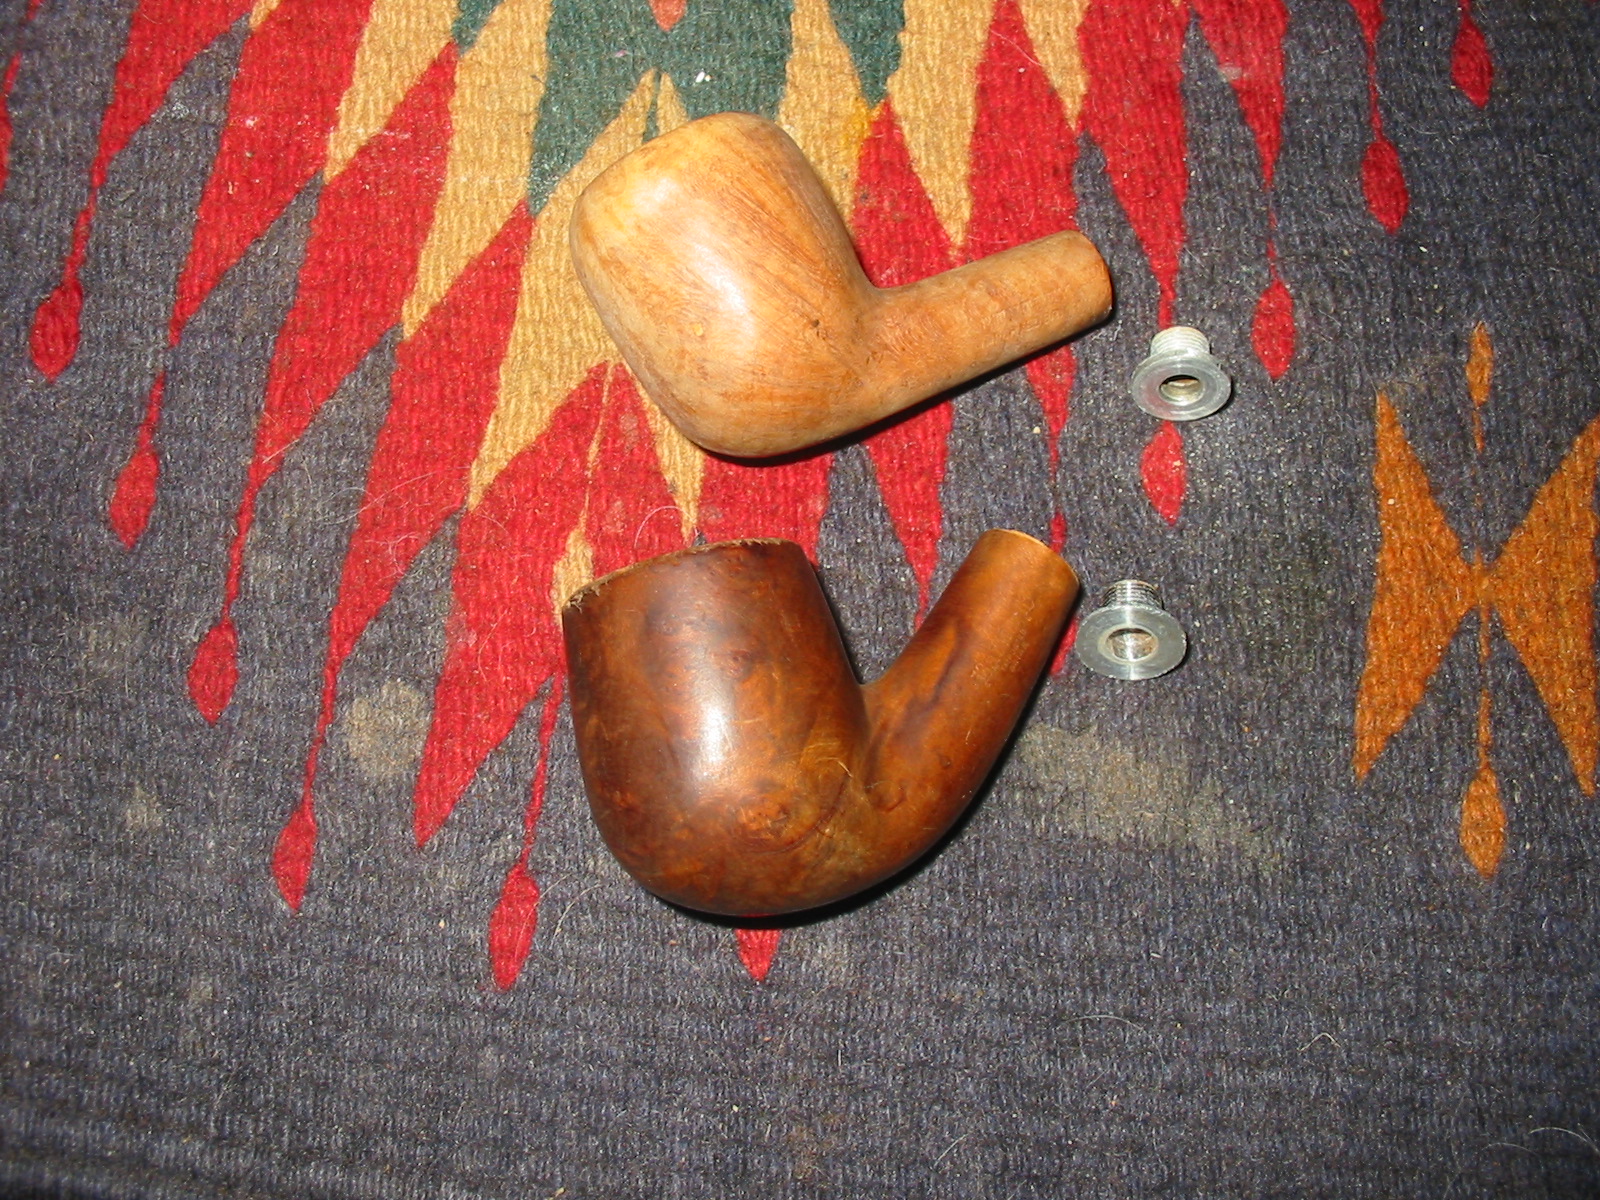
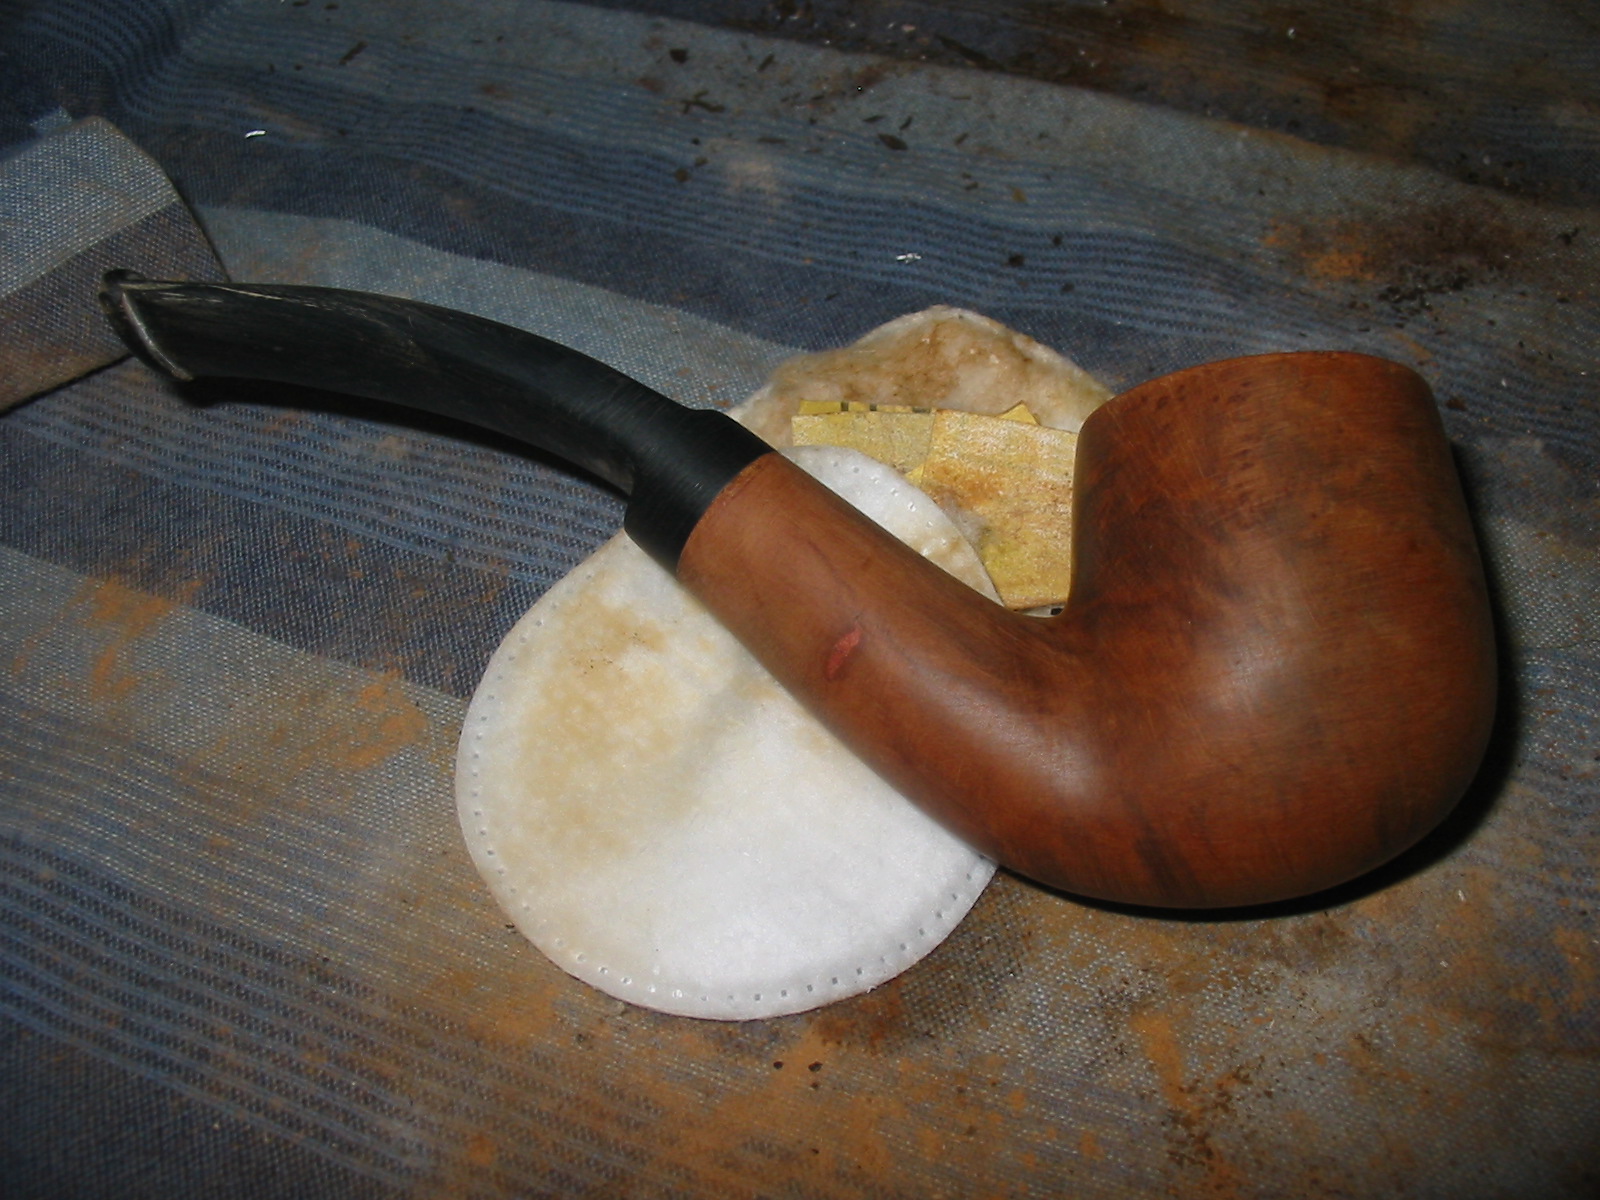
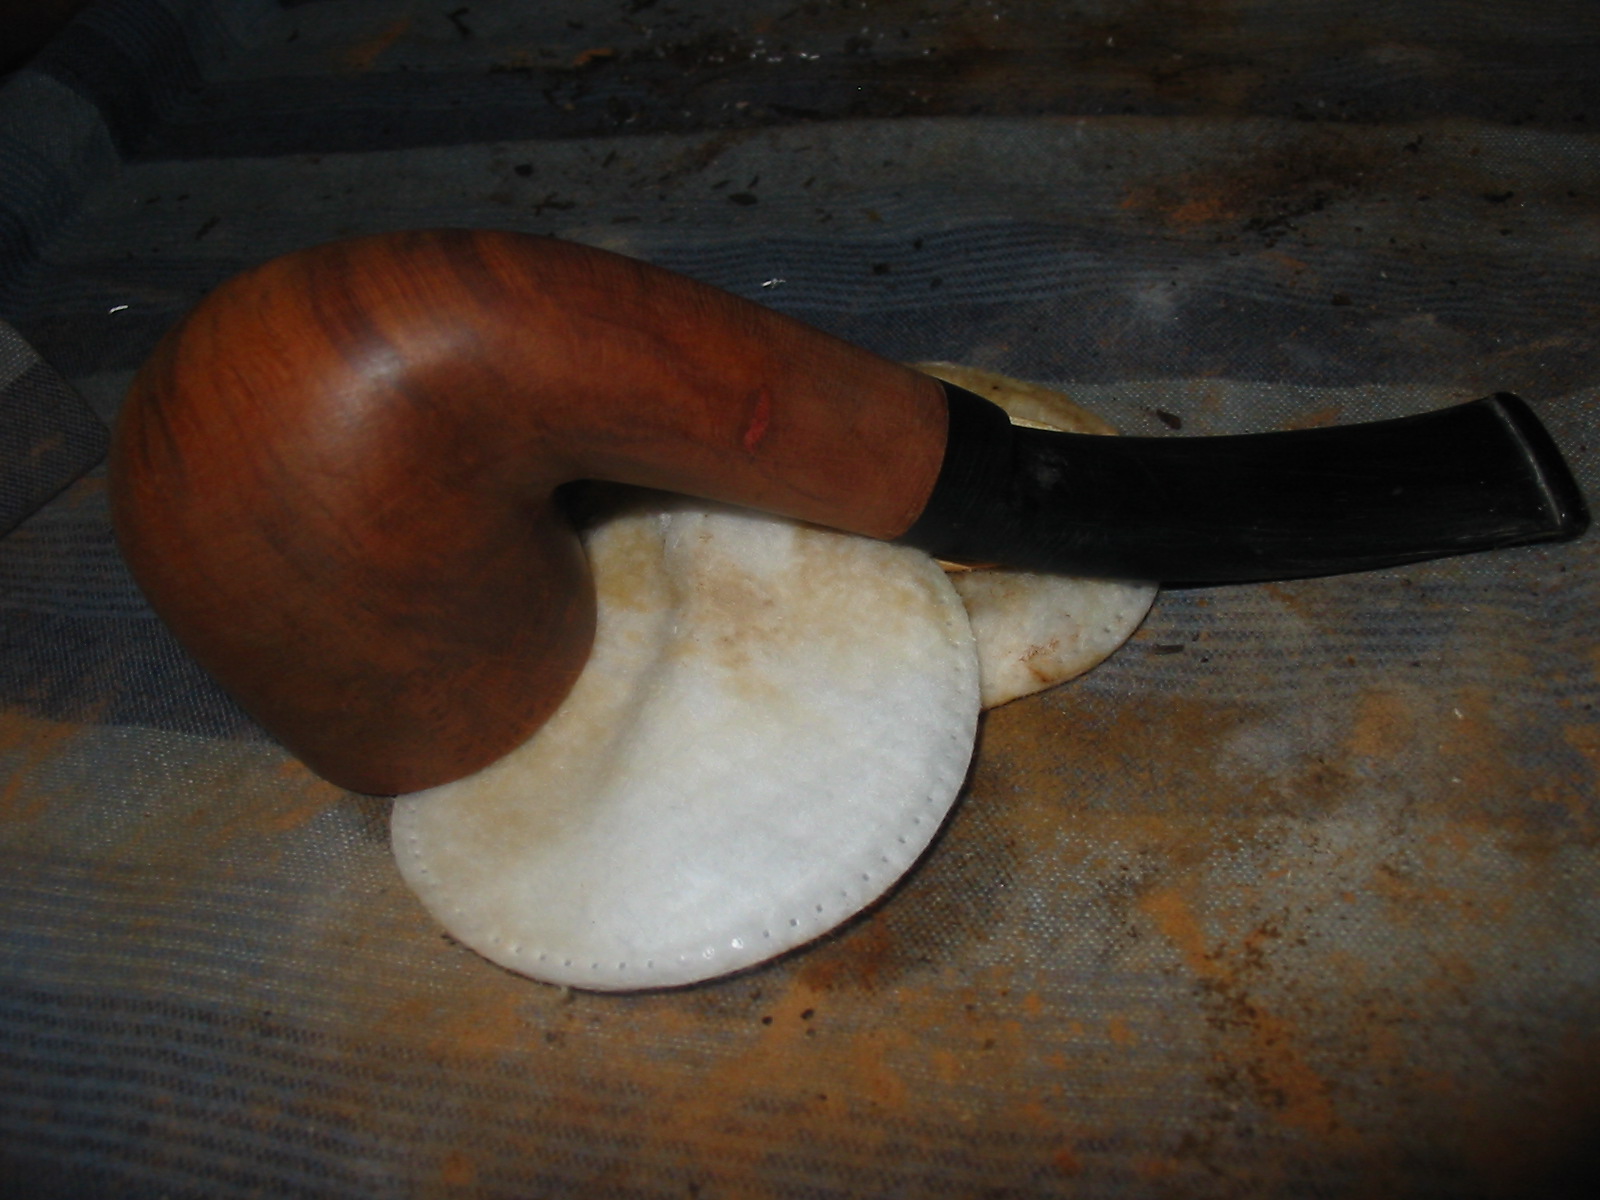
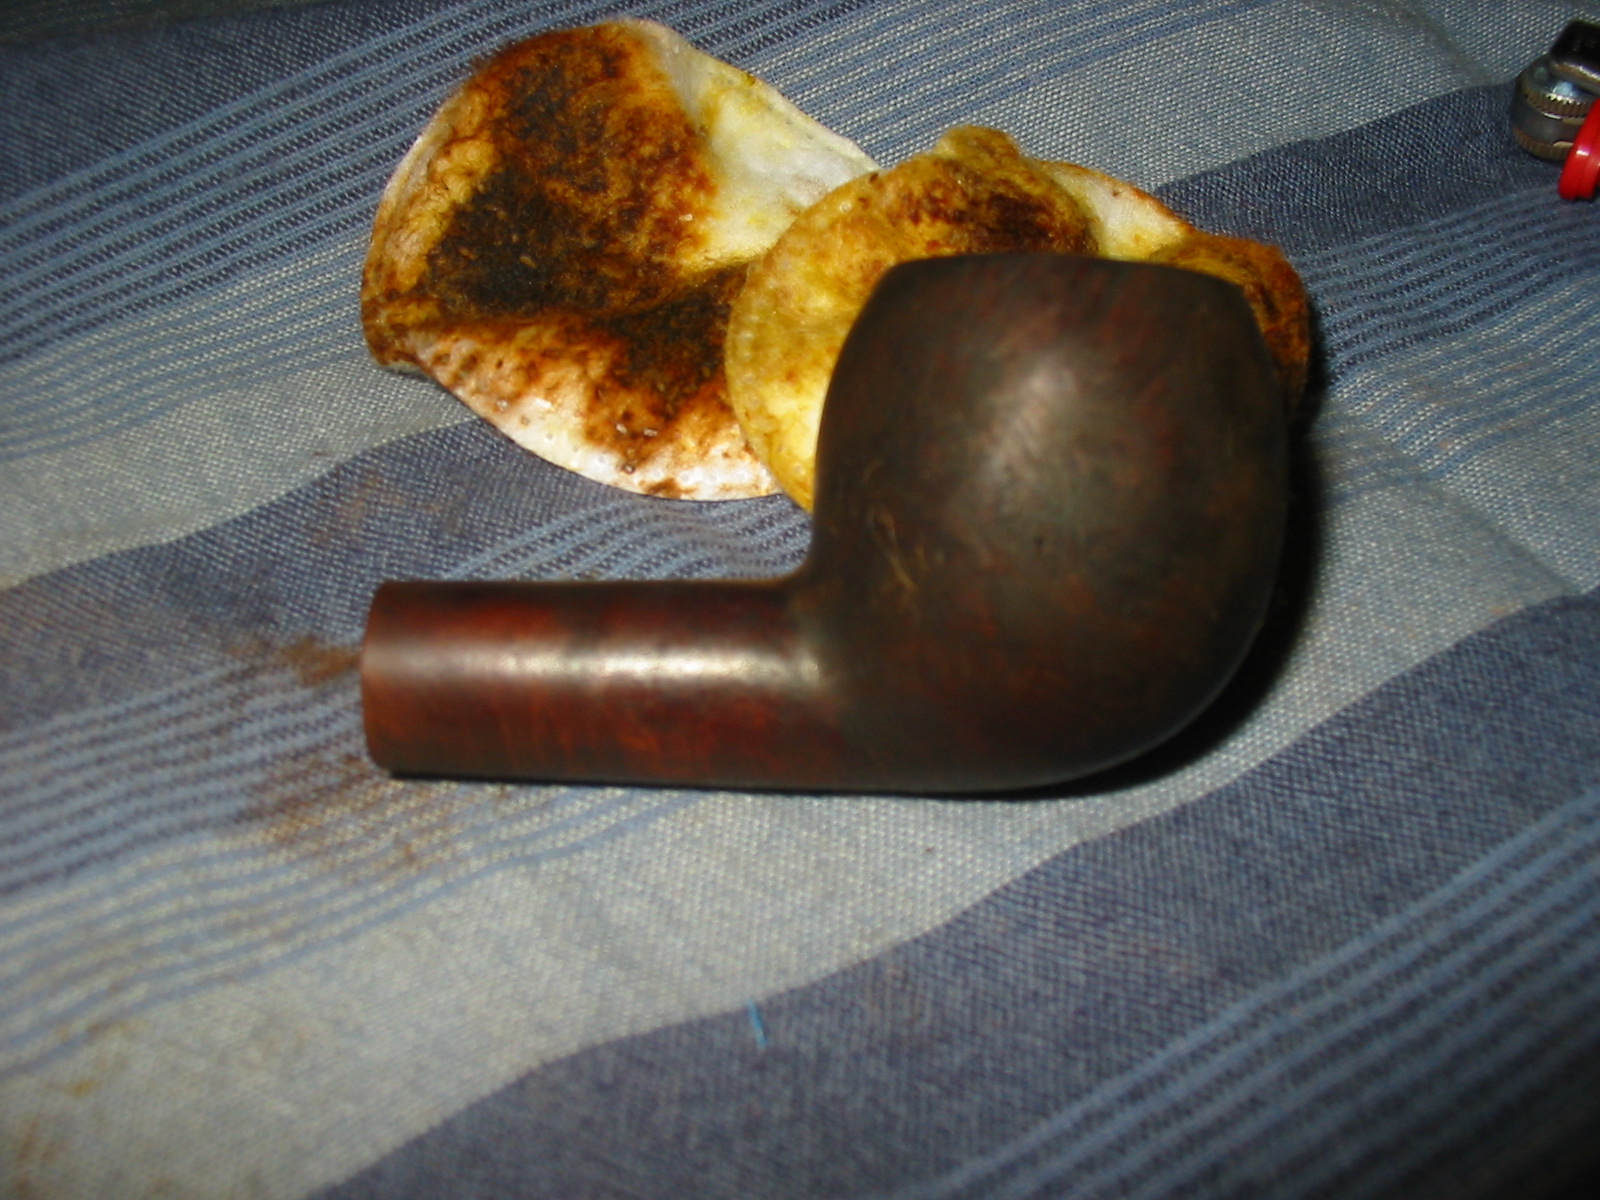
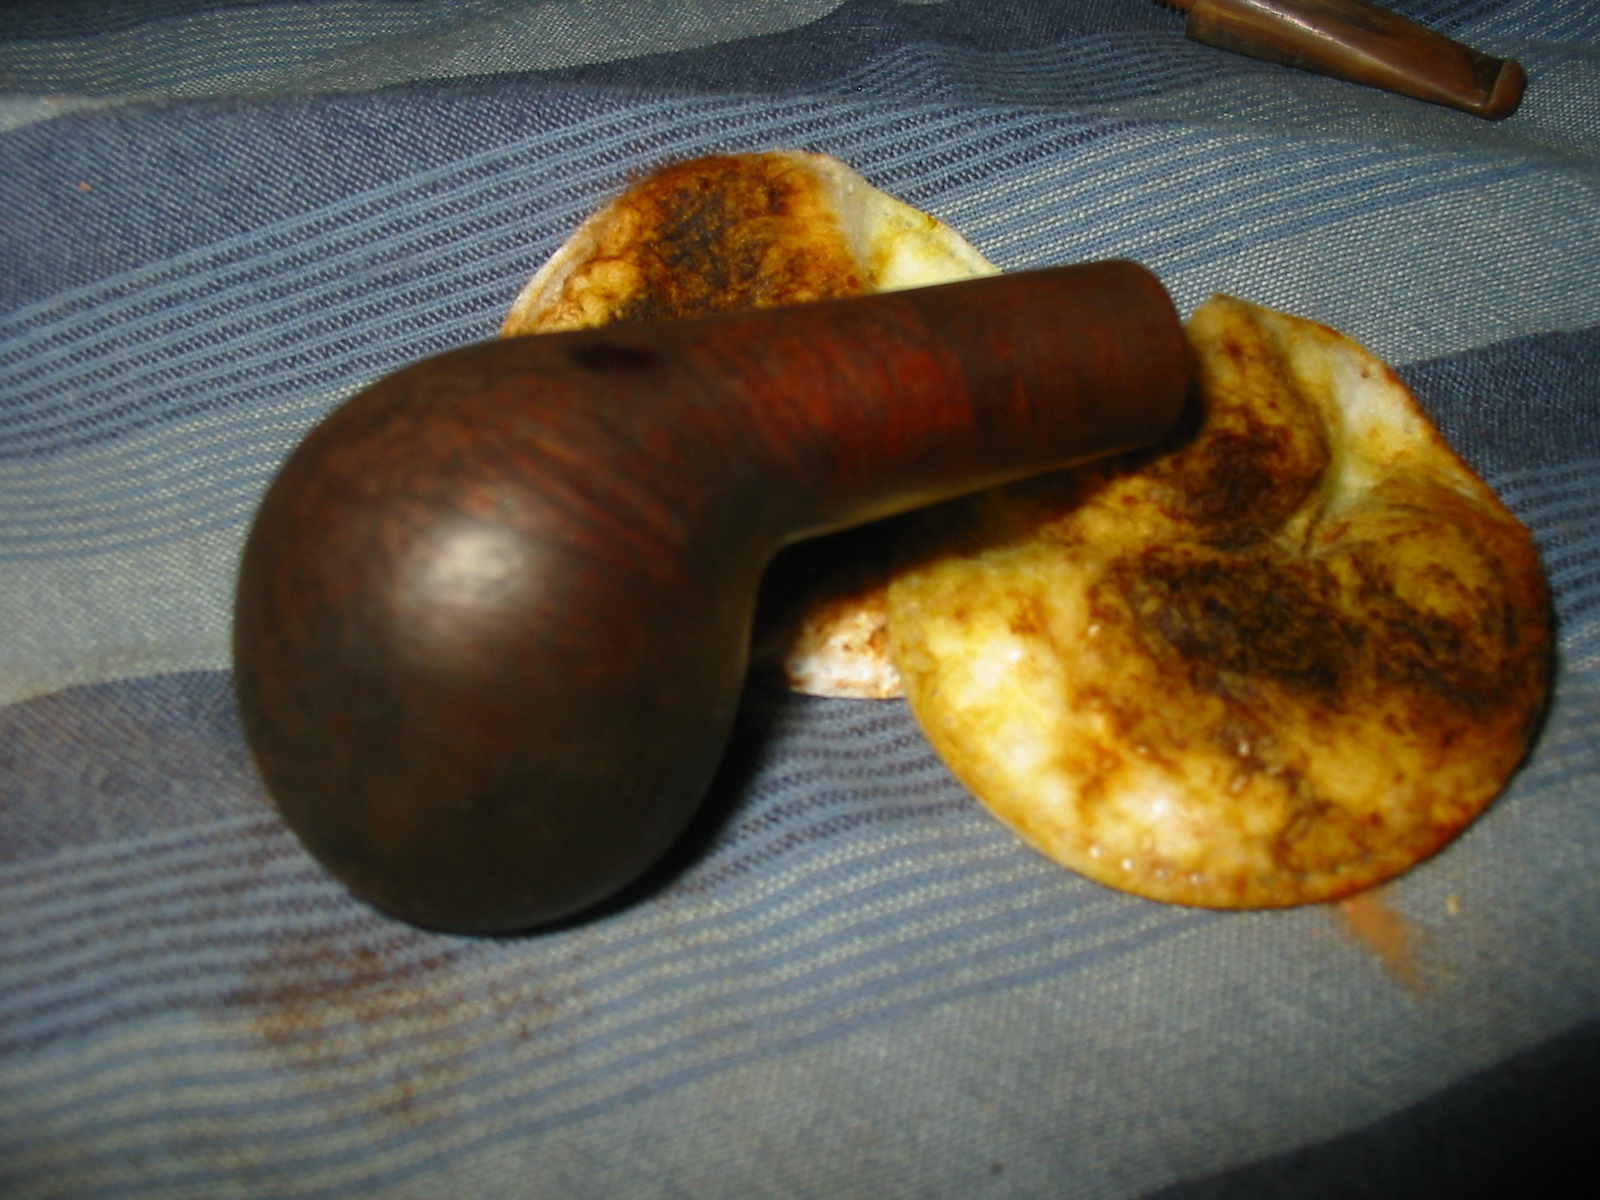
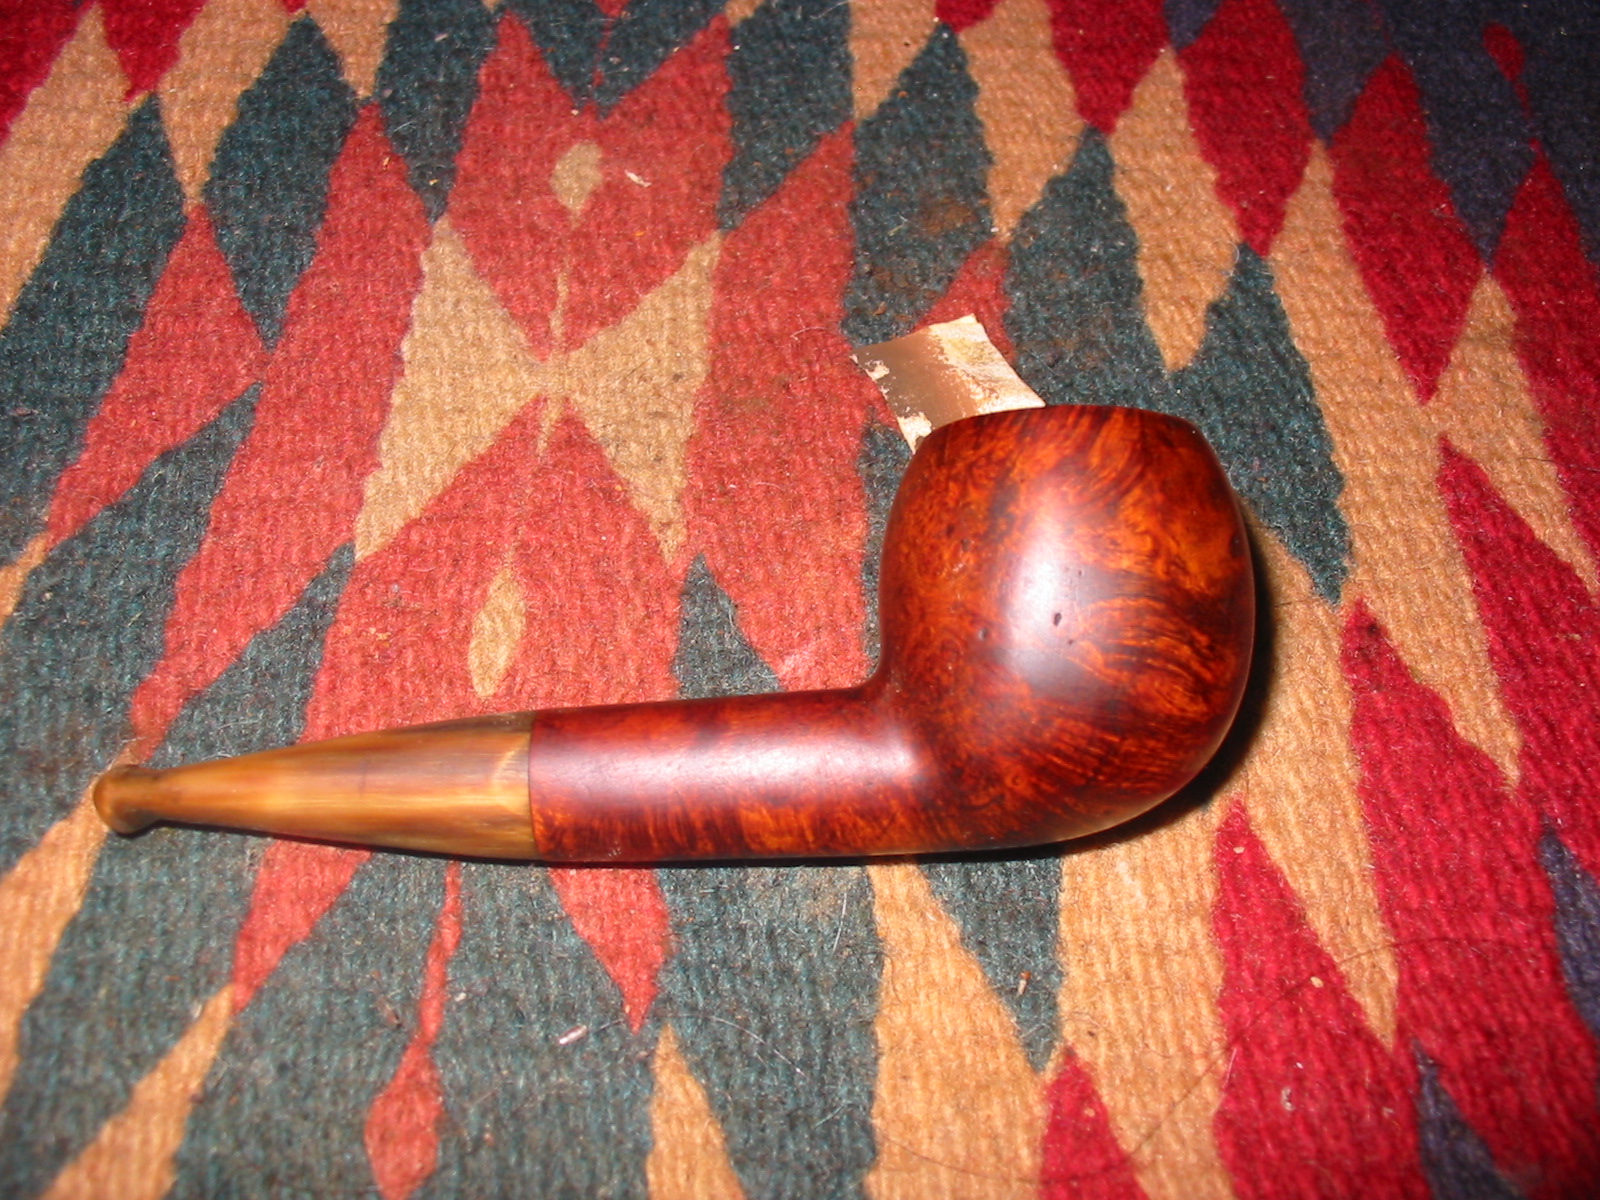
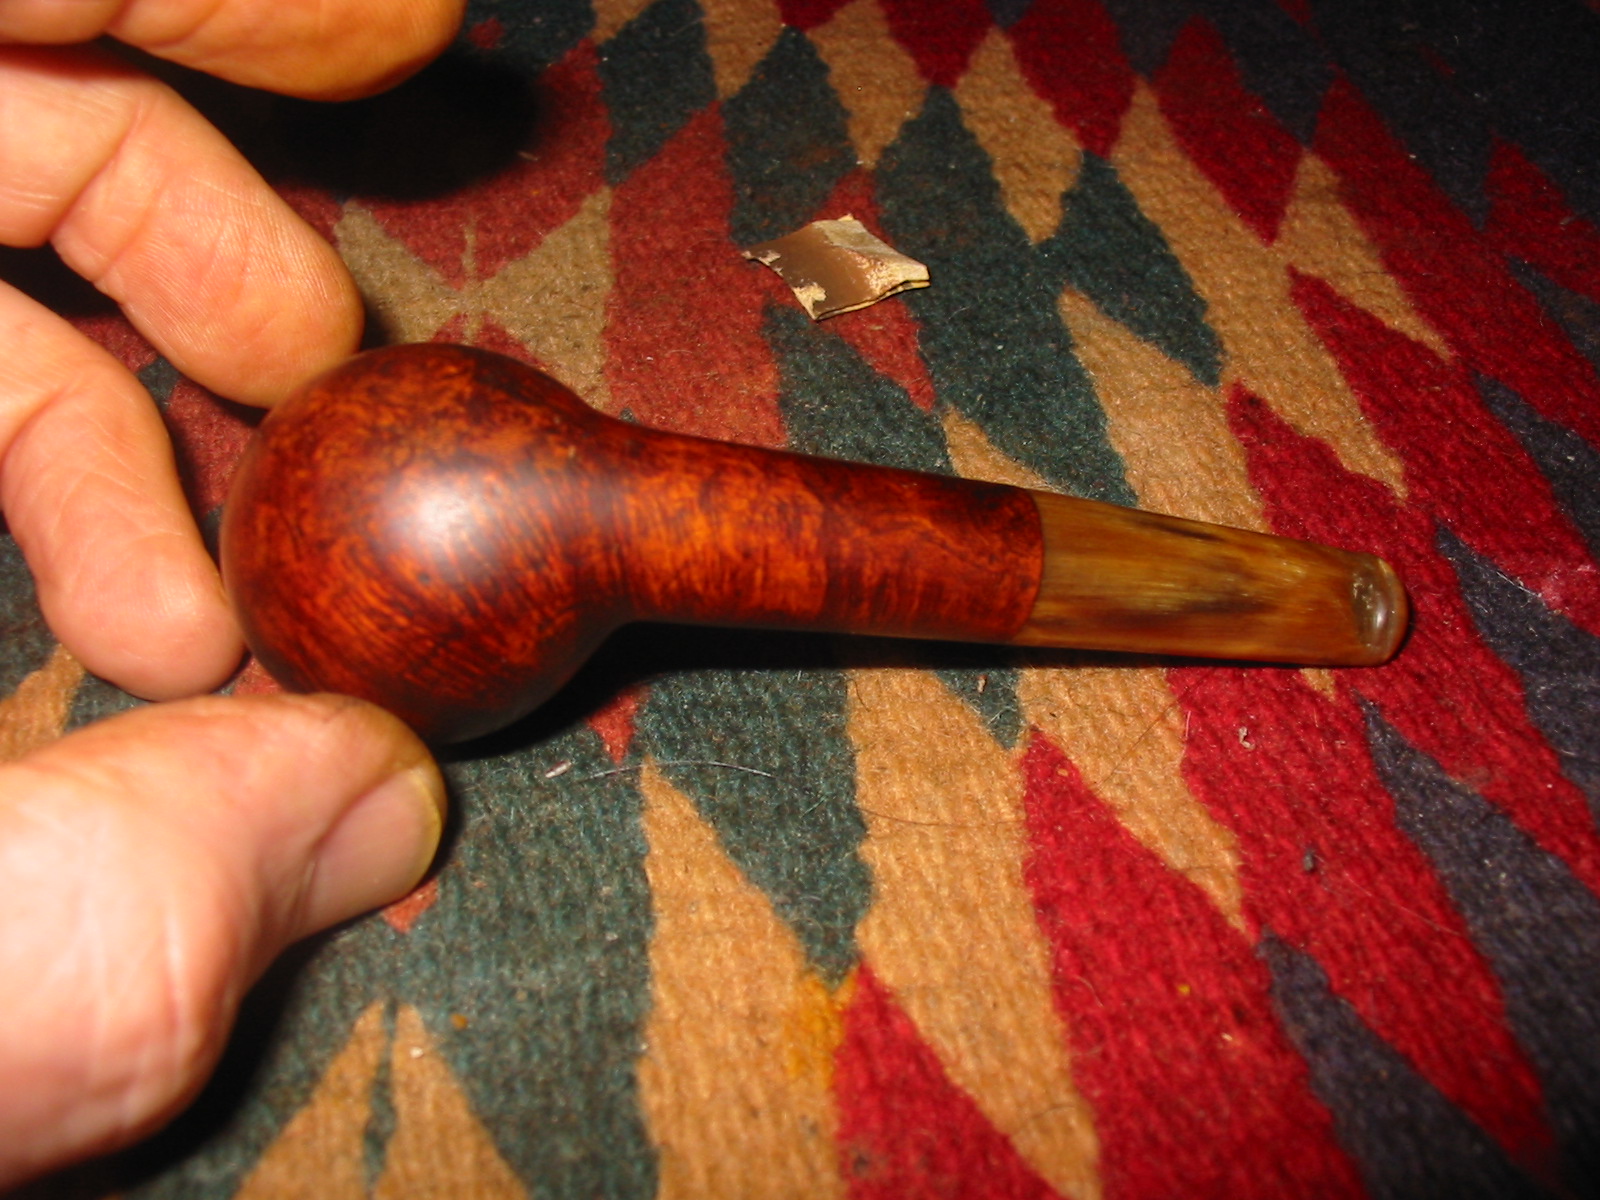
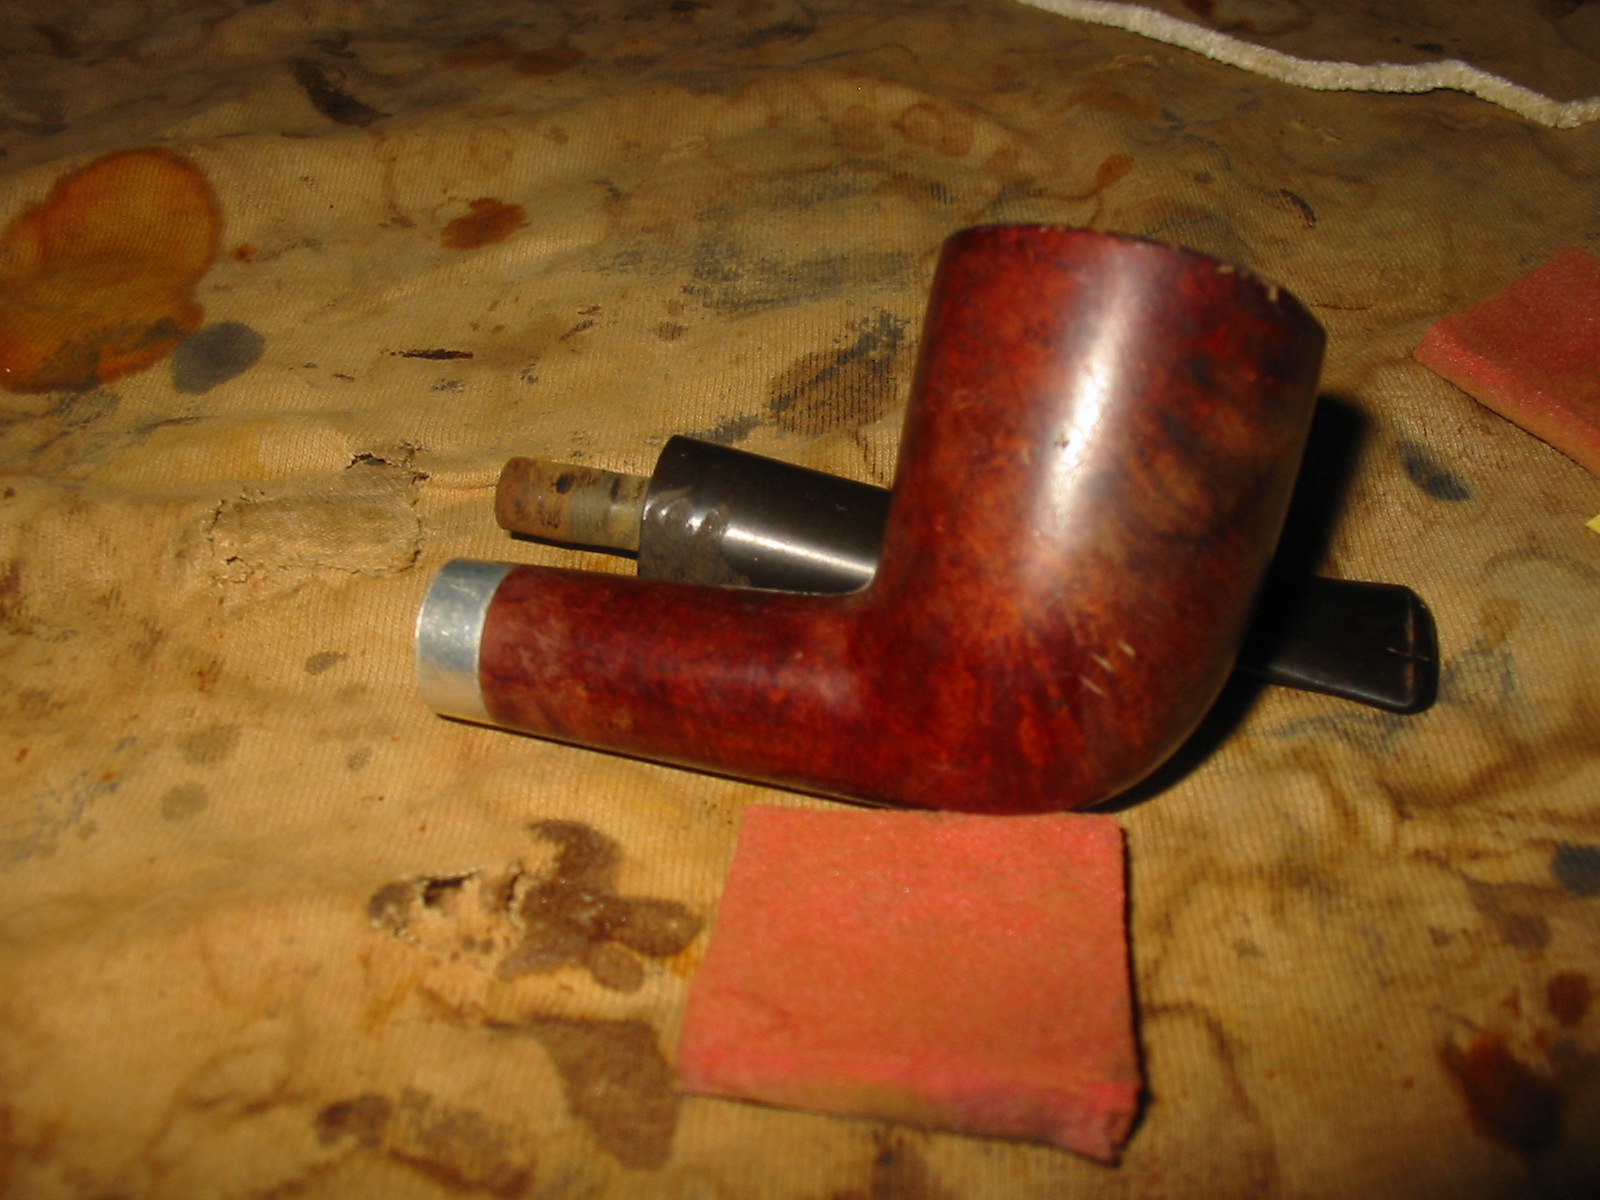
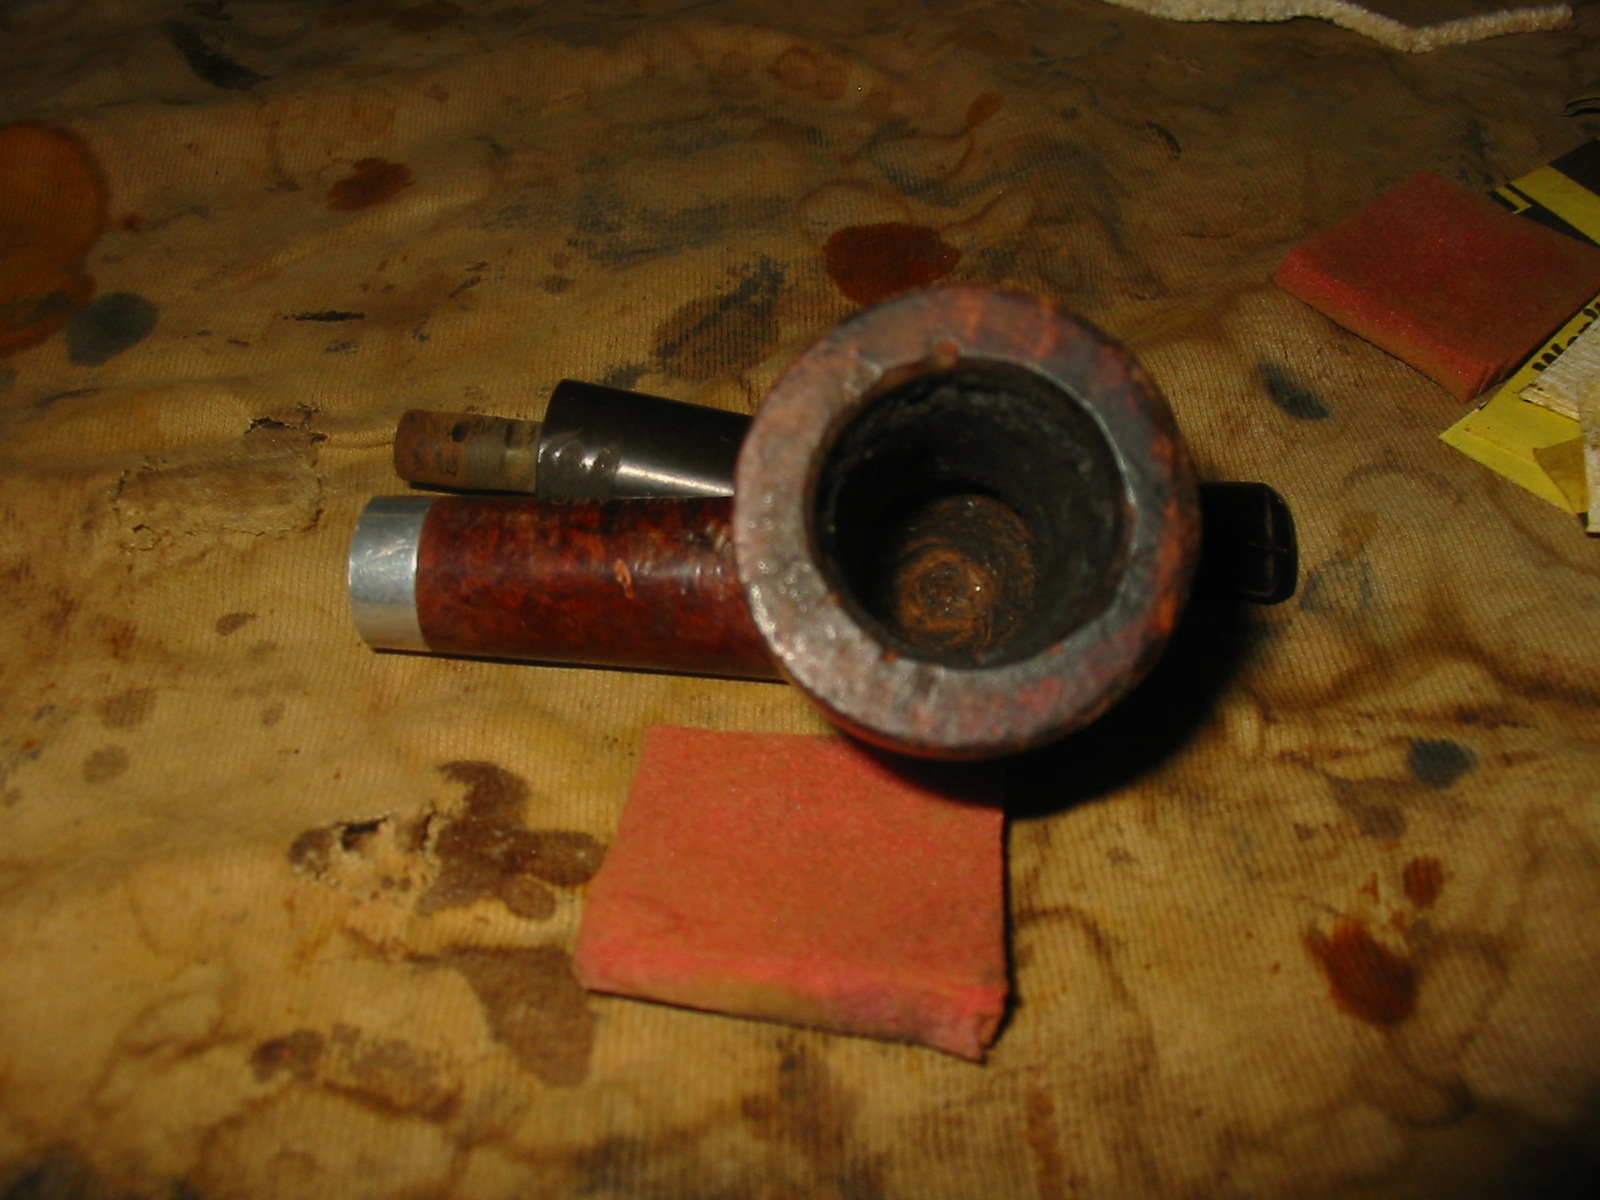
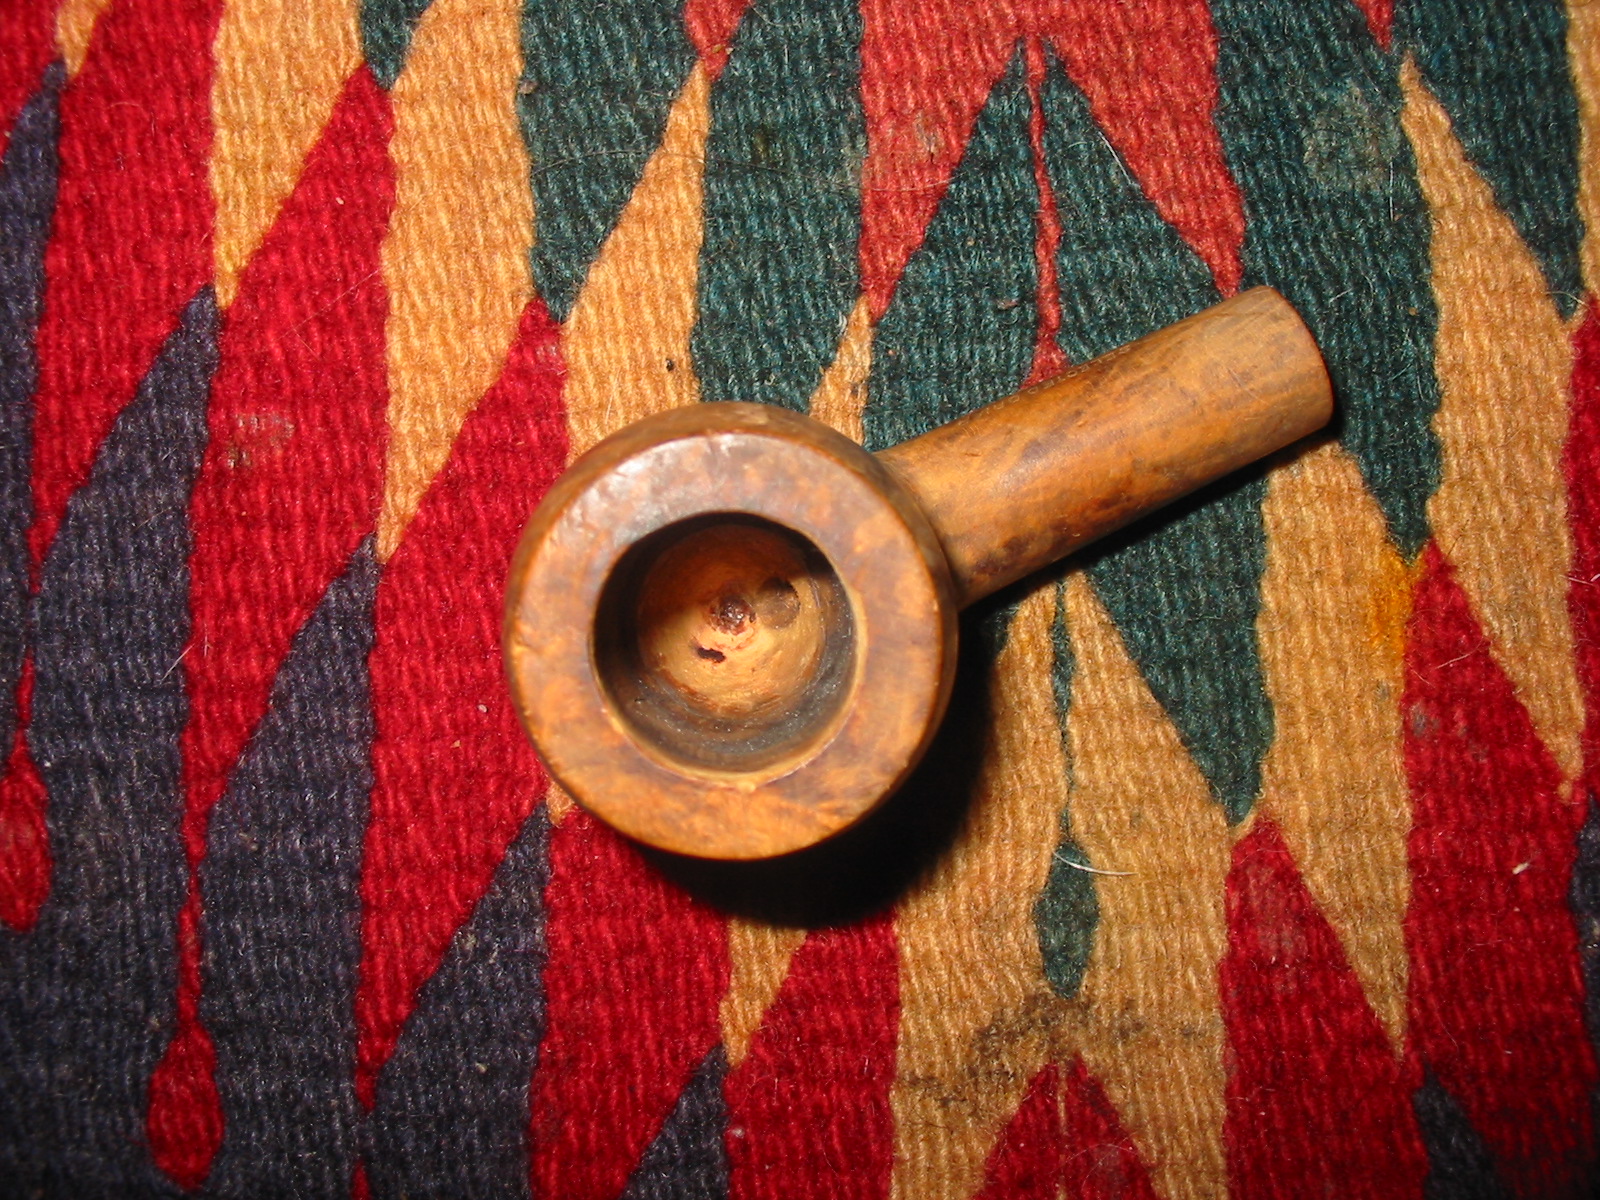
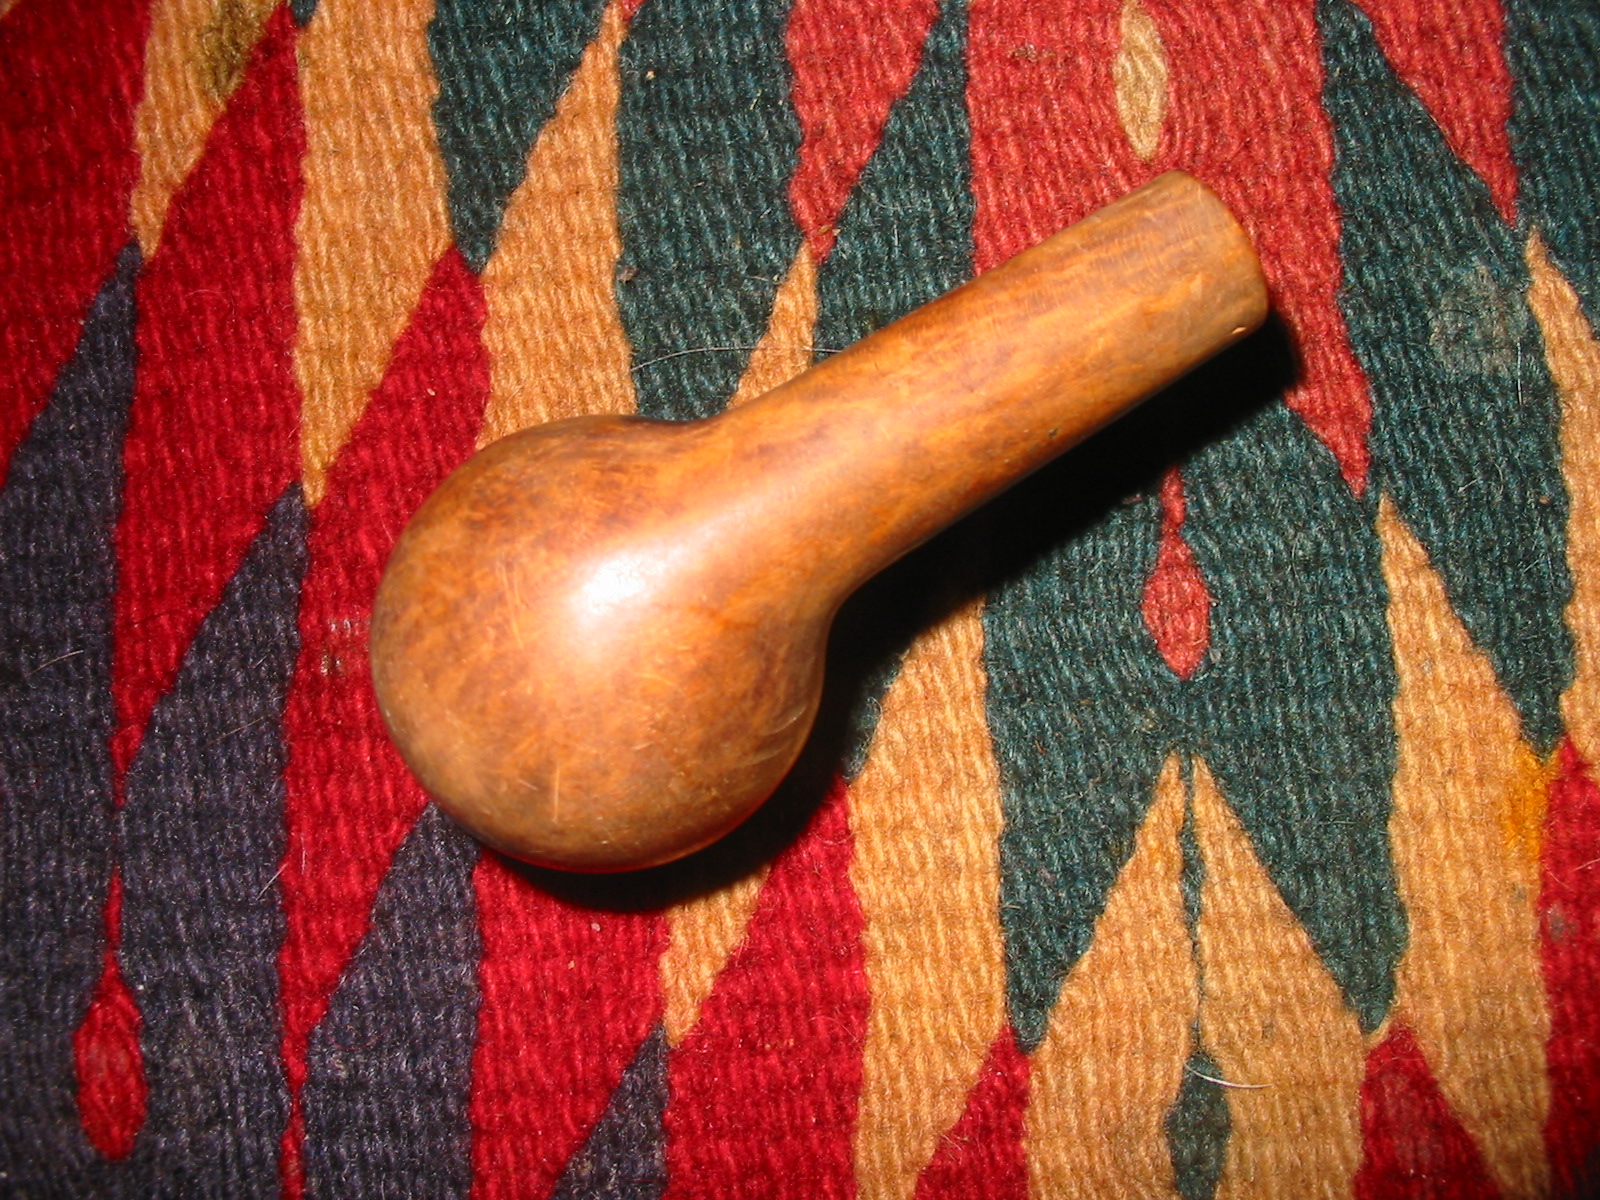
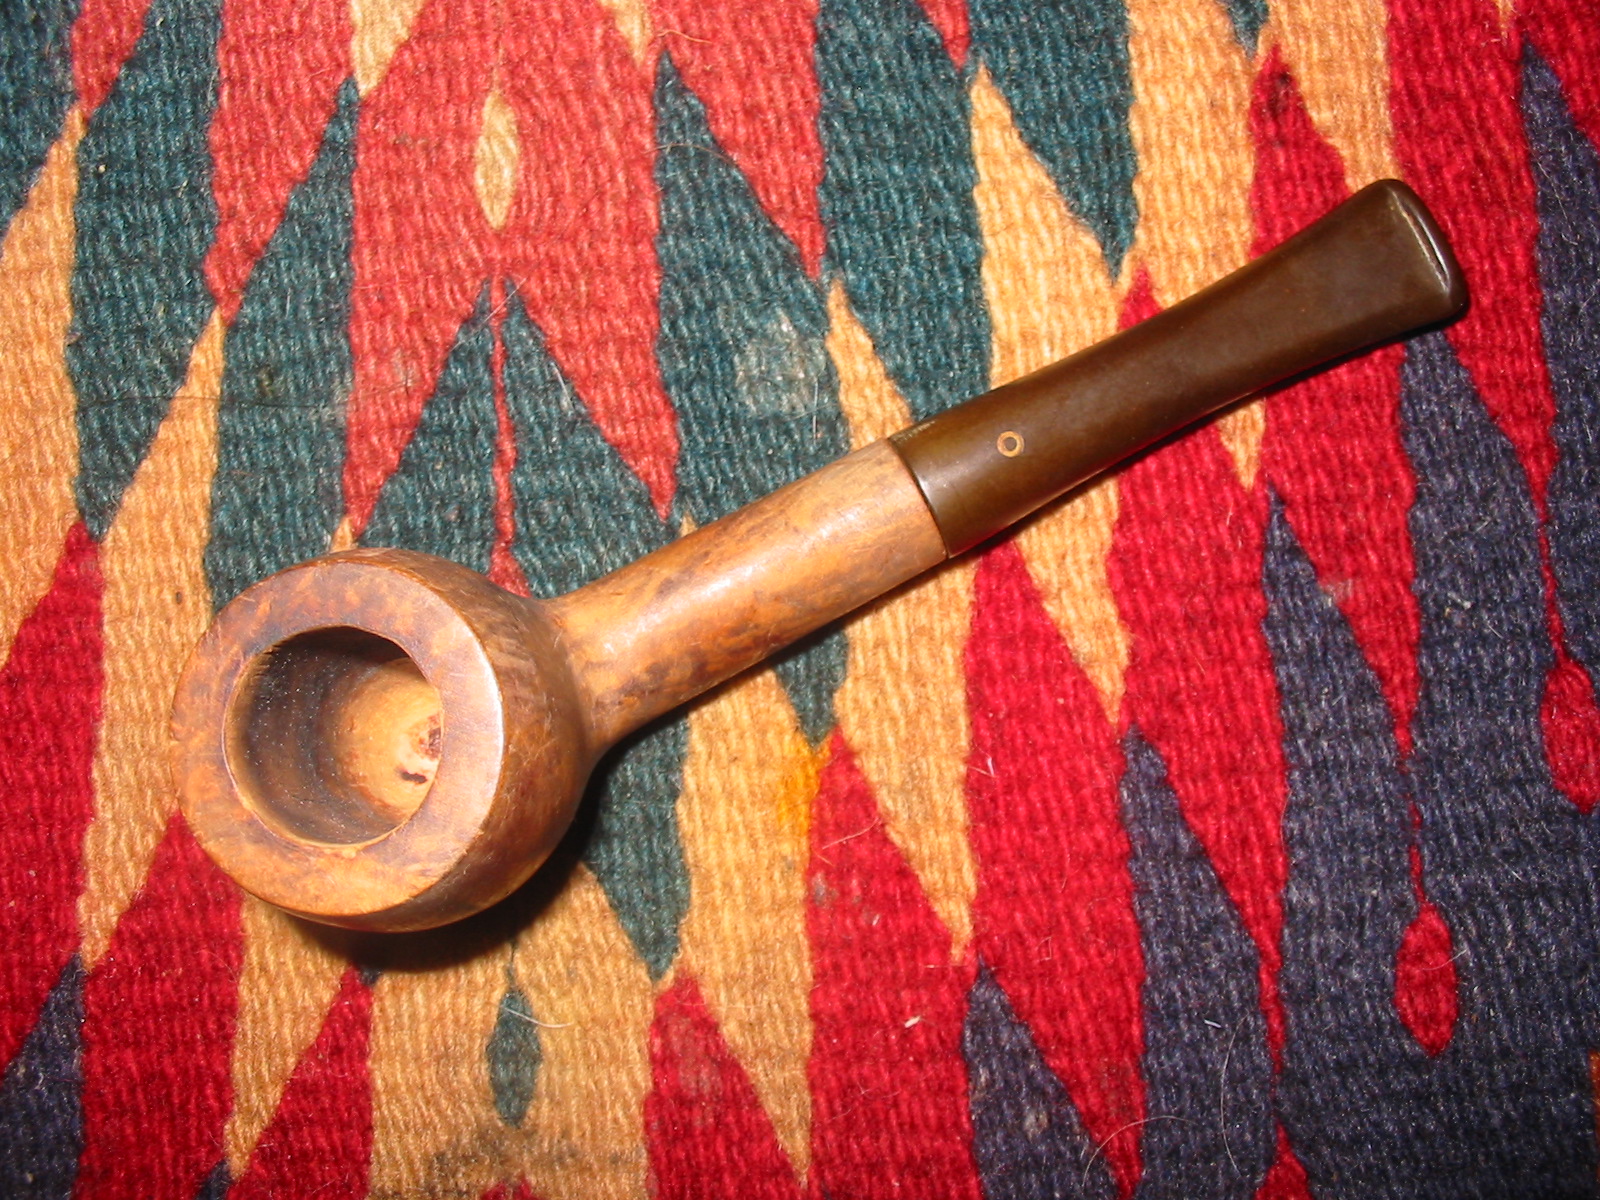
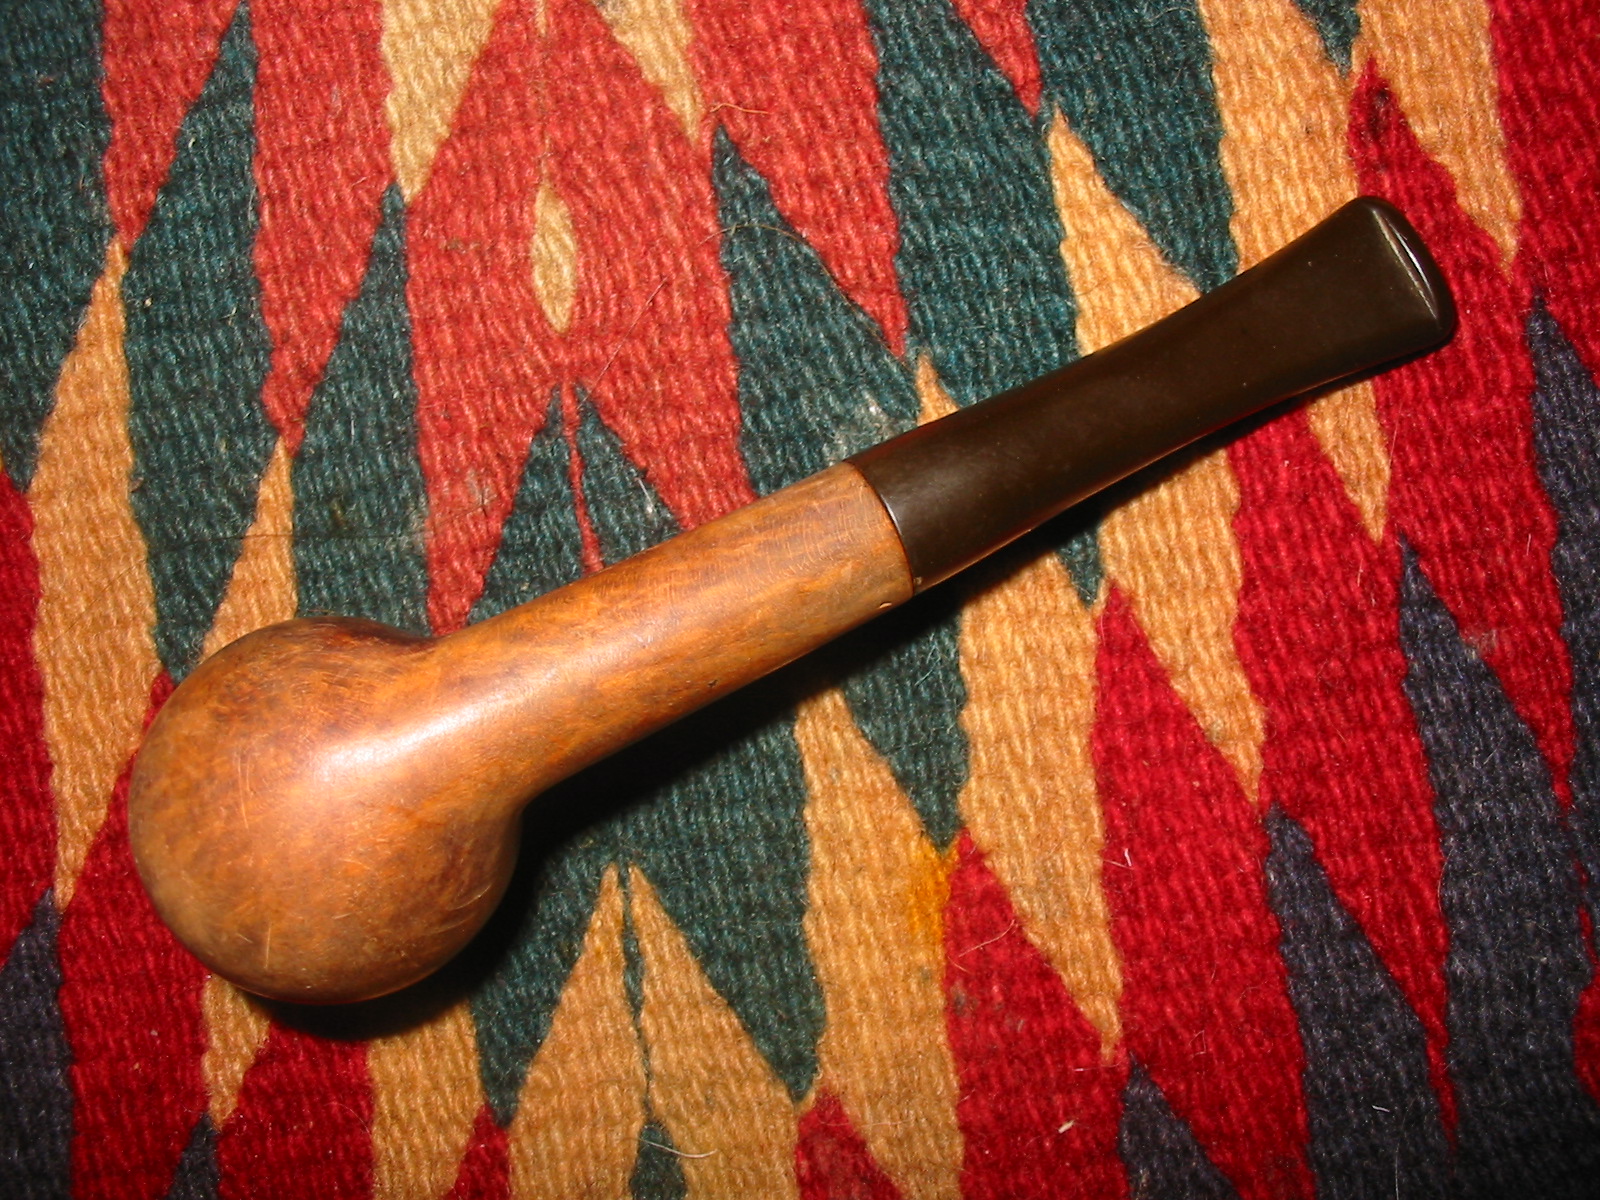
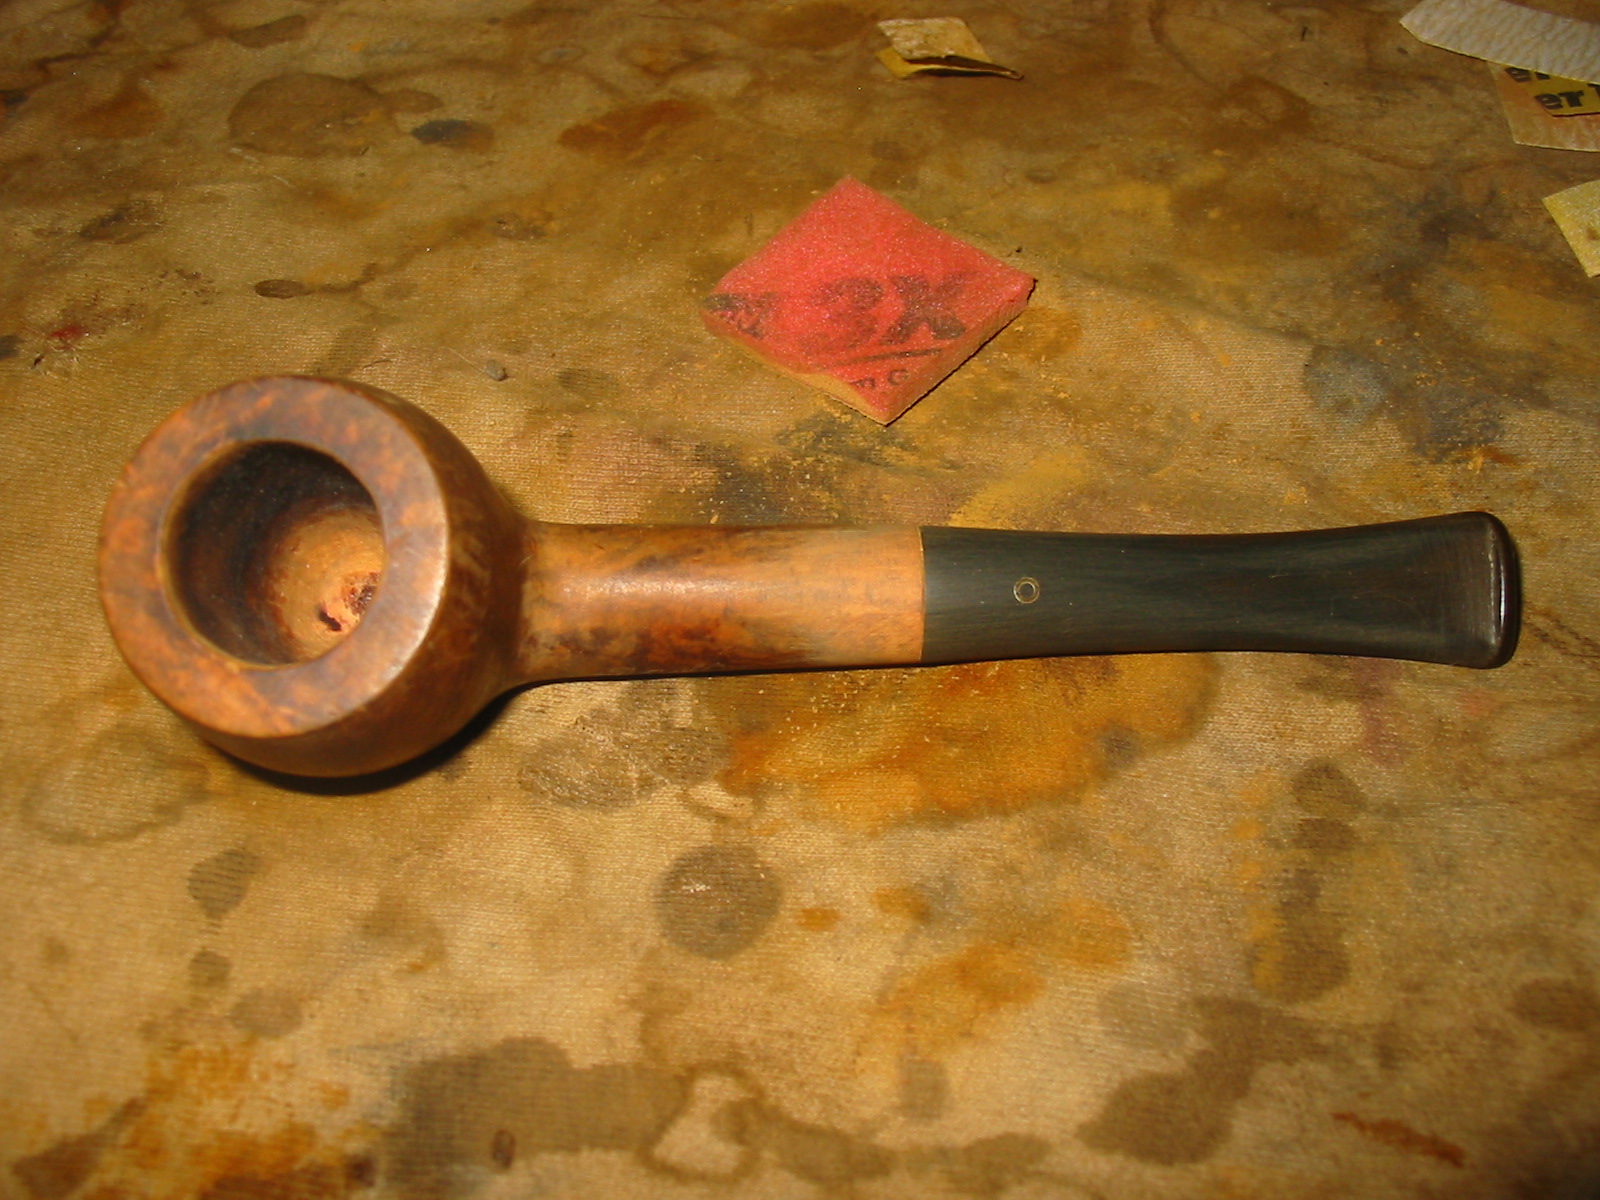
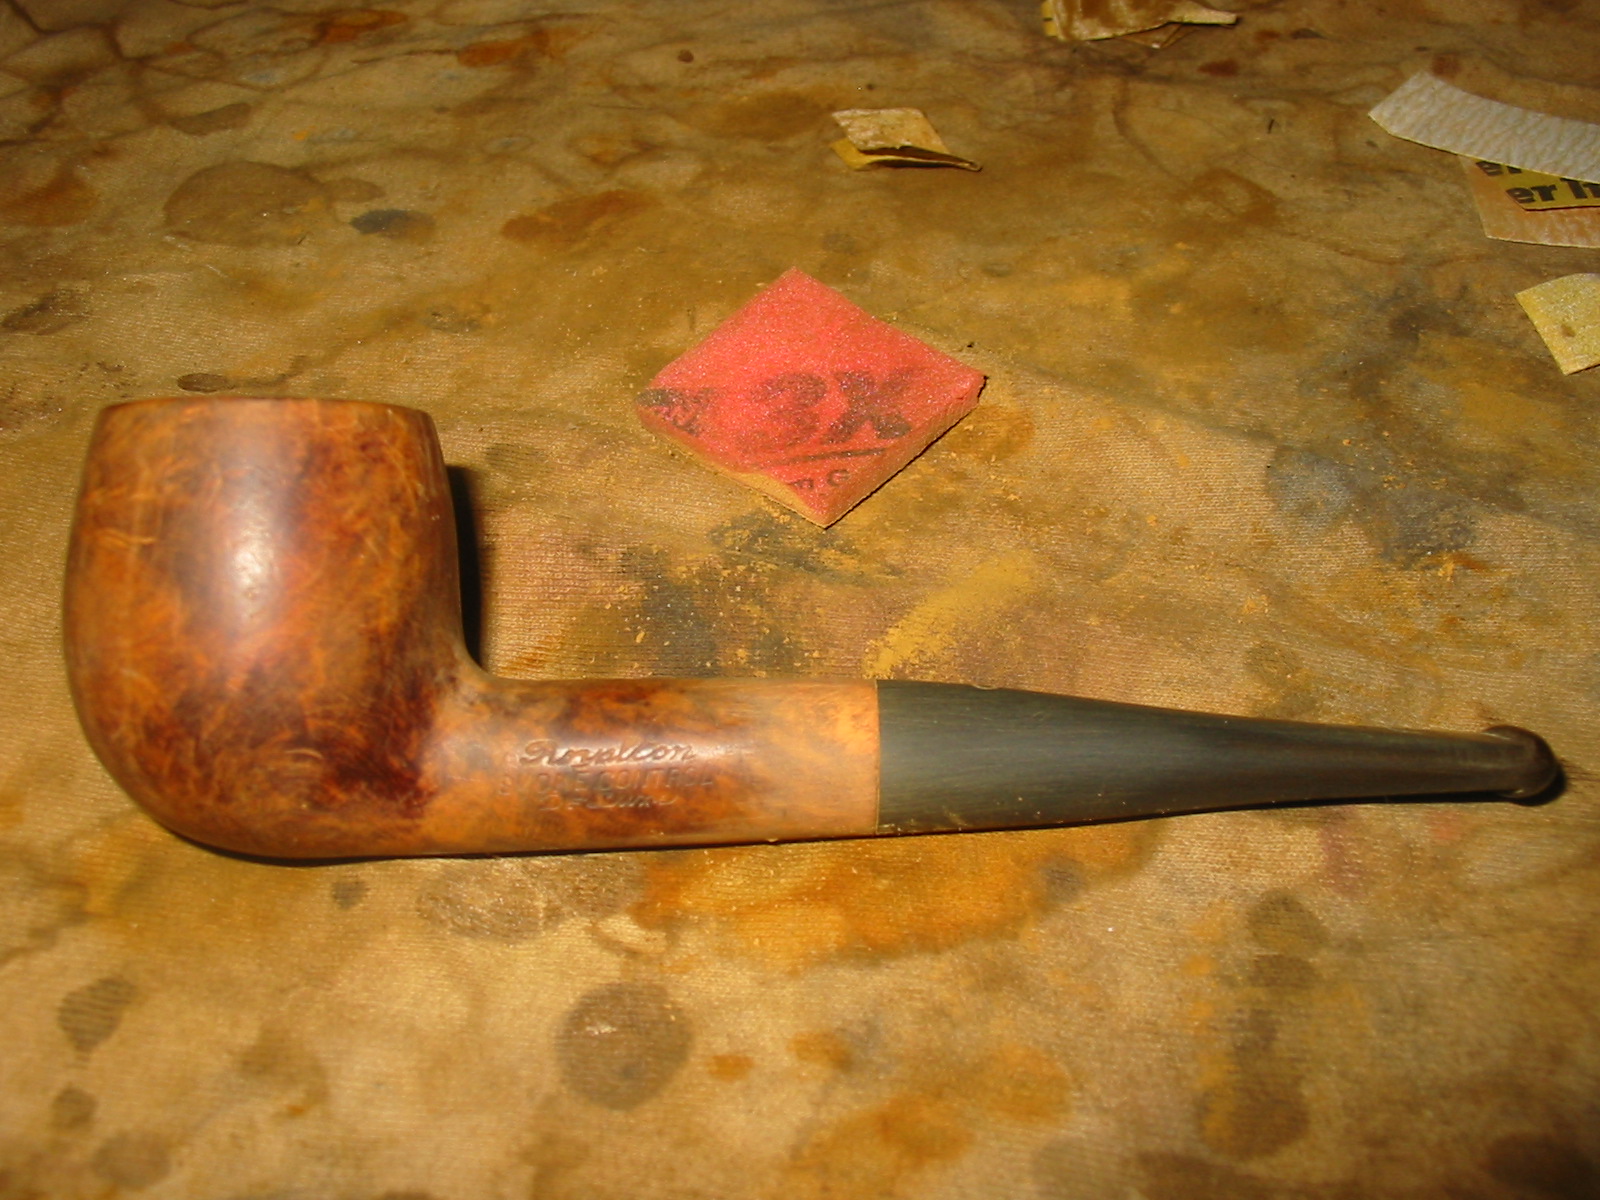
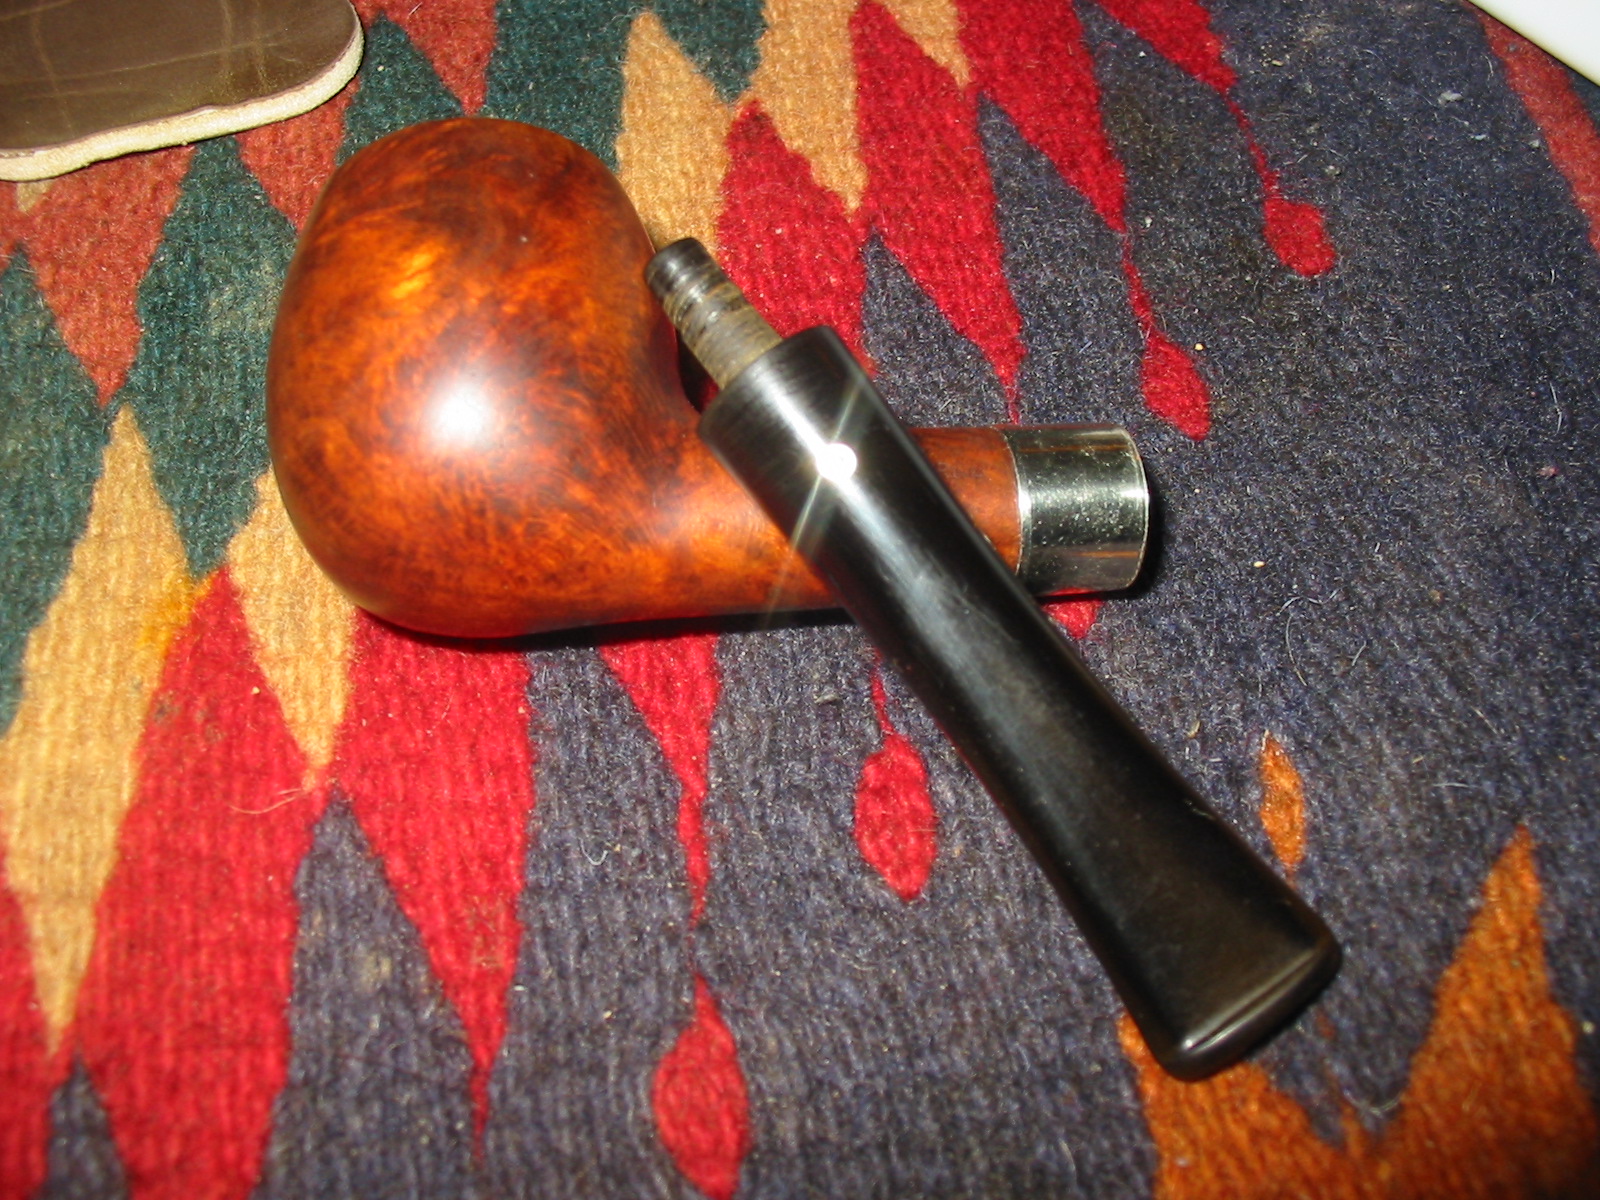
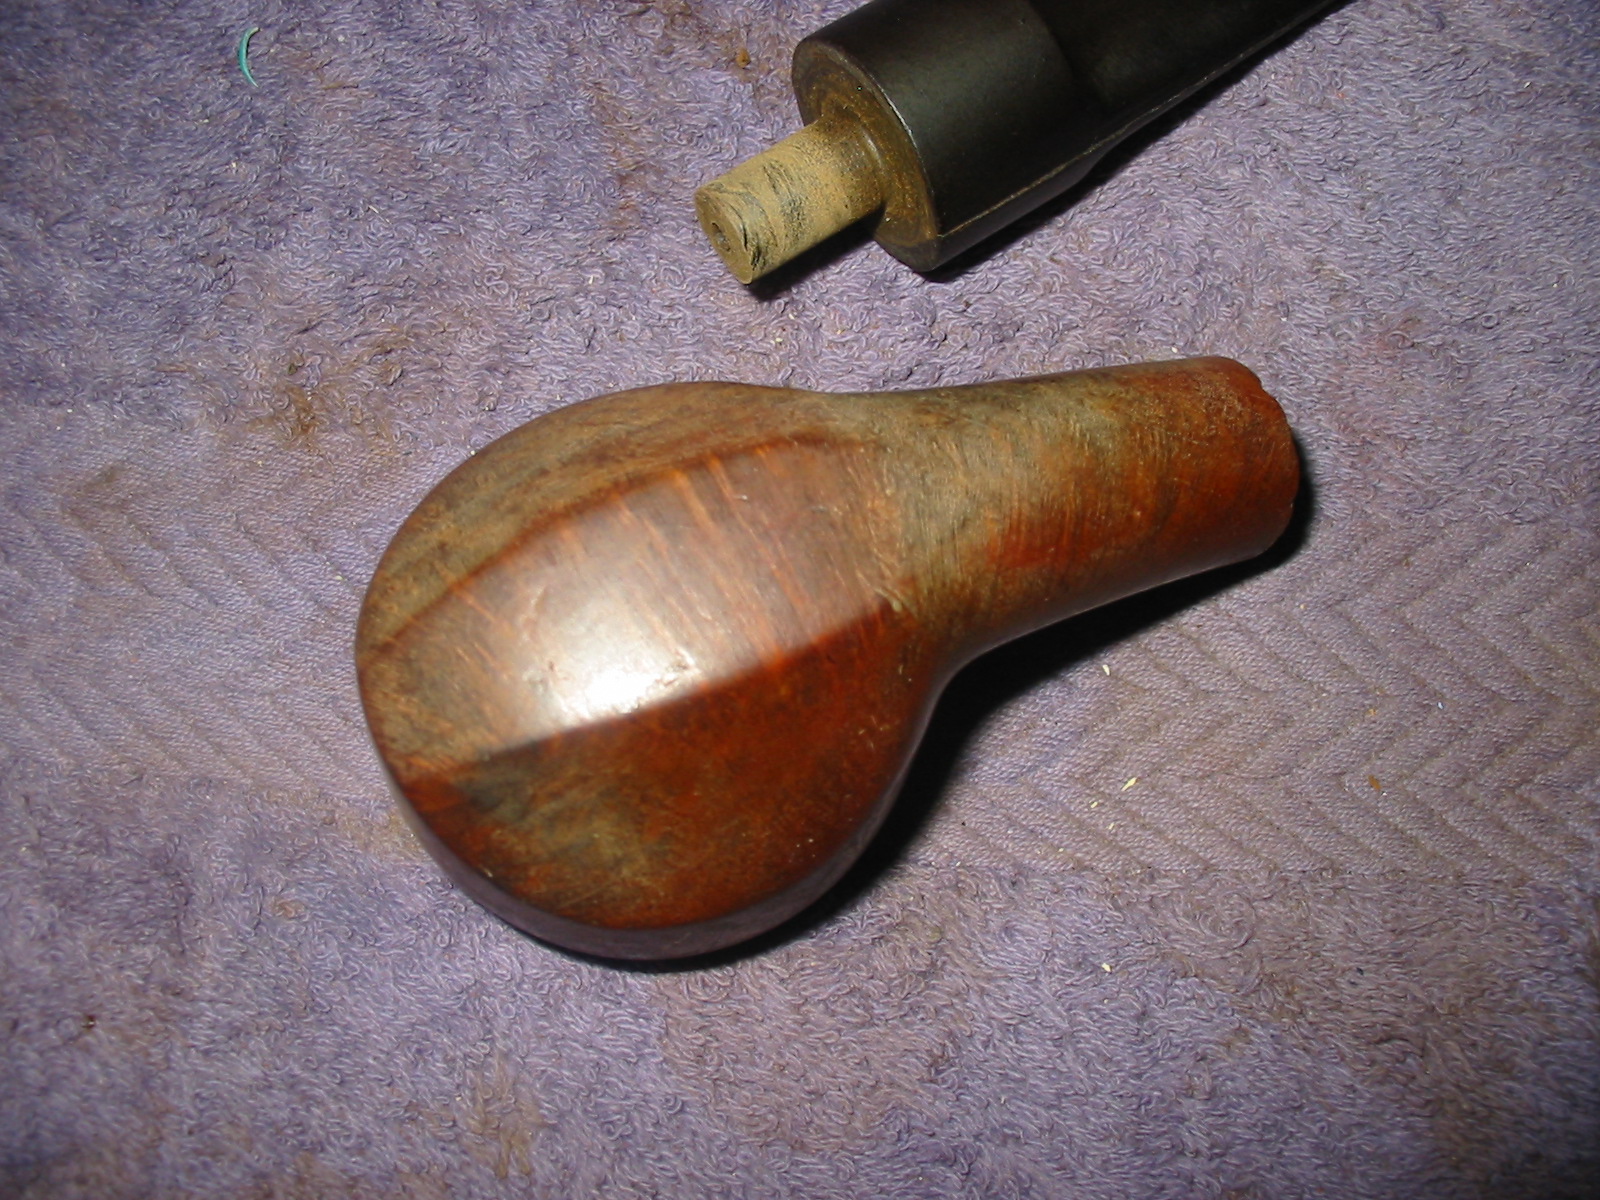
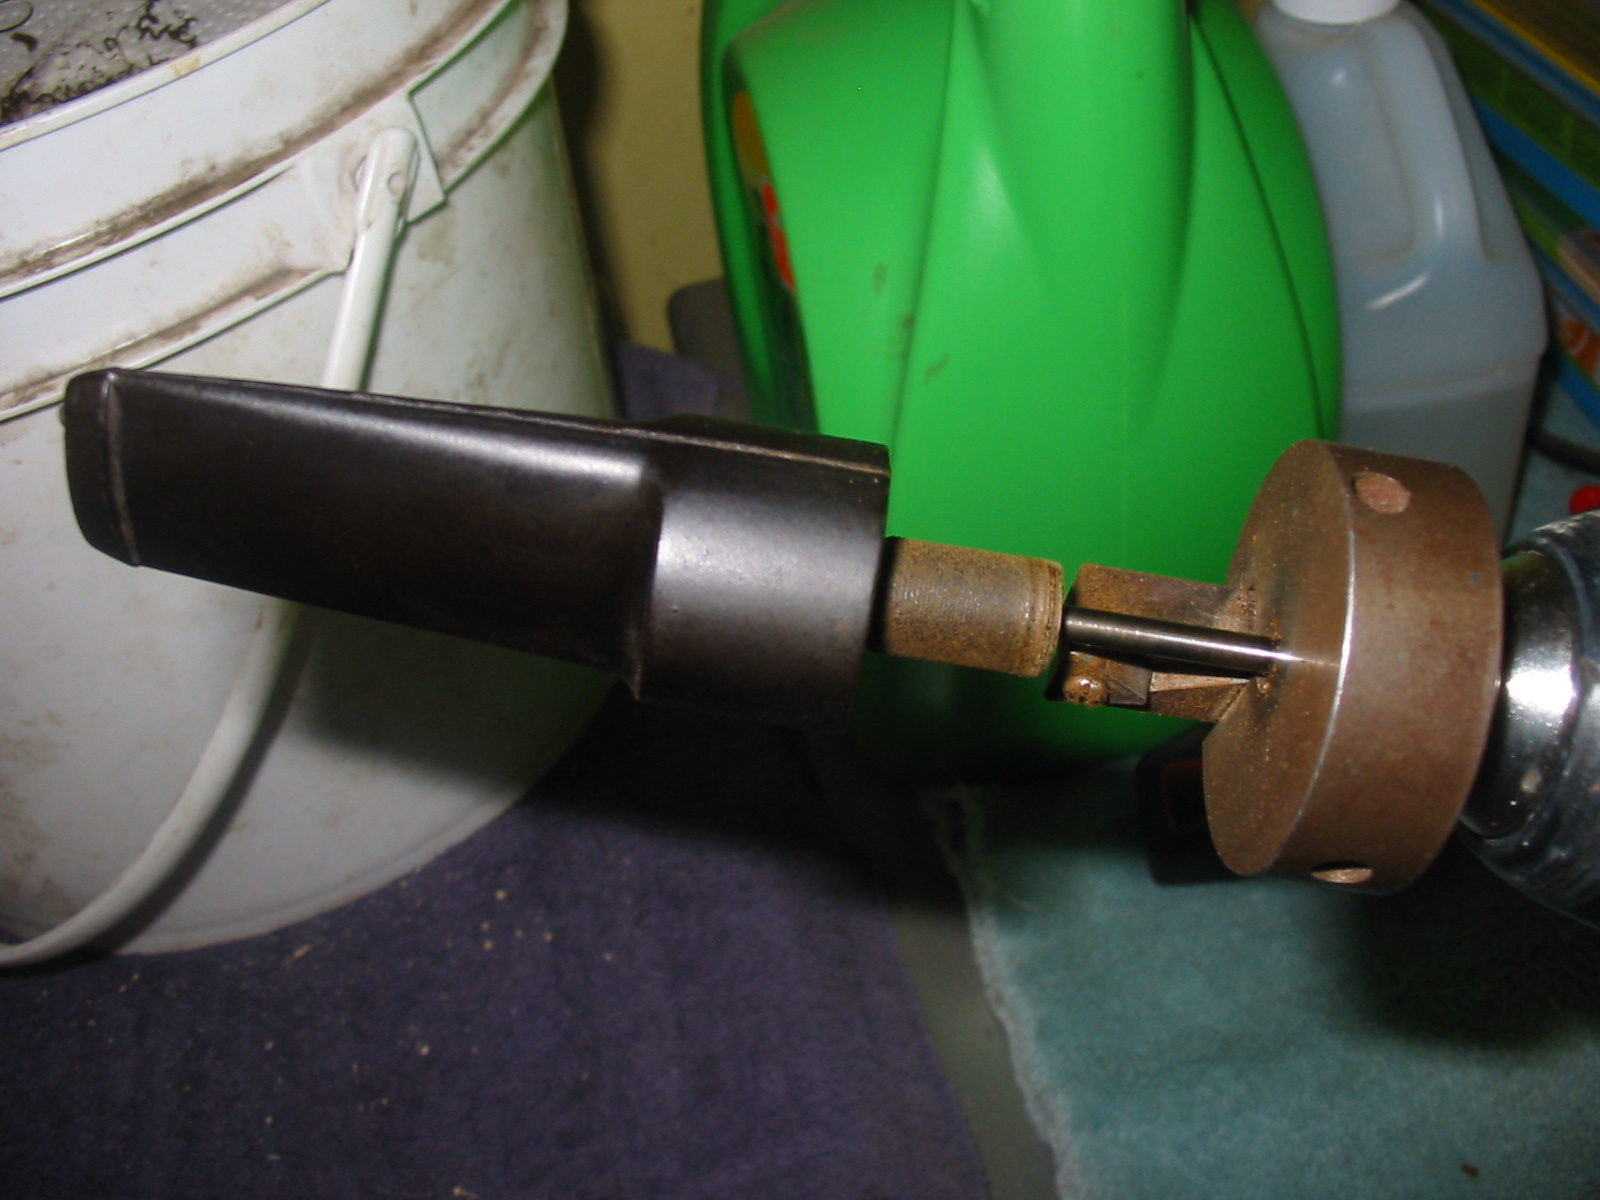
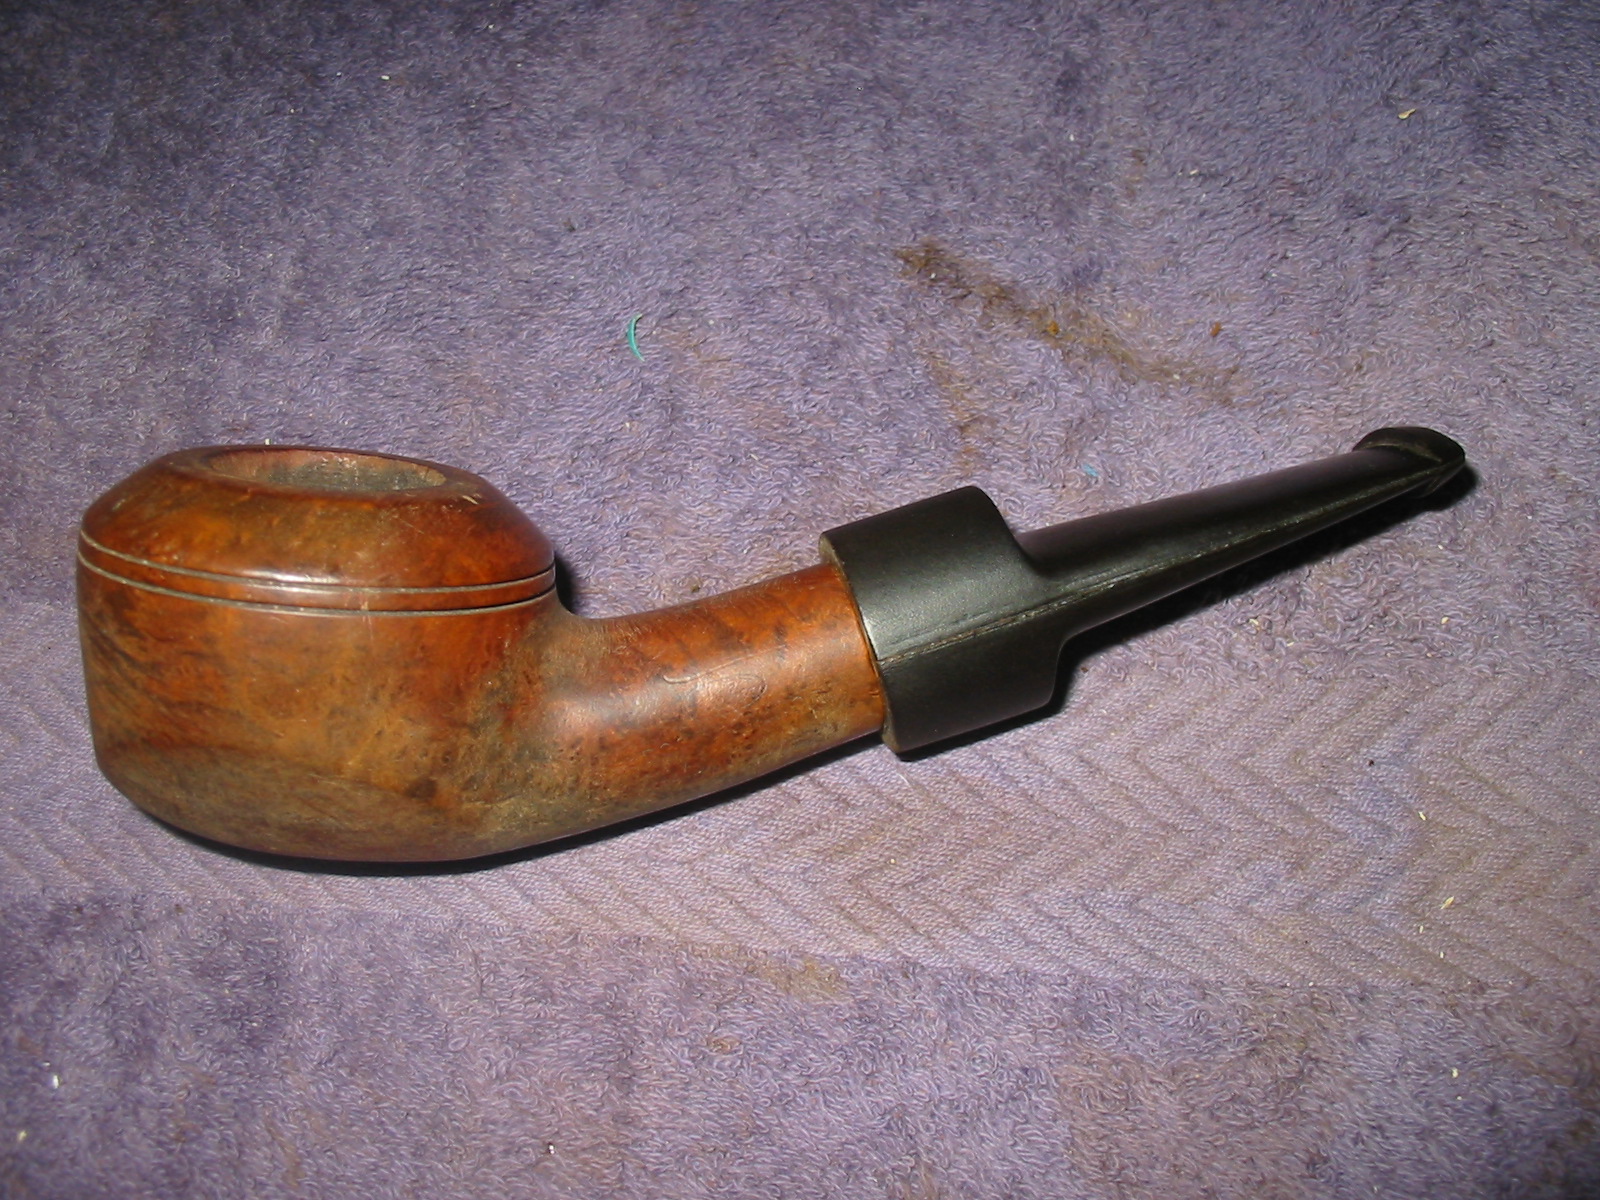
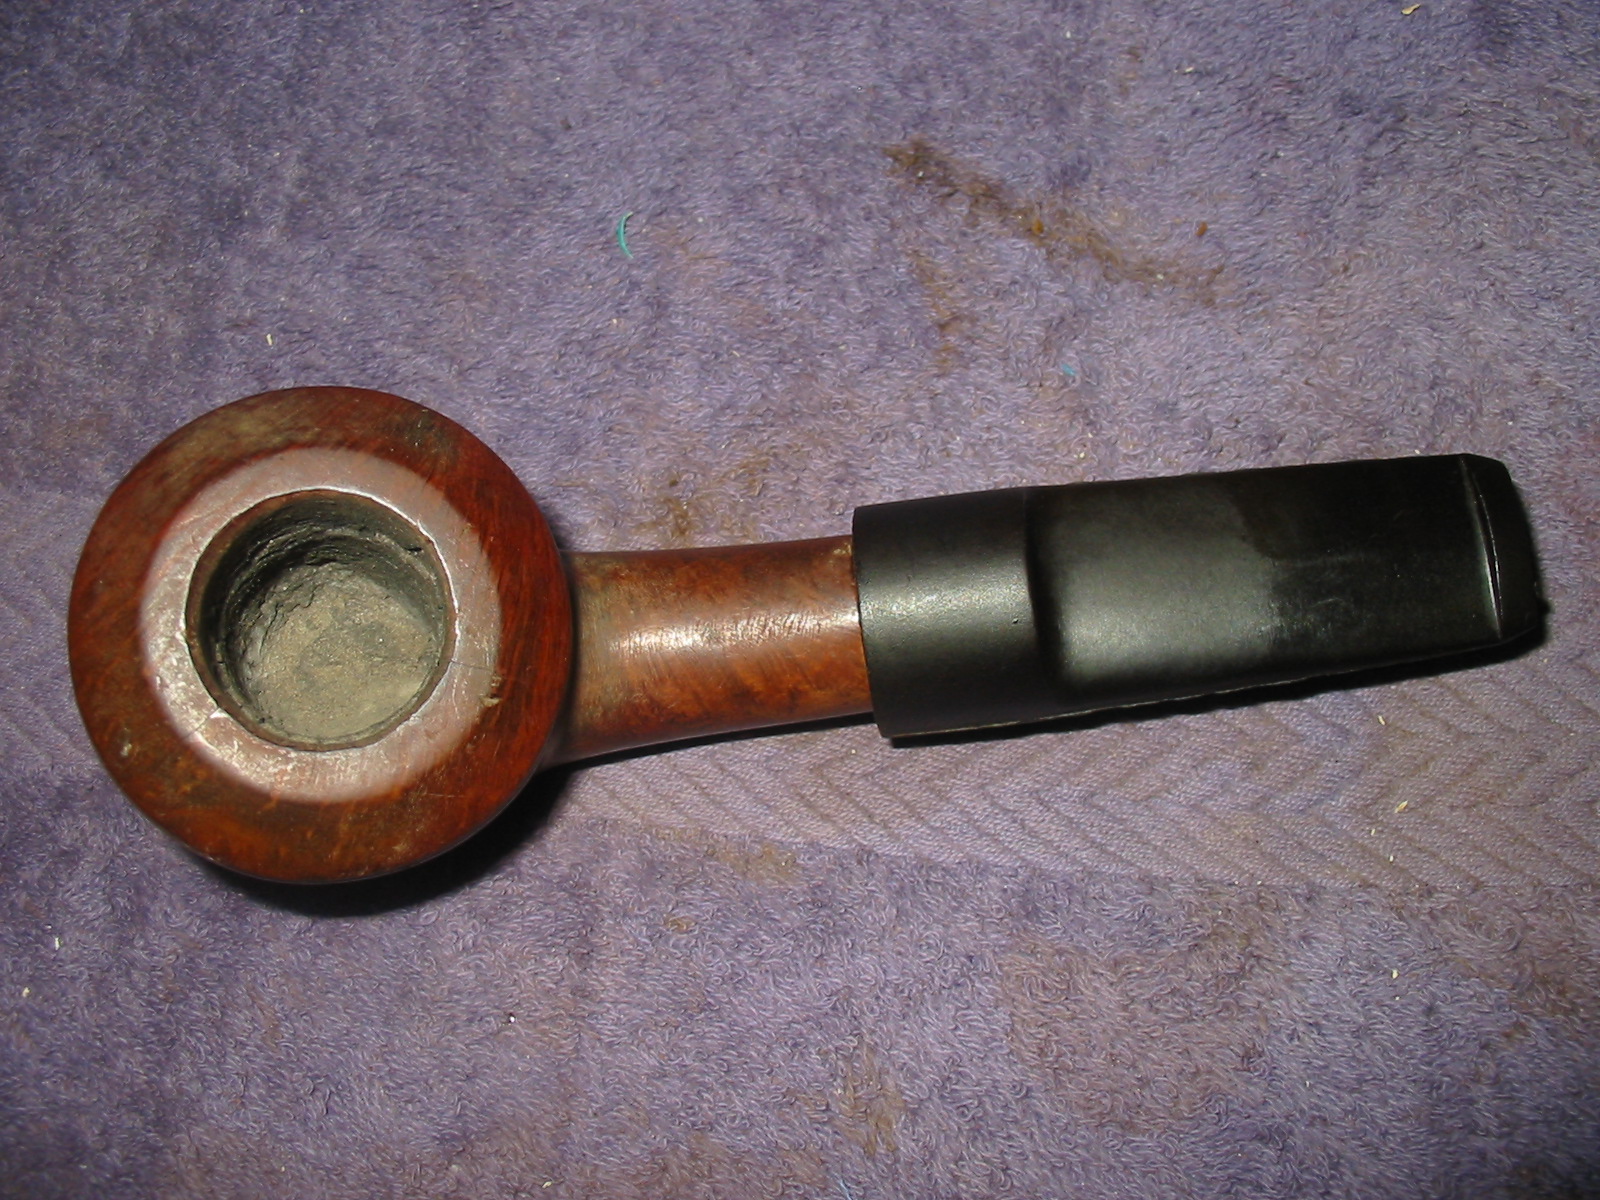
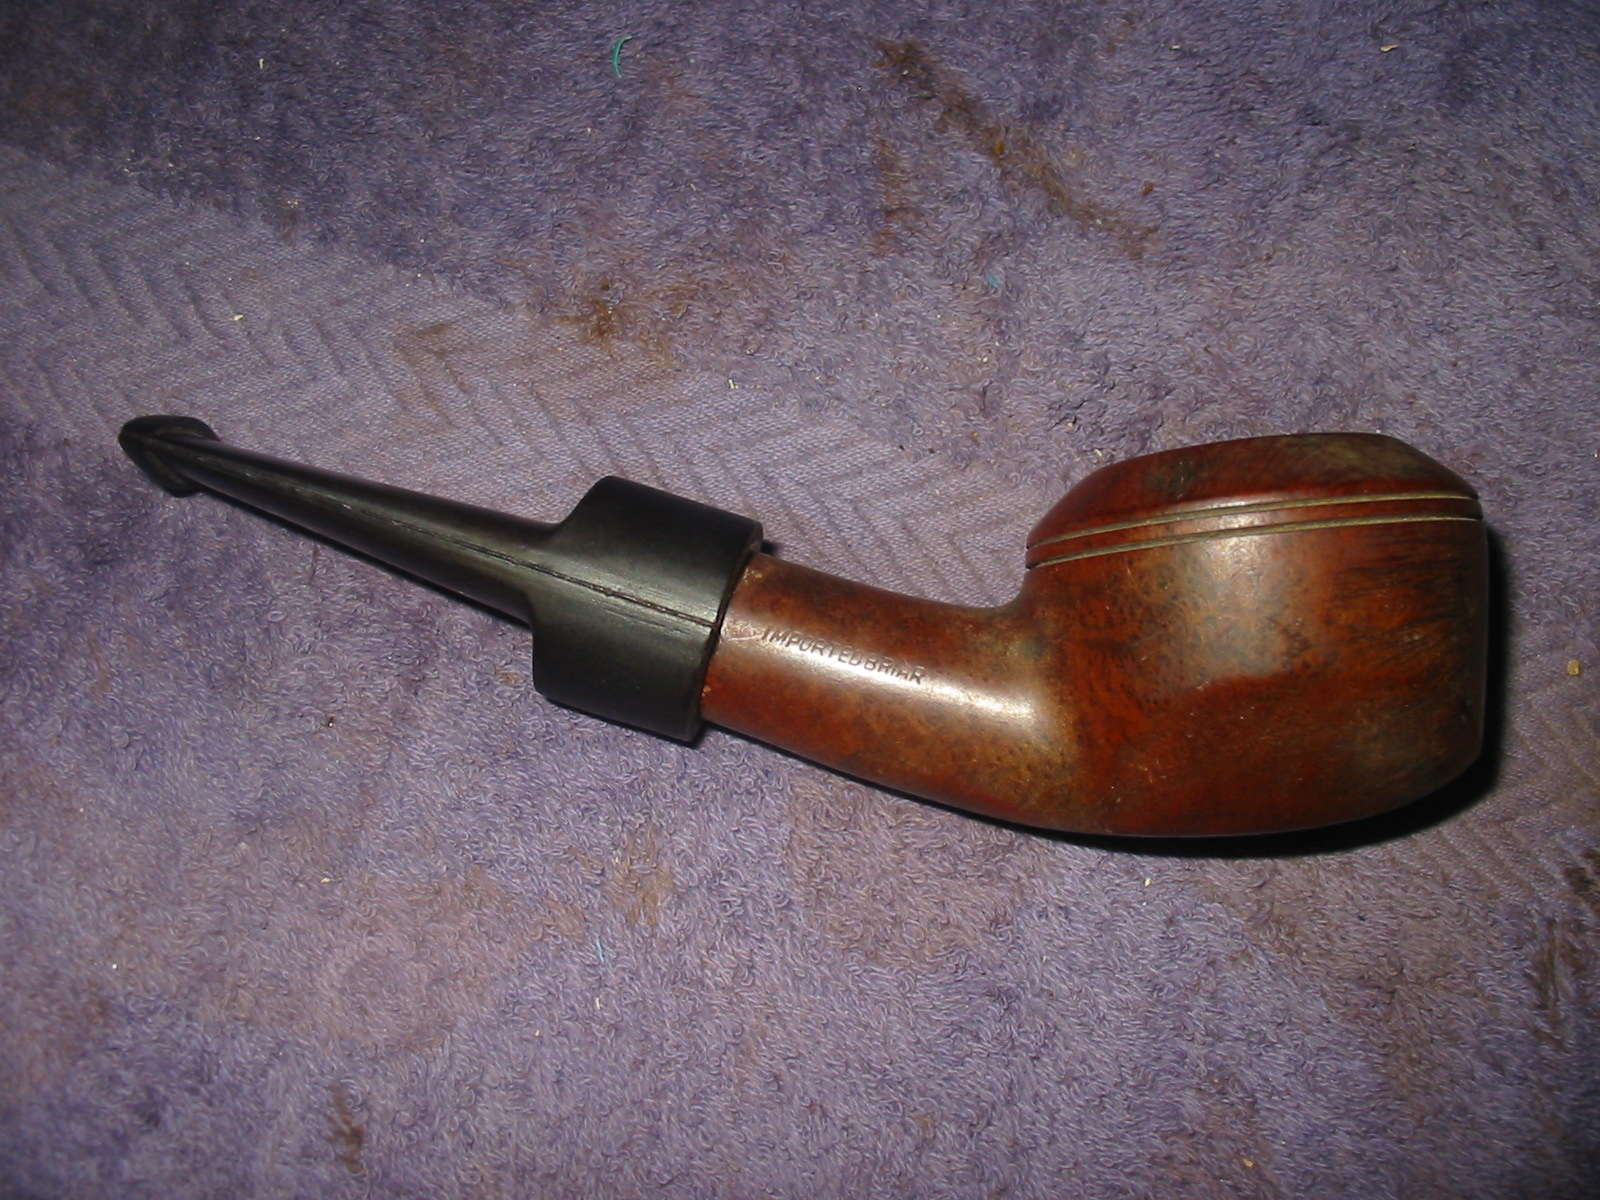
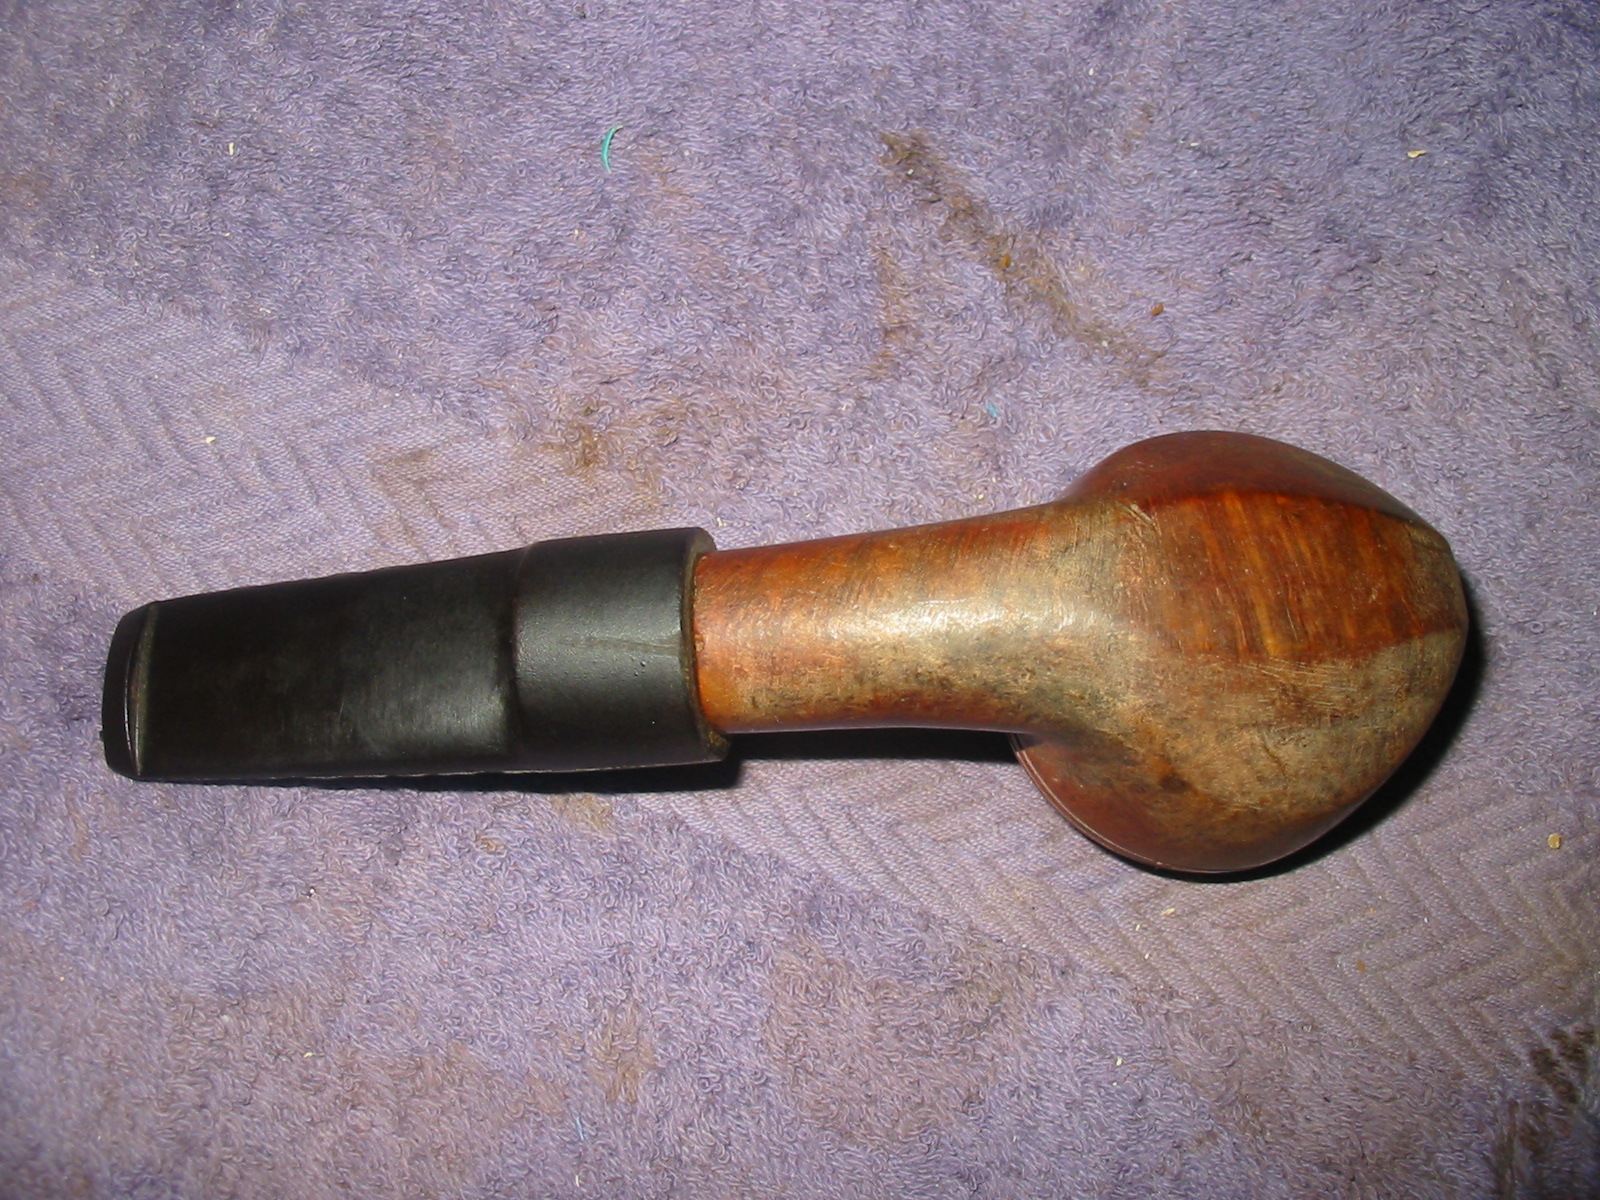
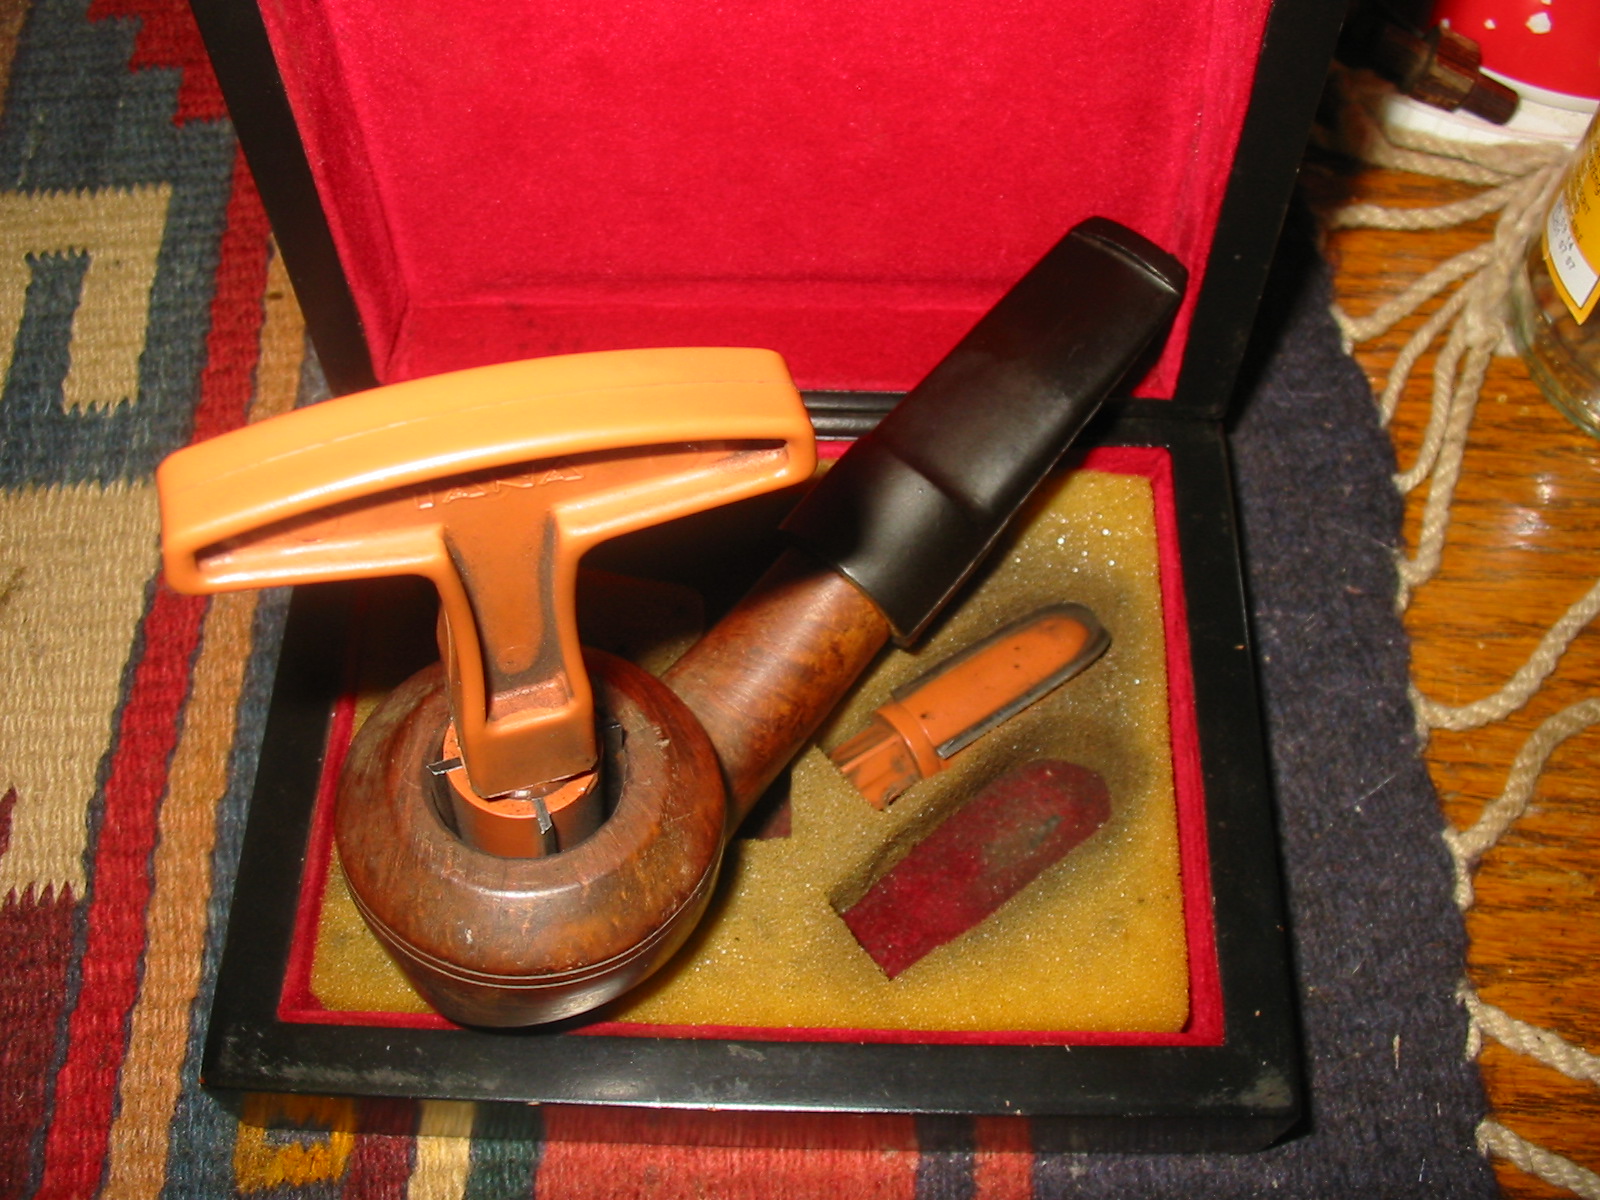
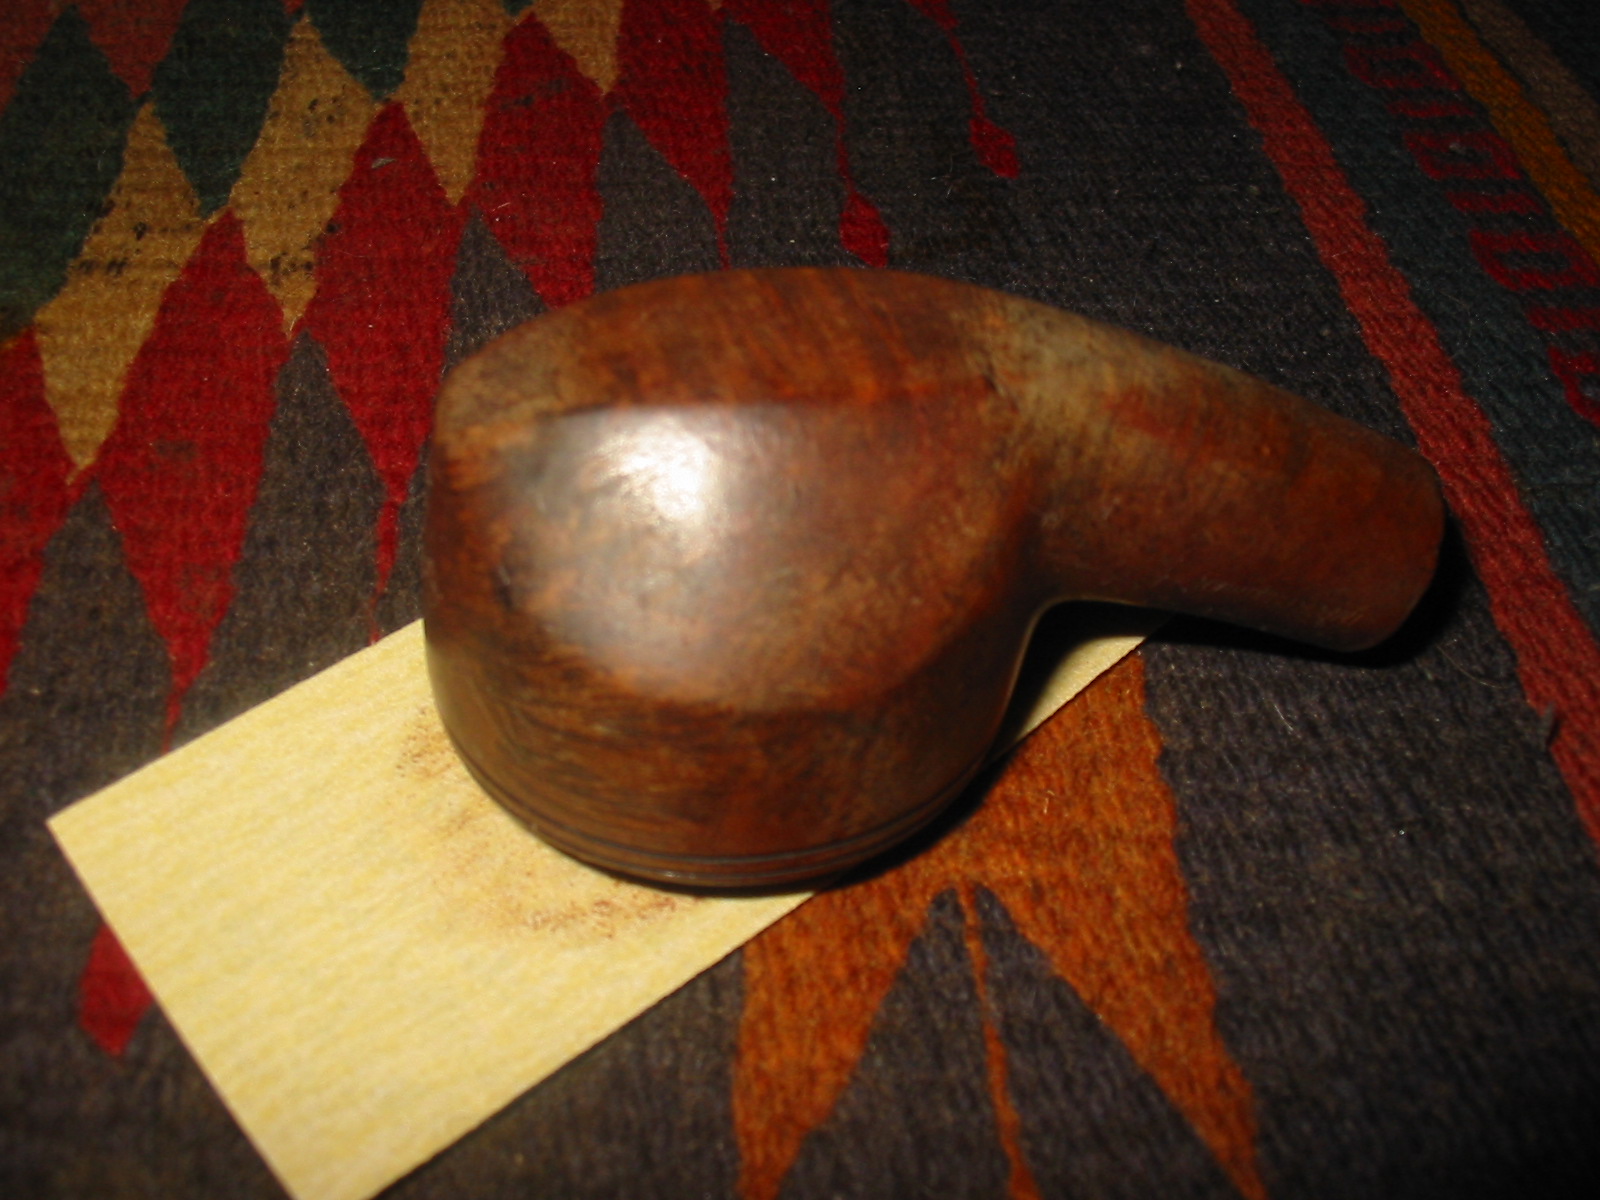
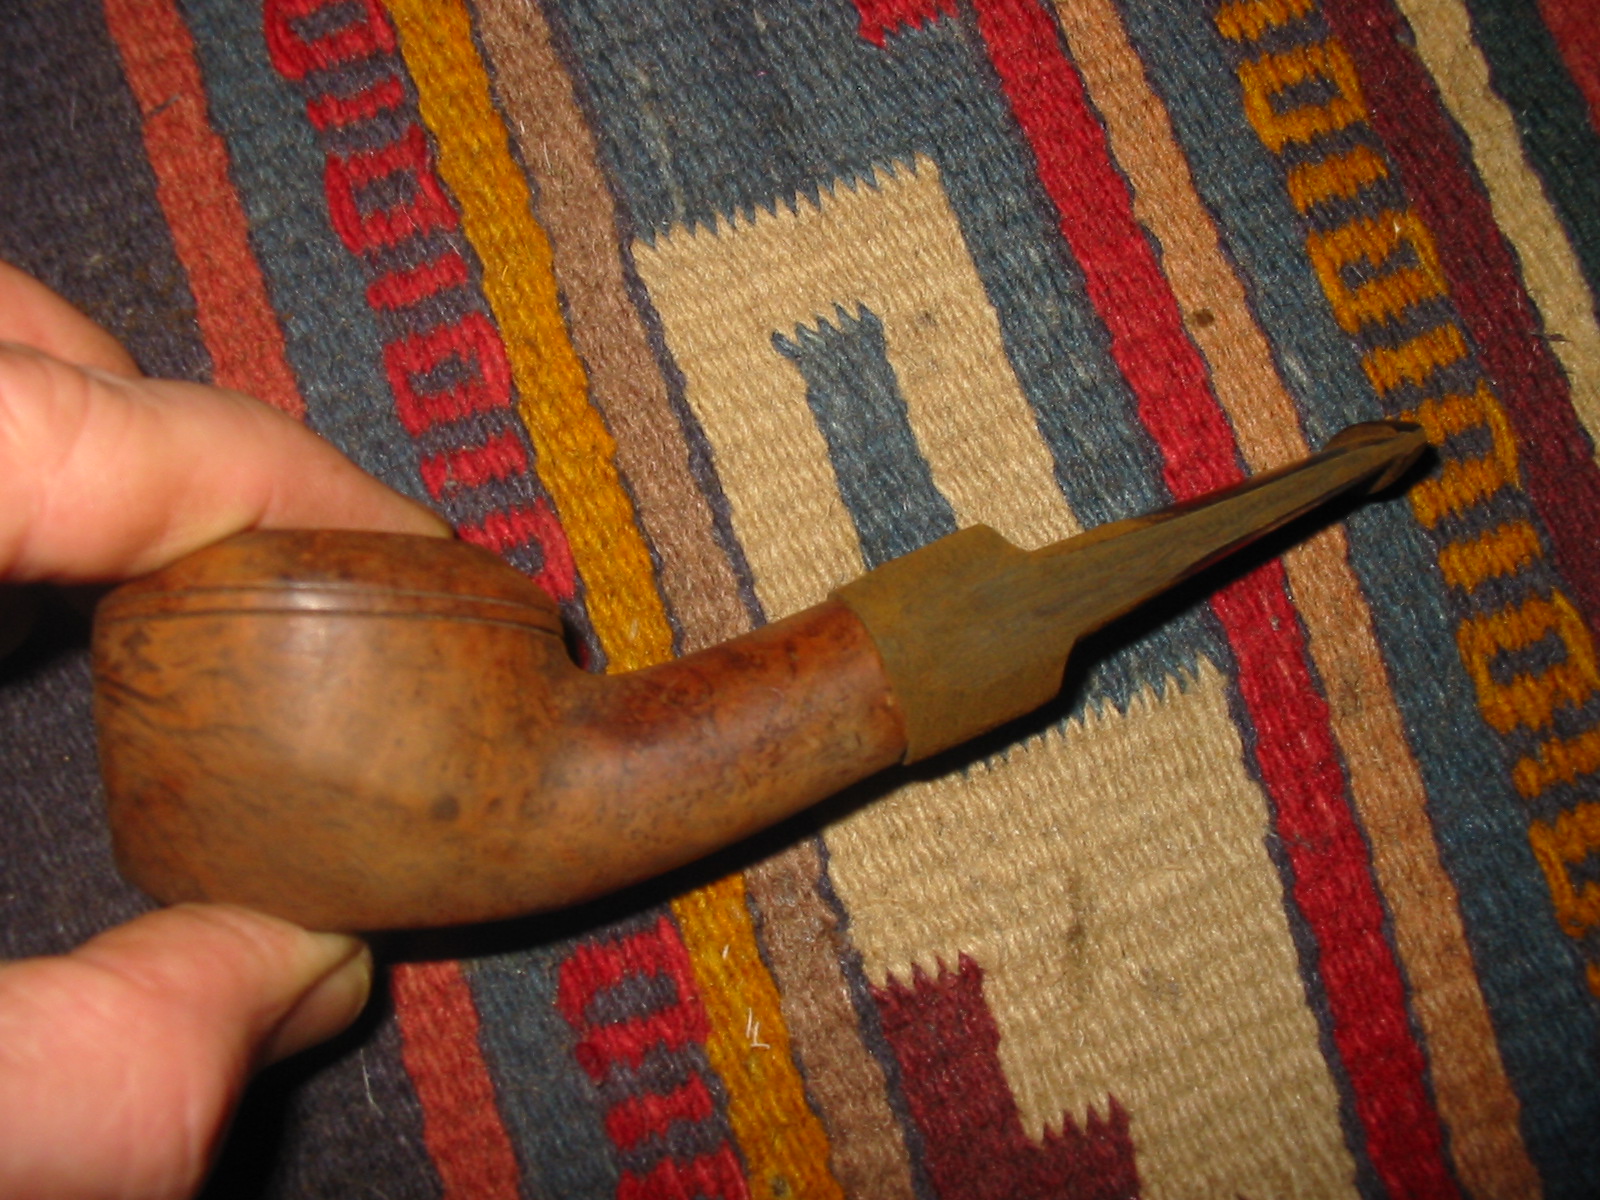
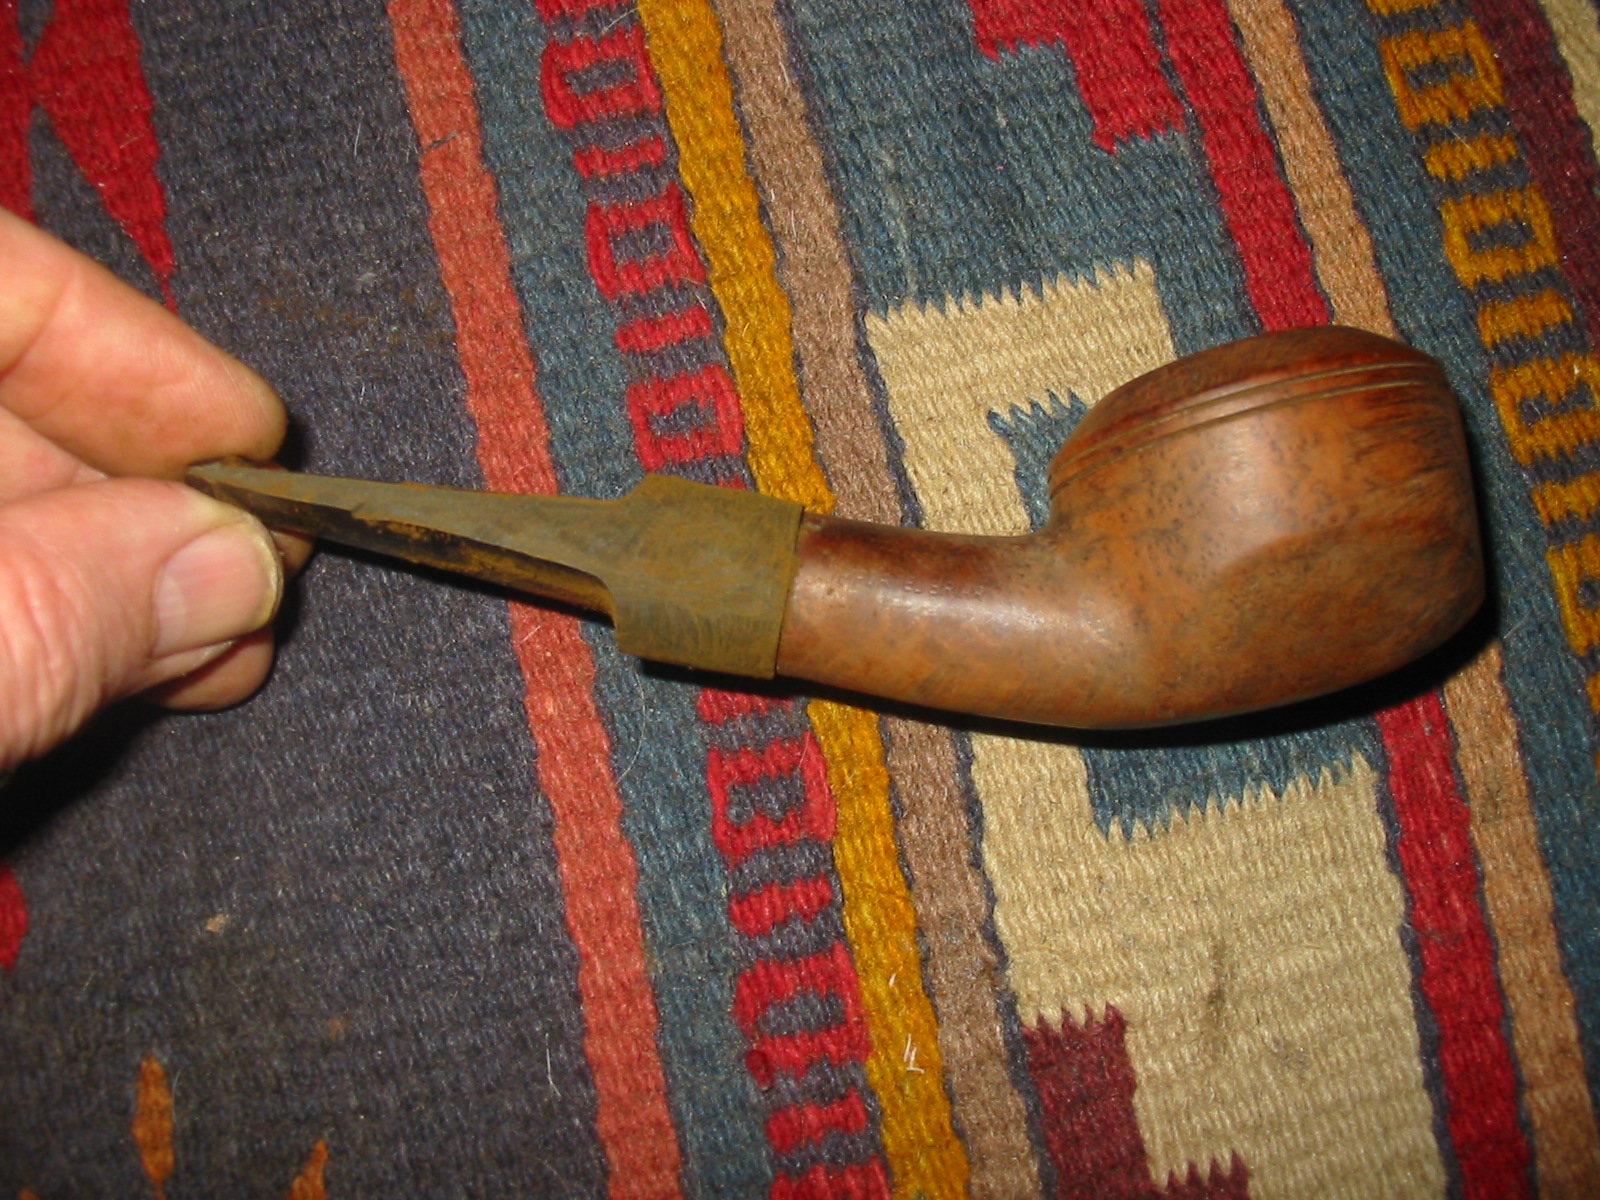
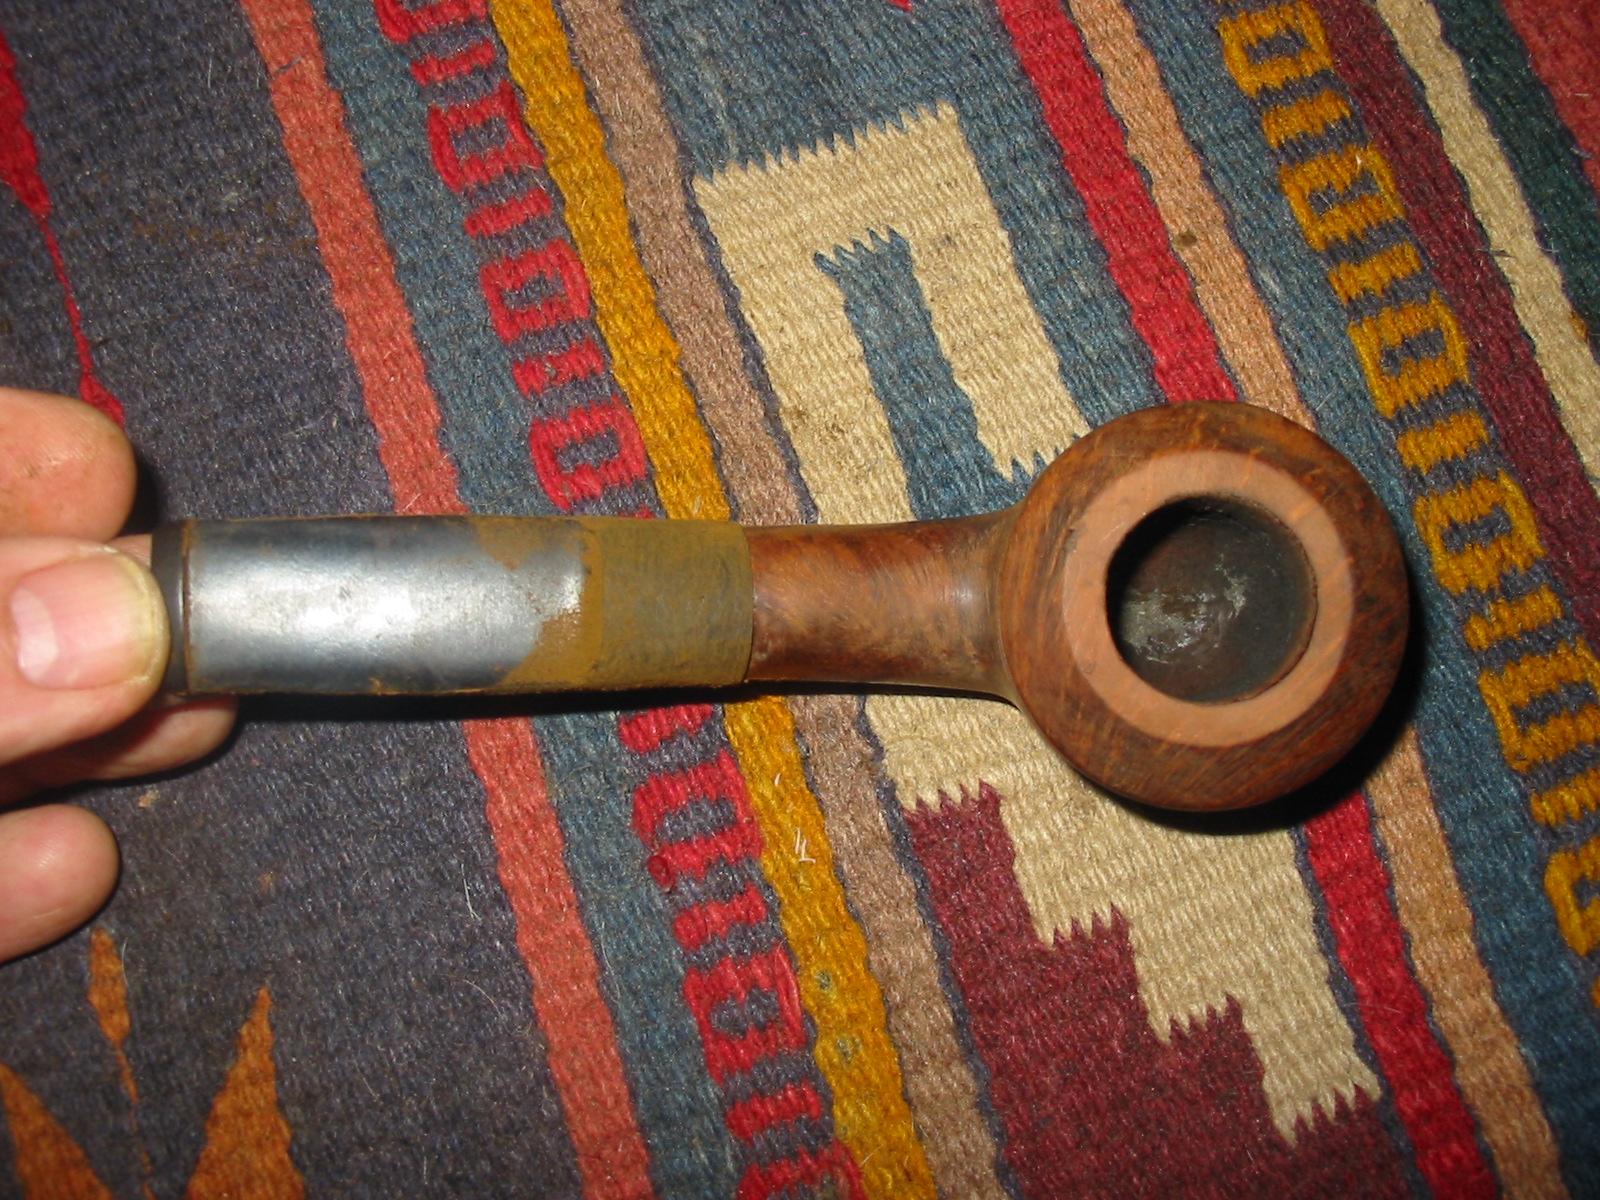
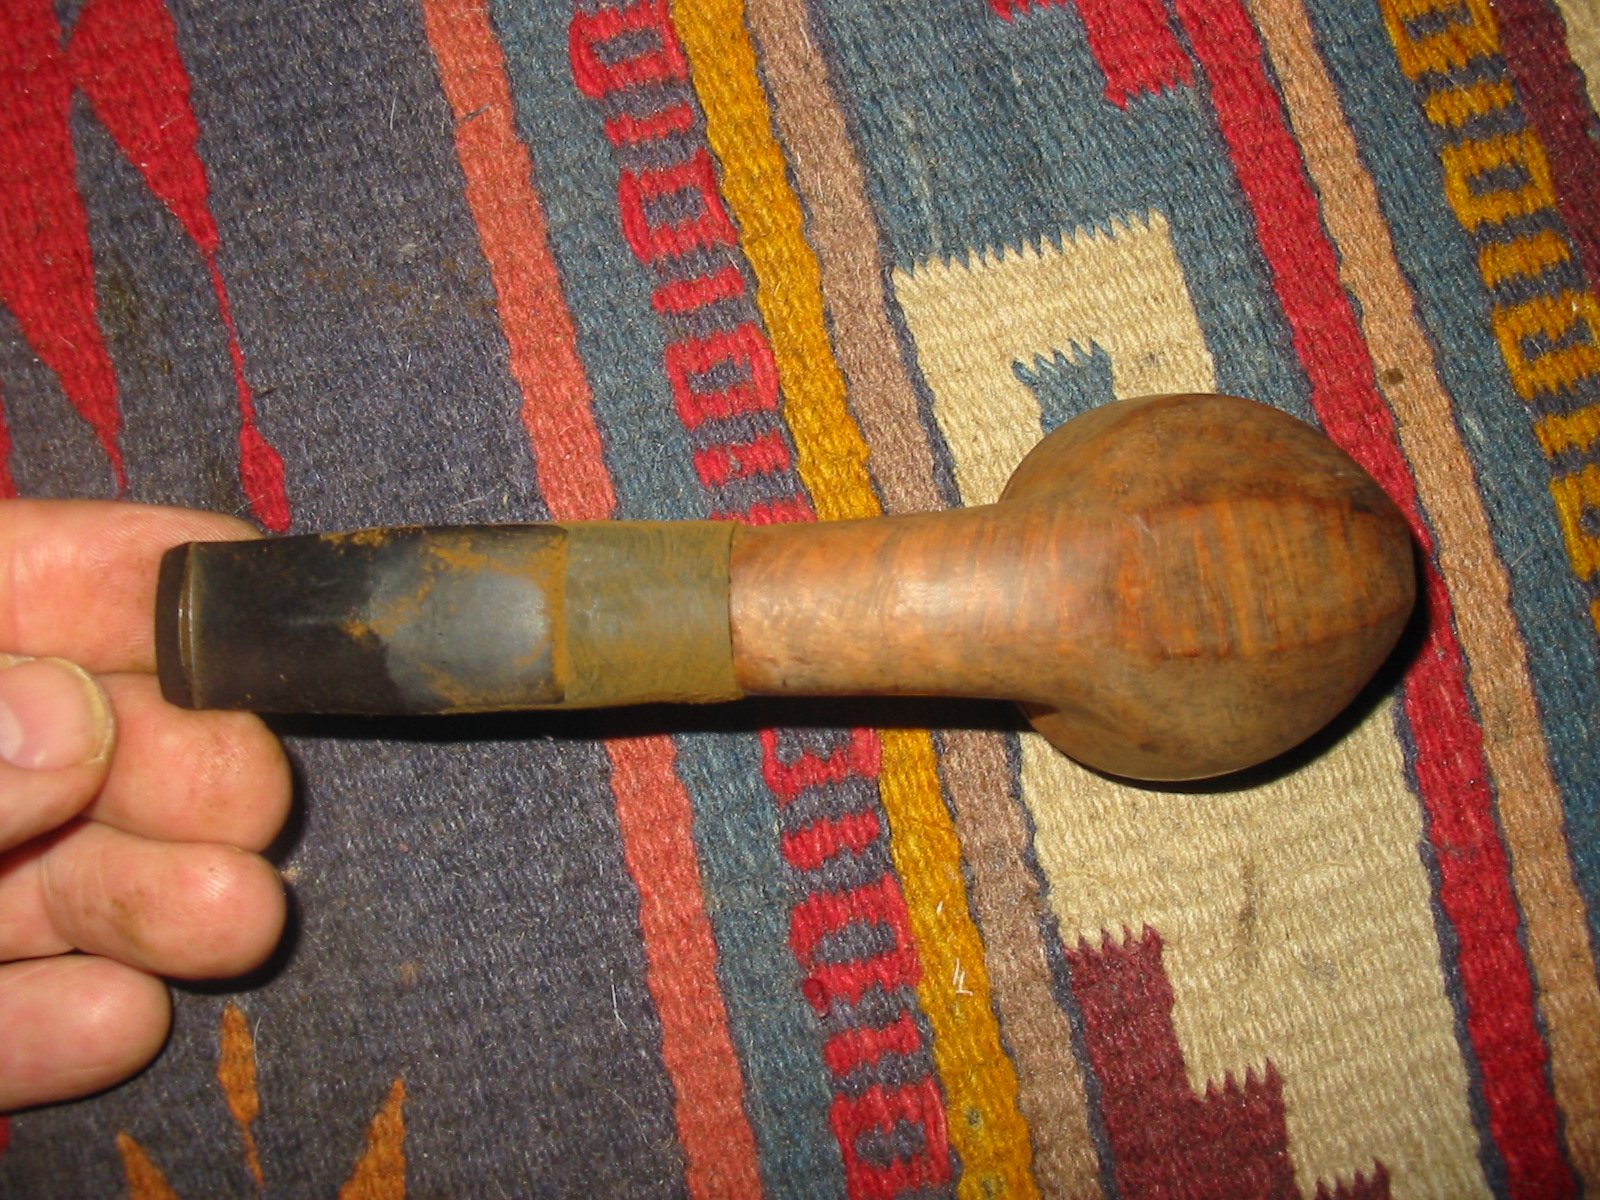
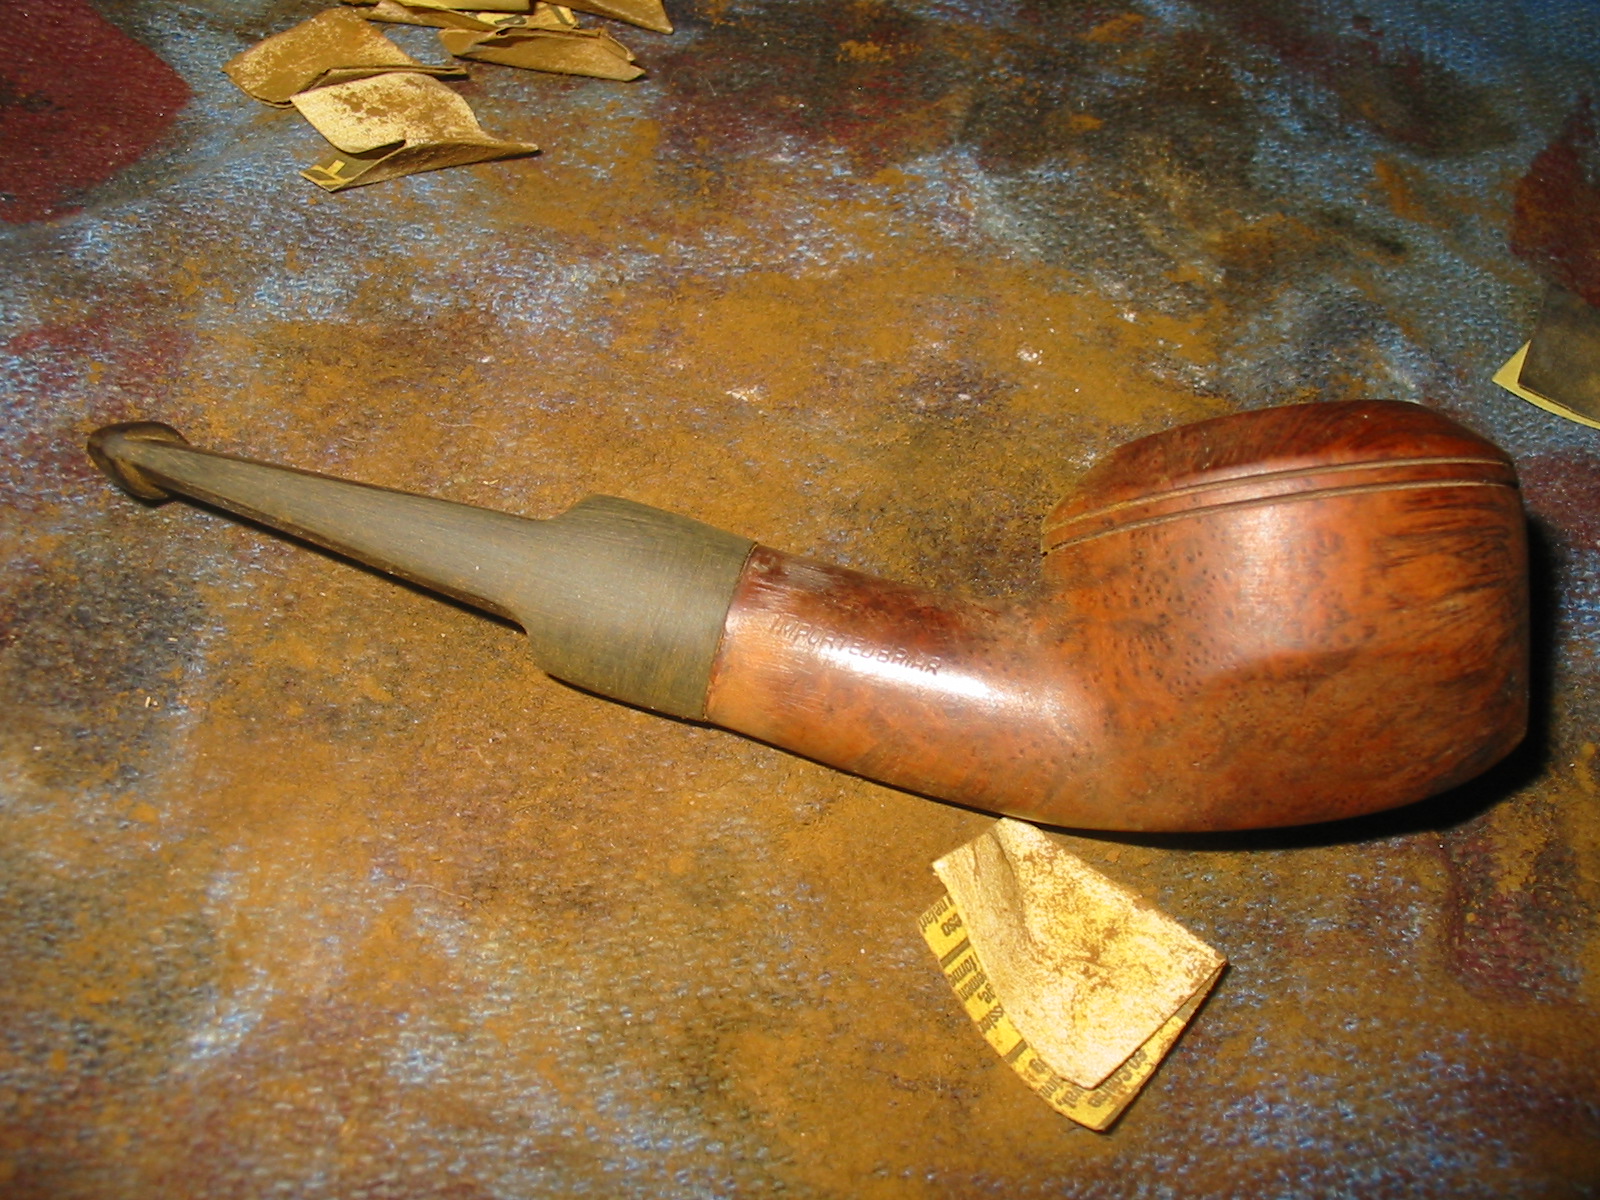
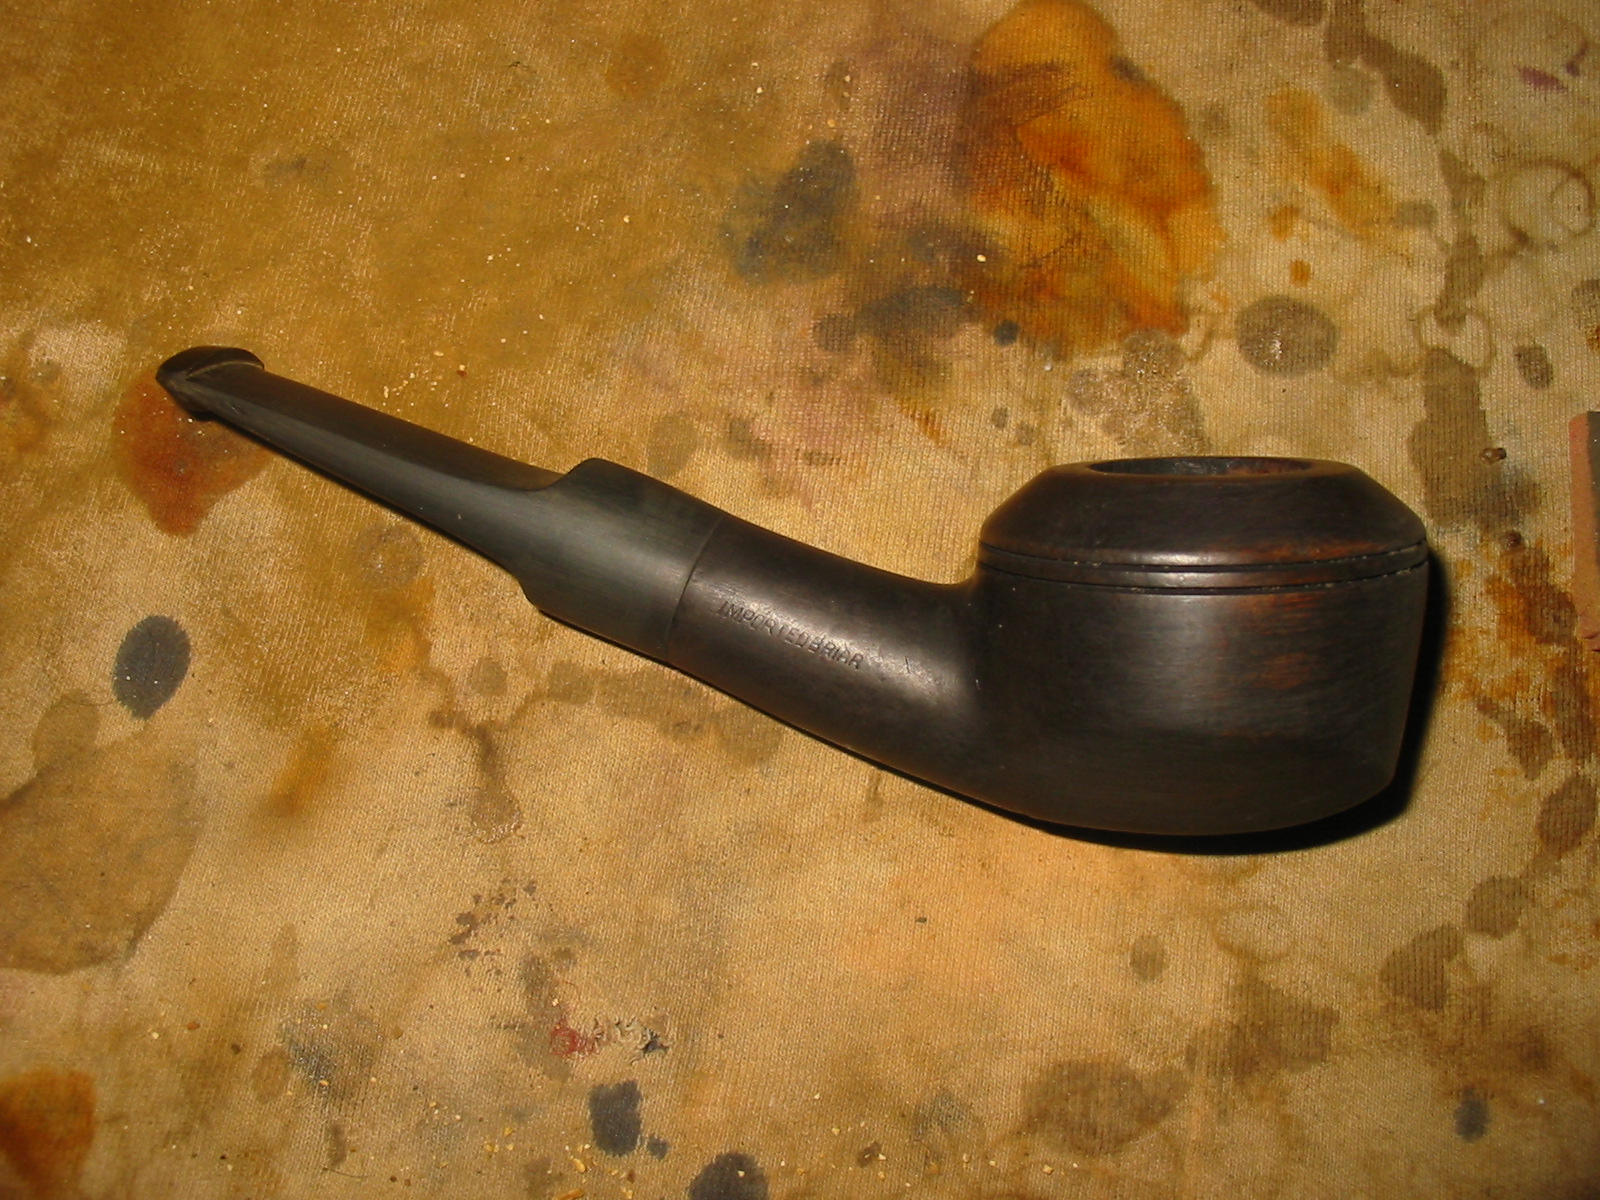
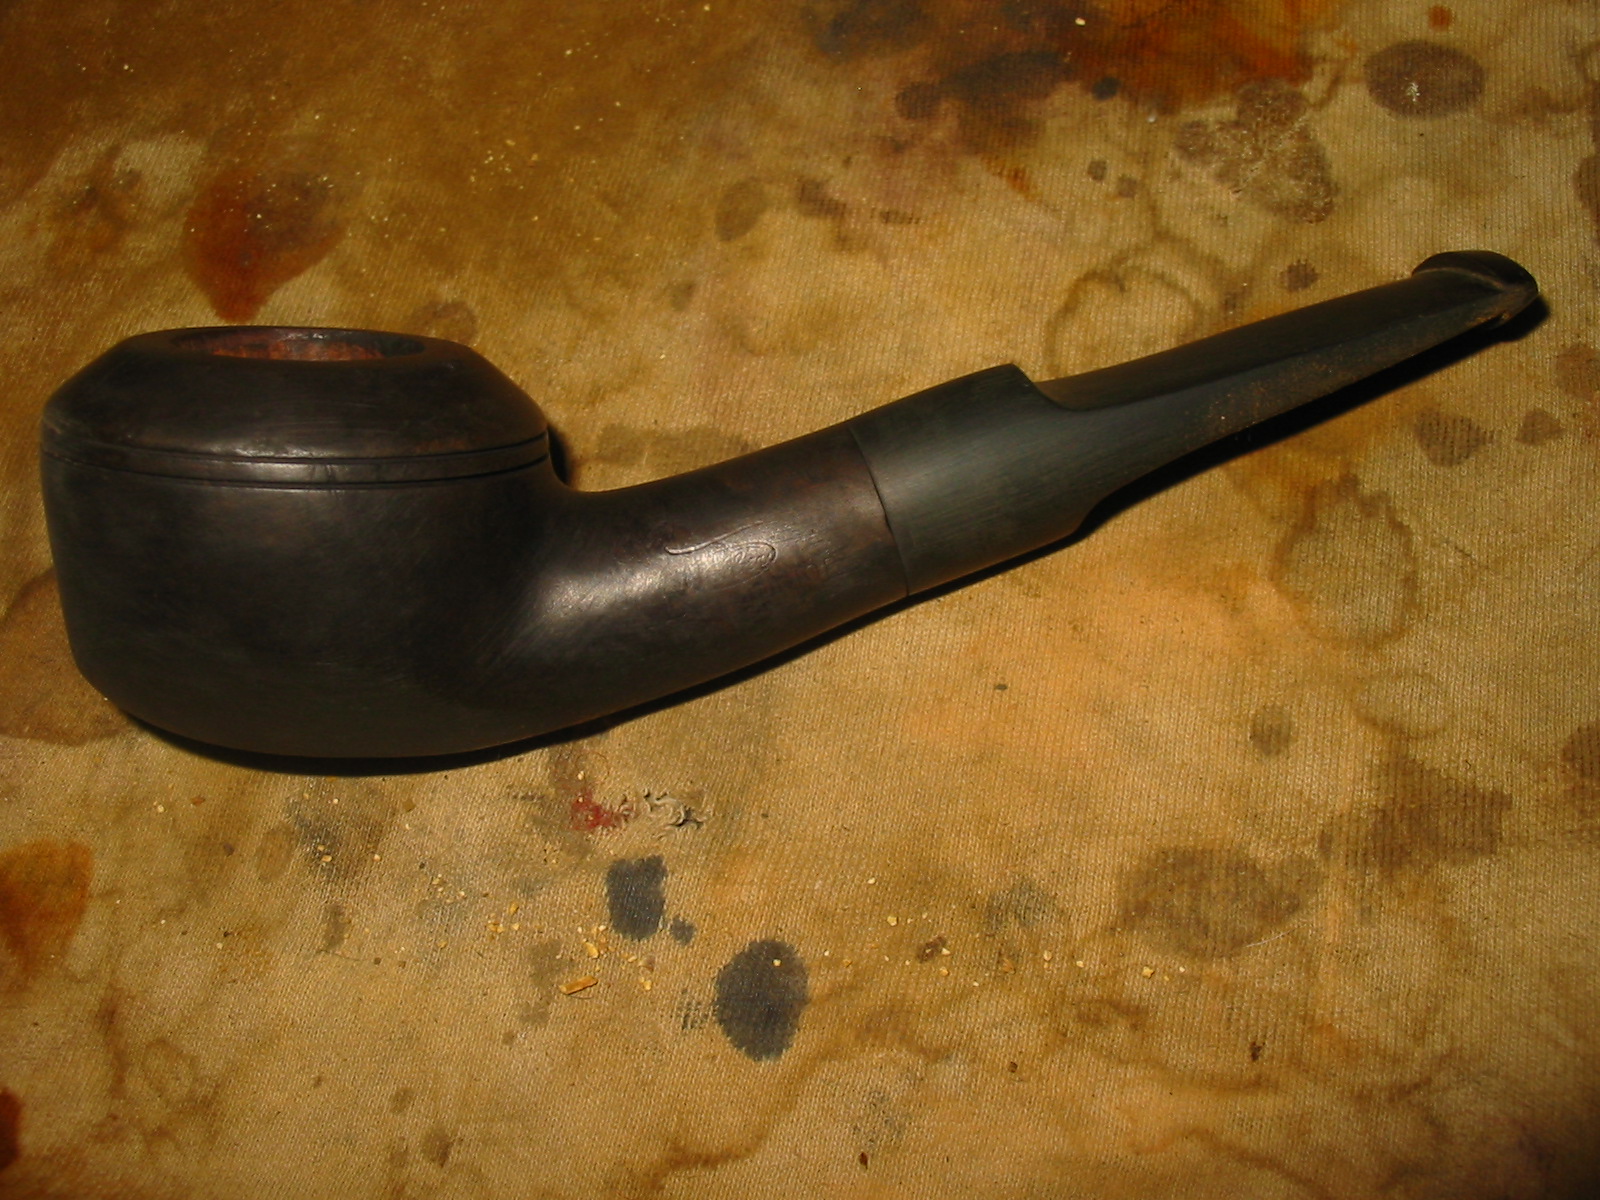
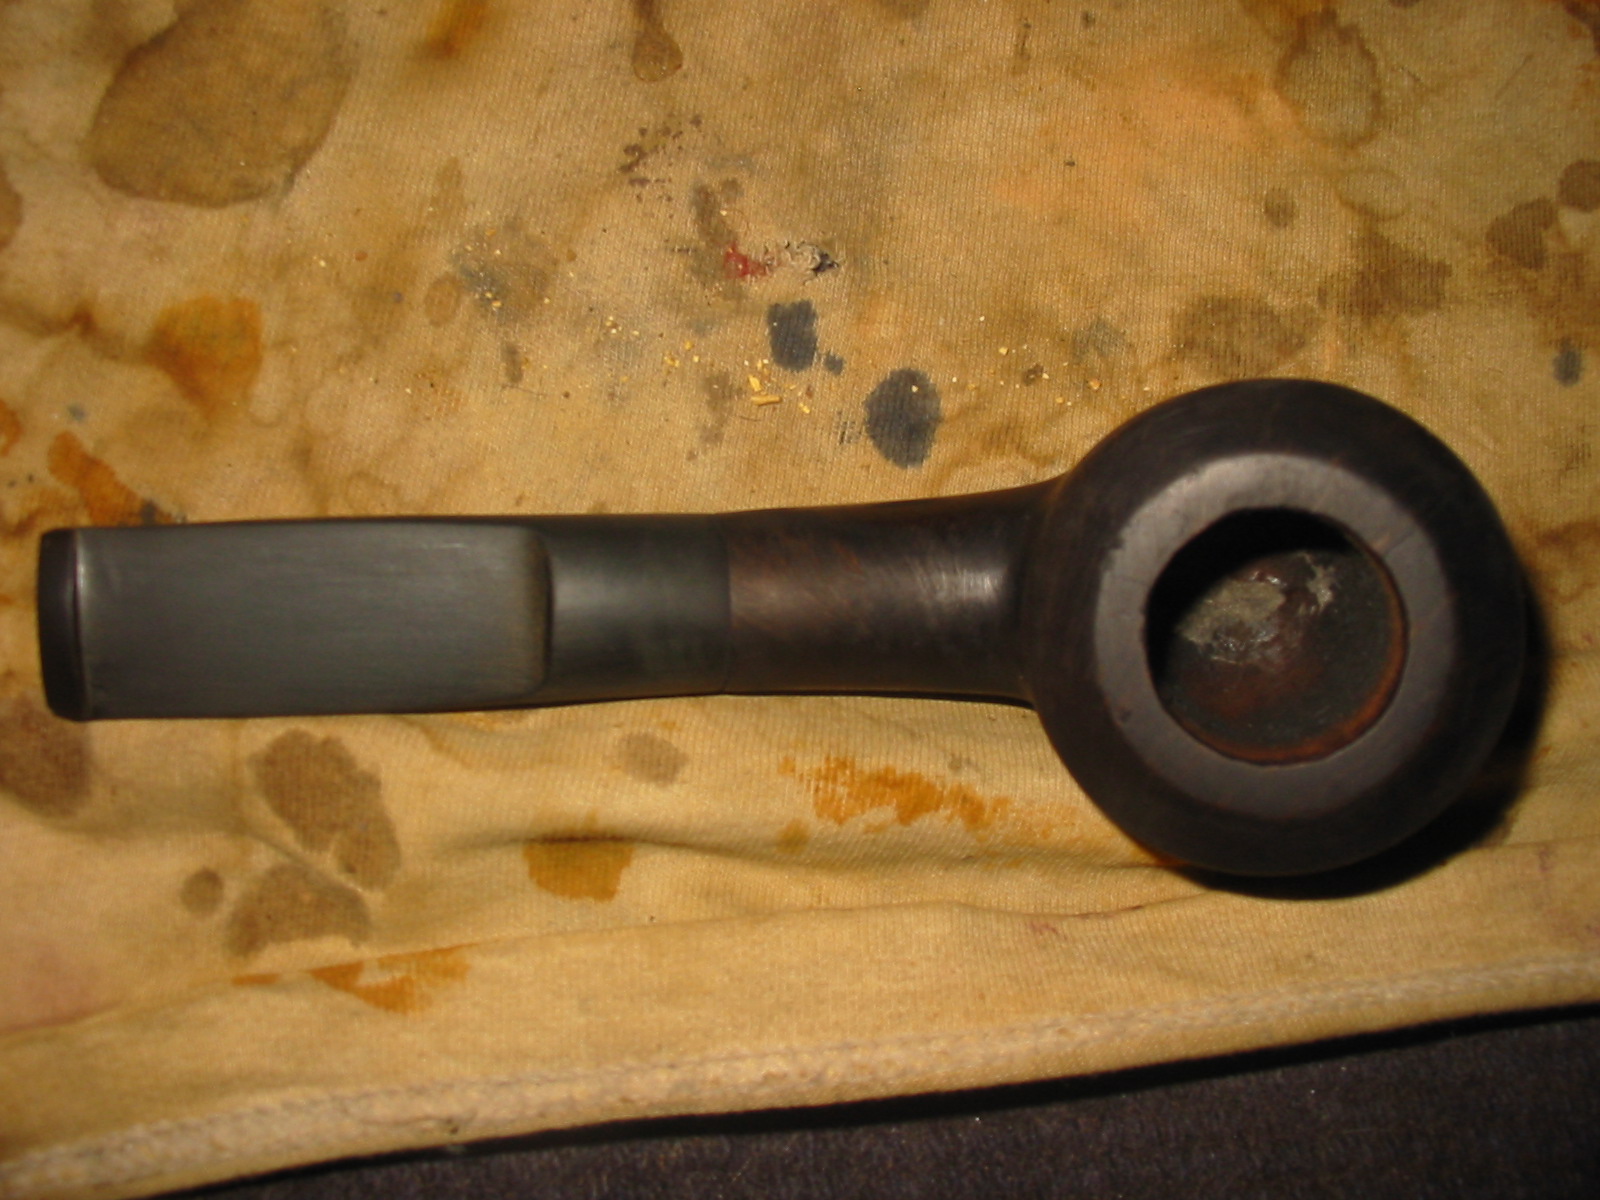
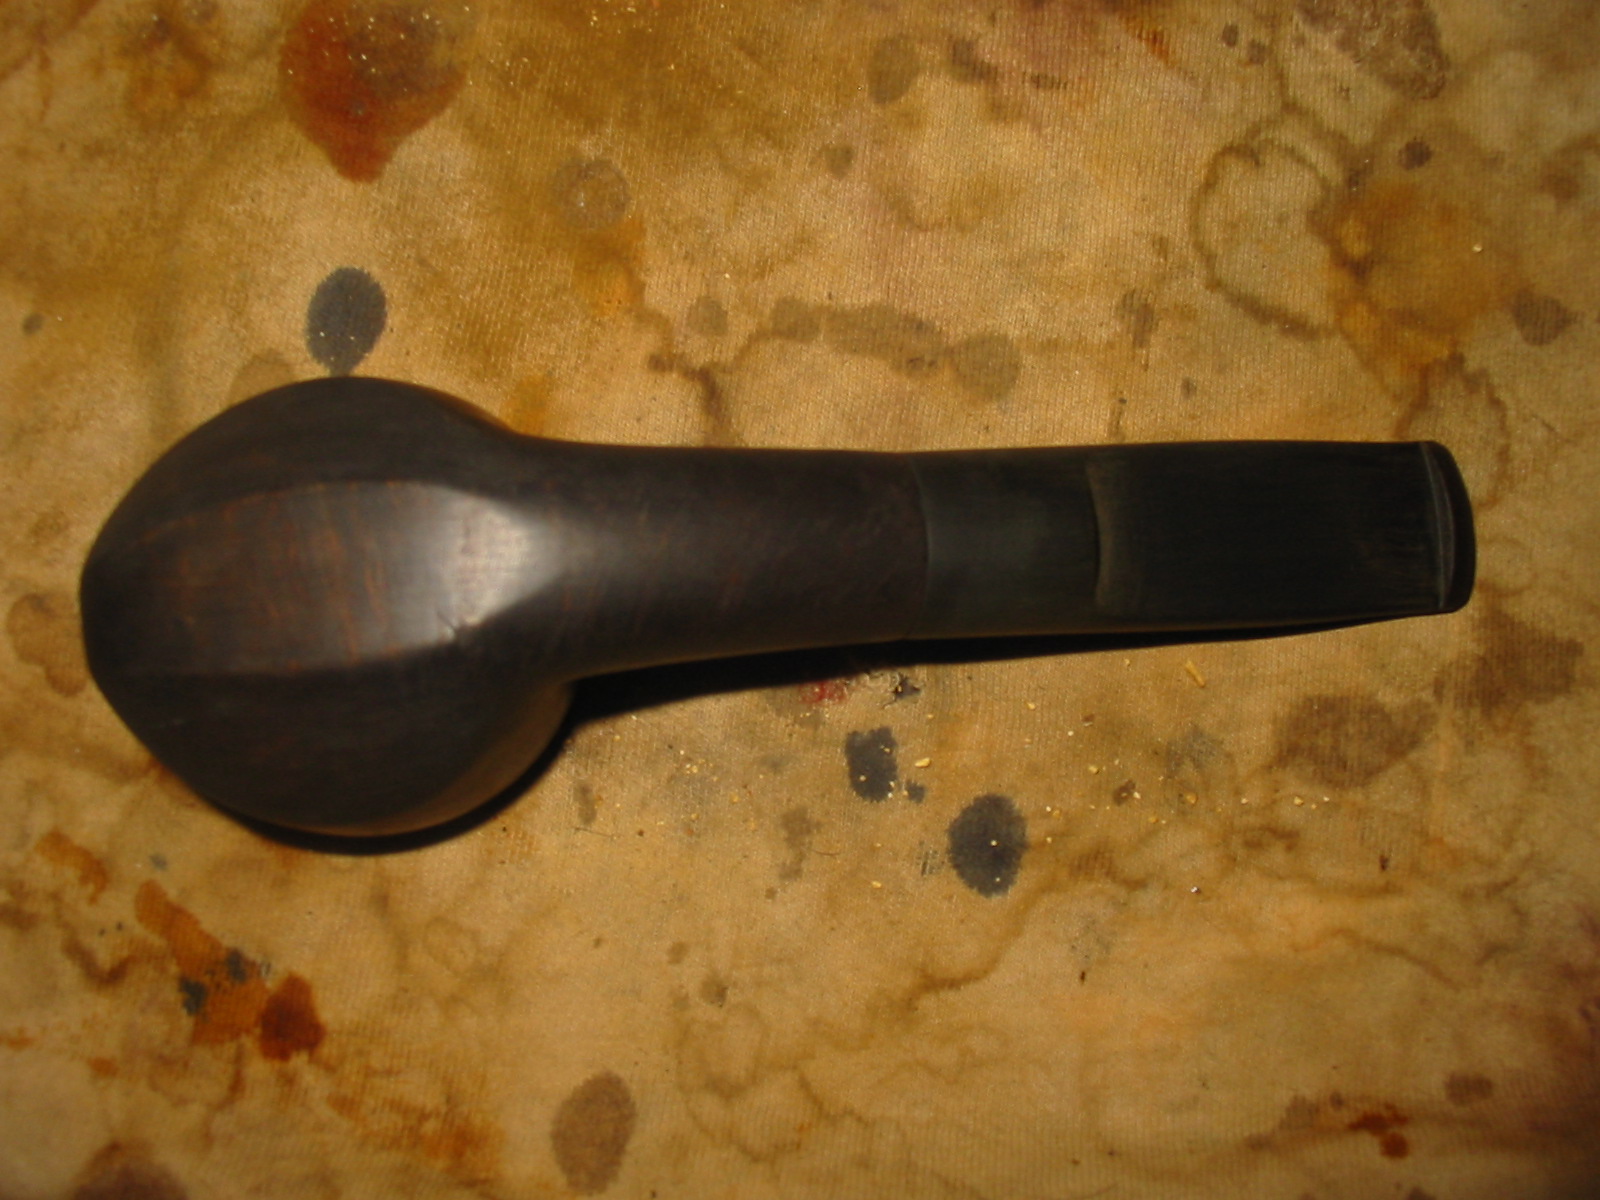
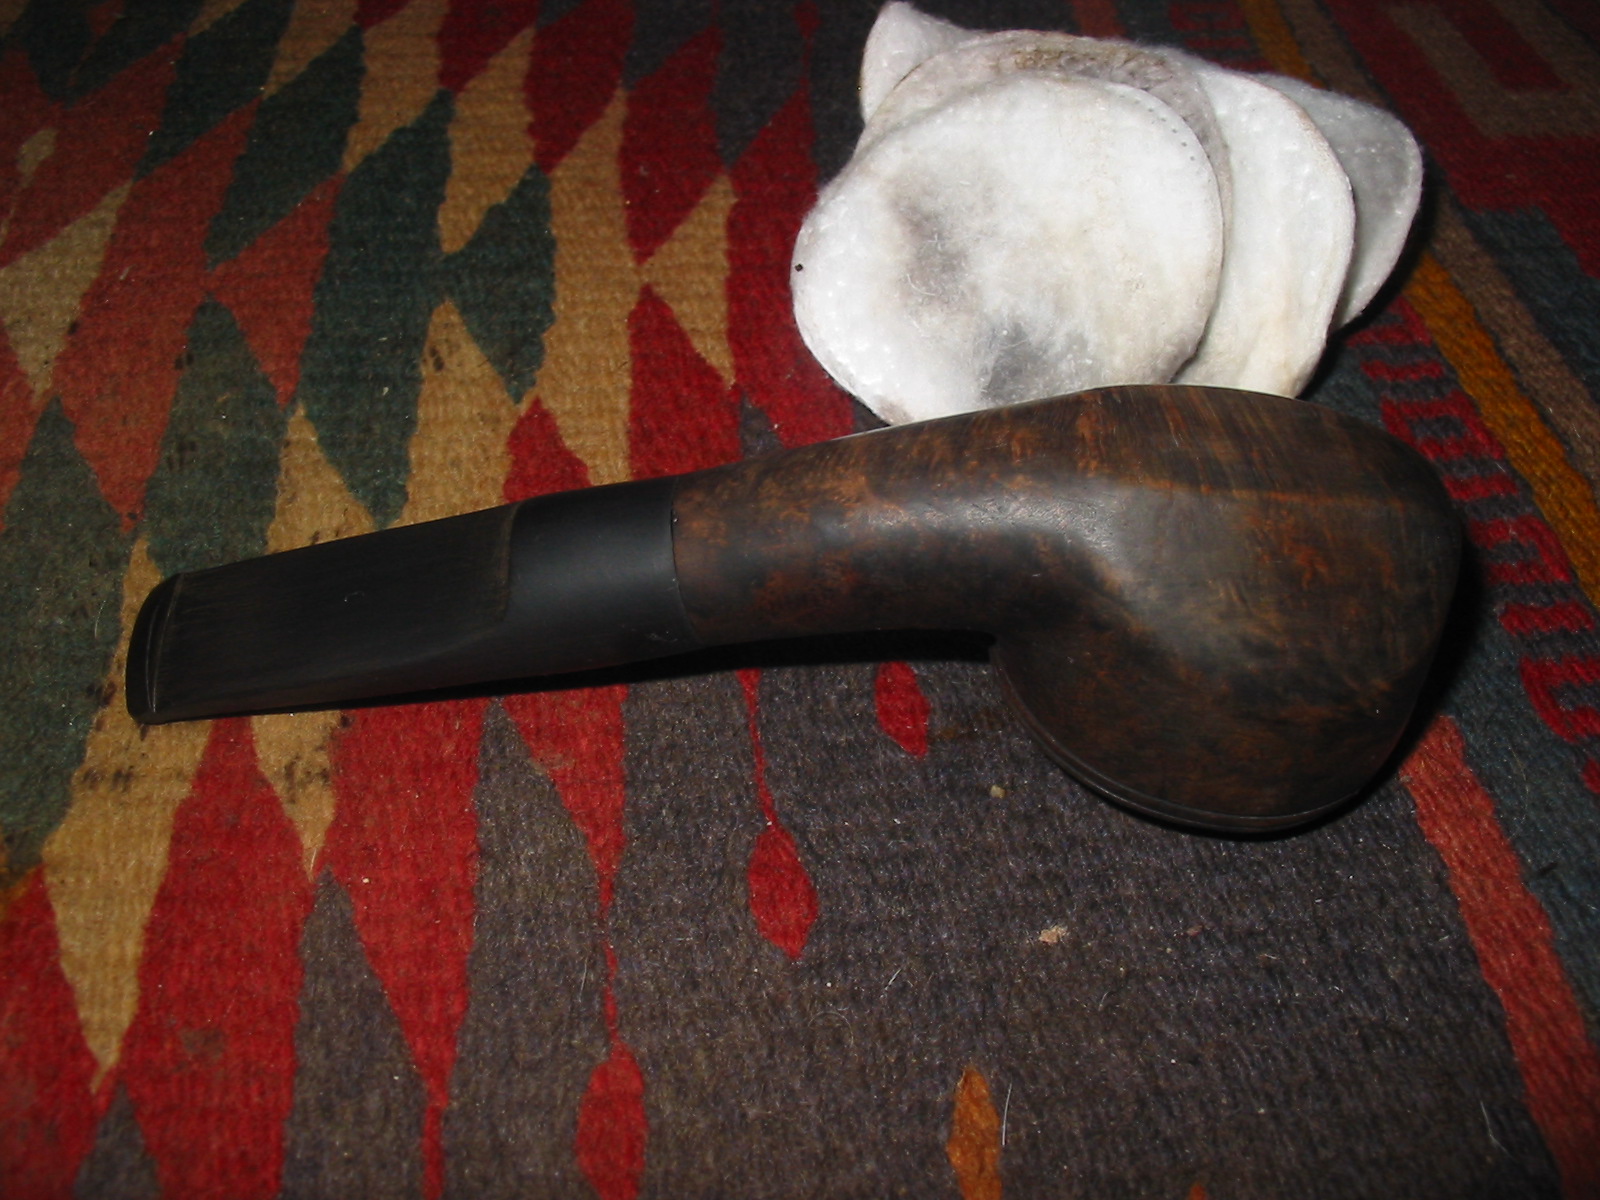
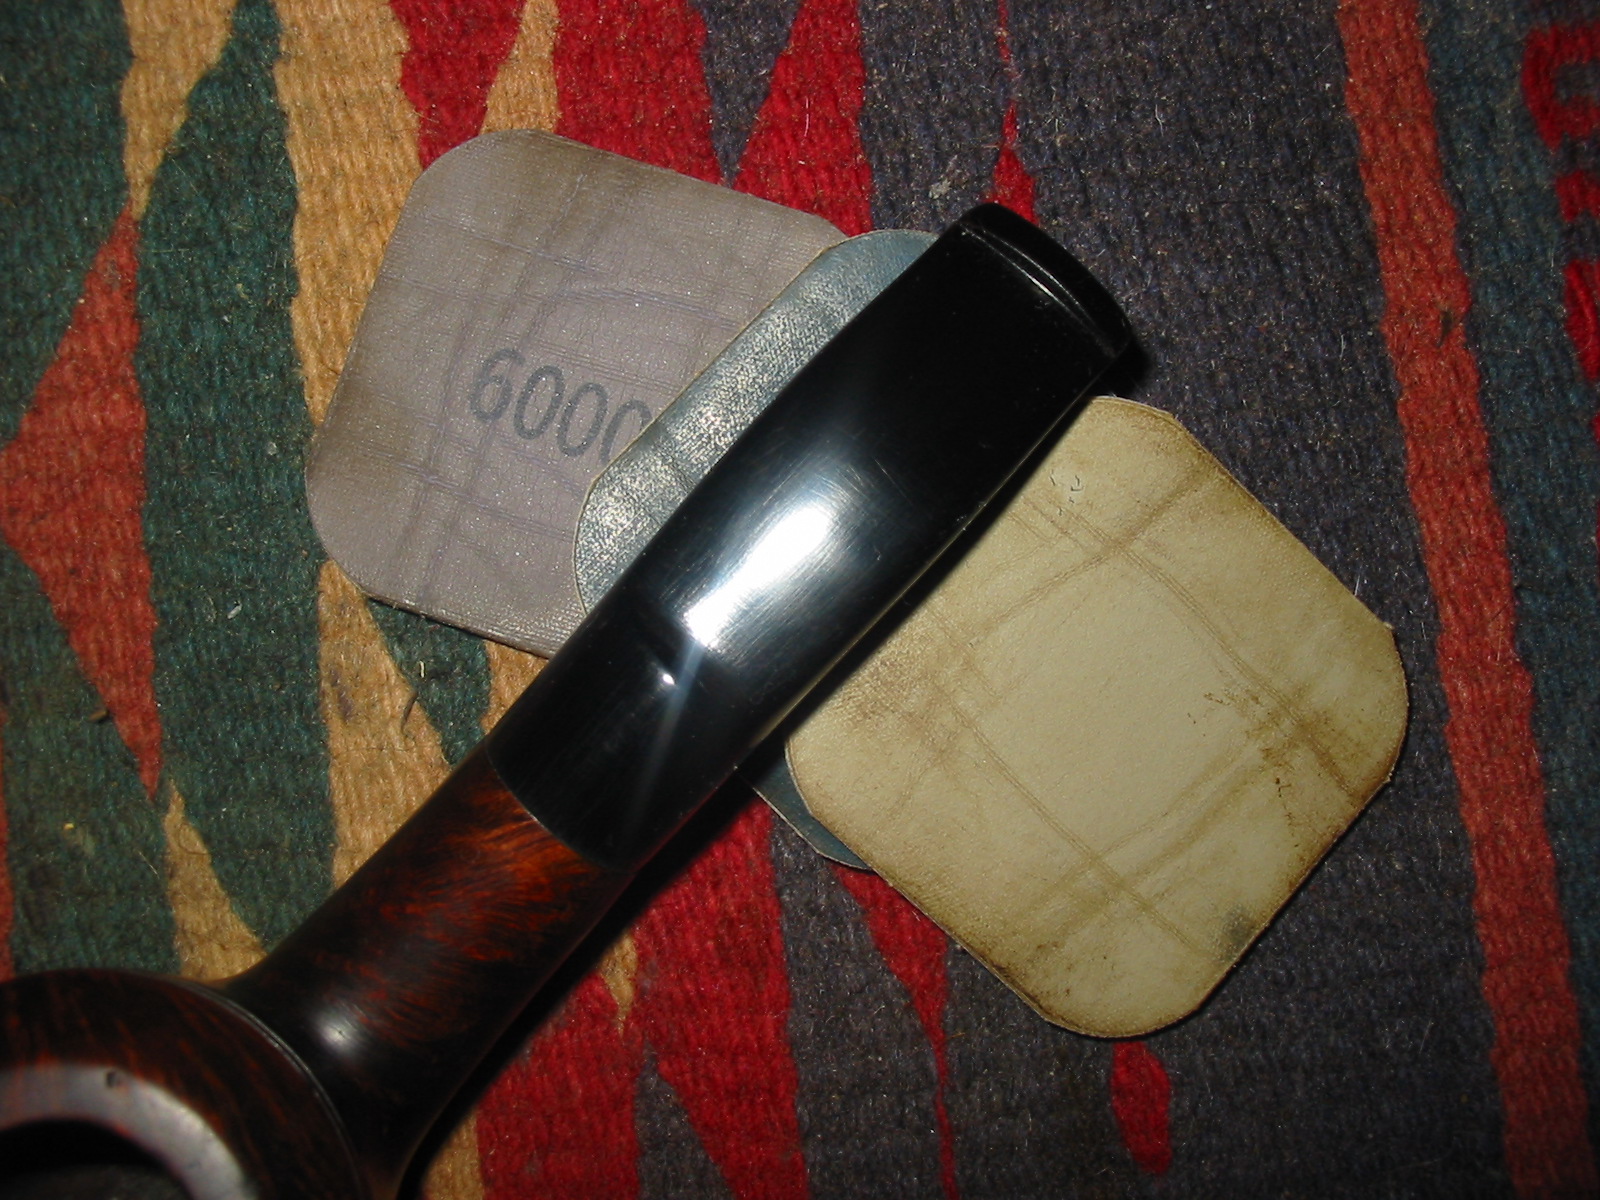
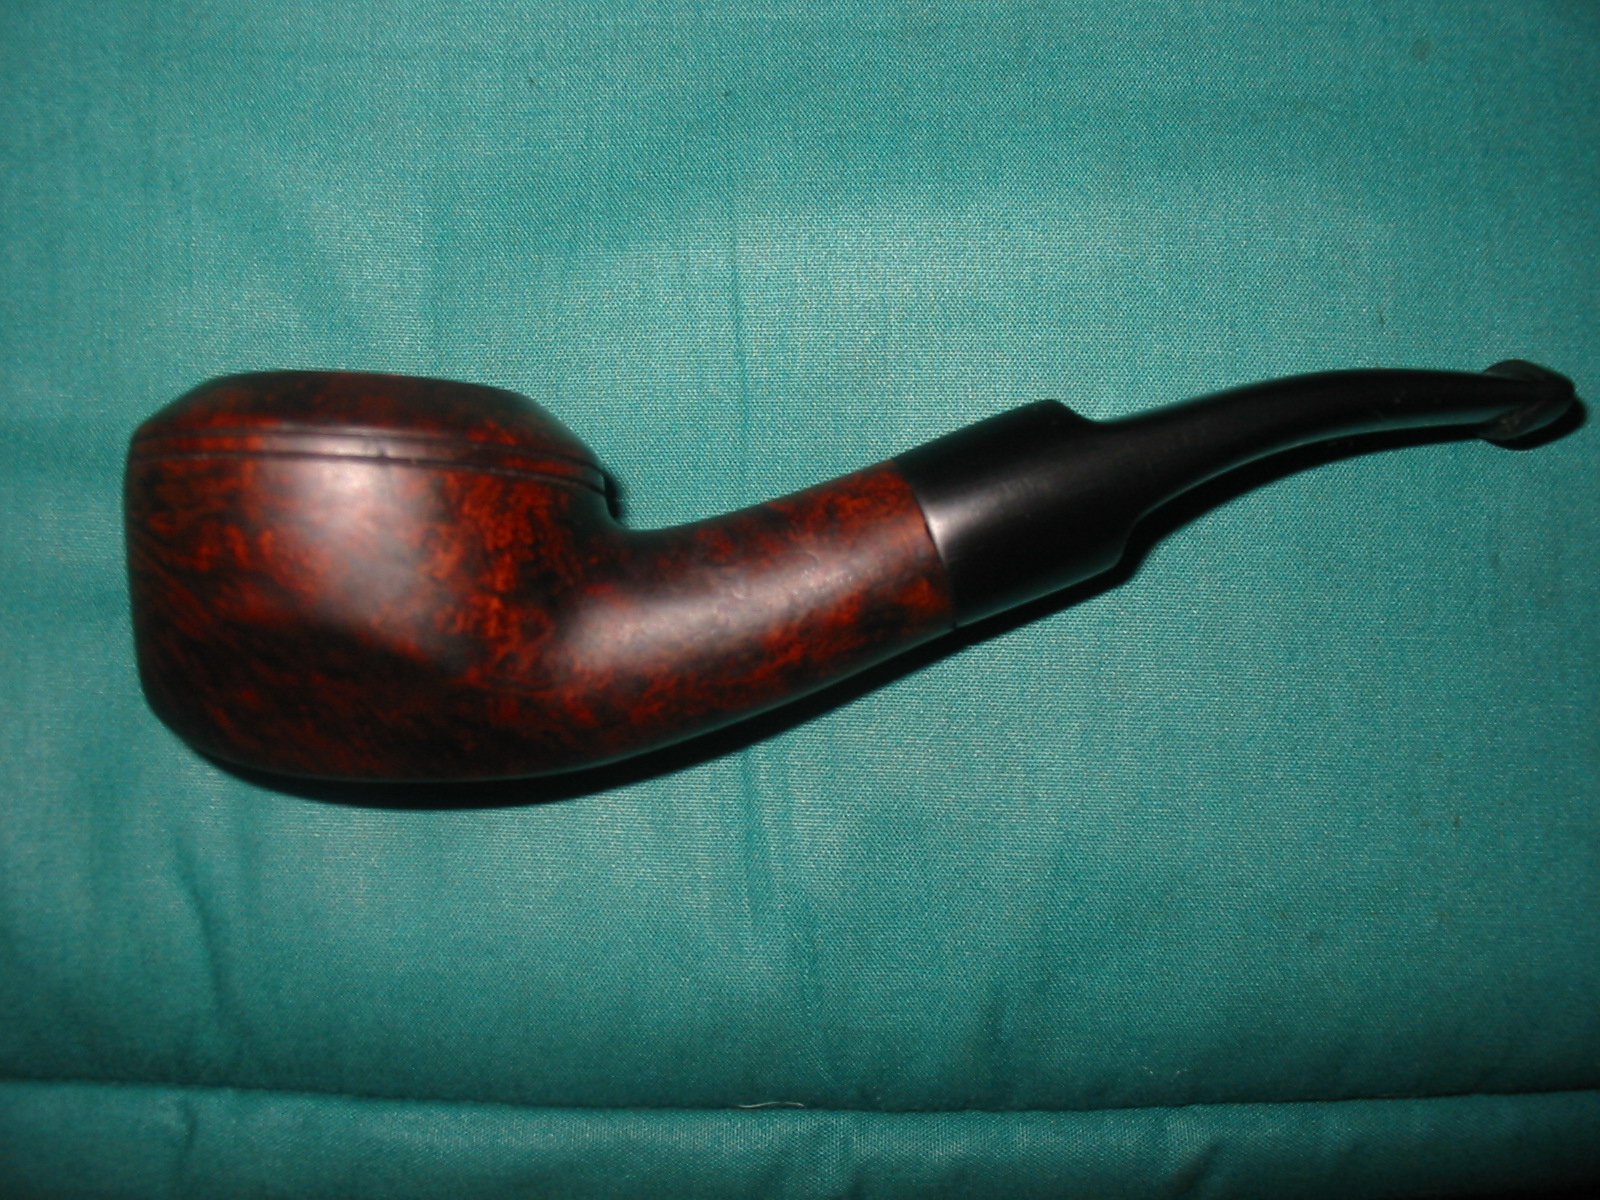
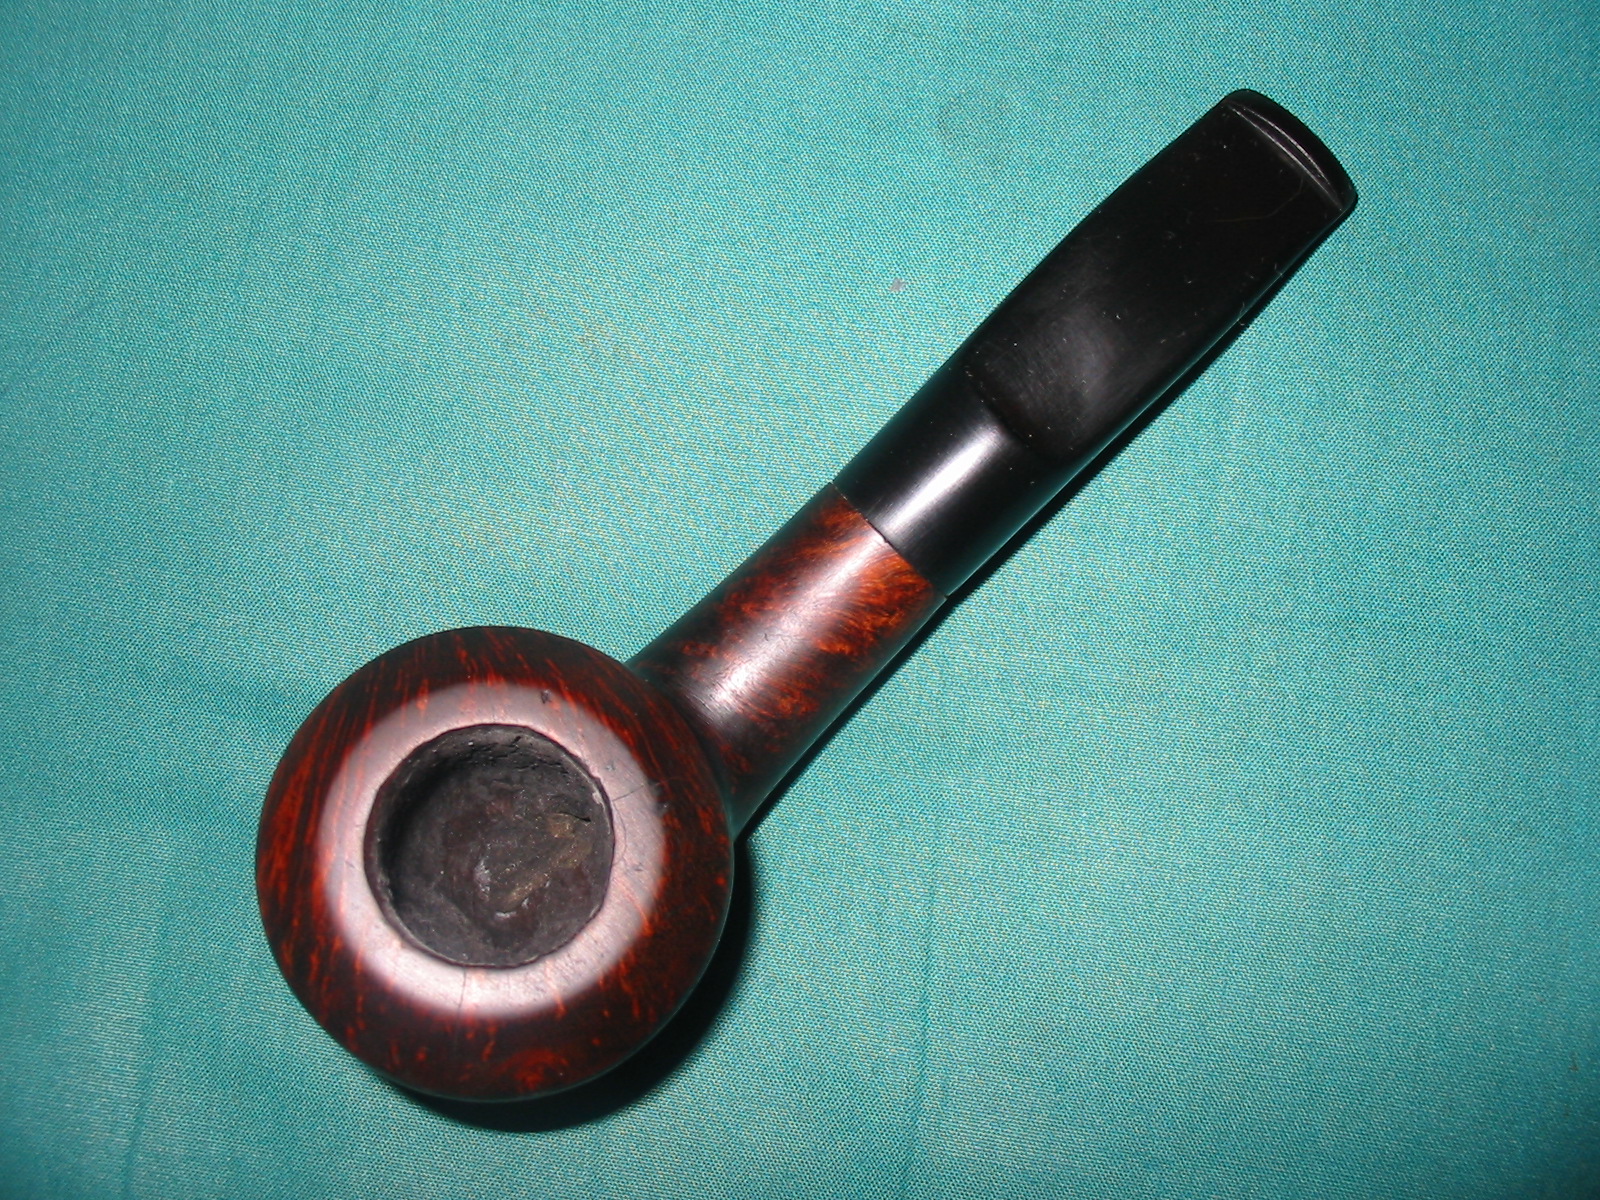
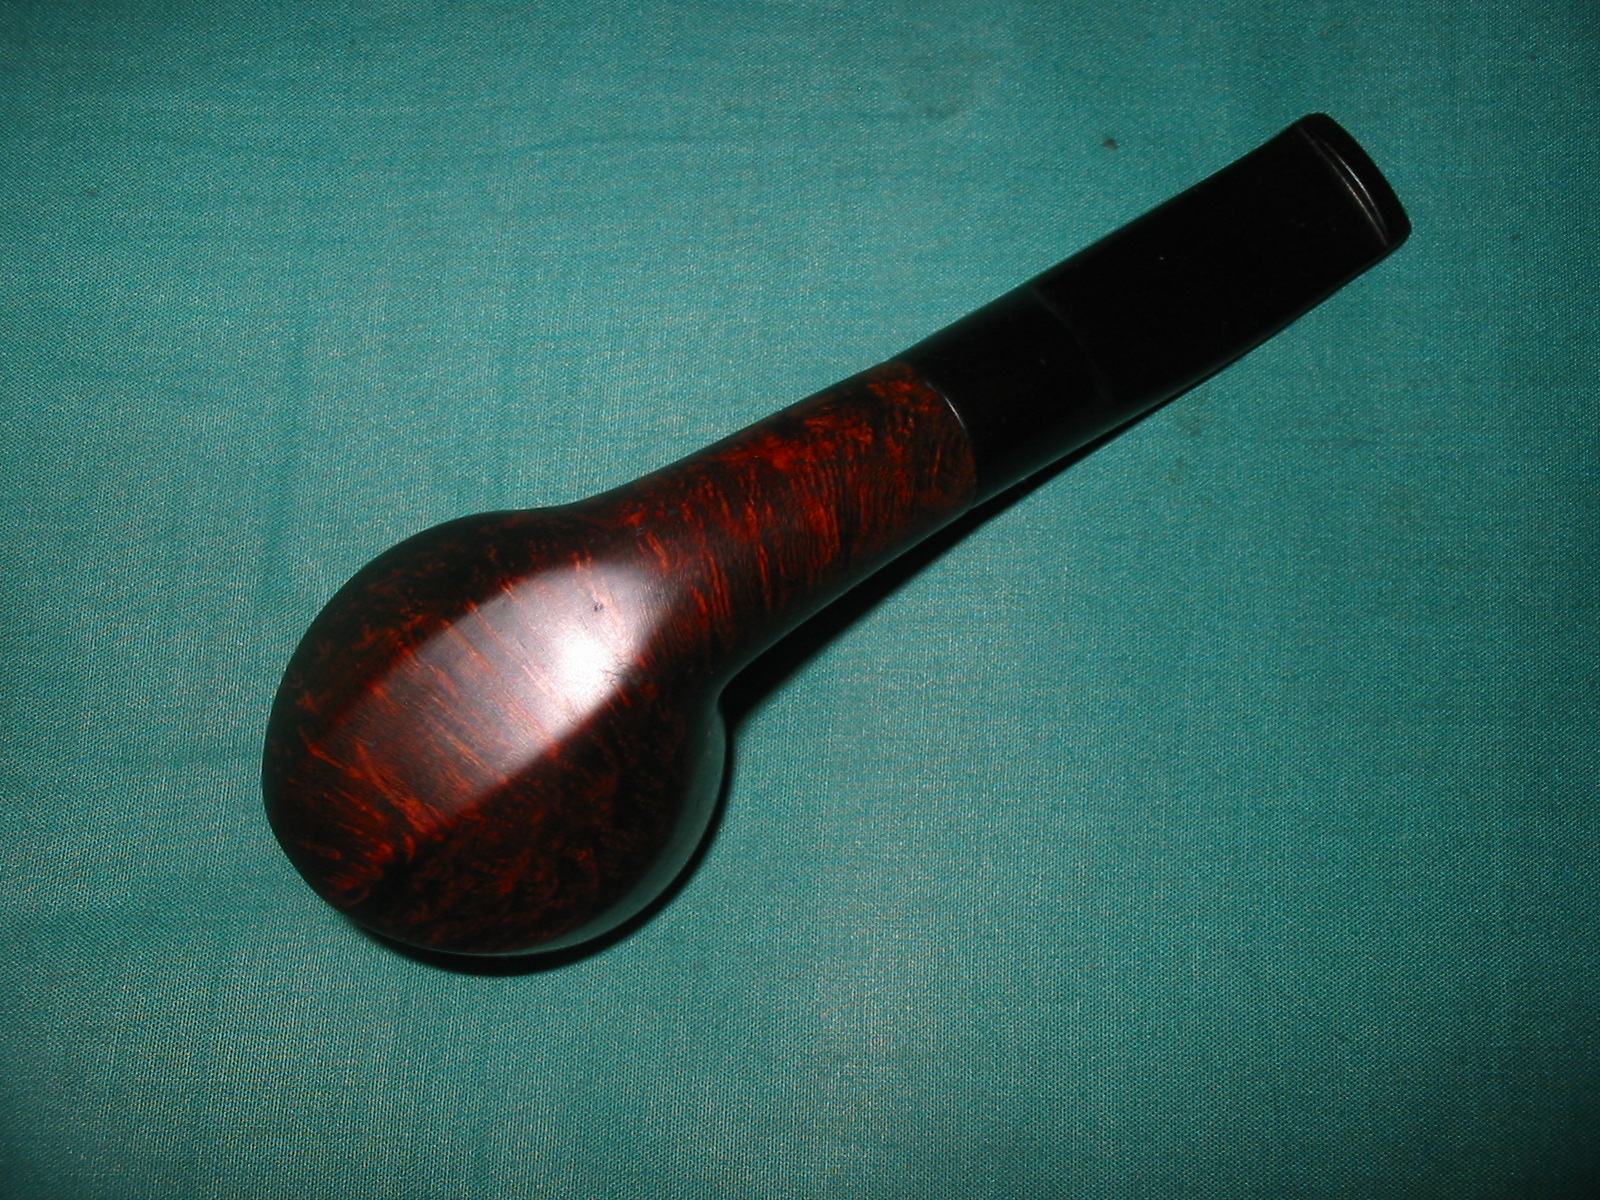
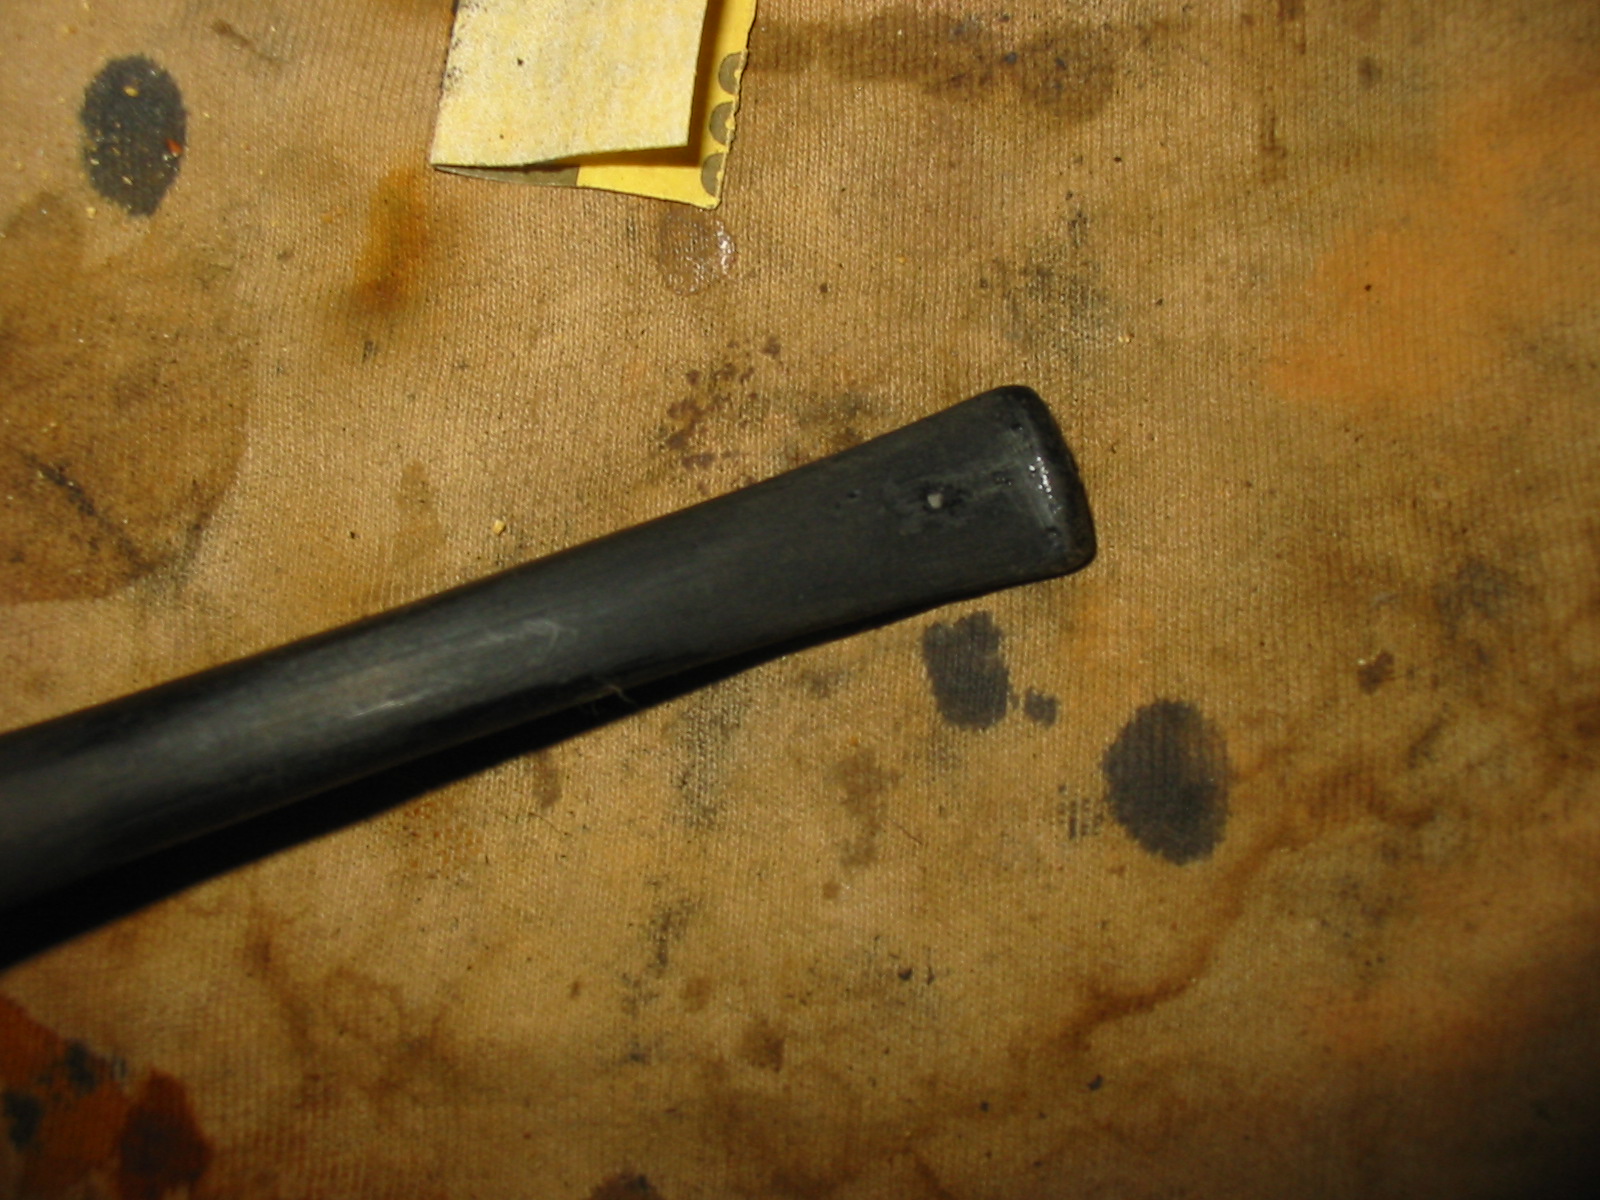
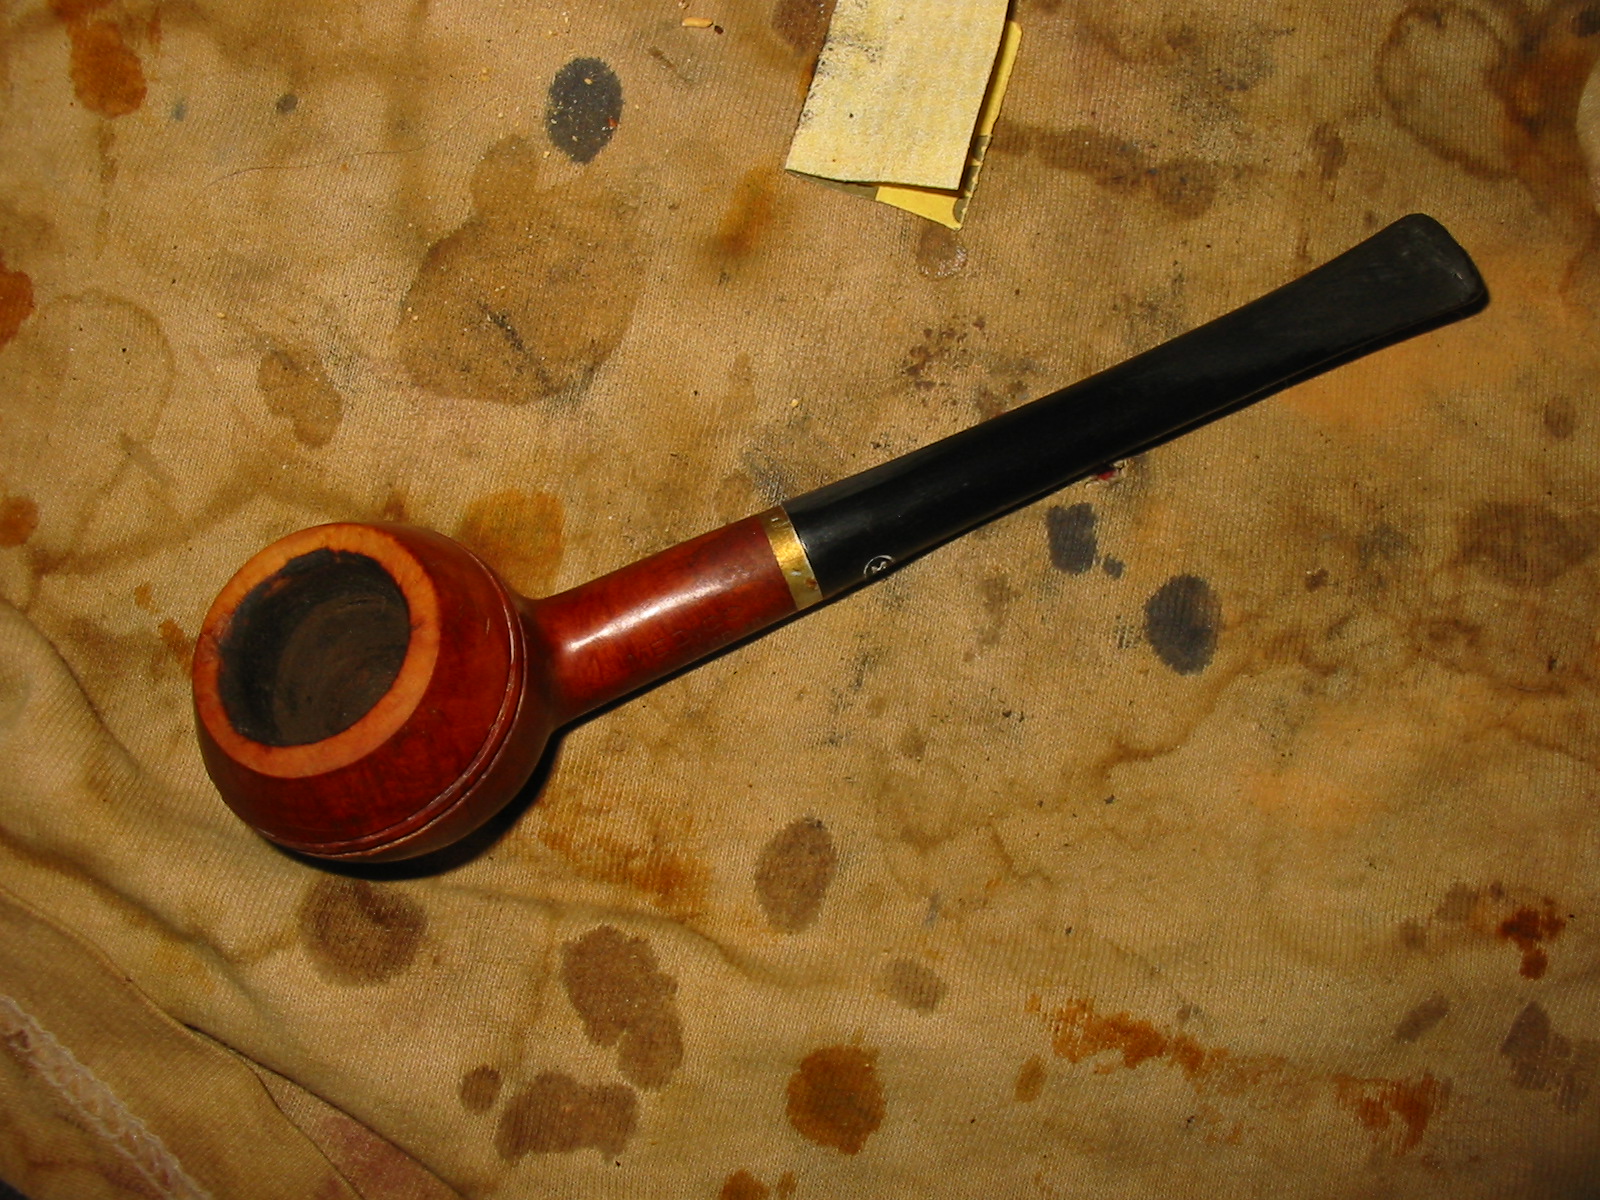
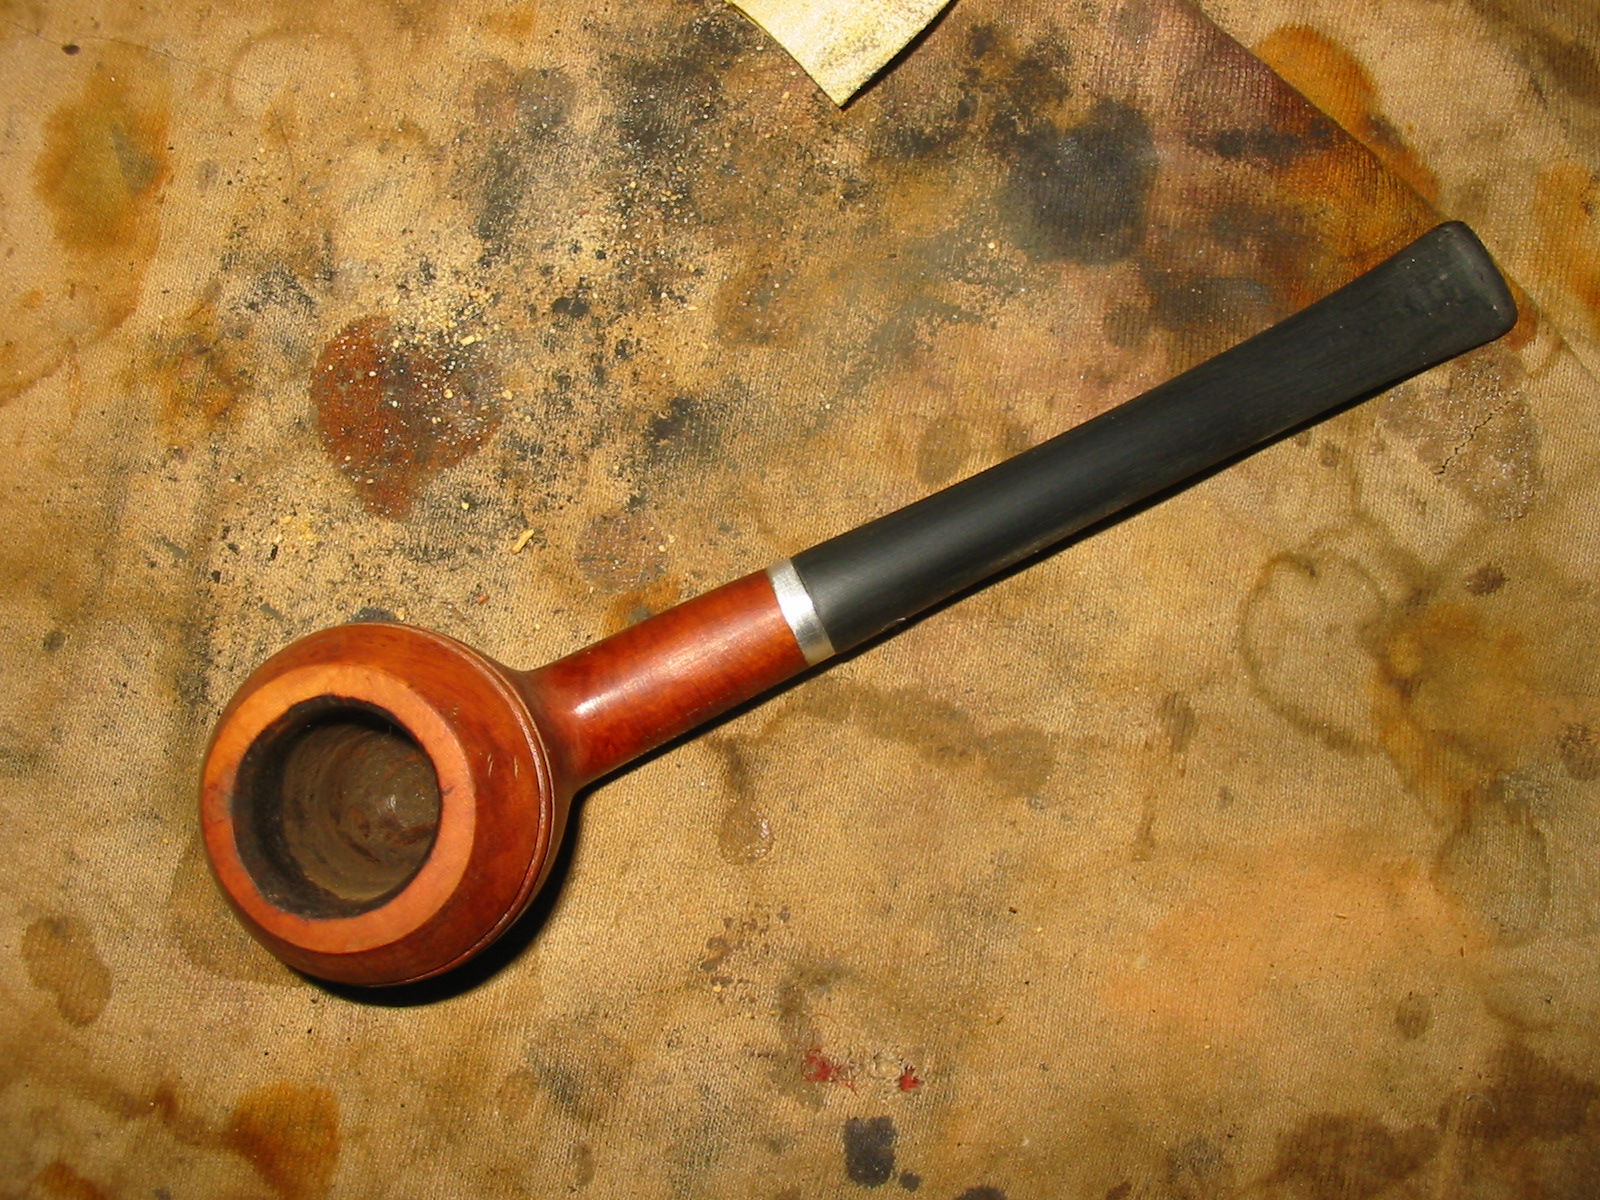
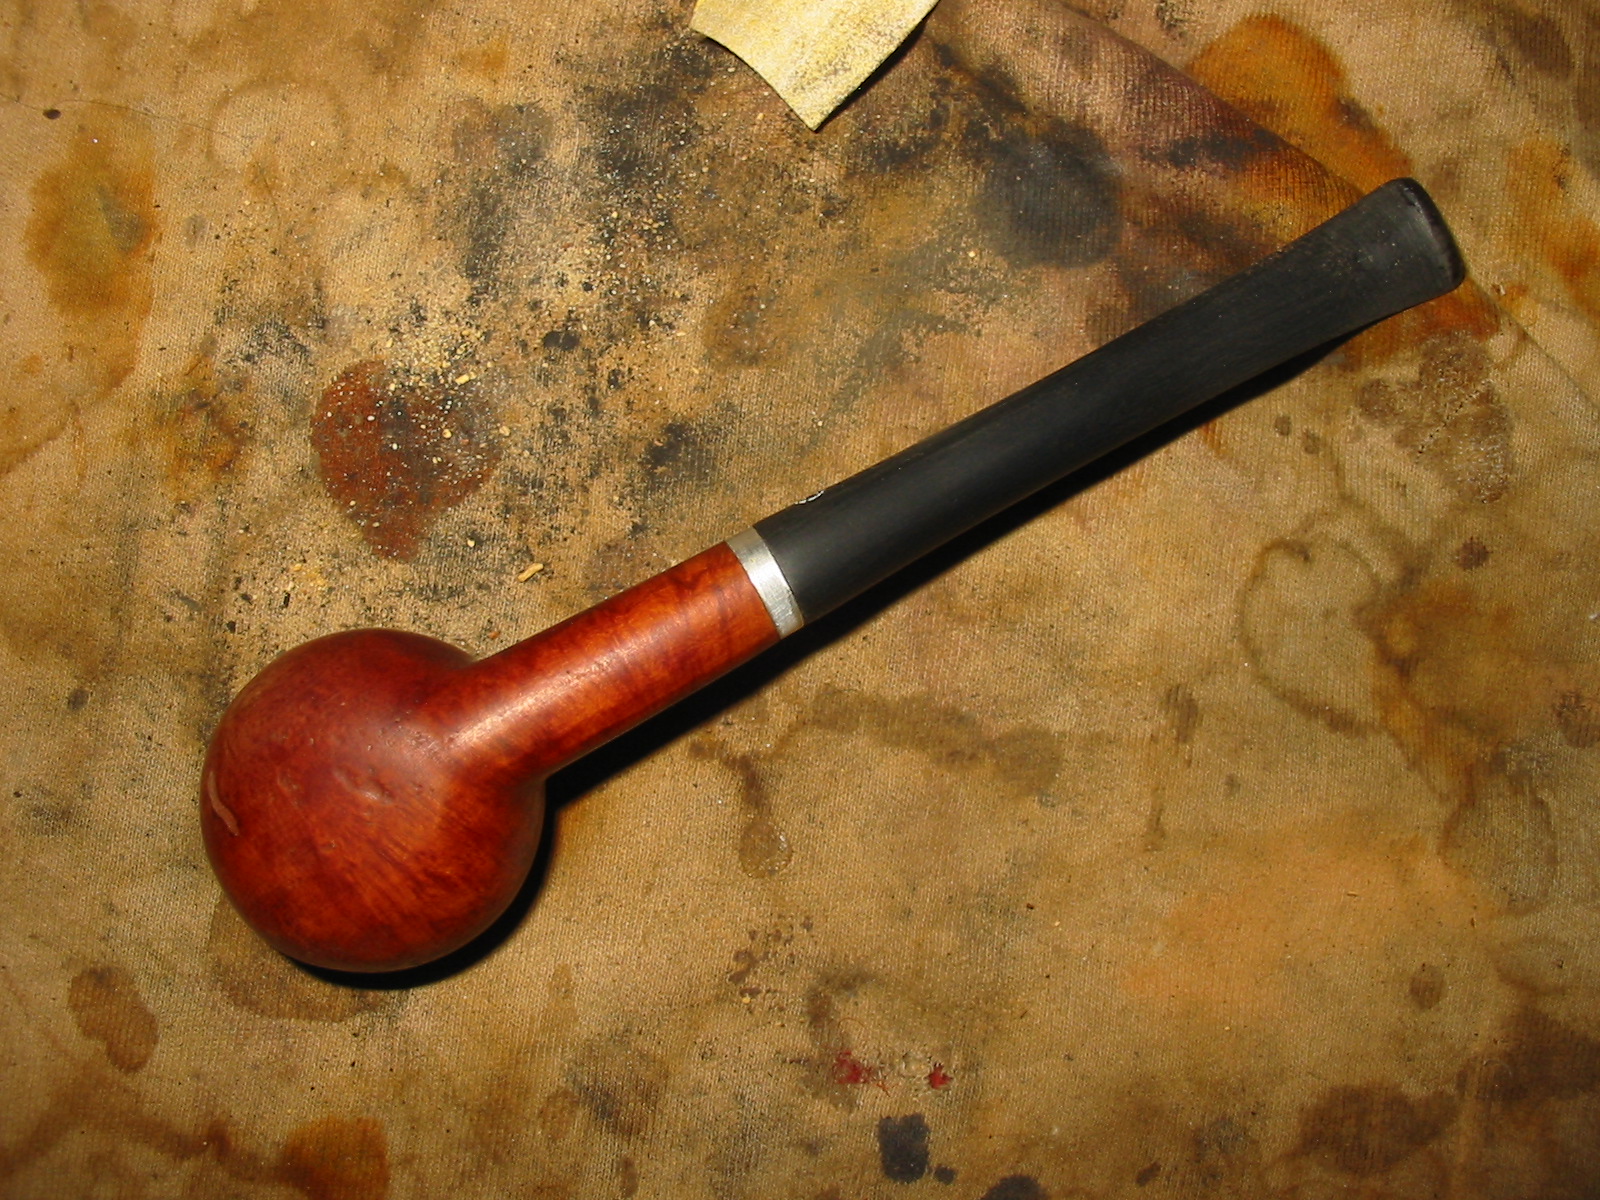
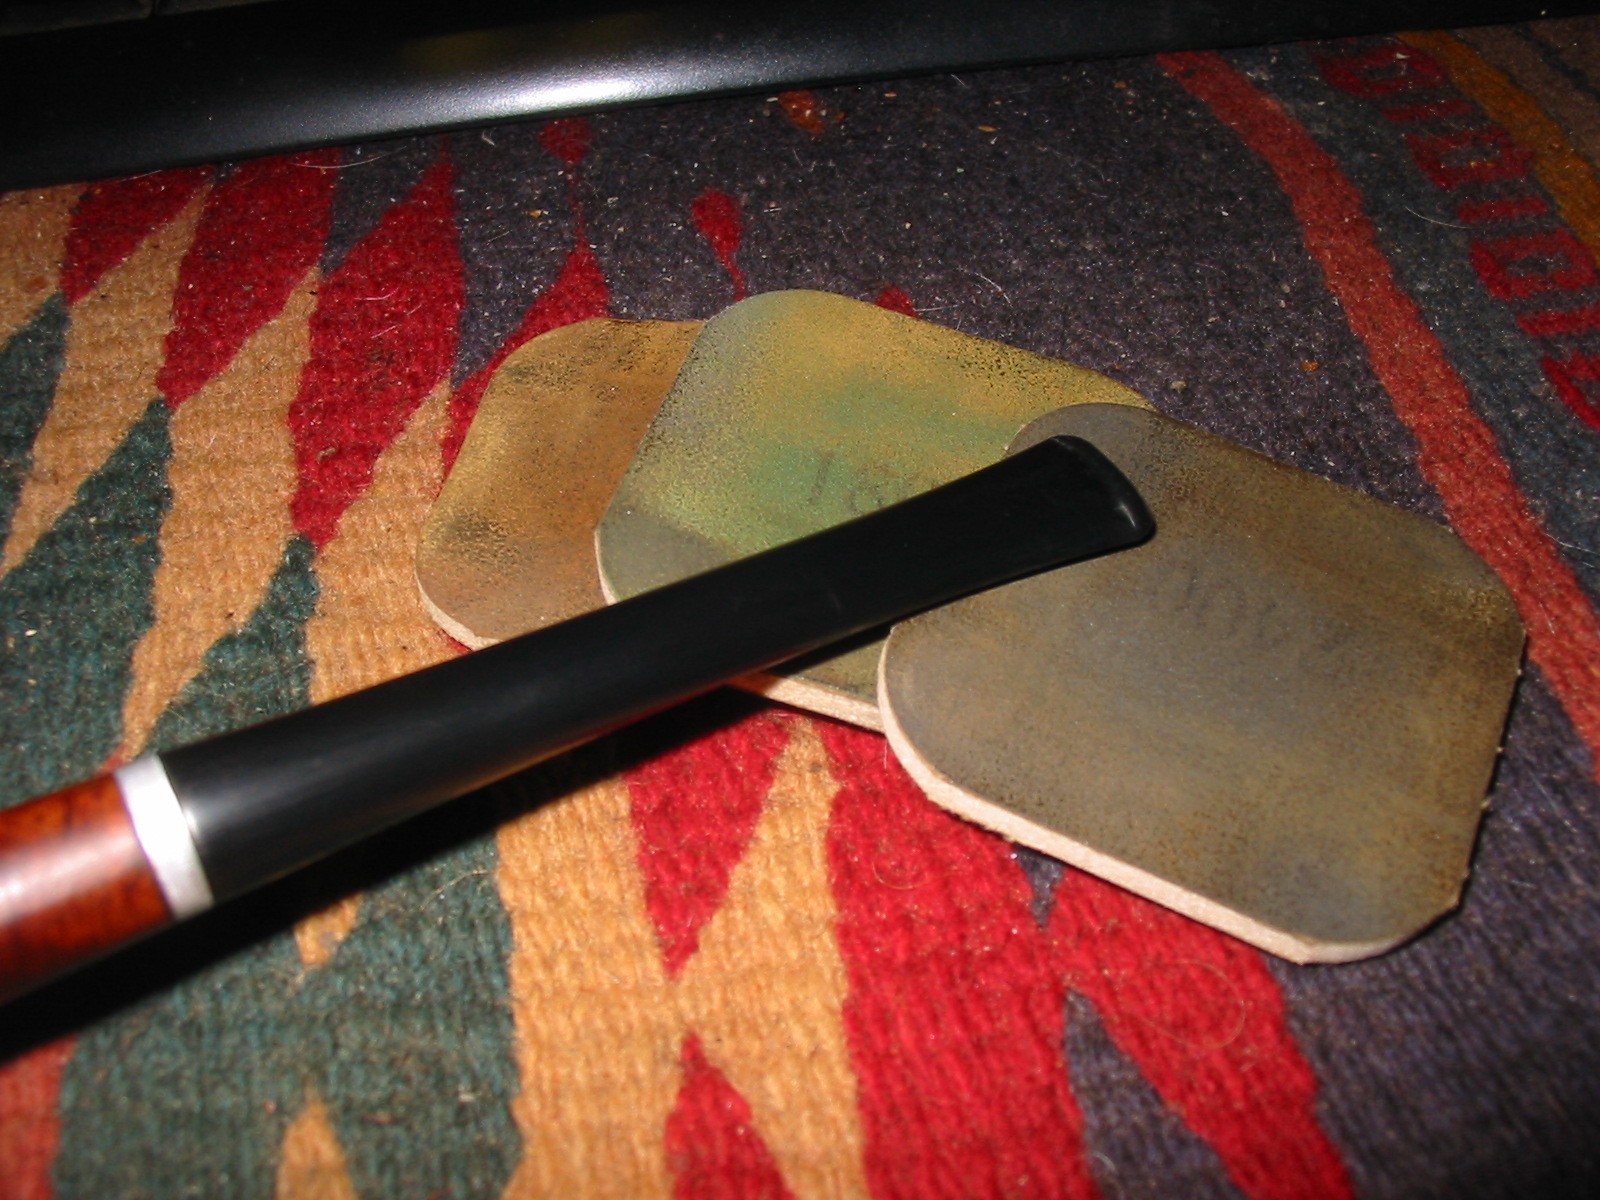
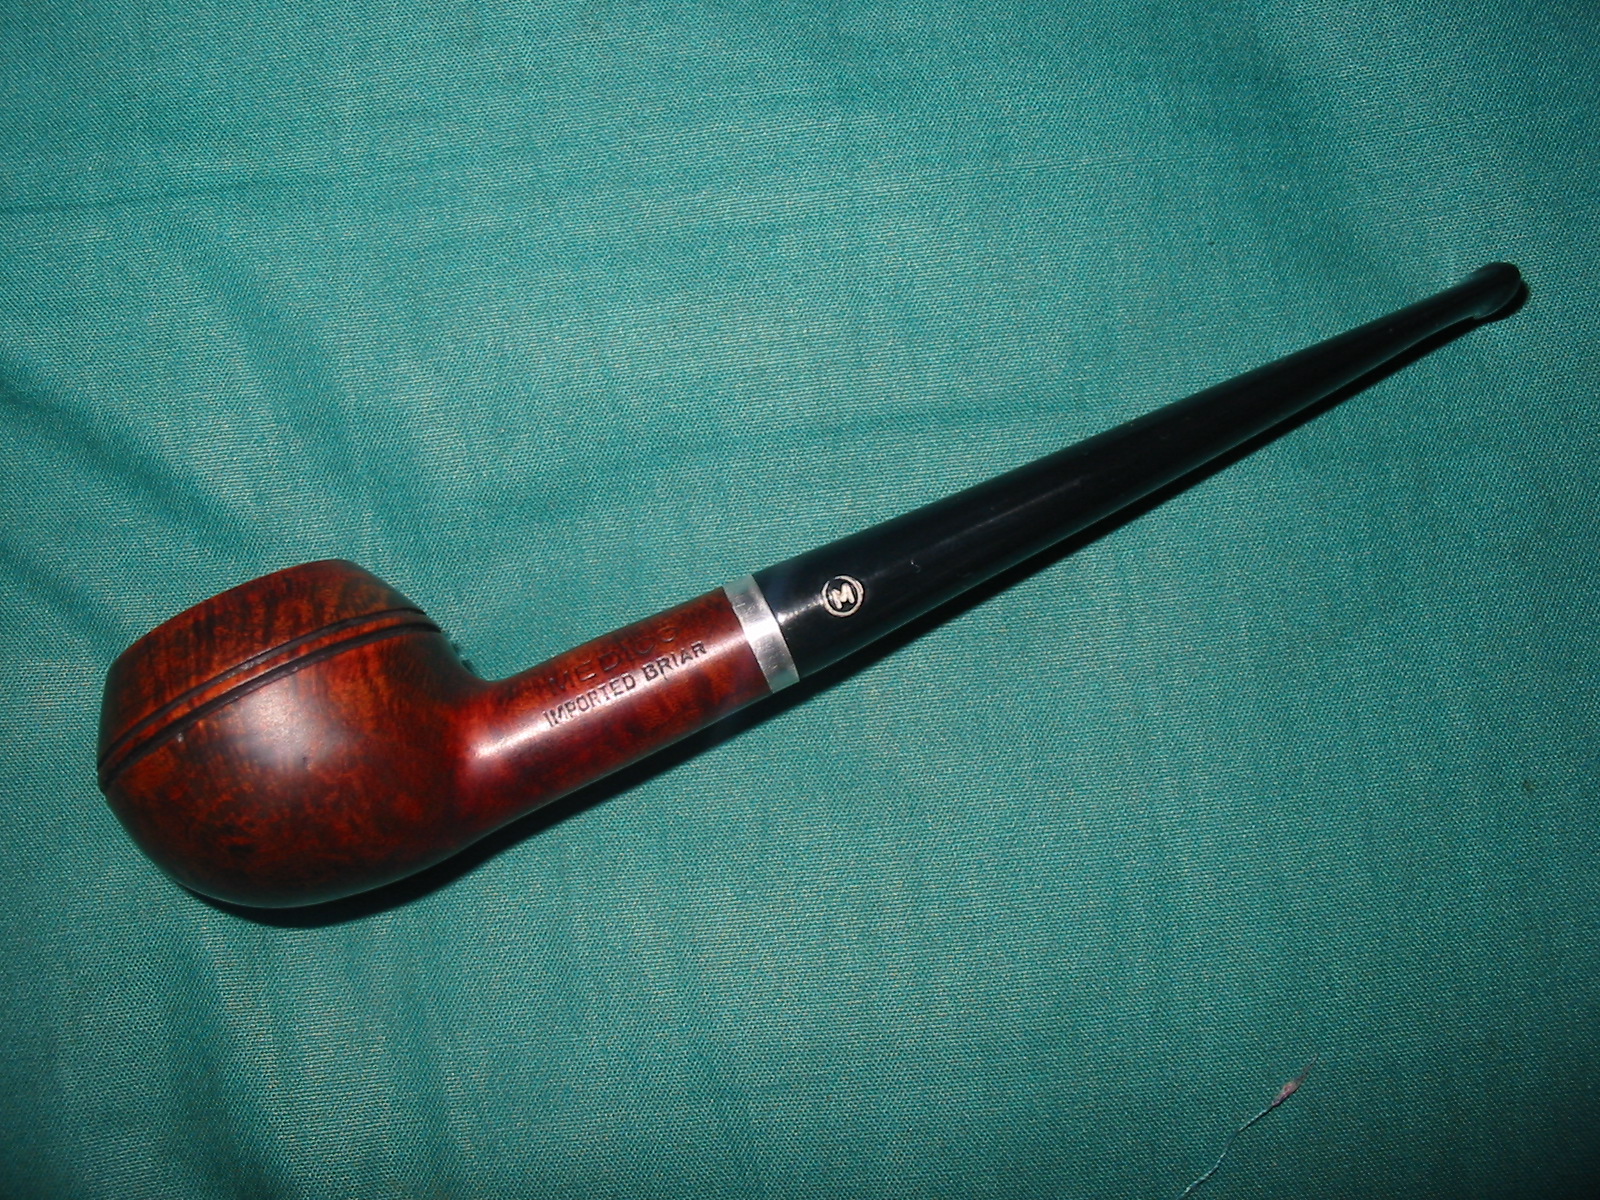
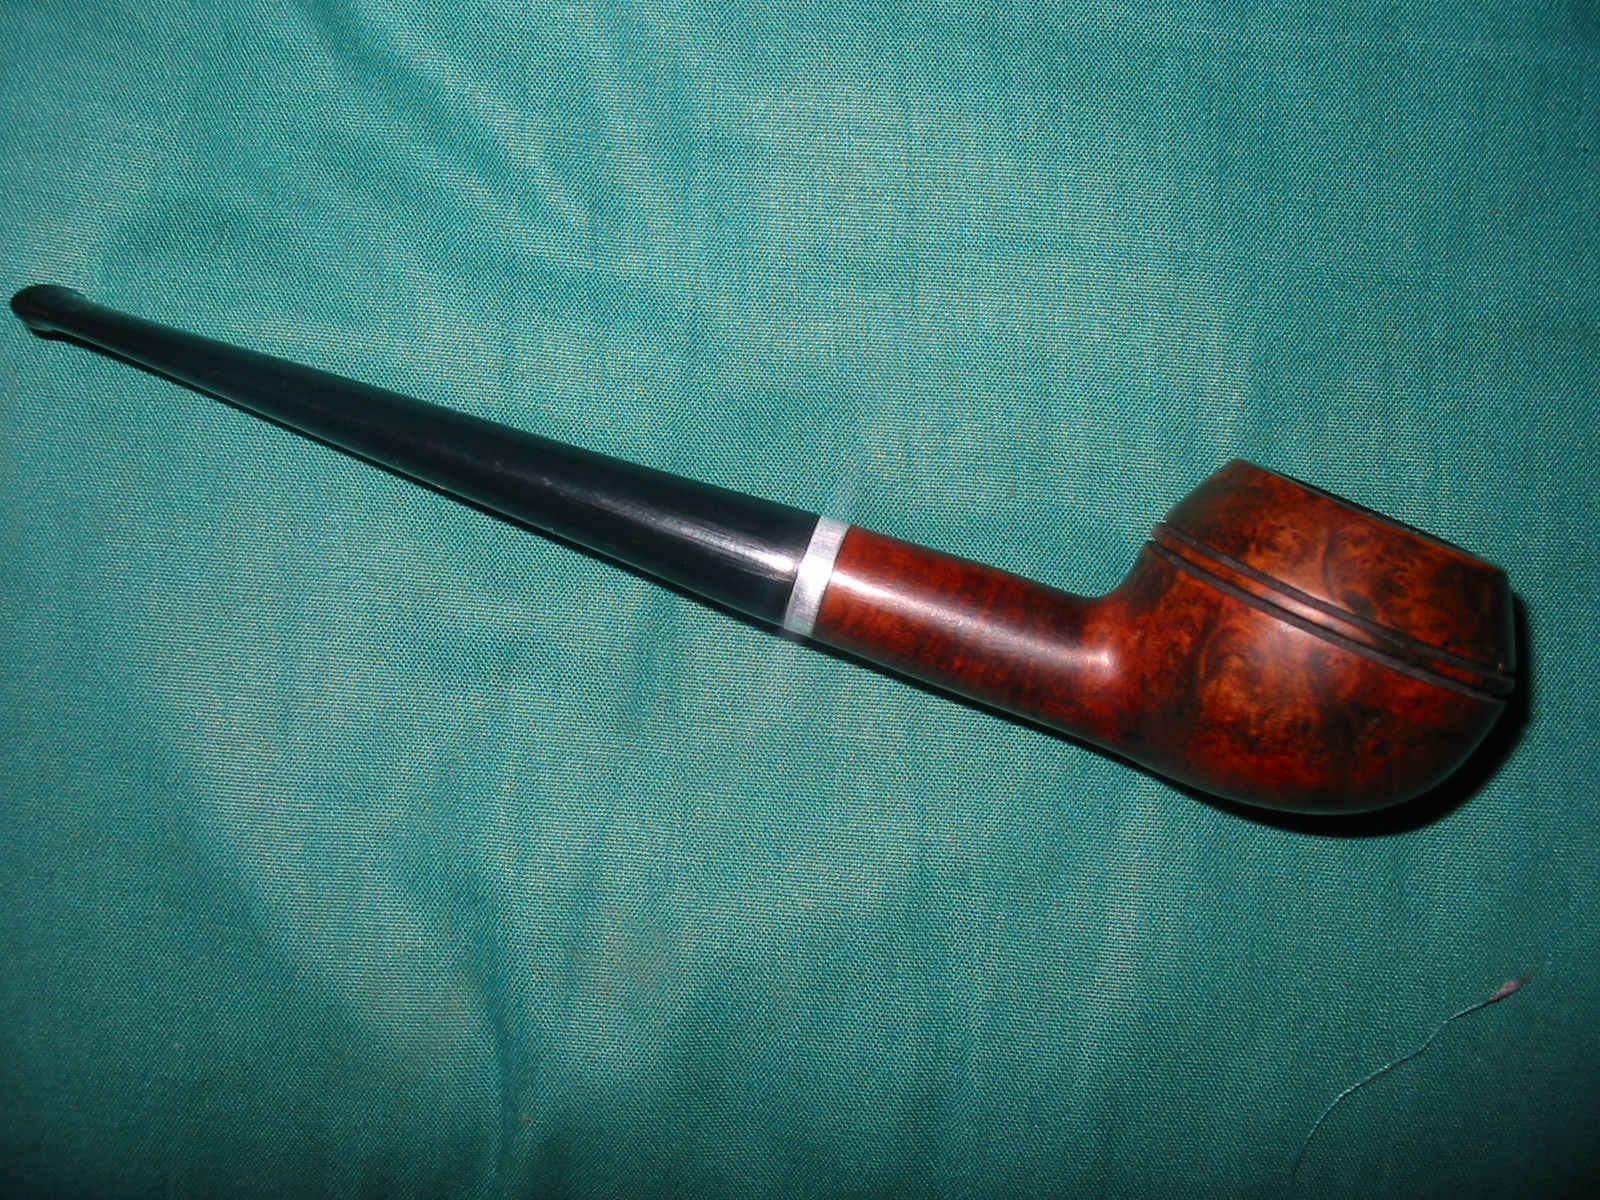
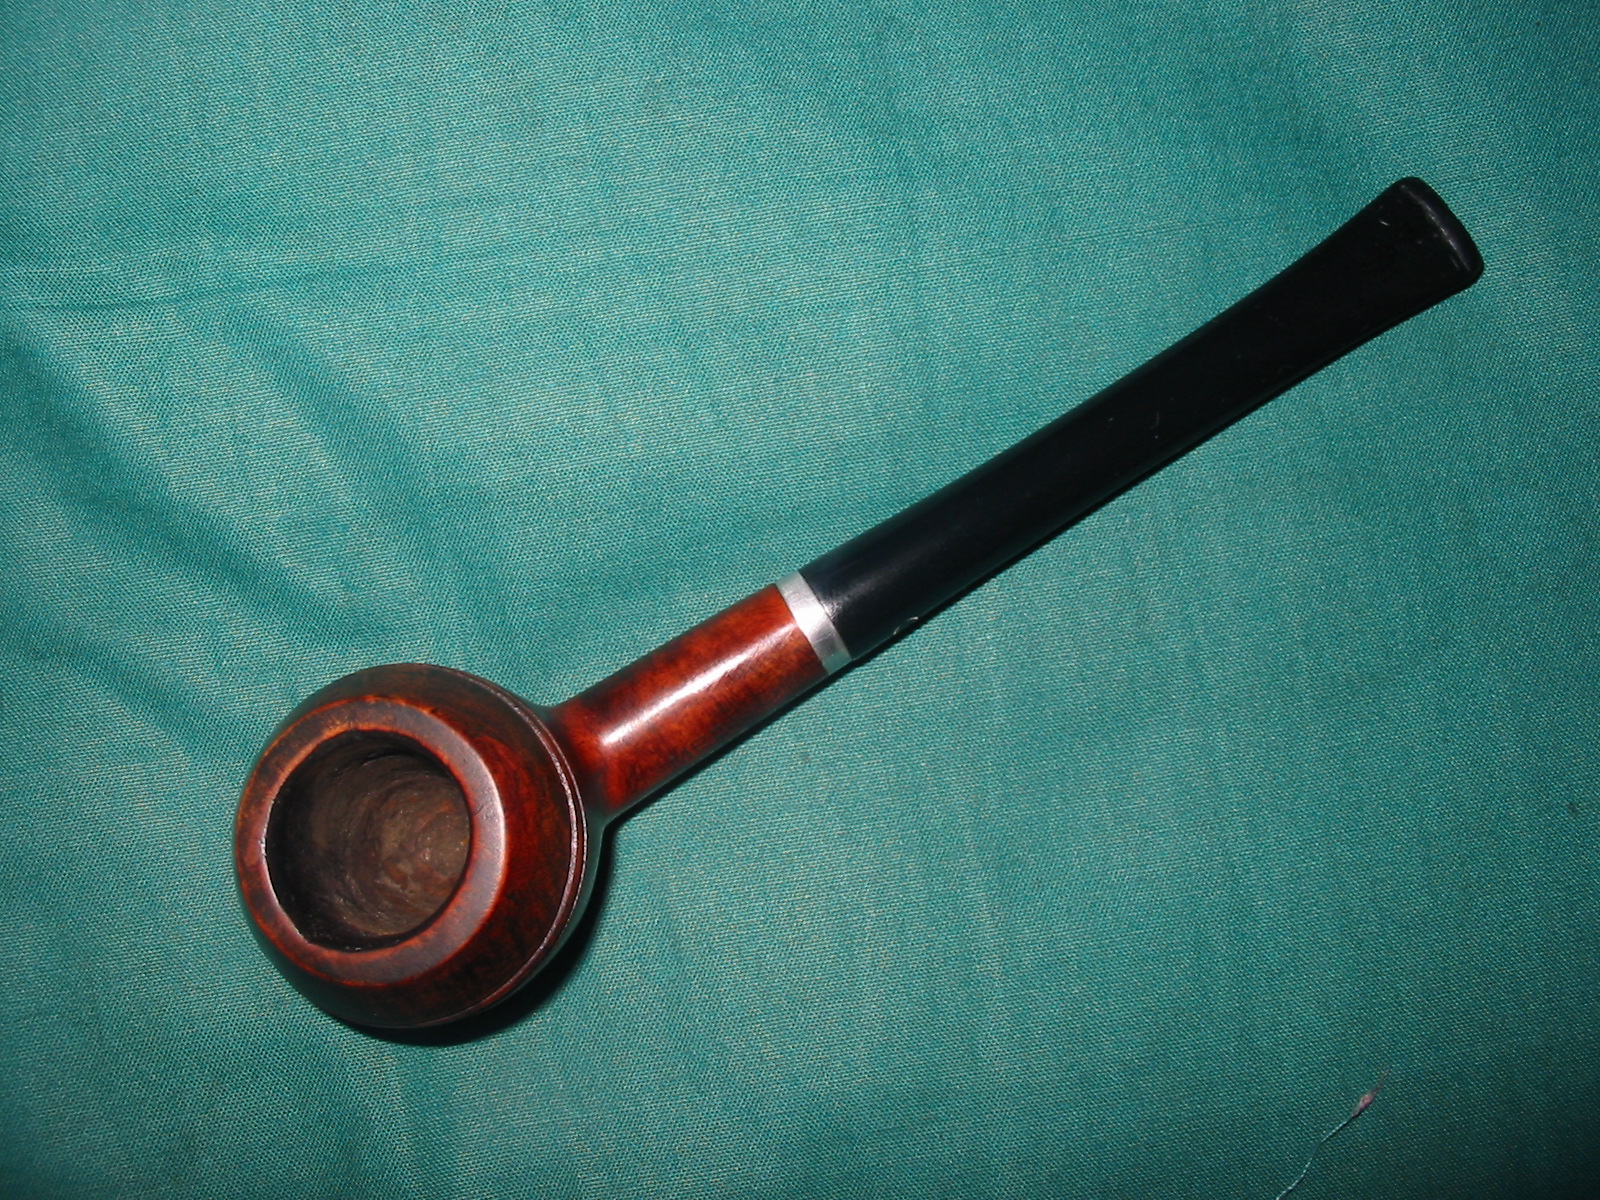
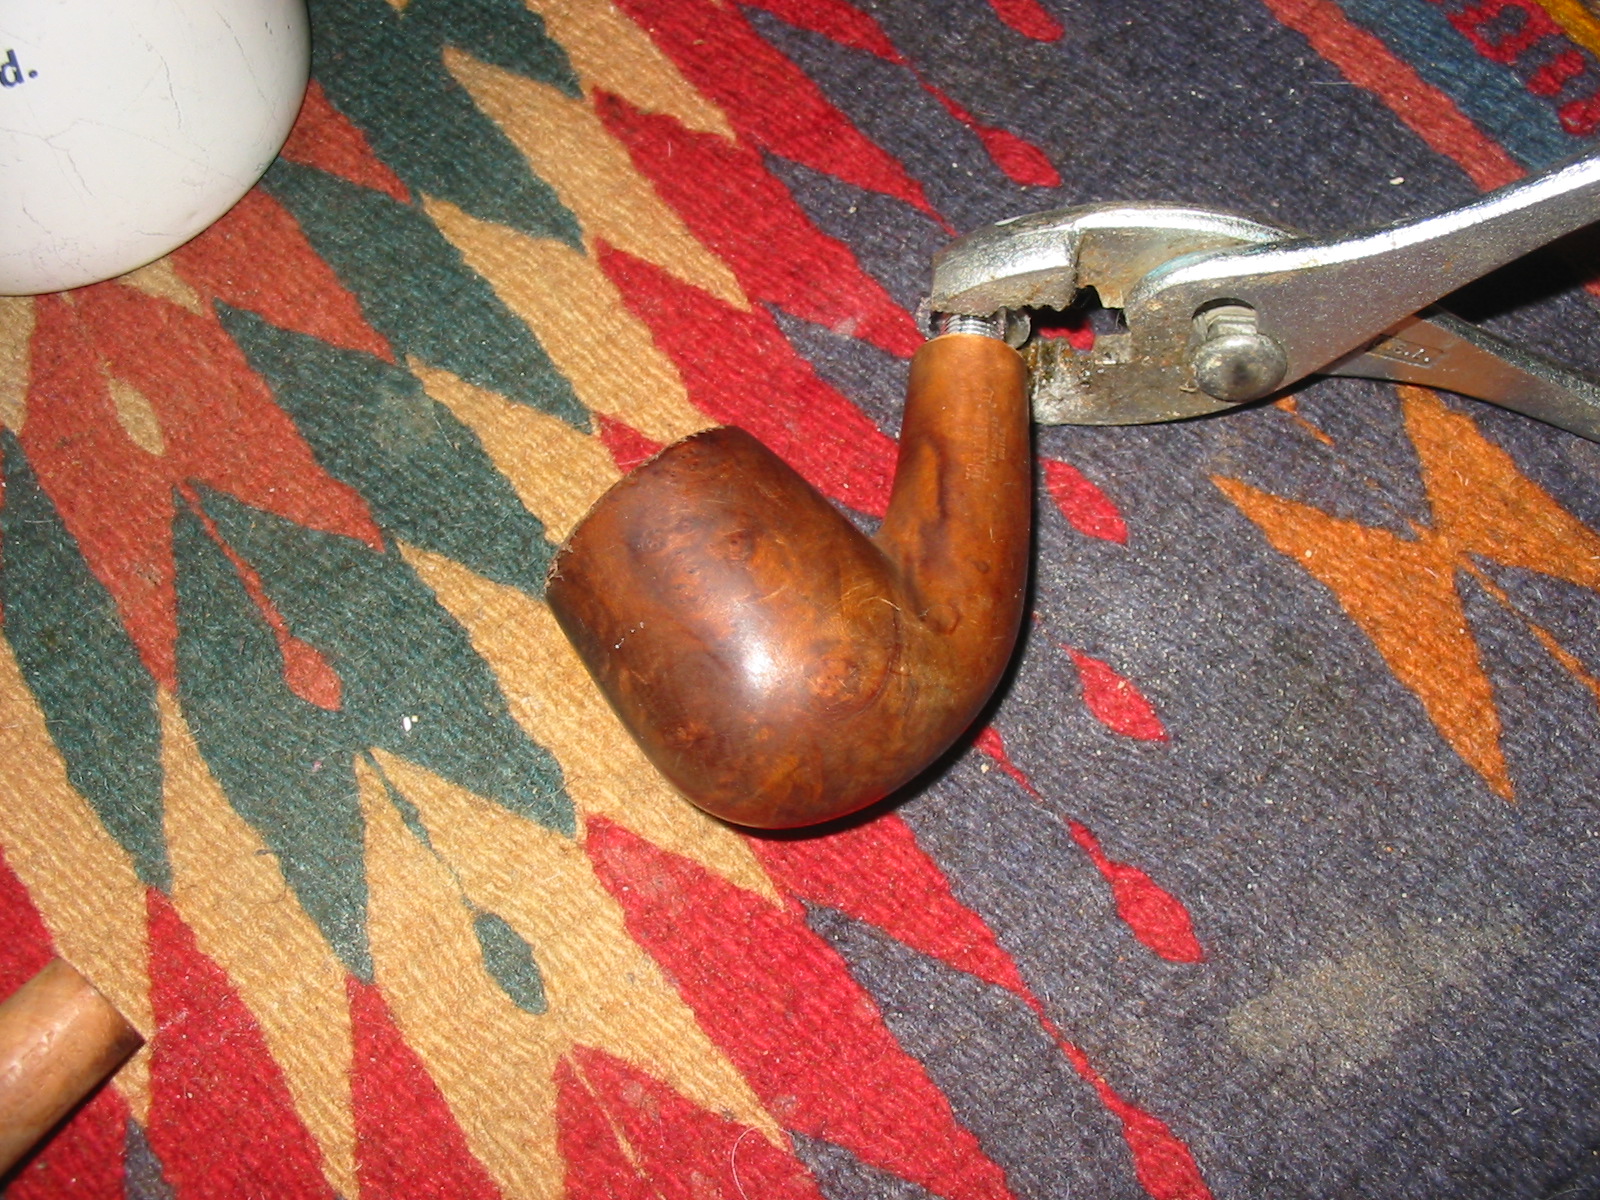
When I picked up these two pipes in the antique mall grab bag my intention was to hunt down threaded metal tenon stems for them both. But I soon finished cleaning up the rest of the lot and was down to these two and an old Medico. These two were in far better shape to start with than the old Medico so I looked them over for a while. I decided to drill out the threads on both of them and fit a push stem to the shank. I started with the bent billiard as it needed the most work to clean up the rim damage. While I was setting up to do it I got to thinking that the odds were very high that the inserts were reverse threaded into the shanks of the pipes. I took out a pair of pliers and carefully locked onto the metal edge of the insert on the bent billiard. I turned it counterclockwise and after a few moments of not moving it came loose and screwed out with ease. I did the second pipe bowl at the same time so I now have two pipe bowls that have been modified with a simple fix to that the mortises will accommodate a push stem.
IMG_6668

IMG_6669

IMG_6667
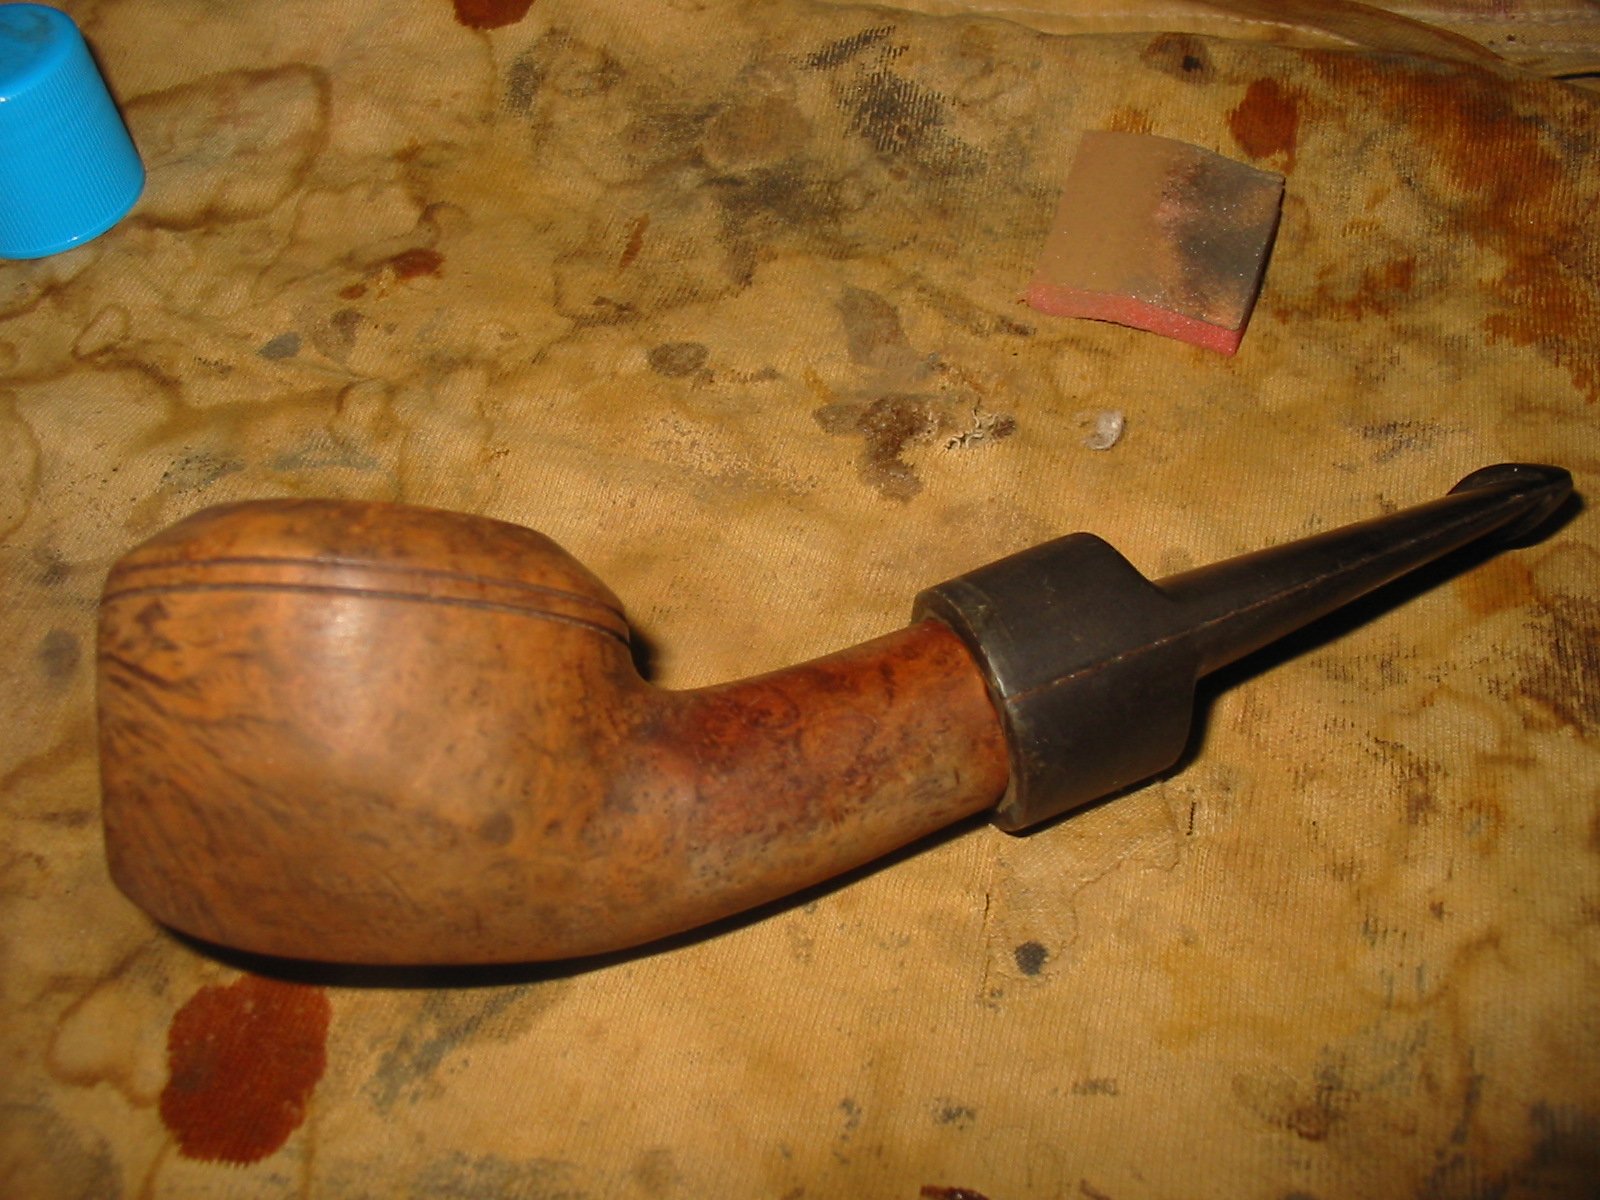
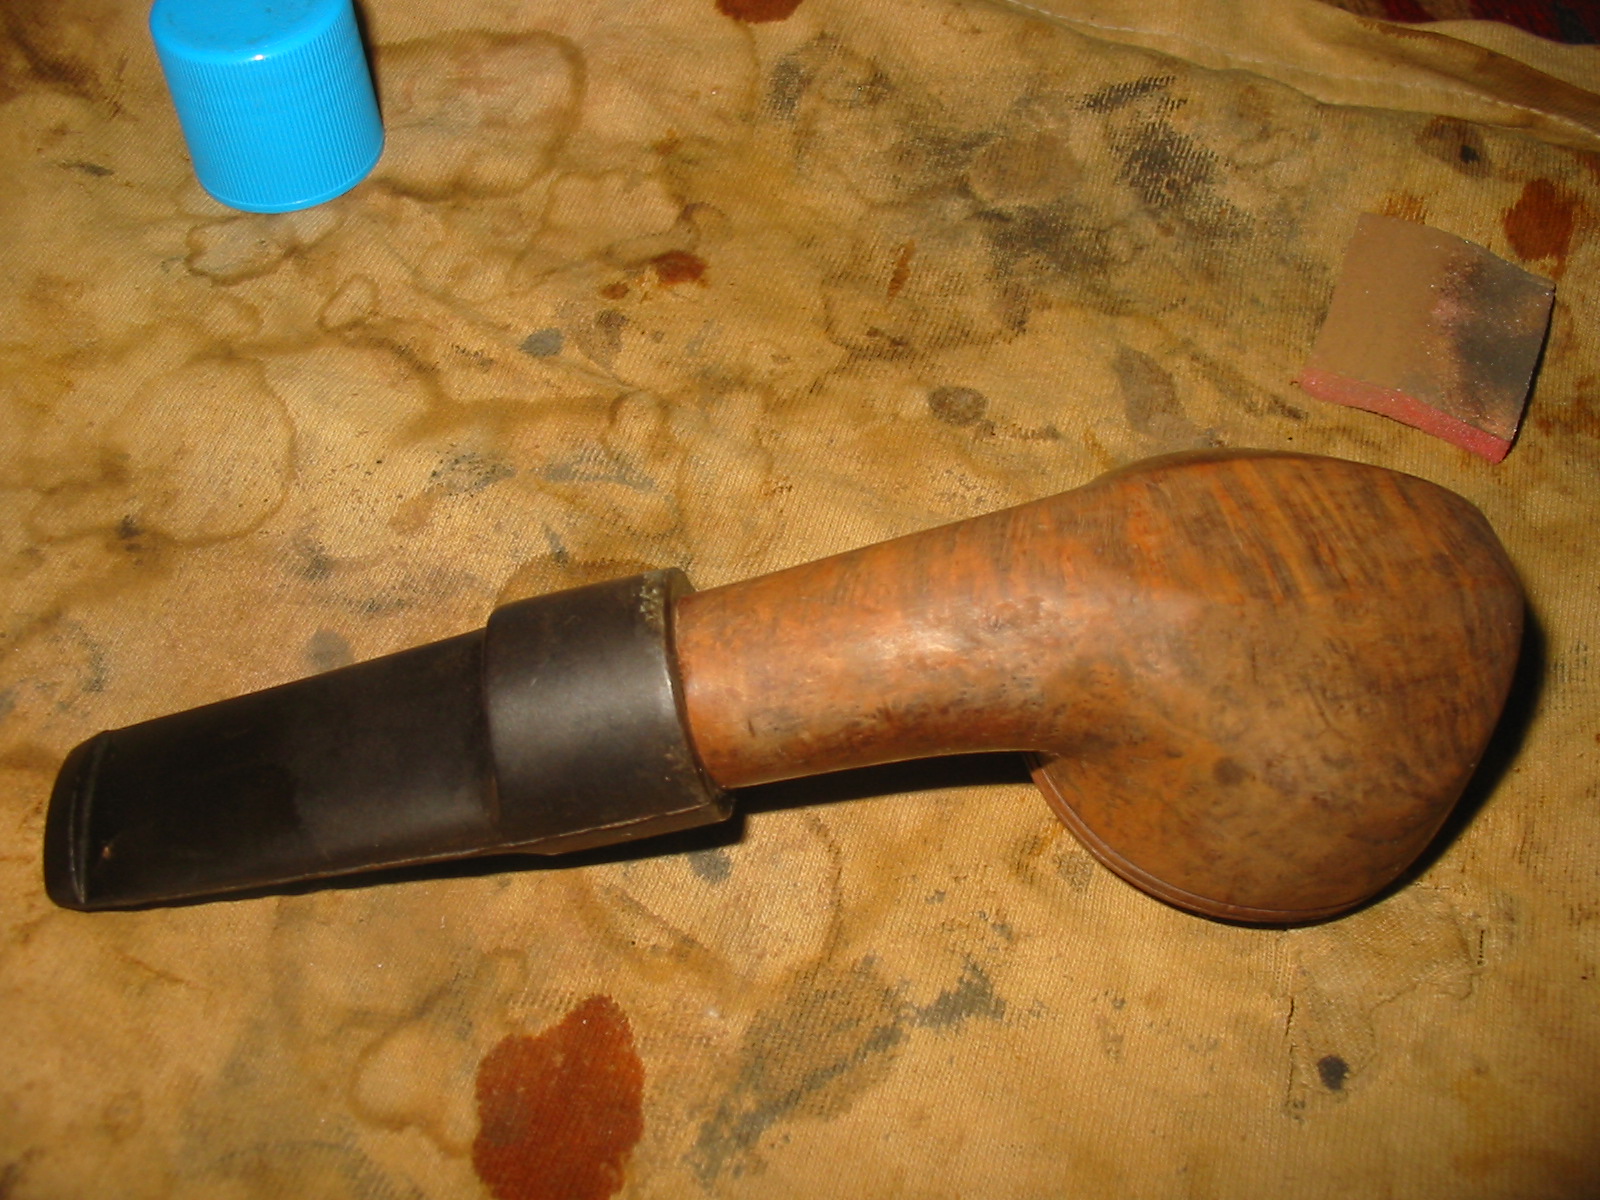
I had a saddle bit in my can of stems that had a Delrin tenon and with a little sanding fit the shank perfectly. It had a short saddle and quite quickly went to a blade. It was still quite thick in the mouth so I would need to sand it thinner for comfort. The fit against the shank was snug and only the diameter of the stem would need to be adjusted to fit properly.
IMG_6670

IMG_6671

IMG_6674
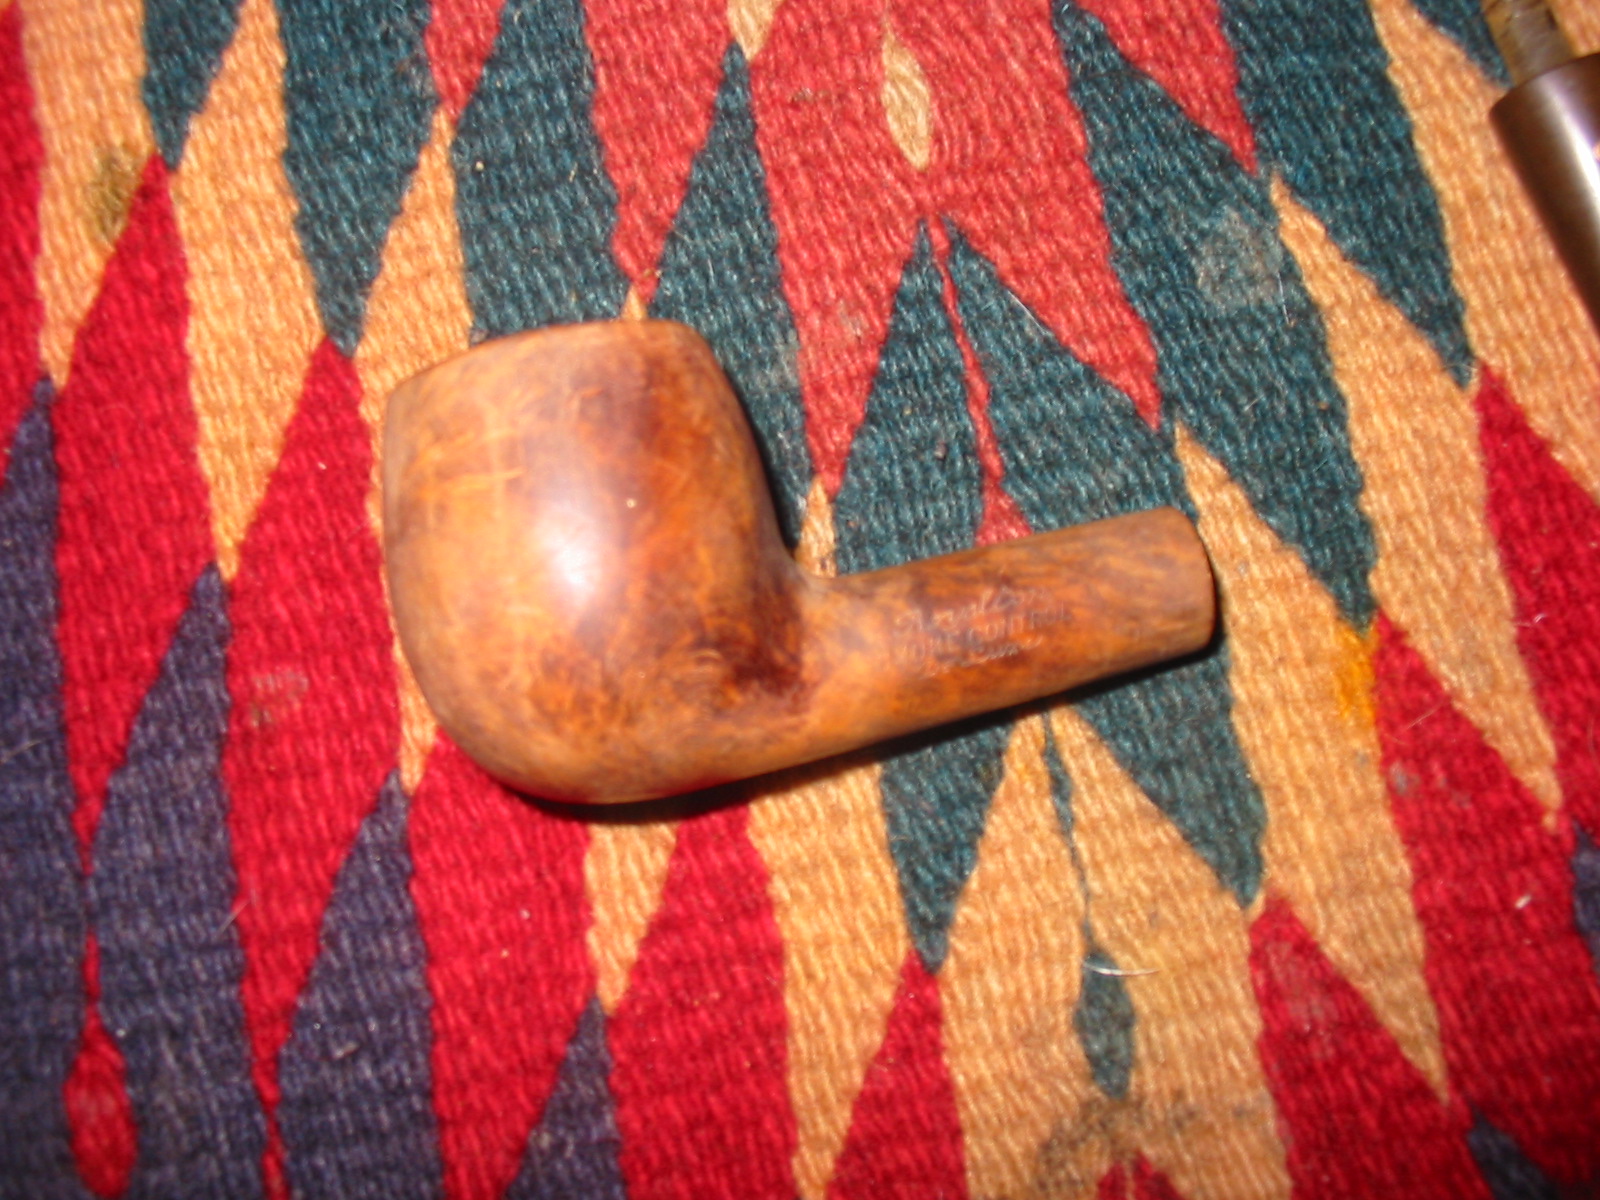
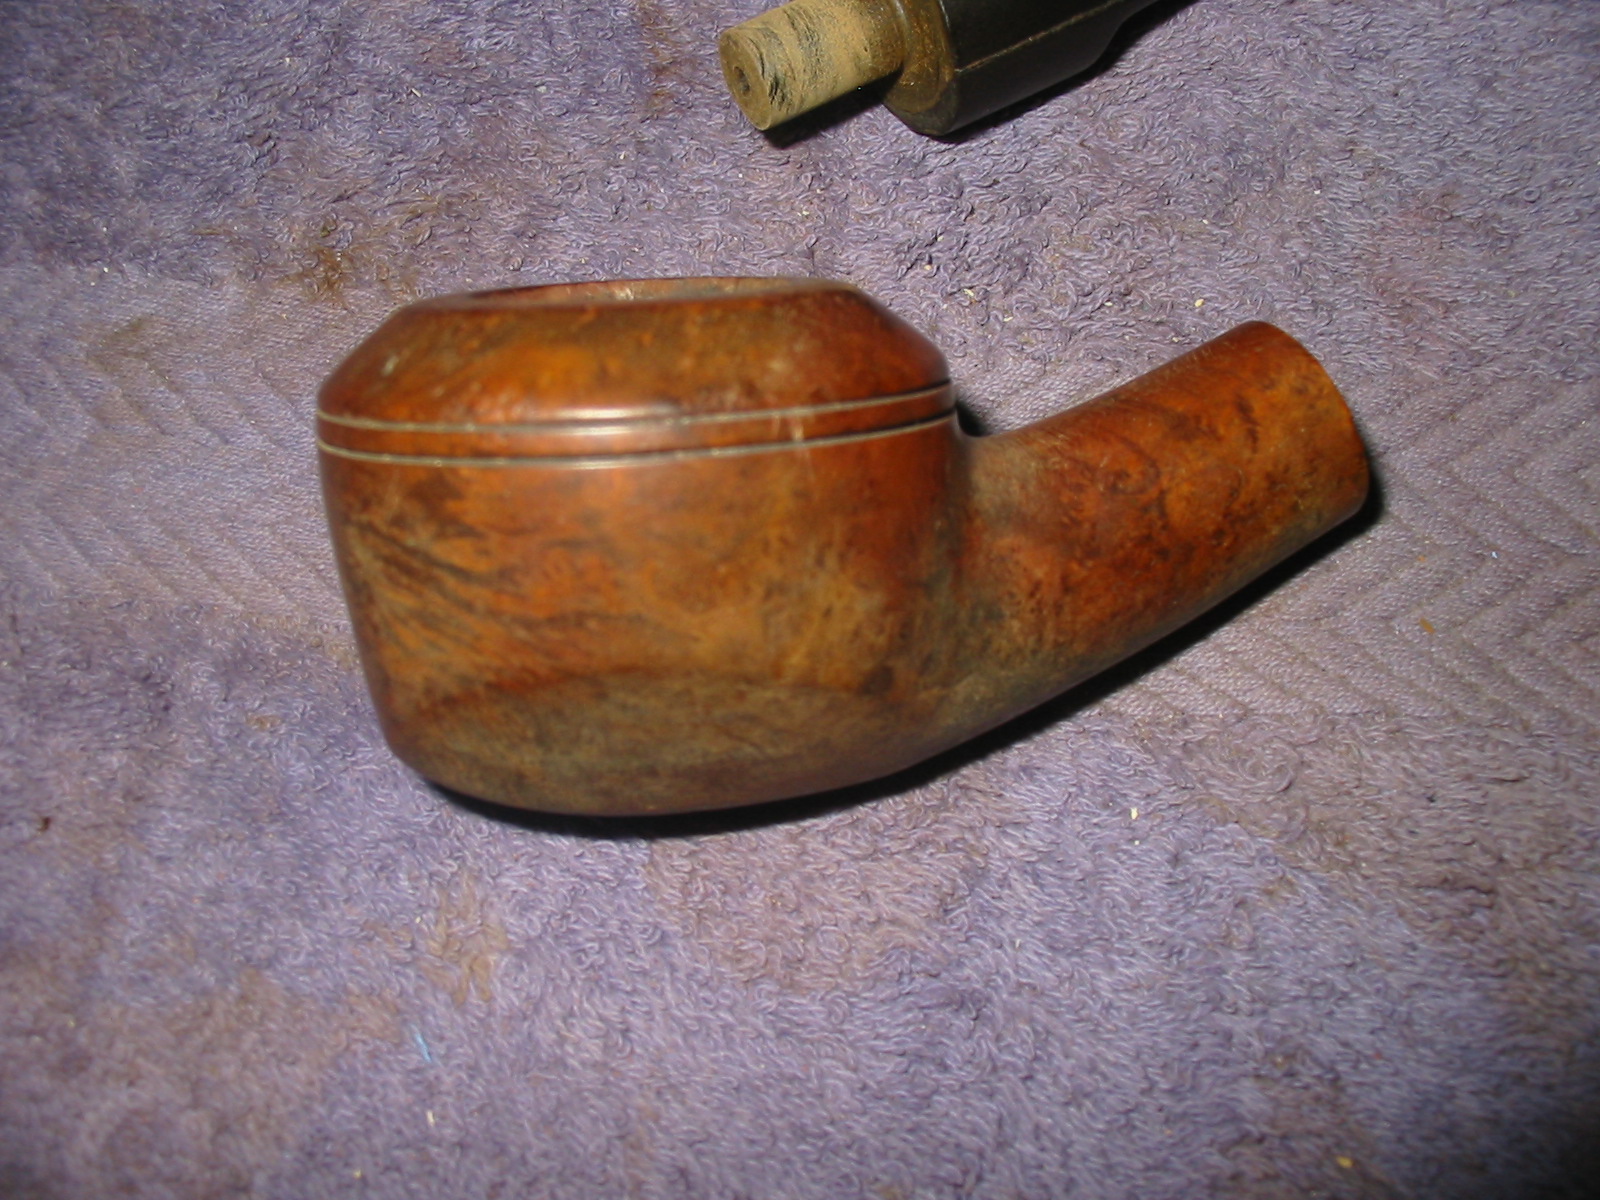
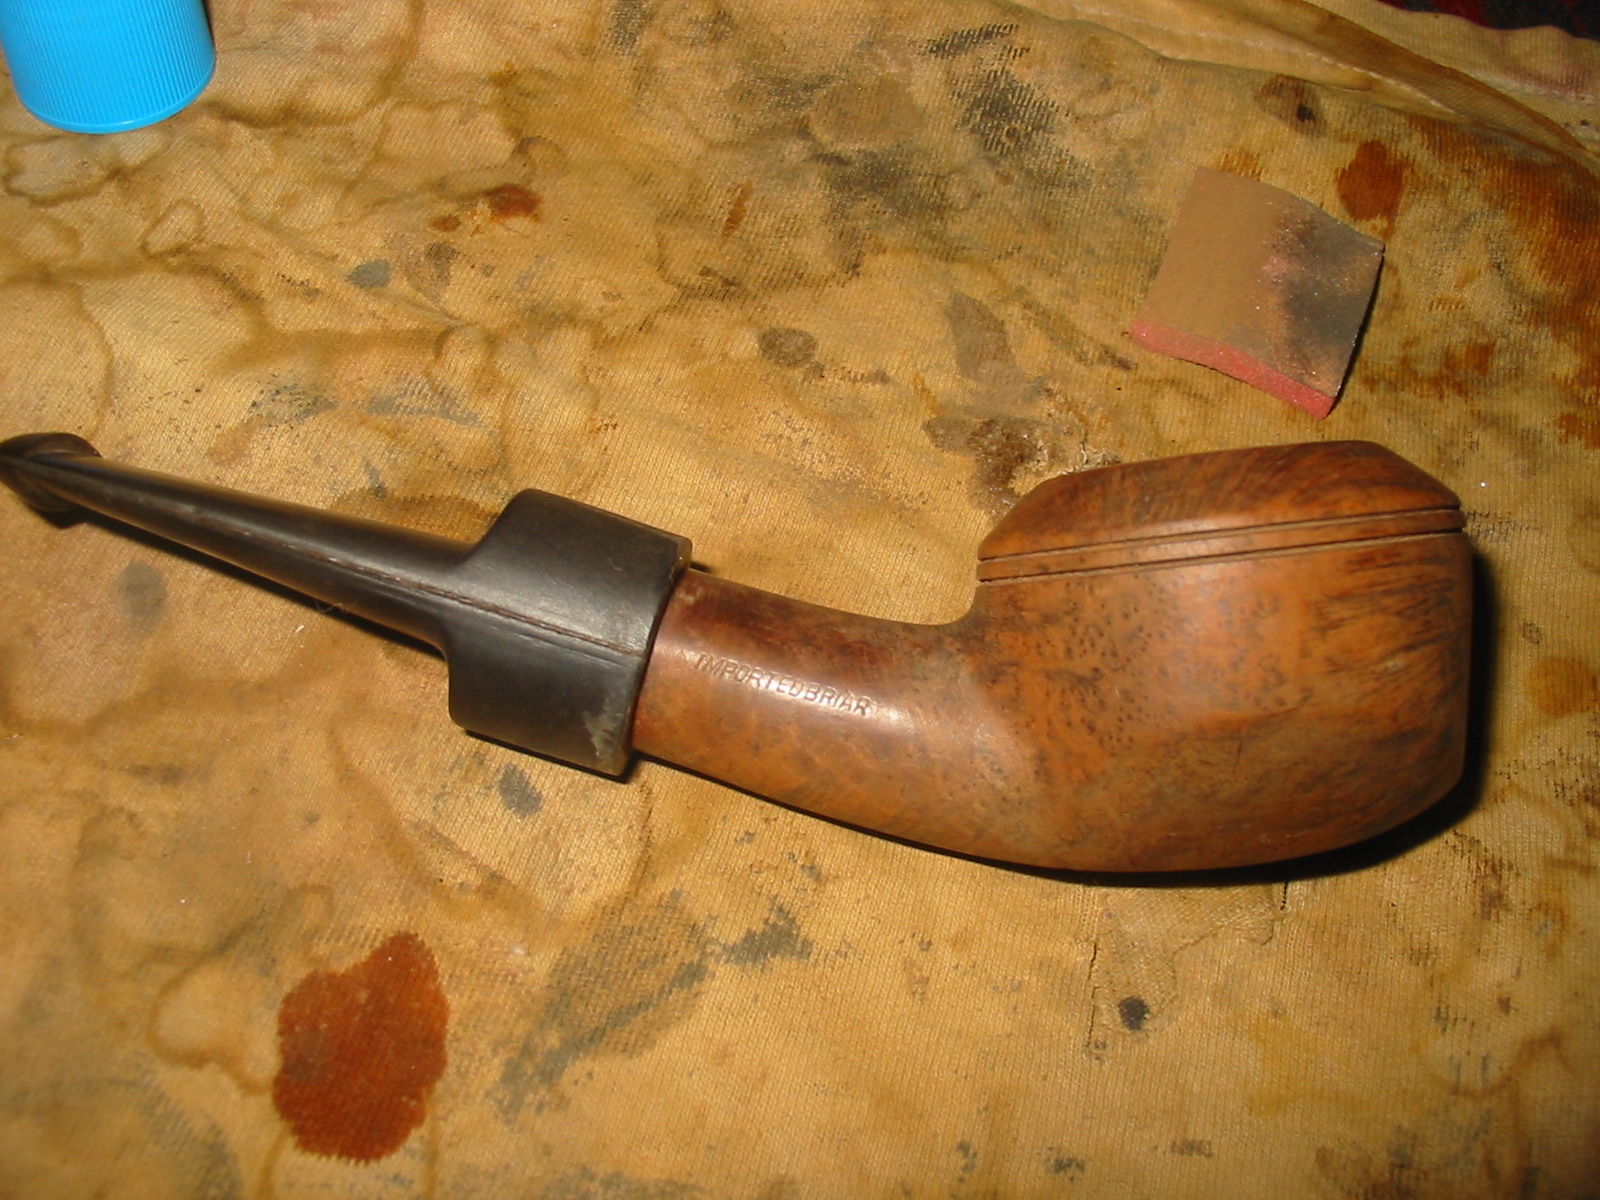
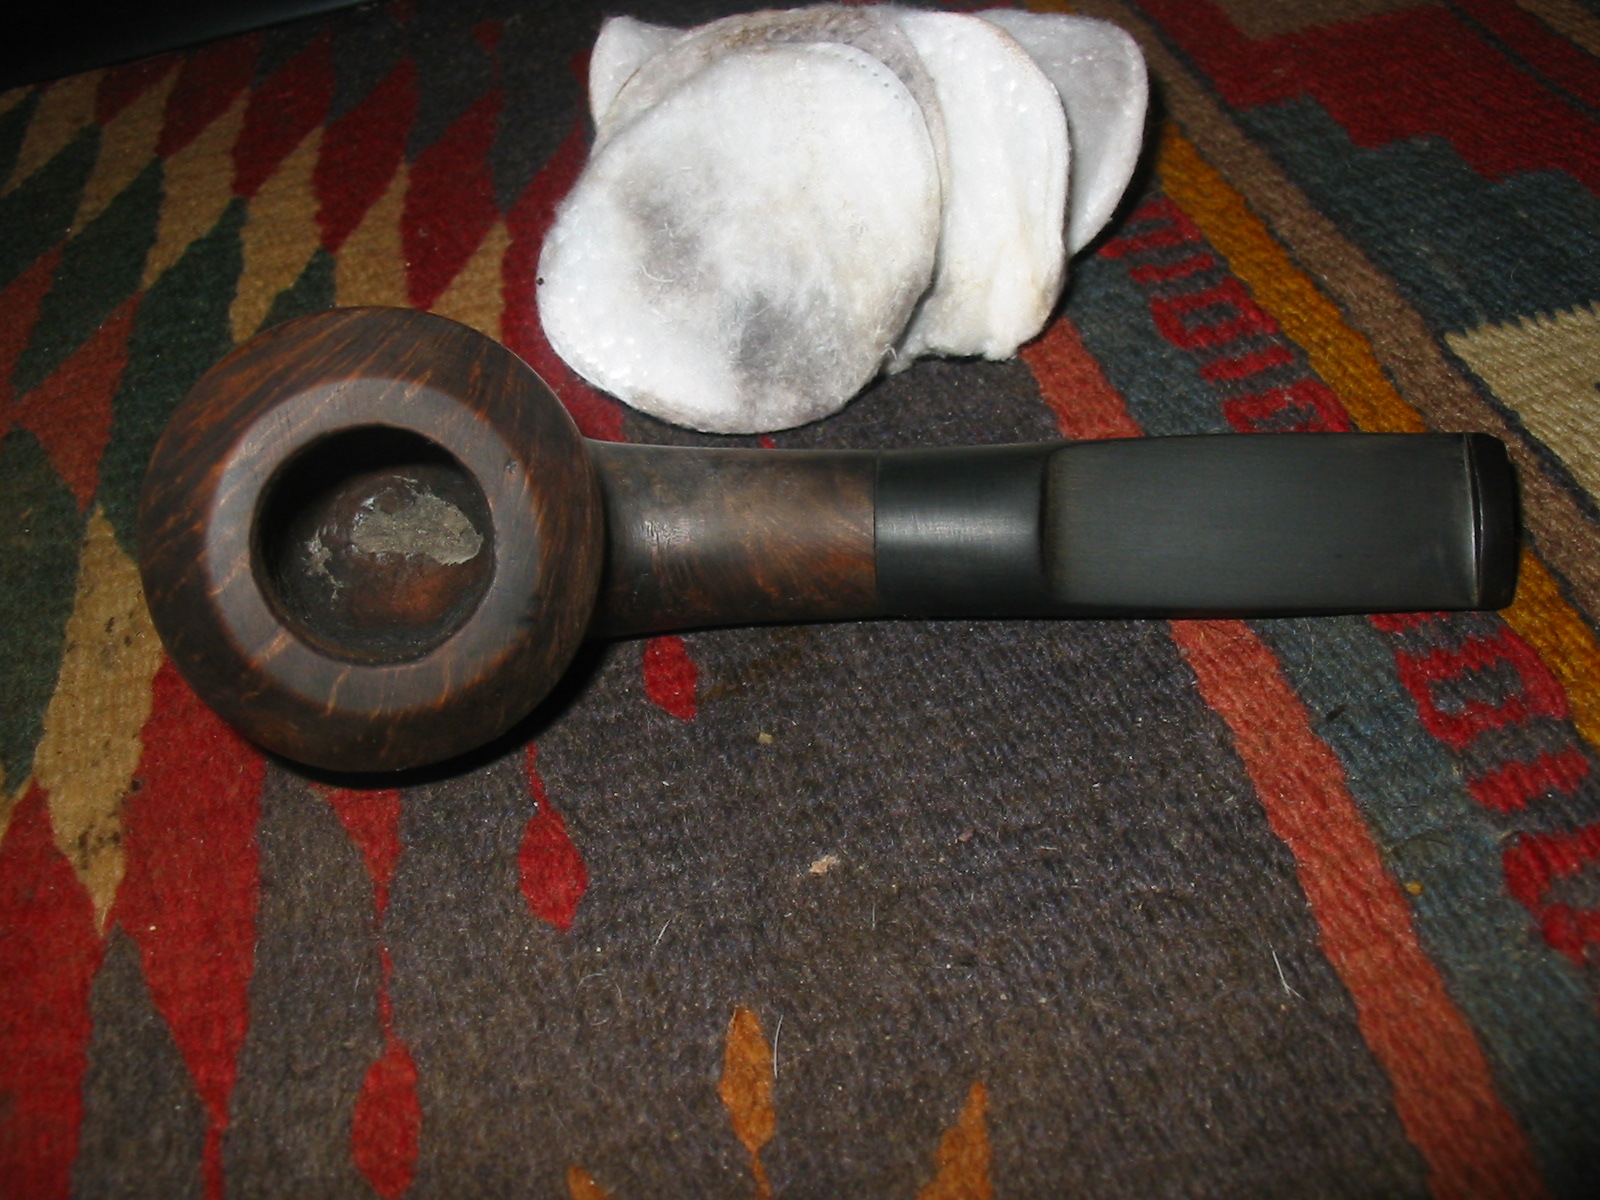
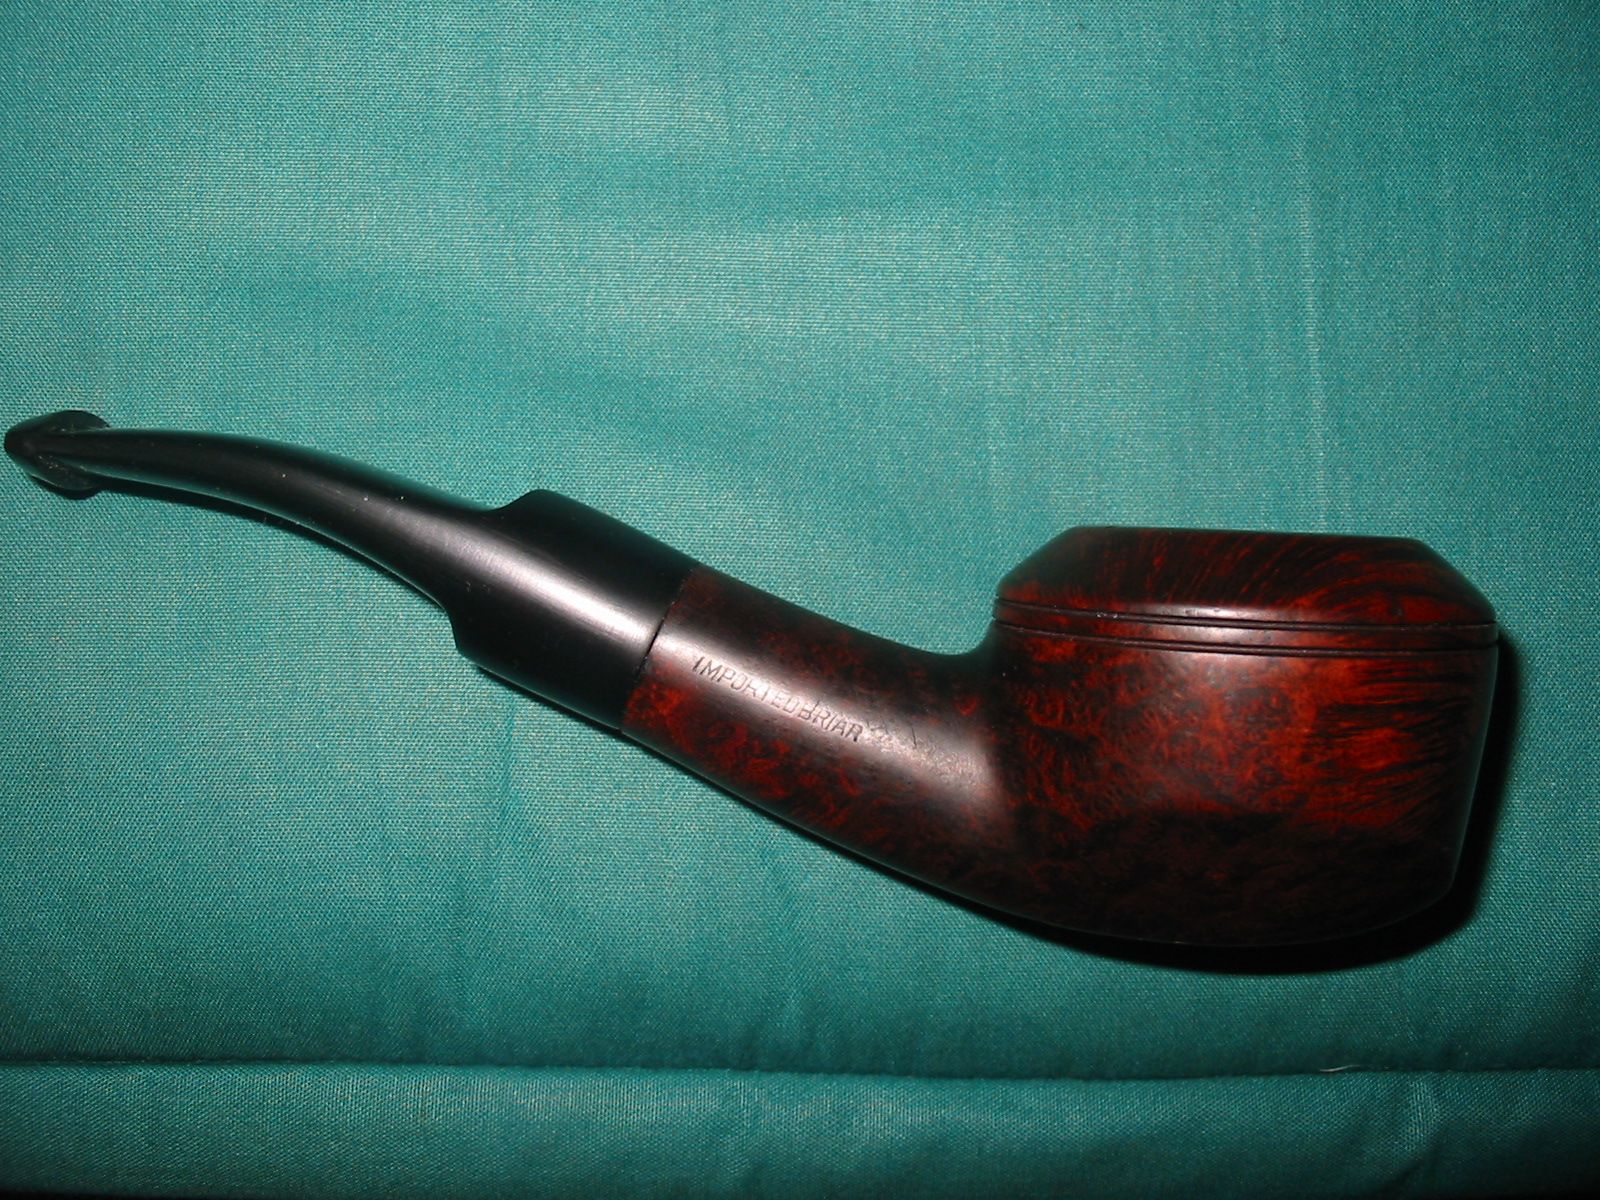
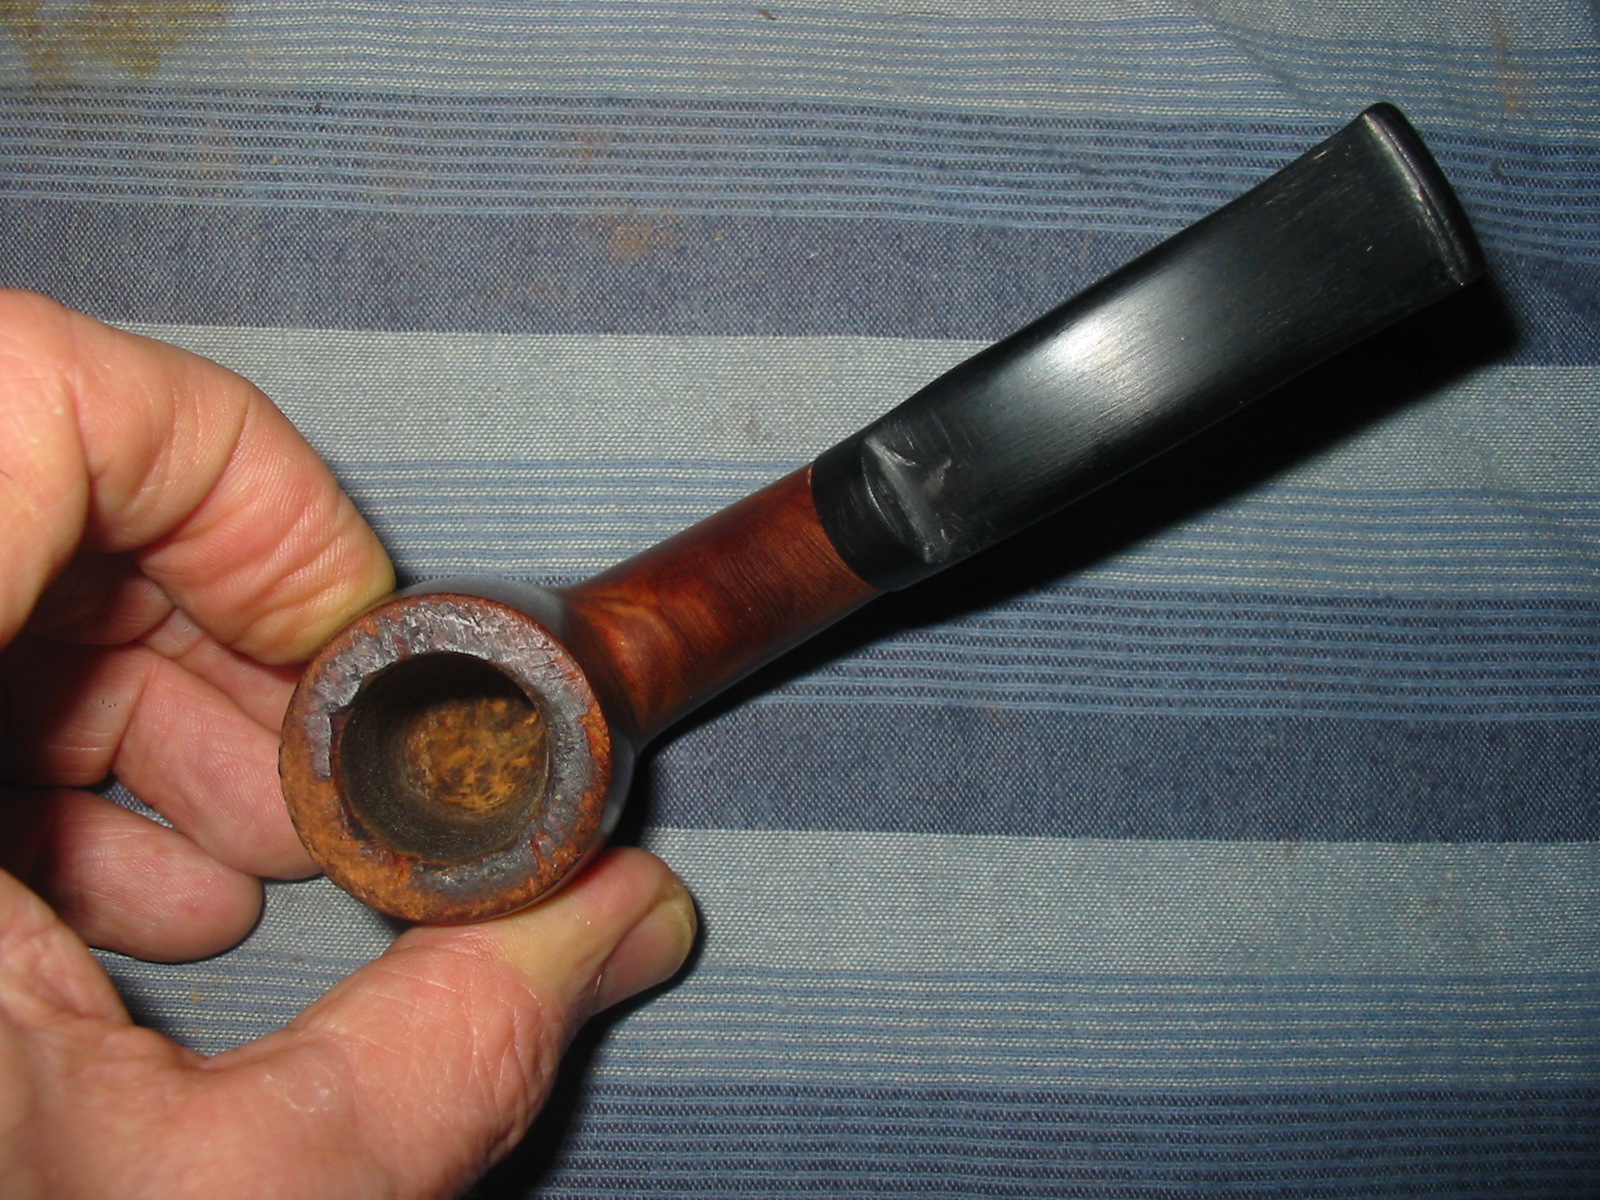
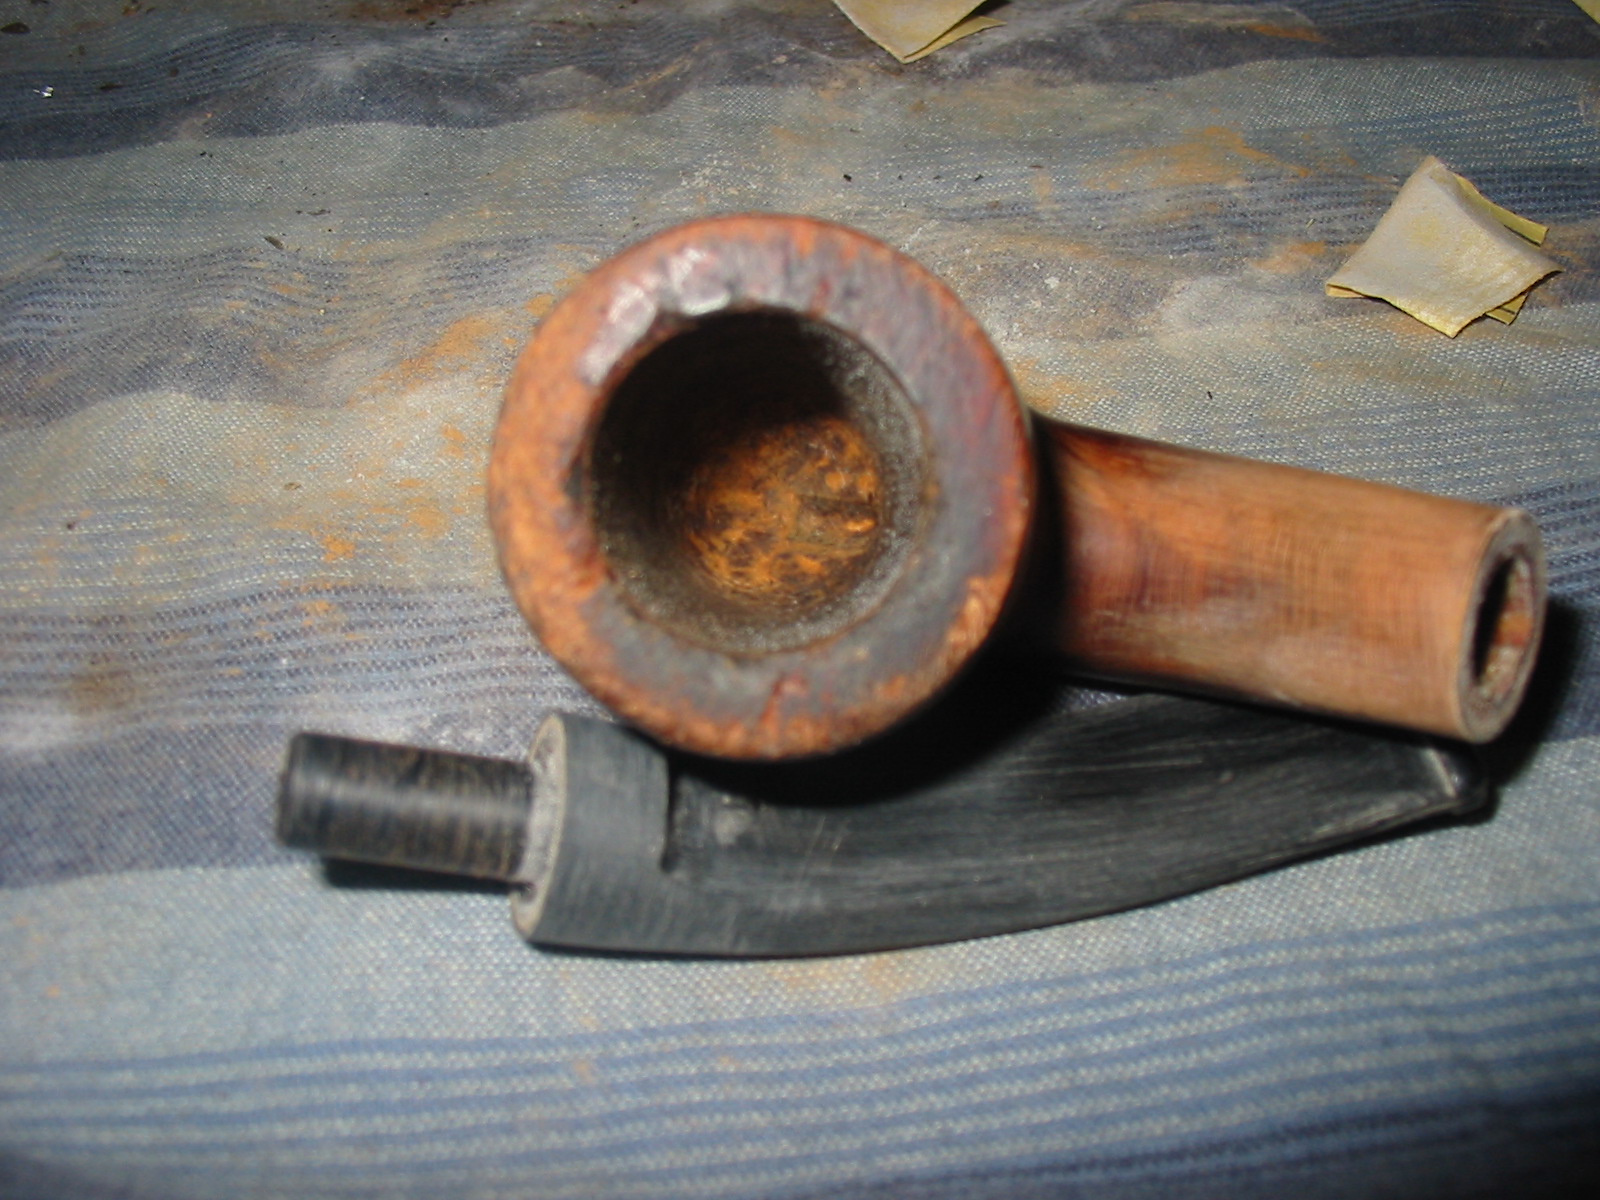
The pipe has some interesting grain on it and only one fill on the side of the shank. The stamping reads something like Barnard B over Imported Briar on the left side of the shank. The Barna is very clear the next two letters are faint and the end there is a Germanic Style B. Not much information available on the brand that I can find. The rim was really badly beaten up. It was rough and chewed up looking. The outer edge was ruined with chunks missing. The inner edge surprisingly enough was quite clean and in decent shape. There was a thin cake around the top half of the bowl while the bottom half was still unsmoked briar. The finish as worn around the rest of the bowl but surprisingly there were no nicks or dings on the rest of the briar.
IMG_6672

IMG_6673
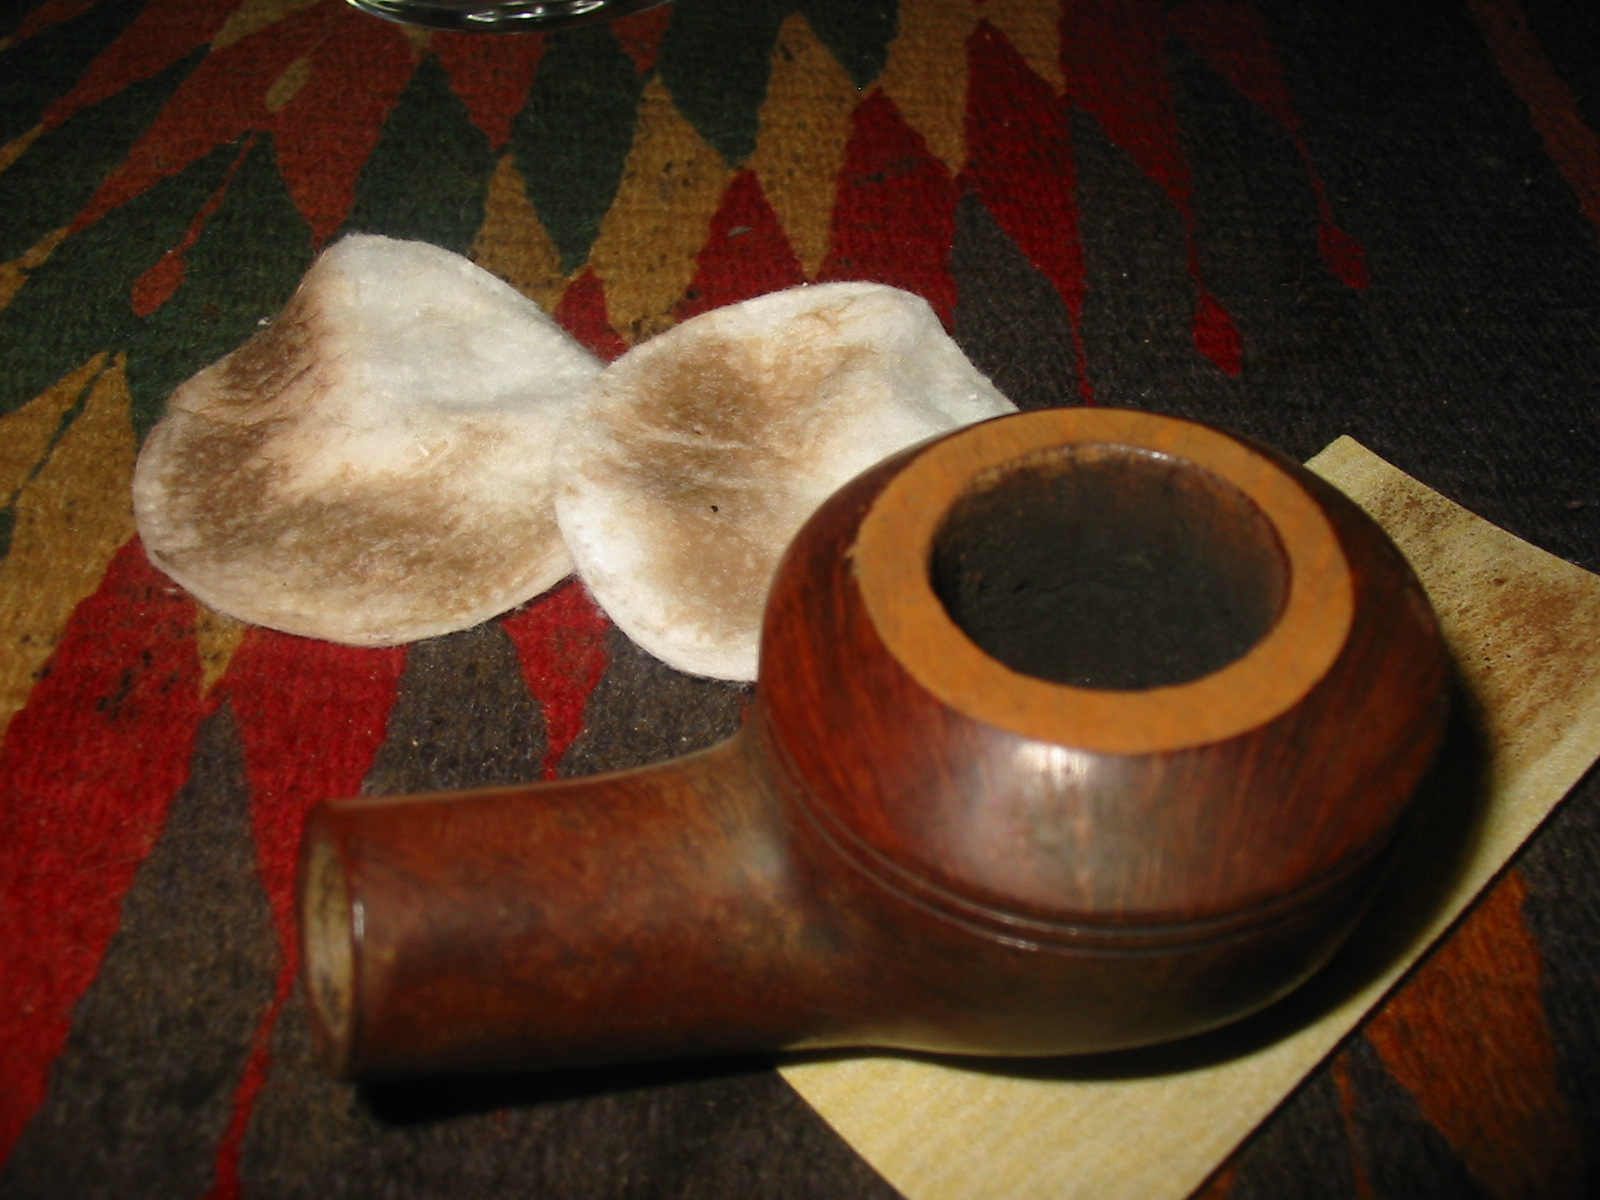
I took a close up photo of the top of the rim to give an idea of the condition it was in when it arrived at my work table. I fit the stem to the shank and then used the Dremel and sanding drum to take down the excess diameter of the stem. I then sanded the stem and shank with 220 grit sandpaper to make a smooth transition between the two materials. In the photos taken of the top and bottom you can begin to see the damage on the stem near the saddle. At this point it did not go through the Lucite material but it was definitely a grey colour instead of black.
IMG_6678

IMG_6679

IMG_6680

IMG_6681

IMG_6682
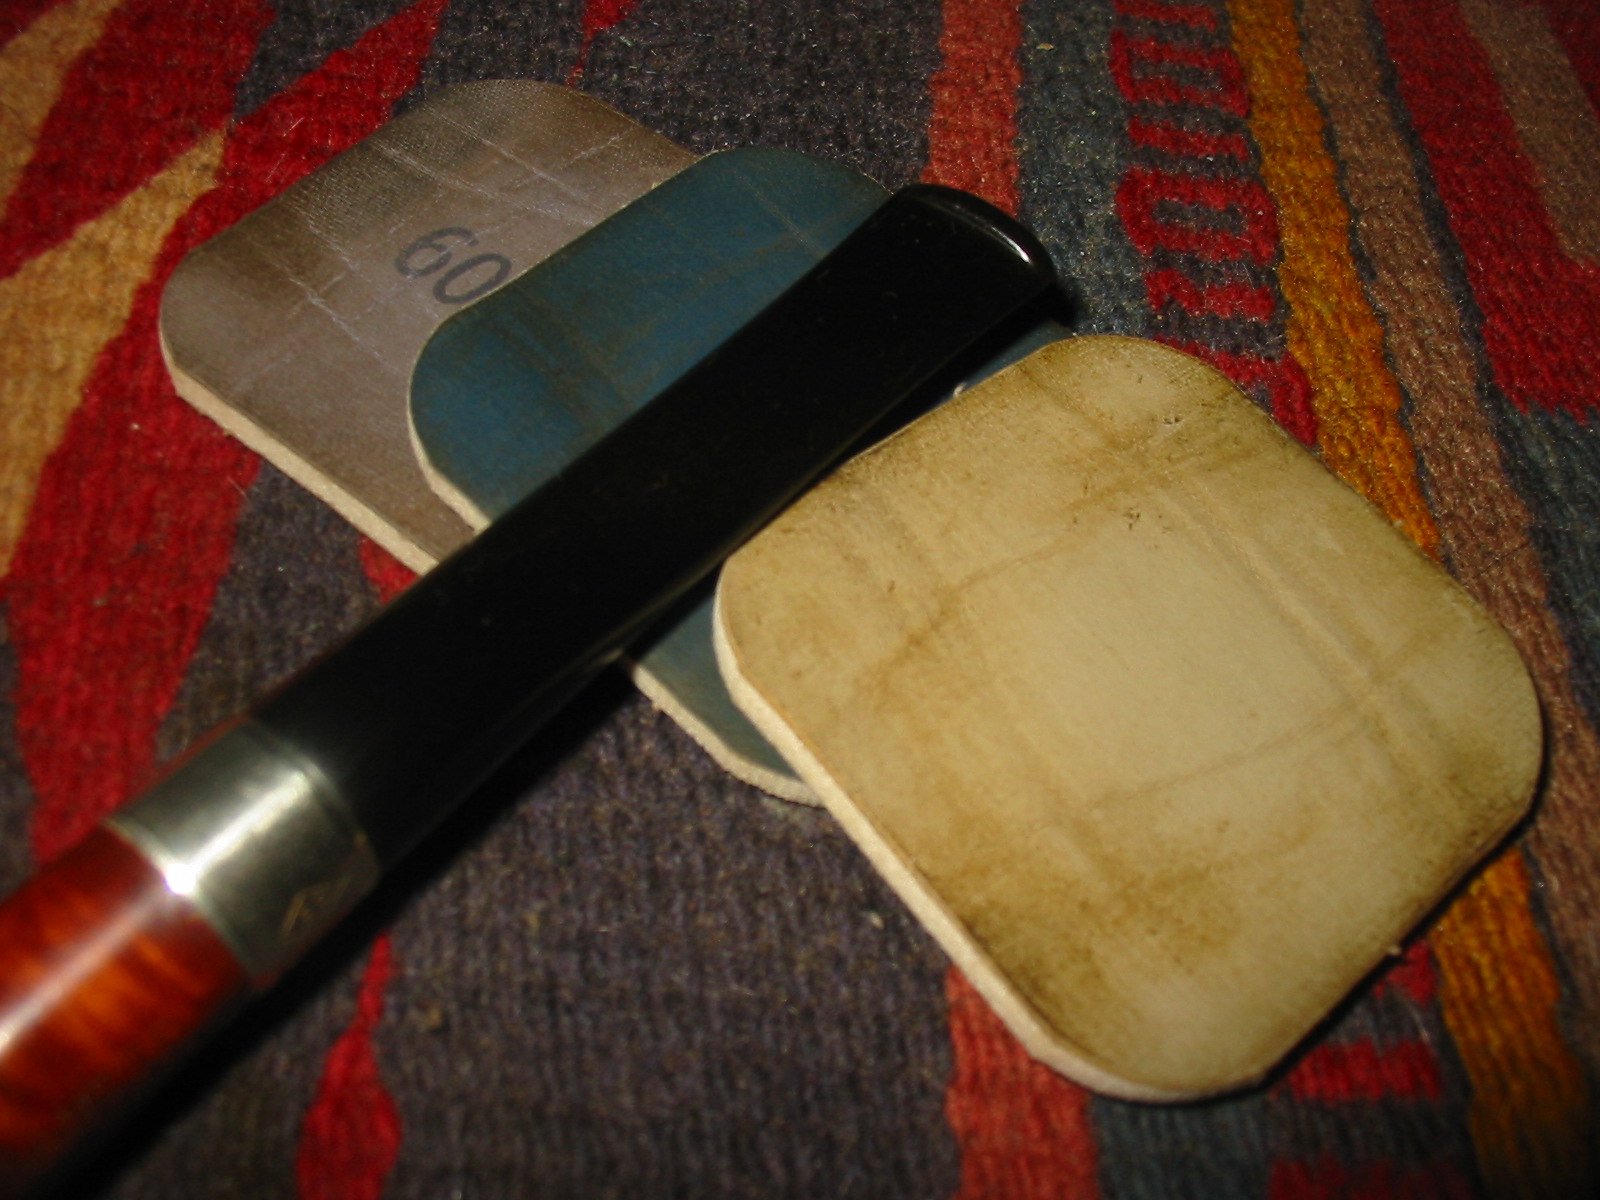
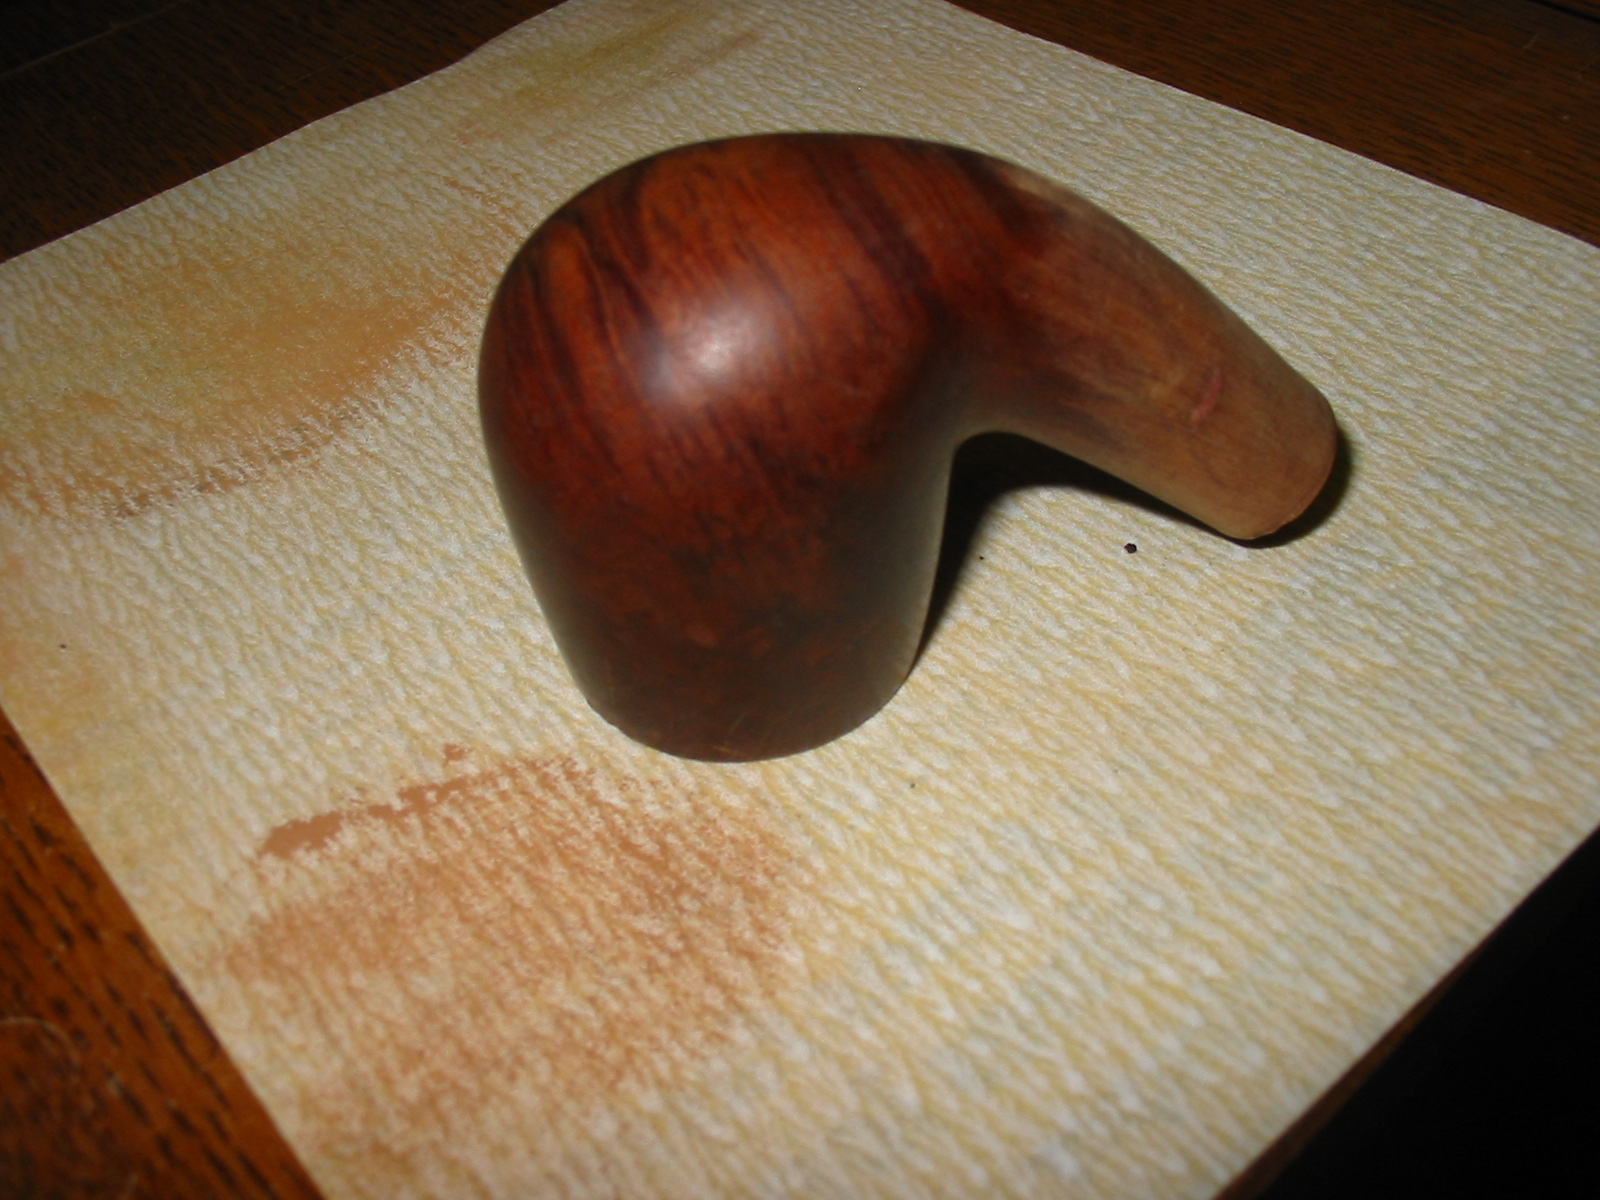
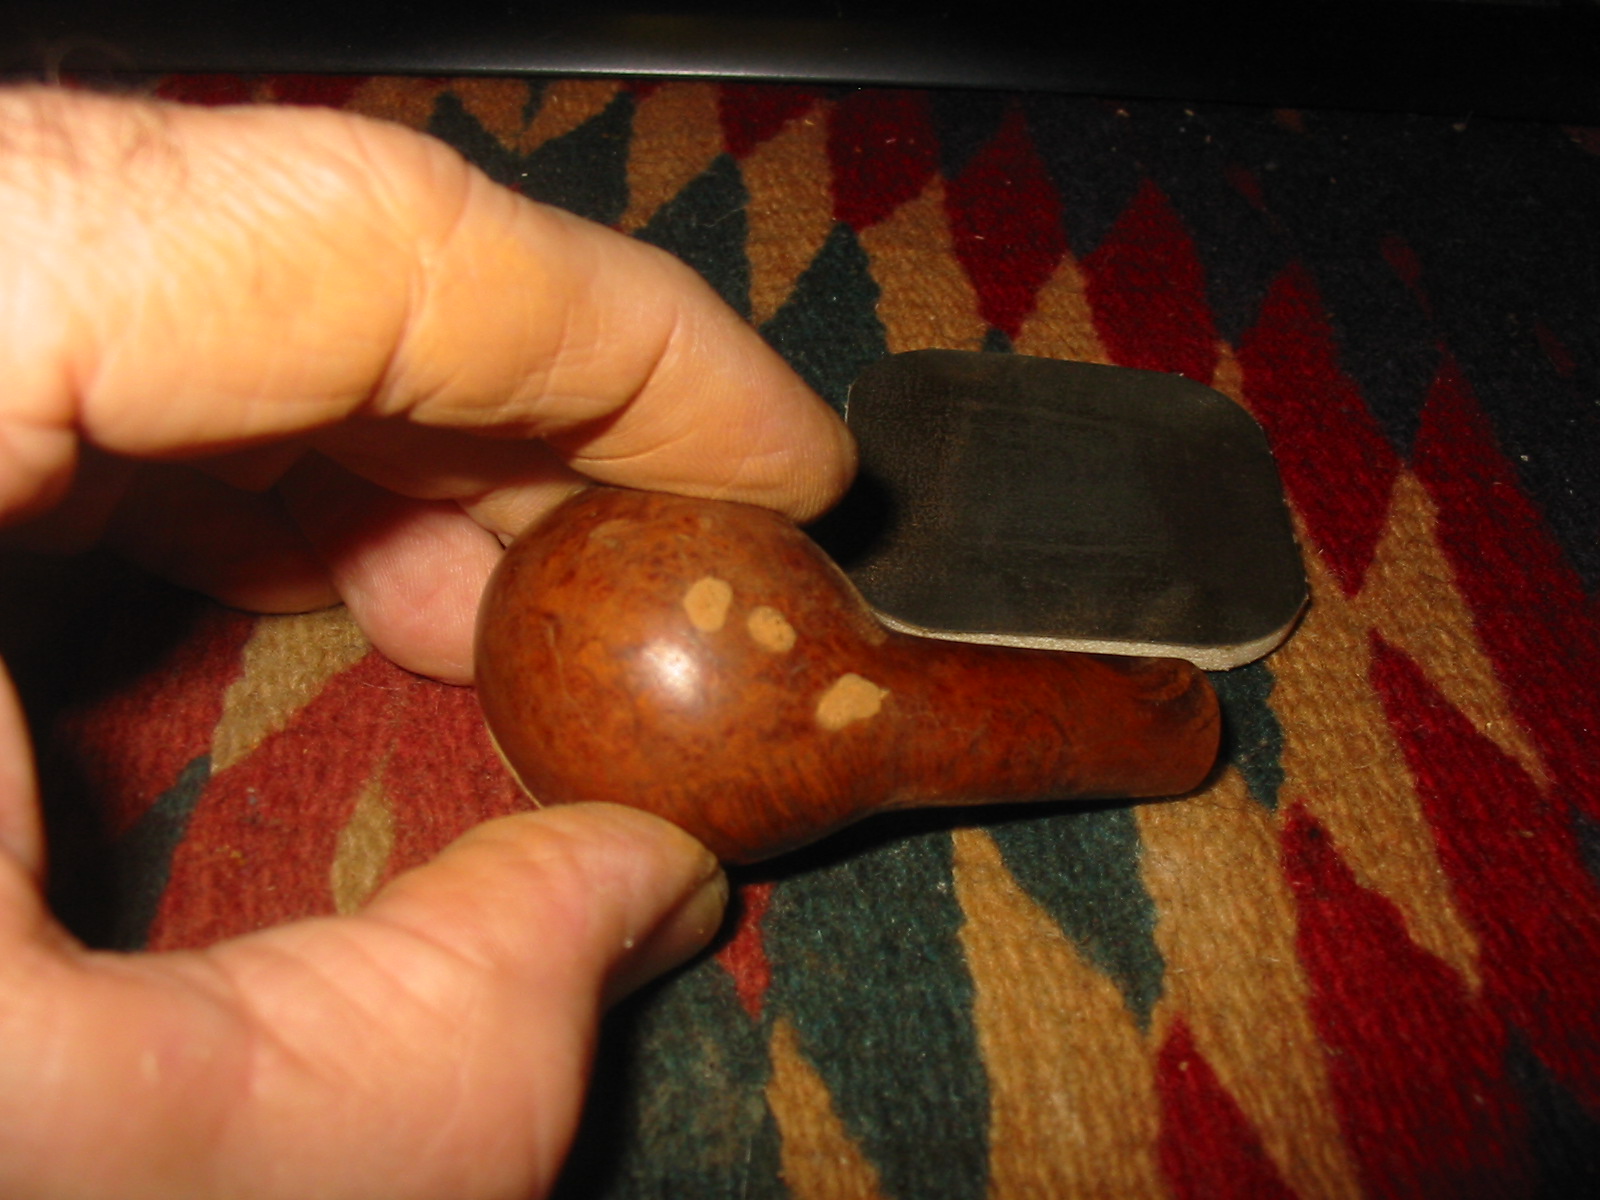
With the fit of the stem finished I topped the bowl. I set up the topping board and the 220 grit sandpaper and turned the bowl into the sandpaper in a clockwise direction. I sanded the outer edge of the rim with a folded piece of sandpaper to smooth out the damage that the topping did not remove. I then wiped the bowl down with acetone to remove the finish and clean up the bowl.
IMG_6683

IMG_6686

IMG_6684

IMG_6685

IMG_6687

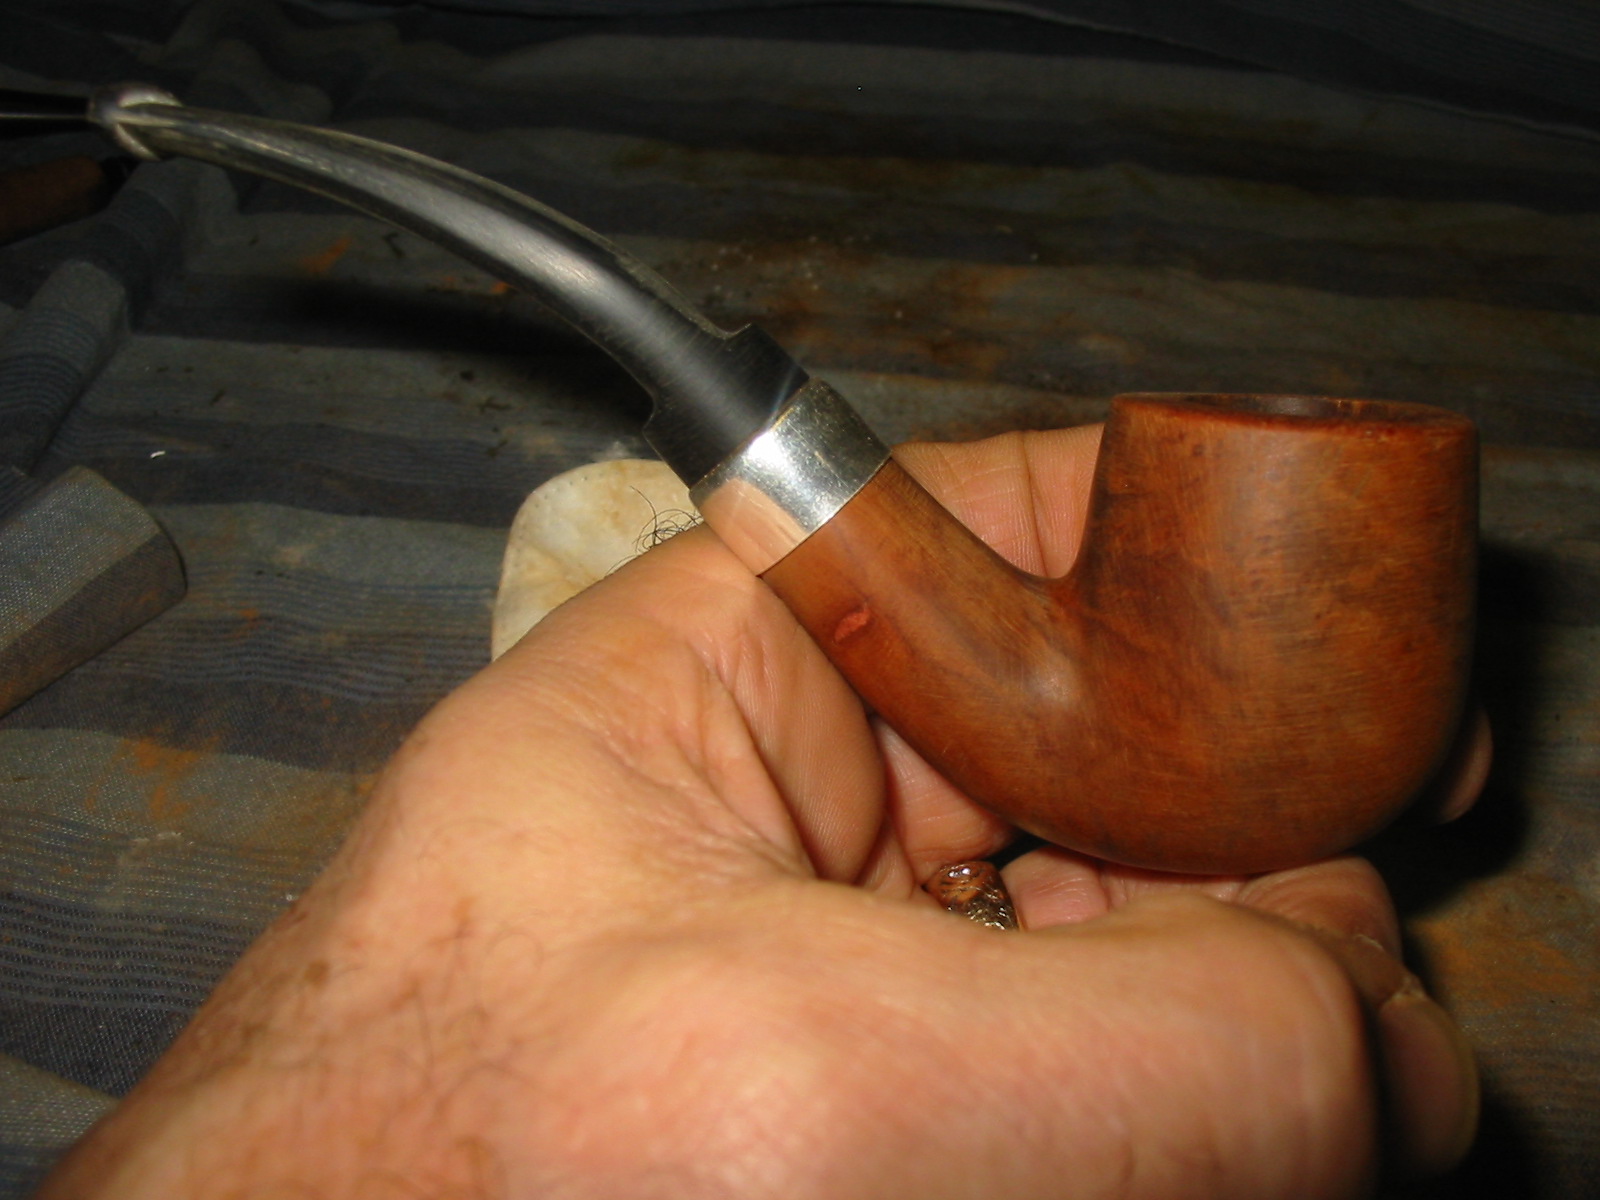
At this point I got an urge to put a silver band/end cap on the shank just to have a look. I liked the look of the cap but did not particularly like the look of the short saddle stem with the band. I almost pulled the band and decided against it but decided to leave it and stain the bowl to see what the finished look of the bowl would be. I could always make another stem for it should I desire to do so.
IMG_6688

IMG_6689

IMG_6690
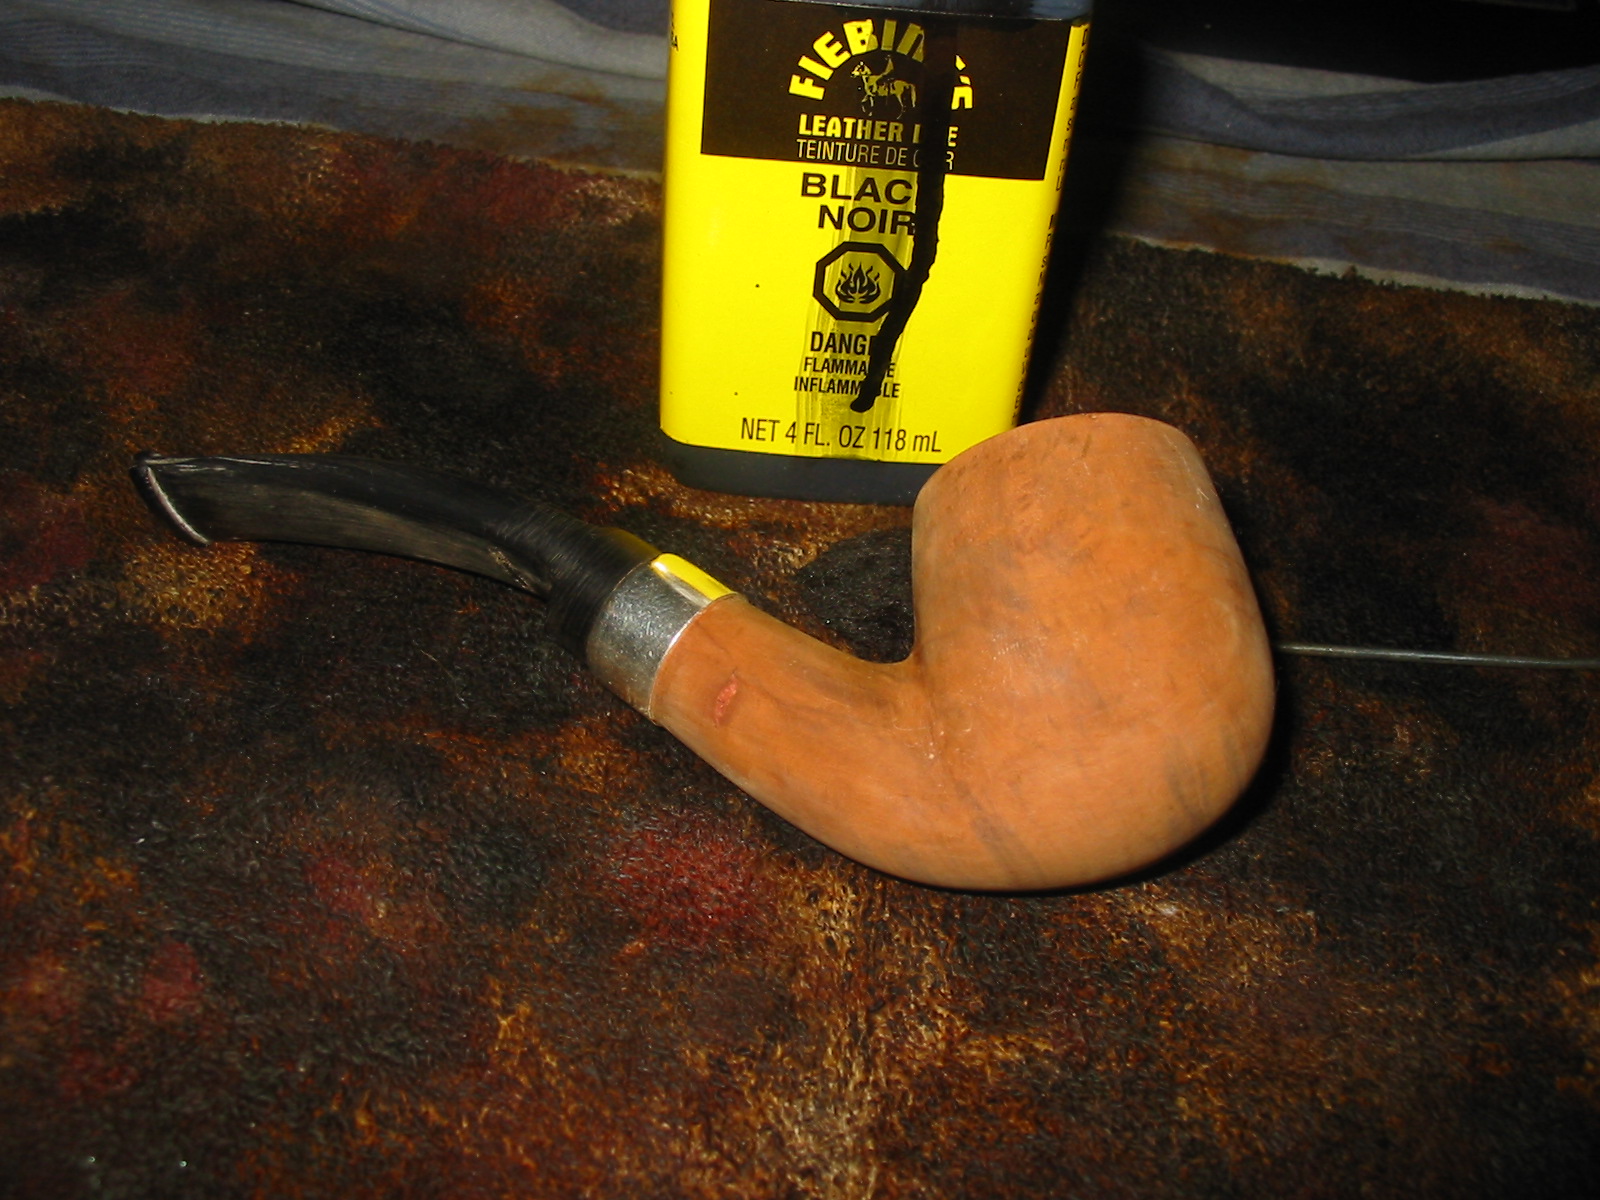
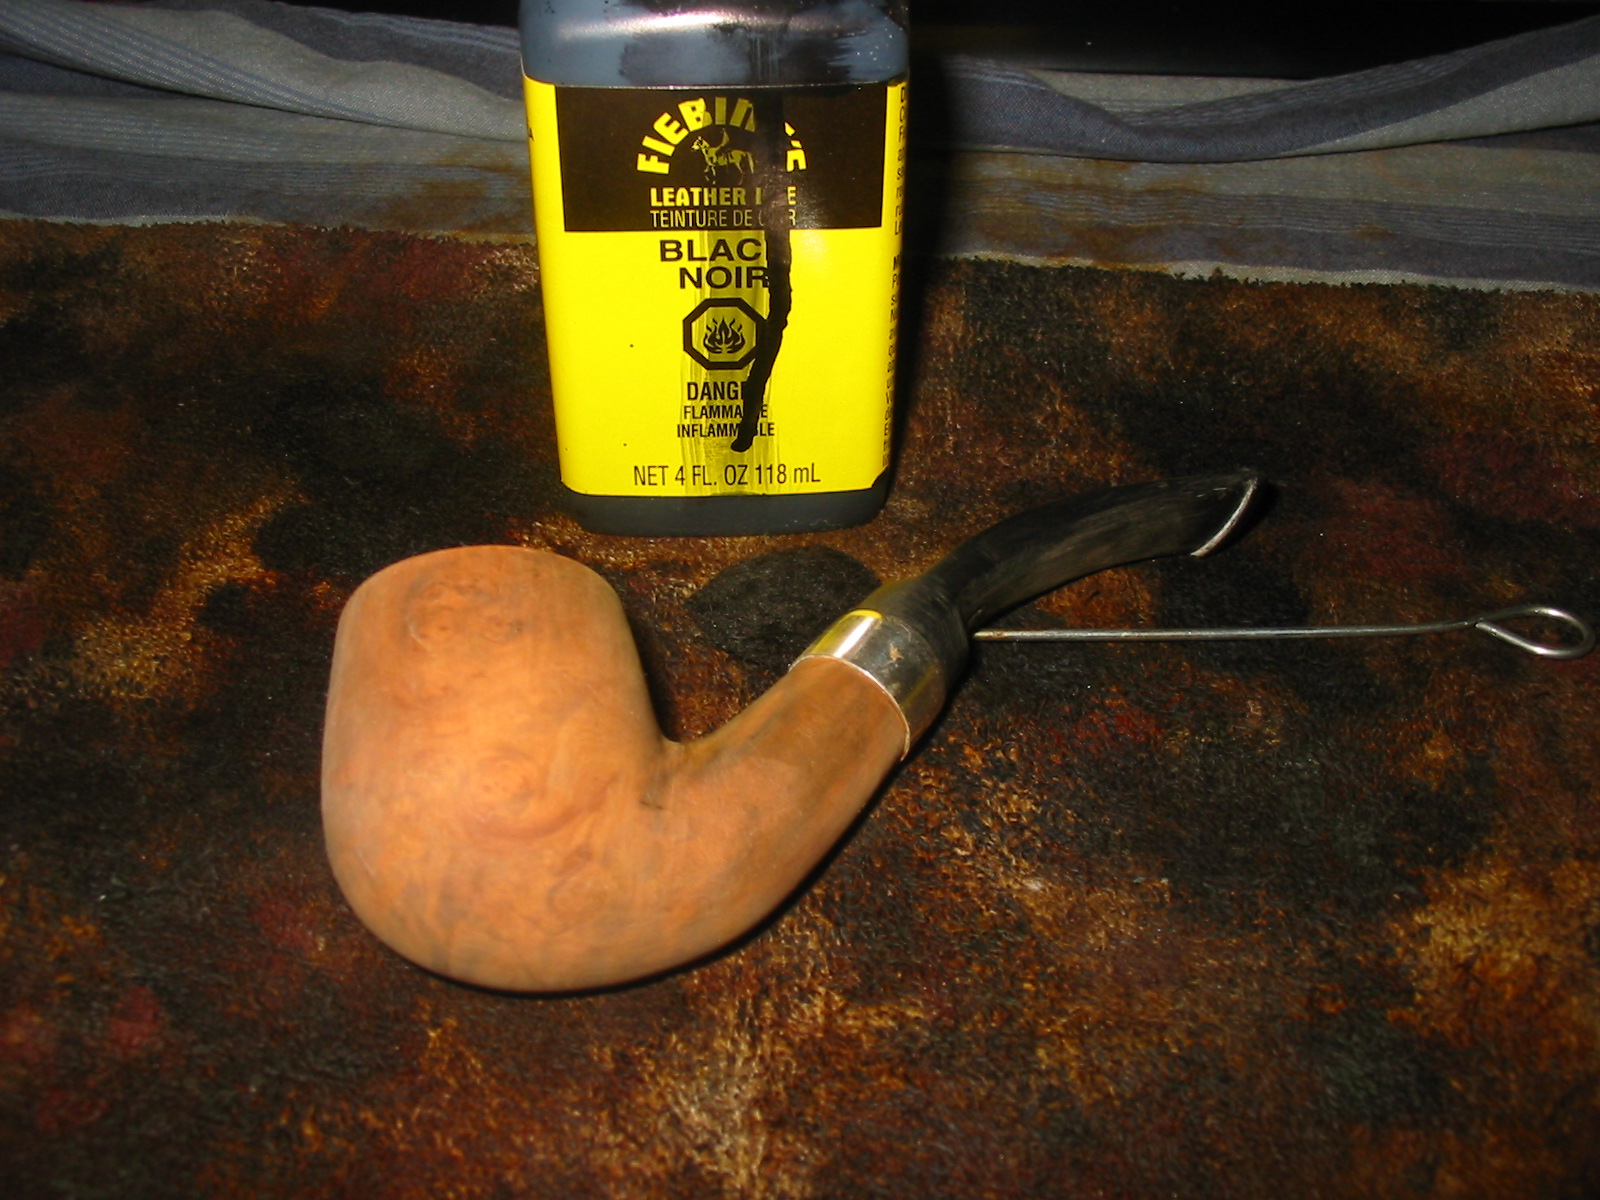
I sanded the bowl with medium and fine grit sanding sponges and then wet sanded the bowl with 400 grit wet dry sandpaper. Once the scratches were removed and the briar was smooth I stained it with a black aniline stain. I applied it, flamed it, applied it again and flamed it again. I then heated the bowl with a heat gun to further set the black stain in the grain.
IMG_6691

IMG_6692

IMG_6693

IMG_6694

IMG_6695

IMG_6696

IMG_6697
I wiped the bowl down with isopropyl alcohol and followed that with acetone on cotton pads to remove the excess stain. I wanted to leave it deep in the grain and remove it from the surface of the bowl. I sanded the bowl with medium and fine grit sanding sponges and then wet sanded it with 400 grit wet dry sandpaper. When I had finished the bowl looked almost grey and the dark striations of grain stood out on the heel and underside of the shank.
IMG_6698

IMG_6699

IMG_6700

IMG_6701
I wiped the bowl down with alcohol again and then restained it with a oxblood aniline stain to bring out the contrast in the briar. I really like the way the finish had turned out on the bowl. The stem was looking more and more problematic. It seemed that I had sanded through the blade next to the saddle and sanded into the Delrin tenon. In the top and bottom view photos below you can see the grey area in each of those spots next to the saddle. This stem was ruined and needed to be replaced.
IMG_6702

IMG_6703

IMG_6704

IMG_6705
I took the stem off the pipe and sanded the two sides some more to see if I could feather out the damage or maybe repair it with a super glue patch. Looking at the photos you can see that patching and repairing the stem would not work.
IMG_6706

IMG_6707
I found a vulcanite saddle stem in my can of stems that would fit the shank. I turned the tenon with a PIMO tenon turner and then sanded it until it fit snuggly in the shank. The outer diameter of the stem needed to have some of the vulcanite removed to center the stem against the silver end cap.
IMG_6709
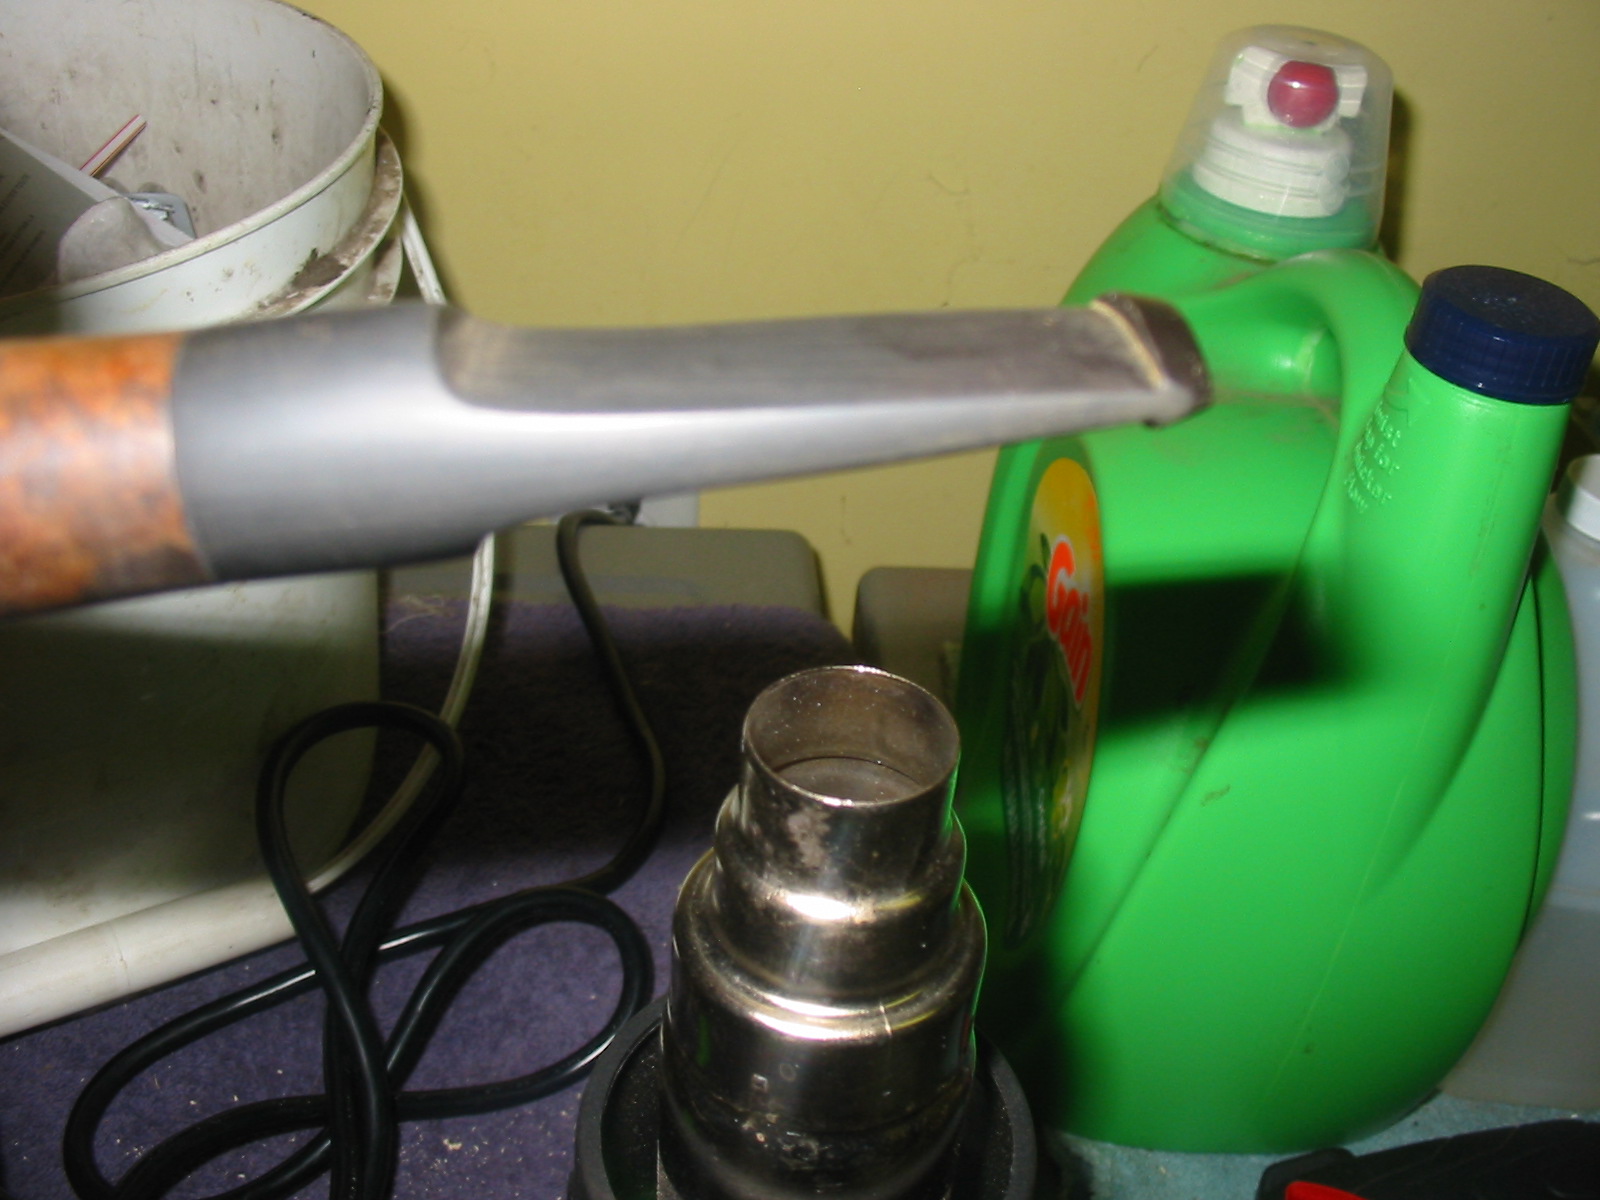
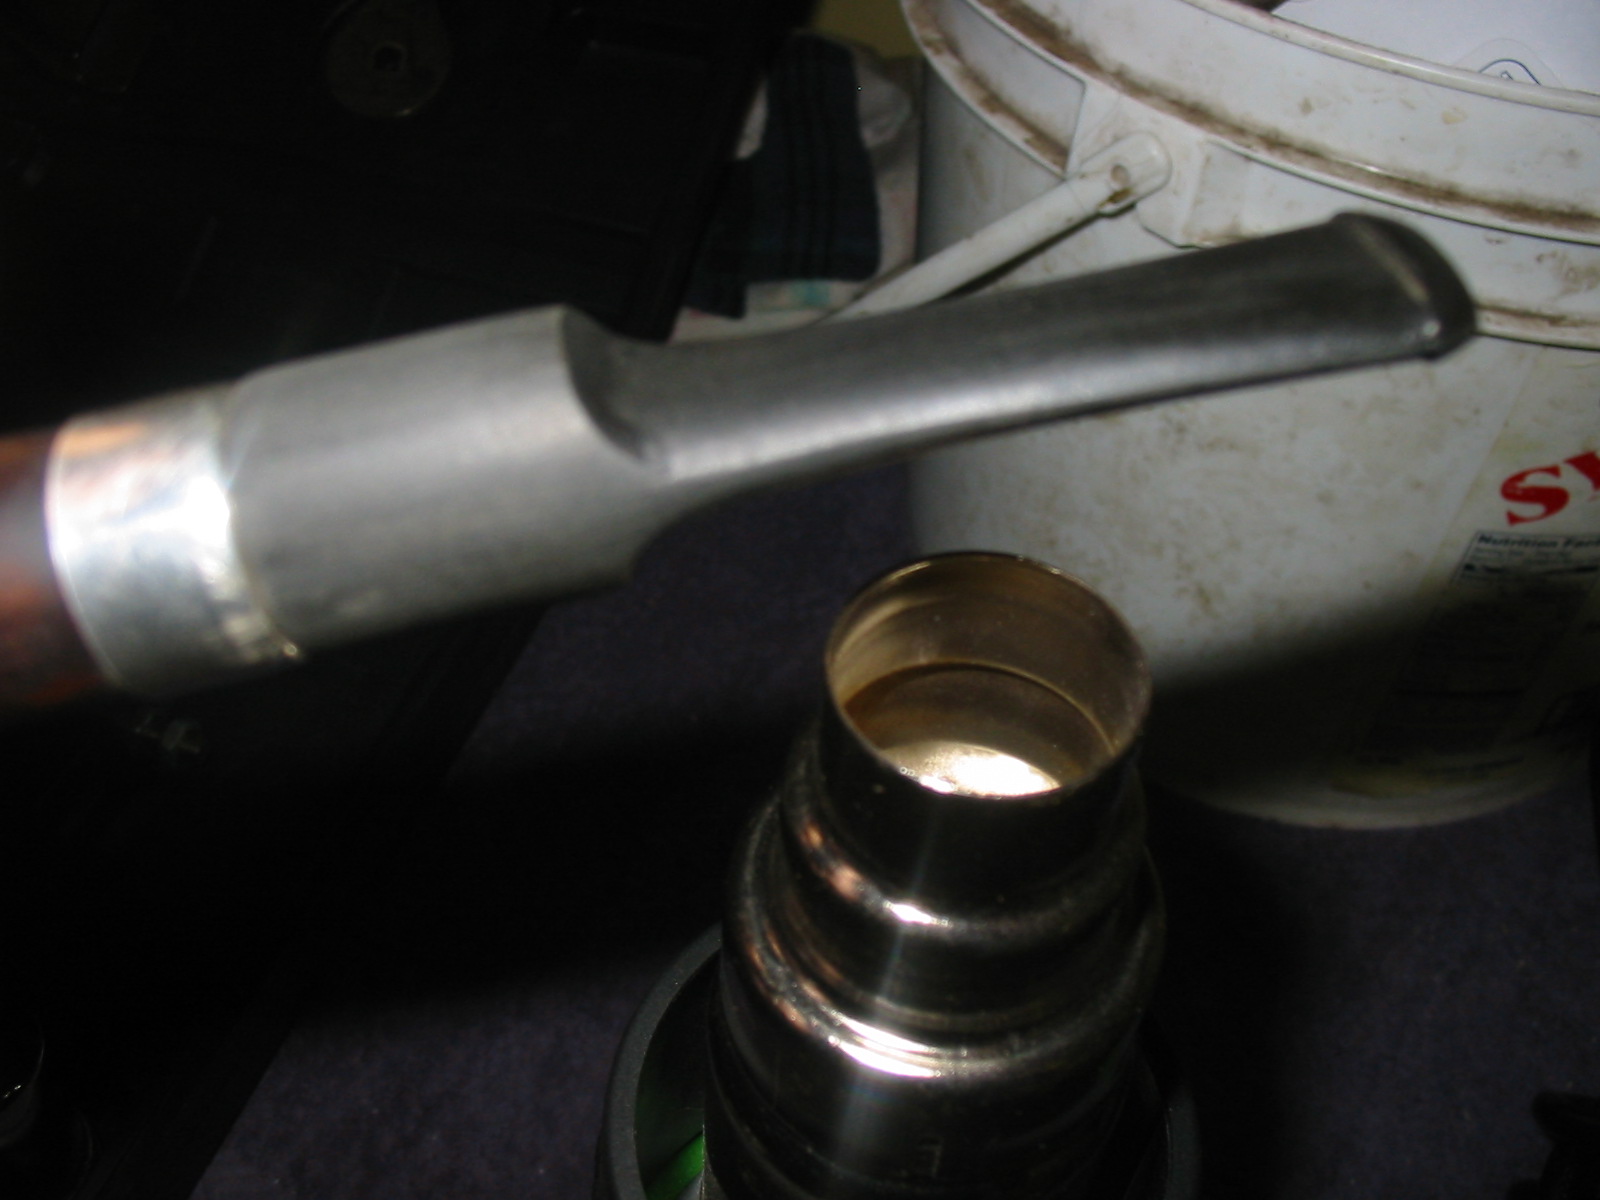
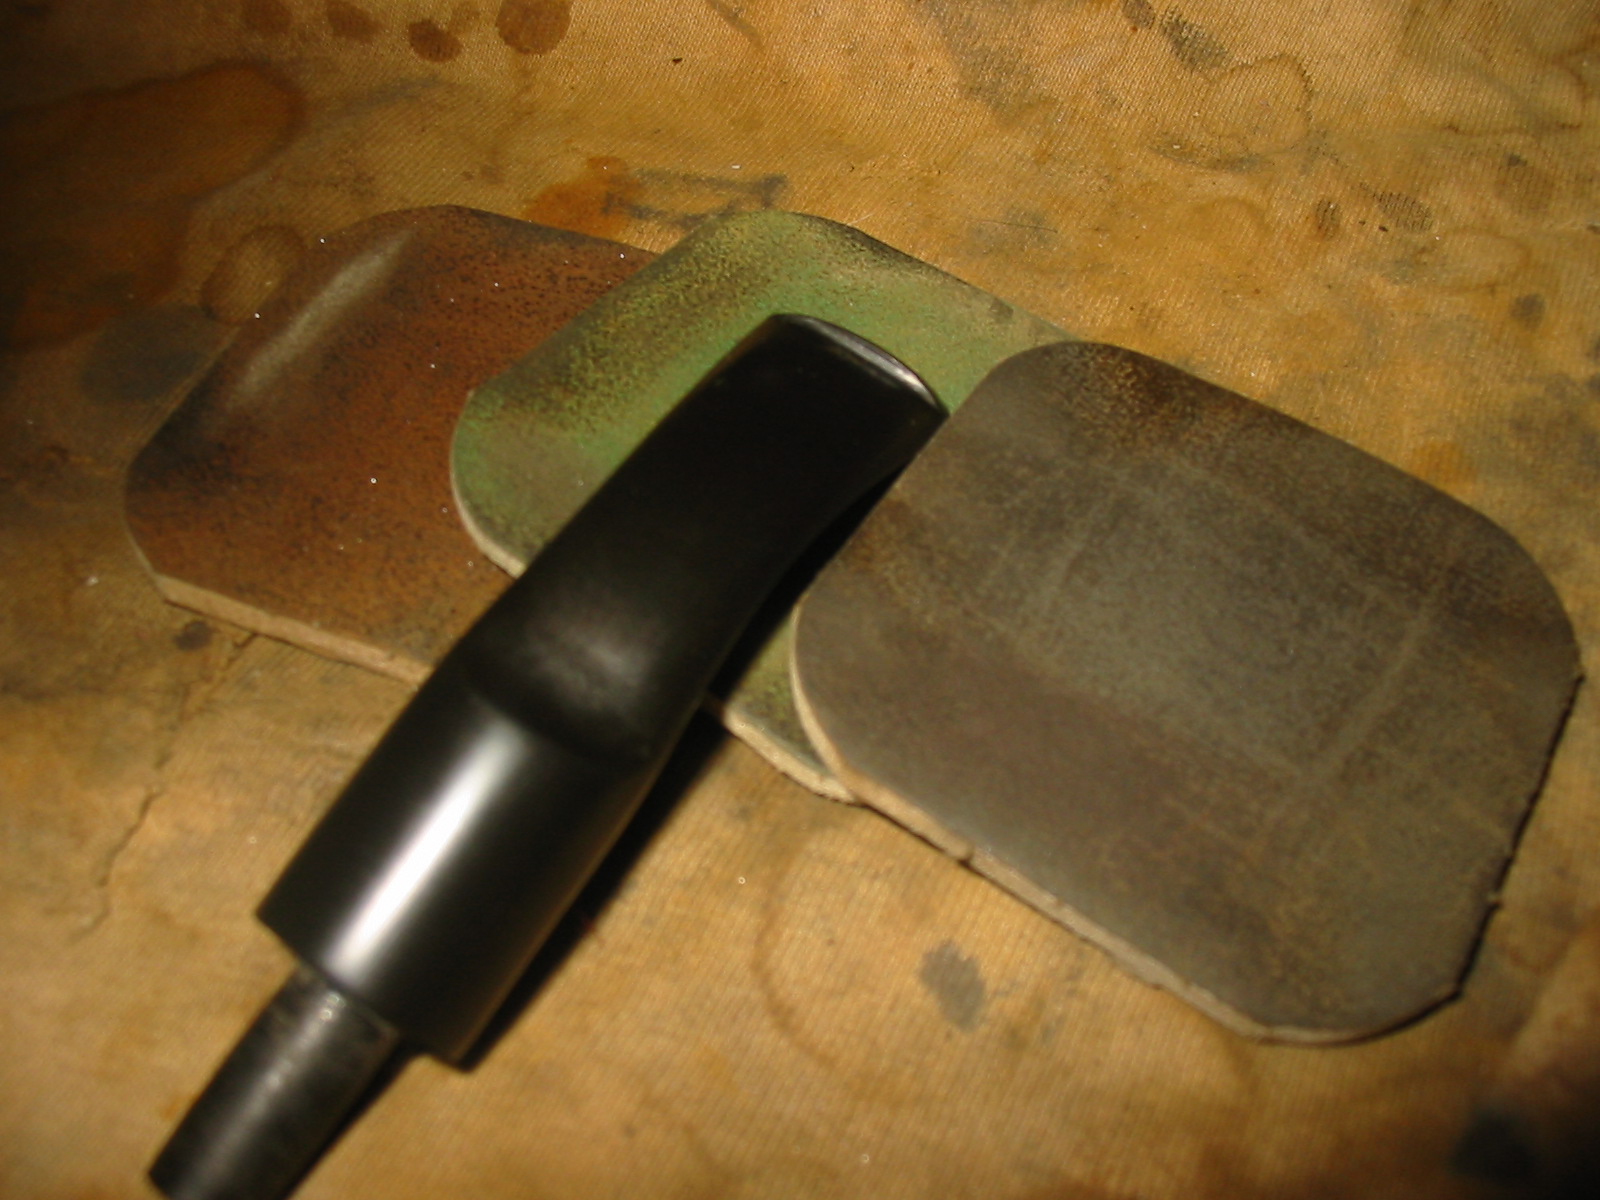
I sanded casting ridges off the stem and used a Dremel and sanding drum to remove the excess stem material. I sanded the diameter and the edges to remove all of the scratch marks. I used 220 grit sandpaper and then medium and fine grit sanding sponges to finish. I set up the heat gun and turned it on the low setting and held the stem over the heat. Once the stem was flexible I bent it carefully over an old rolling pin I use as a base until it was the correct angle. I set the angle with cold water.
IMG_6711

IMG_6712

IMG_6714
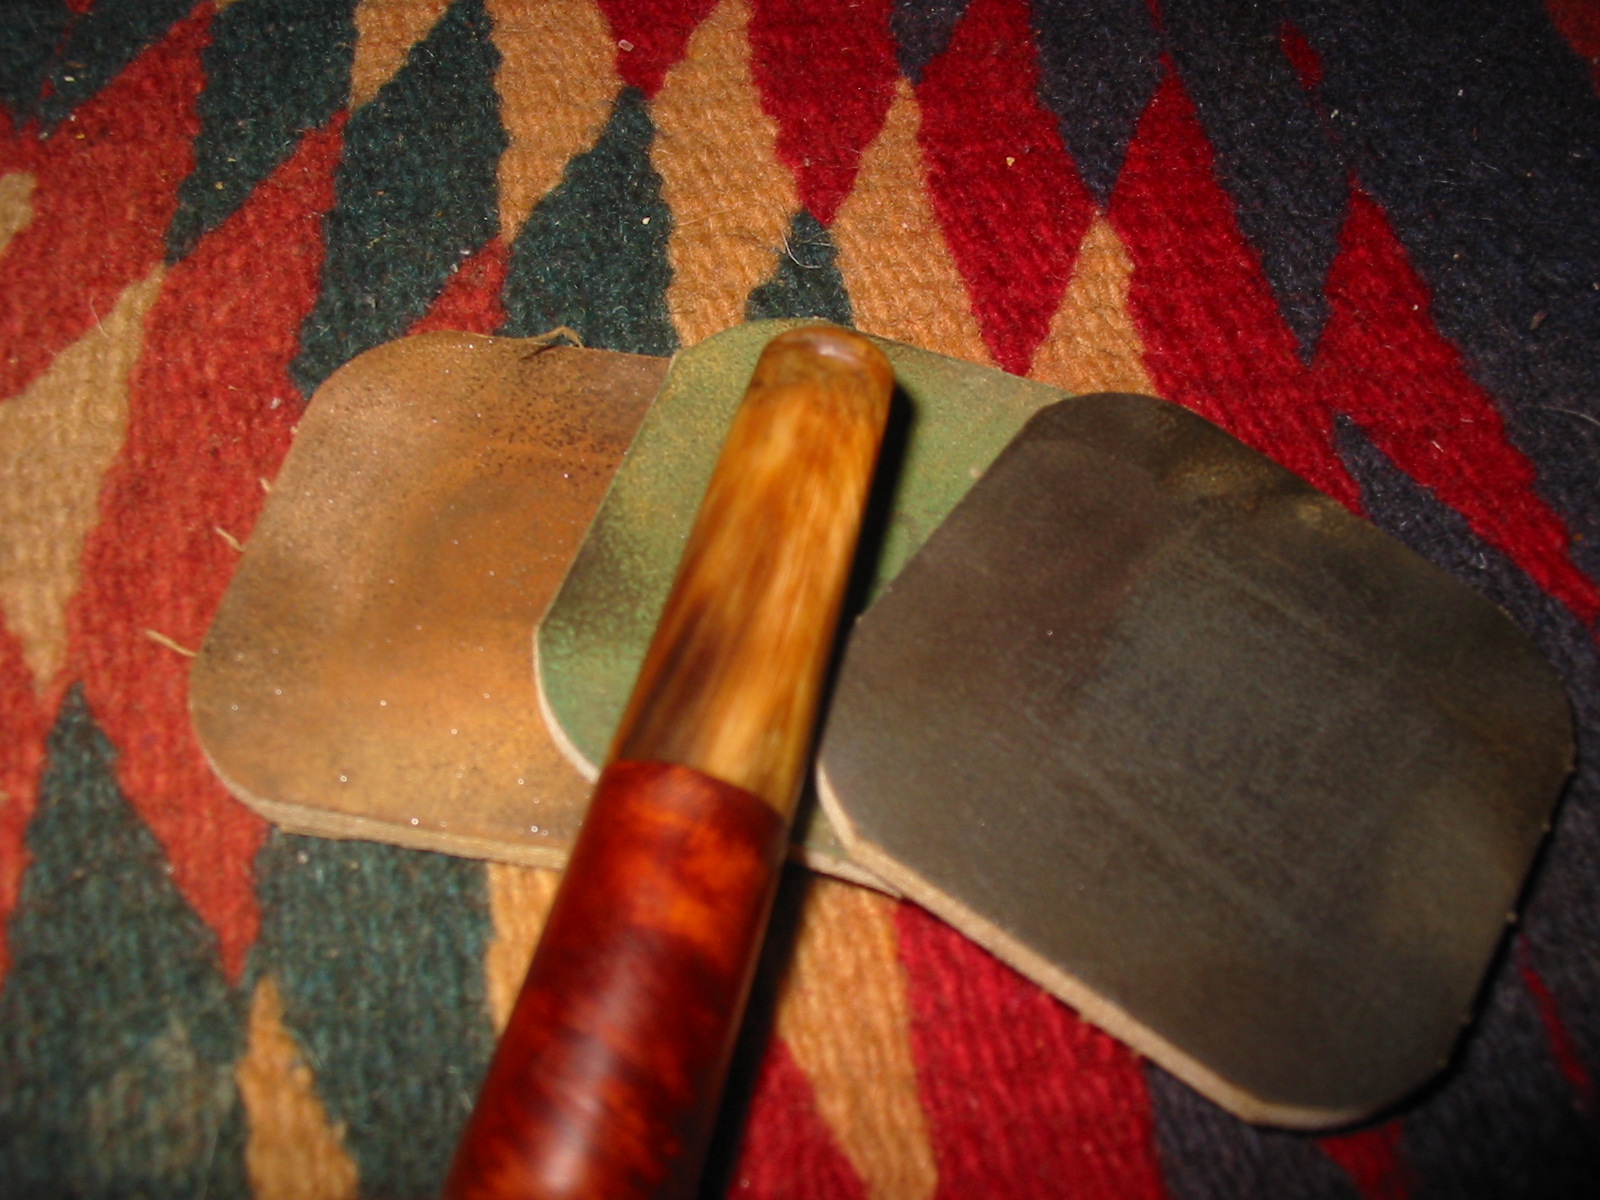
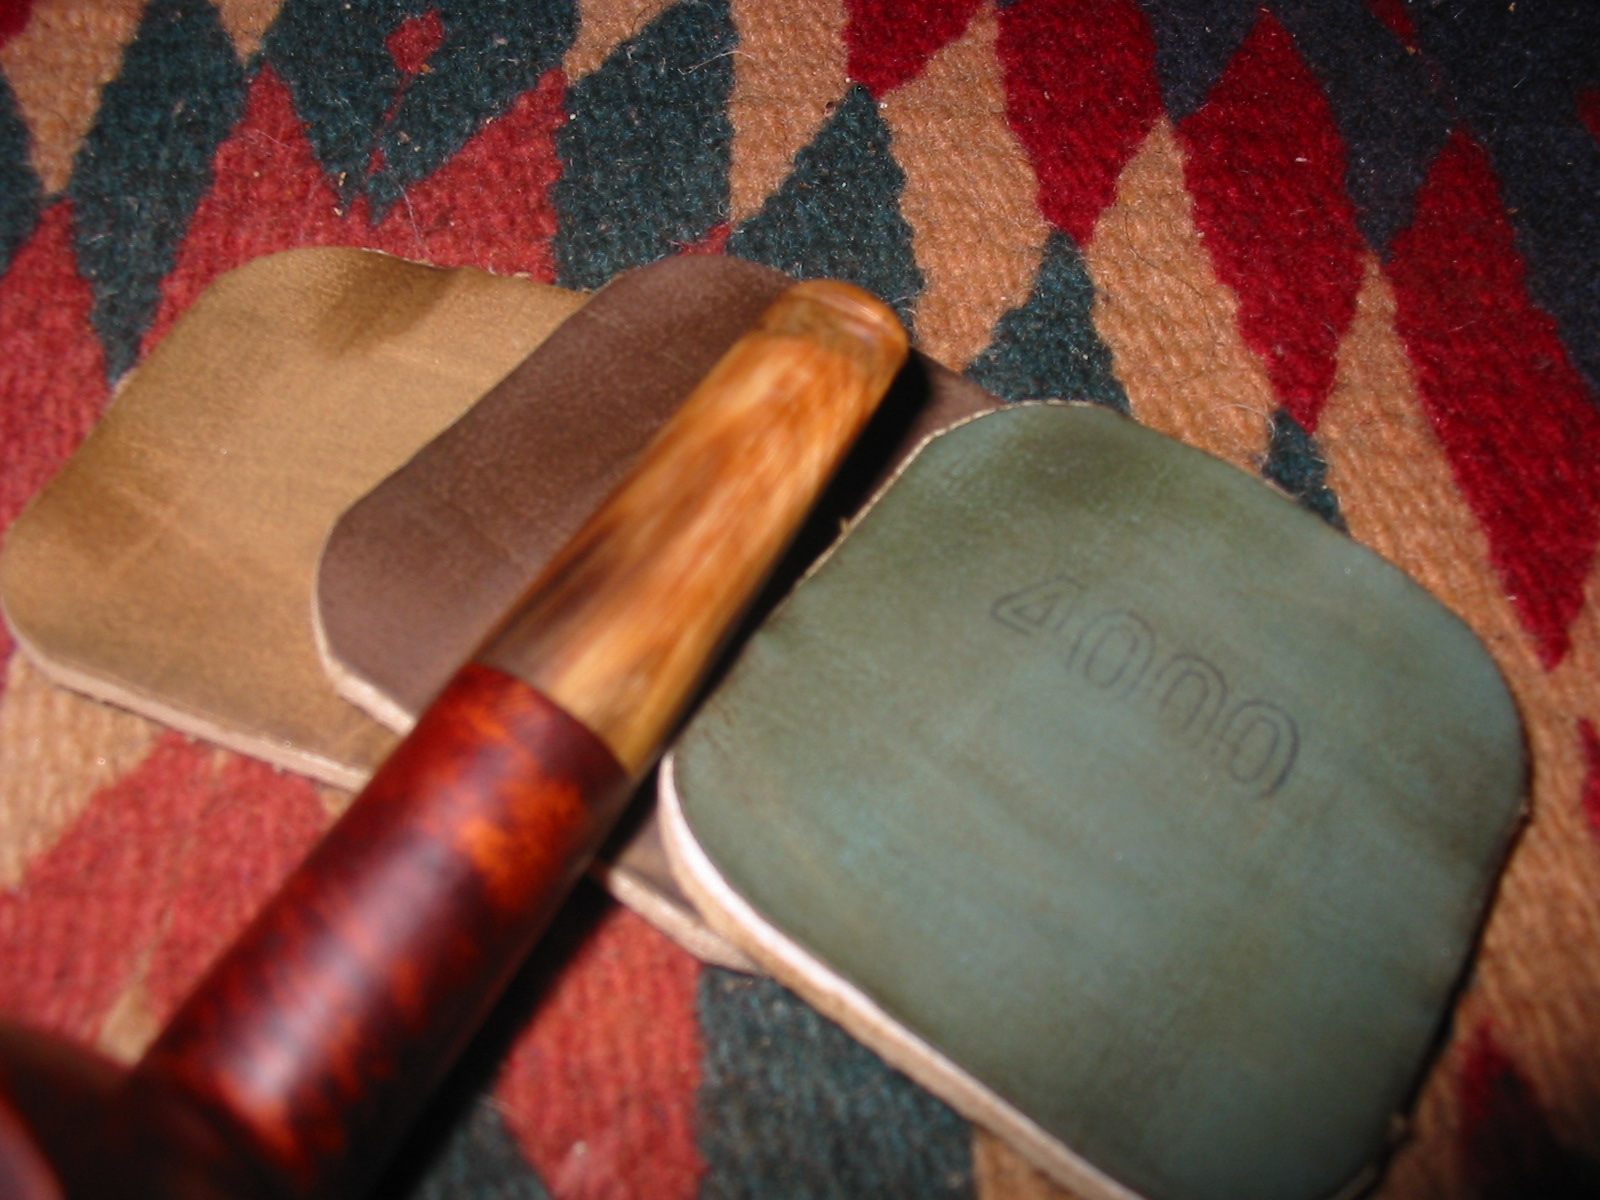
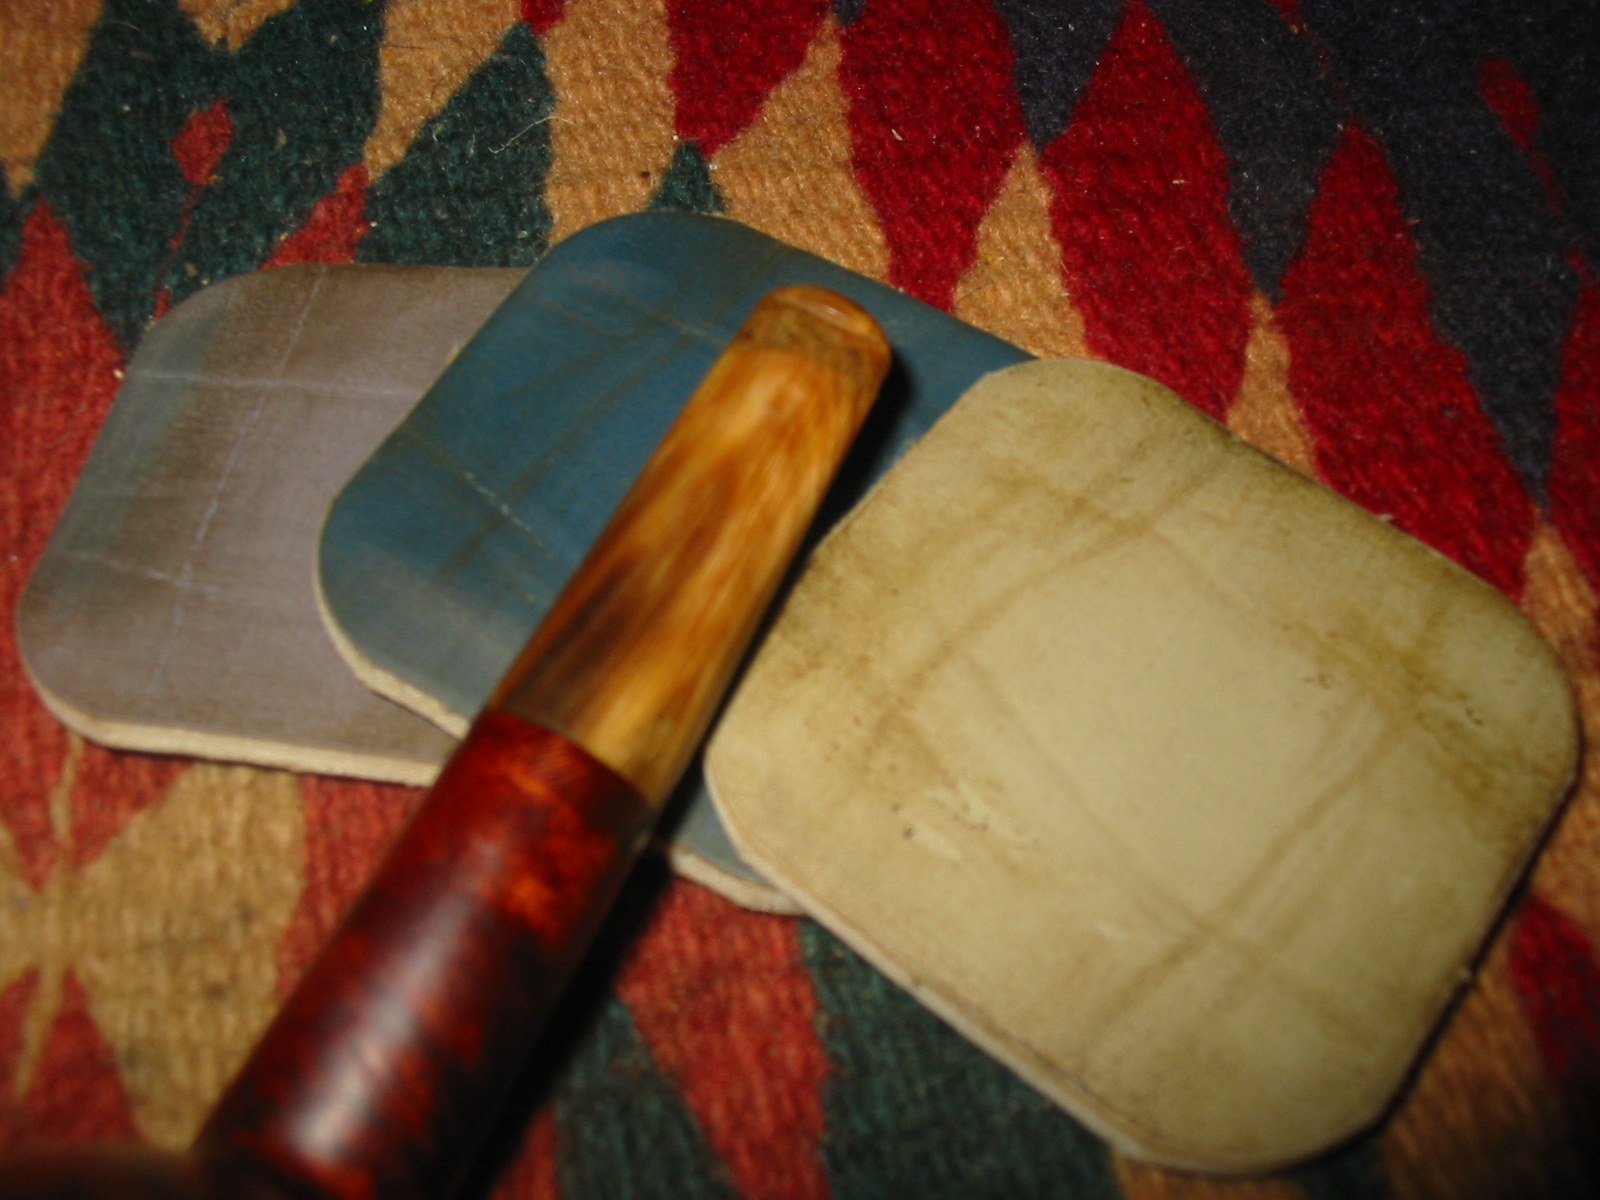
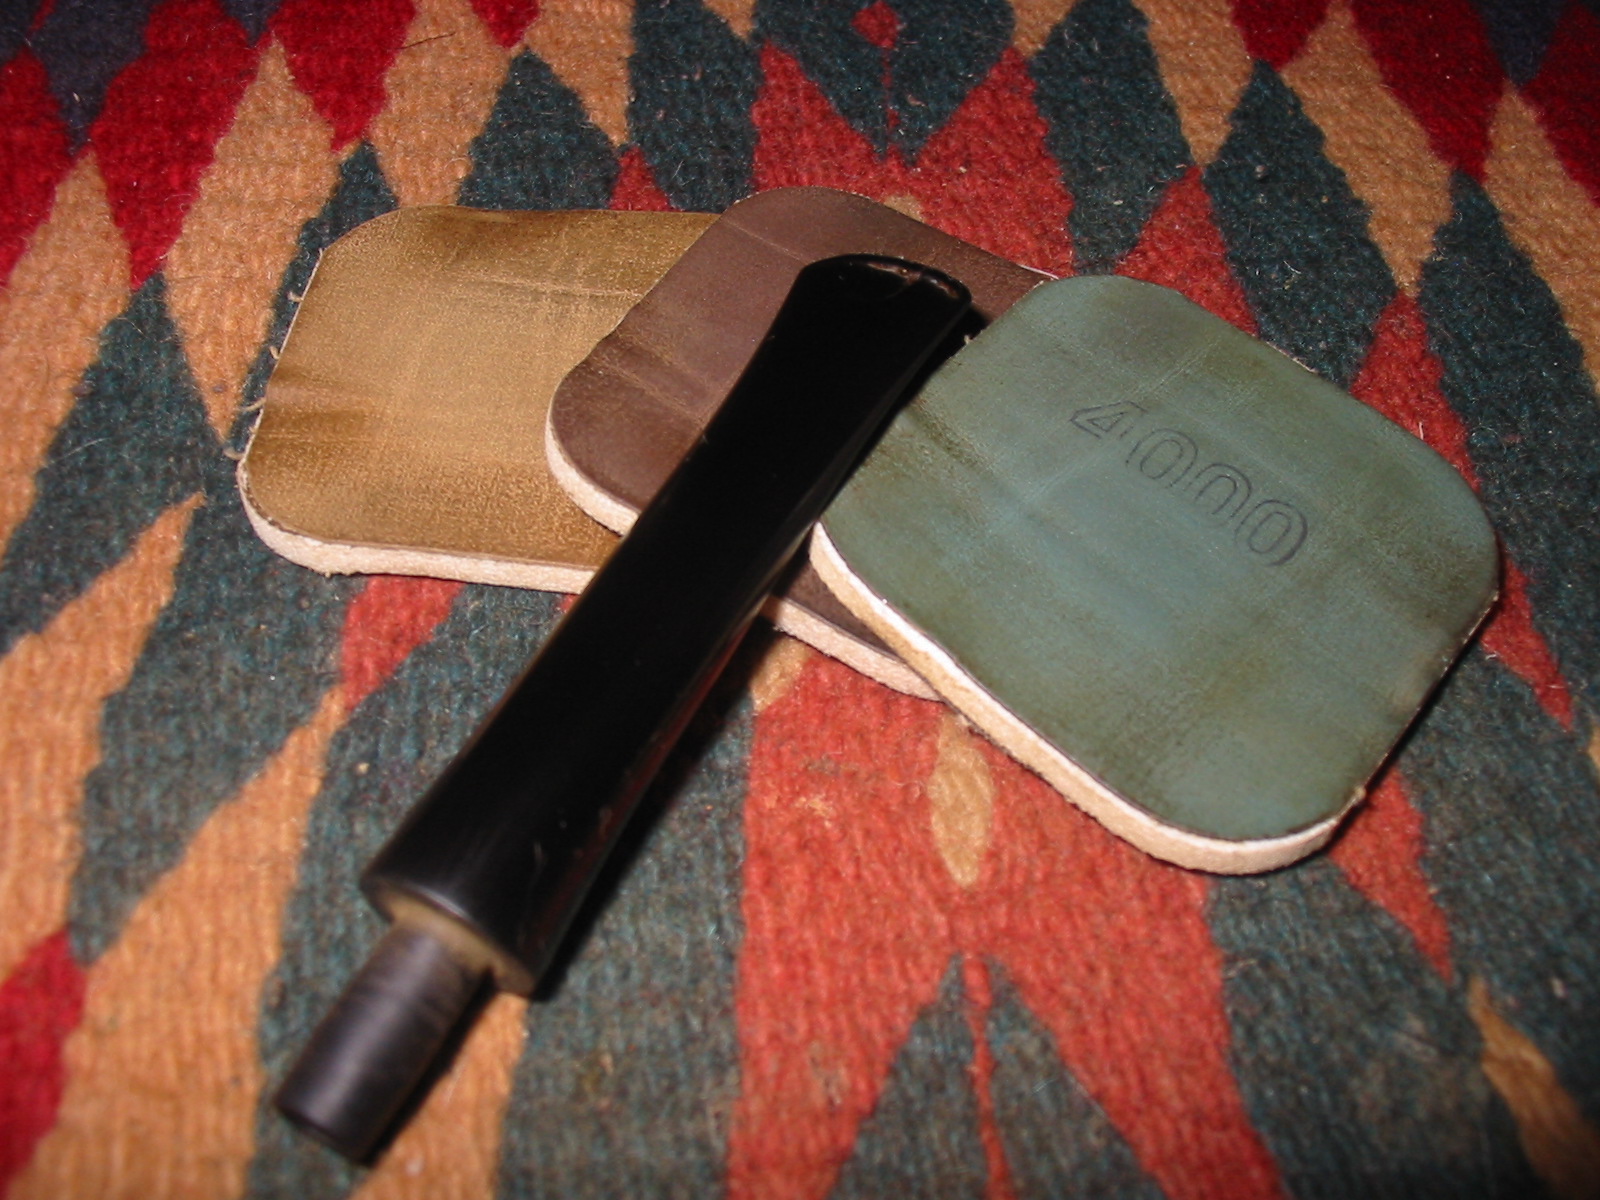
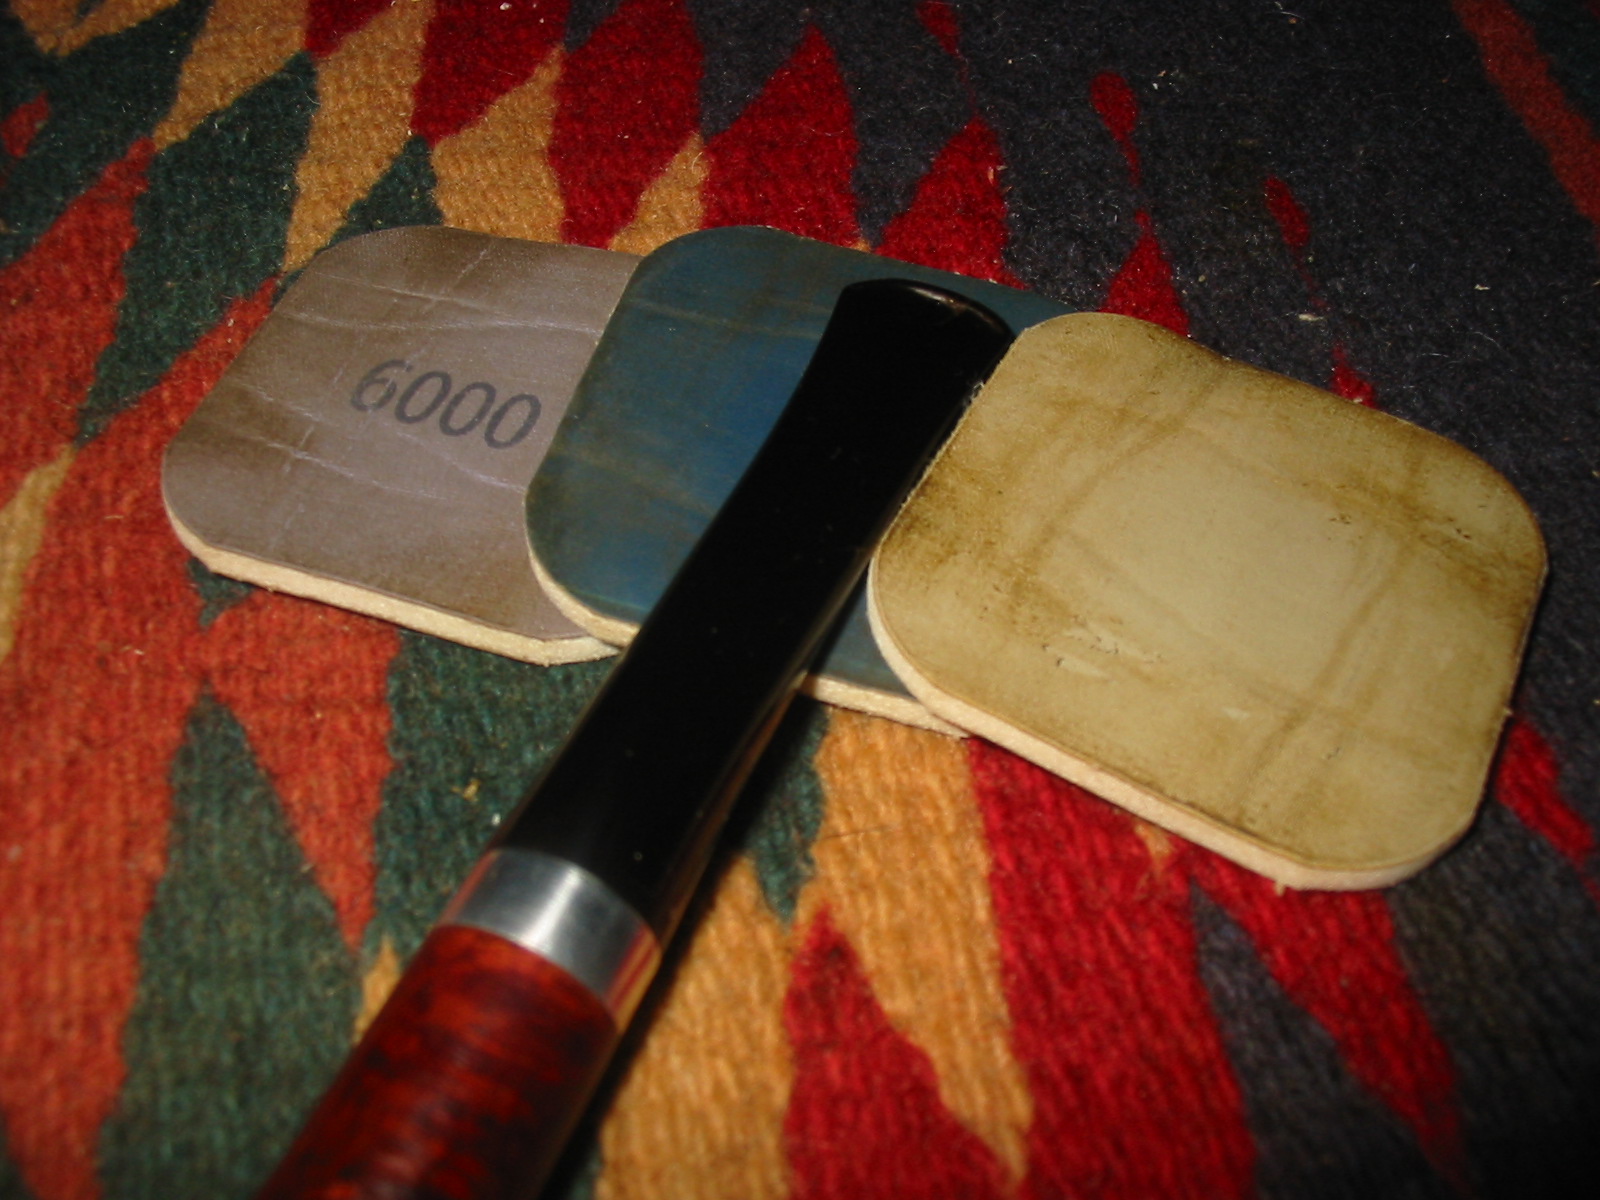
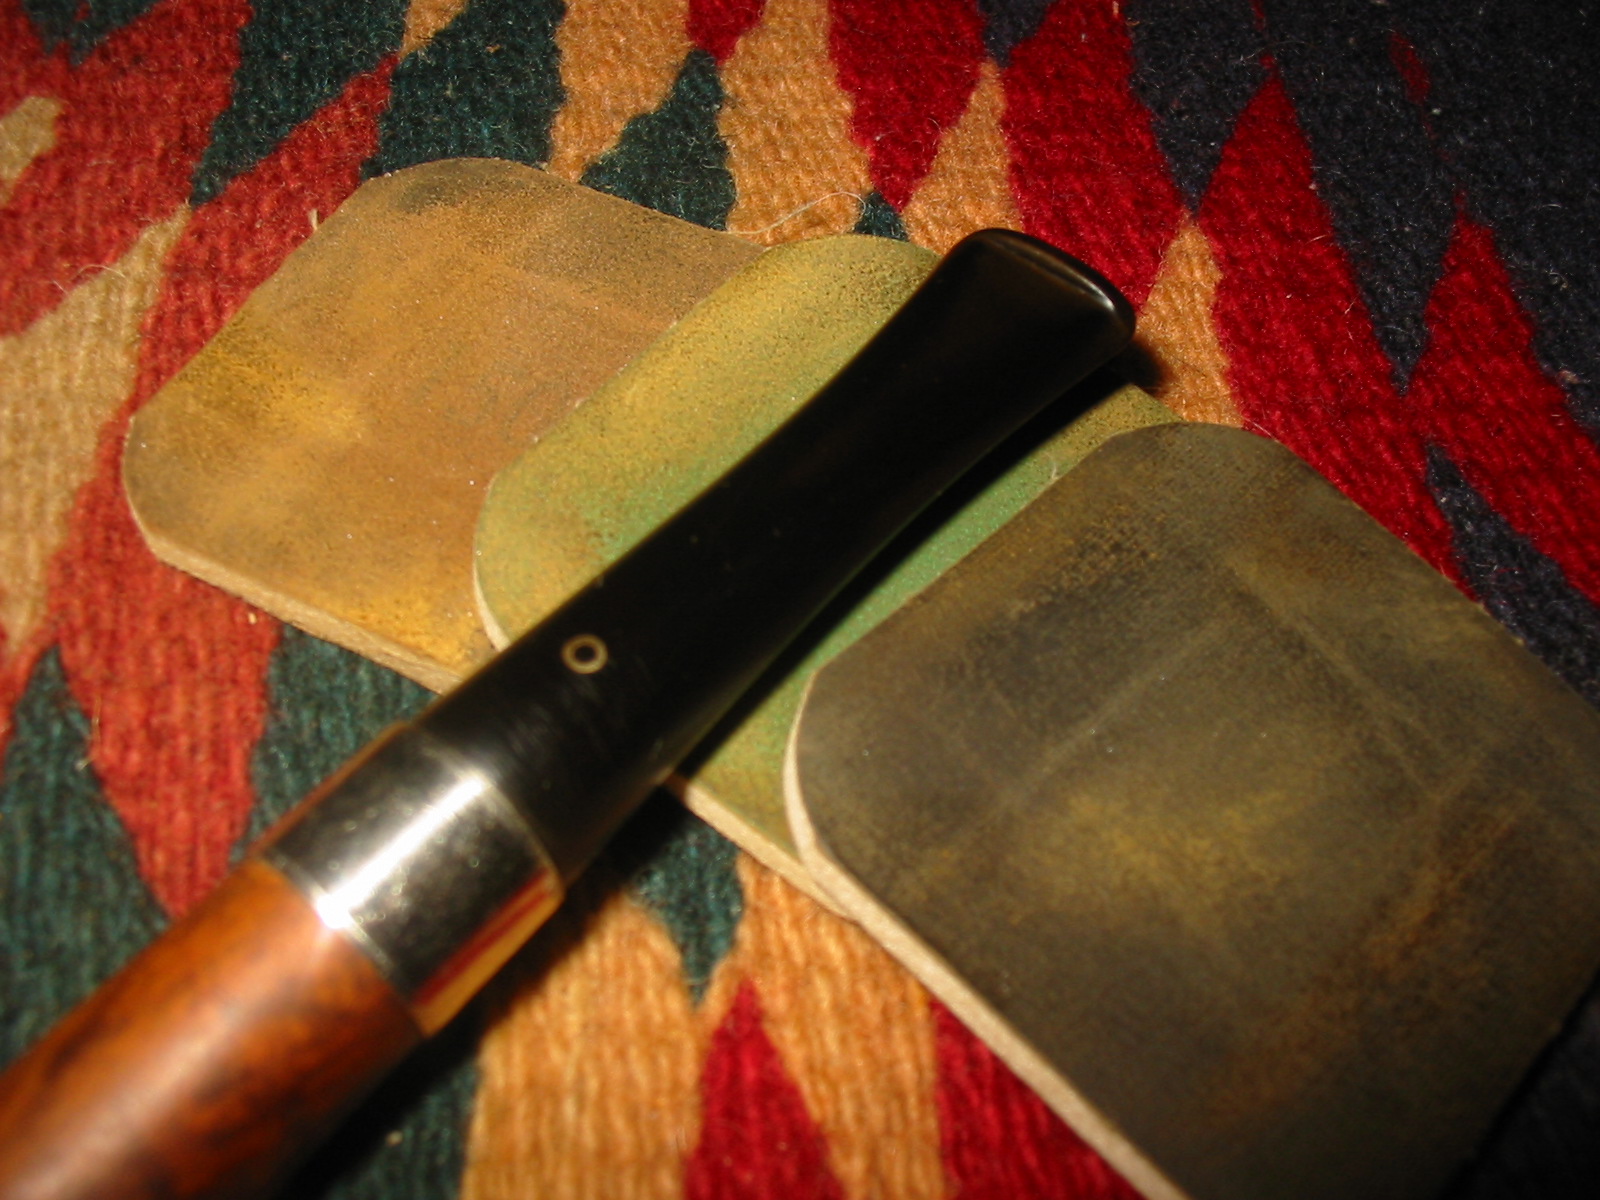
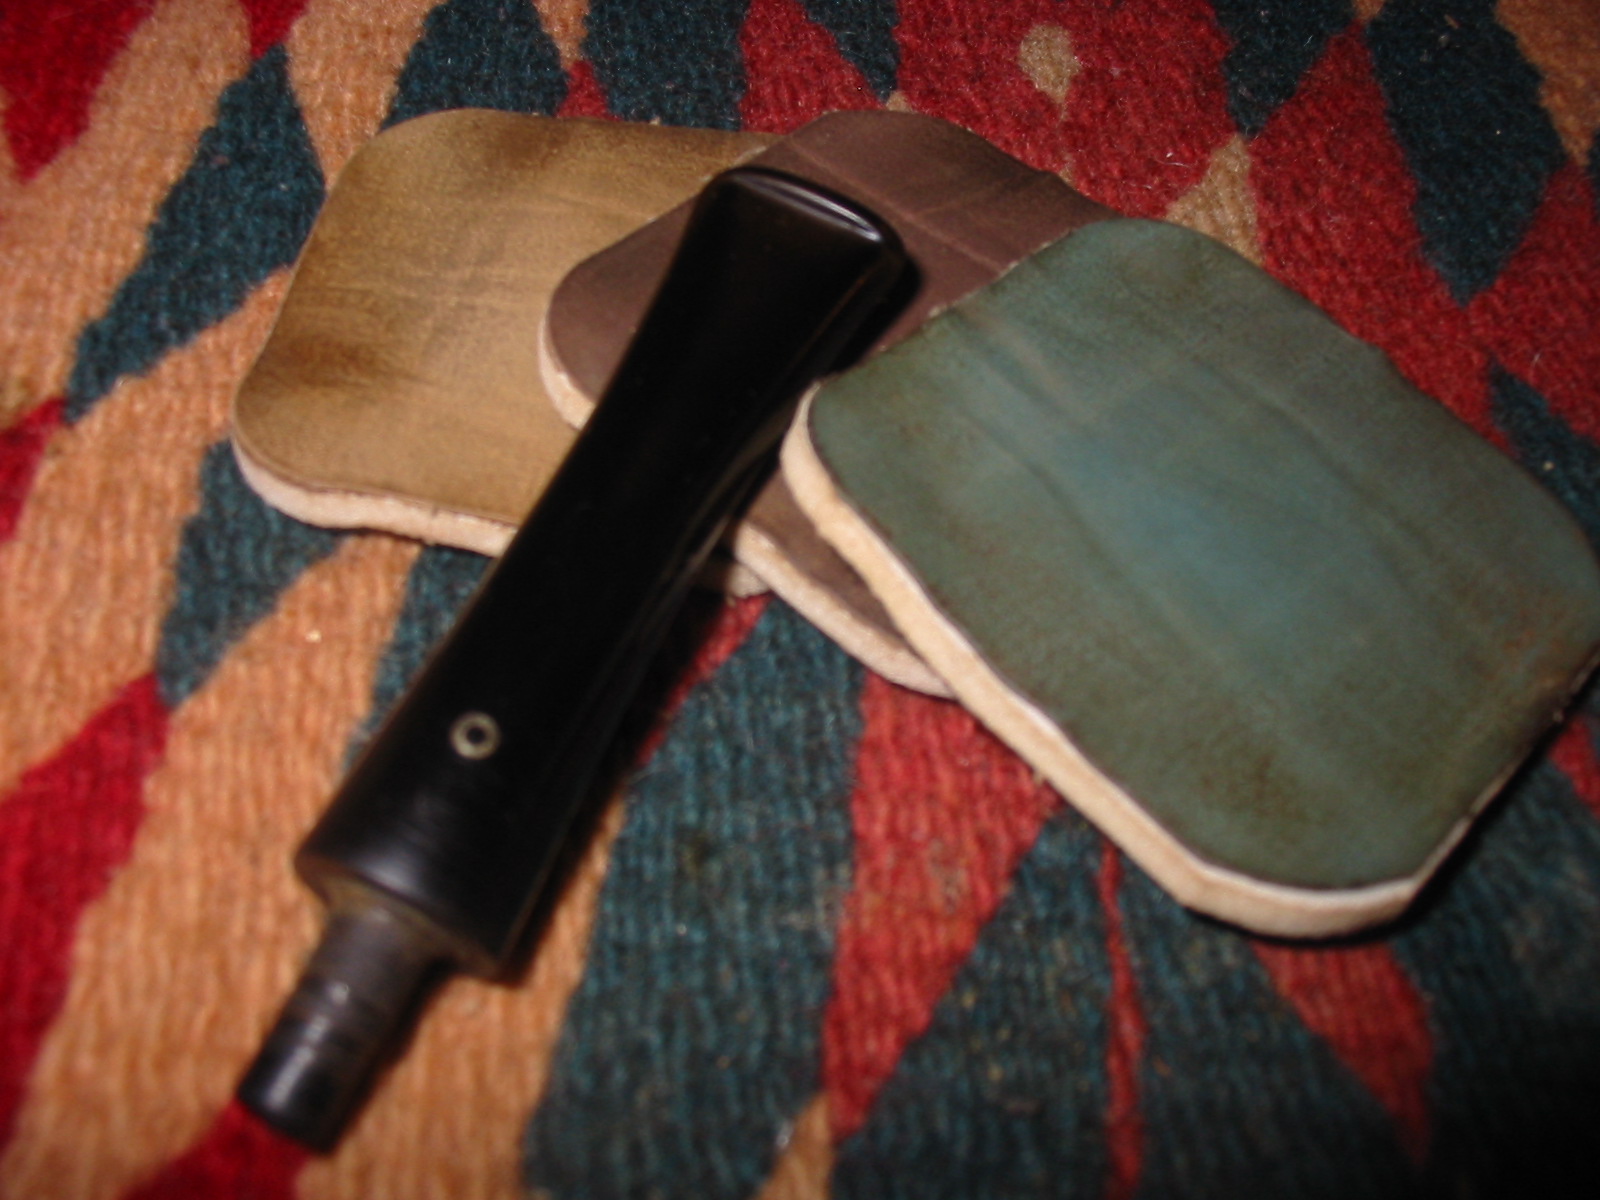
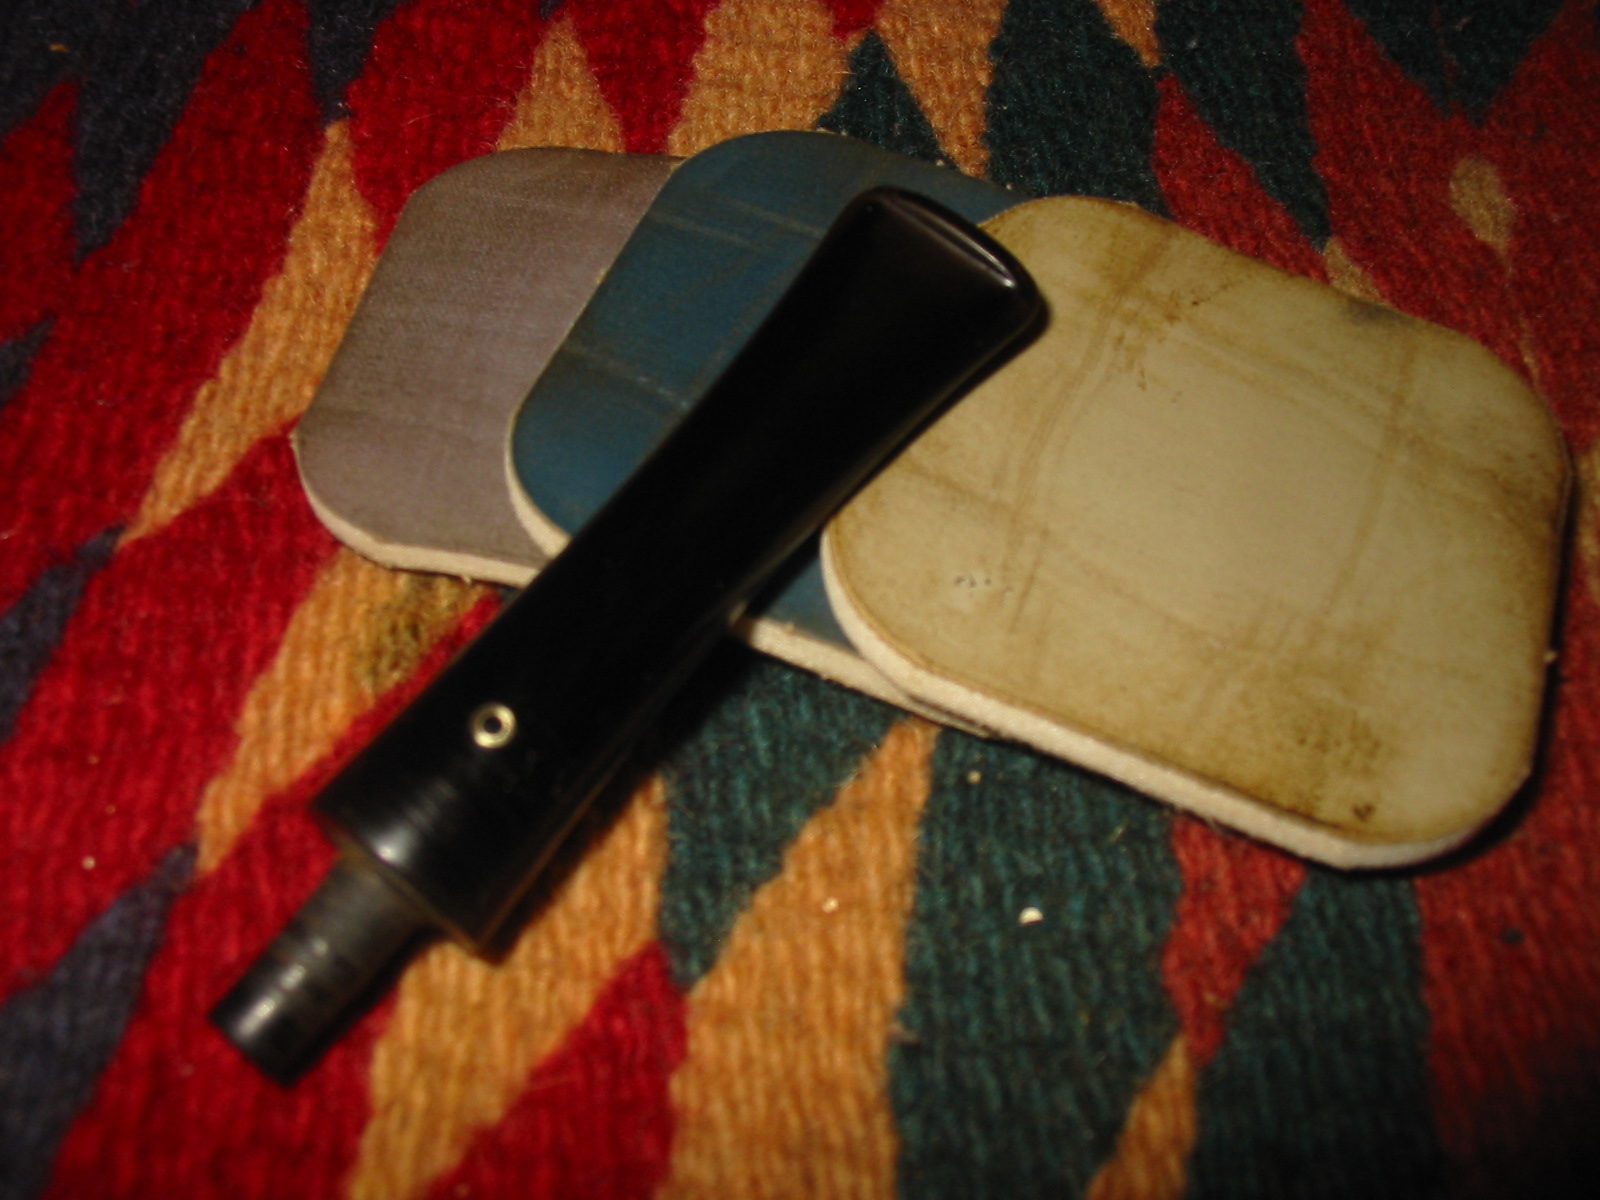
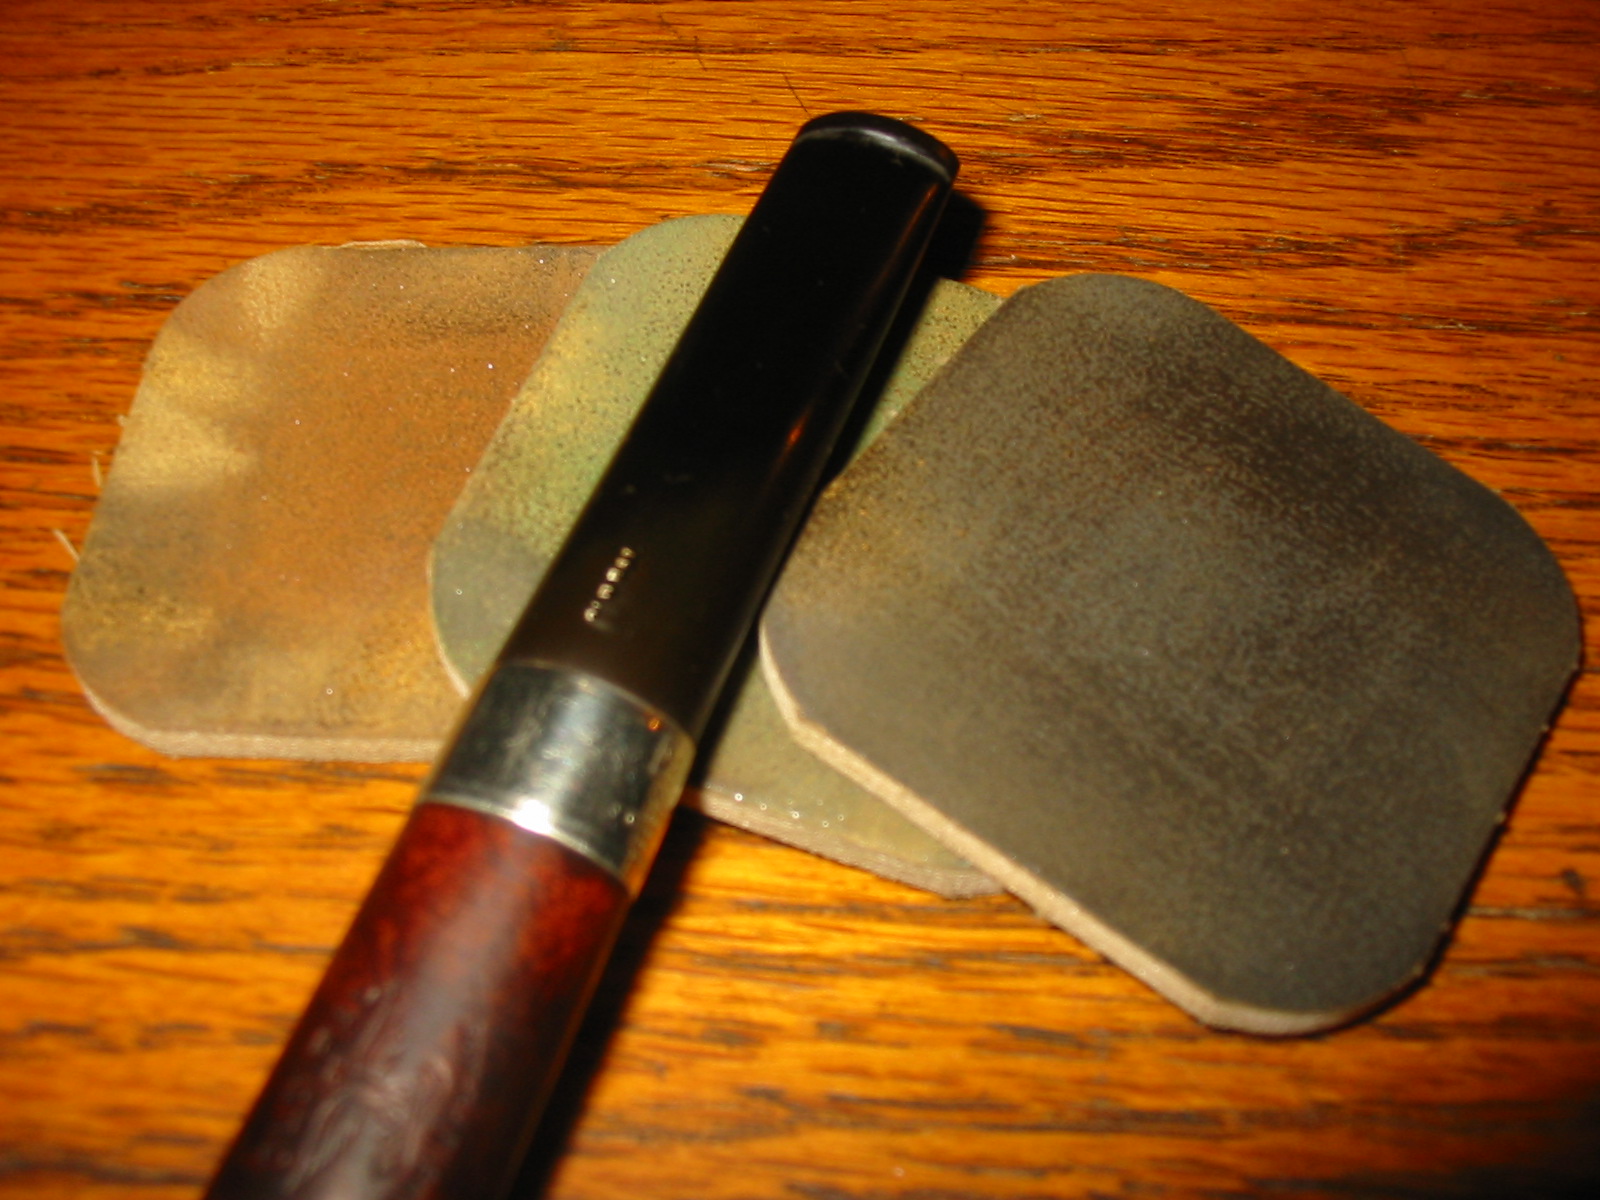
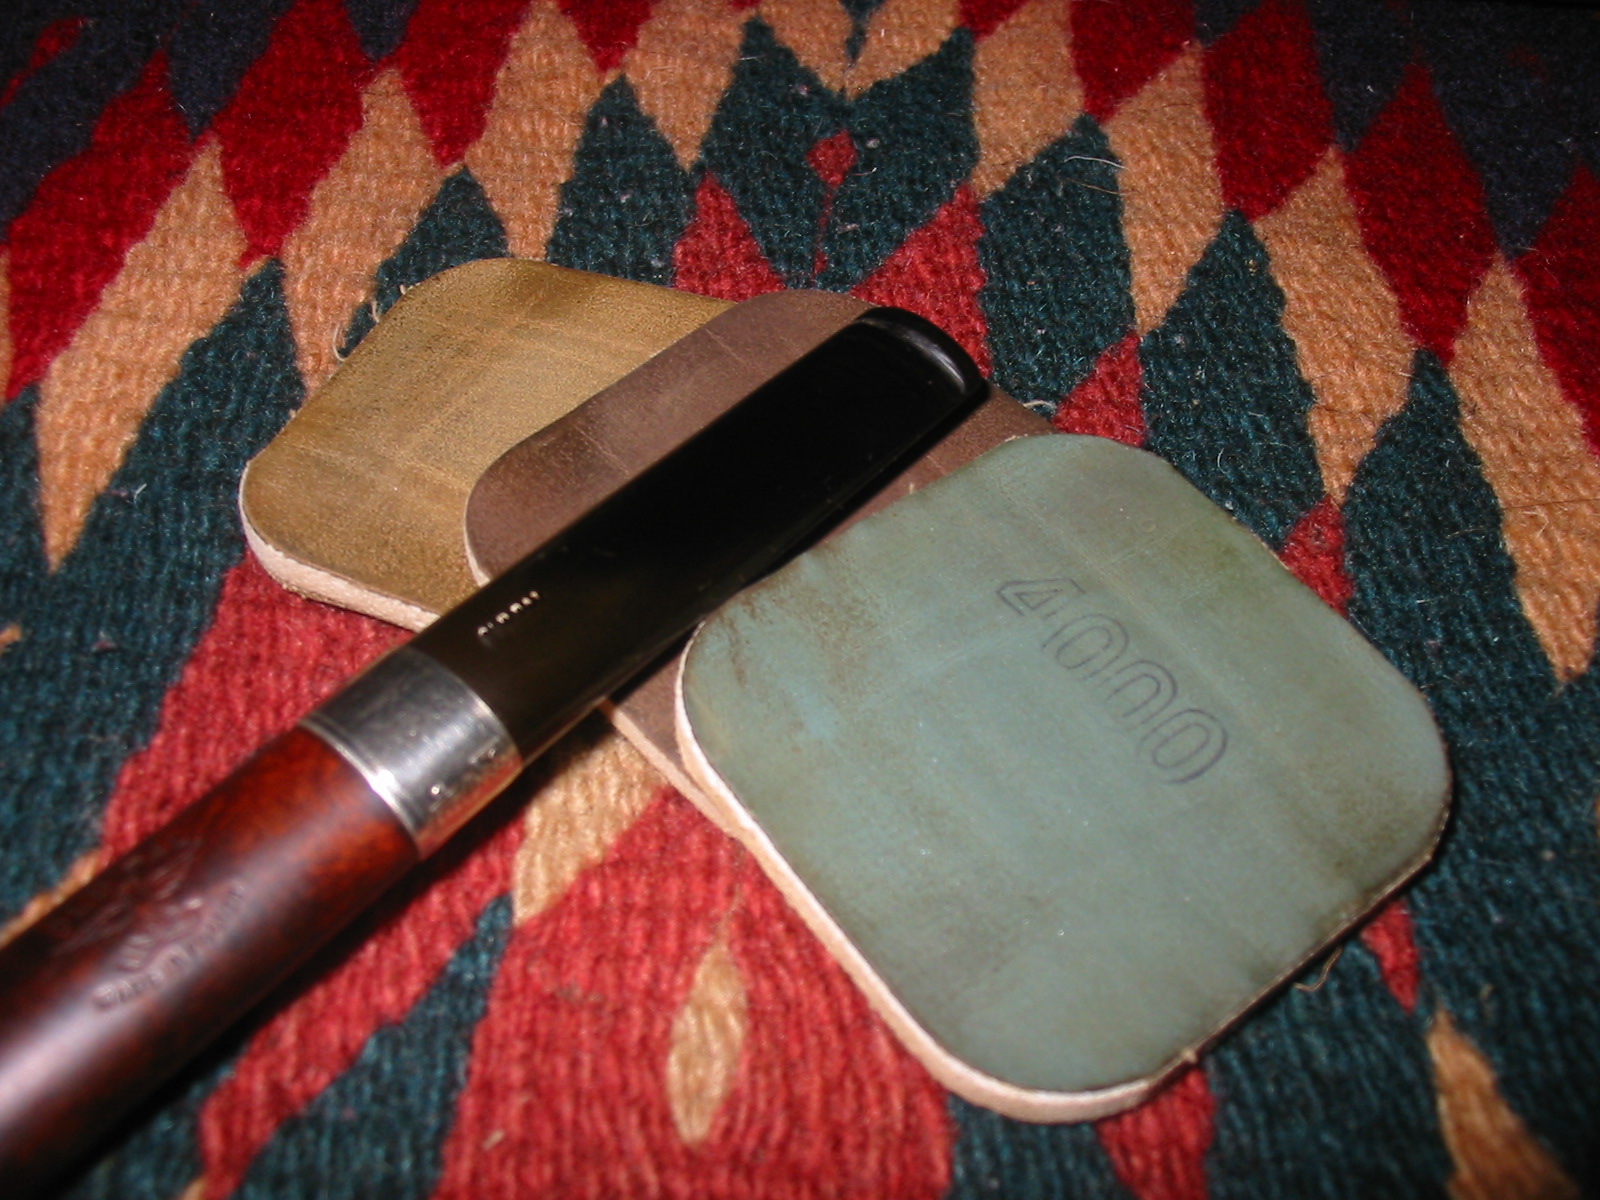
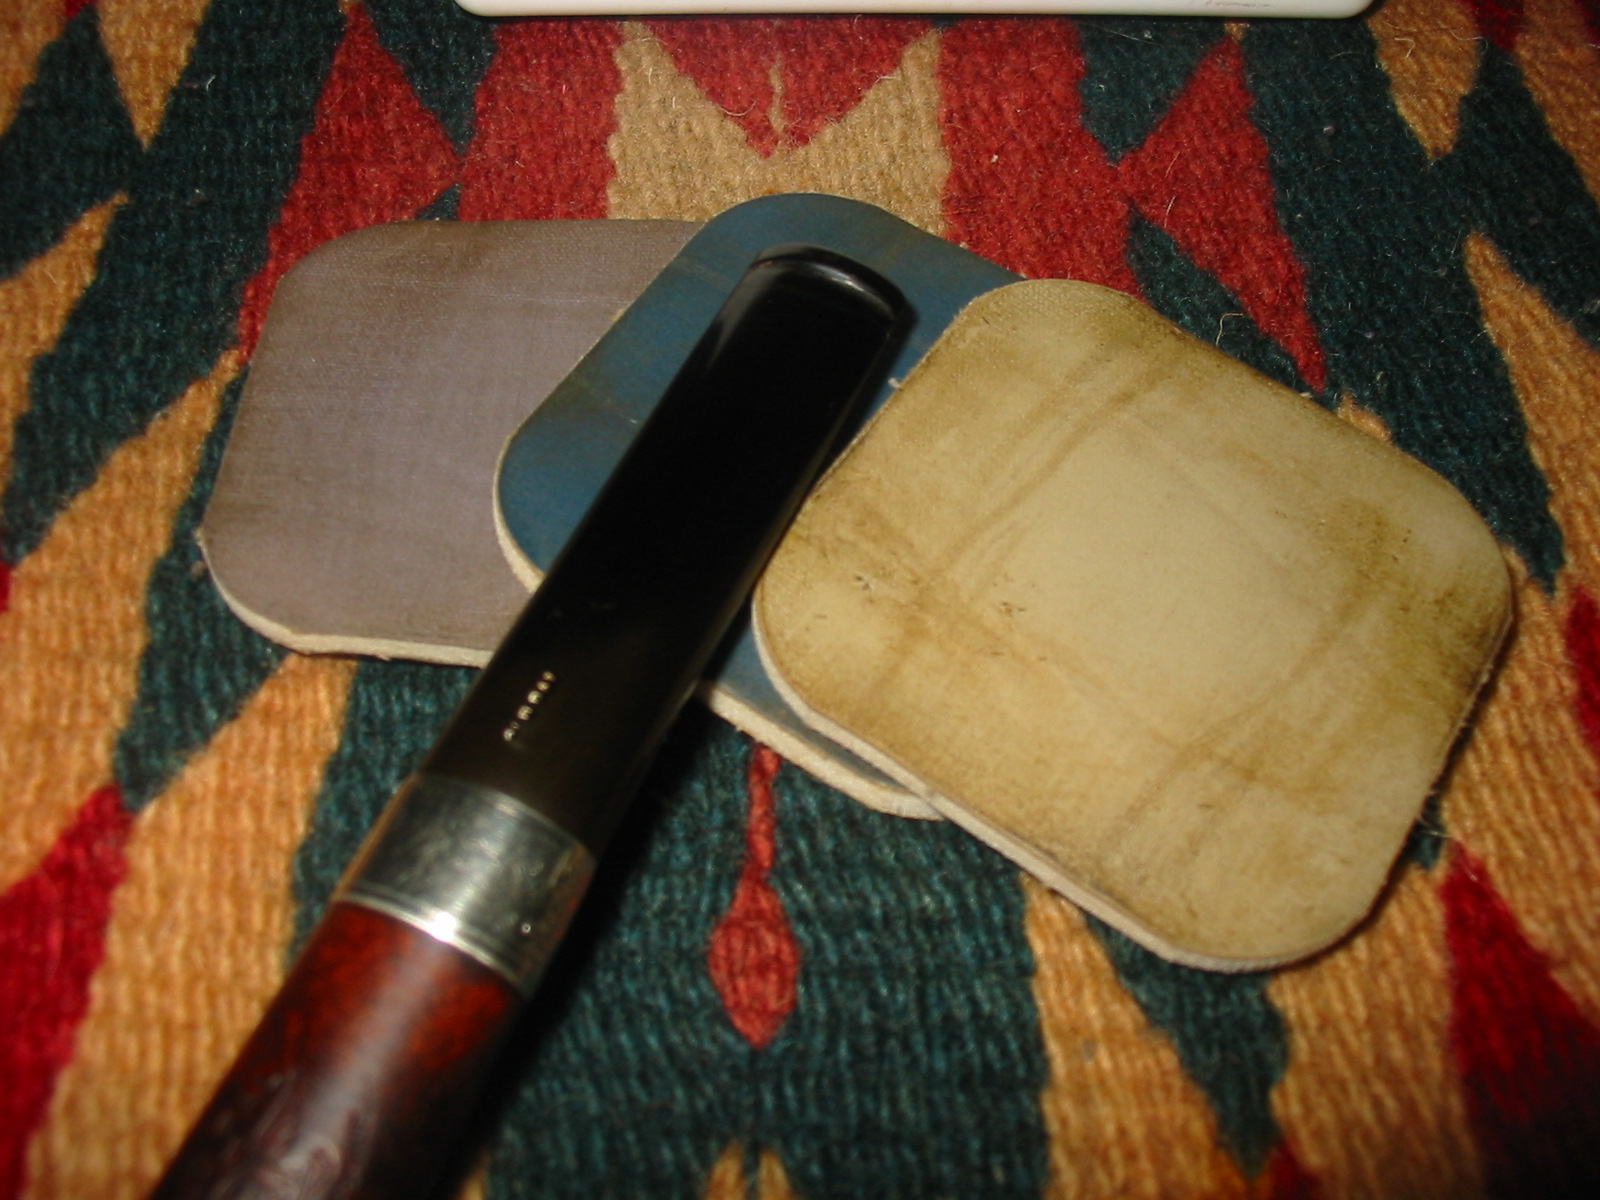
I sanded the stem with micromesh sanding pads – wet sanding with 1500-2400 grit pads and dry sanded with 3200-12000 grit pads. I buffed it with White Diamond and then rubbed it down with Obsidian Oil and let it soak into the rubber of the stem.
IMG_6715

IMG_6716

IMG_6717
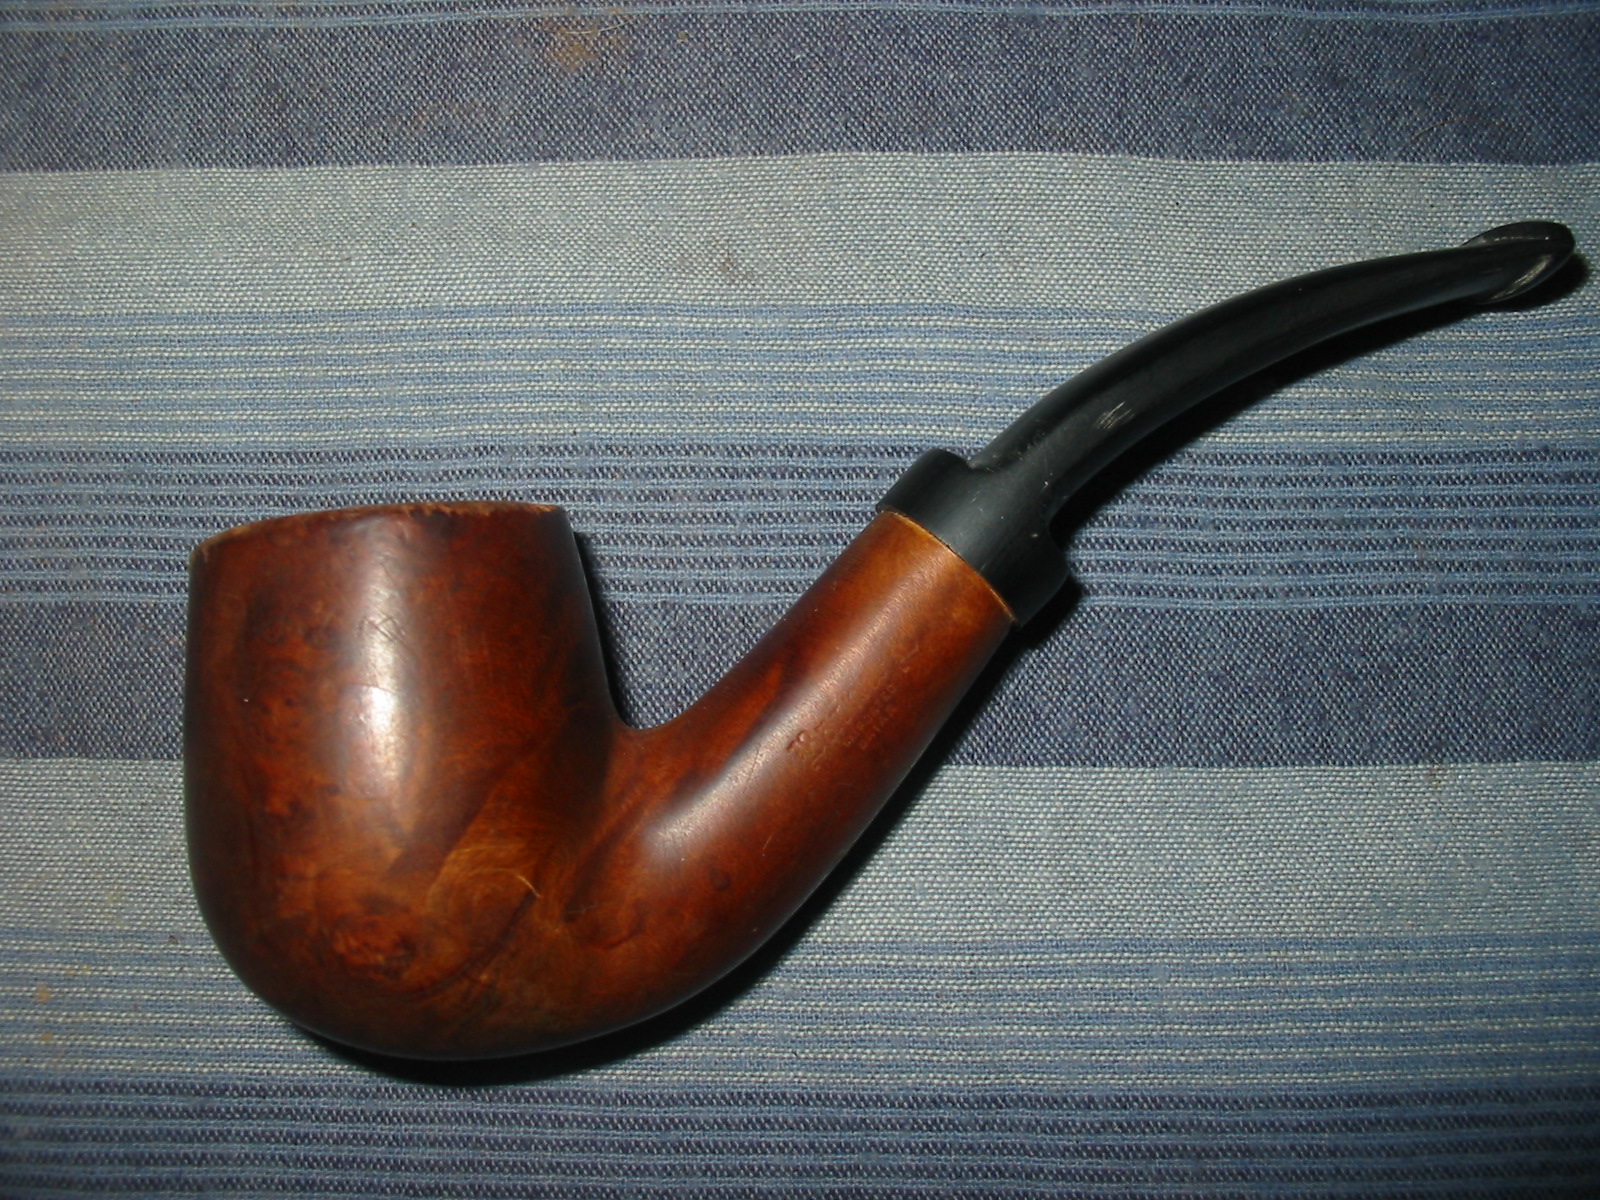
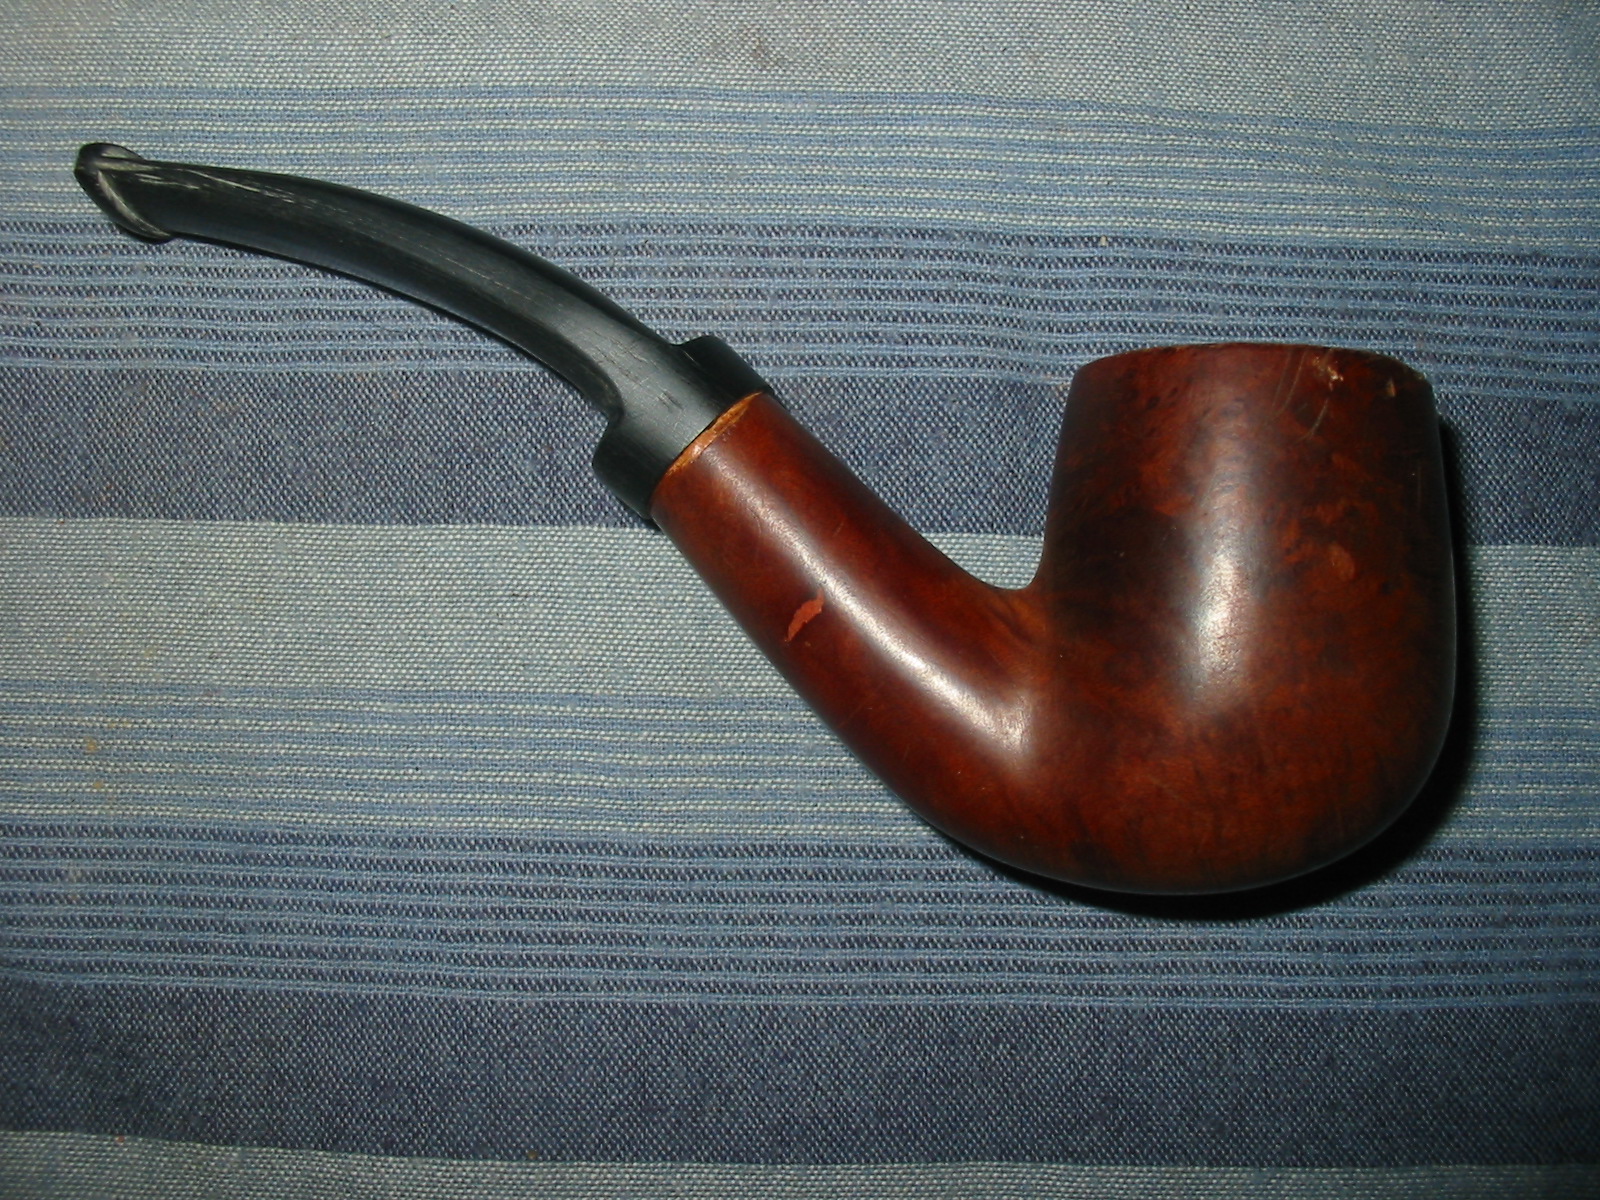
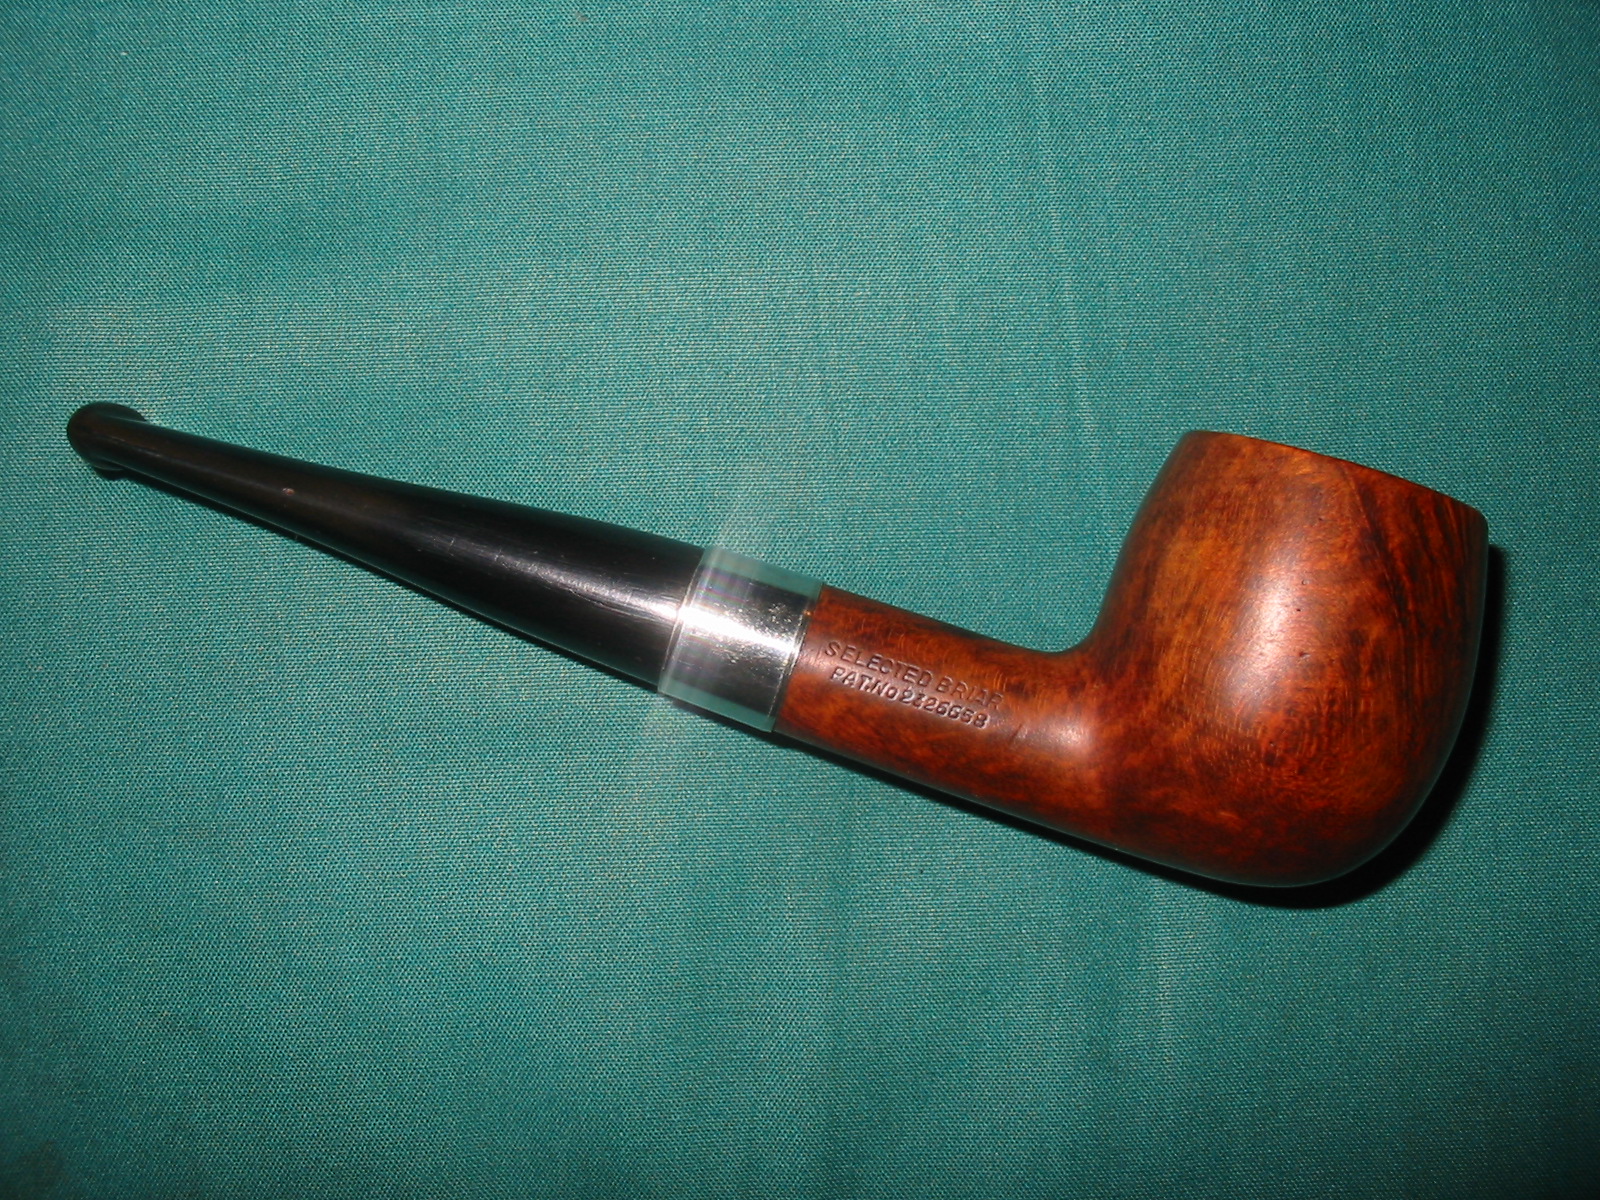
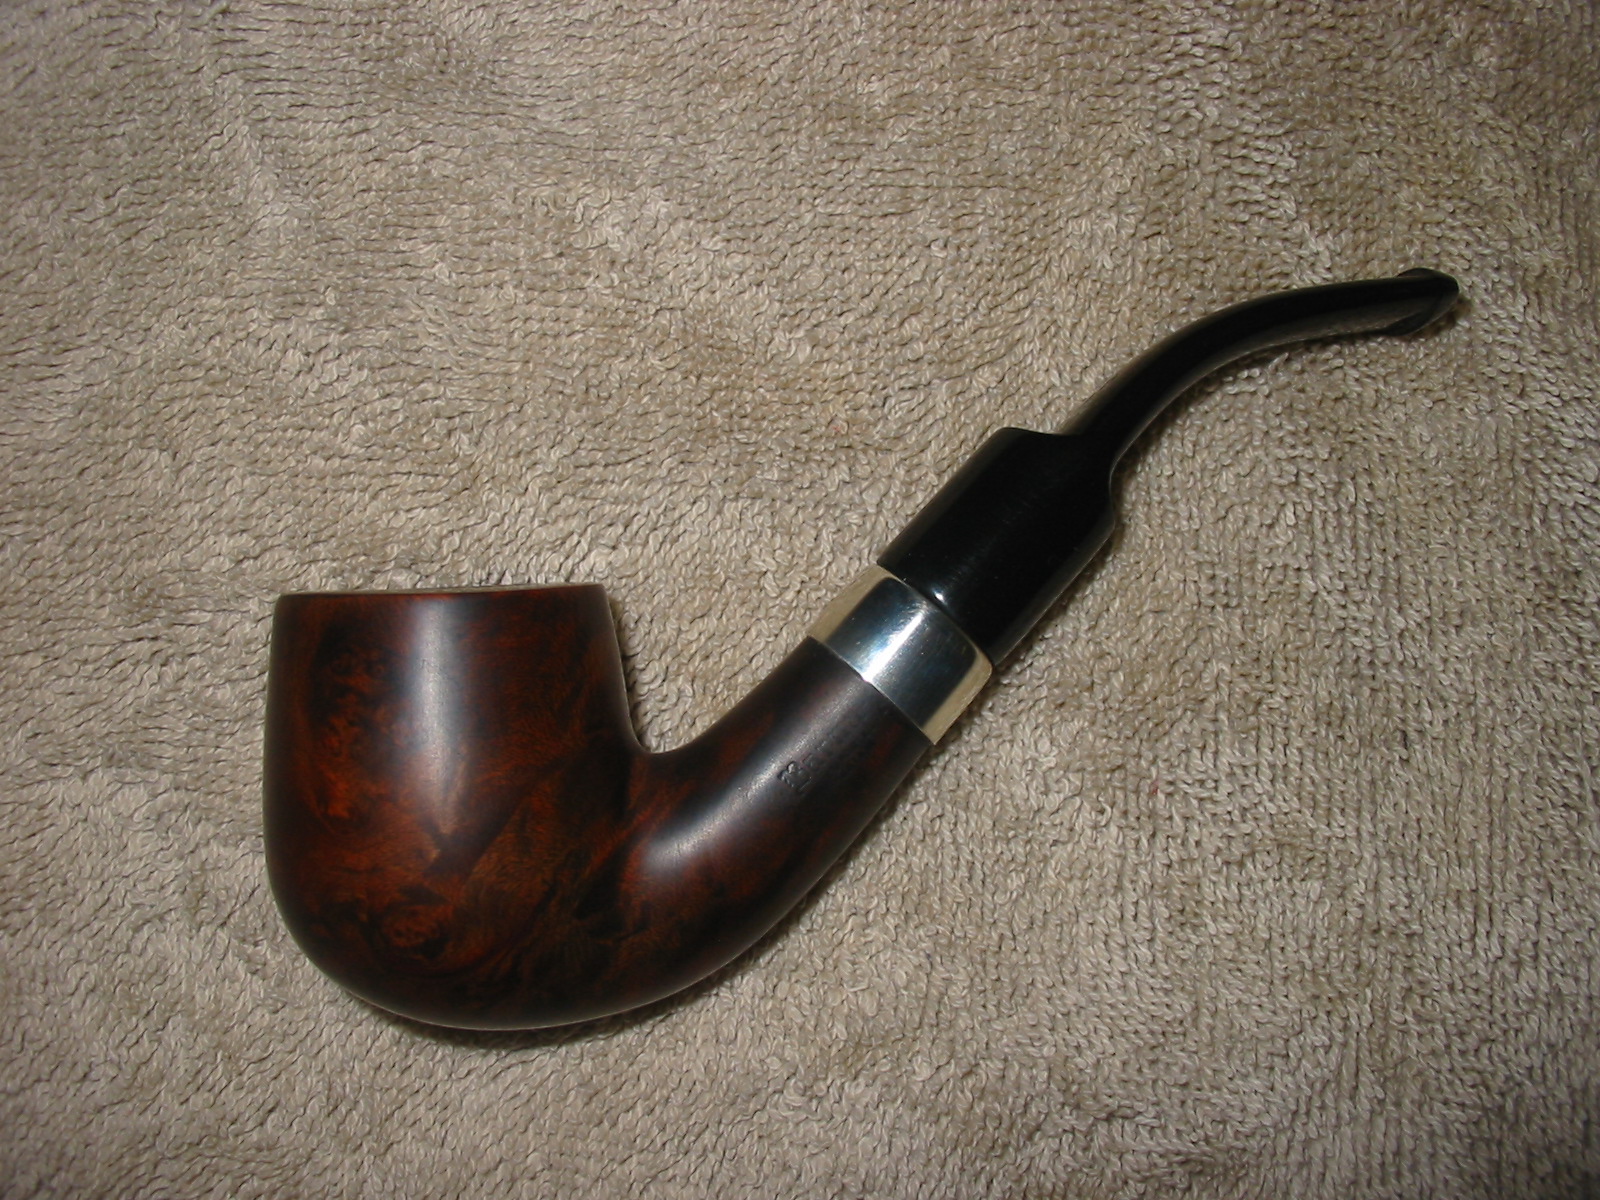
I buffed the pipe and stem with White Diamond and polished the silver band with silver polish. I gave the entire pipe multiple coats of carnauba wax to preserve and protect the finish. I finished by giving it a light buff with a soft flannel buffing pad. The finish pipe is shown in the photos below.
IMG_6722

IMG_6725

IMG_6728

IMG_6727

An Old Horn Stem, Bone Tenon Apple Restored


Blog by Steve Laug

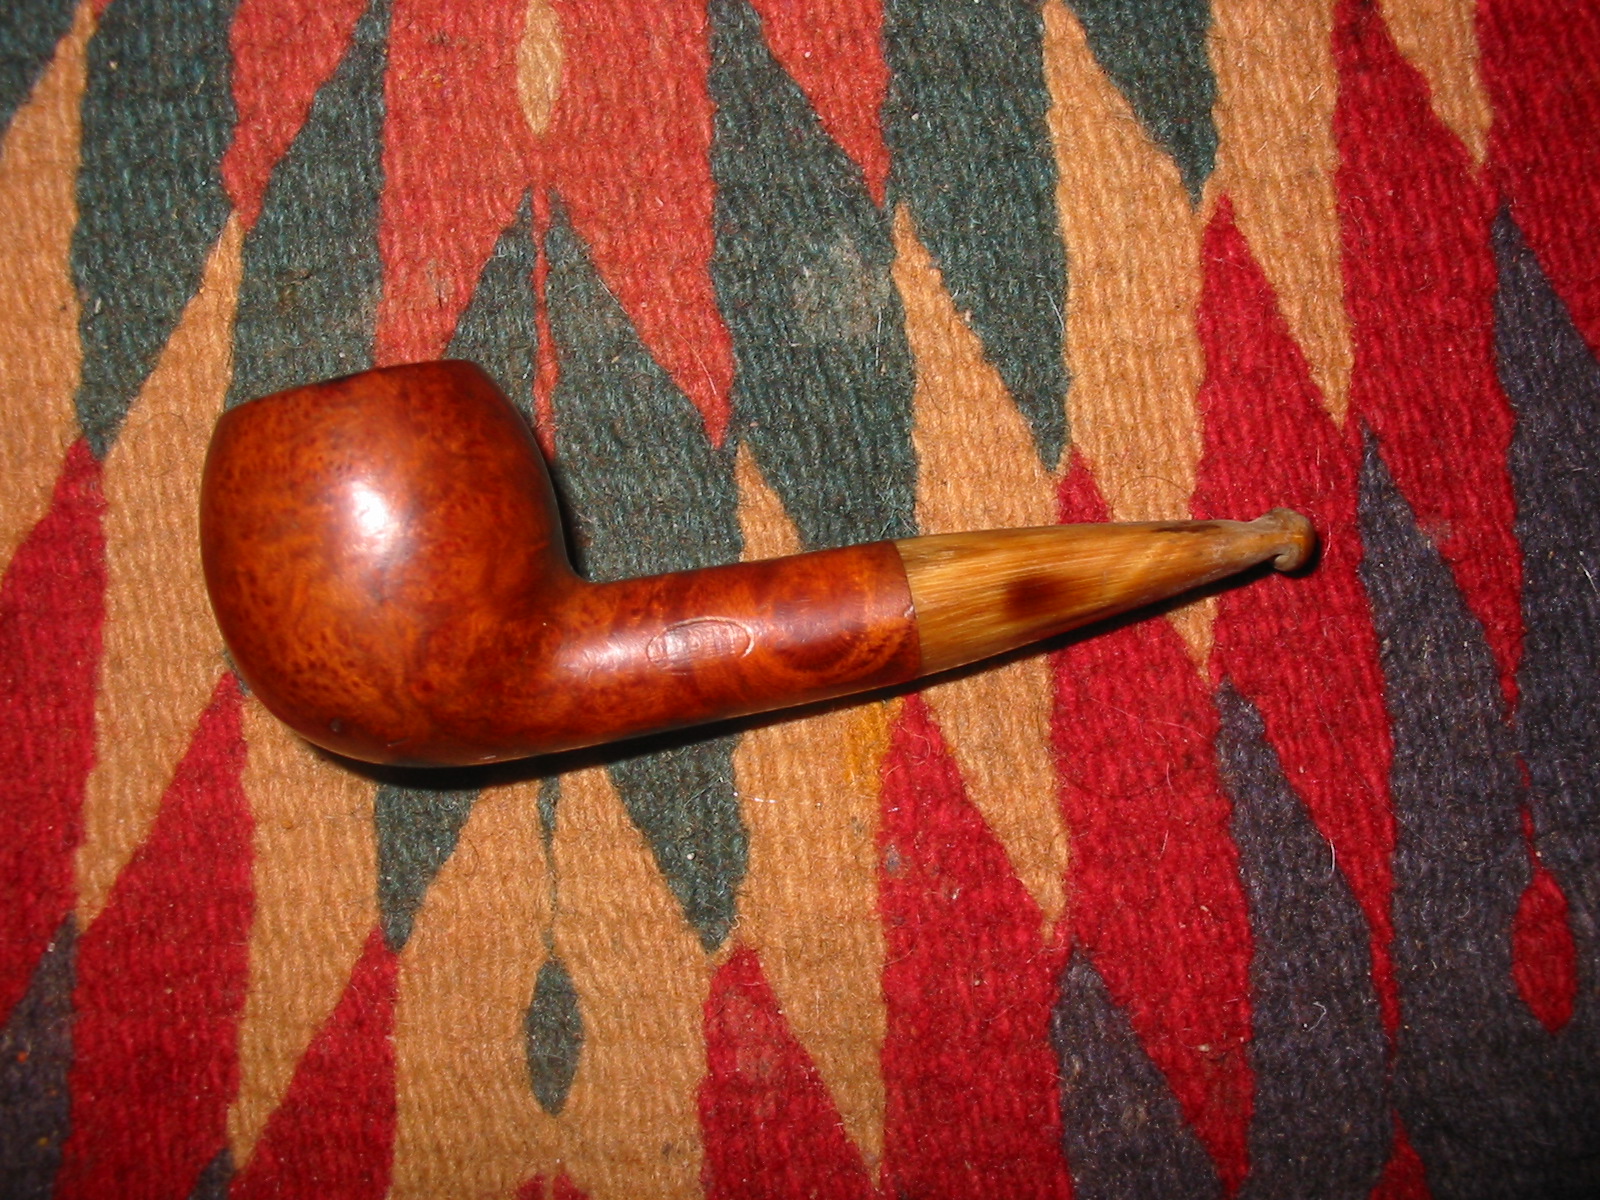
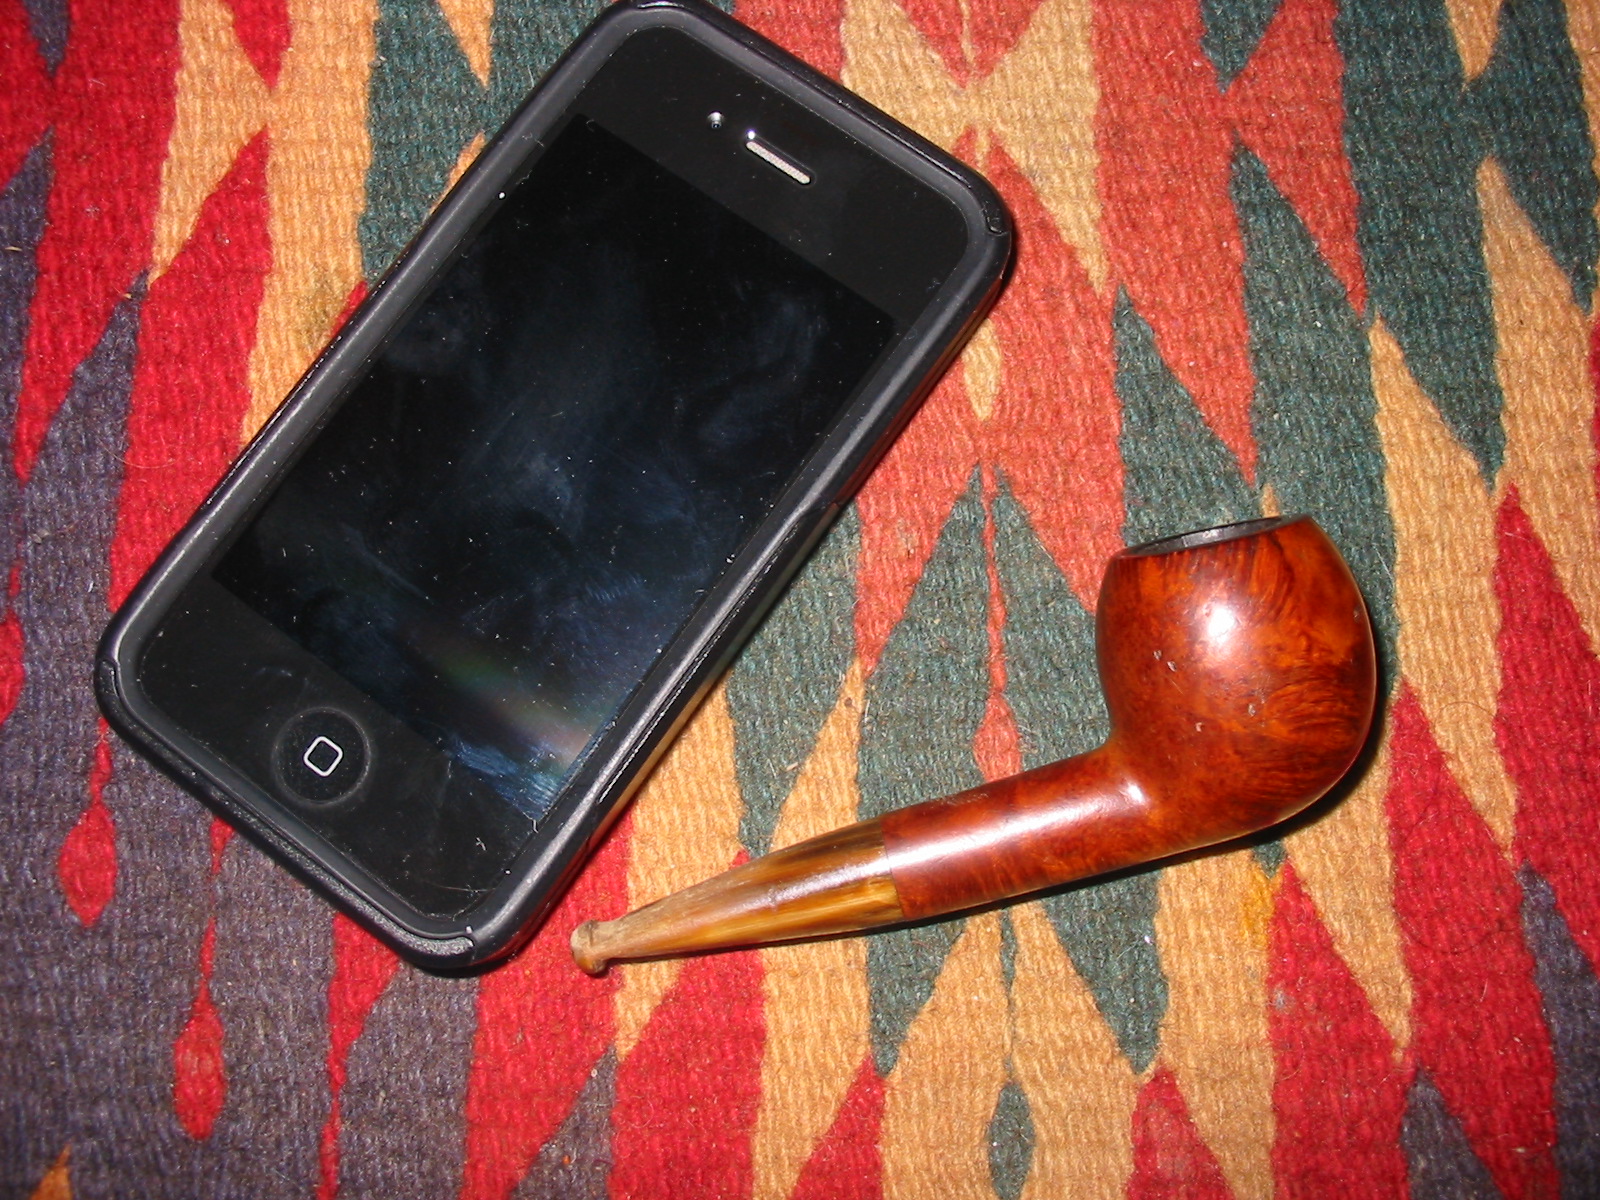
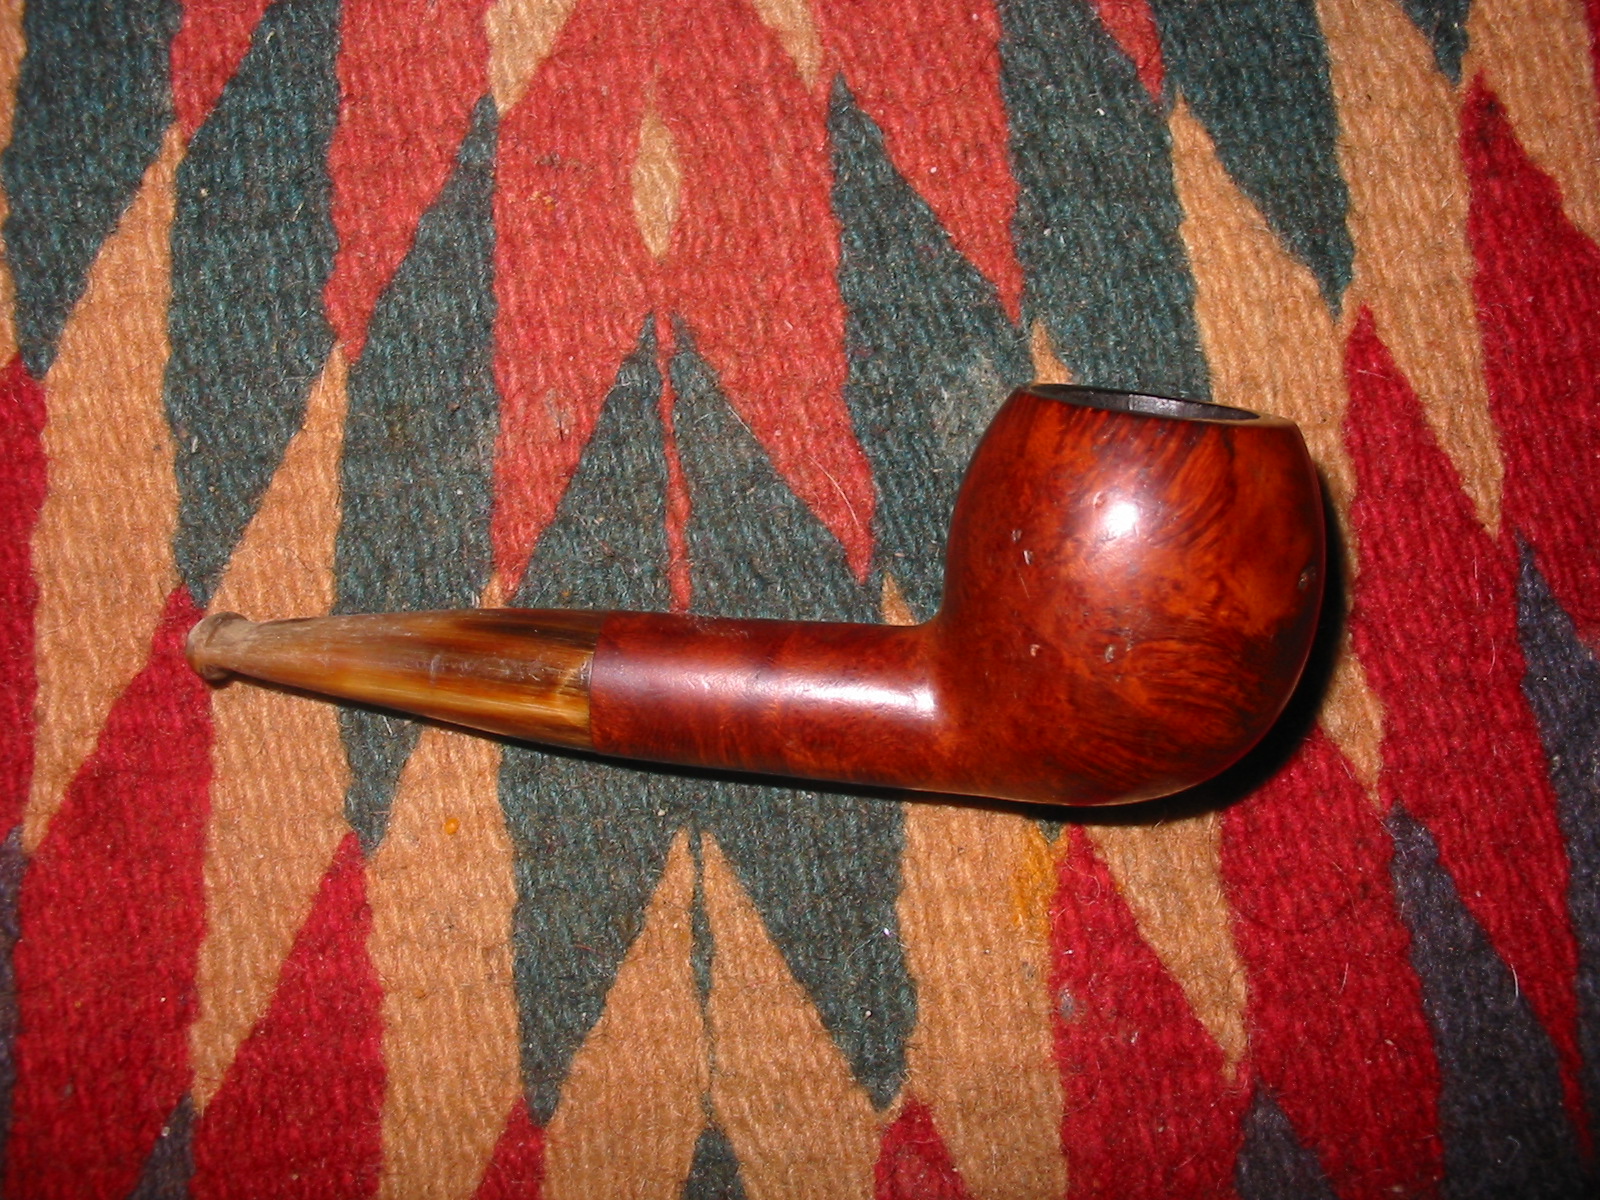
When I saw this old-timer on EBay I decided it had my name on it. The combination of shape and stem material are something that I love. It looked to be in pretty fair shape, just a bit of darkening at the rim, some nicks in the briar which is to be expected in a pipe this age. The stem looked all right – a few tooth marks on the surface but the horn material did not appear to have any splintering or cracks. The threaded tenon looked like it was a bone tenon and it too appeared to be in good shape. I put in my bid and was the only bidder. I have included the photos that the seller included in the sale. The pipe is delicate – a mere 4 inches.
Apple2

Apple3
The seller did not include any information on the stamping on the pipe. I wrote and they responded that it was not readable but that there was an oval on the left side of the shank. When it arrived I took it to my work table and did a cursory clean up and tried to read the stamping on the shank. I could see that the oval had remnants of gold in the marks. Under a bright light and using a jeweler’s loupe I could see that there was a letter visible on the right side of the oval that was readable – “N”. I wetted the stamping and looked more closely and could see what appeared to be the long straight leg of another letter on the left of the oval. It could easily have been a “K”, “R” or an “L”. On closer examination it seems to have a base on the bottom of the left leg. That would make it an “L”. So armed with that I did some digging in “Who Made That Pipe” and found several possibilities. The most likely was “LMN” and through continued observation of the logo I think that is what it is stamped. For me, a good part of the enjoyment of the hobby of refurbishing is the pipe mysteries that come along with the pipes I work on. So this pipe was going to be fun to work on and to research.
IMG_6620
I used the information in WMTP to research more into the maker of the pipe (at least according to the book). The pipe seems to have been made by a company called Jacobs, Hart & Co. England. I searched the various online directories of business in London at the time and found the following information on the hallmark site. It simply says that in 1889 in London there was a tobacco merchant named Joshua Michael Jacobs. I found his hallmark which interestingly is an oval as well with the JMJ letters stamped on the silver. I also found that members of the Jacobs family were gold and silver smiths as well as involved in the tobacco industry.

Apple4

At this point the trail went cold and I could find nothing else regarding the firm in the records. I knew that the family was involved in the industry but I could not find any information on the pipe brand itself. The only connection at this point was the listing in WMTP.

I searched the web for information on the second name in the company – Hart, and found that the name was held by an Australian who was a tobacco merchant as well. I have no idea about the migration from England to Australia but the link is certainly possible. I have included some information from the records I read through on the Hart family to show at least the tobacco connection.

The first document I found was a birth announcement for an Alfred David Hart. The birth announcement reads in part: “Born at Franklin Cottage, West-terrace, Adelaide. Birth certificate held – Father, general merchant, Franklin St., Adelaide, number Vol 3, pg 140 Adelaide.”

Further information found in the Biographical Register of Australia shows that he is included. Quoting in part: “Partner Feldheim, (I), Jacobs (qv) & Co (later Jacobs Hart & Co) tobacco merchants (emphasis is mine), managing director at William Cameron Bros & Co, tobacco manufacturers 1895; director of British Australian Tobacco Co from inception, chairman to 1925; dir Foster’s Beer Co: left estate of at least Pounds 183,252. The references given are: British Australian (Lond) 5 Apr 1928 cover p ii, 14 June 1928 p 21; Brisb Courier 12 Apr 1928 p 6; Argus 18 Feb1928 p 31; Vic LA PP 1894 2 no 37, p 417, Vic LA, V & P 1895 6 1 no D4 p 52, 62, 1895/6 2 no 3 p 8 ? 34.” http://metastudies.net/genealogy/PS04/PS04_230.HTM

The last bit of information on this partner in the company I found was his obituary. It too links him to the tobacco company that is associated with this pipe.

Hart, Alfred David (1851–1928)
http://oa.anu.edu.au/obituary/hart-alfred-david-13552
Mr. Alfred David Hart, who died on Thursday night at his residence in St. Kilda road, in his 78th year, was one of the founders of the modern tobacco trade in Australia. Mr. Hart was born in Adelaide in November, 1850, and he came to Melbourne in youth. His long association with the tobacco trade began at that time. For some years he was with Feldheim Jacobs and Co., and afterwards the firm became Jacobs Hart and Co., with establishments in Melbourne and Adelaide. At a later time Mr. Hart retired from the firm and became chairman and manager of Cameron Brothers and Co. Pty. Ltd. When the tobacco companies of Australia amalgamated he became chairman of directors in Melbourne of the British Australian Tobacco Company Pty. Ltd. From that position he retired in 1925, though he still held large interests. At one period Mr. Hart was chairman of directors of the Foster Brewing Company, and to the time of his death he was one of the directors of the Swan Brewery Company and chairman of directors of the United Insurance Company Ltd. Mr. Hart had many other business interests. He was the proprietor of Elizabeth House, the large building at the corner of Elizabeth and little Collins streets.

Apple5 That is the extent of that information as well. Once again there is no written link to the information noted in WMTP. I did some more research on the LMN brand and came across several pipes with that stamping for sale on various sites. Once of those was found on Worthpoint. It is pictured below. I have also included the link to the site. http://www.worthpoint.com/worthopedia/vintage-lmn-hallmarked-bent-chimney-169605160 I did find that LMN was registered as a trademark in Australia and belonged to WD & HO Wills Australia LTD. Here is the trademark information:

Trademark number 4727 was lodged on 30/07/1907 and has a status of Removed – Not Renewed. The applicant/owner of the trademark is registered as W D & H O Wills (Aust) Limited Business names for this company include AMERICAN PALL MALL, AMERICAN PALL MALL CO, BROWN & WILLIAMSON TOBACCO CO, BROWN & WILLIAMSON TOBACCO CO., BROWN & WILLIAMSON TOBACCO COMPANY, BROWN AND WILLIAMSON TOBACCO COMPANY, CIGARETTE DISTRIBUTORS, CUSTOMPHONE, GENERAL CIGAR CO, GEORGE TICKLE & CO, LAMBERT & BUTLER, OGDENS TOBACCO CO, THE NATIONAL TOBACCO COMPANY OF AUSTRALIA, THE STATESMAN CIGAR CO, TICKLES TOBACCO SERVICE, W.A. AND A.C. CHURCHMAN, WILLIAM BUTLER TOBACCO COMPANY

With that I decided to put my research to rest for a while and went to work on the pipe. The next photo gives a clear picture of the size of the pipe. I have it resting next to my iPhone 4 for comparison sake.
IMG_6621
The next four photos show the pipe as it was when I started the refurbishing. The bowl itself was in good shape. There were nicks and marks all around the bowl. On the bowl front there was an area where a fill had fallen out and left a deep hole in the briar. The bowl interior was fairly clean with a light cake and some remnants of tobacco left in the bowl. The inner edge of the rim had two areas that were burned. The burned area extended to the top of the rim in those two spots. The stem was quite clean. There was no evidence of the horn delaminating which was good news. Next to the button on both sides of the stem there were troughs left behind from tooth marks. There was tooth chatter over the surface, both top and bottom a 1/3 of the way up the short stem. The bone tenon was in excellent shape with no damage or broken threads. There was some staining on the end but other than that it was flawless.
IMG_6622

IMG_6623

IMG_6624

IMG_6625
Because I love the finished look of horn I worked on the horn stem first. I sanded the surface of the stem with 220 grit sandpaper to smooth out the tooth chatter and the deep troughs around the edges of the button. As I worked on them I realized that the horn material was thin in those spots. I roughened the surface and built it up with clear super glue. My goal was to level out the troughs and give a clean flow to the taper of the stem to the button. This took several applications of super glue. After each application dried I sanded it with 200 grit sandpaper and a medium grit sanding sponge to make sure that the surface was level before adding a new layer.
IMG_6626

IMG_6627
When the troughs were filled and level I screwed the stem back into the bowl and took some photos to check out the taper of the stem to the button. I wanted to make sure that the taper was smooth and the flow correct. I find that taking a photo gives me some distance from the pipe and I can examine it more critically than in real life at this point. I would need to work on the button area but the taper was correct.
IMG_6628

IMG_6629

IMG_6630

IMG_6631
I gave the bowl a light reaming with a PipNet reamer. I decided address the deeper nicks and crevices on the bowl with briar dust and superglue. Before doing that I wiped down the bowl with acetone on a cotton pad to remove the finish and clean the bowl.
IMG_6633
I packed briar dust into the nicks and holes in the briar and then added drops of super glue followed by more briar dust. I always over fill the patches as it is easier to sand the patches than to continue to fill them as they shrink. The next two photos show the patches.
IMG_6635

IMG_6636
I sanded the patches with 220 grit sandpaper to remove the thicker portion of the repairs and then followed up with a medium and a fine grit sanding sponge. The repairs are smooth and match the surrounding briar. They are dark spots but I have found that I don’t mind those as much as putty fills. I also have found that they can be blended into the briar more easily when stained with a dark brown or black aniline stain. They are still present but do not stand out.
IMG_6637

IMG_6638
To remove the burned areas on the inner edge and top of the rim I topped the bowl using a topping board and 220 grit sandpaper. I move the bowl across the sandpaper in a clockwise circular pattern – more out of habit than anything else though I find that it minimizes the scratches left behind and is easier to smooth out with later sanding.
IMG_6640

IMG_6641
I took the top of the rim down until the burn marks were minimized and the top of the bowl was smooth to the touch. I sanded the bowl top with a fine grit sanding sponge to remove scratches. I did not go on to sand with higher grit paper as I would be sanding after I stained the bowl. I wiped the bowl down with isopropyl alcohol and then applied and flamed the dark brown aniline stain. I repeated the process until I had good coverage on the bowl and rim. The stain was very dark and hid the grain. It was also very opaque and not what I wanted as the final stain on the bowl. I wiped the bowl down with isopropyl alcohol to remove much of the stain. Doing this removes the surface coat but leaves the stain deep in the grain of the briar.
IMG_6642

IMG_6643

IMG_6645
I buffed the bowl with White Diamond on the wheel to further remove some of the stain and smooth out the surface of the briar. I avoided the area of the stamping so as not to further damage the already faint stamping. I then folded a piece of sandpaper and worked on the inner edge of the rim to remove the damage and work the bowl back into round afterwards. I have included the photos below to give an idea of what the stain looked like at this point as well as the way the repairs were hidden by the stain. There is some great grain on this old pipe.
IMG_6646

IMG_6647

IMG_6648

IMG_6649
I sanded the bowl and stem with micromesh sanding pads. I wet sanded with 1500-2400 grit pads and dry sanded with 3200-12000 grit pads. I rubbed the stem down with Obsidian Oil to preserve the horn and renew it.
IMG_6634

IMG_6650

IMG_6651
I buffed the bowl and stem lightly with White Diamond and then gave the pipe multiple coats of carnauba wax. I buffed it lightly with a soft flannel buff and then hand buffed the area around the stamping. The finished pipe is shown in the photos below. The horn has a rich shine to it now and the briar looks very good. The contrast between the rich brown stain and the striations of colour in the horn stem give the pipe a distinctive look. There are still some battle scars that add character to the pipe in my opinion. Overall the pipe looks almost new. It is cleaned and ready for a smoke.
IMG_6652

IMG_6653

IMG_6655

IMG_6656

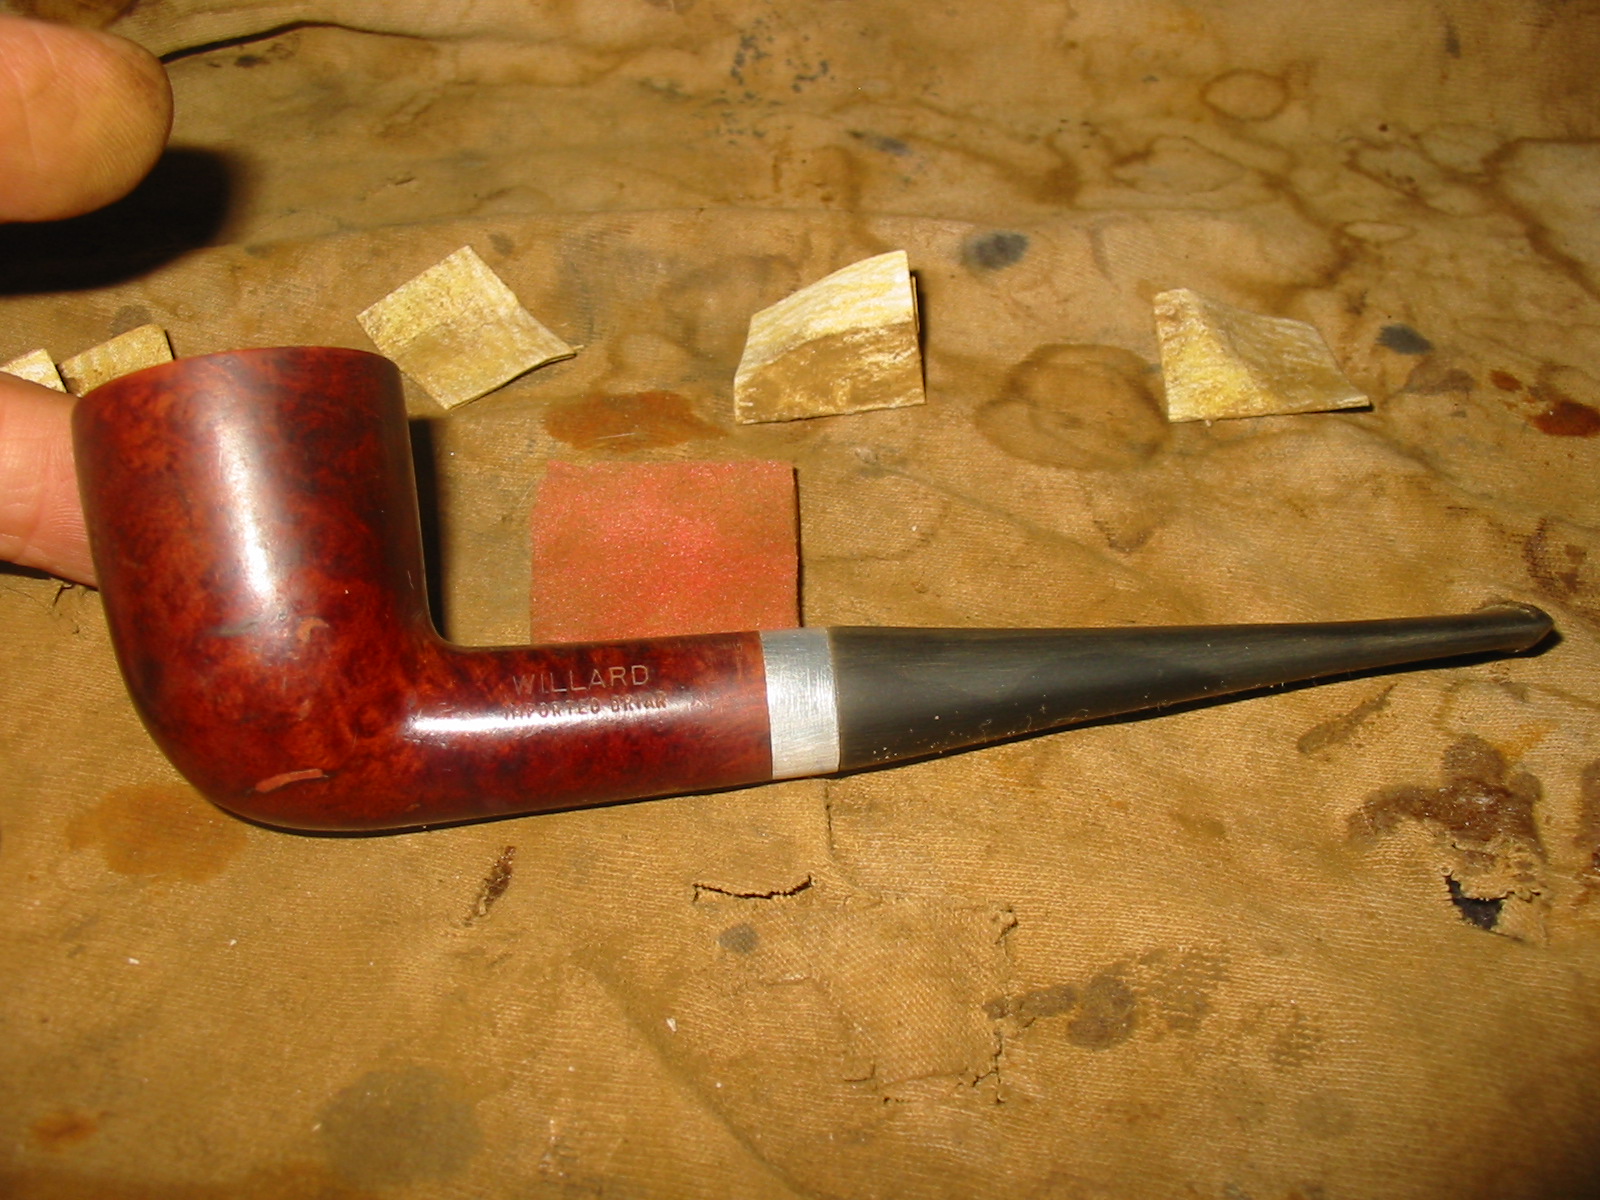
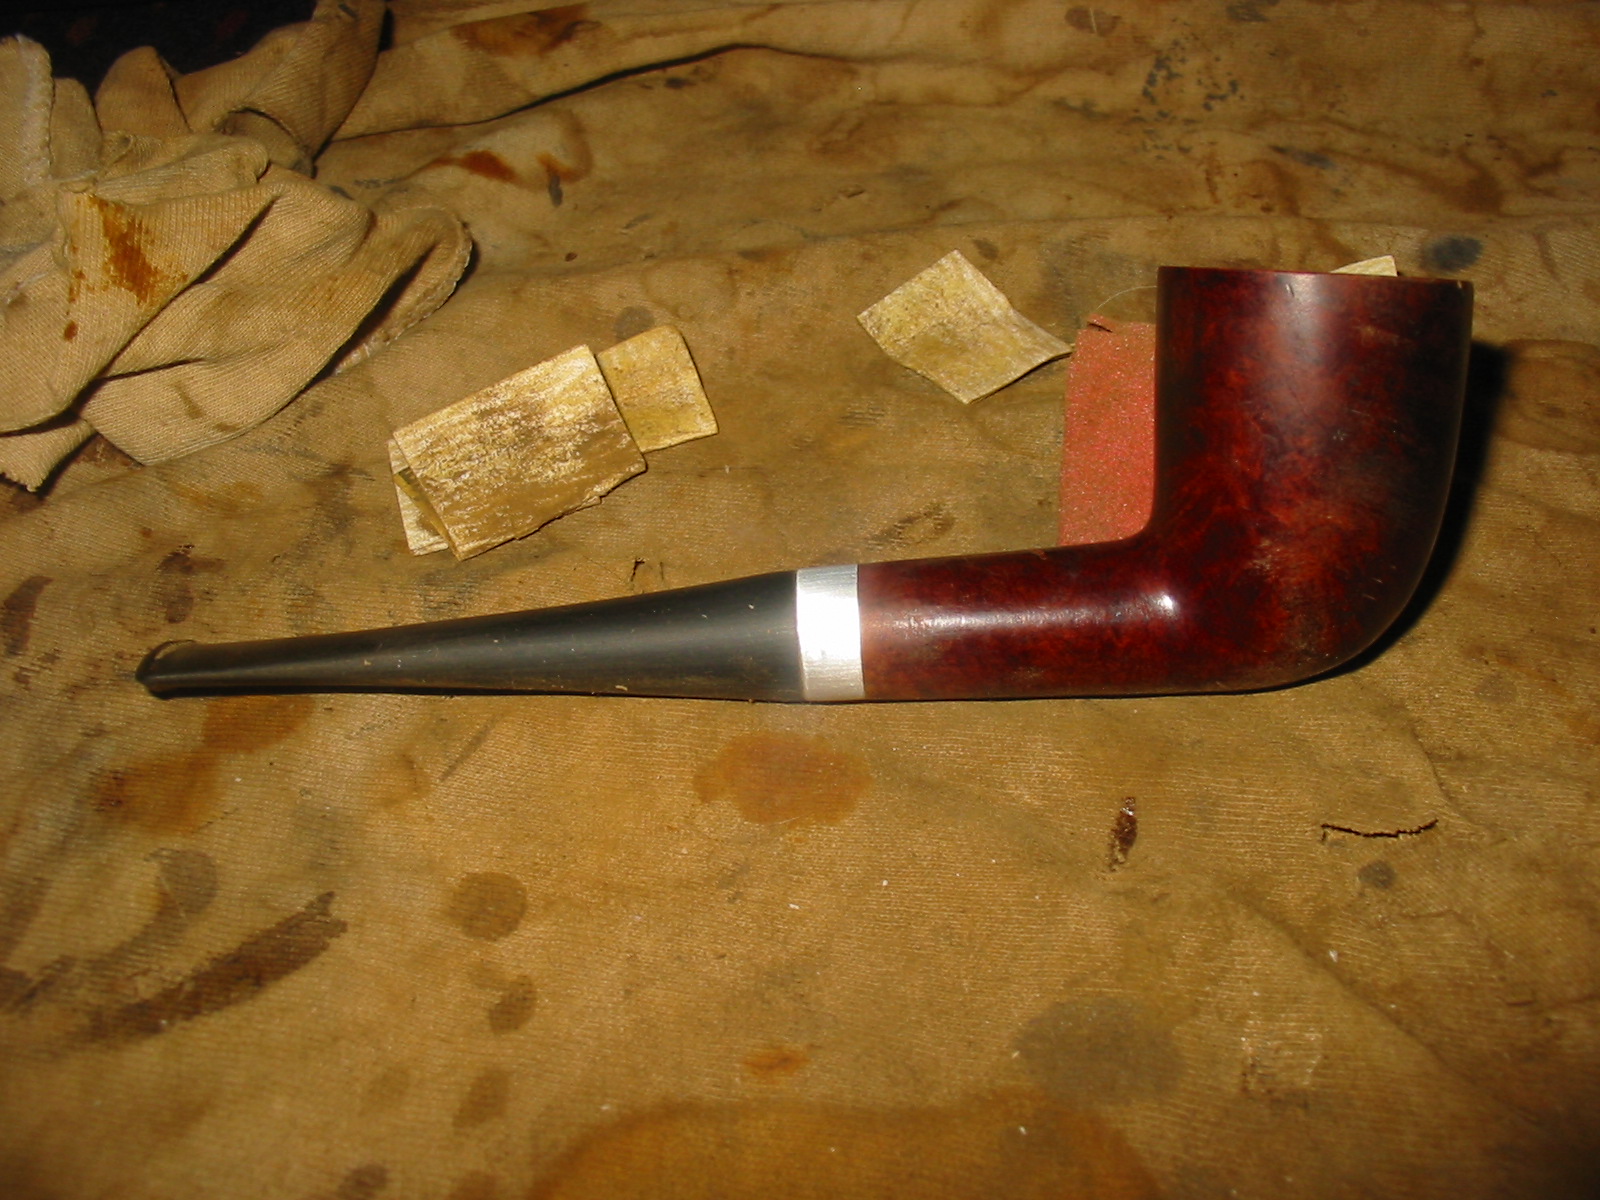
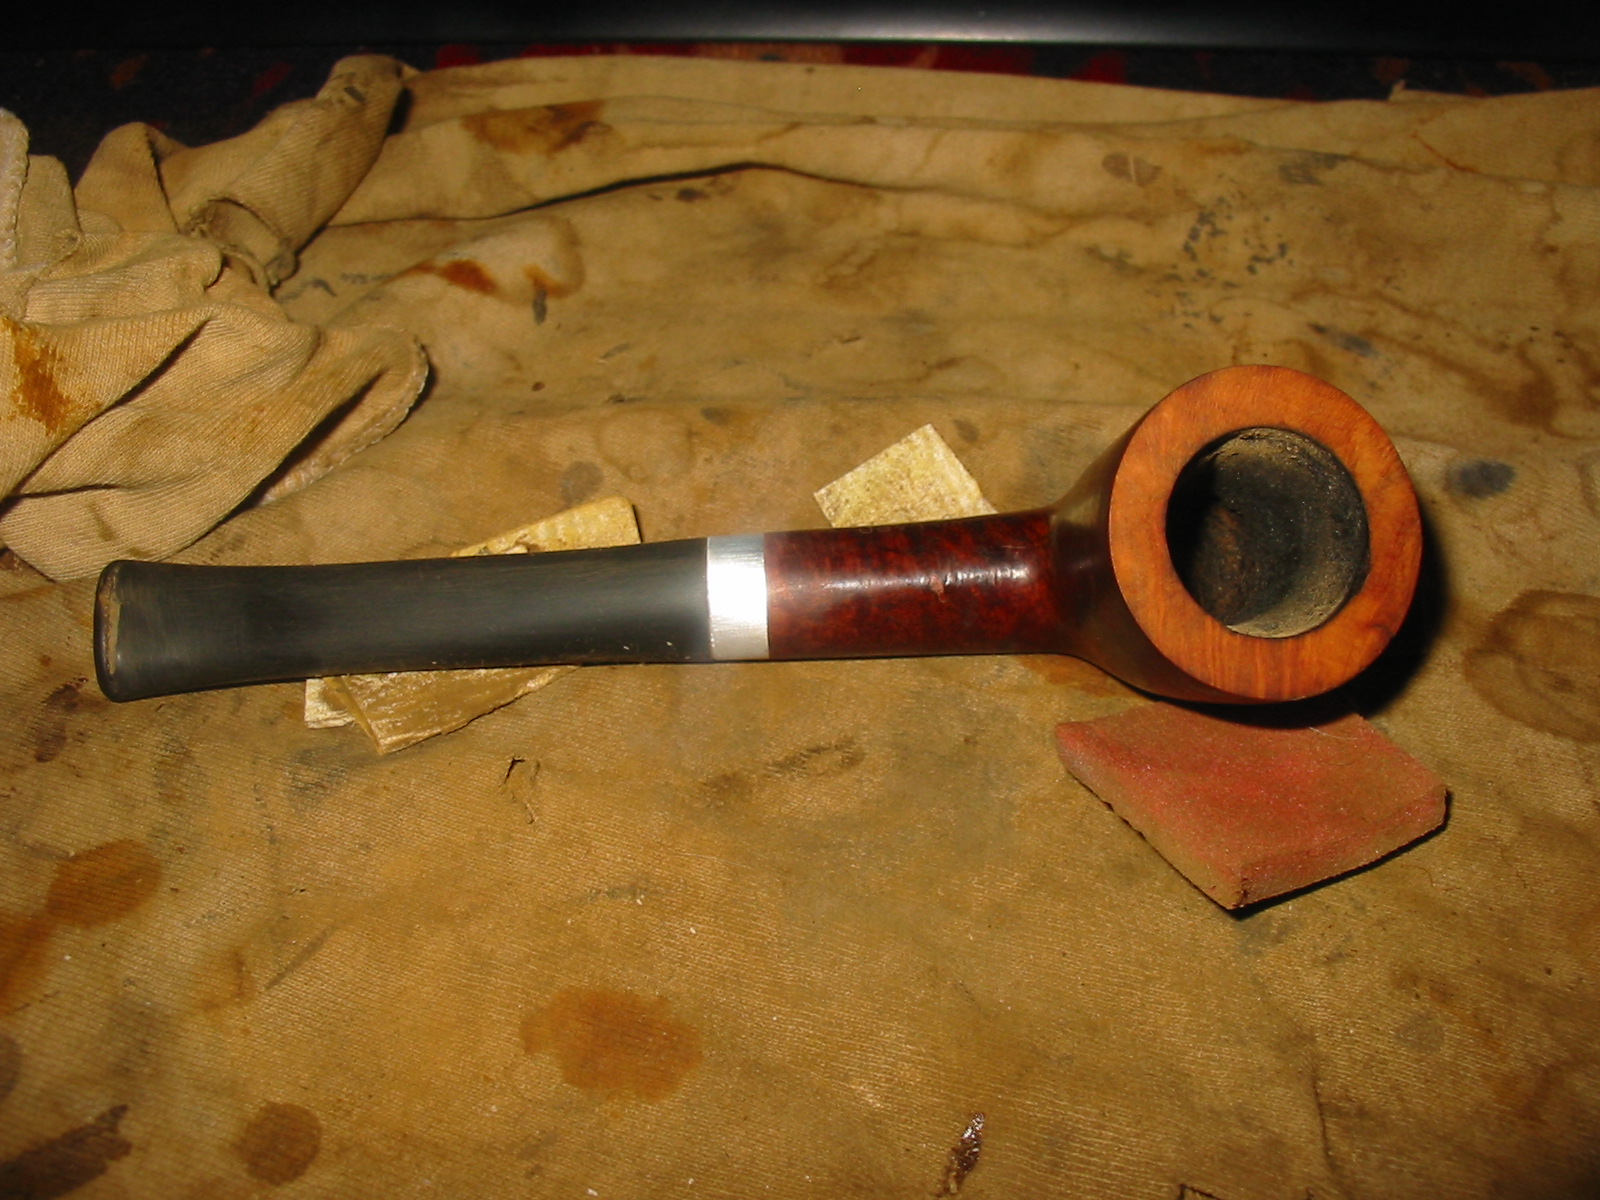
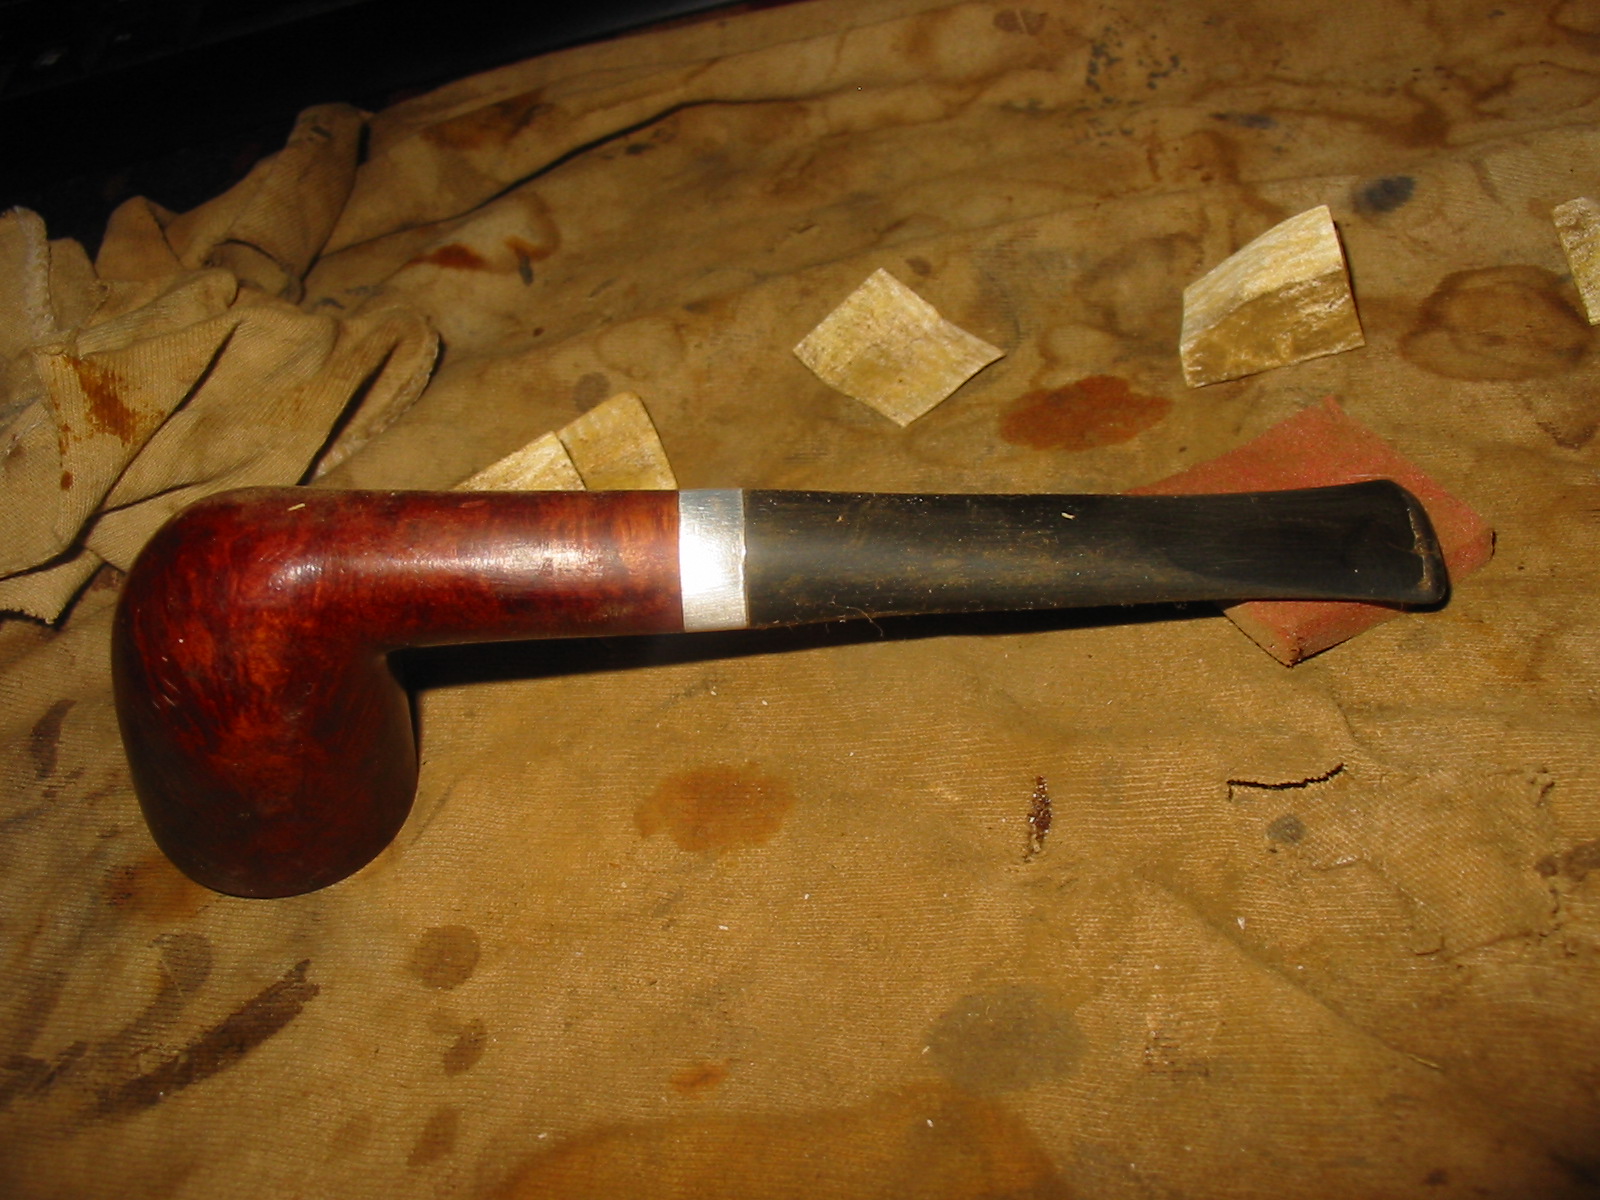
Willard Dublin Restemmed and Rejuvenated


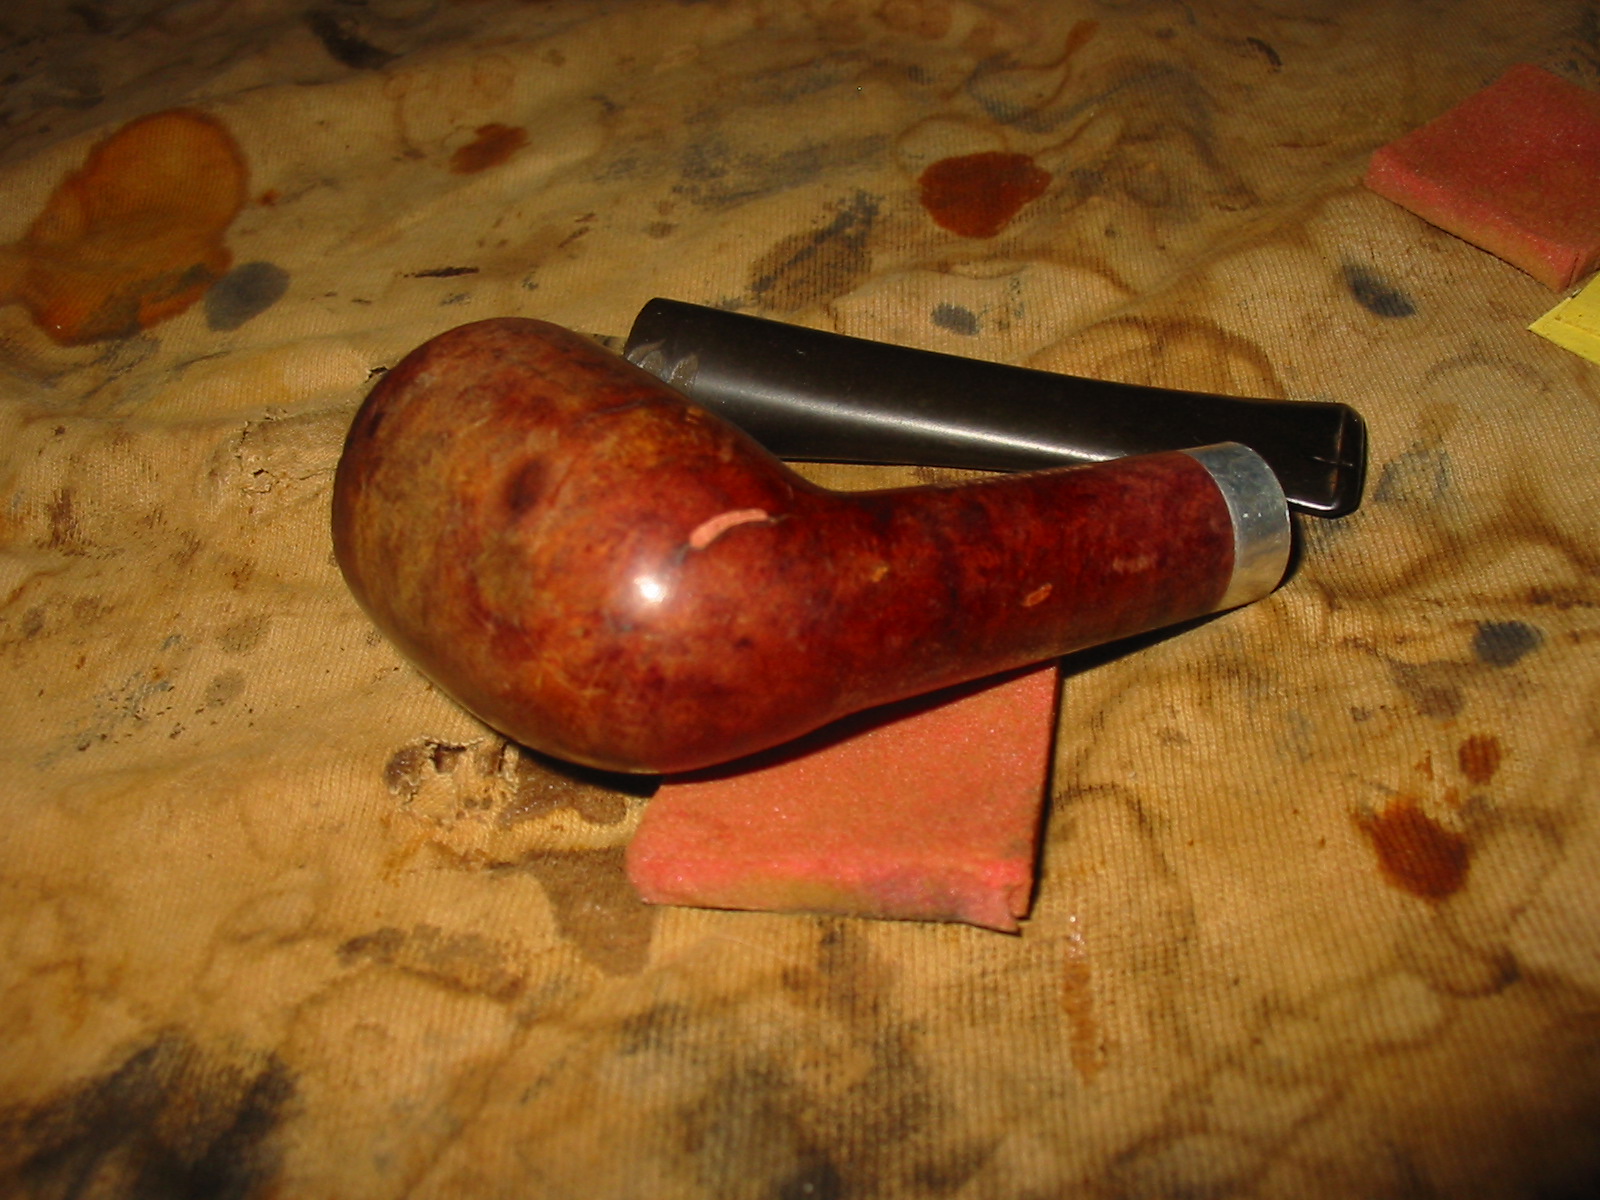
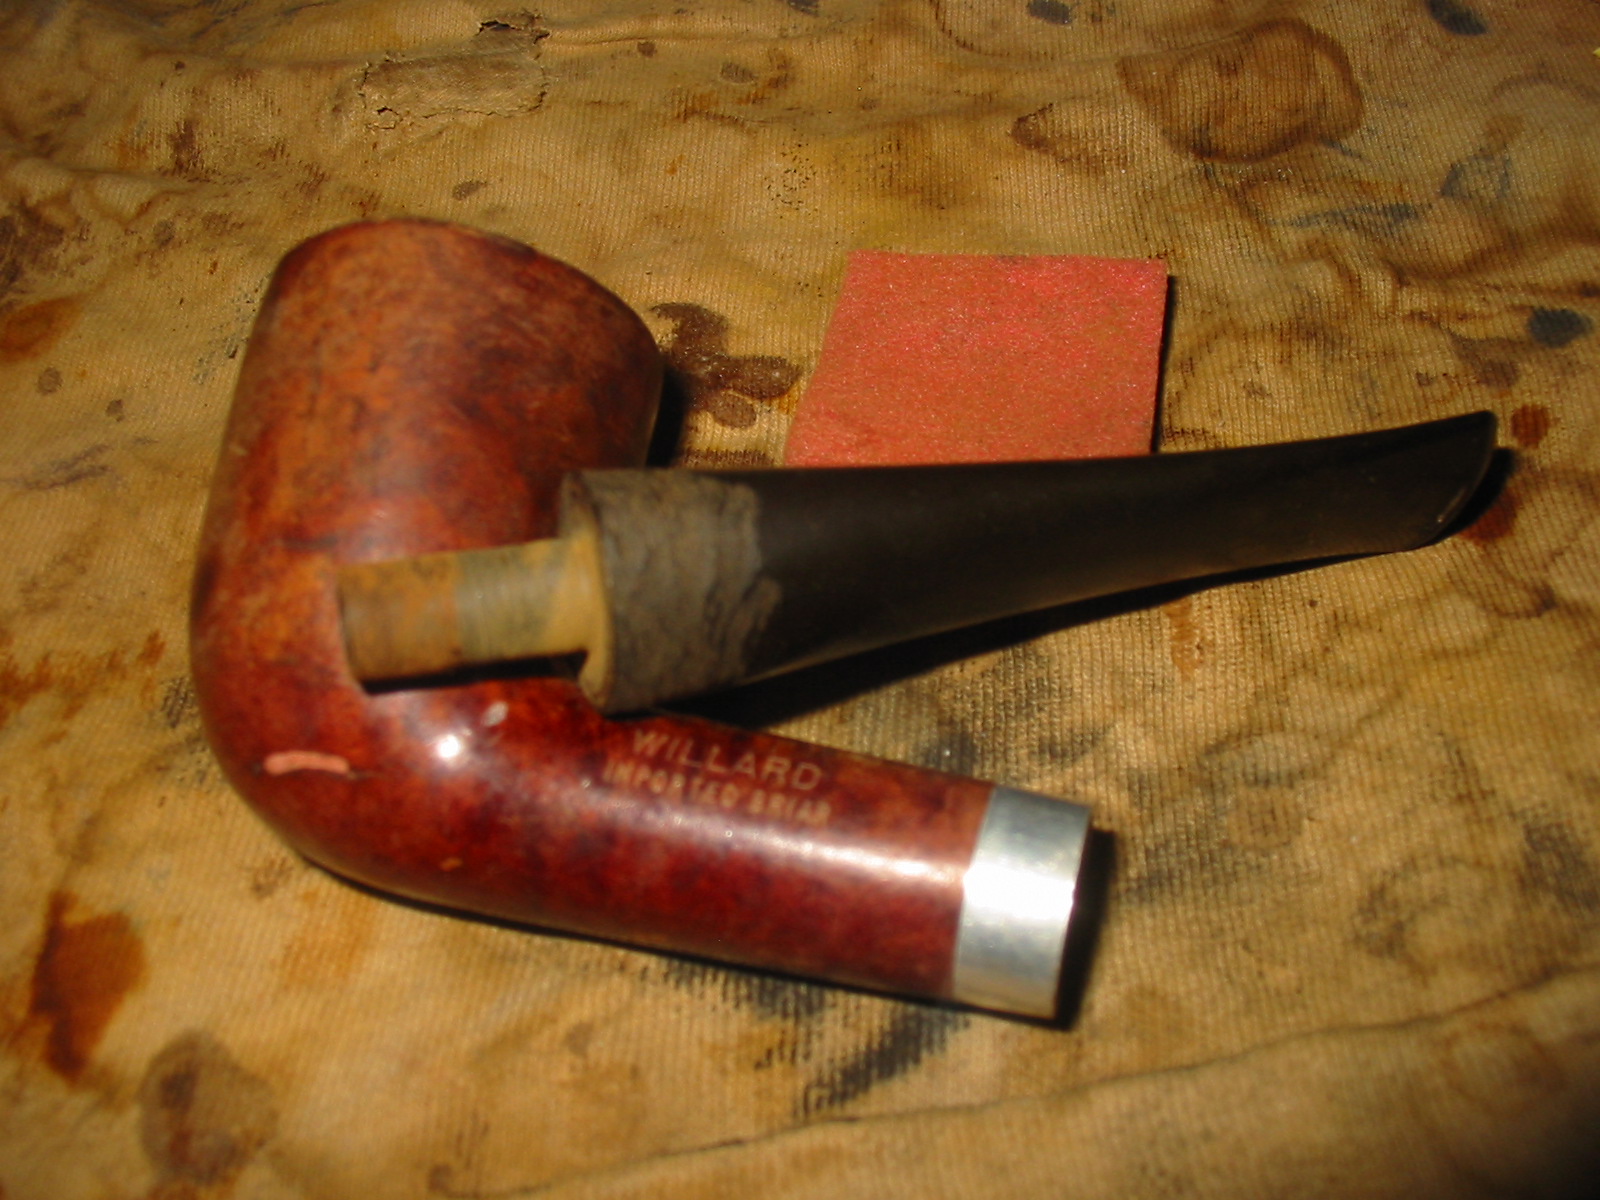
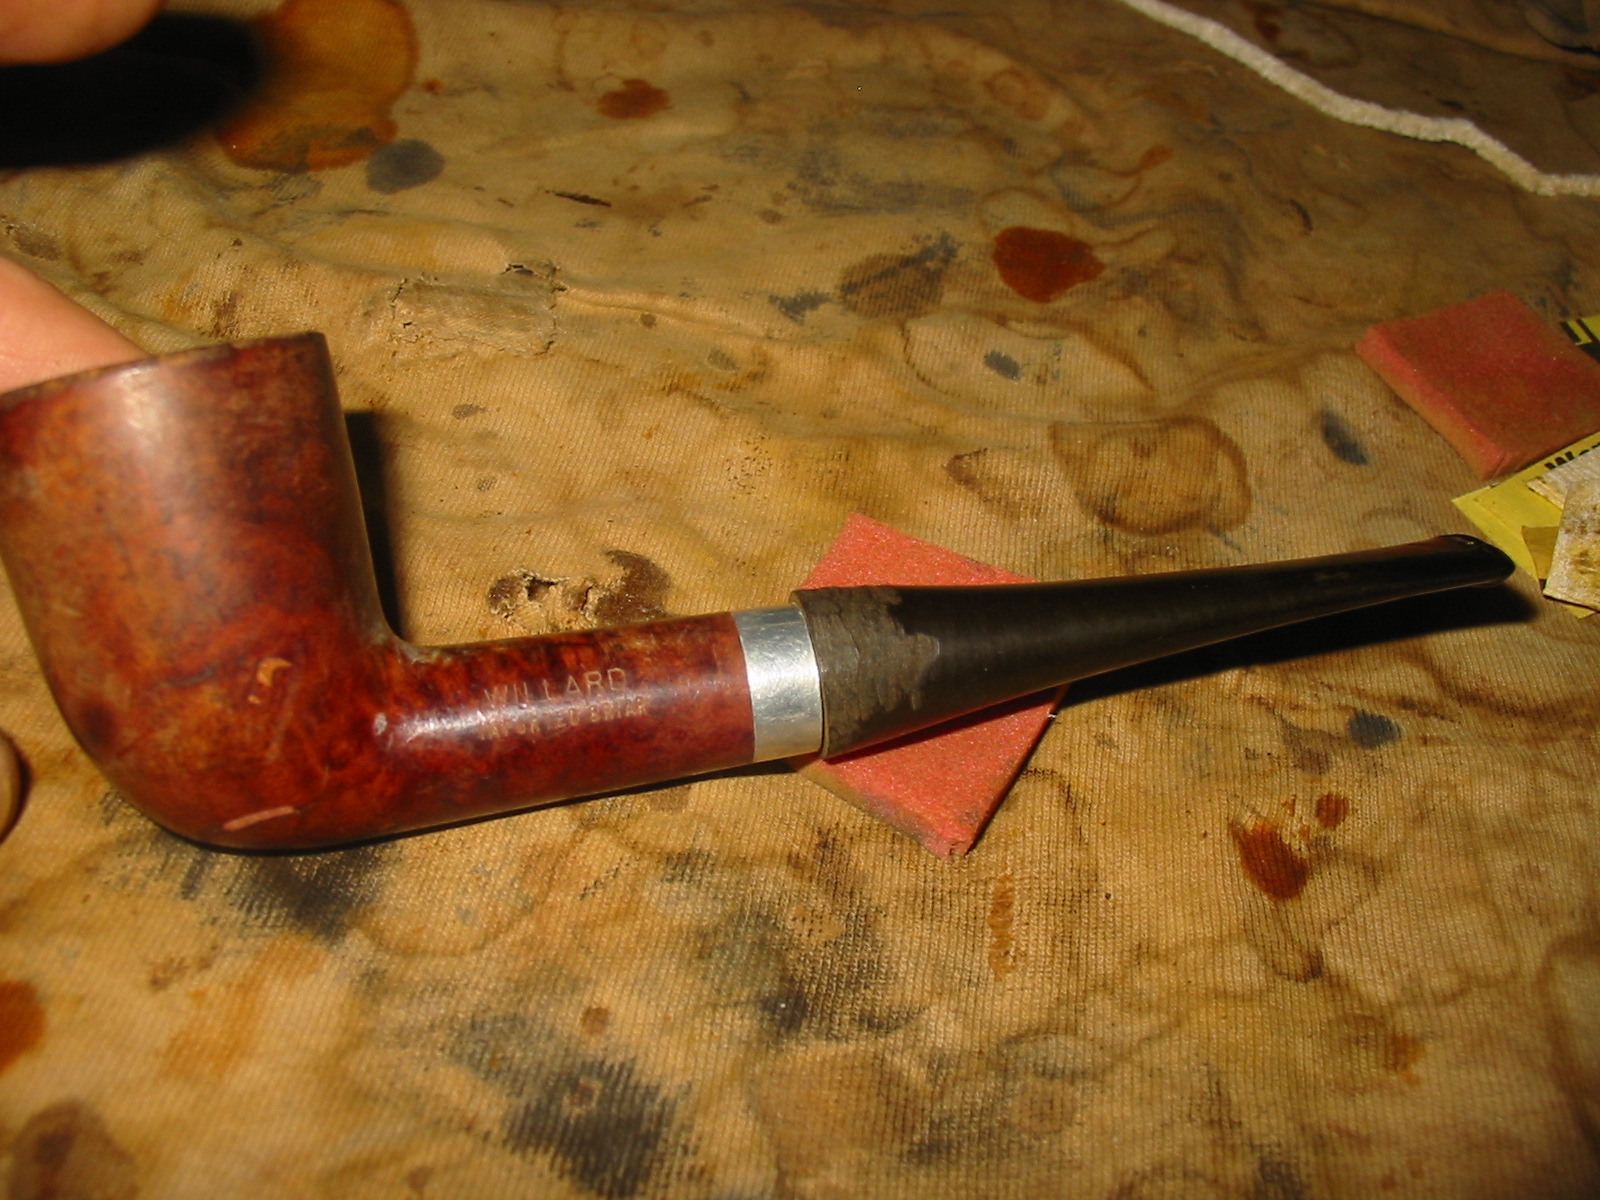
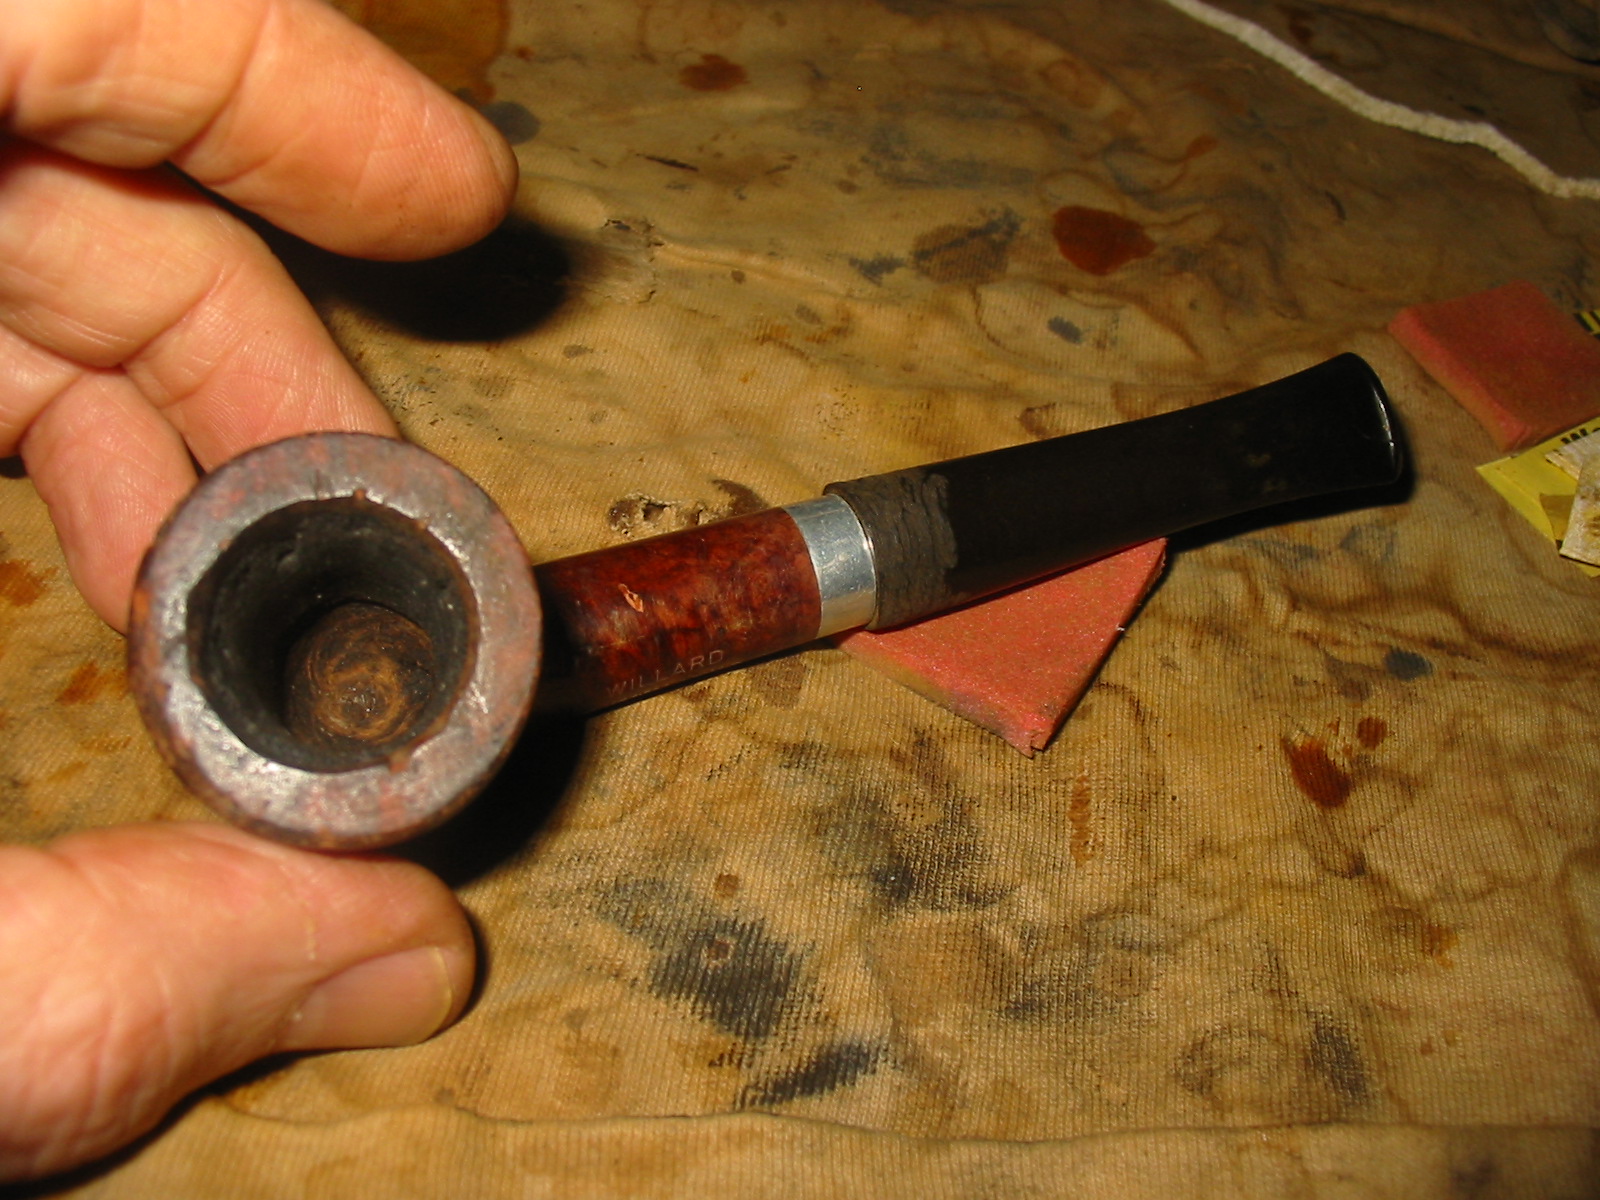
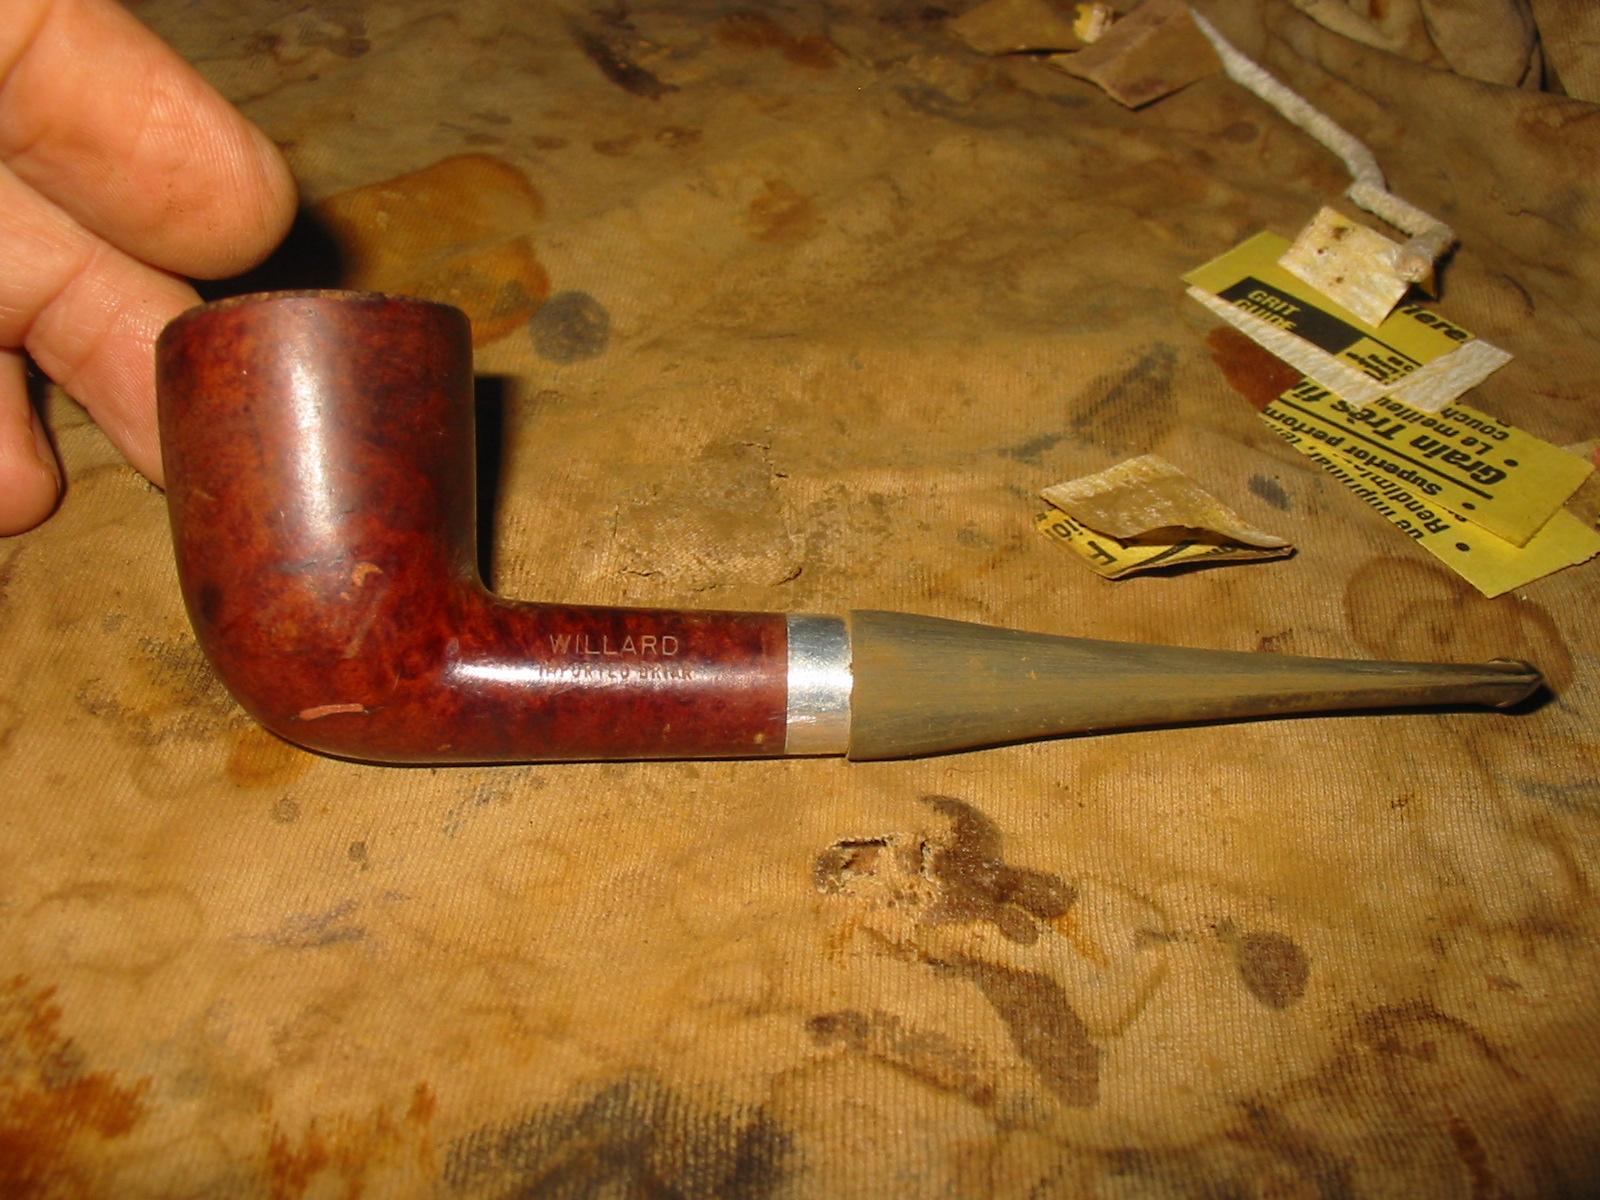
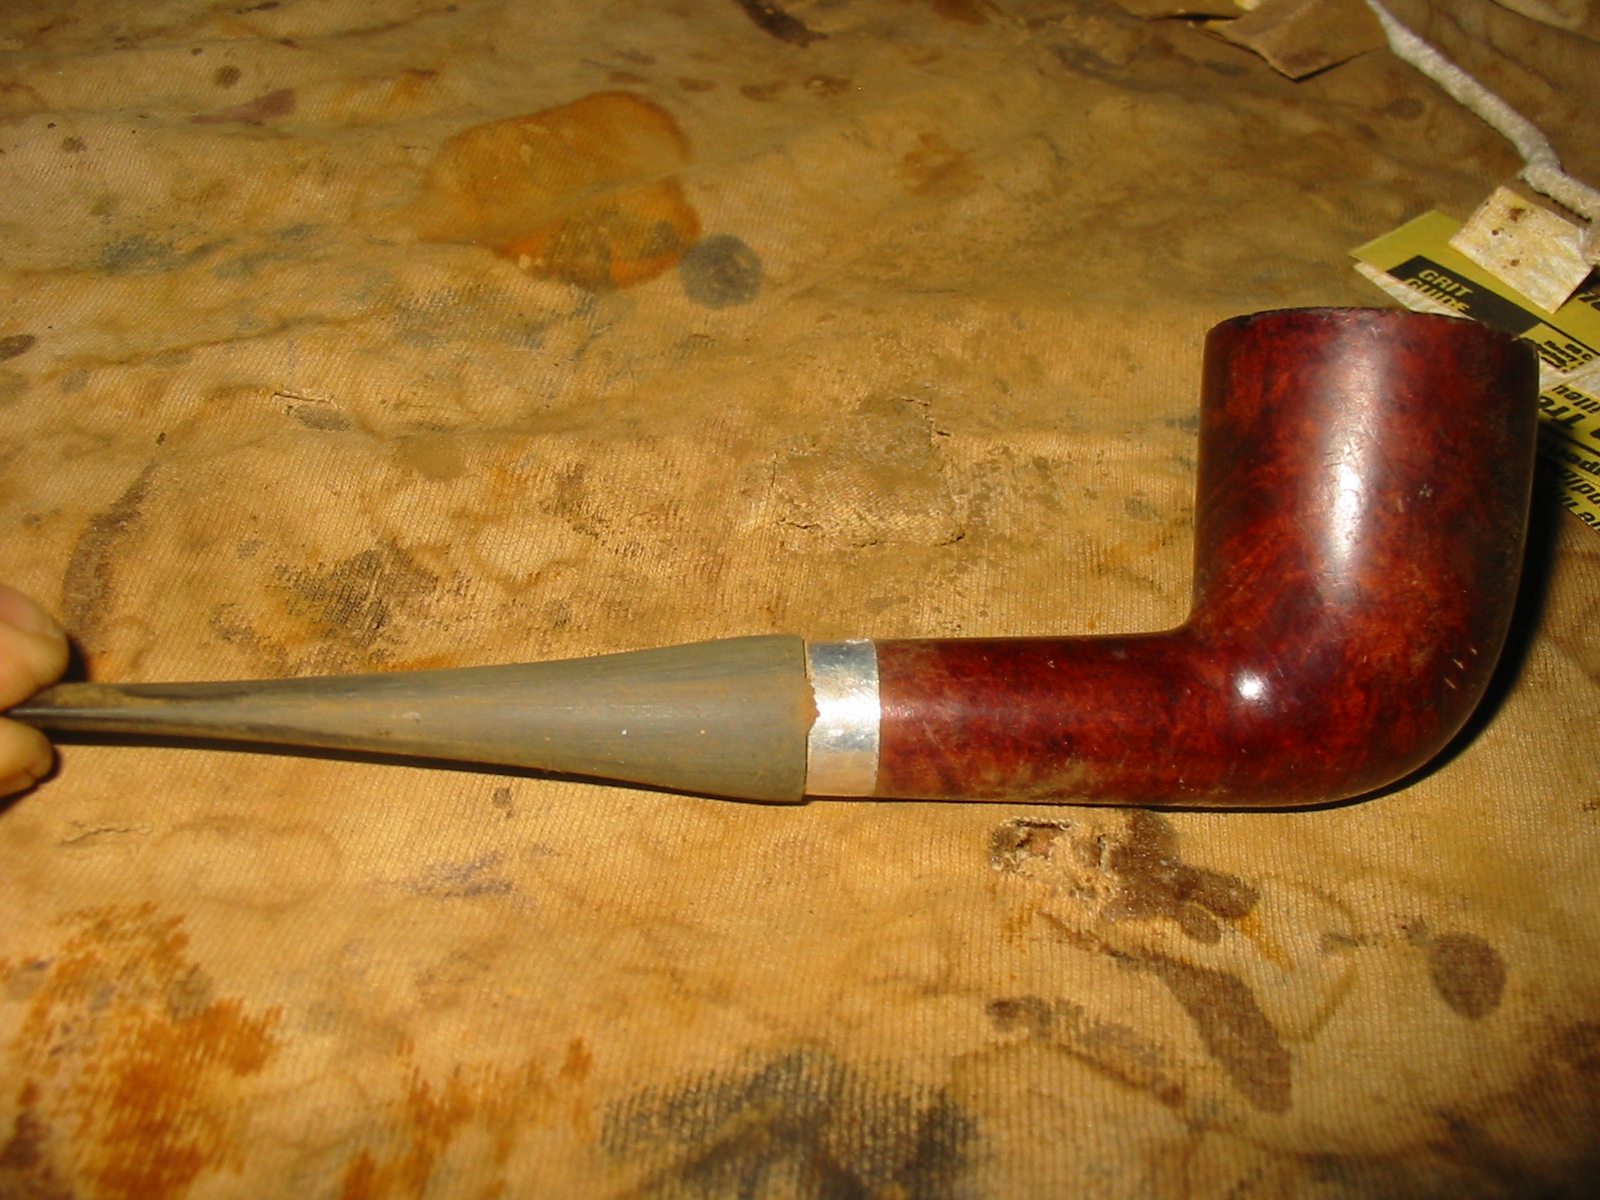
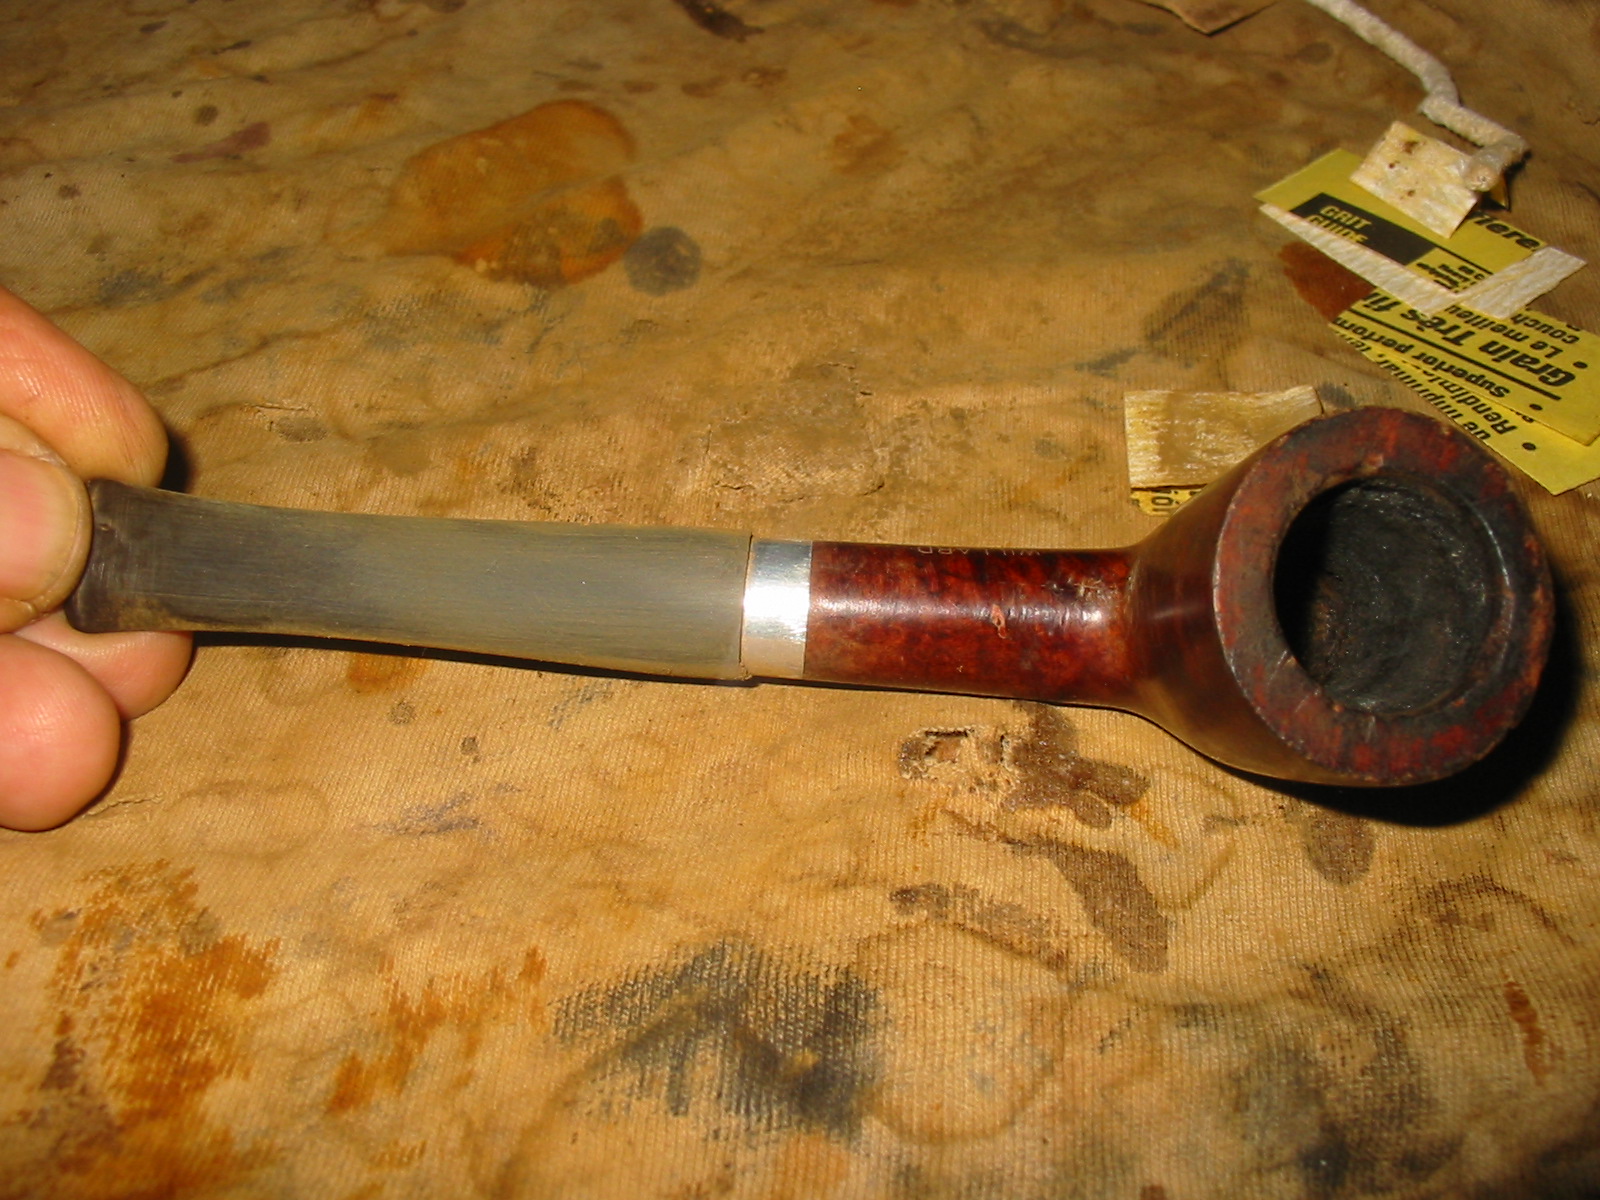
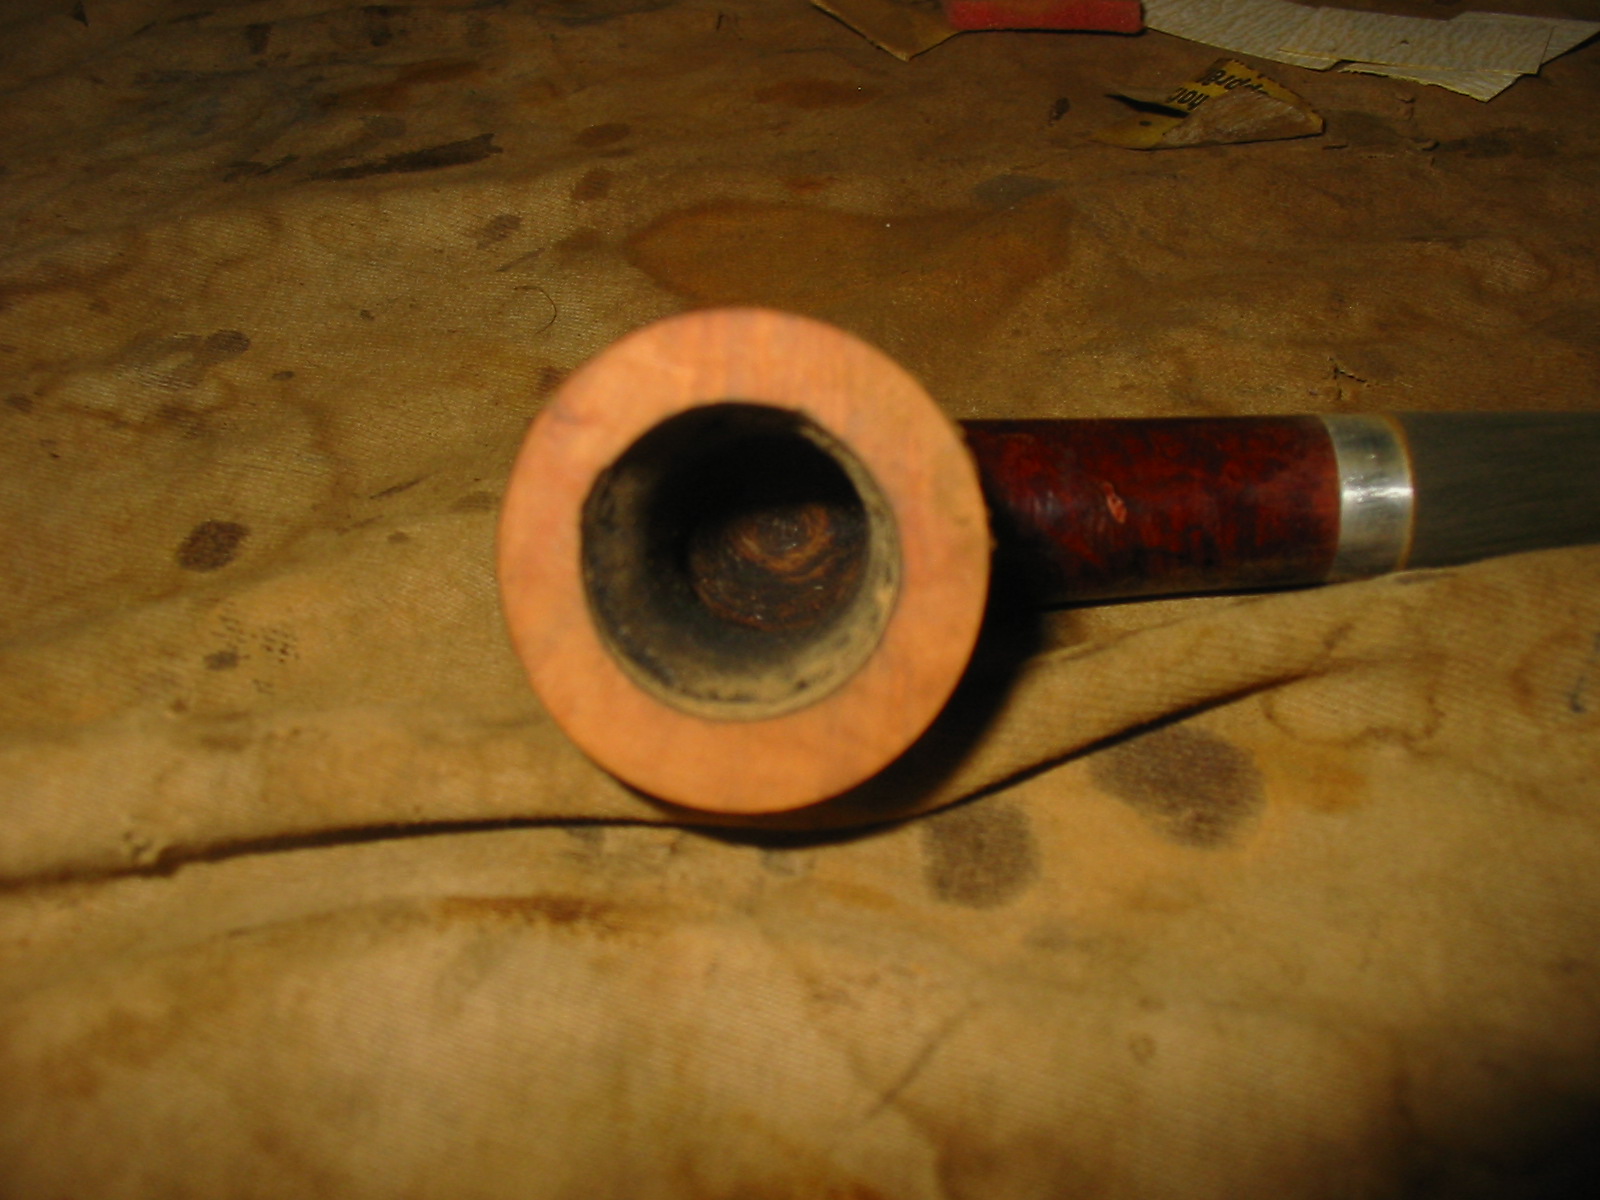
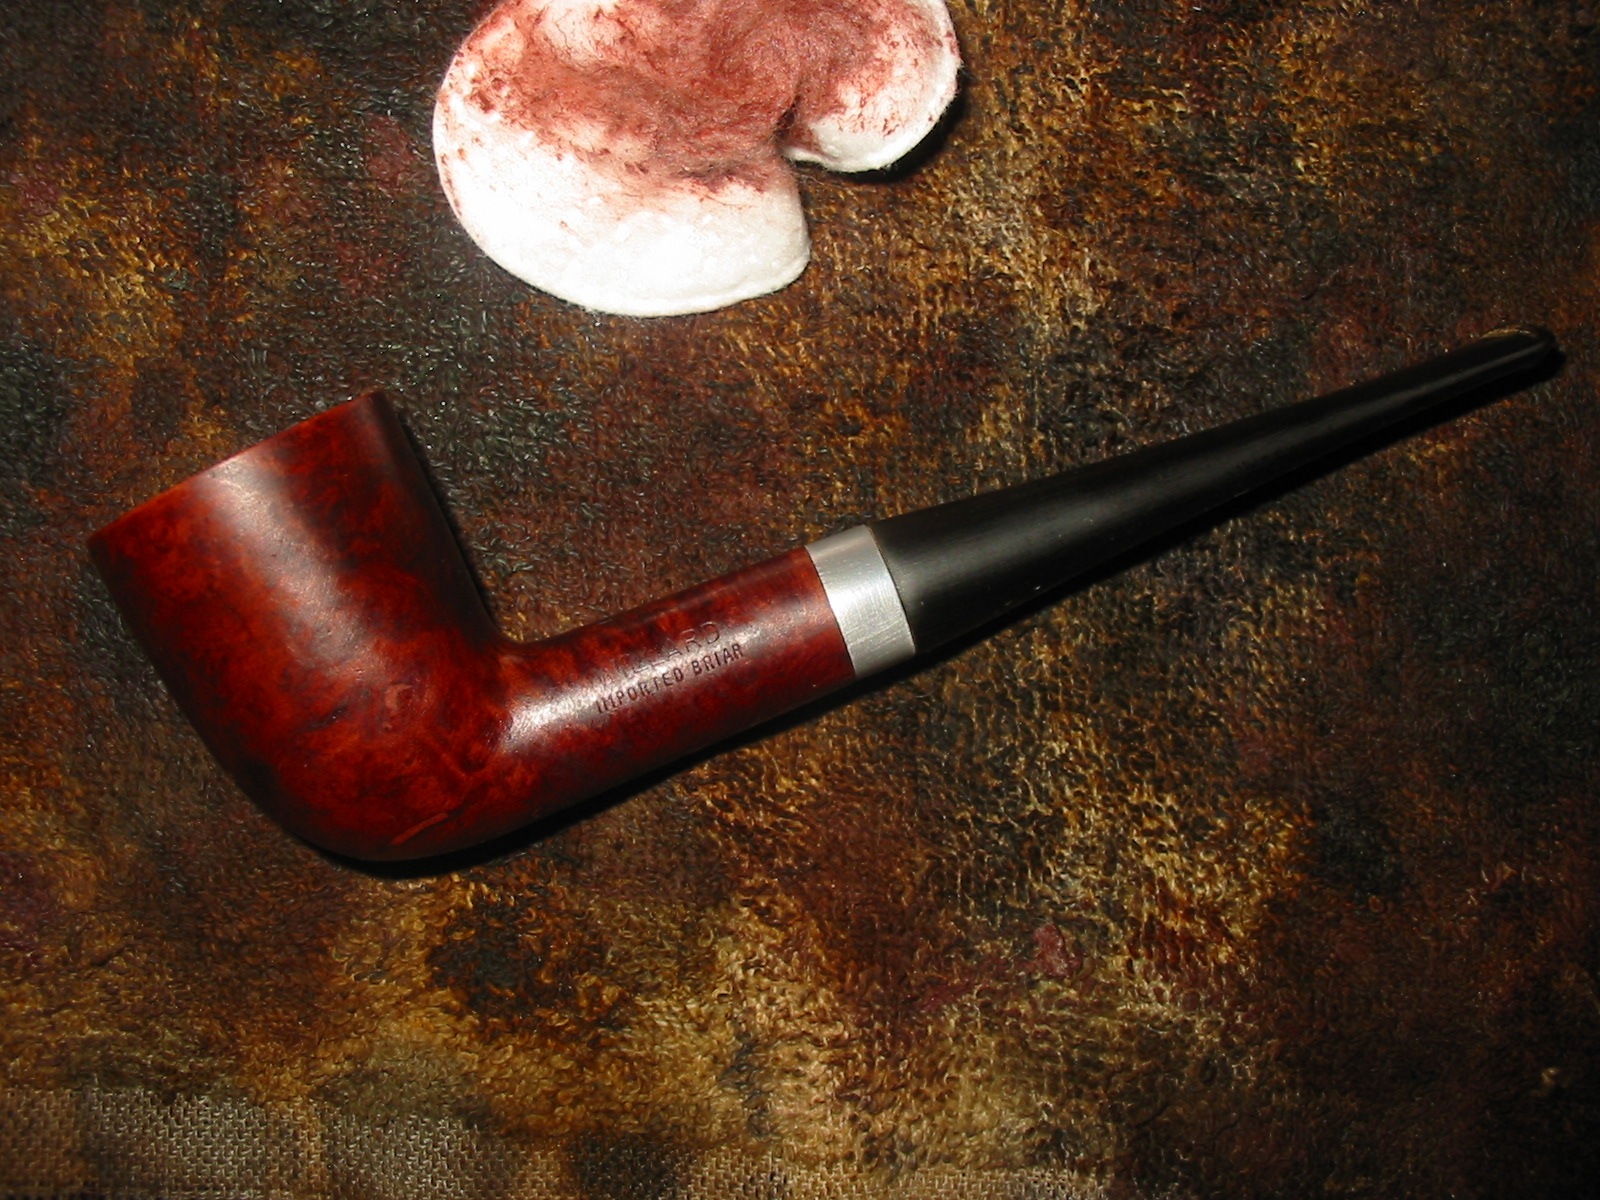
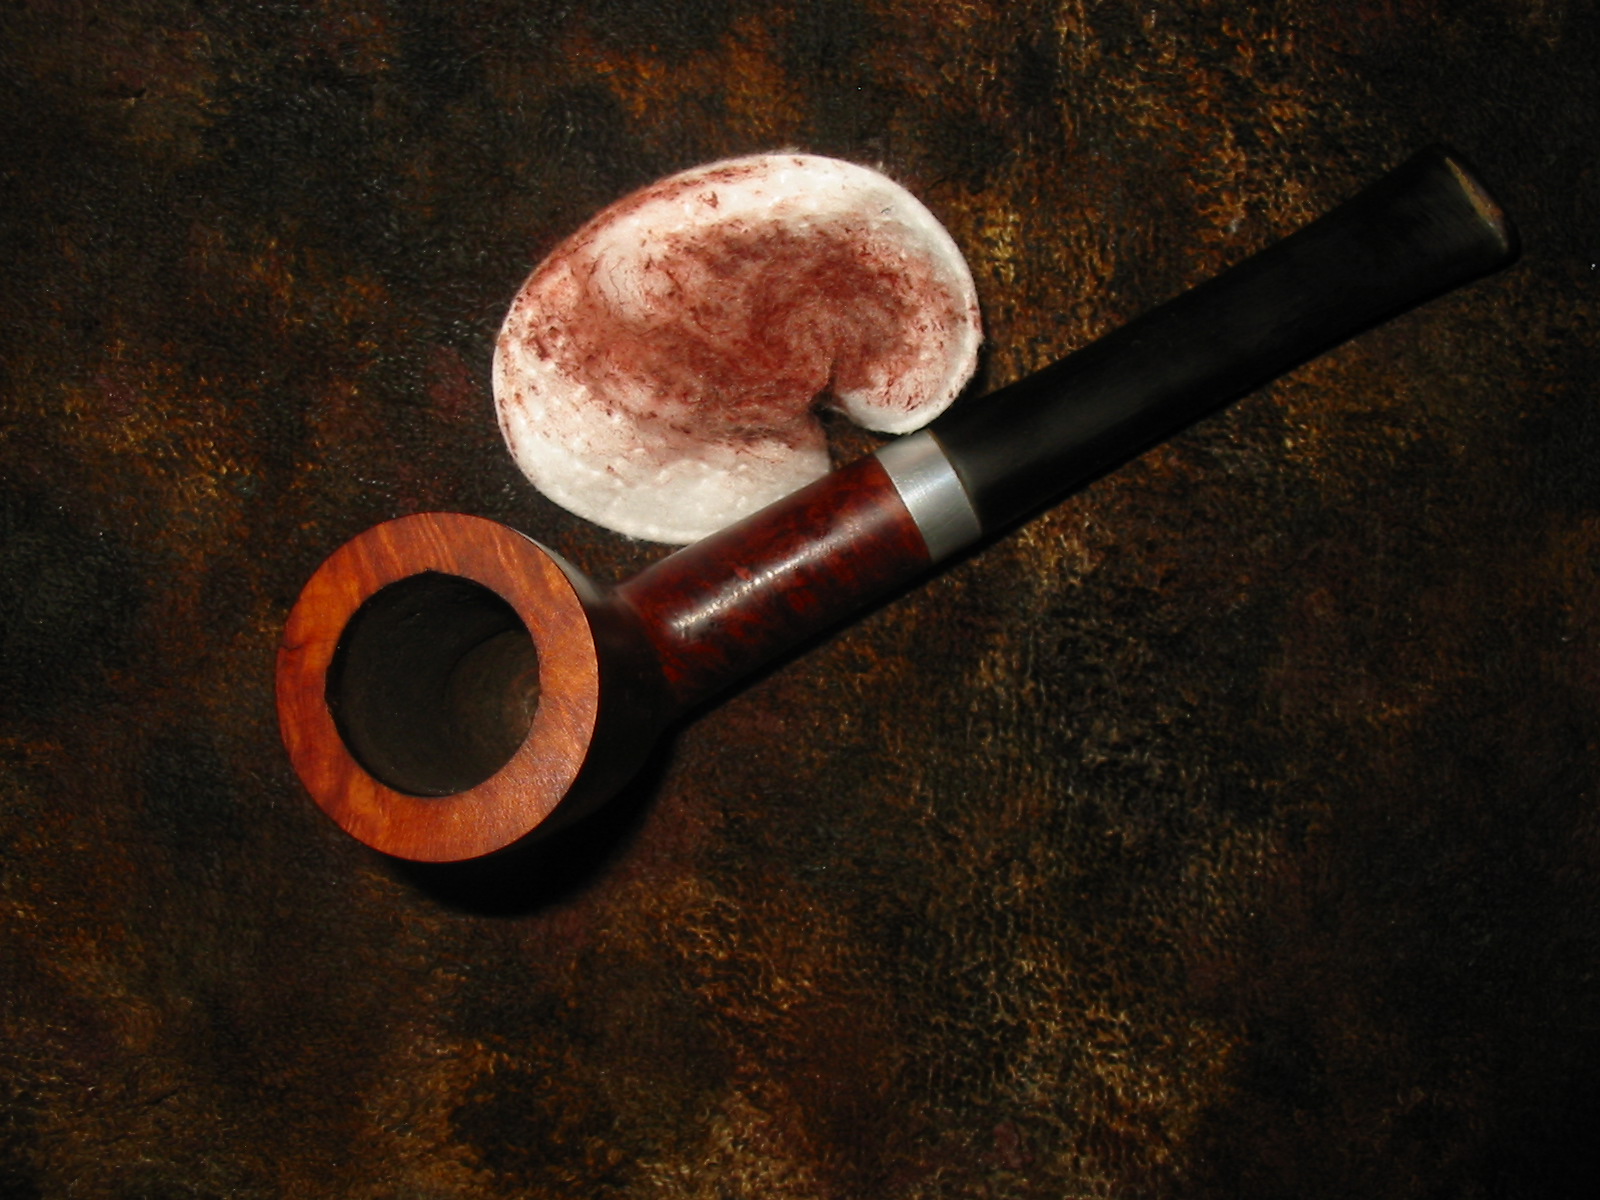
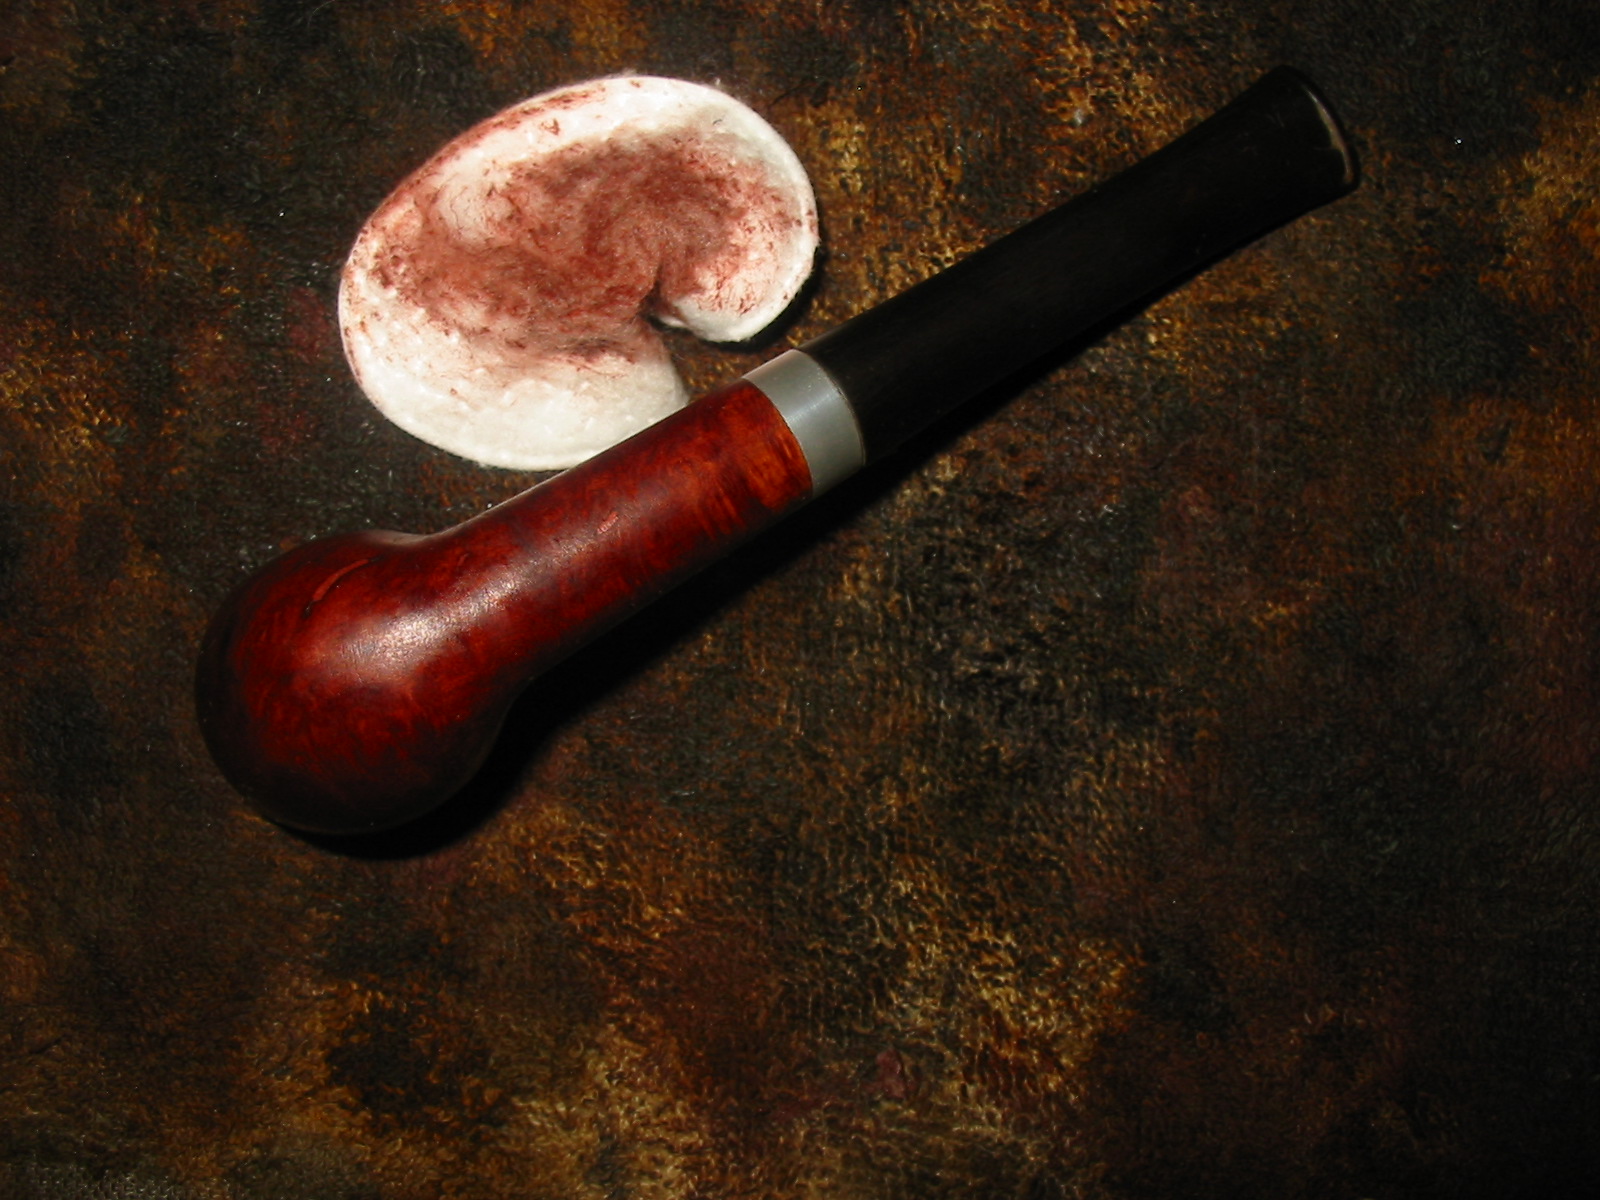
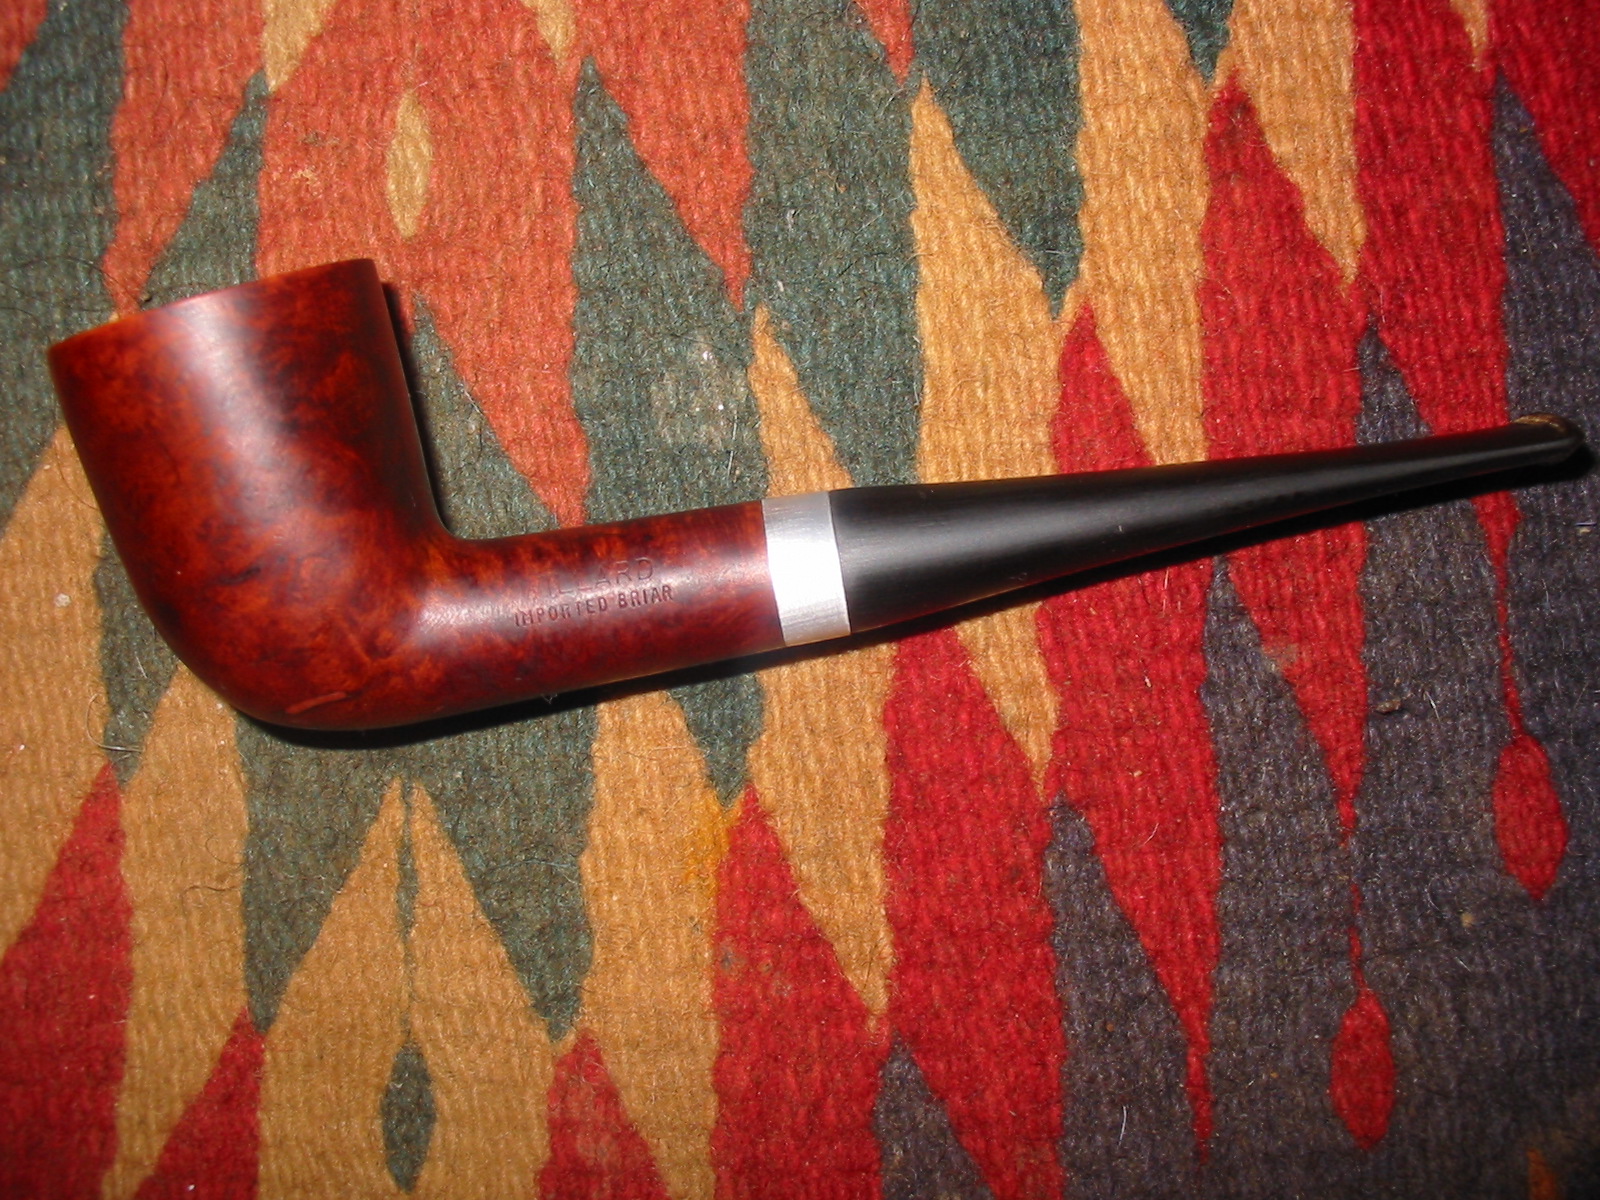
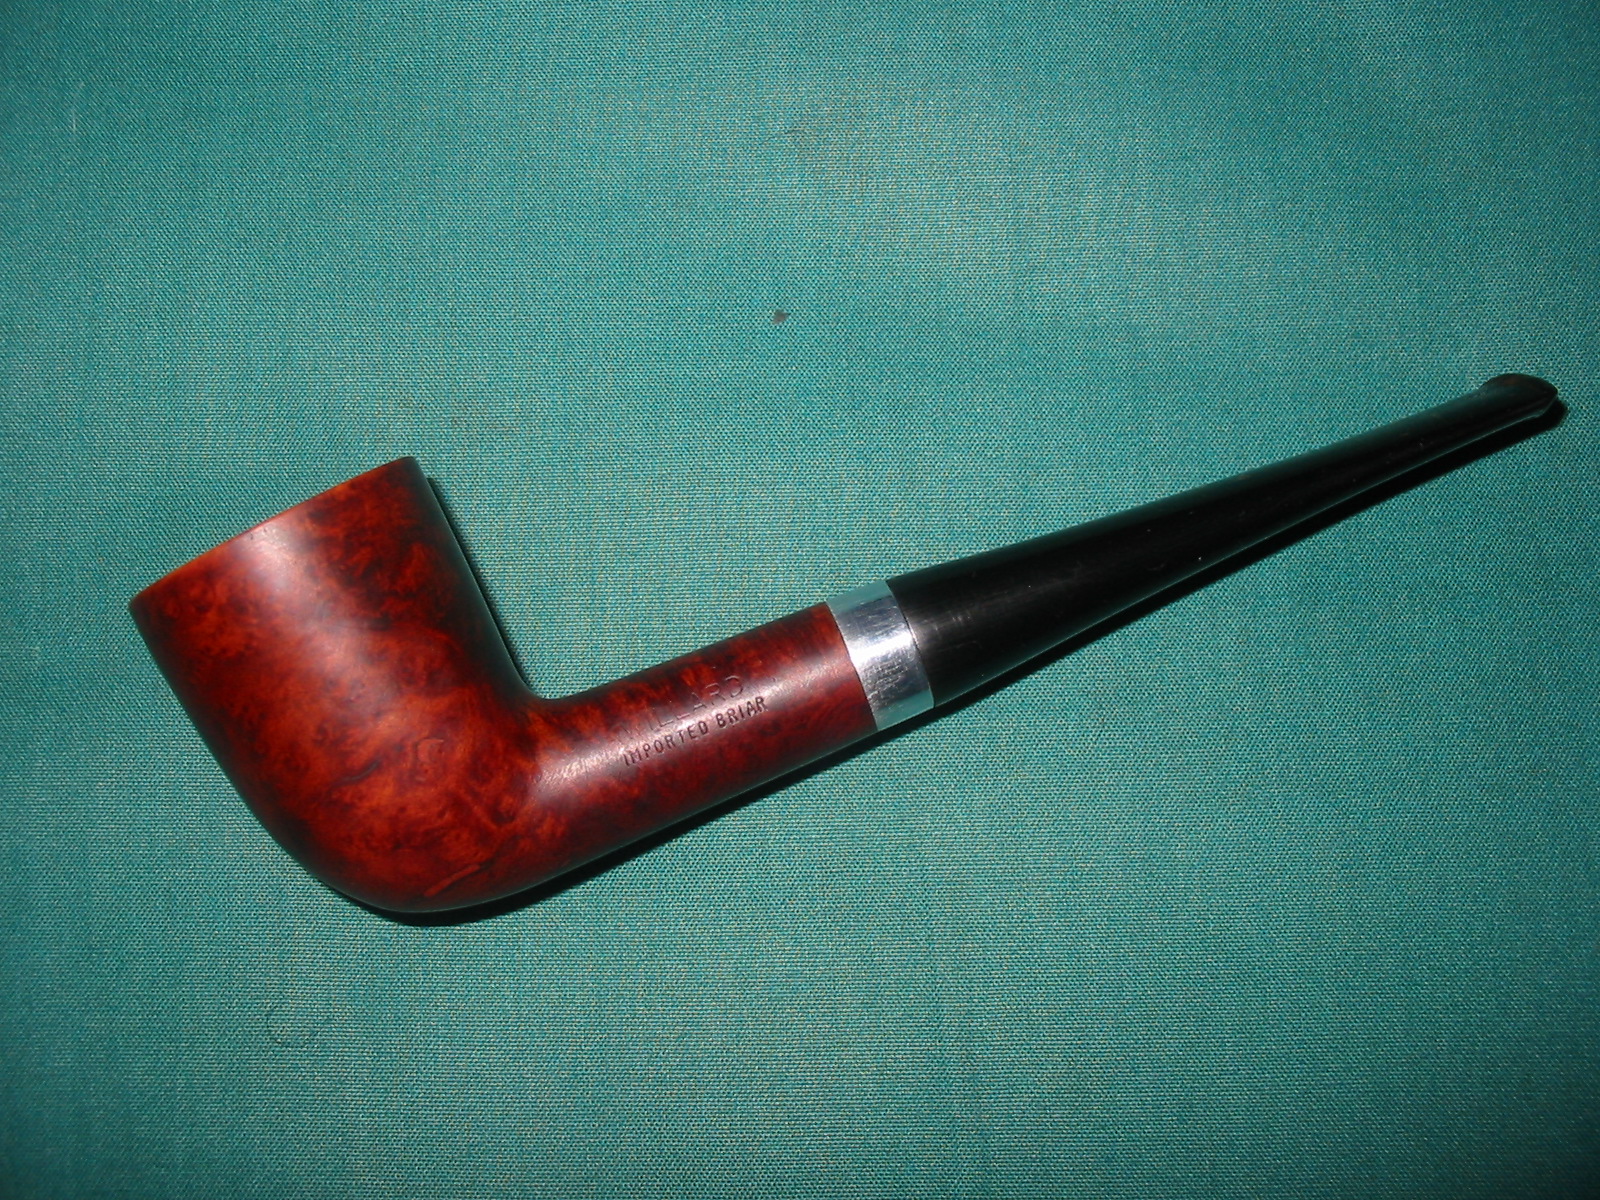
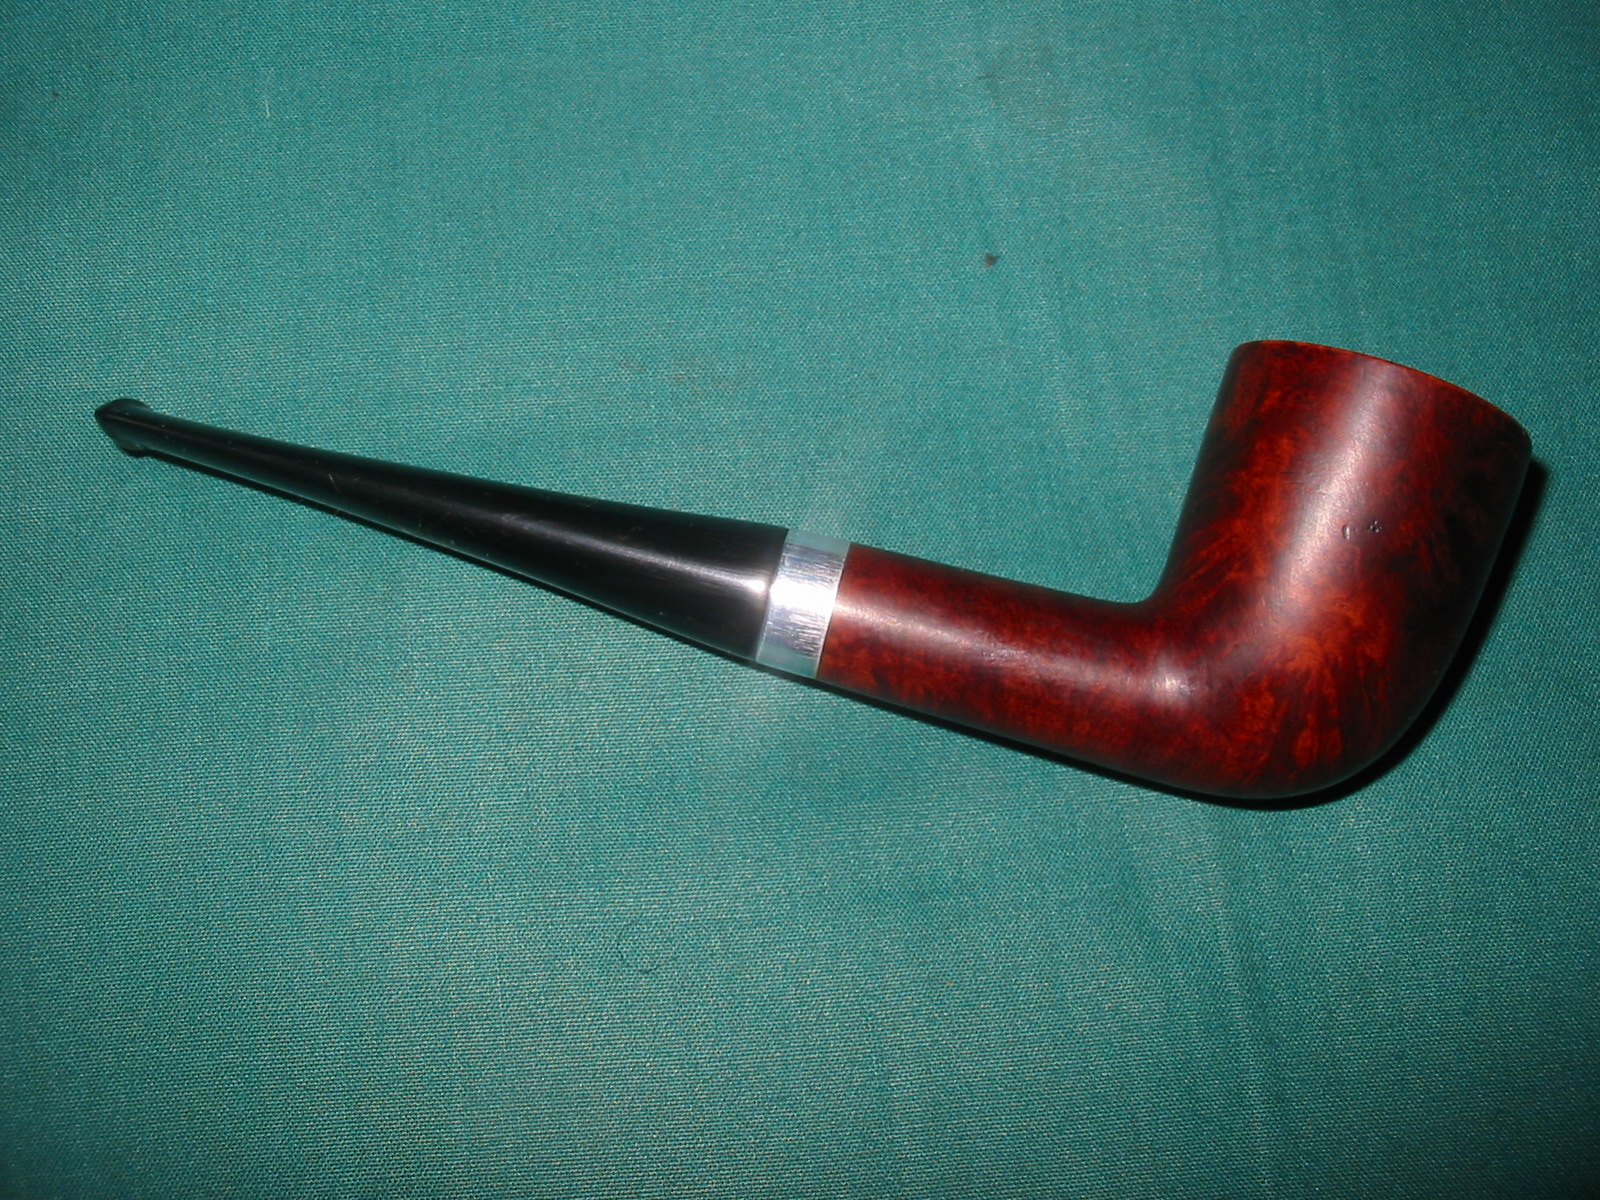
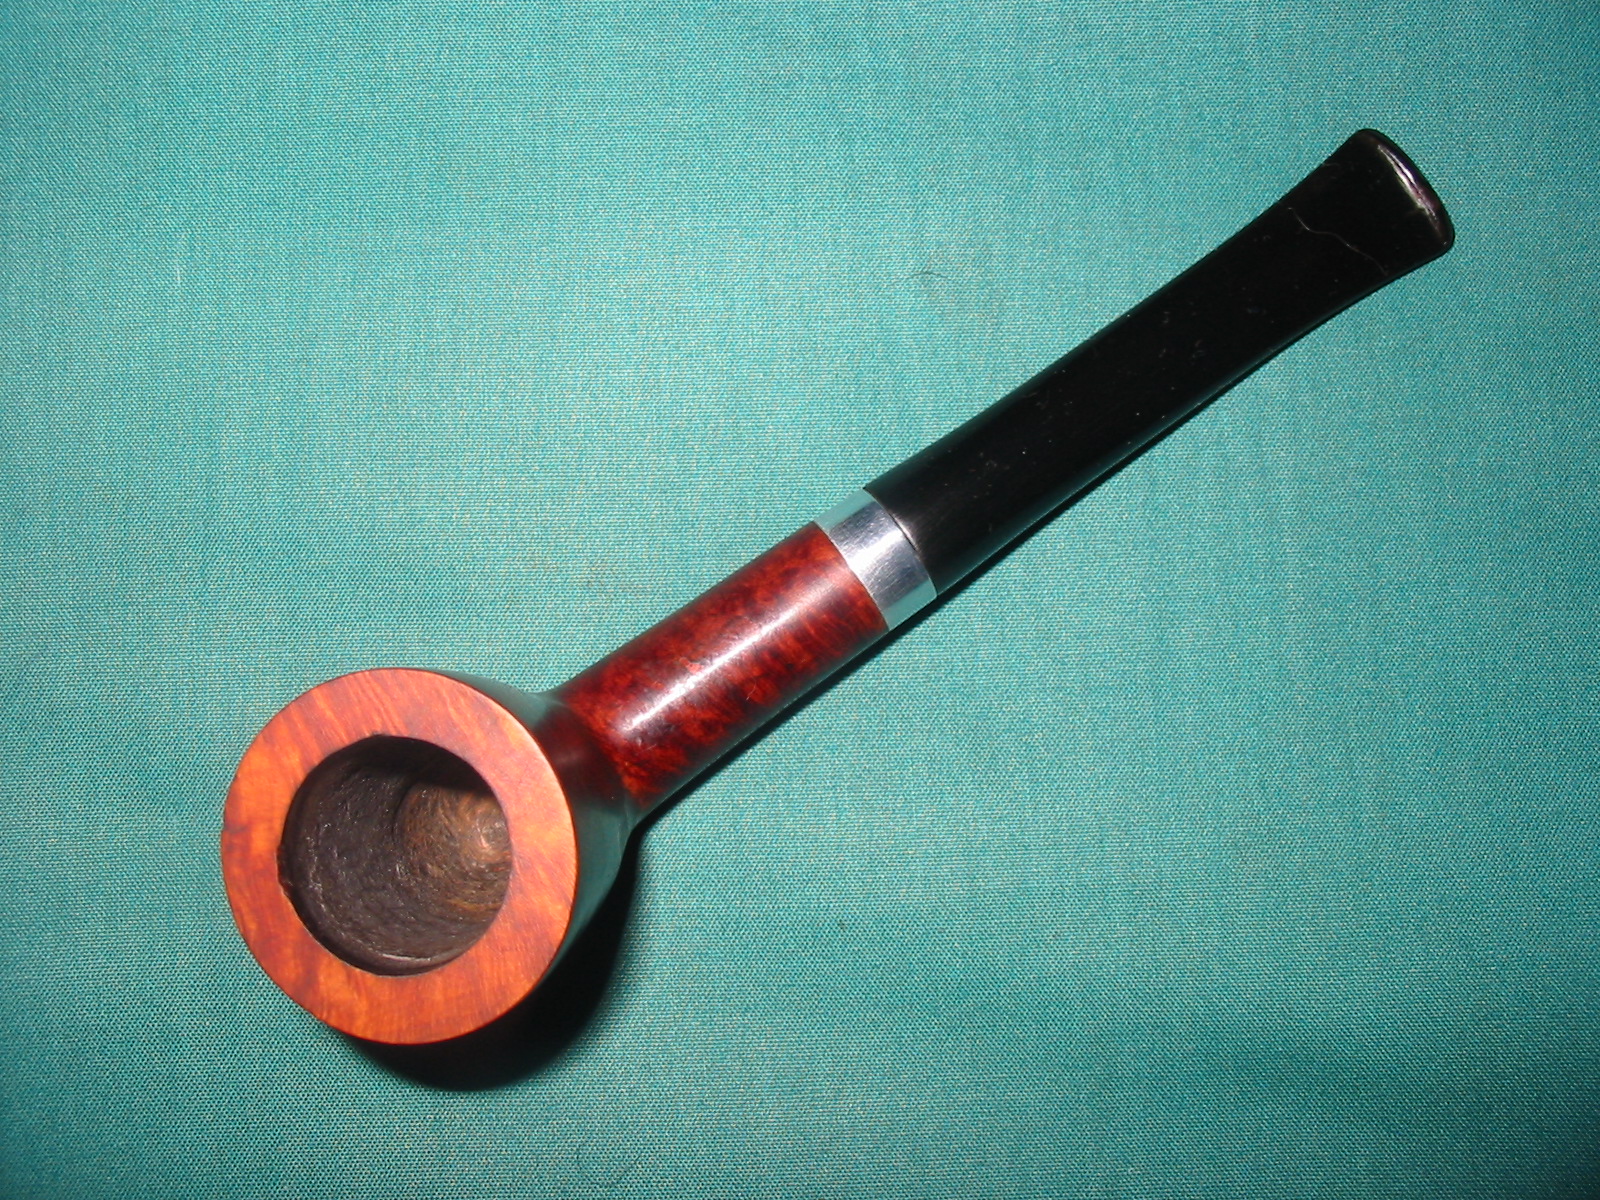
This was one of the bowls that I picked up in that antique mall grab bag. It is stamped Willard Imported Briar. There is no other stamping on the shank on either side. It came with an aluminum band on the shank and the mortise was made for a push stem. The finish was in rough shape showing worn spots and crackling in the varnish finish. The bowl sides had deep nicks and gouges in them and there were several fills around the bowl. The rim was heavily beaten with broken edges on the outer rim and some damage to the inner rim edge. The bowl itself was dirty with broken cake around the middle of the bowl and looking like it had been carved away from the top of the bowl leaving the rim out of round. There was no stem with this pipe bowl.
IMG_6576

IMG_6577

IMG_6578
I had a stem that would work with the pipe in my can of stems. The diameter of the stem was too wide but the length and the taper were correct. There was some surface damage to the top edge of the stem that would be removed once I adjusted the diameter. The tenon was very close to a fit and I sanded it lightly to make it fit snug without pressure on the shank.
IMG_6580
With the sanding the tenon fit well in the shank. The next series of photos show the excess material that would need to be removed from the diameter of the stem.
IMG_6581

IMG_6582
I sanded the stem with a Dremel and sanding drum while leaving it in place on the shank. I wanted sand it as close as possible with the Dremel so that the amount of hand sanding would be lessened. I then sanded the stem with 220 grit sandpaper.
IMG_6583

IMG_6584

IMG_6585
Once I had the basic shape right I decided to top the bowl. I set up my topping board and sandpaper and work on removing the damage on the rim. I press the bowl into the sandpaper and turn it clockwise until the damaged portion of the rim is removed and the surface smooth.
IMG_6586

IMG_6587
I took the Dremel to the stem again and removed some more of the excess vulcanite and then brought it back to the work table and did some more sanding with 220 grit sandpaper and medium and fine grit sanding sponges.
IMG_6588

IMG_6589

IMG_6590

IMG_6591
I sanded the bowl with the medium and fine grit sanding sponges to smooth out the sanding marks on the rim and to smooth out the outer edge of the rim. I wiped the bowl down with acetone and then with isopropyl alcohol to remove the varnish finish.
IMG_6592

IMG_6593

IMG_6594

IMG_6595
I reamed the bowl with a PipNet pipe reamer and took out the remaining cake mid bowl. It took three of the four cutting heads to take the cake back to bare briar.
IMG_6596
Since the briar was already a rich reddish colour I decided to stain it with an oxblood aniline stain. I had found that when I scrubbed the bowl down with the alcohol the fills actually were more blended into the bowl than they had been before removing the varnish. I figured that by adding a topcoat of more oxblood stain the fills would blend in more fully into the finish. I applied the stain, flamed it and repeated the process until I got an even coverage on the bowl. The top of the rim took several extra coats of the stain to make it match the rest of the bowl.
IMG_6599

IMG_6600

IMG_6601

IMG_6602
I took the pipe to the buffer and buffed the bowl and stem with White Diamond. I avoided buffing the band as buffing the aluminum turns the buffing wheel black and the black stains the briar and the stem. When I got back to the work table I polished the aluminum with a polishing cloth. The photos below show the pipe after the staining and buffing.
IMG_6603

IMG_6604

IMG_6605

IMG_6606
I sanded the stem with micromesh sanding pads – wet sanding with 1500-2400 grit pads and dry sanding with 3200-12000 grit pads. I buffed the stem with White Diamond and then rubbed it down with Obsidian Oil.
IMG_6607

IMG_6608

IMG_6609
I buffed the bowl and stem a final time with White Diamond and then gave the bowl and stem multiple coats of carnauba wax. I buffed it with a soft flannel buffing pad to bring out the shine. The stain did a good job of hiding the fills. Though they are still present they do not stand out as much. The new stem fit very well and looks like the one that was made for the pipe. The finished pipe is pictured below and it will certainly grace someone’s pipe rack in the near future.
IMG_6610

IMG_6611

IMG_6612

IMG_6613

I Had Heard of Royalton but not of the Smoke-Control Deluxe


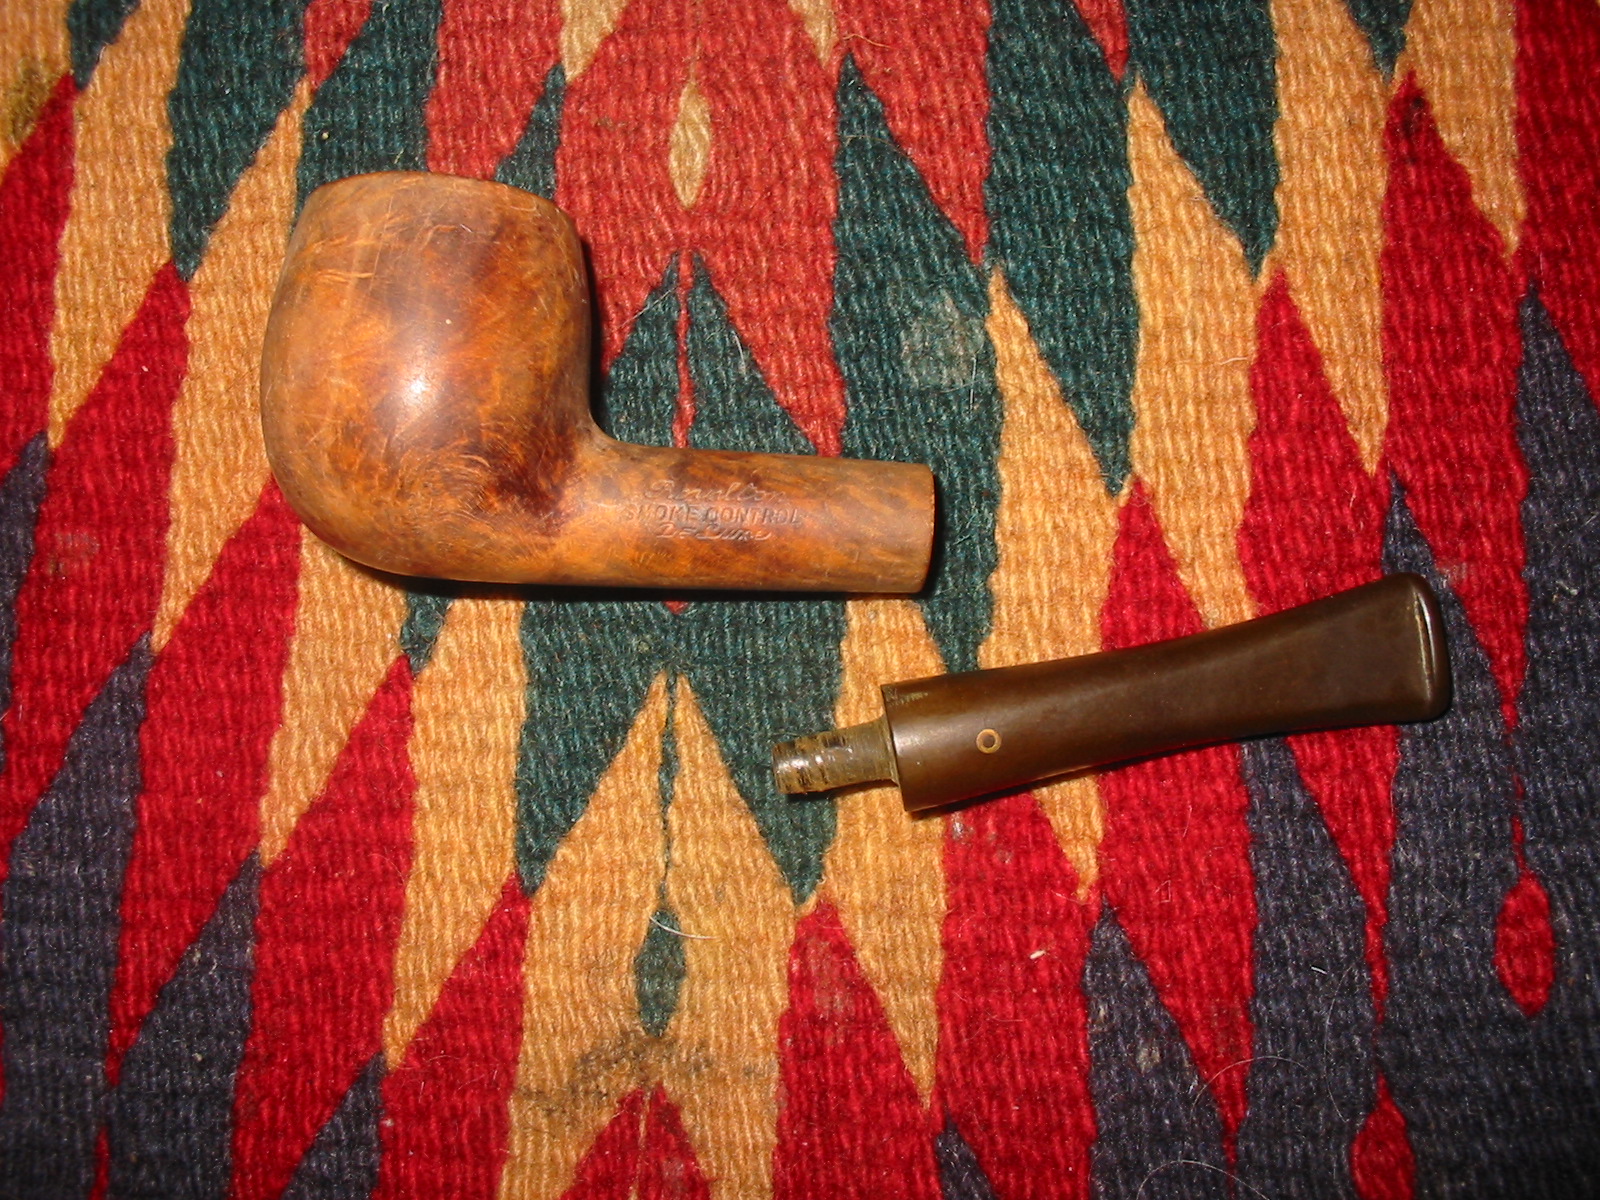
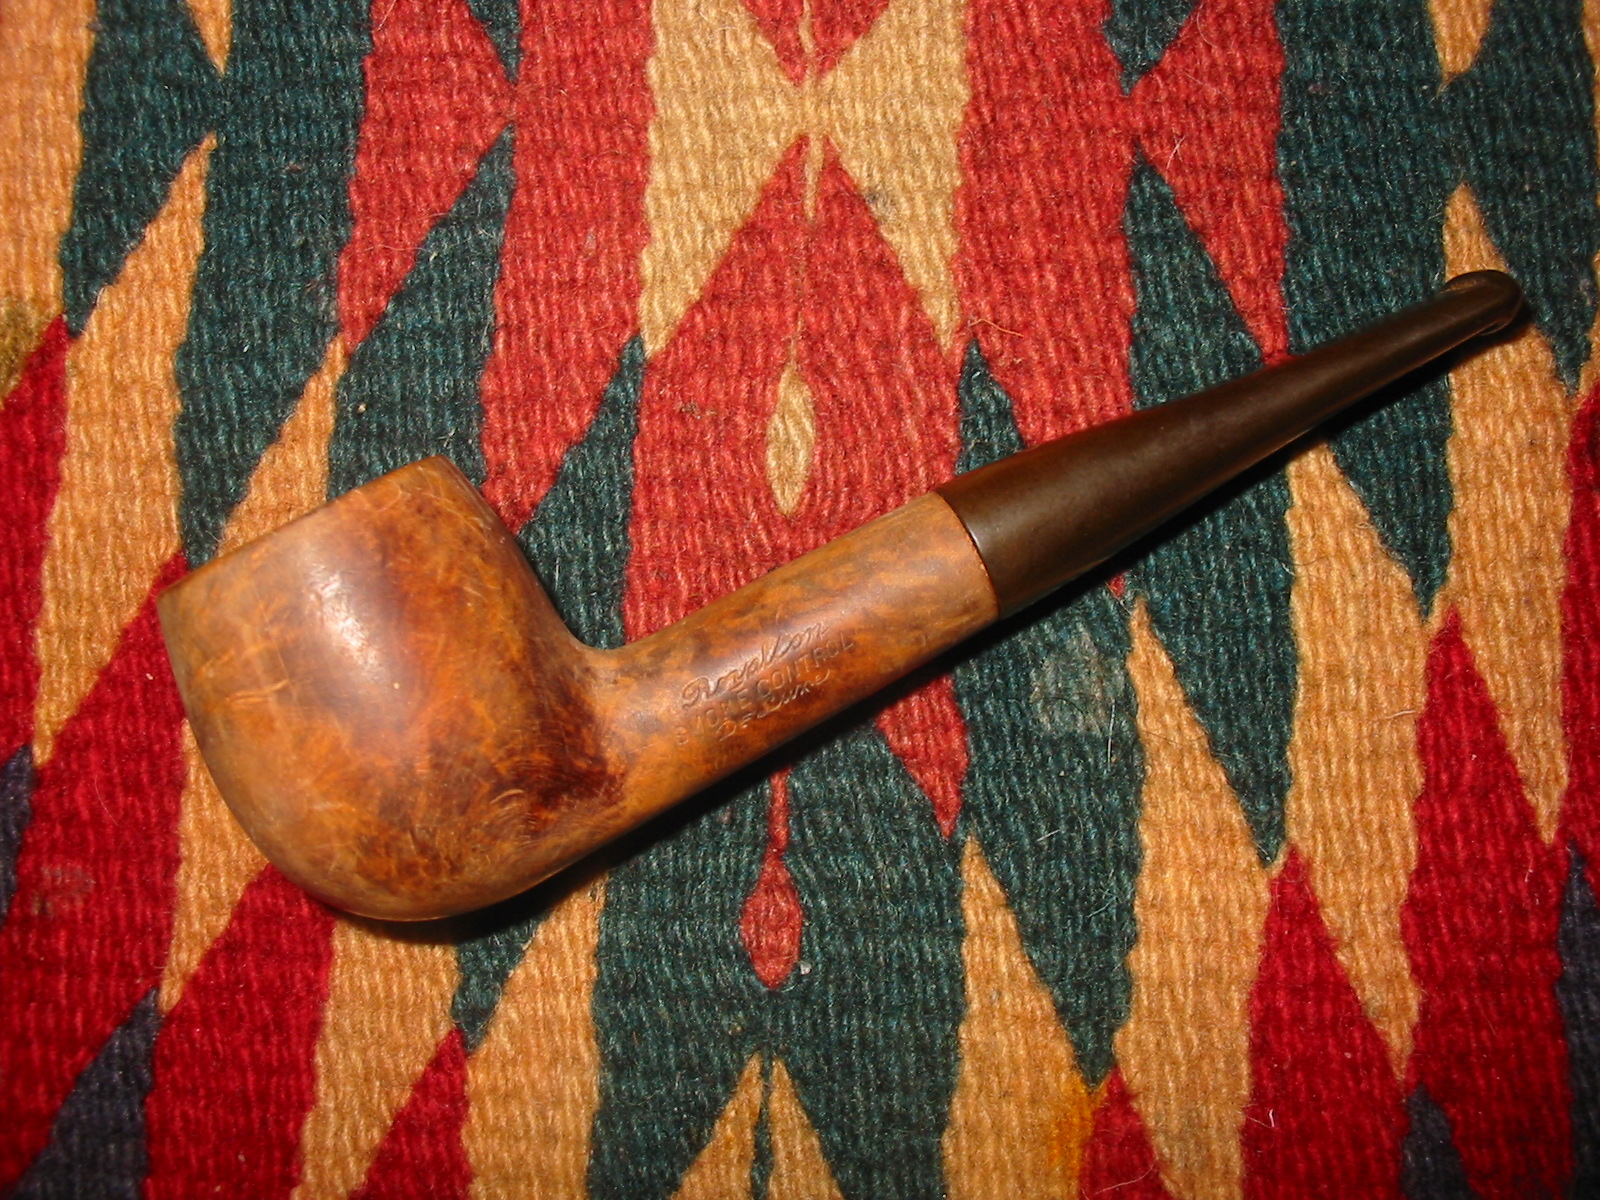
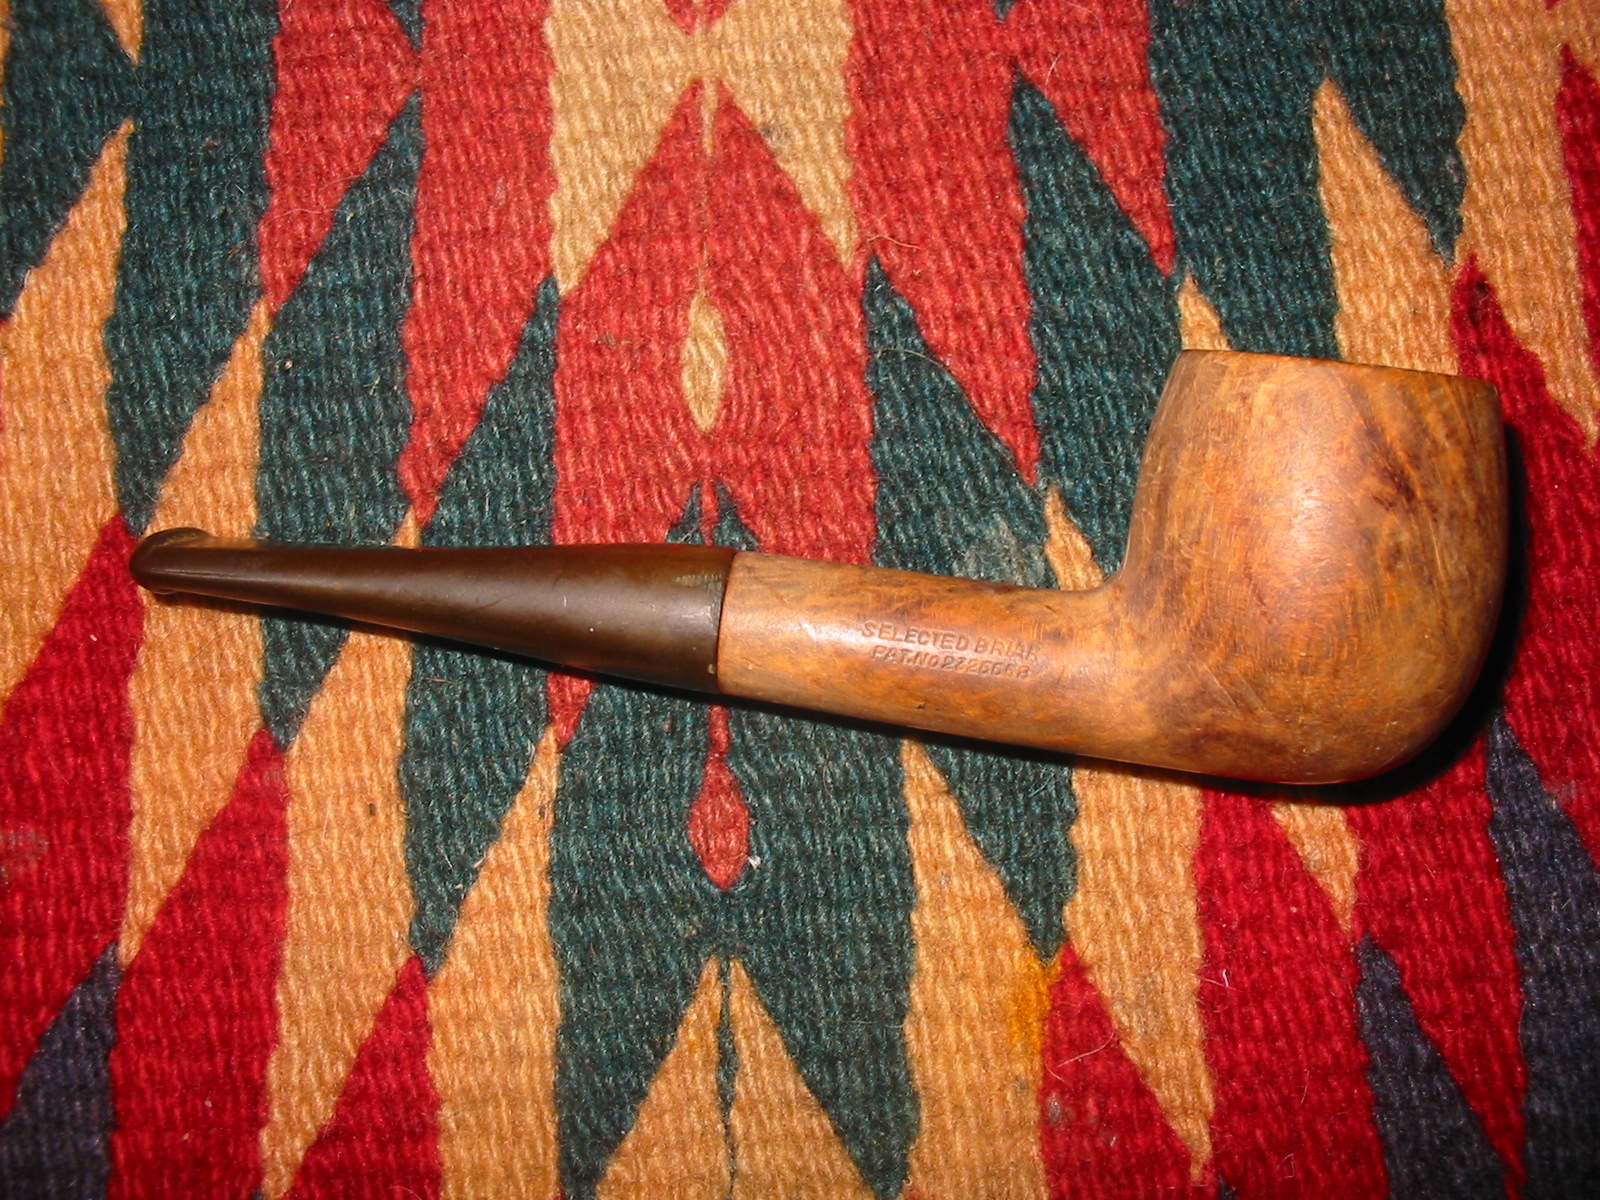
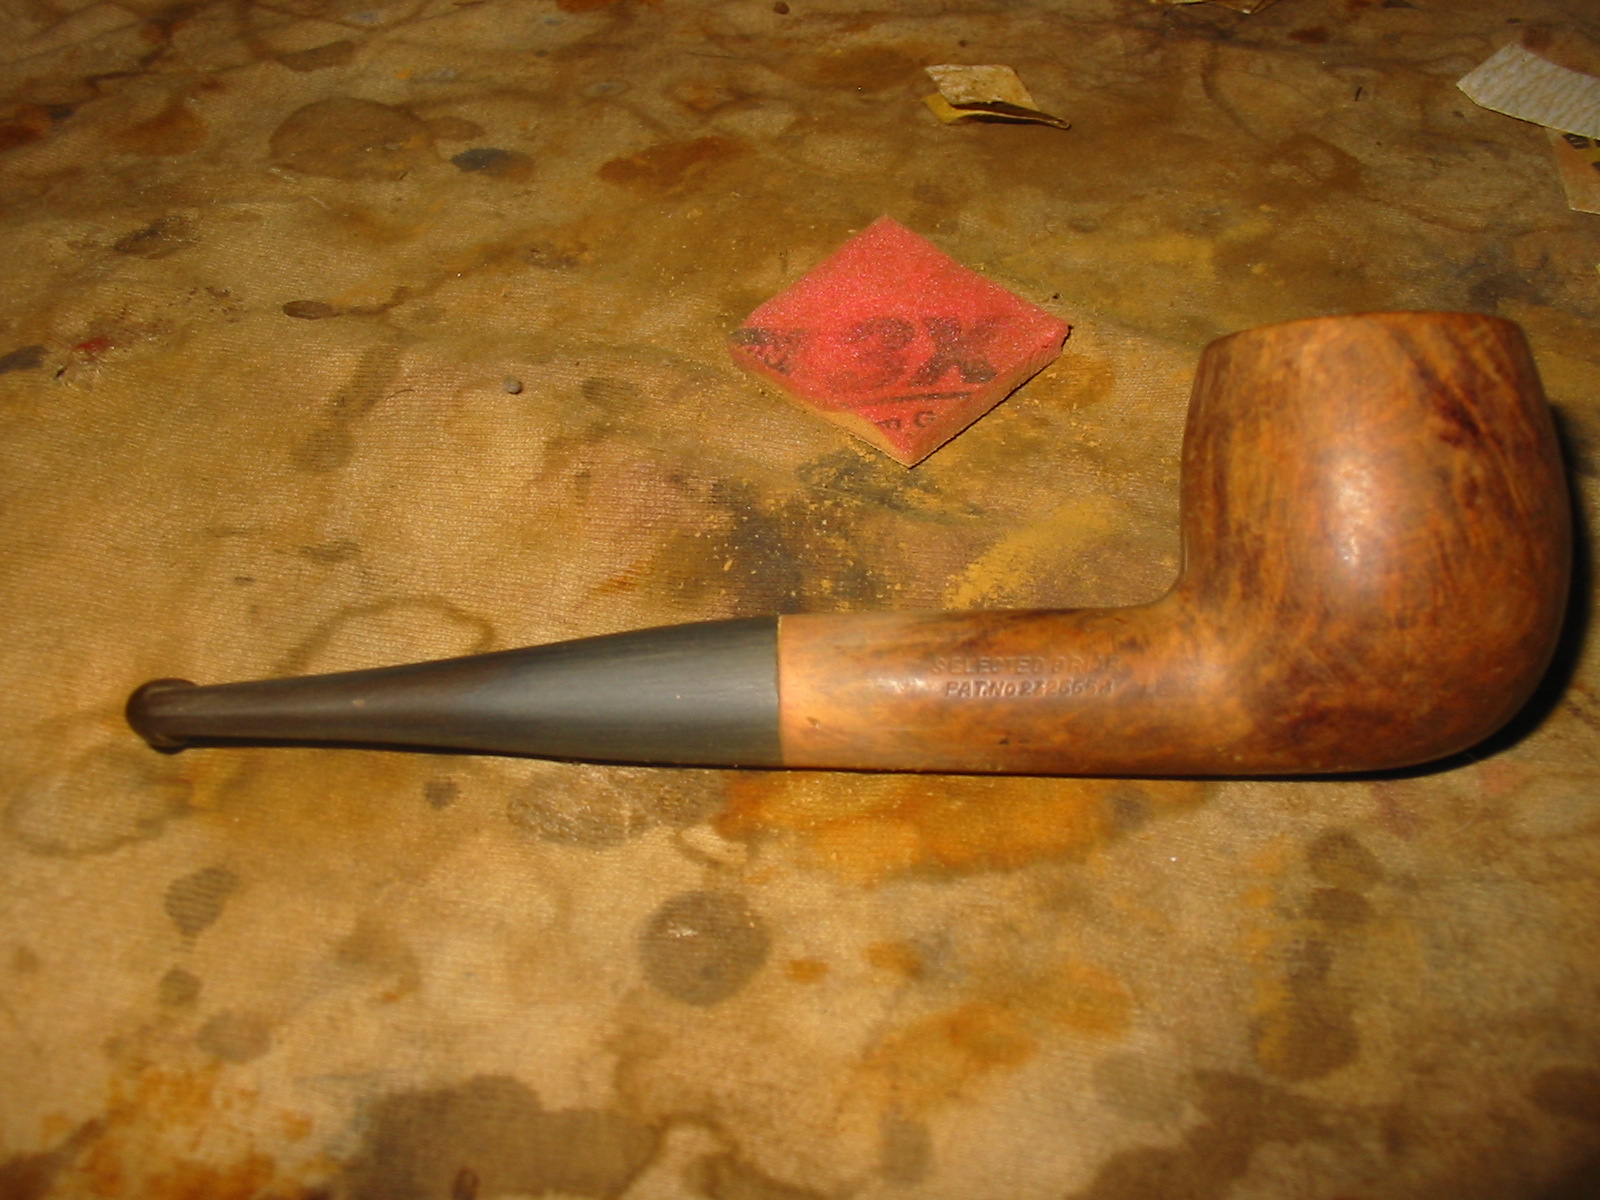
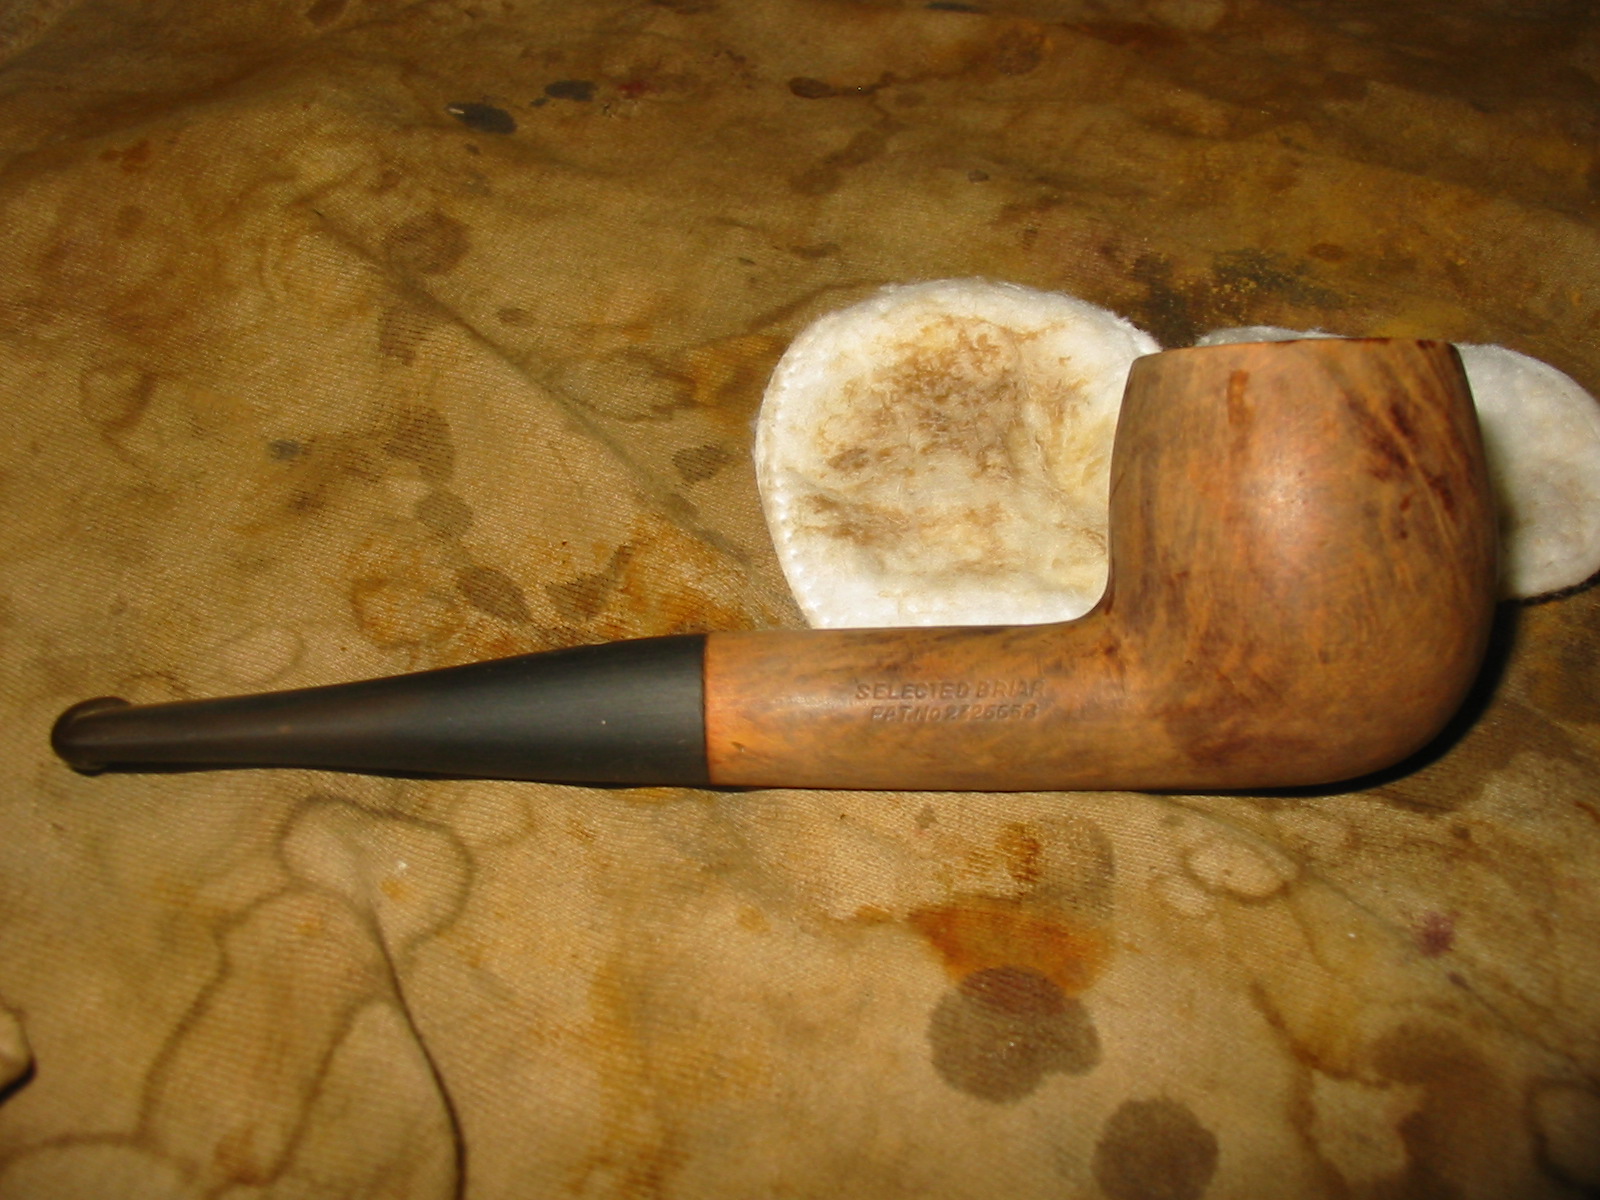
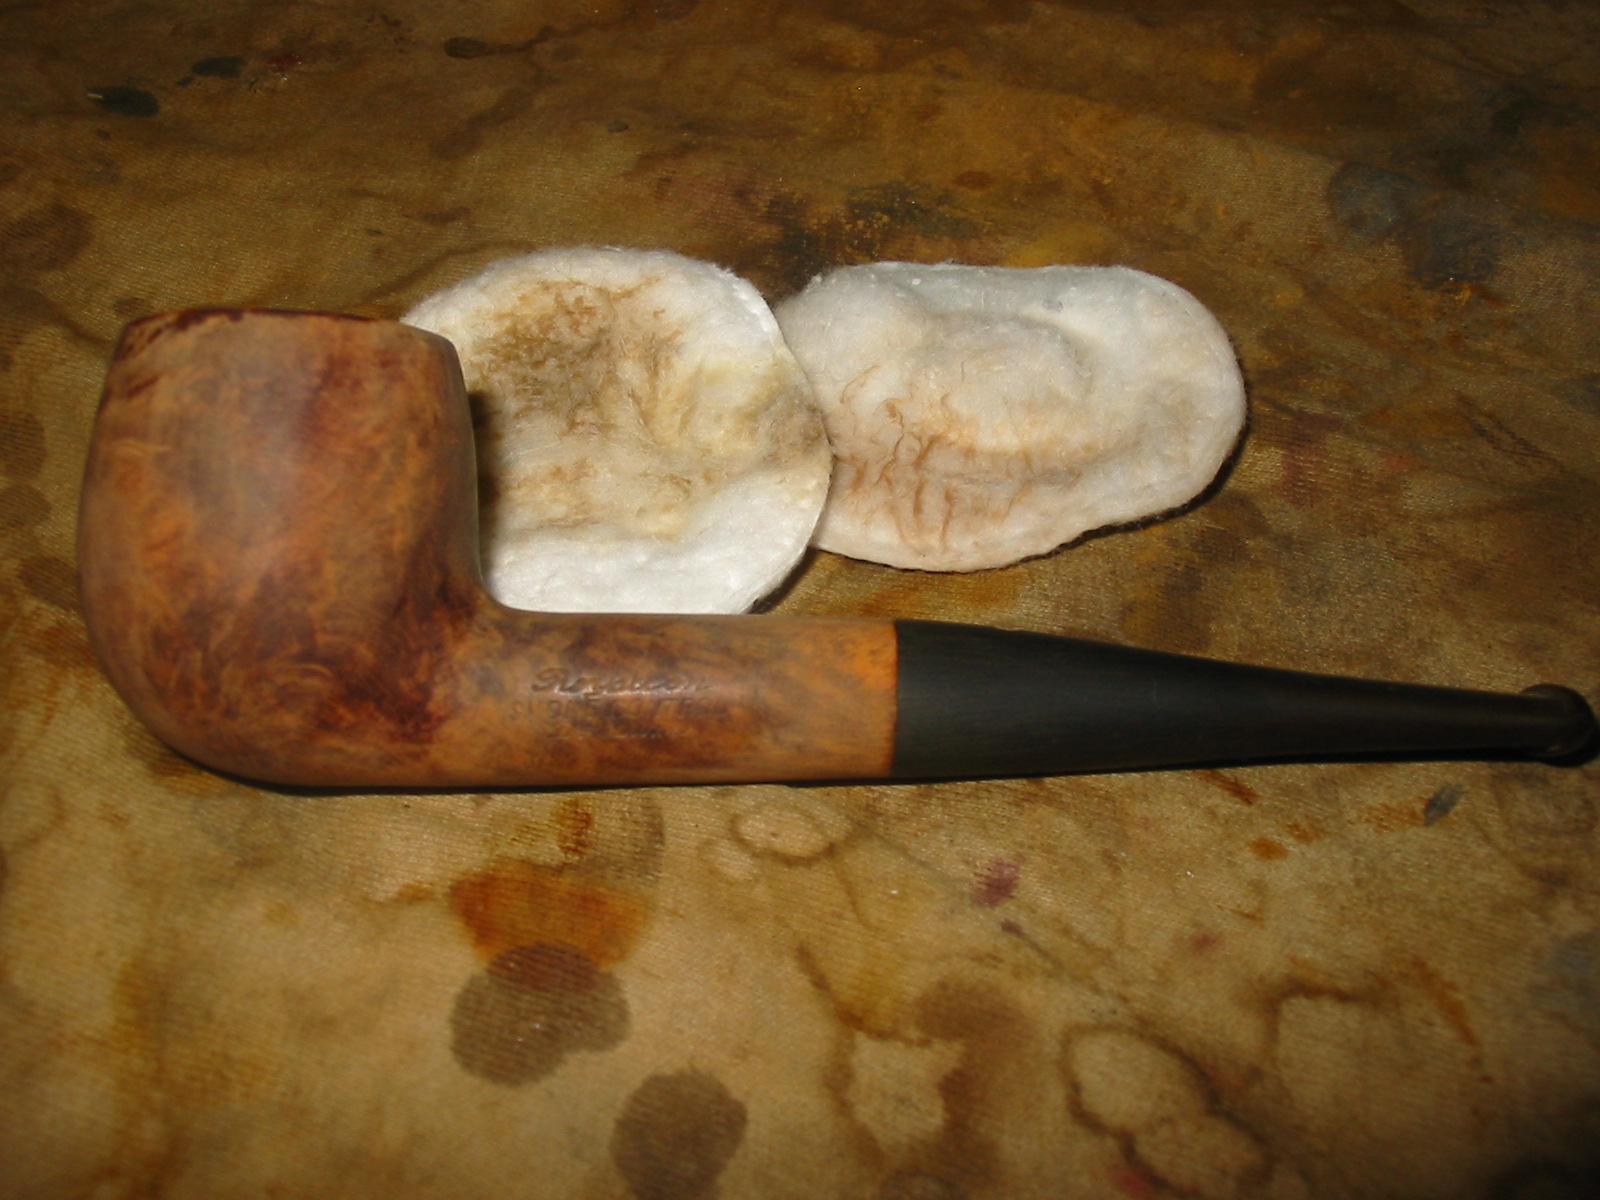
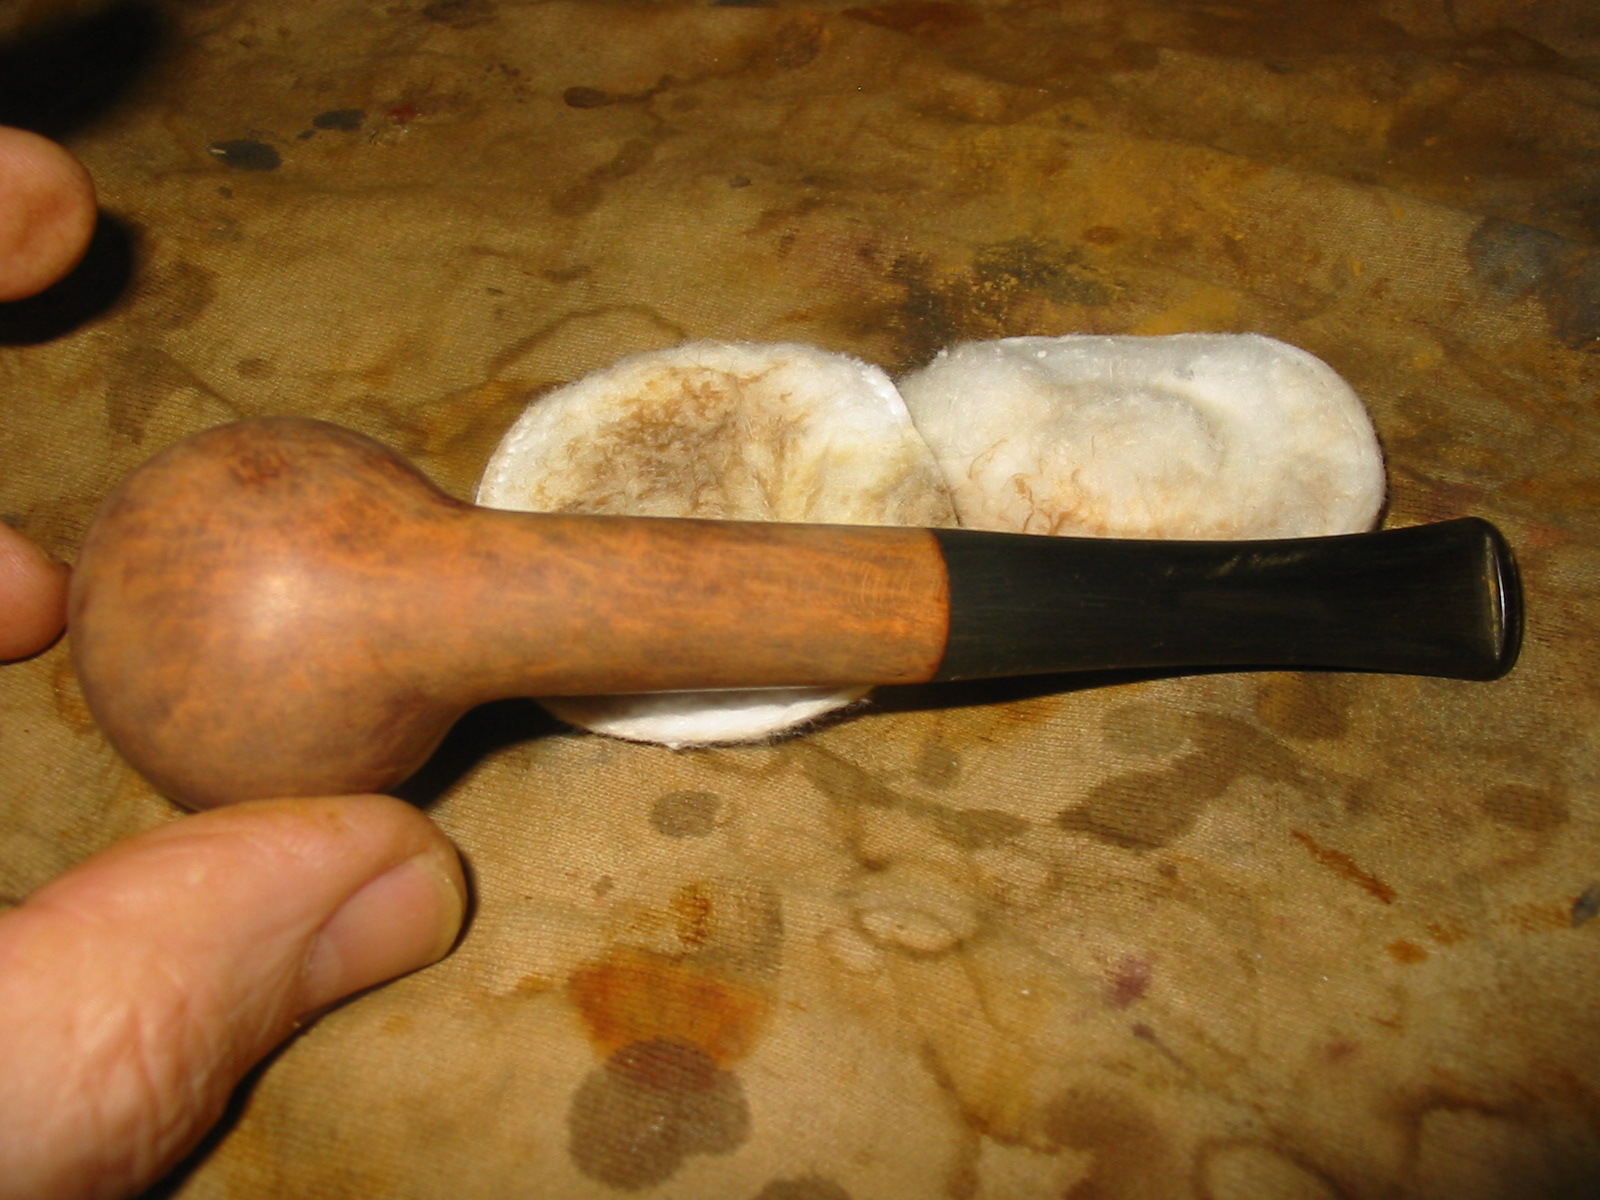
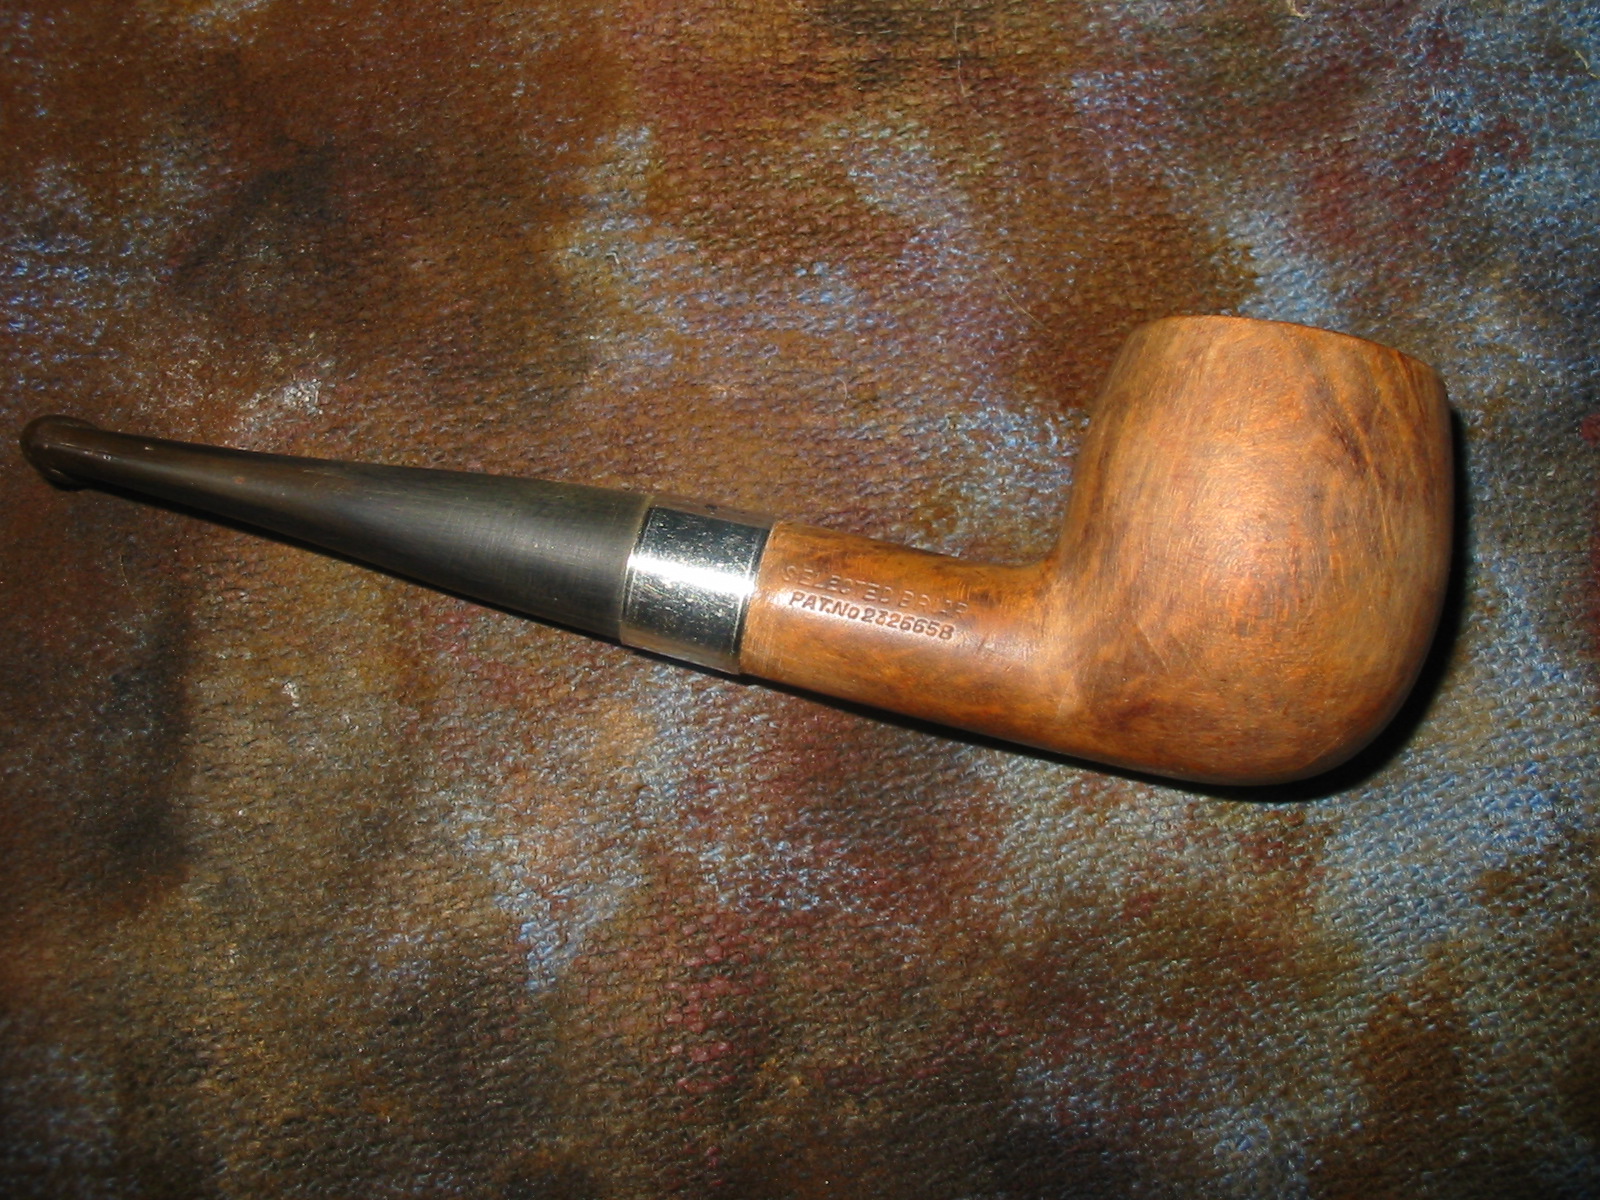
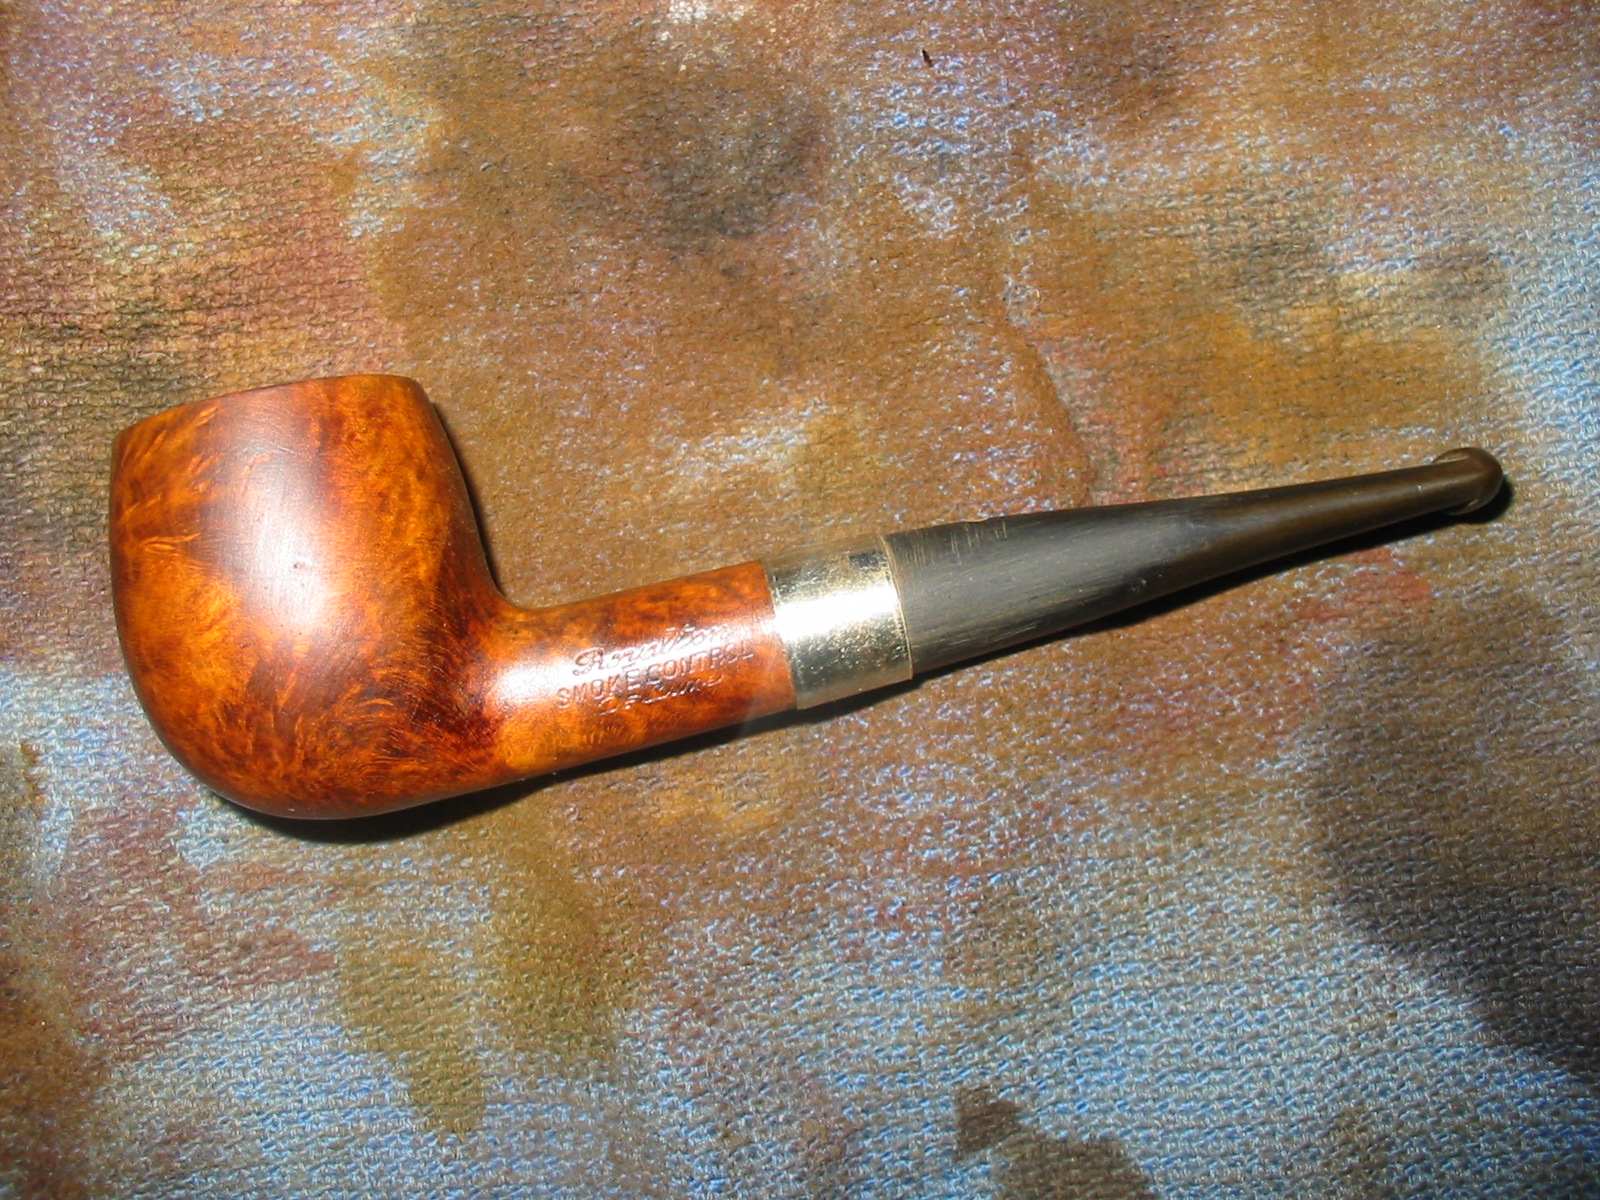
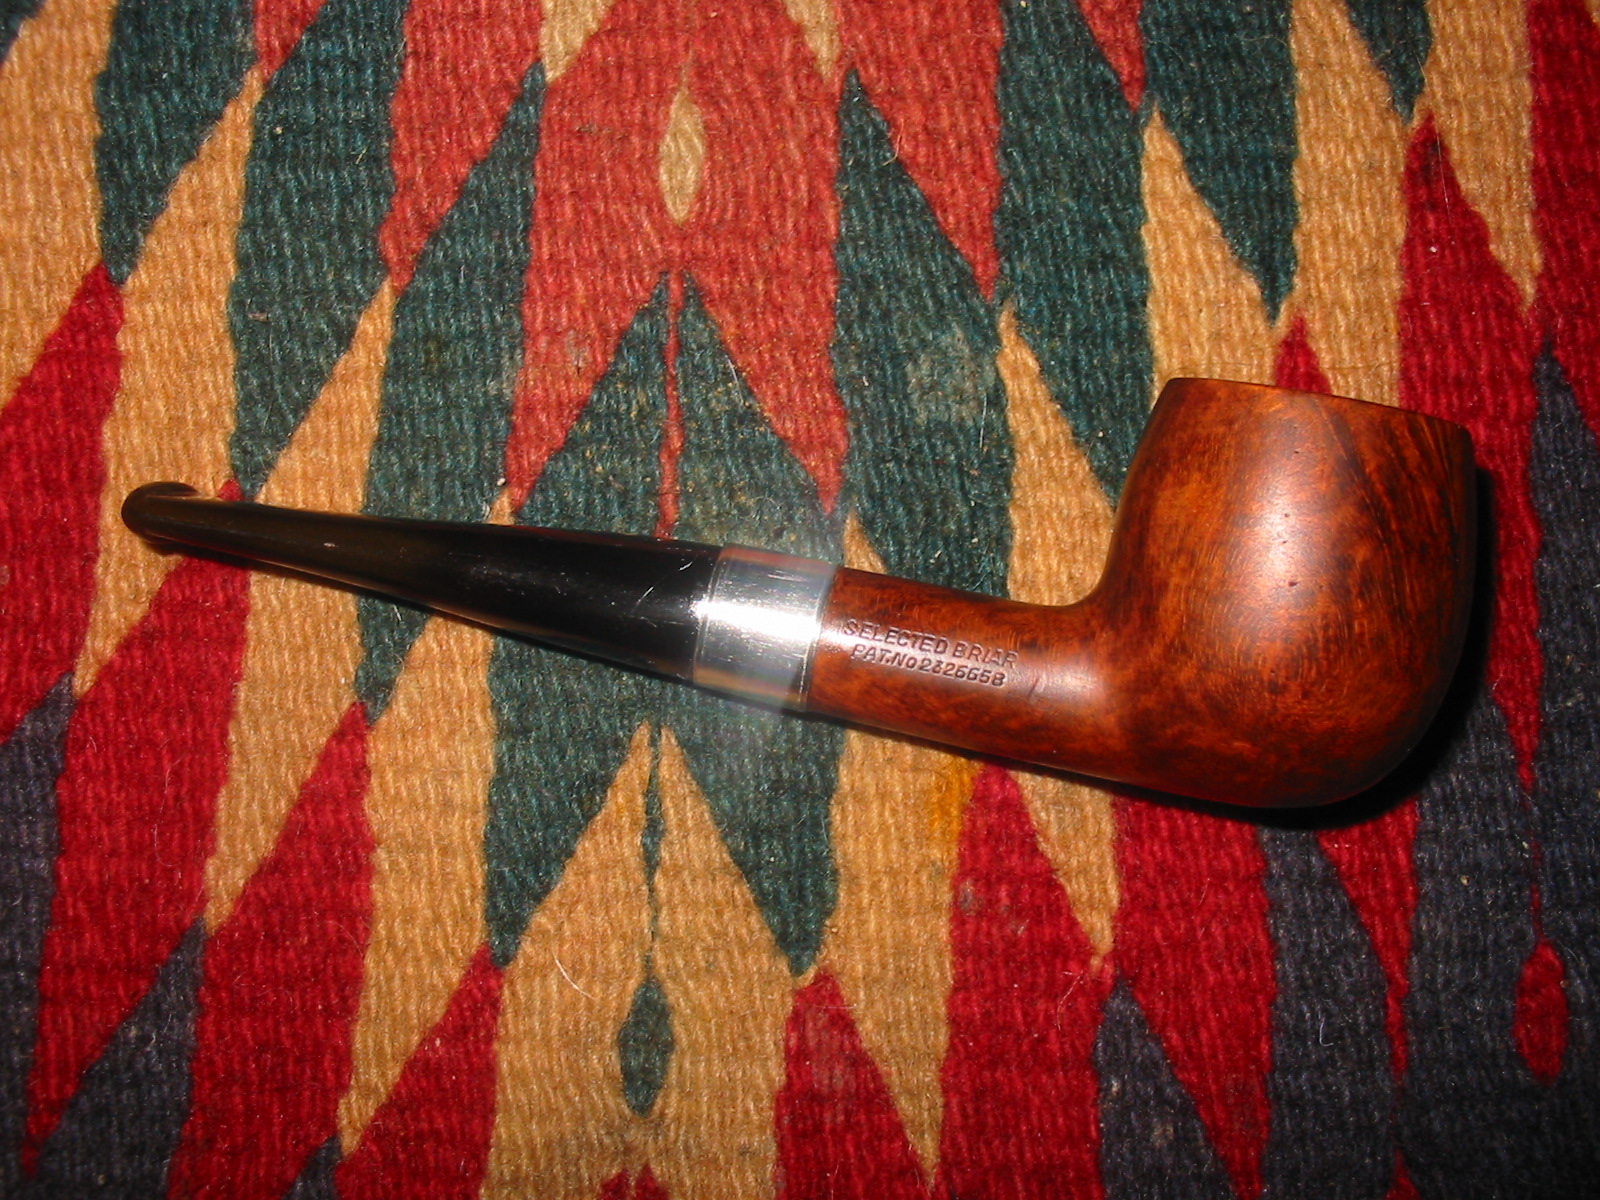
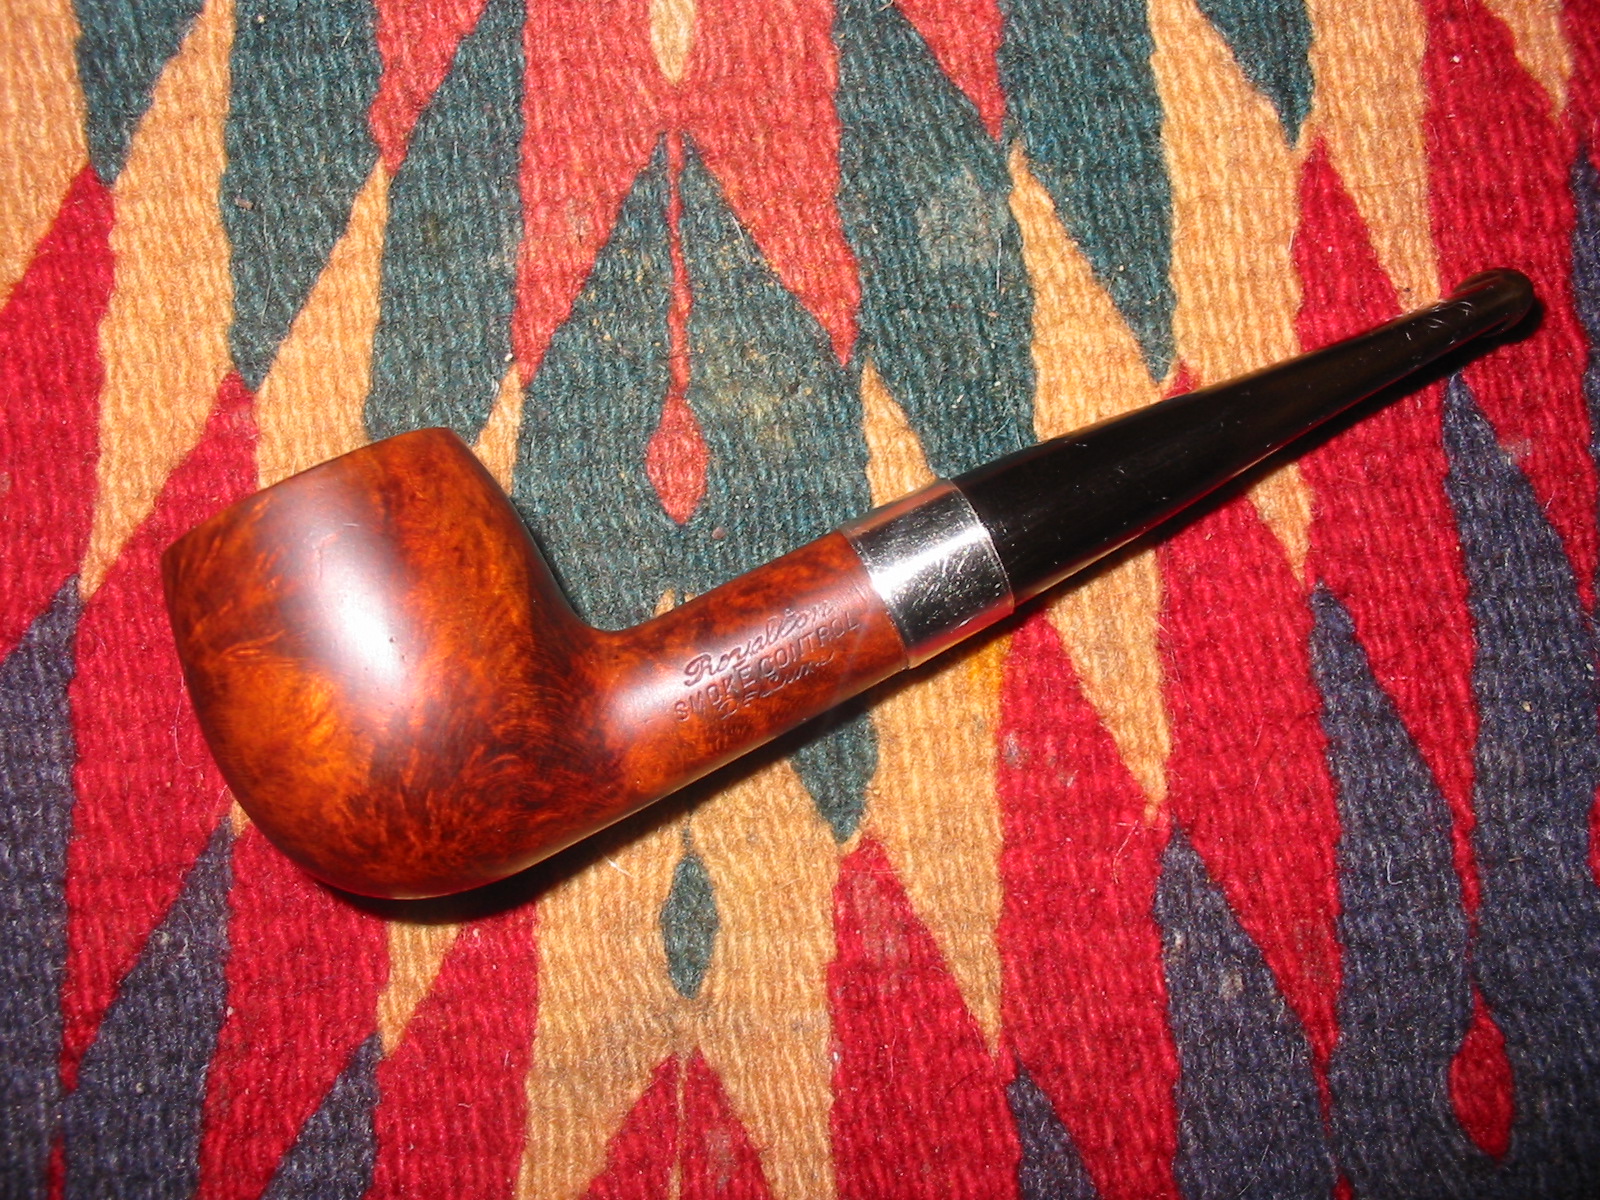
In my antique mall grab bag was the bowl that is pictured below. It is stamped on the left side of the shank, Royalton over Smoke-Control over Deluxe and on the right side of the shank, Selected Briar over Pat. No.2326658. I had heard of Royalton pipes and have cleaned up a few of them in the years that have gone by. But I had never heard of the Smoke-Control or the Smoke-Control Deluxe. Obviously it was a system pipe of sorts, one of those creative ideas that lasted about as long as its maker. It never seemed to have caught on because in all the years I have been hunting and refurbishing pipes I have never come across one even to walk by in my prowls of thrift, junk or rummage shops. It was a brand unknown to me.

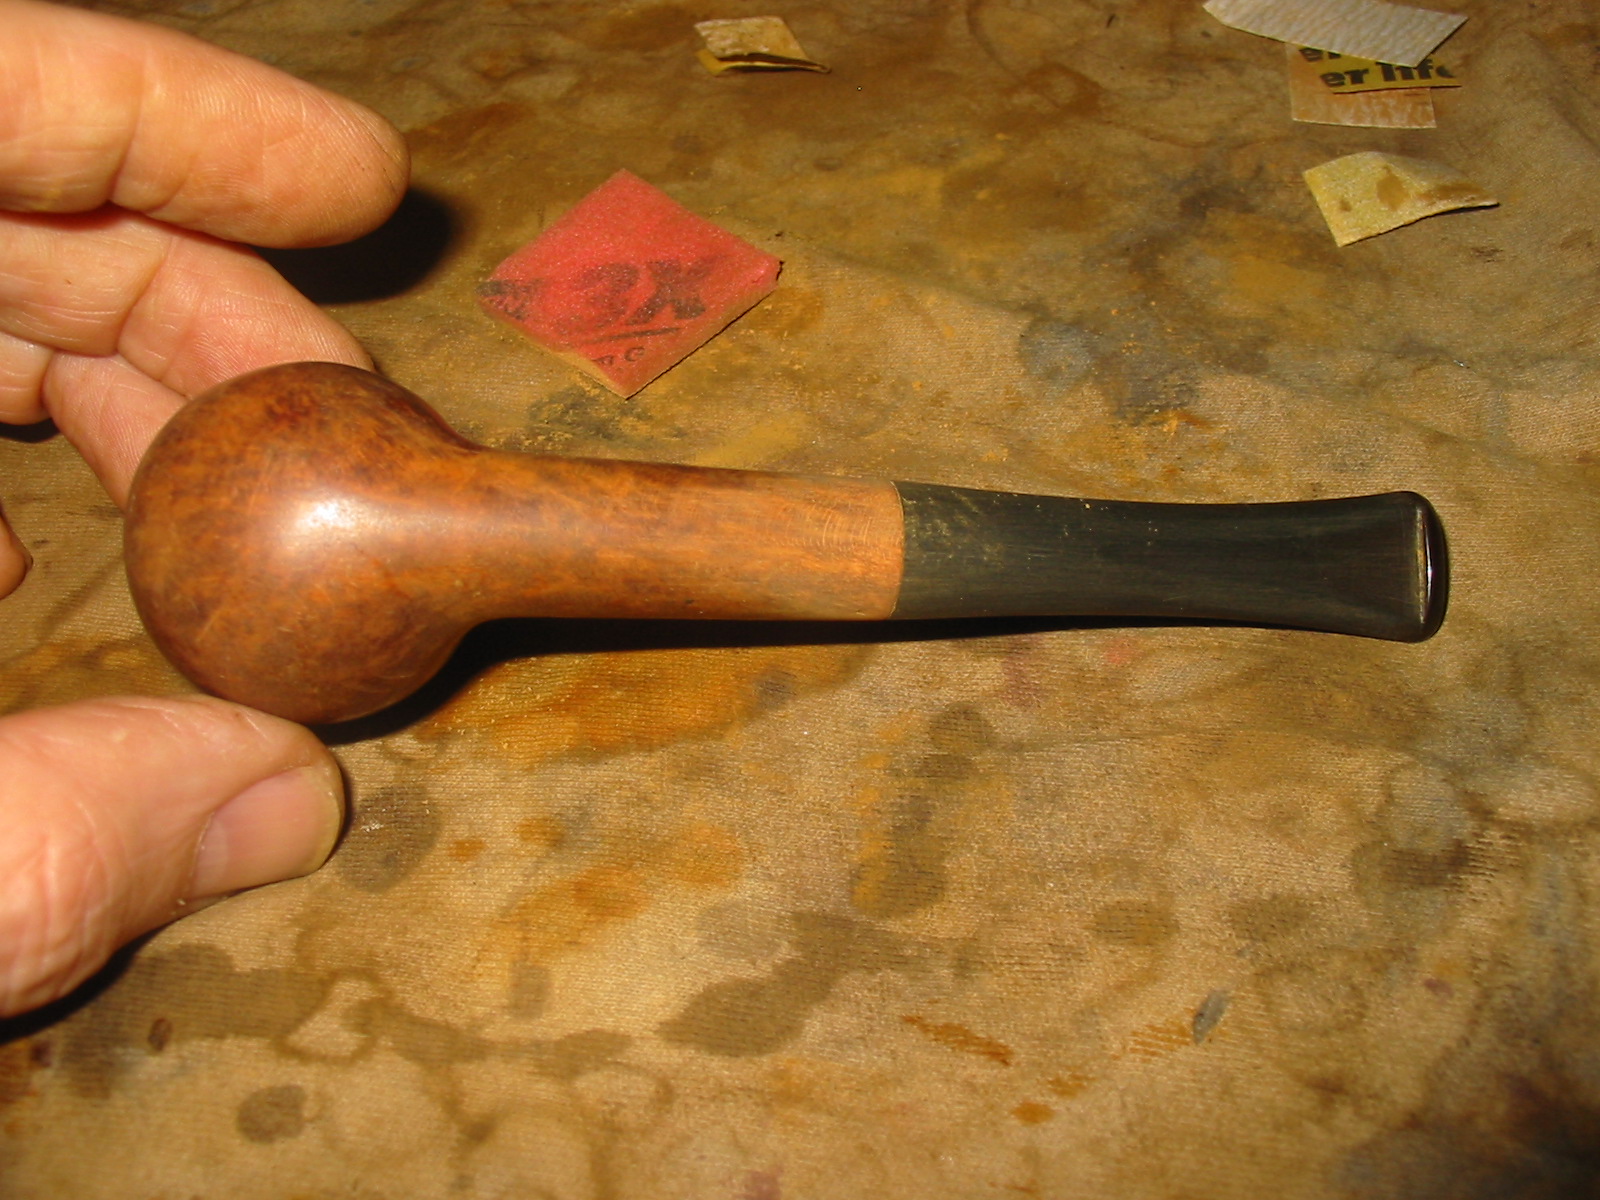
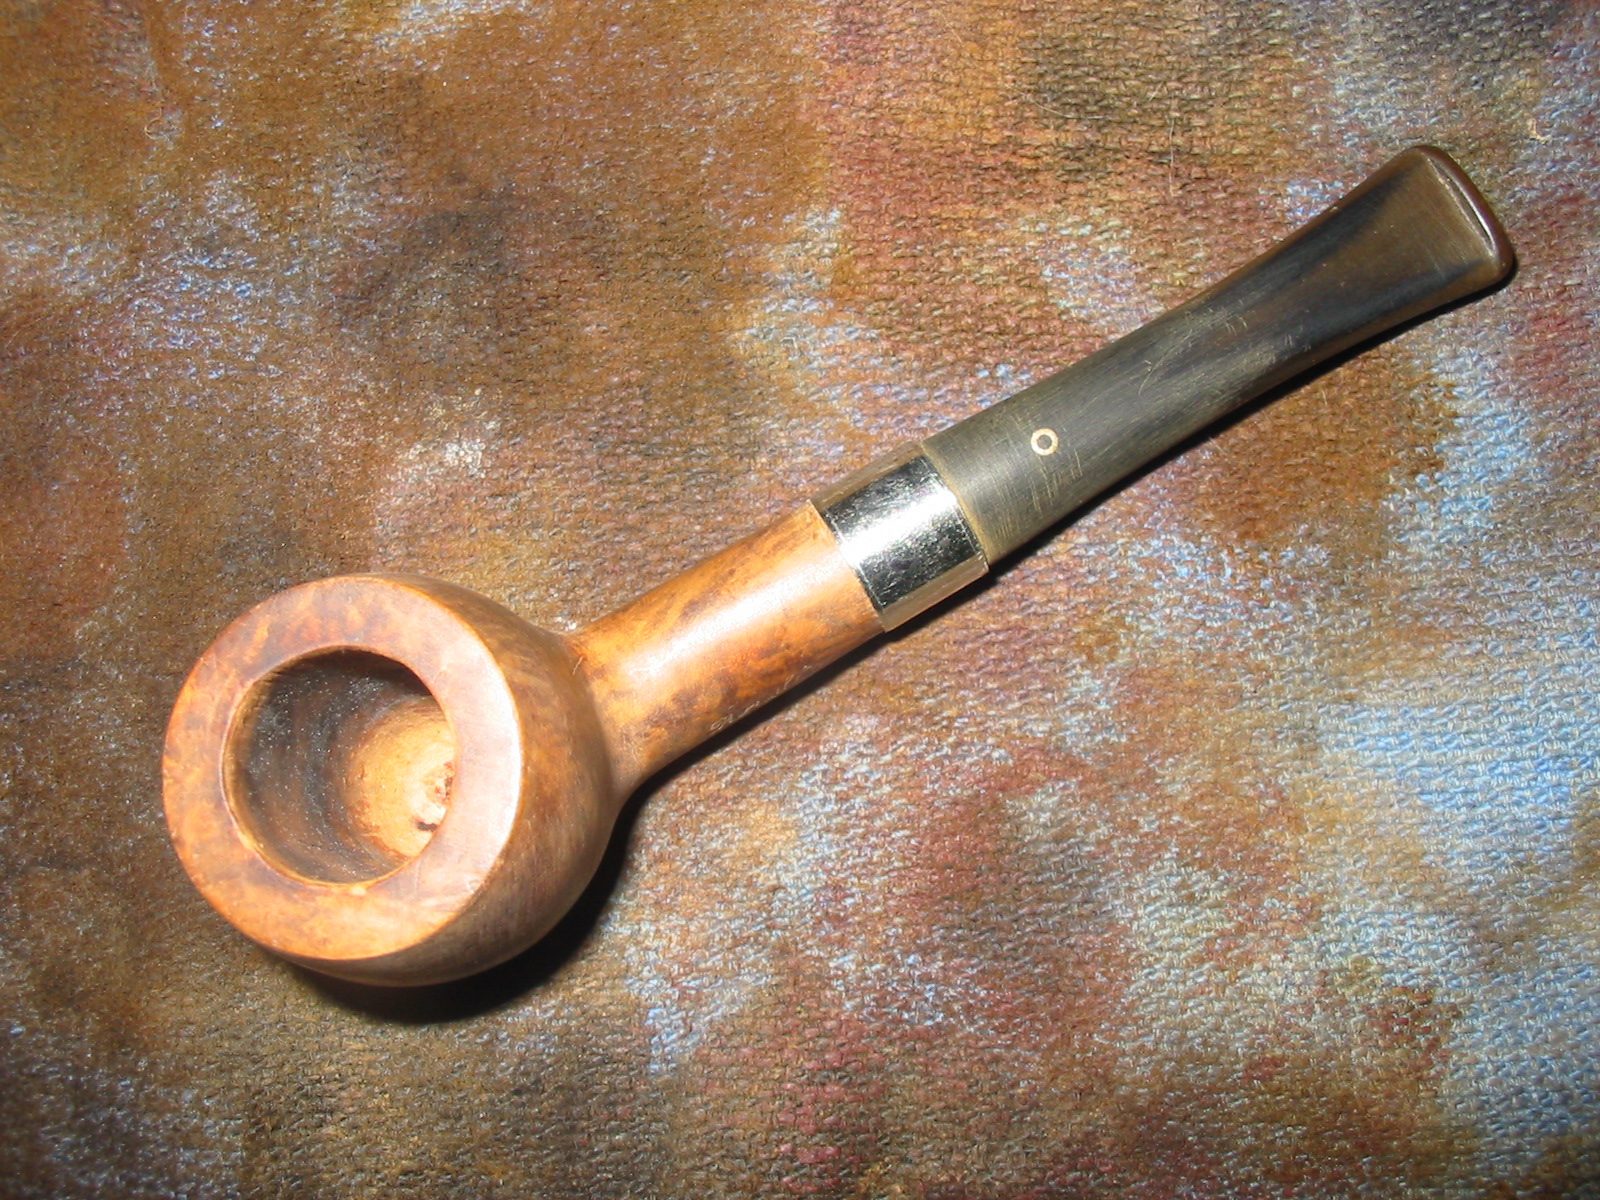
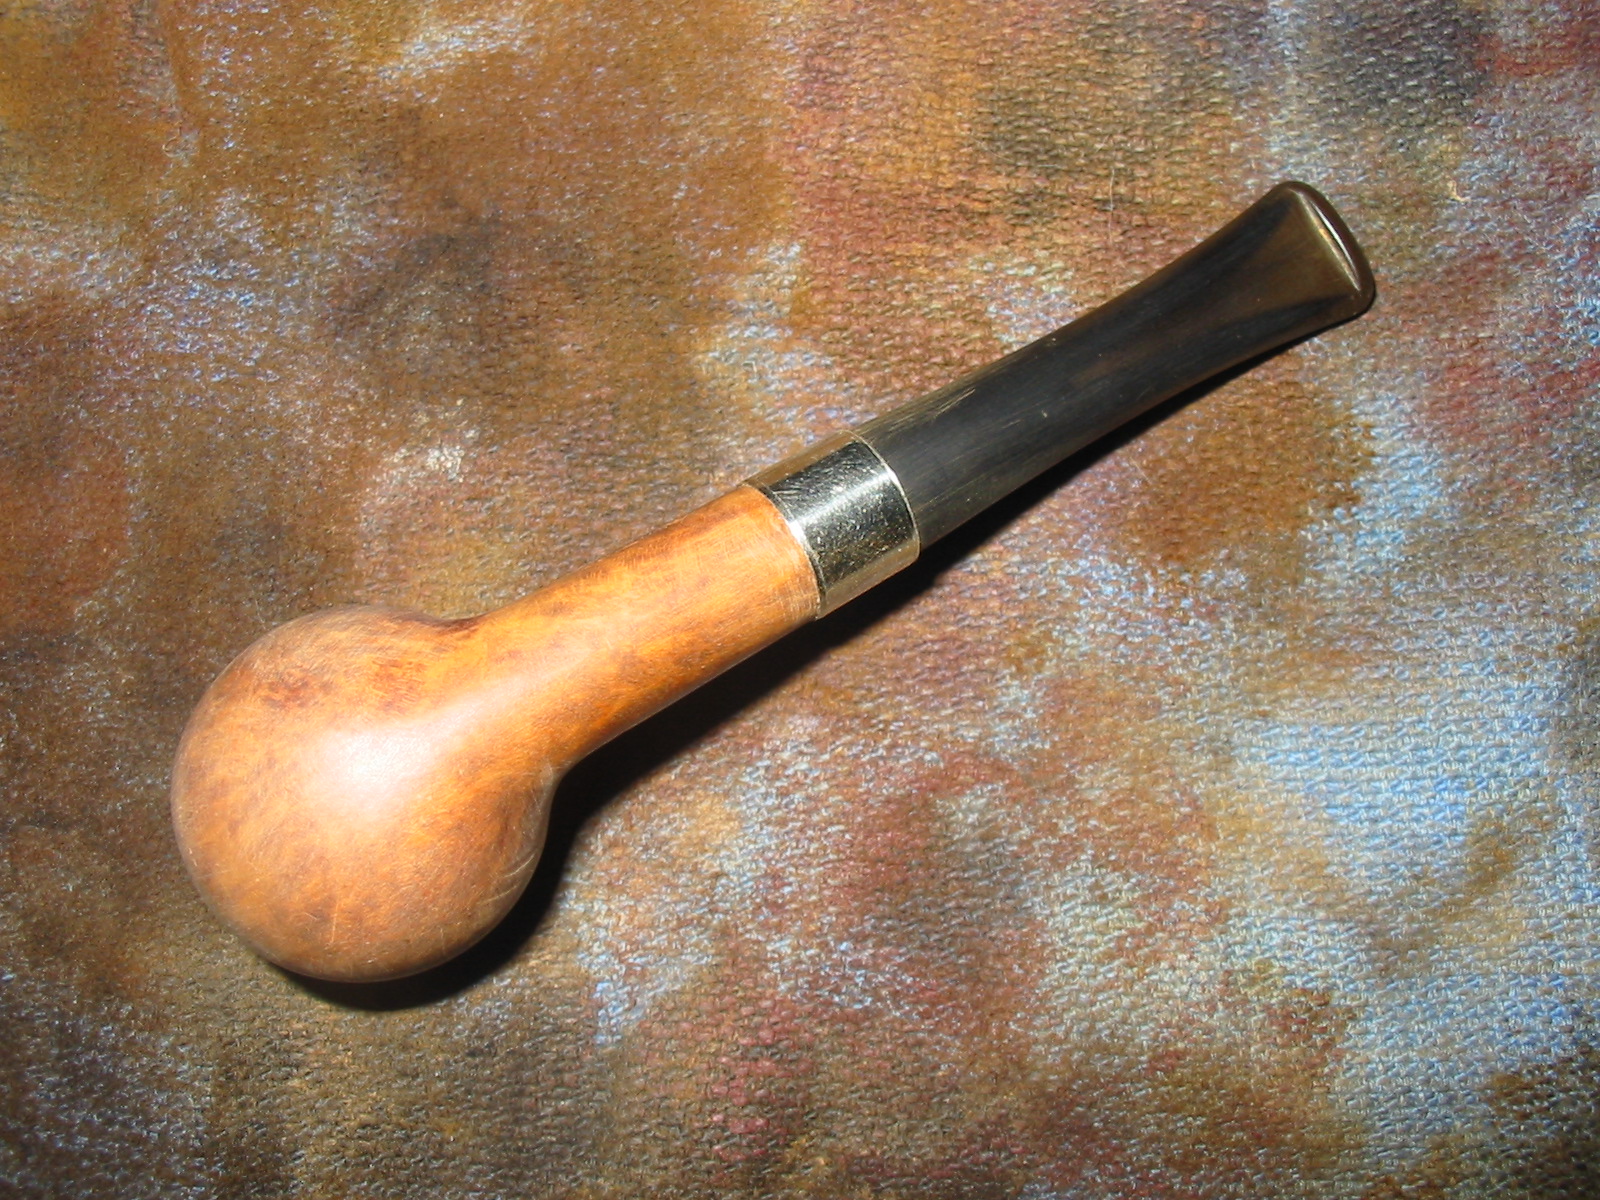
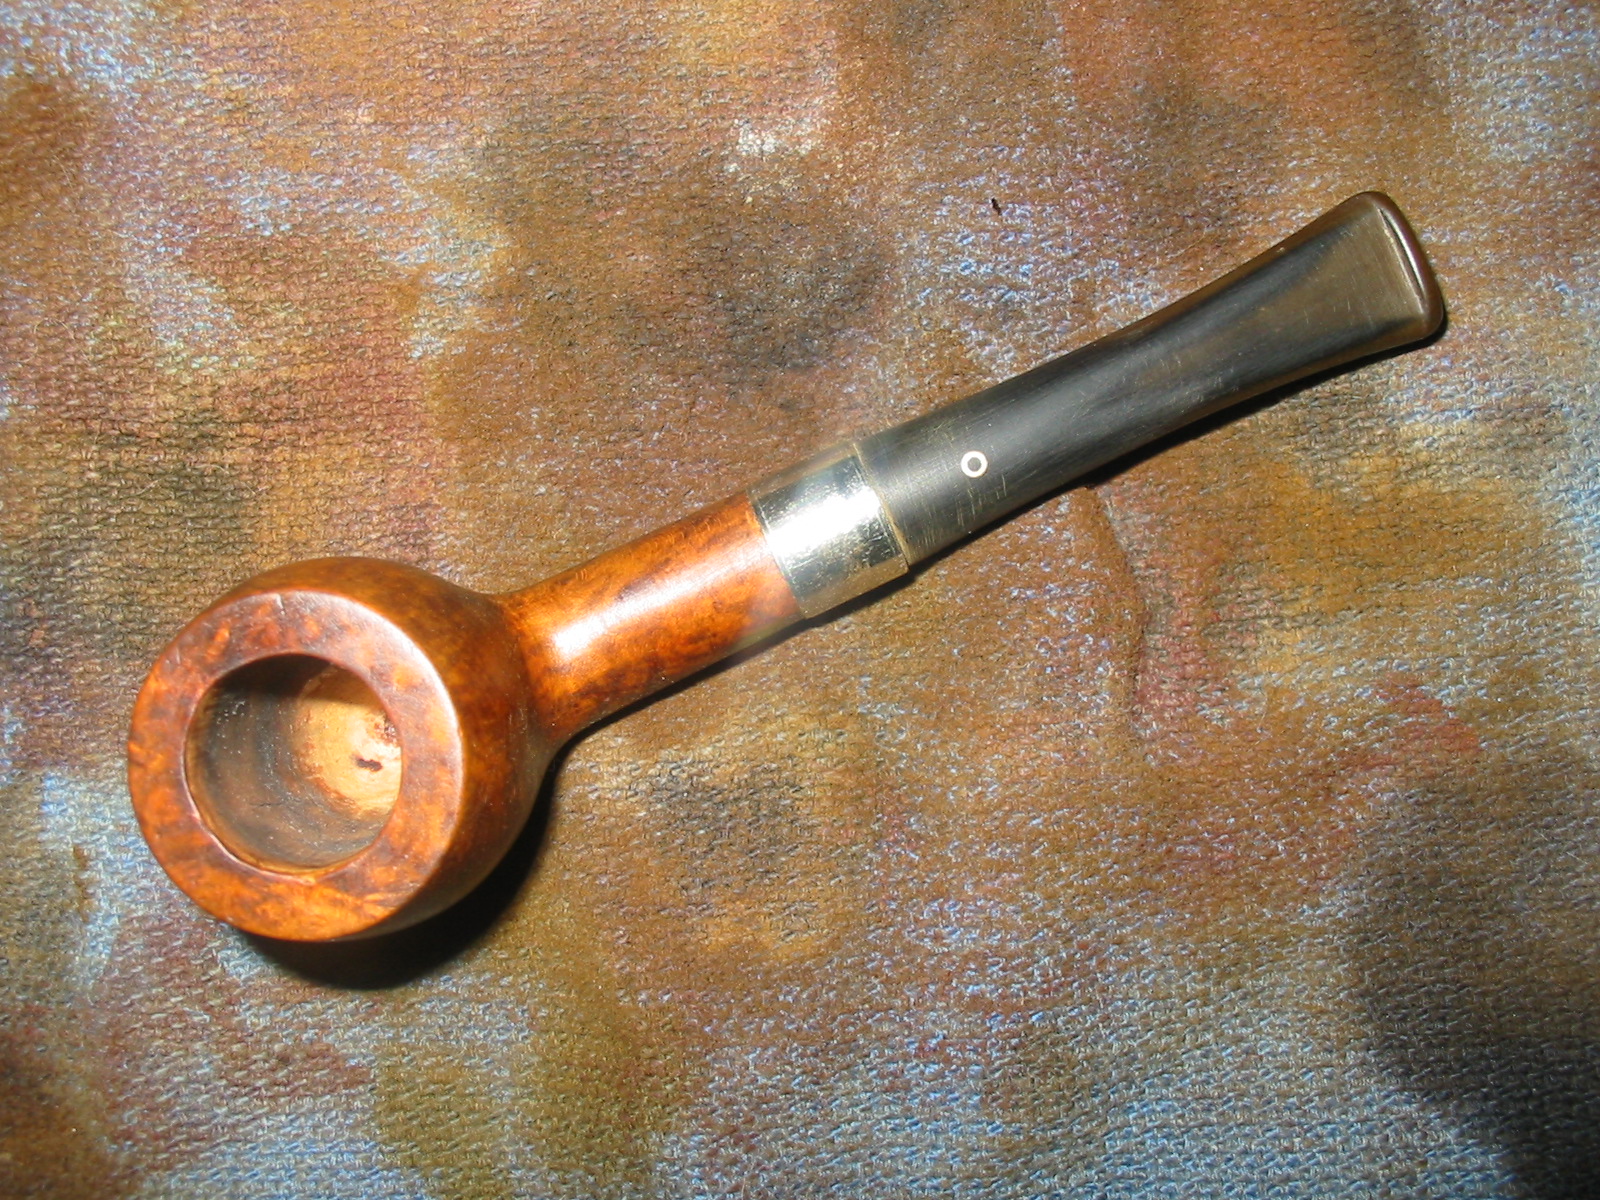
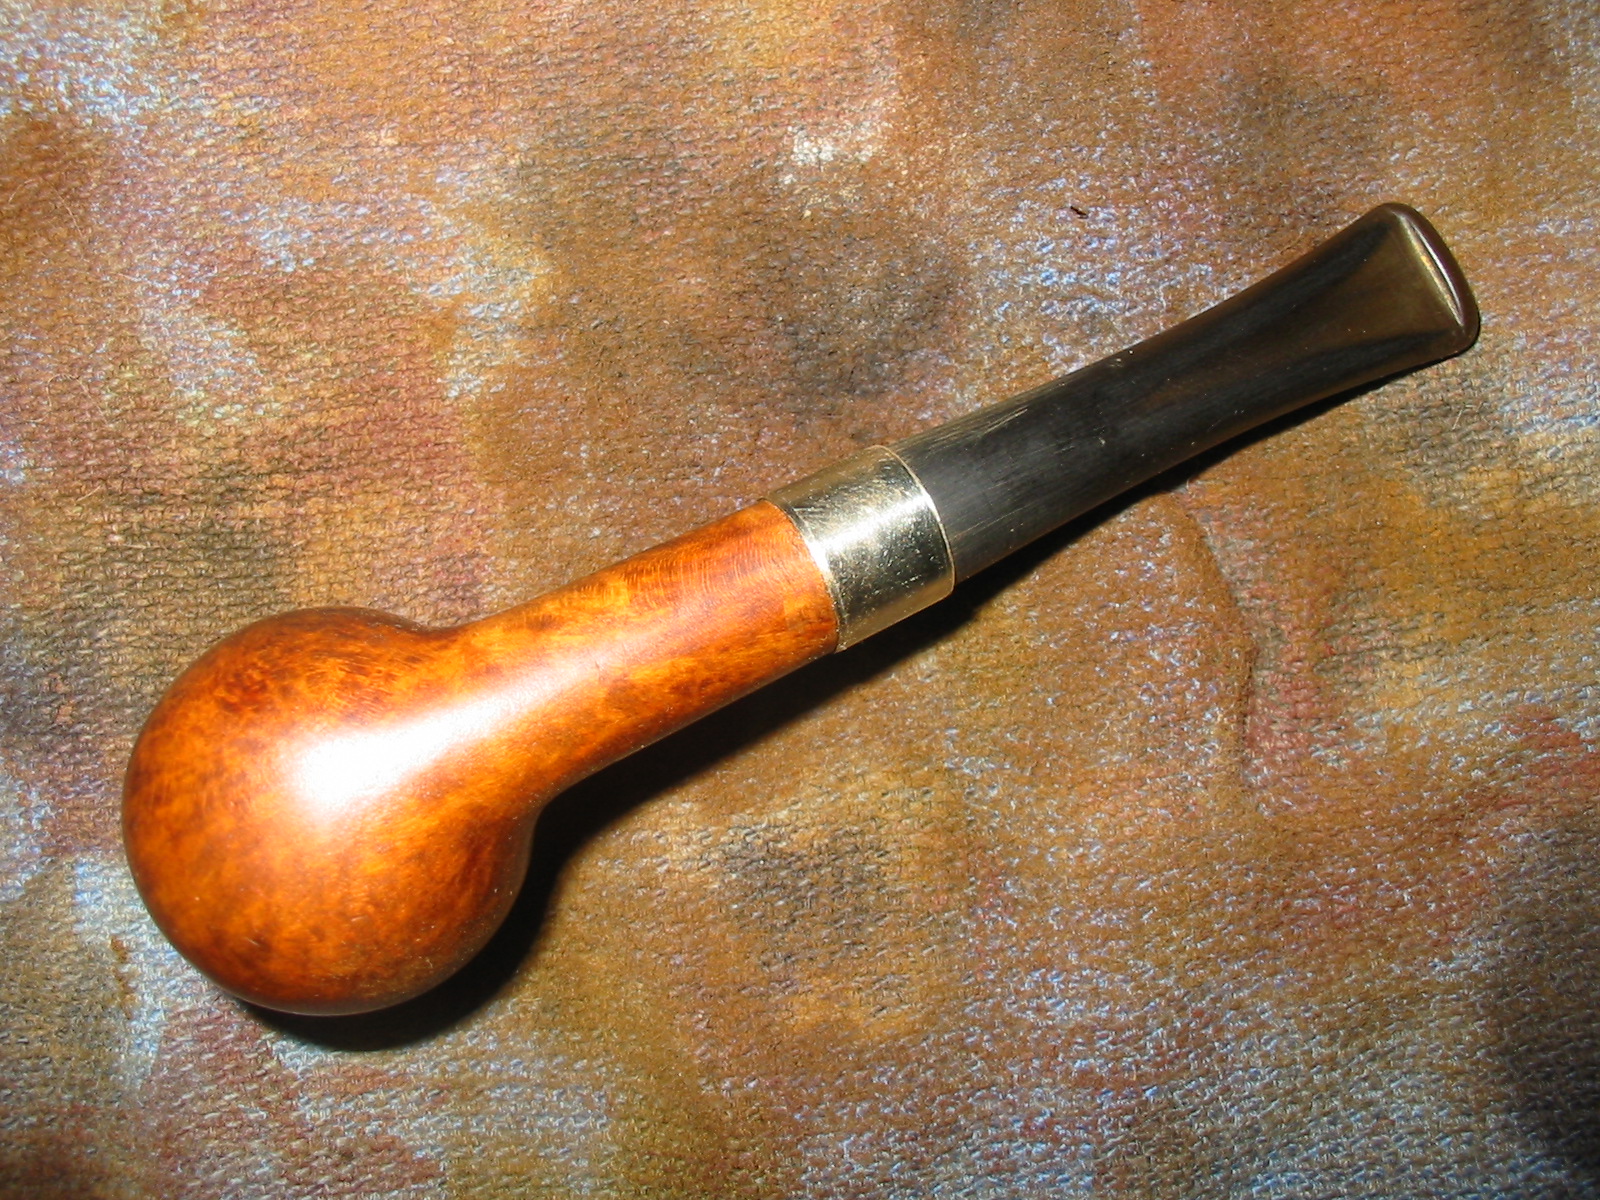
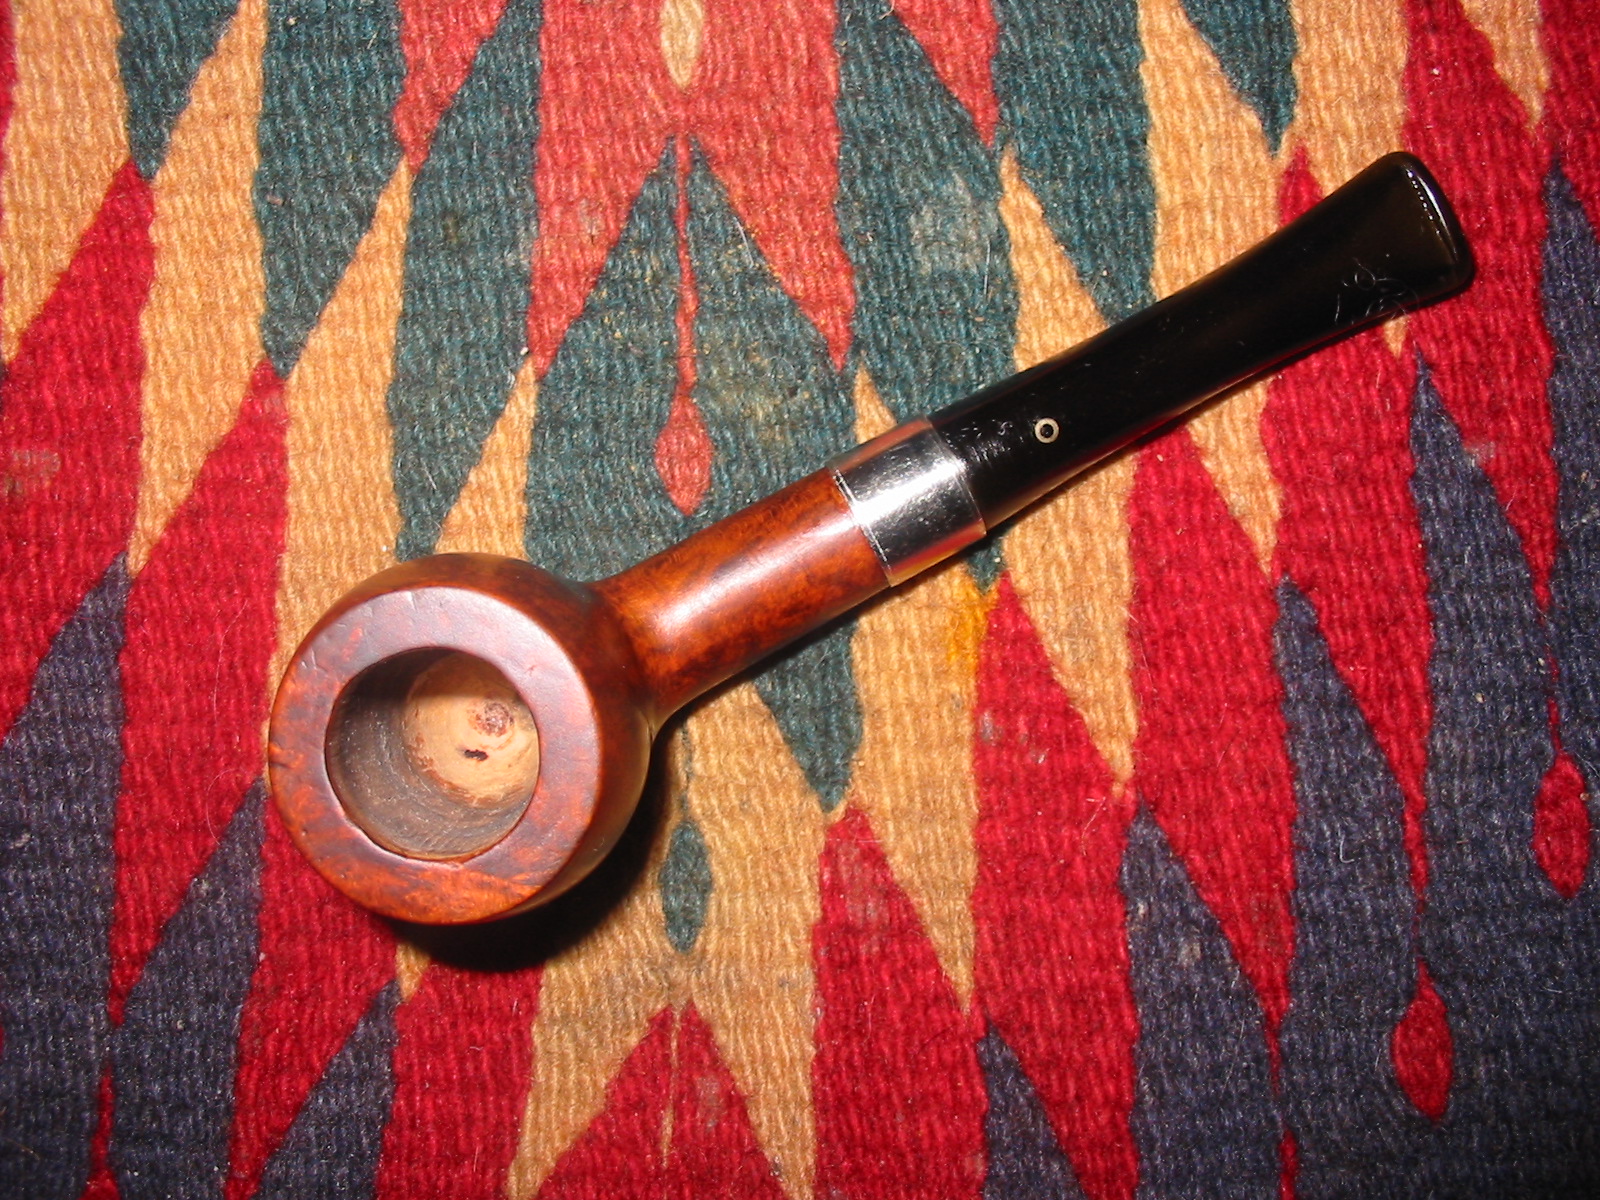
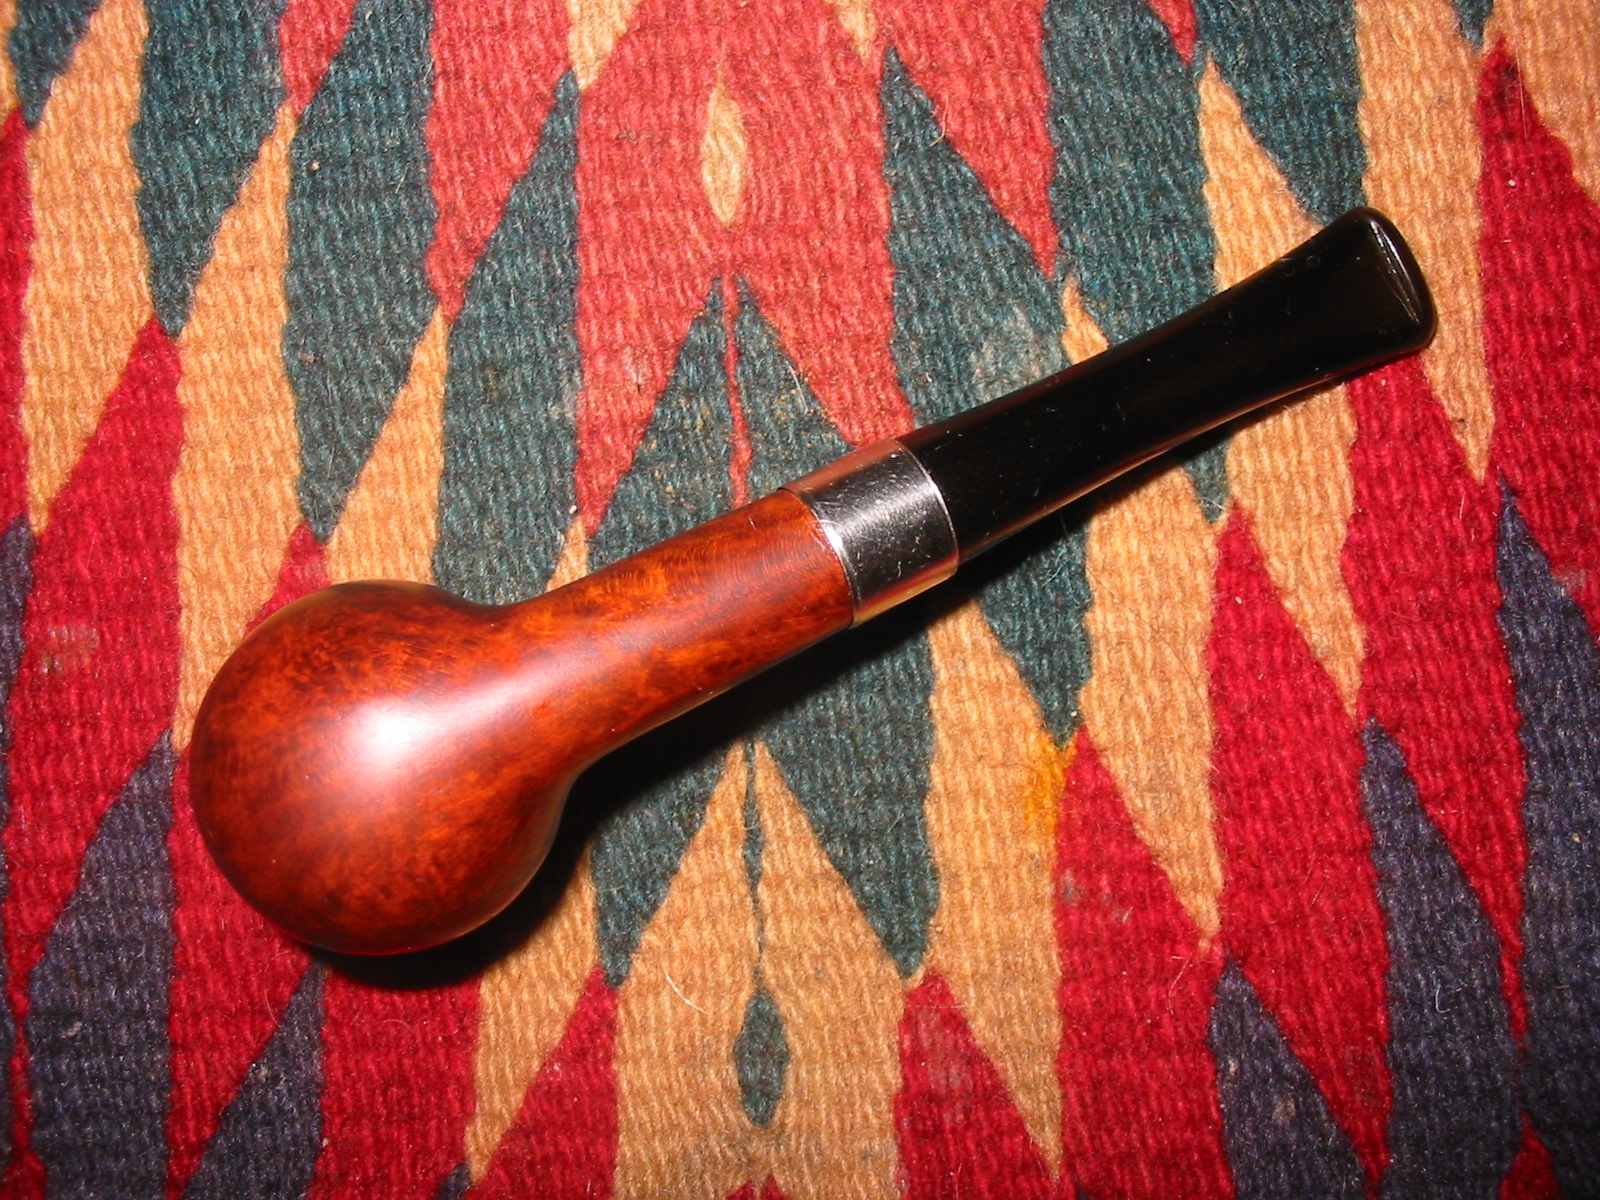
The bowl was in excellent shape and had not even been smoked to the bottom of the bowl. The bottom half of the bowl was bare briar. The top half was darkened but not carbonized at all. It was for all intents and purposes a new pipe. The shank was clean and contained a strange metal apparatus that filled the mortise and then stepped down to fill the airway all the way to the smoke hole in the bottom of the bowl. It was aluminum, the first ¼ inch was smooth and then it had threads that went to the bottom of the mortise. The airway was smooth. The finish on the bowl was non-existent. Whatever stain or coating had been on the bowl was no long present. The stamping was crisp and readable. There were no fills in the briar but there was a nice swirling mix of grain all around the bowl. The rim was clean and showed no burn or dent marks. The pipe was missing the stem. Judging from the mortise the stinger apparatus on this stem must have been a unique looking piece of hardware.
IMG_6315

IMG_6316

IMG_6318

IMG_6319
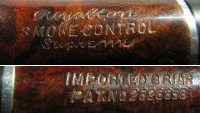
Since I had no idea what I was working on I decided to do a bit of digging on the internest and see if I could find out about the brand and kind of stem and stinger apparatus that it had. I wanted to know what the patent on the shank covered so that once I had a clear picture in mind I could hunt down a stem or work on one that would fit the shank in the meantime. I found out that Royalton pipes were manufactured by Henry Leonard & Thomas, Inc. (HLT) of Ozone Park, New York. HLT manufactured other brands as well including Dr.Grabow, Bruce Peters, Broadcaster and Vox Pop. I found on Pipephil’s logos page the two photos below that showed the stamping on the stem and the shank. The stamping on the bowl I had was a Smoke-Control with a hyphen rather than the one picture below and also was a Deluxe rather than a Supreme.
royalton1a

royalton1bMine was also stamped Selected Briar instead of Imported Briar. I could see that the stem had an aluminum faux band that sat between the stem and shank.
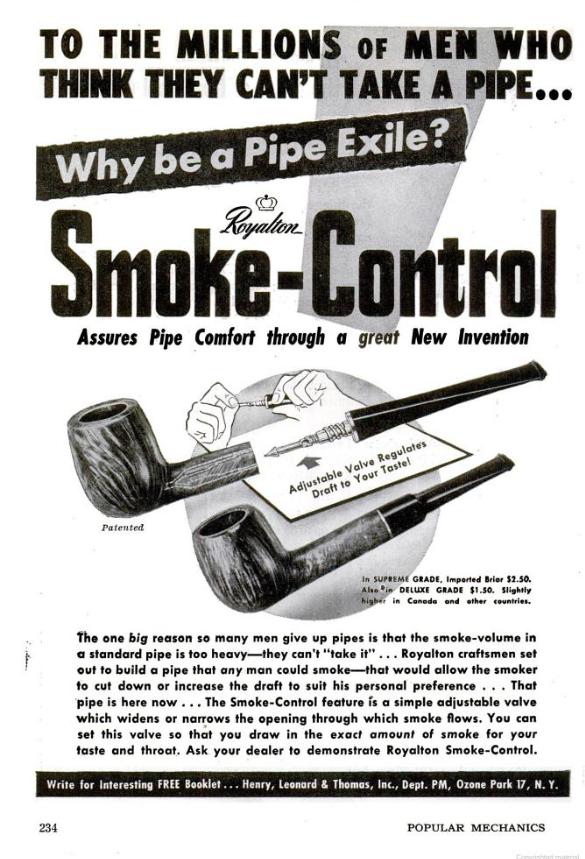
So far I had learned the manufacturer and the stamping on the stem and the faux band. I had not seen the stem. I did a bit more digging and found several advertisements that showed more of the stem. The first is from Popular Mechanics and it gave a clear description of the purpose of the pipe as well as the meaning of the Smoke-Control feature. The pipe had an adjustable valve that regulated the daft on the smoke to match personal taste and preference.
Smoke Control Advert
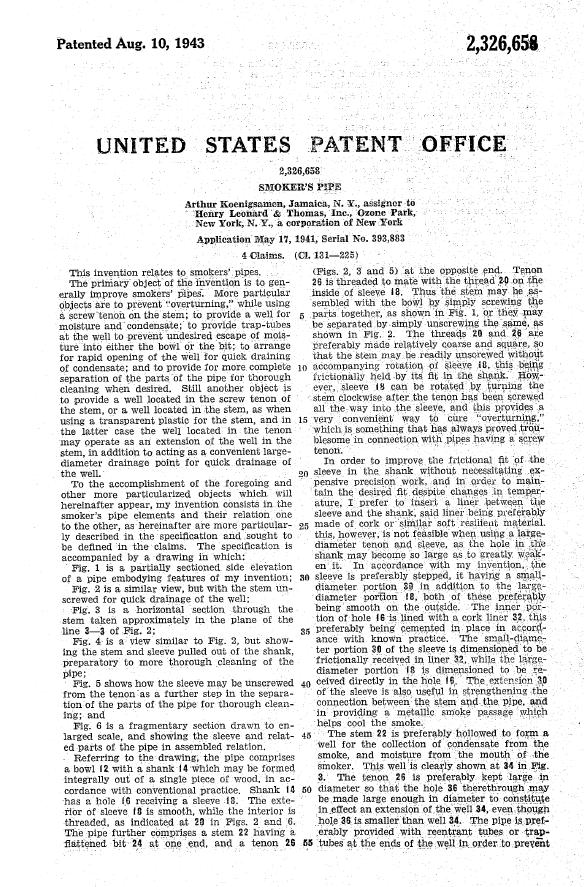
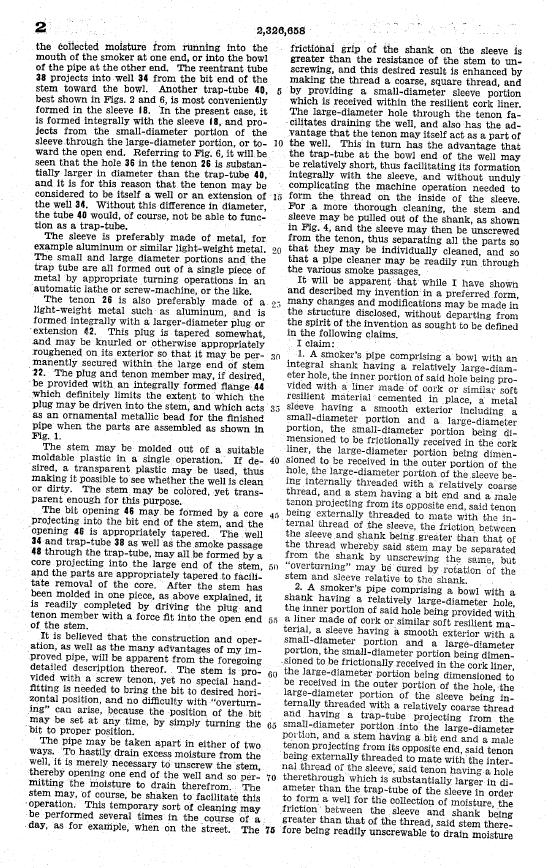
This advertisement spoke of both the Supreme Grade and the Deluxe grade of the pipe. The stinger that is shown in the picture could have been similar to the one in the bowl that I had found but it was not quite the same in terms of the sketched in lines on the shank of the top pipe in the picture. My bowl’s interior was different from the one in the picture so the stinger apparatus too must have been slightly different in the one I found. I went to the US Patent web site and did some more research and found the Patent Number of the pipe that I had. There was a description and a diagram of the pipe. The patent was taken out on August 10. 1943 by Arthur Koenigsamen of Jamaica, New York, assigner to Henry Leonard & Thomas Inc. of Ozone Park, New York. Reading the patent data, I am struck by the familiar hunt to develop a better smoking pipe to deliver a dry and cool smoker to the mouth of the pipe smoker and to make pipe smoking more appealing to those who might not try it otherwise. Have a look at the details of the patent and pay attention to each part of the apparatus in the shank and on the end of the stem. There are some unique features that are not visible in the pipe that is shown in the advertisement from Popular Mechanics.
Smoke Control Patent Page 1

Smoke Control Patent page 2

Smoke Control Patent photo
The stem in the above drawing in Fig. 2 shows the tenon that would fit in the mortise in the bowl I have. It is threaded about mid-tenon with three bands. Before and after the threaded portion the tenon is smooth. The apparatus goes into the stem as well, Fig. 3, in a way that was not shown in the advertisement above. It appears that there is a cooling reservoir in the stem that traps moisture and delivers a cool smoke out the wide slot in the end of the stem. The mortise in the bowl I have looks exactly like the one in Fig. 5 and screwed onto the tenon in Fig. 4. The shank on the bowl that I have is set up precisely like the nipple unit in Fig. 5. It is aluminum and set in the shank. I have included the photo below showing and end view of the shank to show what the insert looks like. You can see the flat area, the step up to the threaded portion and then the step up to the airway just as is shown in Fig. 5 above.
IMG_6322
My problem was that the bowl did not come with the unique stem unit that fit the shank. I tried several older Dr. Grabow stems and a Kaywoodie stem that I had here and the threads did not match those found in the shank. I had a choice to make, save the bowl until I found a stem someday by chance or to try to work on a stem and jerry-rig it to fit the shank system. I figured I had nothing to lose so I chose to work on a stem. I had just the right stem in my can of stems. It was a chubby stem from an Orlik pipe and the tenon was already shaped partially for a shank like this. The end of the tenon was slightly smaller in diameter than the portion of the tenon next to the stem itself.
IMG_6323
I slowly turned the vulcanite stem into the metal mortise, being careful to hold the stem straight as I turned it in place. I figured that by doing so I could score the vulcanite with the metal threads of the mortise and in so doing tap thread the tenon on the vulcanite. Low and behold it worked. The stem fit tightly against the face of the shank. The diameter of the stem would need to be adjusted but otherwise the fit was good.
IMG_6325

IMG_6326

IMG_6327

IMG_6328
I carefully sanded the stem and the shank avoiding the stamping. I did not want to damage the stamping on either side of the shank. I sanded with 220 grit sandpaper and a medium and fine grit sanding sponge. I sanded the rest of the bowl and the rim as well. When I finished the fit of the stem at the shank was smooth.
IMG_6329

IMG_6330

IMG_6331

IMG_6332
I wiped the bowl down with acetone on cotton pads to remove any remnants of the original finish on the bowl and to remove the sanding dust.
IMG_6333

IMG_6334

IMG_6335

IMG_6336
At this point in the process things were going too well! Everything was working without a hitch and the pipe was looking really good. This is when things inevitably take a turn for the worse and they certainly did in this case. I unscrewed the stem from the shank in preparation for staining the bowl. I wanted to clean out any briar dust that was trapped between the stem and the shank. I cleaned out the dust and blew air through the mortise. I then slowly and carefully screwed the stem back in place in the shank. They no longer lined up! The fit of the stem against the face of the shank was not tight. The smooth transition between the shank and stem was no longer there. The fit was not right. I took the stem off and examined the mortise and tenon. I could see that the insert in the shank had definitely been pushed deeper into the mortise. When I started it was even with the face of the end of the shank and now it was sunk in and the mortise bevel showed as it probably should have from the start. Arggghhh. Now the fit was off and the diameter of the stem would have to be corrected again. The big problem was that the way the stem fit against the end of the shank was no longer perfect. There was a gap that I could not correct no matter what I did in adjusting the insert or the stem.

I decided that I would have to band the shank, not as a repair on a bad shank but as a cosmetic measure to clean up the fit of the stem and the shank end. This irritates me to no end in that as you could tell from the above photos it was perfect! Ah well so goes the life of the pipe refurbisher who is restemming old pipes with replacement stems. I adjusted the diameter of the shank to fit the flow of the shank without the band. Once again it was round and smooth. If there had not been a gap at the bottom of the shank/stem union a band would not have been necessary. I looked through my box of bands and found a band that would fit and not go to deeply up the shank as to cover the stamping. I found just the right band. I put all purpose white glue on the shank and pressed the band in place. Once the glue had set I screwed the stem on to the shank and lined everything up. The fit and finish of the stem and shank looked good. I actually liked the band on the shank as it broke the line between the shank and the stem and added a bit of bling to look of the old bowl. I guess I can live with the look of the pipe after all. It is not what I wanted when I started but it would do.
IMG_6337

IMG_6338

IMG_6340

IMG_6341
I wiped down the bowl with isopropyl alcohol on a cotton pad to remove any excess glue that had seeped out around the band and removed grime from my finger prints on the bowl. I gave the bowl a first coat of dark brown aniline stain thinned 1:1 with alcohol. I flamed the stain and then wiped it down with an alcohol pad. I buffed it with White Diamond to see what the finish looked like with the brown stain. While I liked the look, the mottled look of the grain seemed to need some more colour and contrast to make it look right. I was not sure what I would use for a top coat so I set it aside and worked on the stem.
IMG_6343

IMG_6344

IMG_6345
I sanded the stem with 220 grit sandpaper to remove the oxidation that remained after cleaning and then sanded it with a medium and a fine grit sanding sponge. Once I had finished this I wet sanded it with 1500-2400 grit pads. Several times mid stream I went back and sanded with the sanding sponges and started over with the pads to clean up places where the scratching still showed or where the oxidation was stubborn. When I finished with the first three pads I rubbed down the stem with Obsidian Oil and screwed it back on the bowl.
IMG_6346
Now most of you probably would have just finished sanding the stem with the remaining micromesh pads but not me. I got distracted with the stem back on the bowl and decided to give it the second coat of stain. I took it to the buffer and buffed the bowl and the stem with Tripoli and White Diamond before going back to the work table to give it a second coat of stain. For the second coat of stain I decided to use an aniline based oxblood stain. The rich read colour would go well with the mottled grain of the bowl. I applied the stain, flamed it, applied it again and flamed it again as often as necessary to get an even finish. Once it was dry I wiped it down with an alcohol wet pad to remove the excess stain and make it more transparent. I buffed it with White Diamond. This stain coat had the desired effect and I liked the finished look of the bowl.
IMG_6348

IMG_6351

IMG_6354

IMG_6356
I took the photo below to show the threads that were cut into the vulcanite tenon to give an idea of what the finished tenon looked like after all was said and done. The fit in the mortise is snug and the stem screws into the mortise easily.
IMG_6367
I went back to sanding the stem with the remaining grits of micromesh pads. I dry sanded with 3200-12000 grit pads and once again had to go back and sand with the sanding sponges near the button to deal with the stubborn oxidation. This involved having to start over with wet sanding with 1500-2400 grit pads but once I had finished the oxidation was gone. I rubbed the stem down with Obsidian Oil again and when it was absorbed into the vulcanite I buffed the stem and bowl with White Diamond.
IMG_6368

IMG_6369
I polished the nickel band with silver polish and gave the bowl and stem multiple coats of carnauba wax to protect and give it a shine. When finished I buffed it with a soft flannel buffing pad and brought it back to the work table for the final photos. The old Smoke-Control Deluxe is back in action. The bowl looks great; the stem works even though it is not original. The band gives just the pipe an air of elegance that I had not expected. I look forward to breaking it in and enjoying a smoke in what for all intents and purposes is a new old stock bowl.
IMG_6370

IMG_6374

IMG_6375

IMG_6376

Refurbishing another Old Pal – this time a Long Oval Shank Billiard


Blog by Steve Laug

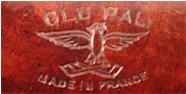
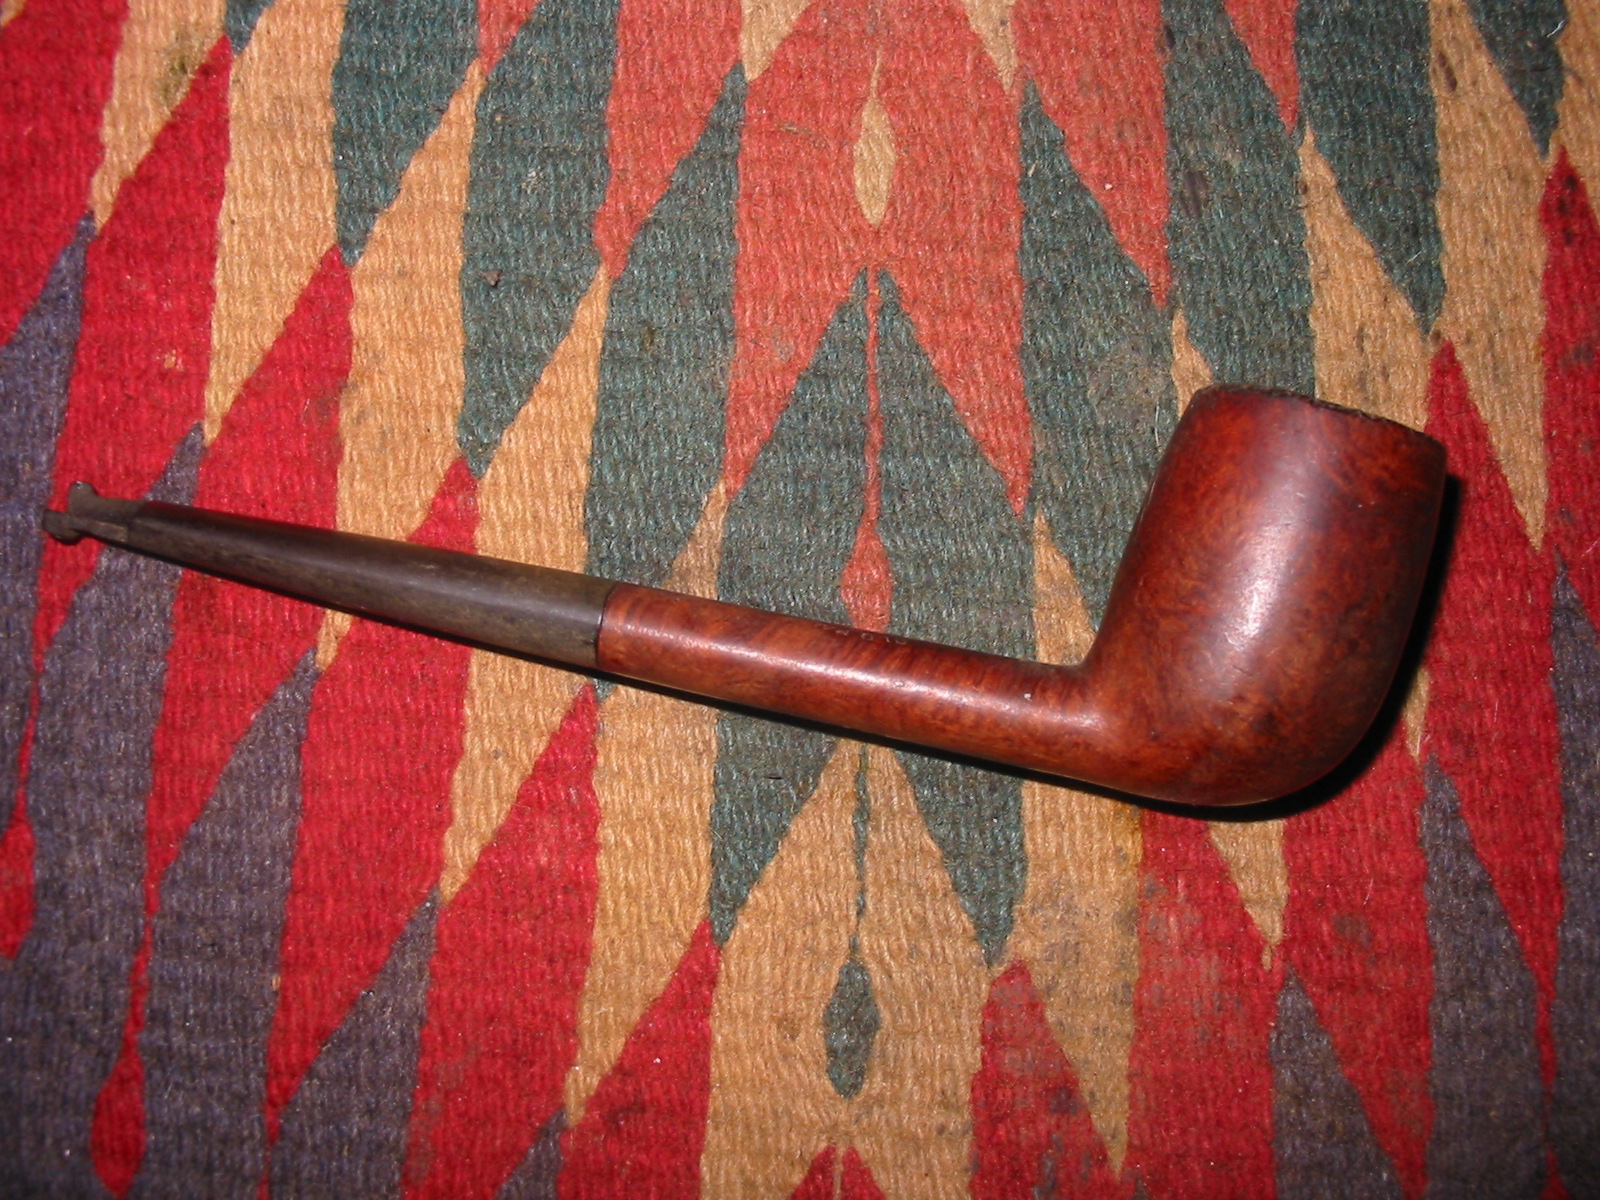
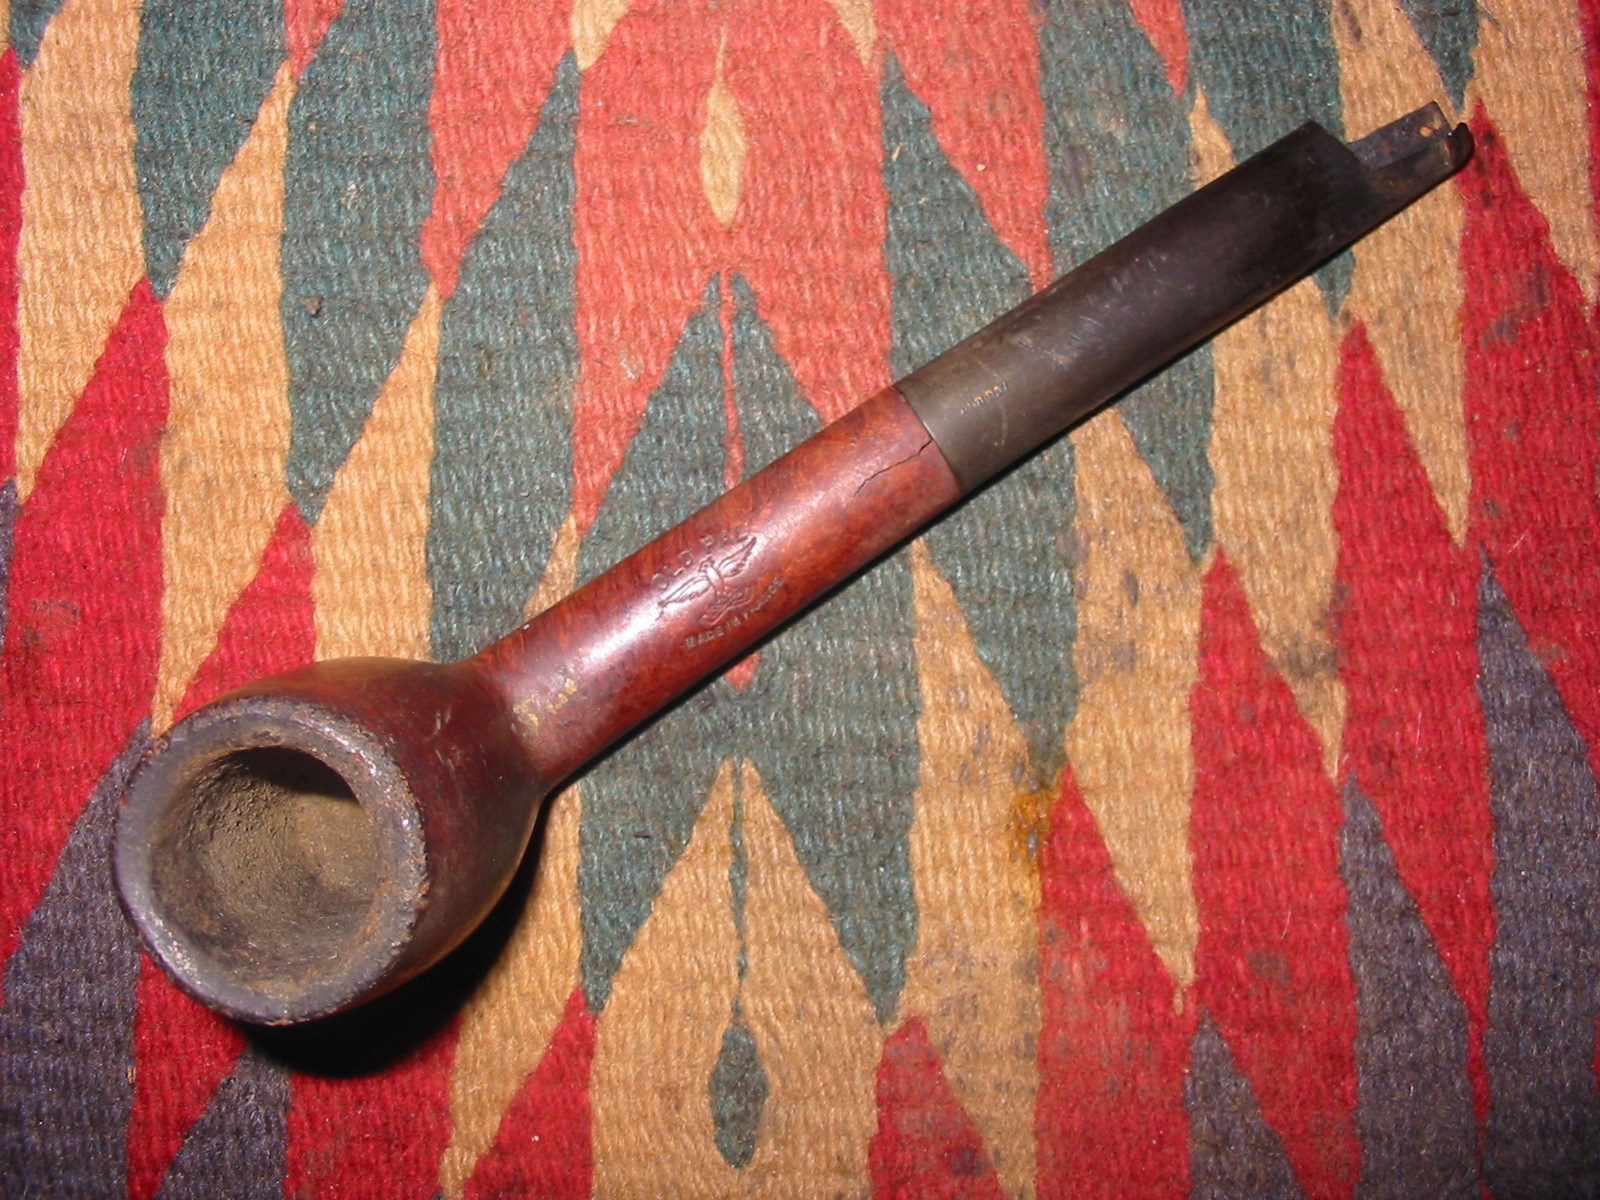
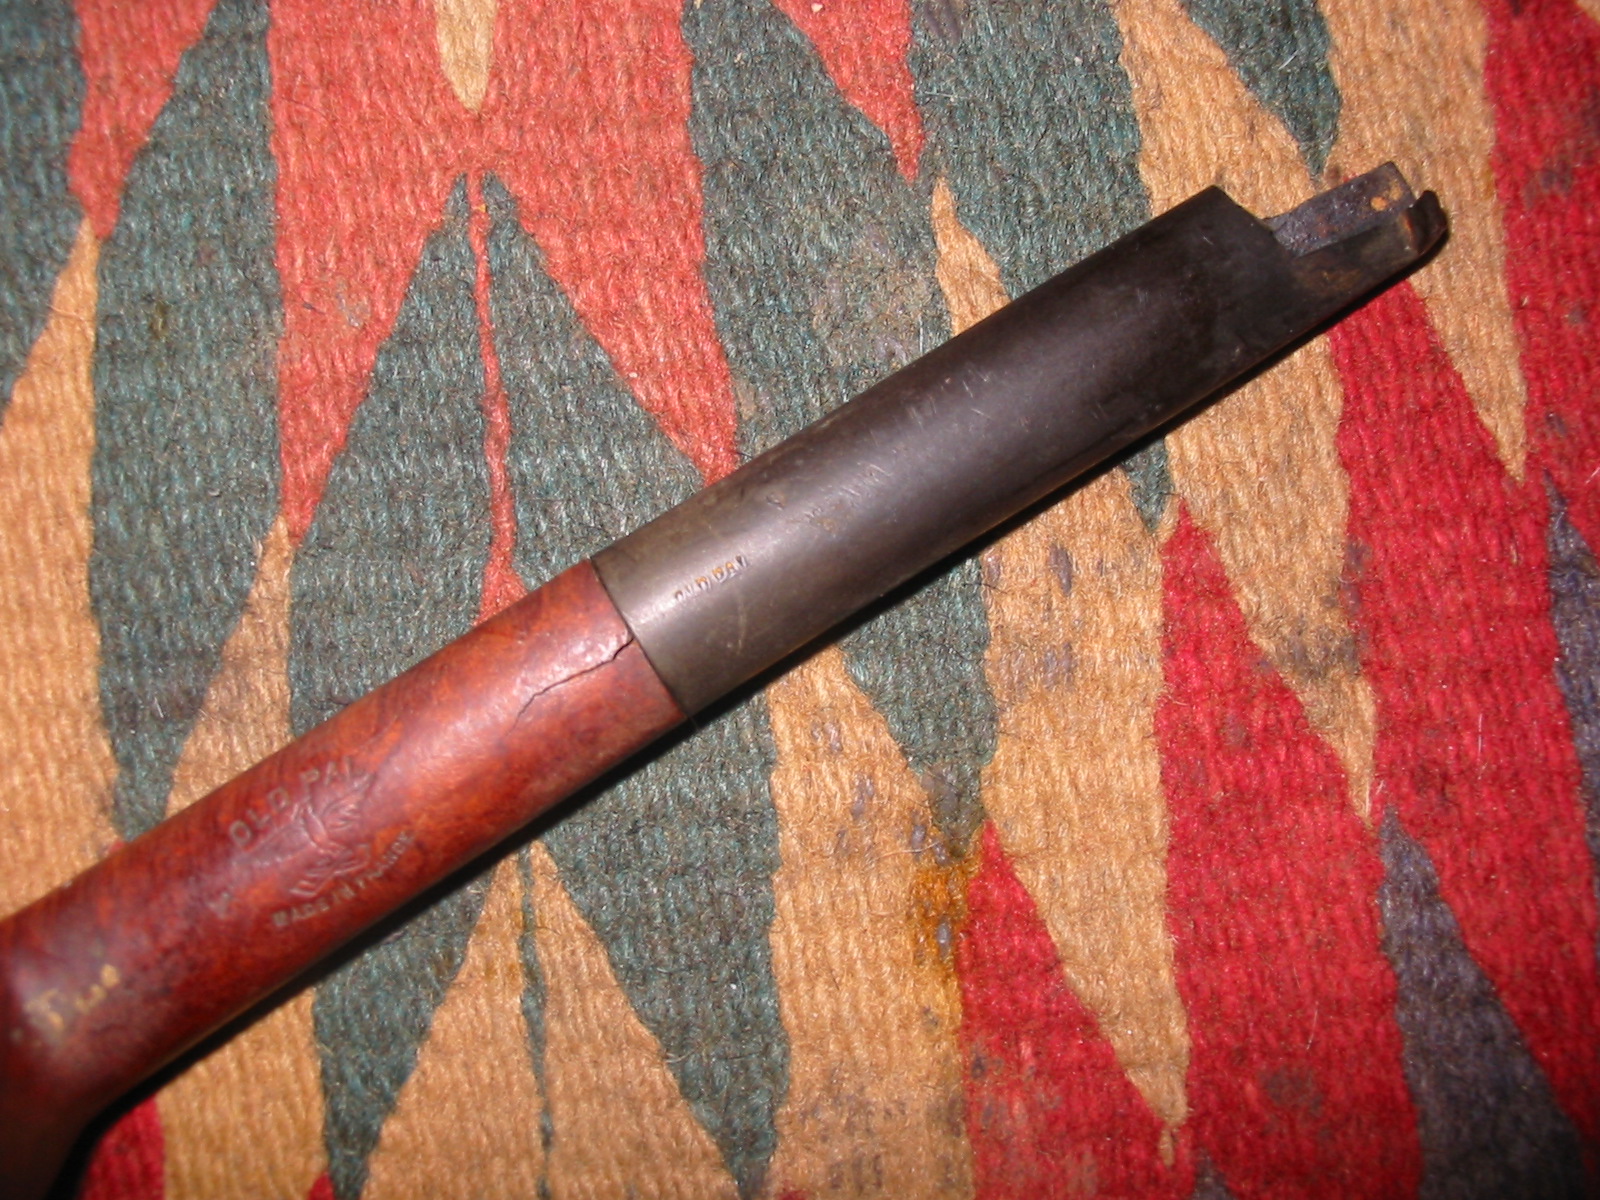
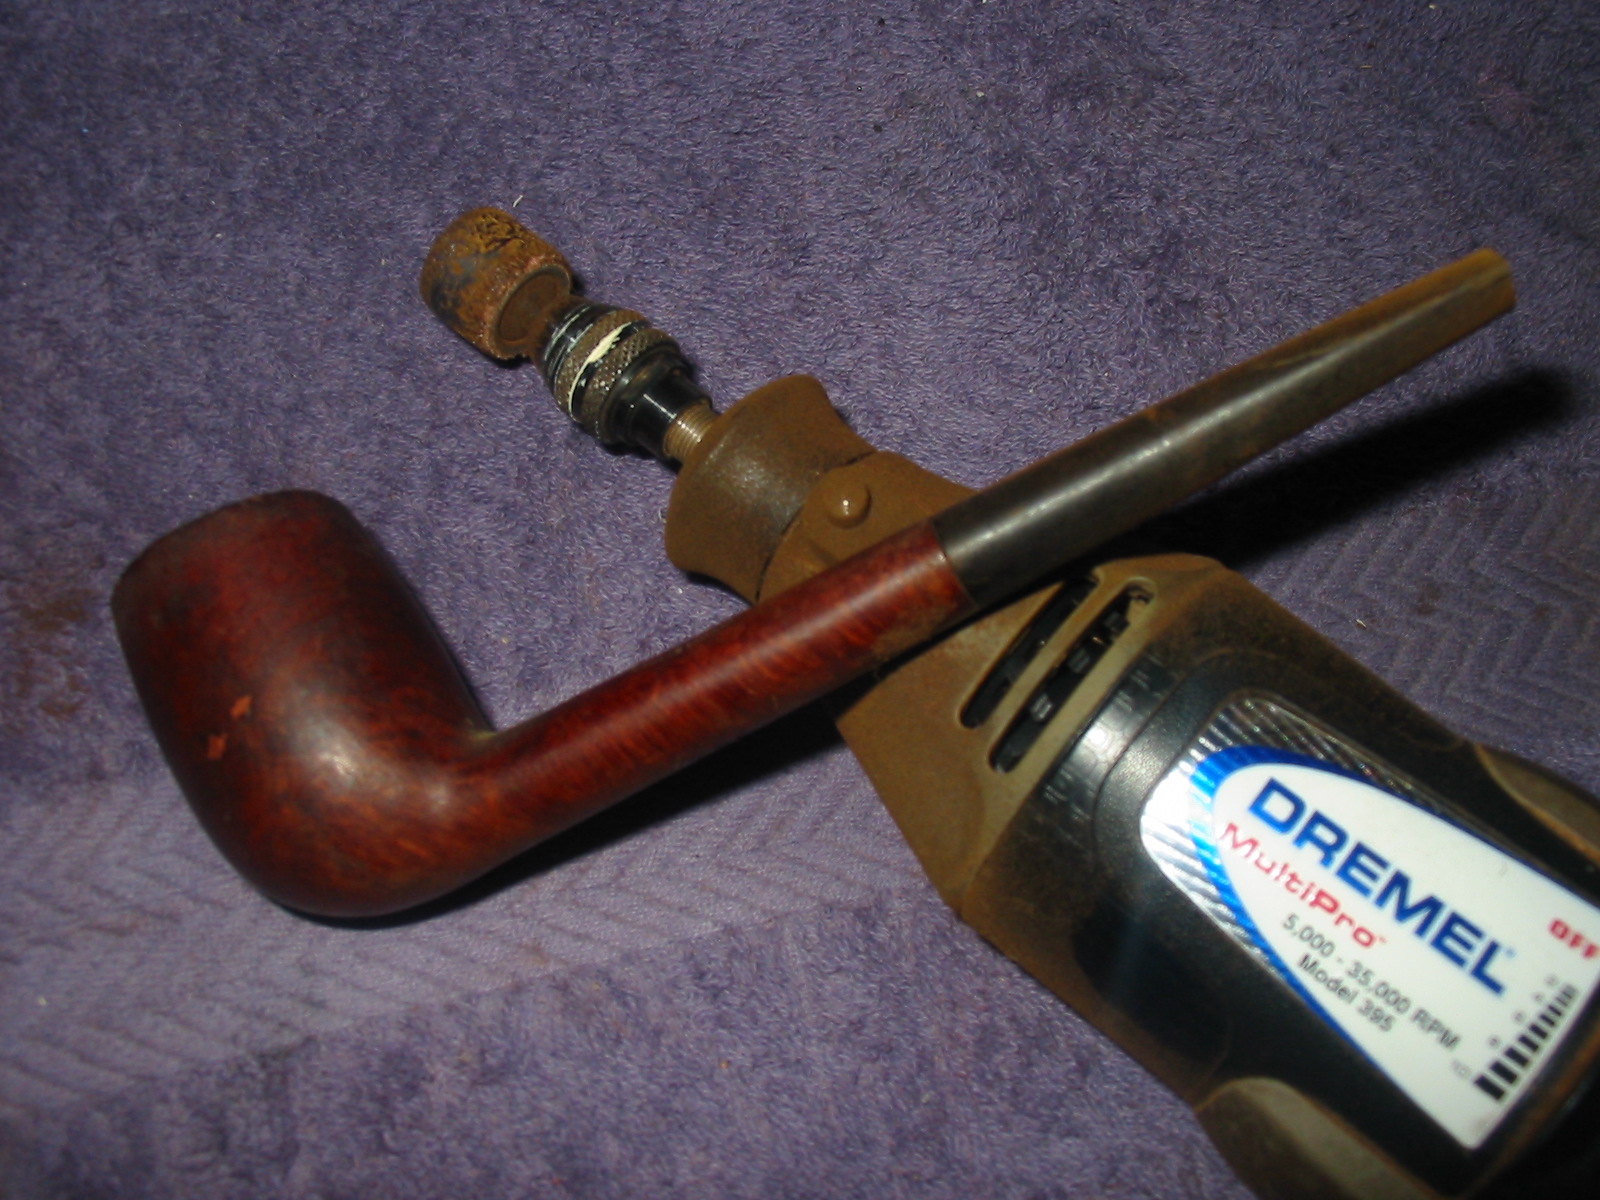
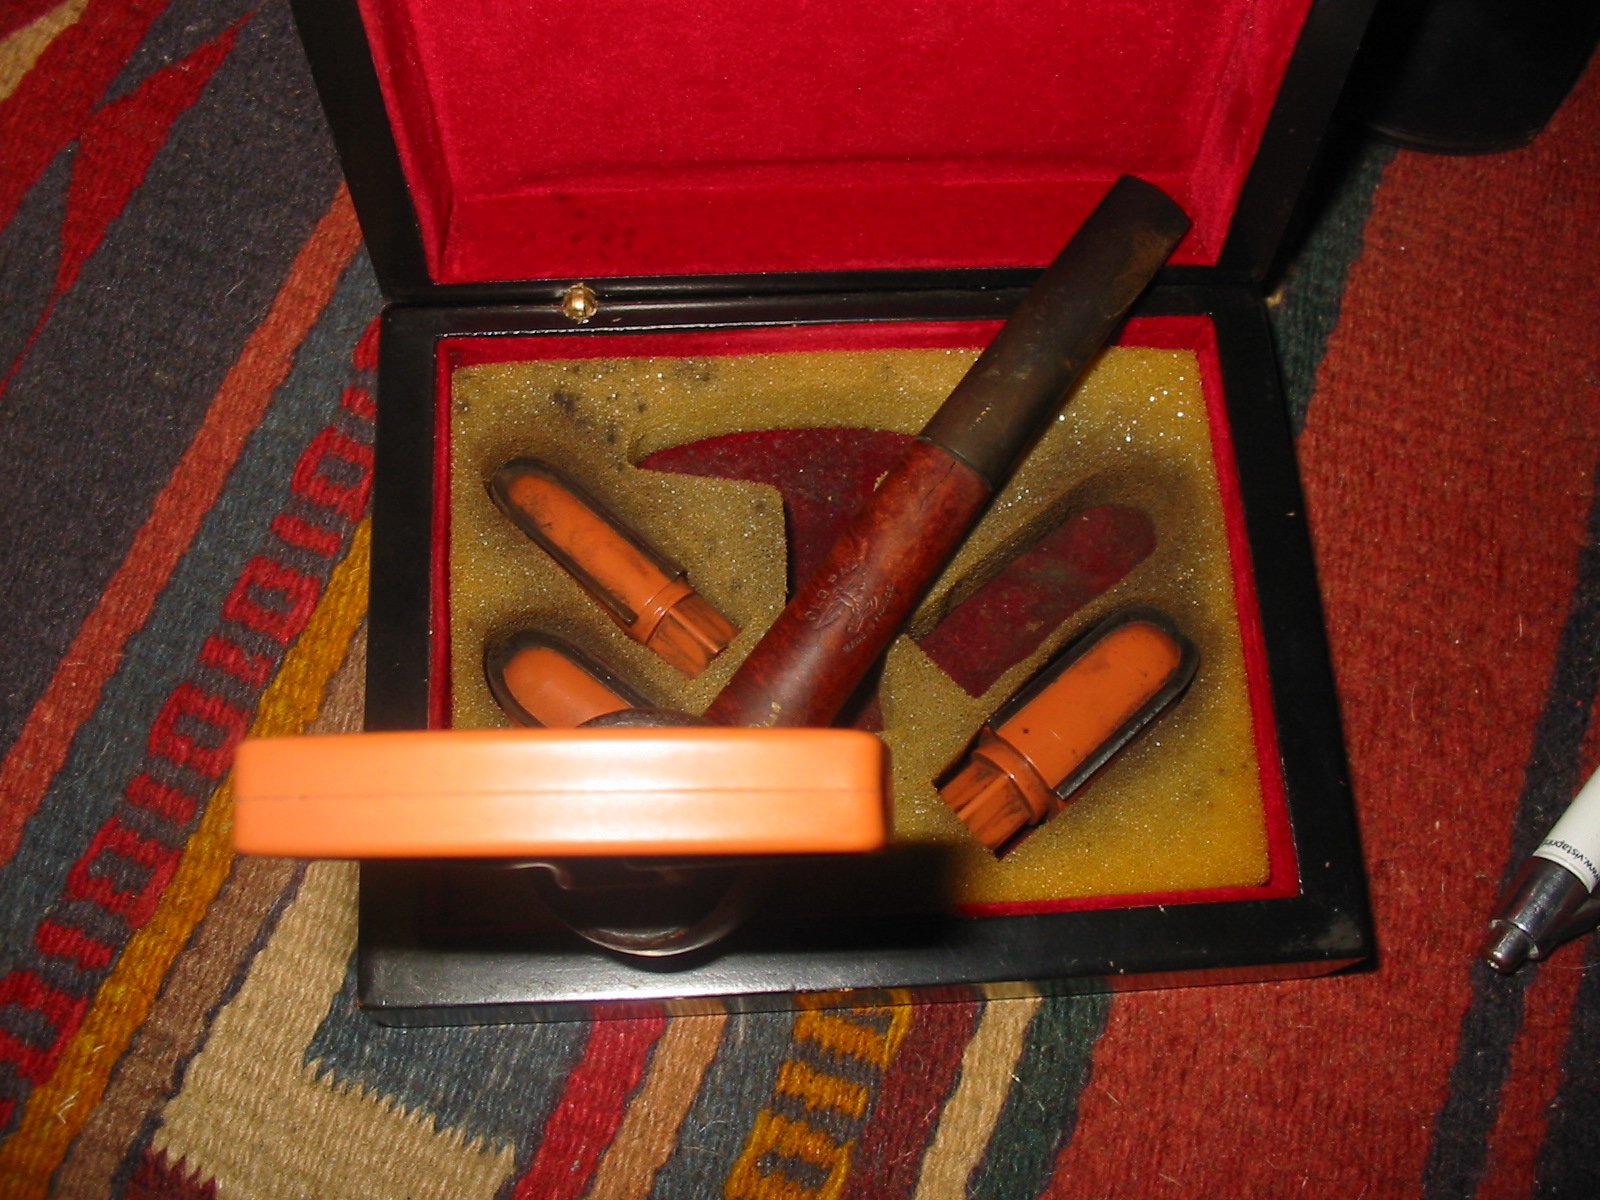
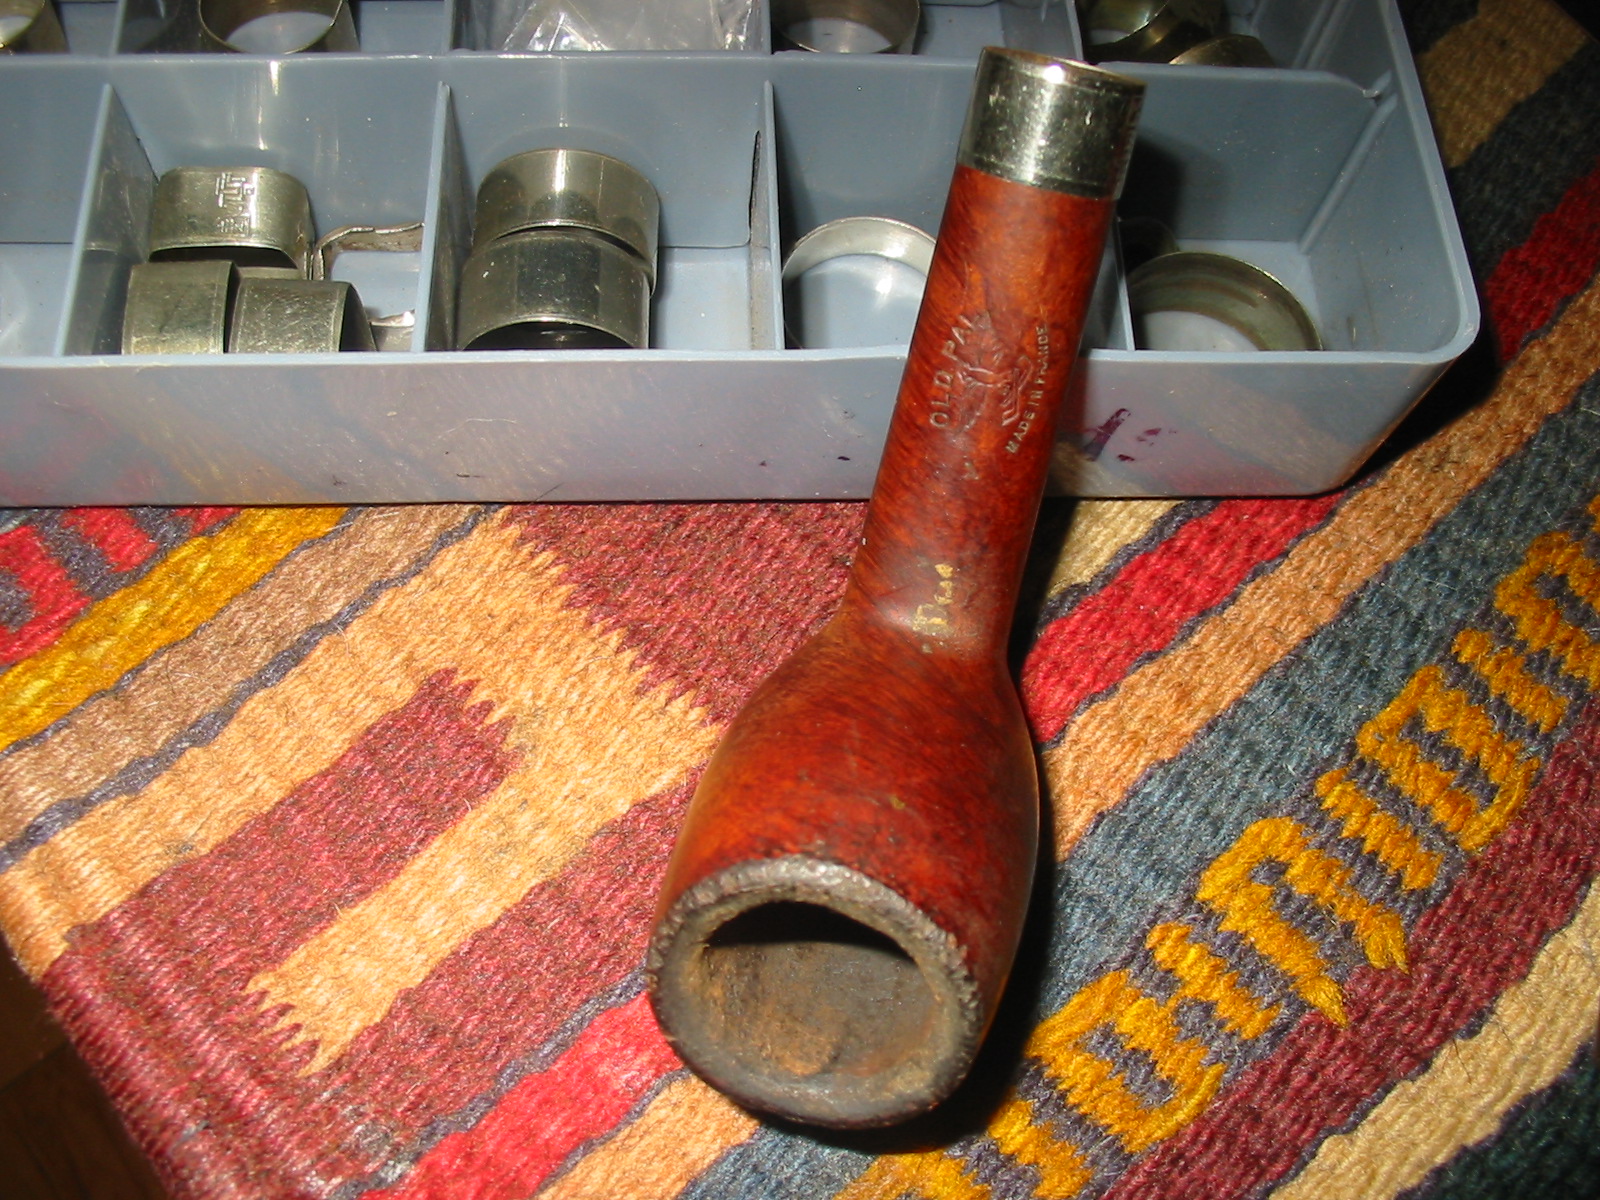
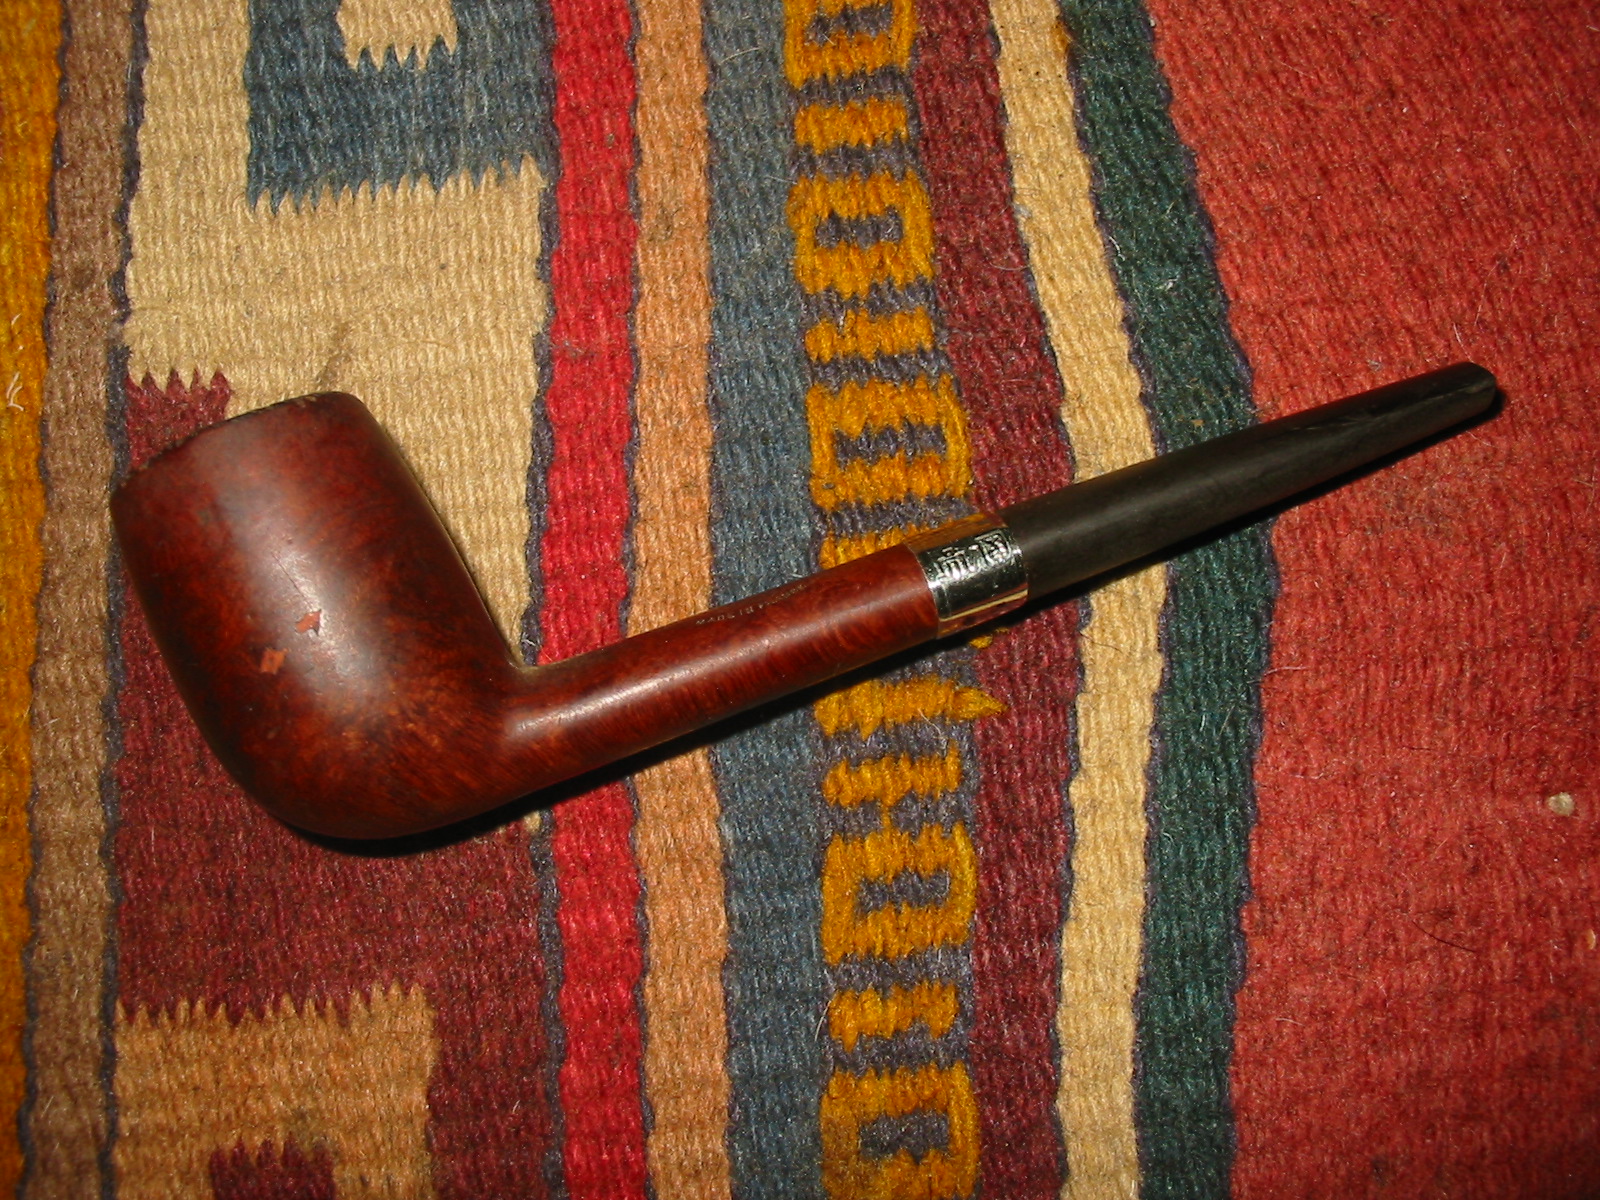
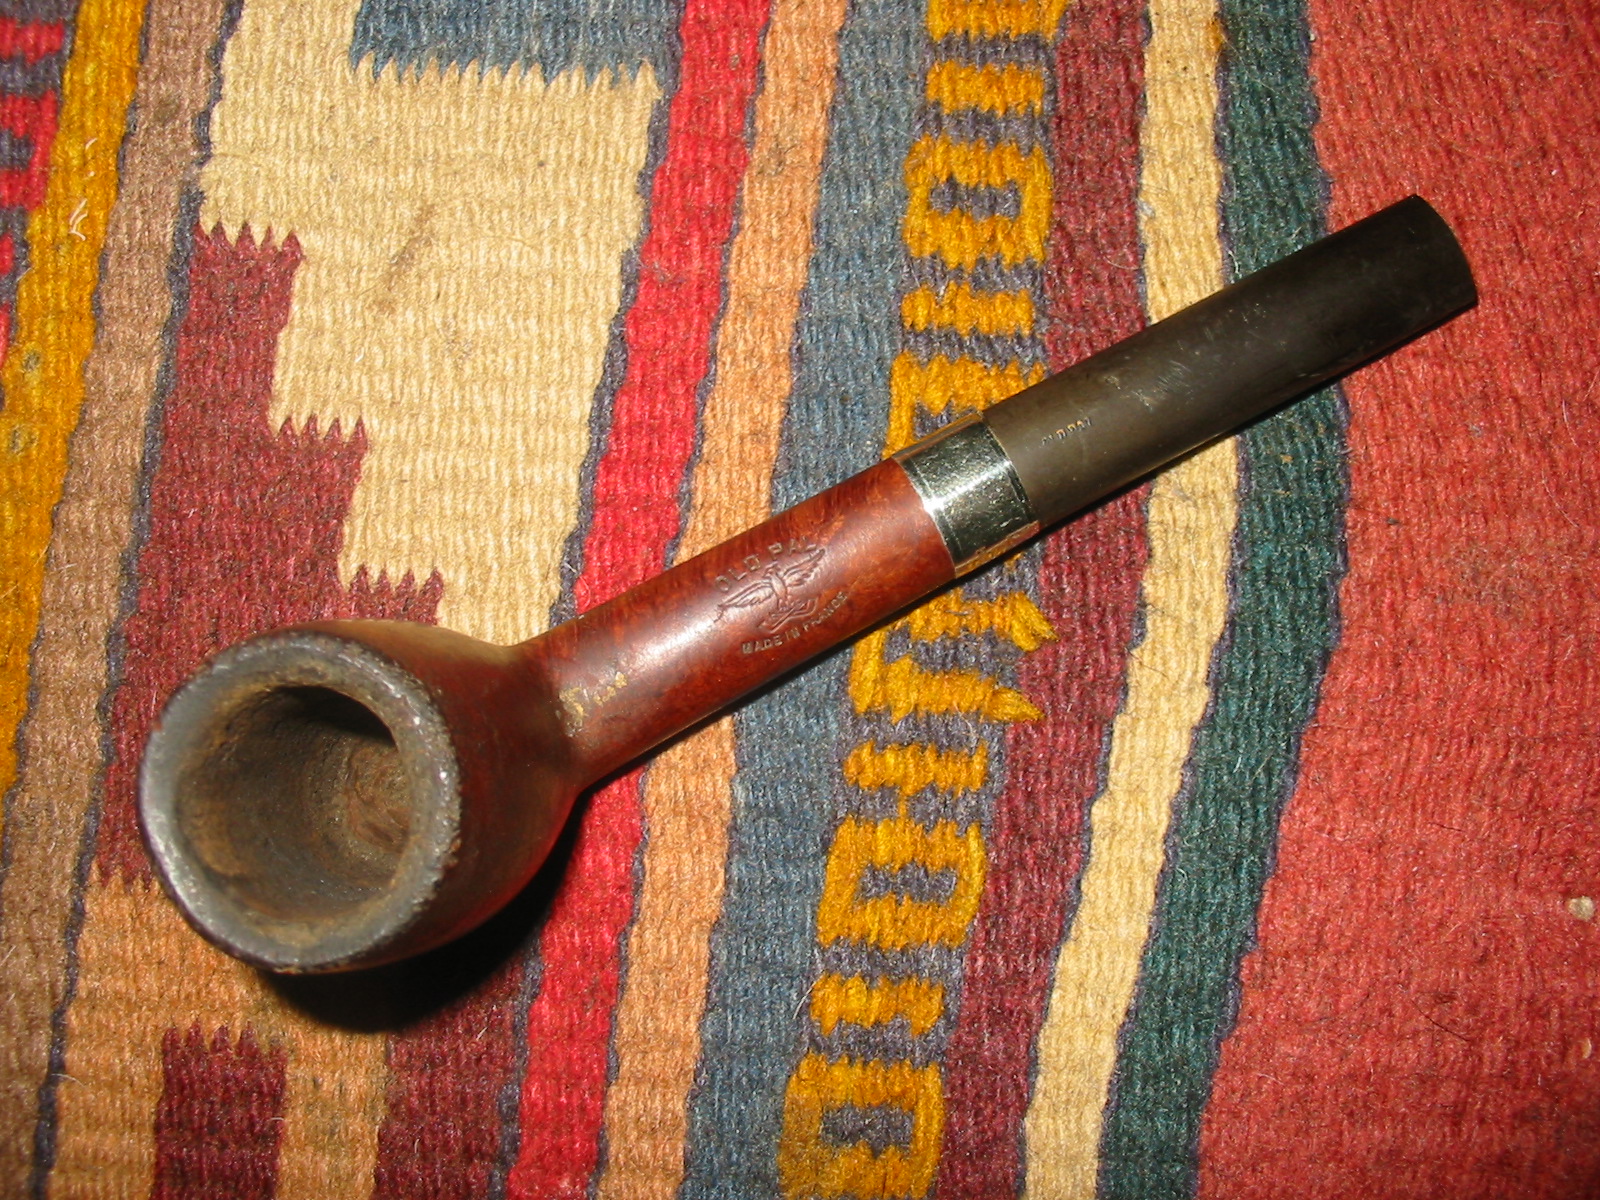
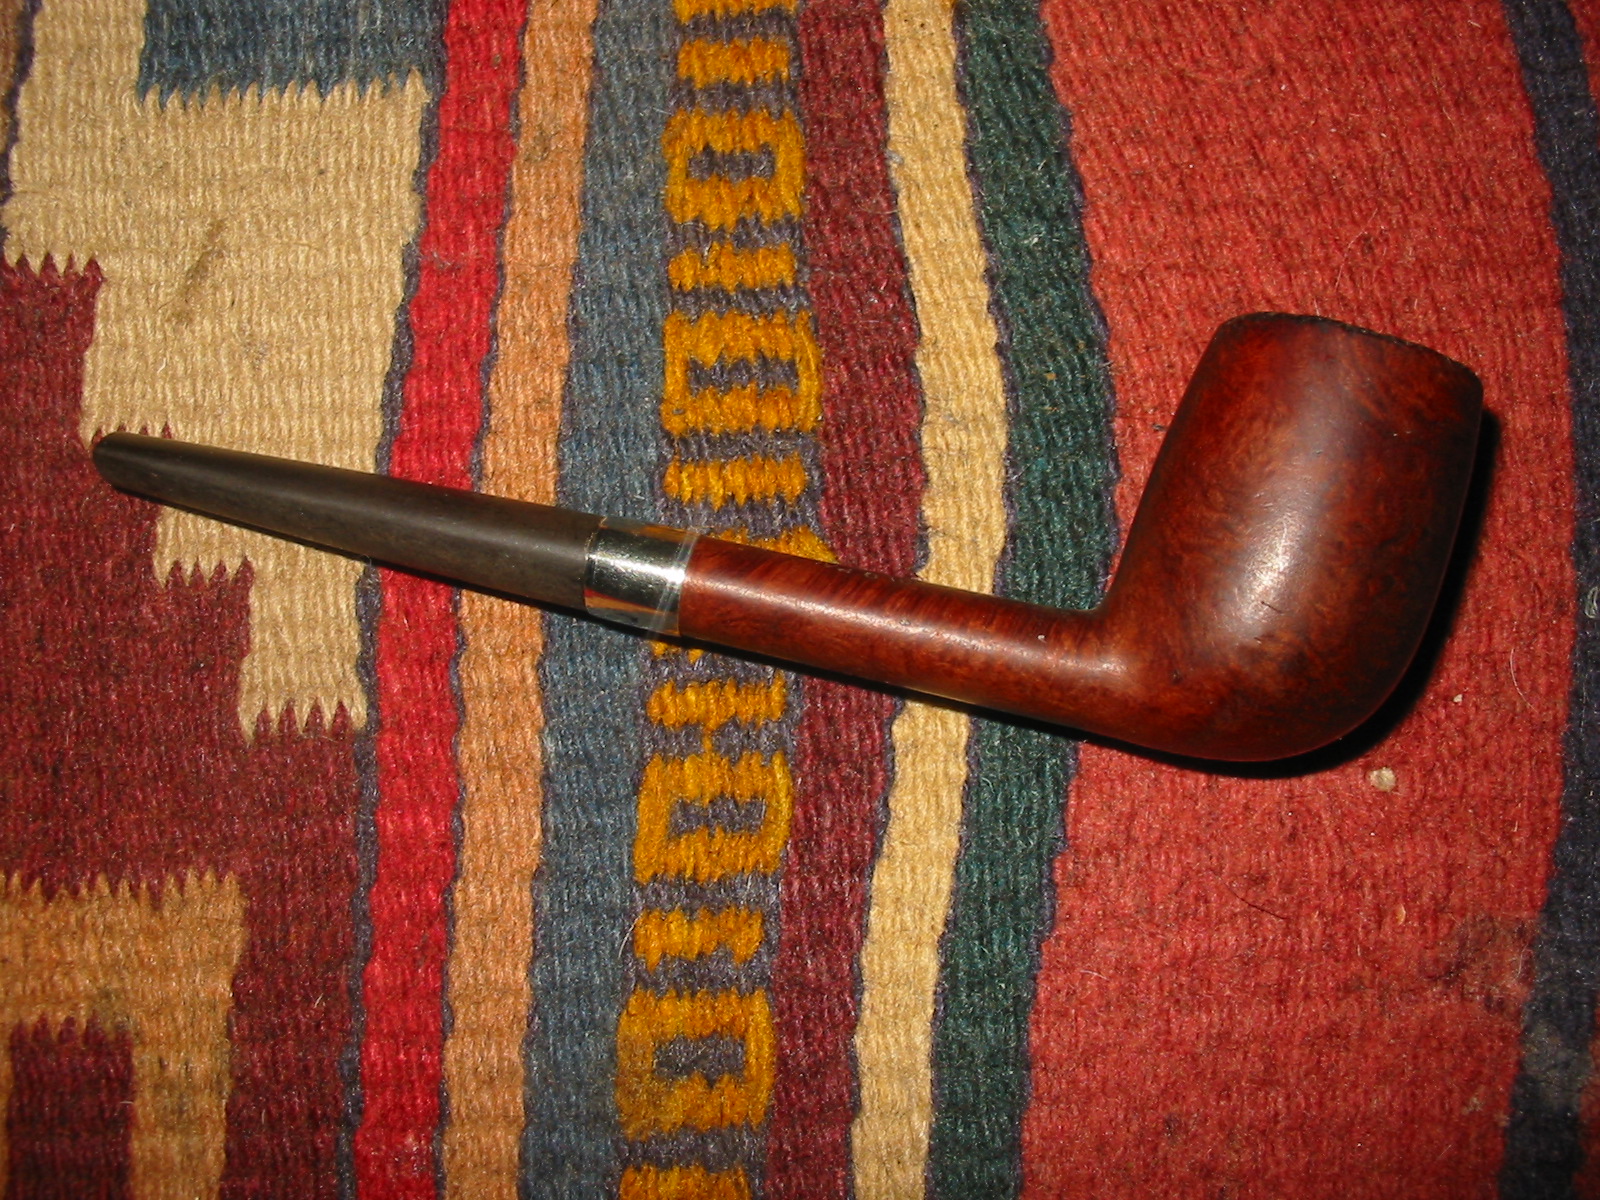
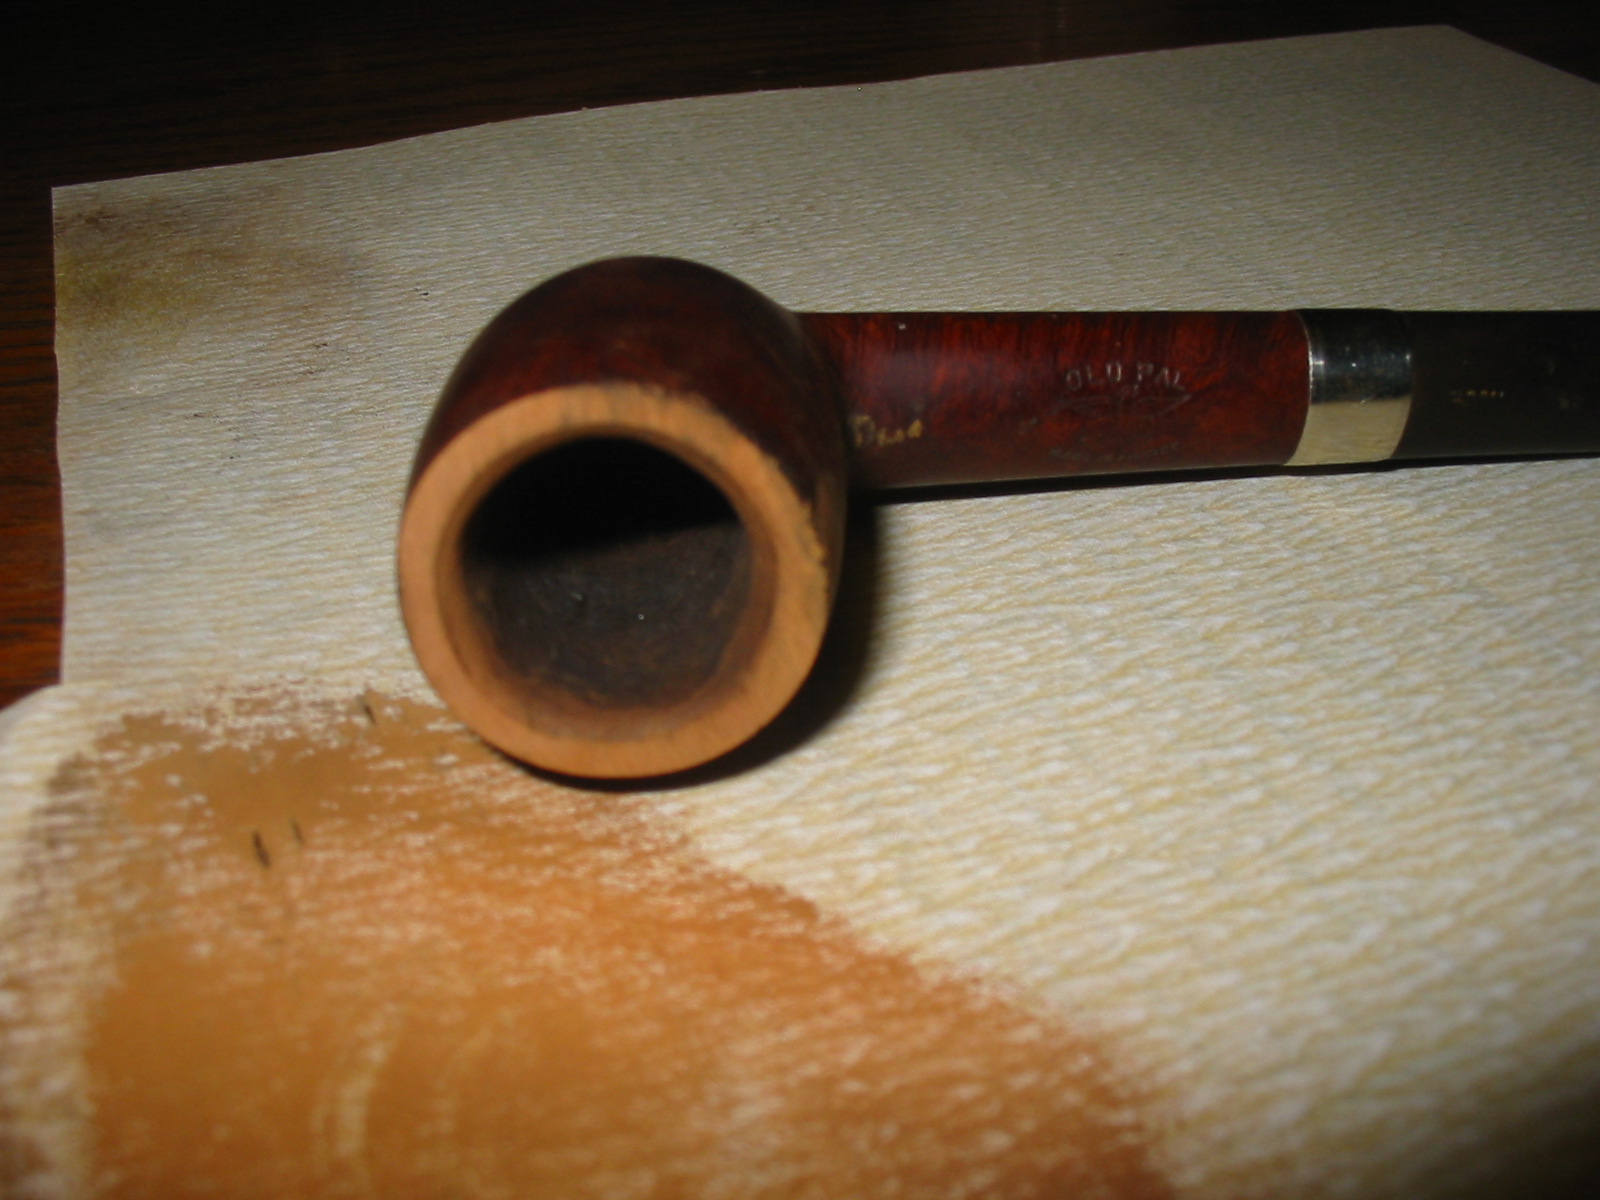
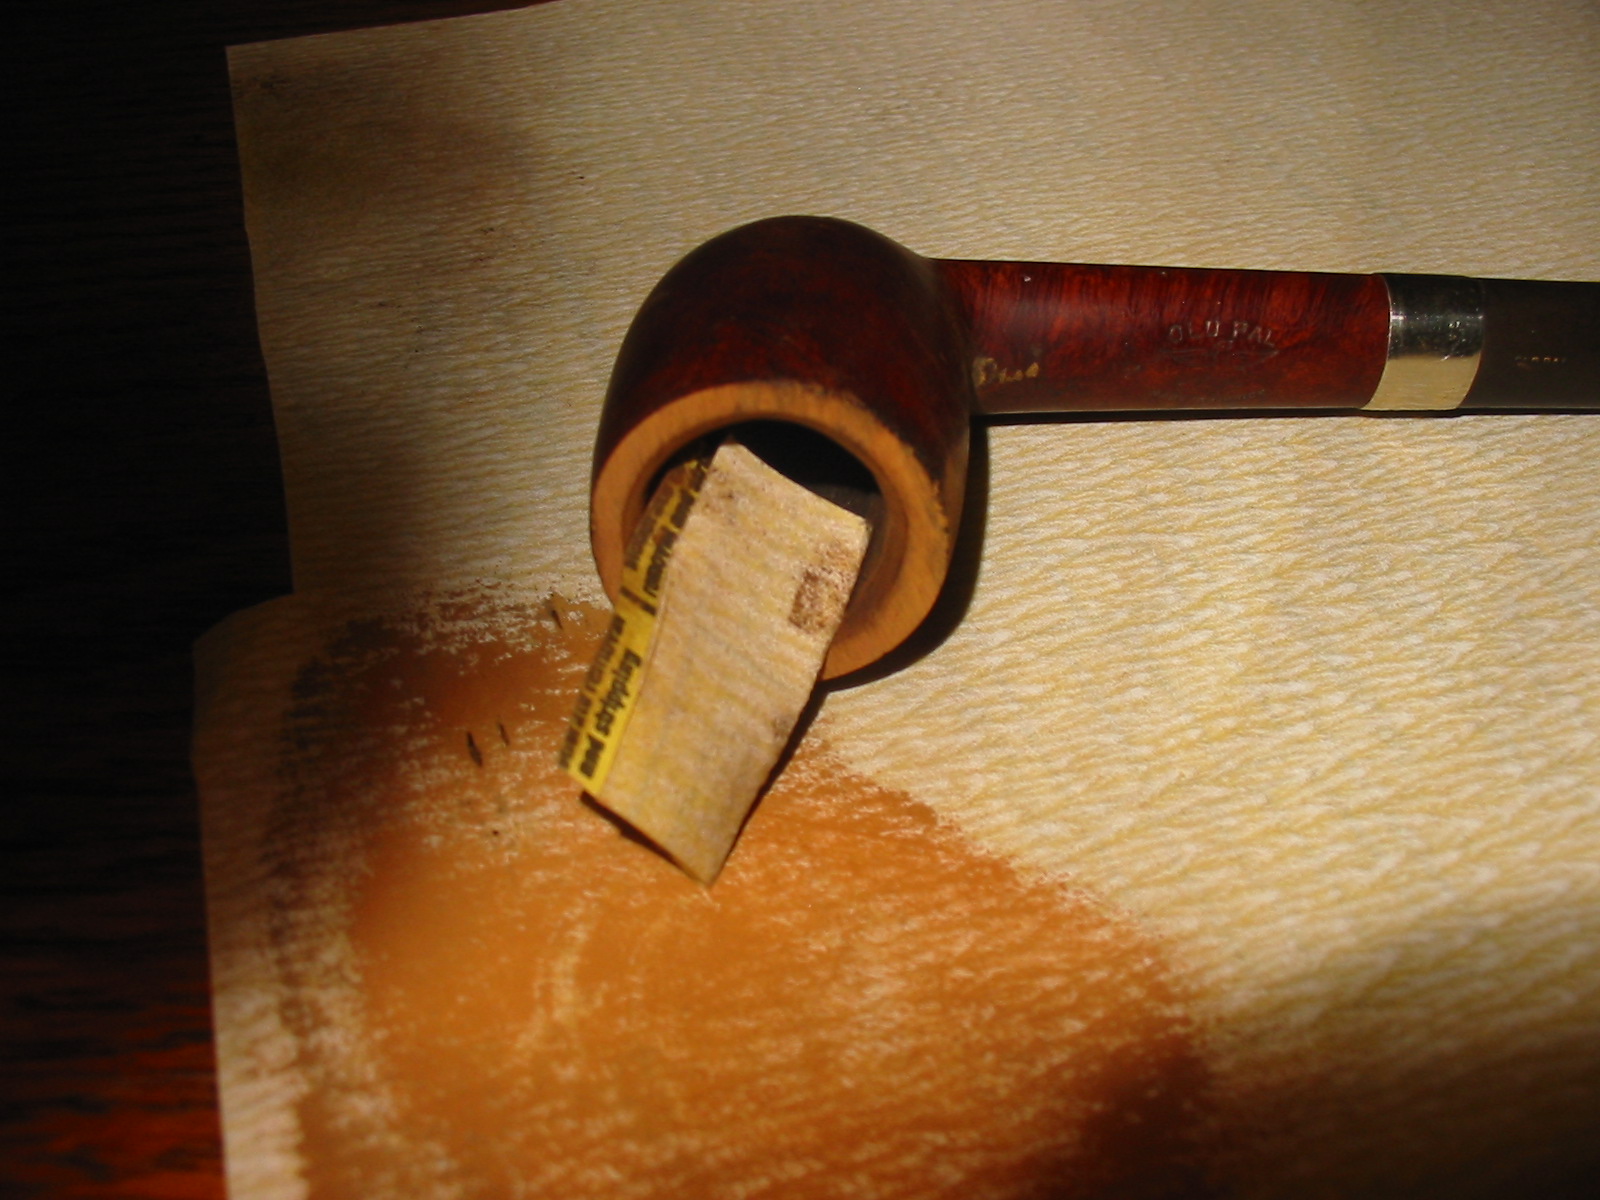
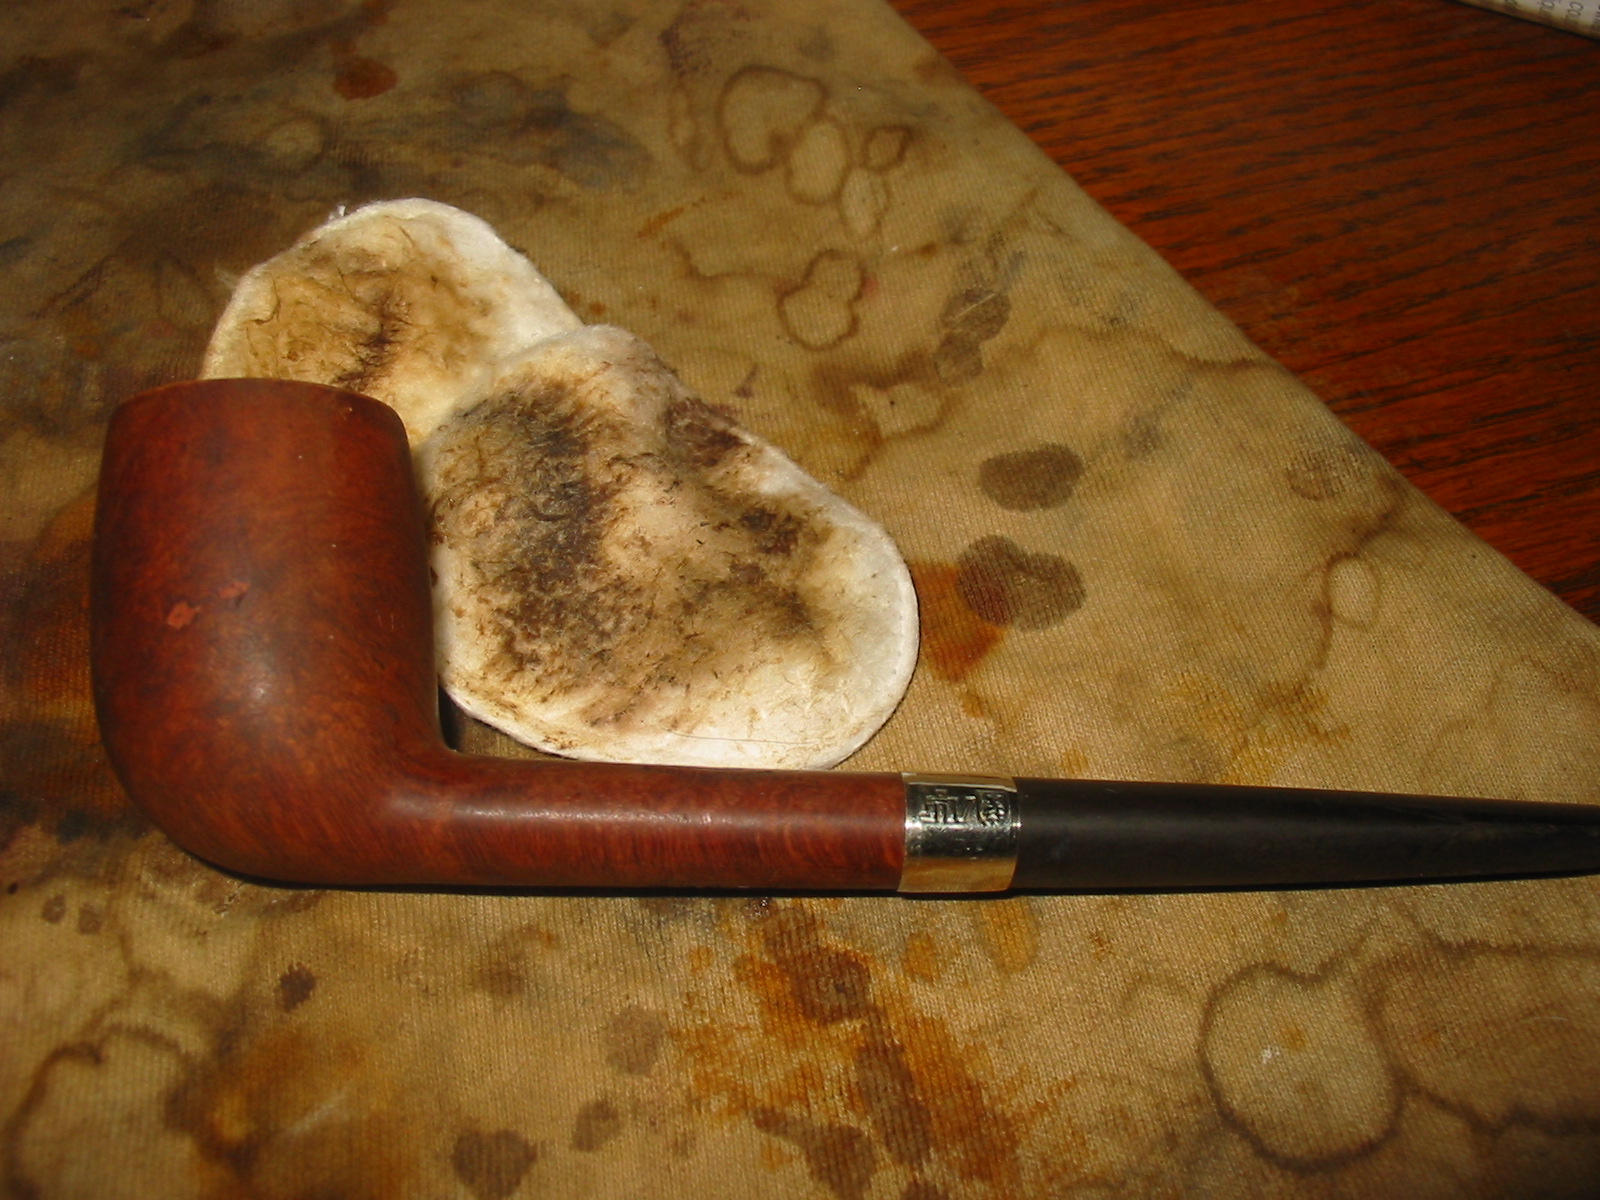
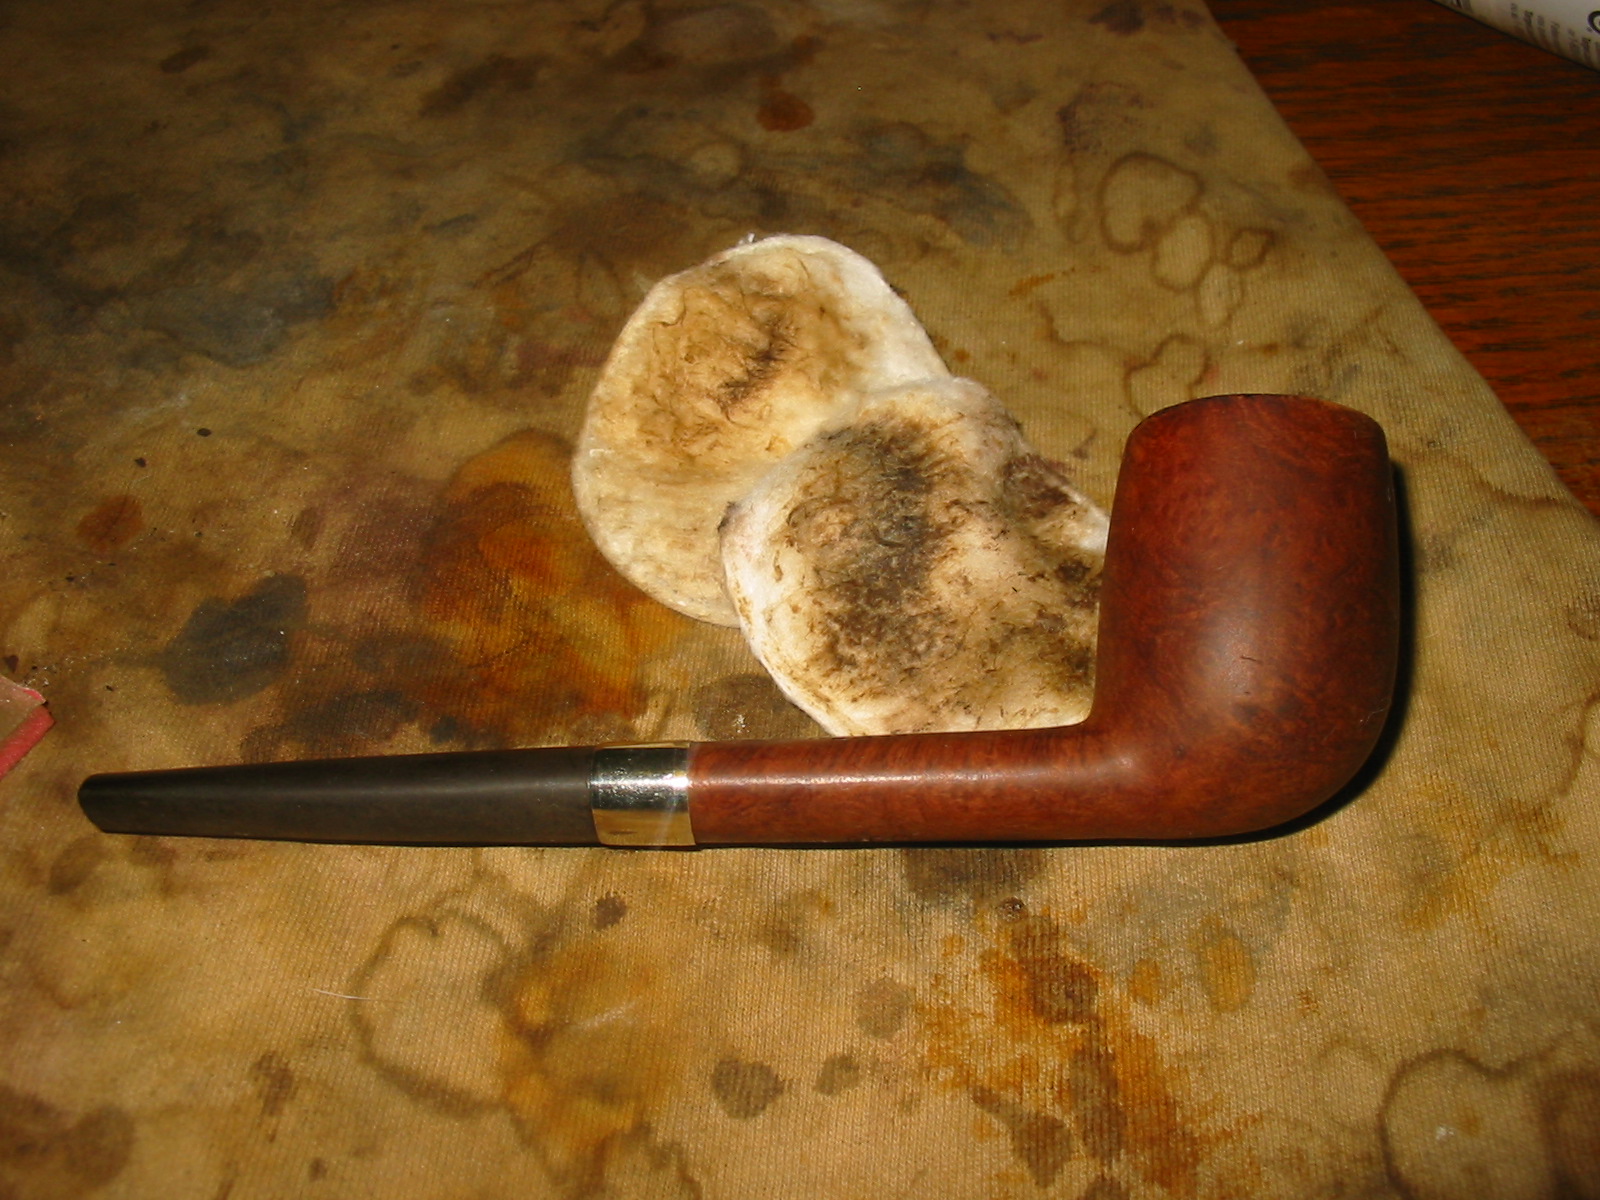
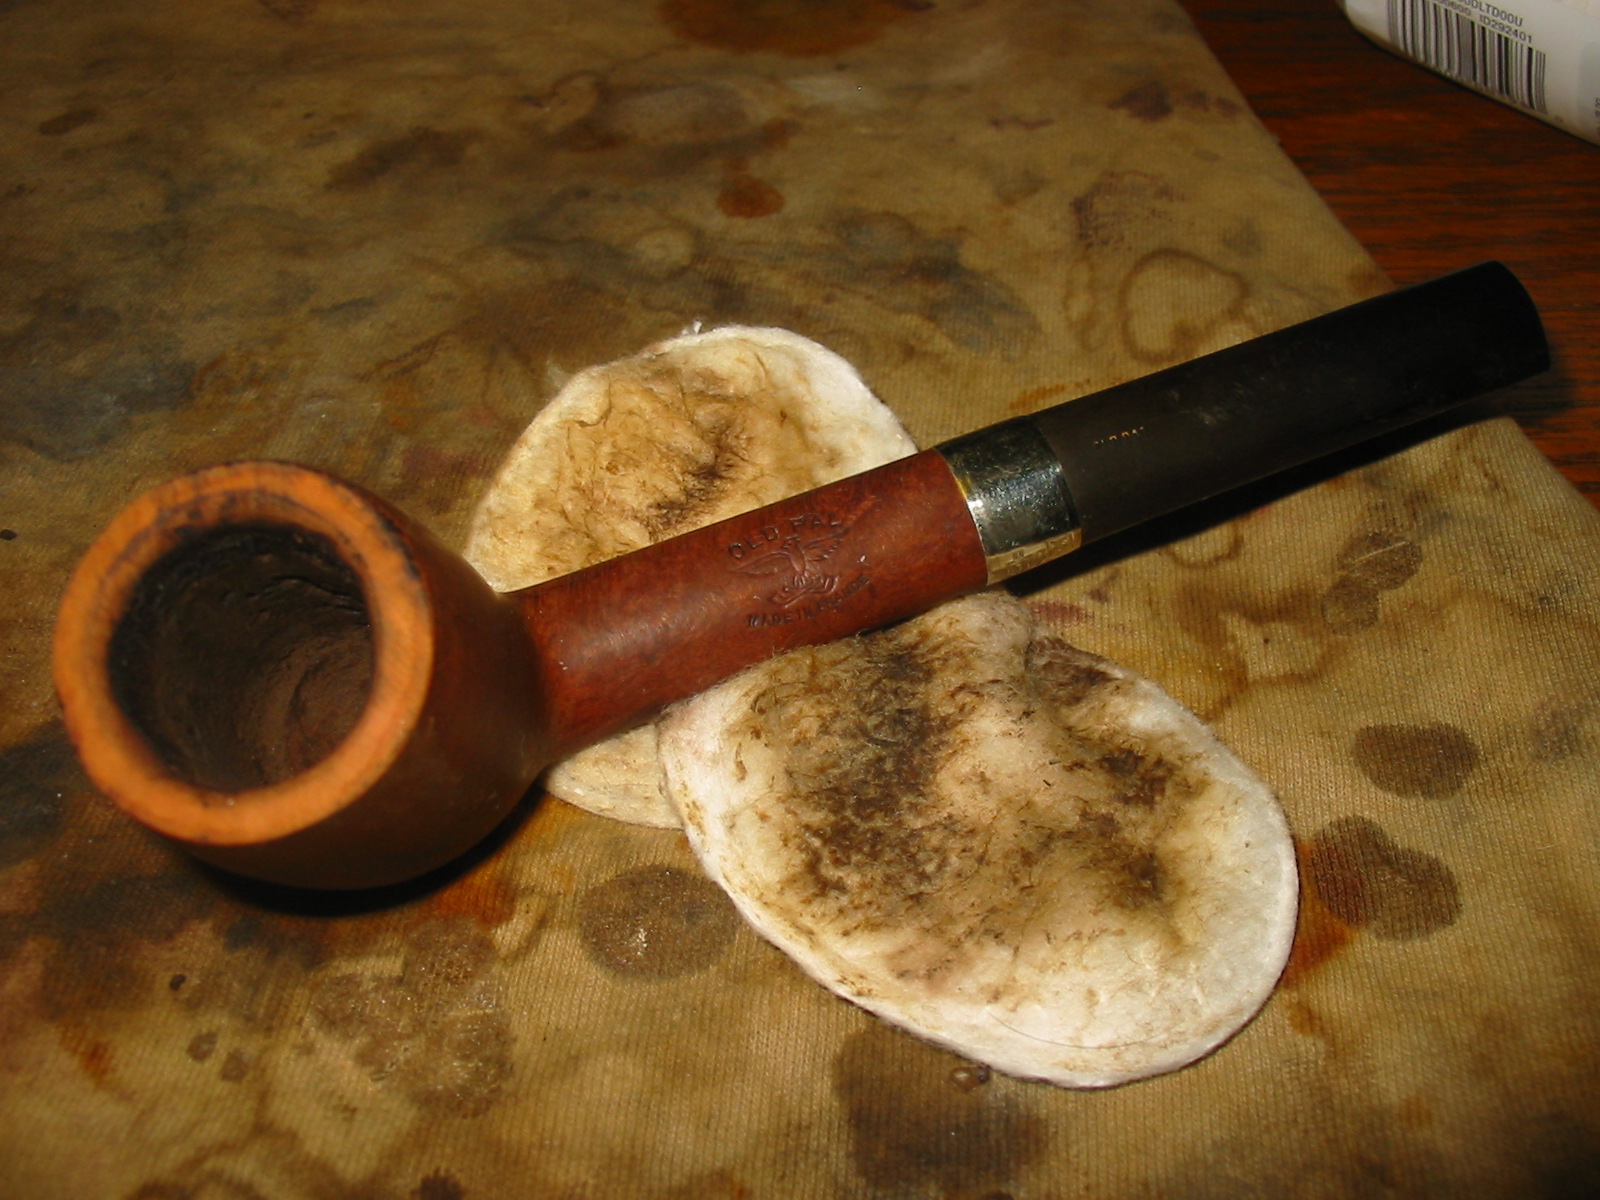
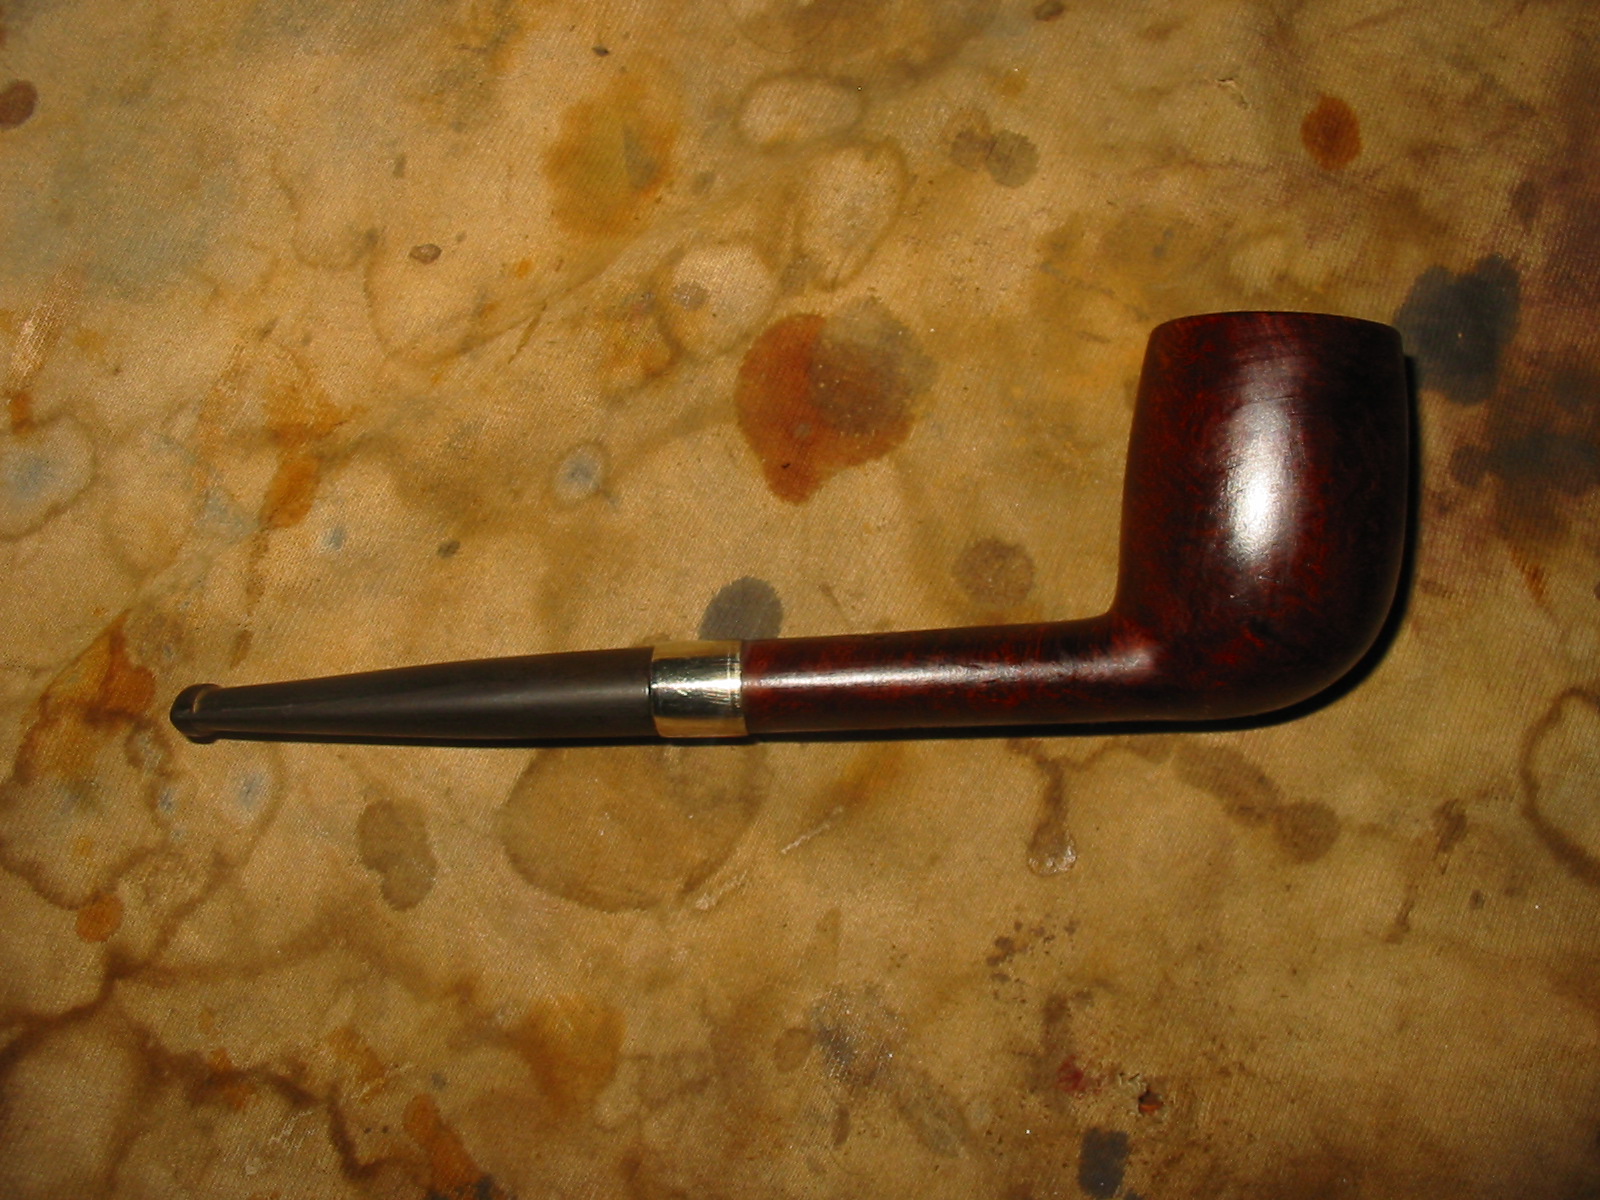
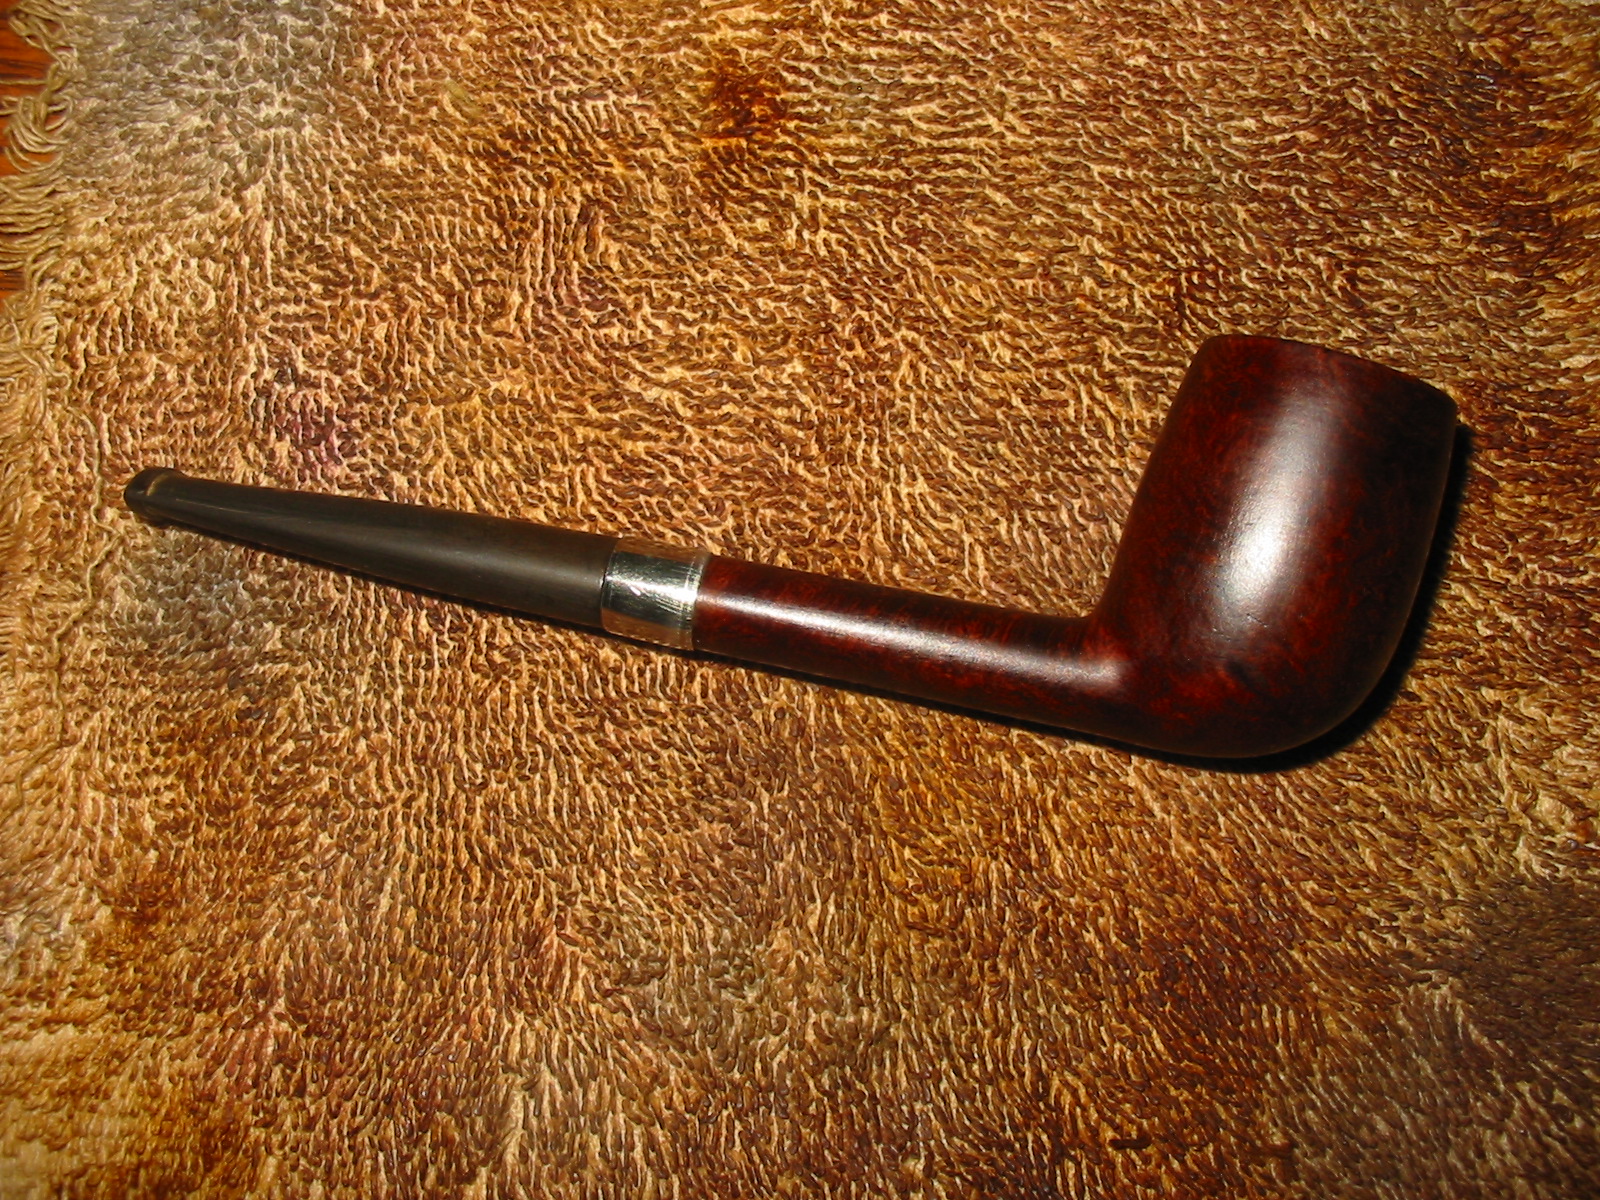
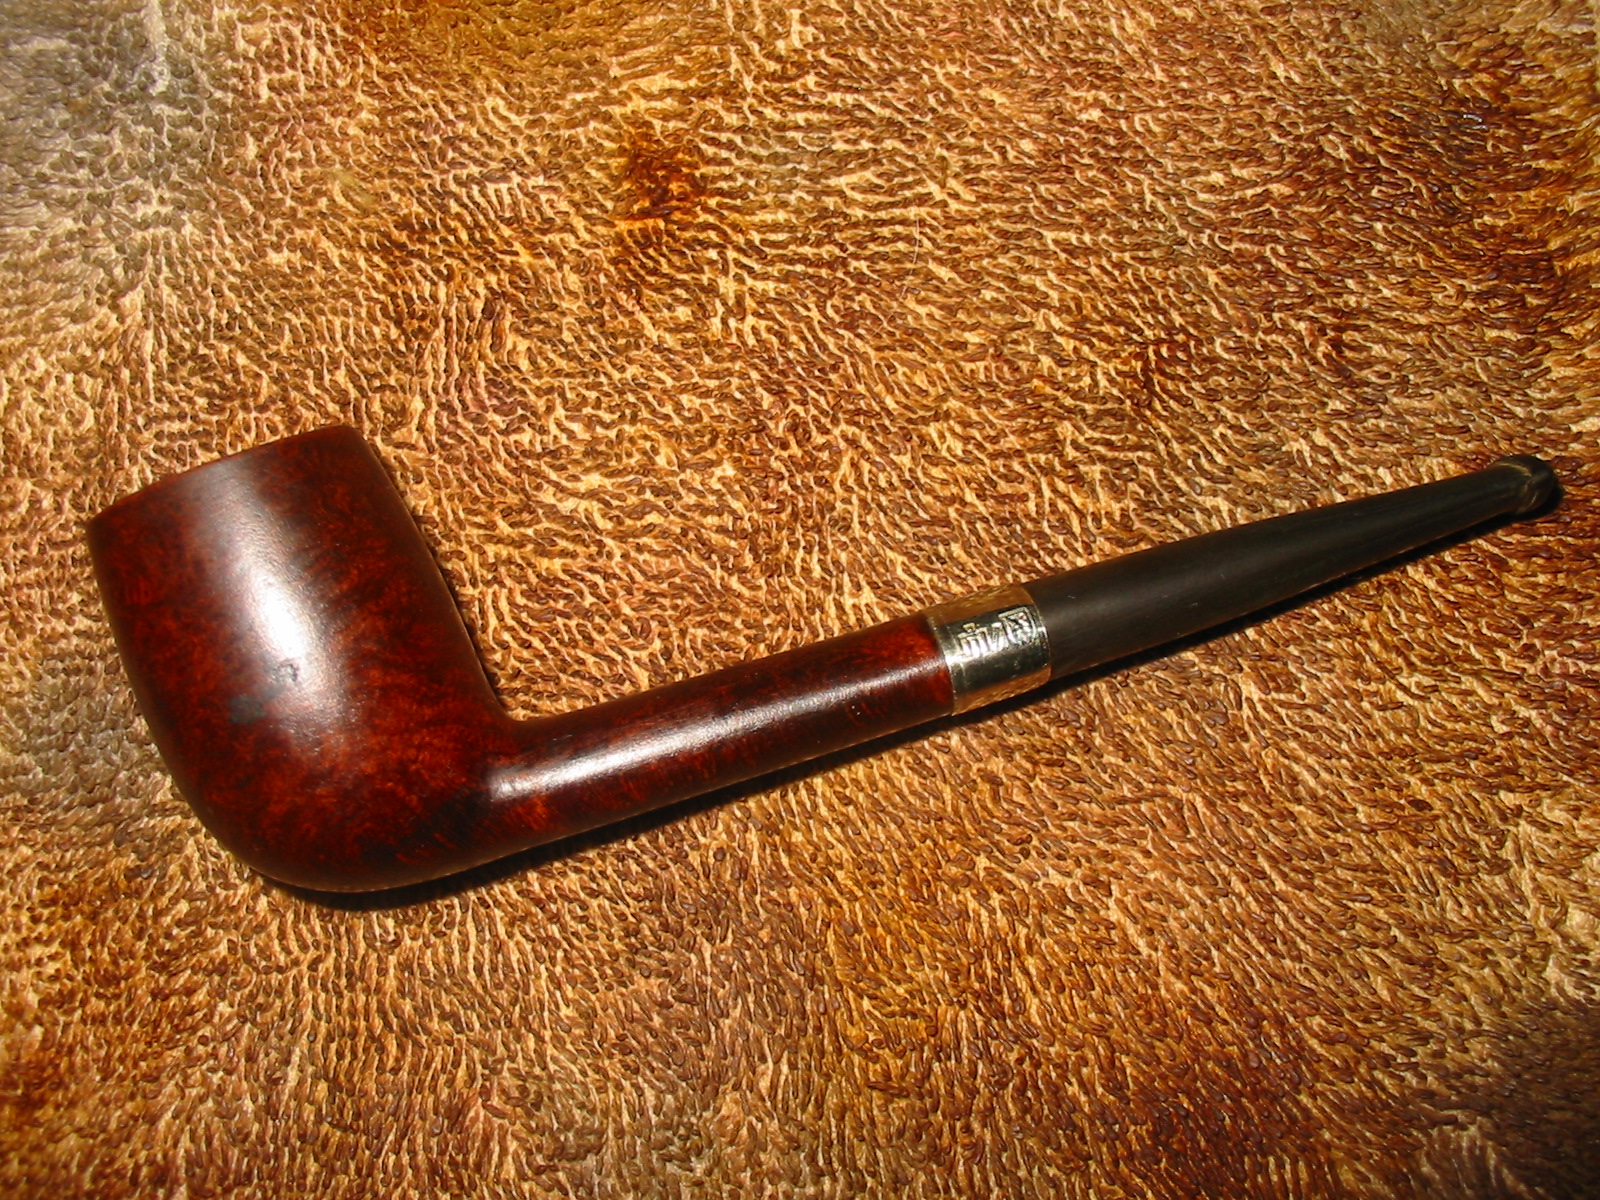
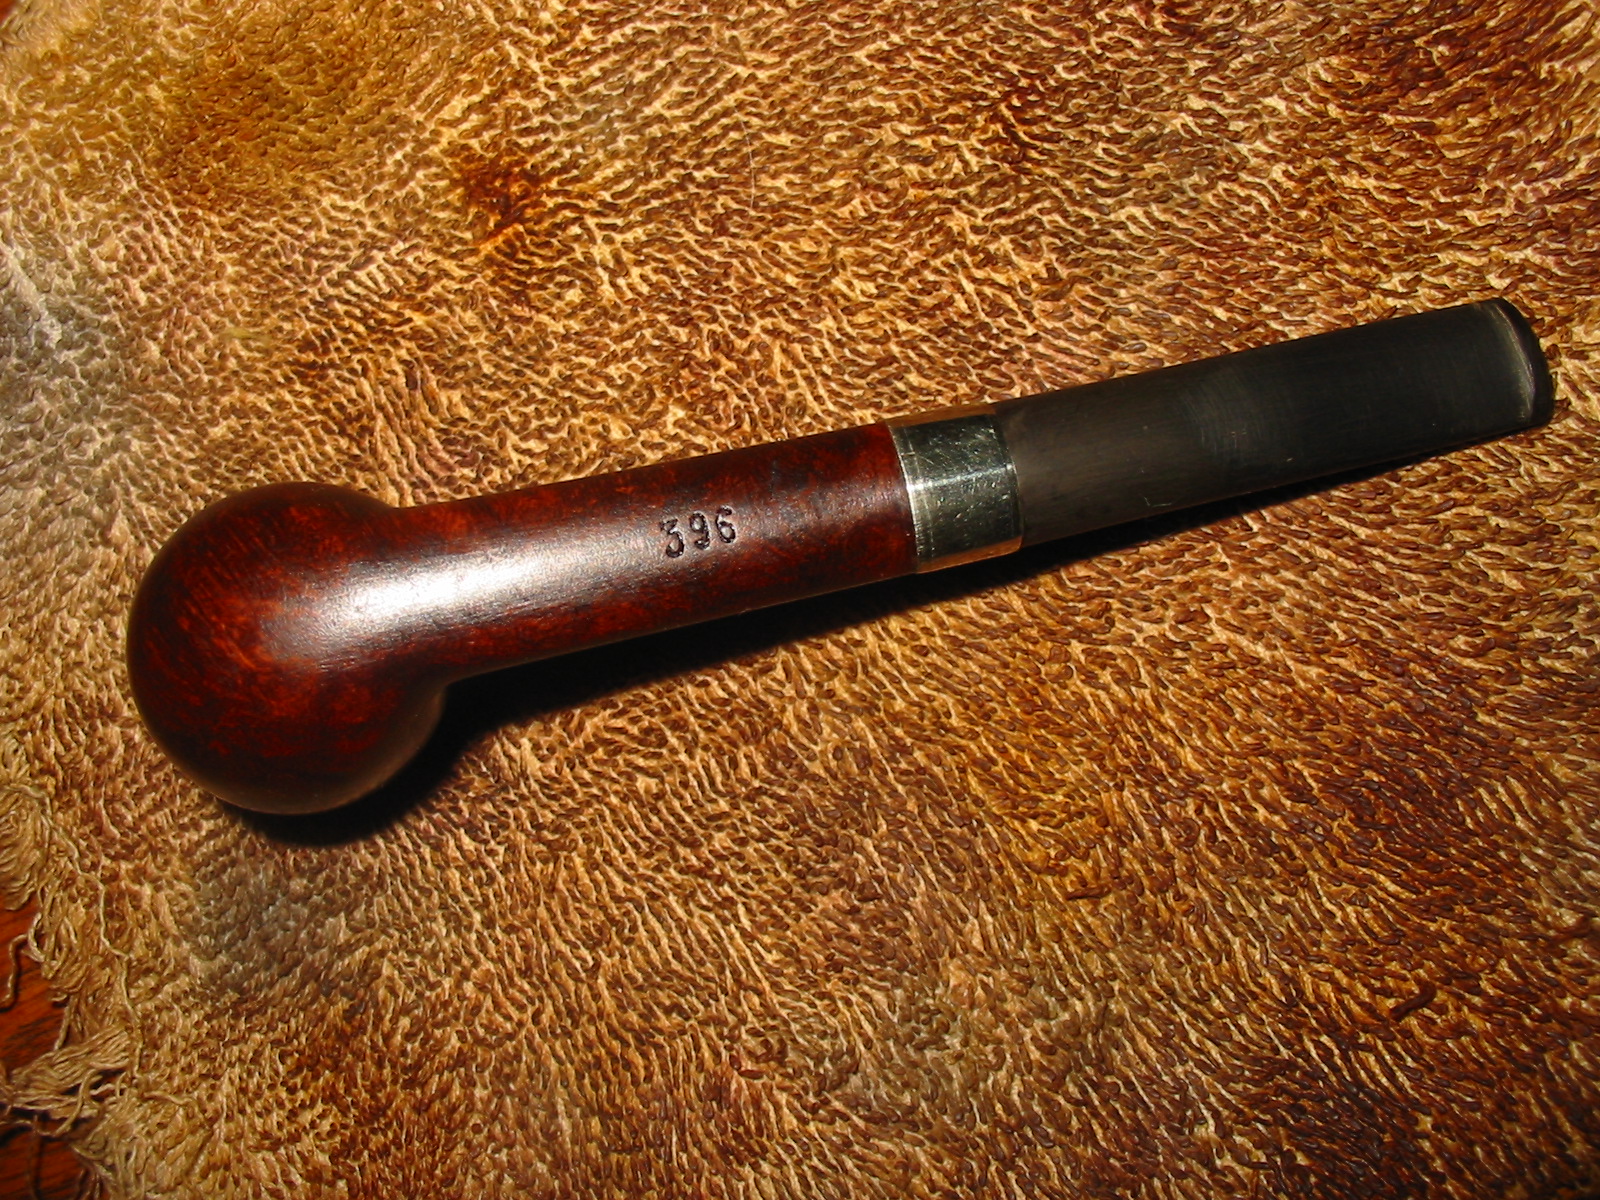
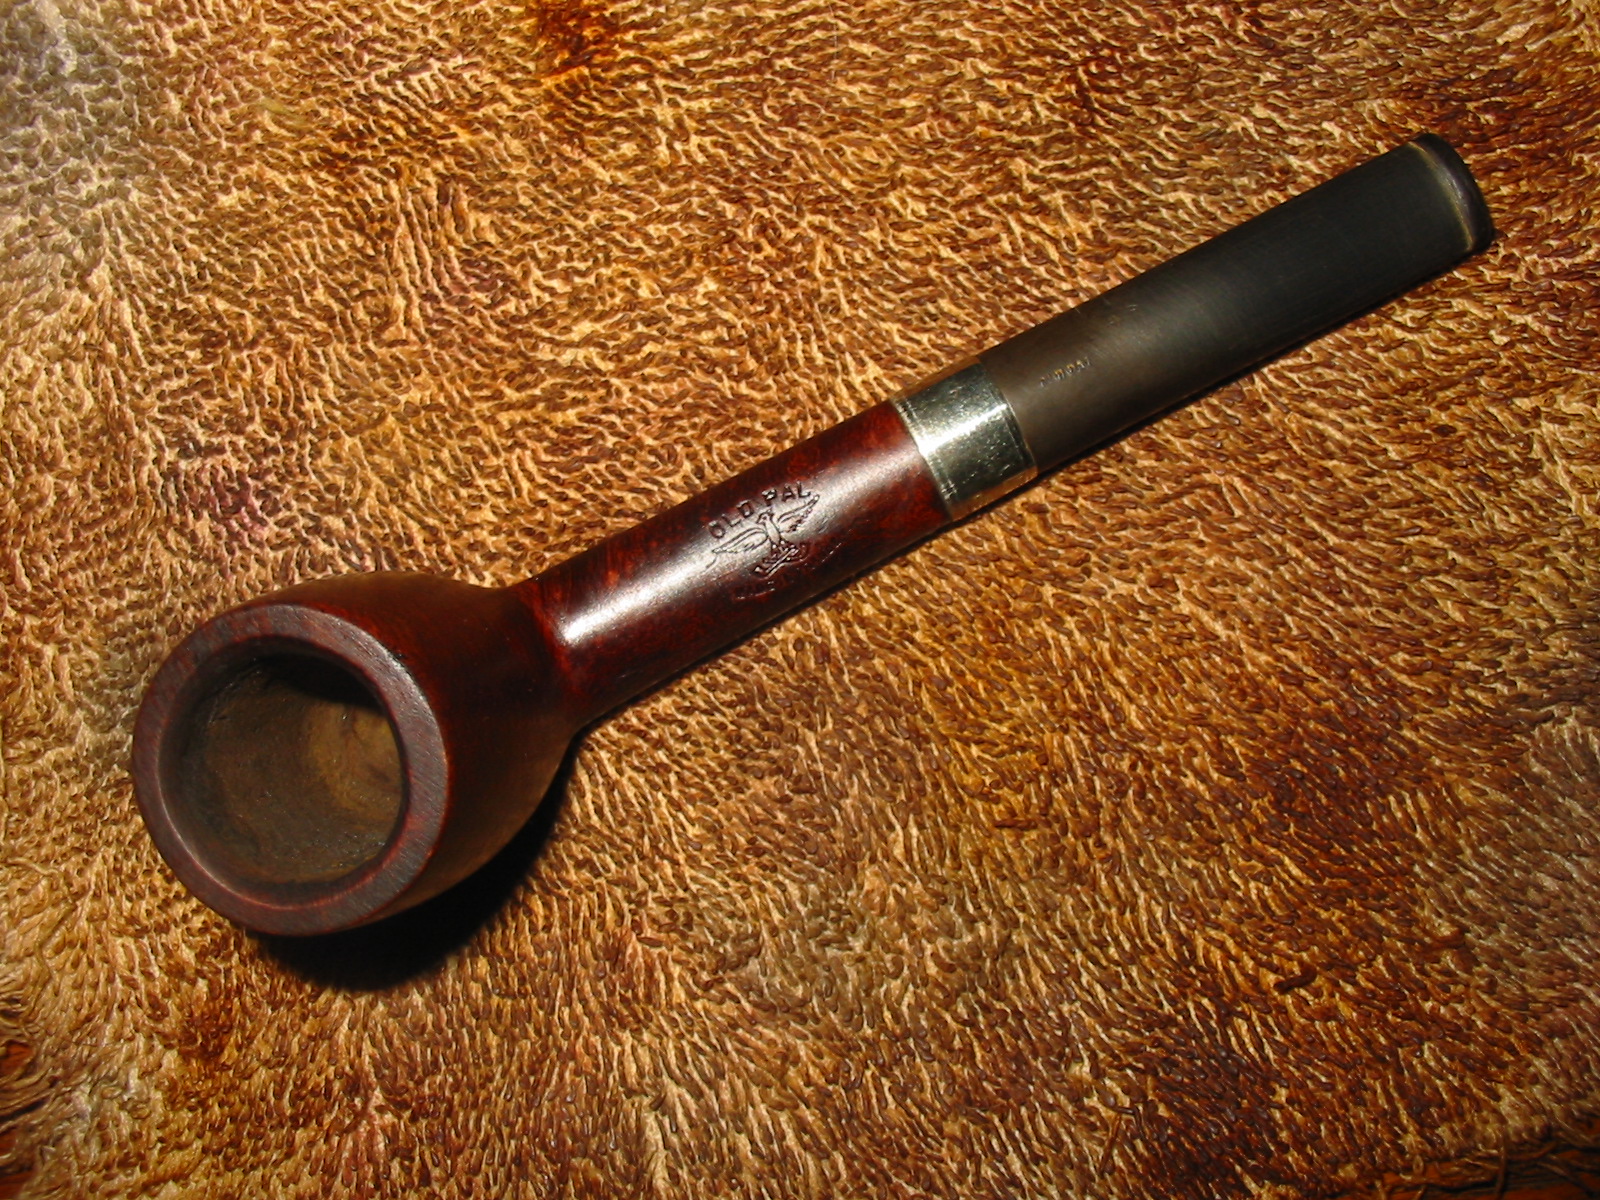
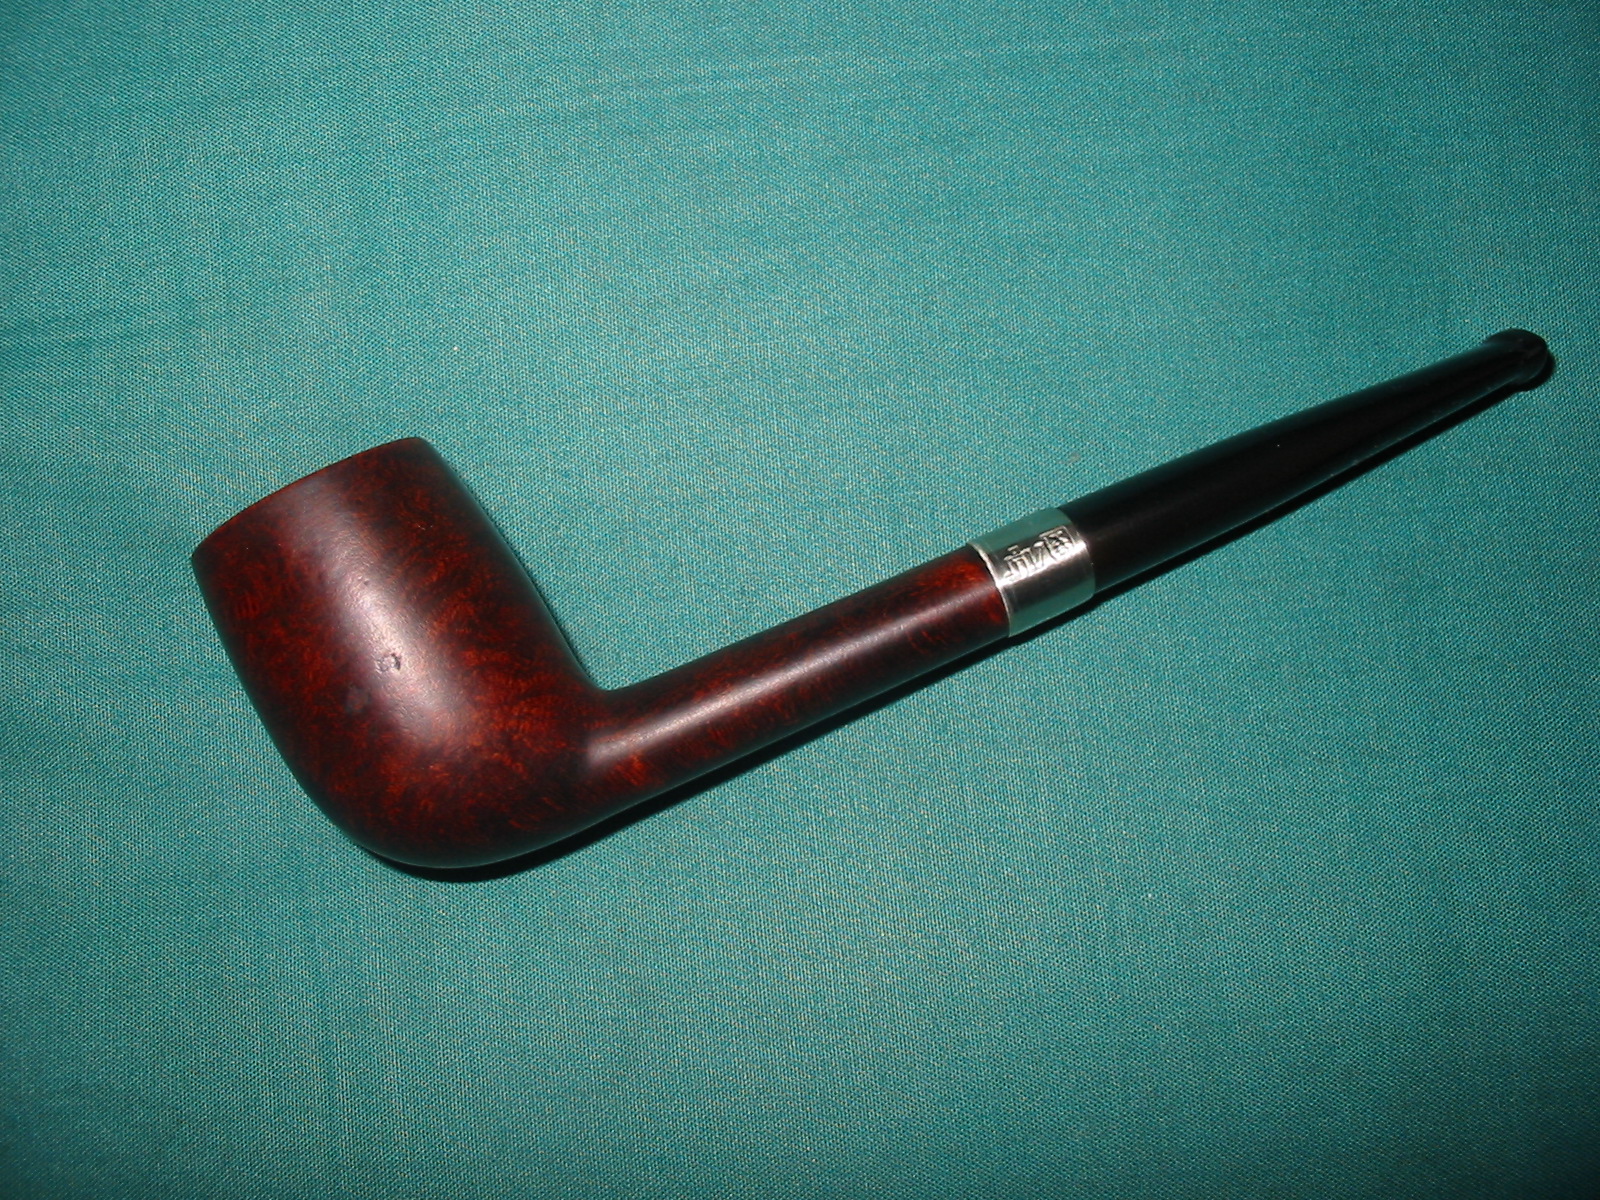
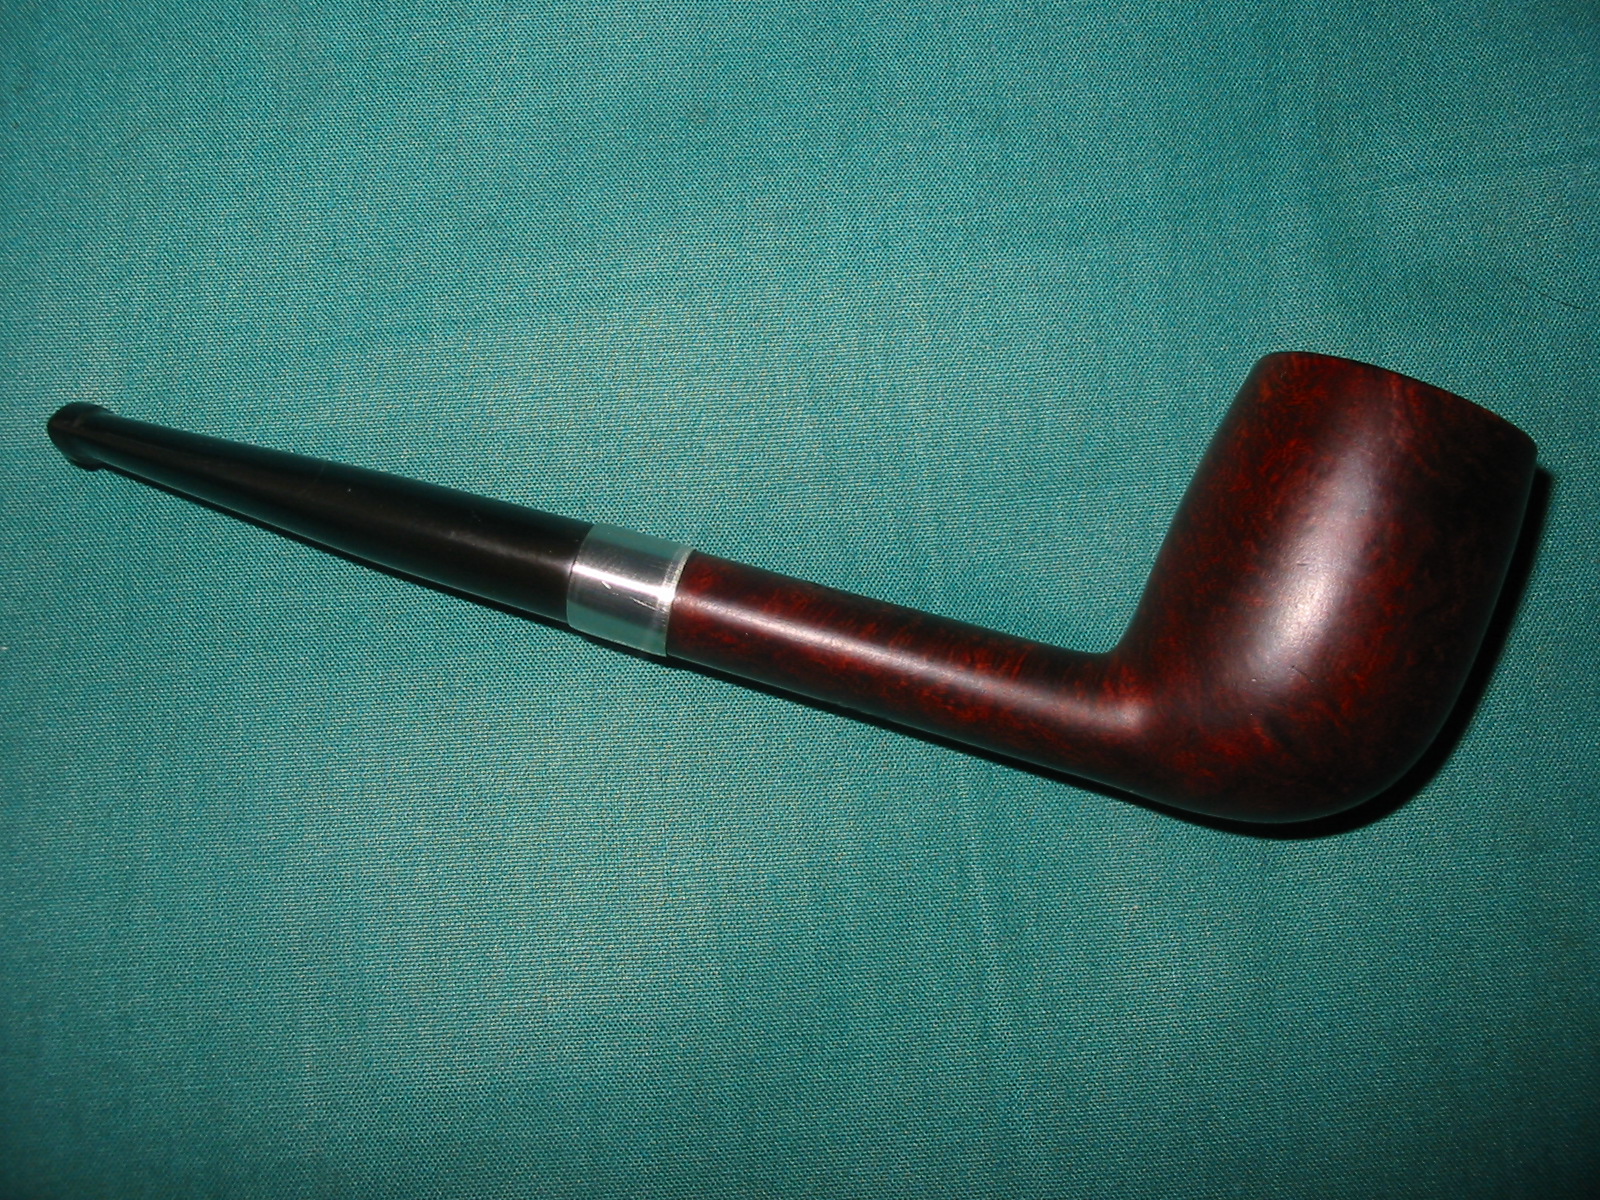
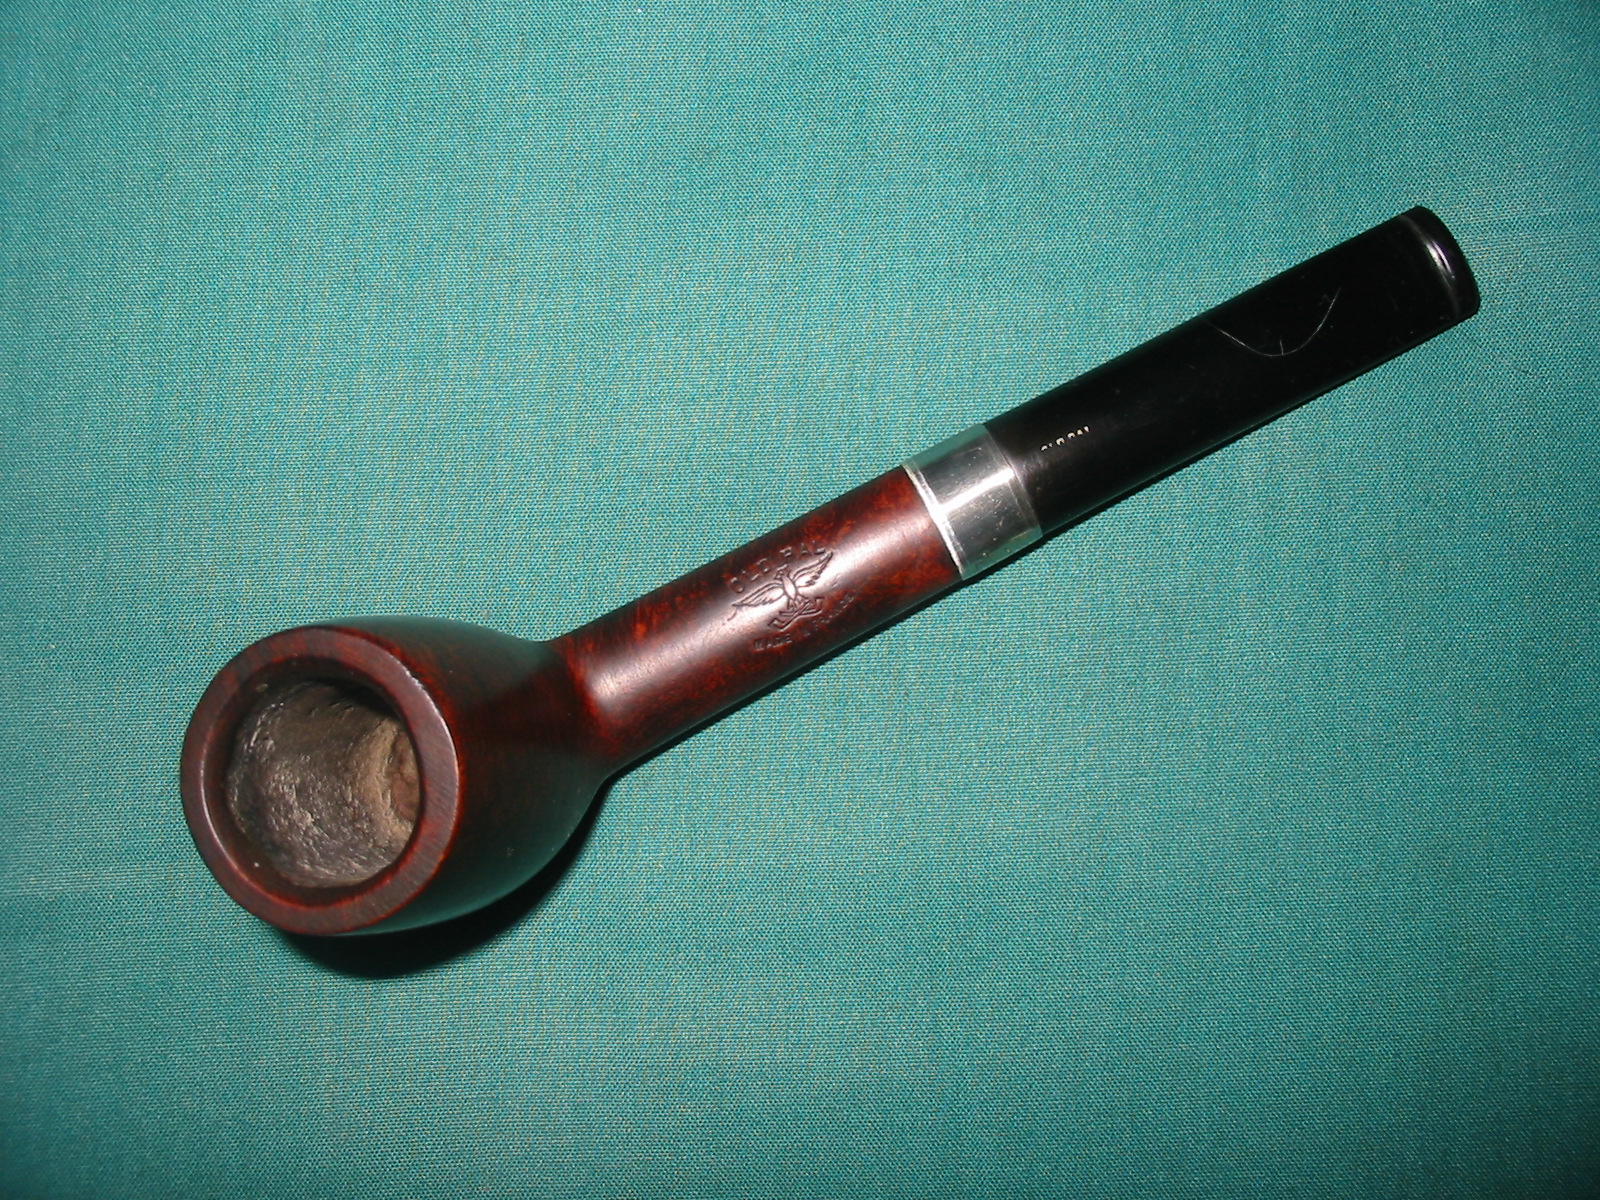
I just finished cleaning up another of the old pipes I picked up in my antique mall grab bag. It is a dainty pipe with an oval shank. When it came out of the grab bag it had a cracked shank and did not have a stem in the shank so I assumed it was a Canadian. When I went over the stems in the bag I found that one of them was stamped Old Pal. It fit the shank well and the look was quite unique. The stem was broken at the button with a large chunk on one side missing. The overall length is 5 ¾ inches and the weight is negligible. It is stamped on top of the shank in arc – Old Pal, over an Eagle with spread wings and then underneath Made in France.

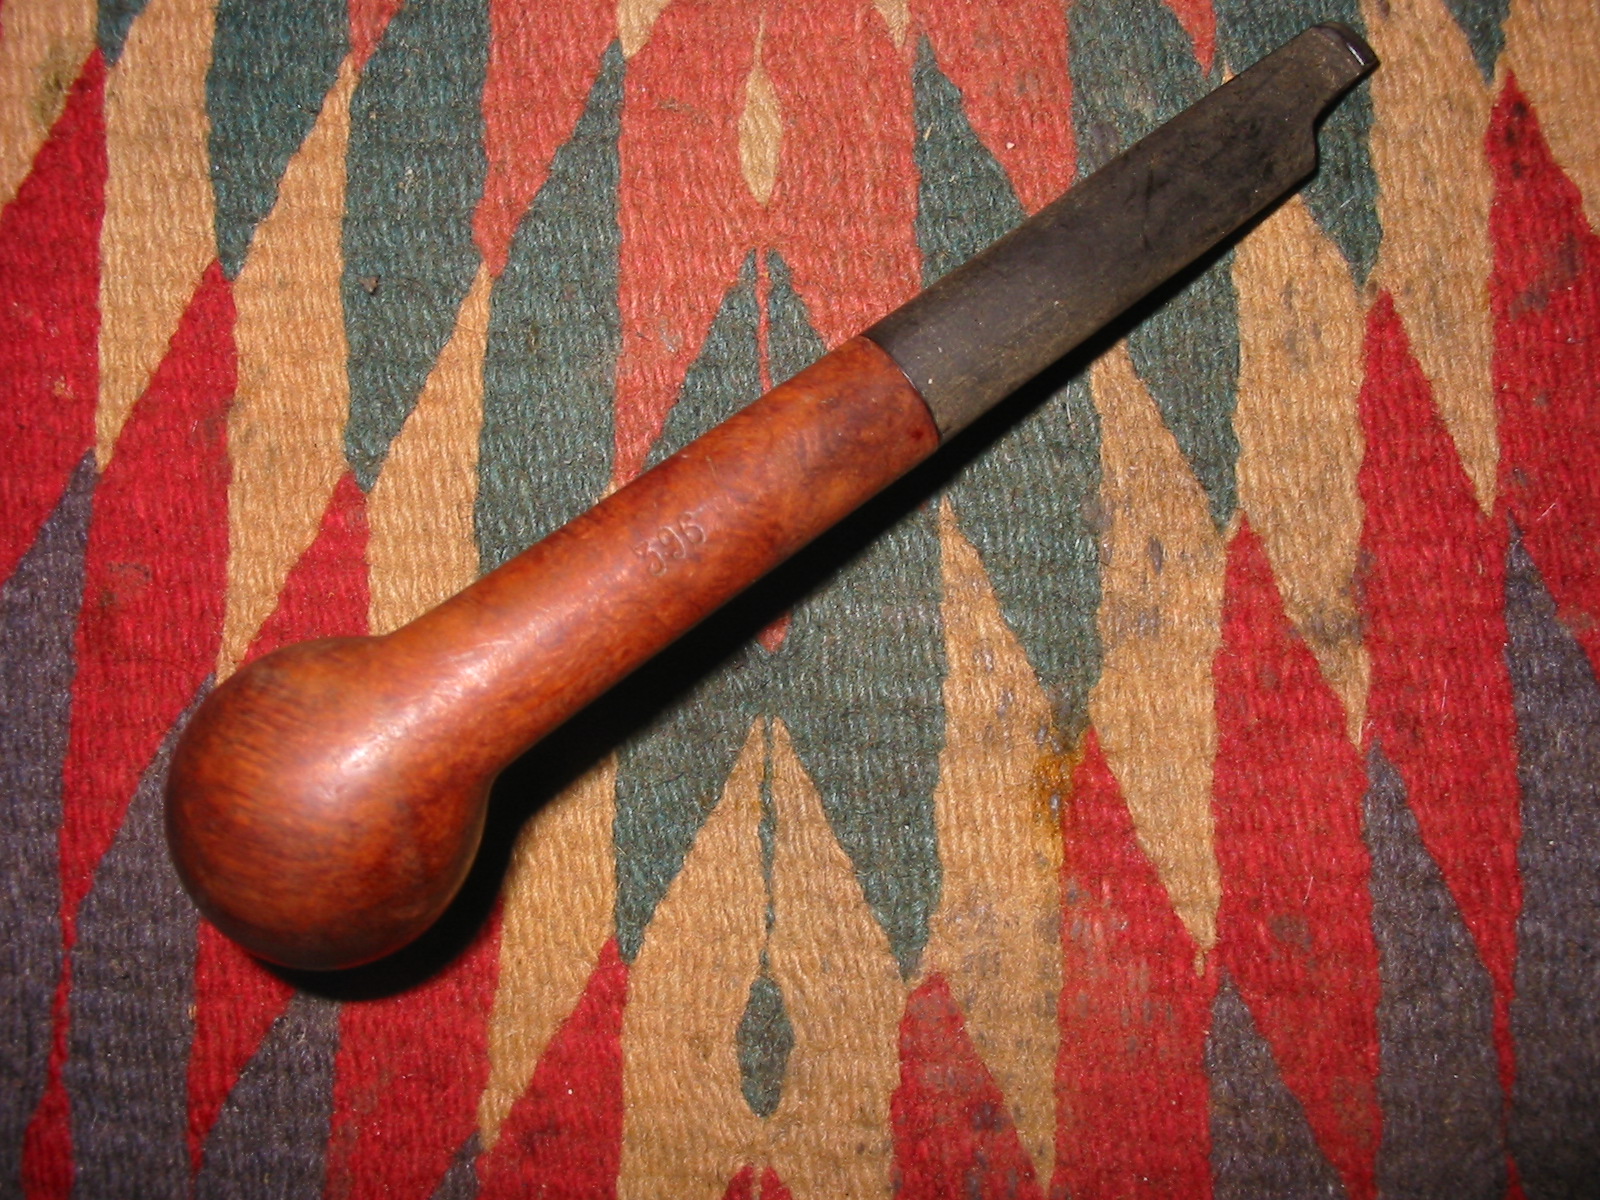
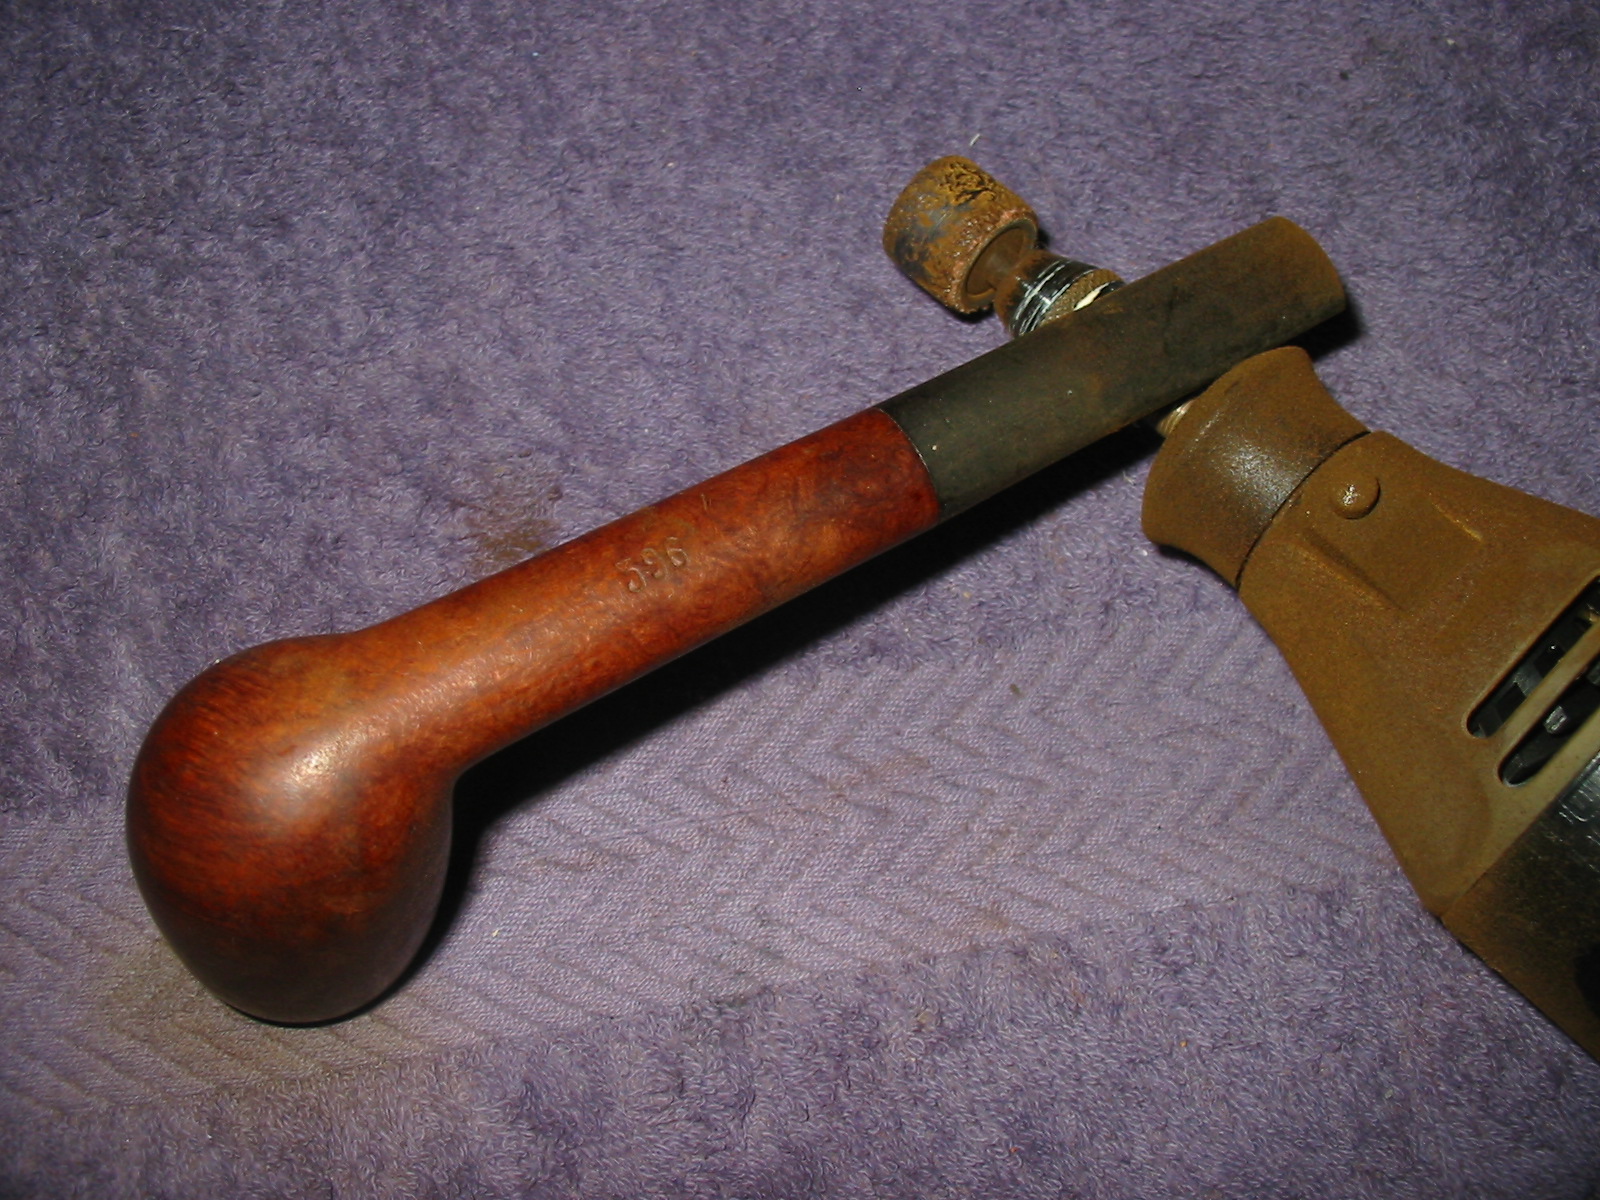
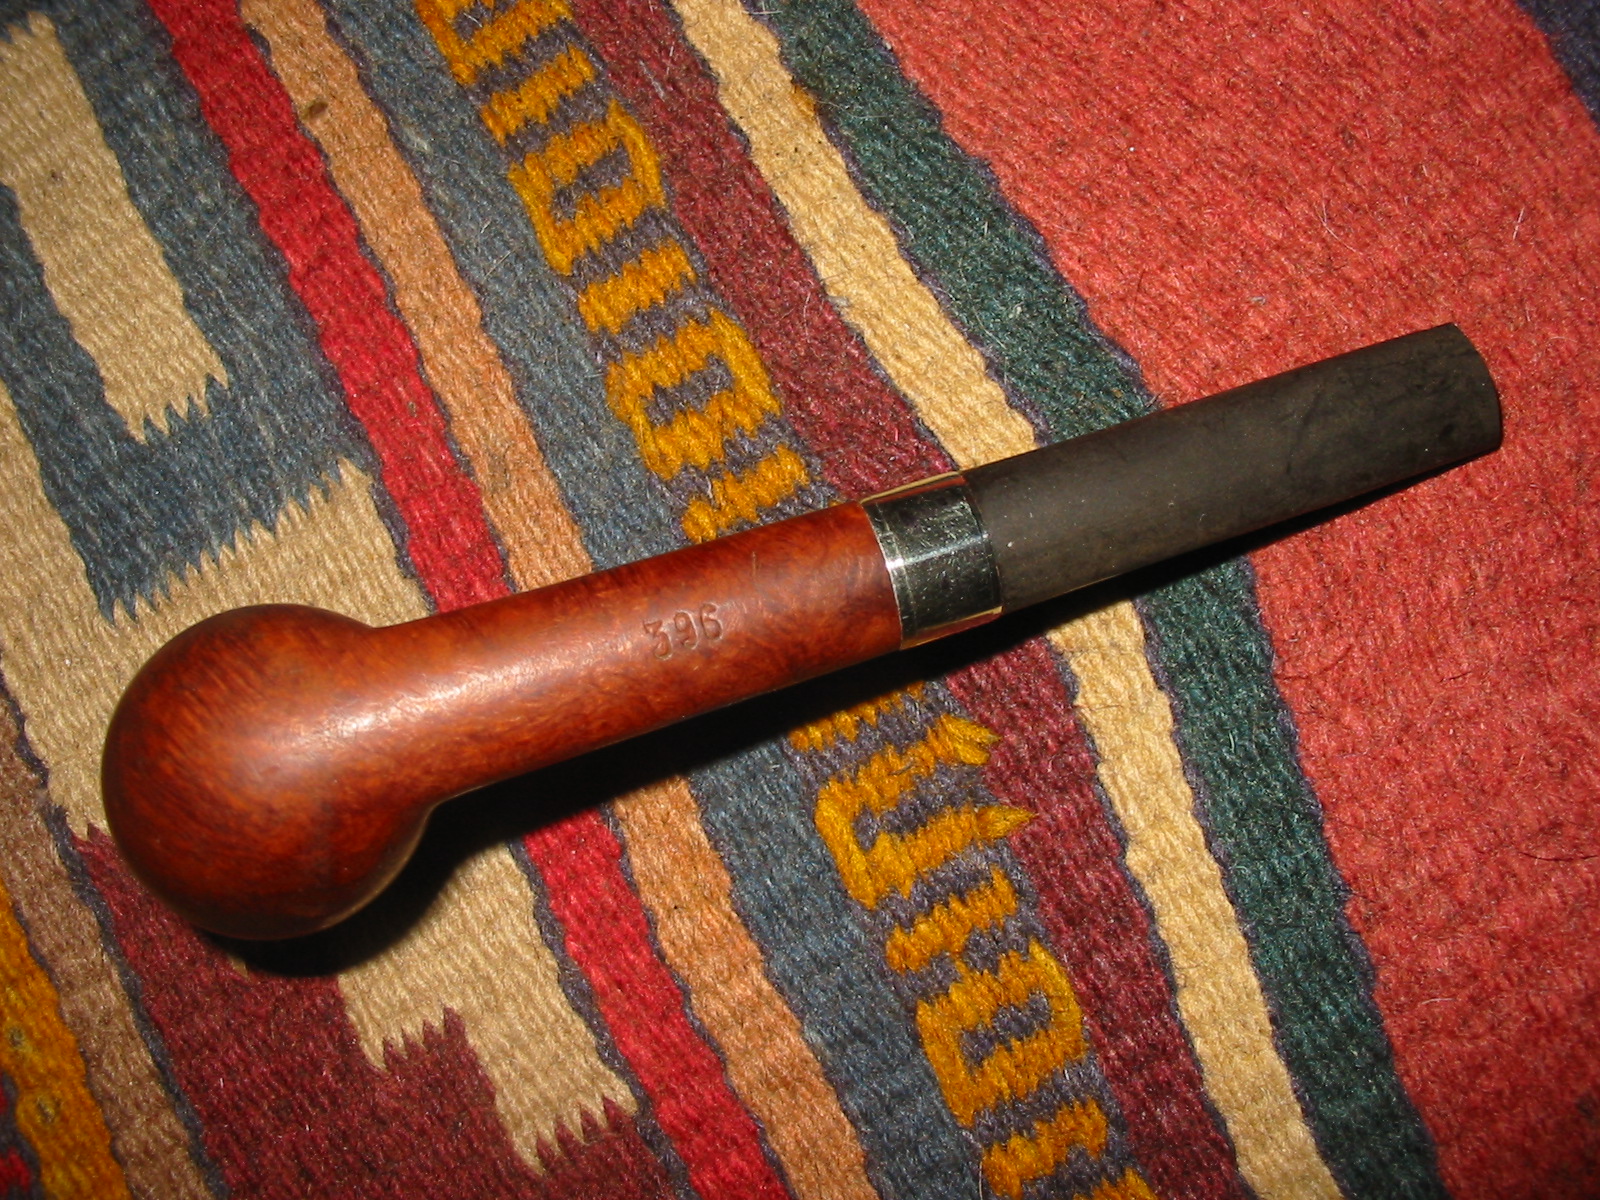
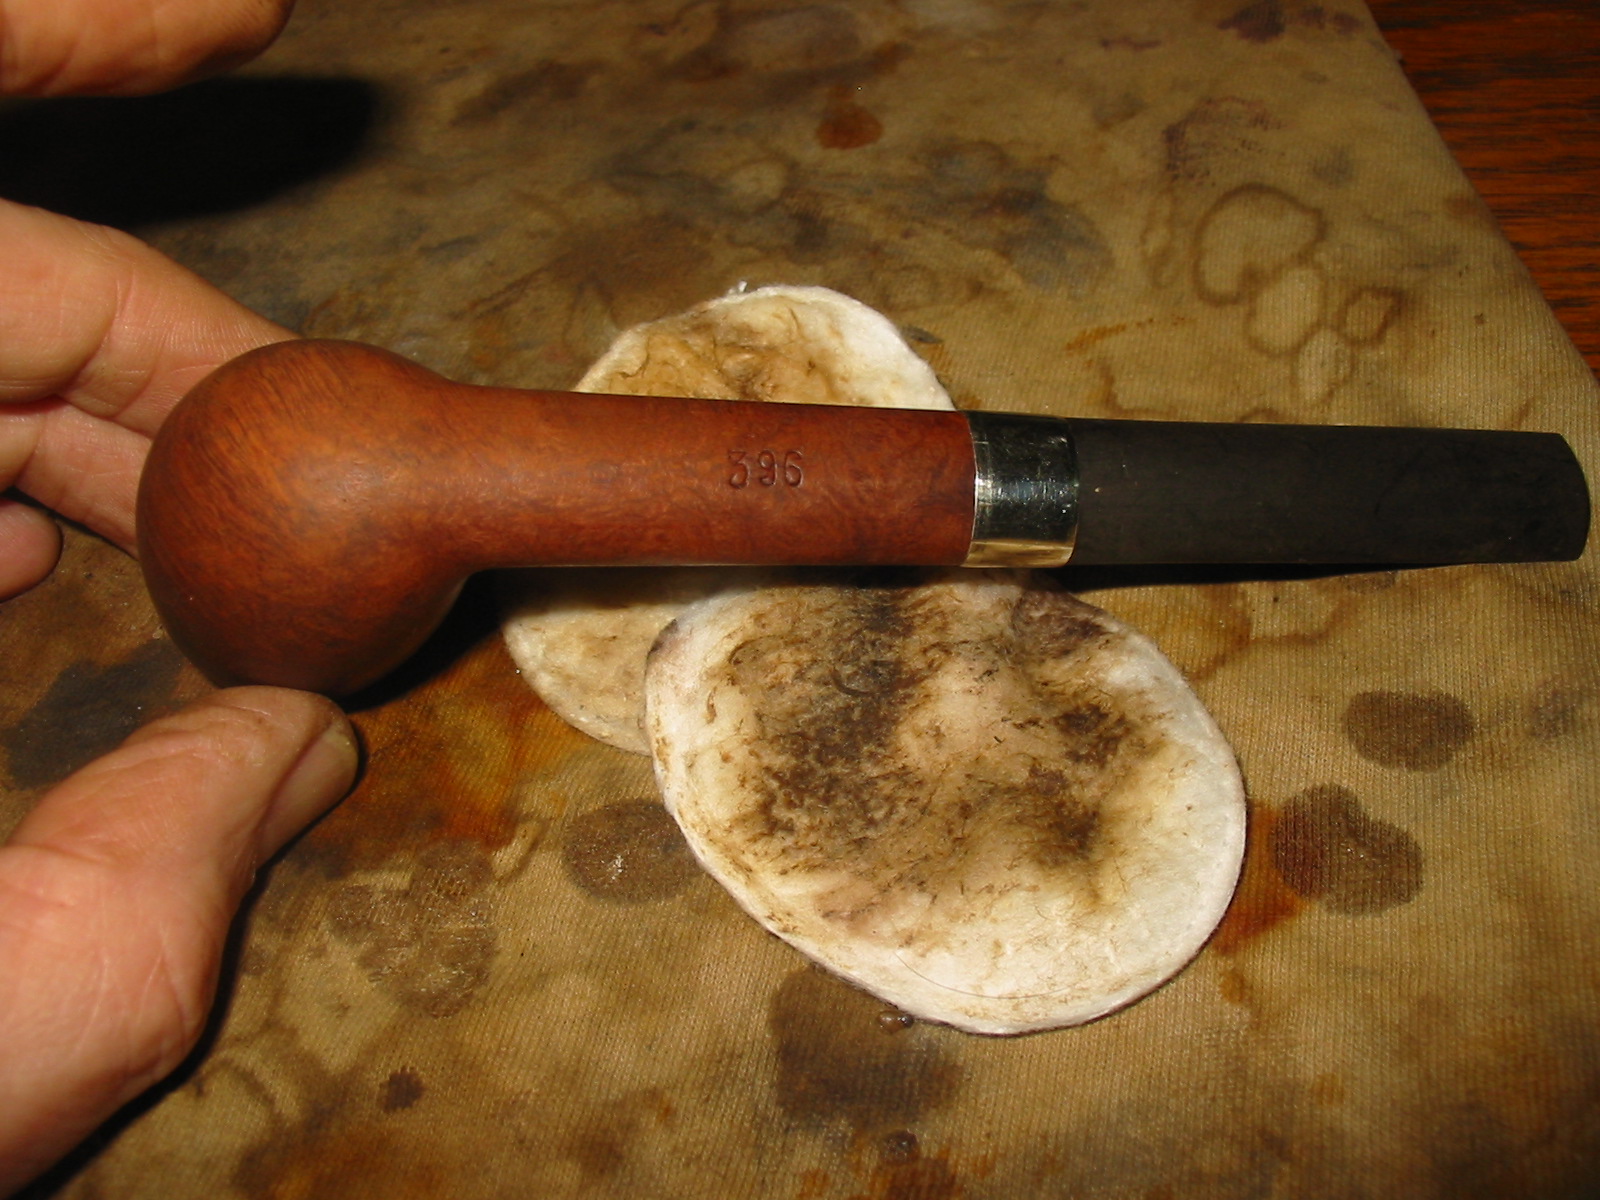
opOn the underside of the shank it is stamped 396 which I assume is the shape number. The shape number appears to be a GBD number but it is not included in the list on the Perdua shape number website. The stamping is faint but still readable. I wrote about the history of the brand in a previous post (https://rebornpipes.wordpress.com/2014/04/19/restemming-and-refurbishing-a-planter-opera-pipe/) But will summarize it again here for those who may not go back and read it.

“Who Made That Pipe” states that there were two French makers for Old Pal. The first of those is Marechal Ruchon and Cie. (Incidentally it is the company that owned the GBD brand). The second maker listed is Rubinovich & Haskell Ltd. The bird emblem is probably the key, but I can find no reference to it. My own thinking is that the brand was made by Marechal Ruchon & Cie. I was able to dig up this brief summary of the MR&C brand. Ganeval, Bondier and Donninger began making pipes in 1850 and rapidly gained prominence in briar pipe making. Of the three, Bondier survived the others by 30 years, but new partners took their places. The name of the company changed to Bondier Ulrich & Cie, then Bine Marechal & Cie and finally to A Marechal, Ruchon & Cie. August Marechal and Ferdinand Ruchon saw the firm into the 20th century, their names being used for the company for well over 50 years.

Prior to 1899, Marechal, Ruchon & Co. became A. Oppenhiemer’s sole agent for cigarette papers but still remained in the pipe making business. Then in 1902, Marechal, Ruchon & Co., owners of GBD and referred to as French pipe makers, merged with A. Oppenhiemer. In the 1915 London Directory of briar pipe makers one will find: “”Marechal, Ruchon & Co. – 38 Finsbury Sq. E.C.; London works, 15 & 16 Featherstone St. E.C. and Oppenhiemer, A. & Co. – 38 Finsbury Sq. E.C. listed separately.

As before with that background information remembered I worked on this old pipe to clean it up and restore it. When I picked it up the bowl was badly caked. The rim was dirty and the outer edge had been knocked about pretty hard to remove the dottle of the past. The inner bevel was tarred but still in pretty good shape. The right side of the pipe had no fills or real damage. It was a nice birdseye under the grime. The left side had two fills of pink putty in the midst of some very nice grain. The grain on the rest of the bowl was a mix of cross grain and swirling grain. The finish was worn with some paint marks on the top of the shank. The stem was oxidized and had been broken with a large chunk missing at the button on the right side. The shank was cracked but the joint with the stem was smooth and tight. The tenon fit snug in the mortise with no gap in the junction. The shank and airway were dirty and tarry.
IMG_6262

IMG_6263

IMG_6265

IMG_6266
I have included the photo below as it clearly shows the crack in the shank, the broken stem and the stamping on the shank of the pipe.
IMG_6267
I debated whether to cut off the stem or to just restem the pipe with a Canadian stem. I looked at it with a small stem and then with this stem and decided to cut off the stem. I used a Dremel and a sanding drum to remove the broken part of the stem and even out the line of the end of the stem.
IMG_6268

IMG_6269

IMG_6270
I took it back to the work table and reamed the bowl with a PipNet reamer. I reamed the cake back to bare briar so that I could work on the damage to the inner edge of the rim.
IMG_6271
I took out my box of assorted nickel bands and found one that was the correct diameter and squeezed it until it was an oval. I dripped super glue into the open crack and pressed it together to dry. Then I heated the band with a heat gun and pressed it on to the cracked shank.
IMG_6272

IMG_6273
I used a folded piece of sandpaper to sand the tenon slightly so that it fit snugly in the shank. The fit of the stem to the band and shank looked good so that part of the job was finished.
IMG_6274

IMG_6275

IMG_6276

IMG_6277
I set up the topping board and the 220 grit sandpaper and topped the bowl to remove the damaged rim. I used a folded piece of sandpaper to bevel the inner edge of the rim inward like it had been originally.
IMG_6278

IMG_6279

IMG_6280
I wiped the bowl down with acetone to remove the finish and the spots of white paint that were on the top of the shank. I repeated the wash until the finish was clean and then wiped it down again with isopropyl alcohol.
IMG_6281

IMG_6282

IMG_6283

IMG_6284
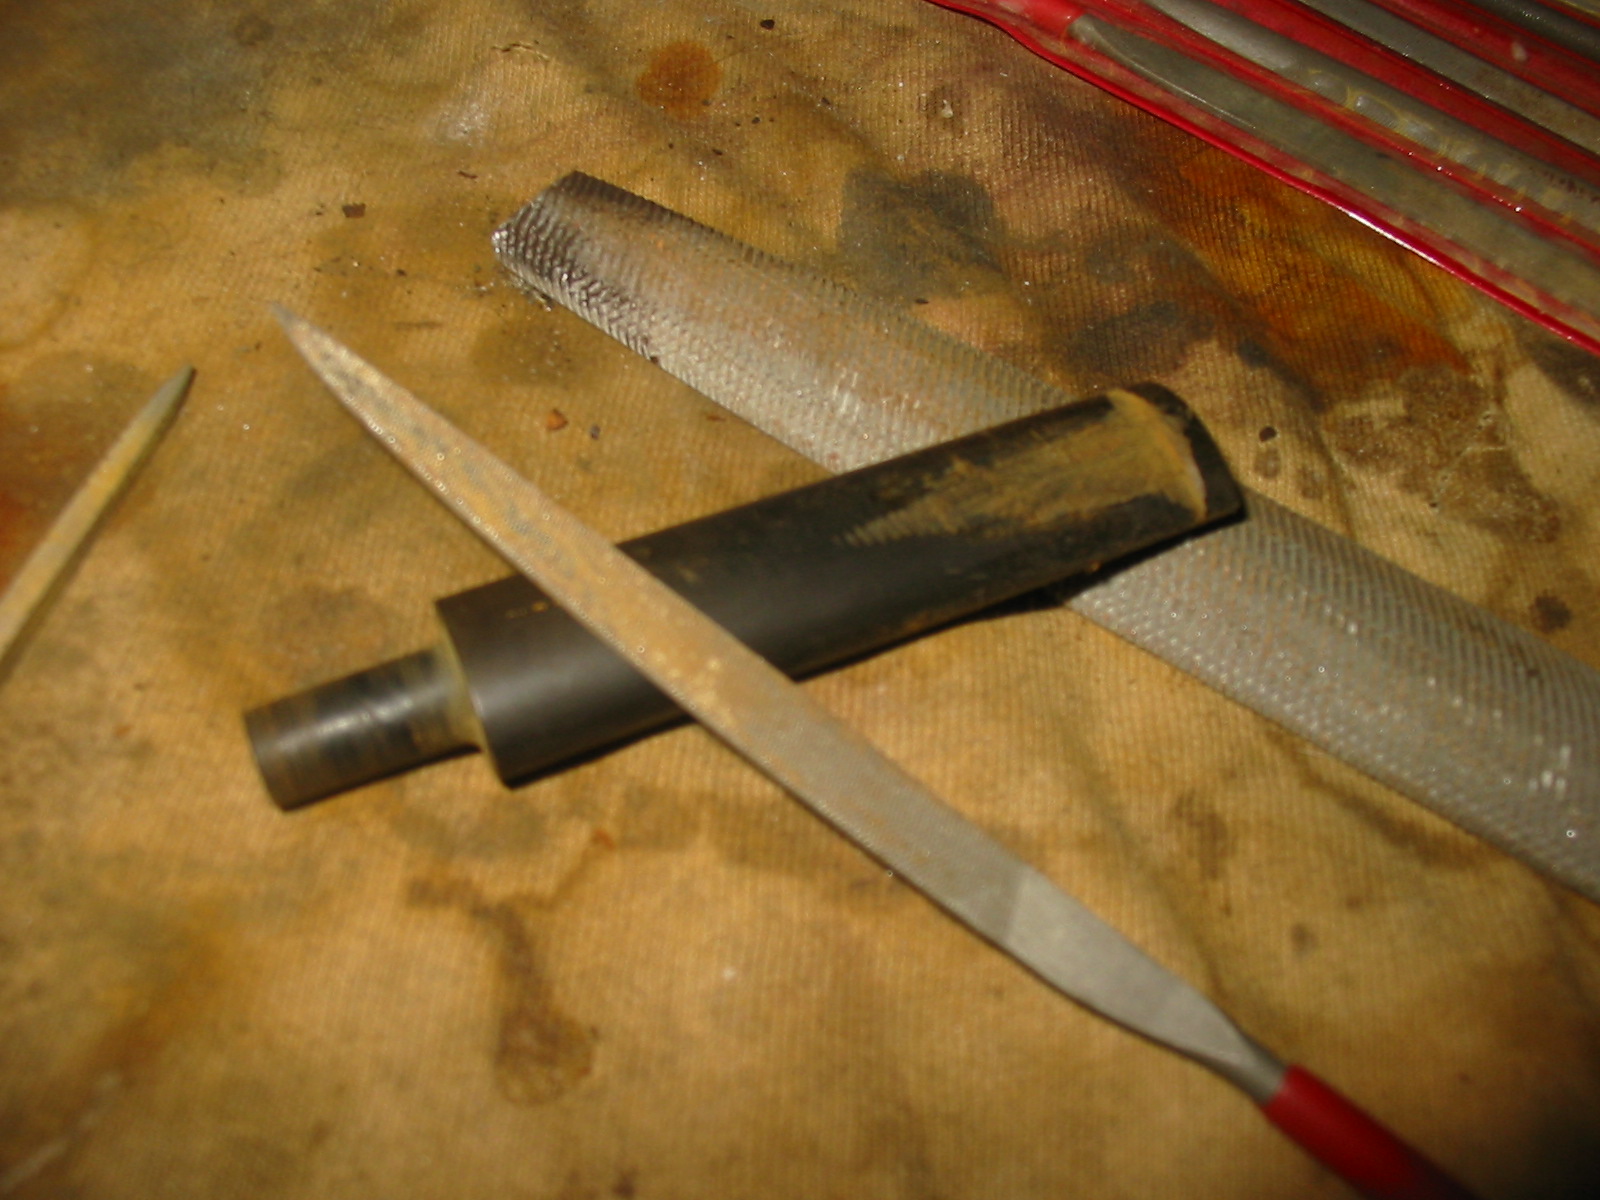
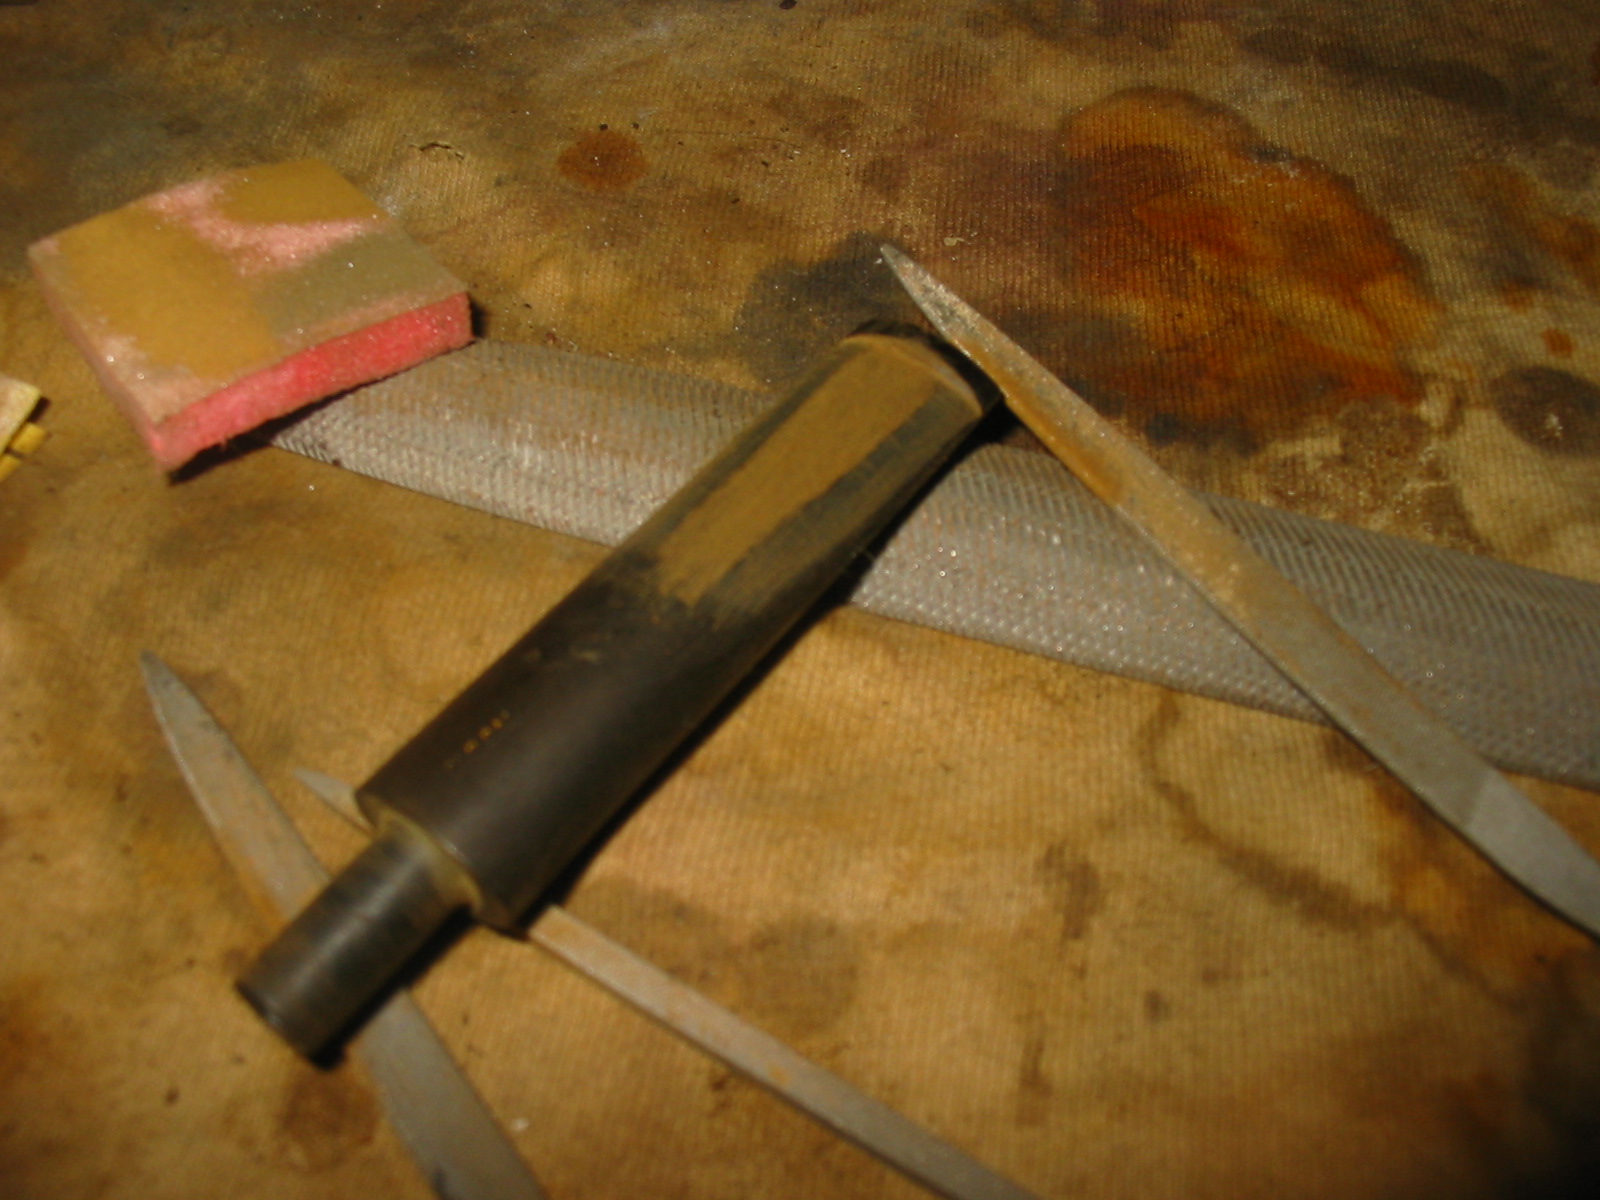
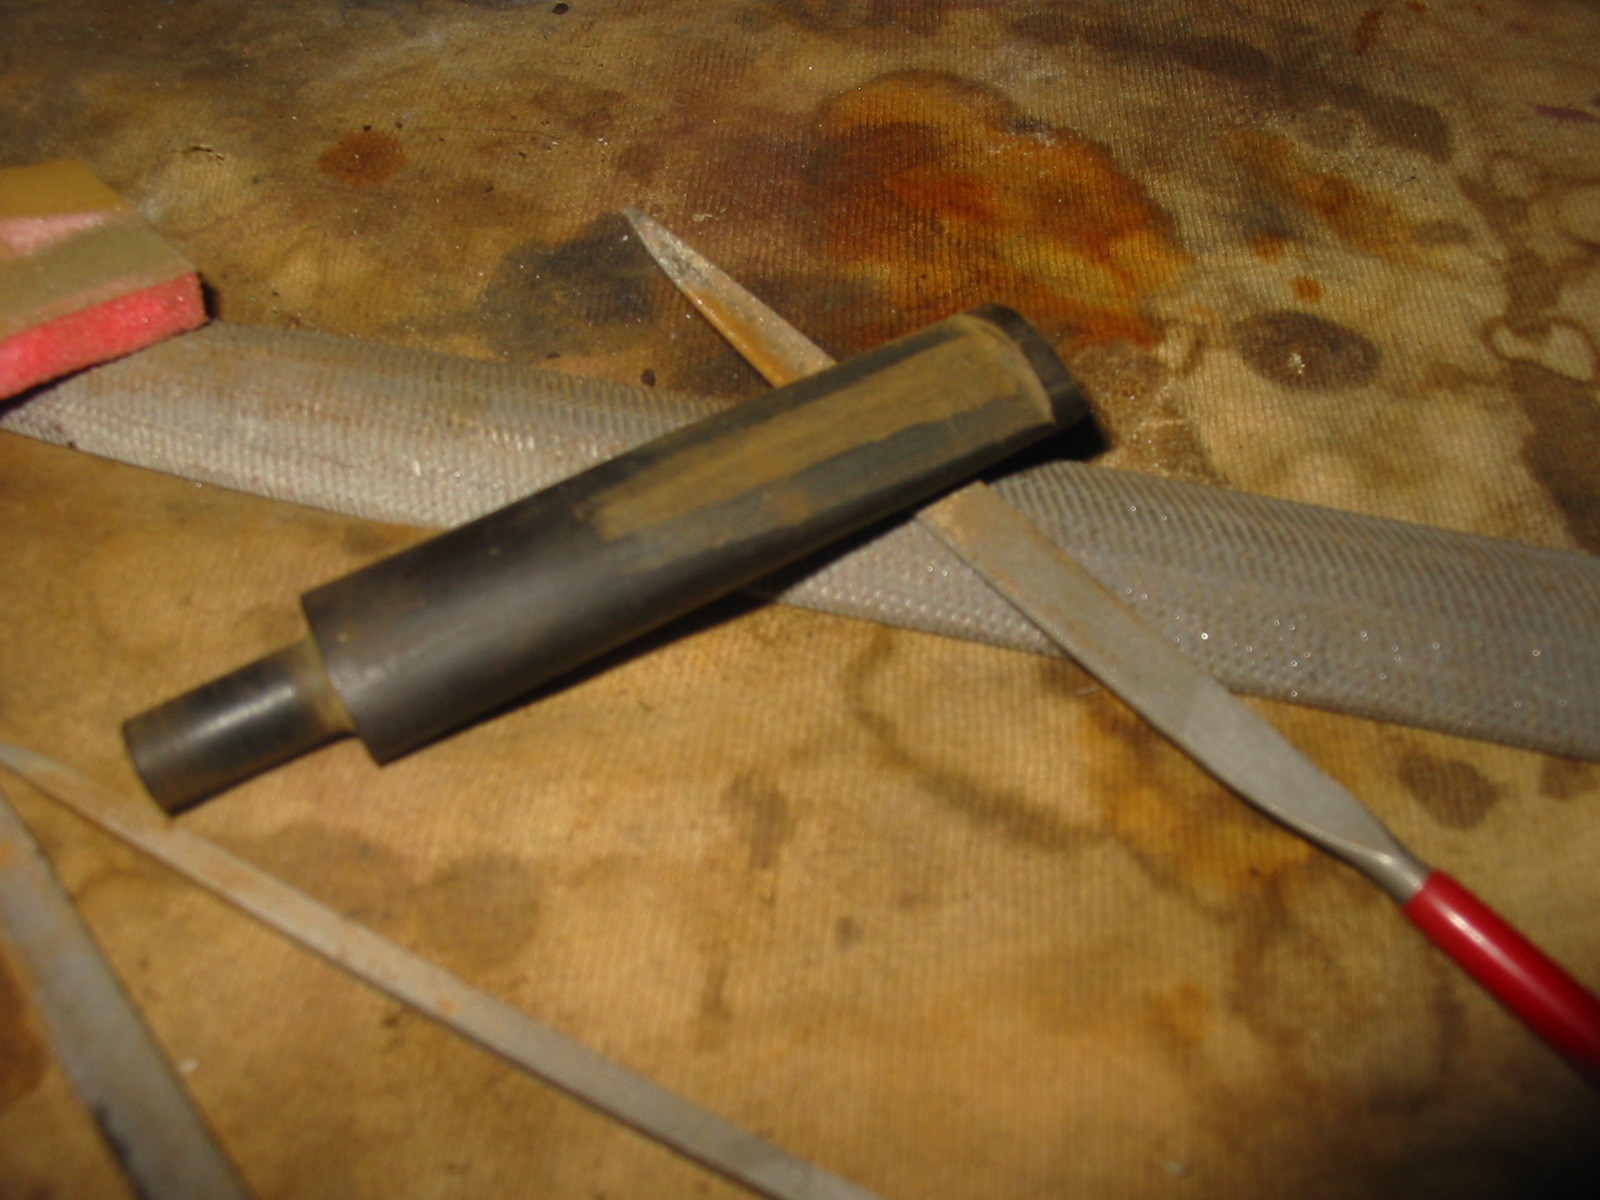
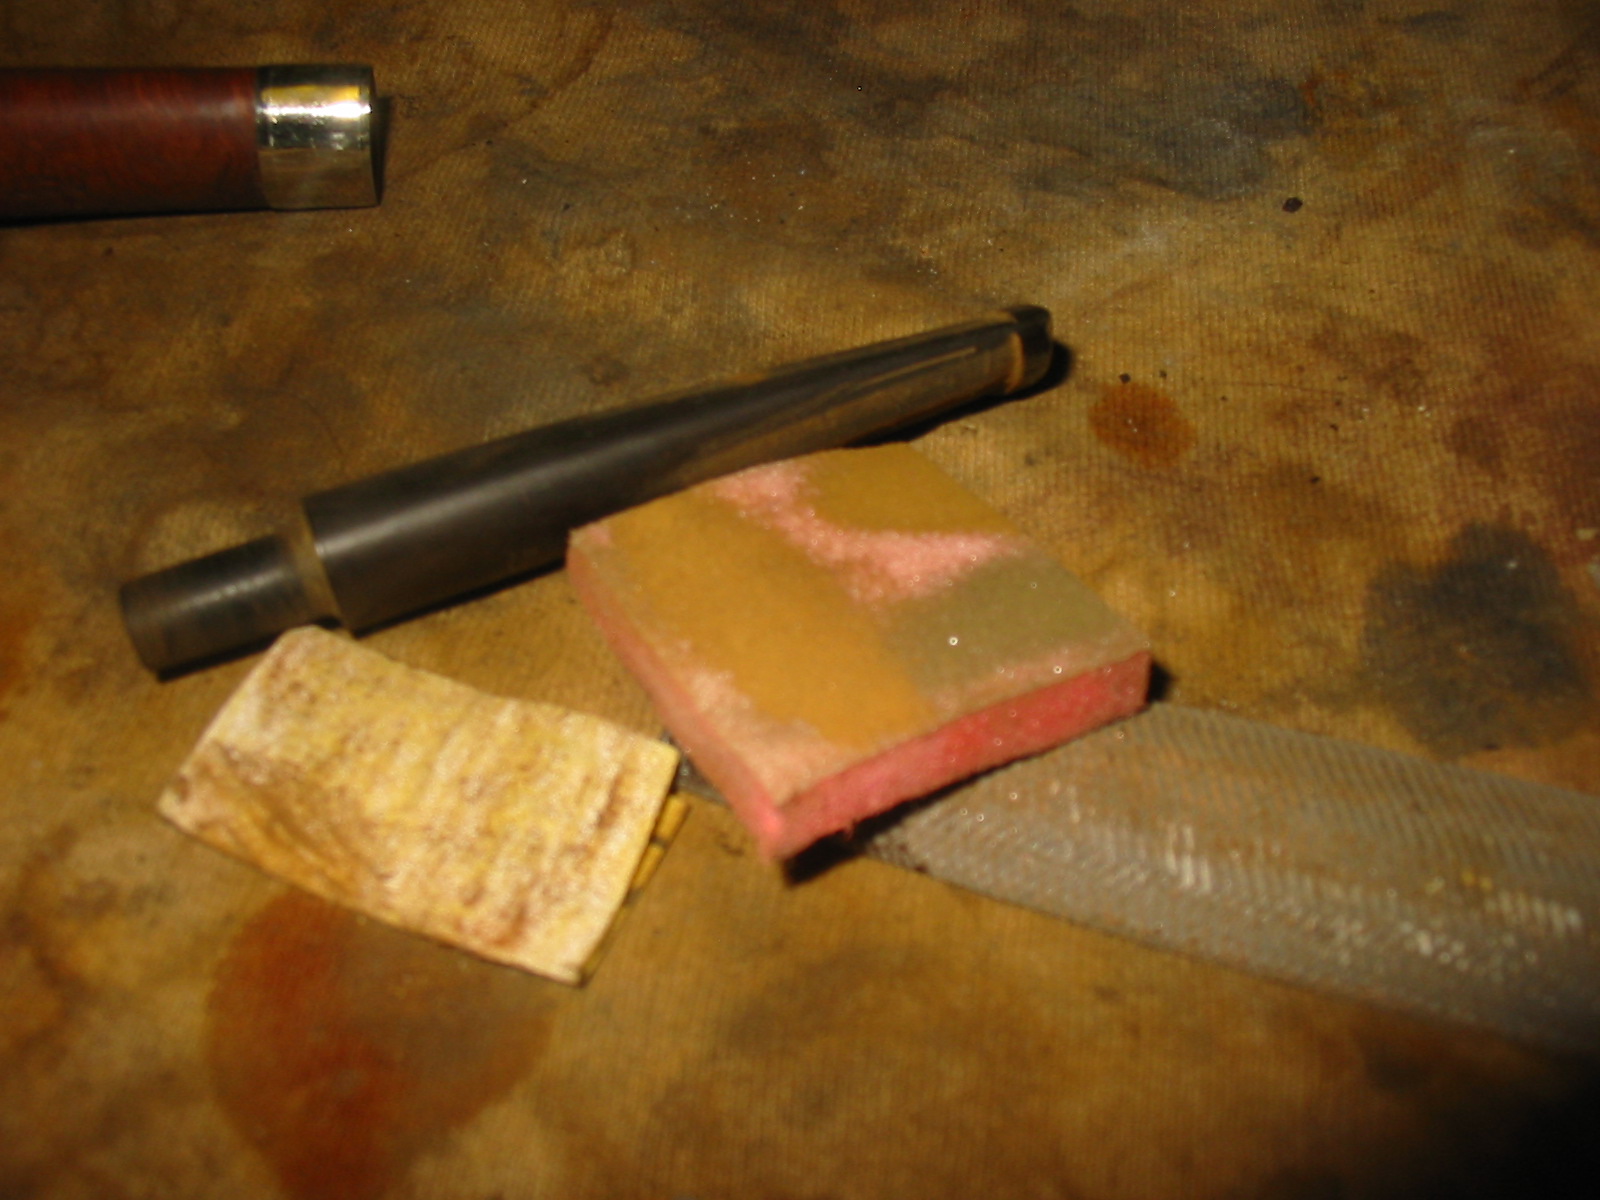
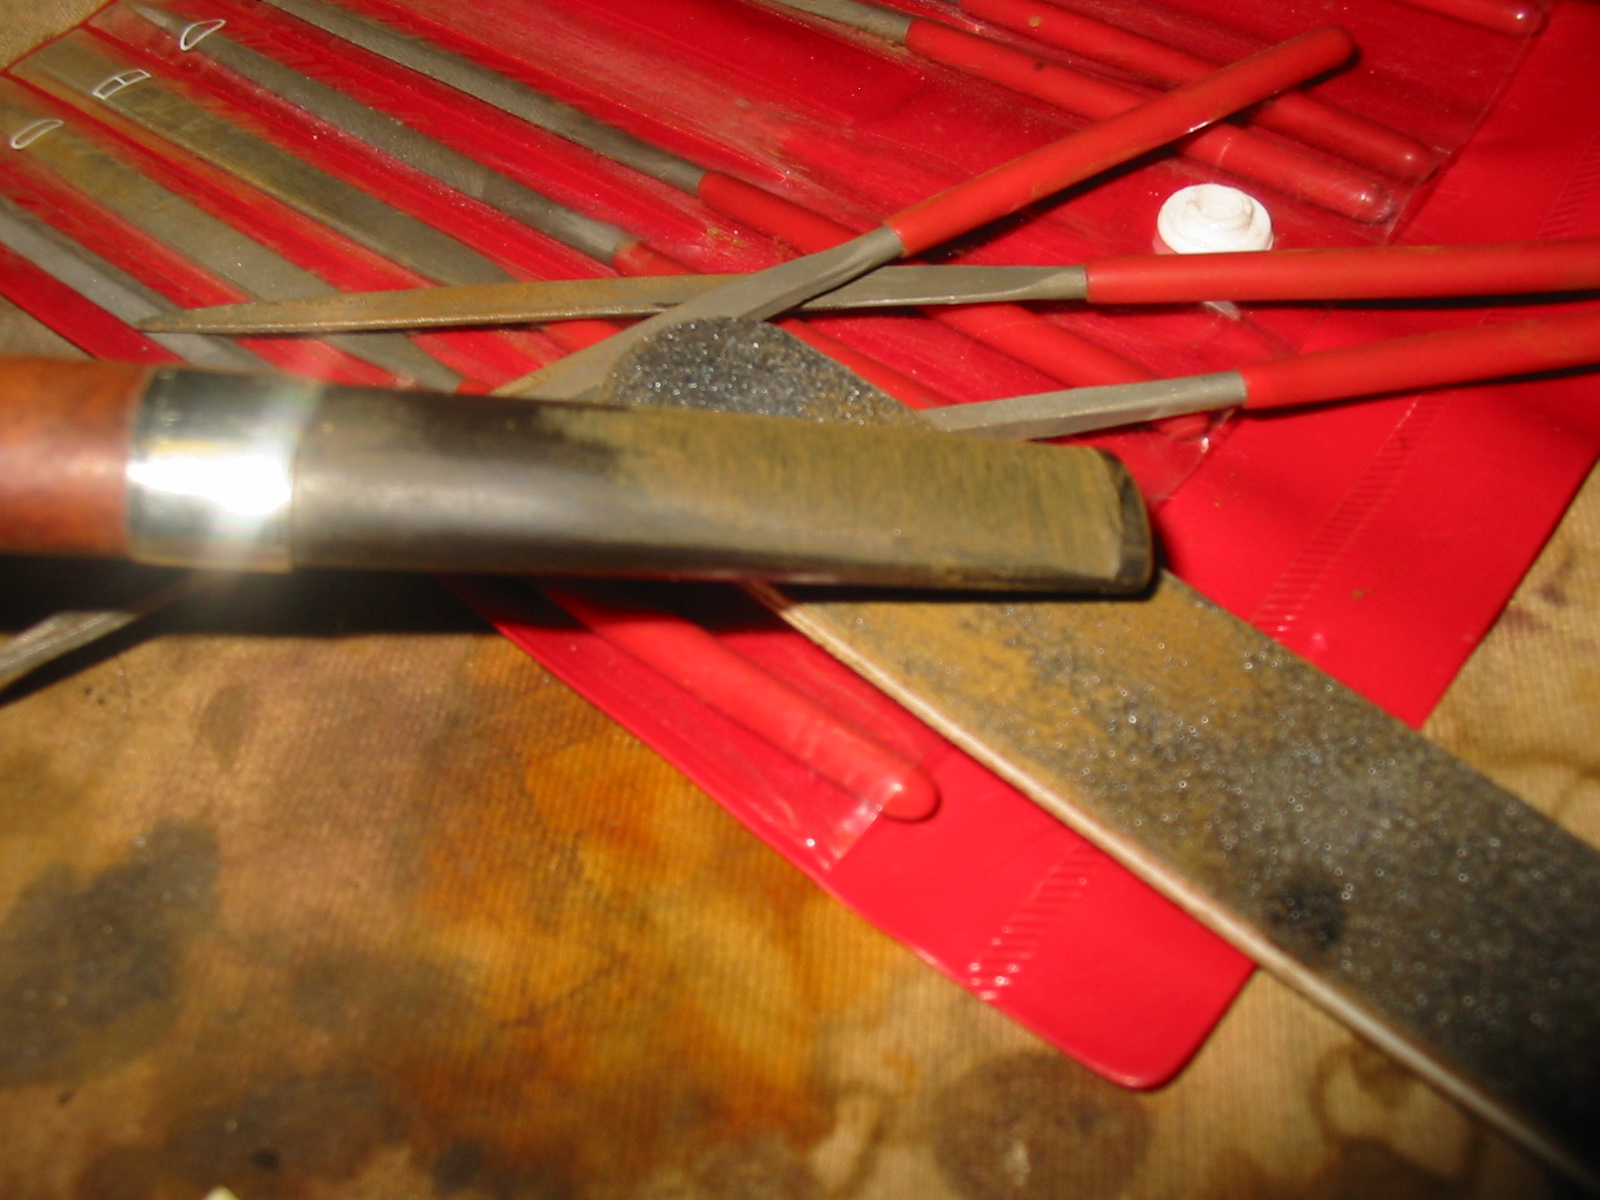
With work on the bowl at a good stopping point I decided to do some work on the stem. I had to cut a new button and taper the stem toward the new button. There would have to be shaping done as well opening the slot on the end of the stem. I used a rasp to cut the edge on the lip of the button and to sand down the taper of the stem. I used a series of needle files to further shape the button and the taper.
IMG_6285

IMG_6286

IMG_6287

IMG_6288
I cleaned up the taper and the button with a sanding board that I picked up at a beauty supply house. It makes the edge clean and works well to even the taper on the stem.
IMG_6289

IMG_6290
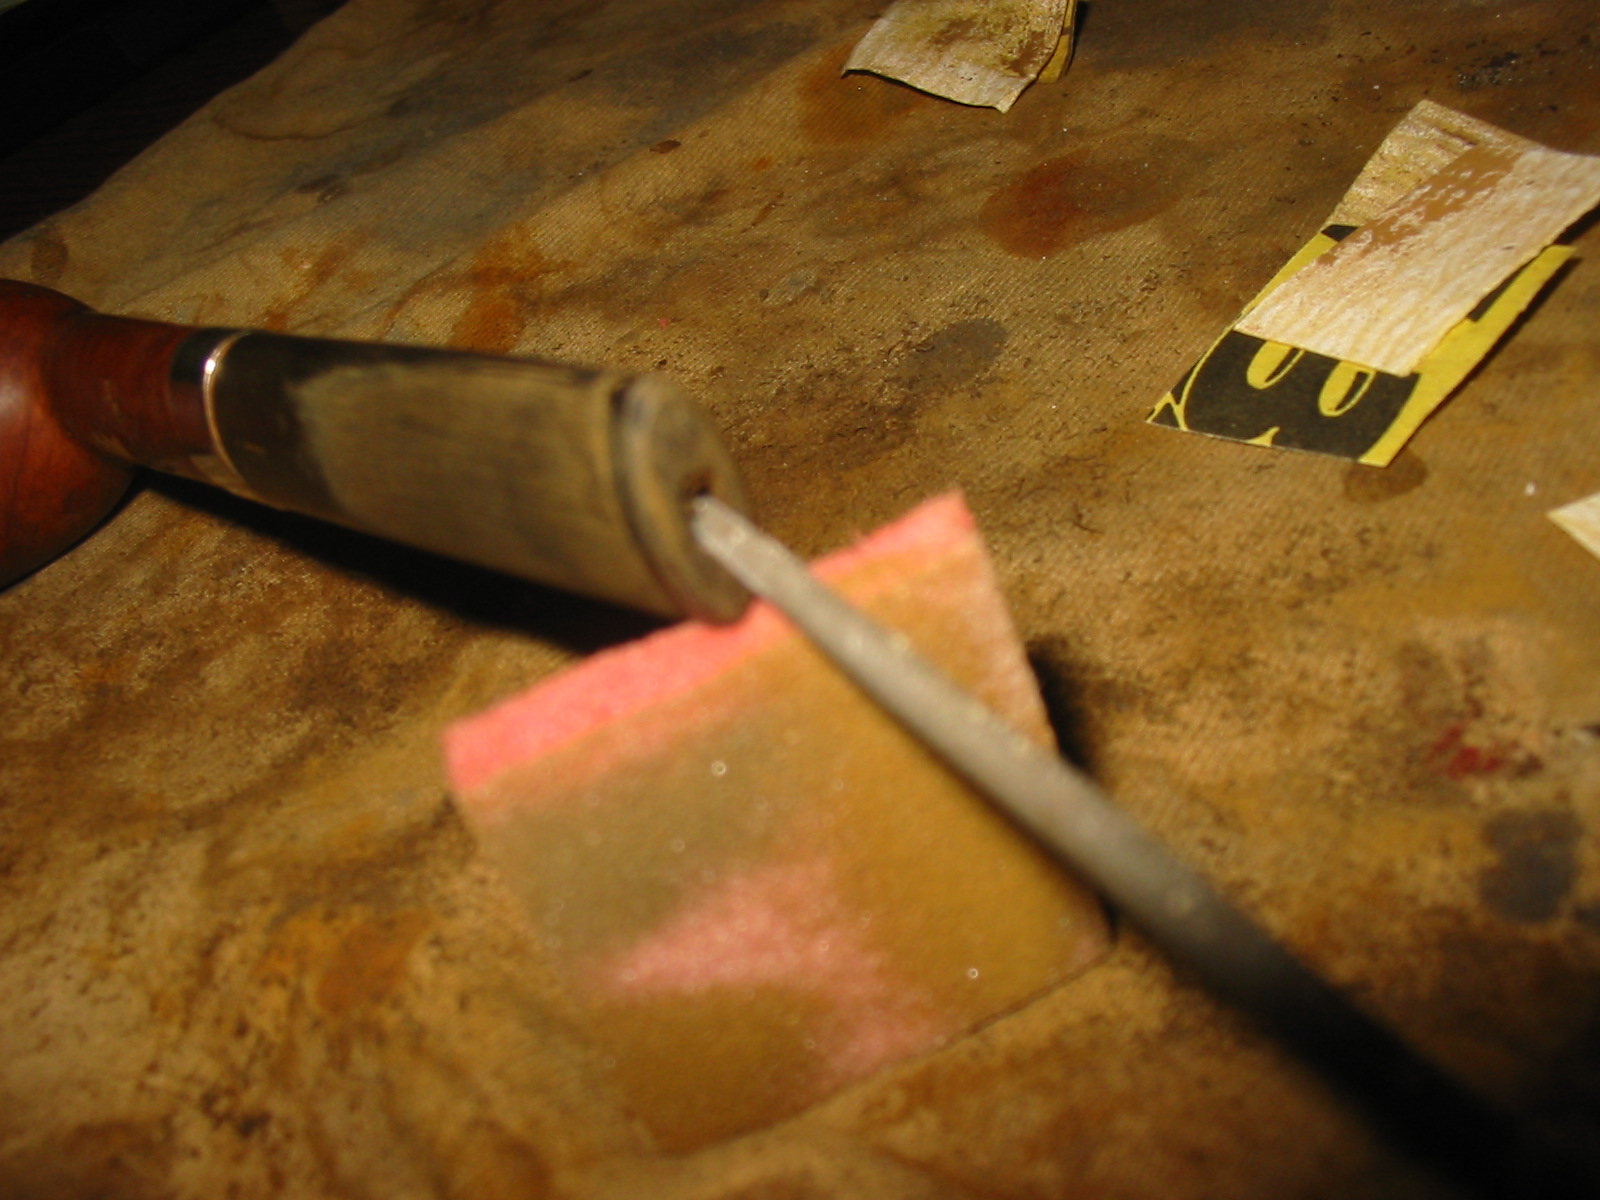
The hole in the end of the new button was elongated and oval but needed to be opened more and made into a “Y” shaped slot whose inner edges tapered toward the airway and the slot shaped like an eye – open enough to take a pipe cleaner without any difficulty. I used three different needle files to open the slot. The first was a round file, followed by an oval file and ending with a flat oval that worked well to cut the edges of the slot.
IMG_6291

IMG_6292

IMG_6293
I sanded the stem with a medium and a fine grit sanding sponge to smooth out the surface on the stem and also to bevel the edge of the button toward the slot.
IMG_6294

IMG_6295
With the interesting grain pattern and the fills on the side of the bowl I decided to use a dark brown aniline stain. I applied it with a dauber and then flamed it. I applied it and flamed it a second time to make sure the coverage was even.
IMG_6297
When the stain was dry I wiped down the bowl and shank with isopropyl alcohol on cotton pads to remove the top coats of the stain and make it more transparent.
IMG_6299
I sanded the bowl with a fine grit sanding sponge and then wiped it again with the alcohol to clean off the dust. I gave it a second coat of a medium walnut stain as a top coat.
IMG_6300
I buffed the top coat of stain with White Diamond and then brought it back to the work table and took the following pictures. The angles on the stem are looking good. The shape of the button and the taper of the stem worked well with the pipe.
IMG_6301

IMG_6302

IMG_6303

IMG_6304
I sanded the stem with medium and fine grit sanding pads and then applied some liquid white out to the stamping on the stem to try to make it stand out more clearly. I sanded the stem with my usual array of micromesh sanding pads – wet sanding with 1500-2400 and dry sanding with 3200-12000 grit pads.
IMG_6306

IMG_6307

IMG_6308
I rubbed the stem down with Obsidian Oil and when it was dry buffed the stem and bowl with White Diamond and gave it multiple coats of carnauba wax to protect and preserve it. I finished by buffing it with a soft, flannel buff. The finished pipe is shown in the photos below. The newly shaped stem came out fairly well. I like the overall look of the finish and the band on the pipe. It is ready to join the other Old Pal in the rack.
IMG_6310

IMG_6311

IMG_6313

IMG_6314

Restemming and Refurbishing a Planter Opera Pipe


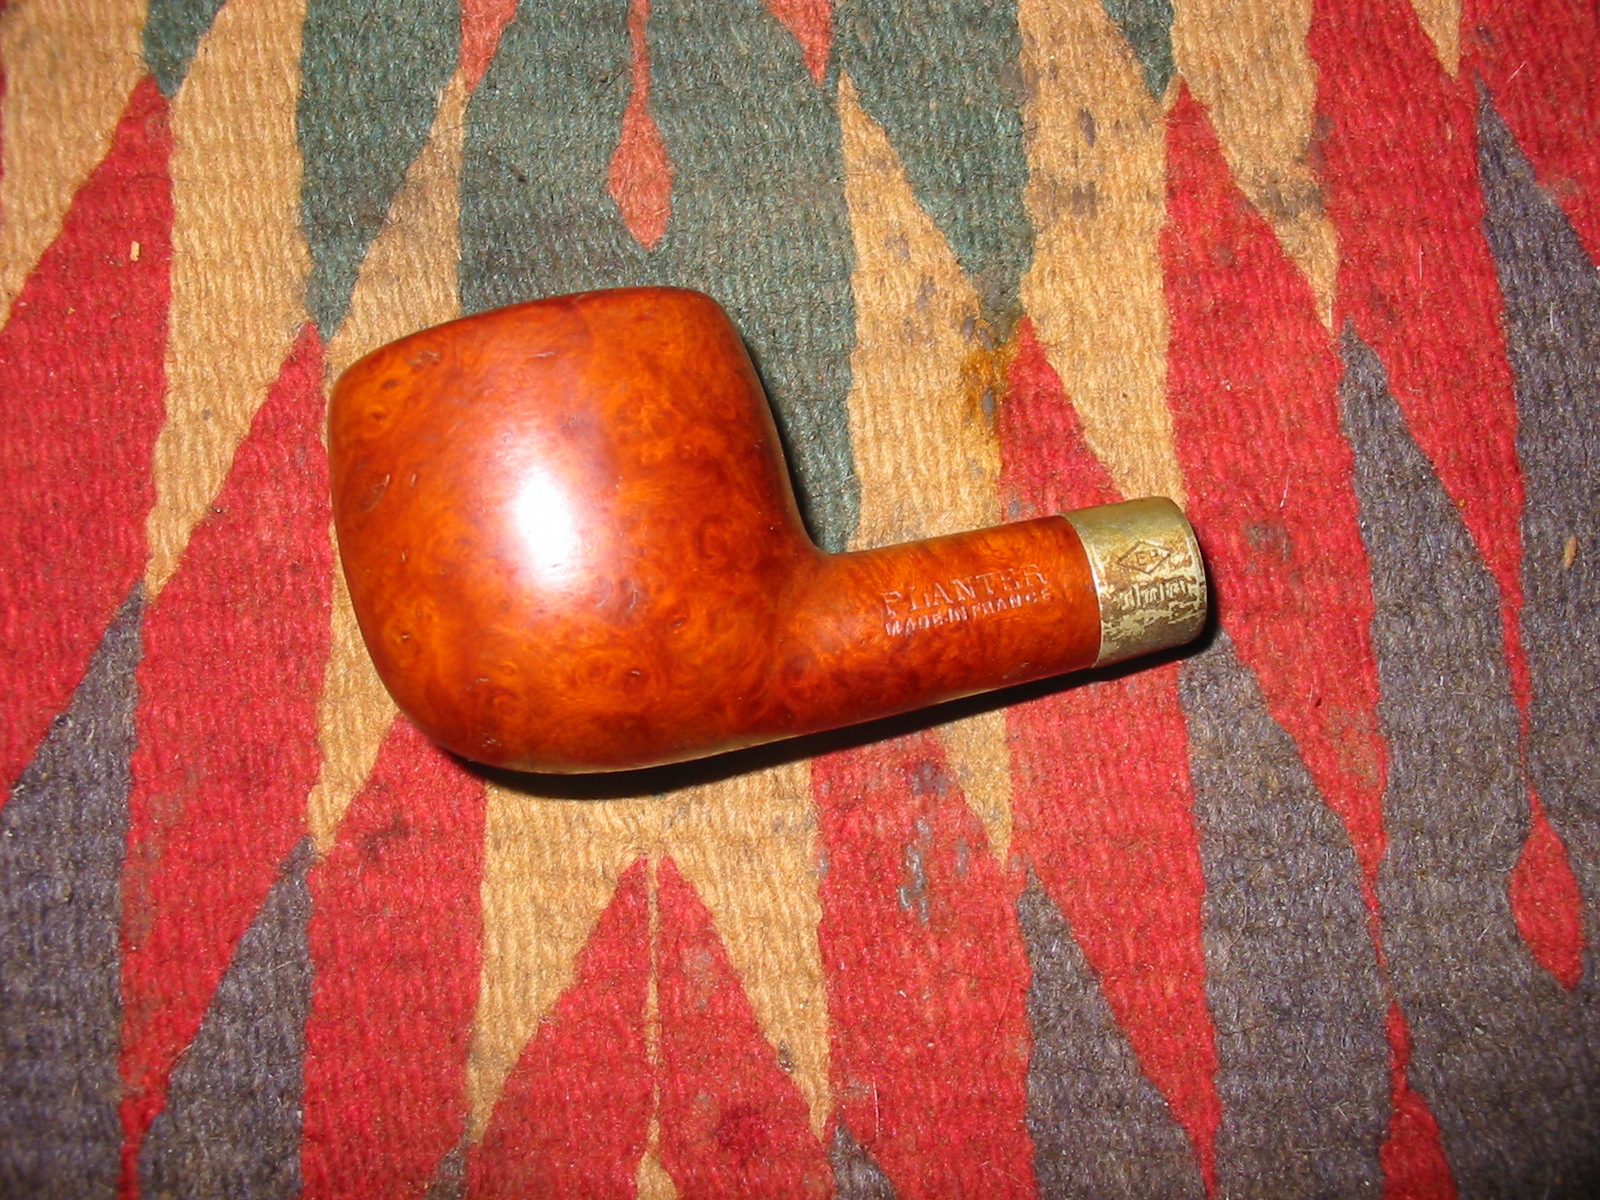
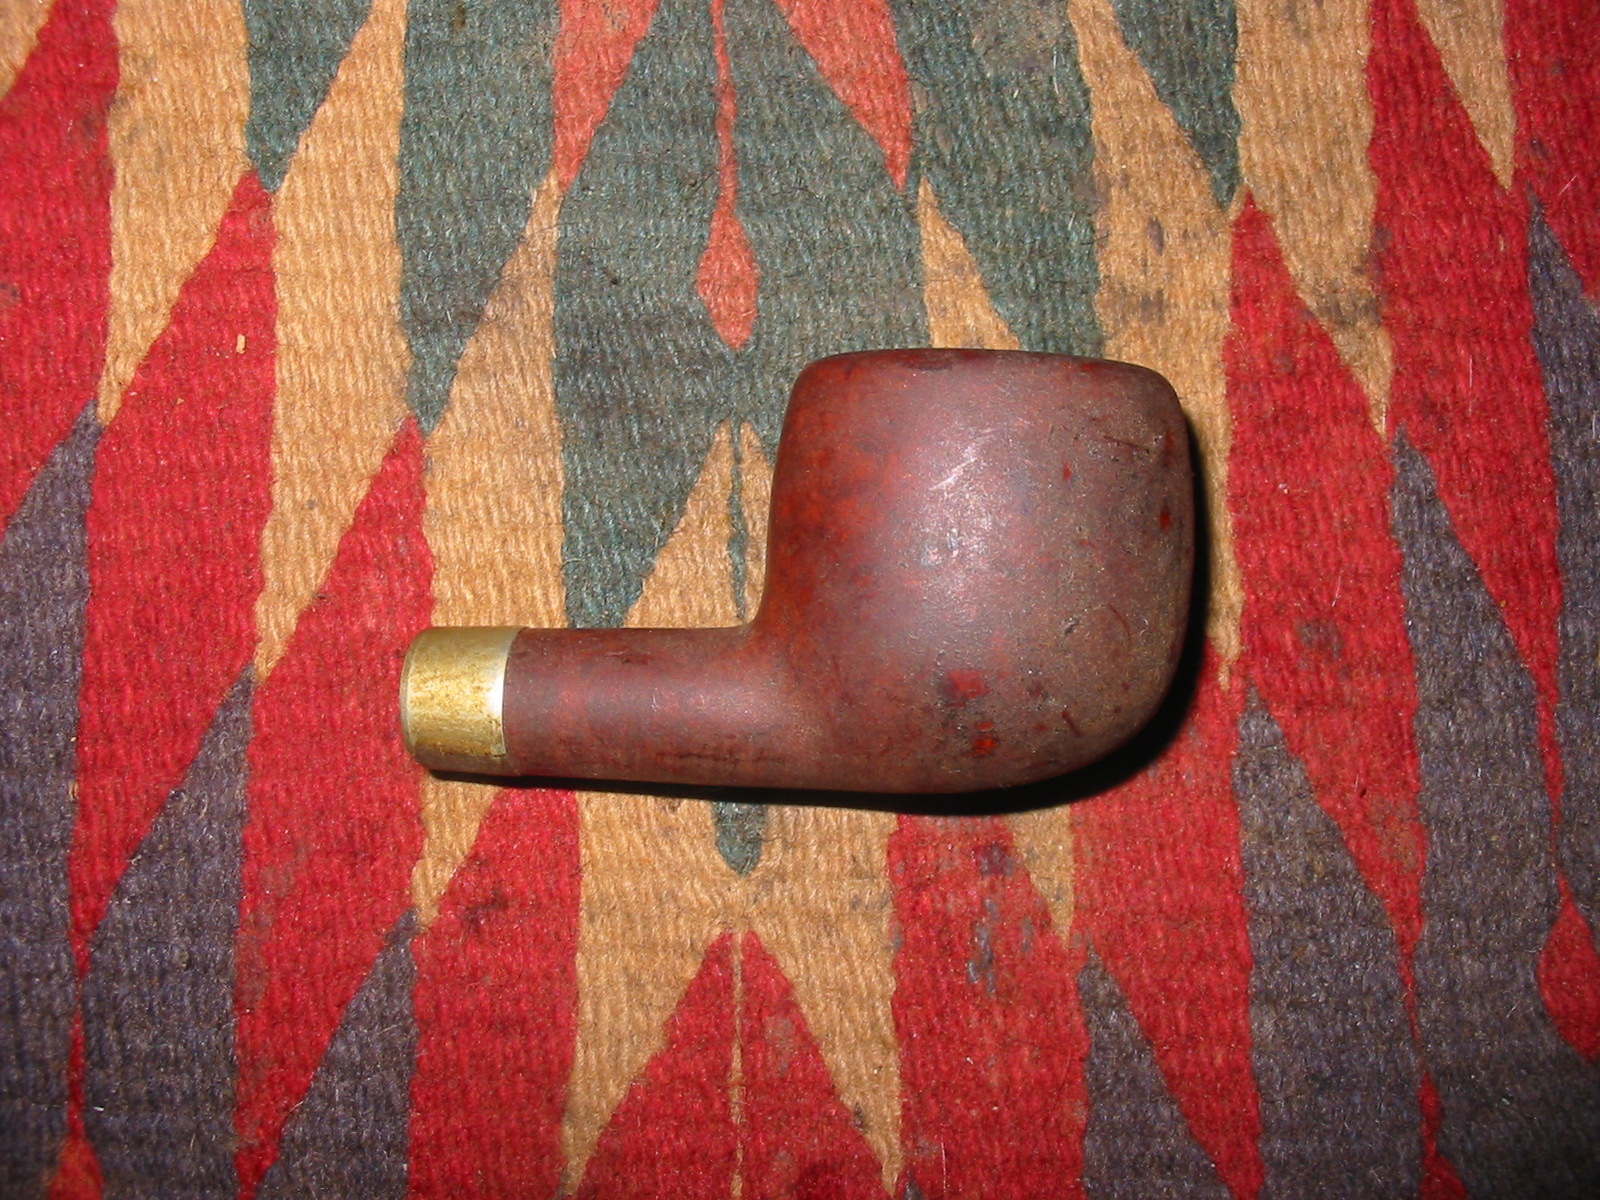
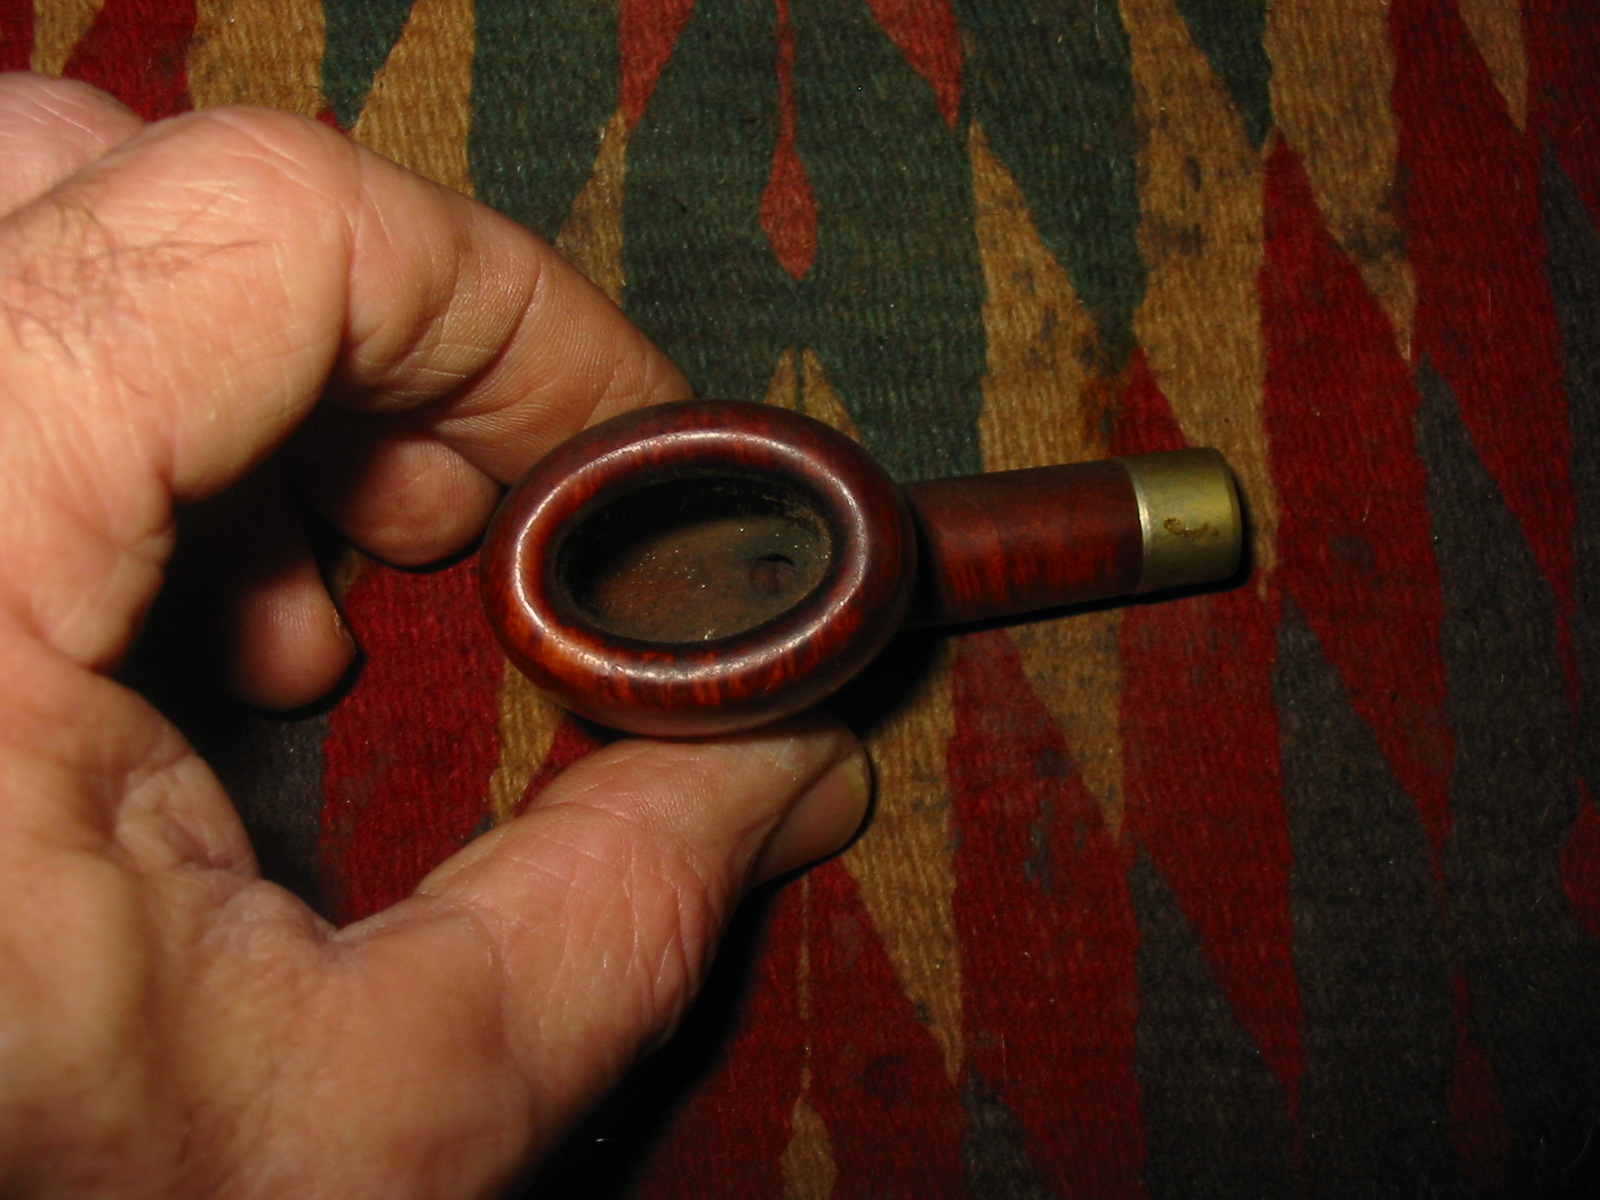
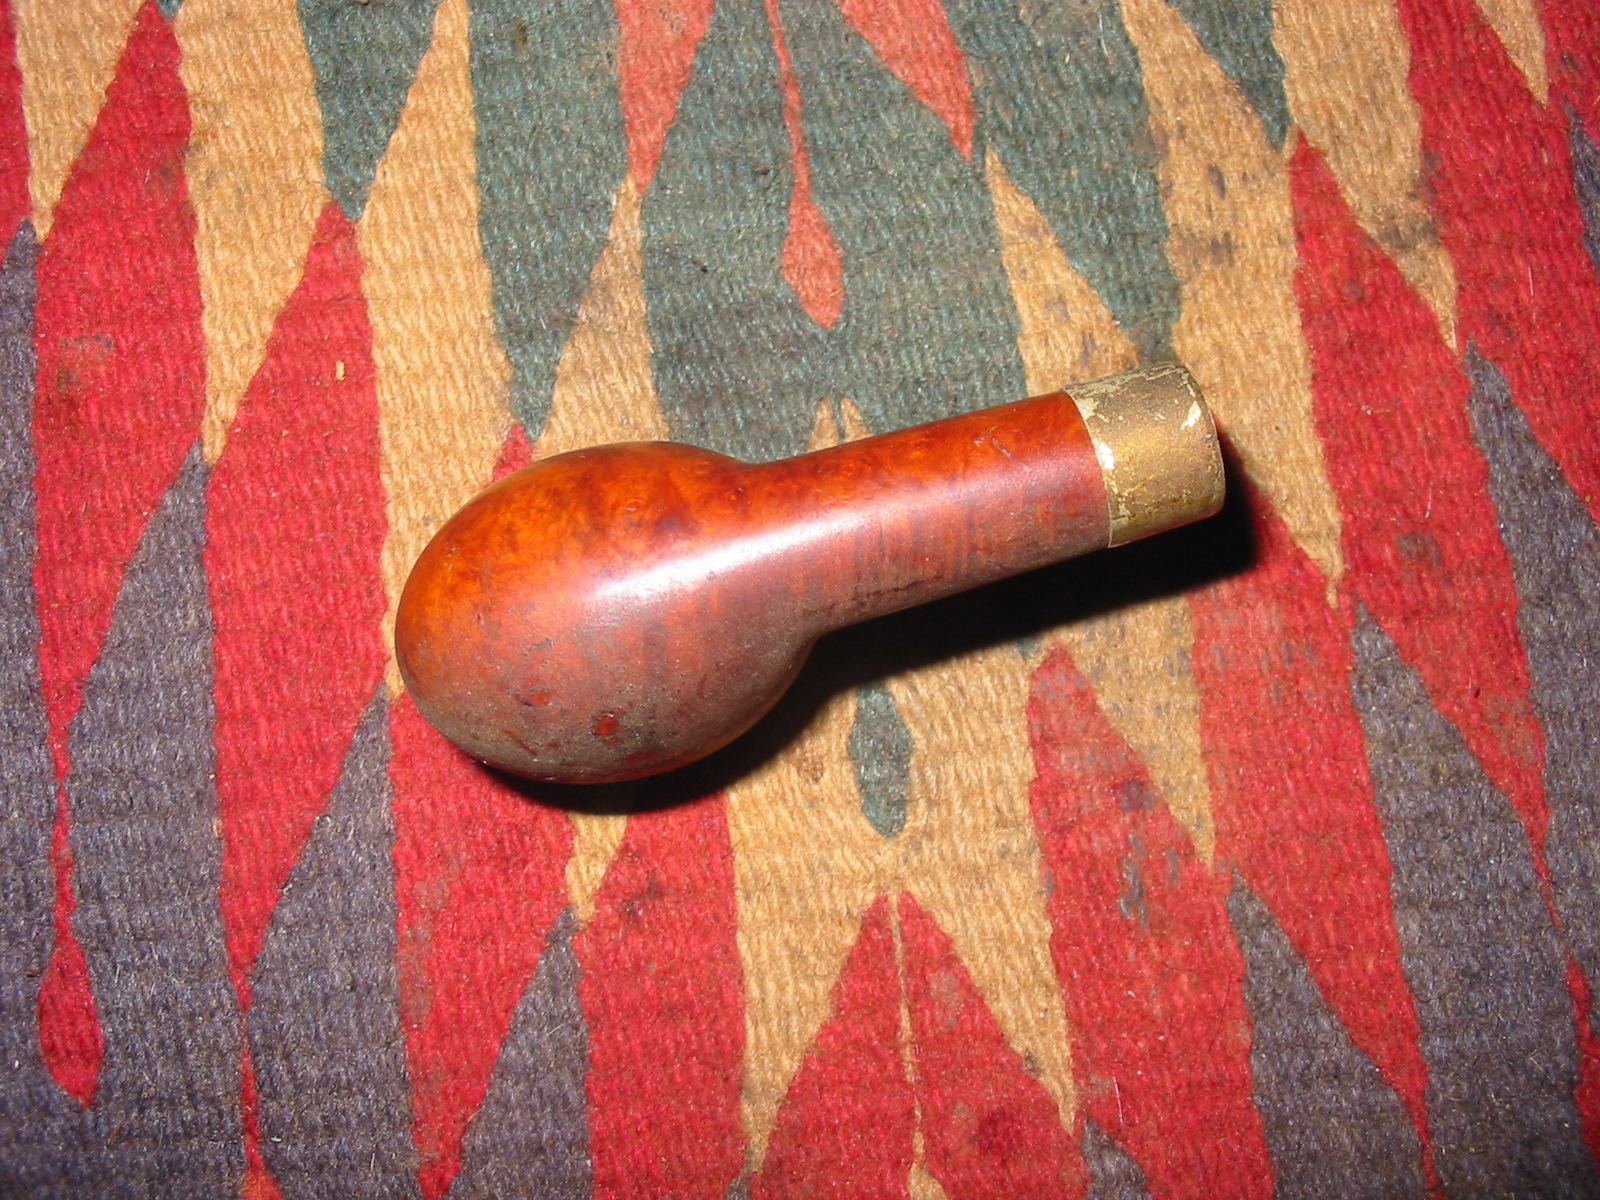
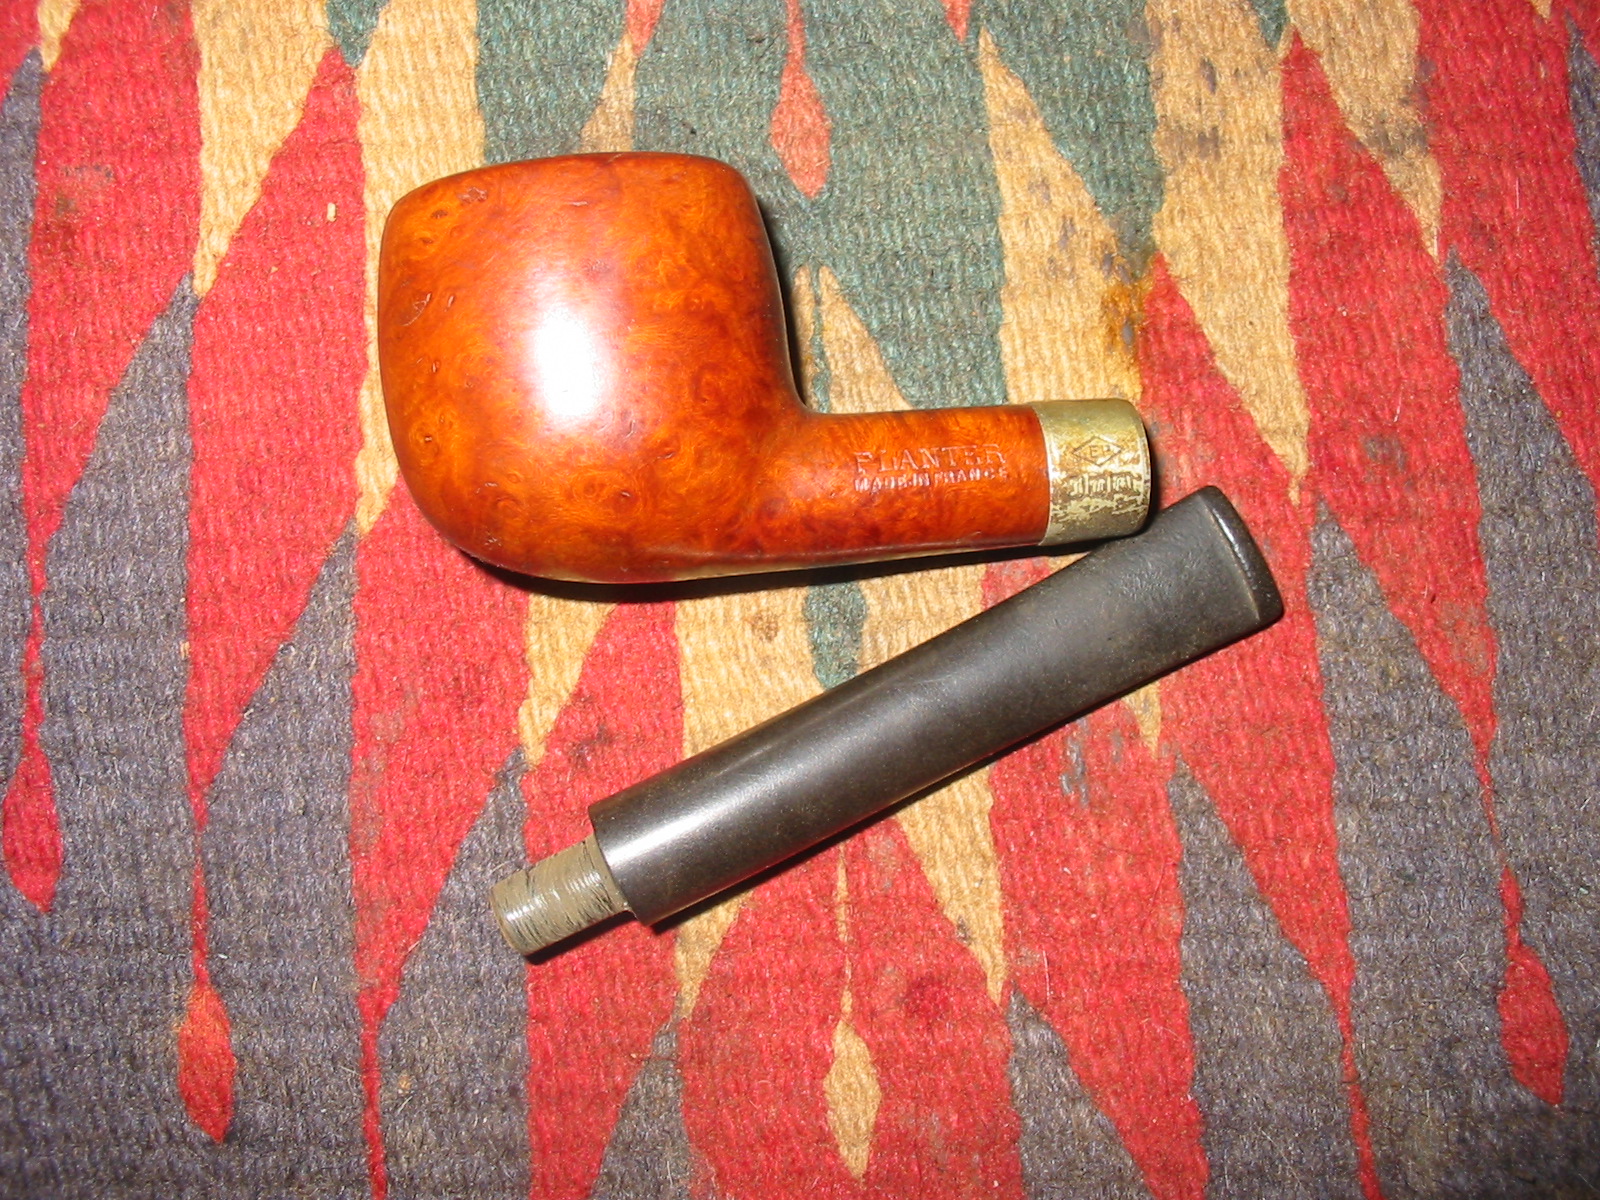
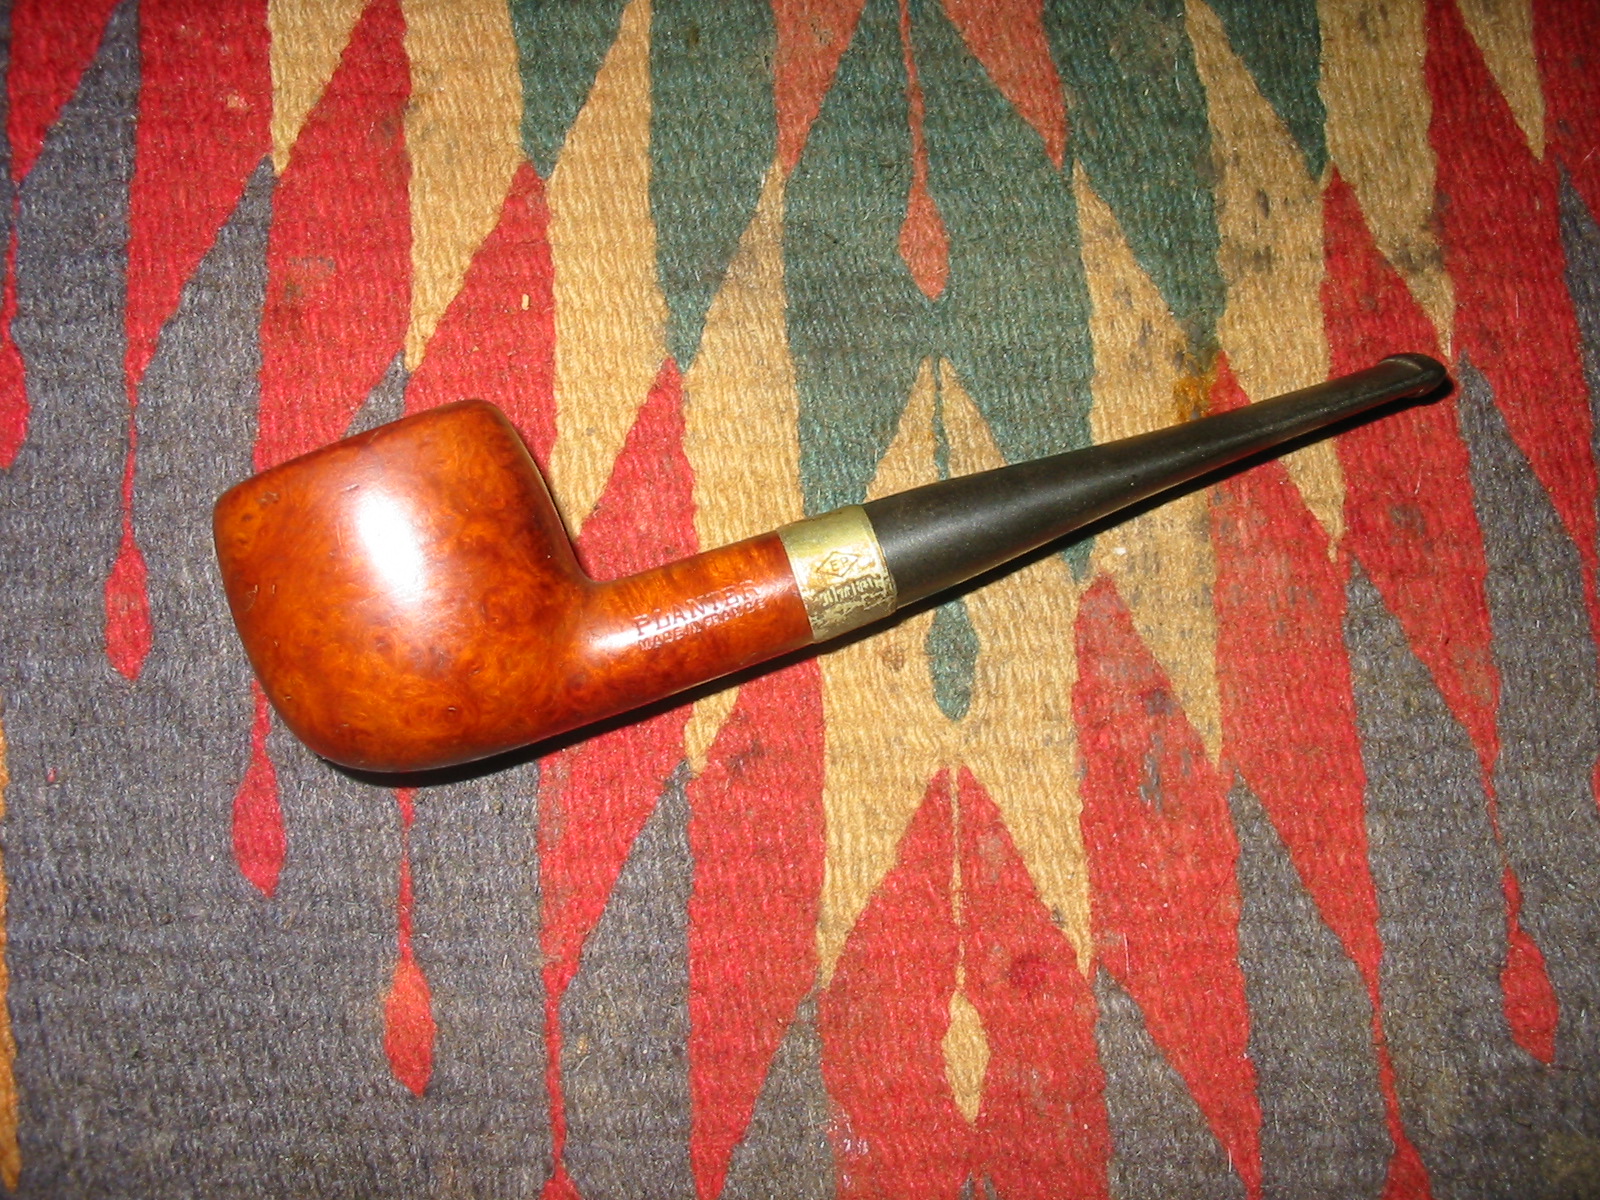
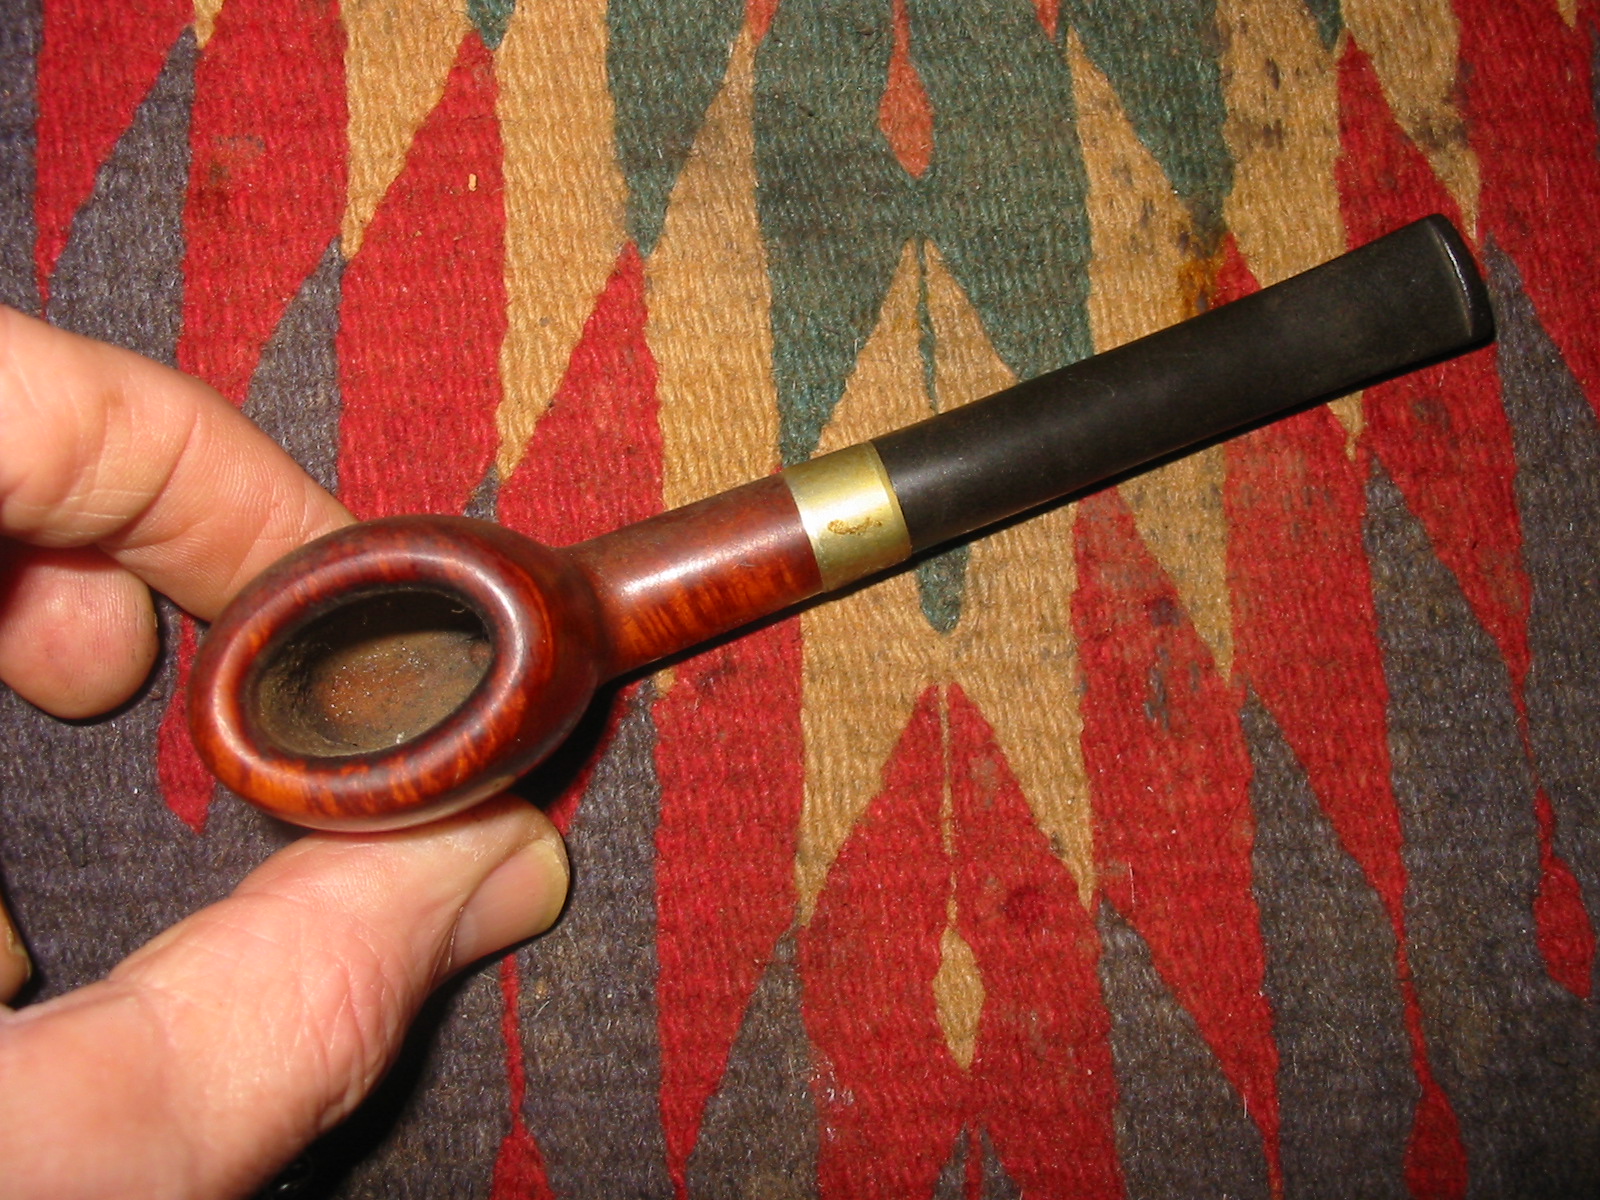
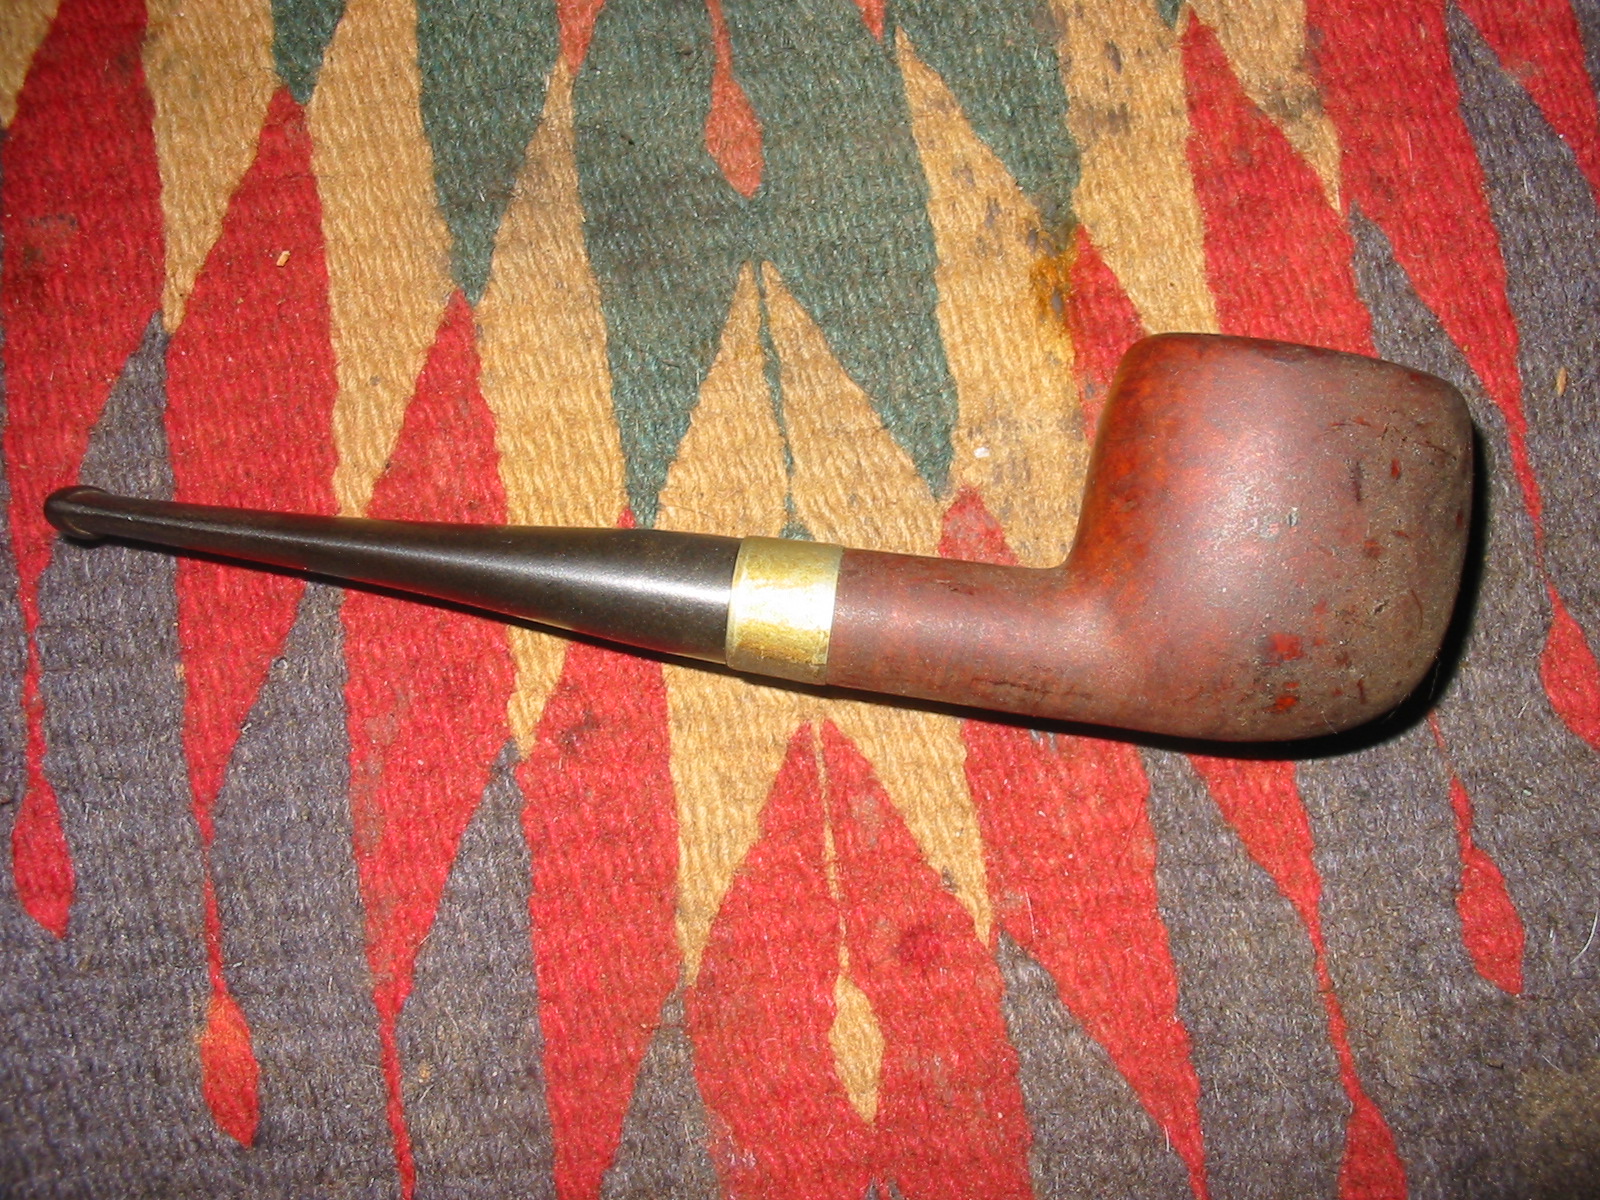
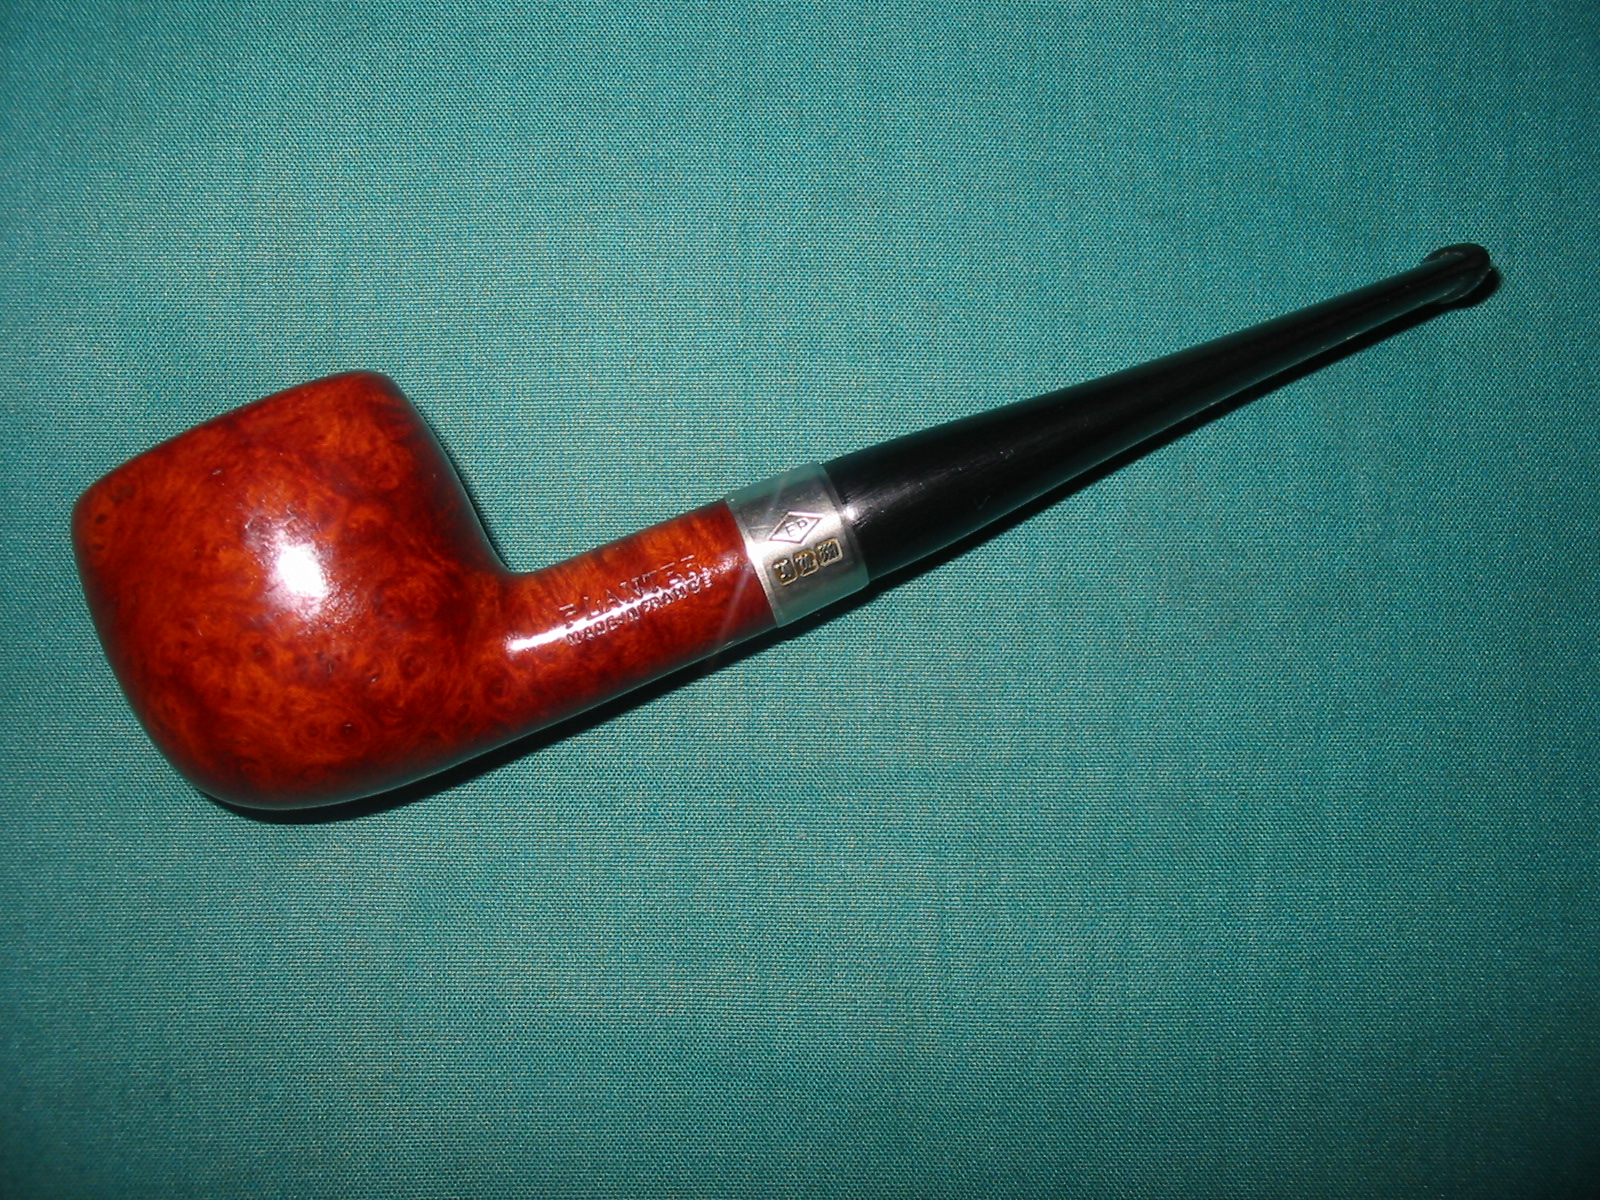
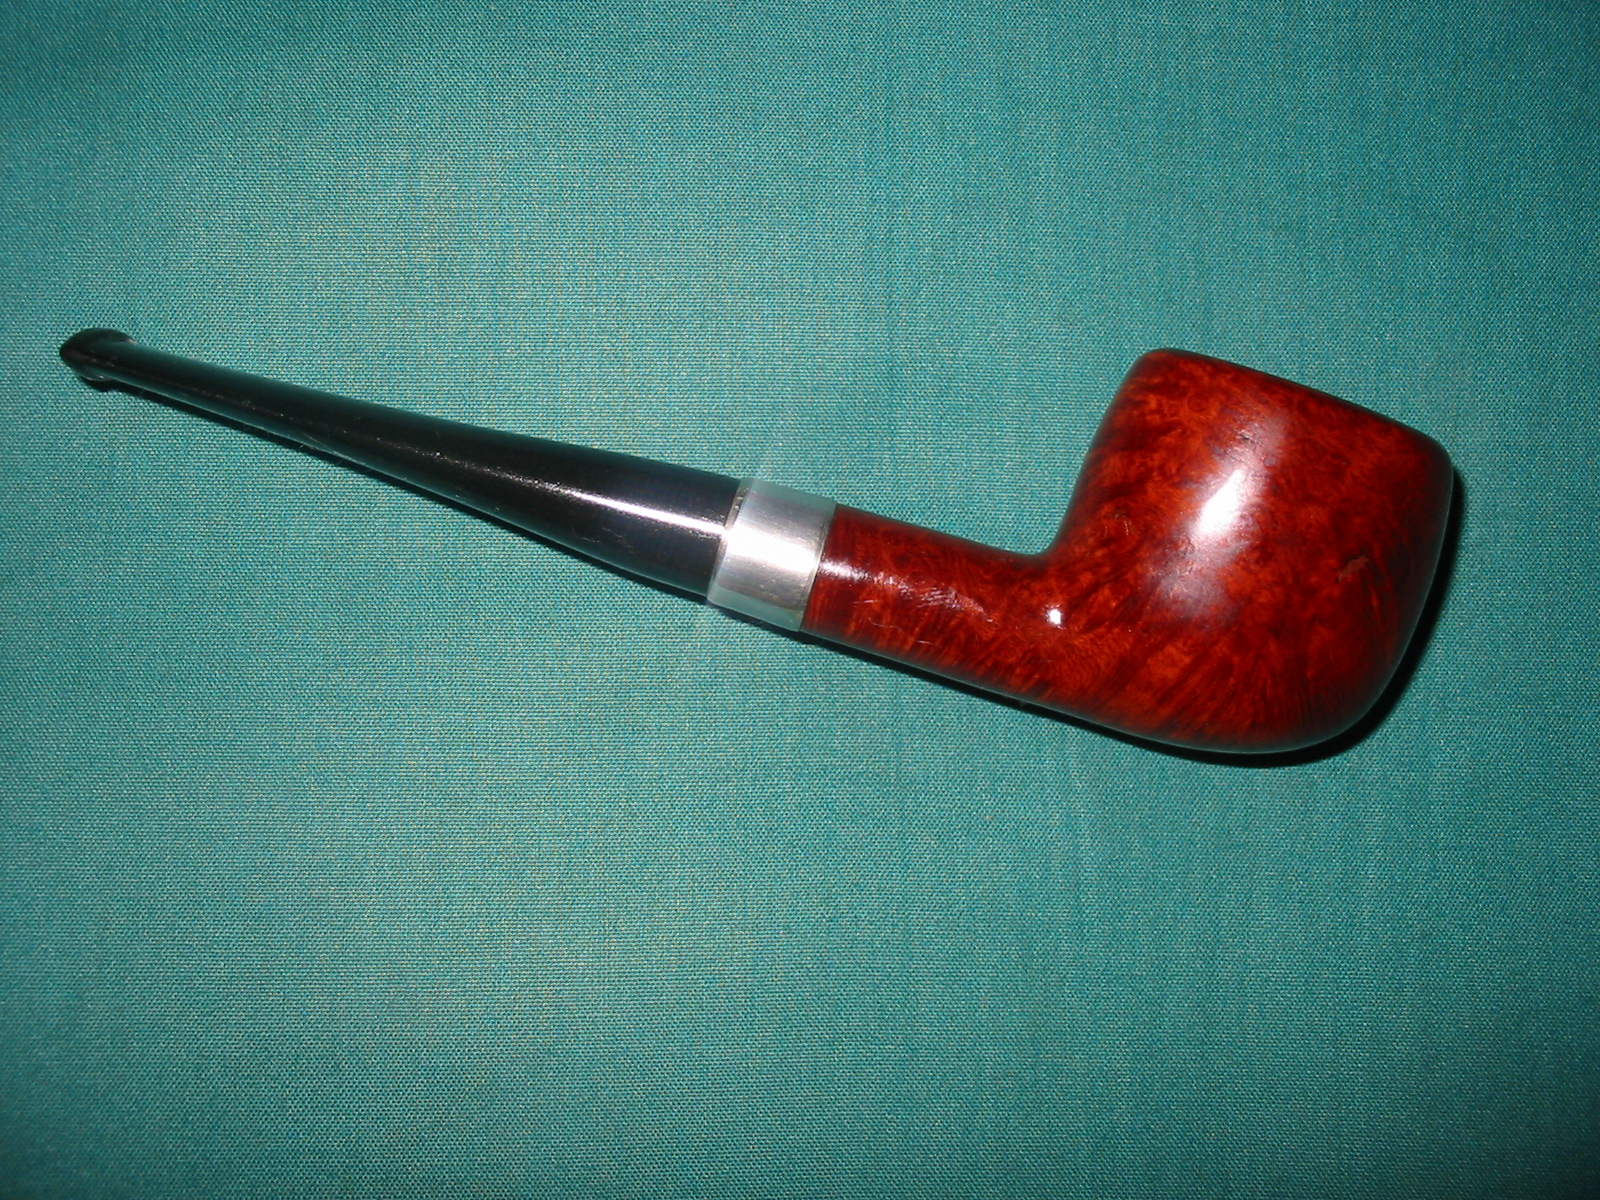
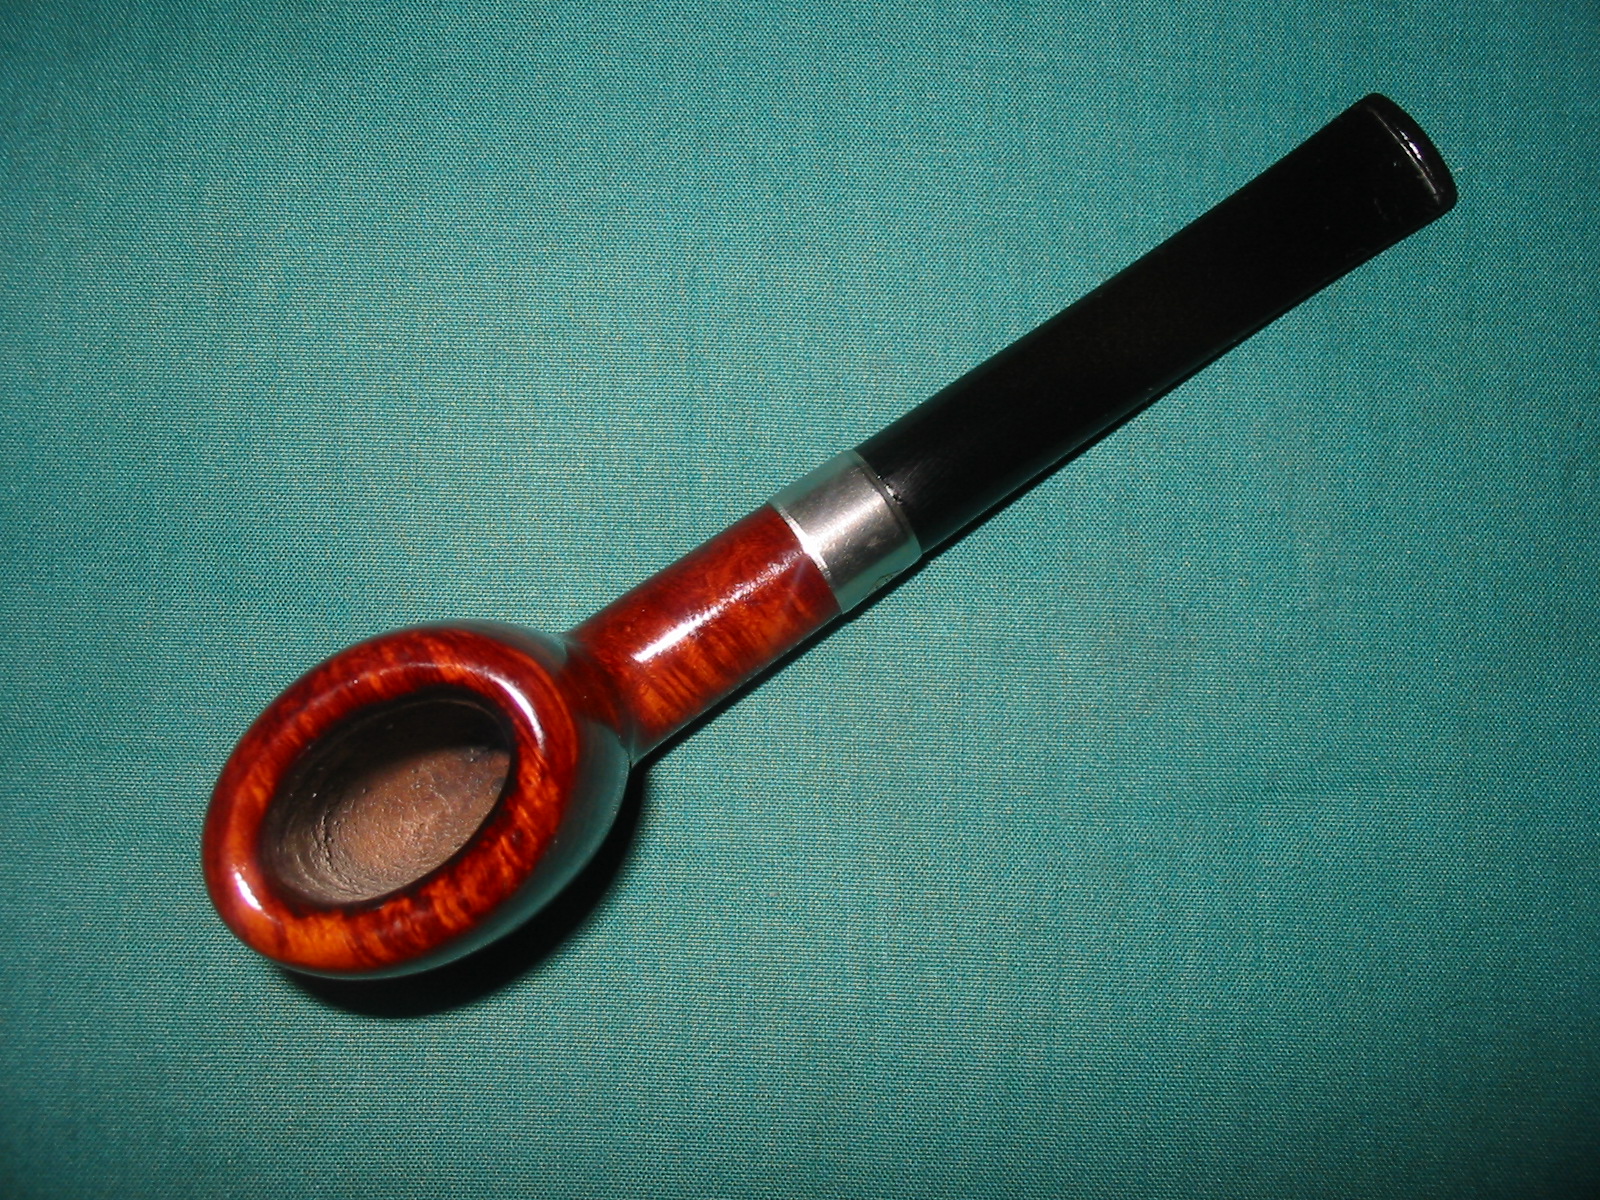
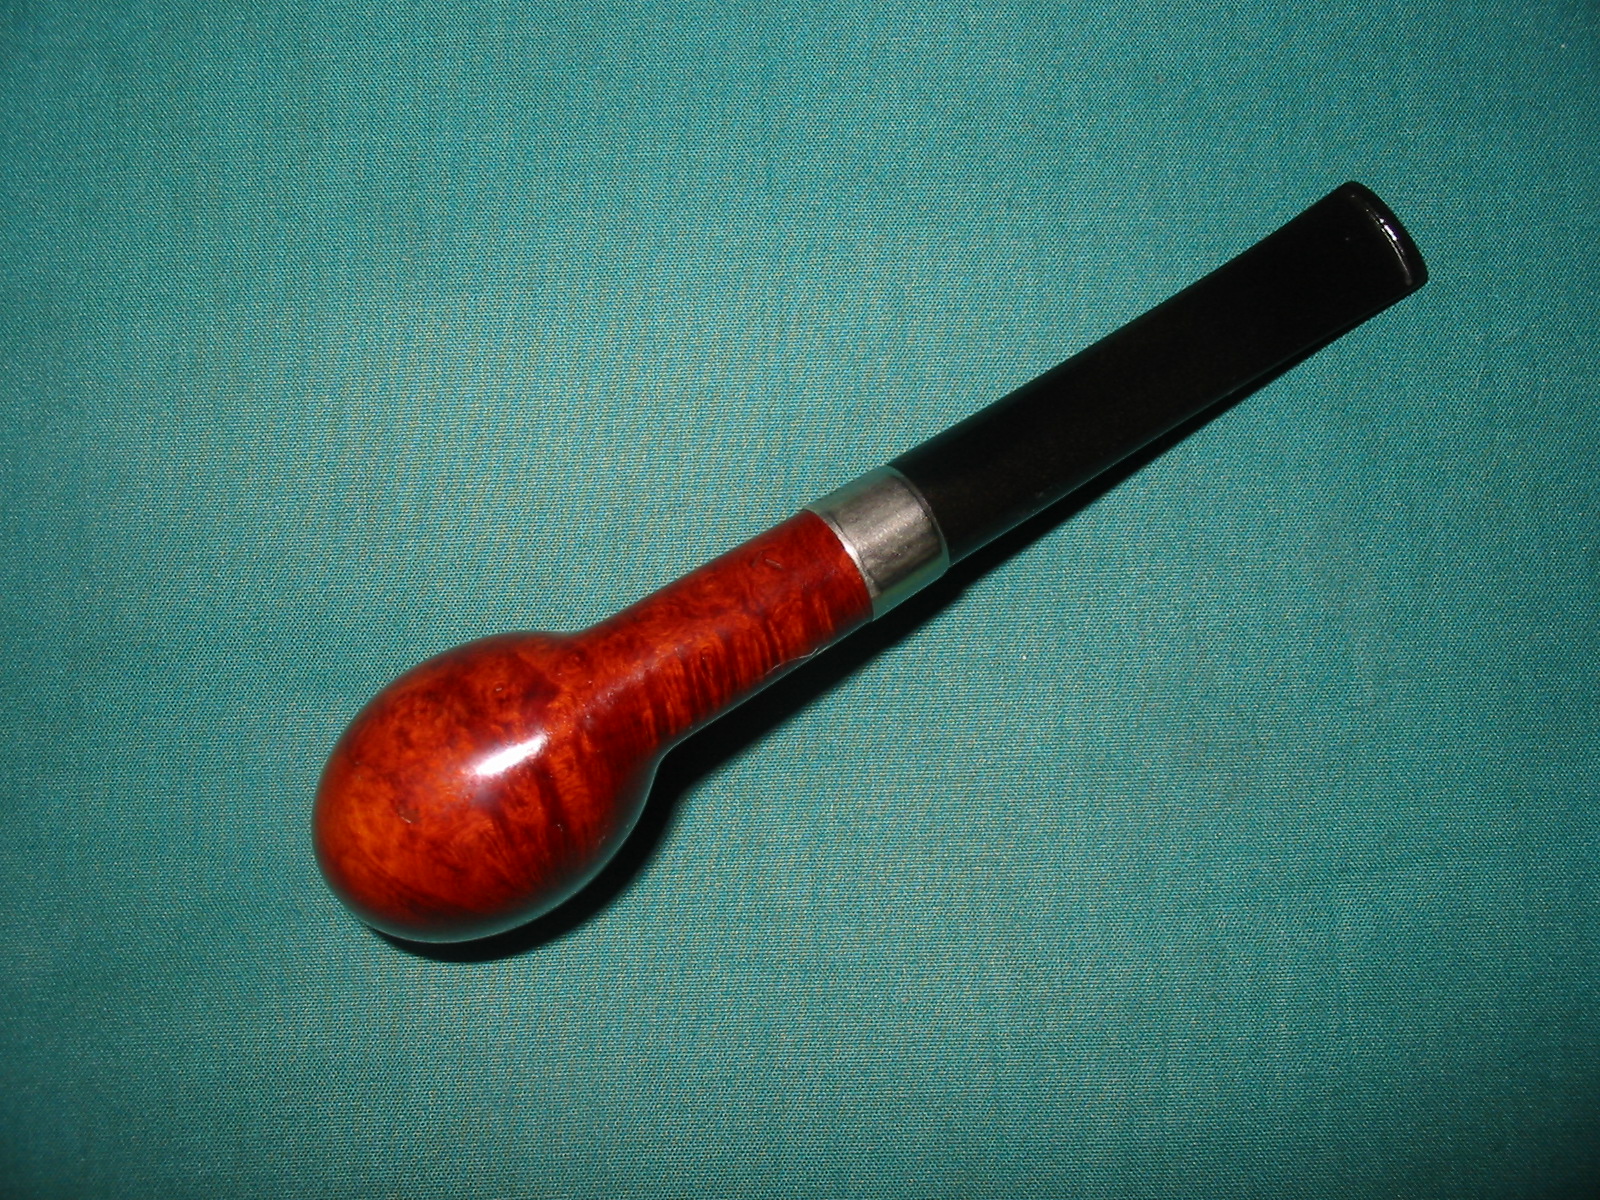
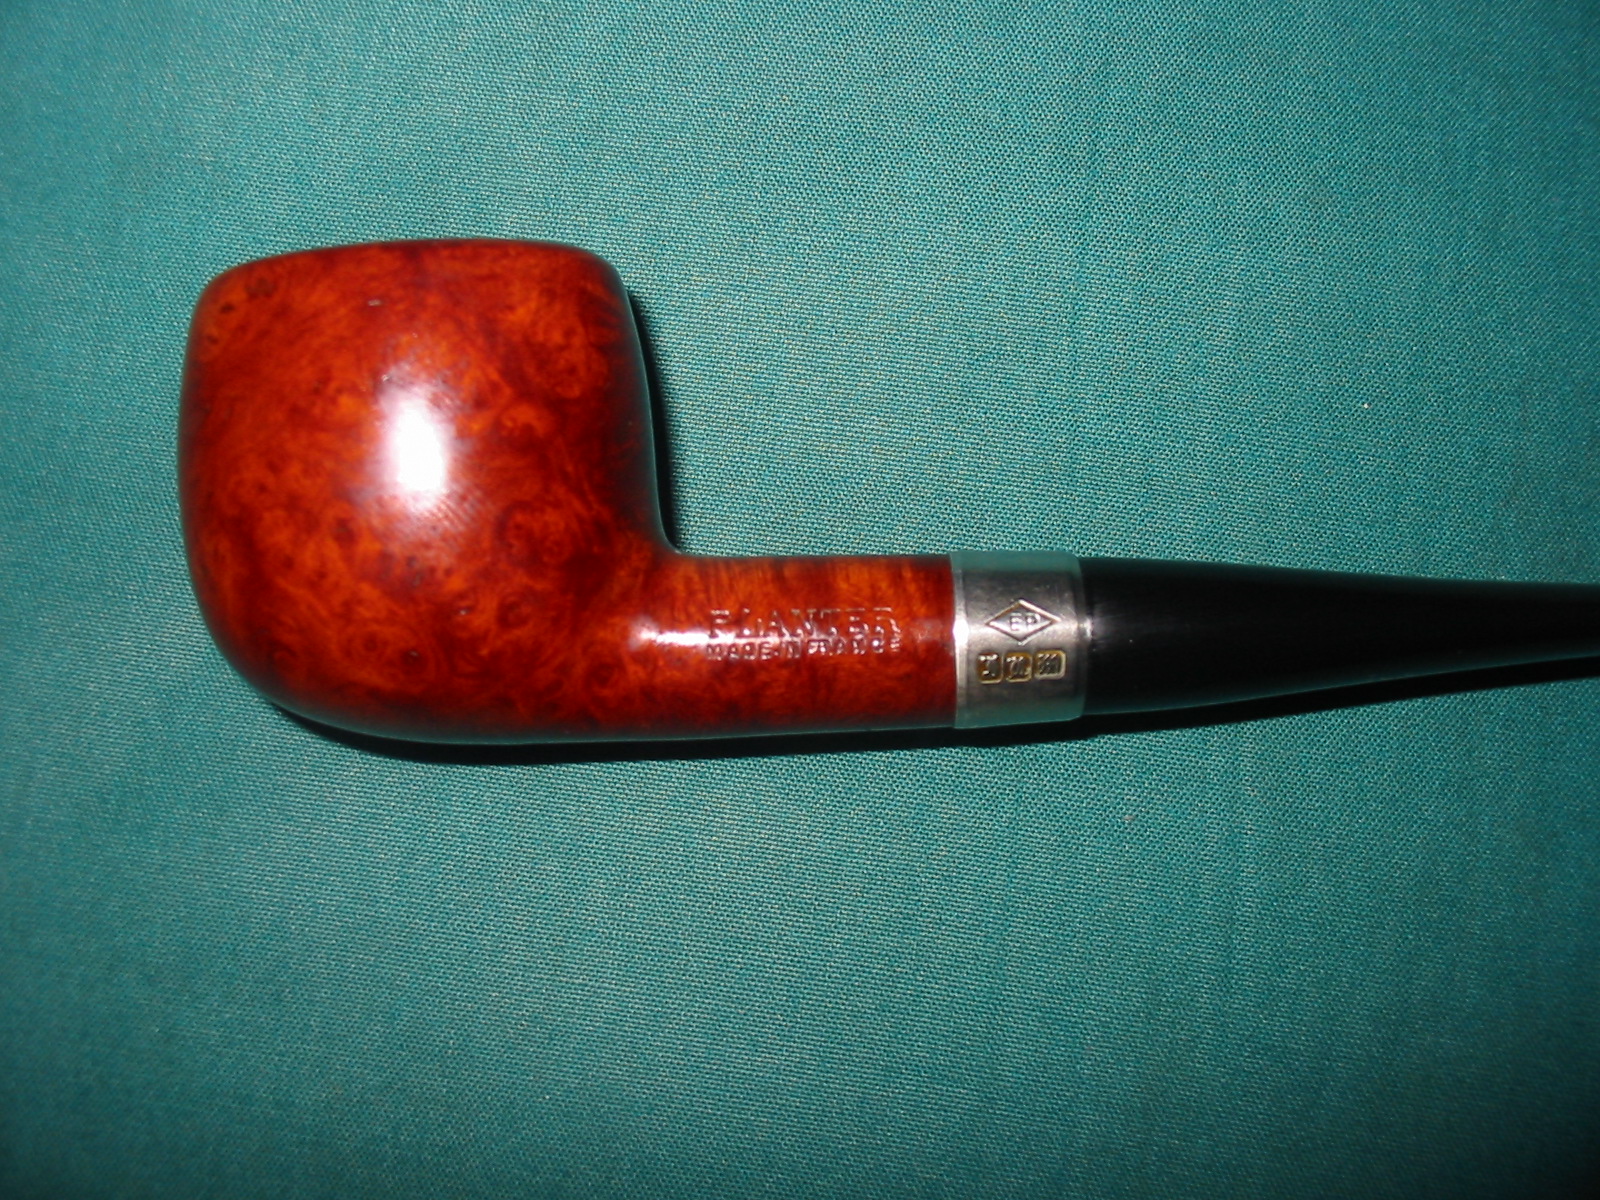
This is the fourth bowl that I chose to work on from the antique mall lot. It had some great potential to clean up well as it was by far one of the least damaged of the bowls. It is stamped Planter over Made in France on the left side of the shank. There is no other stamping on the bowl or shank. There is no shape size or numbering on the shank. The right side is unmarked. I looked it up online and did not find any maker for the pipe. Pipephil did not have in on his logos and stampings pages nor did any of the other sites I frequent when searching for info online. I turned to my books and found out from “Who Made That Pipe” that the brand was made by Comoy’s in France. I checked Lopes book and it was not listed. The bowl itself was pretty clean on the inside and the interior of the shank was also clean. It barely looked to have been smoked. There were a few remnants of unsmoked tobacco on the walls of the bowl. On the exterior, one side of the bowl was clean and the other was covered with a greasy, dirty buildup. There was some nice looking grain under the grit and grime – both birdseye and cross grain. It looked like it would clean up nicely. There was one small fill on the right side of the bowl. The metal band was tarnished and yellow. The bowl did not come with a stem when I bought it at the antique mall.
IMG_6239

IMG_6241

IMG_6242

IMG_6243
I went through my can of stems and found one that would fit with very minimal adjustments. I sanded the tenon with a folded piece of sandpaper and it fit well against the shank. There were some issues on the diameter of the stem. It appeared that it was slightly out of round on the right side. It would need to be sanded on the right side, top and bottom for a perfect fit.
IMG_6244

IMG_6245

IMG_6246

IMG_6247
The band was not totally in place on the shank. It had slid toward the end of the shank over the years so I needed to heat it and press it into place. The benefit to this was that it heated up the yellow buildup on the band and it came off quite easily with some silver polish/metal cleaner. I scrubbed the band with some Hagerty Tarnish Preventative Silver Polish that I bought years ago at a jewelry shop. It removed the tarnish and oxidation and with repeated scrubbing it cleaned out the tarnish in the hallmarks.

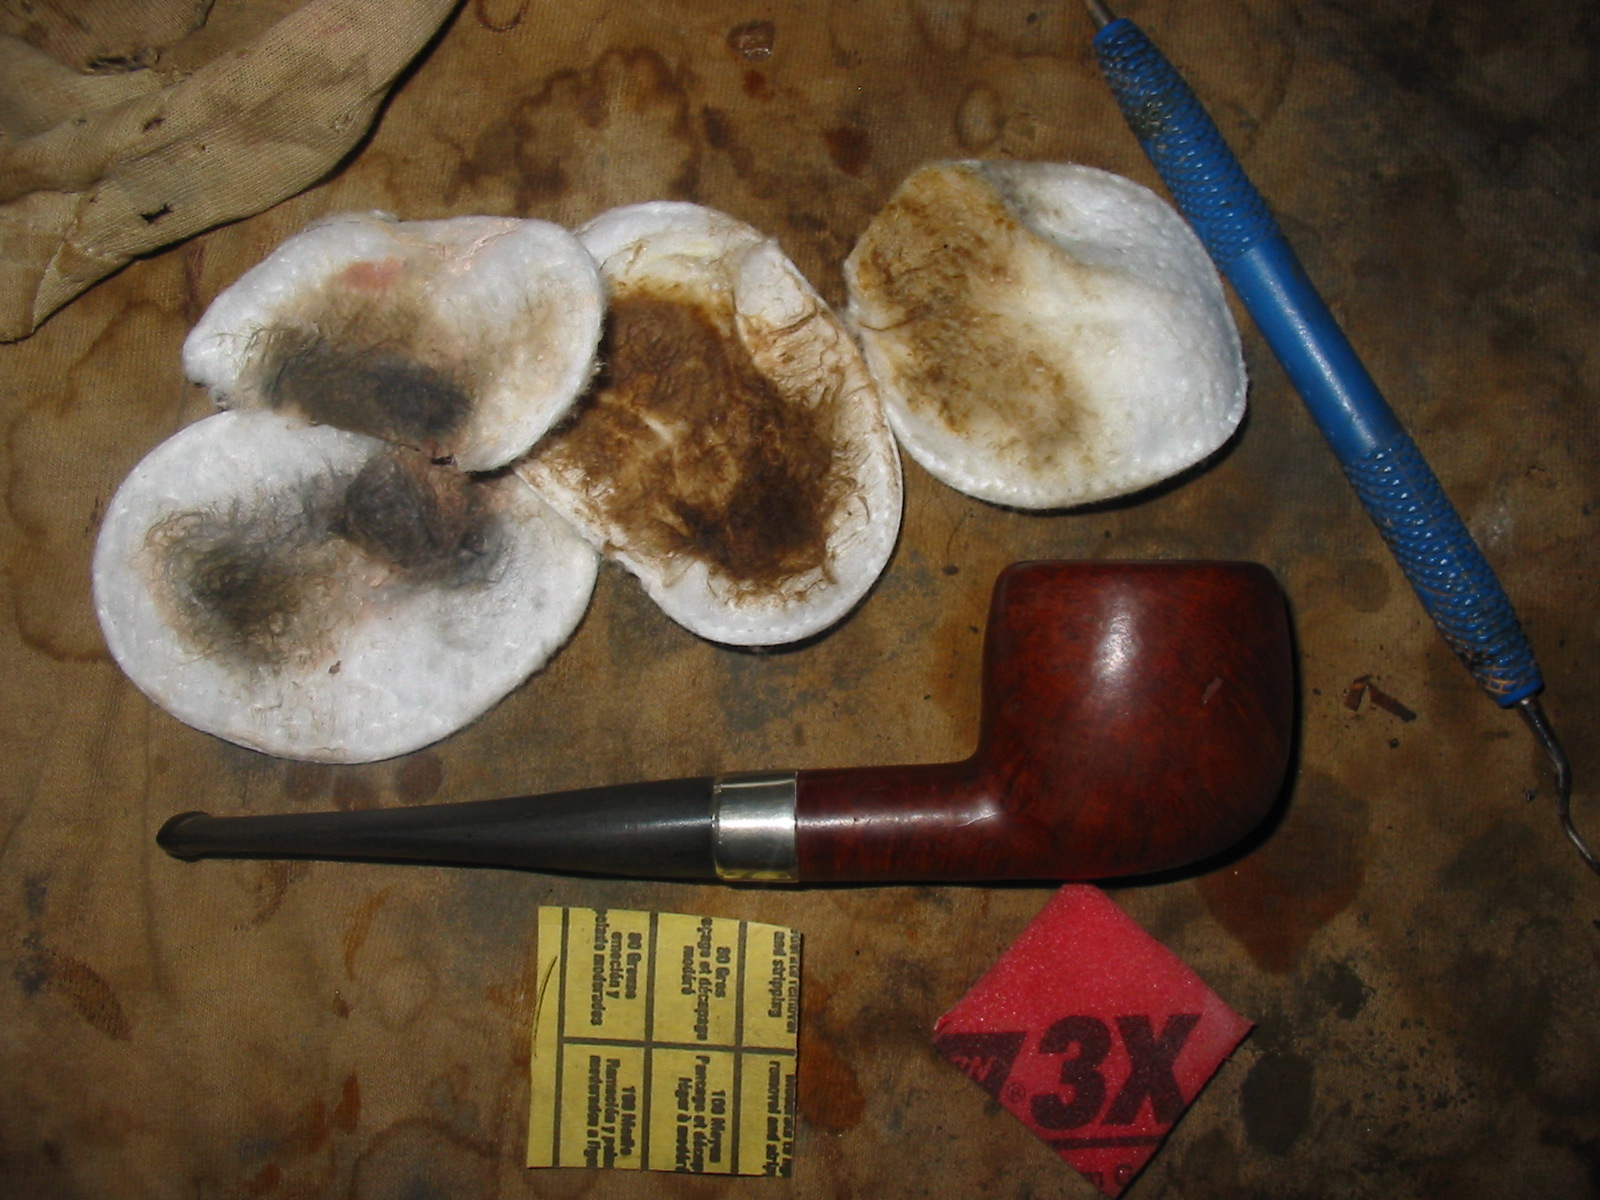
I scrubbed the exterior of the bowl with Murphy’s Oil Soap to remove the greasy buildup on the right side of the bowl and shank. I followed that up with a wipe down of isopropyl alcohol to finish removing the grime. I sanded the stem on the right side to remove the excess vulcanite and make it line up with the band. I always look at the end view of the pipe and see if the diameter of the stem matches the edge of the band that it will sit against. I strive to make it the same all the way around as I think it looks better when done that way. I used 220 grit sandpaper and a medium and fine grit sanding sponge to get the fit right. In the photos below the pipe is shown after all the scrubbing and fitting of the stem.
IMG_6248

IMG_6250

IMG_6251
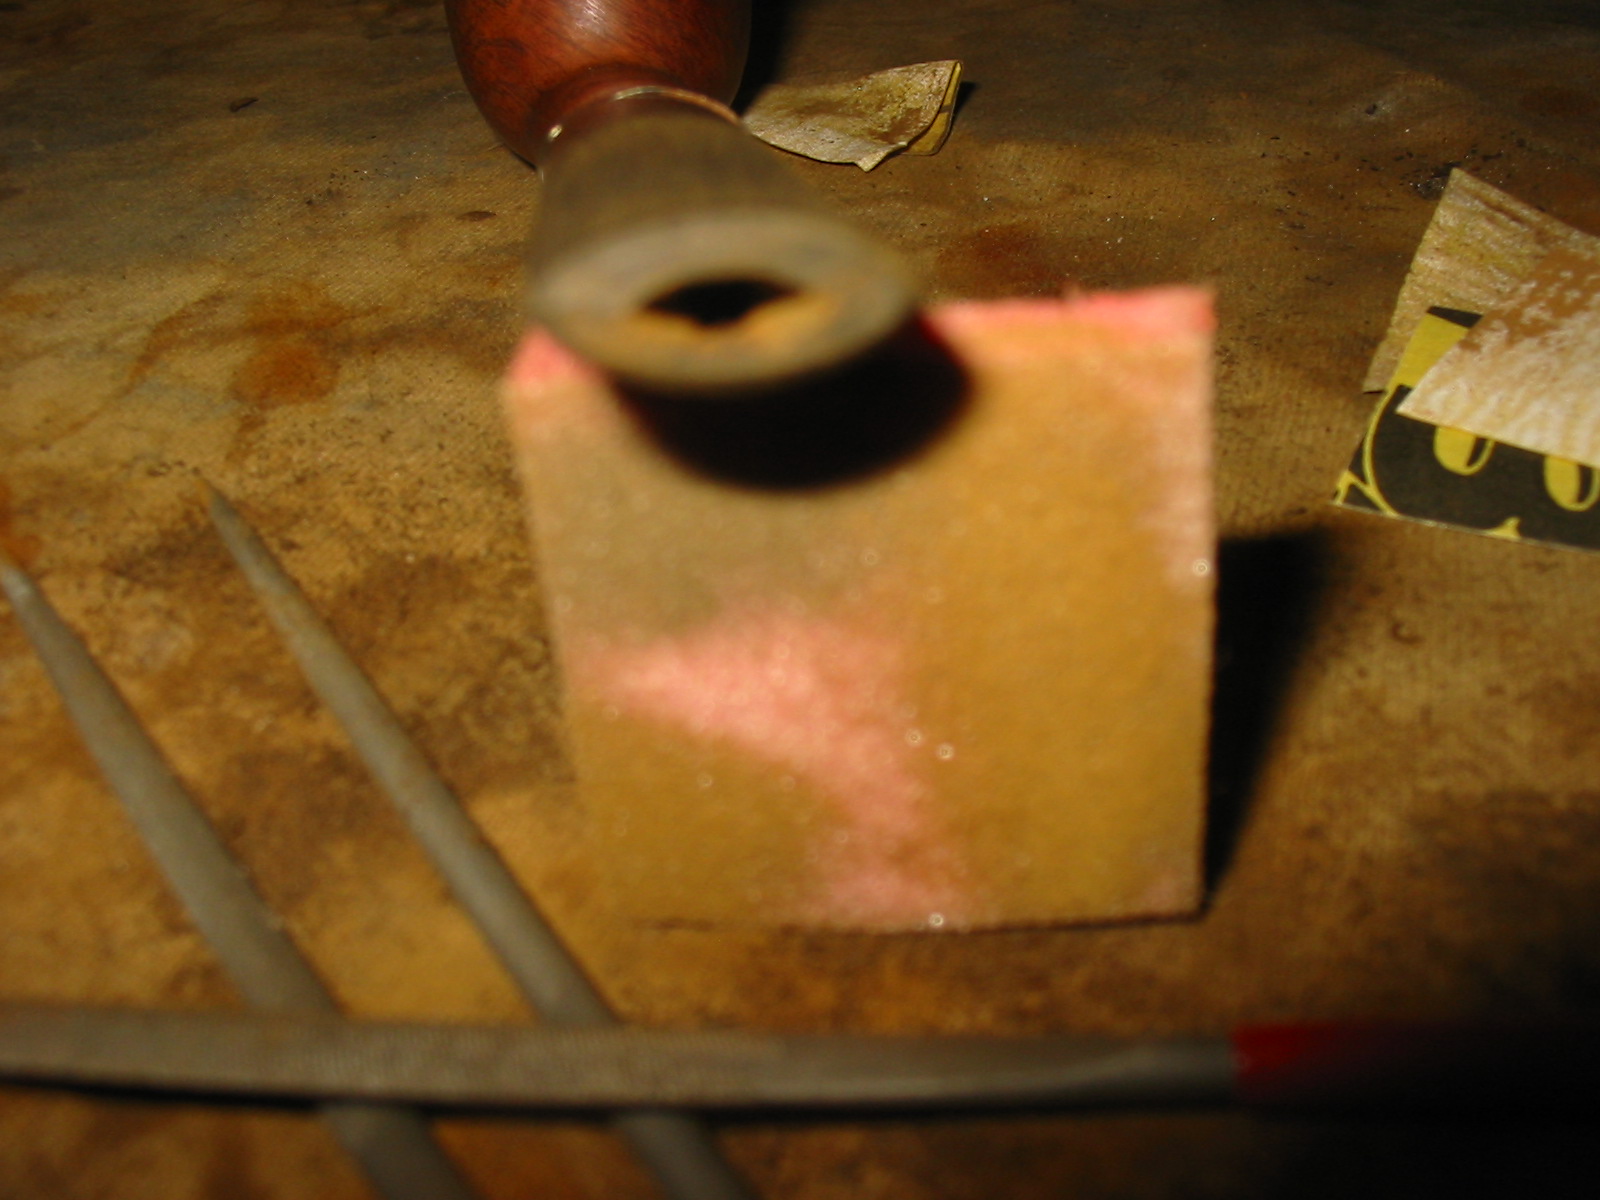
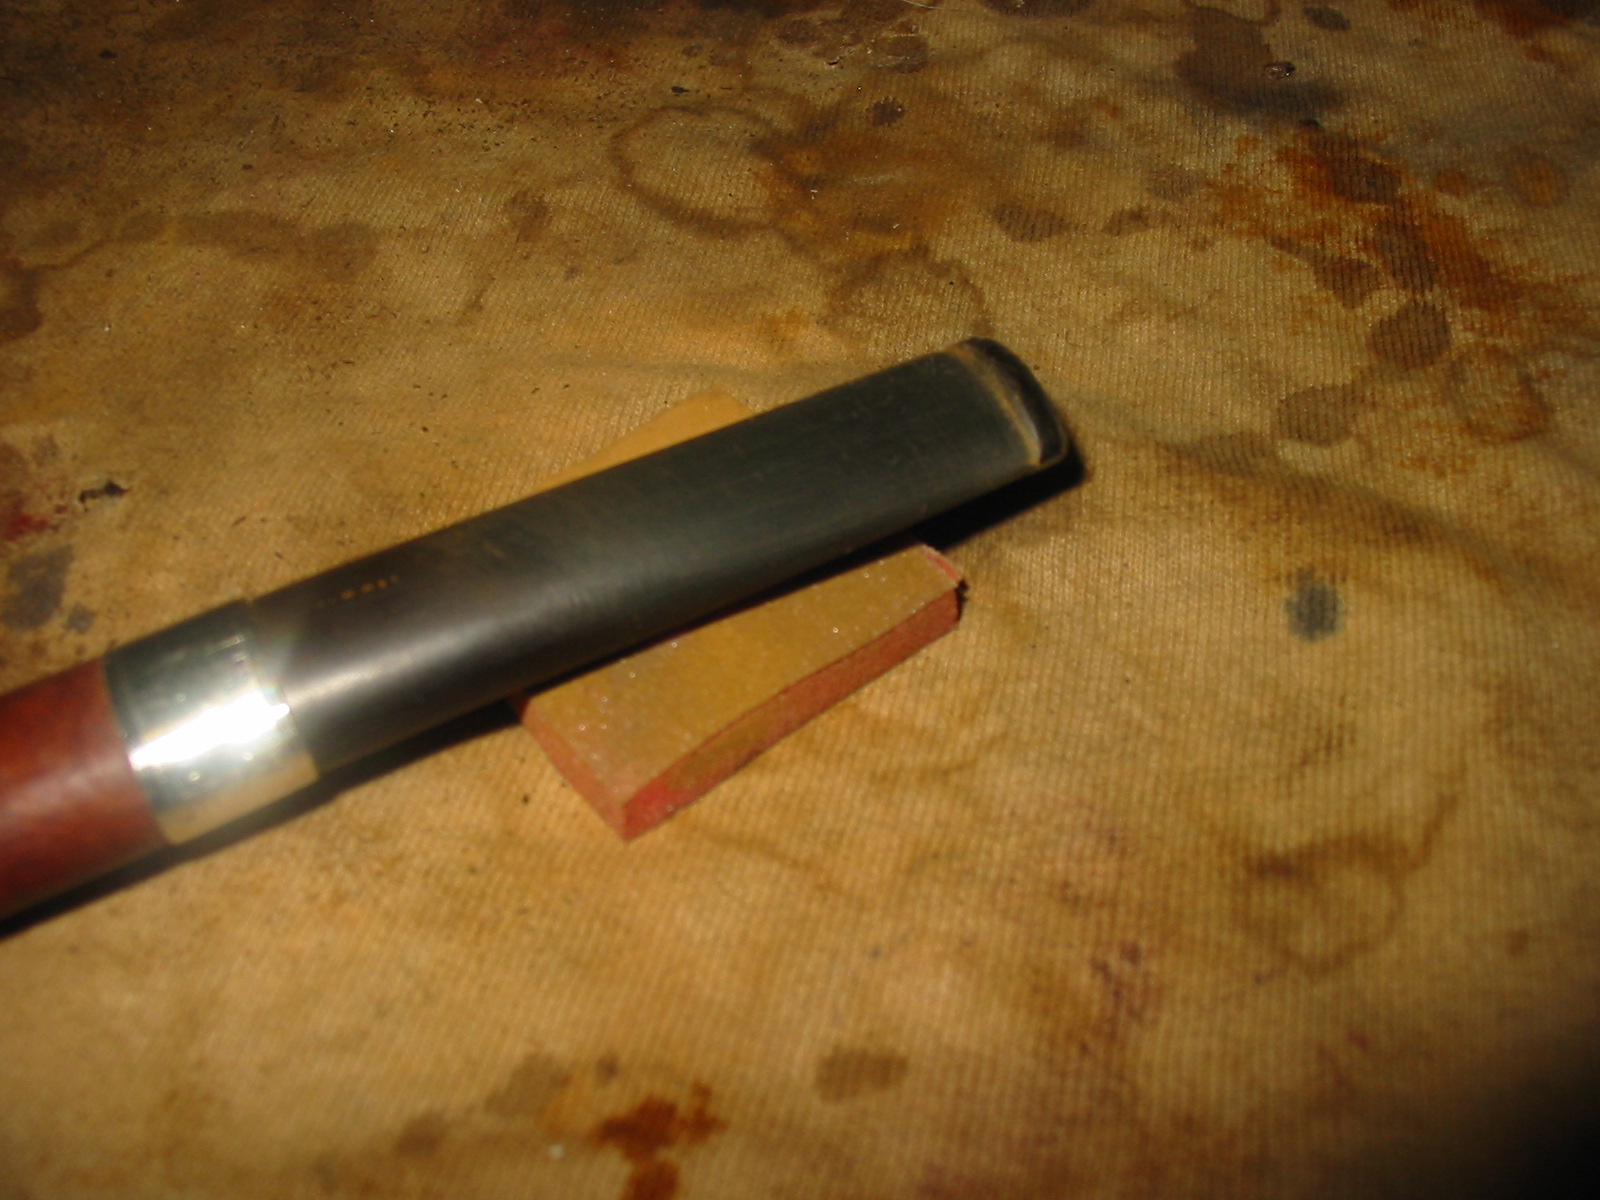
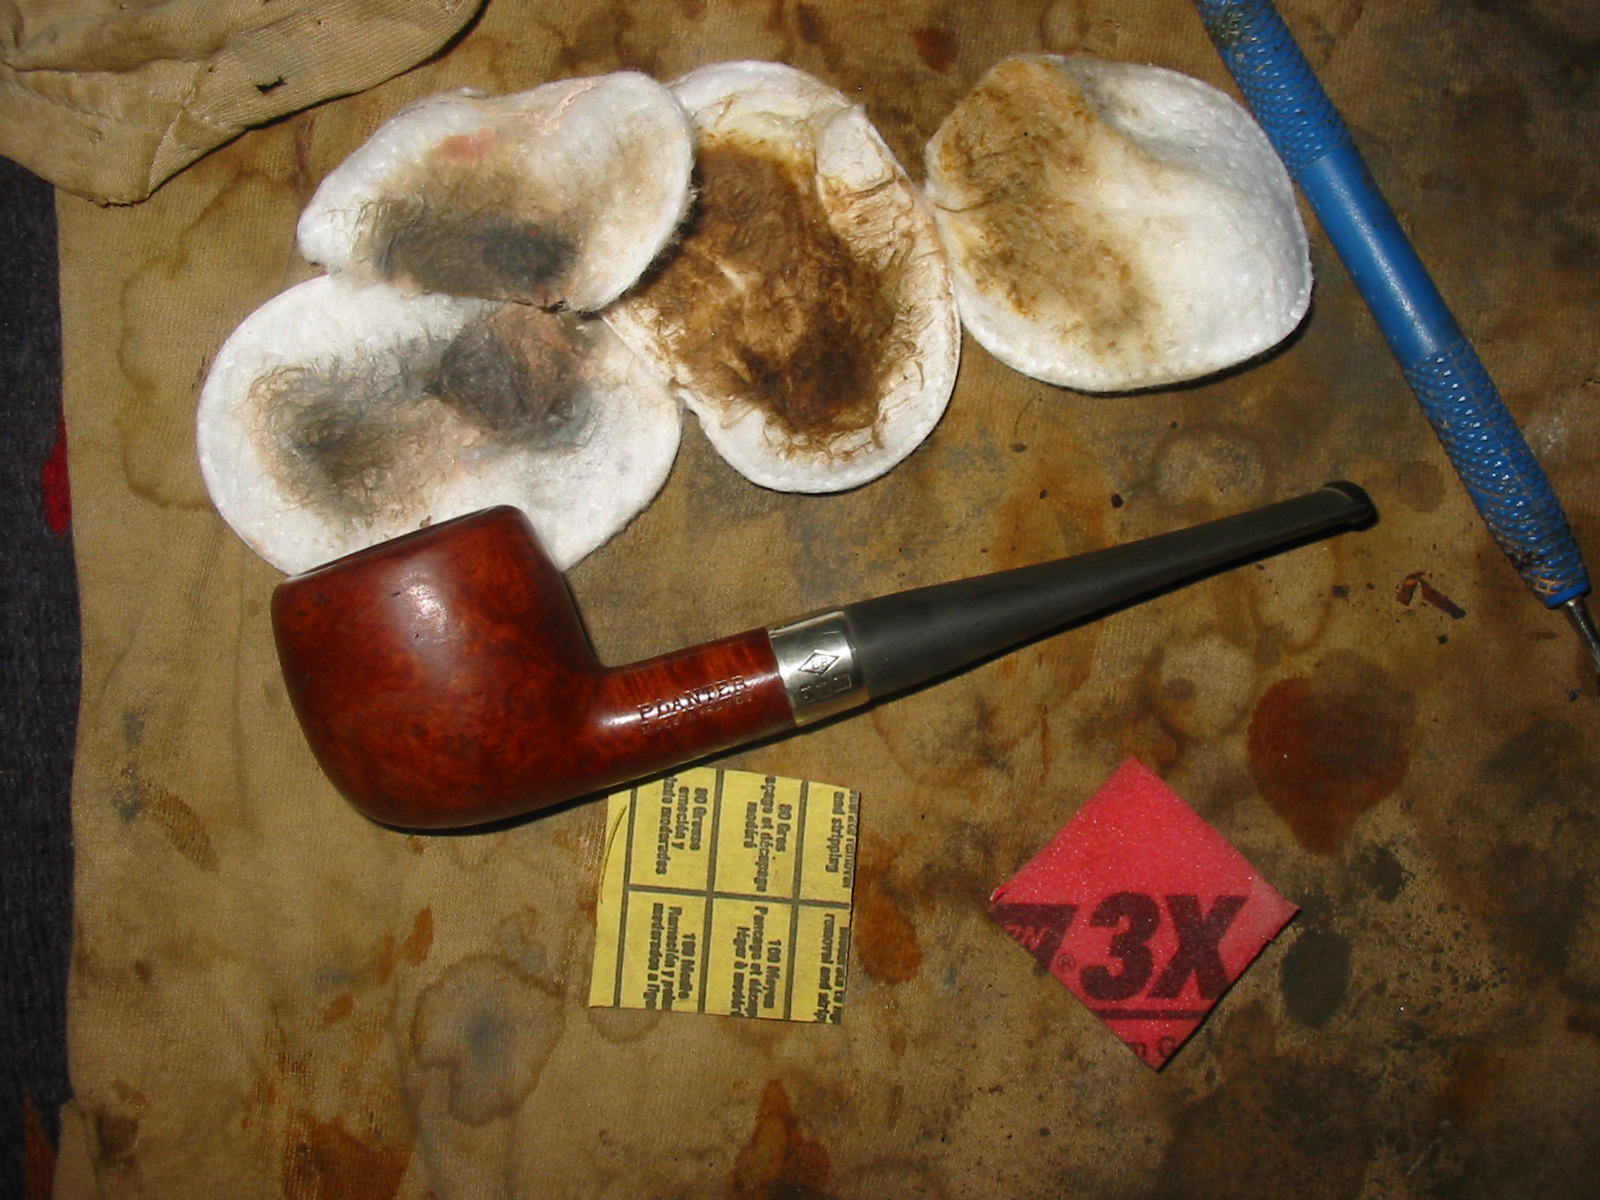
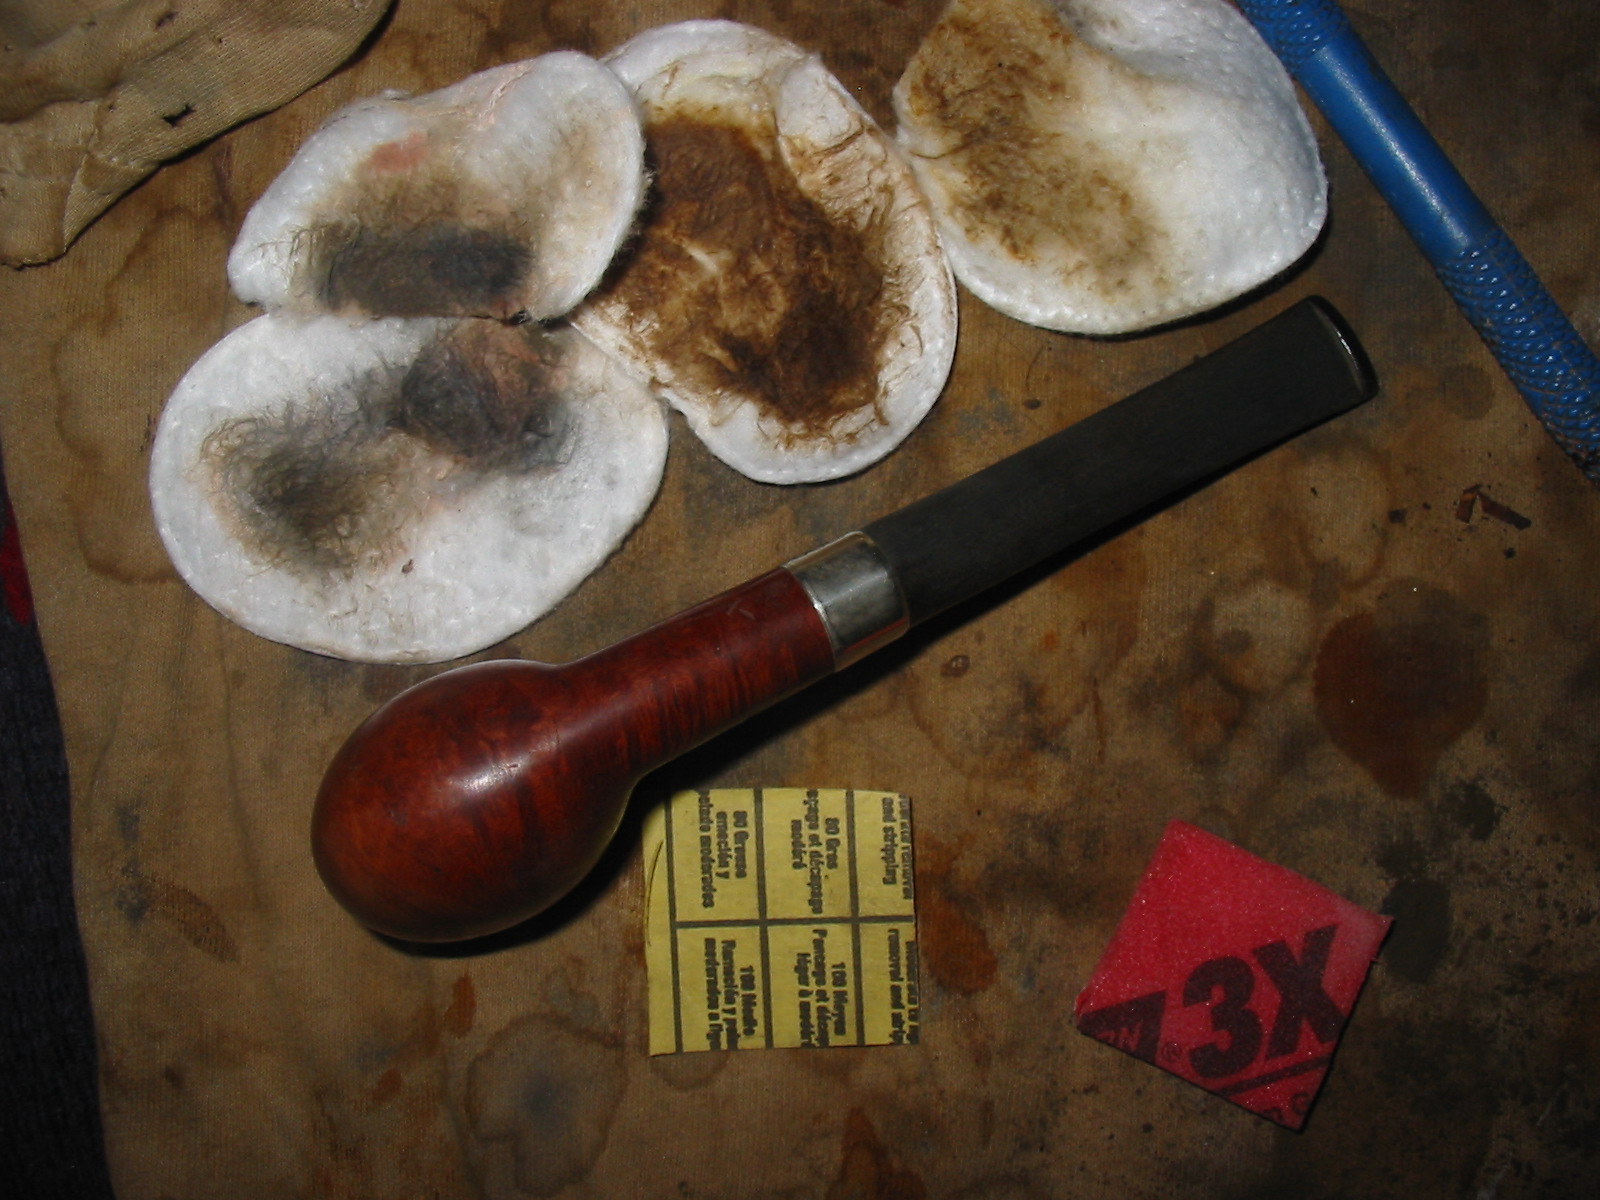
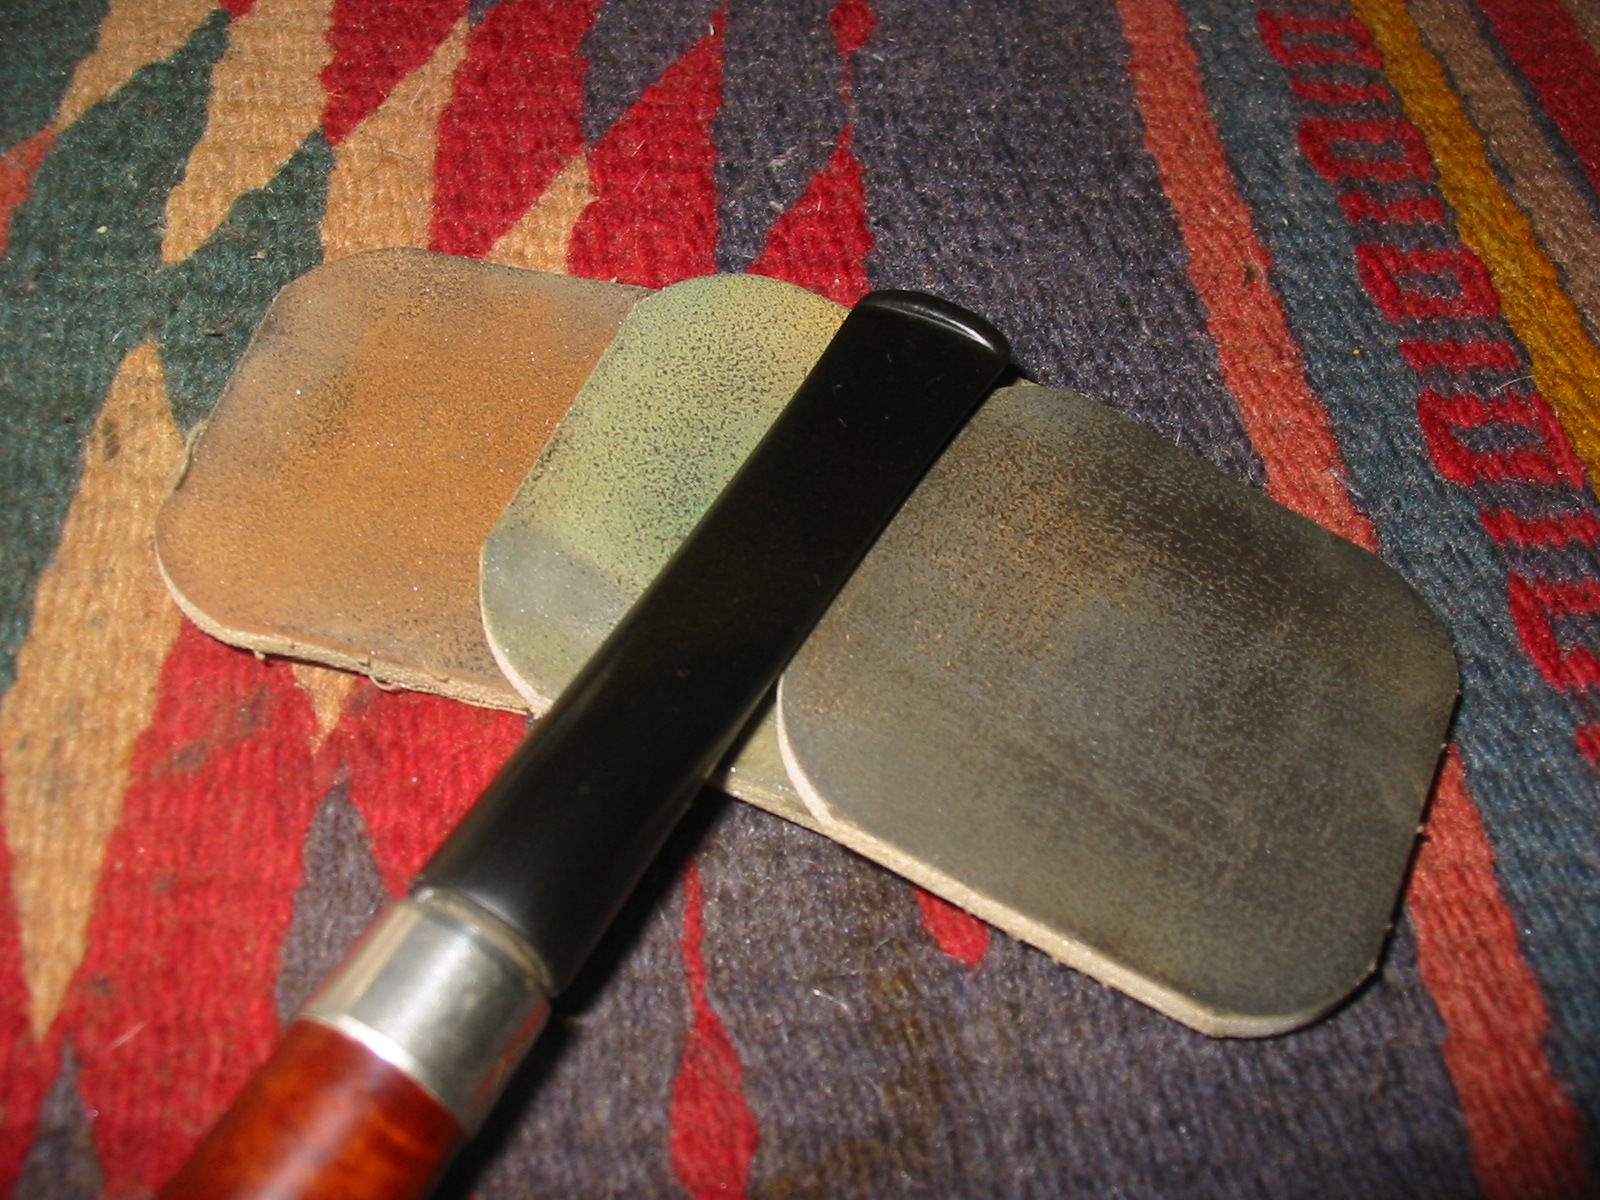
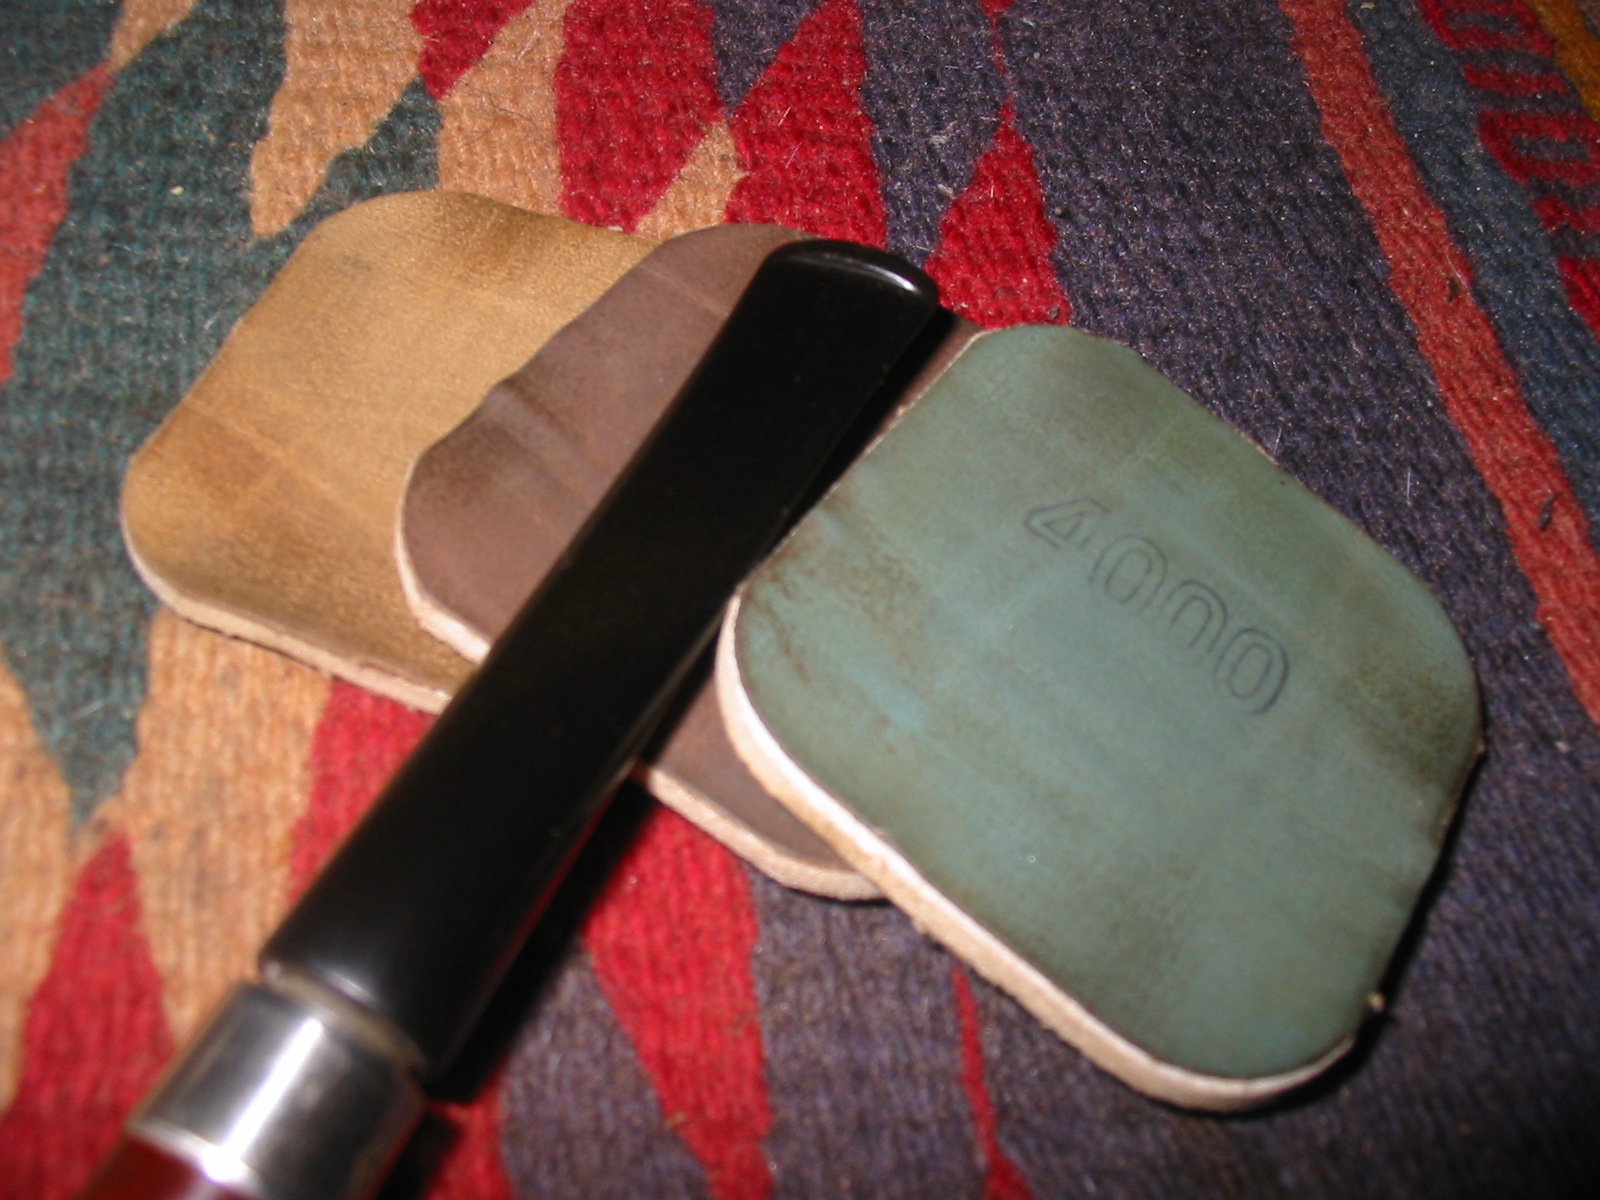
You can see from the few steps taken with the pipe that it was a very simple clean up. It took more time to fit the stem that it did to clean up the bowl and band. I gave it a quick buff with White Diamond before working on the stem. I took it back to the work table and sanded the stem with a medium and fine grit sanding sponge (the pink square pictured above is one of those sponges). I then sanded the bowl and stem with micromesh sanding pads – wet sanding with 1500-2400 grit pads and dry sanding with 3200-12000 grit pads.
IMG_6252

IMG_6254

IMG_6255
I finished by rubbing down the stem with Obsidian Oil and when it had been absorbed into the stem I buffed the stem and bowl with White Diamond. I gave it multiple coats of carnauba wax to protect and give it a shine. I finish with a soft flannel buffing pad on the buffer. The finished pipe is pictured below. Sometime today I will load a bowl and give it a smoke.
IMG_6256

IMG_6258

IMG_6259

IMG_6260

IMG_6261

Weber Scoop Junior Restemmed and Renewed


Blog by Steve Laug

The next pipe on the work table is pictured below. The stamping is faint on the left side of the shank but it reads Weber in and oval over Scoop Junior. On the right side of the shank it is stamped Imported Briar. I decided to do a bit of reading on Weber pipes. I looked on Pipedia and found the following information.

Carl B. Weber was a German from Bavaria. Aged 21 he immigrated to the USA in 1911. In 1938 he established Weber Briars Inc. in Jersey City, New Jersey – later renamed the Weber Pipe Co. The firm grew to be one of the giants of American pipe industry focusing itself in the middle price and quality zone. Trademark: “Weber” in an oval. Beside that Weber – especially in the years after 1950 – was a most important supplier for private label pipes that went to an immense number of pipe shops. In New York alone for example, exactly the same pipes were found at Wilke’s, Barclay Rex, Trinity East, Joe Strano’s Northampton Tobacconist in Ridgewood, Queens, Don-Lou in Bensonhurst, Brooklyn. Nearly all pipes for Wilke were unstained and many models, for example the “Wilke Danish Bent”, could hardly deny originating of Weber. Among others well reputed pipemaker Anthony Passante worked for Weber.

Weber Pipe Co. owned and manufactured Jobey pipes – when mainly sold in the USA by The Tinderbox from 1970’s – 80’s. In addition Jobey / Weber bought Danish freehands from Karl Erik (Ottendahl). These pipes were offered as Jobey Dansk. Ottendahl discontinued exports to the United States in 1987 and in the very same year – obviously only as a ghost brand – Jobey was transferred to Saint-Claude, France to be manufactured by Butz-Choquin. Carl B. Weber is the author of the famous book “Weber’s Guide to Pipes and Pipe Smoking”.

This particular Weber was a shape that he made famous. I have had several different version of this pipe – mostly straight or ¼ bent and all were rusticated with Weber’s recognizable rustication. This one was different – it was smooth, with no fills and very interesting grain. The bottom of the bowl and shank was beautiful cross grain; the sides were a mix of grain and some stunning birdseye. The finish was shot and the briar was weathered and dry. There were two fine cracks on the rim at 7 and 11 but they did not extend into the bowl – more like hairline cracks. The flat rim and the crowned portion above the parallel lines encircling the bowl was almost tiger striped. The parallel lines were filled with dust and grime. It had a broken cake in the bowl and had been repaired at some point in its history with pipe mud to build up the bottom of the bowl at the airway. The end of the shank had some small nicks on both sides and the bottom edge that would make lining up a stem for a tight fit difficult but not impossible. The bowl did not come with a stem so a stem would have to be fit and shaped.
IMG_6096

IMG_6097

IMG_6098

IMG_6099
The only stem I had in my box of stems was a chunky saddle bit that would work but would need to have major adjustments in terms of diameter. I turned the tenon on a PIMO tenon turning tool until the stem fit snuggly in the shank of the pipe.
IMG_6091
You can see from the next series of photos that the stem was far too wide in diameter and would need to be trimmed to size for a good fit against the shank.
IMG_6092

IMG_6093

IMG_6094

IMG_6095
Before I worked on the stem I decided to do a bit of clean up on the bowl. I quickly reamed the bowl with a PipNet pipe reamer. I used the largest cutting head to ream the bowl.
IMG_6100
I lightly topped the bowl on a piece of sandpaper to remove the damage and the hard buildup on the surface of the rim.
IMG_6101
I wiped the bowl down with acetone on cotton pads to remove the damaged finish. I sanded the bowl with a medium and a fine grit sanding sponge to smooth out the rough spots on the bowl and to further remove the finish.
IMG_6104

IMG_6105

IMG_6106

IMG_6107

IMG_6108
I trimmed the diameter of the stem with a sanding drum on a Dremel. A steady hand is essential in doing this to get close to the shank of the pipe but not nick it with the fast moving drum. I generally do this in several stages to get it even and the alignment with the sides and top of the shank correct. I also take as much off as possible with the Dremel so that the hand sanding is really fine tuning the shape of the stem.
IMG_6109

IMG_6110

IMG_6111

IMG_6112
When the majority of the excess material has been removed with the Dremel I continue shaping the stem with 220 grit sandpaper squares. I sand until the marks from the Dremel are gone and the sides of the stem align with the line of the shank on each side. I want a good flow between the shank and the stem. I also sand the junction of the shank and stem until the flow is also correct. It takes a lot of sanding to get it to the place where the transitions are smooth and the old round chunky stem is a thing of the past.
IMG_6113

IMG_6114
Once I had the stem fitted there was still fine tuning to do to it. There were still scratches and marks on the saddle and the sides of the stem. The sides of the stem were too thick and needed to be thinned and shaped. However, I decided to change my pace a little and stain the bowl with a black aniline stain undercoat. I applied it and flamed it several times until the coverage was even.
IMG_6115

IMG_6116

IMG_6117

IMG_6118
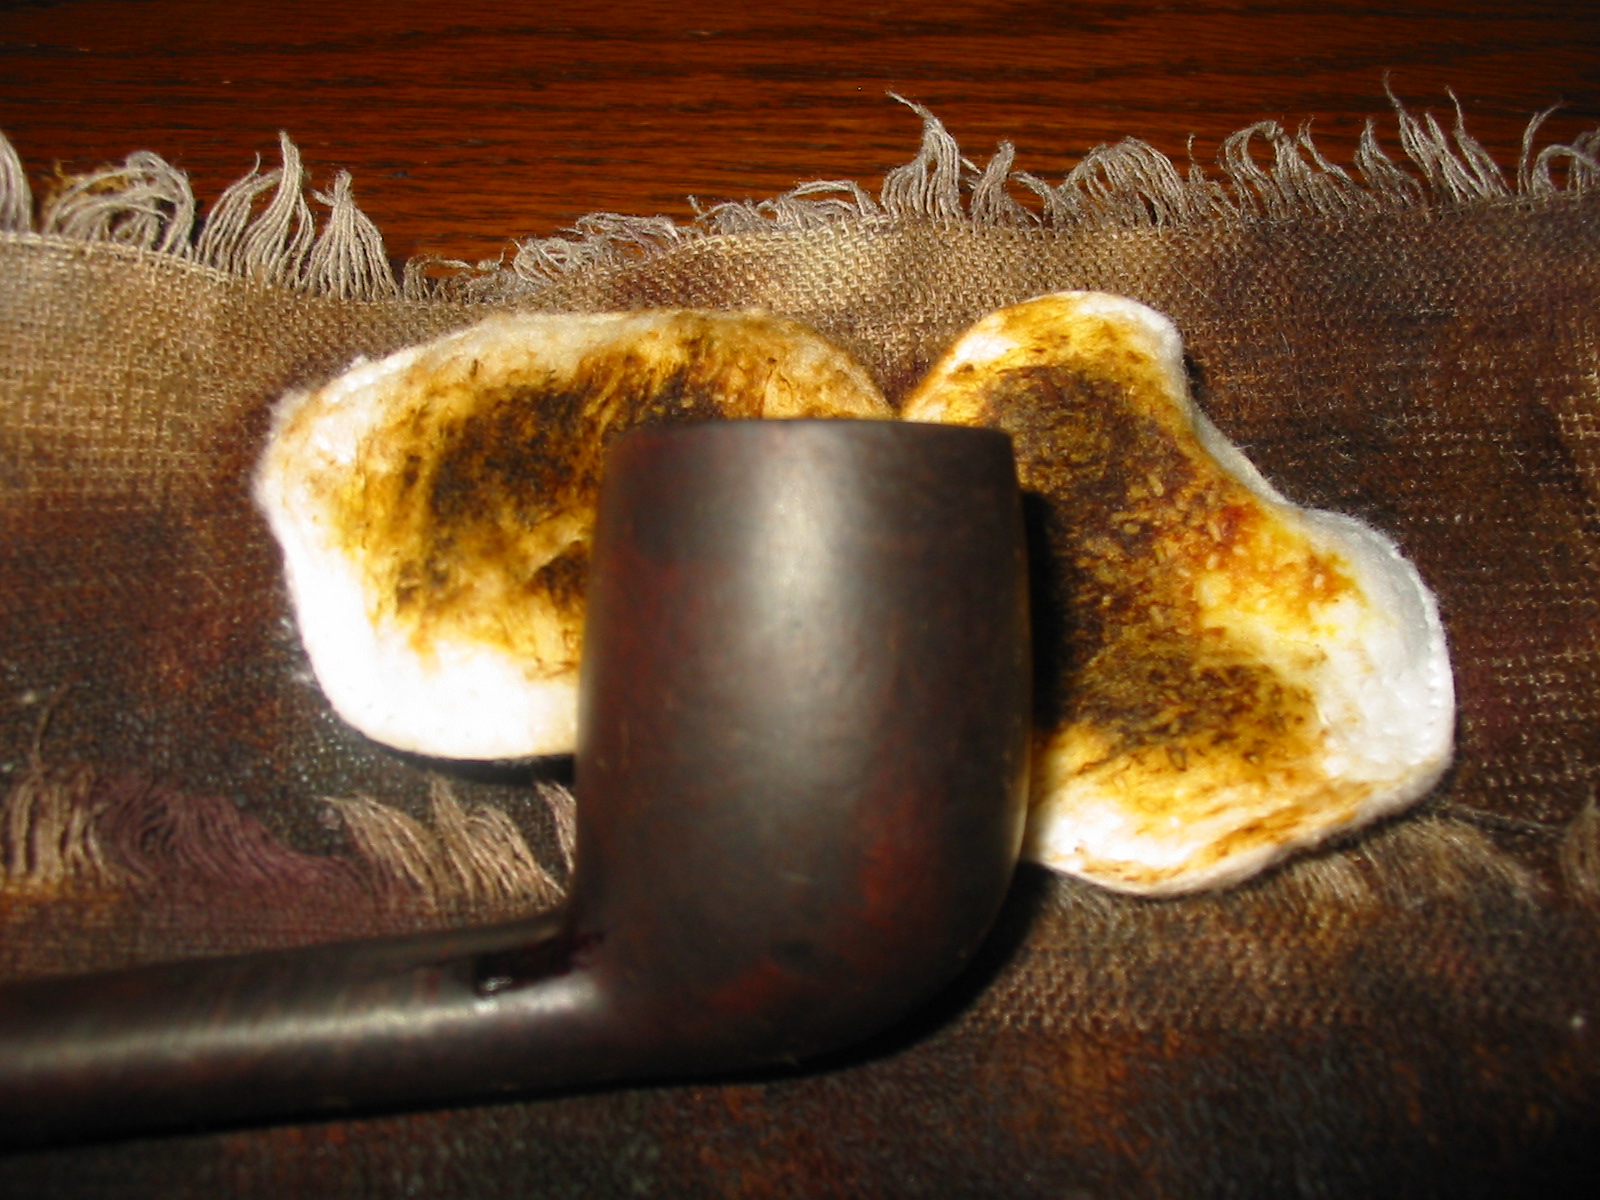
When the stain was dry I wiped the bowl down with acetone on a cotton pad to remove some of the top black stain, while leaving it deep in the softer parts of the briar – the grain. I repeated the process until much of the black top coat was gone and the grain began to stand out on the bowl. It still would require some sanding and buffing to remove all that I wanted to remove before I applied a second coat of stain – an oxblood colour that would really set off the grain in this pipe.
IMG_6119

IMG_6120

IMG_6121

IMG_6122
Before calling it a night I decided to bend the stem so I set up a heat gun and heated the stem until the vulcanite was pliable. Once it was soft I bent it over a wooden rolling pin that I use to keep the bend even. In this particular case because the stem was quite thick it took several reheatings until I got the bend the way I wanted it.
IMG_6123

IMG_6124

IMG_6125
In the morning when I got up I went down to the work table and gave the bowl its top coat of stain. I used an oxblood stain for the top coat as I thought the contrast between the black undercoat and the red would look good with this particular pipe.
IMG_6126

IMG_6127

IMG_6128

IMG_6129
I set the bowl aside and went to work, letting it dry for 8 or more hours. When I returned home in the evening I worked on the shaping of the stem. I sanded it with 220 grit sandpaper to thin it down and shape the edges on the blade. I also worked on the fit of the saddle to the shank to make sure the transition was smooth and as seamless as possible. Once I had the fit correct I sanded it with medium and fine grit sanding sponges and then my usual array of micromesh pads. I wet sanded with 1500-3200 grit pads and dry sanded with 3600-12000 grit pads.
IMG_6131

IMG_6132

IMG_6133
Once the stem was polished with the pads I buffed it with White Diamond on the wheel to further polish it and then gave it a final sanding with the last three grits of micromesh pads – 6000-12000 grit pads. I was not happy with the finish on the stem as it still showed scratches in the first batch of finished photos so I resanded it with the medium and fine grit pads to remove the scratches and then went through the micromesh pads again. I rubbed the stem down with Obsidian Oil and when dry buffed the pipe with White Diamond and gave it multiple coats of carnauba wax. The finished pipe is picture below. The finish came out quite nice. The contrast stain highlights the great grain on the pipe and makes the finish interesting to look at while smoking it.
IMG_6139

IMG_6140

IMG_6141

IMG_6138

Restoring a Princely Rhodesian Medico – New Stem and New Life


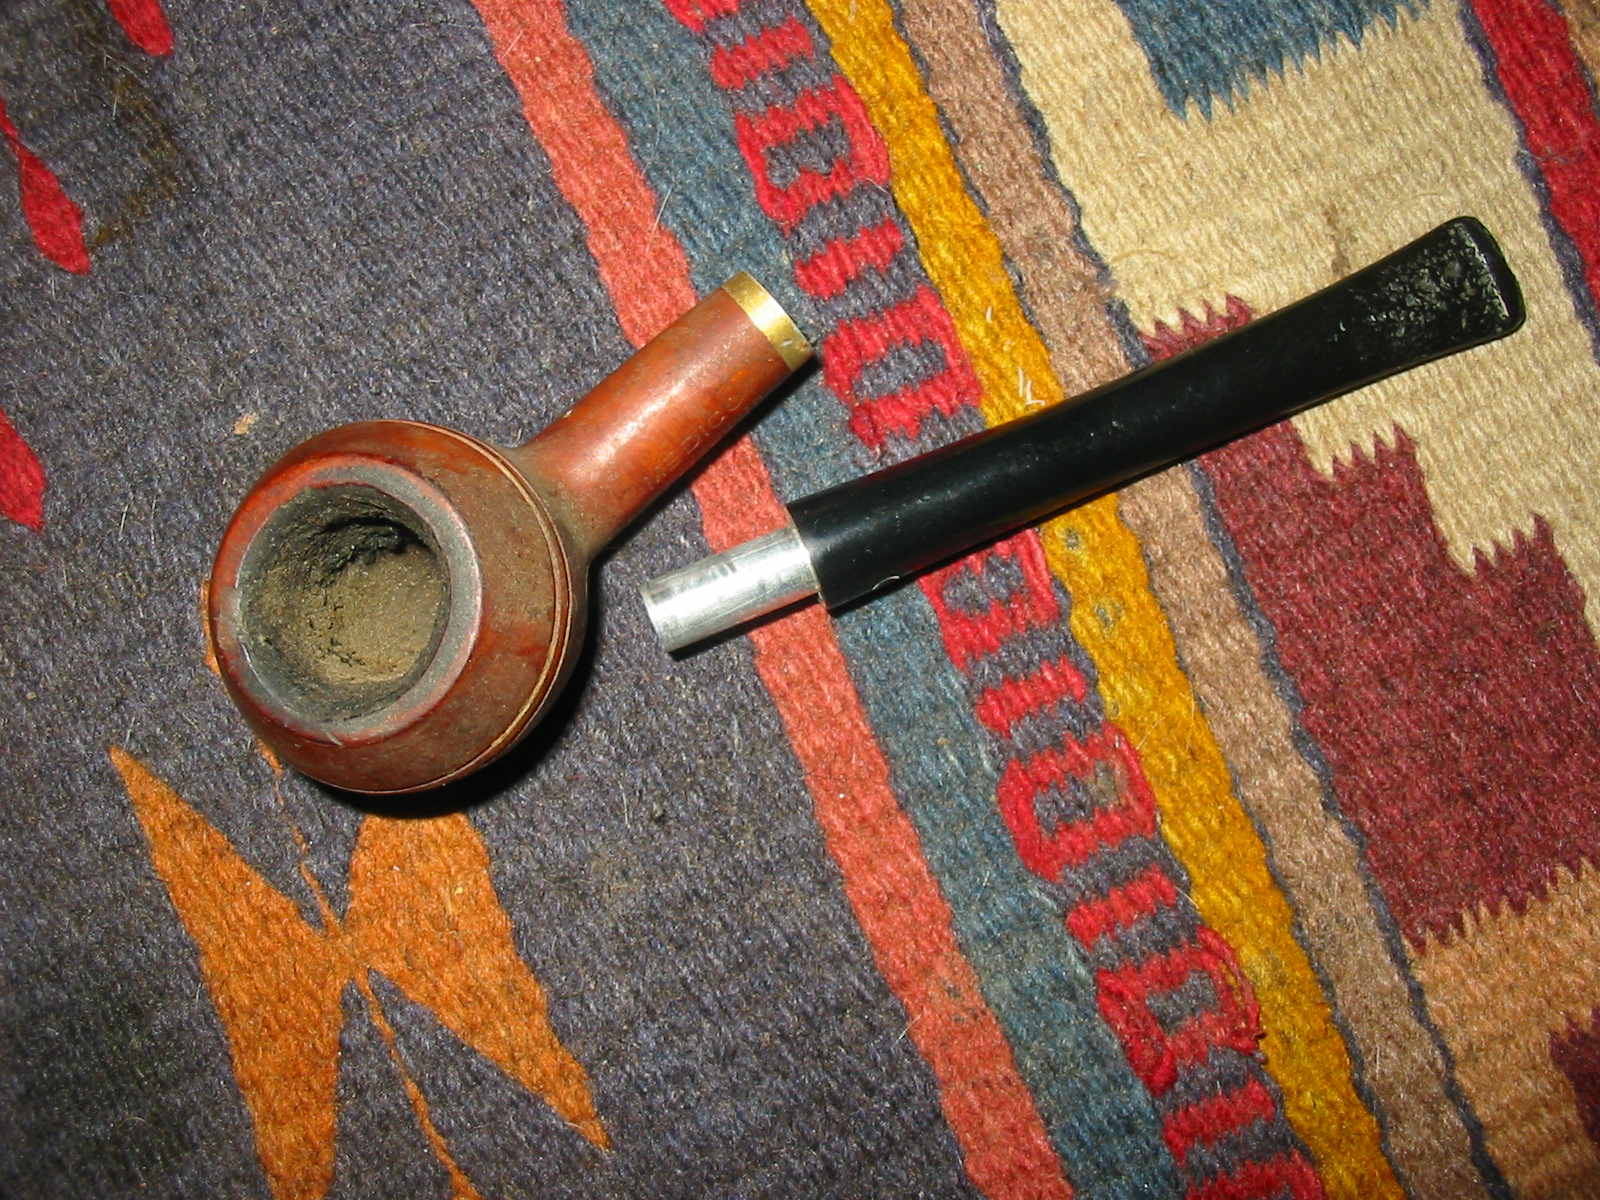
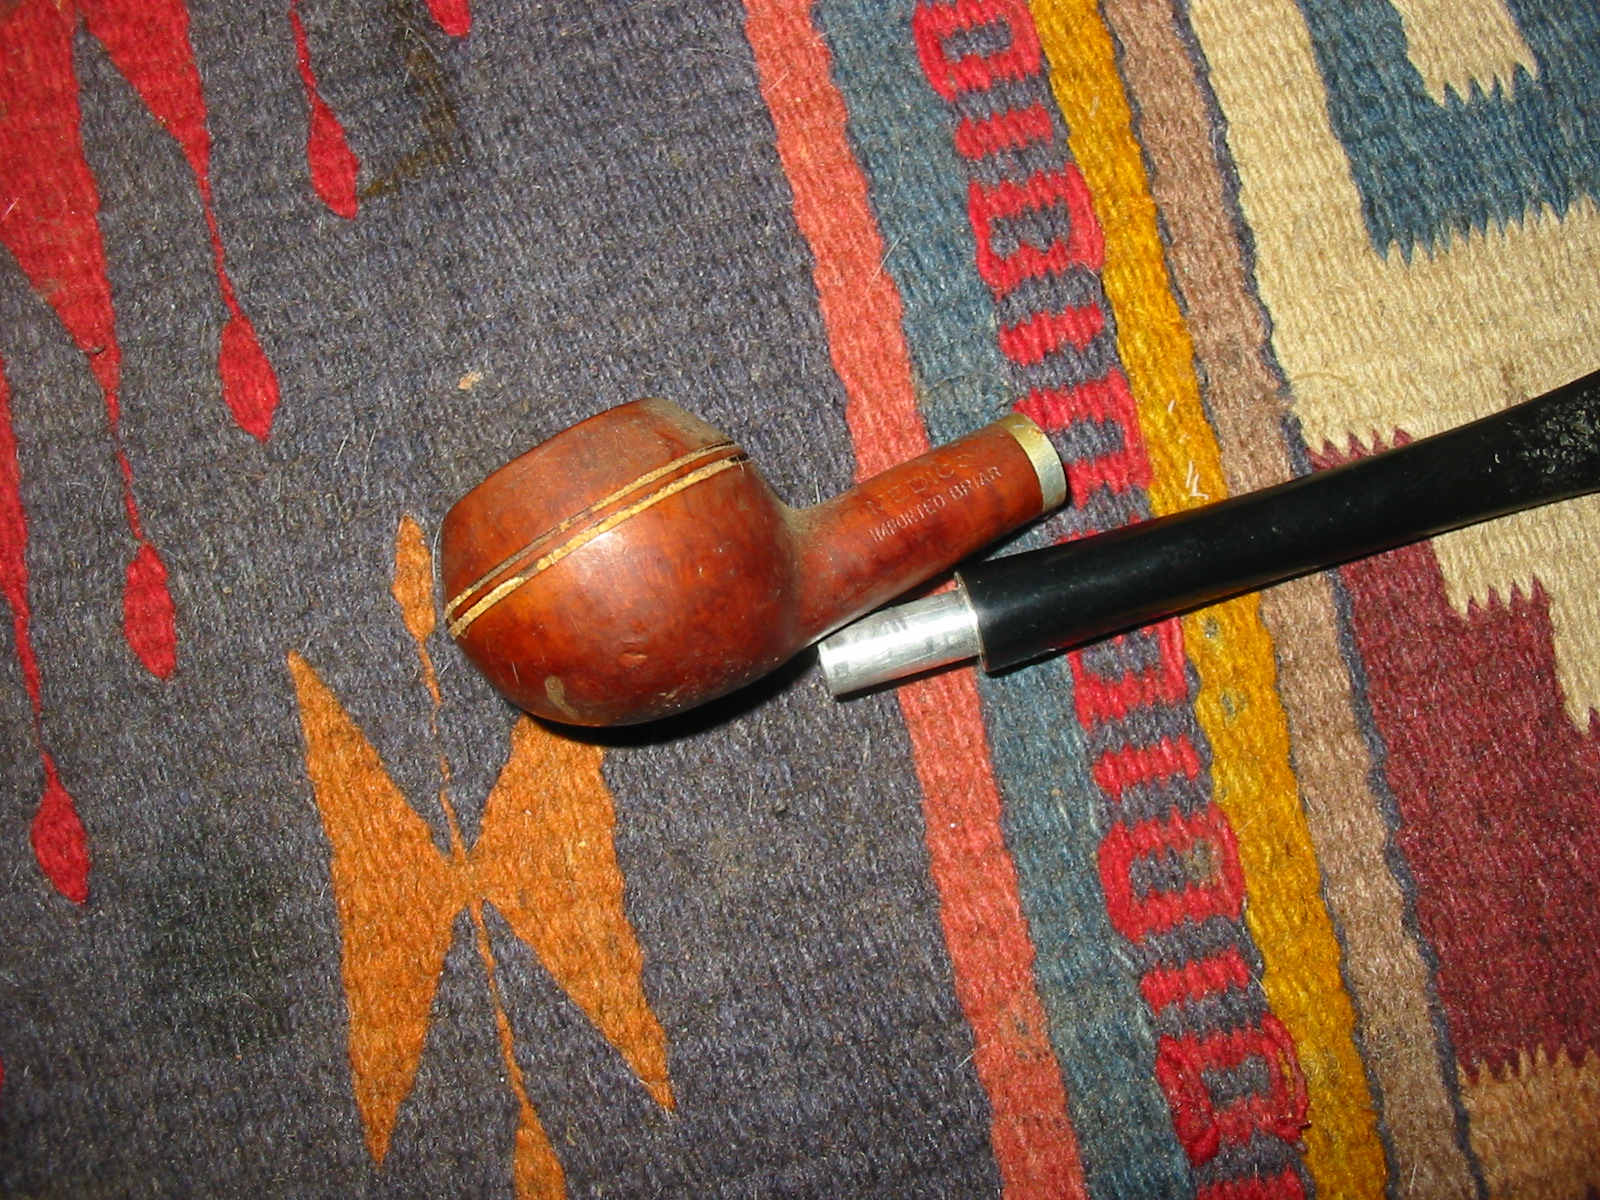
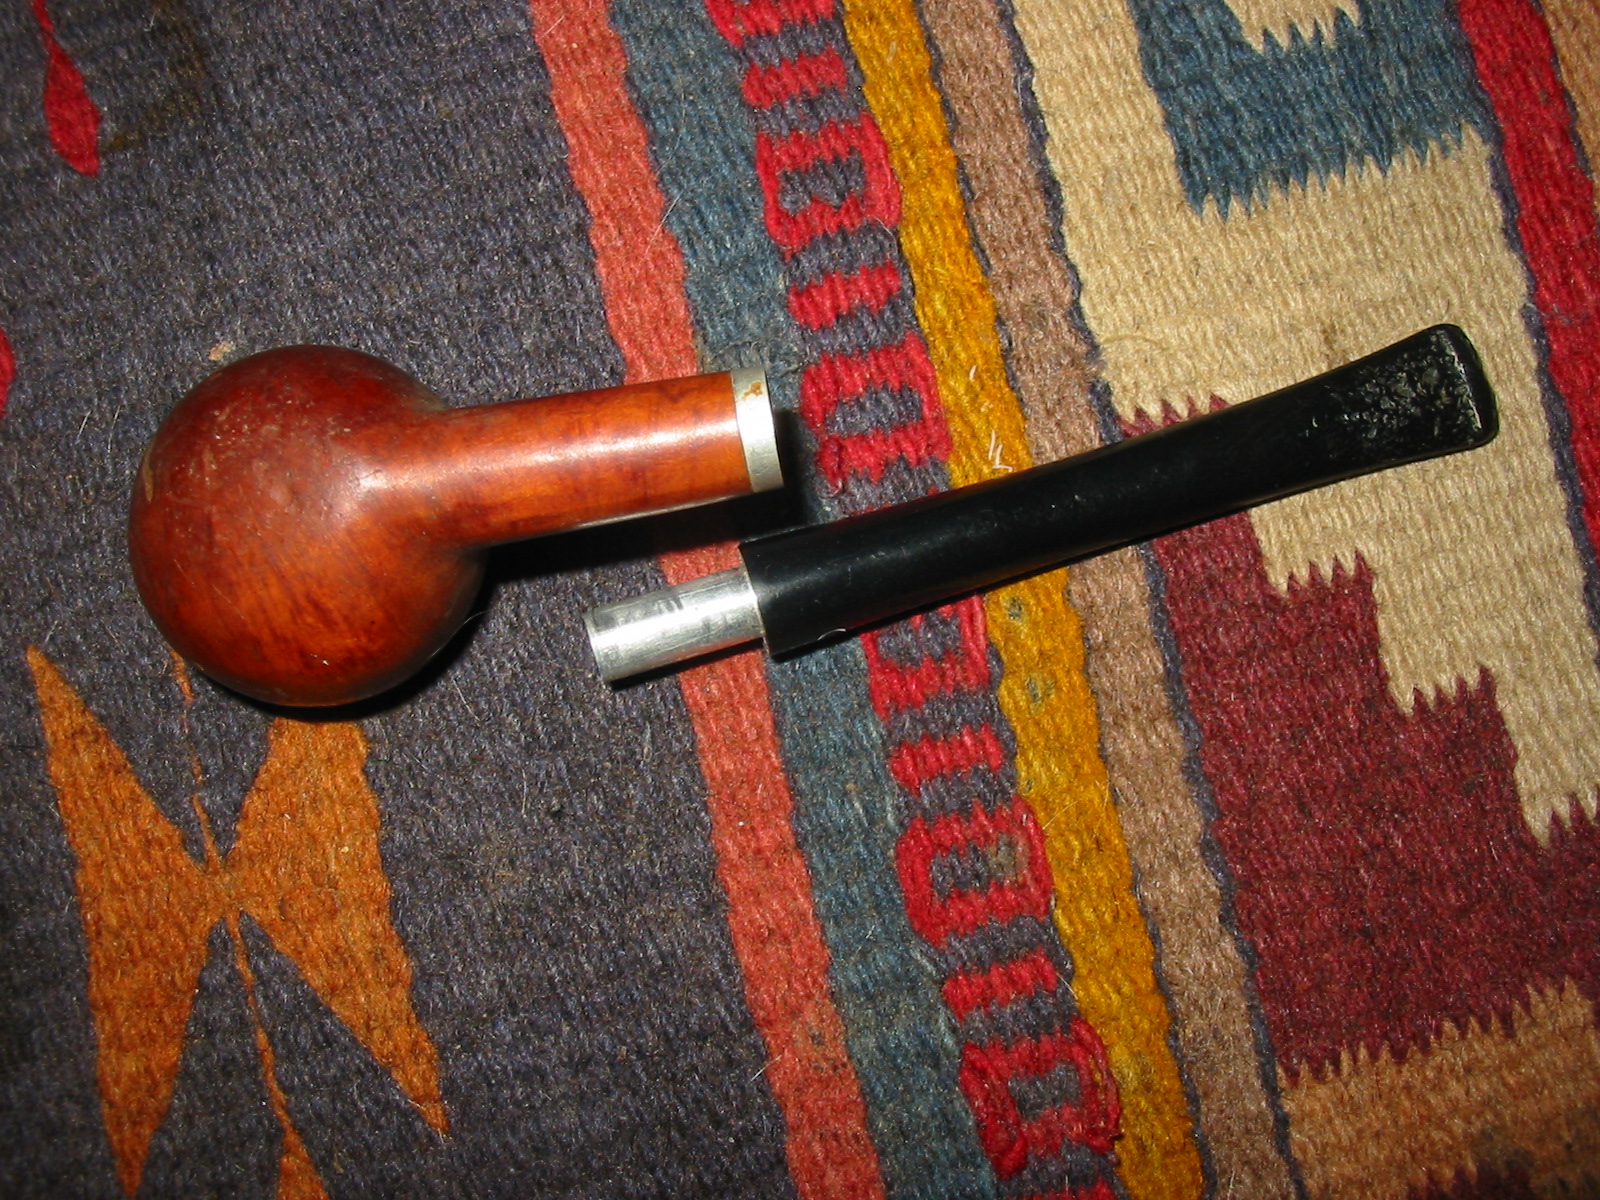
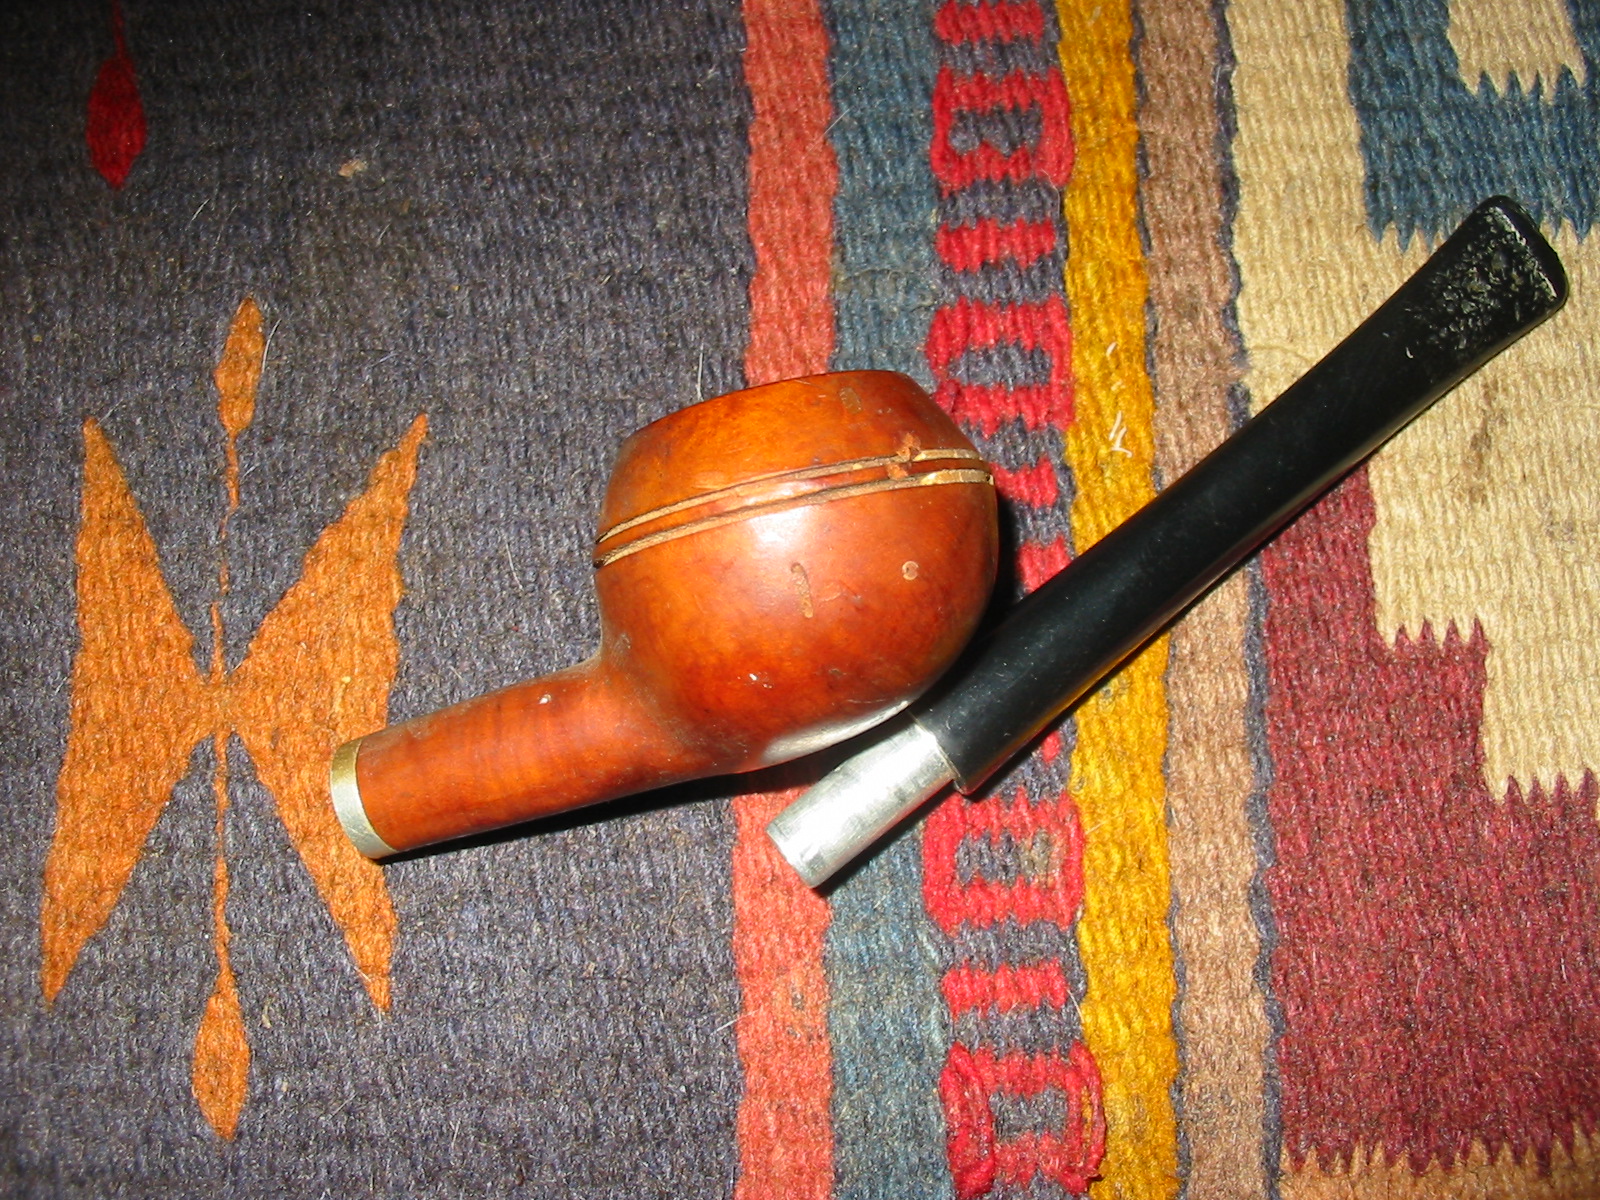
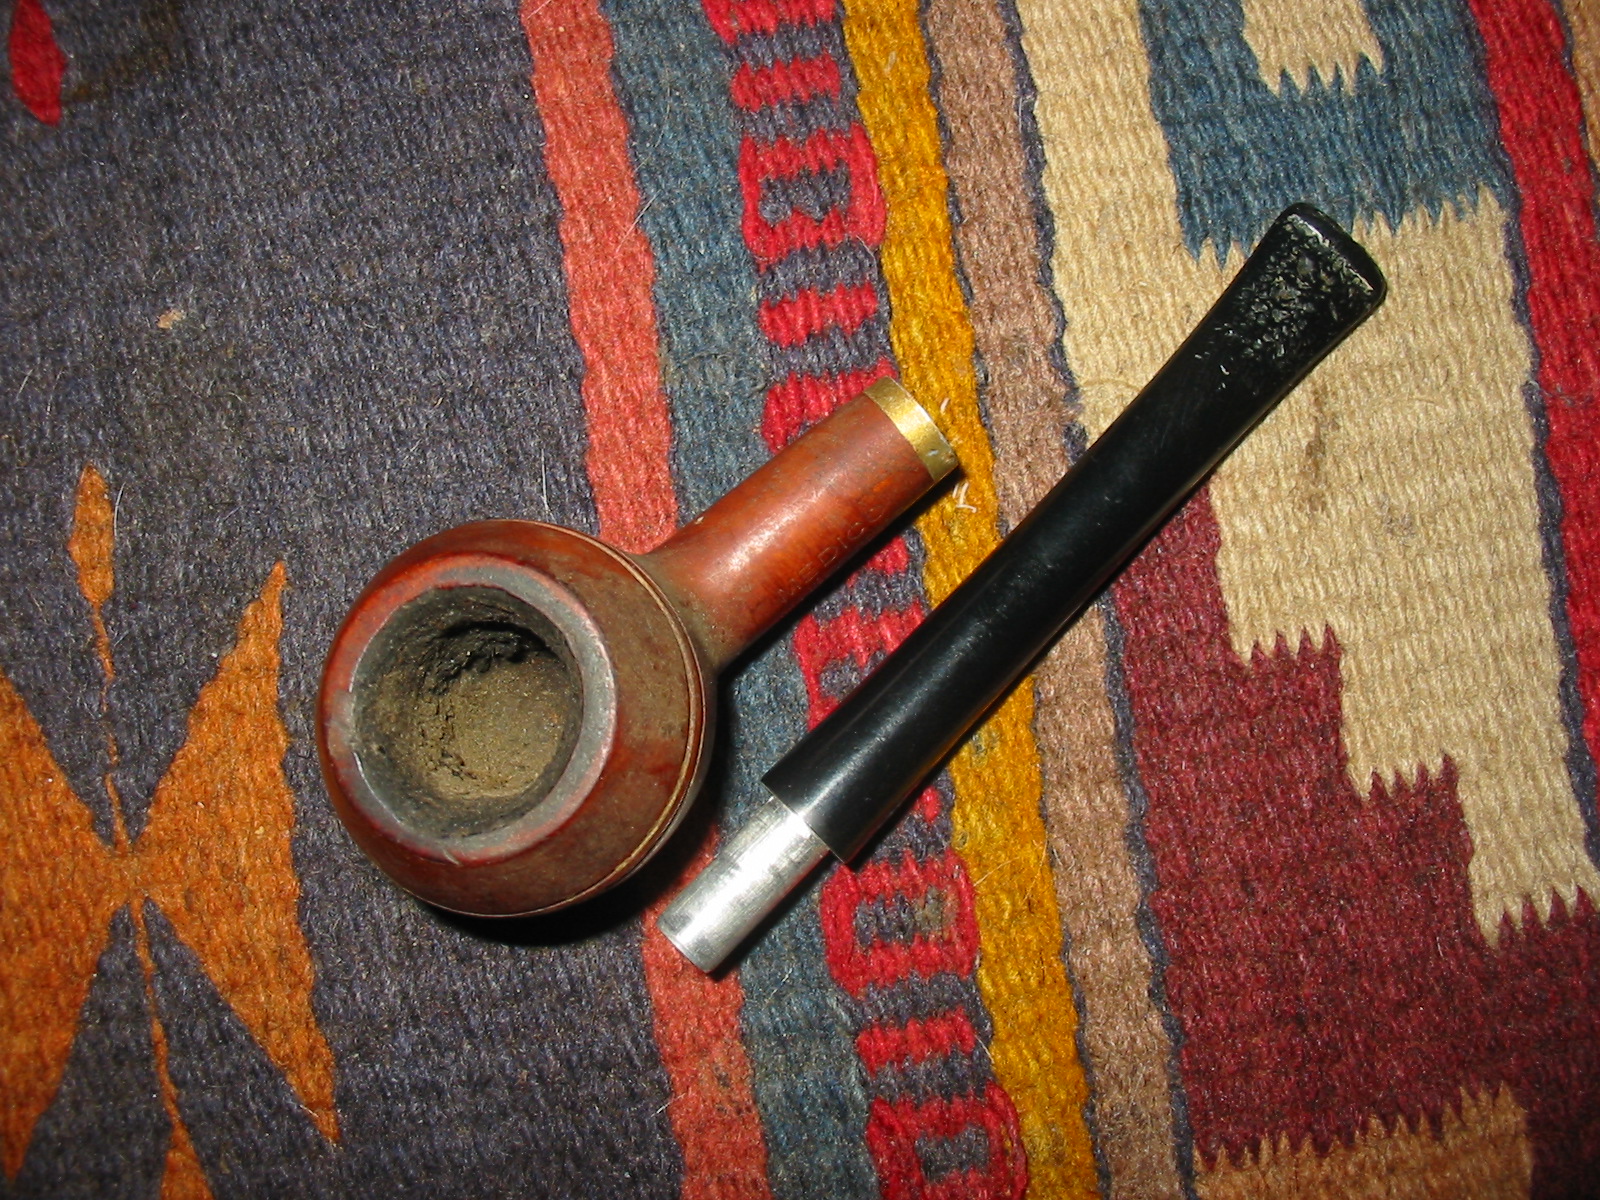
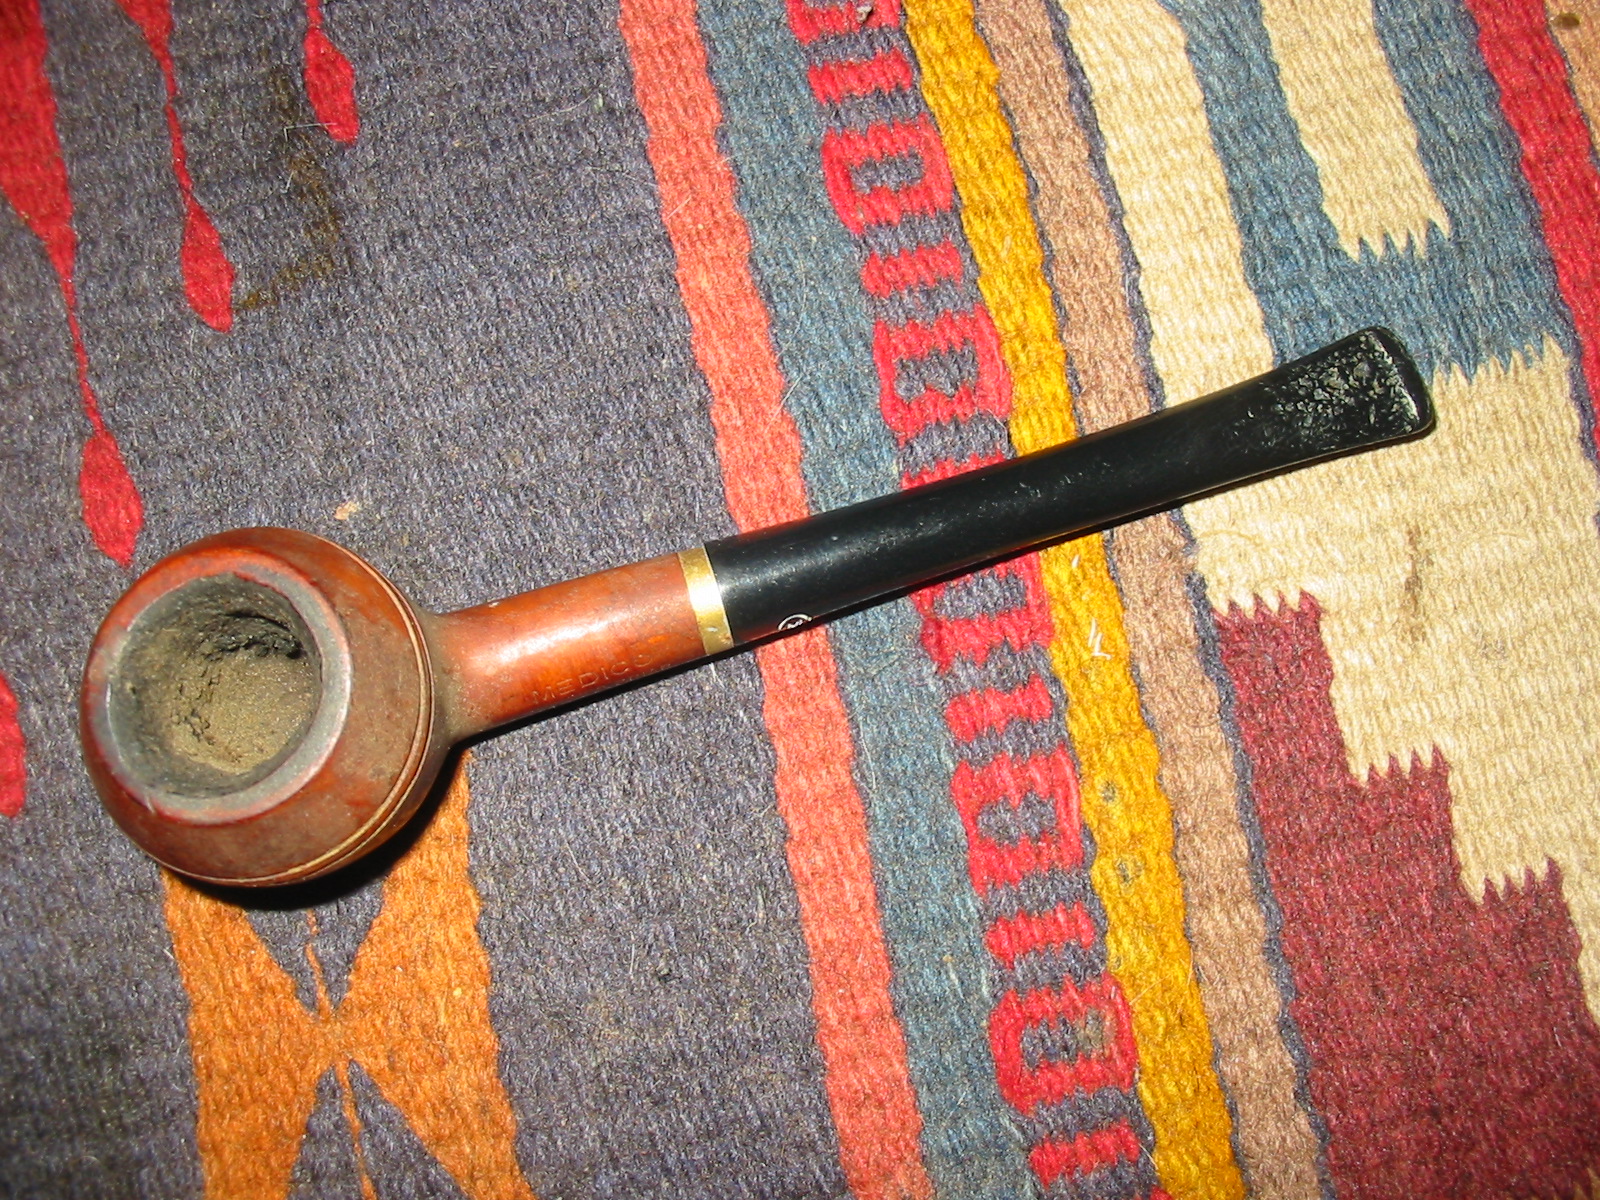
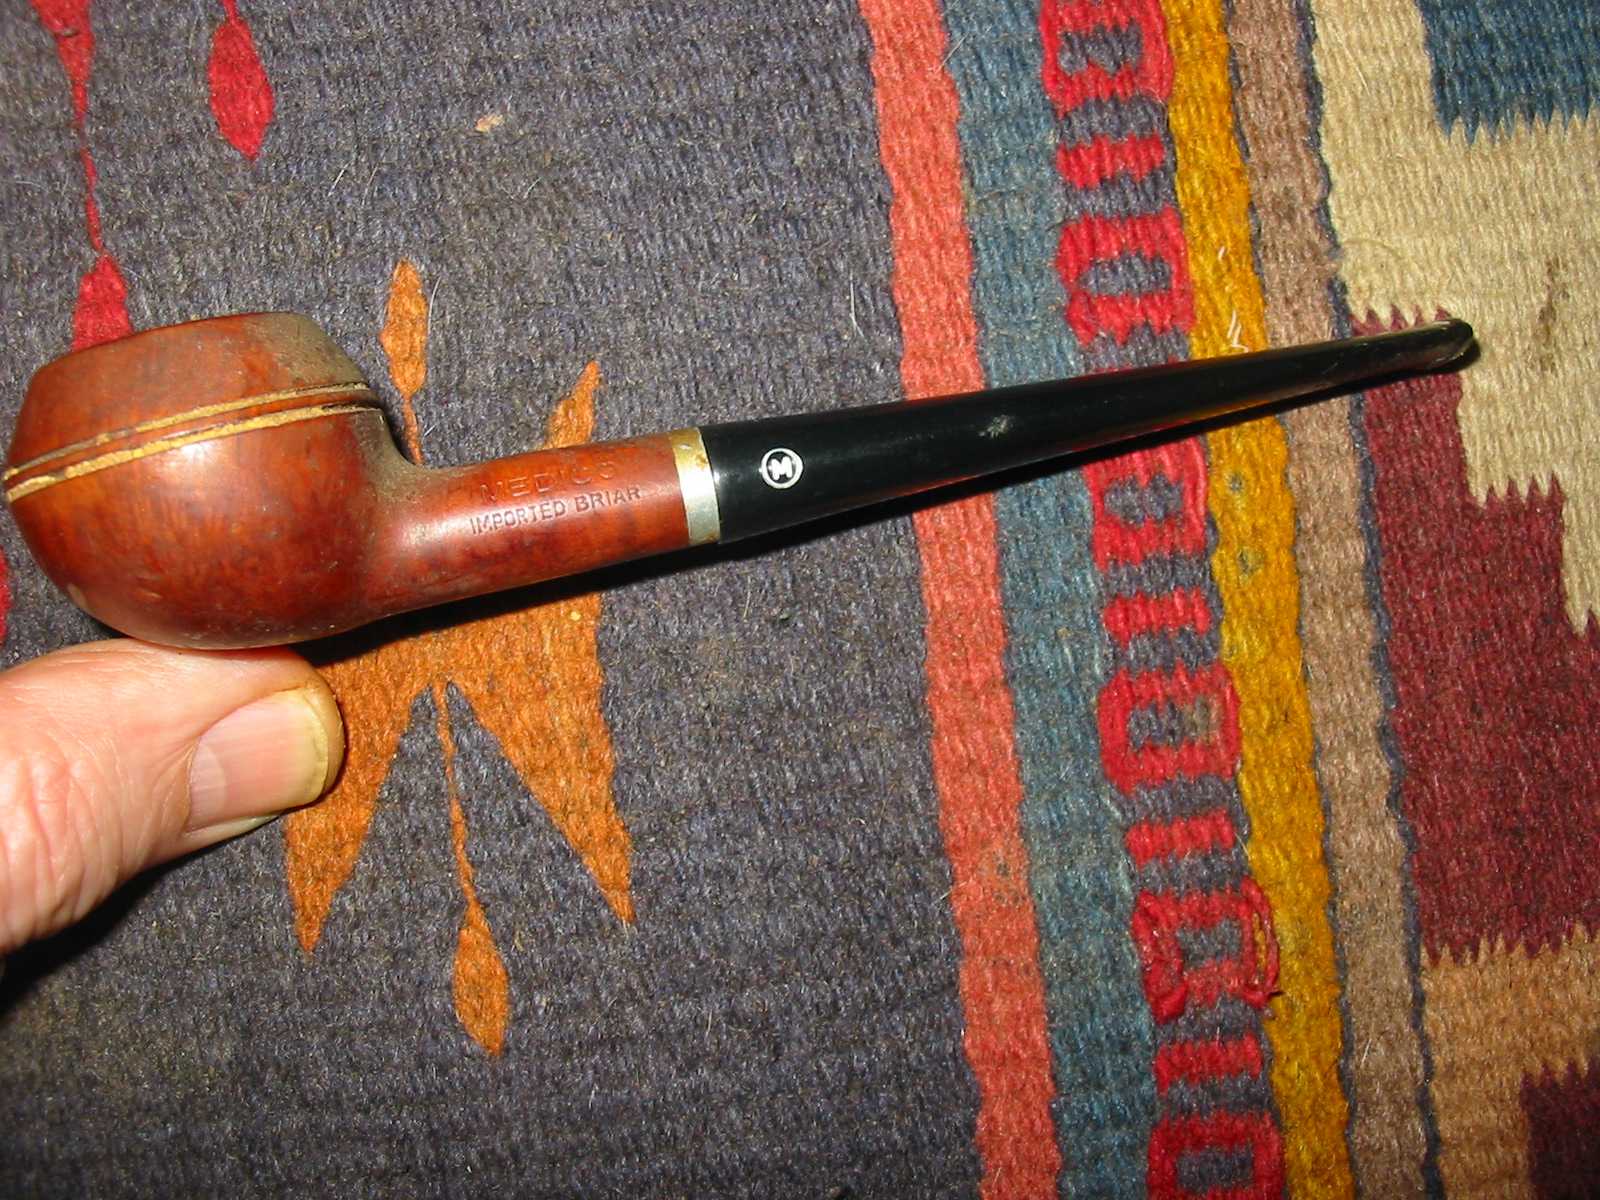
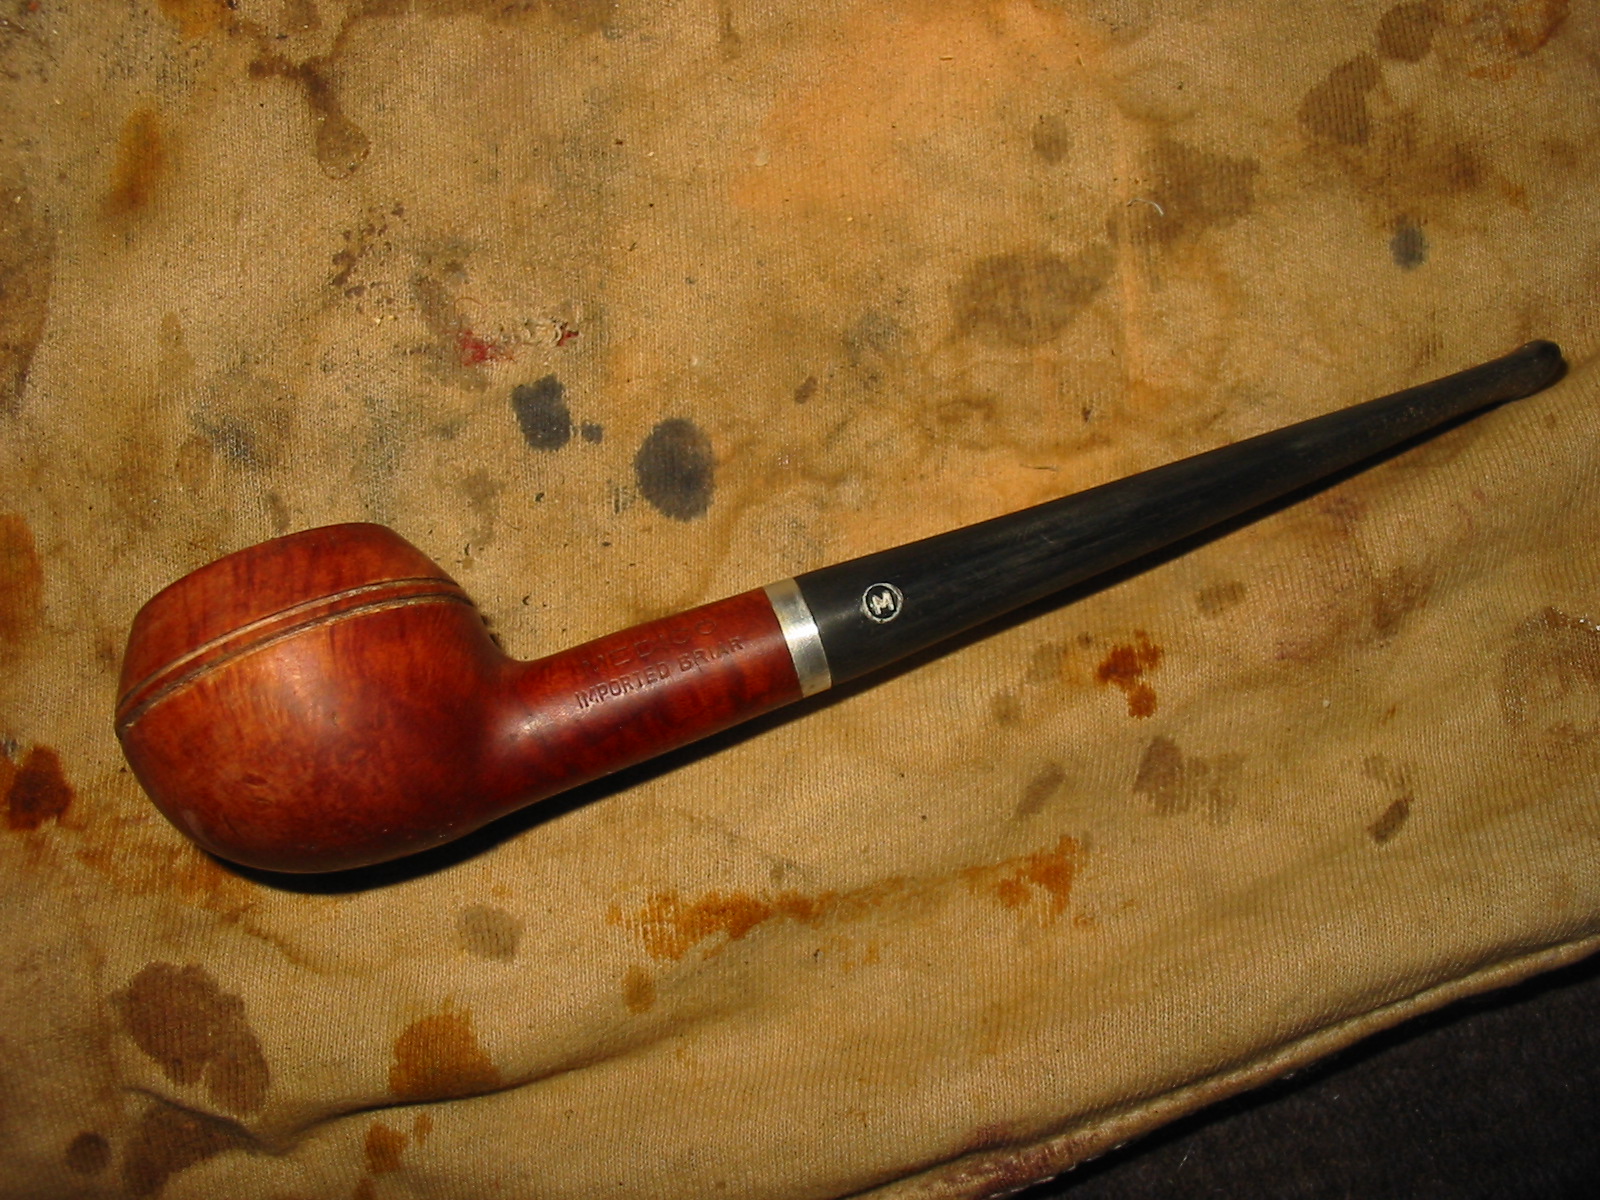
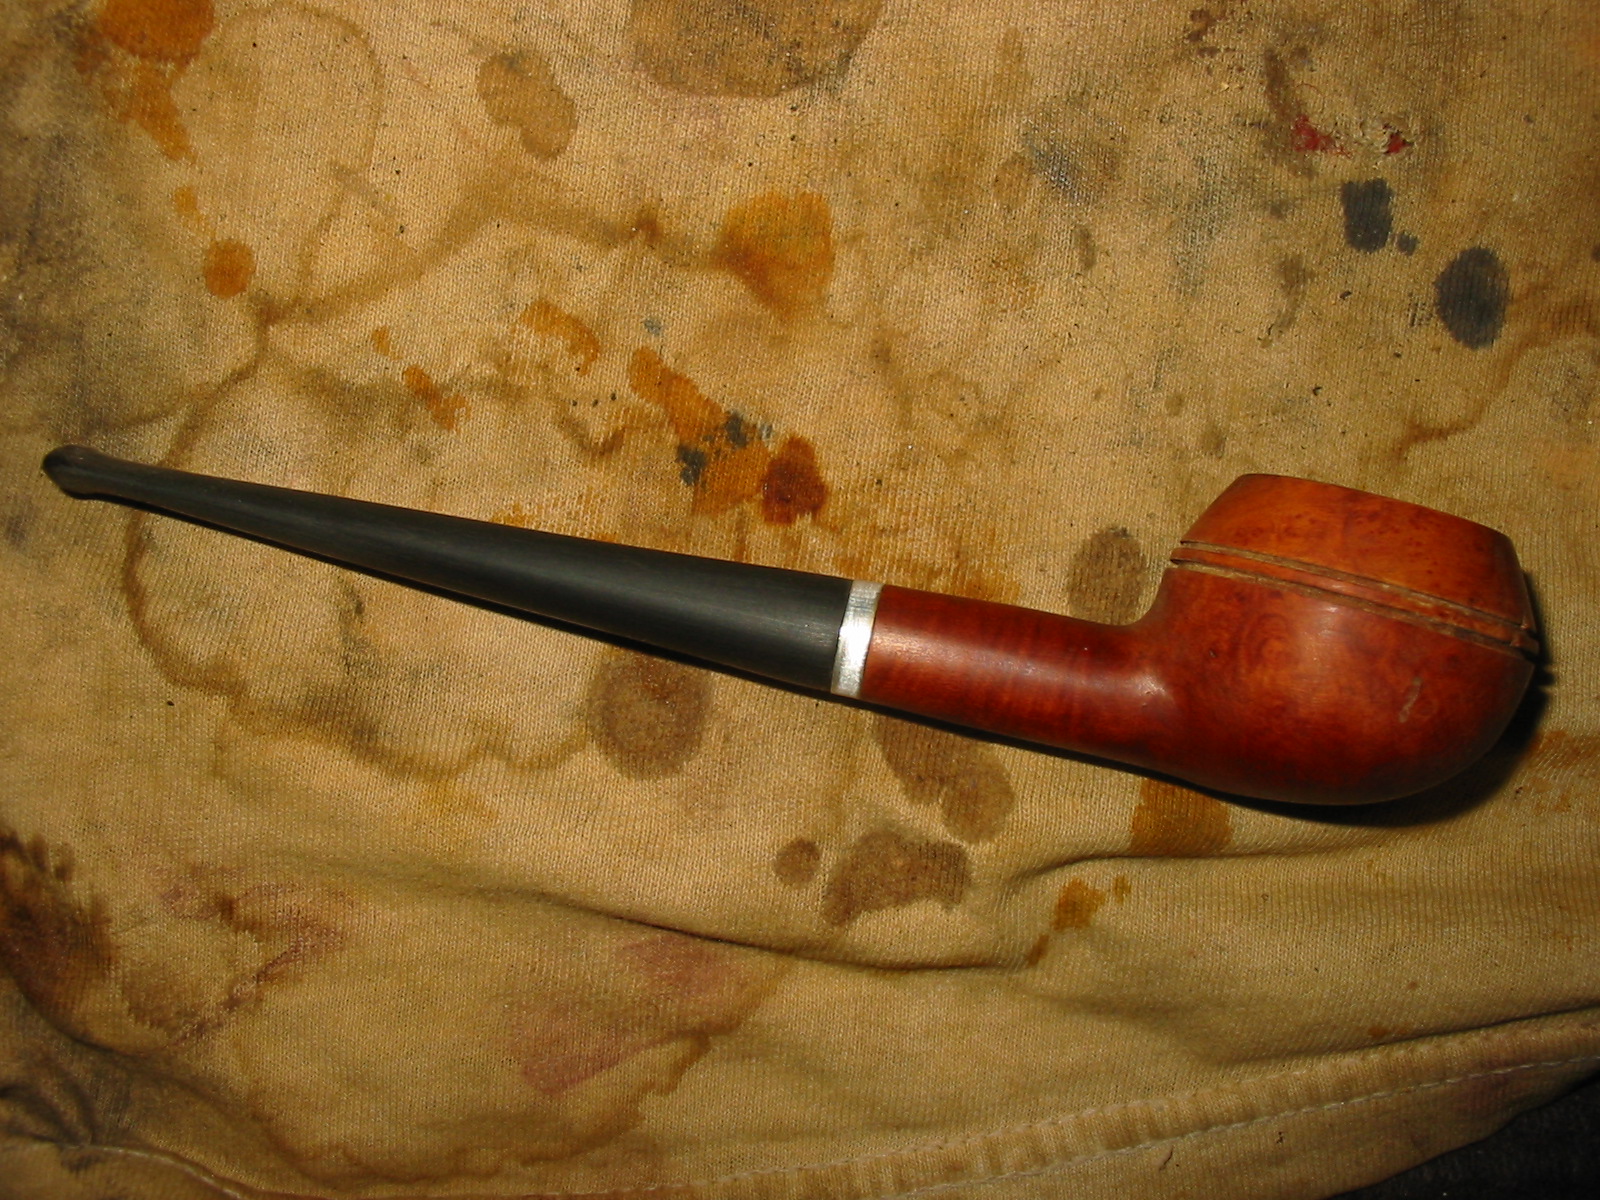
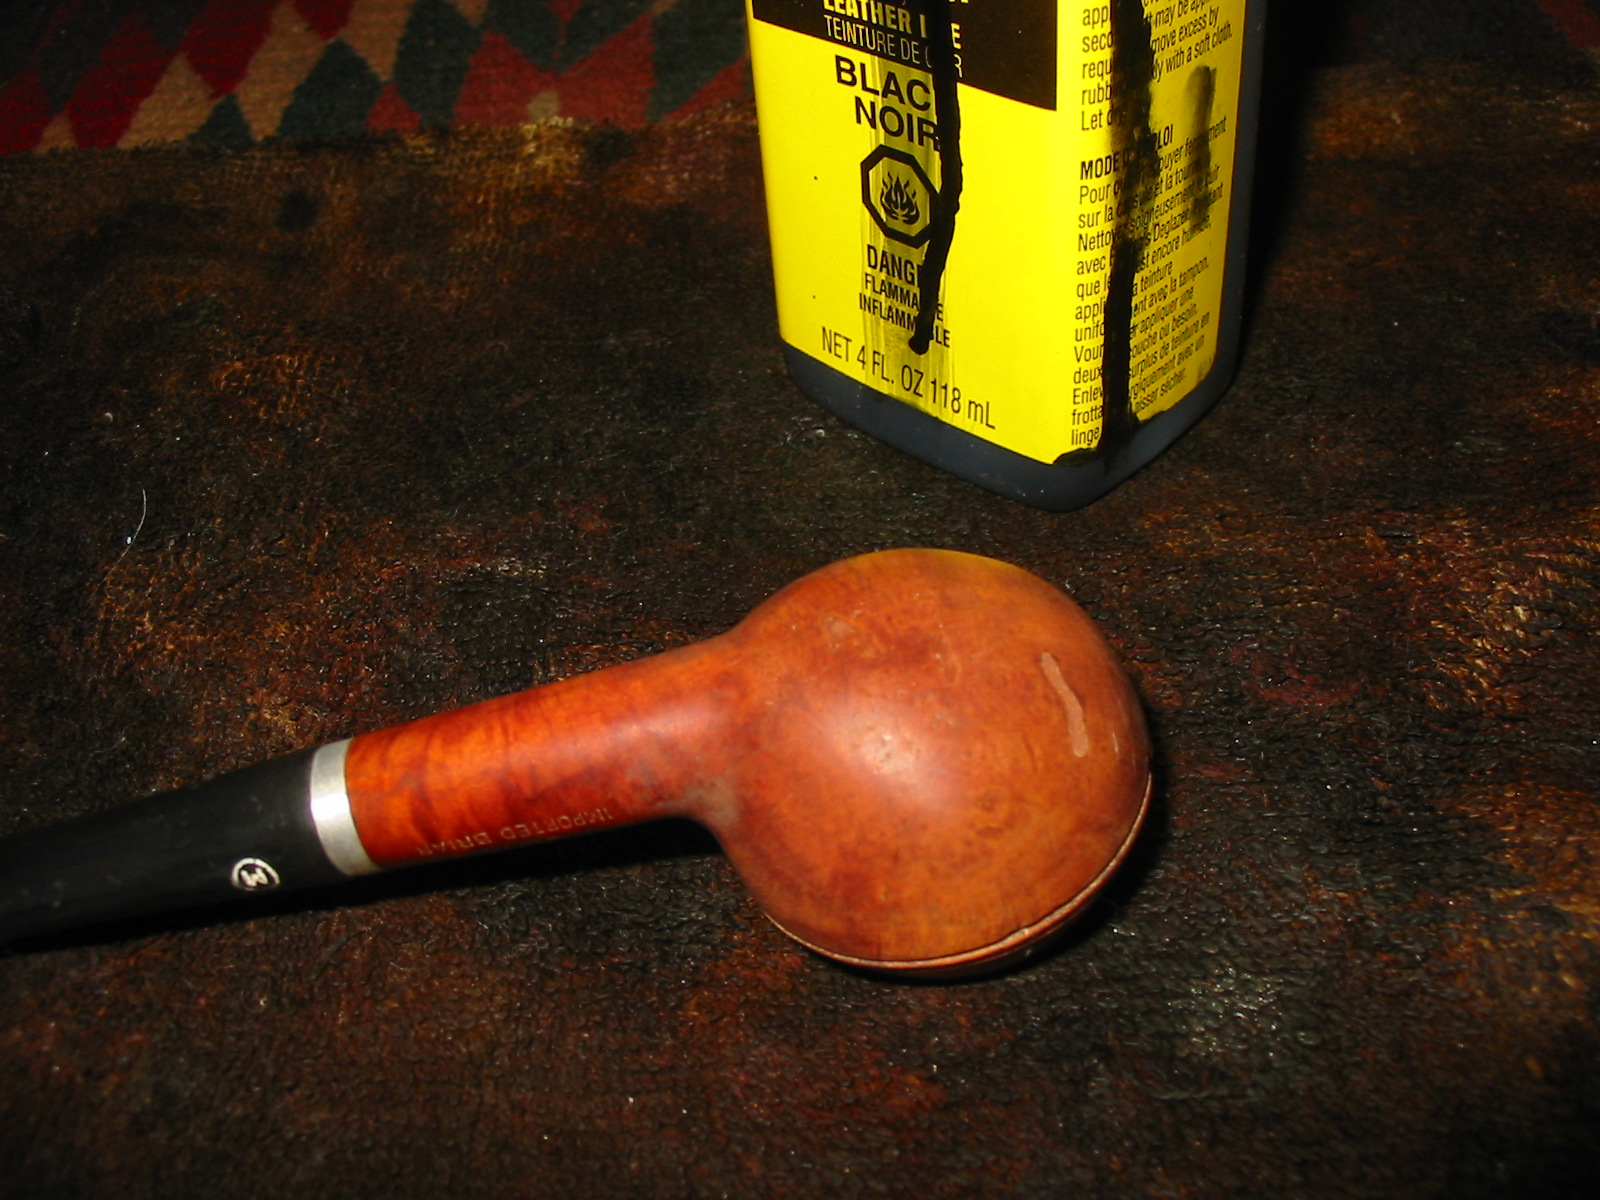
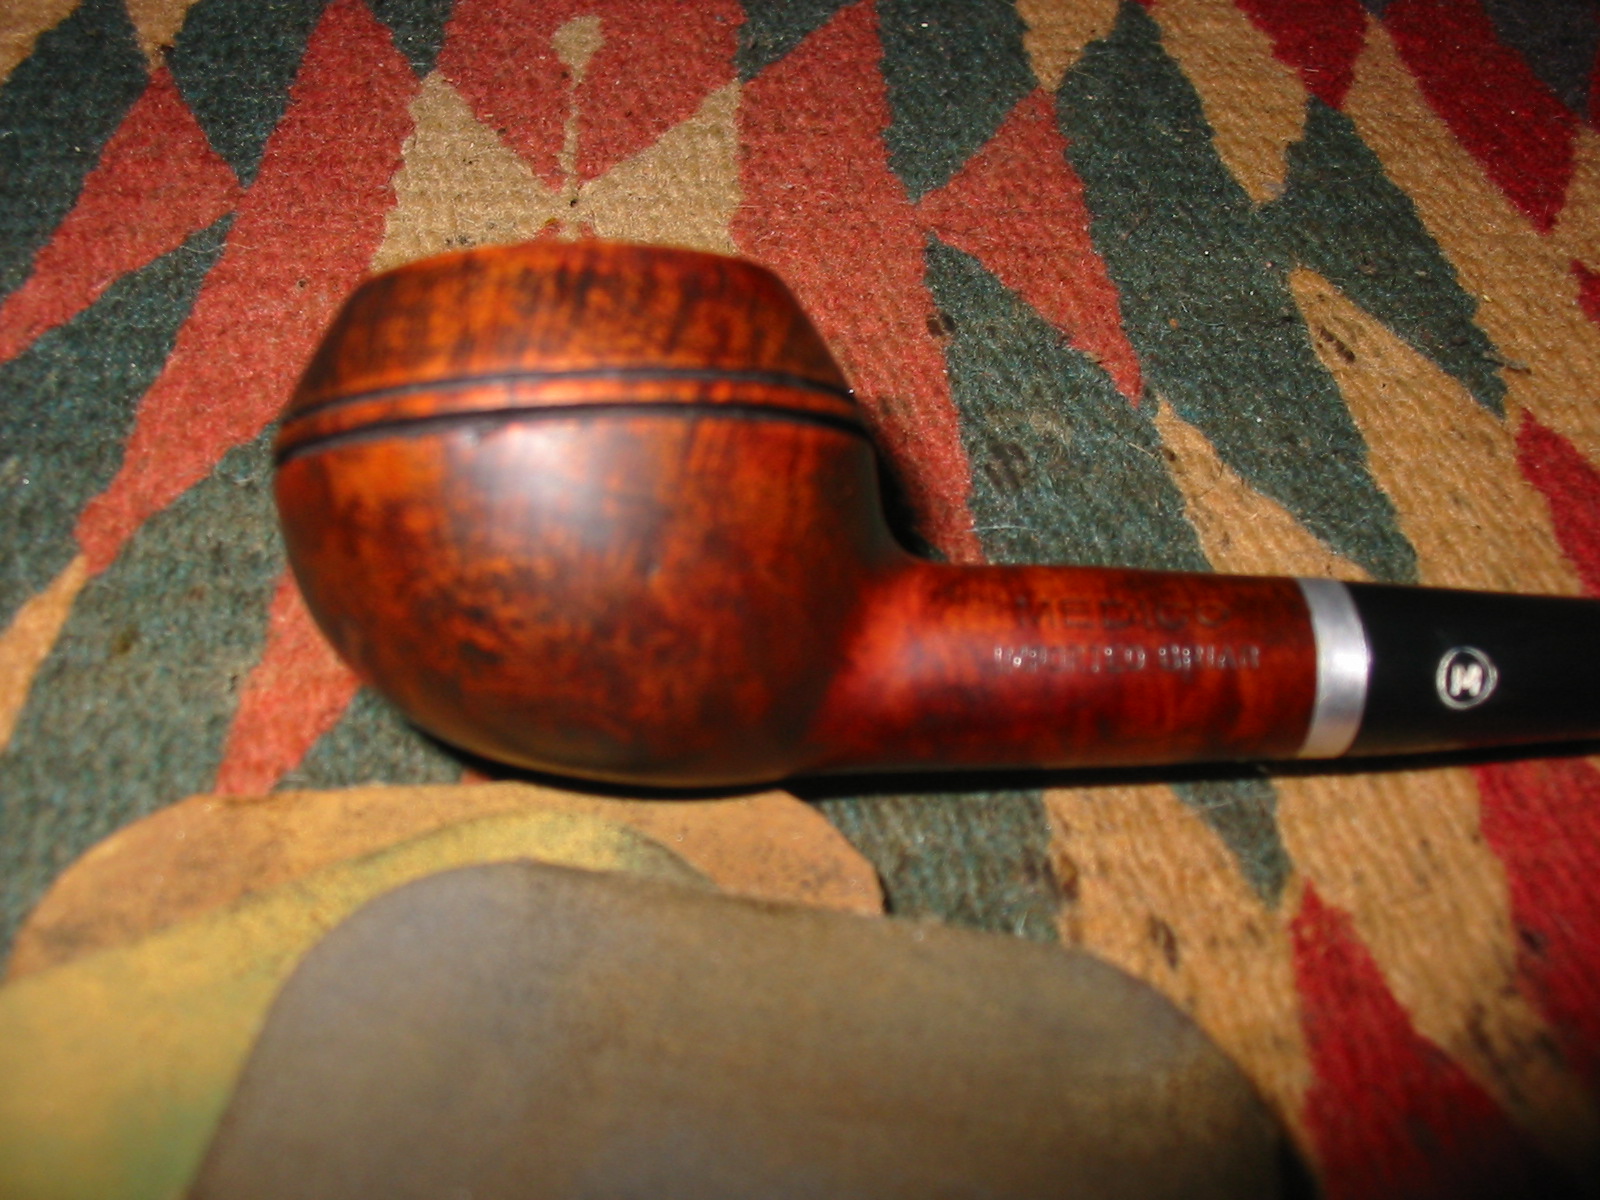
The second pipe I took out of the box of finds from the weekend antique mall score was a little Medico Prince. It is stamped Medico over Imported Briar on the left side of the shank. It had an aluminum band that was coated with a plastic coat that made it appear to be gold. This coating was peeling leaving the band looking unusable. The bowl also did not have a stem. The bowl itself had several fills on the sides and bottom, nicks around the double scored lines on the bowl and the lines themselves were filled in with hard white putty like substance. I am not sure what the purpose of the filling of the lines was but it gave the old pipe a despairing look. The rim was rough and slightly out of round. The cake was built up in the bowl and overflowing onto the rim. I looked through my stem can and found a Medico stem that had originally been on a pipe I made into a Churchwarden. It was from one of my first pipes when I came back to pipes in 1982. The stem was nylon and covered with tooth chatter and deep tooth marks. The metal tenon and the diameter of the stem were a perfect fit. I would only have to make a slight adjustment on the bottom side of the stem and the right side to make the transition smooth.
IMG_6048

IMG_6049

IMG_6050

IMG_6051

IMG_6052
The next series of four photos show the stem in place. The tooth marks are visible on the top and bottom sides of the stem and the shank union on the bottom and right side show the need of adjustment.
IMG_6053

IMG_6054

IMG_6055

IMG_6056
I reamed the bowl with a PipNet reamer to remove the cake so that I could work on the out of round inner edge of the rim.
IMG_6057
I sanded the tooth chatter on the nylon stem to remove as much of the surface chatter as possible and wiped it down with a wet cotton pad to wipe off the dust. Don’t use acetone or alcohol on nylon stems as they potentially can make a mess of the stem material. I used clear superglue to repair the deep tooth marks because heating the nylon does not raise the dents. It is yet another problem to be avoided as heating only makes the material quite soft and it easily collapses. I repaired the topside first and when it dried I repaired the underside of the stem with the super glue.
IMG_6058
When the glue dried I sanded it with 220 grit sandpaper to smooth out the surface of the stem and blend in the repairs. I sanded until the surface was smooth and the patch was flush with the stem material. I followed that by sanding with a medium and a fine grit sanding sponge to remove the scratches left behind by the sandpaper.
IMG_6062

IMG_6063
I lightly topped the rim to remove the surface damage and to remove some of the damage on the inner edge. I sanded the inner edge with a folded piece of 220 grit sandpaper to smooth out the rough edges and give it a more rounded appearance. I wiped down the bowl and rim with acetone on a cotton pad and then isopropyl on a cotton pad to remove the finish. I used a dental pick to remove the white putty like substance that filled the two parallel bands around the bowl and then wiped it down a final time with alcohol. I also removed the stem and wiped down the aluminum band to remove the plastic coating that was on it.
IMG_6061

IMG_6064

IMG_6065

IMG_6066

IMG_6068
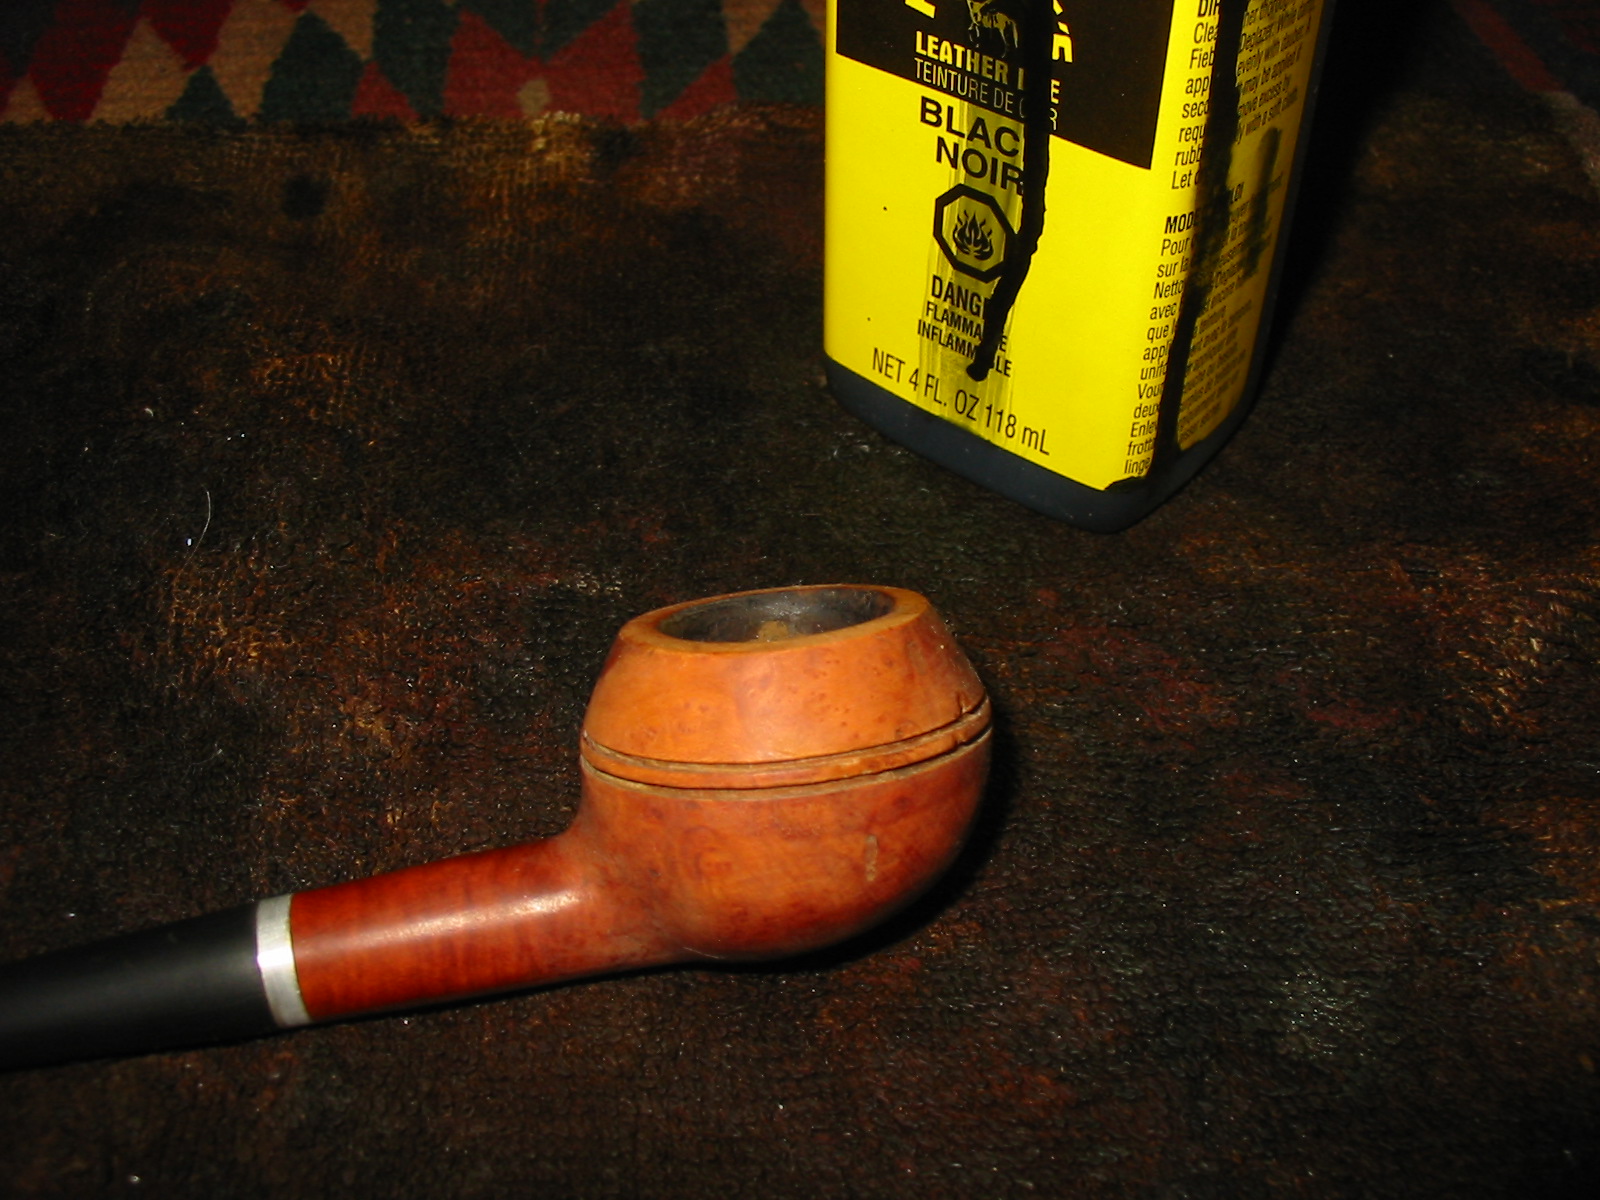
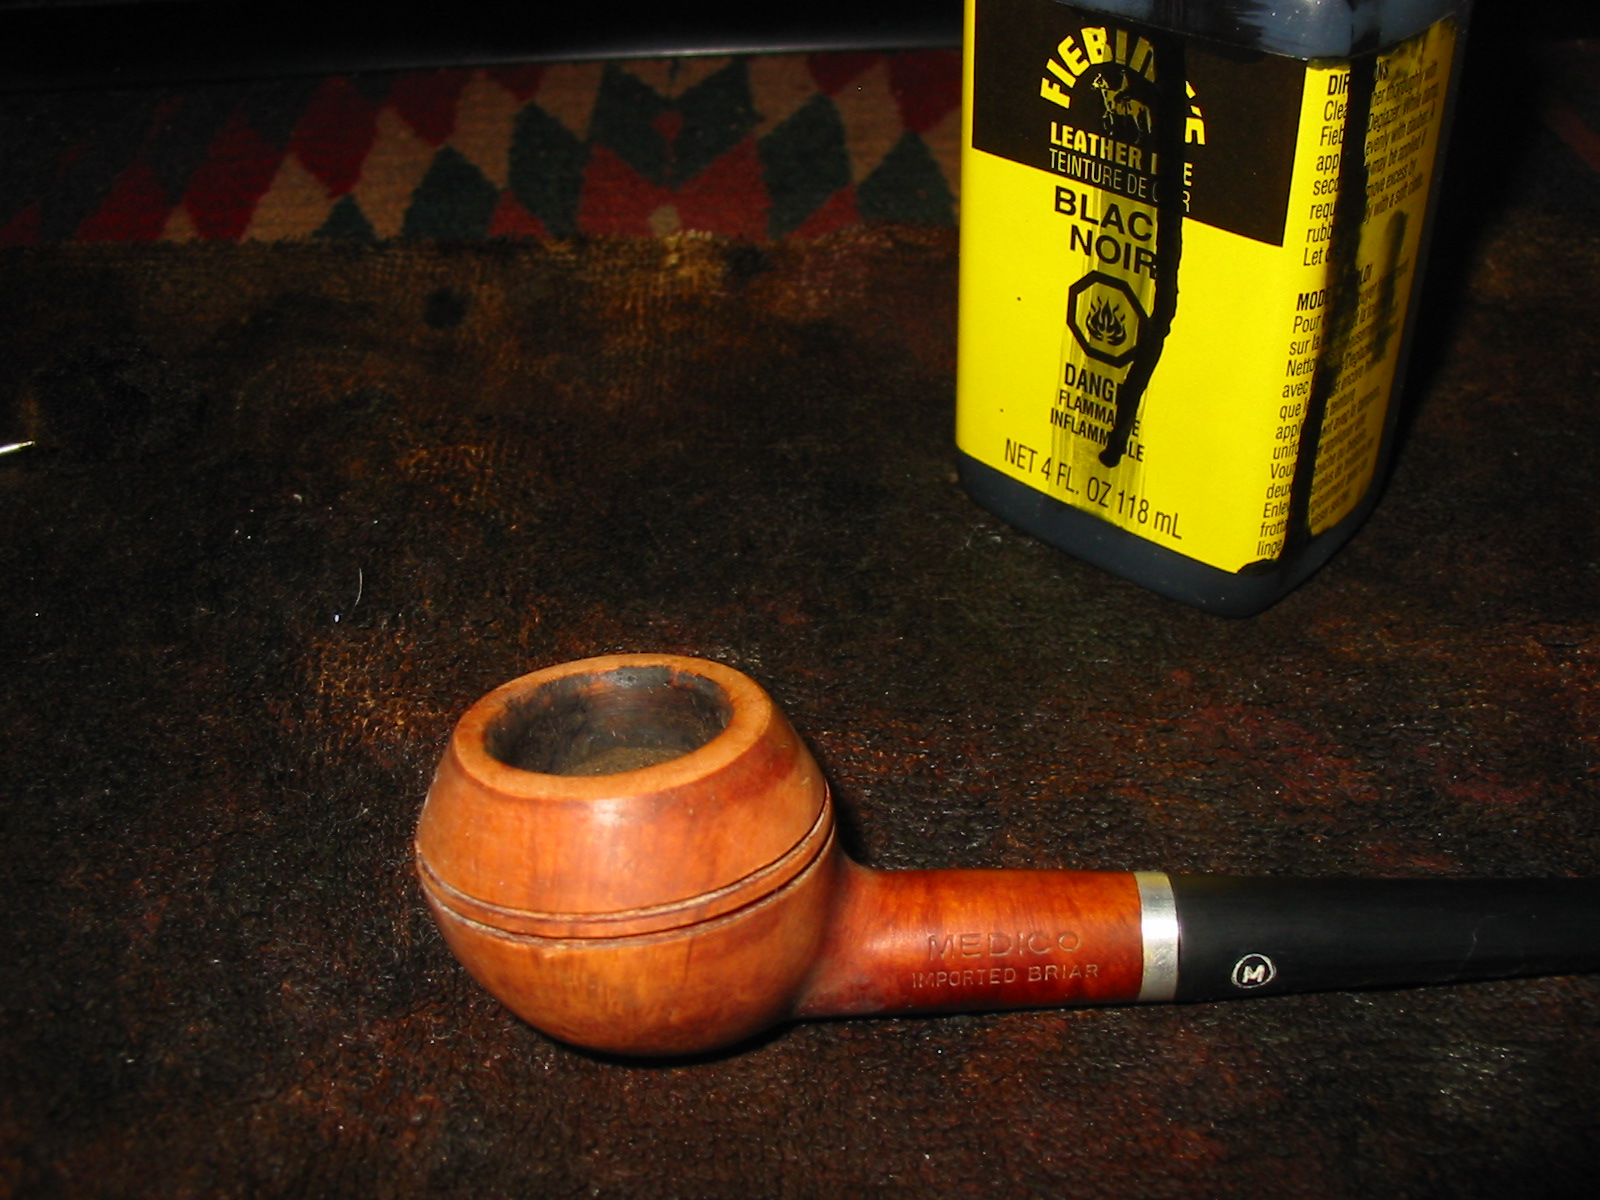
I decided to give the bowl a contrast stain. The first coat of stain was a black aniline stain. I heated the bowl and then applied the stain, flamed it, applied it and flamed it again until the stain coat was even across the bowl. My photos of the black stained bowl did not turn out do to camera failure. For some reason the flash did not work and the four photos of the black stained bowl were not visible. I applied the stain with a wool dauber and made sure that the black stain went into the parallel rings around the bowl.
IMG_6069

IMG_6070

IMG_6071
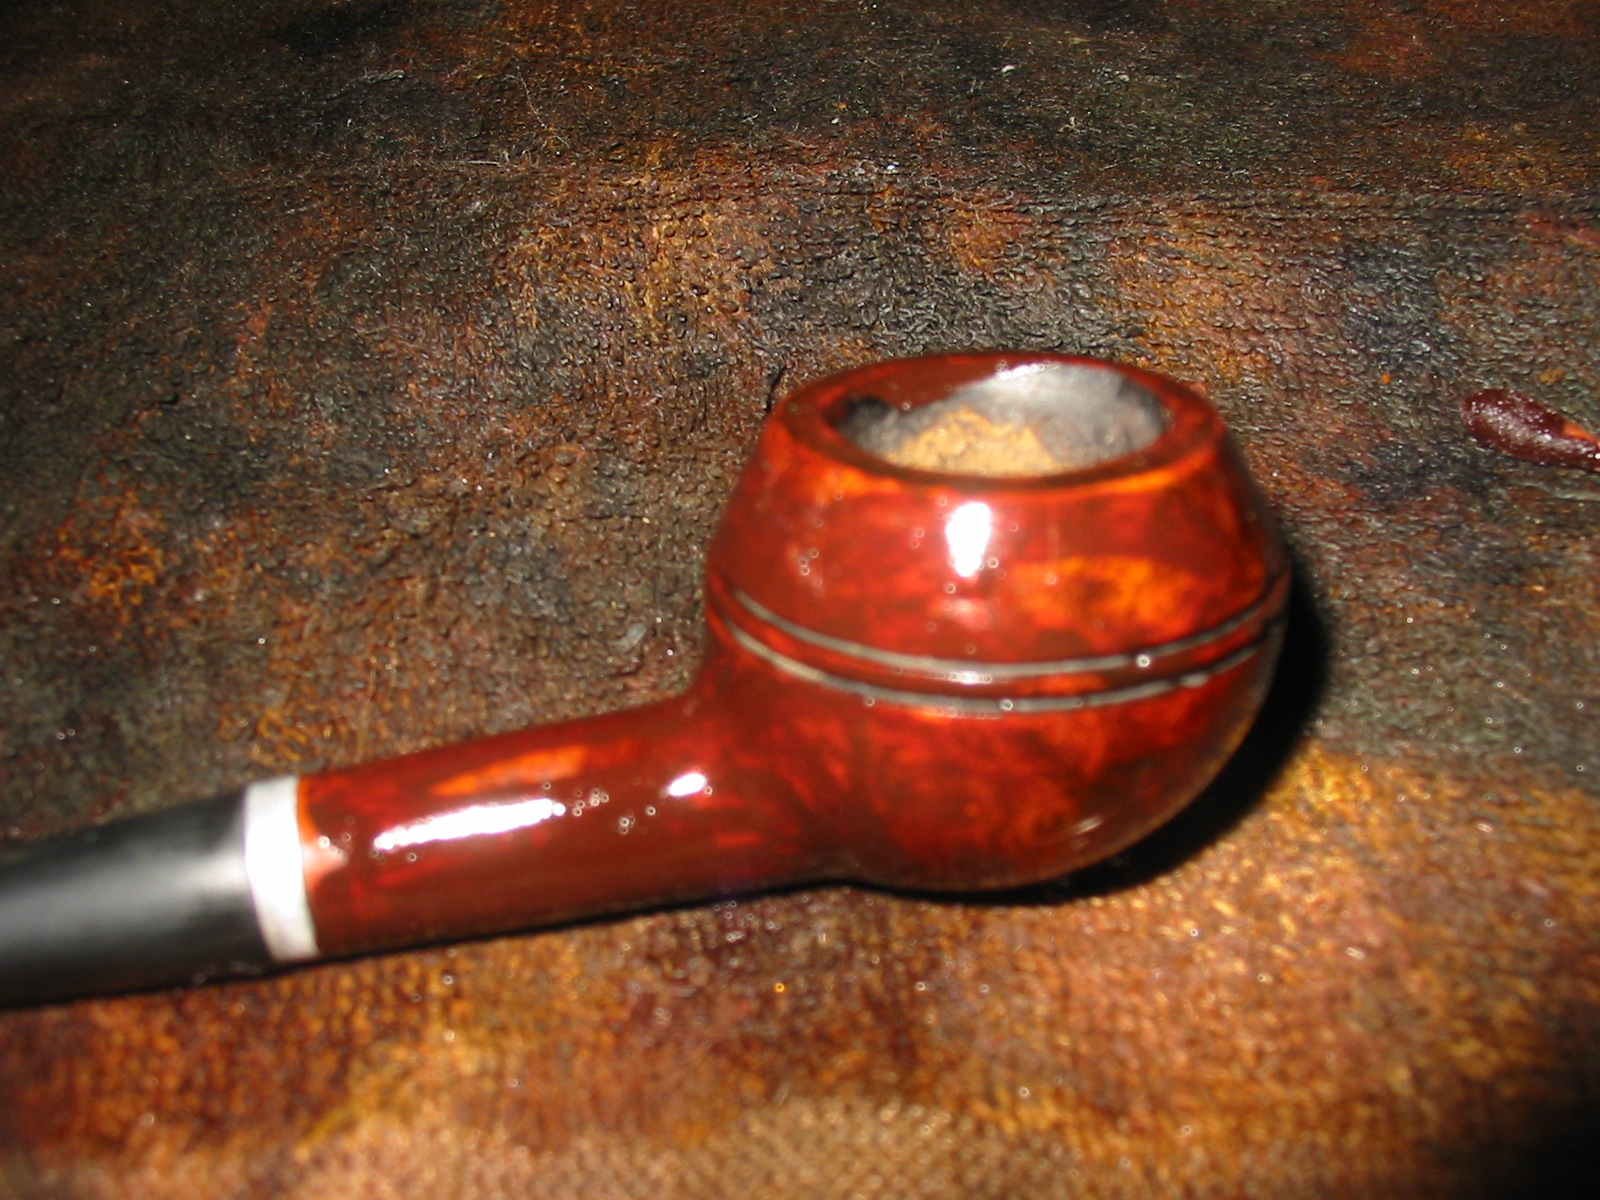
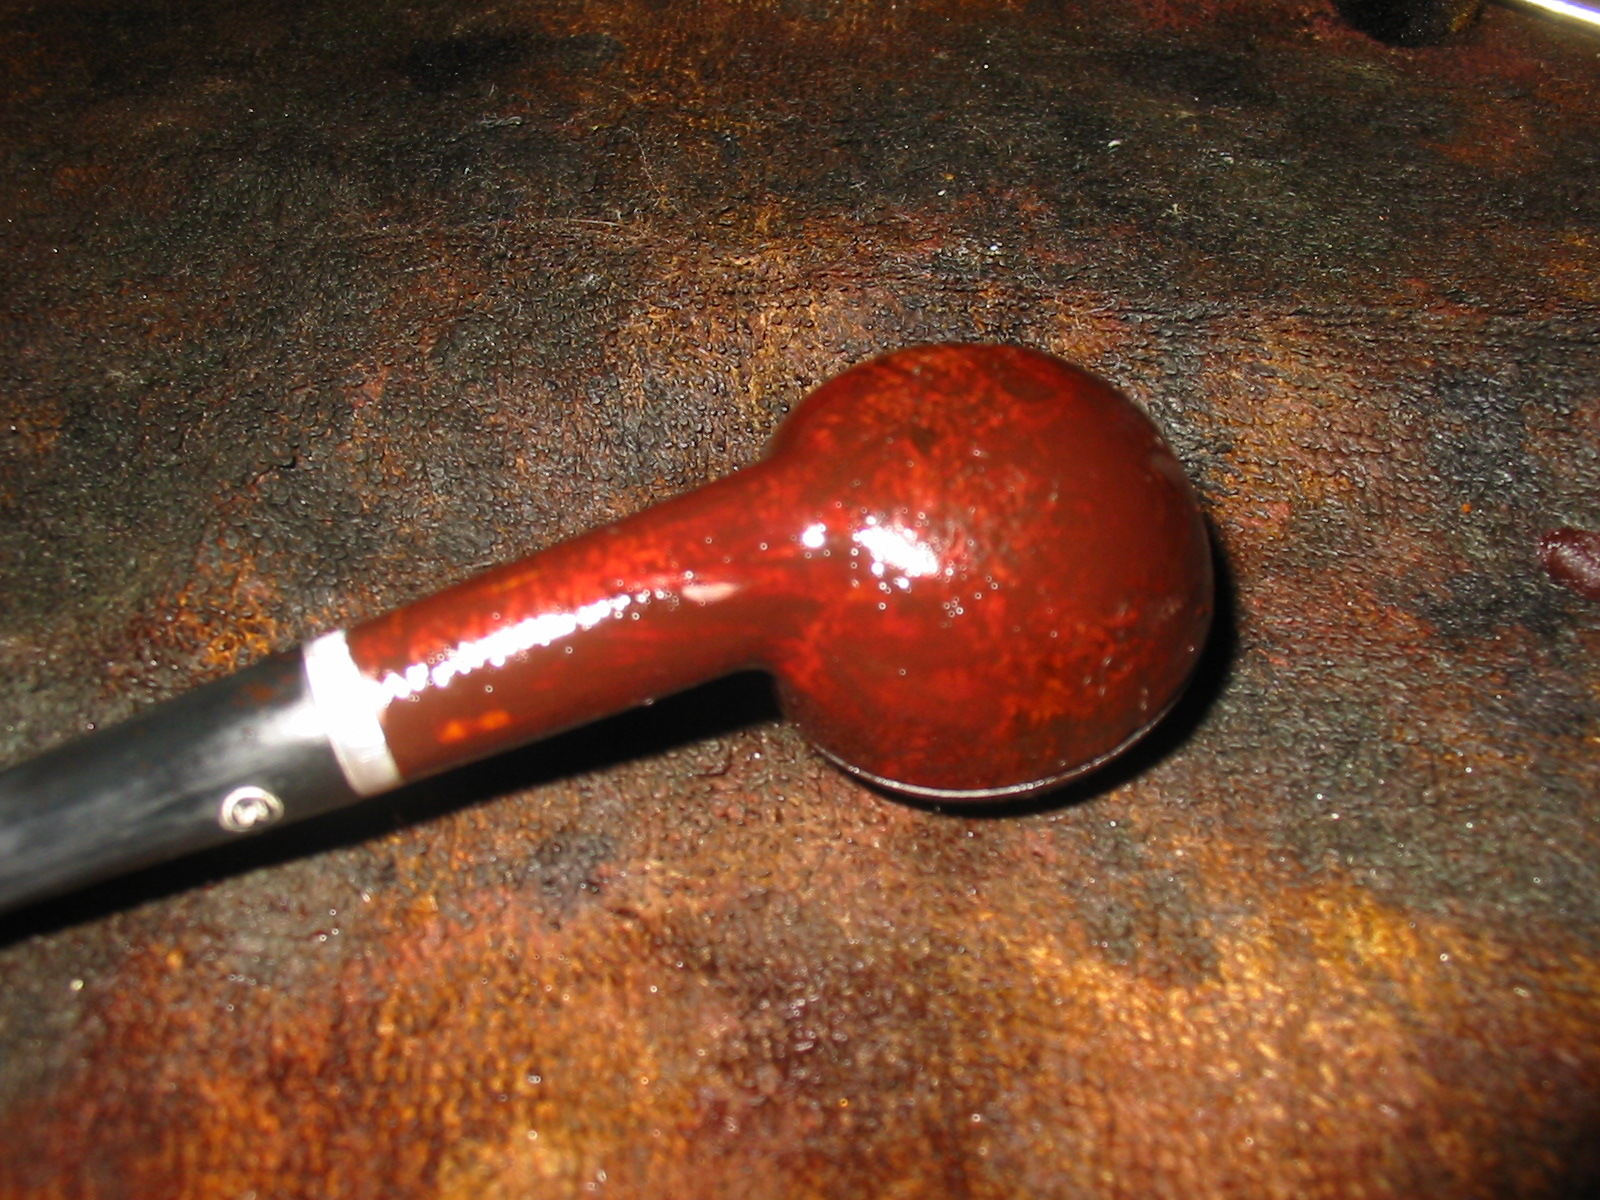
I wiped down the bowl with cotton pads and alcohol to remove the majority of the black stain and to leave it in the deep grain. I buffed the pipe with Tripoli and White Diamond and then wiped it a final time with alcohol. The finish at that point had black deep in the grain of the bowl highlighting the grain variations on the briar. It also served to provide some blending for the fills that were obvious on the bottom of the bowl. I sanded the bowl with a fine grit sanding sponge and 1500-2400 grit micromesh sanding pads to further remove the top finish. Once it was done I gave the bowl a coat of oxblood stain as a topcoat. I wanted the red stain to highlight the red of the briar and to be a contrast to the black grain on the bowl.
IMG_6072

IMG_6073
After the stain was applied I wiped it off with a rag and hand polished the bowl. The contrasting stains went a long way toward giving the pipe a great look and blending the fills into the background of the bowl.
IMG_6077

IMG_6078

IMG_6079

IMG_6080
I sanded the stem with medium and fine grit sanding sponges and then followed up that with my usual stack of micromesh sanding pads – wet sanding with 1500-2400 grit pads and dry sanding with 3200-12000 grit pads. The progressive rich blackness of the nylon is revealed with each successive set of sanding pads.
IMG_6074

IMG_6075

IMG_6081

IMG_6082
When I finished sanding I rubbed the stem down with Obsidian Oil and then gave it multiple coats of Paragon Wax and hand buffed it. I reinserted it in the shank and gave the entire pipe a light buff with White Diamond and then gave the bowl multiple coats of carnauba wax. I am very careful with nylon stems on the buffer after having several of them damaged by the heat of the wheel and having to start over. I have learned to hand buff the stems and if I am using the wheel at all with them to do it lightly and quickly. The finished pipe is pictured below. It is as good as new and ready to provide a good smoke to the next pipeman who carries on the trust.
IMG_6086

IMG_6088

IMG_6089

IMG_6090

Getting back in the saddle – AJ Verstraten


It is a pleasure to post another article by AJ Verstraten aka Bananabox-Ninja. It has been a while since he has been able to do any refurbs do to some health issues he had to deal with. It is great to know he is back and feeling much better. Glad to hear from you AJ and glad to hear you are healing. Thank you for taking the time to record your work for us to read and enjoy.

Greetings, it’s been a while since I was able to get behind my workstation and get some work done on the huge lot of pipes that are patiently waiting for a fix.
Some of you might remember my earlier piece in which I explained that I was home bound due to a motorcycle accident. Turns out I needed an operation to fix my cruciate ligament in my knee, this left me with a long recovery time but last week I was able to sit down and do four pipes that only needed some minor work to ‘flex my muscles’ so to speak.

A note about the pictures, as I did it outside in the nice spring weather there were still a lot of clouds and this makes some of the pictures quite dark.

These are the pipes I chose for cleaning:

Winsløw Grade E bought on ‘Marktplaats’ the Dutch version of Ebay
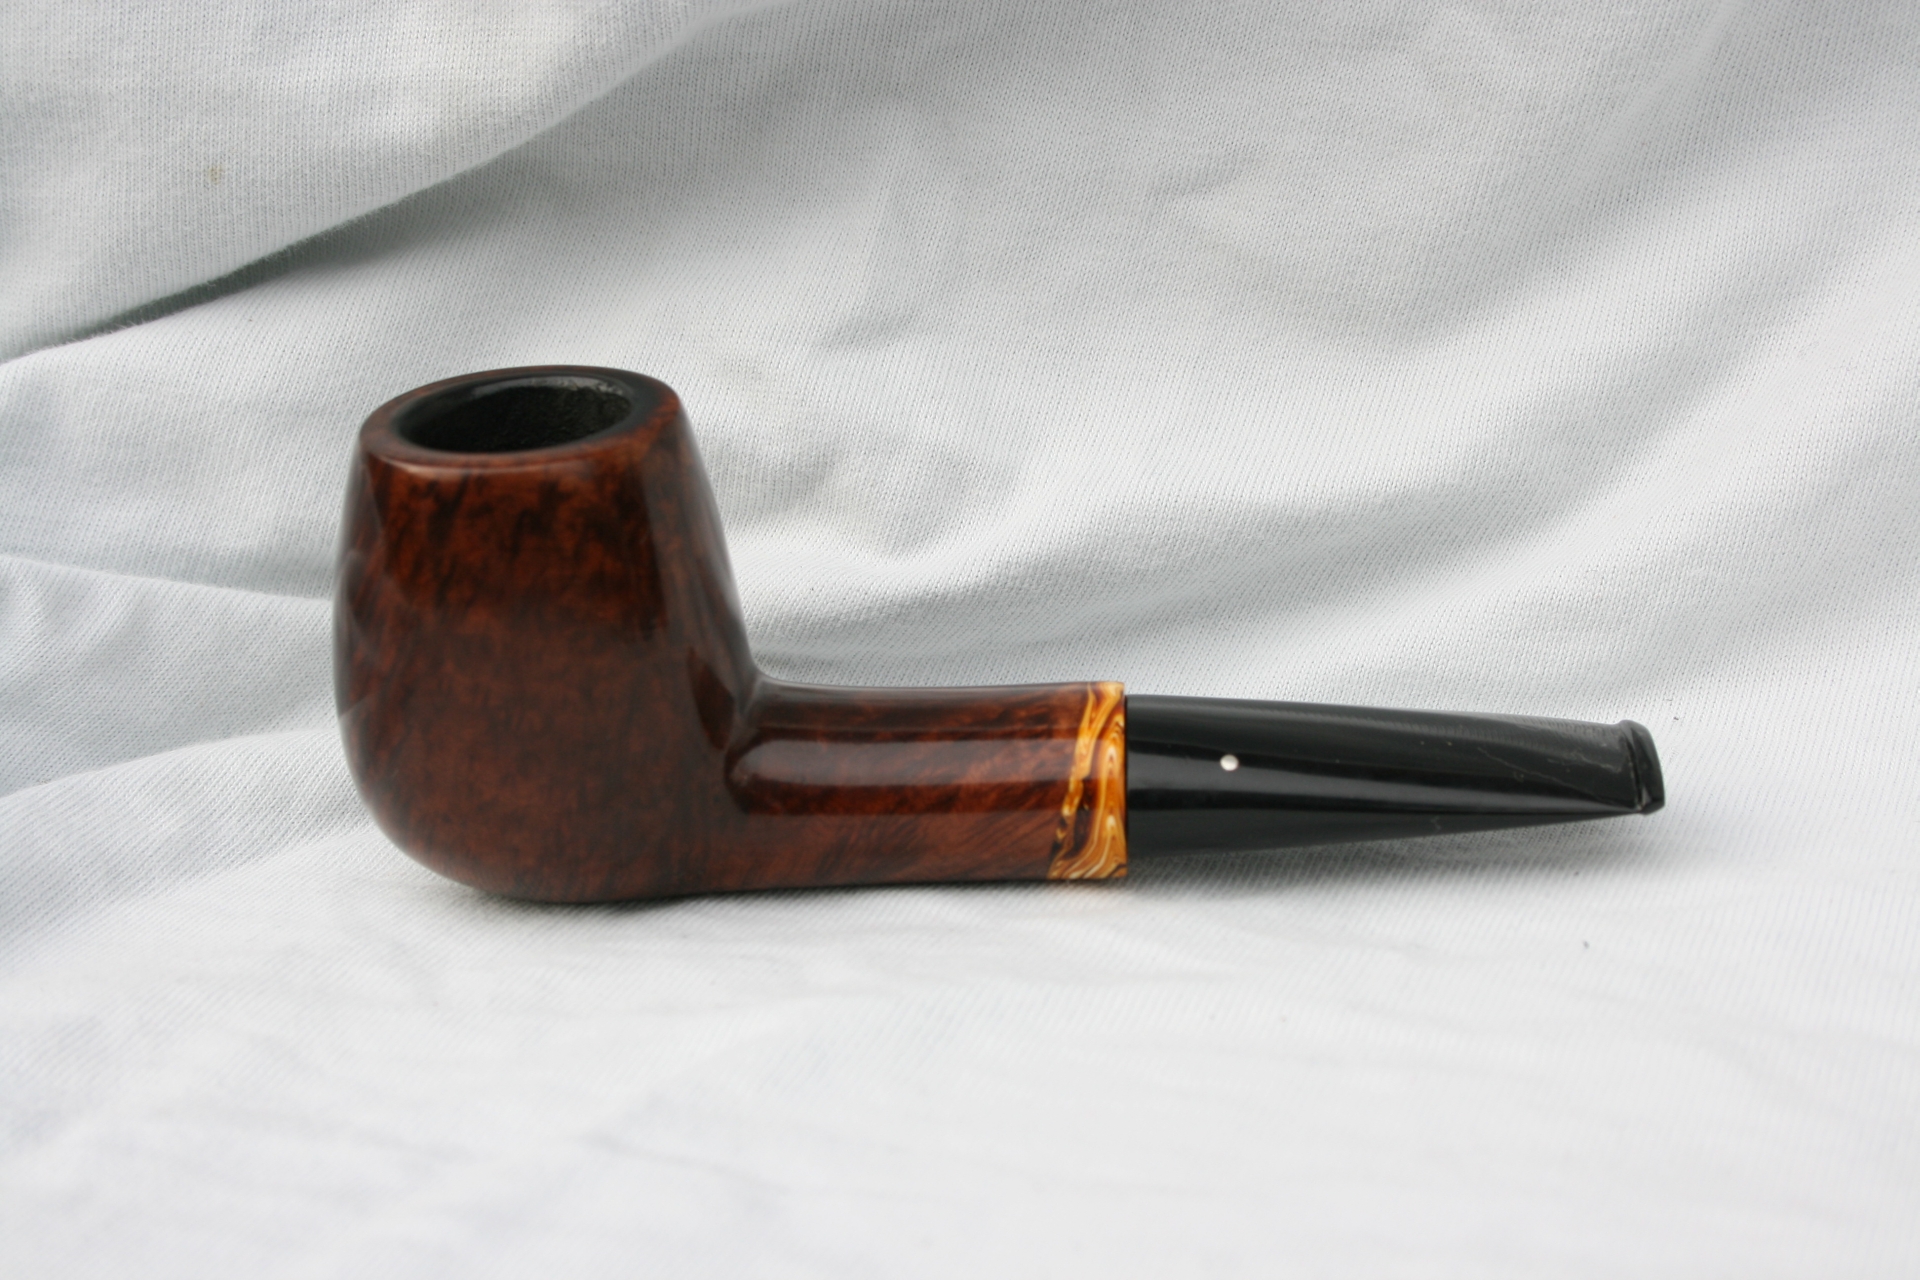
001 Winslow E group a
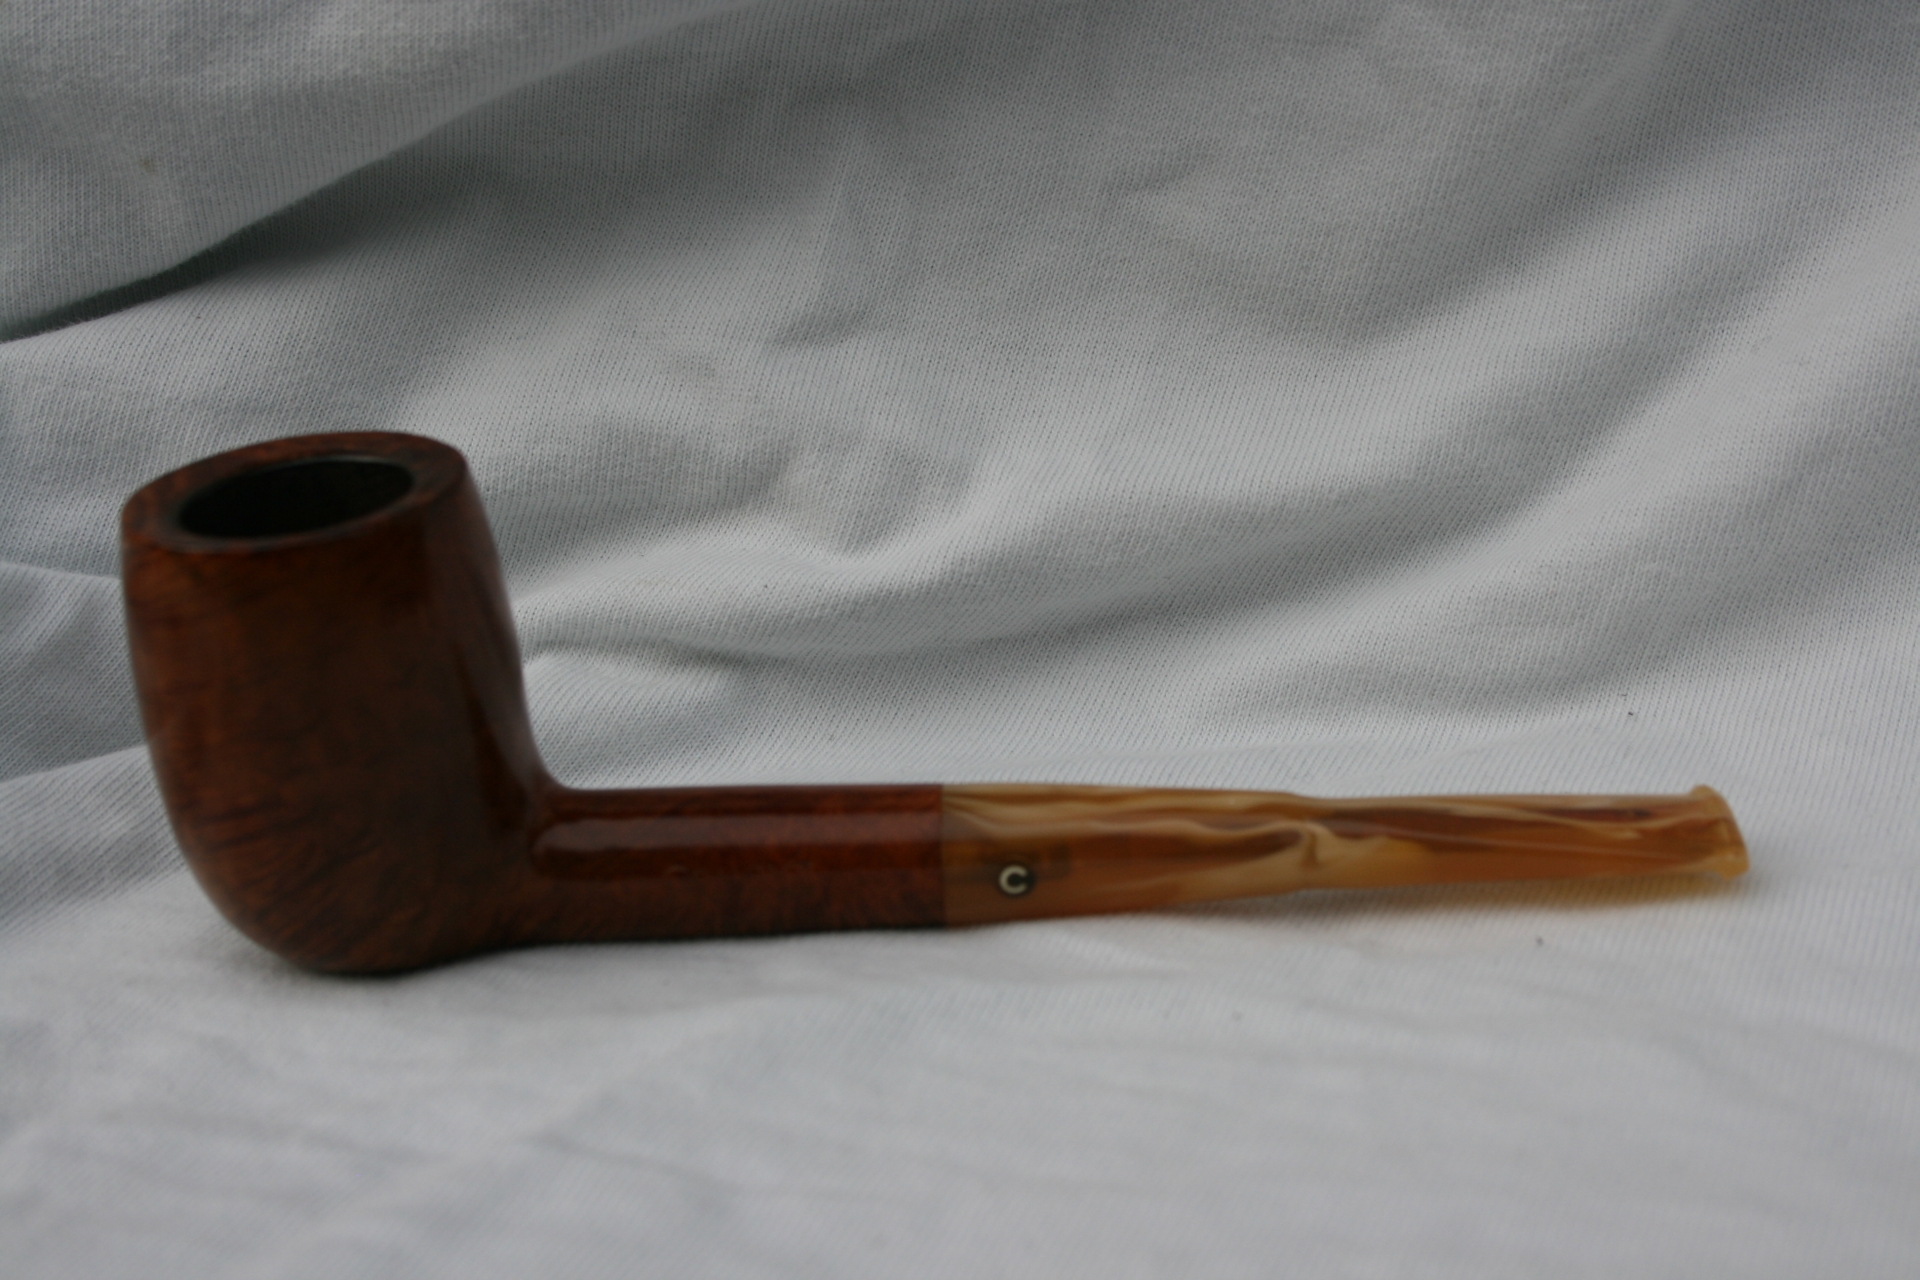
Chacom Silhouette a gift from a family friend who quit smoking years ago.
002 Chacom Silhouette a
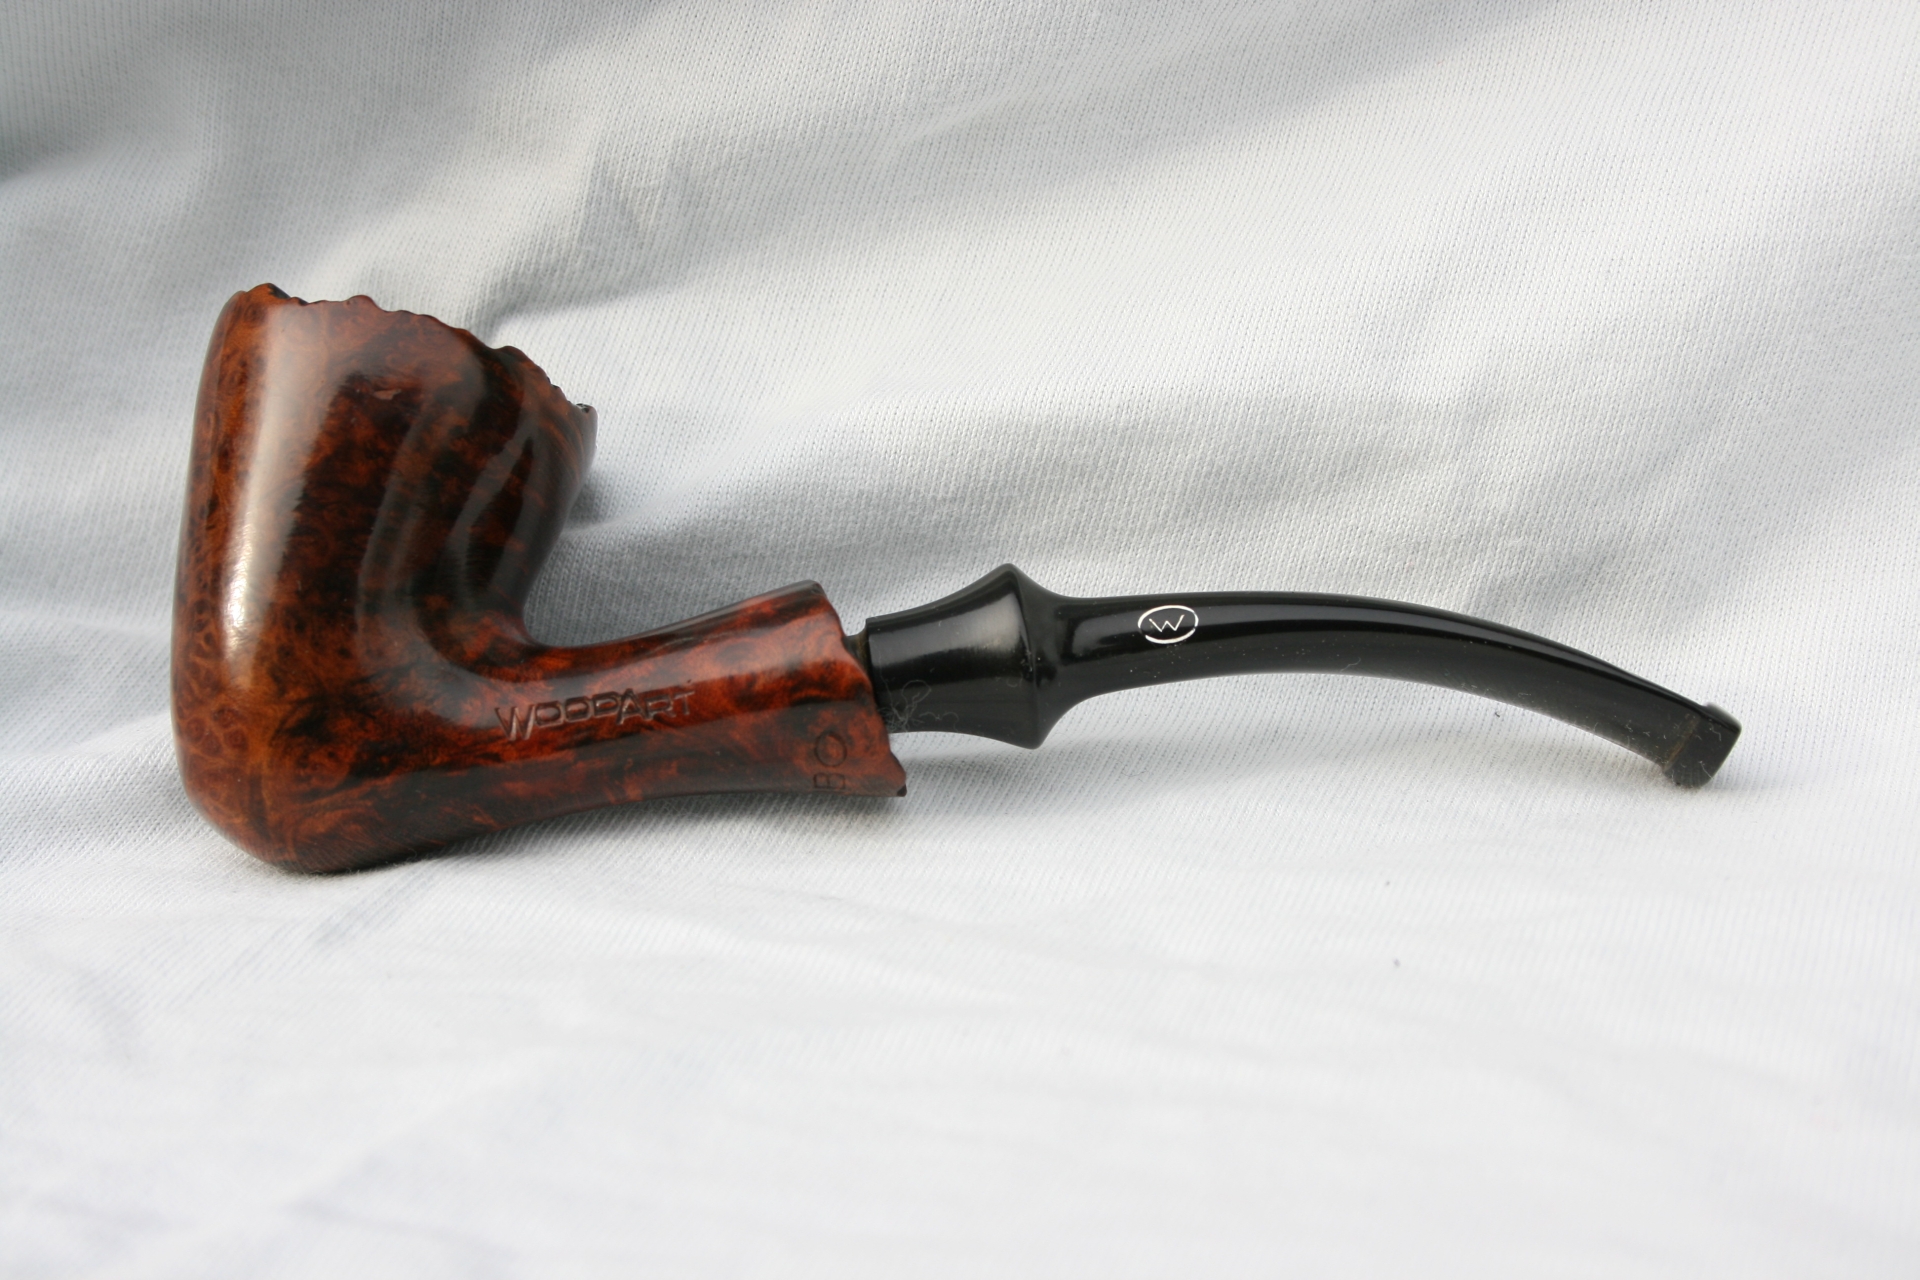
Vibro Woodart acquired from a fellow forum-goer at the PRF.
003 Vibro Woodart a
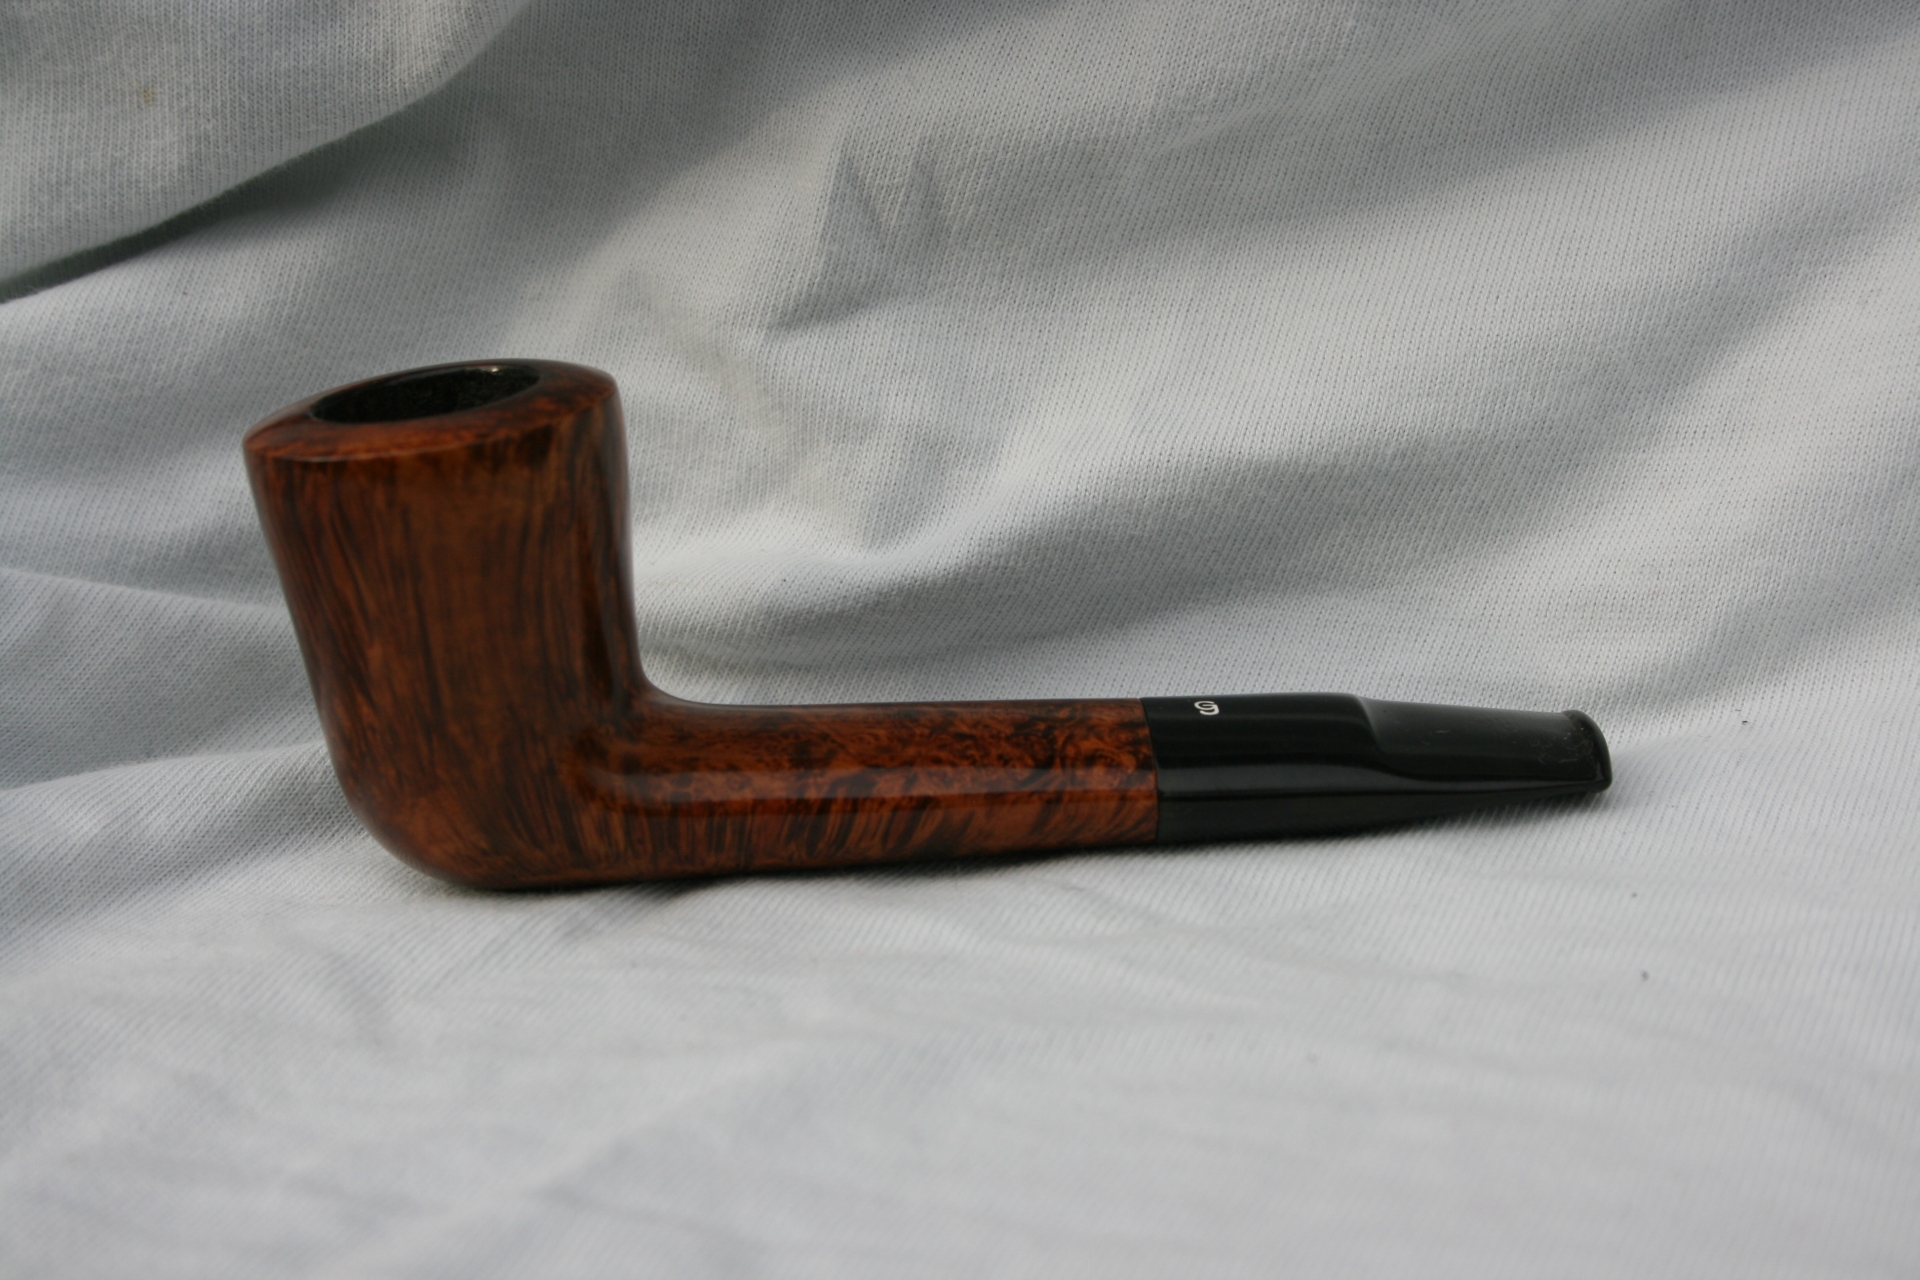
Georg Jensen straight grain from the same friend as the Chacom.
004 Georg Jensen a
The procedure for all was the same.
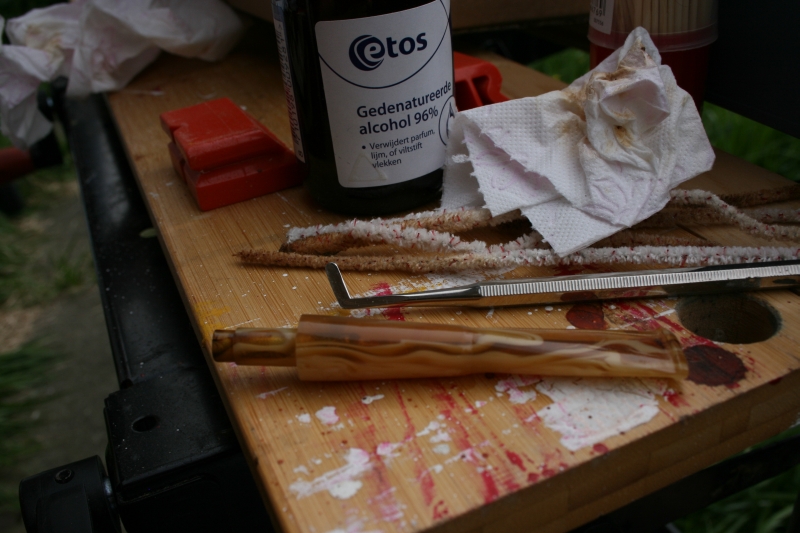
Firstly I used hard bristled pipe cleaners dipped in 96%-proof alcohol. Afterwards the kettle would be inspected and cleared if necessary. After this I would set them aside and buff them one after the other.

The Winsløw is remarkable as it has only one dot on its mouthpiece instead of the two, I reached out to the Winsløw company about this but they didn’t reply. The pipe rather dull to clean as it was very well kept. I only cleaned the inside with the alcohol and that was it, the rest was nice and clean so I set it aside.
005 Winslow
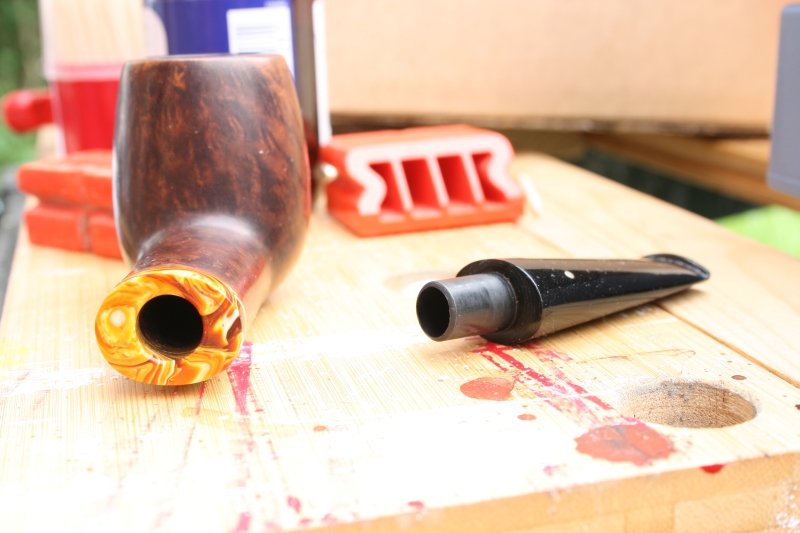
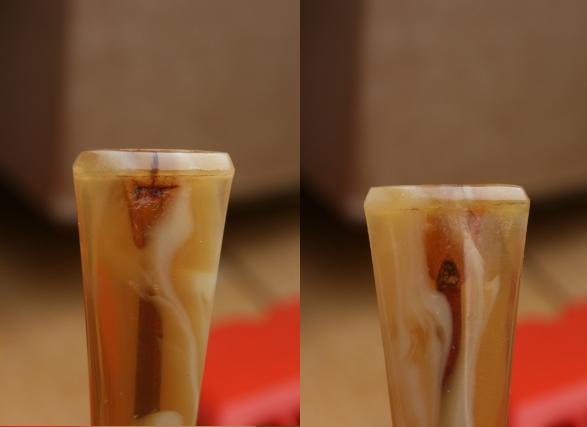
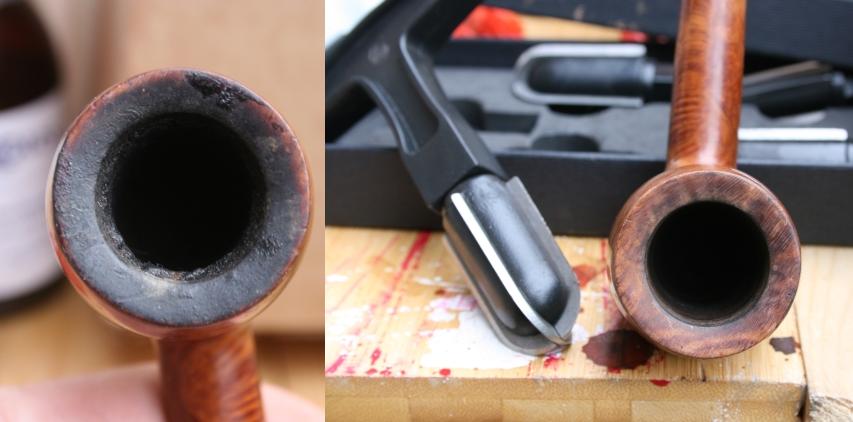
The Chacom Silhouette was heavily used as was evident from the mouthpiece. It is made from swirling acrylic and you can see through it as they used clear acrylic in it. The black tar buildup took a lot of cleaners and the use of a new tool I acquired at a flea market.
006 Cleaning
The brown of the tar build up sits in the small cracks on the inside of the acrylic. These were formed by the precious owner who bit rather hard on his mouthpieces. I tried the ultrasonic cleaner but it wouldn’t budge. So I decided to keep it as is. (If anyone has a tip for me on that one I would be much obliged.)
007 Mouthpiece
Then it was time for the bowl, it had seen better days but there was no damage on the wood itself. So with the help of spit, a sock and the tool as shown earlier the coal layer was removed and the bowl was reamed with the reamer tool.
008 CS bowl
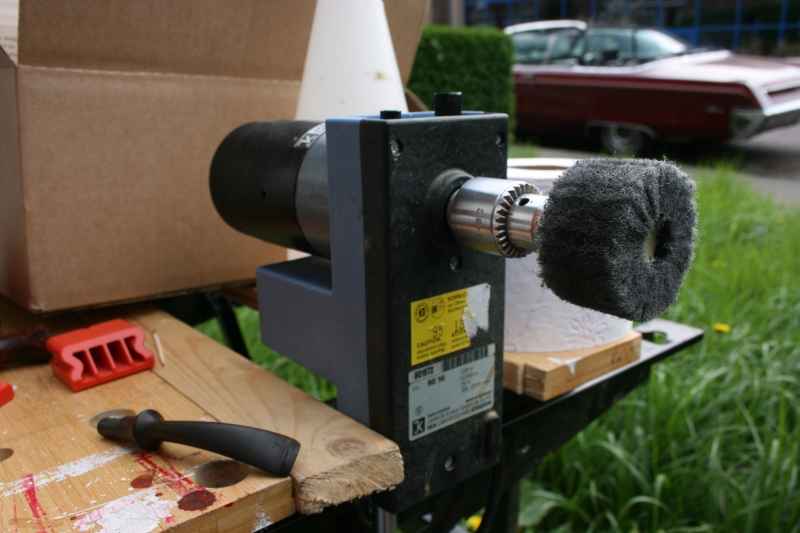
The Vibro Woodart pipe was the first one with an ebonite mouthpiece, so I set up the motor and abrasive wheel and let loose. It came out nice and black in the end.
009 Mouthpiece and motor
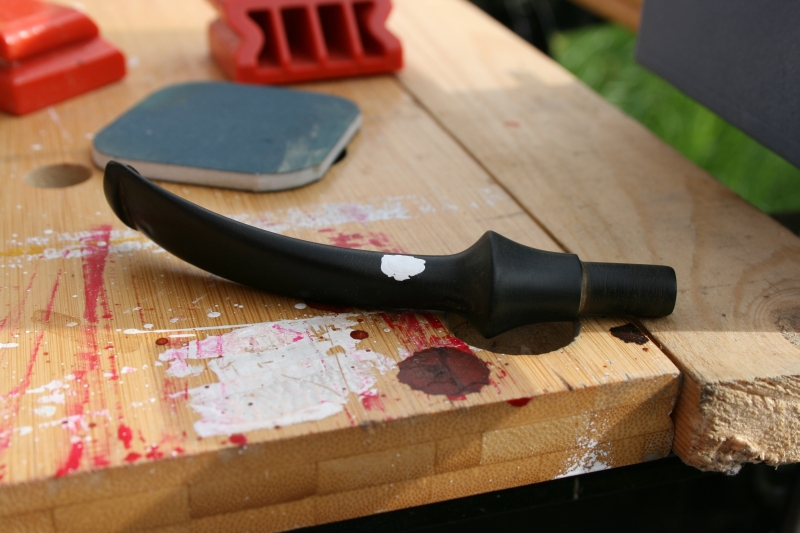
I noticed the mark in the mouthpiece was still visible so I used a correction fluid pen to fill it up and used the abrasive pads (8000 grit) to remove it gently.
010 colouring the letter
(The end result will follow)

I don’t have any pictures of the Jensen pipe as the pictures were all too dark. But I did the same as the Vibro pipe. Using the abrasive wheel and the correction fluid pen to get the logo back out again.

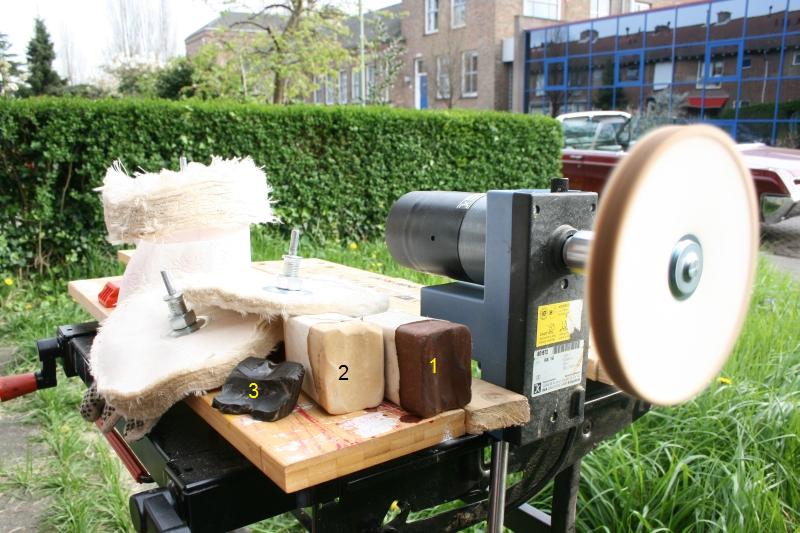
Then it was time for the buffing. Buffing with brown (1), white (2) and then with carnauba wax (3).
011 Buffing
Here are the final results, you can see the W on the Vibro pipe quite clearly and on the group shot the result on the Jensen.
012

013

014

015

016
In the end it was good to sit in the sun and once again get my hands into cleaning a nice pipe.
I always feel quite happy when a dull pipe with a heavily caked bowl turns into a nice shiny one that can be once again hopefully be used for many years to come.

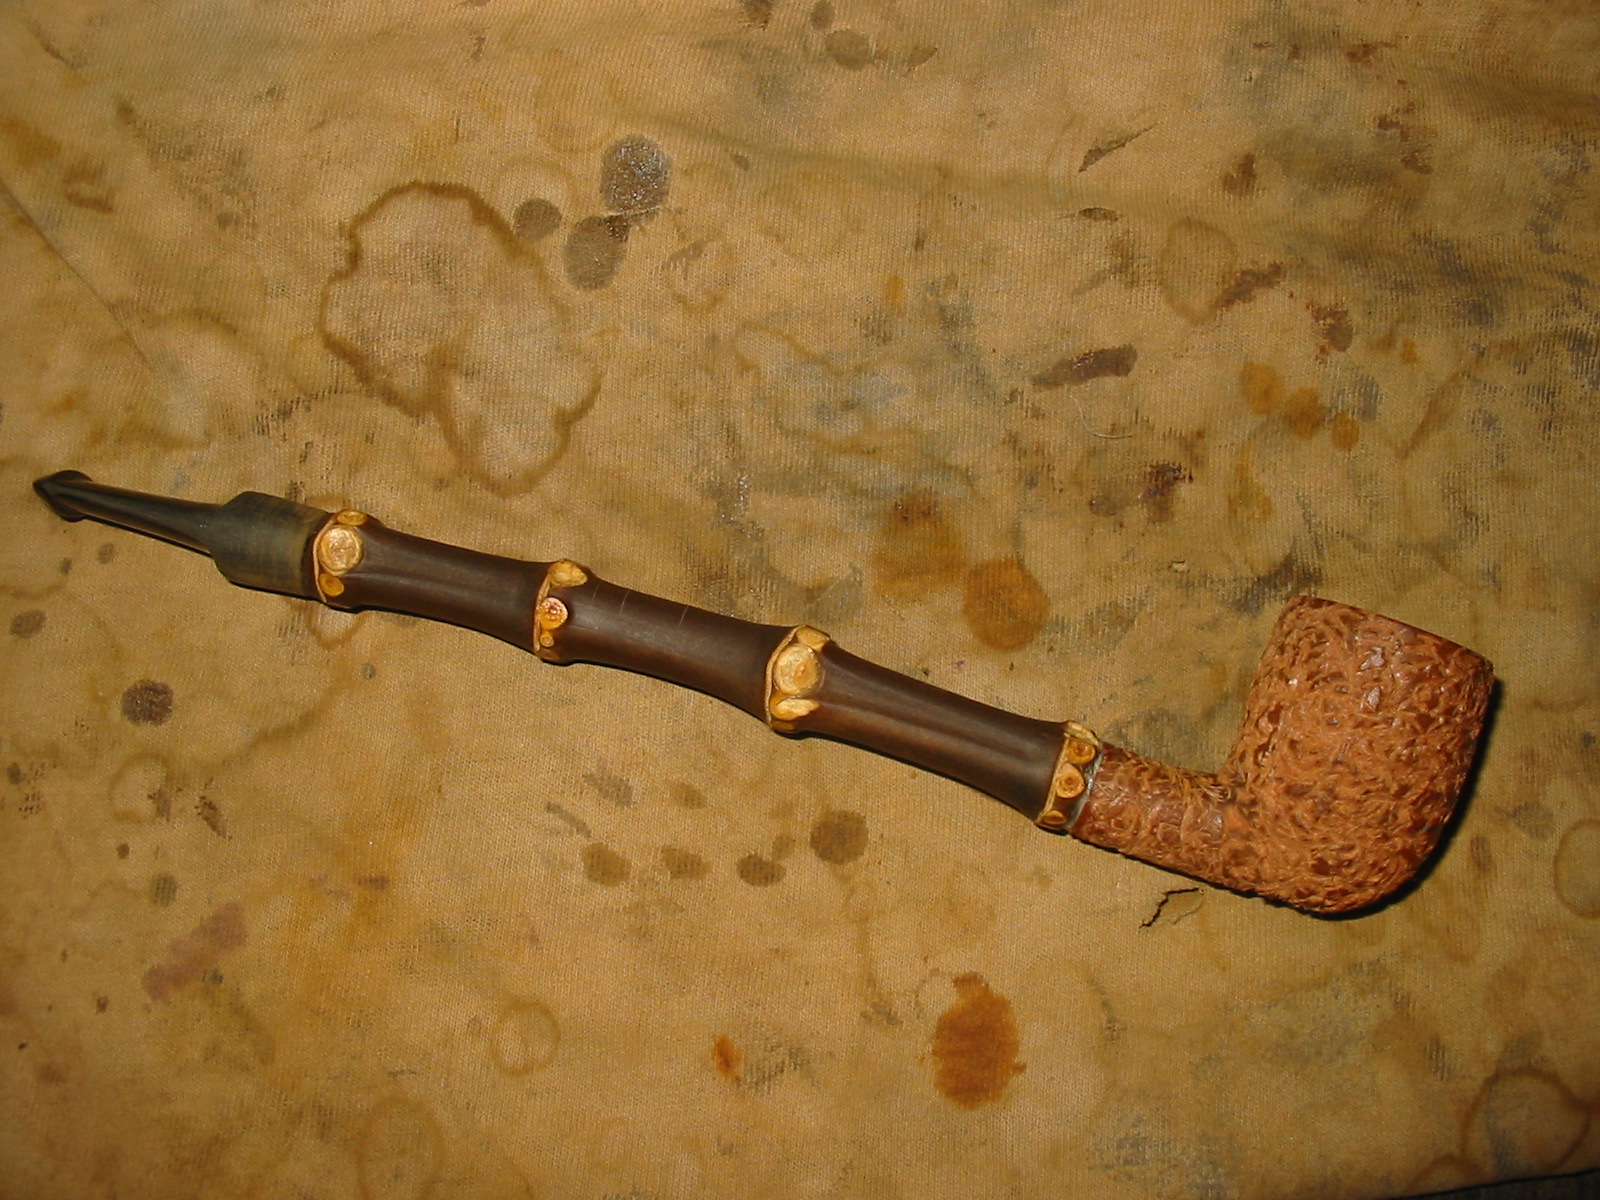
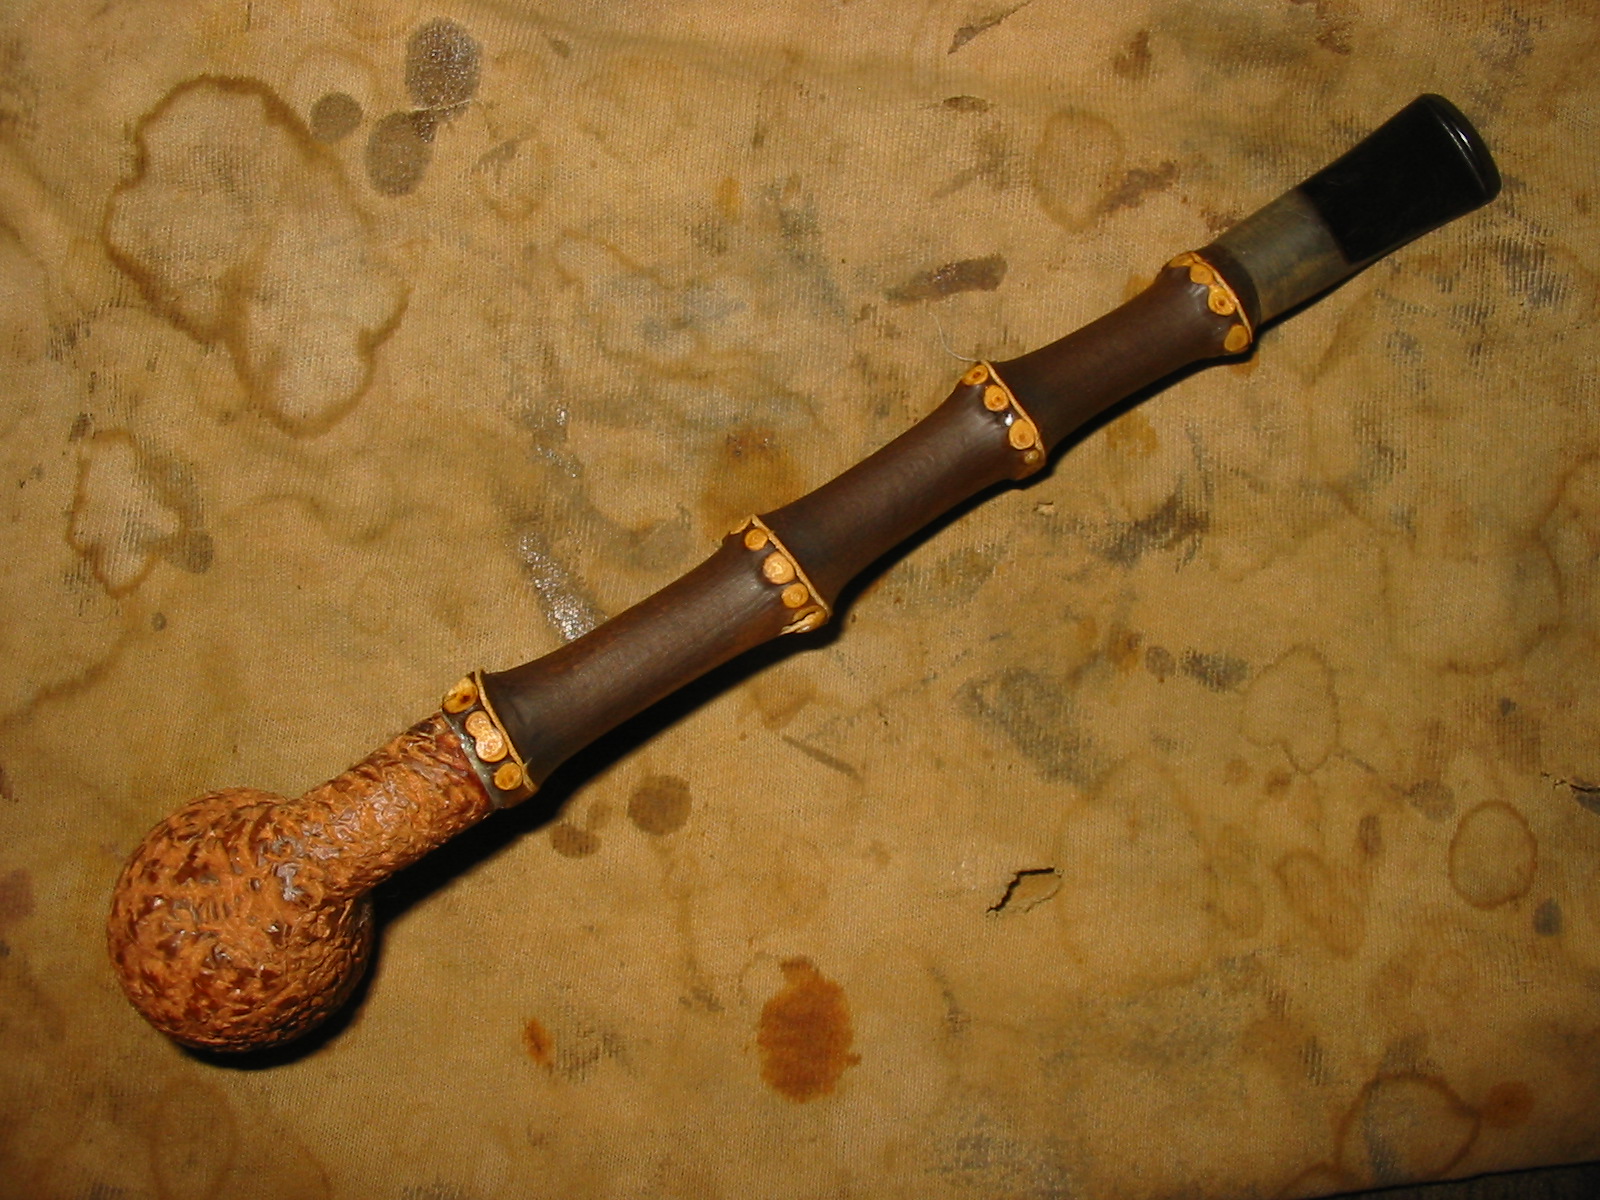
Crafting a Bamboo Shank Briar Mini Churchwarden


Blog by Steve Laug

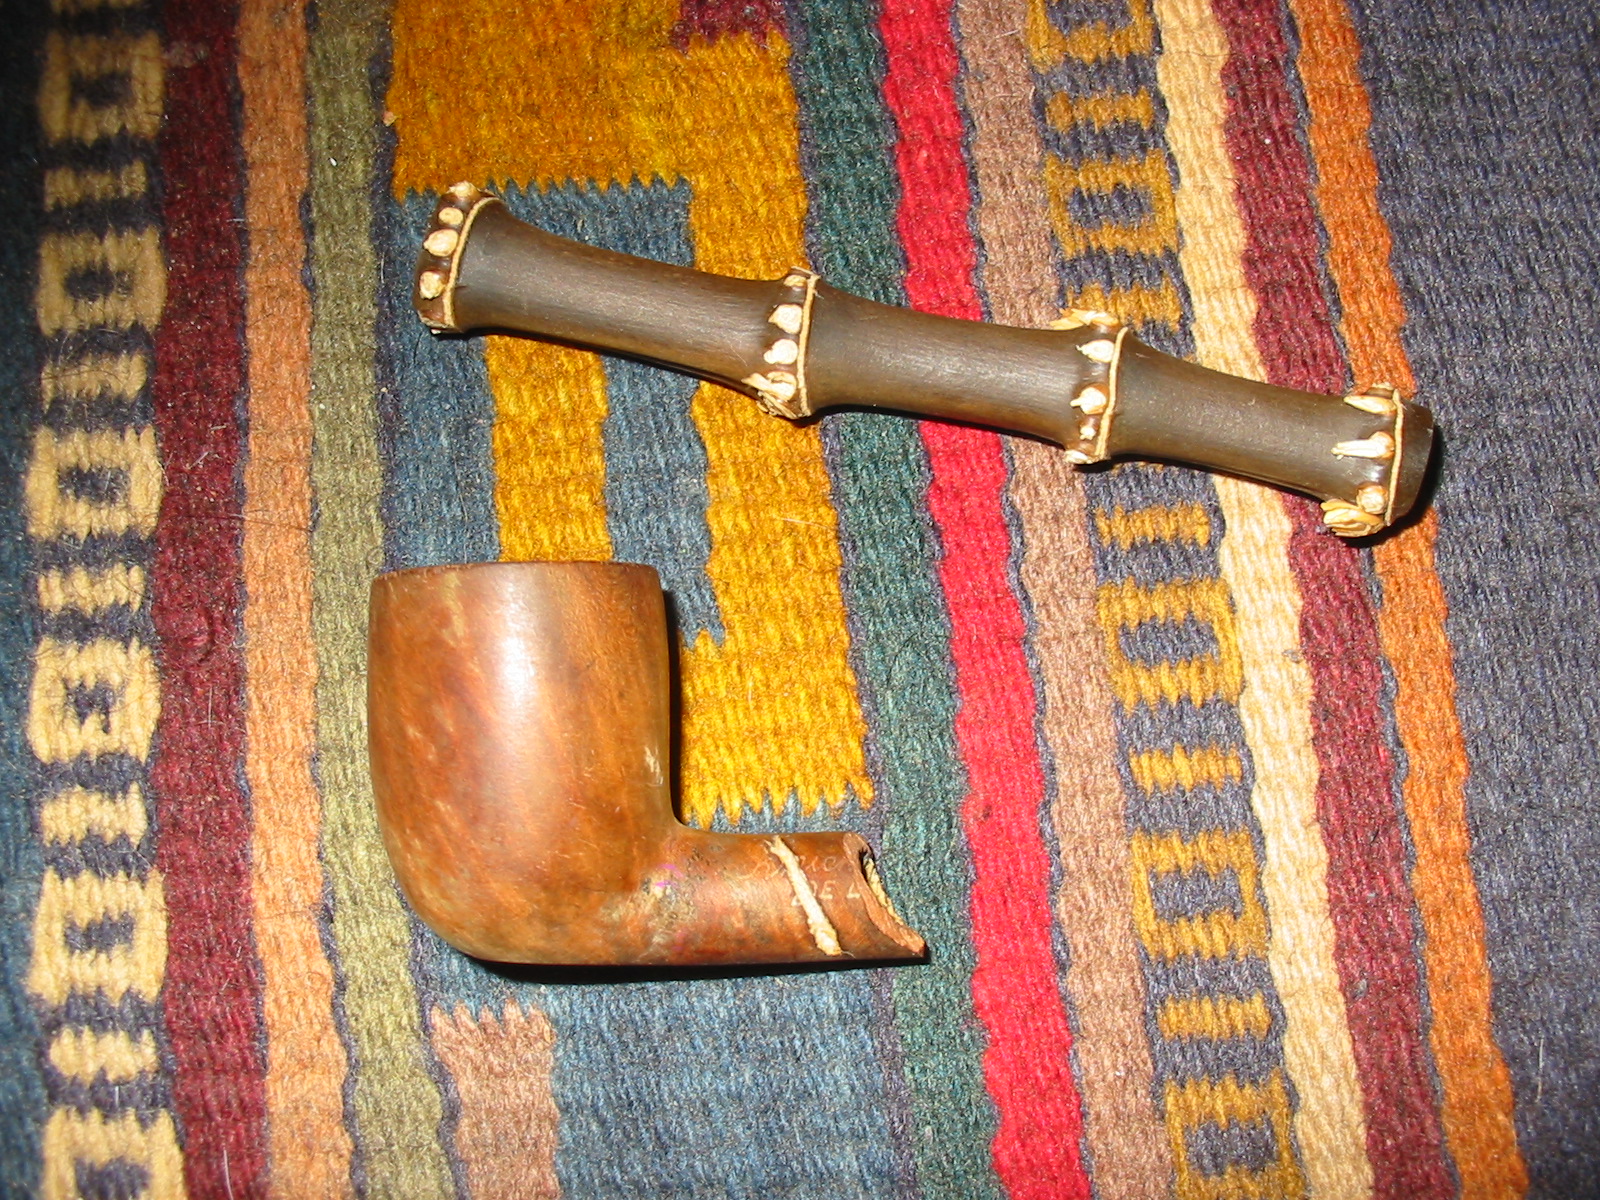
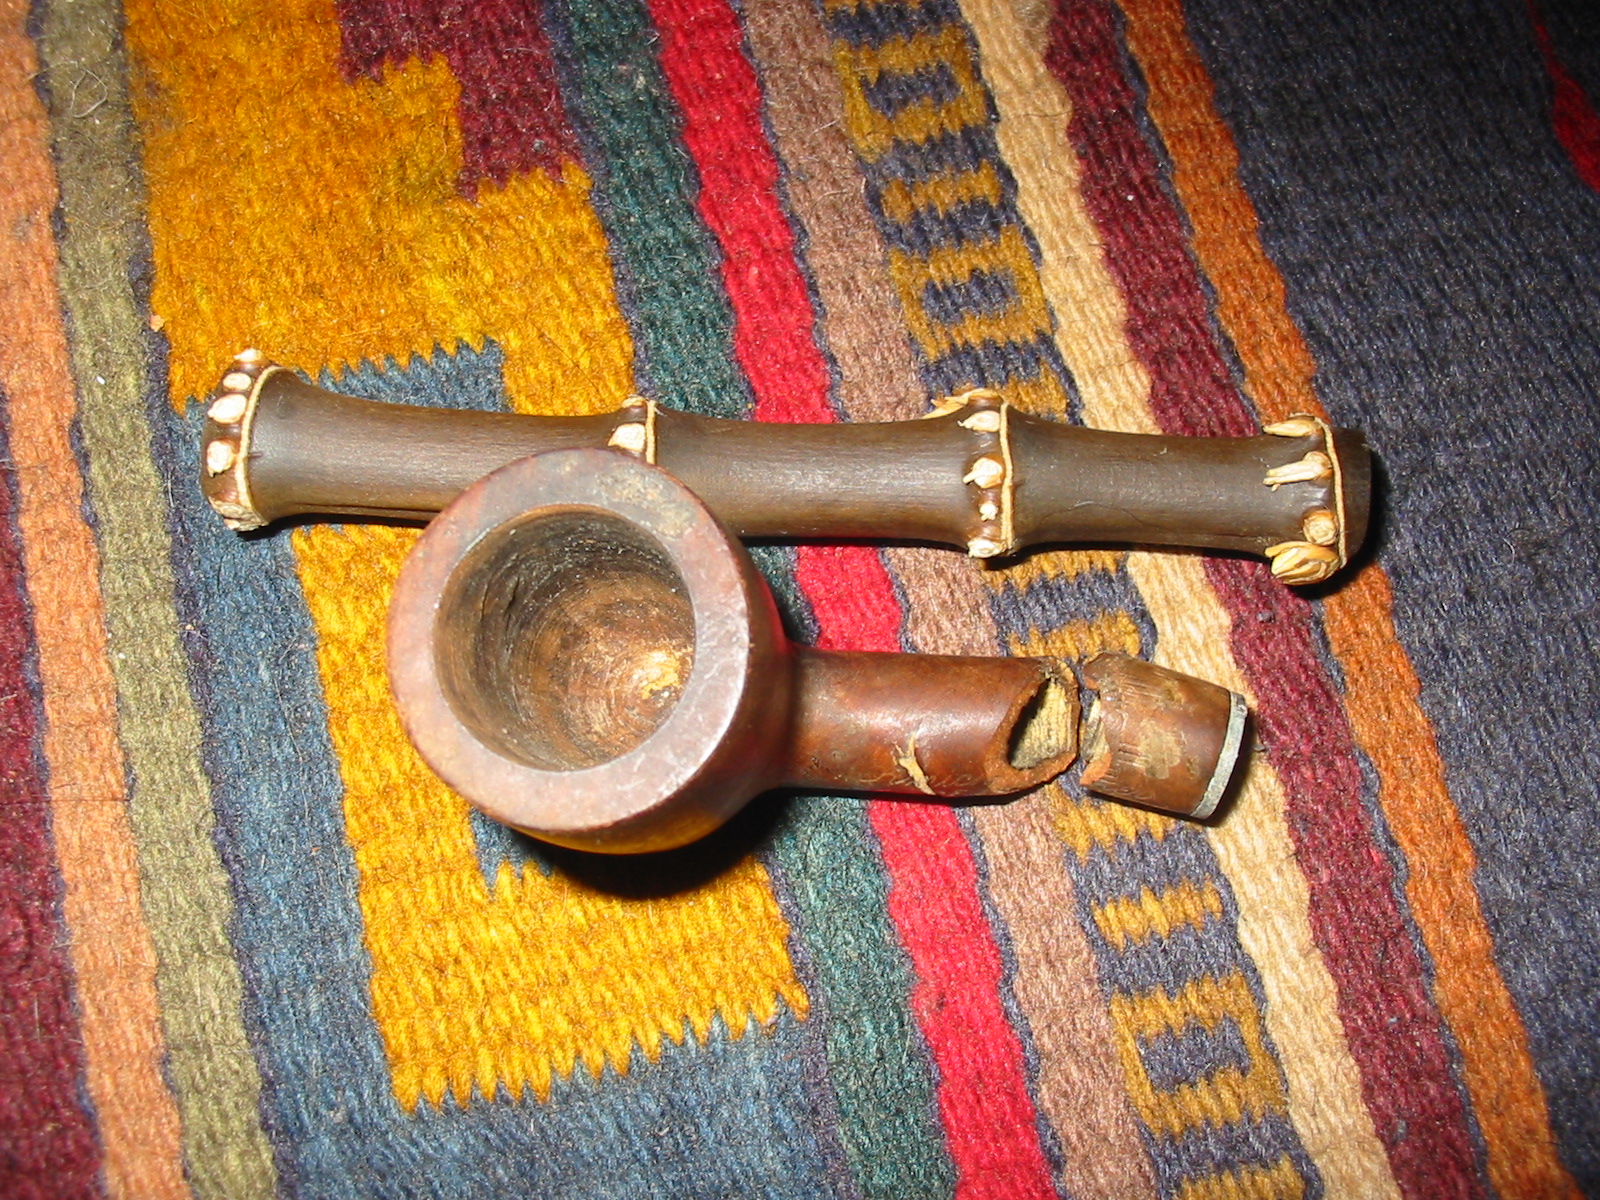
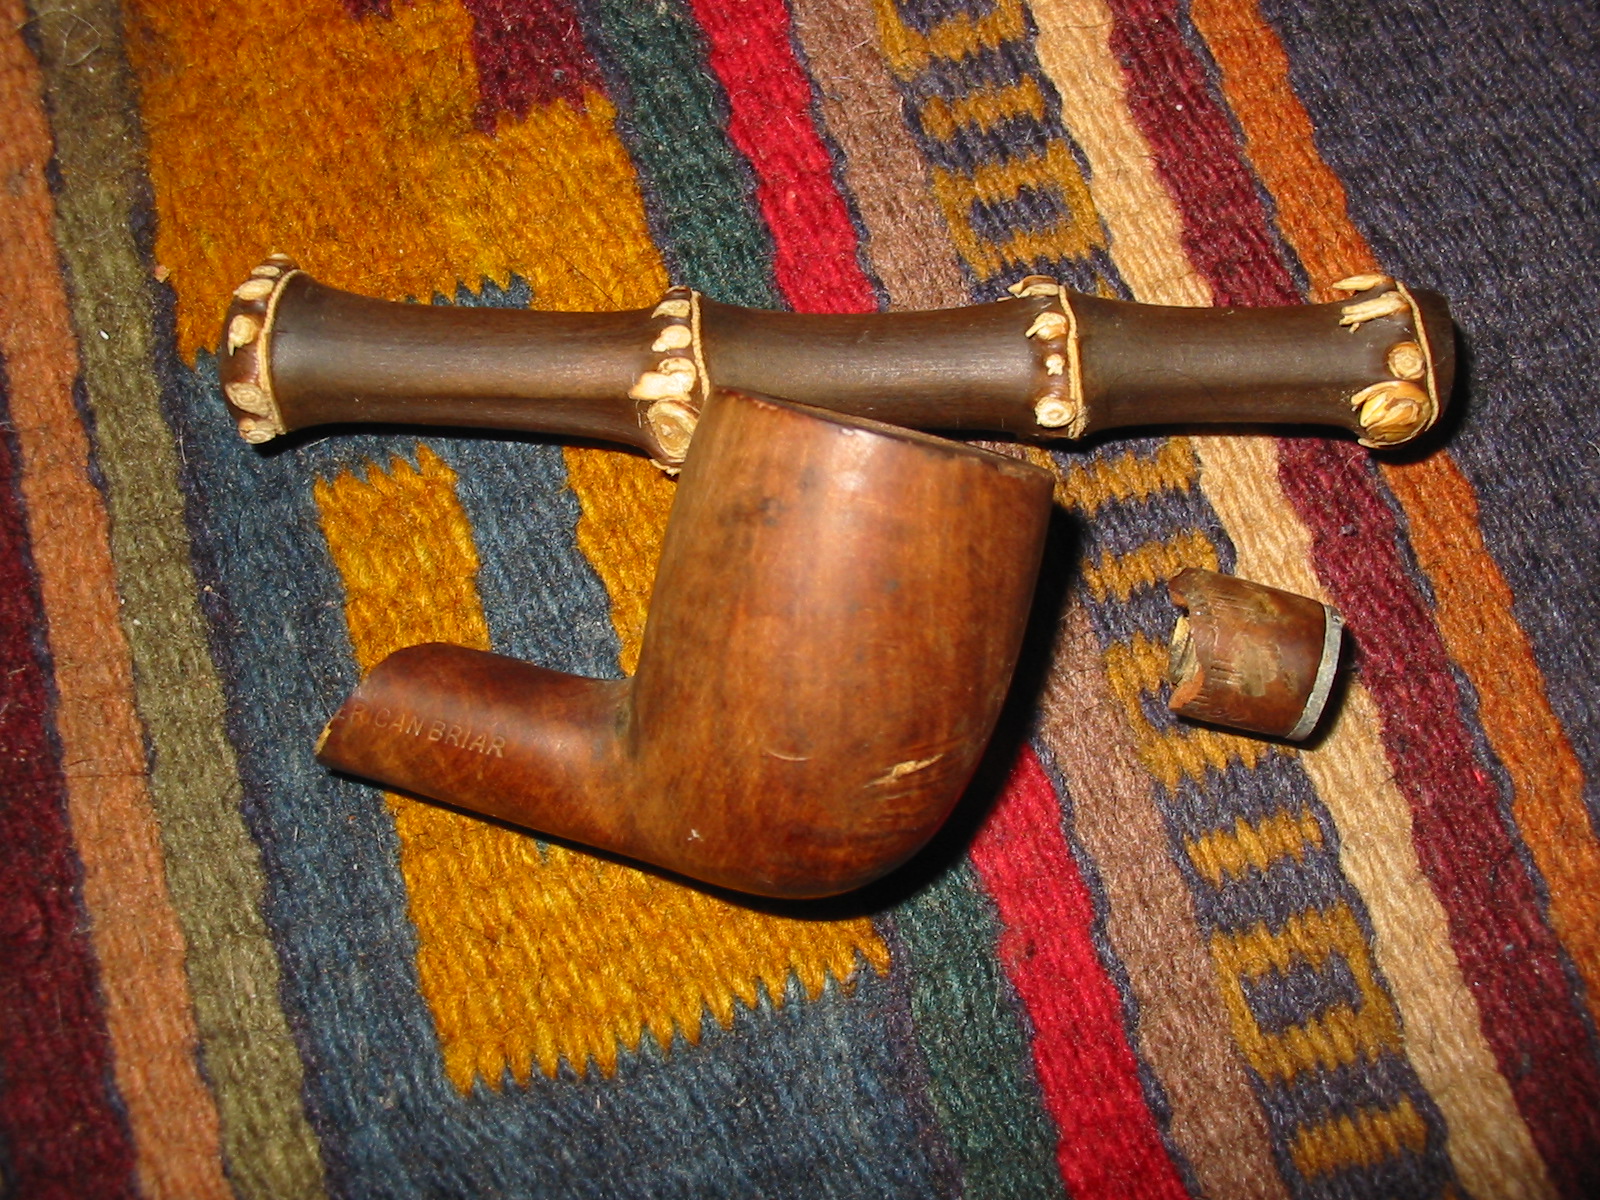
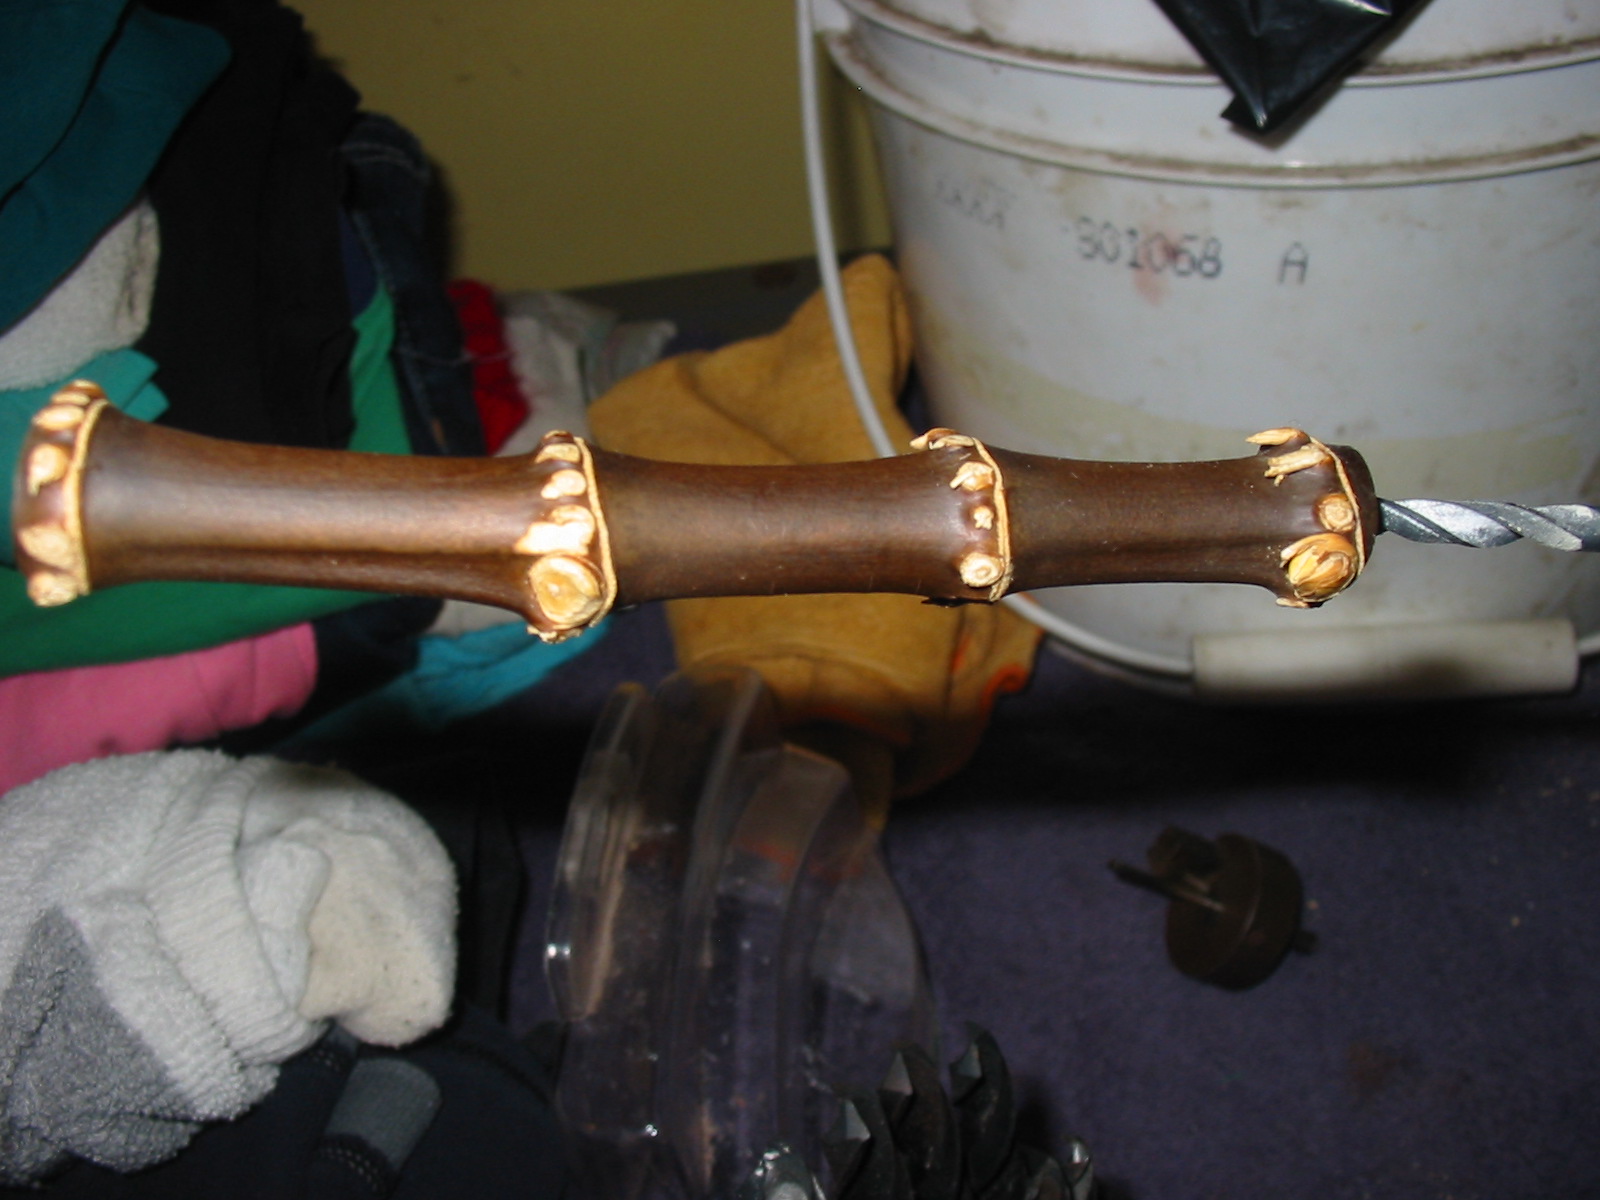
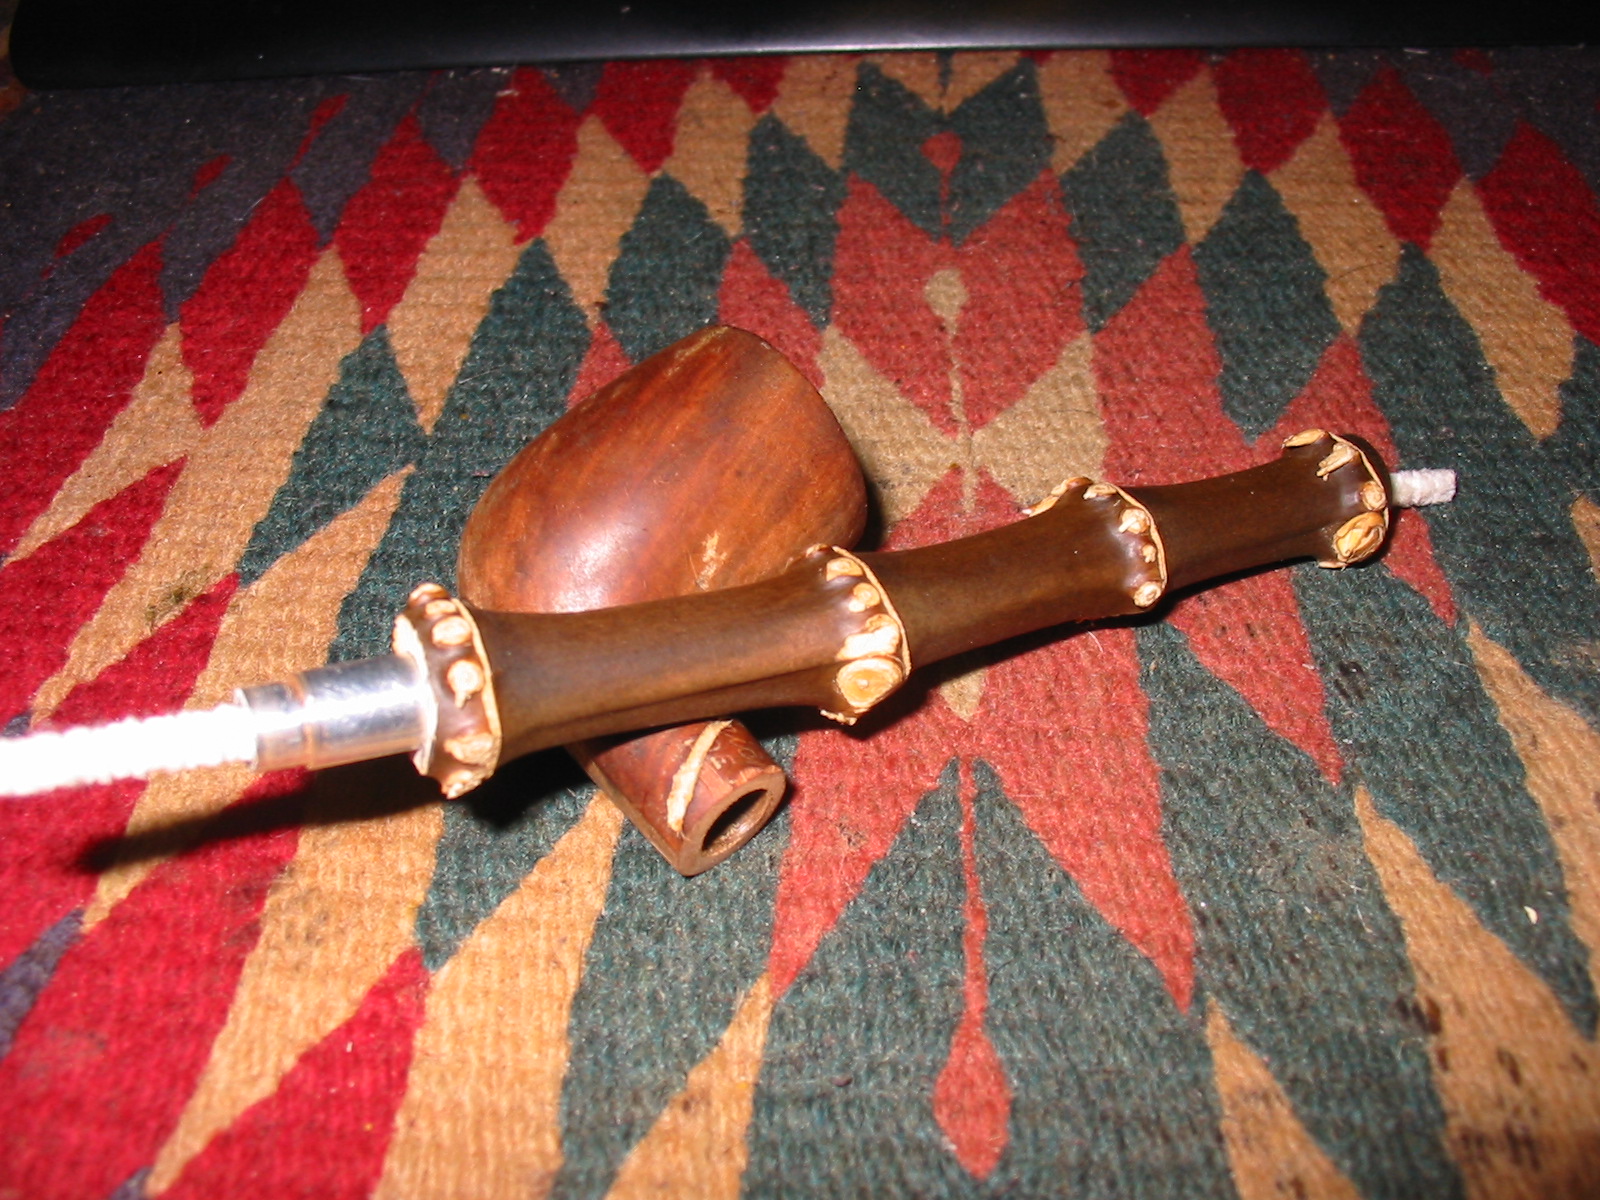
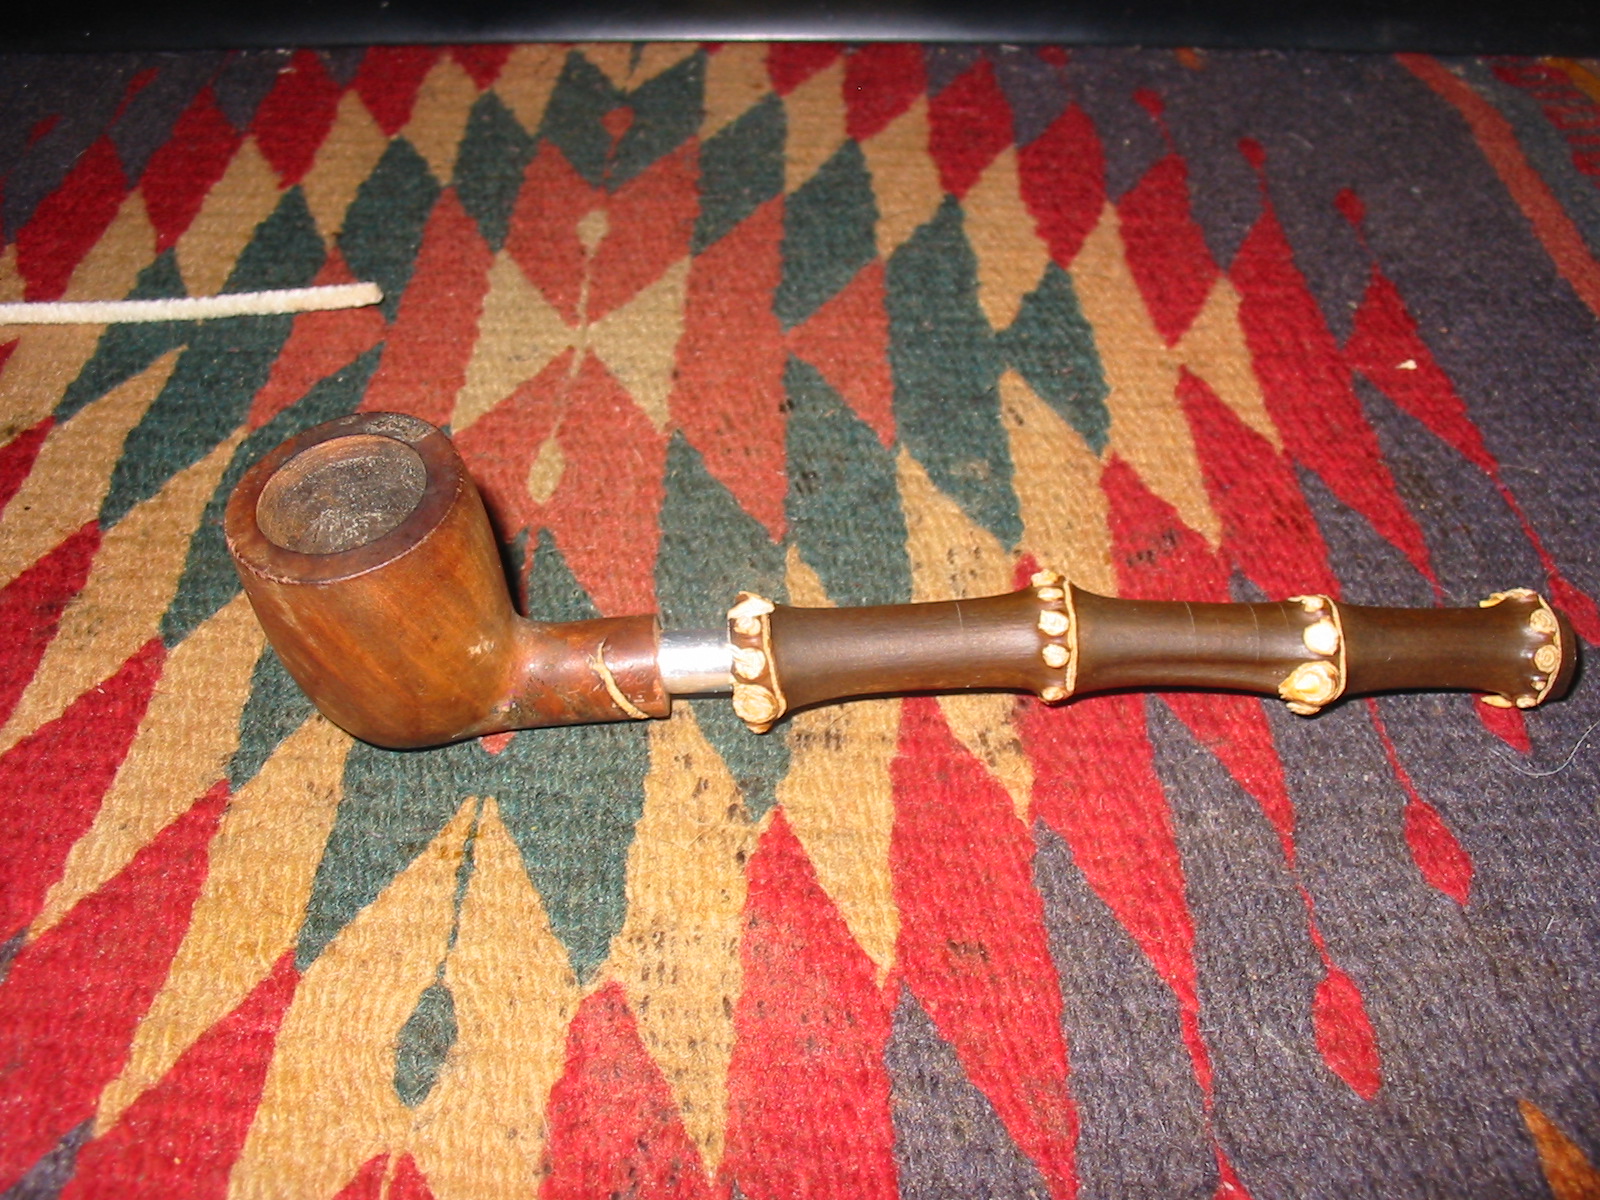
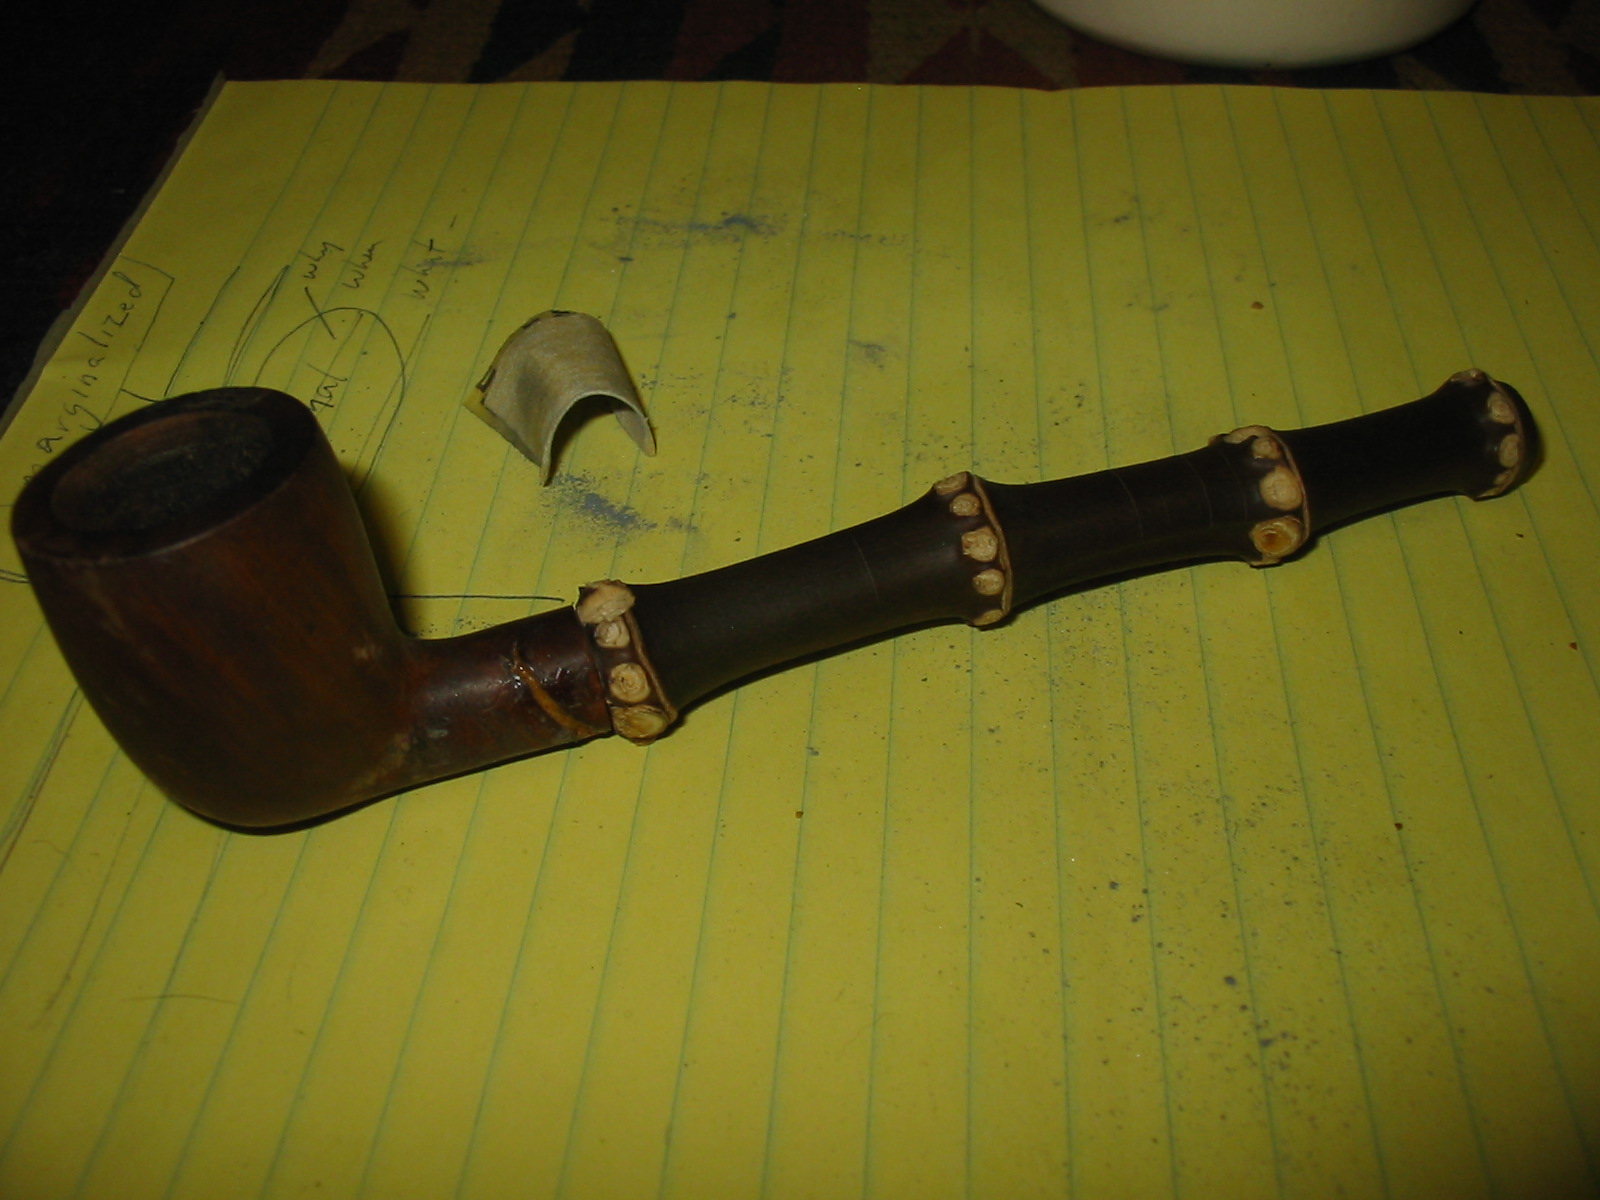
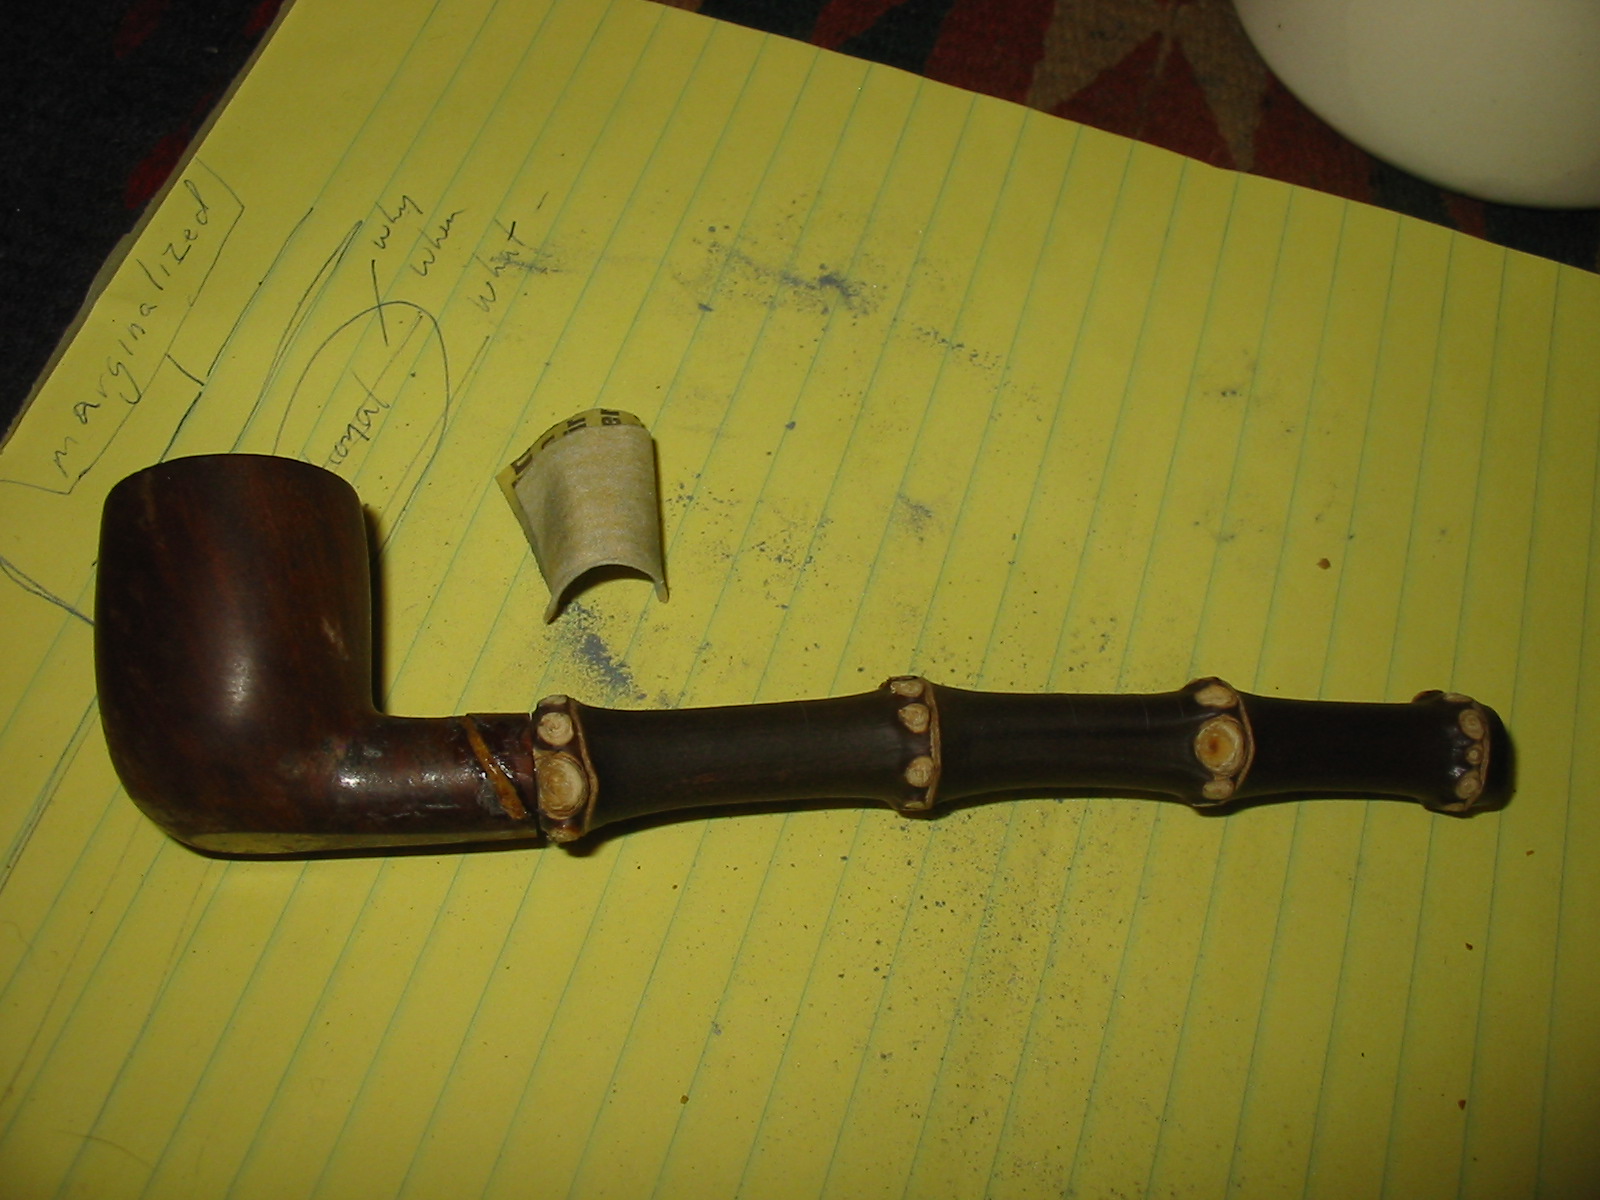
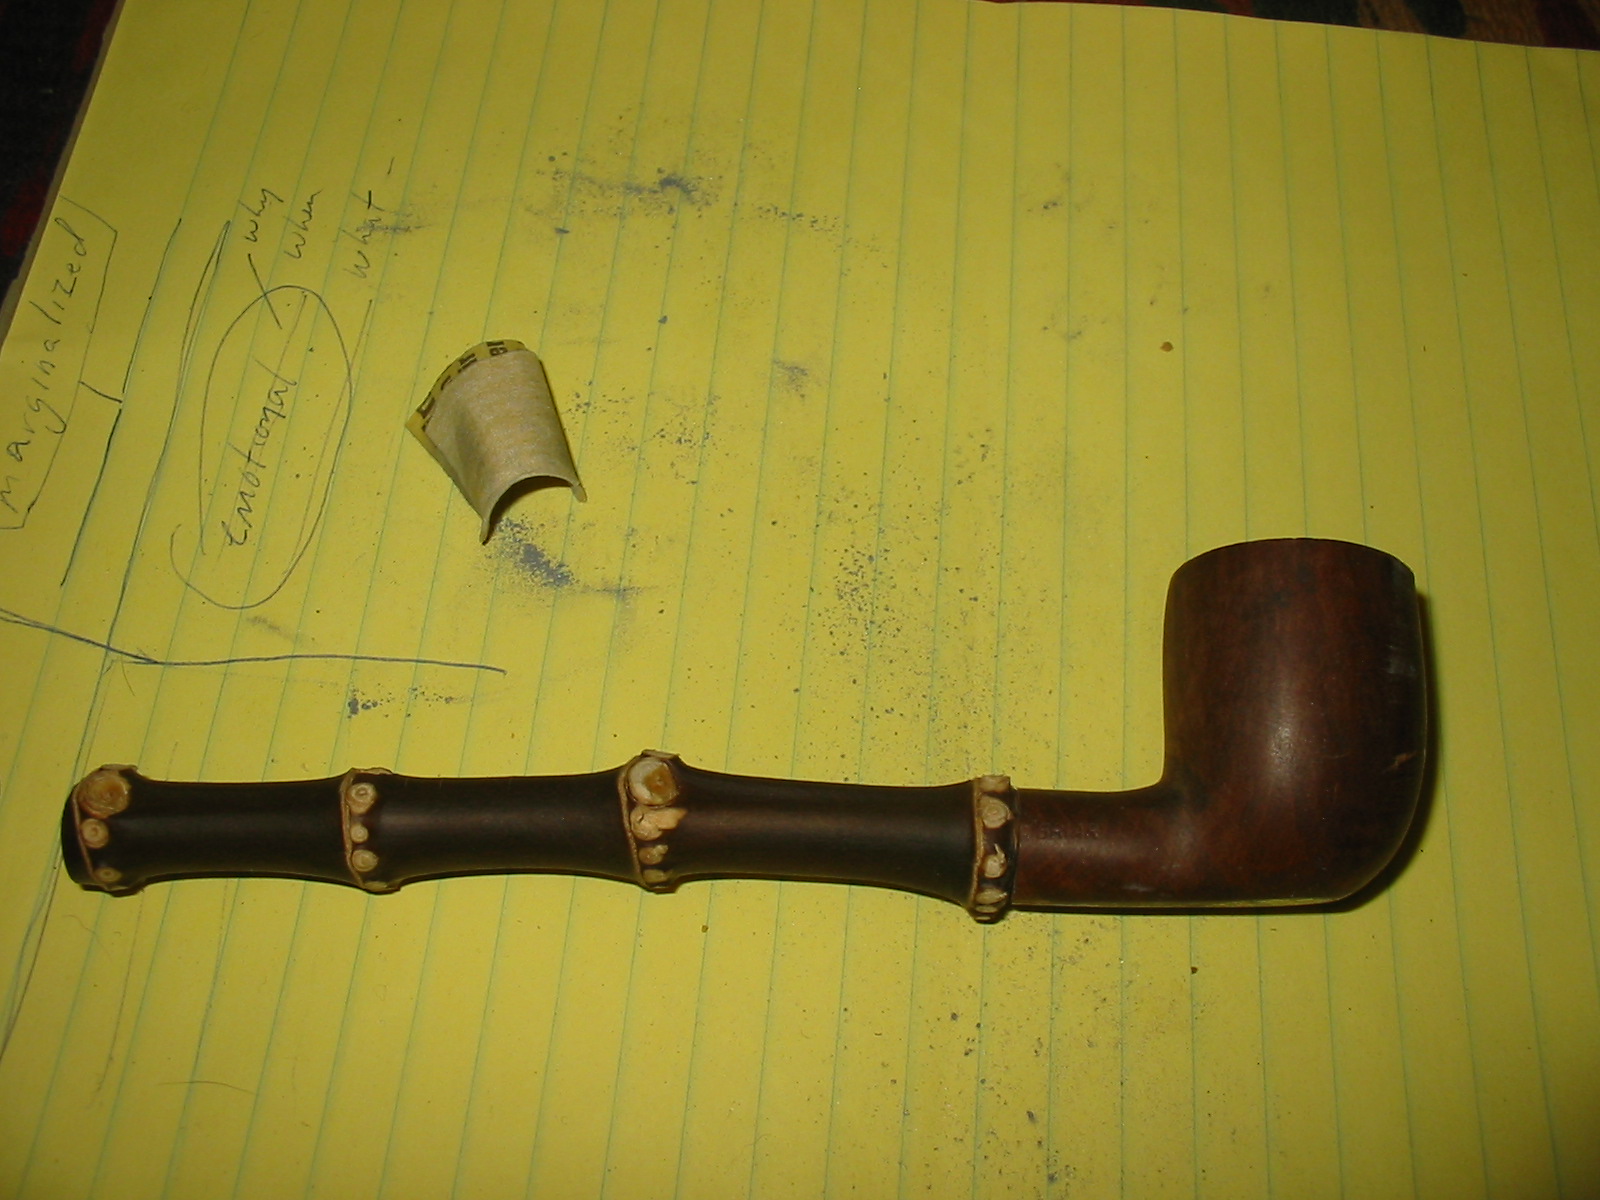
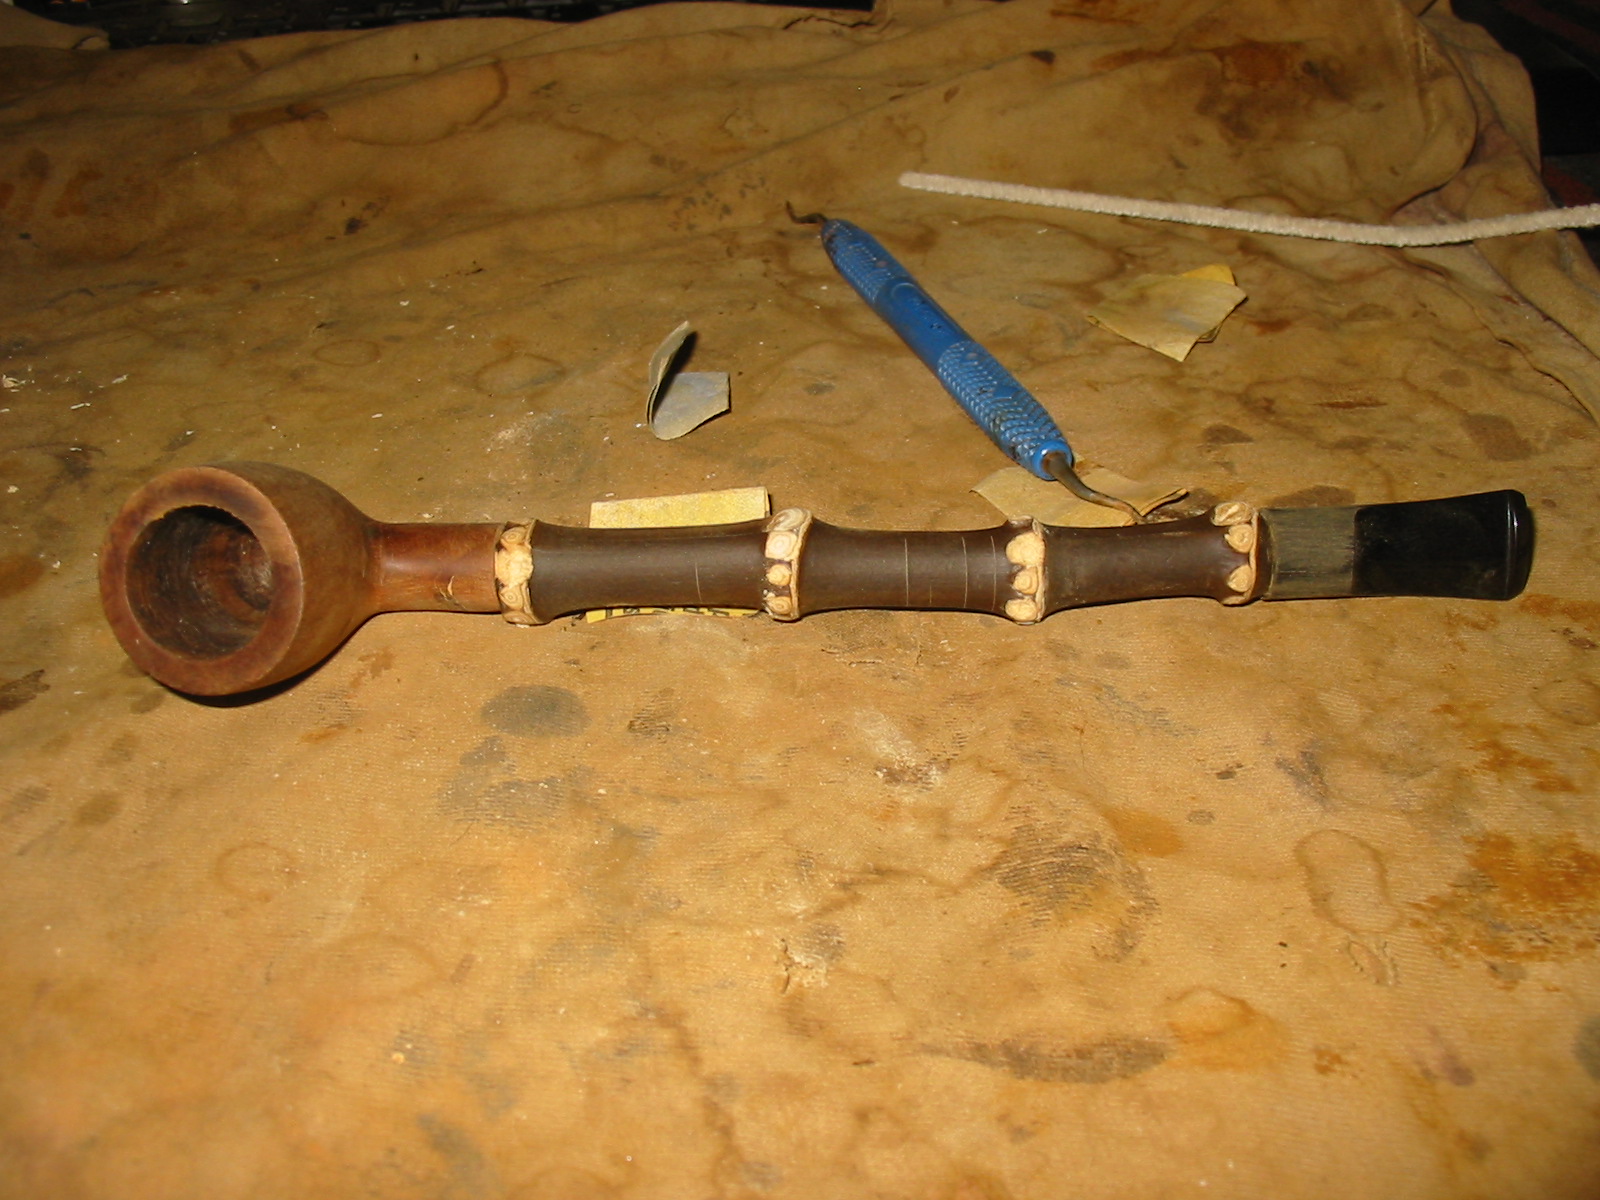
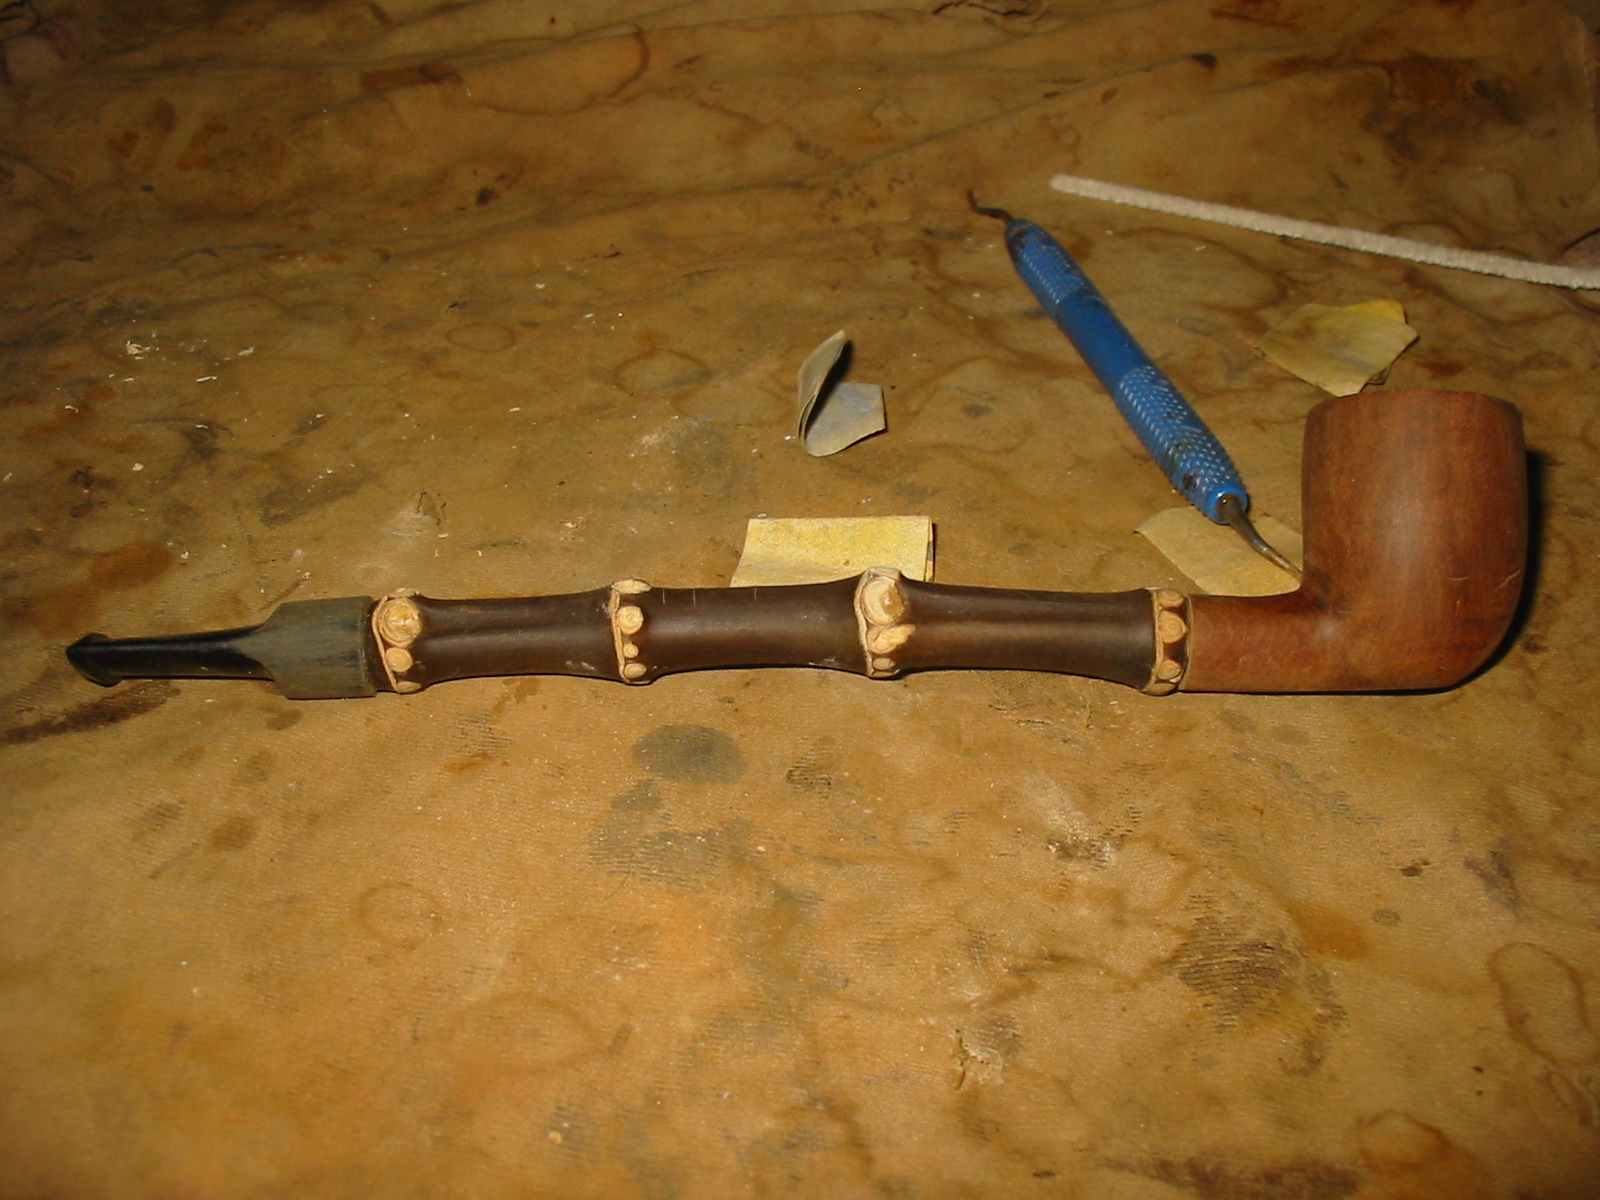
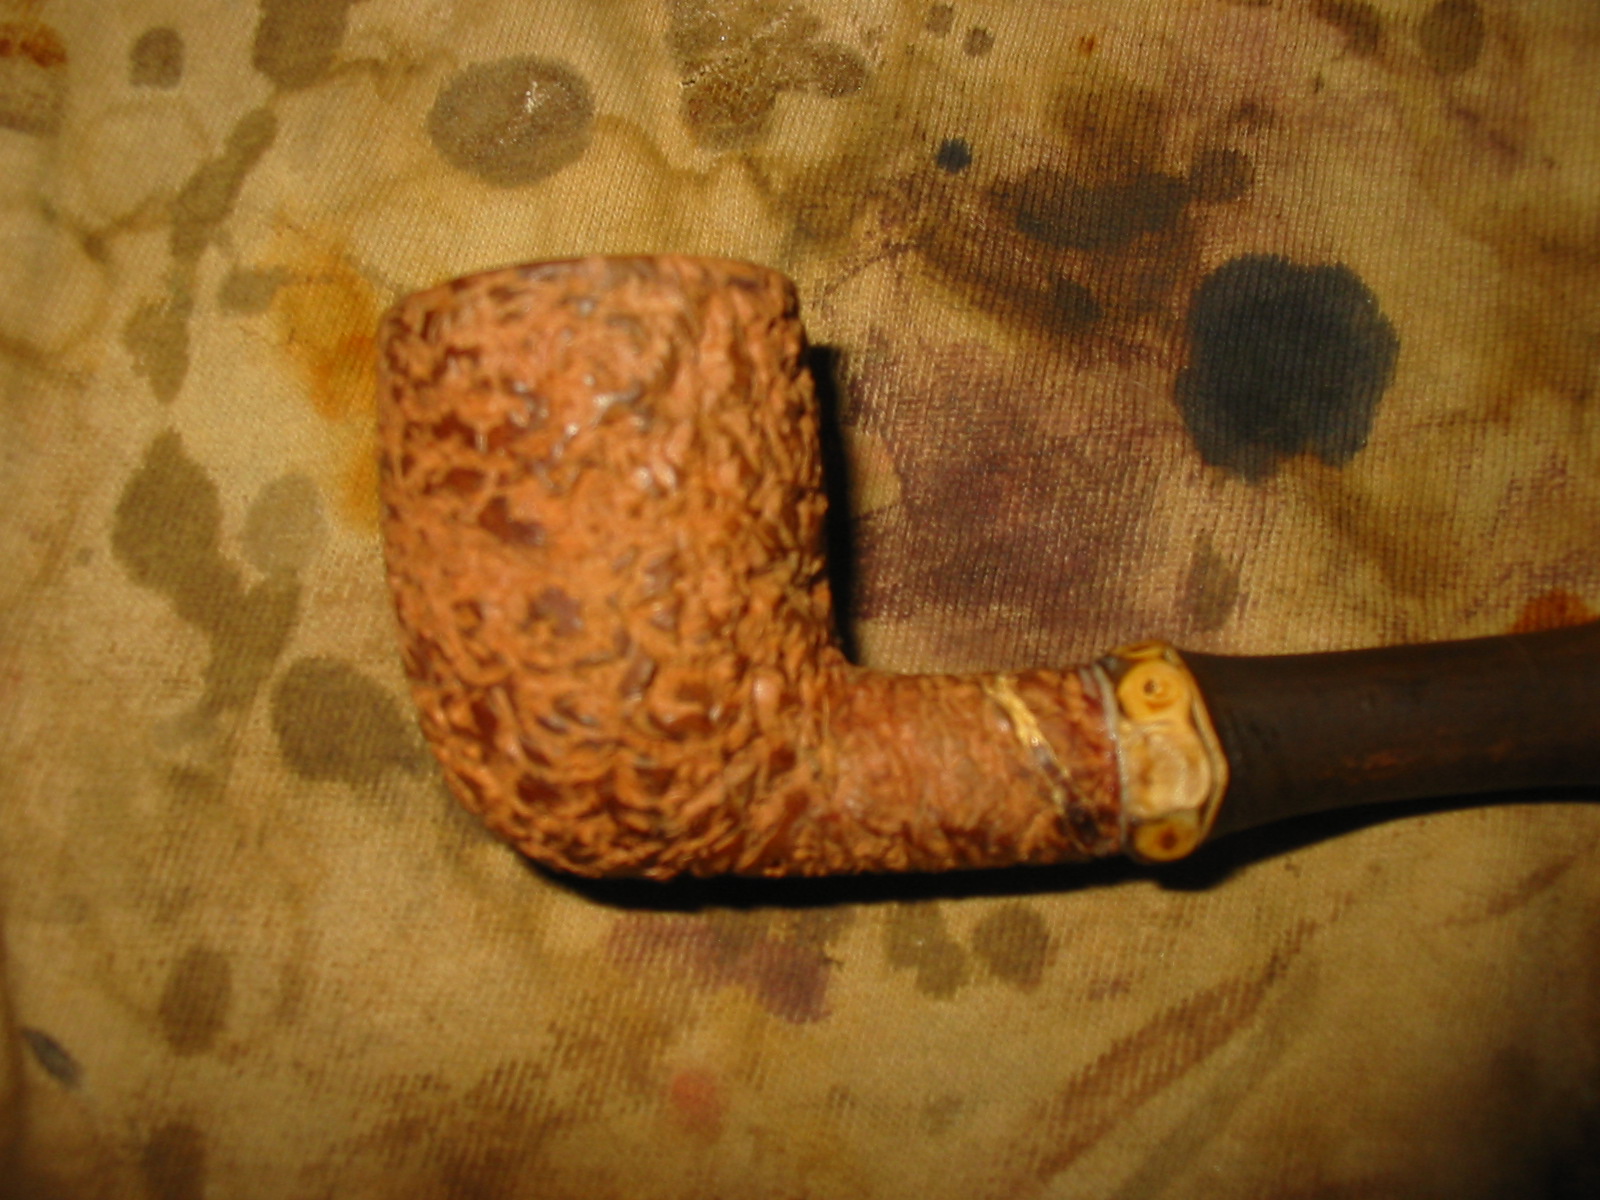
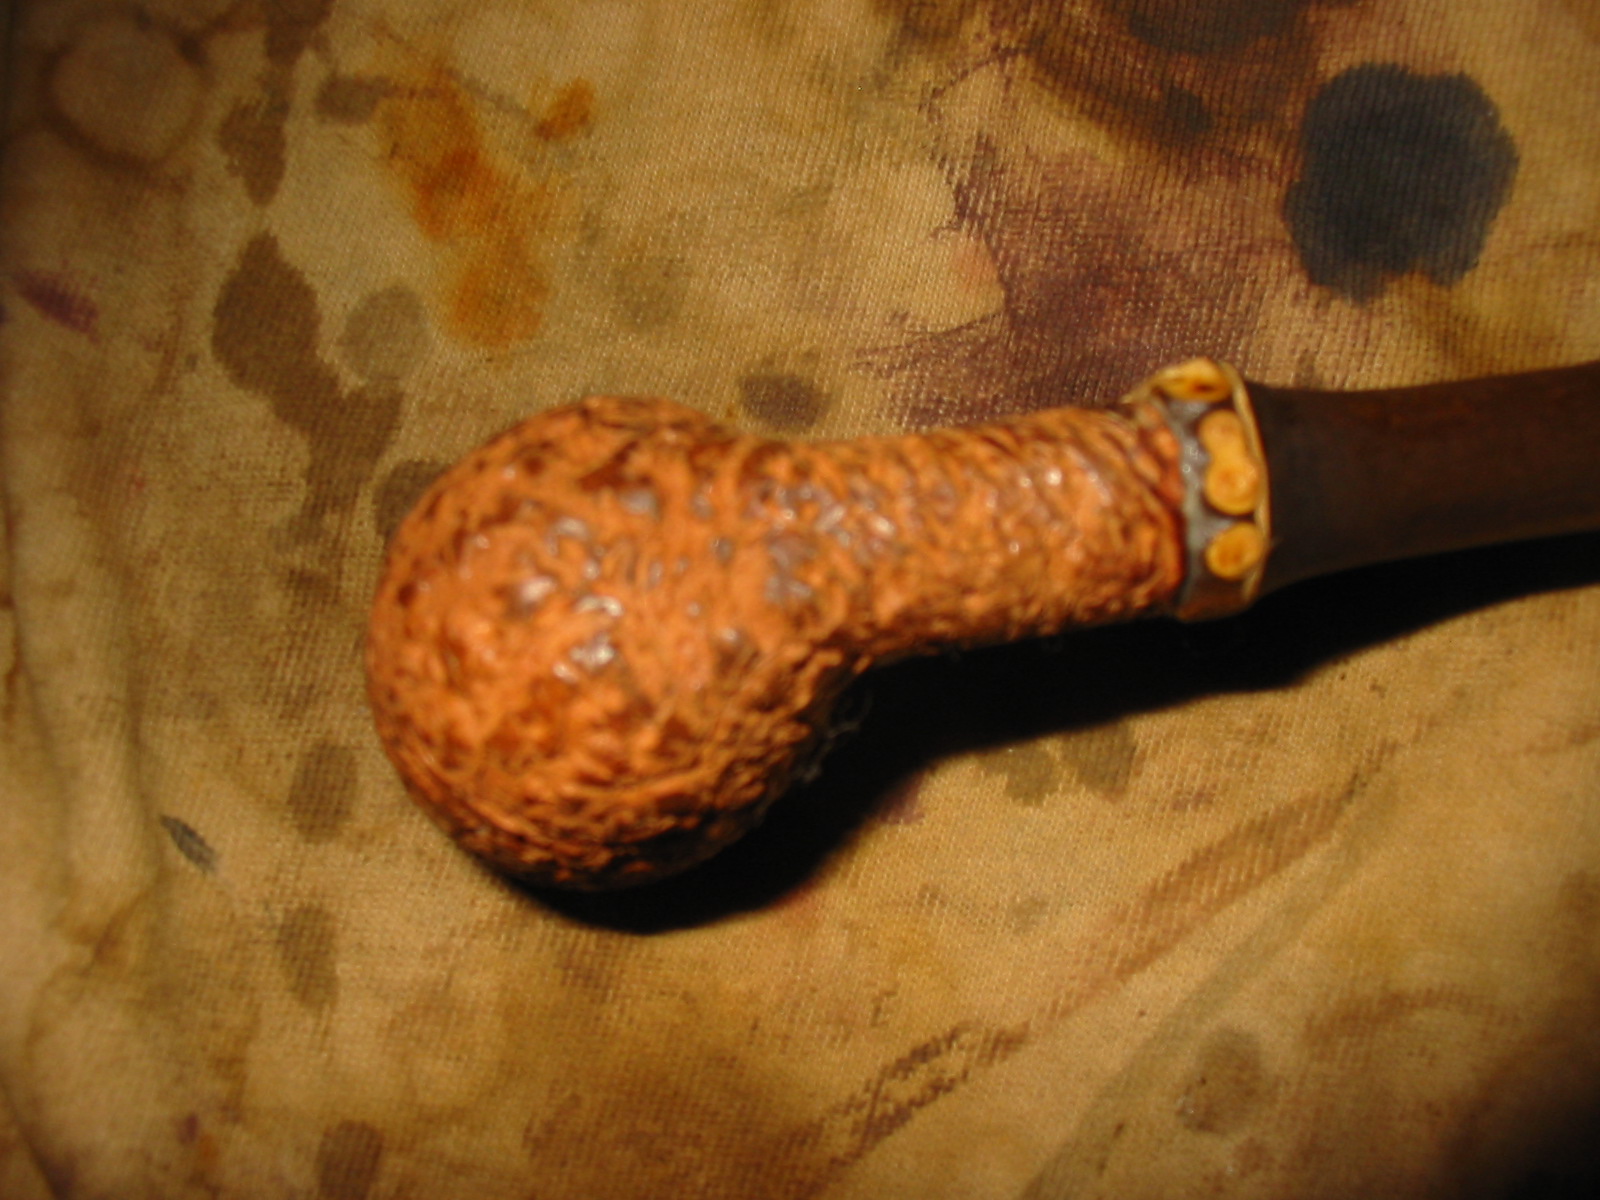
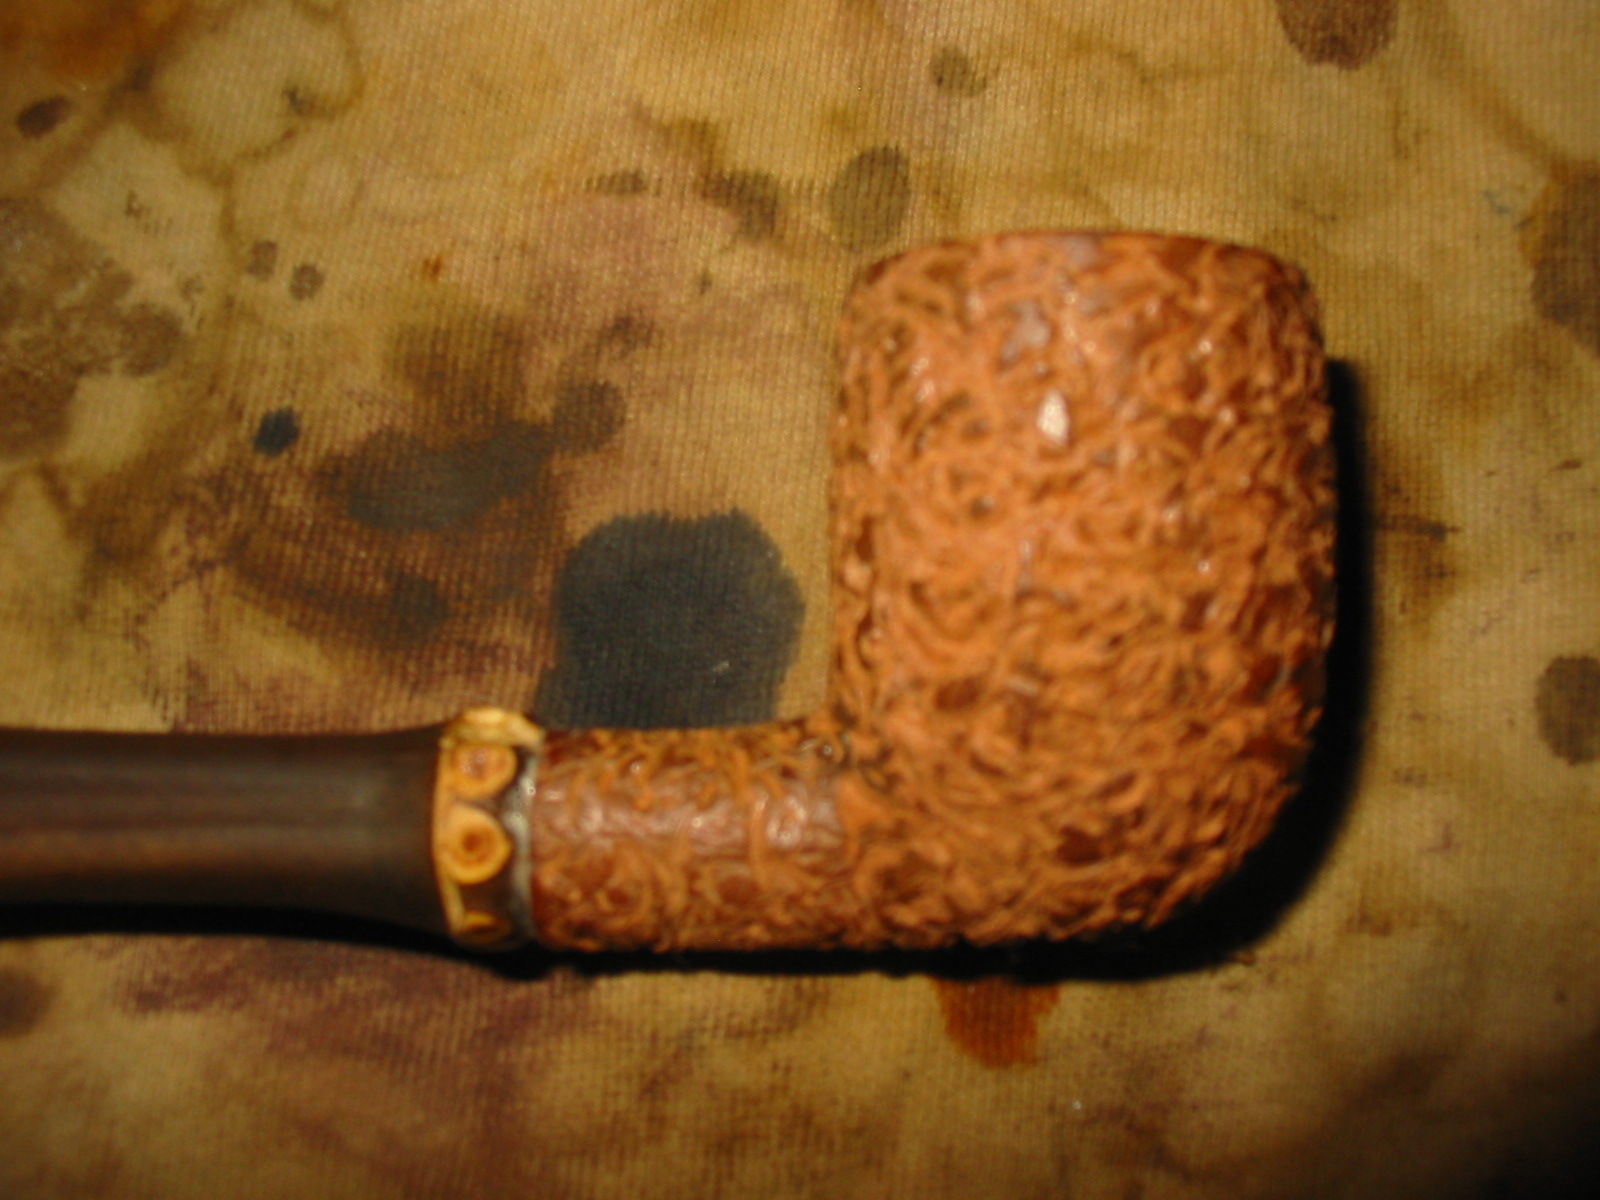
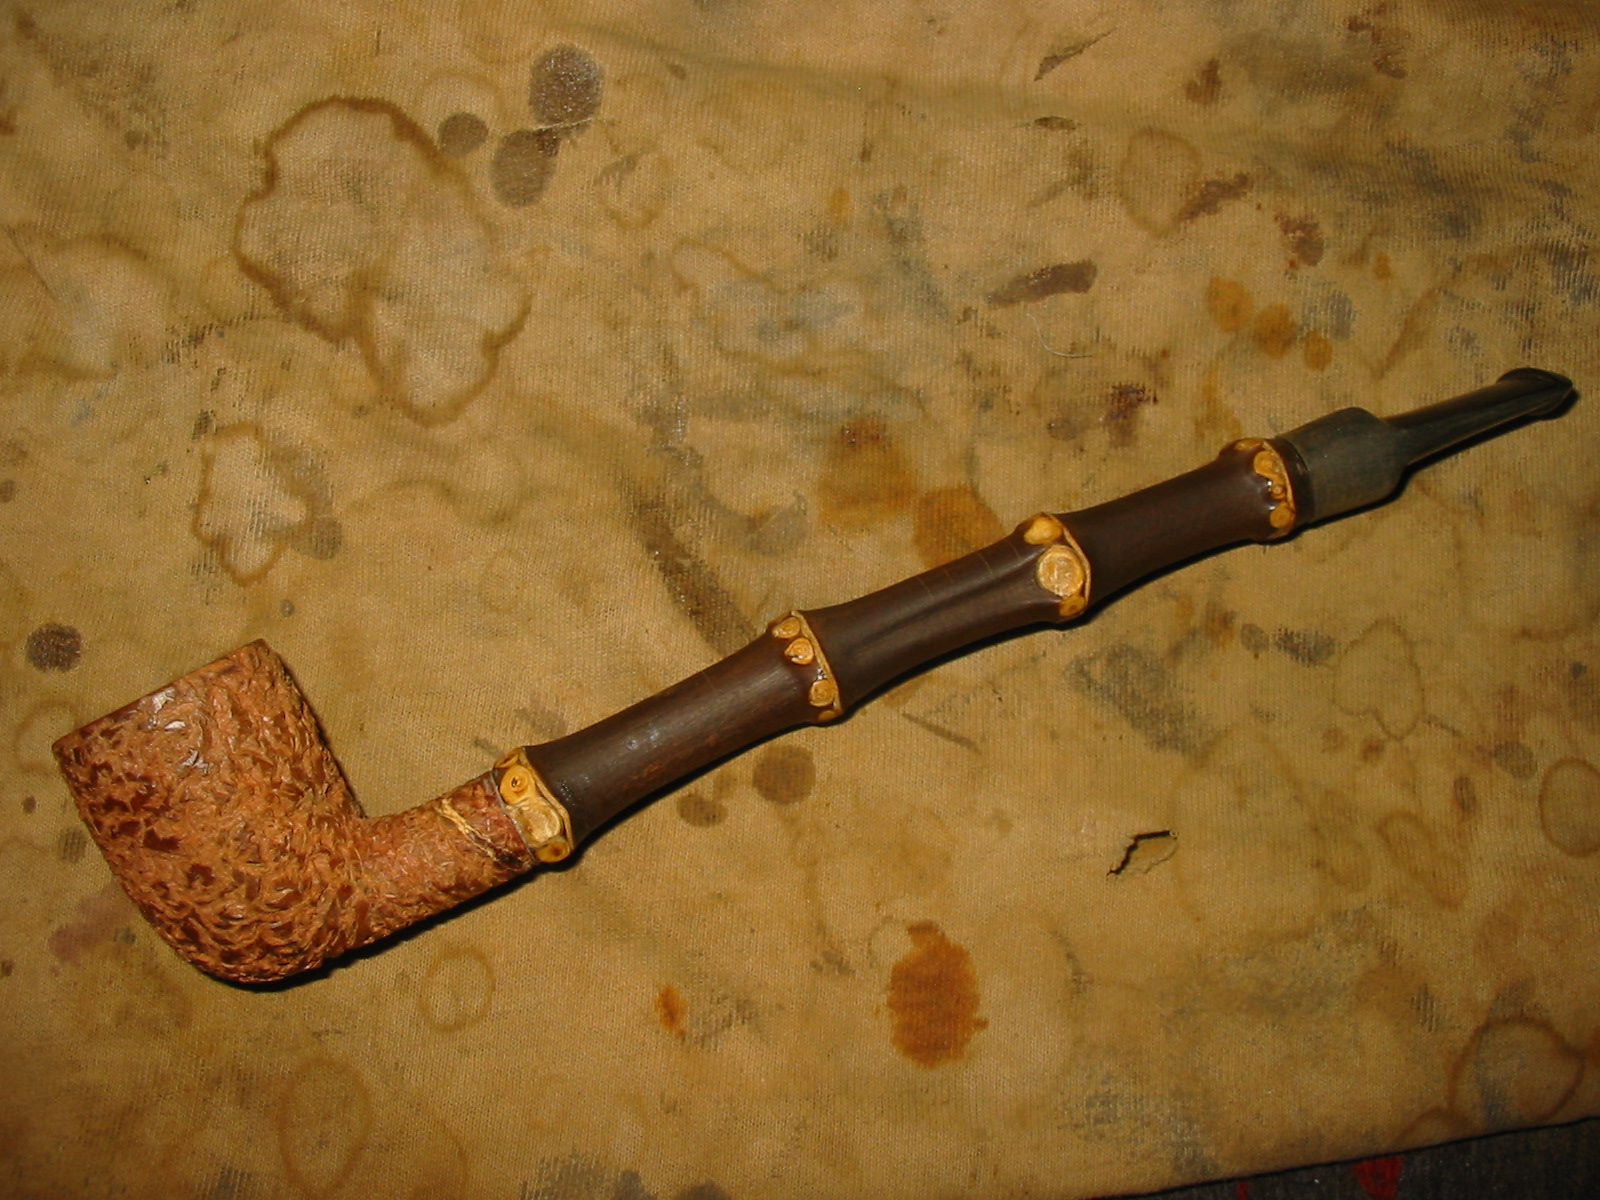
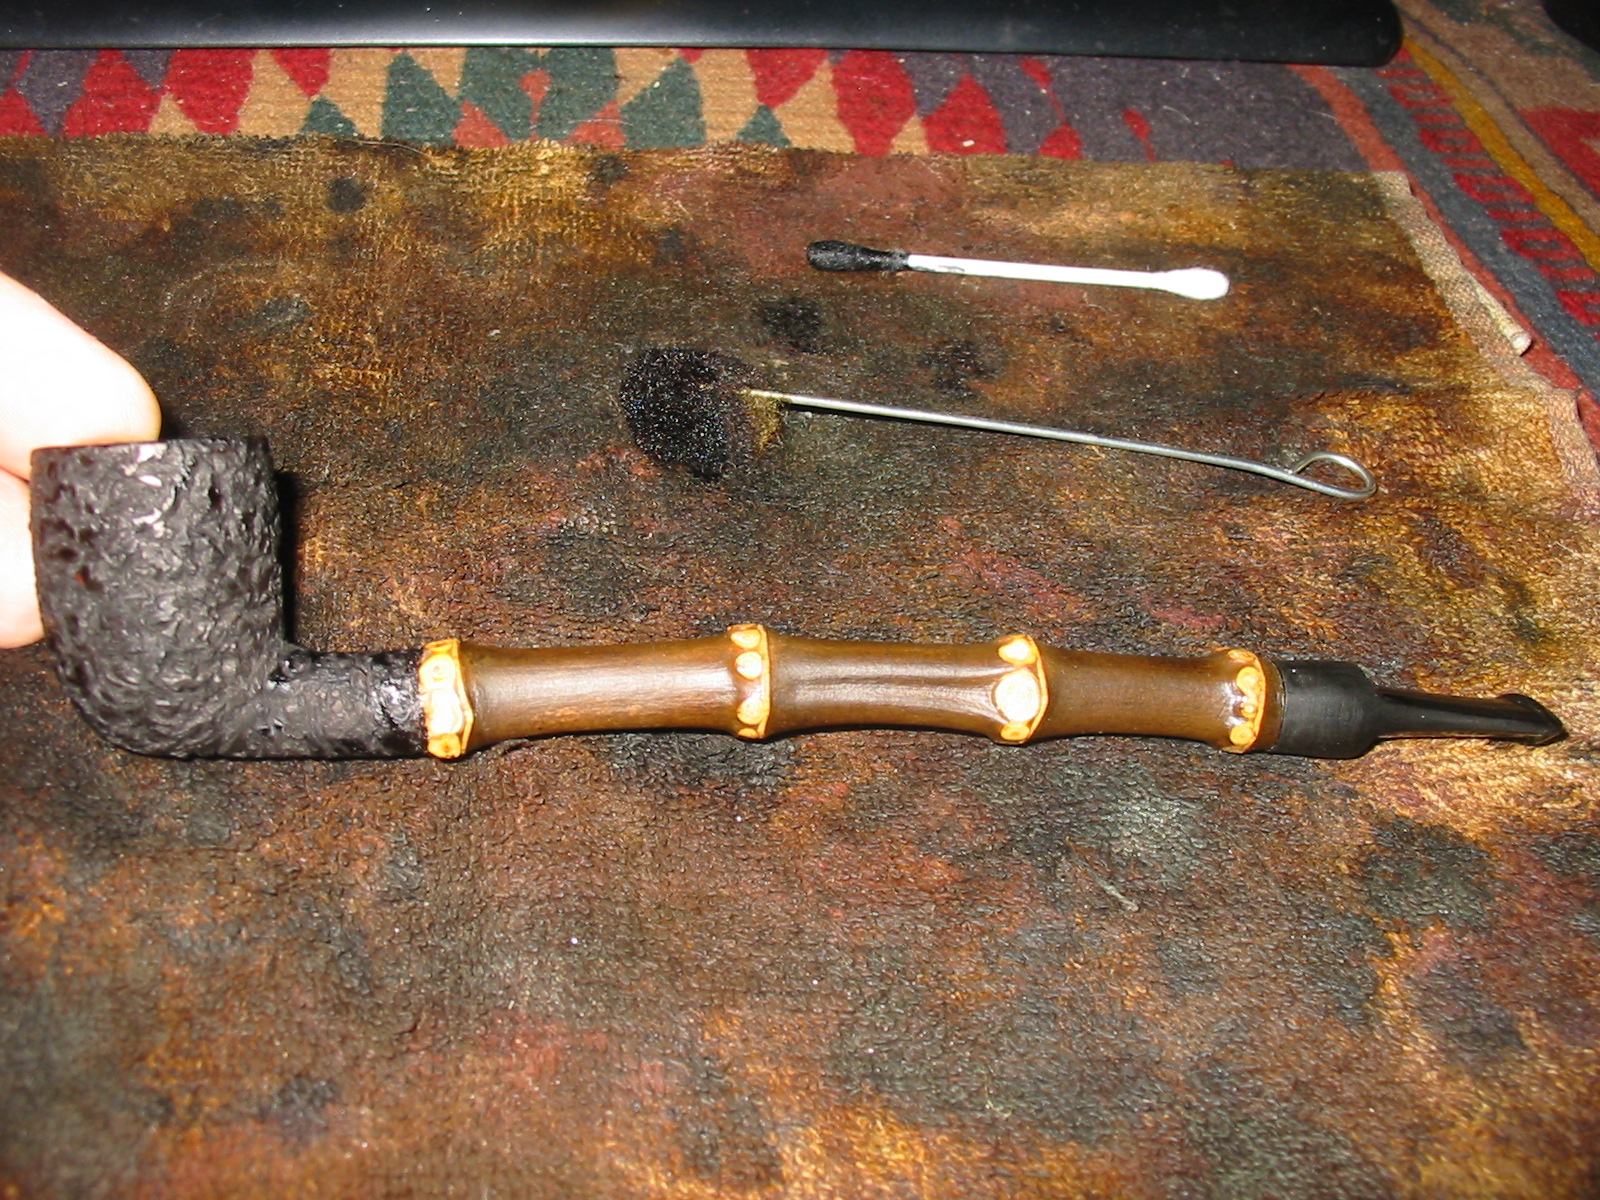
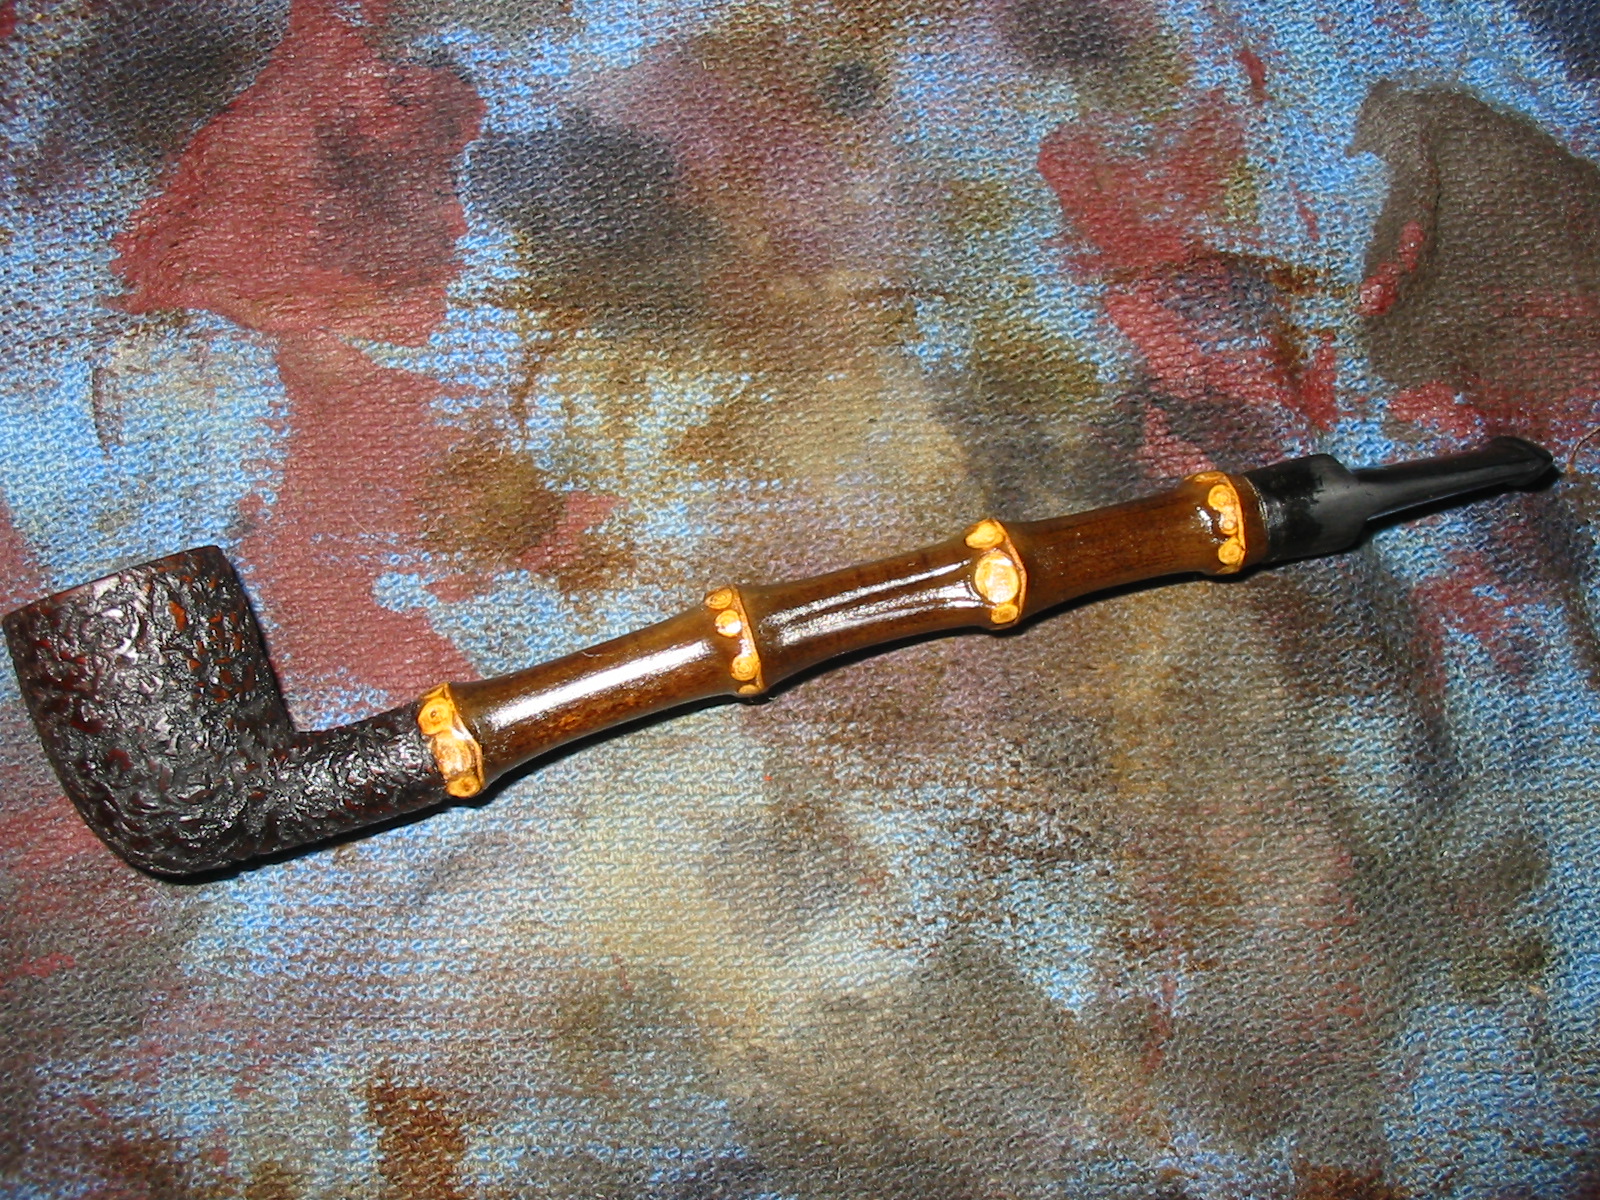
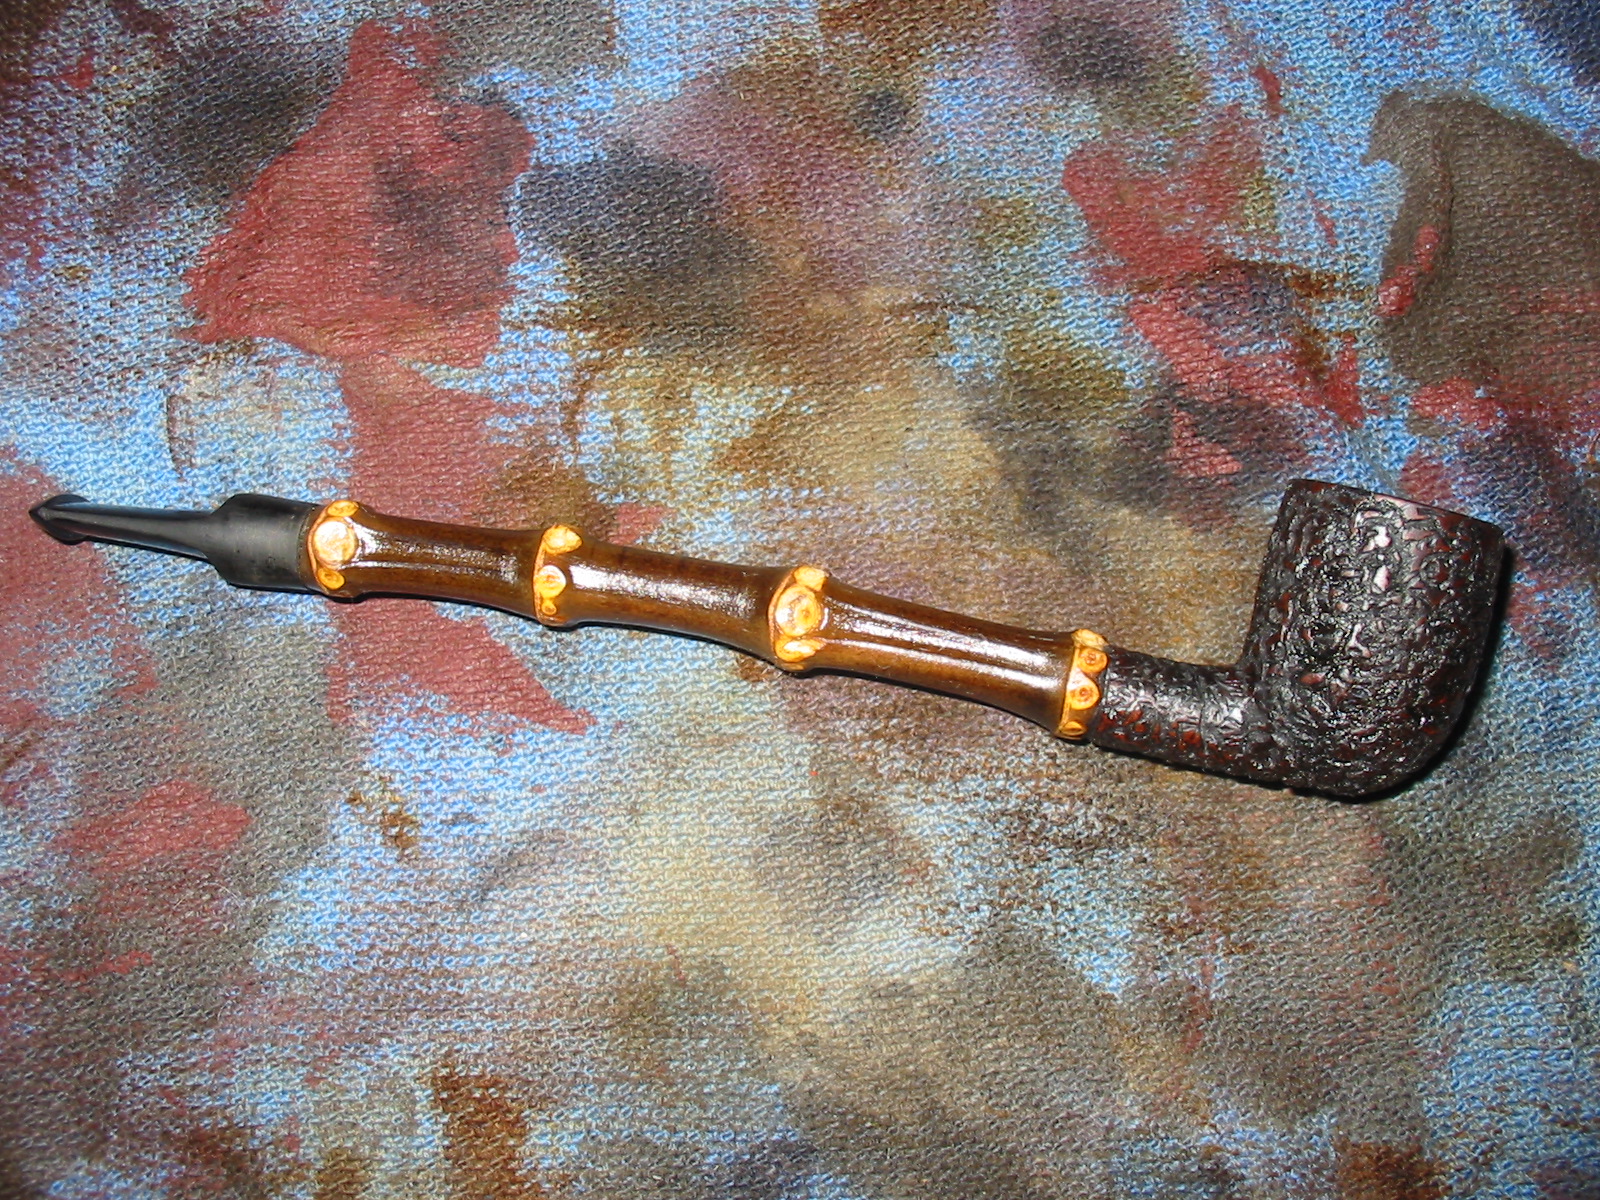
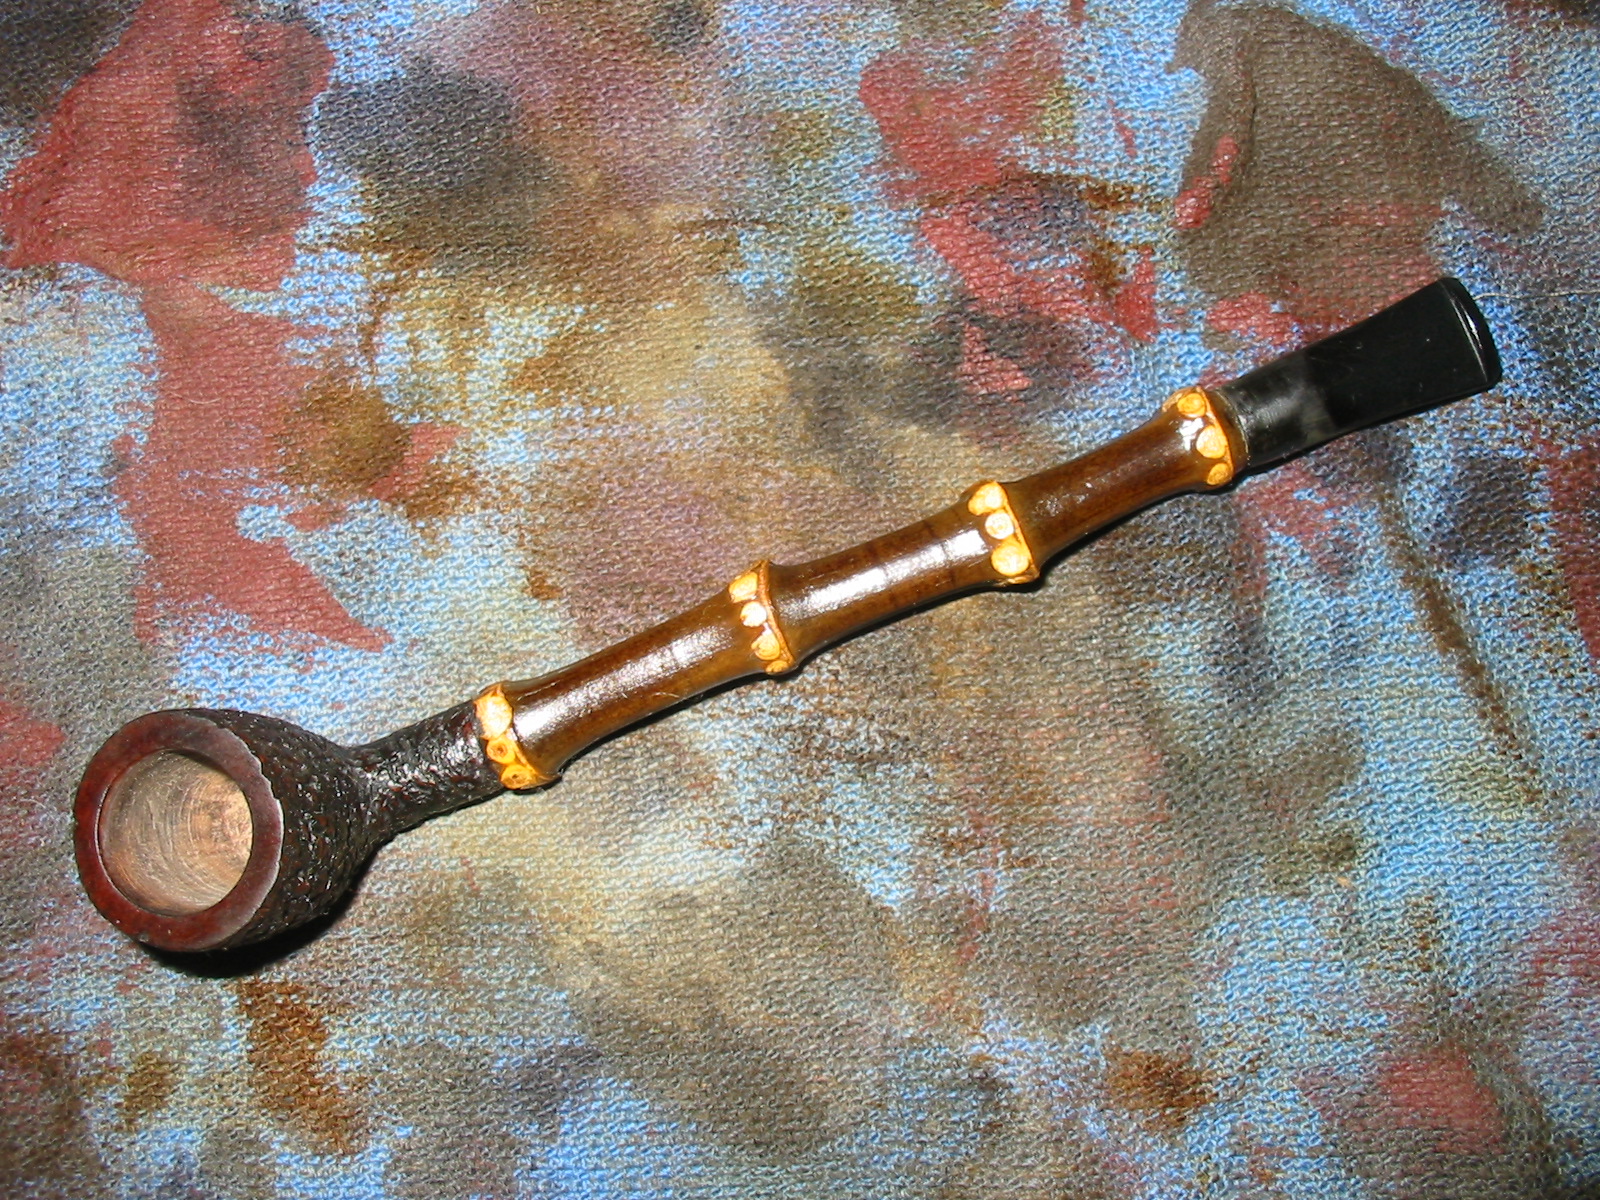
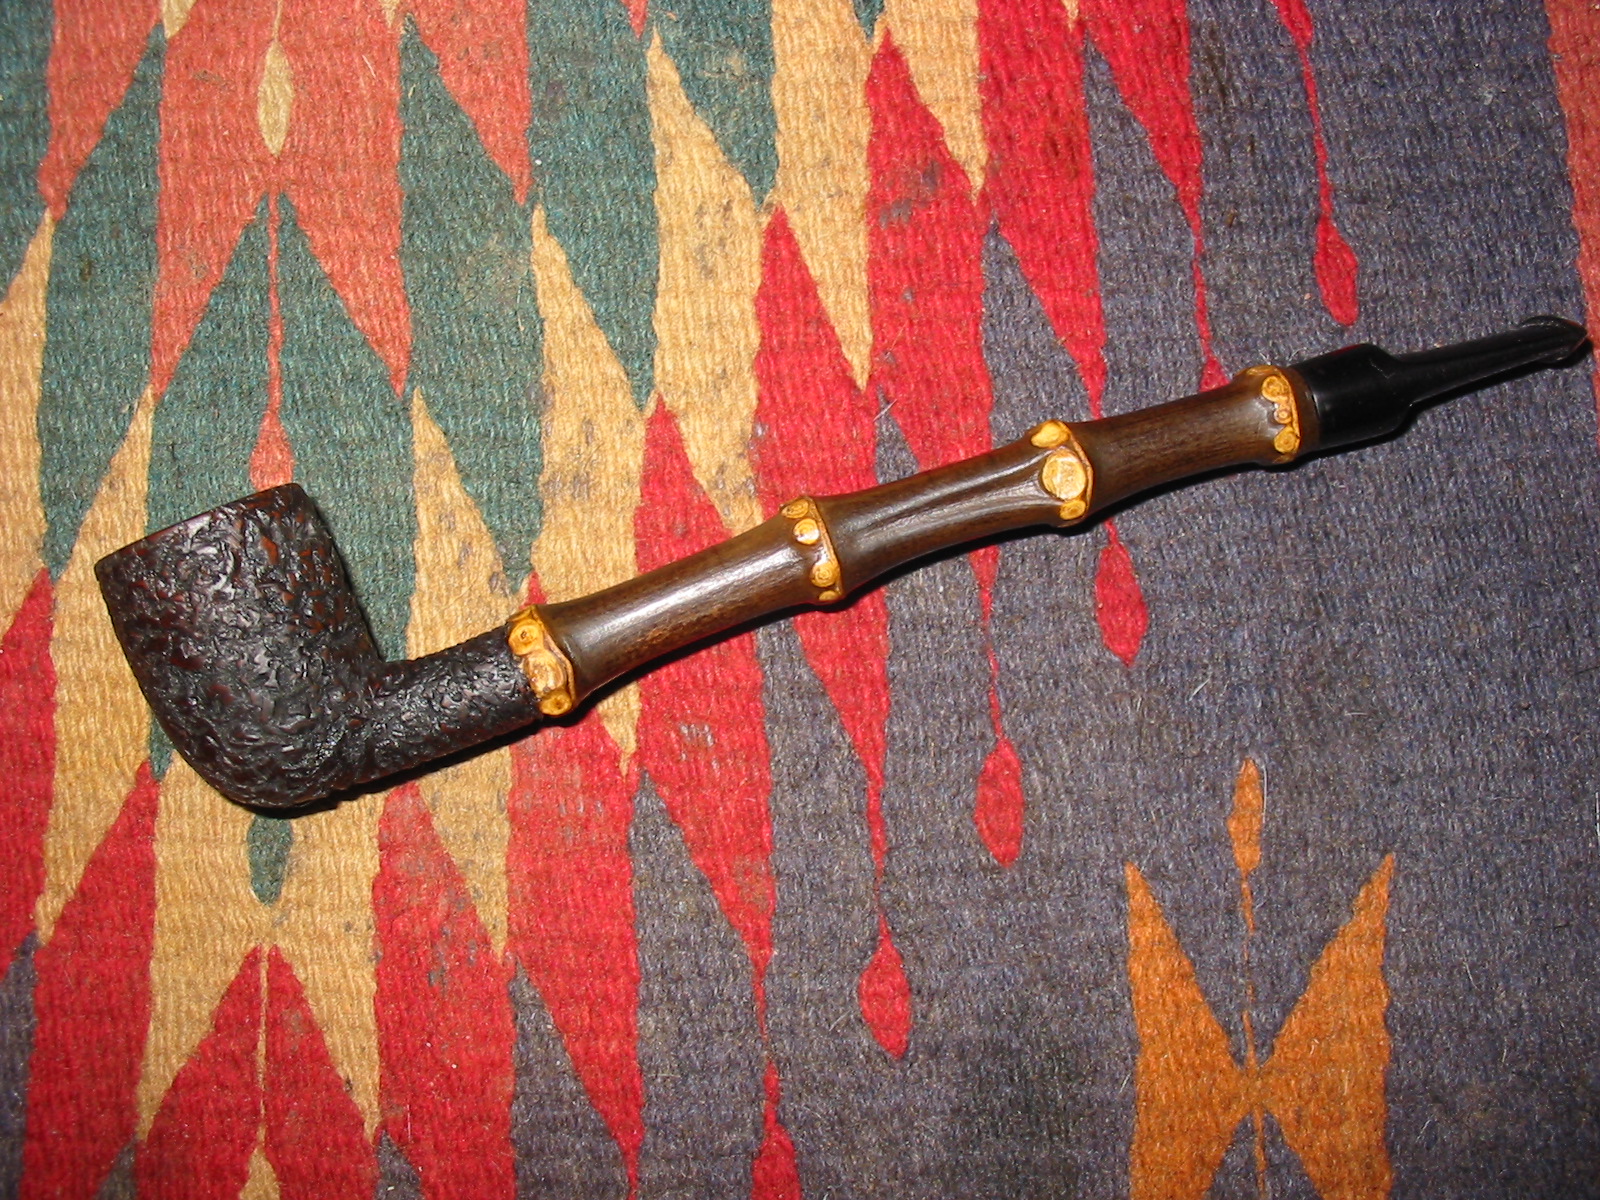
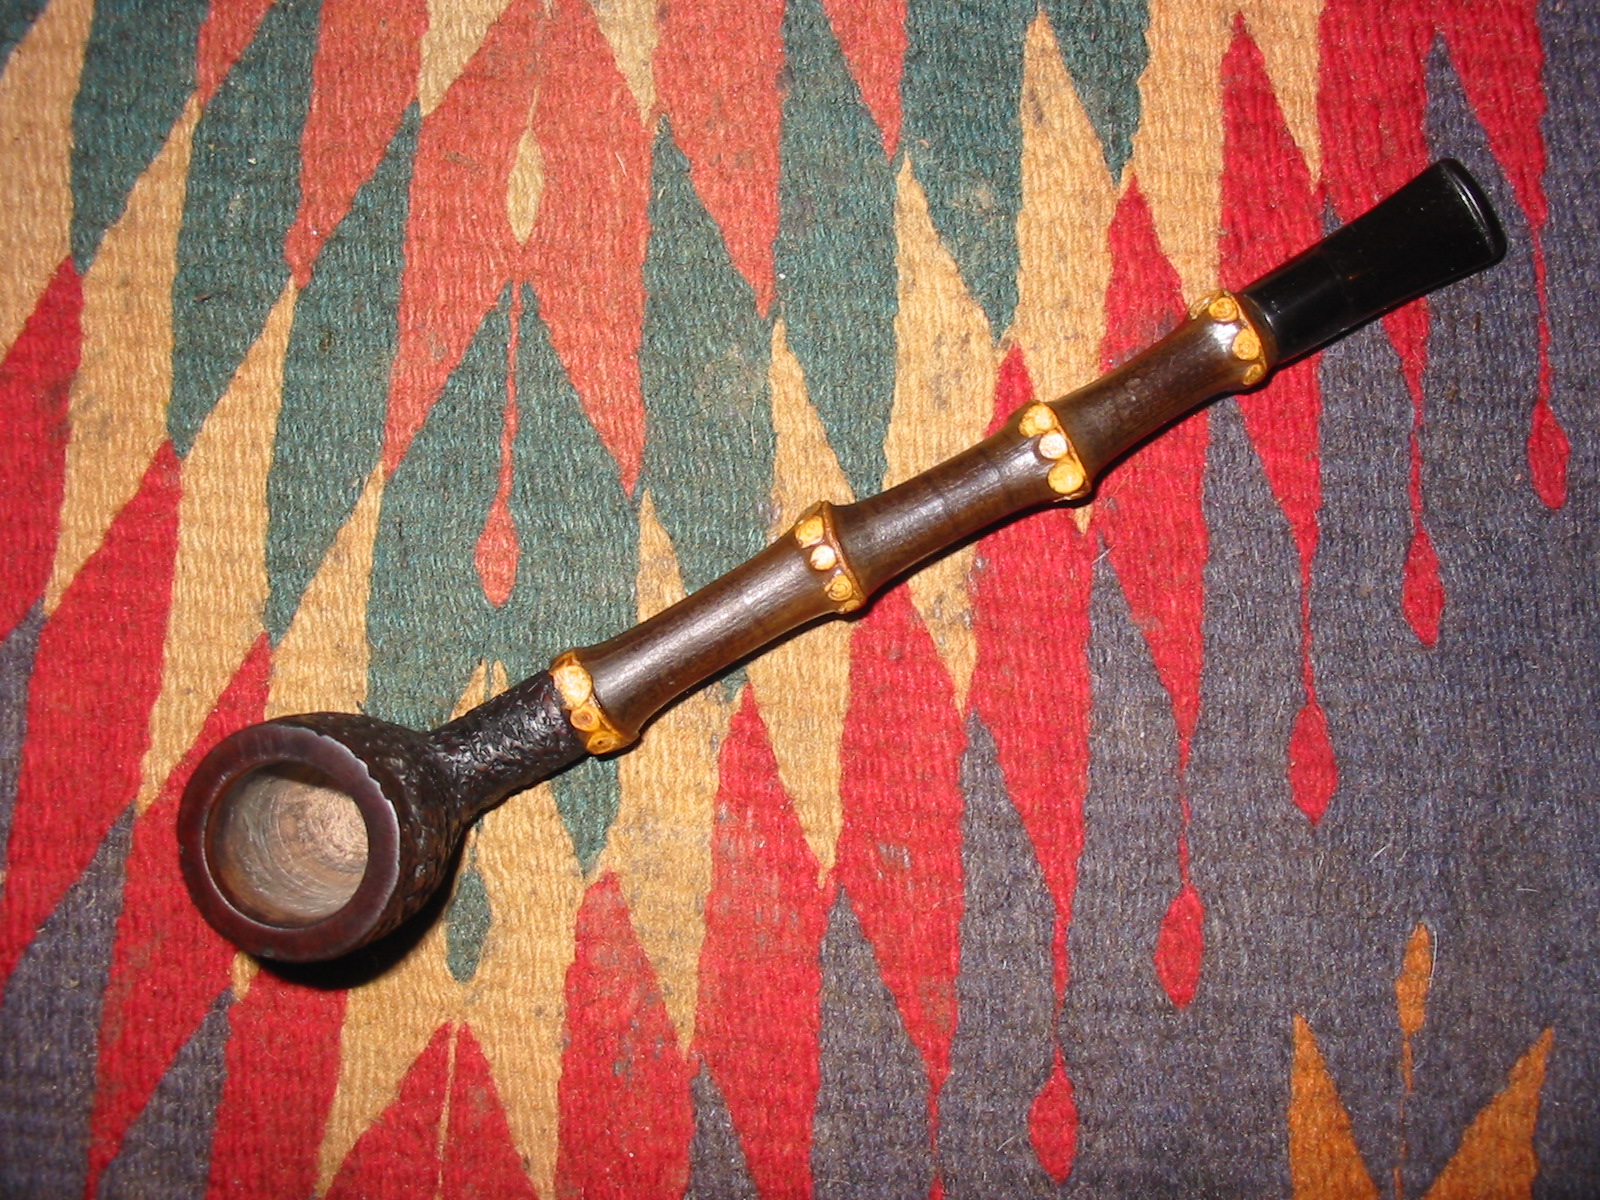
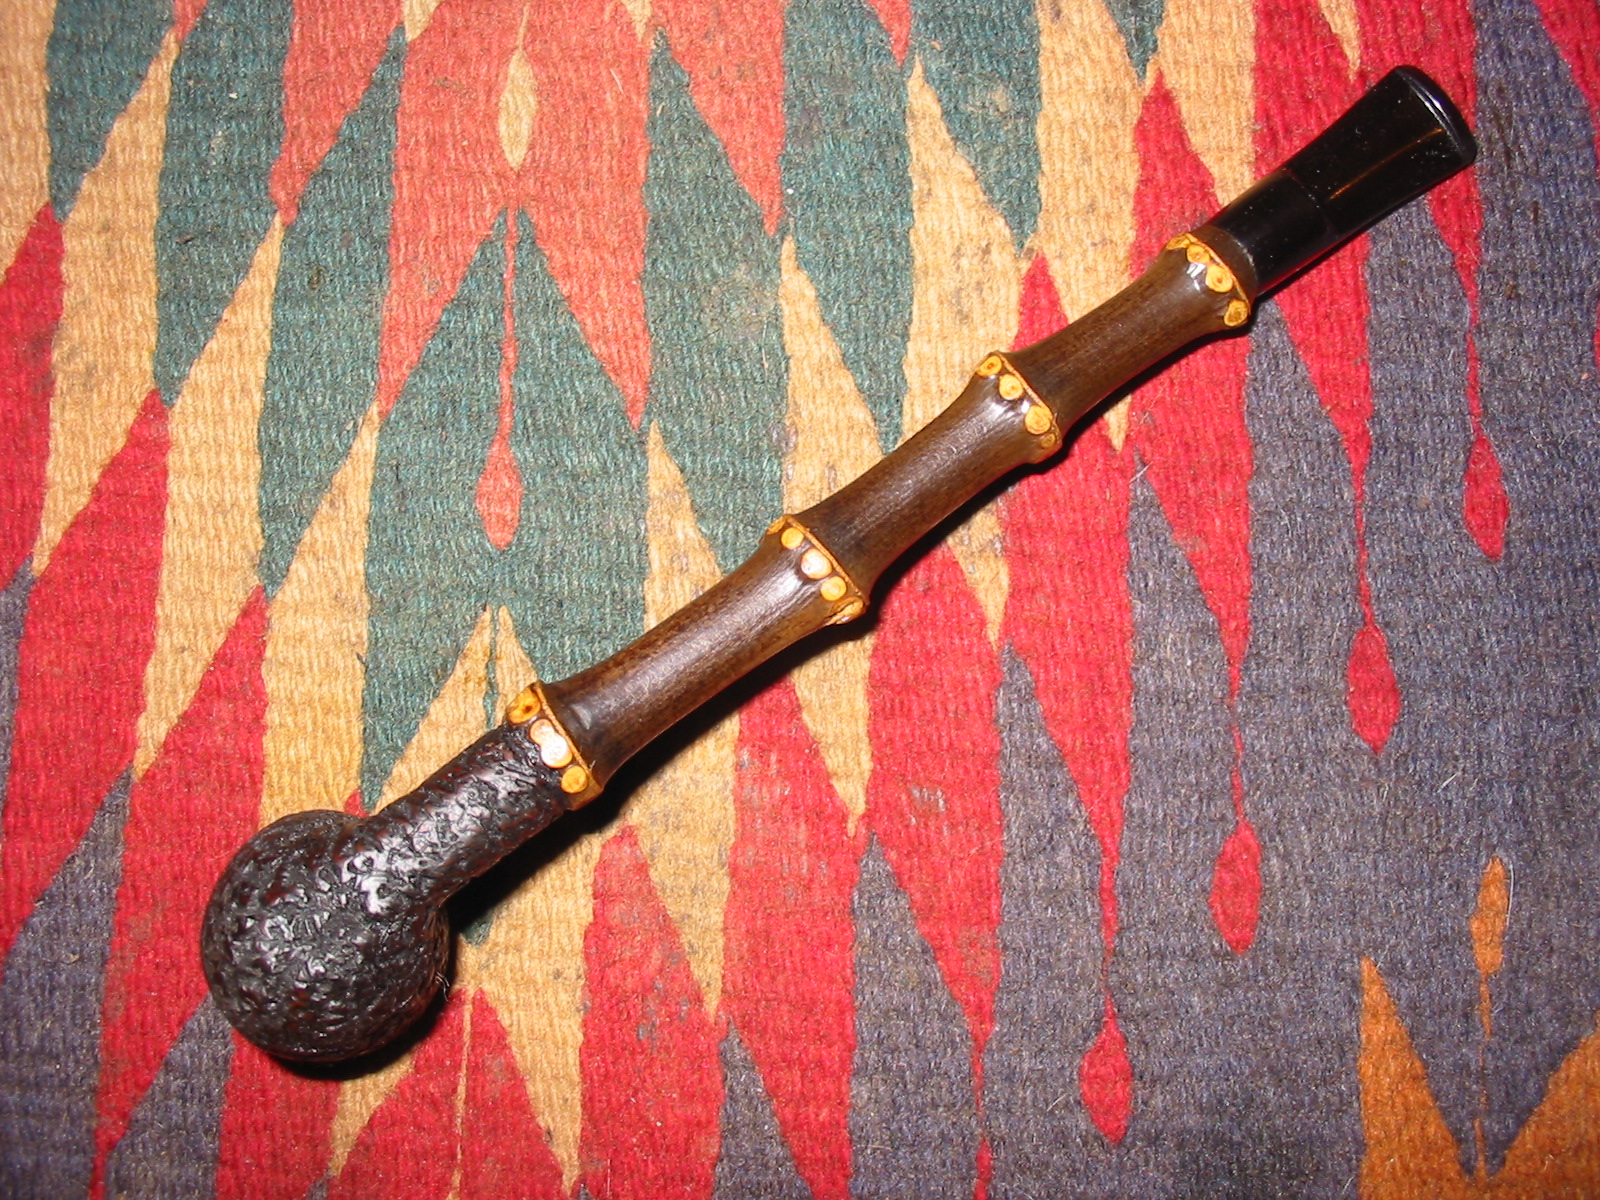
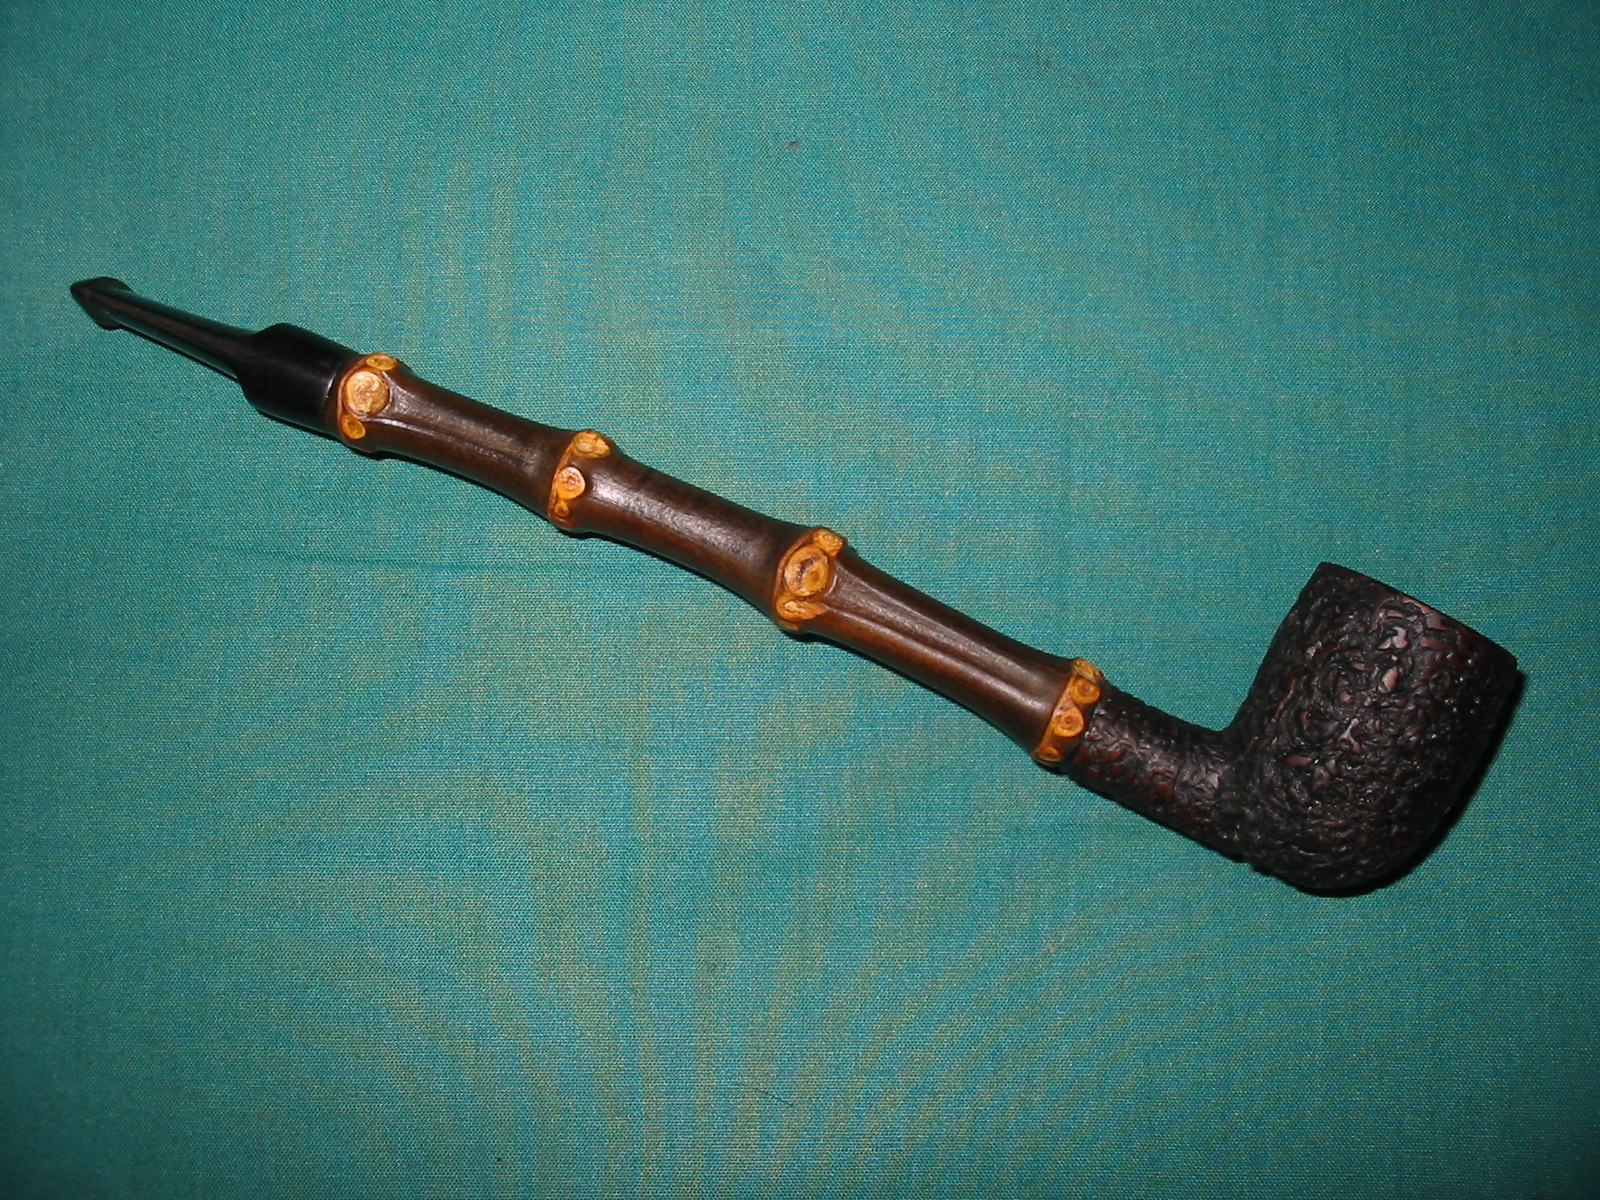
I had all the parts to do a bit of an experiment. I had a broken shank briar pipe, a long piece of black bamboo and an assortment of stems to choose from to see if I could connect all the pieces and make a workable smoking pipe. Putting together the pieces is reminds me of playing with my old Erector Set when I was a kid. The only limit to what can be put together is your imagination. The bowl came to me with two large gashes in the shank. They were both quite deep and both had been repaired by fills. There was a metal threaded mortise in the shank for a threaded tenon. While I was cleaning up the bowl the shank fell off in my hands. I put it in the cupboard as I expected I could scavenge some briar for repairing burn outs in the future. It sat there for more than a week before I began to wonder if I couldn’t do something with it. I went through my parts drawer and found the piece of black bamboo that had been sitting for quite a few years waiting for the right moment. I brought the bowl out and put the two pieces side by side and kind of liked what I saw. The end product would be a four knuckle bamboo mini Churchwarden pipe. It would be extremely lightweight and might actually end up looking quite nice. Now it was time to start working.
IMG_5869

IMG_5870

IMG_5871
I drilled out the inside of the bamboo with an 11/64 inch drill bit. I then drilled out the end that would meet the bowl with a ¼ inch and then a 3/8 inch bit so that I could use a metal tenon I had saved from a previous pipe. Once the drilling was done the tenon fit the newly drilled bamboo mortise very well. I faced the end of the broken shank so that the bamboo would fit against it smoothly.
IMG_5872

IMG_5873
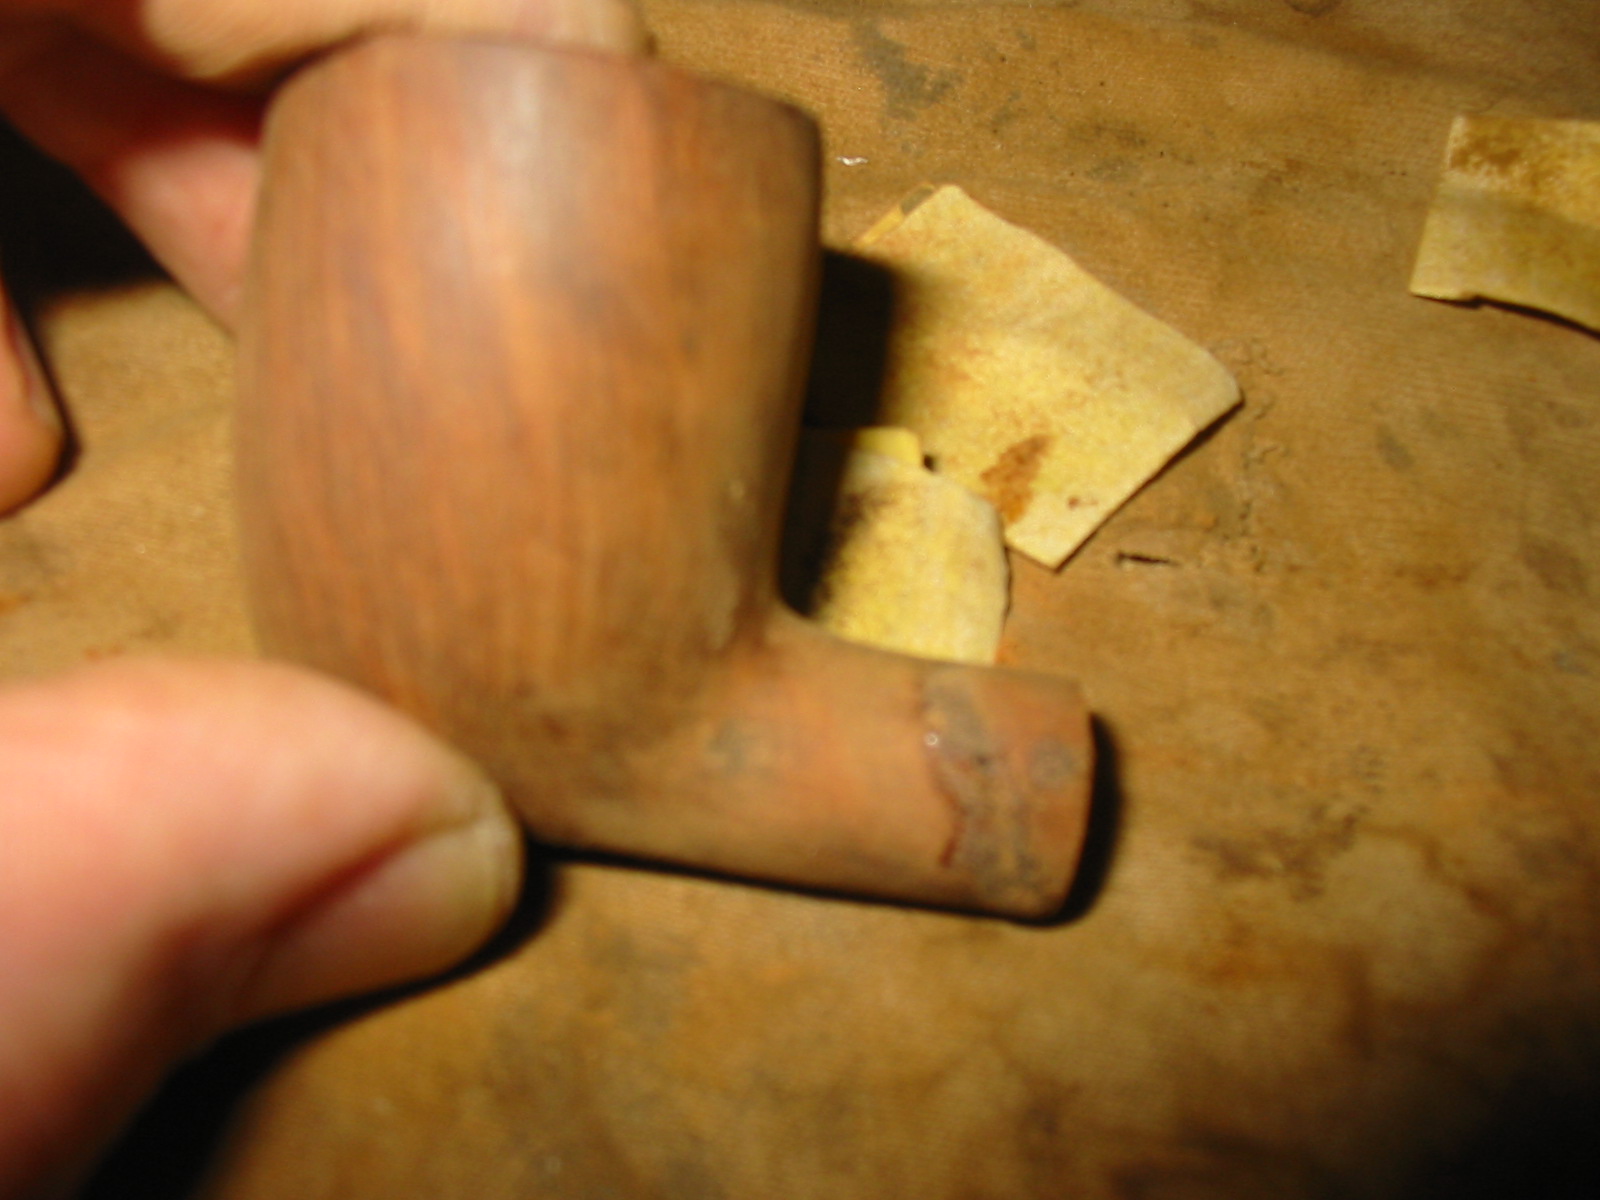
The metal tenon also fit in the shank of the bowl well. The length was perfect as it fit against the airway in the end of the shank next to the bowl bottom. There was no gap between the two so the smoked would flow smoothly down the shank of the pipe. I cleaned out the bamboo airway with pipe cleaners and isopropyl alcohol and then put the pipe together and checked the draw. It was open and was an effortless draw.
IMG_5874
I repaired the fill on the side of the shank as it was not even with the surface of the shank. I used a superglue and briar dust patch on it. Some might wonder why I did not cut back the shank and eliminate the damaged area. I chose not to do that as I wanted the shank to have some length to it in contrast to the long bamboo section. I also planned on rusticating the entire bowl so the damage would be covered. The insert of the metal tenon would stabilize the area as well and the shank repair would be solid.
IMG_5875

IMG_5876

IMG_5877
I took the bamboo shank off the bowl and sanded the bowl with 220 grit sandpaper to smooth out the finish. I repaired several of the gouges on the bowl surface with superglue and briar dust. I wanted a smooth canvas to work on when I rusticated the bowl. I then sanded the bowl with a medium grit sanding sponge. The top of the bowl had a slight buildup of tars so I cleaned that with the medium and fine grit sanding sponge. I wiped down the bowl with acetone on cotton pads. I sanded the knuckles on the bamboo to remove the fibers that were still attached and to smooth out the nodules. More work would need to be done on the shank but at least at this point it would be smooth in my hand while I worked on the bowl.
IMG_5878
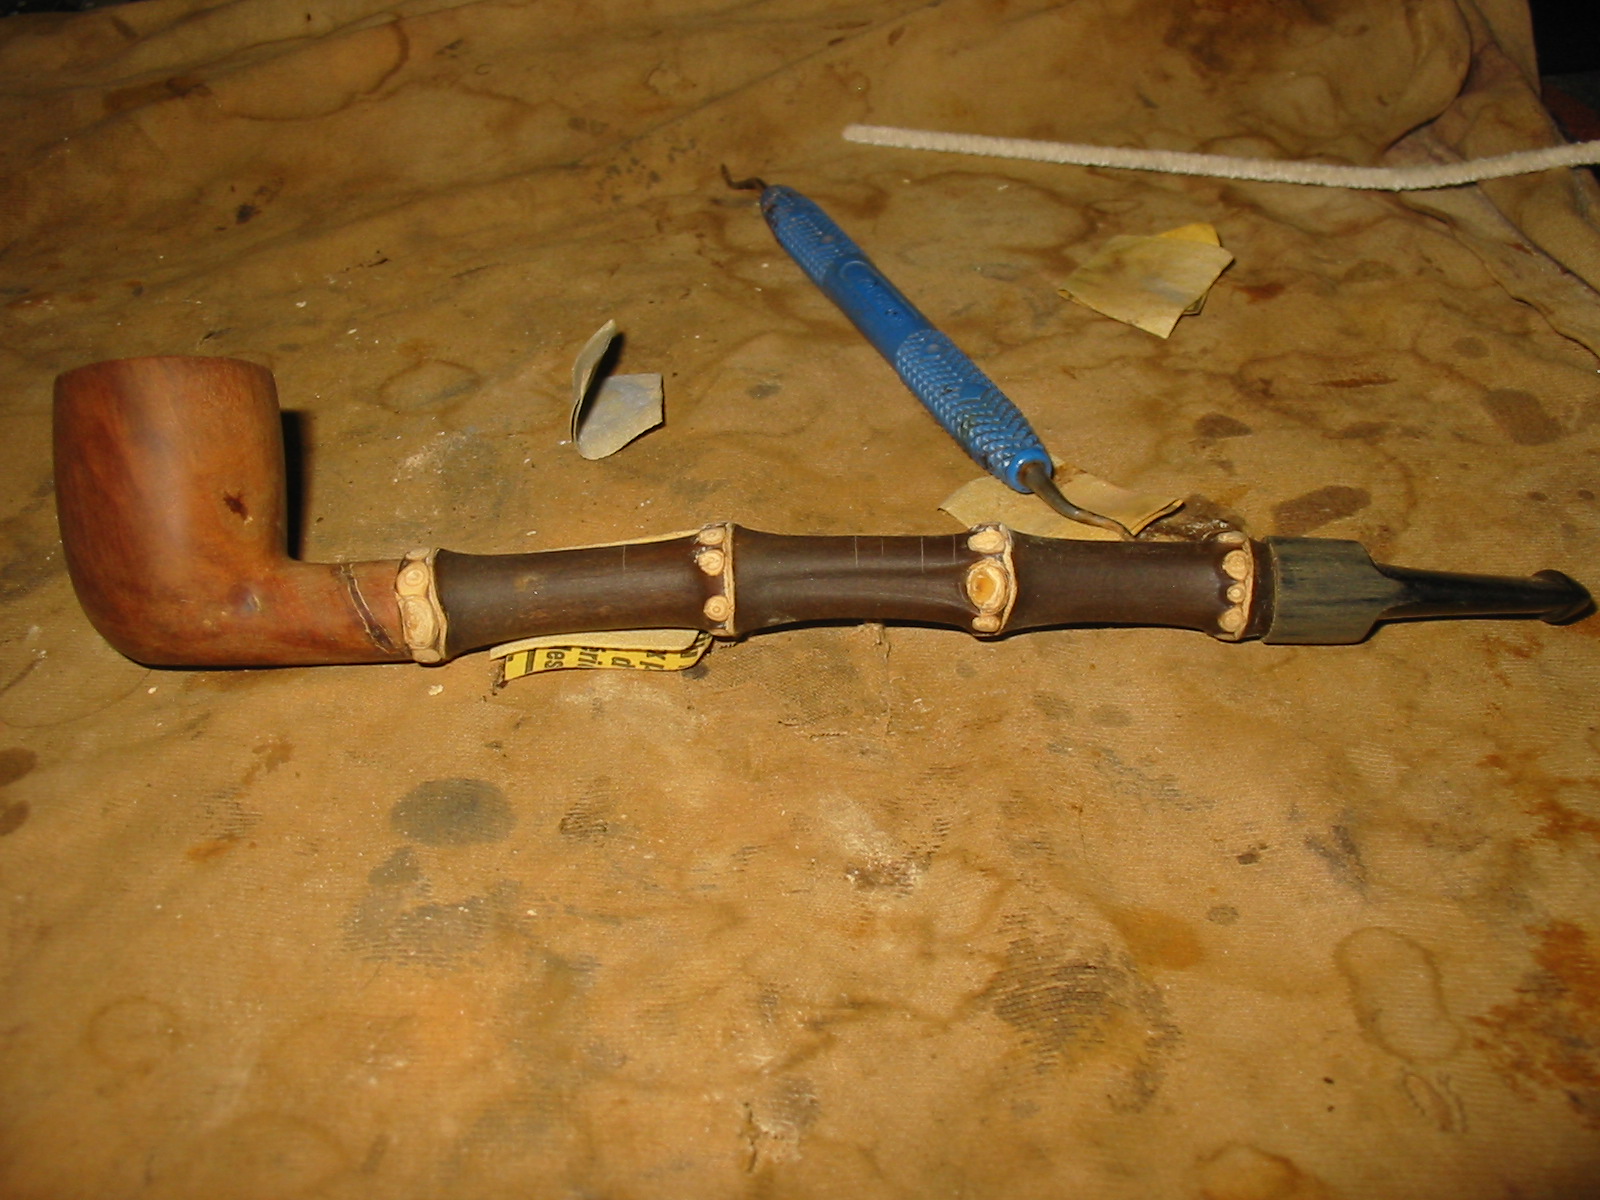
I set the bowl aside and went through my can of stems to find a nice saddle bit that would look good proportionally with the pipe. I drilled out the stem end of the bamboo with a ¼ inch bit to serve as a mortise for the stem. I turned the tenon on a PIMO tenon turning tool and then hand sanded it. I pushed the stem in place and starting sanding the saddle portion of the stem to get the diameter of the stem and shank to match. I mixed some two part epoxy and glued the metal tenon in place in the bamboo. When it was dry I put the pipe together. I did not epoxy the bowl to the shank at this point as I wanted to be able to remove it work on the rustication. The next three photos show the pipe with all parts in place.
IMG_5879

IMG_5880

IMG_5881
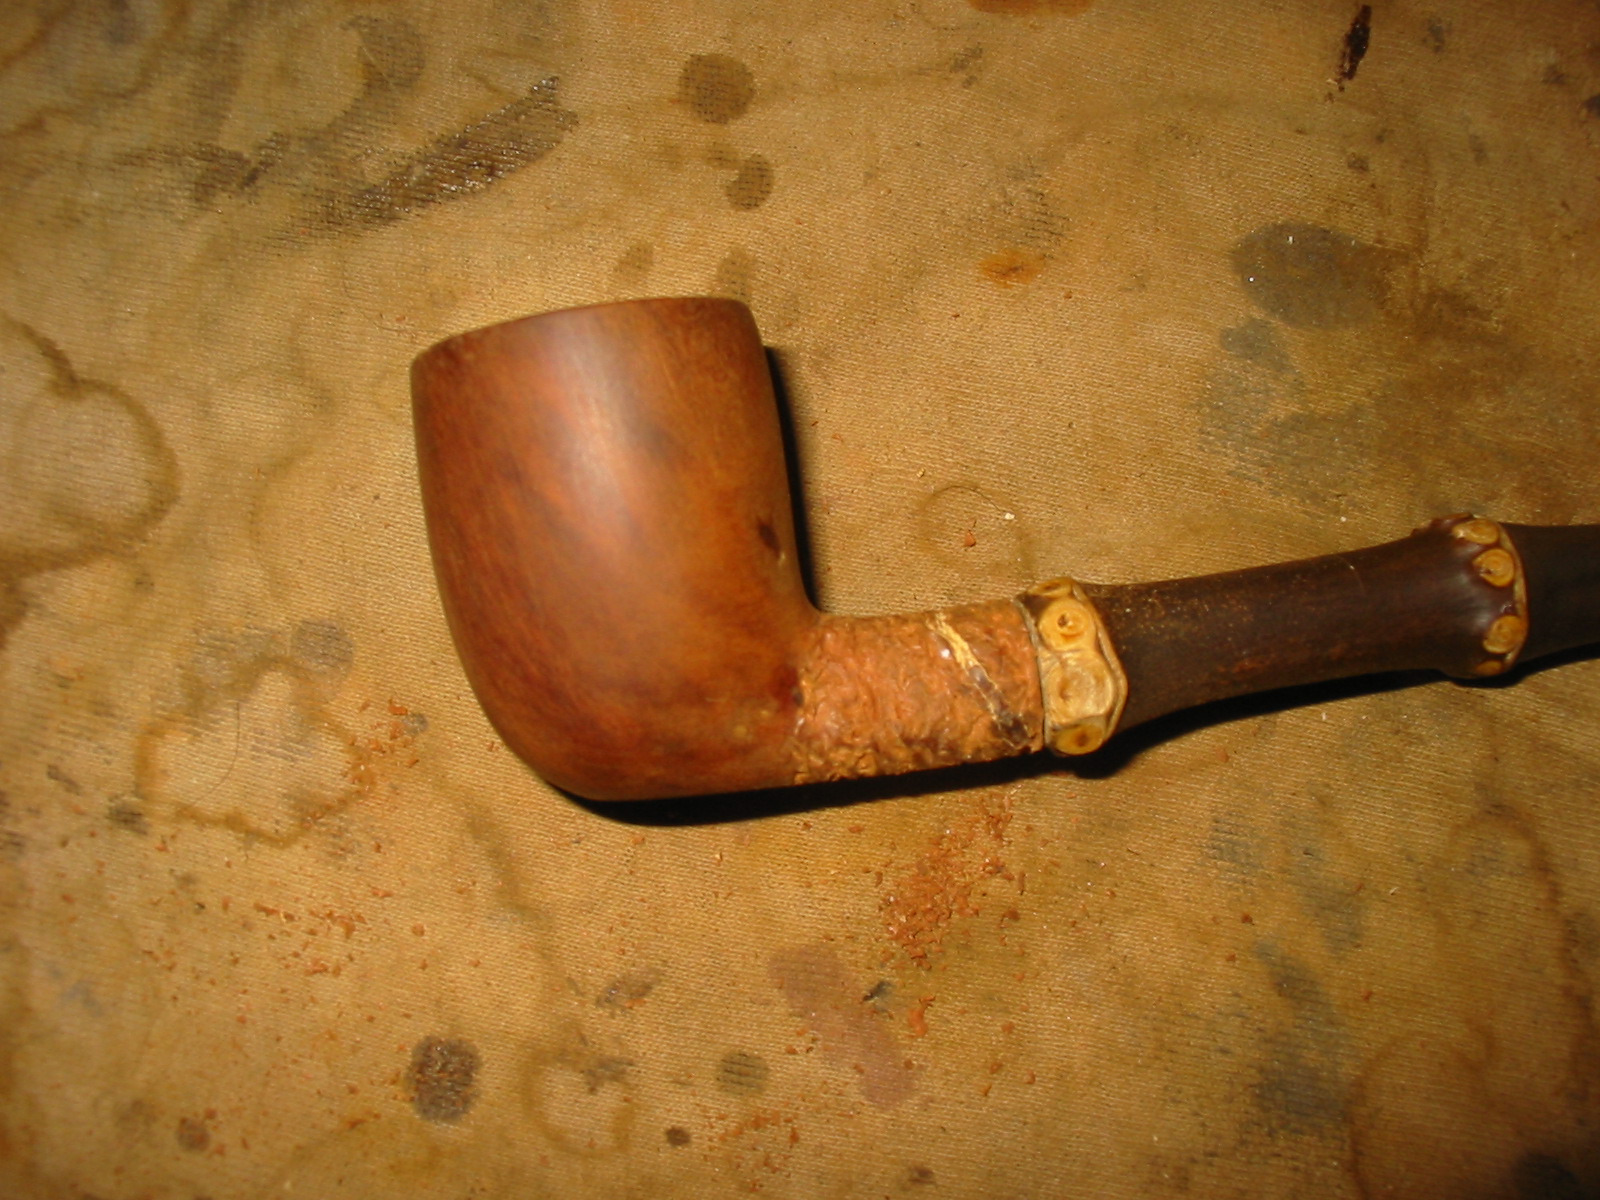
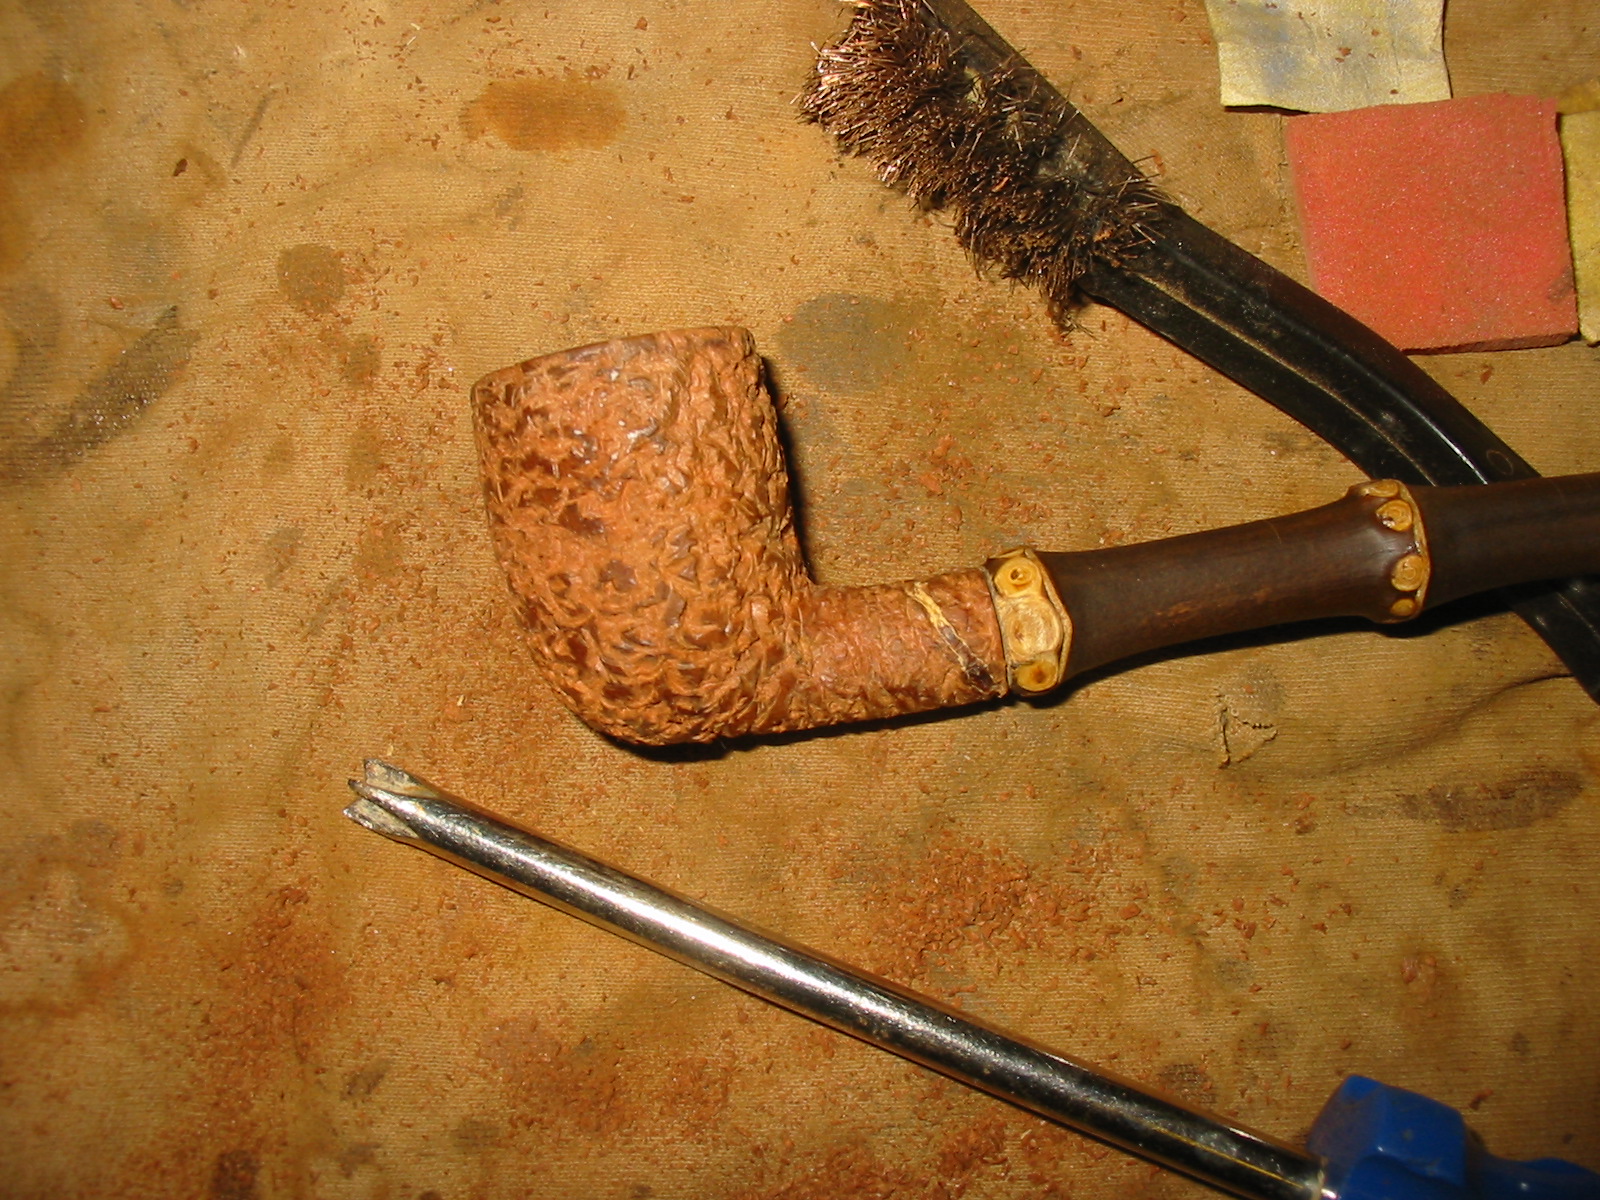
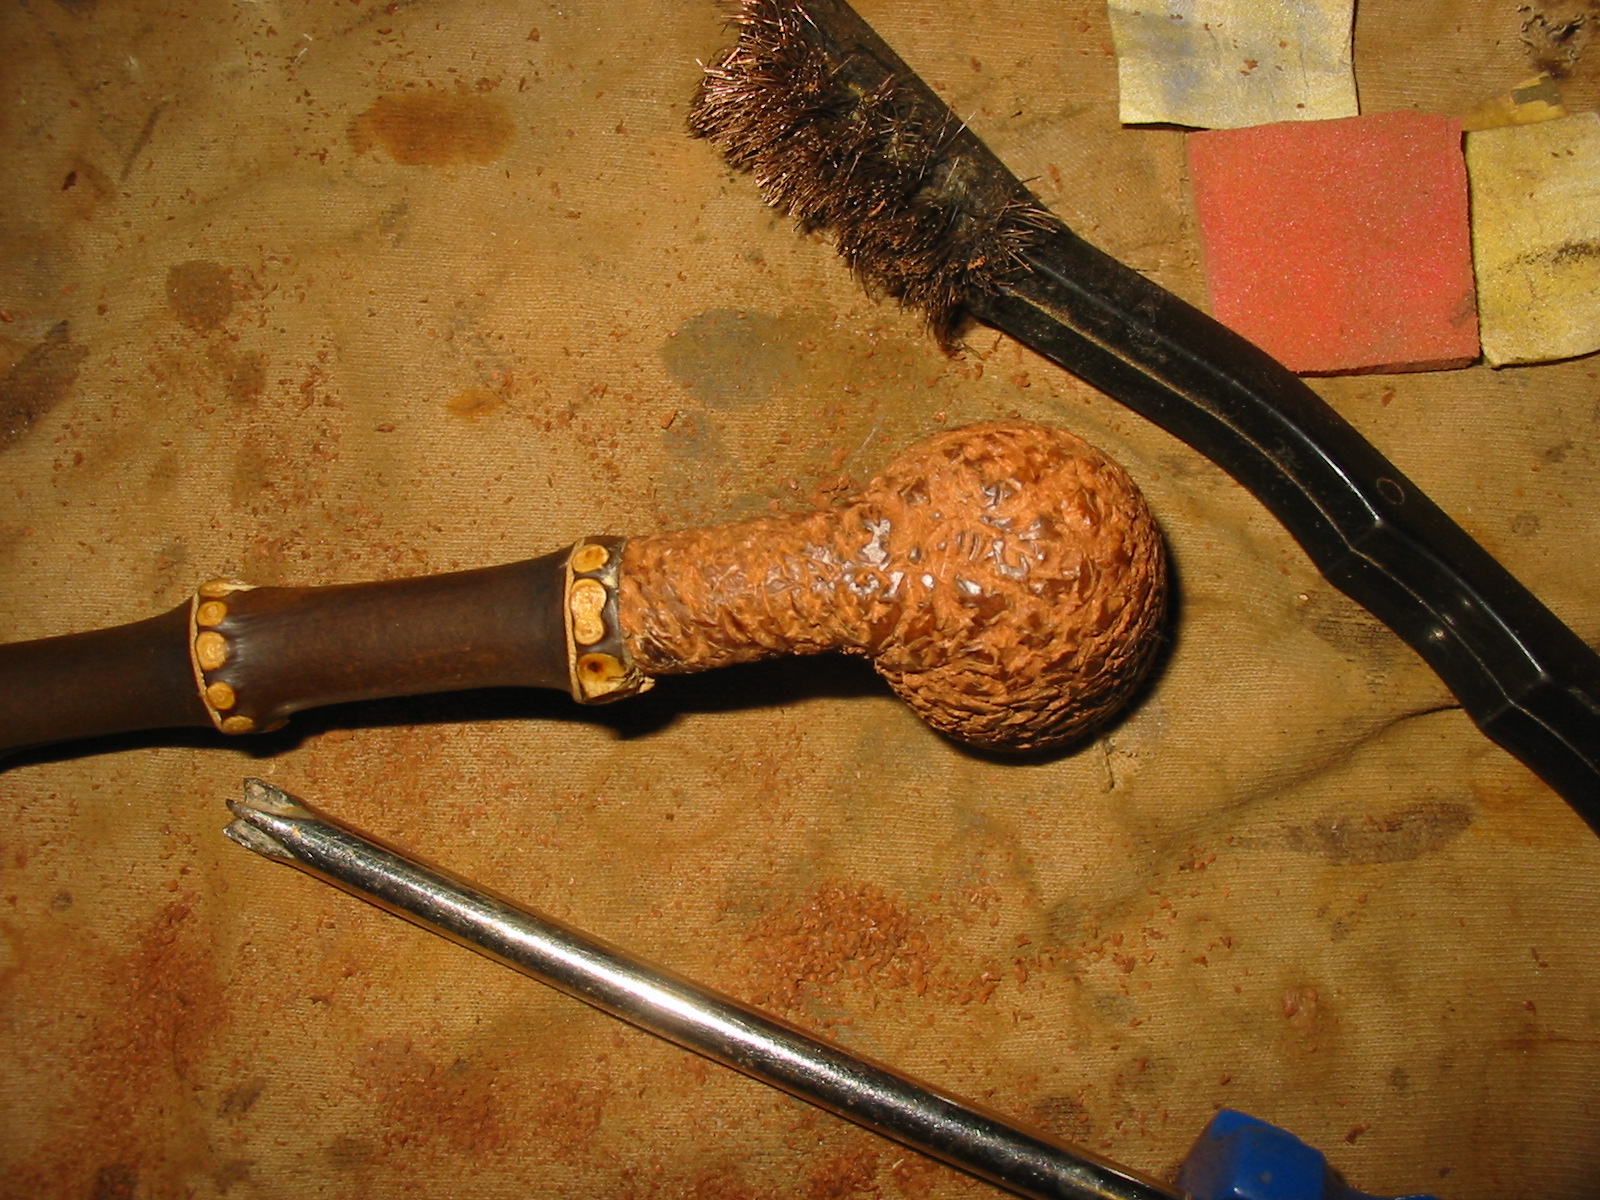
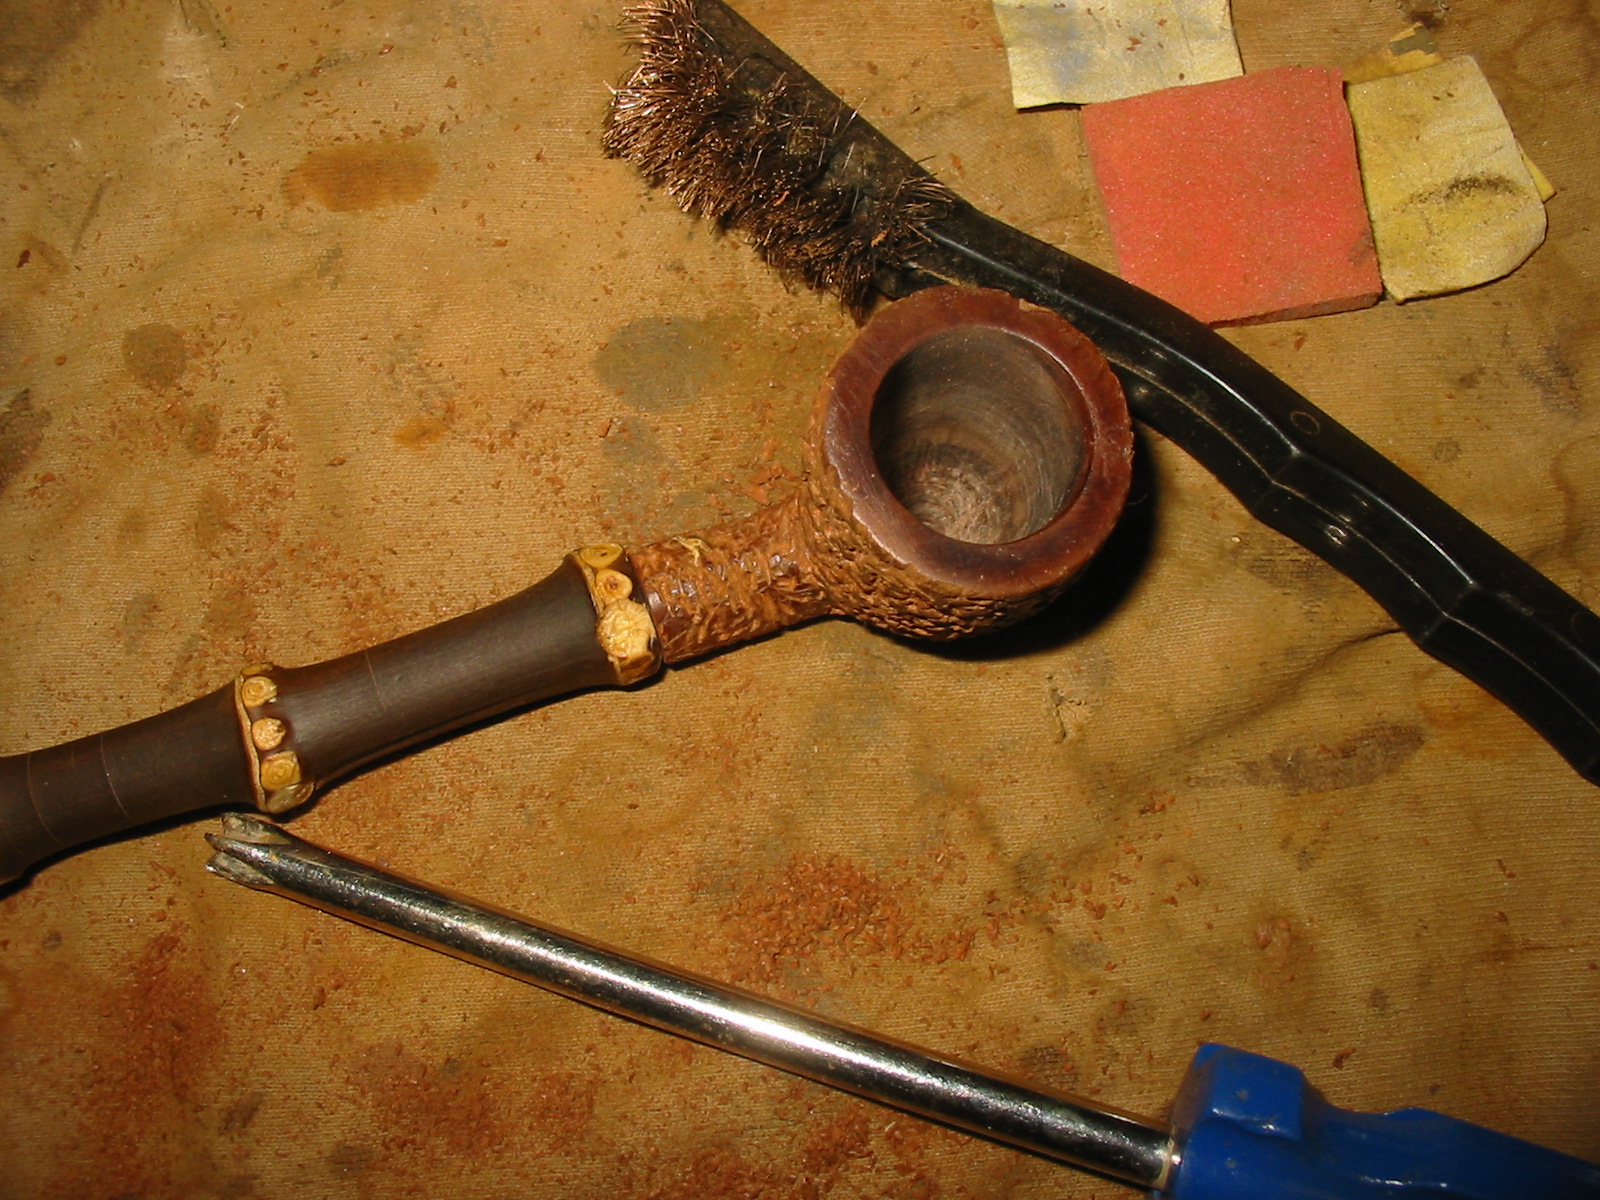
I used a Dremel with a cone shape cutting head to pre-rusticate the shank and then followed that up with the modified Philips screwdriver. I rusticated the briar shank with it attached to the bamboo so that I could rusticate it up to the joint of the two shank materials. Once I had the shank finished I removed the bowl and worked on it with the Philips screwdriver. I find it easier to manipulate the bowl when it is not attached to the shank. When the bowl was completely rusticated I used a brass bristle wire brush to knock of the rough edges and give the bowl the texture that I wanted. I left the rim smooth to contrast with the finish on the bowl.
IMG_5882

IMG_5883
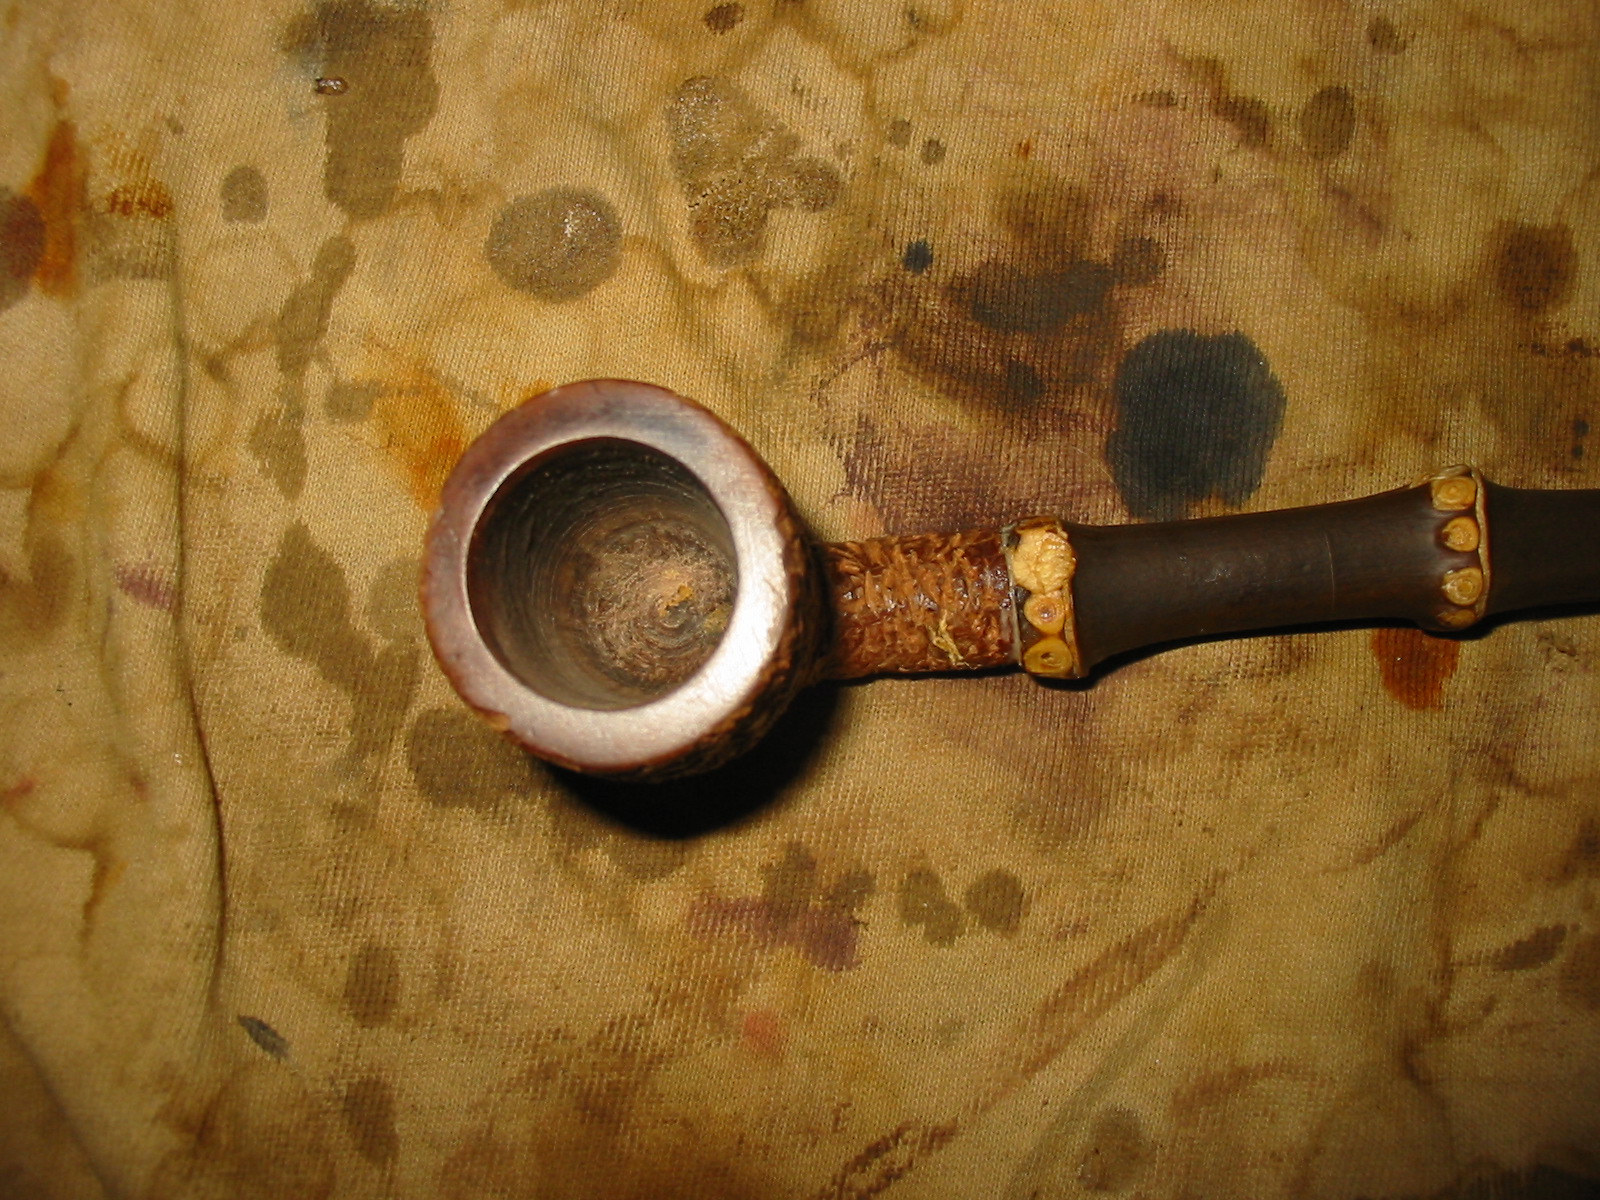
I put the pipe back together to have a look at the finished rustication and the contrast with the finish on the bamboo. I liked the overall look of the pipe at this stage. I did a bit more rustication on the bowl and shank and wire brushed them until I was happy with the end result.
IMG_5884

IMG_5885

IMG_5886

IMG_5887
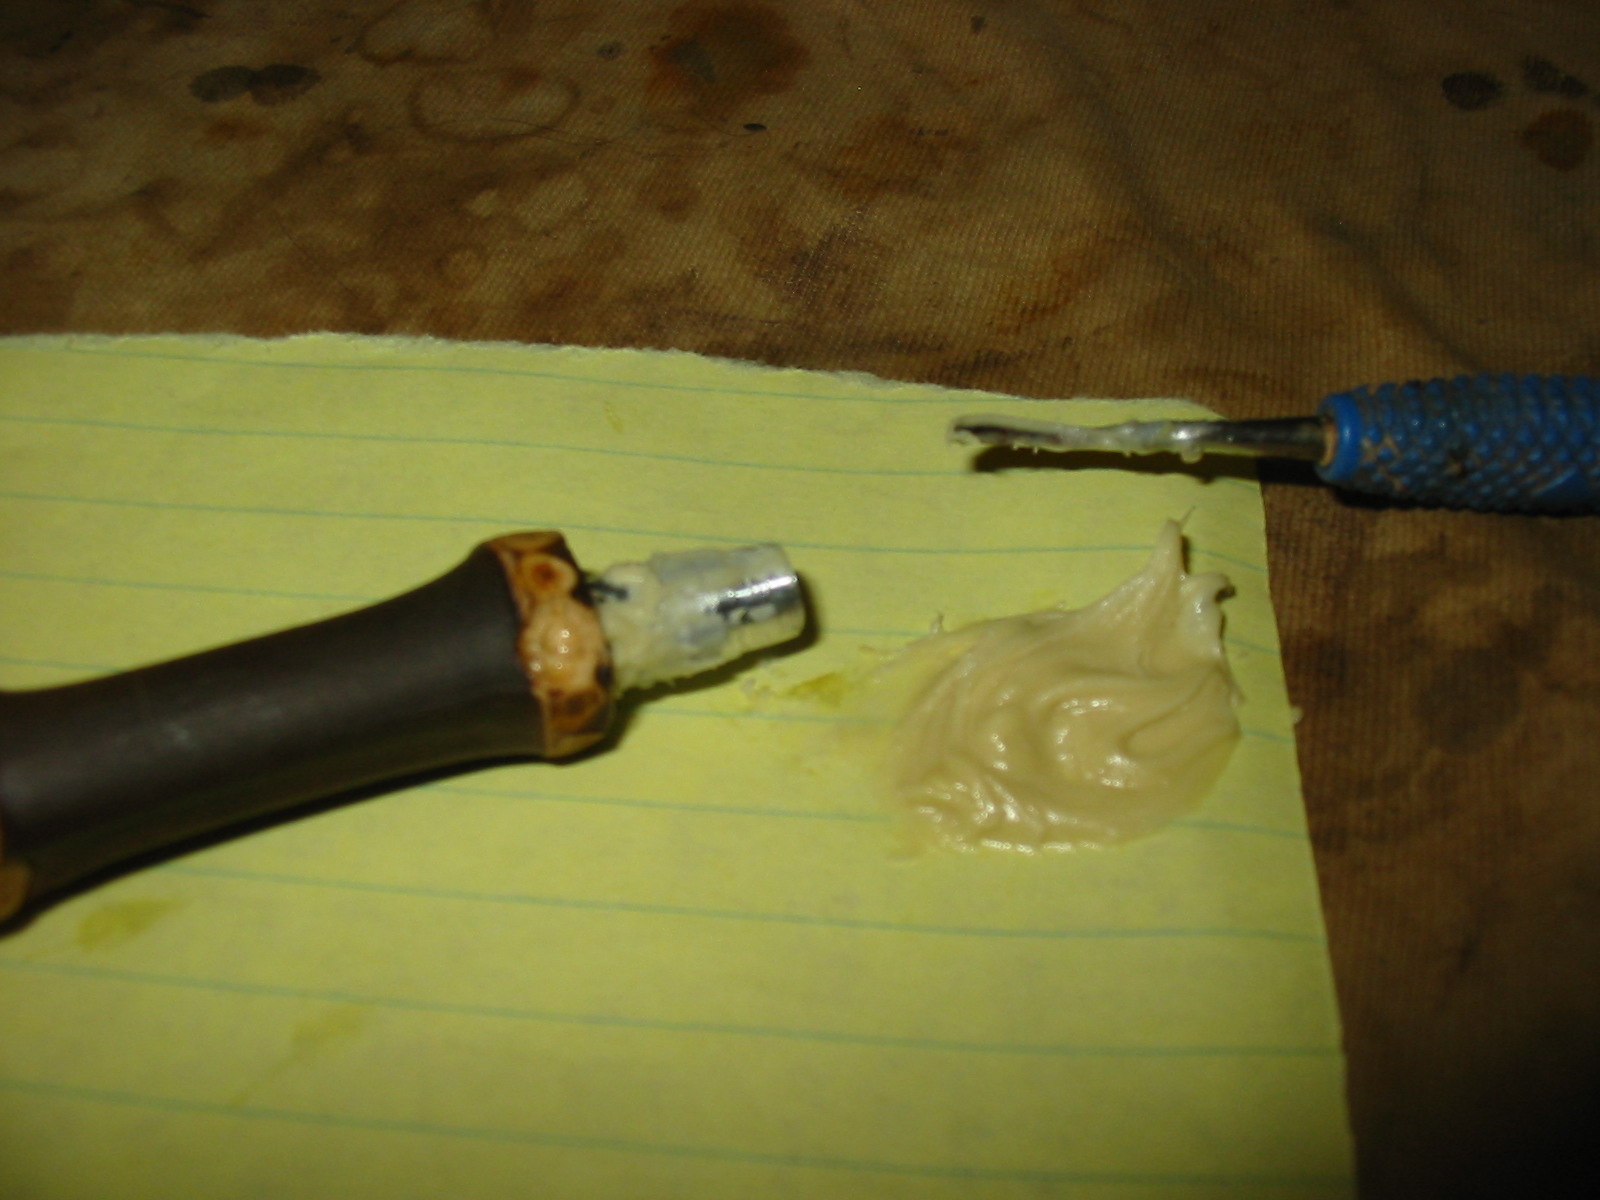
At this point I was ready to attach the shank to the bowl permanently. I scored the metal shank to give the surface something to bond with in the briar shank. I mixed the two part epoxy and applied it to the metal shank with a dental pick. I pressed the two parts together and used the dental pick to trim off the excess glue and wiped it down with a soft cloth. I clamped the parts together while the epoxy set.
IMG_5888

IMG_5889

IMG_5890

IMG_5891

IMG_5892
While the glue was drying I worked on the stem to taper it to fit the diameter of the bamboo shank. I sanded it with a Dremel to take off the majority of the excess vulcanite and then hand sanded it with 220 grit sandpaper. Once the epoxy had set, late last evening I inserted the stem and took the photos below.
IMG_5893

IMG_5894

IMG_5895

IMG_5896
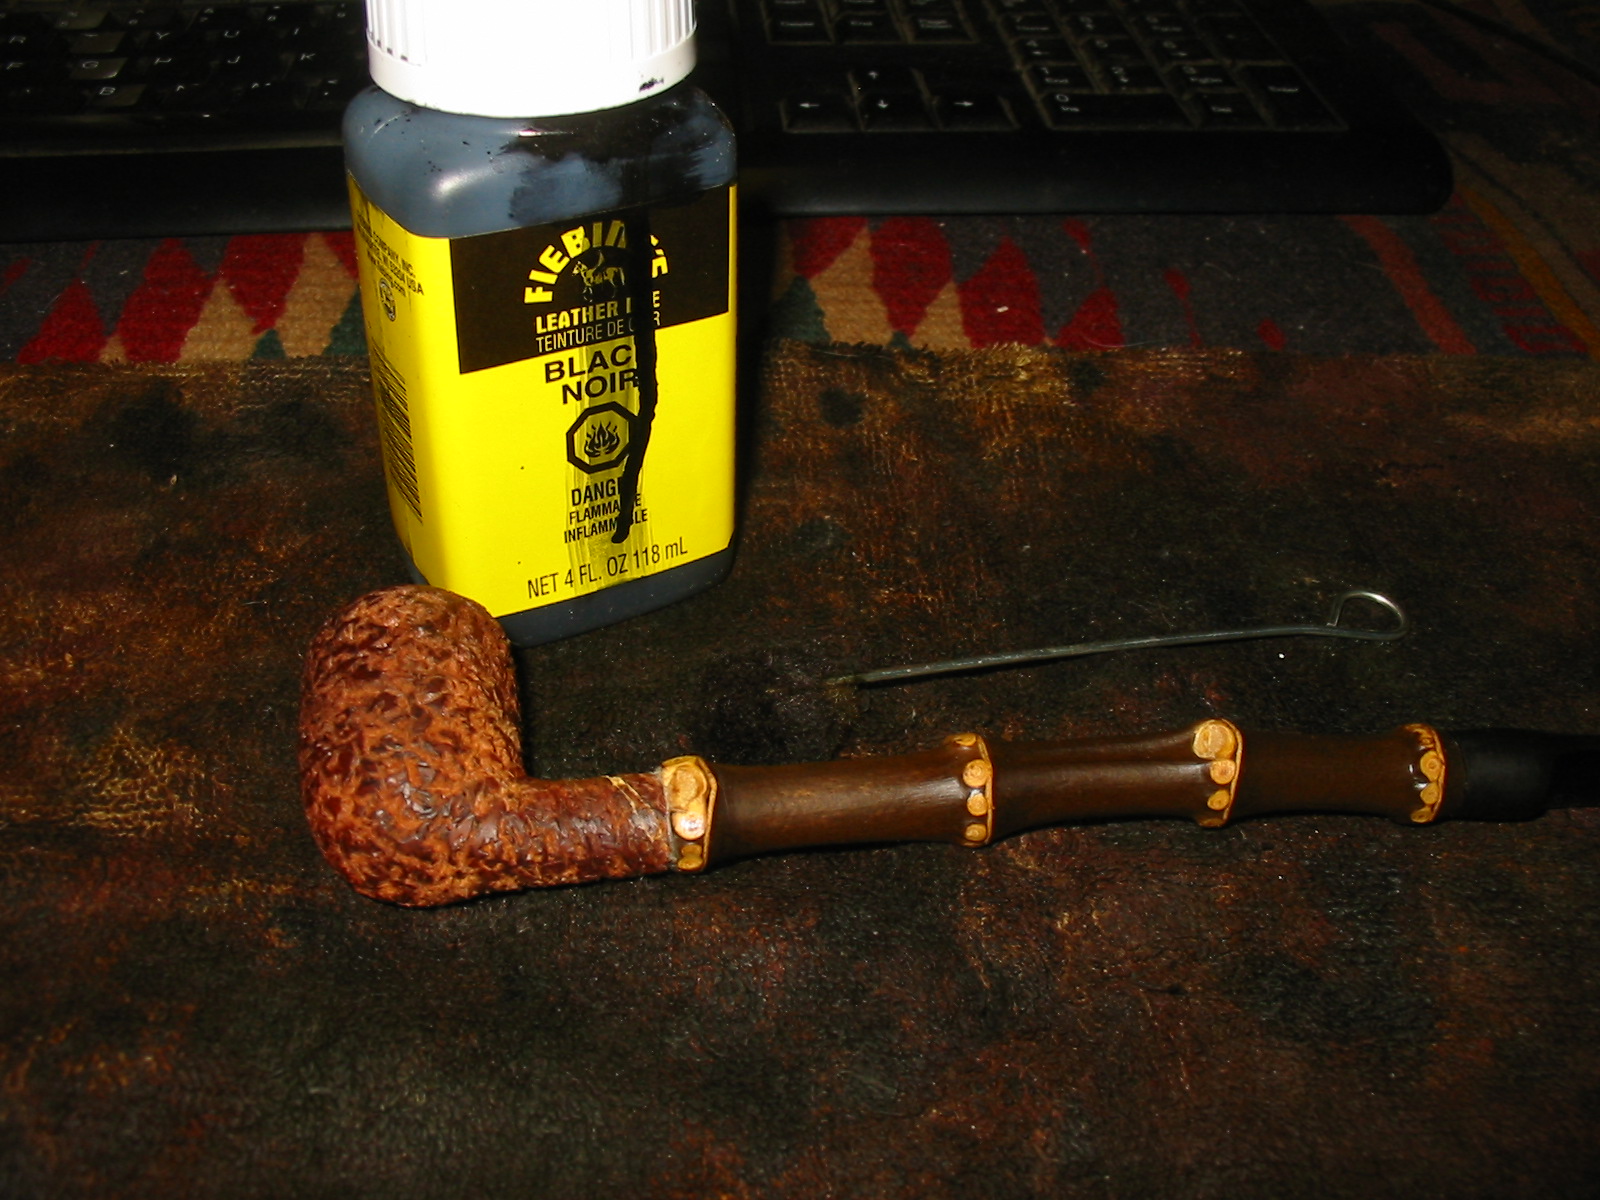
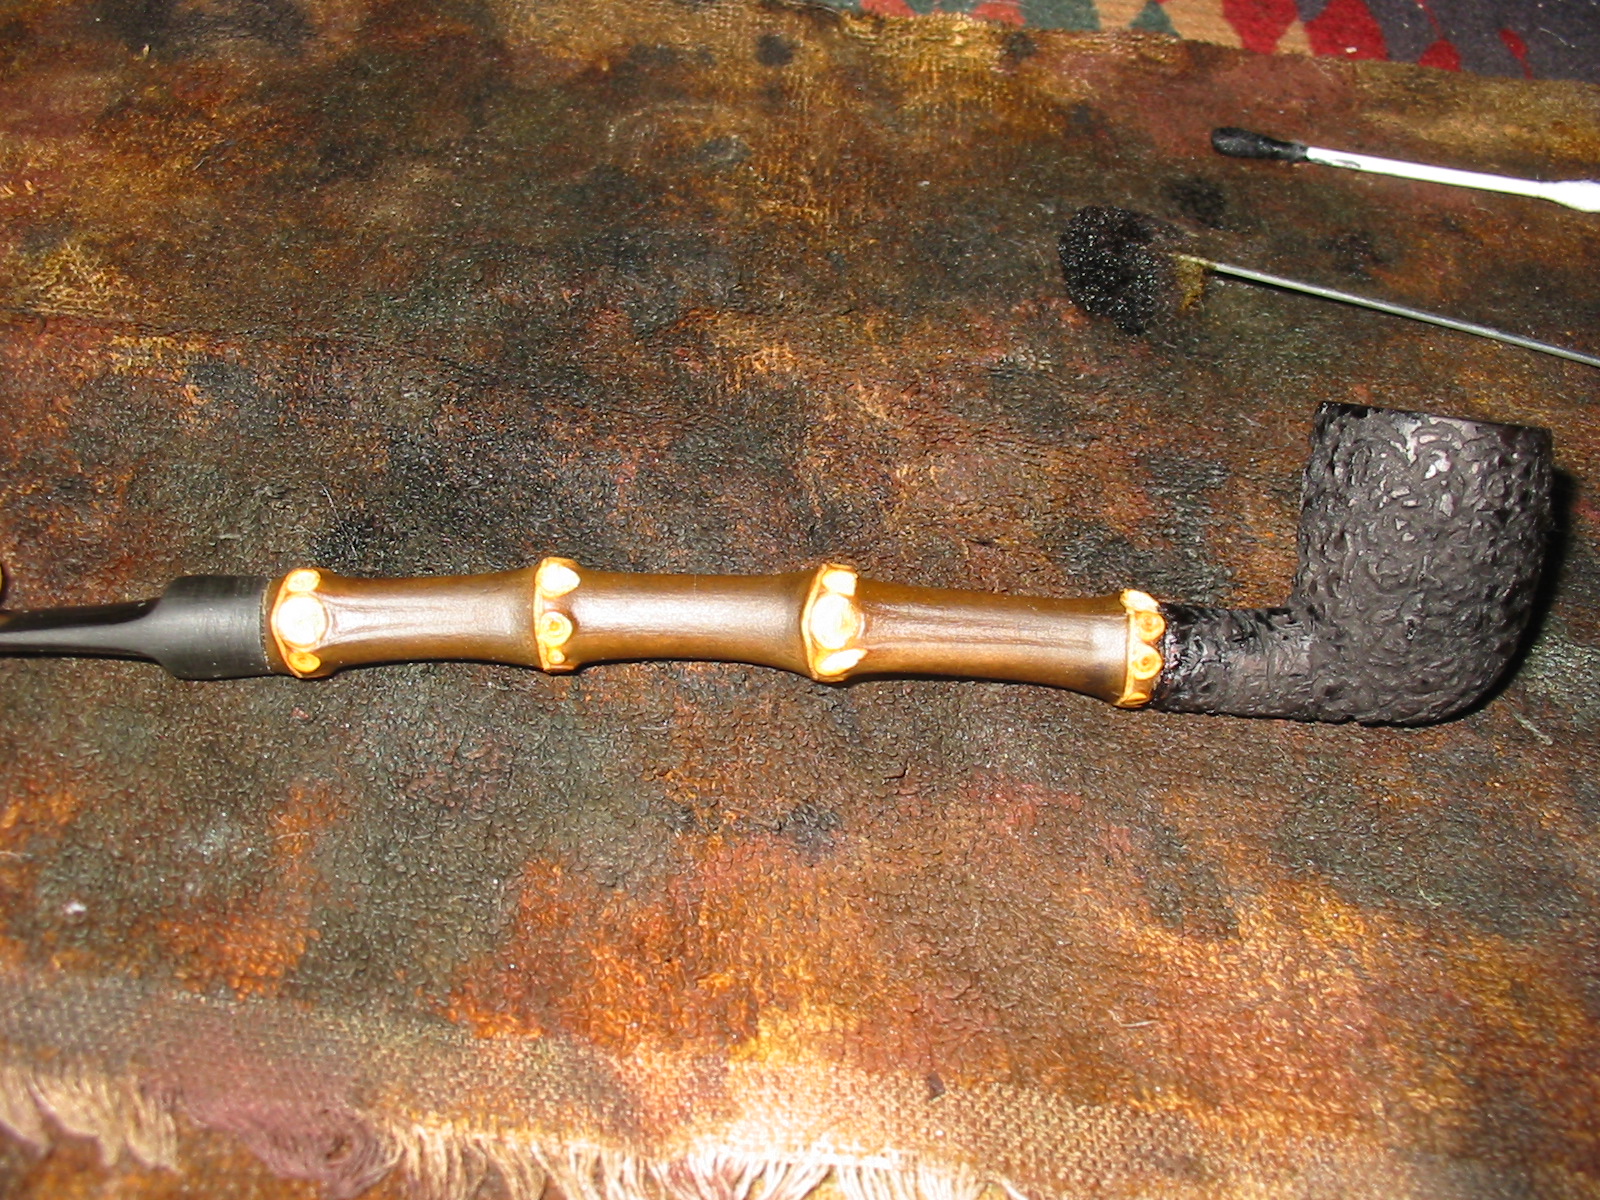
This morning I got up early and stained the bowl with a black aniline stain. My plan is to use the black stain as an undercoat on the bowl. Once the pipe is dry I will buff it with red Tripoli to remove the black from the high spots on the rustication and then stain the bowl with a brown topcoat to give it depth and contrast.
IMG_5897

IMG_5898

IMG_5899
I buffed the bowl with the Tripoli and then used isopropyl alcohol on cotton pads to dab off the stain on the high spots. The finish is rough so to scrub it with the pads leaves behind a lot of cotton bits. I sanded the surface of the bowl with a fine grit sanding sponge to remove more of the black stain from the high spots and to soften the rustication. I stained the bowl and shank with a coat of walnut stain to give some depth and highlights to the bowl. I had asked online how to finish bamboo and received a step by step response from James of JSEC pipes. He said to stabilize the cracks in the bamboo with superglue and then to sand the bamboo with 600 grit wet dry sandpaper and follow that with 1500 grit sandpaper. I followed that process to the letter. The change in the surface of the bamboo was noticeable. It was smooth and had a developing patina on the surface. I then took the next steps in the process and rubbed the shank down with Danish Oil. James said the he generally gave multiple coats of Danish Oil over several days. The photo below was taken after the bowl had been stained with the walnut and the shank sanded as described above. It also shows the first coat of Danish Oil on the stem. After about one hour the oil had dried to a matte finish on the bamboo.
IMG_5900

IMG_5901

IMG_5902

IMG_5903
While the Danish Oil was drying on the bamboo I worked on the stem. I sanded it with 220 grit sandpaper to reduce the diameter of the saddle to match the shank diameter. I then used a medium grit sanding sponge and 600 grit sandpaper. I then sanded the stem with my usual array of micromesh sanding pads. I wet sanded with 1500-2400 grit pads and dry sanded with 3200-12,000 grit pads. I rubbed the stem down with Obsidian Oil and let it soak into the vulcanite.
IMG_5905

IMG_5906

IMG_5907
When the bamboo had dried I buffed it with White Diamond on the buffing wheel. I buffed bowl and stem as well. I took the next series of four photos before I gave the bamboo a second coat of the Danish Oil. The pipe is beginning to look finished. I like the look of the black bamboo with this treatment – there is a rich patina beginning to show up on the shank now.
IMG_5908

IMG_5909

IMG_5910

IMG_5911
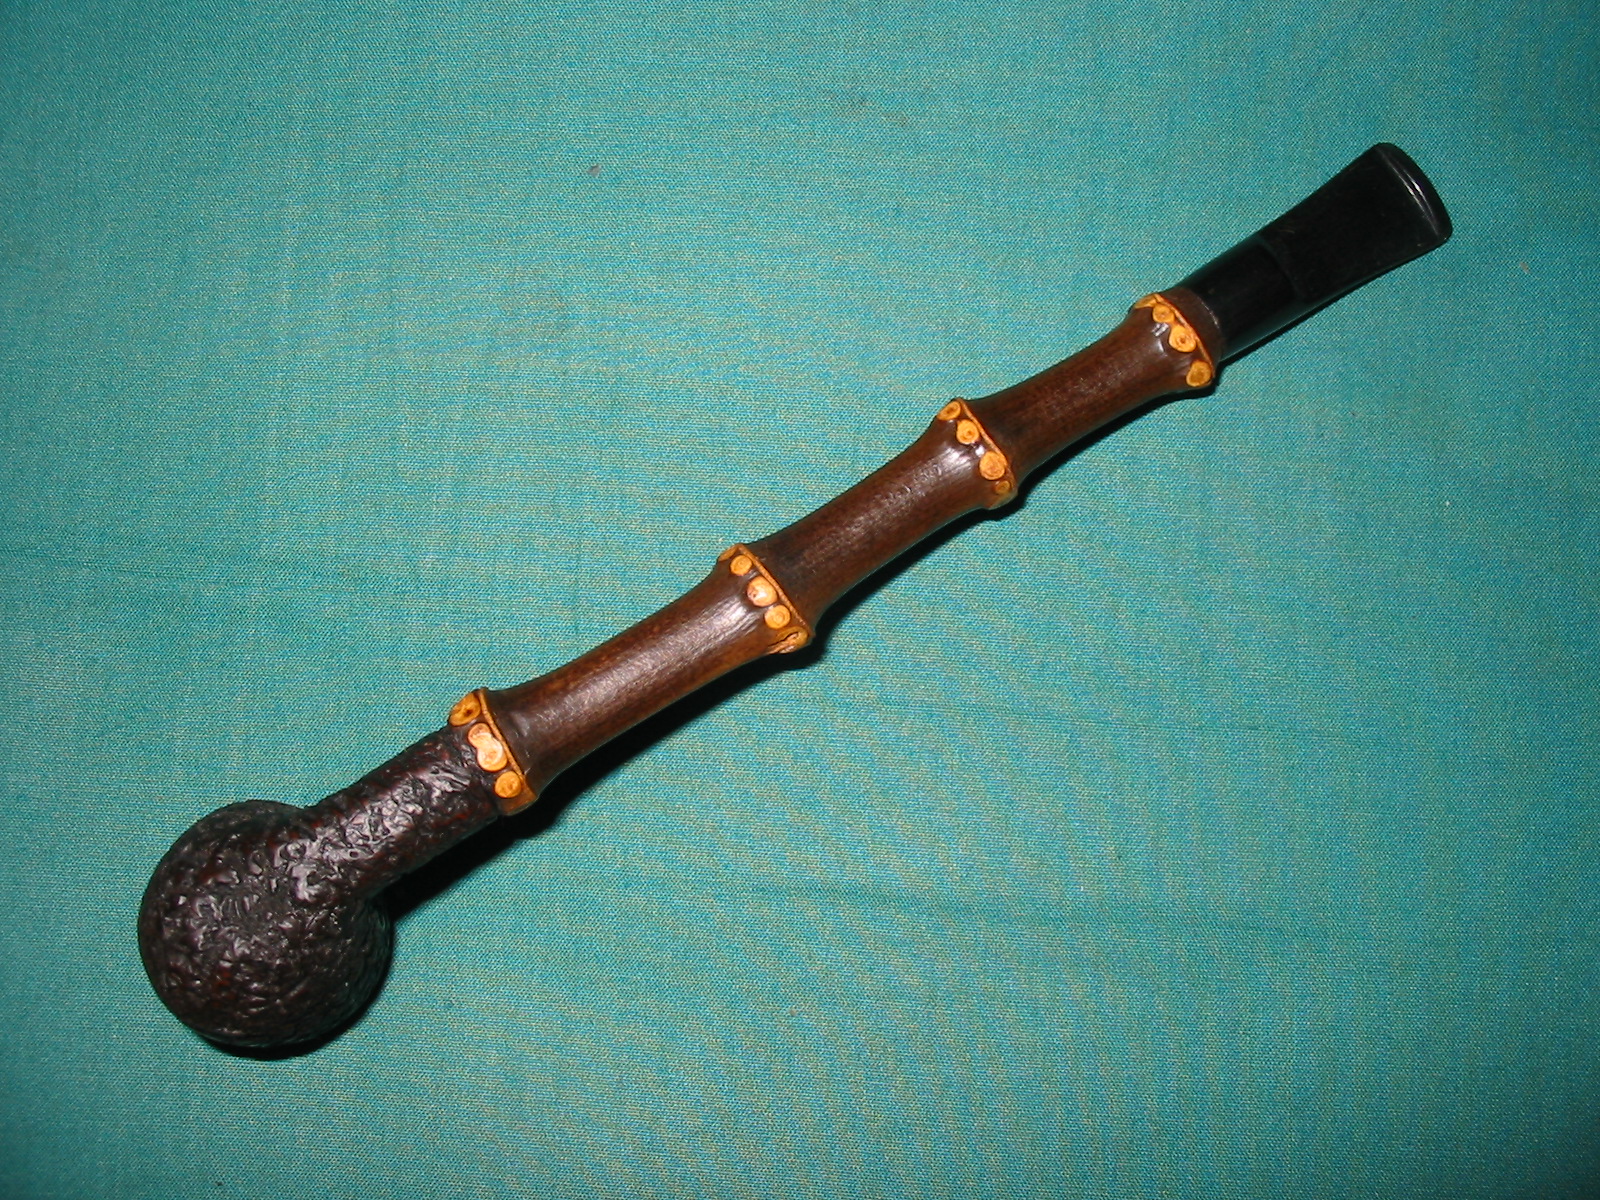
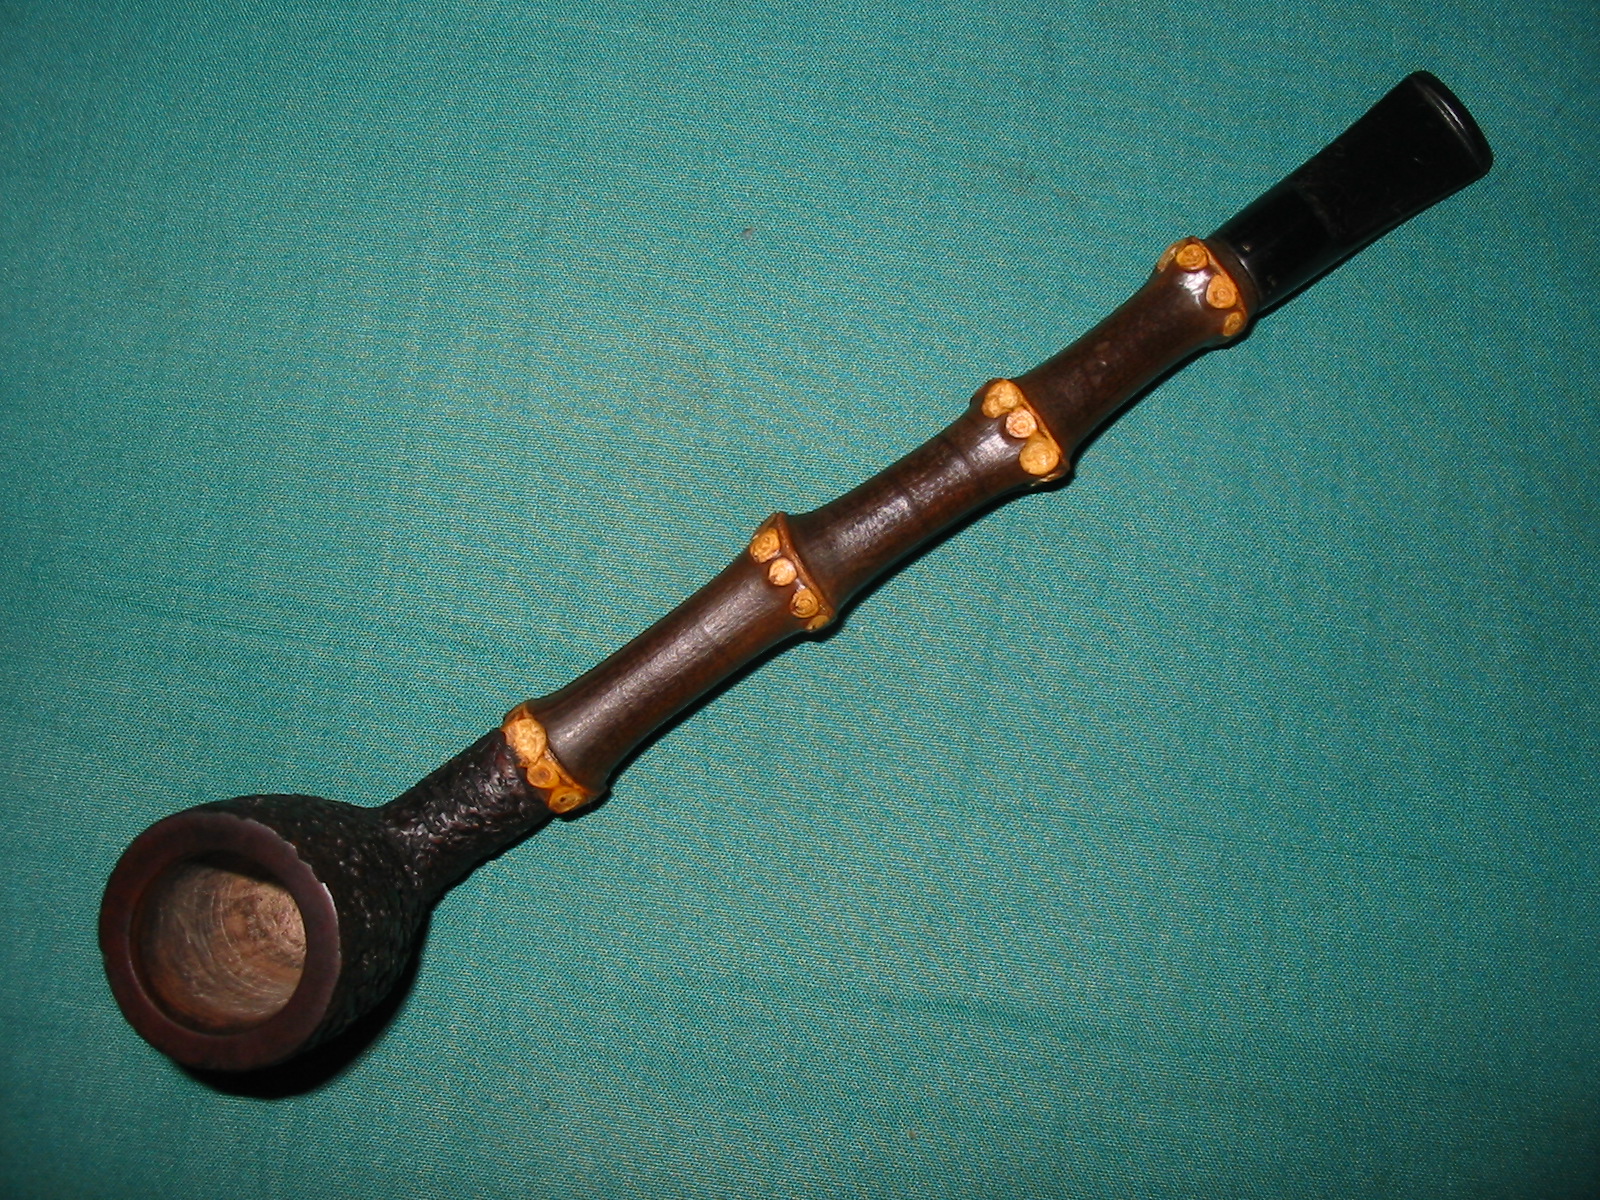
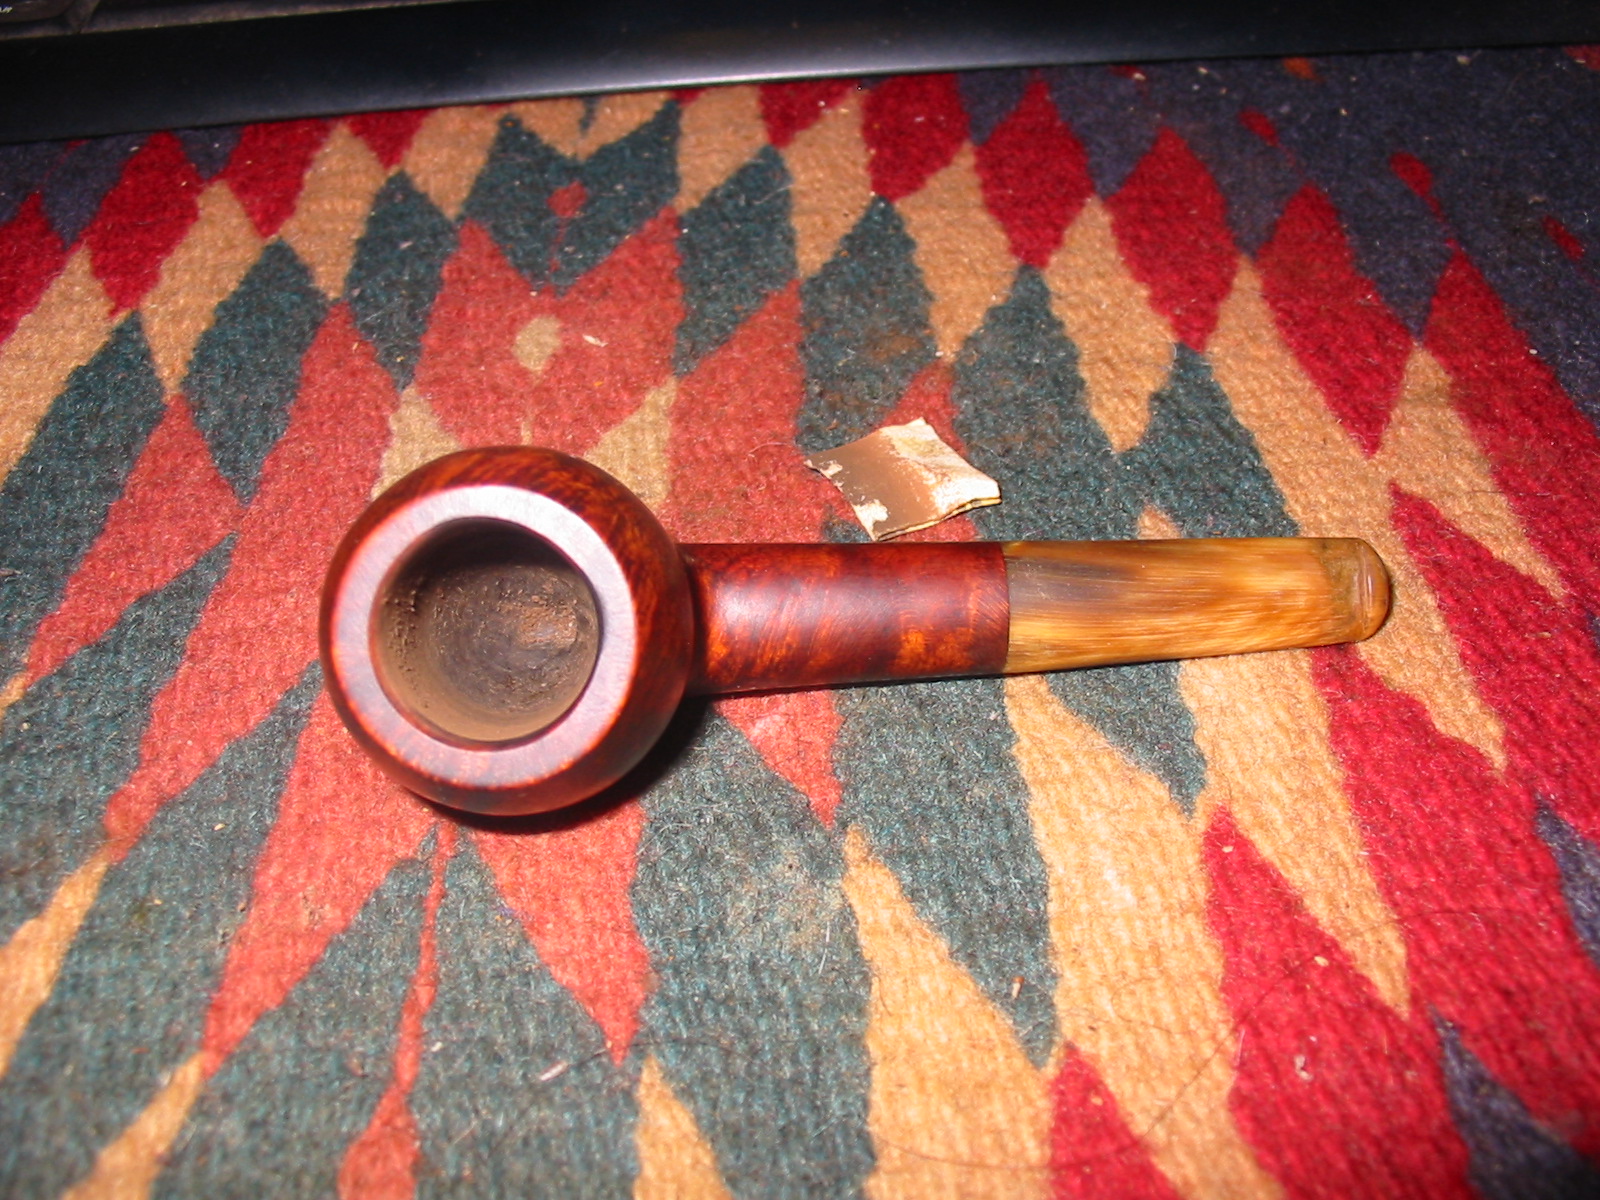
I gave it a second and third coat of Danish Oil and then buffed the bamboo with White Diamond. I gave the stem and the bowl a light buff as well. The bamboo is looking really nice. I like the developing patina that is coming from the finishing. I gave the shank and stem multiple coats of carnauba wax and then buffed to a shine with a clean flannel buff. The finished pipe is picture below. This weekend I hope to take it on its inaugural smoke!
IMG_5912

IMG_5913

IMG_5915

IMG_5916