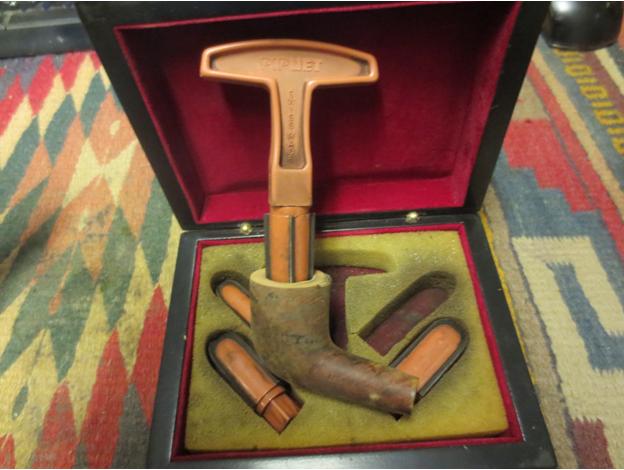
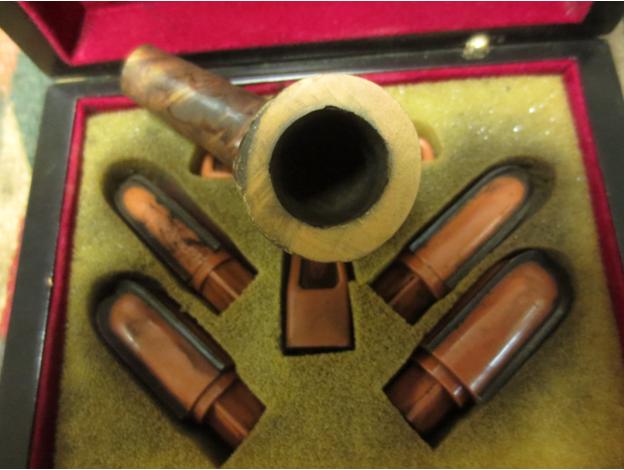
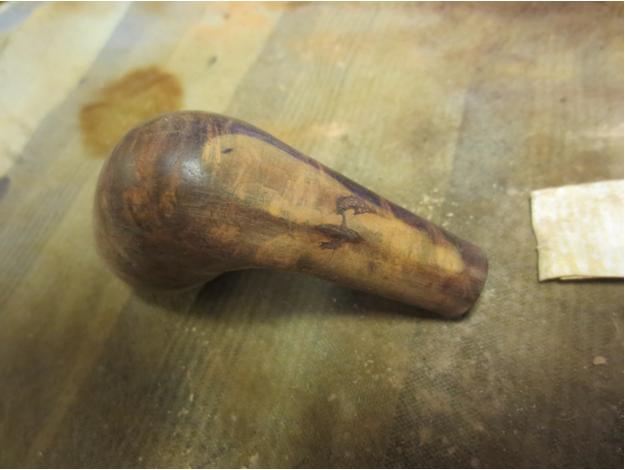
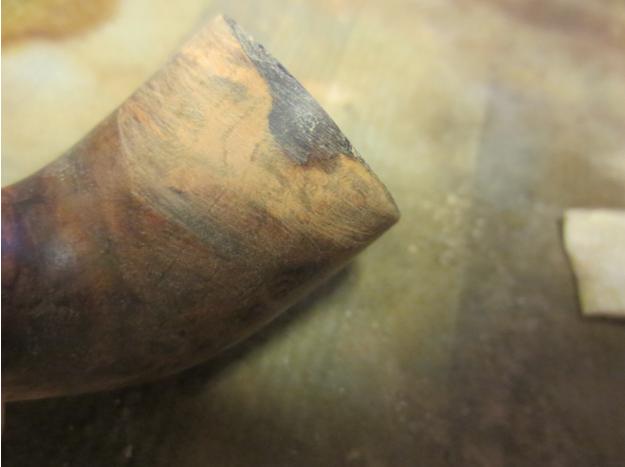
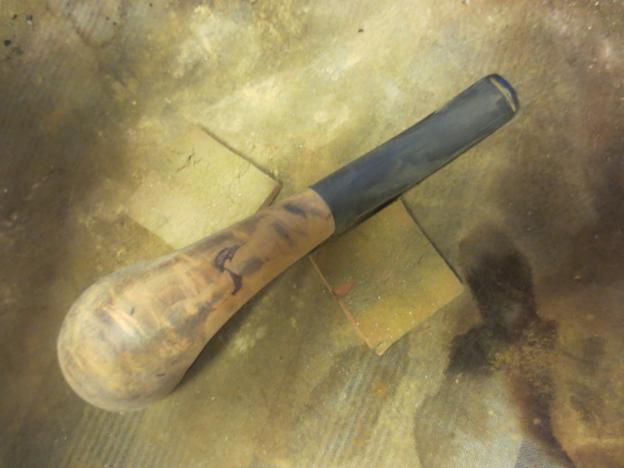
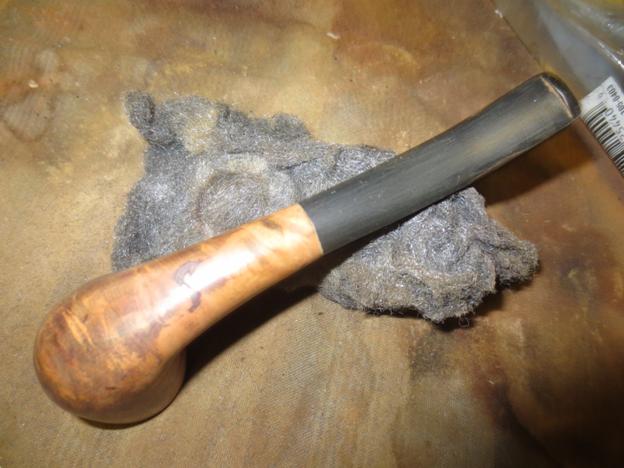
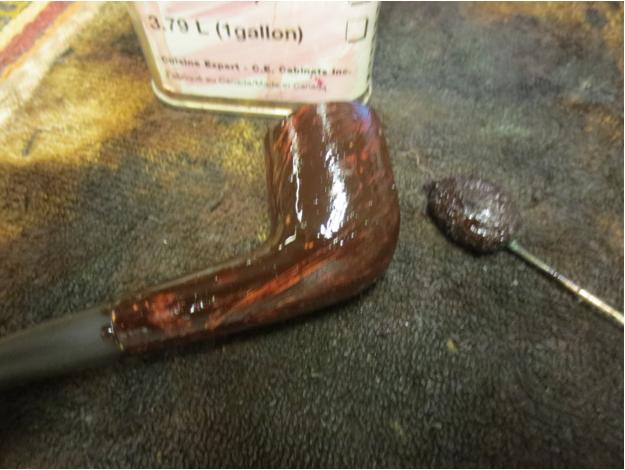
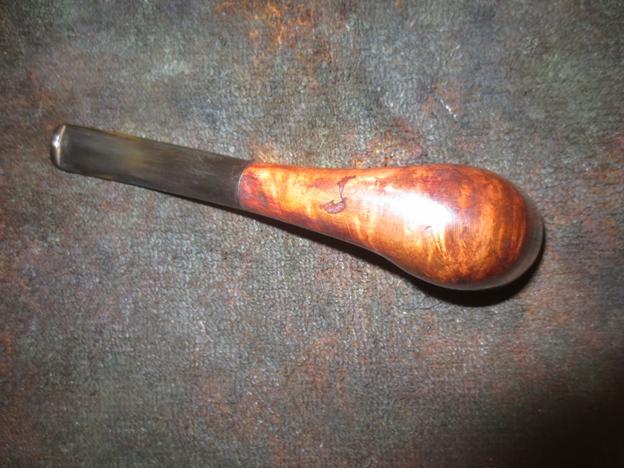
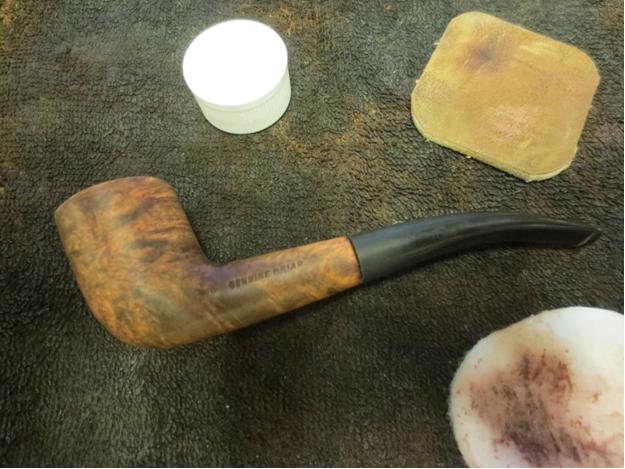
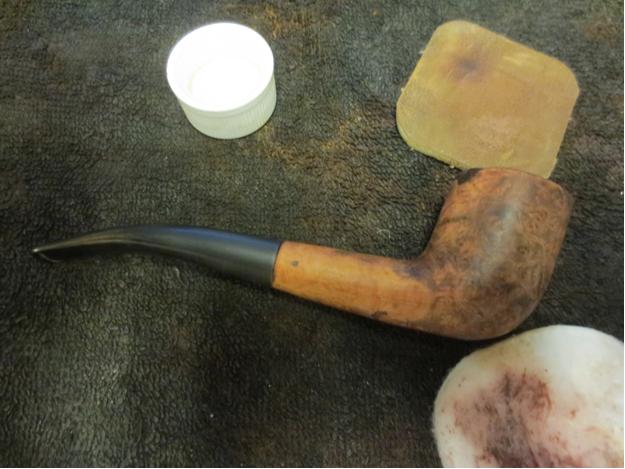
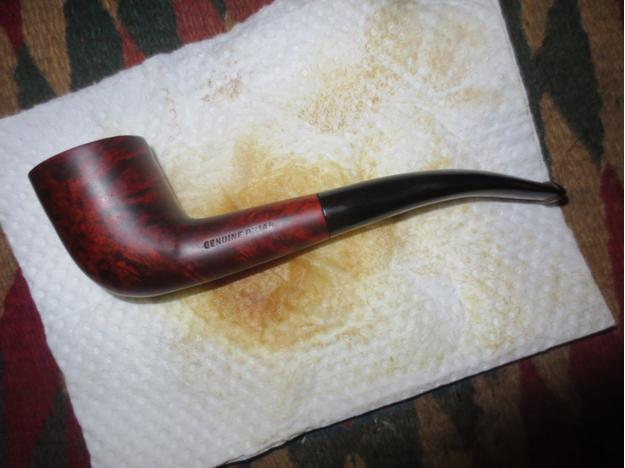
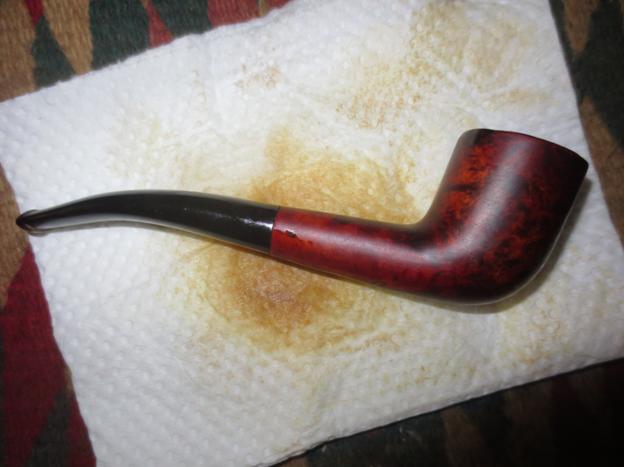
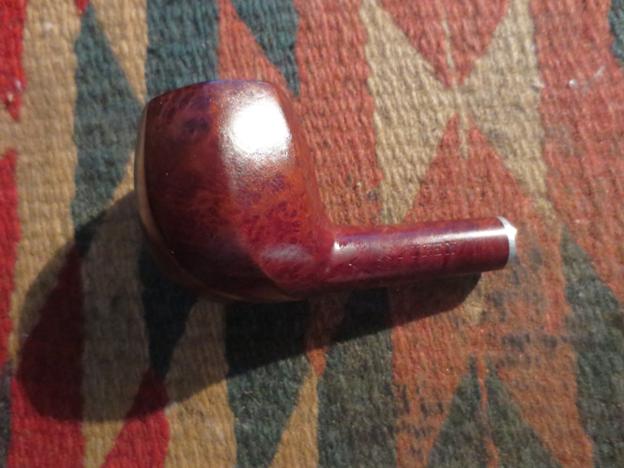
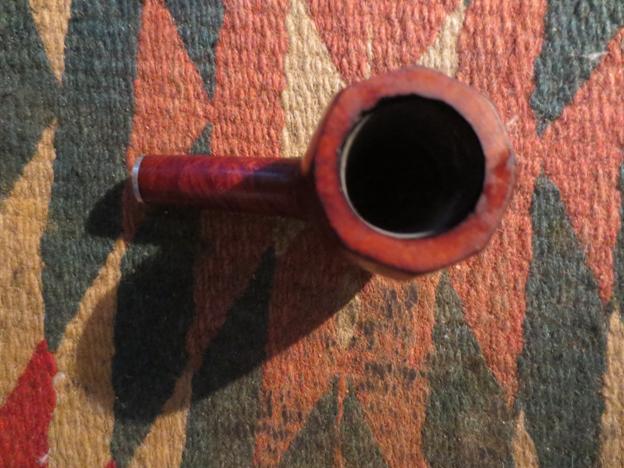
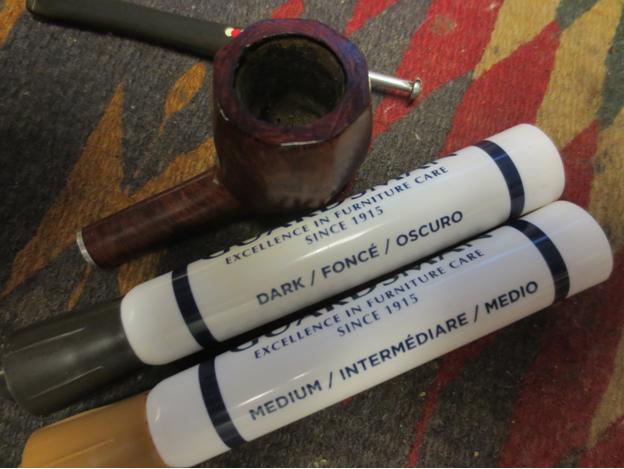
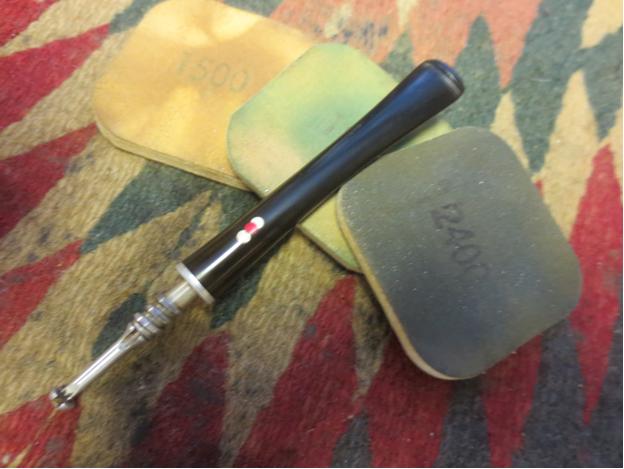
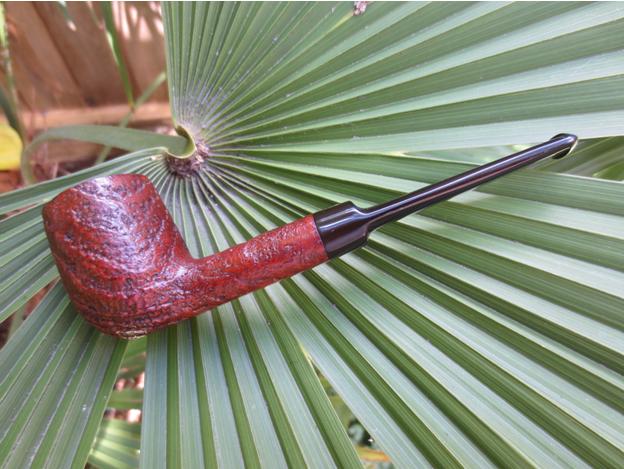
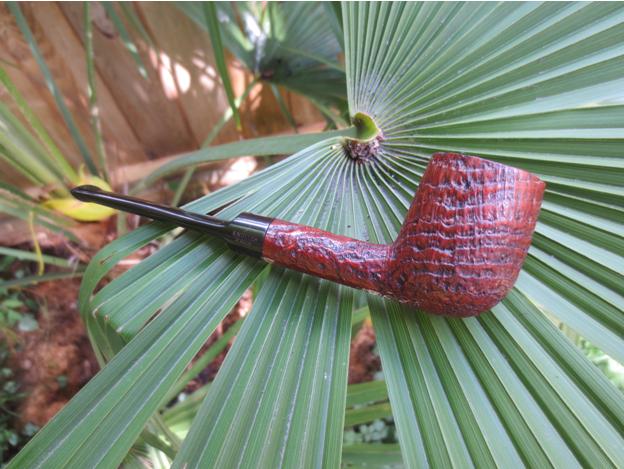
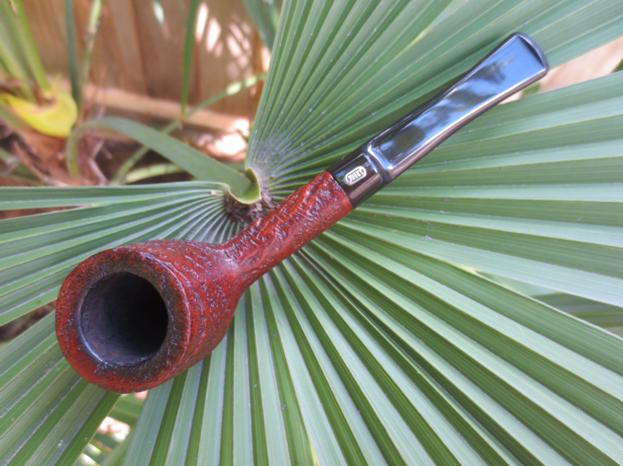
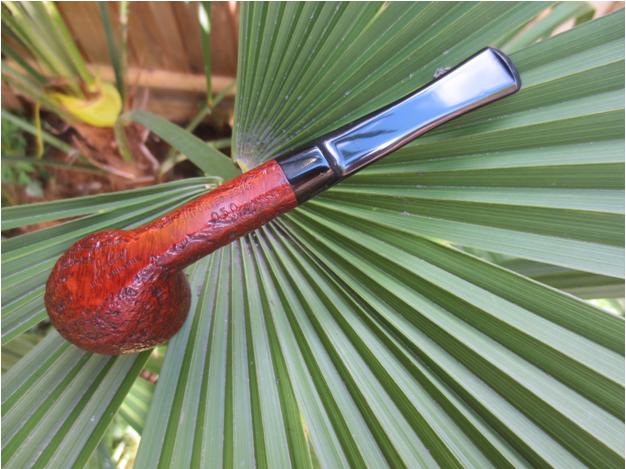
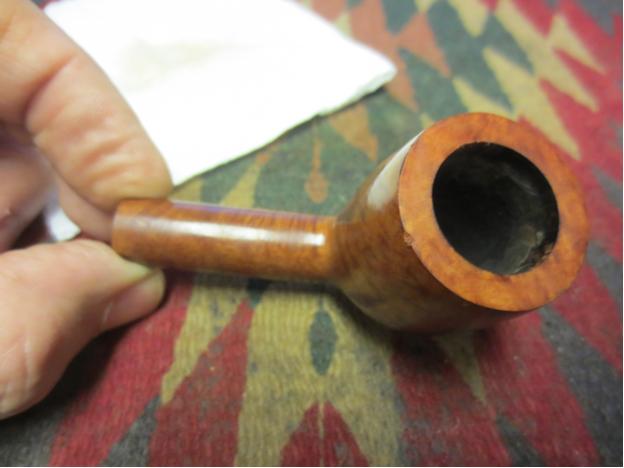
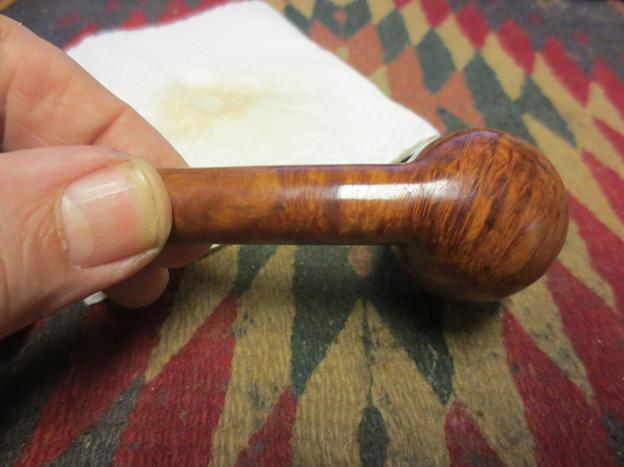
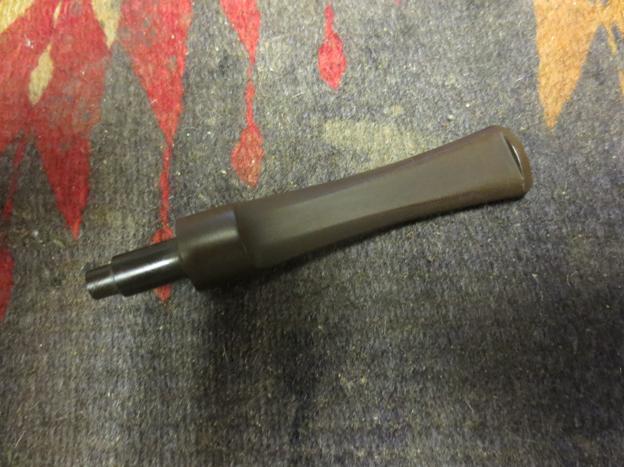
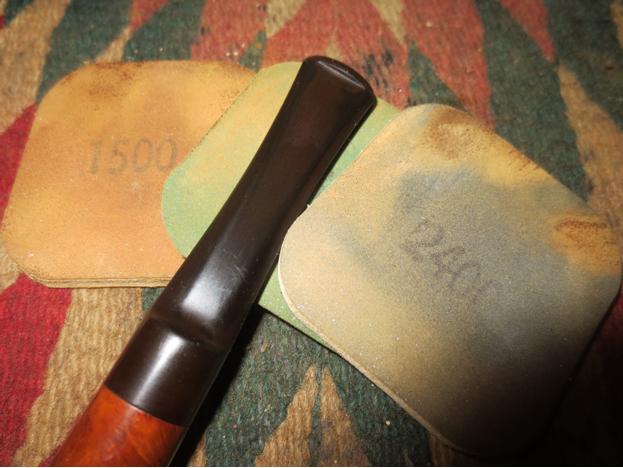
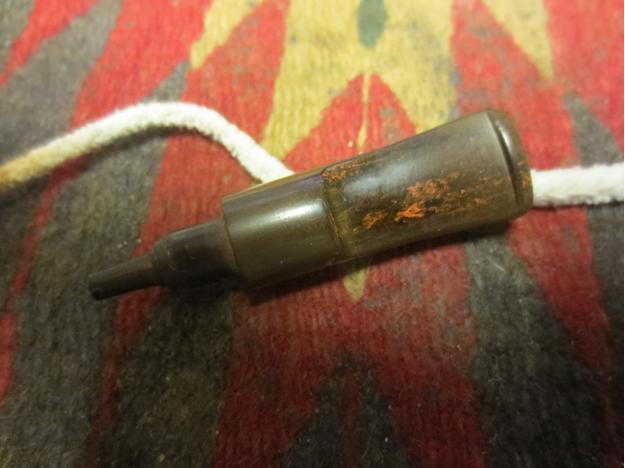
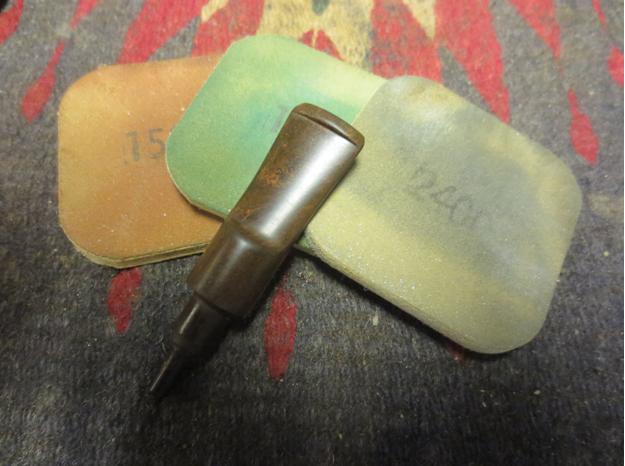
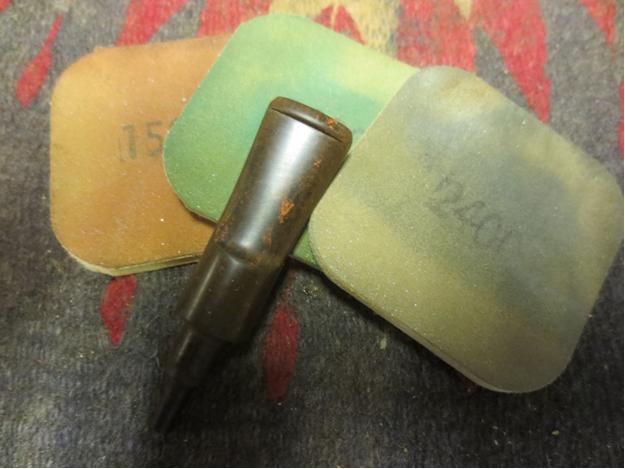
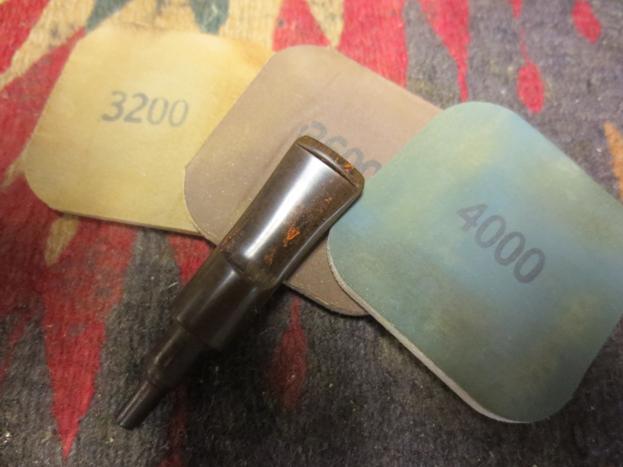
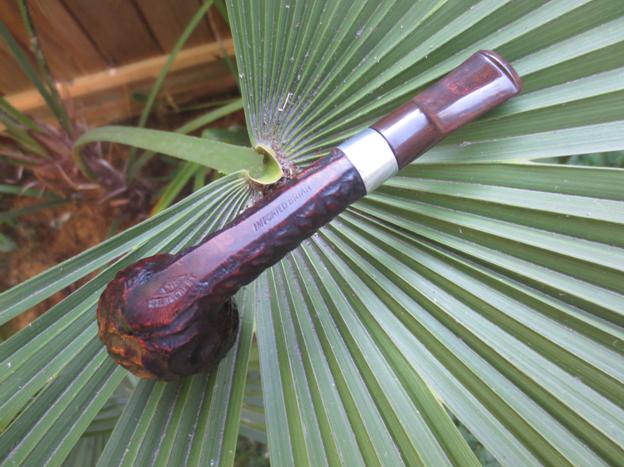
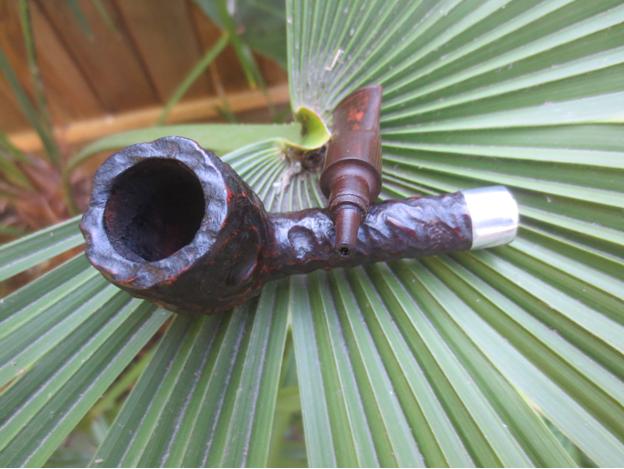
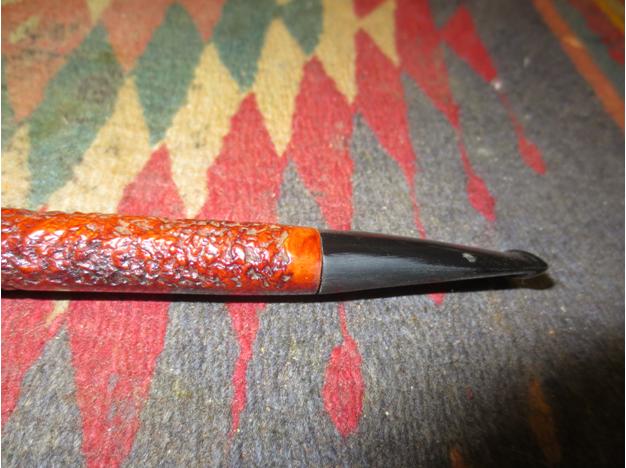
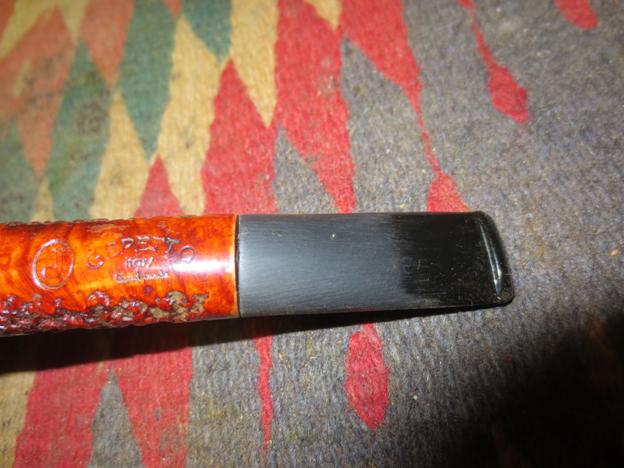
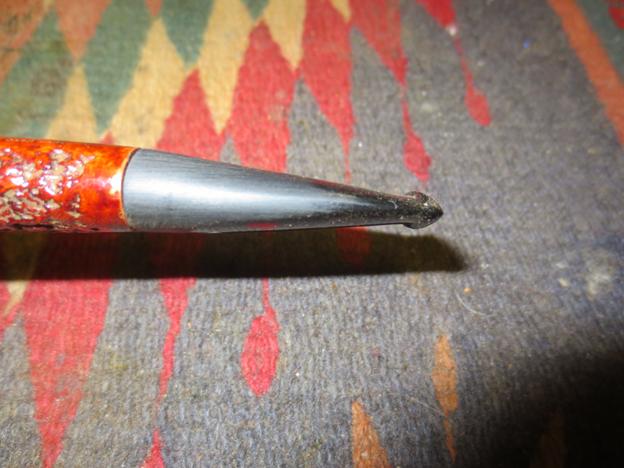
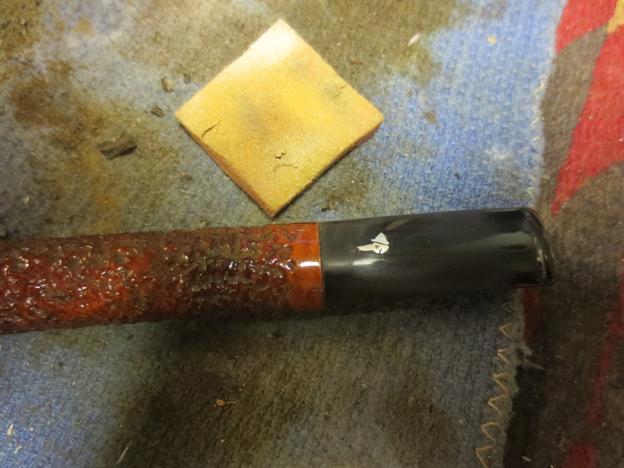
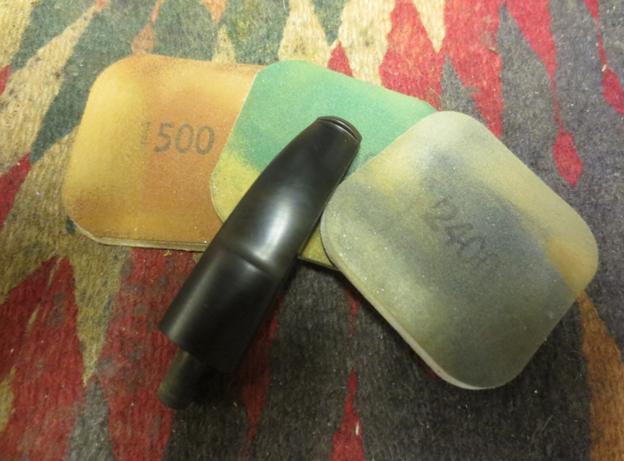
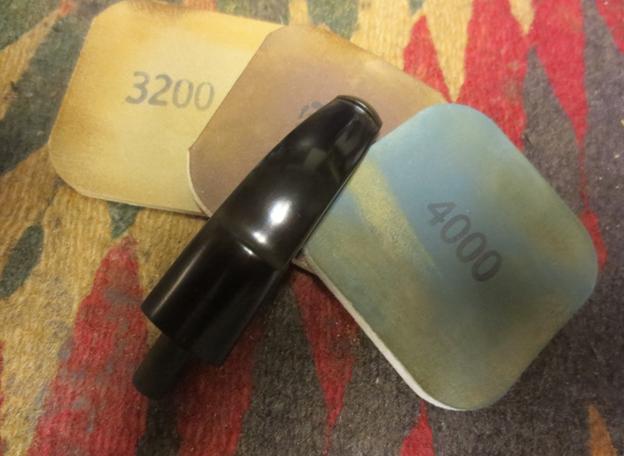
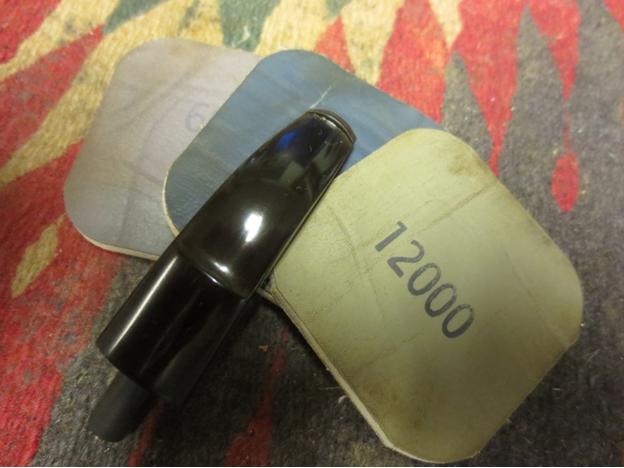
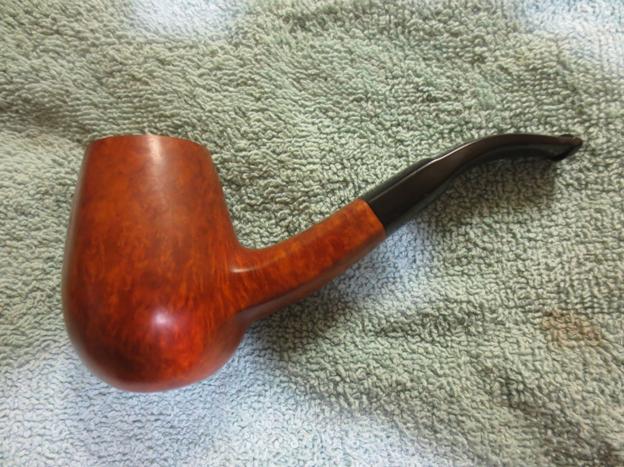
Tag Archives: polishing a stem

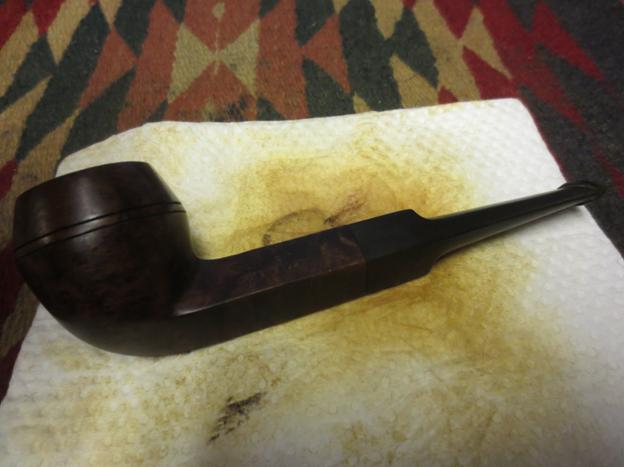
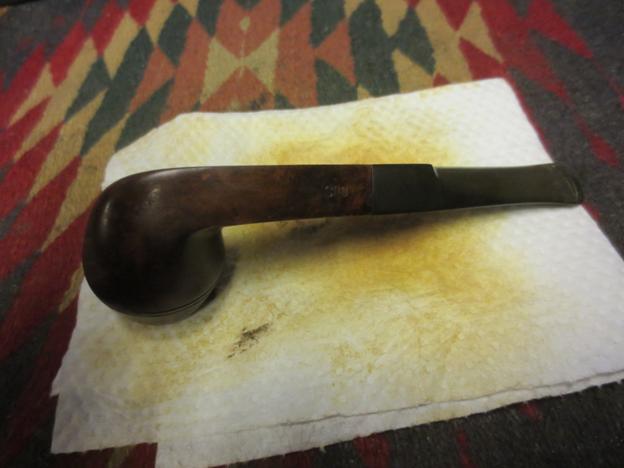
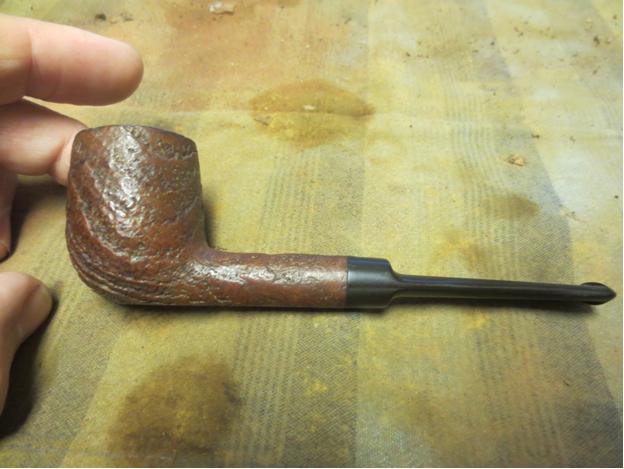
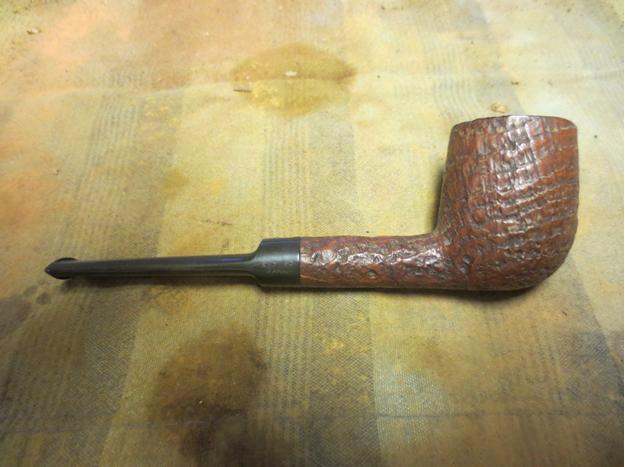
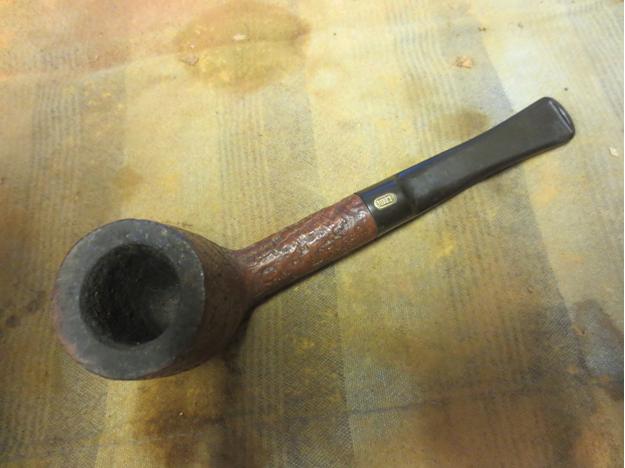
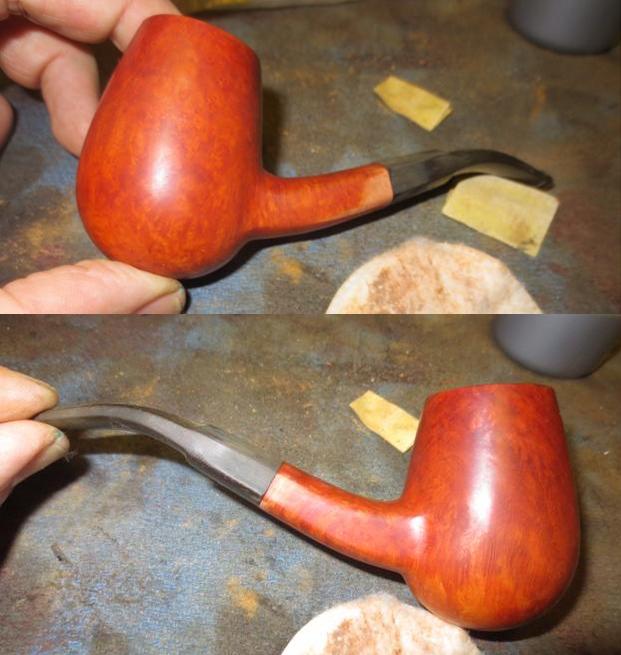
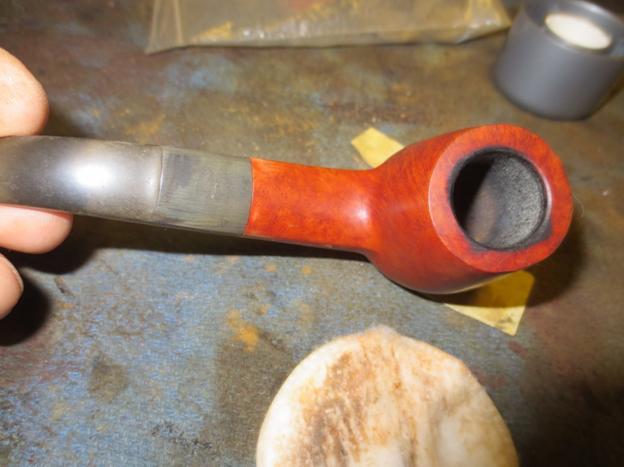
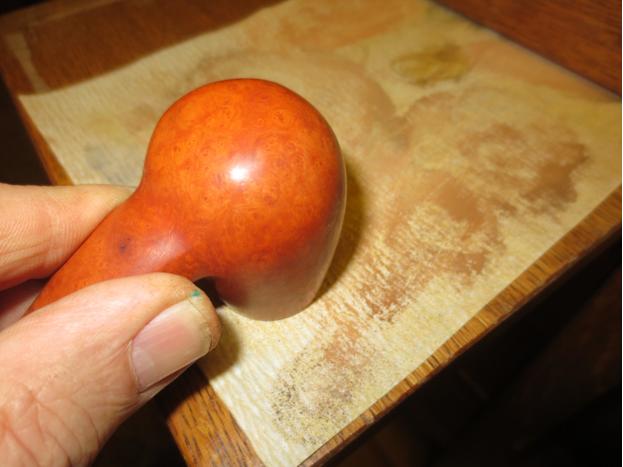
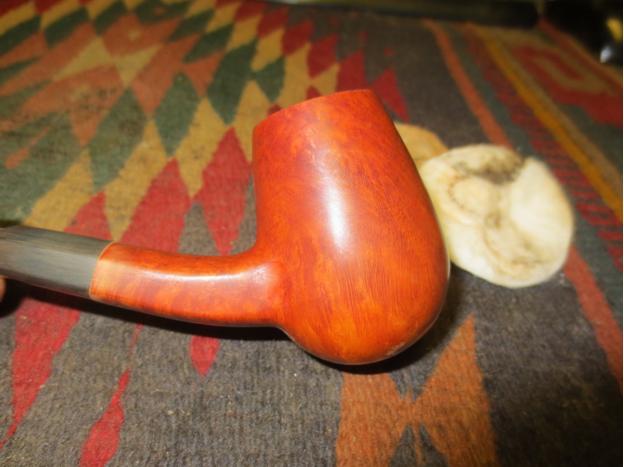
Cleaning up a Hilson Made in Belgium Meerlined Bulldog, Shape S60


Blog by Steve Laug

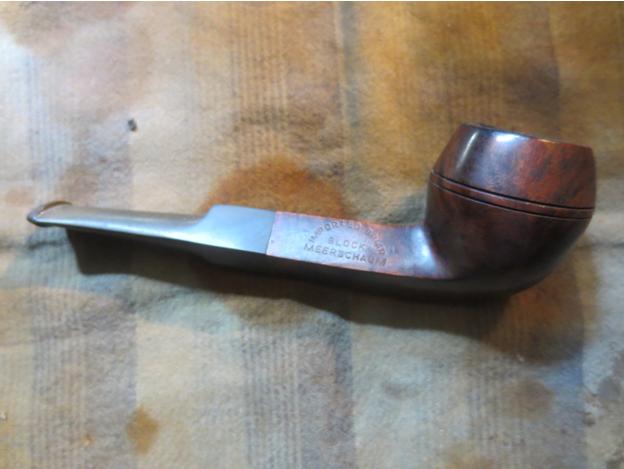
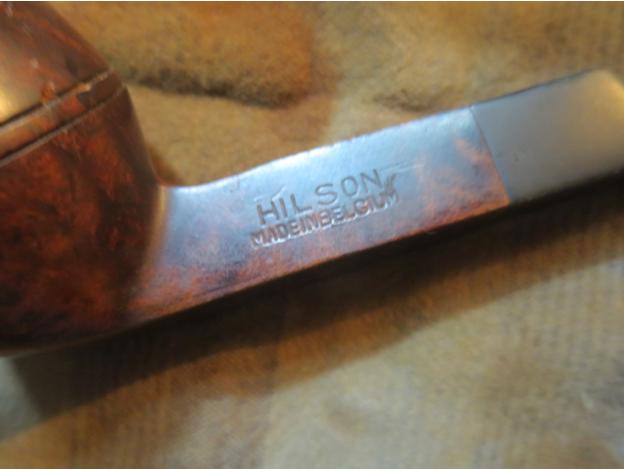
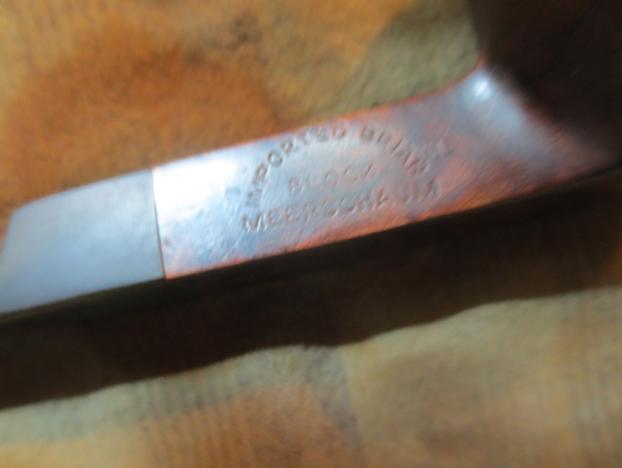
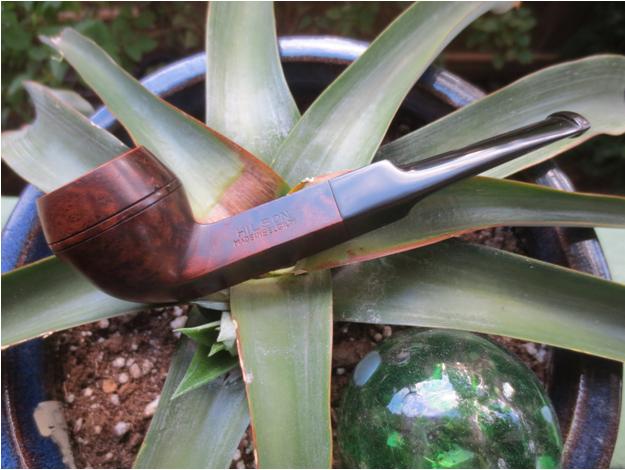
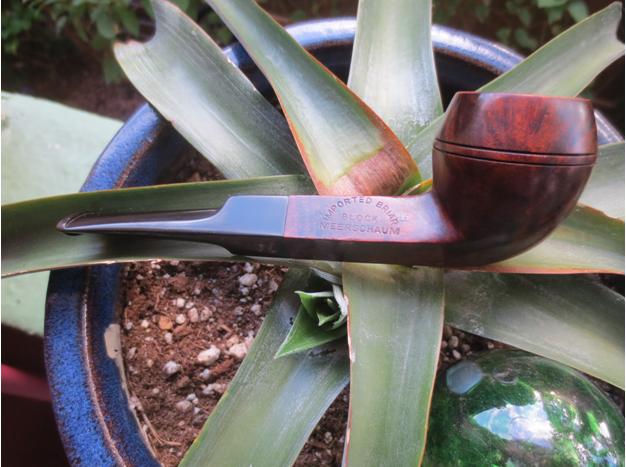
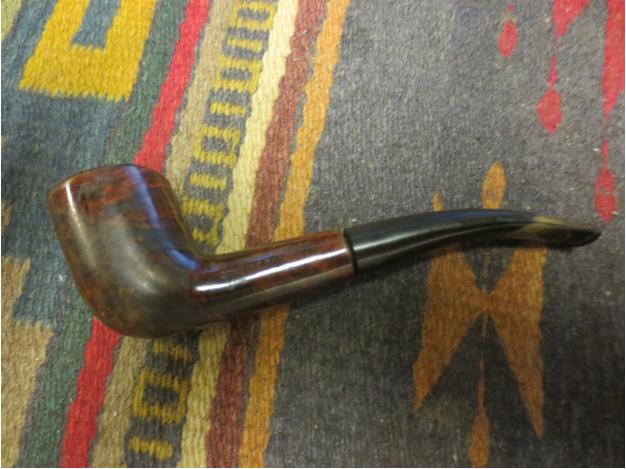
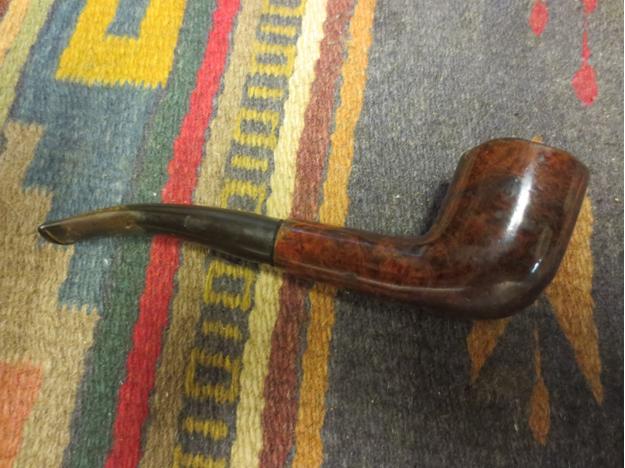
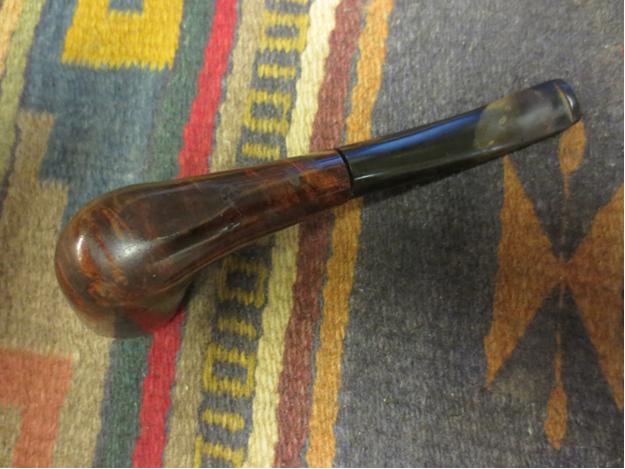
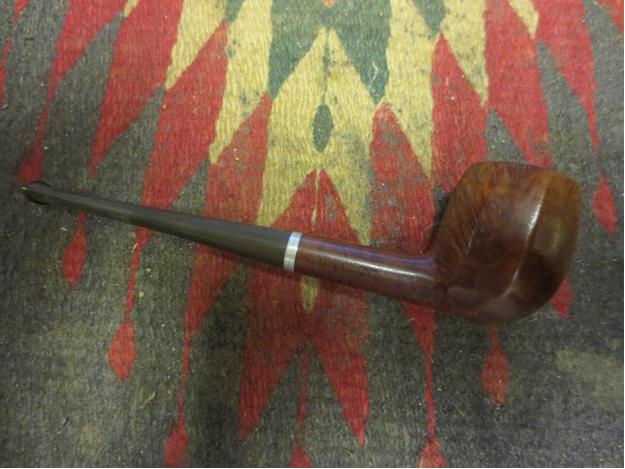
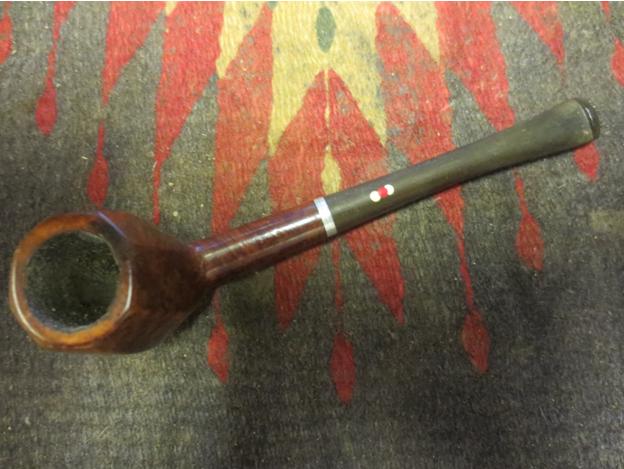
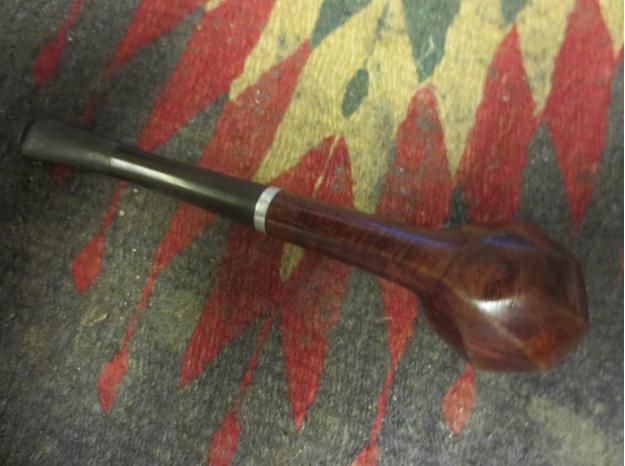
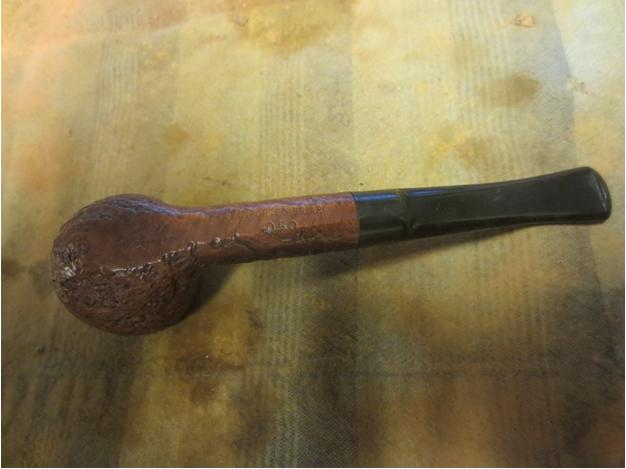
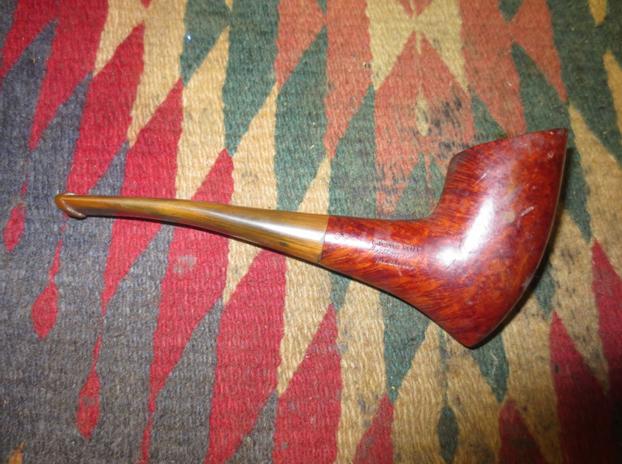
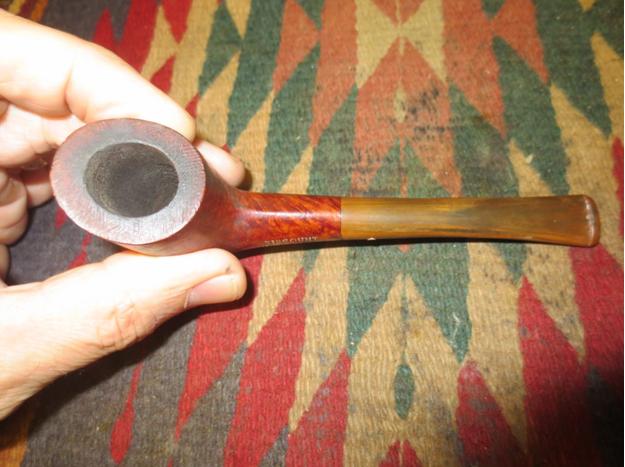
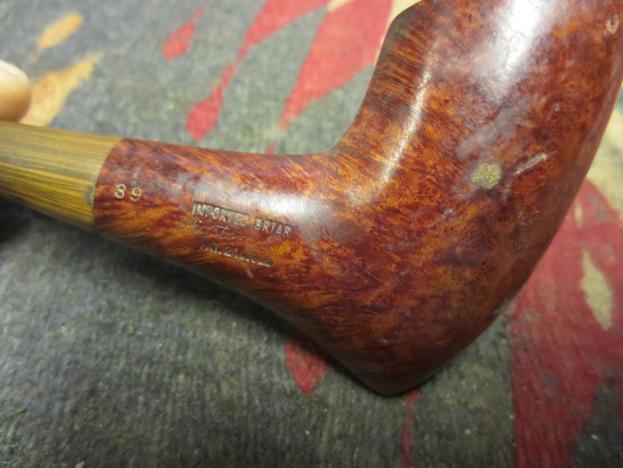
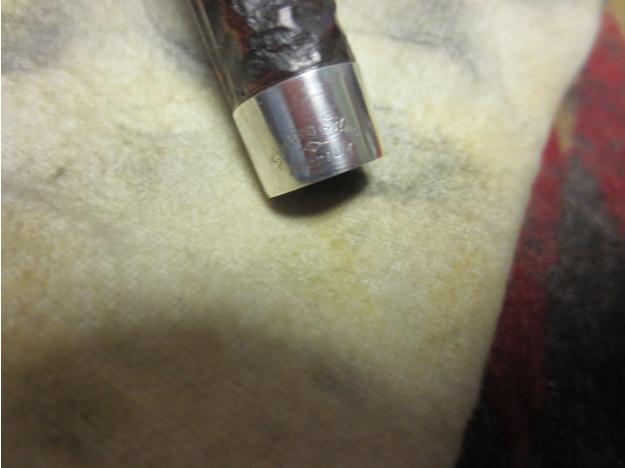
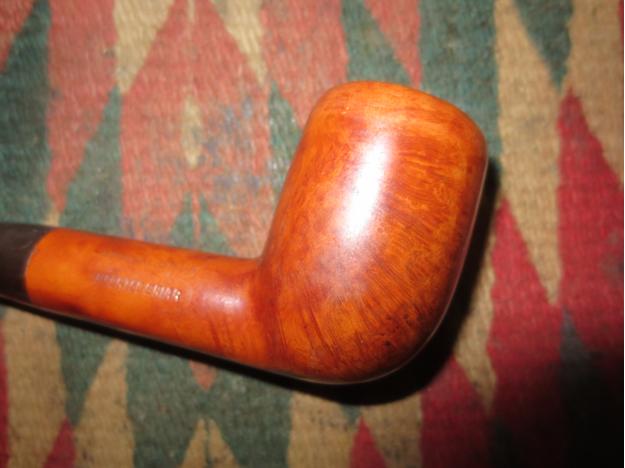
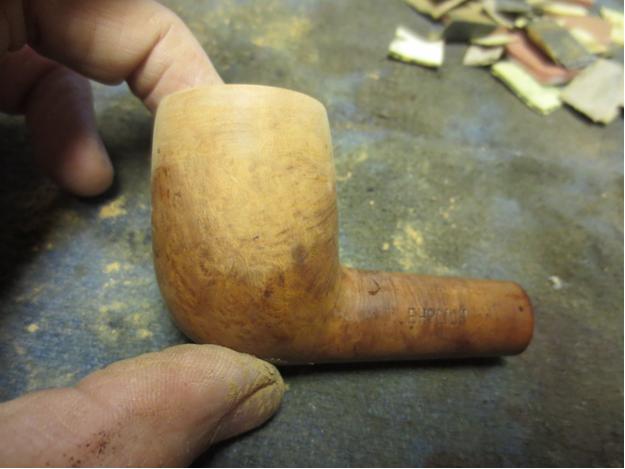
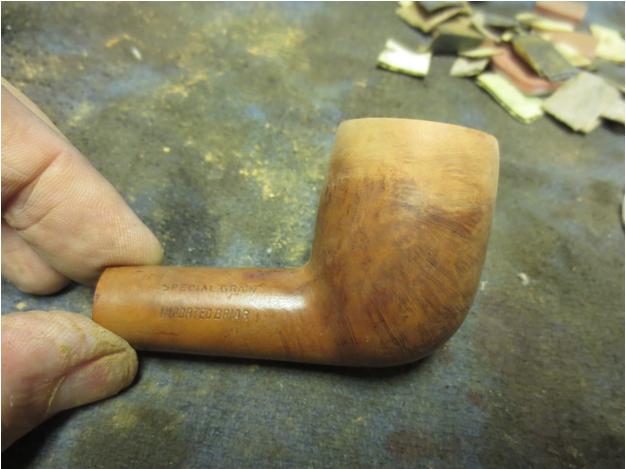
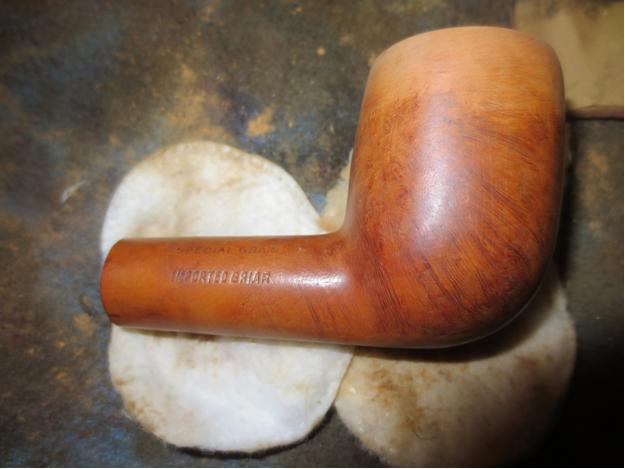
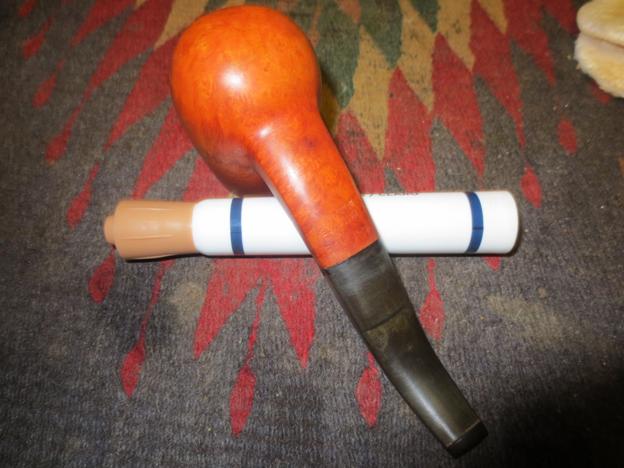
This is another pipe from the Idaho Falls antique mall. The funny thing is I went back another day to show my daughters some of the antique jewelry and did not think much of looking for more pipes as I had already cleaned out the ones I had an interest in. One of my daughters called me over to a display case where there was a pipe rest with a golden Cocker Spaniel on it. She thought it would be a great memory piece for me. I looked in the case and there on the bottom shelf was a pipe that I had not seen on the previous day. It was a nice straight Bulldog pipe. The bowl looked like it was a mess but the briar and stem looked to be in pretty good shape. I had the clerk pull it out and was surprised by the stamping on it. It read Hilson over Made in Belgium on the upper left side of the shank and Imported Briar in an arch over Block Meerschaum on the upper right side of the shank. There were some other letters underneath the arch that ran in a straight line but I could not read them without a lens. Of course I had to have the old pipe. I knew that it at least was made before Gubbels Pipe Factory in Holland bought out the Hilson brand in 1980 because of the Belgium stamping.Hilson1
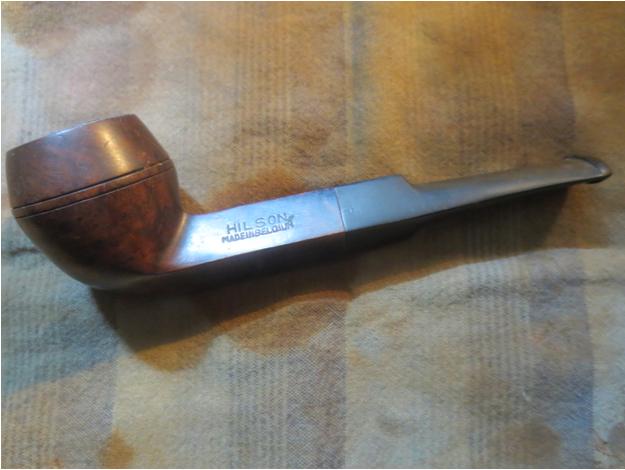
Hilson2 When I got home I looked at the shank under a bright light using a lens and could see more clearly some of the marks under the arch. The arch appeared to be over stamped and underneath on the left of arch it read S and the other letters faded out. On the right side of the arch it read TYLE. I am wondering if it originally read S60 (which is the shape number that has been more recently stamped on the underside of the right side of the shank) BLOCK STYLE in a straight line over MEERSCHAUM (the center and bottom words in and under the arch). If so then when it left Belgium and headed to the USA it must have been over stamped with the arched IMPORTED BRIAR which is stamped with a slightly smaller font. I also examined the stem and found that on the underside of the right side it had a small stamped M and what looked like part of an E. All of that will remain a bit of a mystery but it makes this old pipe interesting.

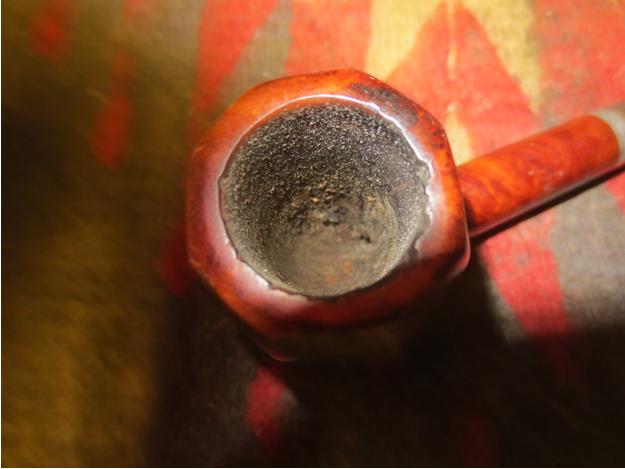
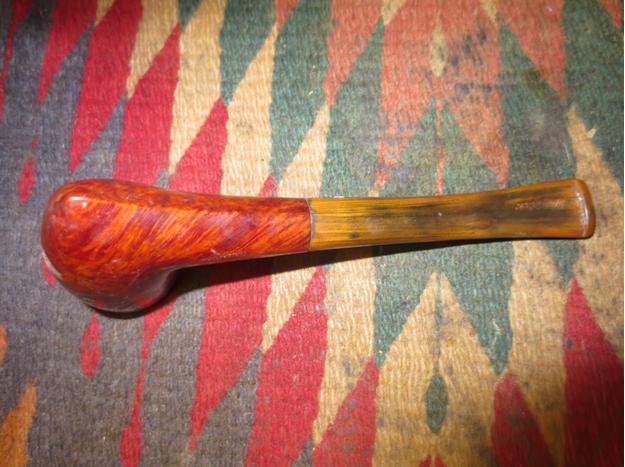
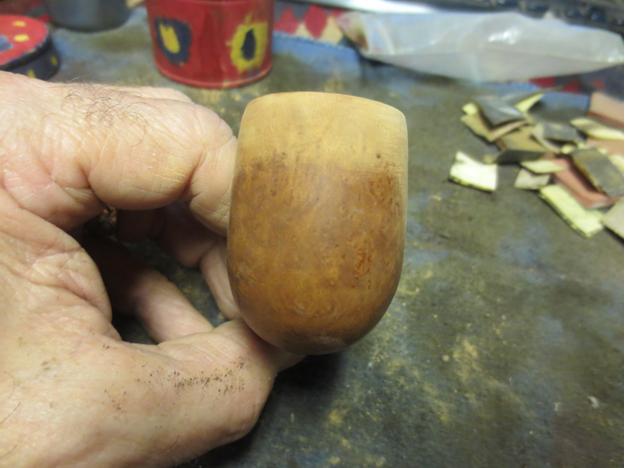
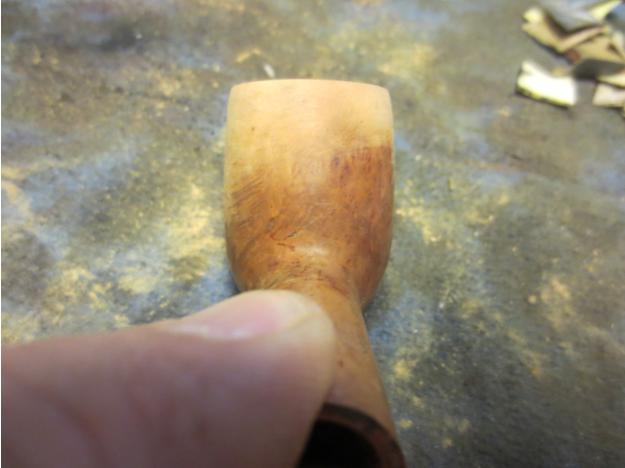
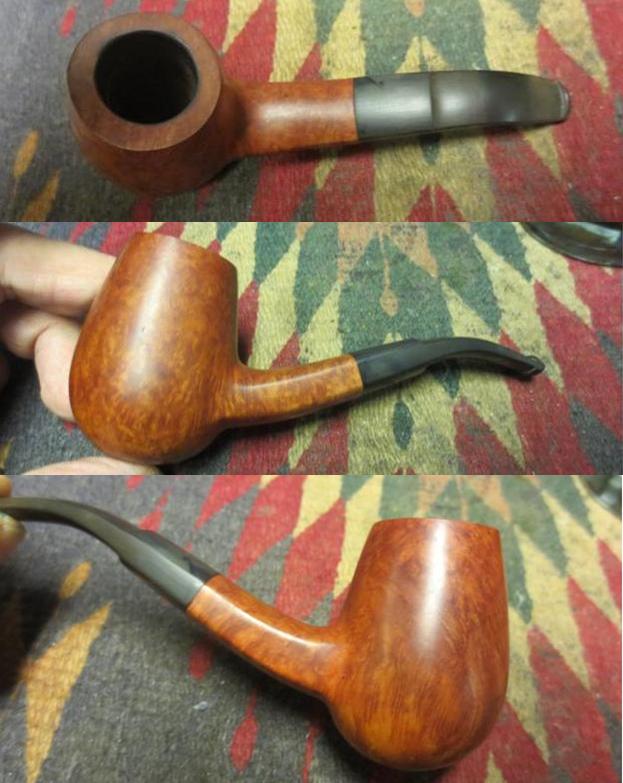
The briar portion of the pipe was in pretty decent shape. I was not sure about the briar on the rim as it was pretty covered with an overflow of tars that had come up out of the bowl and over the rim. The meerschaum bowl was invisible at this point in the process. It was somewhere inside the mess but how far down I was not sure. I had no idea of the thickness of the Hilson bowls in comparison with others. The other Hilson Meerlined pipe I had did not have the lining and the briar was very thin so I was thinking that this one would be like that. The finish was dirty on the rest of the bowl but did not have any damage. The briar looked pretty decent other than a few small fills on the underside of the shank. The stem was dirty and lightly oxidized. The pipe and the stem smelled awful! The bowl smelled like old cigarettes left in an ashtray in the rain. The stem smelled like old tires with a hint of sulfur. It would take a bit of work to clean up this one without damaging the meerlined bowl.Hilson3
Hilson4From a bit of research on the web I found that the company was originally started in 1846 by a German named Jean Knödgen who produced clay pipes in Belgium. According to a note on the Pipephil website it seems that in the late 19th century Jean Hillen married into the Knödgen family and later took over the company. He changed the company from a clay pipe producer to a factory able to manufacture briar pipes. Jean Hillen had 2 sons: Jos Hillen was responsible for sales and Albert Hillen was responsible for the production. After WWII his son Albert founded the HILSON brand which was a combination of Hillen and Son and exported his pipes all over the world. The brand did very well in the 1960s and 1970s and the brand was sold throughout Germany and Europe. In 1980 the company ran into financial difficulties and was bought by the Royal Dutch Pipe Factory owned and operated by Gubbels who still makes the Big Ben pipe.

Hilson meerschaum-lined briar pipes were manufactured in Belgium at the original Hilson factory in the 1970’s and used Block Meerschaum to make the inserts for their pipes. This was much better quality than most meerschaum lined pipes. Usually the lining was made of pressed meerschaum which was made from ground up meerschaum. Block Meerschaum is carved from the meerschaum as it is mined. High quality meerschaum pipes are always made from block meerschaum.

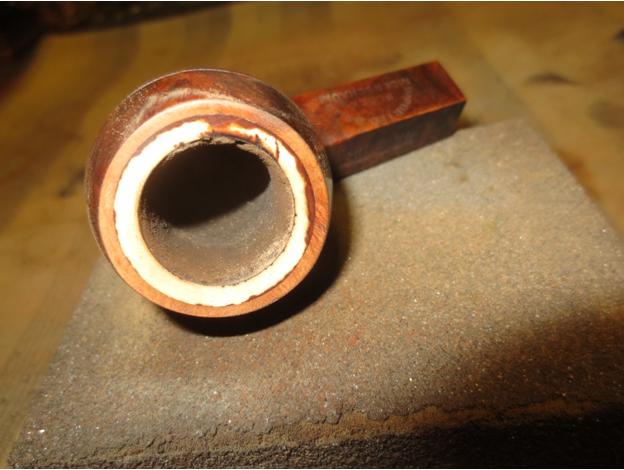
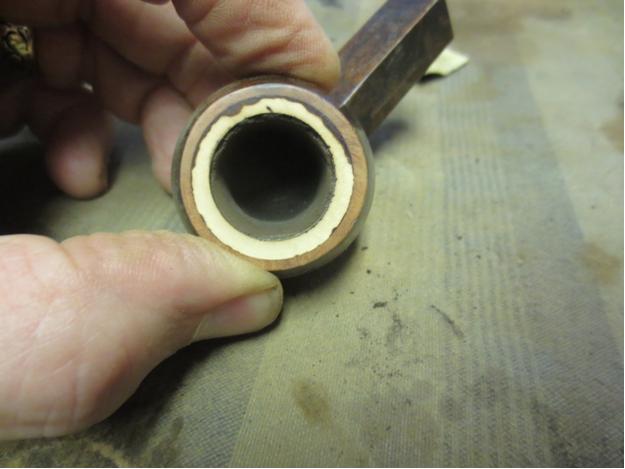
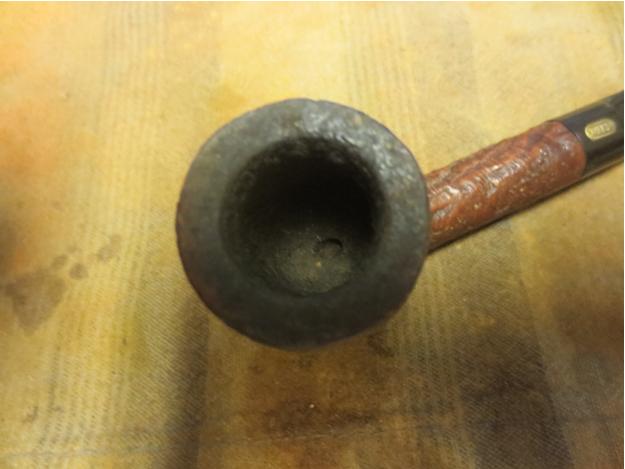
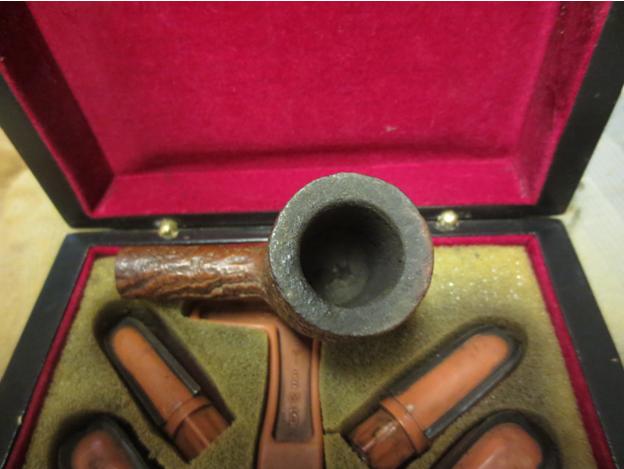
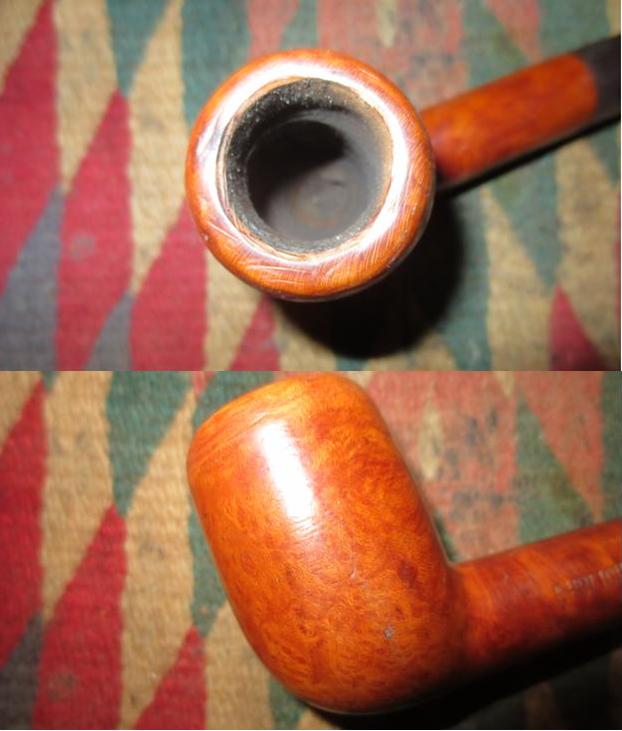
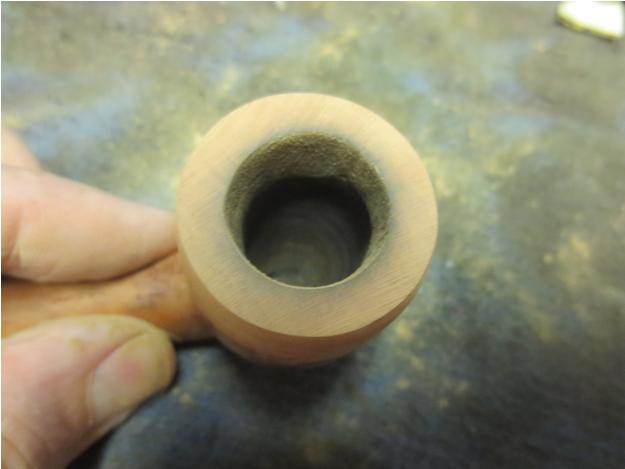
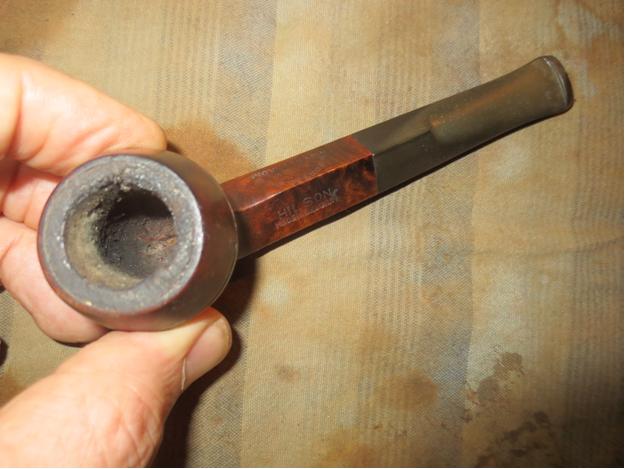
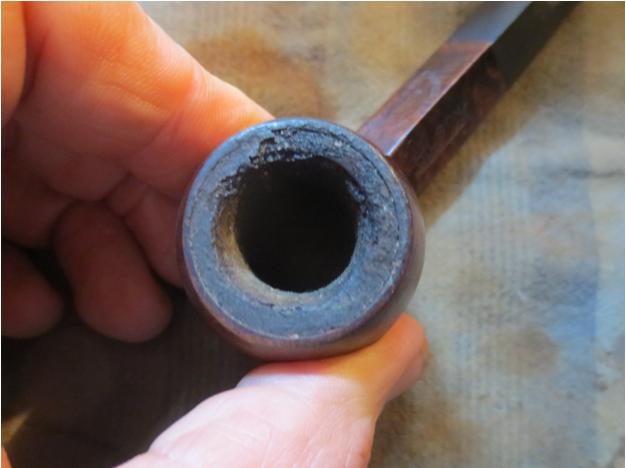
I took the next three close-up shots to give an idea of the state of the bowl when I started. There is a hint that it is a meerschaum lined bowl when you see the line on the edge of the bowl just inside of the briar. The thick coat of carbon built up on the rim and down into the bowl made it hard to see. I was glad that this was a block meerschaum insert rather than a compressed one because there was some hope that the bottom of the bowl had not begun to disintegrate of break up. The second and third photos below give an idea of the stamping on the shank of the pipe.Hilson5
Hilson6

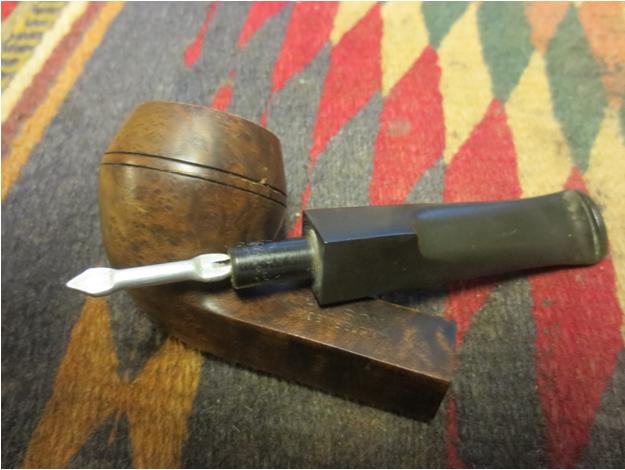
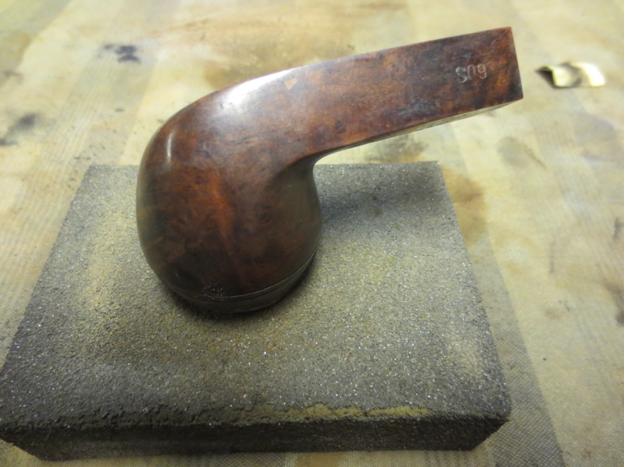
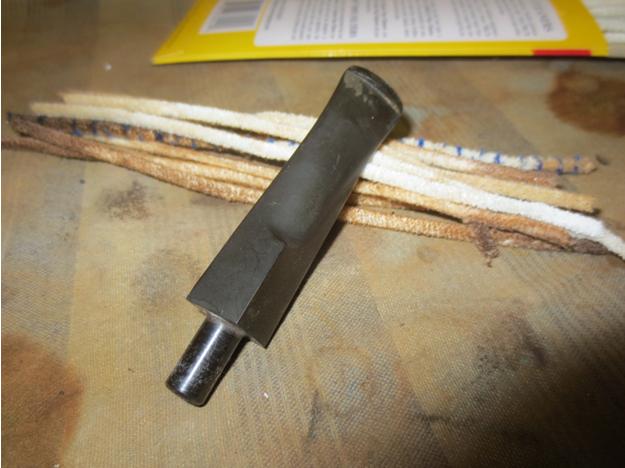
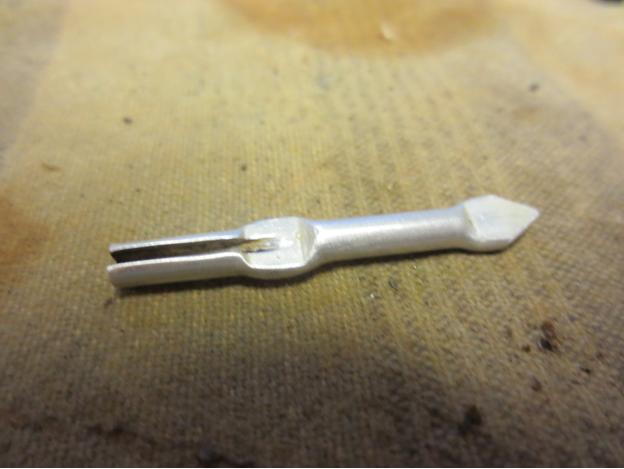
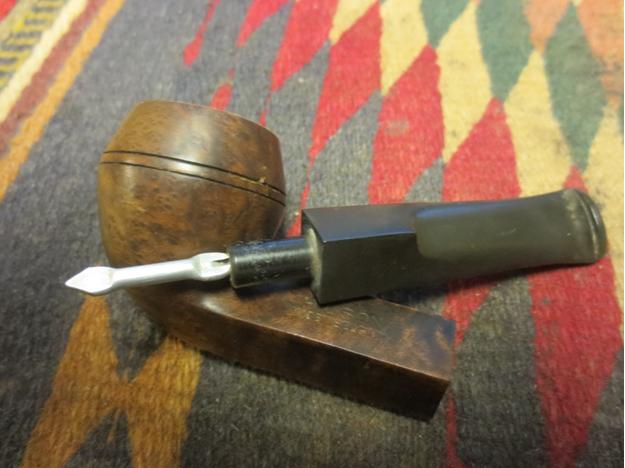
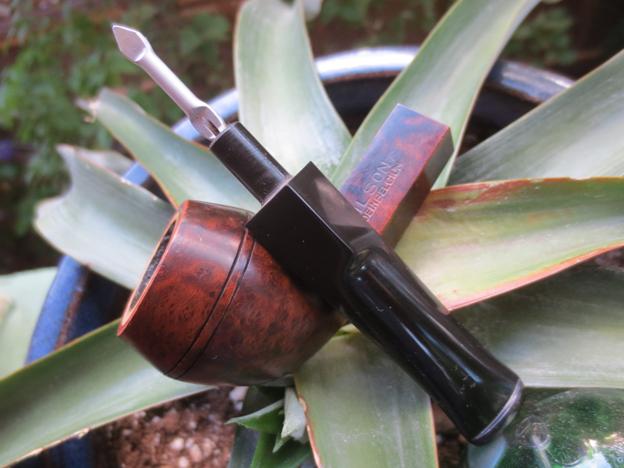
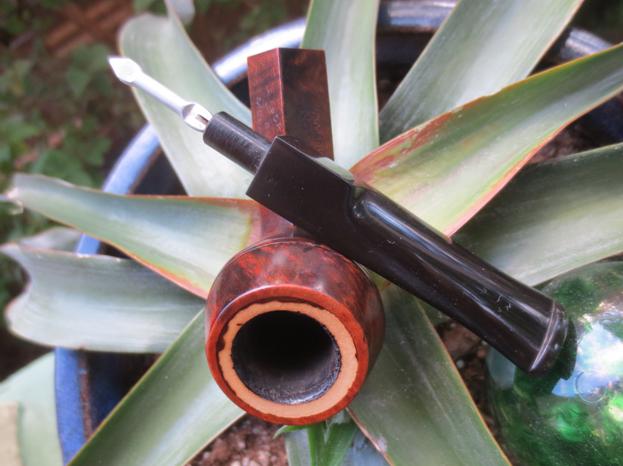
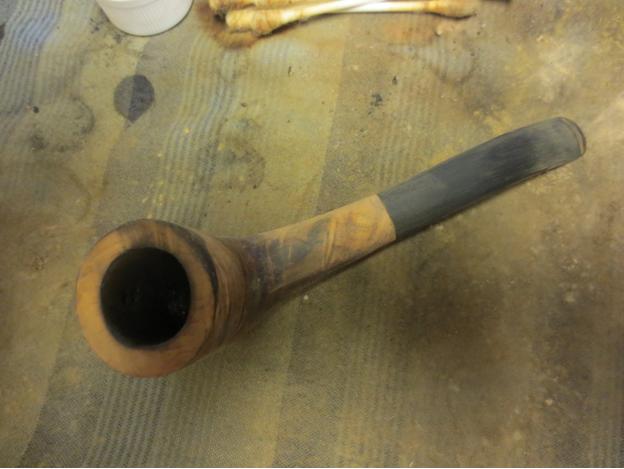
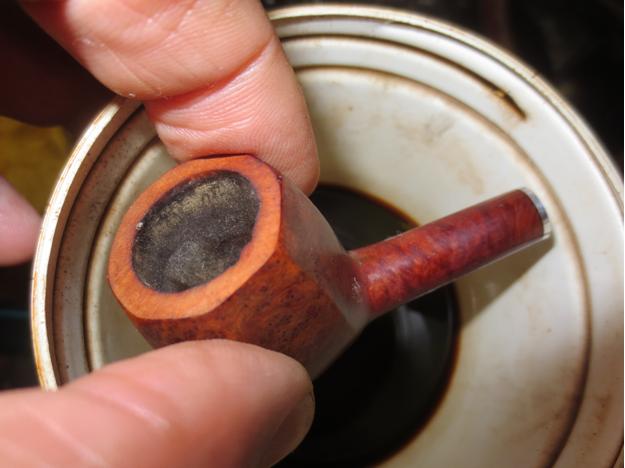
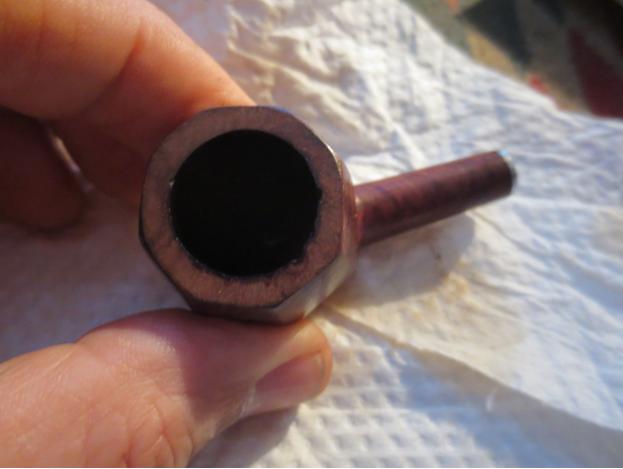
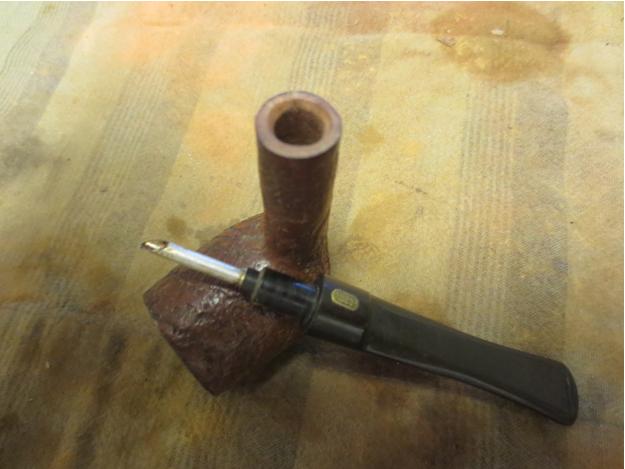
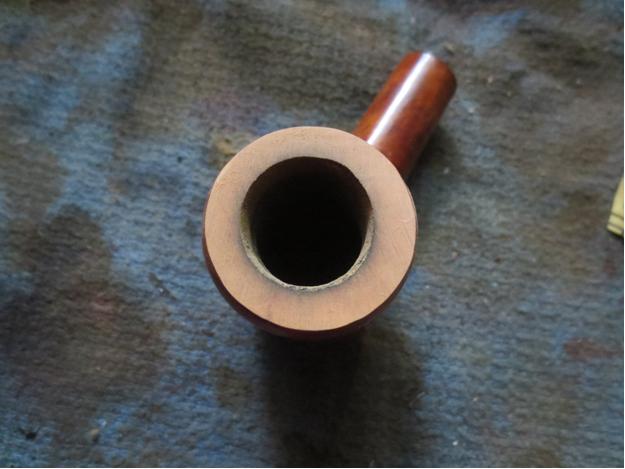
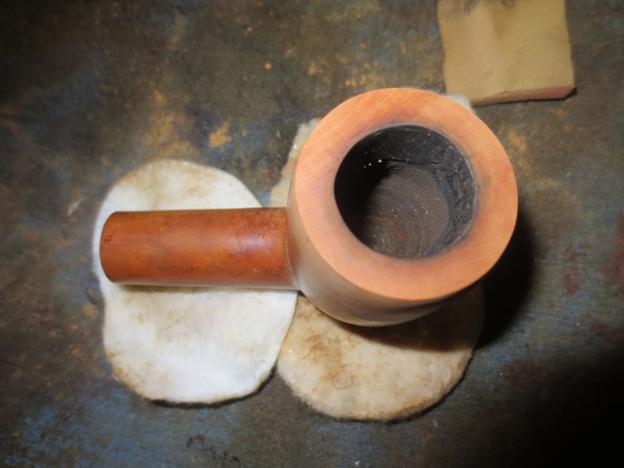
Hilson7 The next photo shows the stinger apparatus in the tenon of the pipe. Most of the other Hilson pipes that I have worked on have an inner tube extension rather than a tenon so this was a new one to me. It is also unique among the stingers that I have seen.Hilson8 I decided to top the bowl to remove all of the carbon build-up and see what was happening with the top of the meerschaum insert and the briar rim. I knew that the cake in this one was out of control but I wanted to see if I could see the original inner line before I dealt with the cake.Hilson9 The next photo shows the topped bowl. Once I had it topped I folded a piece of sandpaper and worked at the inner edge to remove the cake. I wrapped the sandpaper around my finger after the initial sanding and went as deeply into the bowl as I could reach. There was some staining around the back and right side of the meerschaum lining where it came in contact with the briar. I think some of the tars and oils wicked into the meerlining and stained it.Hilson10 The surface of the rim was scratched from the 220 grit sandpaper so I used a medium and a fit grit sanding block and cleaned up the rim.Hilson11 The next two photos show the rim and the bowl after reaming. I reamed what I could not reach with a sharp pen knife and removed all of the cake in the bowl.Hilson12

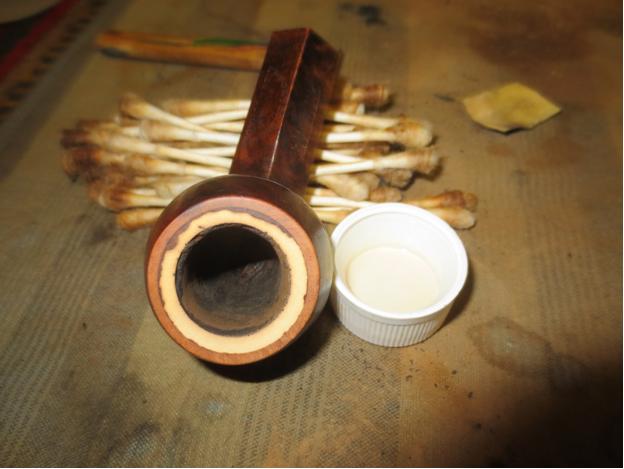
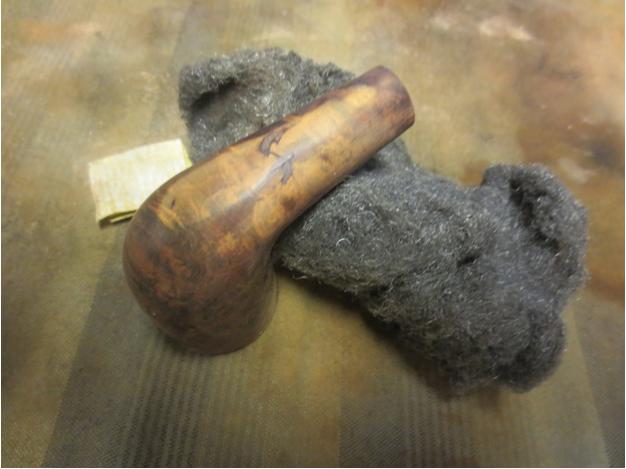
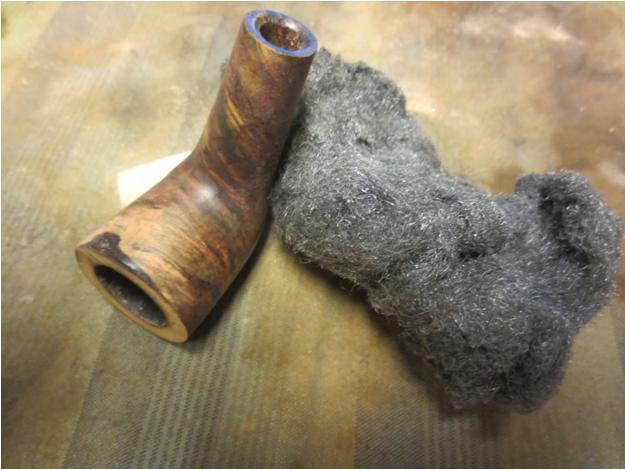
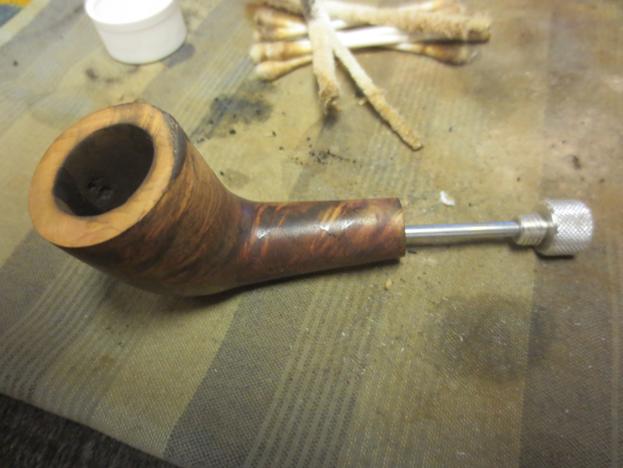
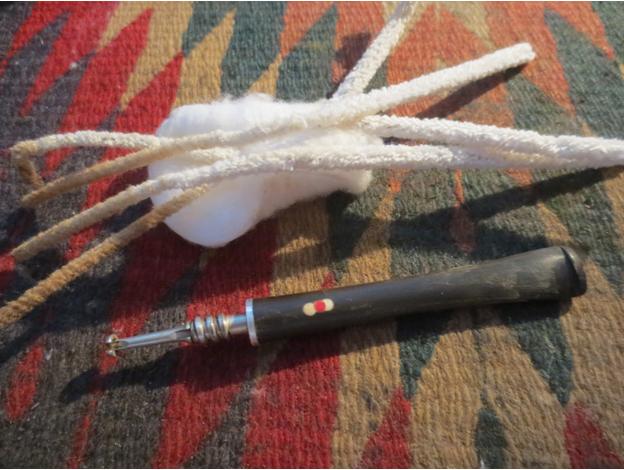
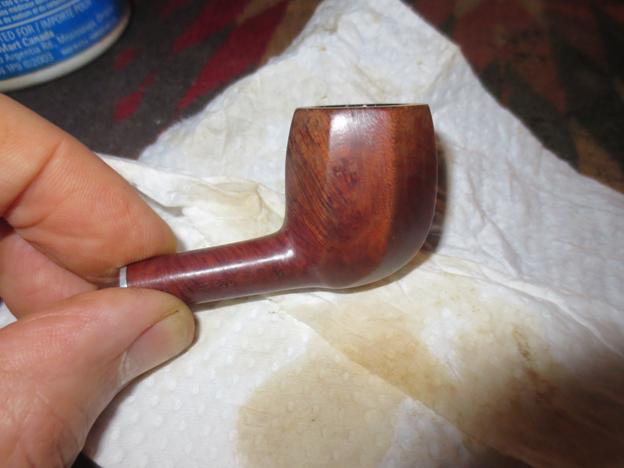
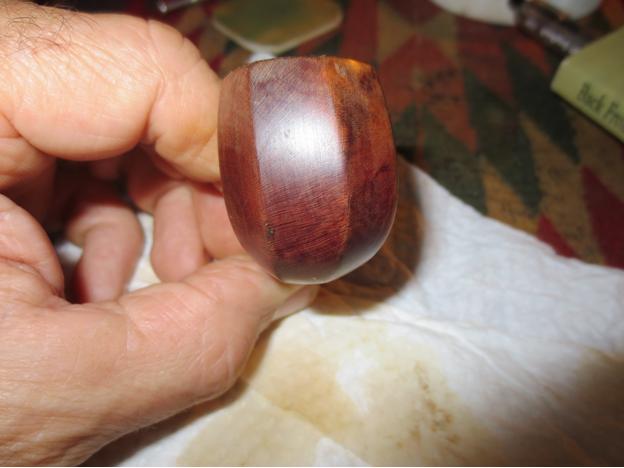
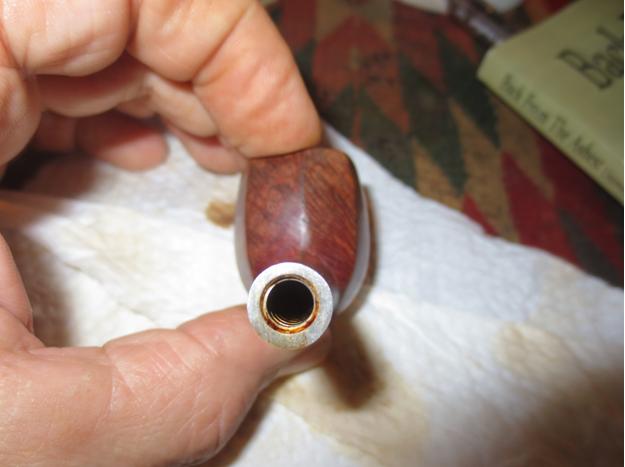
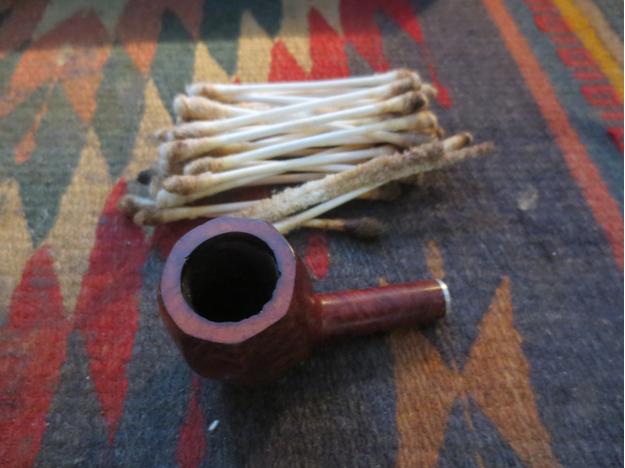
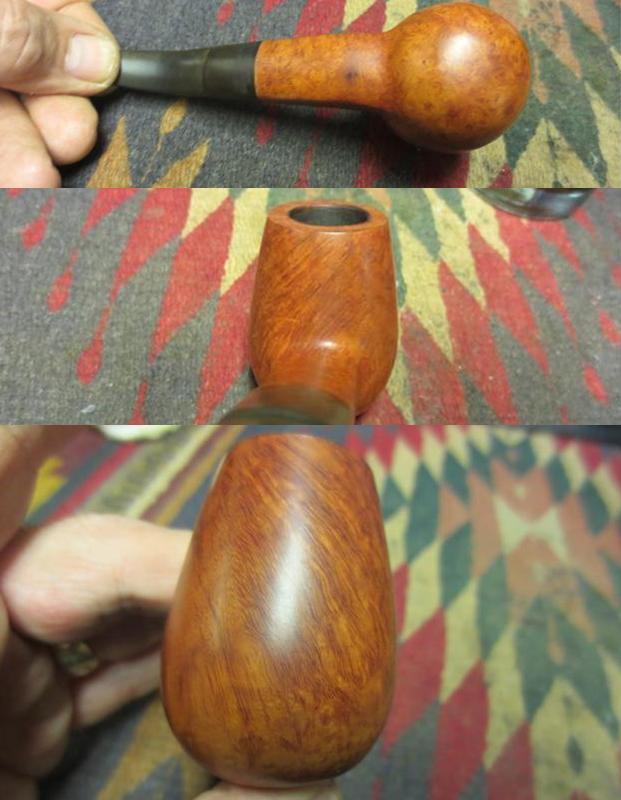
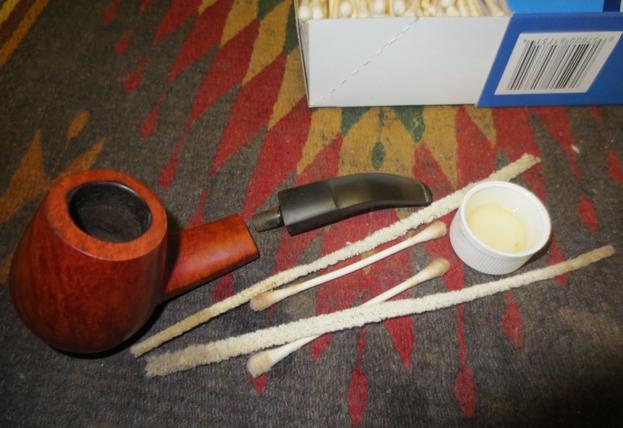
Hilson13 I removed the stinger from the tenon. I always twist the tenon rather than just pull it in case it is threaded. In this case it came out easily enough.Hilson14 I was going to use the retort to clean this pipe but thought better of it as I did not want to soften or damage the meer liner with the alcohol. So, I resorted to the old tried and true method of cotton swabs and alcohol to clean out the shank and wipe down the inside of the bowl. It took a lot of swabs to get the shank clean. The mortise ran the length of the shank to accommodate the long stinger.HIlson15 The stem took a lot less work. After just a few pipe cleaners and alcohol the pipe cleaners came out clear.Hilson16 I scrubbed the stinger with alcohol and 0000 steel wool to remove the tars that had stained the aluminum.Hilson17 I wiped down the bowl with alcohol on cotton pads and then took the following picture to show the state of the pipe thus far. It is going to be a beautiful pipe.Hilson18 I wiped the bowl and shank down with a light coat of olive oil to enliven the briar and bring out the grain. The birdseye grain on the sides of the bowl were stunning. It is hard to see with the freshly oiled bowl but in later photos it will stand out.Hilson19

Hilson20

Hilson21

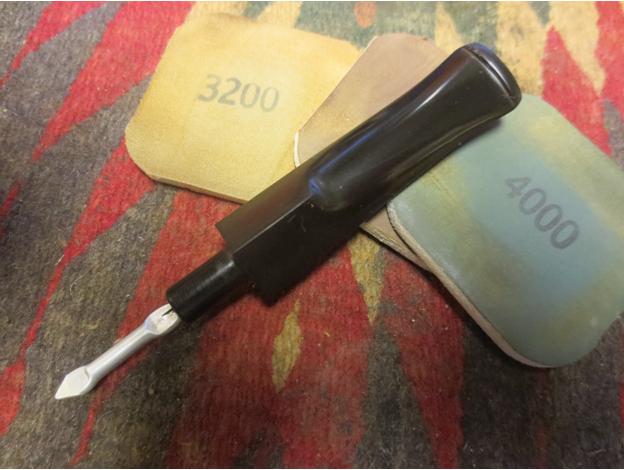
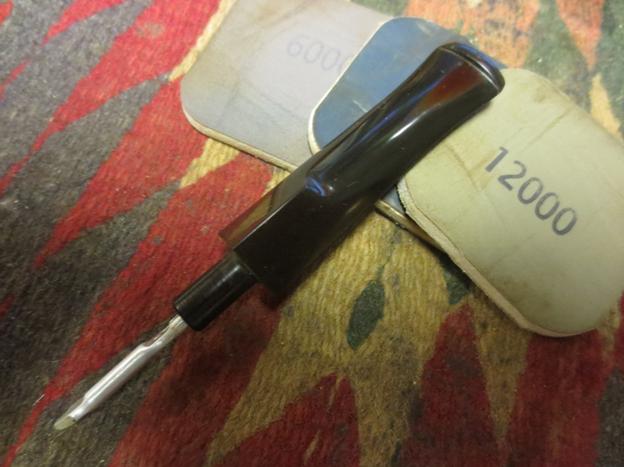
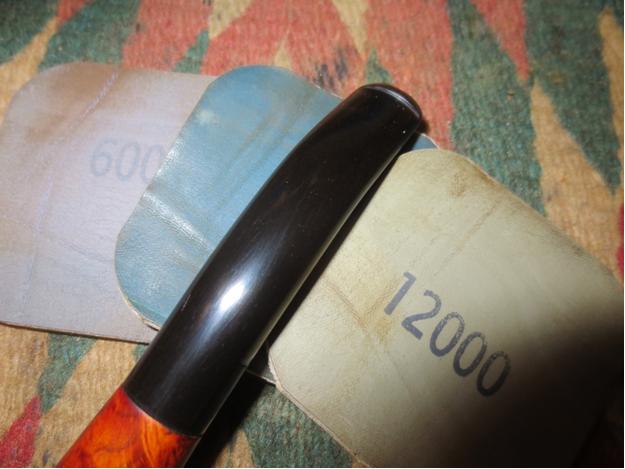
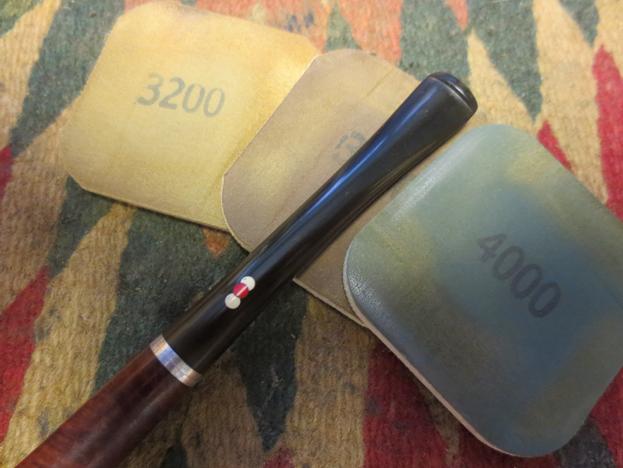
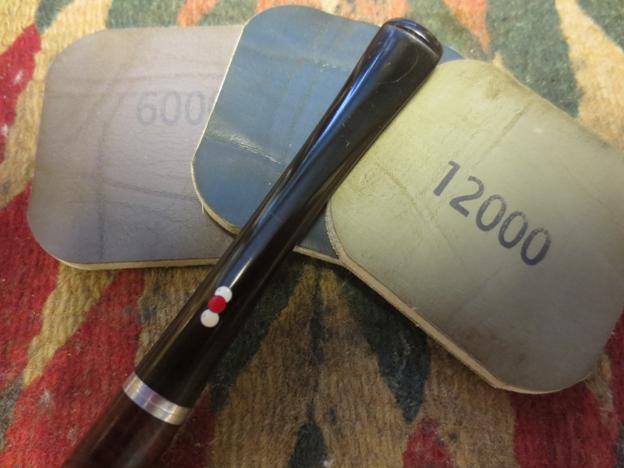
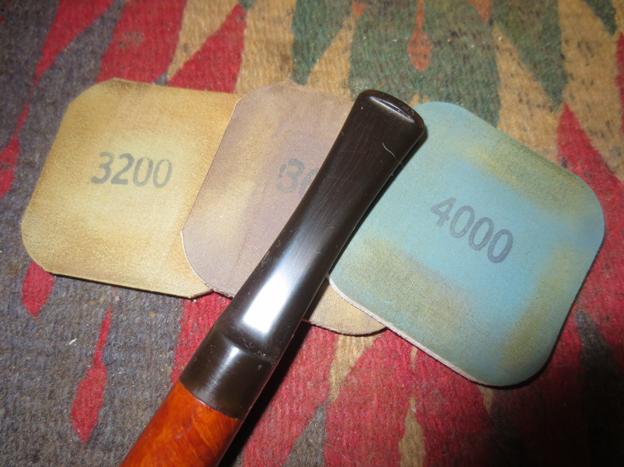
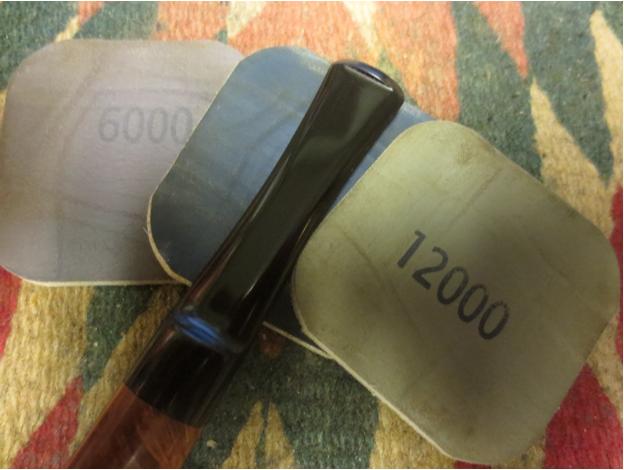
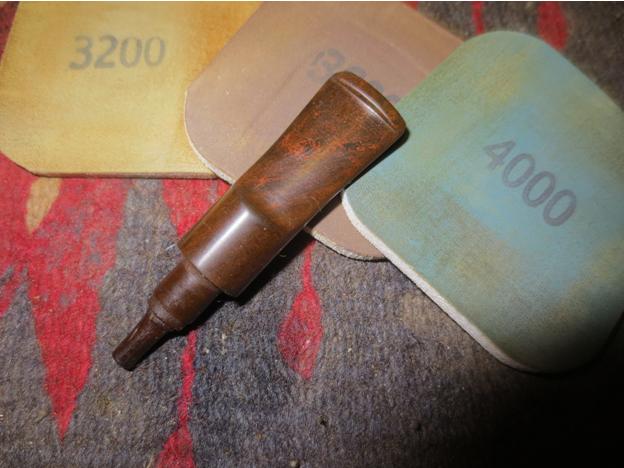
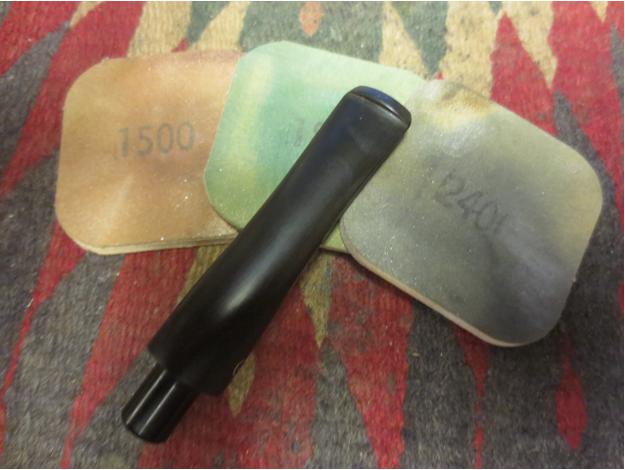
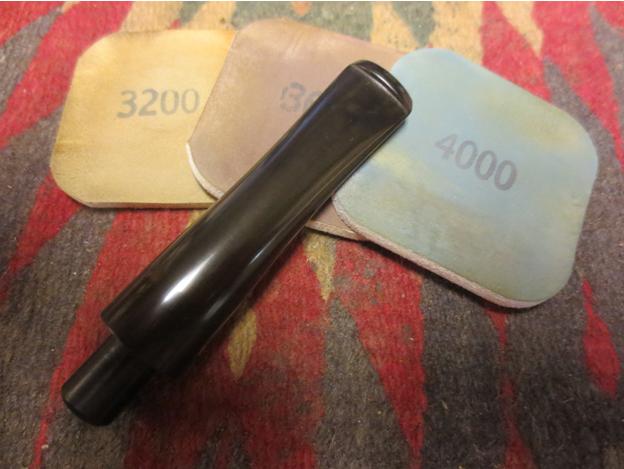
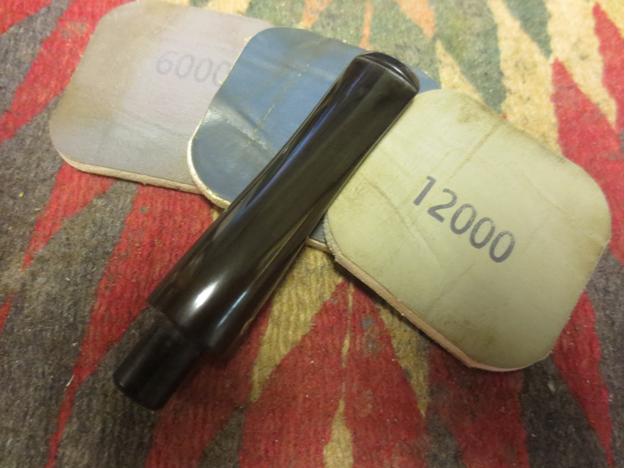
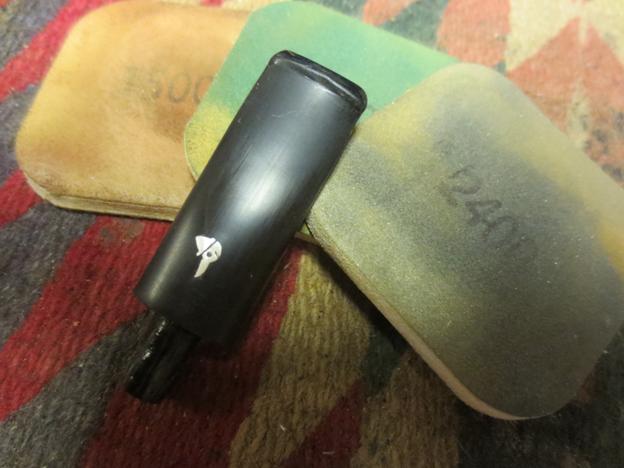
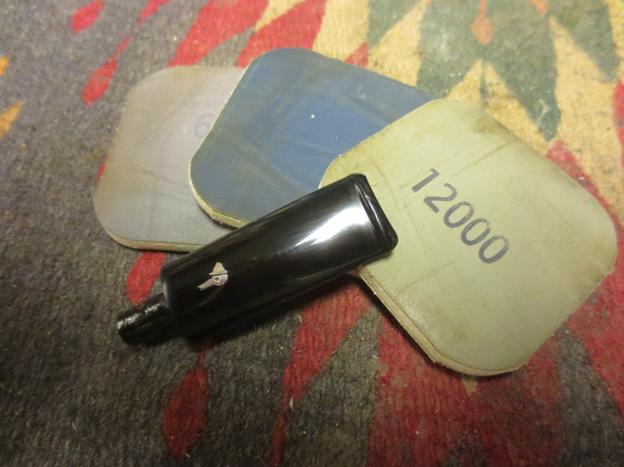
Hilson22 The stem was cleaned and ready to polish. I wet sanded it with 1500-2400 micromesh sanding pads and then gave it a coat of Obsidian Oil. Before the oil dried I dry sanded it with 3200-4000 grit pads and gave it another coat of oil and then sanded it with 6000-12000 grit pads to finish the shine. I gave it a final coat of Obsidian Oil and let it dry. Once dry I buffed it with White Diamond on the wheel.Hilson23

Hilson24

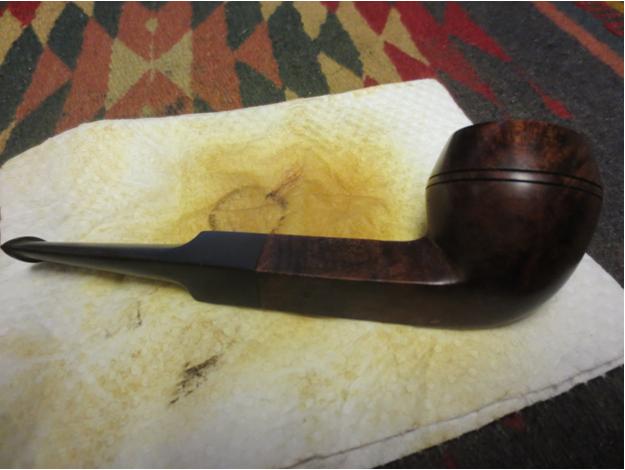
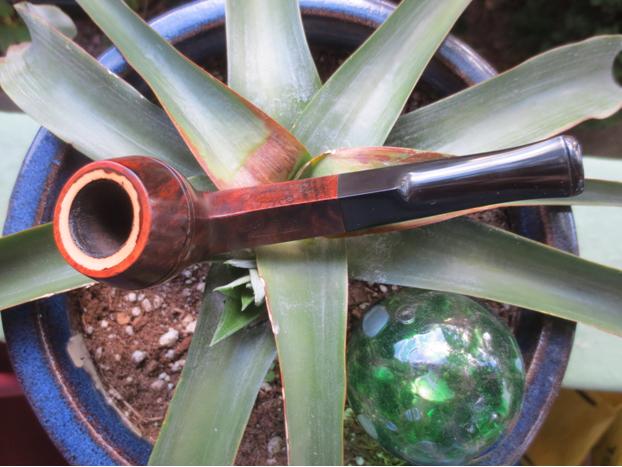
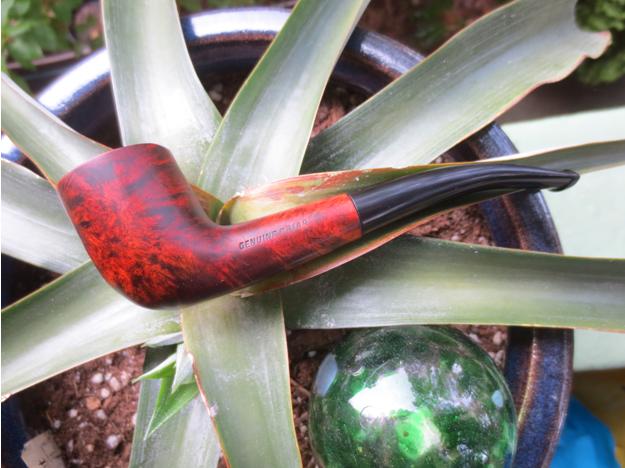
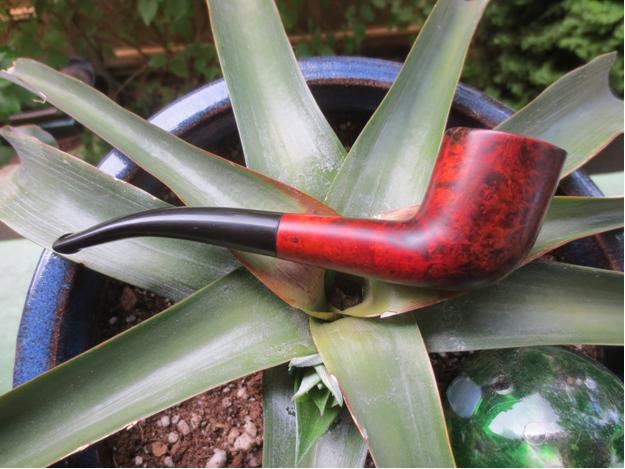
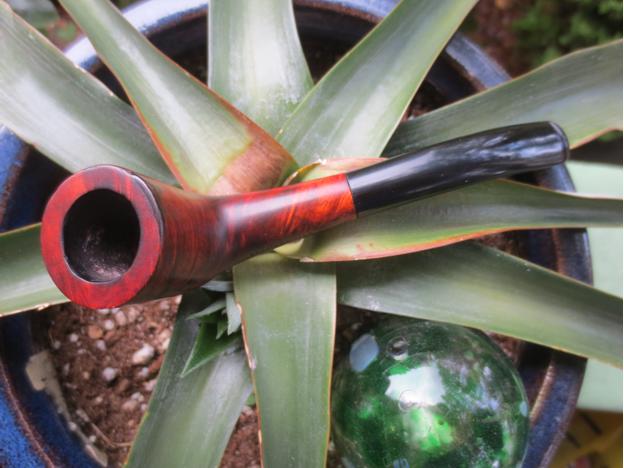
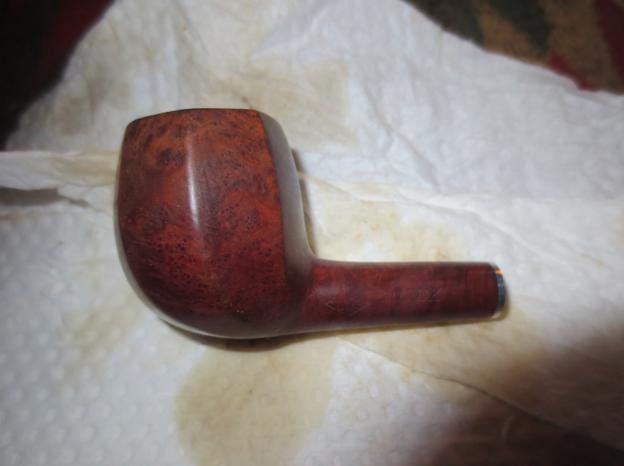
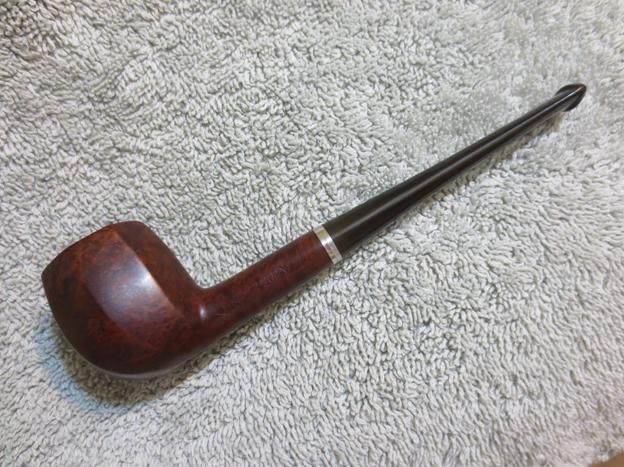
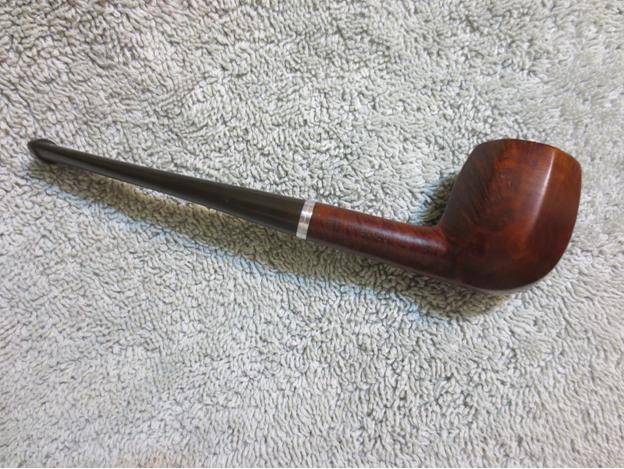
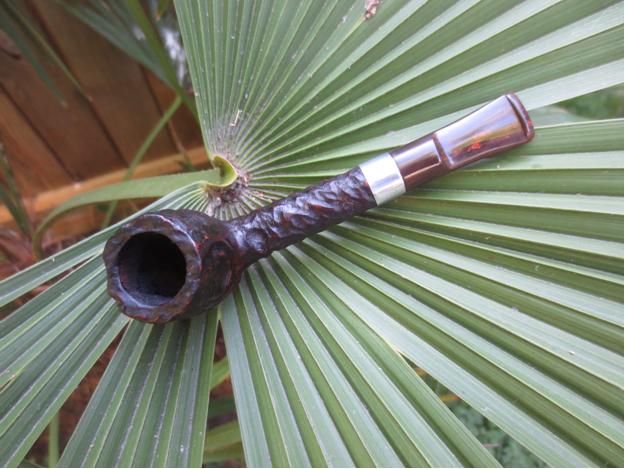
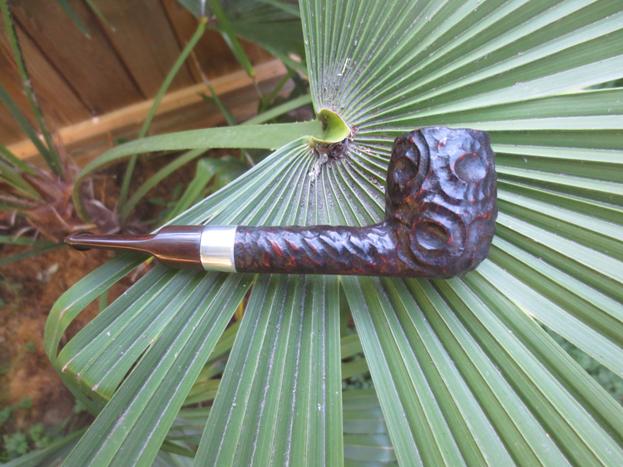
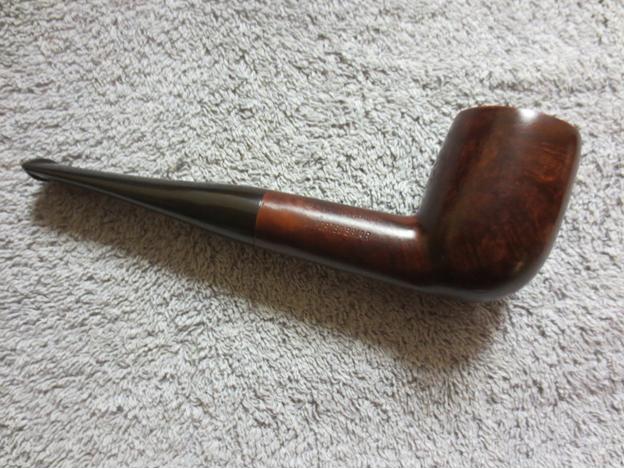
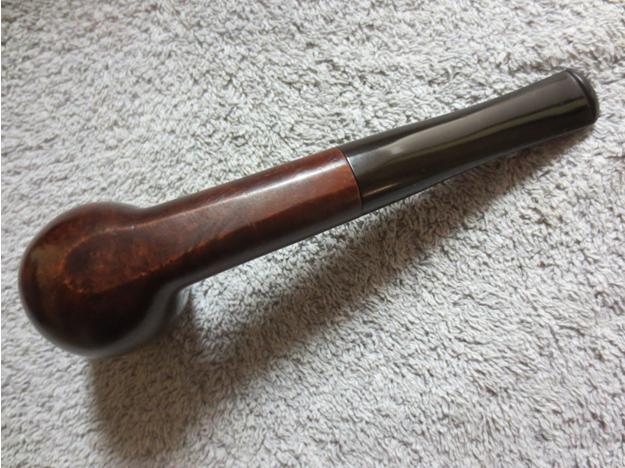
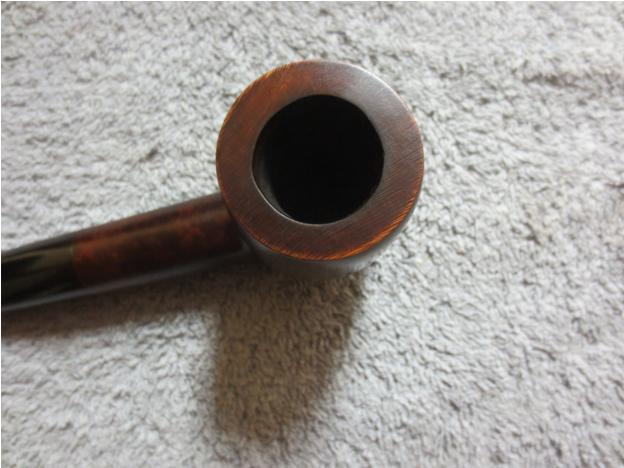
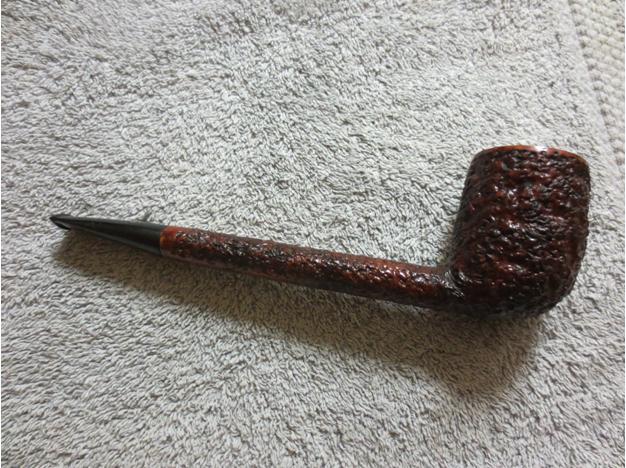
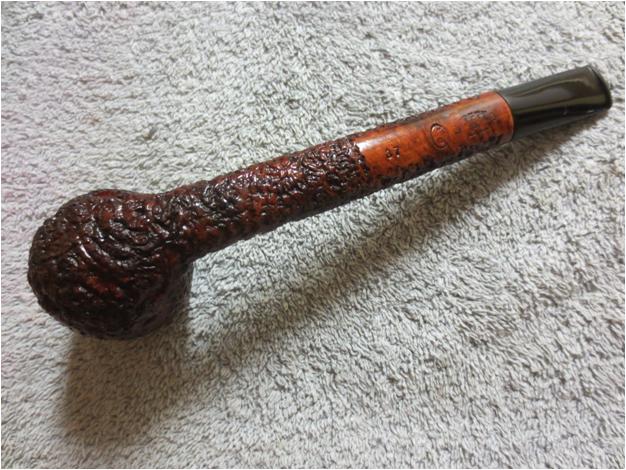
Hilson25 I buffed the finished pipe with Blue Diamond Polish on the wheel and then gave it multiple coats of carnauba wax. I buffed it with a clean flannel buff and then again by hand with a microfibre cloth to bring depth to the shine. The finished pipe is shown in the photos below. Other than the stain around the back and right side edge s of the meerschaum lining the pipe looks like new. It should offer many more years of service.Hilson26

Hilson27

Hilson28

Hilson29

Hilson30

Hilson31

Rebirth – A Genuine Briar Zulu


Blog by Steve Laug

I am working on yet another Idaho find. This one comes from a small shop in Victor, Idaho. I had a great visit with the shop keeper who has traveled the world. We talked about travels and pipes. She had a small jar of pipes behind the counter and I purchased all of them. I love the Zulu shape and this one is a good example of it. The pipe is in rough shape. The finish is worn and is peeling off on the sides of the bowl. The rim is damaged. The cake had been reamed with a knife and the bowl was out of round. The top was rough and the back outer edge was beat down and had a large nick on the back right side. The stem did not fit in the mortise all the way. It had some oxidation and a band of calcification toward the back near the button. The slot was almost closed off with grit and when I removed it from the shank it had a very grimy short stinger. Not sure but I think I will lose the stinger. I am not sure the stem is the original as the diameter of the shank and the stem are not quite the same.Gen1

Gen2

Gen3

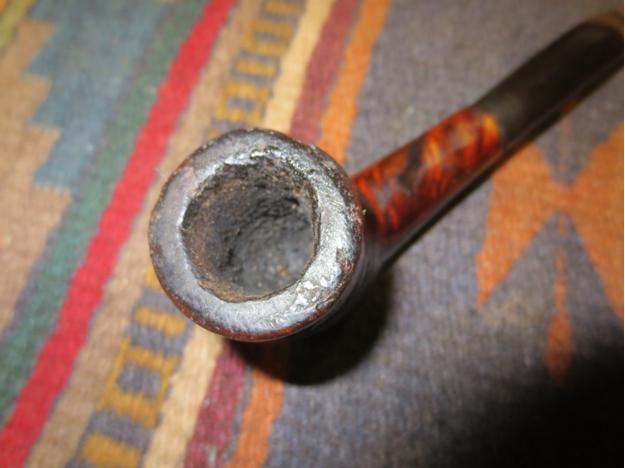
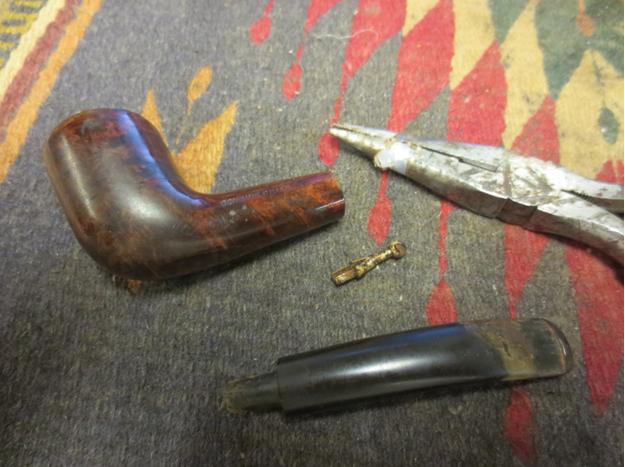
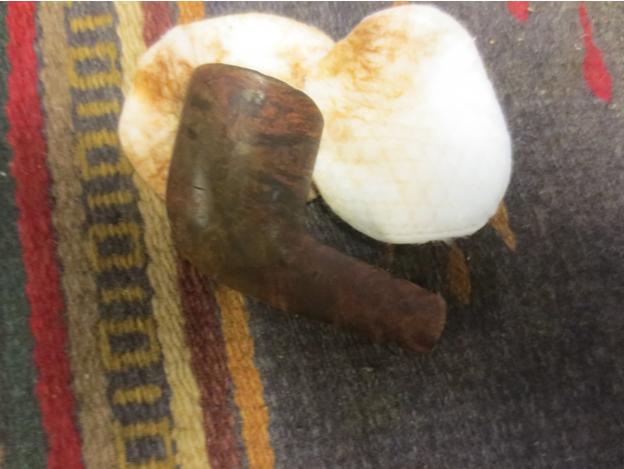
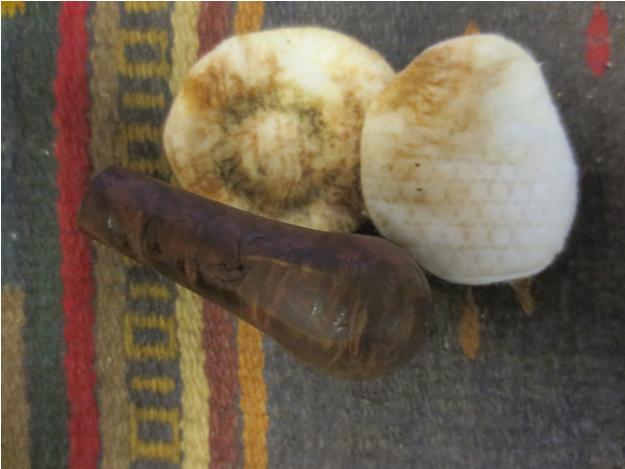
Gen4 I took a close up photo of the rim to show the damage to the top and the back side of the rim. It was truly a mess.Gen5 I took the stem off the pipe and pulled the stinger with a pair of pliers.Gen6 I scrubbed down the exterior of the bowl and the rim with acetone on cotton pads to remove the peeling varnish and the grime as much as possible before I worked on the rim and the backside of the bowl.Gen7

Gen8 There was a large fill that had crumbled on the underside of the shank about mid shank. It would need to be picked out and repaired.Gen9 I picked out the crumbling fill with a dental pick and then topped the bowl on the topping board using 220 grit sandpaper.Gen10 When I had flattened out the majority of the rim damage I repaired the damaged back side of the bowl using super glue and briar dust. I also replaced the fill in the bottom of the shank at the same time.Gen11

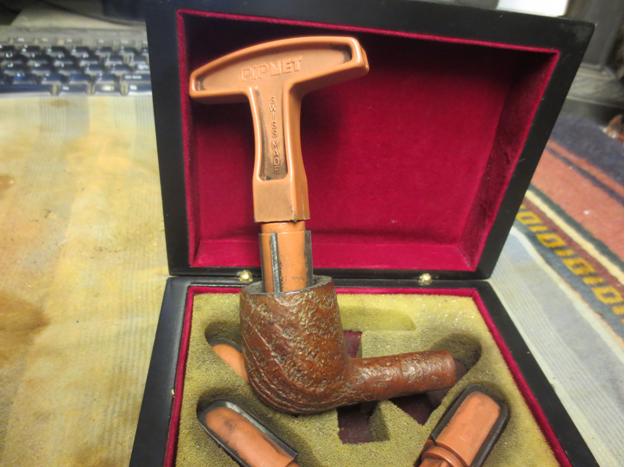
Gen12 When the patch dried I did some more topping of the rim to blend the repair into the flat surface of the rim.Gen13 I reamed the bowl with a PipNet reamer using the first two cutting heads. I took the cake back to bare briar to check for damage to the inside of the bowl.Gen14

Gen15 I sanded the repairs on the underside of the shank and the back of the bowl to blend it into the briar around it. I wanted the transition to be smooth and seamless. The top and the backside of the bowl took some effort to clean up. You can see from the photos the size of the repairs. They had dried hard as a rock and were very stable but they were quite large.Gen16

Gen17

Gen18 I sanded the bowl and shank with 0000 steel wool to smooth out the scratches and polish the repairs. I used it on the entire bowl to help remove the previous finish.Gen19

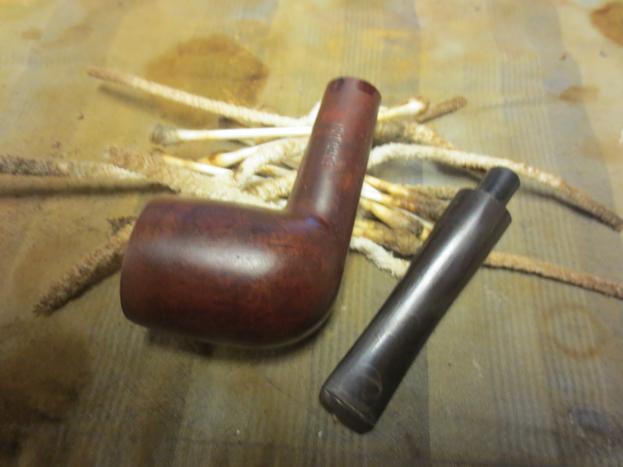
Gen20 I used the KleenReem drill bit to clean out the air way between the mortise and the bowl. It was constricted from the build-up of the grime. I could not get a thin pipe cleaner into the airway before I used the bit to open it up.Gen21 I cleaned out the shank and airway in the bowl with pipe cleaners, cotton swabs and alcohol. I scrubbed it until they came out clean and white. It was incredibly dirty. I tried to get a pipe cleaner down the stem but the slot in the button was too constricted to get even a thin cleaner through it.

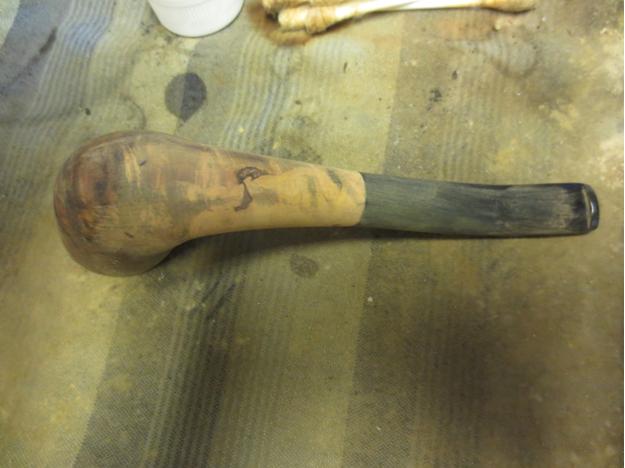
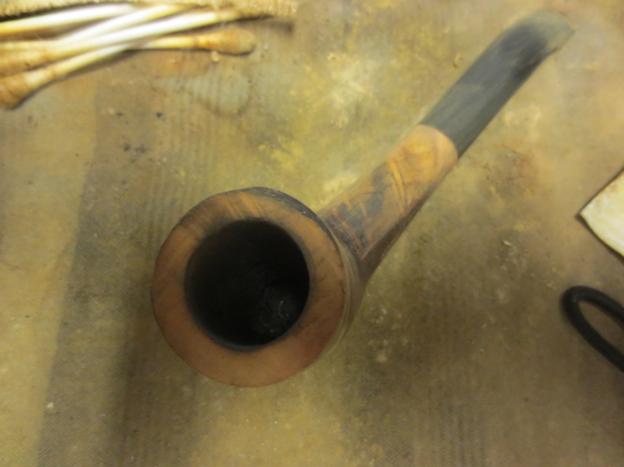
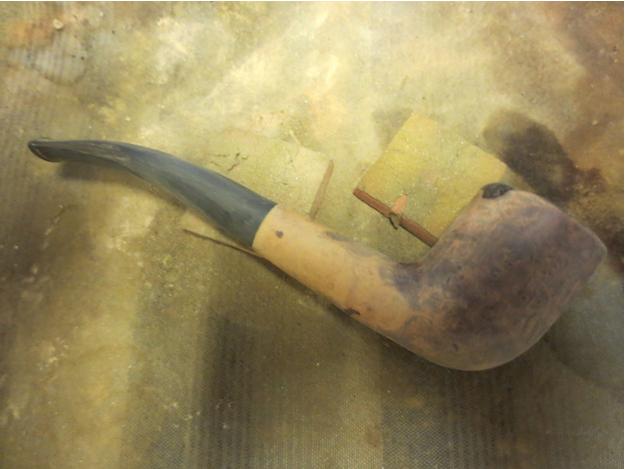
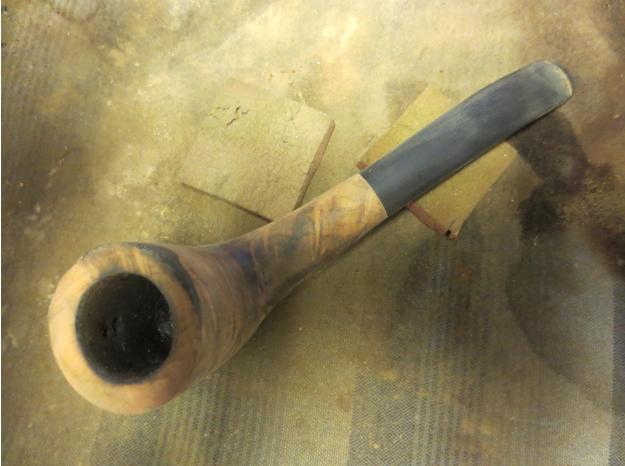
I sanded the transition between the stem and shank. The stem did not fit properly in the shank. I worked on the tenon to even it up the fit in the shank. It was almost conical at the end next to the stem so I used a Dremel and sanding drum to even it up. It was also sanded at a bit of an angle so there was a gap on the right side of the shank. I even out the tenon and made it round again. When I was finished the gap was gone and the stem fit. Now all I had to do was adjust the diameter of the shank on the right side and top as it was slightly larger than the diameter of the stem. I sanded the shank with 220 grit sandpaper until the transition was smooth and the diameter the same on both the shank and stem. I sanded the stem at the same time and removed the tooth chatter and calcification on the button end.Gen22

Gen23

Gen24

Gen25 I sanded the inside edge of the bowl with a folded piece of 220 grit sandpaper to smooth out the roughness on the back edge.Gen26 I sanded the bowl and stem with a medium and a fine grit sanding sponge to remove the scratches left behind by the sandpaper.Gen27

Gen28

Gen29

Gen30 I sanded it with 0000 steel wool to take out the next level of scratches on the briar.Gen31

Gen32

Gen33

Gen34 With all of the sanding completed I stained the bowl with the oxblood alcohol based stain to highlight the grain. It would be the first coat of stain that I used. I wanted to make some of the birdseye and cross grain standout and chose the oxblood colour to be the undercoat.Gen35 I flamed the stain and then buffed it to remove the excess stain.Gen36

Gen37

Gen38

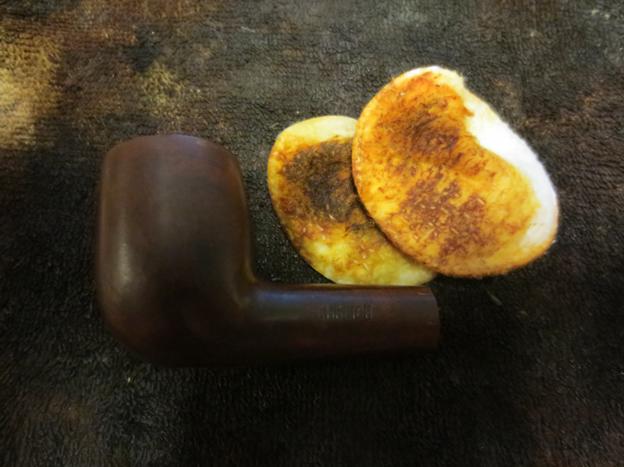
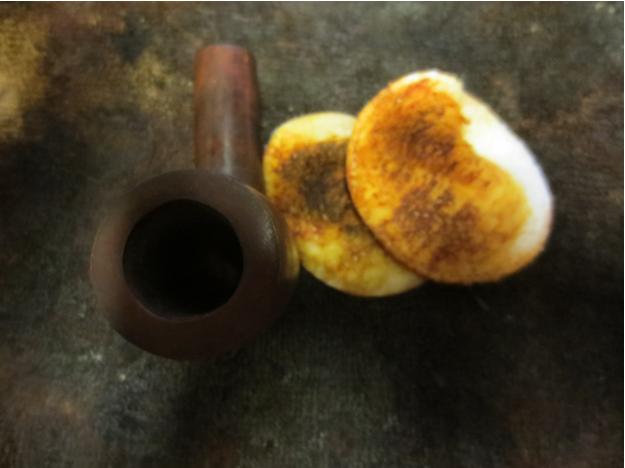
Gen39 I wiped the bowl down with alcohol and sanded it with 1500 grit micromesh to further remove the excess stain.Gen40

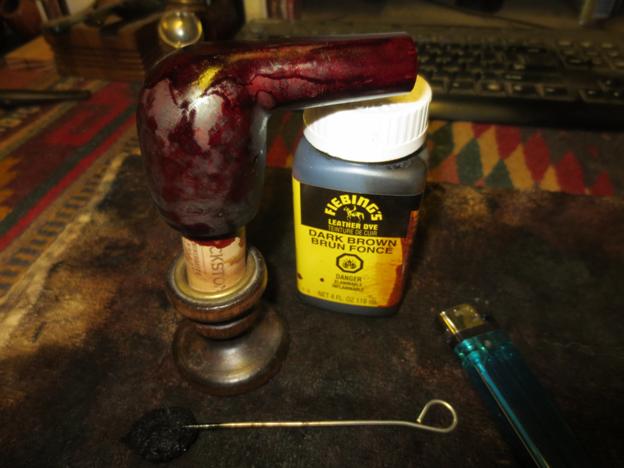
Gen41 I then stained it with the top coat – a dark brown aniline stain thinned 50/50 with alcohol to make it more of a brown wash coat. I applied it with a cotton swab and then flamed it. I repeated the process until it gave a good coverage. I applied heavily around the top of the rim and on the underside of the shank over the repairs.Gen42 I buffed it with White Diamond on the buffer and then rubbed down the bowl with a light coat of olive oil to bring life and depth to the finish.Gen43

Gen44

Gen45

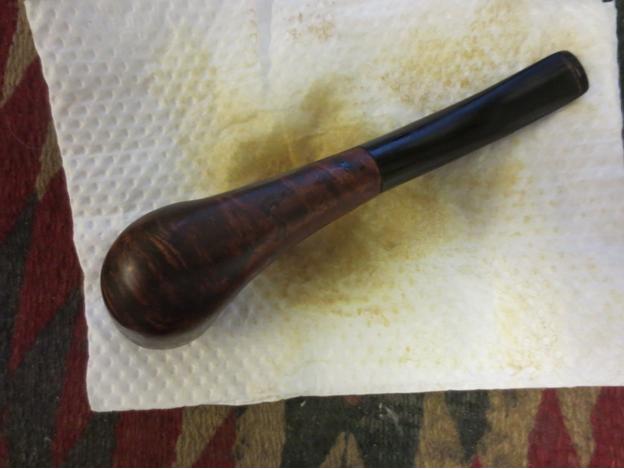
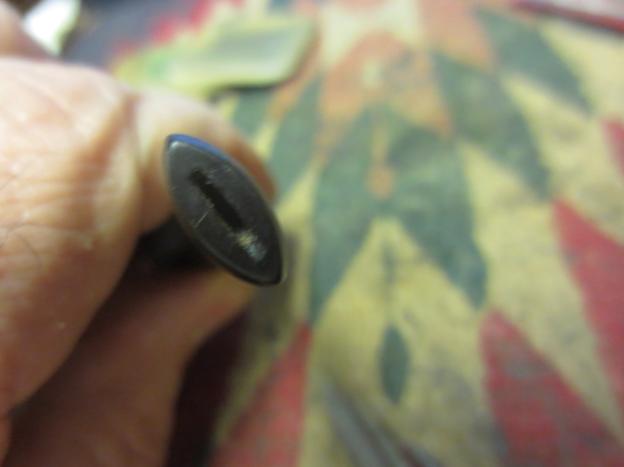
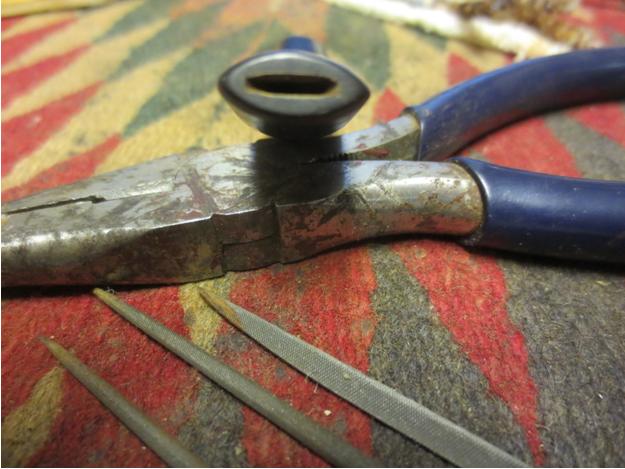
Gen46 At this point I set the bowl aside to work on the stem. The slot was so tight that I could not get a thin pipe cleaner through it. That had to change so that I could easily clean it. I used small needle files to open it up. I started with a flat oval file and worked on the bottom and top edge of the slot. Once I had them opened I used a thicker oval to give the top and bottom edge more depth and the sides more of a taper inwards to the airway. I finished with a round file and folded sandpaper to smooth out the opening.Gen47

Gen48

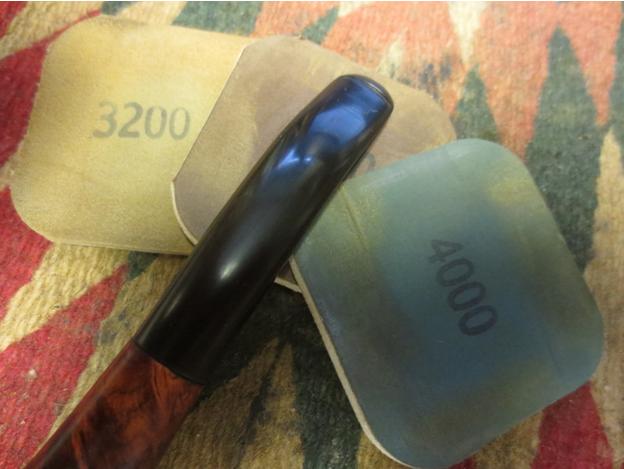
Gen49 I wet sanded the stem with 1500-2400 grit micromesh sanding pads to remove the scratching and oxidation that remained. I rubbed it down with Obsidian Oil and continued by dry sanding with 3200-4000 grit micromesh pads. I gave it another coat of oil and finished with 6000-12000 grit micromesh pads. I gave it a final coat of oil and let it dry.Gen50

Gen51

Gen52 I buffed the bowl and the stem with Blue Diamond Plastic Polish on the buffing wheel and then gave the bowl and stem multiple coats of carnauba wax. I buffed the pipe with a clean flannel buff and then hand buffed it with a microfibre cloth to add depth to the shine. The finished pipe is shown below. The contrast stain worked well and the birdseye grain stands out on both sides of the bowl. The cross grain on the front and back also looks great. The repairs are still visible but less so than they were before the two coat stain process. It came out pretty well considering where it was when I started on this old timer. Now it should continue to deliver good smokes for a long time to come. I put the stinger in for the photos but it is easily removed and I am pretty sure that I will remove it once I smoke it!Gen53

Gen54

Gen55

Gen56

Gen57

Gen58

Restoring a 20’s Era LHS PUREX Patent 1587048 Octagonal Pot


Blog by Steve Laug
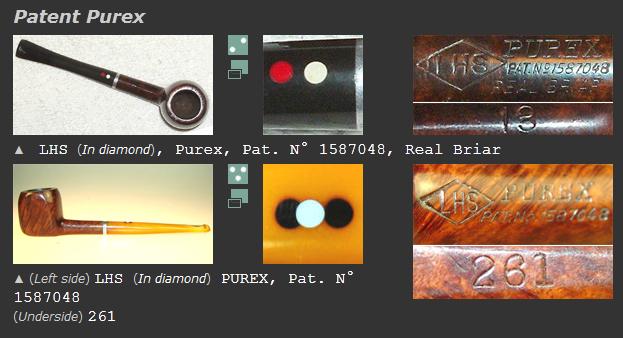
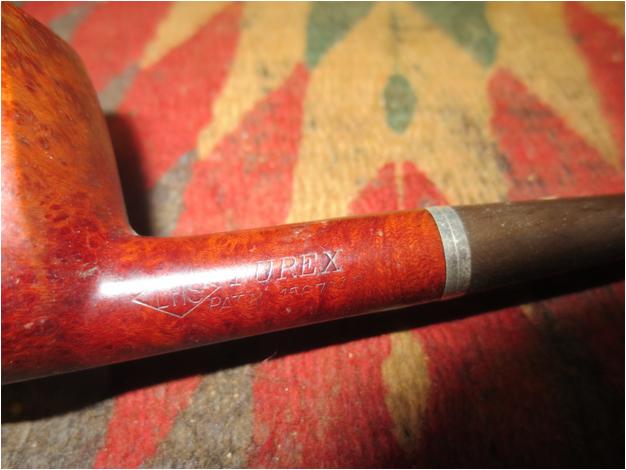
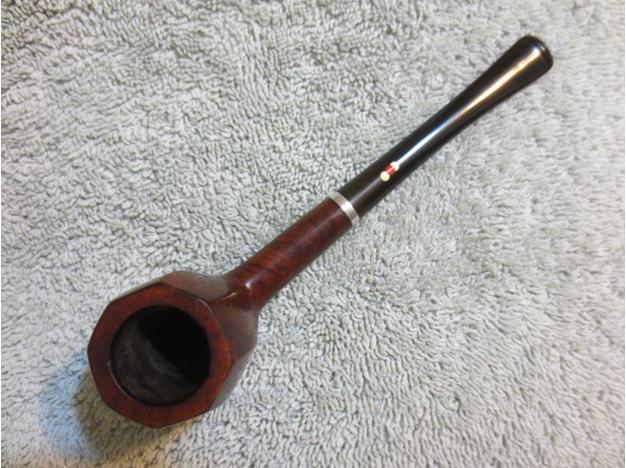
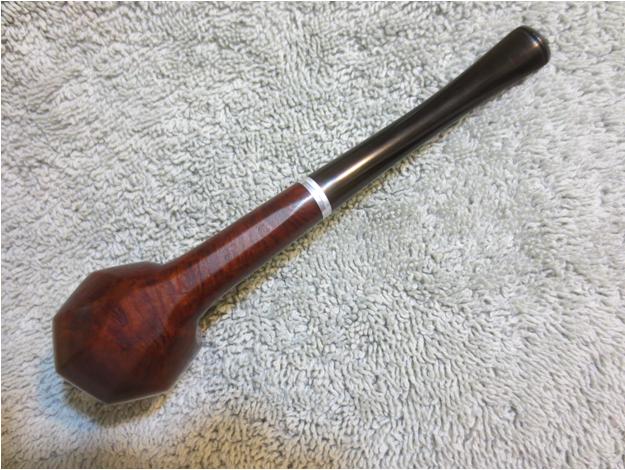
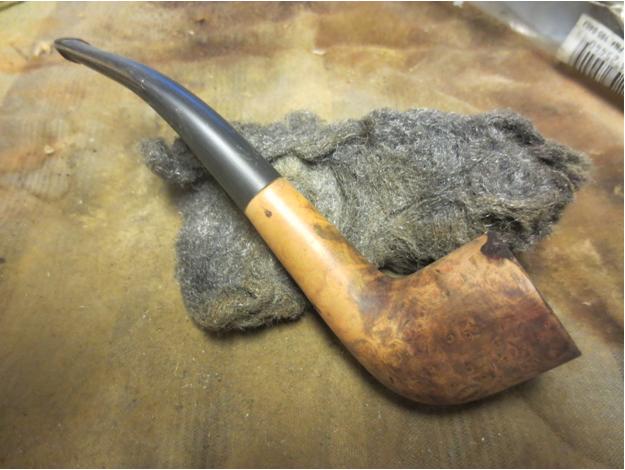
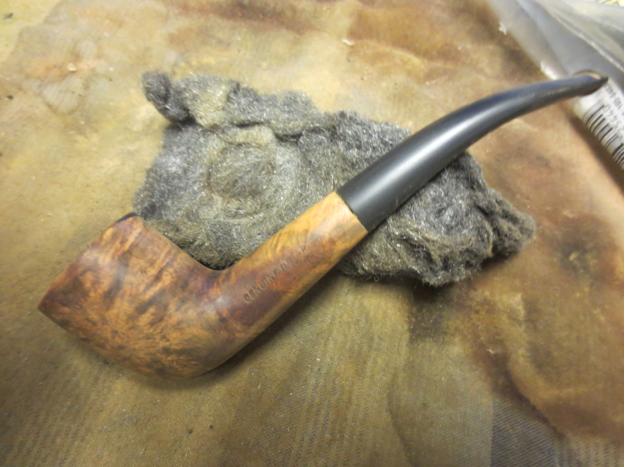
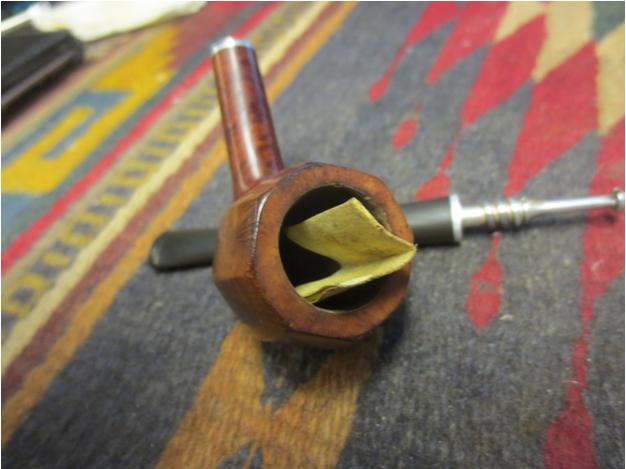
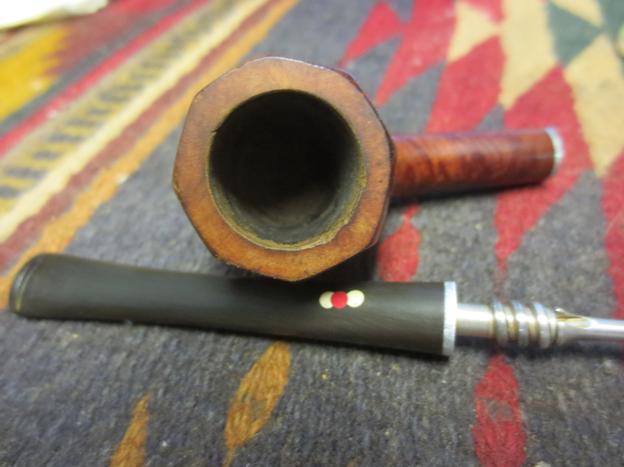
LHS The pipe I chose to work on is stamped on the left side of the shank LHS in a Diamond then PUREX. Underneath is the stamping PATN 1587048. On the right side it is stamped Real Briar Root. On the underside of the shank is stamped 69. The pipe is in decent shape for a oldtimer. It is tiny and delicate looking and that is hard to capture in these photos. The length of the pipe is 5 ¼ inches, the diameter of the bowl is 1 1/8 inches, the bowl height is1 3/8 inches. The bore on the bowl is 5/8 inches. The diameter of the shank and the stem is 3/8 inches. The stem is lightly oxidized and has some tooth chatter on the top and bottom near the button. The finish is dark and dirty with worn spots showing through the varnish that covered it. The aluminum on the shank and the stem was oxidized and lightly pitted.LHS1

LHS2 The bowl was slightly out of round on the back inner edge. There were some nicks in the inner edge and on the rim top.LHS3 Here is a close-up of the rim showing the nicks and damage to the rim.LHS3a

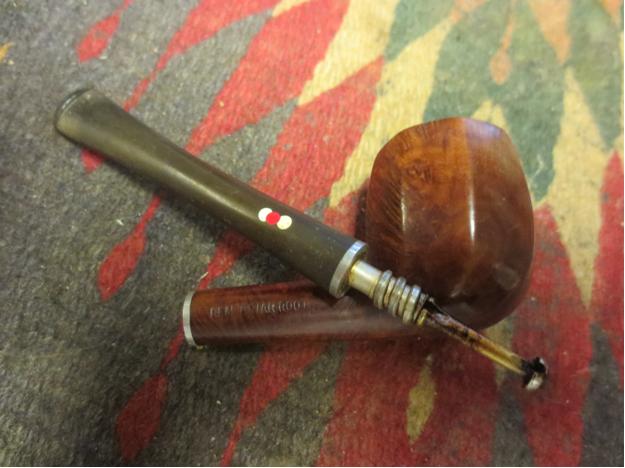
LHS4 I did a bit of searching on the internet and on the Pipephil site I found my pipe – An LHS Patent Purex. It is stamped like the second pipe in the photo below and has the Real Briar on the right side of the shank. The stem has a combination of the dot pattern in the photo below. Mine is in the pattern of the second one on the yellow stem but it has two white dots on the sides with a red dot in the middle.LHS5

LHS6

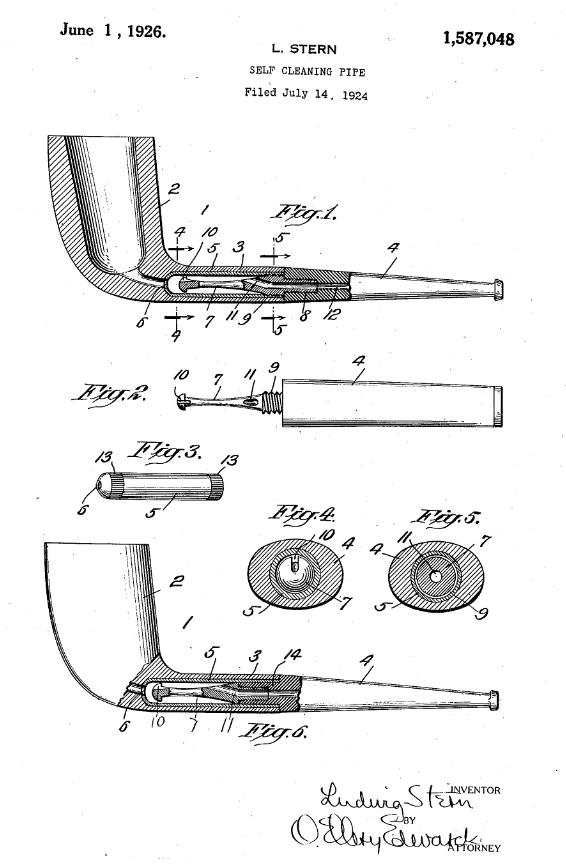
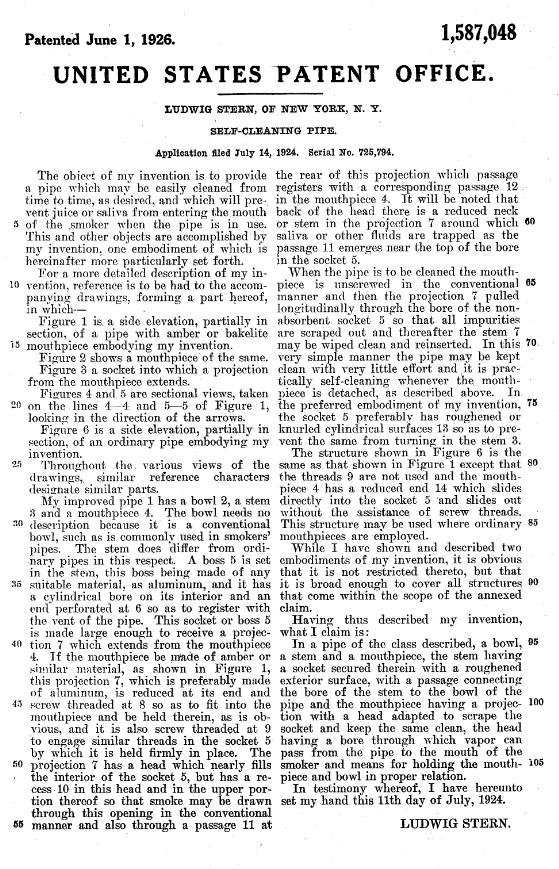
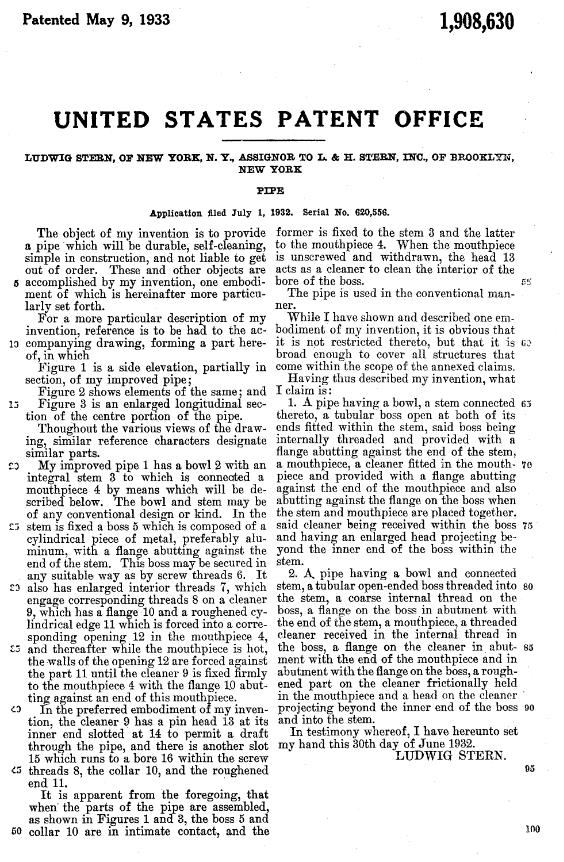
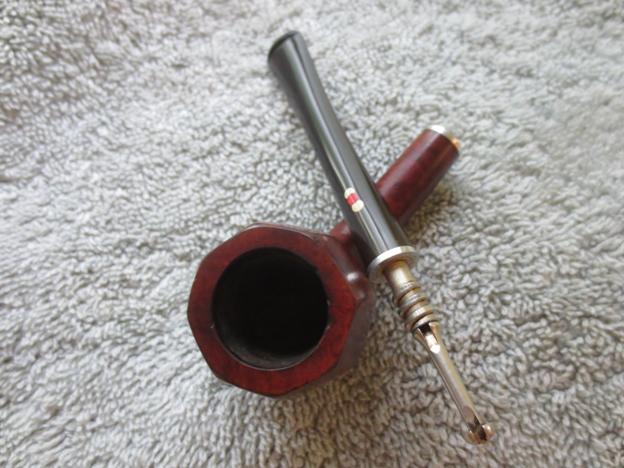
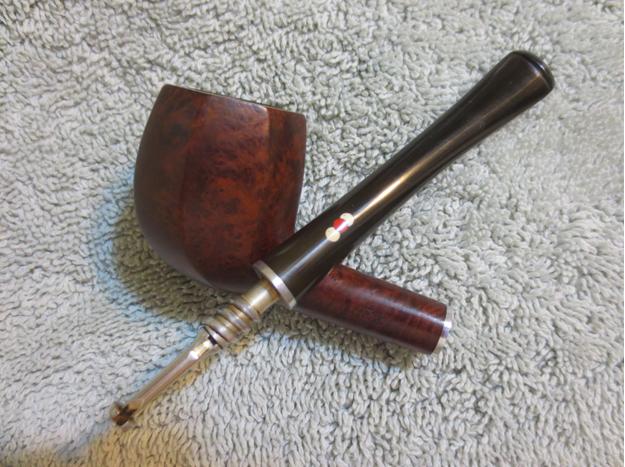
LHS7 I also researched the patent number and it led me to the following diagram and patent information. It was filed in 1924 and awarded on June 1, 1926. The interesting thing is that it combines some of the concepts from a later patent filing on July 1, 1932 and granted on May 9, 1933. The stamping places it as a 1926 pipe. The shape of the stinger and the threaded mortise make me think of the 1926 pipe in many ways. I cannot see deep enough into the pencil shank to see if there is a metal cup insert in the shank behind the mortise. Maybe that will become clear in the cleanup. The smooth portion of the tenon after the threads and the metal disk that is threaded into the stem make me think of the 1933 patent pipe. The threaded mortis is the same in both but if it ends in the shank without the cup then it has a lot of similarity to the 1933. The 1926 patent gives me a start date for this pipe and the 1933 patent gives me an end date. The fact that the metal works combine both makes me wonder if the pipe did not come out of the factor late 1920s or early 1930s just prior to the new patent release in 1933. I am including the two different patents for you to see the interesting combination in this pipe.LHS8

LHS9

LHS10

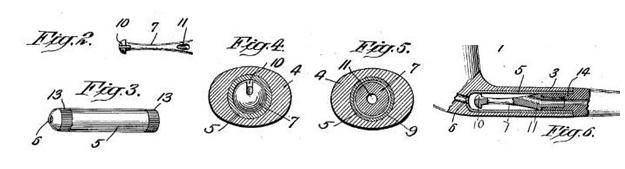
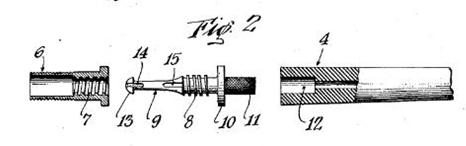
LHS11 I have screen captured the insert in the shank and the stinger apparatus from the 1926 patent drawings. Figure 2 shows the stinger. It is identical in both the 1926 and the 1933 patent drawings. Figure 3 shows a metal cup that is inserted in the shank. The mortise end is threaded to receive the threads on the tenon. Figure 4 shows the end of the stem looking at the head on the stinger. The slot is at the top. Figure 5 shows the inside of the shank looking at it from the end. The mortise end is threaded and the cup has an airway hole in the center of the rounded end. That end sits against the airway from the bottom of the bowl as seen in Figure 6. When I started cleaning out the shank I was unsure of the interior. Once I was cleaning it I was certain that I was working with the insert that is shown in these figures. The inside of the shank is smooth and shiny now that it is clean. Looking down the shank with a flash light it is visible.LHS12 Here is a photo of the stinger – note the length of the tenon behind the stinger – particularly the smooth portion. Note also the metal plate on against the stem that is threaded and inserted into the vulcanite of the stem.LHS13 I have also included a screen capture below of Figure 2 from the 1933 patent drawings. The insert in the shank is shorter than the 1926 version and does not include the cup. The tenon is the same though it has a longer smooth portion. It also has a plate that rest against the face of the stem when inserted.LHS14 The rim damage required me to lightly top the bowl to minimize it and flatten the top of the rim. Doing so removed most of the damage and brought the bowl back into round.LHS15

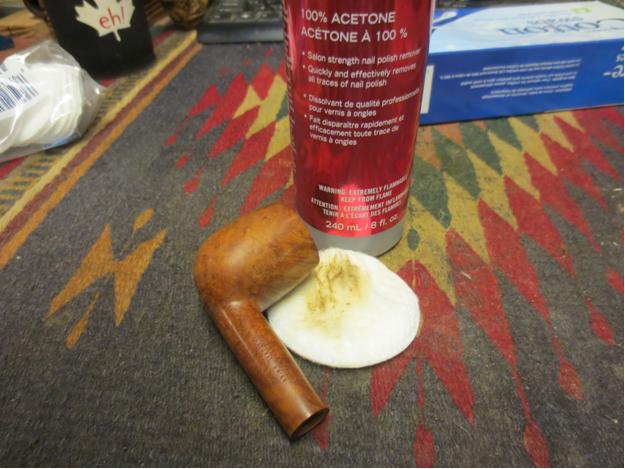
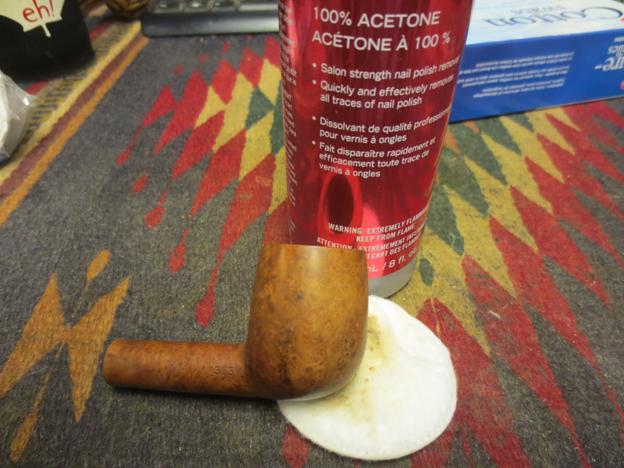
LHS16 I wiped the bowl down with acetone on cotton pads to try to break down the varnish coat. I sanded it with a fine grit sanding sponge to open the surface. It was stubborn stuff to remove. There was some beautiful grain under the dark varnish coat.LHS17
LHS18

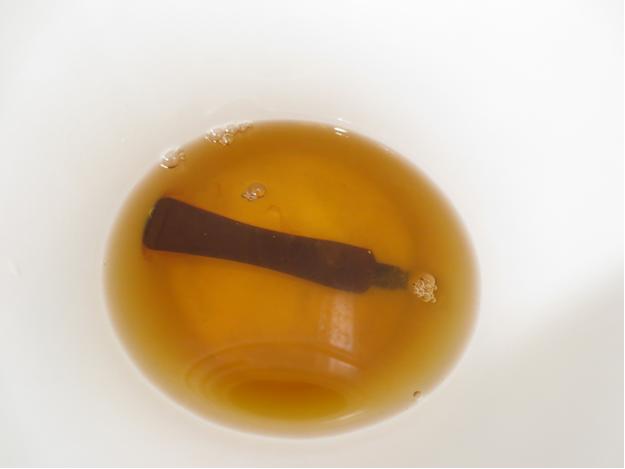
LHS19 I still did not have the varnish coat removed so I dropped the bowl into an alcohol bath to let it soak. The dark colour of the alcohol bath comes from all of the bowls that have soaked in it in the past. I filter it but the dark colour remains. I like it as it adds a bit of a patina to the briar as it soaks there.LHS20 While the bowl soaked I worked on the stem. I cleaned out the inside of the stem and cleaned the stinger with pipe cleaners, cotton pads and alcohol.LHS21 With the inside clean I decided to take a break from working on this pipe and went out to enjoy a bit of sunshine while it is here in Vancouver. Rain is forecast and coming in even while I am outside. I picked about 6 pints of blueberries while I was outside.
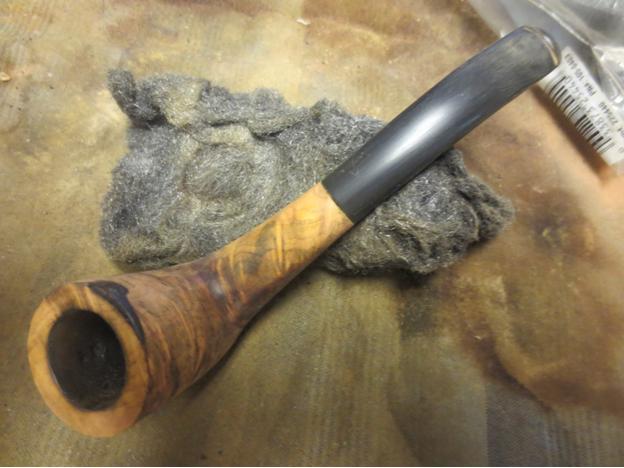
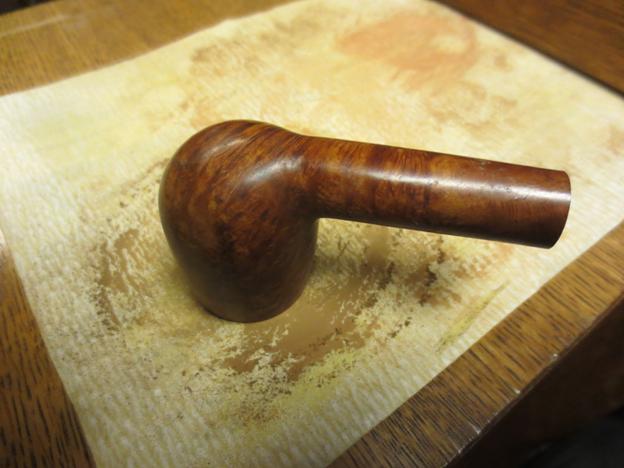
When I came back to the pipe after it had been sitting in the bath for about an hour and a half. I dried it off with a paper towel. The varnish coat was gone and the topped bowl had picked up a patina from the bath that almost matched the colour of the briar of the bowl.LHS22

LHS23

LHS24

LHS25

LHS26 I scrubbed out the cup insert and mortise in the shank. It took a lot of scrubbing. I did not want to use the retort as I was not sure what the stem material was and did not want to risk dissolving it with the hot alcohol. I scrubbed it with alcohol, cotton swabs and pipe cleaners until they finally came out clean. I shone a flashlight down the shank from the bowl and the mortise and it was sparkling and shiny. It was indeed the cup insert – all doubts were removed.LHS27 With the insides and outside clean I rubbed the bowl down with a light coat of olive oil to highlight the grain. When it dried it made the grain pop and the rim colour was a match. I will need to give it multiple coats of carnauba wax once I am finished with the stem. The bowl however is going to be a beauty.LHS28

LHS29

LHS30

LHS32 The nicks in the inner rim bothered me so I folded a piece of sandpaper and worked on the inner edge to smooth it out while keeping it round.LHS33

LHS34 I then mixed two stain pens – a medium and a dark brown to match the colour of the bowl and try to blend the rim in more closely. I then sanded the rim with a 3200 grit micromesh sanding pad to work on the blend even more.LHS35 I buffed the bowl with White Diamond and then set it aside so that I could finish working on the stem. I sanded it lightly with a fine grit sanding sponge and then worked on it with micromesh sanding pads. I wet sanded with 1500-2400 grit pads, rubbed it down with Obsidian Oil and then dry sanded with 3200-4000 grit pads. I gave it another coat and then sanded it with 6000-12000 grit pads. When I finished I gave it a final coat of Obsidian Oil and let it dry.LHS36

LHS37

LHS38 I buffed the pipe with Blue Diamond on the wheel and then gave it multiple coats of carnauba wax. I buffed it with a clean flannel buffing pad and then by hand with a microfibre cloth to give depth to the shine. The finished pipe is shown in the photos below. LHS39

LHS40

LHS41

LHS42

LHS43

LHS44 Thanks for looking.

Rejuvenating an English Made Sandblast Jobey Nut Bruyere Push Stem Billiard 050


Blog by Steve Laug

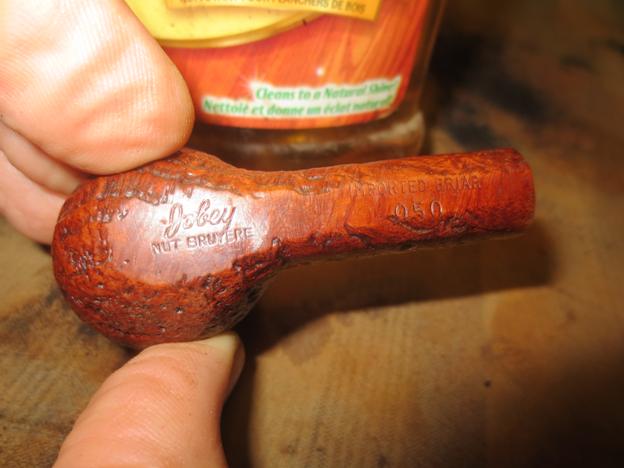
This is another pipe find from the Idaho Falls antique mall. I am pretty certain it comes from the era that Jobey made pipes in Britain. It is a very proper British looking sandblast saddle stem billiard. The blast is quite nice revealing some great swirls and crags. It is not a deep blast but it is a medium one that stands out well. The pipe is stamped on the underside of the flat shank with Jobey over Nut Bruyere toward the front of the pipe. Moving back toward the stem it is stamped Imported Bruyere over 050. The stem has the Jobey insert on the top of the saddle and it is stamped on the right side – English Para.Jobey1 The pipe is solid but dirty. The stem is not badly oxidized at all bearing testimony to the quality of the vulcanite. The stem also has an inner tube insert in the tenon. This pipe was in the same lot as the White Flame billiard that I just finished and posted early. The stem is dirty but not oxidized. The sandblast finish is also dirty with dust and grime in the valleys of the blast. The rim is almost flat with the build-up of tars. The bowl is still round with no damage to the inner or out edge of the rim. There is slight cake build-up in the bowl. Internally the shank and mortise area are very clean – pristine is the proper word. The inner tube inserts into the airway in the shank so the mortise is fresh briar. The fit of the stem in the shank is tight and inserts with a click. This pipe is in pretty decent shape other than the cosmetics I have noted above.Jobey2

Jobey3

Jobey4 I took a close-up photo of the bowl rim and the cake to show the state of both when I started the cleanup.Jobey5 The shank and mortise appeared to be pristine and clean as I mentioned above. I took a photo of the mortise and the inner tube on the stem.Jobey6 I started the cleanup with a gentle reaming of the bowl. I took the cake back to bare briar. I like to start with a clean bowl on the pipes I refurbish. I know others leave a thin cake but I have chosen the “cakeless” route.Jobey7

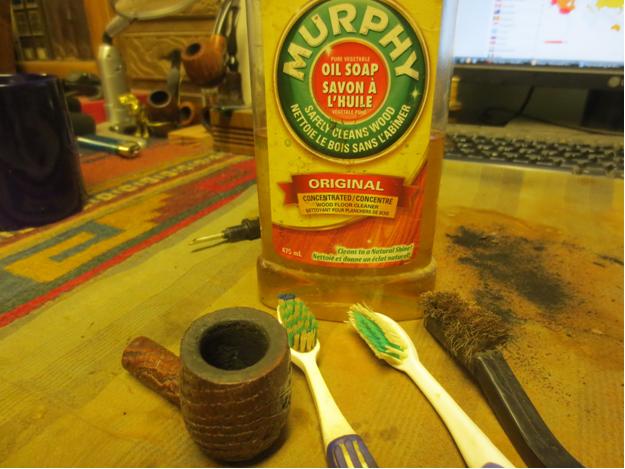
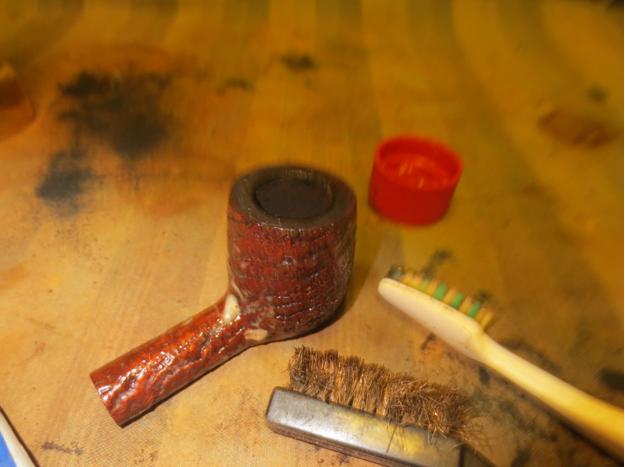
JObey8 I scrubbed the blast and rim with Murphy’s Oil Soap. I used a short bristle tooth brush and a brass bristle tooth brush to scrub the briar. When I had finished and rinsed the bowl I used the long bristle tooth brush to polish it a bit.Jobey9

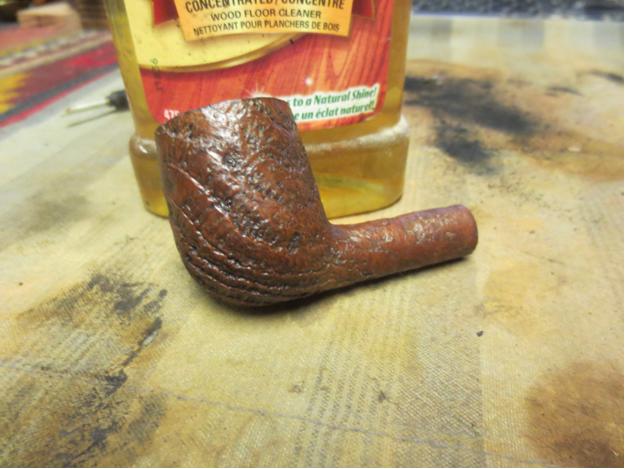
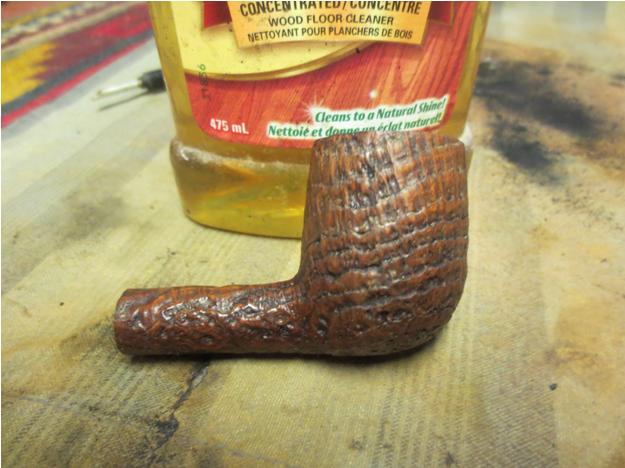
Jobey10 The next series of pictures show the bowl after the scrub and rinse with running water. The briar looks really good. The blast is clean and the rim looks like new – just a wee bit of darkening.Jobey11

Jobey12

Jobey13

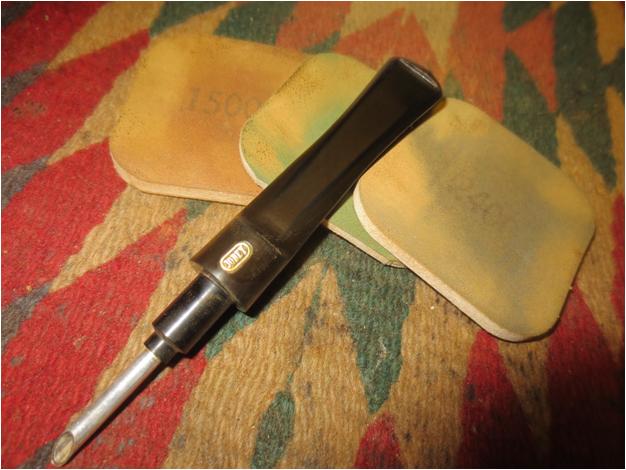
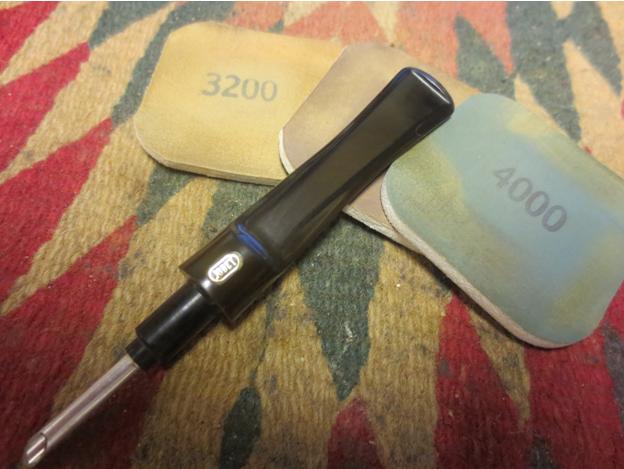
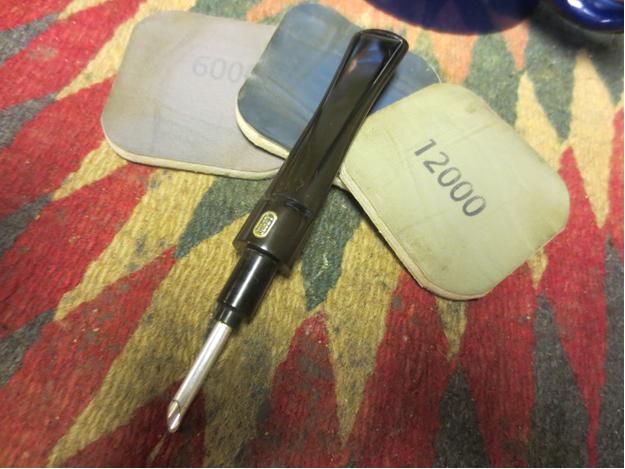
Jobey14 With the outside clean it was time to swab out the shank airway, mortise and bowl. I used alcohol, pipe cleaners and cotton swabs. The seemingly pristine mortise actually was quite clean. Just a few cotton swabs and a pipe cleaner took care of the little bit of tars that were there.Jobey15 I used a dental pick to clean out the slot in the button. I scrubbed the internals of the inner tube and the externals with alcohol, cotton swabs and pipe cleaners. The stem was not too dirty and it did not take too much to clean it out.Jobey16 I sanded the stem with a medium and a fine grit sanding sponge and then moved on to working over it with the micromesh sanding pads. I wet sanded with 1500-2400 grit pads and then rubbed the stem down with Obsidian Oil. I continued by dry sanding, before the oil dried, with 3200-4000 grit pads. I lightly buffed the stem with red Tripoli and White Diamond and then finished dry sanding with 6000-12000 grit micromesh pads. I gave it a final coat of Obsidian Oil and set it aside to dry.JObey17

JObey18

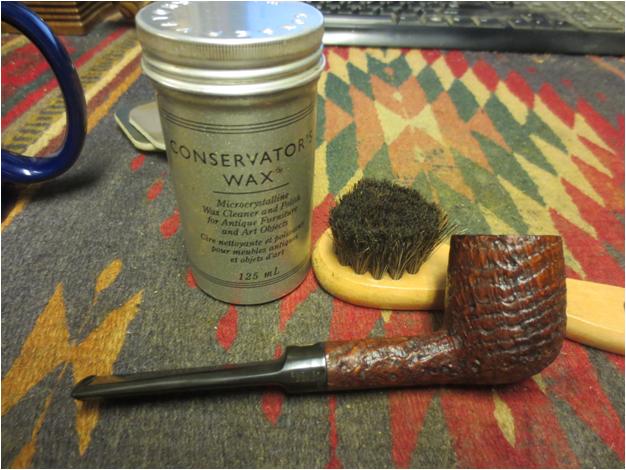
JObey19 I tried a new wax on the sandblast. I have used it before on other pipes but never on a blast. It is called Conservator’s Wax which is a microcrystalline cleaner and wax product. I applied it to the blast by hand rubbing it in lightly, making sure it did not clump up in the grooves. Once it dried I buffed the bowl with a shoe brush. The picture below shows the buffed briar.Jobey20 I lightly buffed the stem with Blue Diamond on the buffer and gave the stem multiple coats of carnauba wax. I buffed the bowl and stem with a clean flannel buff and then hand buffed the pipe with a microfibre cloth to give the polish depth and a deeper sheen. The finished pipe is shown below. It is clean and ready to fire up!Jobey21

Jobey22

Jobey23

Jobey24

Jobey25

Breathing new life into a White Flame Saddle Billiard 353


Blog by Steve Laug

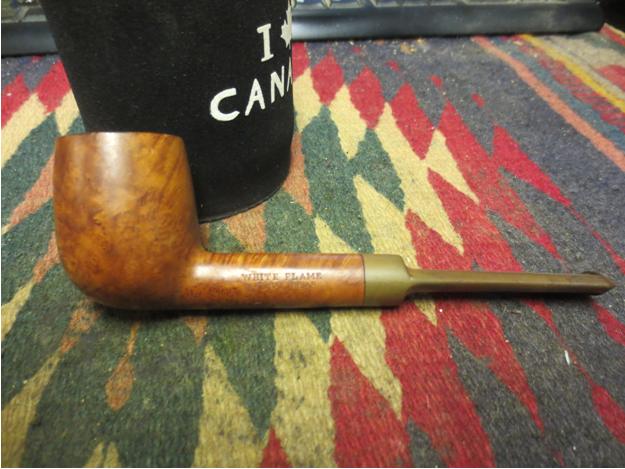
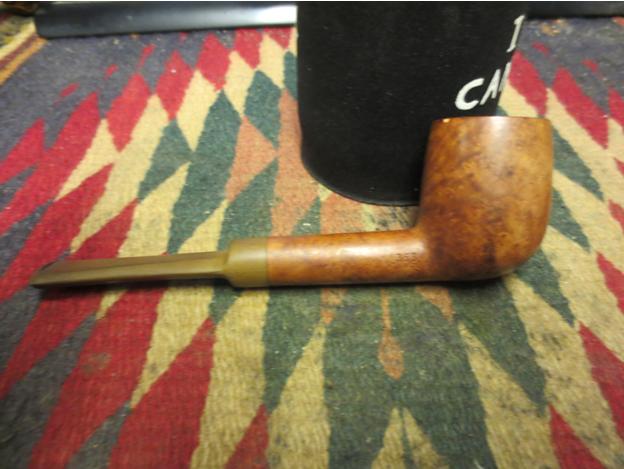
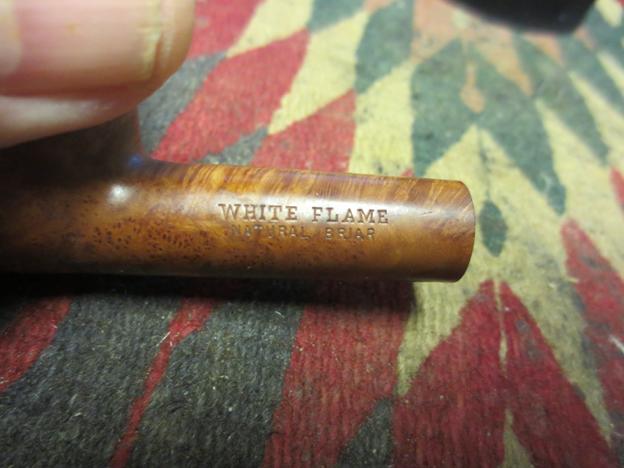
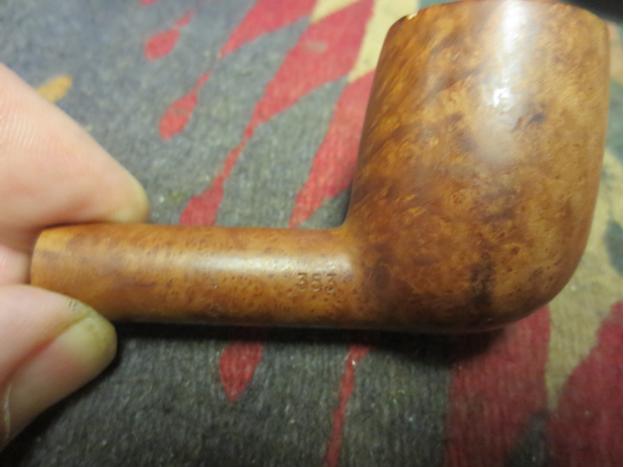
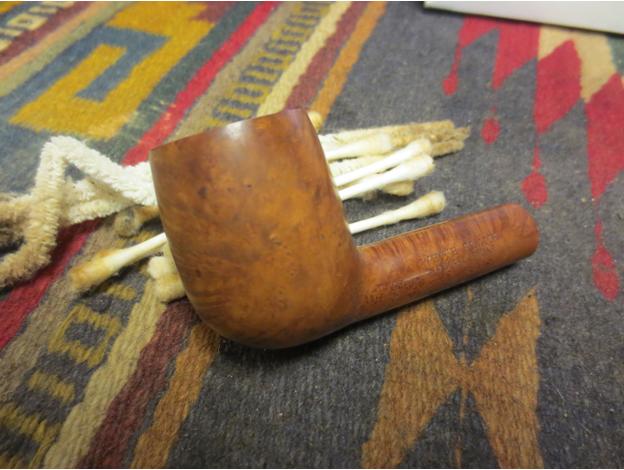
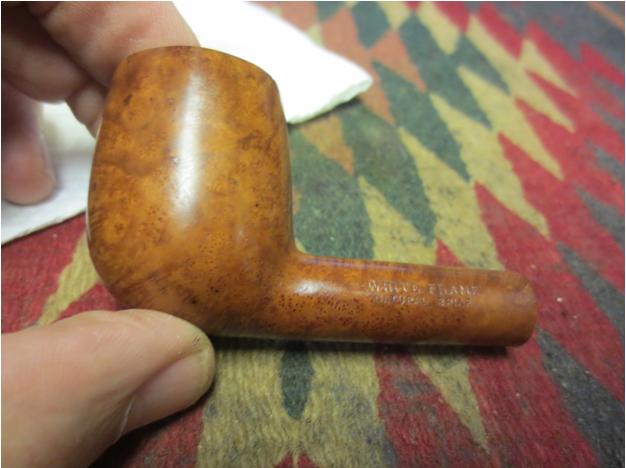
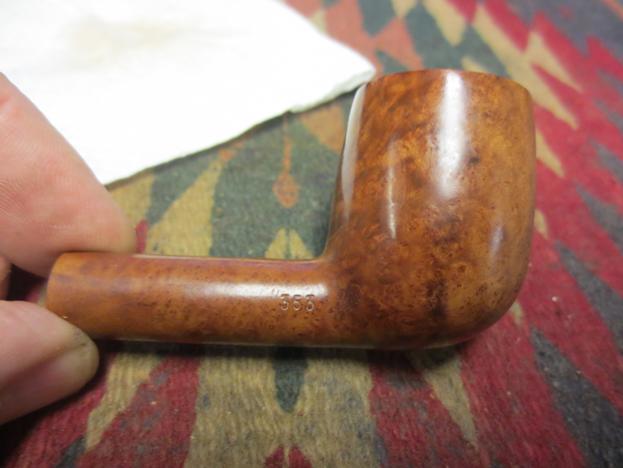
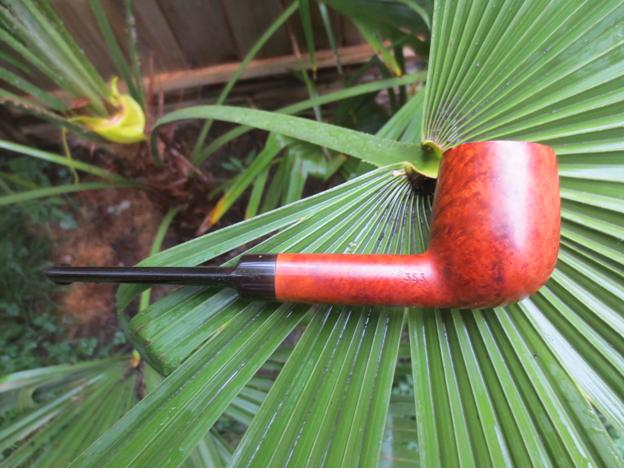
This was another of the pipes I picked up on a recent trip to Idaho Falls. I found it and several nice older pipes in a local antique mall. This one is stamped White Flame over Natural Briar on the left side of the shank and 353 on the right side. On the underside of the stem there was a lightly stamped FRANCE on the saddle. I had never seen a pipe with the White Flame stamping. I looked on the pipephil site and there was nothing there either. I did find a reference to the brand in Who Made That Pipe. There it was listed as a brand made by both Imperial and Civic. The book said the make was English and American. From my experience though, both the Imperial brand and the Civic brand were English made pipes. I know that Yello Bole made an Imperial and I am wondering if that is not what WMTP is referring to. This one however, just says British Briar in the shape, the stamping and everything else. I searched on the web to find a shape chart for either Imperial or Civic and so far have found nothing that lists the shapes of the two brands.Flame1

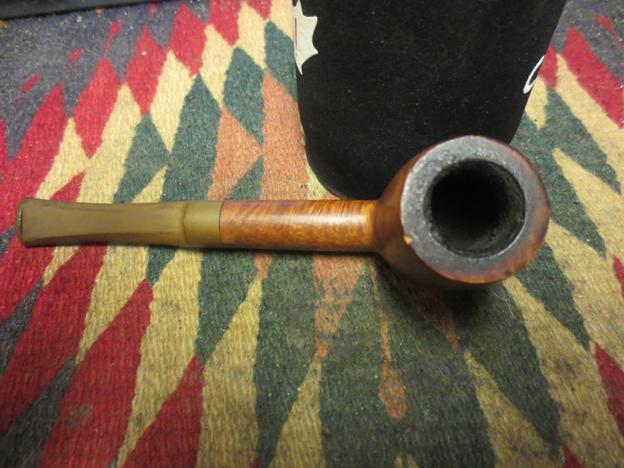
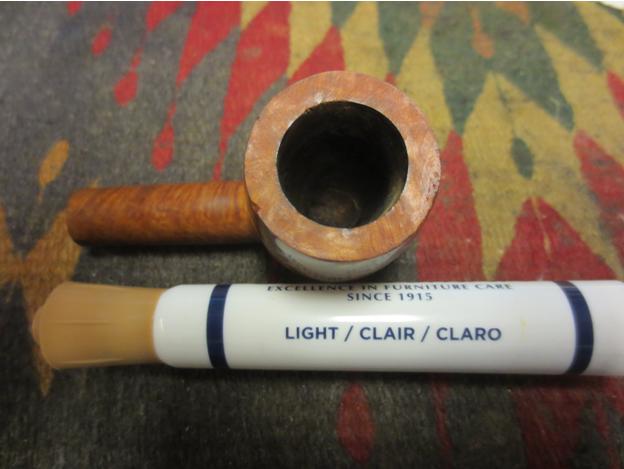
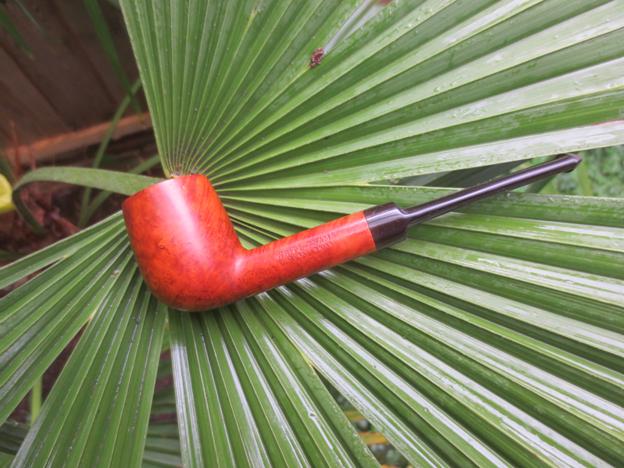
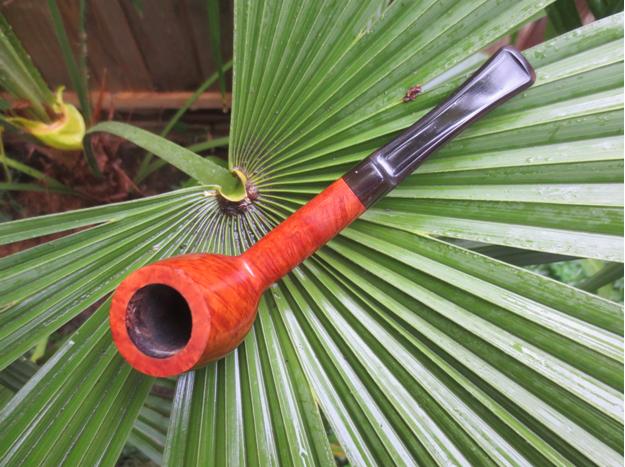
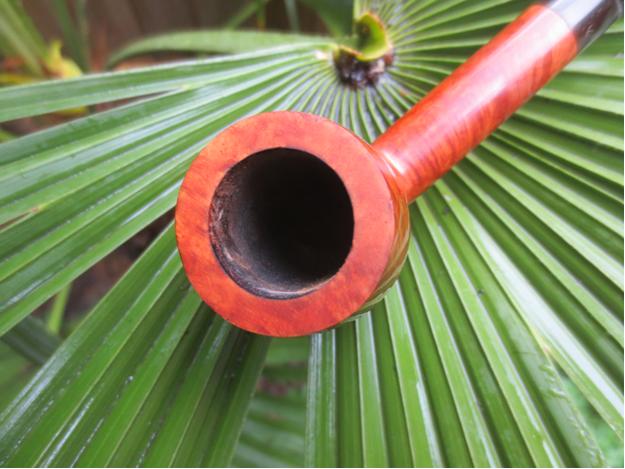
Flame2 The pipe had a natural, virgin finish that had picked up a slight patina over the years. There was a hint of red in the briar under the grime. The stem was badly oxidized. The bowl had a thick cake and the rim was nicked on the back right side outer edge and the top was blackened with a coat of tars and carbon that had run over from the bowl. Other than that the pipe was in decent shape. The bowl was still round. There were a few slight nicks and dings in the sides but it still was decent enough that a restoration would not be too difficult.Flame3 I have included a close-up of the rim to show the thickness of the cake in the bowl and the damage to the outer edge of the rim. The tarry lava overflow on the top of the rim is also very visible.Flame4

Flame5 I have also included some photos of the stamping to see if any of you reading this have any ideas of the maker.Flame6

Flame7 I reamed the bowl with a PipNet reamer starting with the smallest head on the T handle and working up to the third head. I took the cake back to the briar walls of the pipe.Flame8

Flame9 Because of the rim damage and the thick build-up I decided to top the bowl and remove the damage. I would not be able to remove all of it without changing the profile of the bowl but I could minimize its visibility. I topped it on the topping board with 220 grit sandpaper.Flame10 I finished topping it by sanding it with a medium and a fine grit sanding block to smooth out the scratches left from the sandpaper. The topped bowl is shown below.Flame11 The oxidation was bad enough that I decided to drop it in a mixture of Oxyclean and let it soak for an hour to let the Oxy do its magic. As soon as it hit the warm mixture the water turned amber as the oxidation bubbled away.Flame12 While it soaked I scrubbed the bowl with acetone on cotton pads to remove the grime and the wax from the briar.Flame13

Flame14 I cleaned out the shank and mortise with alcohol, cotton swabs and pipe cleaners.Flame15 The patina of the bowl was darker than the newly topped rim so I used a light coloured stain pen to match the colour of the briar. It would need some more work to blend it but the colour was very close.Flame16 I gave the bowl and rim a light coat of olive oil to give back some life to the grain and work to match the bowl and rim even more. After oiling it I hand buffed it with a microfibre cloth to remove the excess and to get a clear picture of the match of the rim to the bowl. The match was perfect as can be seen from the photos below.Flame17

Flame18

Flame19

Flame20 After the stem had soaked for an hour I took it out of the bath and dried it off with a coarse cotton cloth. I was able to rub off the majority of the remaining oxidation. The stem is shown in the photo below after the rub down.Flame21 I sanded the stem with a medium and a fine grit sanding sponge to remove the remaining oxidation. I then worked on the stem with micromesh sanding pads. I wet sanded the stem with 1500-2400 grit pads and then rubbed it down with Obsidian Oil. I dry sanded with 3200-4000 grit pads, rubbed it down with oil again and then finished by dry sanding with 6000-12000 grit pads. I gave it a final coat of Obsidian Oil and then buffed it with Blue Diamond on the wheel.Flame22

Flame23

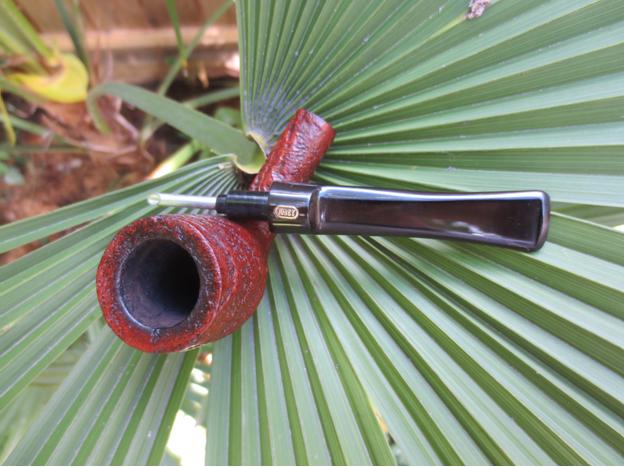
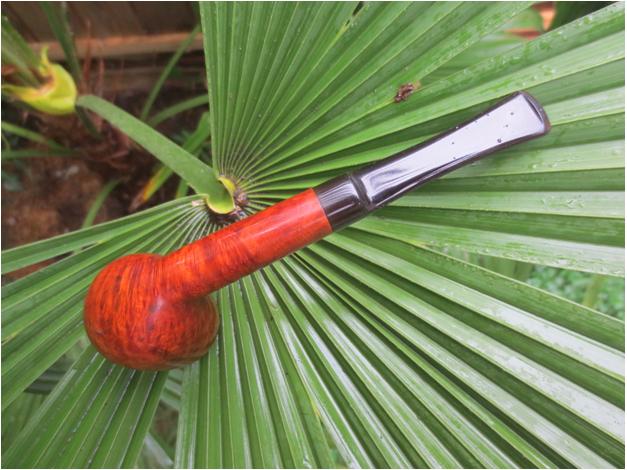
Flame24 I finished the restoration by buffing the pipe with Blue Diamond and then I gave the stem and bowl multiple coats of carnauba wax. I buffed it with a clean flannel buff and then took it back to the work table and hand buffed it with the microfibre cloth. The finished pipe is shown in the photos below. We are in the midst of a much needed rain storm but I love the look of the pipes in the fronds of the palm tree in my back yard. On these photos you will see some raindrops on the stem and bowl in several of the photos. I am pleased with the finished look of the pipe. The natural light brings out the reds in the briar. It is a beautiful pipe. Thanks for looking.Flame25

Flame26

Flame27

Flame28

Flame29

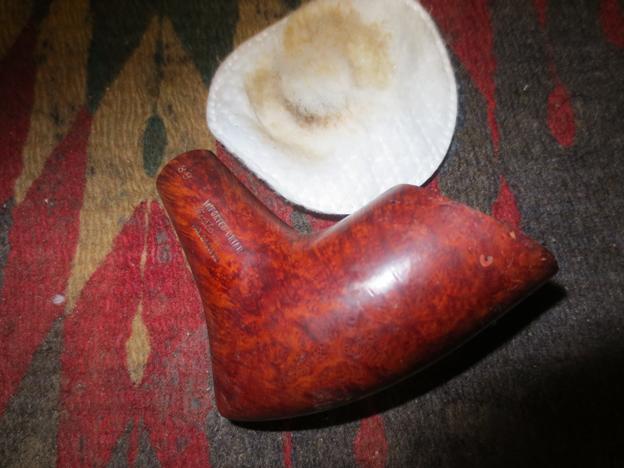
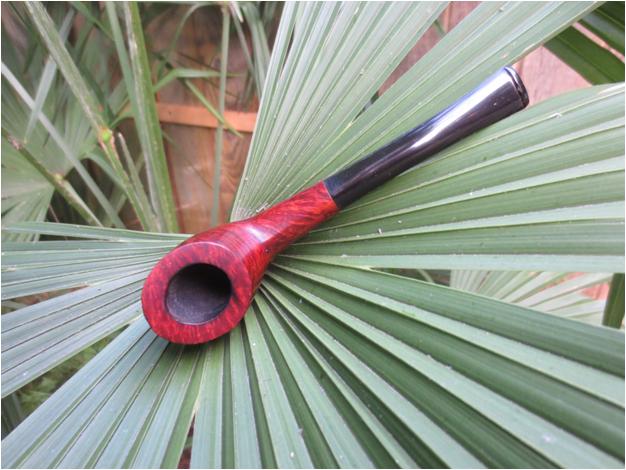
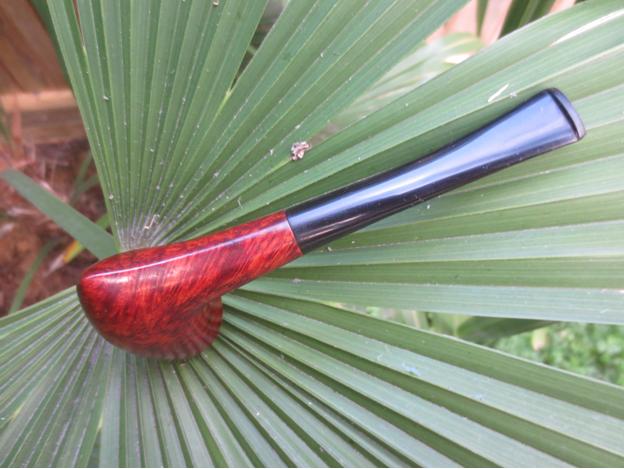
Restoring a Dr. Grabow Viscount 39 Continental


Blog by Steve Laug

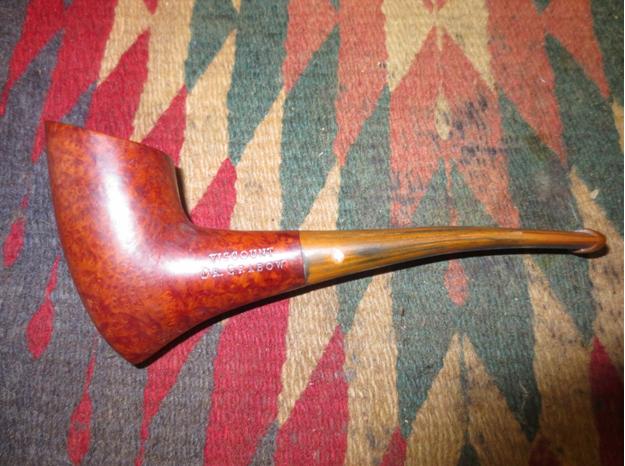
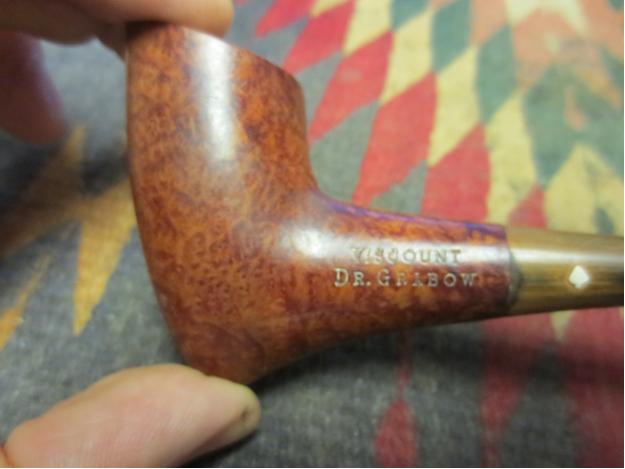
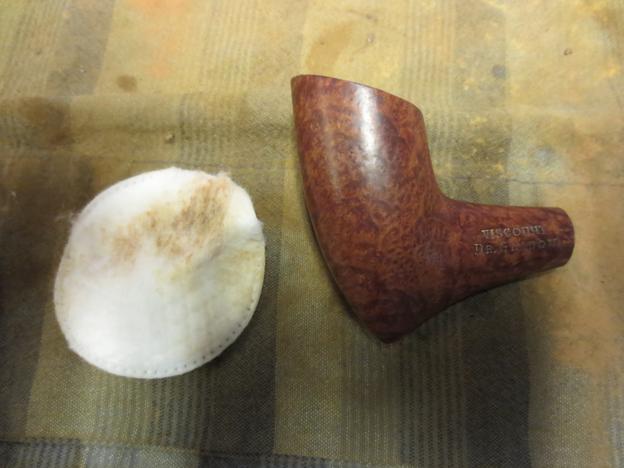
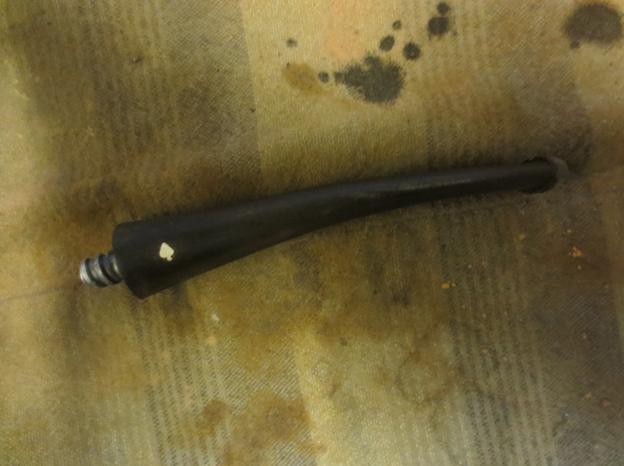
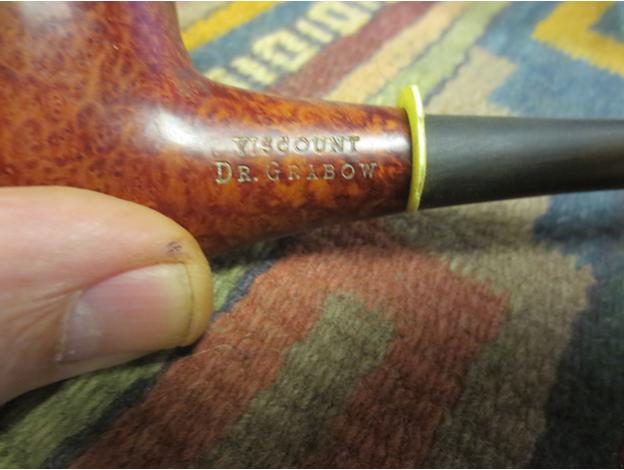
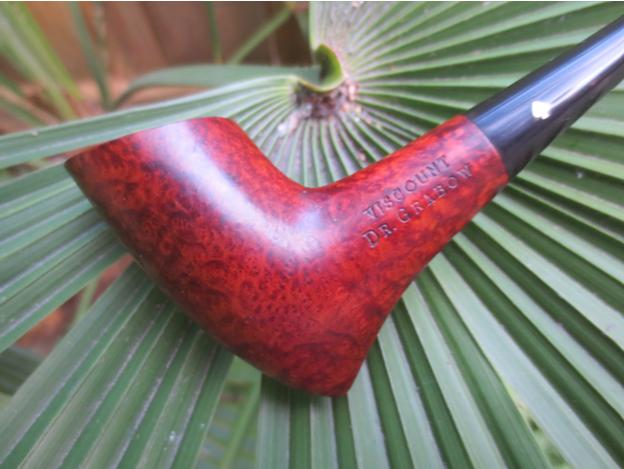
I was gifted this beautifully grained Grabow Viscount Shape 39 in a box of pipes that needed to be reconditioned and repaired. It was a shape that I had seen pictures of but I had never seen one in person. Holding it in hand led me to have a few questions regarding it. It is stamped on the left side of the shank Viscount over Dr. Grabow and on the right side 39 near the shank and then Imported Briar over Adjustomatic over Pat.2461905. I posted the questions and some photos of the pipe on the Dr. Grabow Collectors Forum as I have found the folks there to be extremely helpful and knowledgeable about all things Grabow.

Here are the questions:
1. Any idea on the dates of this one.
2. The rim top has ridges but I am not sure if they are scratches or original. They are in no particular pattern and the rest of the bowl is smooth. Did this shape have a rusticated rim?
3. Did it have the Grabow scoop stinger as it is missing in this one?
4. The Grabow spade on the stem is raised above the surface. Was this normal? I have not seen it before.
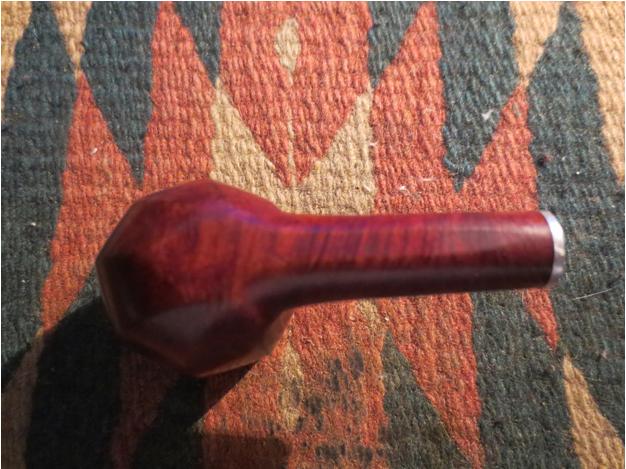
I concluded my questions with a short comment on the pipe. The briar is amazing – birdseye on the sides and cross grain on the front and back of the bowl.
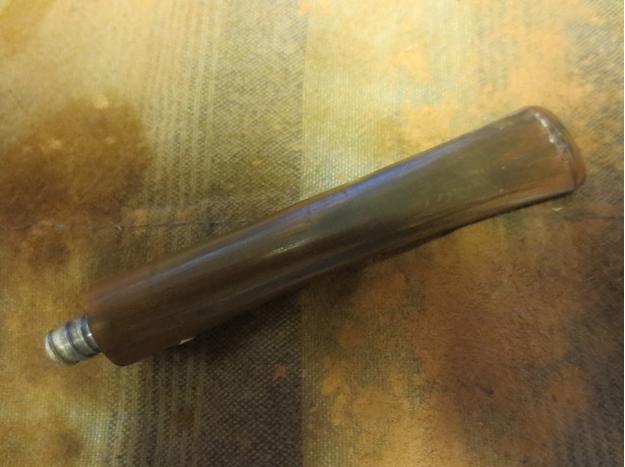
The pipe needed some work as can be seen from the above questions. The stem was rough. It was oxidized and had been scraped clean with a knife or other tool and left ridges and scratches all over the stem. It gave it a striped look. The rim had a hatched rustic pattern on it and had probably fallen prey to the same knife wielding owner. The finish was actually quite good underneath the dirt and sticky spots that may have come from price tags on the bowl or labels. I was surprised that it did not have any lacquer or varnish coat over the briar. It was just stained briar and would be quite easy to clean up.Cont1

Cont2

Cont3

Cont4 It was not long before I got a reply from Ted over on the Dr. Grabow Collectors Forum. He answered all of the questions that I had regarding this particular pipe and did them in reverse order. Here is his reply.

Yes, The grain is great. A fine example.

4) Spade on the stem has raised over time. It was flush when it left the factory. Even if it comes out (unlikely) it is a relatively easy fix. Joe and Ed have bunches of spades that they picked up off the factory floor.

3) It had the scoop (72B) cleaner. Unfortunately I don’t have any left. Someone will get you one.

2) Rim scratches weren’t there when it left the factory. Someone cleaned the top a little too vigorously.

1) This is fun…… The Continentals started in 1959/60 and their heyday was 1964-1966. Almost none were produced after 1967 because the sales just weren’t there. Shape stamped with a vulcanite stem makes me believe it was made in 66/67. I can’t speculate as to when it was sold… just made.

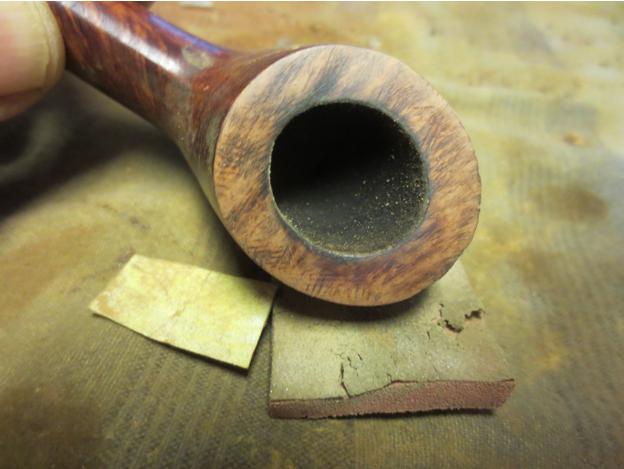
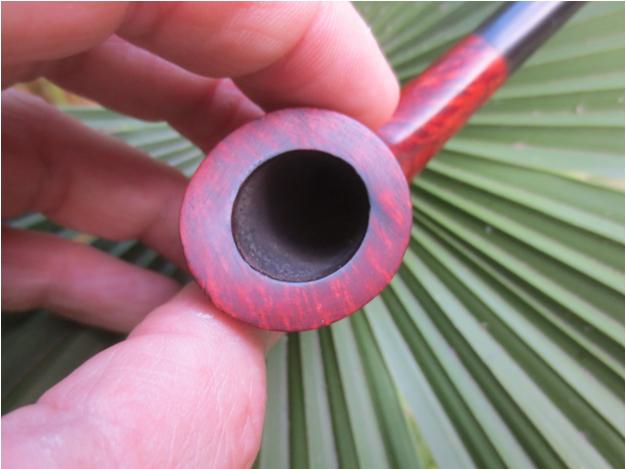
Here are some close up photos of the rim and the grain on this beautiful little pipe.Cont5

Cont6

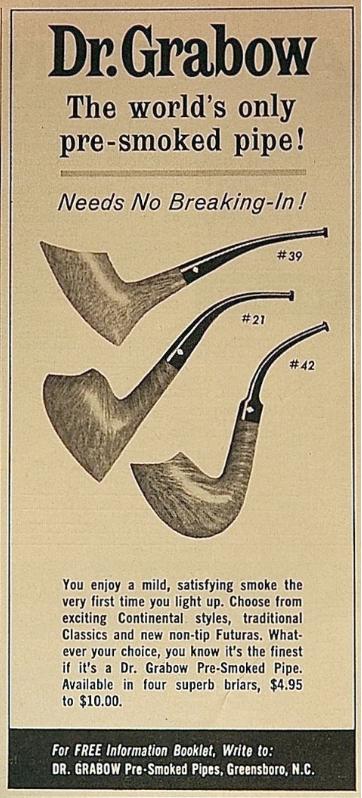
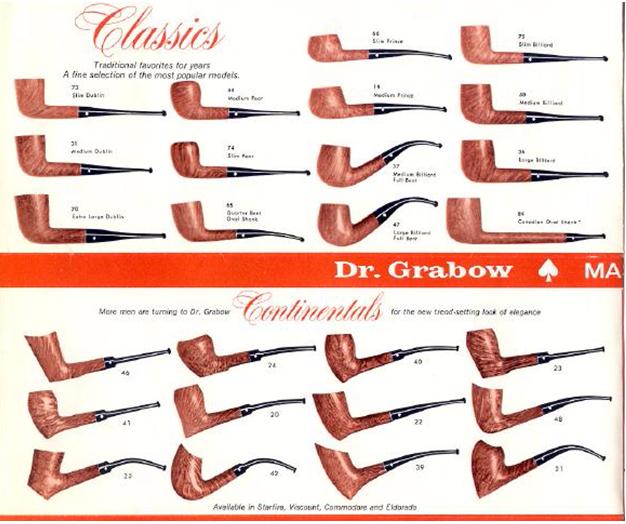
Cont7 Troy Wilburn sent me some catalogue photos of the Continental Line. There are some unique and interesting shapes. I thought you might enjoy seeing the photos.Cont8

Cont9

Cont10

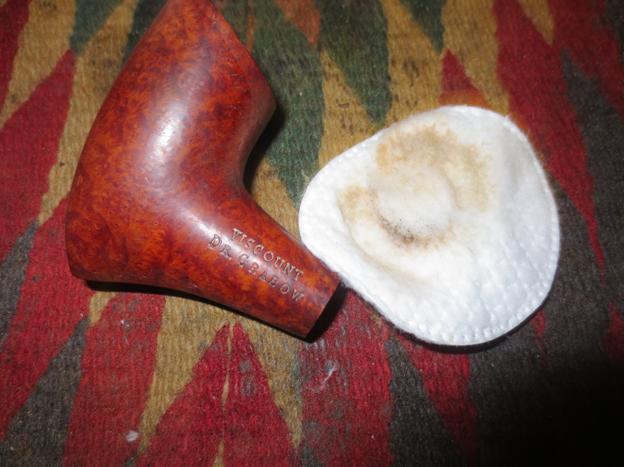
Cont11 I did a light reaming of the bowl with a sharp pen knife being careful to keep it vertical and not damage the inner edge of the rim.Cont12 I scrubbed the bowl, shank and stem airway with pipe cleaners, cotton swabs and alcohol. These metal mortise inserts collect a lot of “gunk” behind them and it takes some work to remove all of the debris and oils from the shank.Cont13 I scrubbed down the exterior of the briar with isopropyl alcohol to remove the sticky areas and also the general grime that was built up on the bowl and shank.Cont14

Cont15

Cont16 I lightly sanded the stem with 220 grit sandpaper and also a medium and fine grit sanding sponge to loosen the oxidation. Then I dropped it in a bath of warm Oxy Clean to soften and bring the oxidation to the surface.Cont17

Cont18

Cont19 While the stem soaked I worked on the scratches and hatch work on the rim surface. It was not only dirty but it looked like someone had scraped off the tars with a knife and left a rough hatch pattern all over the surface of the rim. I sanded it with 220 grit sandpaper to remove the scratches and smooth it out once again. I then sanded it with a medium and a fine grit sanding sponge to reduce the scratches left behind by the sandpaper.Cont20

Cont21 I sanded the rim down with micromesh pads, wet sanding with 1500-2400 grit pads and then dry sanding with 3200-4000 grit pads. I wiped the bowl down with alcohol once more to remove the dust and sanding grit.Cont22

Cont23

Cont24

Cont25 Troy mentioned that these older Continentals were not stained but general just had a light oil coat on the natural briar. It appeared that this was true on this old pipe but the patina that had developed over the years since 1966-67 had darkened the briar. I used a medium brown stain pen to touch up the rim as it matched the patina exactly.Cont26 I took the stem out of the bath and dried it off with a coarse cotton cloth. The oxidation was greatly reduced and the stem was ready to work on.Cont27

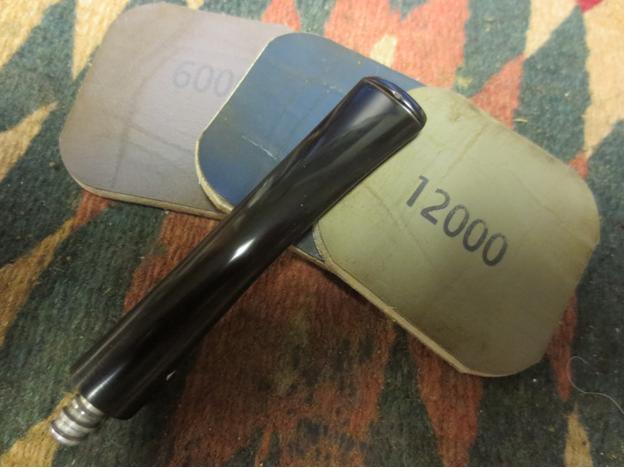
Cont28 I put a plastic washer between the stem and the shank and sanded the stem with 220 grit sandpaper and the sanding sponges to remove the hard to get oxidation at that point.Cont29 I took the stem off again and finished sanding with the sandpaper and sanding sponges.Cont30 Then it was time to work on the polish of the stem. I wet sanded with 1500-2400 grit micromesh sanding pads and then rubbed the stem down with Obsidian Oil. I dry sanded with 3200-4000 grit pads and repeated the oil. I finished with 6000-12000 grit pads, gave the stem a final coat of oil and when it dried buffed the stem with Blue Diamond on the wheel.Cont31

Cont32

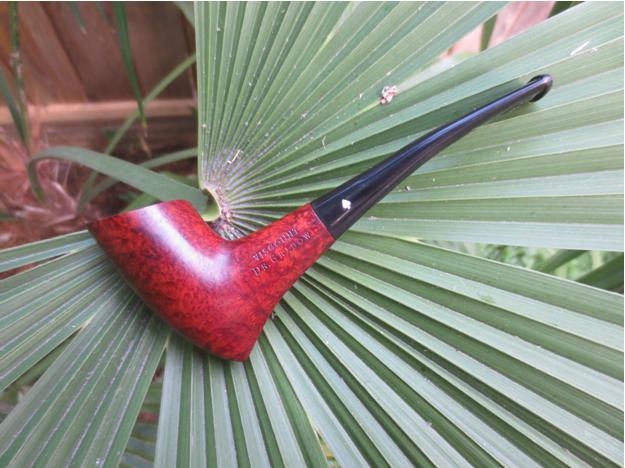
Cont33 I gave the entire pipe a light buff with Blue Diamond and then gave it multiple coats of carnauba wax. I buffed it with a clean flannel buff to raise the shine. I took it back to the work table and hand buffed it with a microfibre cloth to bring out a deeper shine. The finished pipe is shown in the photos below. It turned out to be a beautiful piece of briar and a unique looking pipe. The old briar is rich with colour and warmth.

I want to thank the Dr. Grabow Collectors Forum and Ted of that Forum for their help on this pipe. I also want to thank Troy for the catalogue pages and for sending me the spoon stinger to insert to completely finish the restoration of the Continental. Thanks for looking.Cont34

Cont35

Cont36

Cont37

Cont38

Cont39

Cont40

Cleaning up an LHS Sterncrest Lovat with a Bakelite Stem


Blog by Steve Laug

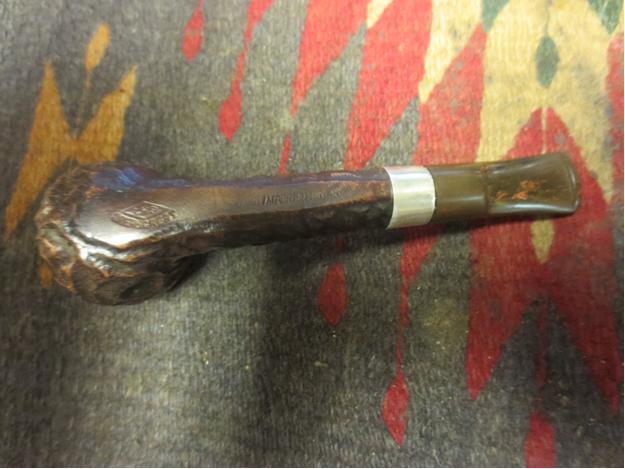
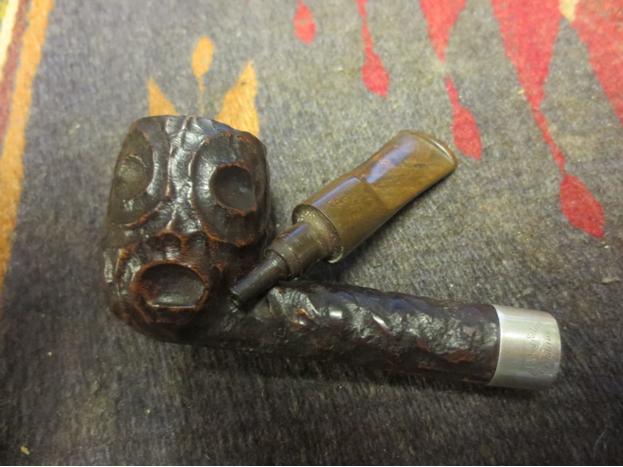
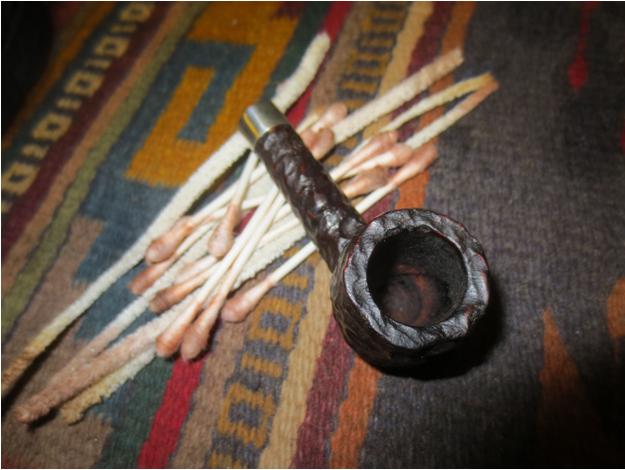
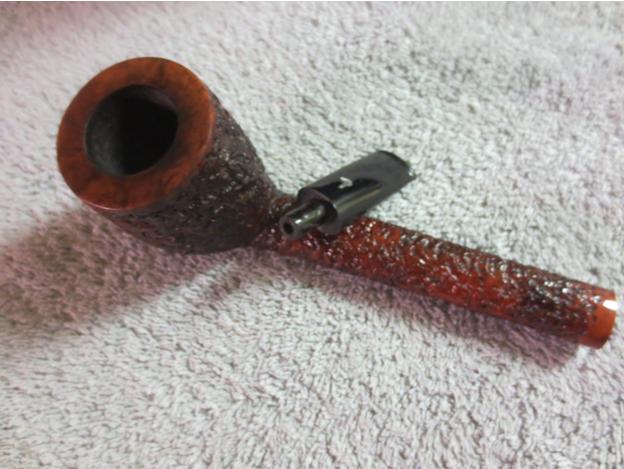
The next pipe on my work table is a little 4 ¾ inch Lovat with a rusticated finish and a two tone stain. The rustication looks like craters and swirls. Even the top of the bowl is rusticated.LHS14 The stem looked to be oxidized but once I worked on it I was in for a surprise. The band was stamped Sterling Silver arched over the LHS in a Diamond logo and under that was stamped Rhodium. The underside of the shank was flat and smooth and was stamped with the LHS in a Diamond logo with the word Sterncrest arched under the diamond. Toward the stem end of the shank it was stamped Imported Briar.LHS13

LHS9

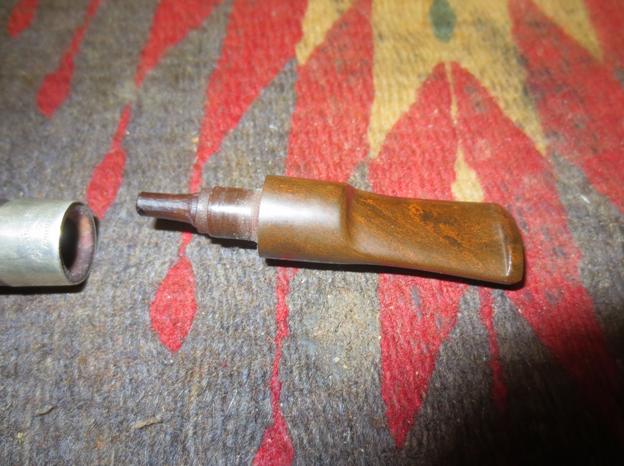
LHS10 As I looked at the stem more closely I could see swirls of red running through it and the material was a reddish brown colour. It had a similar appearance to Cumberland but was harder and heavier. The patterns in the swirls was not uniform at all and made me think of other things that I have around made of a similar looking material. This would become more clear when I cleaned up the stem.LHS11

LHS12 I took two close-up photos of the stem and the extension that was in the end of the tenon and extended into the bowl. It was an integral part of the stem and I was not able to remove it.LHS15

LHS16 Once I got this far in the process I wanted to know a bit more of the history of the brand. I was trying to find out when the pipe potentially was made. The stem had me fascinated. The extension tube in the tenon was different from any other LHS Sterncrest pipe that I had seen. All of the patent information I could find from the early 1900s through 1936 showed a more typical ball and point stinger apparatus. There was nothing to date this in the patent information. That combined with the unique stem material seen clearly in the photo above made me very curious about the pipe.

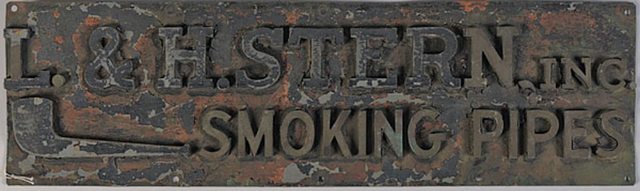
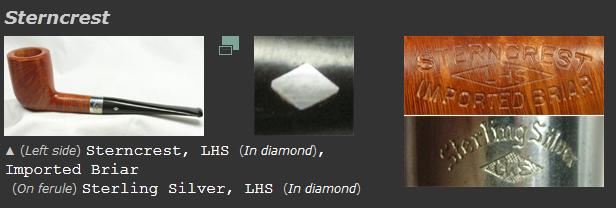
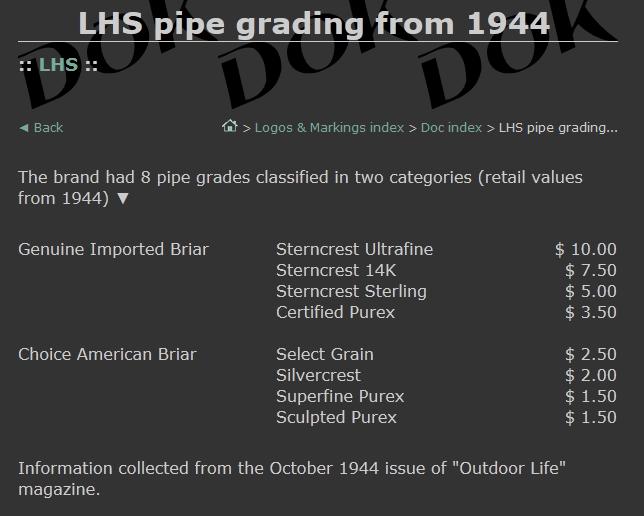
I looked on the PipePhil site which is a go to site for me when digging out information and I found some helpful material. Here is the link – http://www.pipephil.eu/logos/en/logo-lhs.html. The first item below is a copy of the photo from his site which gives some simple information. The Strencrest stem that I had did not have the inset silver diamond in the side on the top of the saddle. The stamping on the pipe was different as well. Mine was stamped LHS in a Diamond (like the one on the briar inset below) but STERNCREST was underneath the Diamond. Imported Briar was on the opposite end of the shank. The inset of the band is identical in terms of what is shown. The band on mine has one additional feature below the LHS diamond and that is the word RHODIUM.LHS1 I followed the links on the site and found the following grading guide from 1944 there as well. It lists the Sterncrest Sterling as the third highest grade of pipe. The issue for me is whether the pipe I have is a Sterling. It only bears the Sterncrest stamp and that does not appear on the chart below.LHS2 I read some more on the site and found that the L&H Stern Inc. was established by Ludwig Stern (1877-1942) in 1911. His brother Hugo (1872-?) acted as vice-president & secretary. The firm moved to 56 Pearl St. Brooklyn in 1920. It closed down in the 1960s. LHS was one of the main pipe suppliers for US soldiers during WWII. That was the short version of the information. With that I knew that my pipe was made between 1911 when the company opened and before the 1960’s when it closed.

I googled for more information to see if I could find company advertising that showed the pipe I was working on and gave more definitive information on the brand. I found the following quote that helped to fit the Sterncrest into the scheme of things. “LHS is L & H Stern Pipe Making Co. that was based out of Brooklyn N.Y. Their most common lines seem to have been their Sterncrest pipe models. The company made pipes from 1900-the 1950’s.”

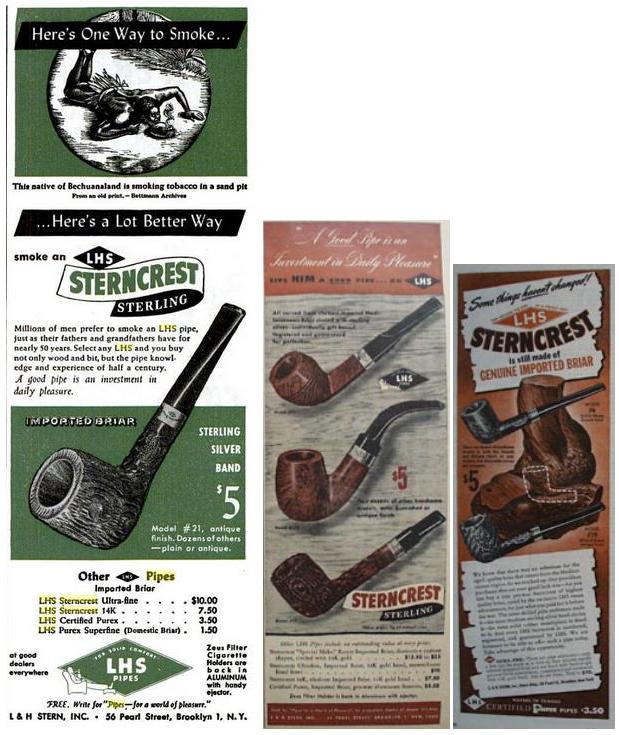
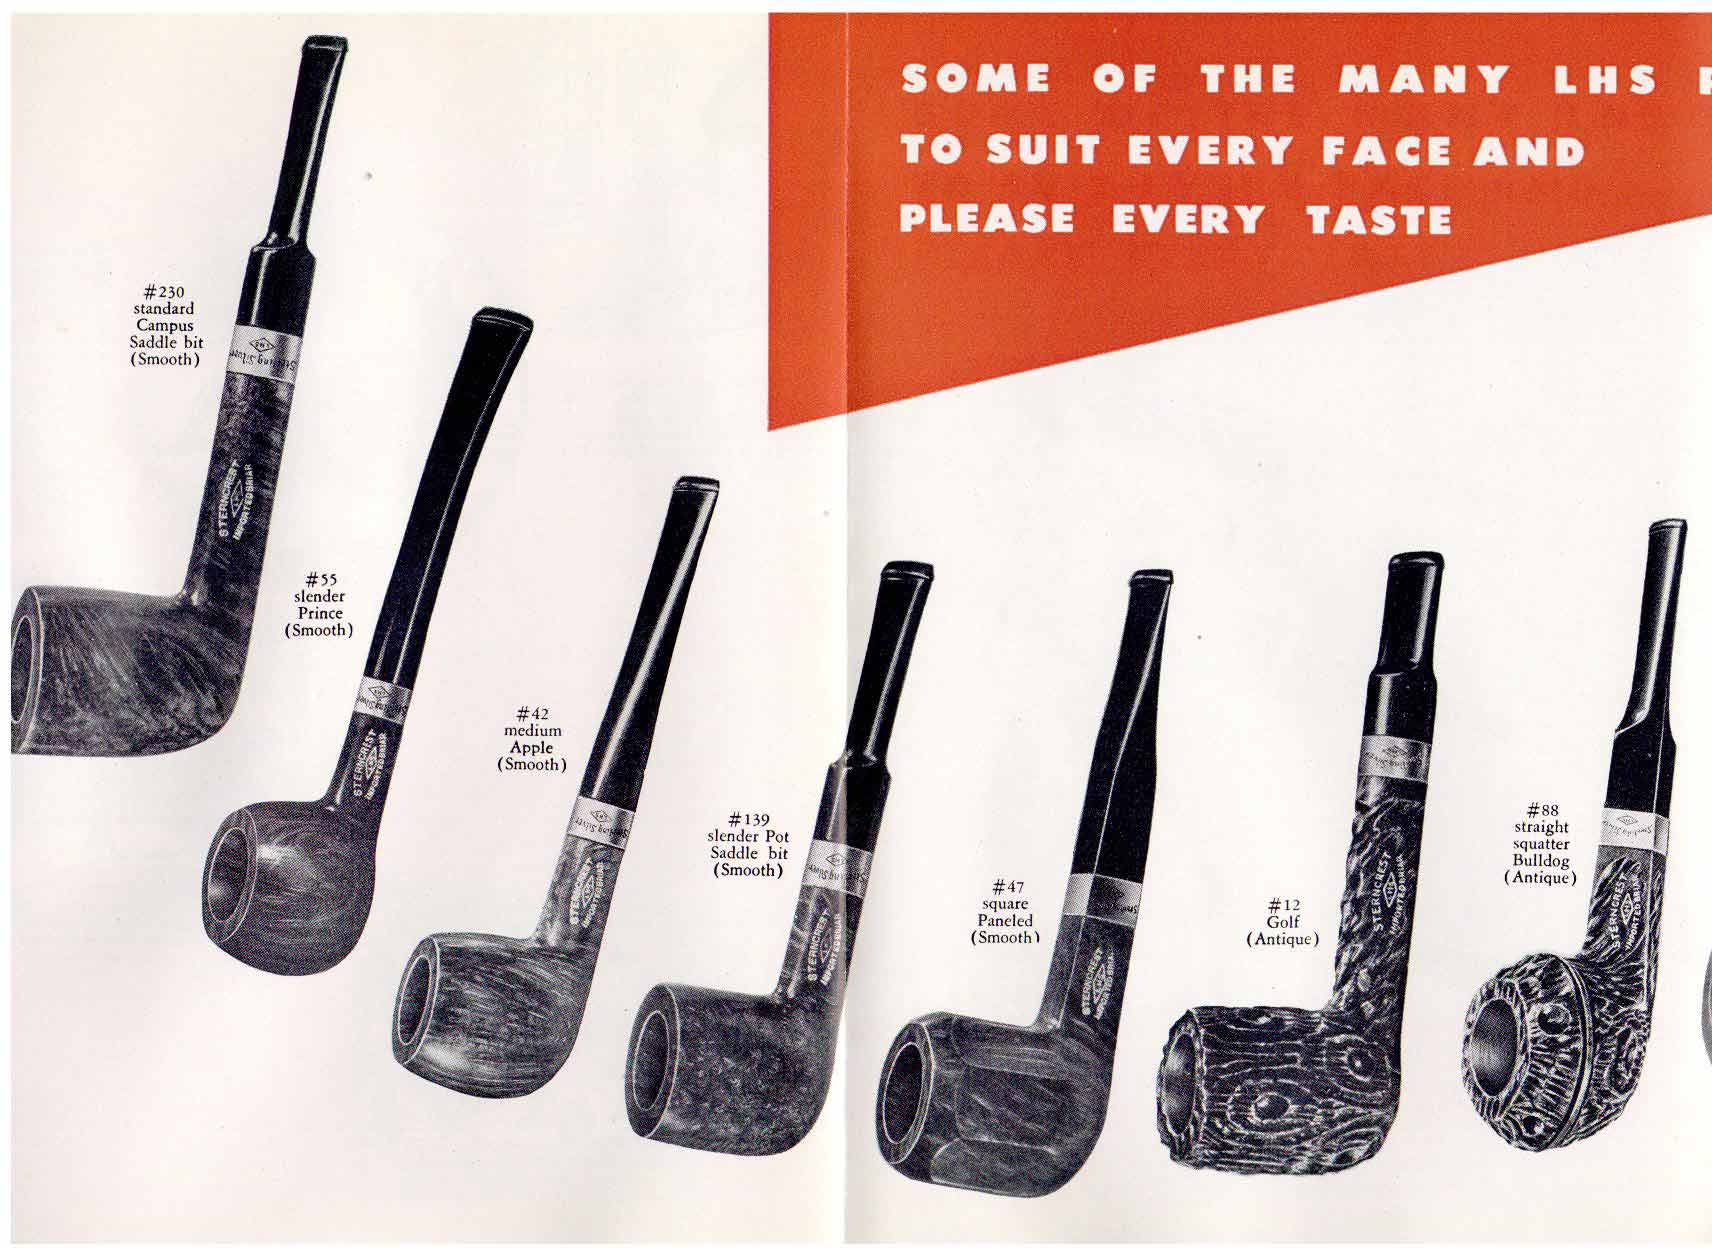
I also found some advertising which I have posted copies of here. Three of the magazine advertisements are shown below. All three show a similar pipe to the one that I have in hand. The rustication on mine is more crater like than tree bark like but the patterns are similar.LHS7 I have also included a page from a Sterncrest Catalogue from 1946 that shows the line and the second pipe from the right, the lovat is identical in shape to the one that I have. The rustication pattern in the picture is similar but also more tree bark like and the stamping is on the side of the shank rather than the underside.LHS8 Now I knew that the pipe I was working on came from a more narrow time period – 1910 to sometime in the 1940s. That was all the information I could readily find on the pipe. I was still left with a bit of a mystery that would become somewhat clearer as I cleaned up the pipe and stem.

The pipe was lightly smoked and I was able to wipe out the dust and debris from the bowl quickly. The shank was dirty but what came out of the shank was not tobacco debris or tars but rather a red stain. The inside of the shank had some stain left in it. The bowl must have been dip stained when in the factory and the pipe had not been smoked enough to burn off the stain that was there. Obviously the previous owner never ran a pipe cleaner into the shank to find what I found in my clean up with alcohol, cotton swabs and pipe cleaners.LHS16a I also cleaned out the airway in the stem and tenon extension. I was careful as I did not want to chip or damage the extension. The more I worked with the stem the more I was beginning to get an idea of what the stem material was.LHS17 I worked on the stem with micromesh sanding pads. I wet sanded it with 1500-2400 grit pads and then rubbed it down with Obsidian Oil. I was uncertain whether the oil would be absorbed or not but either way it would give some teeth to the micromesh pads as I worked with them. I took photos of both sides of the stem to show the pattern that started to show up as I polished it.LHS19

LHS20 I dry sanded with 3200-4000 grit micromesh sanding pads to further polish the stem. I rubbed it down with Obsidian Oil once again.LHS22

LHS23 The more I polished the stem the more clear it became what the material I was working with was. I dry sanded with the final three grits of micromesh and then buffed the stem with Blue Diamond polish before giving it a final coat of oil. Once the oil dried I buffed it with some carnauba wax and then with a clean flannel buff before giving it a final hand buff with a microfibre cloth.LHS24 Once I finished polishing the stem I knew without a shadow of a doubt that the stem was made of Bakelite. It was exactly like several of the Bakelite tobacciana items that I have collected. The mottled brown and red look of the polished stem proved it to me.

I decided to do a bit of research on Bakelite to both make certain I was working with that and to see if I could narrow the date for this pipe down even further. I am including some of the information that I found in my search.

From the New World Encyclopedia online I got some basic information on the material. Here is the link if you want to see the original source. http://www.newworldencyclopedia.org/entry/Bakelite

I found that Bakelite is a material based on a thermosetting phenol formaldehyde resin developed in 1907–1909, by the Belgian-American chemist Leo Baekeland. It was the first plastic made from synthetic components. It was used for its electrically nonconductive and heat-resistant properties in radio and telephone casings and electrical insulators, and was also used in such diverse products as kitchenware, jewelry, pipe stems, and children’s toys…

Bakelite is a phenol formaldehyde resin with the chemical name polyoxybenzyl methylene glycol anhydride. It was formed by the reaction under heat and pressure of phenol, a toxic, colorless crystalline solid, and formaldehyde, a simple organic compound, generally with wood flour filler. The combination of the mixture with the wood flour makes the material hard and dense.

The company, The Bakelite Corporations was formed, in 1922, from the consolidation of three companies: the General Bakelite Co., the Condensite Corp. and the Redmanol Chemical Products Company, an early plastics manufacturer formed in 1913, by chemist L.H. Baekeland. The American Catalin Corporation acquired the Bakelite formulas, in 1927, and currently manufactures Bakelite cast resins.

Bakelite Limited was formed, in 1926, from the amalgamation of three suppliers of phenol formaldehyde materials: The Damard Lacquer Company Limited of Birmingham, Mouldensite Limited of Darley Dale, and Redmanol Chemical Products Company of London. Around 1928, a new factory opened in Tyseley, Birmingham, England. (The building was demolished in 1998.) The company was acquired by the Union Carbide and Carbon Corporation in 1939.

From the Wikipedia I found out more information. Here is the link for the source should you want to read more. I have included a few clips from that source. https://en.wikipedia.org/wiki/Bakelite

Bakelite is not extensively used for general consumer products any more, due to the cost and complexity of production and its brittle nature. However, it was used in the past in myriad applications, such as saxophone mouthpieces, cameras, solid-body electric guitars, rotary-dial telephones, early machine guns, and appliance casings. It was at one point considered for the manufacture of coins, due to a shortage of traditional manufacturing material.

An exception to the overall decline is the use in small, precision-shaped components where their specific properties are required, such as molded disc brake cylinders, saucepan handles, electrical plugs and switches, and electrical iron parts. Today, Bakelite-type materials are manufactured and produced in the form of sheets, rods and tubes for many industrial applications in the electronics, power generation, and aerospace industries, and under a variety of commercial brand names.

Many companies stopped using Bakelite in the early 1940s as the need for World War II related products took hold. By the end of the War, new technologies in the world of plastics had made Bakelite obsolete.

A final source of information I found was on jewelry specifically but the dates coincide with the information above and help narrow the dates for my pipe stem.

The source is as follows: http://www.teeda.com/history-of-bakelite-jewelry.html

The height of Bakelite jewelry was the late 1930s, up until the end of the Art Deco period. The designs were quite popular in mass merchandise stores such as Sears and Roebuck. However there were also some famous names working with the material and creating Bakelite jewelry including Chanel and Van Cleef and Arpel. Oddly enough Bakeland allowed the patent to expire and the Catalin Corporation bought it. They began creating their own Bakelite jewelry marketed as Bakelite-Catalin. The pieces were sold in both expensive stores like Saks Fifth Avenue and smaller stores such as Woolworth’s.

Bakelite jewelry was available in a variety of colors, but brown, green, red, and white were the most popular color choices. Over time though, exposure to the light and particles in the air have caused many of these colors to change. A good example is a bracelet that was once white, but now looks pale brown in color.

Given the information on Bakelite I think I can safely narrow down the date on the stem to between 1930-1949 when the war ended. That may be as close as I can get to pinning down a date on the pipe unless someone who knows a bit more of the history of LH Stern can be more specific regarding the apparatus at the end of the tenon.

I returned to finishing up my work on the pipe. With the stem completed, I polished the stem with a silver polishing cloth and was able to remove all of the oxidation and give the silver band a sheen that looked like new.LHS18 I rubbed down the bowl and shank with Halcyon II wax and then buffed it with a shoe brush and then with the microfibre cloth to raise the shine. The finished pipe is shown in the photos below. It is ready to load up and smoke a bowl. It will probably be the first bowl that has been run through the pipe since the end of the war. I am looking forward to reintroducing the pipe to a nice bowl of Virginia or Virginia Perique. It is so light weight that it should be a great smoking pipe.LHS25

LHS26

LHS27

LHS28

LHS29

LHS30 Thanks for looking.

NEPAL PROJECT PIPE SALE 15 – From Ugly Toad to Handsome Prince. Converting an Ehrlich Special Grain Stack into a Beautiful Billiard


Blog by Steve Laug

This is the fifteenth pipe that I have cleaned up and restored. It is a new addition to the box of pipes that I was gifted by a good friend of mine. He brought several more by the house last week with the same instructed purpose. I was to clean them up and sell them with all of the proceeds going to the aid of earthquake victims in Nepal. So far we have raised over $300 dollars for the Nepal project. All the funds that continue to be raised from the sale of these pipes will go to the SA Foundation, and organization that has worked in Nepal for over 15 years helping provide recovery, housing and job training for women who are victims of sexual exploitation and trafficking. The Nepalese are hard at work restoring their country and there is much to do. The SA Foundation Project there was able to find new housing for the women and help the staff as well. Every dollar raised from the sale of these pipes will go to the work in Nepal.

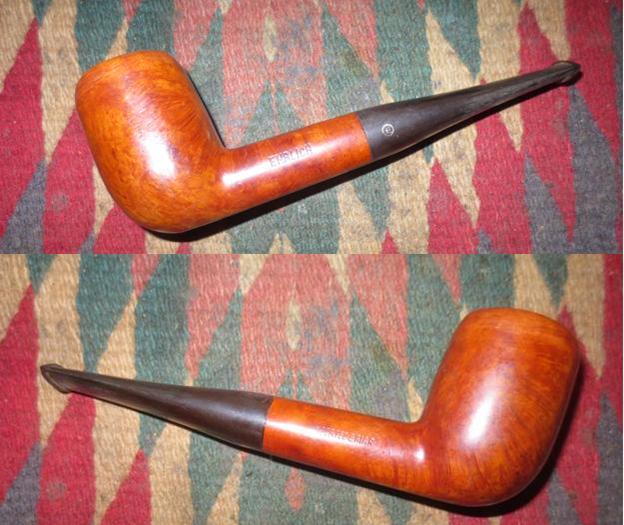
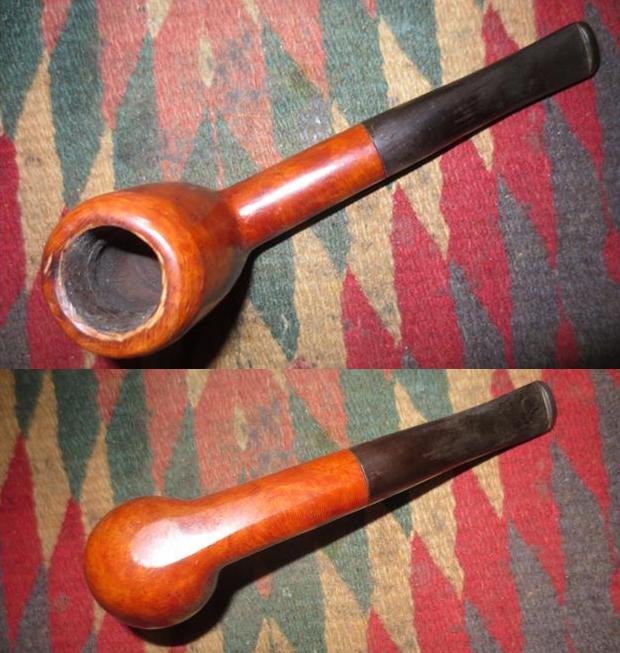
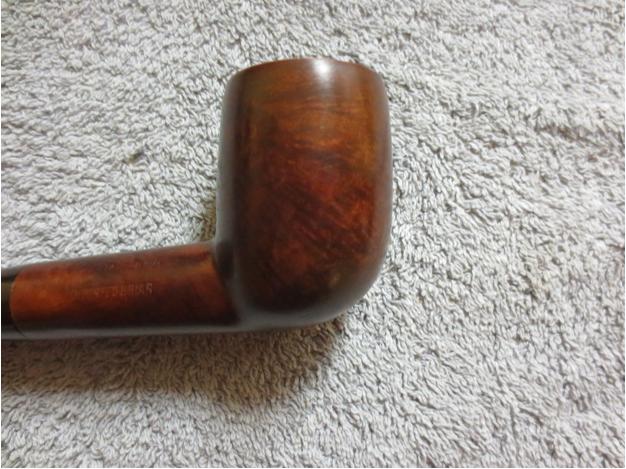
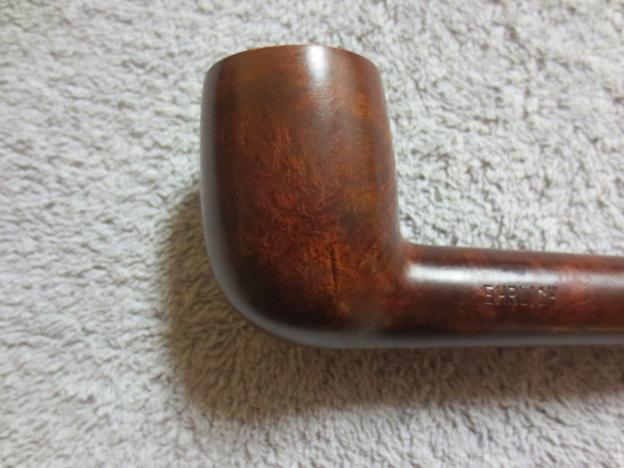
This one is an Ehrlich Special Grain. I think that when it was originally made it was a tall billiard or a stack. Whoever had it before it came to my friend really did a job messing up the rim and the top ¼ inch to ½ inch of the top of the bowl and rounding it. This would not have been bad if it was done evenly but it was done with what looked like a carving knife. It left the briar hacked and damaged. It was almost as if the owner had tried to round the top edges of the bowl to take care of damage to the rim. The pipe is stamped EHRLICH on the left side of the shank. On the right side it reads IMPORTED BRIAR. Just above that almost on the top of the shank it is stamped SPECIAL GRAIN. The stem was oxidized and also had some file marks in the surface on the top and bottom sides. The slot in the end of the stem was very narrow and hard to get a pipe cleaner through from that end. I had to clean the stem from the tenon end. That would need to be taken care of. The E in the circle that is the Ehrlich logo was in decent shape on the stem.Ehrlich1 The top of the rim was very rough. The inner edge was no longer round. The flat top was cut and damaged with the carving knife that had been used on the outer edge of the rim to round it out. The underside of the shank was in good shape but the bowl sides and bottom had some dings and dents in it from knocking it about.Ehrlich2 I took a series of close up photos of the rim and the sides of the bowl to show the knife damage that had been done. You can see from the first photo how the inner edge had been beveled with a knife and was quite uneven. The top of the rim was scratched and had deep grooves from where the knife had slipped. The second and third photo shows the sides of the bowl and how the outer edge of the rim had been rounded haphazardly with a knife. The front and back side also was rounded and hacked. It was very poorly done and left the pipe a mess. The finish was worn and had been covered with a coat of varnish that was bubbling.Ehrlich3

Ehrlich4 I decided to top the bowl first. It would need to be topped quite a bit to take out the rounded and cut sides of the bowl. The damage was significant and I would need to bring the top down at least a ¼ inch to repair it. I used the topping board and 220 grit sandpaper to remove the damaged wood. It took probably 30 minutes of continuous sanding to bring it down. I had to press the rim against the sandpaper to keep the rim flat and horizontal.Ehrlich5

Ehrlich6 Once the top was flat and most of the damaged outer edge removed I used a folded piece of 220 grit sandpaper to smooth out the taper from the bowl side up to the outer edge of the rim. It took a bit of time to smooth out the transition and remove all of the nicks and dents in the briar.Ehrlich7

Ehrlich8

Ehrlich9

Ehrlich10

Ehrlich11 I wiped down the bowl with acetone on cotton pads to remove the finish and sanded the bowl sides until the transition to the rim was smooth.Ehrlich12

Ehrlich13

Ehrlich14

Ehrlich15

Ehrlich16 When the transition was smooth and the sides of the bowl flowed evenly to the top I wiped the bowl down with isopropyl alcohol to clean off the remaining finish and the sanding dust. I sanded the bowl with a medium and a fine grit sanding sponge and then took the following four photos to show the new look of the bowl.Ehrlich17

Ehrlich18

Ehrlich19

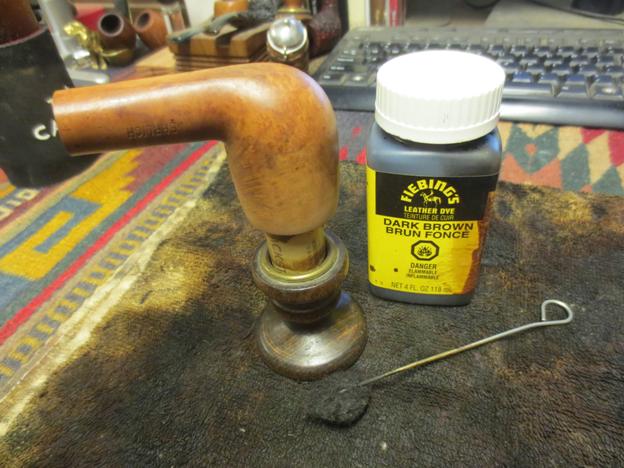
Ehrlich20 I sanded the bowl and rim with 1500-2400 grit micromesh sanding pads and then prepped it to be stained. I put a cork in the bowl so that I could stand it in the candle holder that I used for drying my stained bowls. I stained the bowl with a 50-50 mixture of alcohol and dark brown aniline stain. I flamed it, repeated the stain and the flame and set it aside to dry.Ehrlich21

Ehrlich22 Once it dried enough to pick up I wiped it down with acetone on cotton pads to thin the dark coat and make the grain stand out better.Ehrlich23

Ehrlich24

Ehrlich25

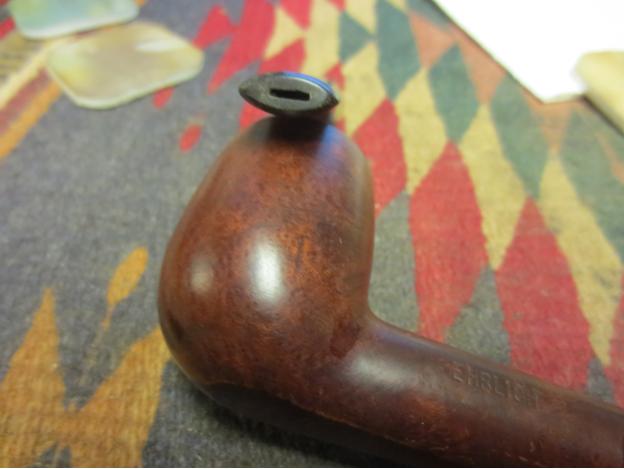
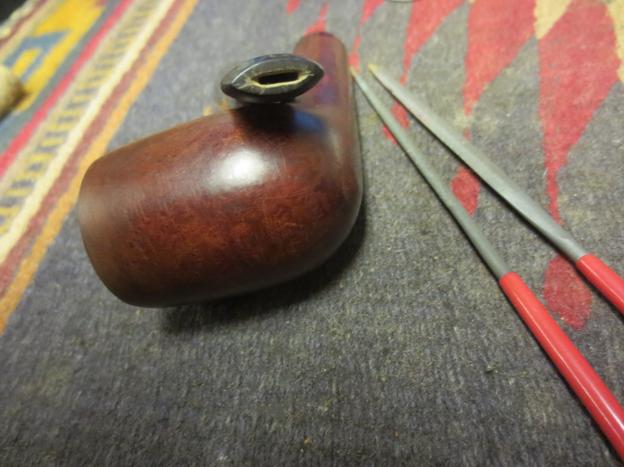
Ehrlich26 I cleaned out the shank and stem with alcohol, cotton swabs and pipe cleaners. I lightly reamed the bowl with a pen knife to remove the debris from the sides of the bowl.Ehrlich27 I sanded the stem with medium and fine grit sanding sponges. I followed that by sanding it with micromesh sanding pads – wet sanding with 1500-2400 grit pads and then rubbing it down with Obsidian Oil.Ehrlich28 After the wet sanding I decided to open up the slot to make it easier to clean out the stem and shank with a pipe cleaner. I used a flat oval needle file to start the work and finished it with a thicker oval file. Once I had it opened I used a folded piece of sandpaper to smooth out the opening.Ehrlich29

Ehrlich30 I dry sanded the stem and the end of the button with 3200-4000 and rubbed it down with oil a second time. I finished with the micromesh pads by sanding with the 6000-12000 grit pads, rubbed it down with Obsidian Oil. Once it dried I buffed it with Blue Diamond on the buffer.Ehrlich31

Ehrlich32 The reborn Ehrlich Billard is shown in the photos below. I was able to clean up the mess of the bowl and rim and open the stem for a better draw. The bumbled job on the rim and bowl had disappeared and a sharp billiard took its place. The slightly darker colour of the stain adds richness to the billiard that I really like. It is now ready to be sold into the hands of its next owner.Ehrlich33

Ehrlich34

Ehrlich35

Ehrlich36 The next three photos give a clear picture of the rim top and sides of the bowl to show the grain.Ehrlich37

Ehrlich38

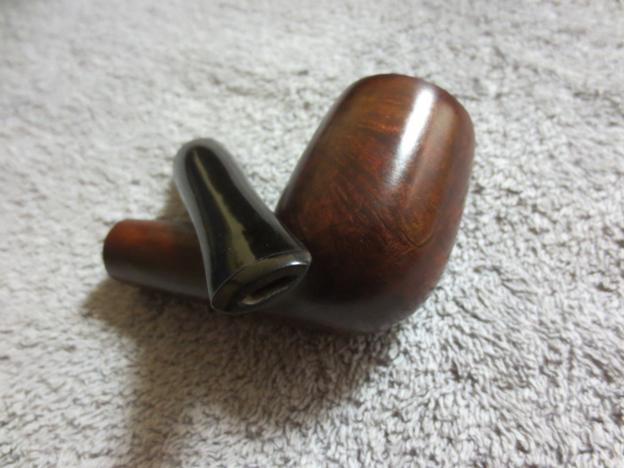
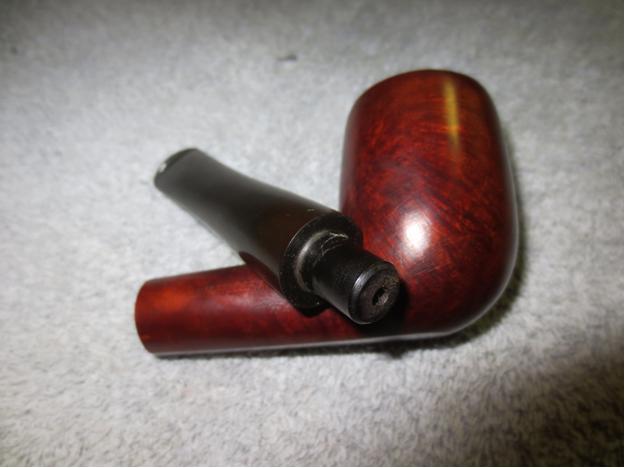
Ehrlich39 The last two photos show the tenon and slot on the stem.Ehrlich40

Ehrlich41 This Ehrlich billiard is a chubby shank larger sized pipe, probably the same size as a Group 4 in Dunhill terms. The grain is quite nice and the thinned dark brown stain allows the grain to show through to its advantage. It should make someone a great addition. If you are interested in this pipe email me with an offer at slaug@uniserve.com and we can discuss it. The entirety of the sale price will go to the Nepal project. I will pay the postage so that does not get taken off the proceeds. If you are interested in reading about the SA Foundation you can look at their website at http://www.safoundation.com.

Thanks for looking.

Replacing a Broken Tenon on a Gepetto Canadian 37


Blog by Steve Laug

A good friend of mine stopped by for a bowl the other day and to drop off some pipes he was donating to the Nepal Pipe Project. He has given quite a few already and some of you have benefited from his generosity. This time he had a couple of surprises with him as well. He had two of his favourite pipes with him that needed some attention. The first was a handmade Gepetto Canadian made by Ser Jacopo. It was a shape #37 and had a rusticated finish. It was a beautiful pipe. He had been twisting the stem out of the shank and it was stuck. One little twist too much and the tenon snapped in the shank. It broke off quite deep in the shank and was solidly stuck in place. I would need to pull the tenon, drill out the stem and insert a new tenon.Gepetto1

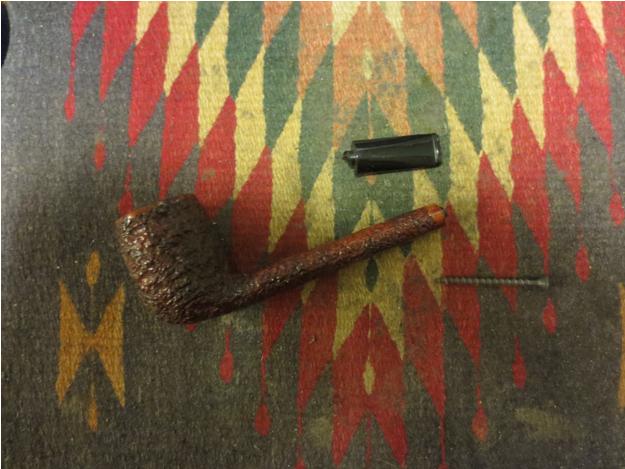
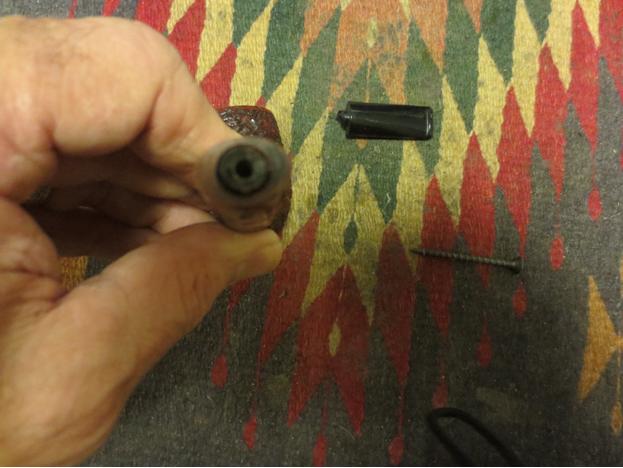
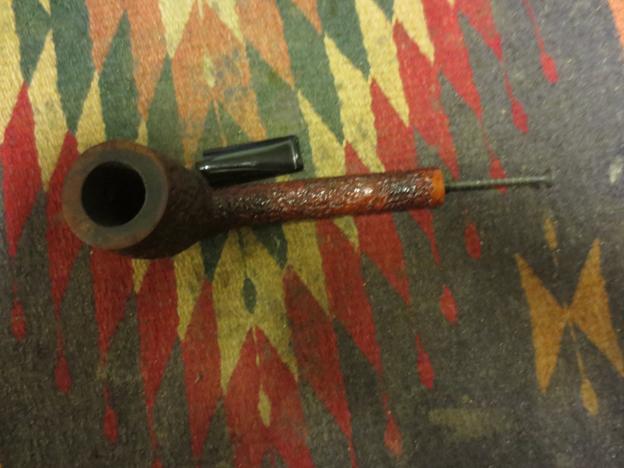
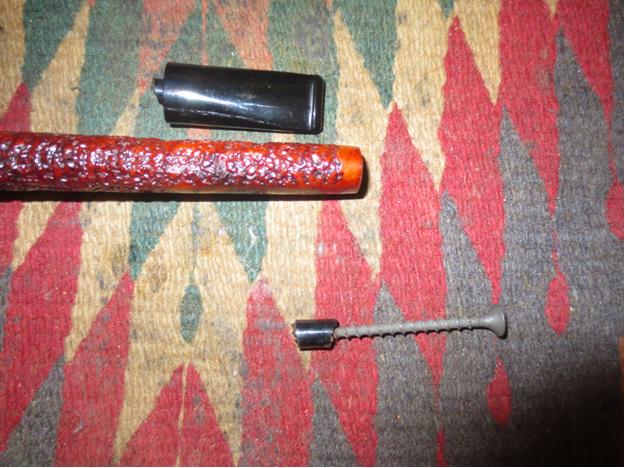
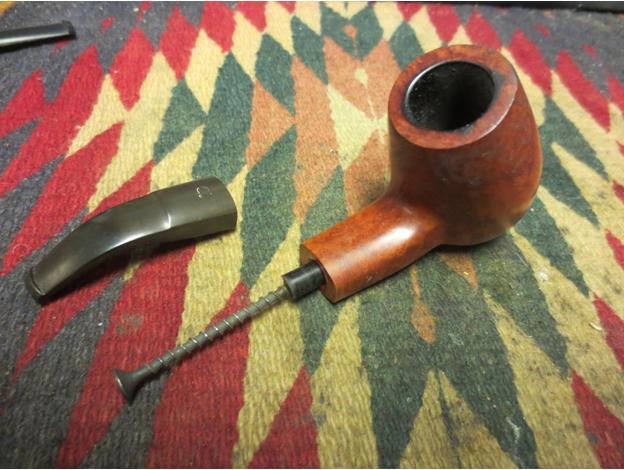
Gepetto2 I used my drywall screw and twisted it into the airway of the broken tenon until it caught hold and then wiggled it loose. With careful wiggling and pulling the broken tenon came free of the shank.Gepetto3

Gepetto4 I used the Dremel and sanding drum to take off the majority of the remaining broken tenon on the stem itself. I faced it on the topping board with 220 grit sandpaper until it was flat against the rest of the stem face.Gepetto5

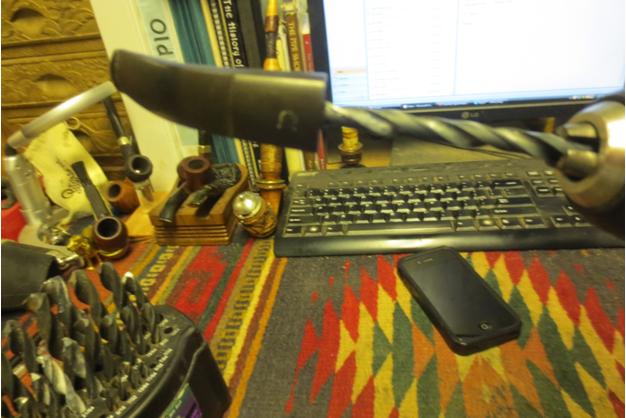
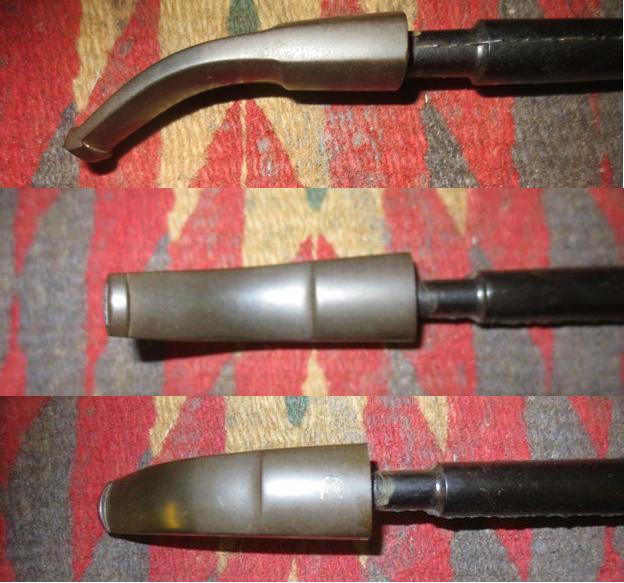
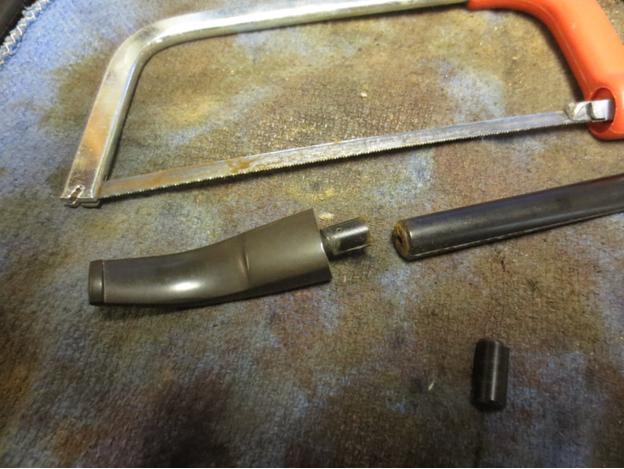
Gepetto6 The stem is Lucite and the original tenon was an integral part of the stem. I did not have any Lucite tenon and also no Delrin tenons. So once again I decided to do some improvisation. I turned down the tenon on an old thin vulcanite stem that I had in my stem can until it was a snug fit in the mortise of the shank. I wanted it to sit as deeply as the previous tenon so I turned it down accordingly with the Dremel and sanding drum. When the fit was correct I left it in place in the shank and carefully cut off the stem with a hacksaw. I left enough of the new tenon to sit in the hole I would drill in the stem face.Gepetto7 I set up a drill and turned the stem onto the drill bit by hand until it was deep enough to hold the new tenon but not too deep because of the sharp taper of the stem. If it was too deep it would have broken through the top and bottom side of the taper. I measured the depth I had to work with and drilled only that depth in the stem. I started out using a drill bit slightly larger than the airway in the stem and worked my way up to a ¼ inch bit. I used a round needle file to clean up the inside edges of the drilled out stem. I turned the end of the tenon down until it slid snugly into the hole. Once I had a good fit I coated the end of the tenon with super glue and pressed it into the hole. I did this carefully to keep the tenon straight both horizontally and vertically. Gepetto8 Once the glue set on the new tenon I cleaned it up with some sandpaper and then pushed it into the mortise of the pipe. The fit was good and the taper lined up correctly on the top, sides and bottom of the shank. The stem needed to be sanded to clean it up and polish it. I sanded it with 220 grit sandpaper to smooth out the edges and around the button.Gepetto9

Gepetto10

Gepetto11

Gepetto12 I continued to sand it with a medium and a fine grit sanding sponge. The fit against shank on the underside had a slight gap so I needed to do some adjustments. I heated the tenon and then pushed it in place and held it against the shank until it cooled and set. The fit was better.Gepetto13 I wet sanded the stem with 1500-2400 grit micromesh pads and then used some mineral oil to give the next grits of micromesh some bite. I then dry sanded with 3200-4000 grit pads and repeated the oil and then finished with 6000-12000 grit pads. I put the stem on the pipe and buffed it with Blue Diamond.Gepetto14

Gepetto15

Gepetto16 The rim had some build up of tars on the back top edge so I cleaned that off and then buffed the rim the rim to polish it. I lightly buffed the entire bowl. I used carnauba wax on the rim and the smooth portions of the pipe as well as the stem. I buffed it with a clean flannel buff and then buffed it by hand with a microfibre cloth. The finished pipe is shown below. It should be back in my friend’s hands soon and he can enjoy it once again. Thanks for looking.Gepetto17

Gepetto18

Gepetto19

Gepetto20

Gepetto21

Gepetto22

Replacing a Broken Tenon & Doing a Simple Restoration on a Unique Bjarne Danish Handmade Egg


Blog by Steve Laug

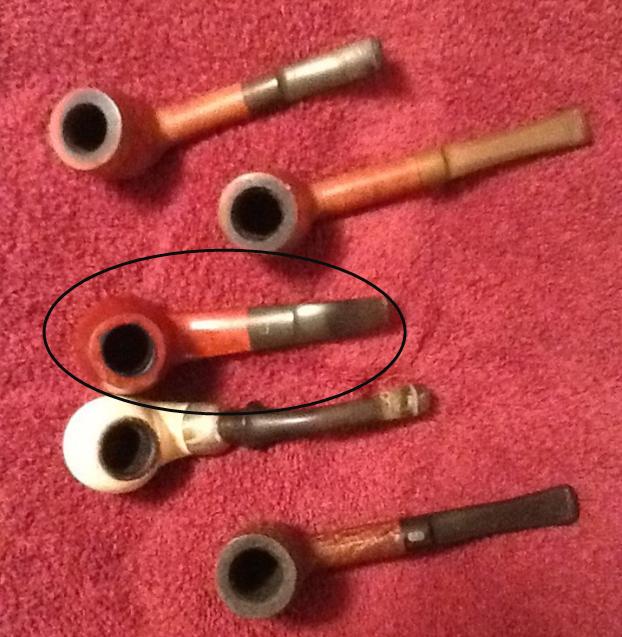
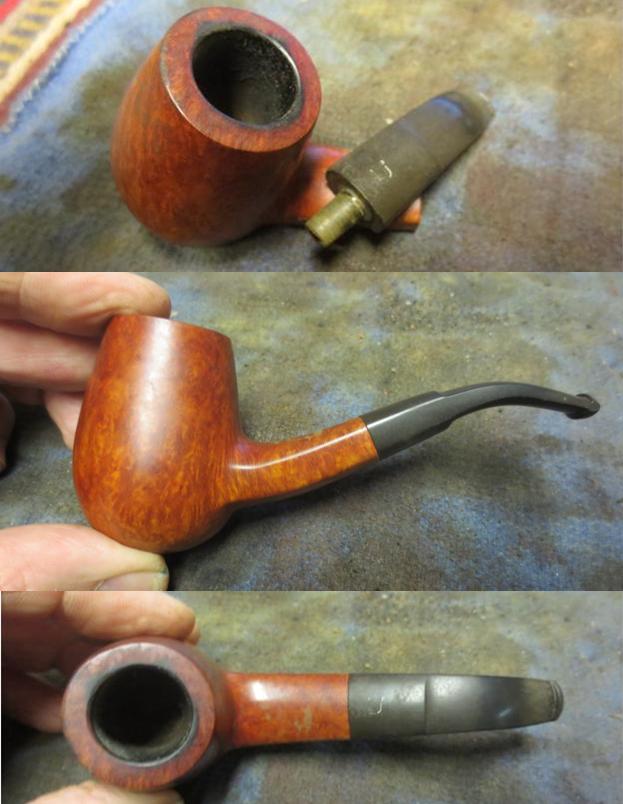
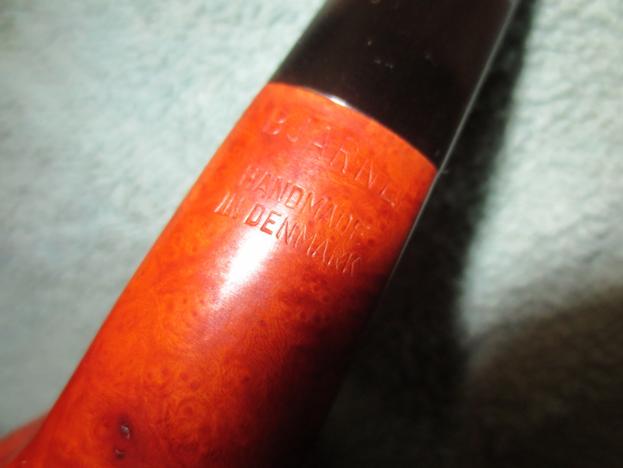
I found this interestingly shape pipe in an antique mall in Idaho Falls. I was attracted to the egg shape, the hanging bottom and the rectangular shank and saddle stem before I even knew who had made it. I was pretty sure that it was a Danish made pipe but did not know who had made it. When the clerk took it out of the display case I saw that it was priced at $15 US – not a bad price these days for estate pipes. I turned it over in my hands and could see that it was well made and barely smoked. The bottom of the bowl still showed unseasoned briar. The stem was oxidized but free of tooth marks and tooth damage. The finish was in decent shape other than some sticky spots where the person selling it had put price tags. On the bottom of the shank it is stamped BJARNE over Handmade in Denmark. That is the only stamping on the shank. It is the pipe circled in the photos below.Bjarne1

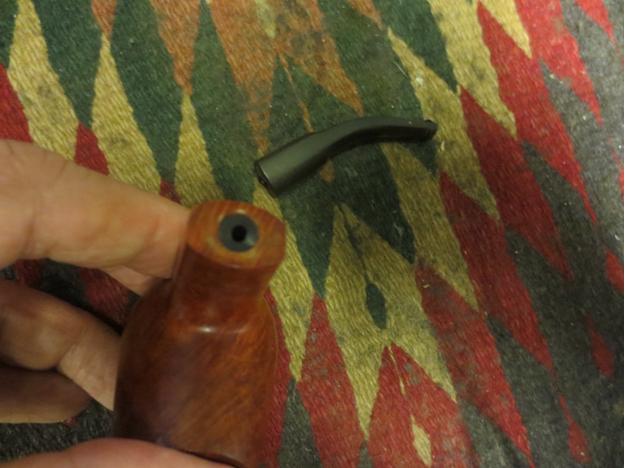
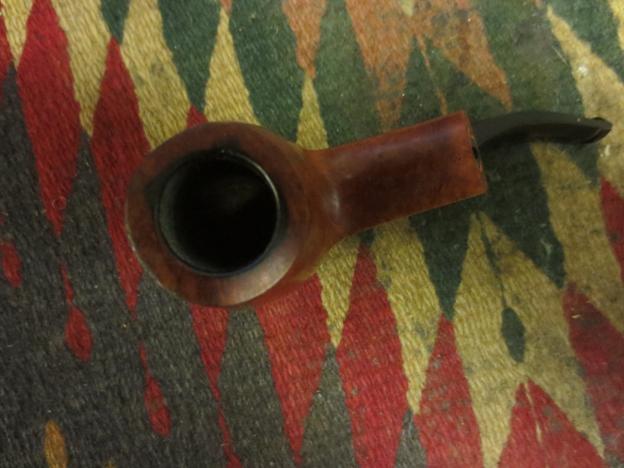
Bjarne2 I was excited by this find. I liked the shape and the cleanup would be simple. I purchased it and took it back to my mom and dad’s place. But then the something happened that I have come to dread. I was carrying the bag across their parlour when the bottom fell out of the bag and the pipe bounced off the tile floor. There was a sharp crack and the stem had disappeared. I found it hidden in the pattern of the carpet about three feet from the bowl. I was sick to my stomach. The tenon had snapped off evenly in the shank. The stem and the bowl were undamaged otherwise. This meant that what was originally a simple restoration would now be a bit more complicated. I would need to replace either the tenon or the stem.Bjarne3 I took some photos of the bowl when I brought it to my work table. The briar was beautiful and not a flaw in the grain on the bowl itself. There was one small sand pit on the bottom side of the shank but it had only darkened from handling and was not that big a deal. The rim had some darkening and burn marks on the top near the back, the right side and the right front. These would have to be dealt with.Bjarne4

Bjarne5

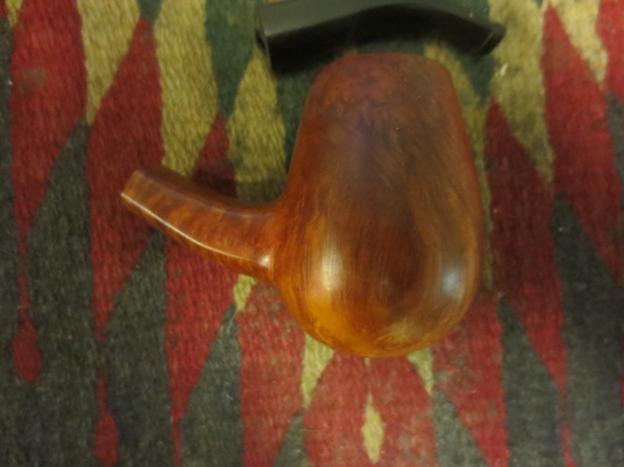
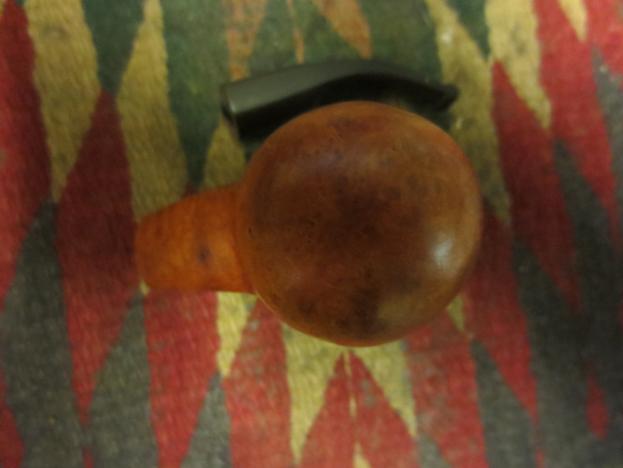
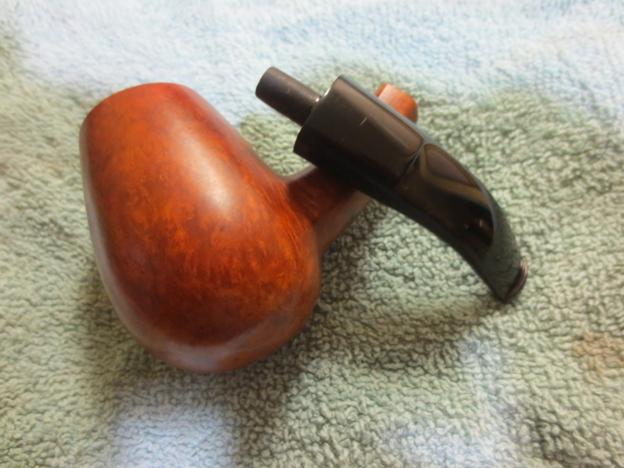
Bjarne6 I used my tried and true method for pulling broken tenons. I twisted a drywall screw with wide threads by hand into the airway on the tenon. When it bit, I wiggled the tenon free of the shank. It did not take much to pull it out. If it had I would have put the bowl in the freezer for a half hour and repeated the process.Bjarne7 I faced the stem on my topping board to knock off the remnants of the broken tenon and then twisted the stem onto a drill bit slightly larger than the airway in the stem. I don’t use the power feature on the drill as I would rather turn the stem onto the bit by hand. This is critical when working on short saddle stems where it is very easy to over drill the airway and ruin the stem.Bjarne8 When I had the airway open for a new tenon I improvised by using a junk stem I had in my can of stems. I pressed the tenon on the thin stem into the freshly drilled airway on the stem. The fit was snug and the once I cut back the donor stem I would have a new vulcanite tenon. I glued the new tenon in place with super glue and pressed it until it set. The next three photos give an idea of how the new tenon and the donor stem fit in the stem as a replacement tenon.Bjarne9 I cut off the stem with a hacksaw. In this case, after measuring the depth of the mortise I knew I could cut of the tenon portion of the donor stem and be left with a tenon the right length for the pipe.Bjarne10 I turned the diameter of the new tenon down with a sanding drum on my Dremel until it was close to fitting and then finished the fit by hand with 220 grit sandpaper.Bjarne11

Bjarne12 As often happens with a new tenon I had to do a little fine tuning on the shank – not much really but a slight removal of briar on the left side and a little vulcanite on the left. I probably could have left it but I am picky so I sanded it lightly until the transition was smooth. I wiped down the bowl with acetone on a cotton pad to remove the mottled finish and the glue that was on the shank and the bowl from the price tags.Bjarne13

Bjarne14 I examined the burns on the rim and to repair/remove them the bowl would have to be lightly topped. I used the topping board and 220 grit sandpaper to take off most of the burn marks and minimize the damage.Bjarne15

Bjarne16 I sanded the rim with a medium and fine grit sanding sponge and then wiped the bowl down with a cotton pad to remove the sanding dust.Bjarne17

Bjarne18

Bjarne19 I restained the sanded areas on the shank and the rim with a stain touch up pen using the lightest colour stain. I was able to match the colour of the bowl and not have to restain the whole pipe. Bjarne20

Bjarne21

Bjarne22 I gave the bowl a quick buff with a coarse cotton rag to blend in the stained areas with the rest of the bowl and feather in the new stain.Bjarne23

Bjarne24 I took the stem off and cleaned out the shank and the stem. It was a pretty clean pipe which lent proof to my earlier assumption of the pipe being lightly smoked.Bjarne25 With the tenon replaced, the bowl stained and looking fresh all that remained was to remove the oxidation on the stem. I lightly sanded the stem with medium and fine grit sanding sponges and then went on to sand it with micromesh sanding pads. I wet sanded the stem with 1500-2400 grit pads and rubbed the stem down with Obsidian Oil. I “painted” over the saddle area and the edge of the button with the flame from a Bic lighter to remove the oxidation. I dry sanded with 3200-4000 grit pads, rubbed it down with oil once again and then sanded it with 6000-12000 grit pads. I gave it a final rubdown with Obsidian Oil.Bjarne26

Bjarne27

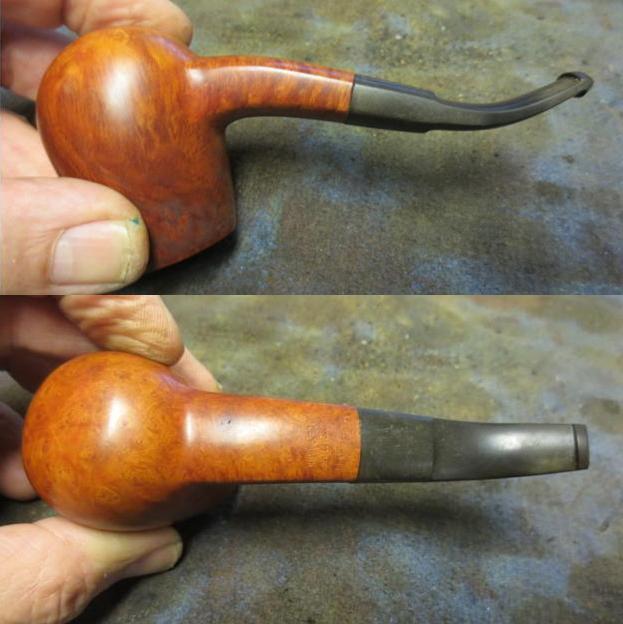
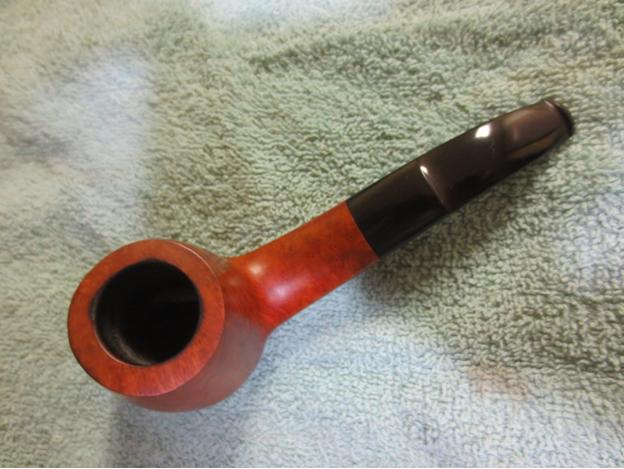
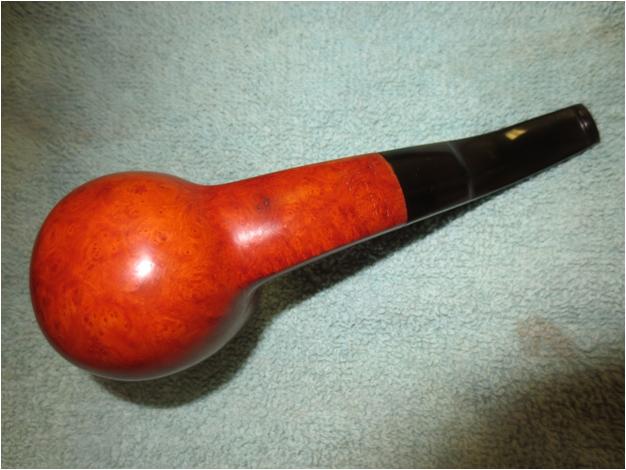
Bjarne28 Once the oil dried I buffed the stem and the bowl with Blue Diamond on the wheel and then gave it multiple coats of carnauba wax. I buffed it with a clean flannel buff to raise the shine. I then used the new addition to my order of things, learned from Dave Gossett and hand buffed the bowl and stem with a microfibre cloth to take the shine to the next level. The finished pipe is shown below. The fit of the stem makes the repair look like it came that way. The final photos of the stem and tenon show how the new tenon looks when it was completed. I am sure glad that the broken tenon did not ruin this old pipe and that once the new tenon was replaced the restoration was quite simple. This pipe should serve me well for years to come. Thanks for looking.Bjarne29

Bjarne30

Bjarne31

Bjarne32

Bjarne33

Bjarne34

Bjarne35