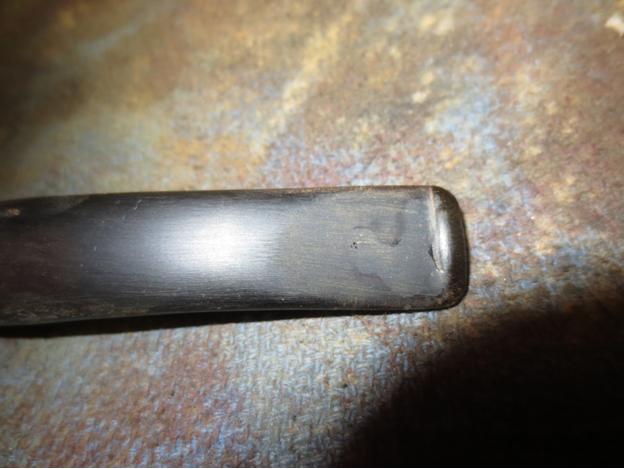
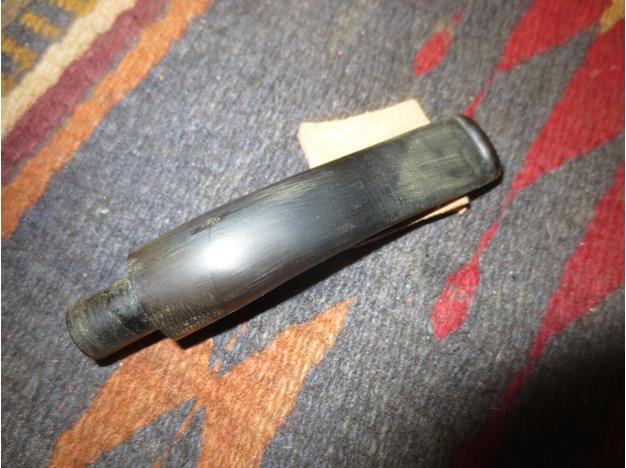
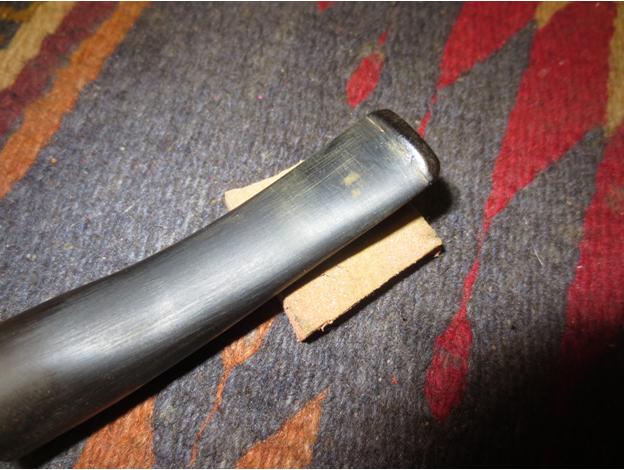
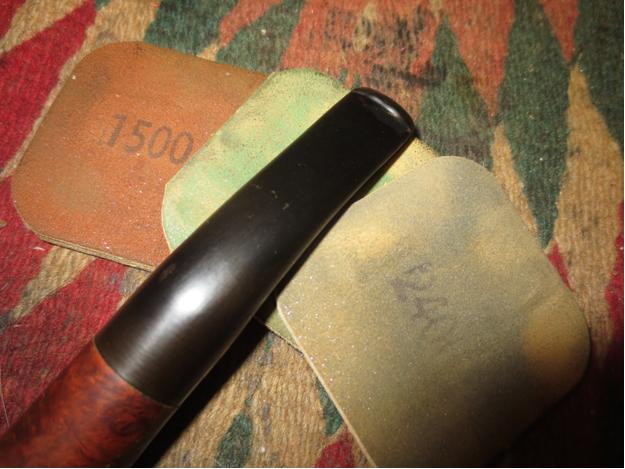
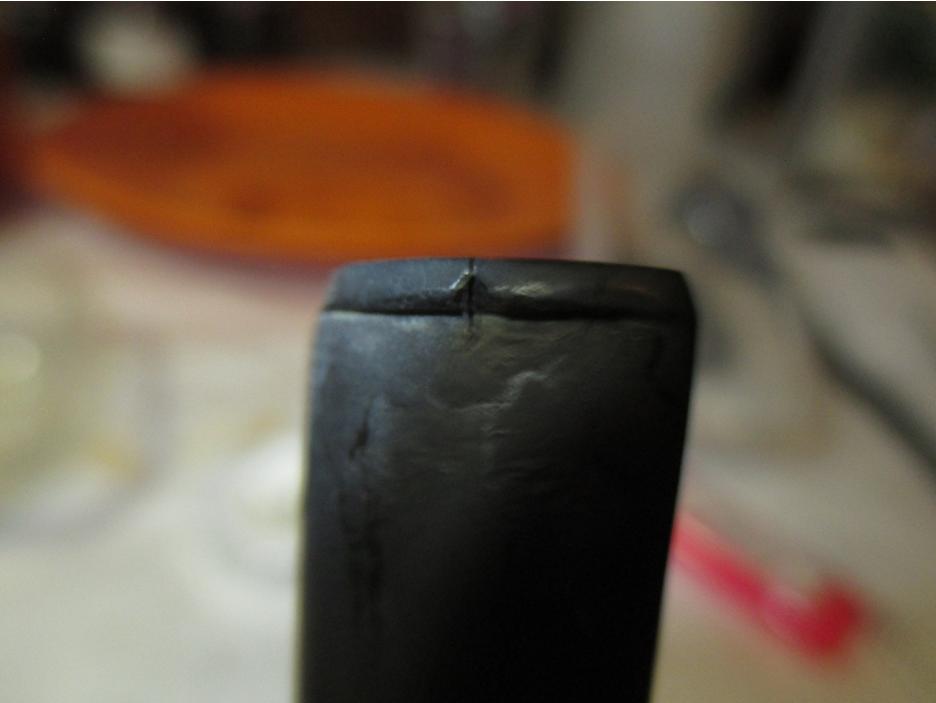
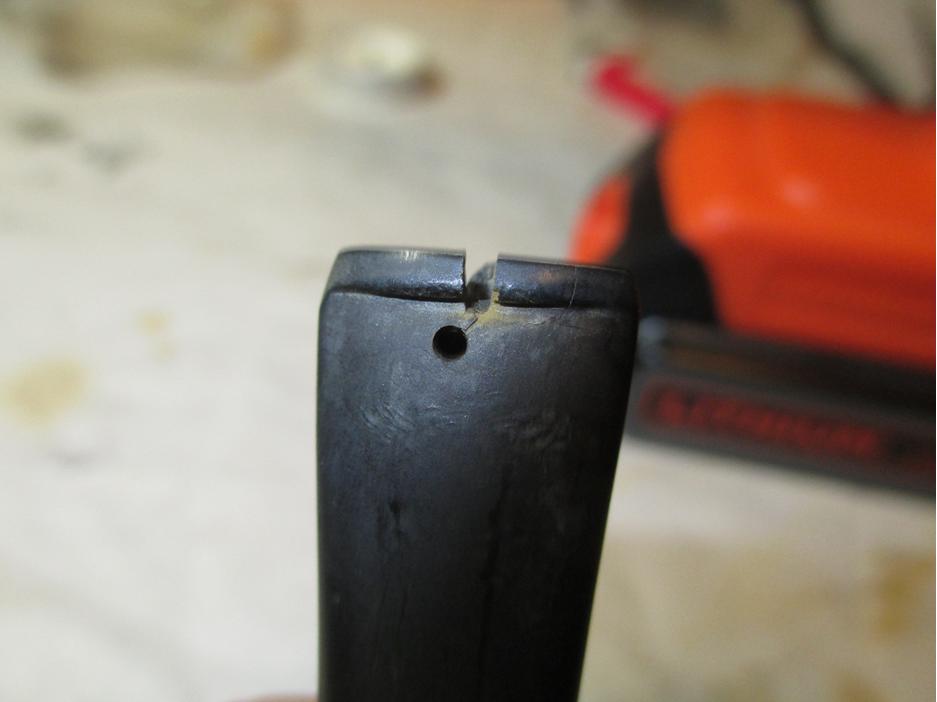
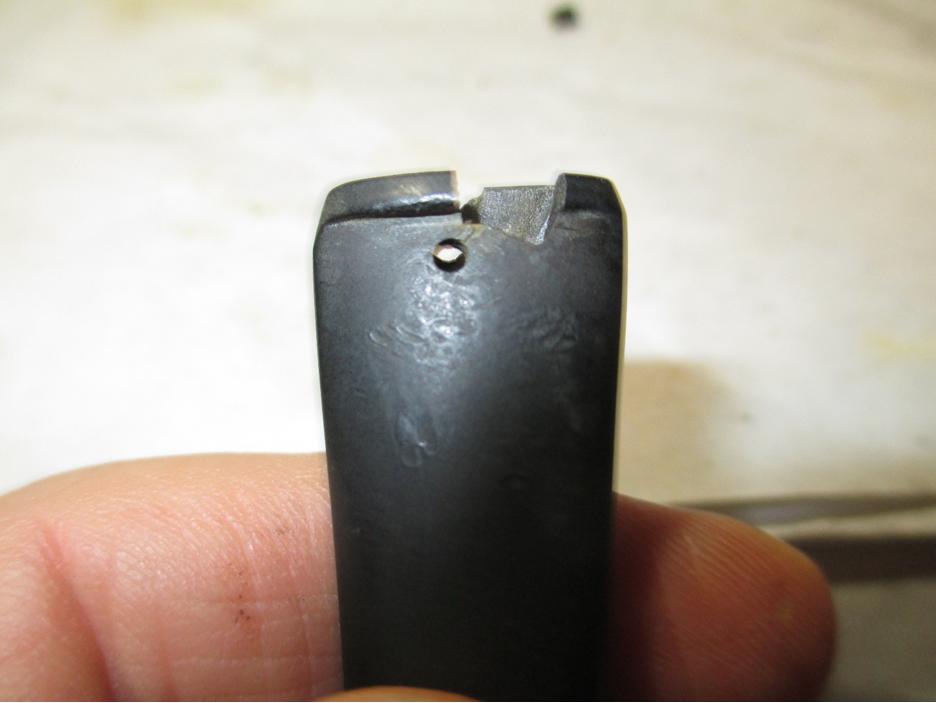
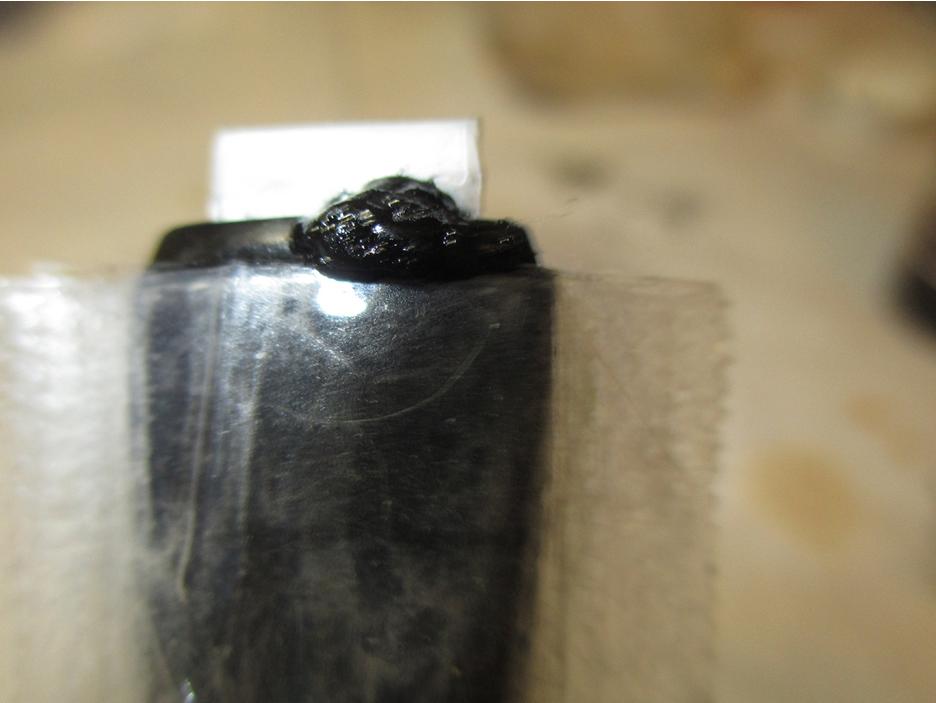
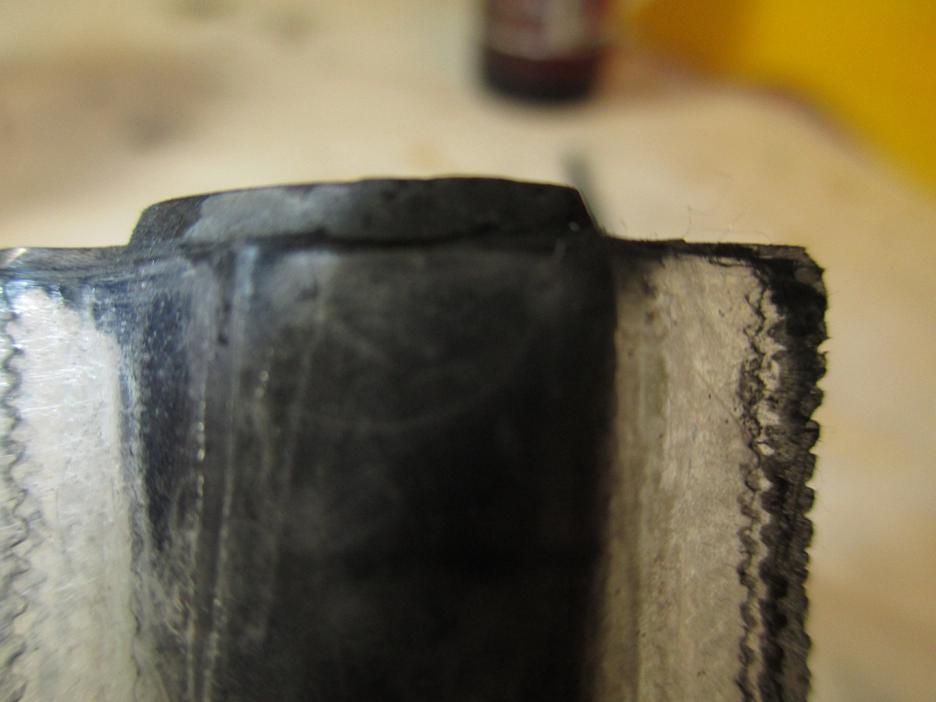
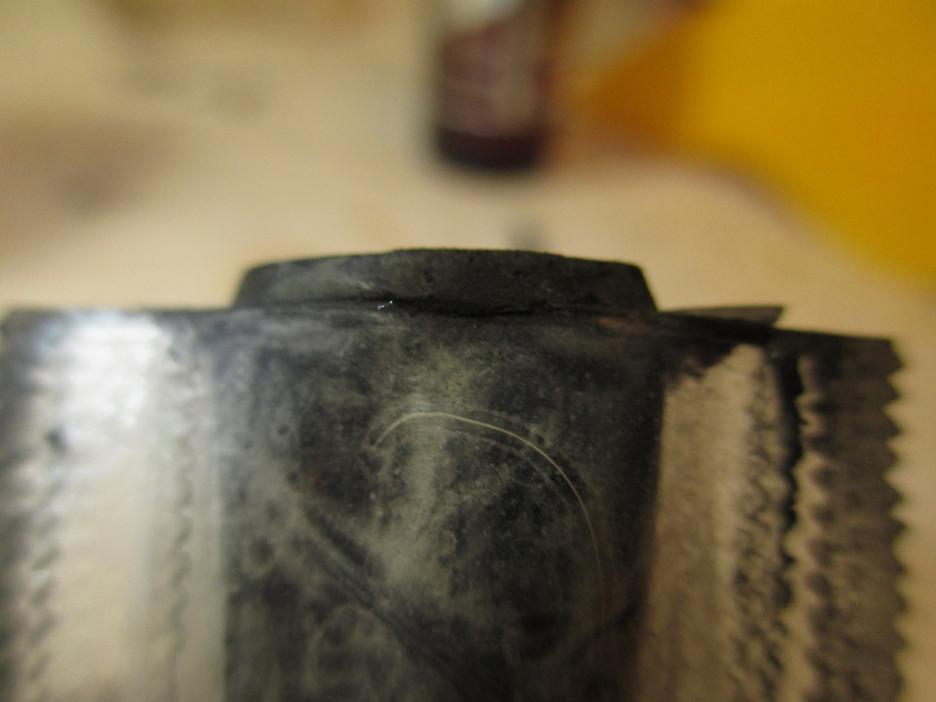
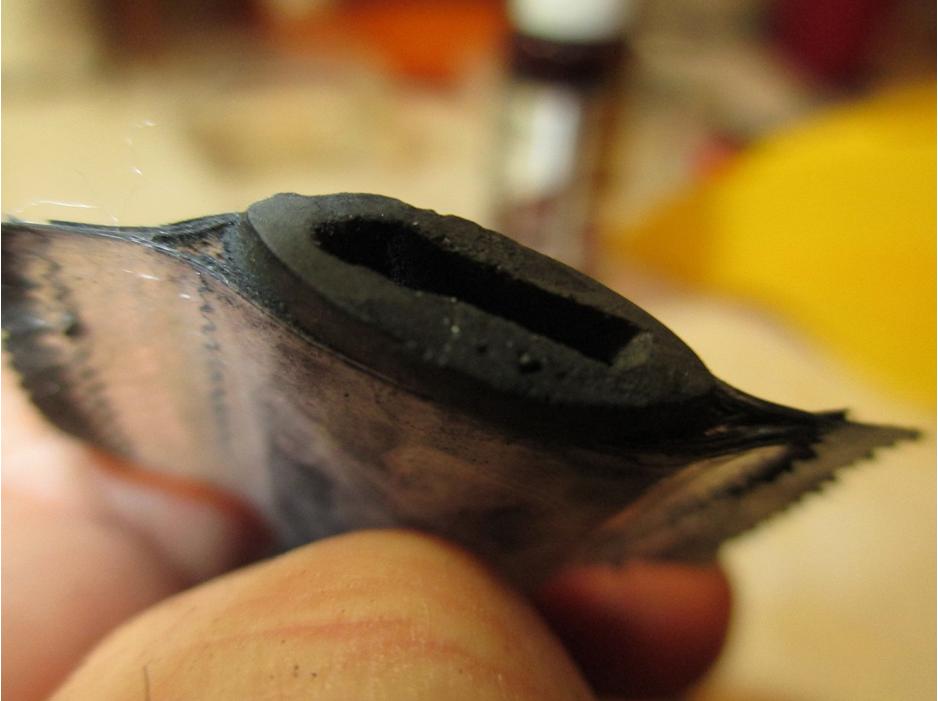
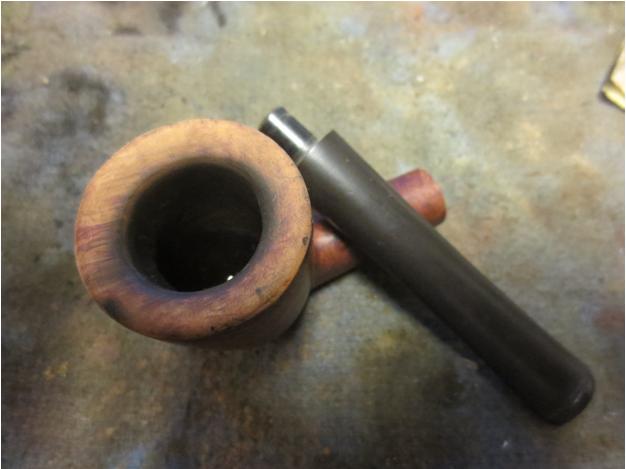
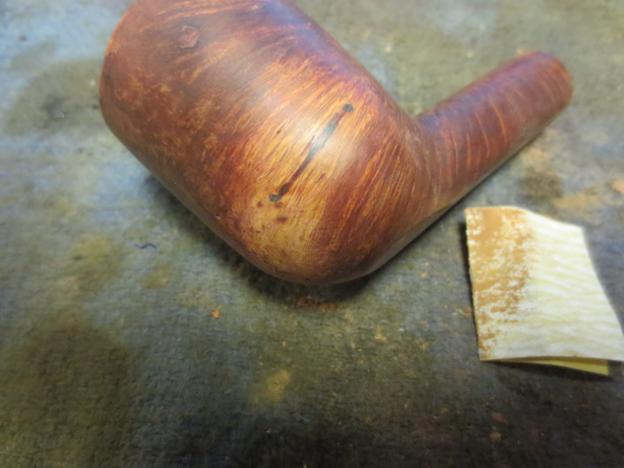
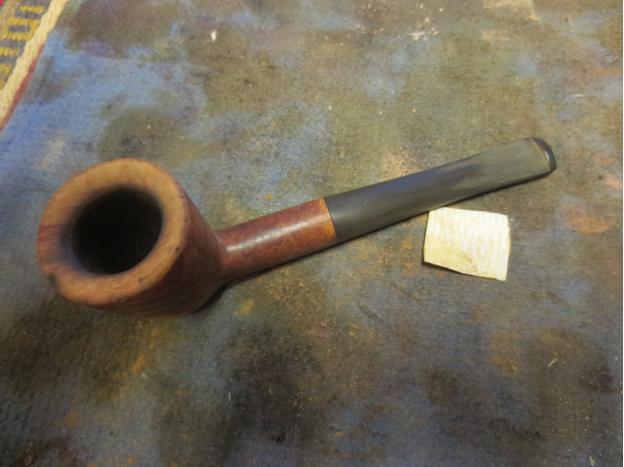
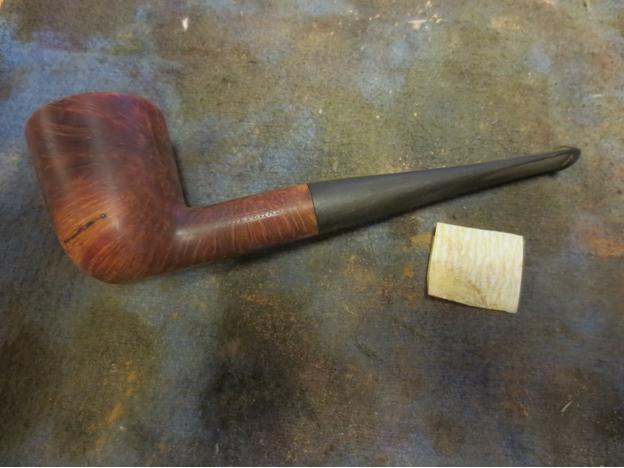
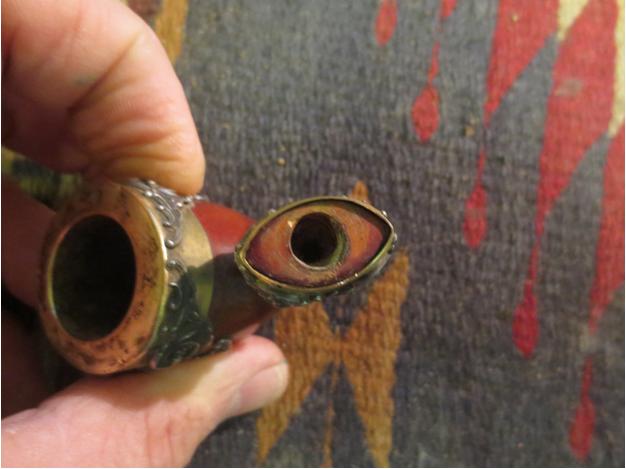
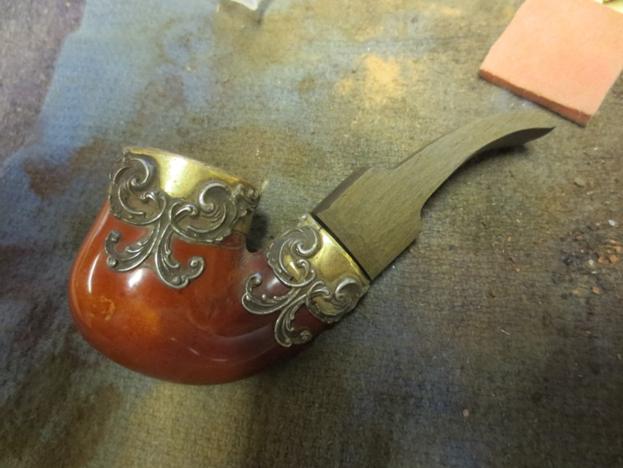
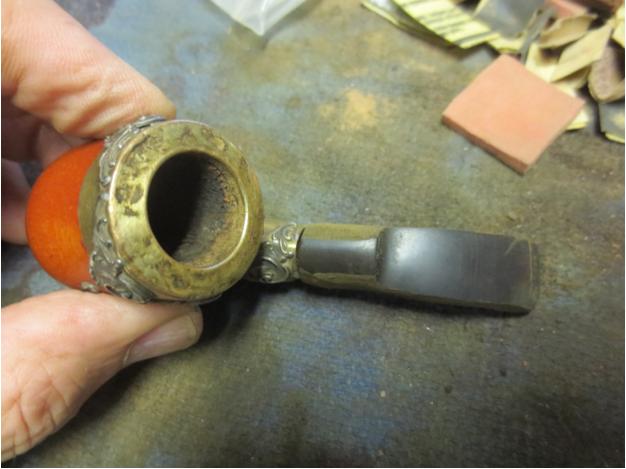
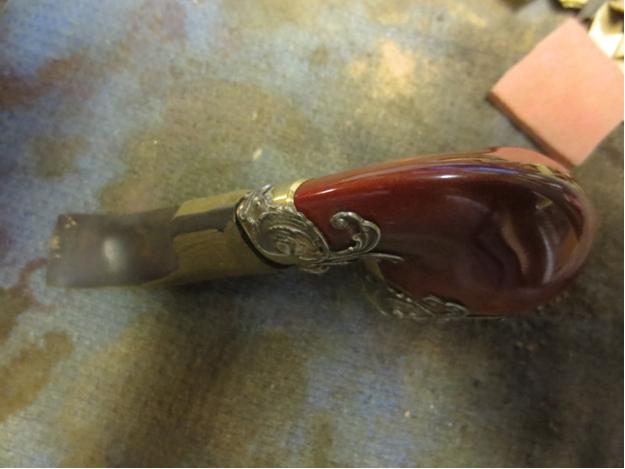
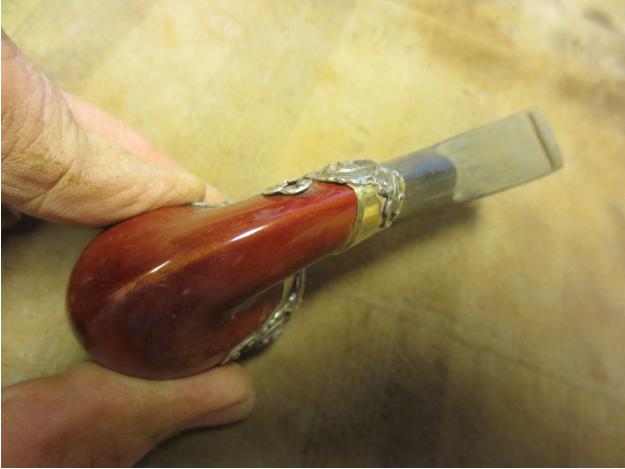
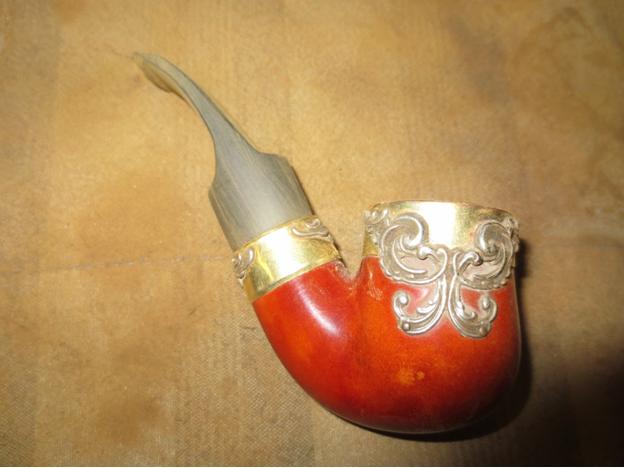
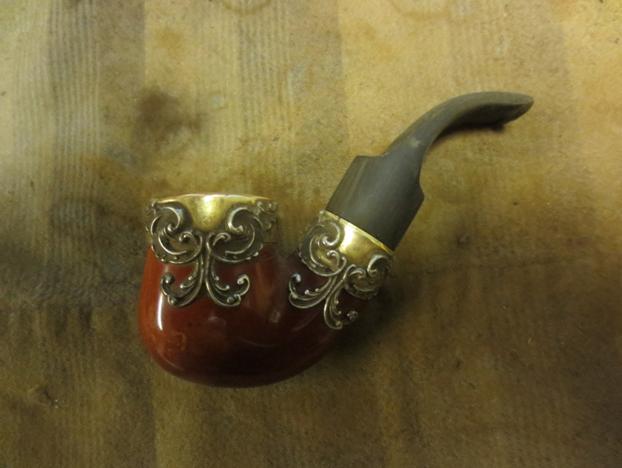
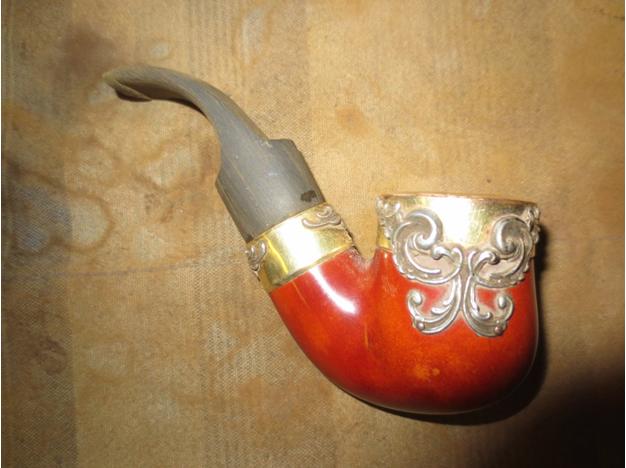
Tag Archives: polishing a stem

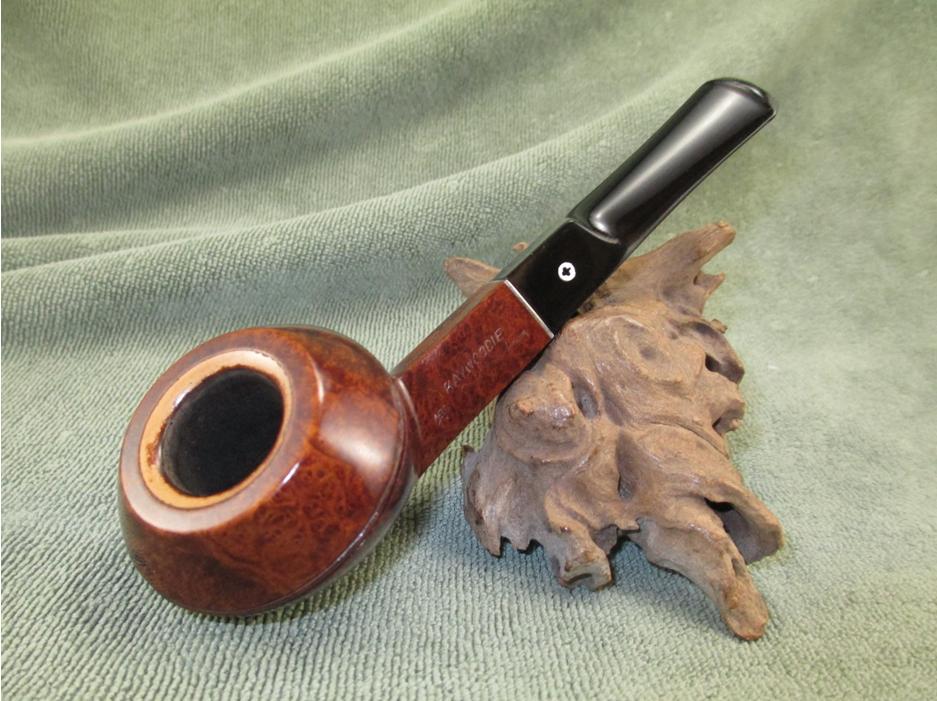
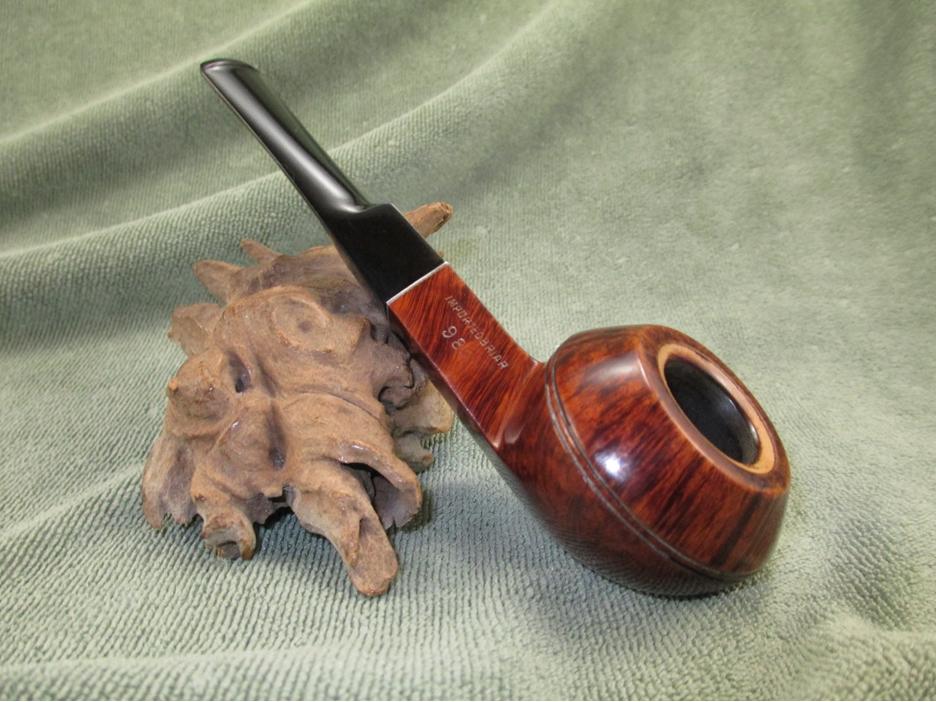
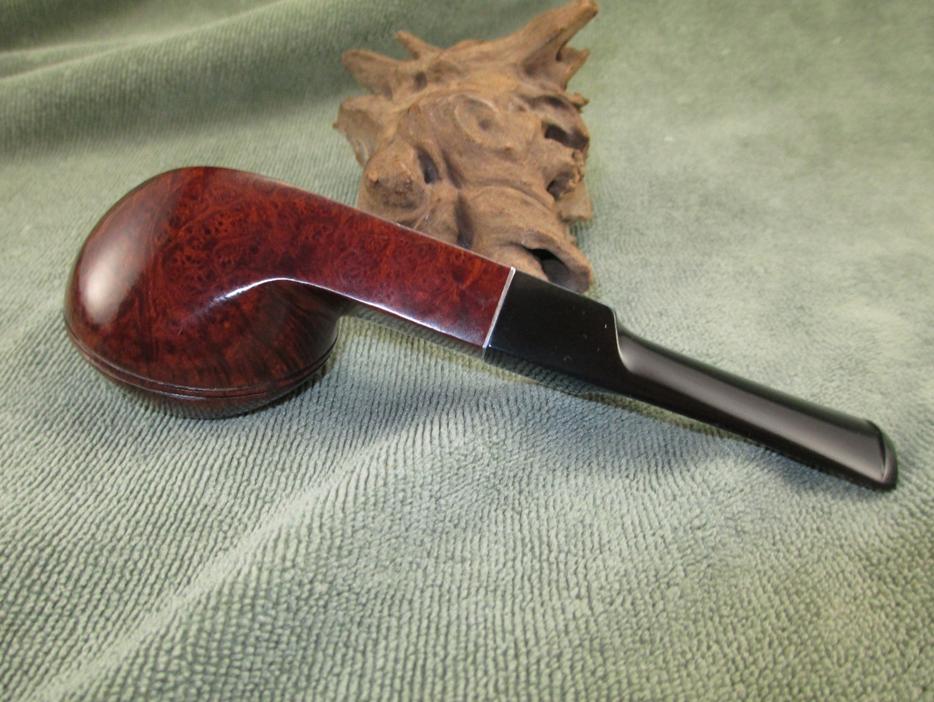
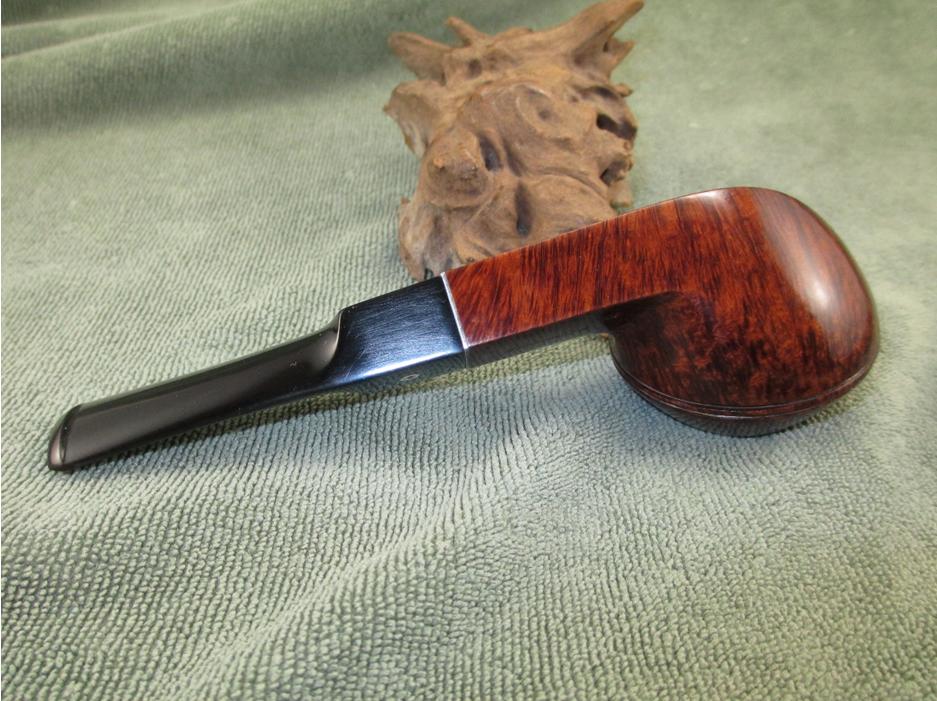
Breathing New Life into an LHS Sulgrave


Blog by Steve Laug

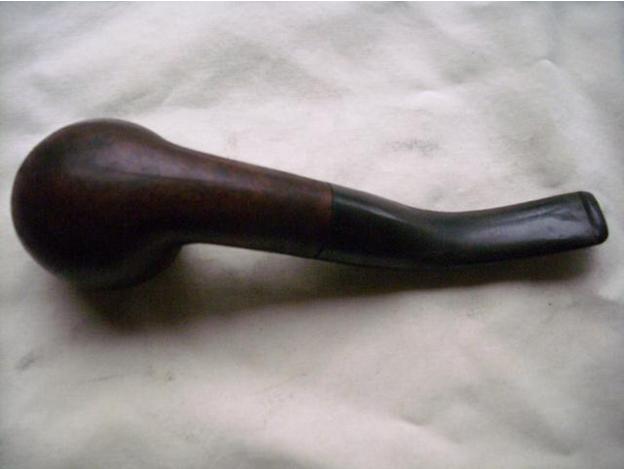
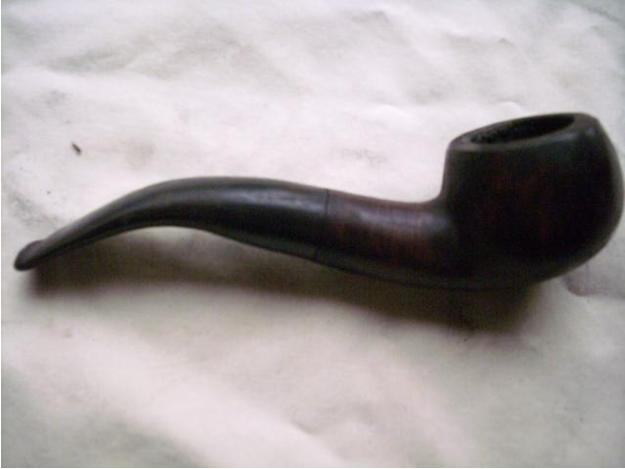
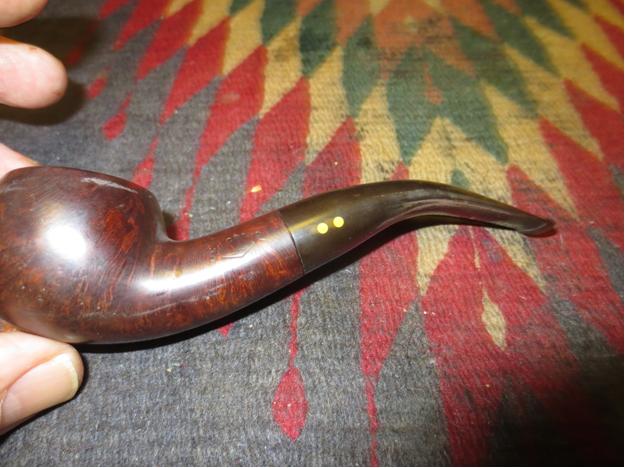
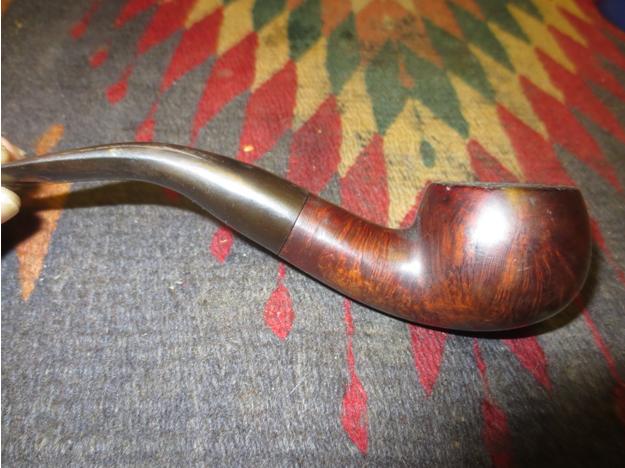
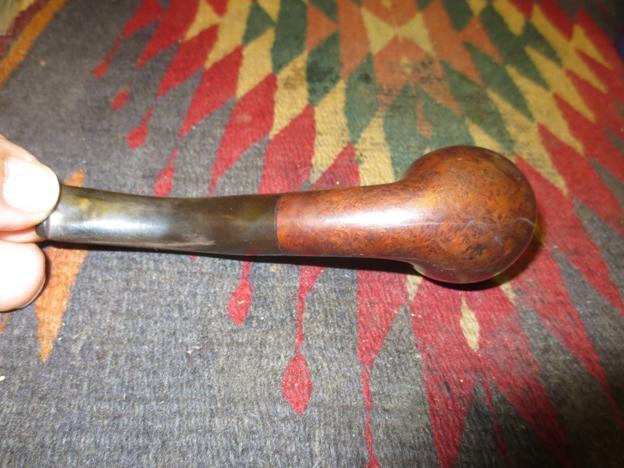
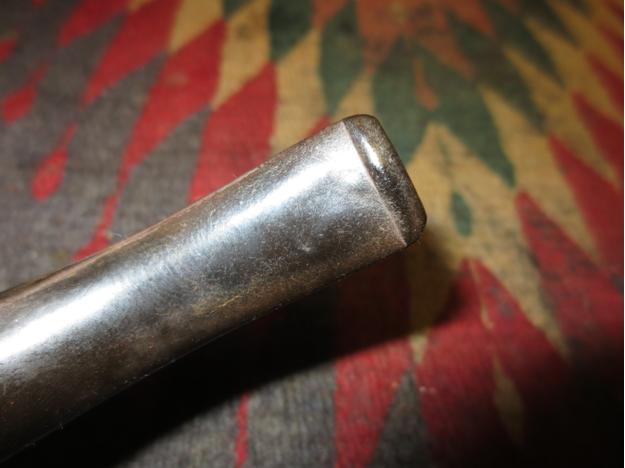
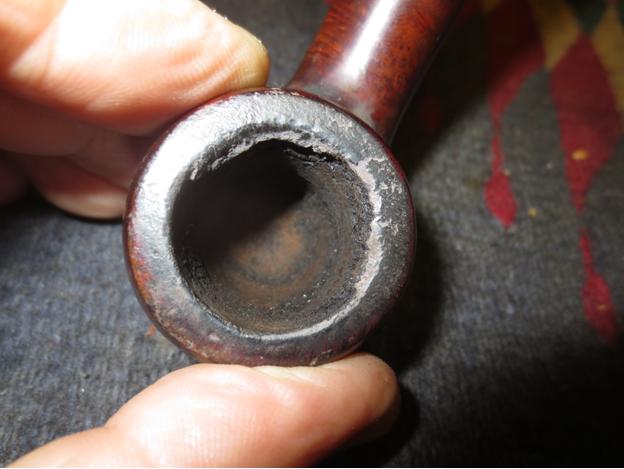
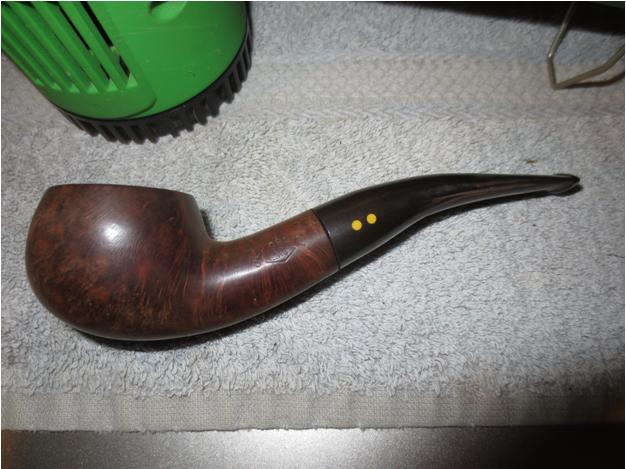
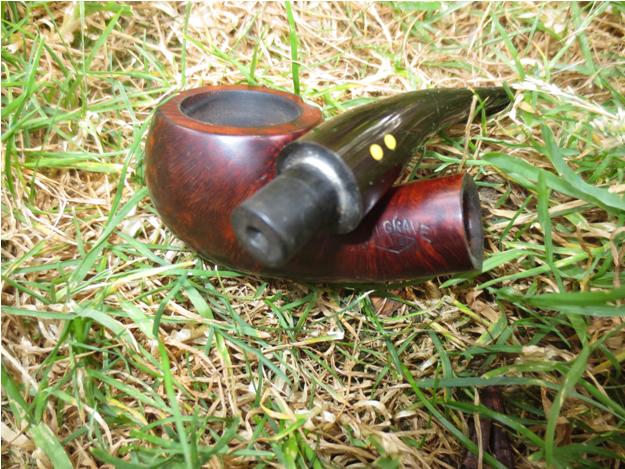
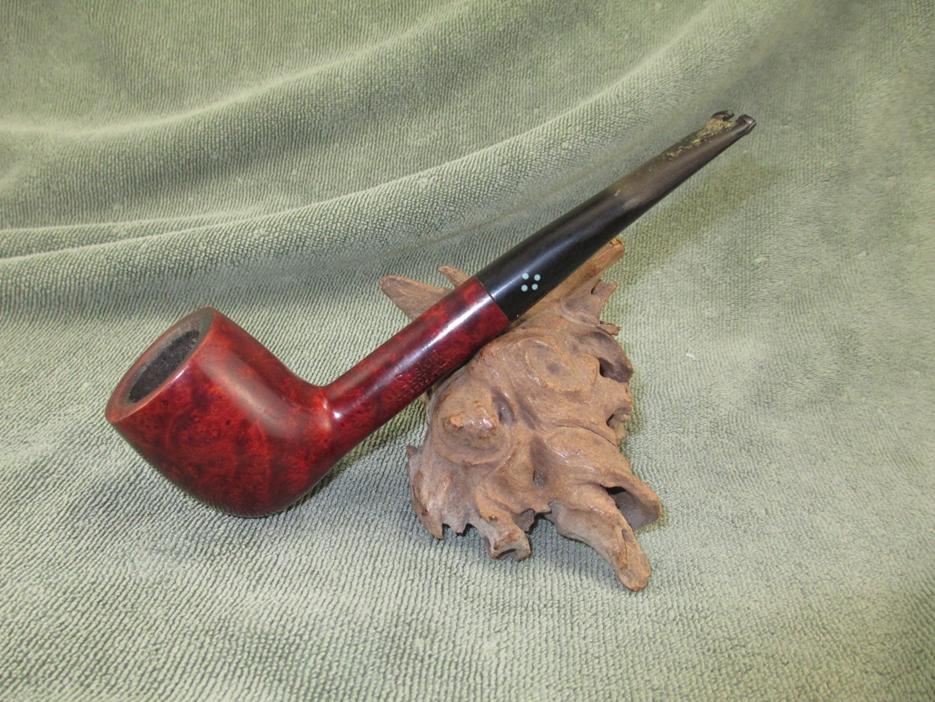
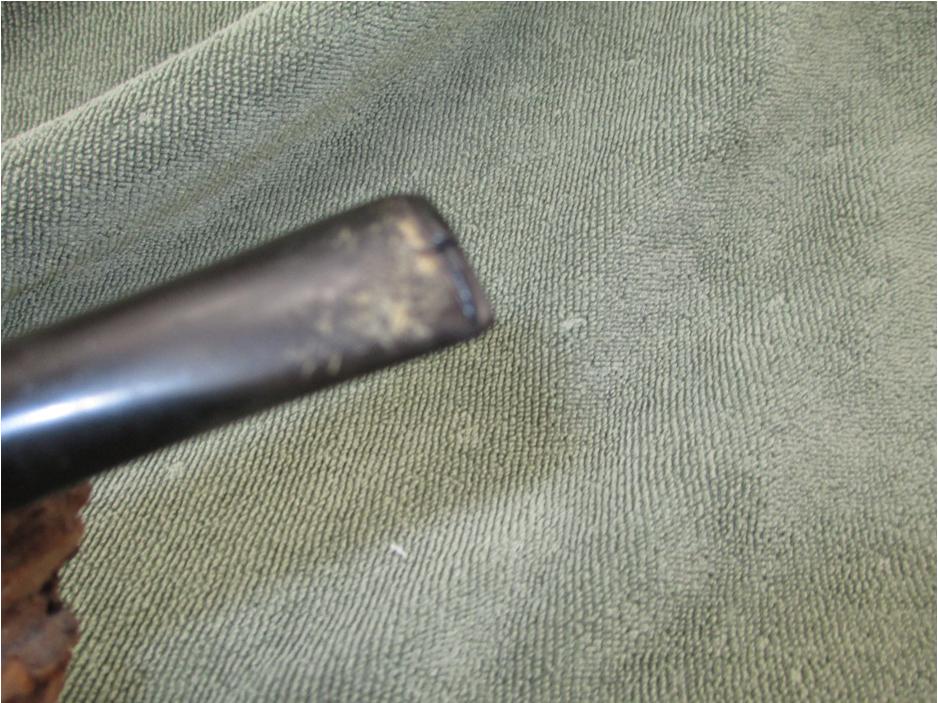
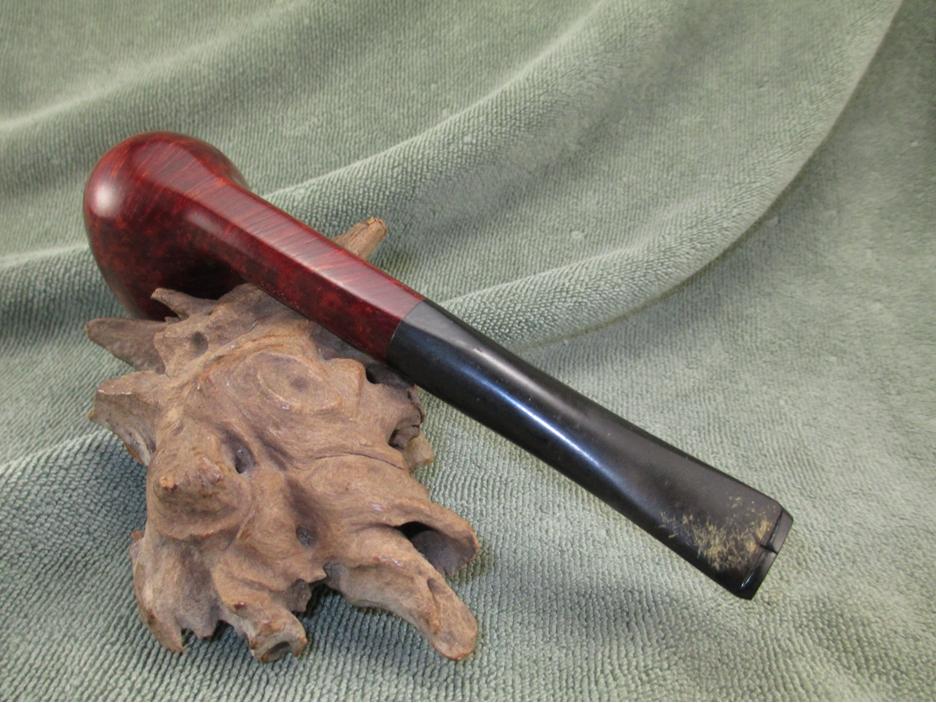
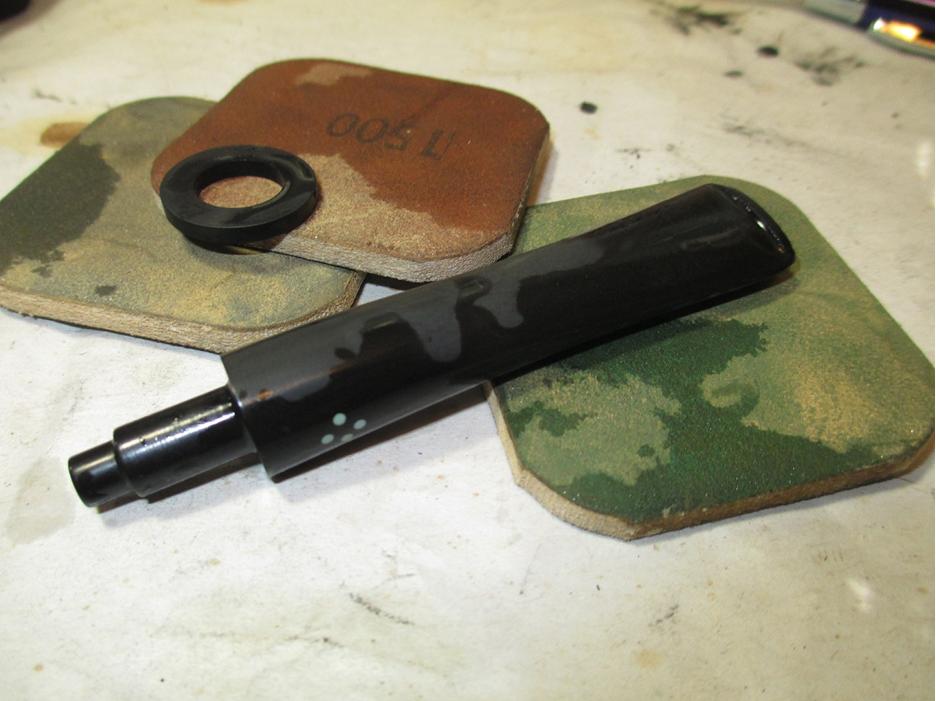
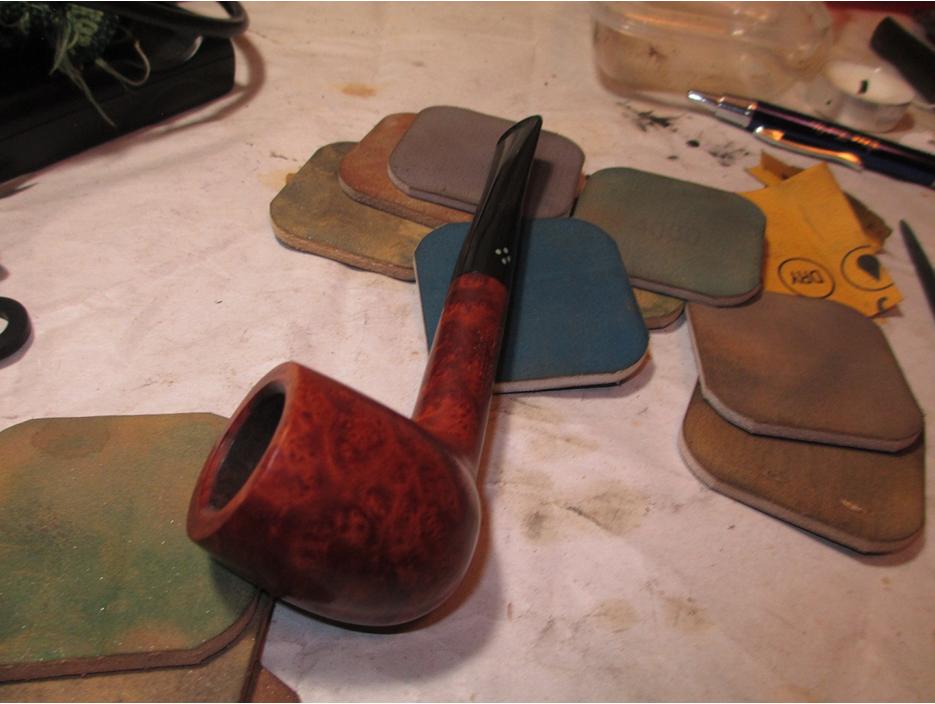
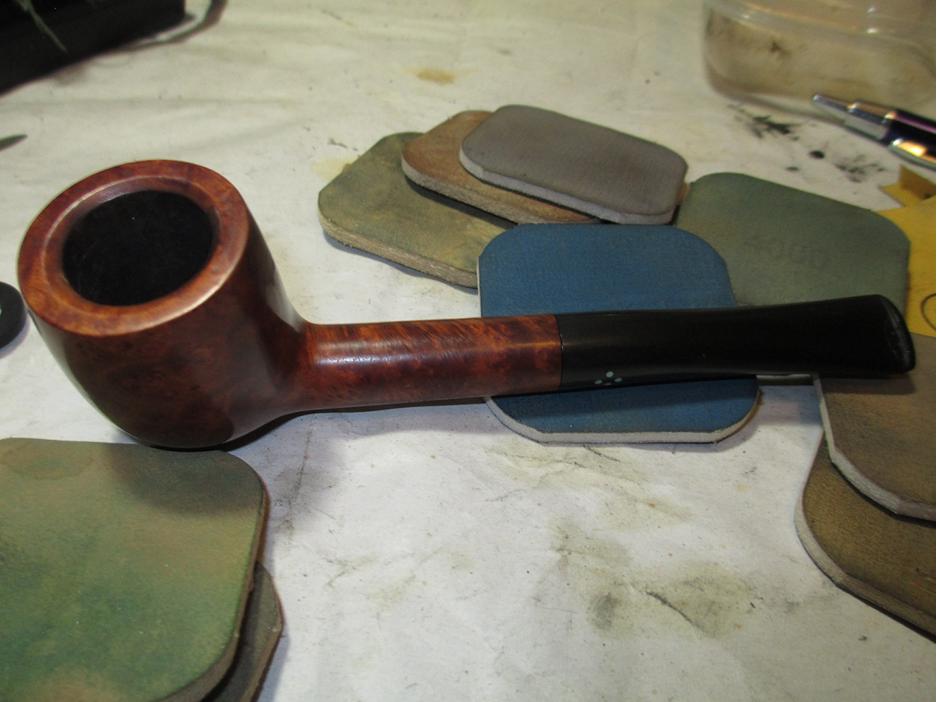
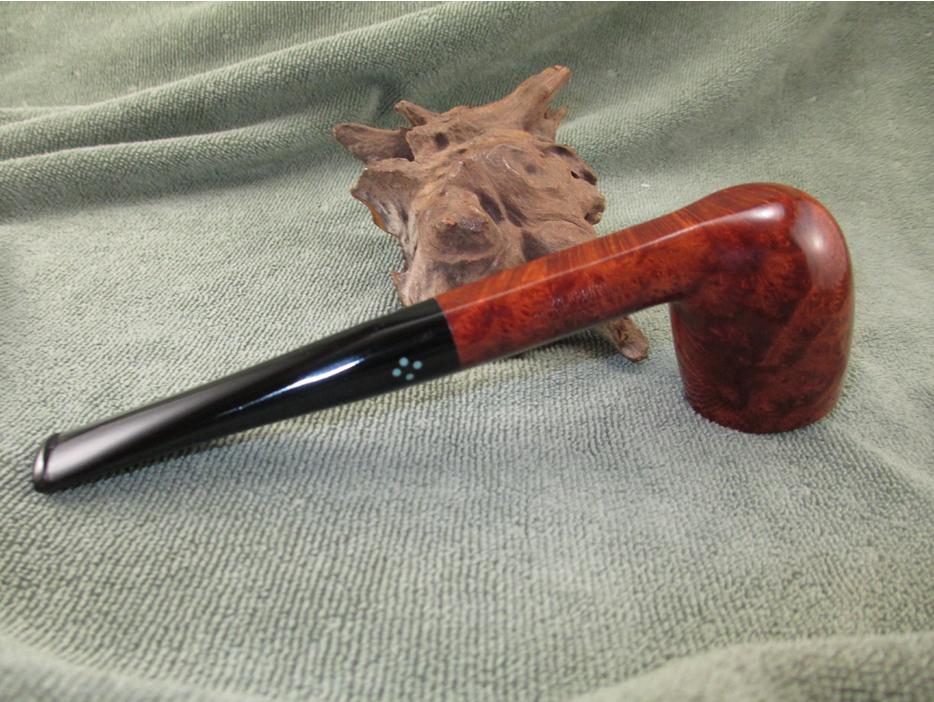
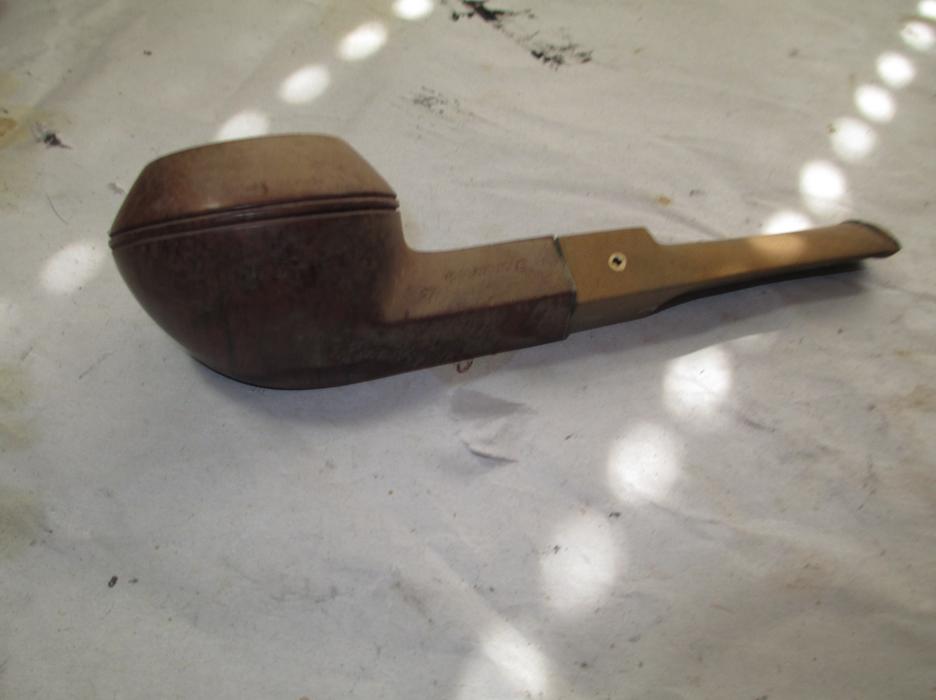
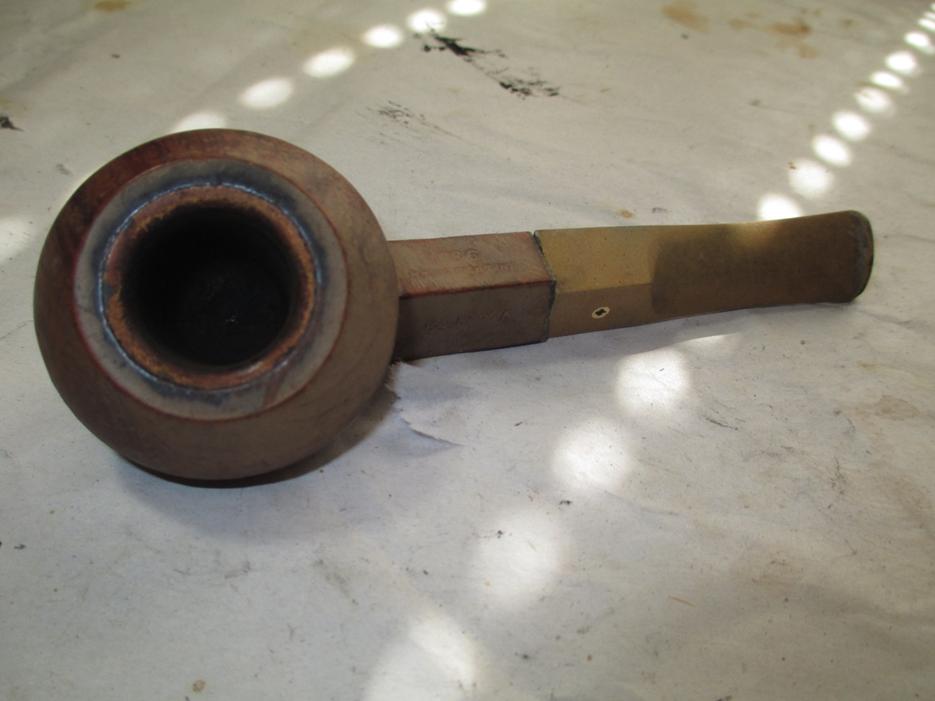
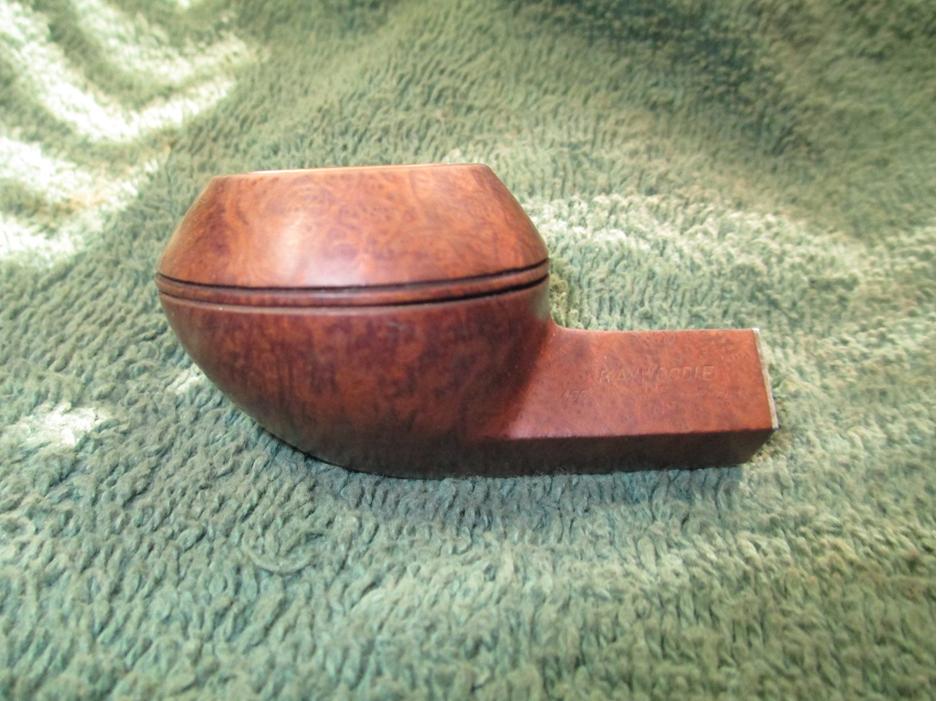
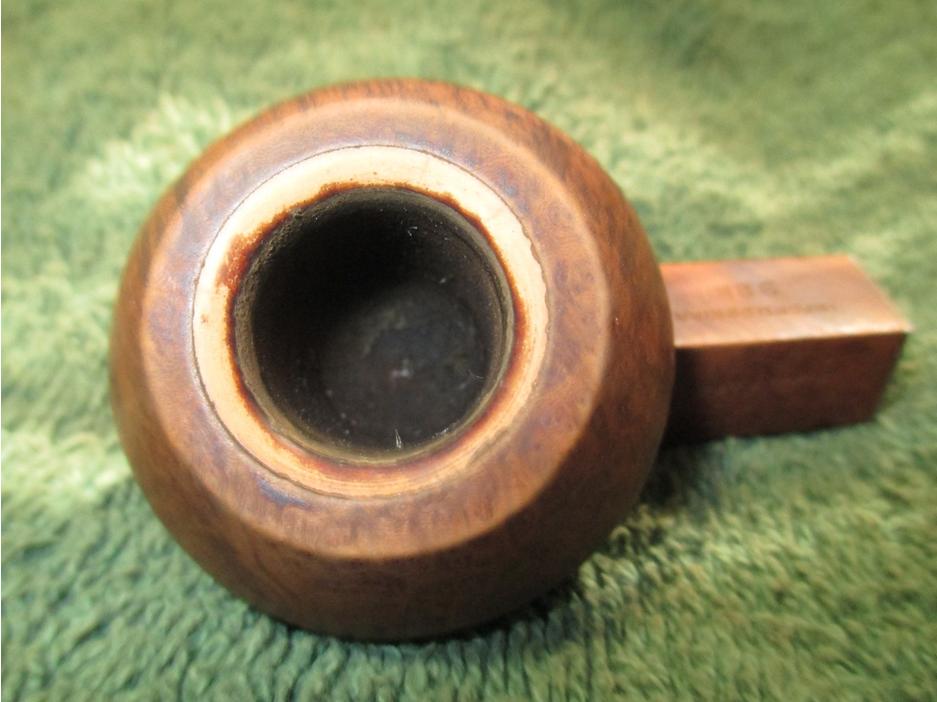
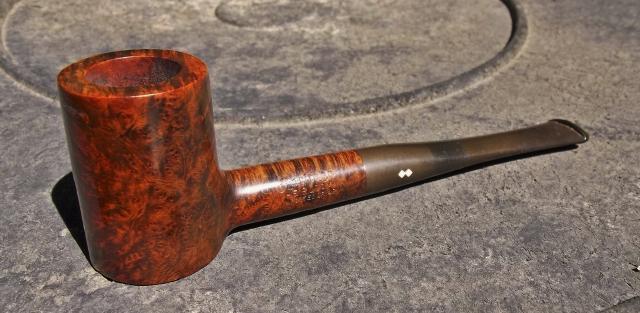
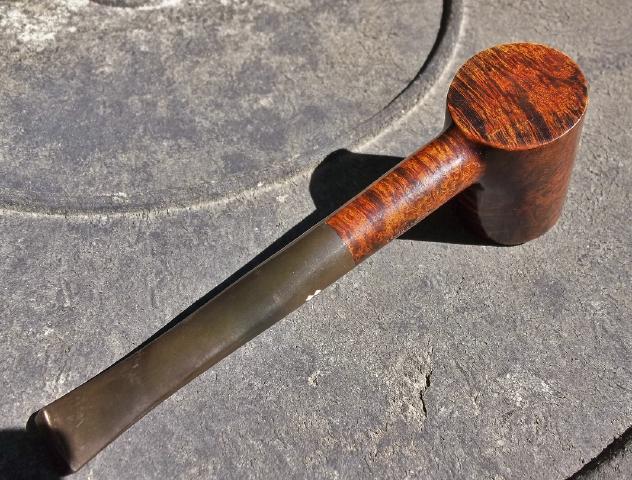
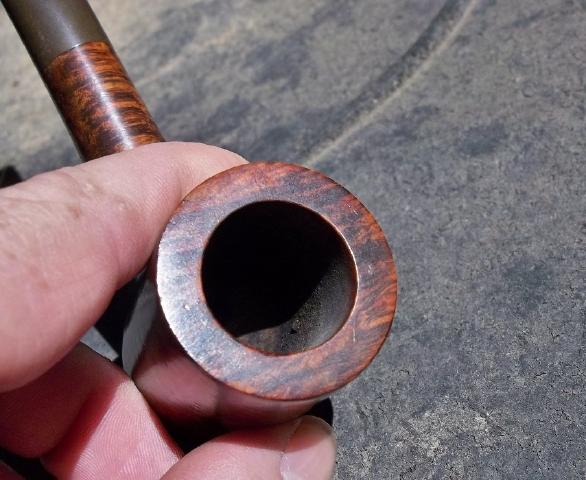
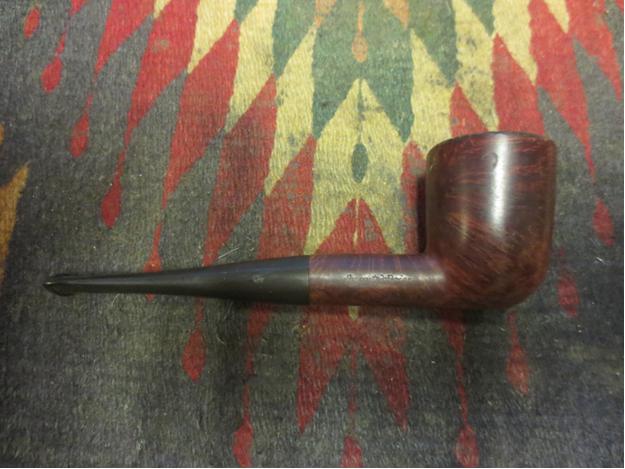
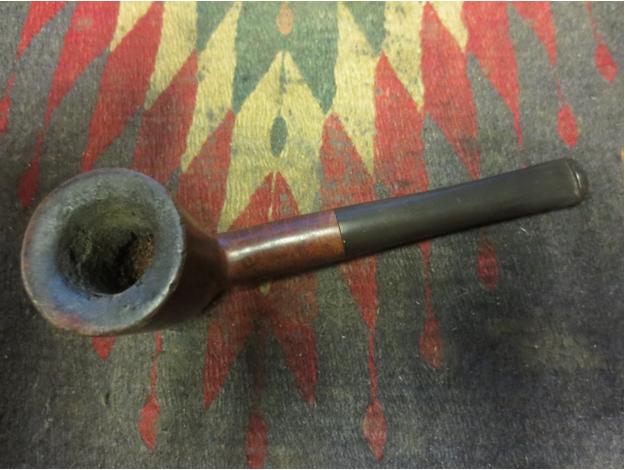
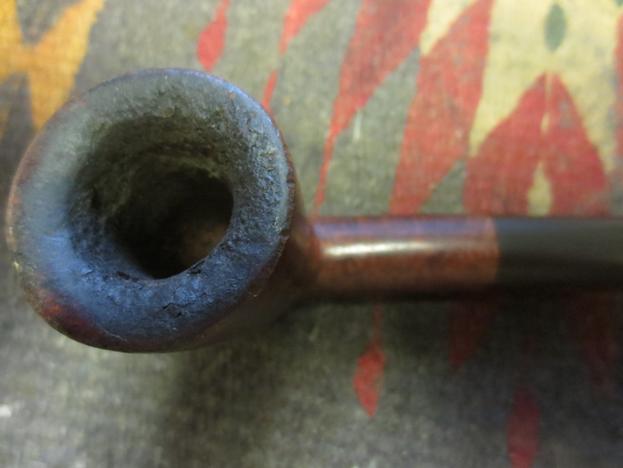
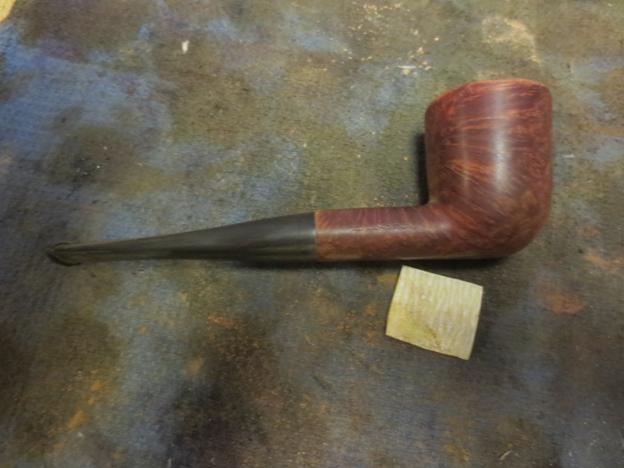
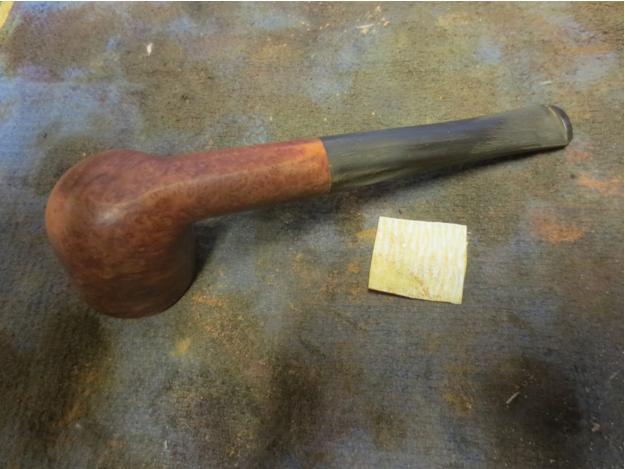
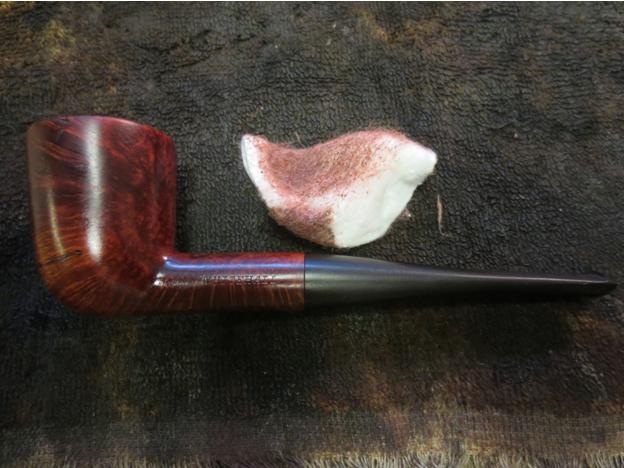
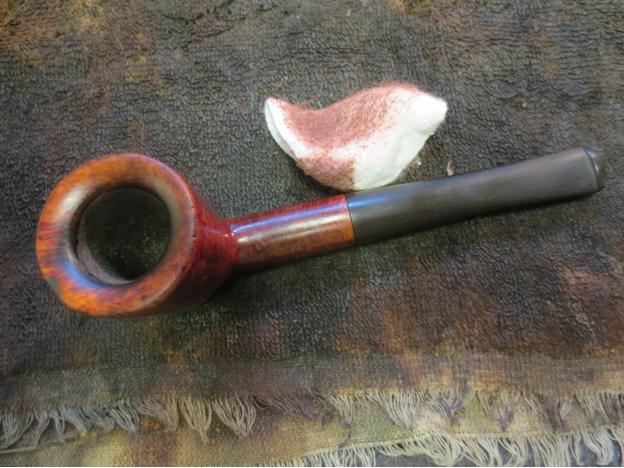
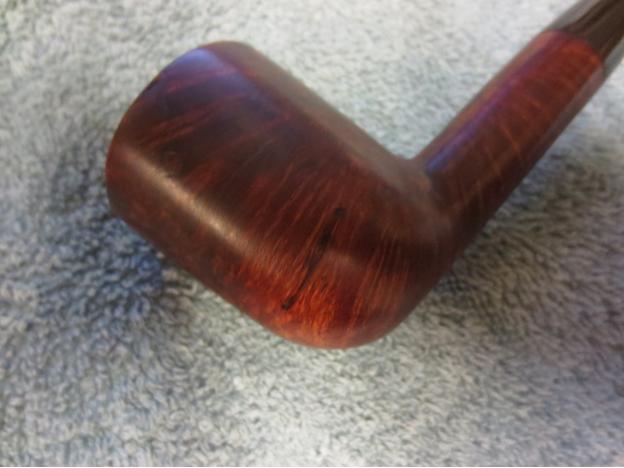
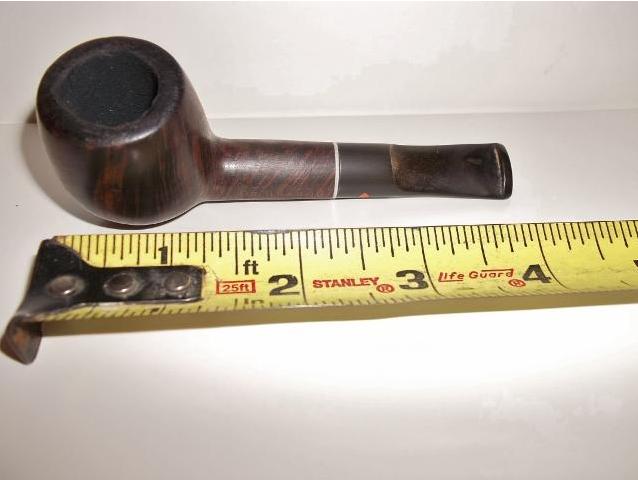
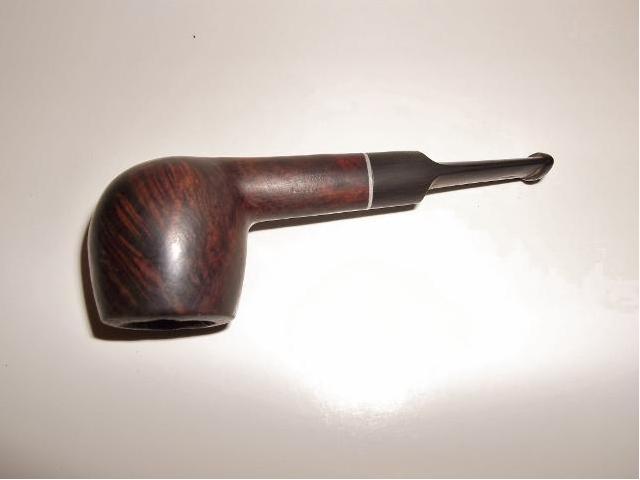
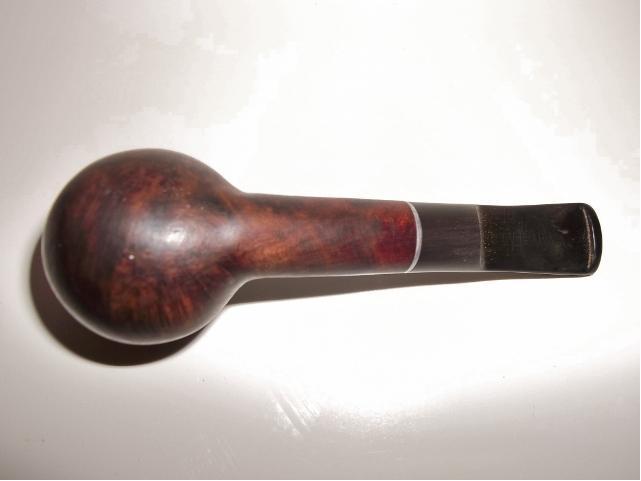
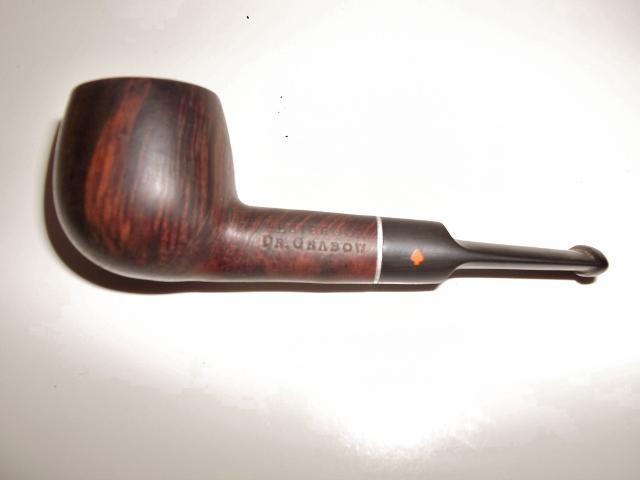
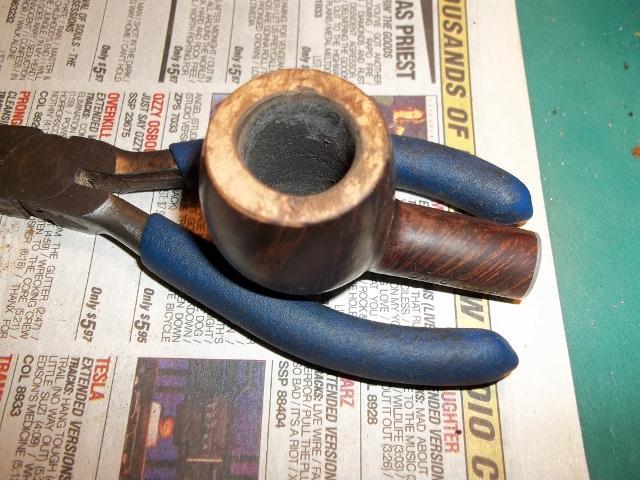
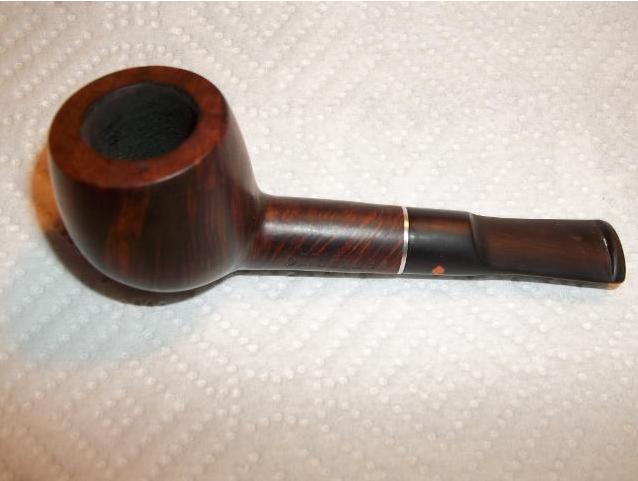
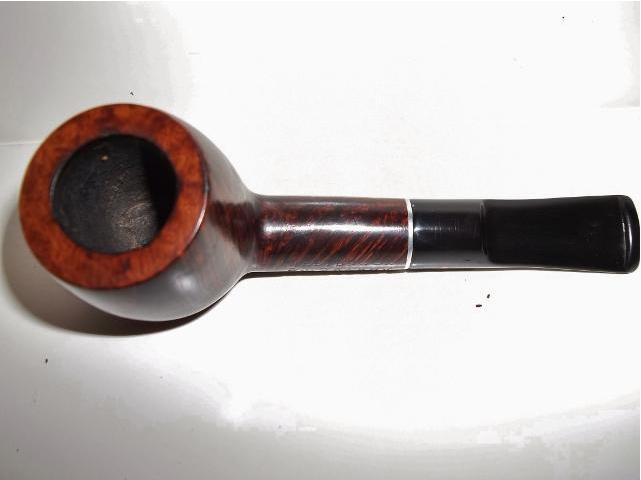
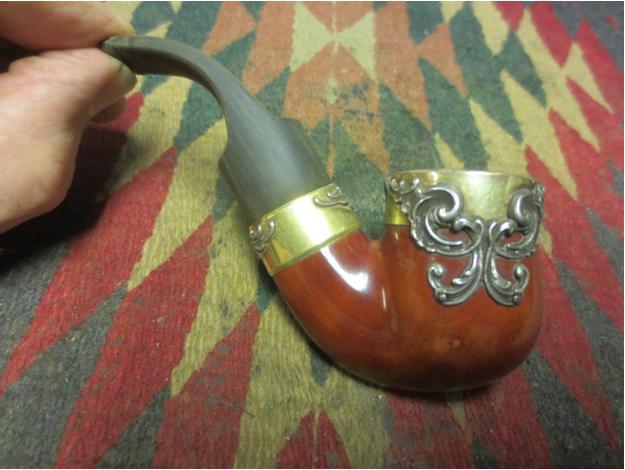
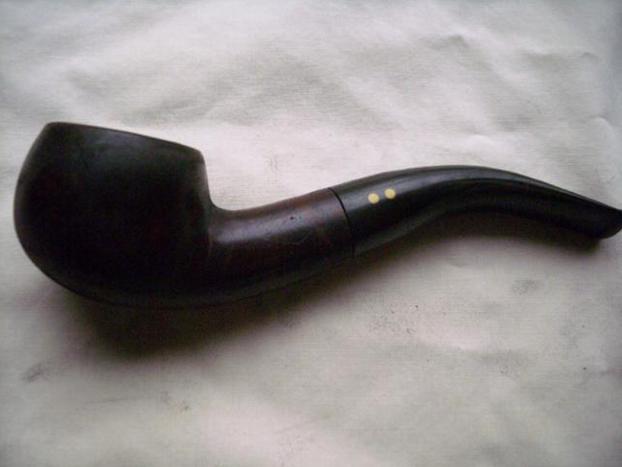
I have become a fan of older LHS pipes and restored quite a few of them lately. I am always on the lookout for different LHS lines that I have not seen. Recently I picked up this LHS Sulgrave from a fellow on the Dr. Grabow Collectors Forum for $15. It is a line that I had not heard of before. He described it as a lightly smoked briar pipe. When I saw it I wanted it as it was my kind of shape. Never sure what to call this shape – bent banker, squat apple – not sure but I like it. He gave the following description in the sale listing. The shank is stamped Purex Sulgrave arched over LHS in a Diamond on the left side. The stem has two light coloured dots on the left side. The pipe is 5 1/8 inches long from the bottom of bowl to end of bit. The bowl chamber diameter is 7/8 inch and bowl depth is 1 1/4 inch. There is light caking in bowl. There is light tooth wear on end of the stem near the button. It has normal wear and tear (dings, oxidation and scratches) for an estate pipe. Nice overall shape and condition. Here are the photos that he included when I emailed him for details.LHS1
LHS2

LHS3

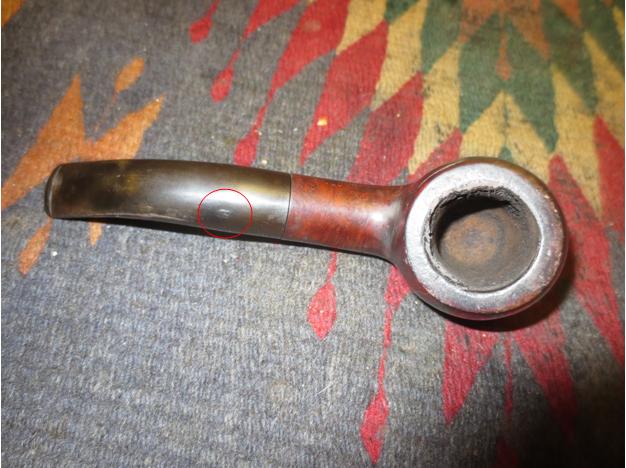
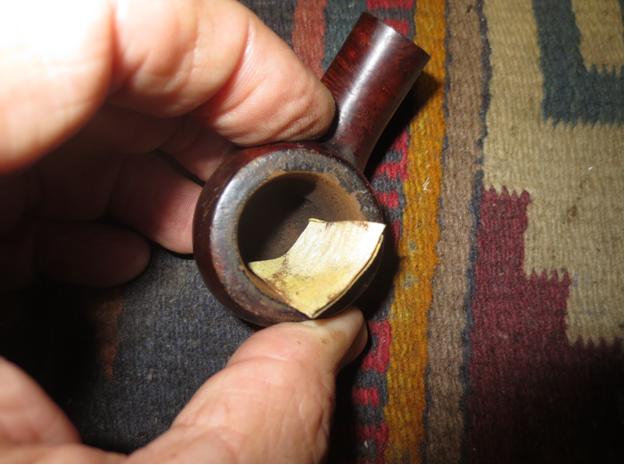
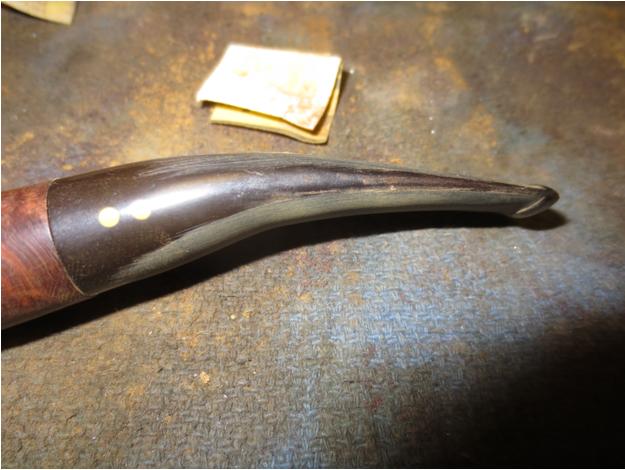
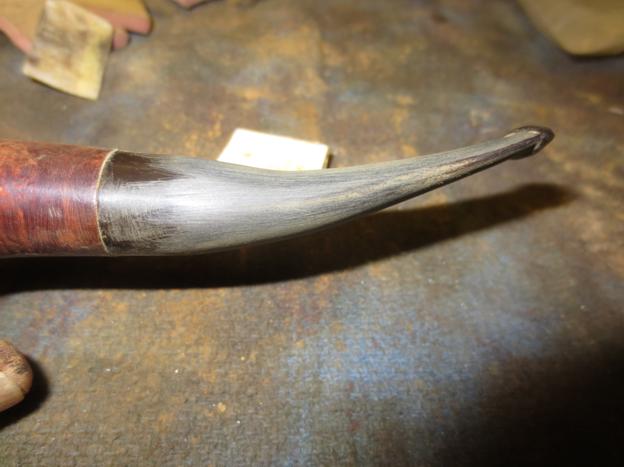
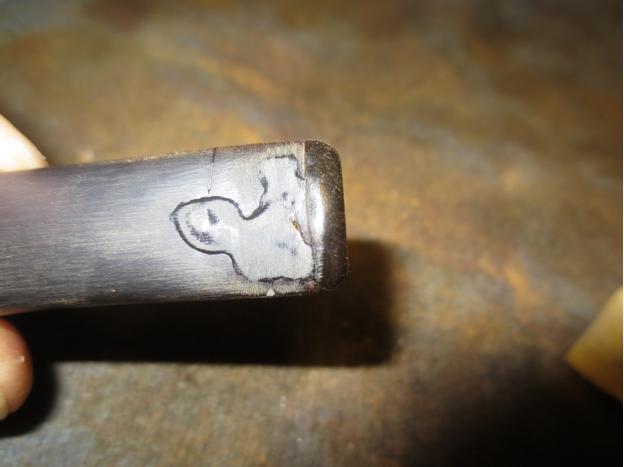
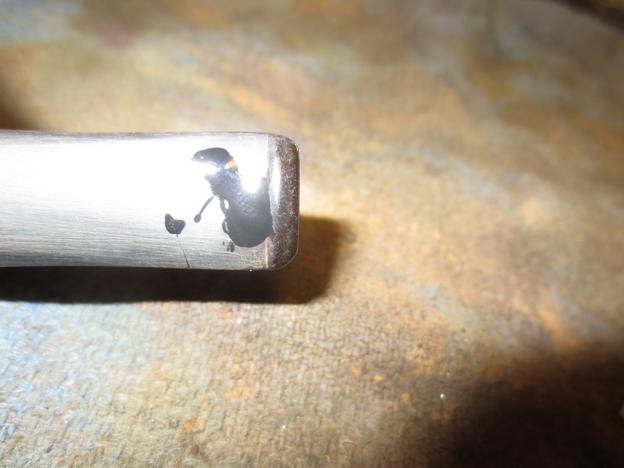
LHS4 When the pipe arrived I was not disappointed. The shape was perfect. The description was accurate and the only variation that I could see was that the stamping did not include PUREX on the shank. Not a big deal in my book. The bowl was unevenly caked and appeared to have been reamed. The back side of the bowl had a thicker portion of cake that gave the inside wall on the back side an uneven and out of round look. I was pretty certain that with a good reaming and a light sanding the rim would look better. The stem was over bent and there was a slight crease on the underside of the bend. There was a coat of wax or some kind of coating on the stem and bowl. The stem was oxidized. In the first photo below you can see slight imperfection in the vulcanite stem. I have circled it to highlight it in the photo below. It is not a hole or worn spot, it is actually a thread of cord in the rubber. Its presence gives some idea of the date of manufacture as recycled rubber was used in WWII pipes.LHS5

LHS6

LHS7

LHS8 The stem also had a lot of tooth dents and chatter along both top and bottom with some very deep marks on both. I tried to capture them in the next two close-up photos but they are still not very clear. The odd thing was that the dents went up the stem over an inch. The slot in the button was not centred and appeared to have left the factory that way. The dents were deep enough that I was concerned regarding the thinness of the stem surface over the airway. The mortise and airway in the shank were dirty and the end of the mortise was chipped away. It looked as if there had originally been a stinger in the tenon but it was no longer with the pipe.LHS9

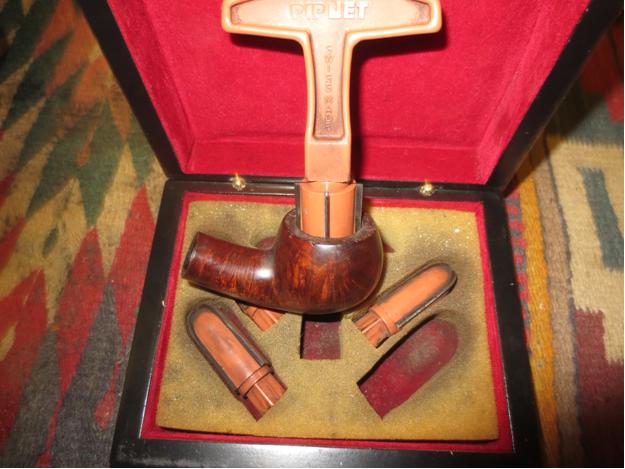
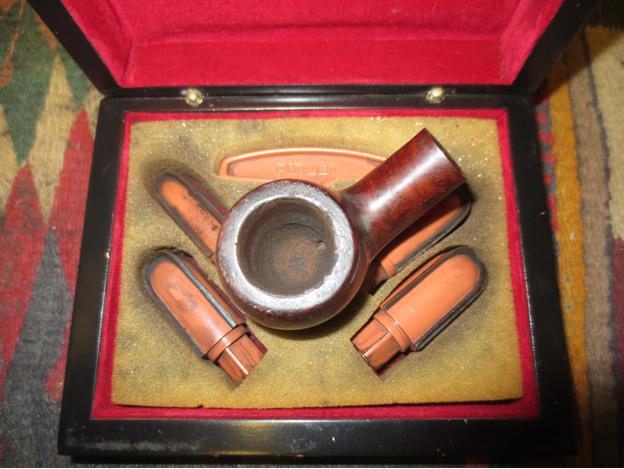
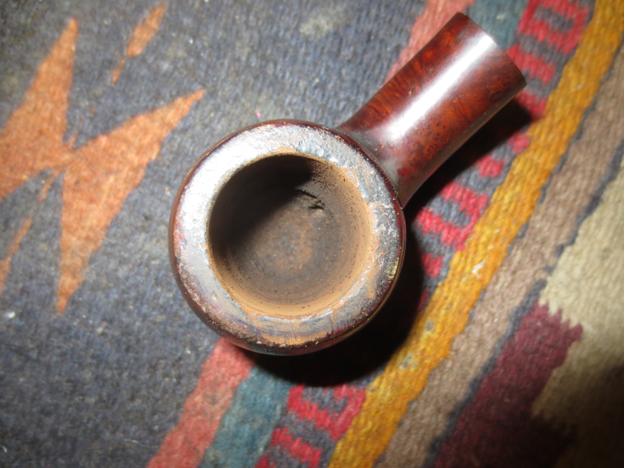
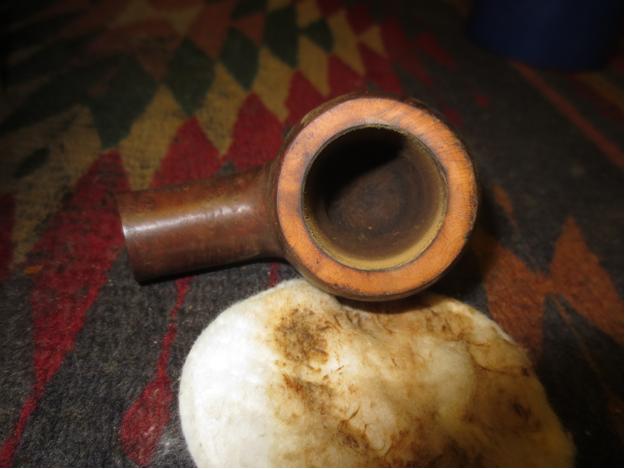
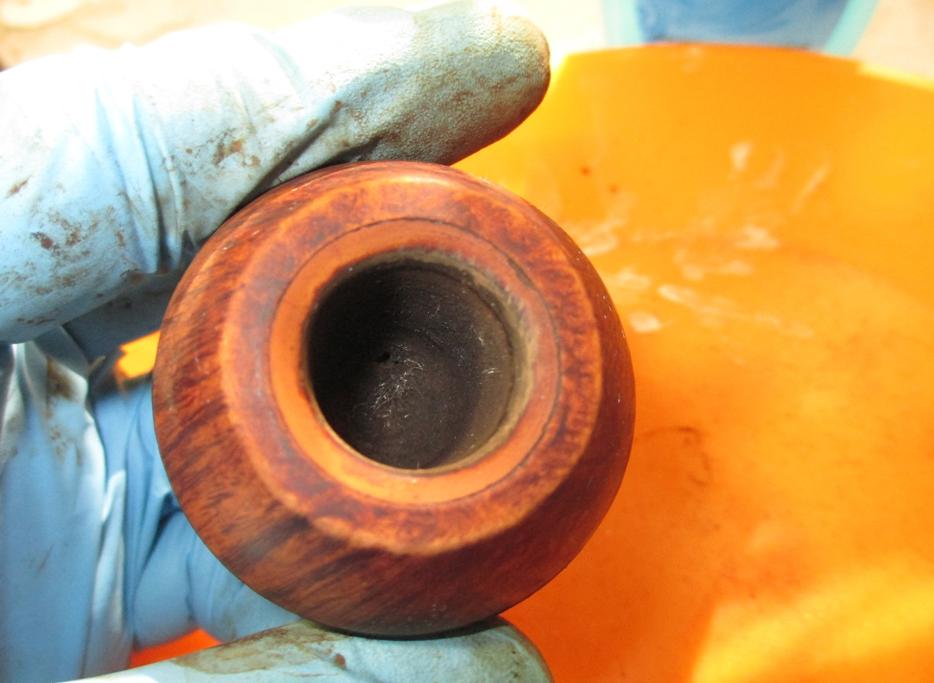
LHS10 I also have included the next close-up photo of the rim and the bowl interior to show the cake that gave the bowl an out of round appearance.LHS11 I reamed the bowl with a PipNet pipe reamer using the largest cutting head. I took the cake back to bare wood to even out the inner edge of the bowl. I wanted to get rid of the cake so that I could smooth out the edge.LHS12

LHS13 I folded a piece of 220 grit sandpaper to smooth out inner edge. It took a little effort remove the inner edge damage and clean up the roundness of the bowl.LHS14

LHS15 I wiped down the bowl with acetone on cotton pads to remove the tars and the wax coat on the briar. With them removed the outer edge of the bowl showed damage as well. The bowl had been knocked about on the front edge particularly. The grain on this pipe was lovely.LHS16

LHS17

LHS18

LHS19 To minimize the outer edge damage I topped the bowl with 220 grit sandpaper on a topping board. I sanded it to remove the damage to the top of the bowl and clean up the outer edge of the bowl.LHS20

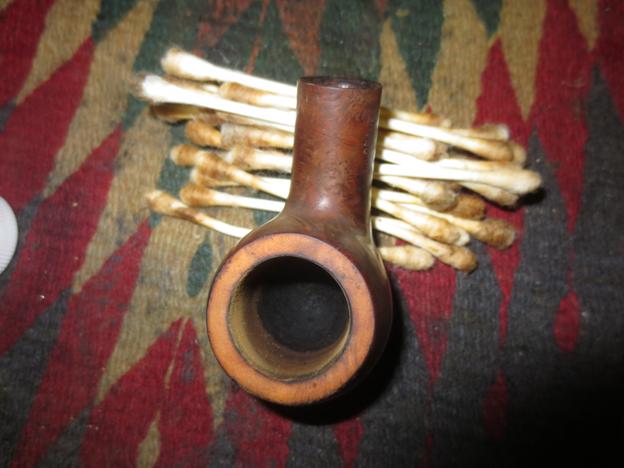
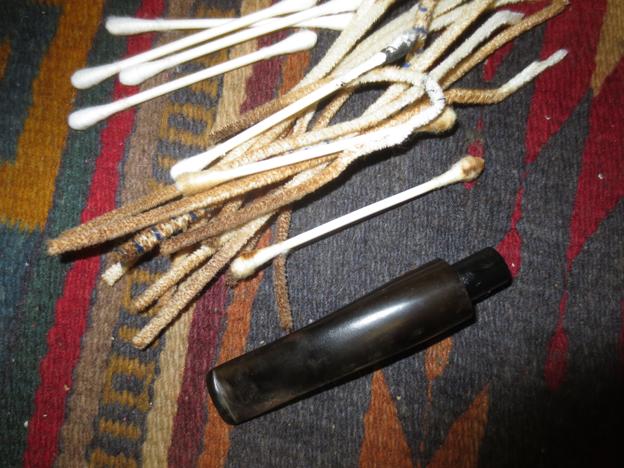
LHS21 I cleaned out the shank and the bowl with pipe cleaners, cotton swabs and alcohol to remove the grime inside. It took quite a few of both to clean out the shank but finally they came out clean.LHS22 I heated the stem with a heat gun to try and lift some of the dents to the surface and to also take out some of the bend. I also wanted to smooth out the sharpness of the bend on the bottom side.LHS23

LHS24

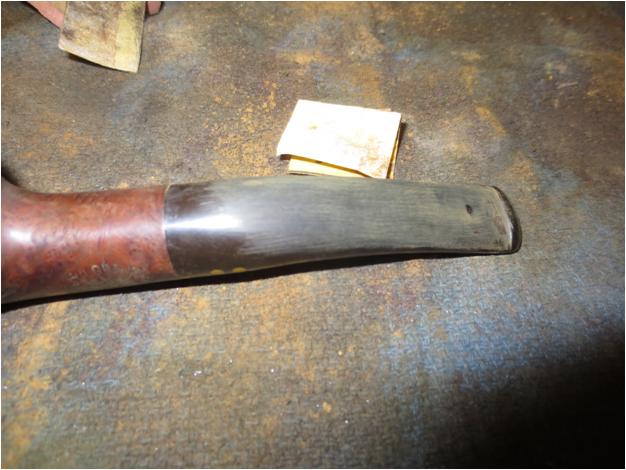
LHS25 I cleaned out the airway in the stem with pipe cleaners, cotton swabs and alcohol.LHS26 The heat had raised most of the dents significantly. The ones that were left in the stem needed to be sanded out and then filled to take care of them. I used 220 grit sandpaper to smooth out the surface. I also worked on the curve on the underside of the stem to make it less sharp looking.LHS27

LHS28

LHS29

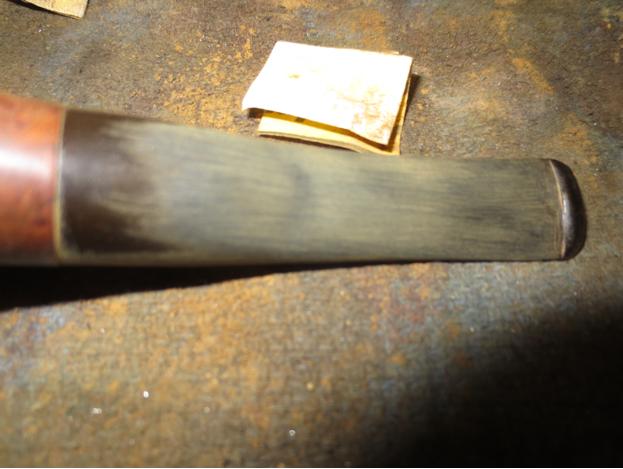
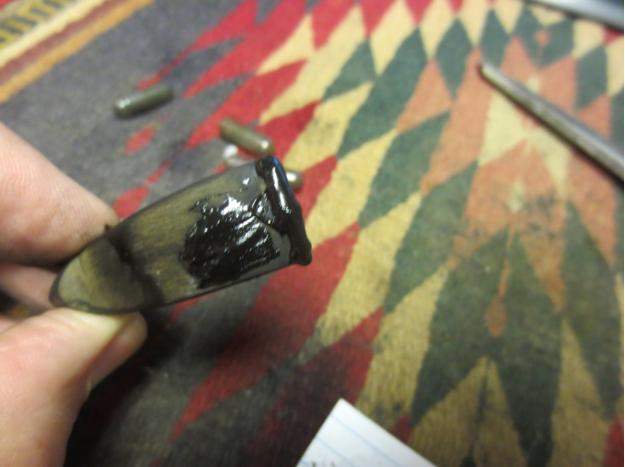
LHS30 The dents in the stem needed to be filled to bring the surface back to smooth flowing condition. I used a black super glue to fill the surface and set the stem aside to dry for several hours. Once dry, I sanded the fills with 220 grit sandpaper and then used a medium and a fine grit sanding sponge to feather them into the surface of the stem.LHS31

LHS32

LHS33

LHS34

LHS35

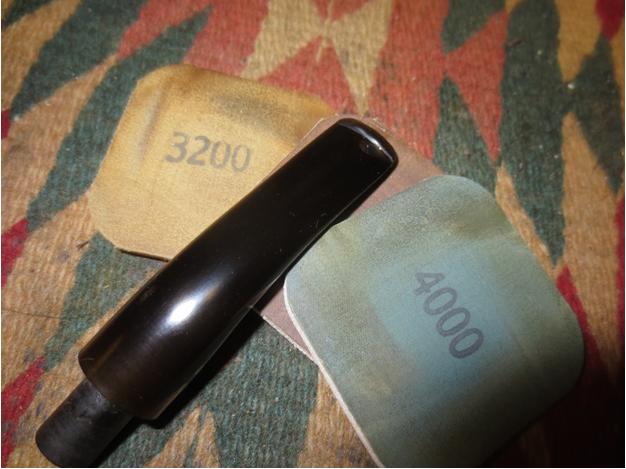
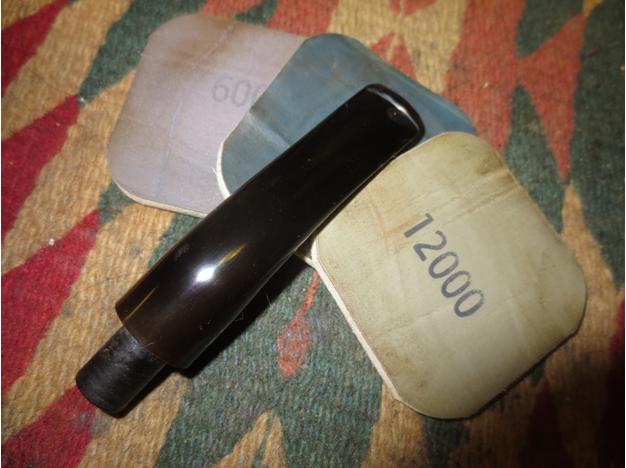
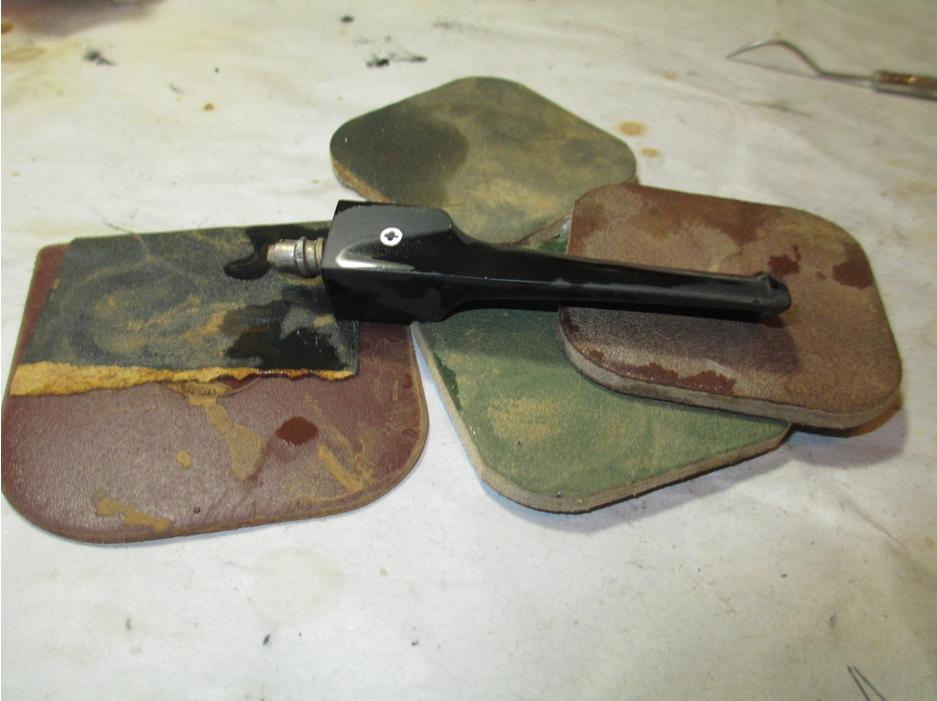
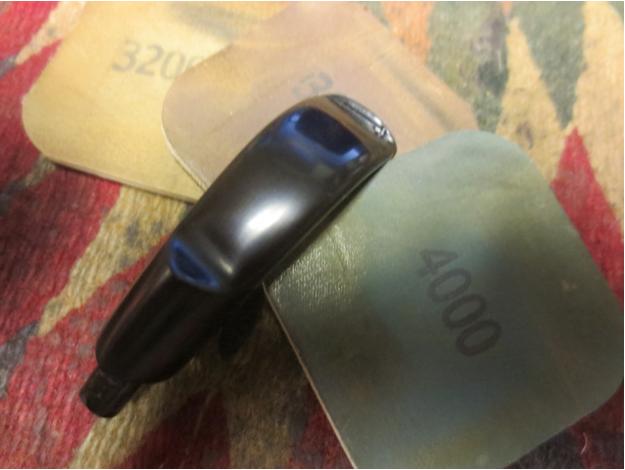
LHS36 I used a needle file to clean up and sharpen the edge of the button and give it more definition. I sanded the sharp edge with sandpaper and then sanded it with micromesh sanding pads. I wet sanded the stem with 1500-2400 grit micromesh pads and dry sanded with 3200-12,000 grit pads. I rubbed the stem down with Obsidian Oil between each set of three pads and then let it dry after sanding with a 12,000 grit pad.LHS37

LHS38

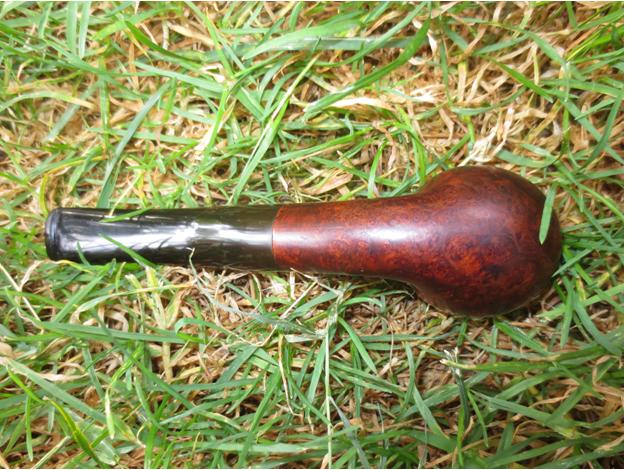
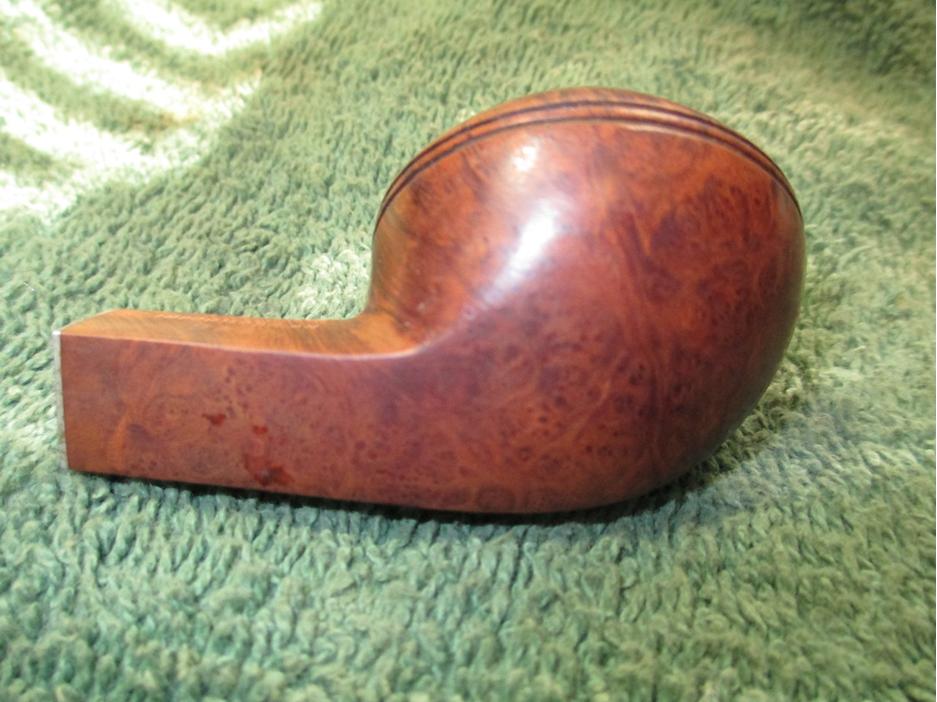
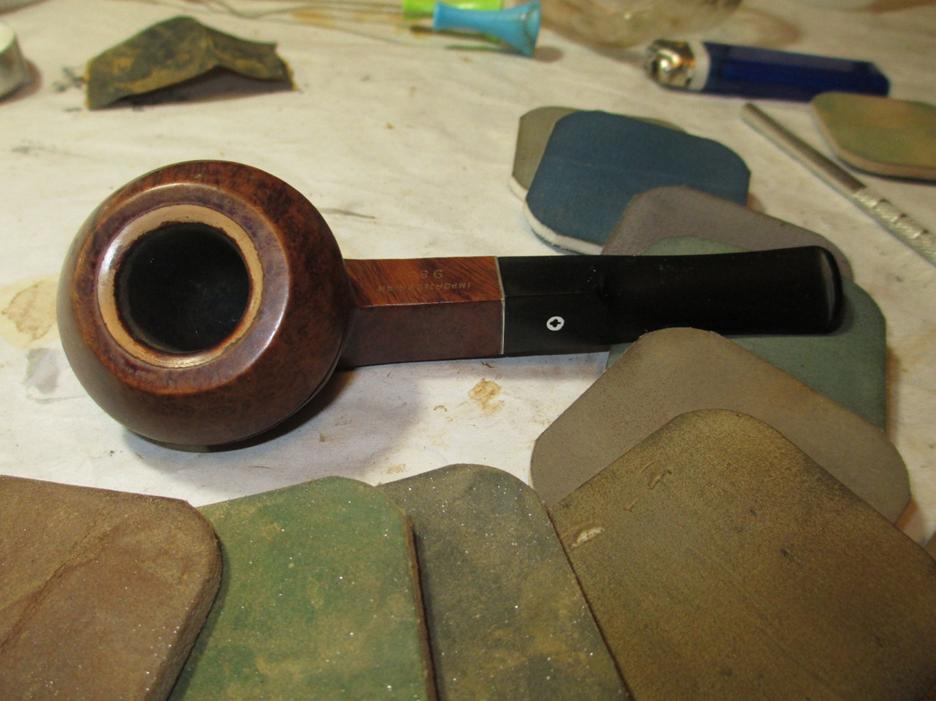
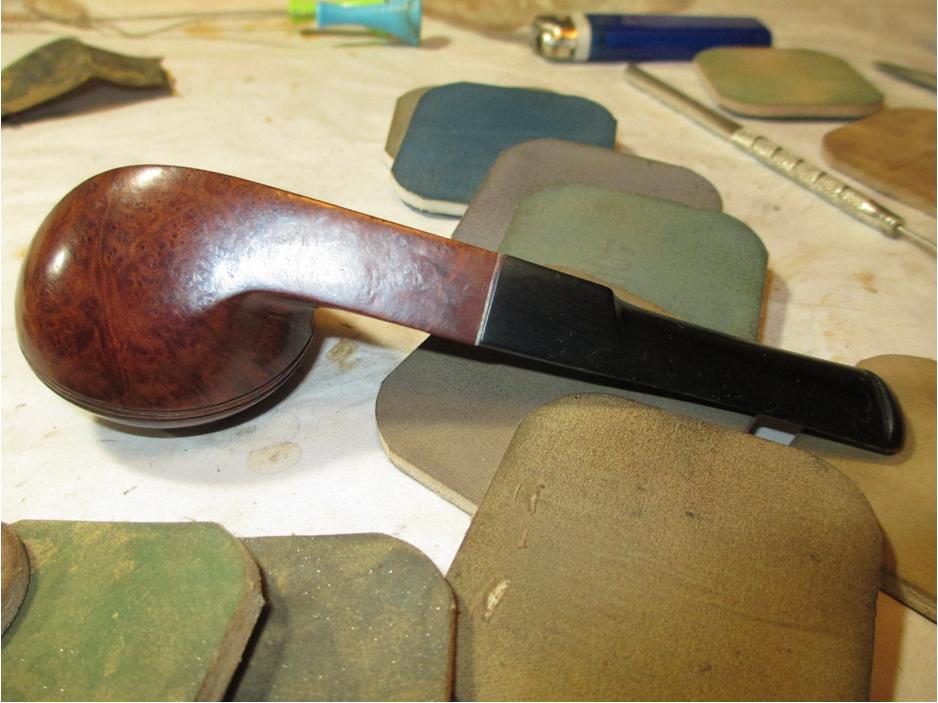
LHS39 I buffed the pipe with White Diamond and Blue Diamond on the buffing wheel to polish and remove the slight remnants of oxidation that had come to the surface. I gave it multiple coats of carnauba wax and buffed it with a clean flannel buffing pad. I brought it back to the table and hand buffed it with a microfibre cloth. The finished pipe is shown in the photos below.LHS40

LHS41

LHS42

LHS43

LHS44

LHS45

LHS46

Dave’s Four Dot Sasieni


Blog by Andrew Selking

I’ve been out of touch for the past few months, between moving, home renovation, and finding a new job my free time has been limited. Dave is sneaky though, he sent a picture of a pipe he bought and asked me if I thought I could fix it. Of course I said yes. Here is the pipe as it looked upon arrival. There is an obvious chunk missing from the button, but there is also a small crack on the other side of the stem. That was uglier than it looks.Dave1

Dave2

Dave3

Dave4

Dave5

Dave6

Dave7

Dave8

Dave9 I did my normal procedure of cleaning the inside of the pipe first. Dave was kind of worried about how the alcohol might affect the finish, so I used new alcohol and only left the bowl in for about 45 minutes. I soaked the stem in an Oxyclean bath.Dave10

Dave11

Dave12 The tar on the rim came right off after removal from the alcohol bath. Next I reamed the pipe using my Castleford reamer, used a brush on the inside of the shank, followed by a retort of the bowl. As I suspected the pipe was pretty clean.Dave13

Dave14

Dave15

Dave16

Dave17 Before dumping out the Oxyclean, I ran a pipe cleaner through the stem. It was not too dirty. I followed that by a retort and more pipe cleaners. That was the easy part, the fun was about to begin.Dave18

Dave19

Dave20

Dave21 As you can see the missing chunk is a problem. The crack on the other side looked like it could keep going, so I drilled a hole to stop it. You might notice a slight micro crack to left of the main crack. Turns out there was a chunk of vulcanite hanging on like a loose tooth. Of course it came out very easily, leaving a stem that was missing most of the button on both sides.Dave22

Dave23

Dave24

Dave25

Dave26

Dave27

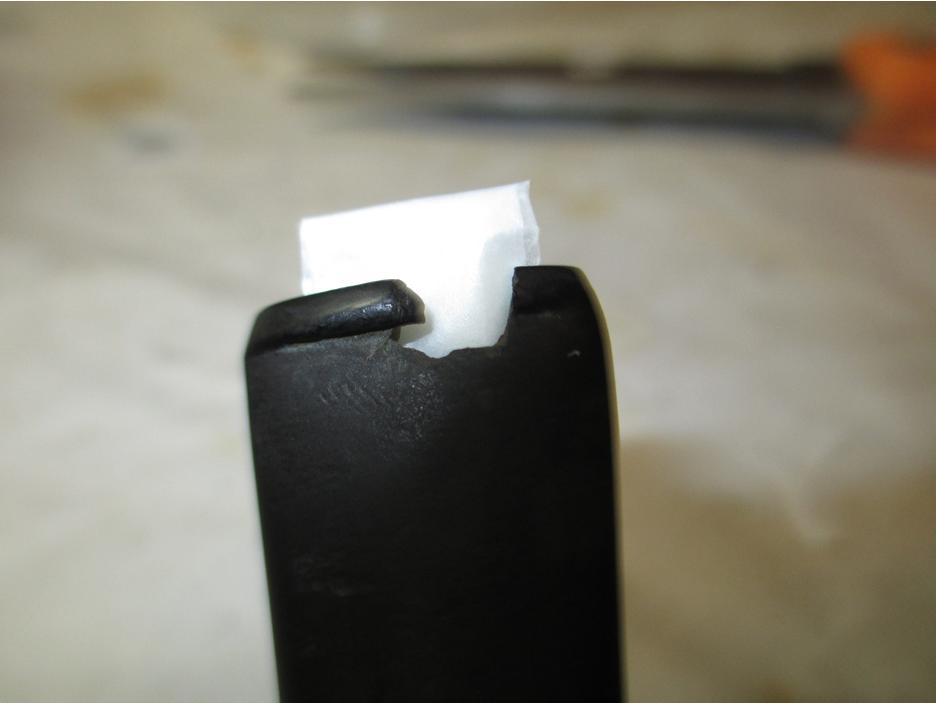
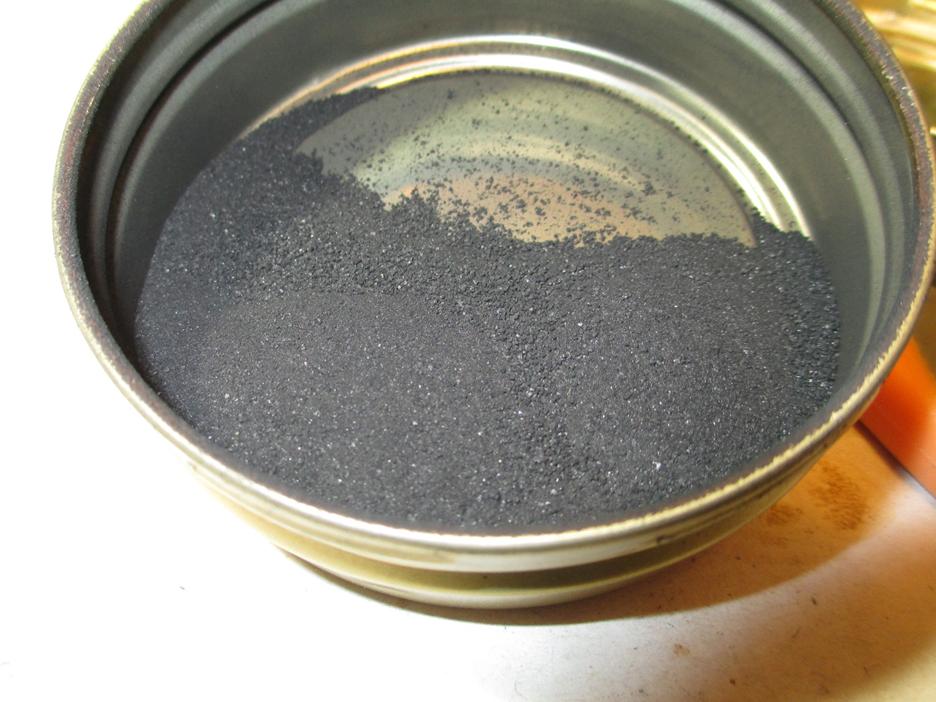
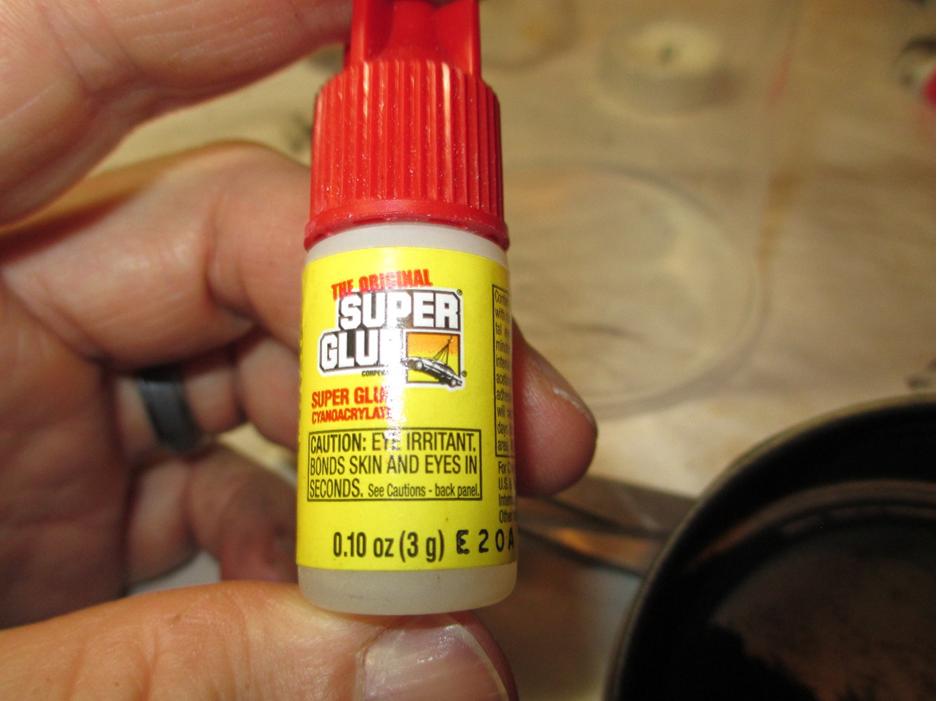
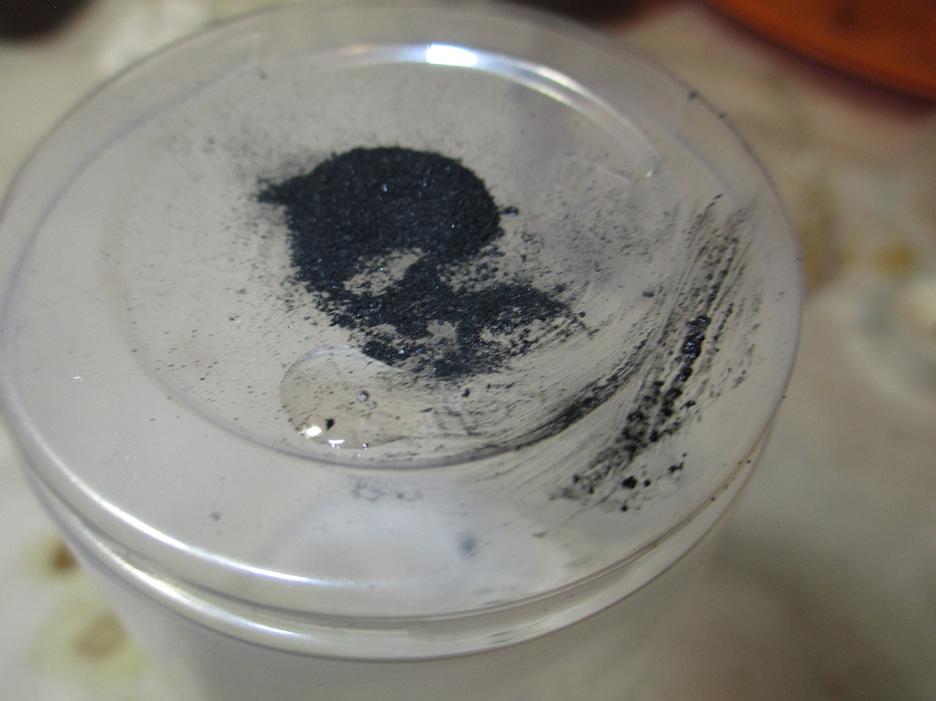
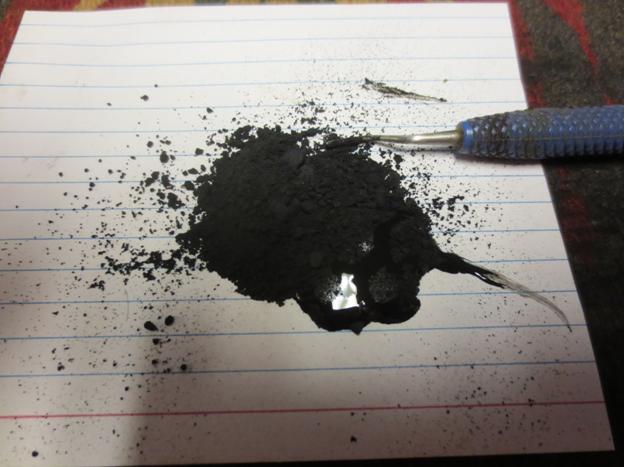
Dave28 The first thing I do when building a new stem is fit some rolled up wax paper inside the stem. I’ve found that the CA glue does not stick to it and it helps give shape to the inside of the stem. I use ground charcoal (which I purchased at the pet store and ran through a coffee grinder and sifter) and CA glue. I started by filling in the hole that I drilled to stop the crack. Once I had that filled in and sanded smooth, I started building up the stem below the button. I forgot to mention that I use CA accelerator throughout the process. I find that you can work the glue within 2 to 3 minutes instead of having to wait overnight.Dave35

Dave36

Dave37

Dave38

Dave39

Dave40

Dave41

Dave42

Dave43

Dave44

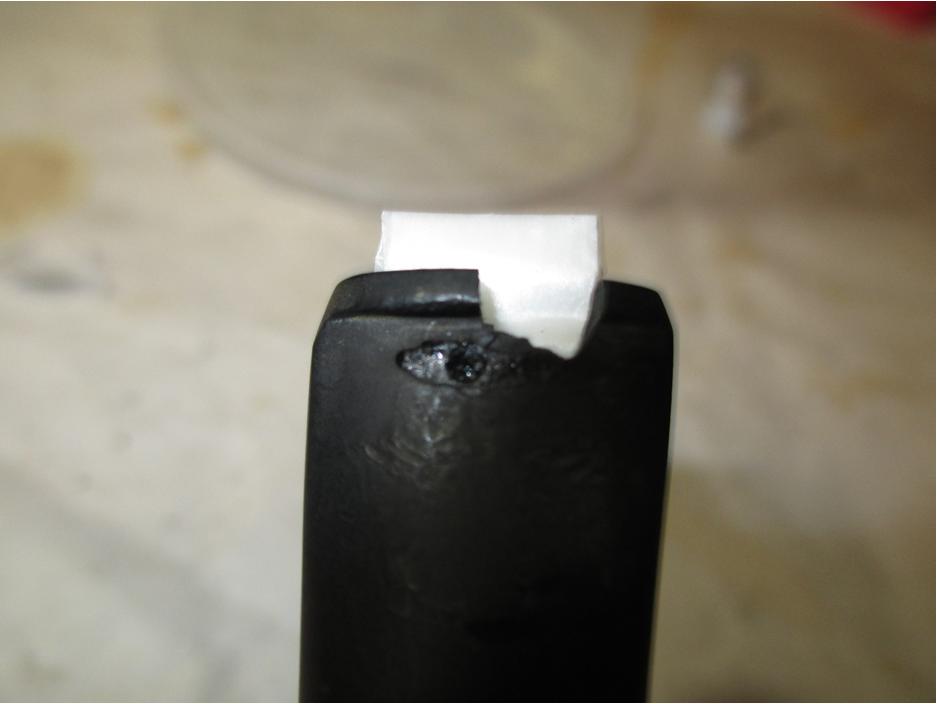
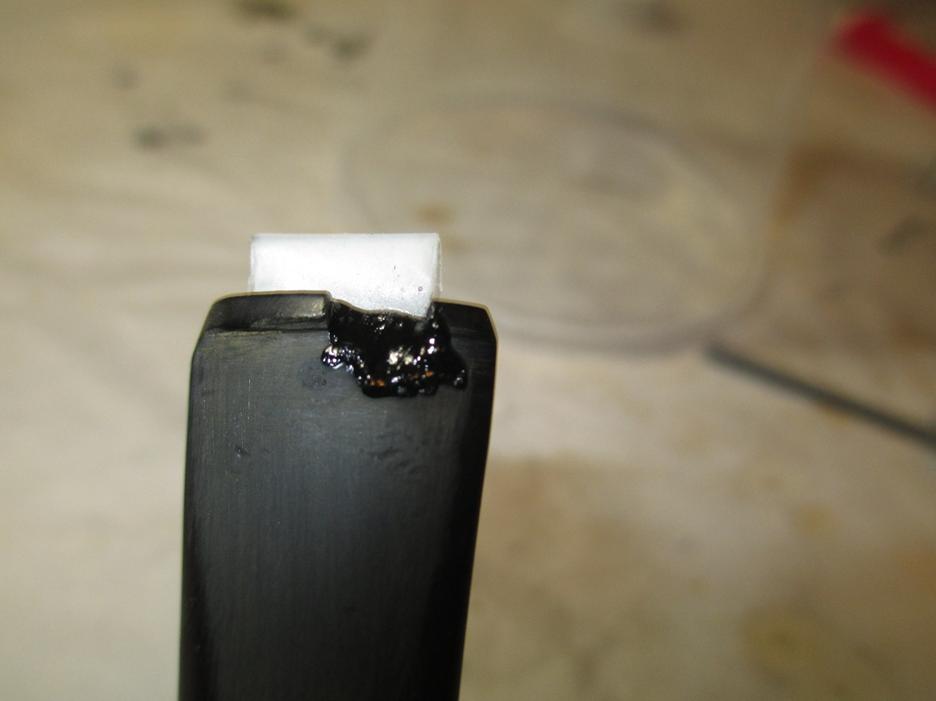
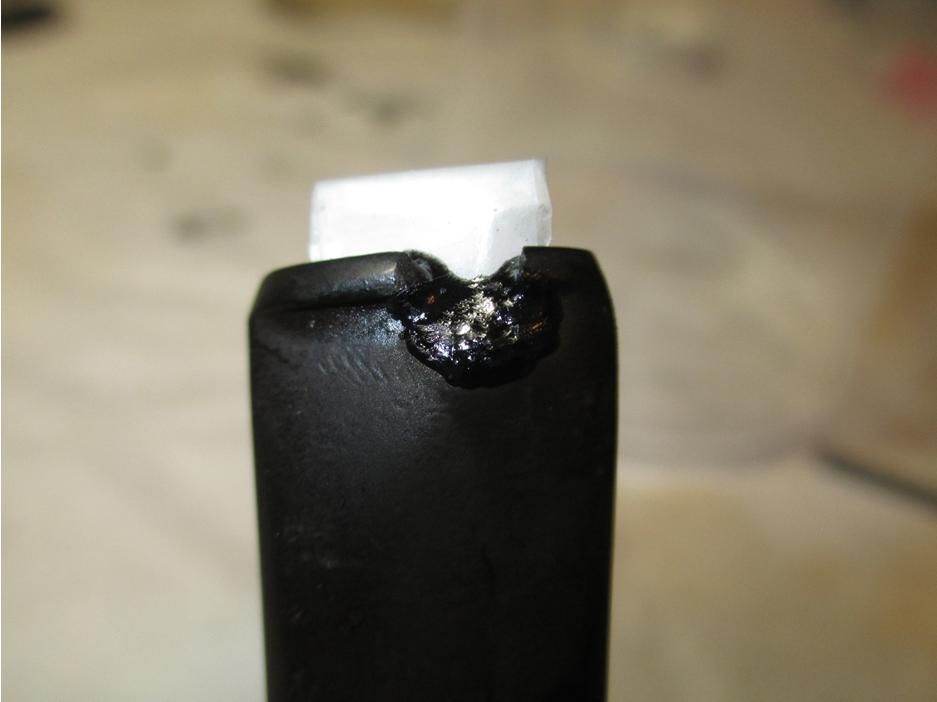
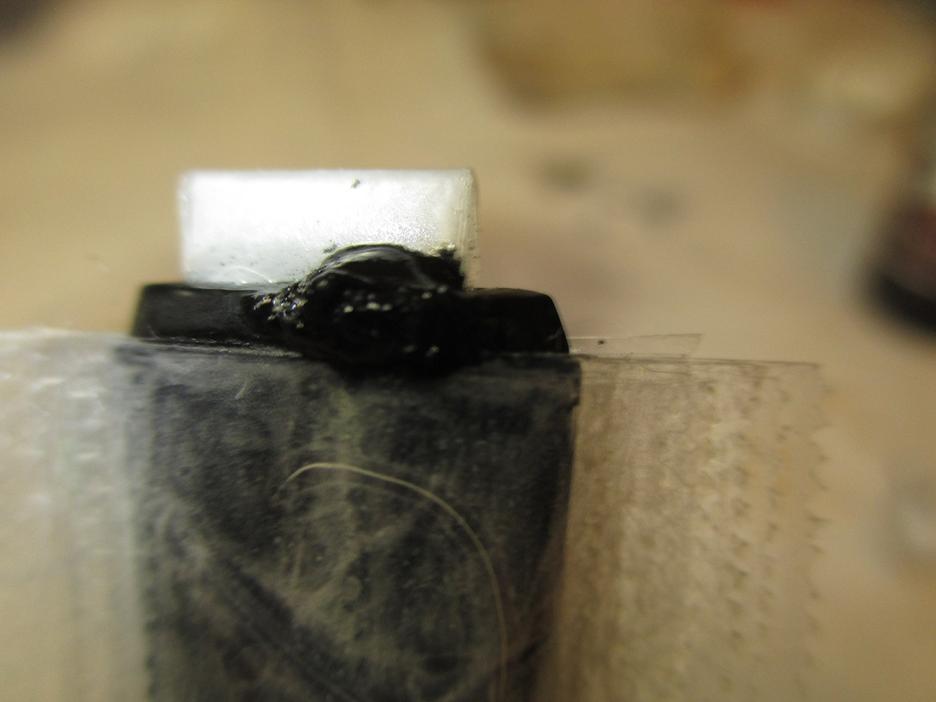
Dave45 Once the stem was repaired, I put layers of clear tape on the stem under the button to serve as a form for the glue. Once the tape was even with the button, I started adding CA glue and charcoal. I put a small amount of charcoal on the bottom of a plastic cup, add a drop or two of CA glue and mix it with a push pin. I use the push pin to add the material to the stem, followed by a few drops of accelerator. Once the material is built up, I start to sand and file it into shape. I use needle files and 400 grit sand paper. This gets me to the final step, which is addressing the micro pits.Dave46

Dave47

Dave48

Dave49

Dave50

Dave51

Dave52

Dave53

Dave54

Dave55

Dave56

Dave57

Dave58 I filled the micro pits with a mixture of CA and charcoal, but used much less charcoal than before. I used 400 grit sandpaper and needle files to get the final shape. I then used 1500-2400 grit micro mesh with water to smooth it all out. Since the bowl was in nice condition and I wanted to preserve the finish, I started polishing with 3200 grit micro mesh. I used a progression of 3200-12,000 grit micro mesh on both the bowl and the stem. Here is what it looked like once it was ready for the buffer.Dave59

Dave60

Dave61

Dave62 I polished the stem using my rotary tool with a felt pad and white diamond, followed by carnauba wax. My rotary tool has variable speed and I use the lowest setting. I used white diamond and carnauba wax on the bowl with the buffing wheel. Here is what the pipe looked like when I finished. This is my second repair of this type. My ultimate goal is to do repairs that look like the original. Thanks for looking.Dave63

Dave64

Dave65

Dave66

Dave67

Dave68

Rescuing a Kaywoodie Flame Grain Meerschaum Lined Doggie


Blog by Andrew Selking

To paraphrase Samuel Clemmons, reports that I’m no longer messing with pipes are greatly exaggerated. Between a cross country move, a new house, renovations to said house, and trying to figure out what I want to be when I grow up, I have not spent as much time working on pipes as I would like. I did manage to squeeze in this nice Kaywoodie Flame Grain Meerschaum lined doggie.

According to a Kaywoodie brochure from the era, Flame Grain pipes were made from “200 to 400 year-old briar burls…the last of their kind to be found in the world.” The meerschaum inlaid Flame Grain is a “superb Flame Grain Kaywoodie with an inlaid inner bowl of imported Turkish meerschaum. This pipe combines the outstanding qualities of the two best materials in the world in which to smoke tobacco.” This pipe represents the pinnacle of American pipe making. As a point of reference, in 1947 this pipe would sell for $12.50 while Dunhill pipes started at $10.00.

As you can see, it took some imagination to see a pipe that might compete with a Dunhill.KW1

KW2

KW3

KW4 The stem was under-clocked and heavily oxidized. The bowl had very thick cake and a buildup of tar on the rim. There was some kind of protective finish on the bowl that left a film after the alcohol bath. Additionally, the stinger was cut. On the plus side, I could see some really nice grain and the stem was virtually unmolested.

The first thing I did was soak the bowl in alcohol. I was hesitant to do that, because I was afraid the alcohol would cause the meer lining to deteriorate. At the same time I was also worried that if I didn’t soften the cake first, just using the reamer might damage the lining as well. I compromised and soaked it for about two hours and the cake came out nicely.

While the bowl was soaking, I used Oxyclean and warm water to soak the stem. Since it was missing the end of the stinger, it was easy to get the worst of the gunk out with a pipe cleaner. As I mentioned, the stem was under-clocked. To fix this problem I usually heat the stinger with my heat gun until I can easily rotate back into place. As the tip of the stinger heats up it transfers heat into the stem and loosens the glue. The whole heat transfer thing wasn’t working very well with this pipe, so I stuck a small nail in the stinger.KW5 That worked like a charm.

Next I did a retort on the bowl and stem.KW6

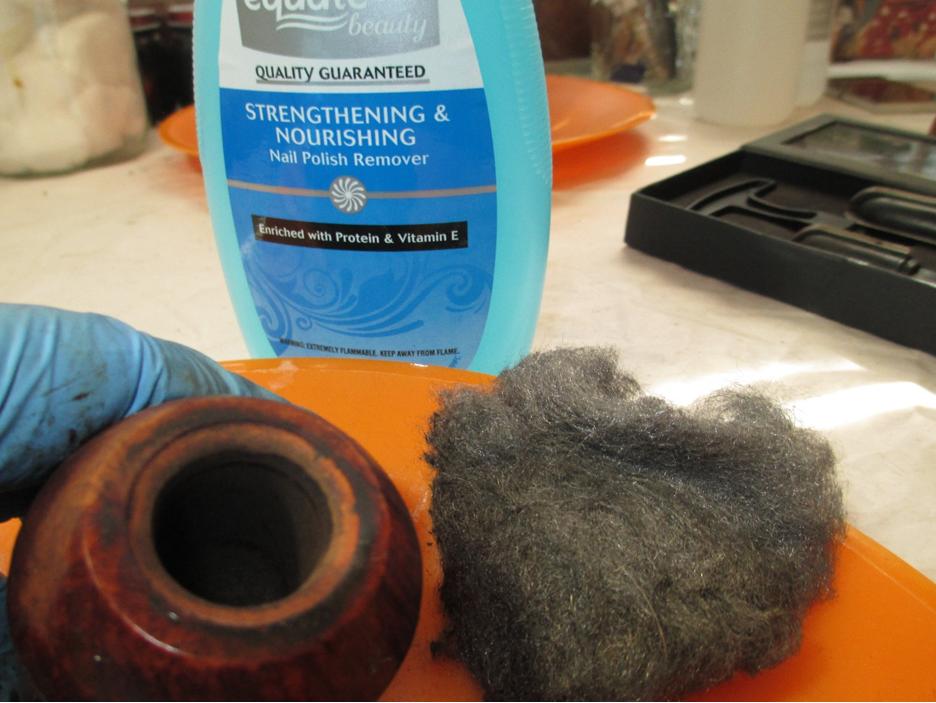
KW7 After scrubbing the insides with brushes, q-tips, and pipe cleaners, it was time to tackle the exterior issues. I used 0000 steel wool with acetone to remove the tar build up on the rim.KW8

KW9 I continued with the 0000 steel wool over the rest of the bowl to remove the film on the finish. After cleaning the bowl, I used 3200-12000 grit micro mesh to polish the bowl. This is what it looked like afterwards.KW10

KW11

KW12 I used 400 grit wet/dry with water to remove the oxidation from the stem, followed by 1800-2400 grit micro mesh with water.KW13 I finished the stem with a progression of 3200-12,000 grit micro mesh.KW14

KW15

KW16 I set up my buffer and polished the bowl with white diamond and carnauba wax. I used my variable speed rotary tool with white diamond and carnauba wax for the stem. Here is the finished pipe. Thanks for looking.KW17

KW18

KW19

KW20

KW21

Revamping a Bavarian Folk Wine Pipe Made in Italy


Guest Blog by Robert M. Boughton
Member, North American Society of Pipe Collectors
http://www.naspc.org
http://www.roadrunnerpipes.com
http://about.me/boughtonrobert
Photos © the Author

“Voters in the southern German state of Bavaria [April 7, 2010] voted for Germany’s strongest smoking ban, meaning lighting up in bars, restaurants and beer tents at Munich’s famous Oktoberfest will be ‘verboten.’”
― David Levitz, journalist, Agence France-Presse

INTRODUCTION
Who would have dreamed that those crazy, fun-loving Bavarians who have been hosting the annual Oktoberfest since October 12, 1810, the day Crown Prince Ludwig (later King Ludwig I) married Princess Therese von Sachsen-Hildburghausen; the culinary health scoffers who gave to the world such artery-hardening treats as Weisswurst, Schweinshaxe, schnitzel and spaetzle, and for snacks and dessert, laugen pretzels, apfelstrudel, Baverische crème and zvetchgenkuchen – would ban smoking in all public buildings just months before the bicentennial of the world’s biggest excuse to get betrunken?

Bavarians are even so fond of beer and schnapps that they have a great little saying: Saufen bis zum Verlust der Muttersprache, or drink until you forget your mother tongue. And if you’ve ever seen many German tourists, how many of them didn’t look like triple bypass candidates? Of course, everyone knows smoking kills more people than drinking and/or diet-related maladies…right?

One 31-year-old Garden Grove, California woman who lost her job and started a blog, and has written a book but is still searching for a publisher, has a particularly active gift of gab. She blogged, “Bavaria’s cuisine is a monster truck. It crumples the delicate-by-comparison culinary offerings of Spain, Italy, and France like tiny little Fiats and Peugots in its path… It is rich and doughy and filling and is the only thing on the planet that can soak up German beer. Every other fare will simply hide in the corner of your stomach, petrified at the sheer awesomeness of the brew that resides in there with it, and it will never get digested.” Perhaps the most succinct line from this particular blog is, “Germans do it with bigger sausages.” [http://www.everywhereist.com/7-badass-bavarian-foods-you-must-try/] I, for one, can’t wait until the book comes out.

If the world is going mad as far as singling out tobacco as the great evil, then Bavaria may now be the capitol for the insanity. Maybe all that ice bockbier and apfelstrudel have saturated their bodies and have nowhere left to go but the brains.

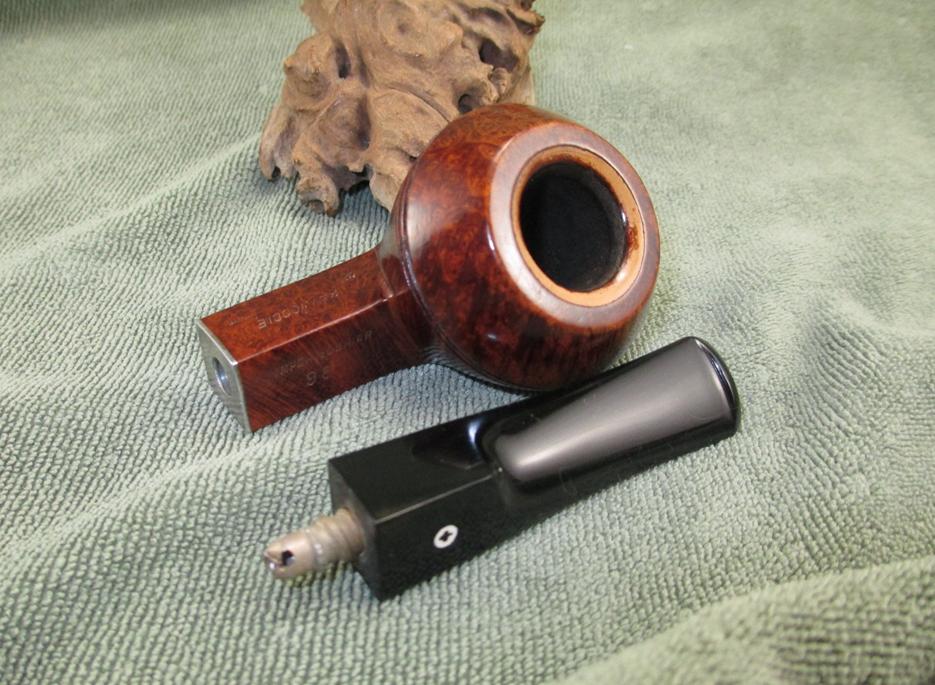
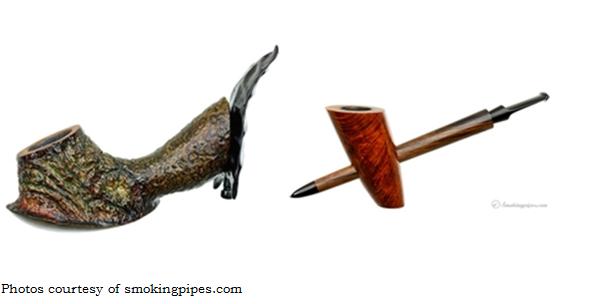
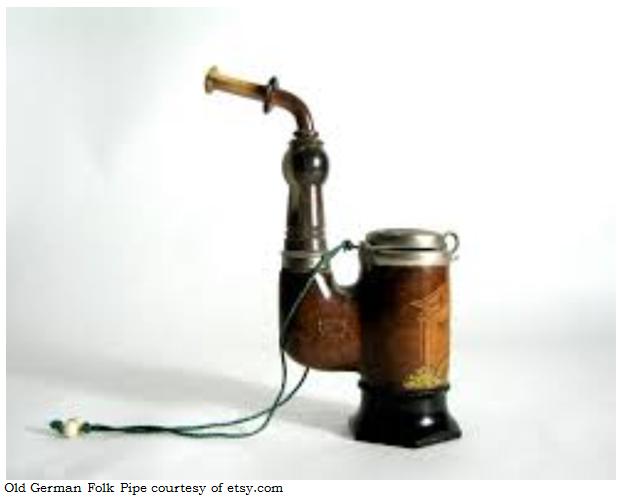
At any rate, there remains for those of us who still appreciate the virtues of pipes and their tobaccos the glorious contributions of German craftsmanship in general and Bavarian in particular.Rob1 And more along the lines of the subject of this blog:Rob2

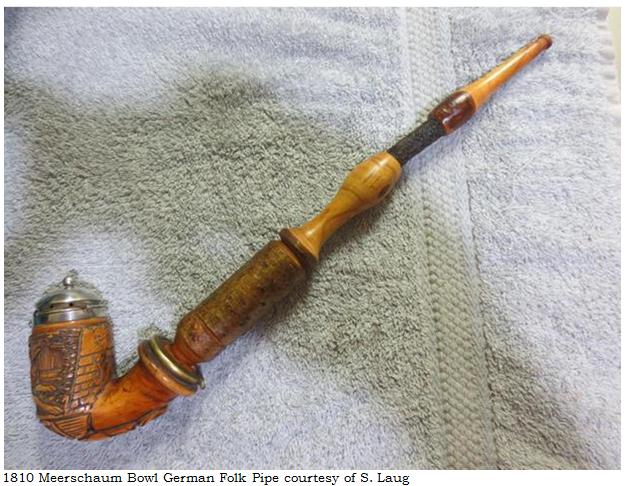
Rob3 When I emailed Steve a few photos of my new acquisition from eBay, for less than $11, I was happy as usual to receive a response but, I must admit, a little disheartened to hear of the 20 hours he spent restoring the 1810 Meerschaum Bowl masterpiece above. Then I considered the facts that his folk pipe was part meerschaum, and of course suspected he had, as his masterful skills and (if I may be so bold) somewhat obsessive creative bent allow, more than just restored it. He had in fact, of course, re-worked parts of it, as I learned when I read with pleasure his July 7 account. I mentioned the conjecture that Steve is a born pipe maker to my mentor, Chuck Richards, who with not an inkling of surprise to me that Steve has made a few pipes in his time. I therefore hereby suggest a blog by our host on these endeavors, which I am certain I am not alone in my curiosity to hear about and see.

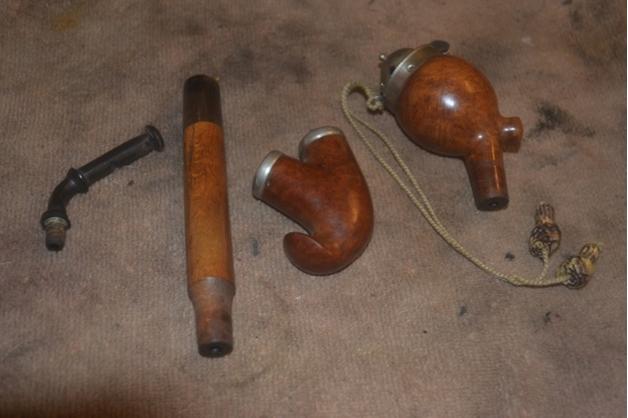
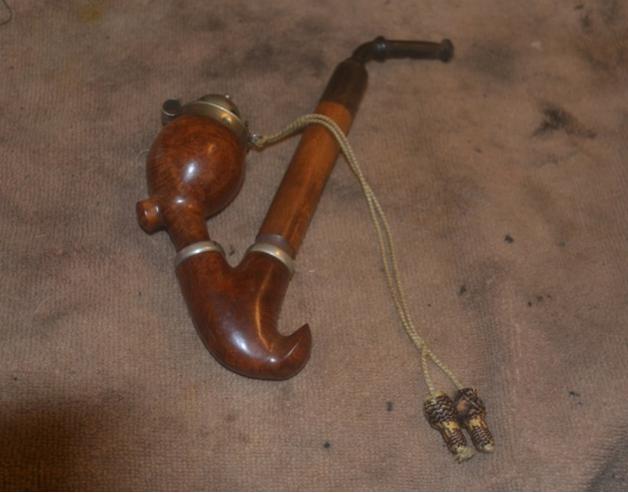
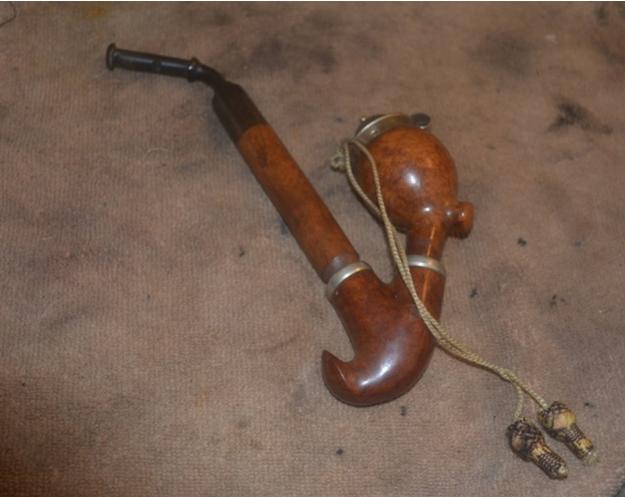
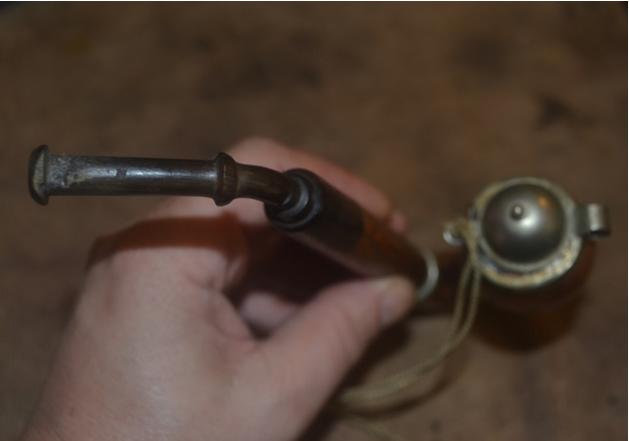
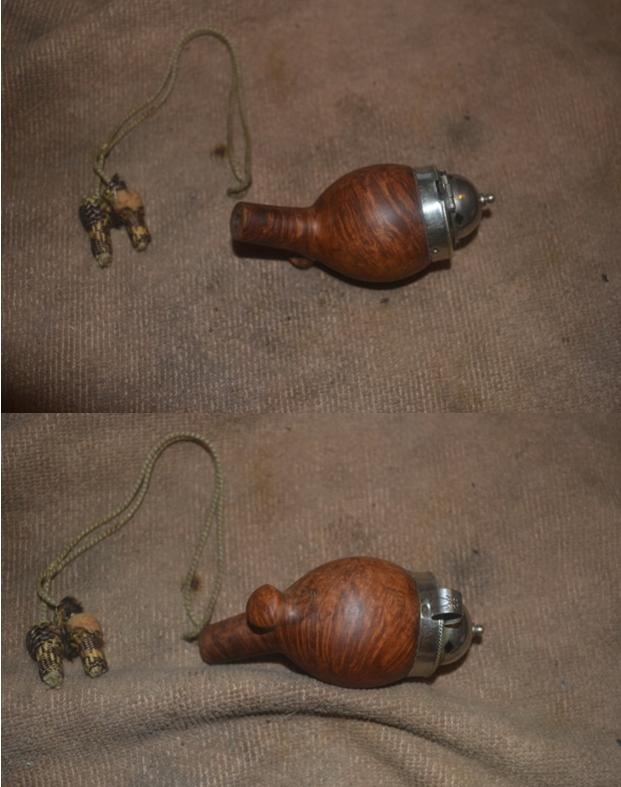
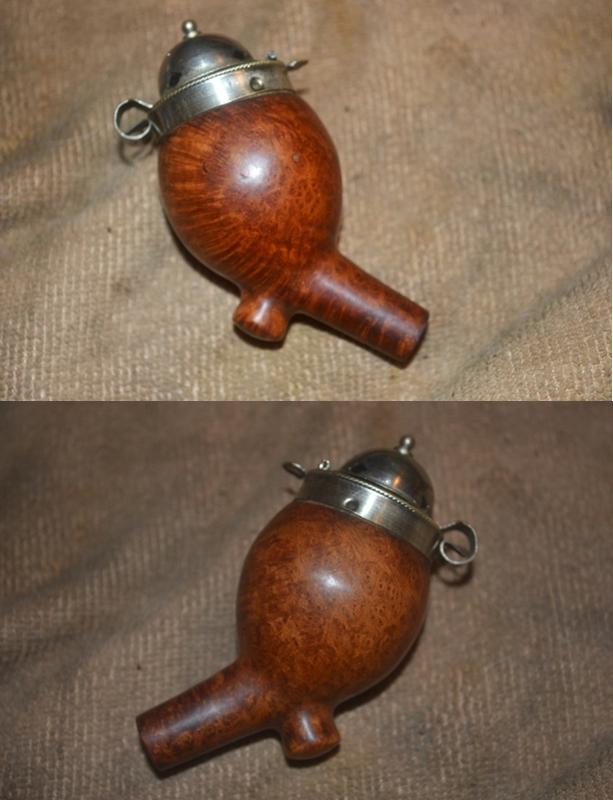
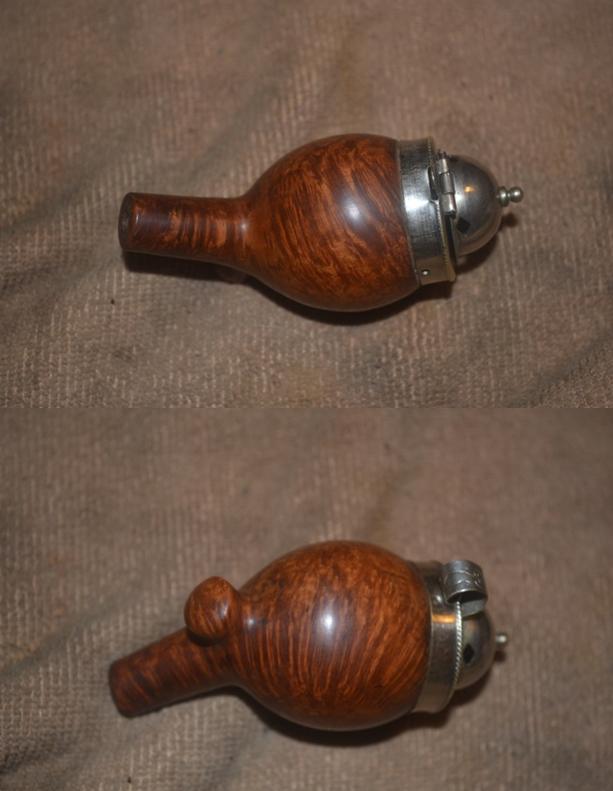
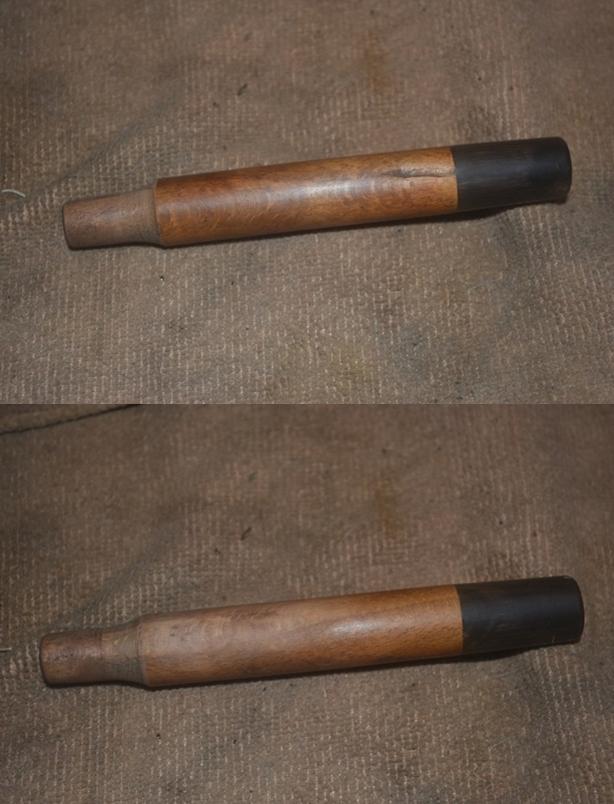
Alas, as shall be seen, my Bavarian Three-Piece Folk Wine Pipe – not counting the screw-in bit – pales in comparison, although it did present problems I had not before encountered. Starting with the bit, the eBay photos revealed one gash that appeared to be so deep that it must have pierced the air hole. As Lady Luck provided, however, such was not the case. On the other hand, there turned out to be three bad divots in the bit, not counting the severe wounds just below the lip, top and bottom, from grinding teeth. Then there were the countless scratches on every piece; the well-caked chamber; scorching of what I believe is the ornate but aluminum wind cap; a serious cleft in the alternative wood shank, the variety of which I have not yet determined, and a hole in the bottom piece, where the wine is placed, too deep for any fix other than wood putty.

All of these complications, I knew, would be nothing compared to the task of cleaning and sanitizing a pipe with a form that defied retorting. Noting this anticipated cleaning conundrum with a quip, “That’s entirely rhetorical,” in fact, was the reason for Steve’s second reply to my email where he mentioned the time he spent on his folk pipe.

By the way, I owe a final nod to Steve, as well as the owner of my local tobacconist who confirmed his assessment, for identifying my Bavarian folk pipe (which turns out to be a no-name Italian version) as being designed to add wine.

RESTORATION Rob4 This, as it happens, is how I decided to approach the restoration: piece by piece.Rob5

Rob6

Rob7

Rob8

Rob9

Rob10 Without thinking – you might say a bit compulsively on my own part – I already cleaned and polished the wind cap before snapping the last shot above.Rob11

Rob12

Rob13 Other than the almost unconscious cleaning and shining of the wind cap, inside and out, with Everclear-soaked cotton cloths, super fine steel wool and mostly 500-grit paper except for a few tough spots requiring 320, I saw no reason not to dive in with the bit. After all, filling the crevasses – and I can only imagine the drunken stumbling about that caused them – would take several days of layering with black Super Glue and drying time in between. The remainder of the restore was finished in a day and a half of intense work. I gave the bit a good soak in an OxiClean solution to start and cleaned out the mess inside with about six bristly cleaners dipped in Everclear before they came out clean.Rob14

Rob15

Rob16 With that process begun and the pipe disassembled, I returned to the main tobacco chamber (remember, this three-parter has a second chamber at the bottom for wine) and used my Senior Reamer to take out most of the fairly even though excess cake. After that I swabbed it out with some alcohol-soaked cotton gun cleaner squares and finished the removal of char and smoothing with 200-, 320- and 500-grit paper.Rob17 The yellowing of the cap’s inside area is the fault of my photography, not lack of attention. I know nothing of body work on cars, which is the kind of detail work the metal rim requires, and despite my restoration of this pipe for my own enjoyment, any tips on eliminating dings in metal, preferably without removing the entire rim piece, will be appreciated. Since the pipe is staying in my own collection, after all, I have a long time to work out that part.

I turned my attention to the outer bowl, first scrubbing out the draught hole with bristly cleaners soaked in alcohol – quite a few, in fact. Then I used 320-grit paper to remove both the old finish and the scratches, starting with the rough, un-sanded opening of the draught hole showing before and after below.Rob18

Rob19

Rob20 From 1500-4000 micromesh, I prepped the bowl for buffing. I liked the natural, lighter shade of the briar and chose not to re-stain it, proceeding straight to the buffer wheels. I used white Tripoli, White Diamond and carnauba.Rob21

Rob22 The shank was what I expected would take most of the work, and I was right. I sanded the wood with 200 and 320 paper, deciding the cleft in the unknown wood gave it a certain character. Besides, it wasn’t going anywhere without the kind of serious reshaping Steve is into.Rob23 I sanded it again with 500-grit paper and micro-meshed all the way.Rob24 The ferrule was dull and scratched.Rob25 I used micromesh on it and then Lincoln black boot stain, which I flamed, let cool and wiped clean with 4000 micromesh.Rob26 Finally, I used Lincoln brown stain on the shank’s wood and used 4000 micromesh to take off the ash.Rob27 I buffed it with white Tripoli, White Diamond and carnauba, and used red and white Tripoli on the ferrule.Rob28 Onto the final stage – the bottom chamber where the wine is added. Here it is after sanding with 320-grit paper.Rob29

Rob30

Rob31

Rob32 By the time I cleaned it out with bristly cleaners and Everclear, when added to those used for the other parts, I had a pile about as high as Steve’s from his meerschaum bowl folk pipe, only much grimier except for the last that came out clean.

Now take a closer look at the right side, first with the small hole that could neither be sanded away nor ignored, then filled with a dab of wood putty. I let it sit and harden until the next day, when I colored the putty with an indelible brown marker and squeezed a drop of Super Glue over the mark.Rob33

Rob34 Late that night, I sanded off the roughness of the dried Super Glue and smoothed the whole piece with micromesh. And here is the finished, waxed result, without re-staining.Rob35 At last, I was ready to assemble the separately restored parts and wipe it all down with a soft cotton rag.Rob36

Rob37

Rob38

Rob39

Rob40

Rob41

Rob42 The only nomenclature, just under the bottom ring in the last photo, reads Imported Briar over Made in Italy.

CONCLUSION
This restoration involved two firsts for me: filling a hole with wood putty, as basic as that is, and more significantly, the importance of considering each independent part of the whole. Never before had I encountered a pipe with more than a bit connected to a shank that in turn attached to the bowl. The simple addition of a second chamber for wine with two openings – one for the shank and the other for the regular tobacco chamber – forced me to approach the project from an angle that was novel to me. The ultimate restoration was a unique pleasure for me, and I am happy to report that the finished folk pipe smokes quite well, even without wine. I look forward to seeing how it works with Martinelli’s Sparkling Cider.

Now I have just a few final words on the Bavarian tobacco ban. It seems they tried the same thing in 2008, but the result was a scoff law that the authorities didn’t even try to enforce. Let’s hope that all of the pipe smokers in the southern German state of Bavaria unite to overcome the 61% of voters who decided to deny them the right to run their own lives.

Heritage Heirloom 02 Poker


Blog by Troy Wilburn

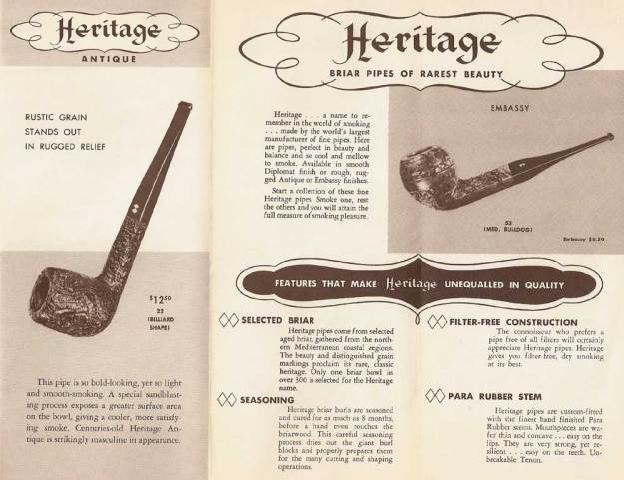
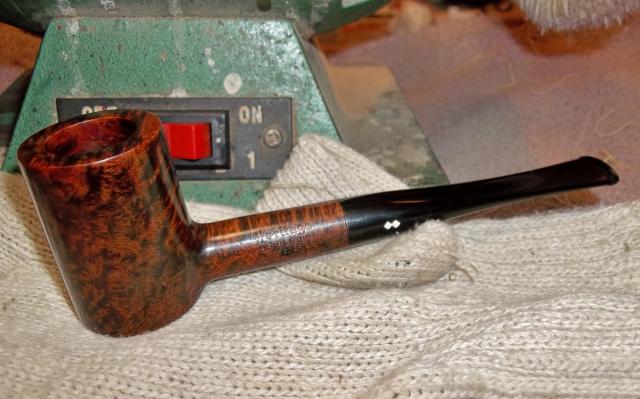
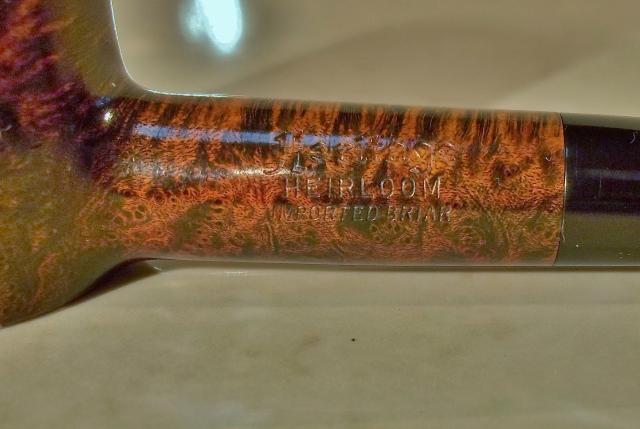
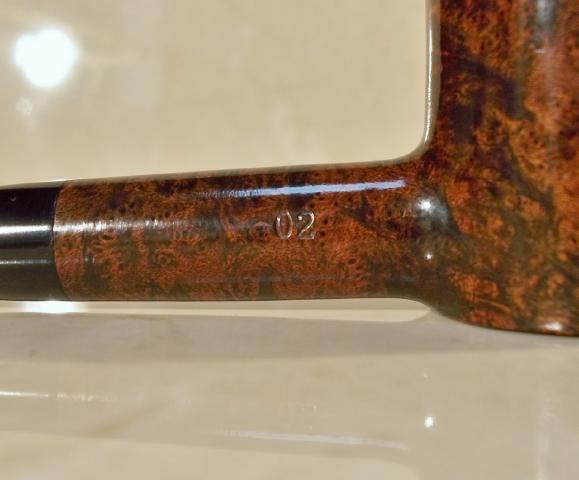
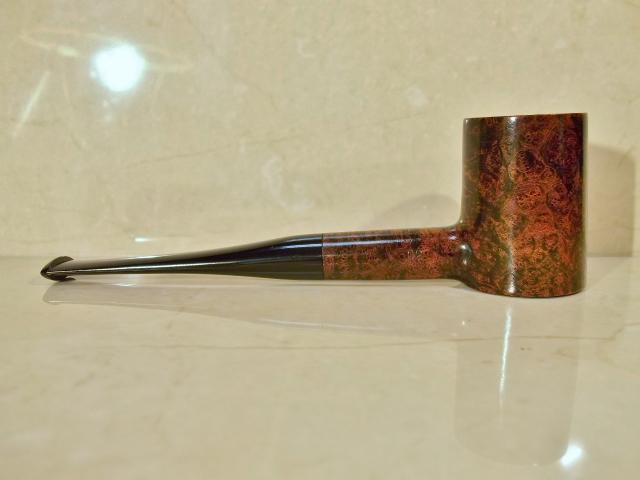
My latest addition to my American factory made poker collection is a Heritage Heirloom made by Kaywoodie. They were made during the 1960’s and production stopped in 1970. Heritage Heirlooms were Kaywoodie’s high end pipes headed up by an ex-Dunhill employee name Stephen Ogdon. Something like only 1 in over 300 pieces of briar was good enough to use in the Heritage Heirloom line. They used top of the line Para rubber on the stems and all briar was seasoned well, before being made into a pipe. Here is part of a brochure about it.heritage2_zps0d4dc760 Here is another part of the same brochure with the 02 poker shape shown.heritage4_zpsdc6295ef I purchased the Heritage Heirloom from a fellow member of the Dr. Grabow Collectors Forum. The pictures I saw of it truly did not do it justice. When I got it in hand I was amazed at the excellent condition the pipe was in. Other than the stem being oxidized I could not see any issues at all with the pipe.Heritage3

Heritage4 The pipe was barely smoked and still had raw briar showing in the bowl. It looks as though someone stated breaking in the pipe with quarter bowl increments and stopped after the second bowl.Heritage5 The pipe needed very little work. There was not heavy tar to clean out of the stem or shank so just a light swab with a pipe cleaner was all that was needed. I soaked the stem in OxyClean then scrubbed the top layer of oxidation with a green pad and wiped the bowl down with a cotton ball damp with Dawn soap and warm water. I wiped it dry with a clean paper towel.Heritage6 I gave the stem a light sanding.Heritage7 Afterwards I gave the pipe a good wipe with mineral oil and wiped it dry with a clean cloth for the next step of a light buff and wax.Heritage8 Here is the finished pipe.Heritage9

Heritage10

Heritage11

Heritage12

Heritage13

Heritage14

Heritage15

Heritage16

Heritage17

Heritage18

Heritage19 I have smoked a full bowl out of it since I finished it and it’s a very fine smoking pipe that will only get better with some more seasoning and cake.Heritage20

A Very Simple Cleanup on a Dr. Grabow Regal Dublin


Blog by Steve Laug

This pipe came to me in a box of pipes that a friend brought by for me. He was getting rid of a bunch of the pipes that he no longer smoked and thought I might enjoy cleaning them up. This one is stamped on the left side Regal over Dr. Grabow and on the right side, Imported Briar over Adjustomatic over Pat. 2461206. When I took it out of the box it had a half stem. The rest of it had been broken off and it was about 1 ½ inches long. I took it off and put the bowl back in the box. I have no idea what I did with the old stem; I have looked for it for a while now as I wanted to pirate the Adjustomatic tenon from the stem. It will show up when I least expect it and I will deal with it then. Yesterday I took the bowl out of the box and was looking it over. It was in very decent shape. The finish was clean. There were some lighter marks on the back right outside edge of the rim but other than it was clean. There was no cake in the bowl. It was worth a little time to see what I could do with it.

I went through my can of stems and found a Dr. Grabow stem that was the proper diameter. It was in decent shape. There were tooth marks on the top and underside of the stem next to the button. The button itself had some tooth dents. There was some calcification on the surfaces as well. The tenon and stinger were black with tars and oils but would clean up easily enough. The only thing with this stem and tenon is that it was not an Adjustomatic stem but it would do.Dr1

Dr2

Dr3

Dr4

Dr5 I cleaned out the shank and mortise with cotton swabs, pipe cleaners and alcohol. The shank was pretty clean and it did not take much to remove the little that was there. I removed the stinger and cleaned out the stem with alcohol. It too was not in to bad of shape on the inside. I cleaned the stinger and tenon with alcohol and 0000 steel wool.Dr6

Dr7 I heated the stem and raised the tooth dents as much as possible and then sanded them smooth with 220 grit sandpaper. One of the divots was a little too deep to raise so I filled it with a small batch of black super glue and sanded it smooth.Dr8

Dr9 I used a needle file to redefine the sharp edge of the button and make a clean line on both sides of the stem.Dr10 I sanded it with a medium and a fine grit sanding sponge to remove the scratches from the vulcanite and then wiped the stem down with Obsidian Oil.Dr11 I sanded the stem with micromesh sanding pads – wet sanding with 1500-2400 grit pads and then wiping down the stem with Obsidian Oil. I dry sanded with 3200-4000 grit pads, gave it another coat of oil and then continued with 6000-12000 grit pads. Each successive grit of pad made the patch disappear and blend into the surface of the stem. I gave the stem a final rub down with Obsidian Oil and let it dry.Dr12

Dr13

Dr14 I buffed the pipe with Blue Diamond polish on the wheel and then gave it multiple coats of carnauba wax. I buffed it with a clean flannel buff on the wheel and then hand buffed it with a microfibre cloth for a final deep shine. The following photos show the finish pipe. It should work well for many years to come. This one is for sale should anyone wish to add it to their rack. Email me and let me know.Dr15

Dr16

Dr17

Dr18

Dr19

Rejuvenating and Repairing a Whitehall Dublin


Blog by Steve Laug

This old Whitehall pipe came to me from the antique shop in Victor, Idaho, a small town on the way to Jackson Hole, Wyoming. On a recent trip to Idaho my brother and his family and my daughters and I visited Jackson Hole. On the way home, we stopped in Victor to stretch our legs and wander a bit. I went into the antique shop and struck up a conversation with the owner. Eventually a tin of five pipes and some parts came out from under the counter. I bought all of them. They traveled back to Vancouver with me and will one day all be refurbished.

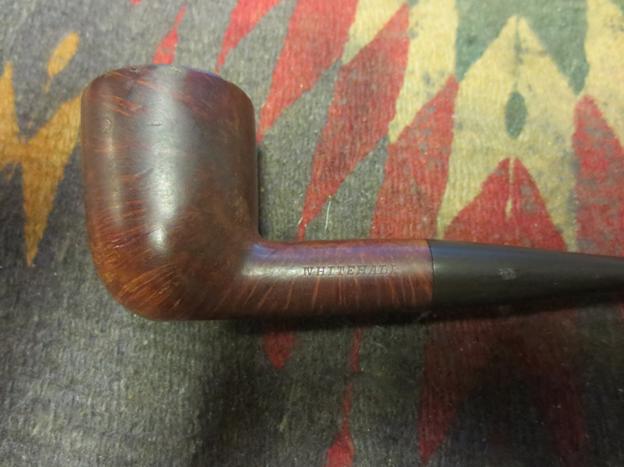
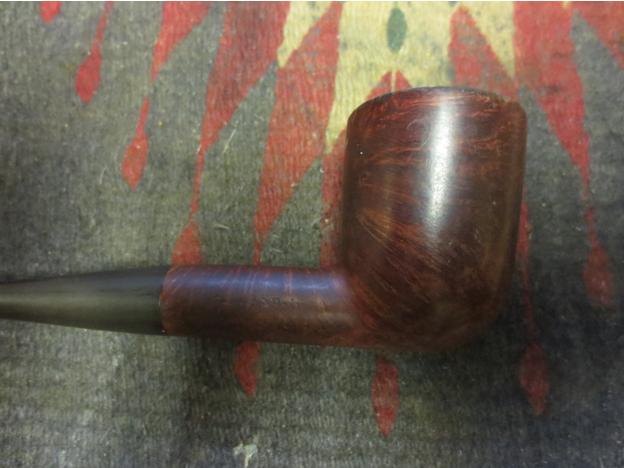
This Dublin shaped pipe is stamped Whitehall on the left side of the shank – though the stamping is faint. On the right side it is stamped Imported Briar (also faint). It has a flat bottom and sits well on that. The finish was very worn but was a rich oxblood colour under the grime. The bowl sides have some great cross grain. There were some small fills near the top of the bowl on the left side. The rim was damaged on the outer edge and very caked from the bowl over the rim top. The inner edge of the rim was still round and did not show signs of damage under the thick cake. The stem appeared to be a poor fit but as I looked at it I realized that it was upside down. The flattened bottom of the bowl had not been continued on the stem so it sat wrong.Dublin1

Dublin2

Dublin3

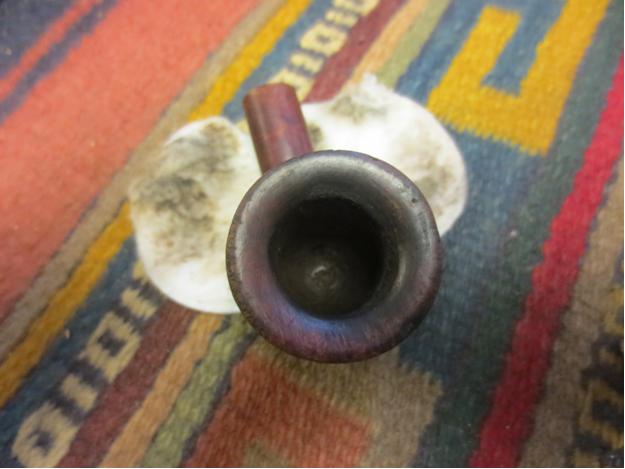
Dublin4 I took some close-up photos of the rim and sides of the bowl. The rim photo shows the tarry buildup and the side photos show the stamping.Dublin5

Dublin6

Dublin7 I generally ream the bowl when I start a clean up to remove the cake so I can examine the pipe thoroughly to check for inside wall damage and potential issues. I reamed it with a PipNet reamer and took the cake back to bare briar.Dublin8 While I was at it I scrubbed the rim with alcohol and cotton pads to remove some of the tars. I had to use a sharp blade to gently scrape away the thick coat of tars while I was scrubbing. The photo below shows the initial cleanup of the rim and newly reamed bowl.Dublin9 I sanded the rim with 220 grit sandpaper to further remove the tars and to minimize the outer edge damage. There was a burn mark on the front left of the rim that I was able to reduce but not remove altogether.Dublin10 I scrubbed out the shank and the bowl with alcohol, cotton swabs and pipe cleaners.Dublin11 I wiped down the exterior with alcohol and cotton pads to remove the finish and to clean it up. In doing so I found that there was a small shallow crack/flaw toward the bottom of the bowl on the left side. In the photo below the dental pick is at the close end of the crack and the dark spot is the far end.Dublin12 I picked out the crack with the dental pick, drilled two small holes – one on each end of the crack to stop it from going further. Interestingly this crack followed the pattern of the grain on the side of the bowl. Once I had it cleaned out I wiped it down with alcohol a final time. I pressed briar dust into the crack, dripped super glue into it and then pressed more briar dust on top of the glue. The photo below shows the repaired crack. Fortunately the crack was not deep and did not affect the interior of the bowl. It did not go all the way through and appeared to be more of a flaw in the briar than damage.Dublin13 I sanded the repair with 220 grit sandpaper to remove the excess patch and blend it into the surface of the briar. I sanded it with a medium and a fine grit sanding sponge to remove the scratches in the briar and feather out the surface. I sanded the entire bowl and rim with the same sanding sponges and sandpapers.Dublin14 I aligned the stem and sanded it with 220 grit sandpaper to smooth out the rough surface and then flatten the bottom to match the bottom of the shank.Dublin15

Dublin16

Dublin17

Dublin18 I wiped down the bowl with alcohol and then stained it with an oxblood alcohol based stain. I put the stain on heavy around the sanded areas on the shank and the bowl repair. I also darkened those areas with a dark brown stain pen following the pattern of the grain. I lightly buffed the pipe by hand and took the pictures below to show how the newly stained pipe looked at this point.Dublin19

Dublin20

Dublin21

Dublin22 I darkened the rim with the stain pen and gave it another top coat of the oxblood stain. I flamed it and buffed it lightly.Dublin23 With the bowl finished I worked on the stem. I wet sanded it 1500-2400 grit micromesh sanding pads. I rubbed it down with Obsidian Oil. I continued by dry sanding it with 3200-4000 grit pads, rubbed it down again with oil and then finished by dry sanding with 6000-12000 grit pads. I gave it a final coat of Obsidian Oil and let it dry.Dublin24

Dublin25

Dublin26 I buffed the bowl and stem with Blue Diamond on the buffing wheel, gave it multiple coats of carnauba wax and then buffed it with a clean flannel buff. I brought it back to the work table and then hand buffed it with a microfibre cloth. The finished pipe is shown below. It looks better than it did when I started, in my opinion. The rich oxblood colour helps to hide the repair and the burn mark on the rim. It should be a great smoking pipe if the amount of cake buildup that was there when I started is any indication. It should continue to provide great service to whoever ends up with it in their pipe rotation. Thanks for looking.Dublin27

Dublin28

Dublin29

Dublin30

Dublin31

Dublin32

A Dr. Grabow Sportsman #72


Blog by Troy Wilburn

This is a pipe I got from Joe’s lot. From looking at Grabow charts I believe this is a shape # 72 Sportsman. Joe mudded and coated inside bowl for me before he mailed it off ……Thanks Joe :).

Here is what it looked like when I received it.G1

G2

G3

G4 I had to top the bowl and I found a nick or inclusion that was pretty deep I took it down as far as I thought I should go. You can still see it in rim but I got it pretty small and will let it be. Unfortunately the rim lacked much if any grain at all. I canted bowl slightly to give it a “Devil Anse” type of look. Then just basically sanitized, sanded, oiled, waxed and buffed.

Rough sanding done on topping of bowl.G5 Sanded, cleaned ready for oil wax and buff.G6 Very cloudy here today so pics not the greatest, but a lovely little pipe I think and will be in my collection a very long time.

Here are some photos of the finished pipe.G7

G8

G9

G10

G11

G12

G13

G14

Restoring and restemming an old Meerschaum Pipe


Blog by Steve Laug

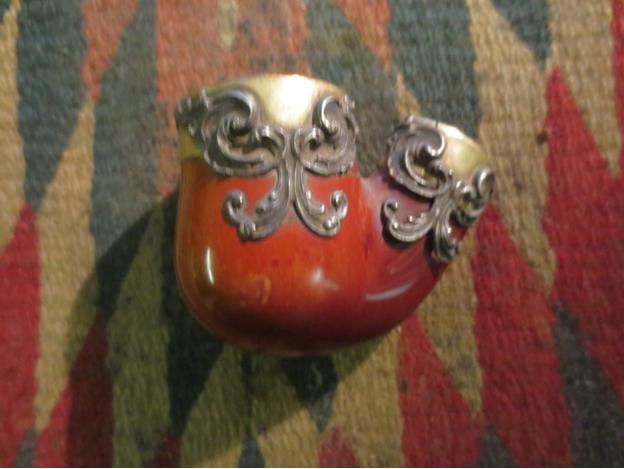
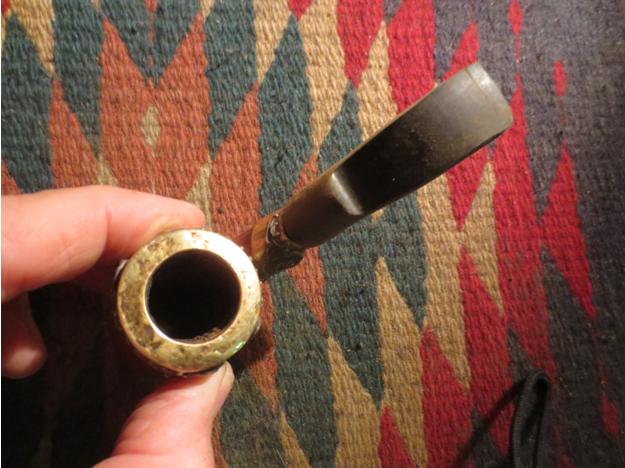
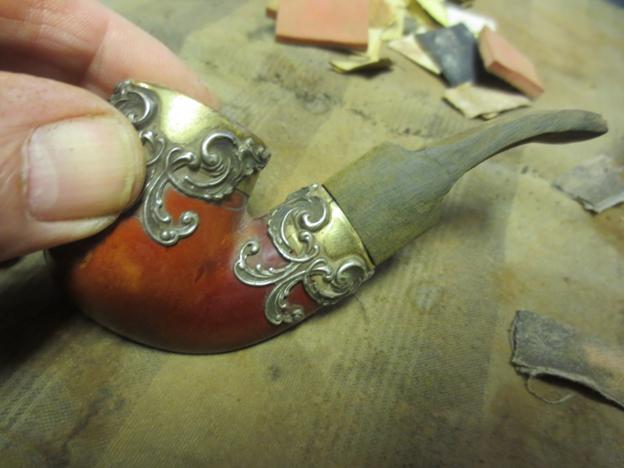
When I purchased the German Folk art meerschaum at the antique mall in Idaho Falls I also got a little meerschaum bowl with lots of brass bling around the rim and the end of the shank. It had a broken bone tenon in the shank that was hopelessly corroded and not removable by normal methods. It appeared to have been glued in place with epoxy. The pipe had an oval shank and I figured that if I could get it cleaned up it would be a neat looking keepsake. It would definitely be a pocket pipe but I had a vision for it. The first photo is a bit blurry but it gives you an idea about the look of the old pipe. There was a lot of dust and debris in the filigree work and the decorative band at the end of the shank was loose because of a broken nail on the left side.Meer1

Meer2

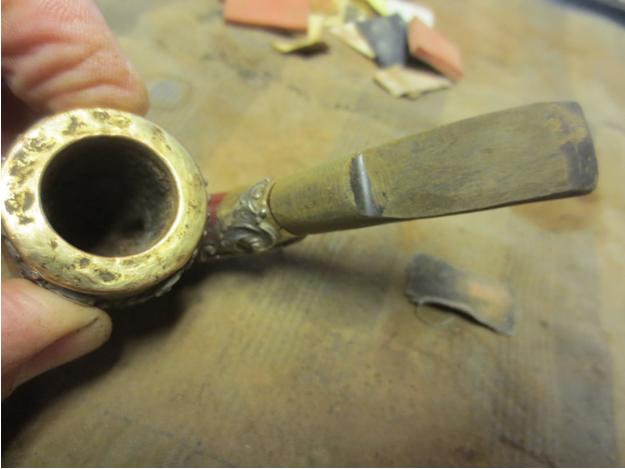
Meer3 The next two photos show the damage to the rim and the broken tenon in the shank. The rim damage was significant enough to look bad but I would not be able to remove the cap without breaking the meerschaum bowl so I would need to remedy that in a different way. In the second photo you can see the broken tenon and how it appears to be glued into the shank.Meer4

Meer5 I tried my normal method for pulling stuck tenons but this one would not even budge. It was stuck in the shank.Meer6 So I had to drill it out of the shank. This is trickier than it looks. I never power the drill on. I set it up and use it as a stationary base. I hand twist the shank onto the bit. I start with a bit about the size of the airway and work my way up until I have the entire old bone tenon out of the shank.Meer7

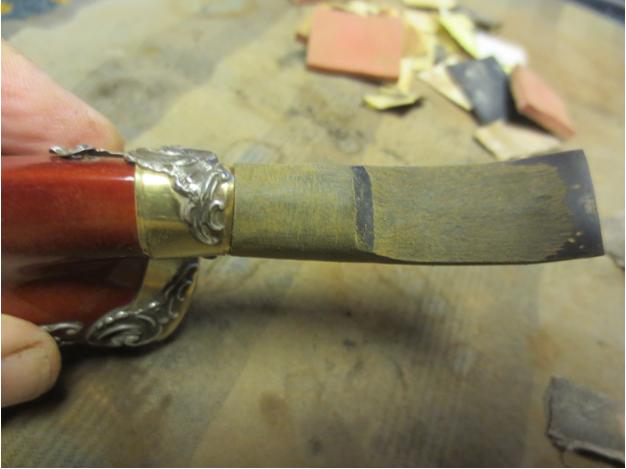
Meer8 I had a damaged round stubby stem from a GBD 9438 that I picked up somewhere. The button was gone and the stem had been cut off. Since the oval shank was vertical I needed a stem with a similar dimension from top to bottom. The GBD stem was perfect. I took off the excess vulcanite with the Dremel and sanding drum and roughly shaped it to fit. There would be more – a lot more – sanding that would have to happen but the shape was there. I would also need to build a new button and thin down the thickness of the stem but overall you can see the shape.Meer9

Meer10

Meer11

Meer12 More shaping with the Dremel. I wanted the stem to have a thin oval shape at the shank and then flare out toward the end. I would cut the new button so I wanted a smooth taper back toward it.Meer13 With the Dremel work done it was time to hand shape the stem with sandpaper. I sanded it with coarse emery cloth and then refined it with 180 grit sandpaper. The lion’s share of the work was done with 220 grit sandpaper.Meer14

Meer15

Meer16 The oval of the stem finally matches the oval of the shank. The tenon fits snugly. More sanding will need to be done so that the new stem sits in the band tightly against the shank end.Meer17

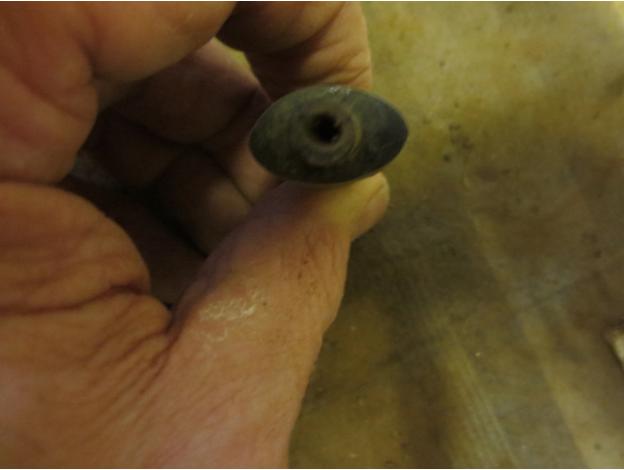
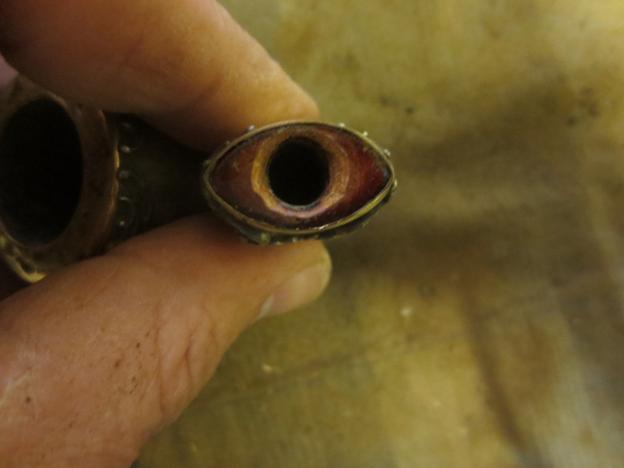
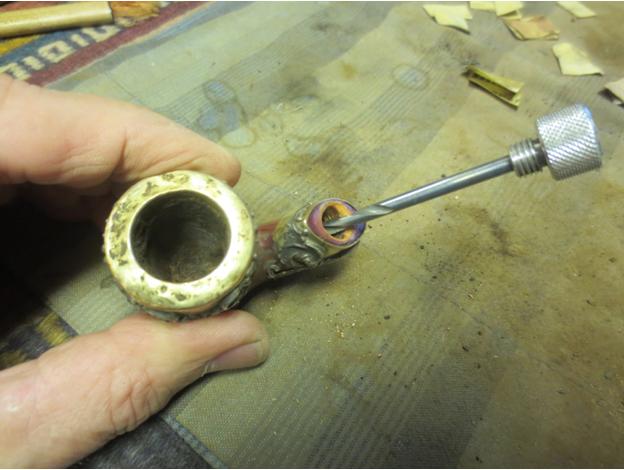
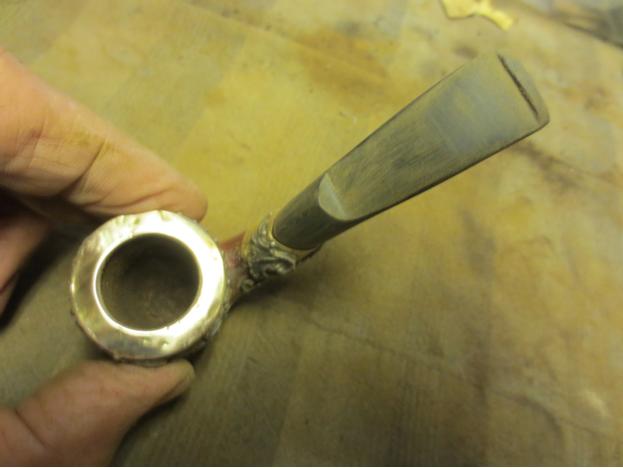
Meer18 On a whim I blew air into the airway on the shank and it was plugged. When I drilled out the mortise the debris obviously clogged the airway from the shank to the bowl. I used the drill bit that comes with the KleenReem reamer I have to open the airway and push the debris into the bowl. It did not take much and the airway was clear and open.Meer19 I used needle files and flat files to recut a new button on the stem and to smooth out the taper from the saddle backward. The next photos show the newly cut button. The stem is quite thin at this point so a deep button cannot be cut deep enough.Meer20

Meer21 The bend in the stem was insufficient for the pipe to sit correctly in the mouth so it would need to be carefully bent to more of an angle.Meer22 I heated the stem with a heat gun until the vulcanite was soft and then bent it to the correct angle.Meer23 The newly bent stem is shown in the next series of photos. It matches the angle of the bottom of the bowl.Meer24

Meer25 There are some spots on the stem in the photo below that look like a hole – it is not it is a damp spot from cooling the stem to set the bend. I sanded the rim with a medium grit sanding sponge and also with a fine grit sponge to clean up some of the high spots on the rim cap. In the photo below you can see the improvement.Meer26 I cleaned the grooves in all the filigree adornments on the rim and the shank using cotton swabs and alcohol. The photo below shows the cleaned bling and the meer spots between the bling. The pipe is coming along.Meer27 To make the end of the stem thicker and give me more material to work with to shape the button I built it up with a mixture of black super glue and charcoal powder. I mixed it to a paste and used a dental pick to shape and build up the edges of the button.Meer28

Meer29 The next three photos show the stem after I have built up the material for the new button. I set the stem aside to cure for the day while I headed off to work.Meer30

Meer31

Meer32 I used a file and sandpaper to begin shaping the new button. It was going to take a lot of sanding but the new button was beginning to take shape.Meer33

Meer34 I sanded the stem with a medium and a fine grit sanding sponge to shape the button and smooth out the stem.Meer35

Meer36

Meer37

Meer38 At this point in the process I was still debating the final shape of the airway in the button. My original intent was to make an orific button styled after the era of the pipe. However, the more I worked on it the more I was thinking of making the stem more modern era and leave the bowl old era. The combination would be a wedding of old and new!Meer39 For the time being I put that decision on hold and worked on polishing the stem. I wet sanded it with 1500-2400 grit micromesh sanding pads and then rubbed it down with Obsidian Oil. While the oil was still wet I dry sanded the stem with 3200-4000 grit micromesh pads. I again rubbed it down with oil after the 4000 grit pad was used. I dry sanded with 6000-12000 grit pads and then gave it a final coat of Obsidian Oil. I let it dry before buffing.Meer40

Meer41

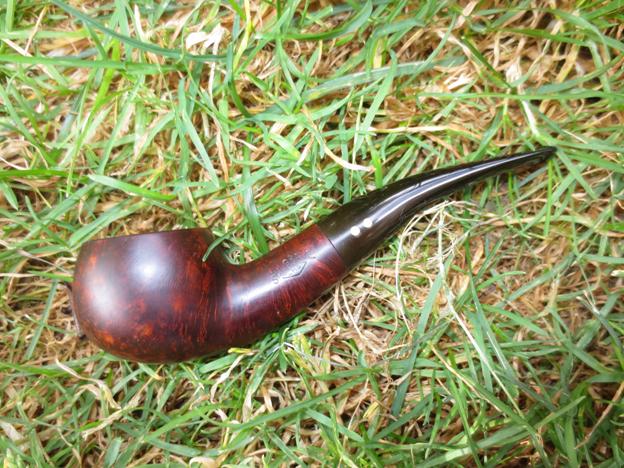
Meer42 I finally made the decision to flare the slot in the stem. I figured it makes it clear that this is a replacement stem if nothing else does. I like the wedding of old and new in this pipe and it one I plan on keeping so I made it the way I like it. The photo below shows the slot before I did the final sanding with sandpapers and micromesh to clean up the file marks and fine tune the slot. The finished slot can be seen in the final pictures.Meer43 I buffed the stem with Blue Diamond and gave it multiple coats of carnauba wax. I buffed it with a clean flannel buff and then finished with a hand buff with a microfibre cloth to give depth to the shine. The finished pipe is shown in the photos below. I am looking forward to giving this one an inaugural smoke soon. The draw is very open and the airflow uninterrupted. The pipe should last long after I have passed it on to the next pipeman to care for.Meer44
Meer45

Meer46

Meer47

Meer48

Meer49 Thanks for looking.

Repairing a Cracked Shank on A Weber Shelbrooke


Blog by Mark Irwin
mark@afinemess.org
29 July 2015

It is a pleasure to have Mark Irwin write a blog for us here on rebornpipes. Many of you may know Mark from his own blog on WordPress called “Peterson Pipe Notes”. Click on the following link if you are unfamiliar wit it: https://petersonpipenotes.wordpress.com. Mark has written several books on pipe enjoyment – The Five Laws of Pipe-Companioning, Pipe Smoking in Middle Earth and contributes a blog to the Neatpipes site. He is also co-authoring a book on the history of Peterson Pipes that will come out through Briar Books Press. He has become a good friend and I correspond with him often. I only wished that lived in closer proximity. Somehow the distance between Vancouver, BC Canada and Texas where Mark is make visiting prohibitive for me. Thank you Mark for your contribution. Welcome — Steve Laug

Mark1 Like a lot of pipemen, part of my introduction to pipe-smoking was through my Dad, who in the late 1960s and early 1970s would occasionally indulge in a bowl of Half & Half. In fact, my first pipe was one of his—a wonderful Kaywoodie bulldog replete with stinger. He had two other pipes that I recall, a white Kaywoodie and this Weber Shelbrooke 300.Mark2 When I was over at his house a few weeks back, he said the Shelbrooke, though a good smoker, had not only become wet and sour over the past few months, but developed a split on the shank as well as a tiny hairline crack at the mortise, and he wondered if anything could be done about it.

The first problem—the wet, sour smoke—seemed to have two causes: first, over the past few years, my Dad’s reduced the number of pipes in his collection to about half a dozen, but he’s smoking them several times a day in fairly heavy rotation. The Shelbrooke might just not be handling its workload.

A look into the mortise with a flashlight revealed a substantial gap between its end and the tenon. And it was, sure enough, wet. In addition to giving the pipe a little more rest, it might be that Dad needs to consider adding another pipe to his rotation.Mark3 The second problem, the crack in the shank and the resulting loosening of the stem, was a more serious problem. I wrote Steve Laug, who said to drill a small hole at the end of the crack to prevent it from spreading further. After that, he said, glue the crack with epoxy, clamp it, then put band the pipe to keep the reglued crack from opening and keep the tenon/mortise tight.

As my D-I-Y restorations are usually confined to Peterson estates, a band had to be ordered online. I did find a supplier on the internet, and, measuring the widest part across the stummel (the radius?), ordered one. I thought I’d be extra cautious and order a size up and a size down as well.

As anyone with any math knows, that was not the way to order a band. All three were far too large. So I went to a math teacher I know, who happens to live here in the same house, for her advice. First she told me measurement is never exact. Hmm. Well, I needed something a little better than what I’d done, obviously. Here’s the formula she showed me:

C = 2 π R

To get C (the circumference), I added up the perimeter of the diamond shank—13.85 x 2 and 18.8 x 2 for a perimeter (circumference) of 55.3. I’ve got all the math on a legal pad, and if you want an explanation, ask a math teacher. In the end, the radius came out to be 8.80 for a circumference of 17.6. I bought 16.5, 17 and 17.5 mm rings, and as it turned out, the 16.5 was the best fit.

While waiting for the bands, I decided to clean up the bowl and stem.Mark4

Mark5 The bowl soaked overnight in an alcohol bath. When it was removed the following morning, I was pleasantly surprised to discover the carbon on the top rim could easily be wiped off with a cotton cloth, leaving it clean. The alcohol soak lightened the stain and removed much of the blackening in the rustication, left the bowl with a sweet, clean scent. I’ve done this with Peterson Systems for quite a while, with spectacular results—and they’ve got the added complication of a reservoir. I’ve been told that an alcohol soak can sometimes cause old wood to split. The crack did seem a tiny bit longer afterwards, but not much.Mark6 The stem was in remarkably good condition, but I thought it might as well be cleaned up since I had it. It was plopped into a small tub of warm Oxy-Clean solution to soak, then forgotten about! Oops. When I remembered to retrieve it eight hours later, it had almost completely whitened. Hmm. Just great, I thought.

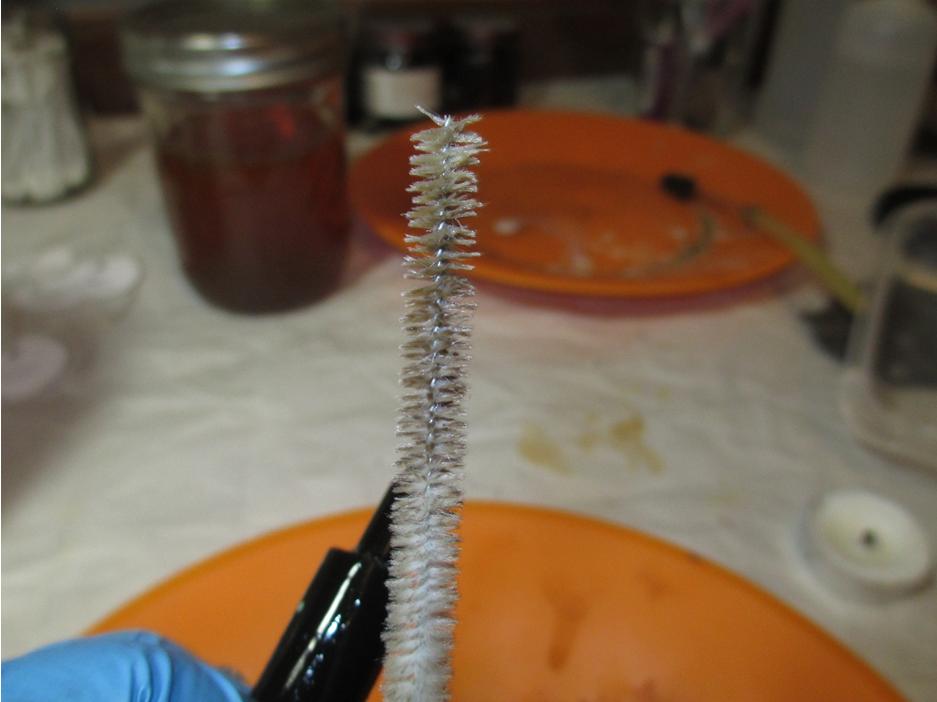
It still felt relatively smooth (unlike the roughening-up a bleach-soak does), so I thought I’d try a spin on the Foredom lathe with some Tripoli on the wheel, just to see where things stood and whether it would need the 12-pad Micro Mesh route. It took a few minutes on the wheel, but to my surprise, the Tripoli cut all the haze off, and in a fraction of the time I usually spend with the pads by hand.Mark7 I didn’t remove the dental marks, just as I wouldn’t on a beloved pipe from my own rotation, because those indentations are what give the pipe its comfort-factor to its owner, making it easy to clinch—remove them, and he has to start breaking it in all over again.

I like to use an Ott-Lite to see just how “back-to-black” the stem really is, because I’ve bought far too many estate pipes, and restored too many stems myself, that when viewed under the Ott show an underlying brown, gray or green haze. The stem on such a pipe may look good in a photo, but get it under decent light and you can see it wasn’t properly restored at all.

An additional pass with the buffing wheel and Tripoli was made on a few hazy areas that I caught on the camera but couldn’t see with the naked eye. After that, the stem received a coat of Obsidian Oil to give it some UV protection.Mark8 Coming back to the crack in the shank, I used my countersink drill bit (which I also use to chamfer or “graduate” draft holes in tenons) to create a saucer-shaped hole. I was surprised when it slid right through into the draft hole!

While I couldn’t juxtapose my camera’s flash to give you a photo, it turns out there is a reservoir in the Shelbrooke. It goes considerably deeper than the draft hole, and was obviously an intentional part of the pipe’s design. But the size of the reservoir made for a thin mortise wall, as I found out. Was it for a stinger device? It certainly explains the wet smoke my Dad was experiencing—the smoker would need to swab out the well after the pipe has cooled before smoking it again or suffer the consequences, as uninformed Peterson System users have found to their dismay. As many Weber pipes and catalogs as there seem to be on the estate market, I couldn’t find much just trolling the internet.Mark9 I let the epoxy drizzle off a tooth-pick into the cracks, hoping it would slide down into it. If the epoxy got inside the cracks, I believed it should hold in combination with the nickel band. Then I clamped the crack as well as I could, but as you can see from the pictures, the crack didn’t close up entirely.

Here I made my first mistake—and one I shouldn’t have, because I’ve seen my Dad avoid this kind of thing in carpentry projects we’ve done together. Instead of letting the clamp actually meet the walls of the shank like I did here (which impressed the wood), I should have use some small wooden squares over the clamp to prevent it from biting into the shank. Live and learn.Mark10 I had already used a rattail file to make some briar shavings from an old bowl (thanks Mark Domingues for this tip!), so I mixed those with the epoxy and plugged the hole I’d previously made to stop the crack from lengthening.

Taking off the clamps the following day, I was dismayed to see the briar had been impressed on one side by their pressure. Some of the indentations lifted with the application of passing a flame from my lighter over them, and more would doubtless have been lifted had I used the old hot-knife-covered-by-a-wet-rag technique. I was fully intending to do this, and then—just forgot!Mark11 After letting the epoxy harden for 24 hours, the flat of an X-Acto knife was used to scrape off the excess. But the hole needed to be topped, so mixing up another briar shavings-epoxy mixture; I not only topped the hole, but went over the crack as well.Mark12

Mark13 After another 24 hours had passed to allow the epoxy to harden, I used 500 grit to go over the bump caused by filling the hole. I was concerned not to obliterate the “300” shape stamp, which I now think was probably a mistake. (Looking at the finished pipe, I now think I should have sanded down the abrasions caused by scraping with the X-Acto knife and not worried about the shape number stamp.)

Next I needed to re-blacken the rustication lines, which had washed out in the alcohol bath. These were large enough that a Sharpie Fine Point could be used to good effect. I got this tip from Steve Laug when I was restoring a Peterson B35. The ink in some Sharpies seems to color out a dark bronze, while it’s actually black in others. Micron makes some good archival ink pens (I used them in creating the illustrations for Pipe Smoking in Middle Earth), but these were simply too fine to do the job on the Shelbrooke.Mark14 Having restained the rustication marks with the Sharpie, I restained the pipe. And this resulted in a second disappointment. The Shelbrookes I’ve seen are a light brown, to allow the black rustication lines to stand out in relief. I thought I’d mixed a very light glaze of medium brown Fiebing’s—maybe 1 part dye to 5 parts alcohol? I wiped it on and then flamed it. It came out a great deal darker than I’d hoped. I tried rubbing it off with a wet alcohol cotton pad, which helped, but didn’t bring out the lighter color I’d originally wanted. I think that the Sharpie ink may have “bled” into the alcohol solution, darkening the bowl. A better solution—now that I know the Sharpie ink will bleed—would have been simply to buff the bowl with carnuba.Mark17 Now it was time to put the band on. I used the smallest of the three, a 16.5mm, creasing one corner of it like Steve Laug has shown in two of his blogs here on this site. Then it was simply a matter of working it onto the pipe and bending each side with my fingers. I did heat the band with the heat gun set on low. I also used a small hammer to help knock the band into alignment, as each of the sides of the shank is slightly different.Mark15

Mark16 All in all, I’m fairly satisfied with the job. The proof, of course, will be in the smoking.