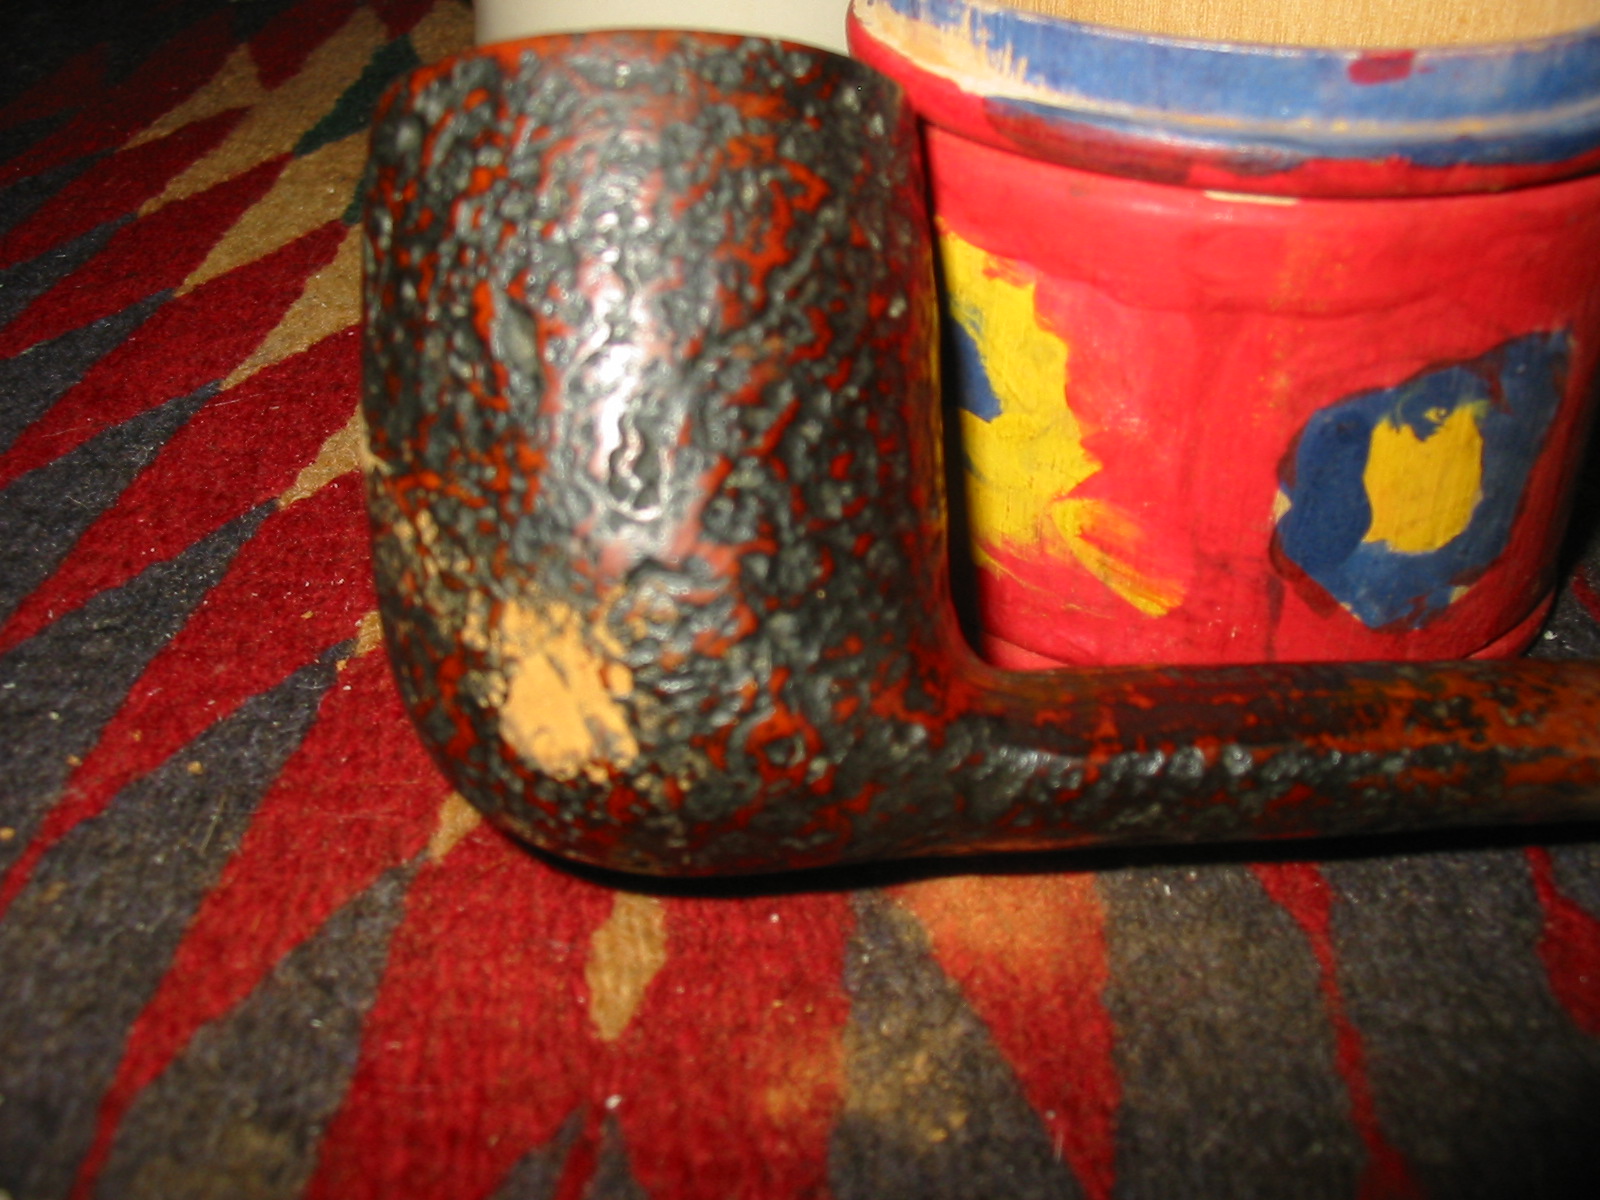
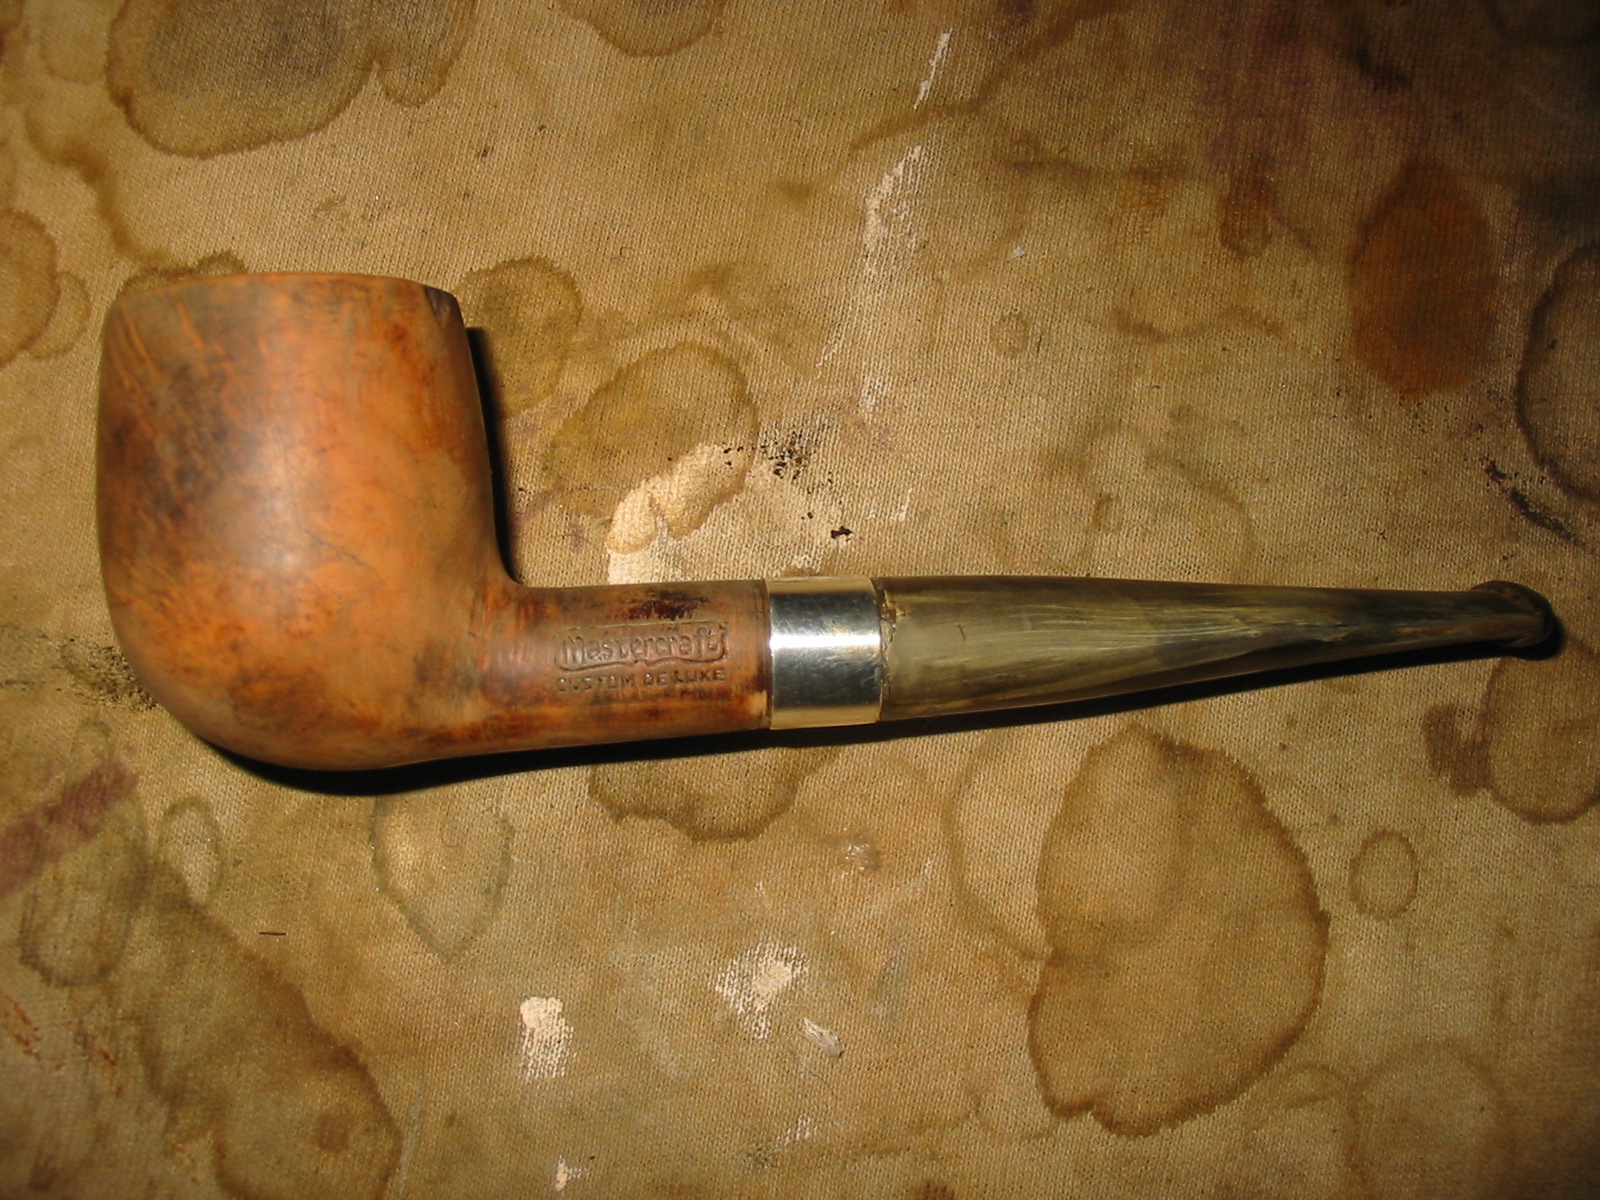
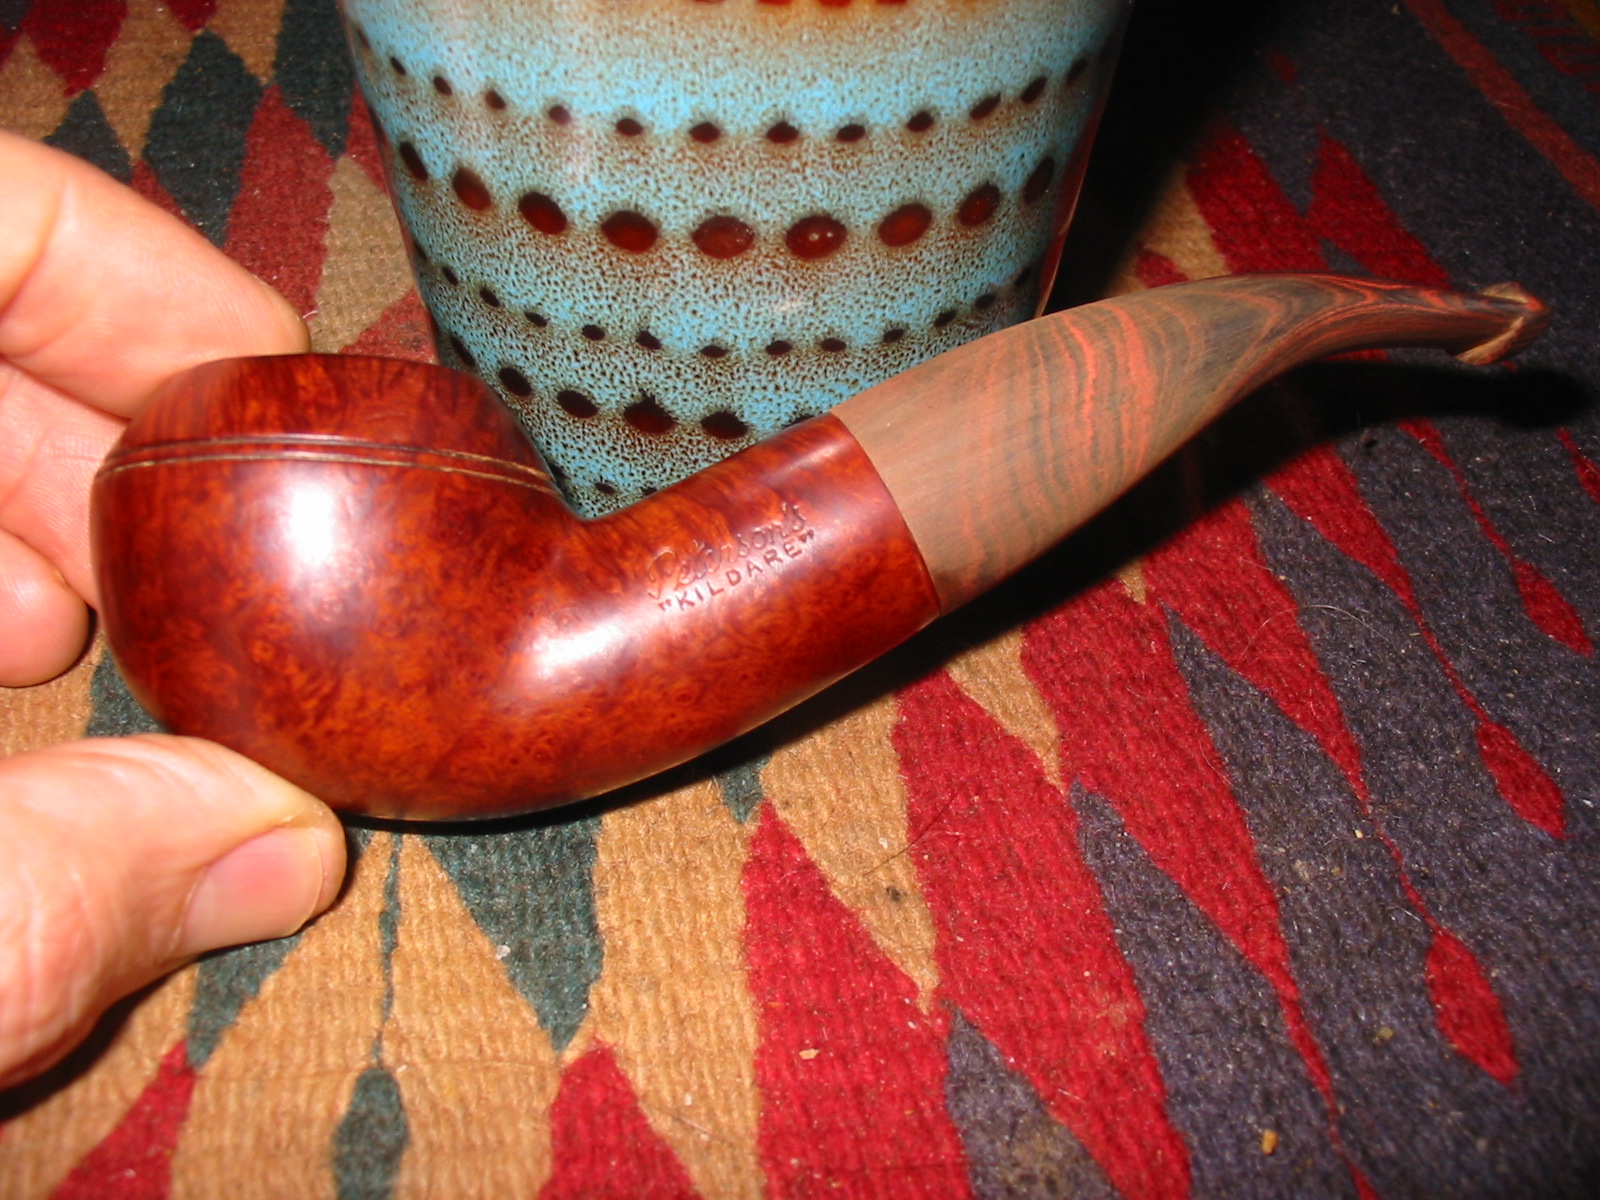
Blog by Steve Laug
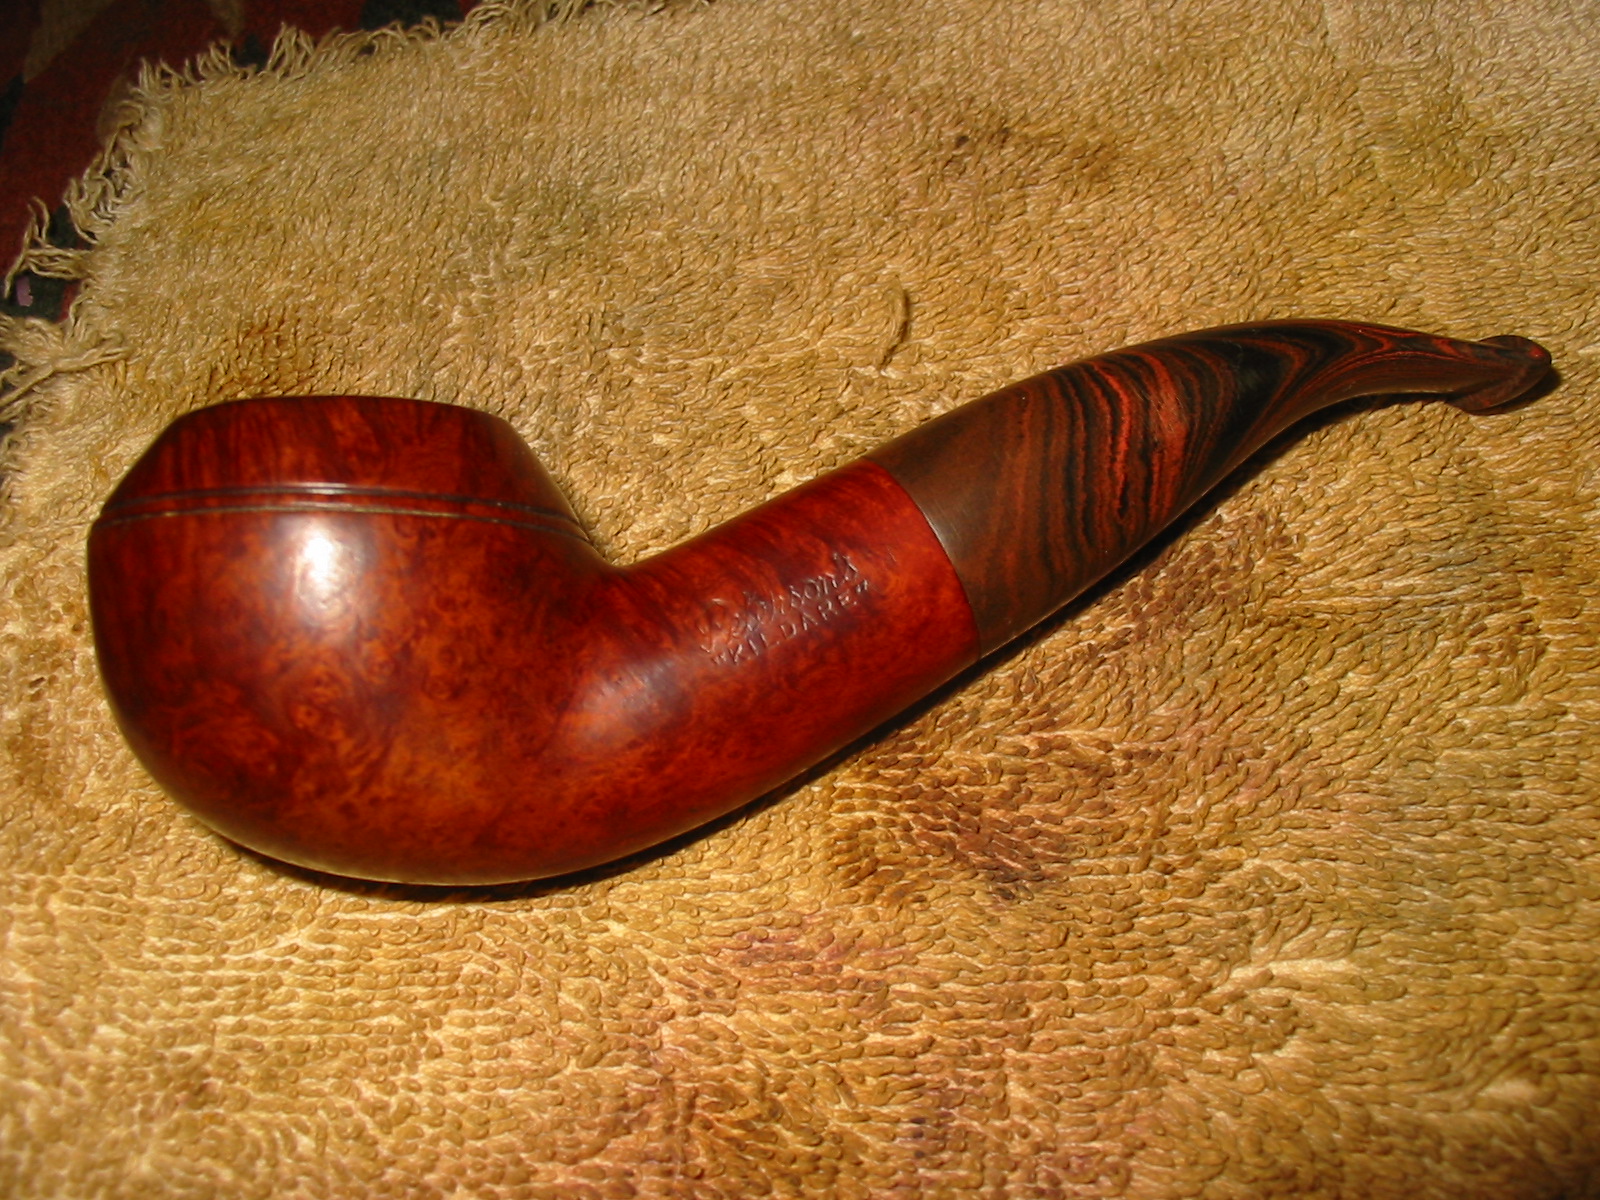
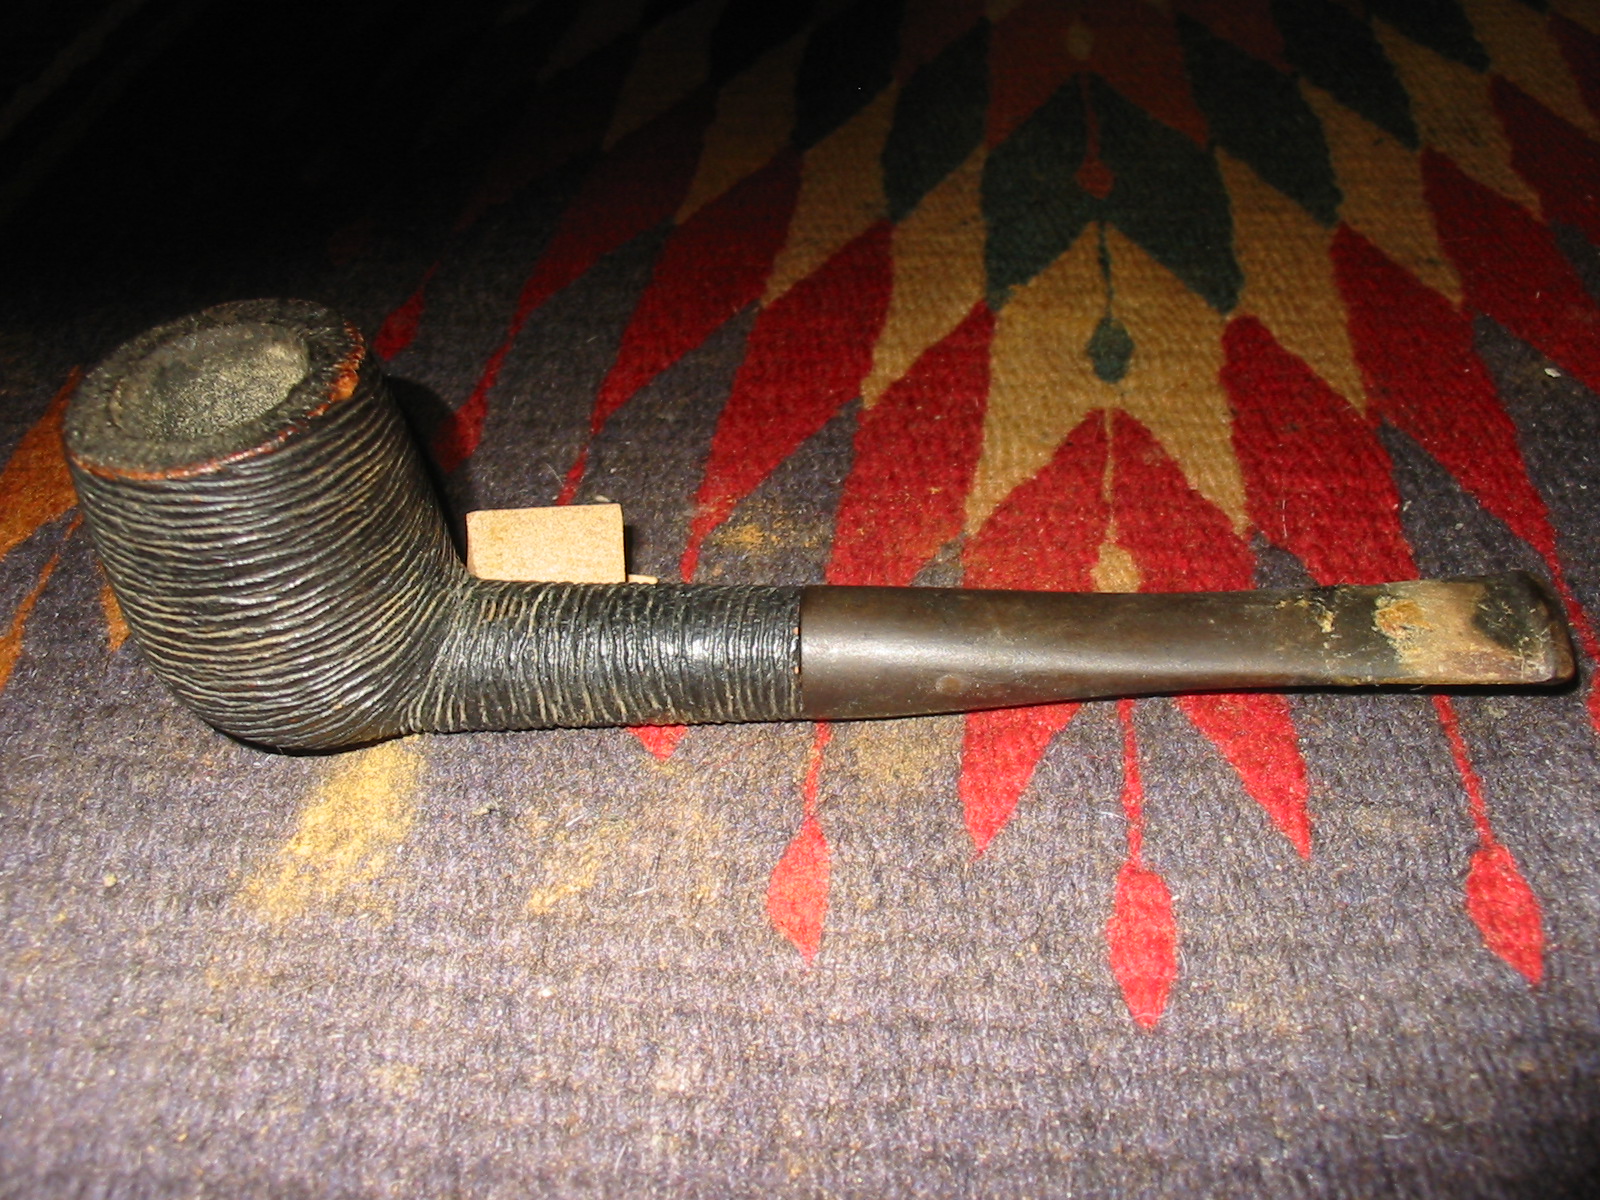
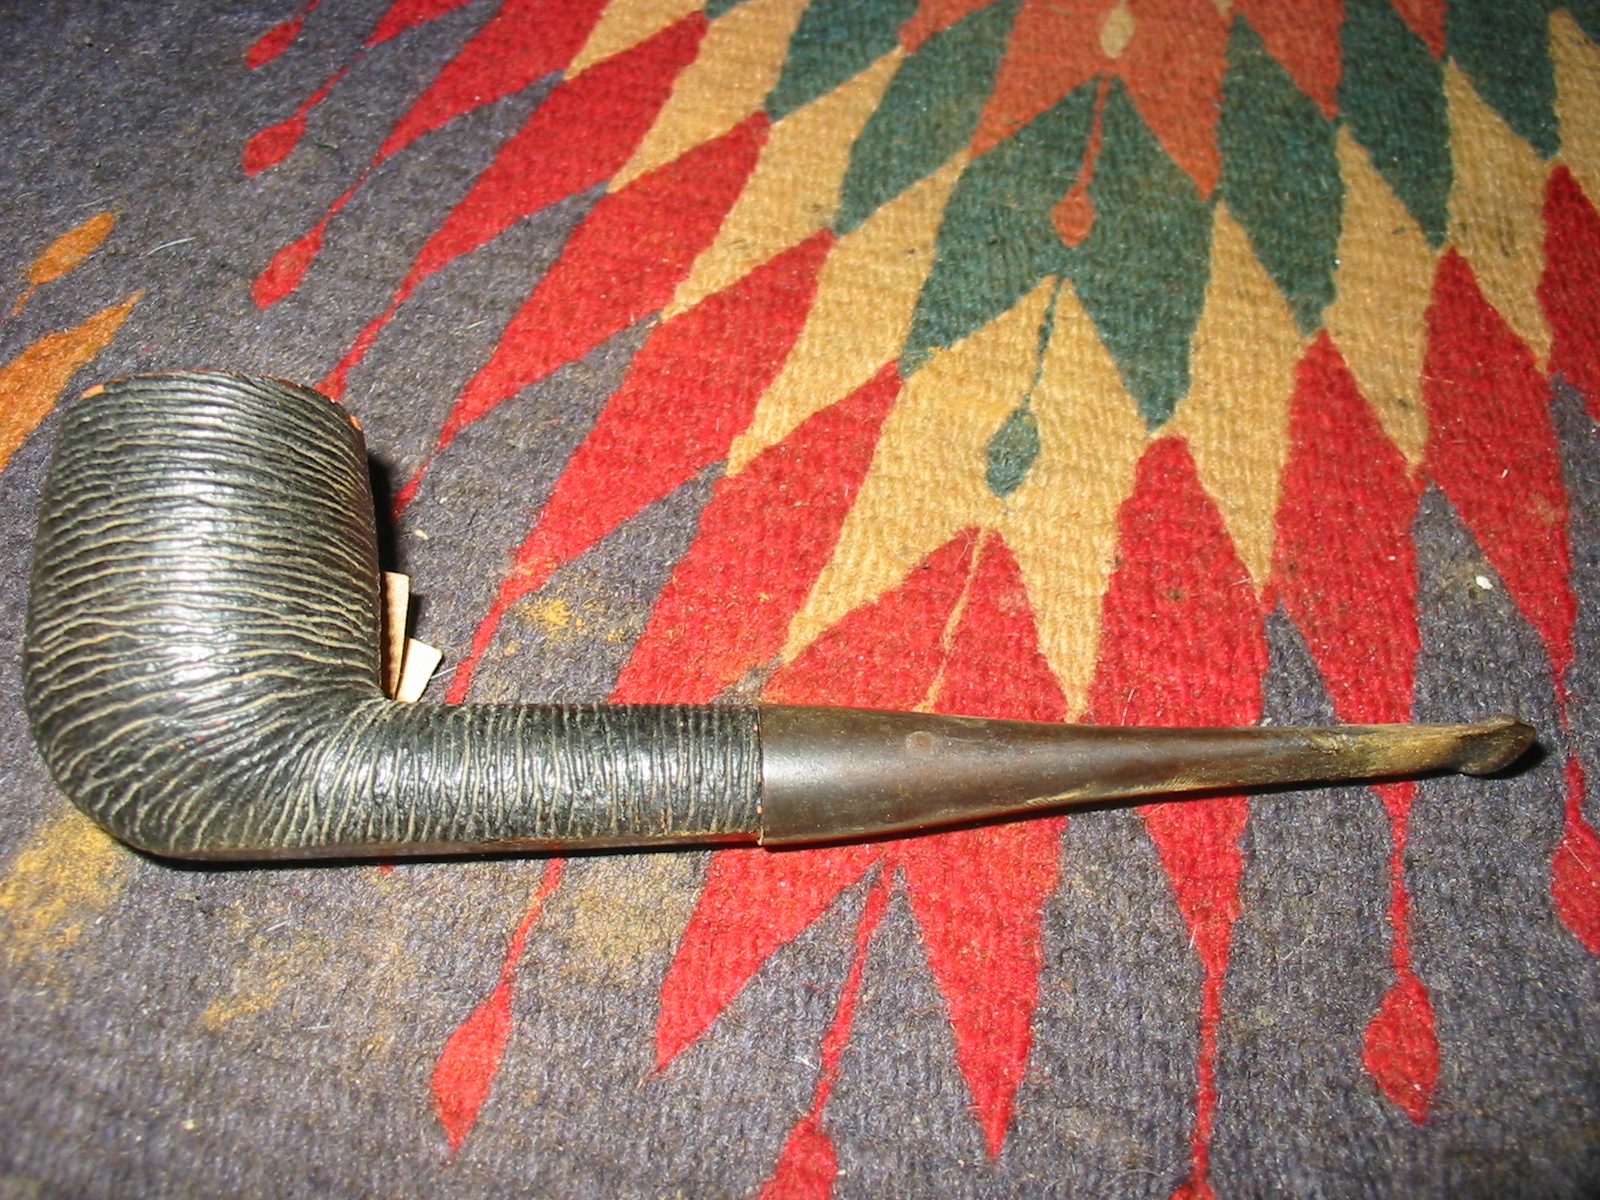
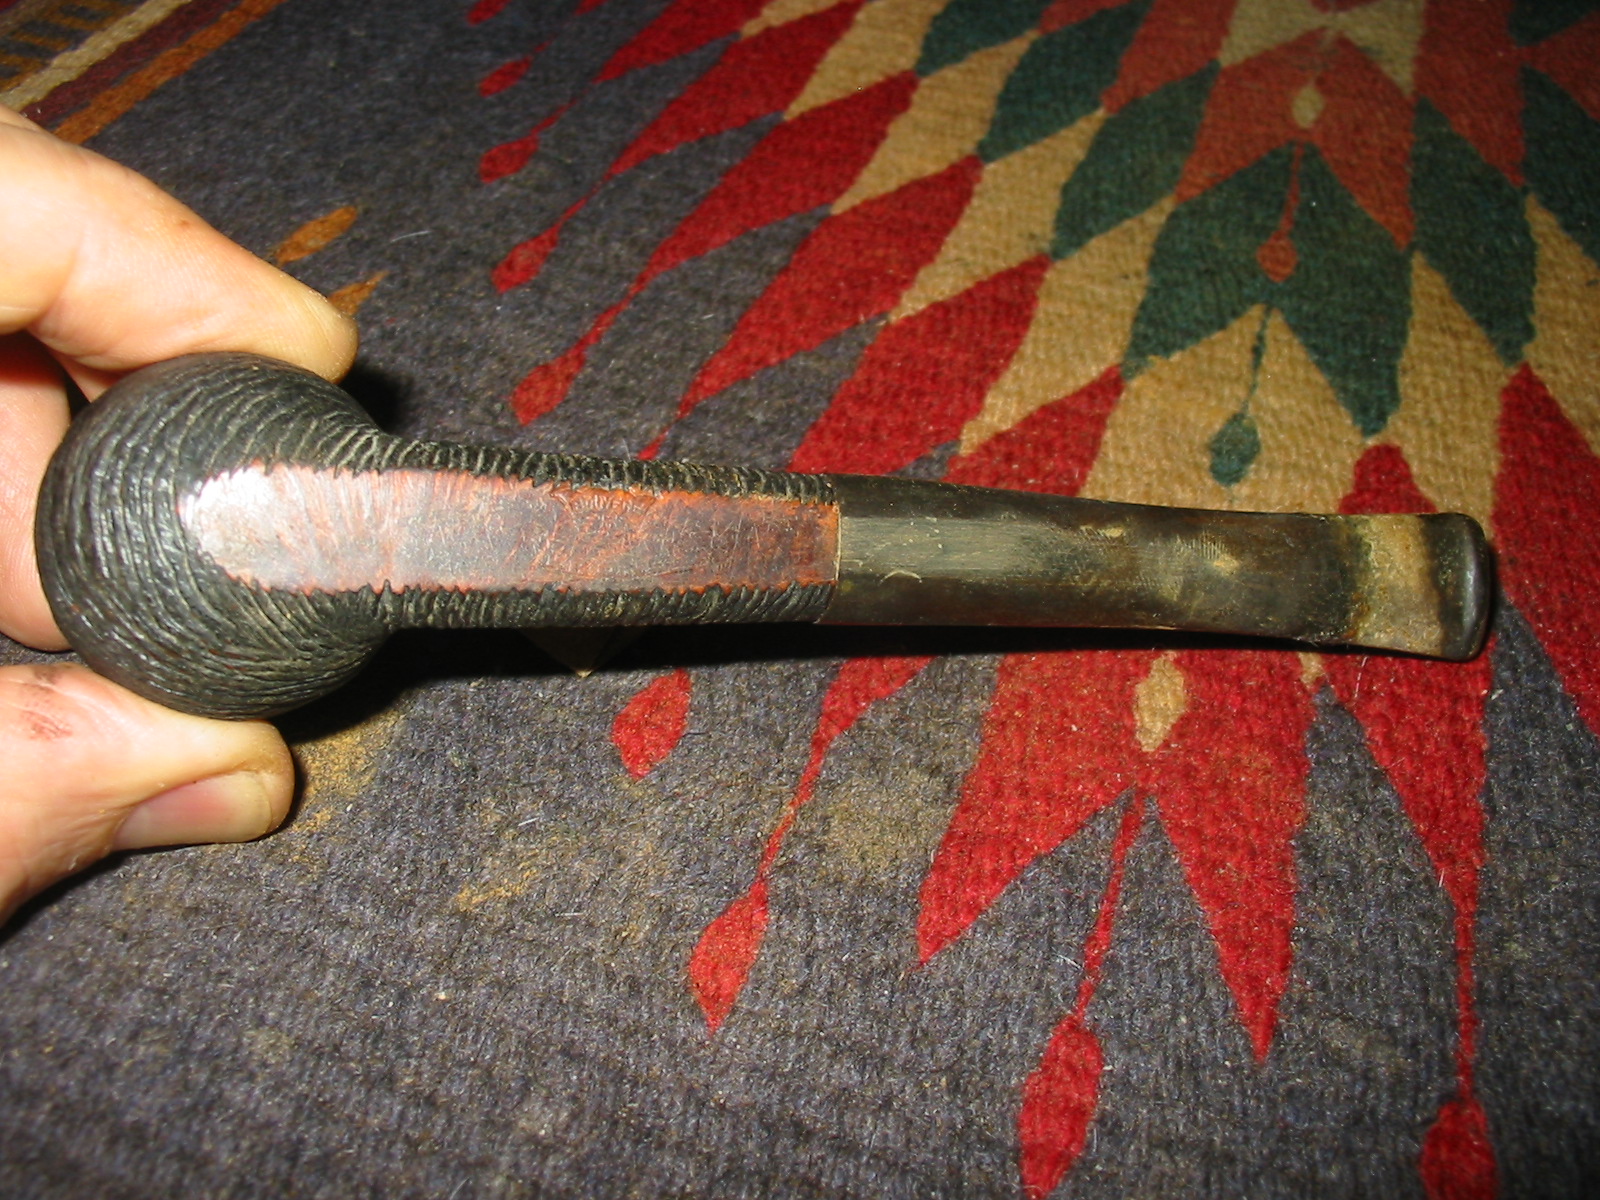
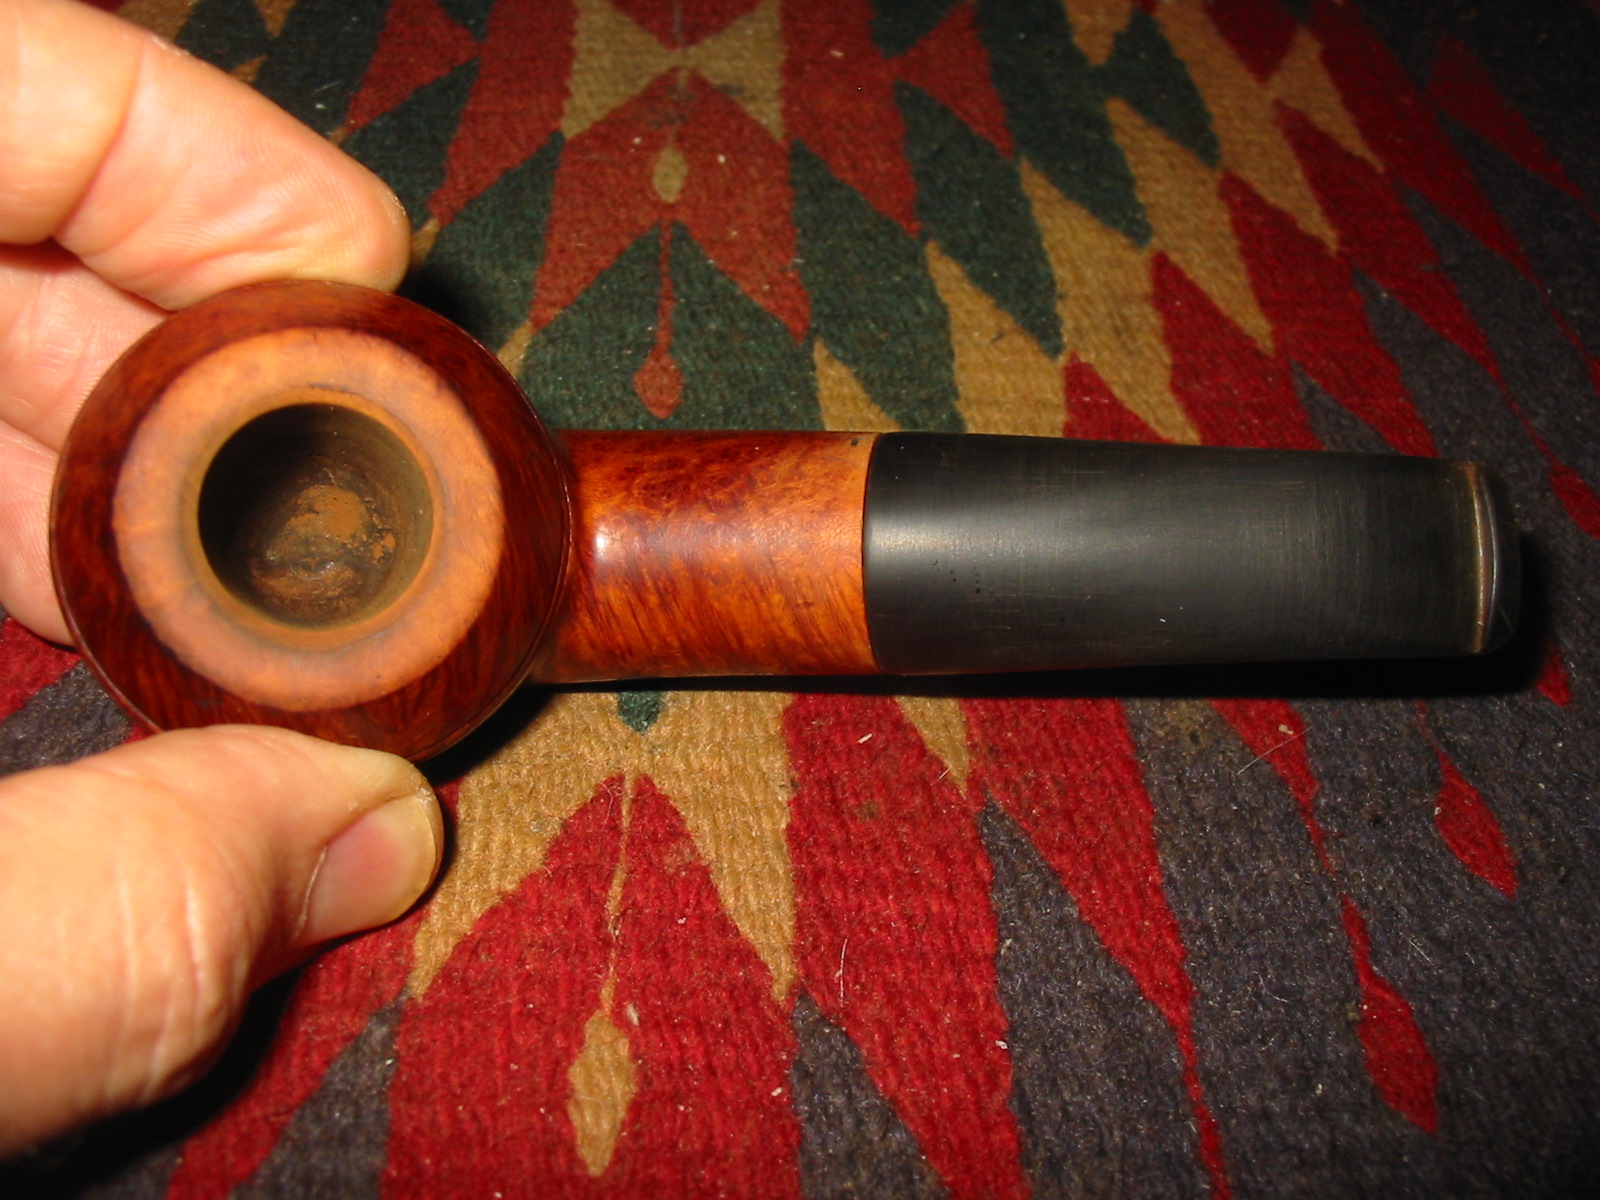
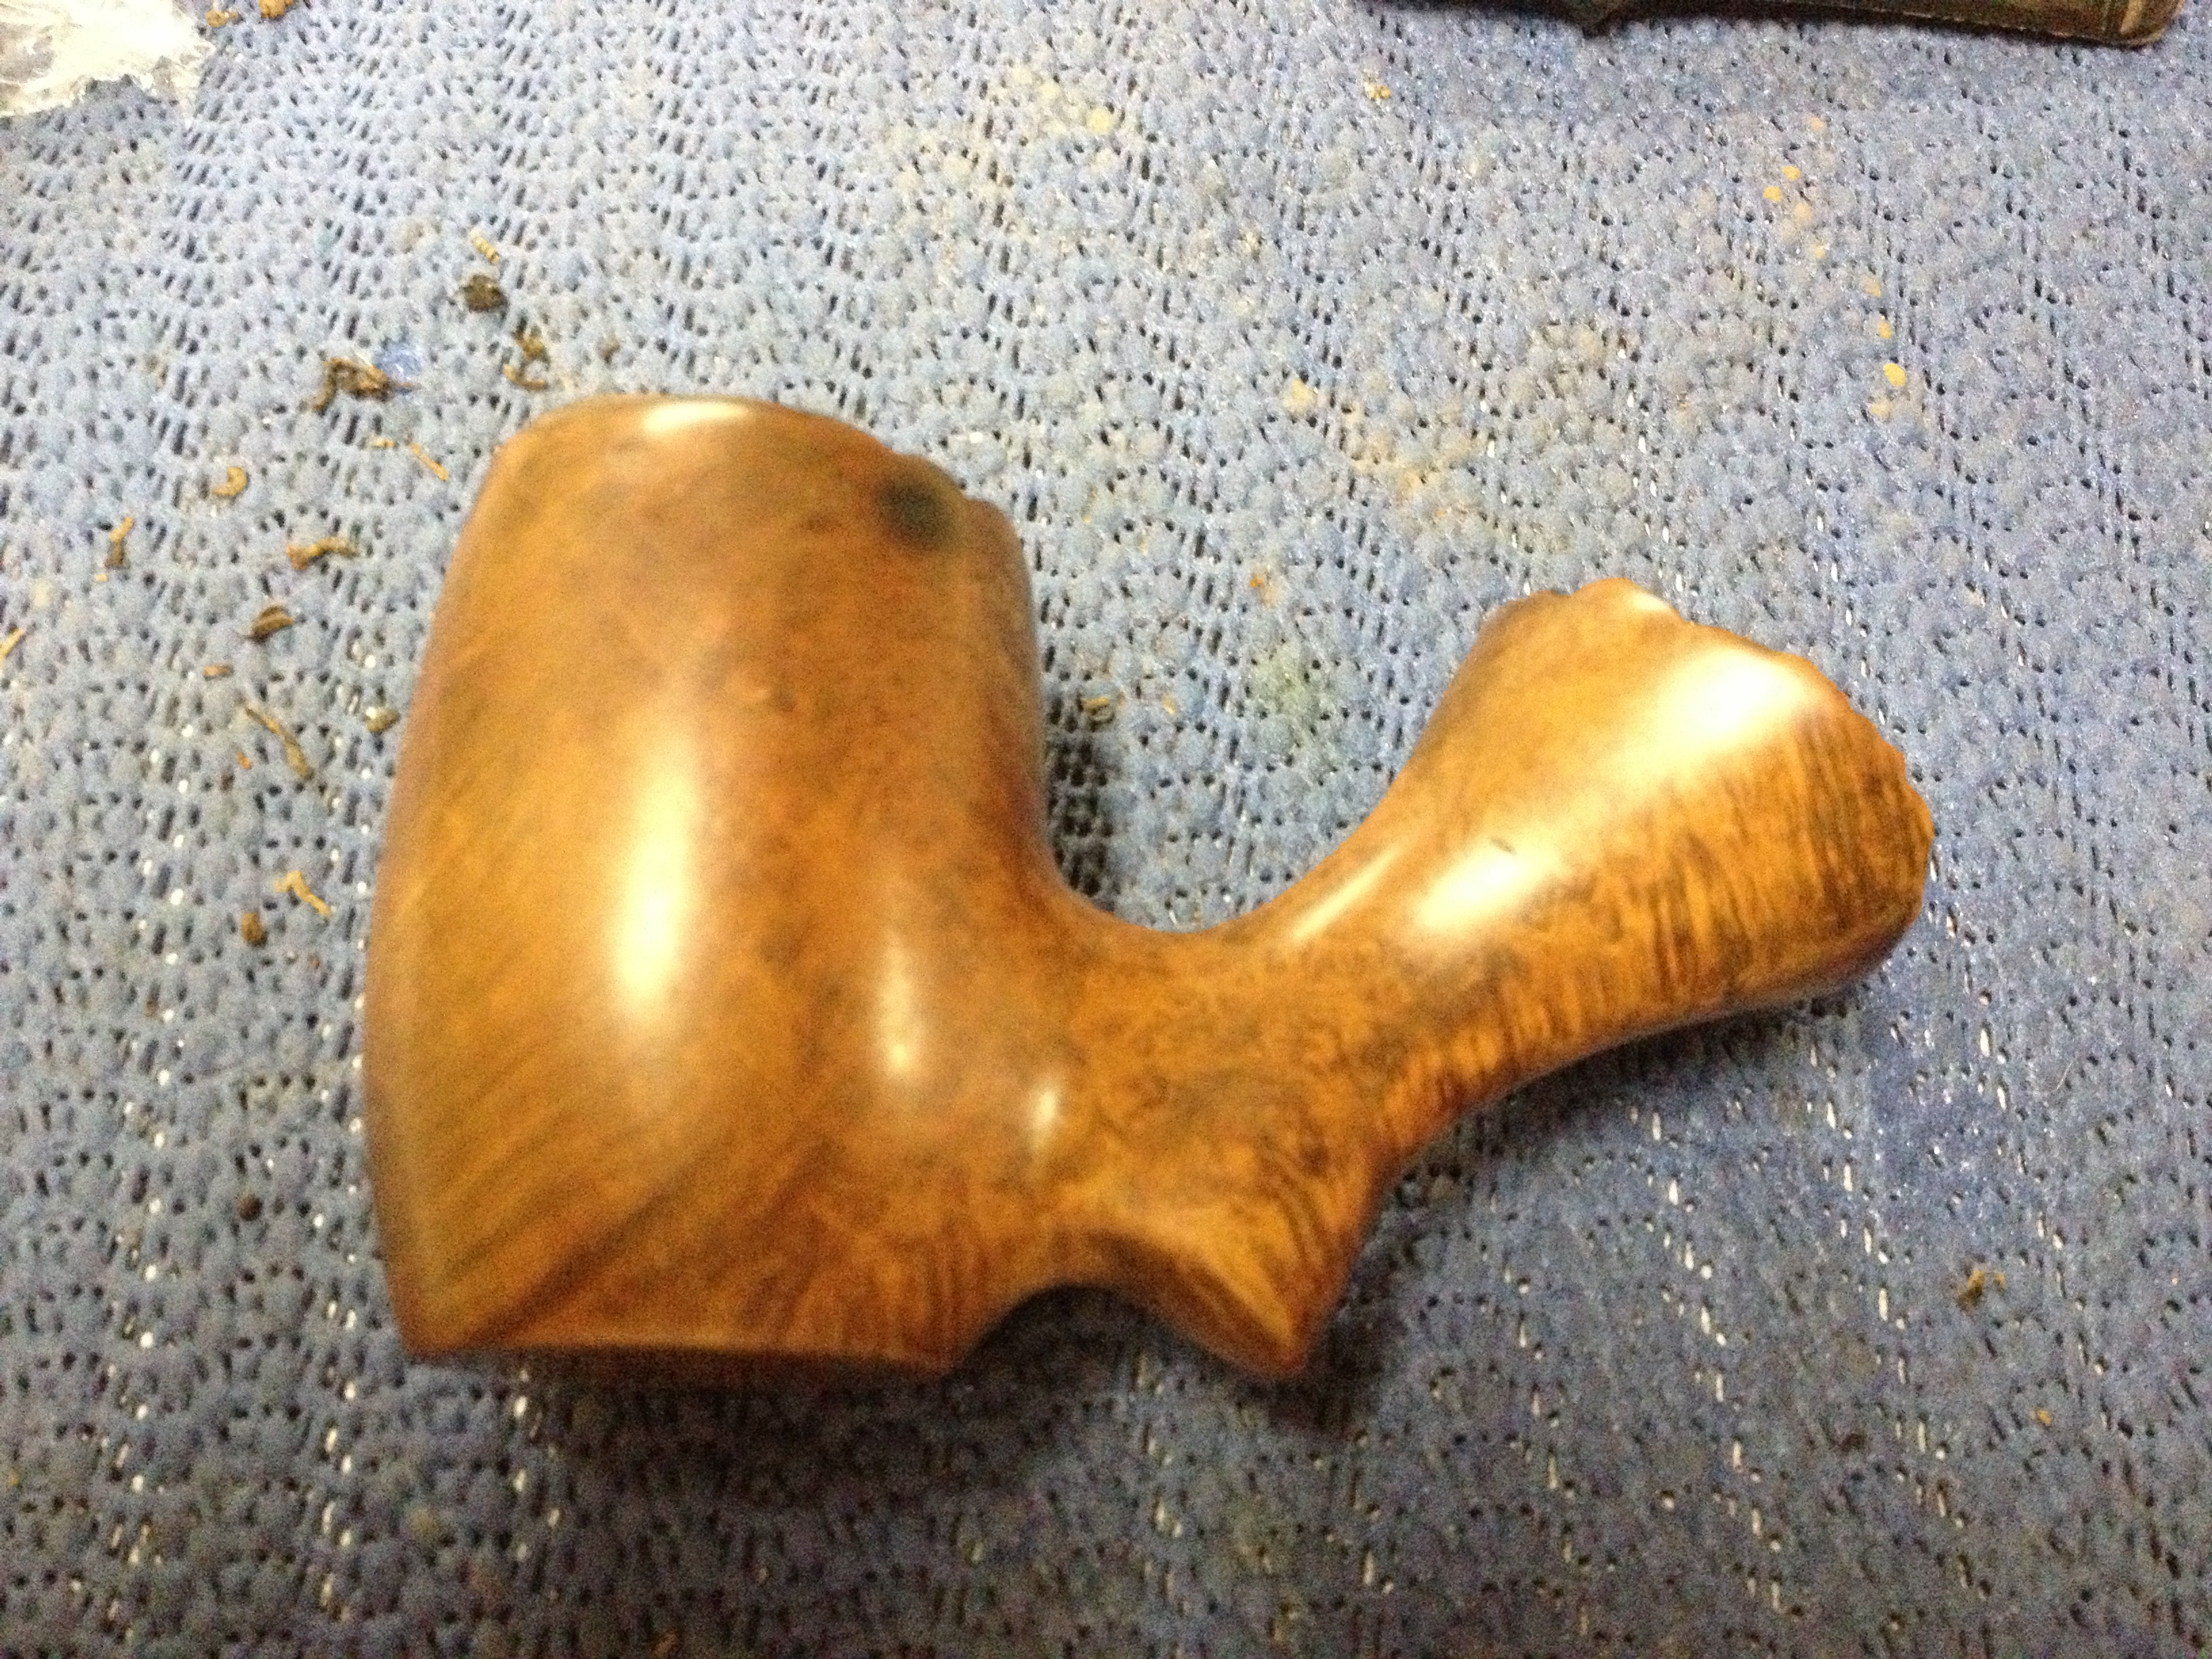
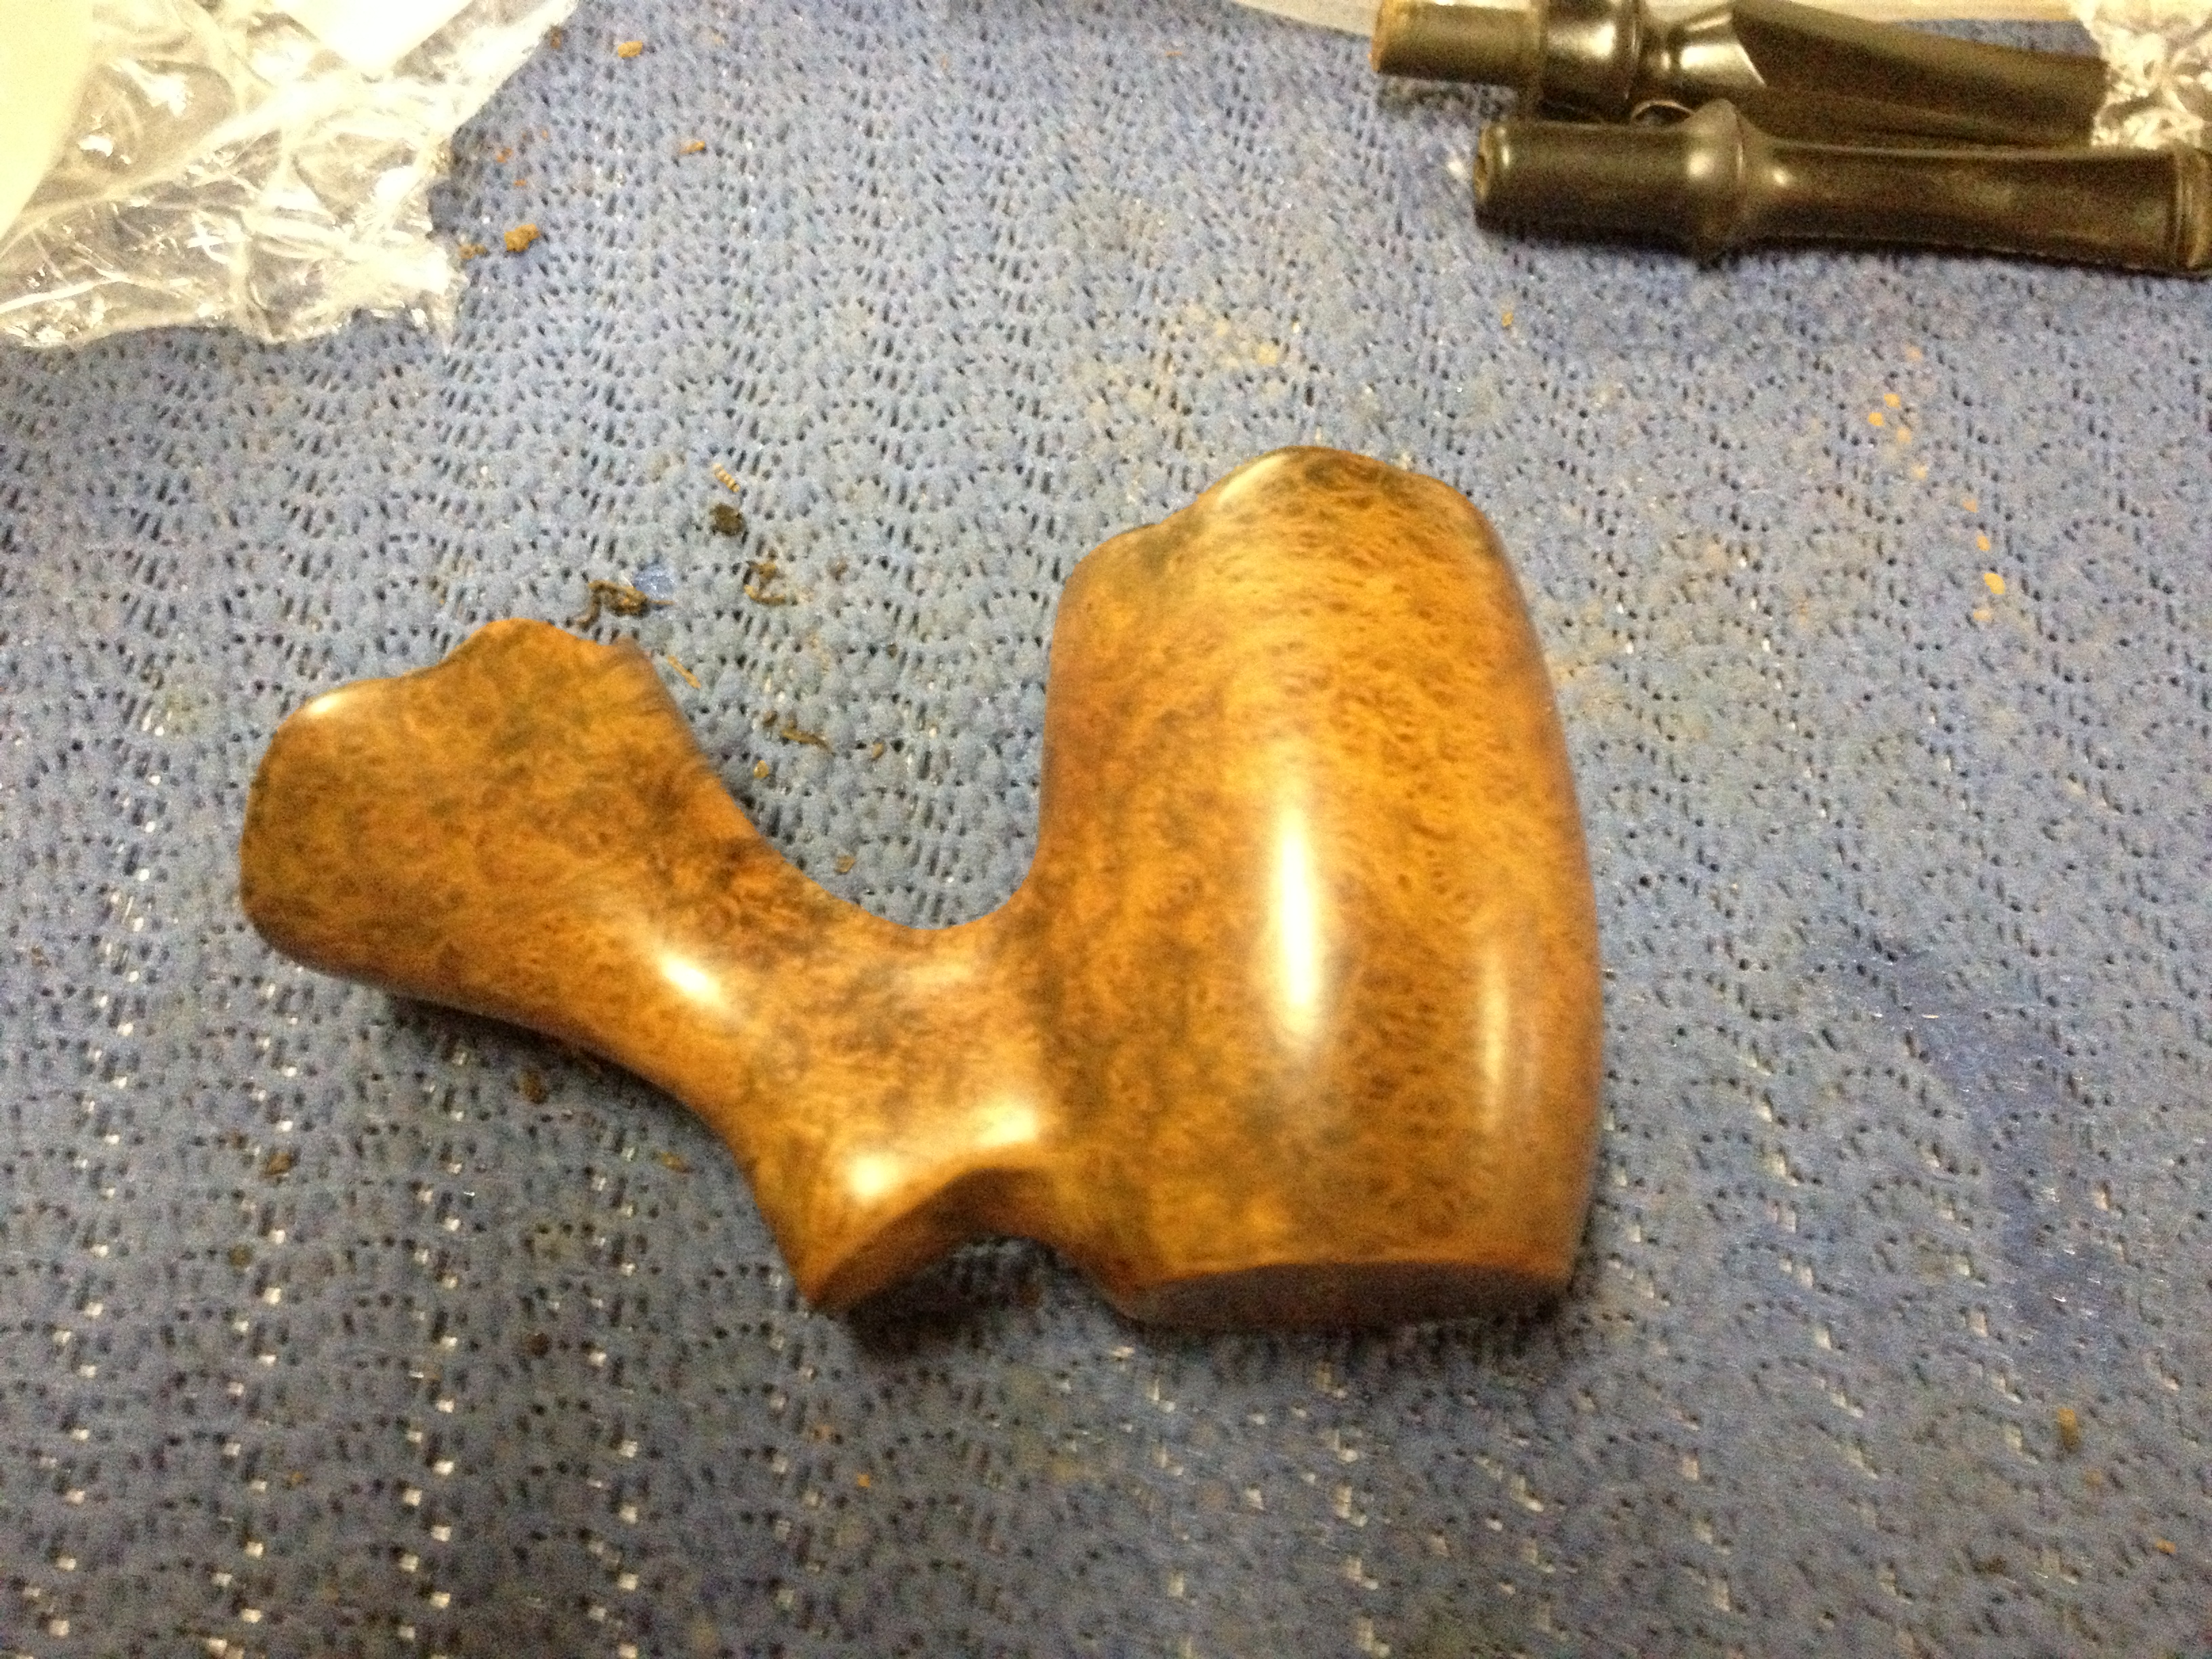
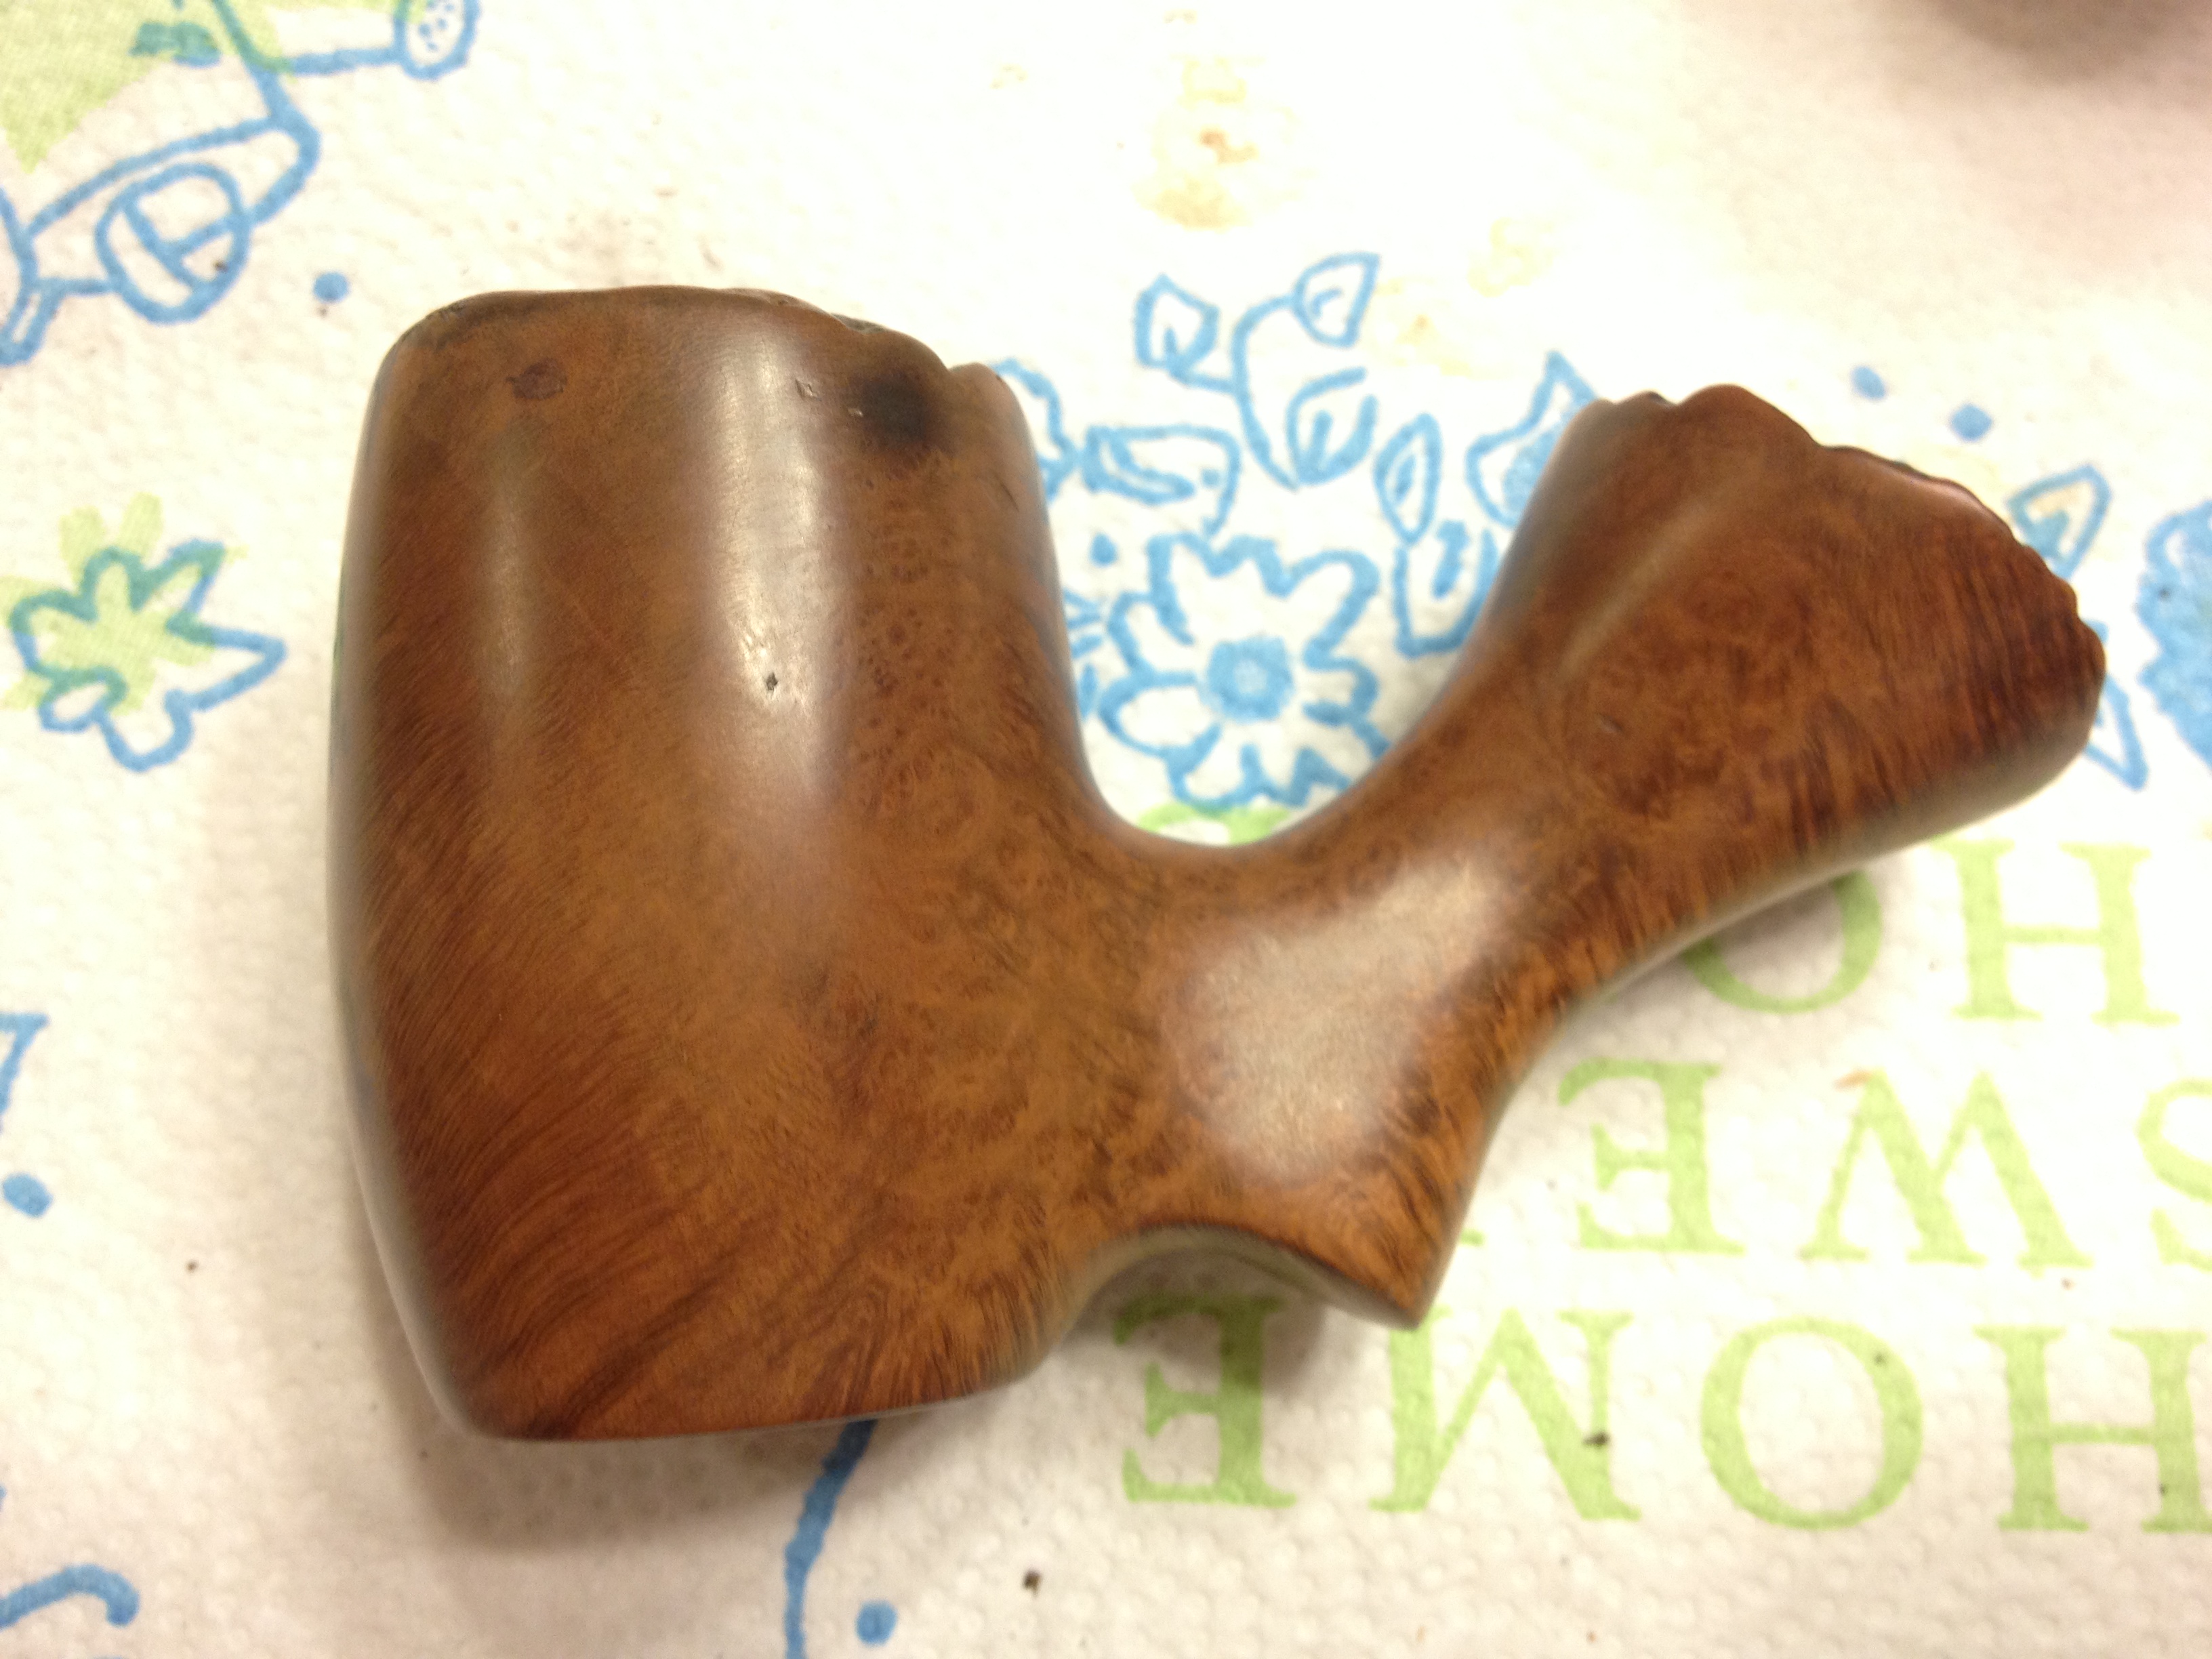
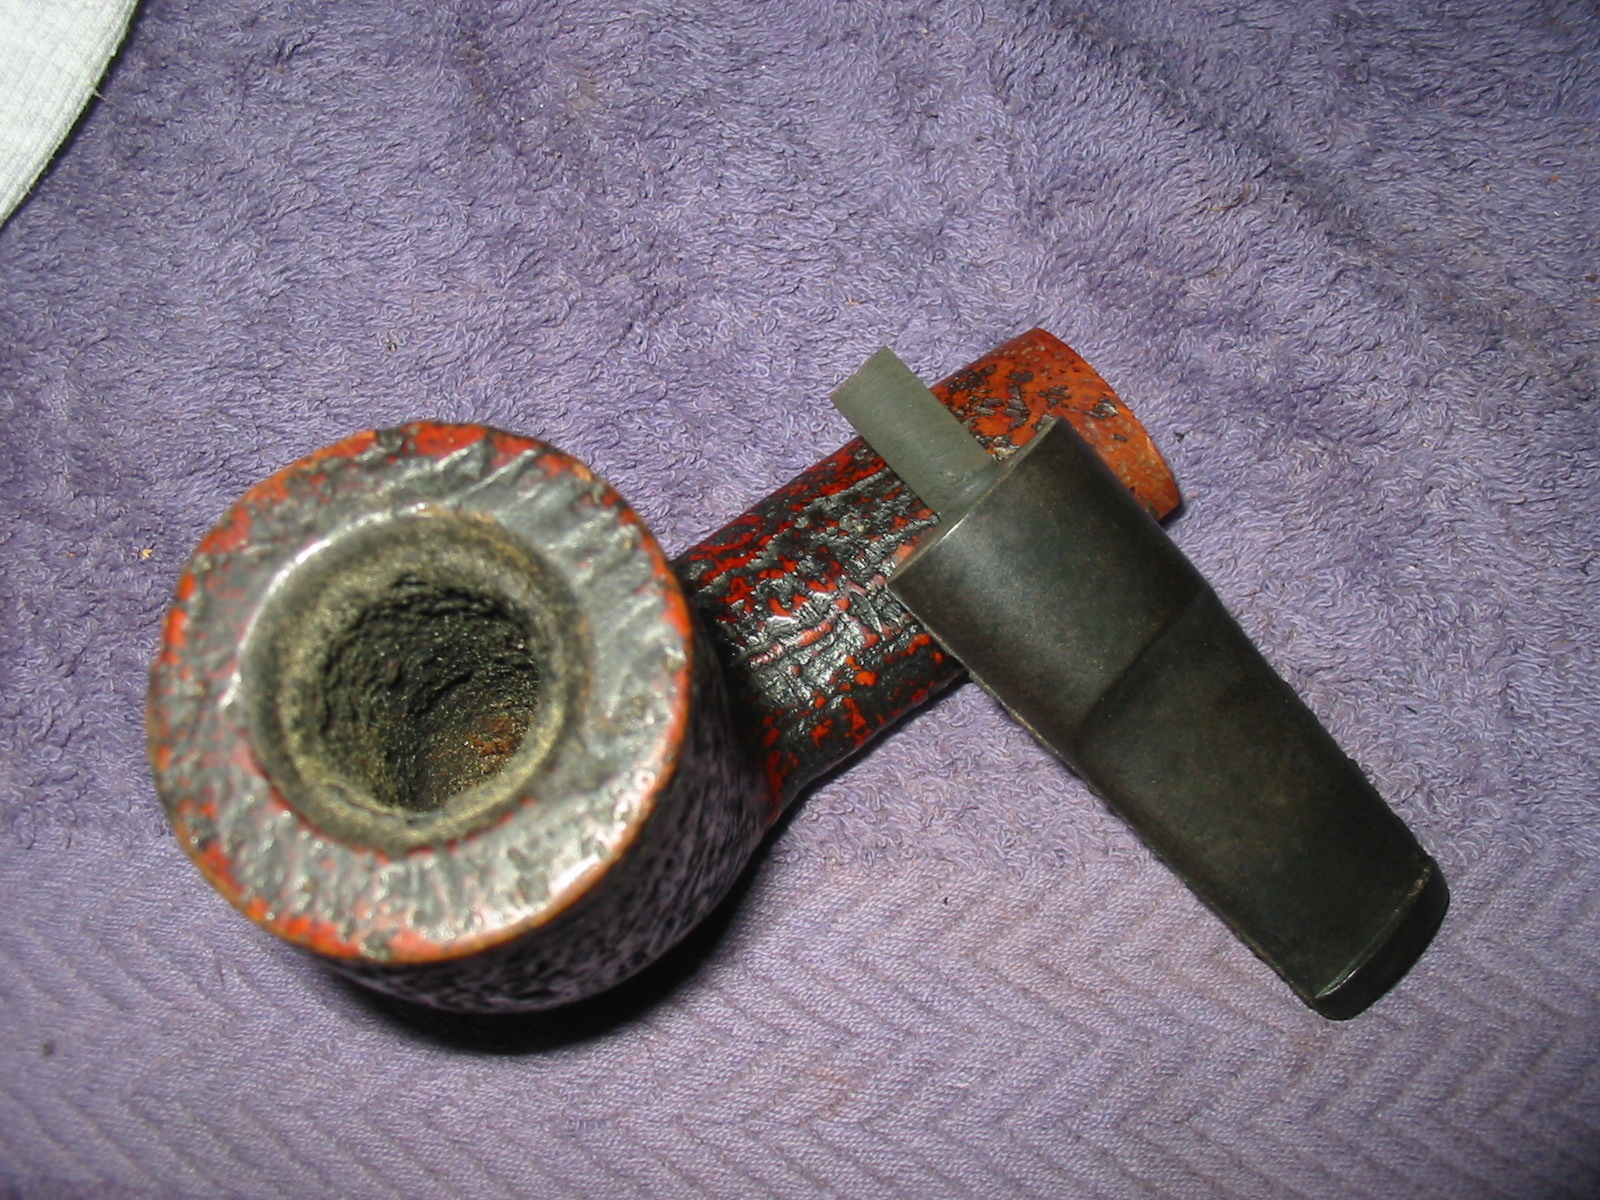
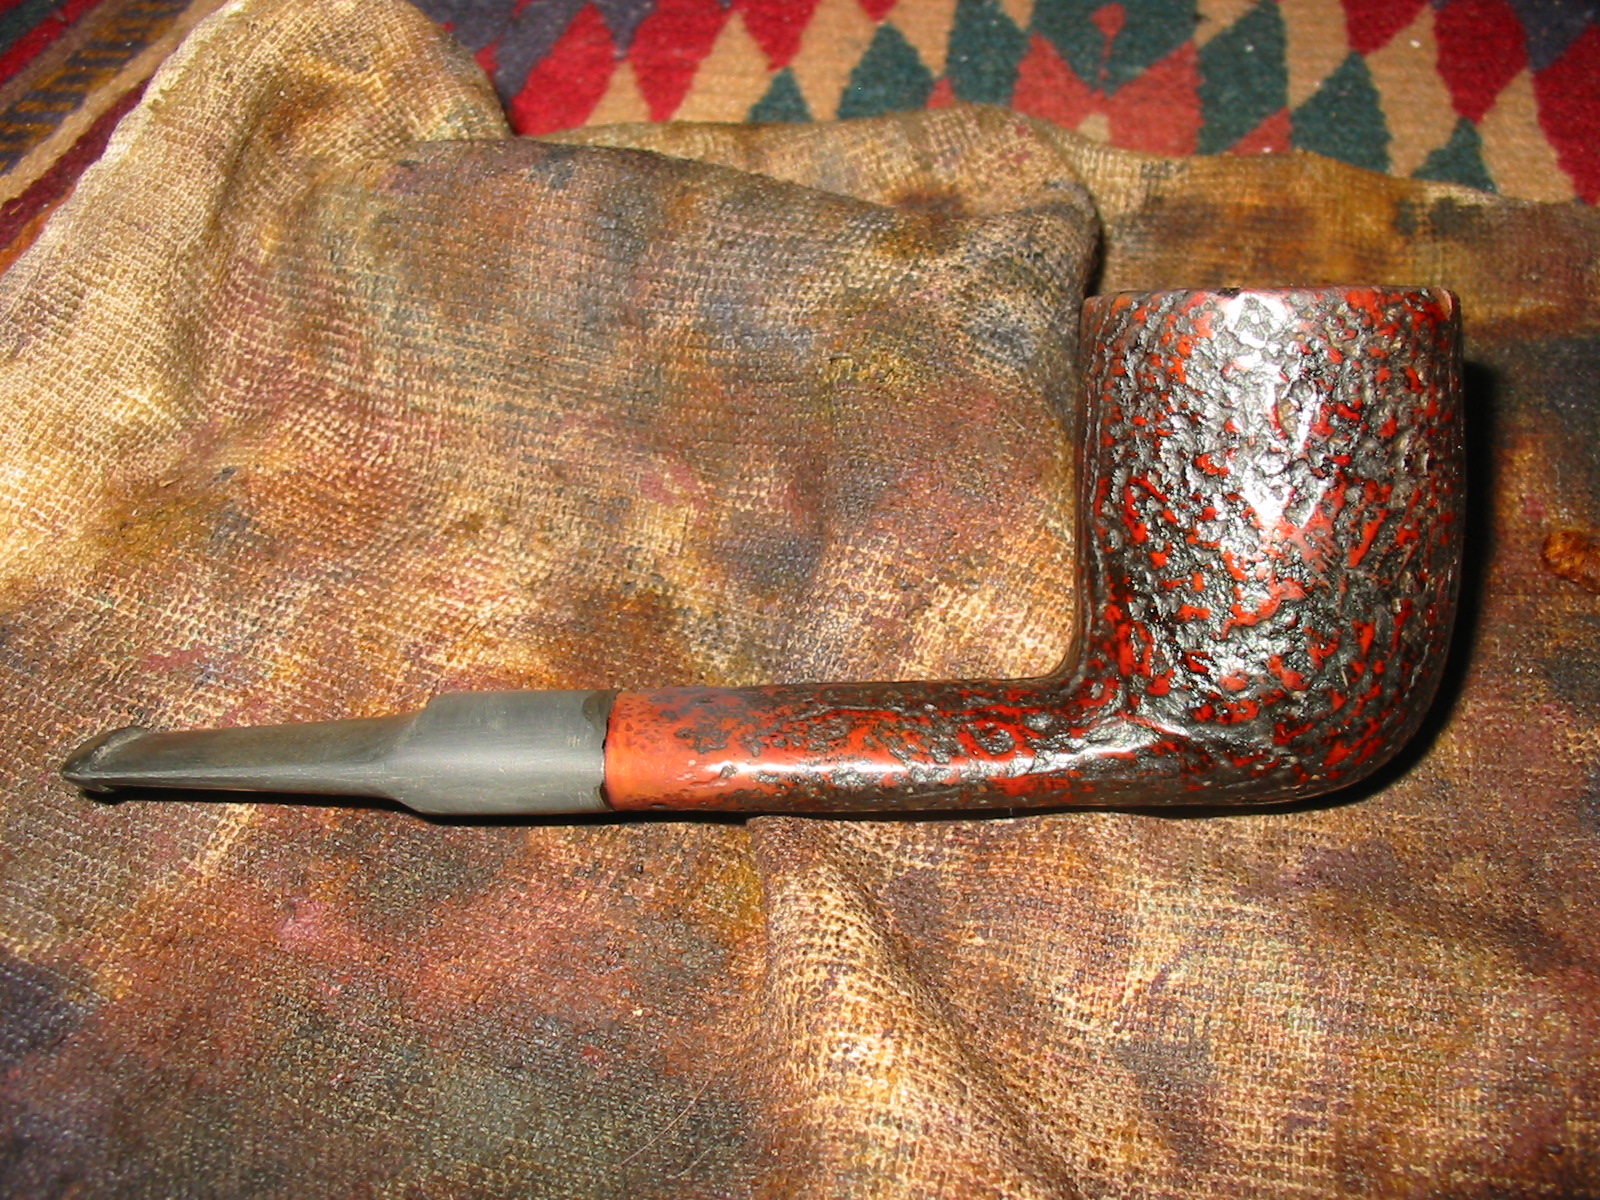
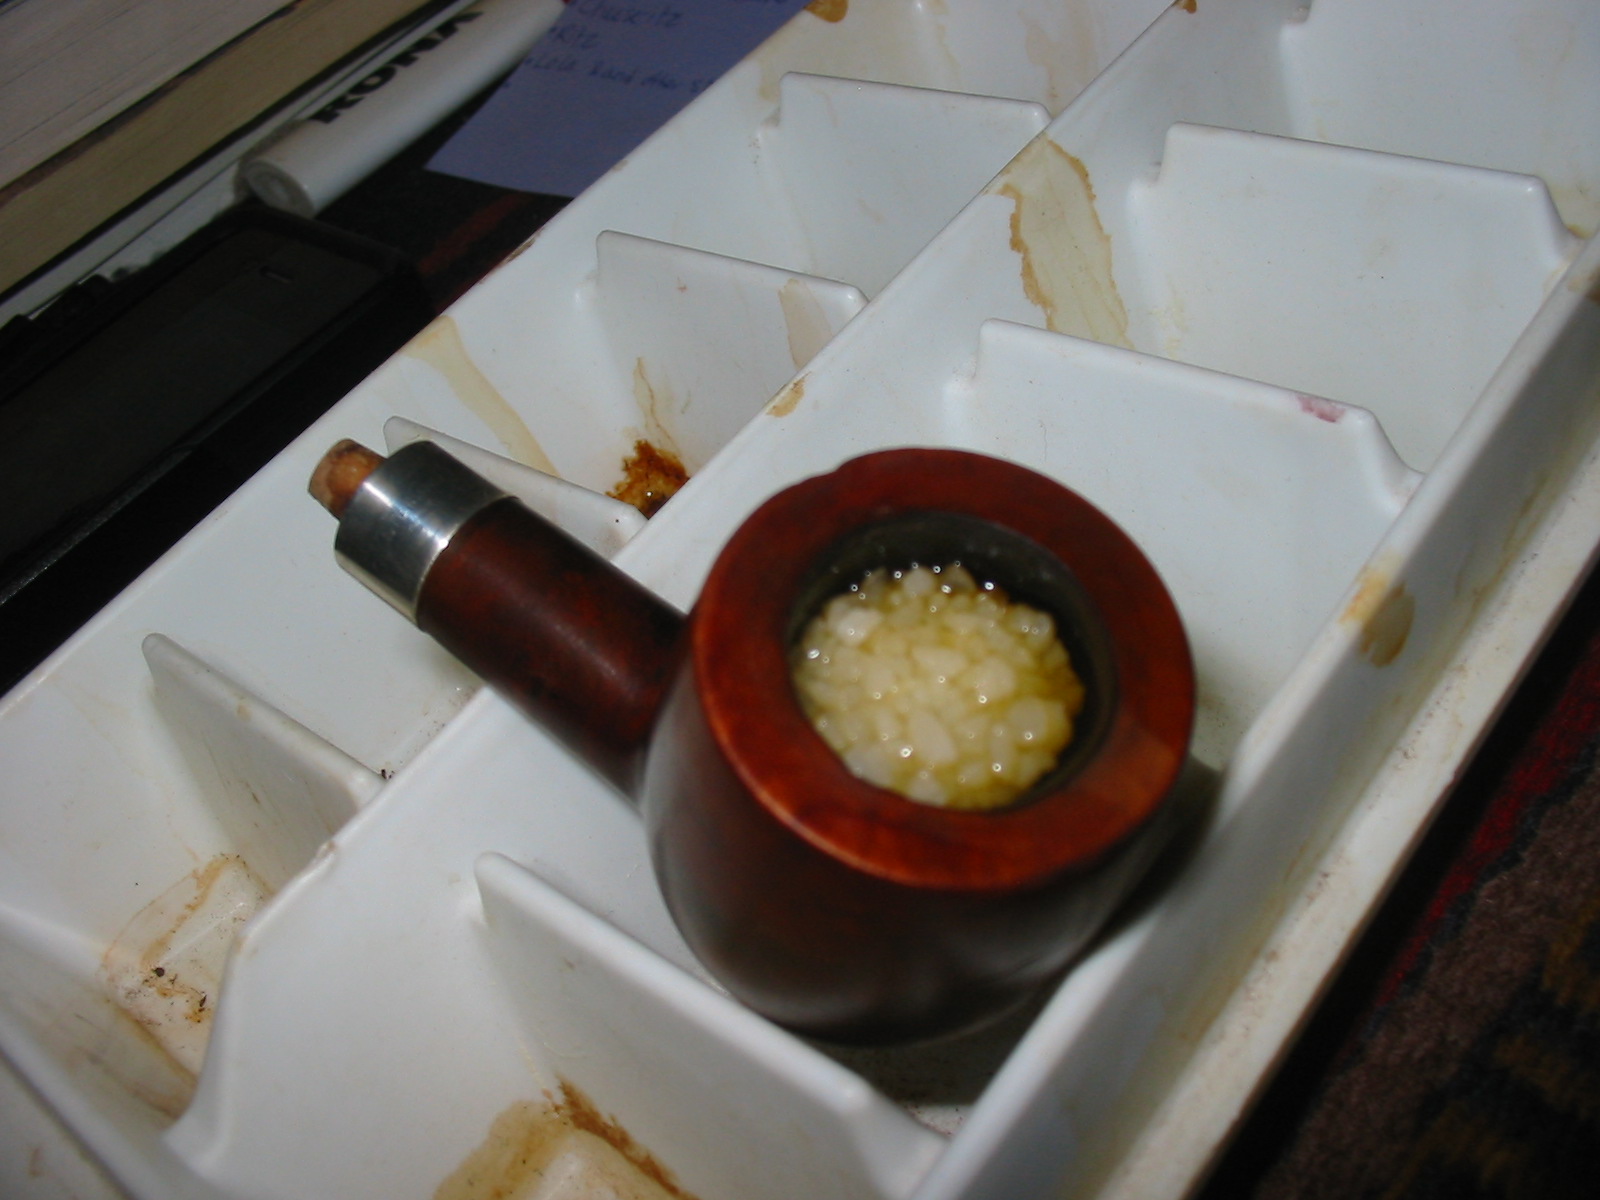
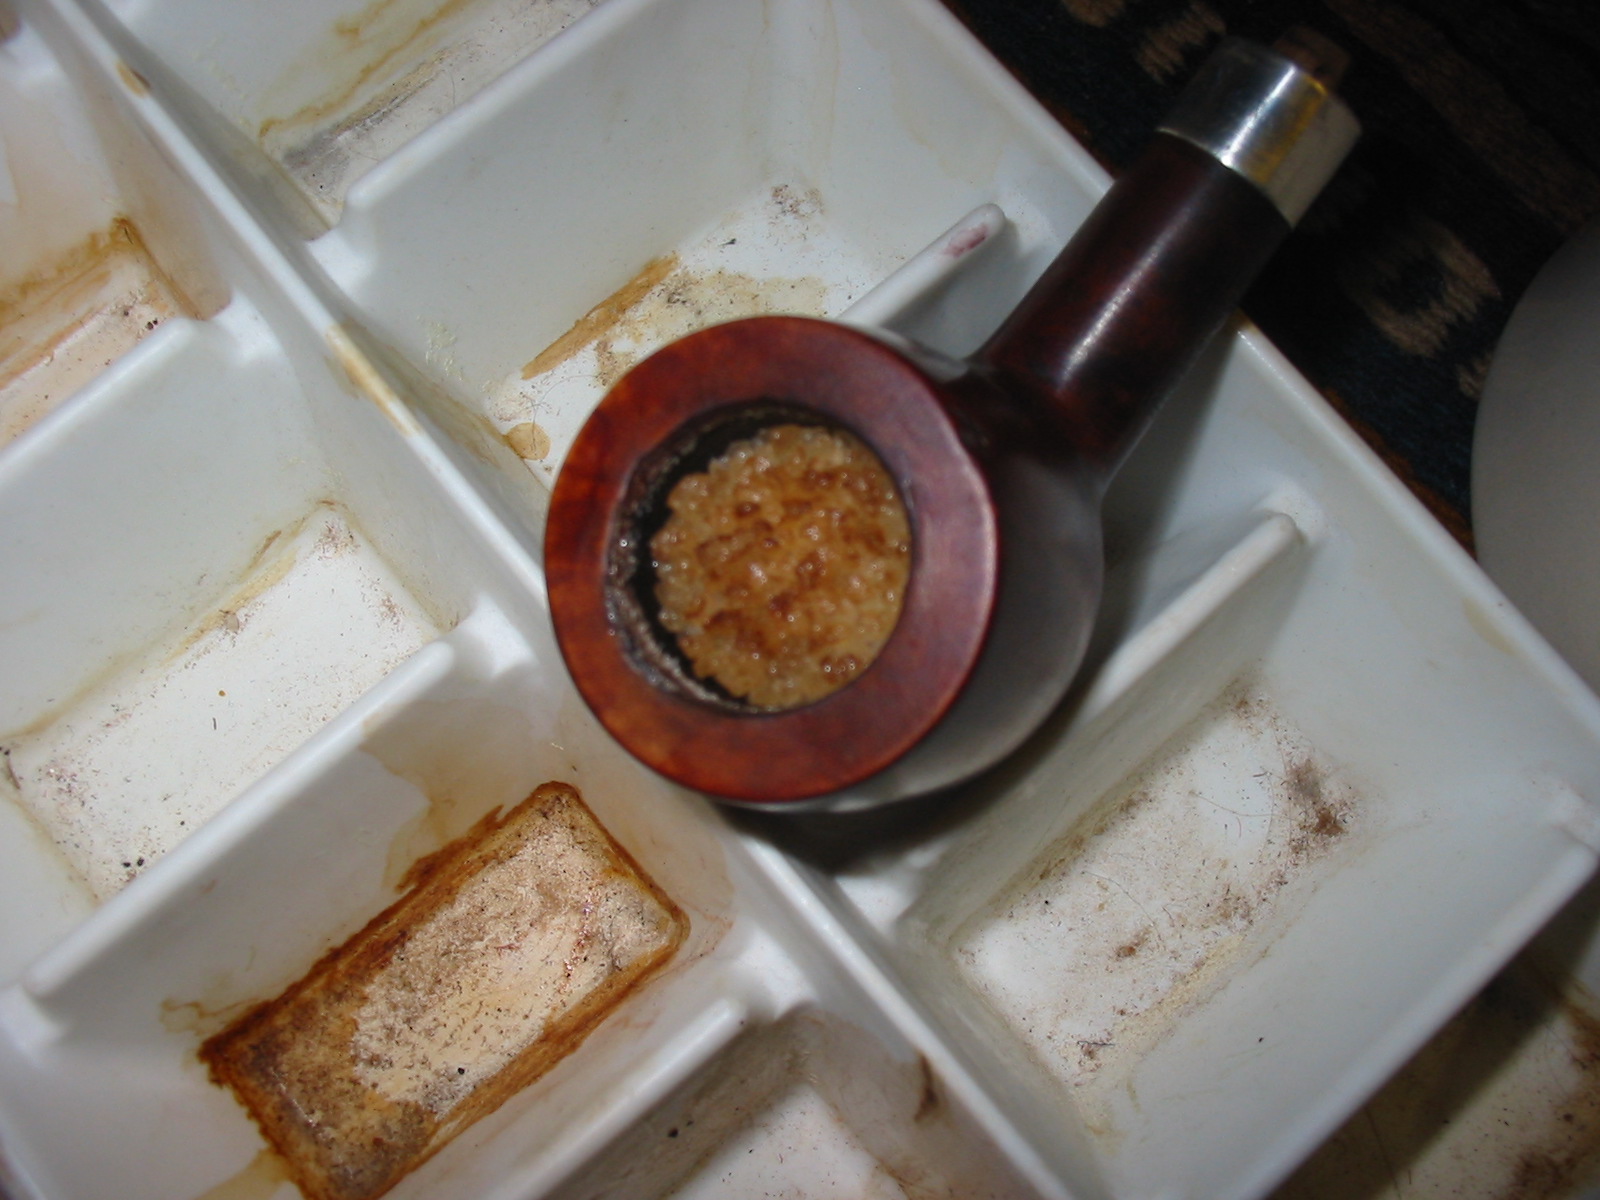
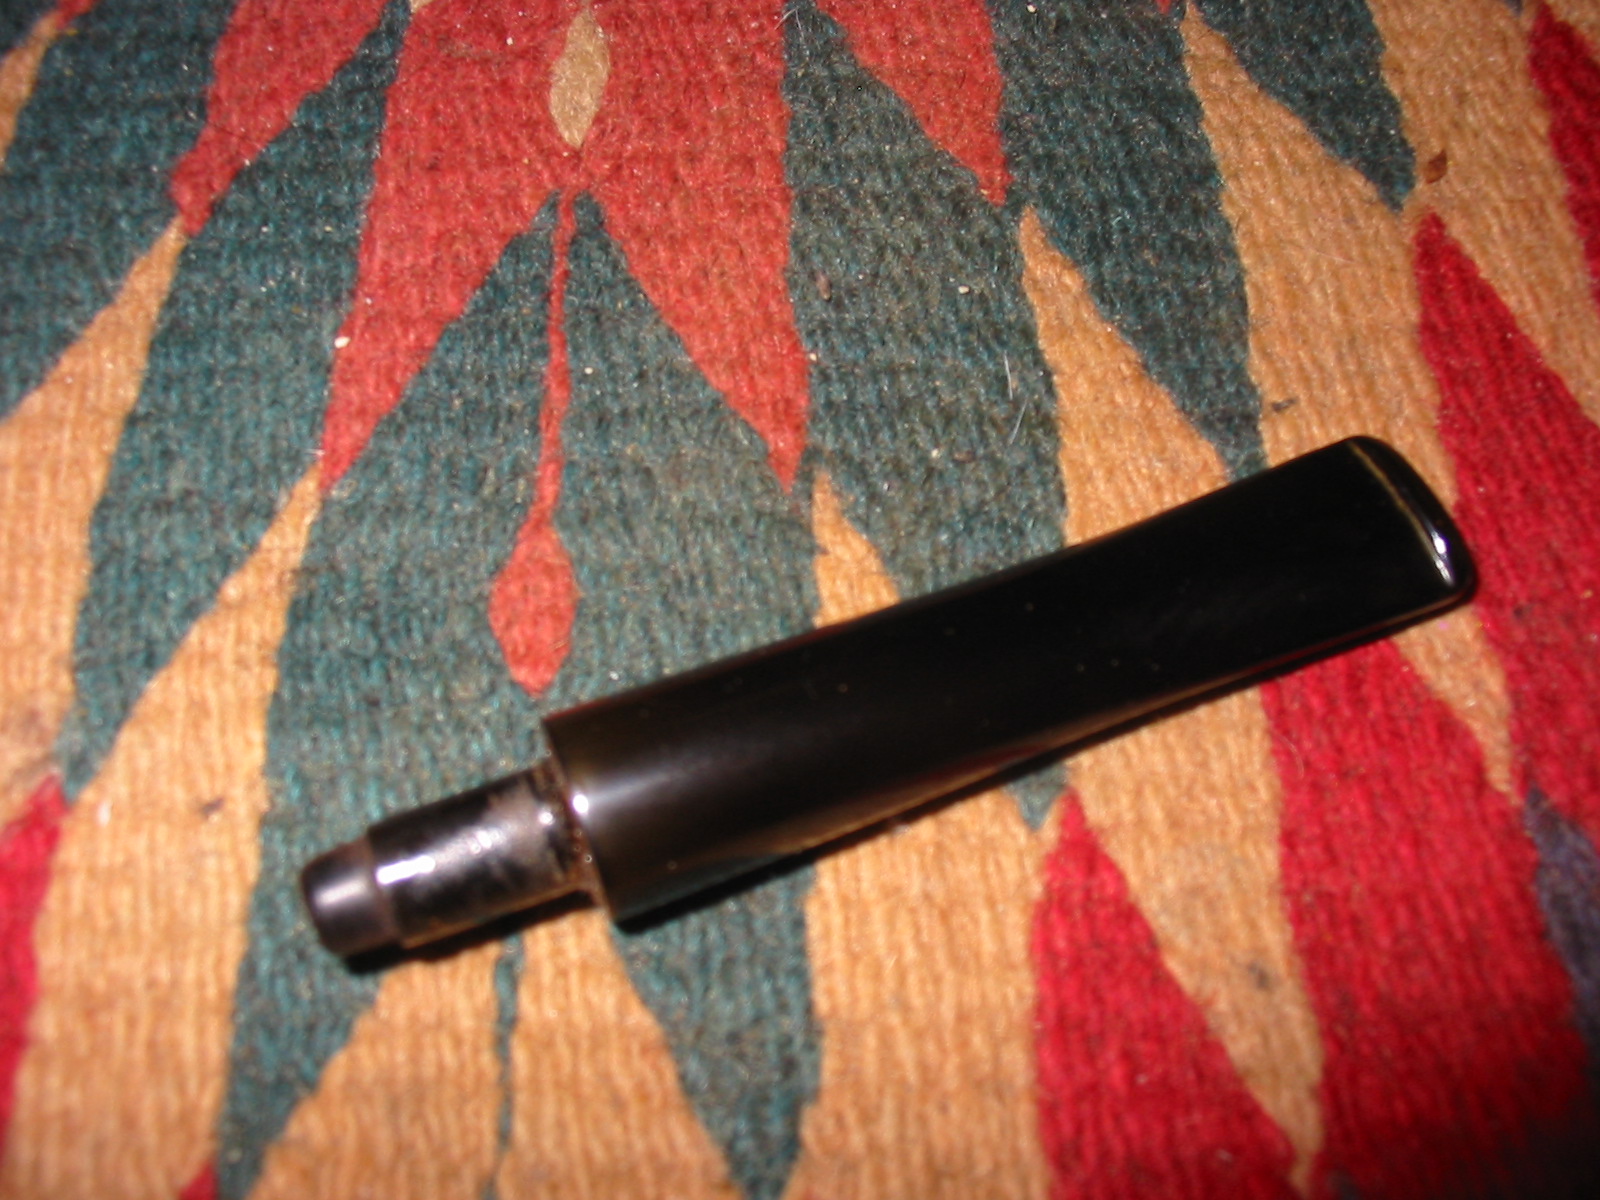
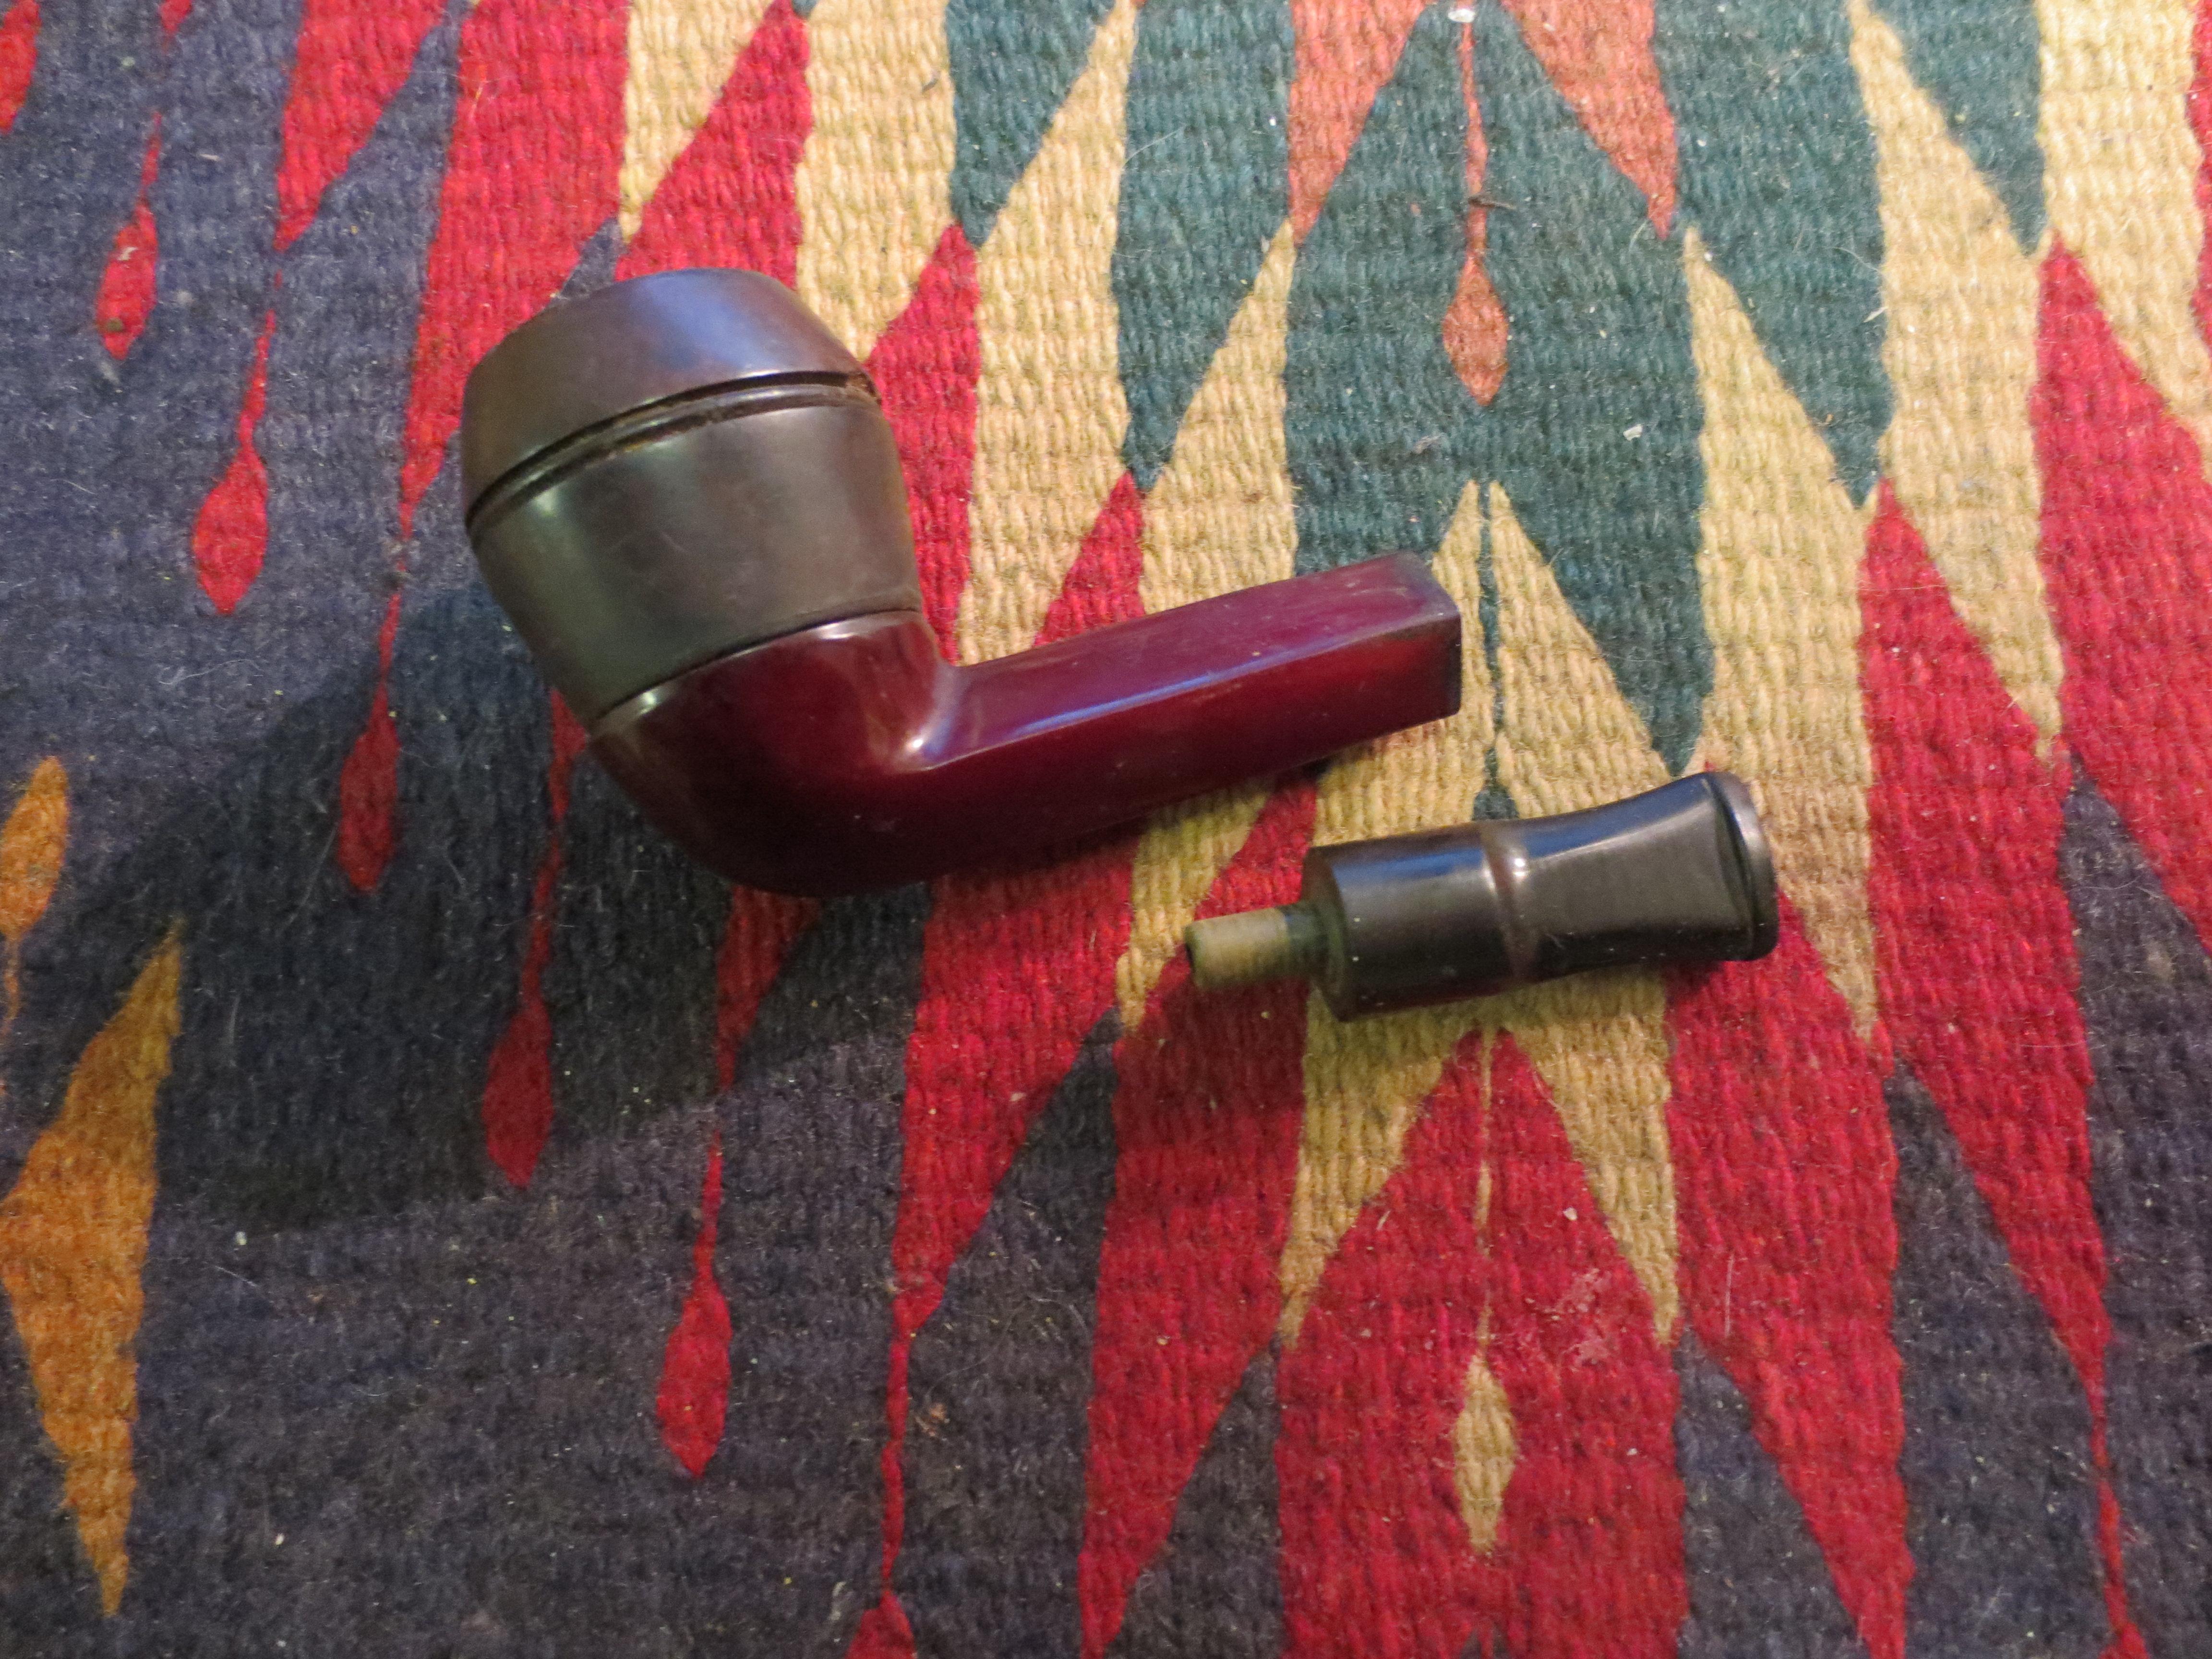
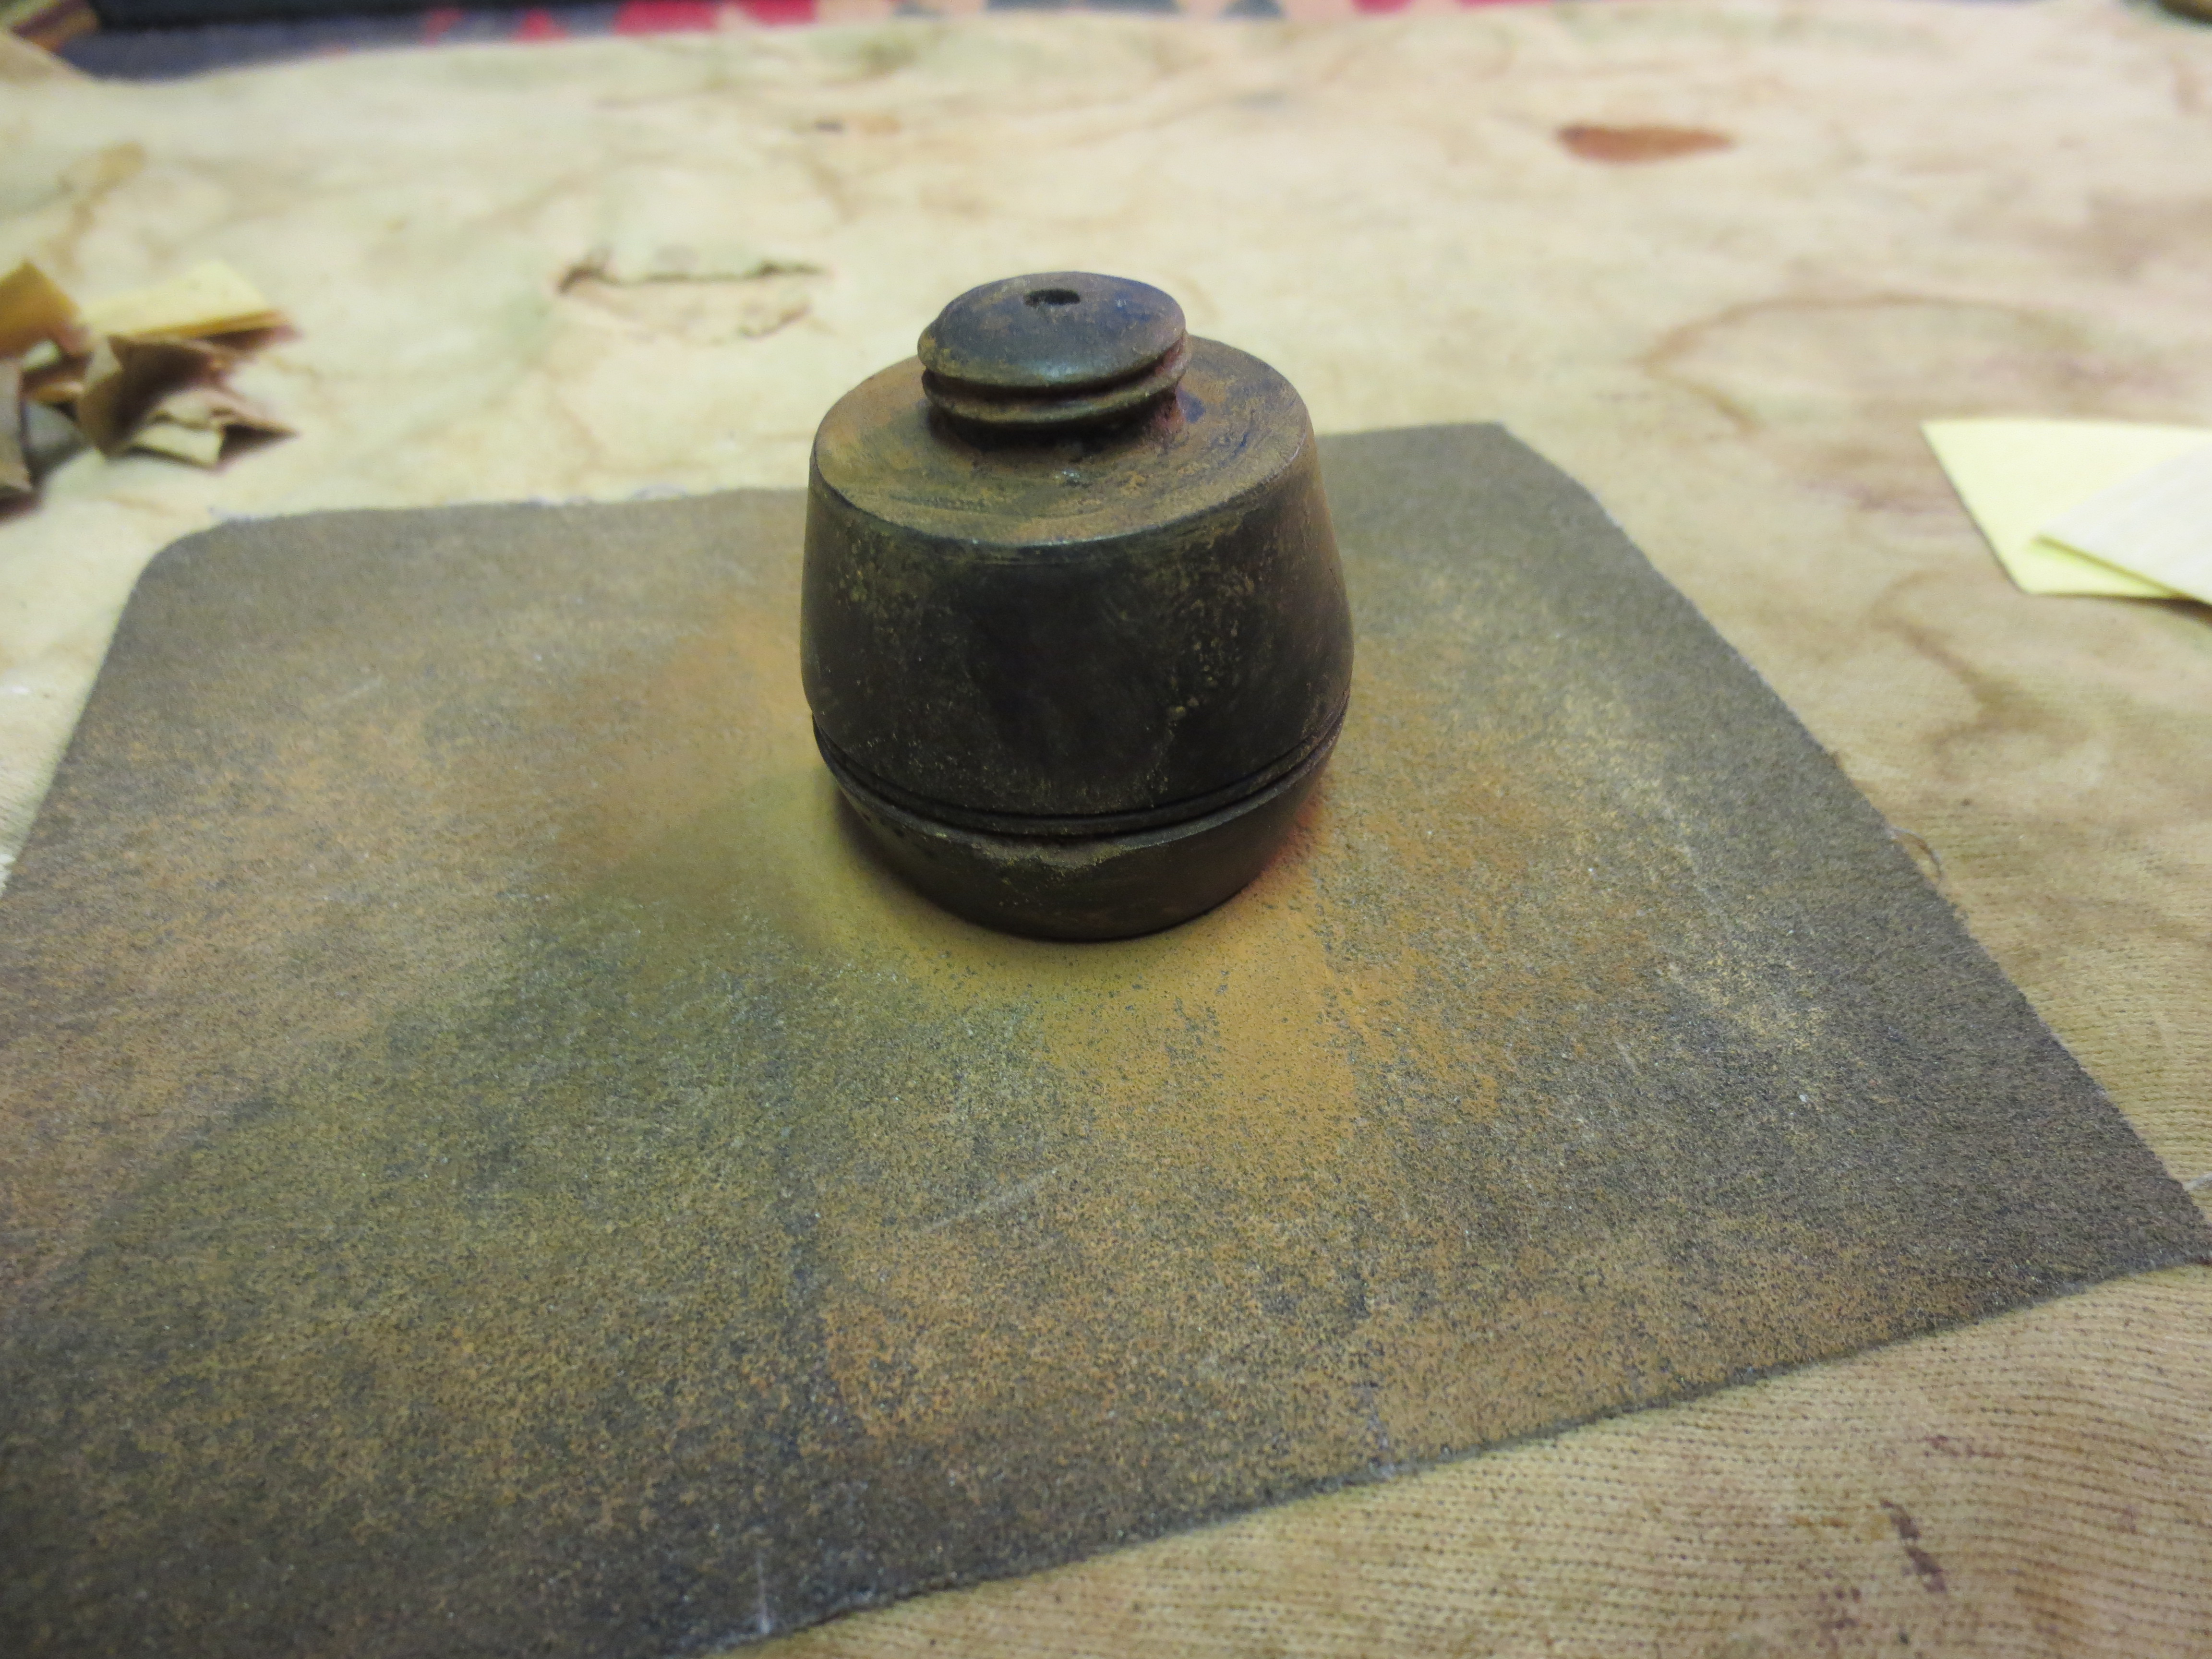
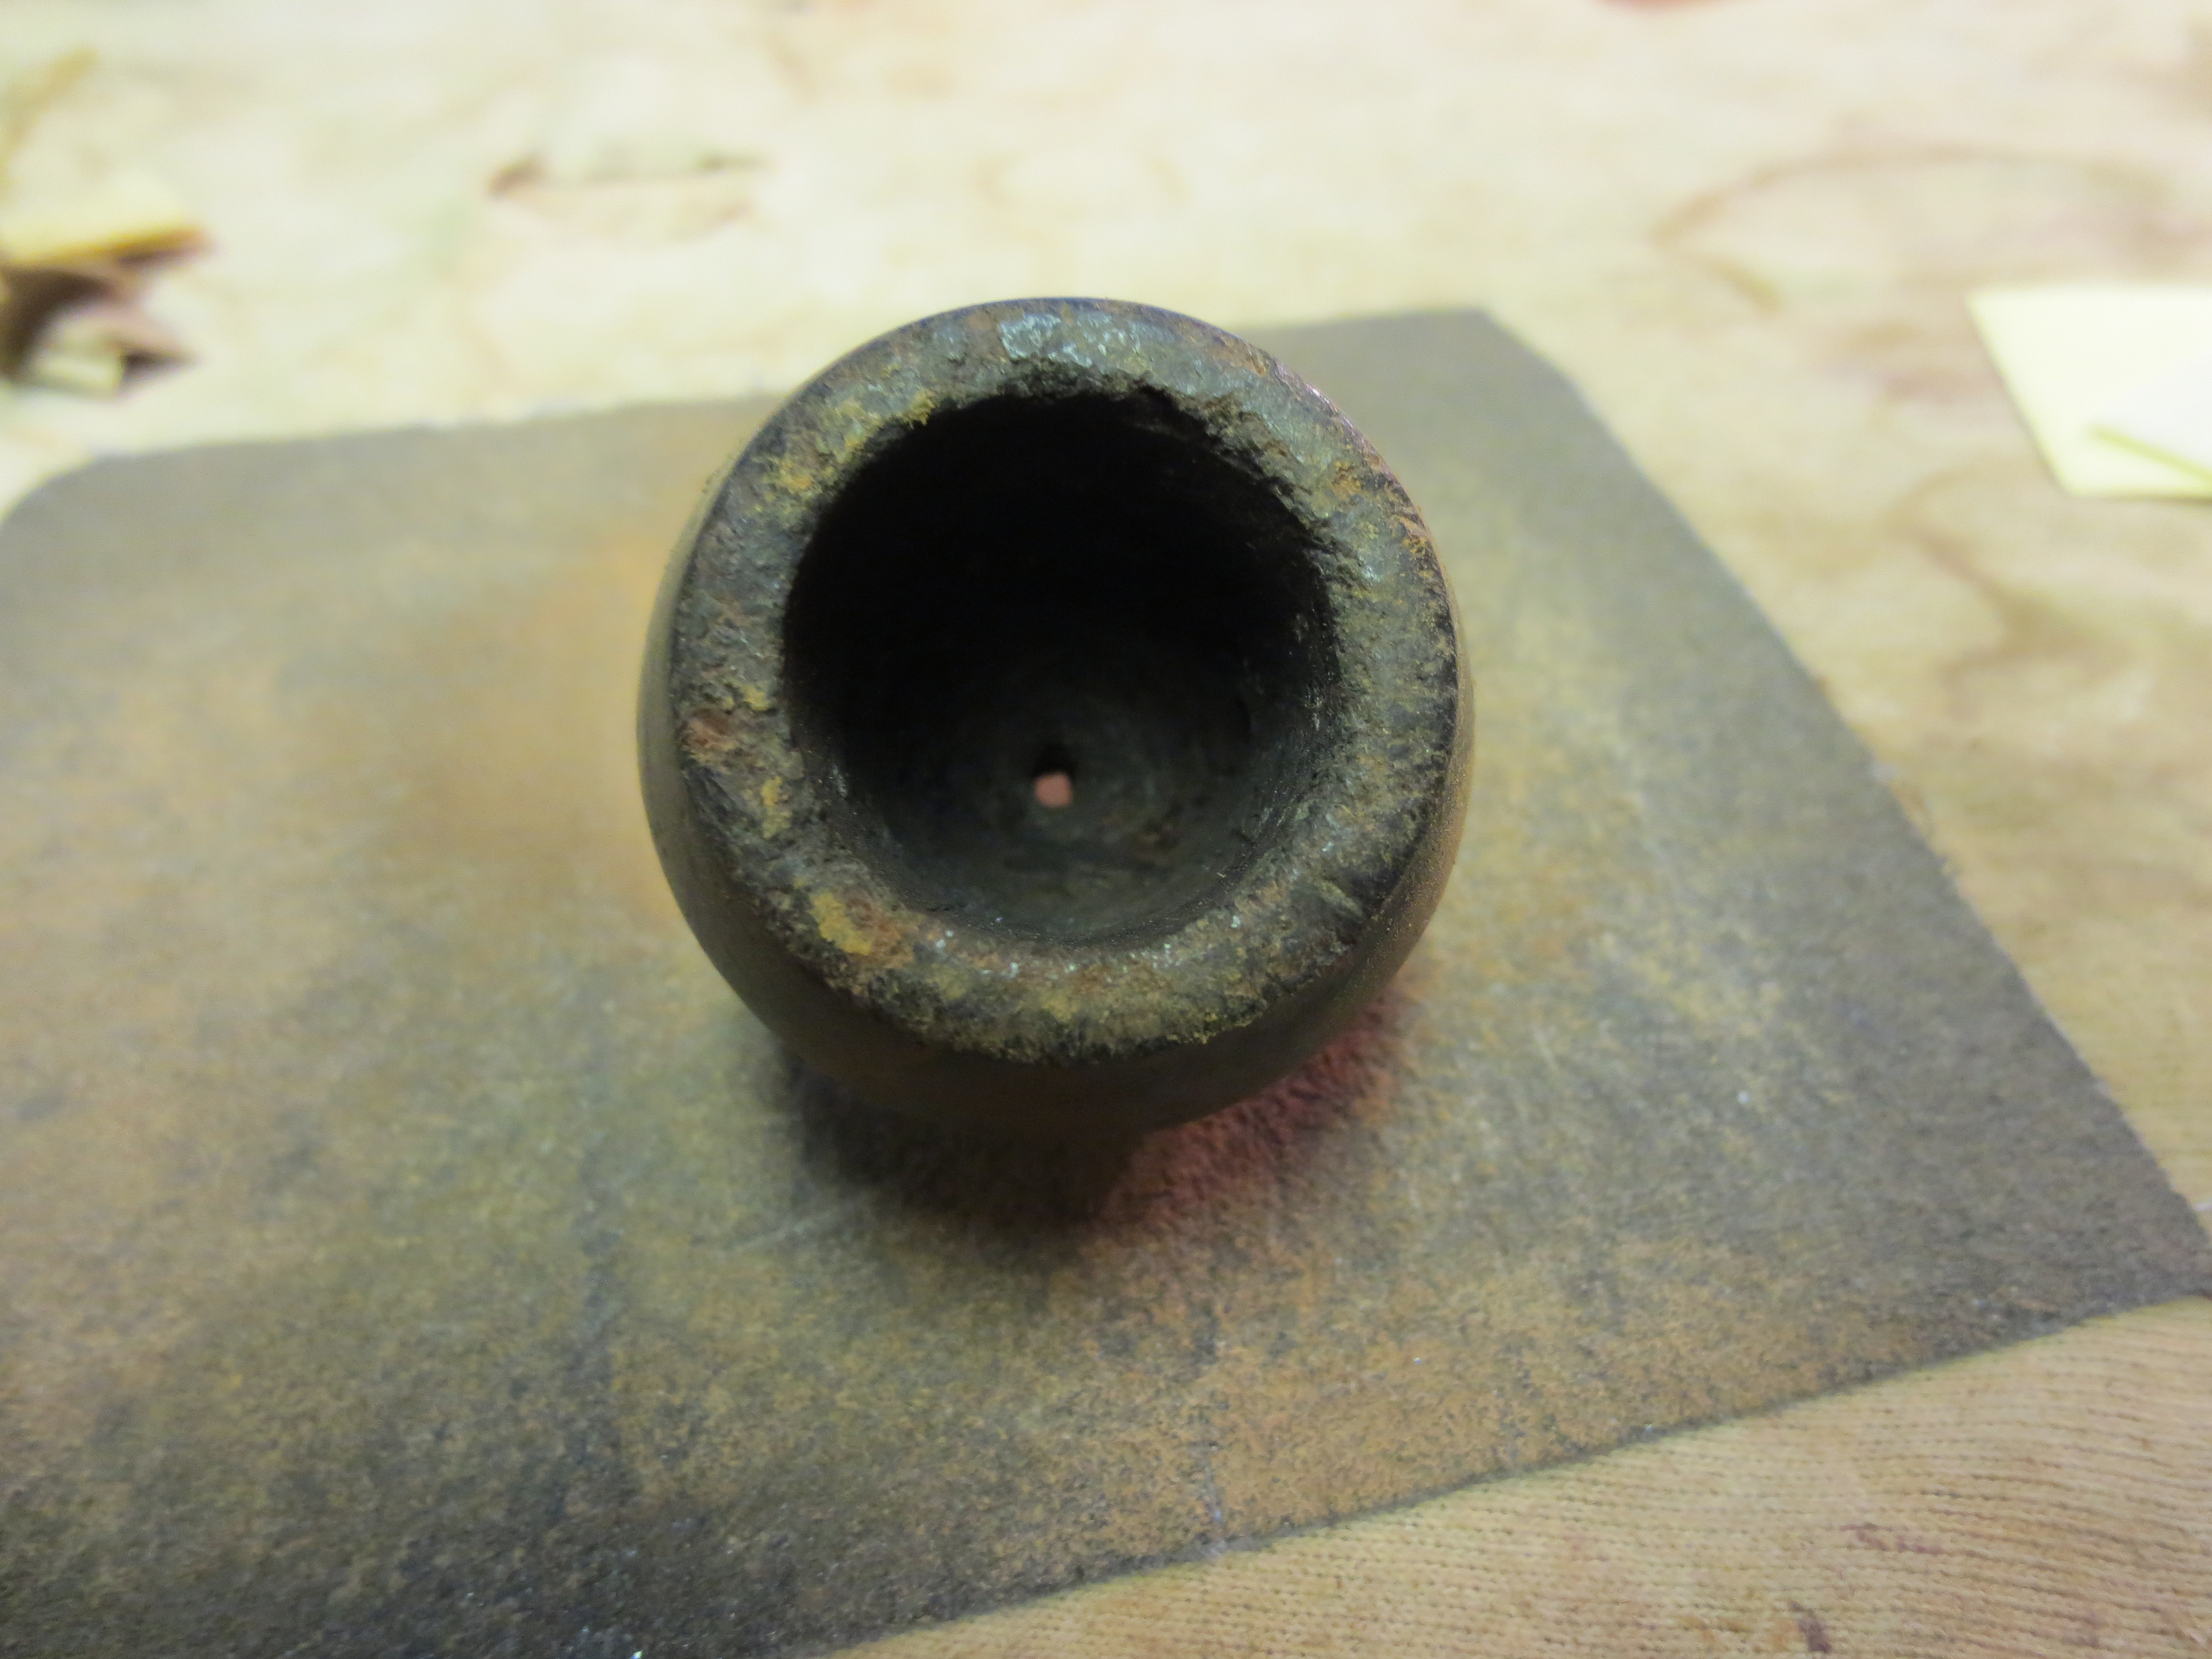
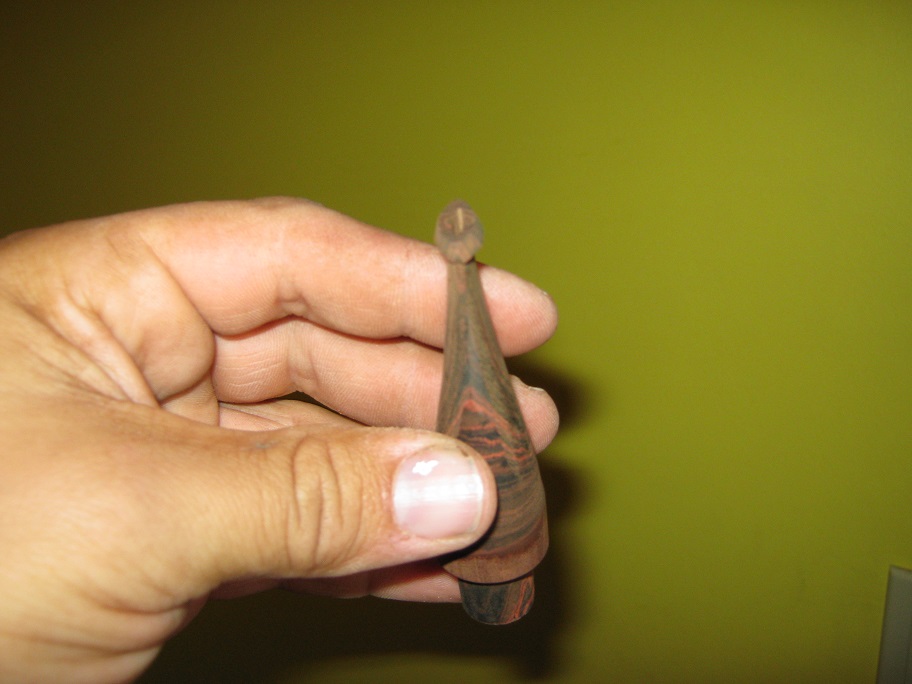
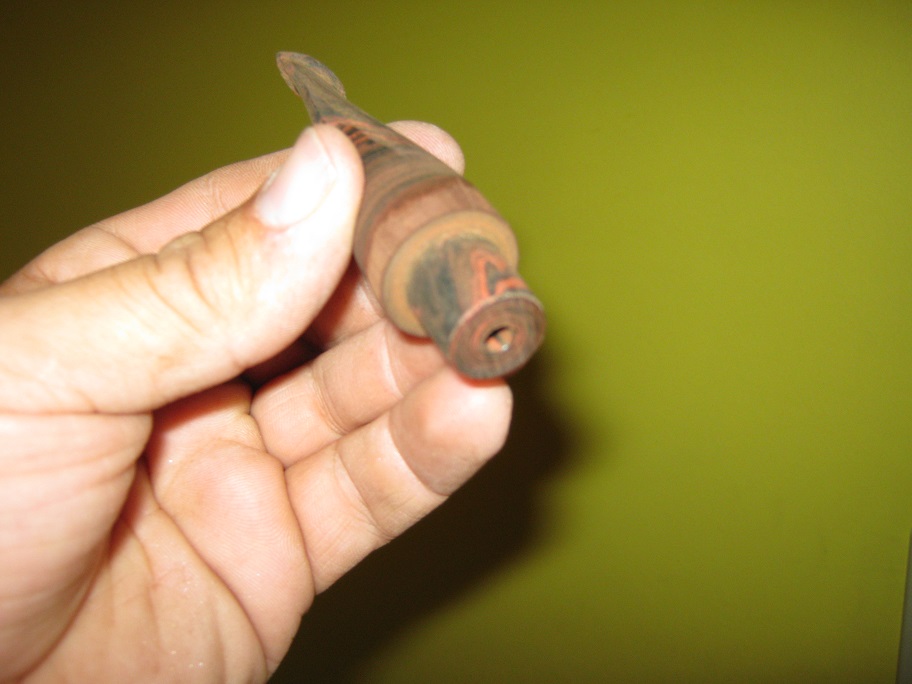
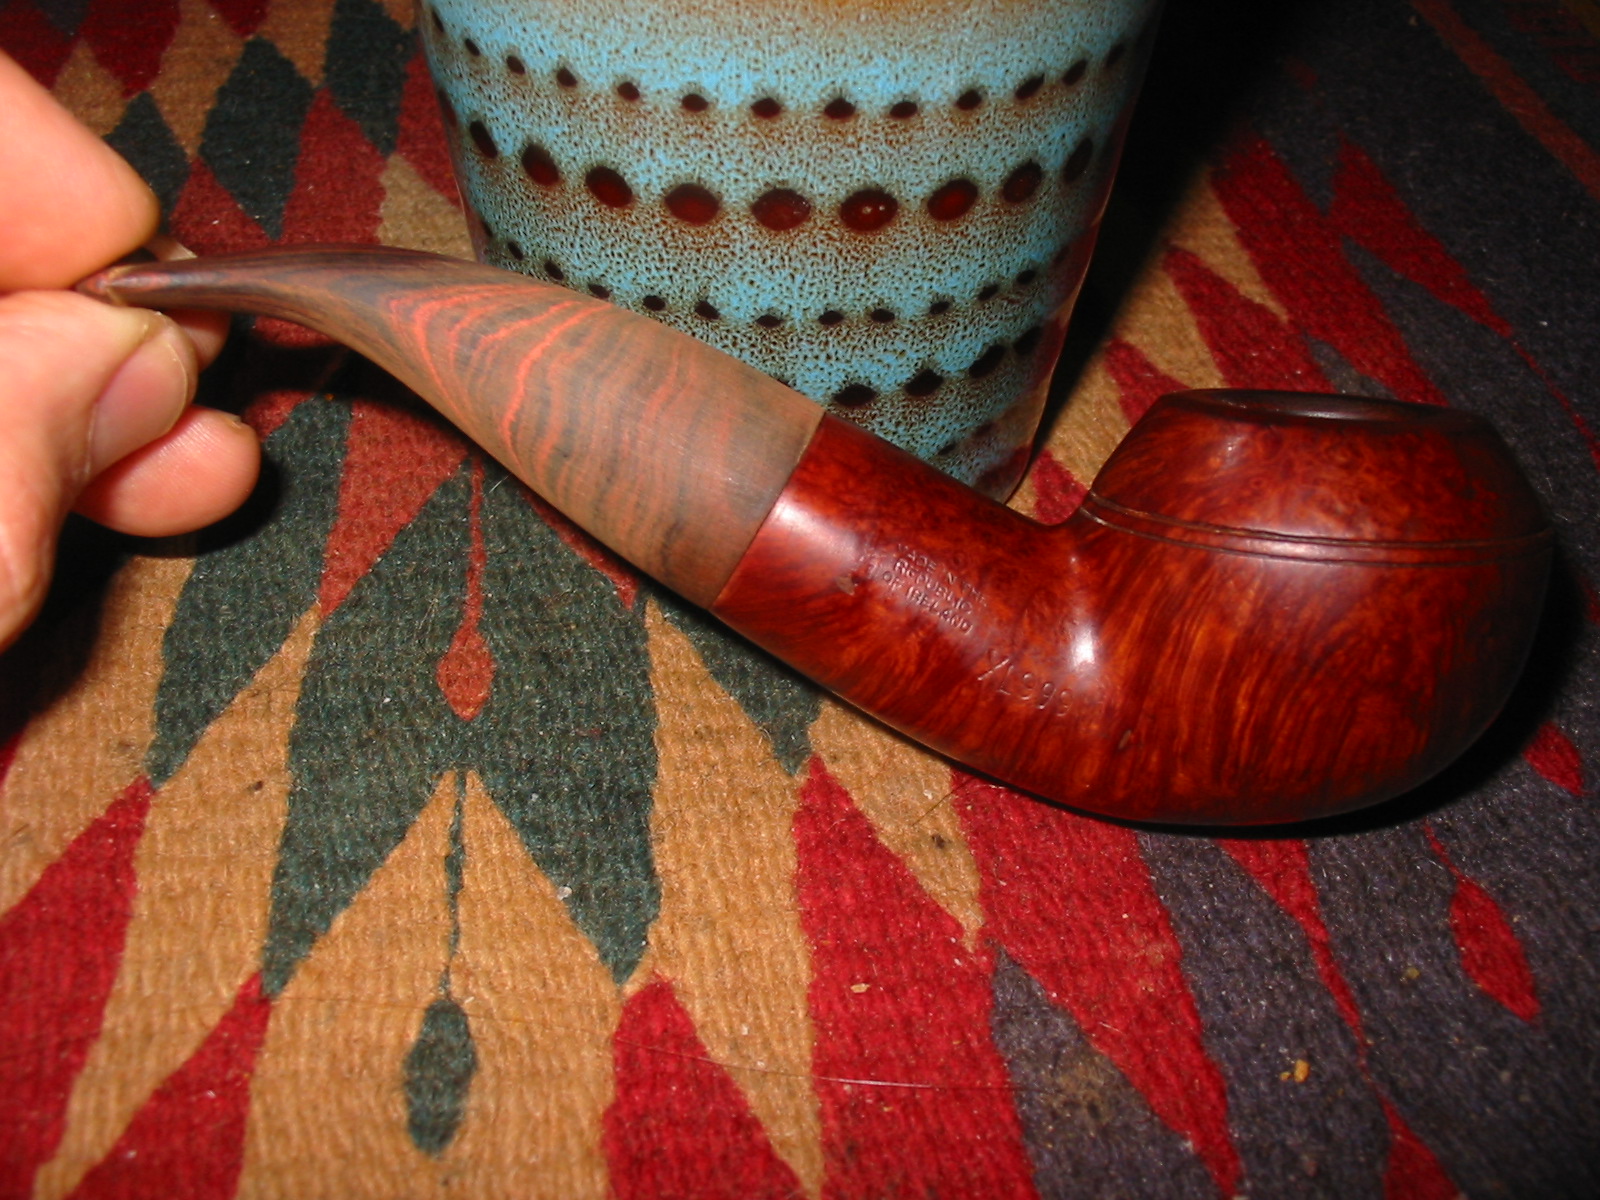
I put out a request for a stem for a Peterson’s XL999 stem on various web forums I am on. I was sent several that almost worked but either the diameter of the tenon was wrong or that of the stem itself was off just a bit. I turned a tenon on a stem blank that was sent to me and made a nice looking black stem that I posted pictures of earlier on the blog https://rebornpipes.wordpress.com/2013/07/26/making-a-new-stem-for-a-petersons-kildare-xl999/ but Todd Bannard, who is a pipe maker in Alberta, Canada offered to cut a rough one for me from some rod stock he had available. He did not have black vulcanite but did have some Brindle or Cumberland stock. I sent him the rough dimensions of the stem – I needed tenon material that I could turn to ½ inches and I needed a piece of stock that was 7/8 inches or more in diameter to work with to match the shank. I have shaped stems from straight rod stock in the past so I was not too worried about doing that. However, I got an email from Todd saying the rod stock was ready and he was going to send it off. He sent the following two photos to me to show me what was coming. He did a lion’s share of the shaping work for me. I was amazed at how much work he had done on it. I needed only to turn the tenon and refine the shape and the button once it arrived. The Cumberland is vertical and swirling rather than horizontal and lined. It was intriguing looking and I was excited to see what I could do with it.
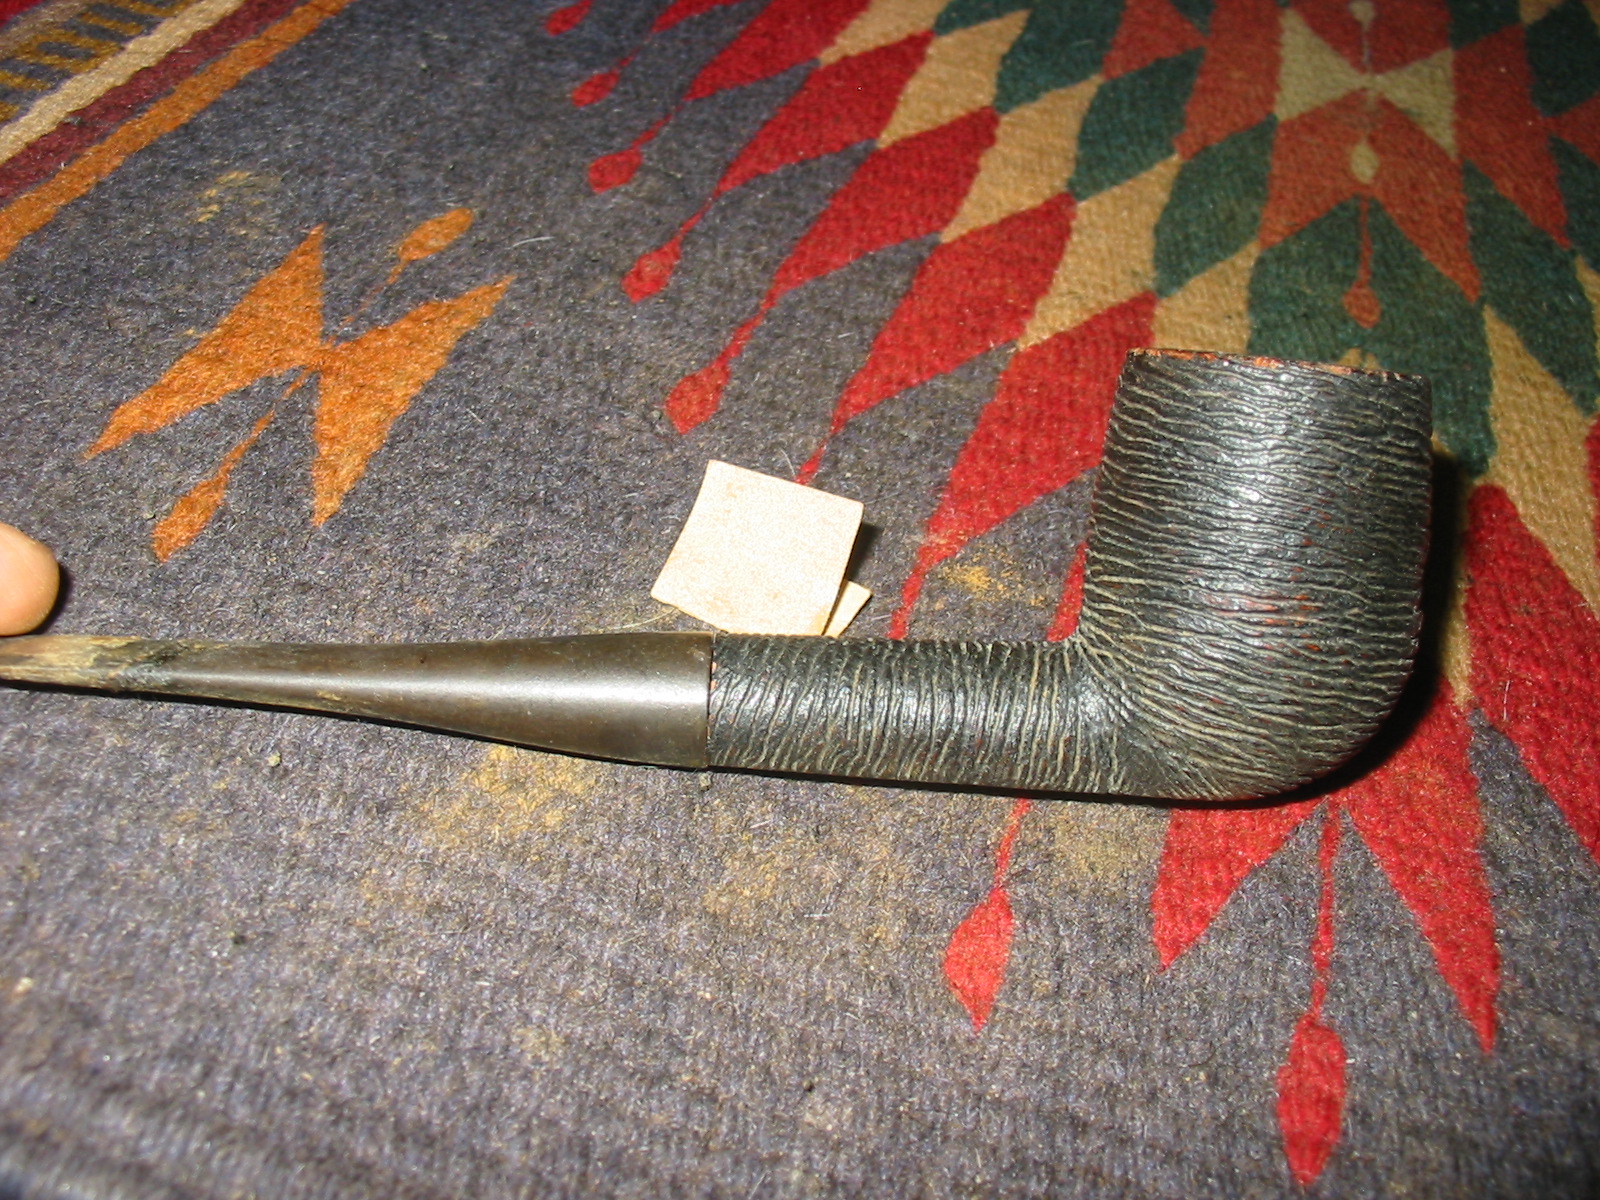
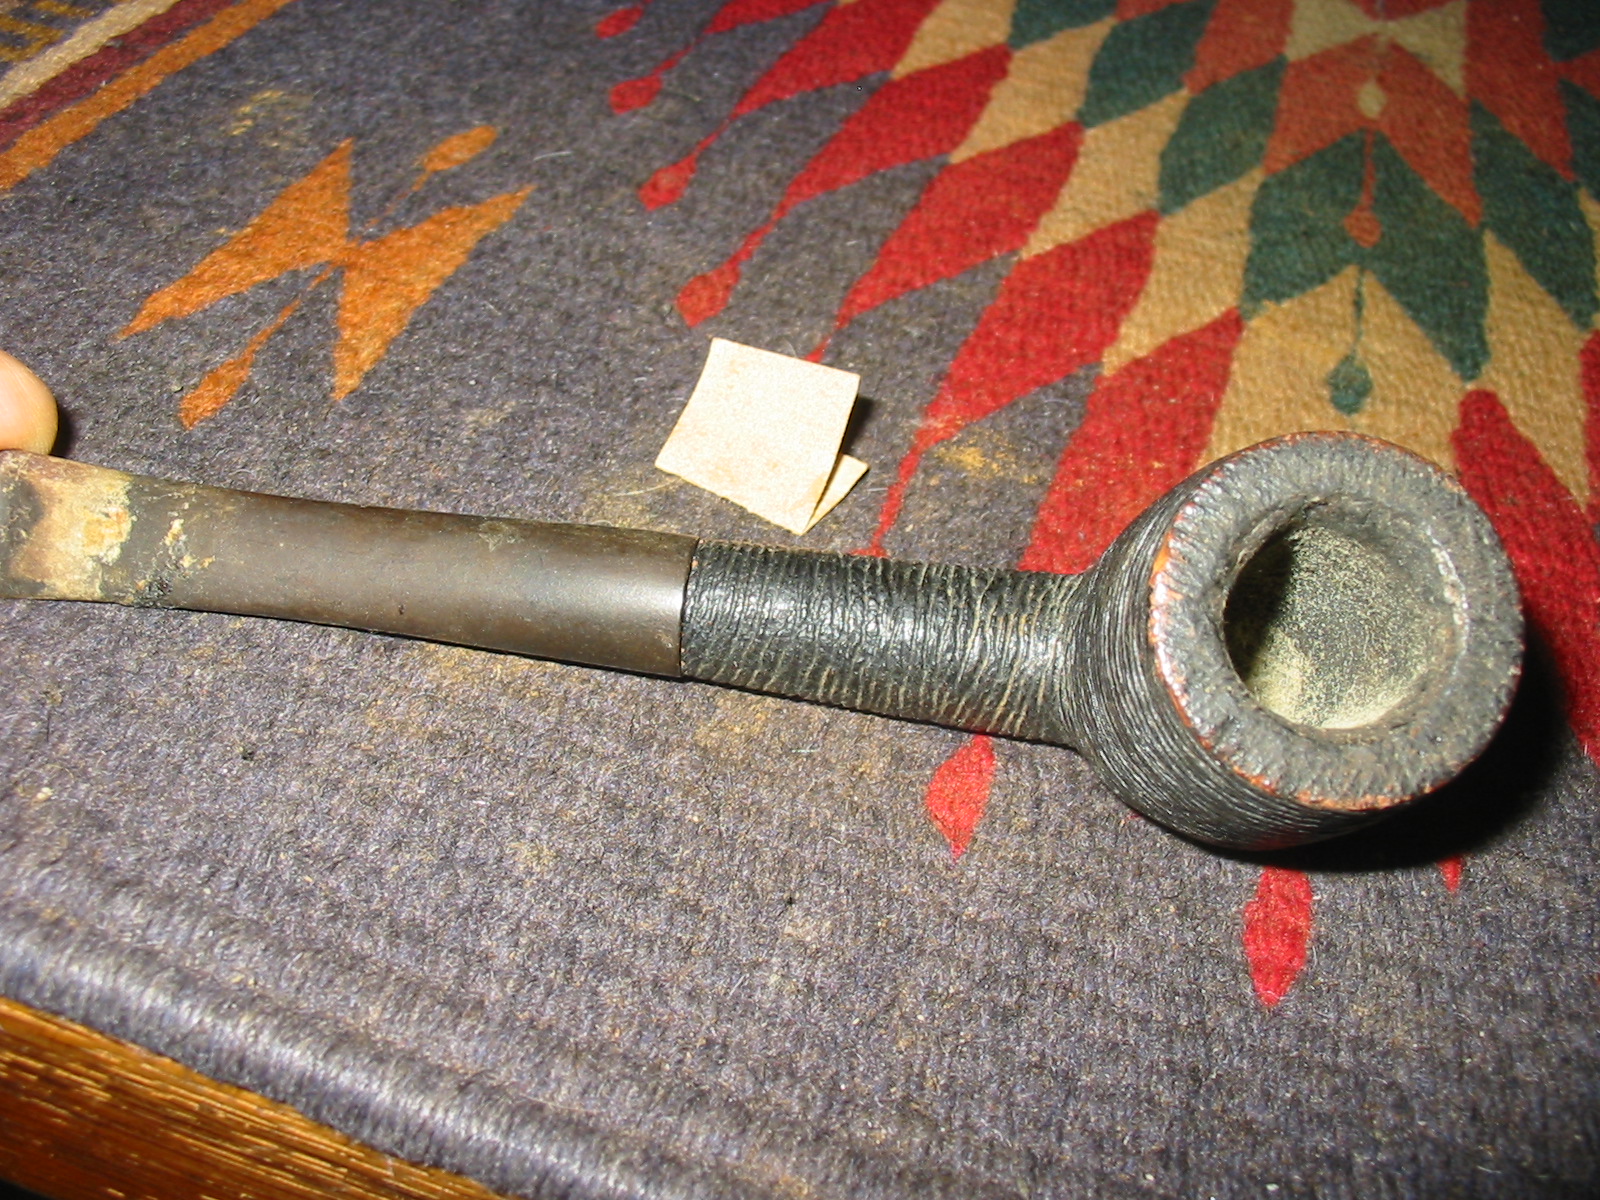
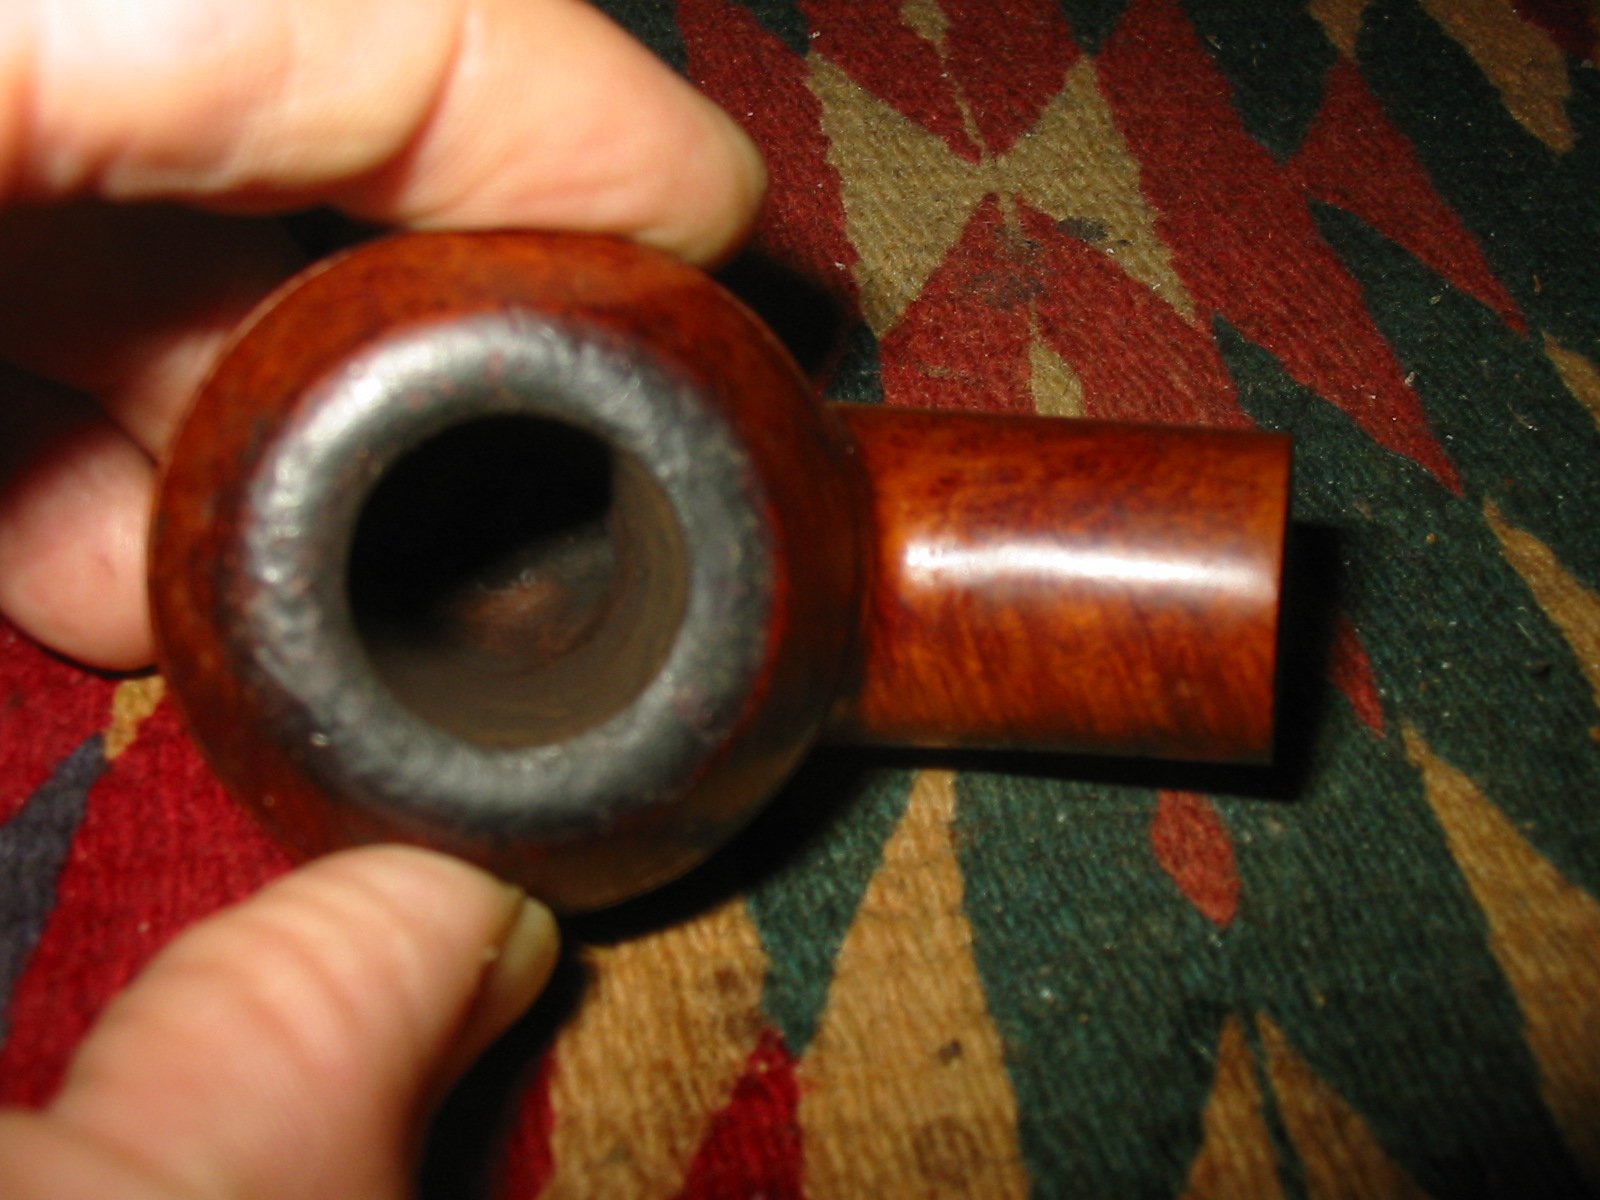
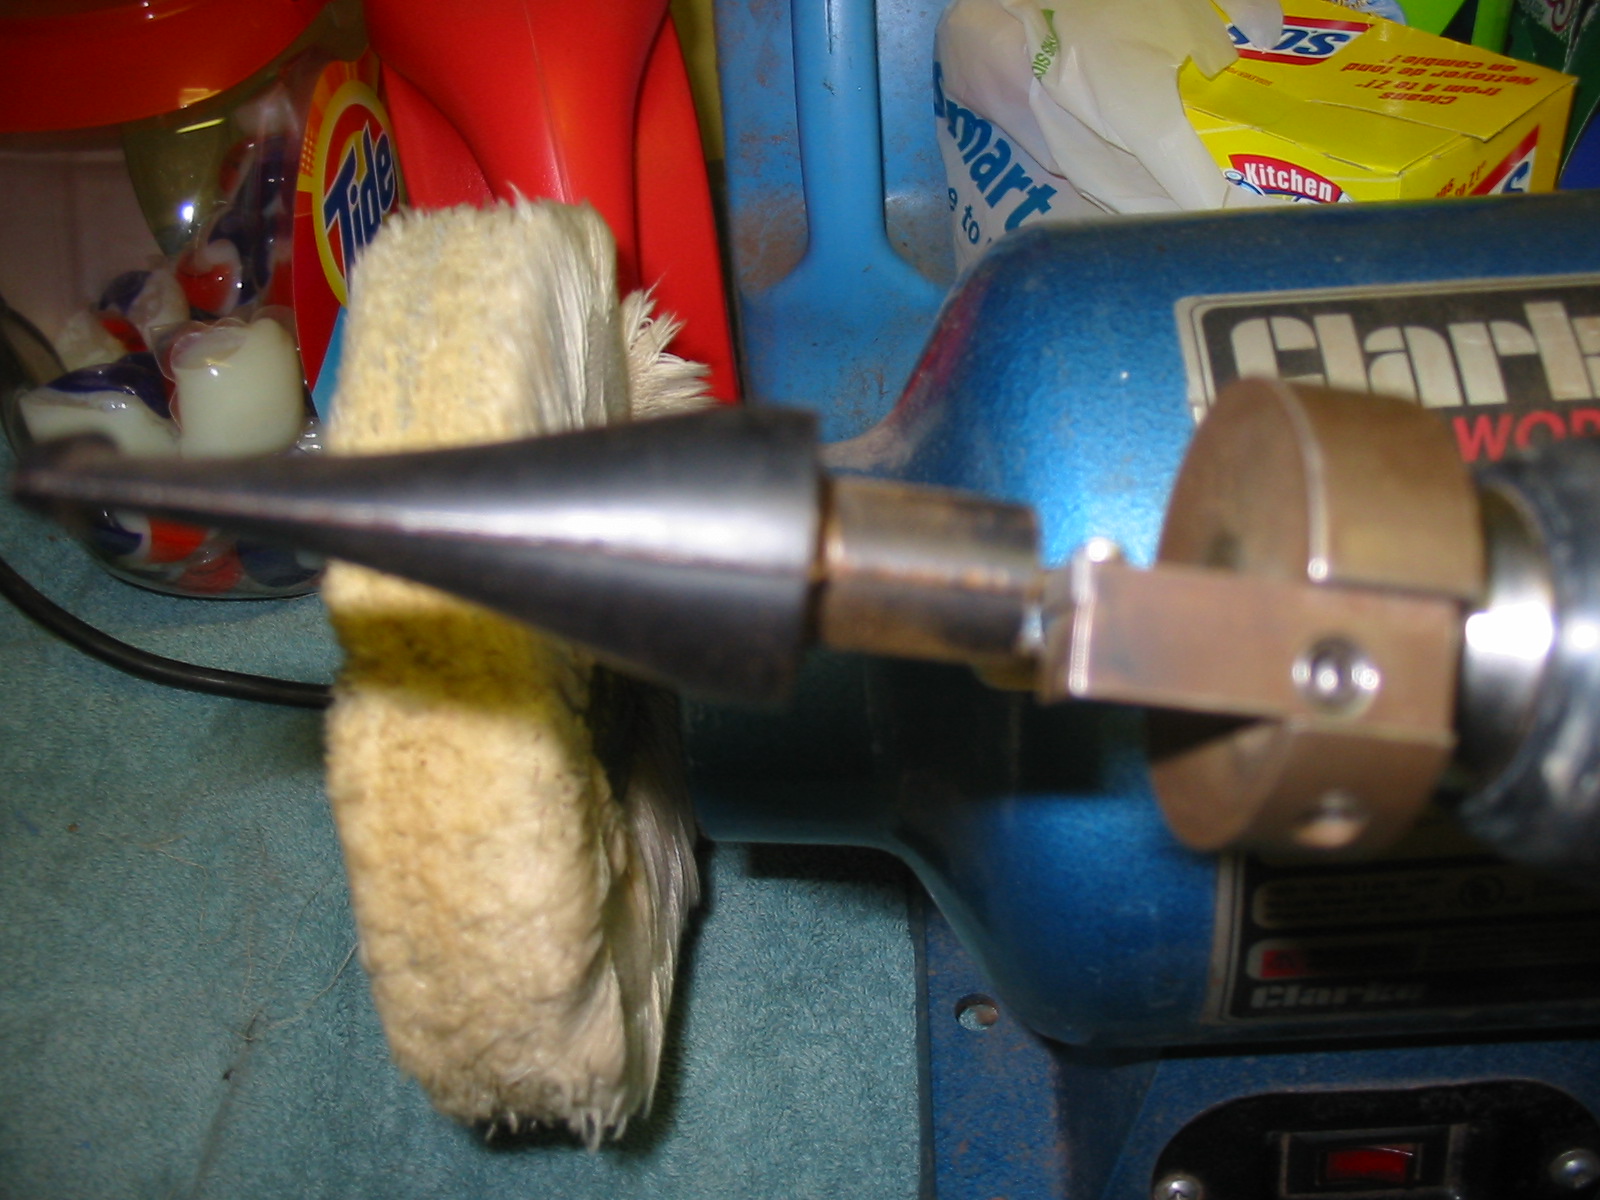
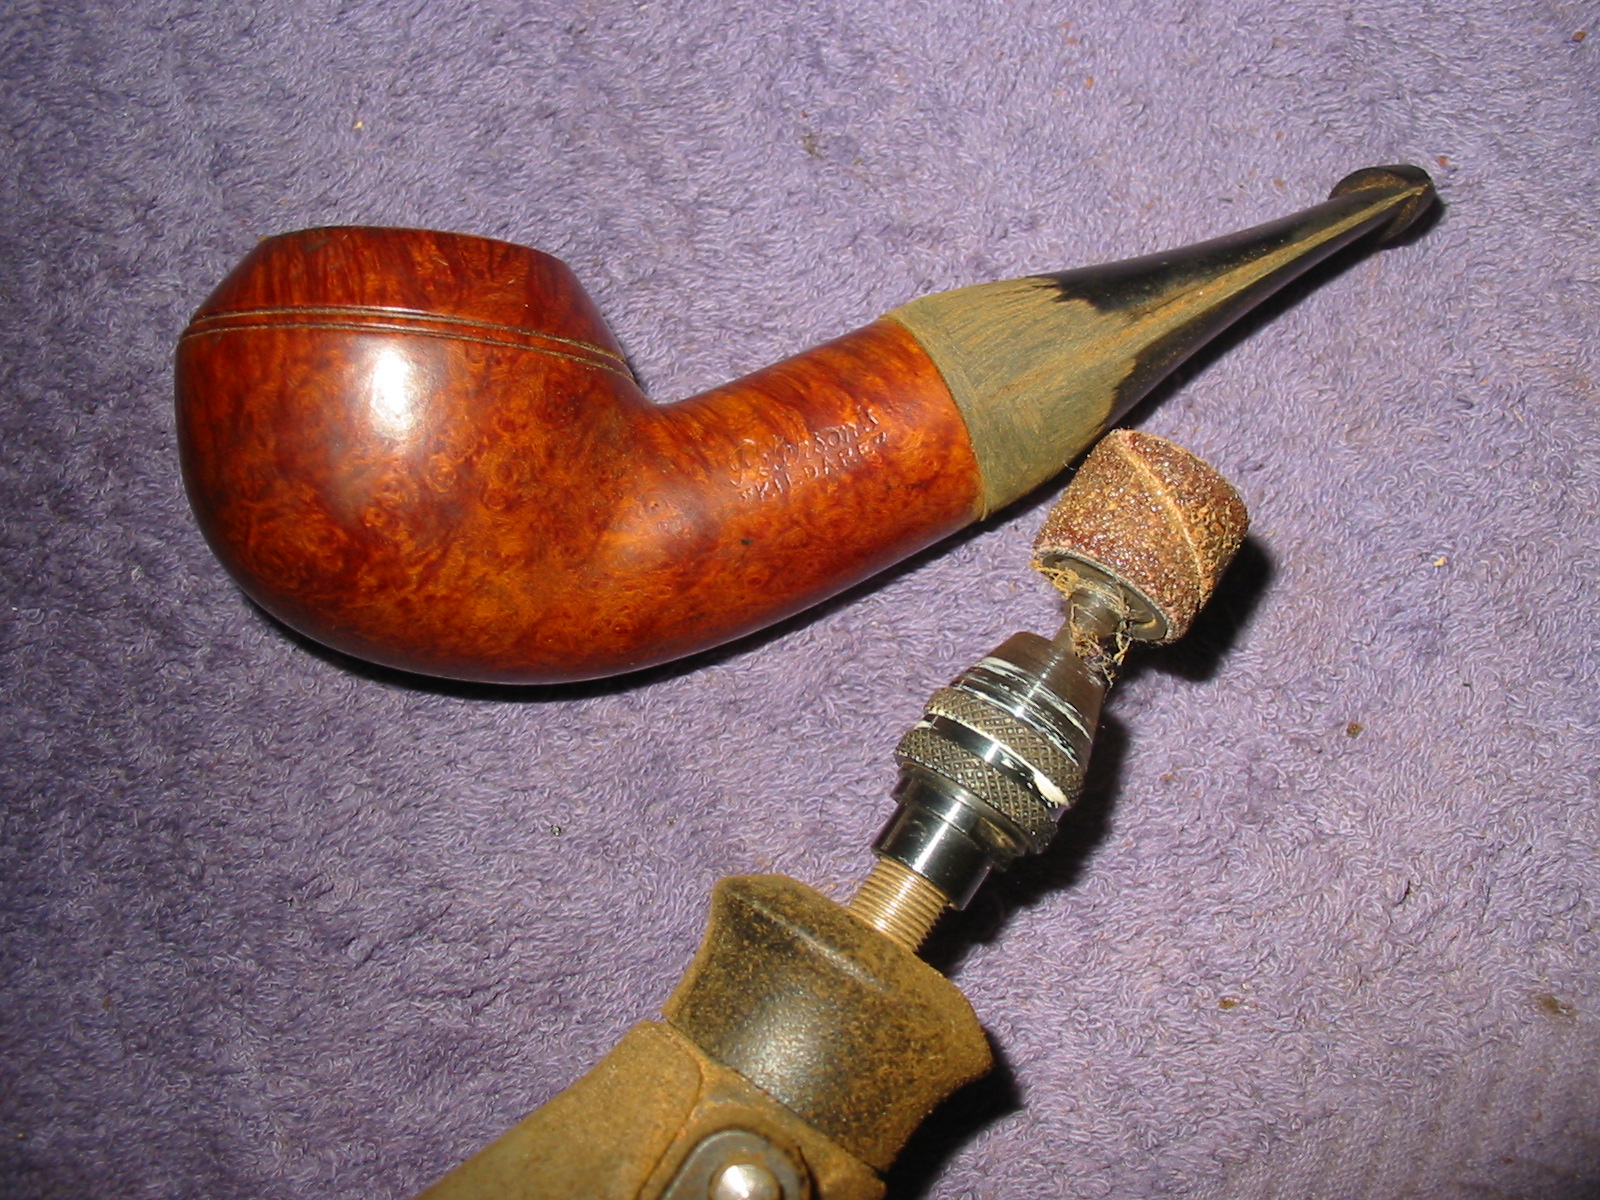
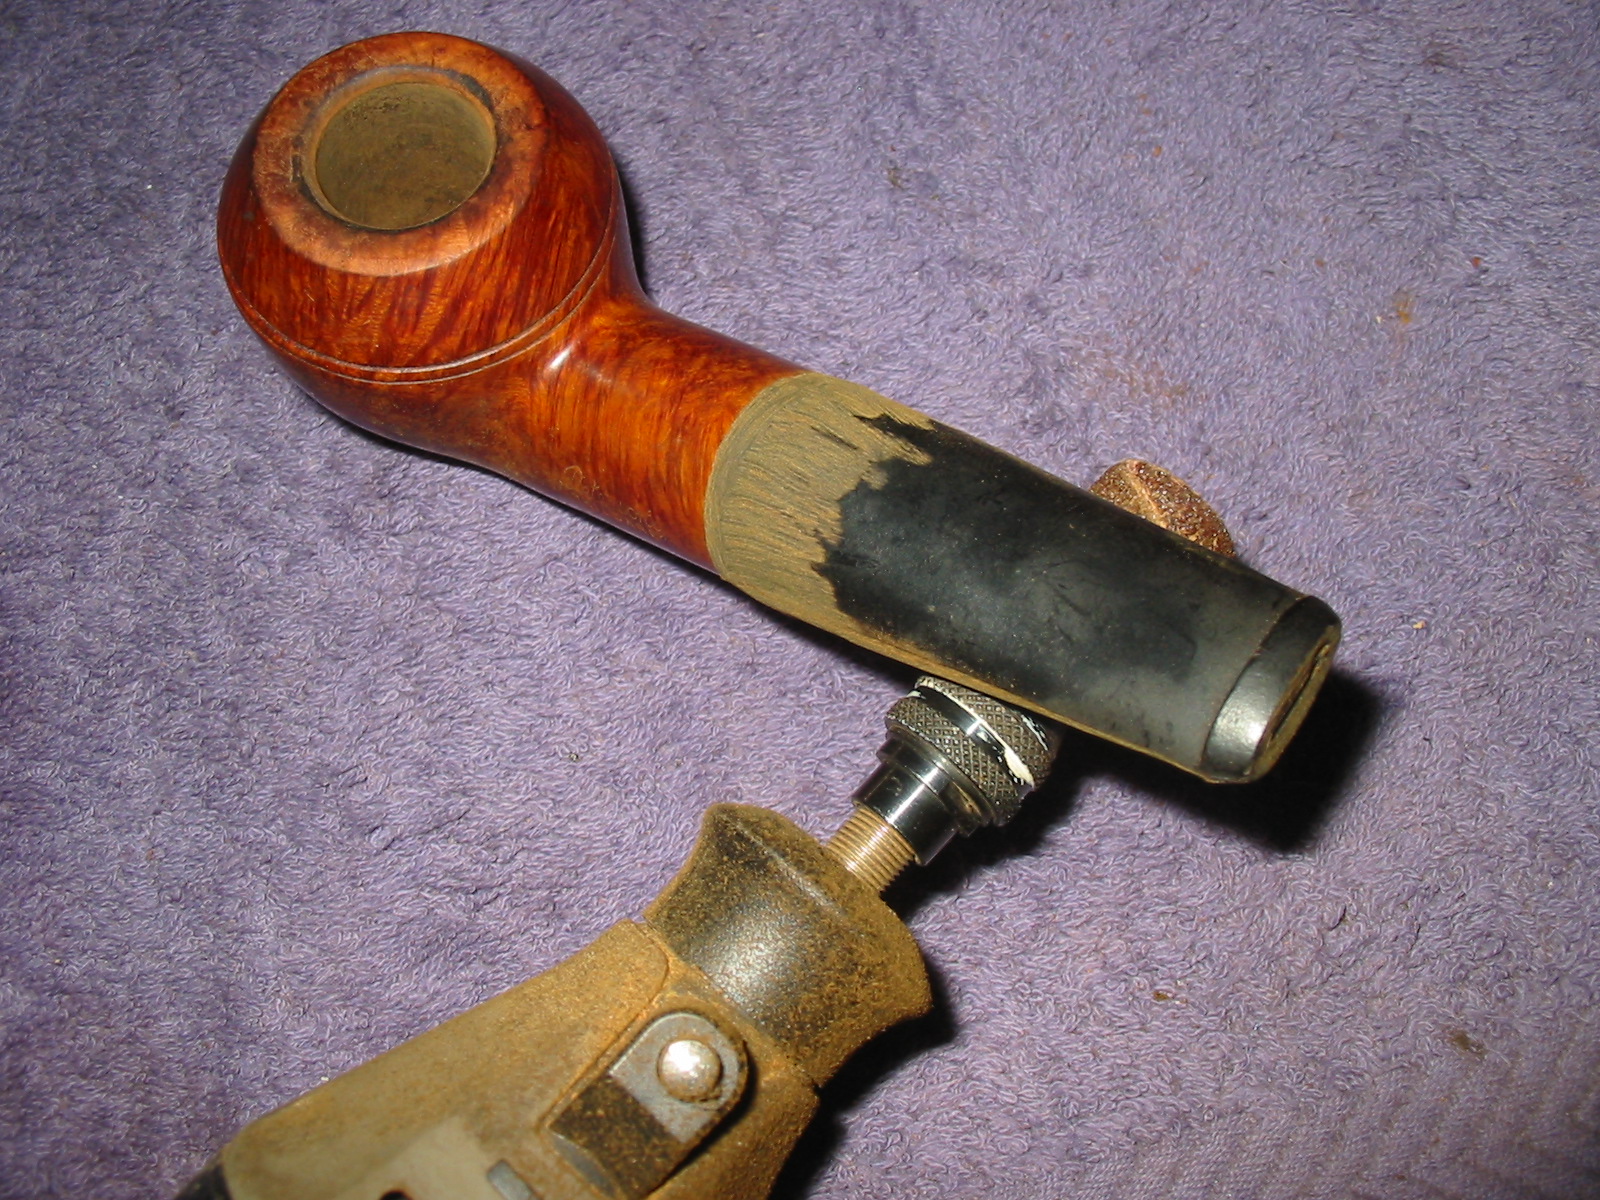
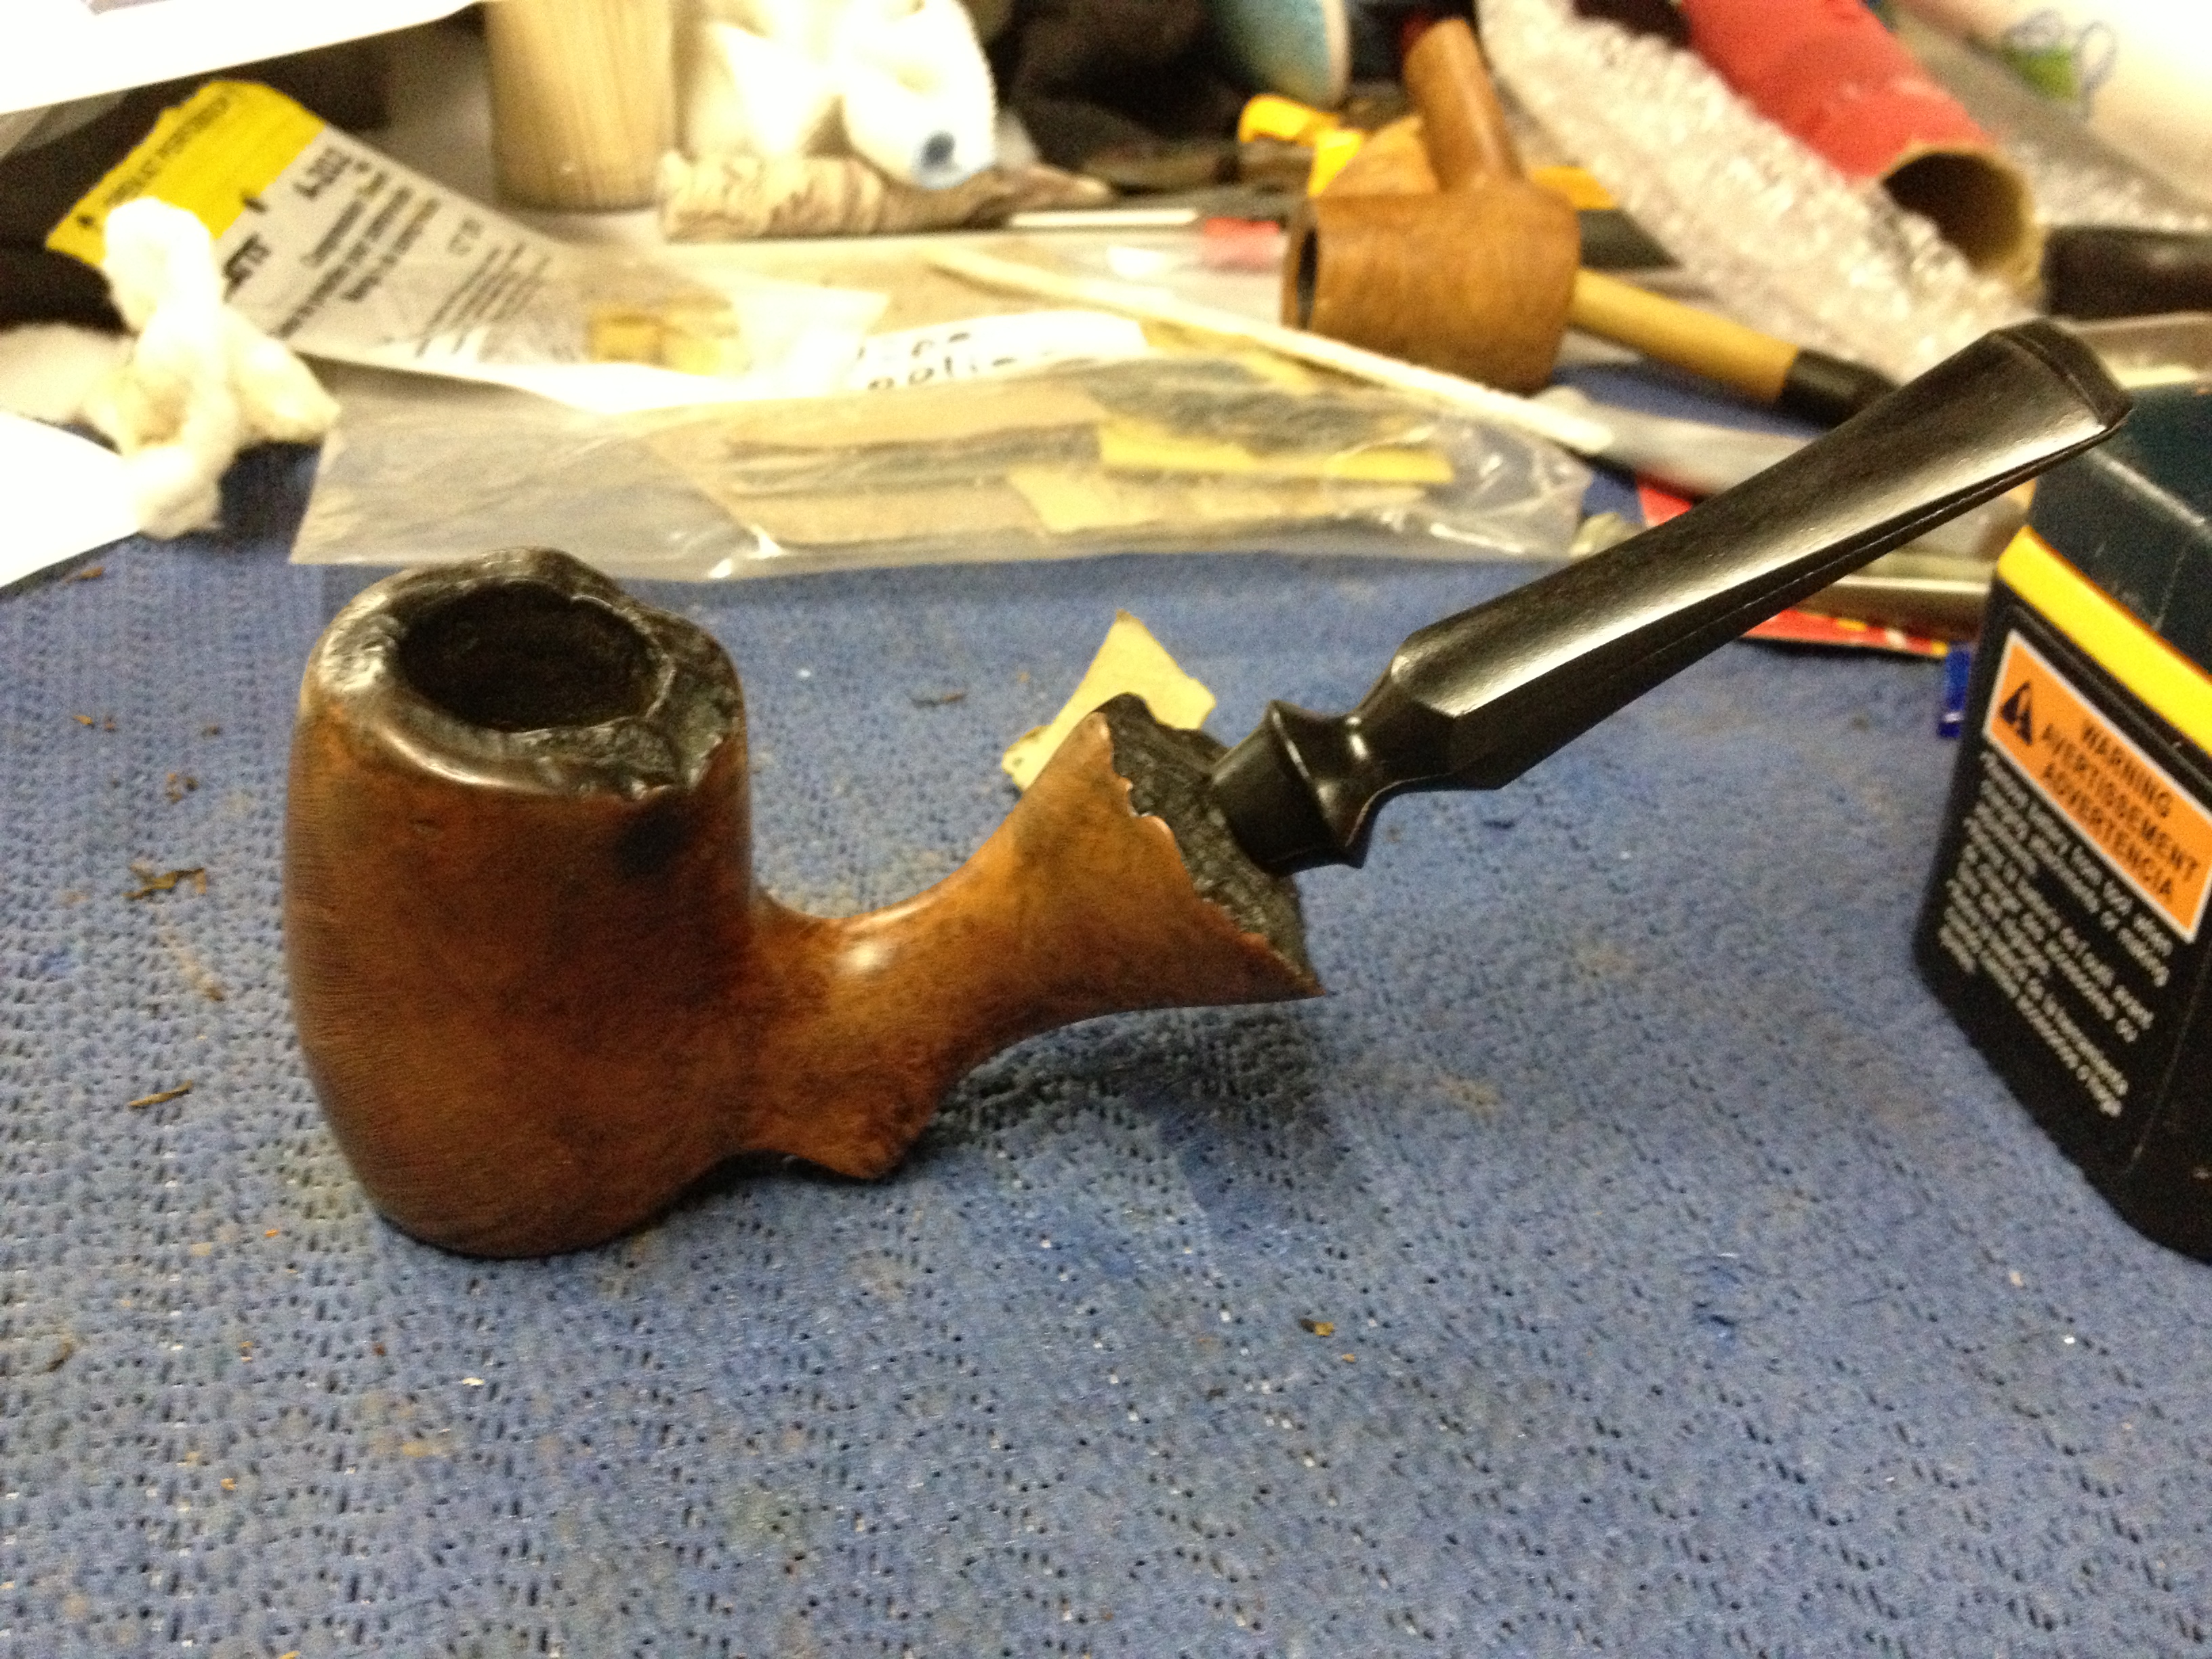
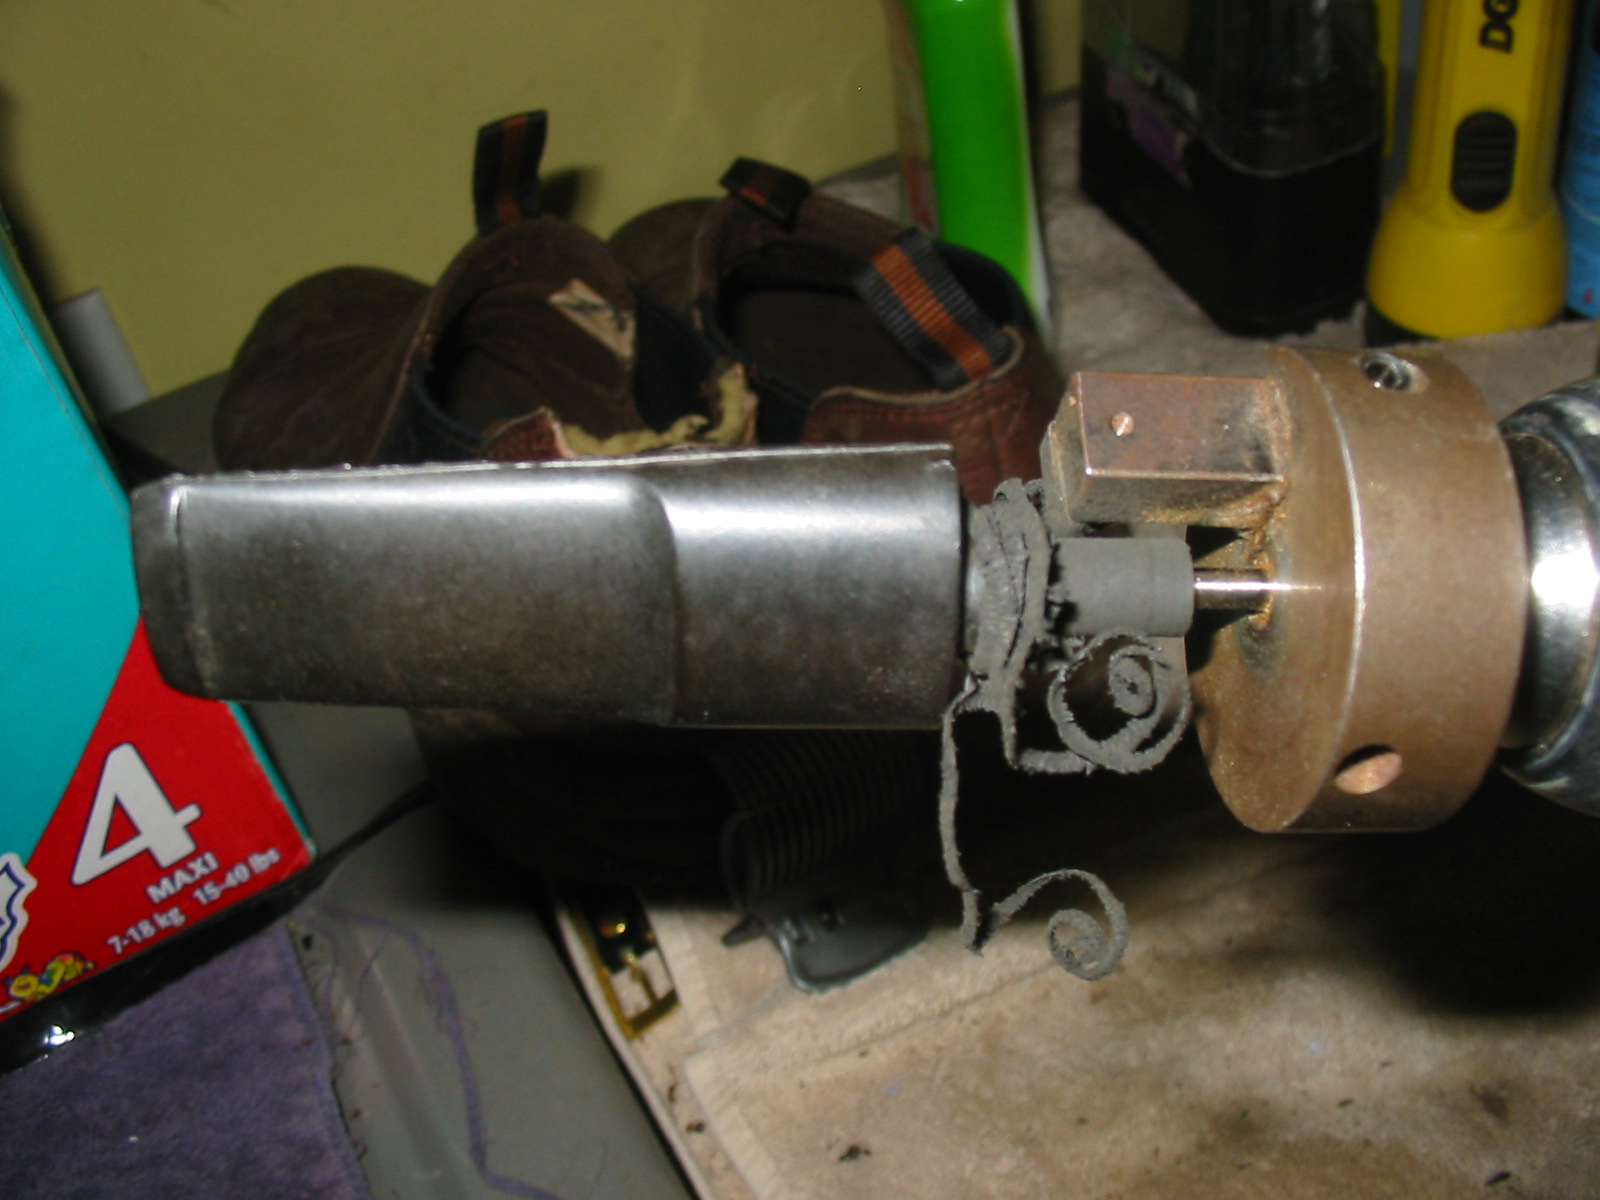
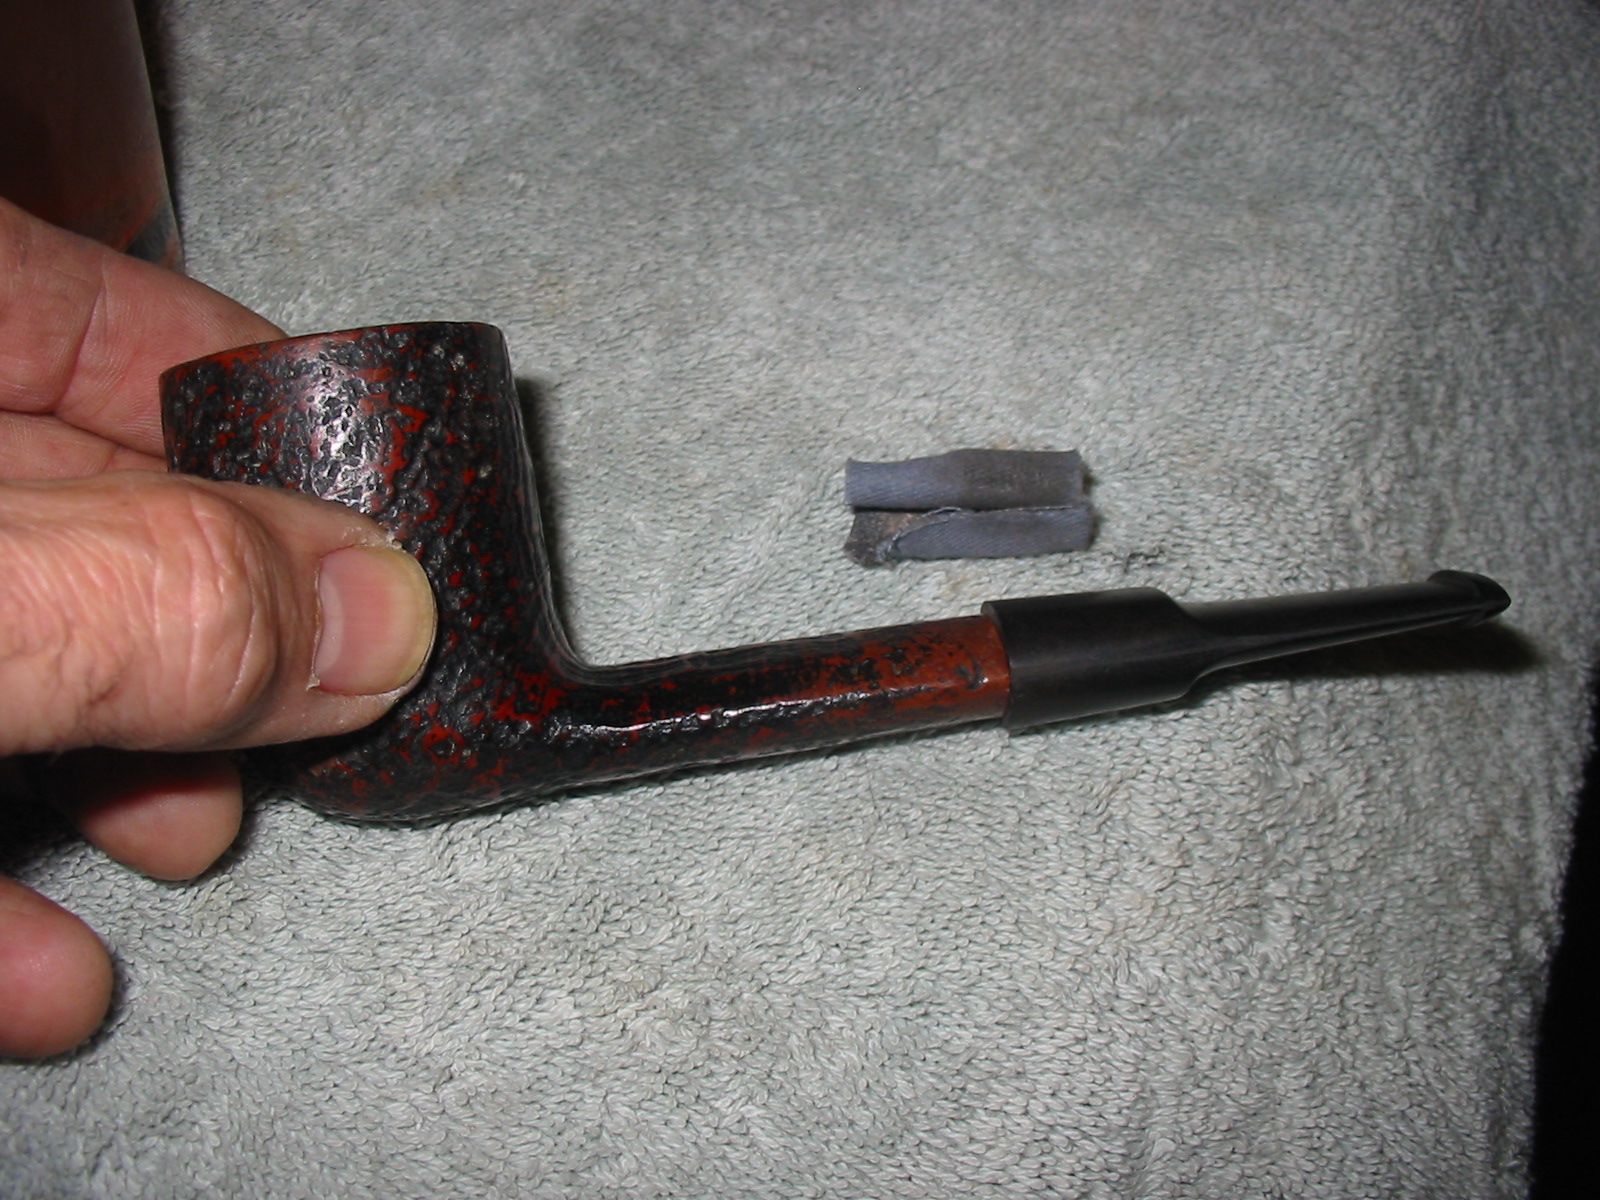
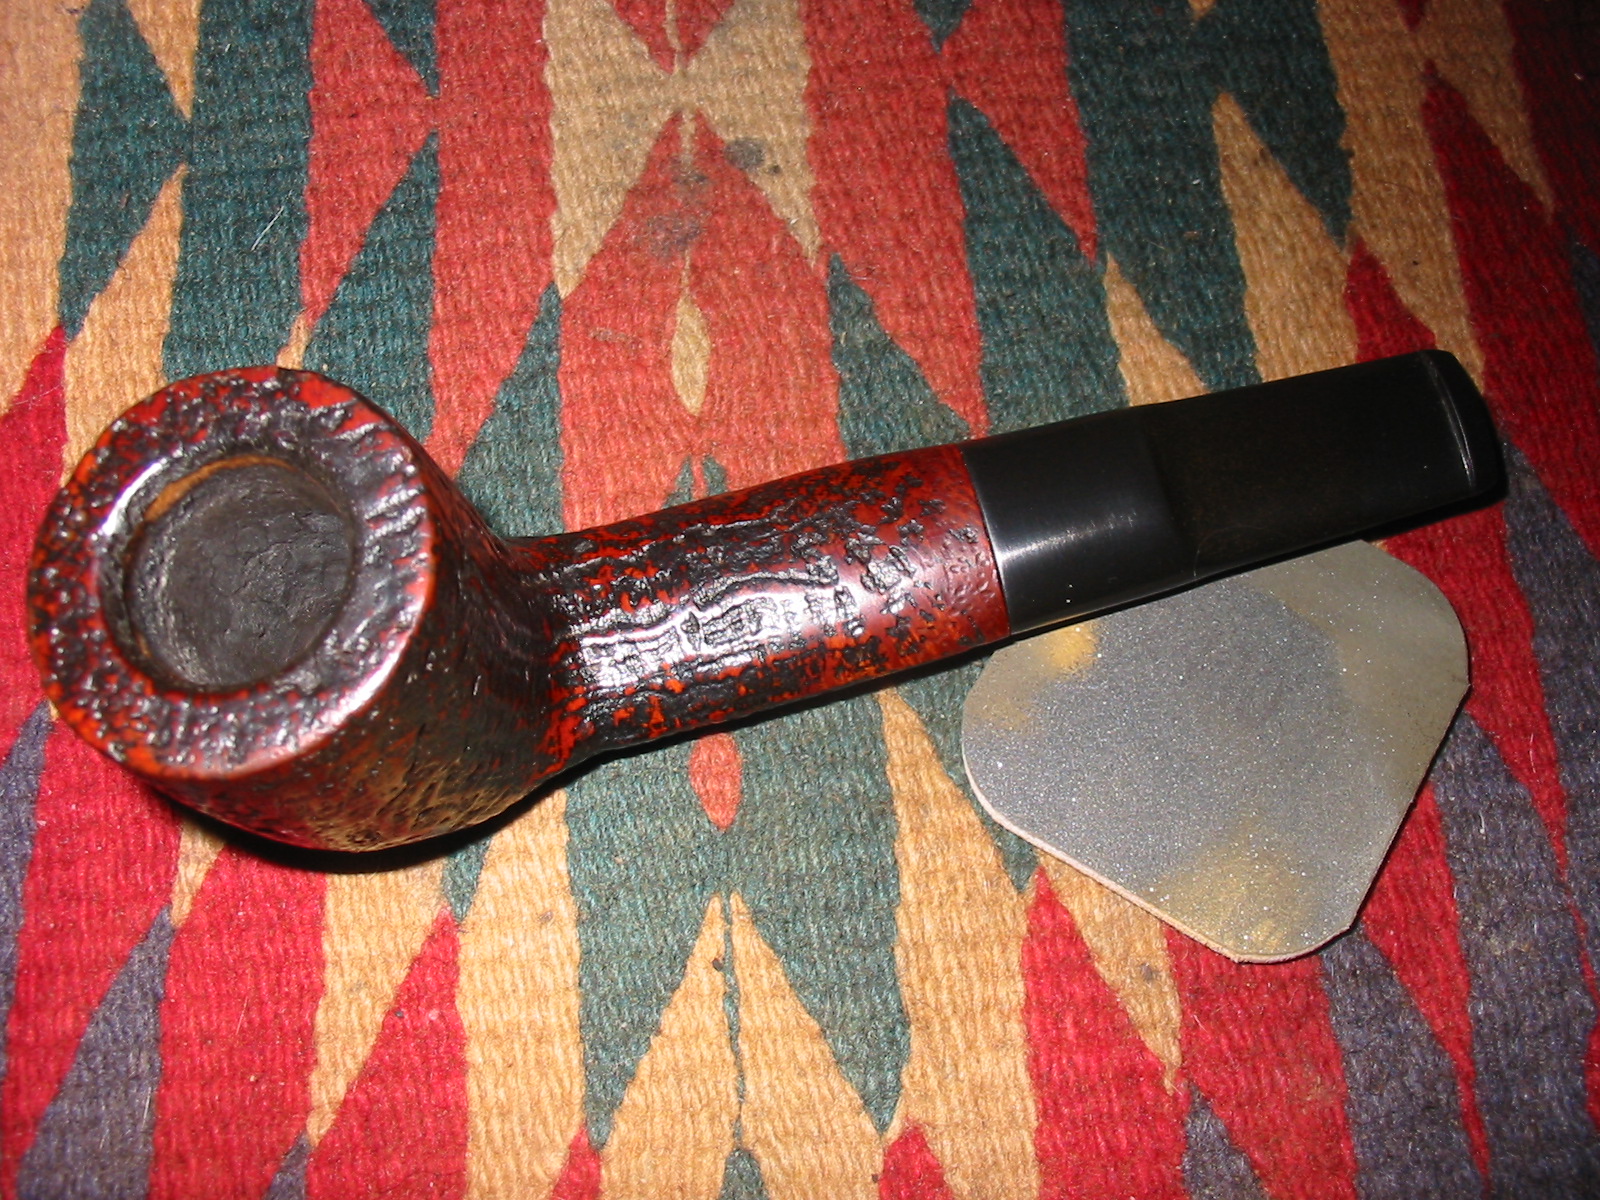
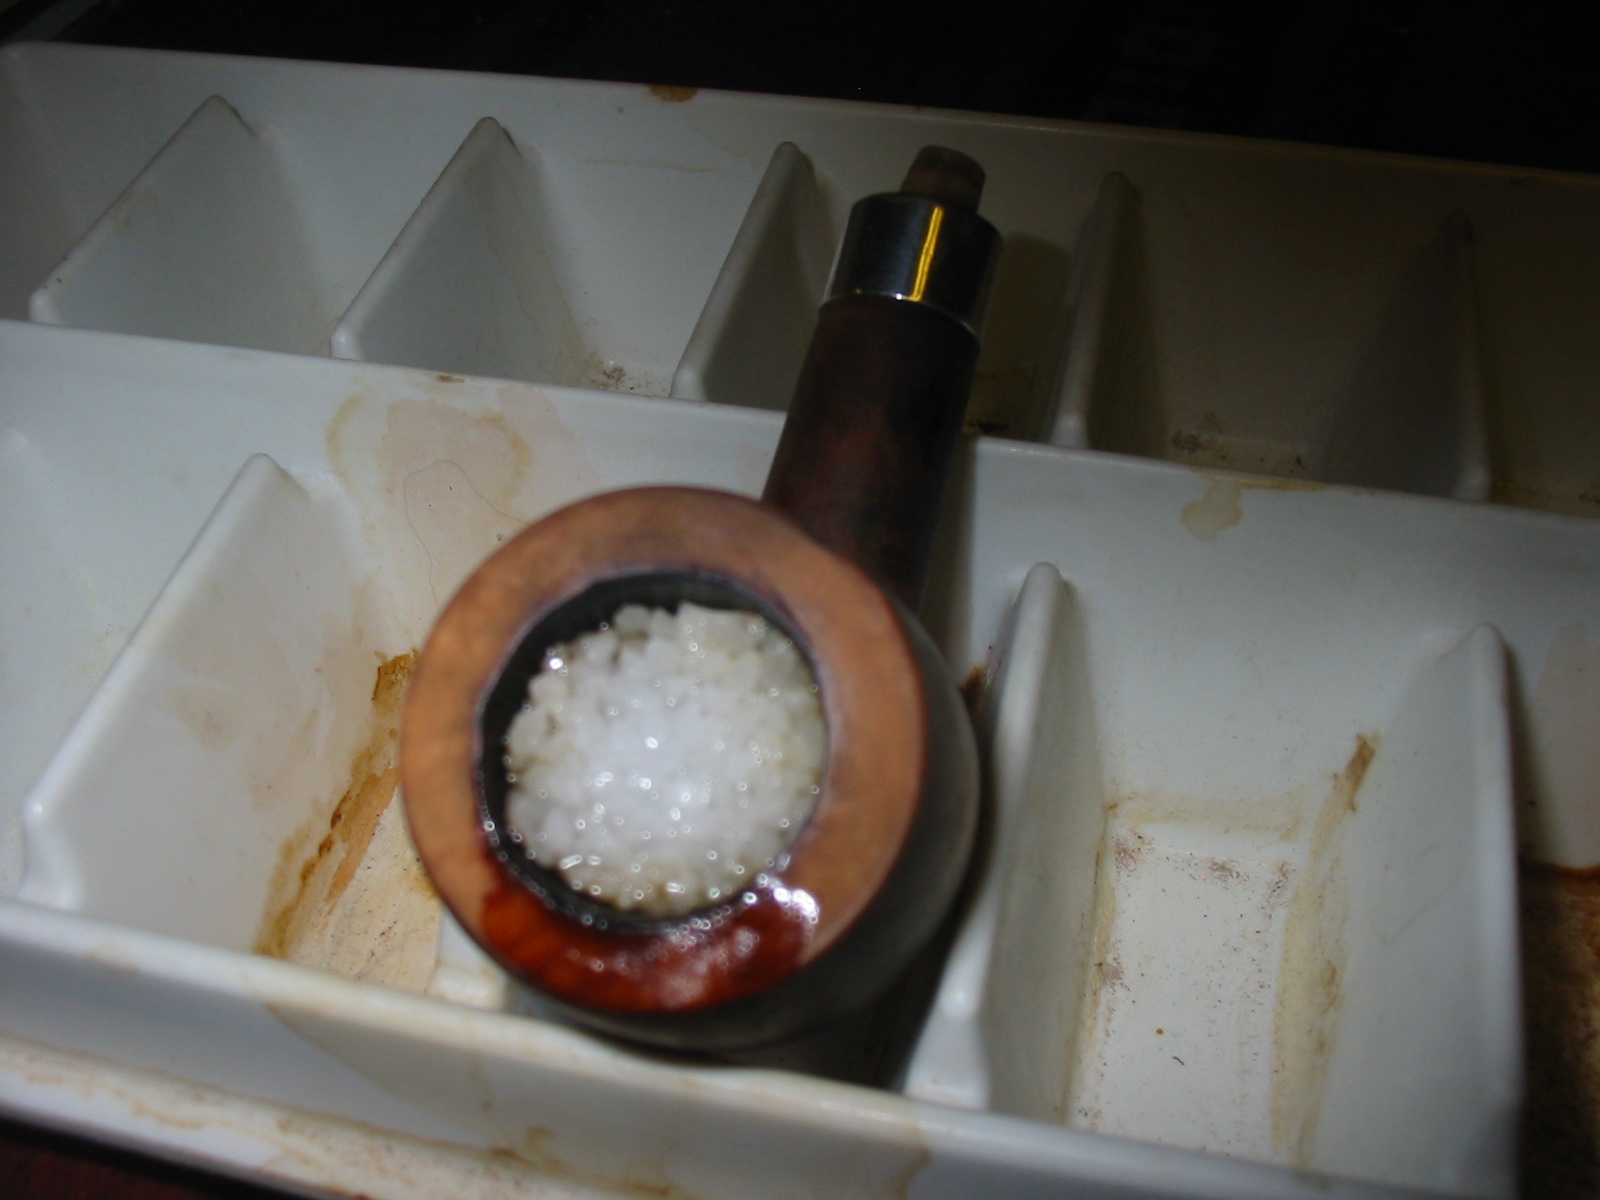
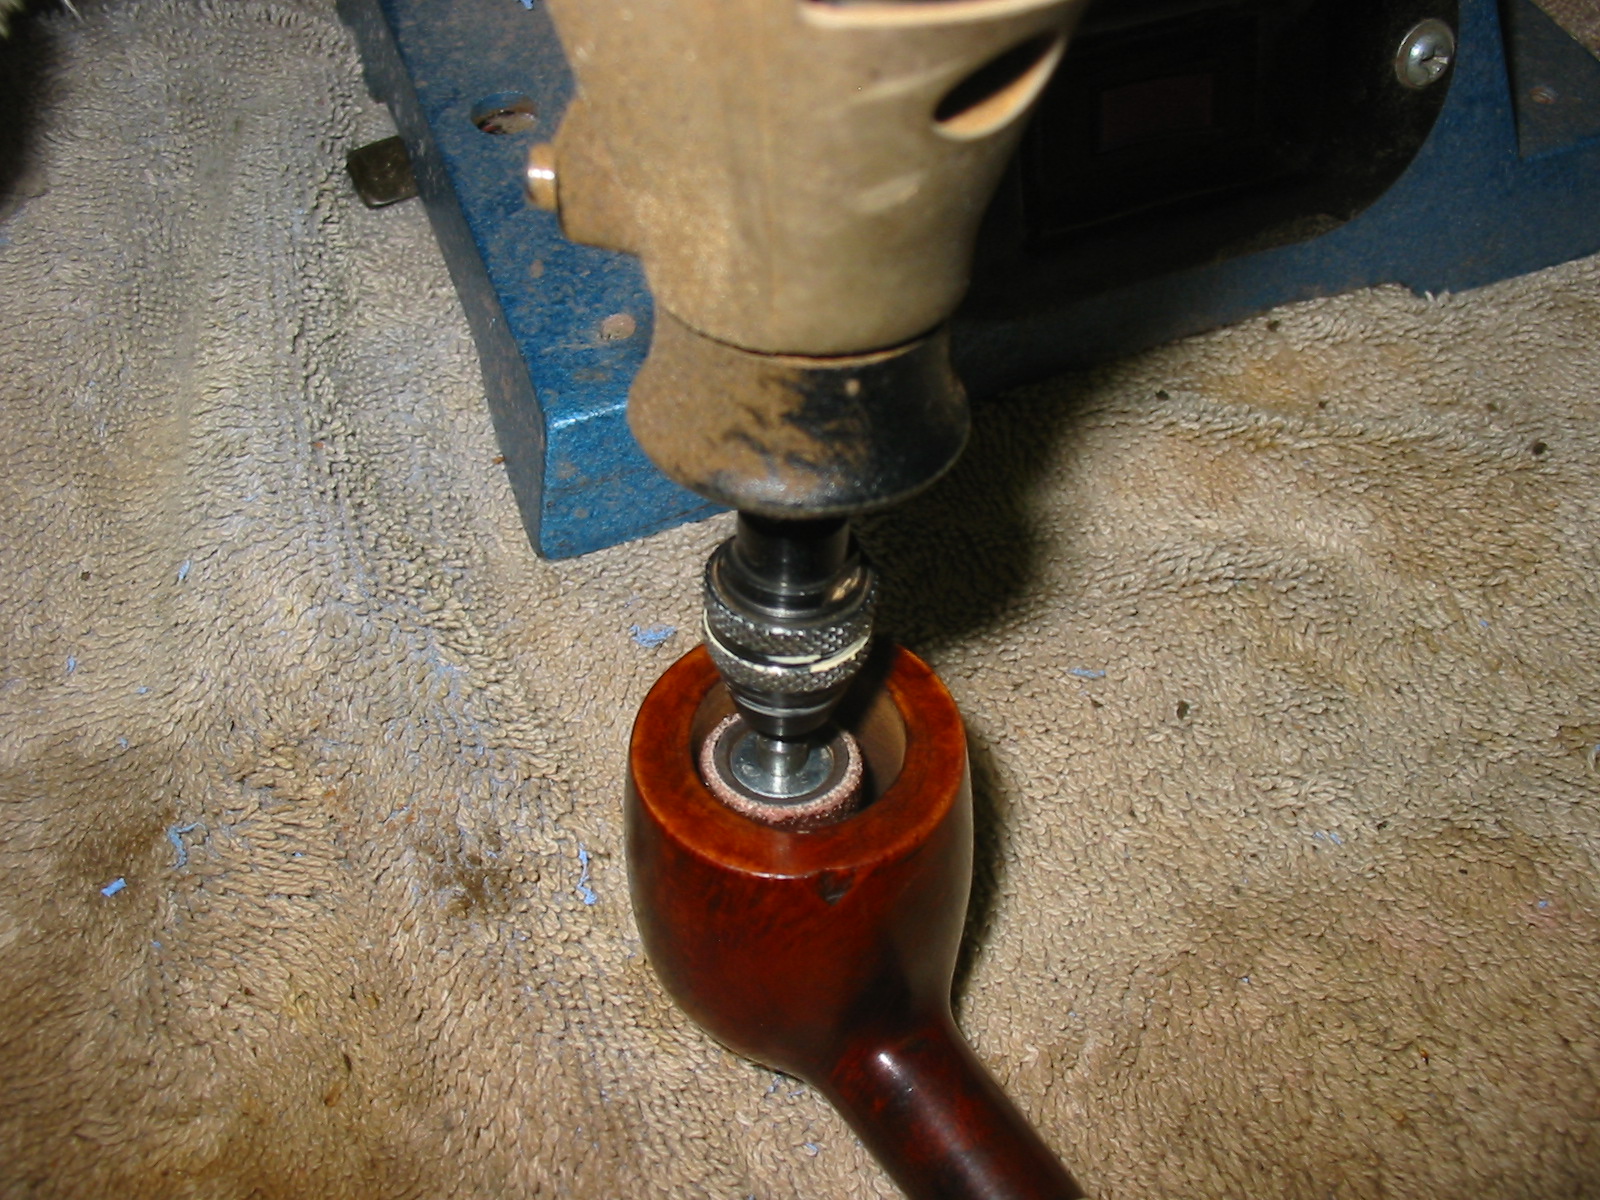
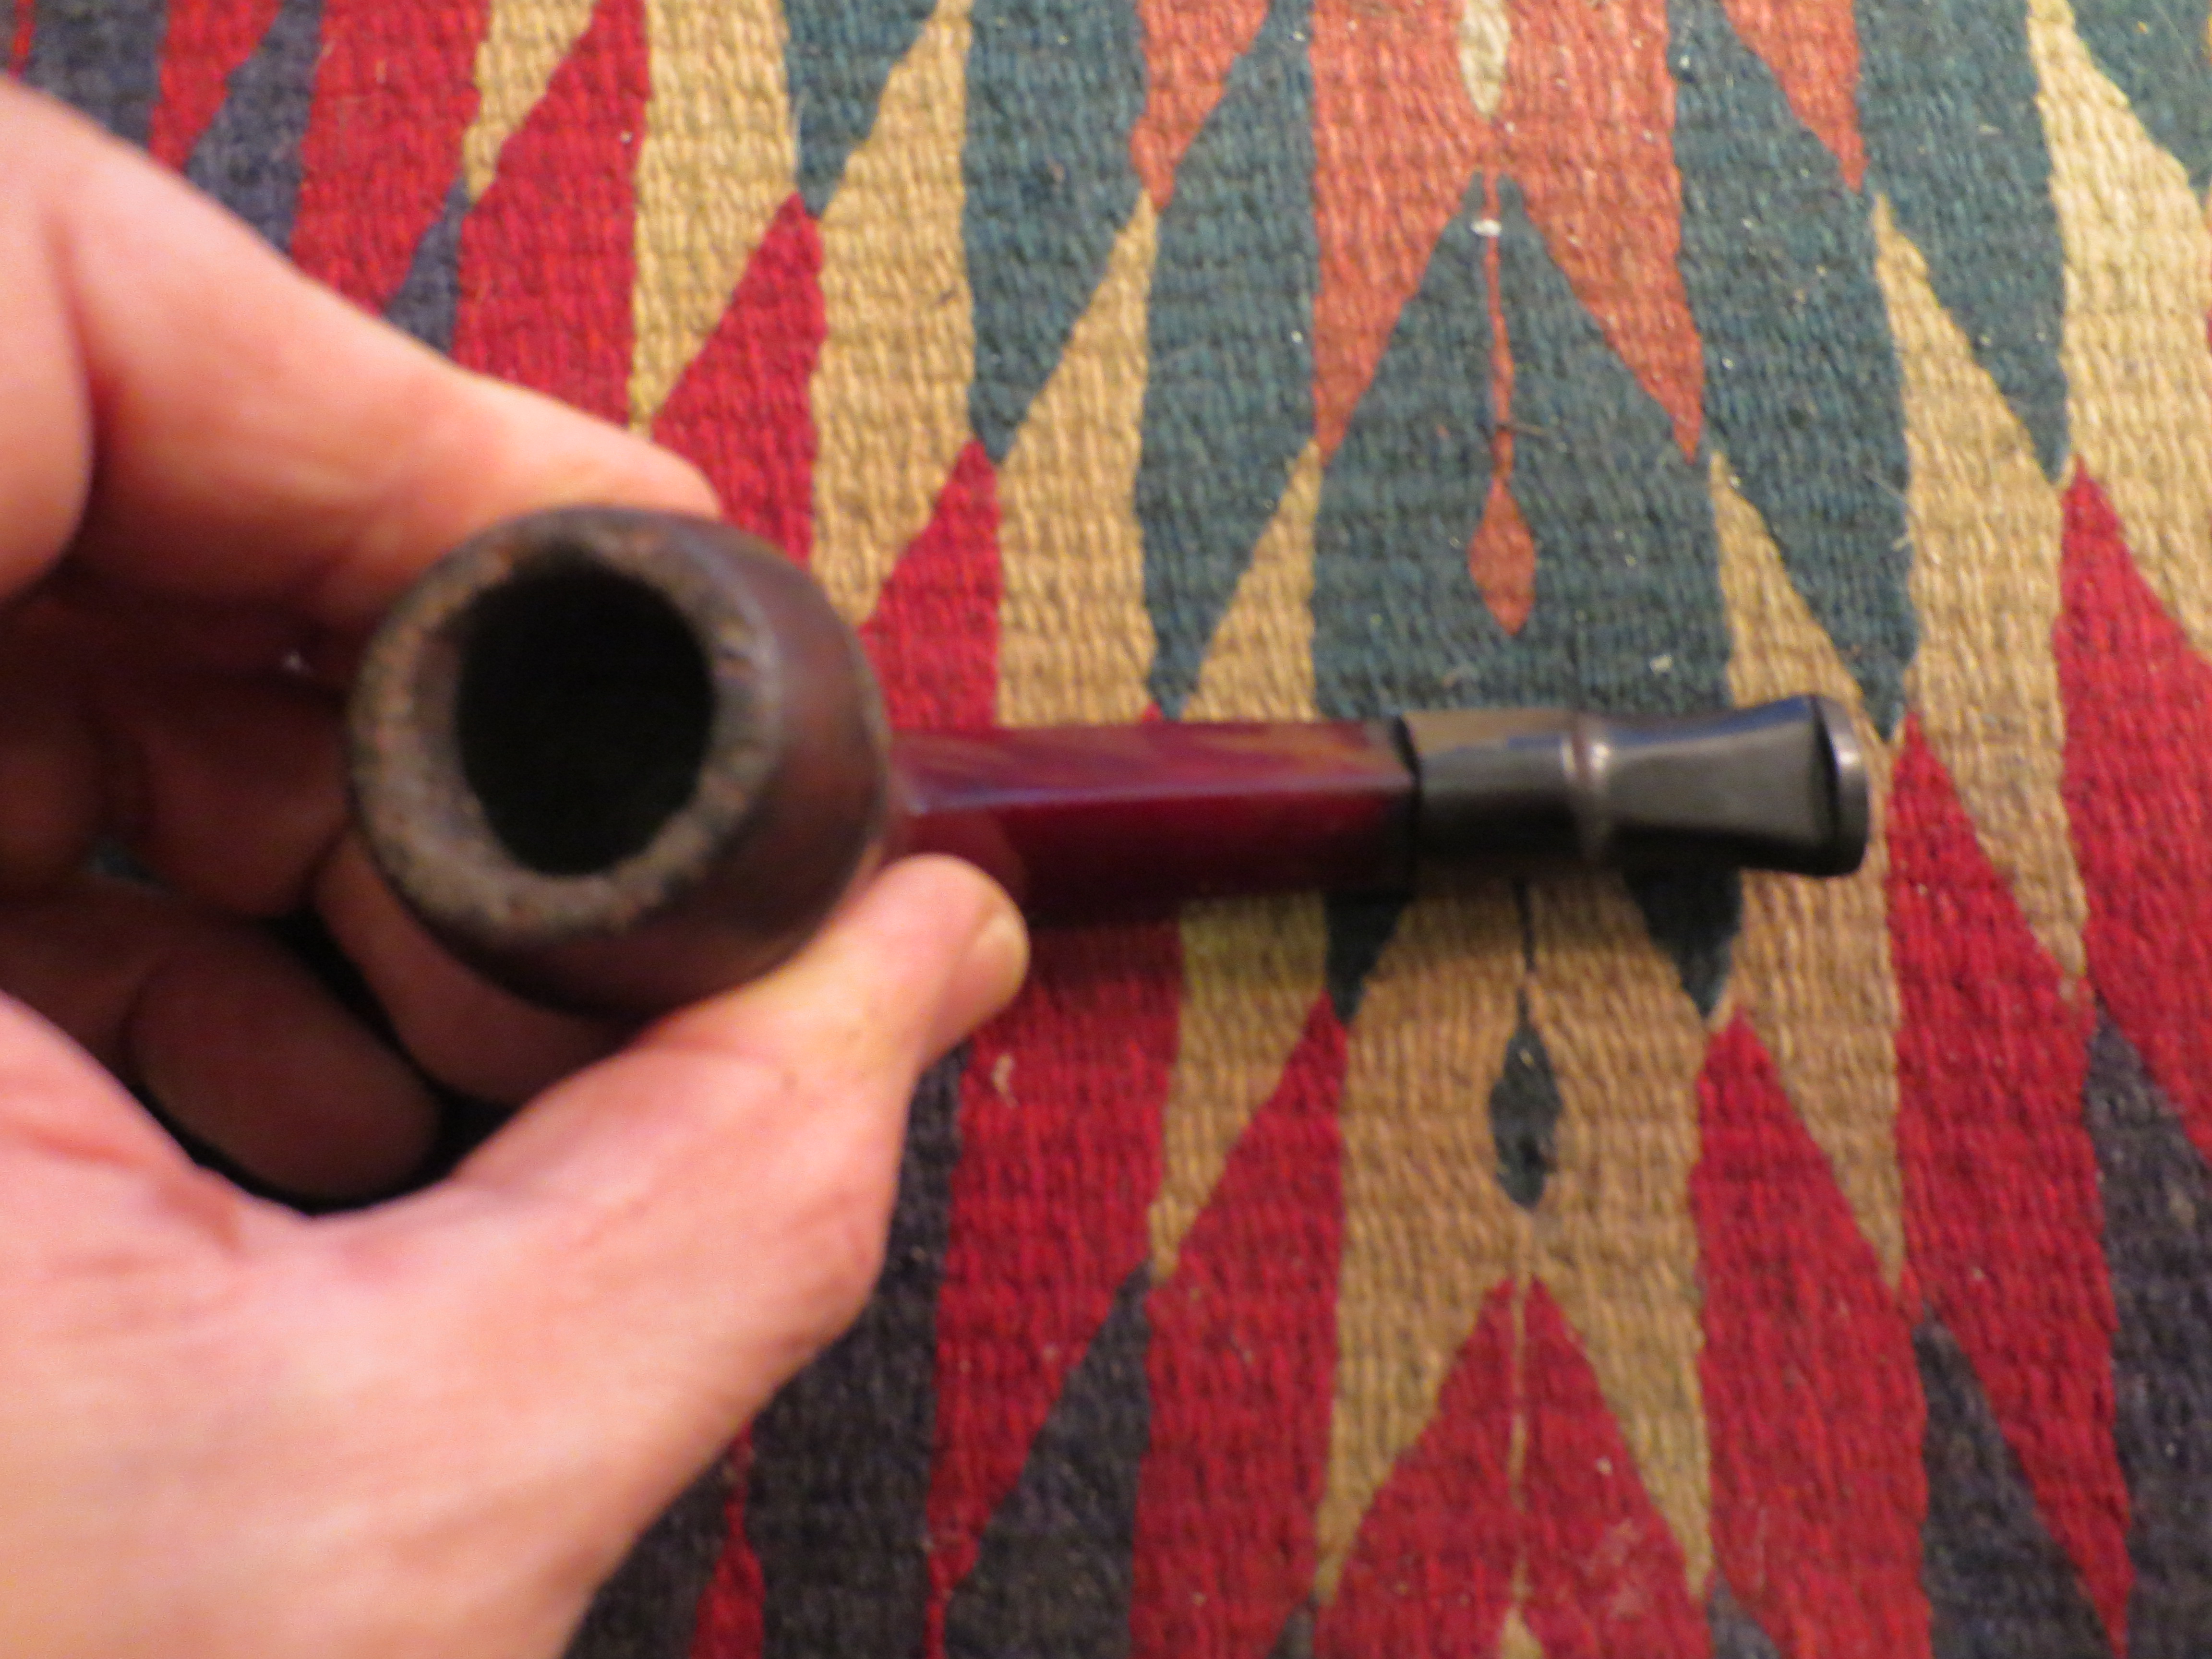
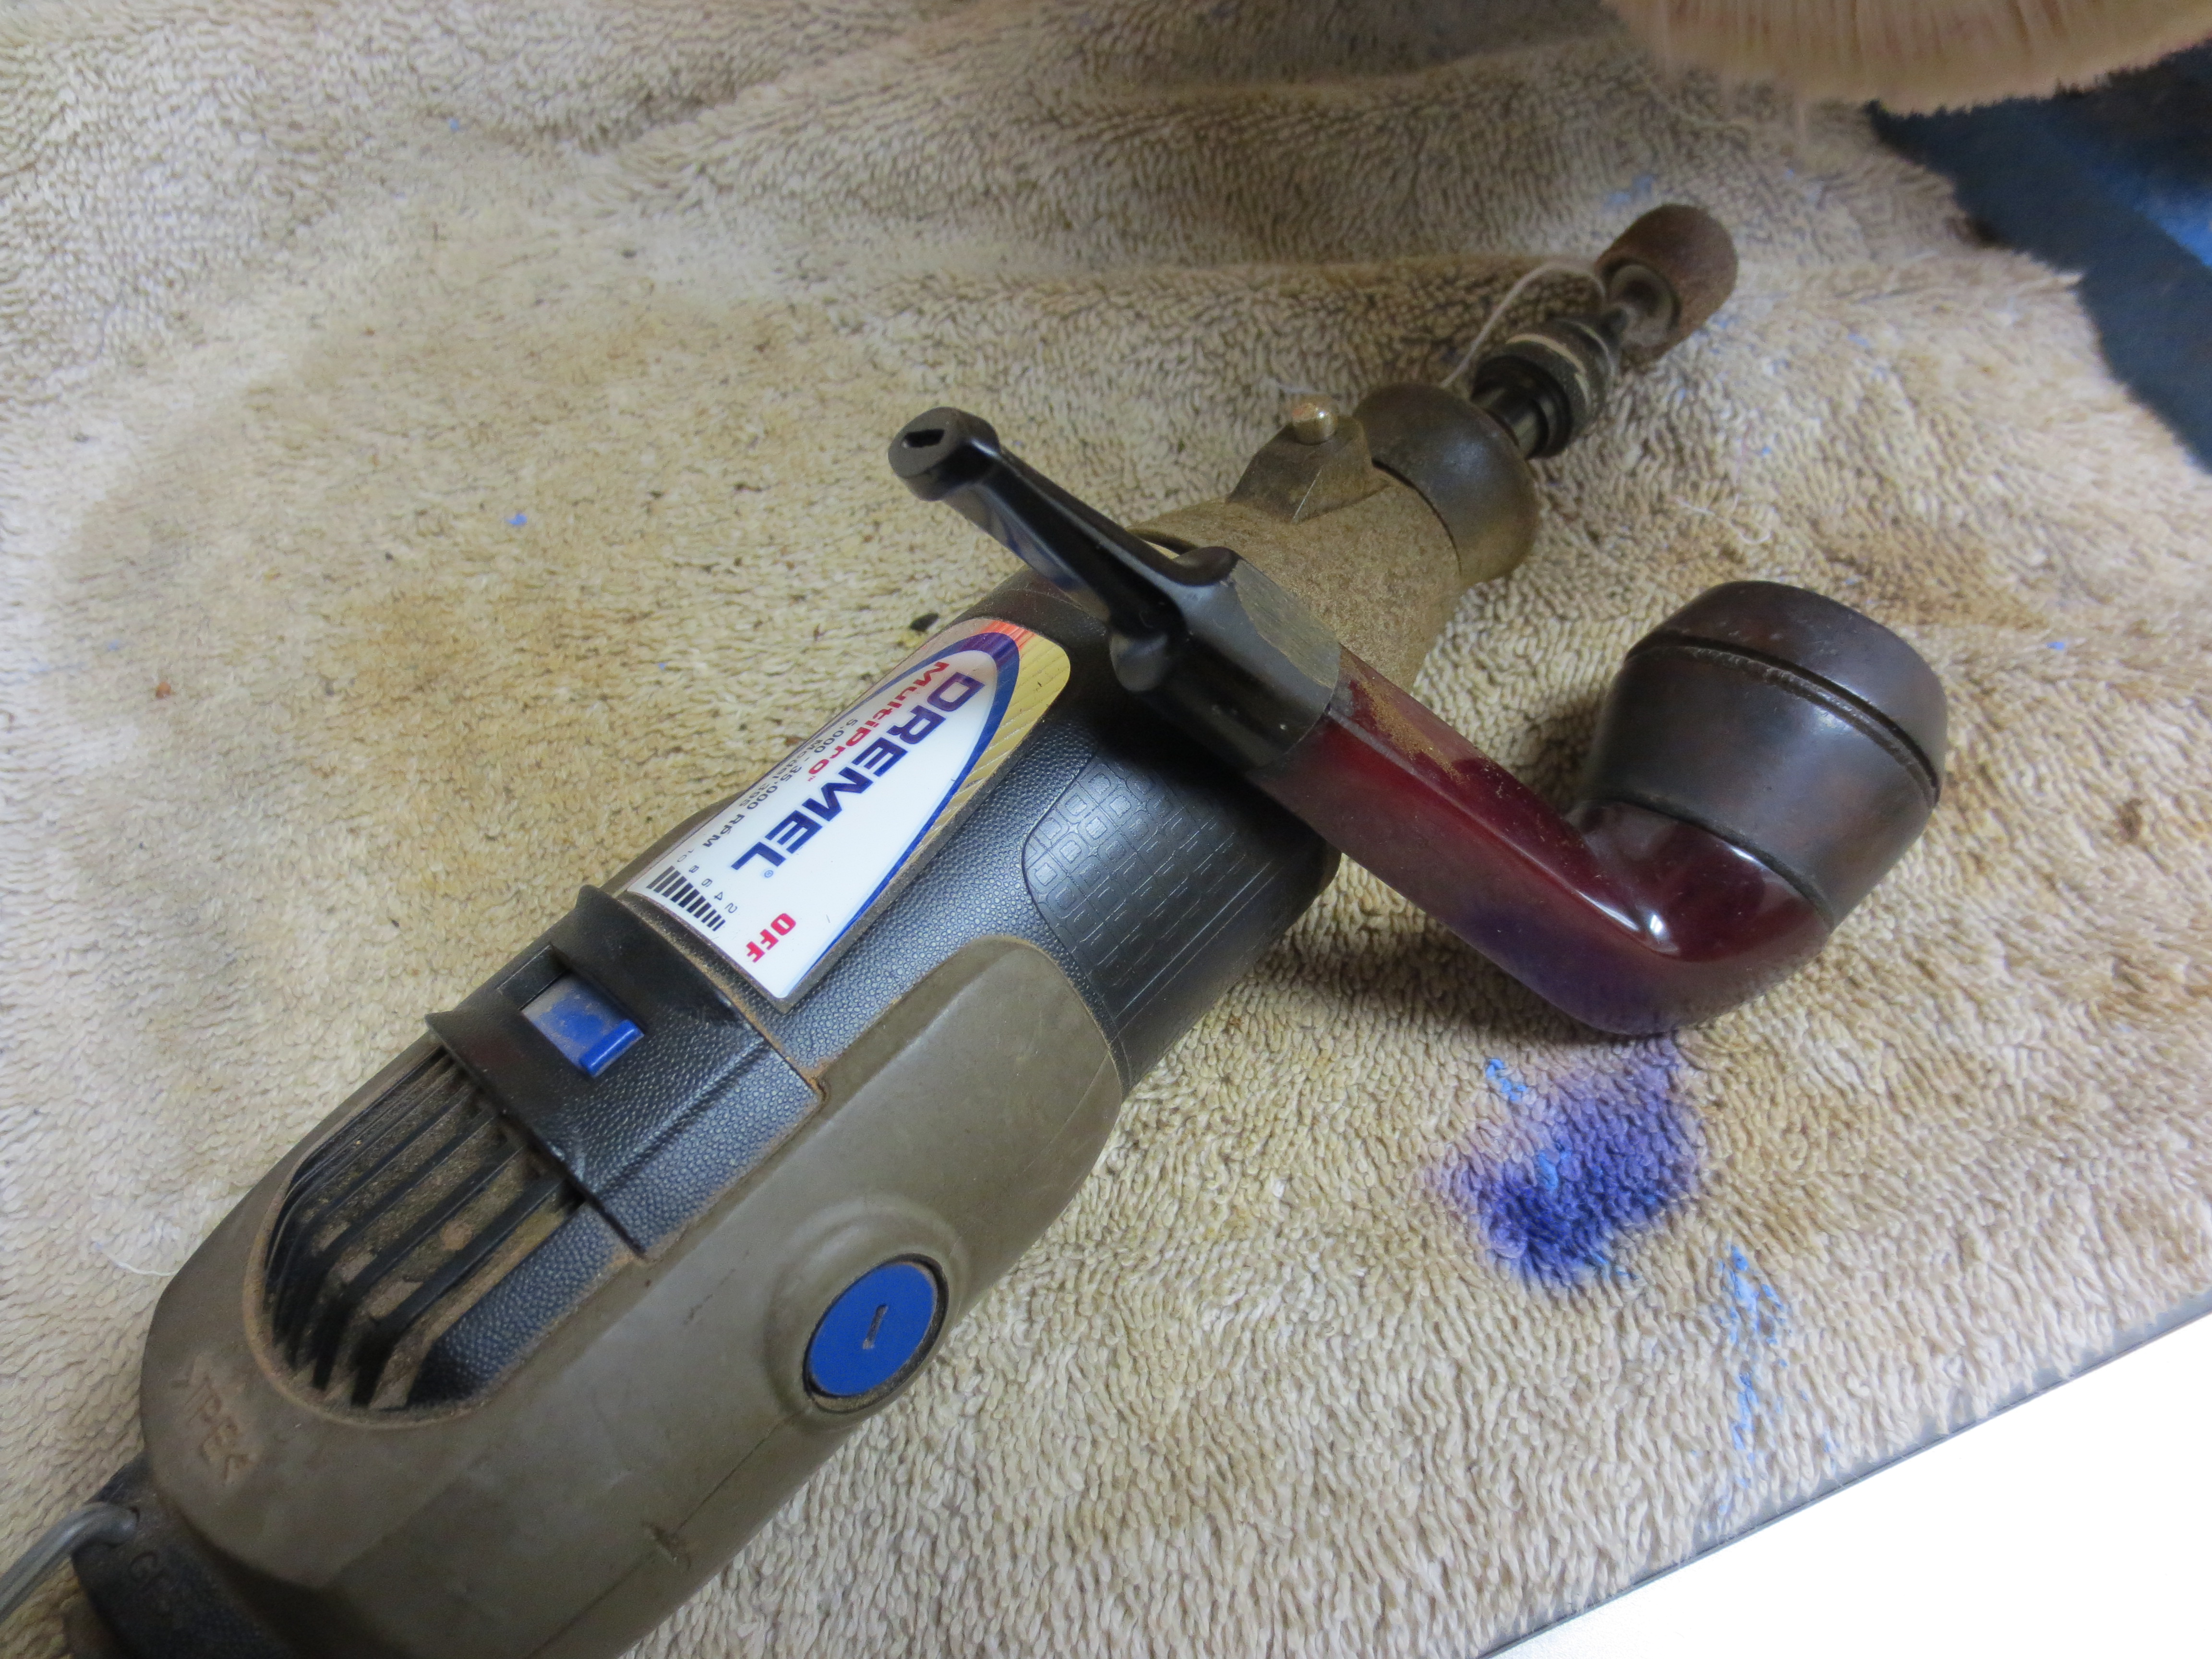
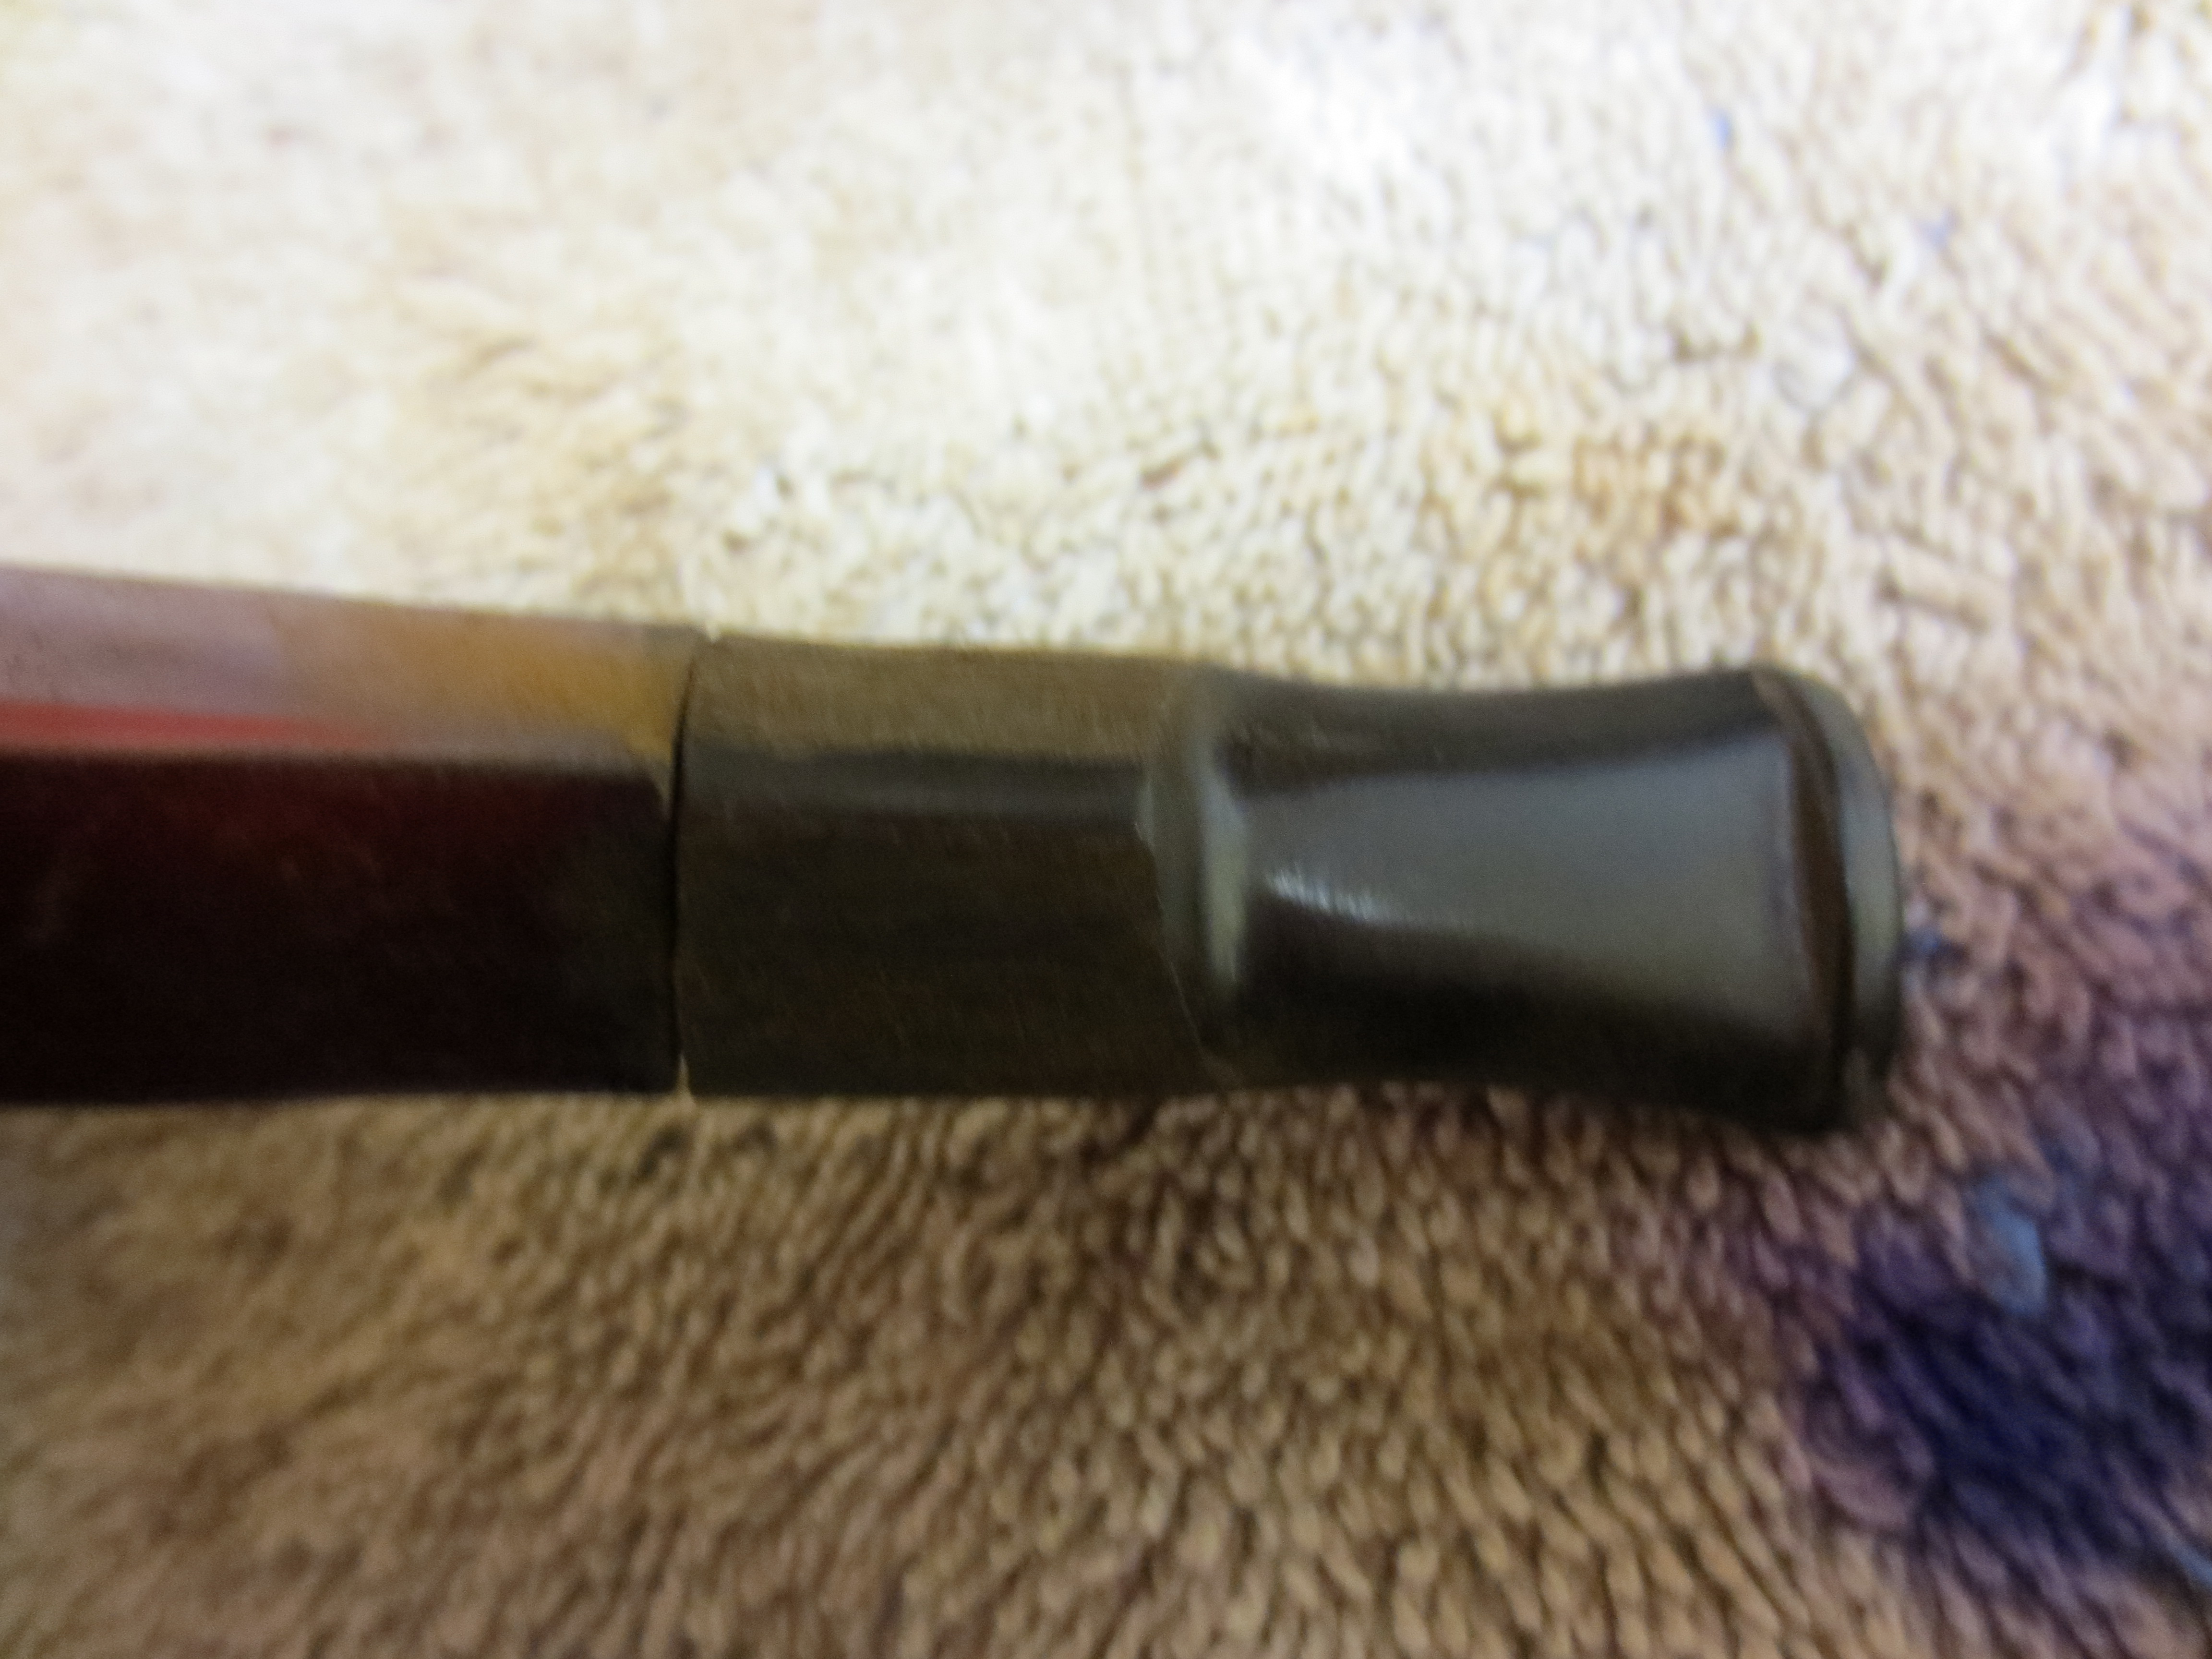
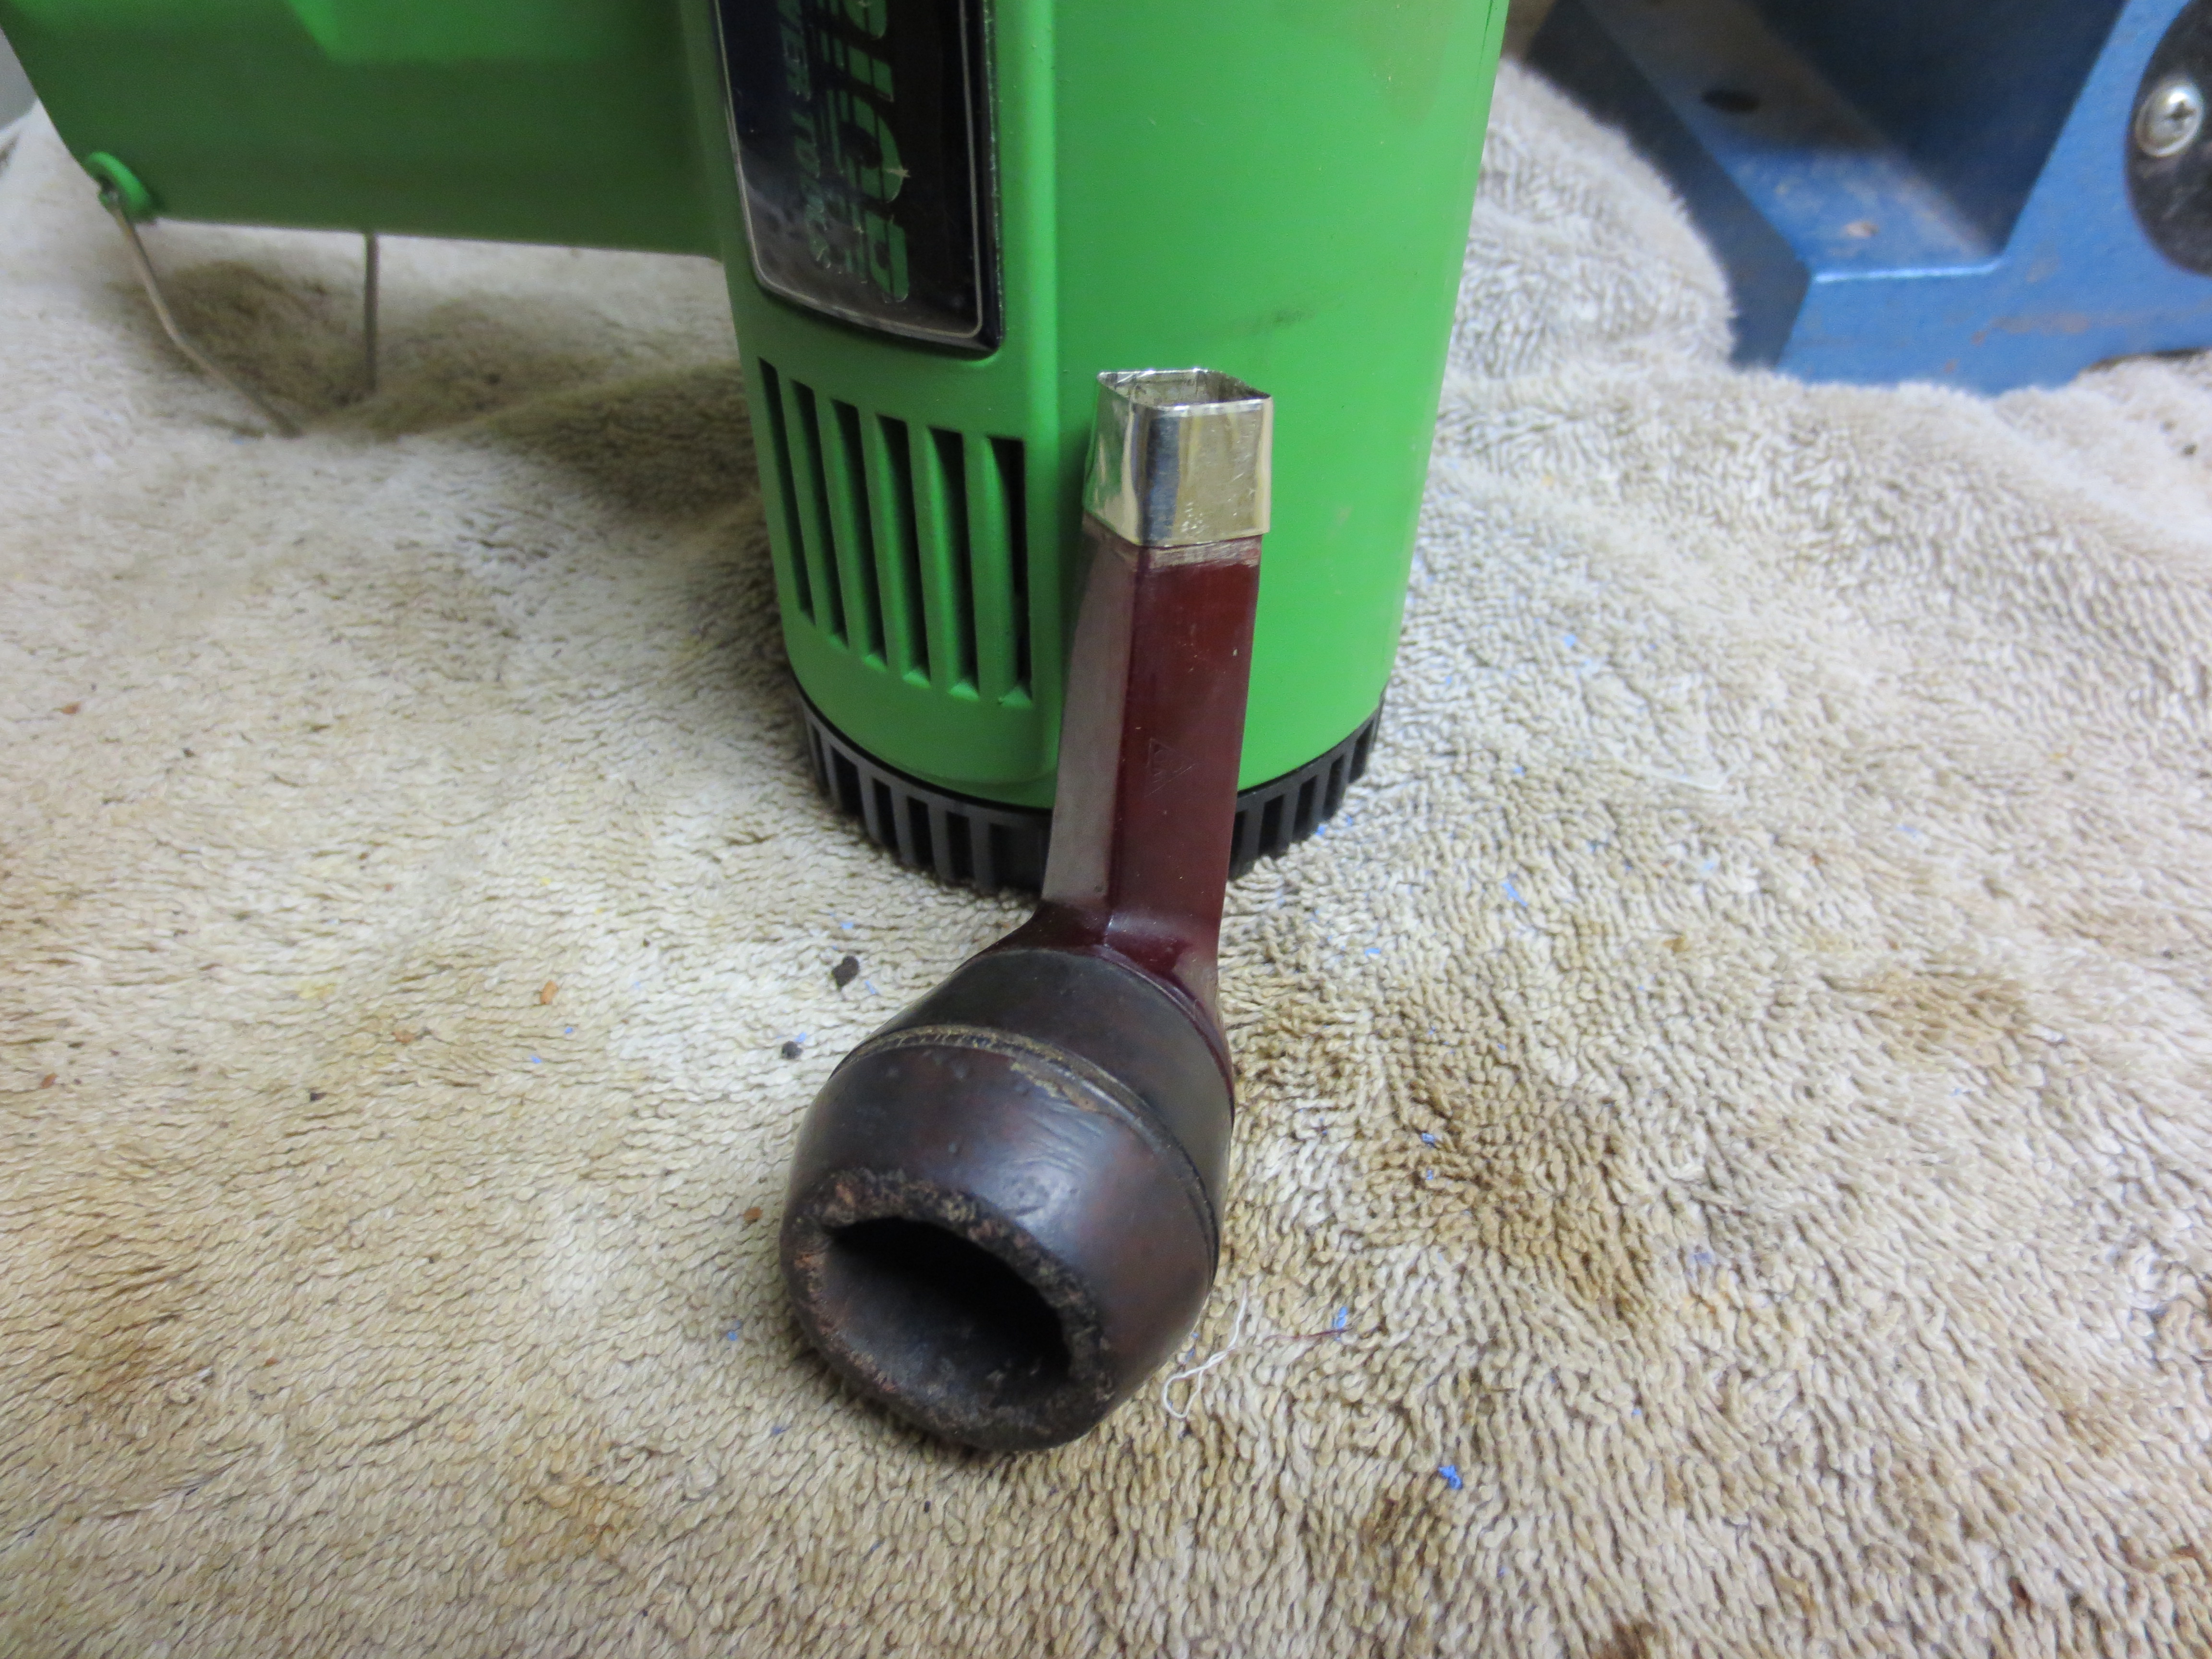
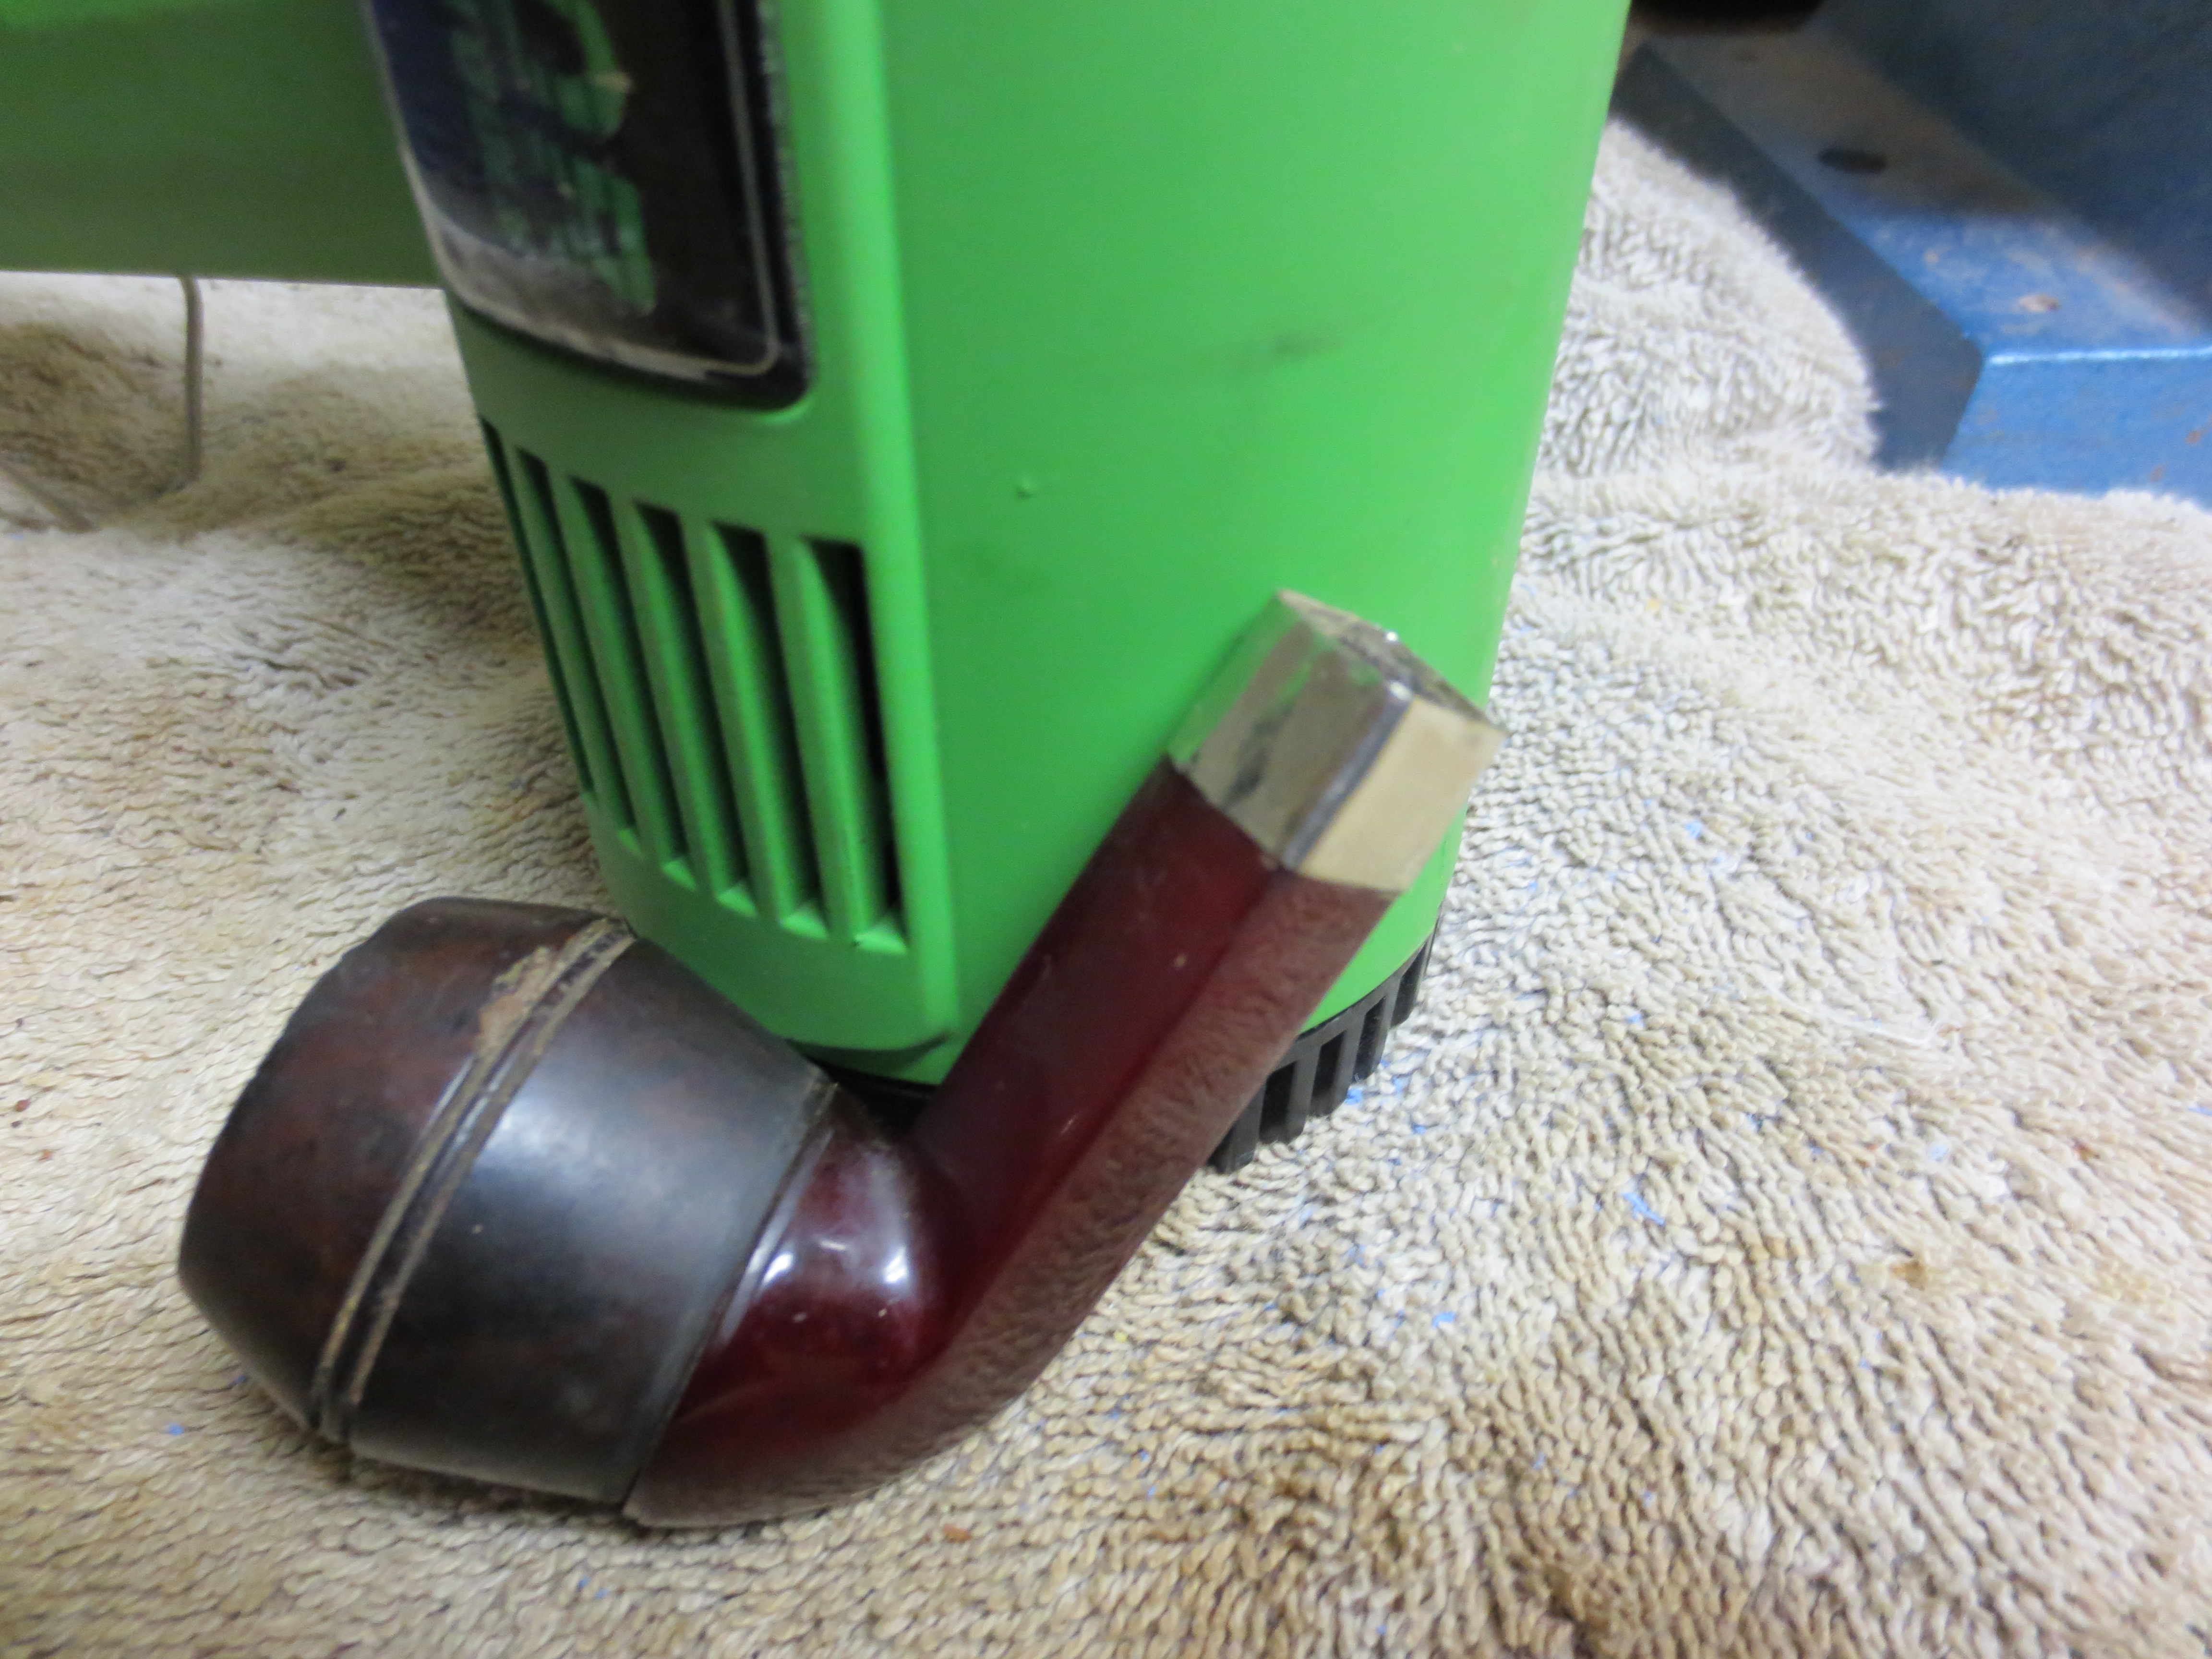
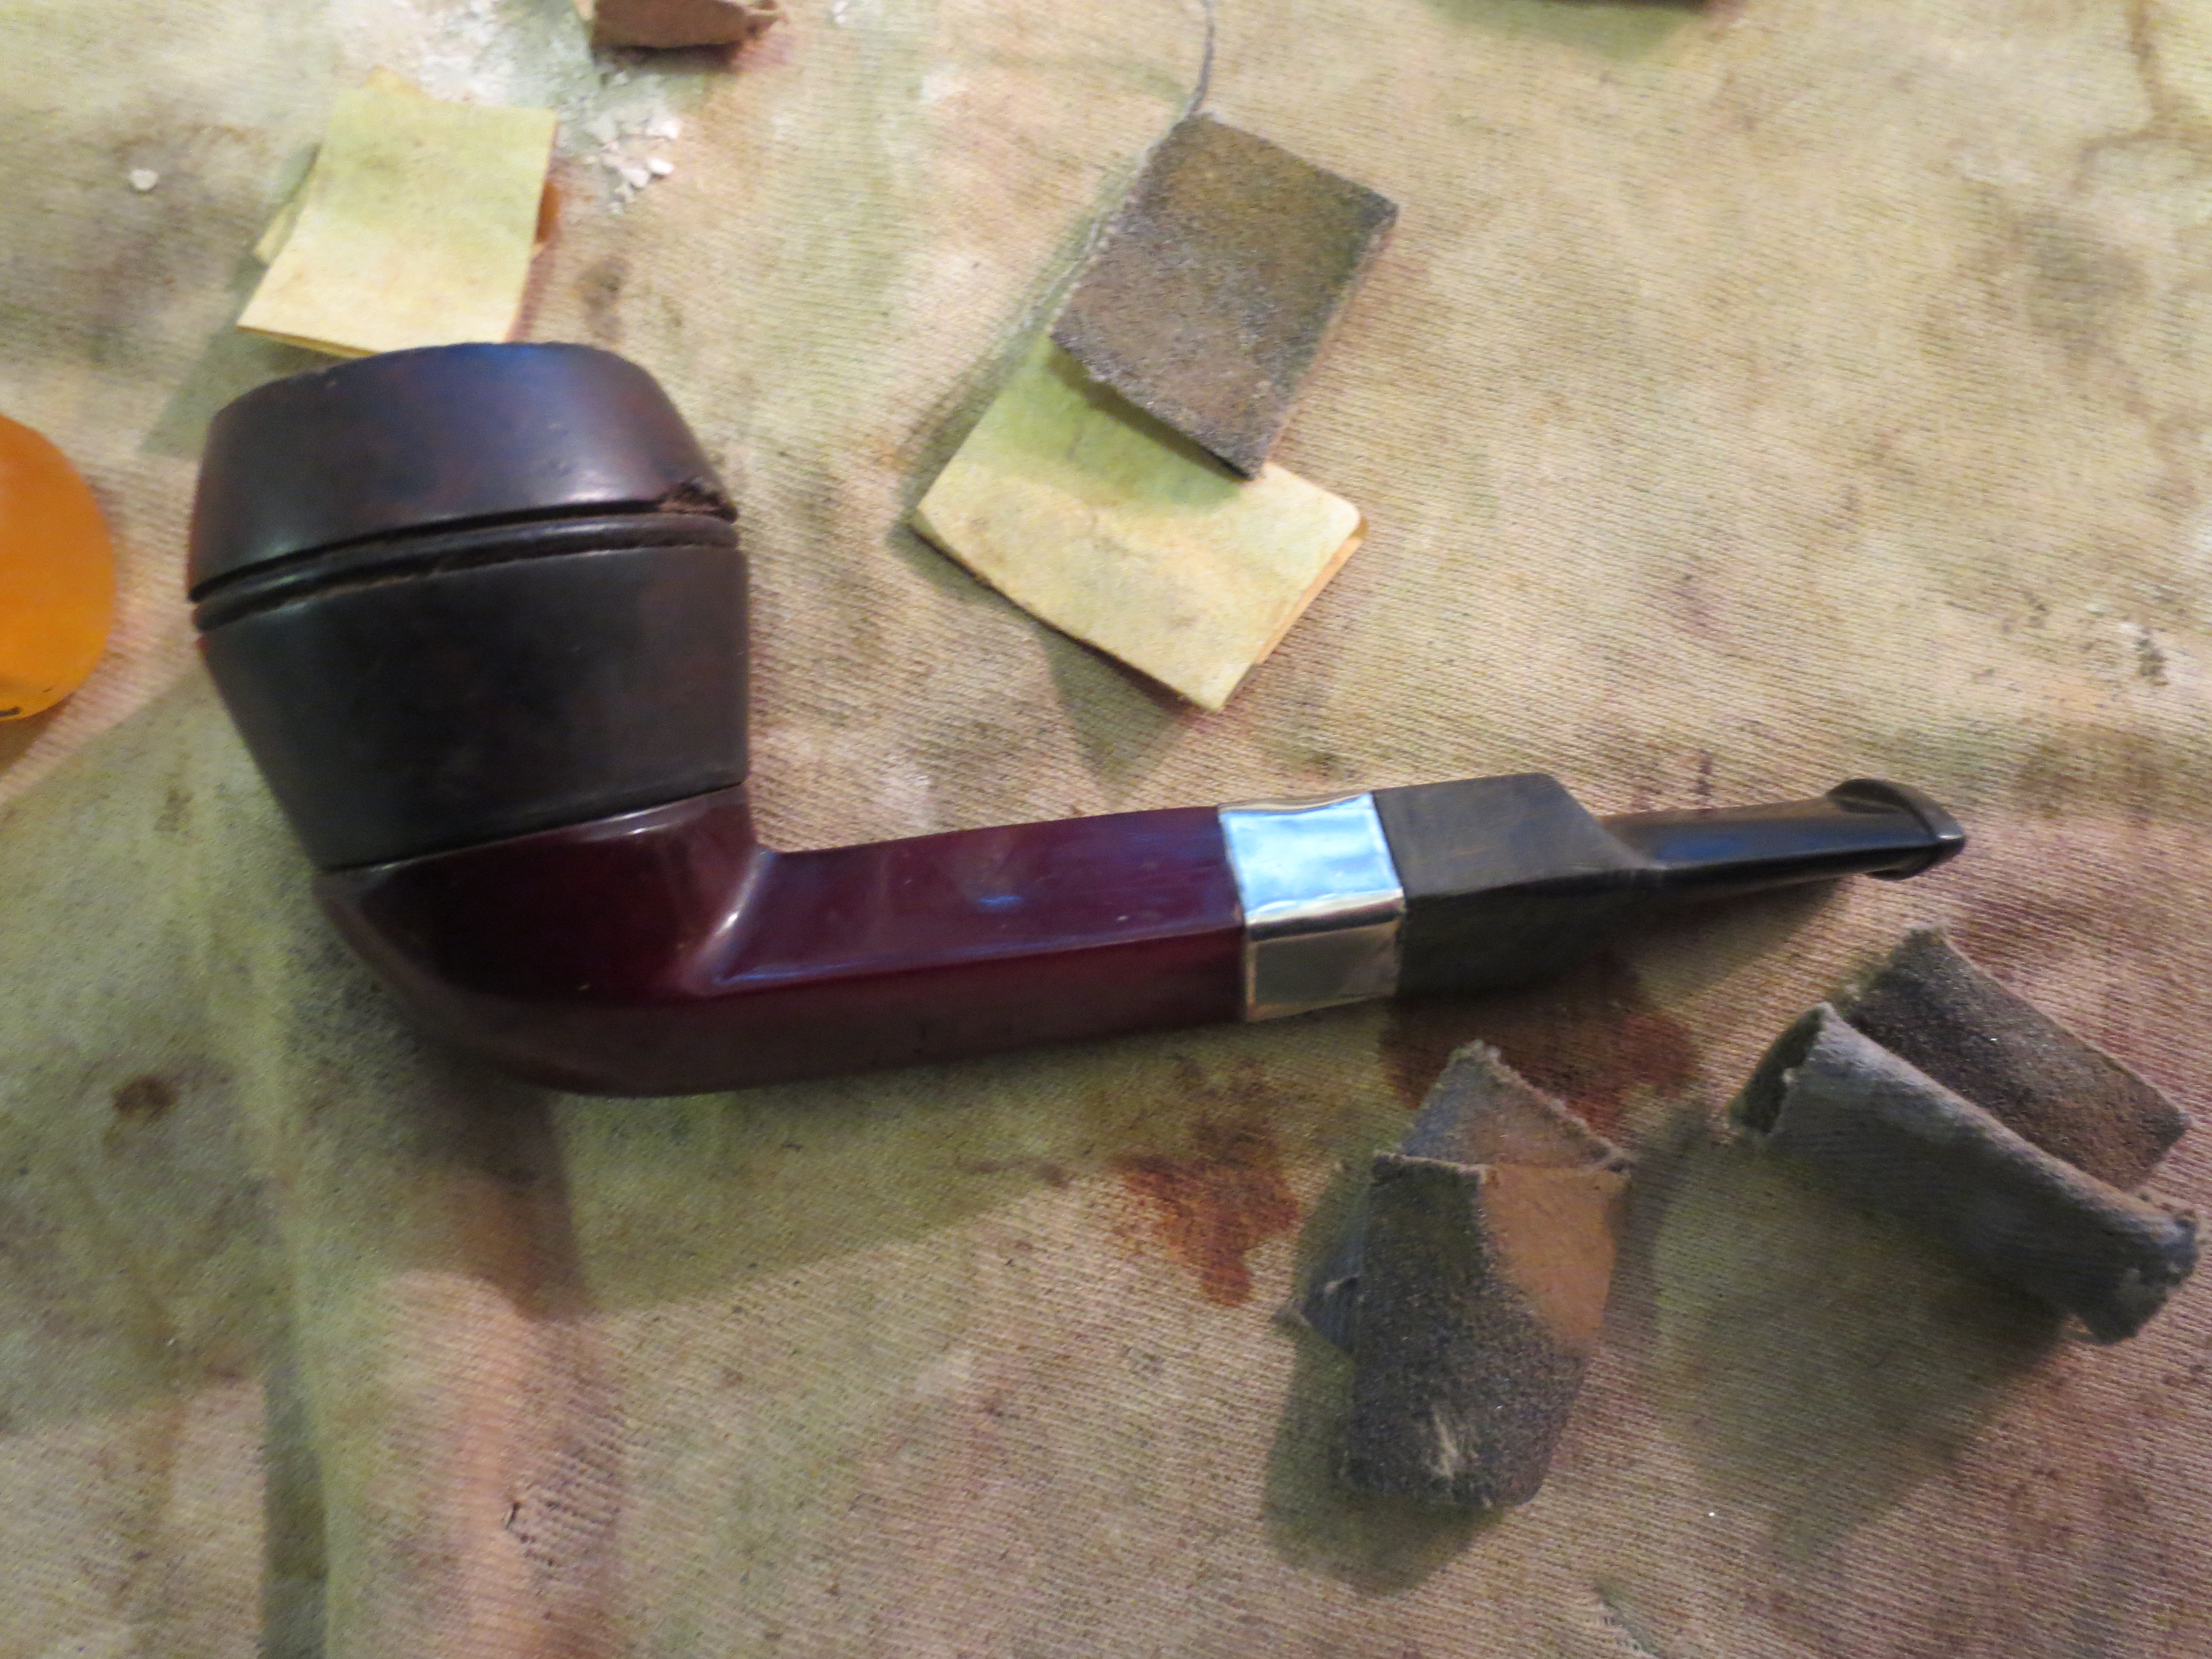
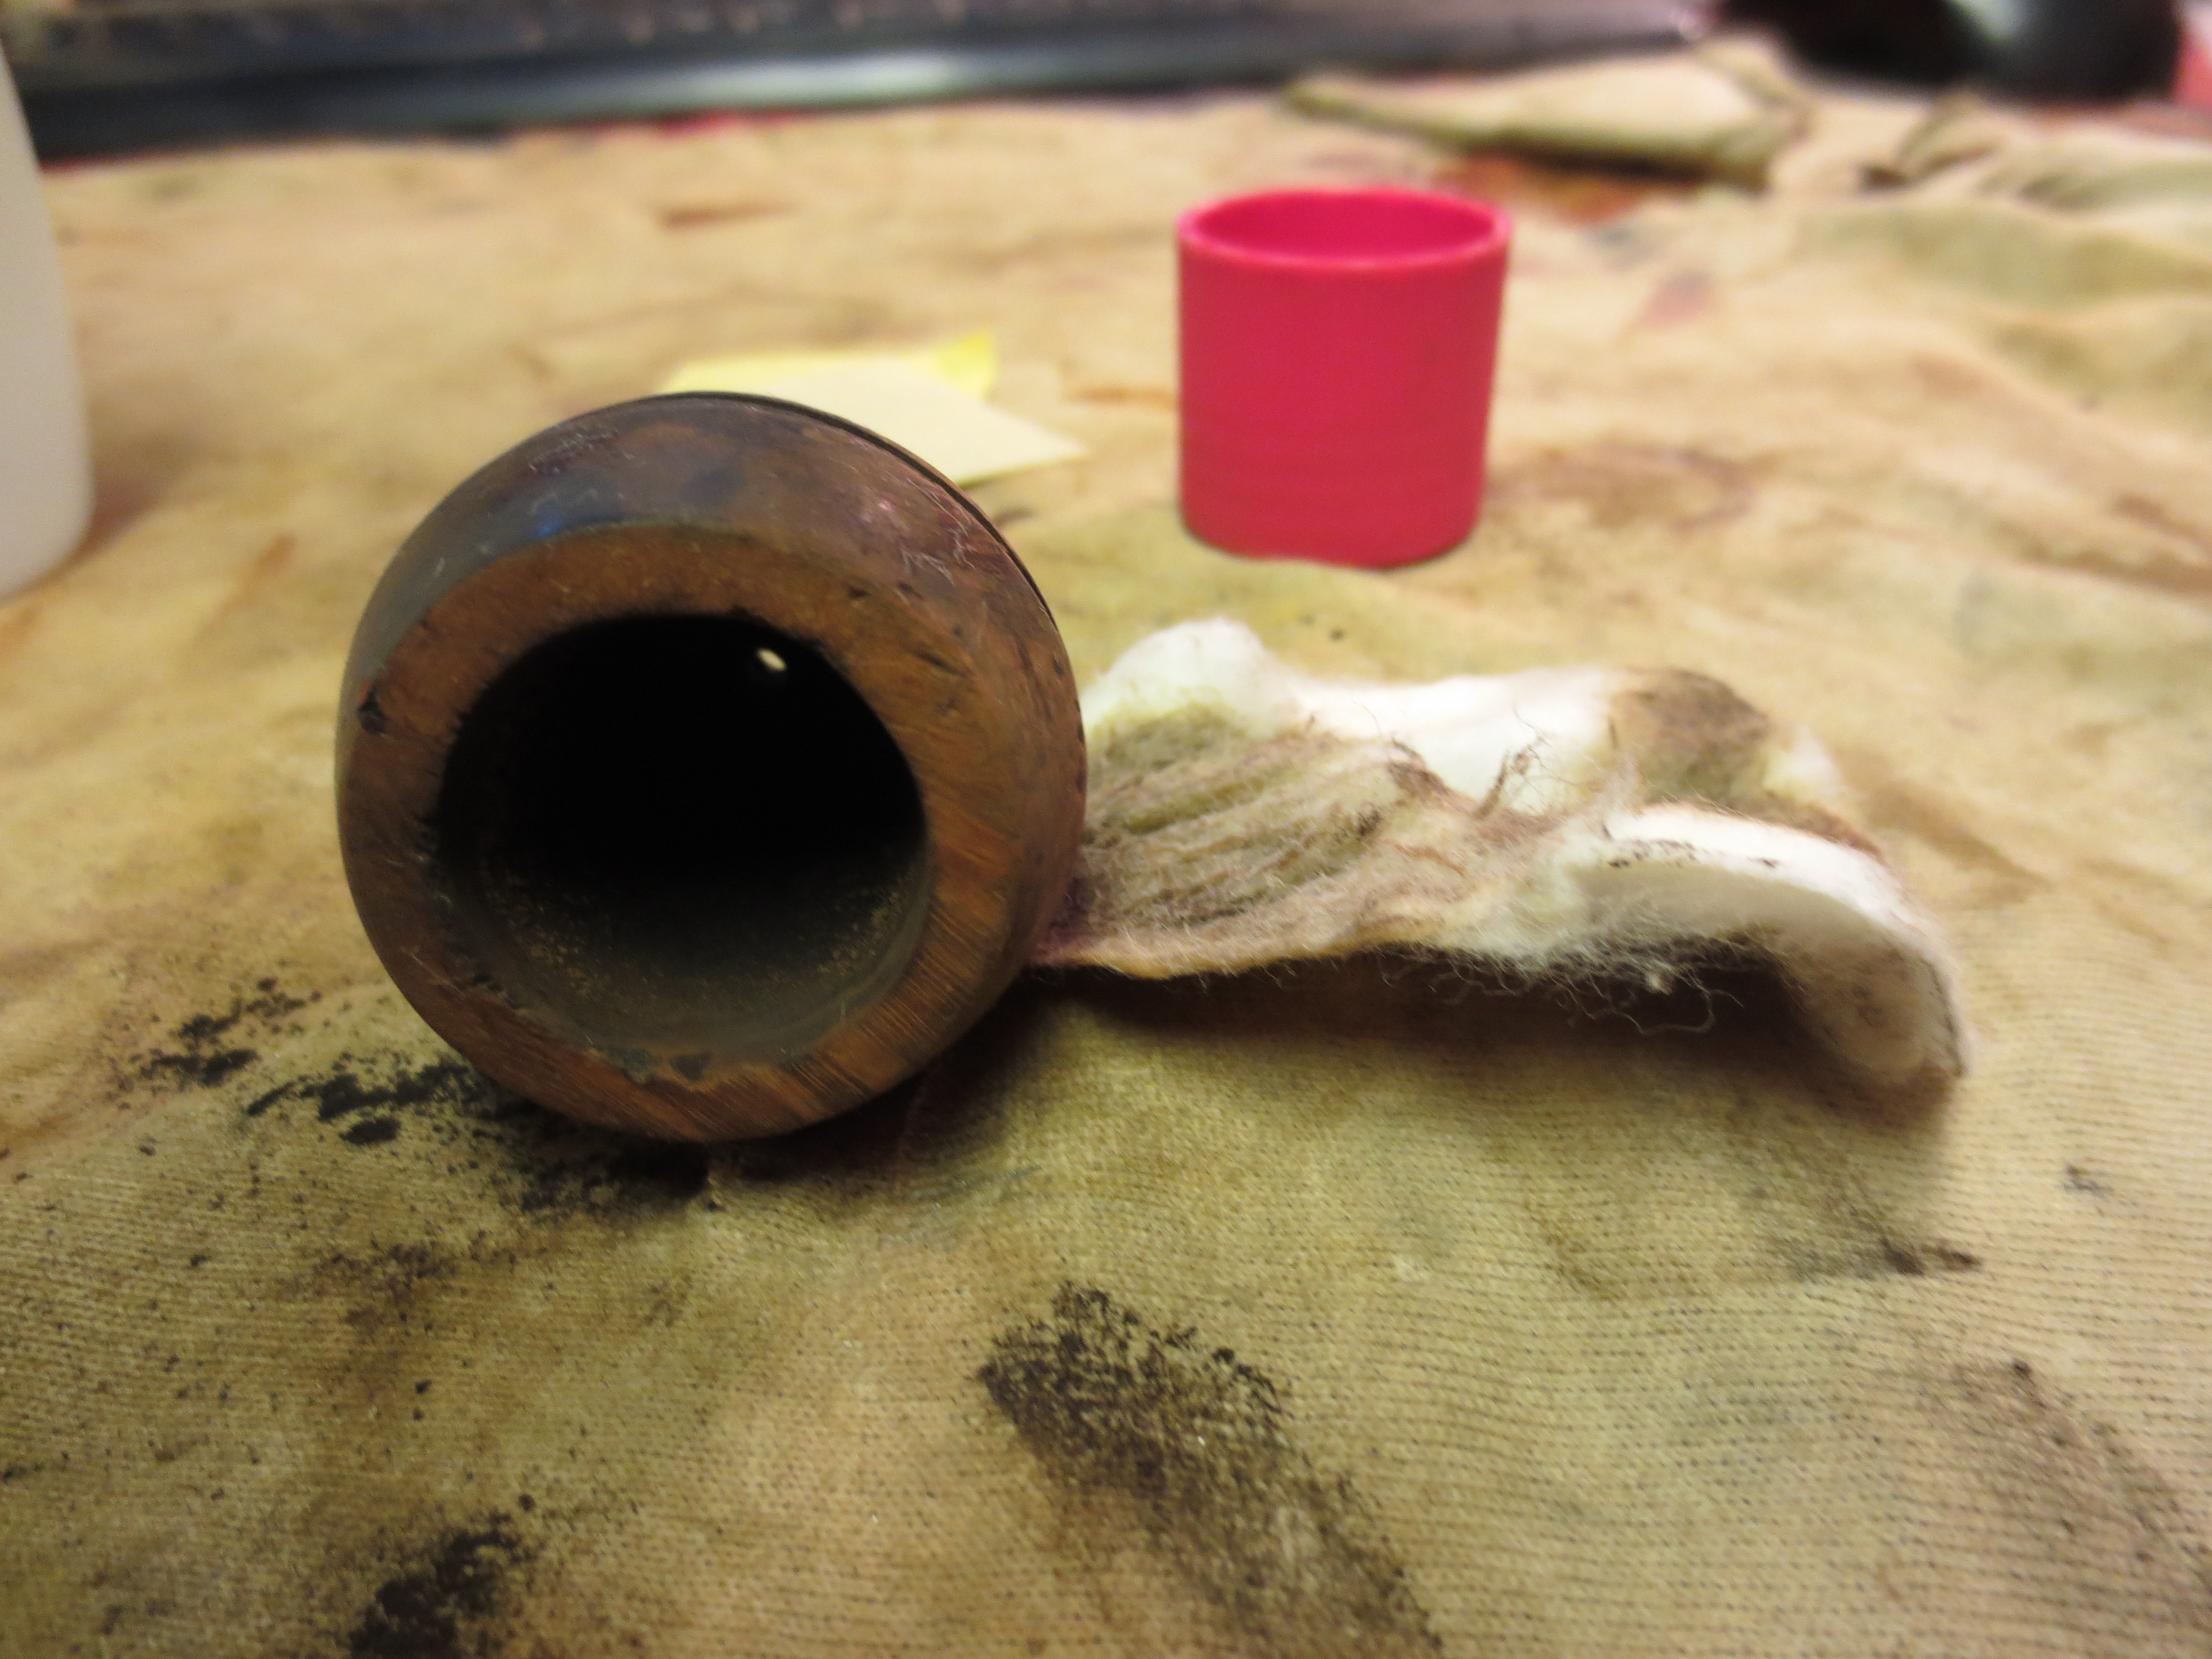
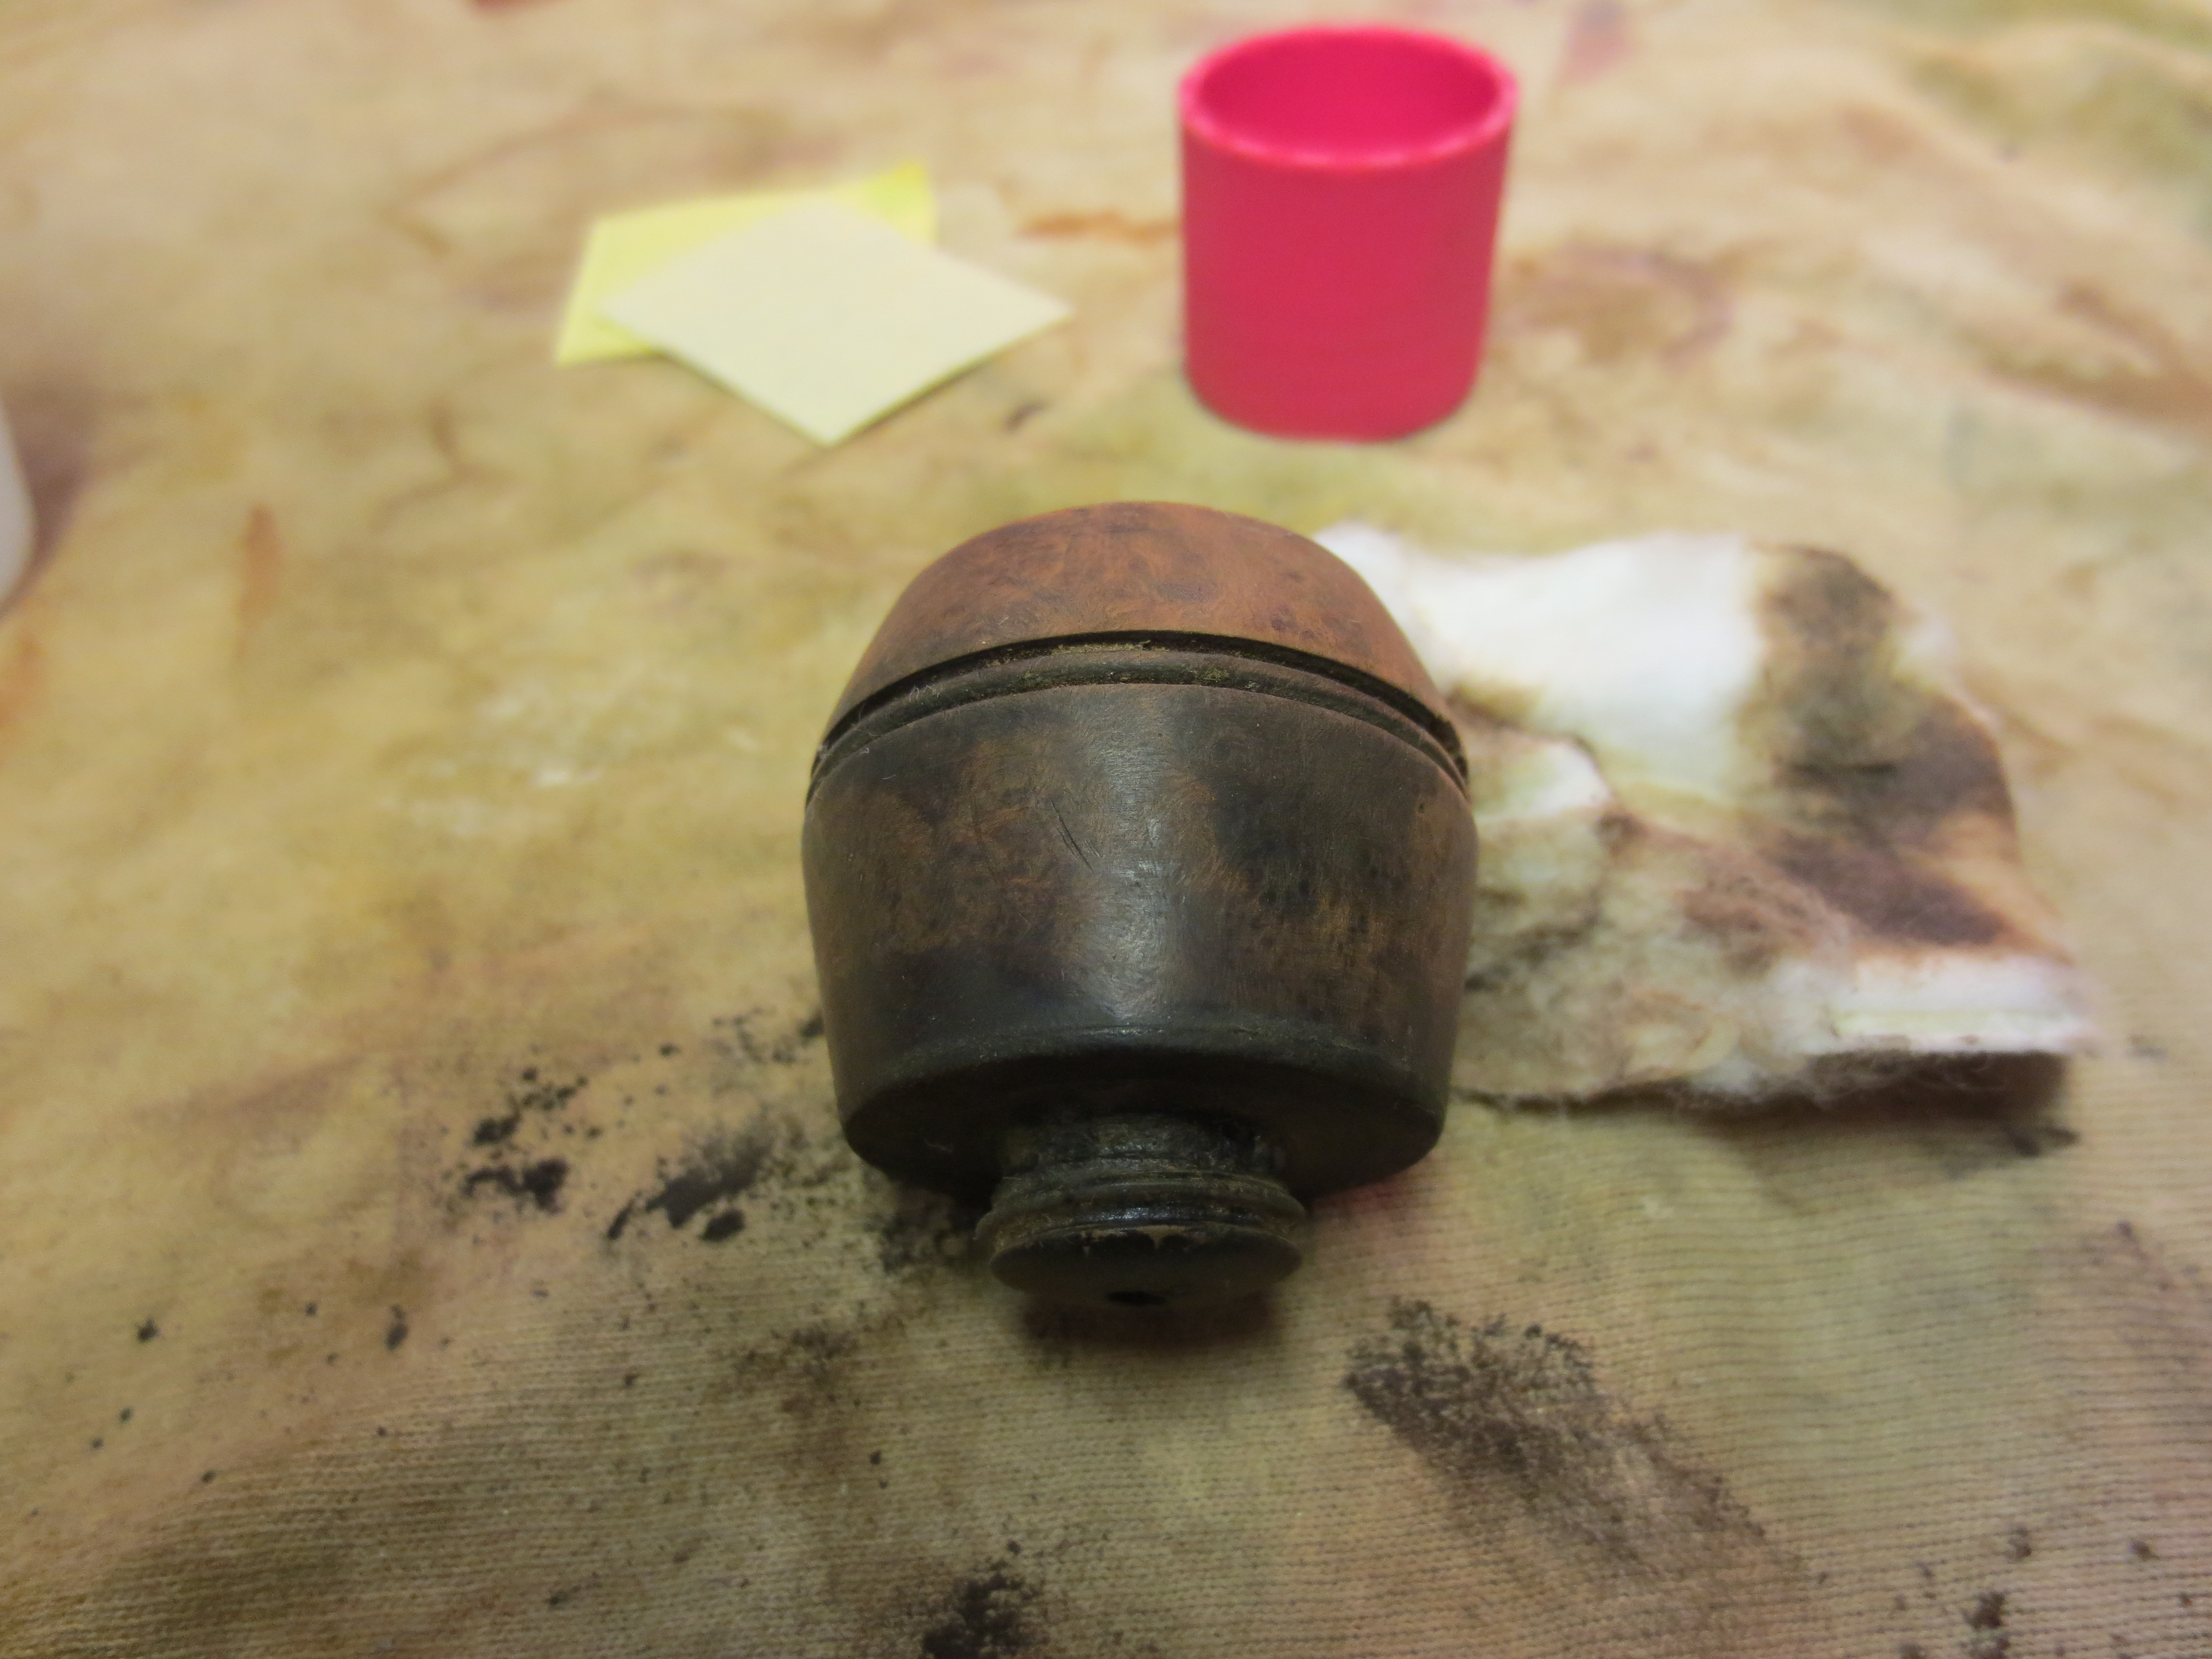
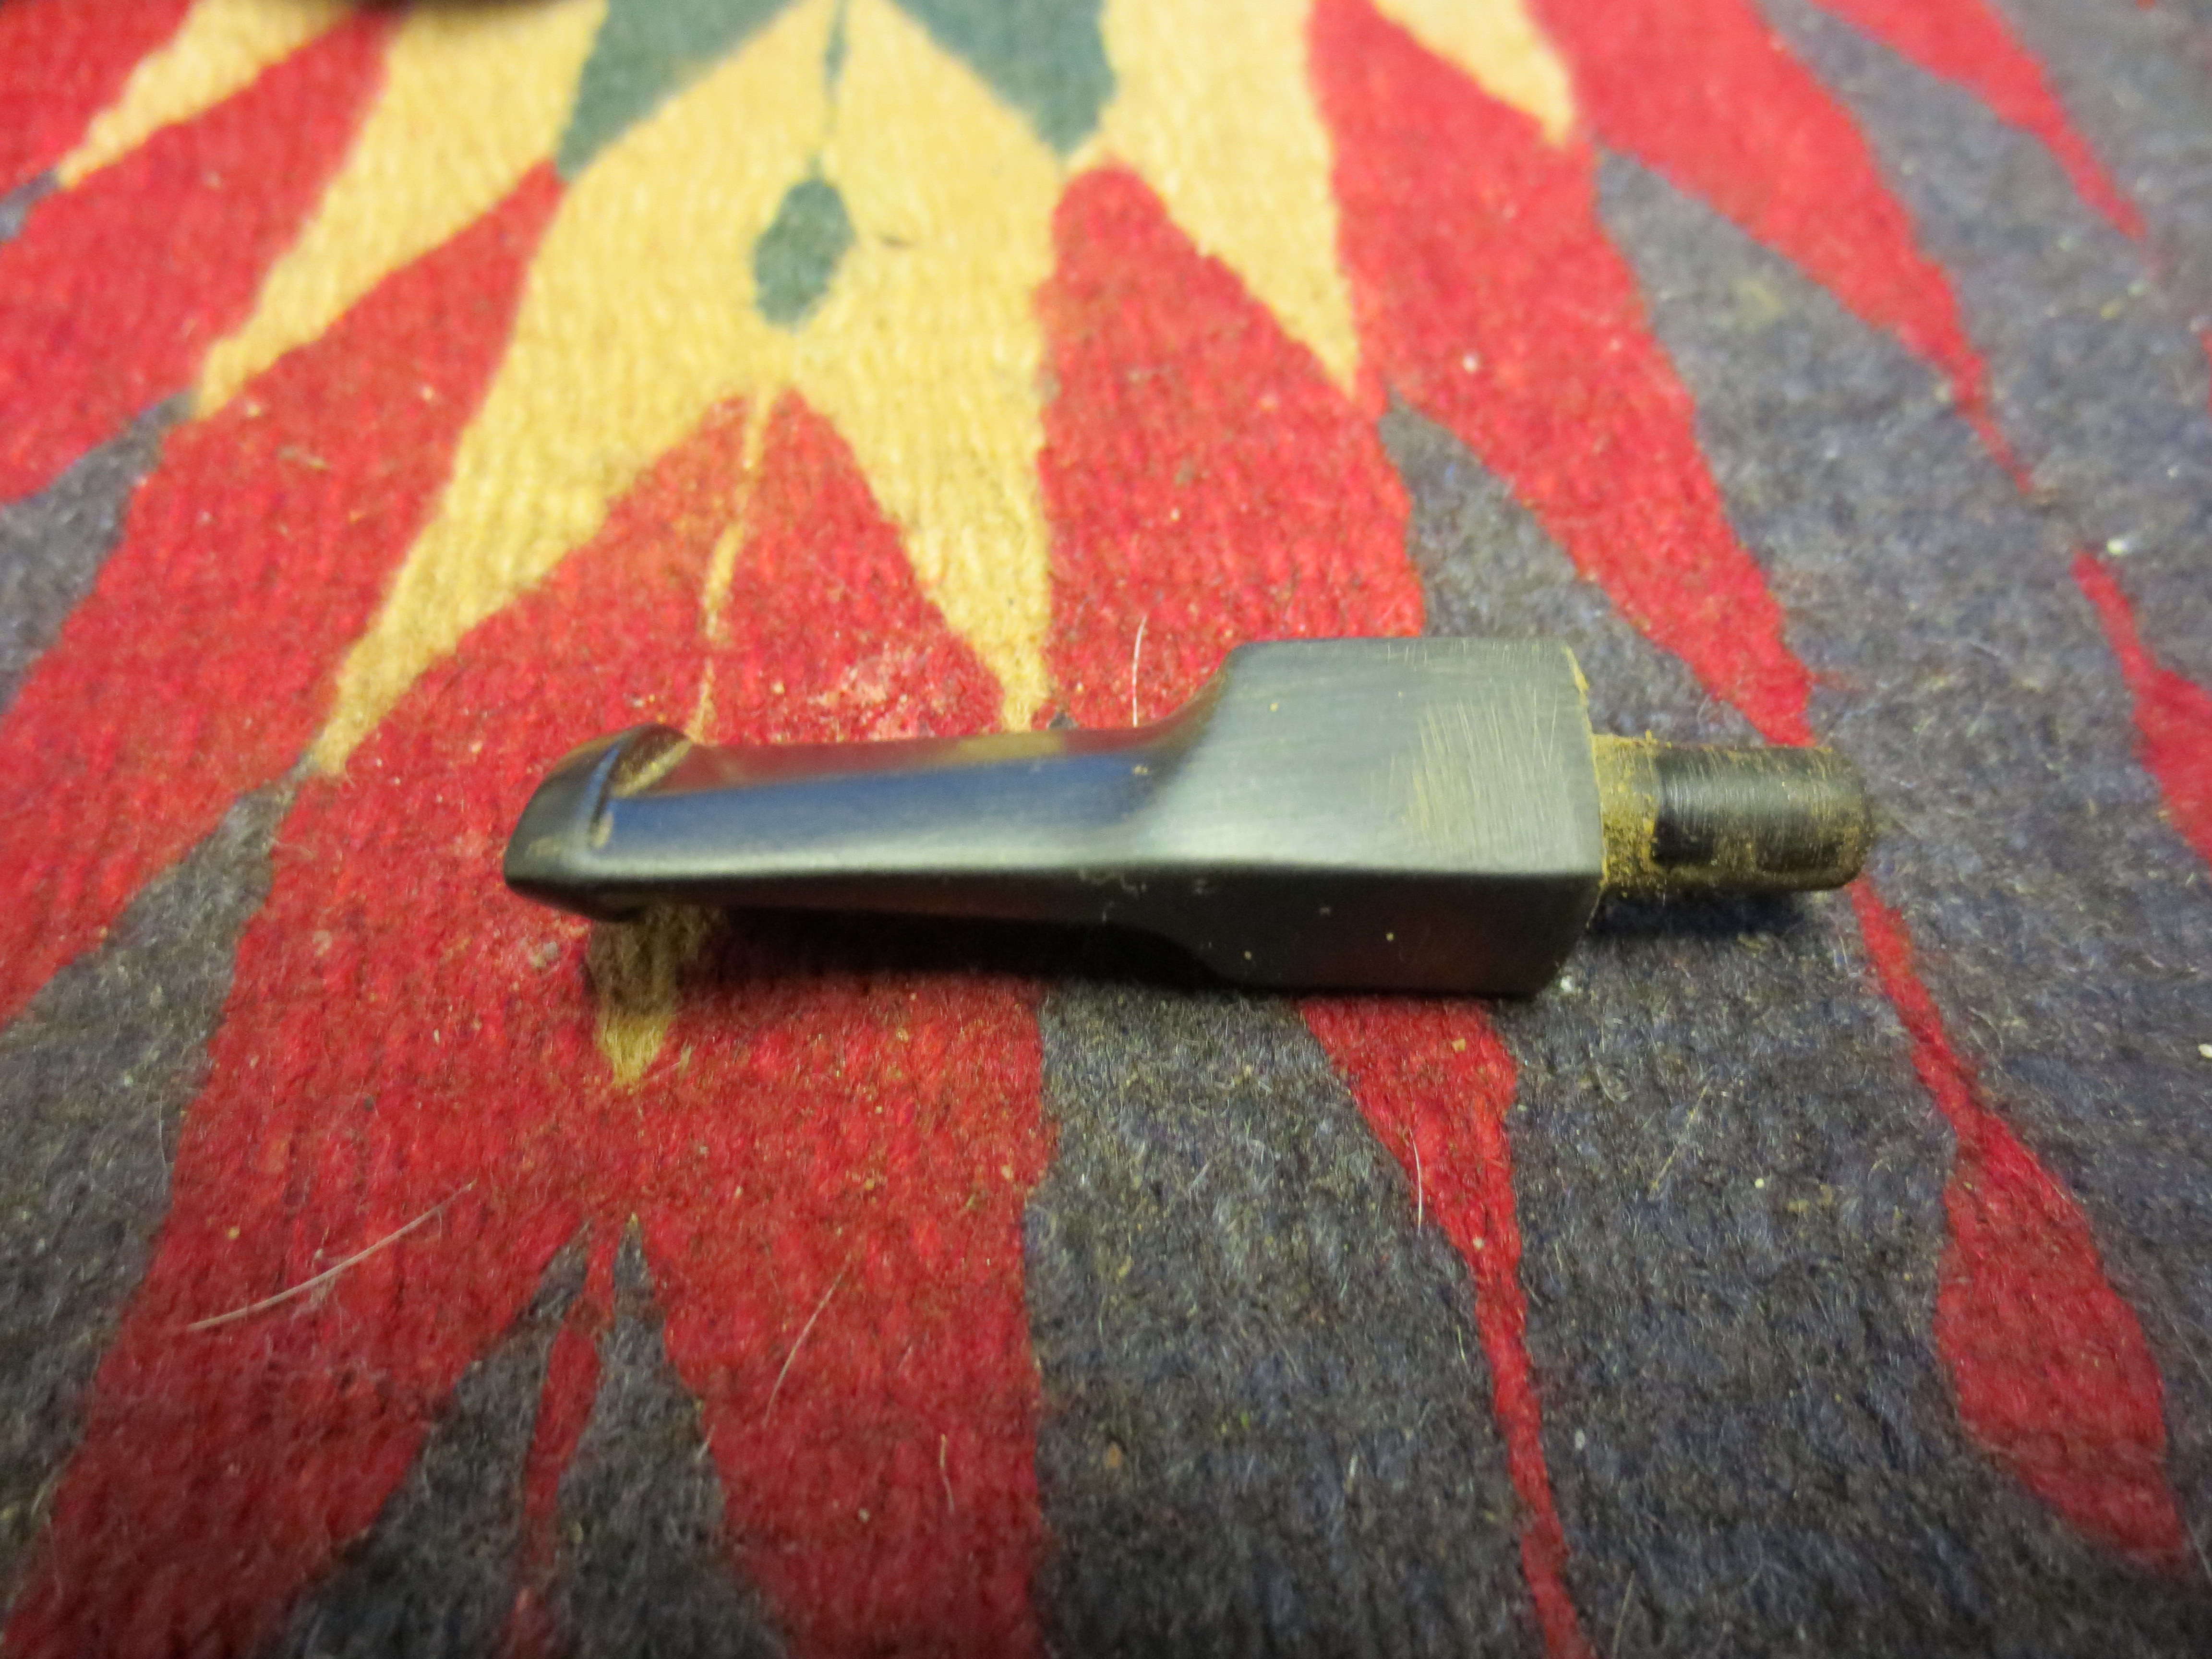
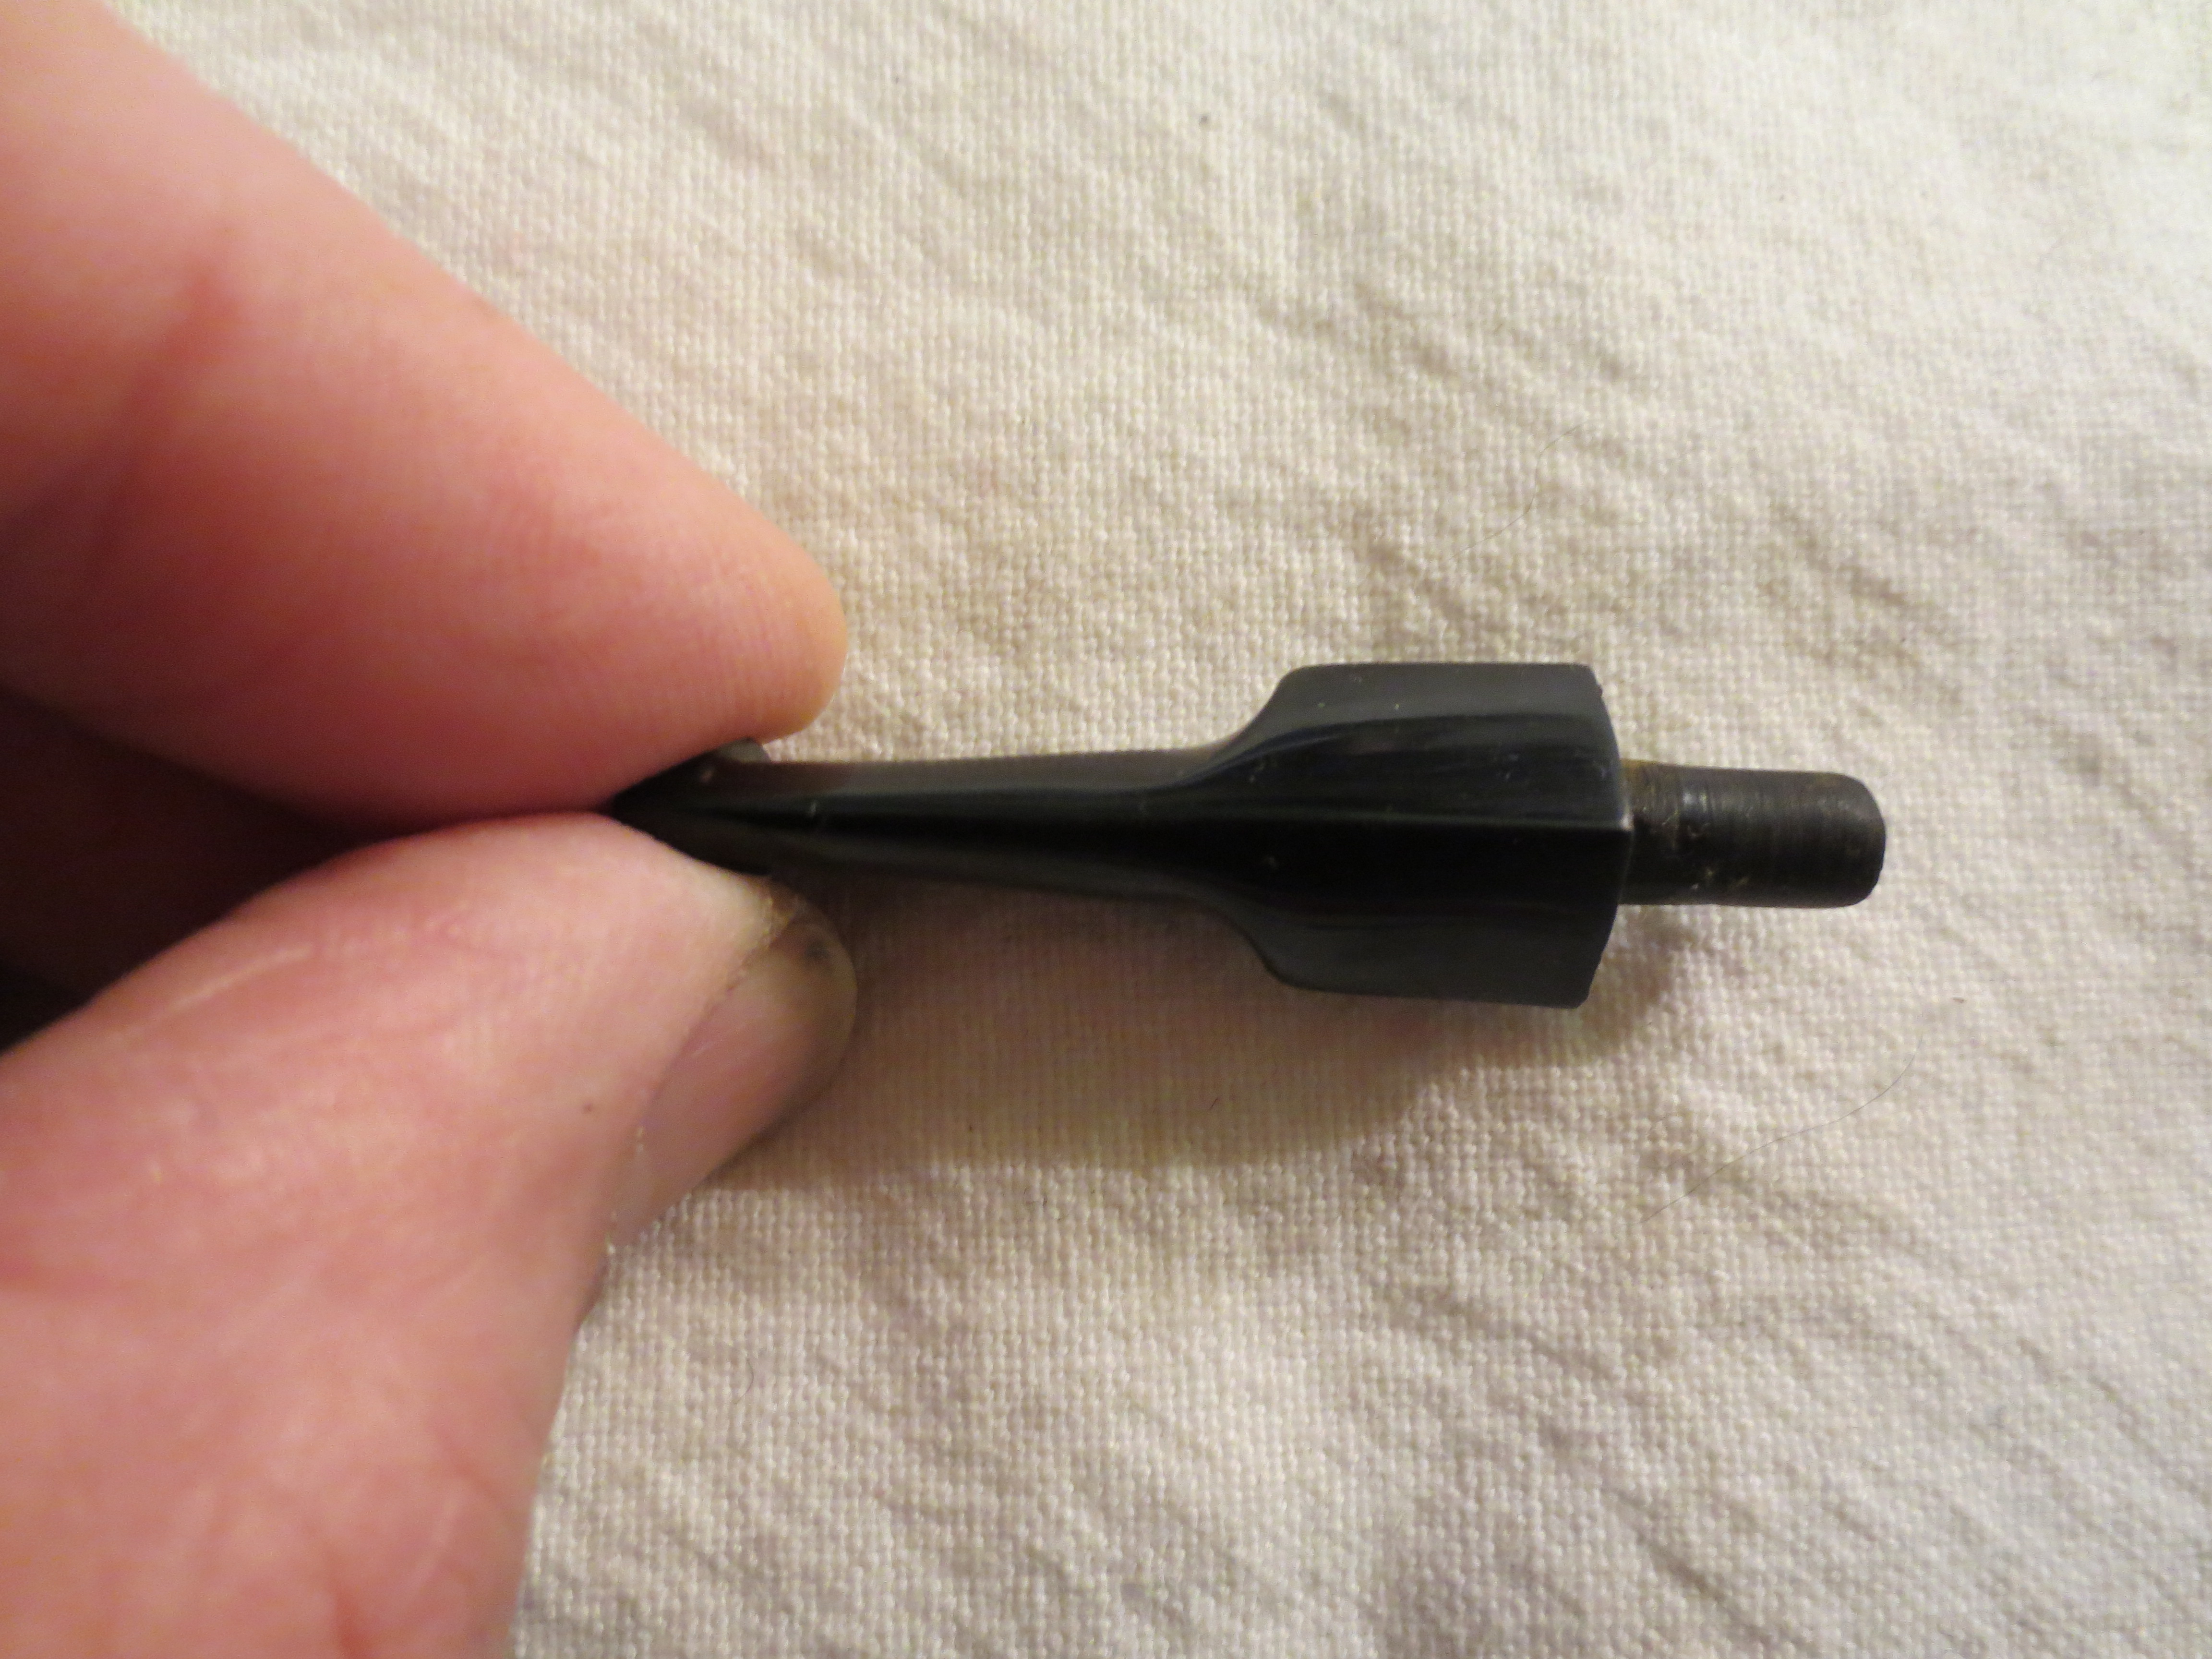
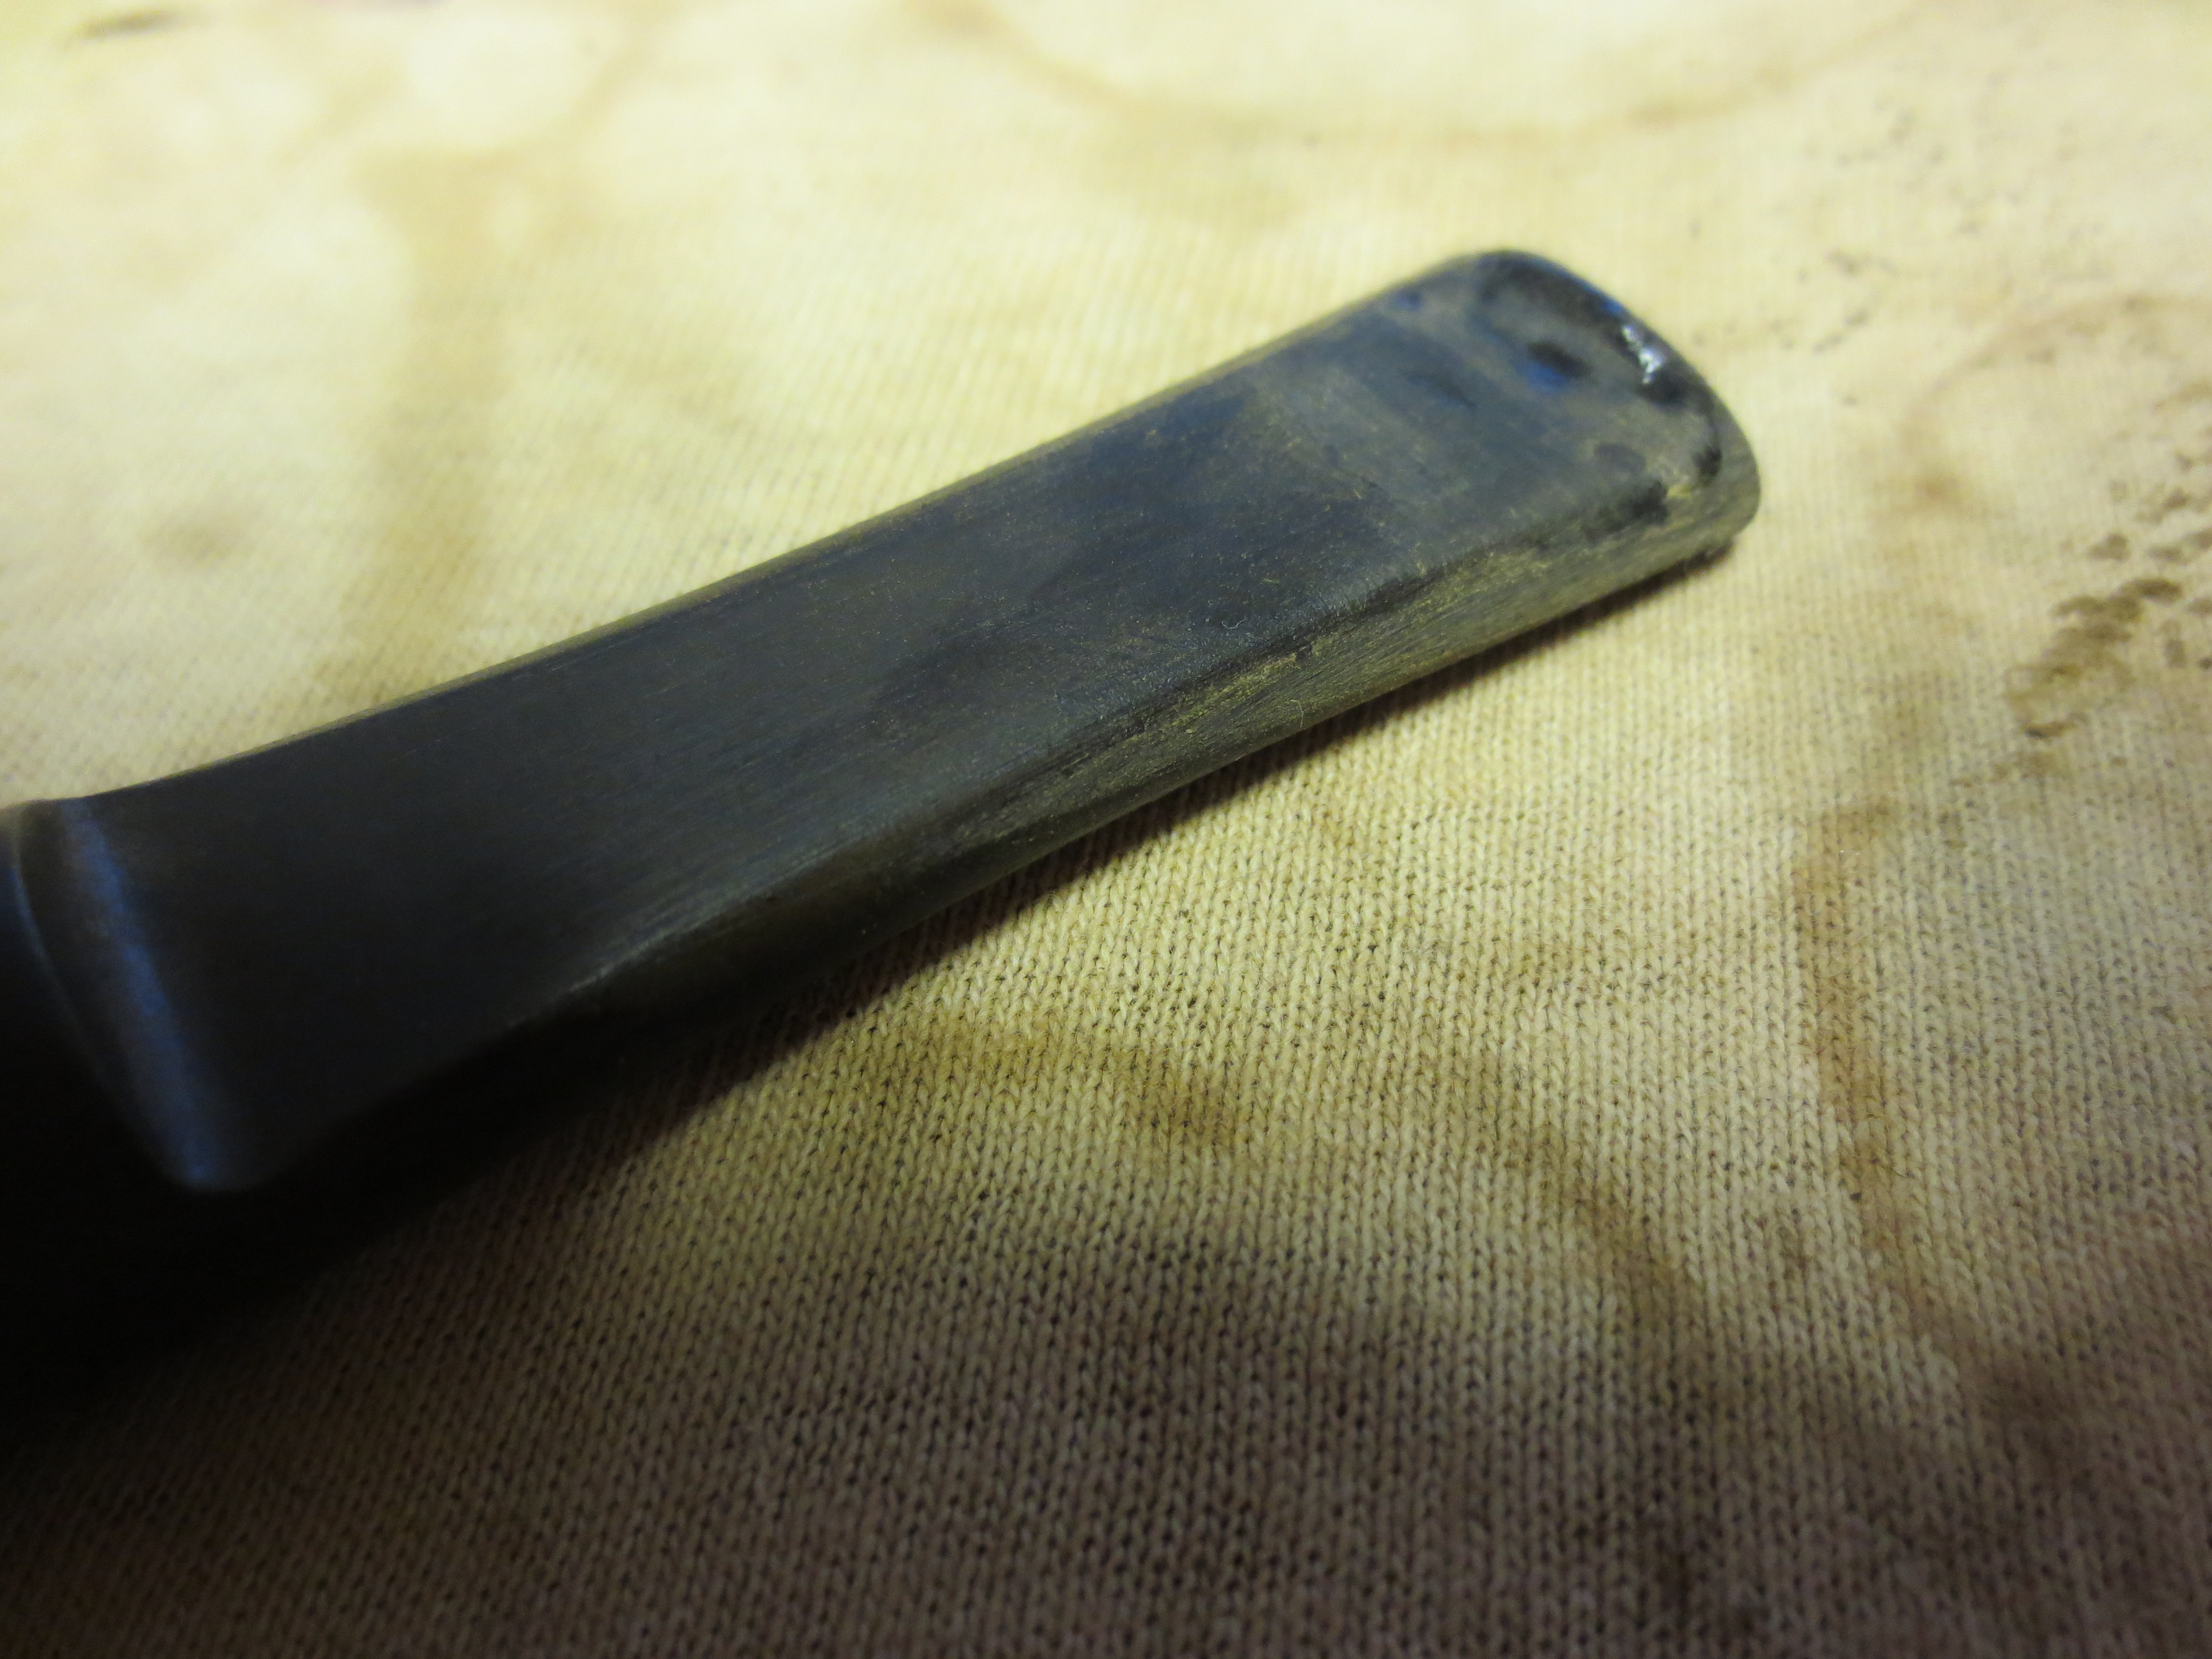
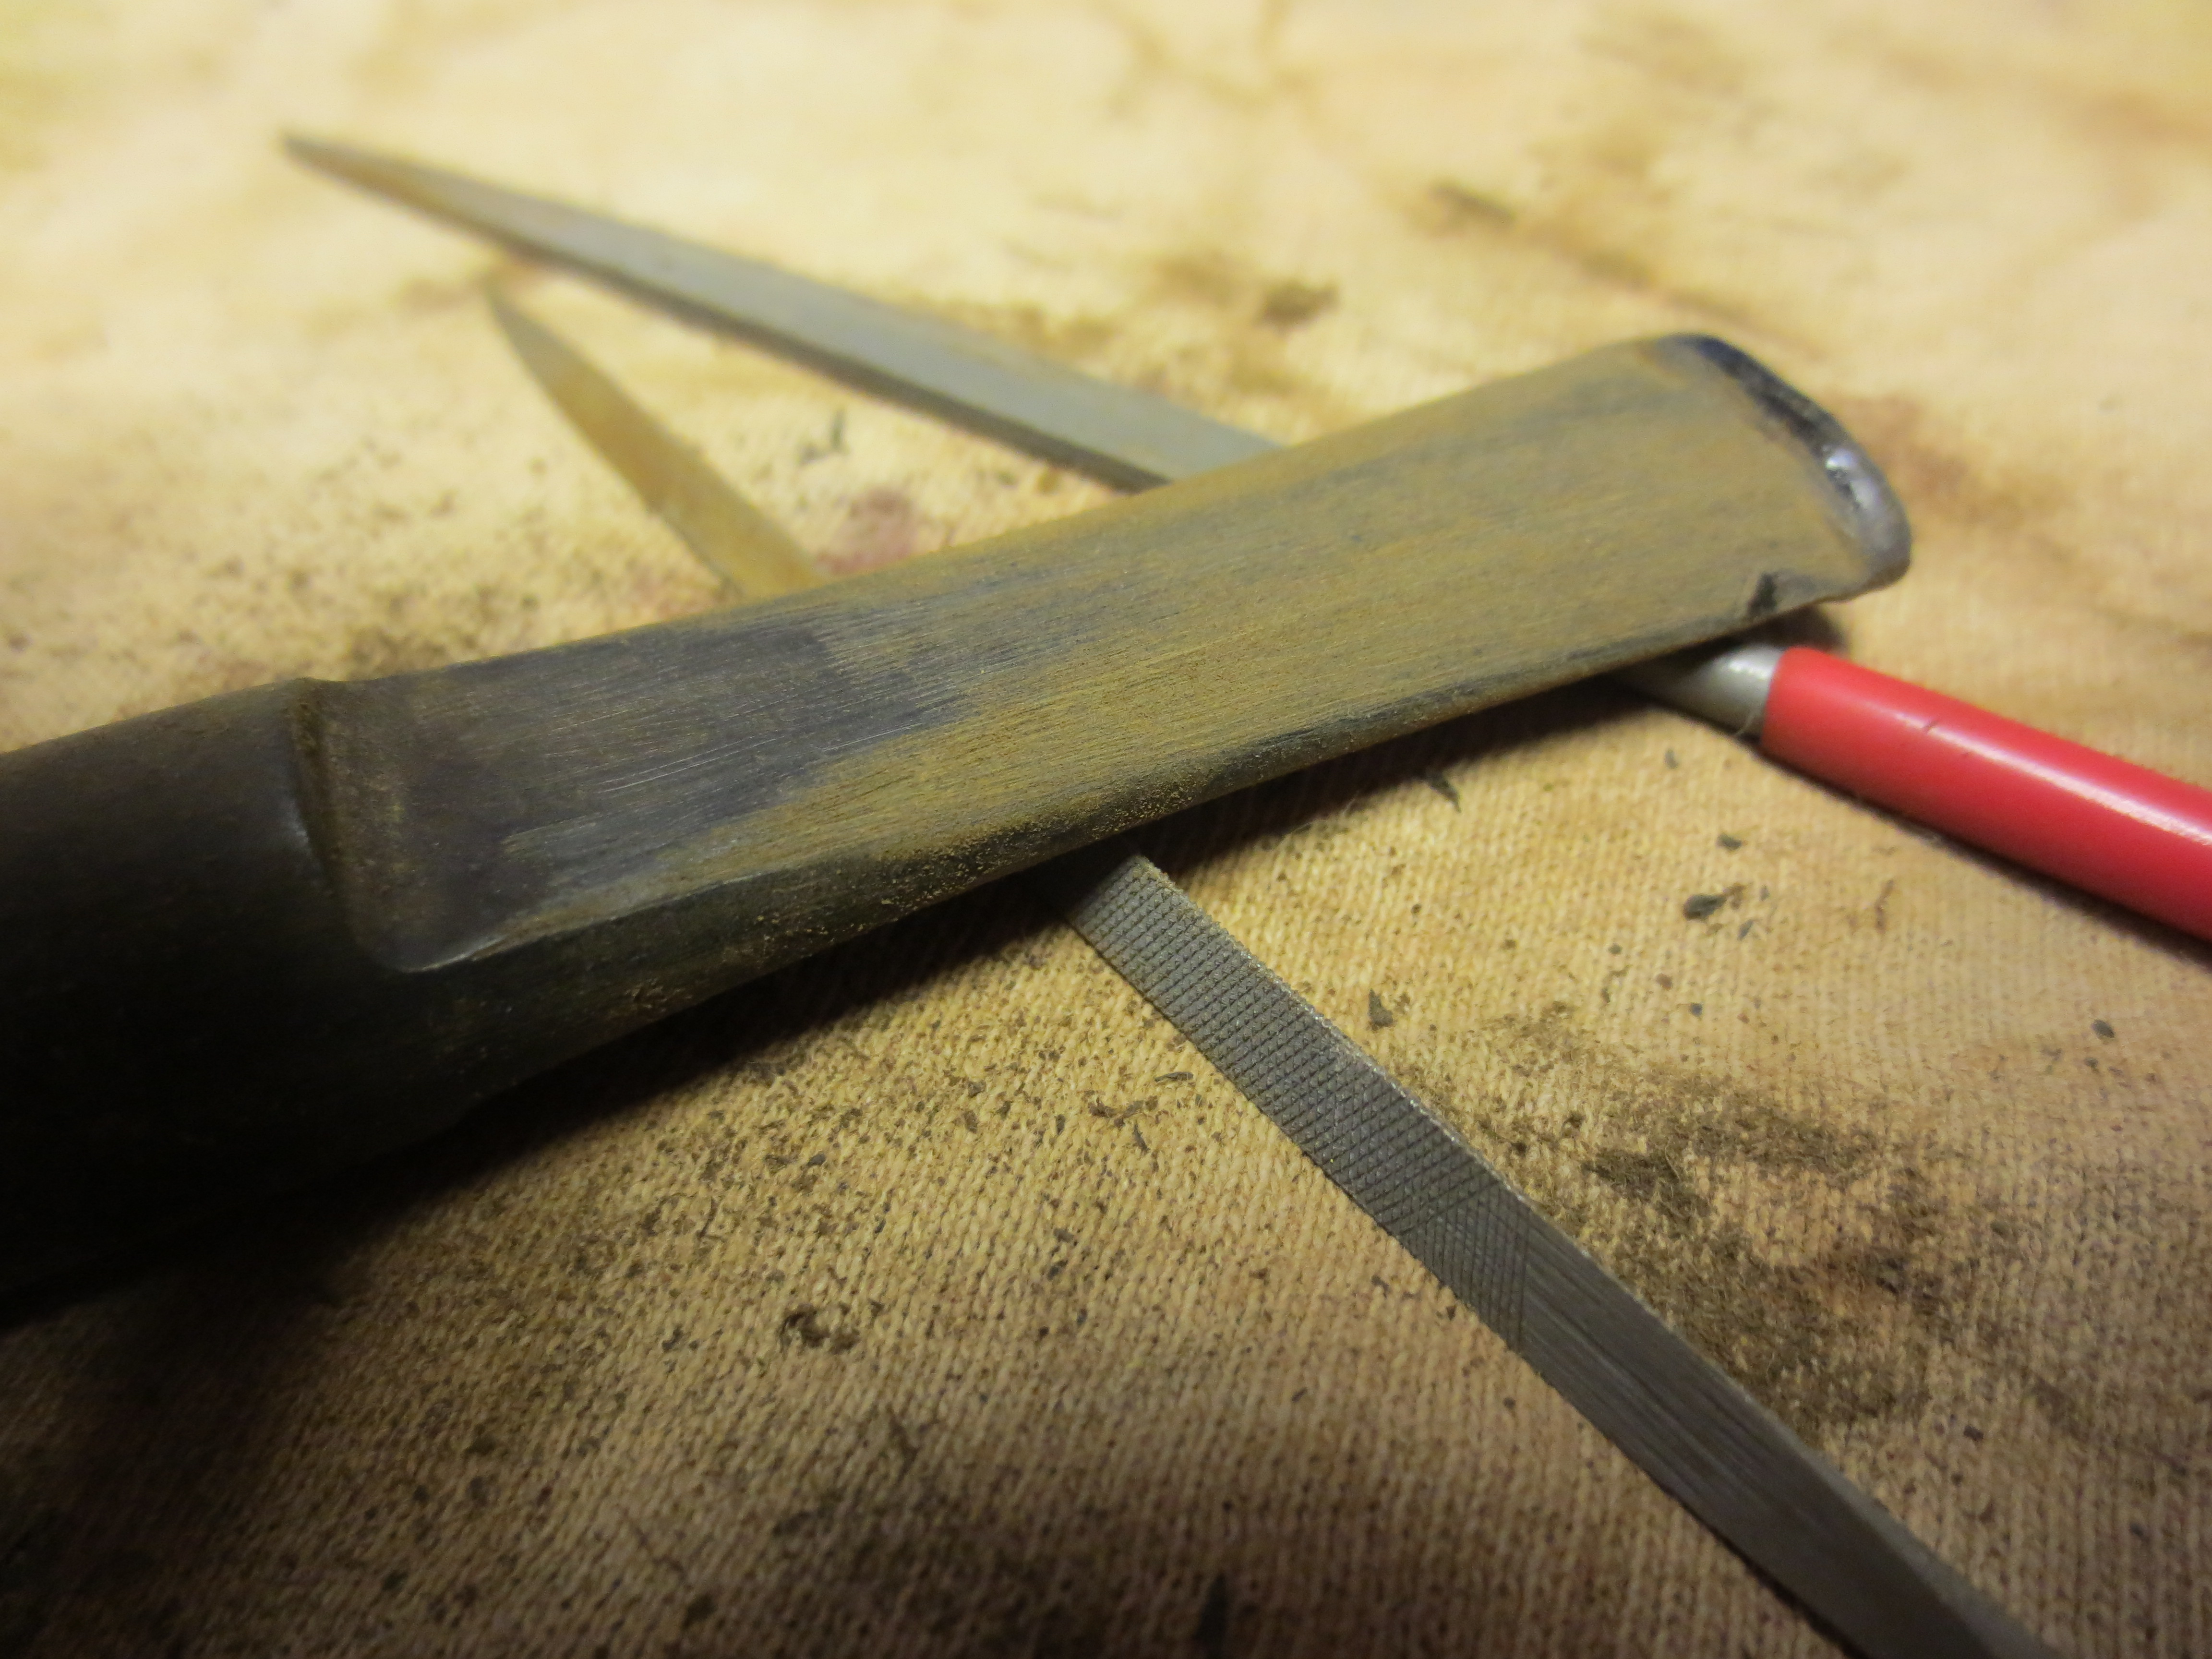
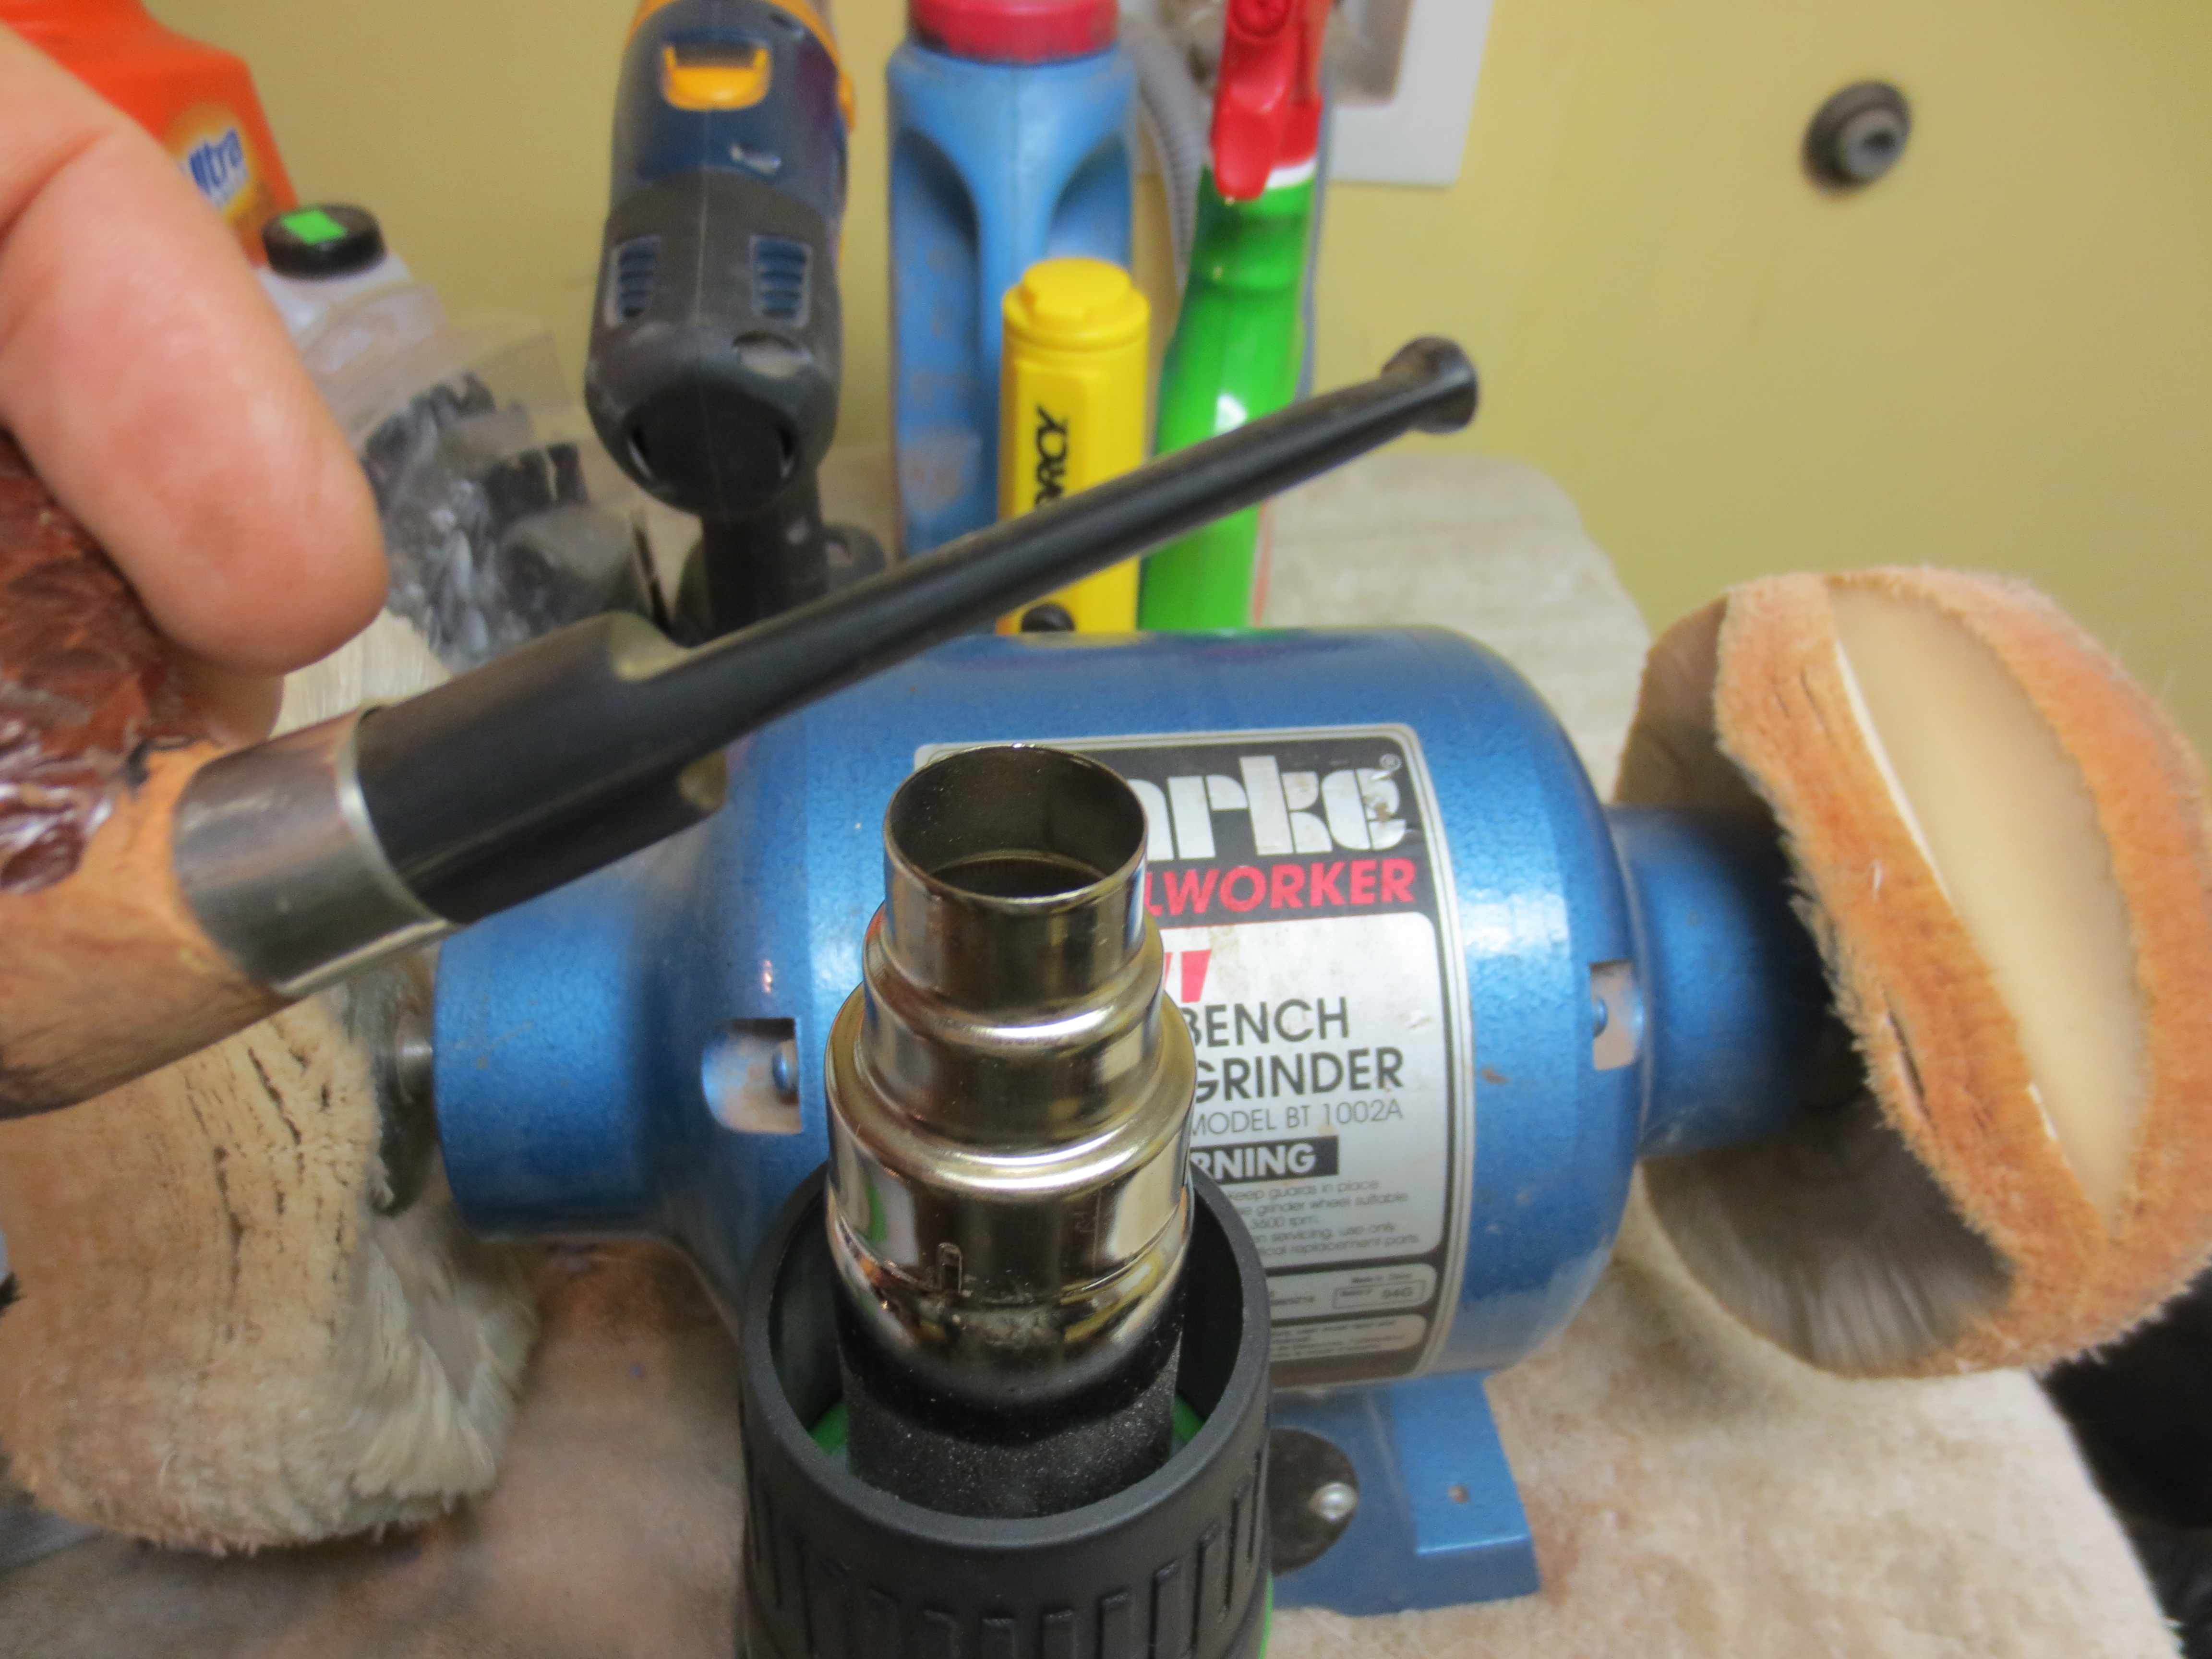
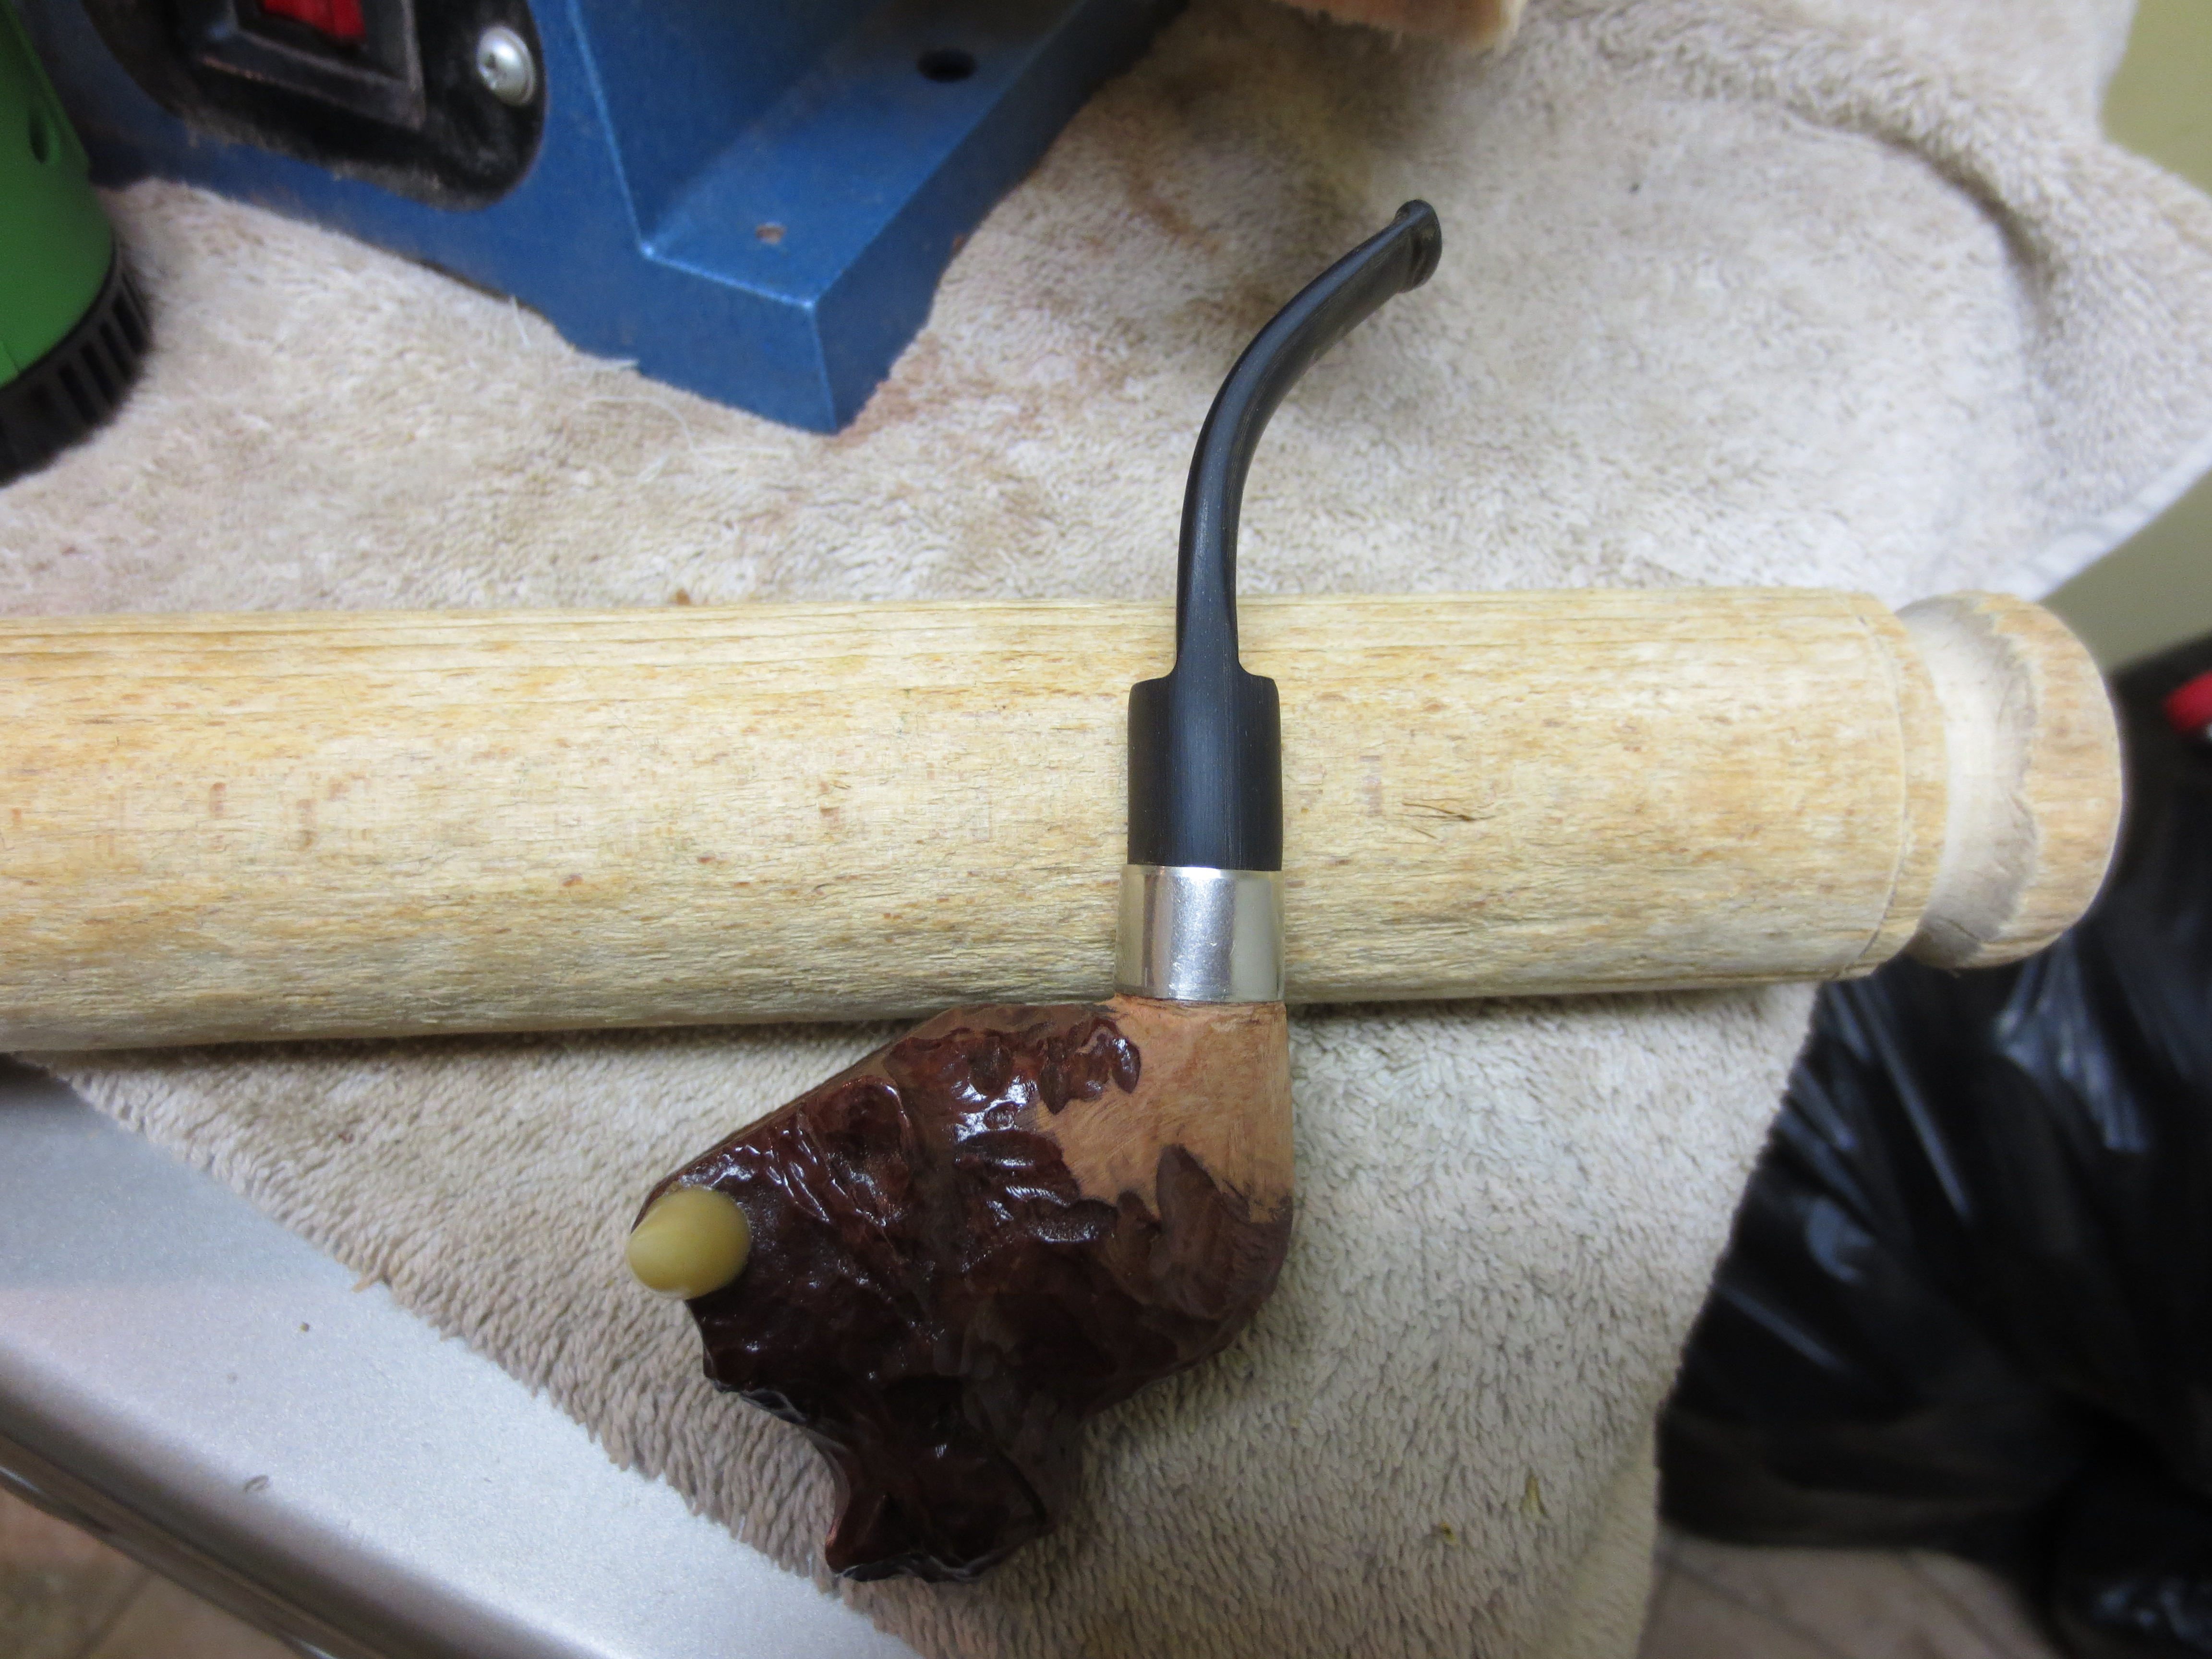
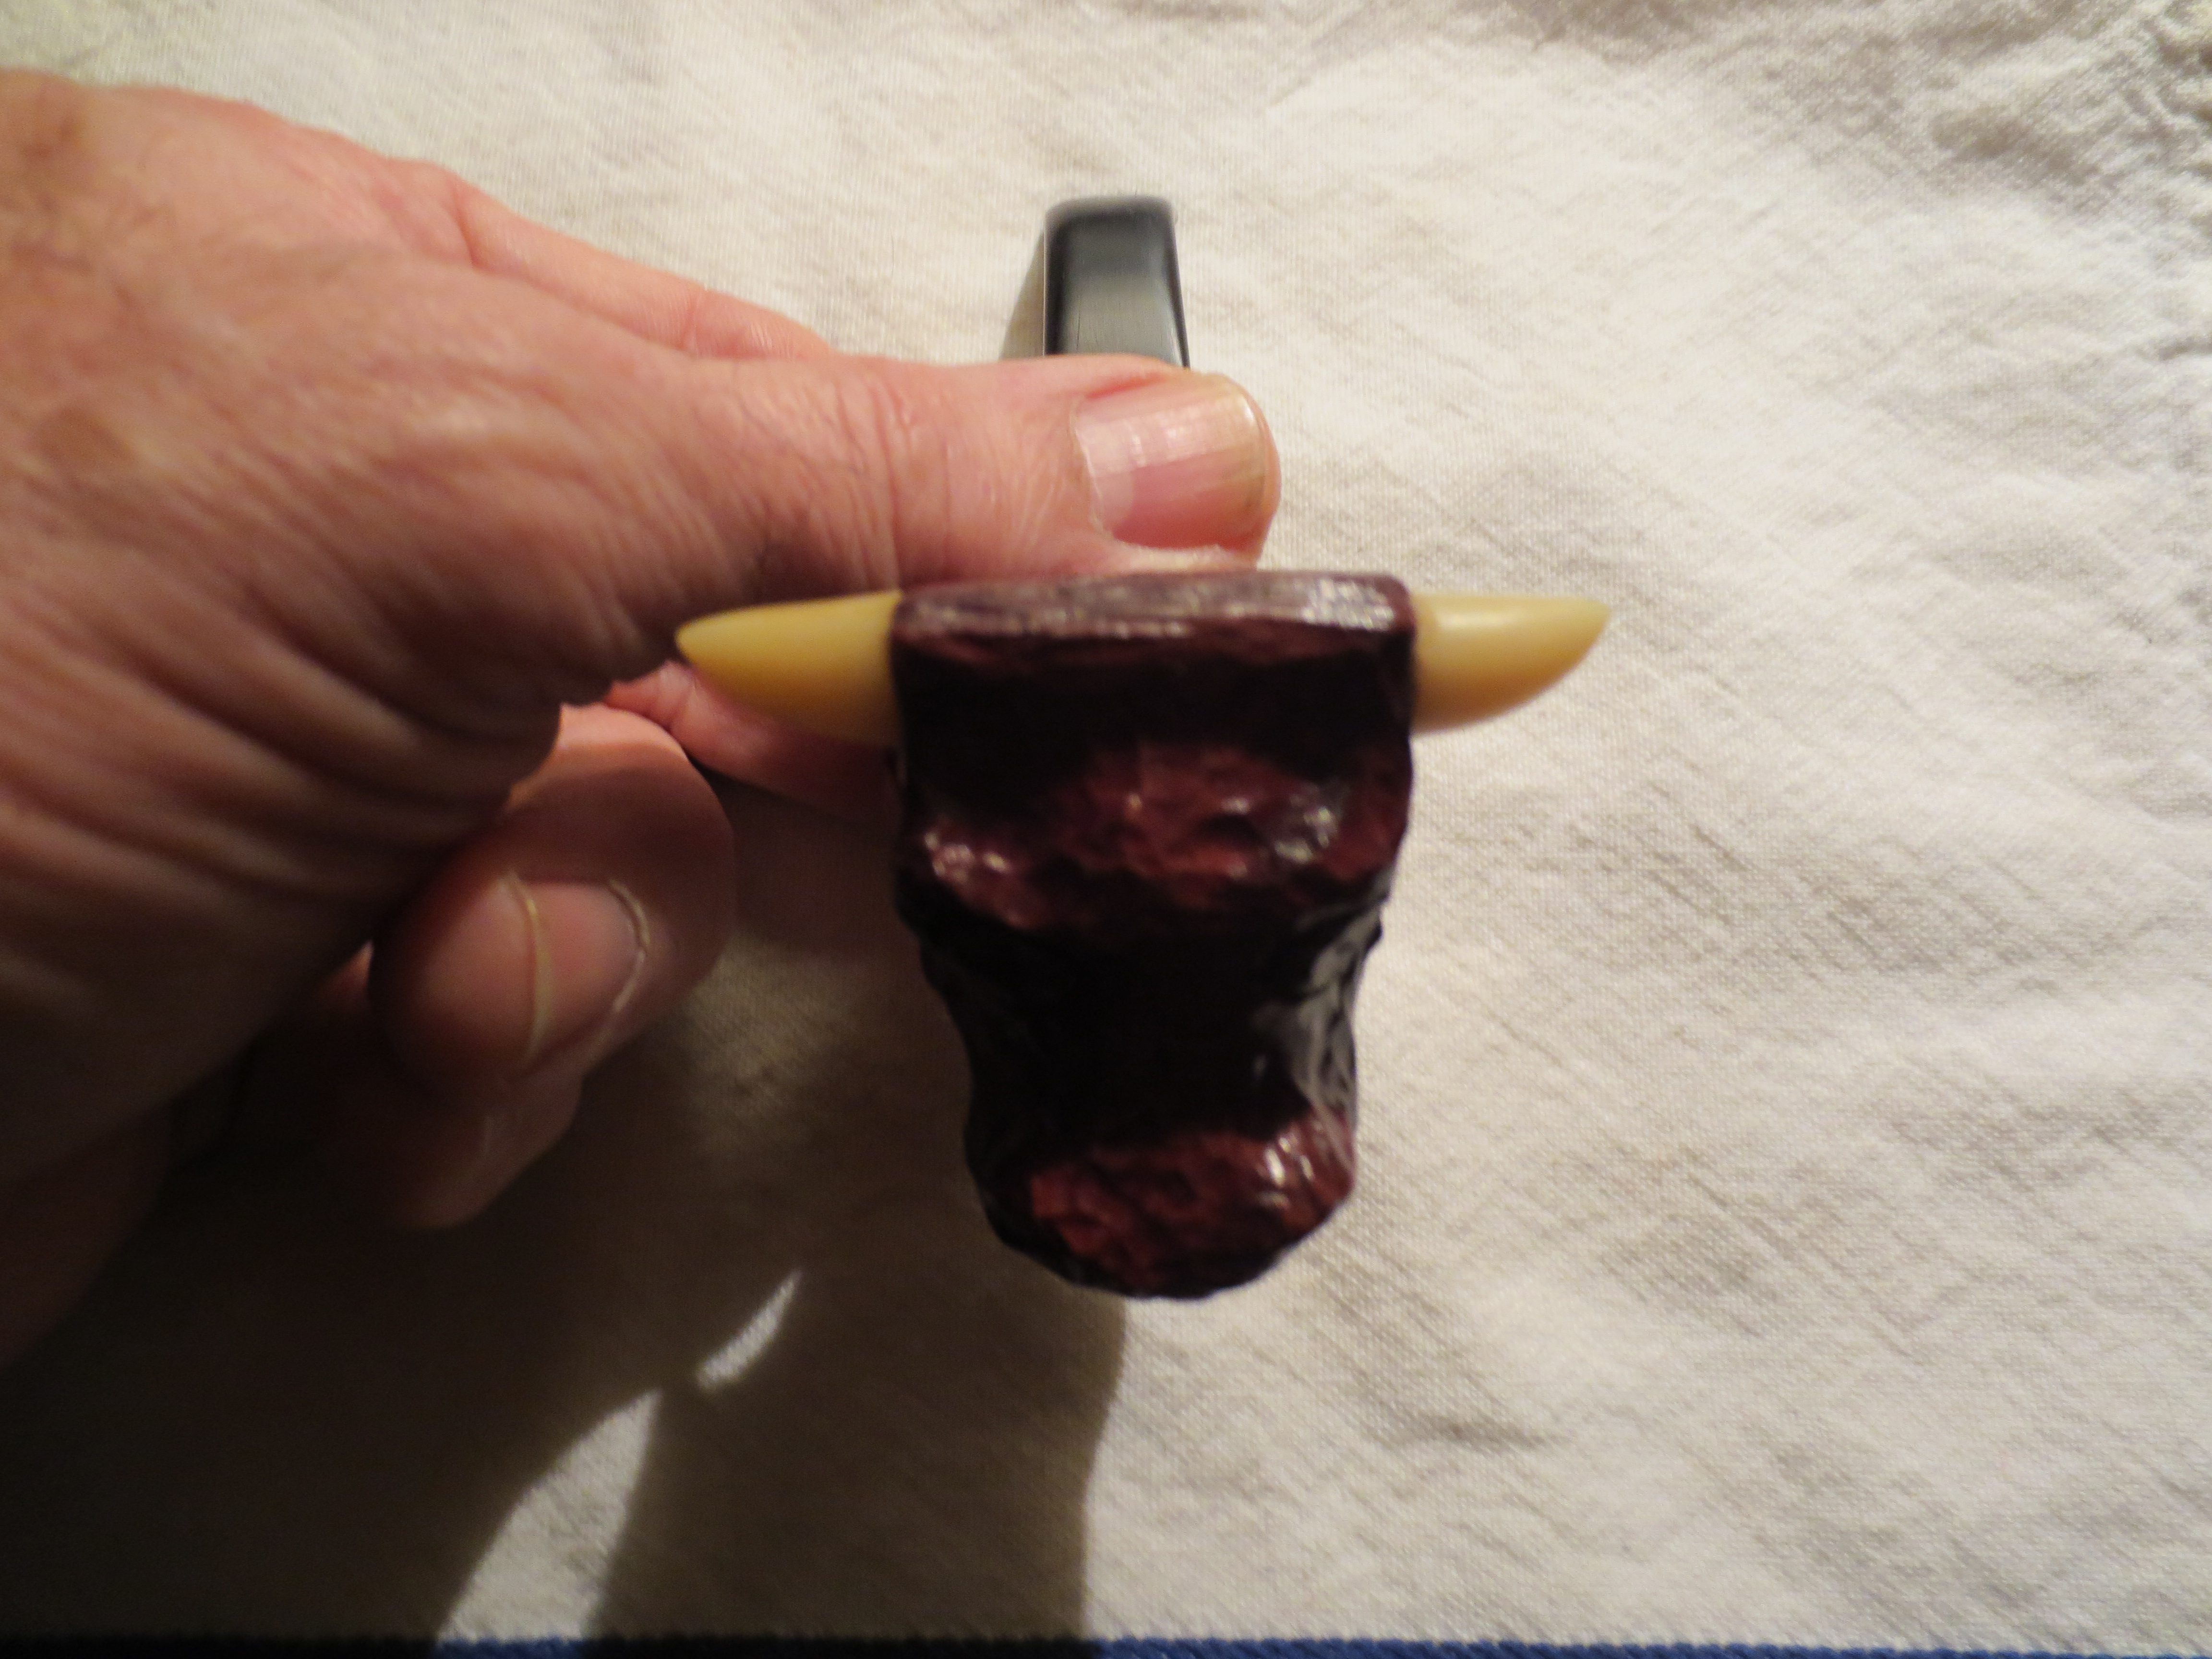
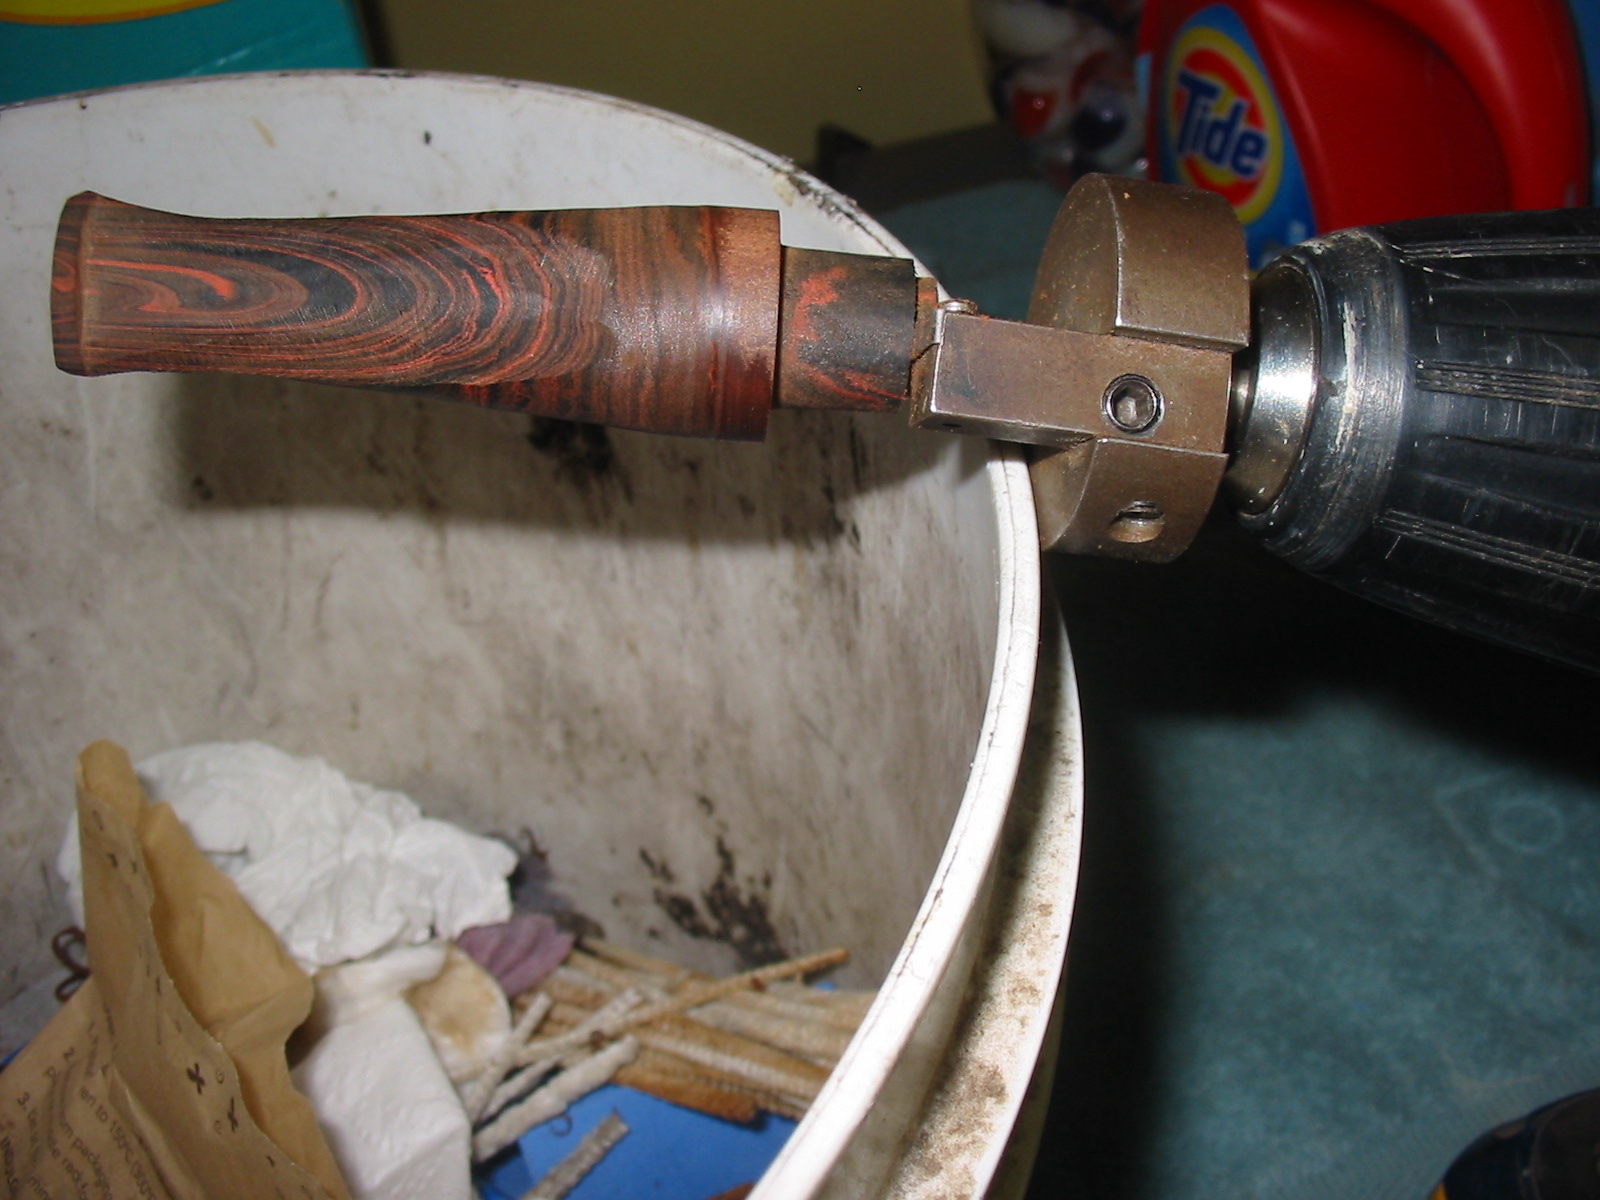
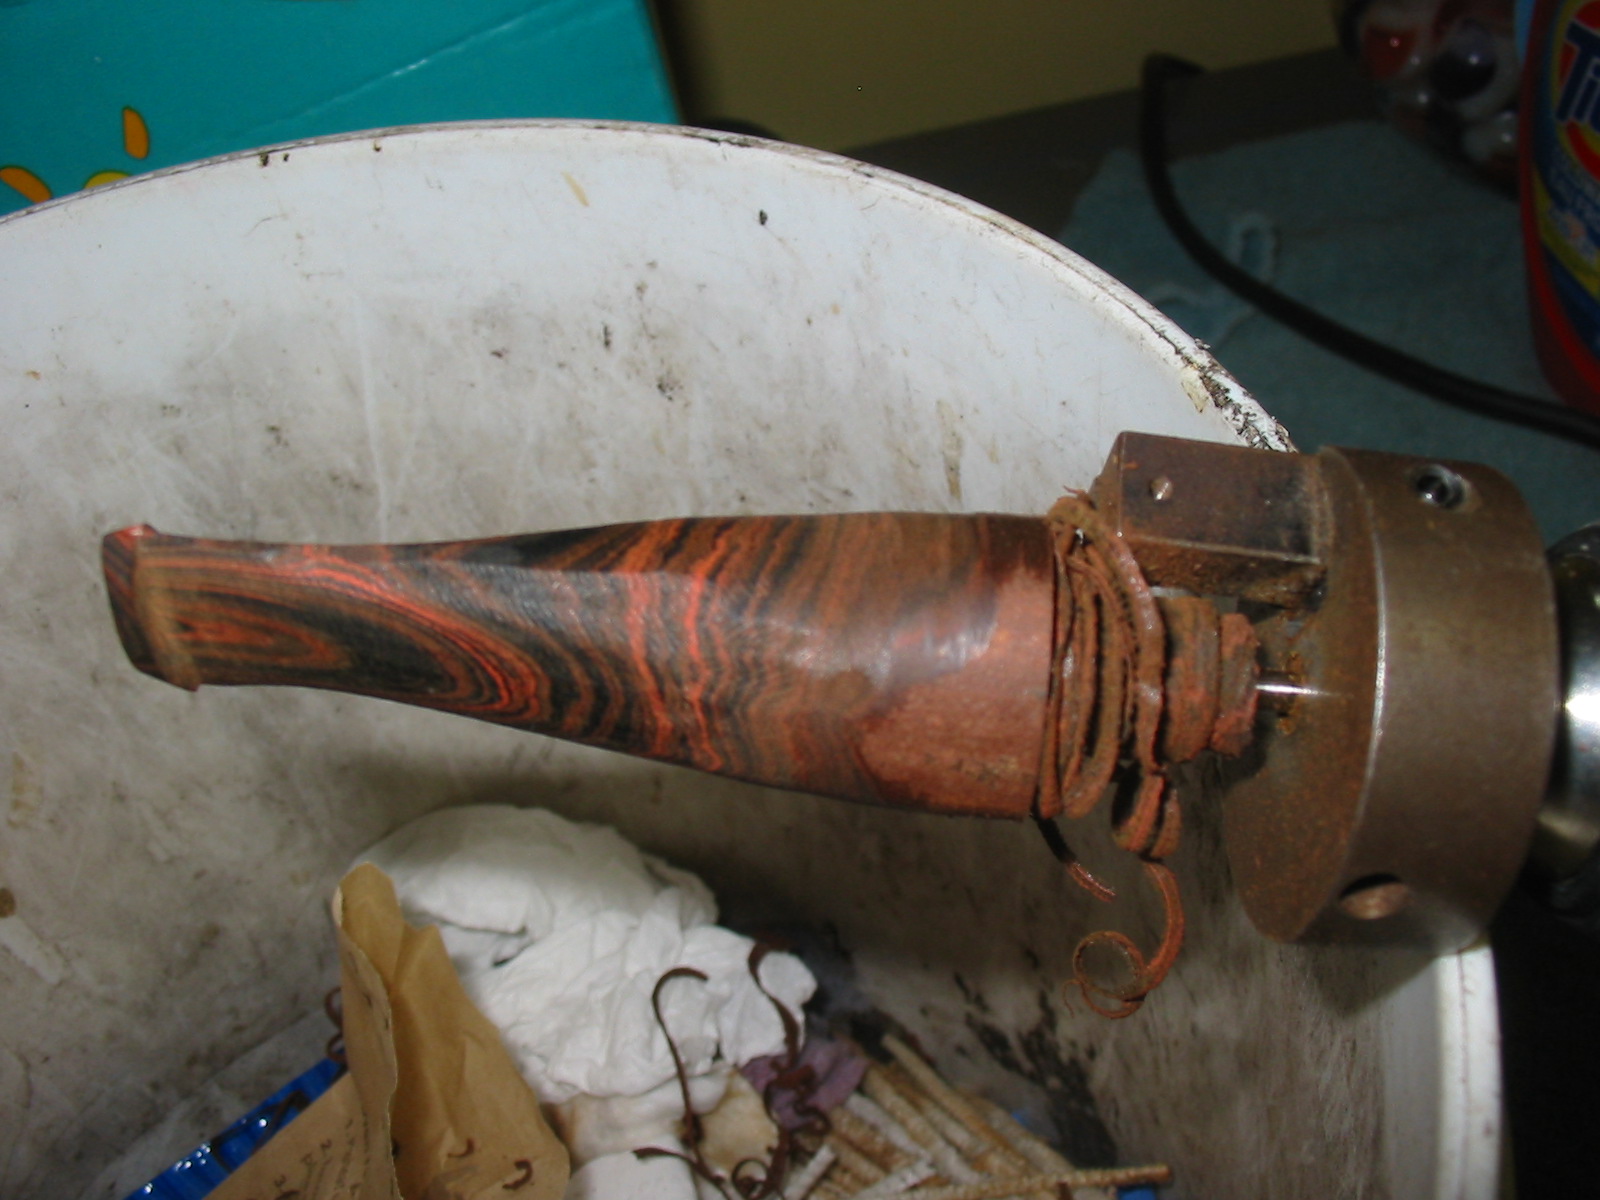
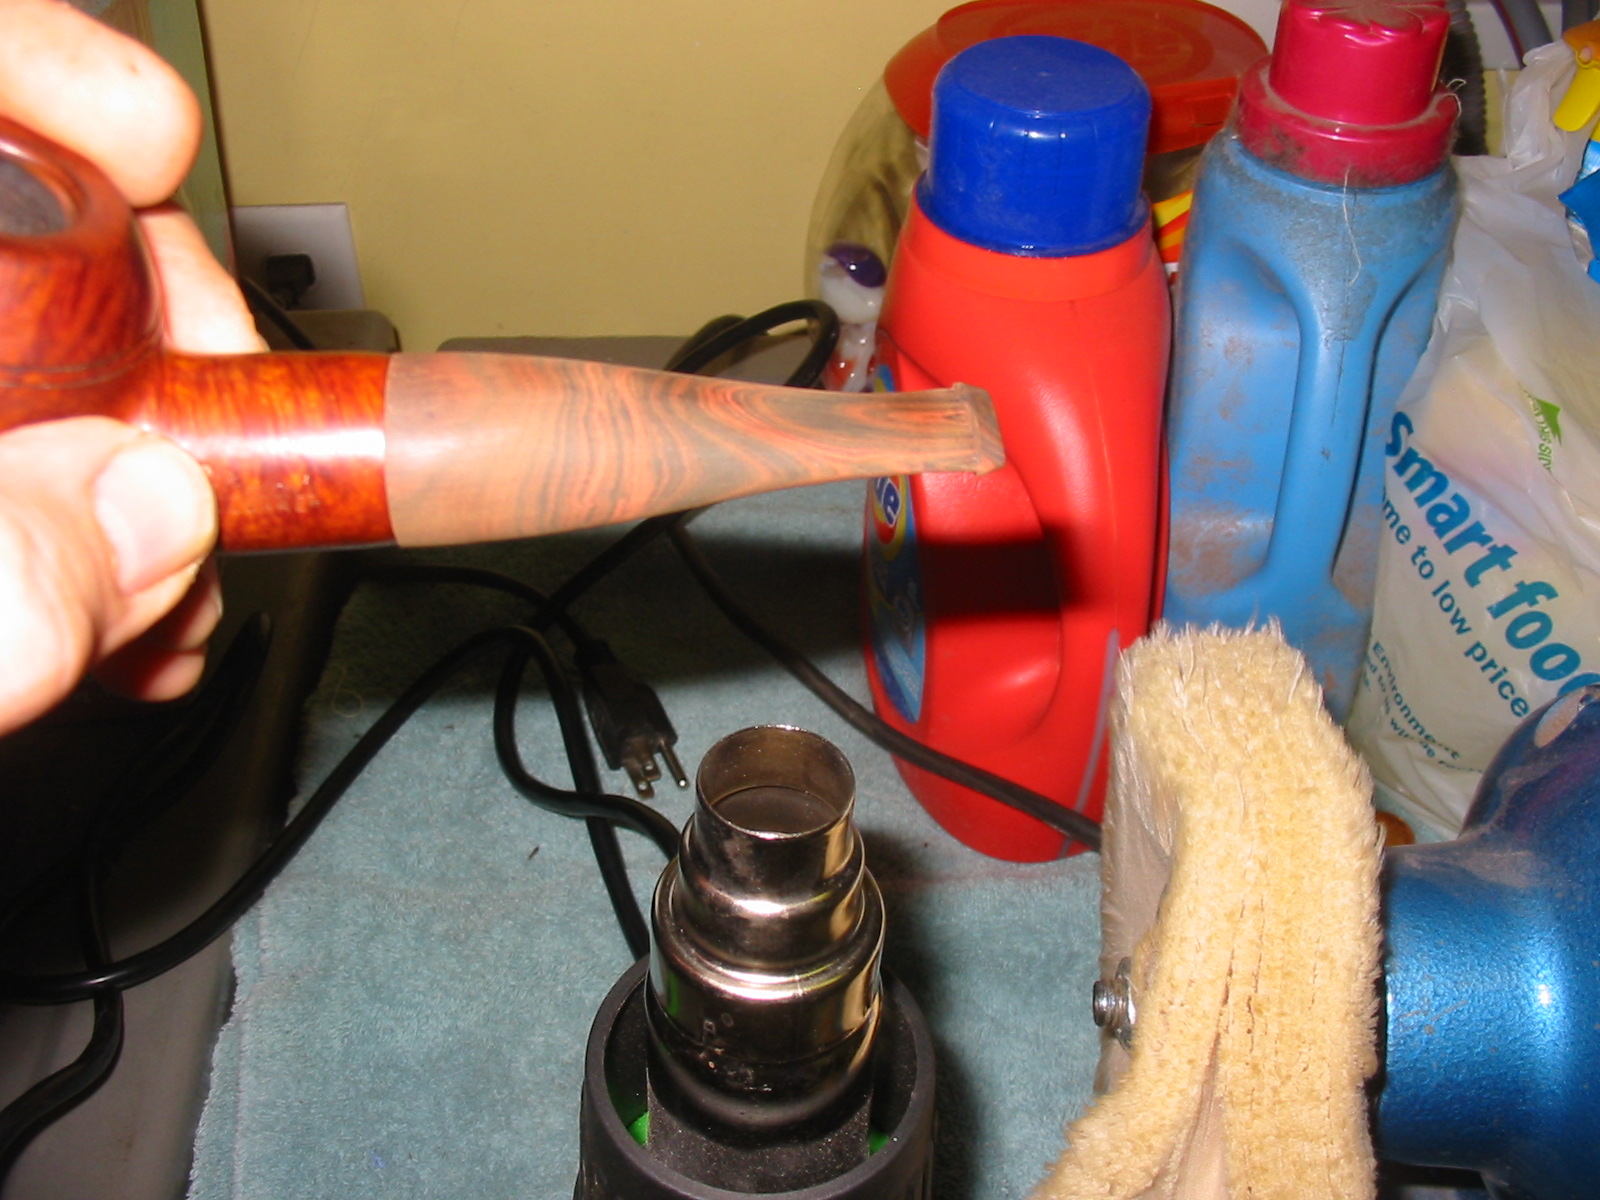
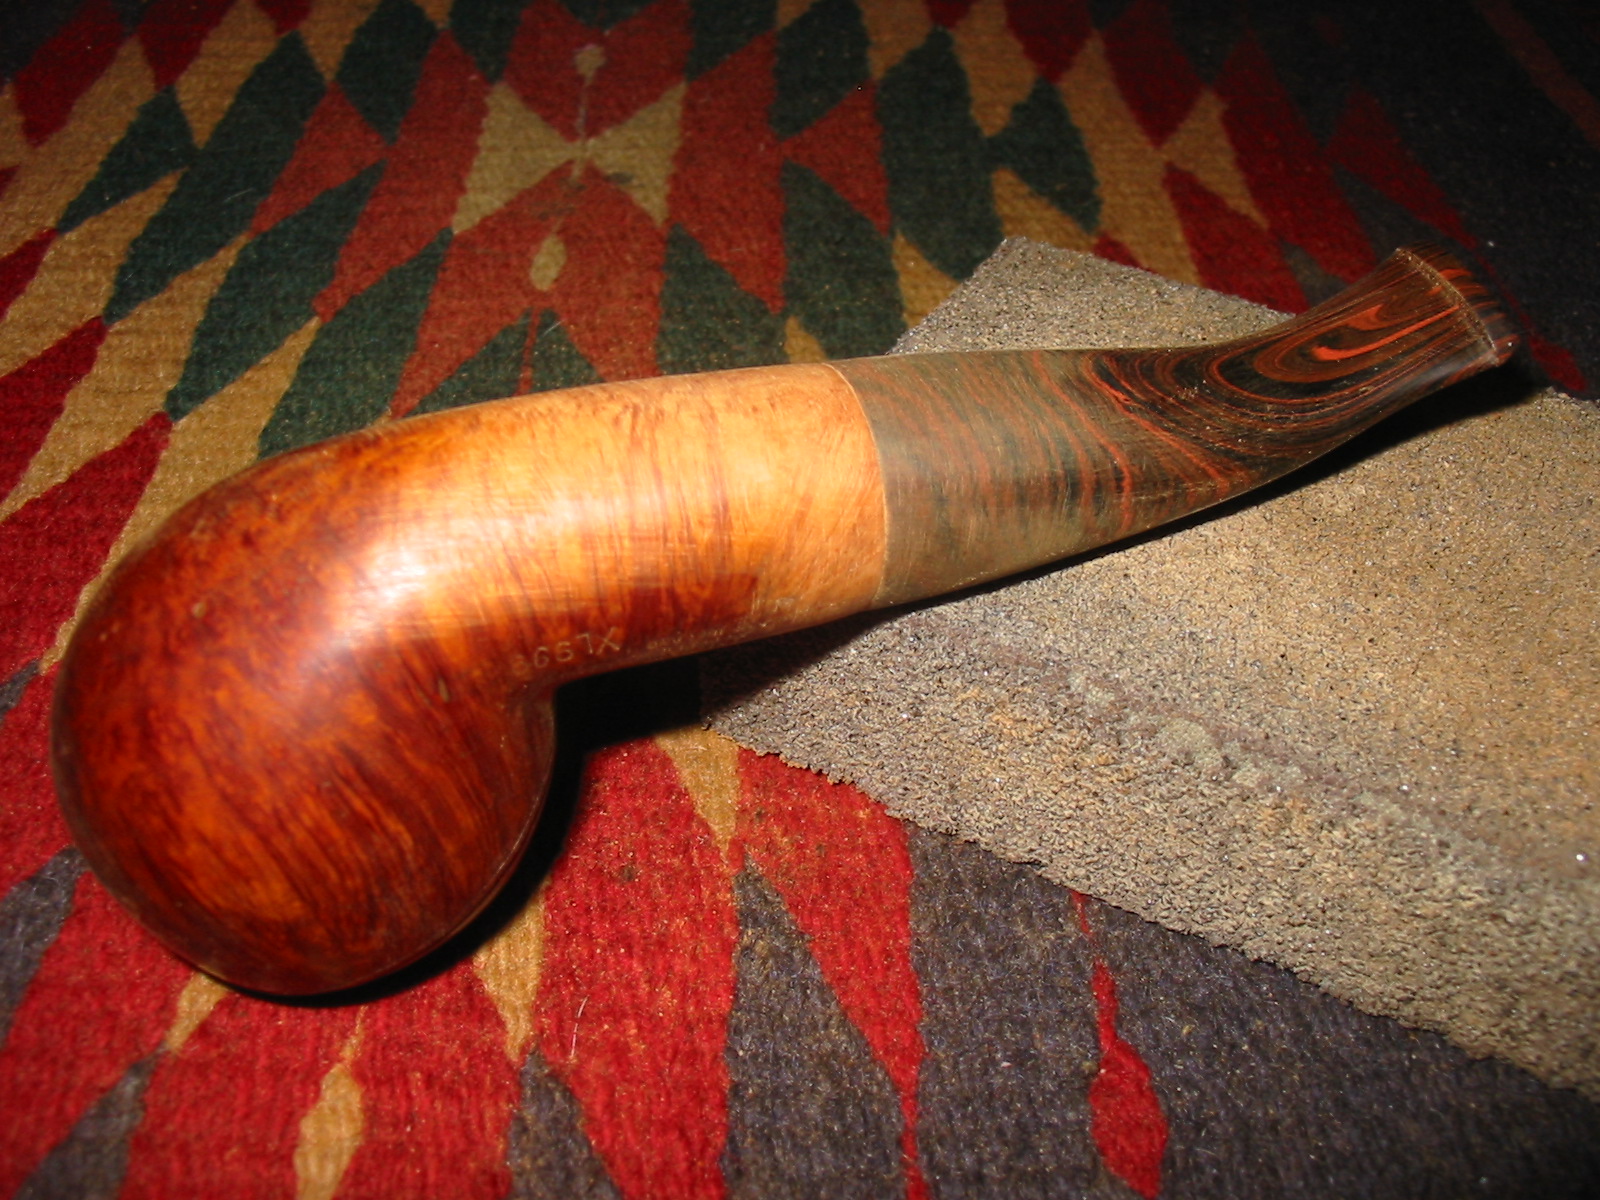
When it arrived I set up my PIMO tenon turning tool on a cordless drill to cut a tenon that was slightly over ½ inch which was the extent of the tools adjustment. I cut a slight step in the tenon first to get a rough idea on the setting on the tool (Photo 1 below). It was correct so I tightened the adjustments and and cut the new tenon for the stem (Photos 2 and 3 below). Once I had it turned close to size I used a Dremel with a sanding drum and gave it a once around sanding and fit the stem to the shank (Photos 4 and 5 below).
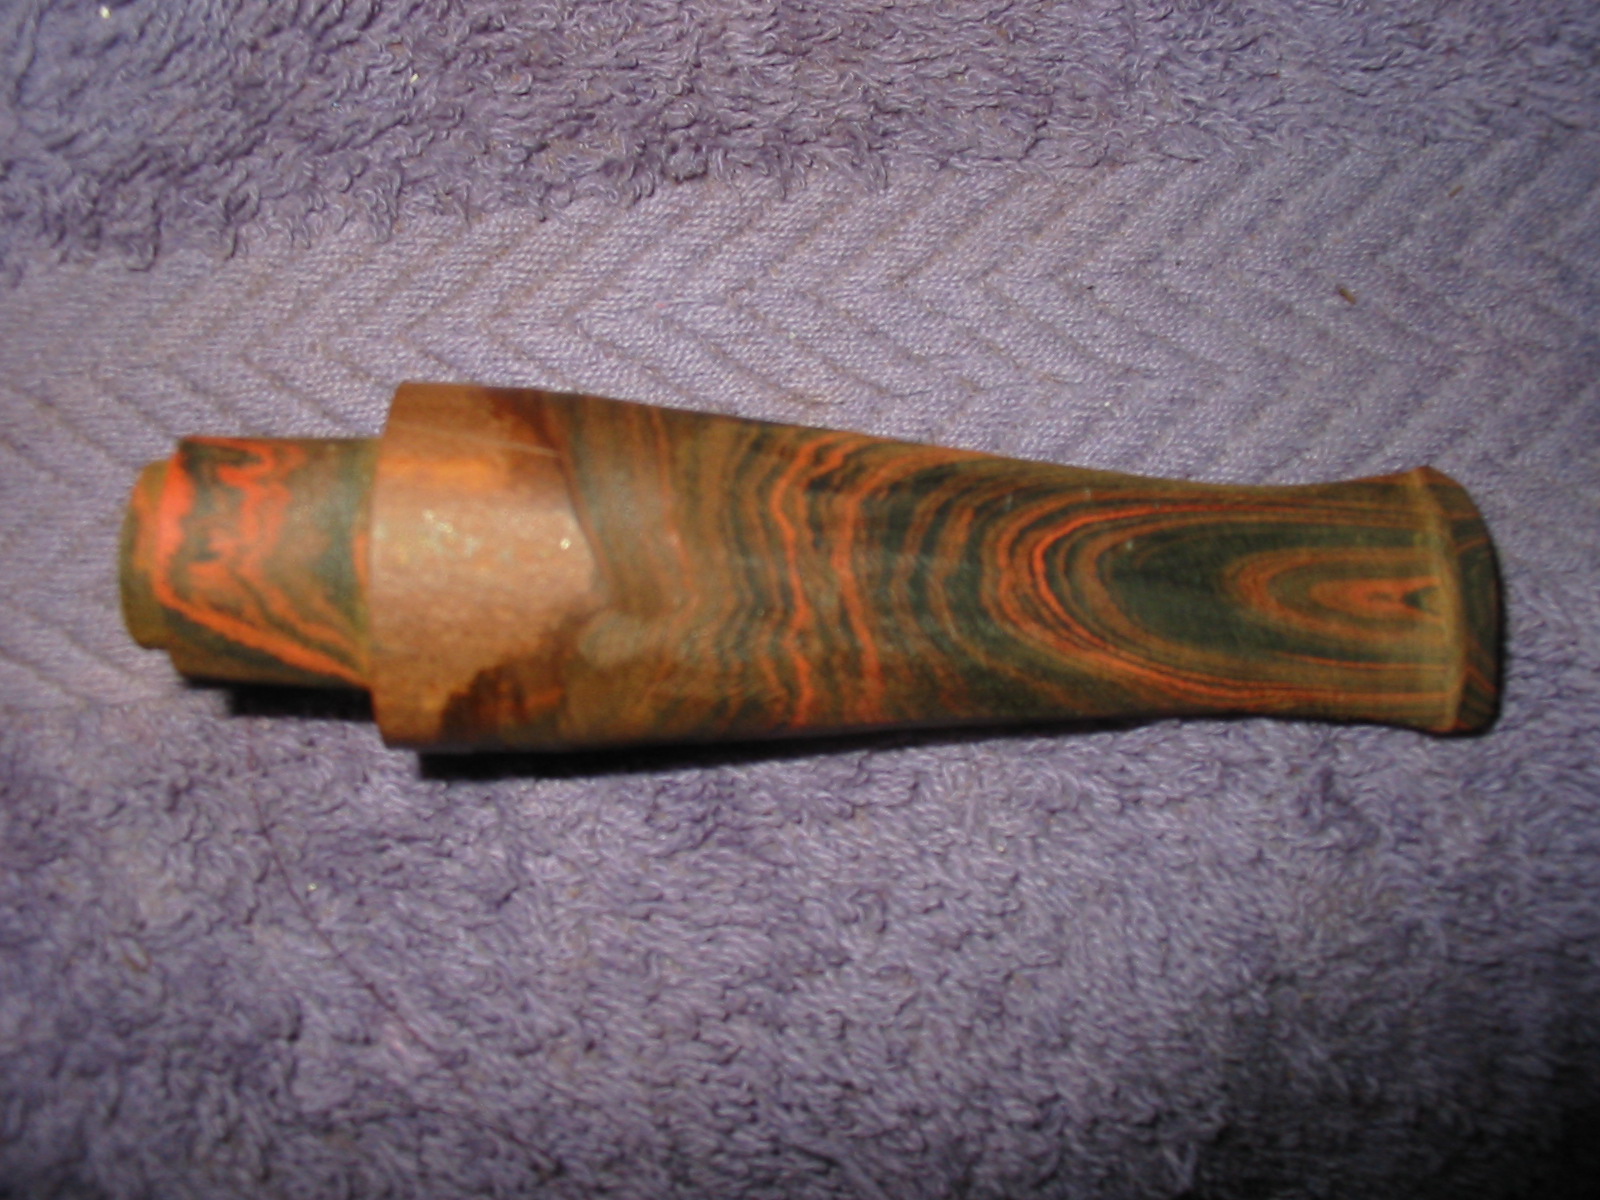
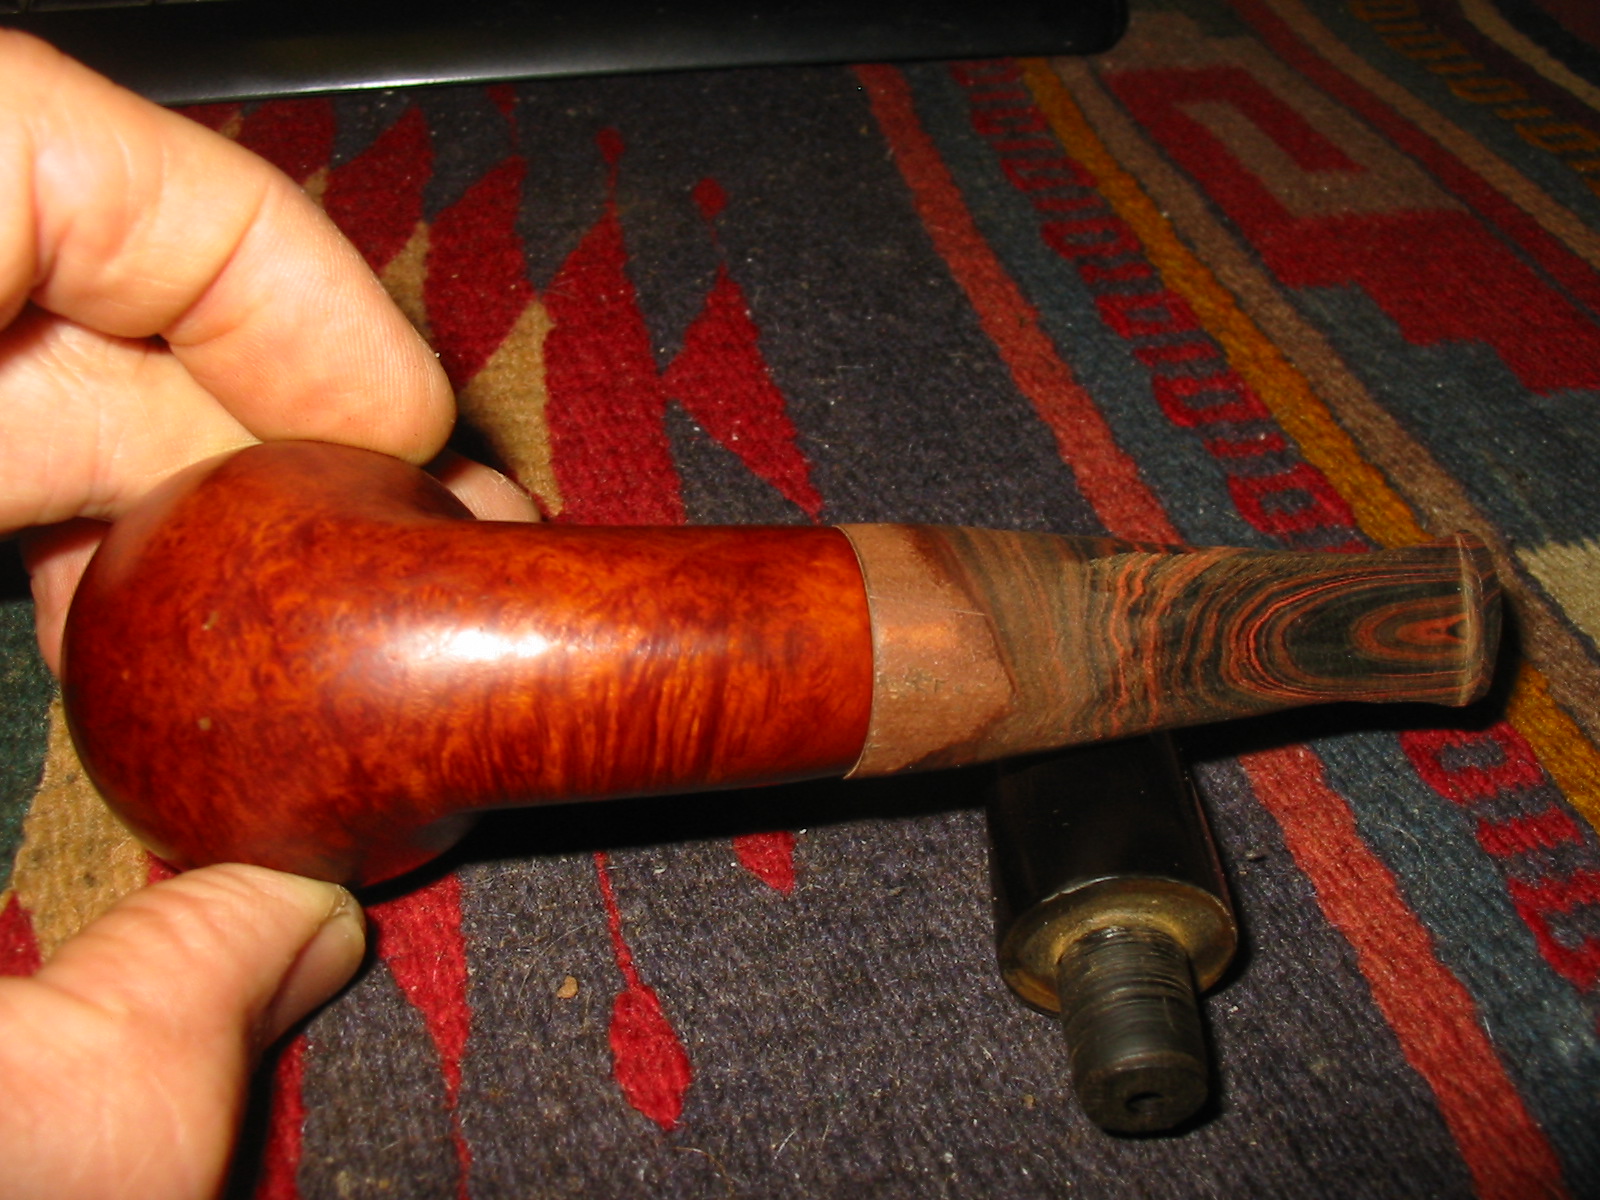
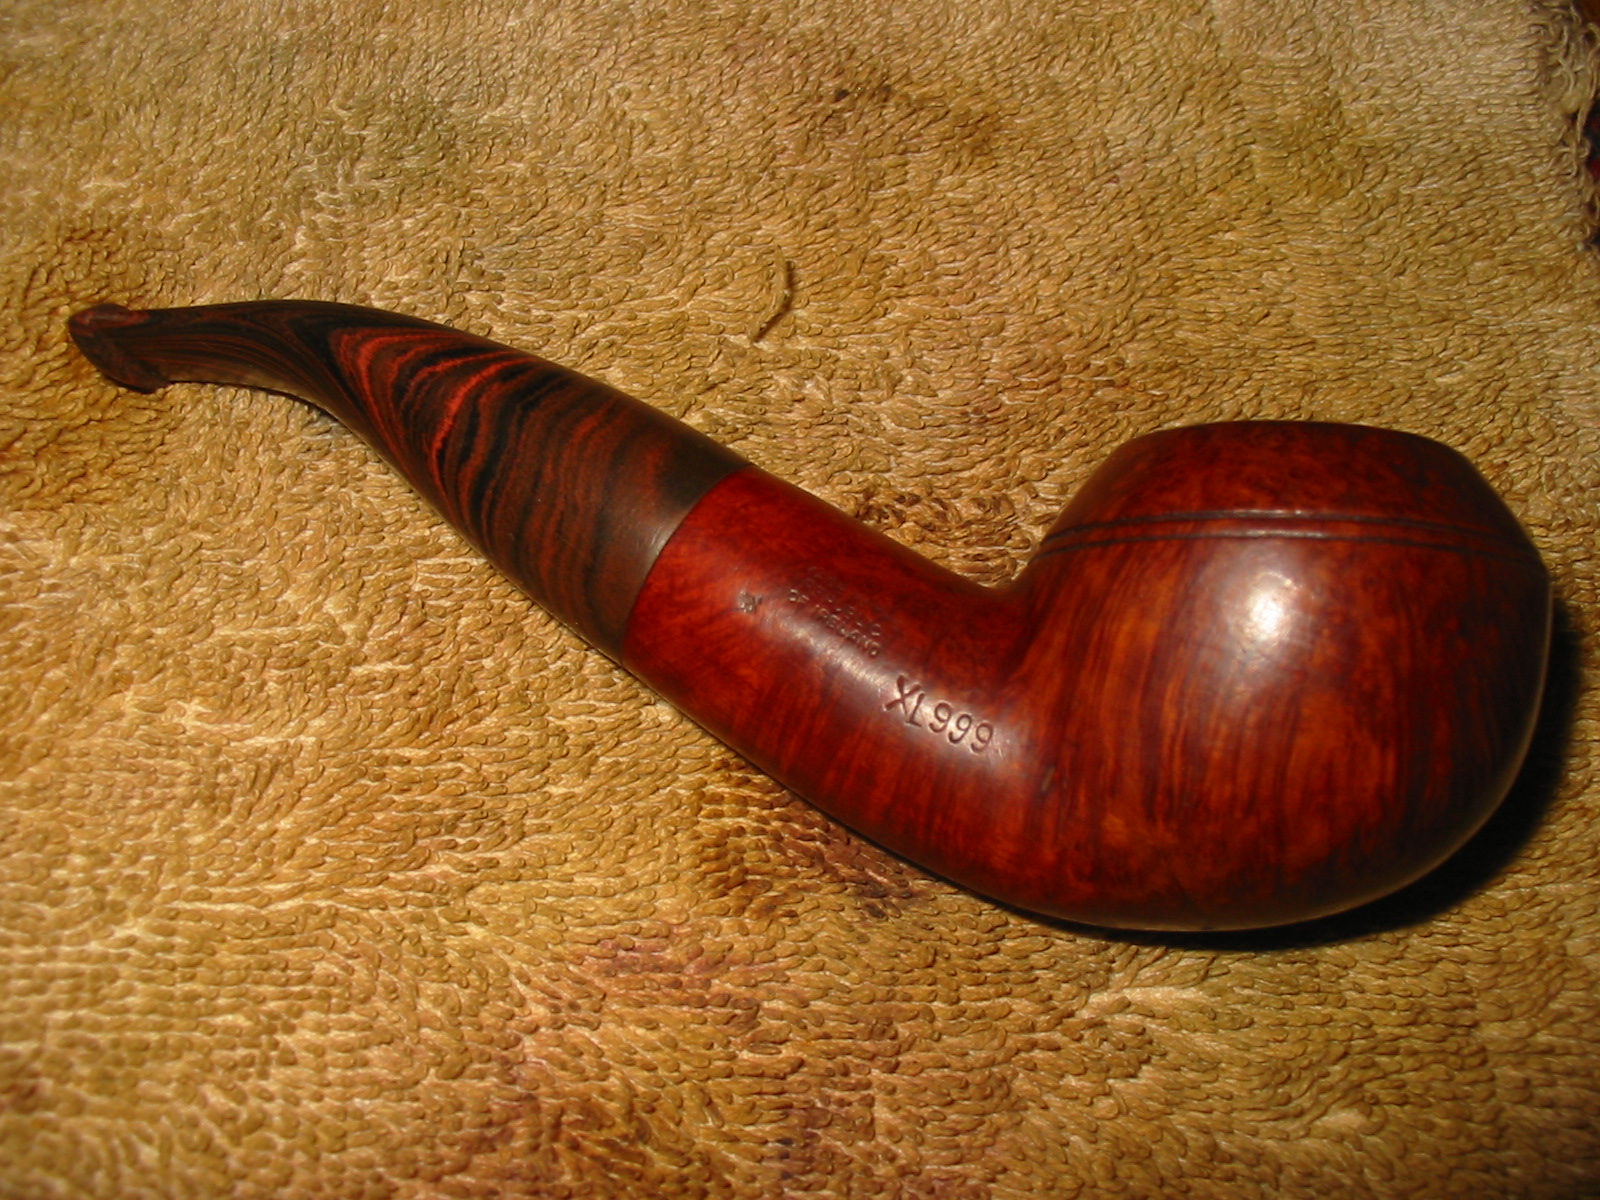
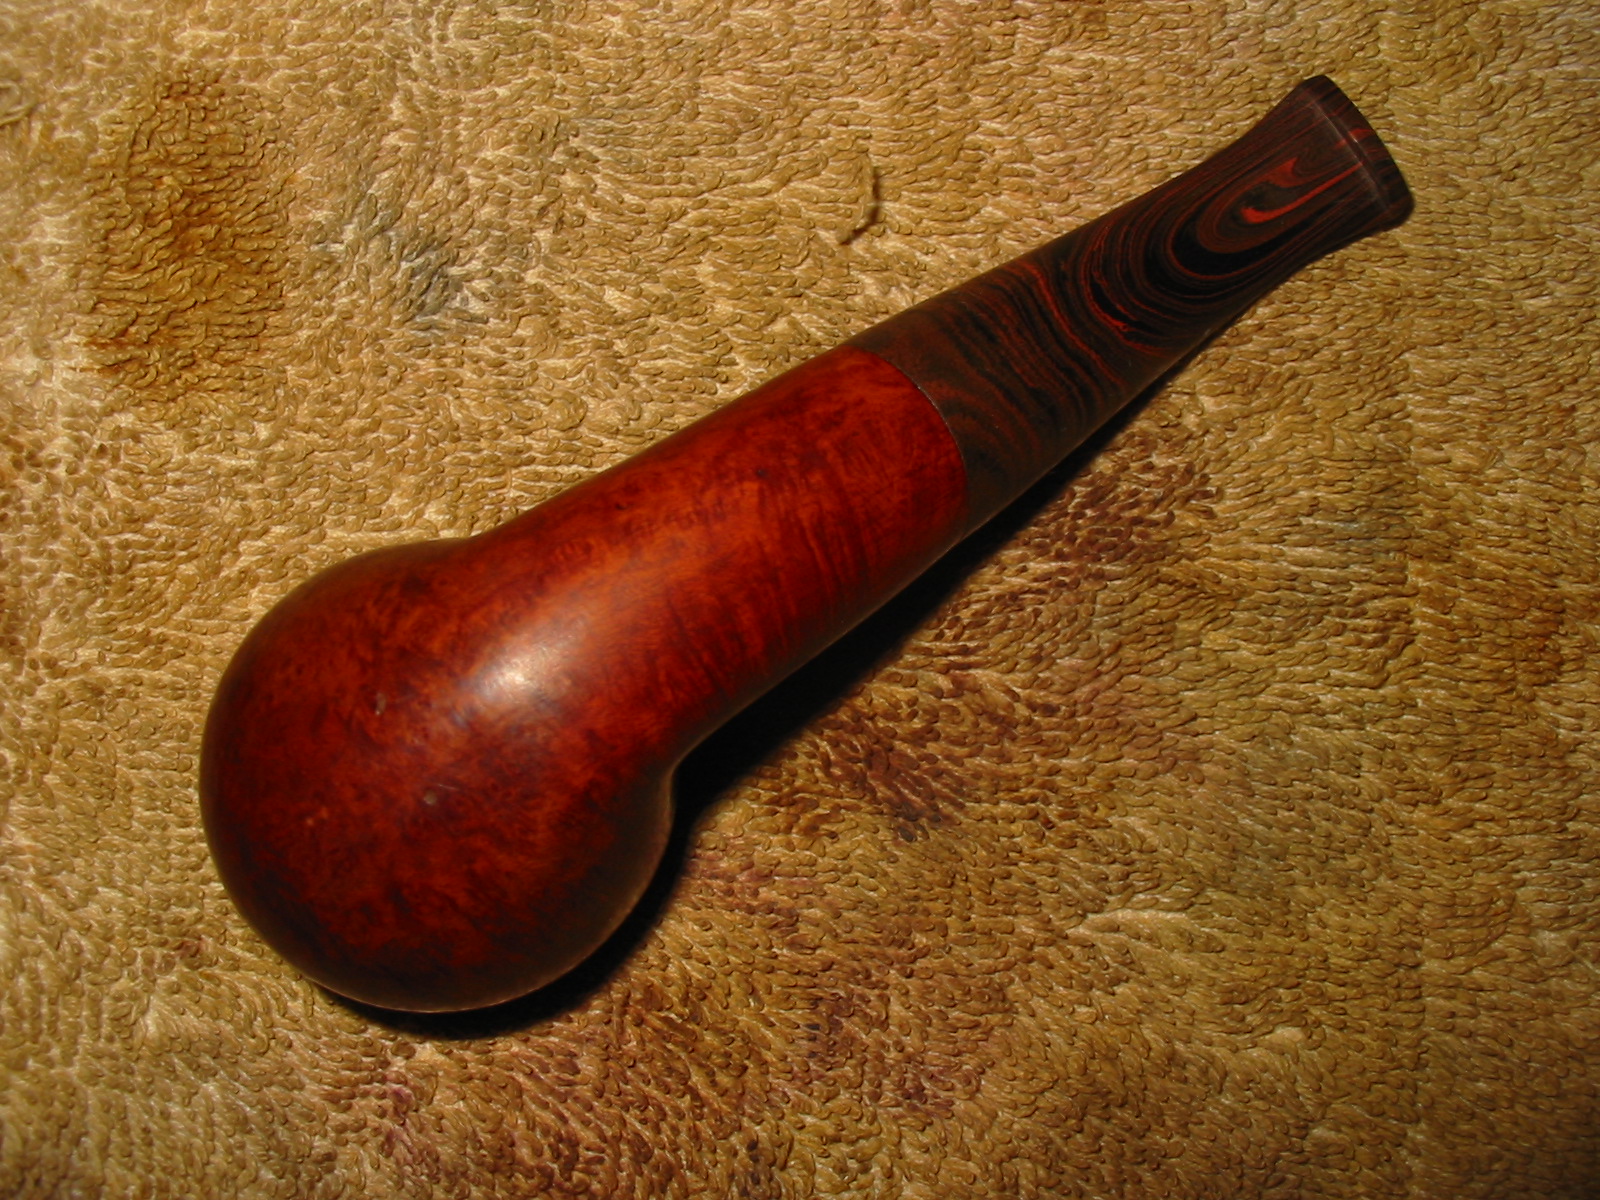
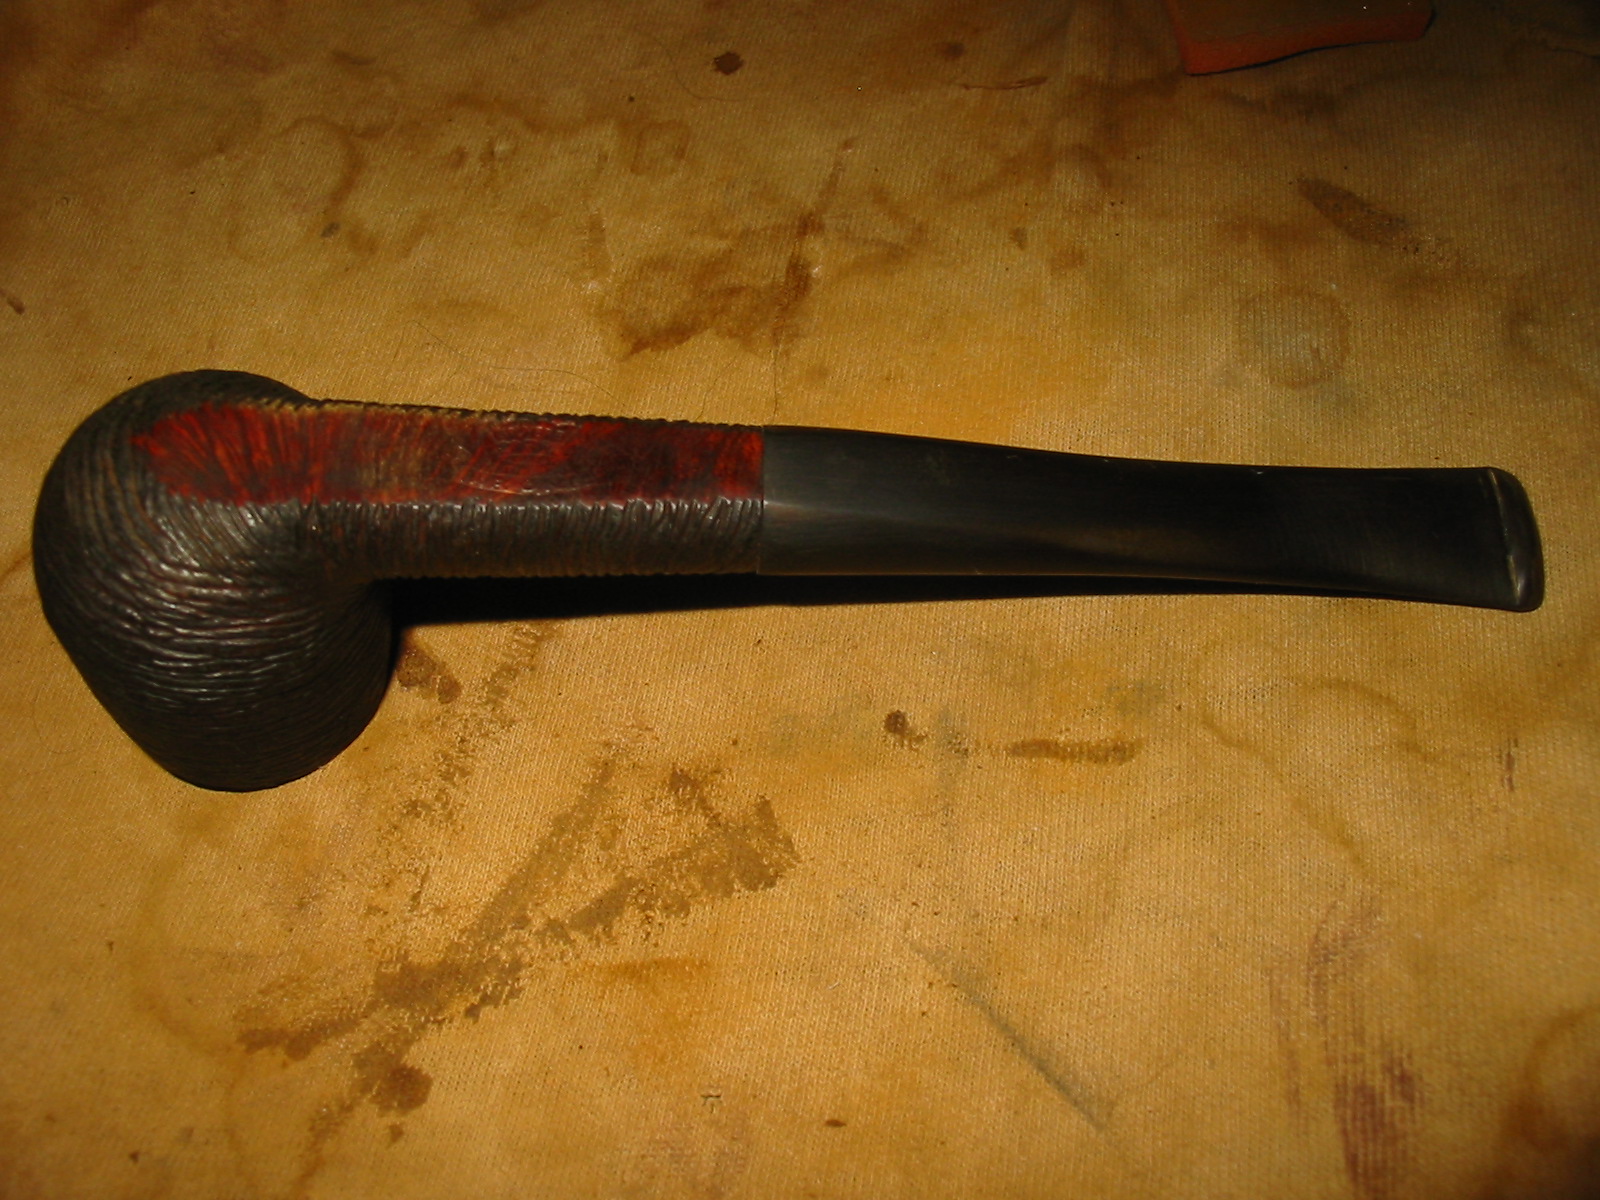
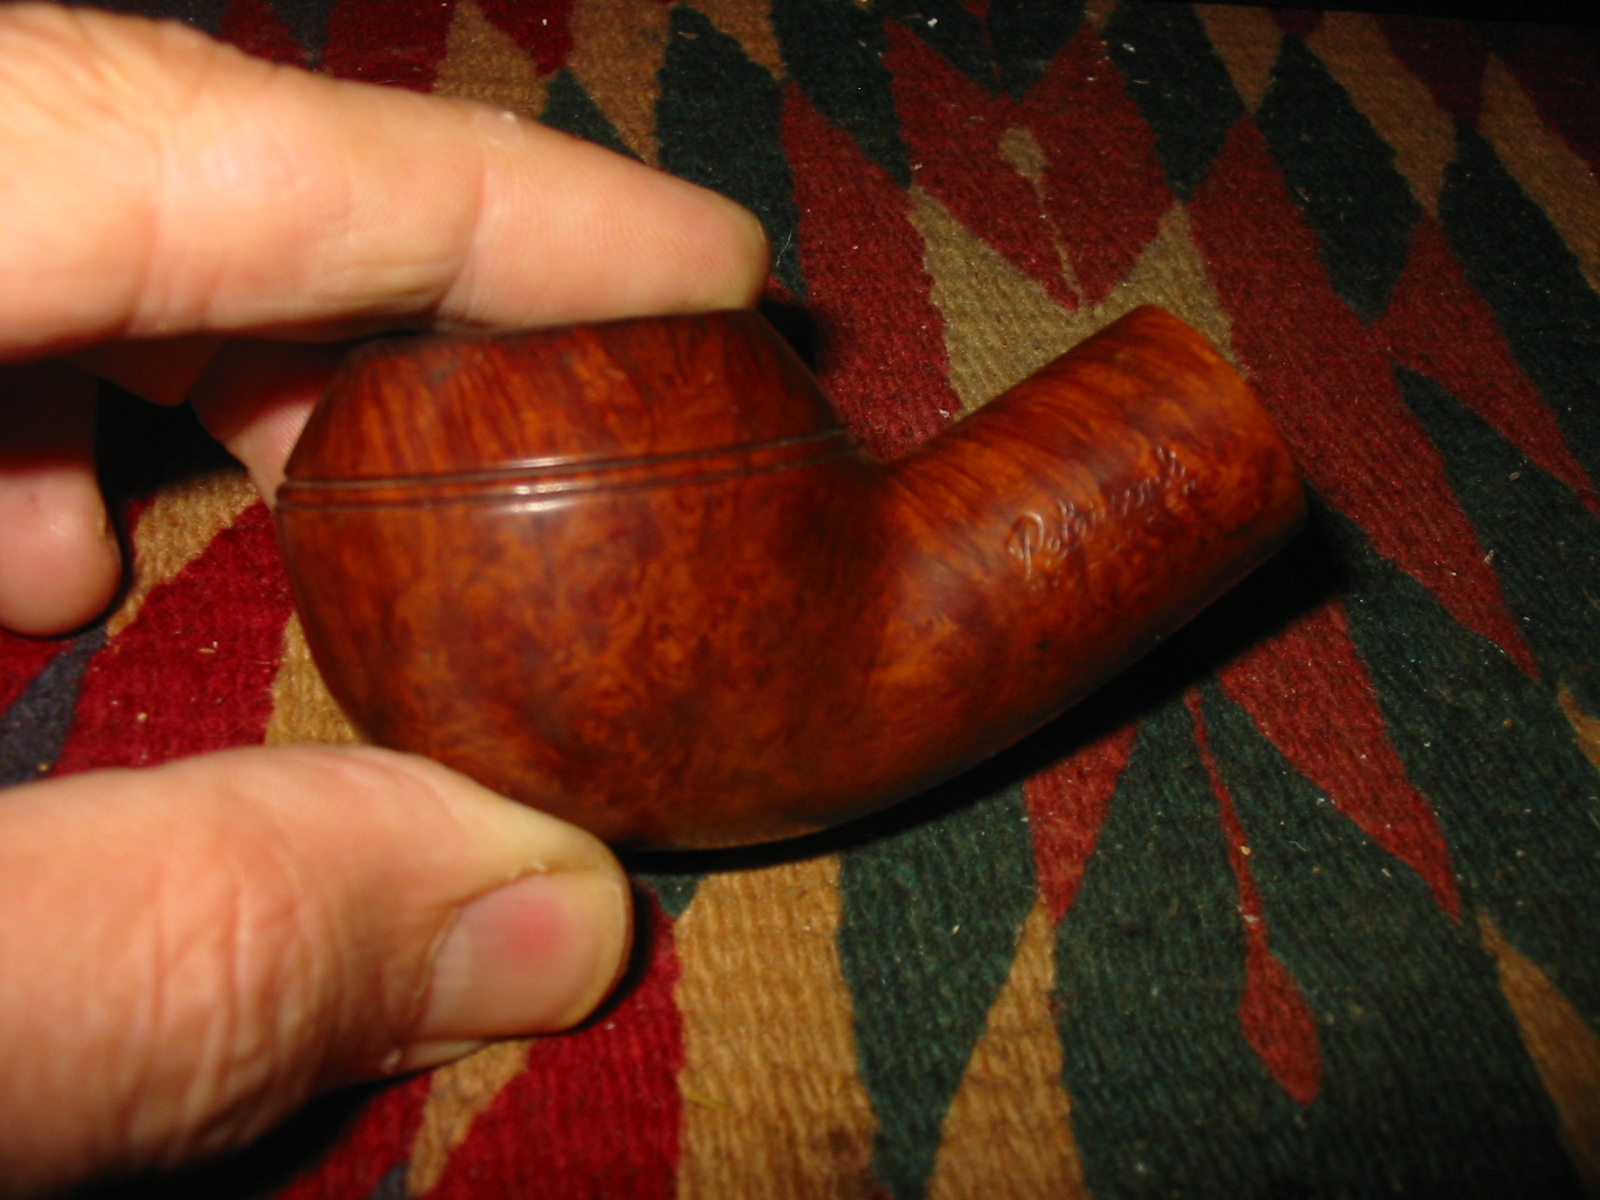
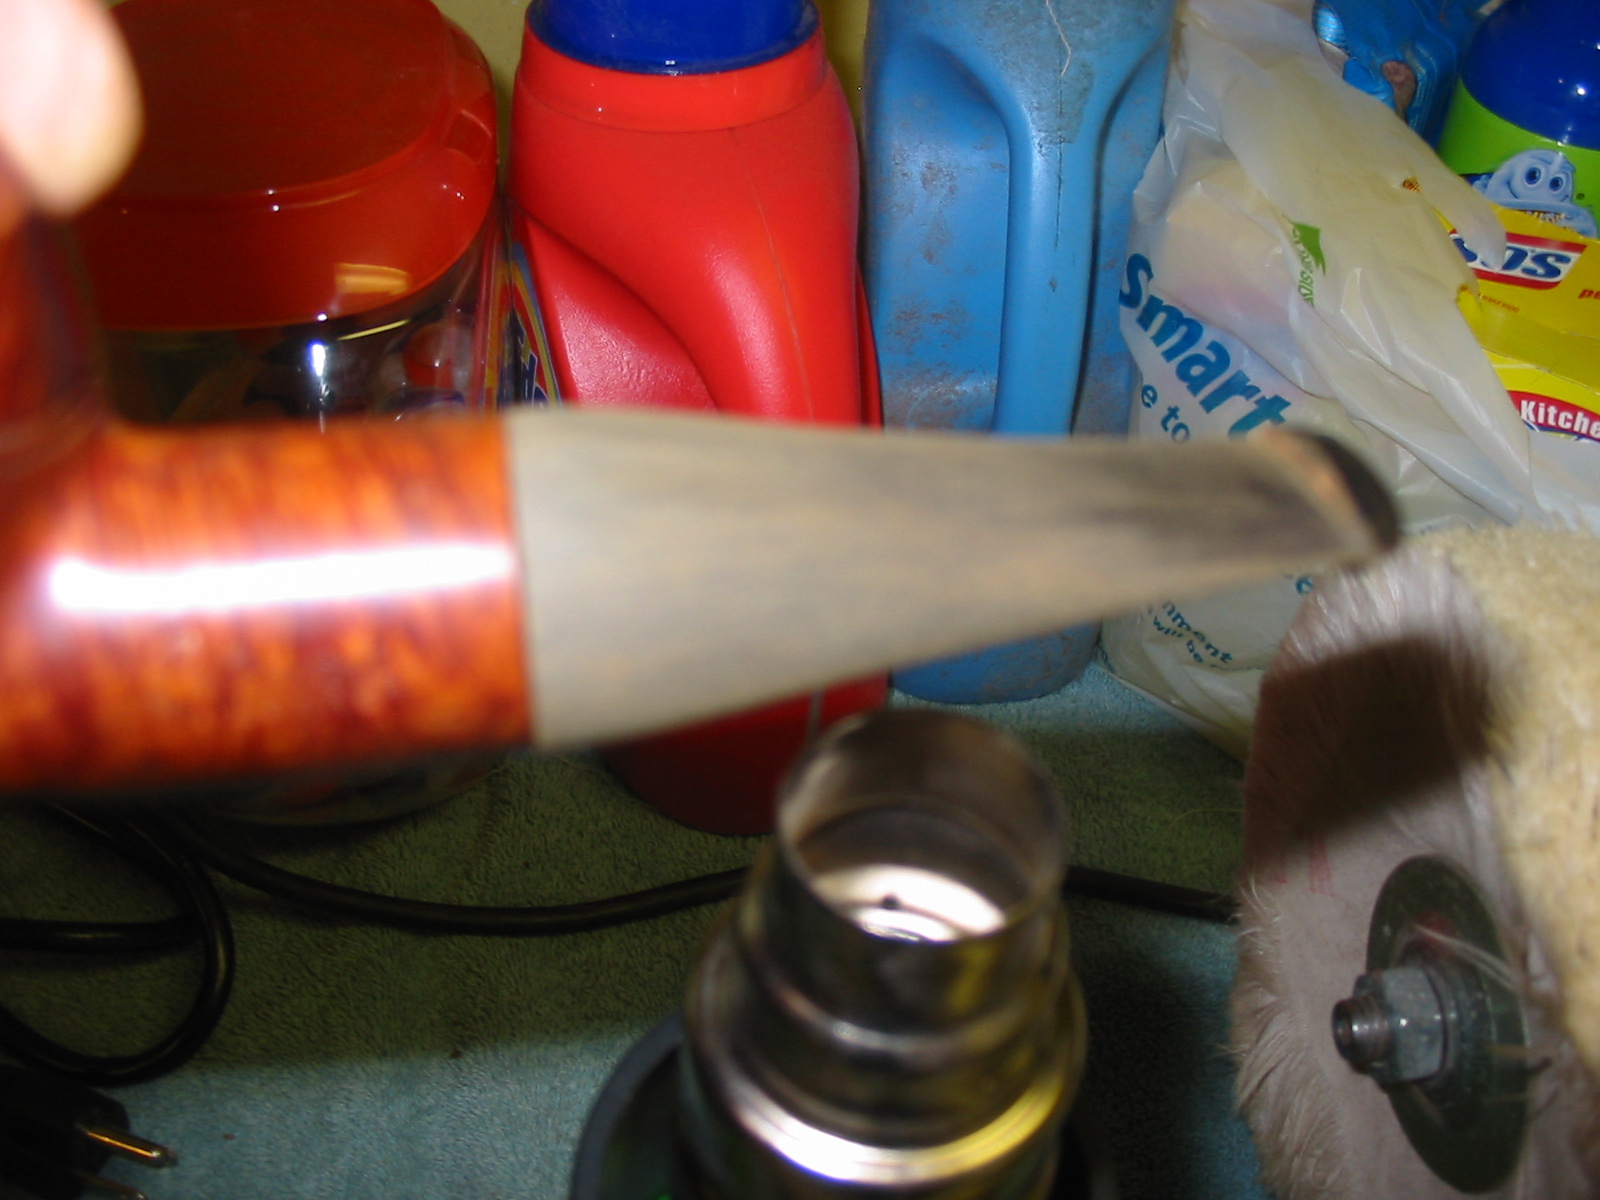
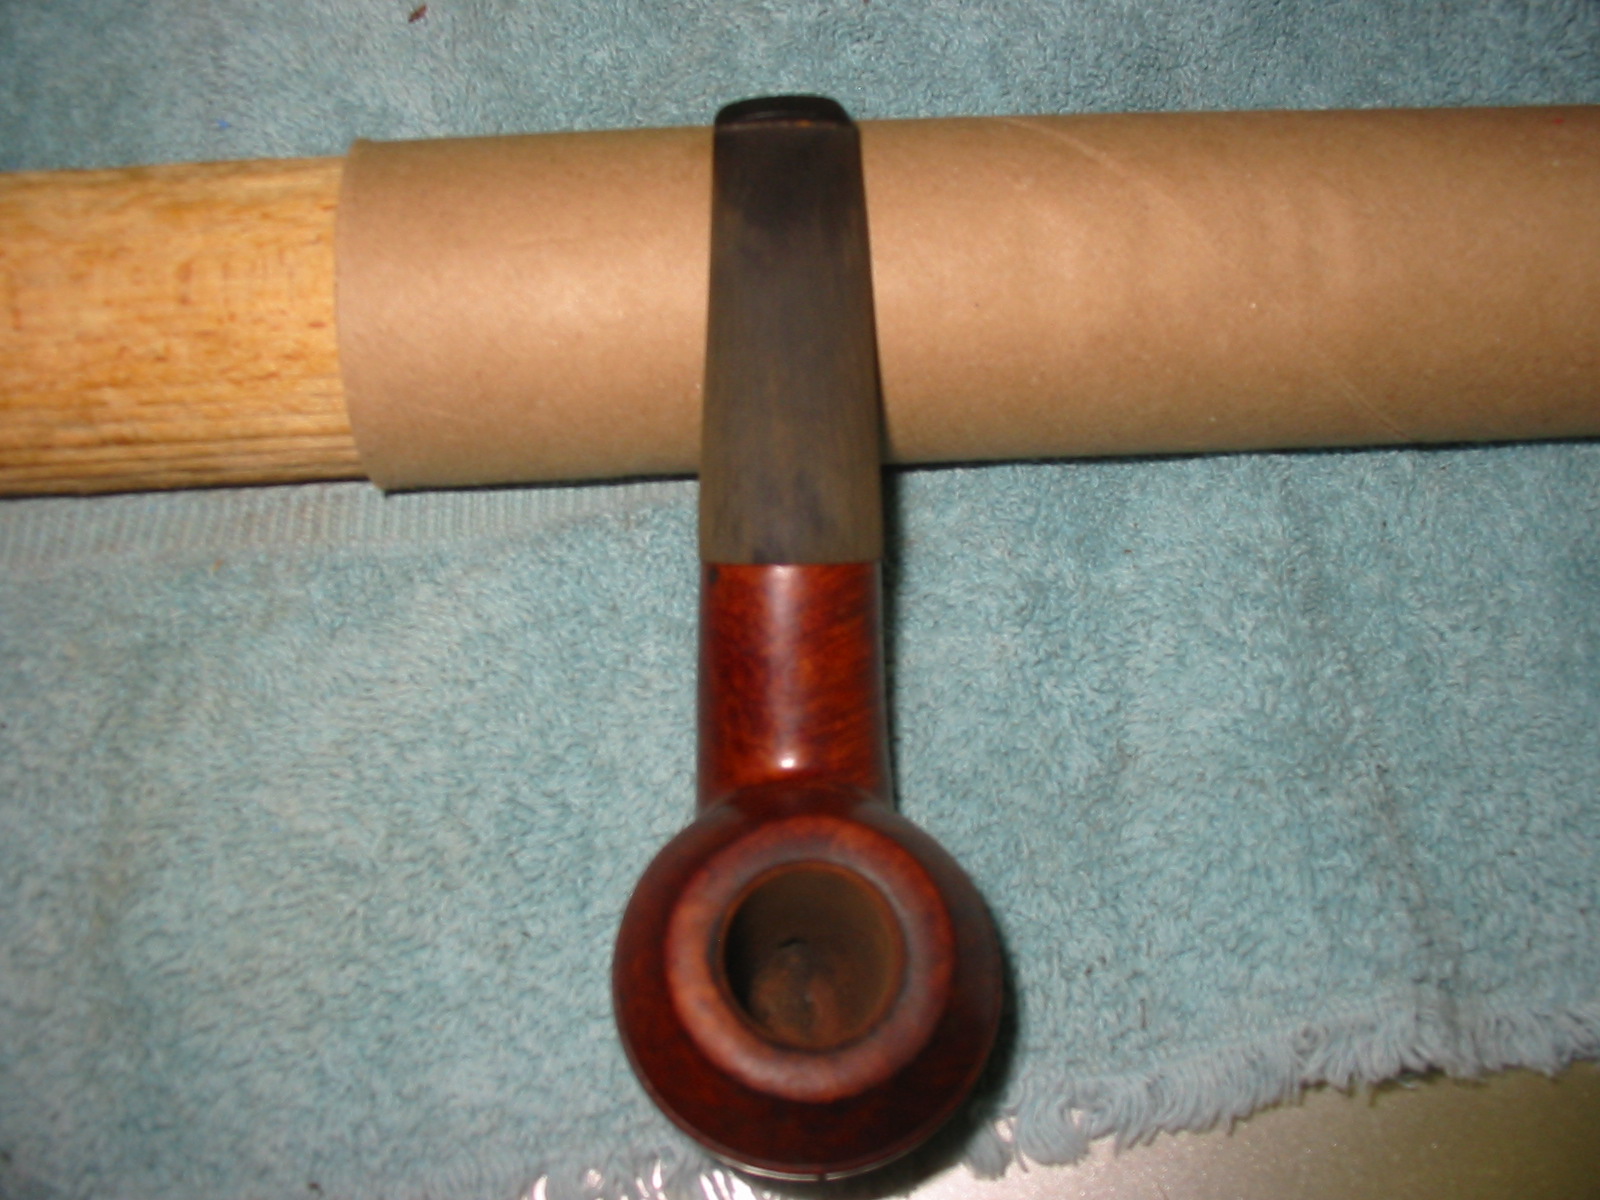
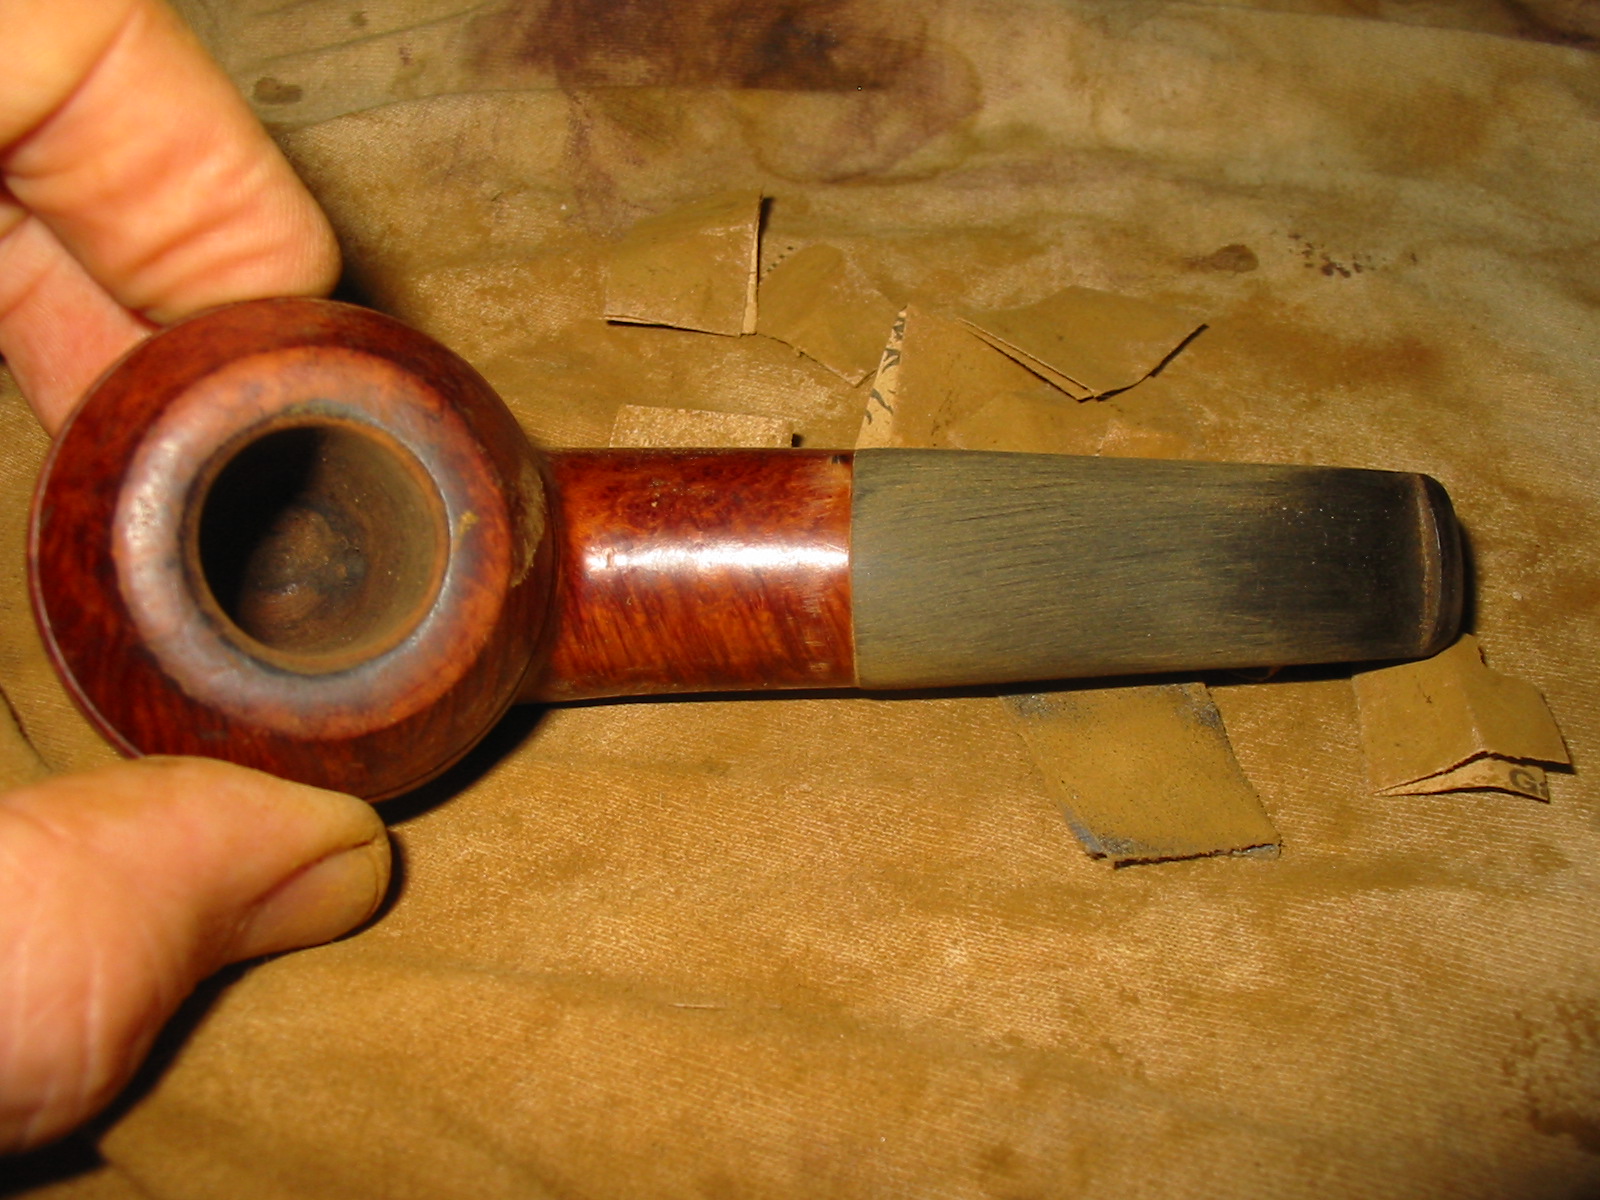
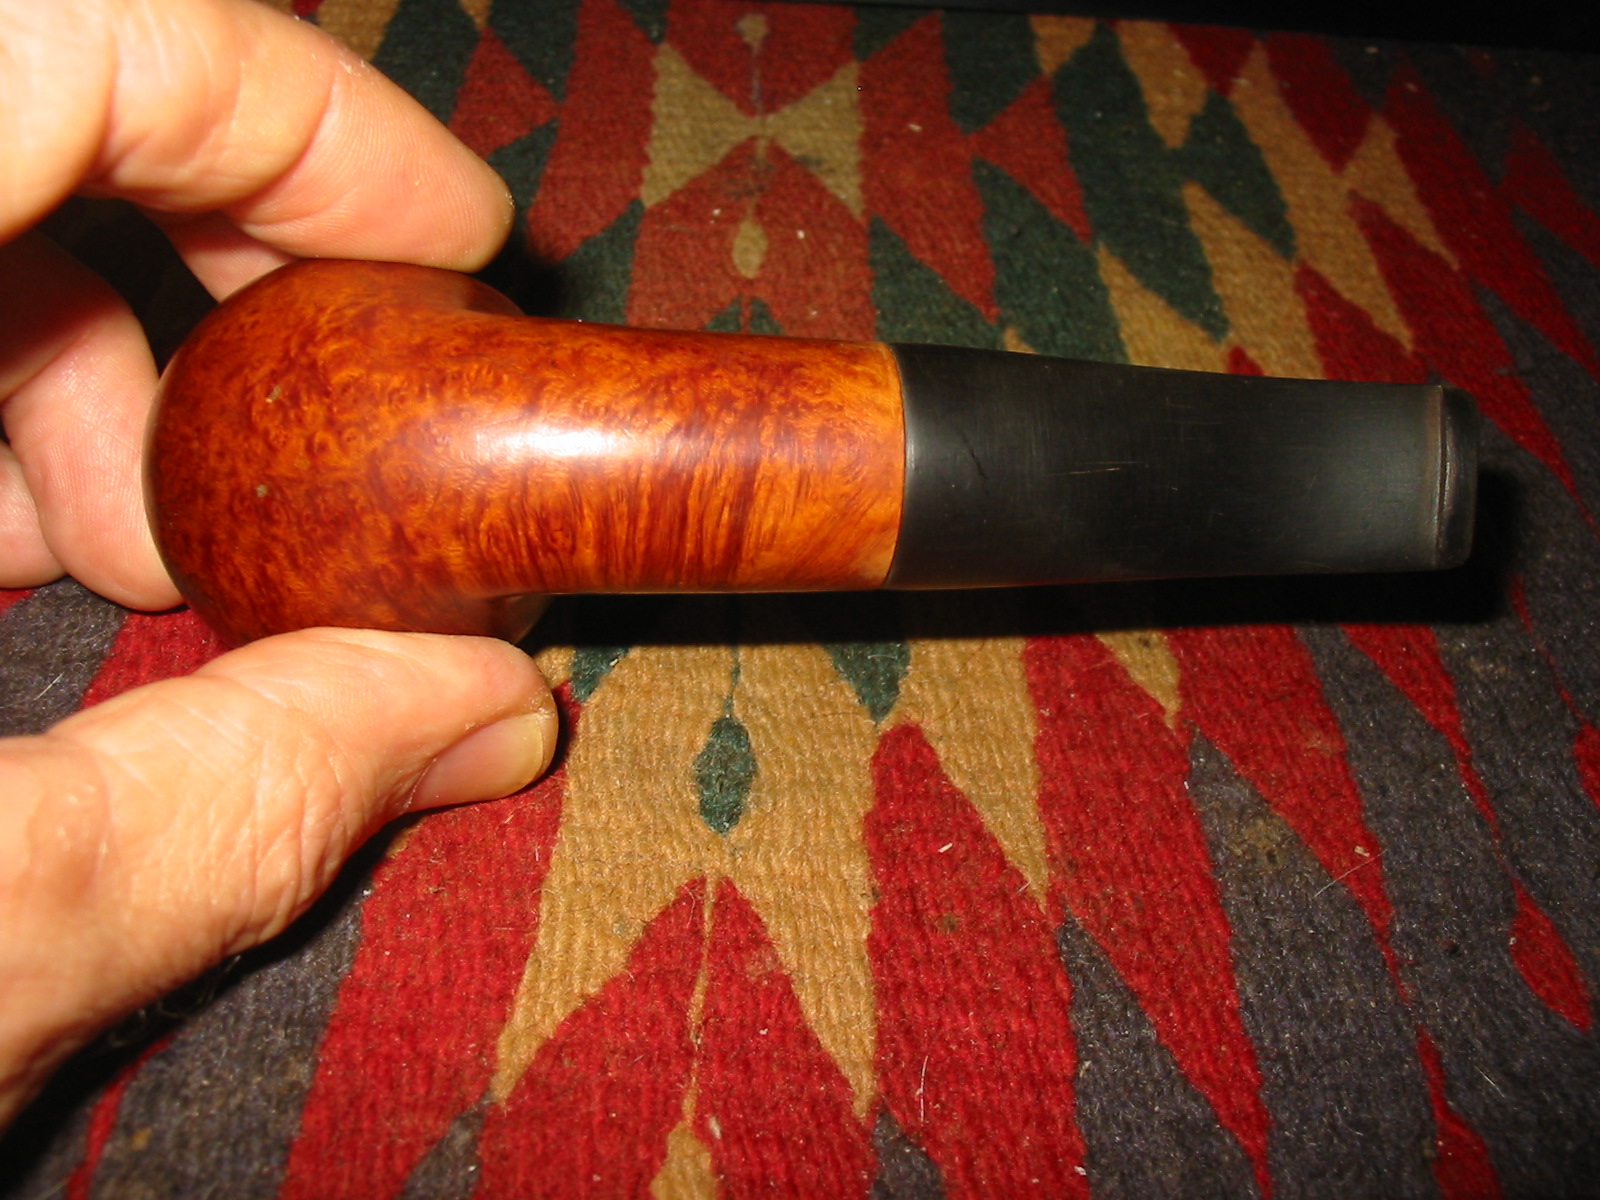
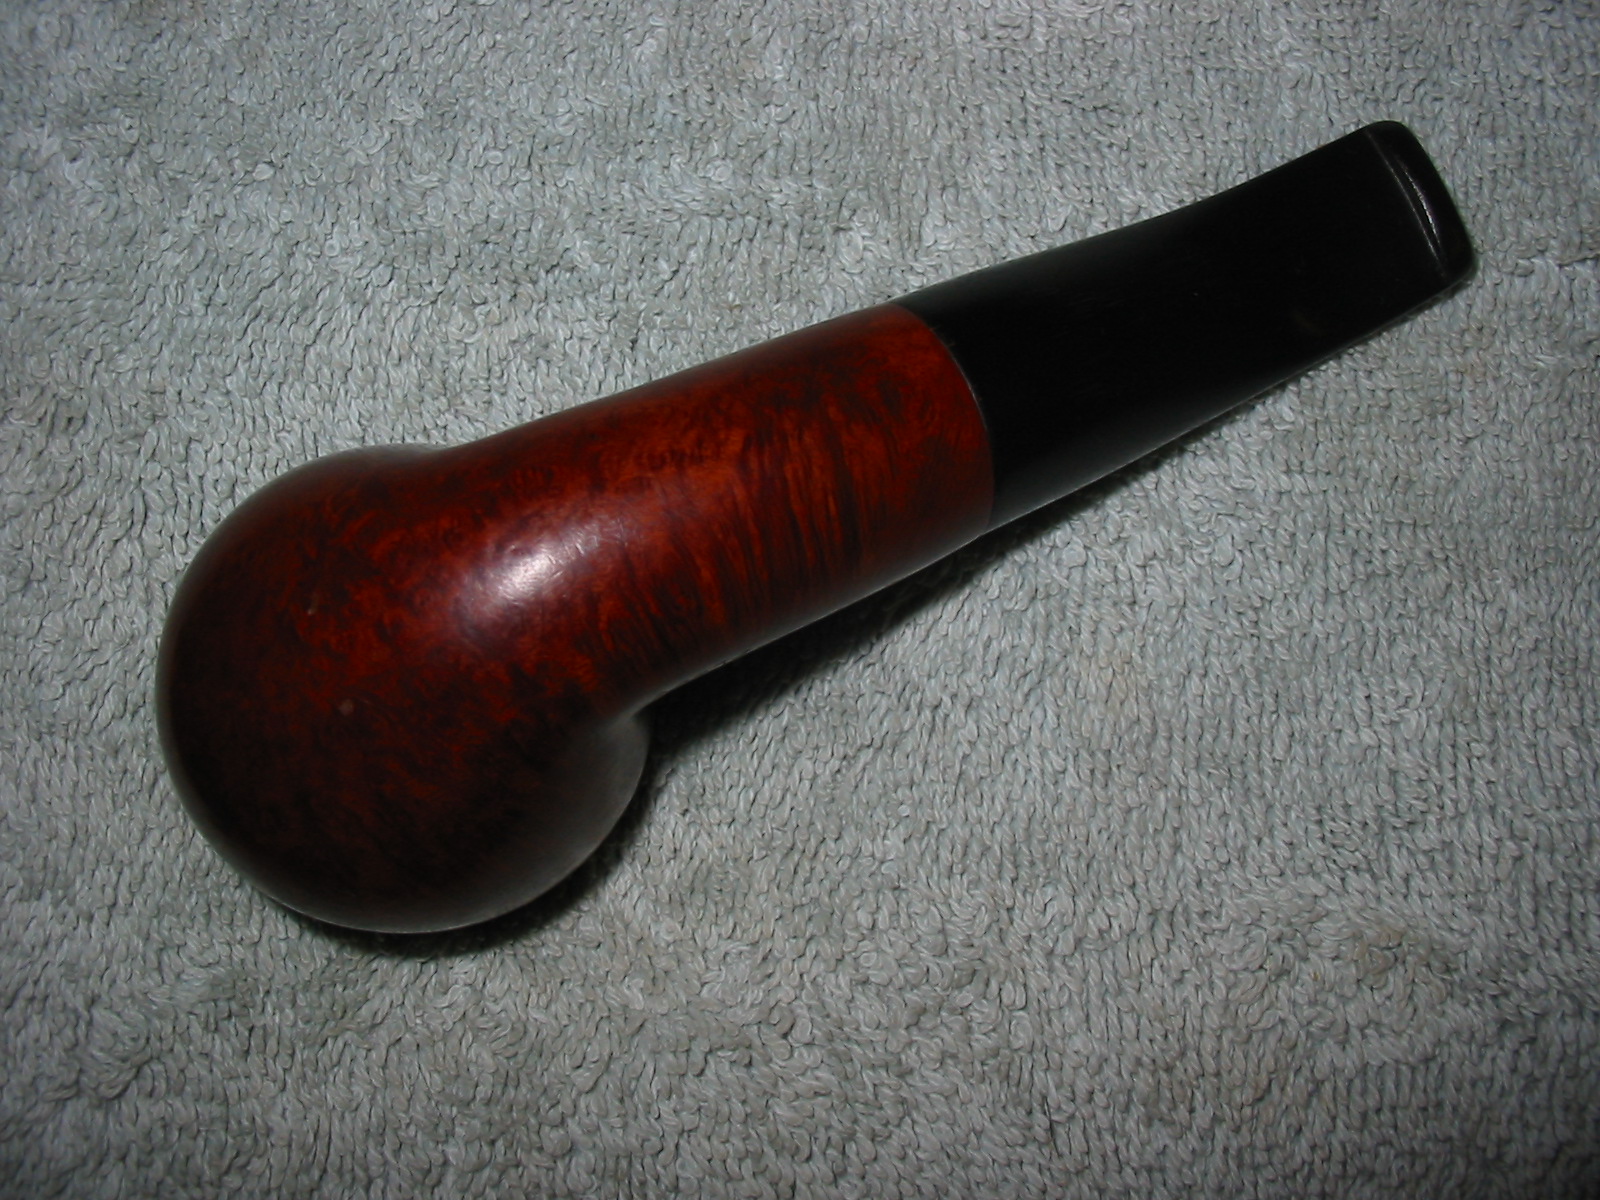
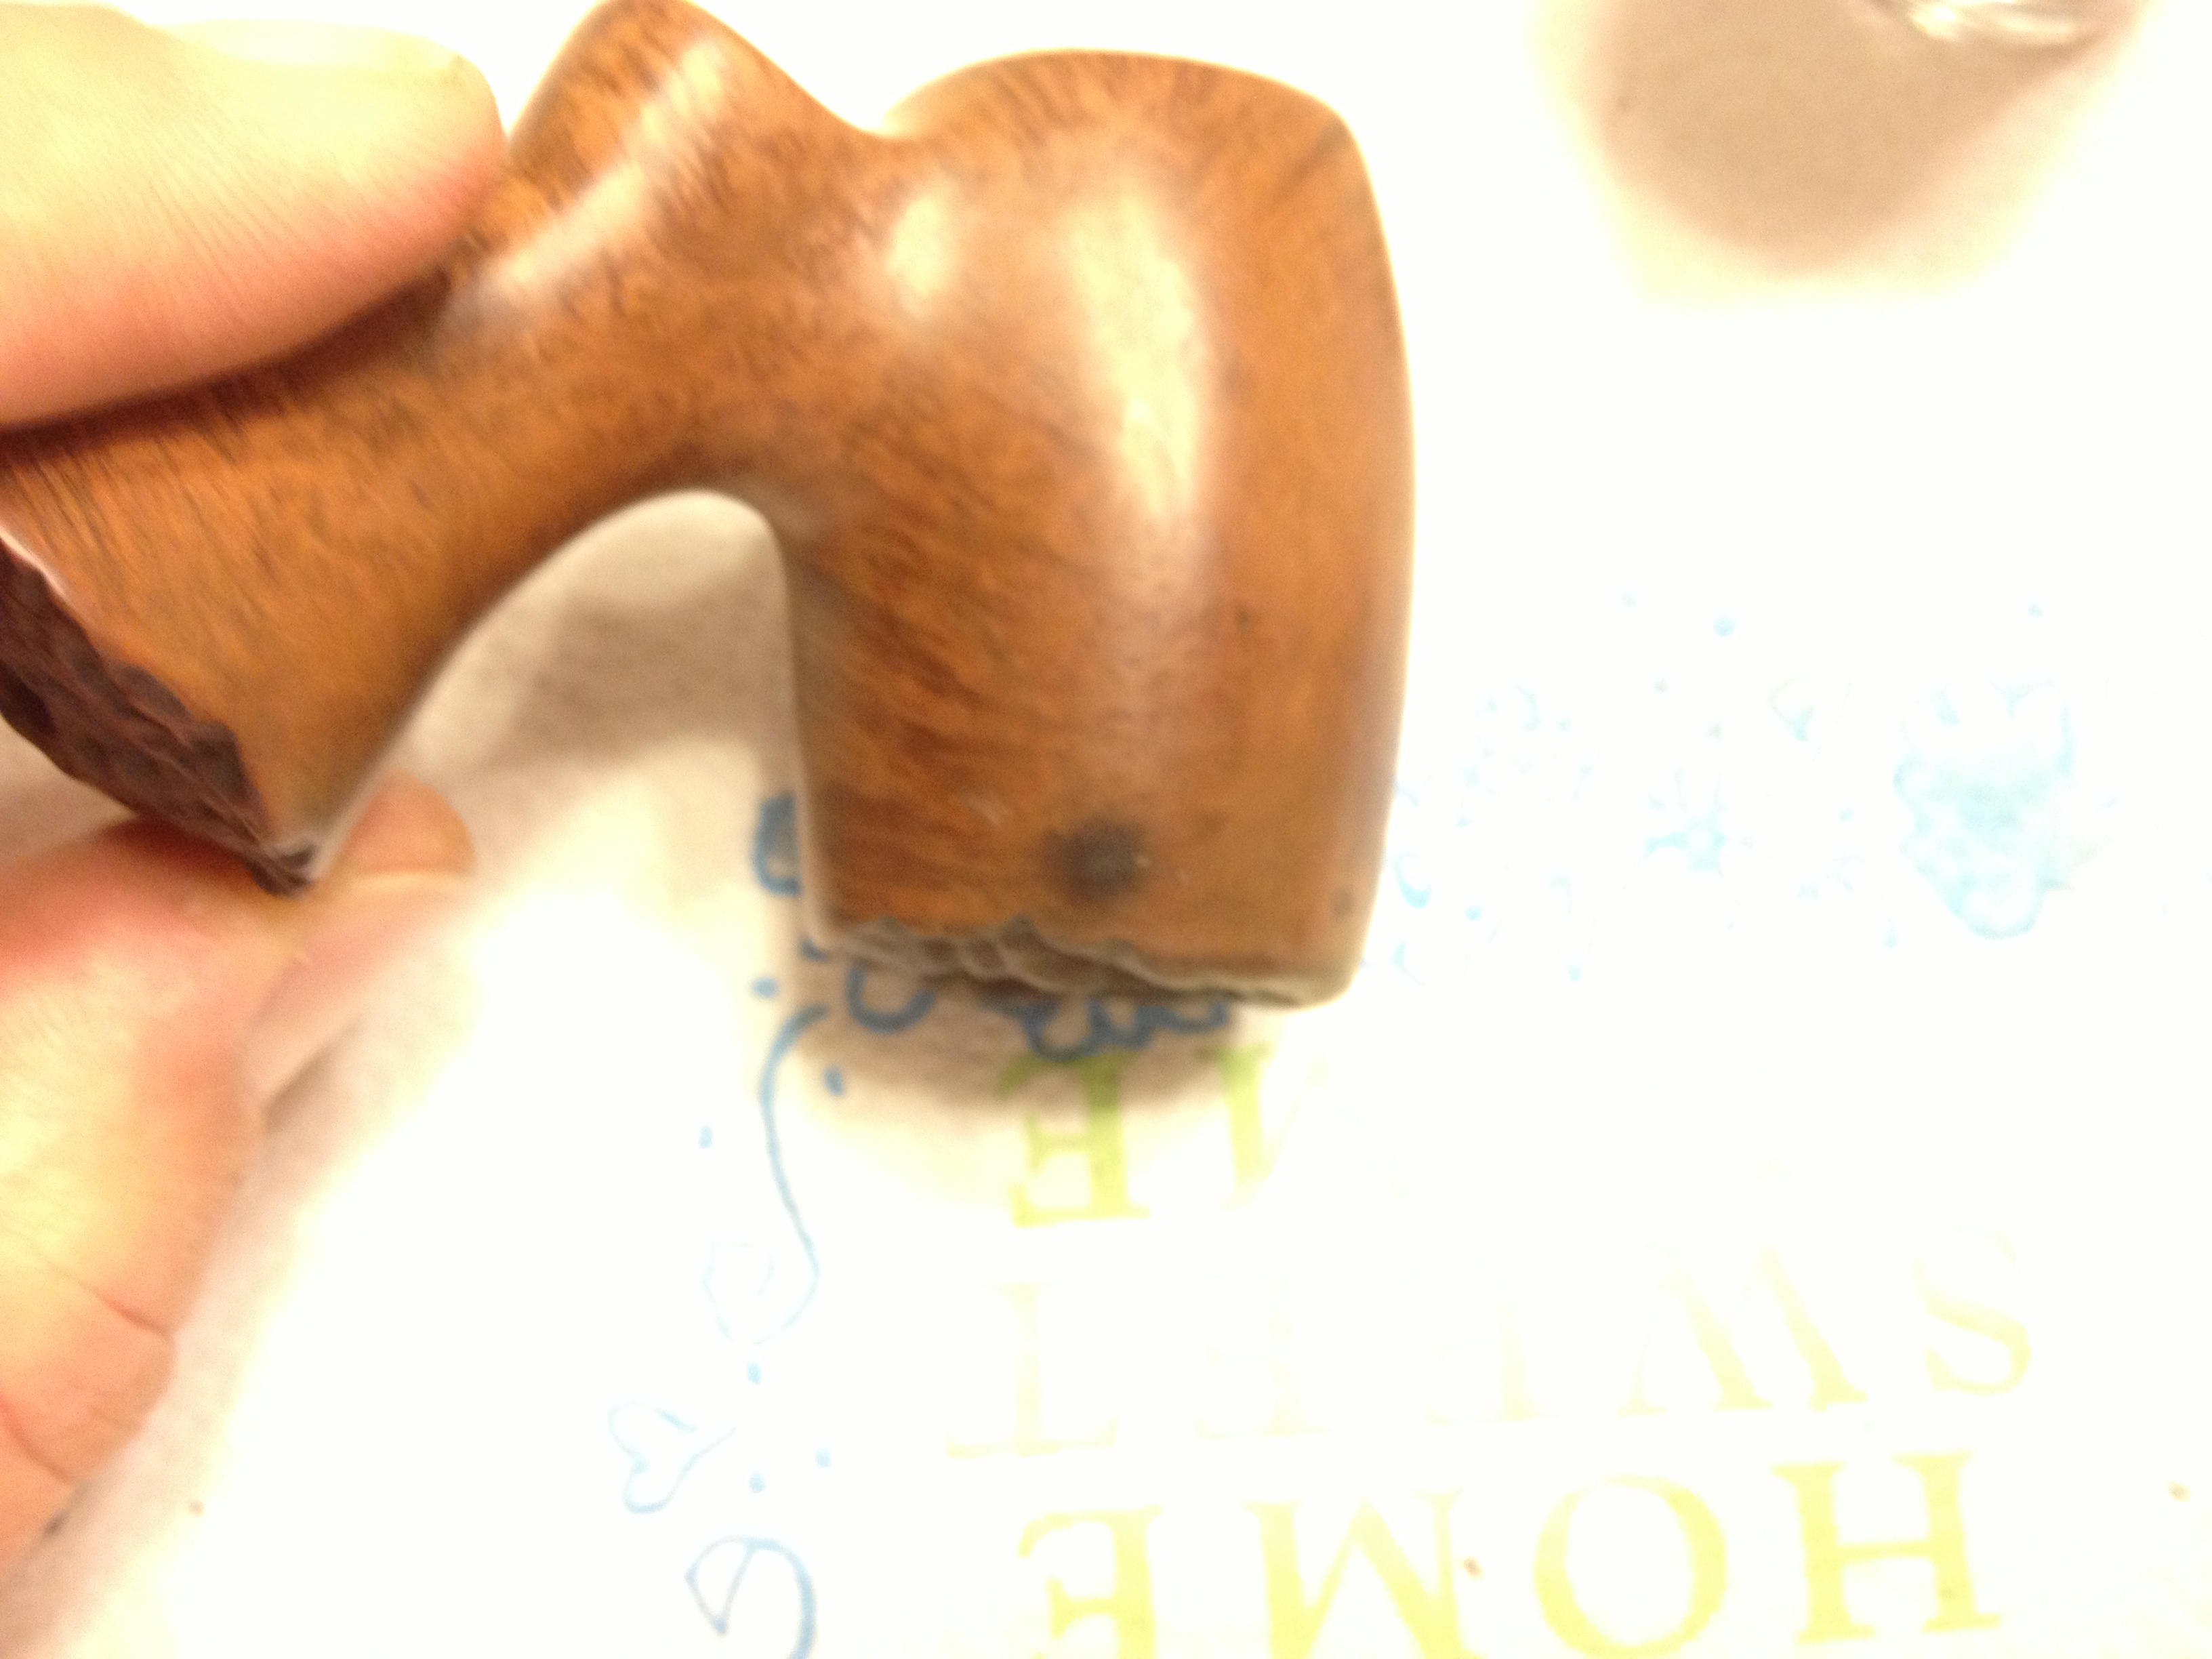
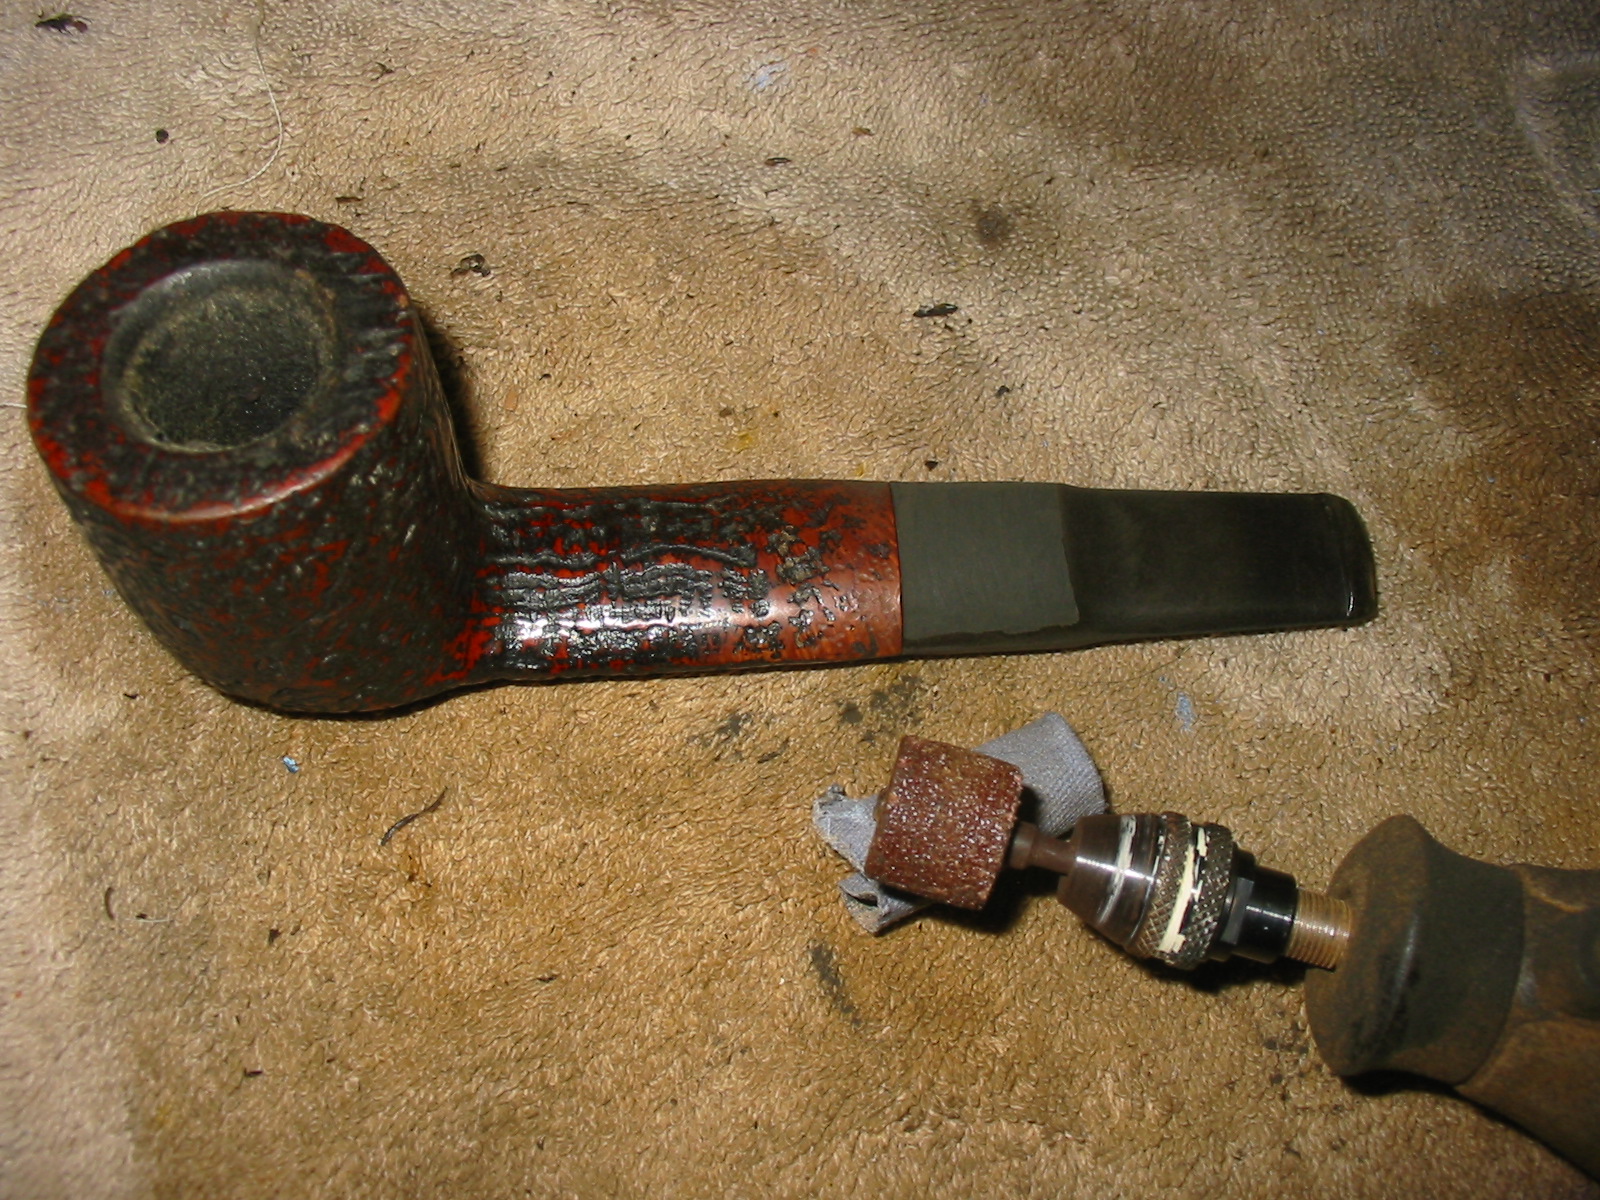
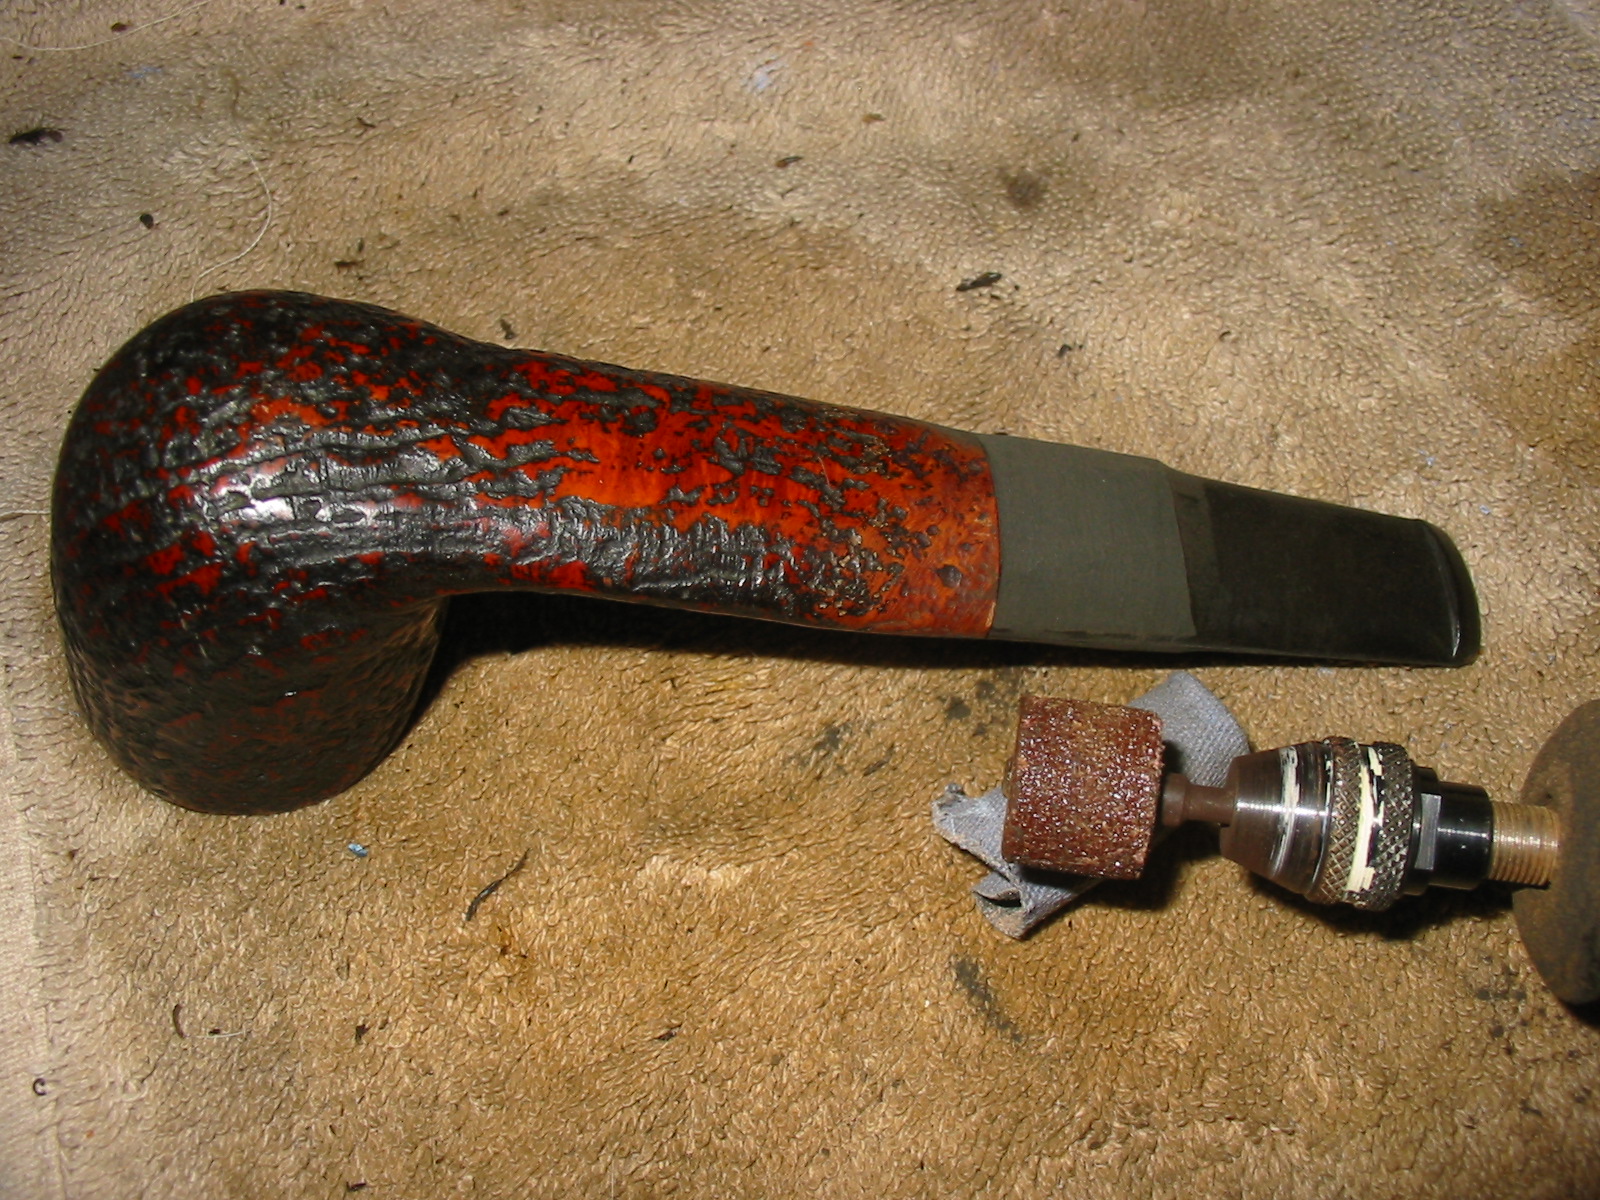
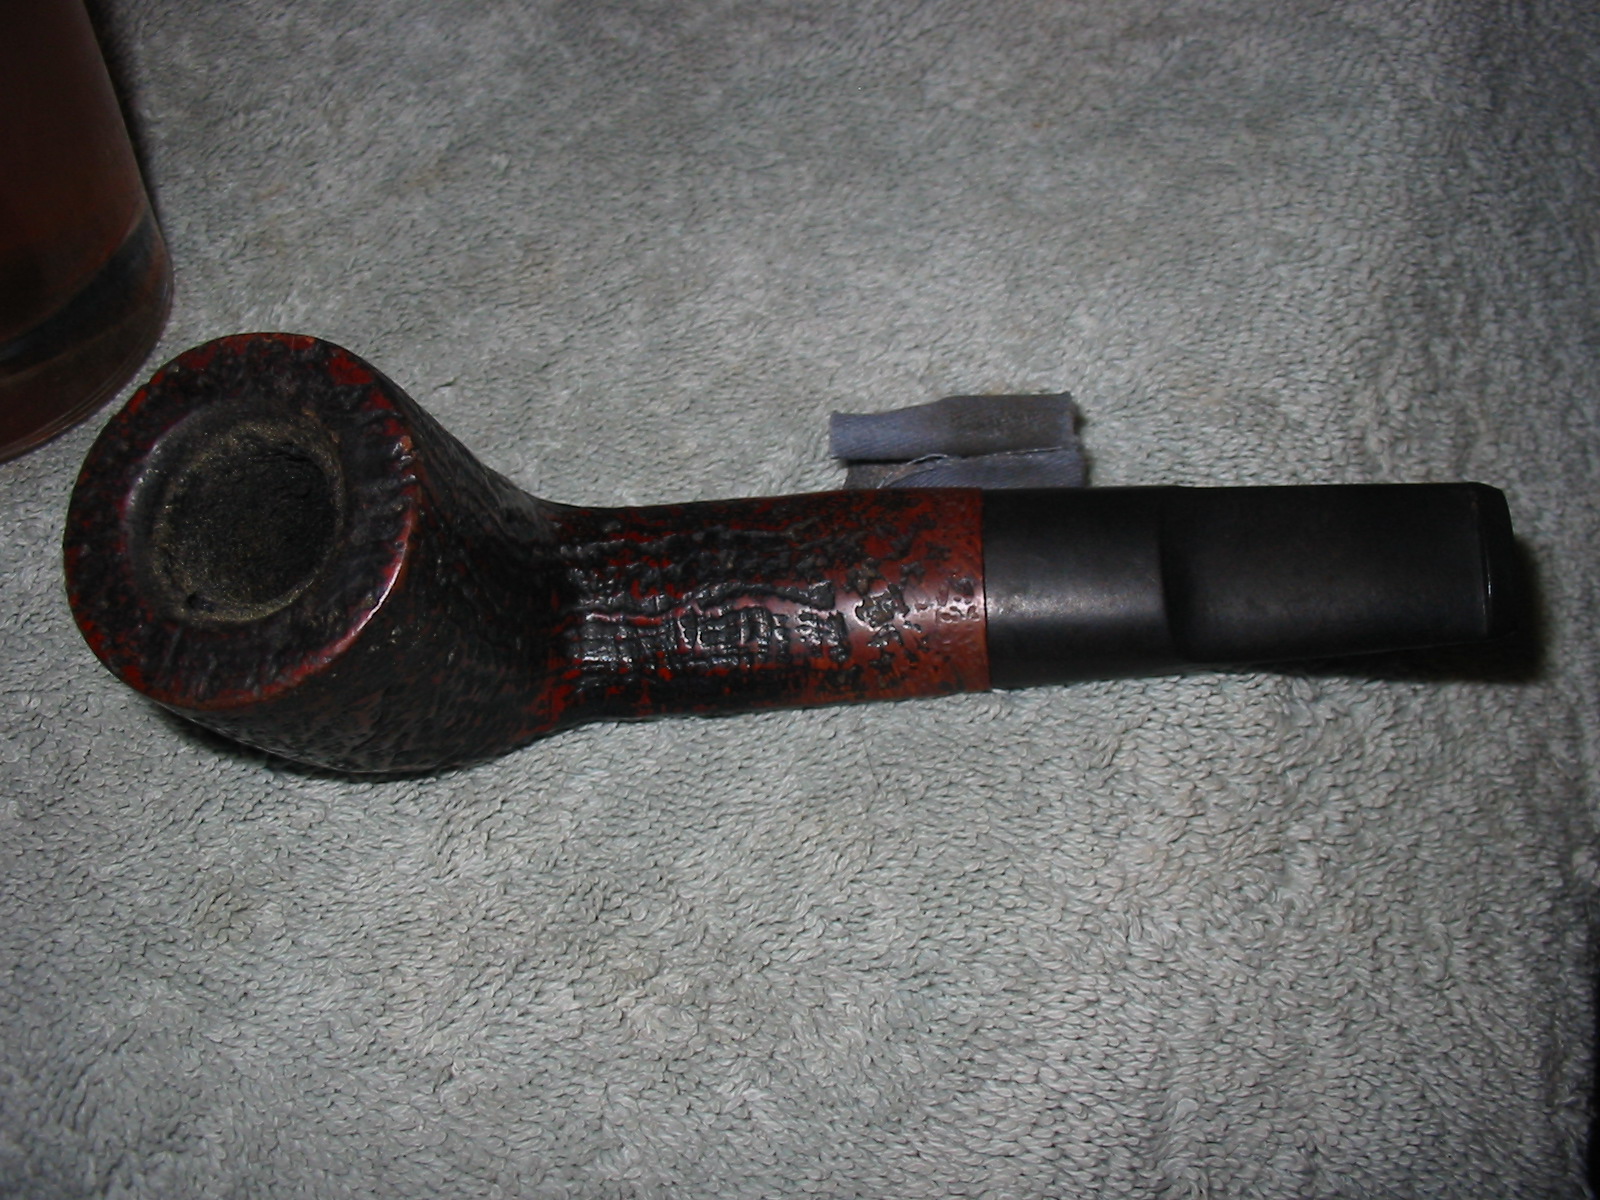
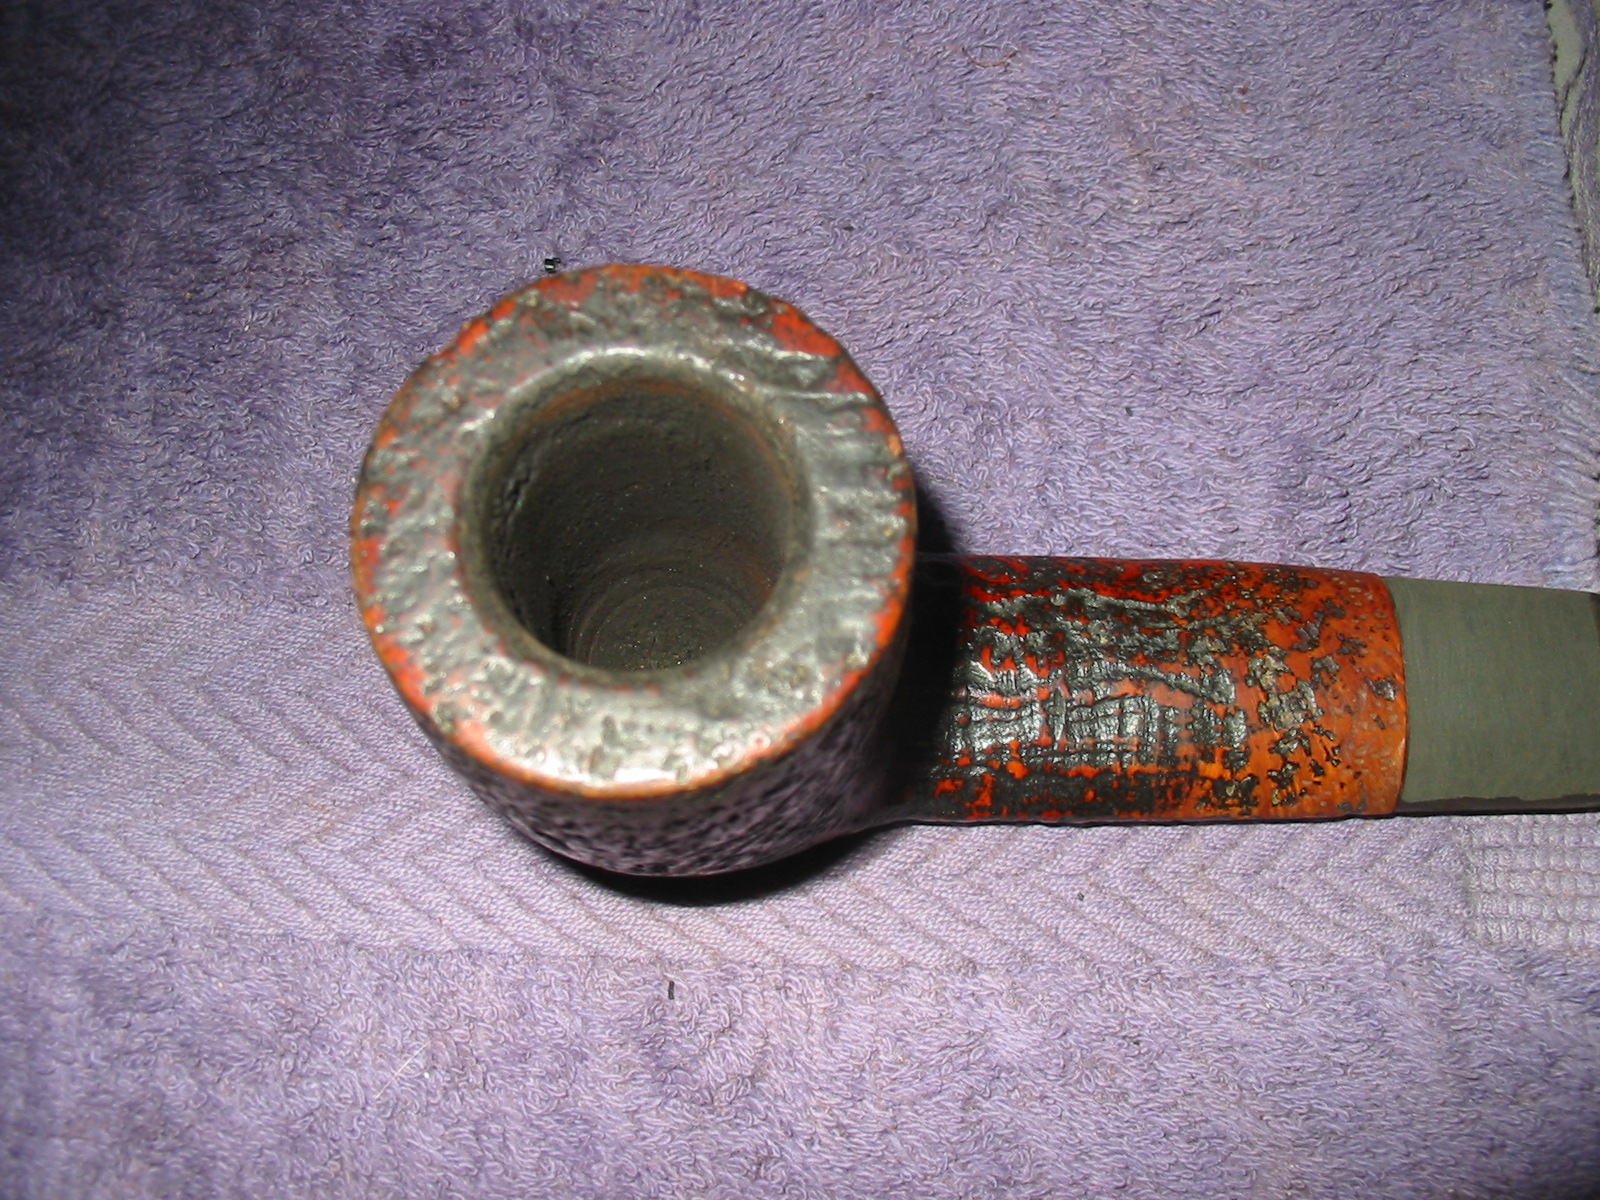
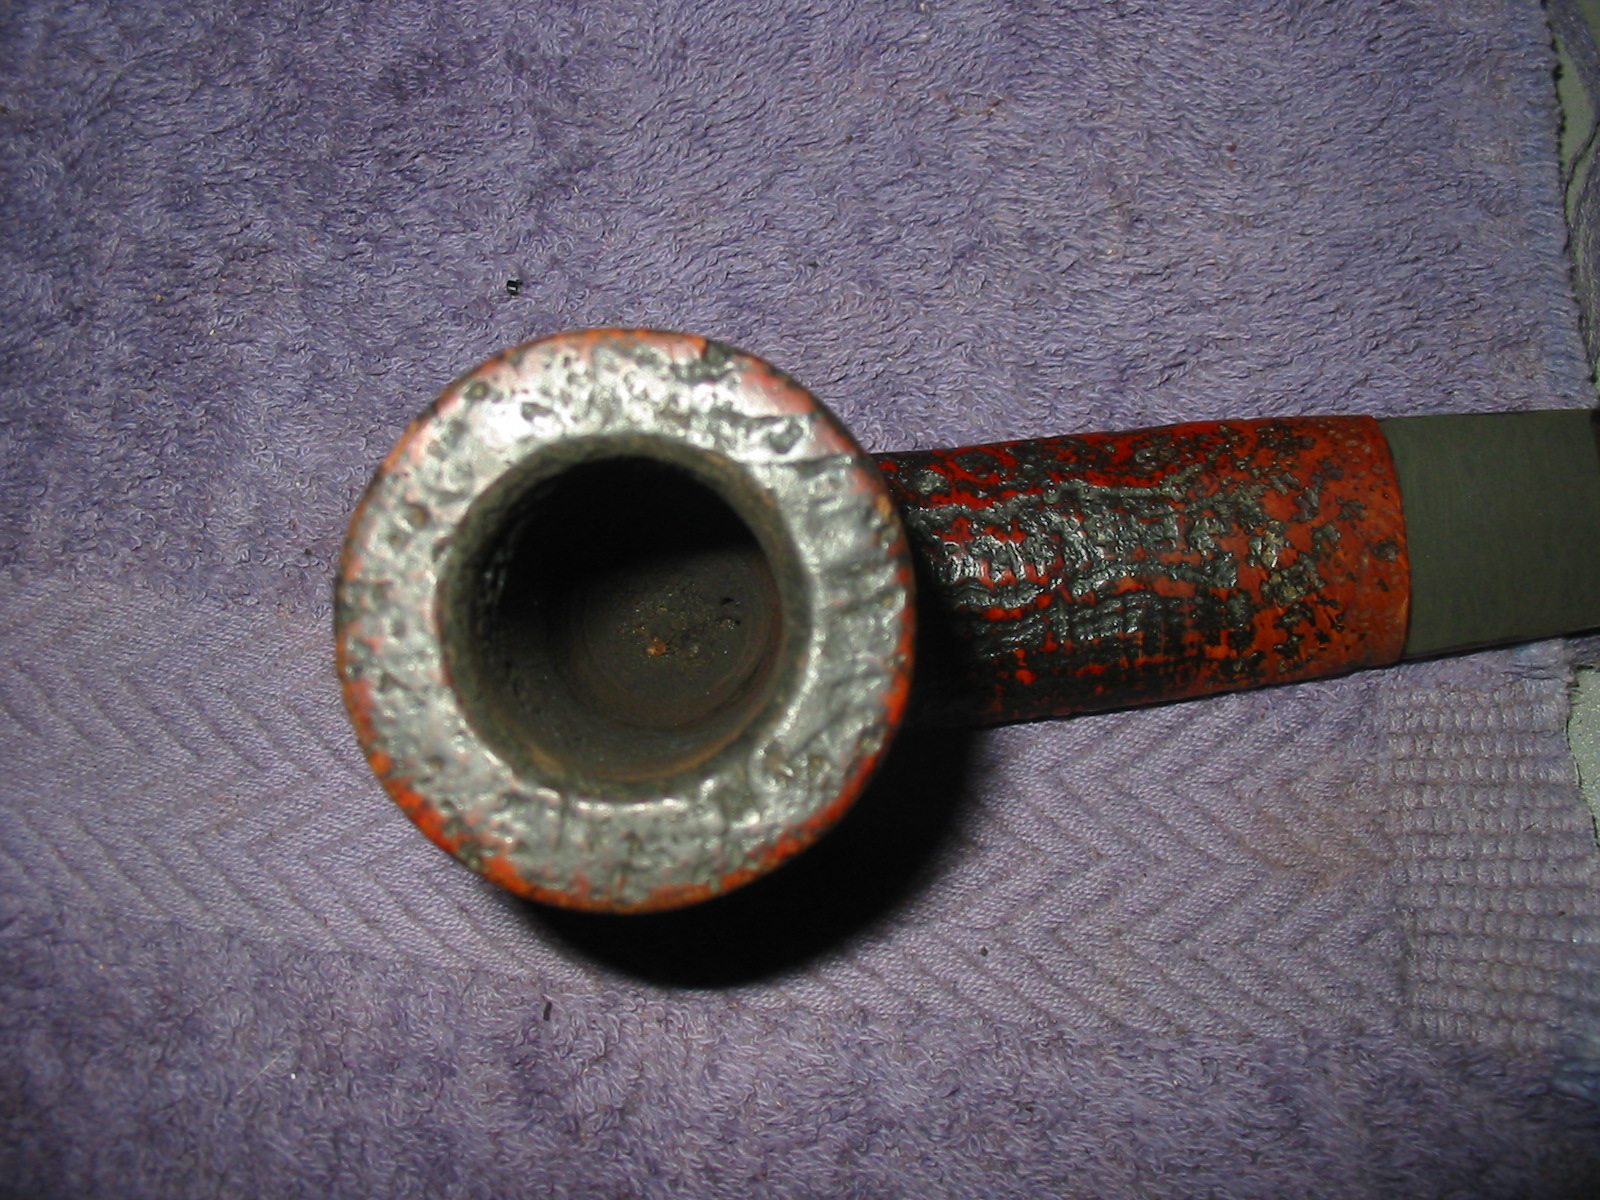
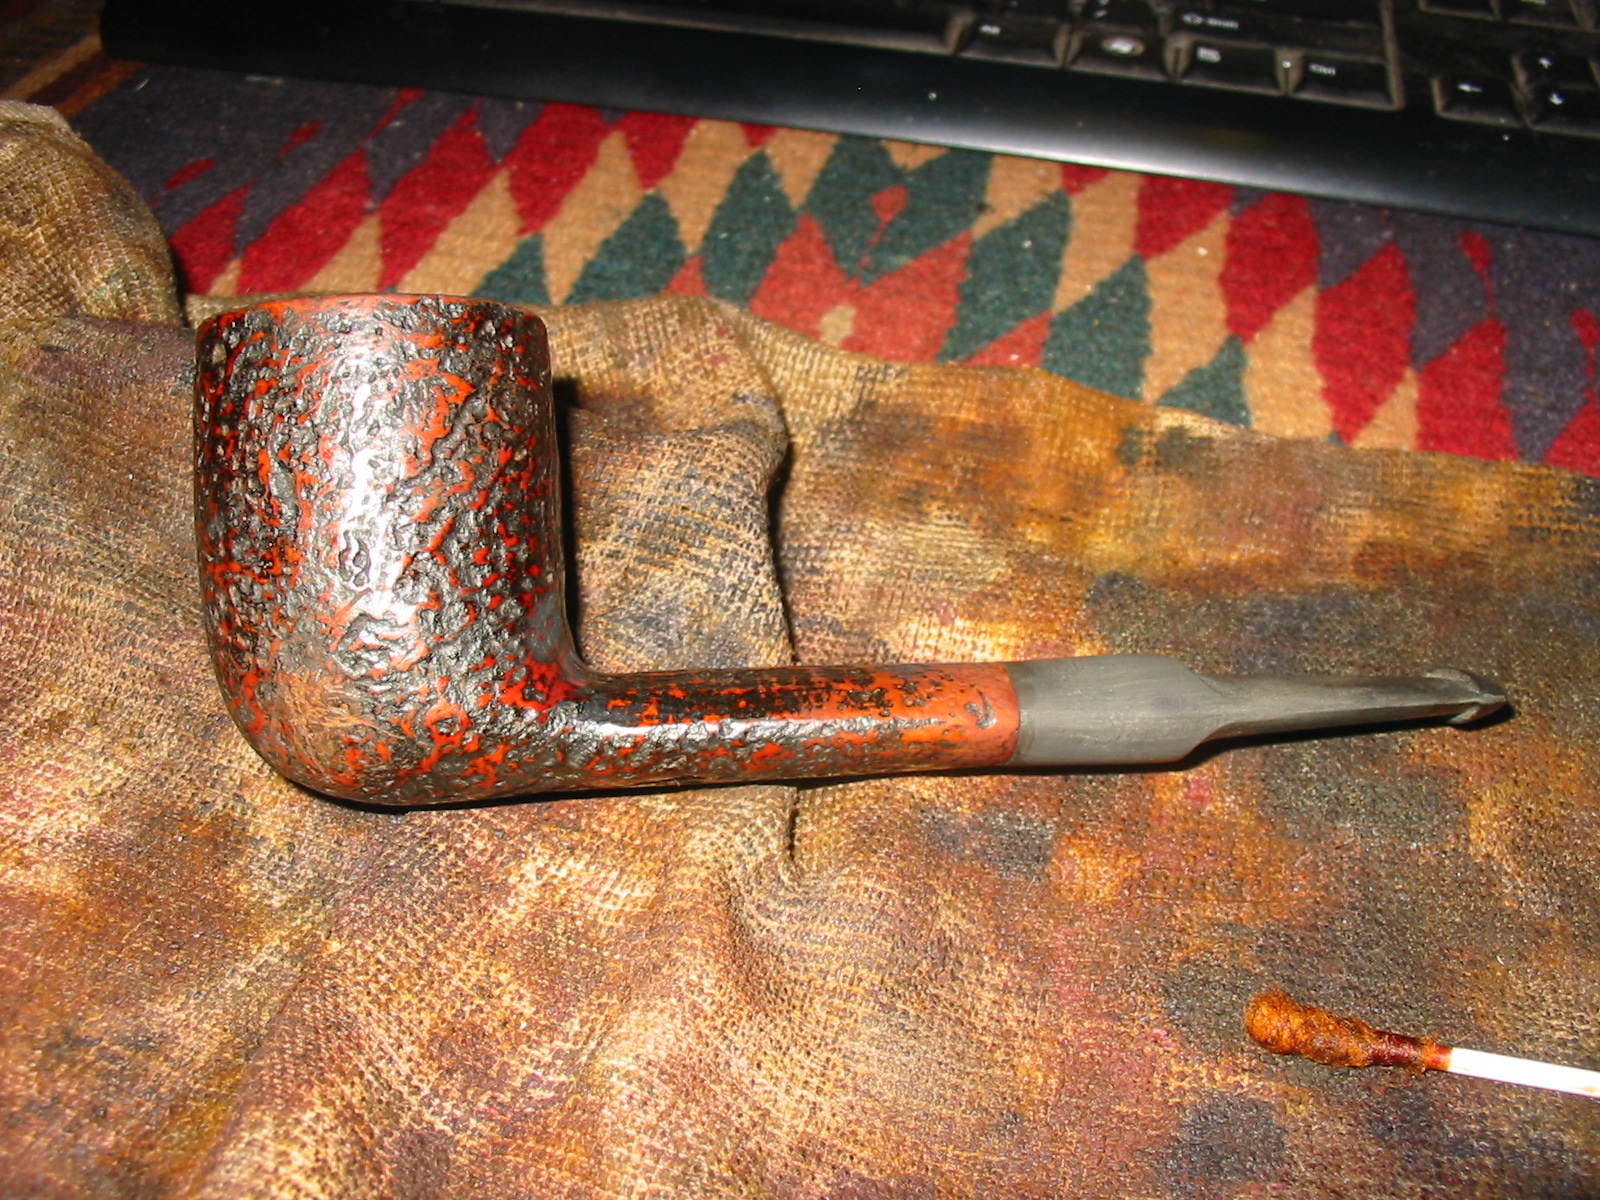
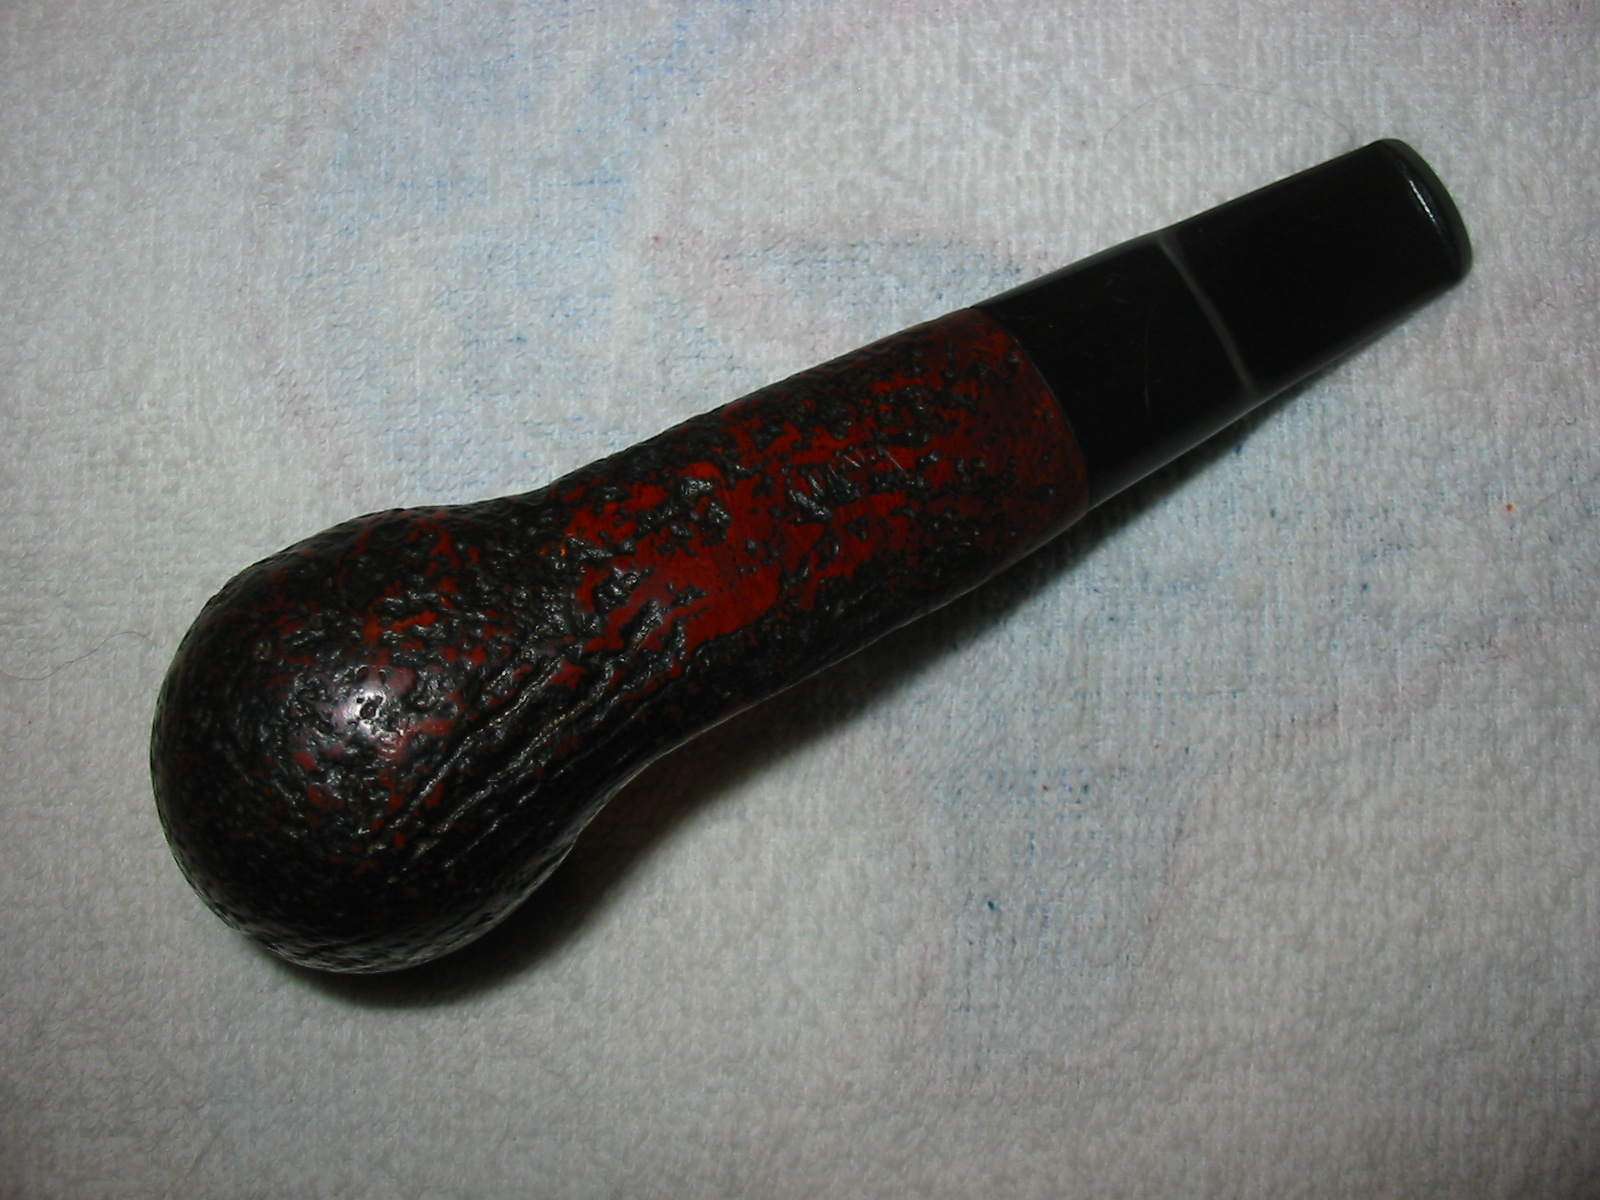
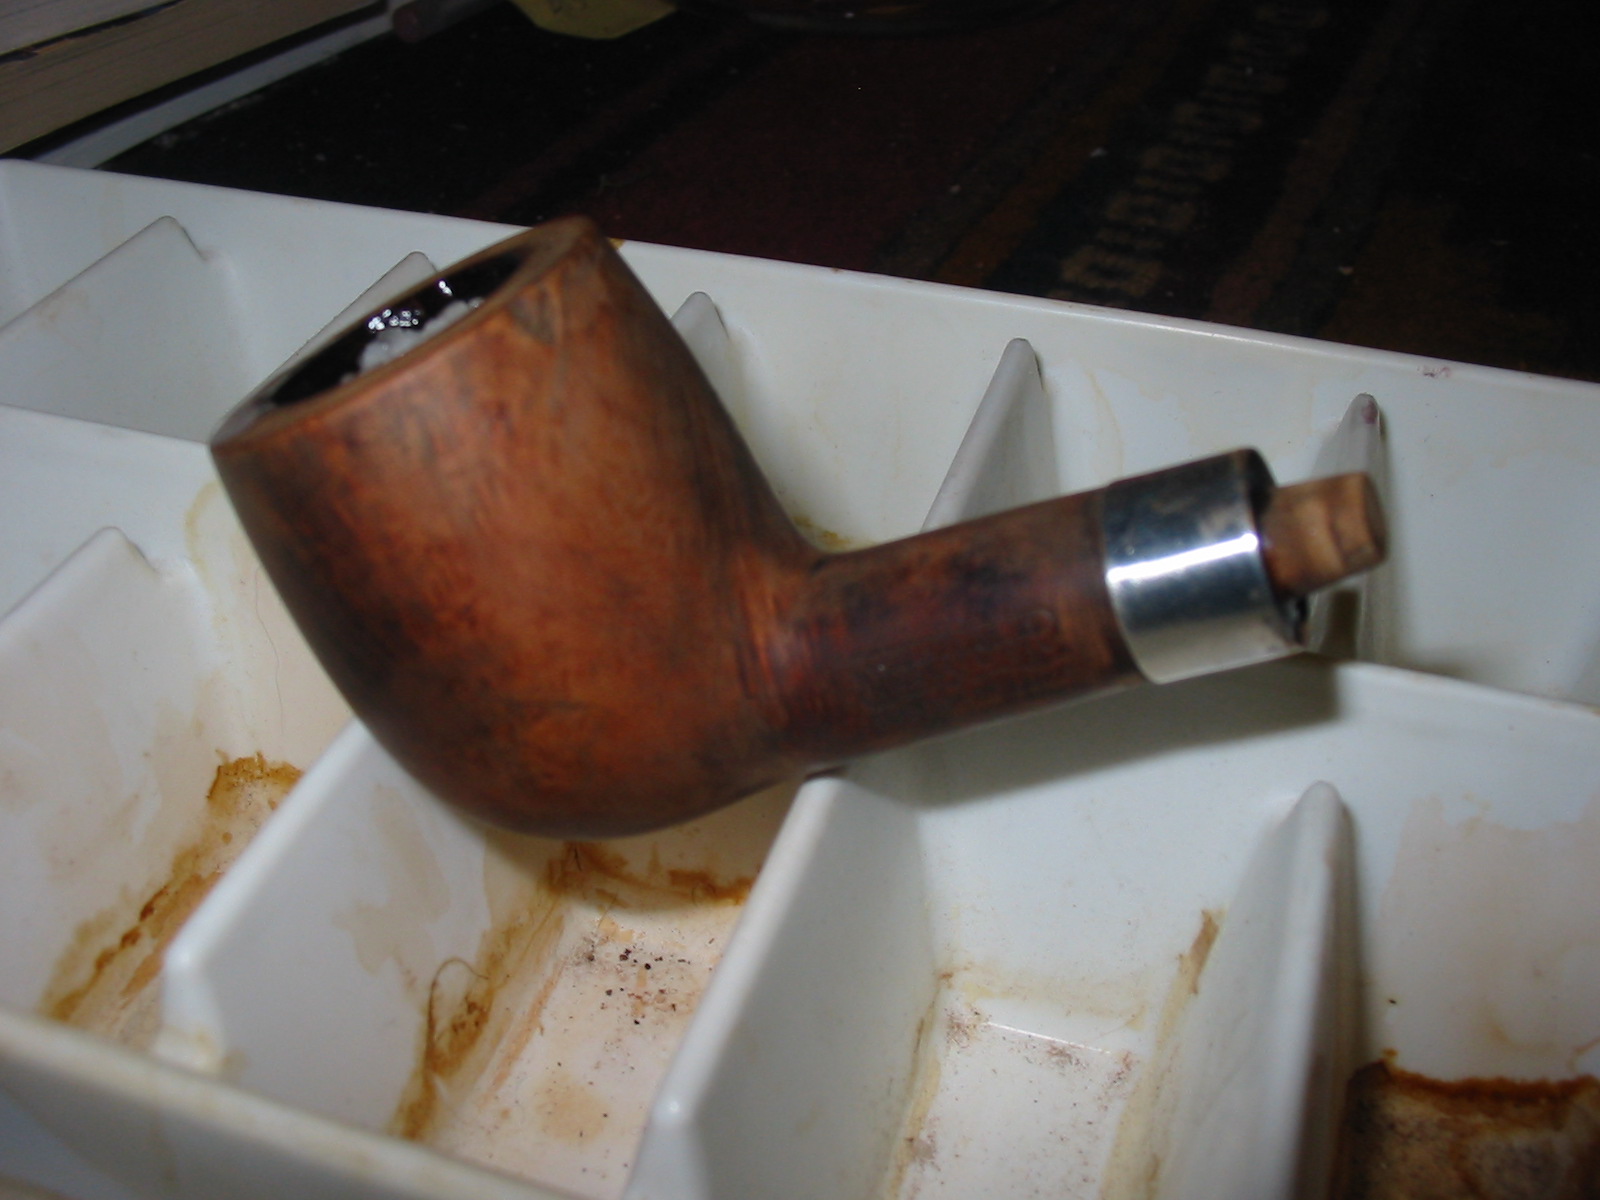
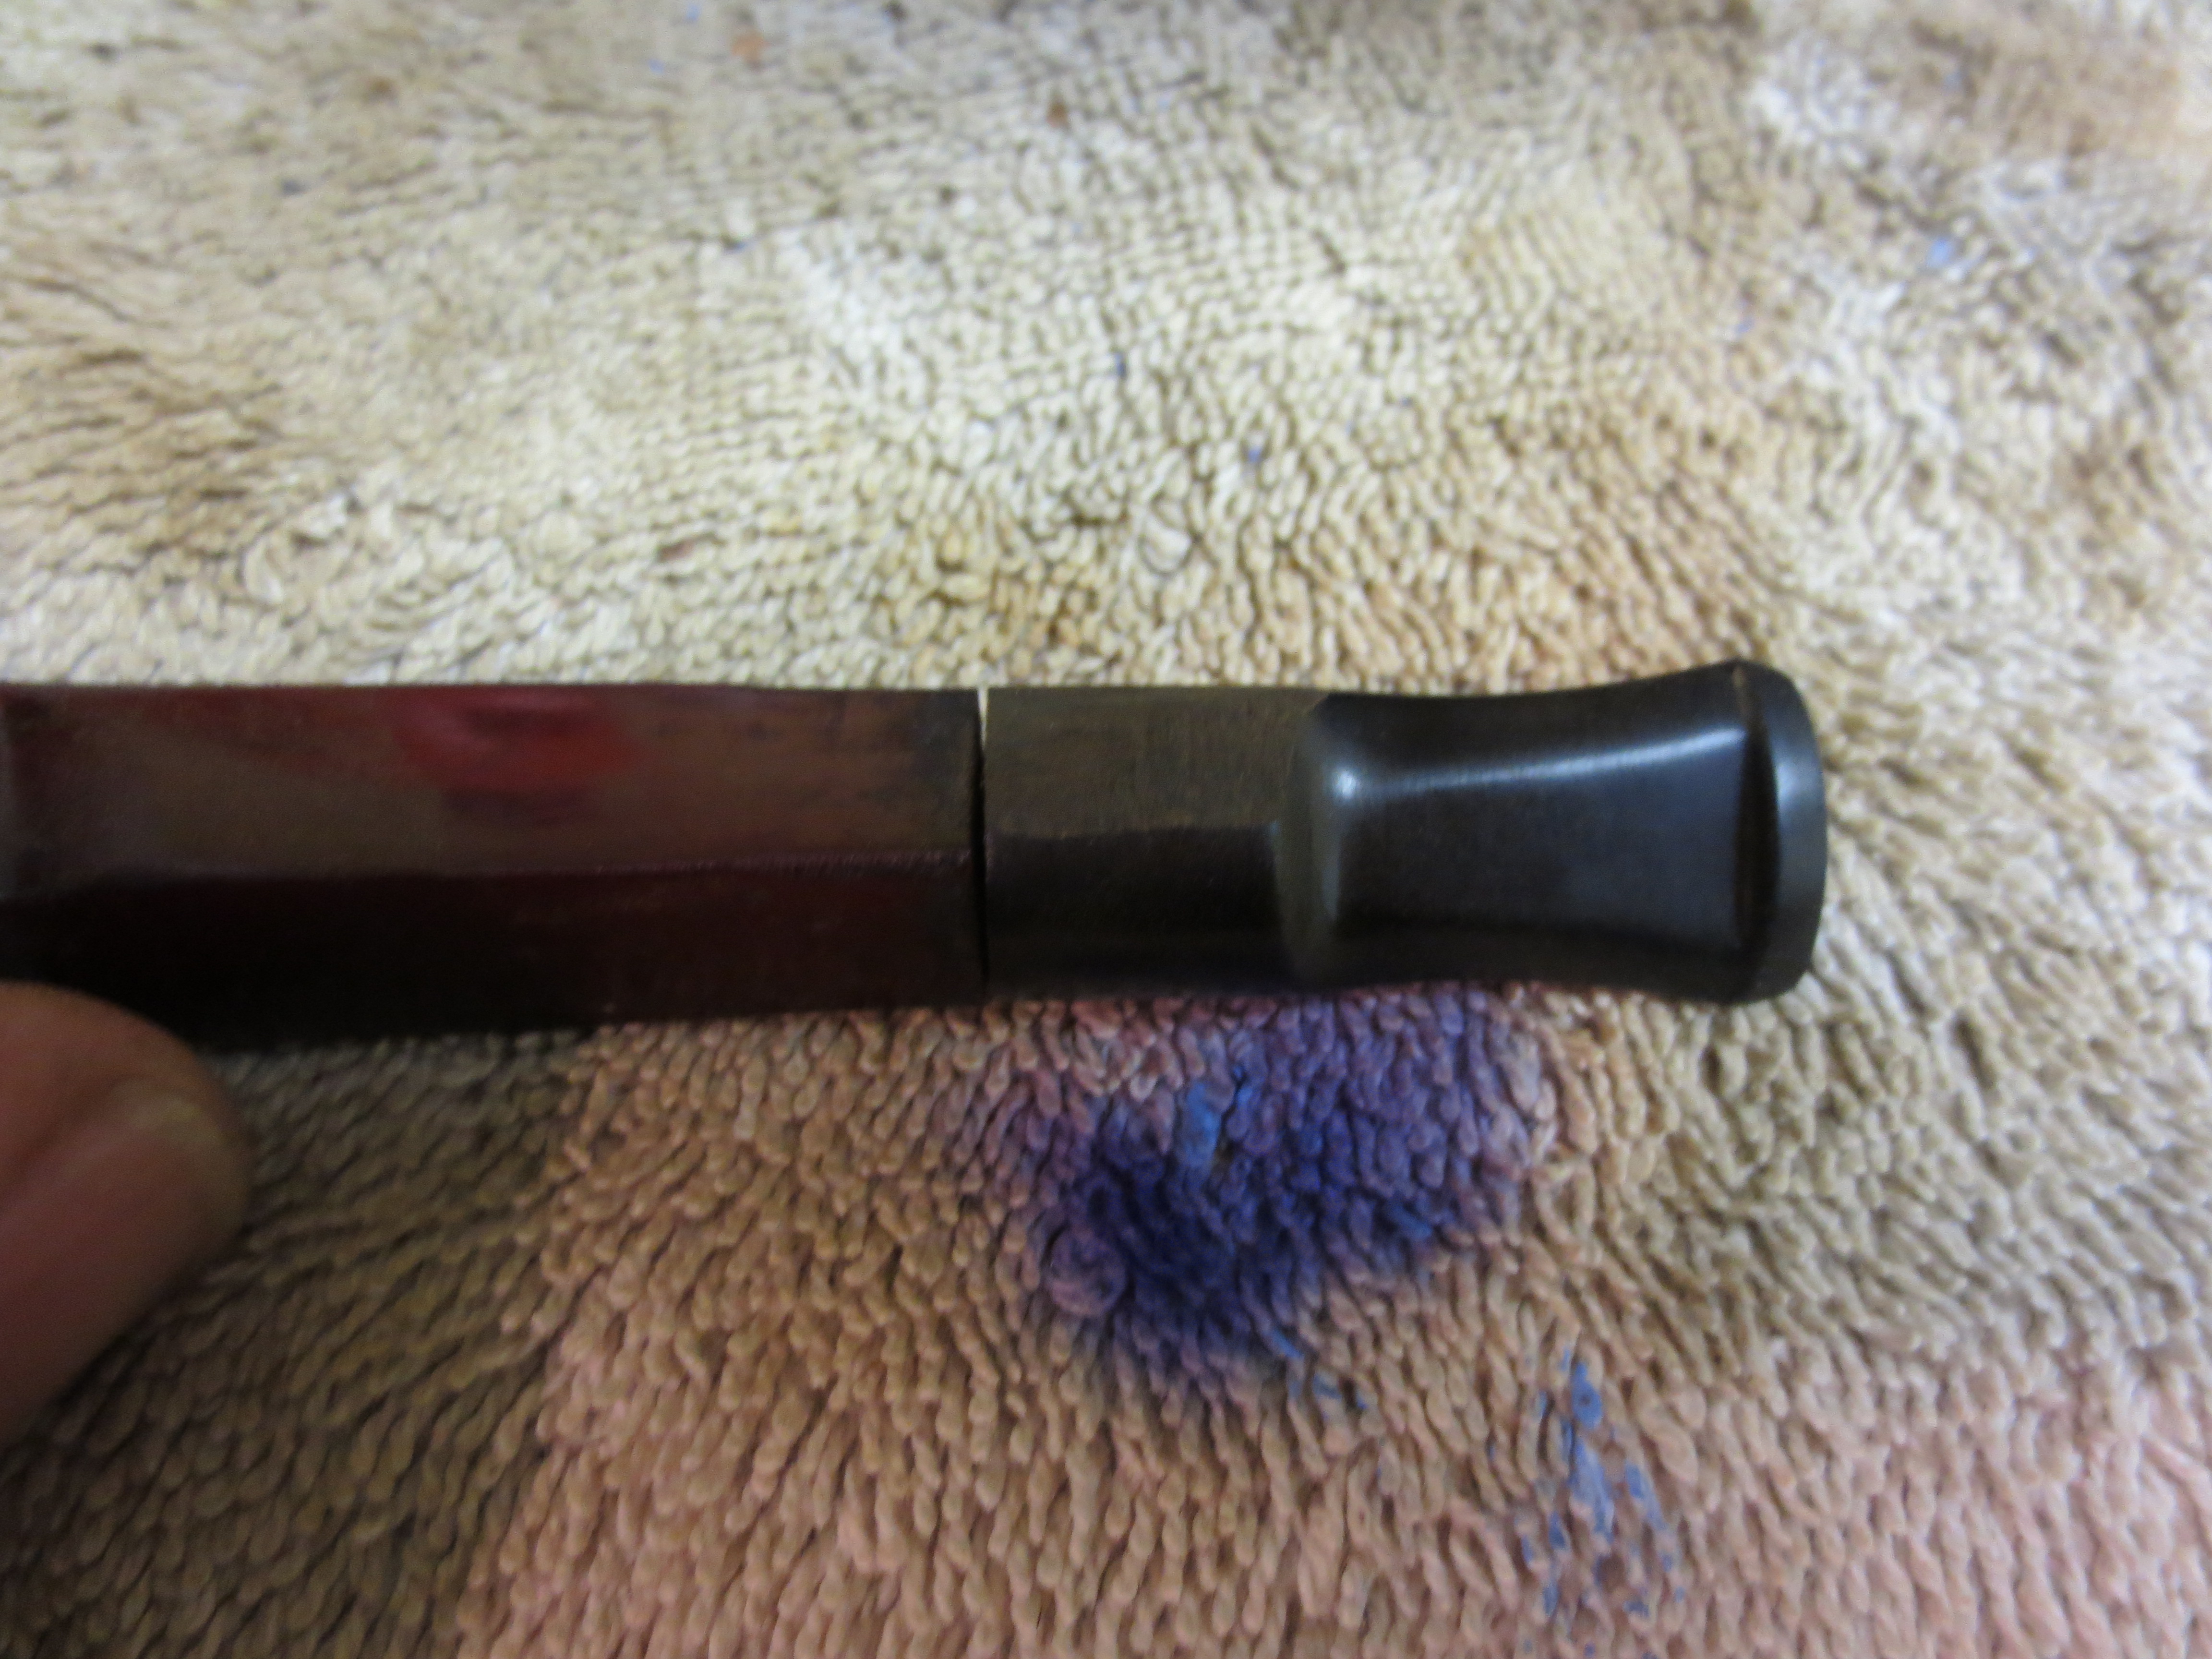
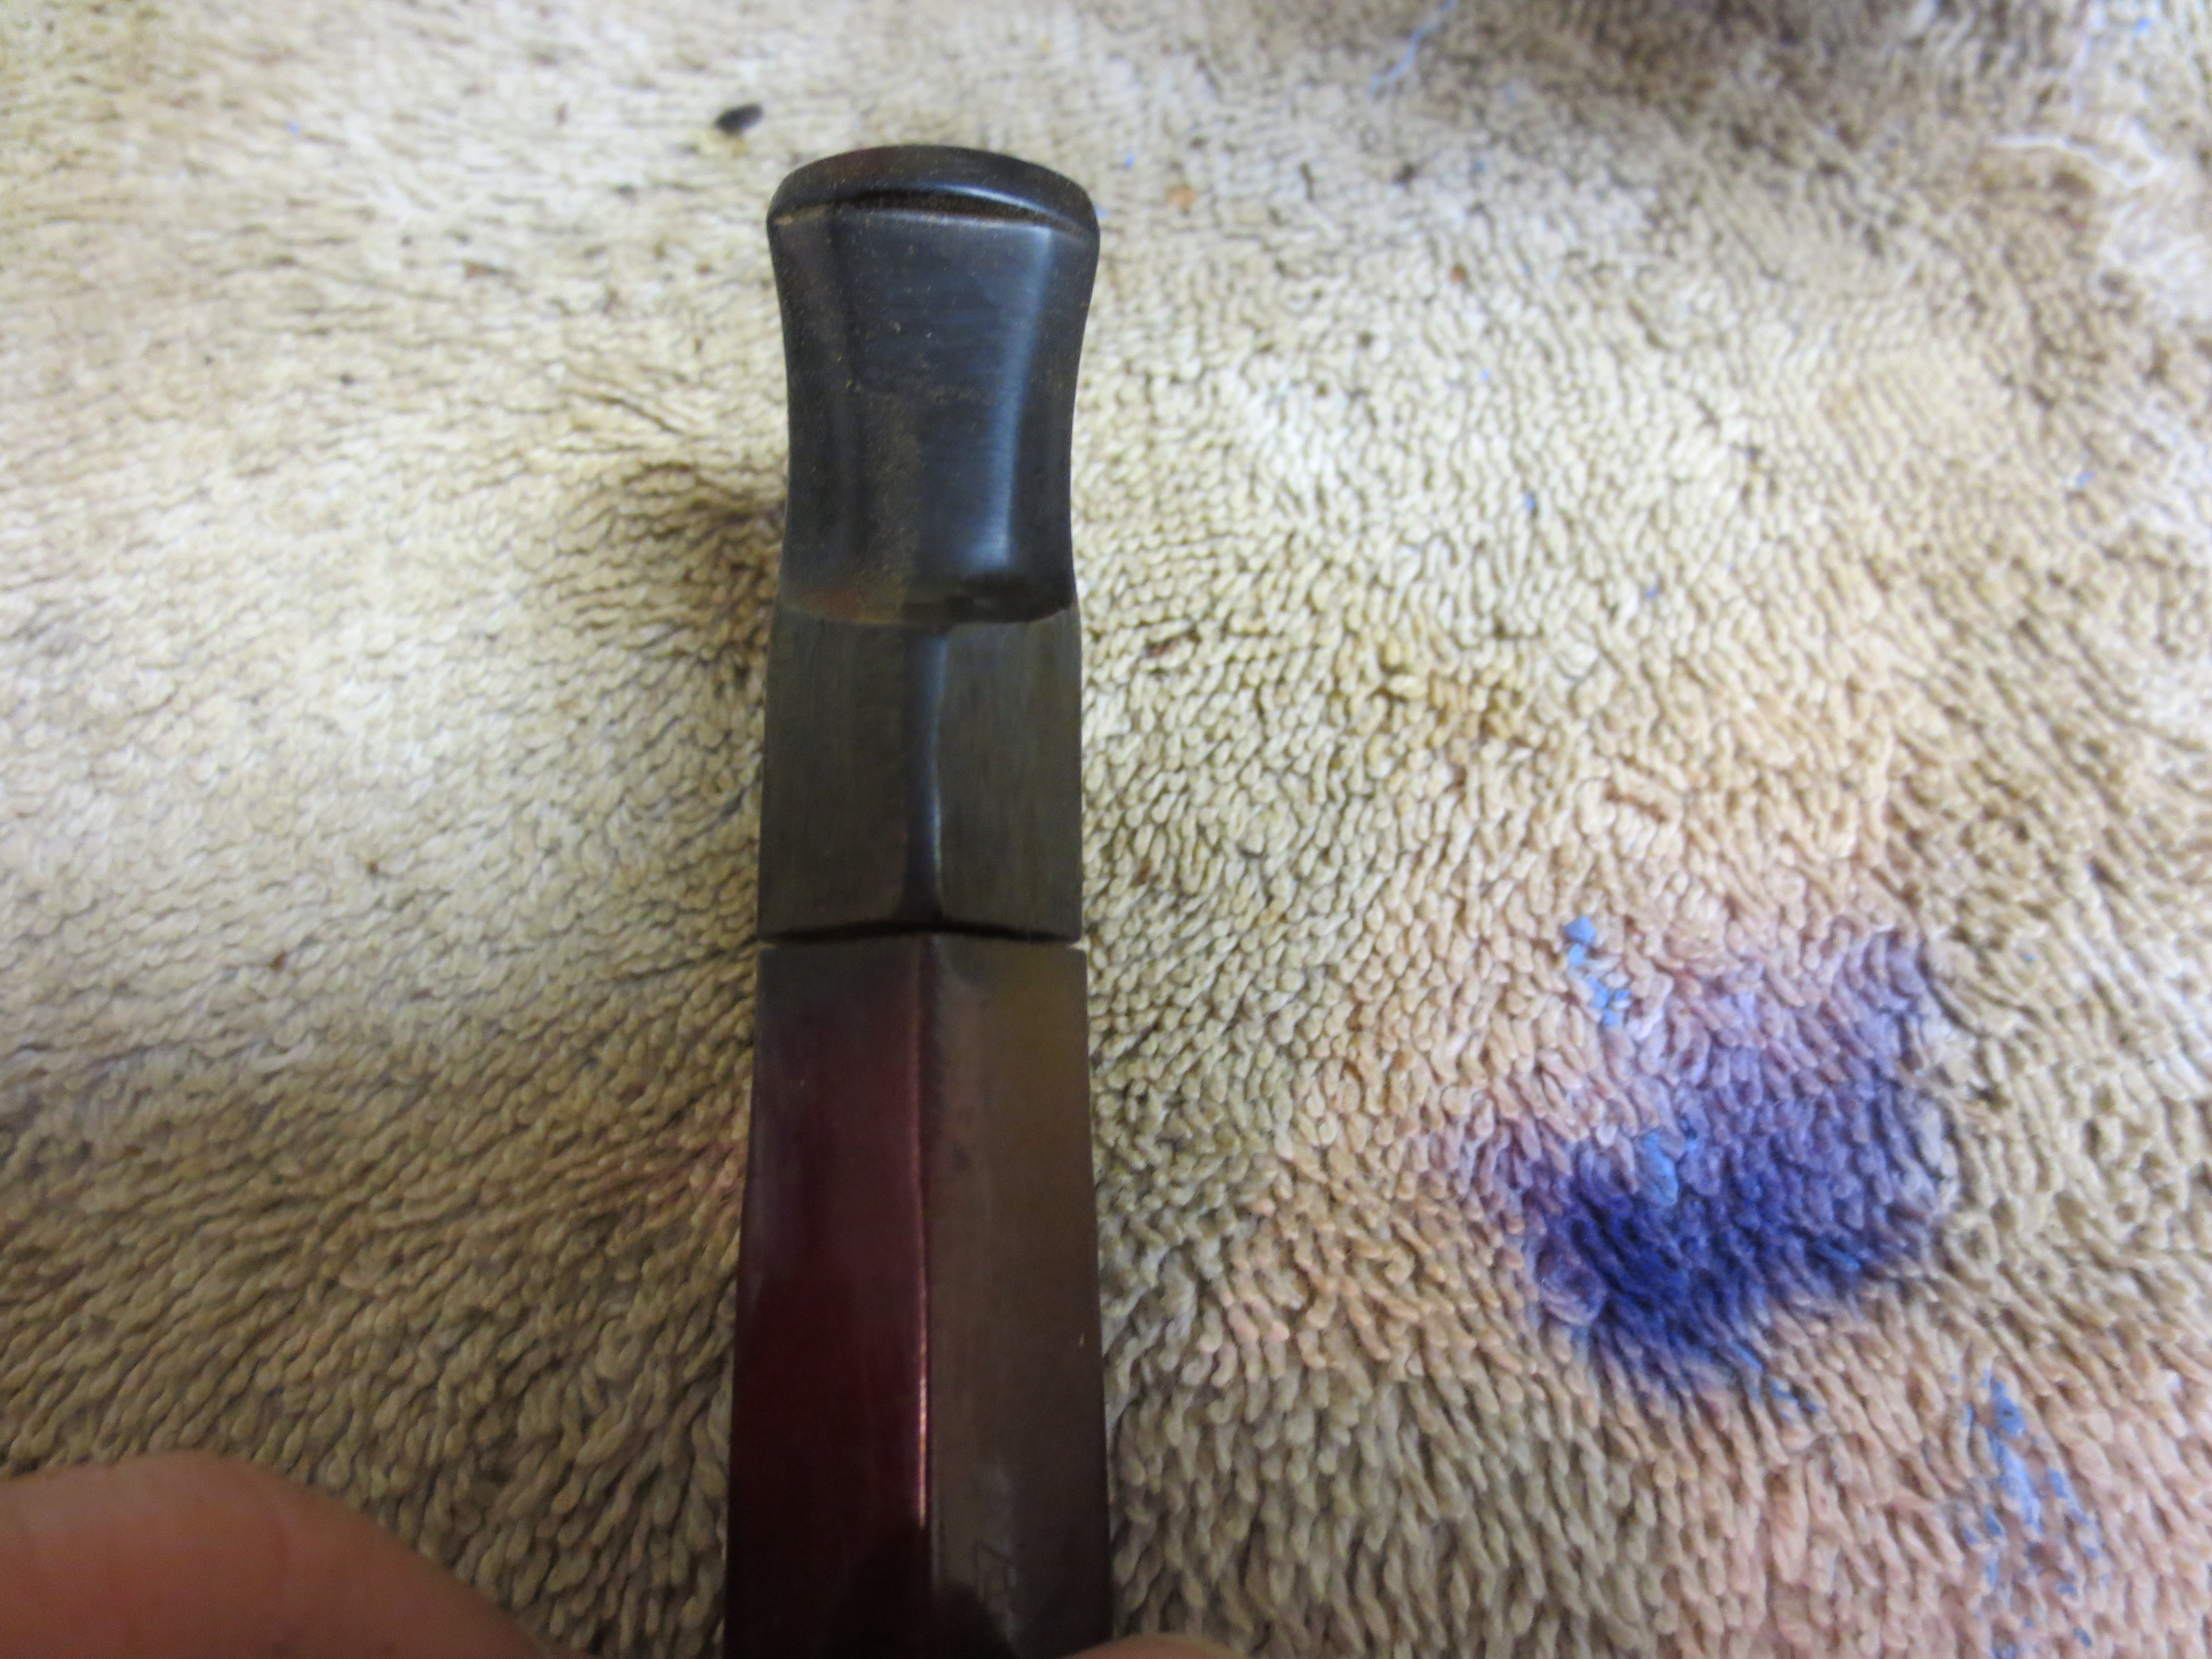
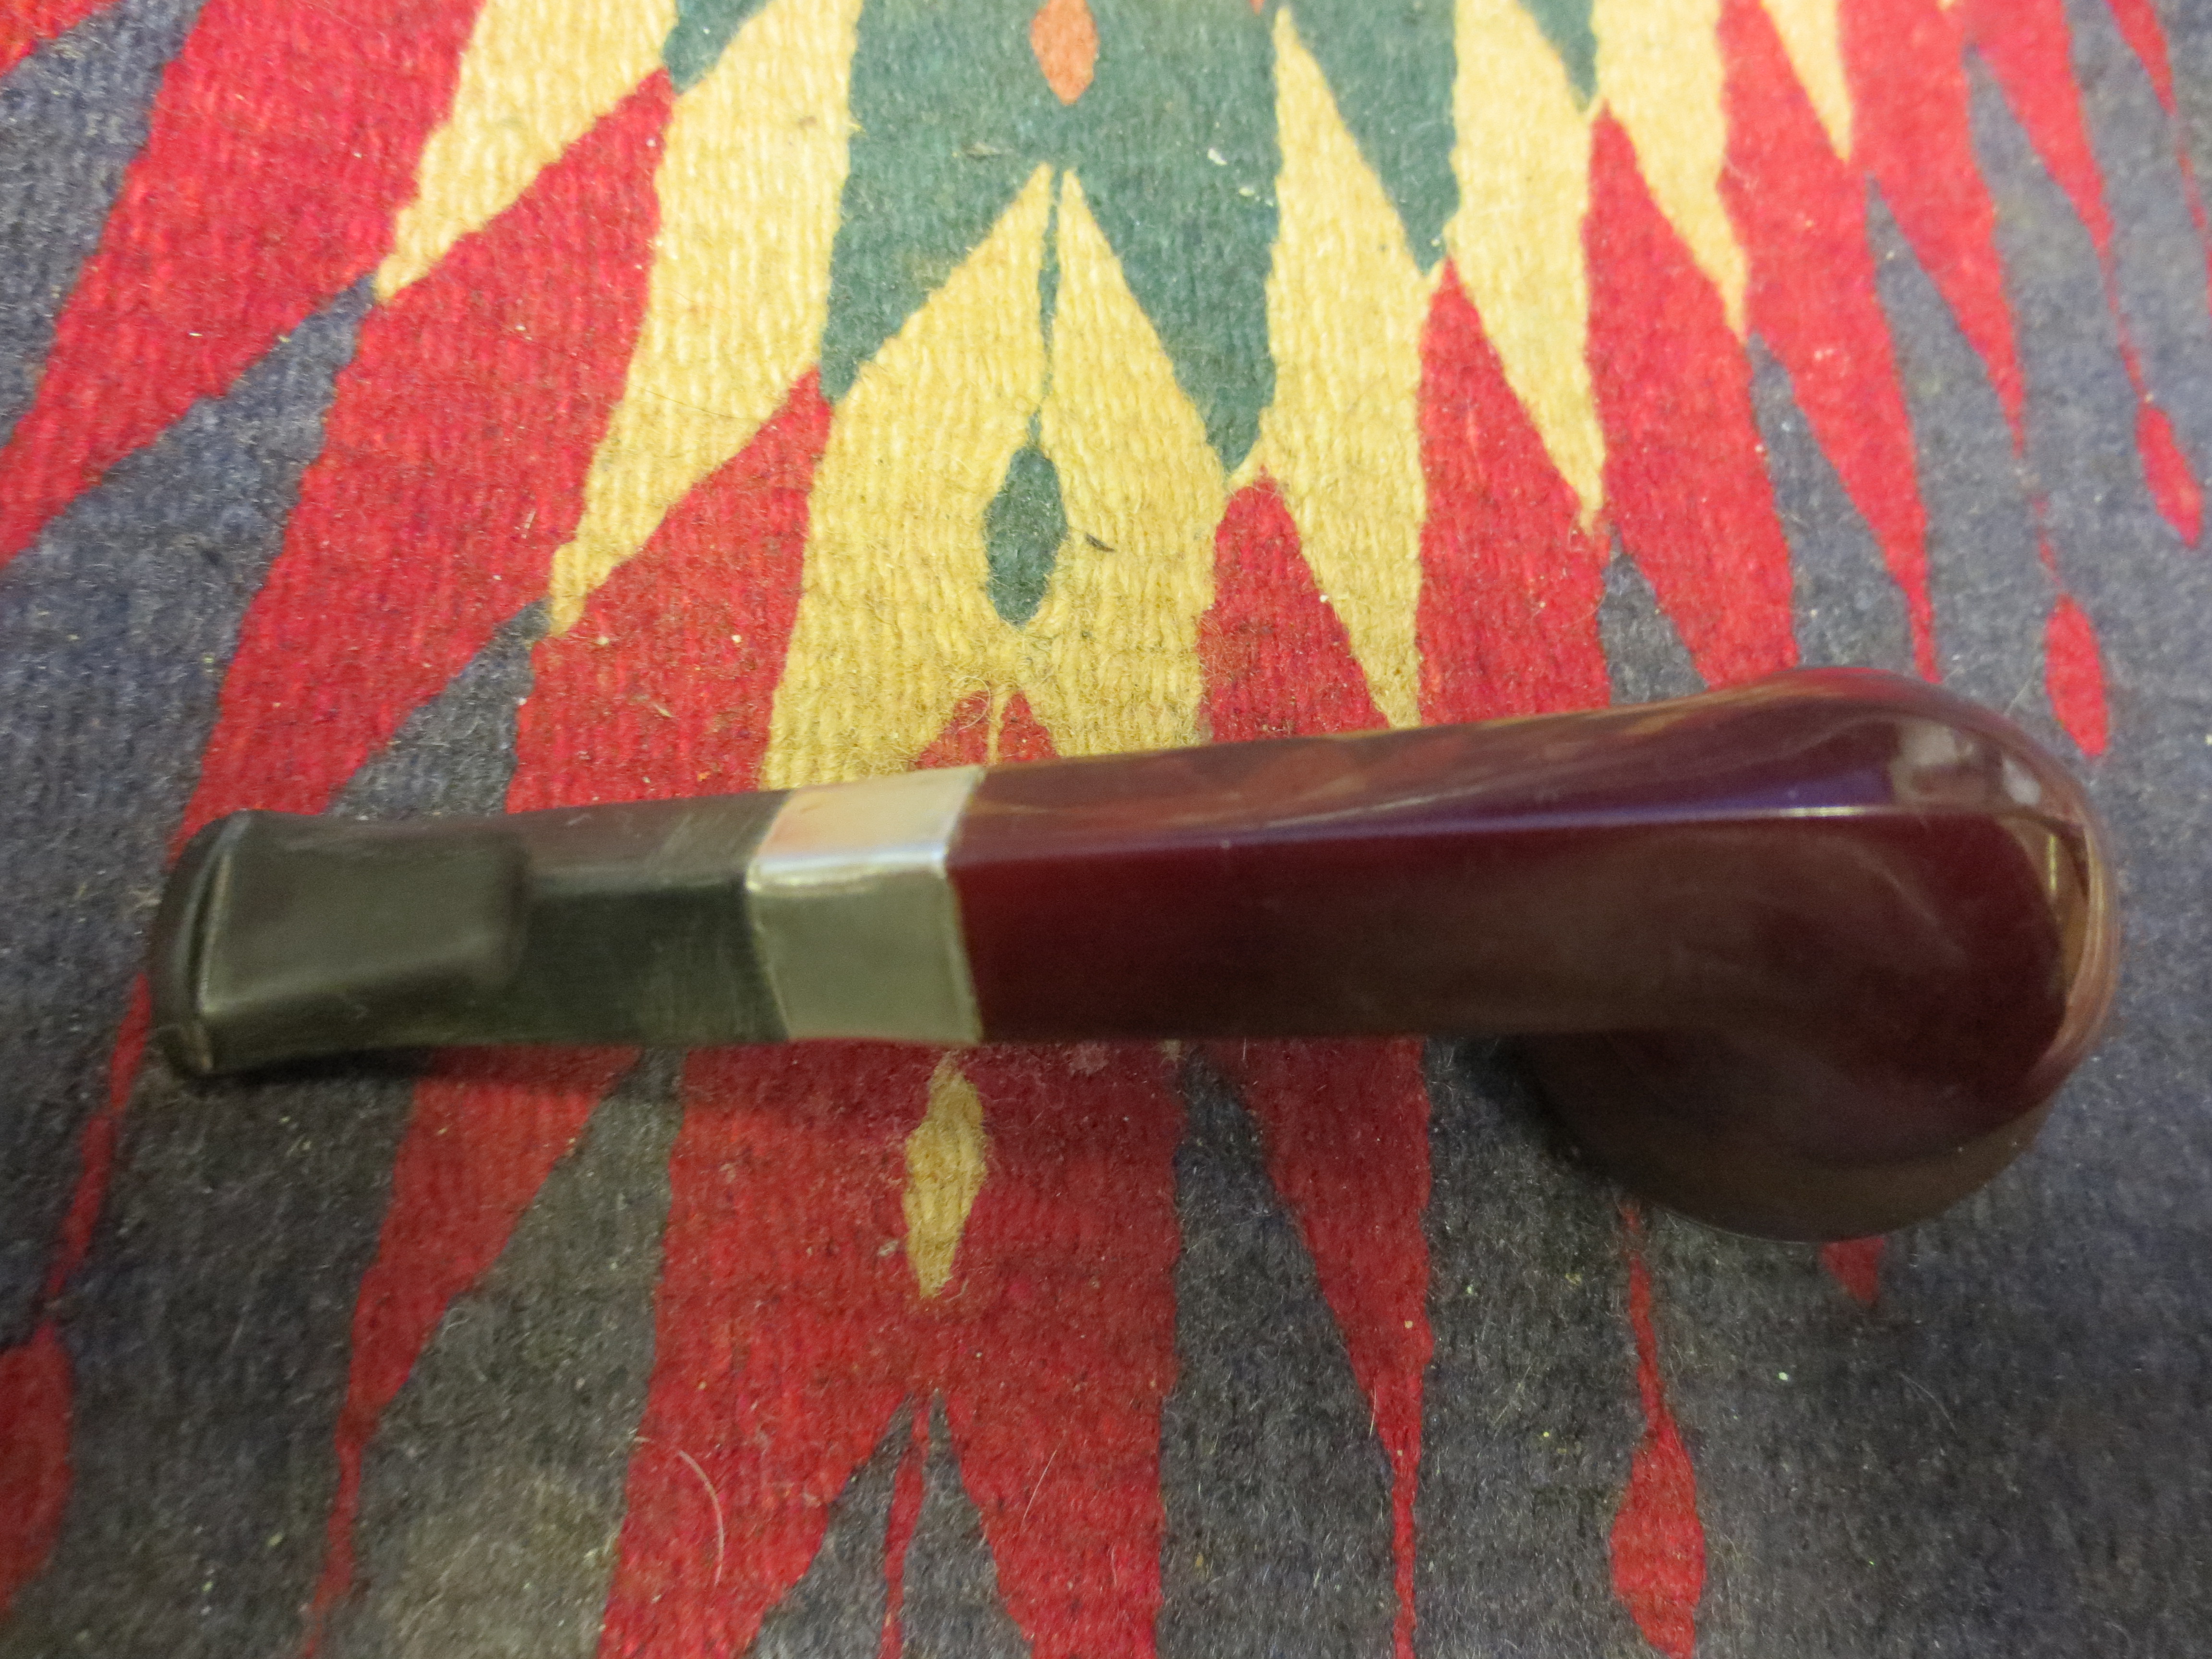
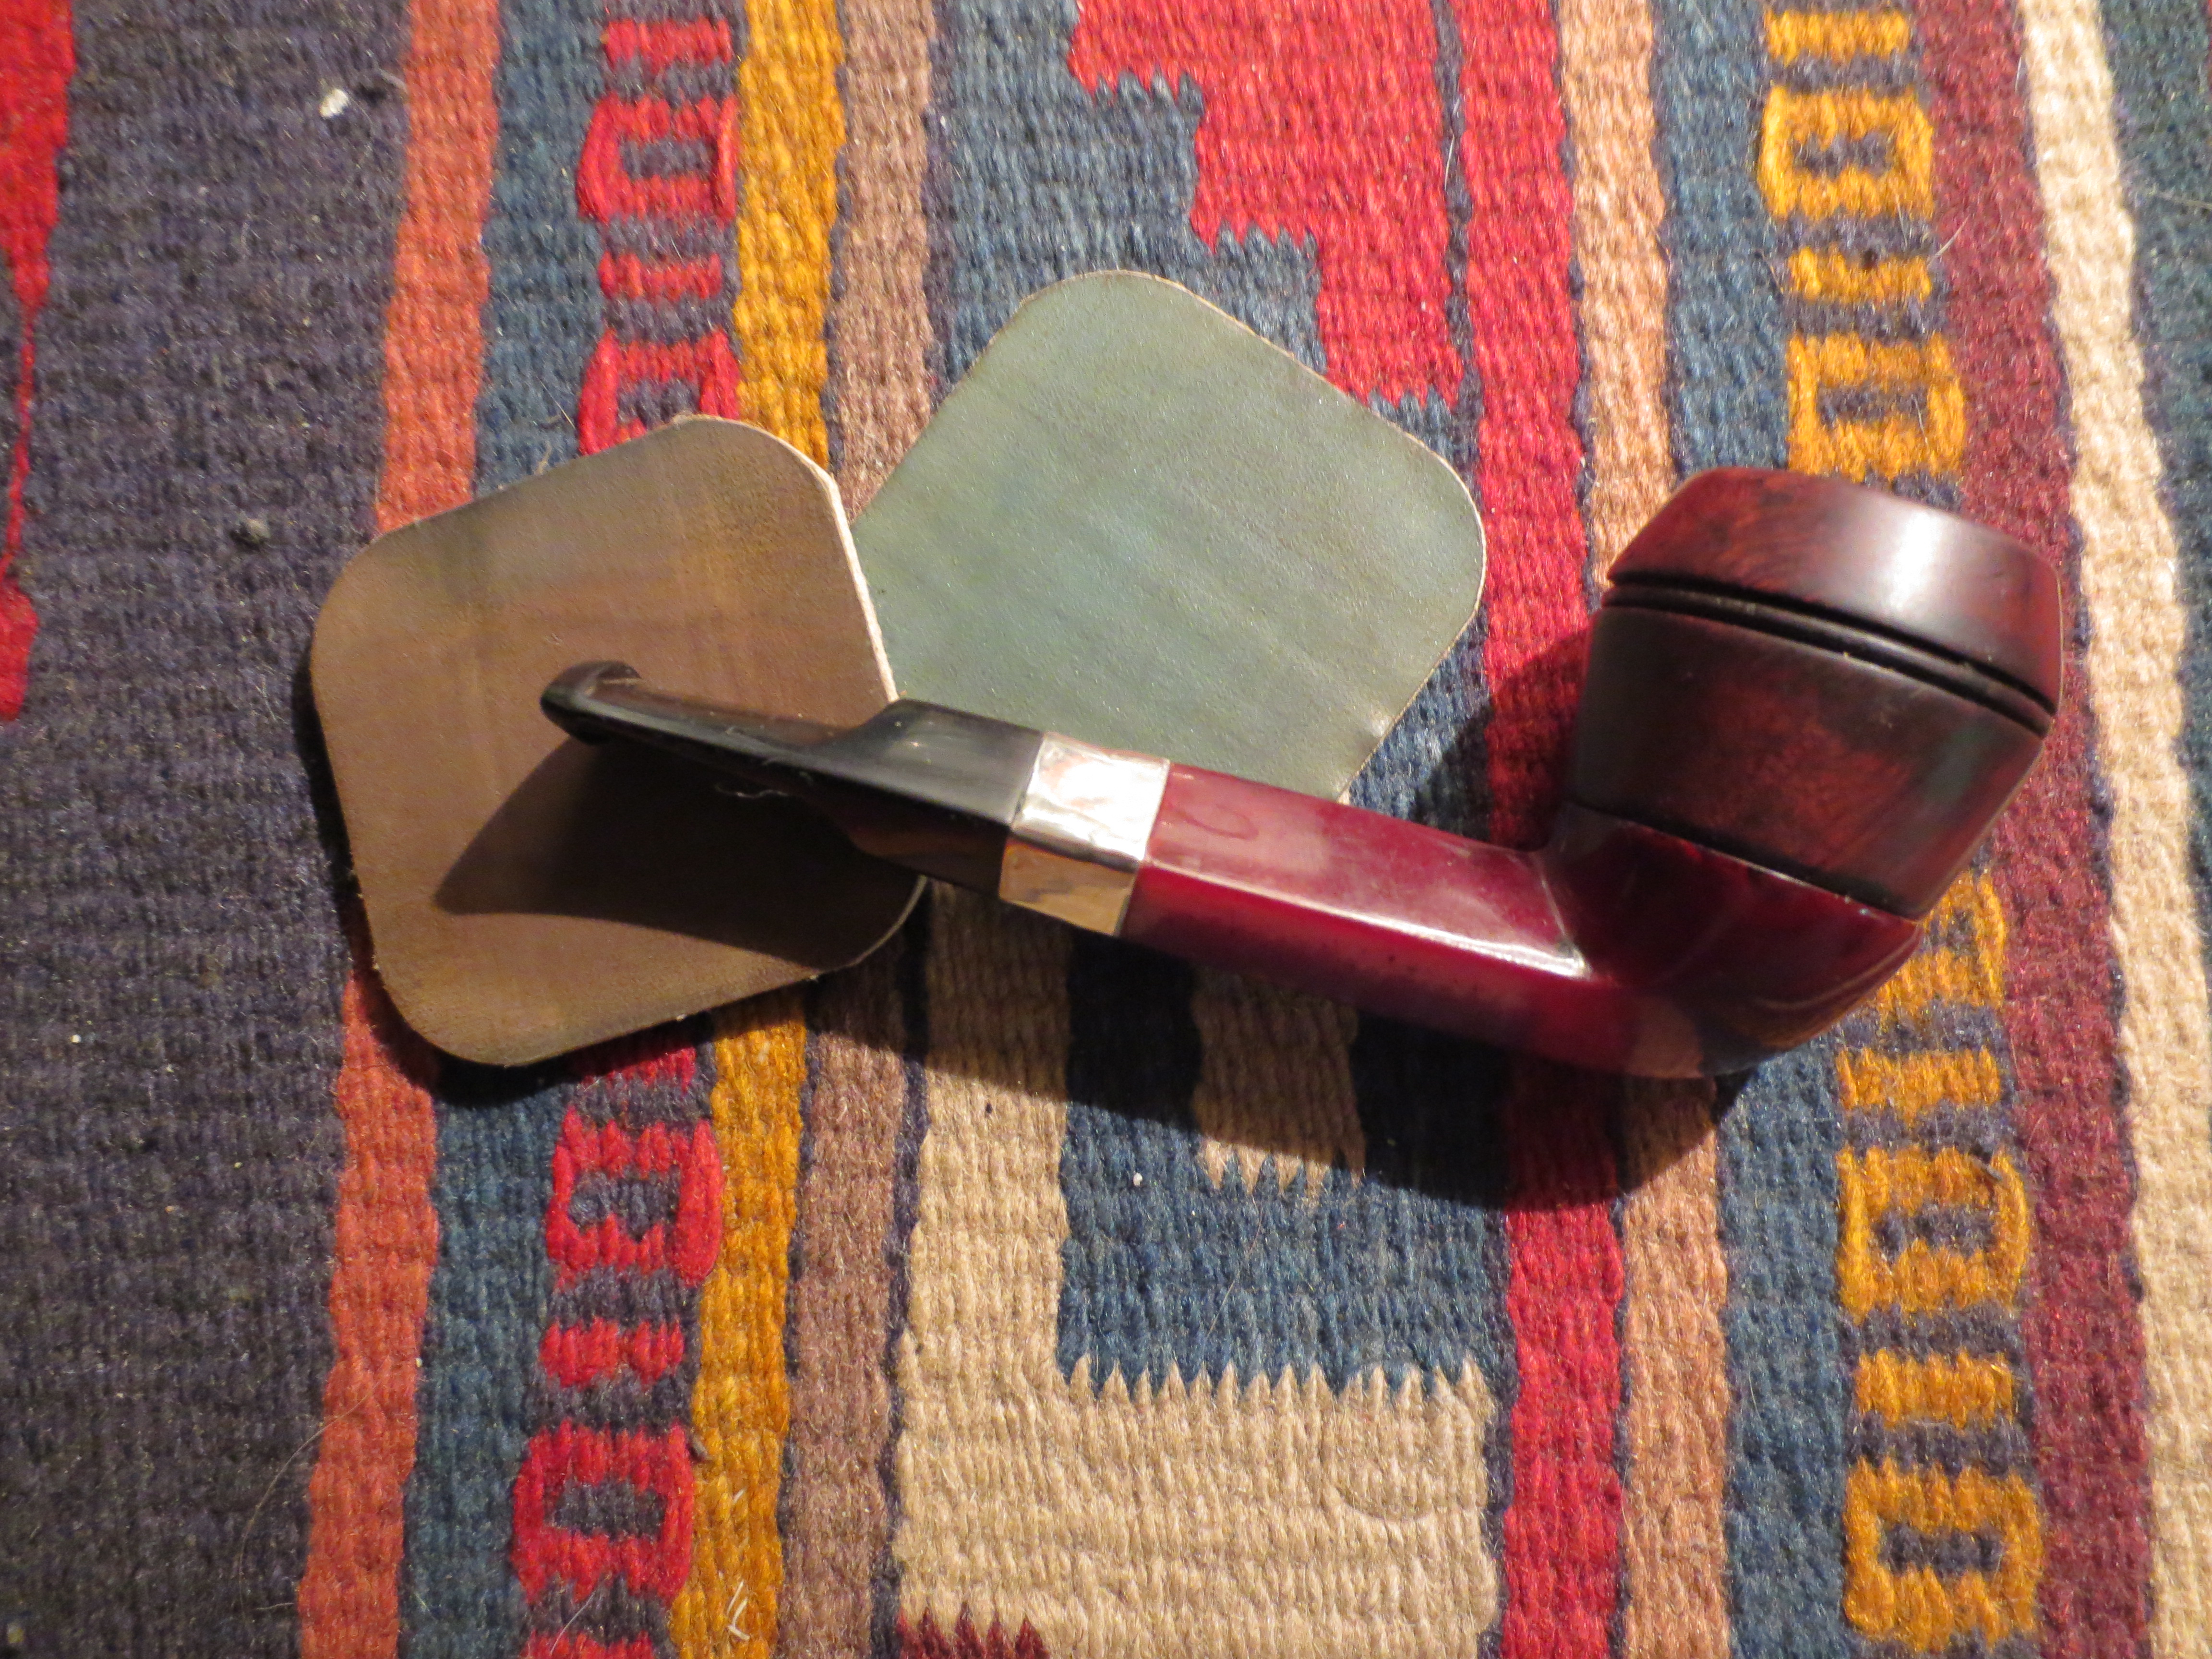
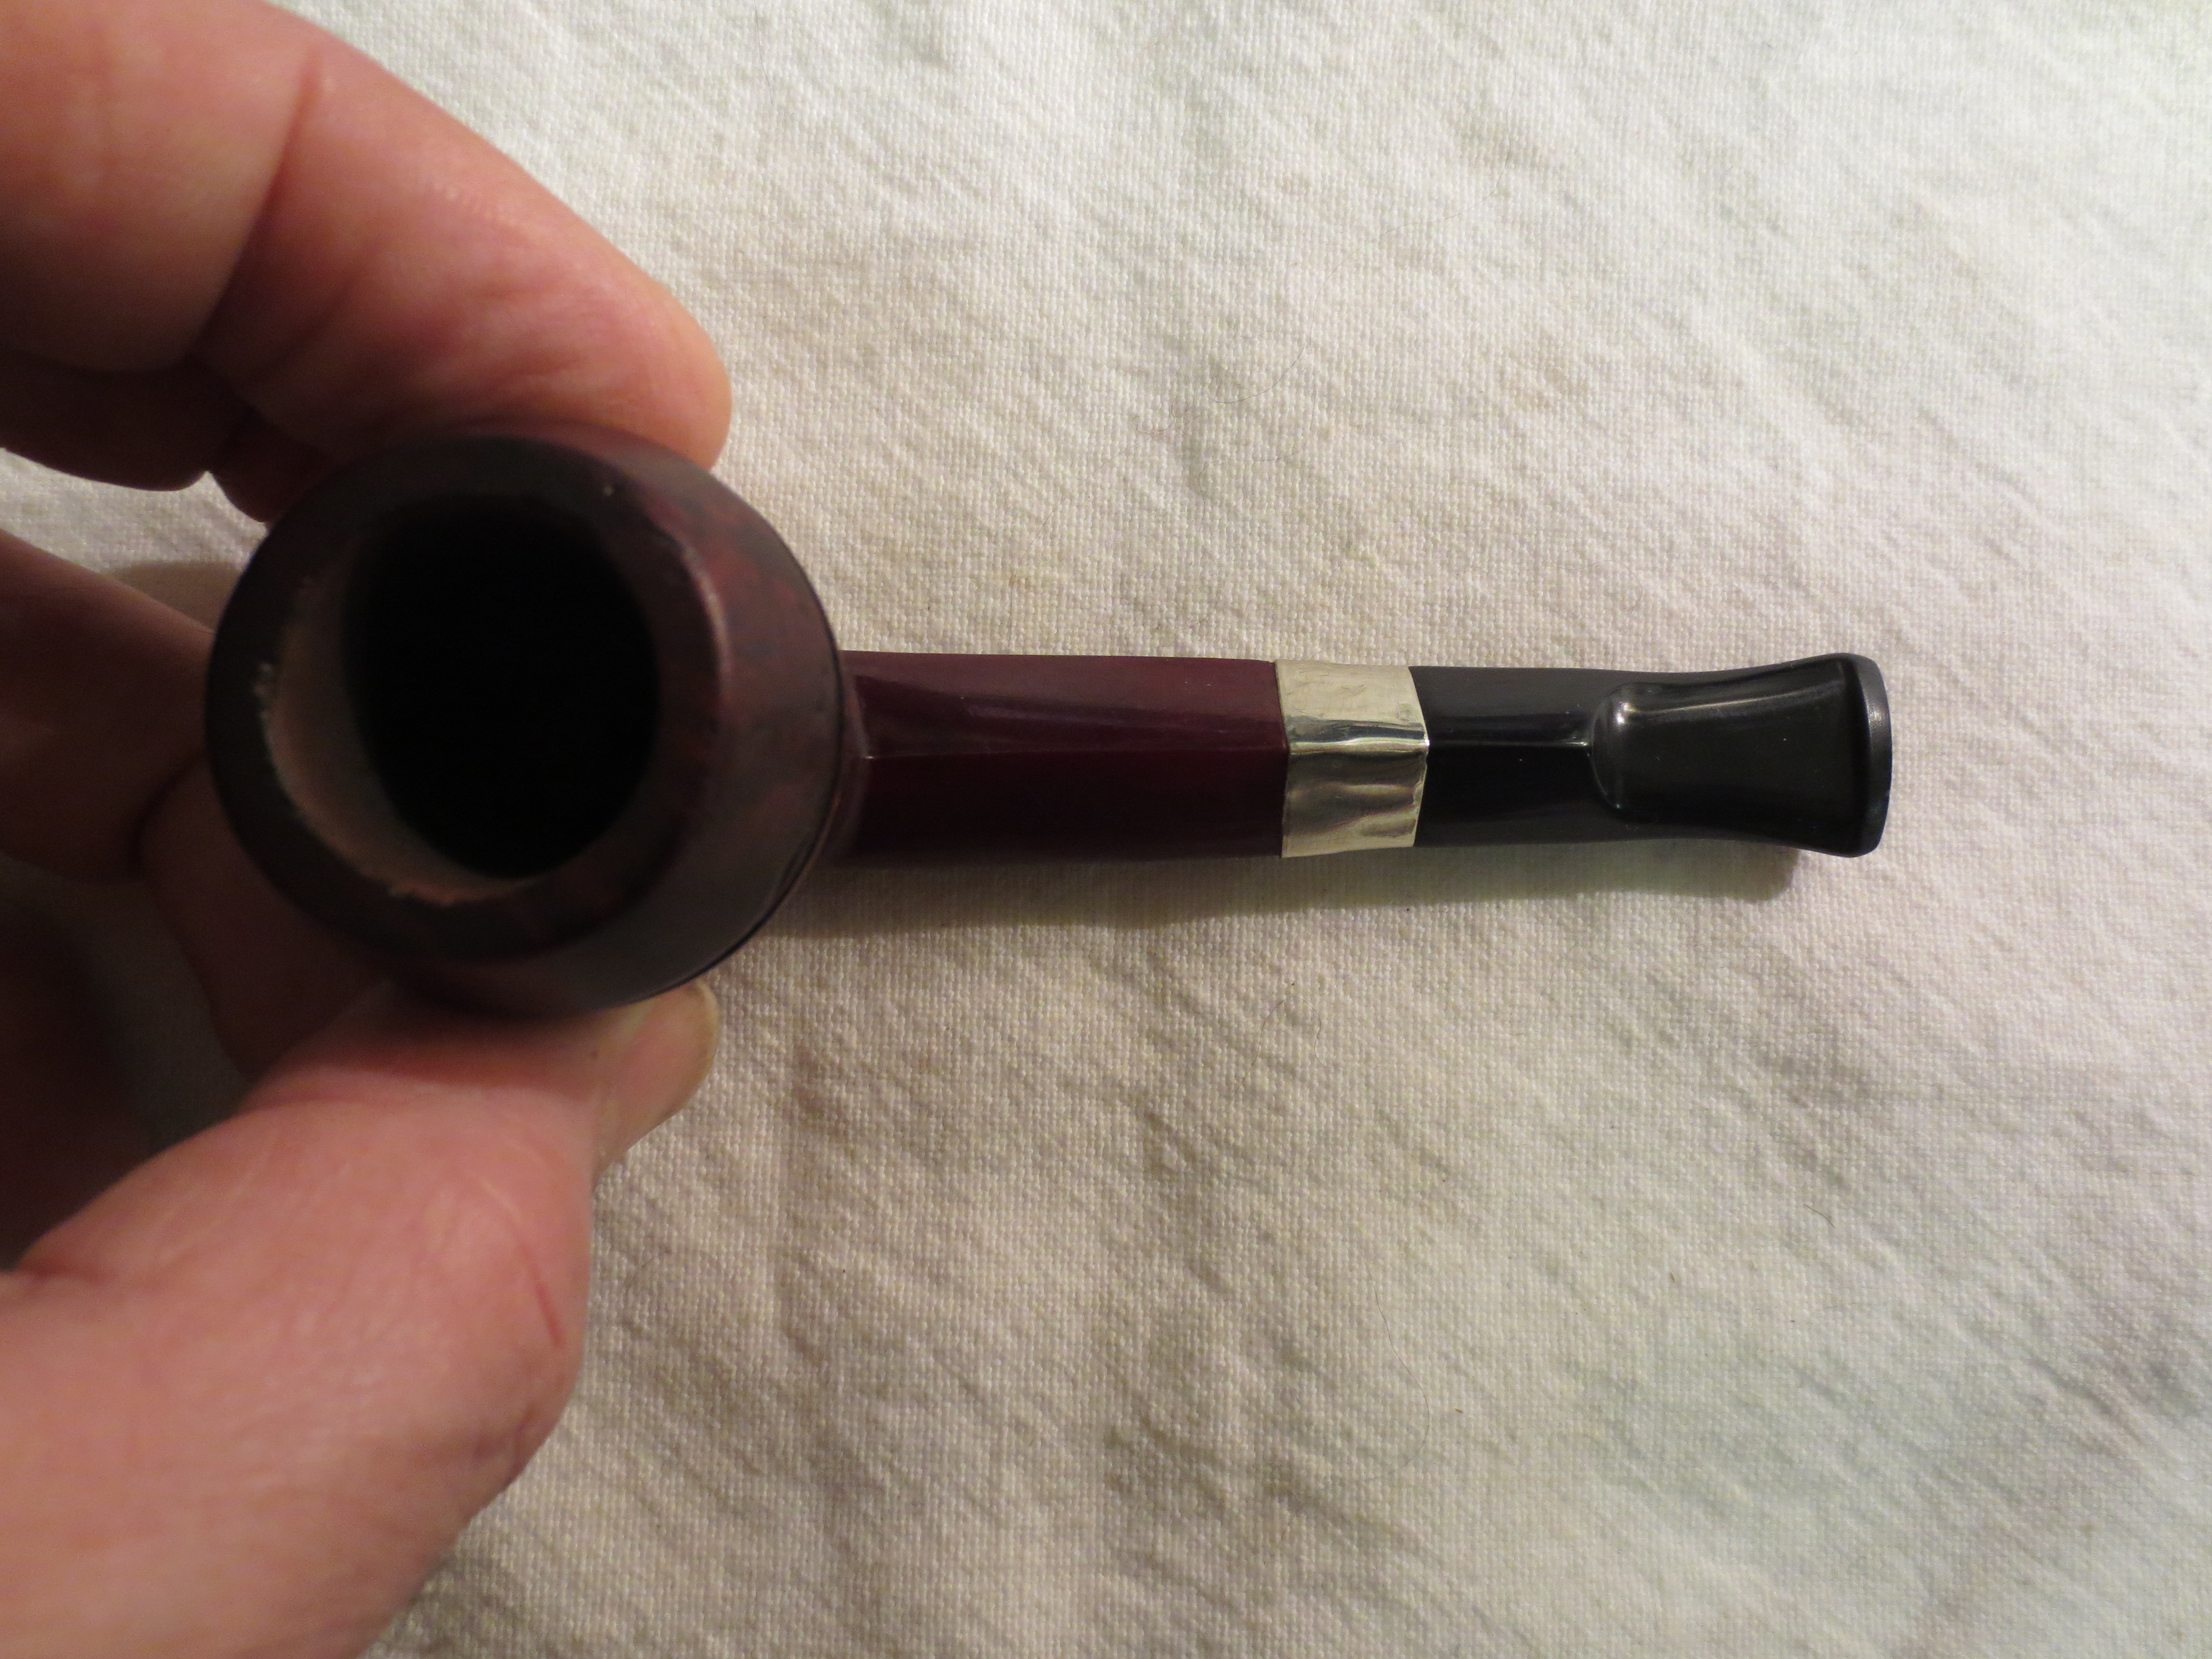
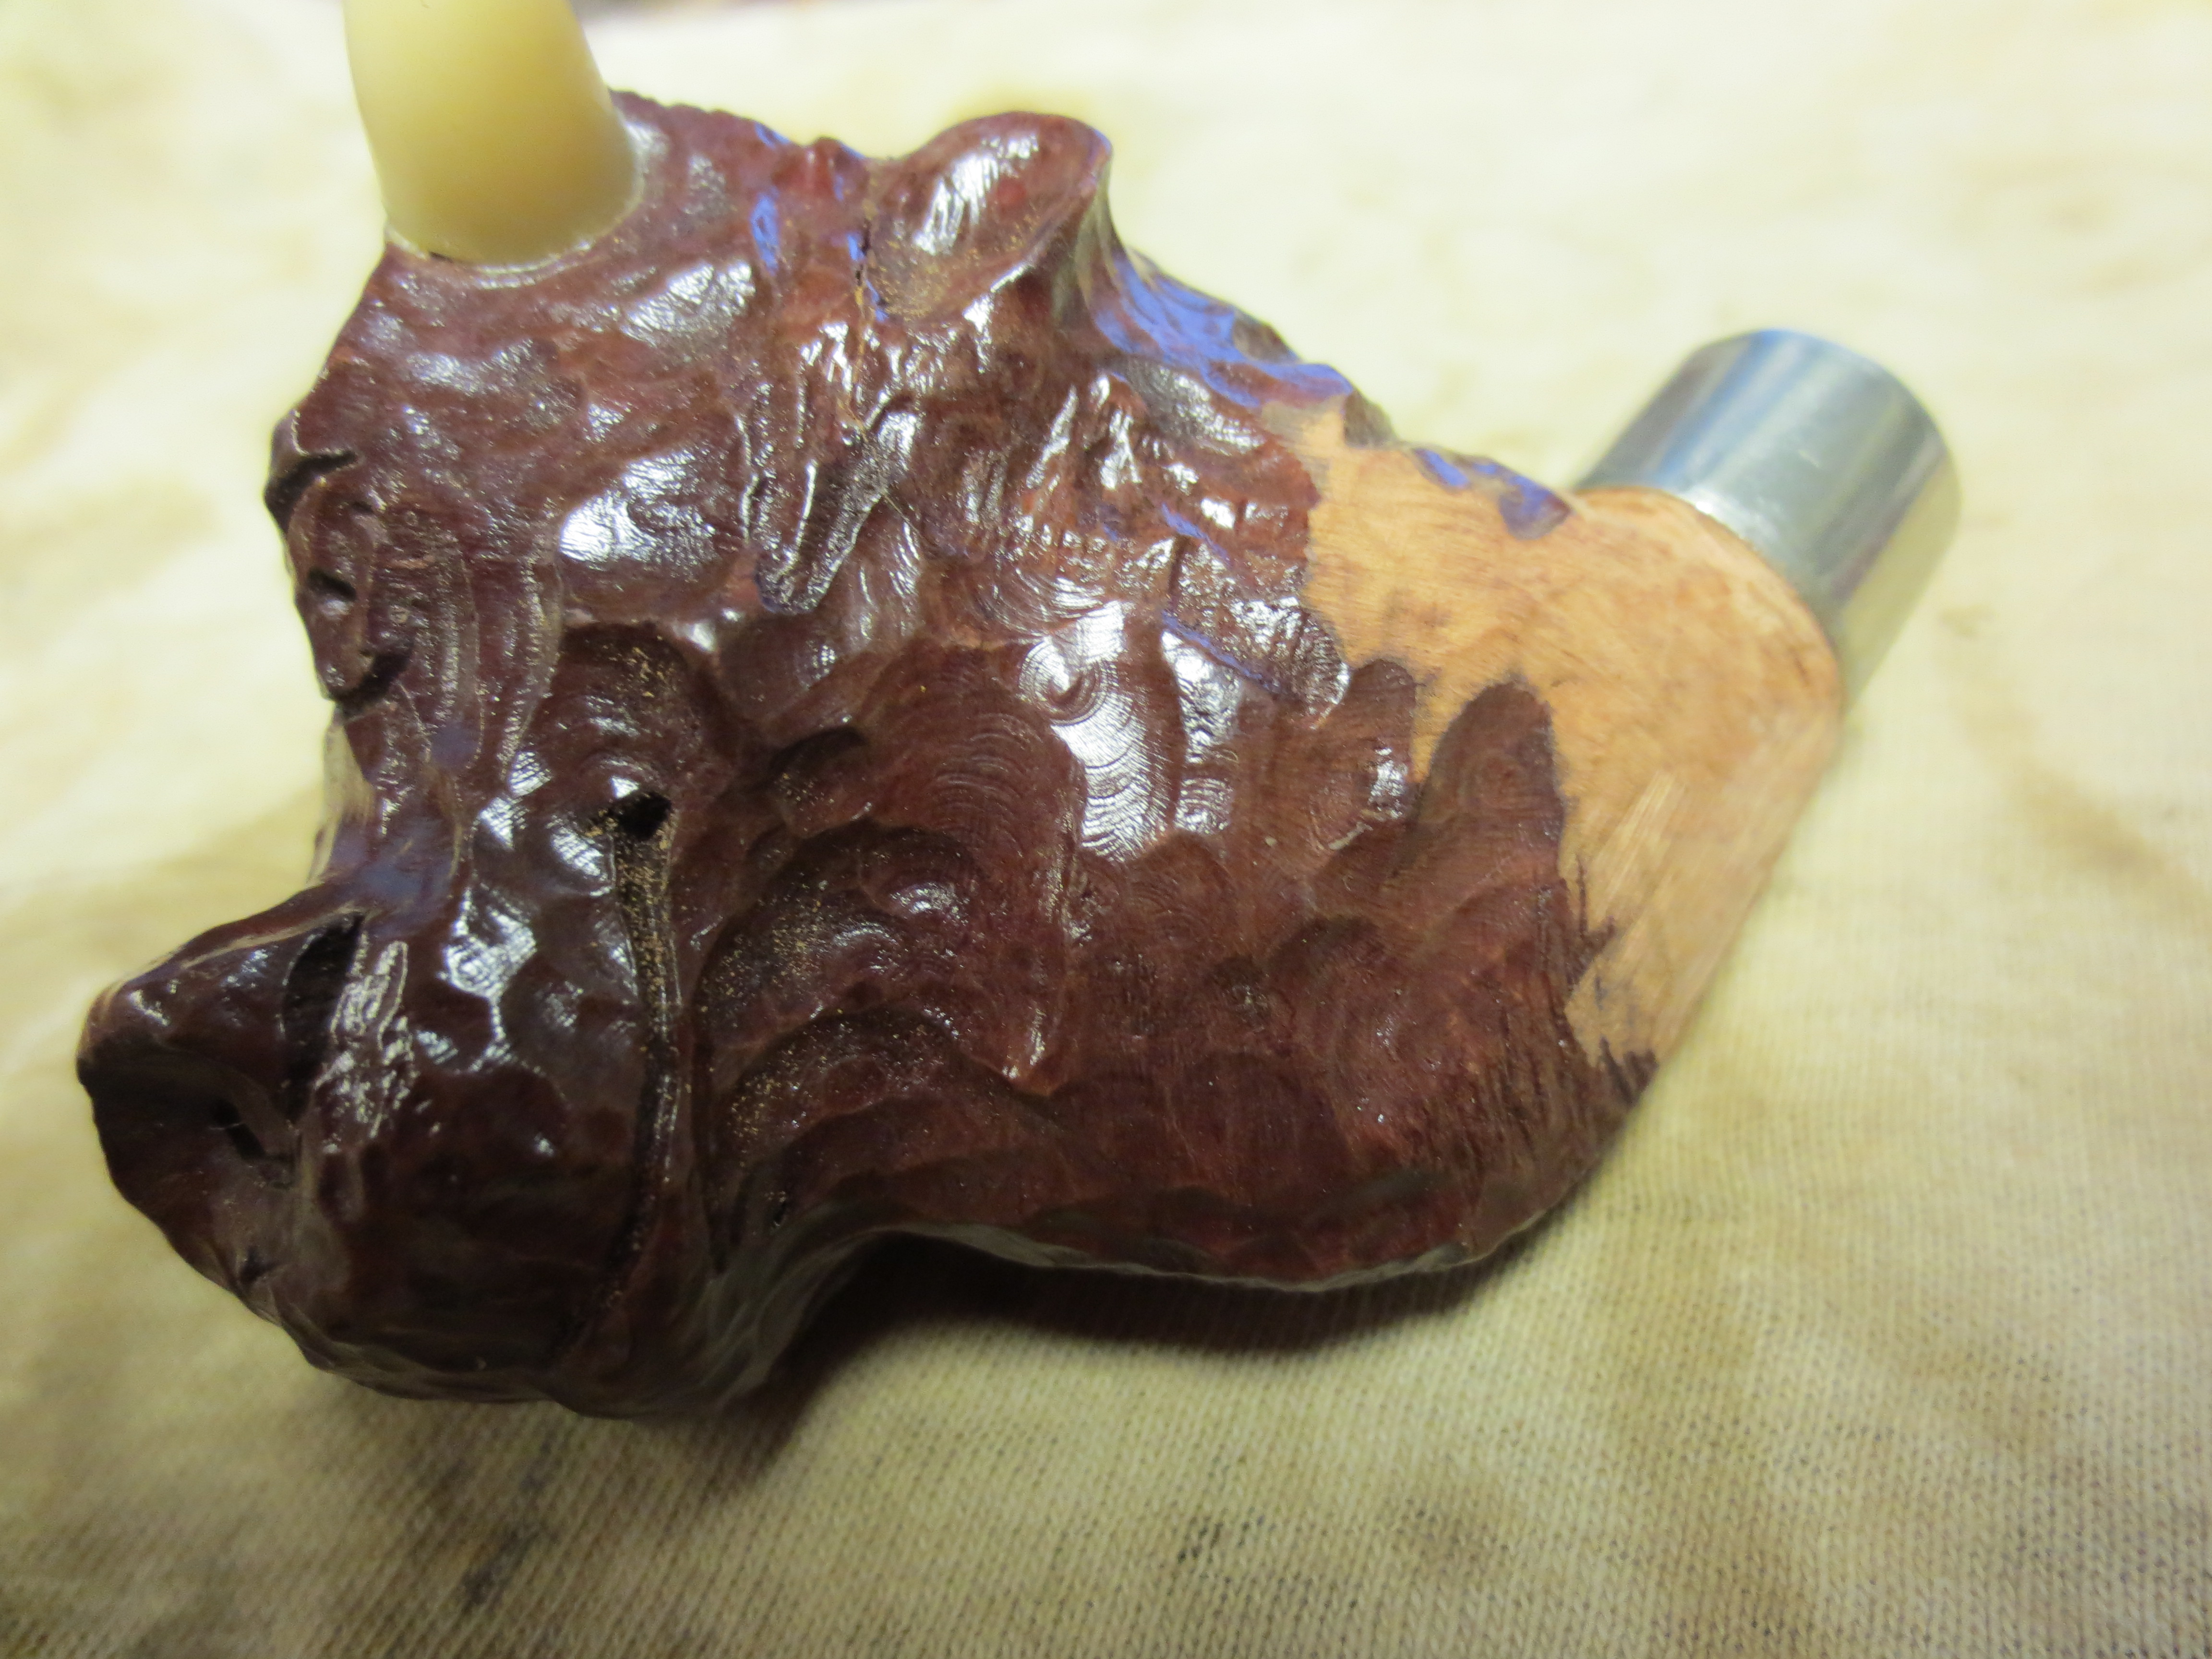
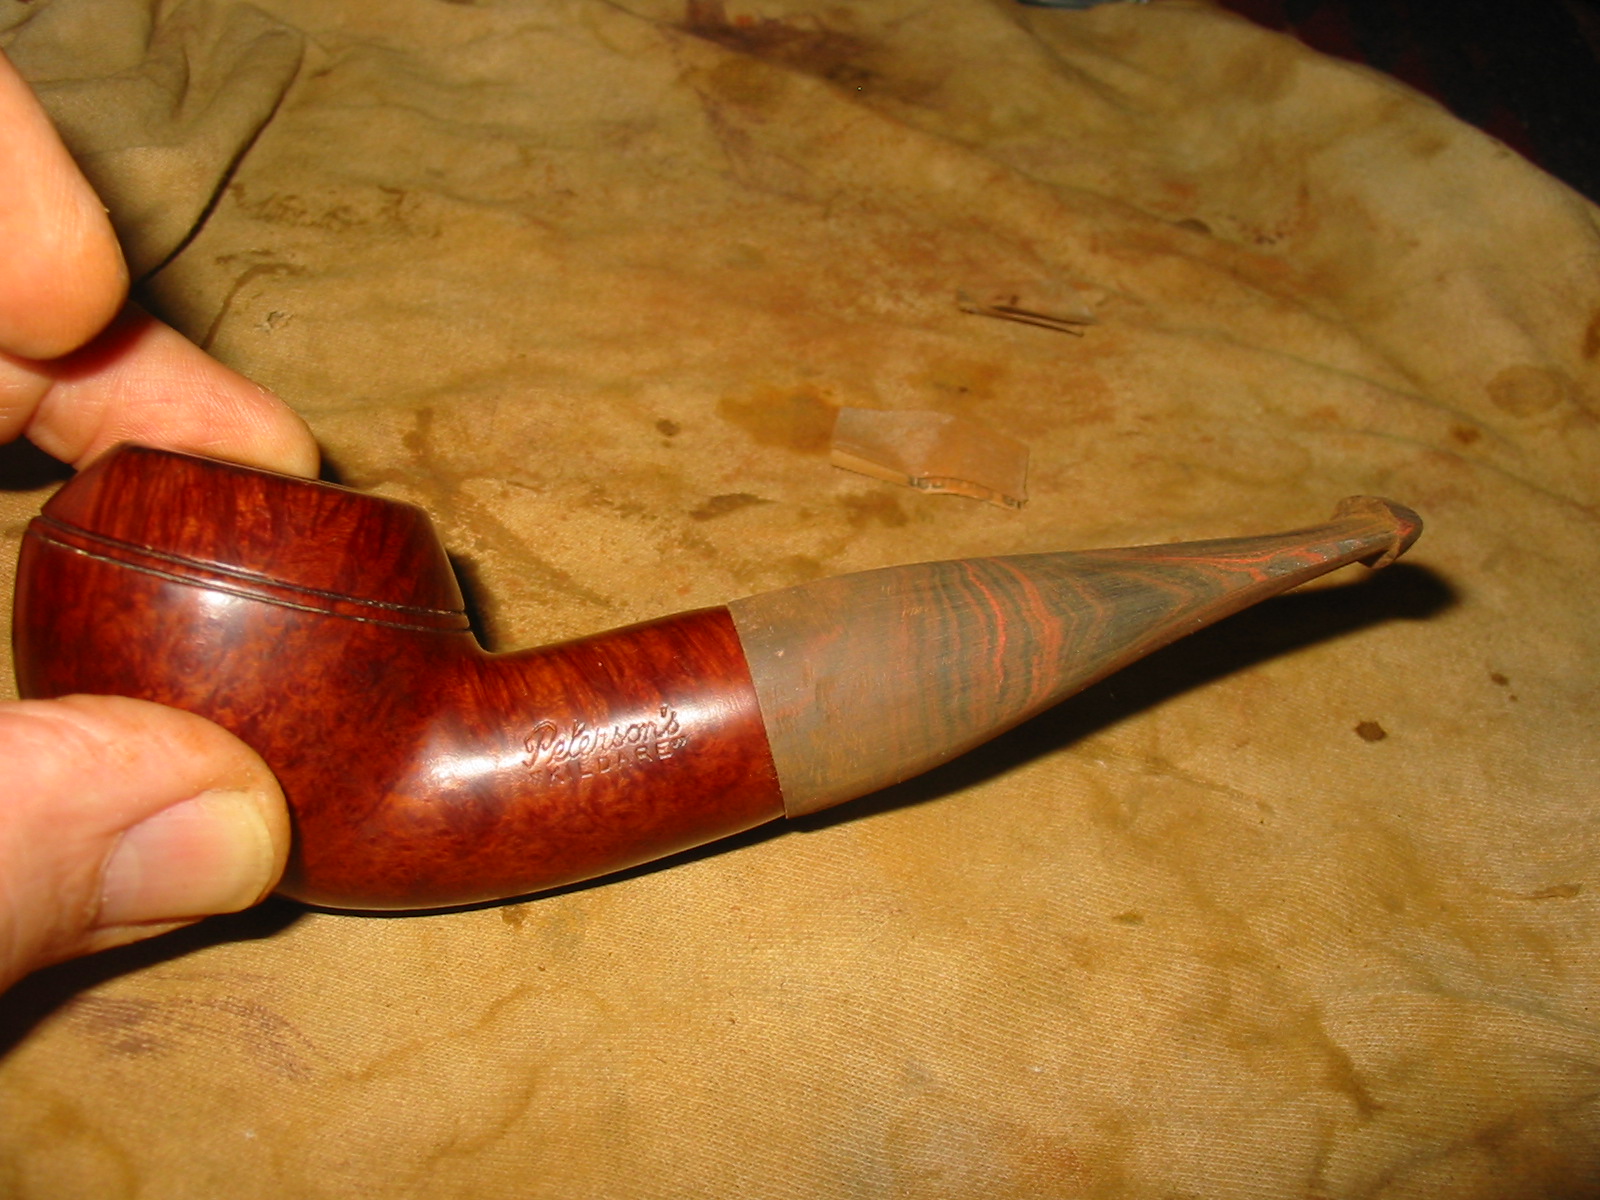
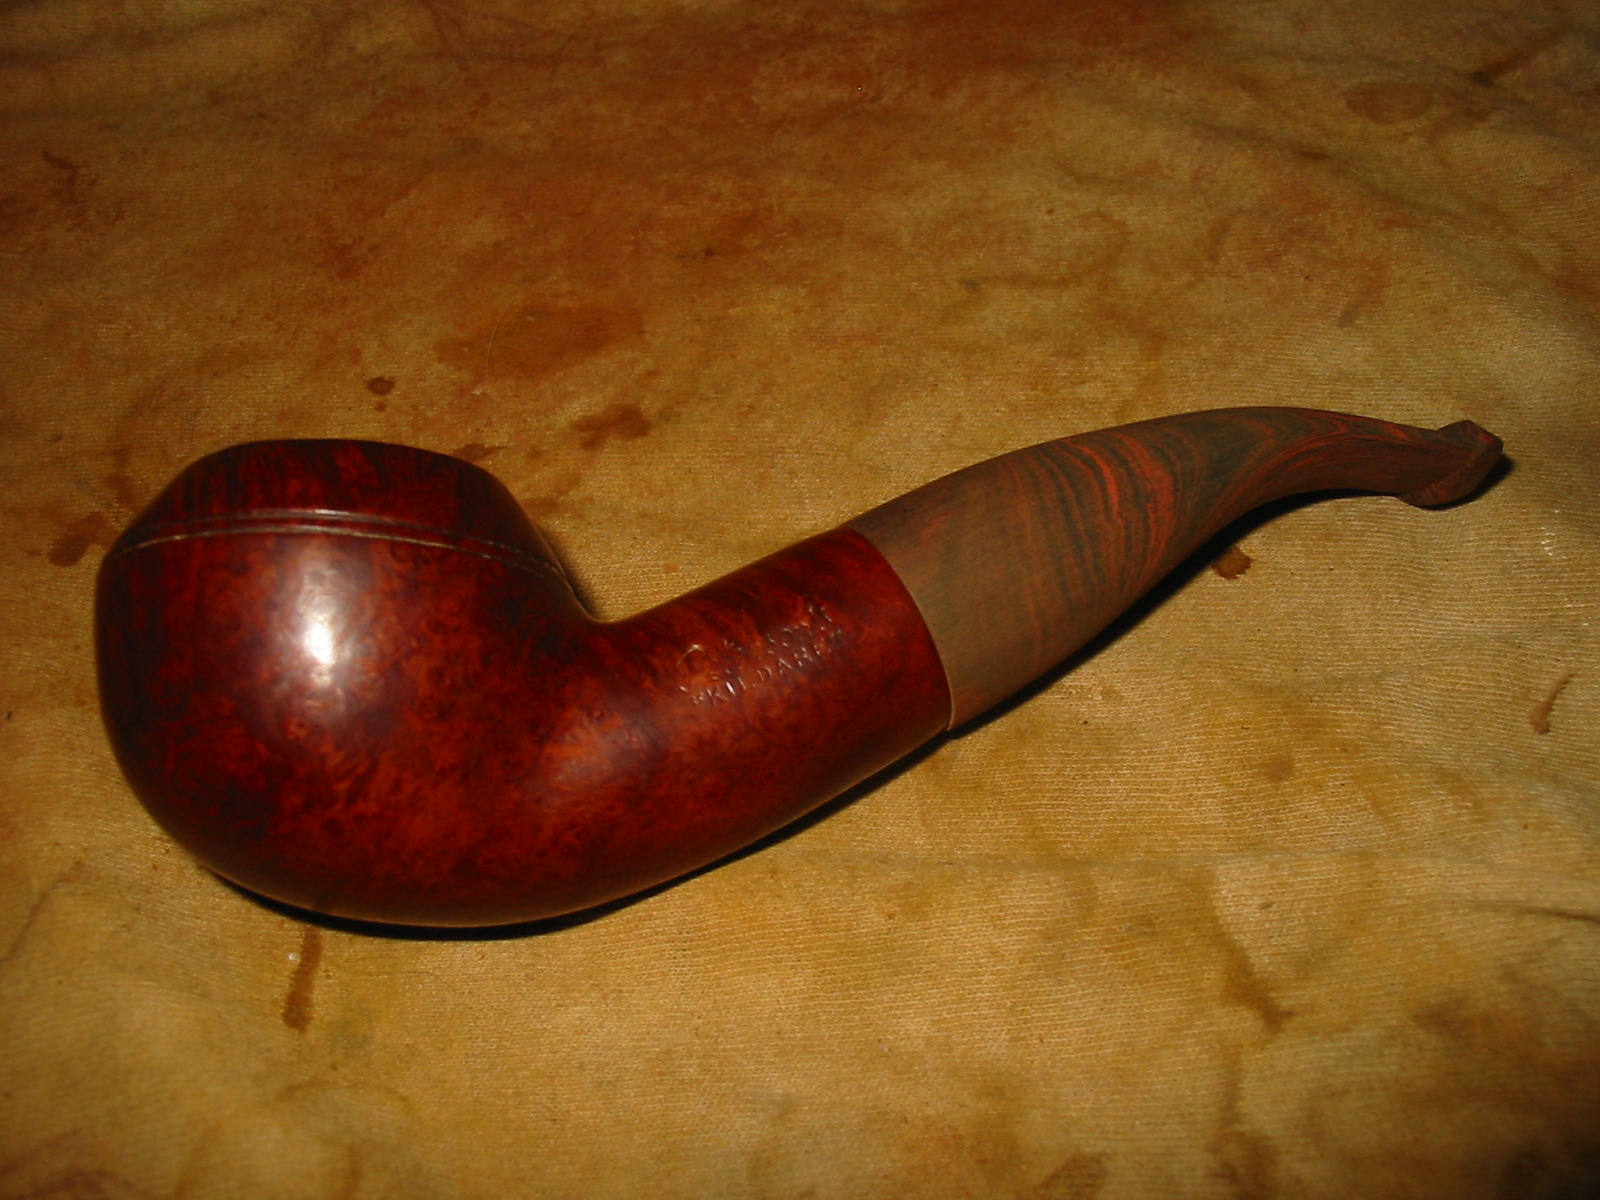
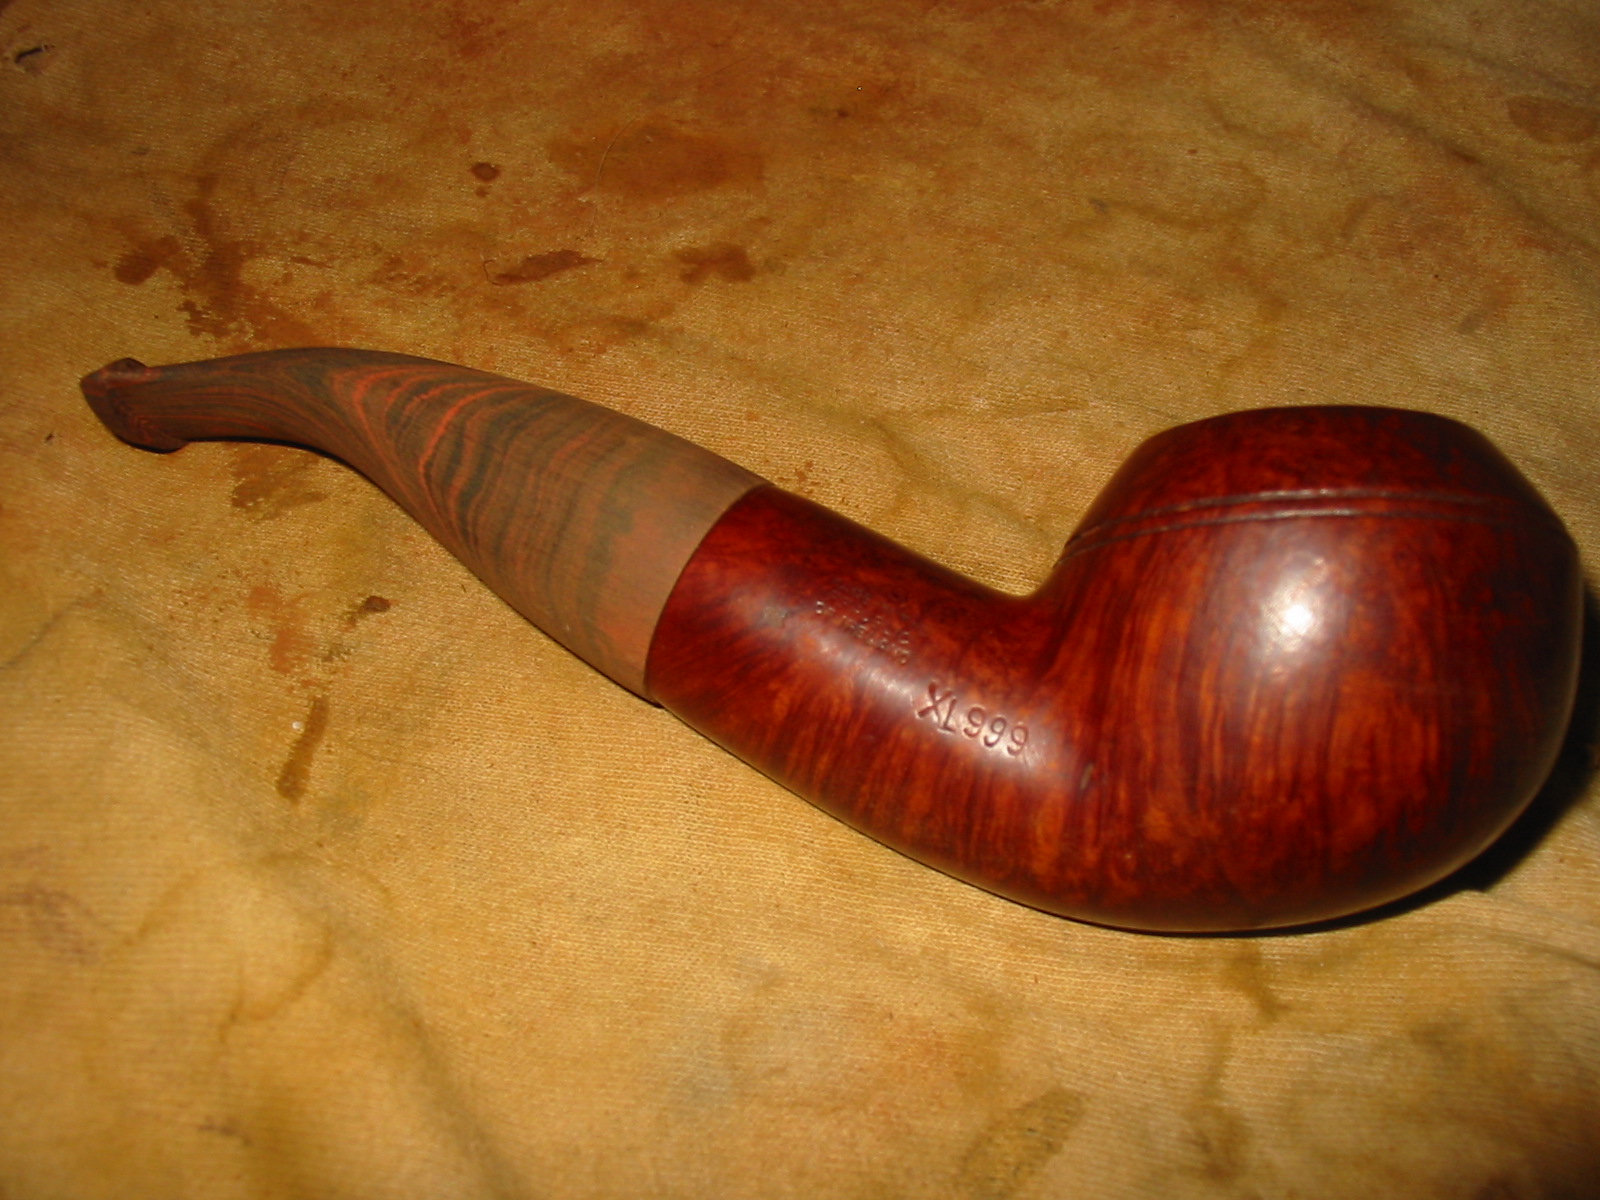
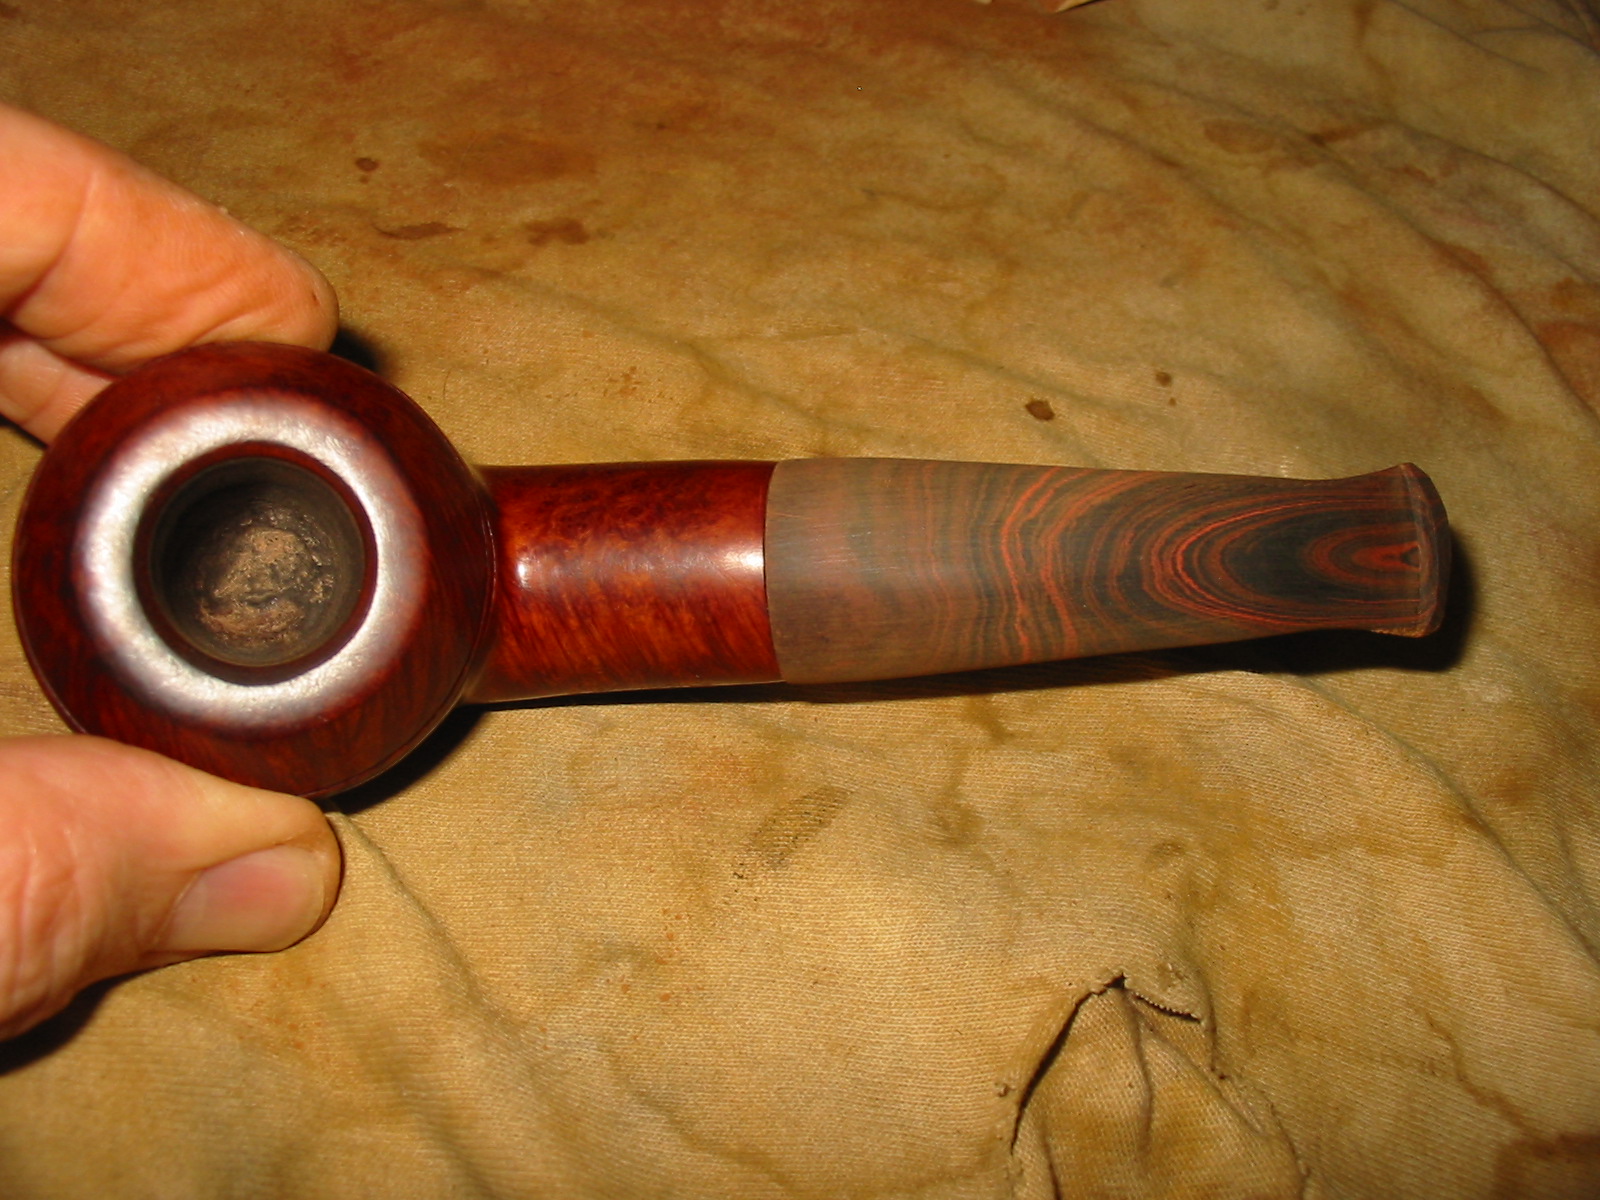
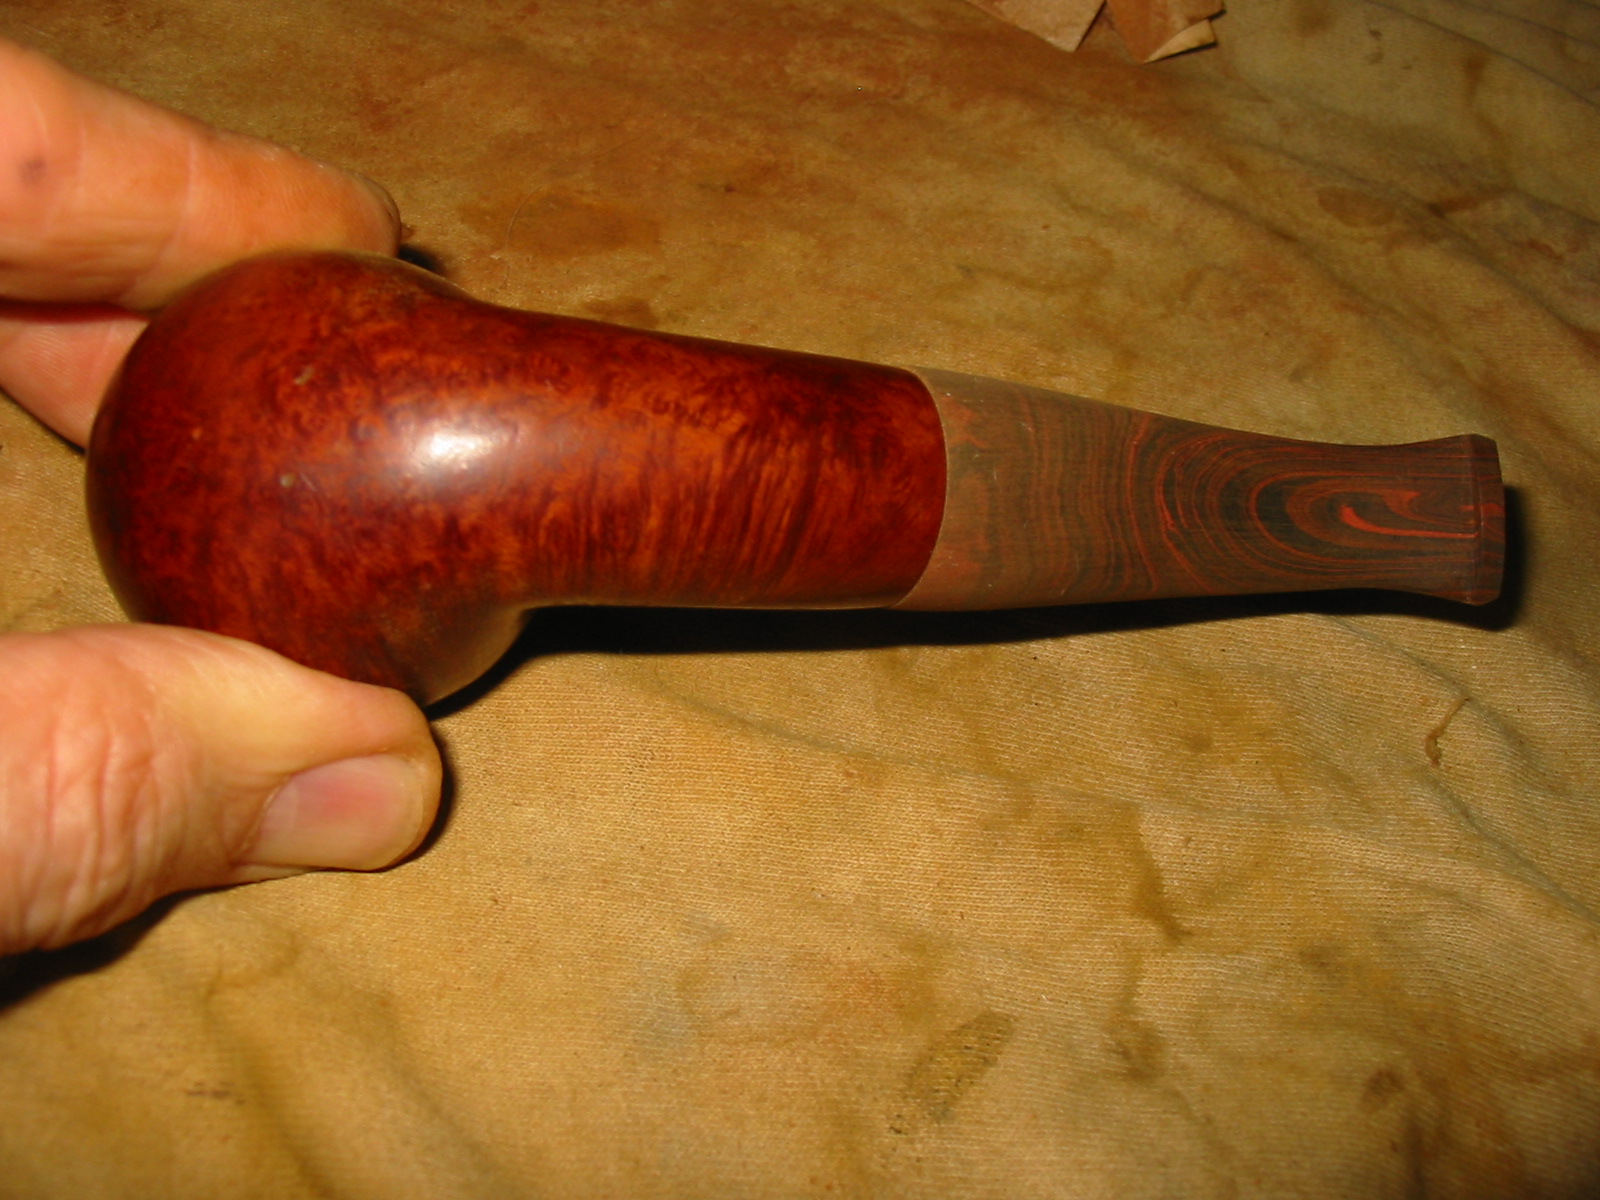
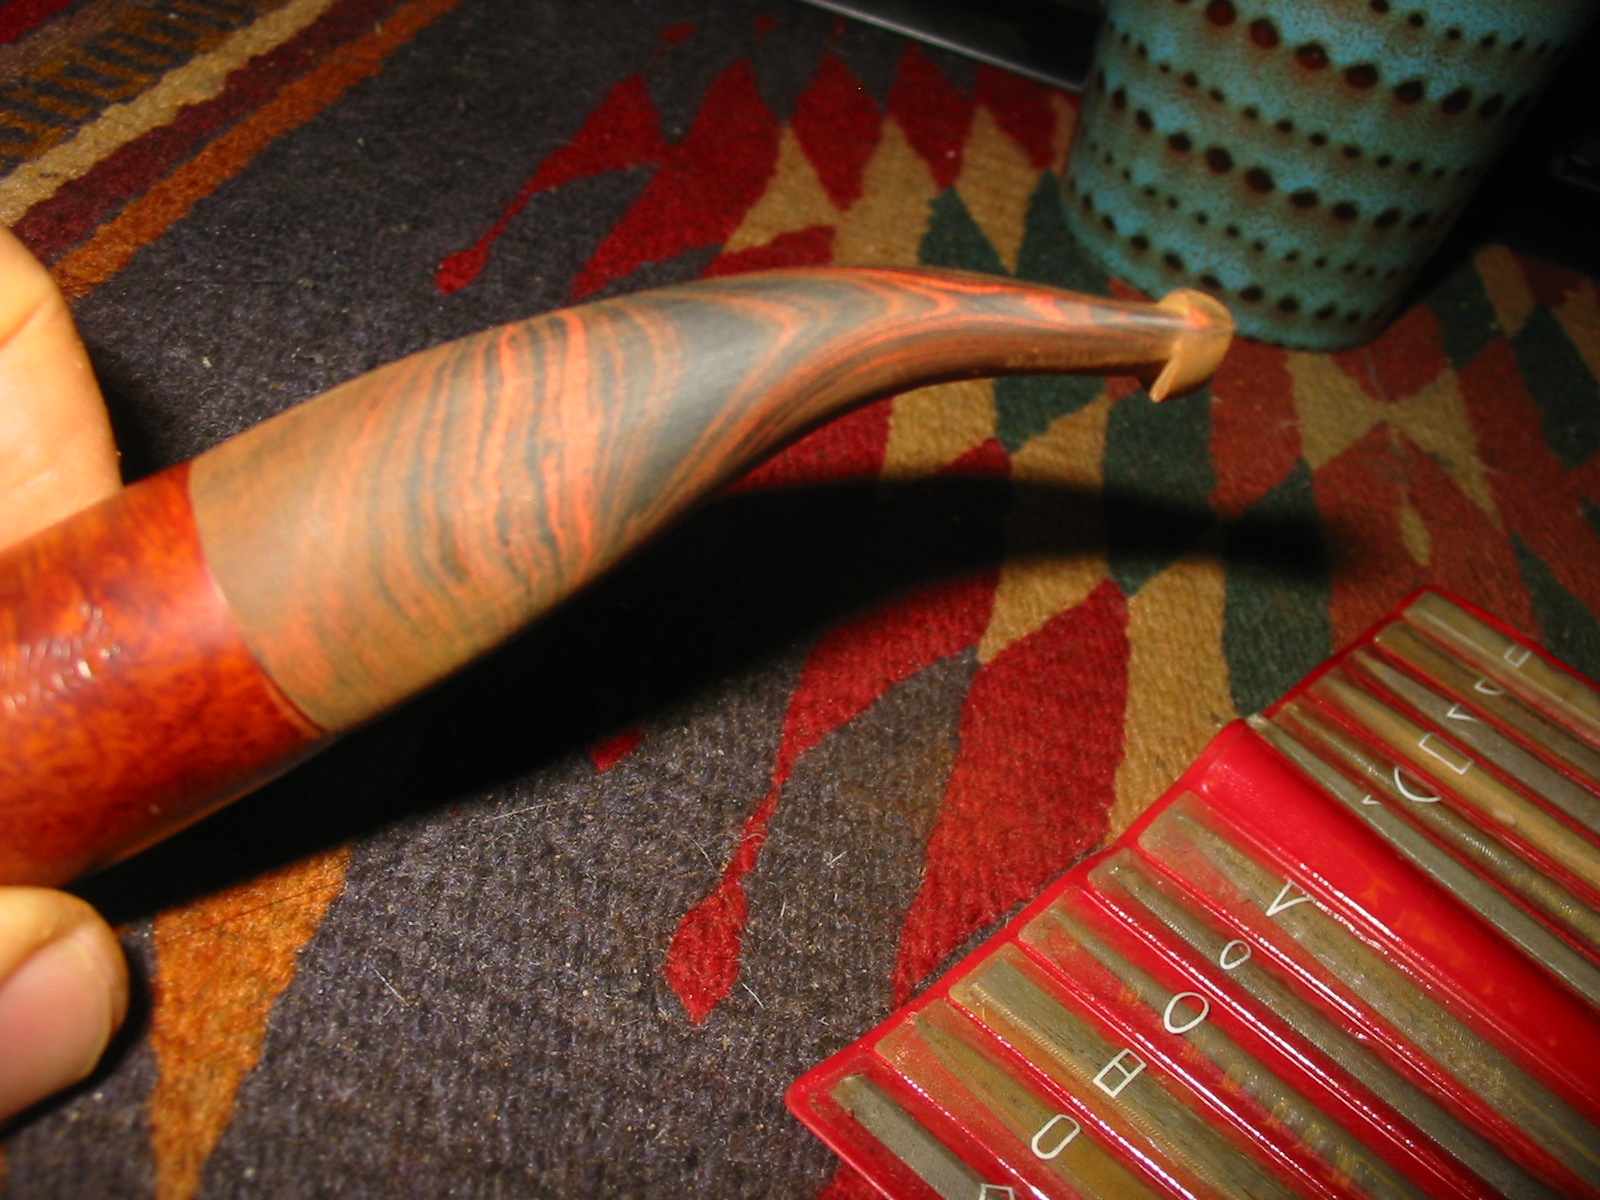
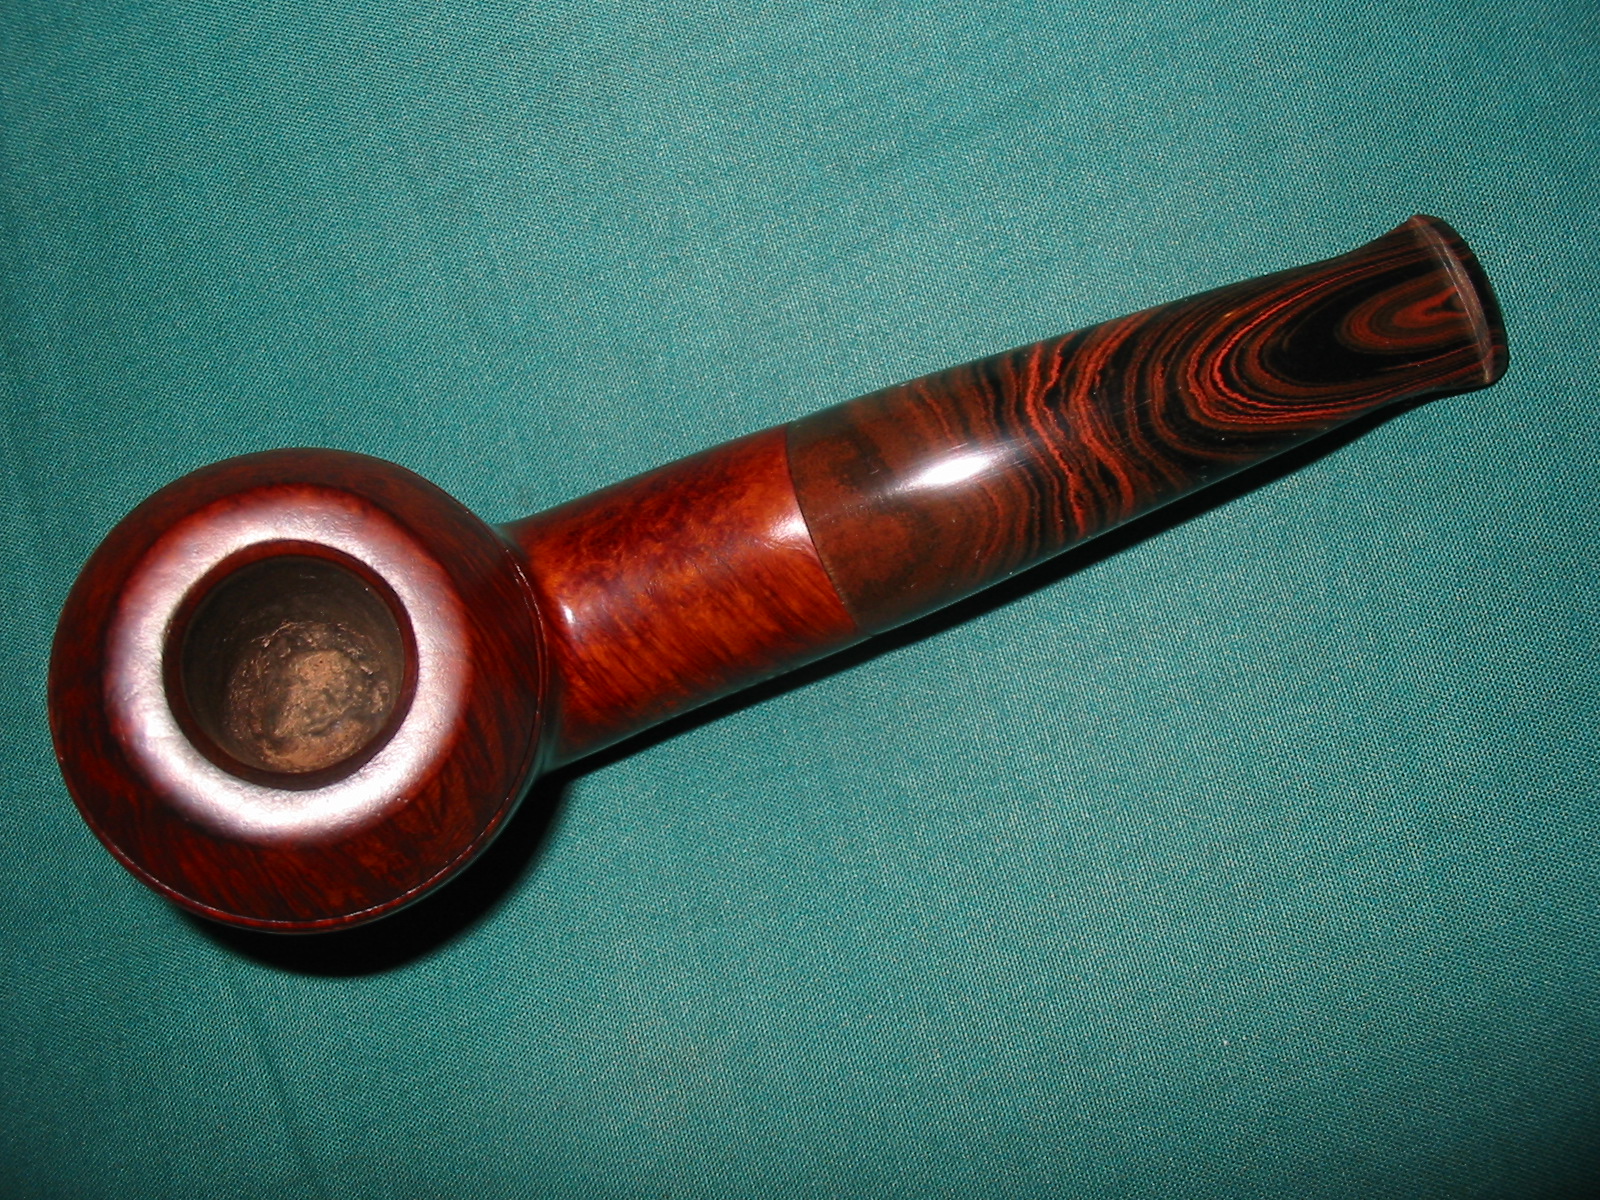
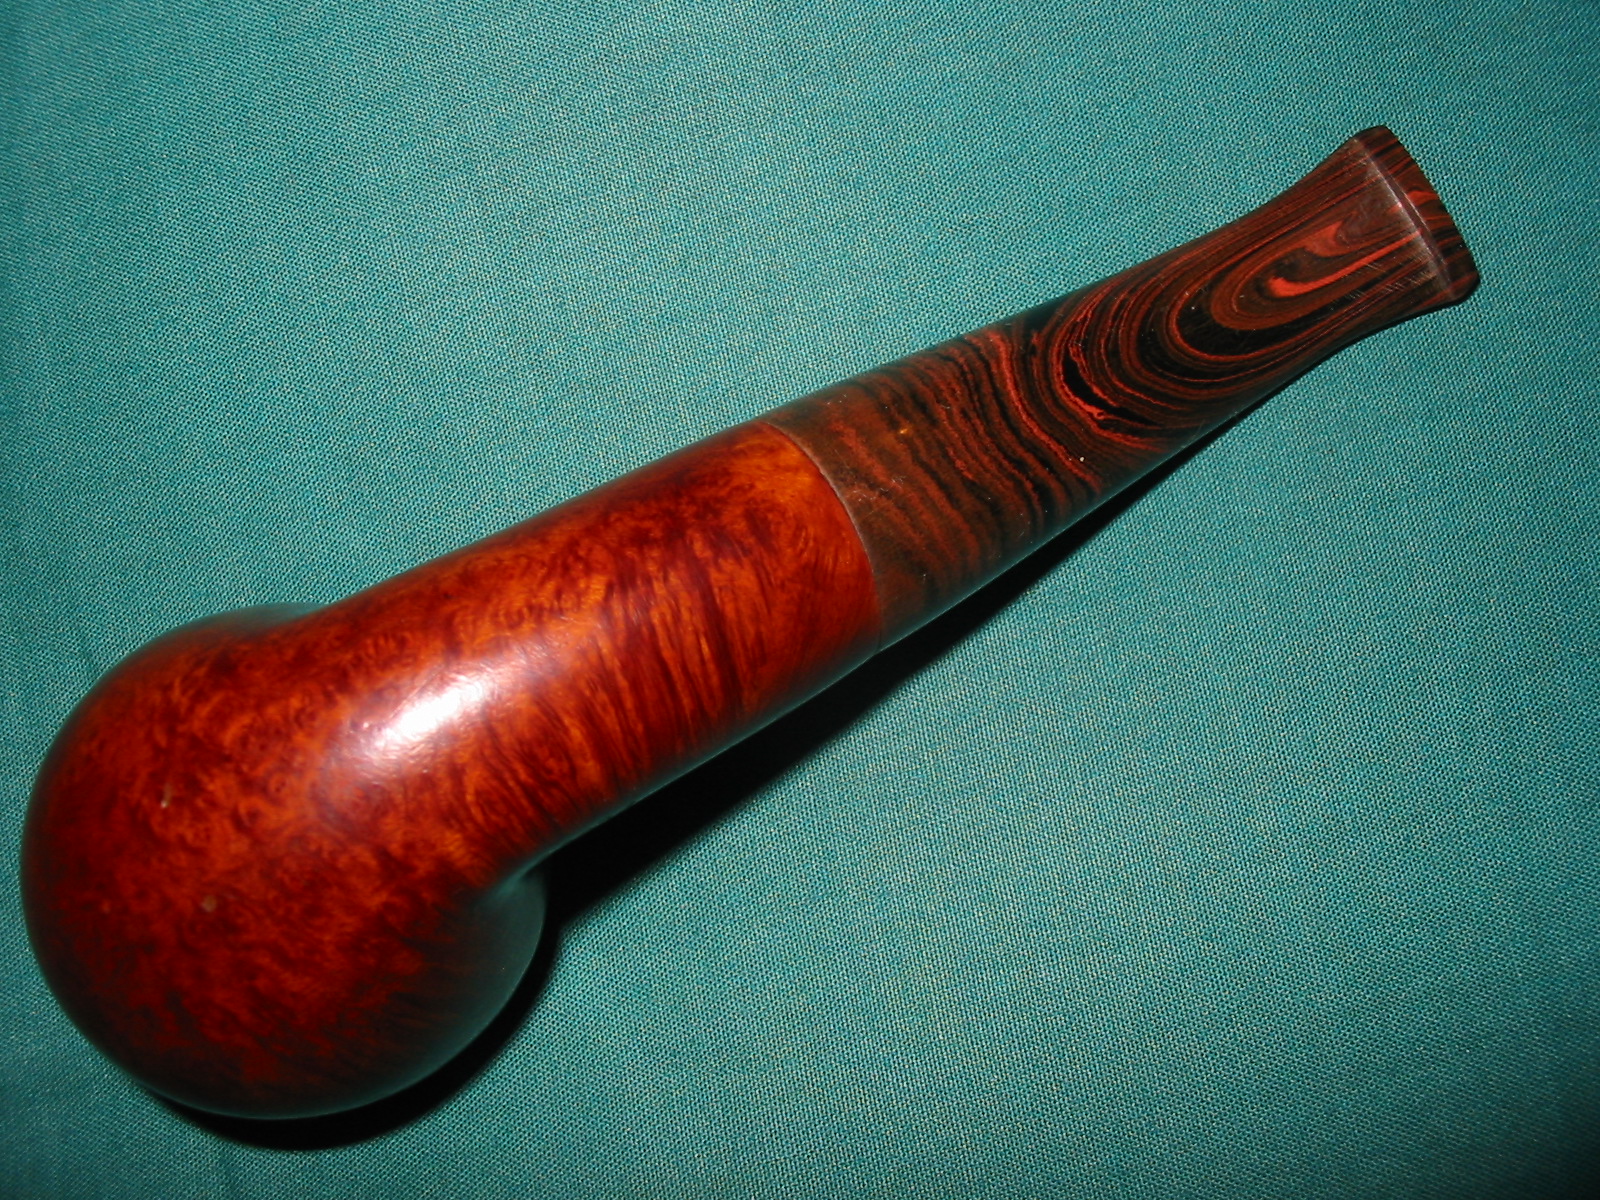
I used the Dremel with the sanding drum to also remove excess material from the stem at the shank stem junction. Afterward I sanded the stem with medium grit emery paper to remove the scratches and marks left by the Dremel. I followed up by sanding the stem with 220 grit sandpaper to further remove the scratches. The next series of four photos show the fit of the stem at this point in the process. The pattern of the Cumberland is also very visible. The pinkish swirls would polish into a reddish brown and the darker colour would be a dark brown fading into black throughout the length of the stem.


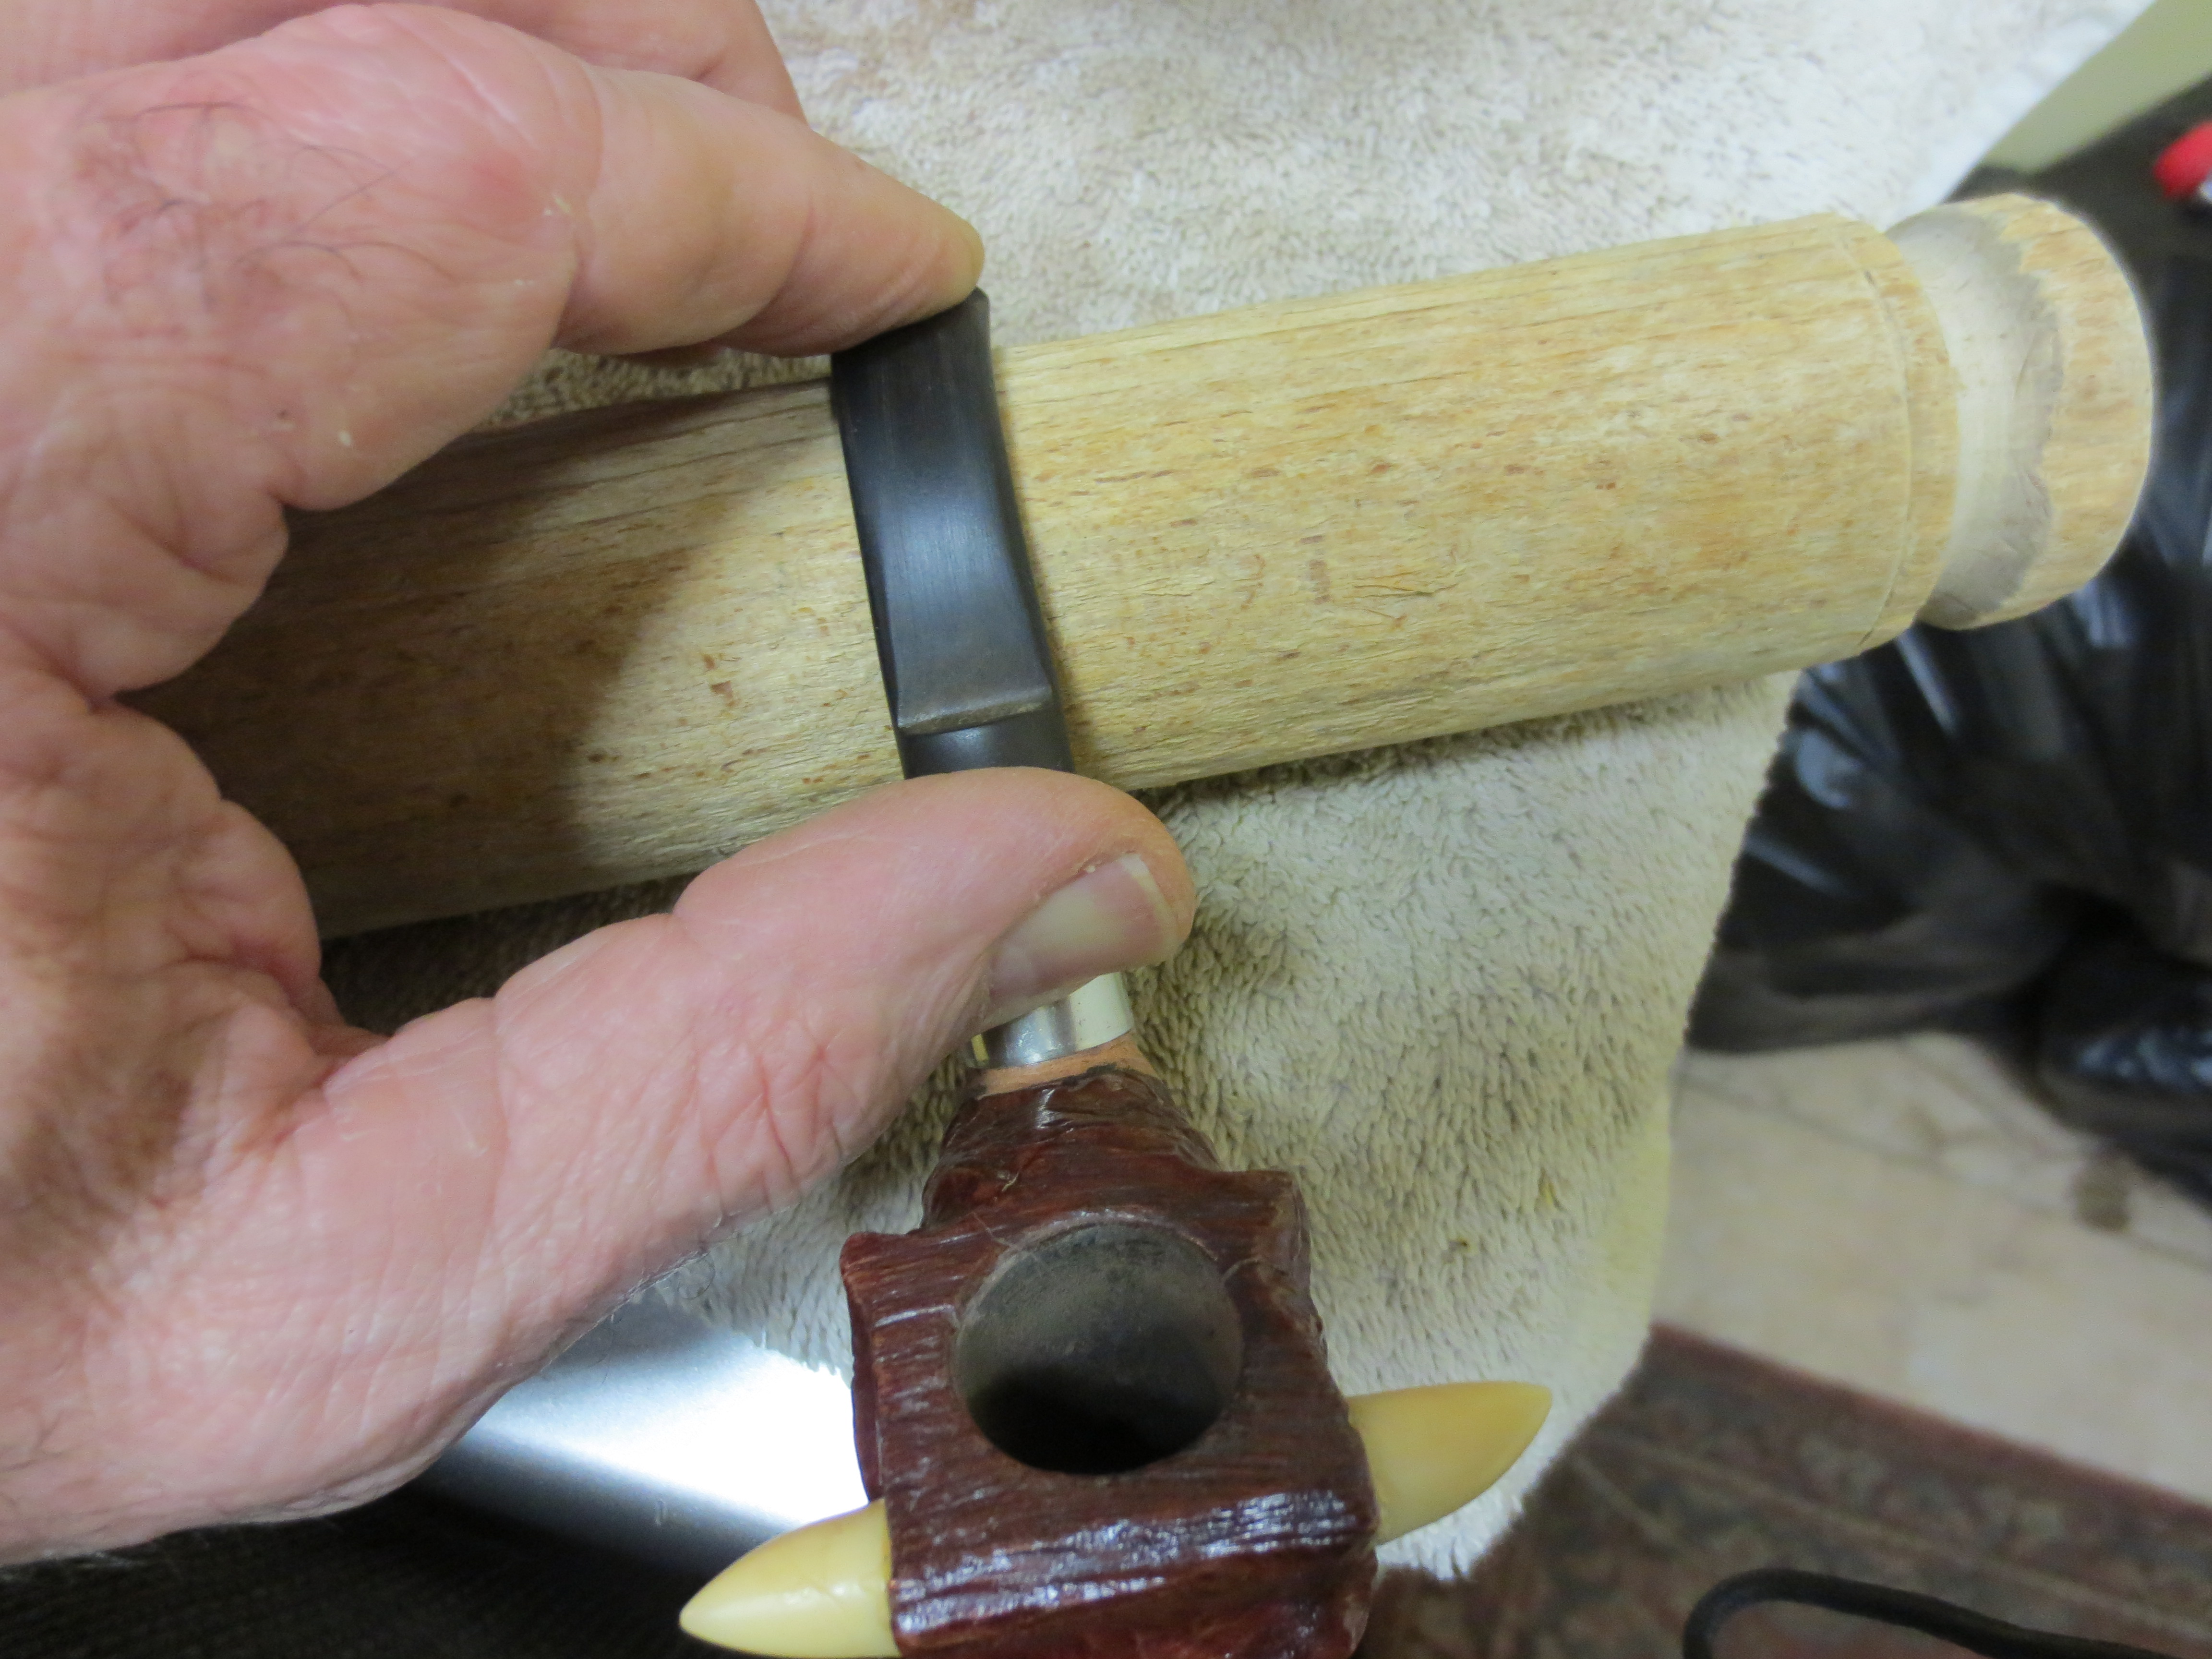
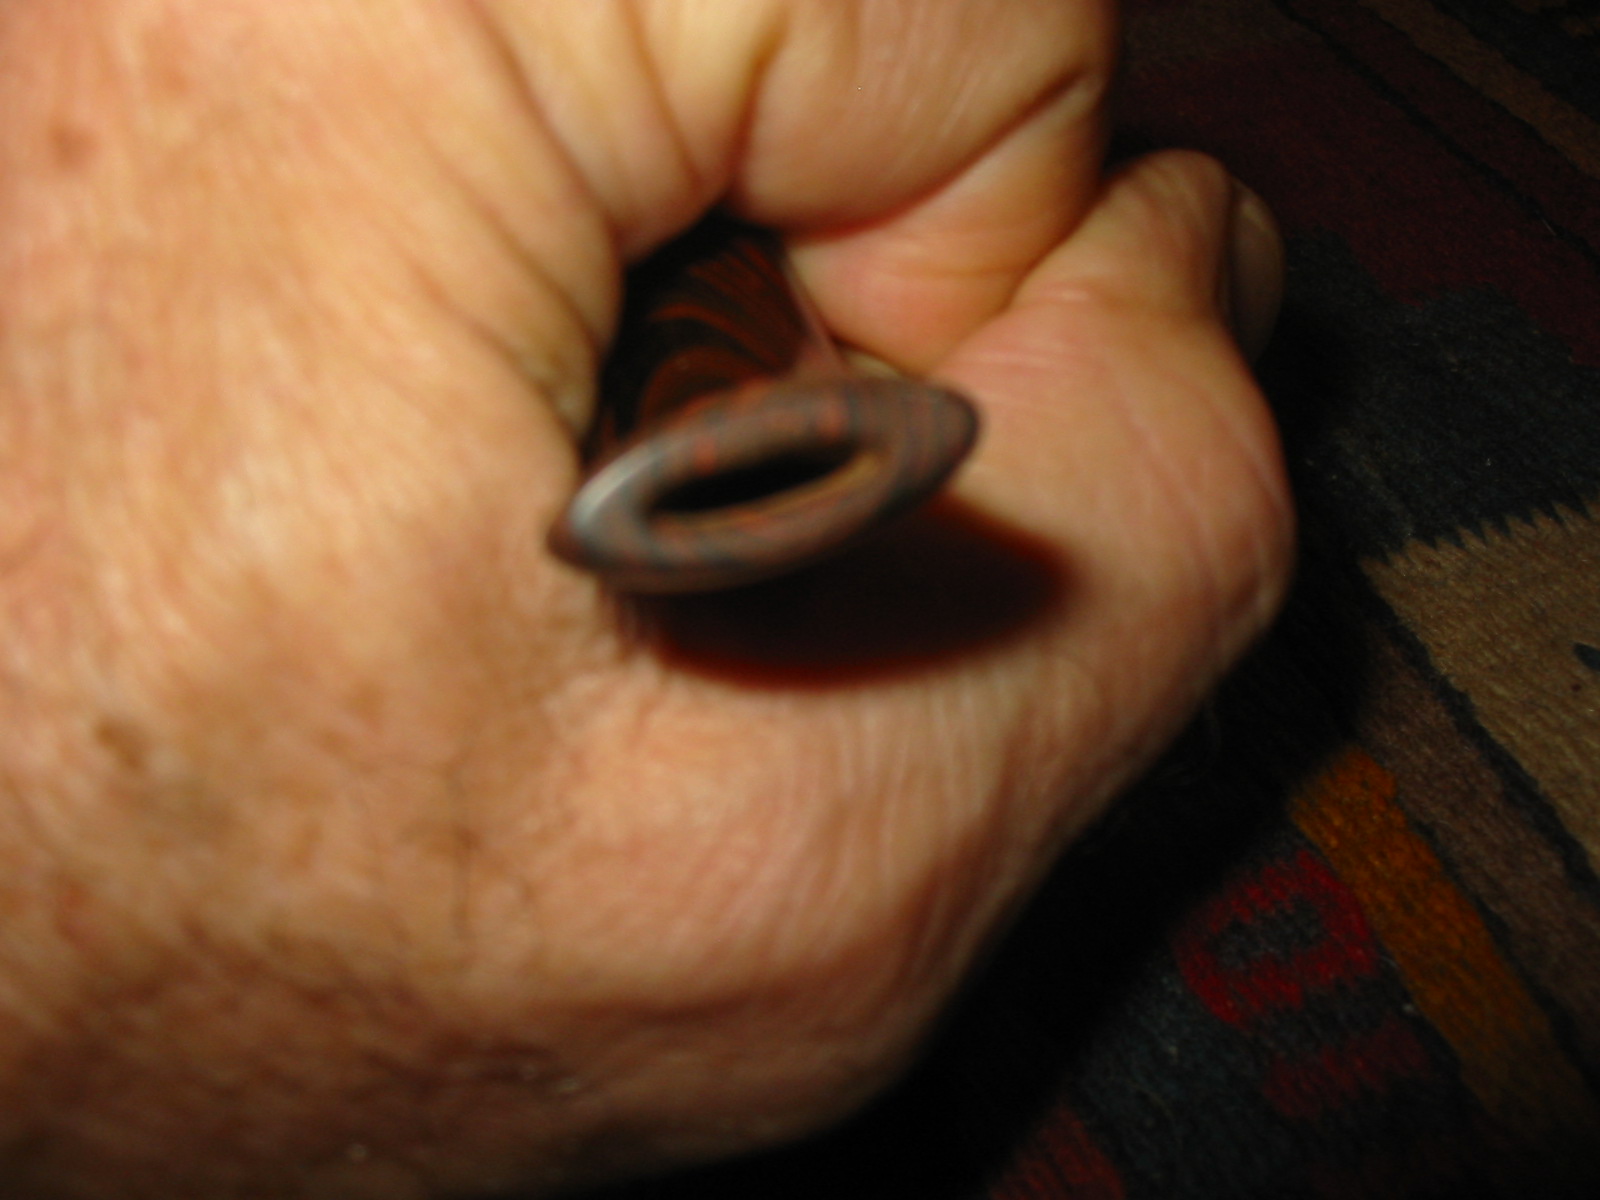
Once I had sanded the stem to the smoothness and fit pictured above I heated it to bend it to the finished shape. I set up the heat gun and held the stem over the tip until it was soft enough to bend. Cumberland like vulcanite bends quite easily. What made this one a bit harder was the thickness of the stem where I wanted to bend it. Once flexible I bent it over a rolling pipe and cooled it under running water to set the bend.
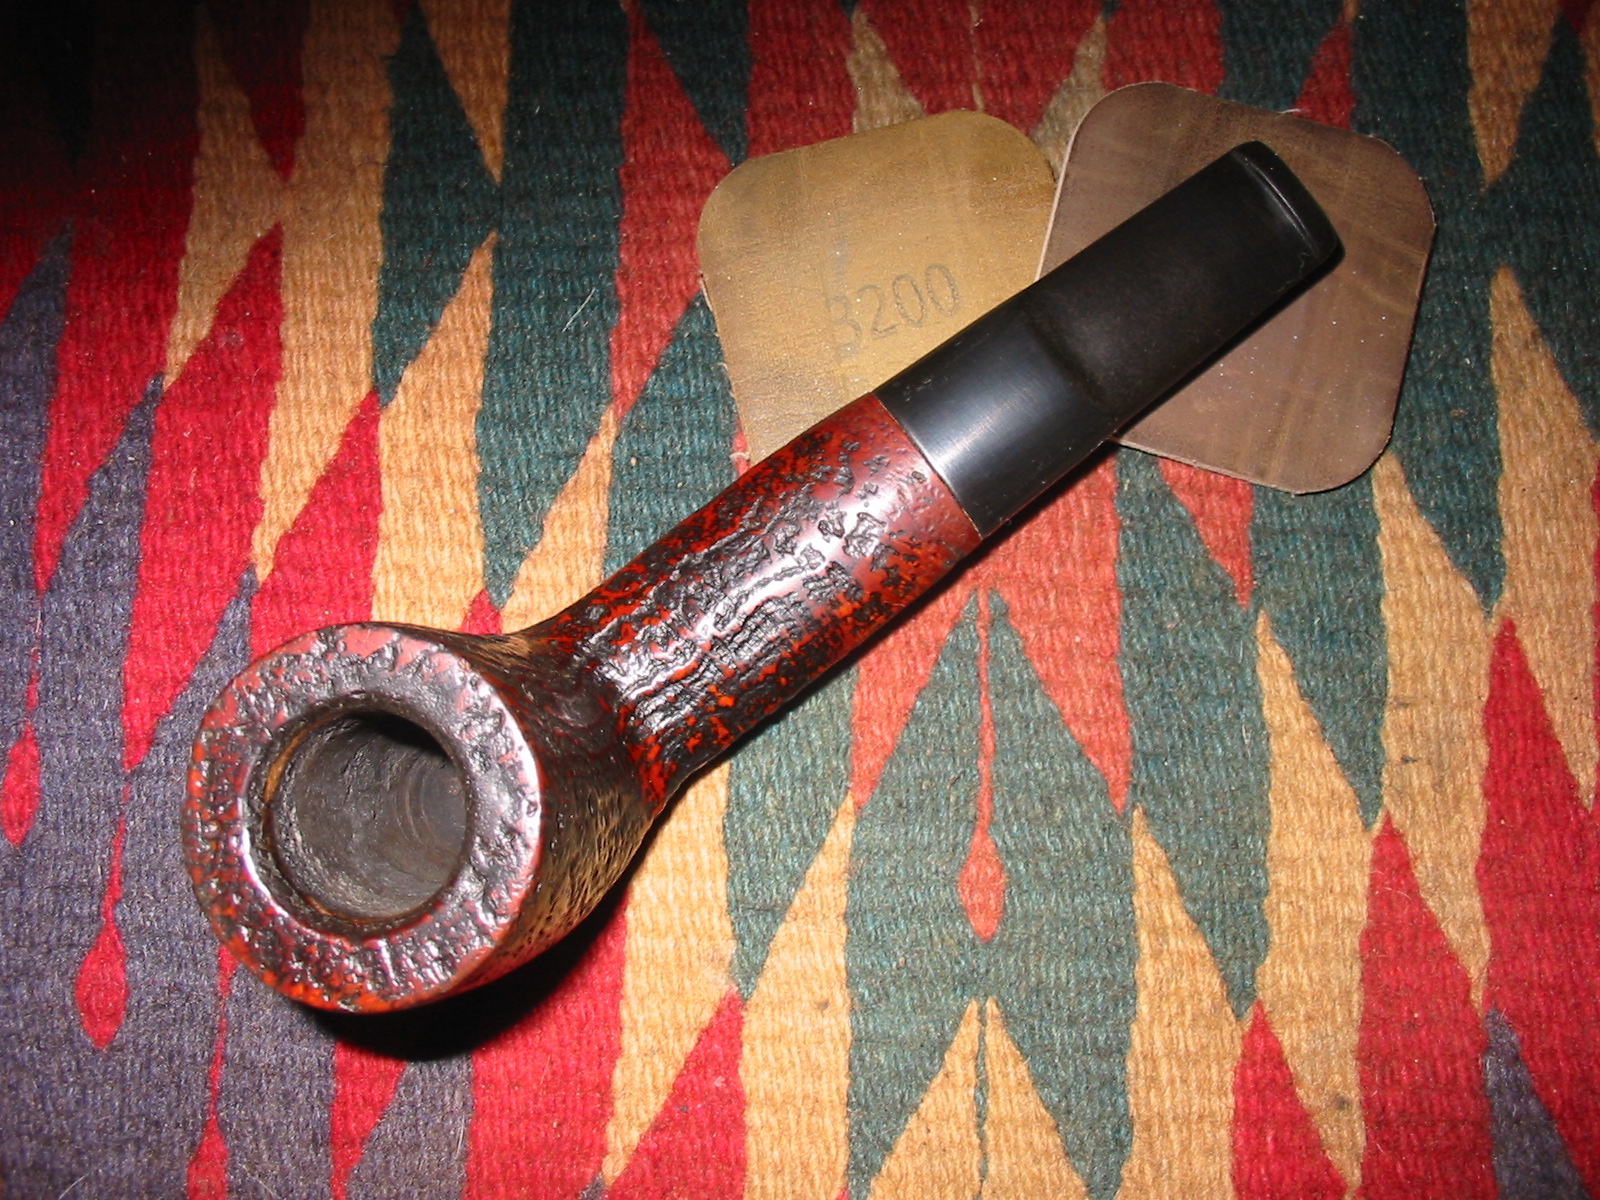
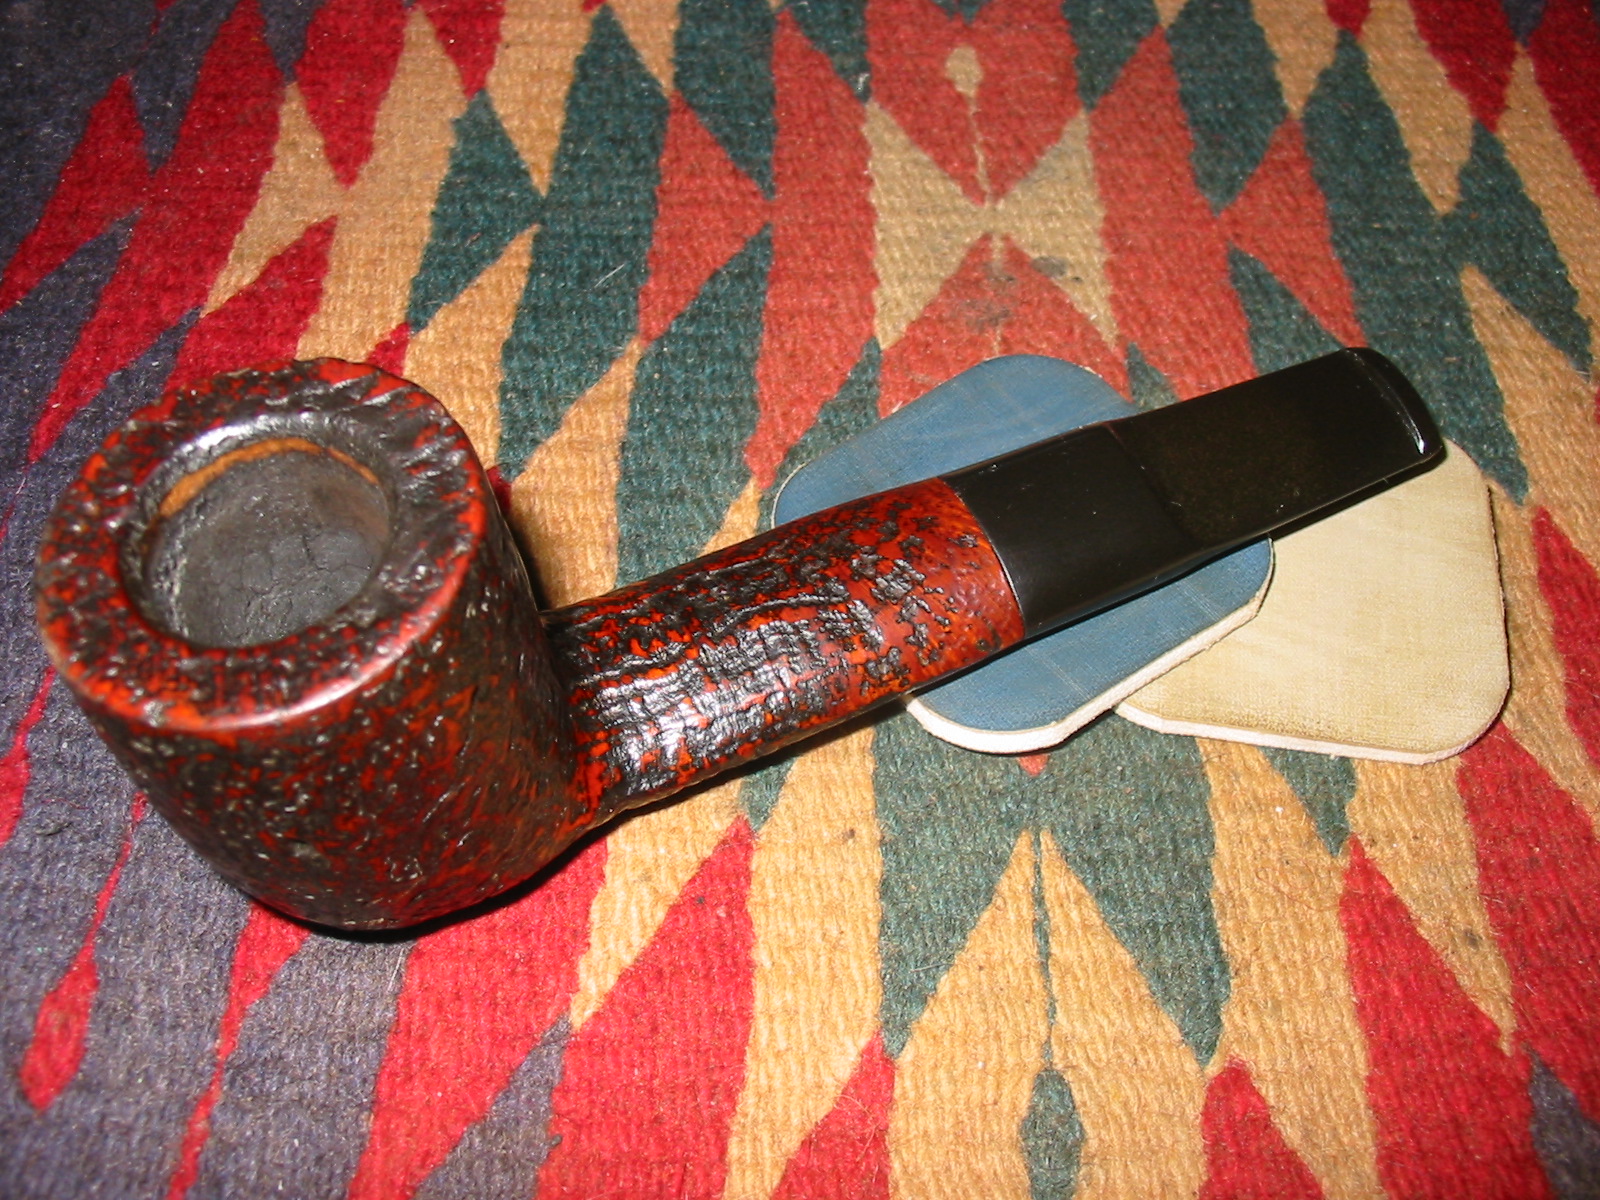
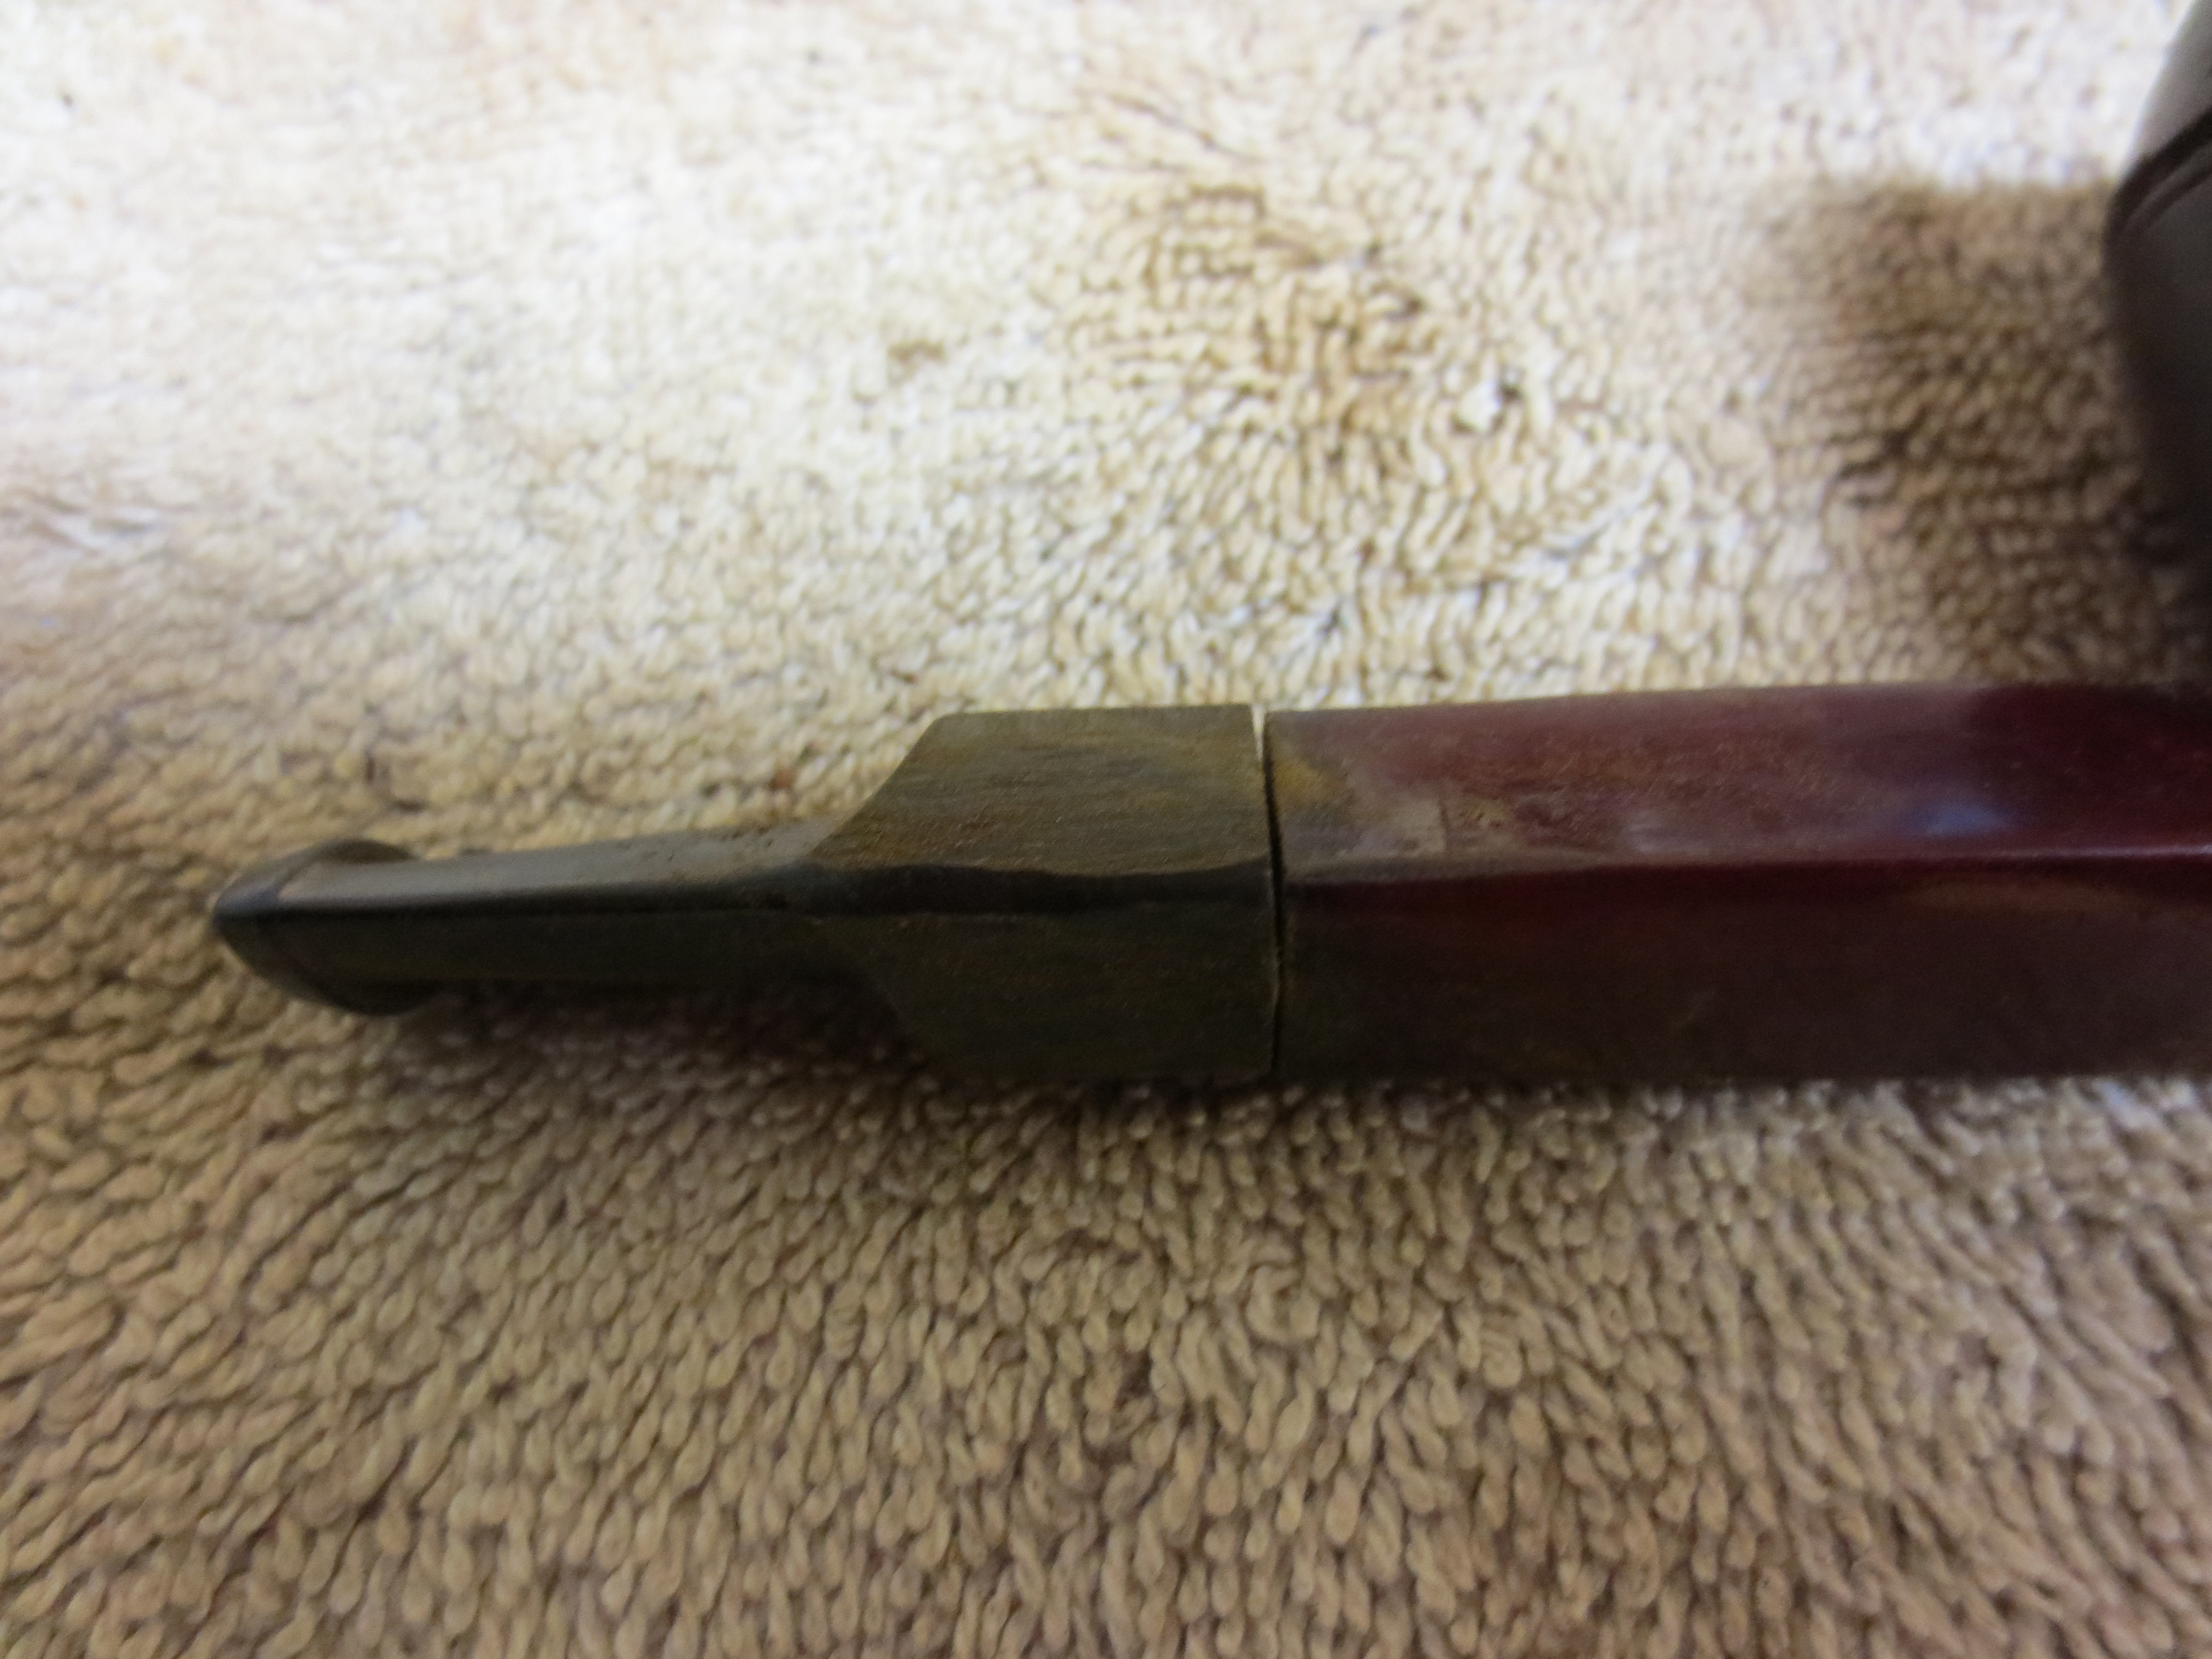
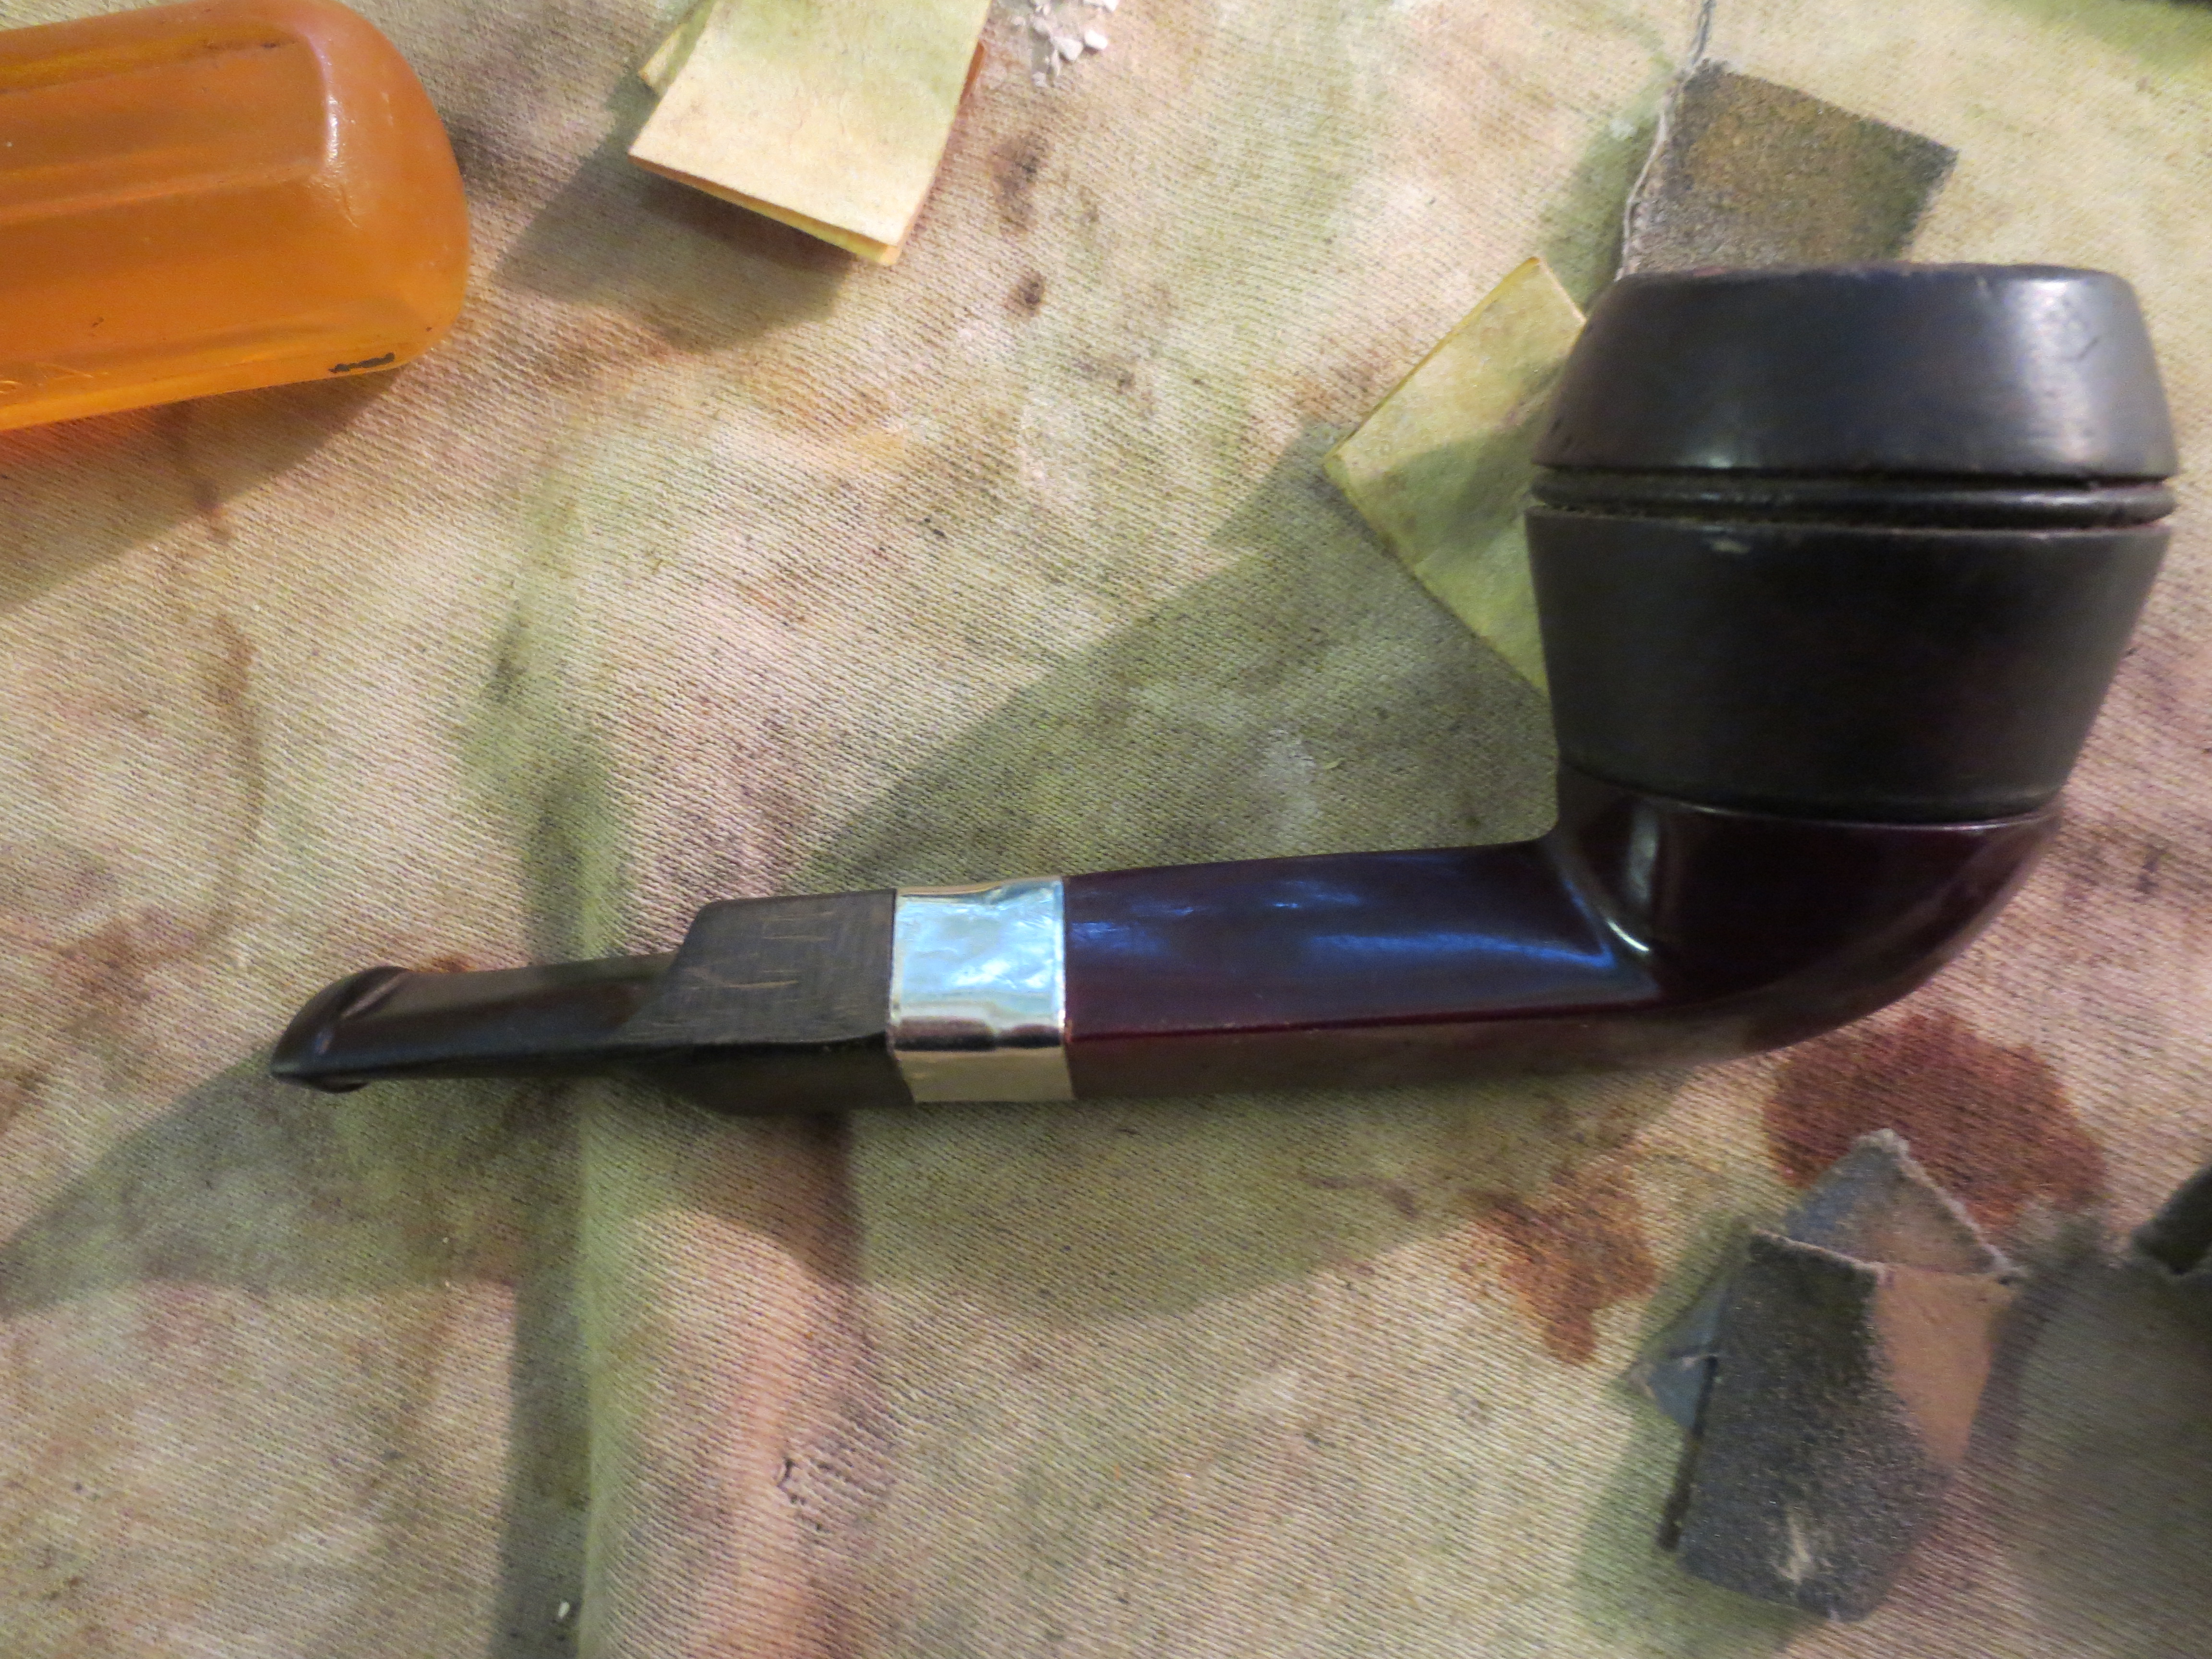
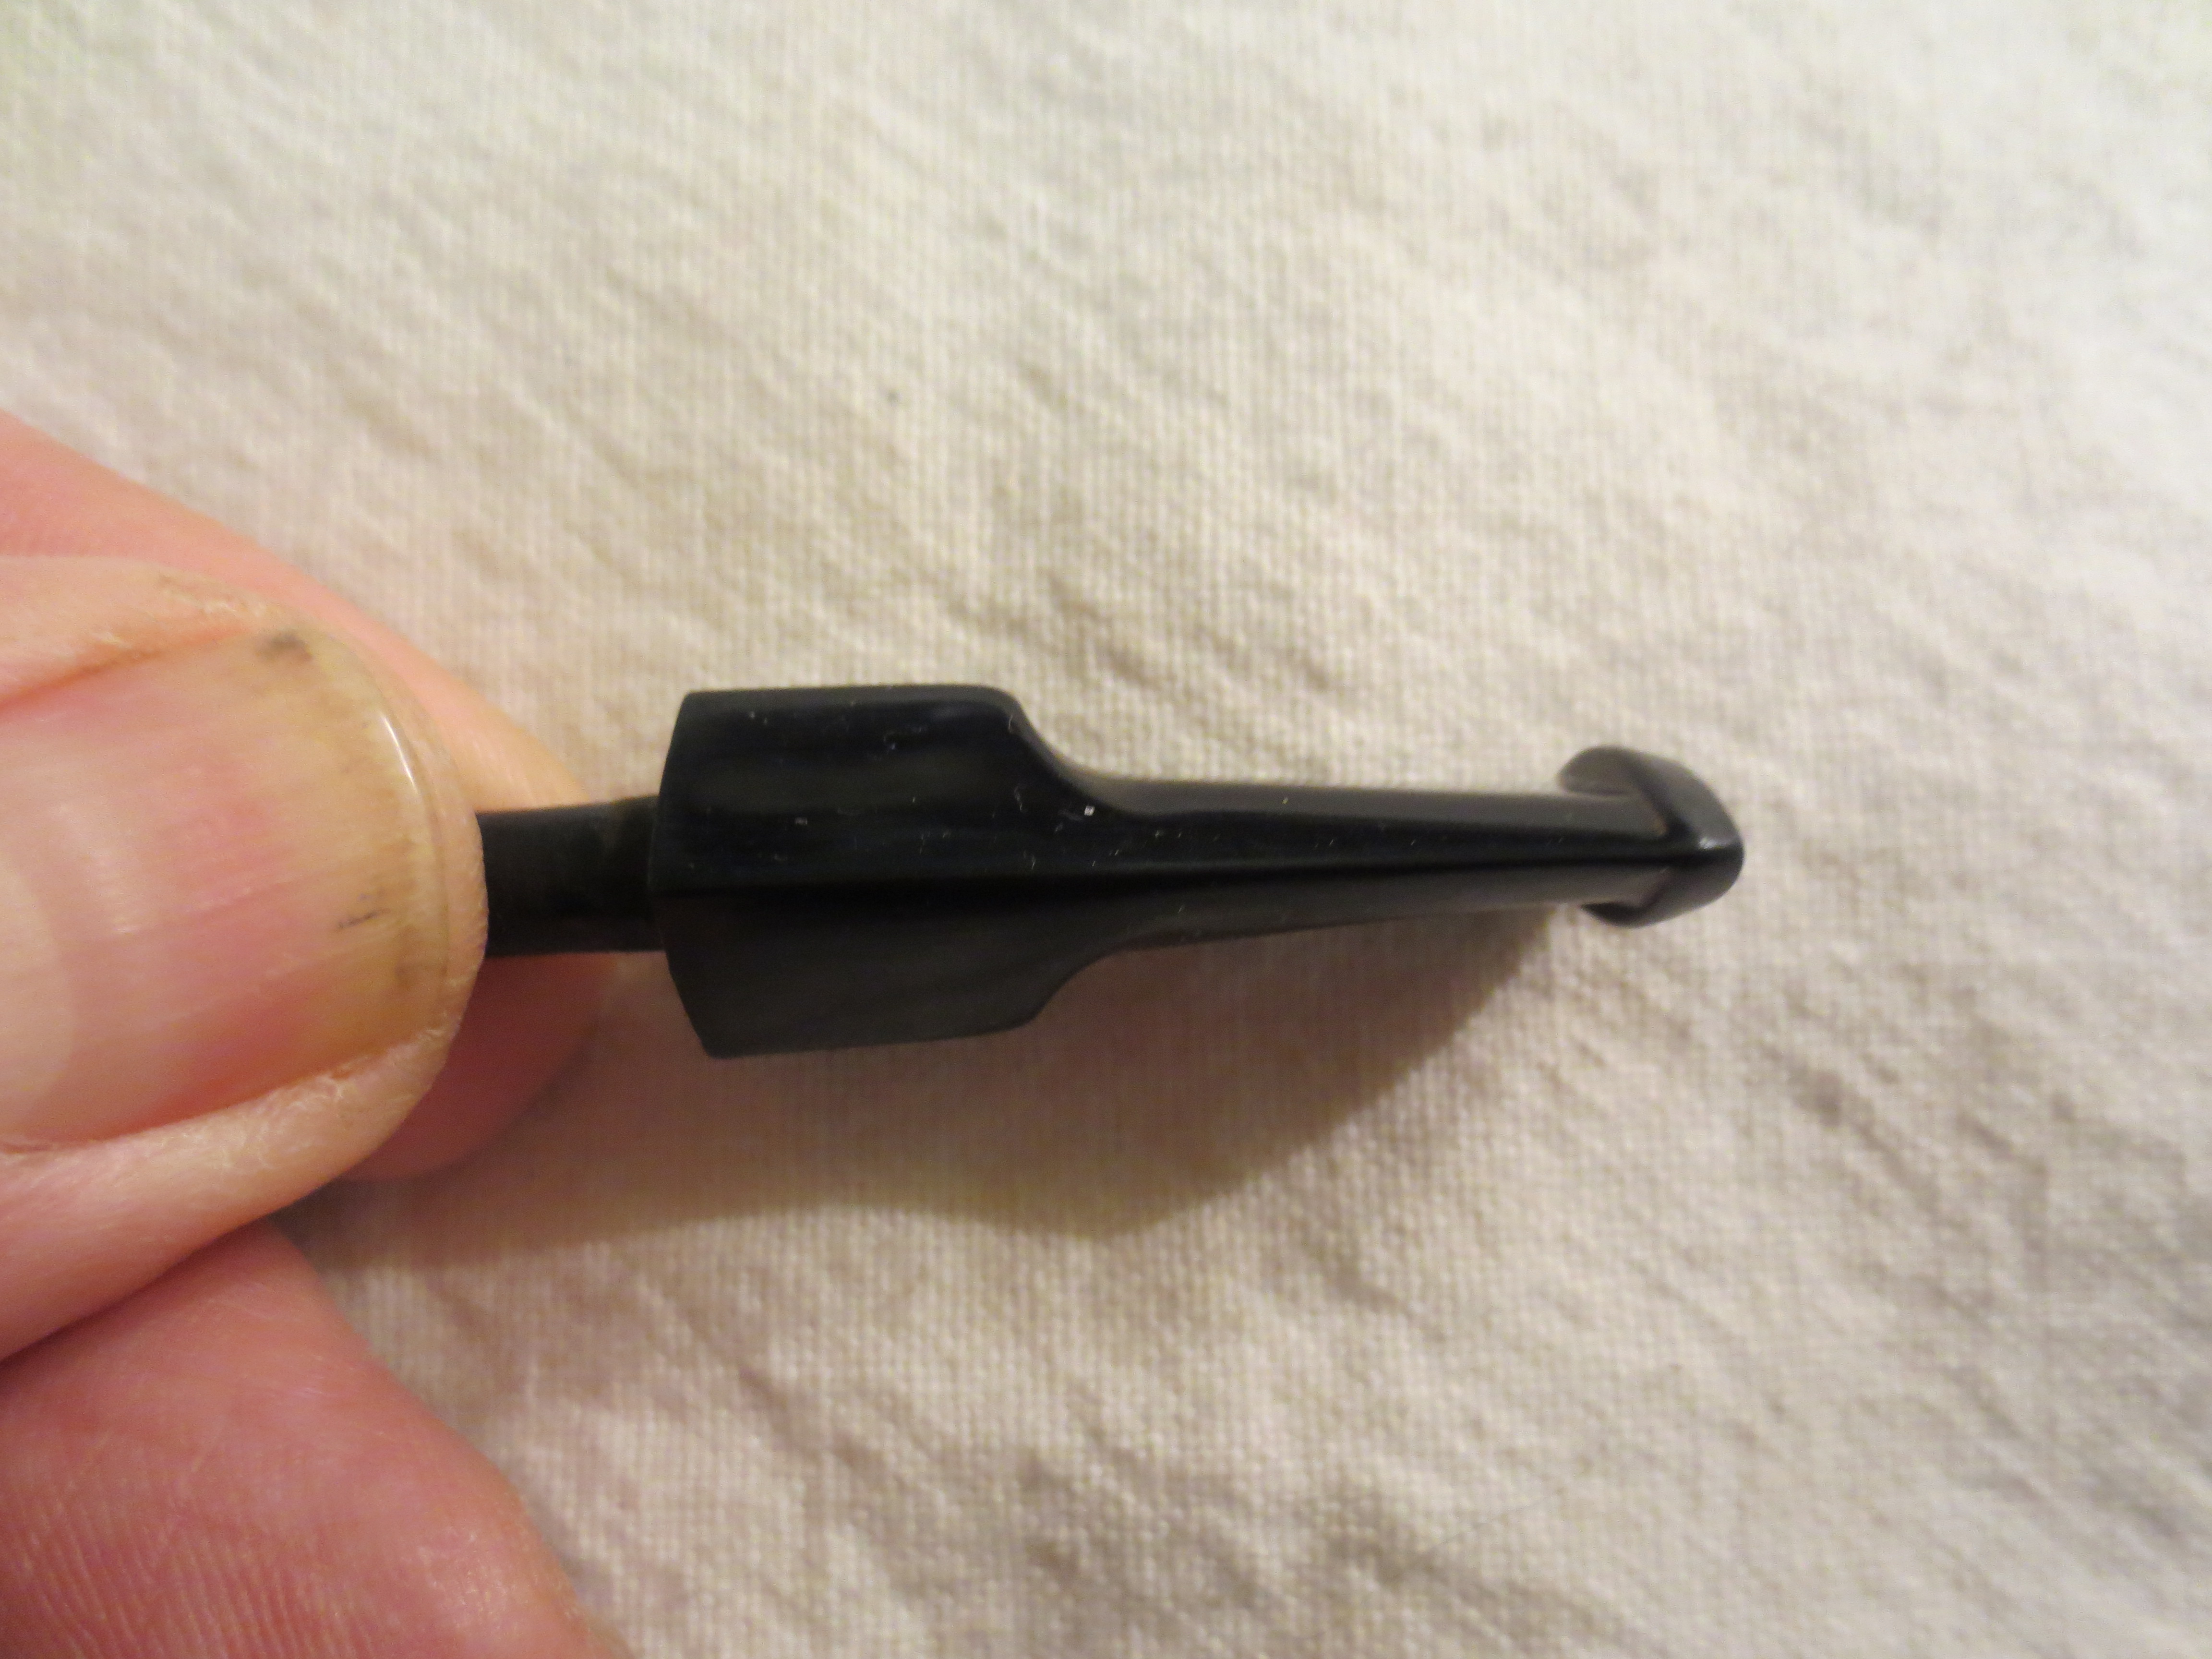
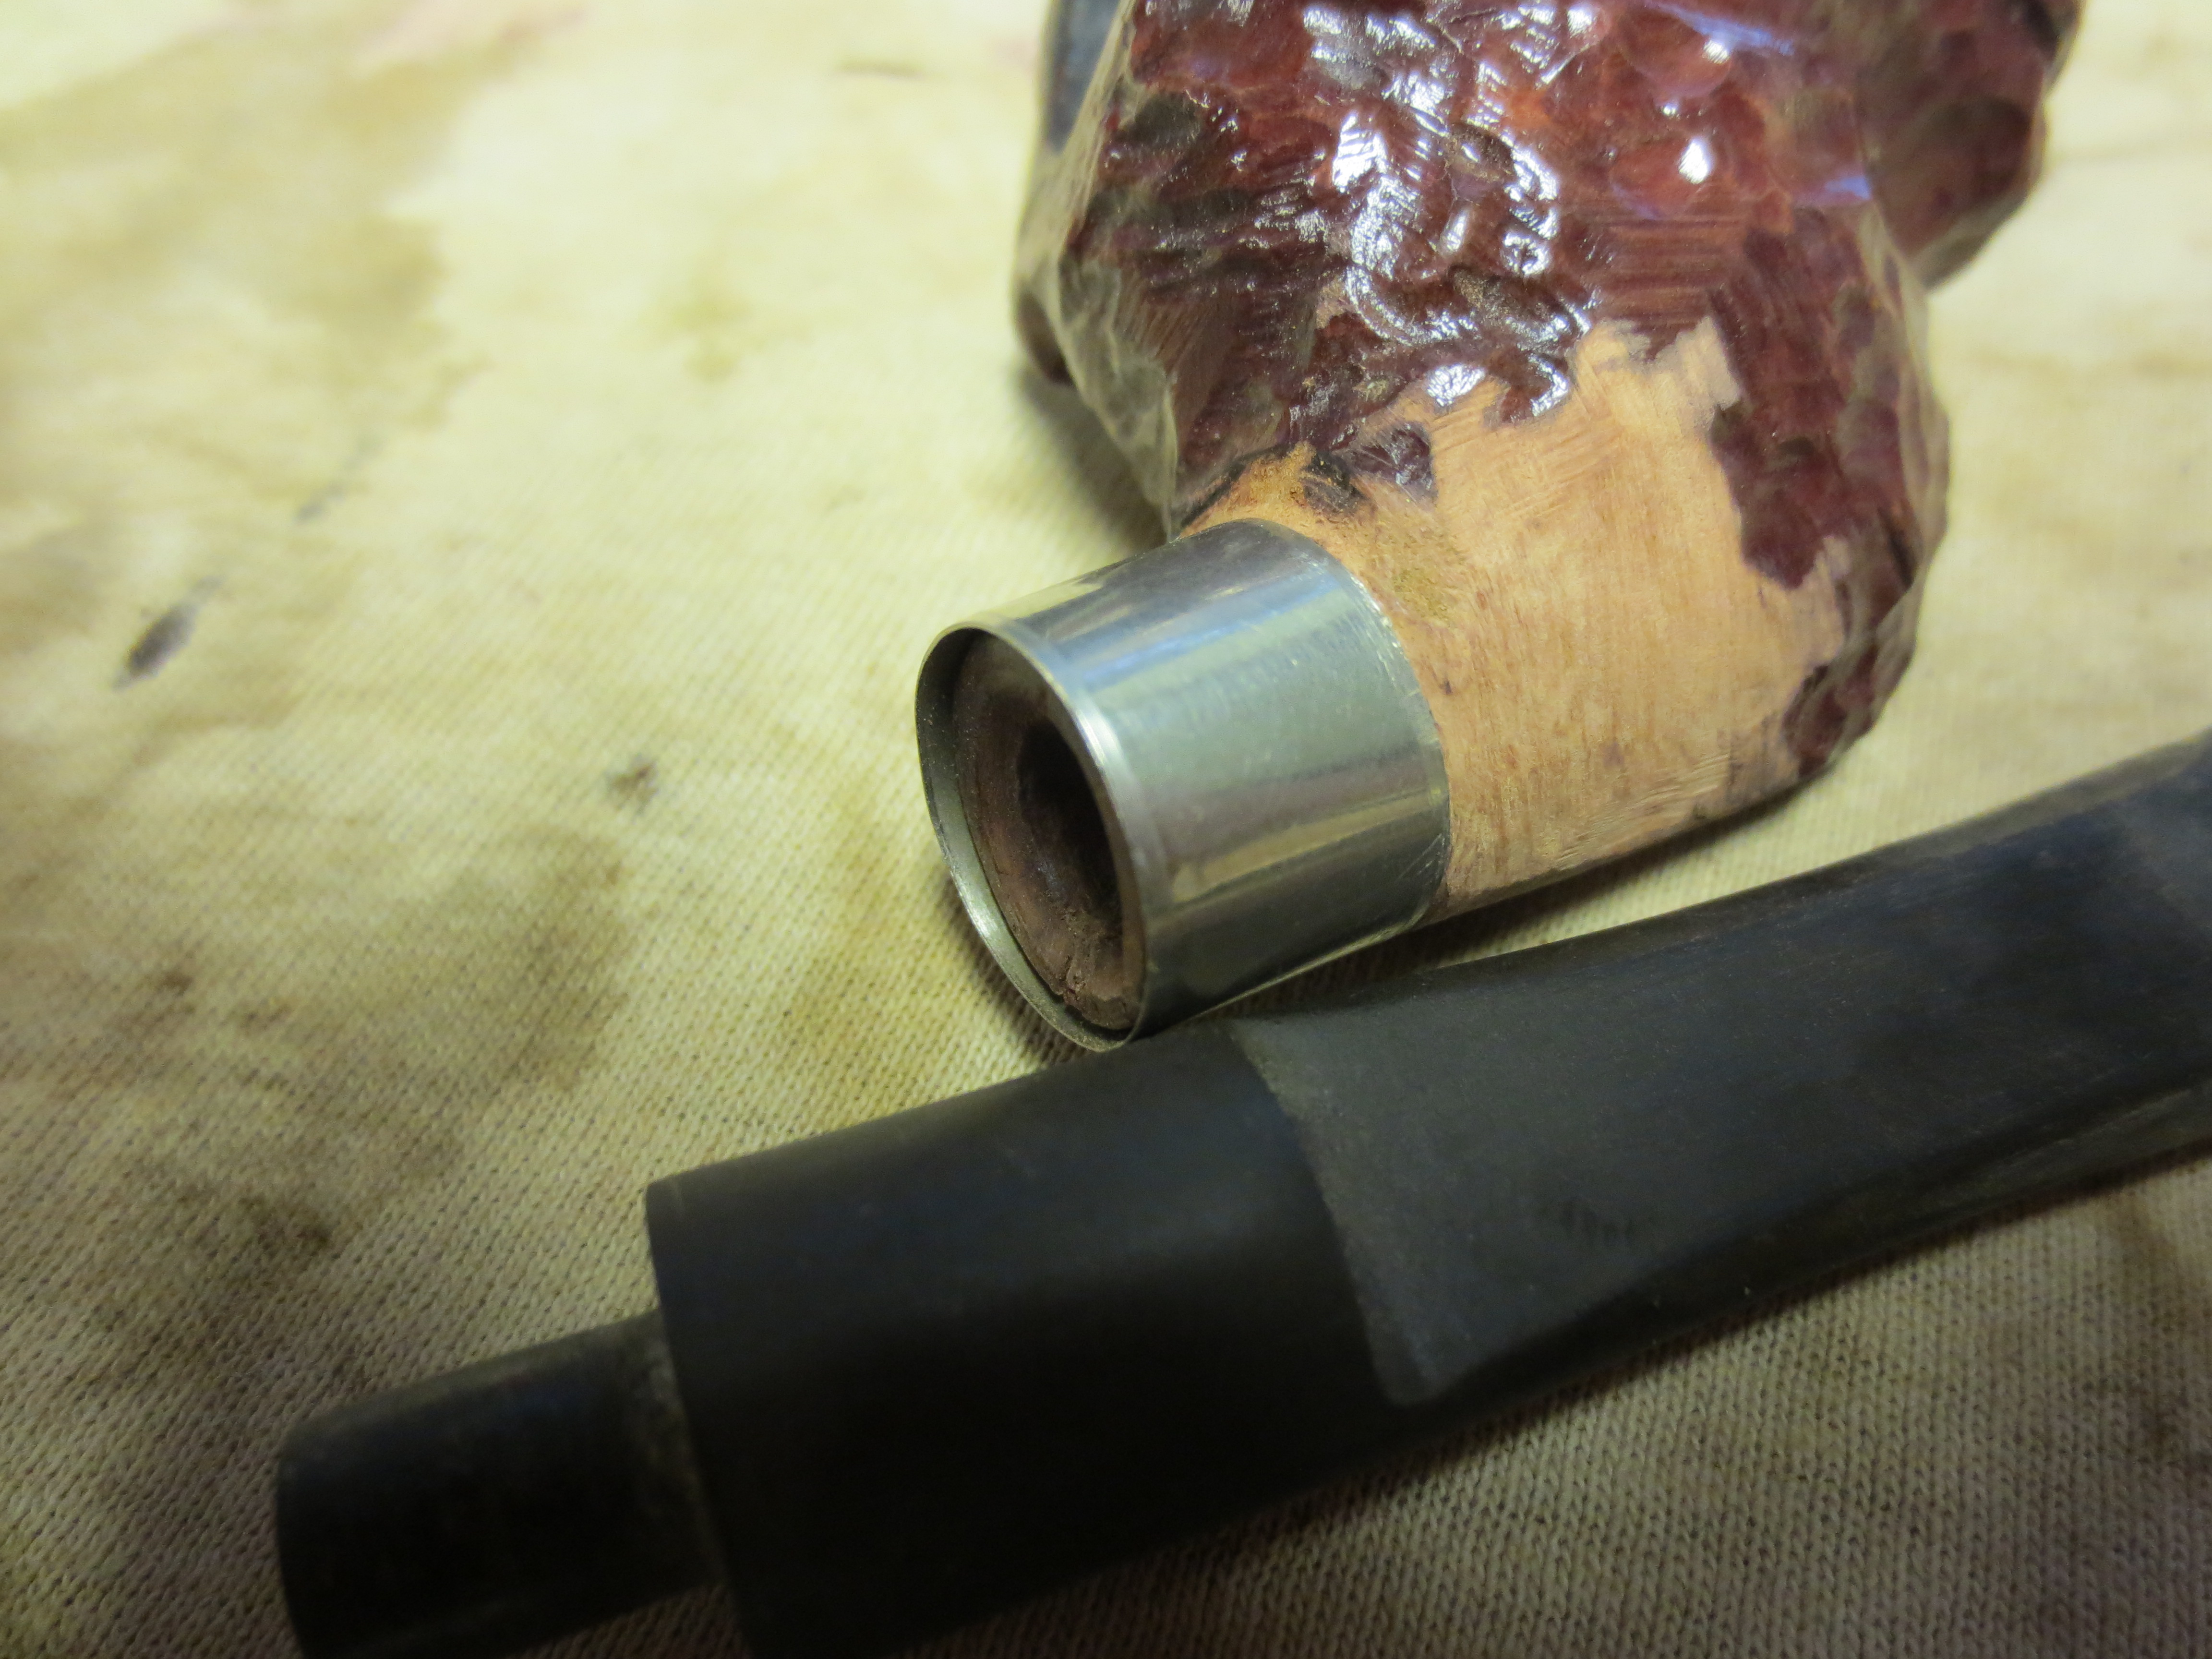
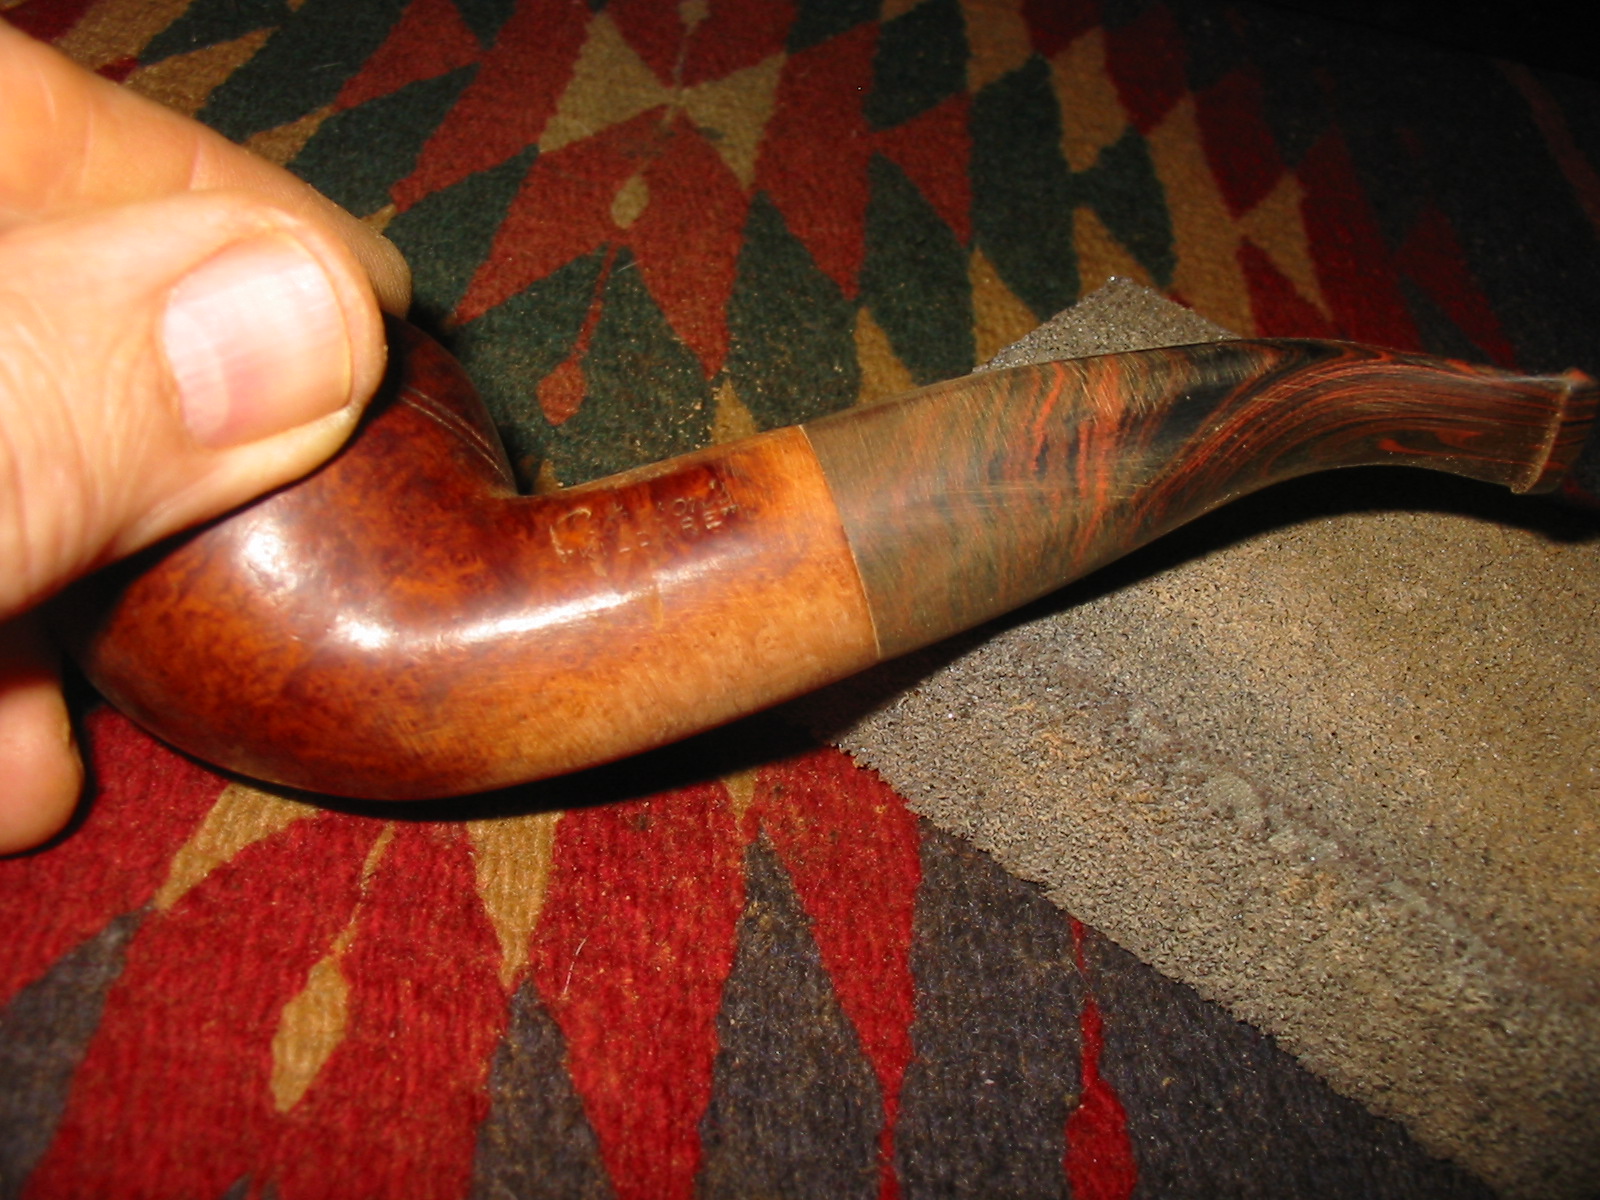
I continued to sand the stem with 220 grit sandpaper to get a better fit with the shank. I wanted the transition to be smooth between the two parts so it took a lot of hand sanding. I sanded it removed from the shank, checking often for the fit, until it was a smooth fit.
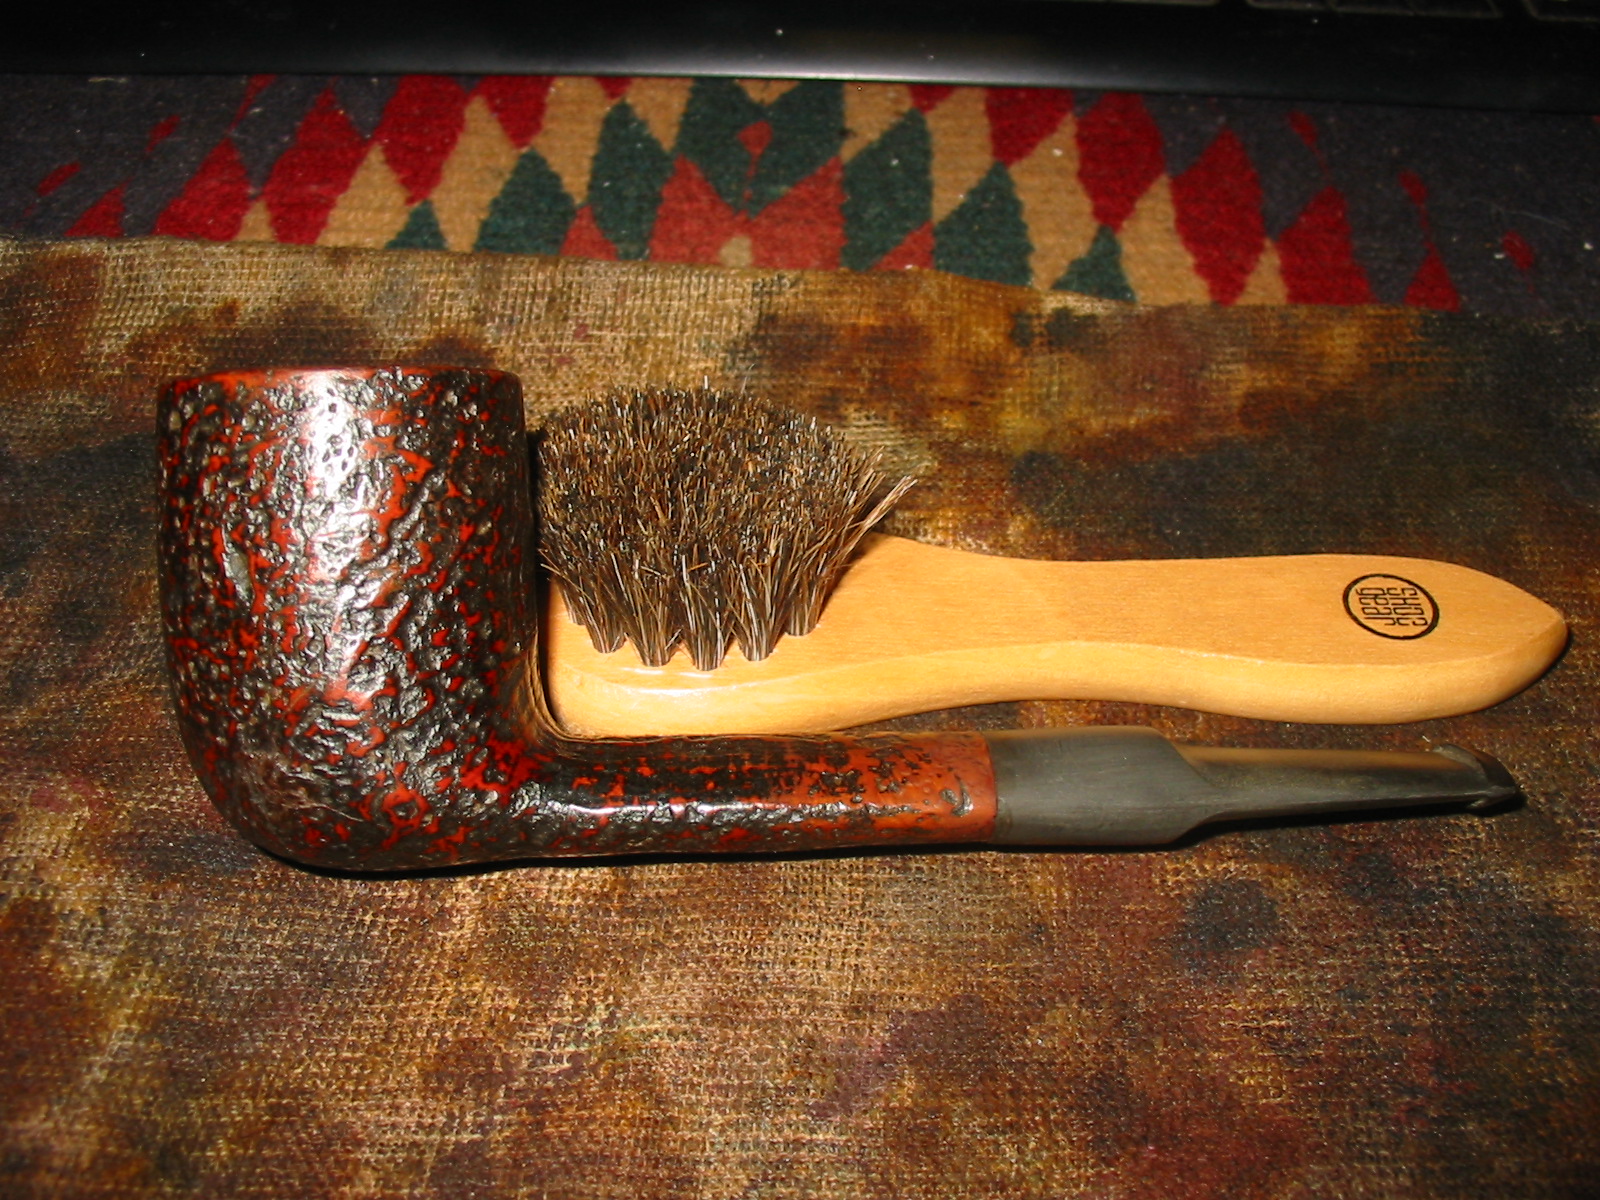
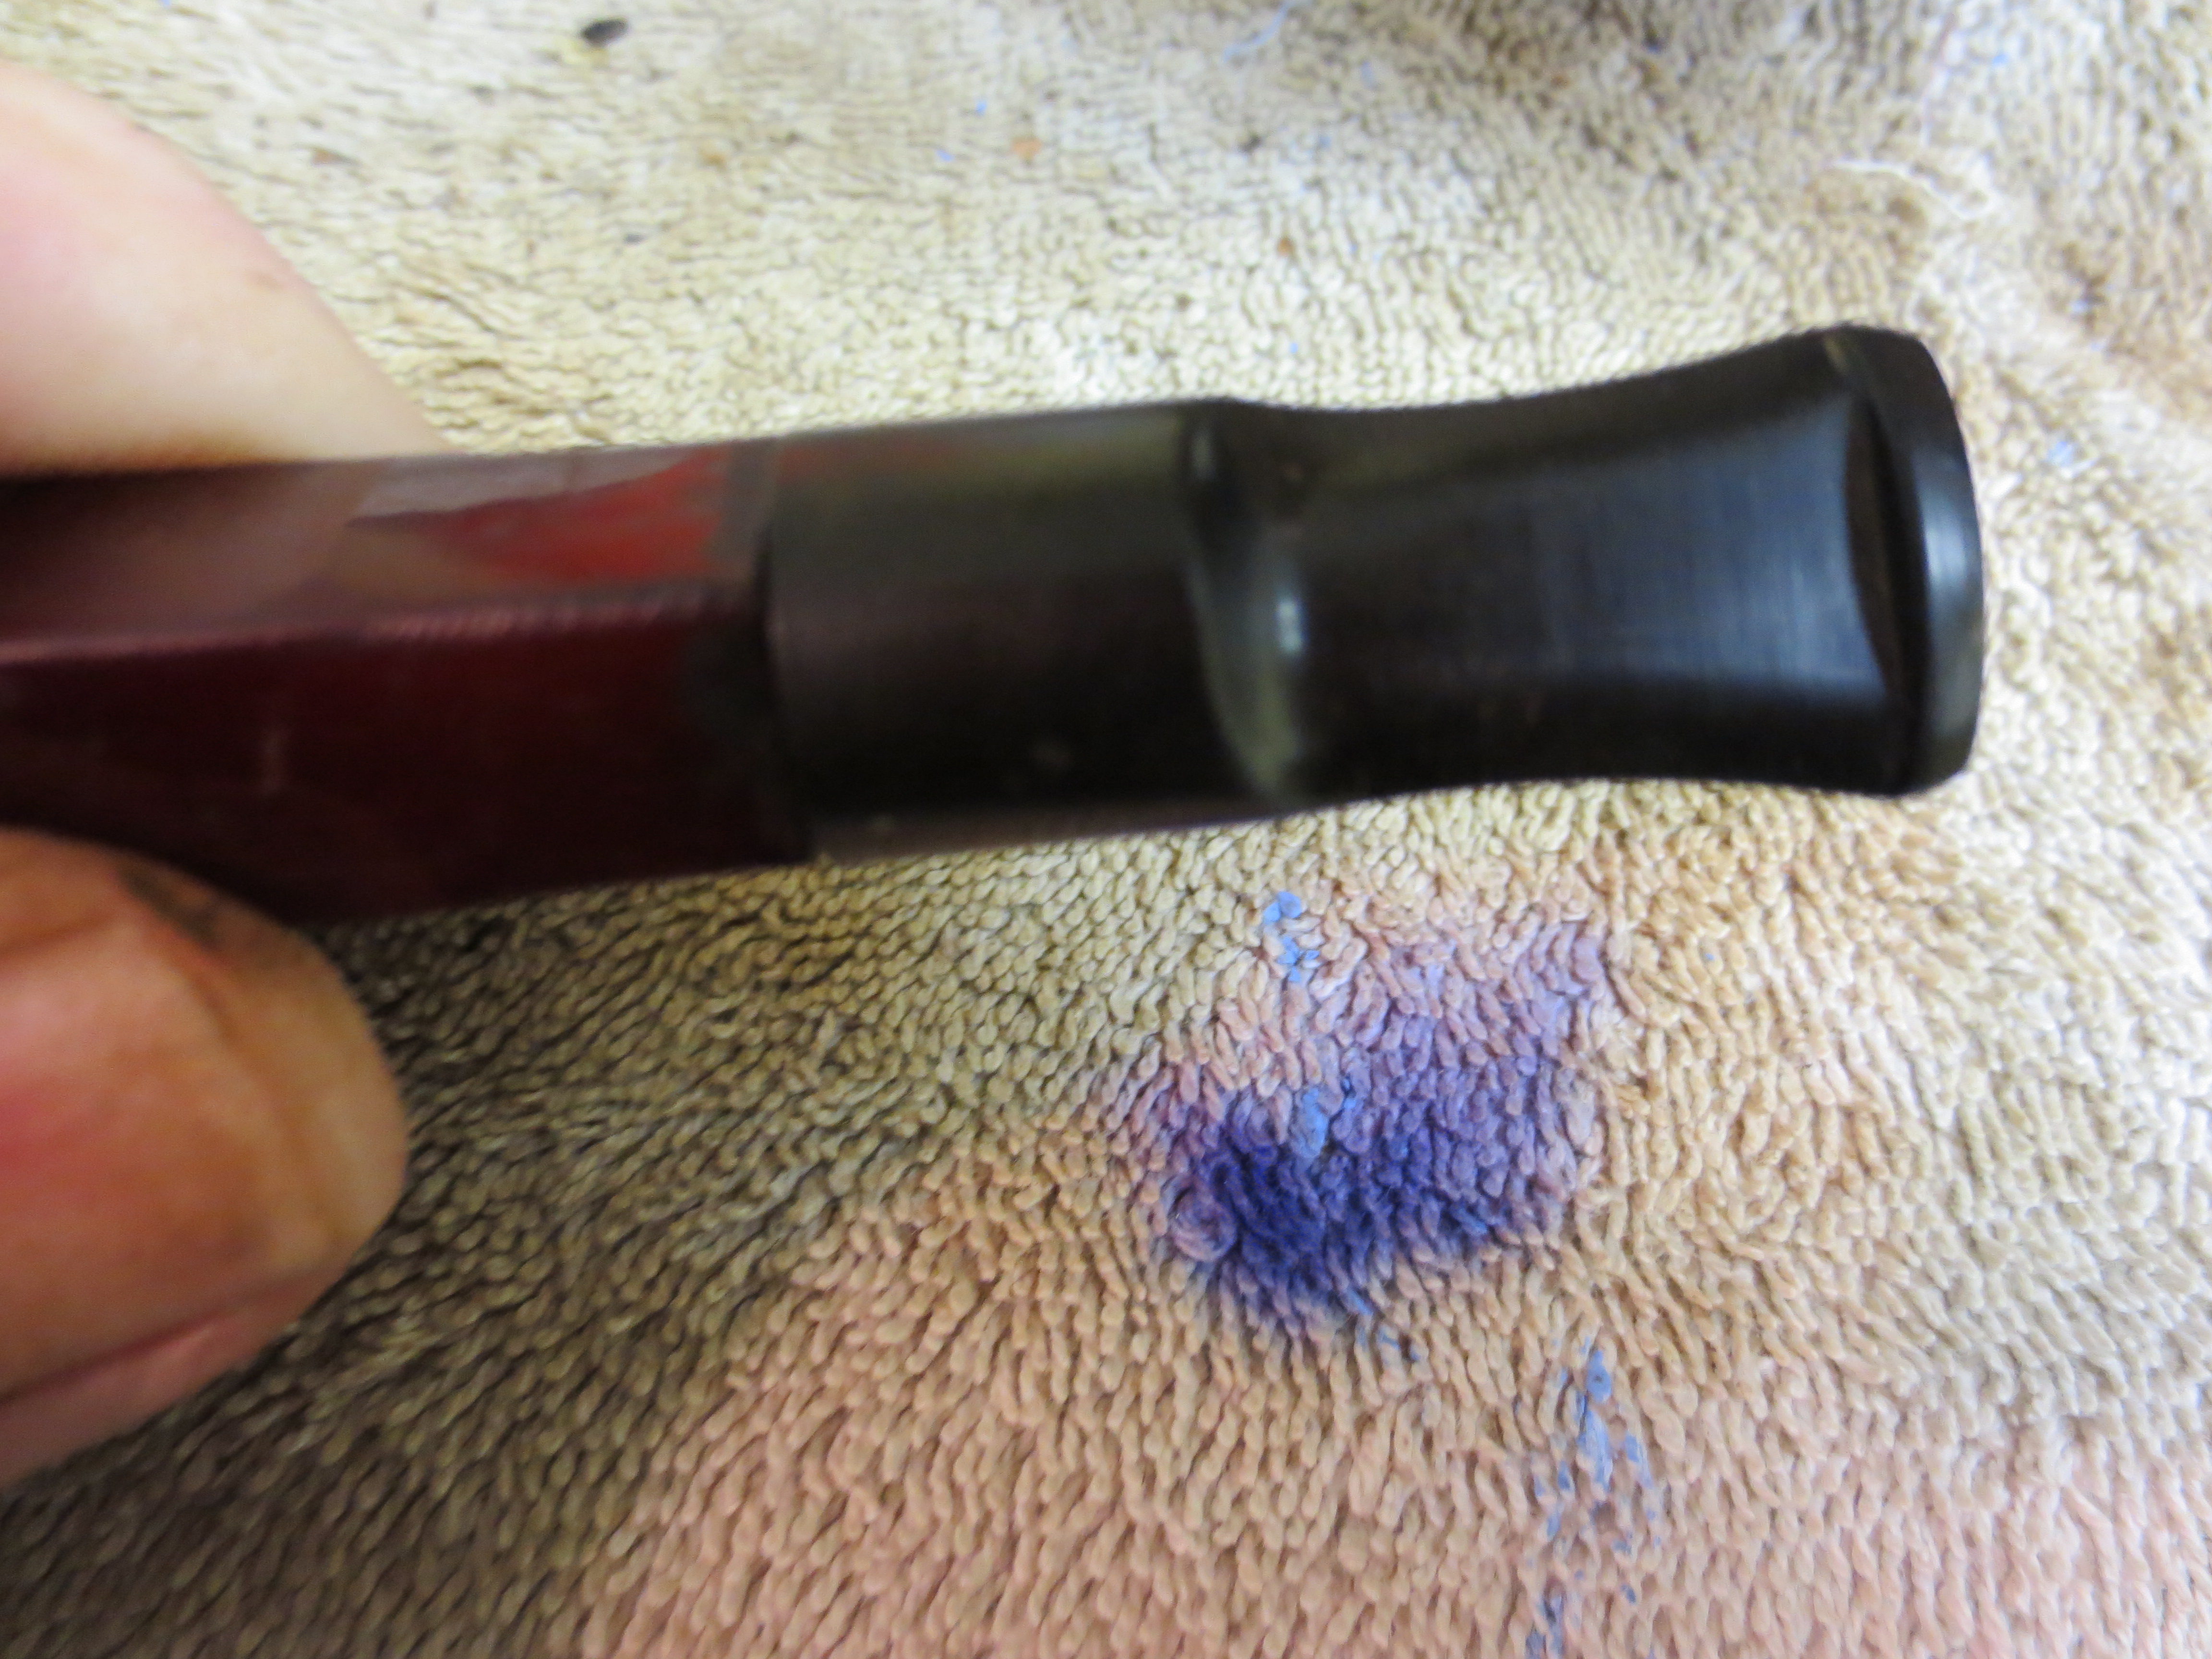
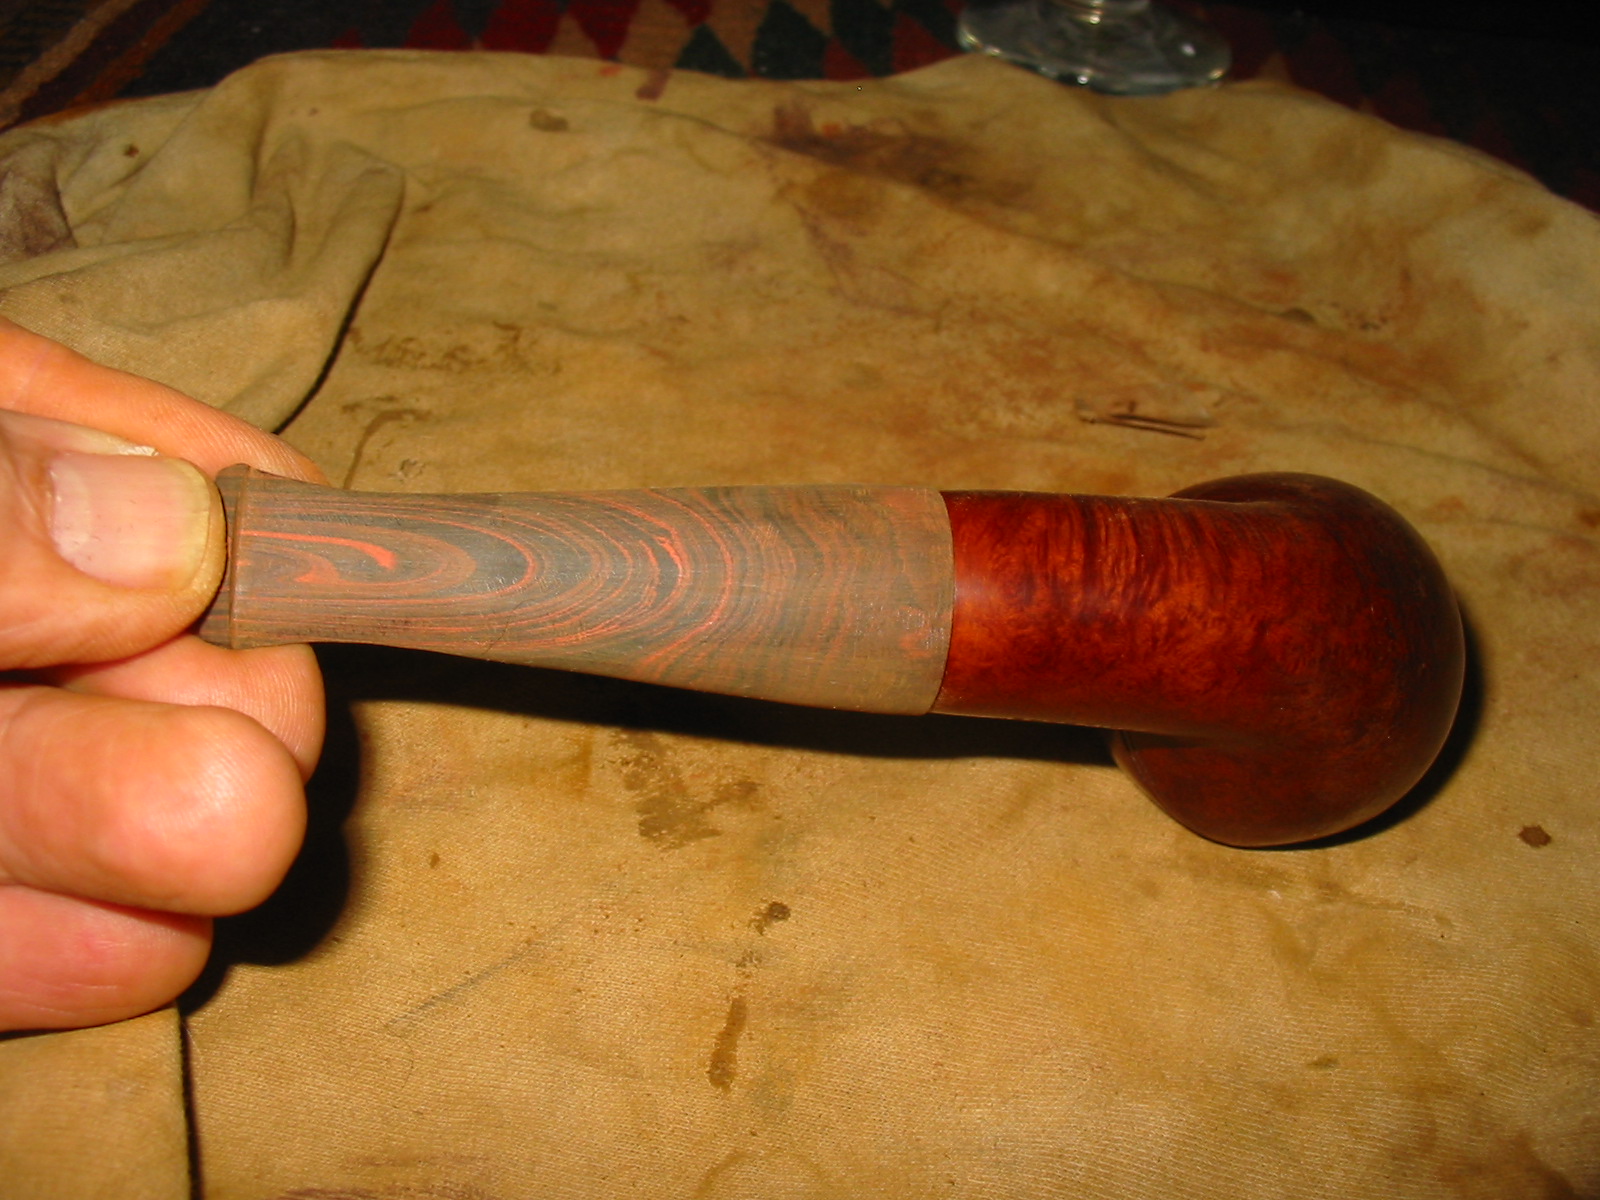
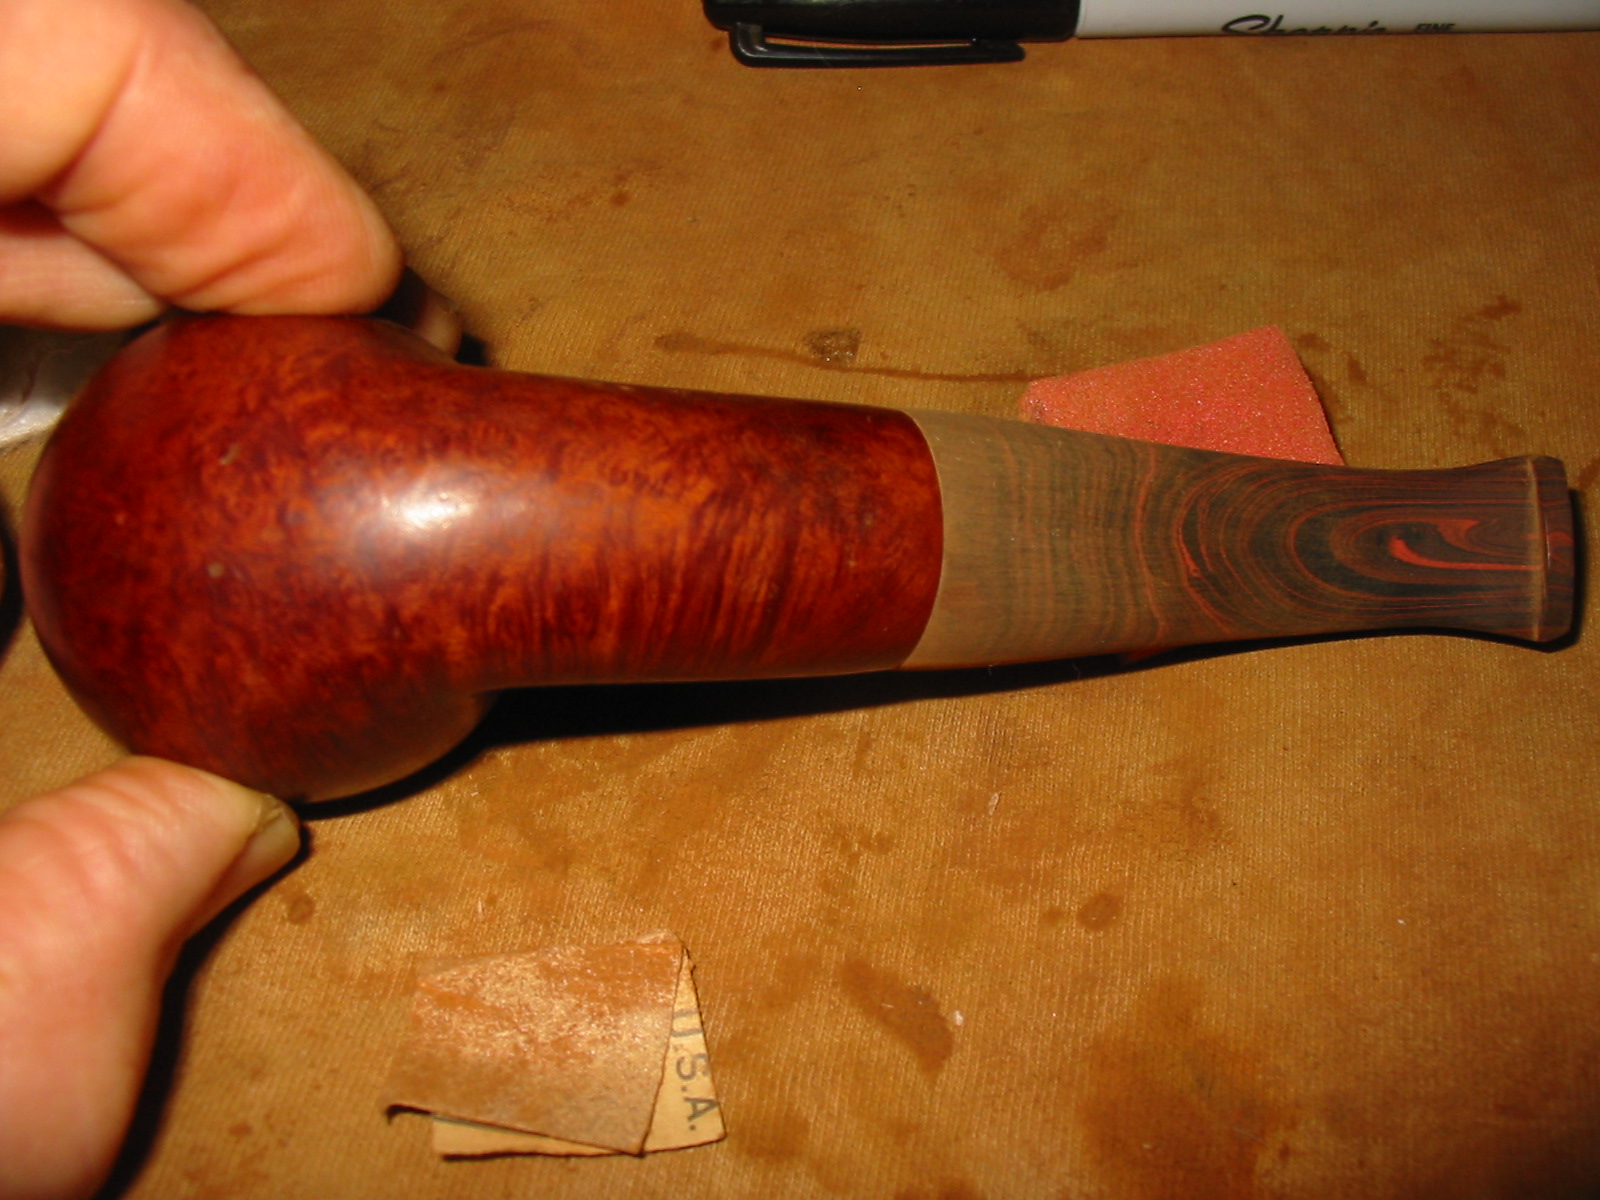
I sanded with a fine grit sanding sponge to smooth out the scratch marks more thoroughly and to also fine tune the fit. The next series of seven photos show that progress.


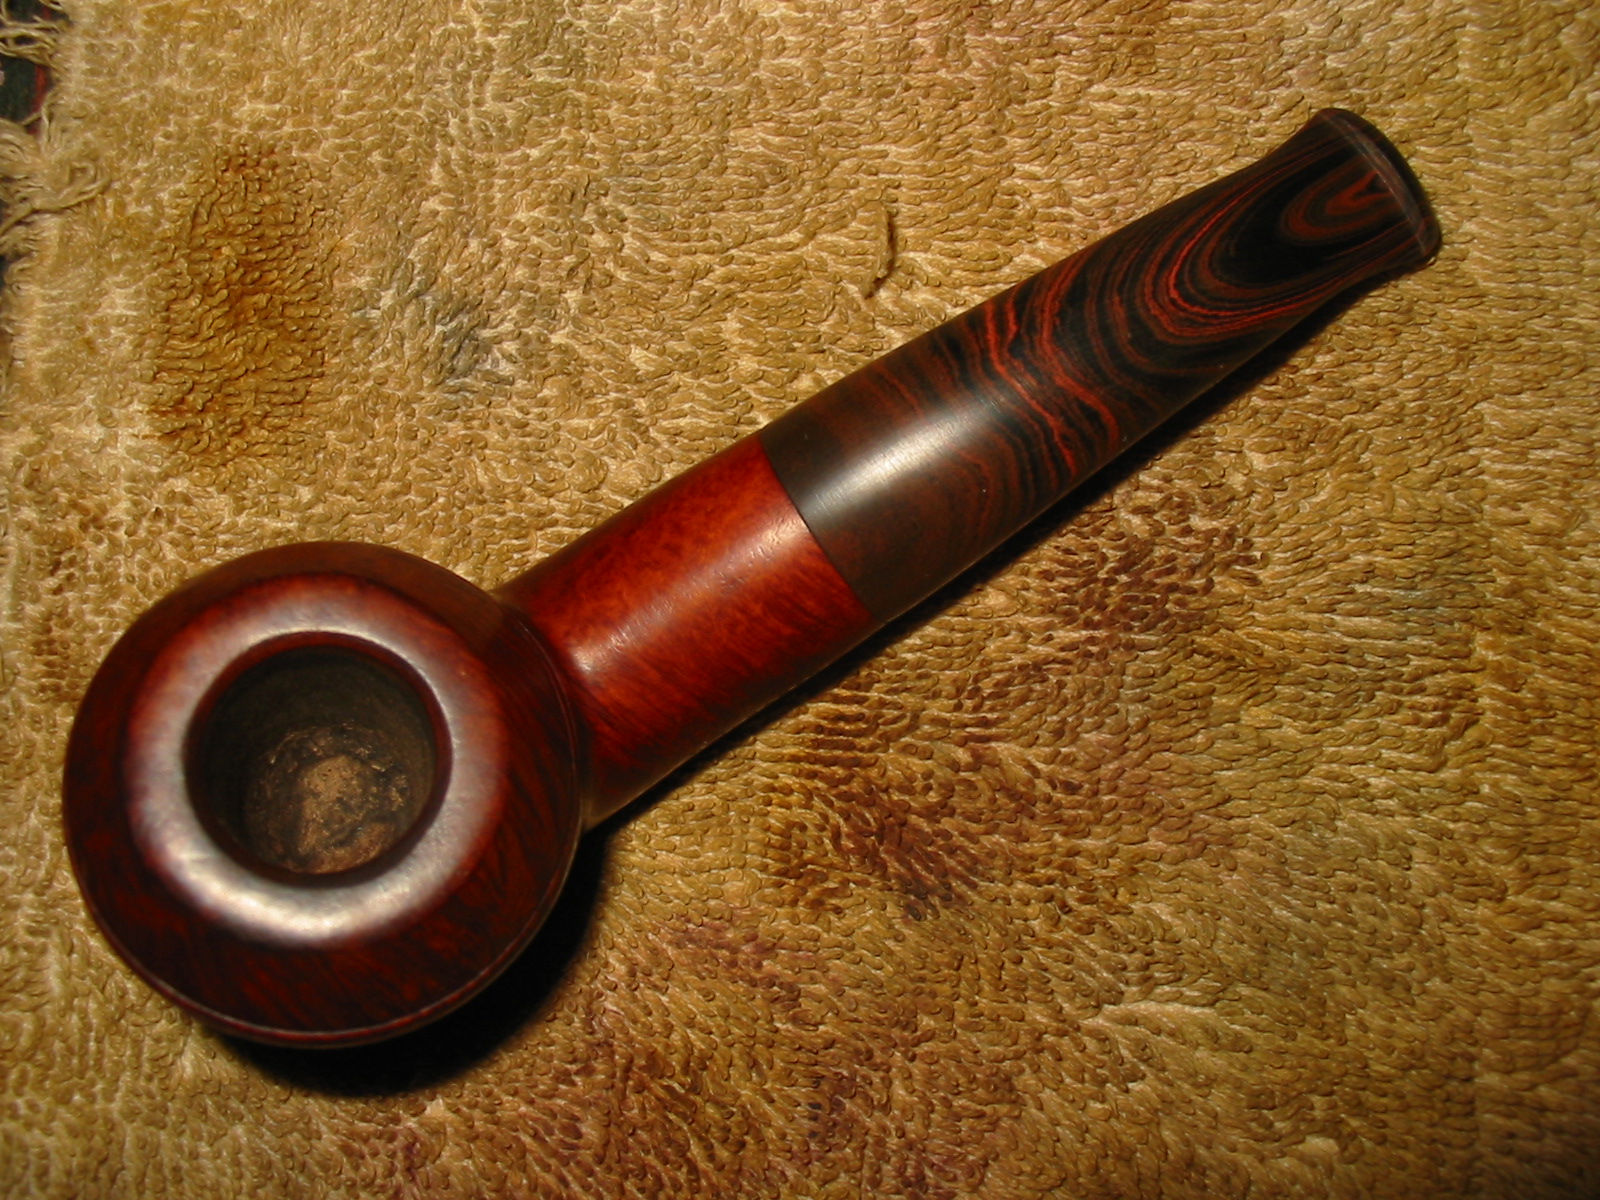
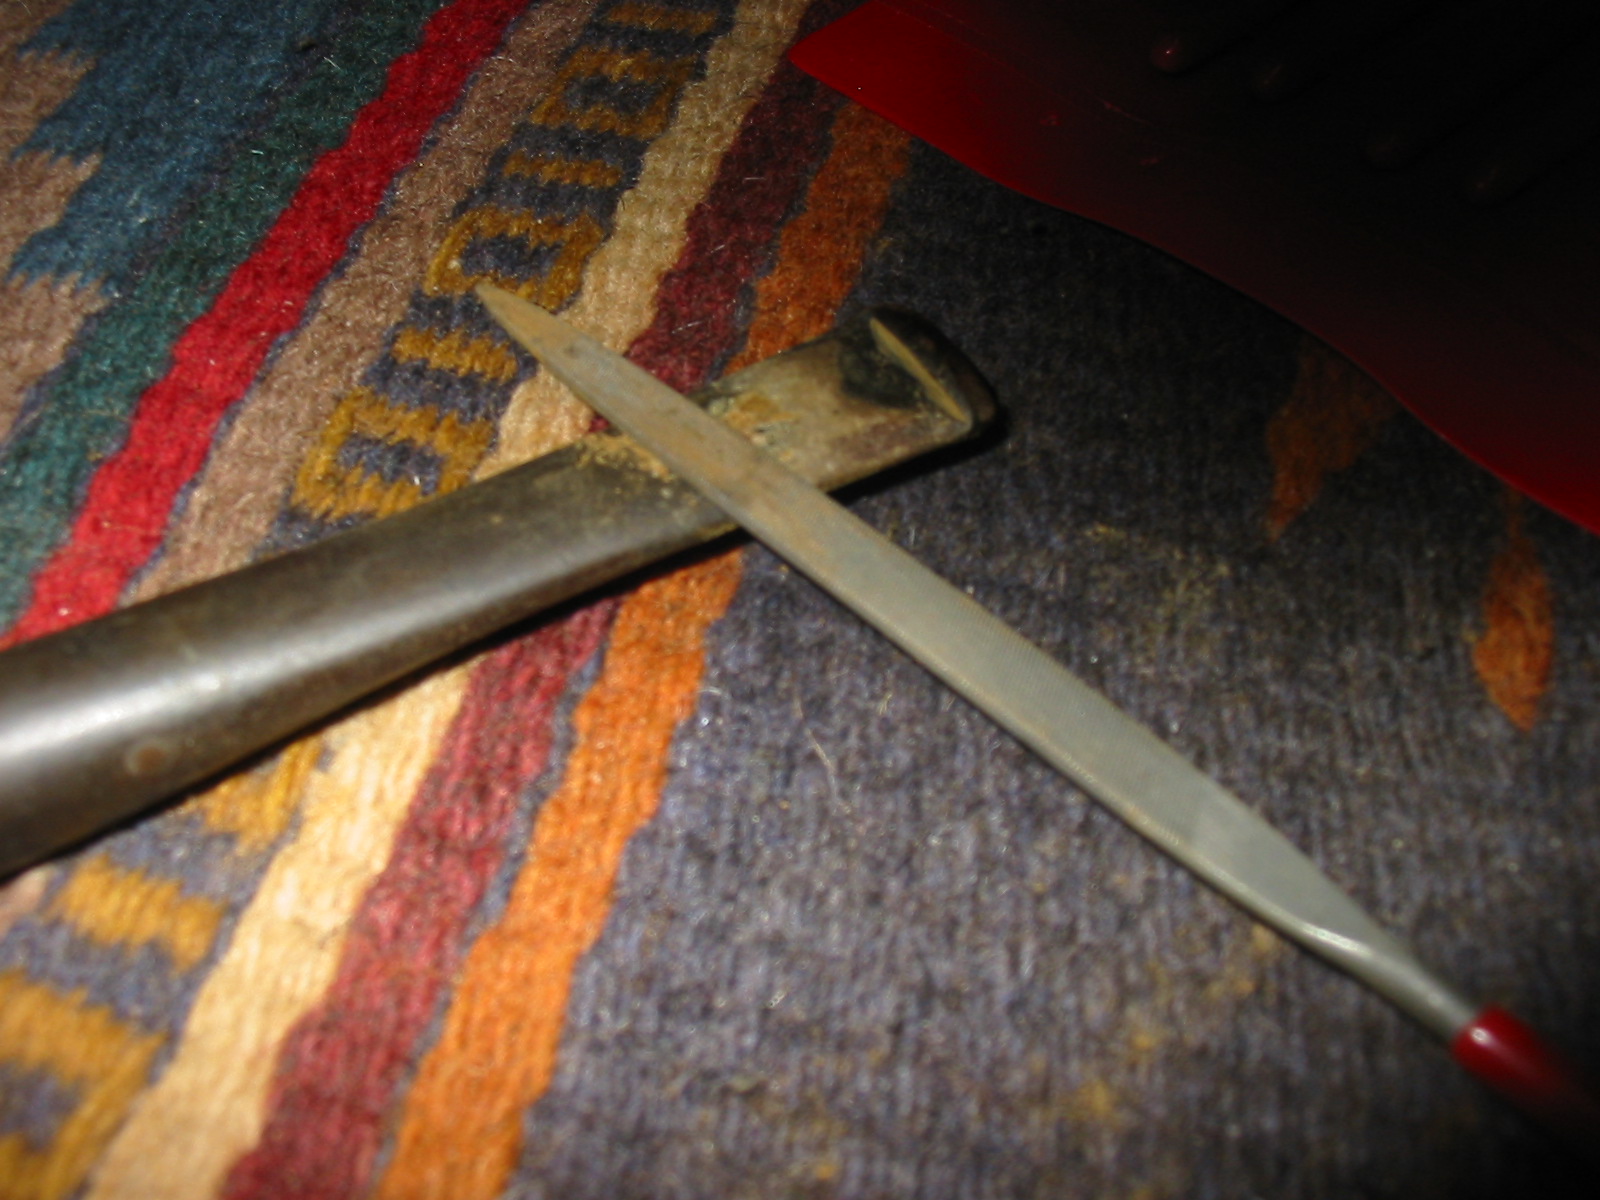
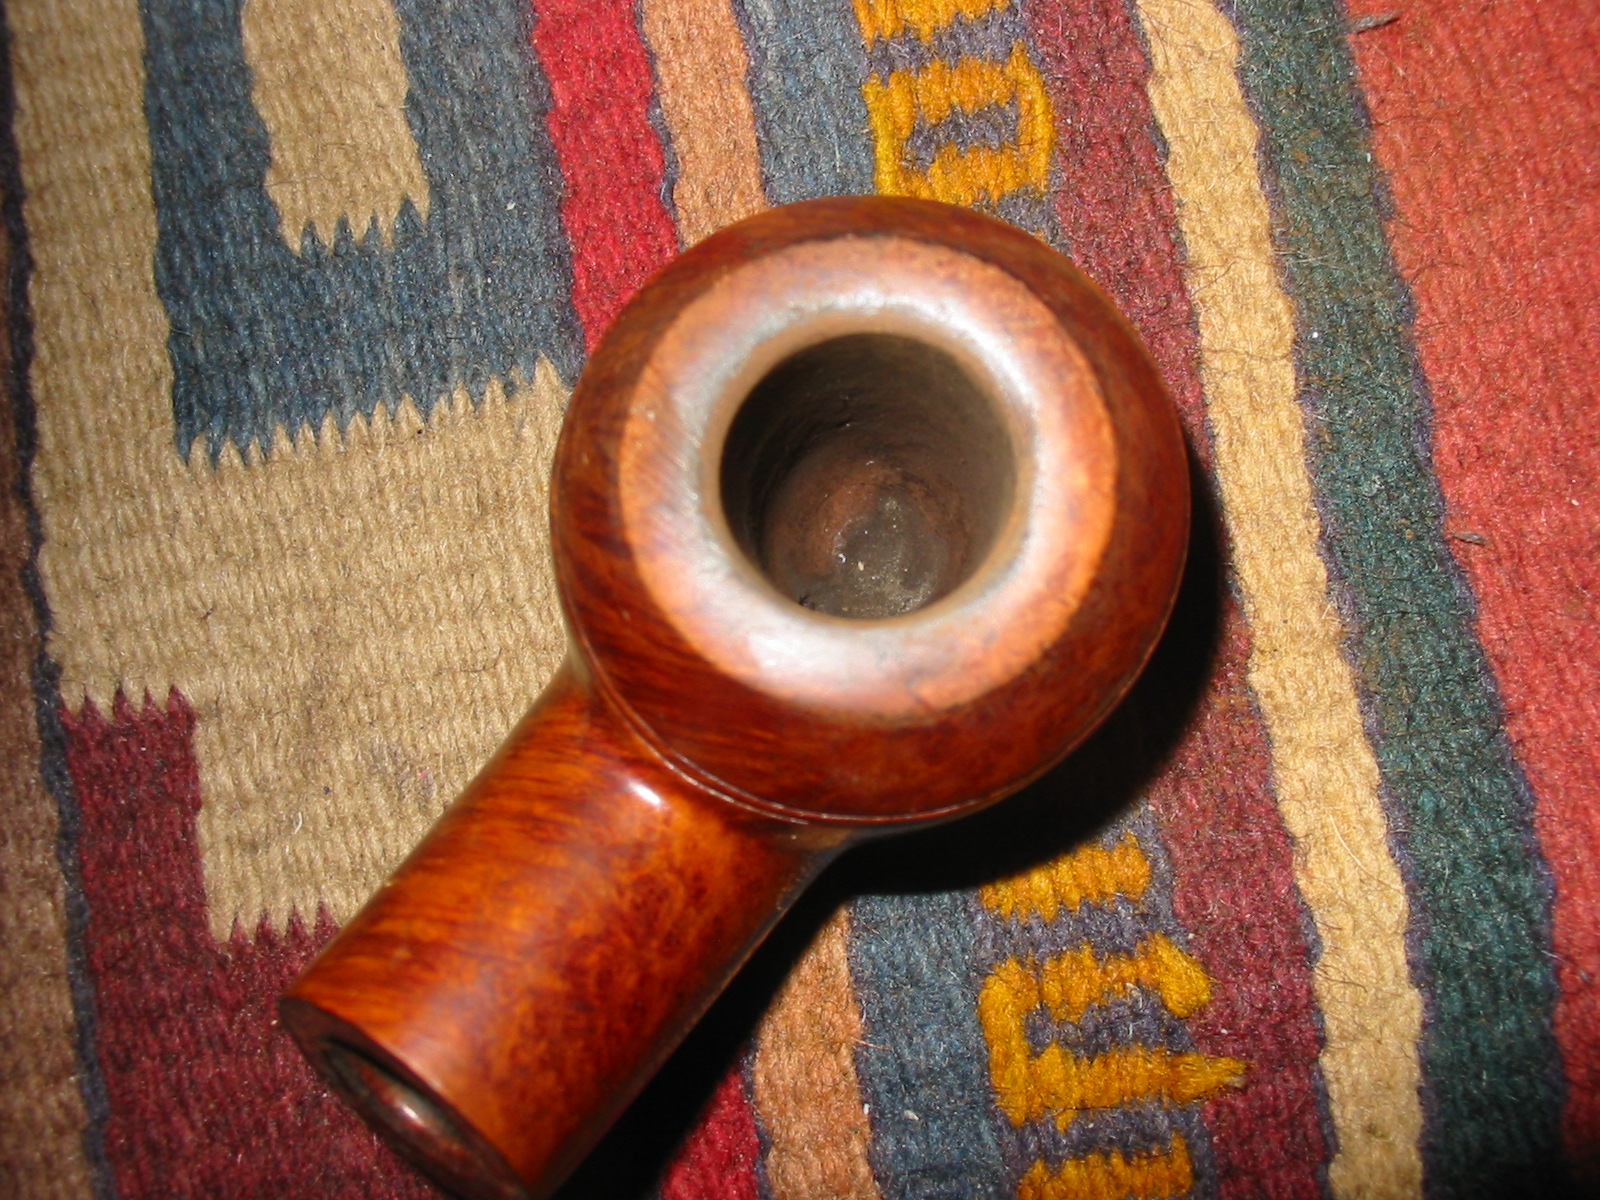
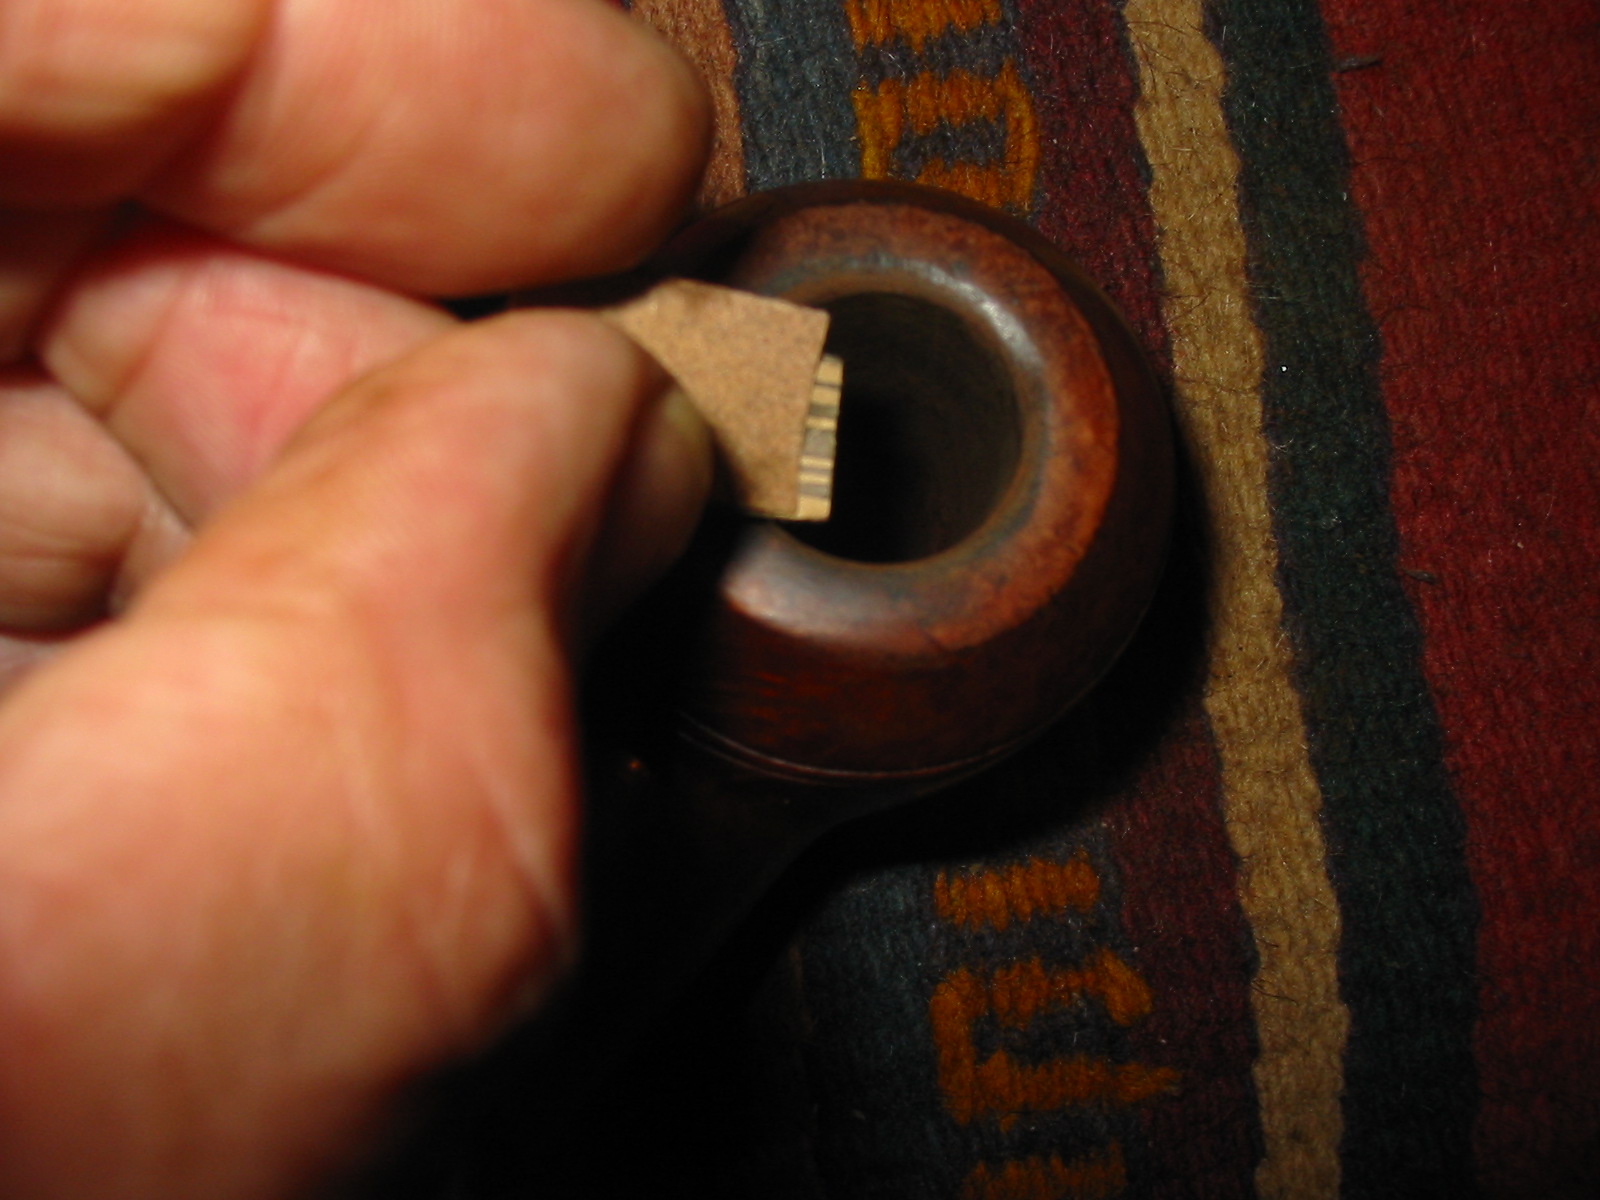
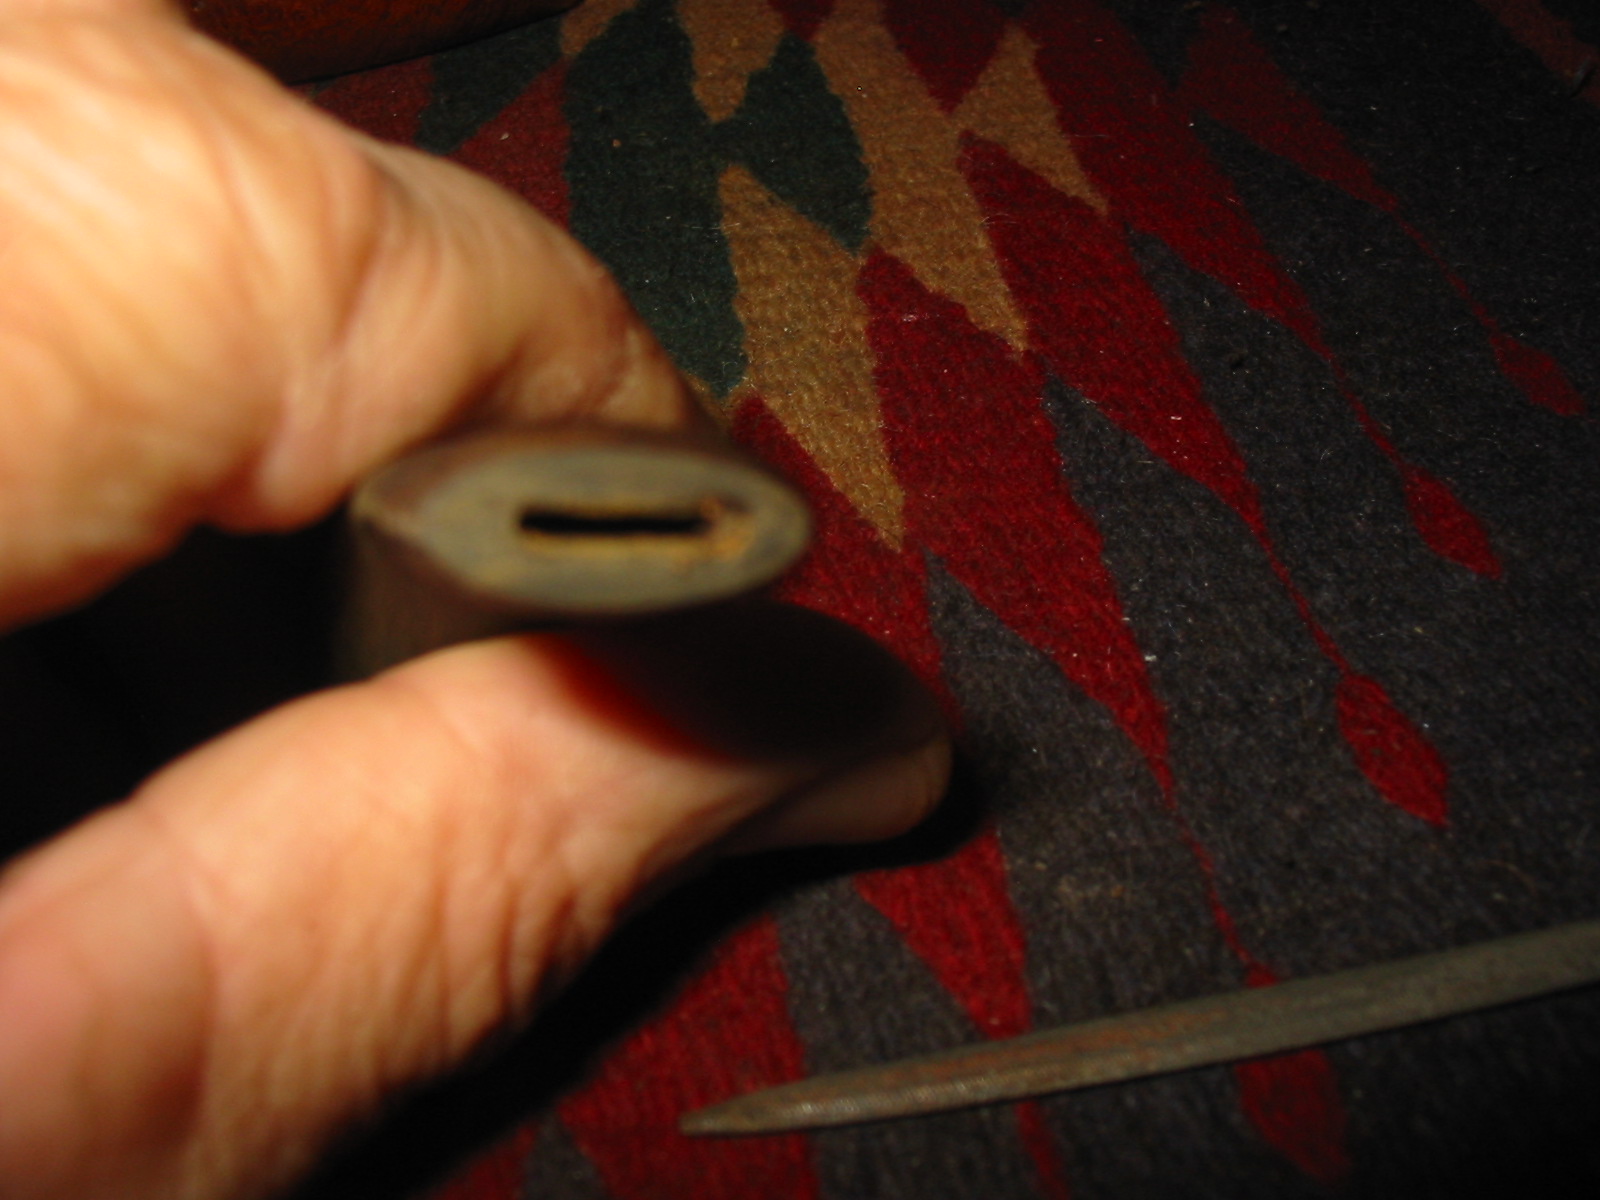
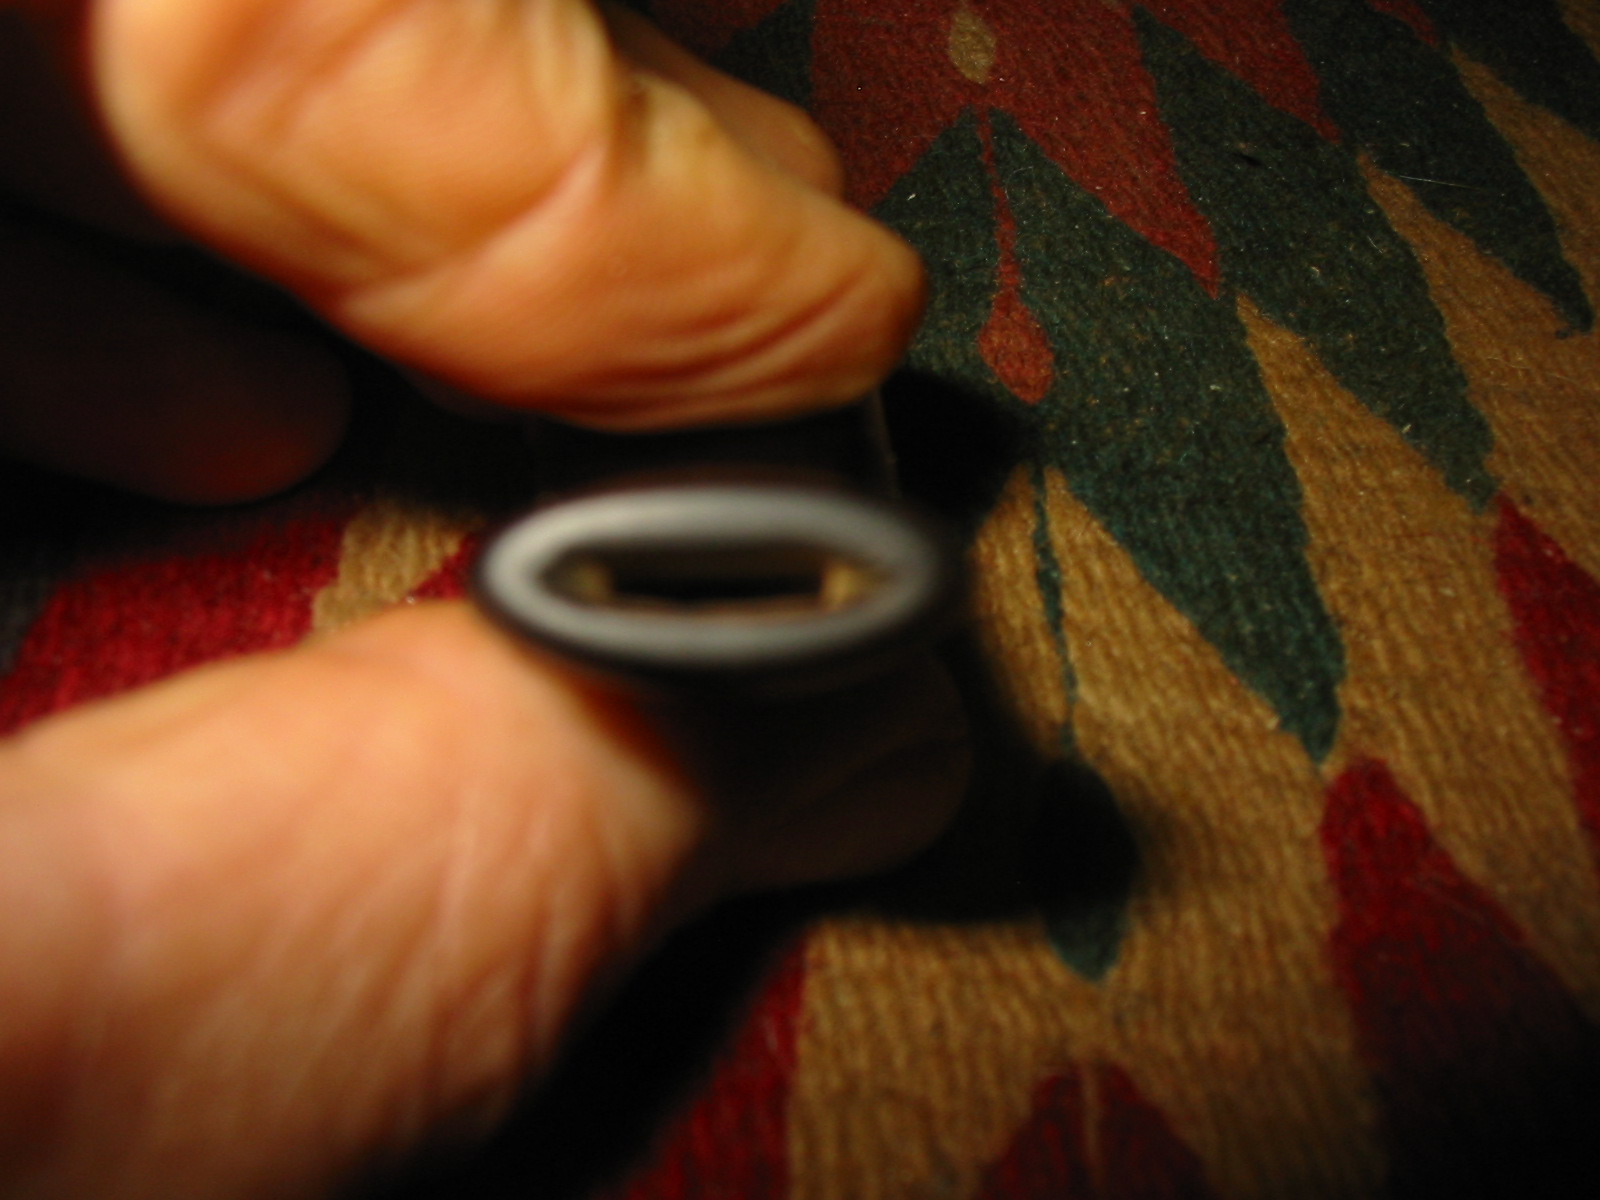
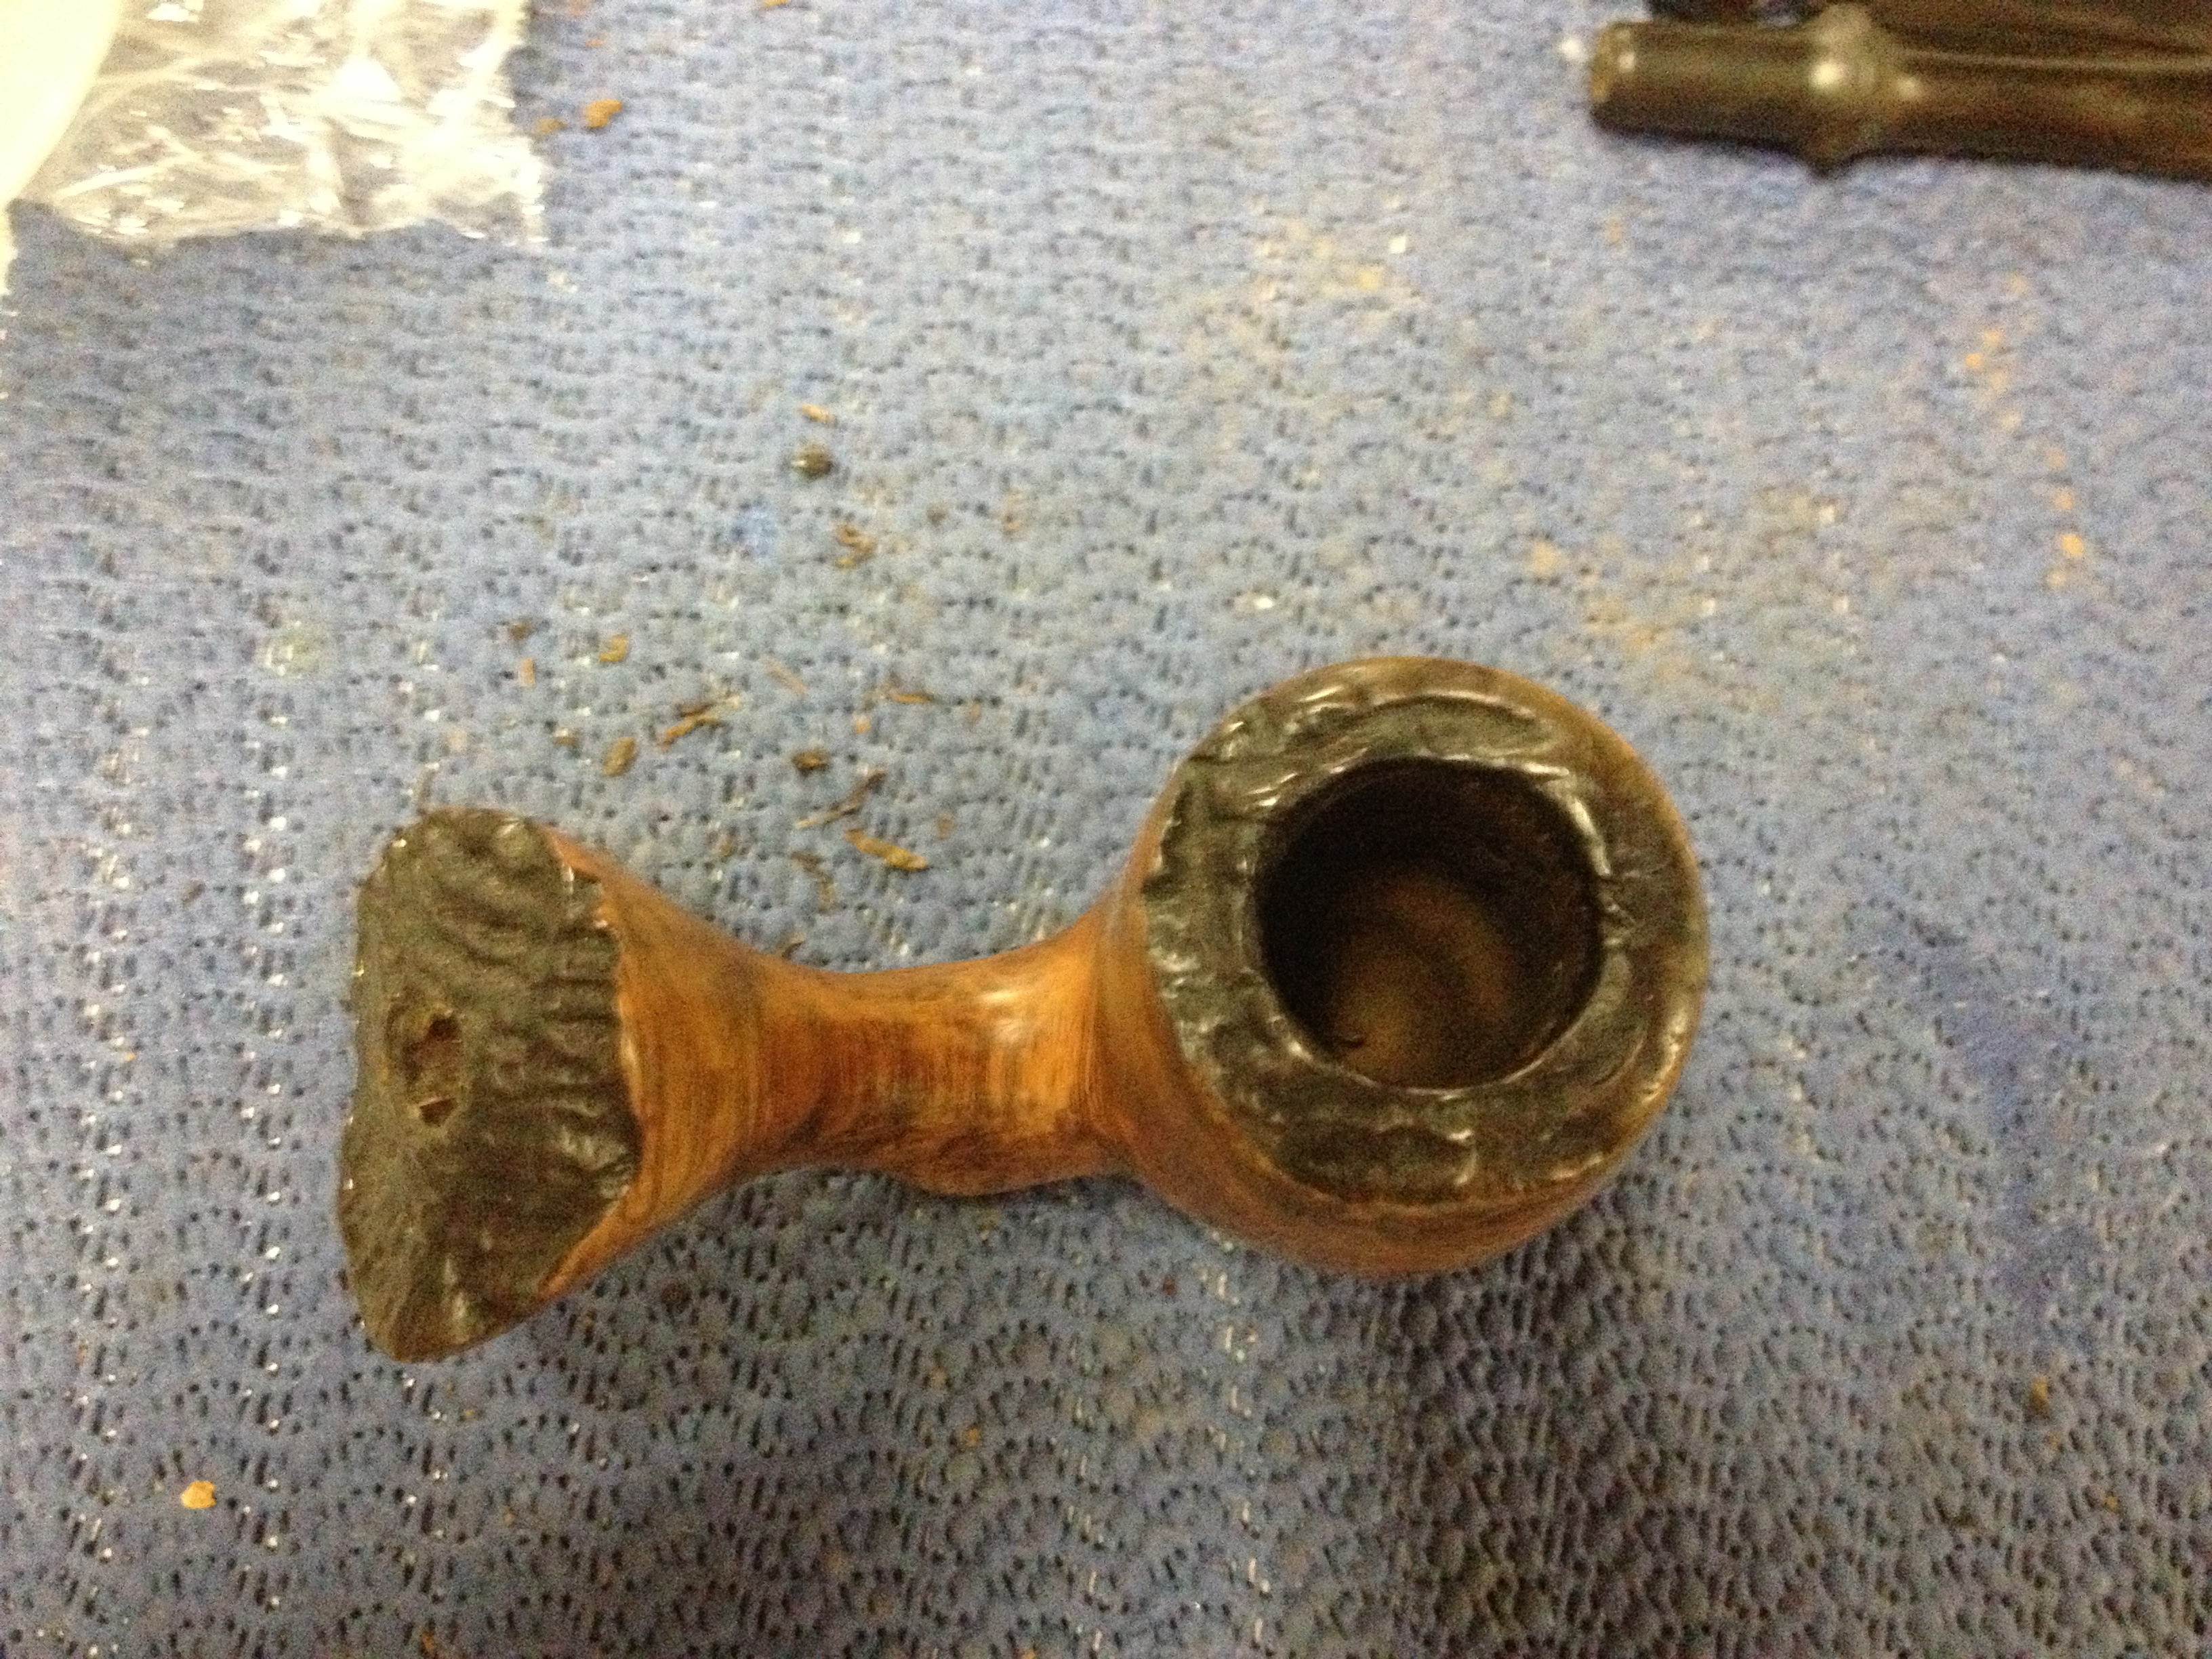
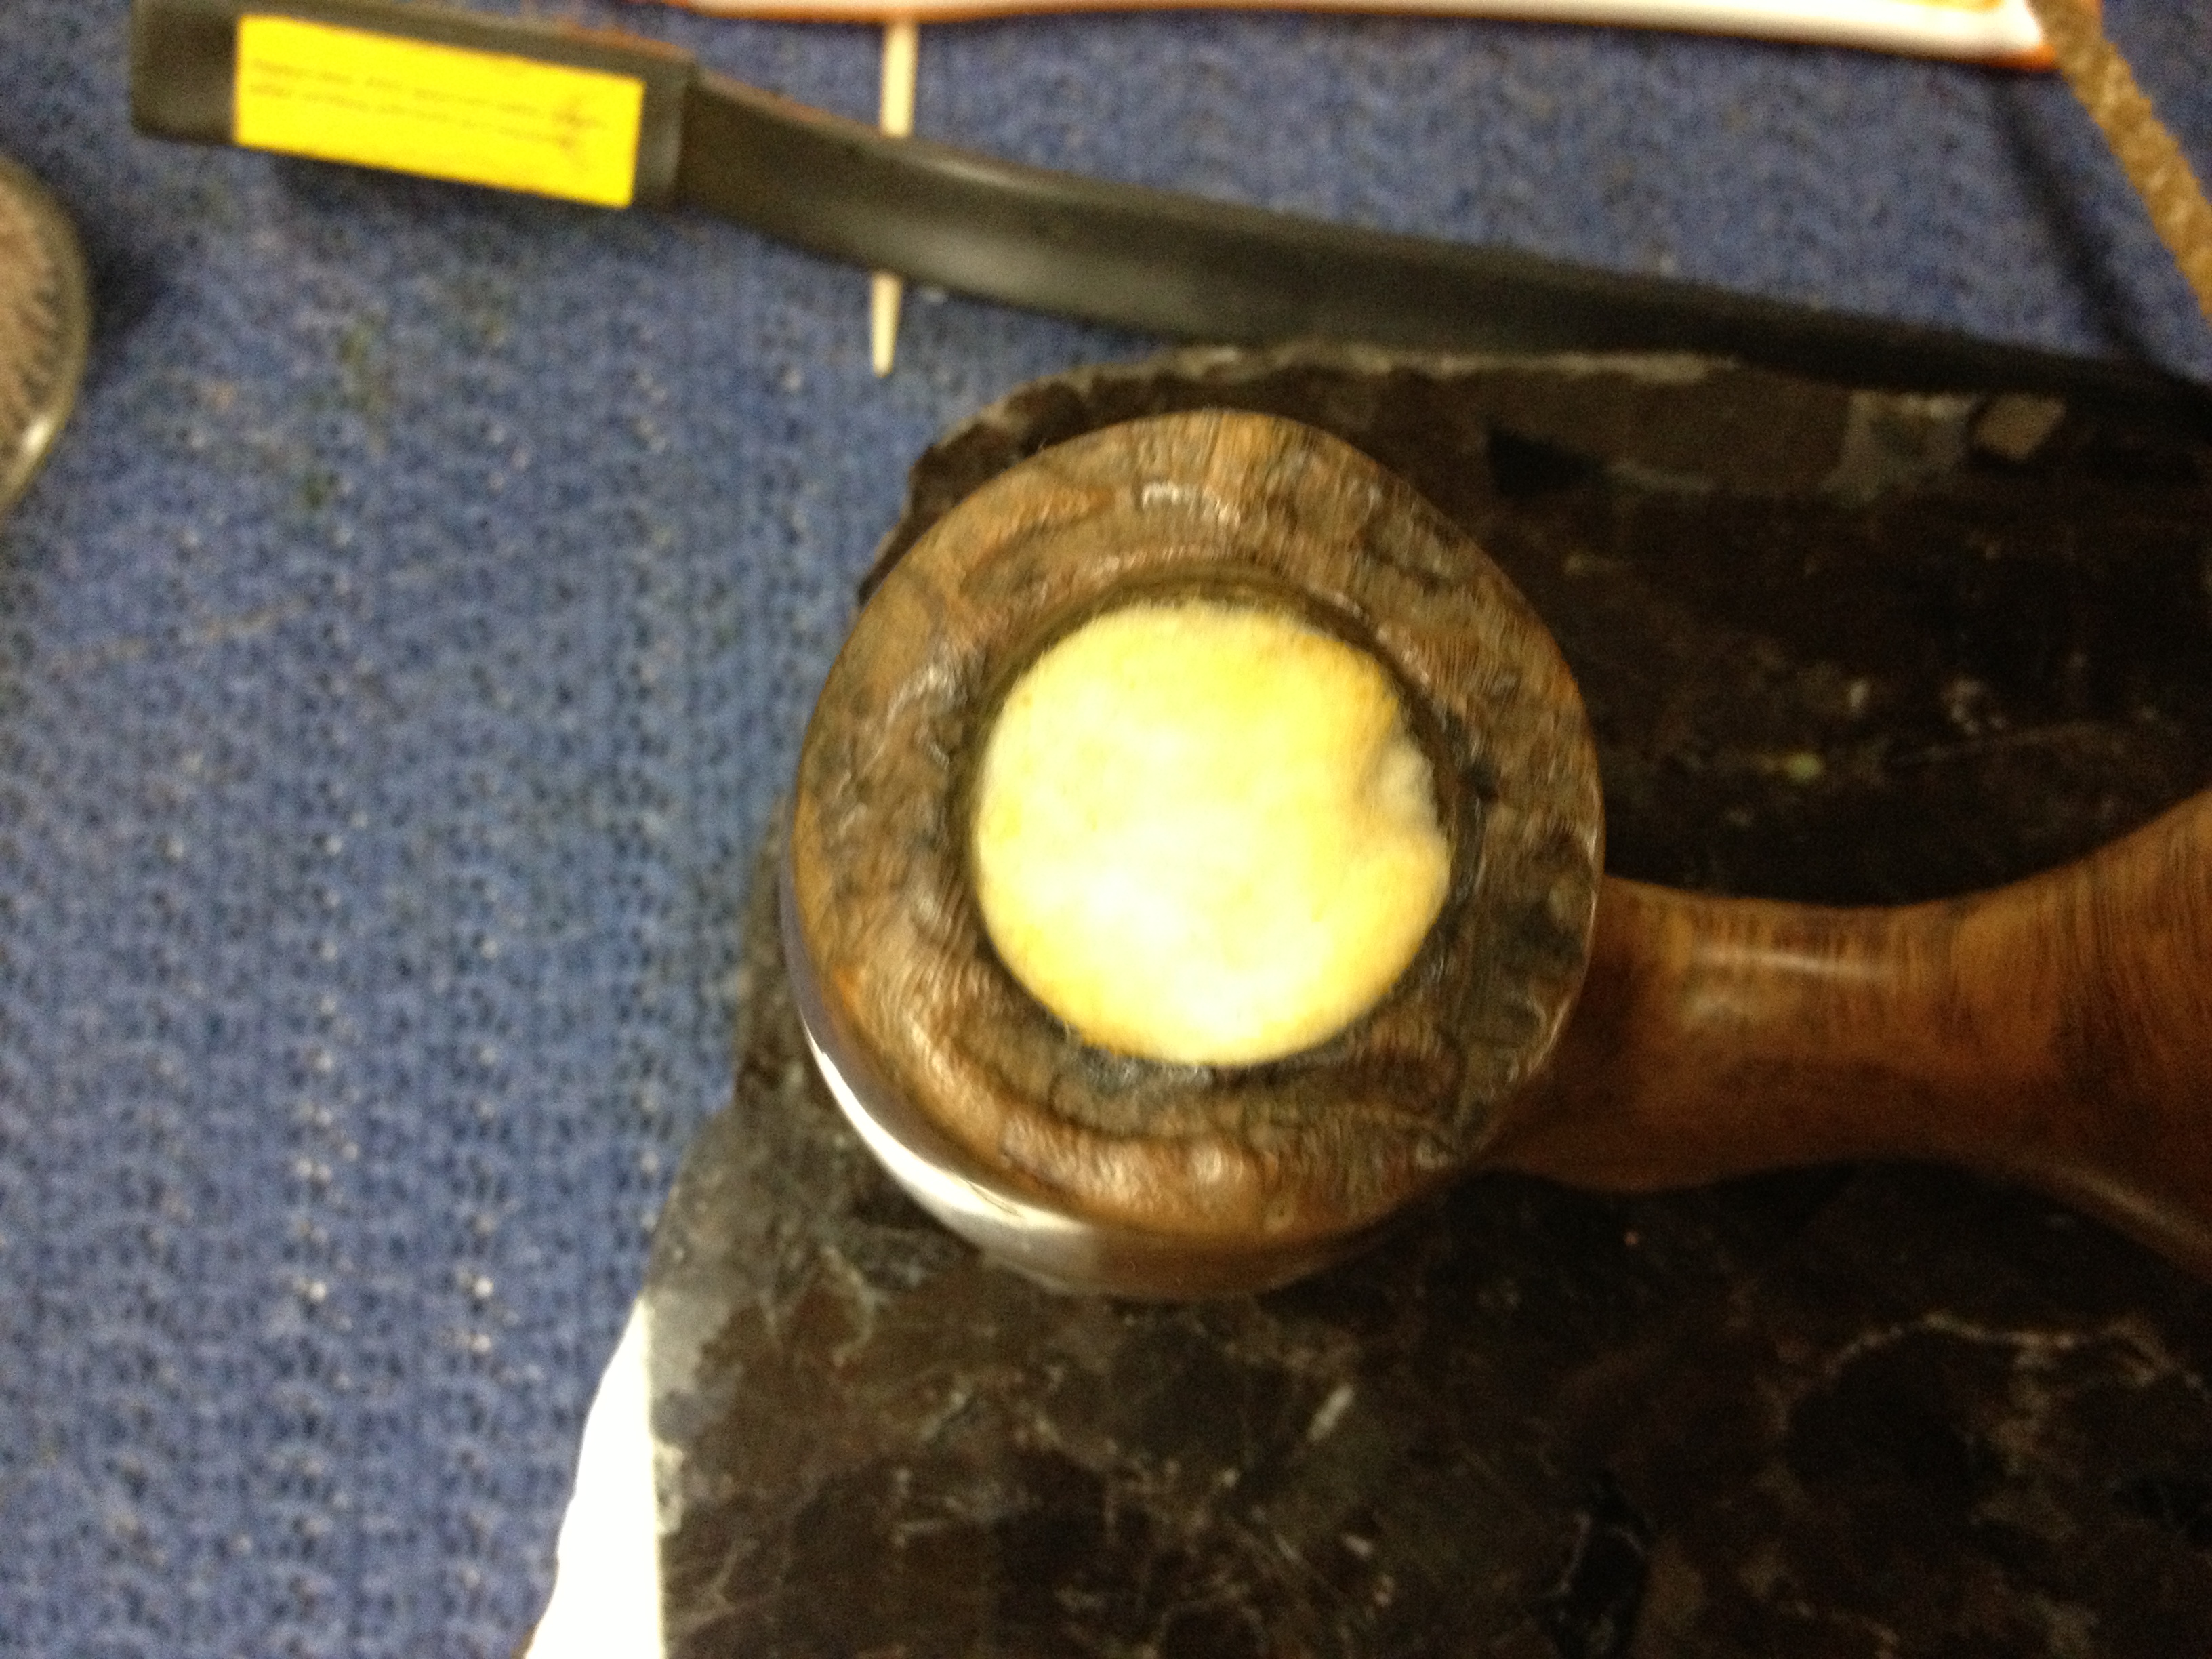
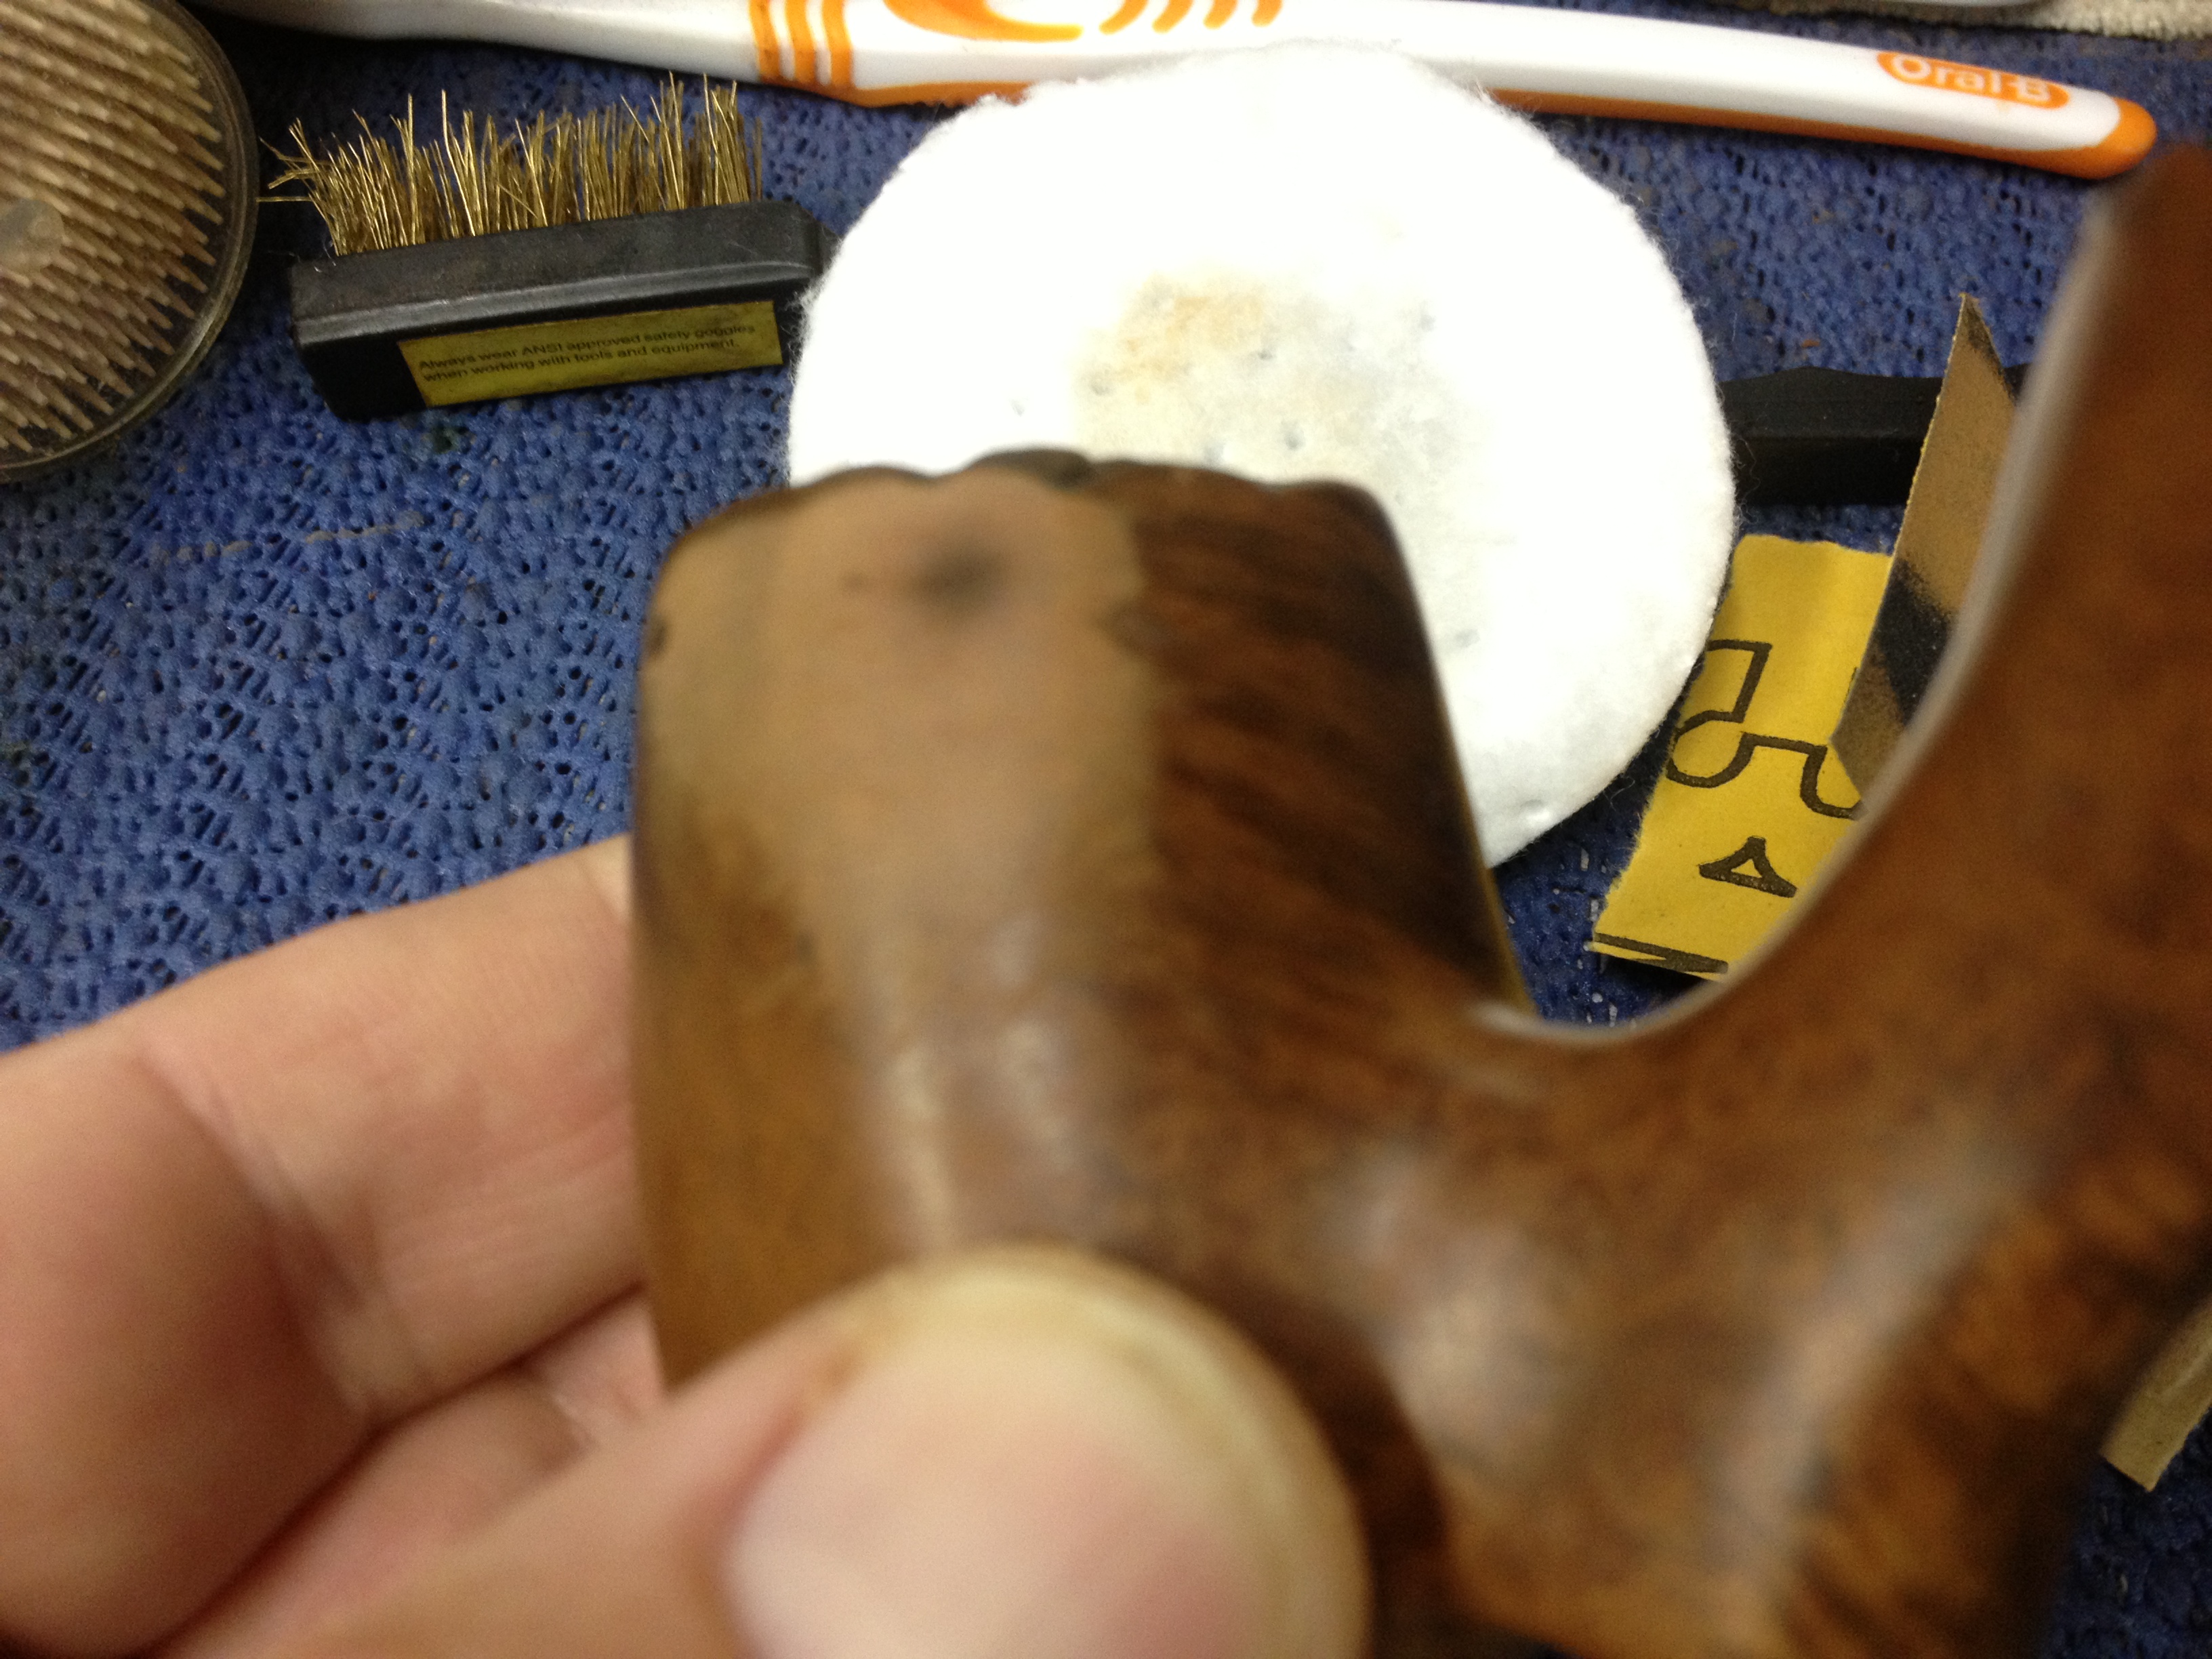
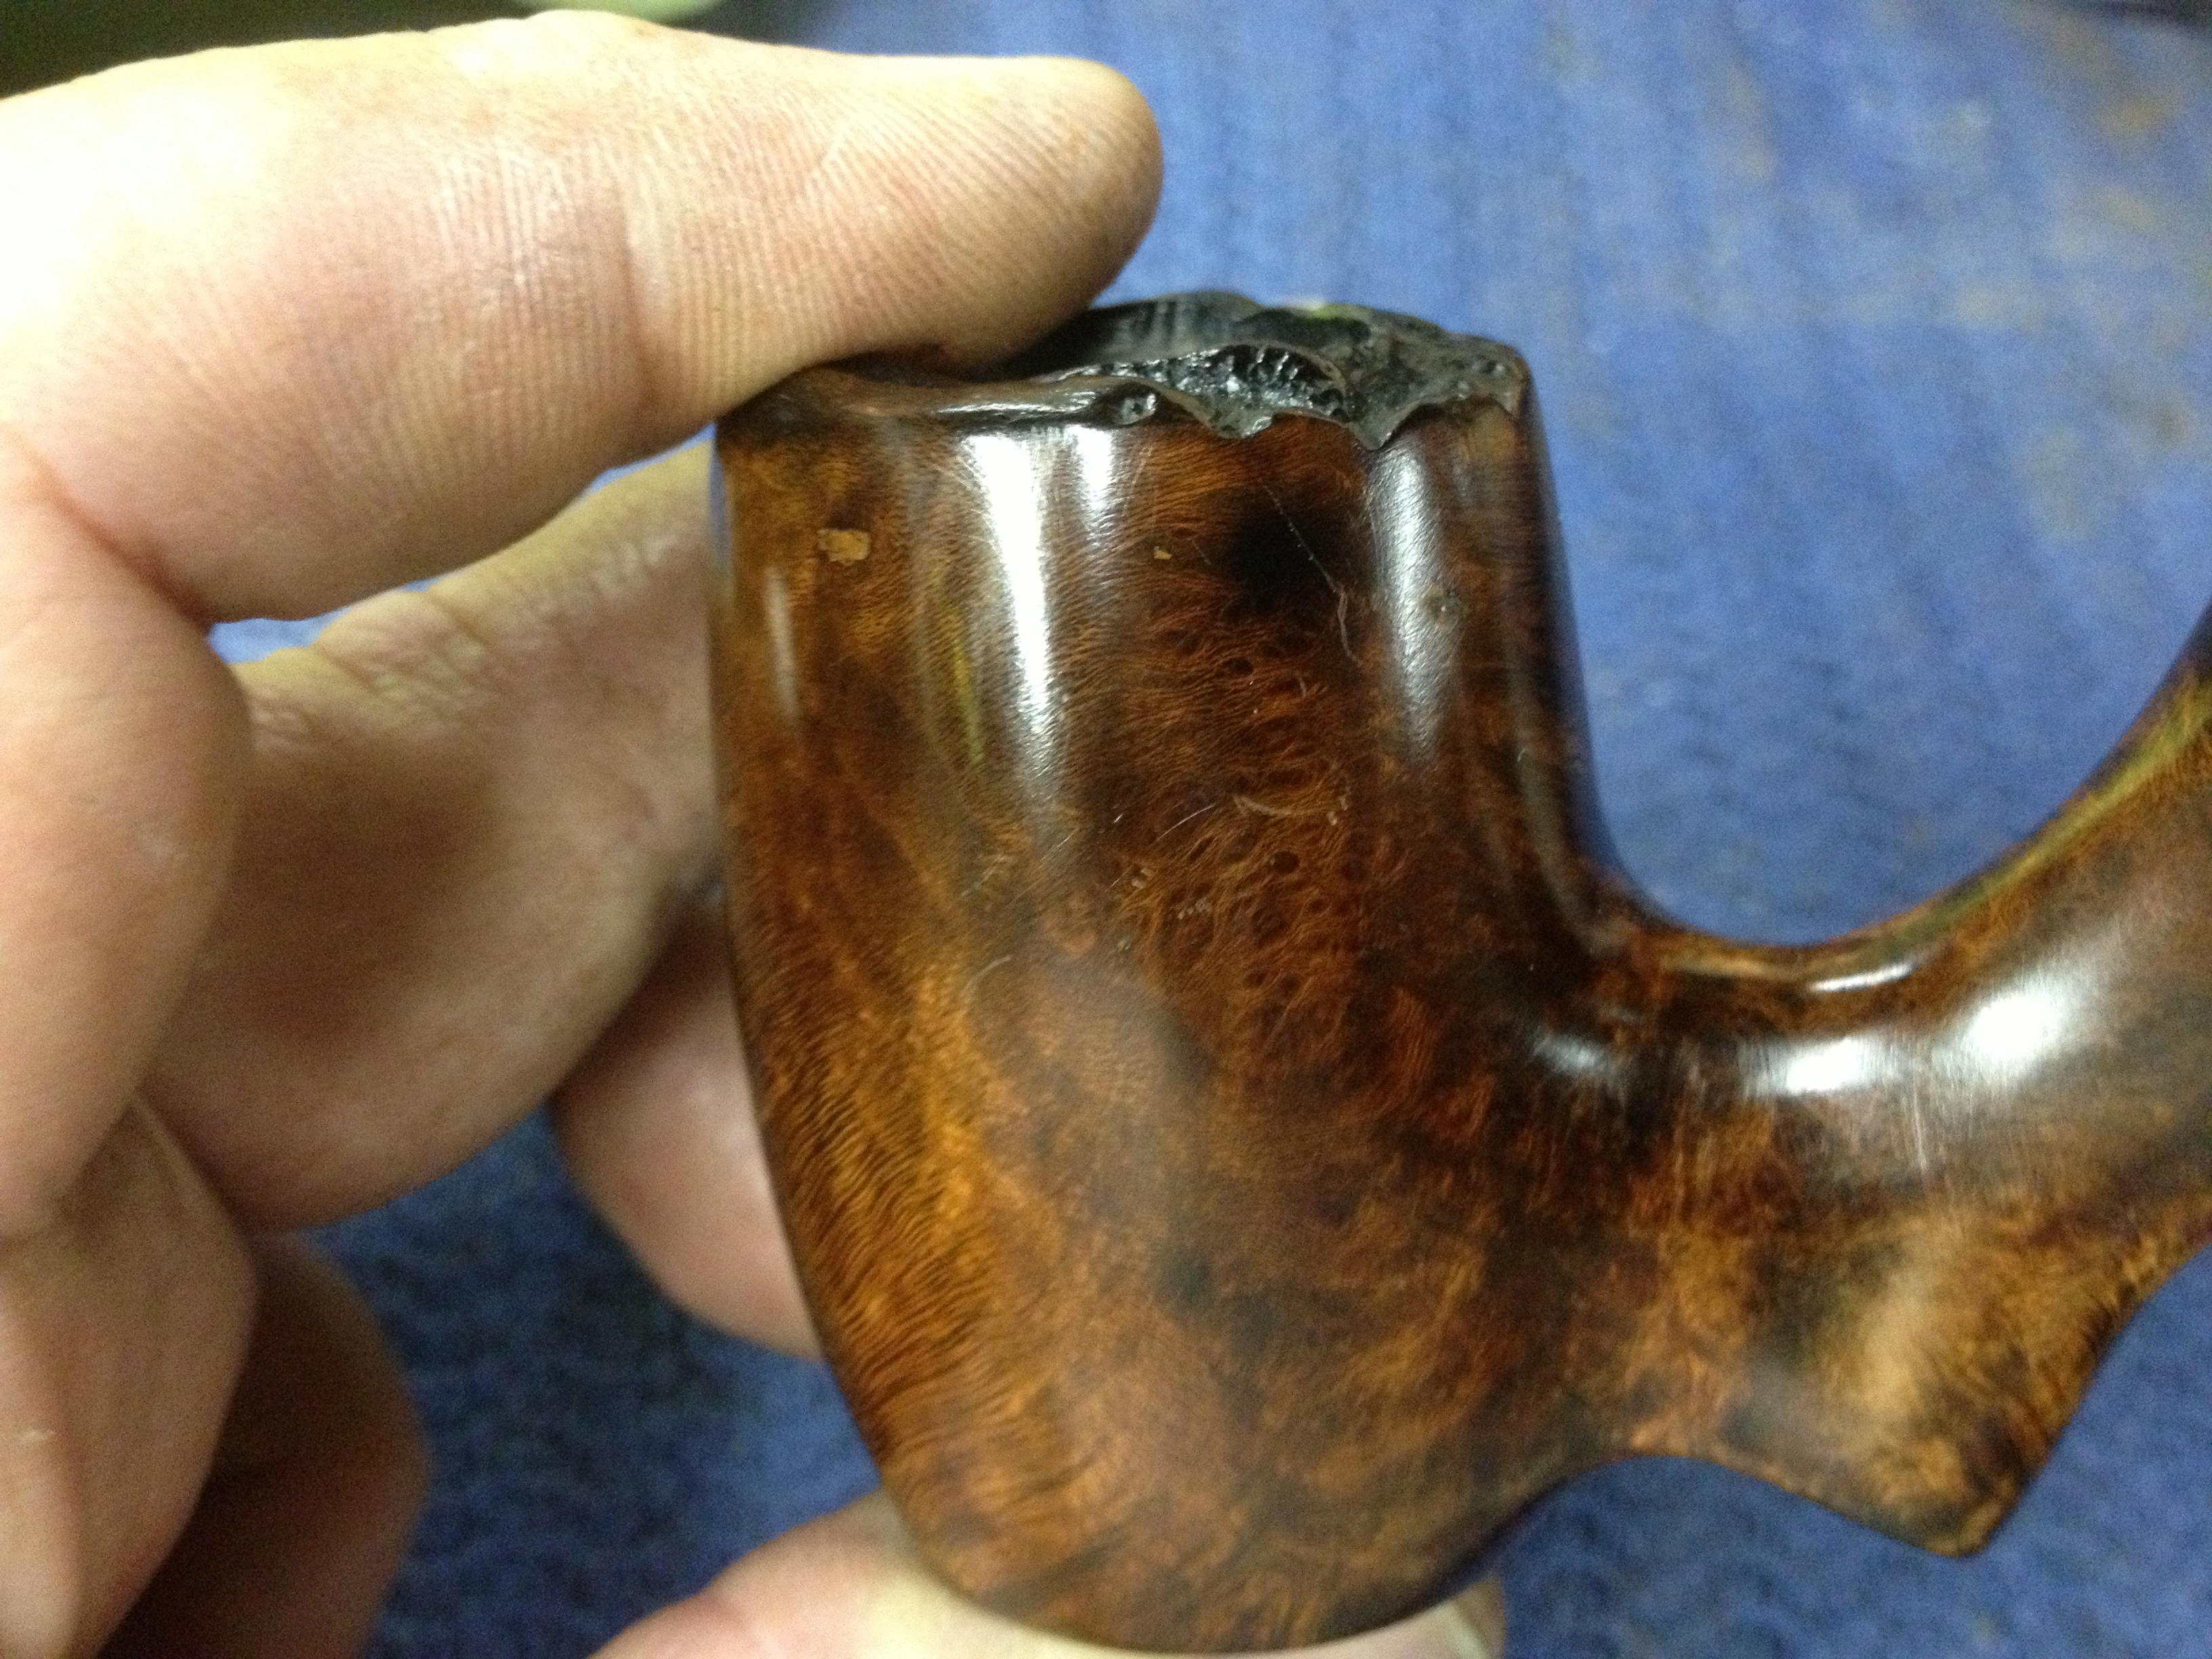
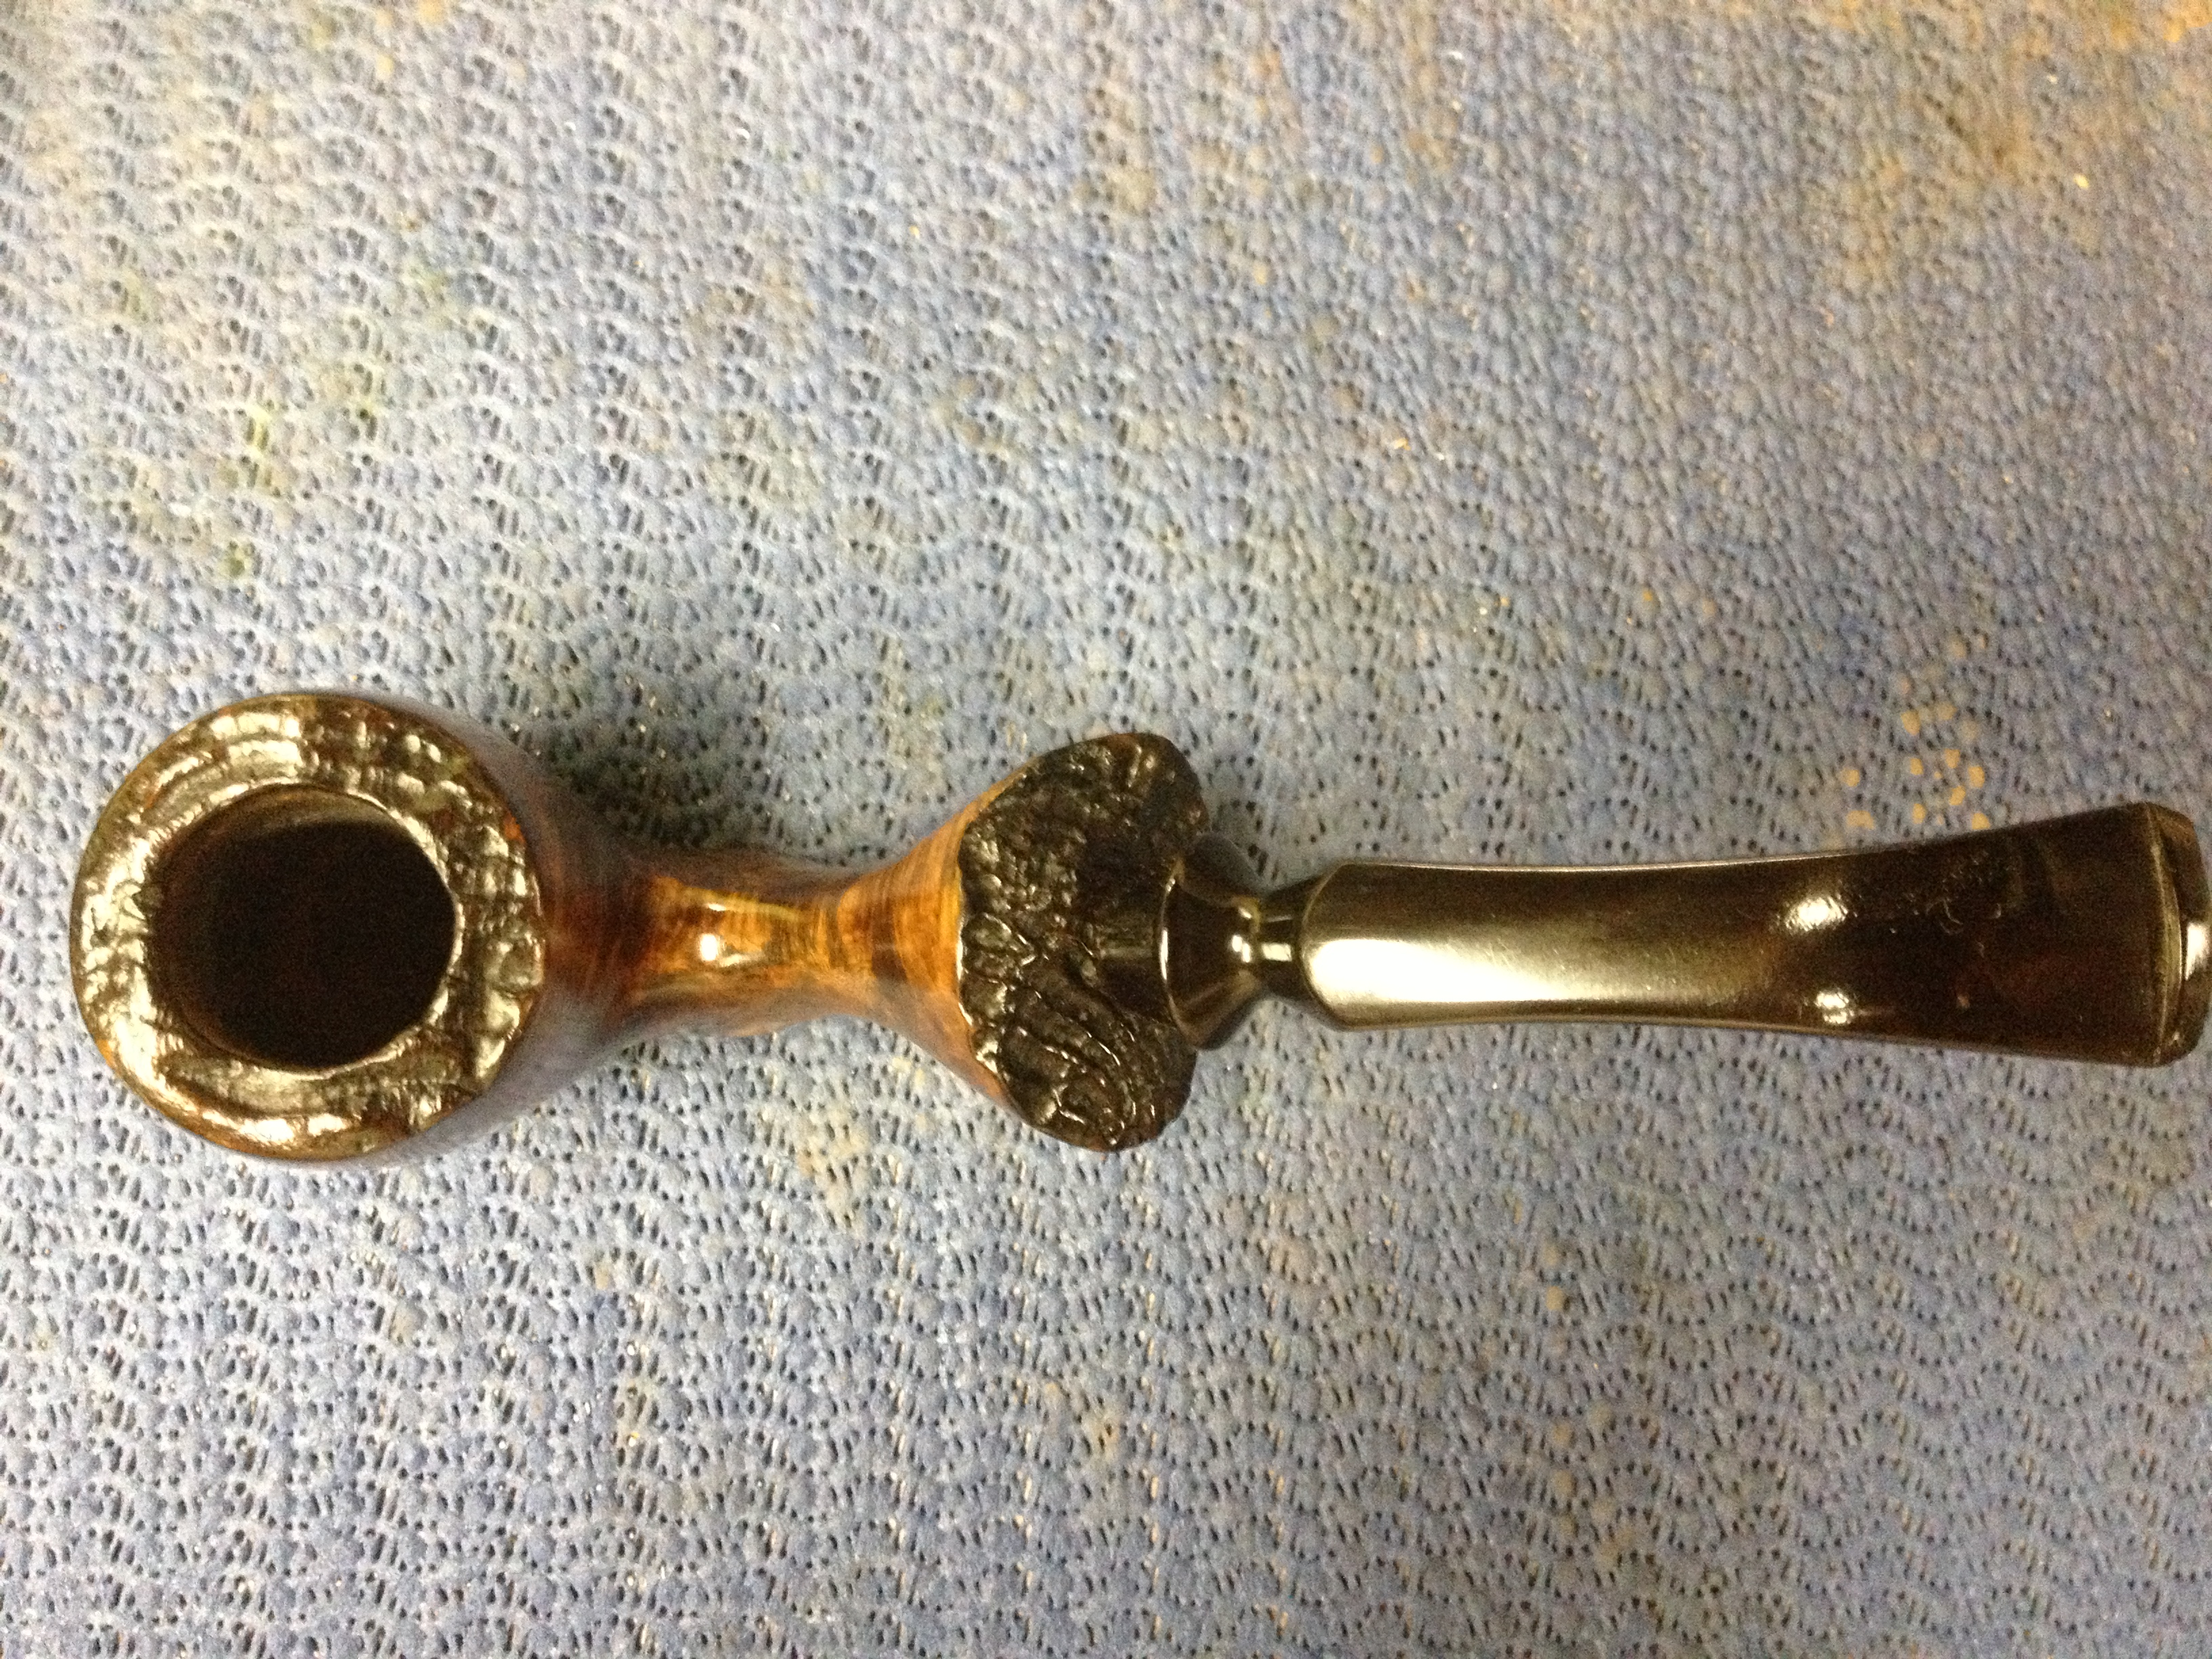
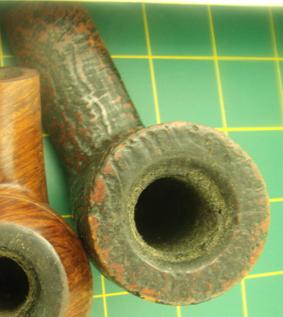
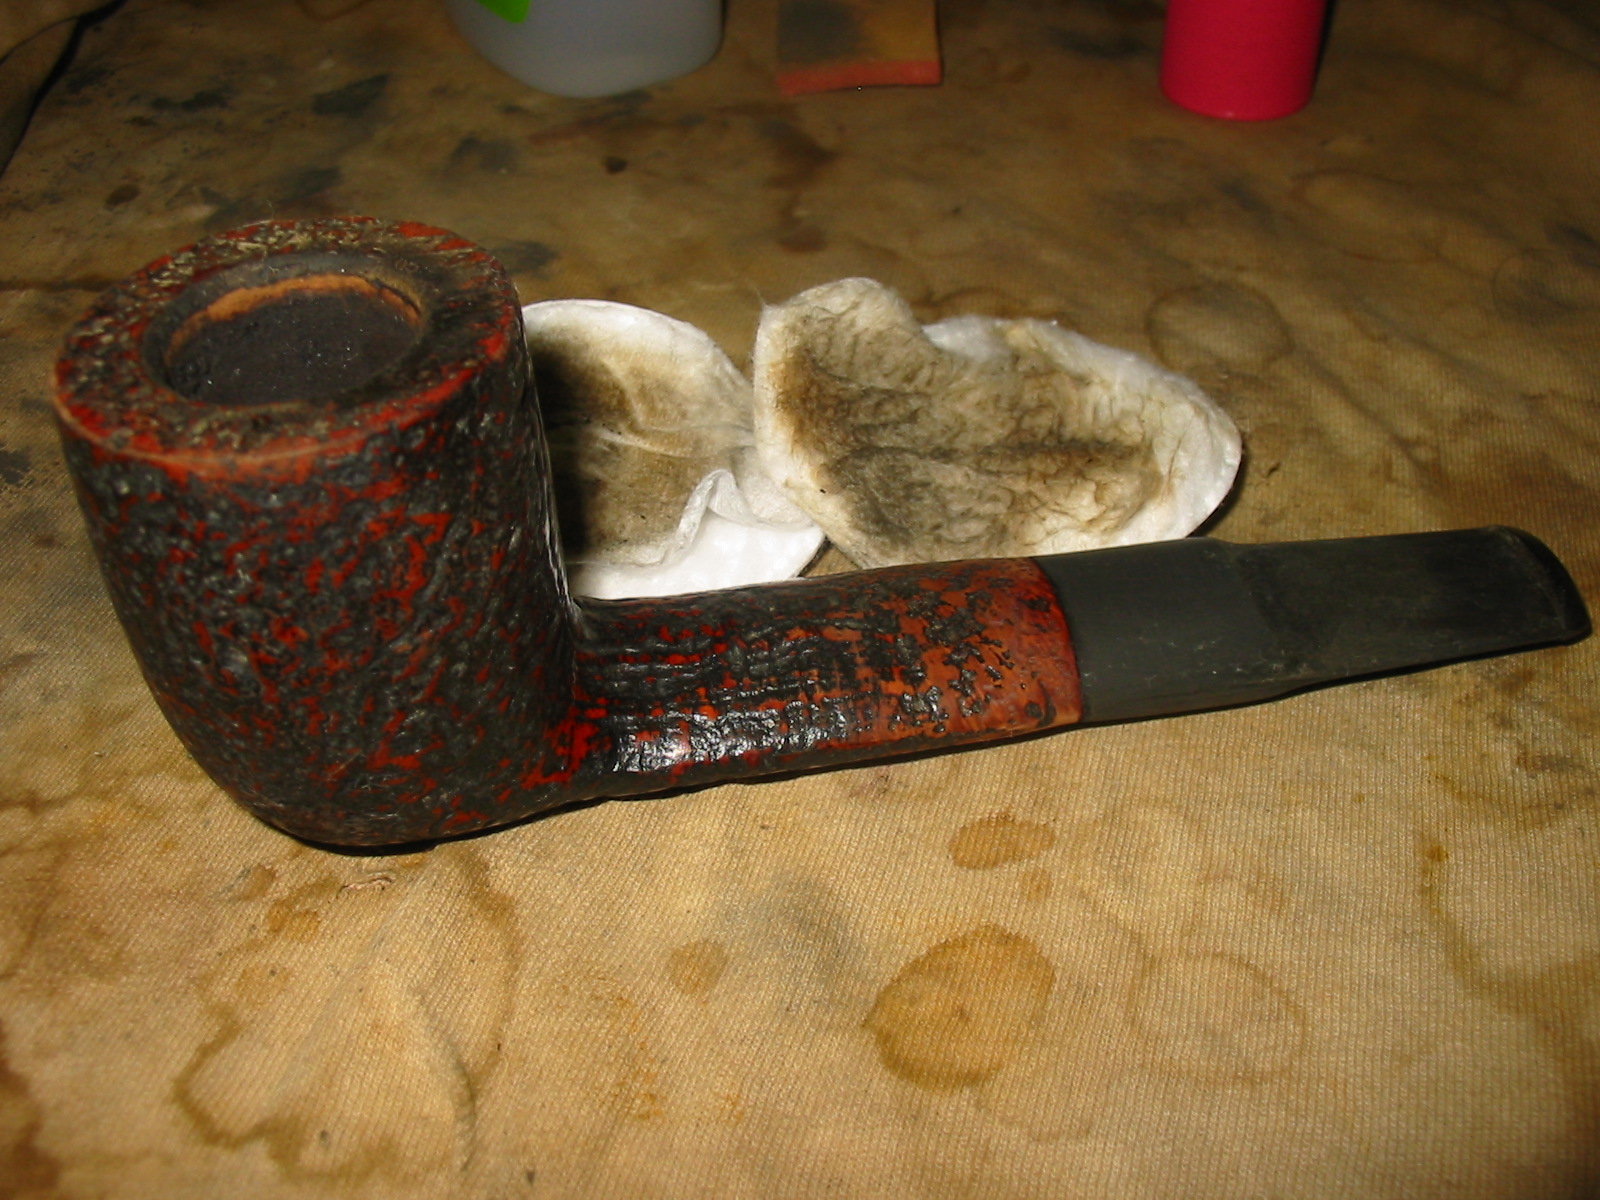
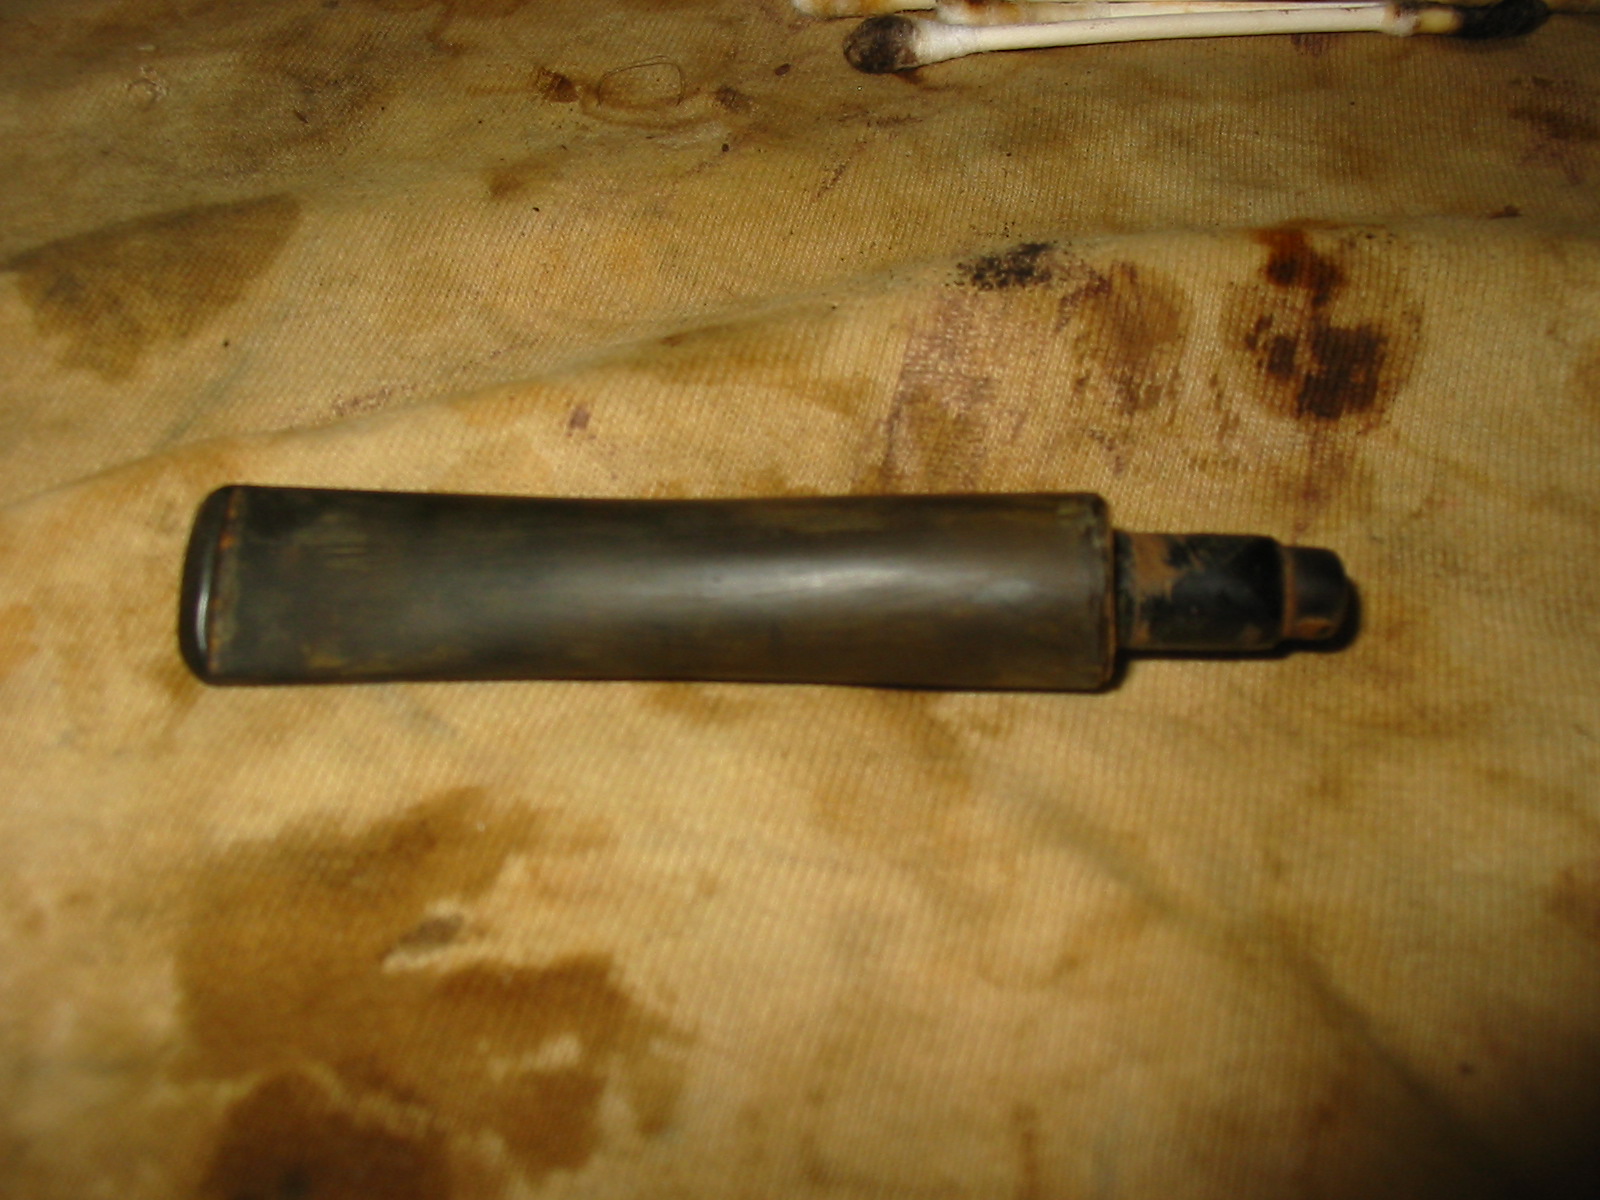
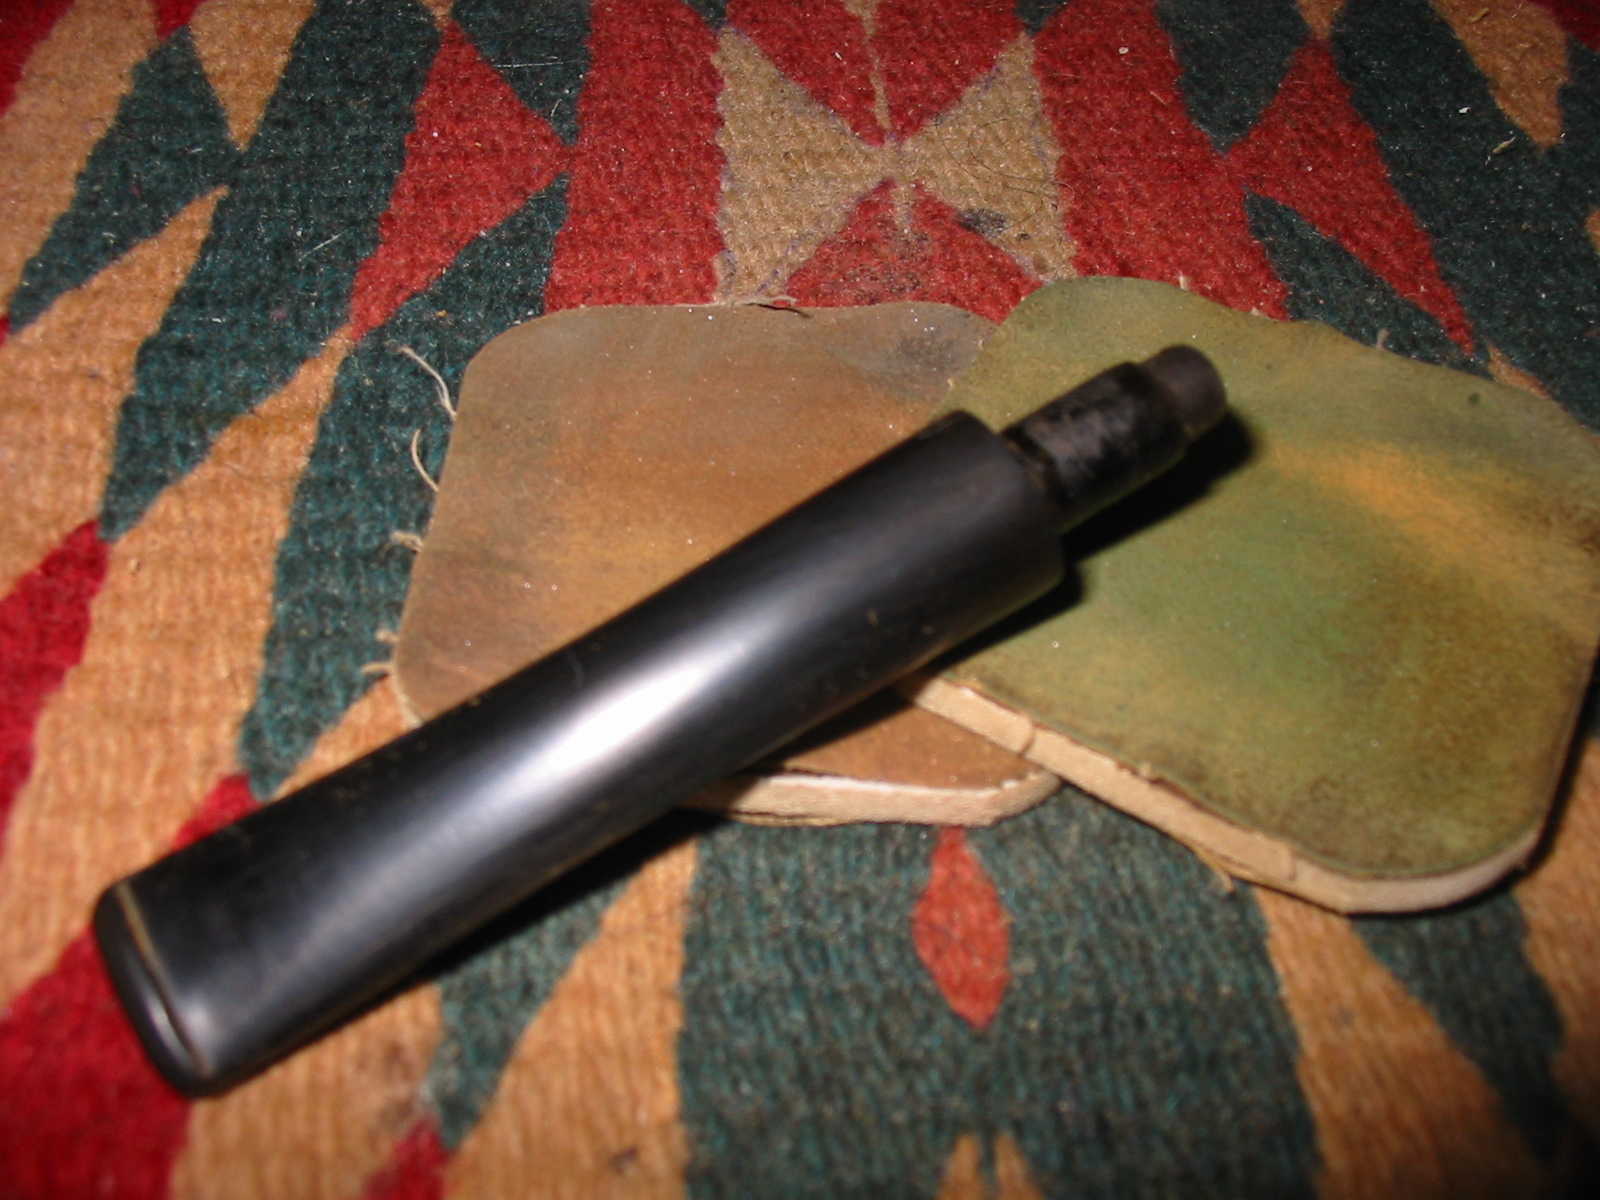
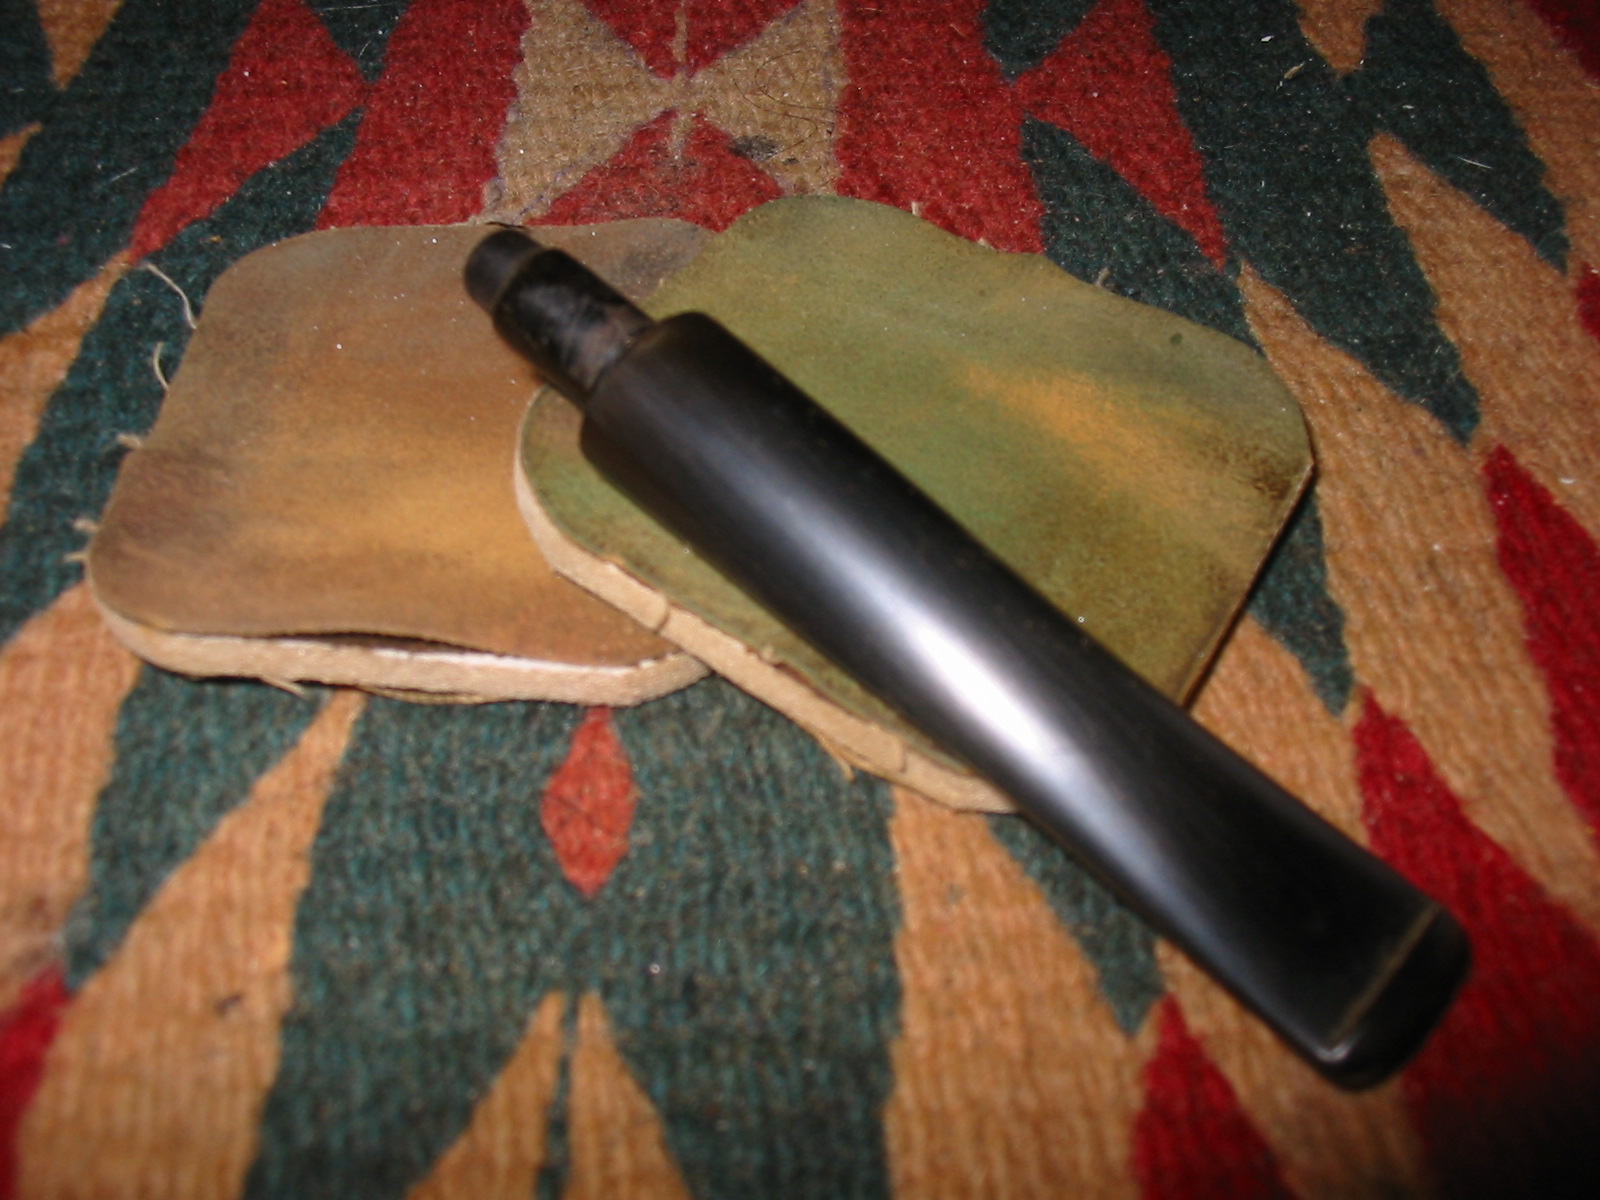
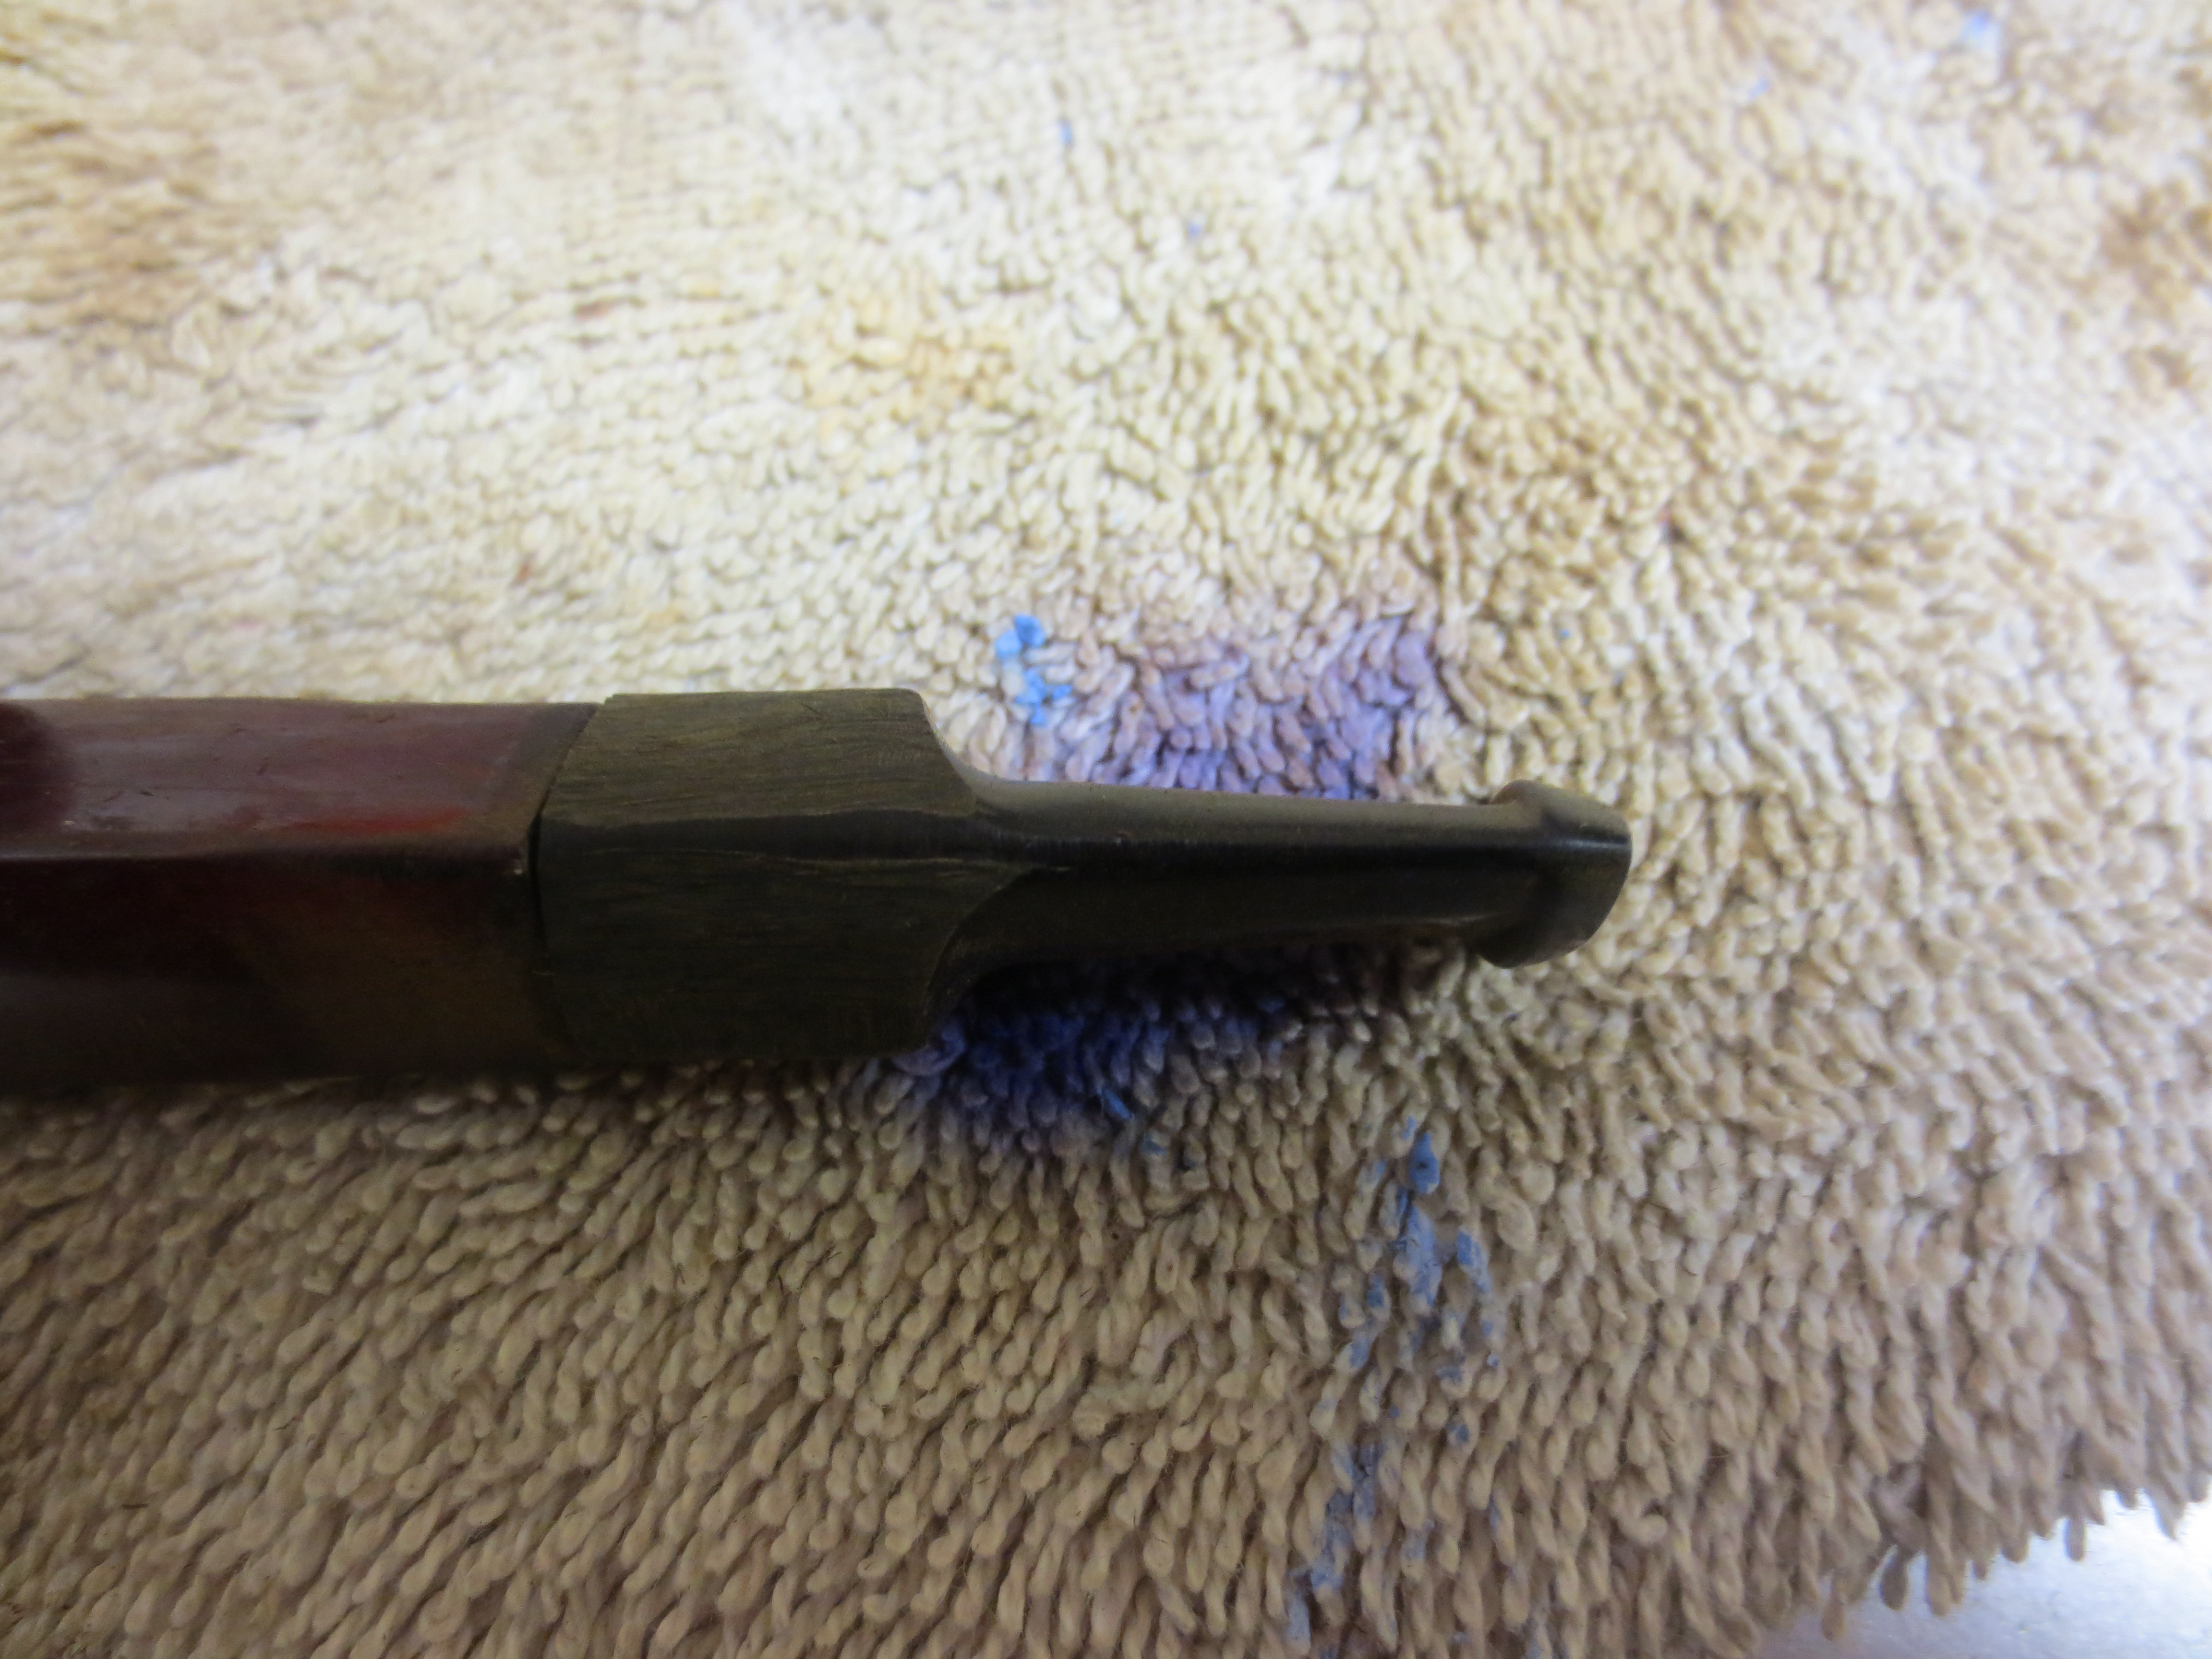
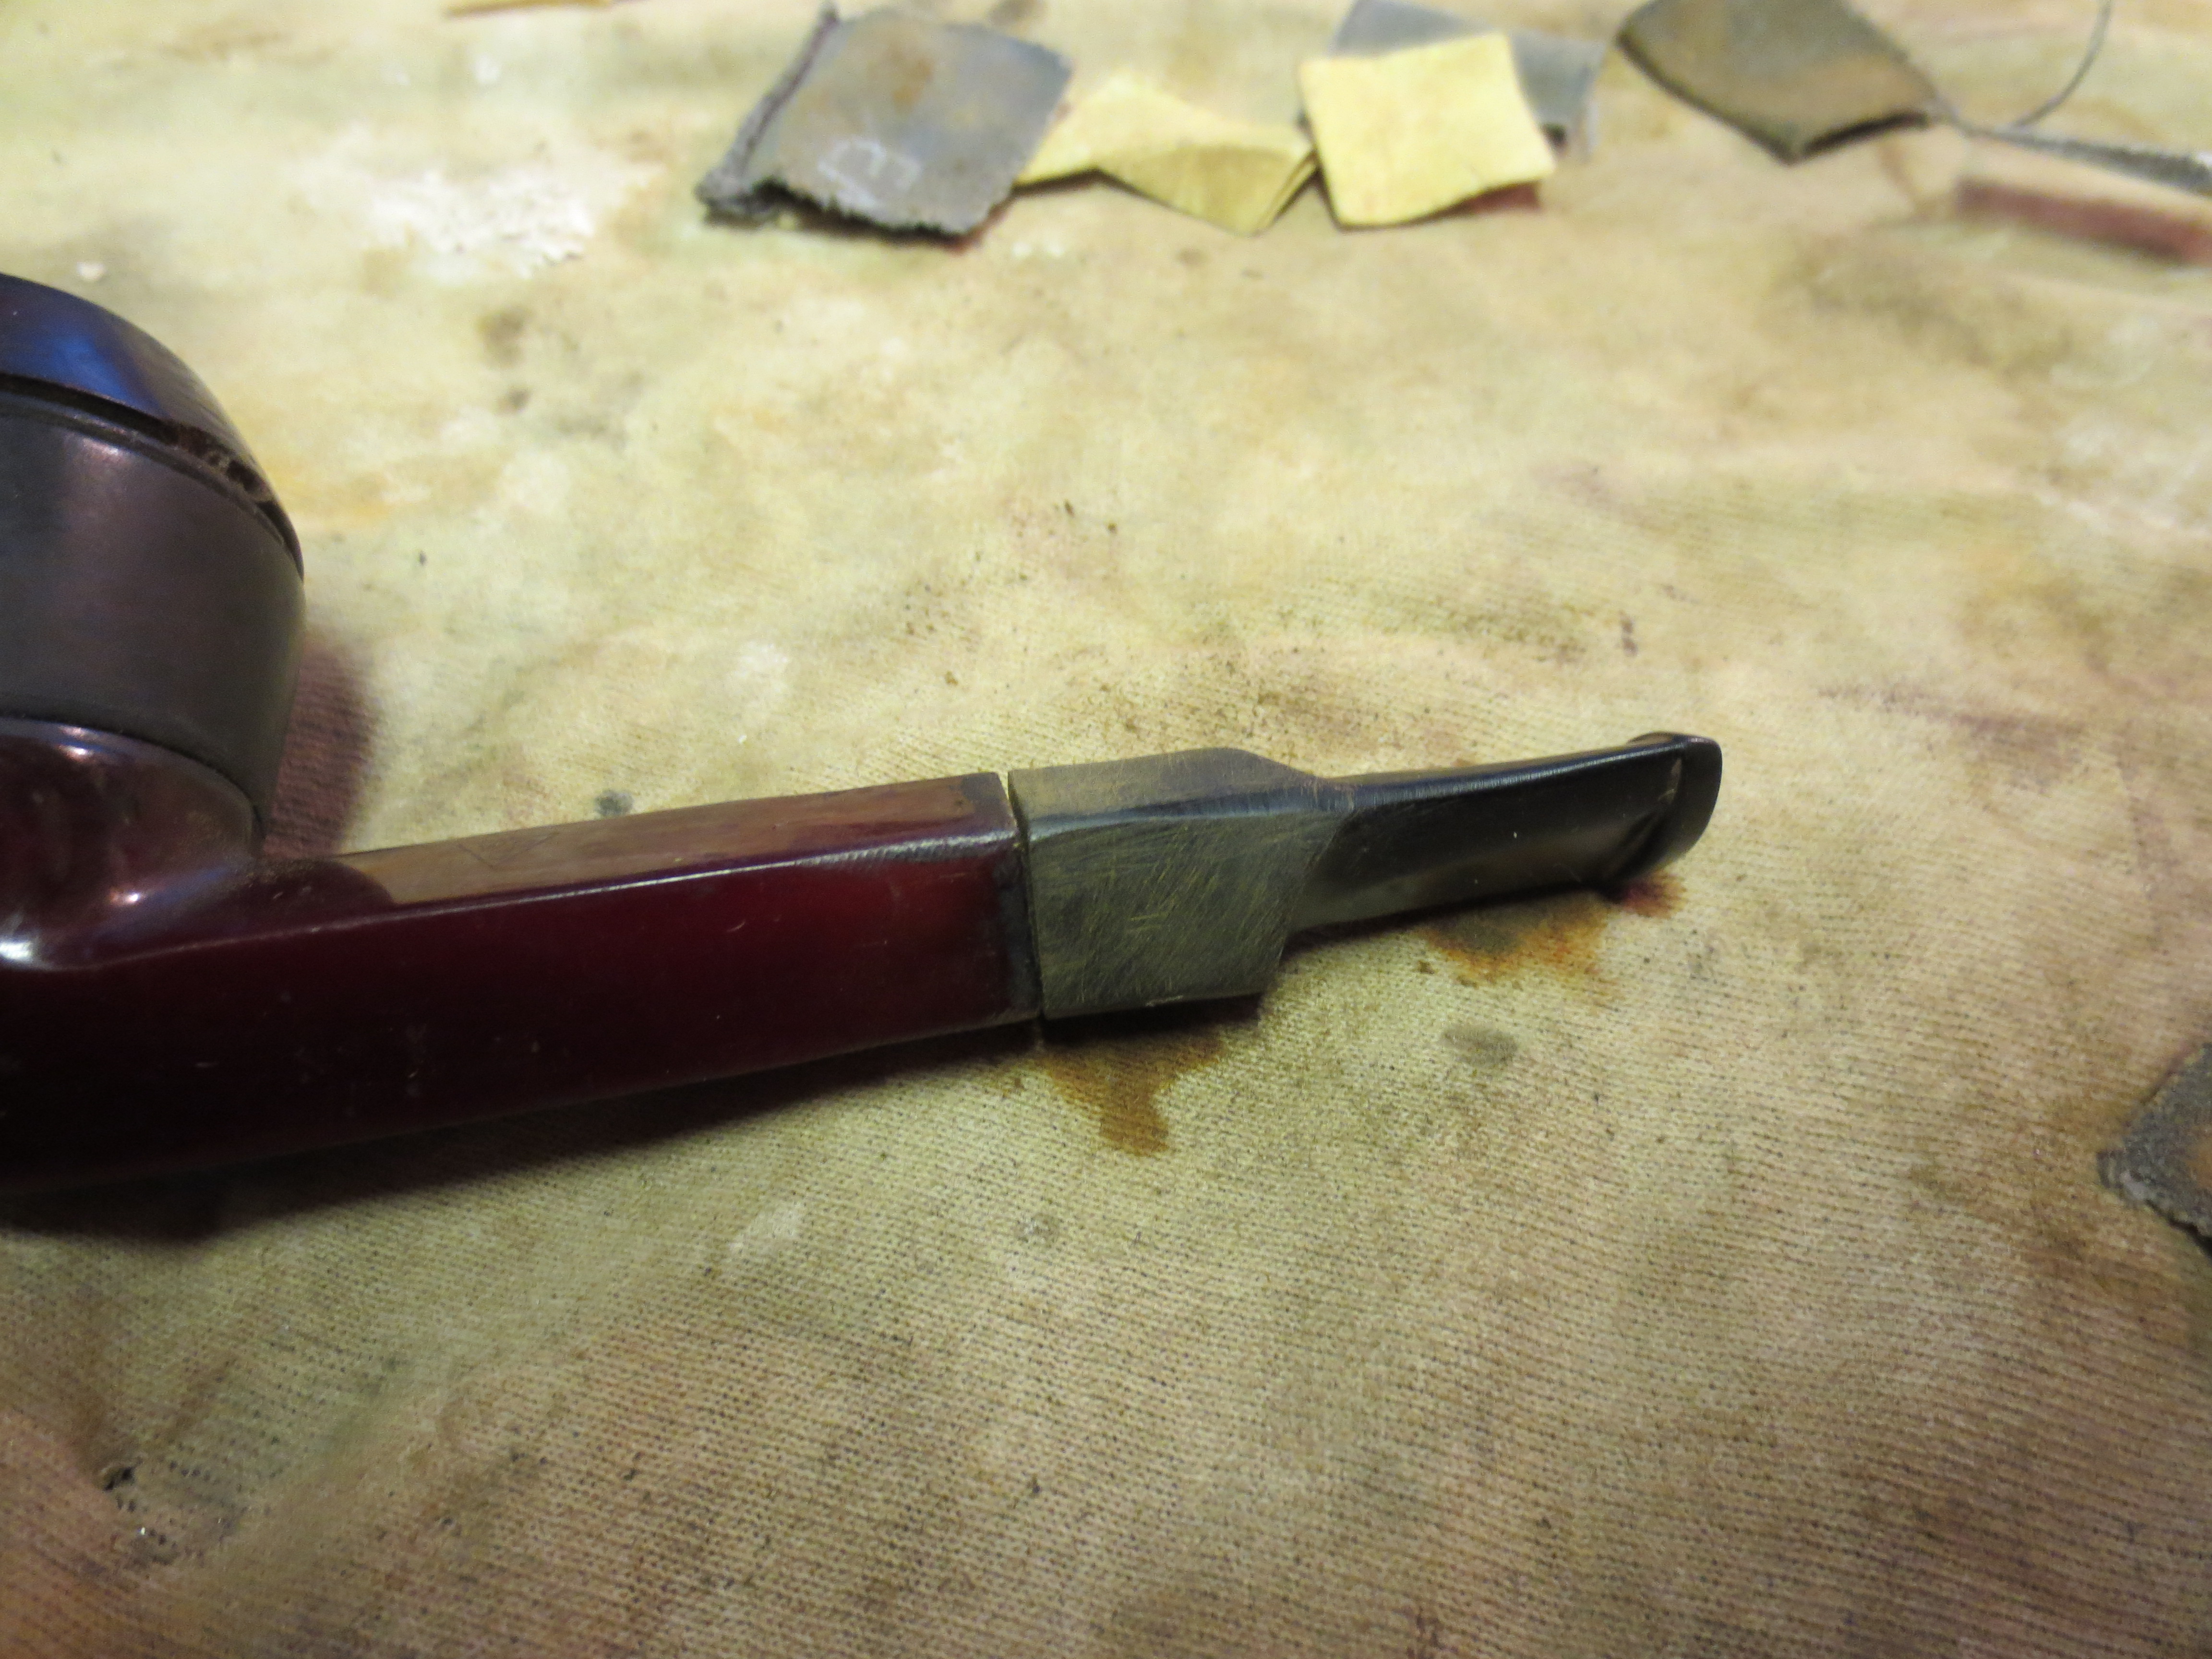
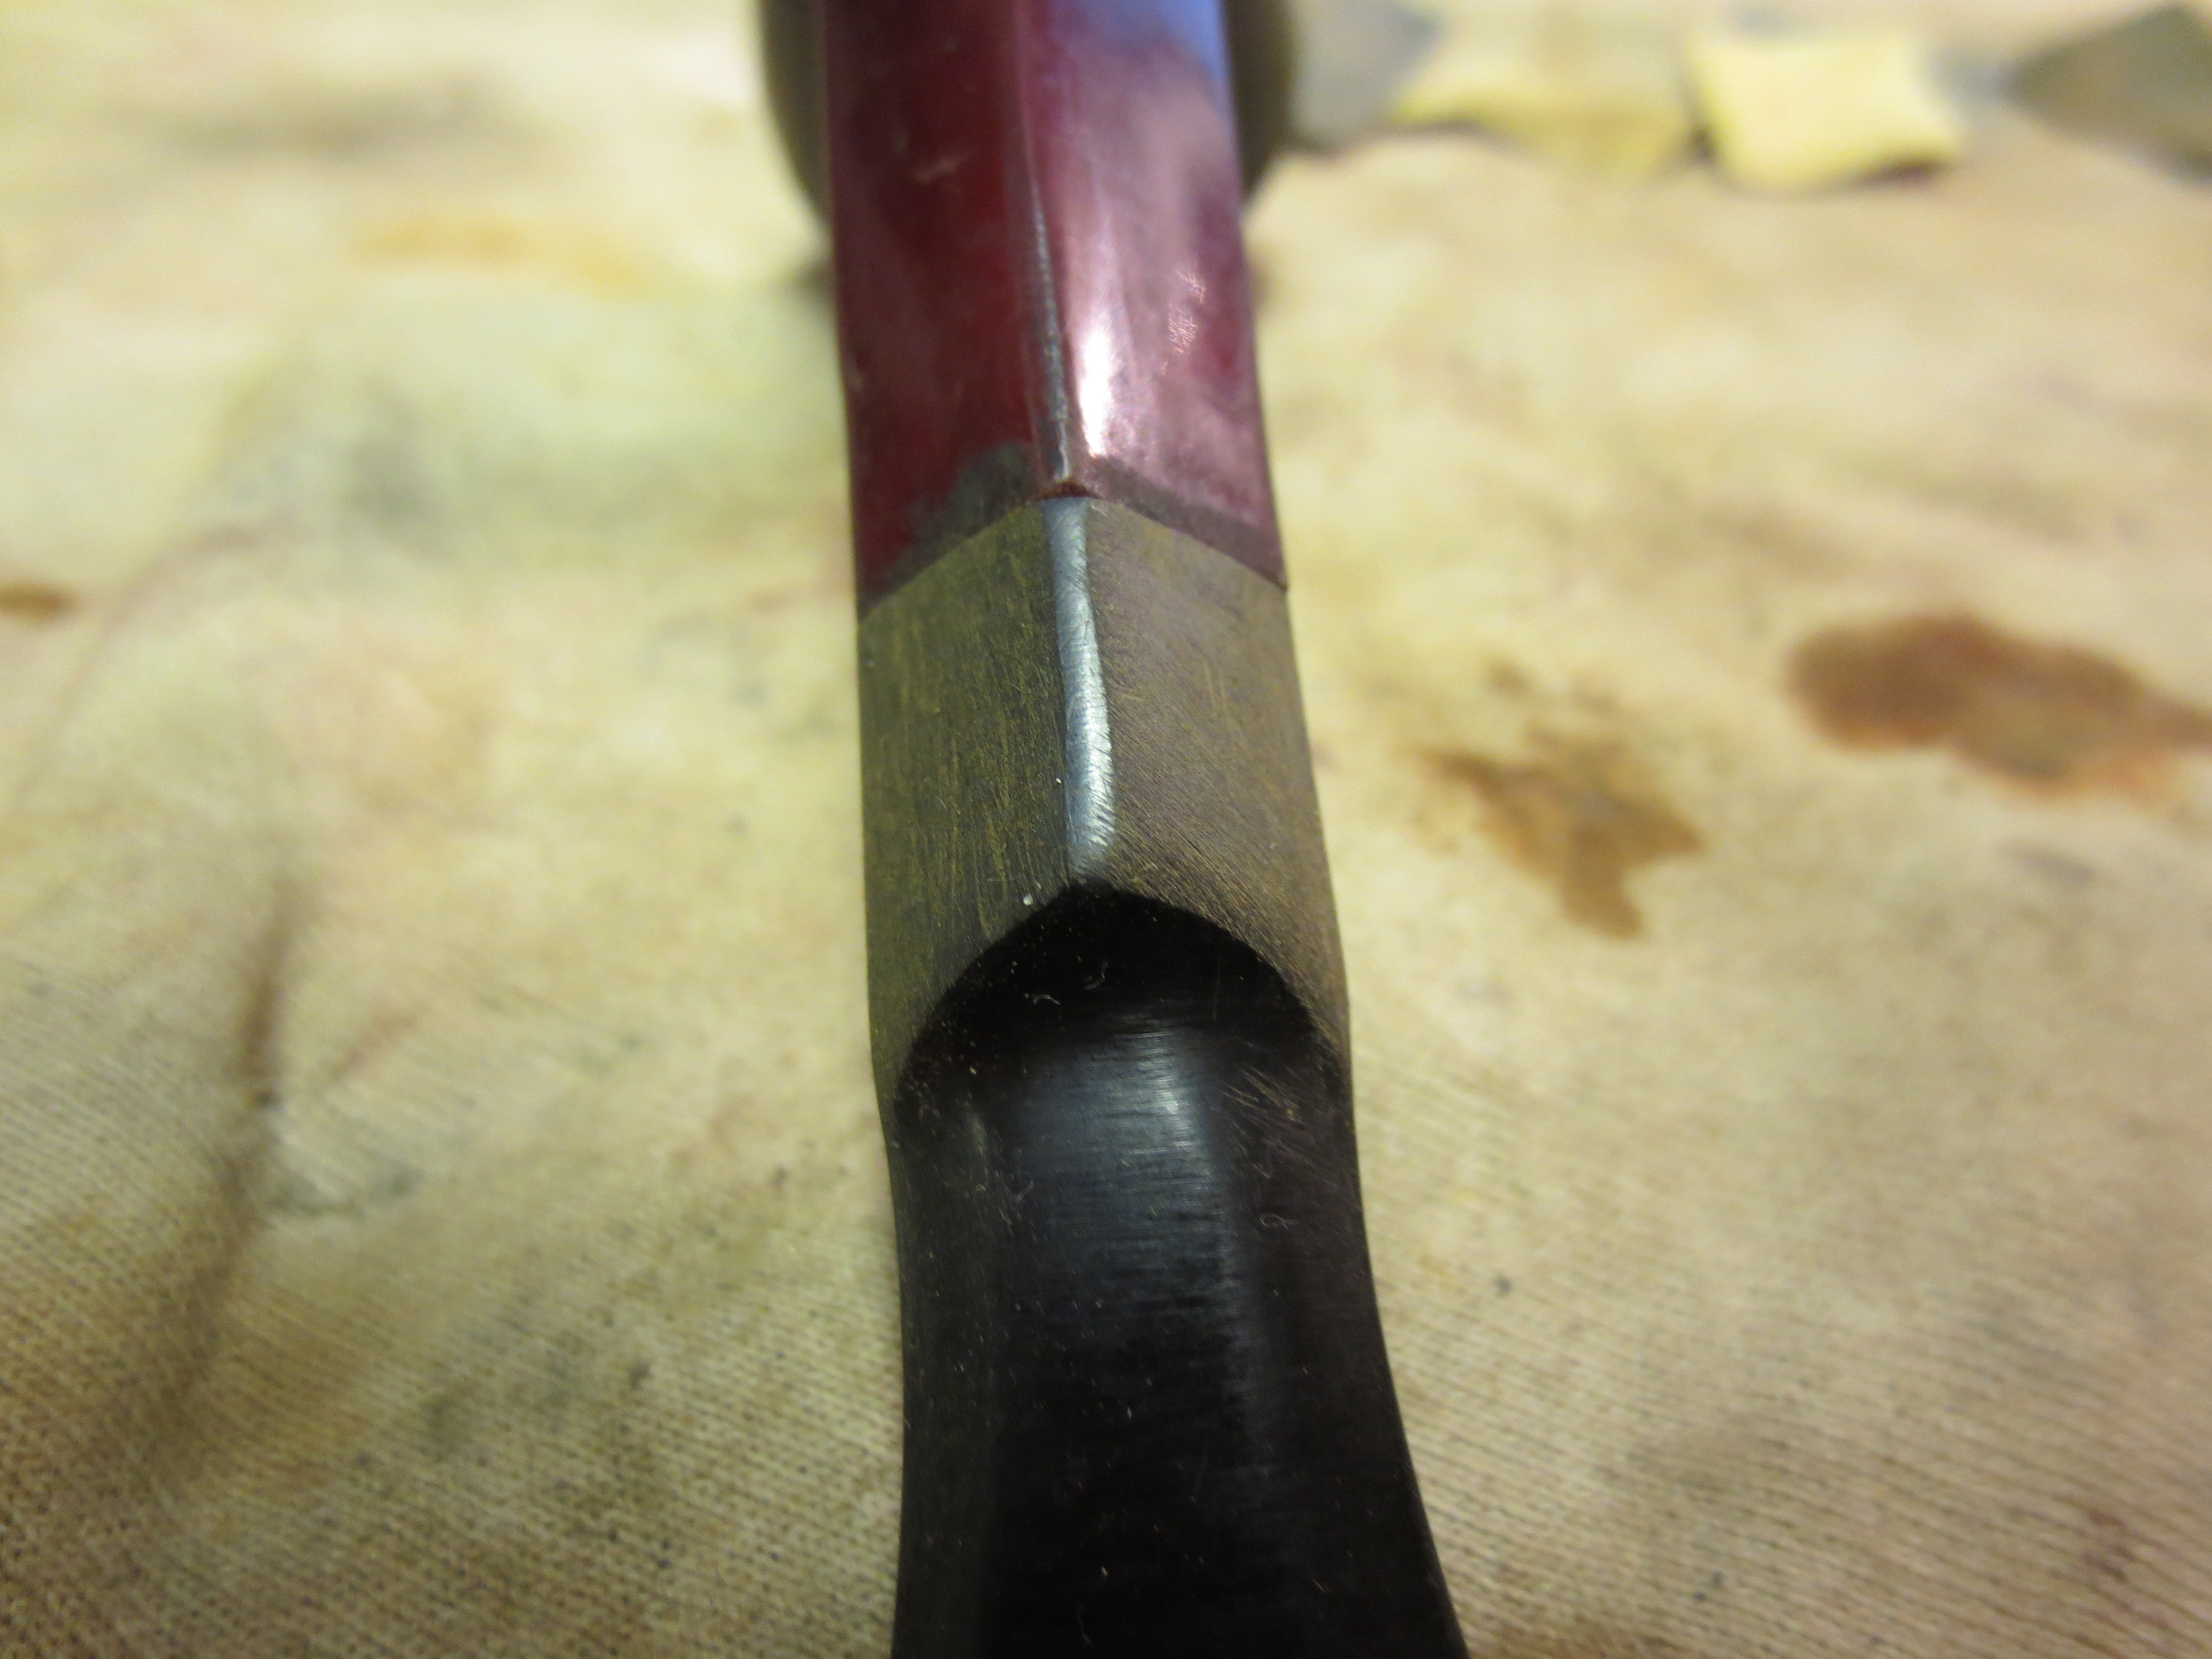
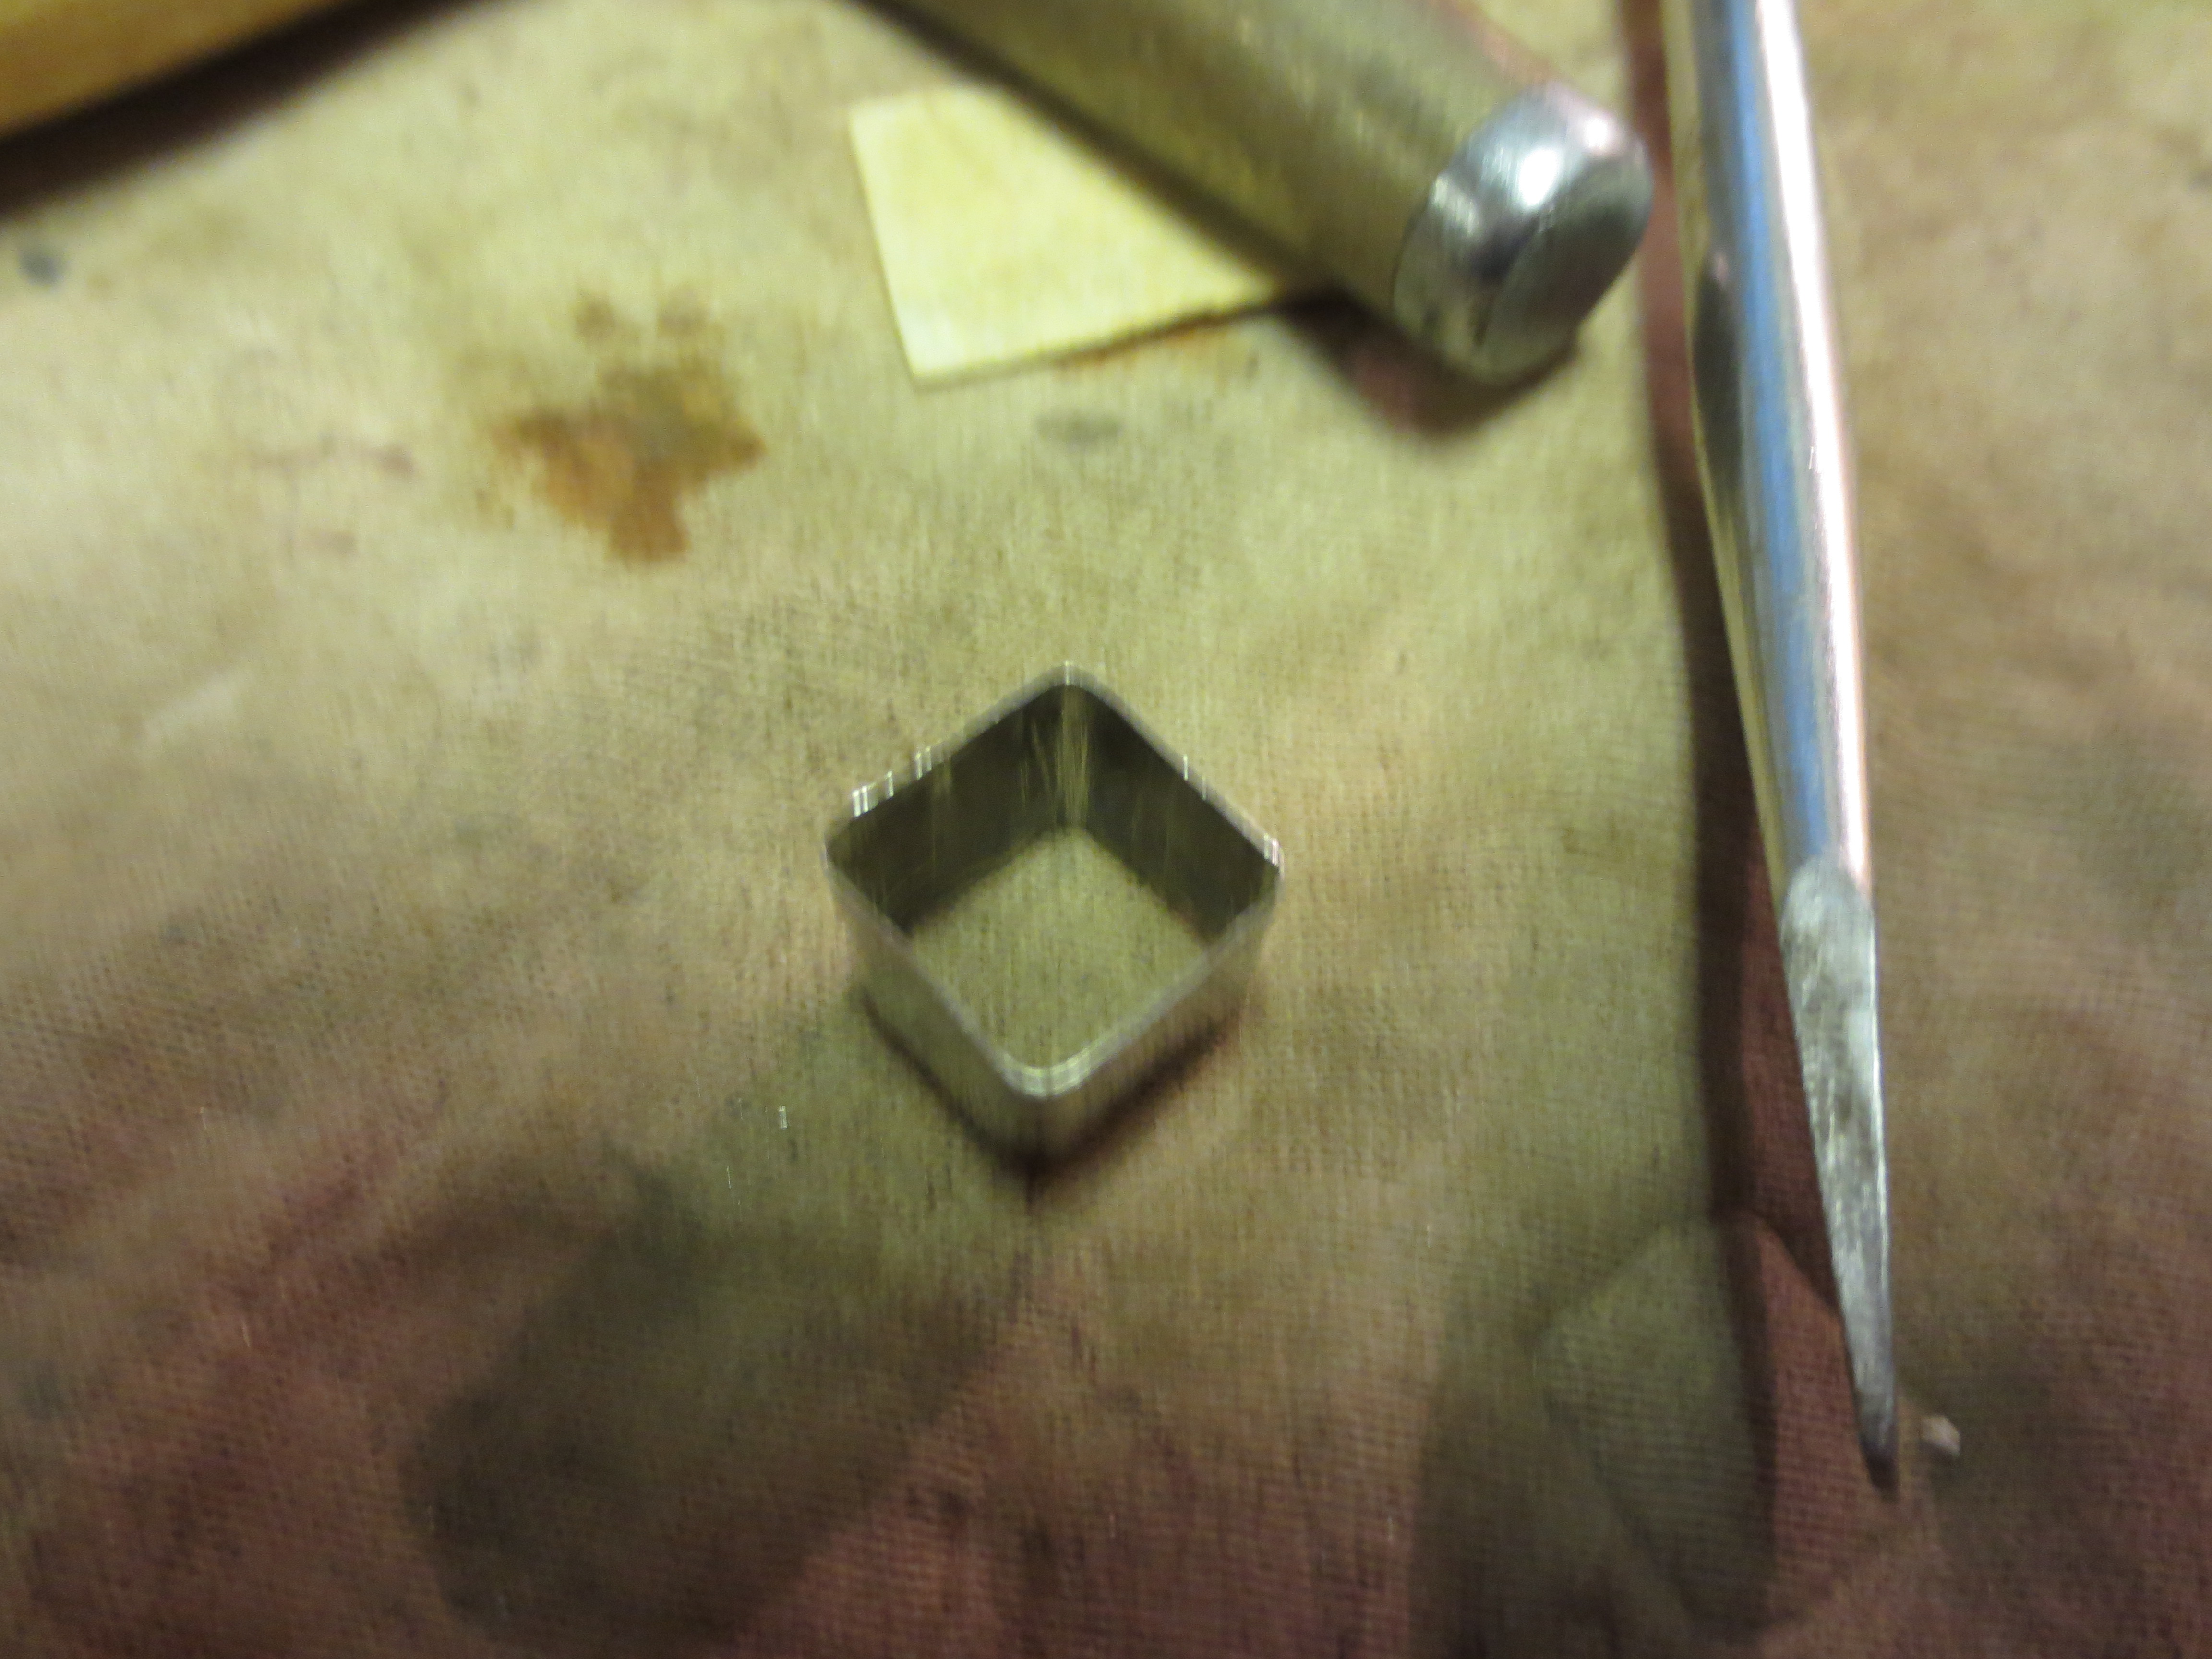
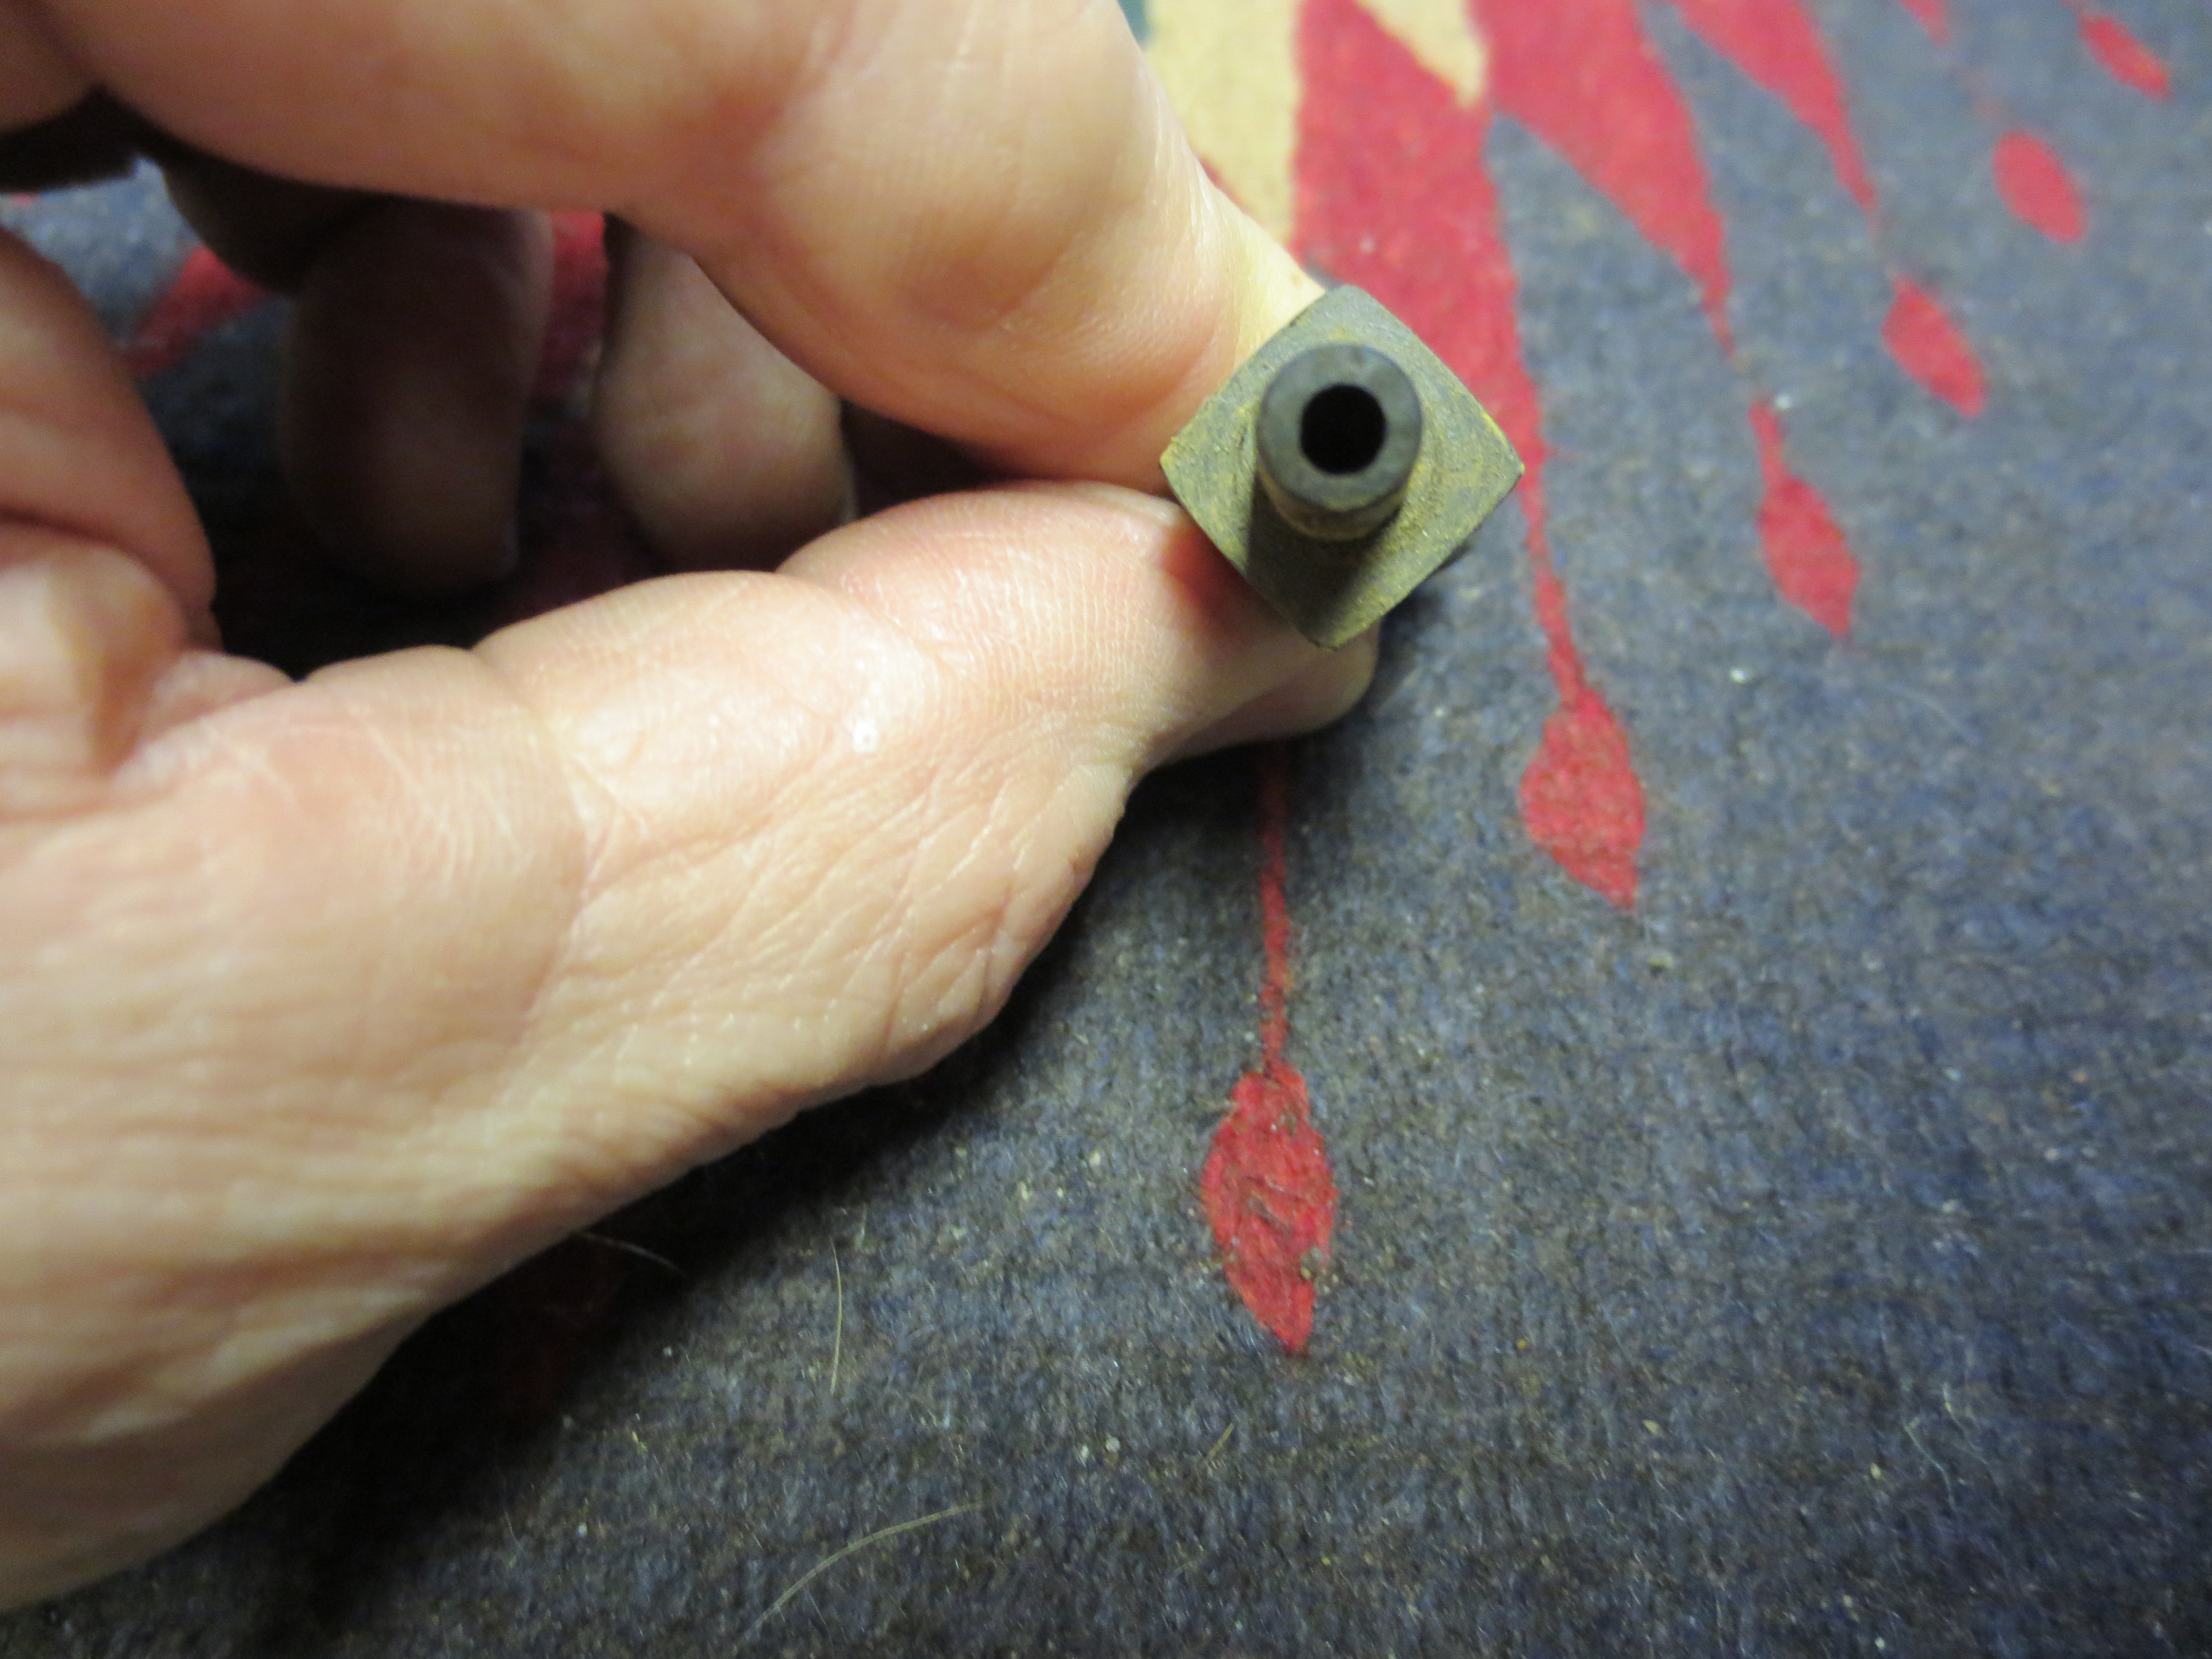
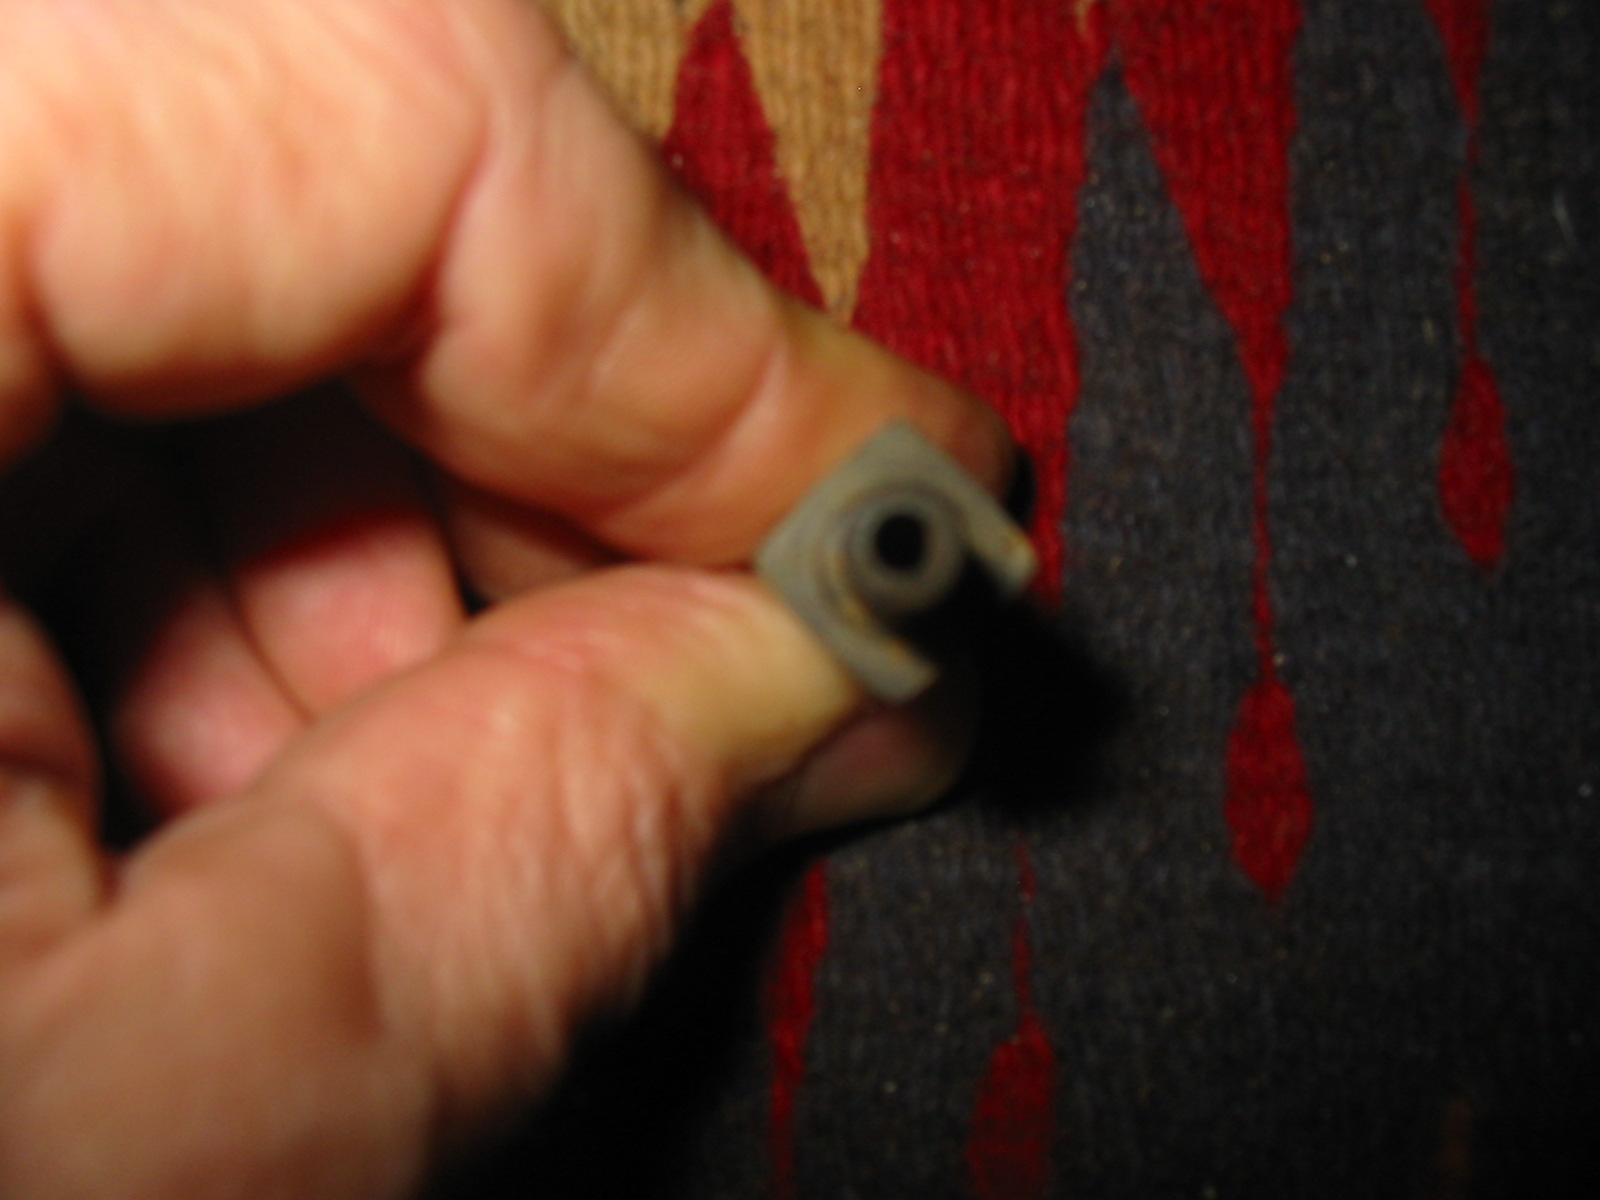
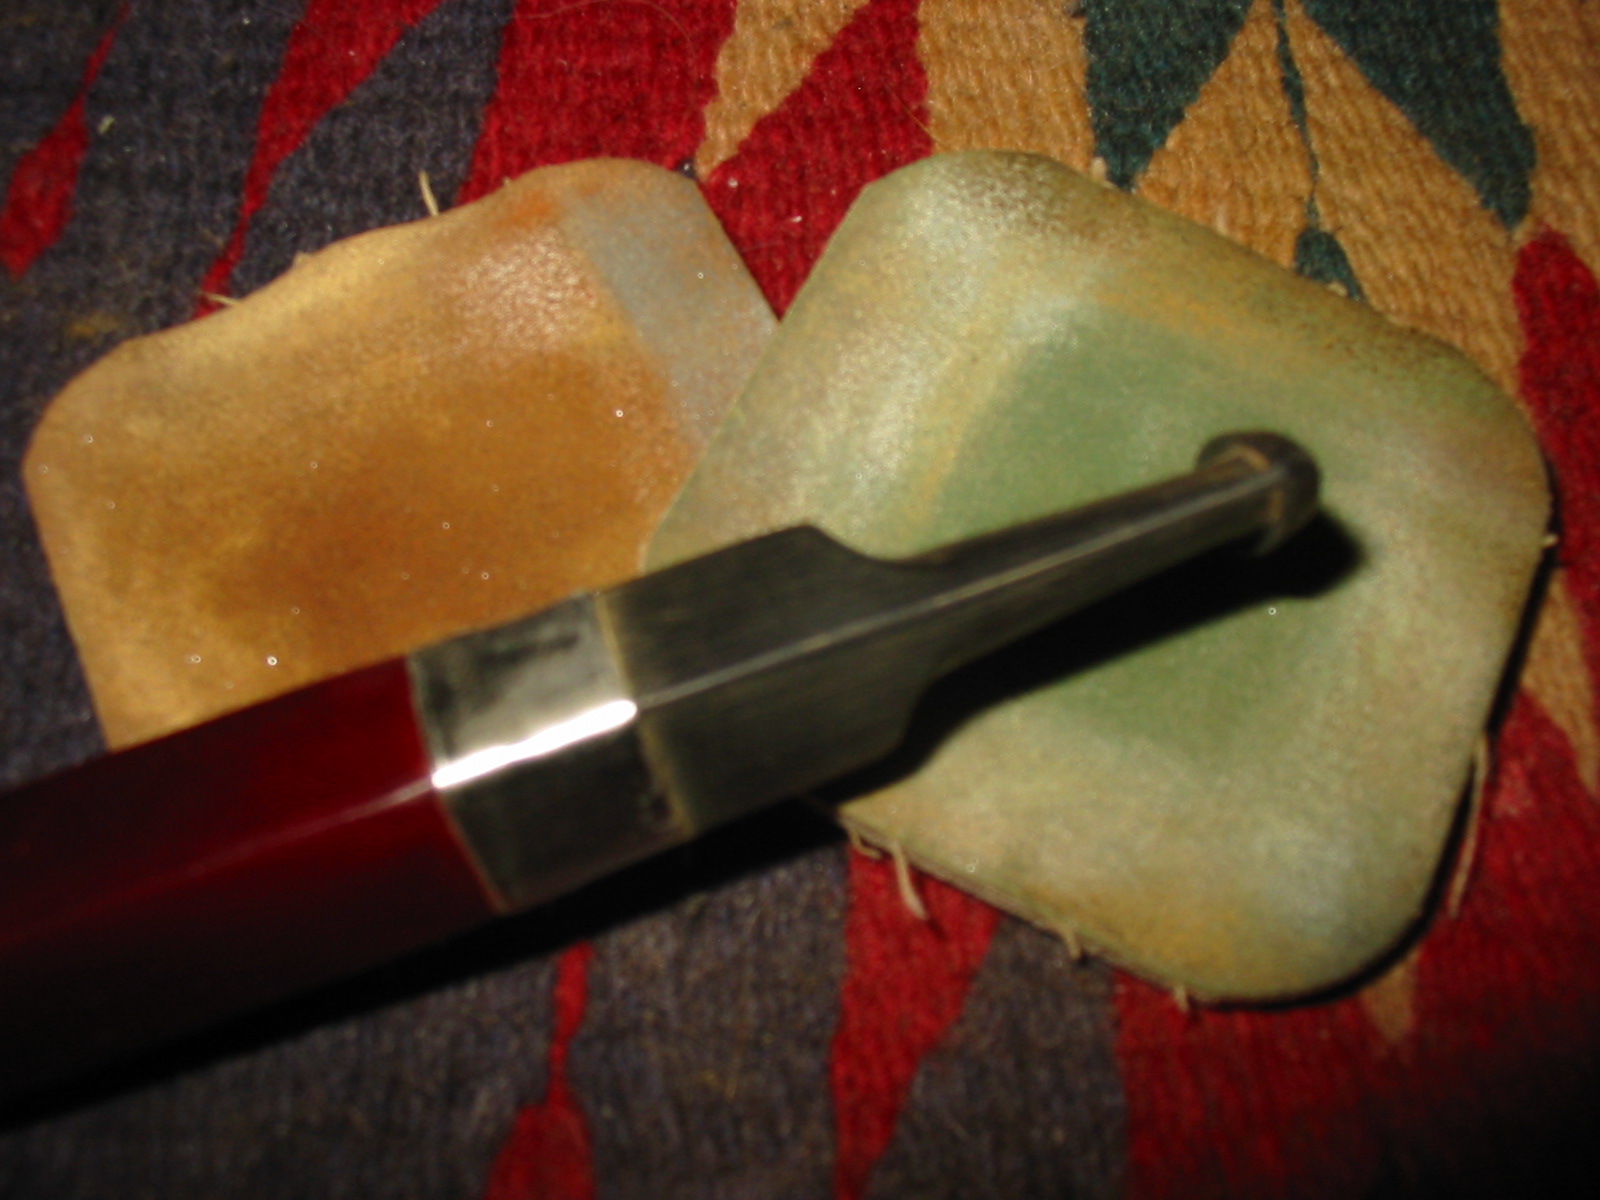
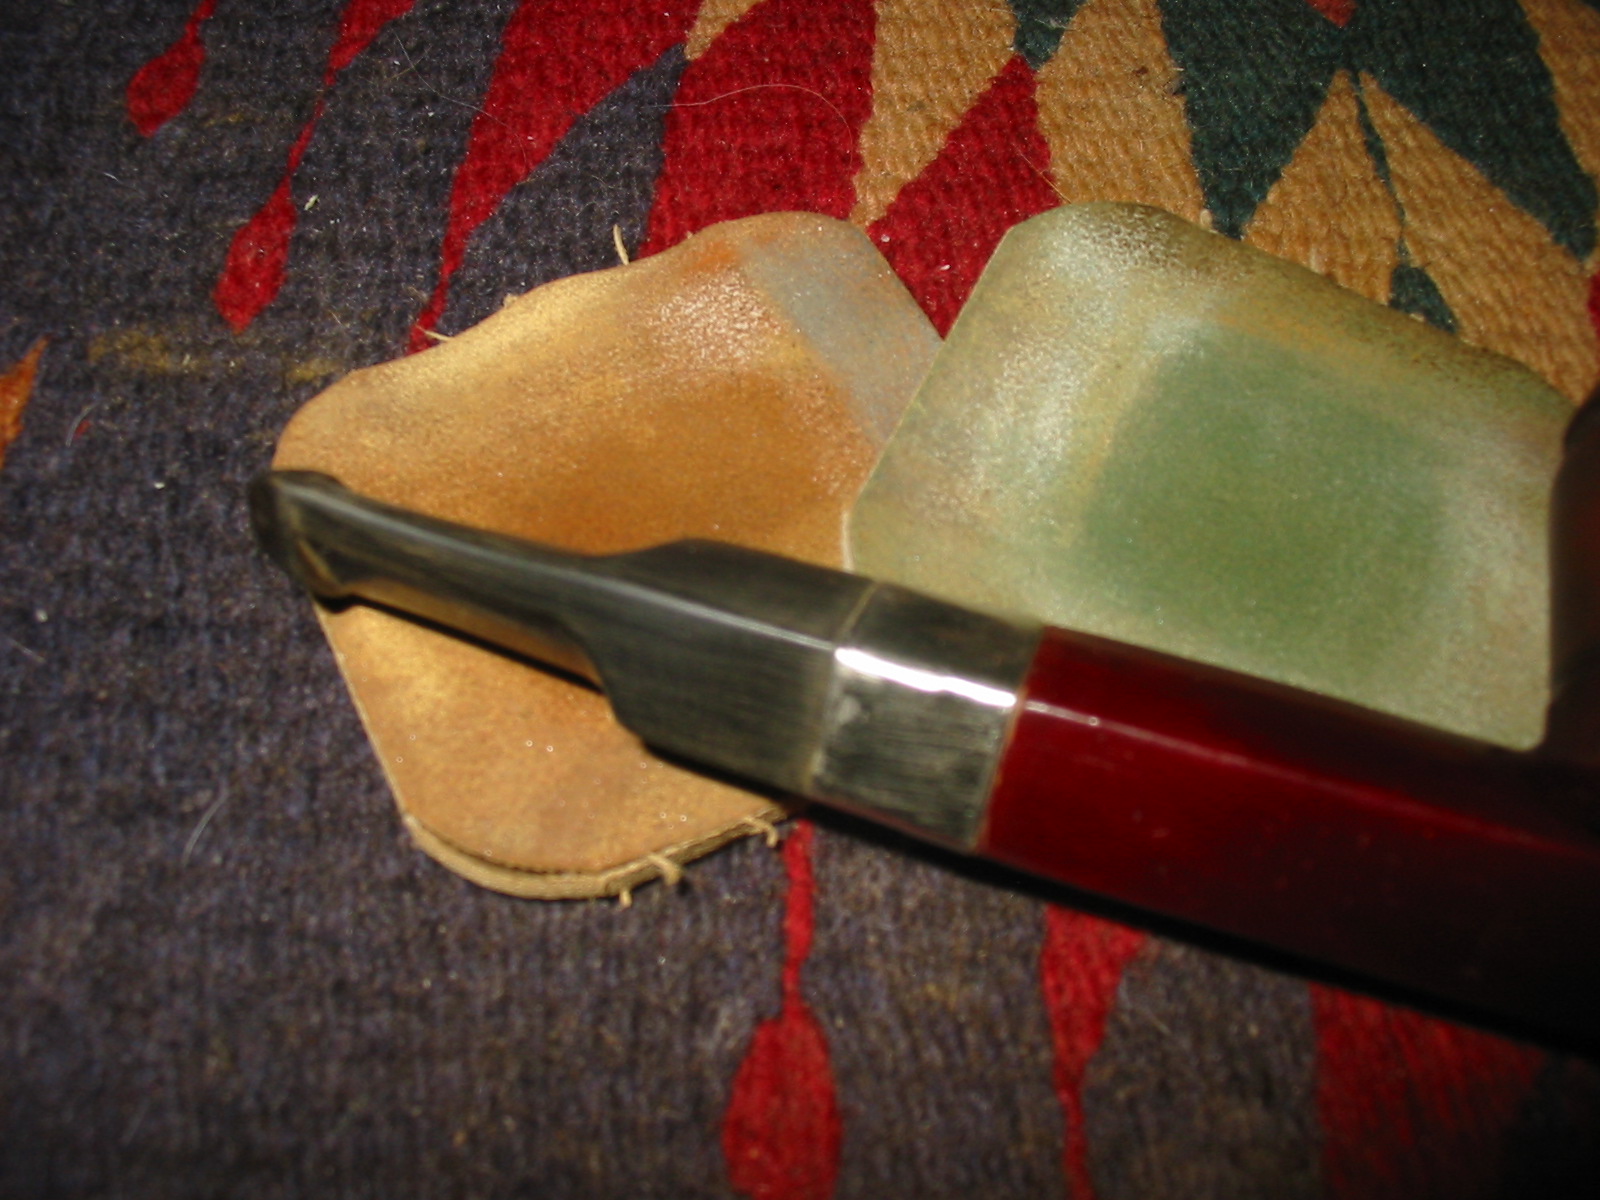
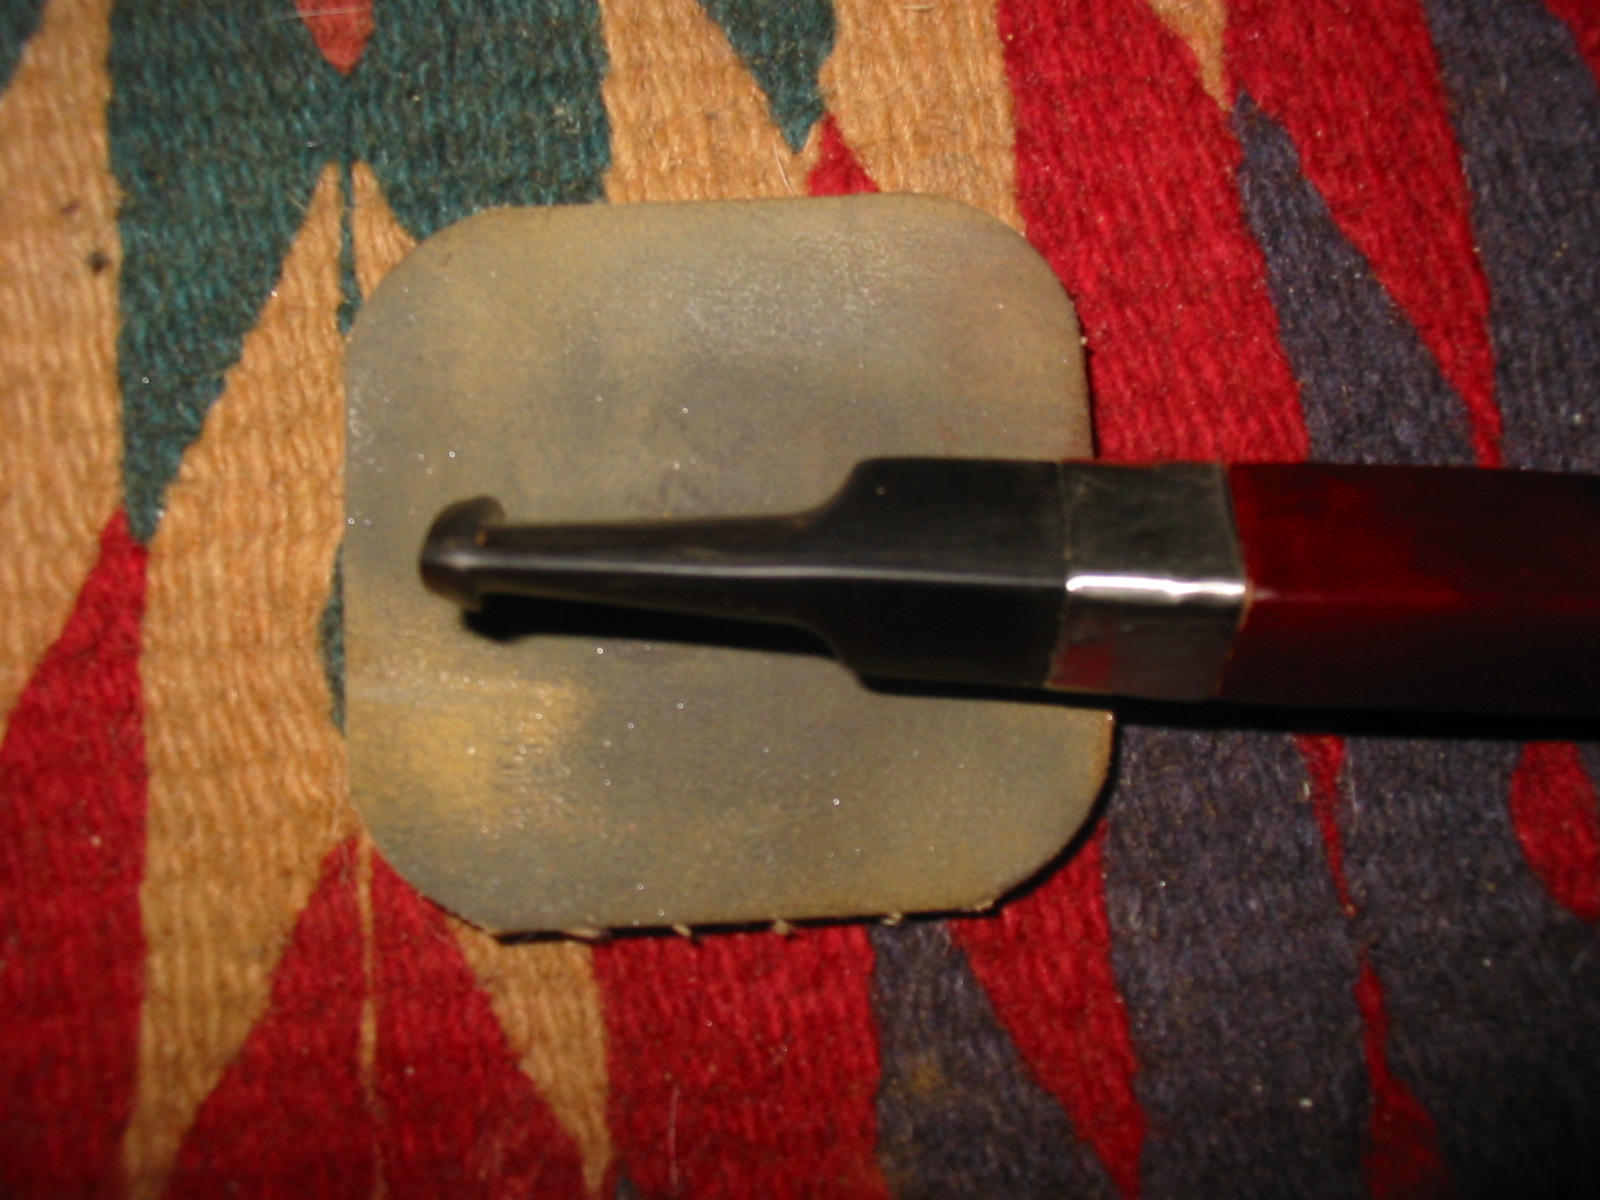
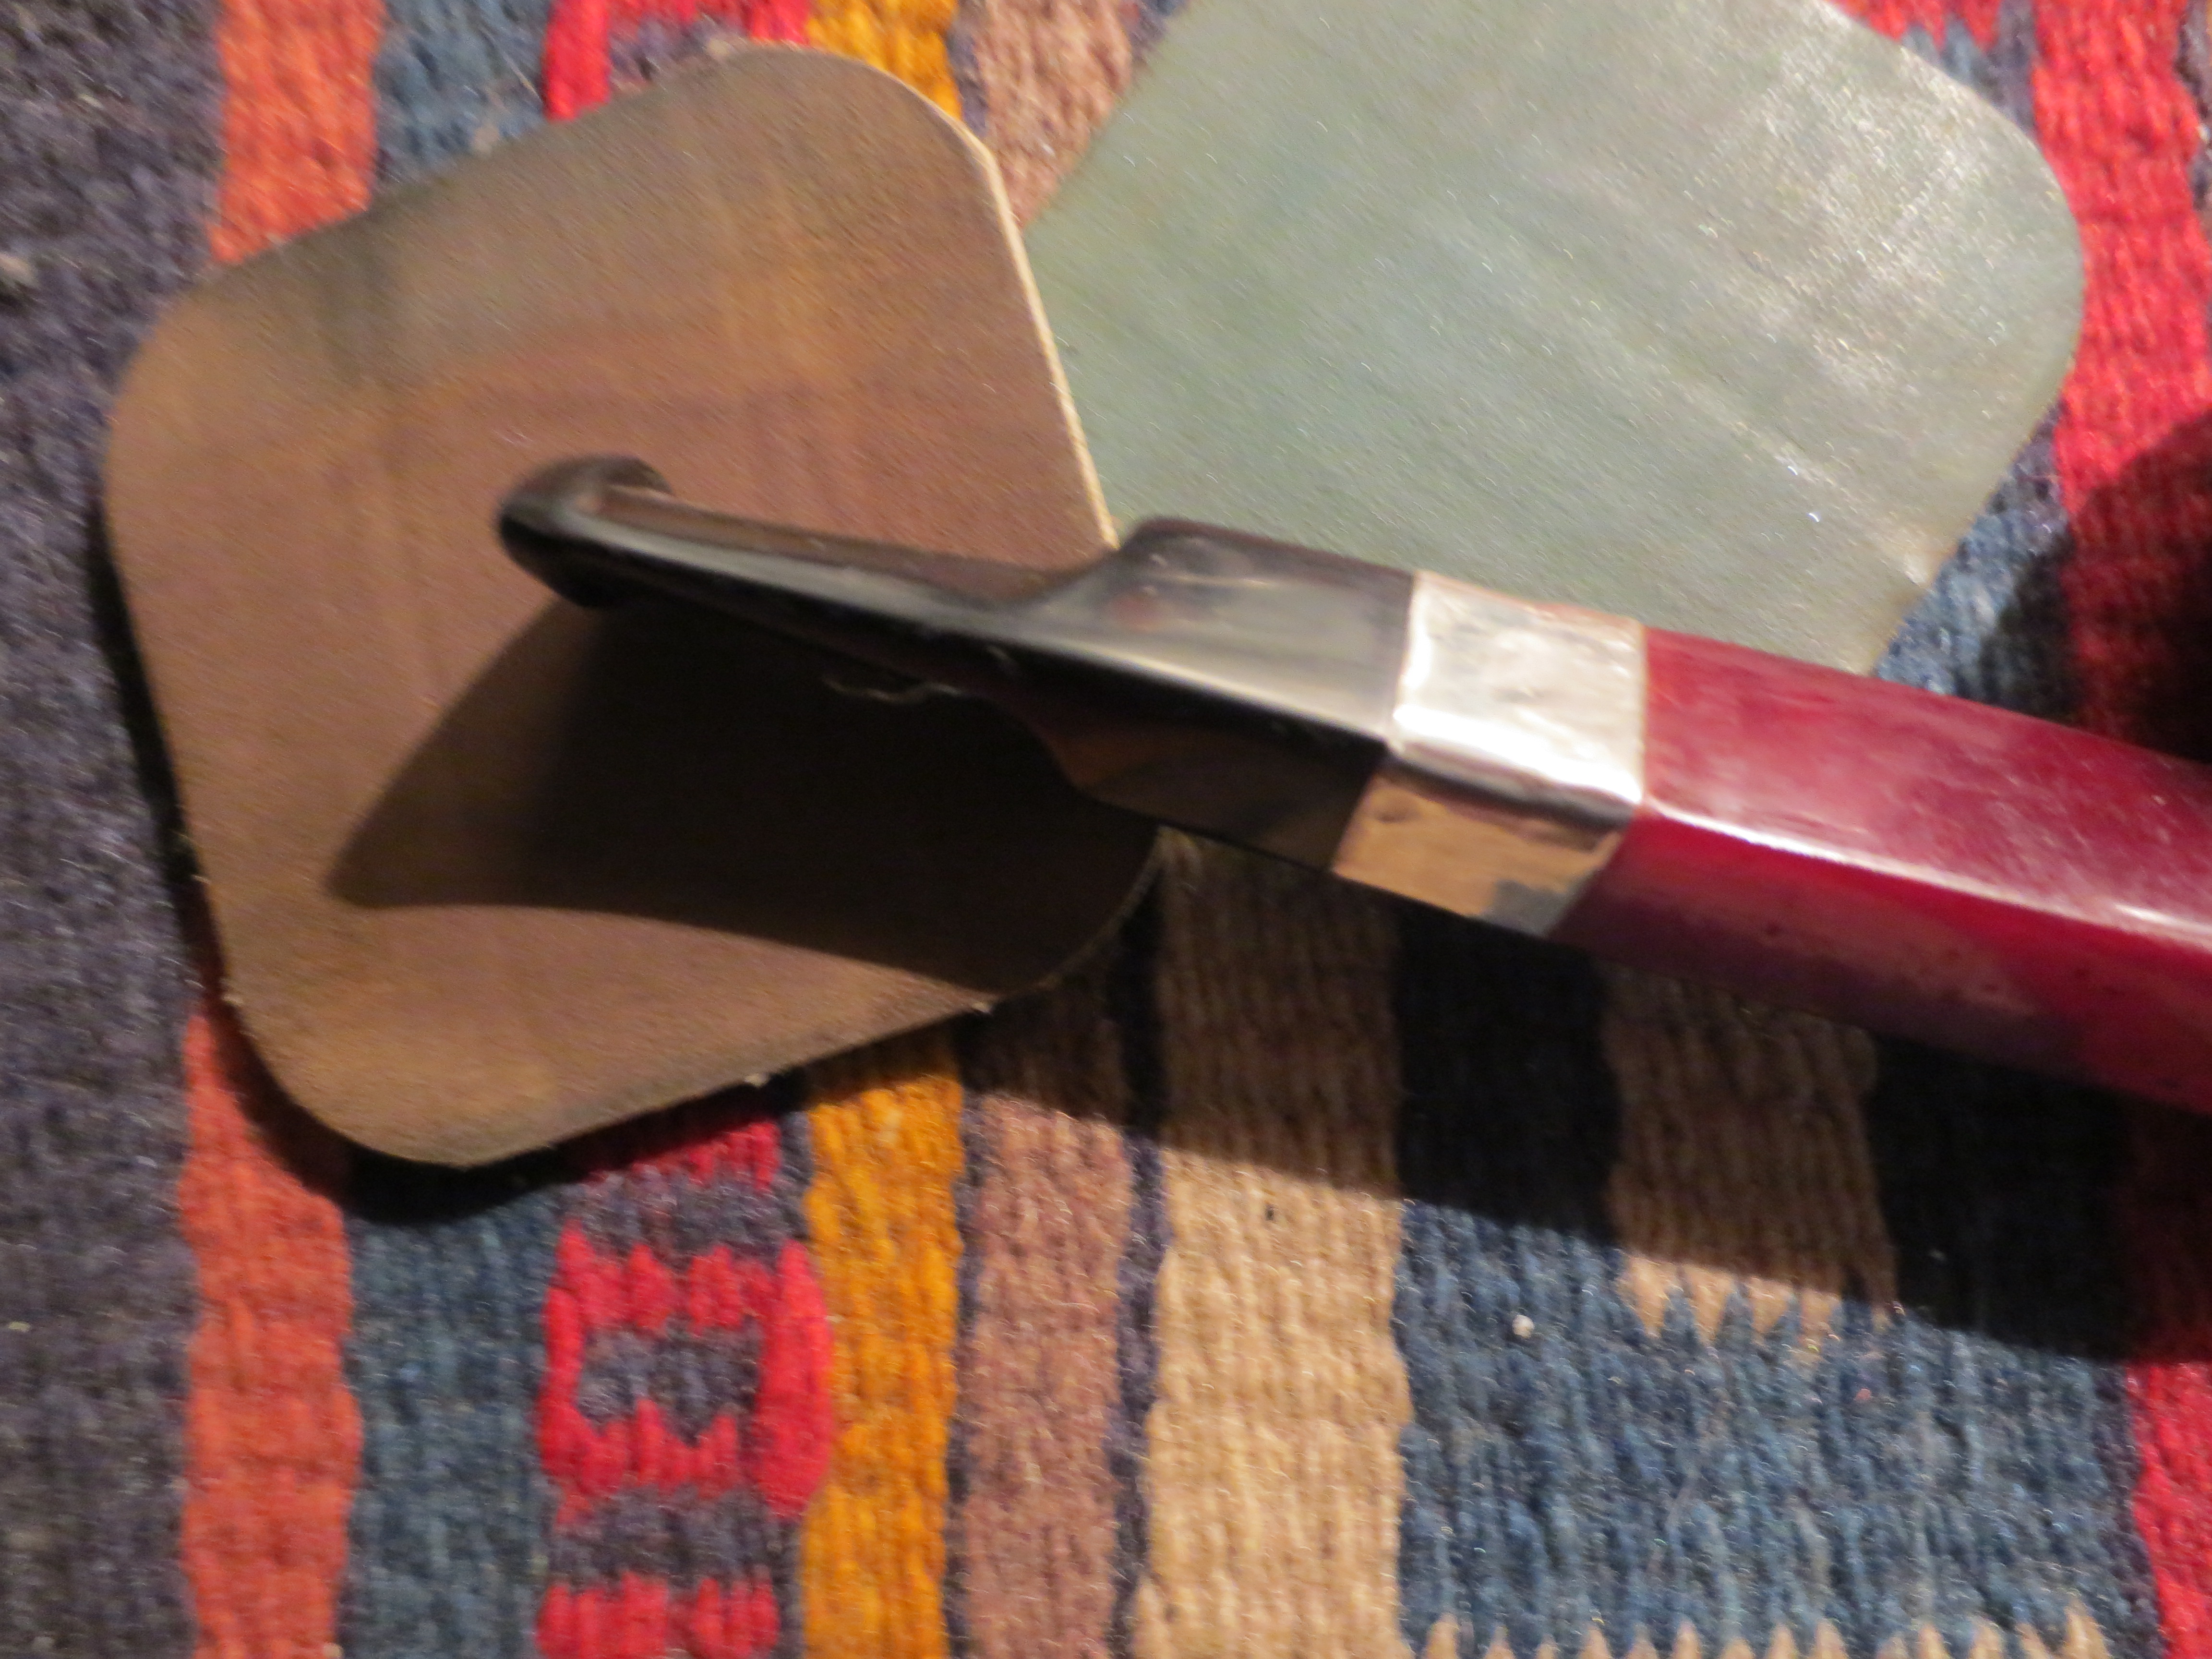
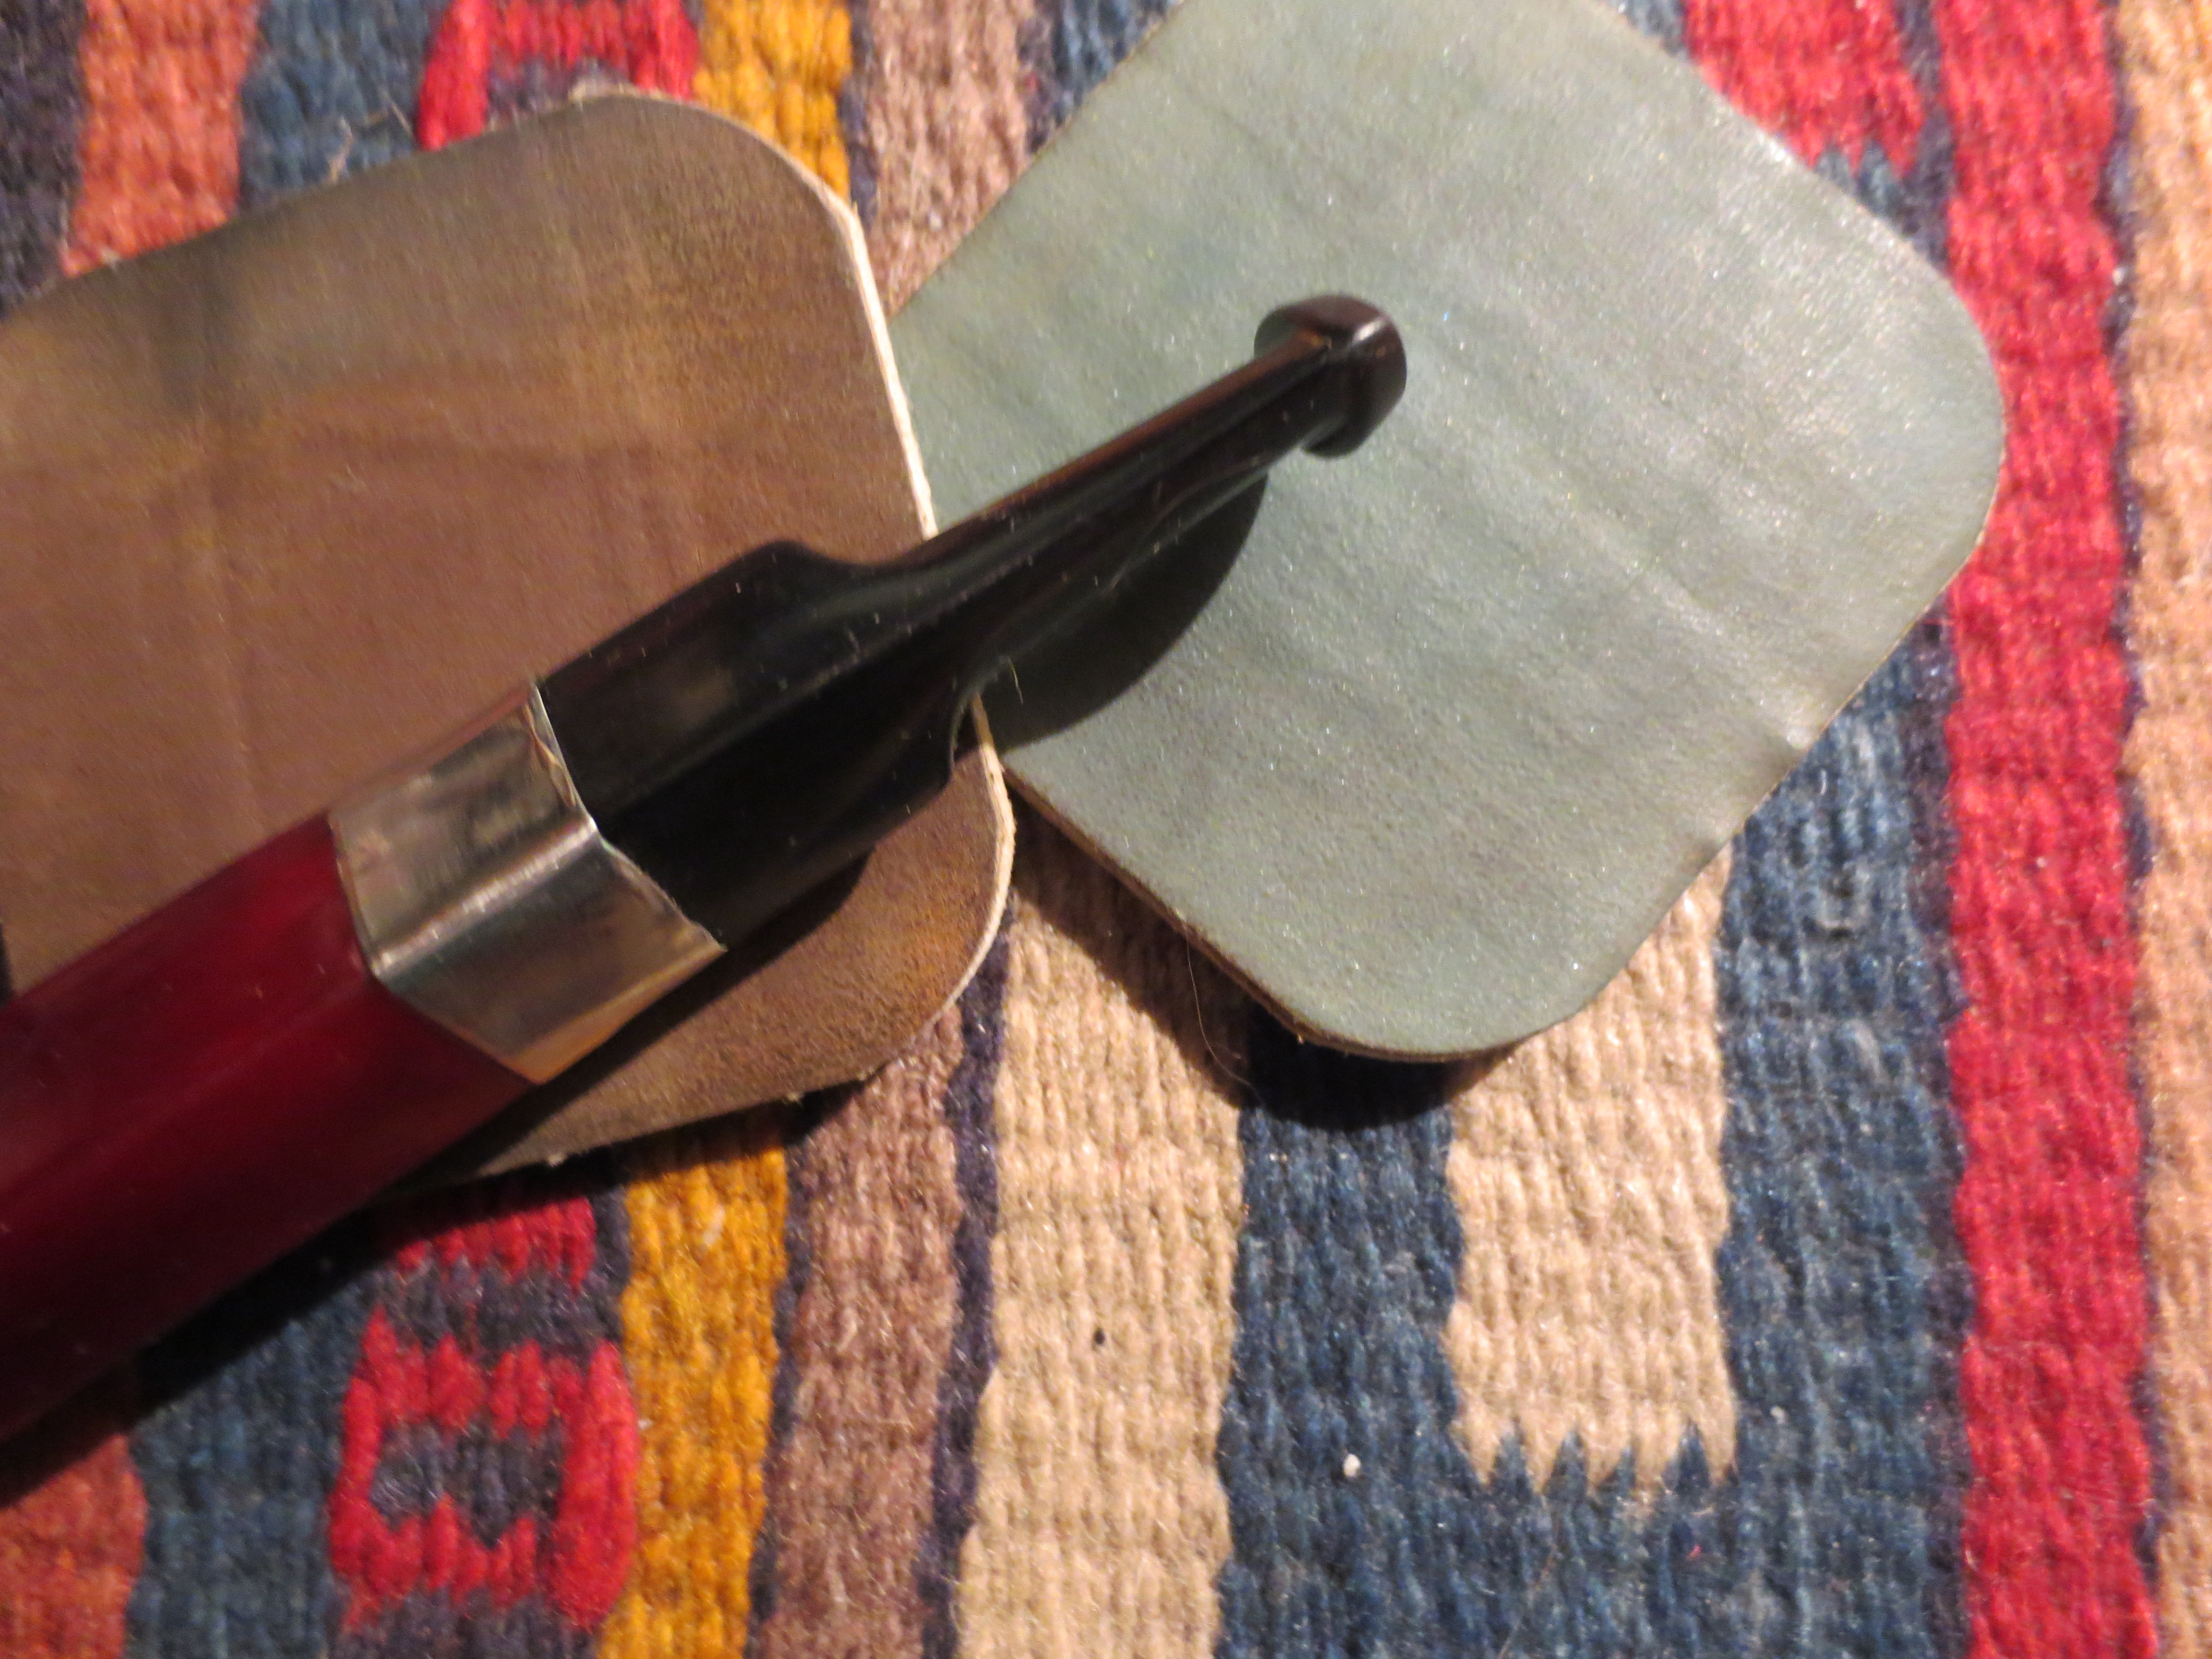
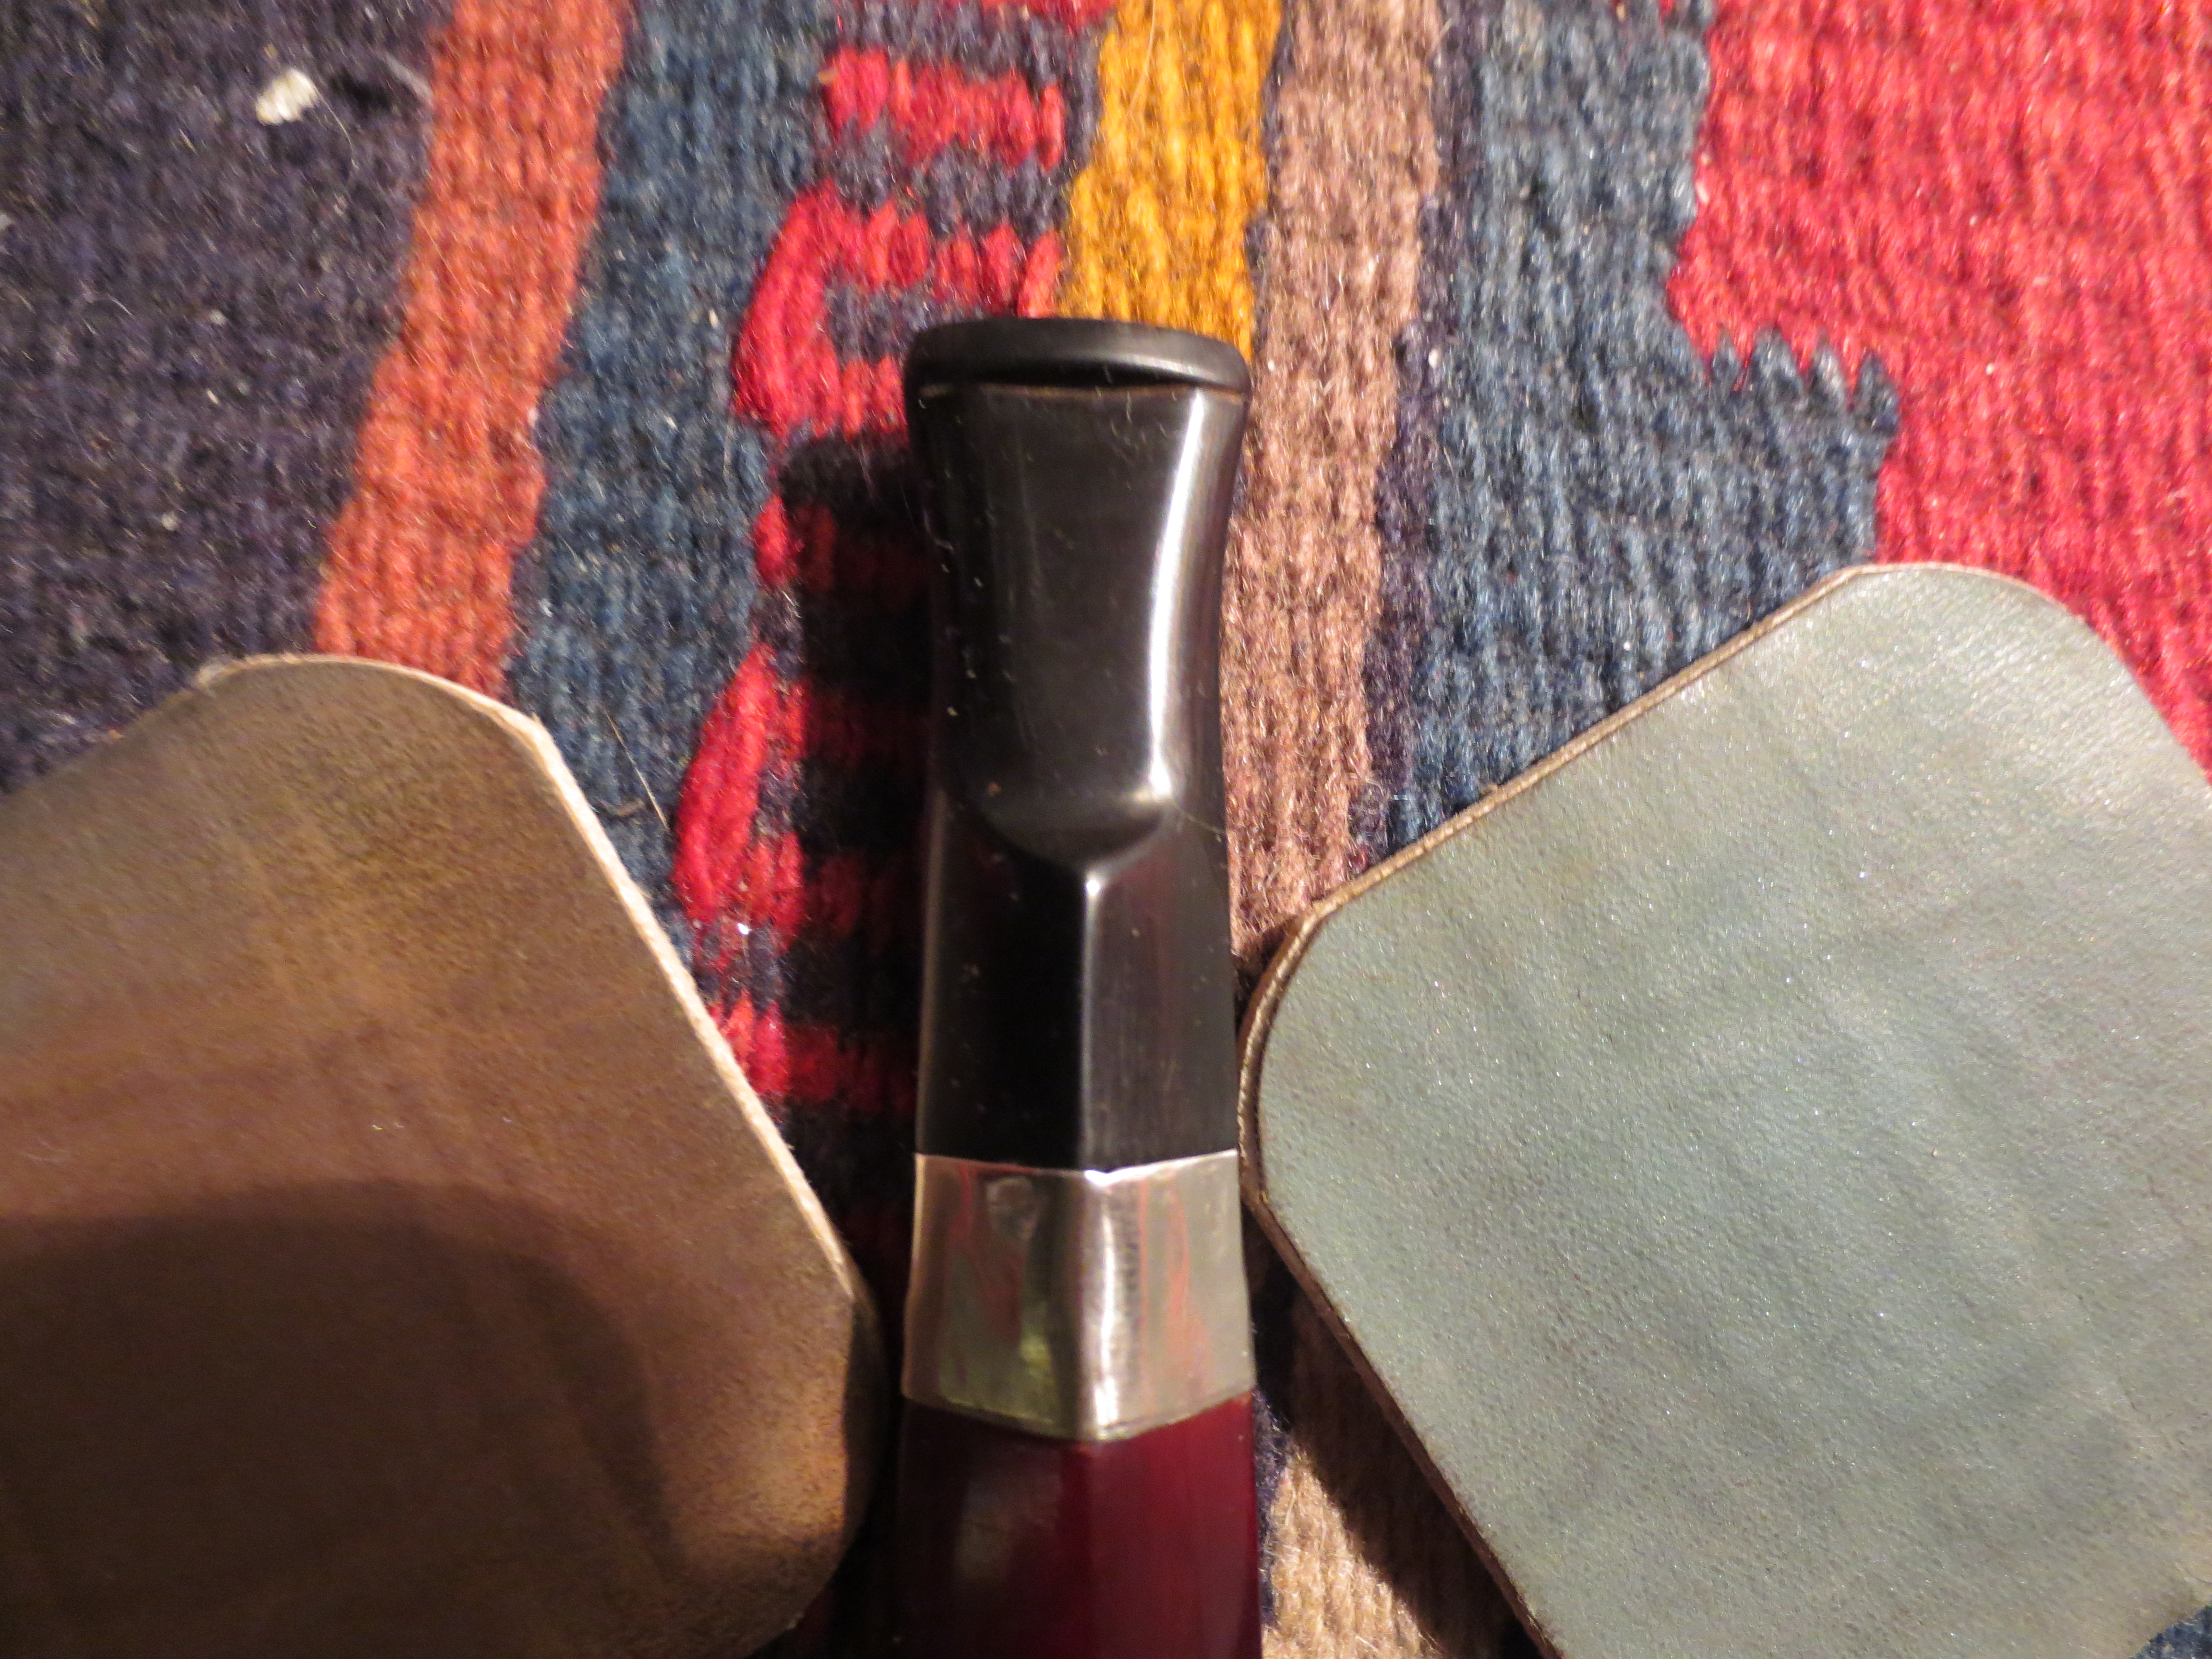
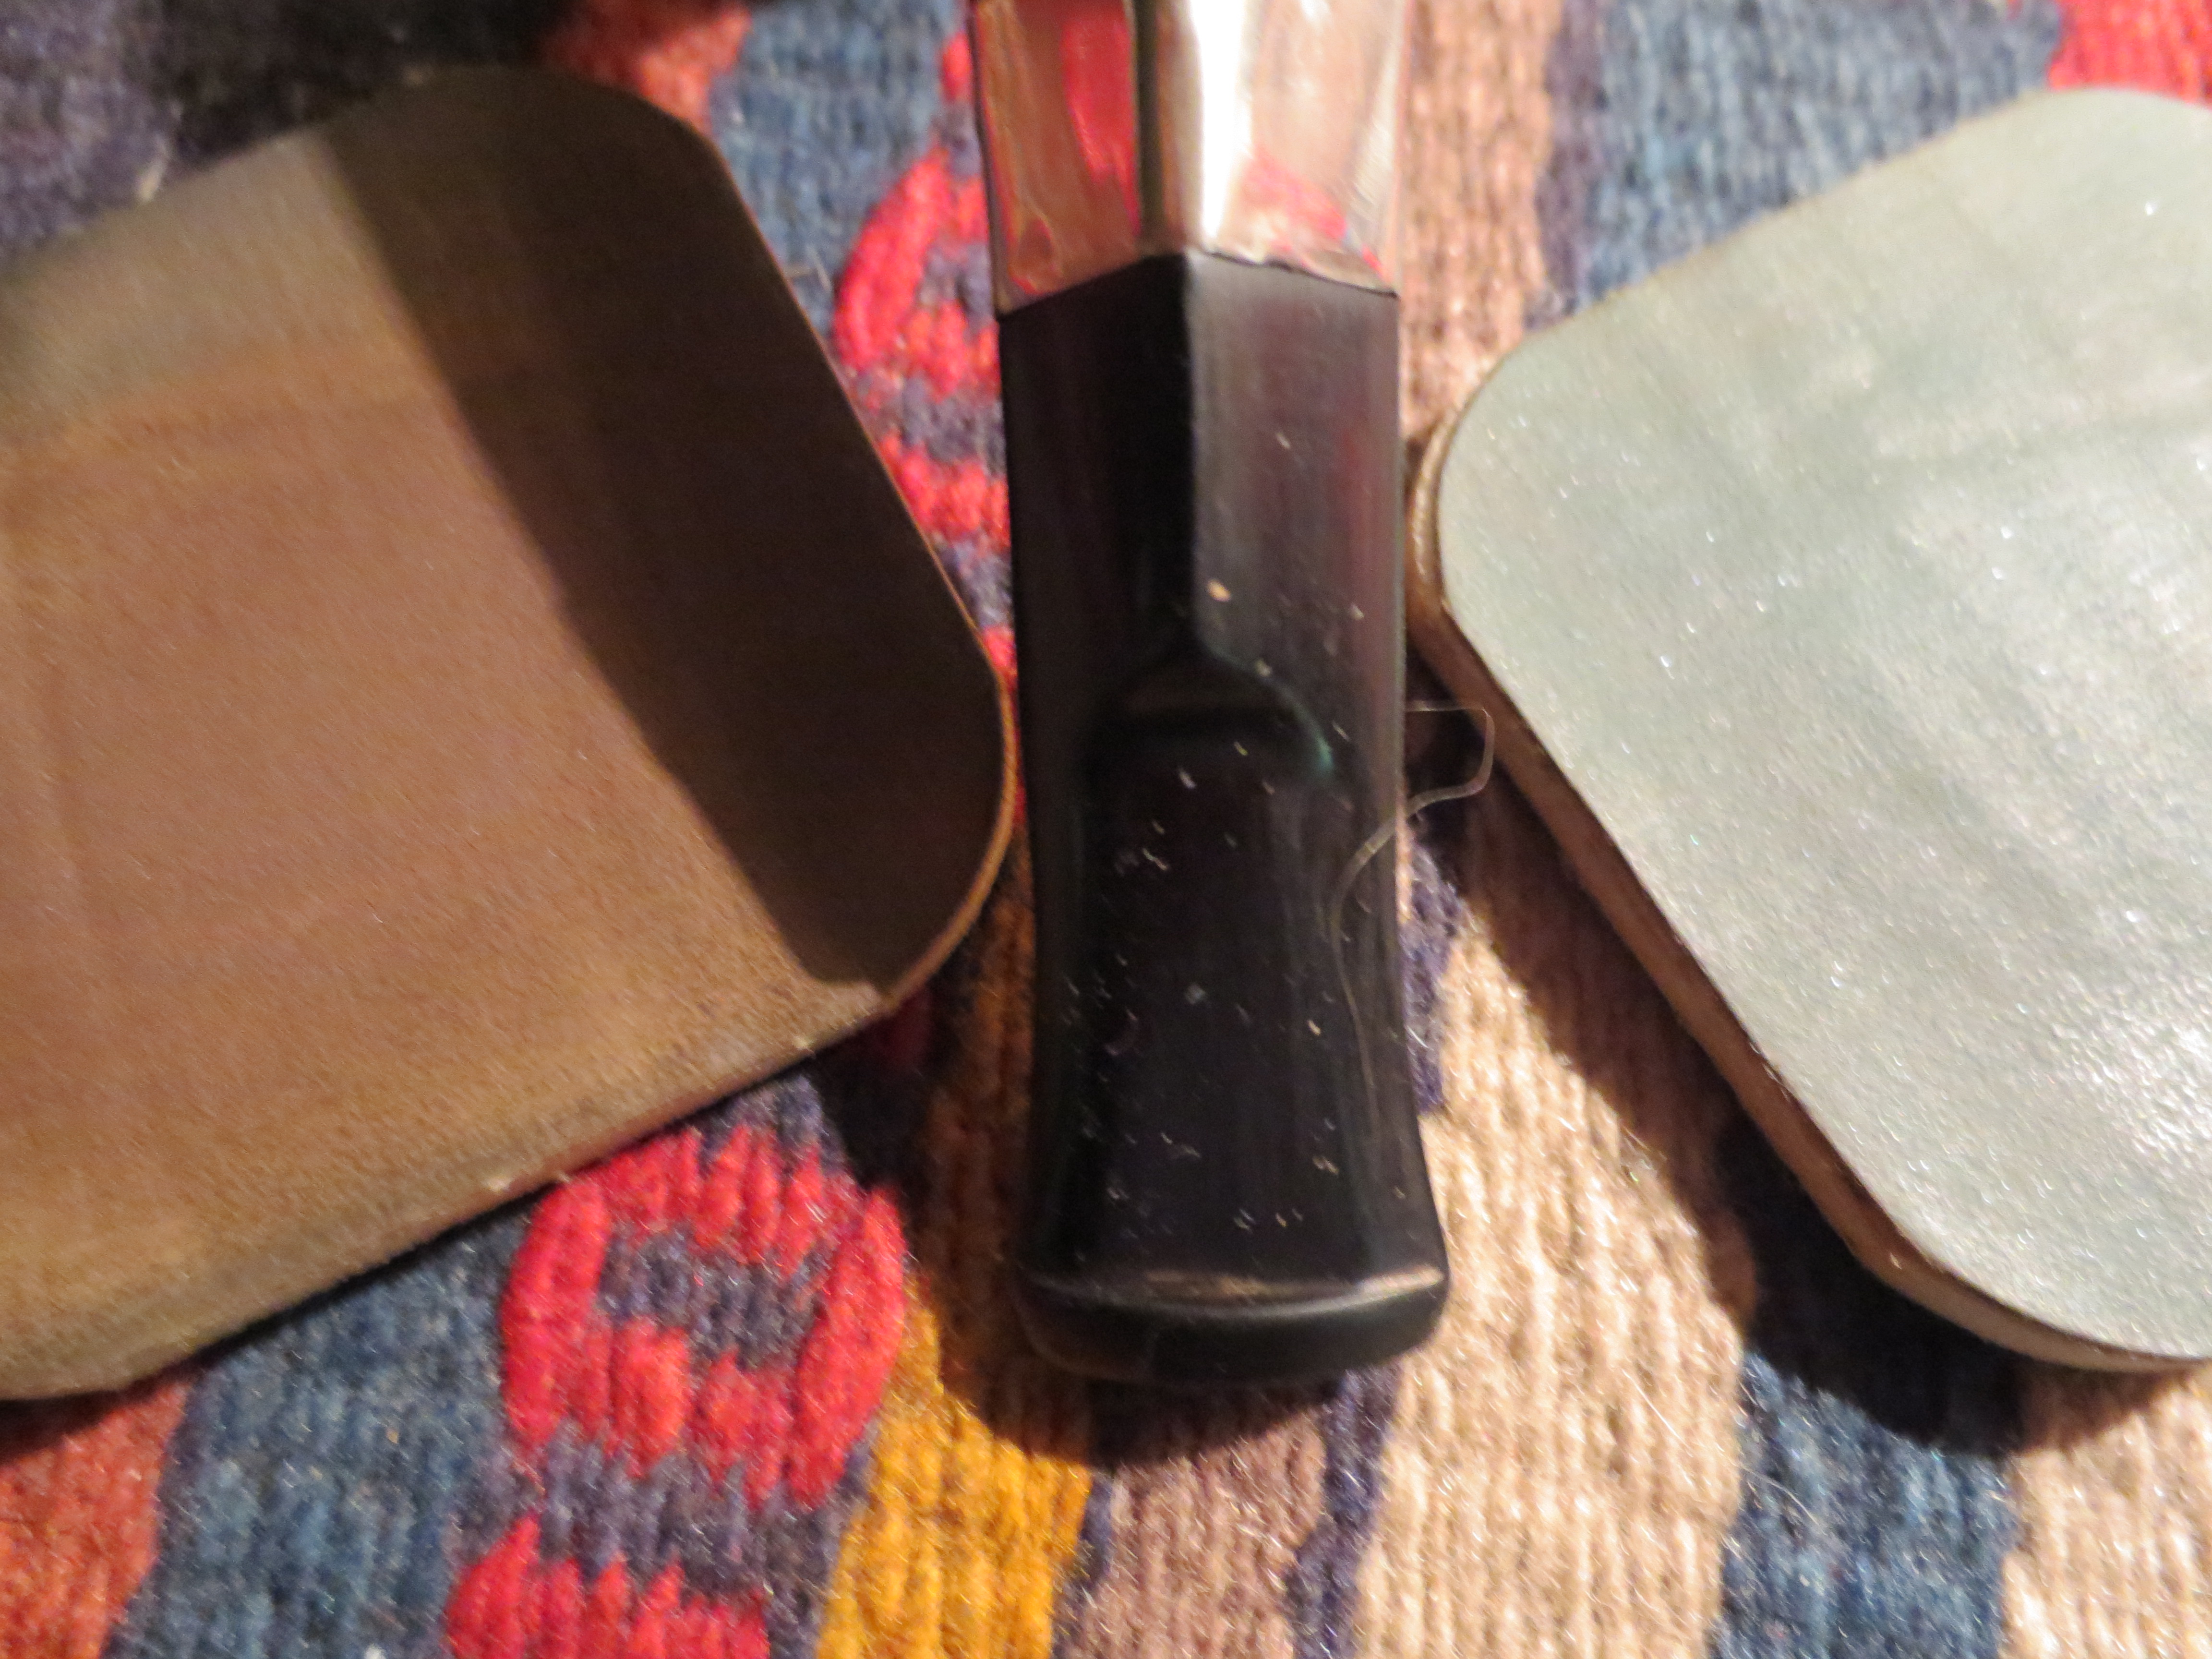
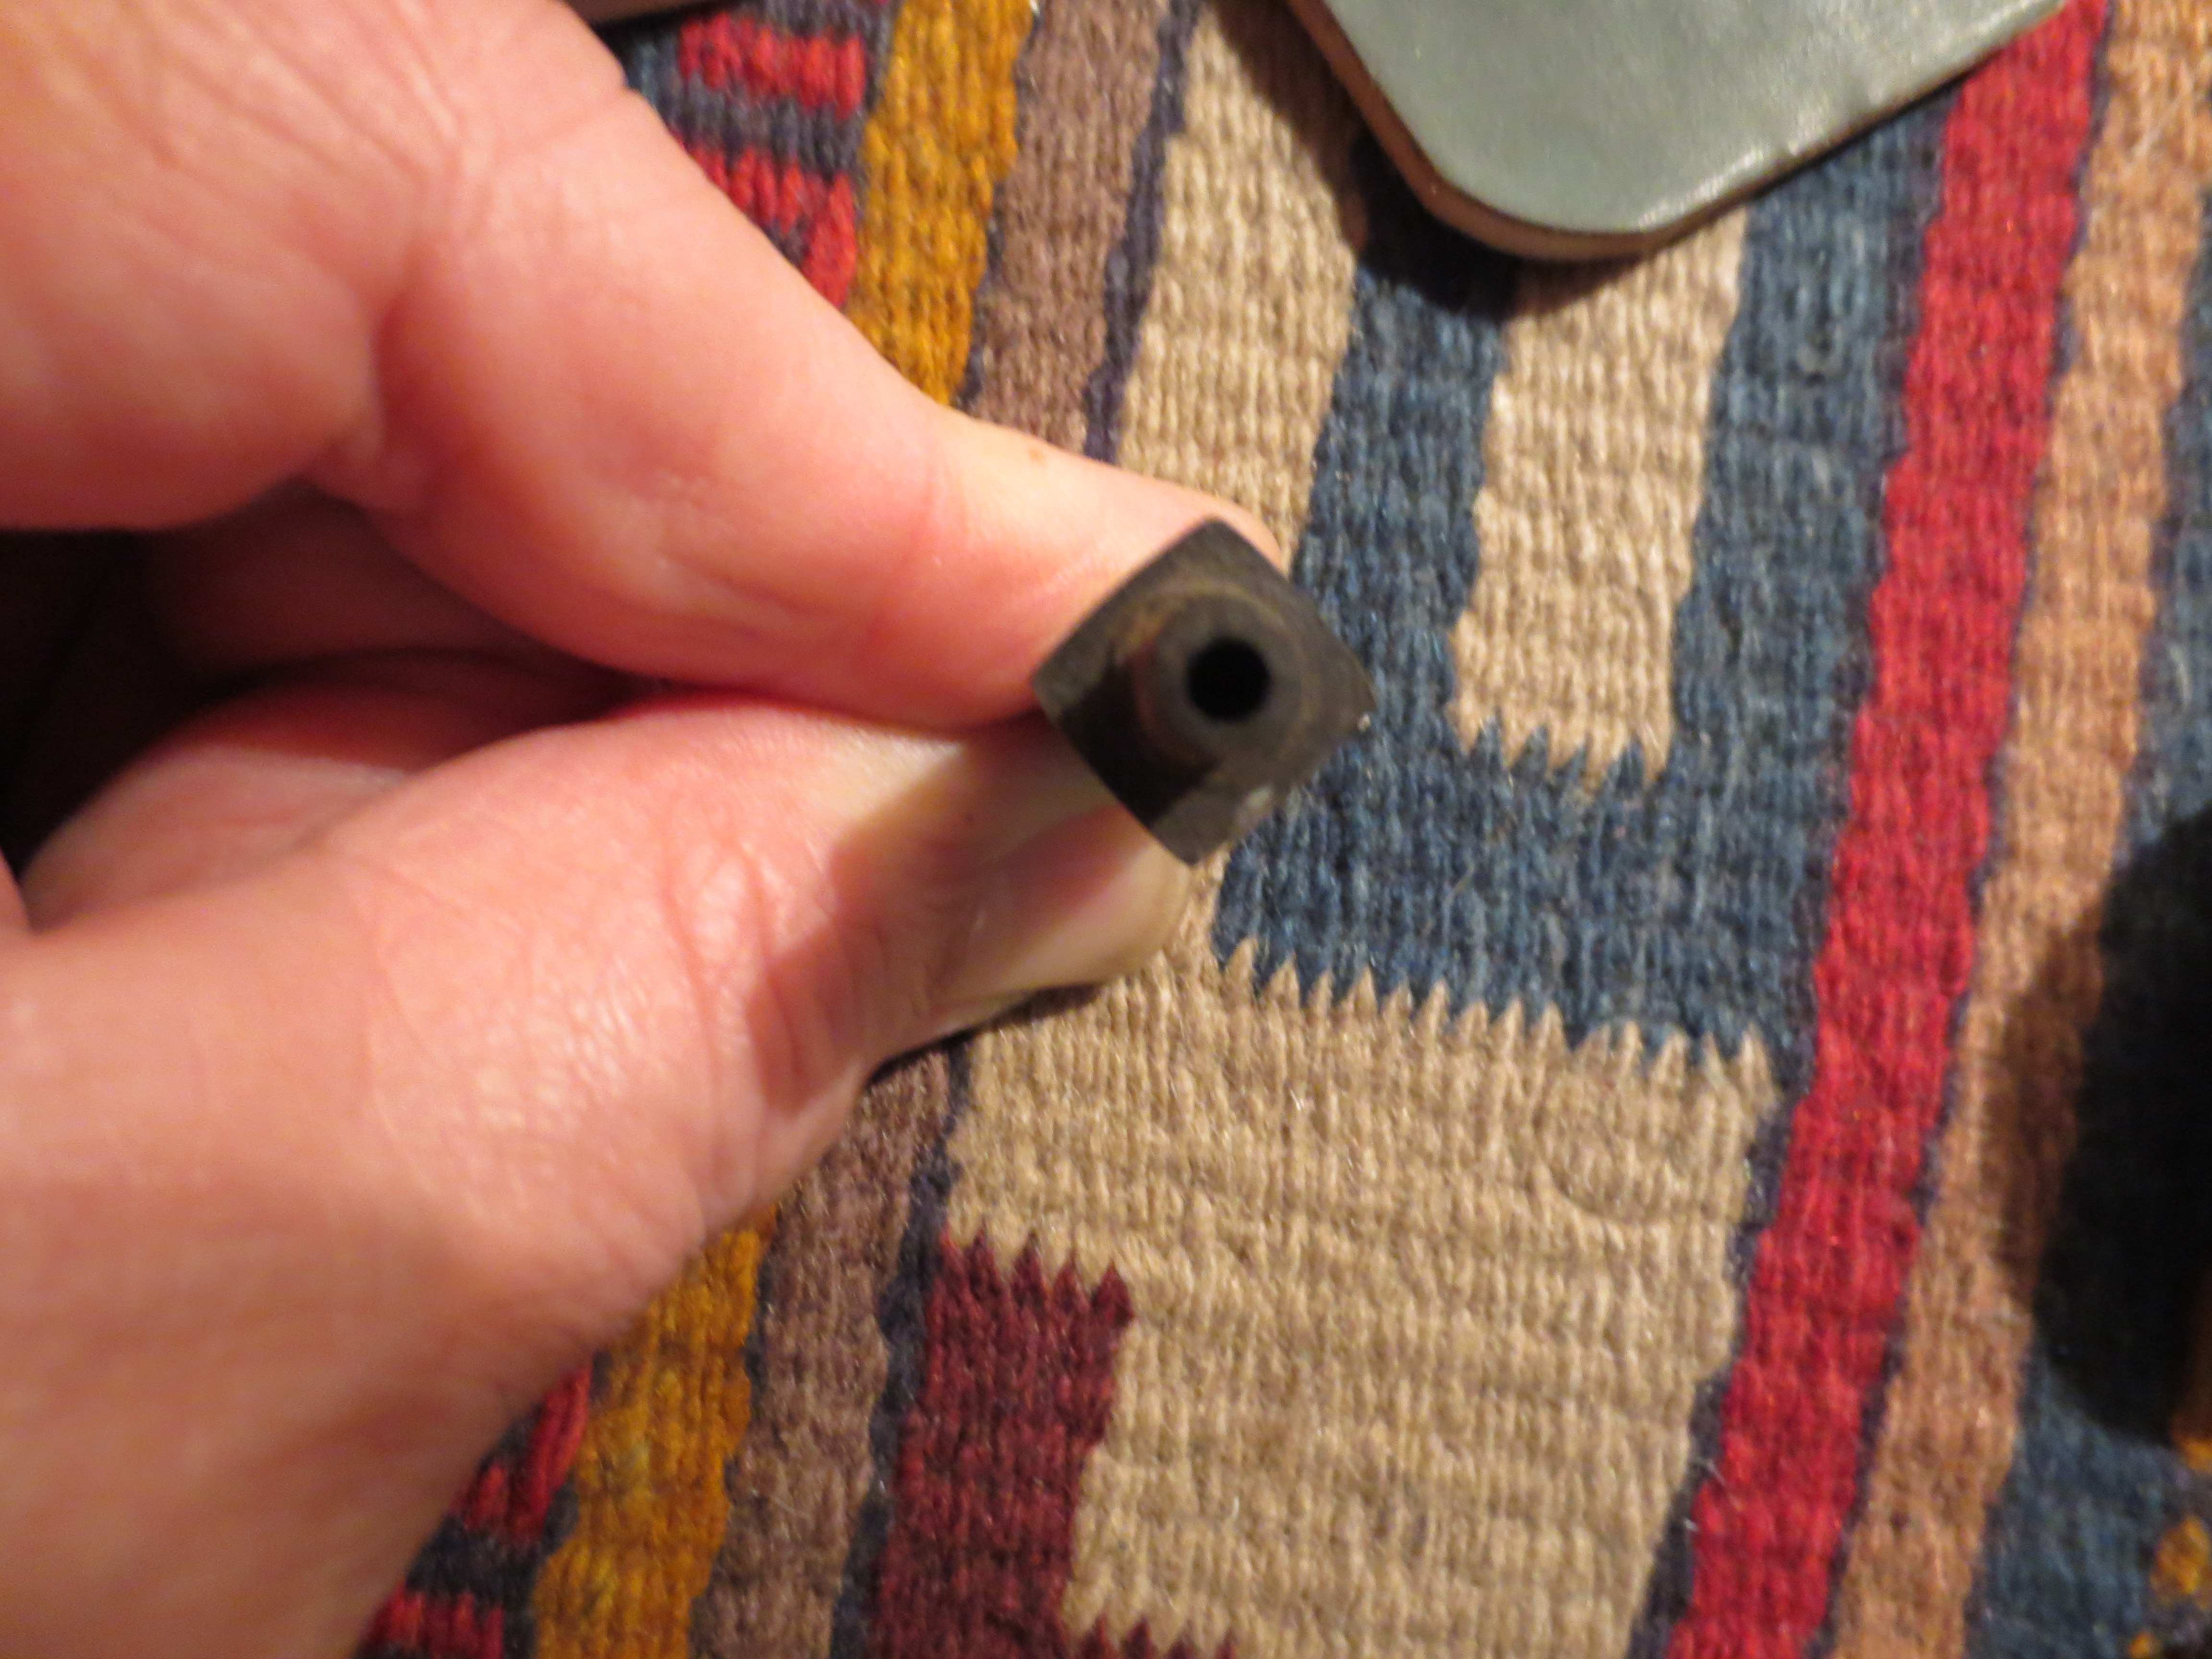
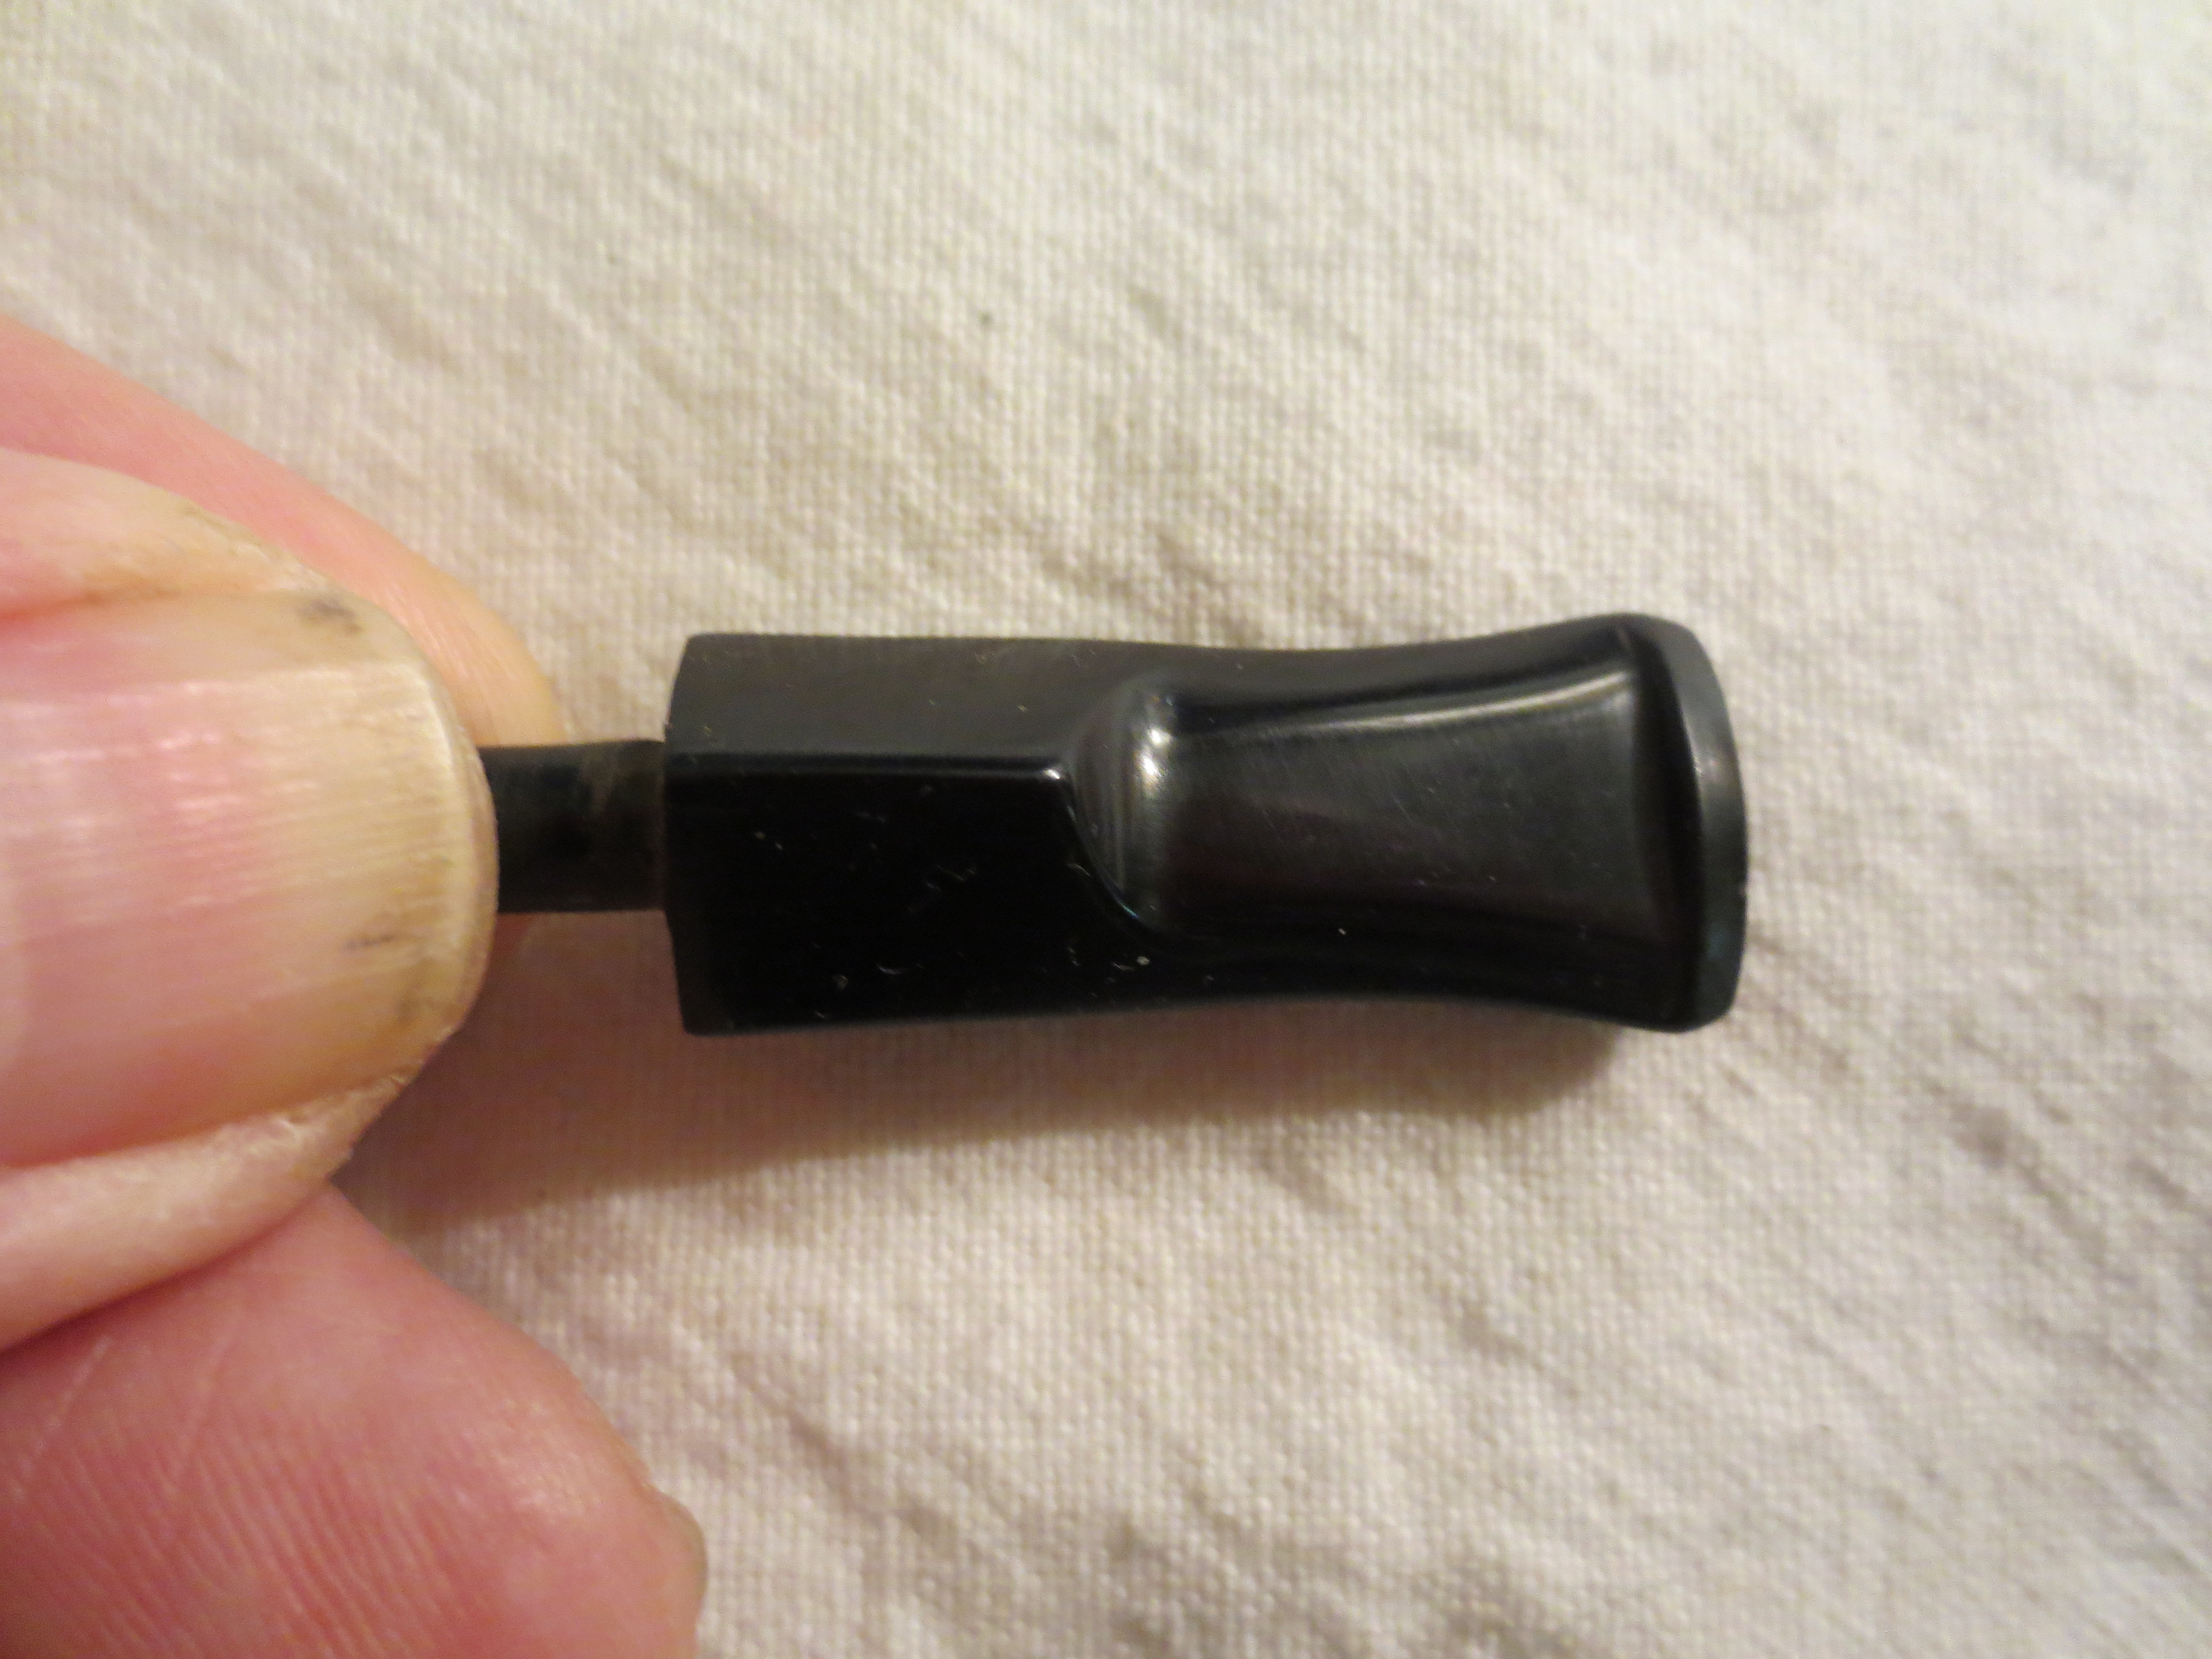
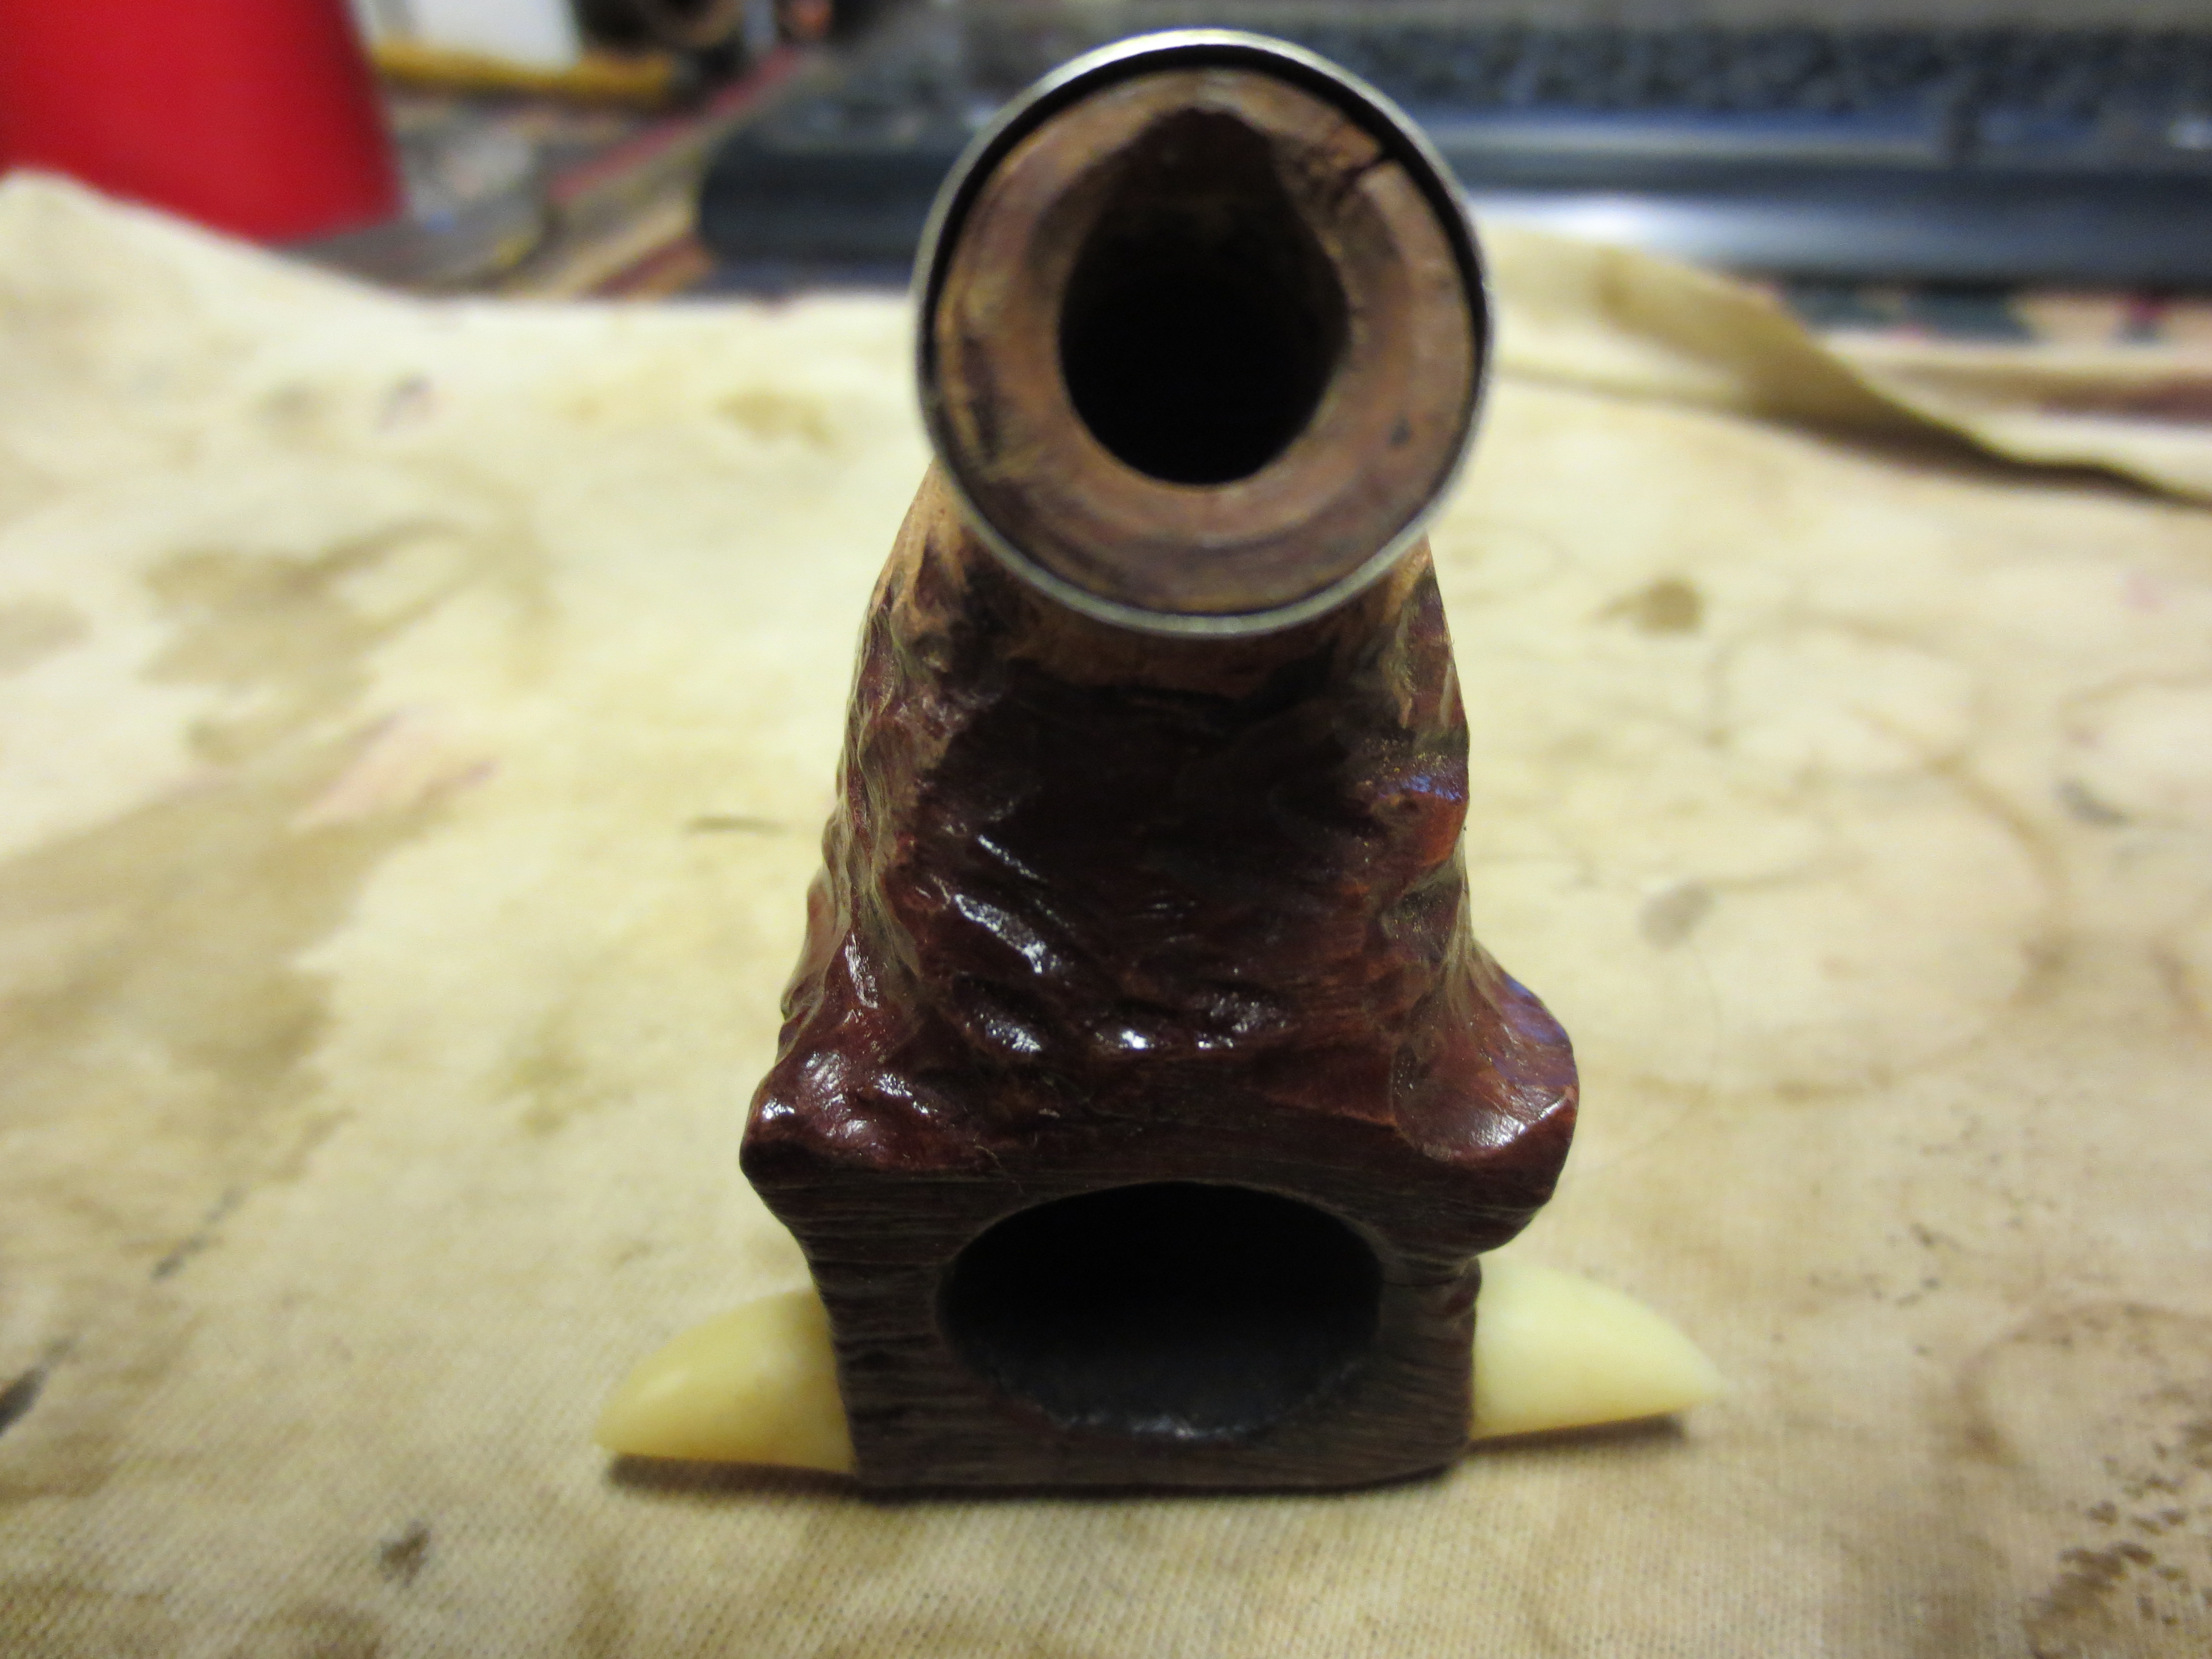
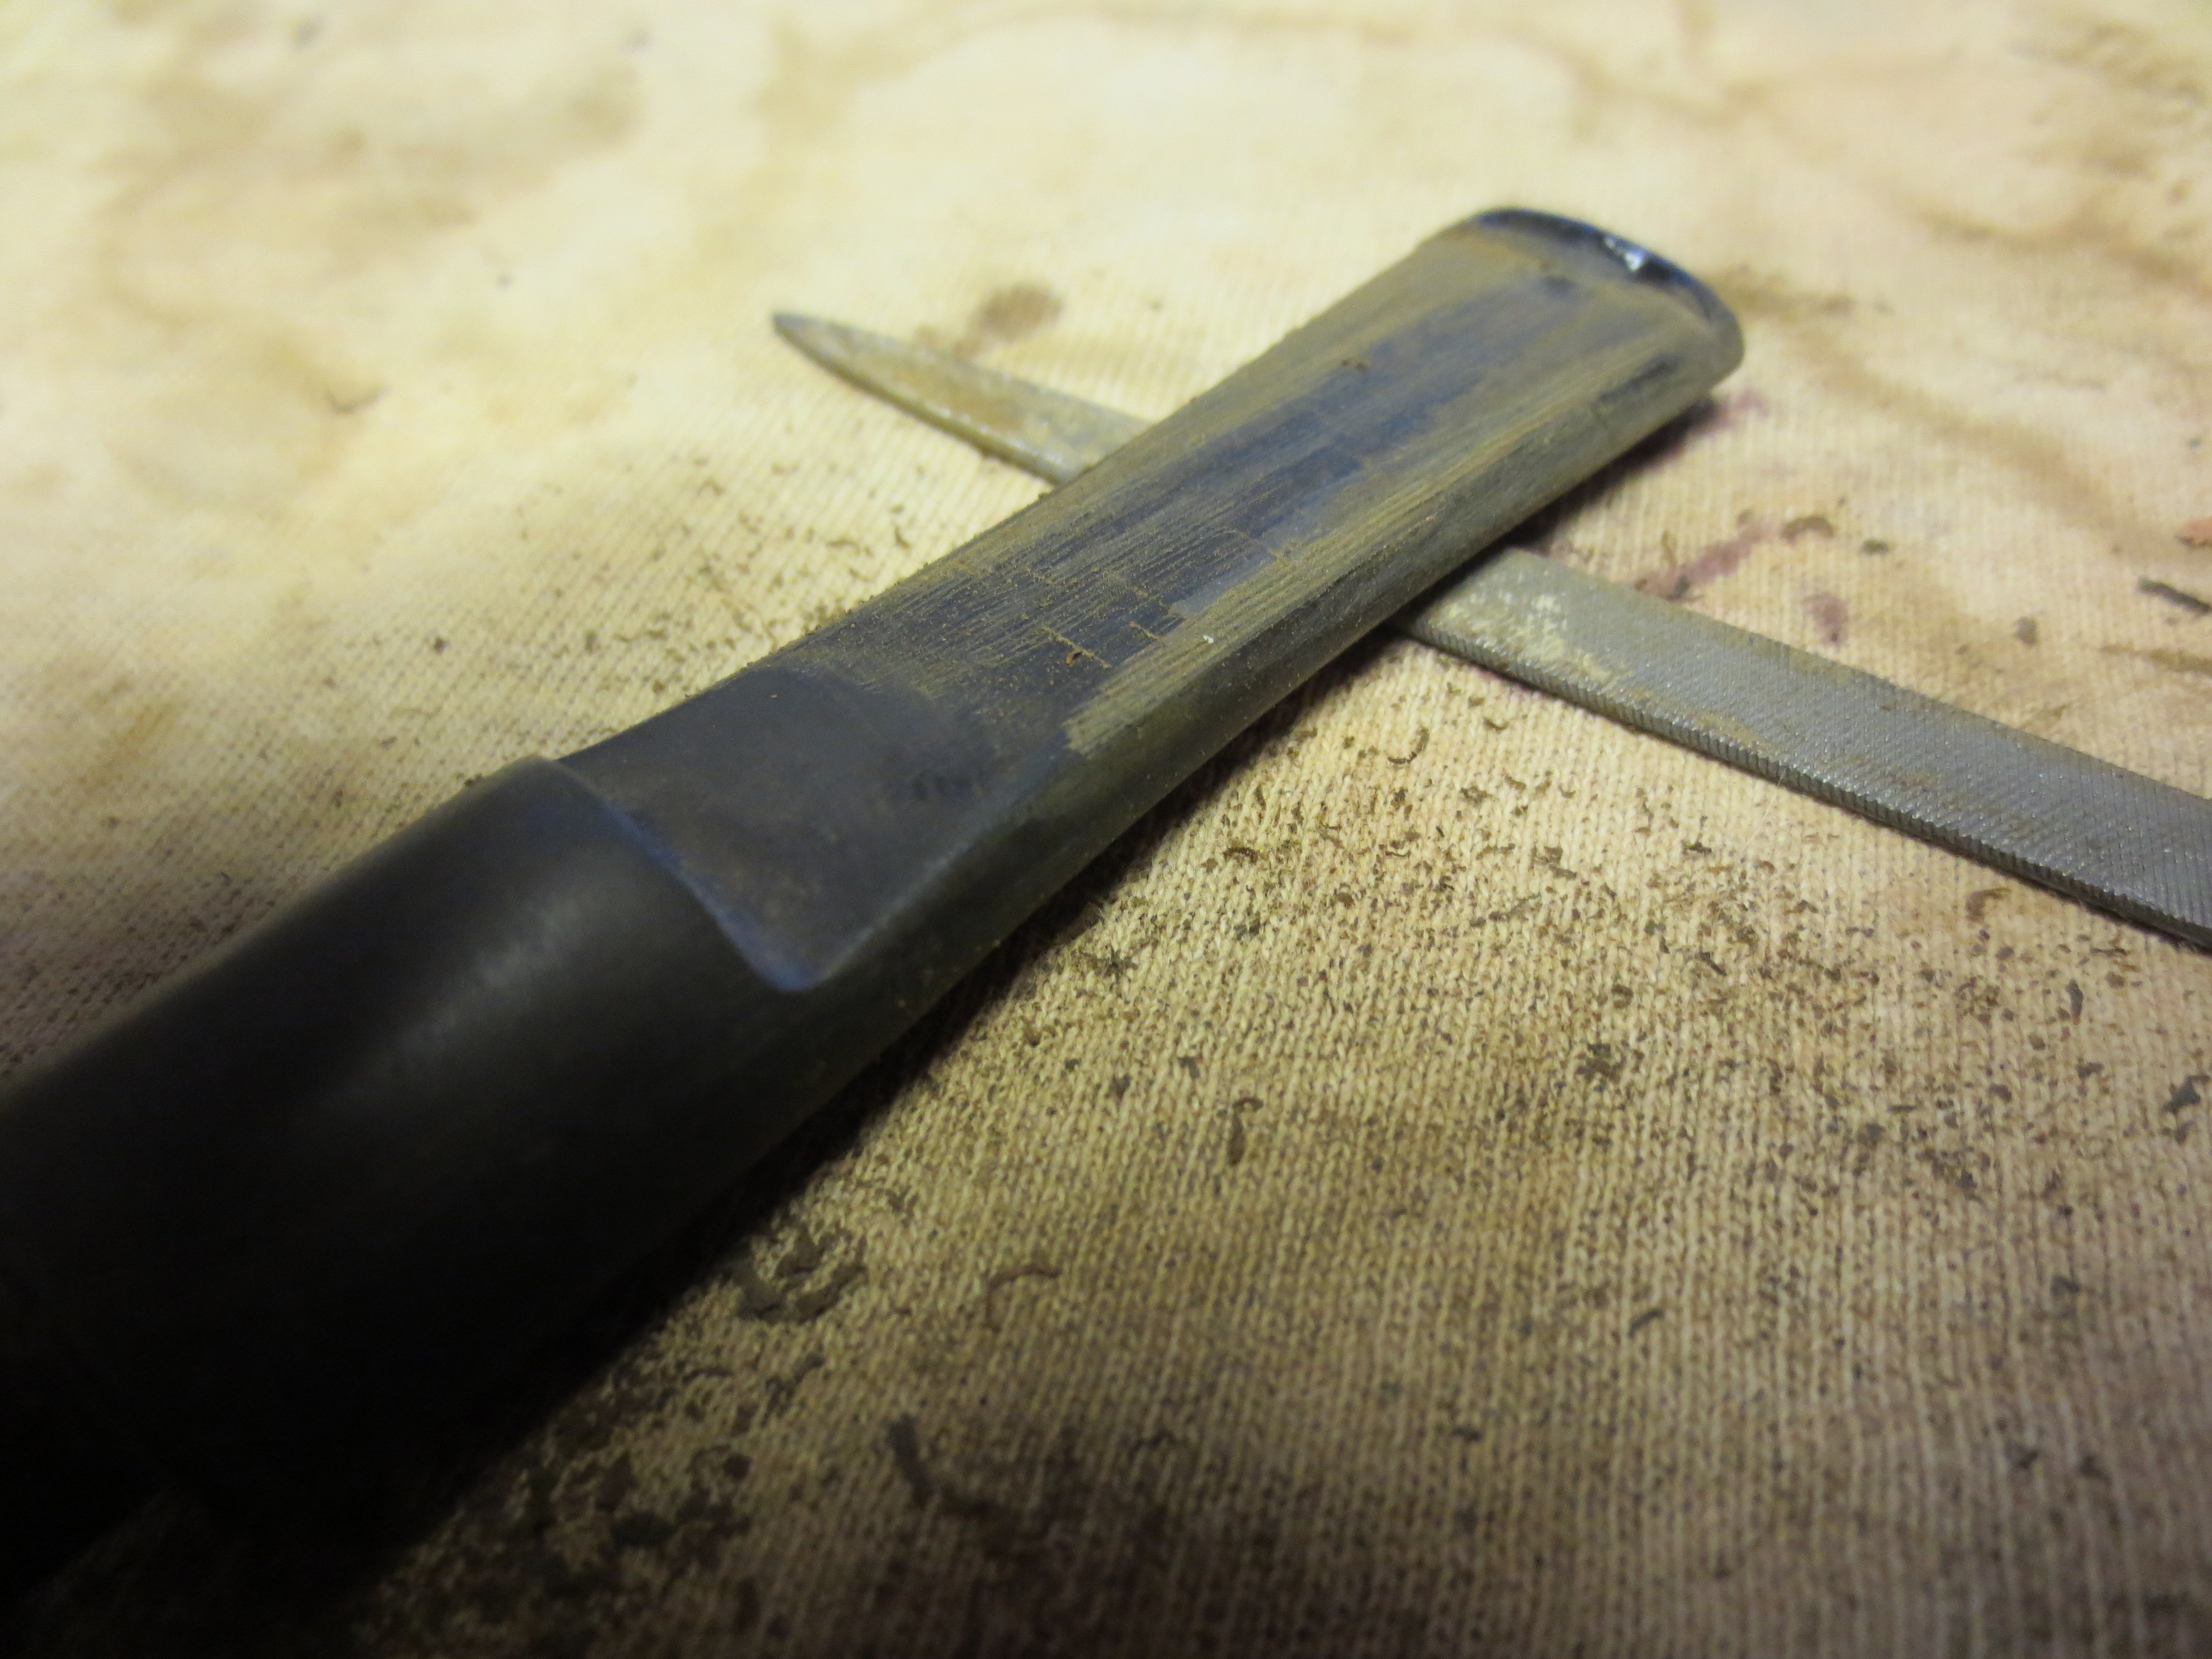
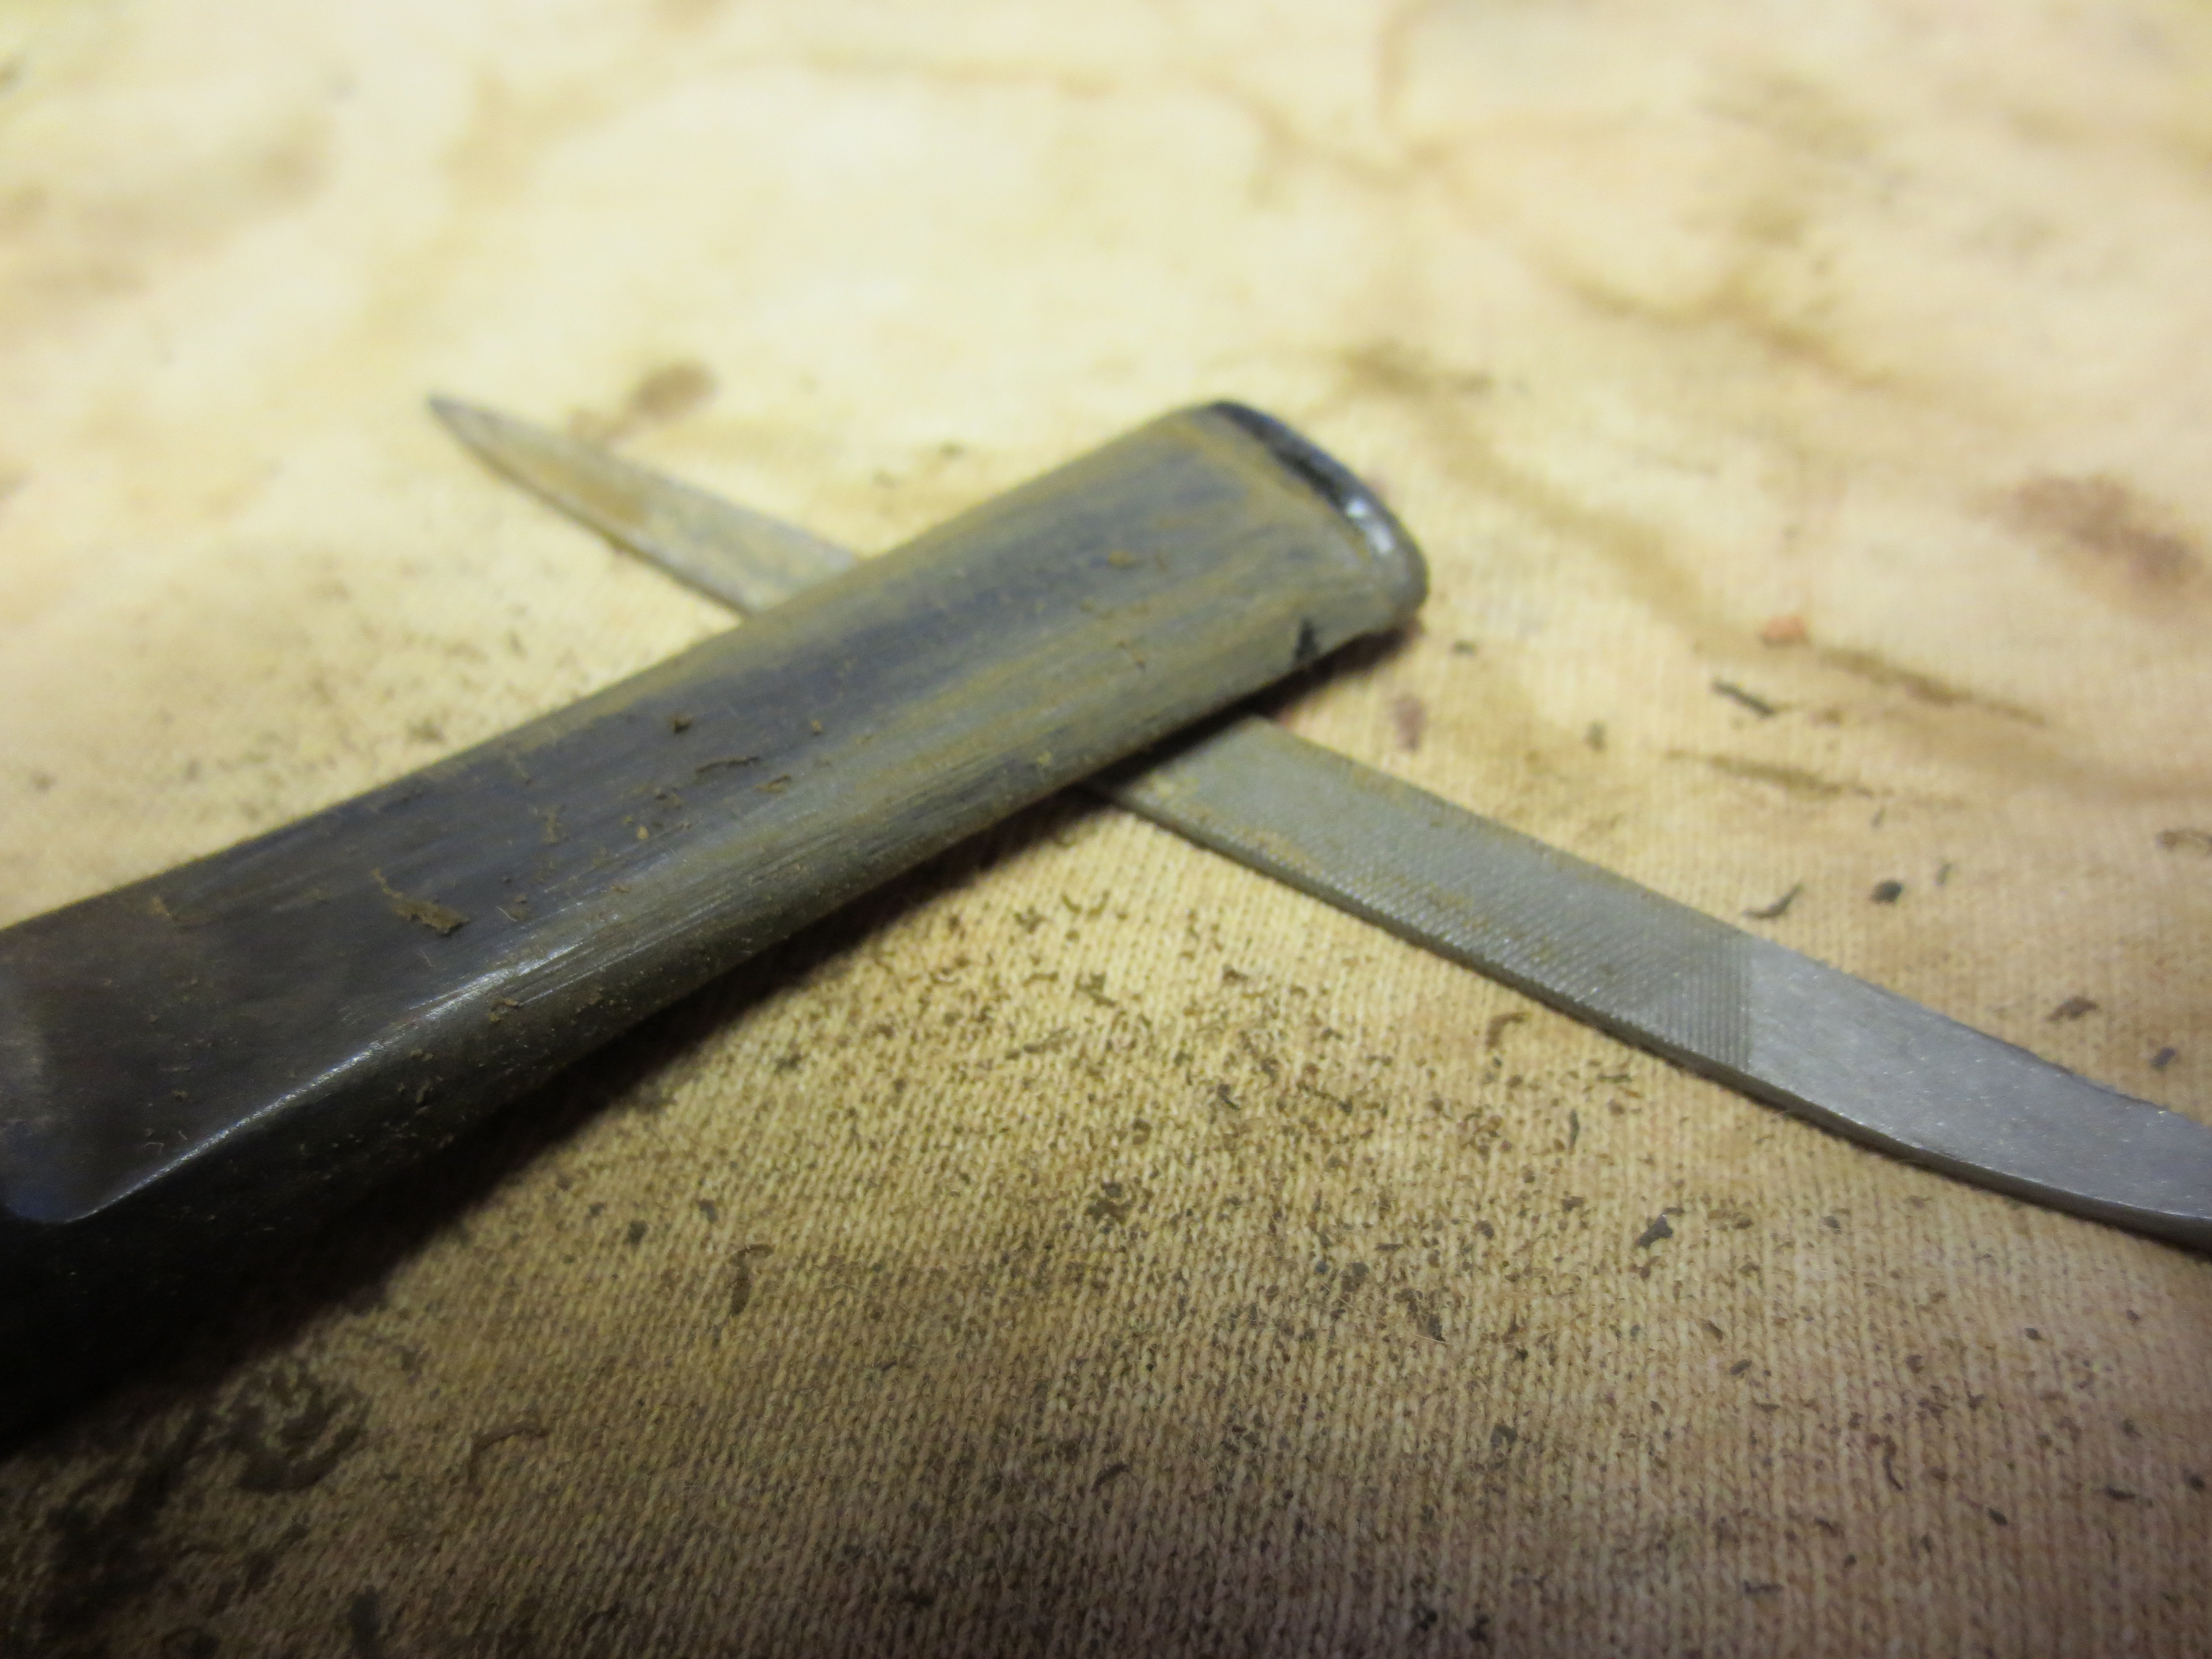
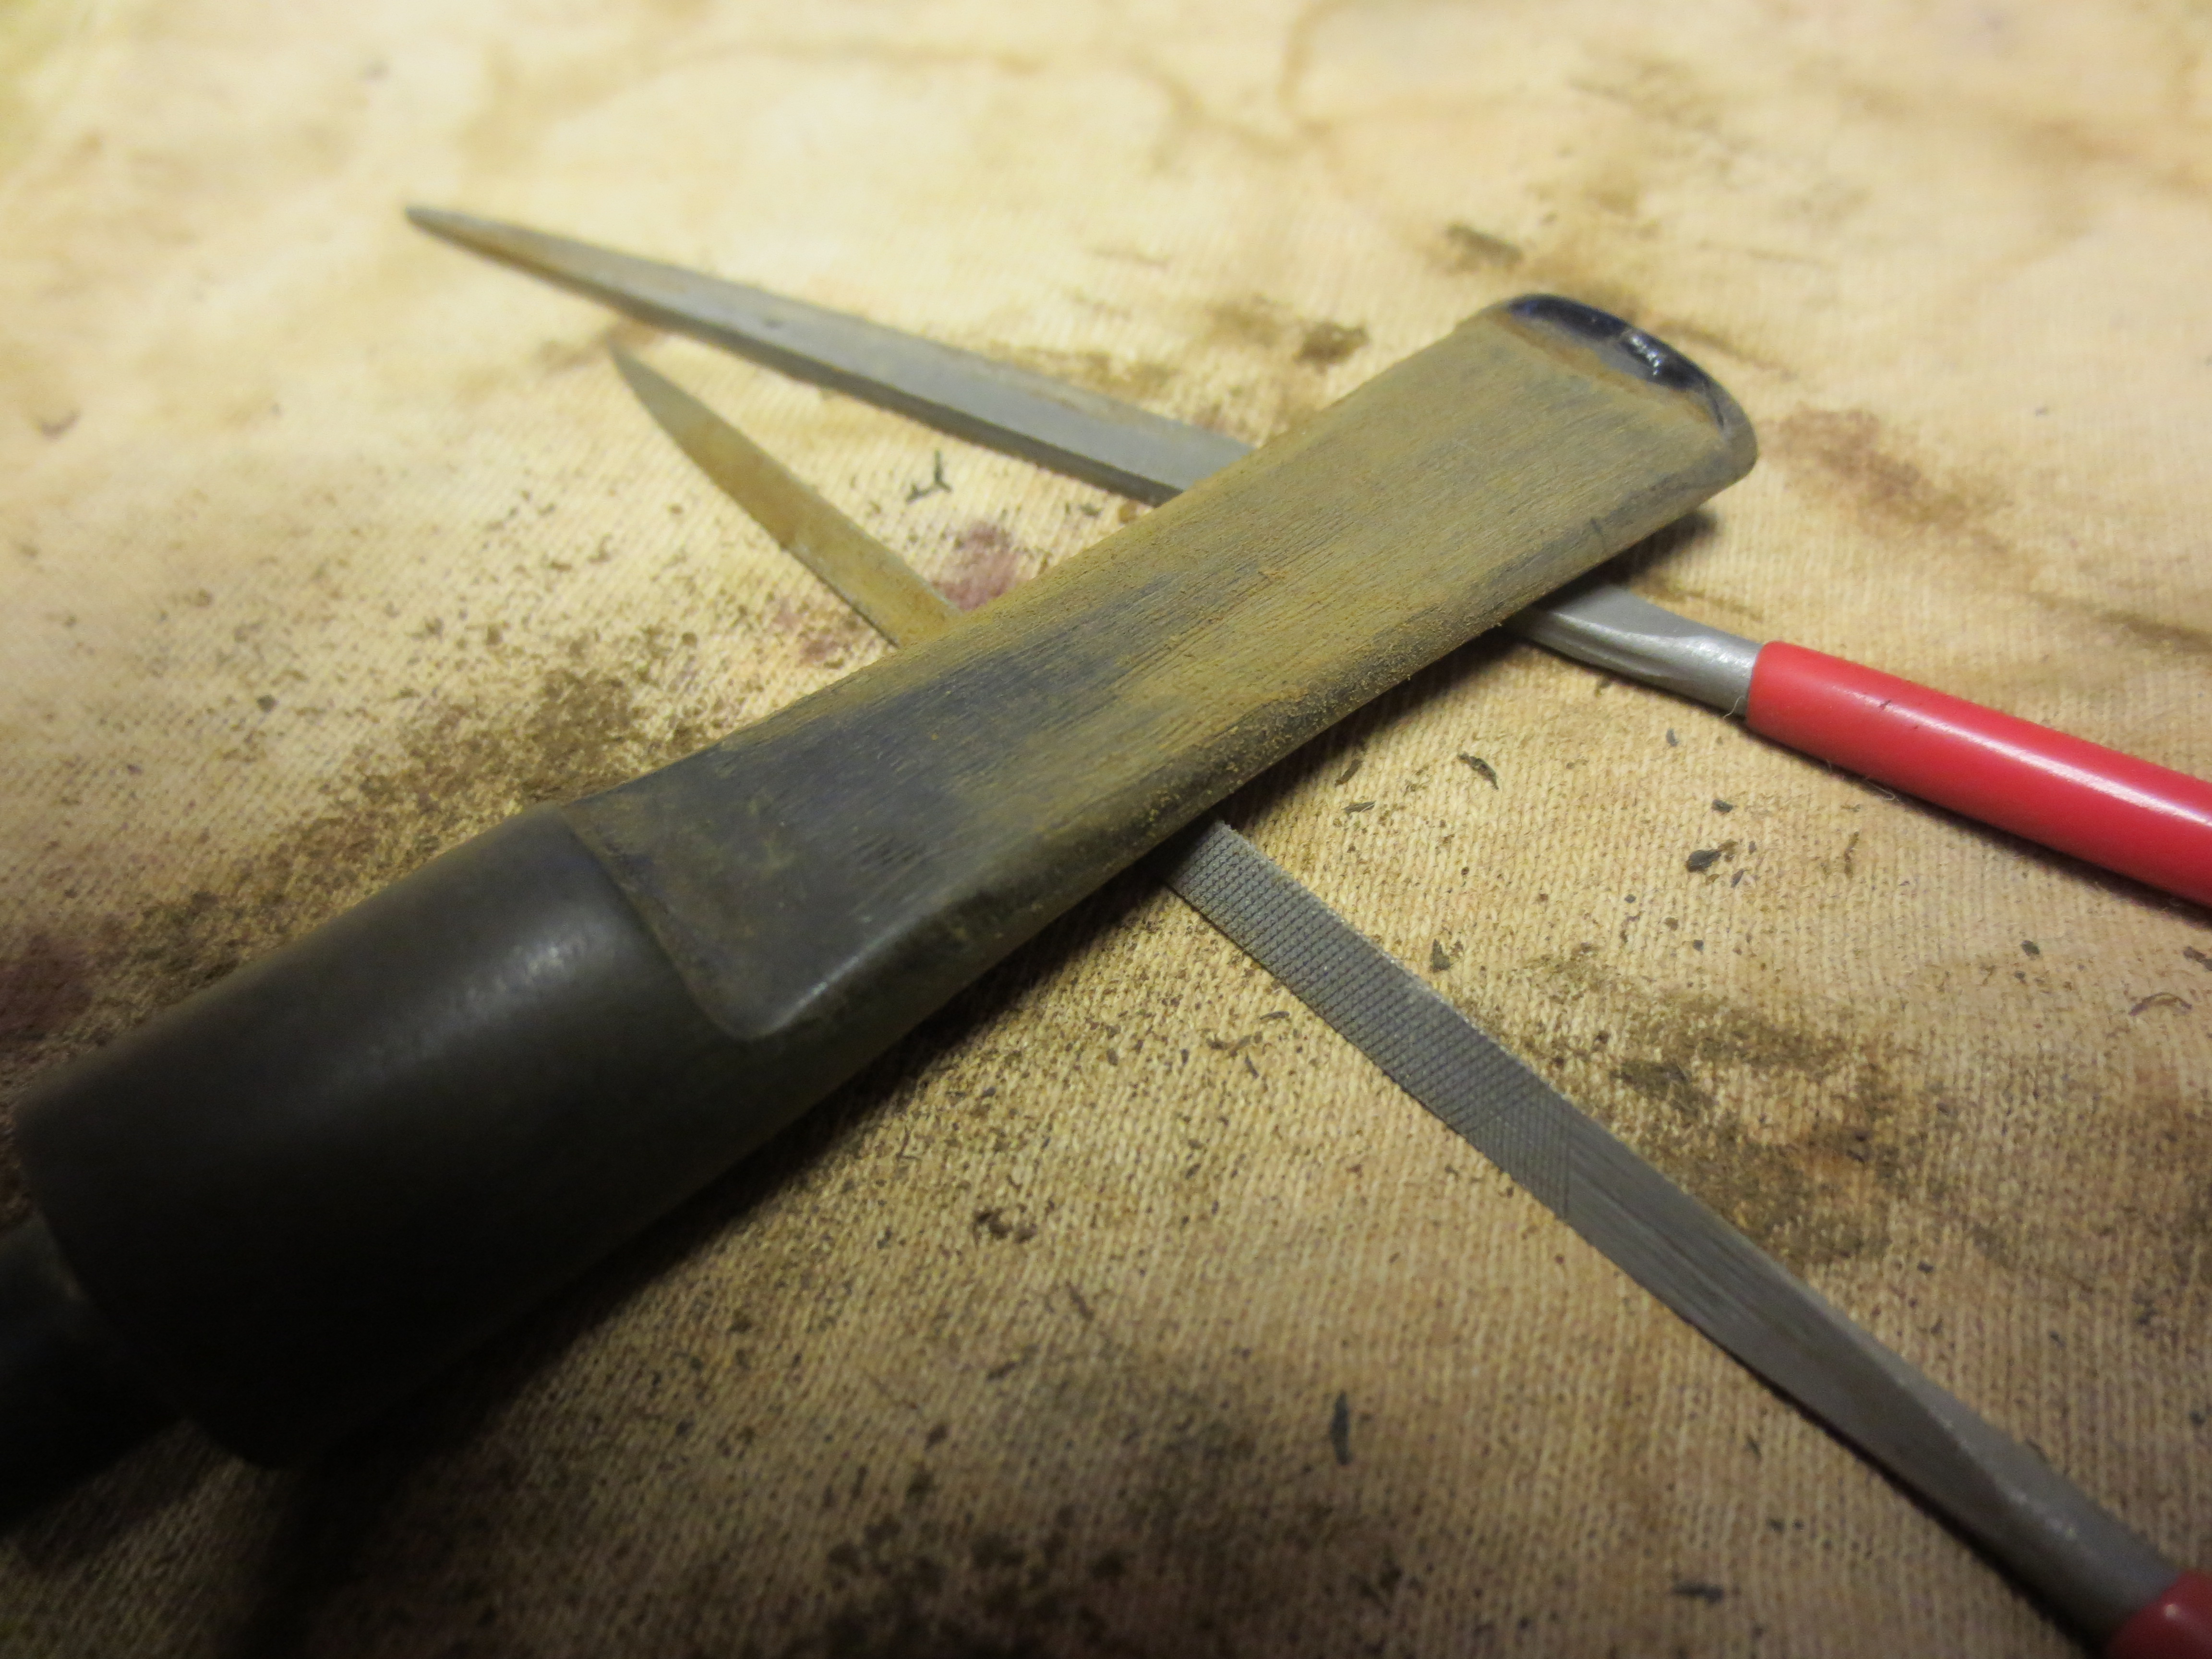
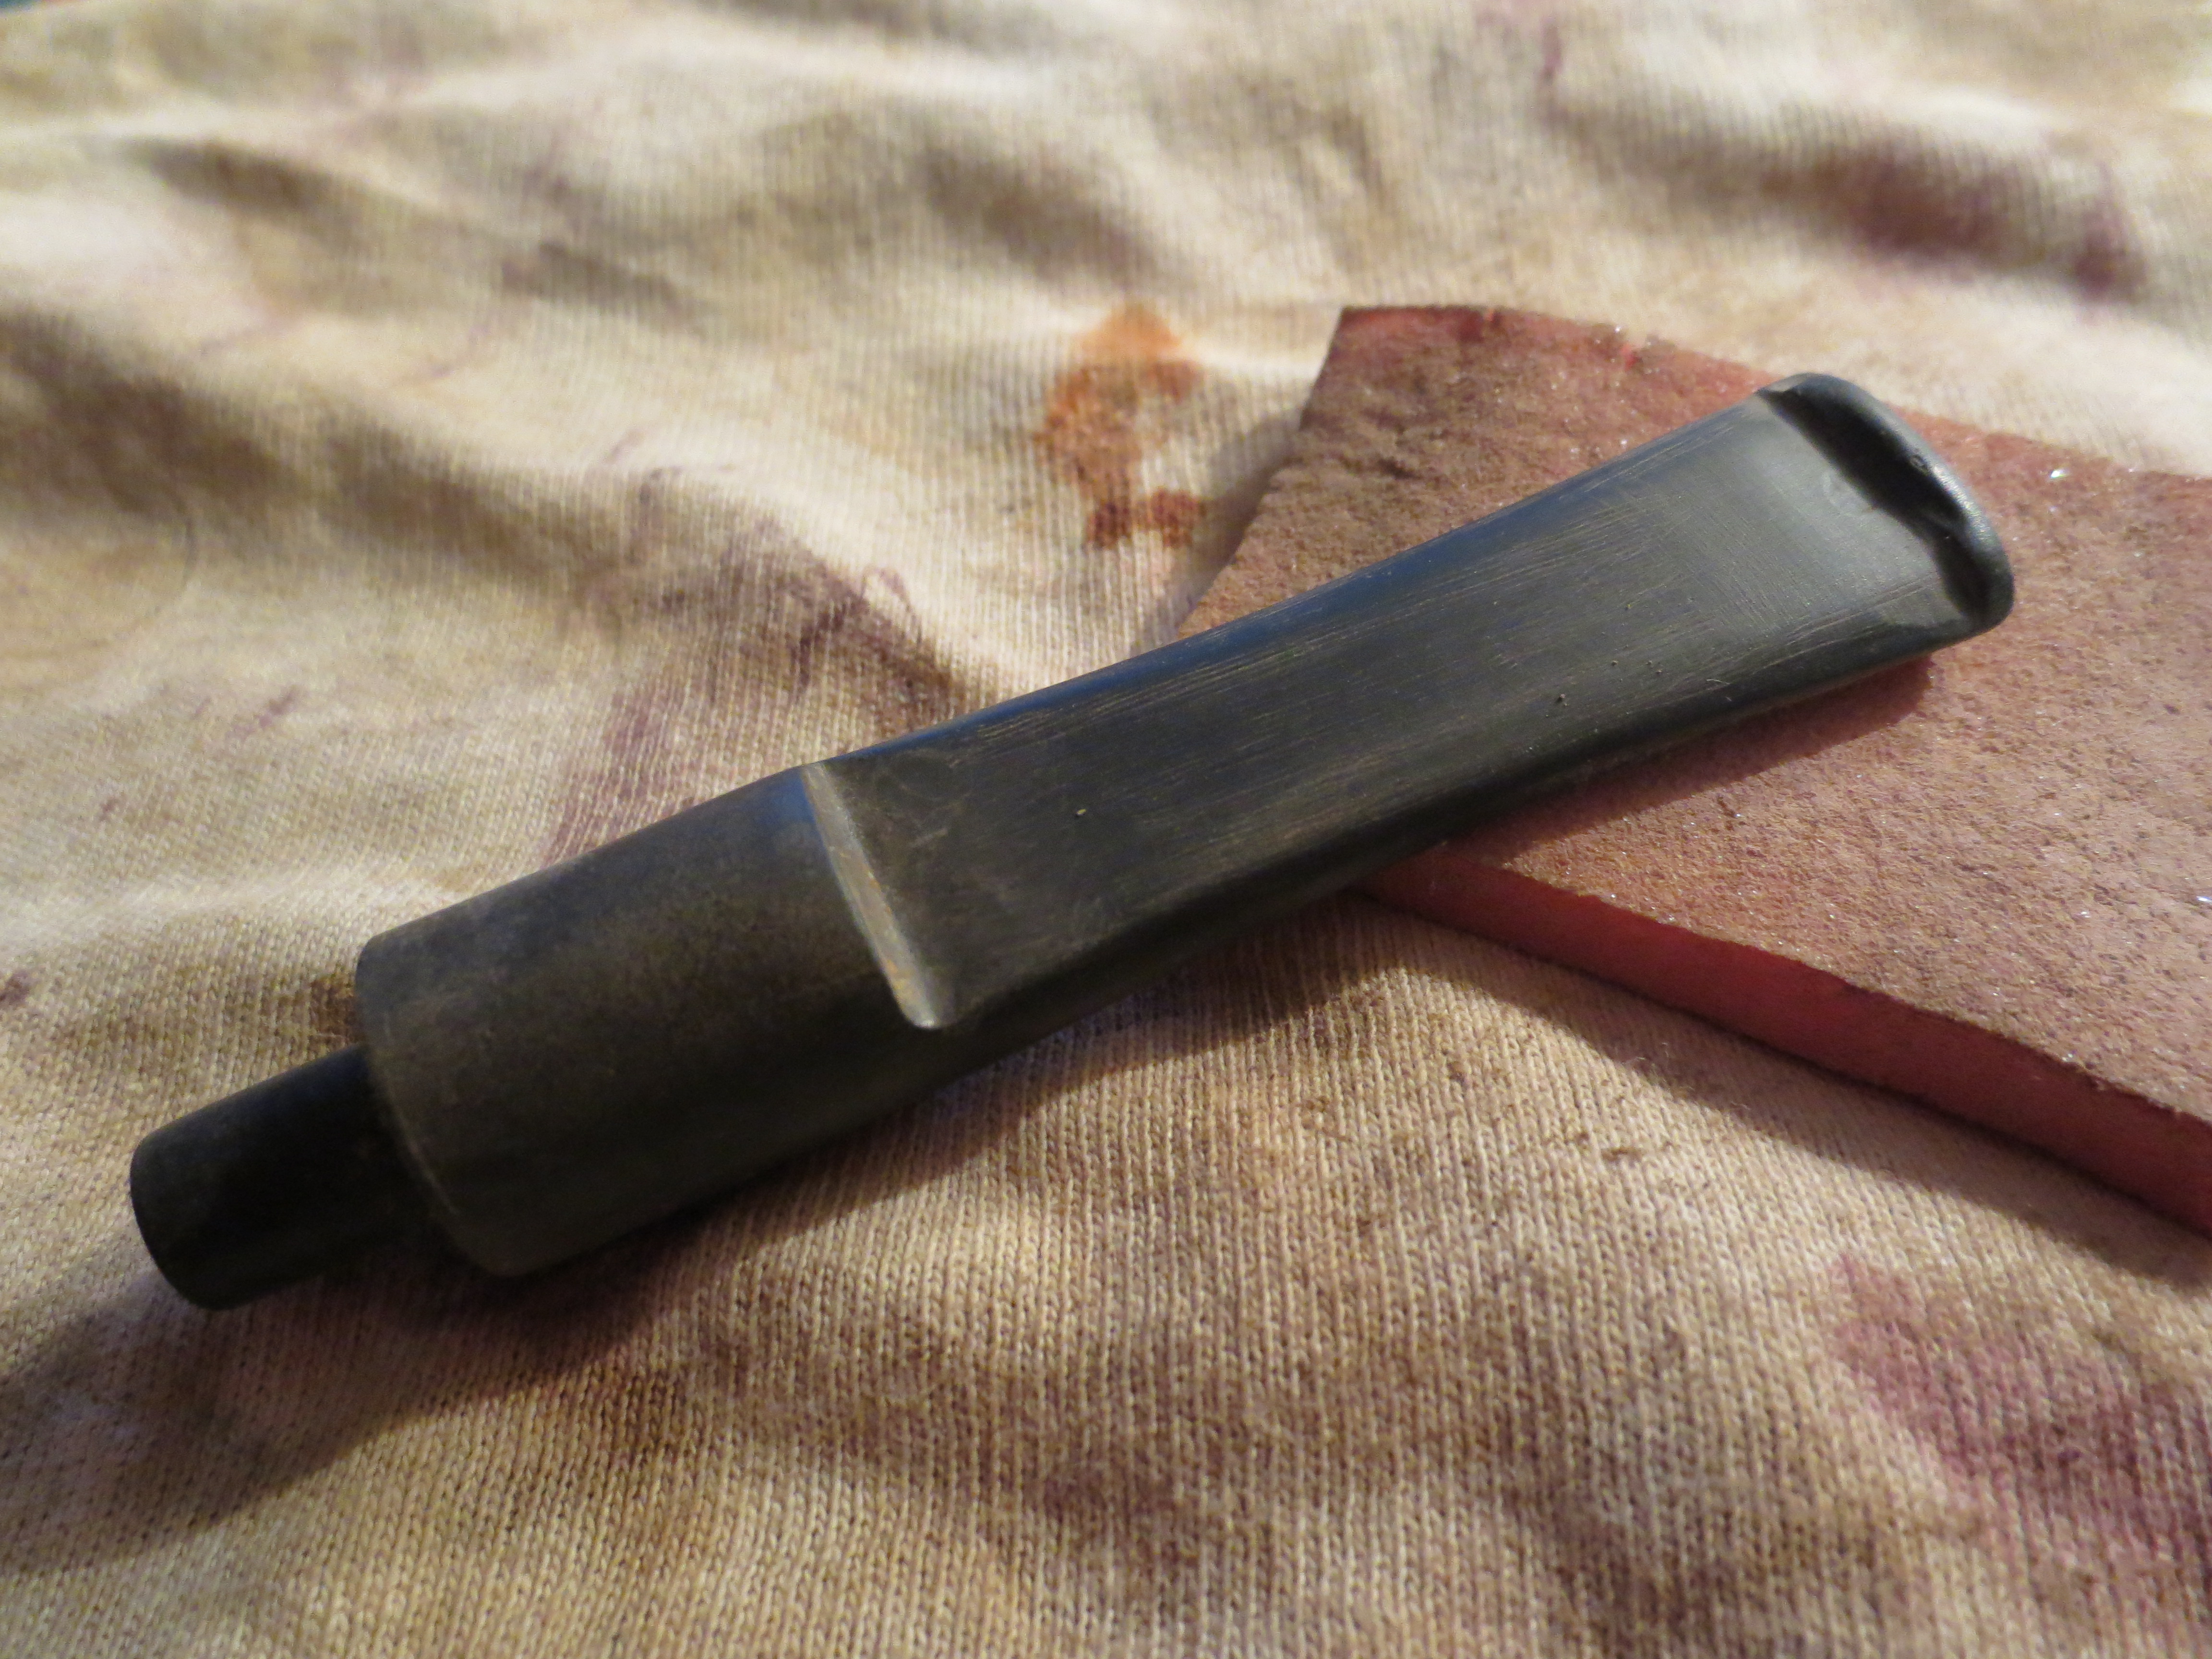
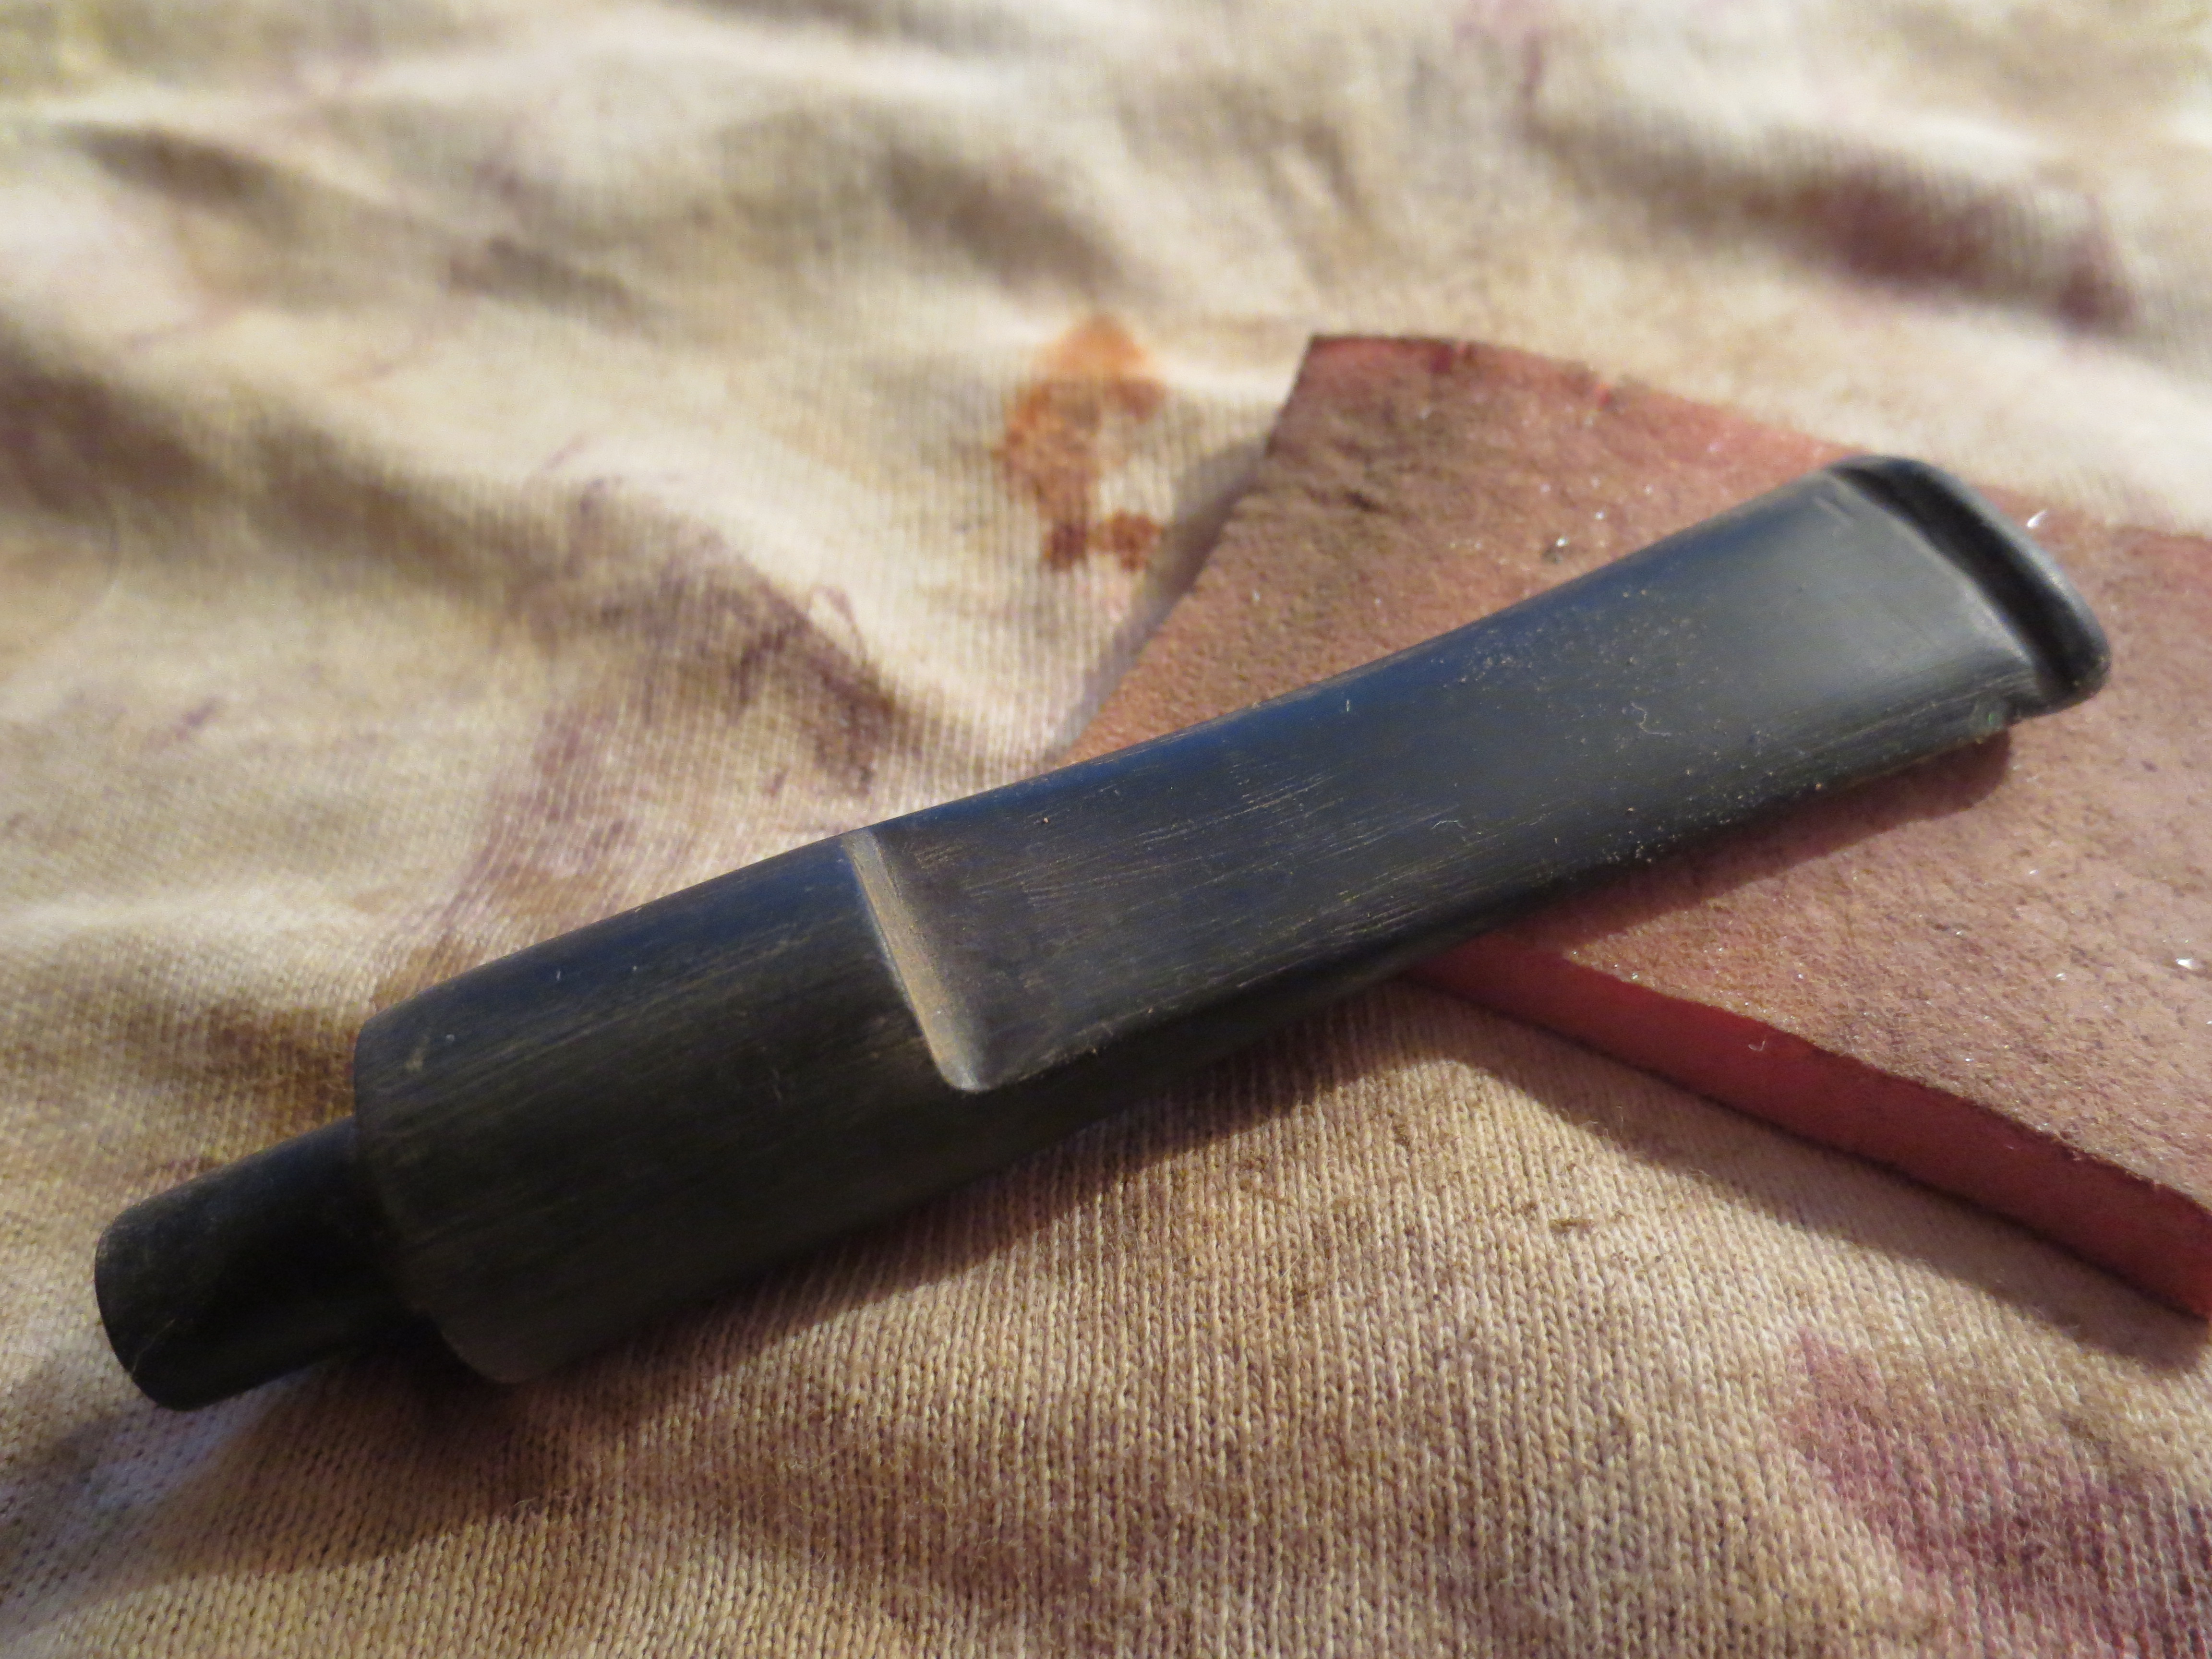
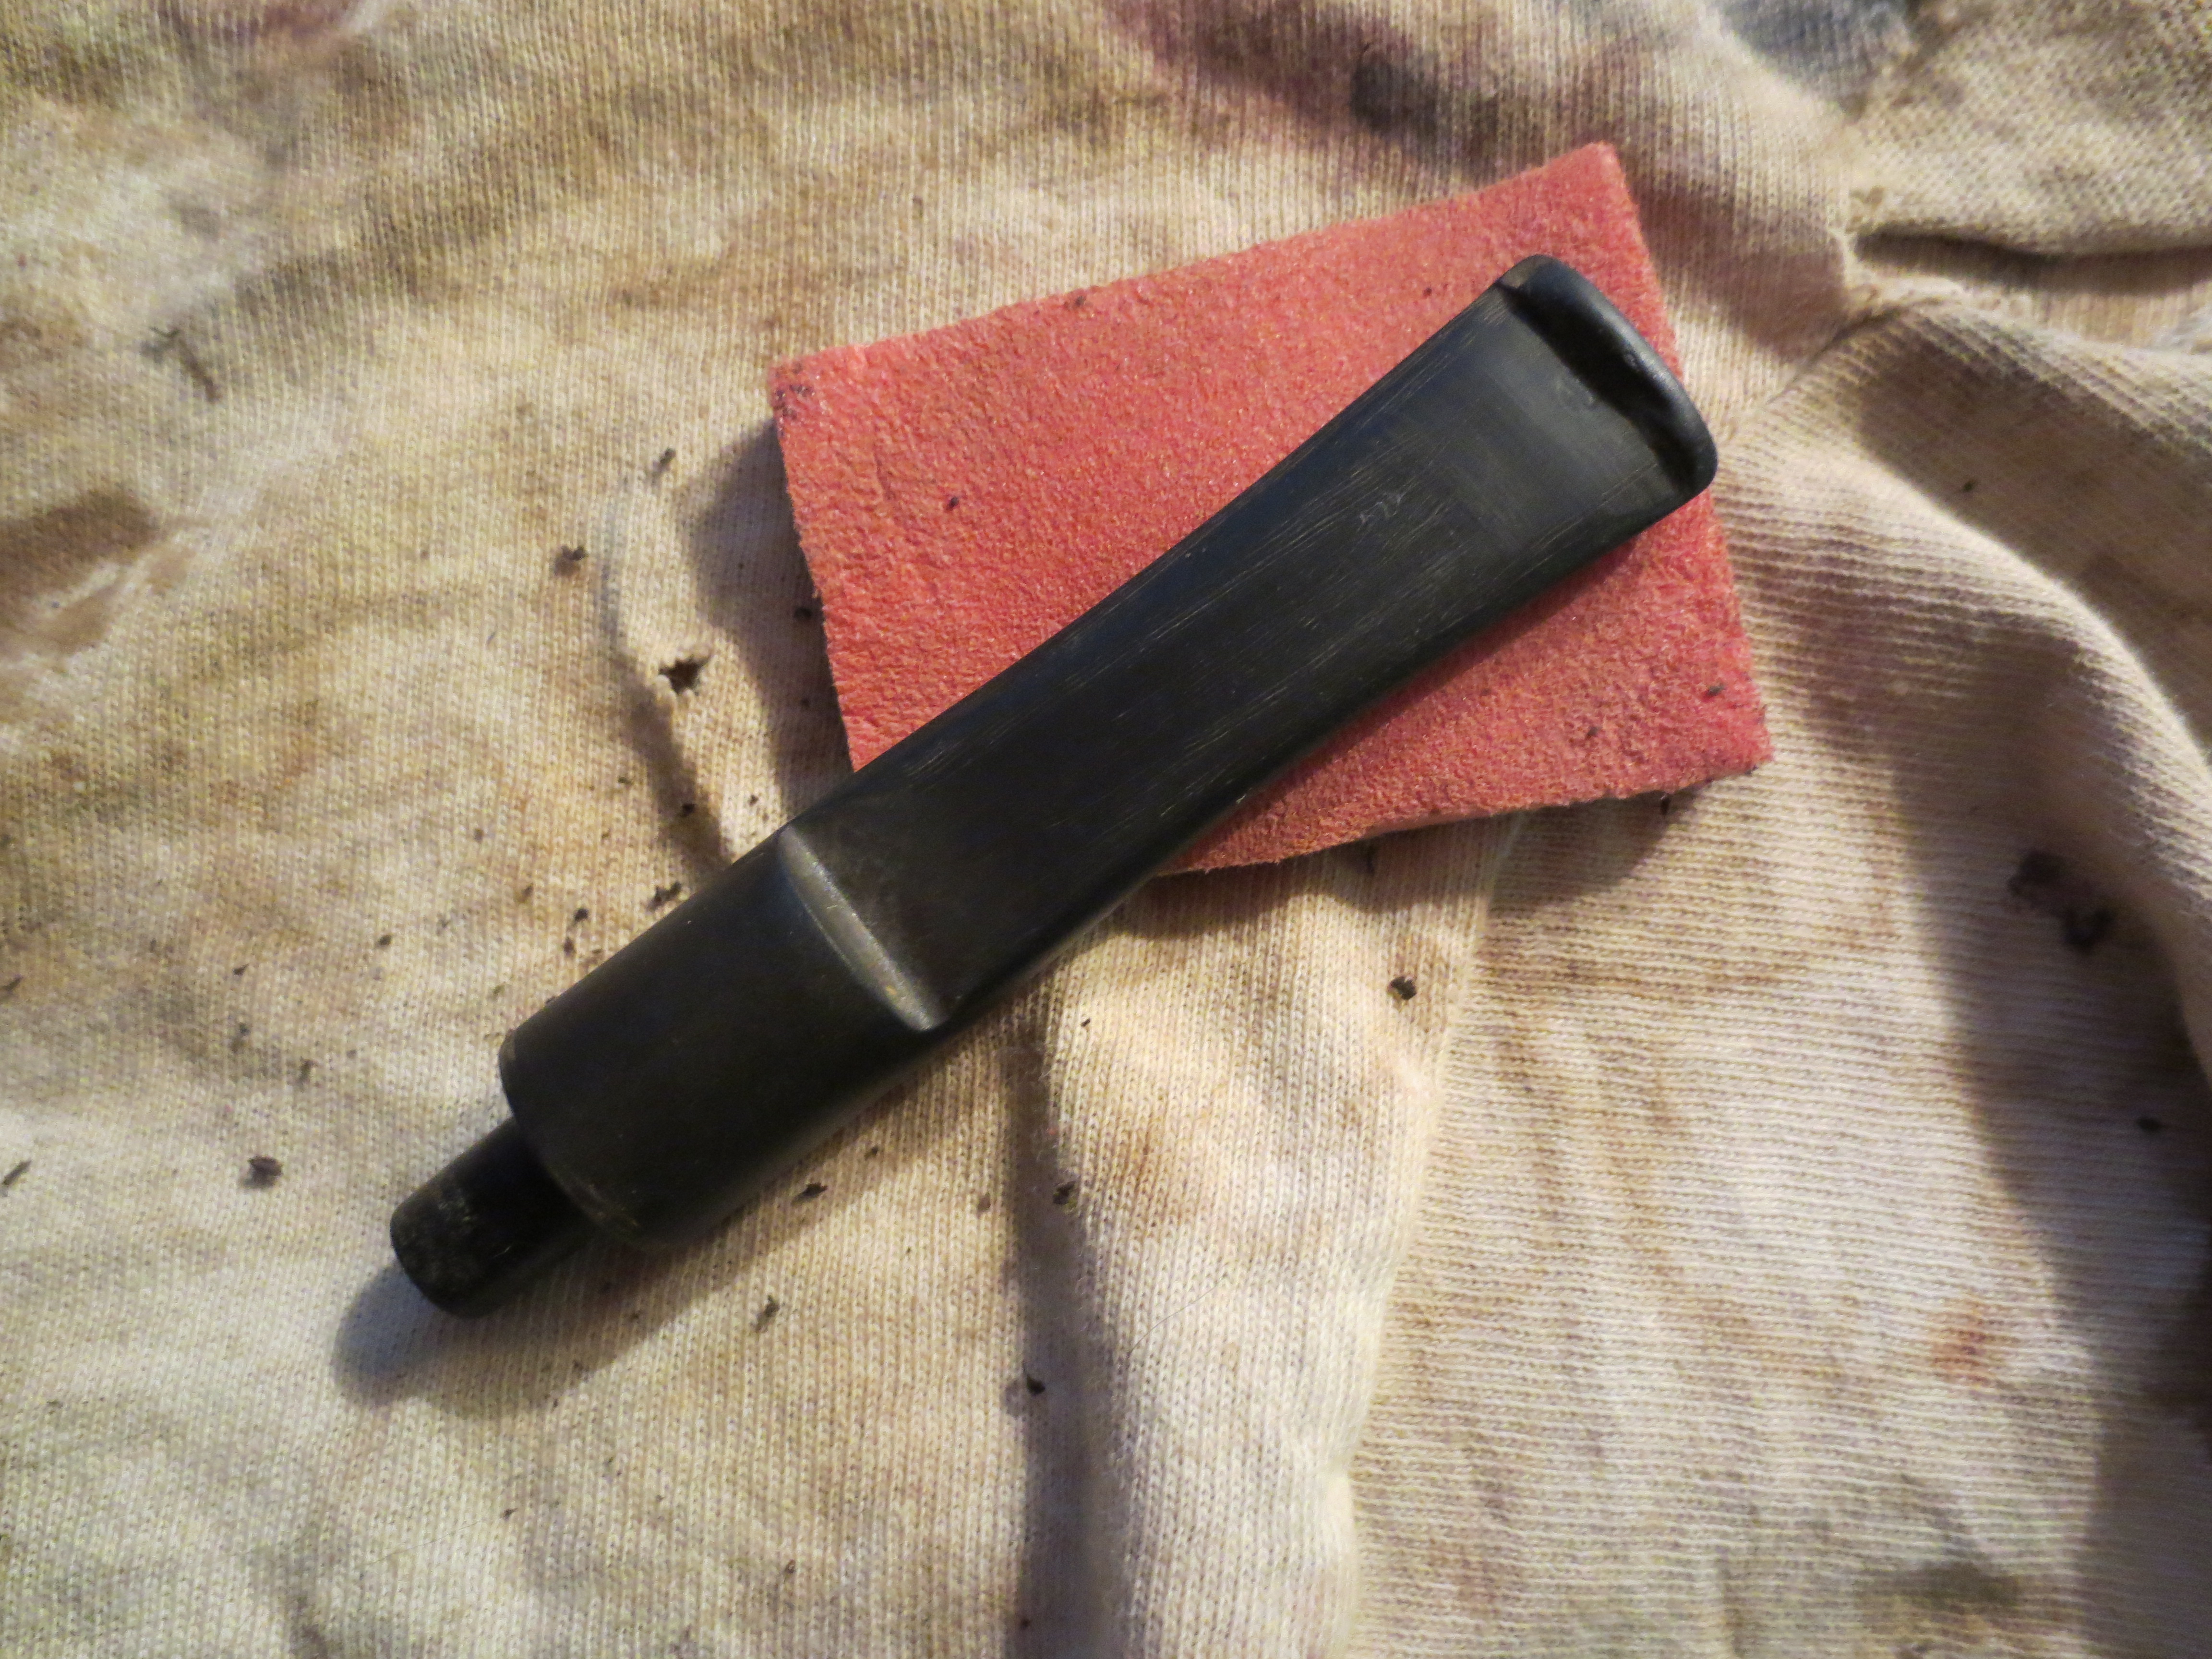
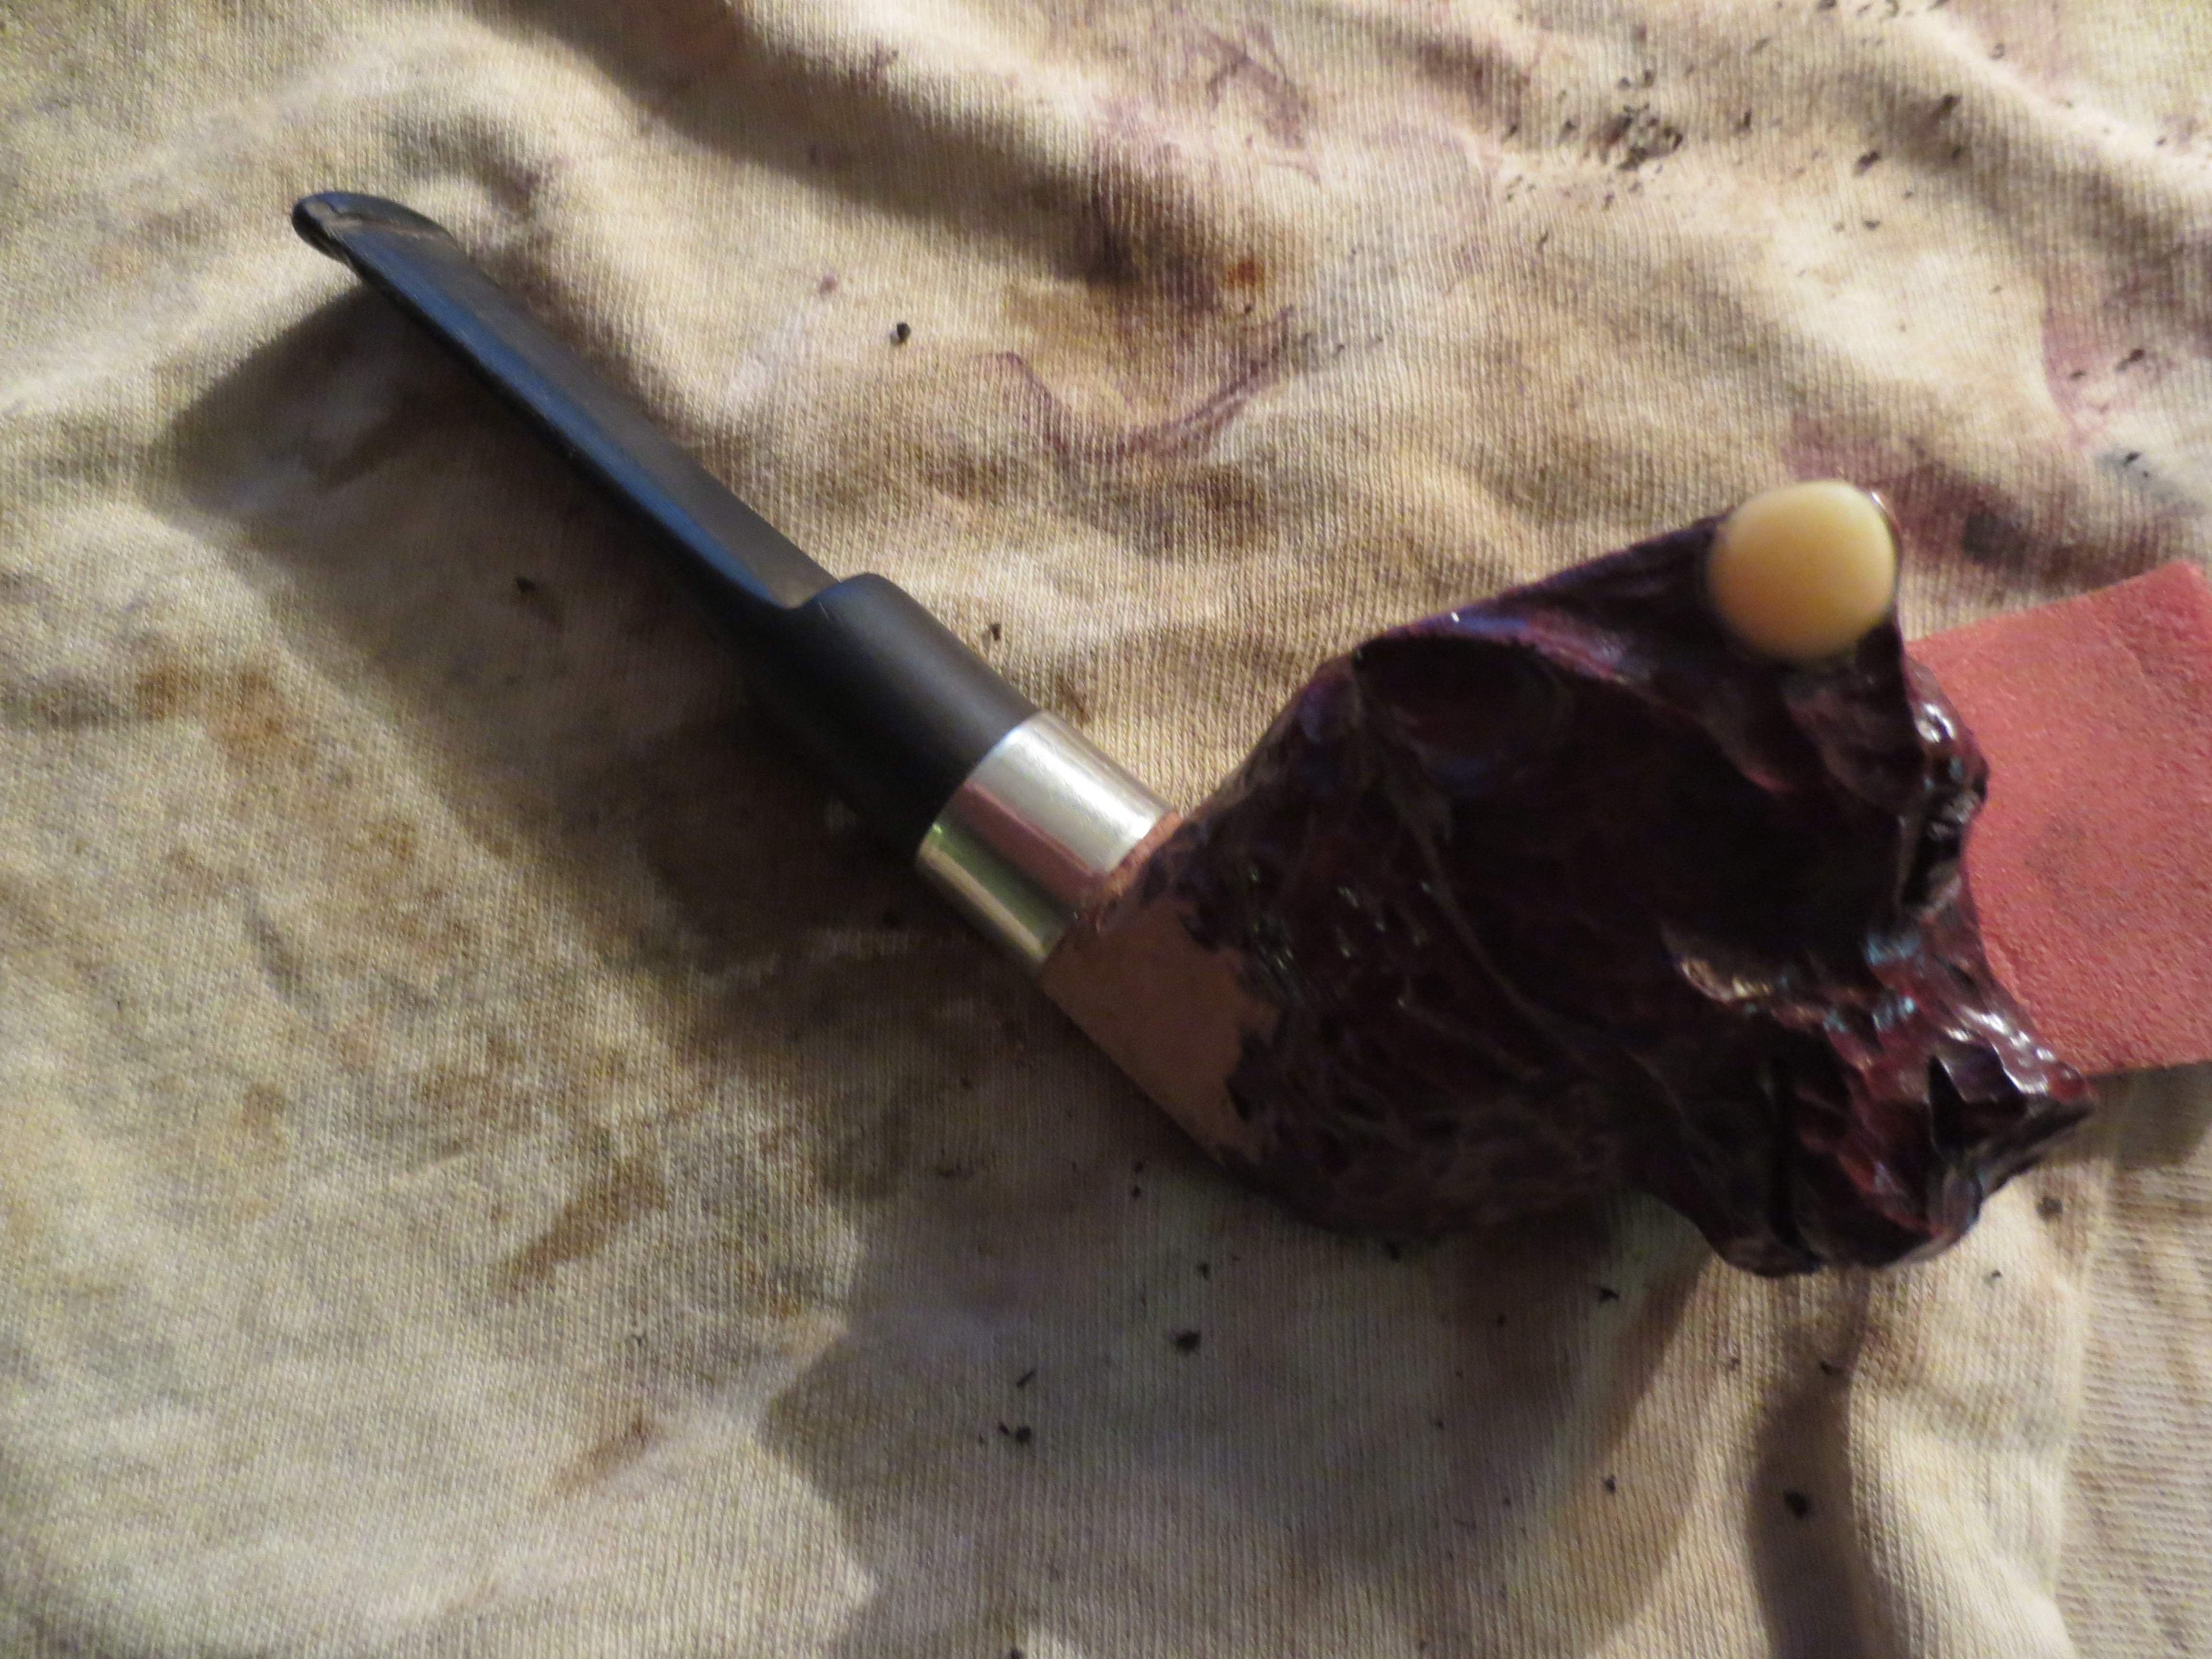
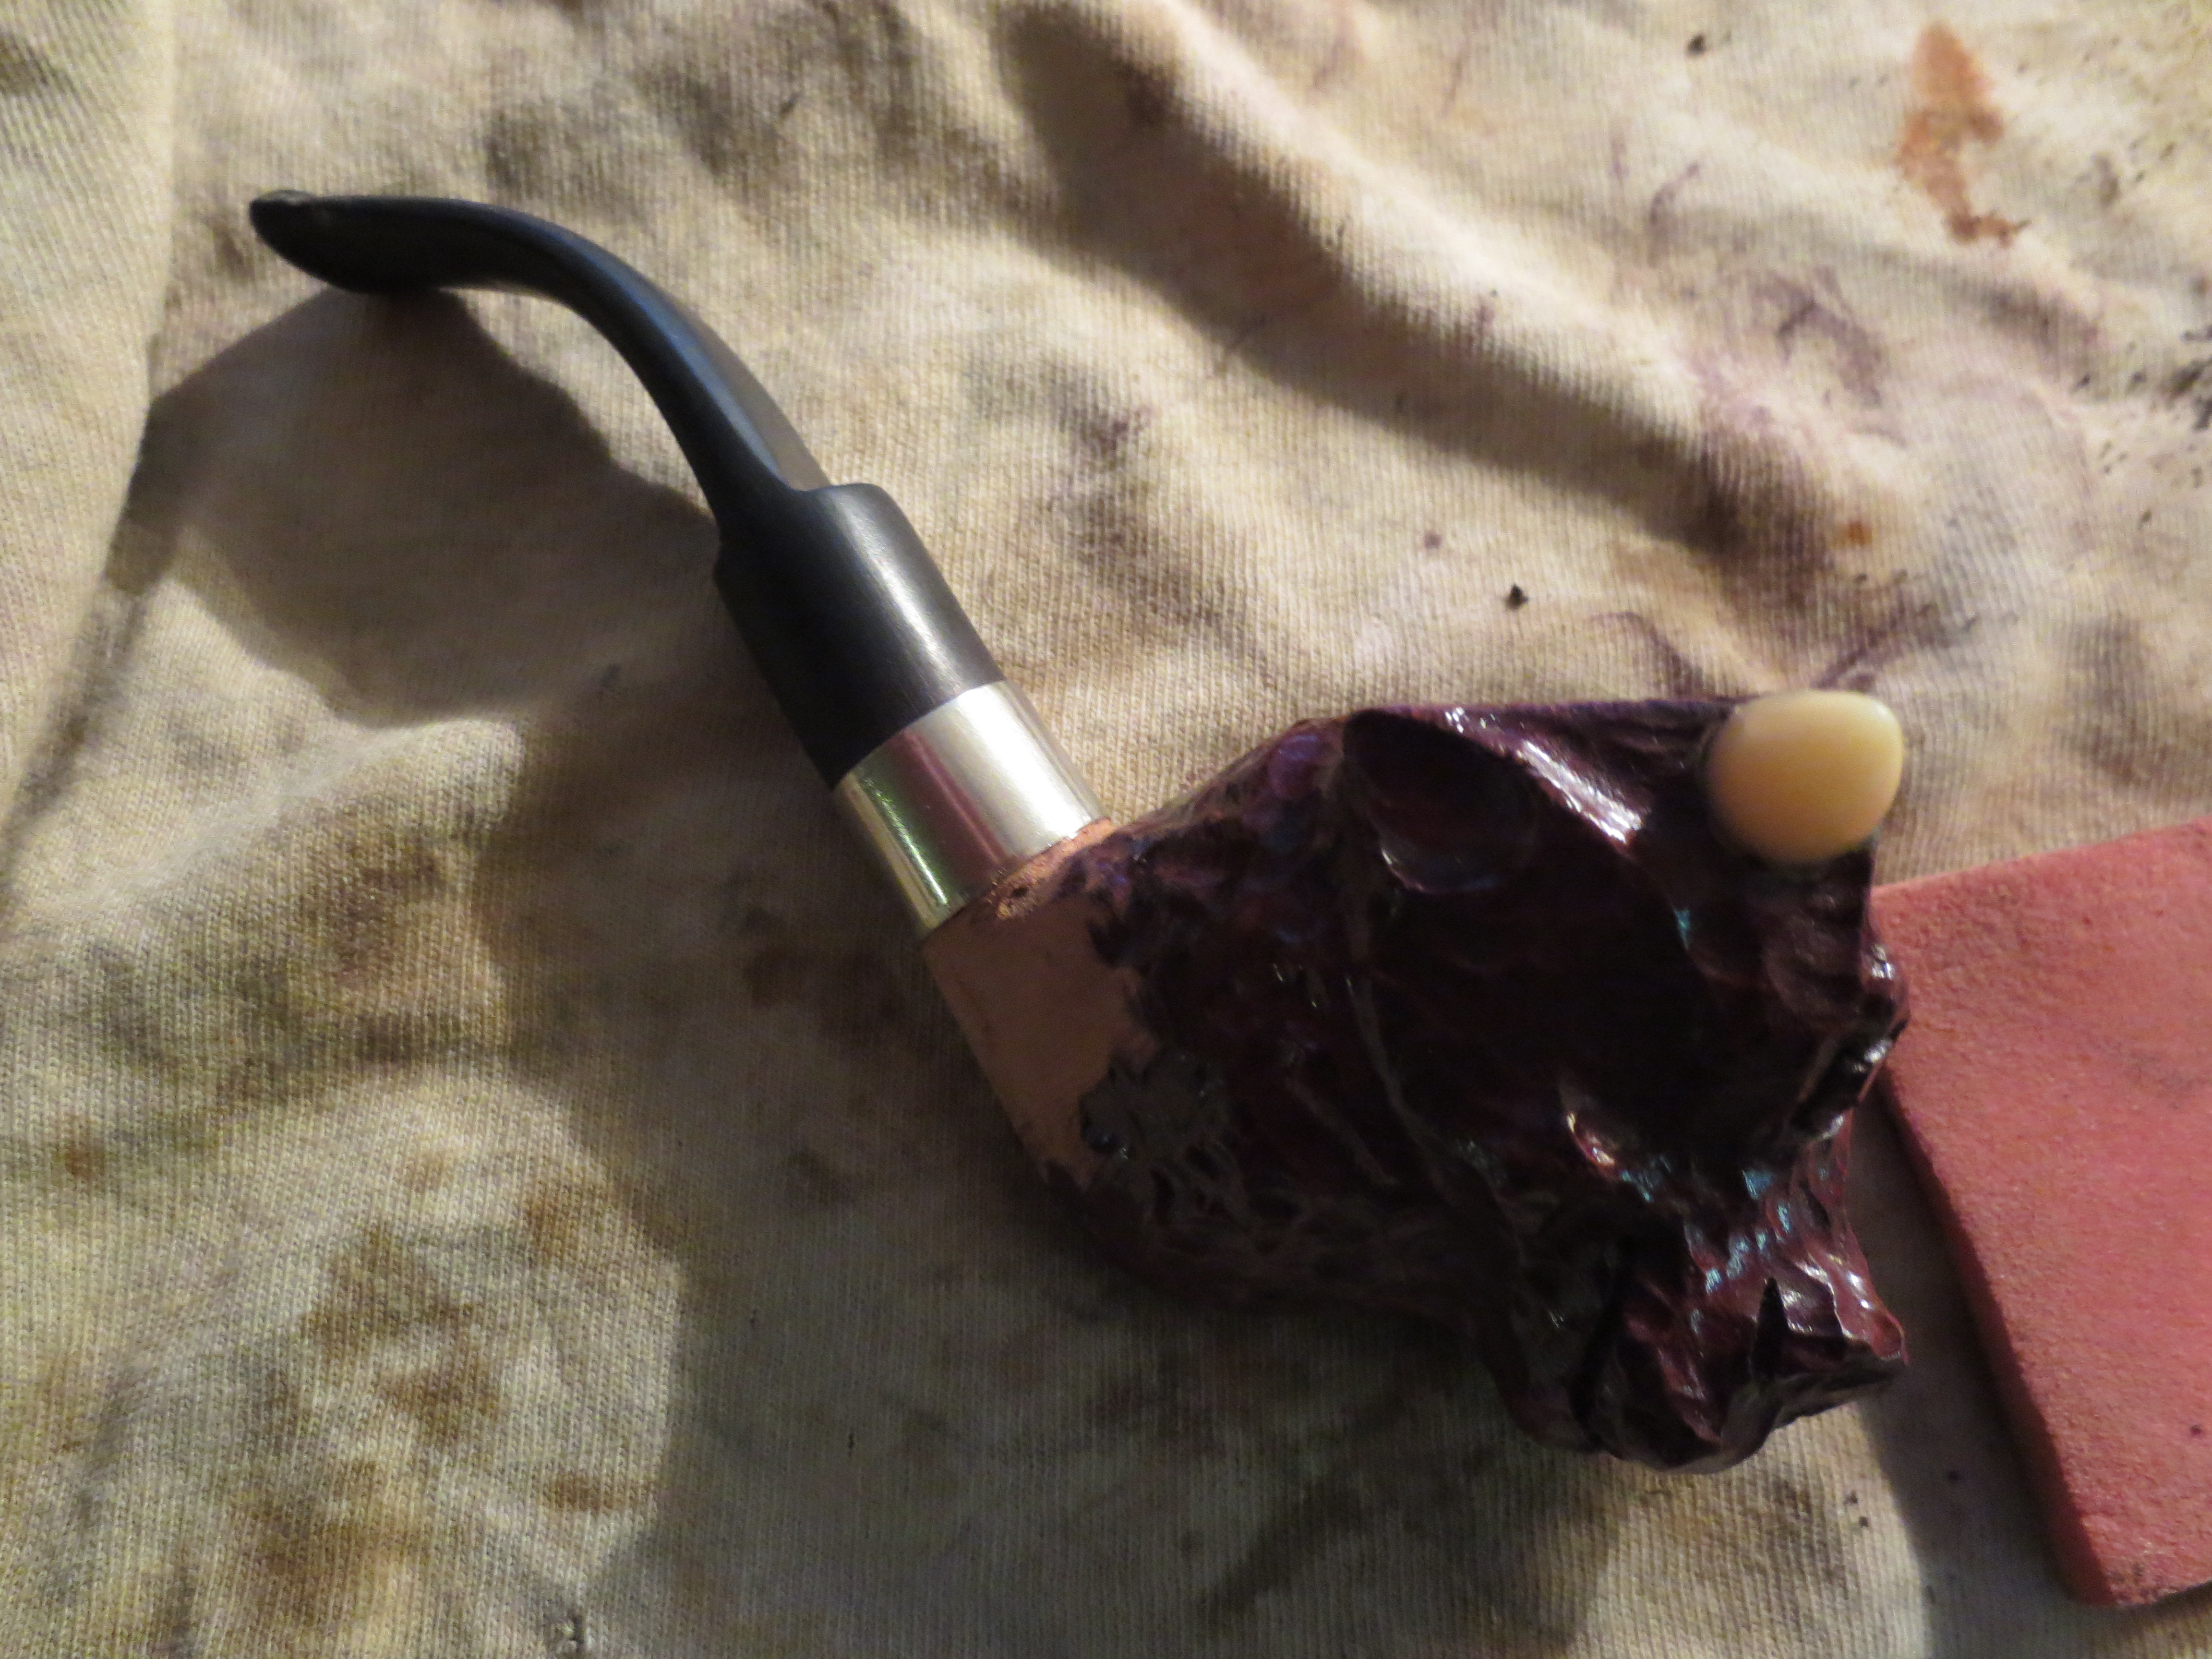
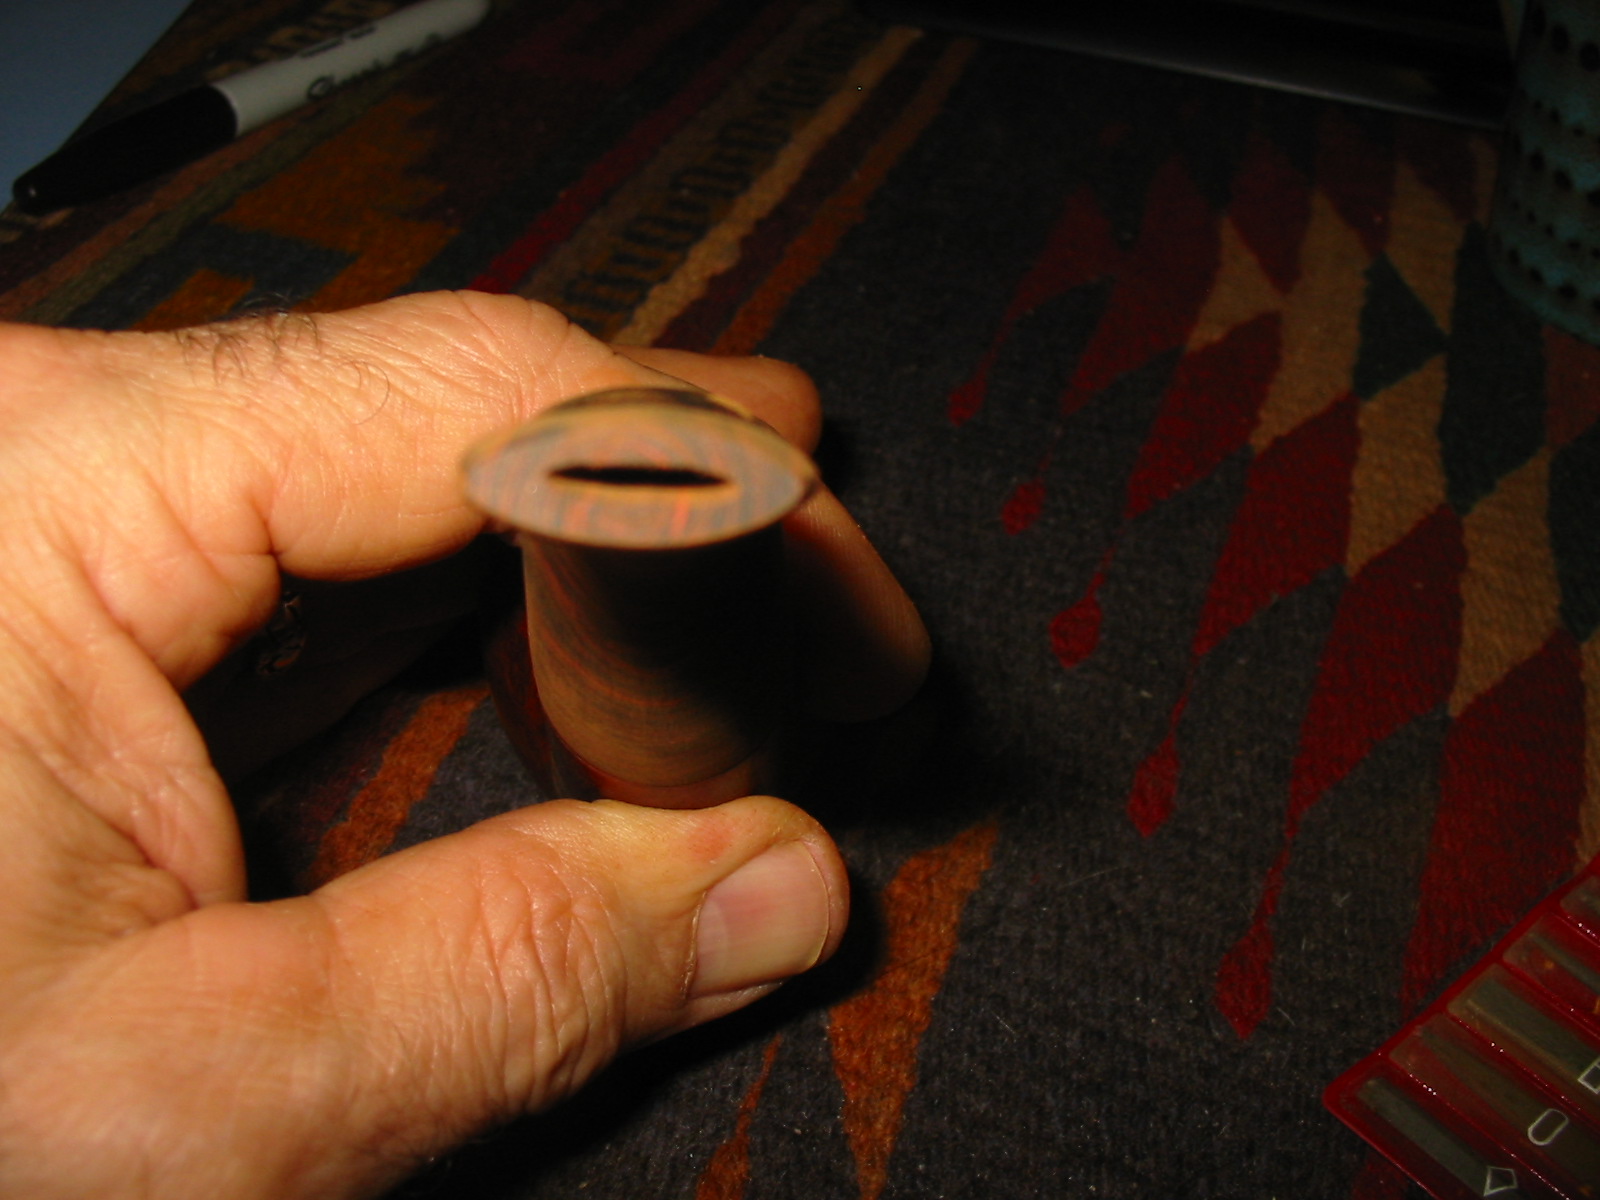
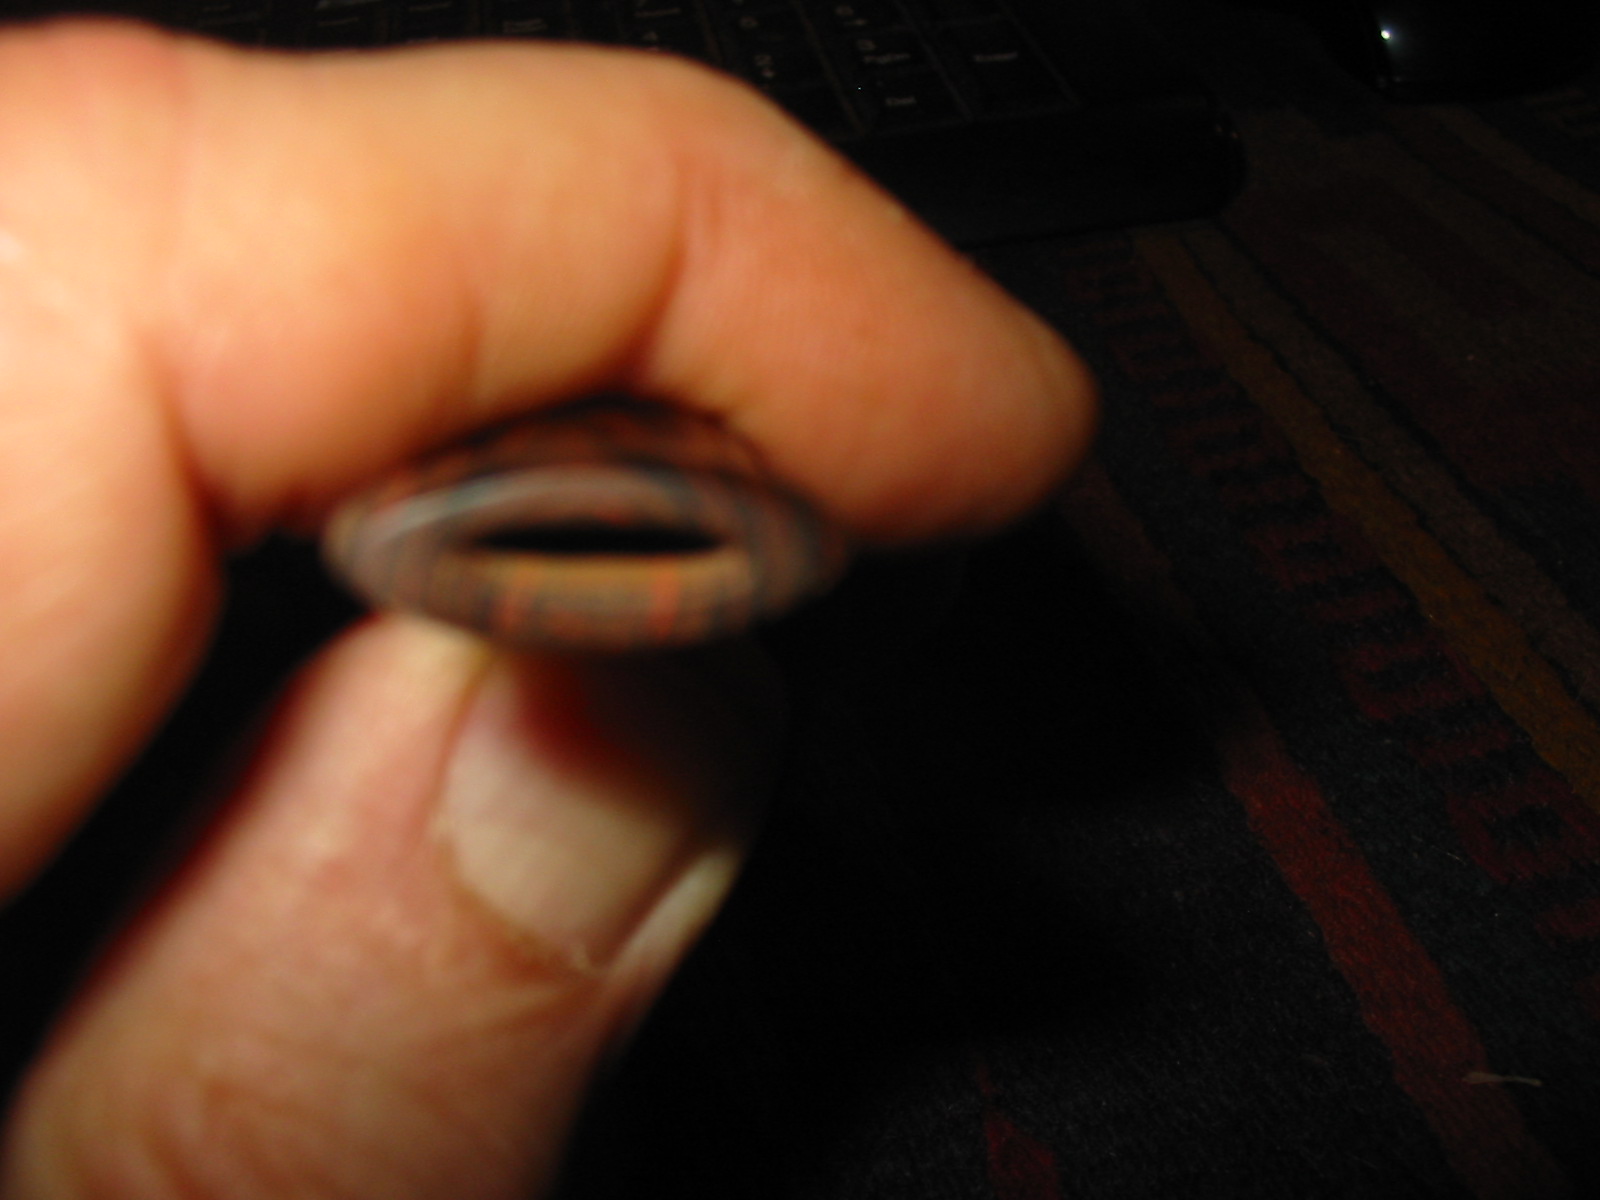
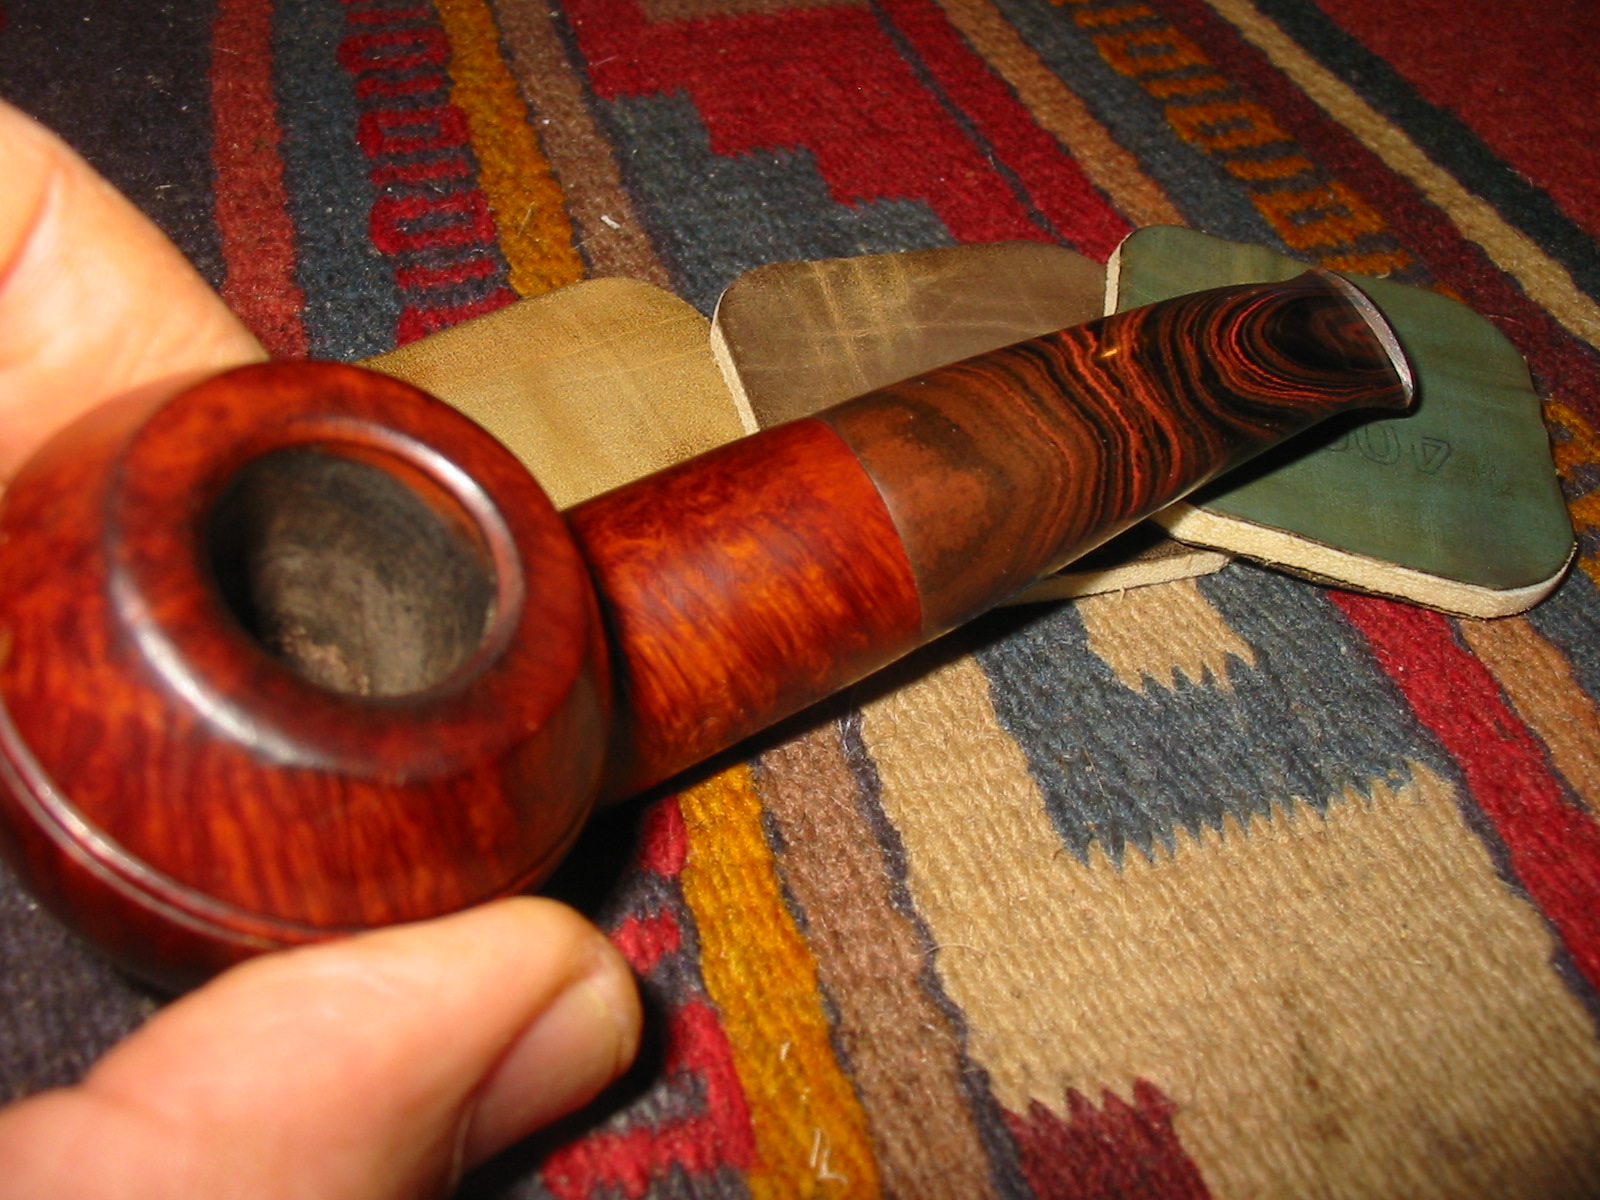
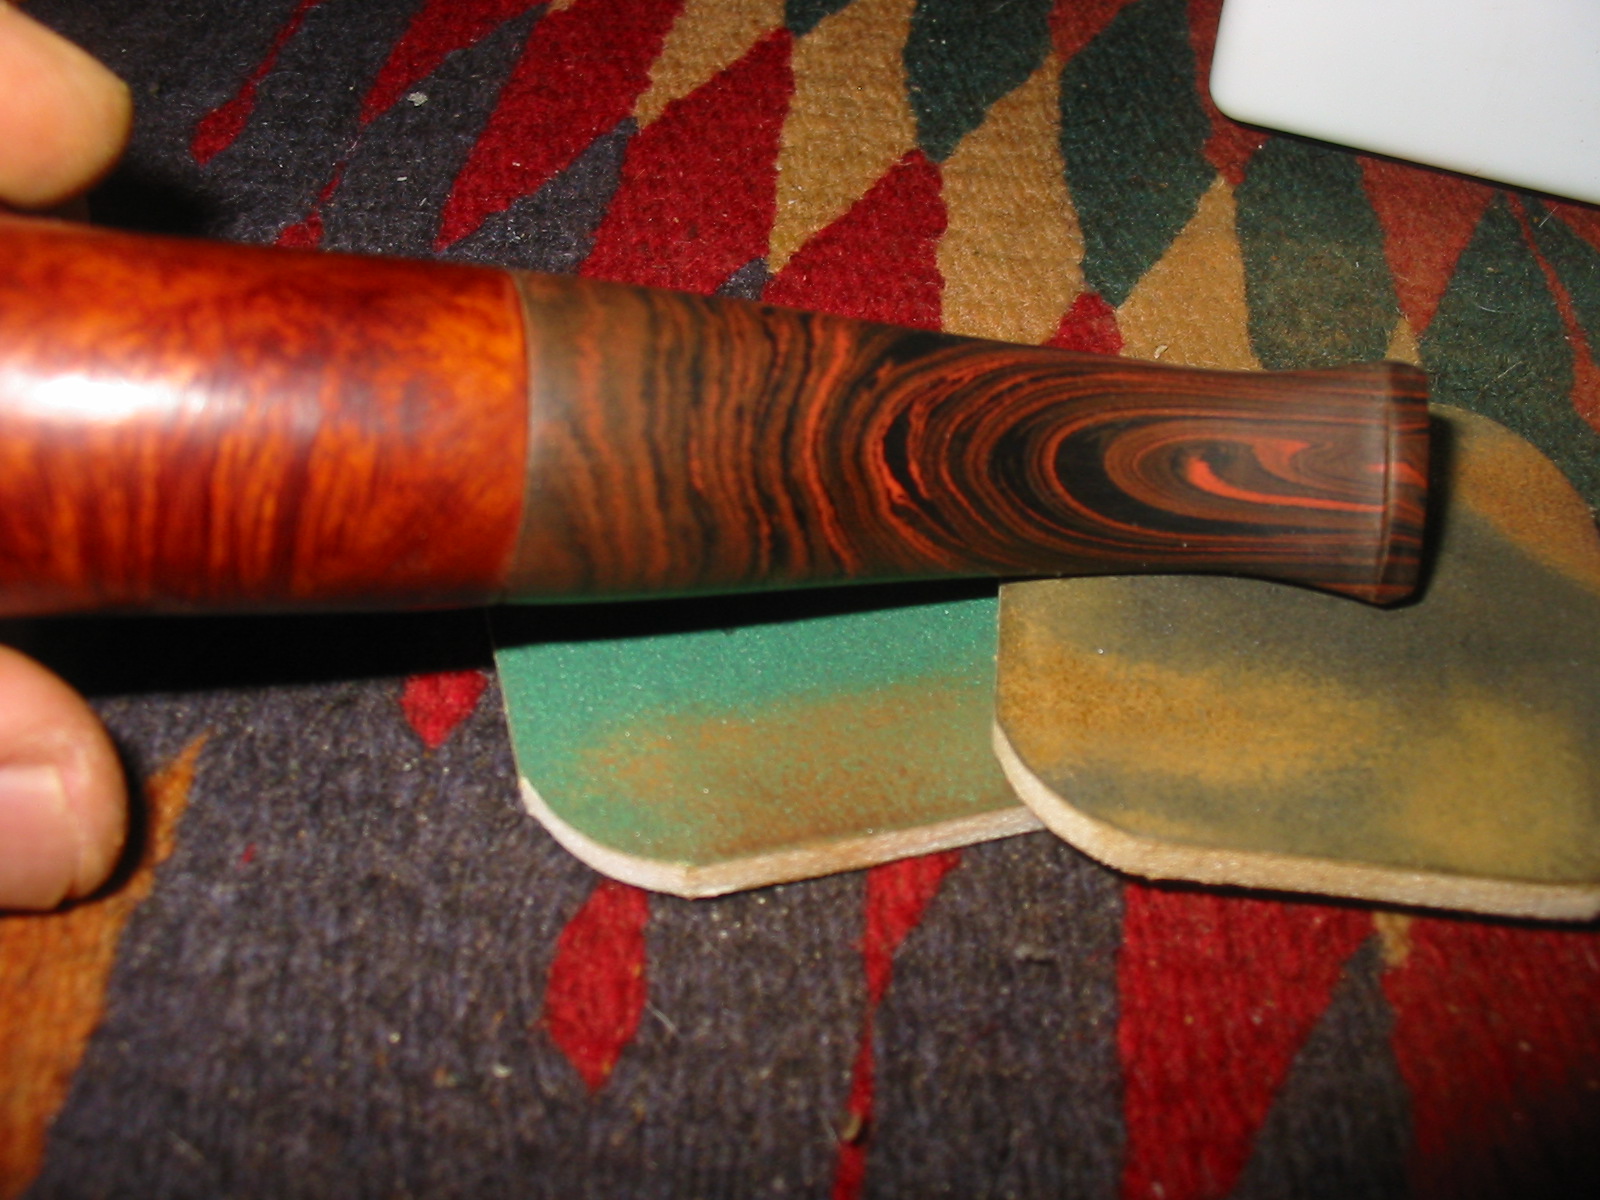
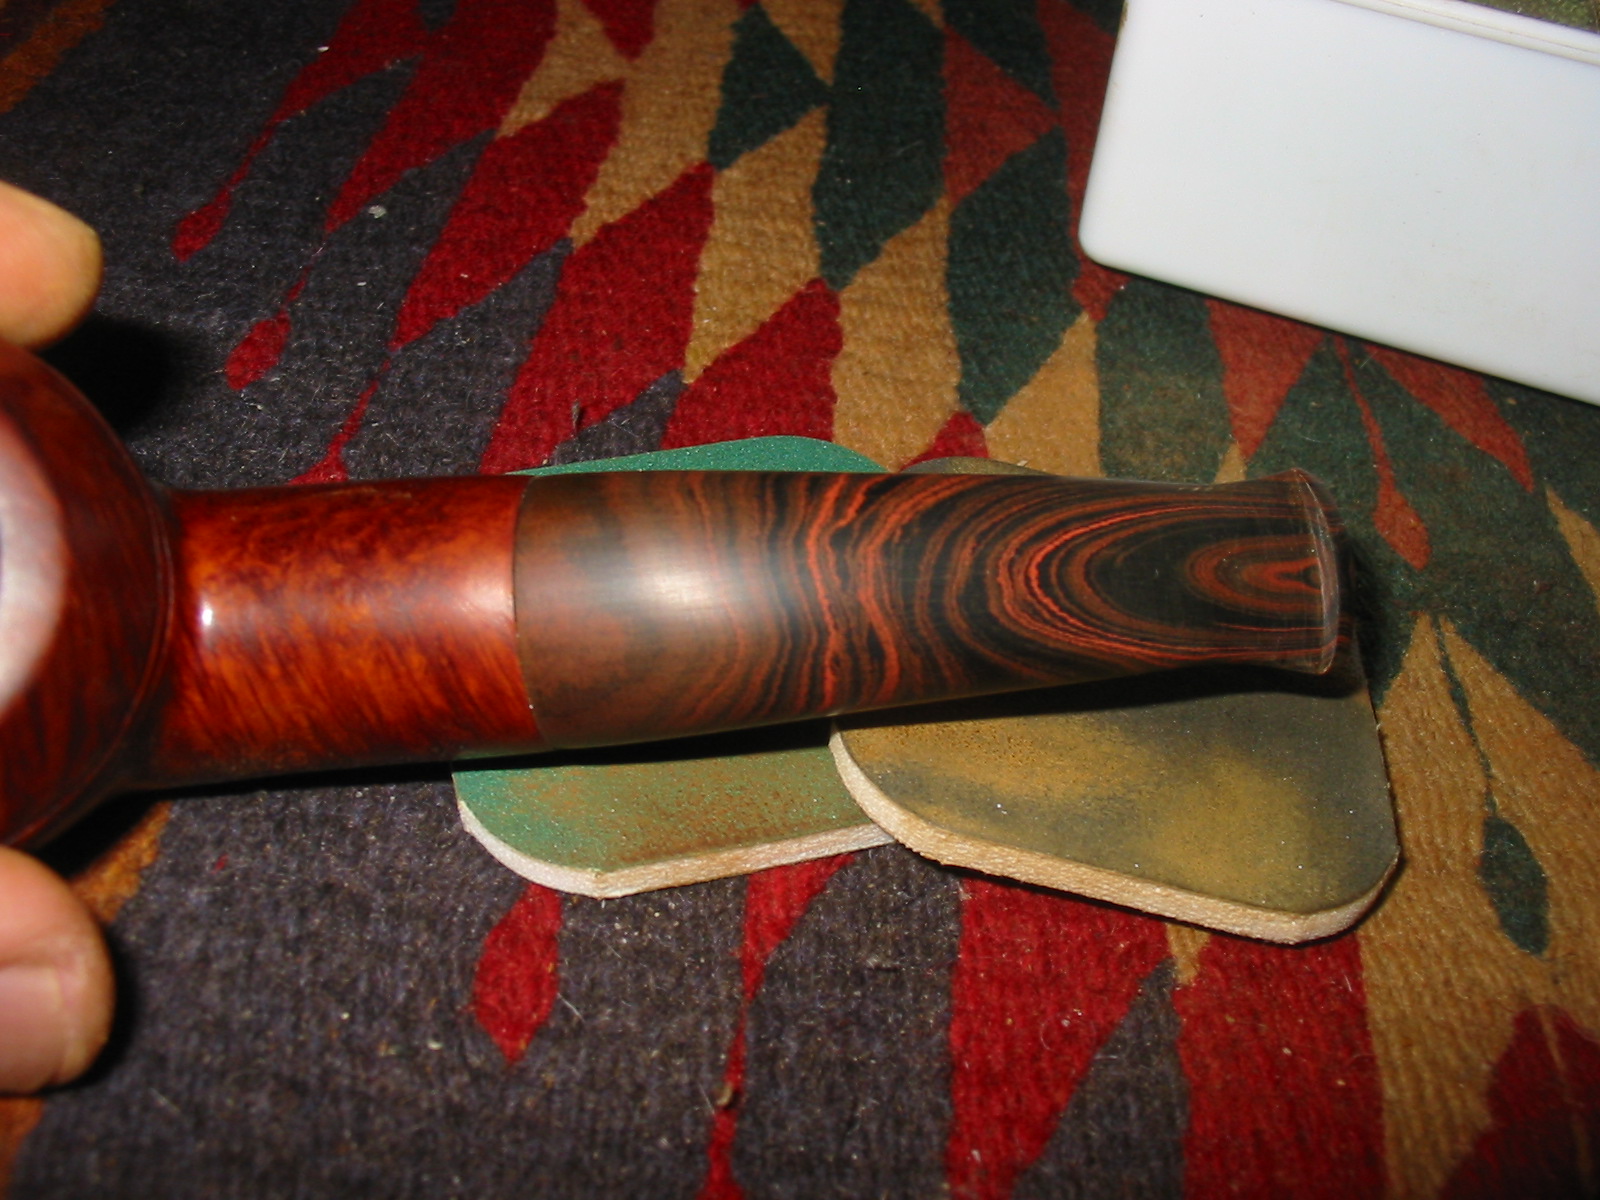
I worked on the button and slot with needle files to thin down the button and to also open the slot. The first photo below shows the slot and button before I started reworking it and shaping it. The second photo, though blurry, shows the button and slot after I had been working on it with the files and sandpaper. The button is thinner and the slot is beginning to open up. Photos three and four show the finished button and slot before buffing and polishing. The button is rounded and shaped, thinner than it originally was and the slot is oval and wide open. I used folded sandpaper to polish the inside of the slot and smooth out the edges. The fifth photo shows the profile of the button when I had finished working on it.

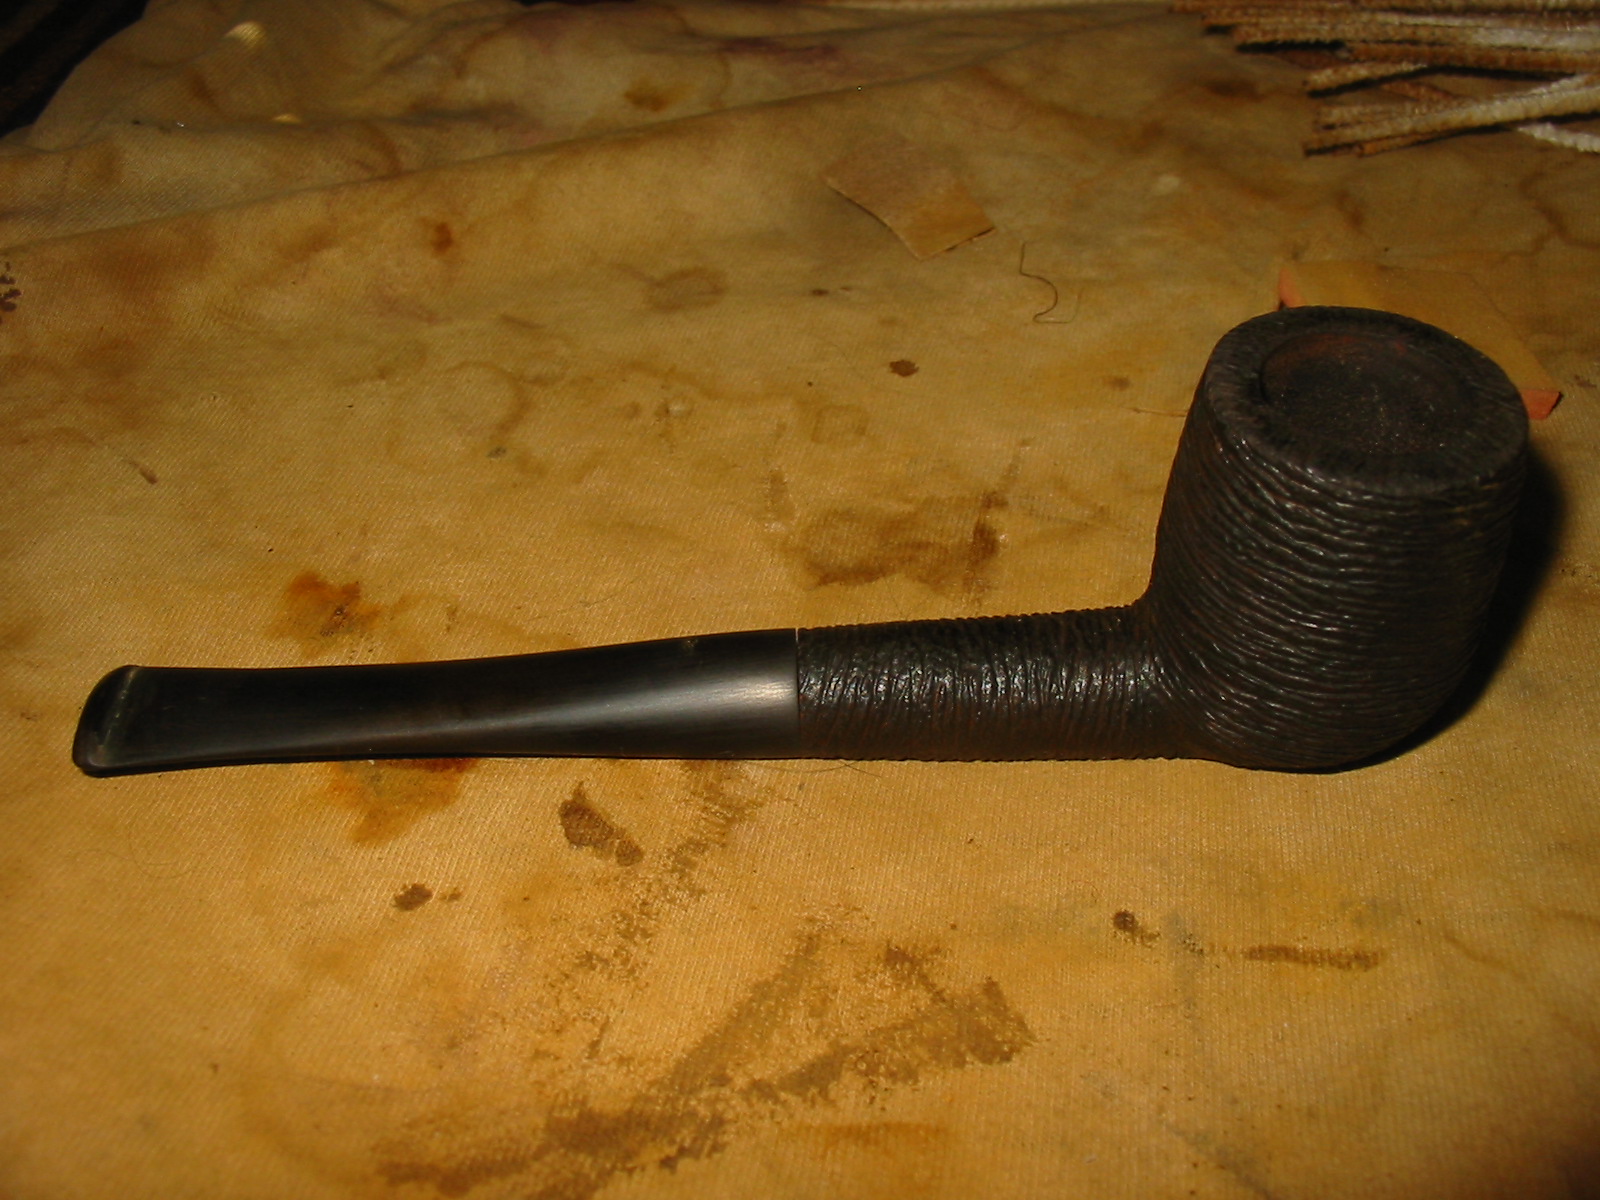
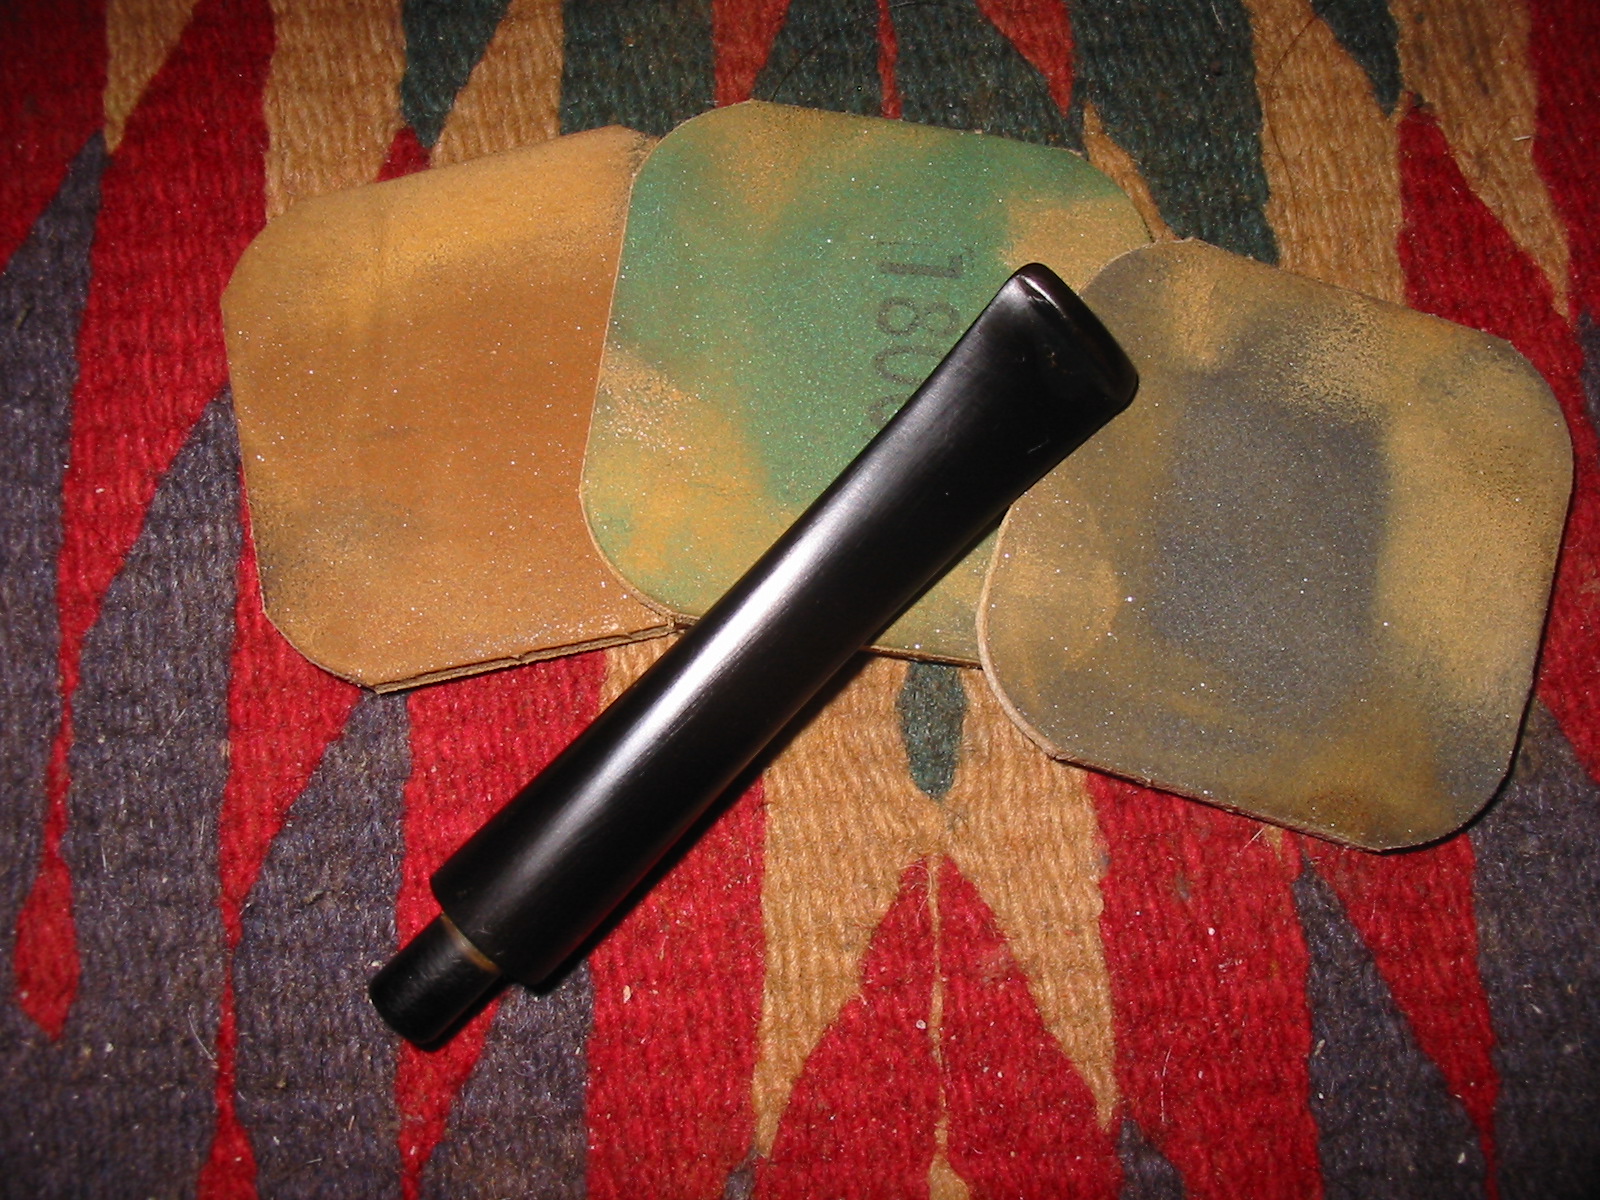
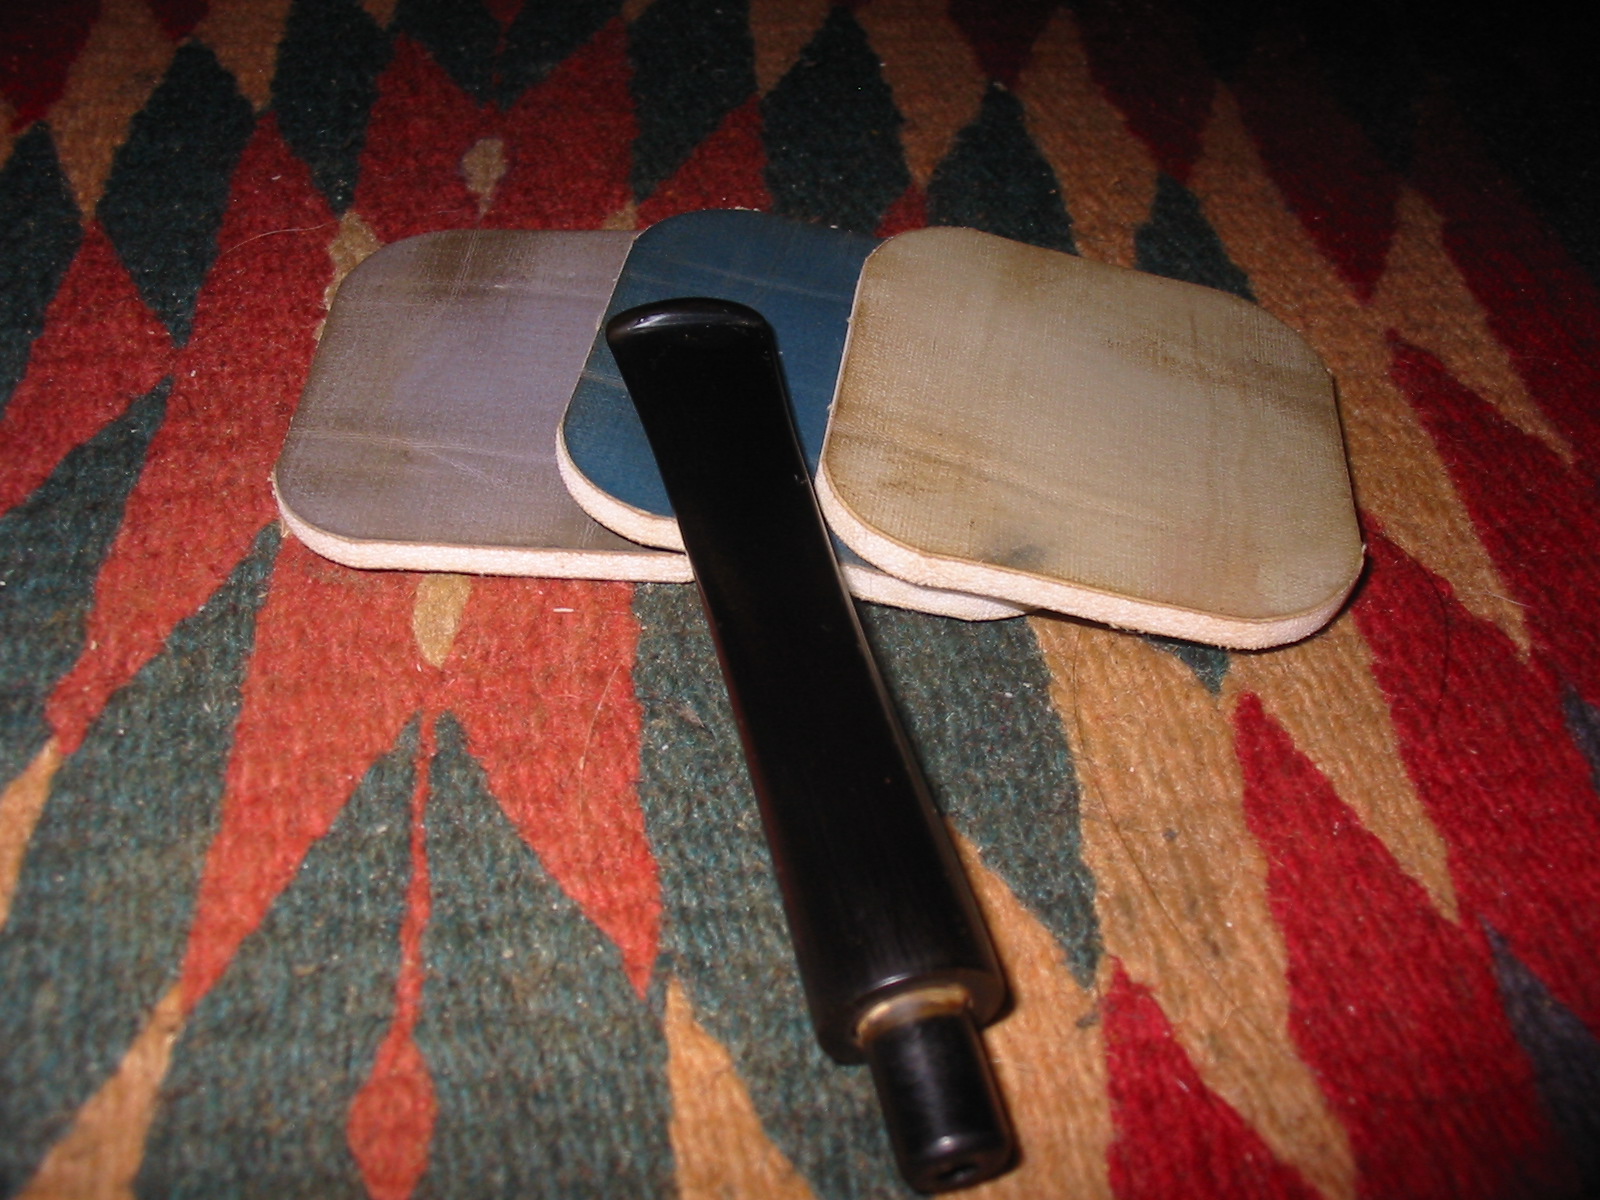
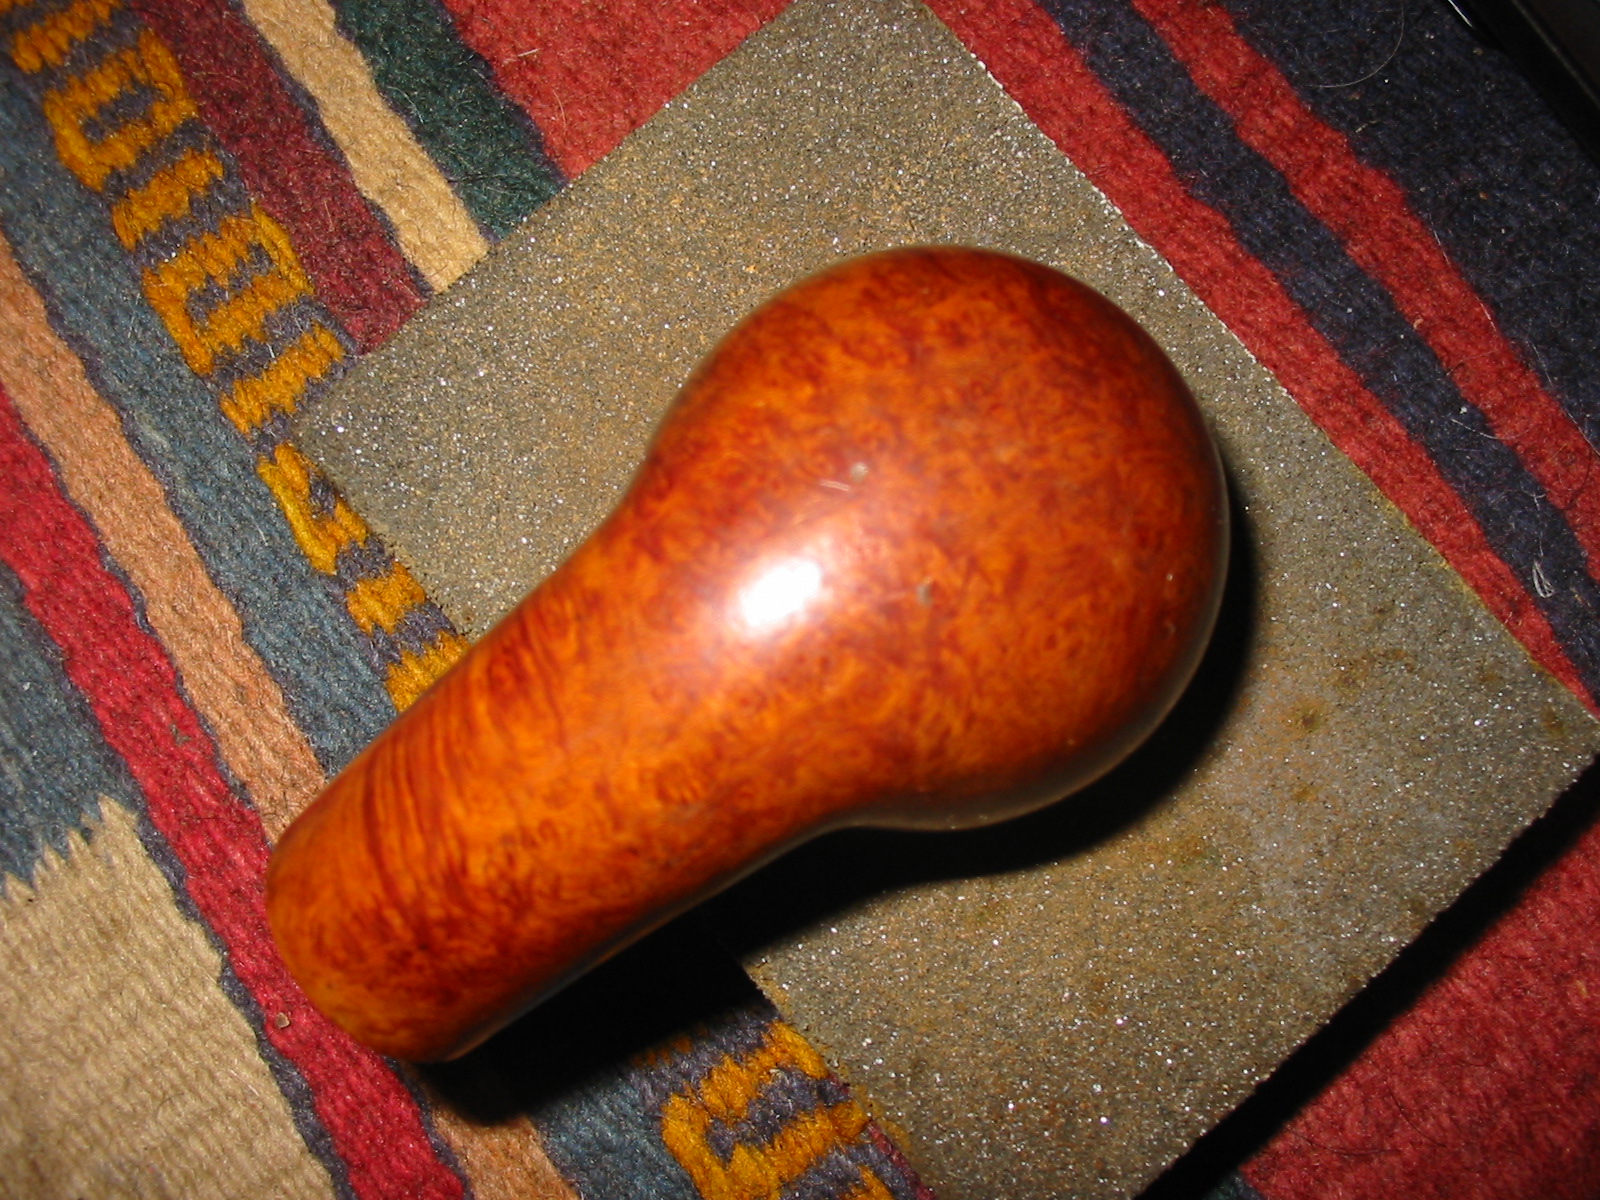
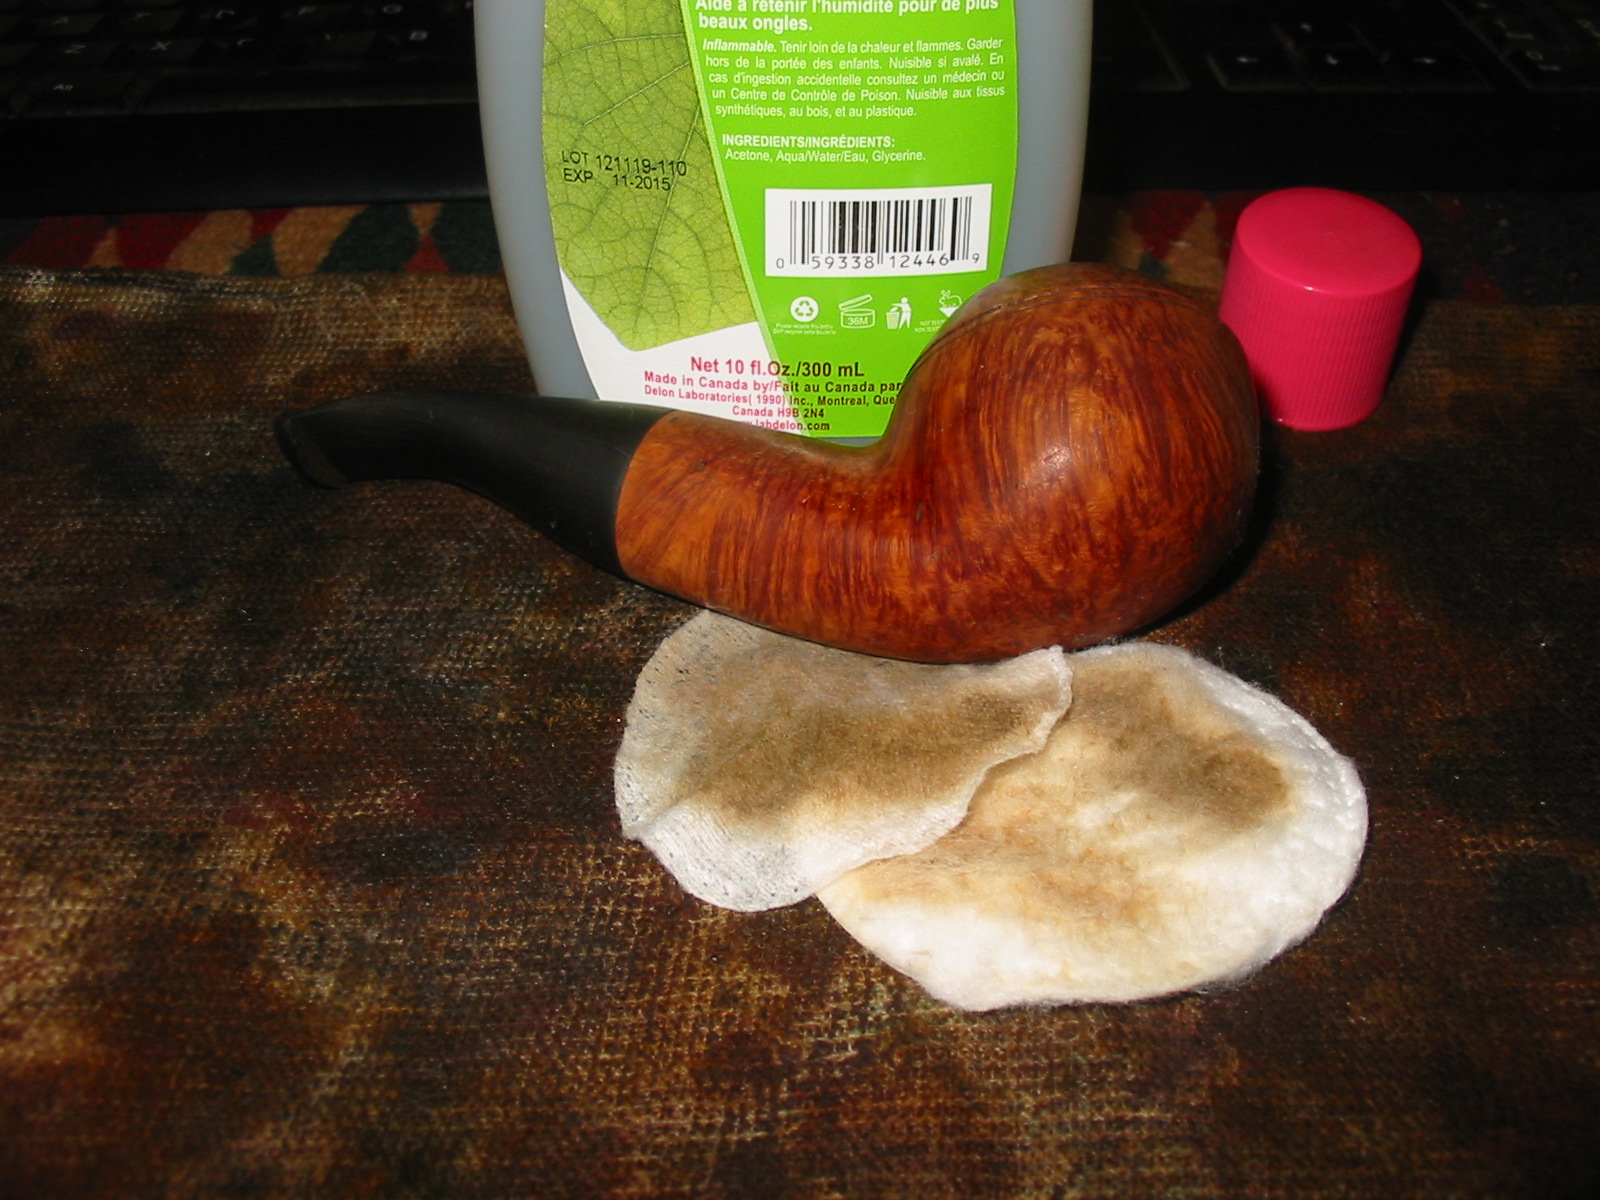
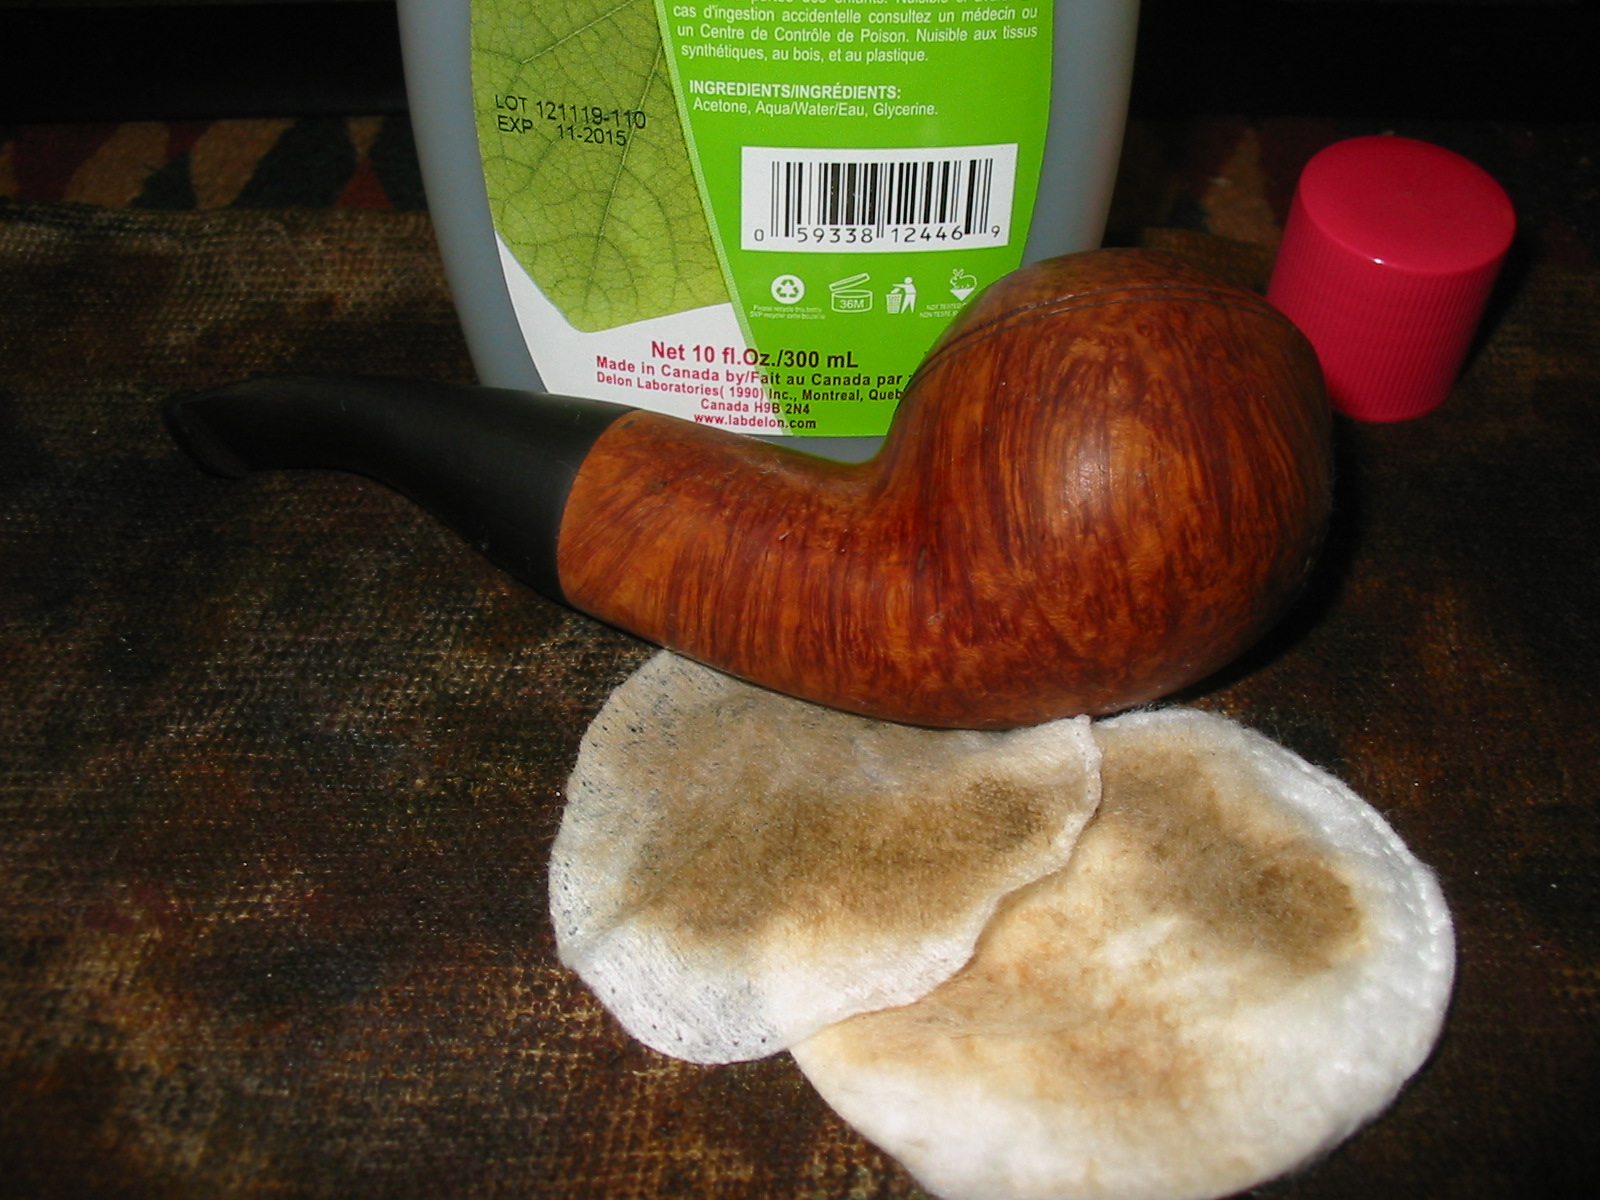
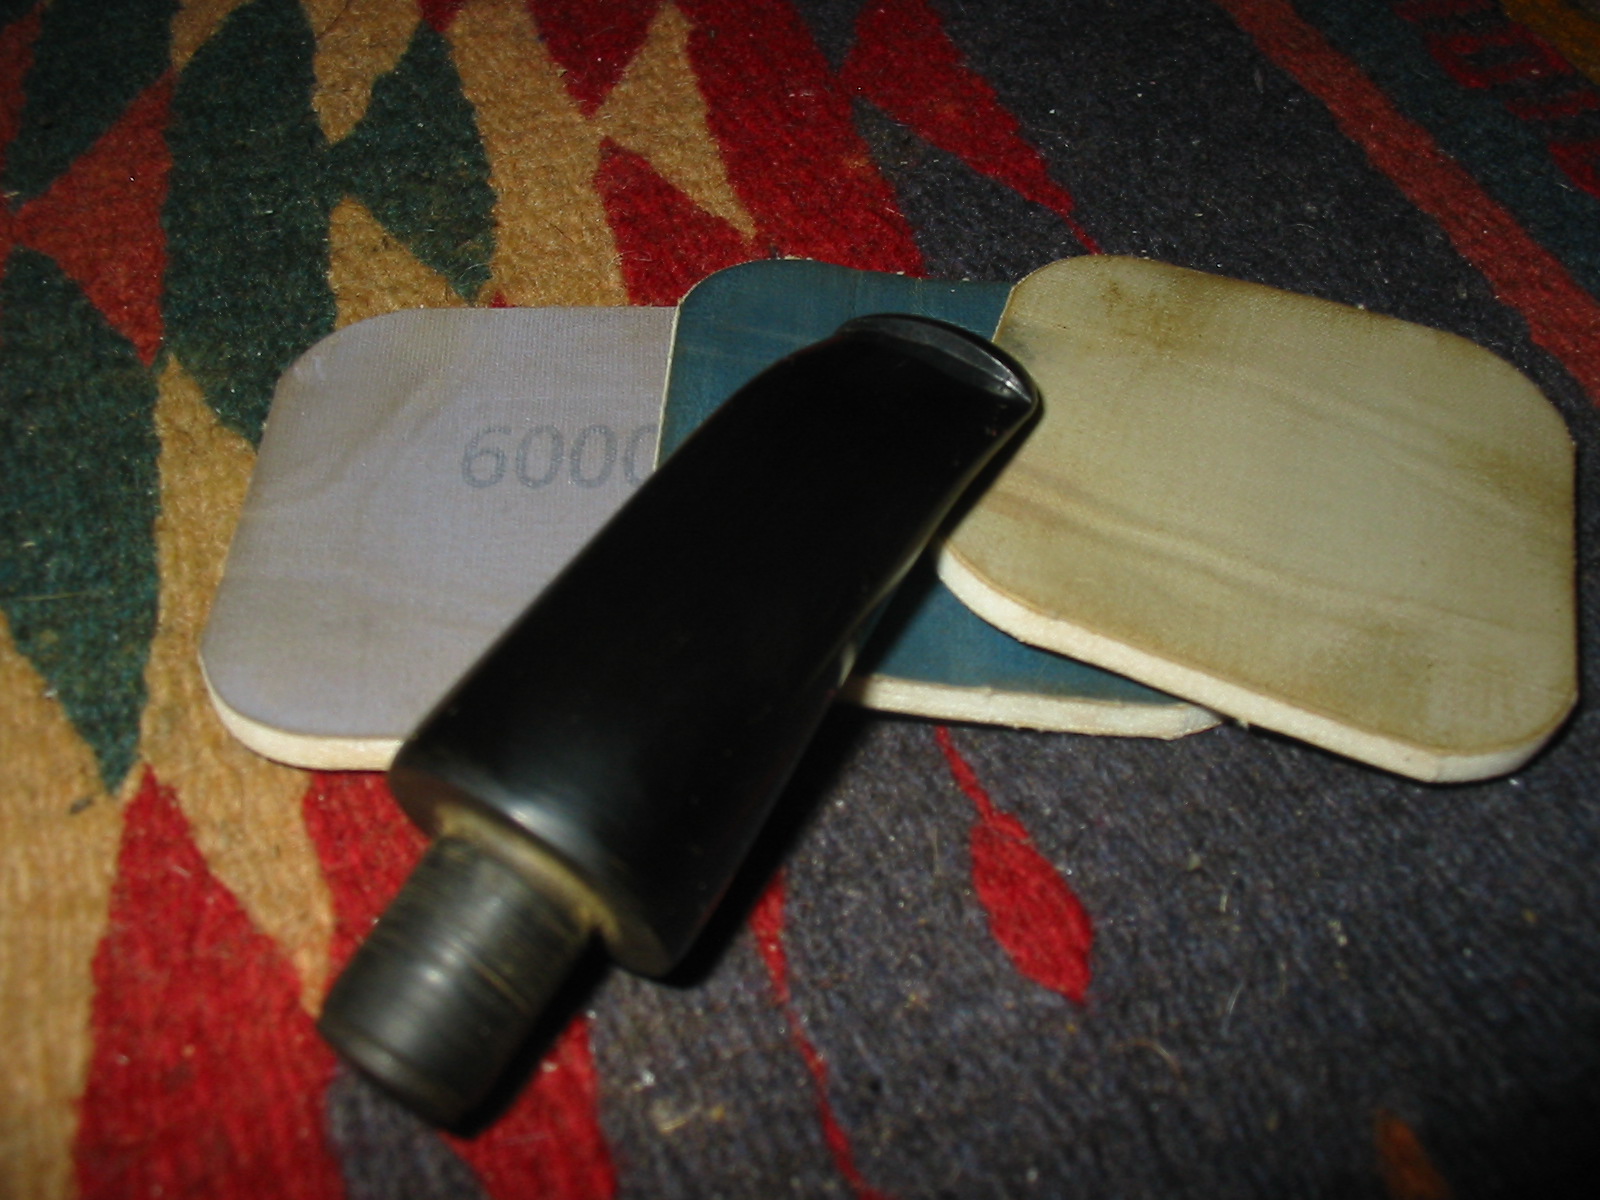
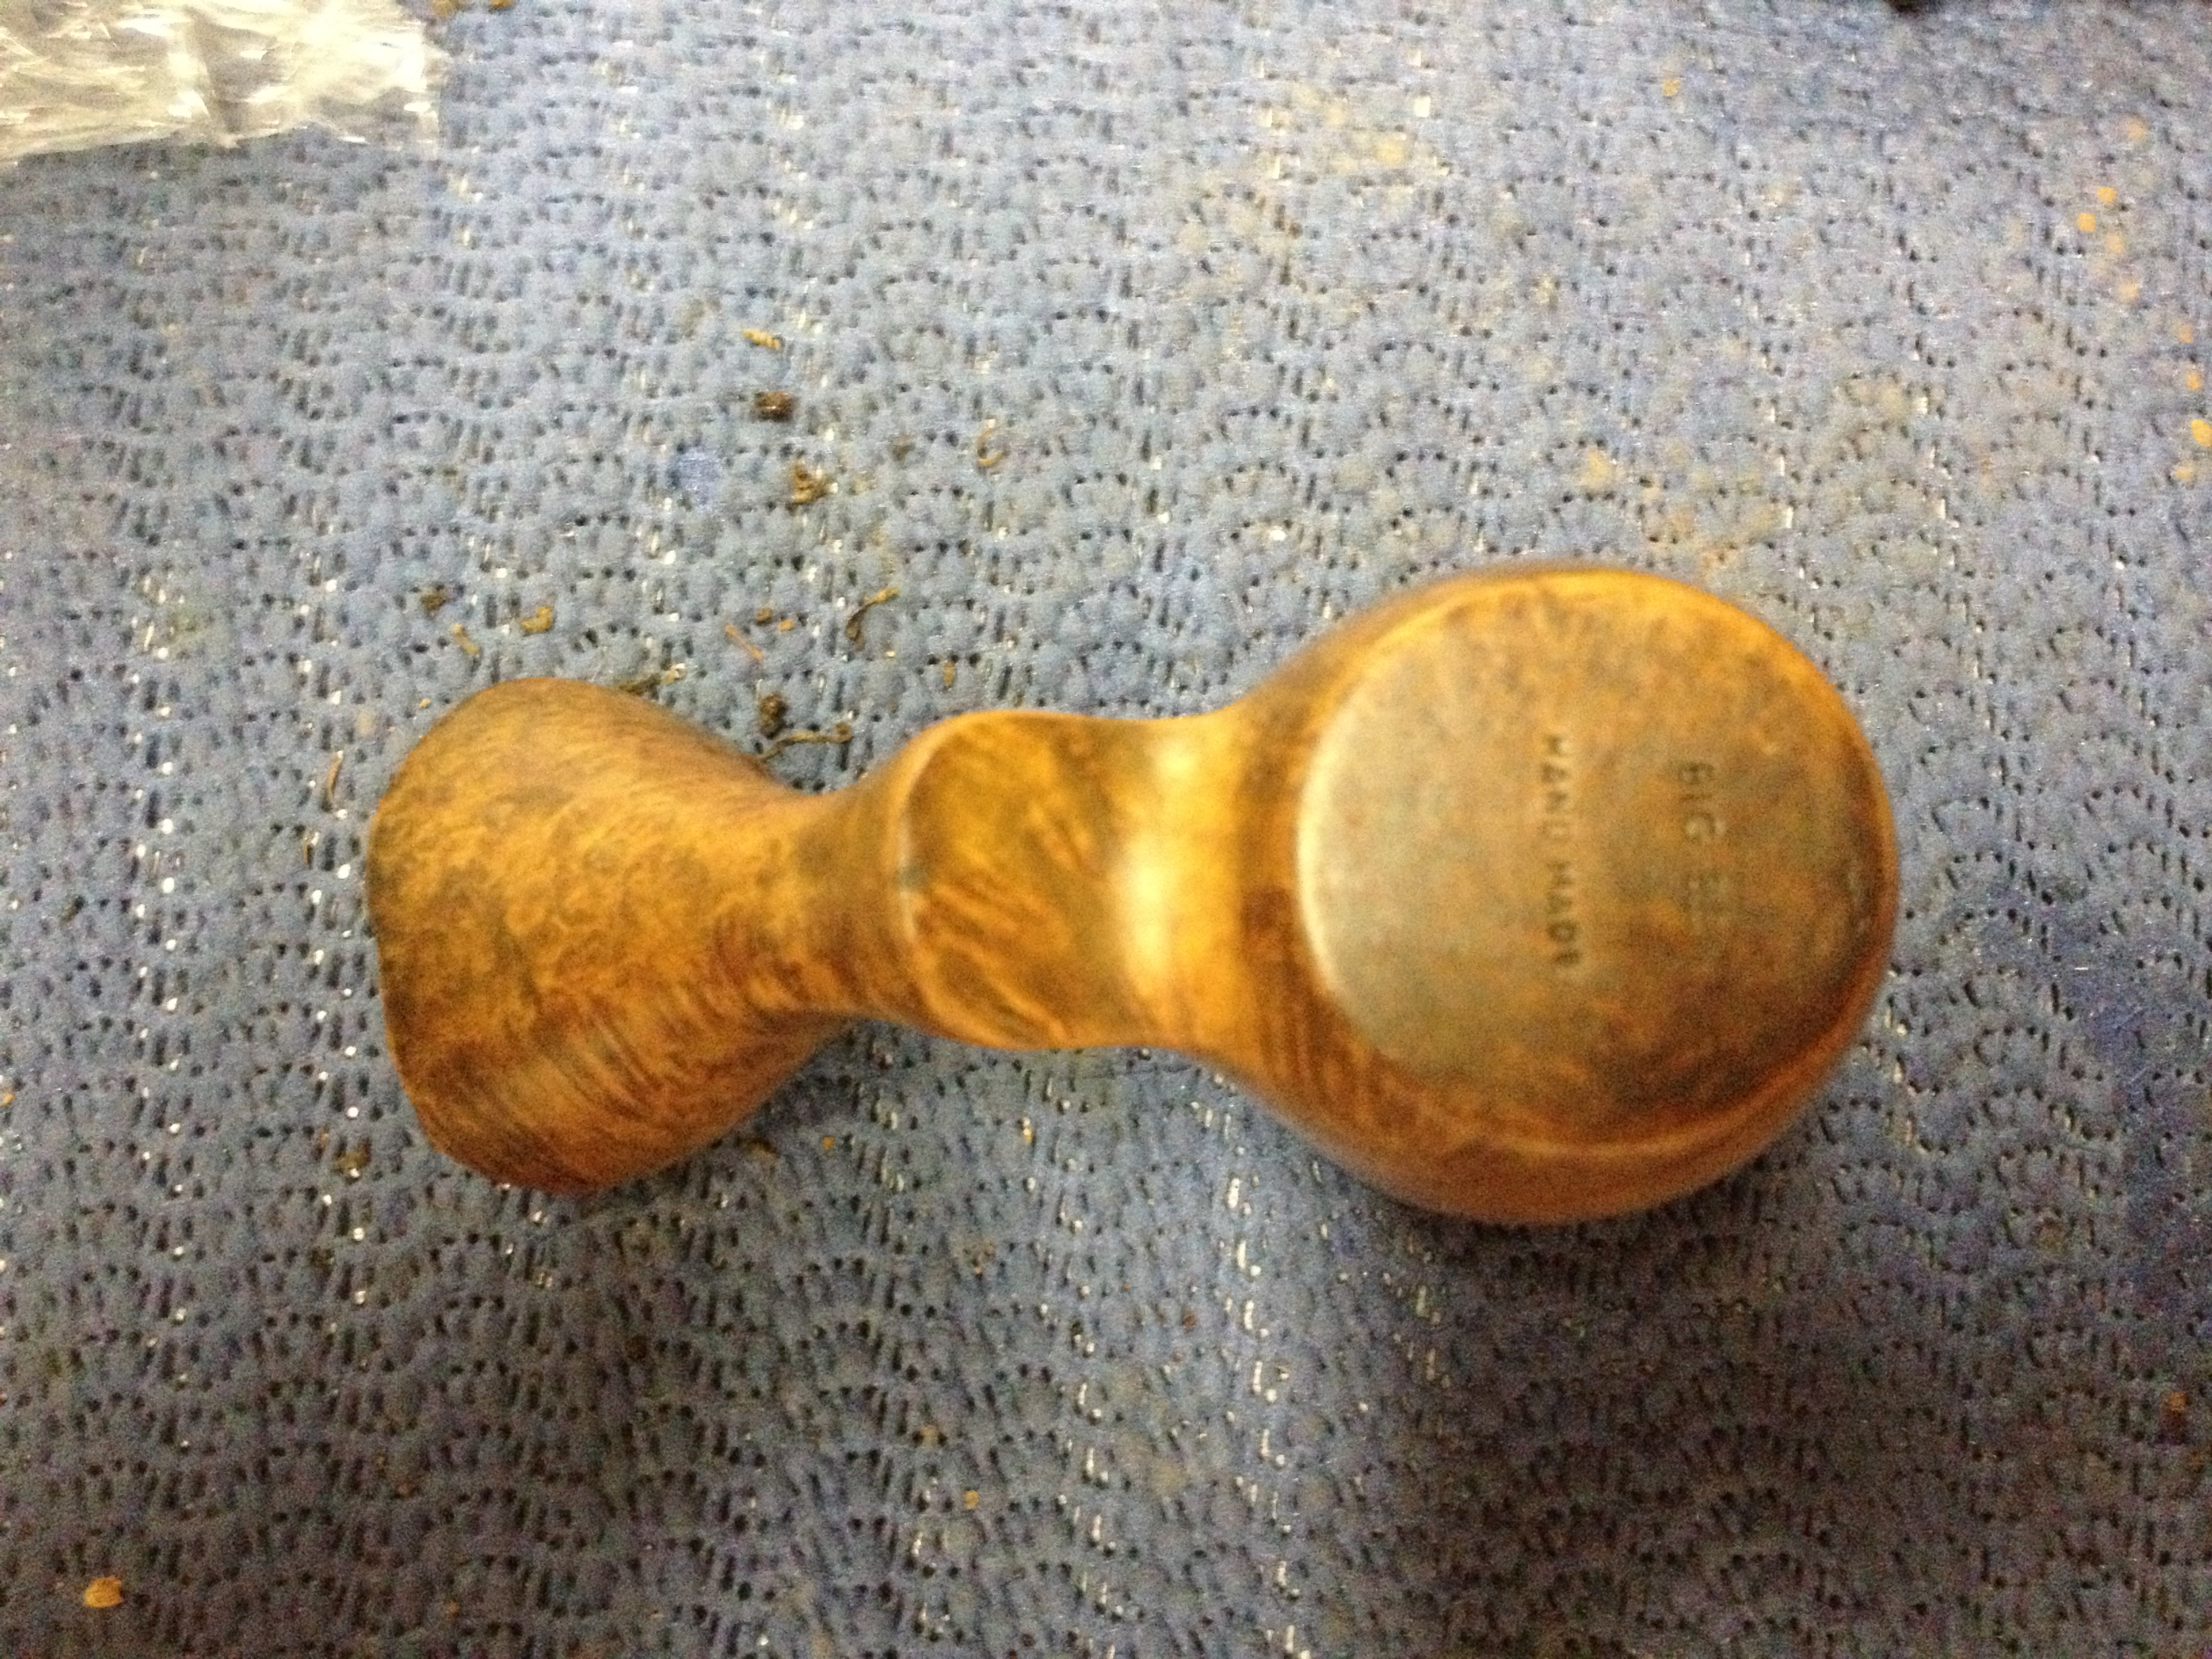
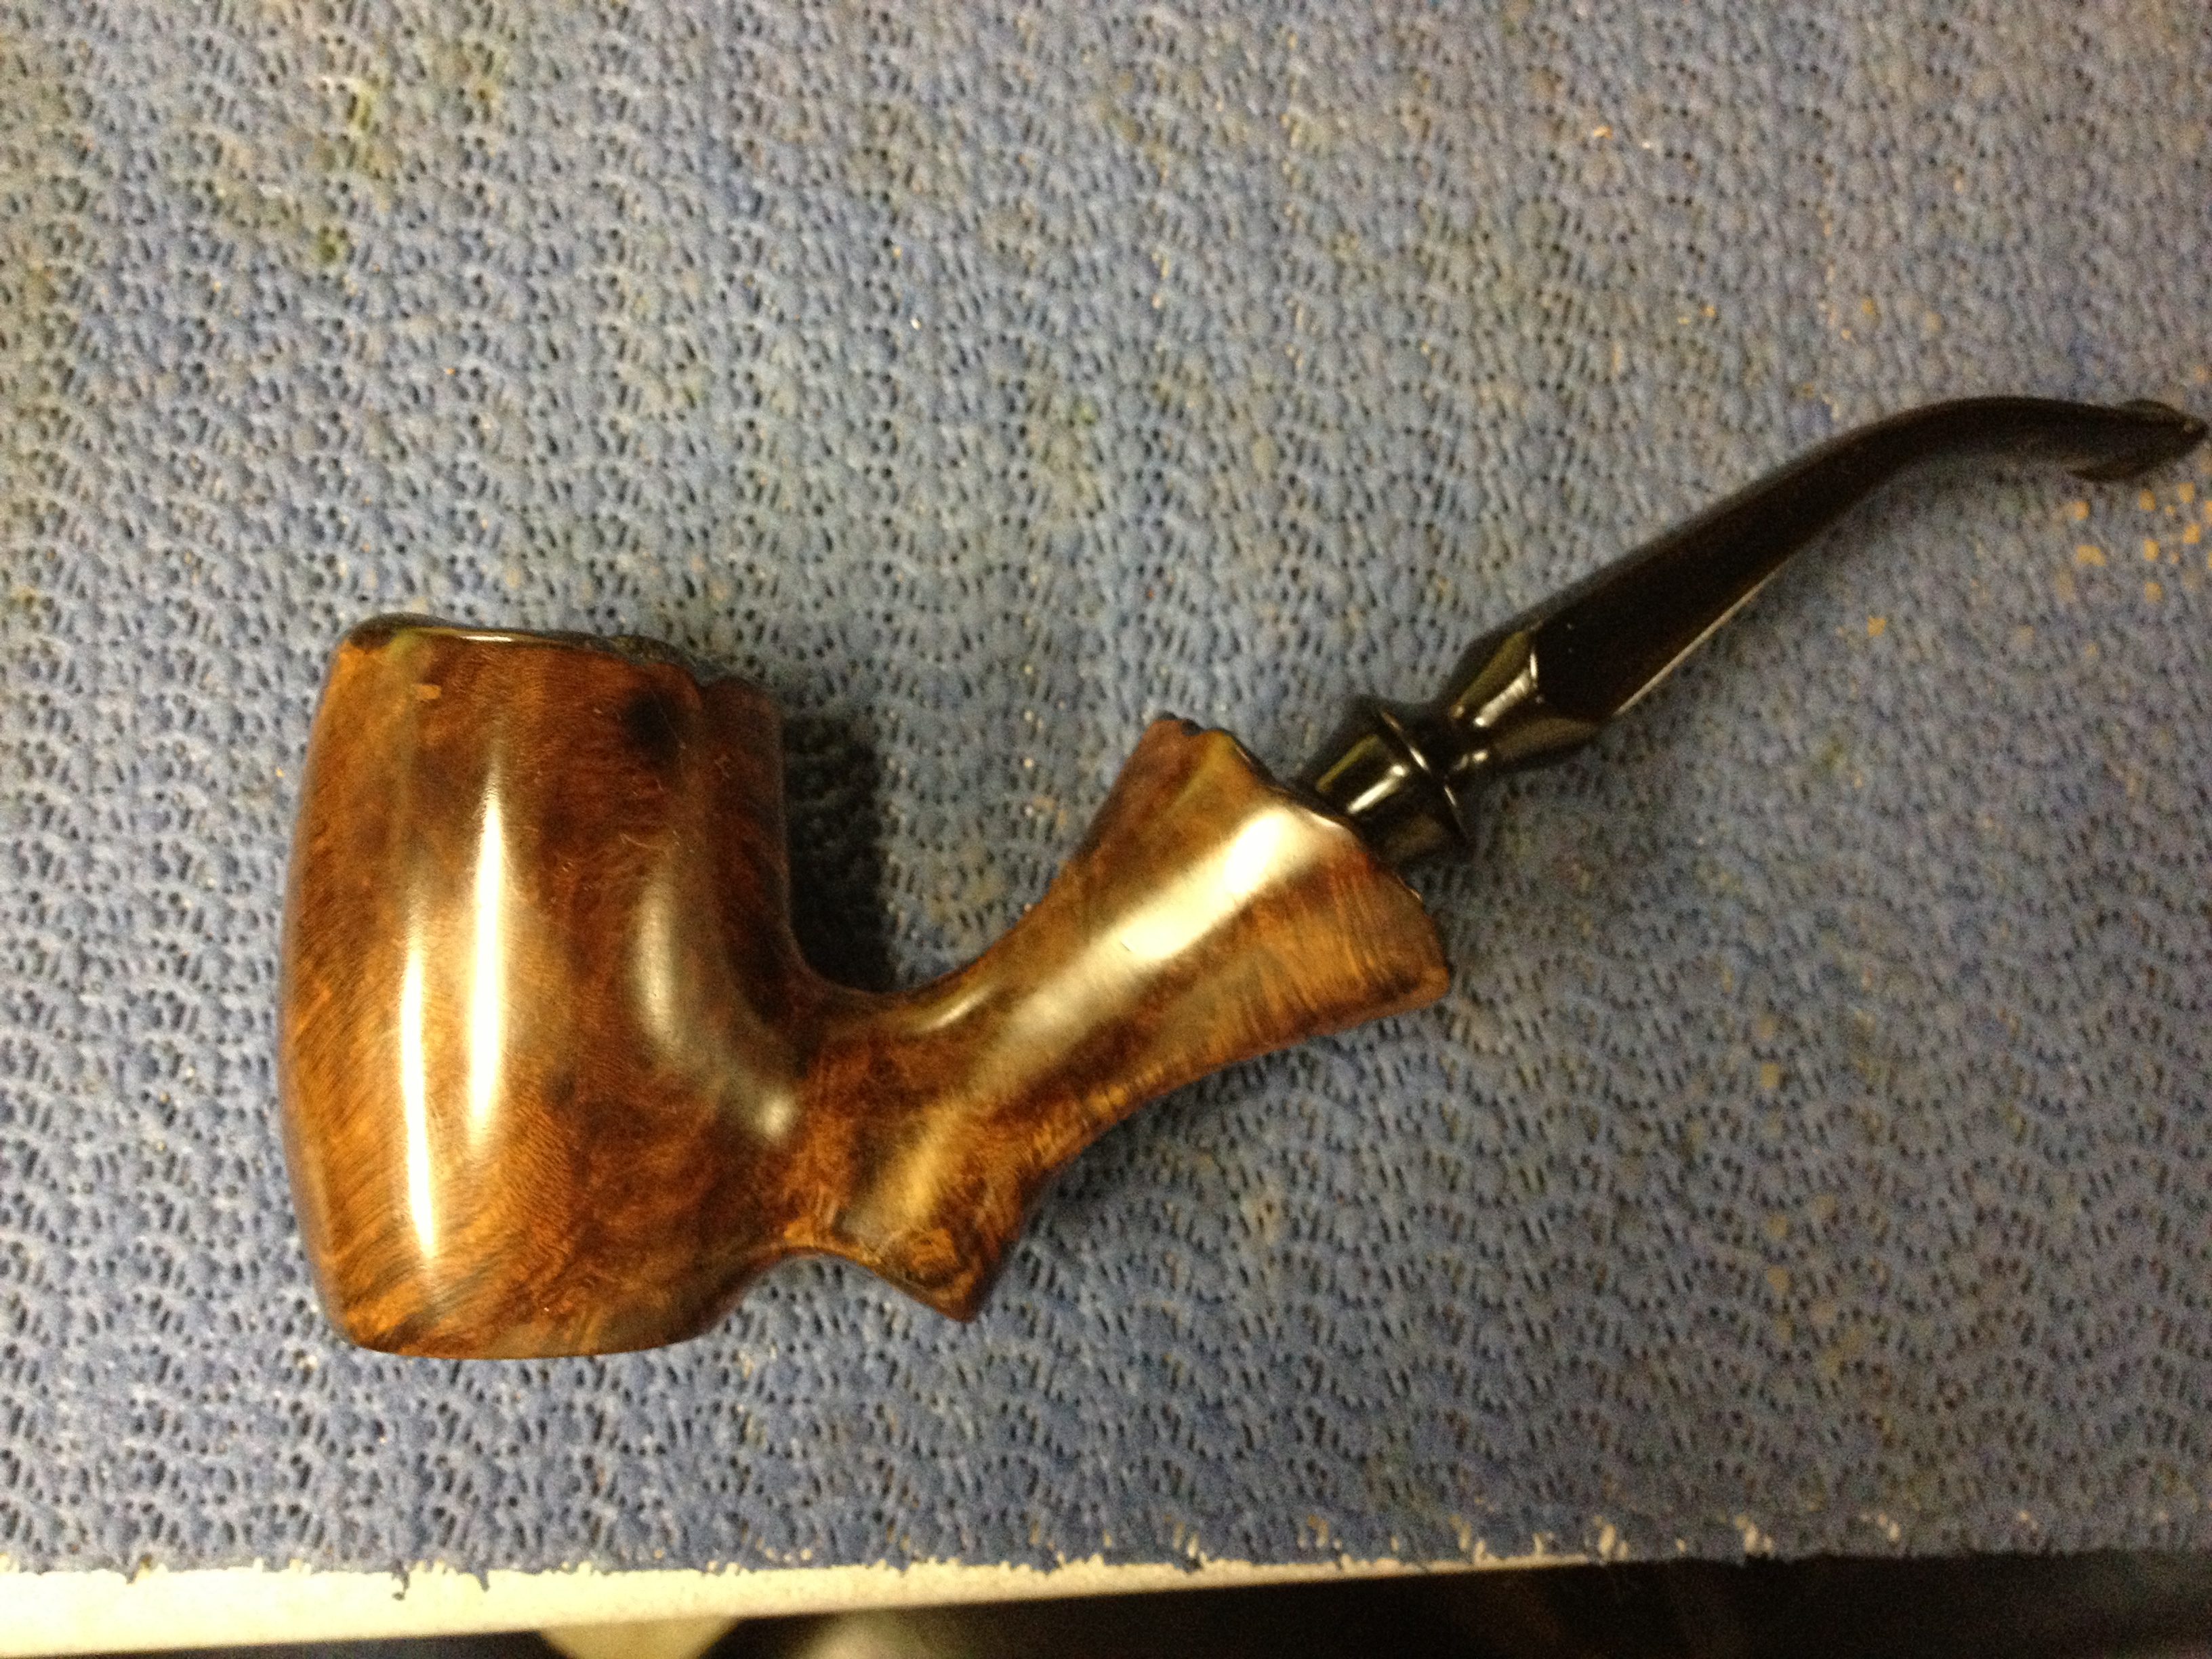
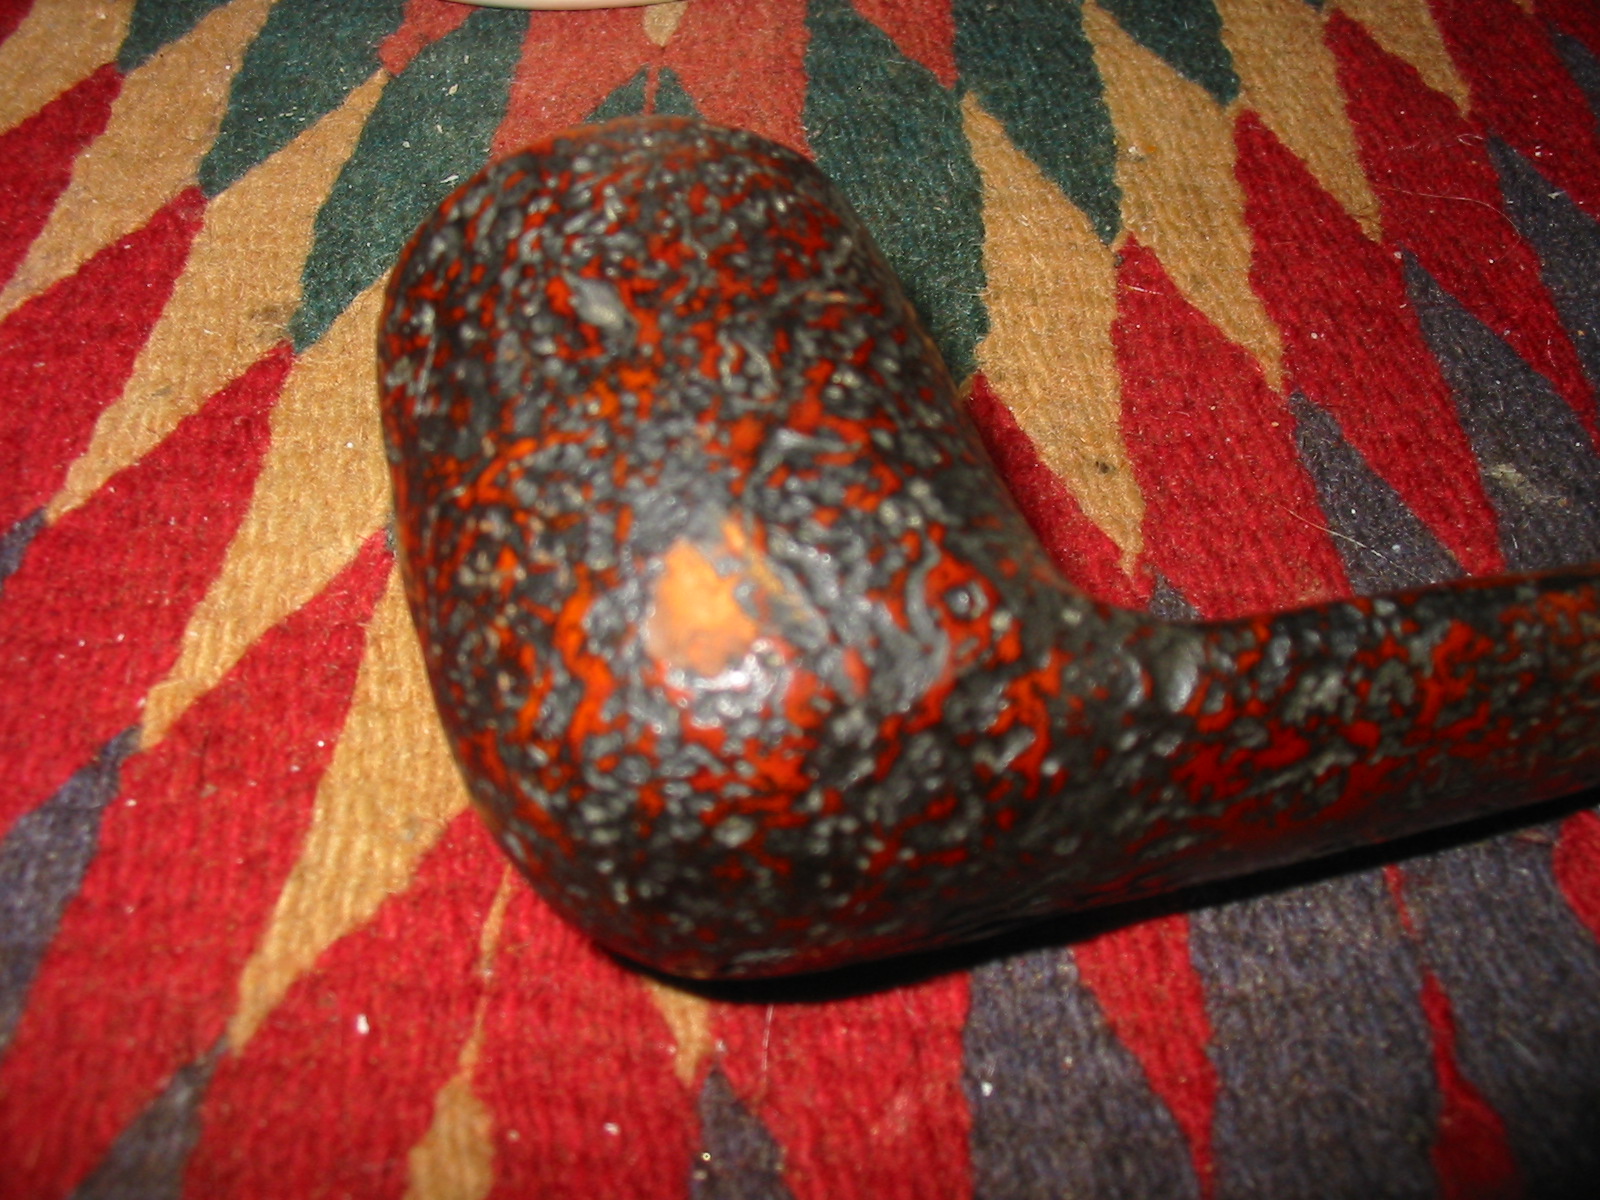
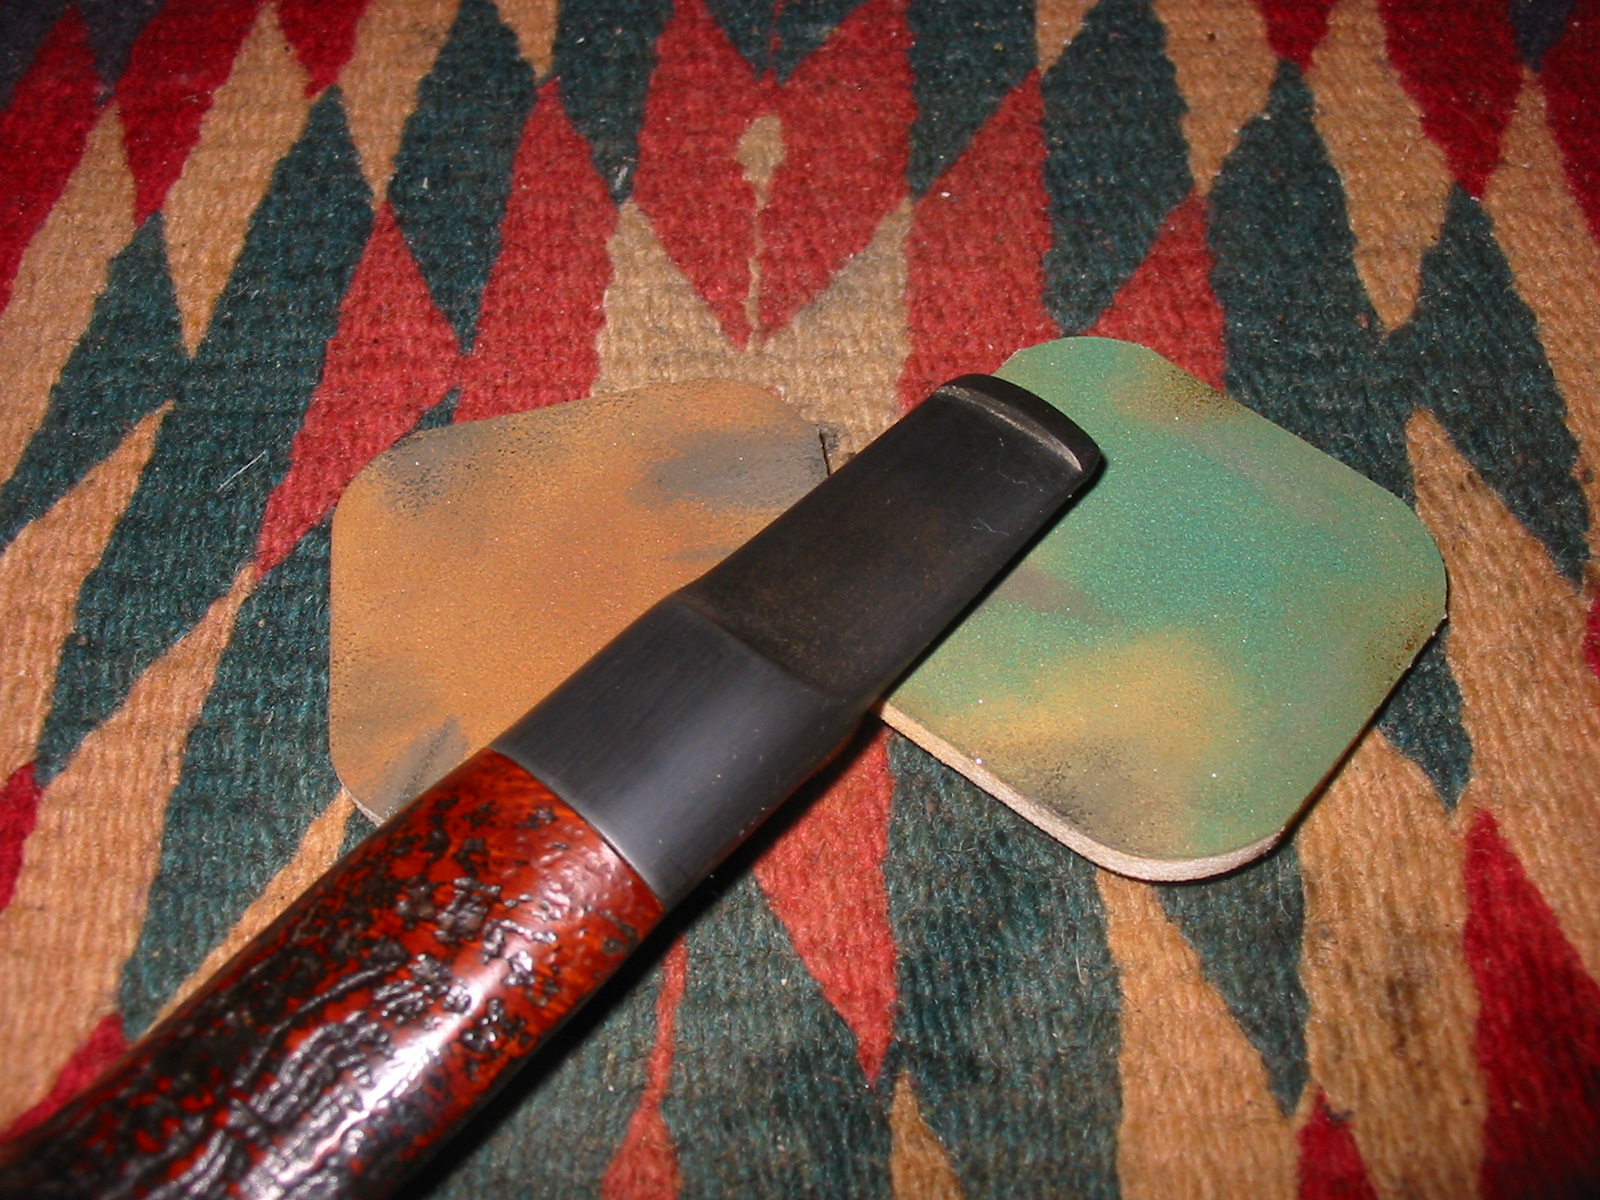
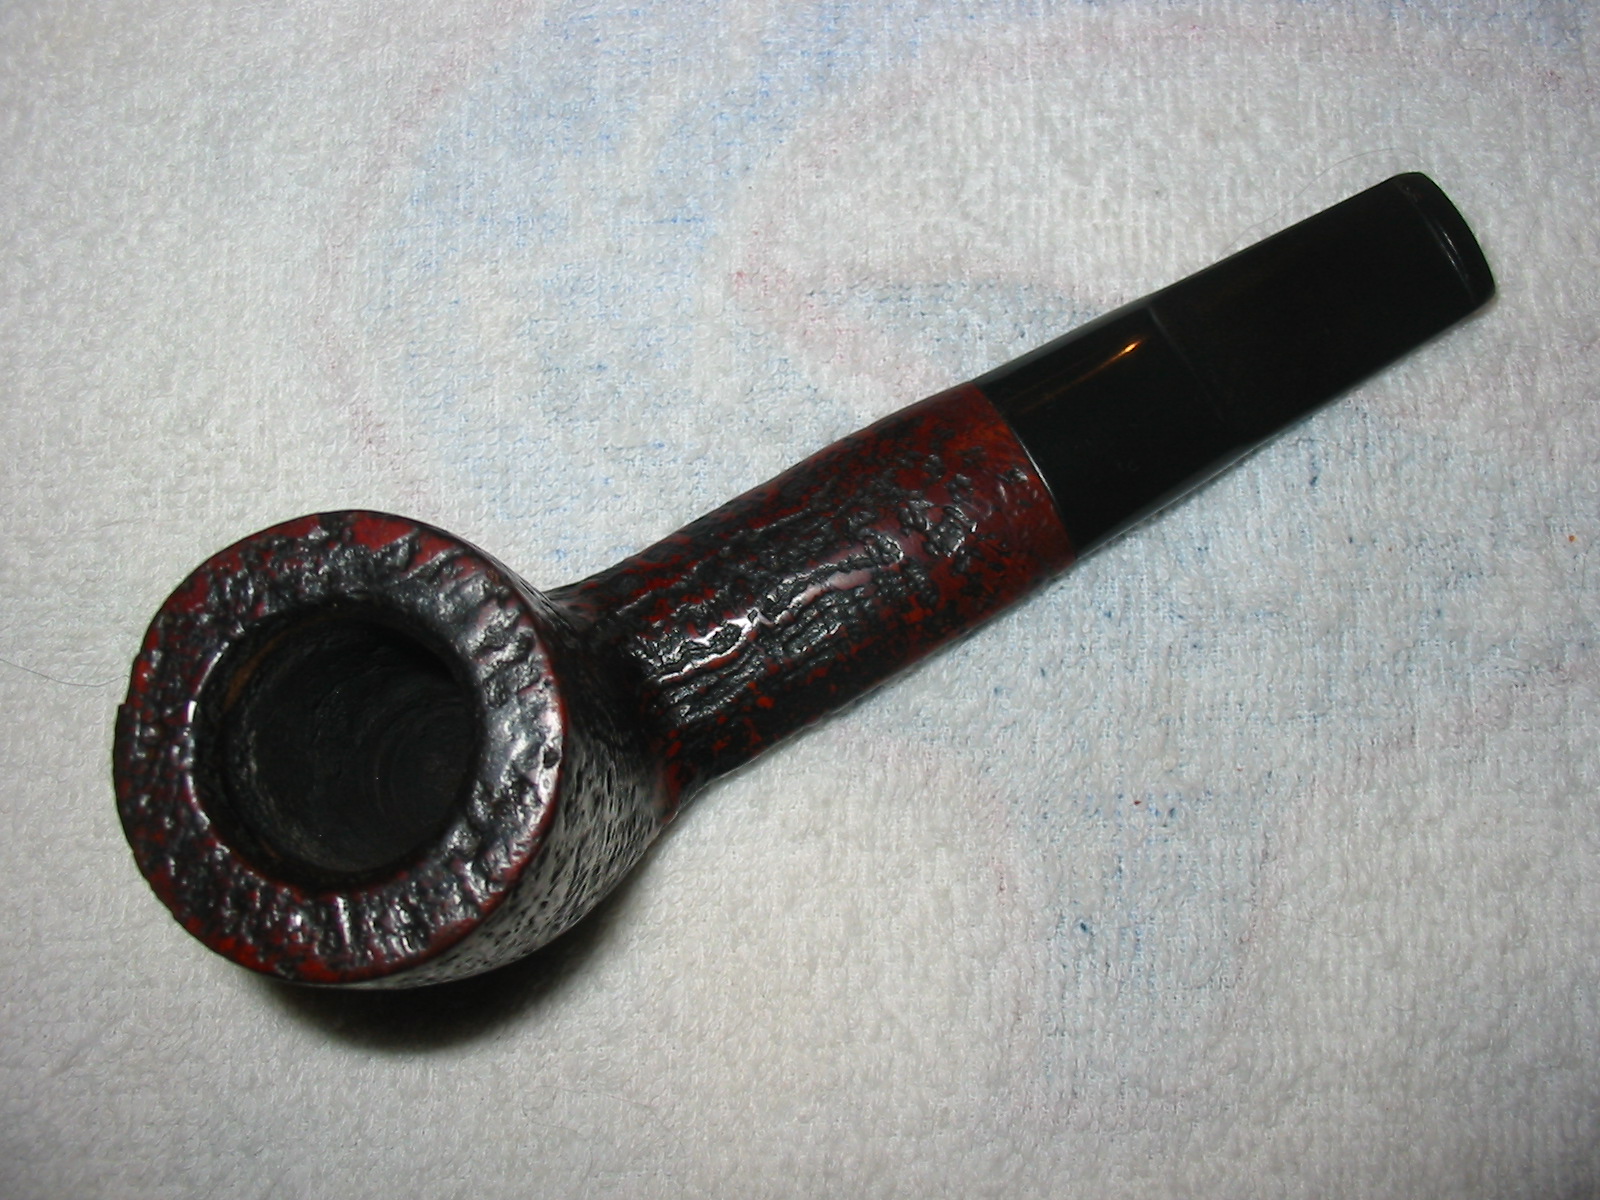
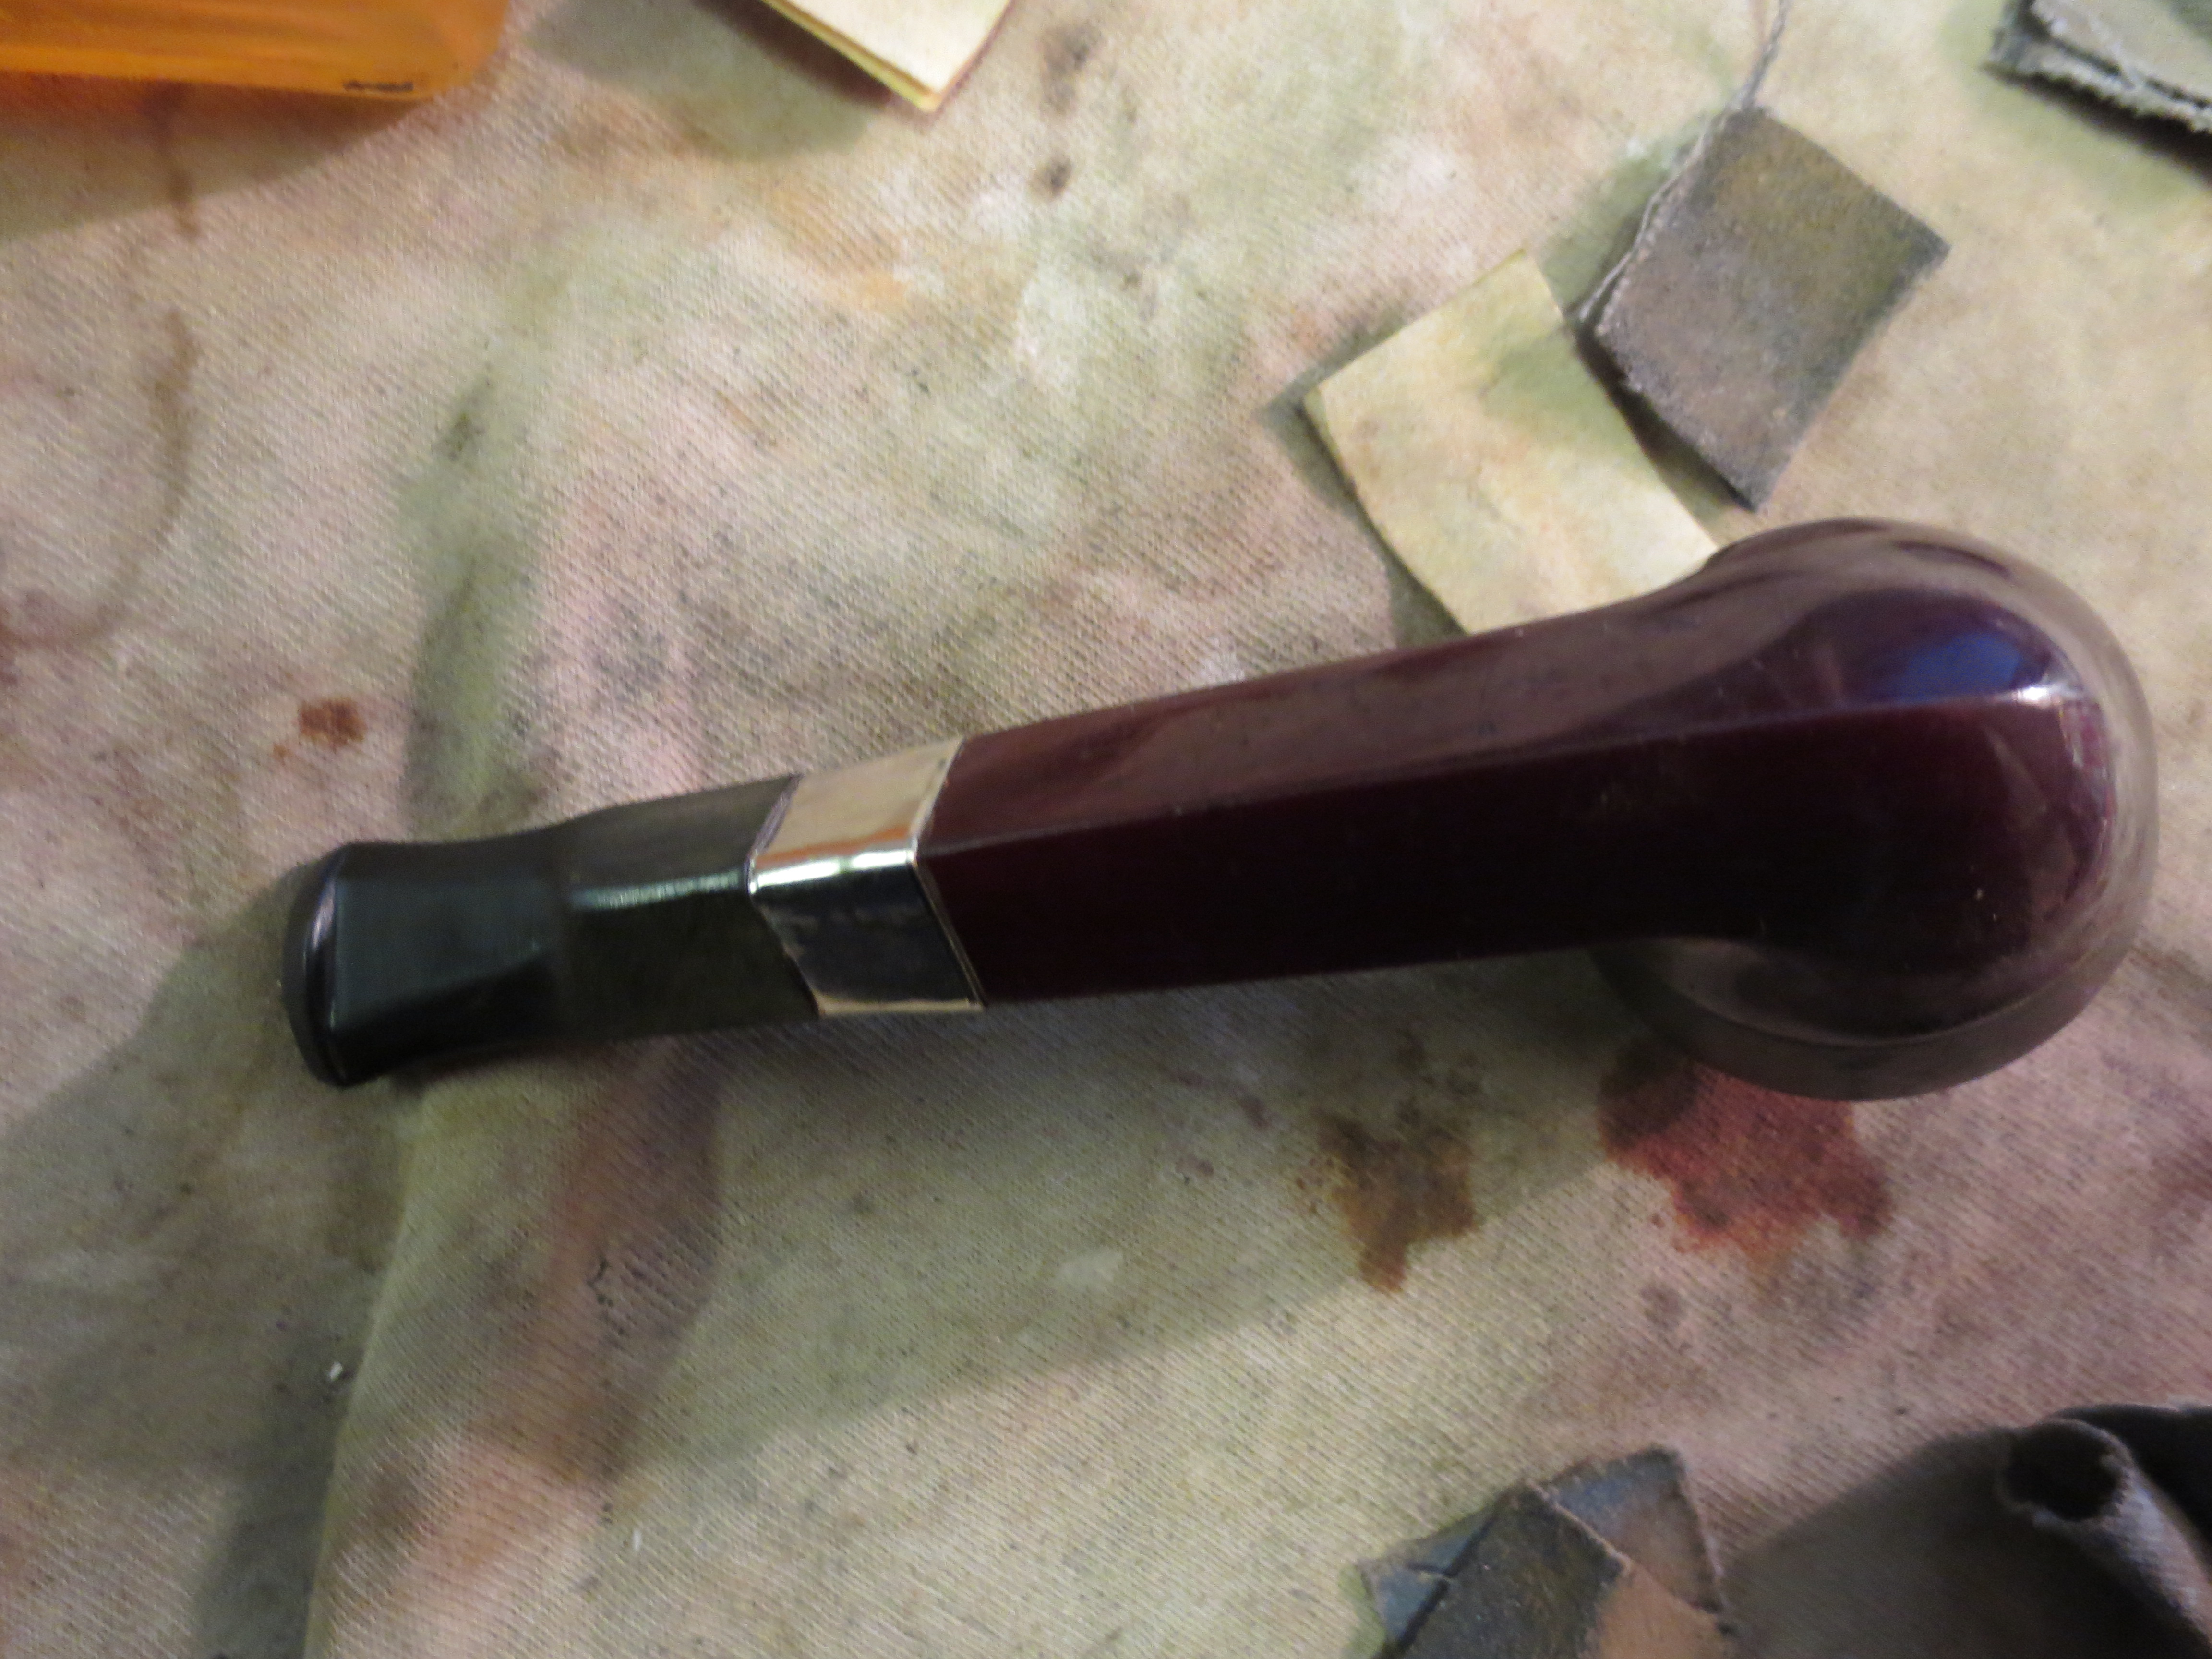
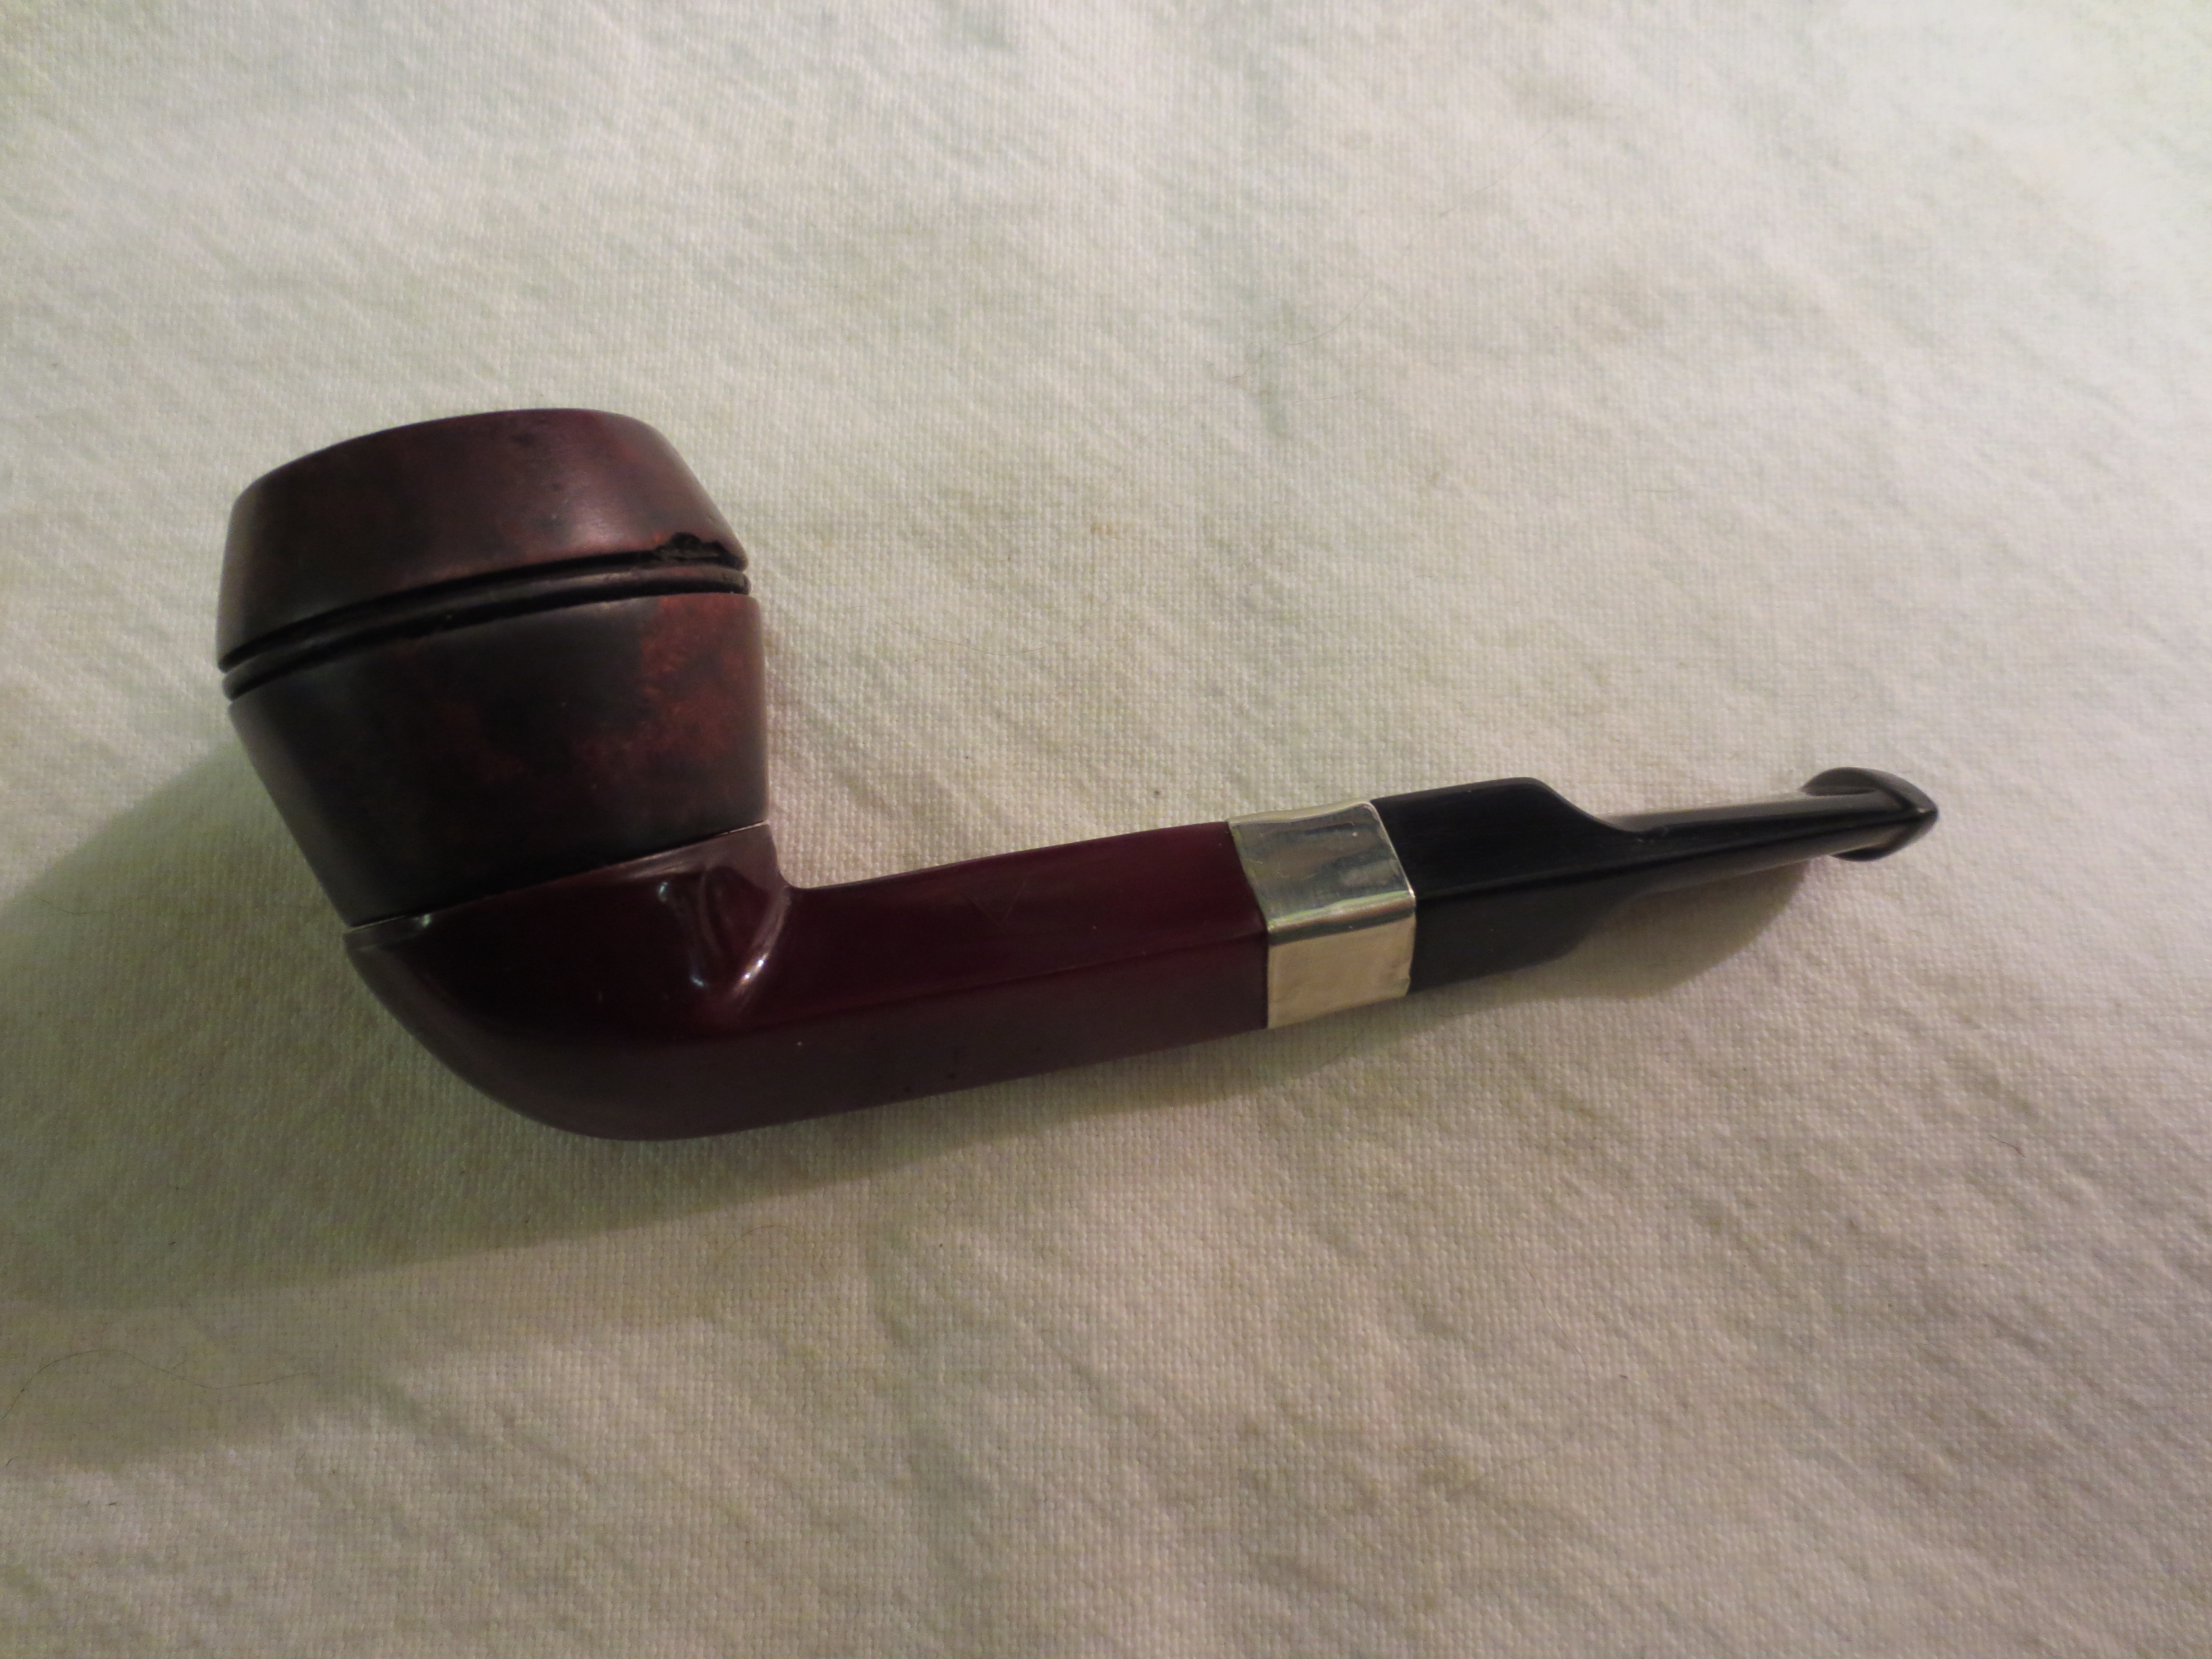
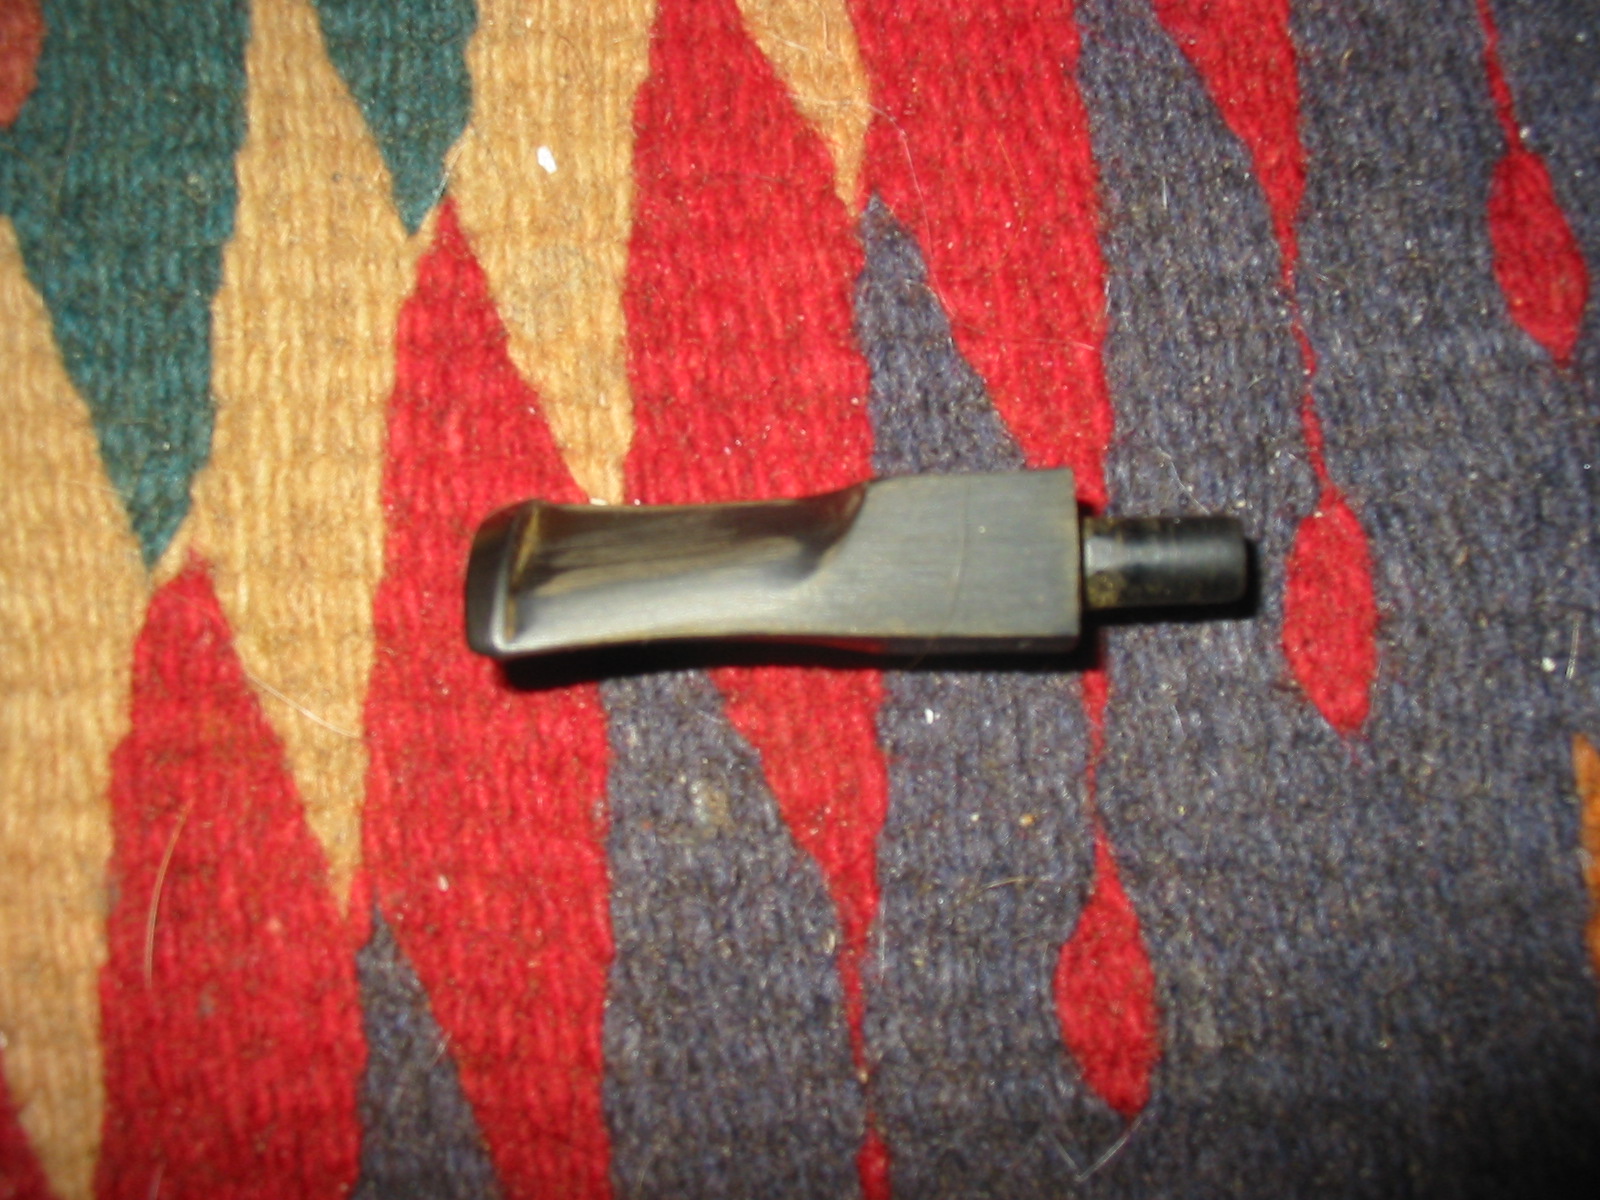
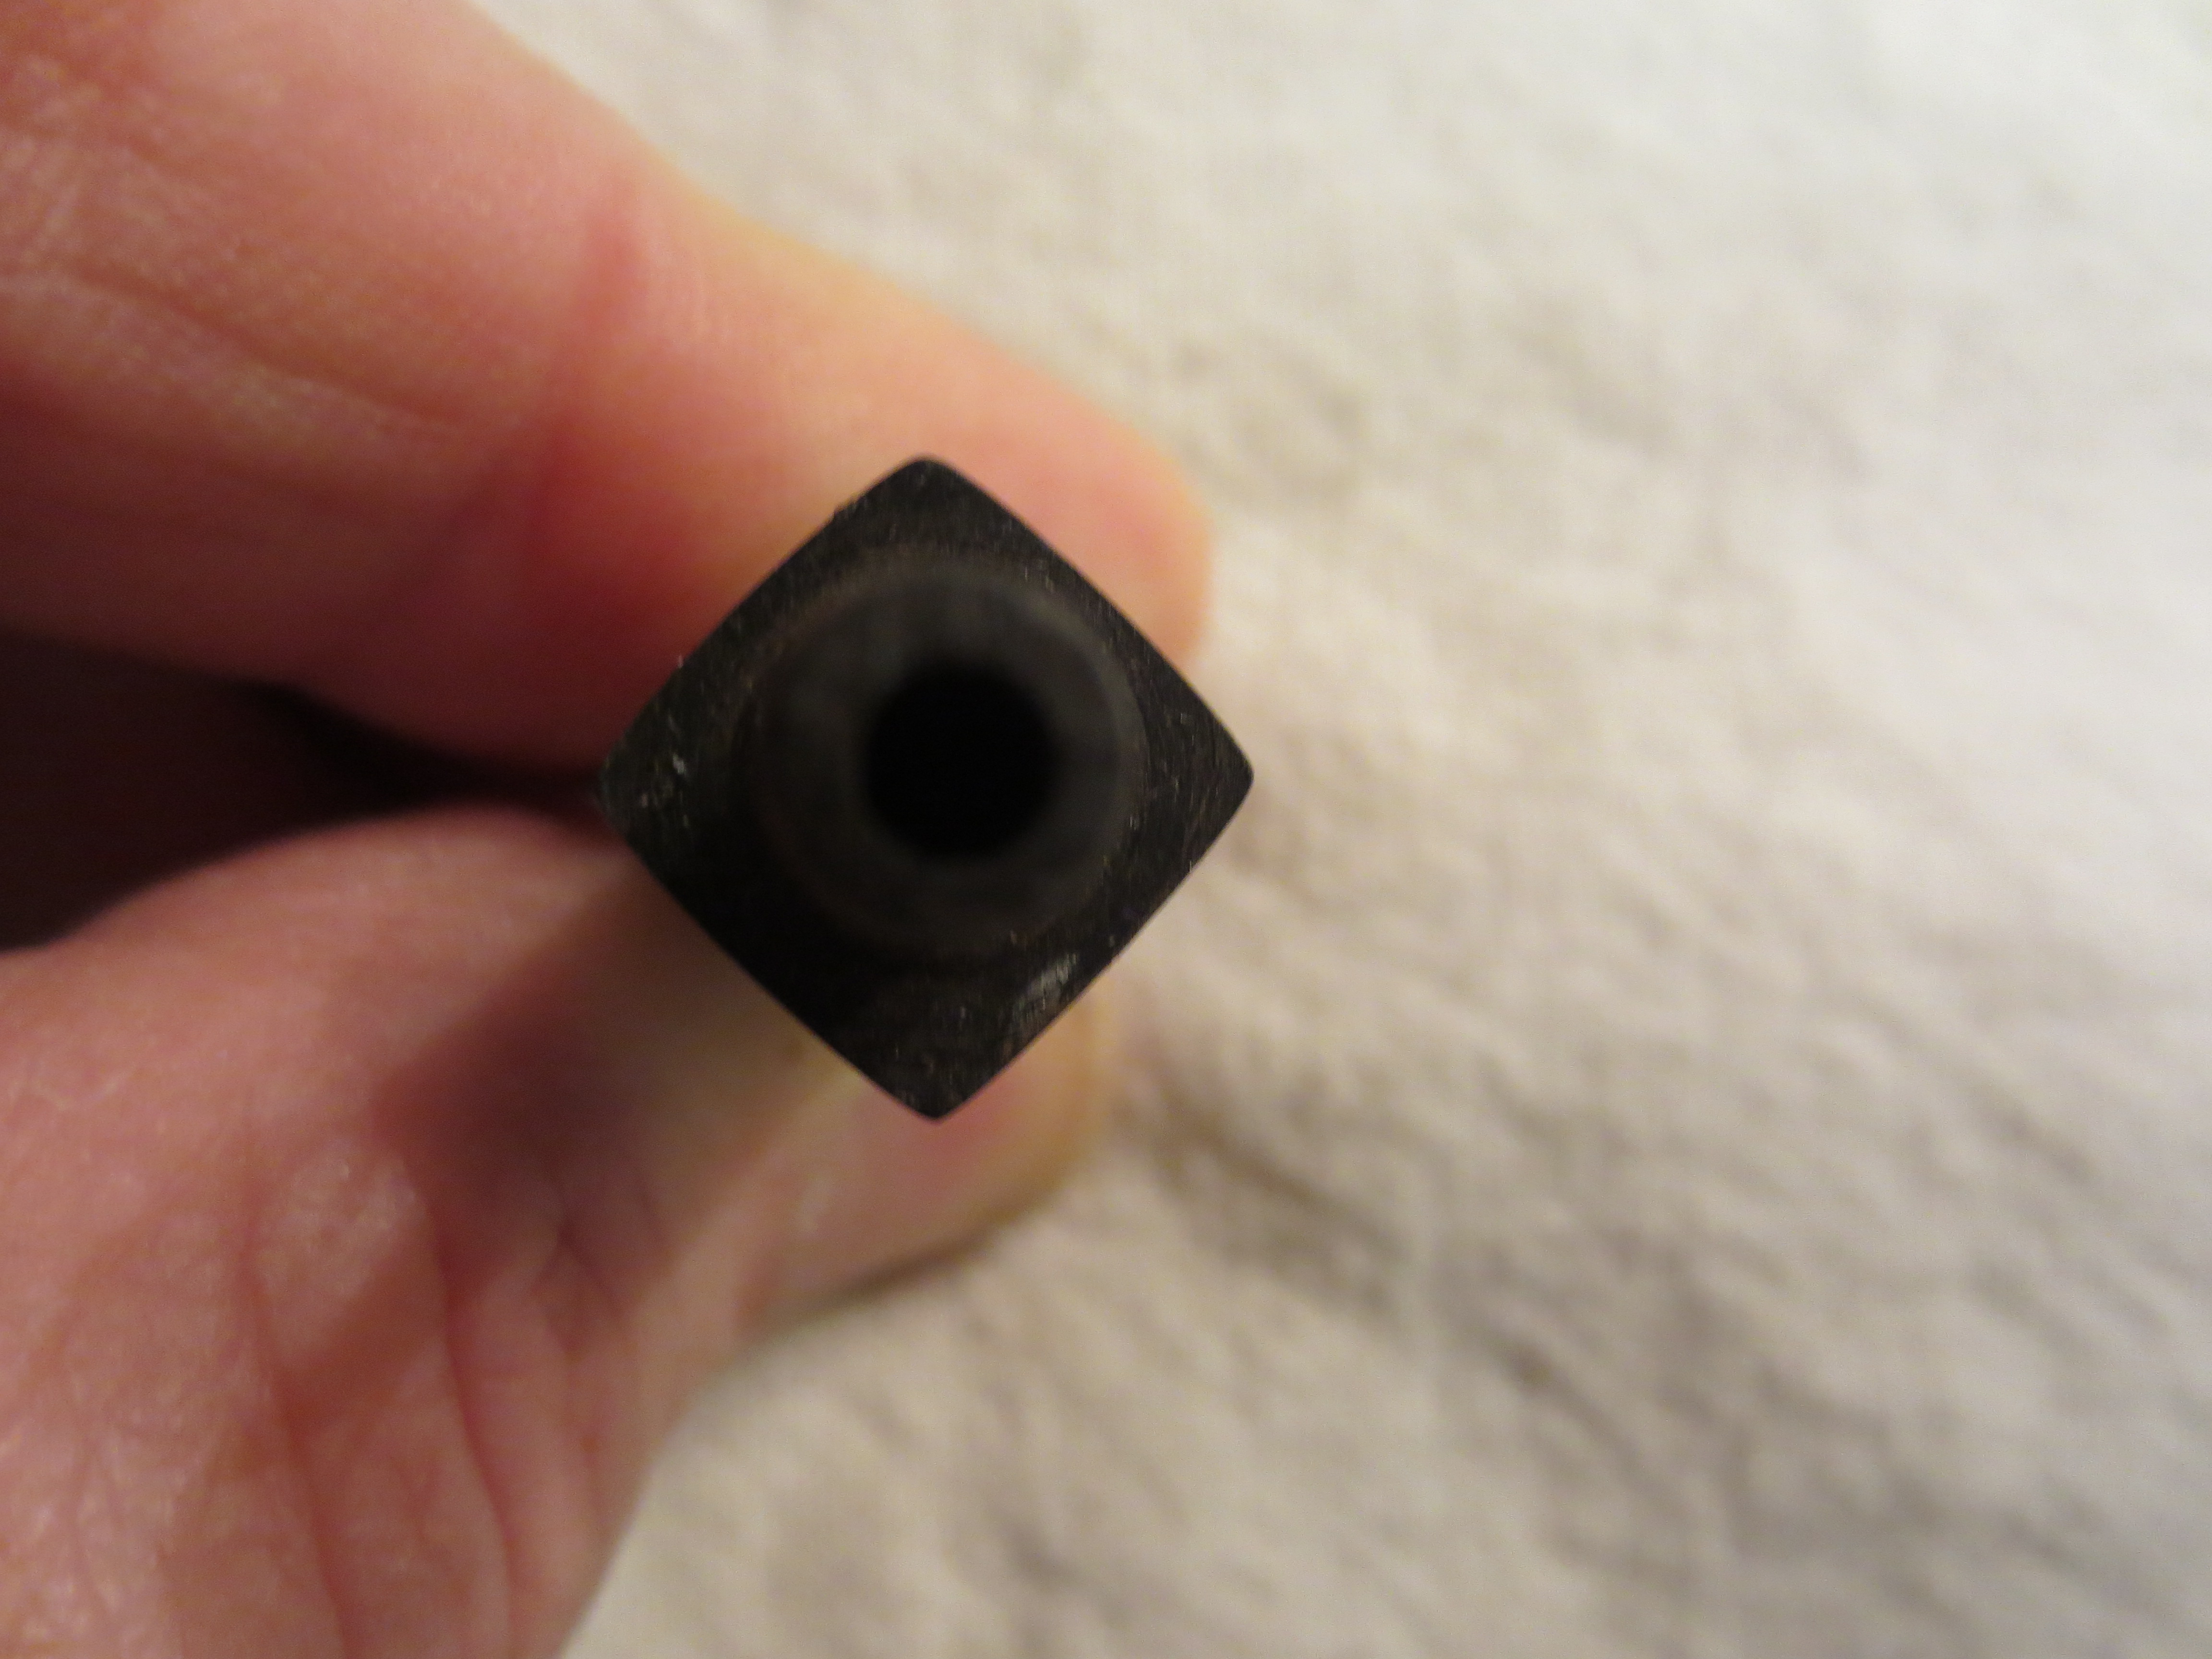
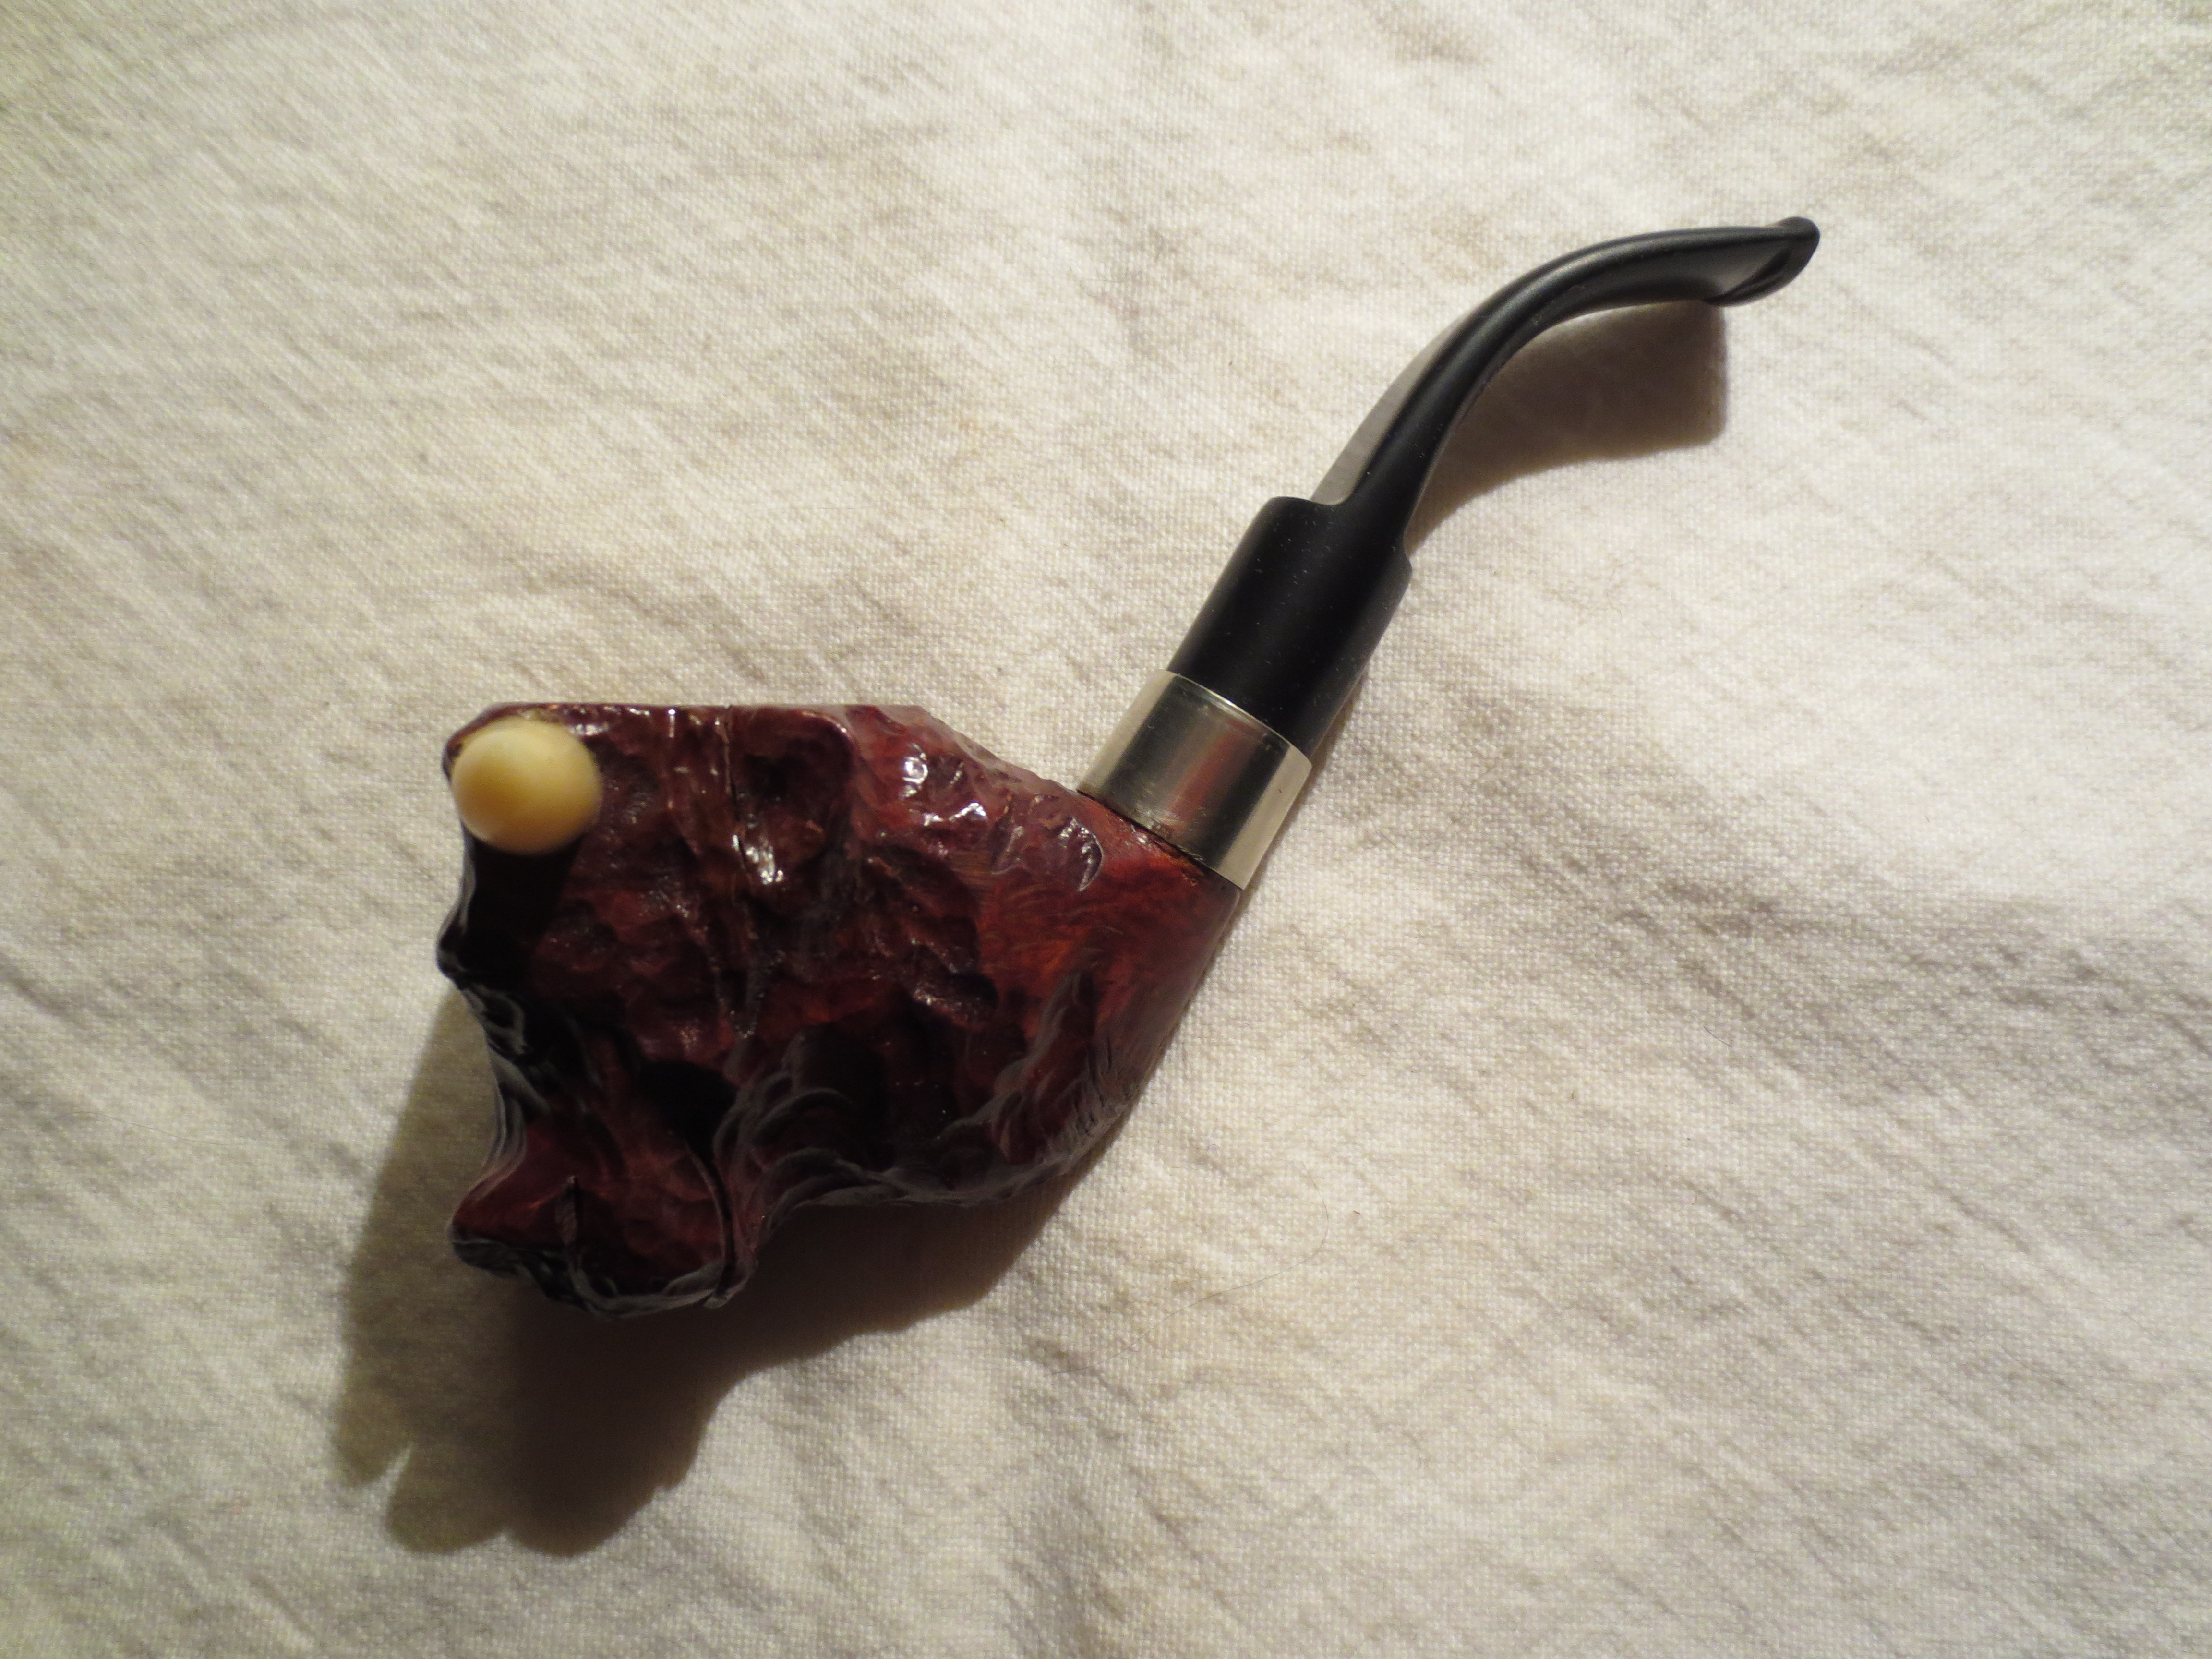
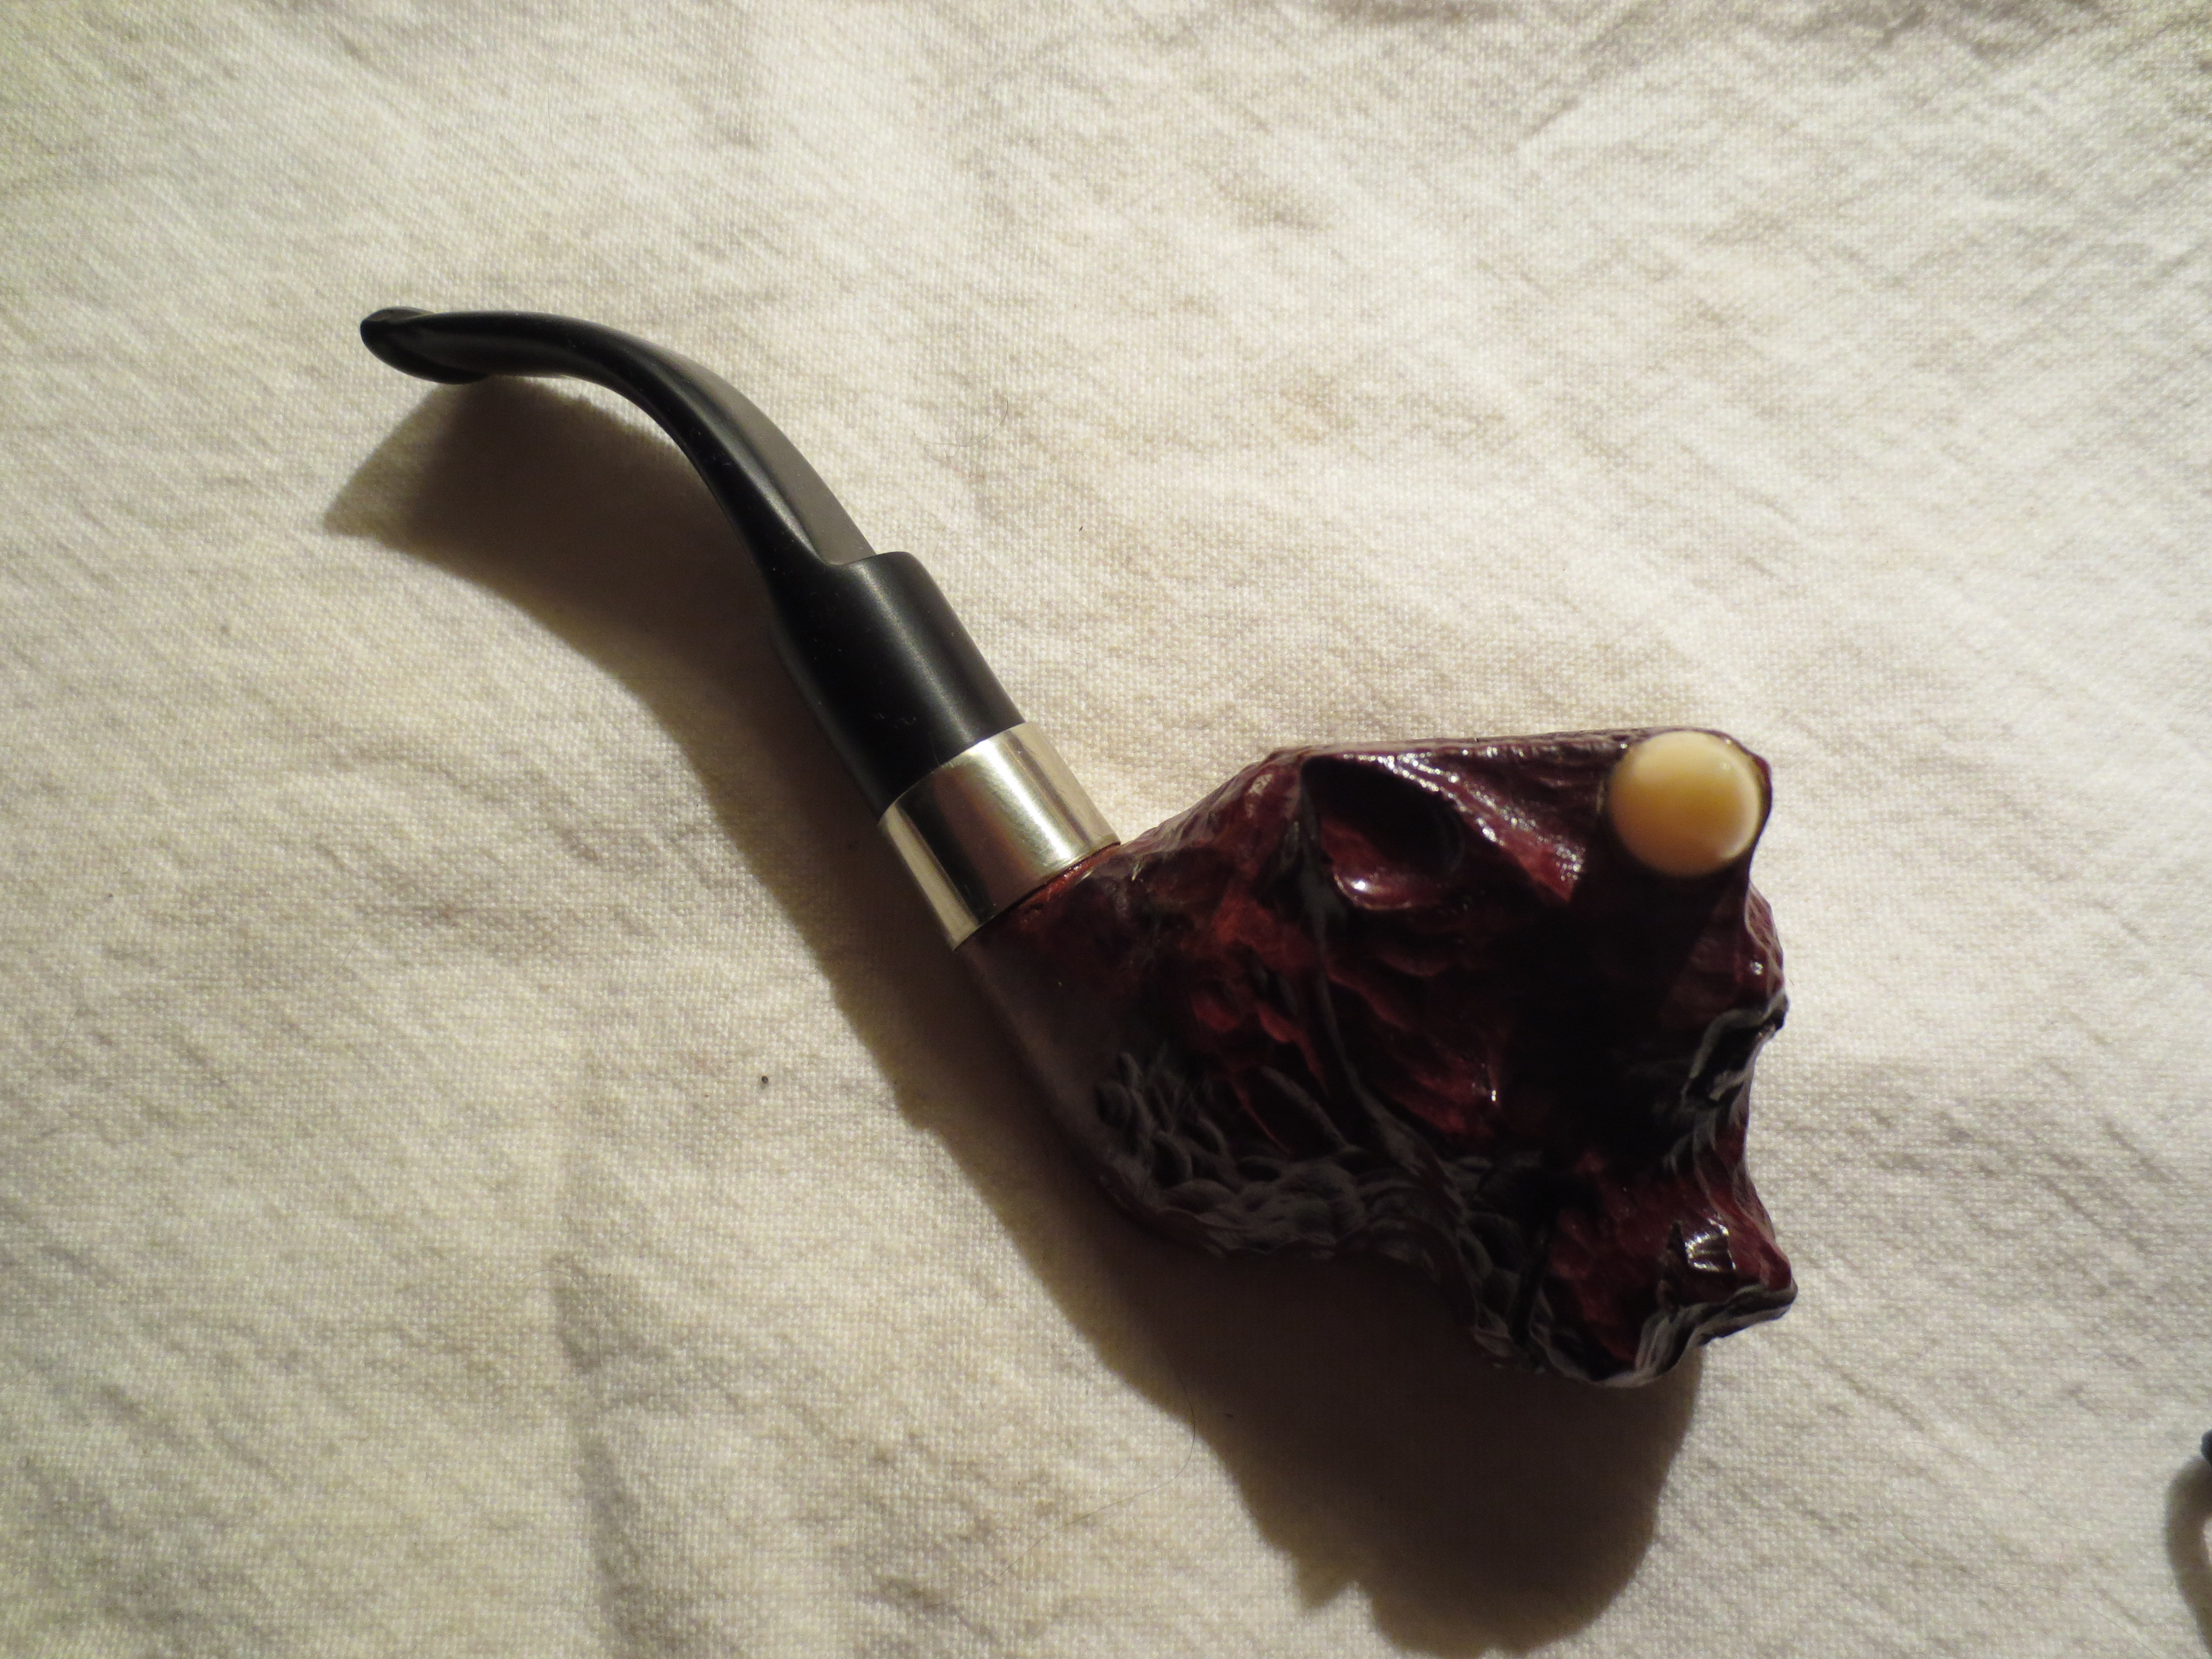
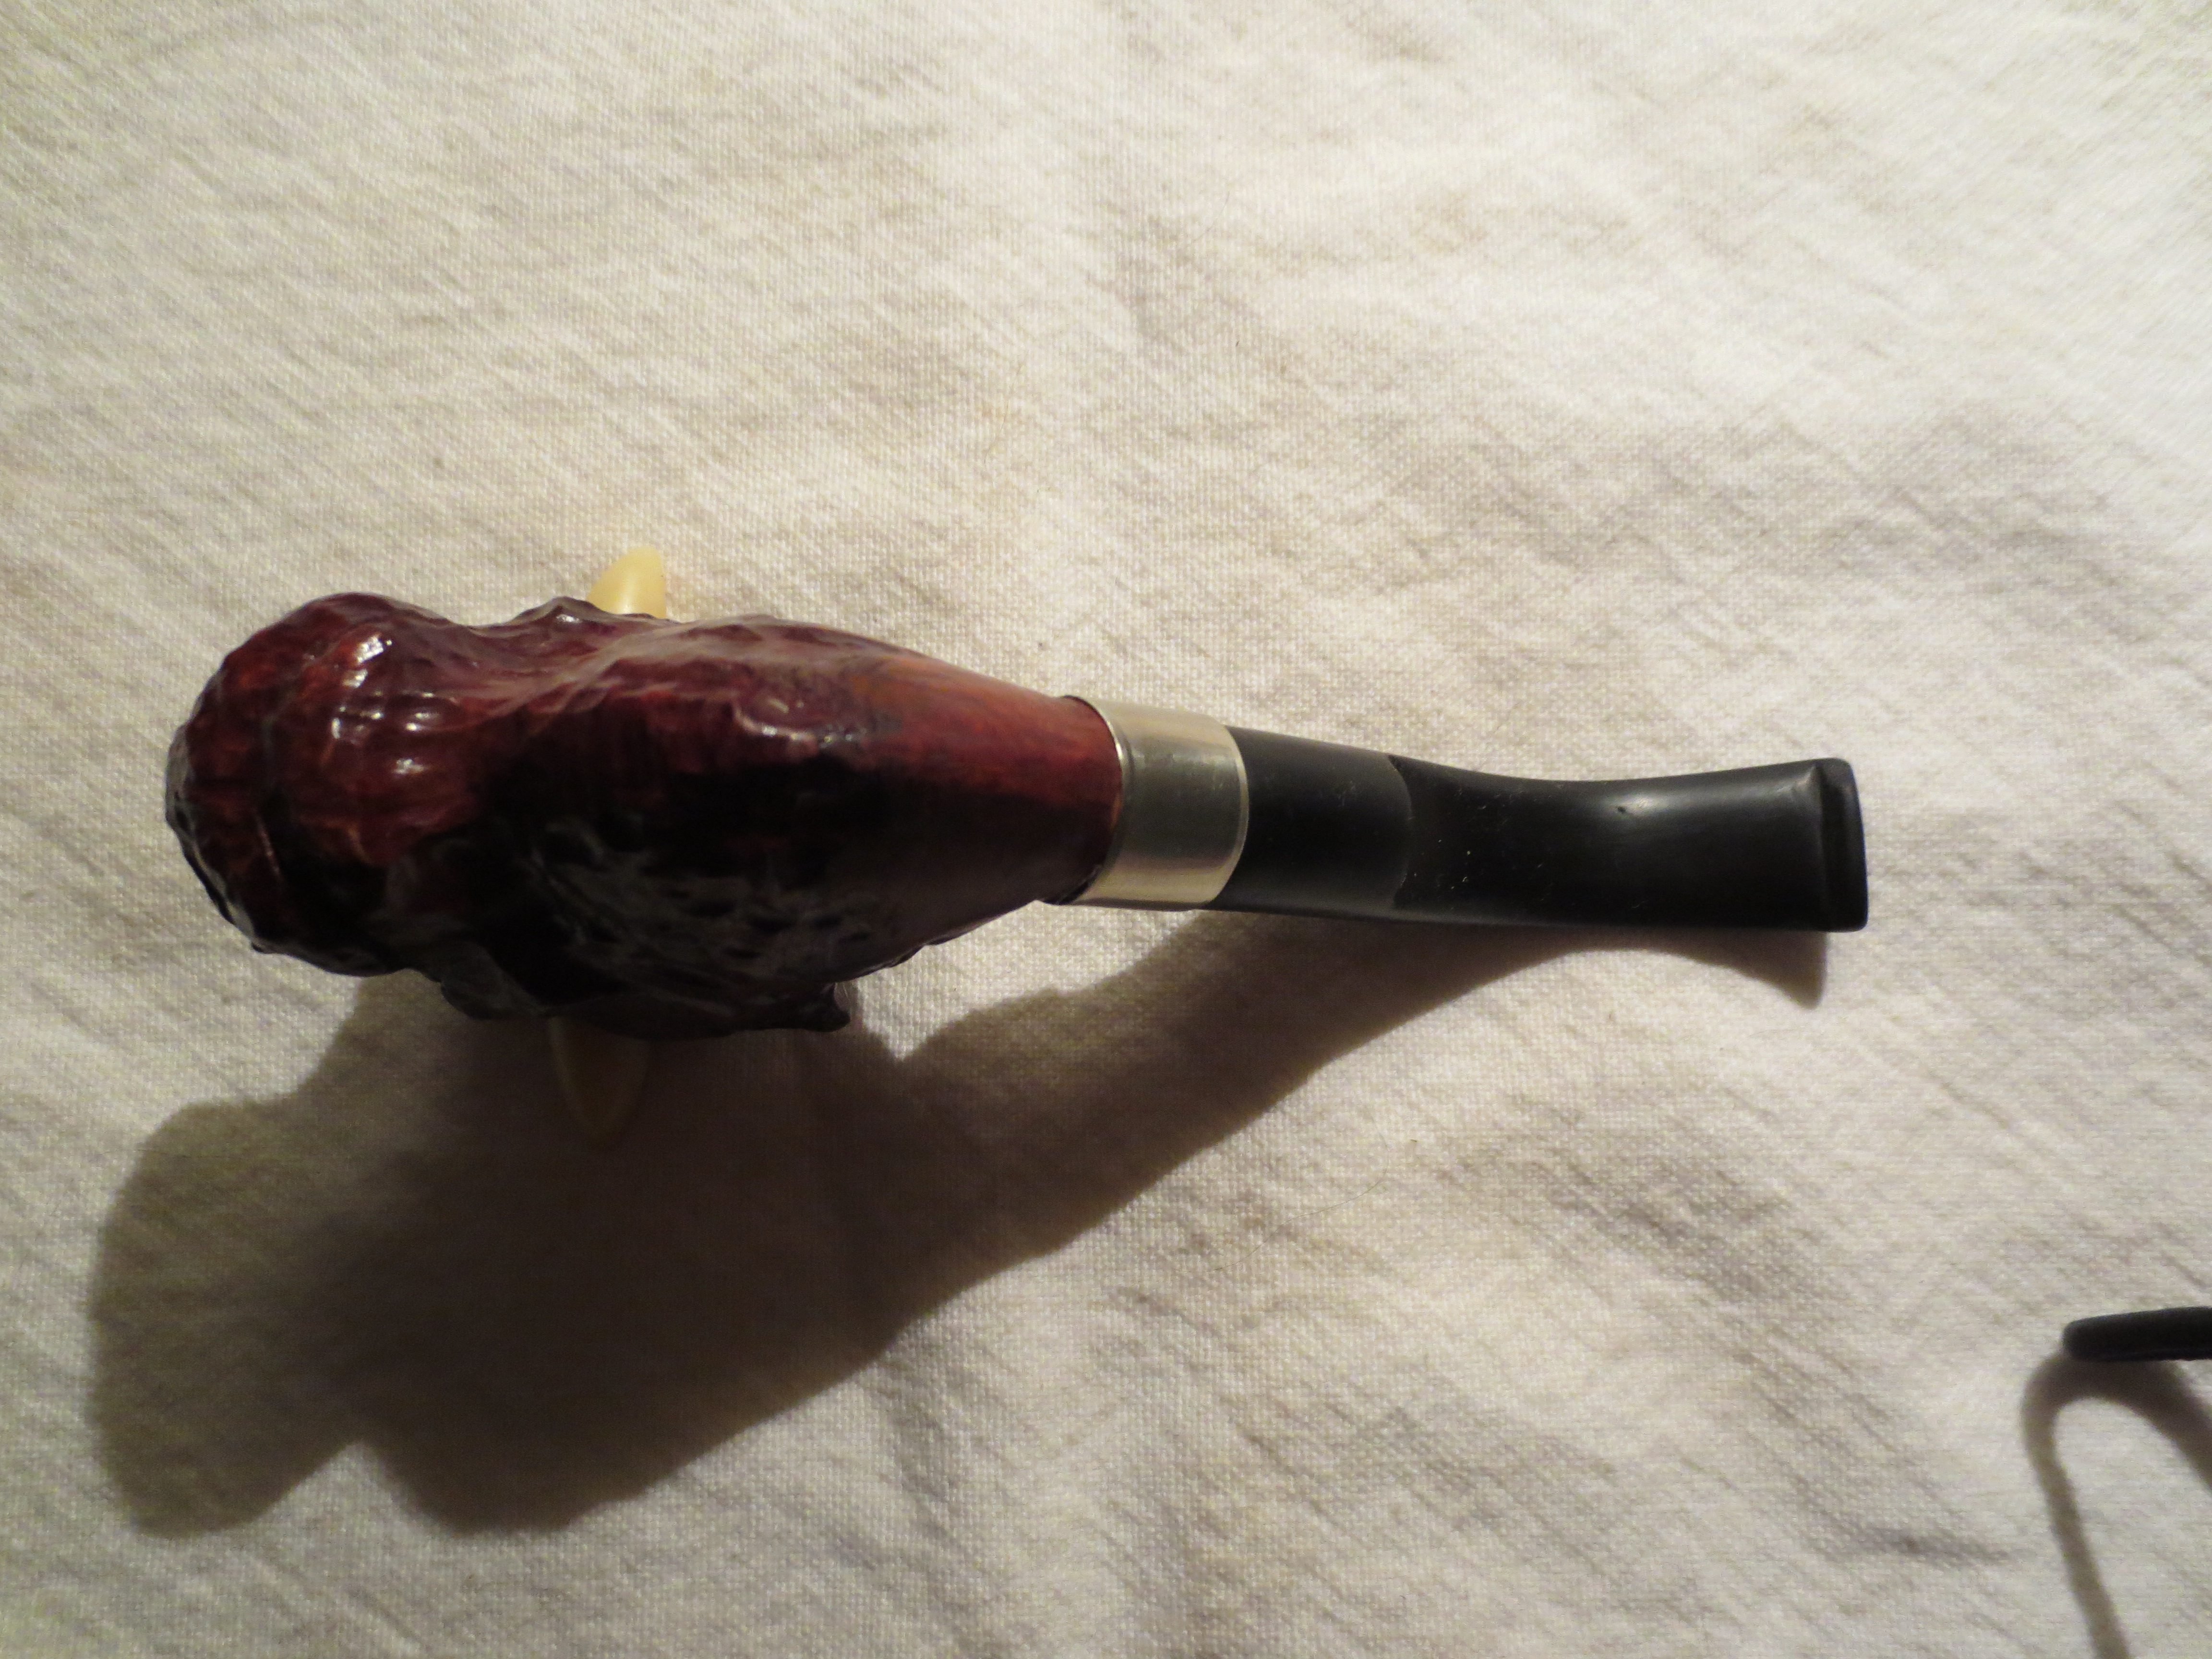
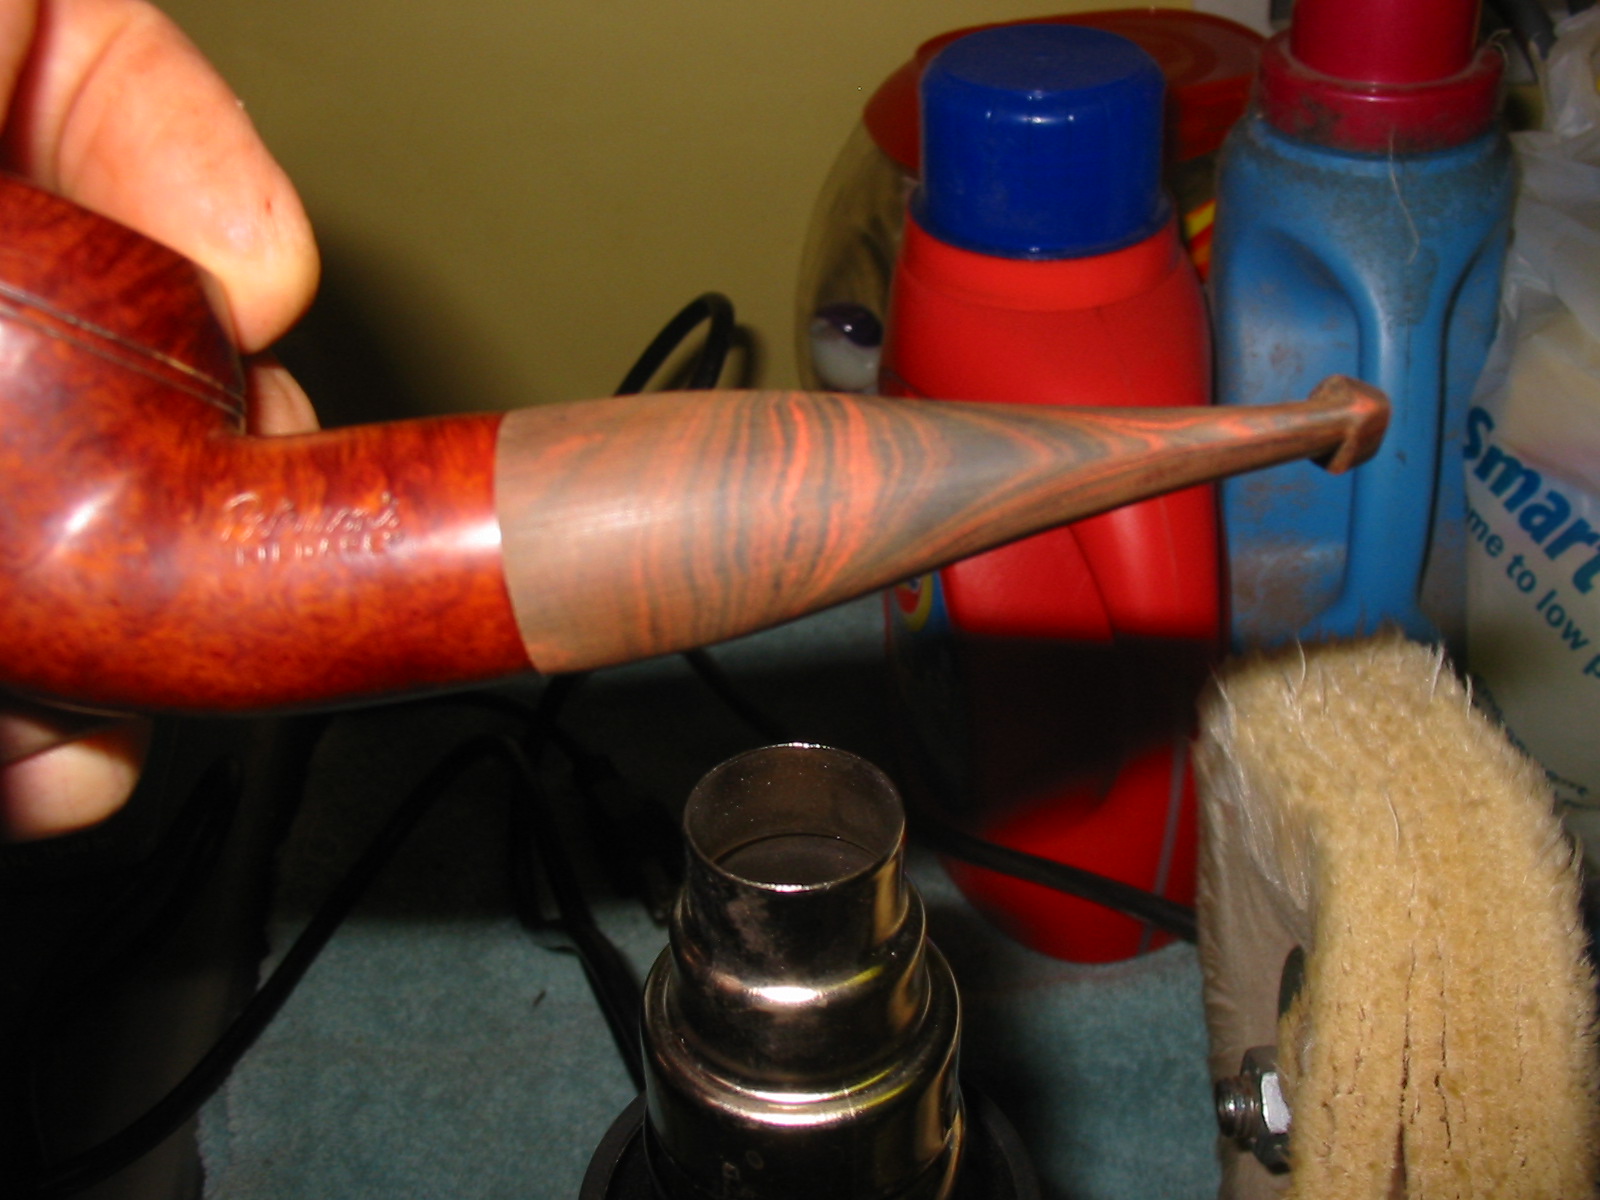
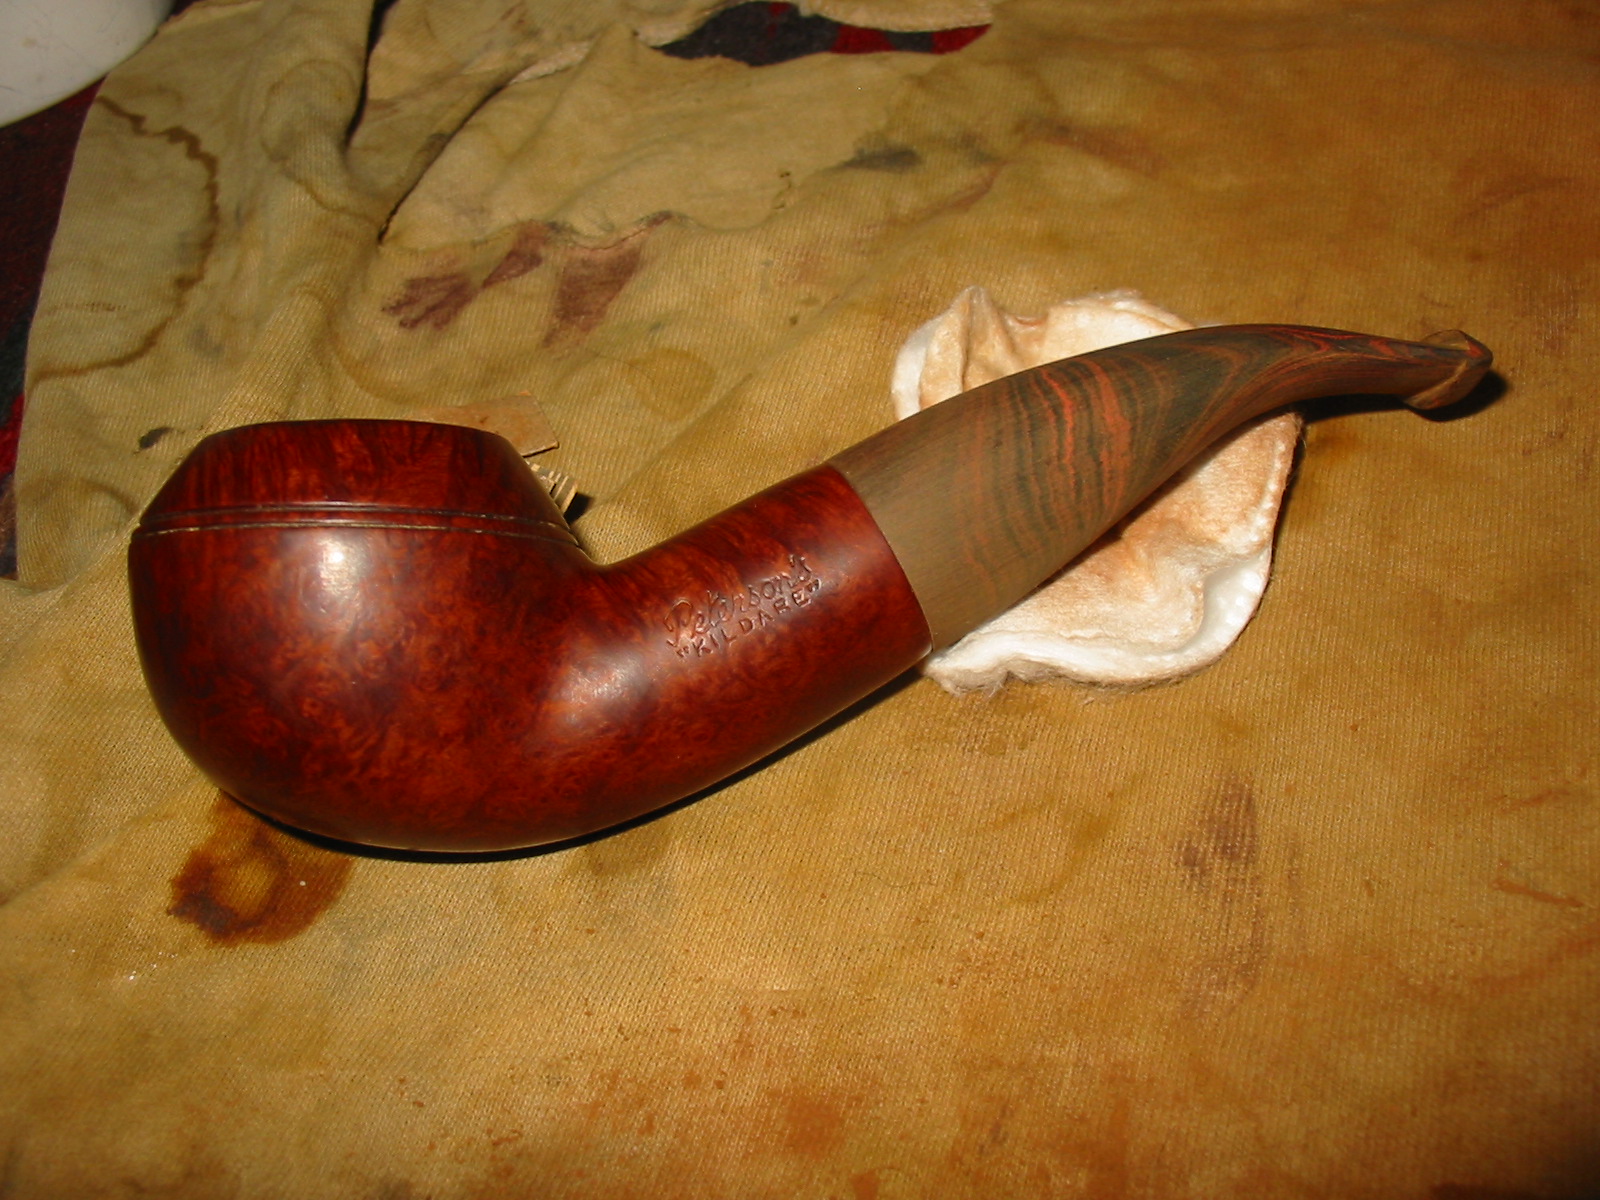
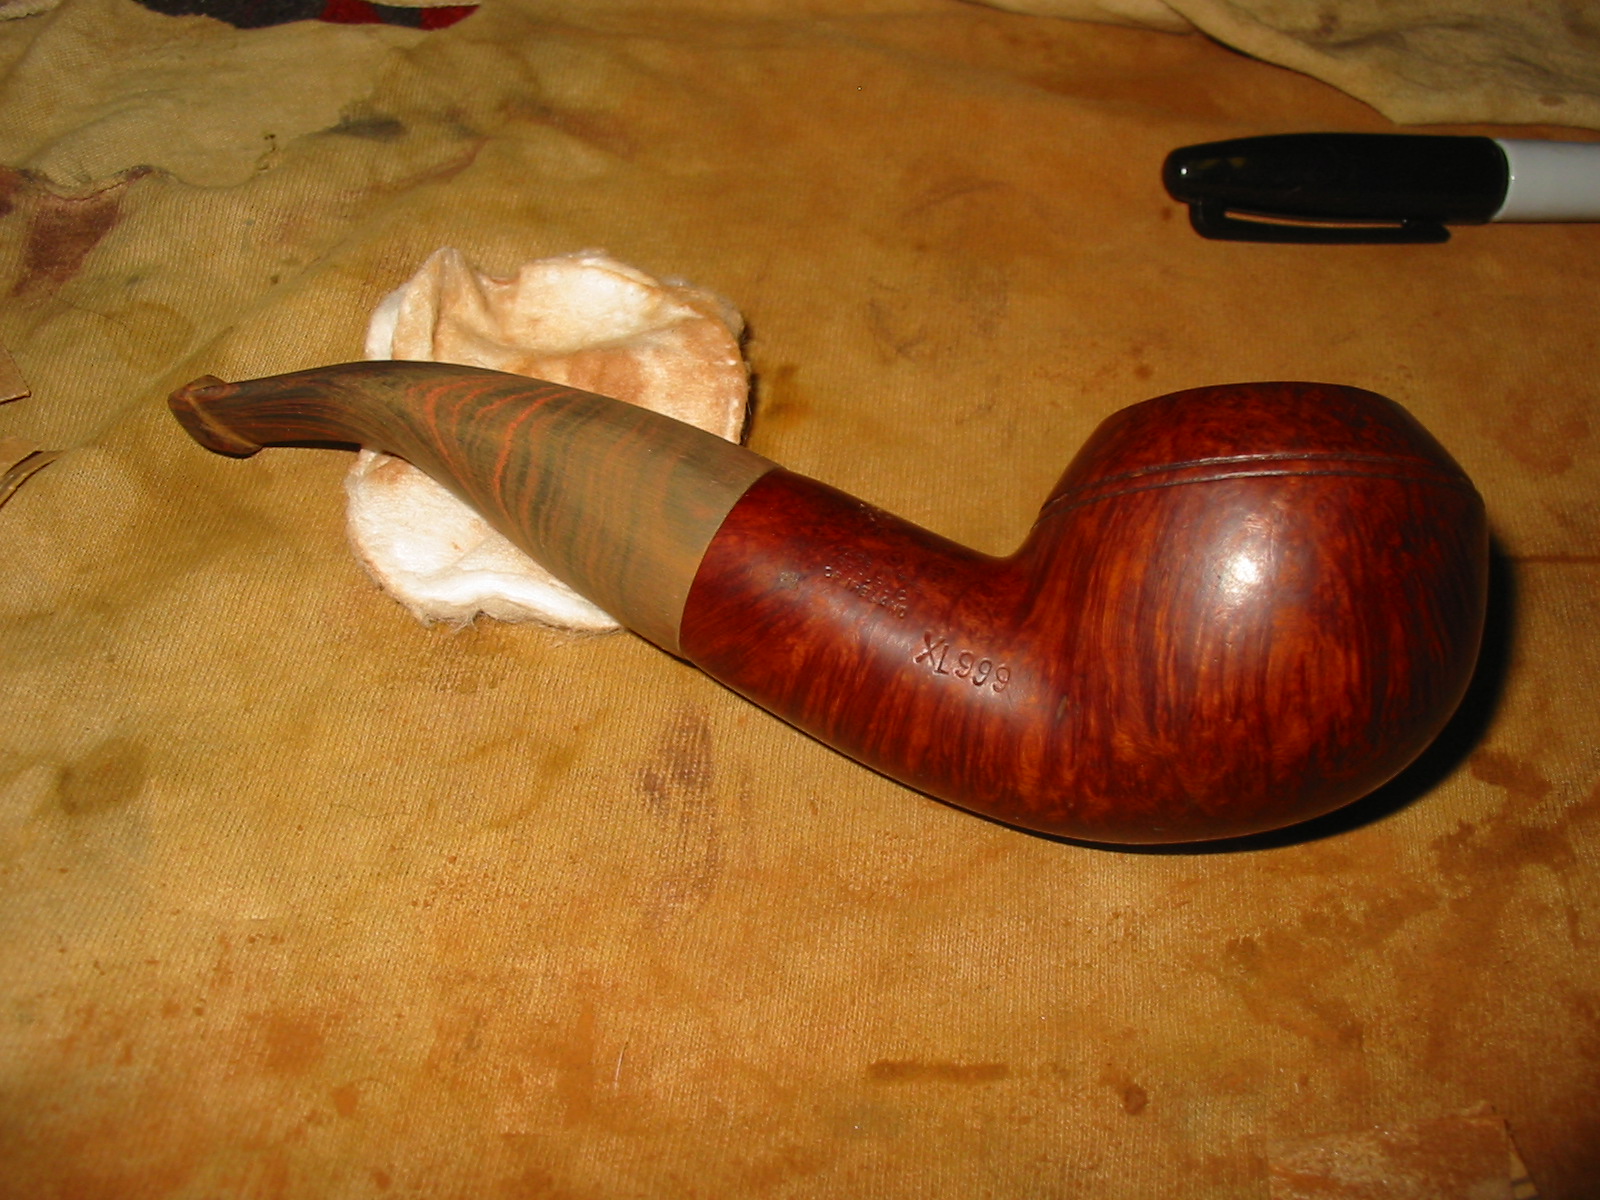
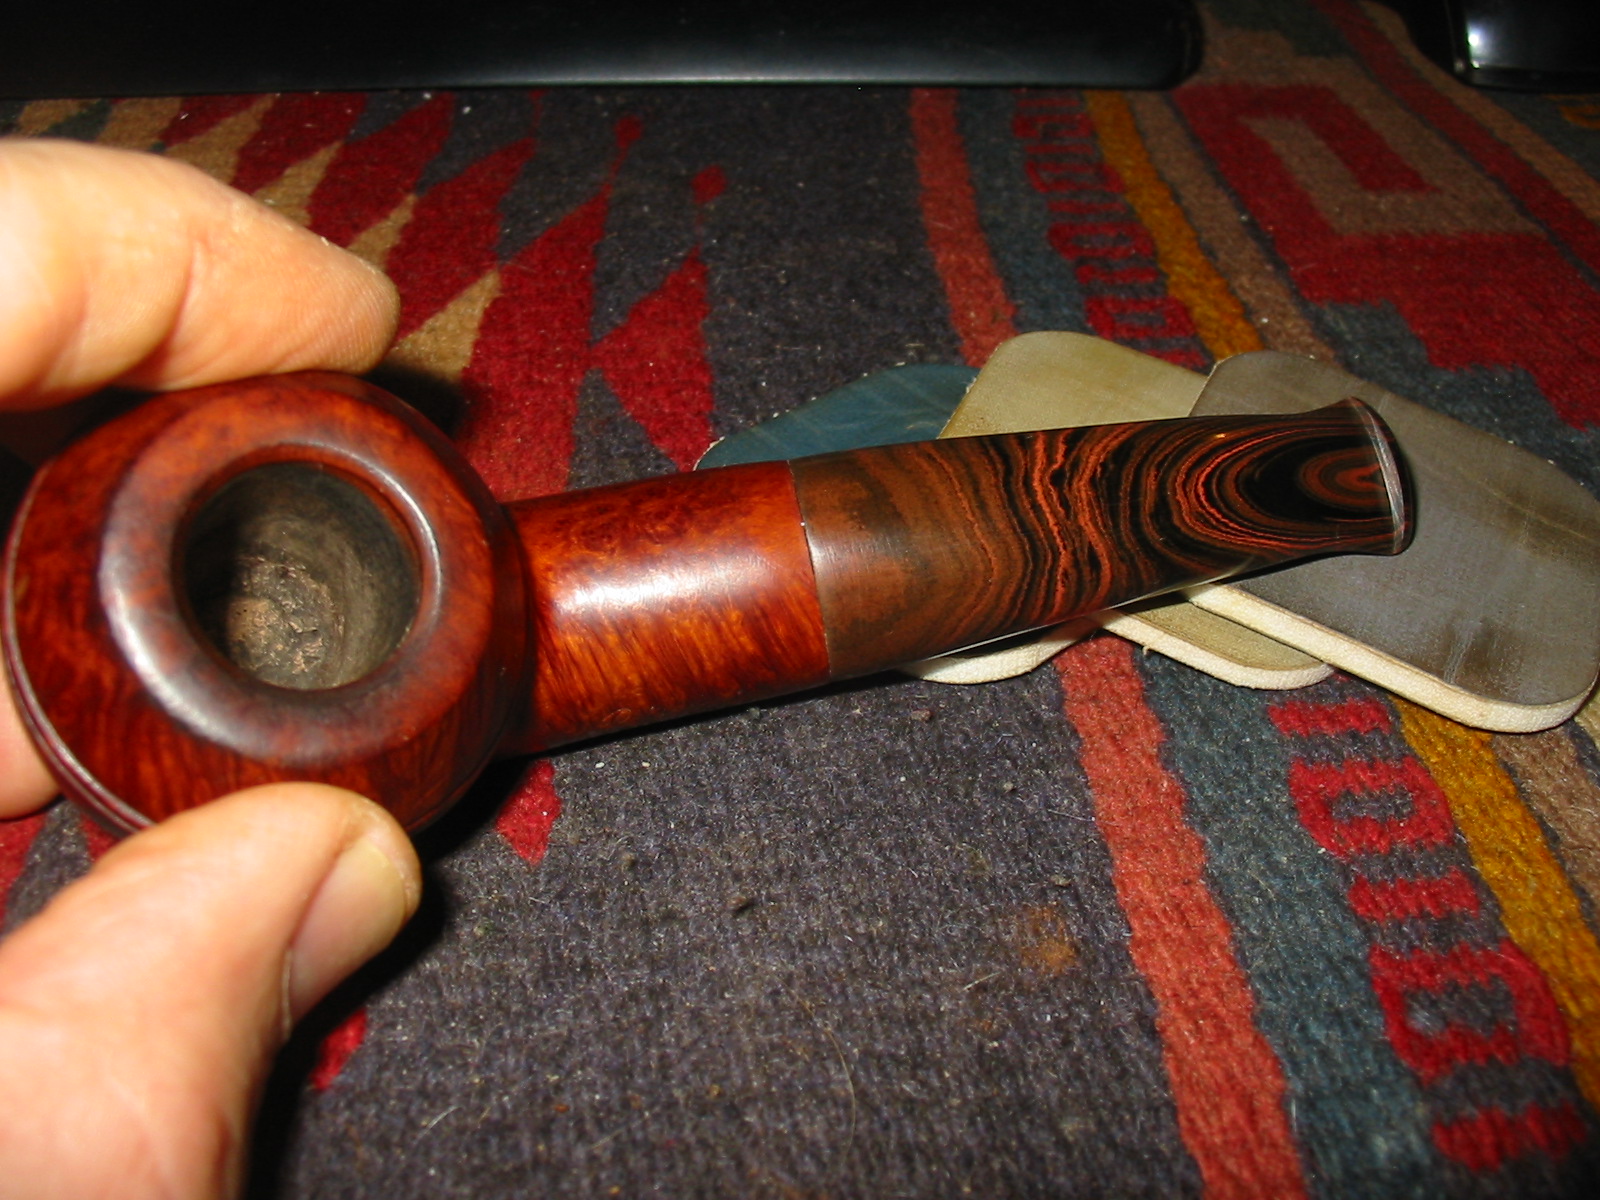
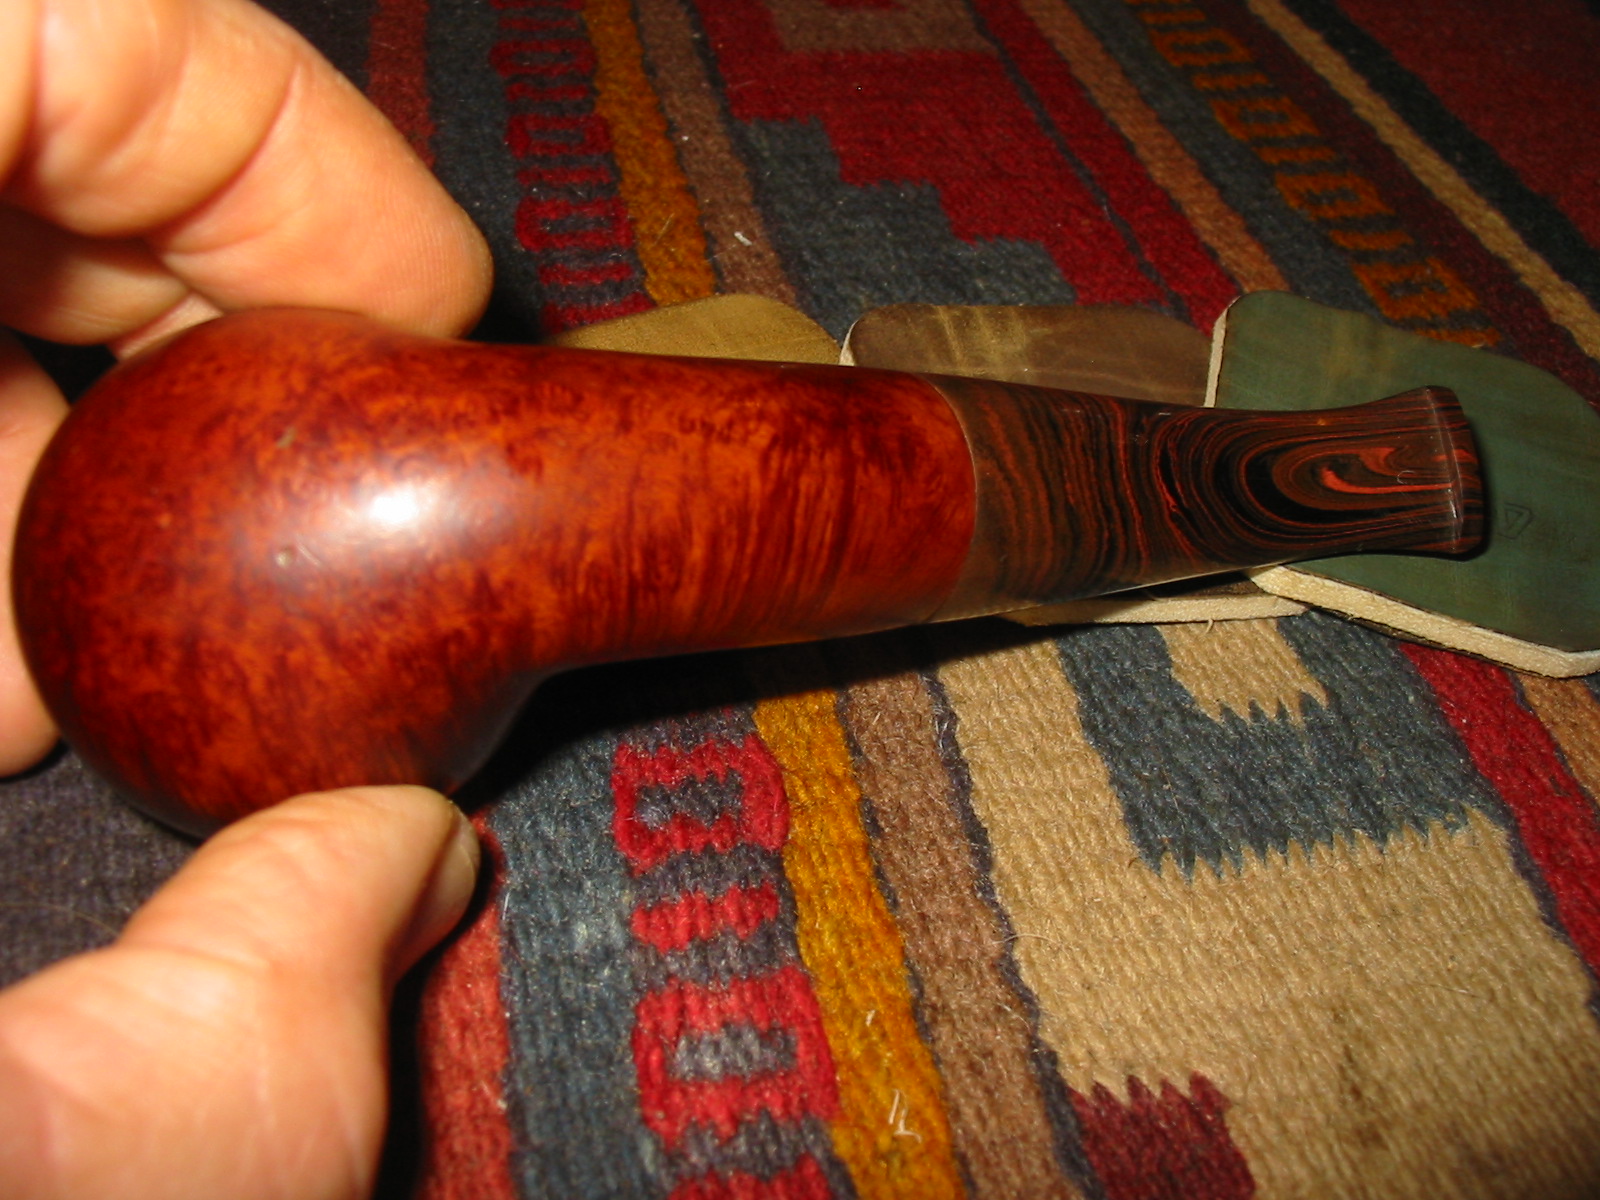
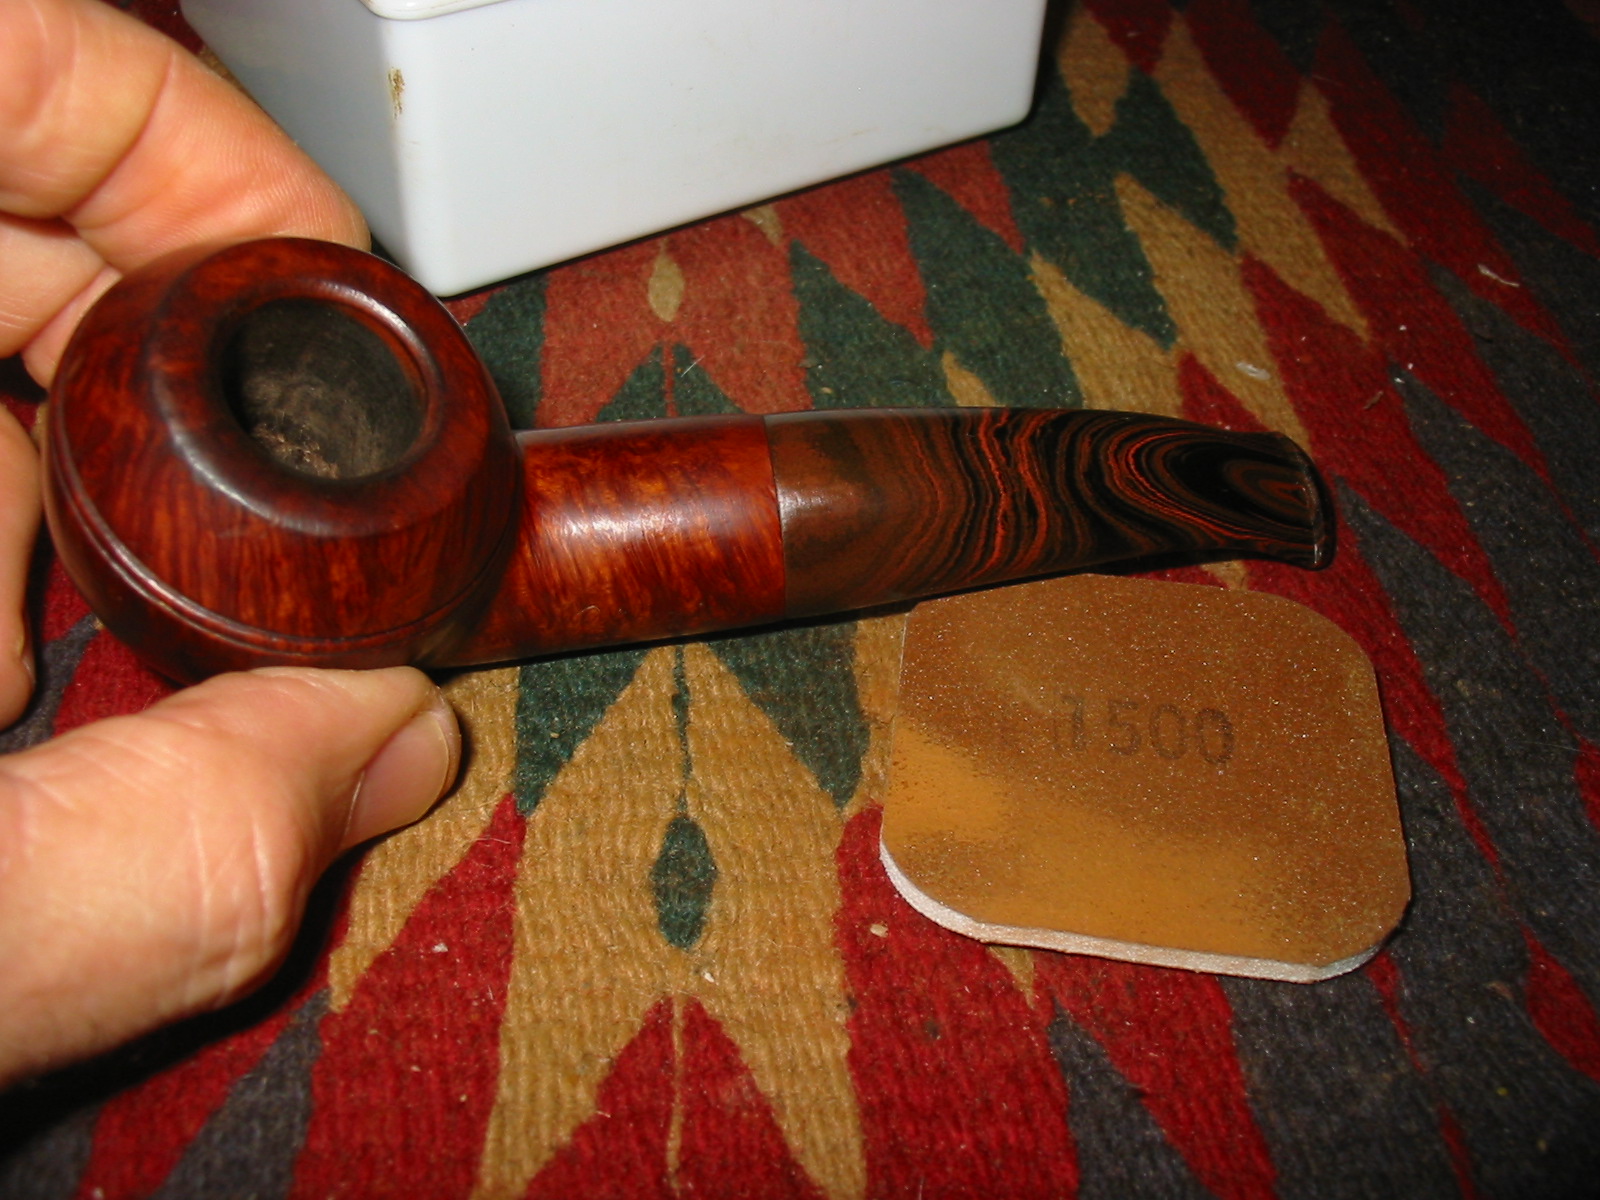
I sanded the stem with micromesh sanding pads from 1500-12,000 grit, with each successive grit giving the stem a more finished appearance and removing the scratches from the Cumberland. The next series of ten photos show the progressive shine developing. I included quite a few photos in this section to show the various sides of the stem and the developing clarity of the Cumberland patterns in the stem as it was sanded.


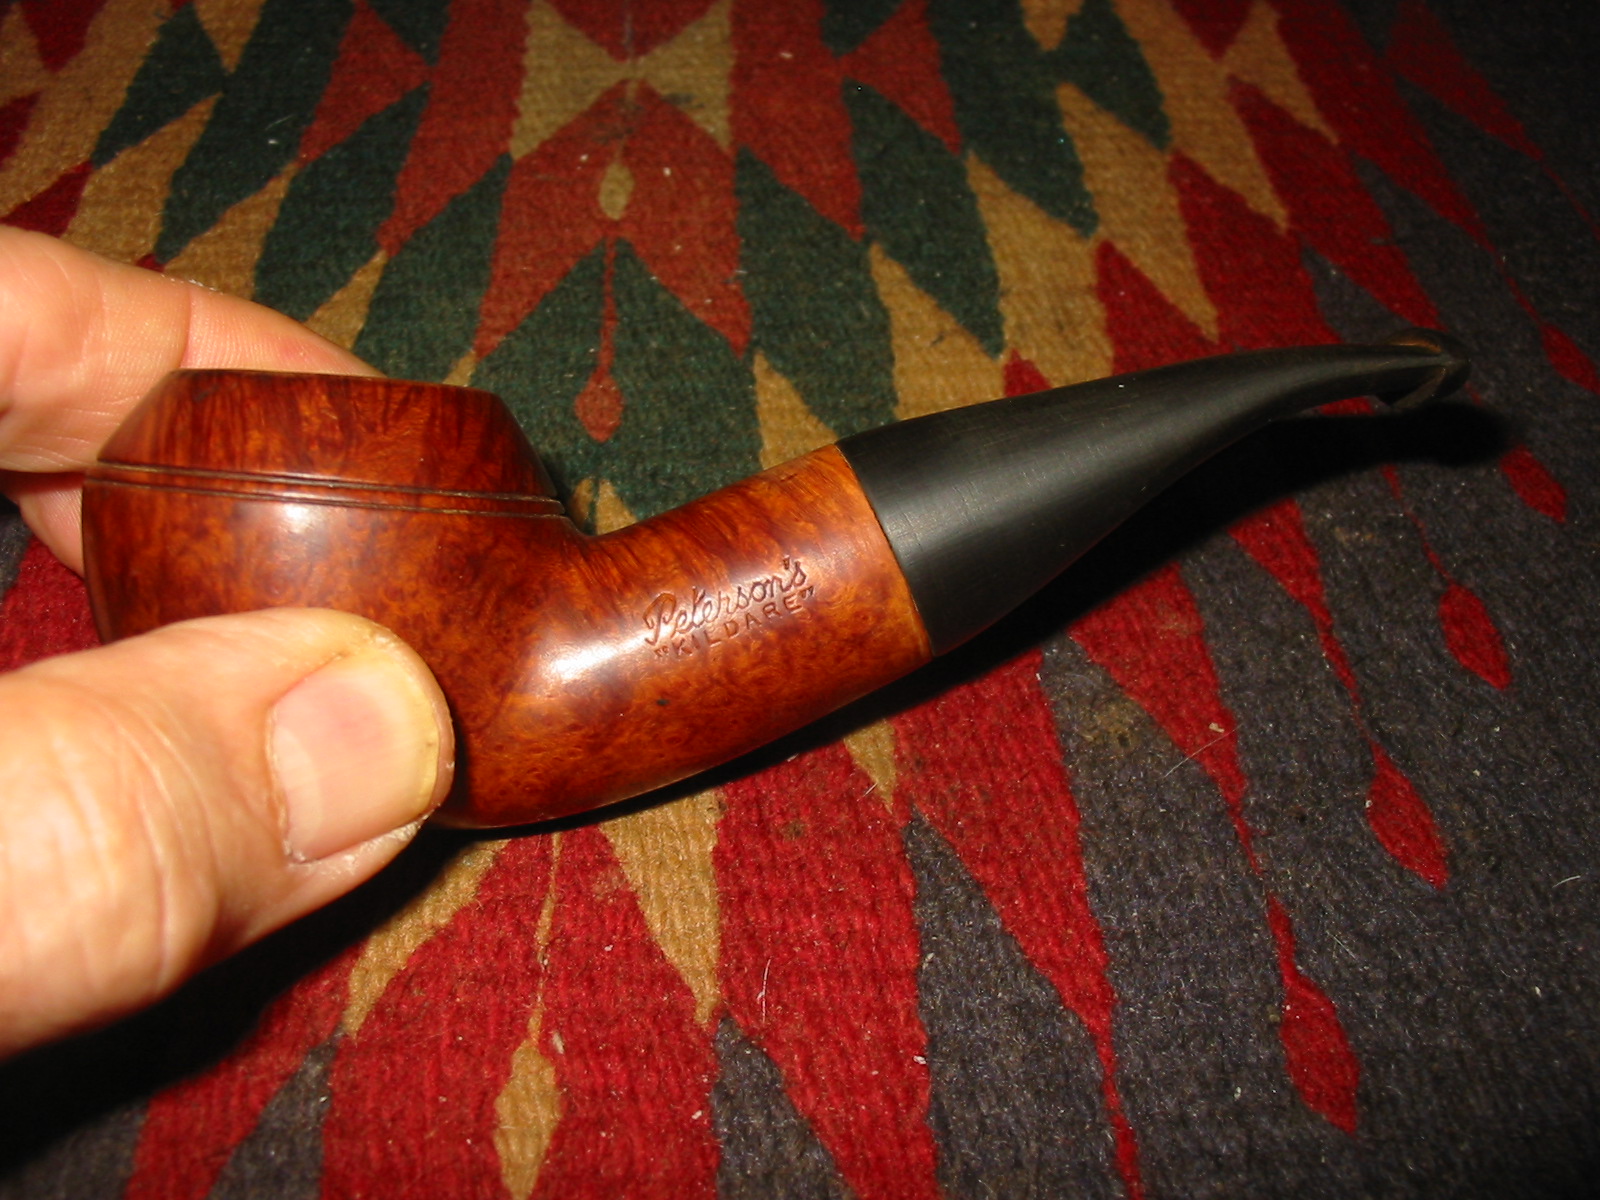
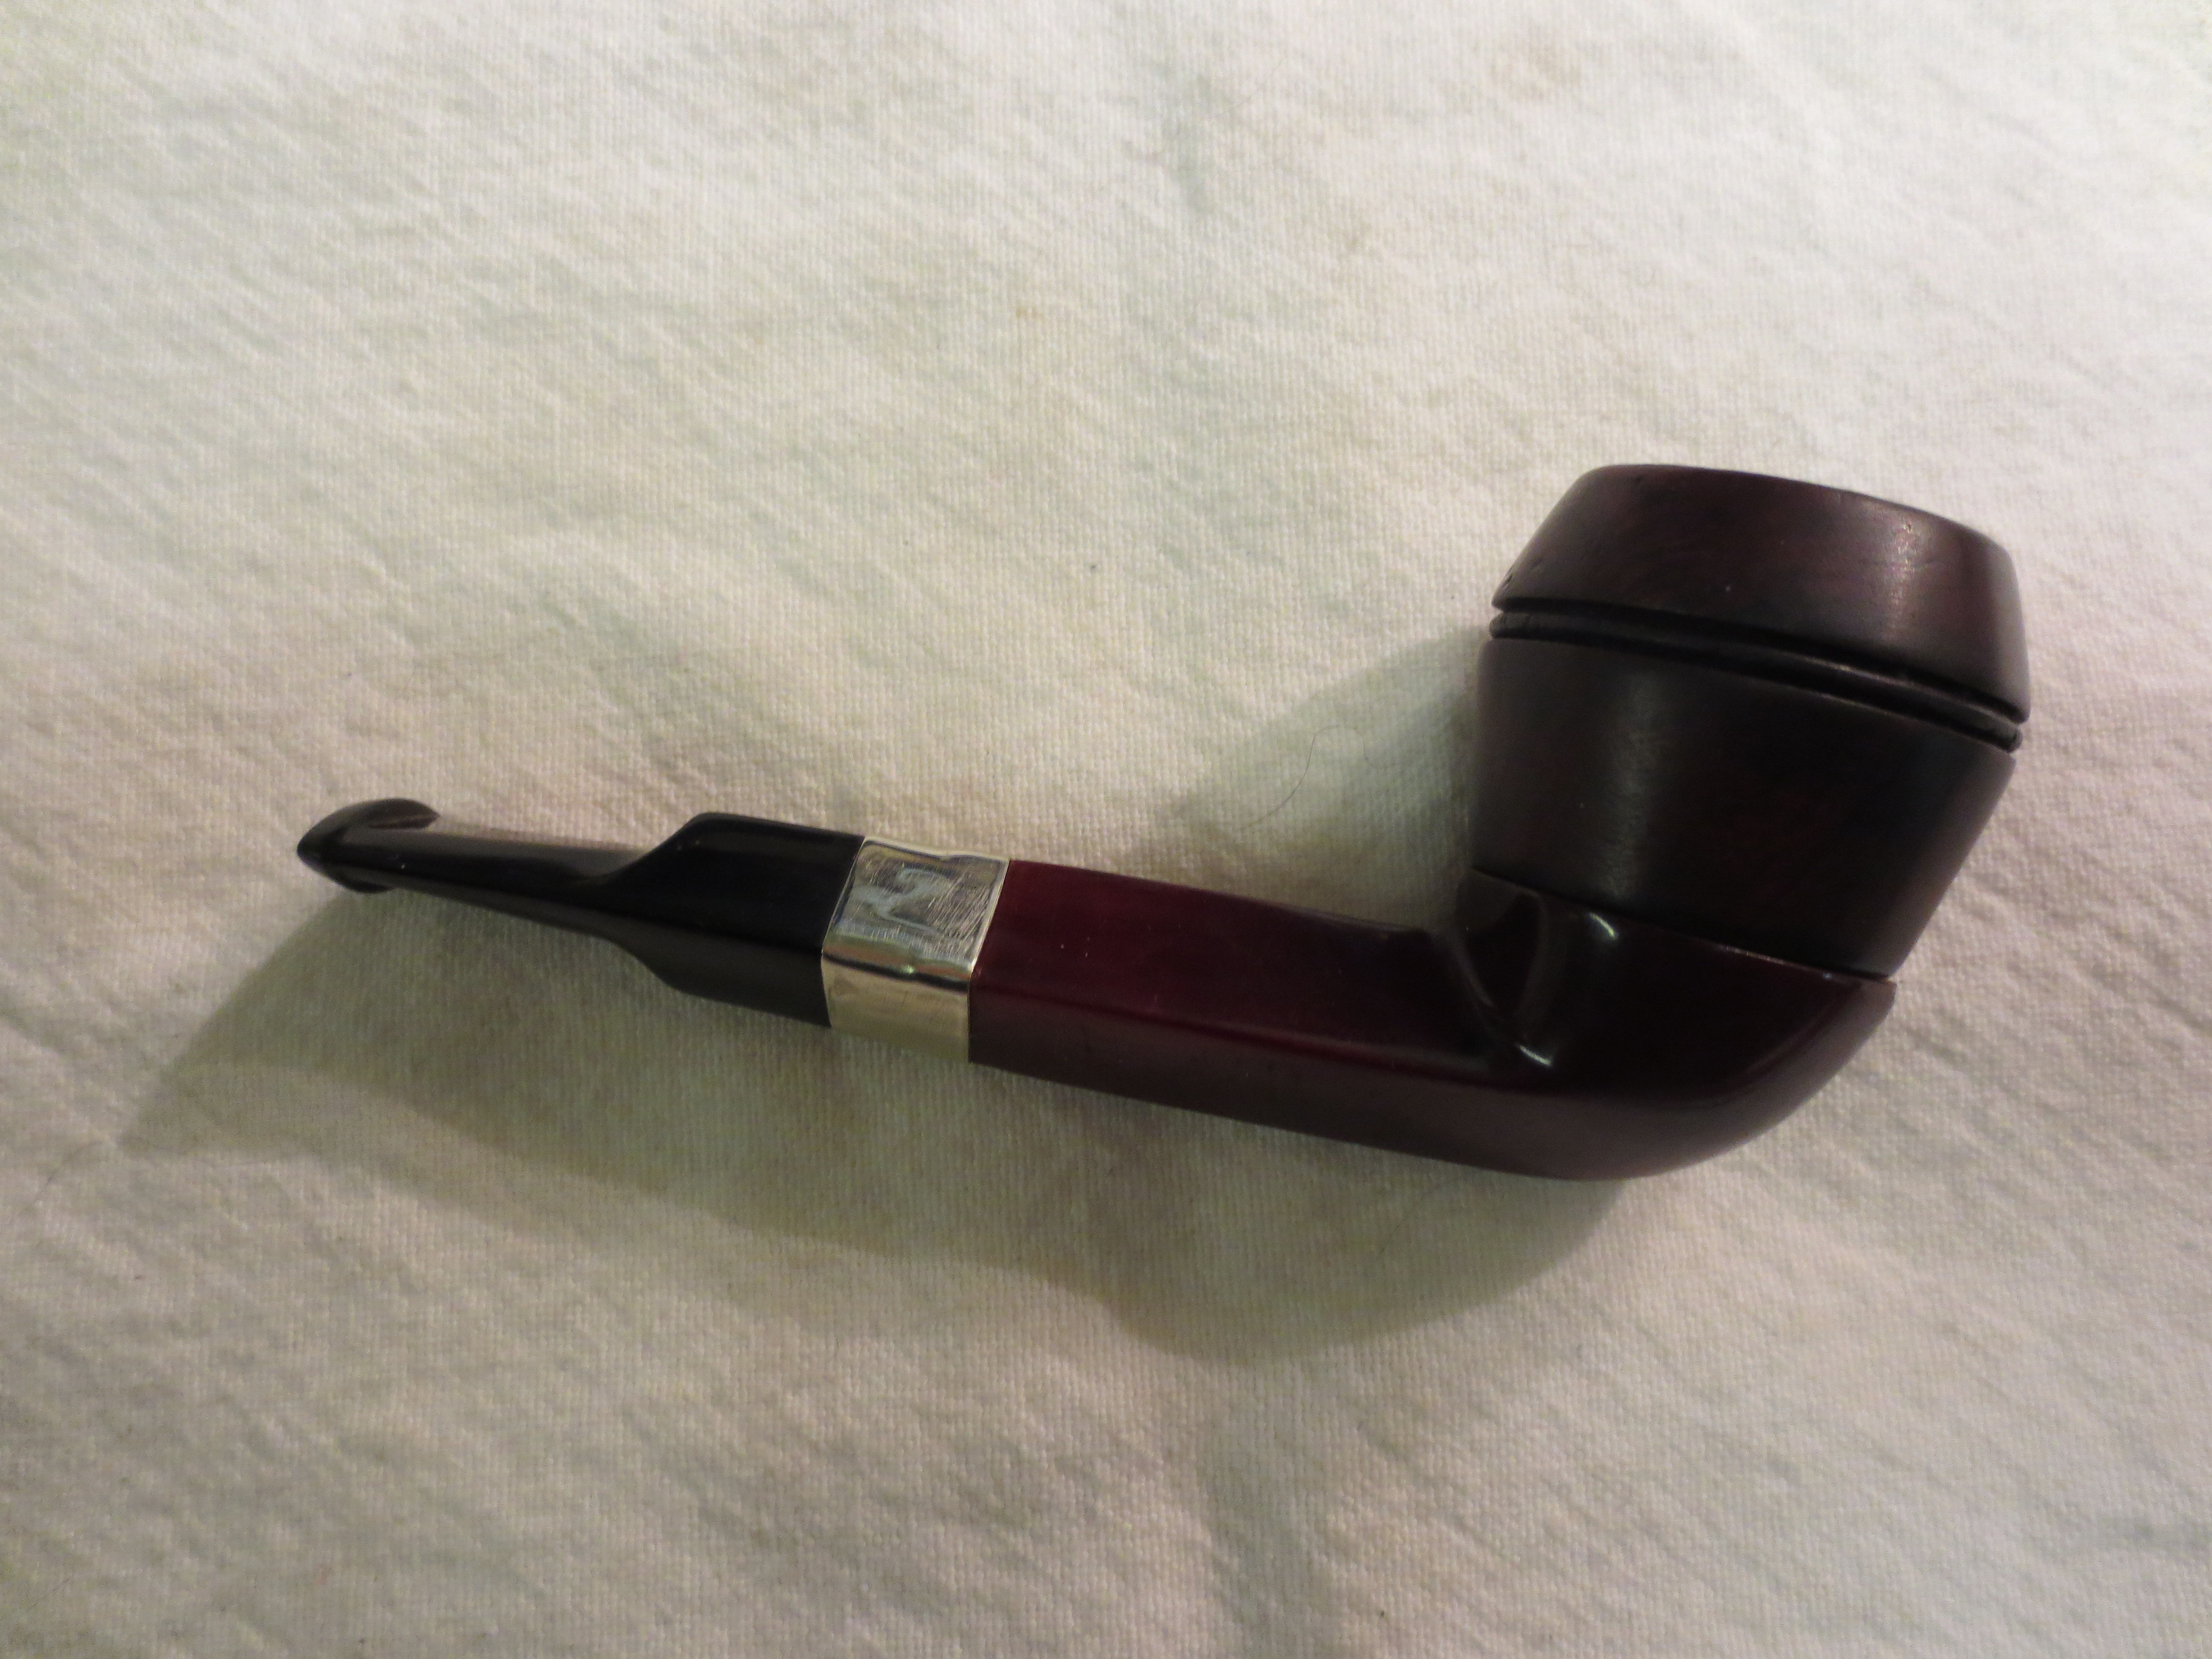
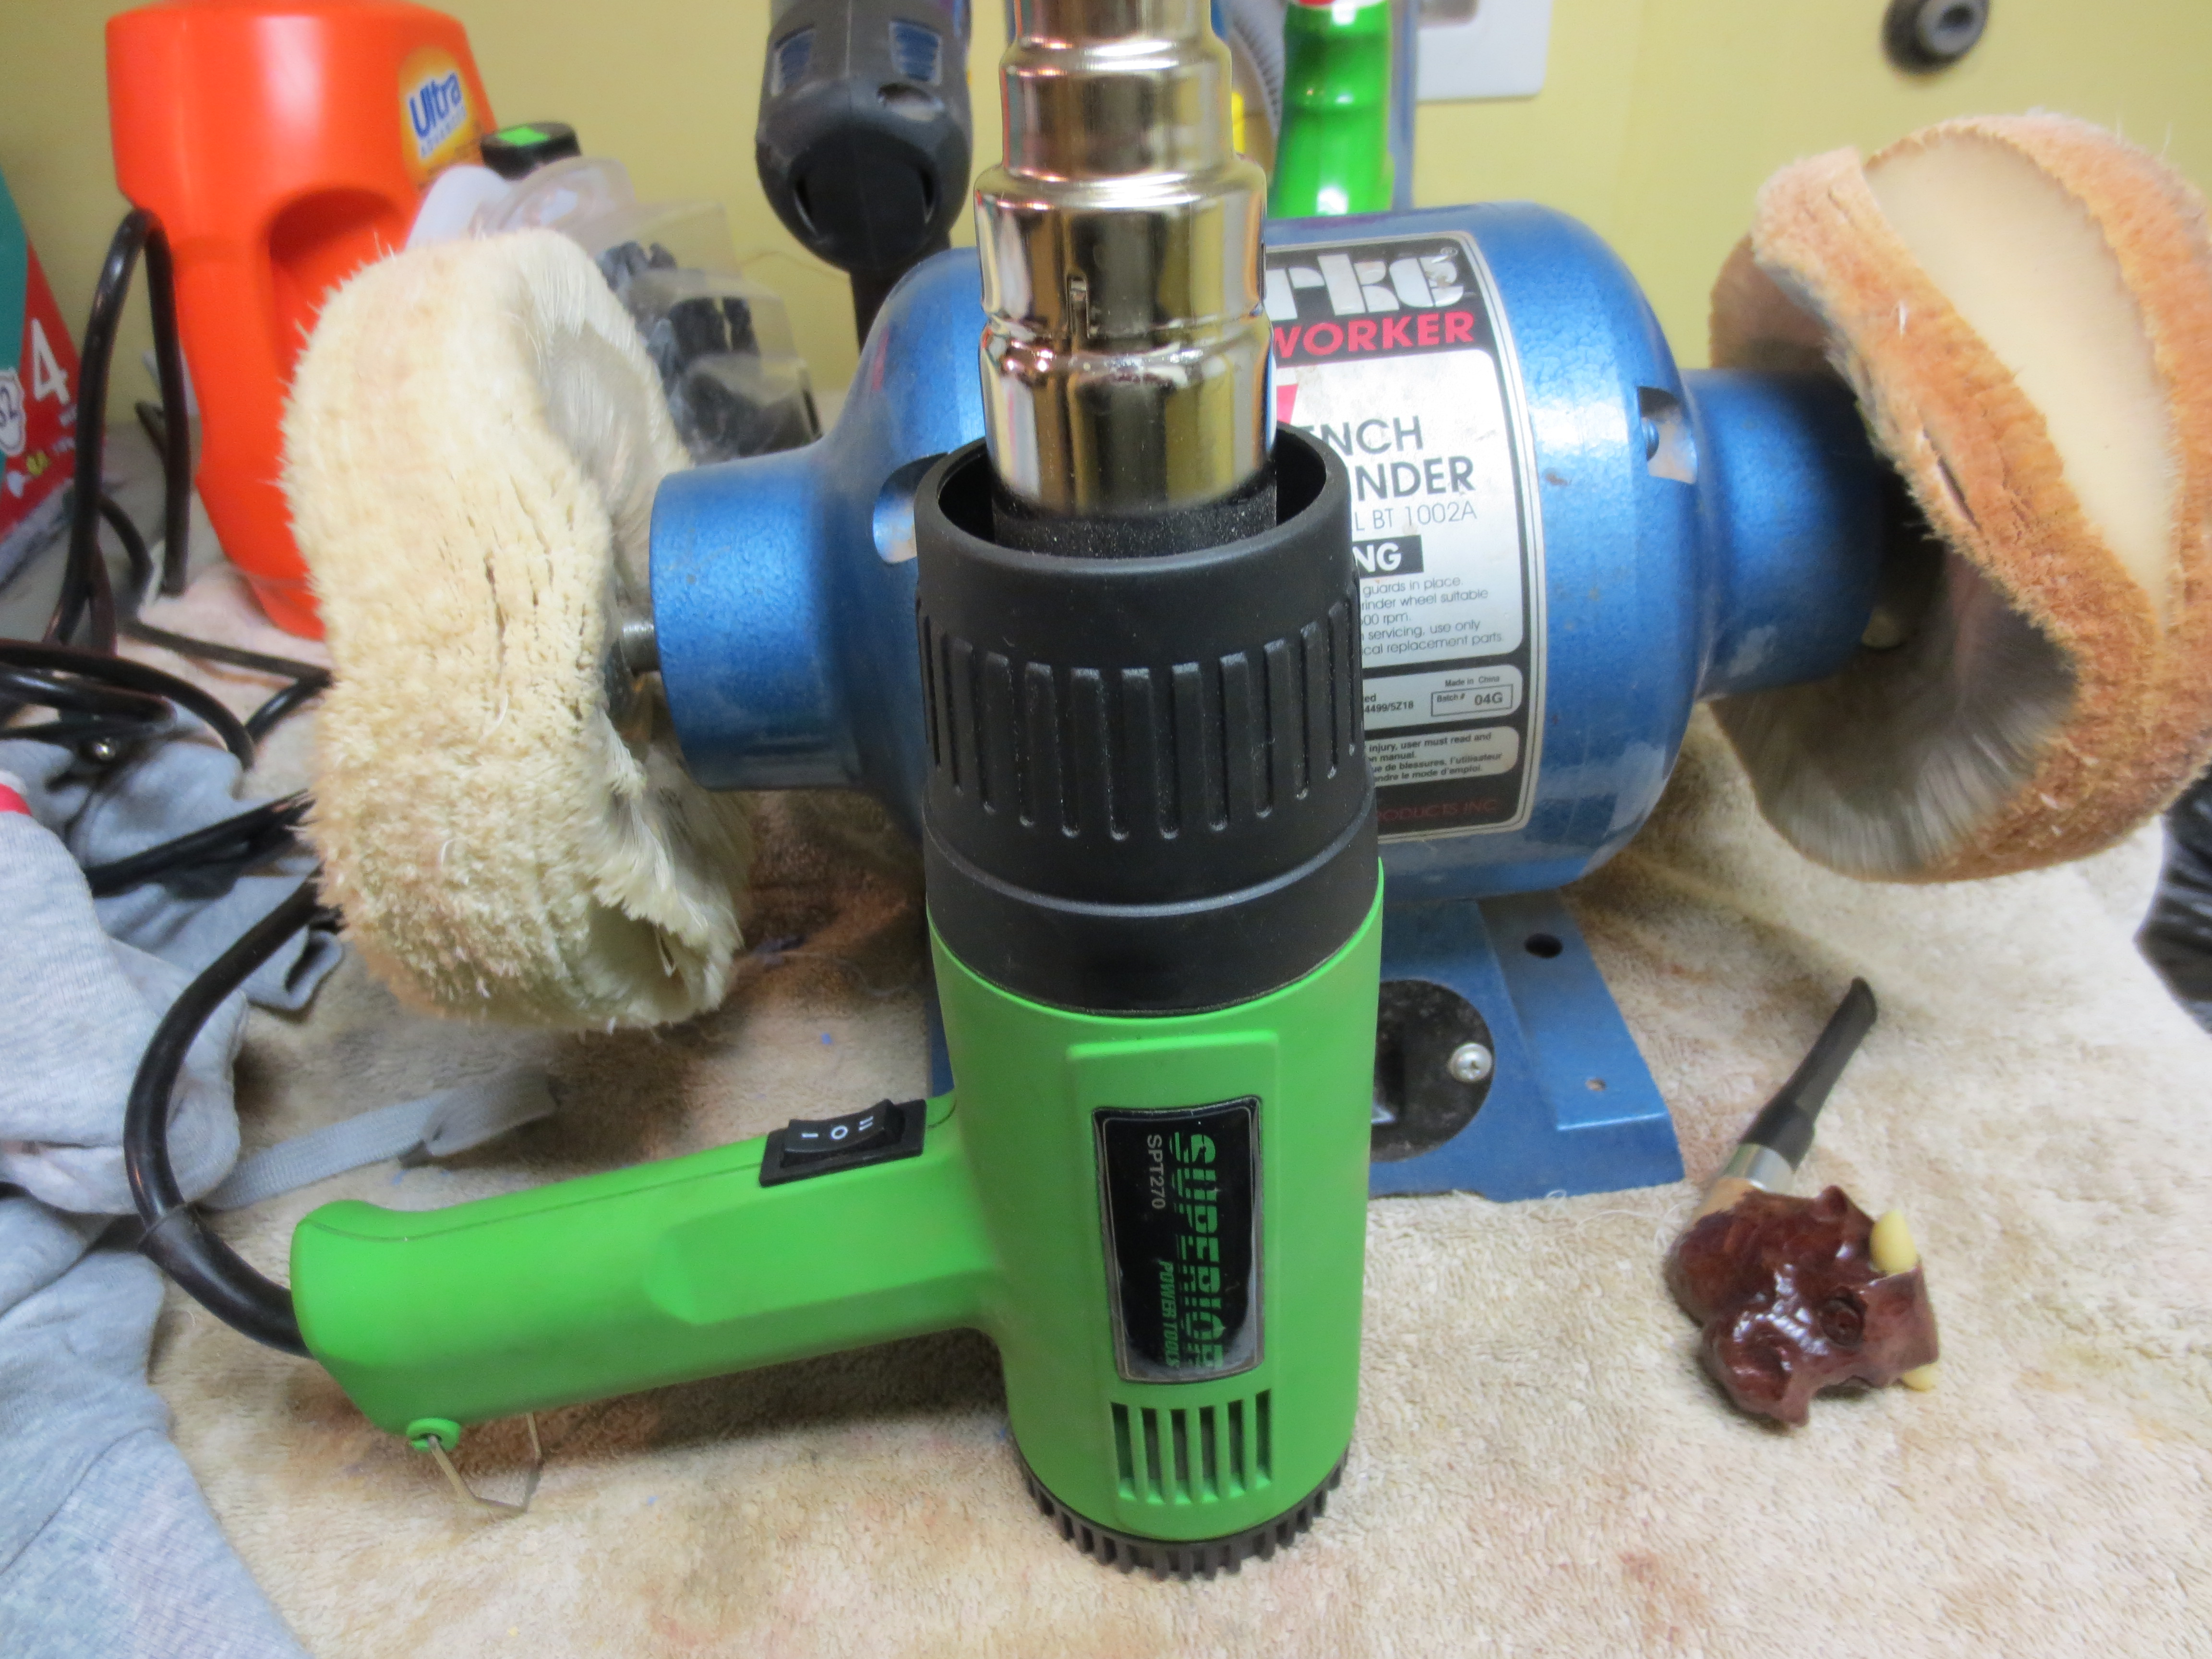
I took the pipe to the buffer and buffed the stem with White Diamond and Blue polish to further enhance the shine. I gave the entire pipe several coats of carnauba wax and buffed with a clean flannel buffing pad.
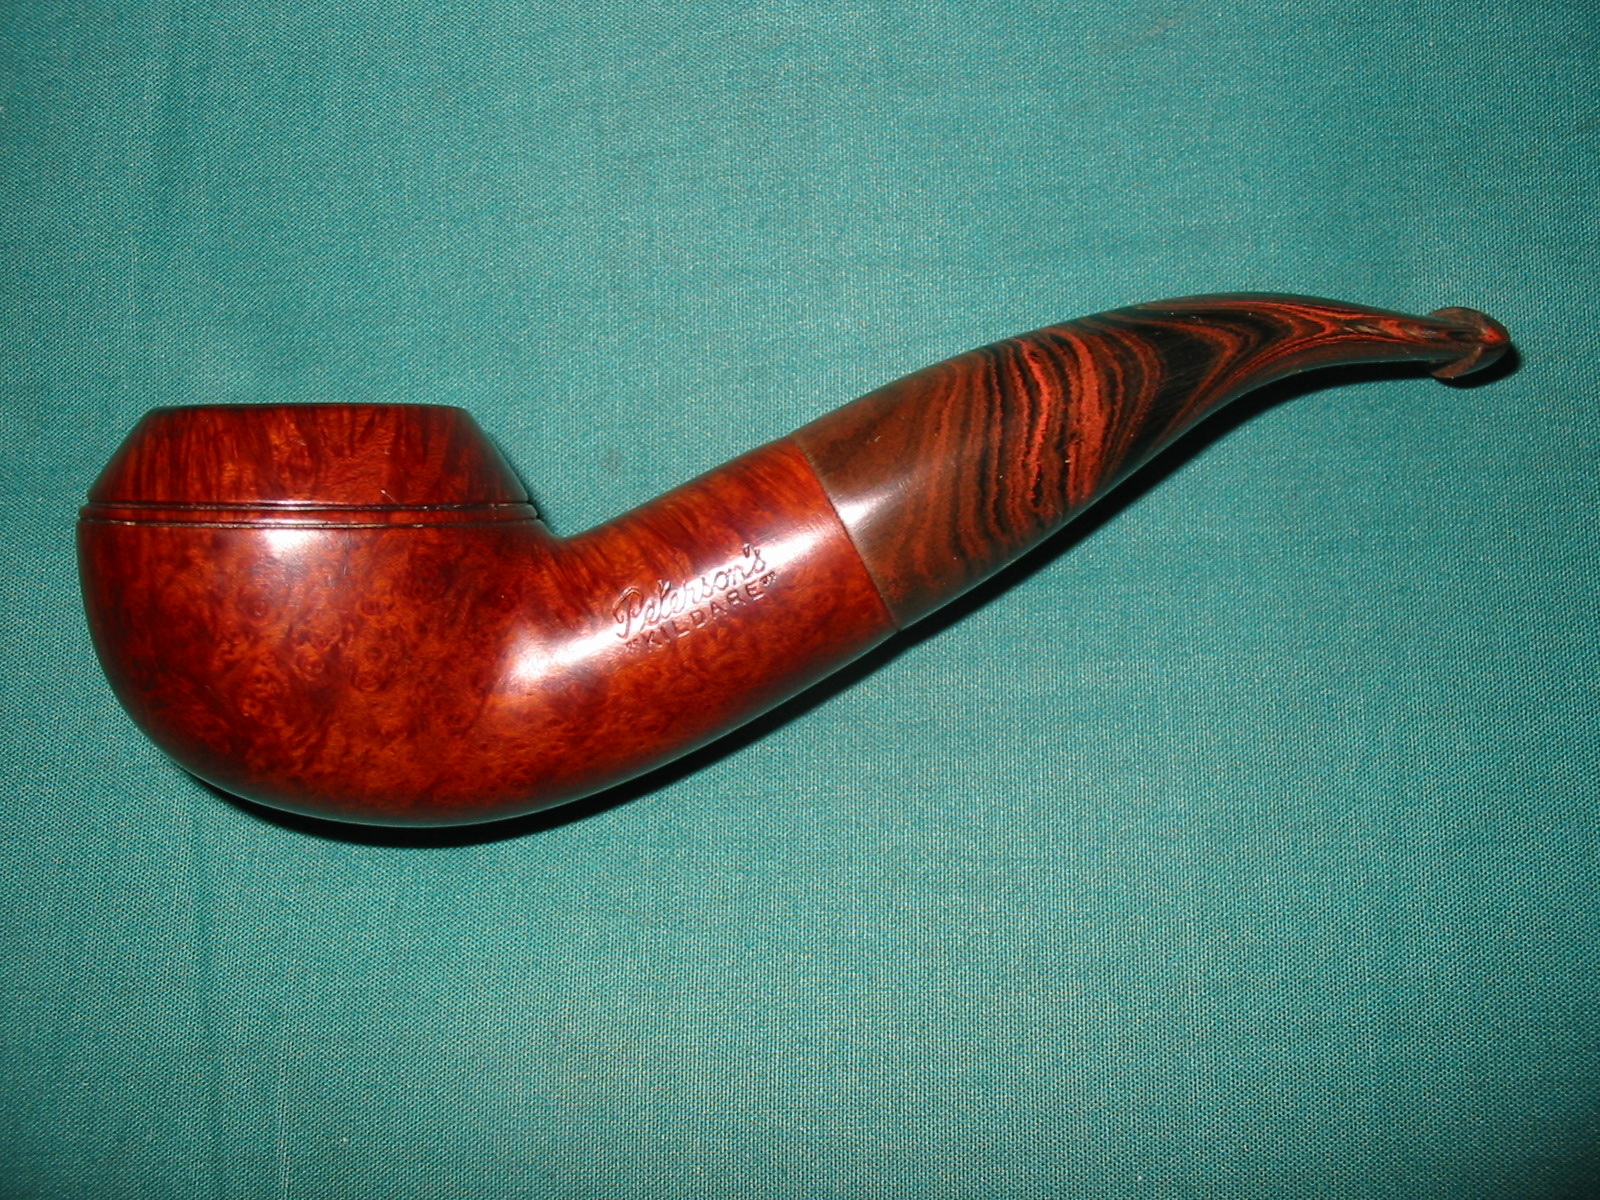
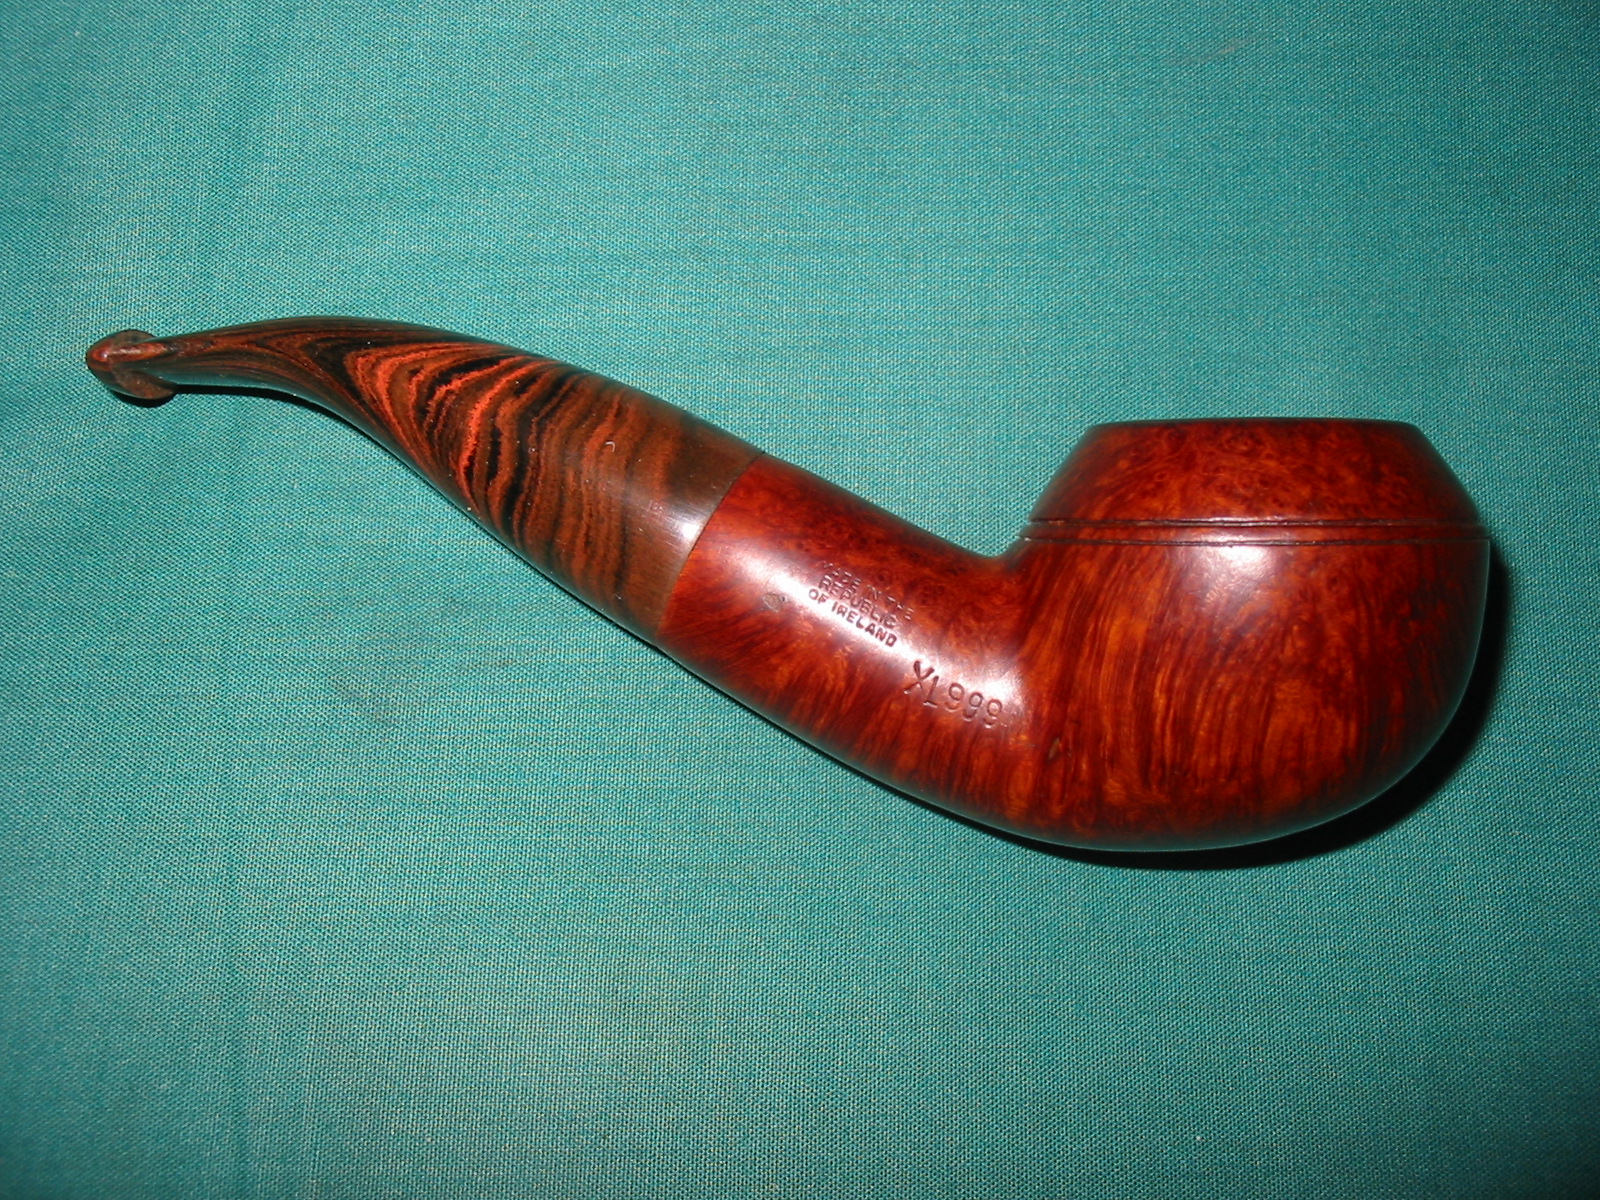
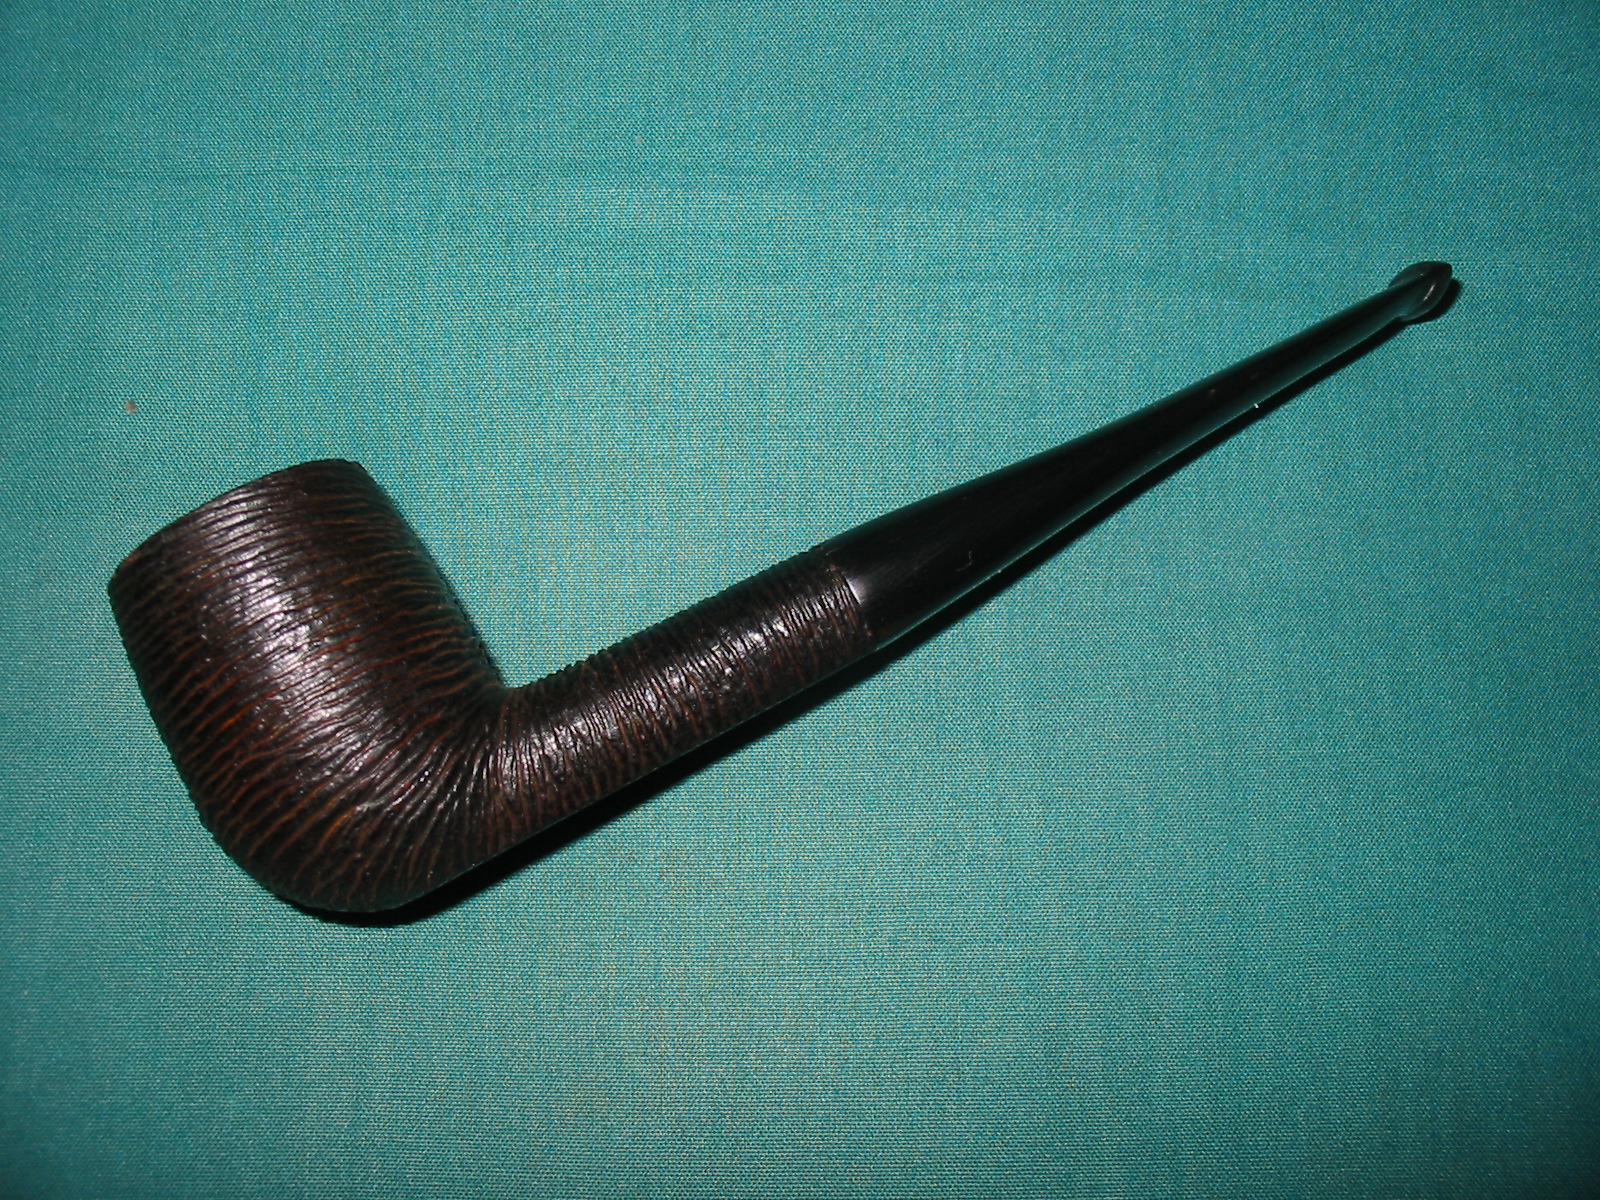
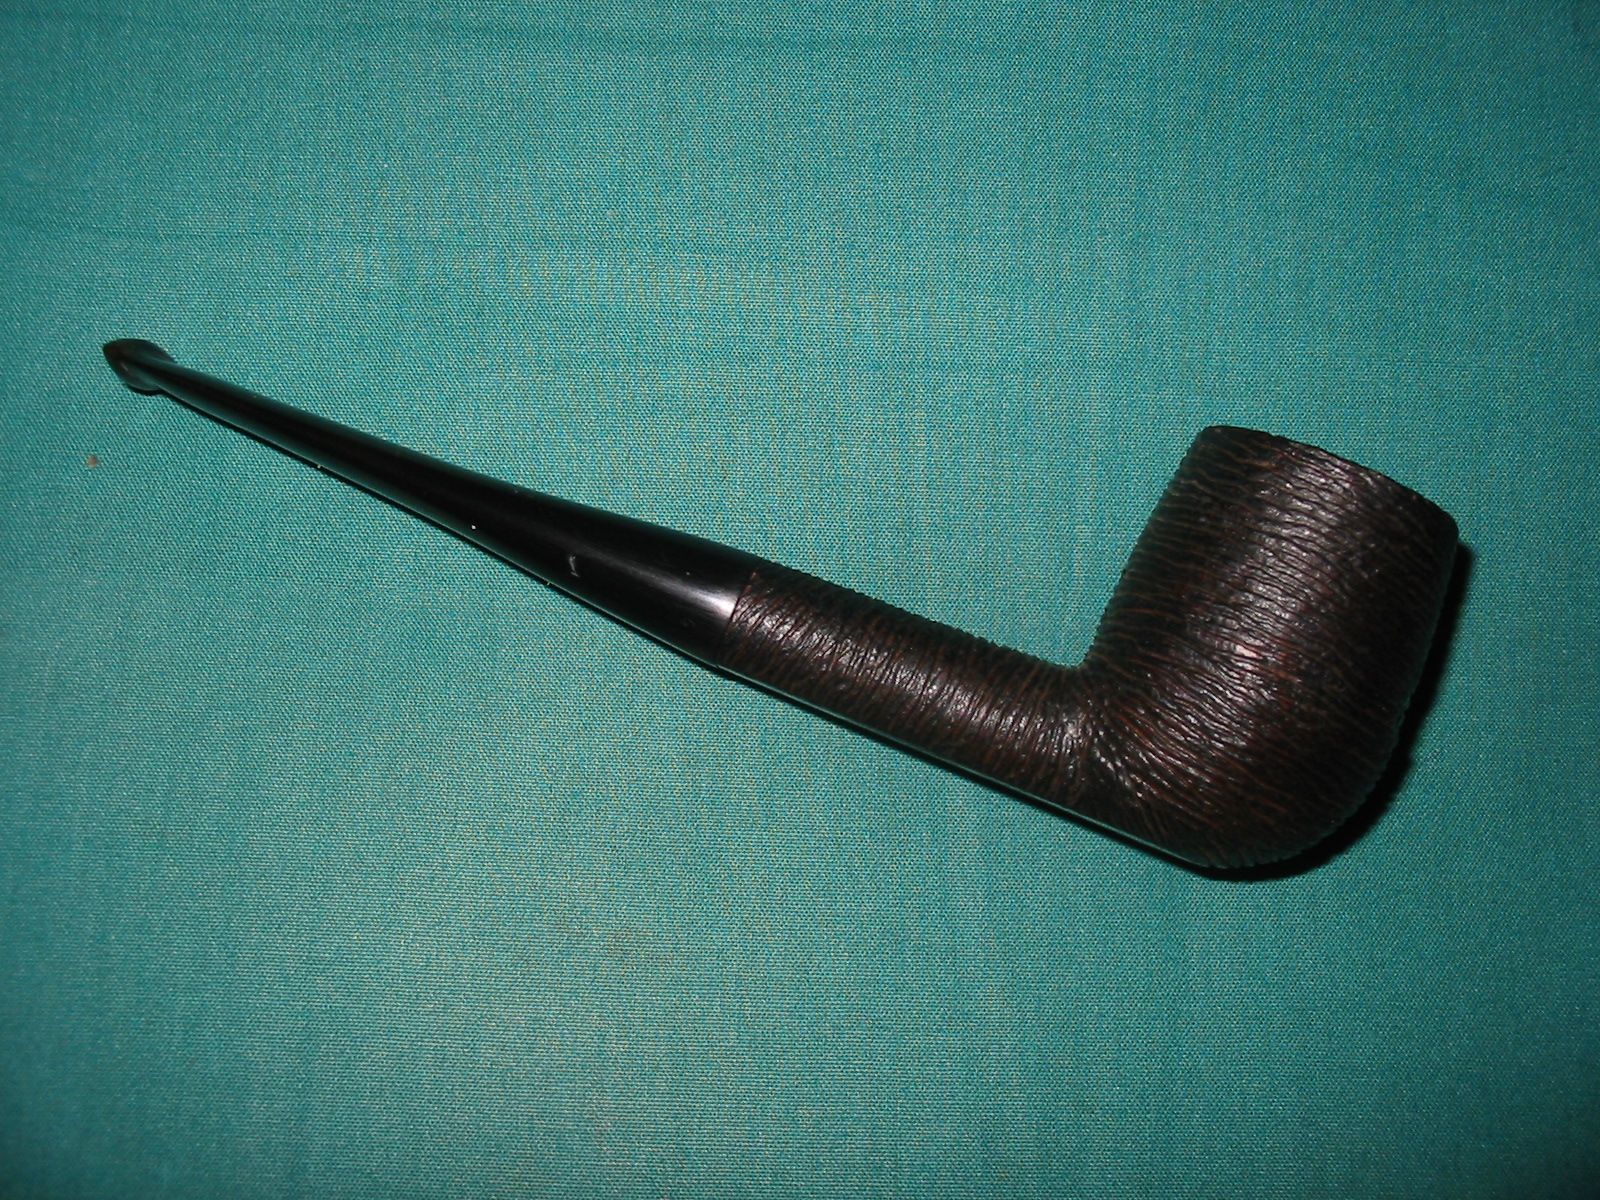
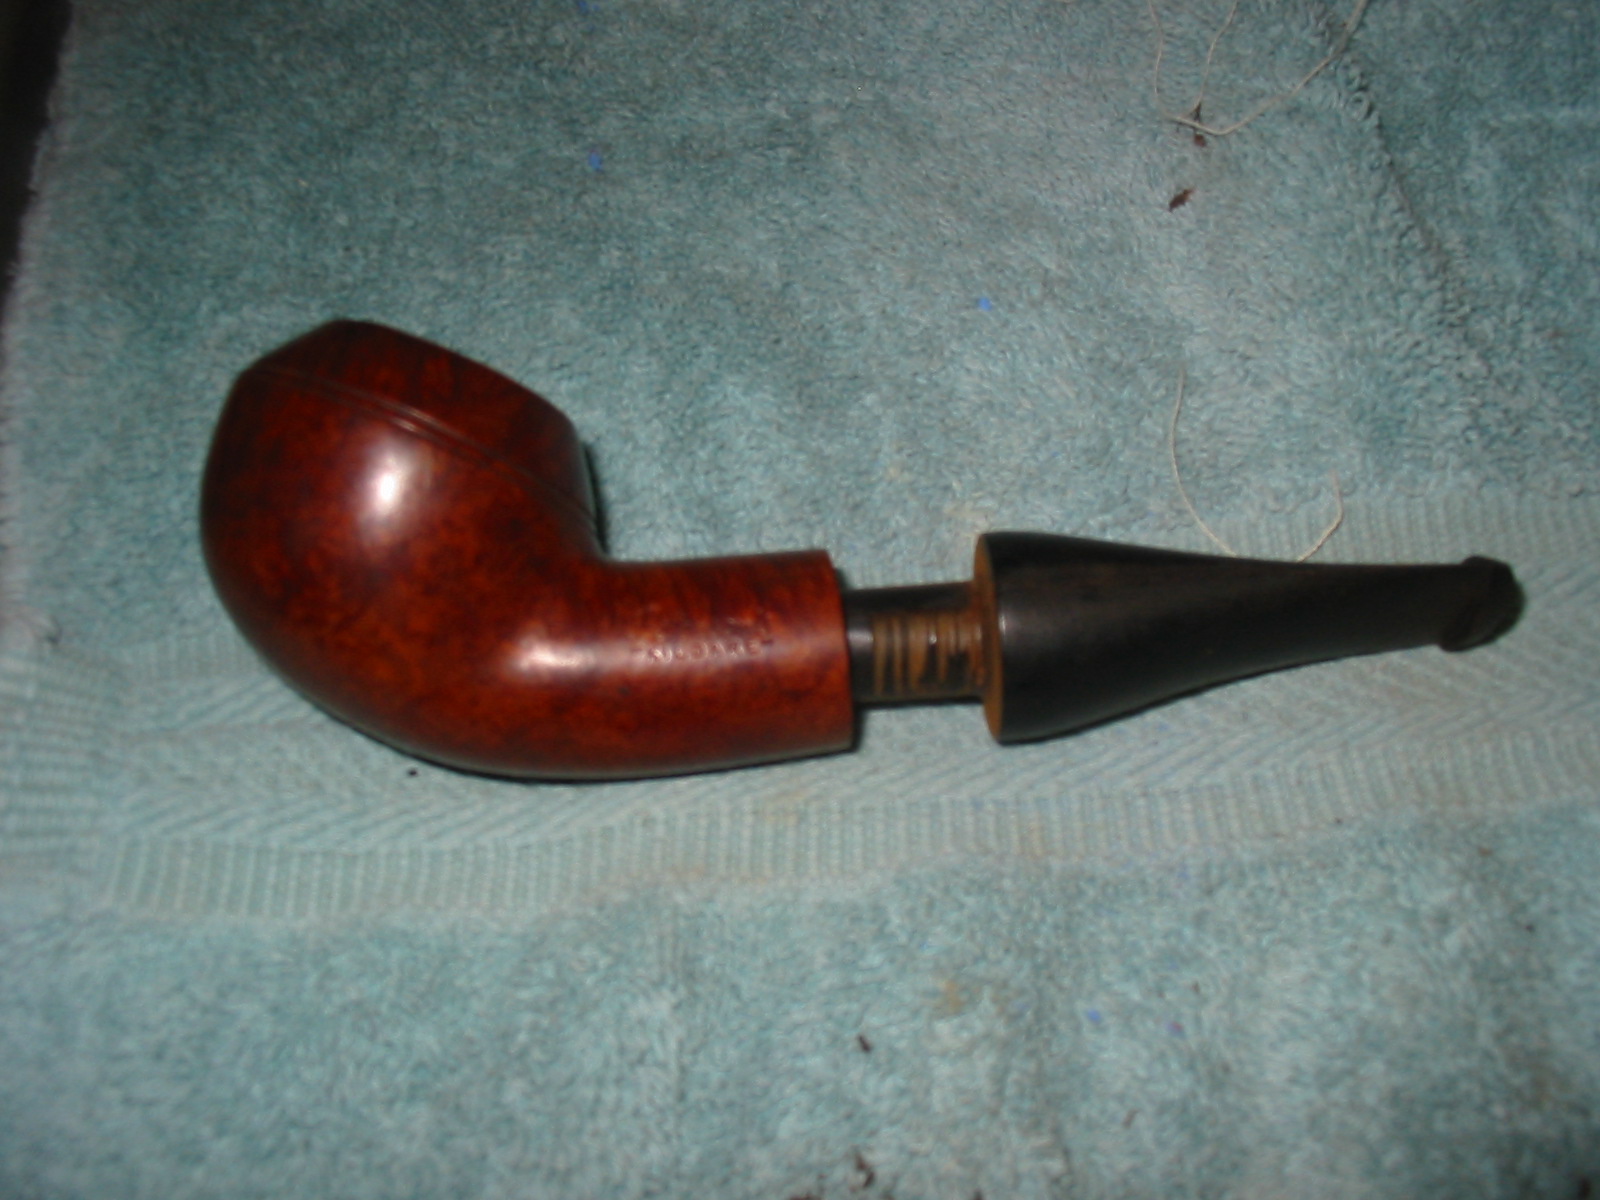
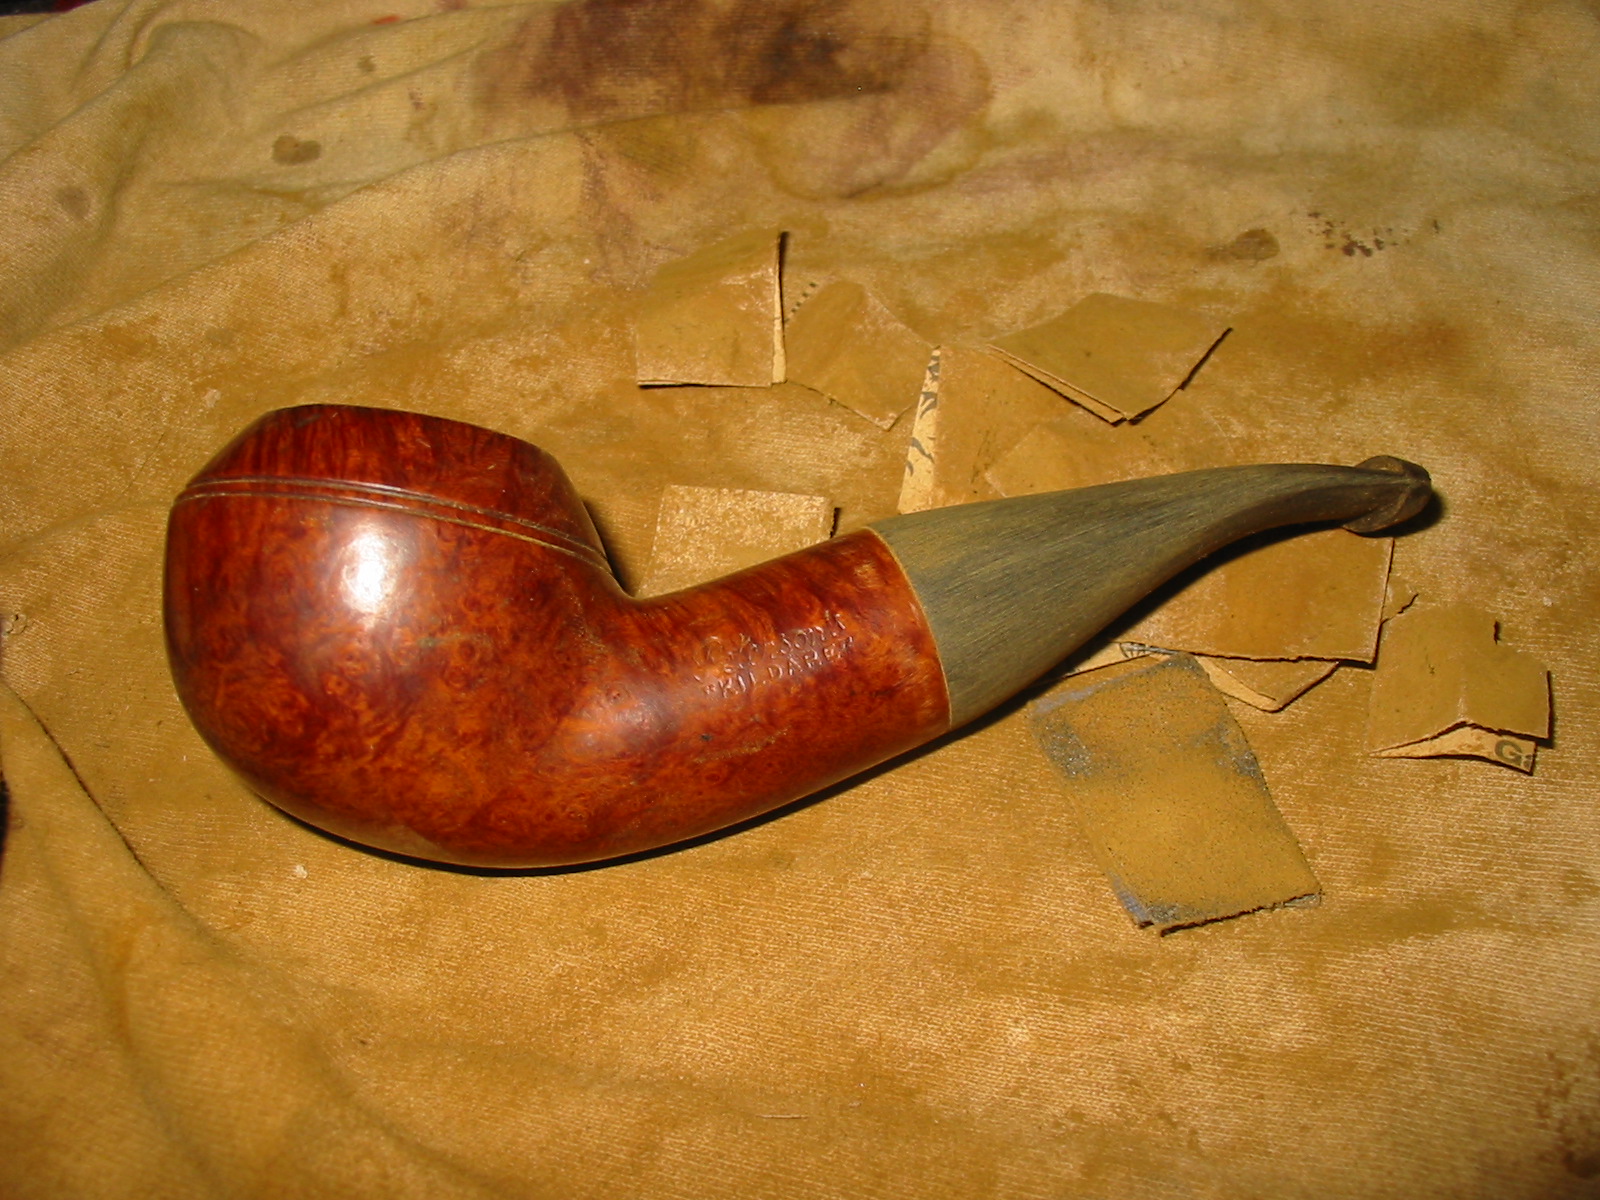
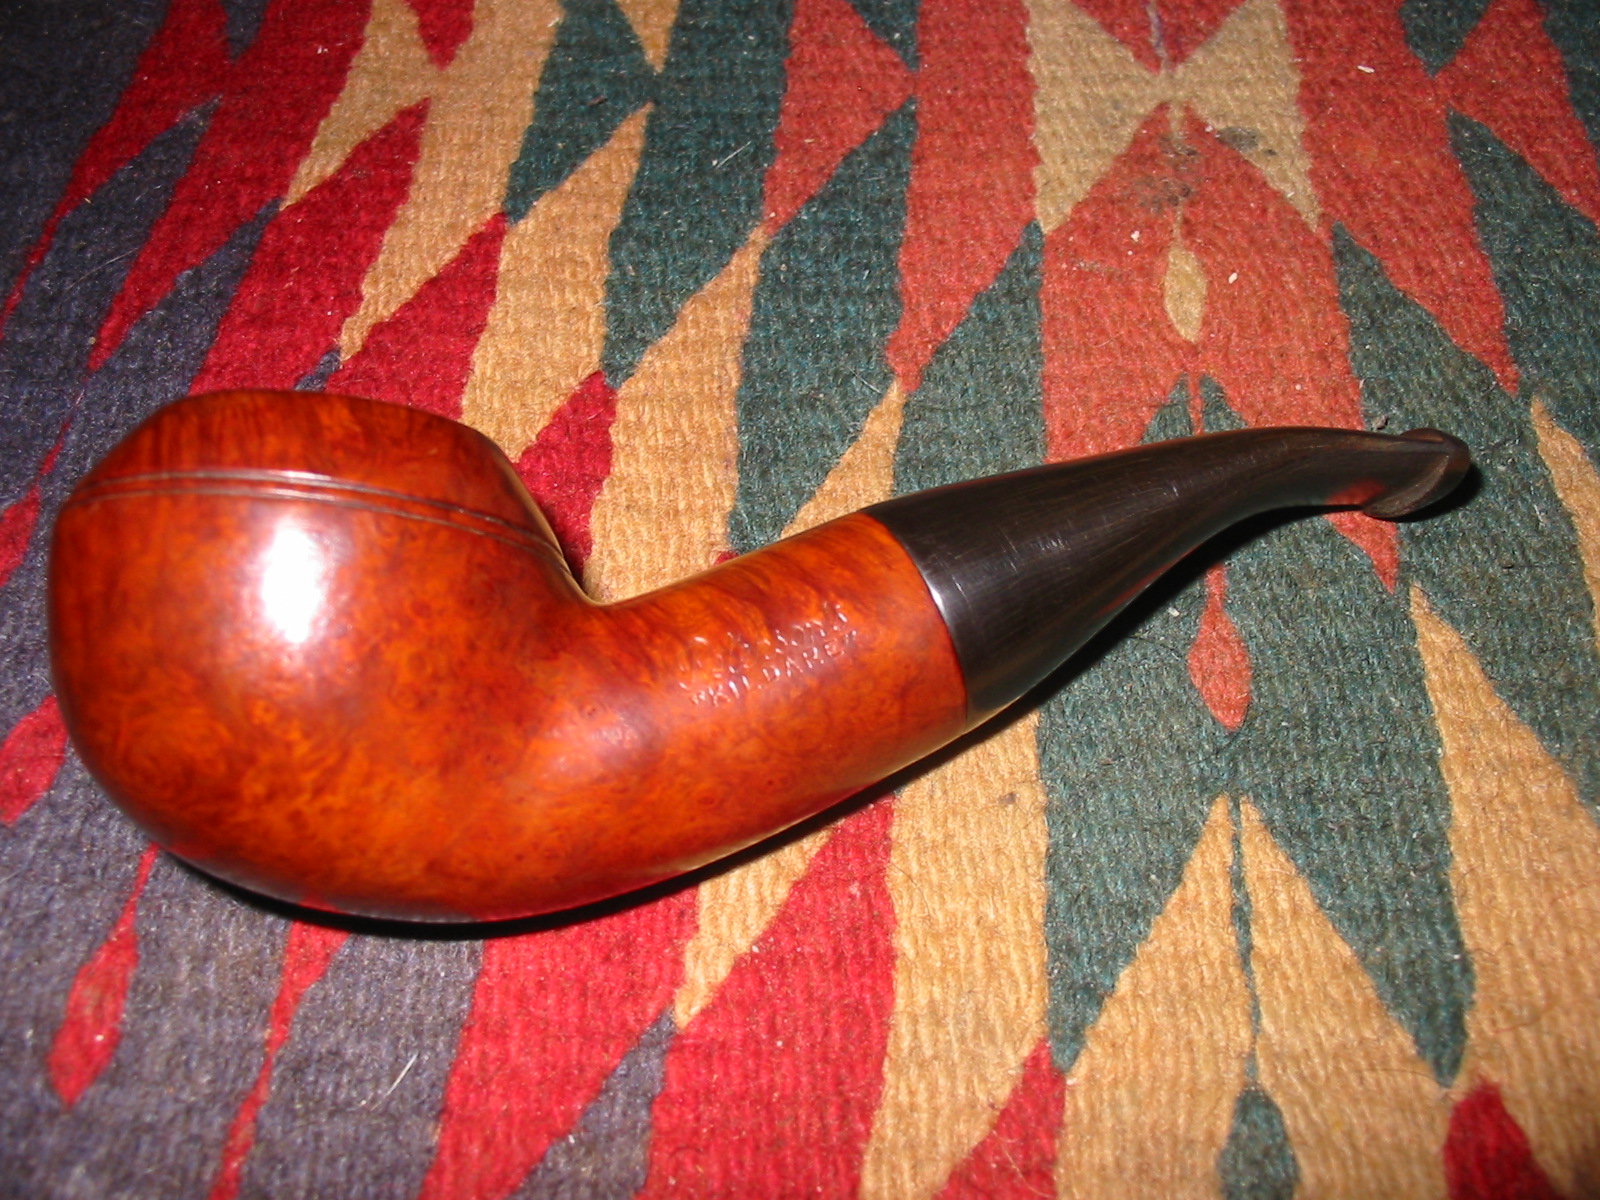
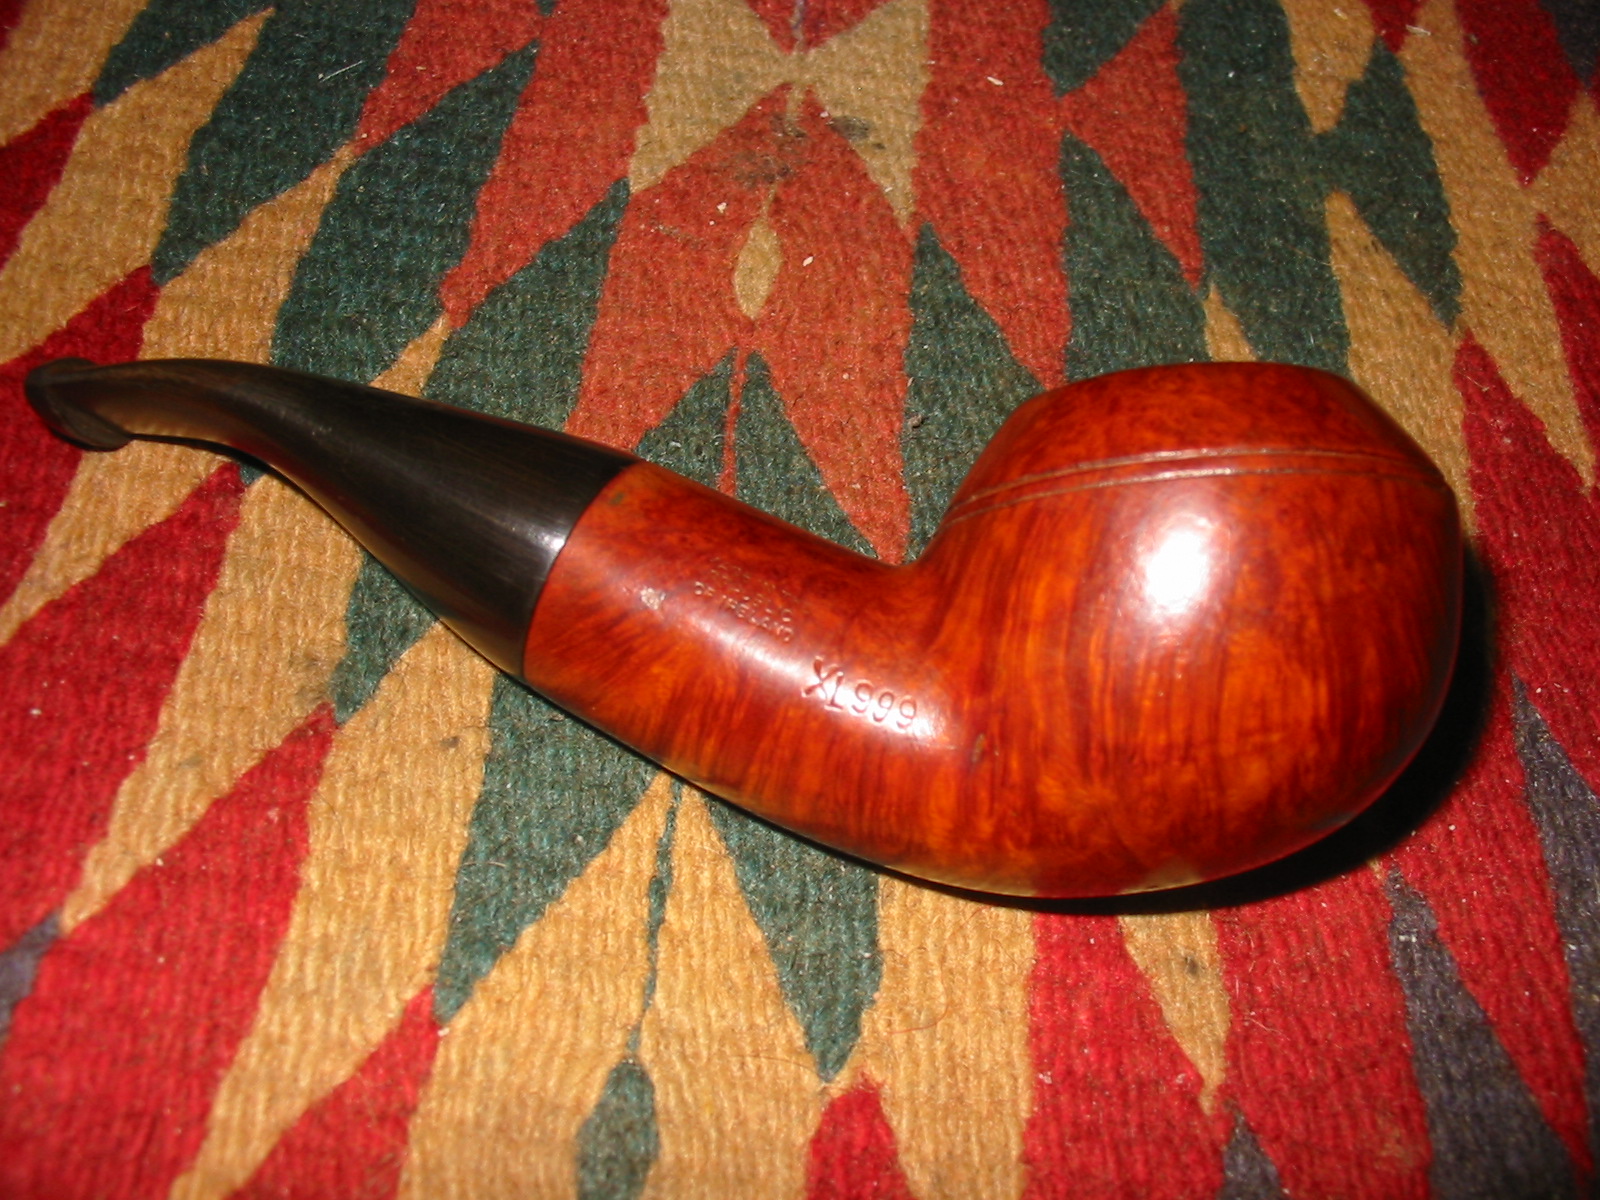
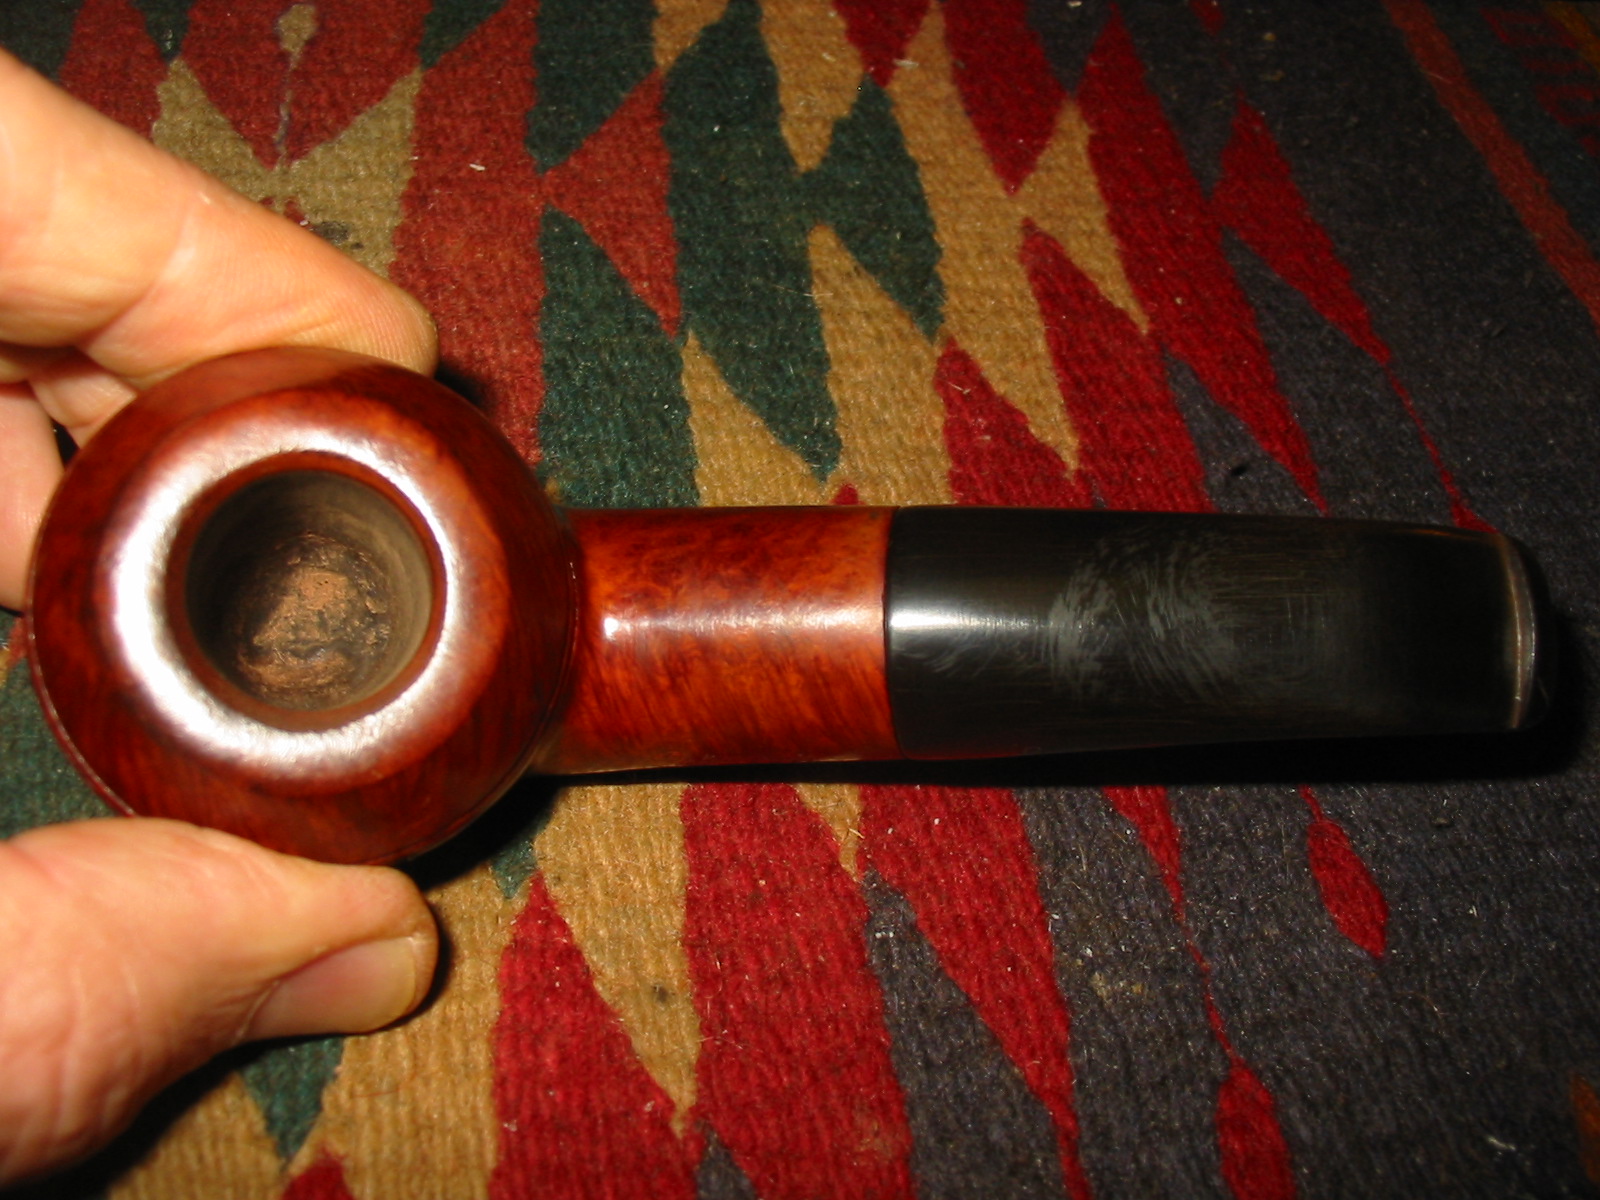
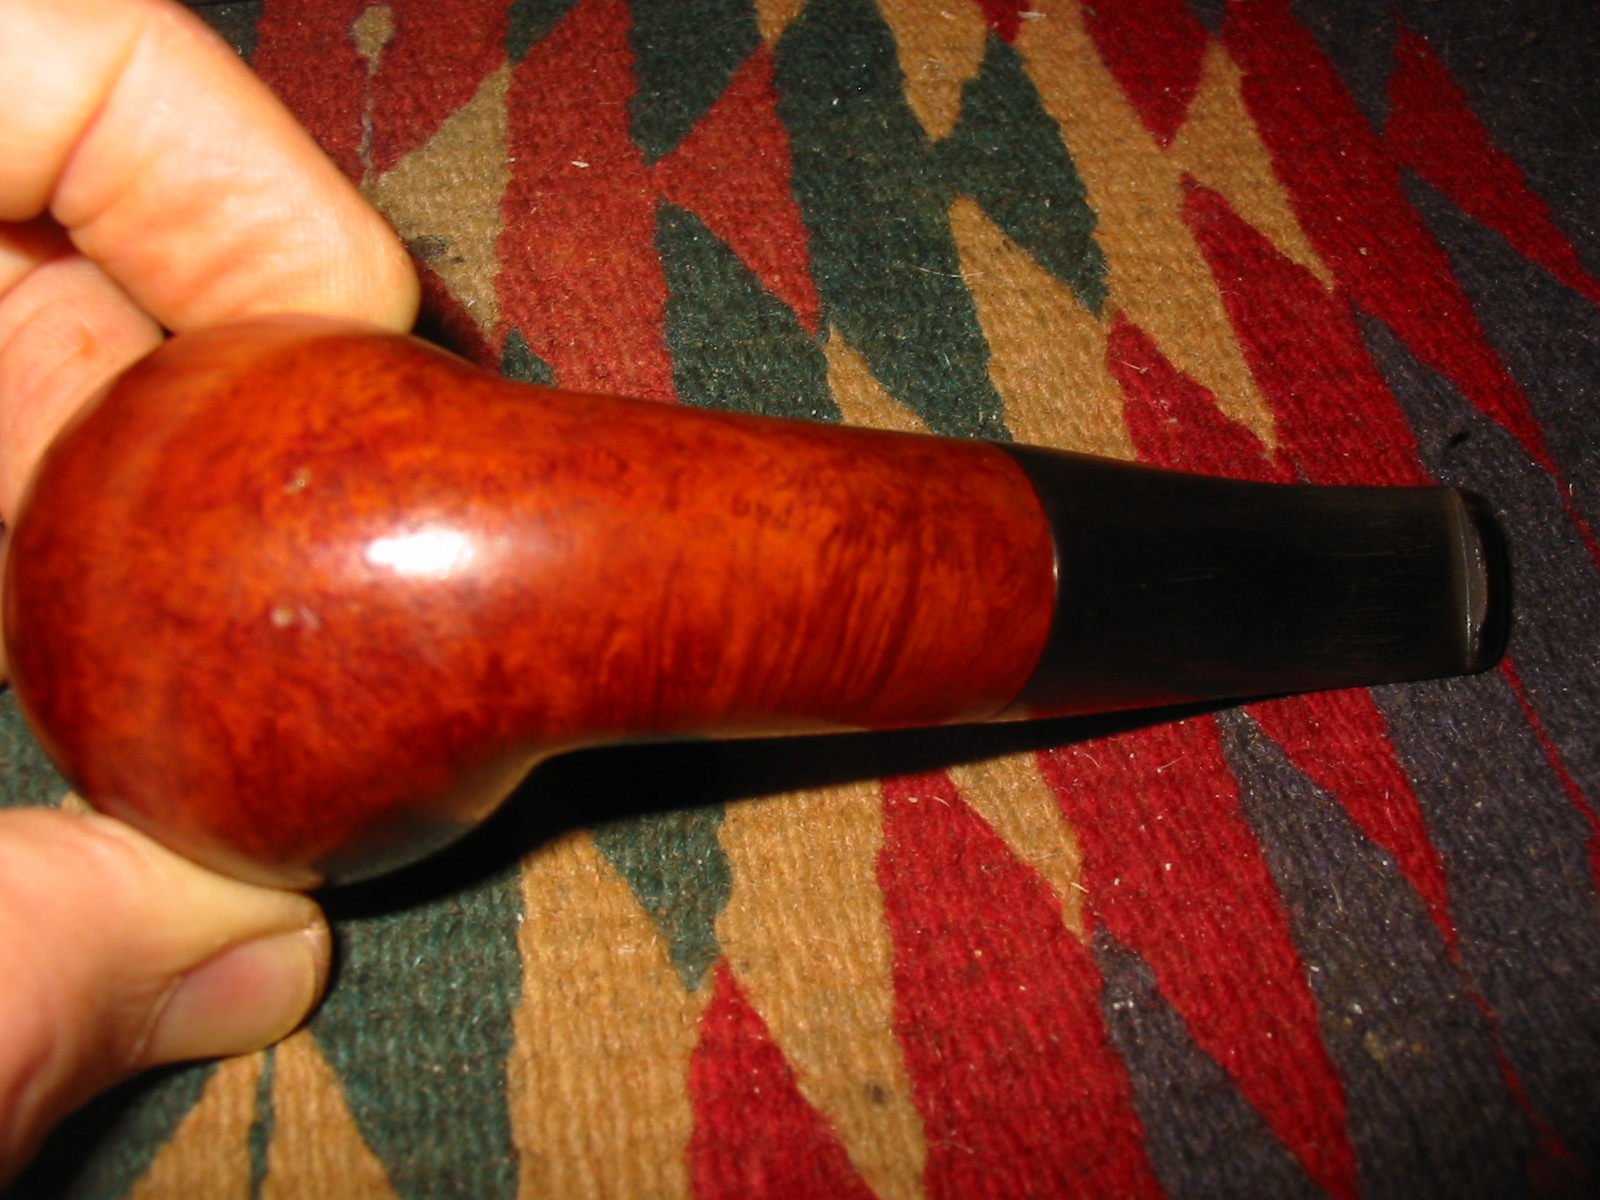
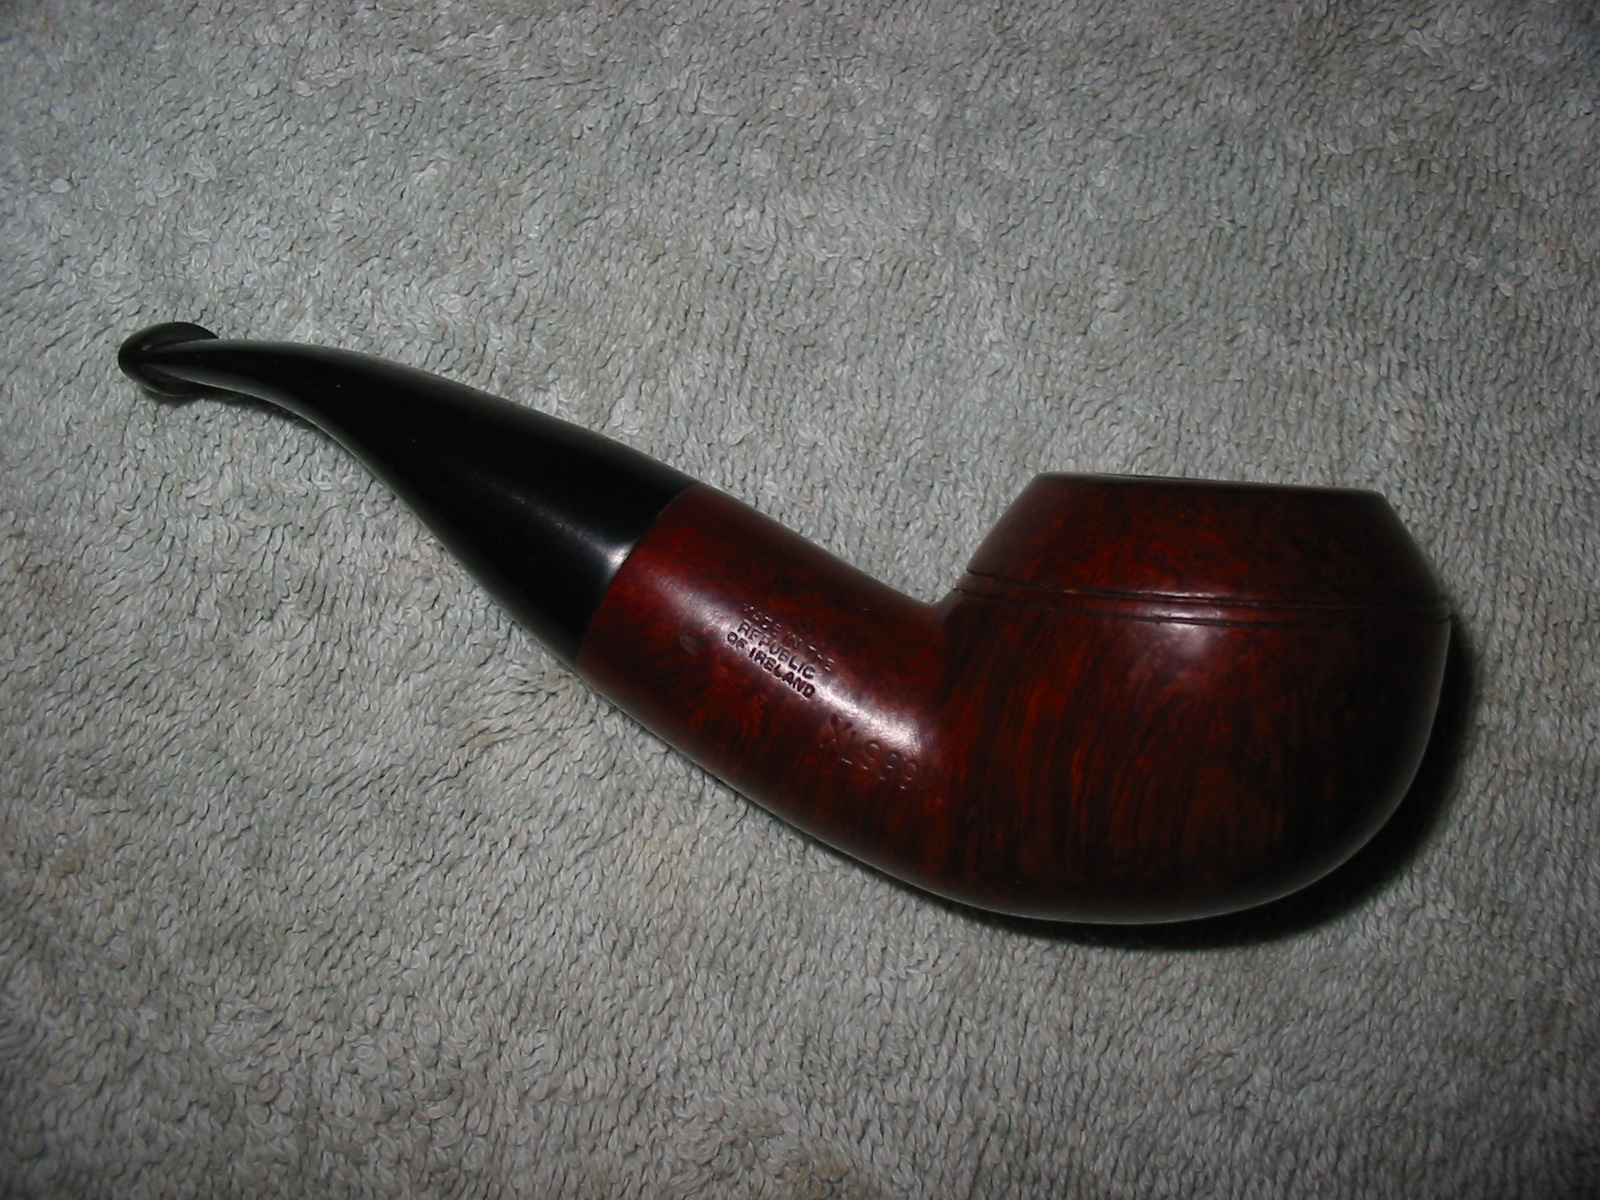
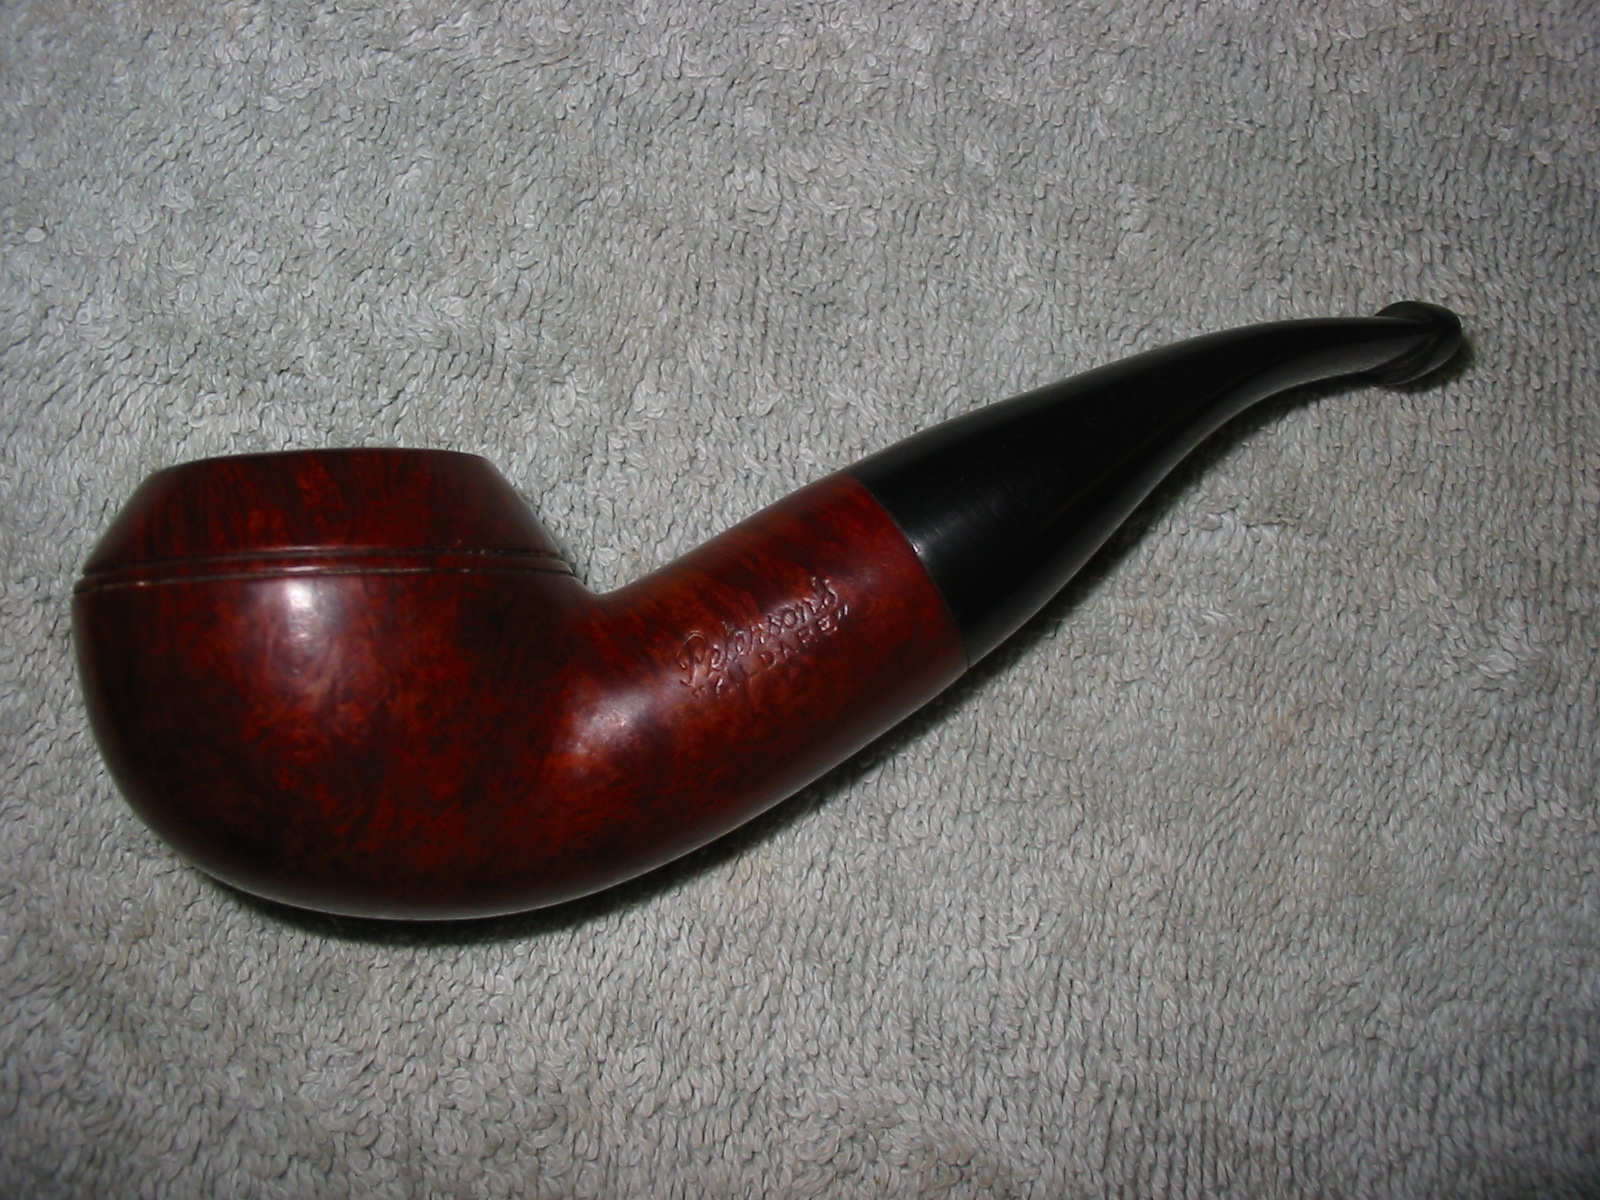
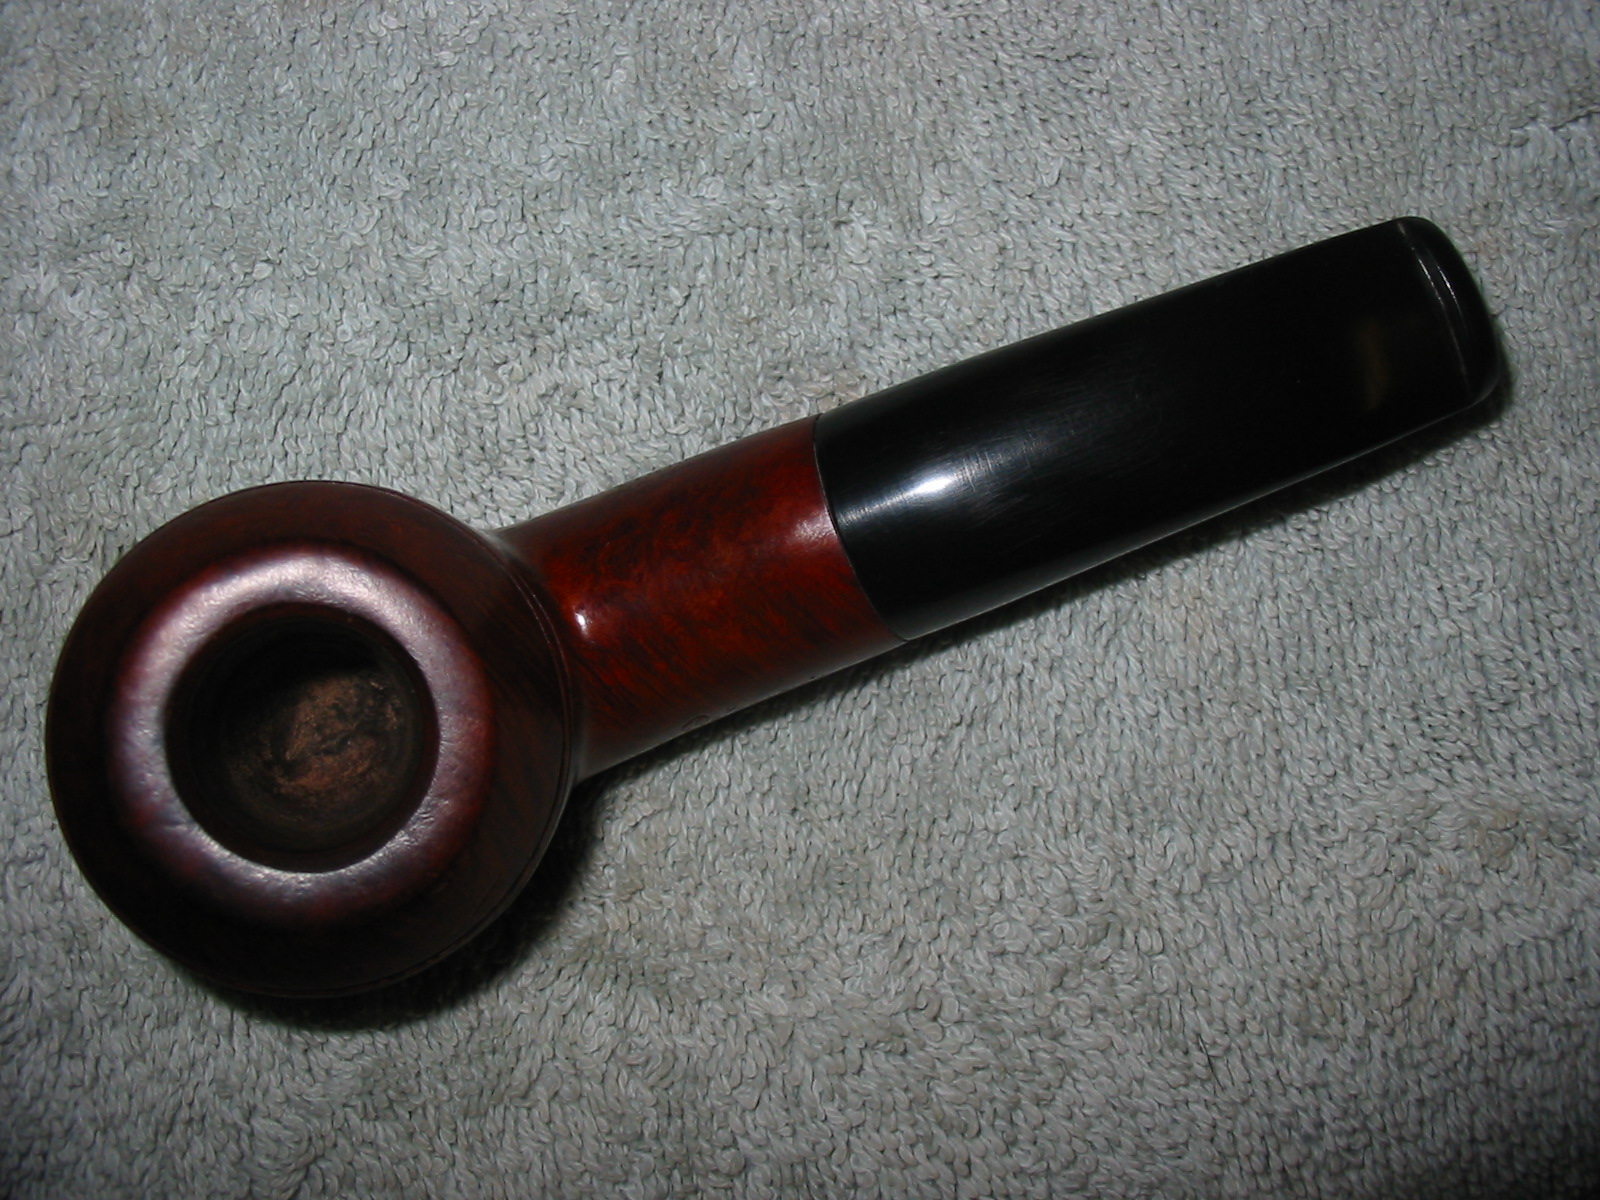
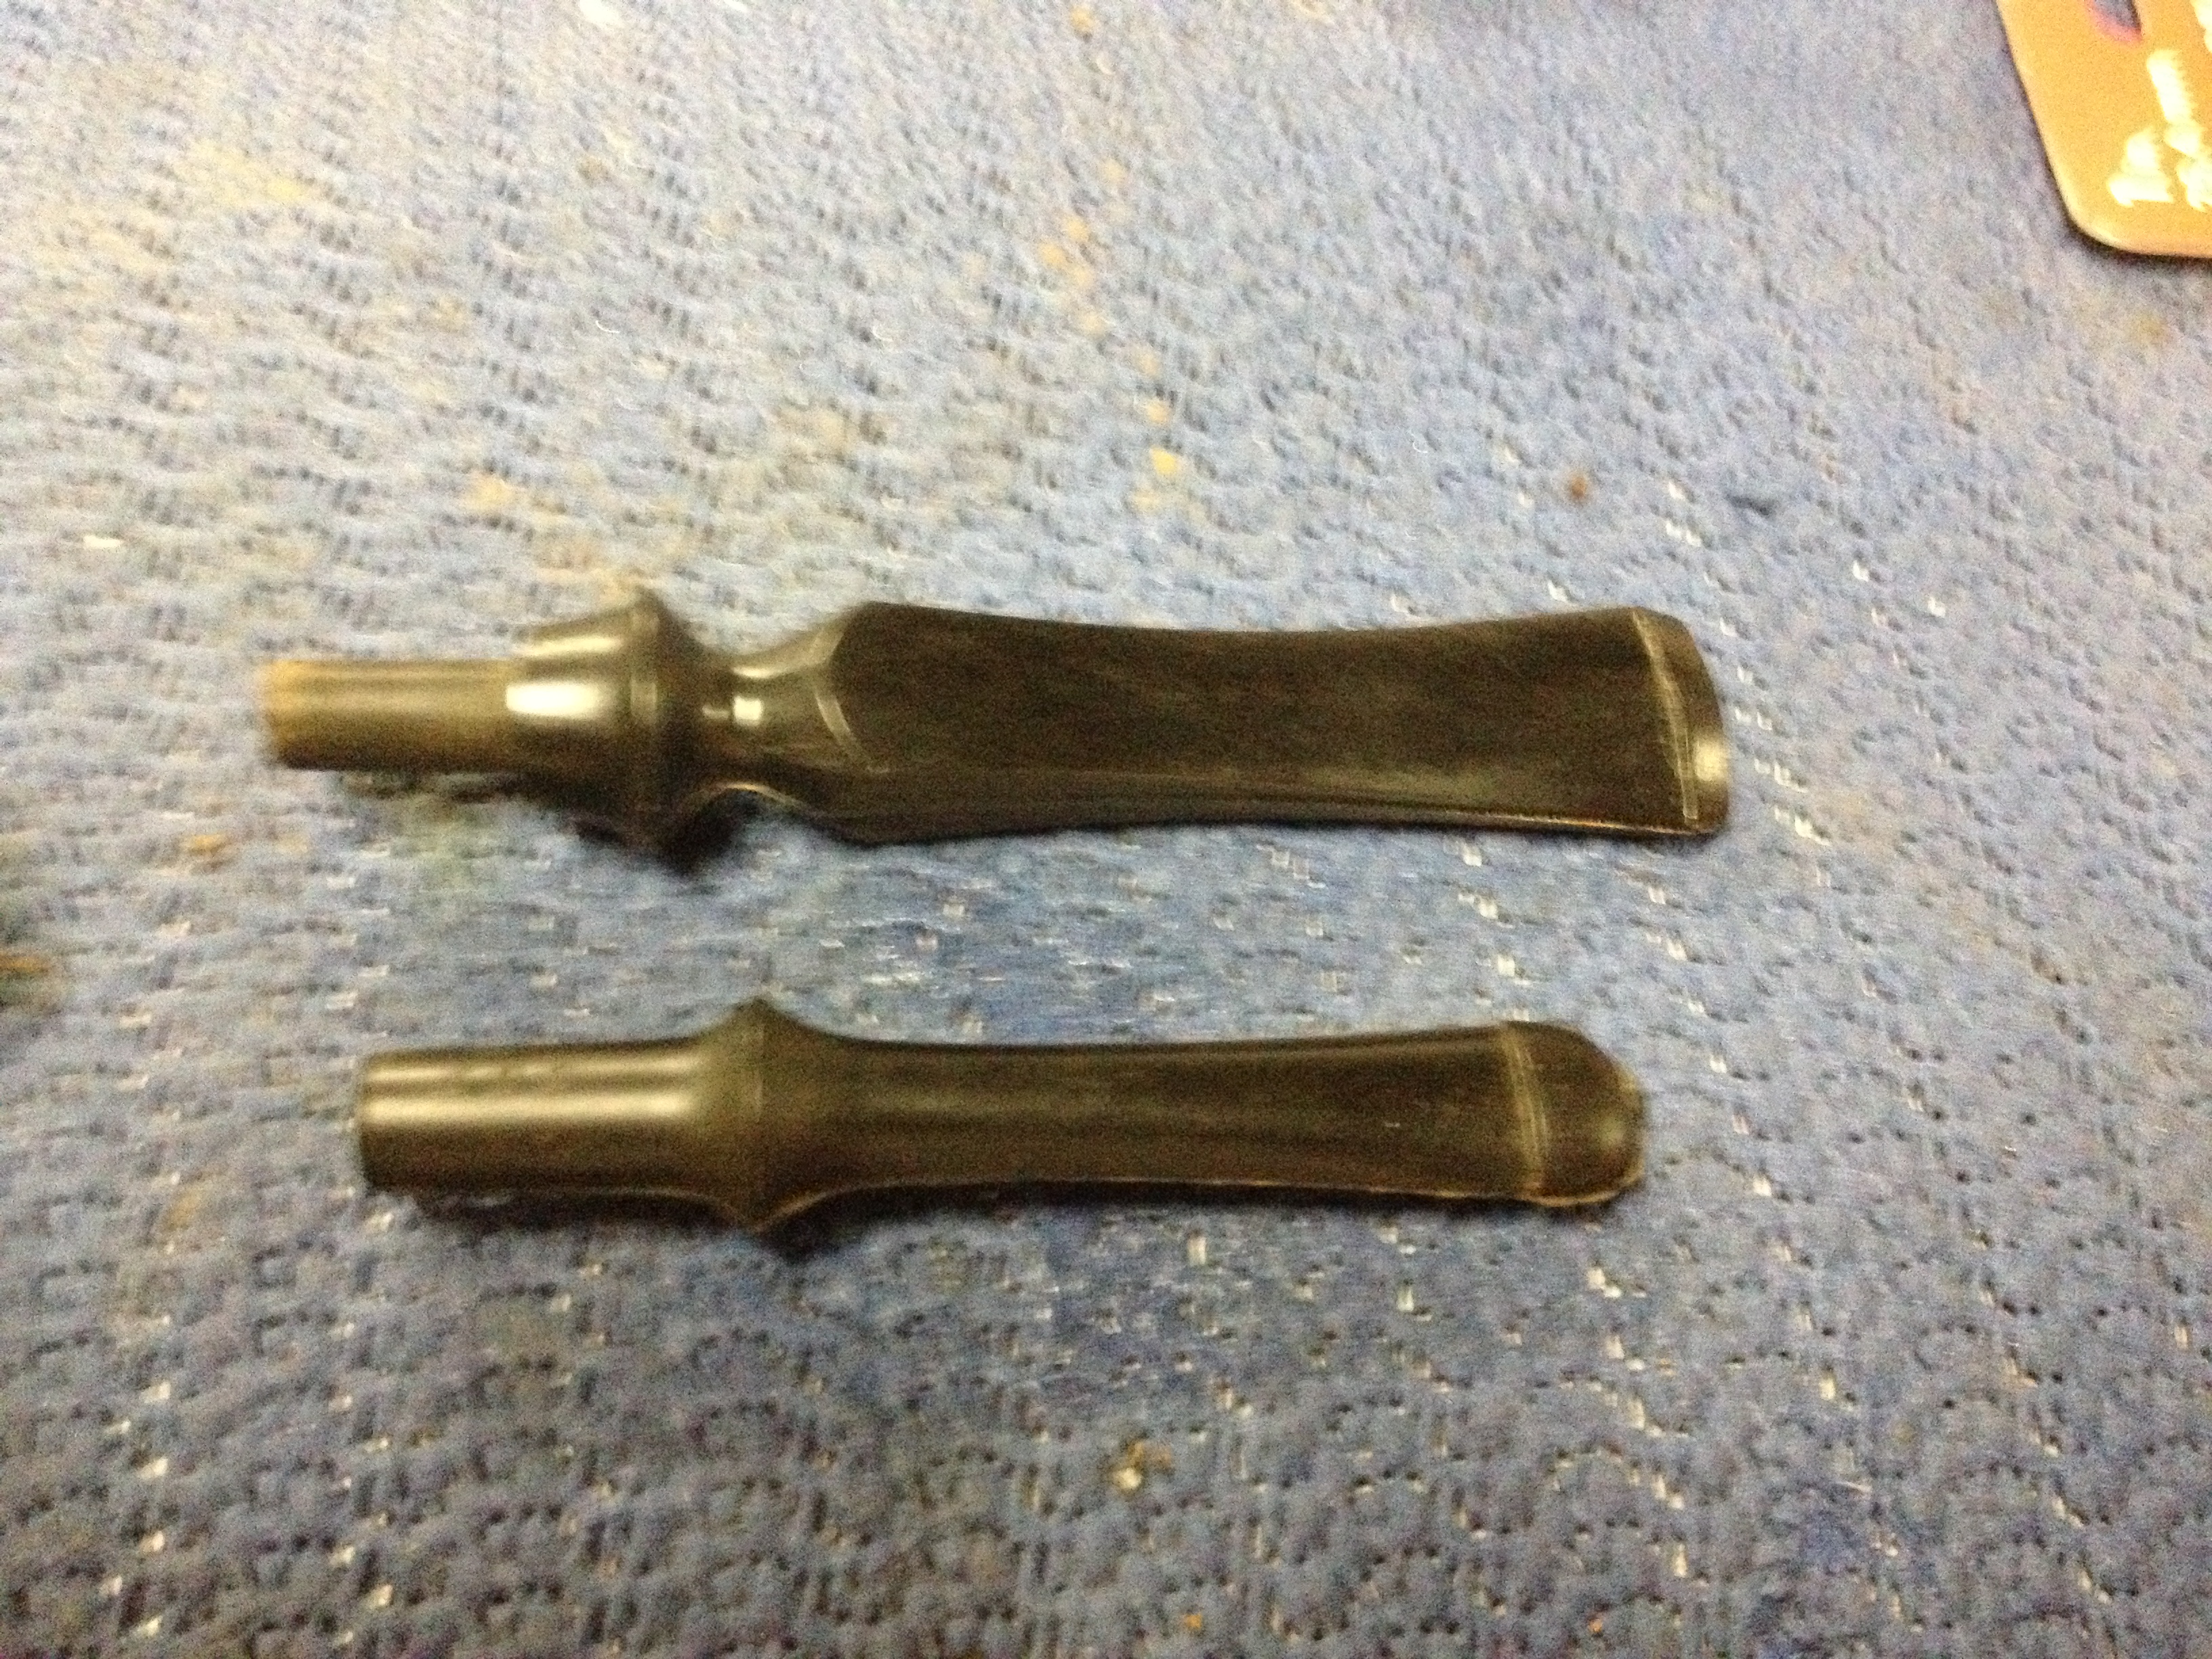
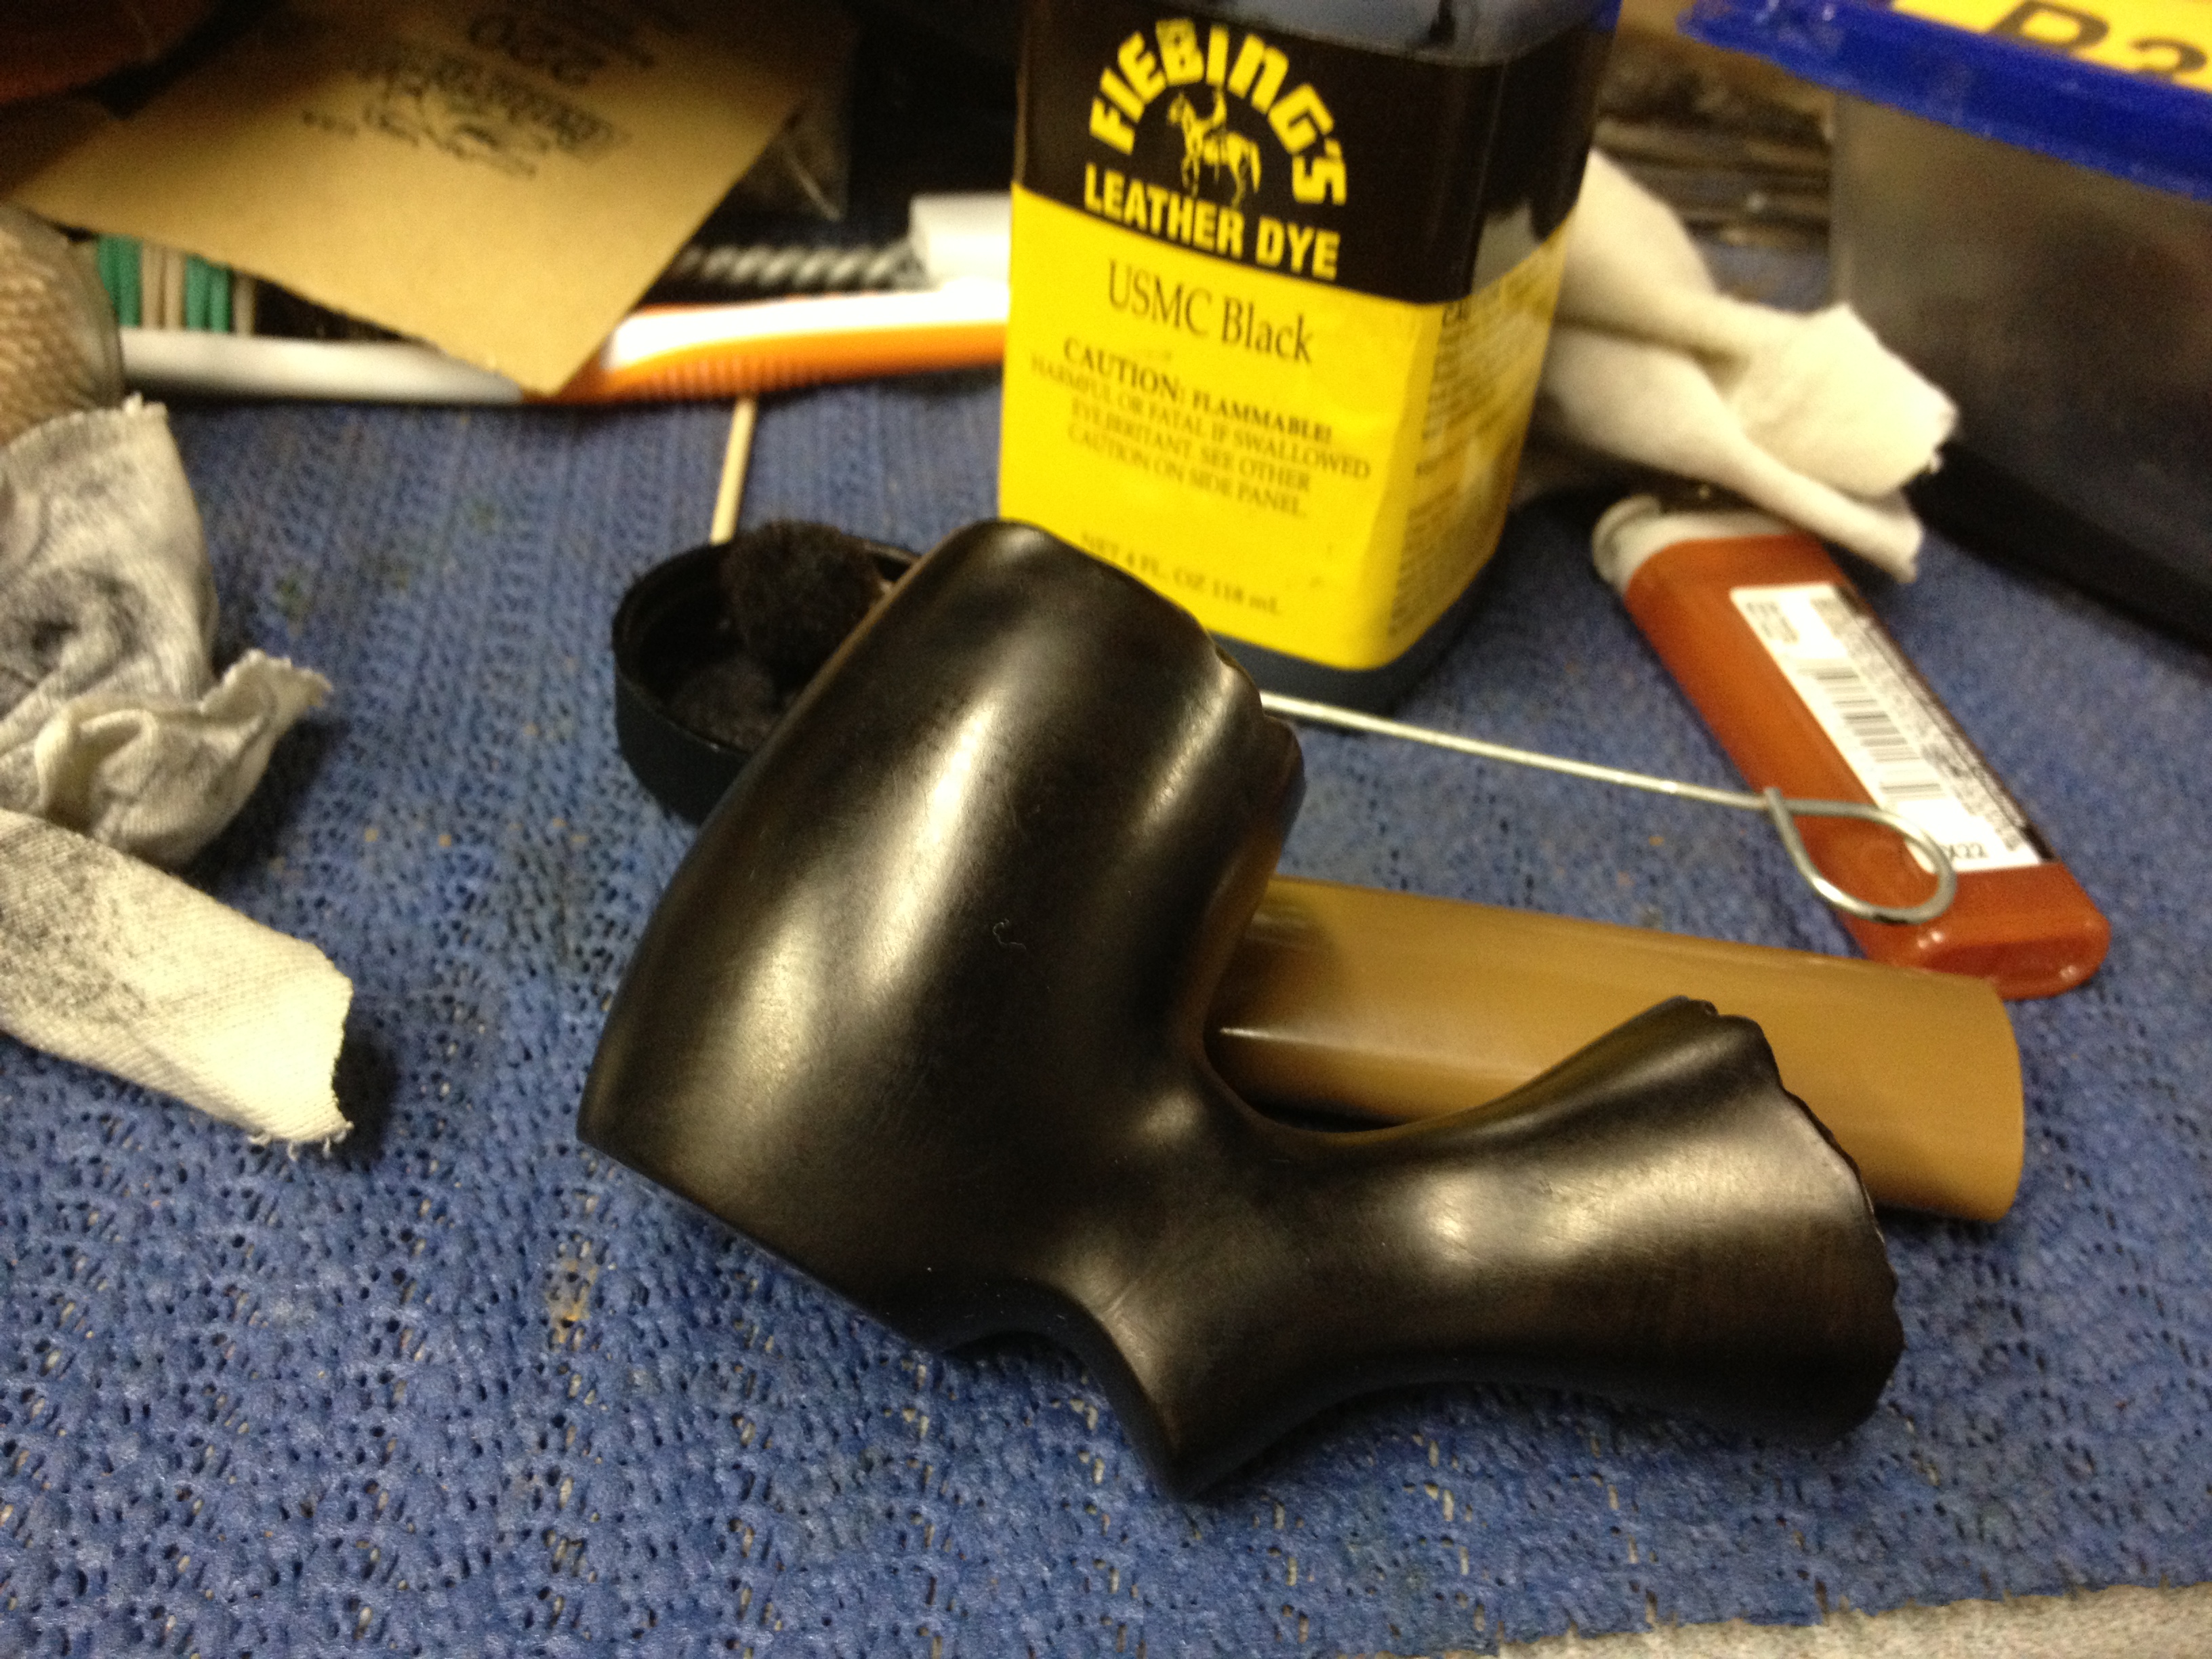
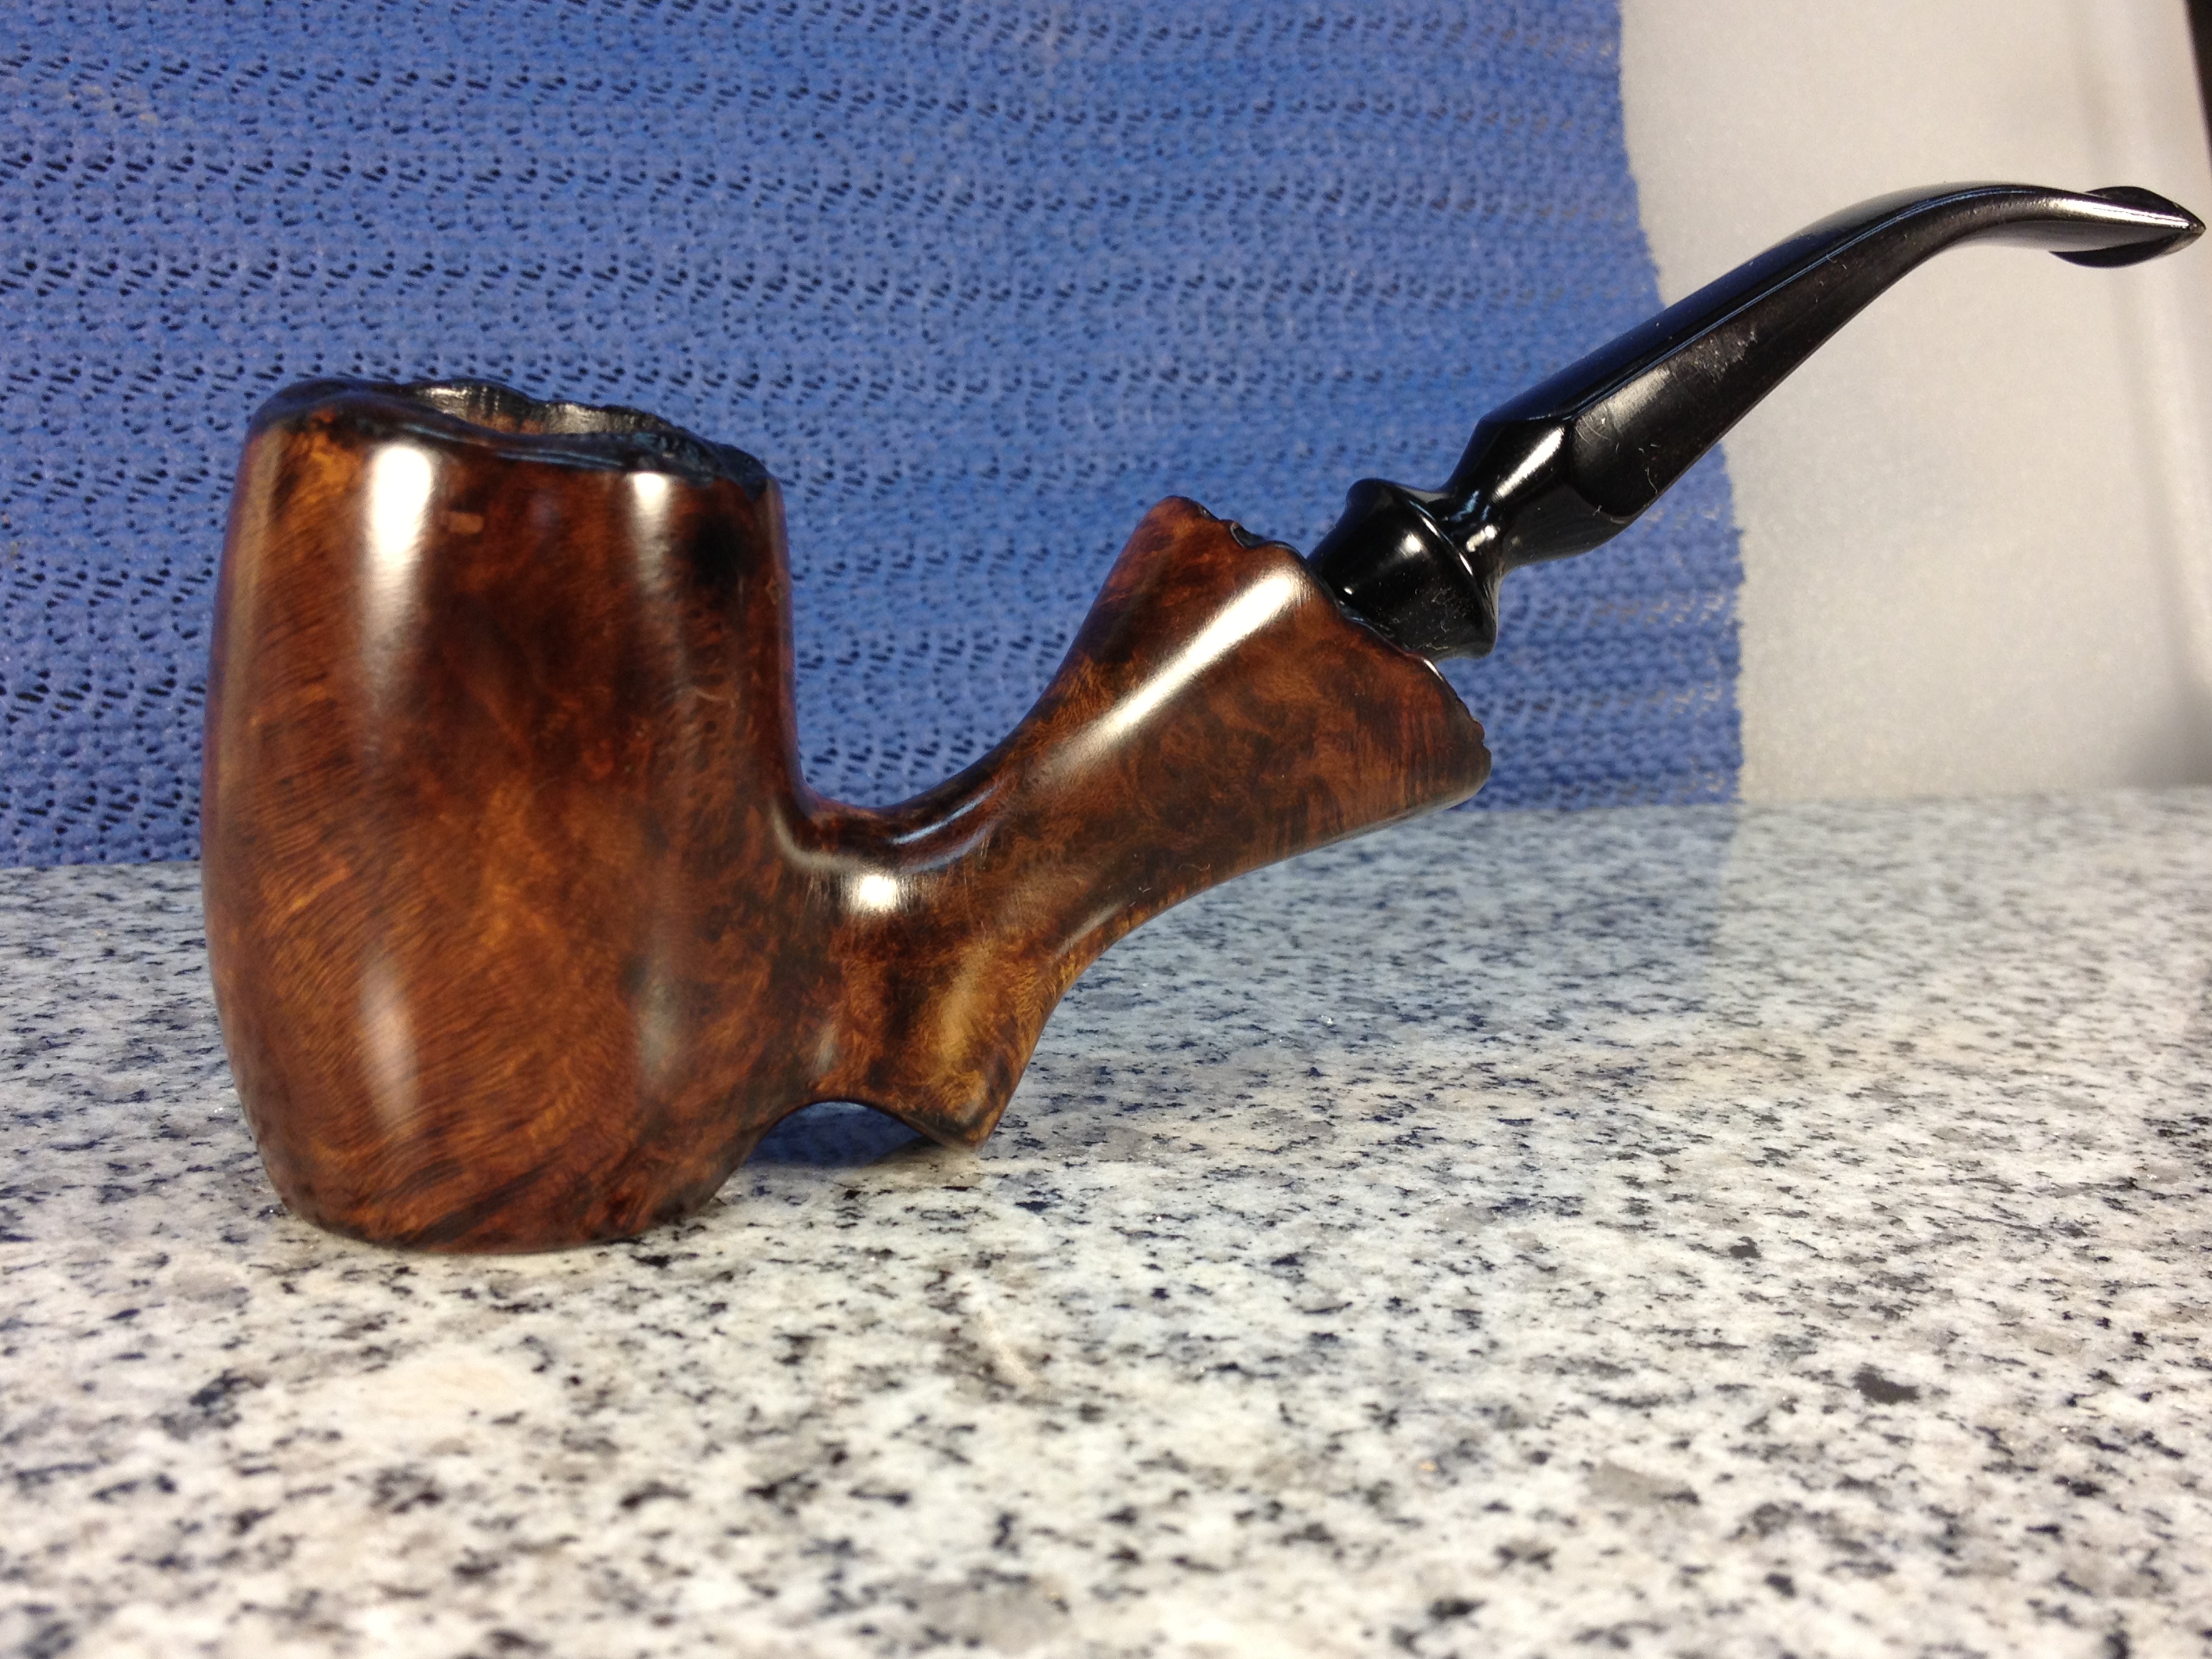
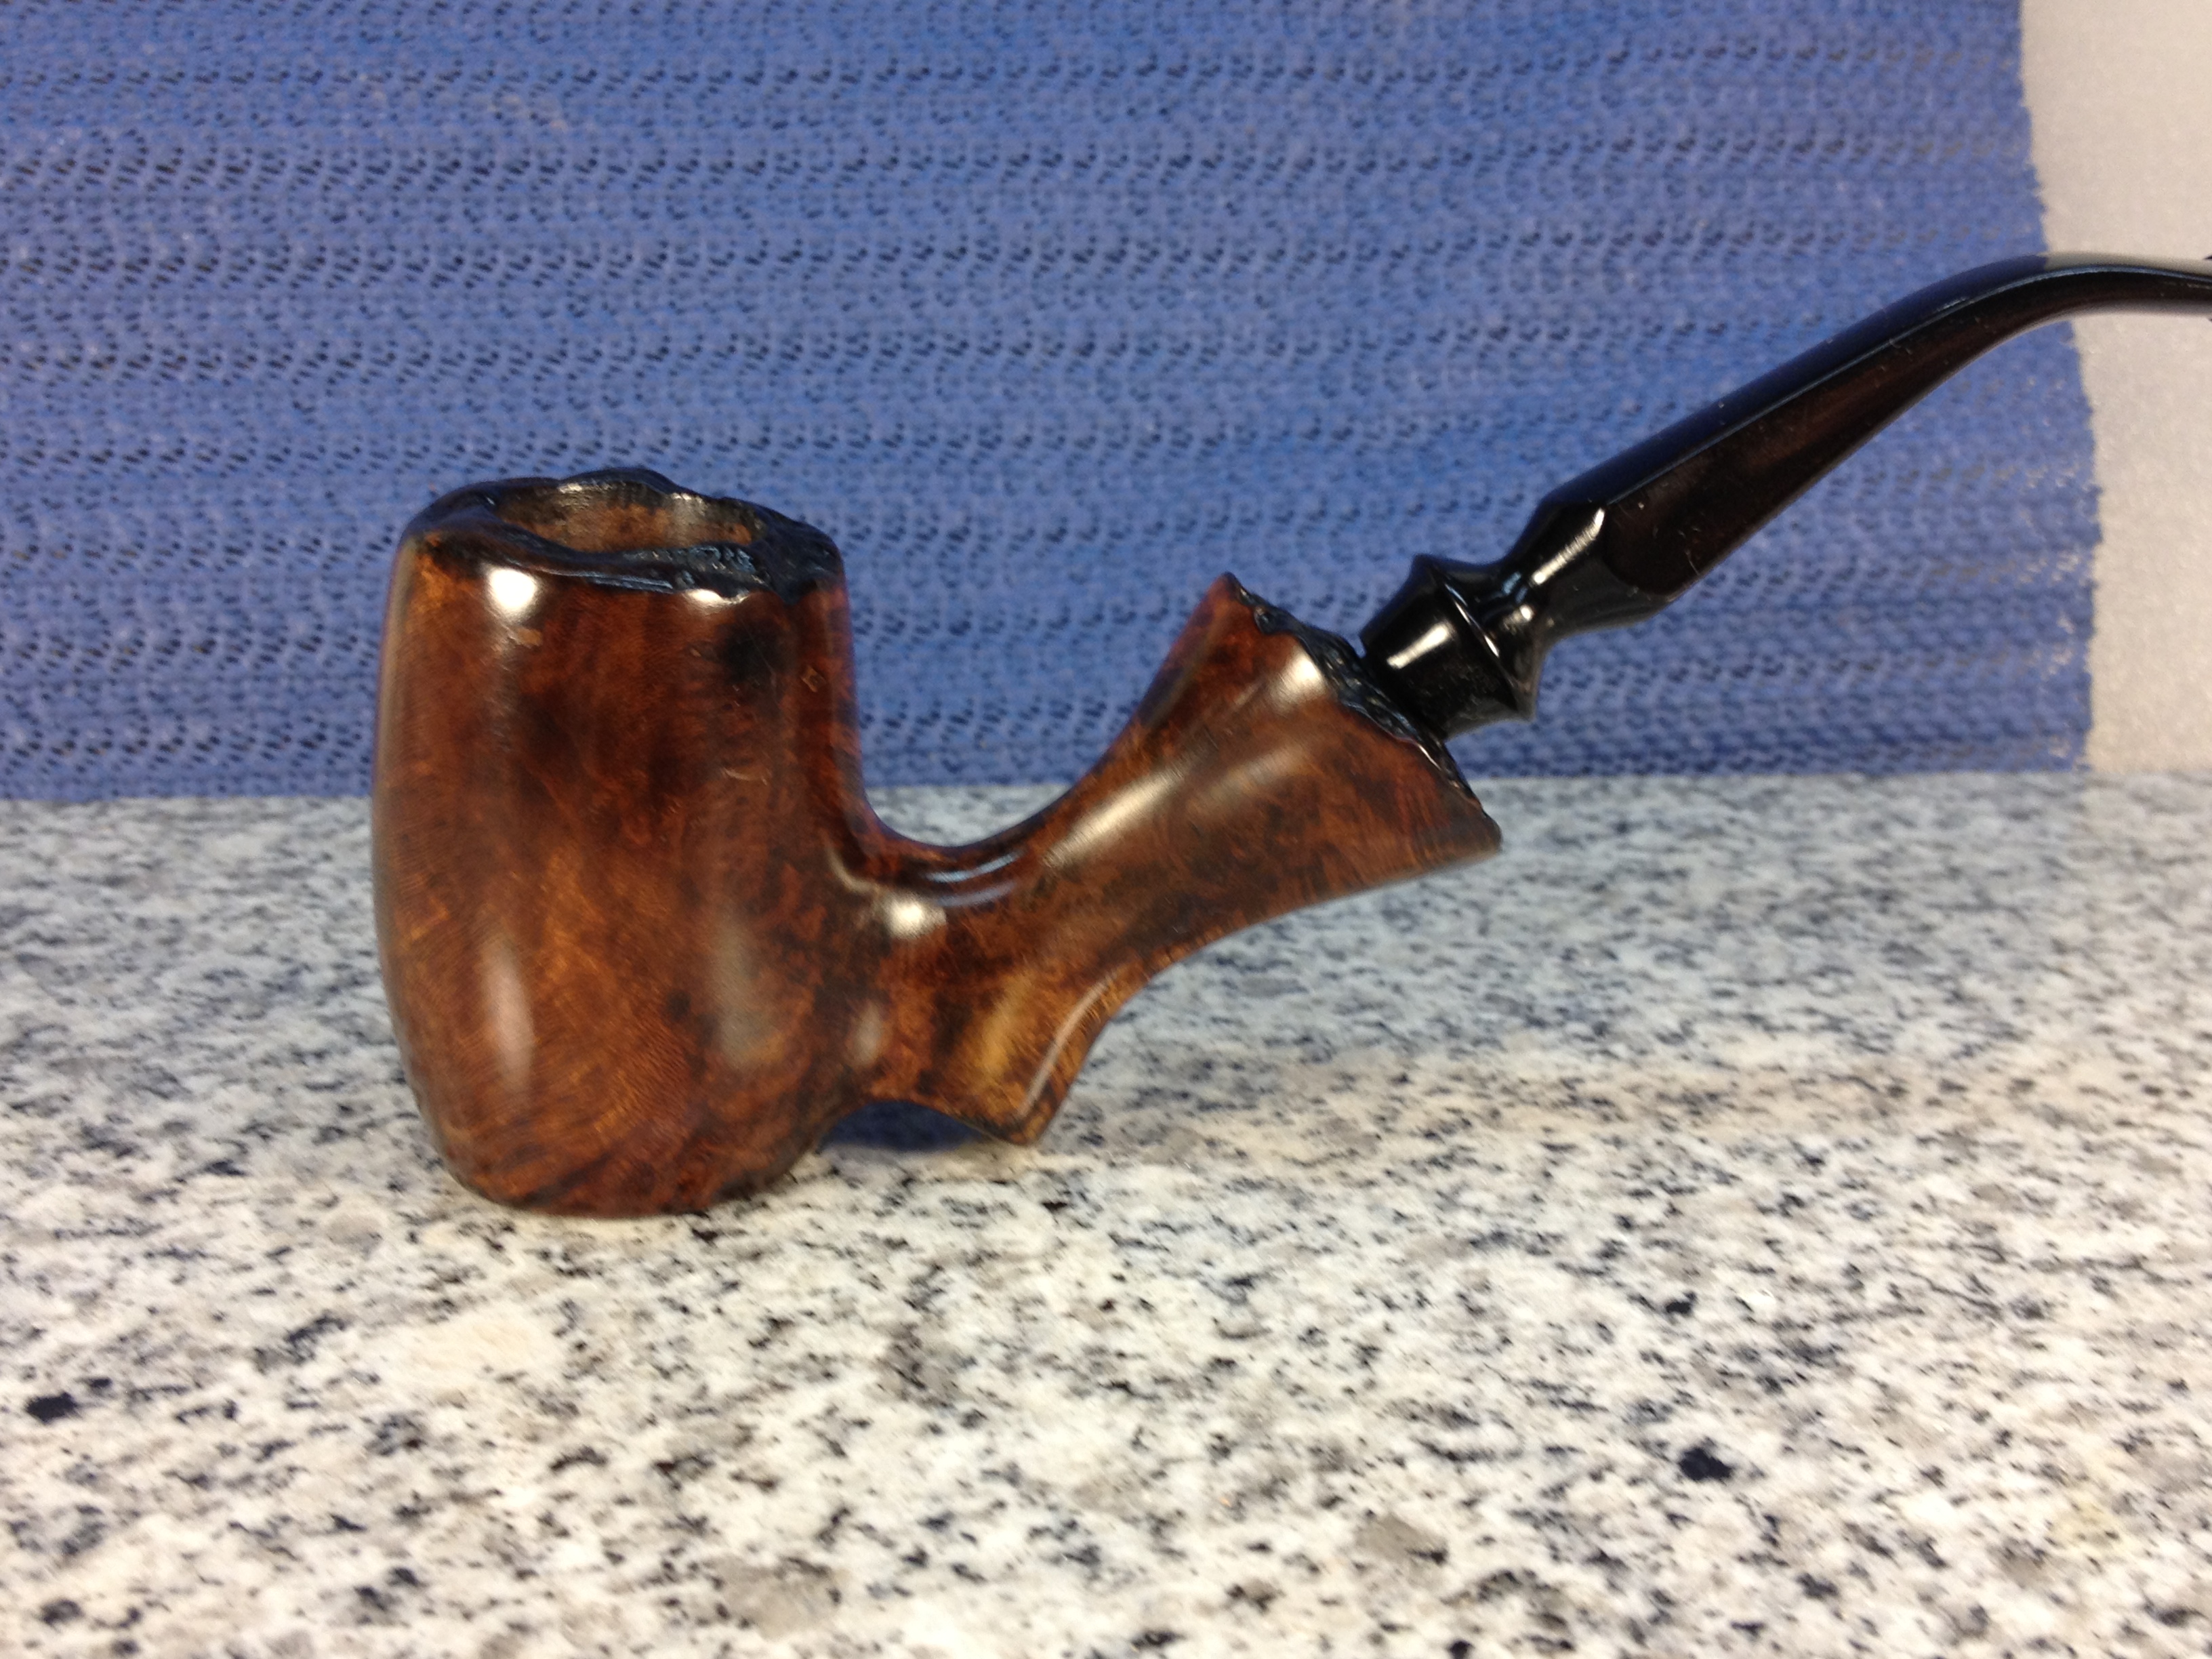
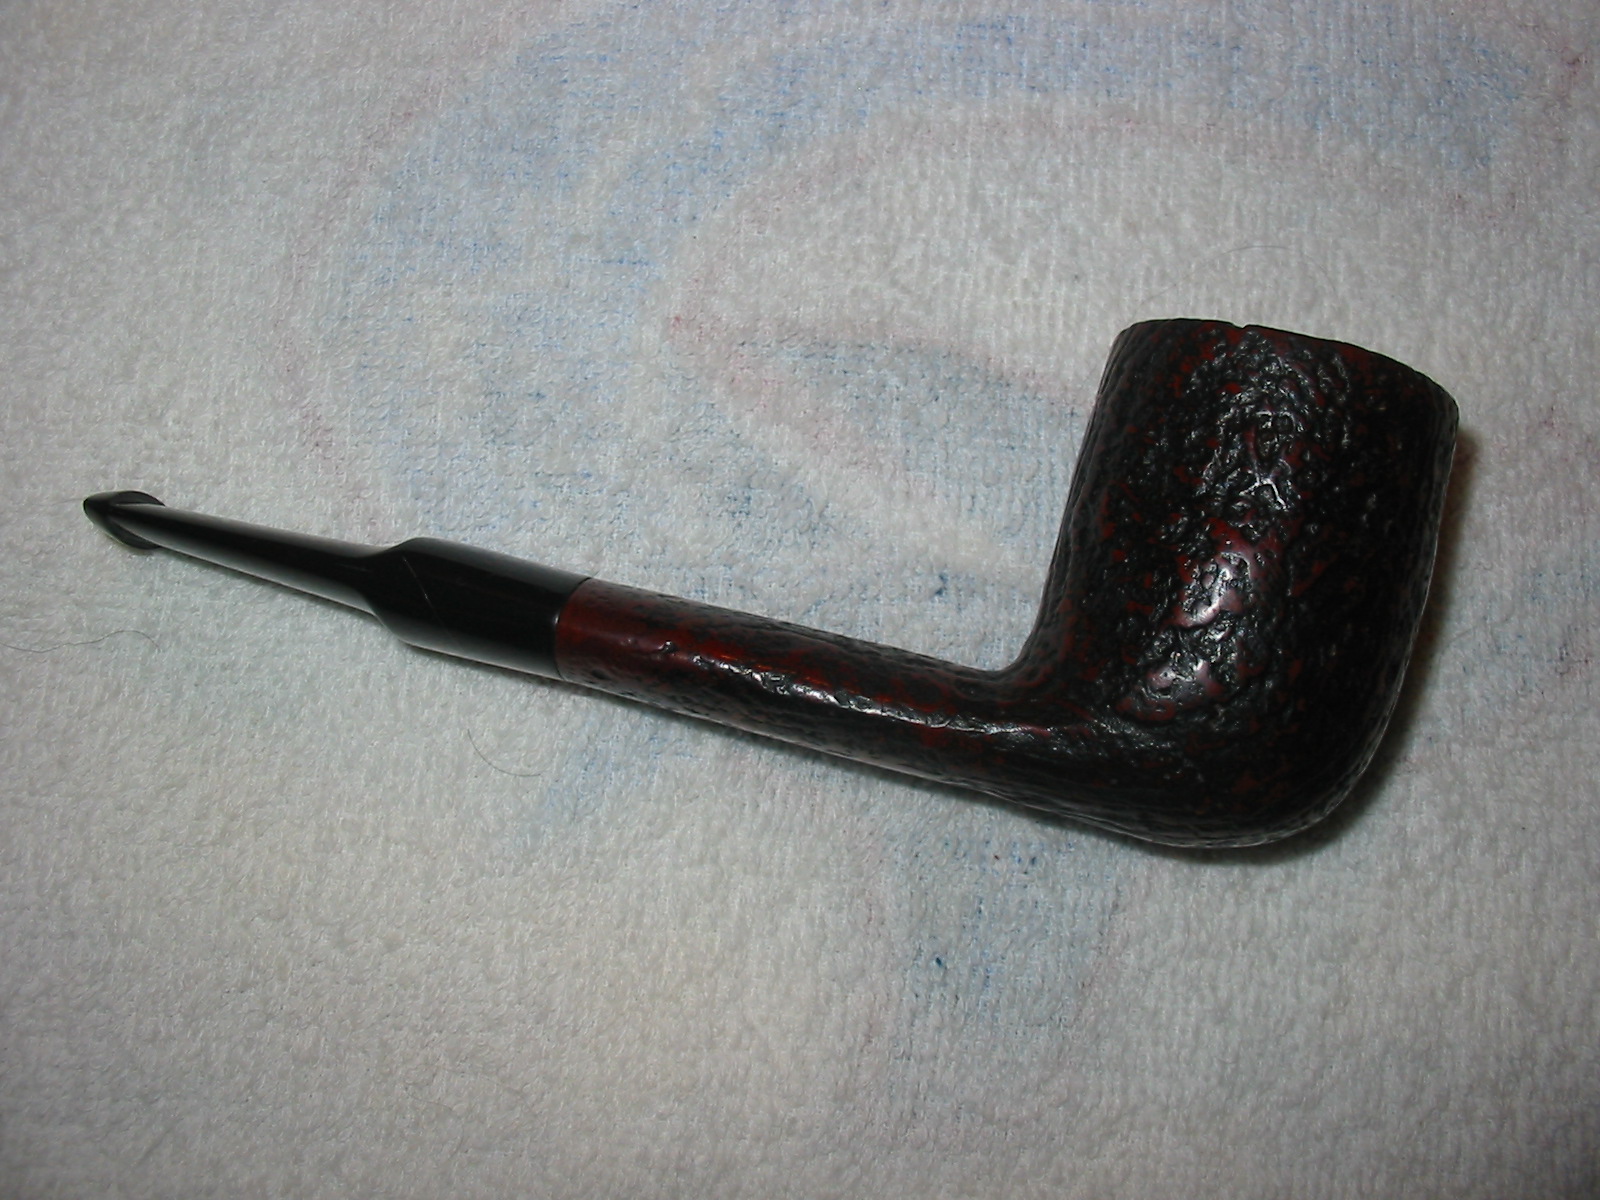
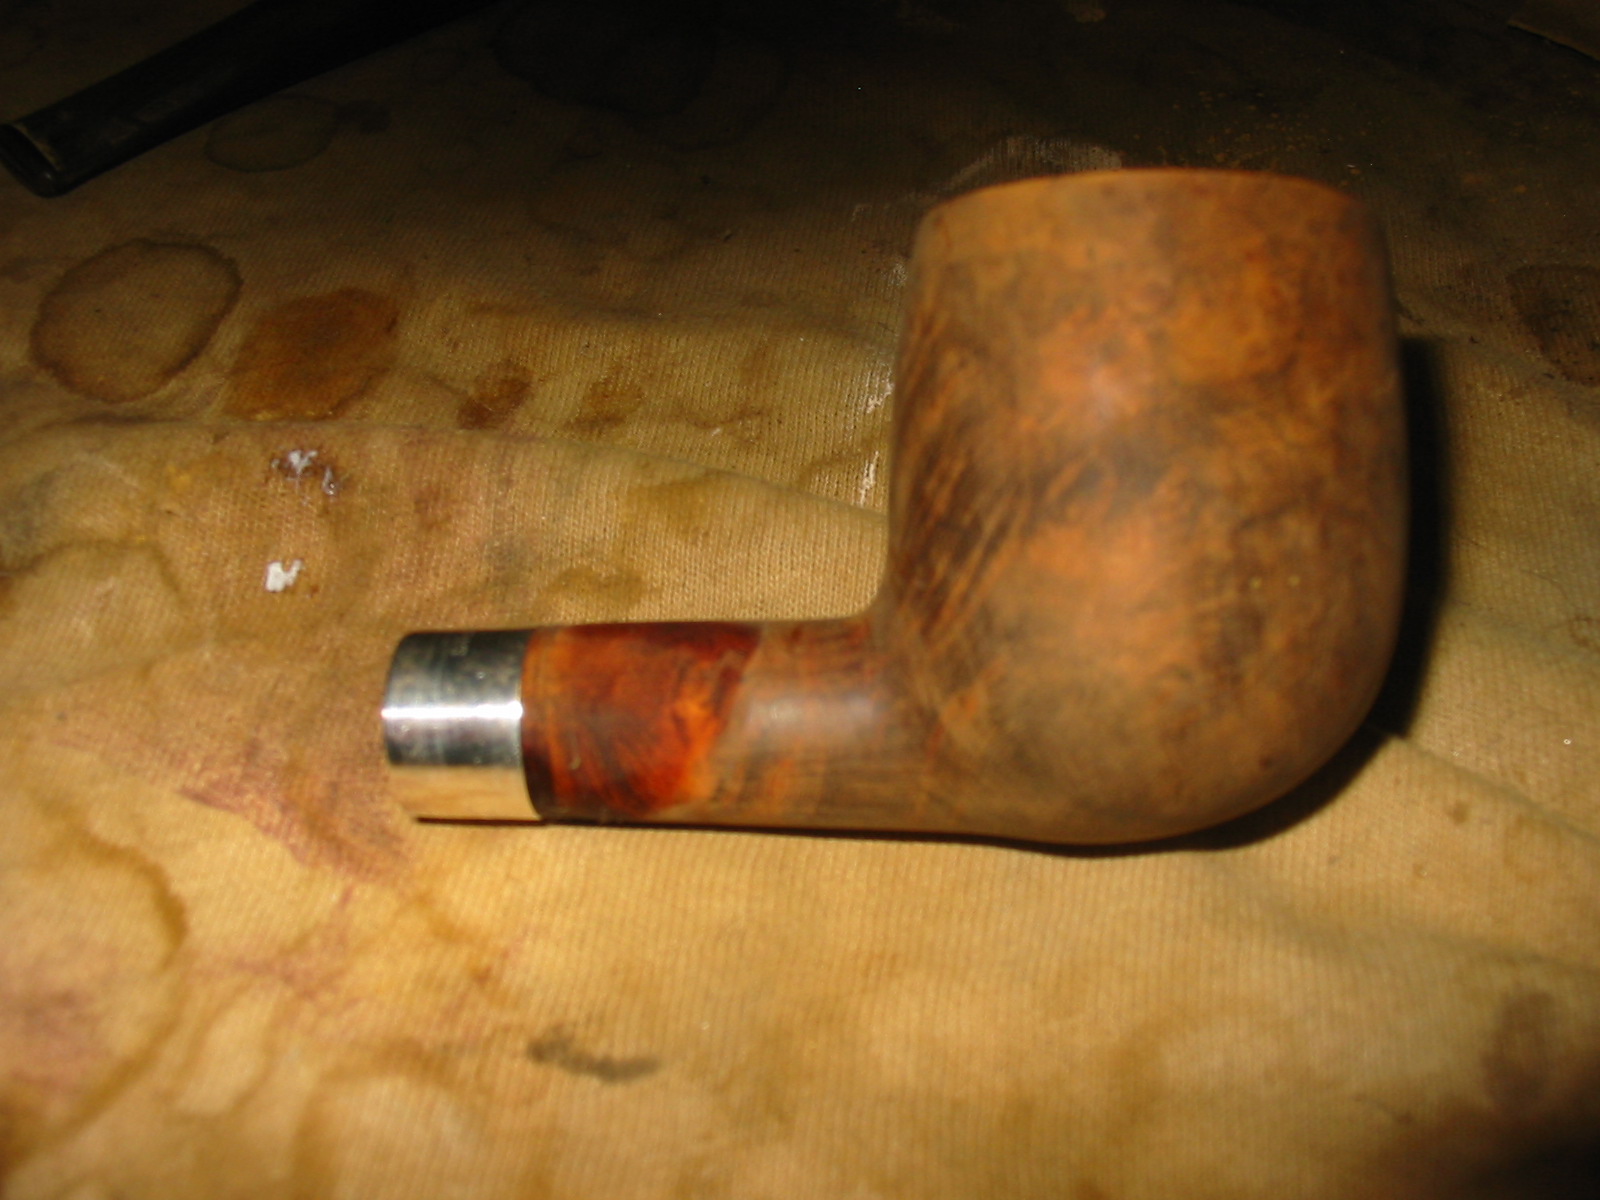
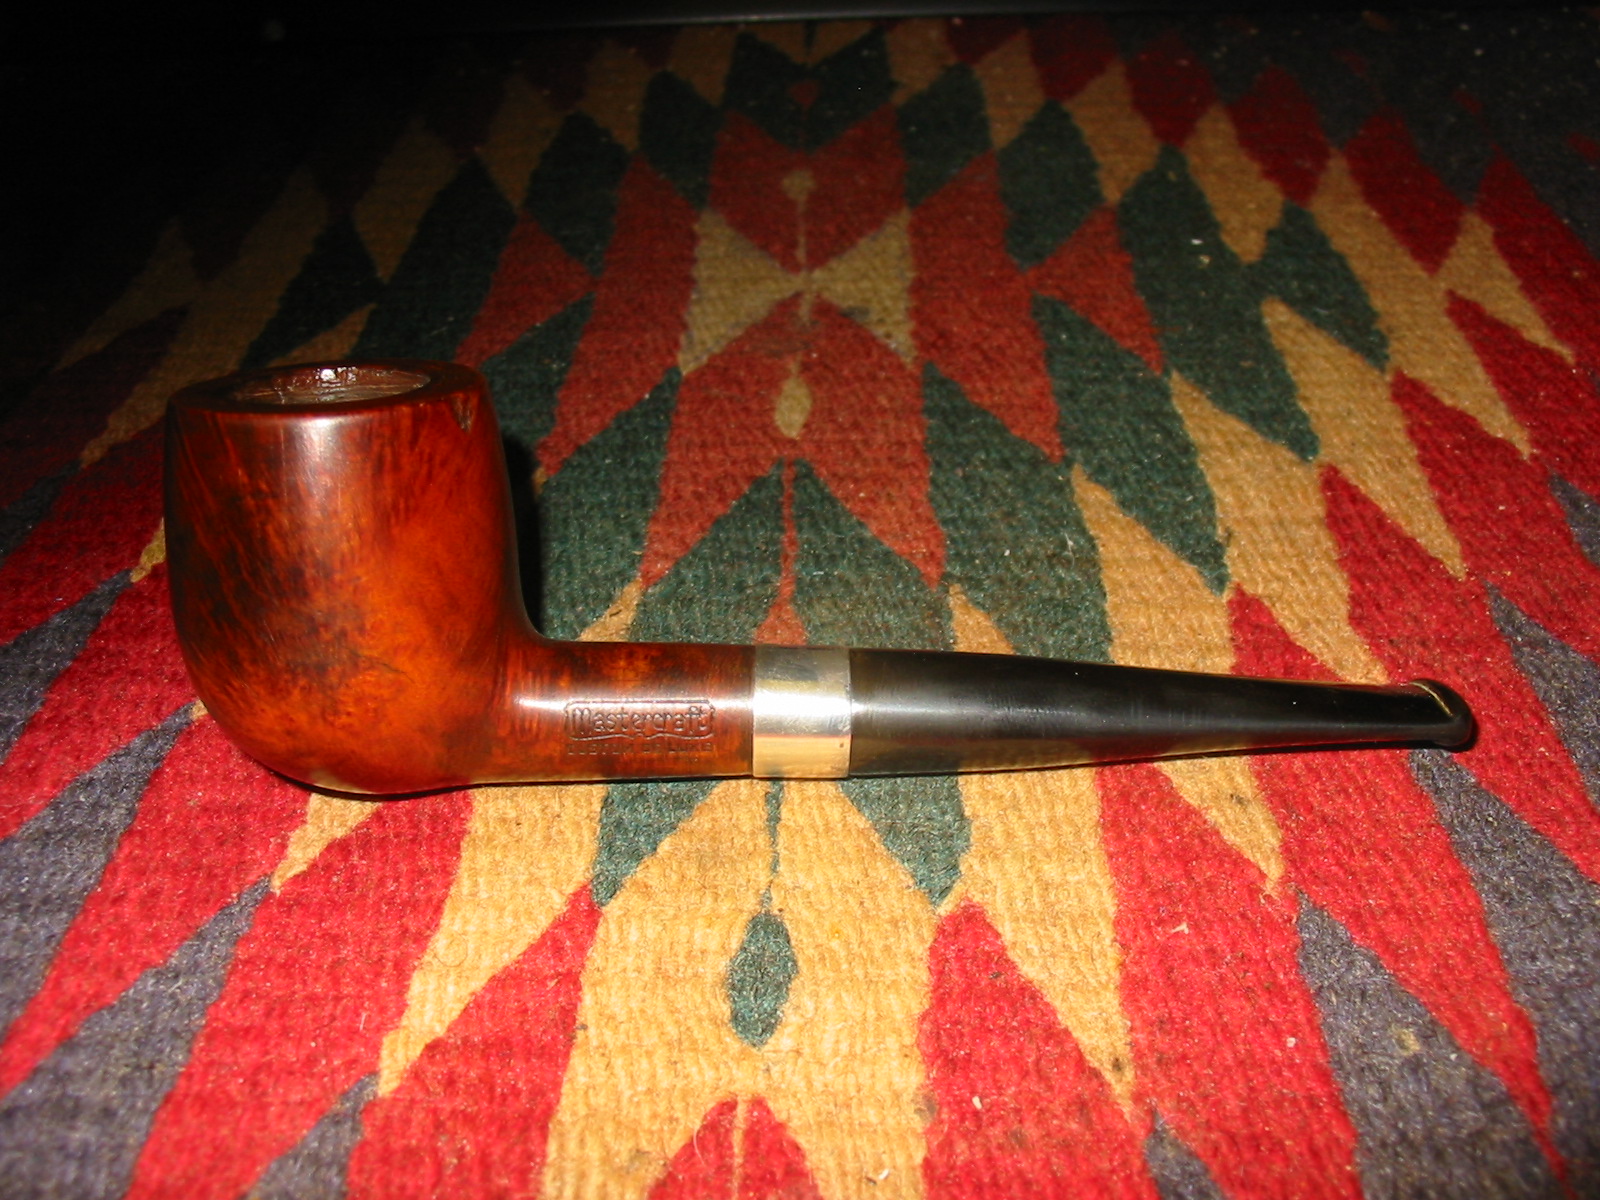
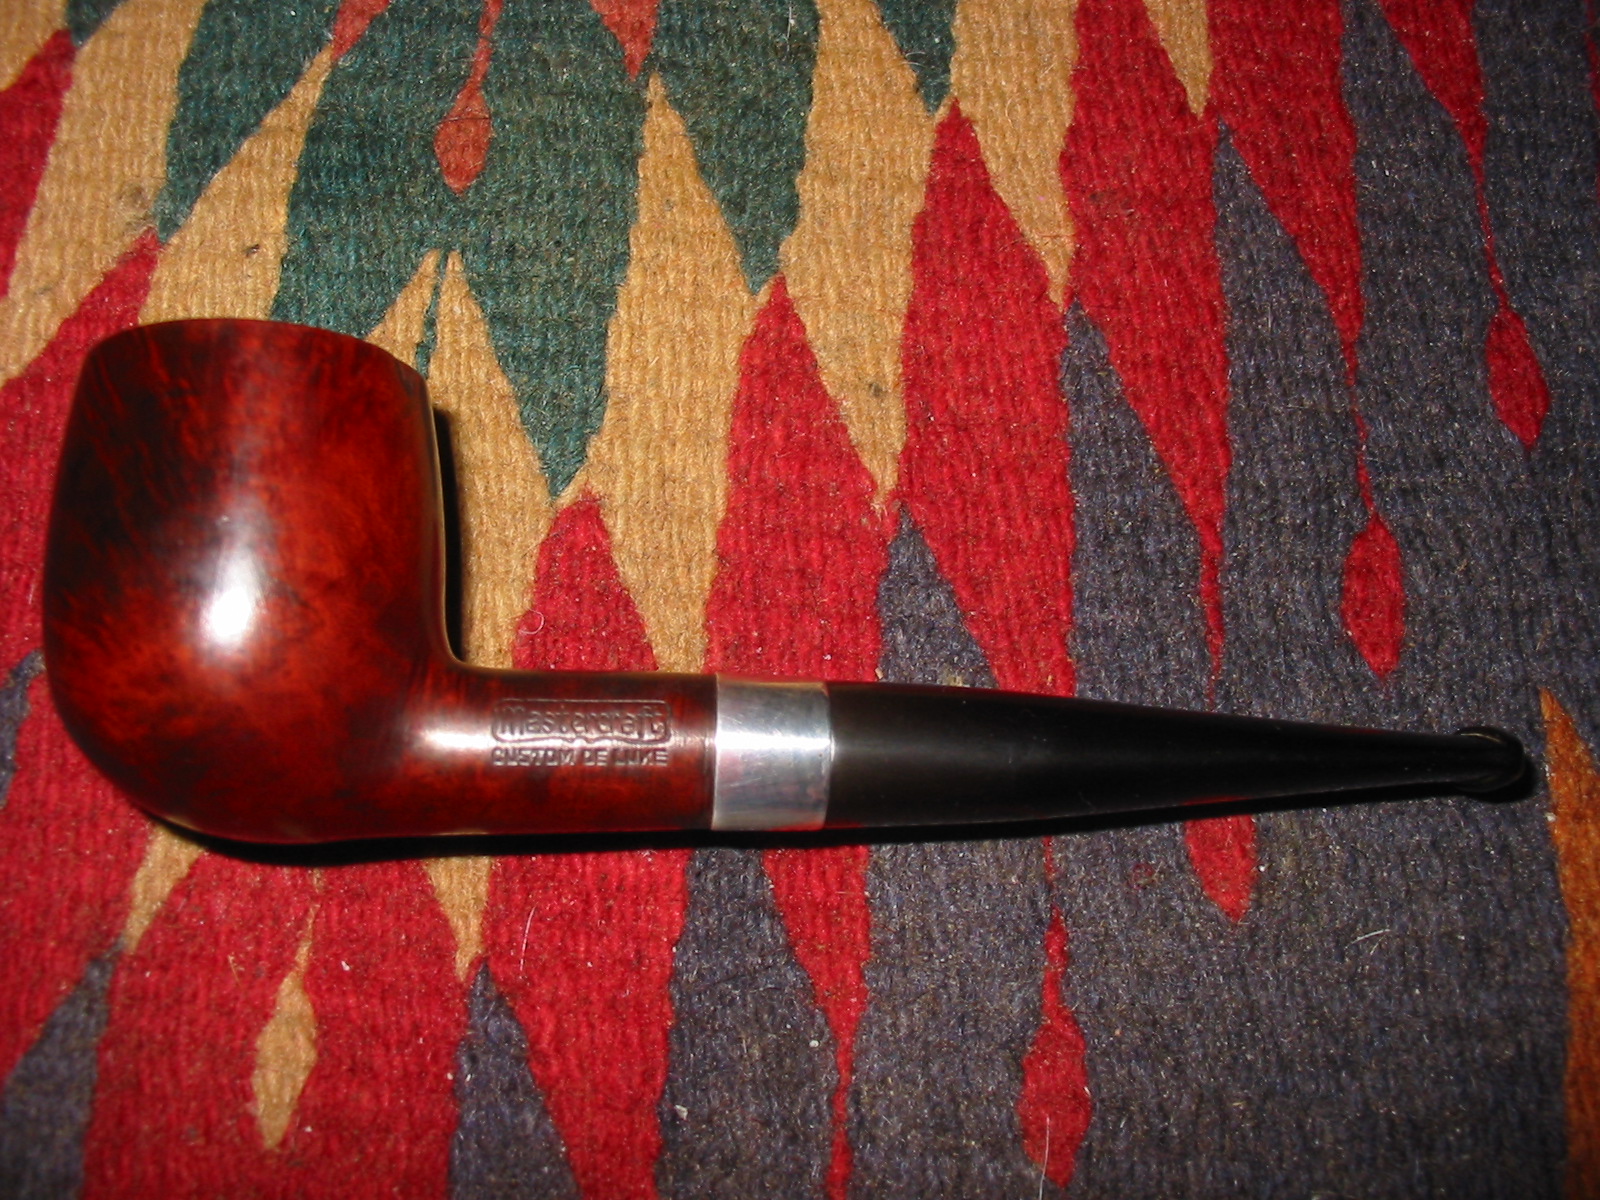
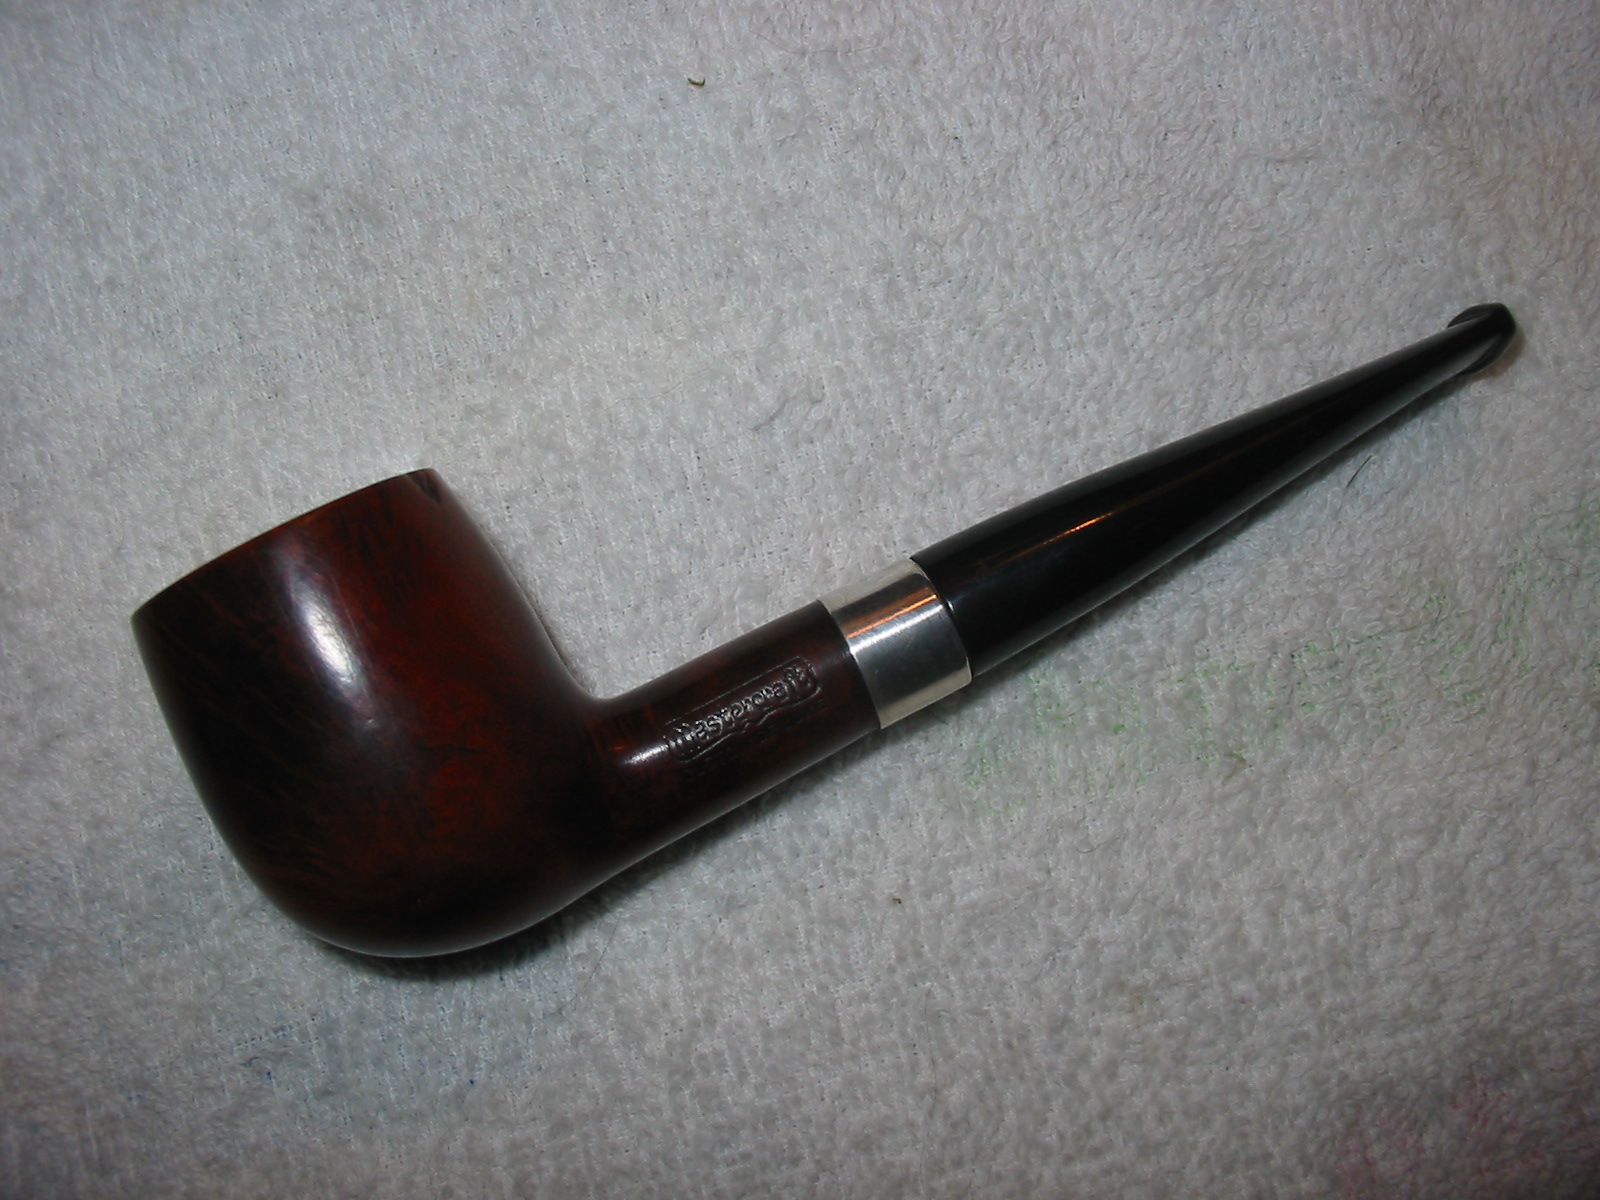
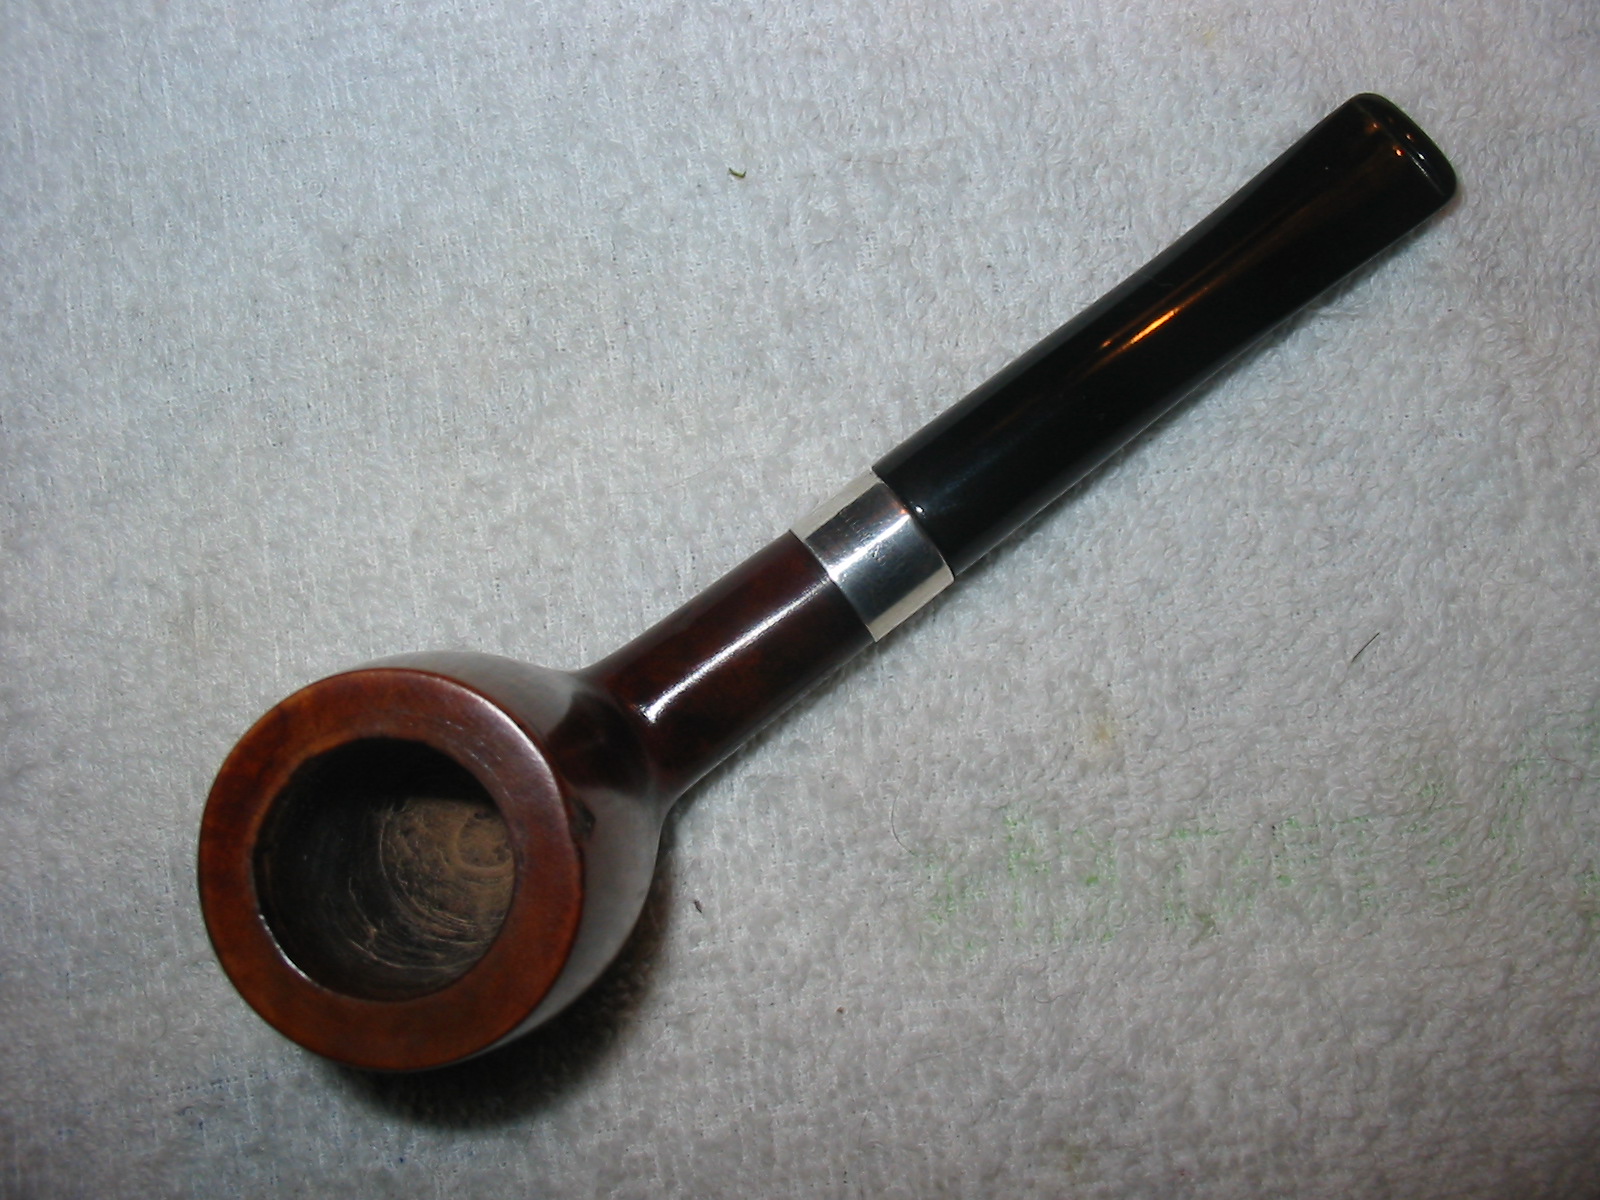
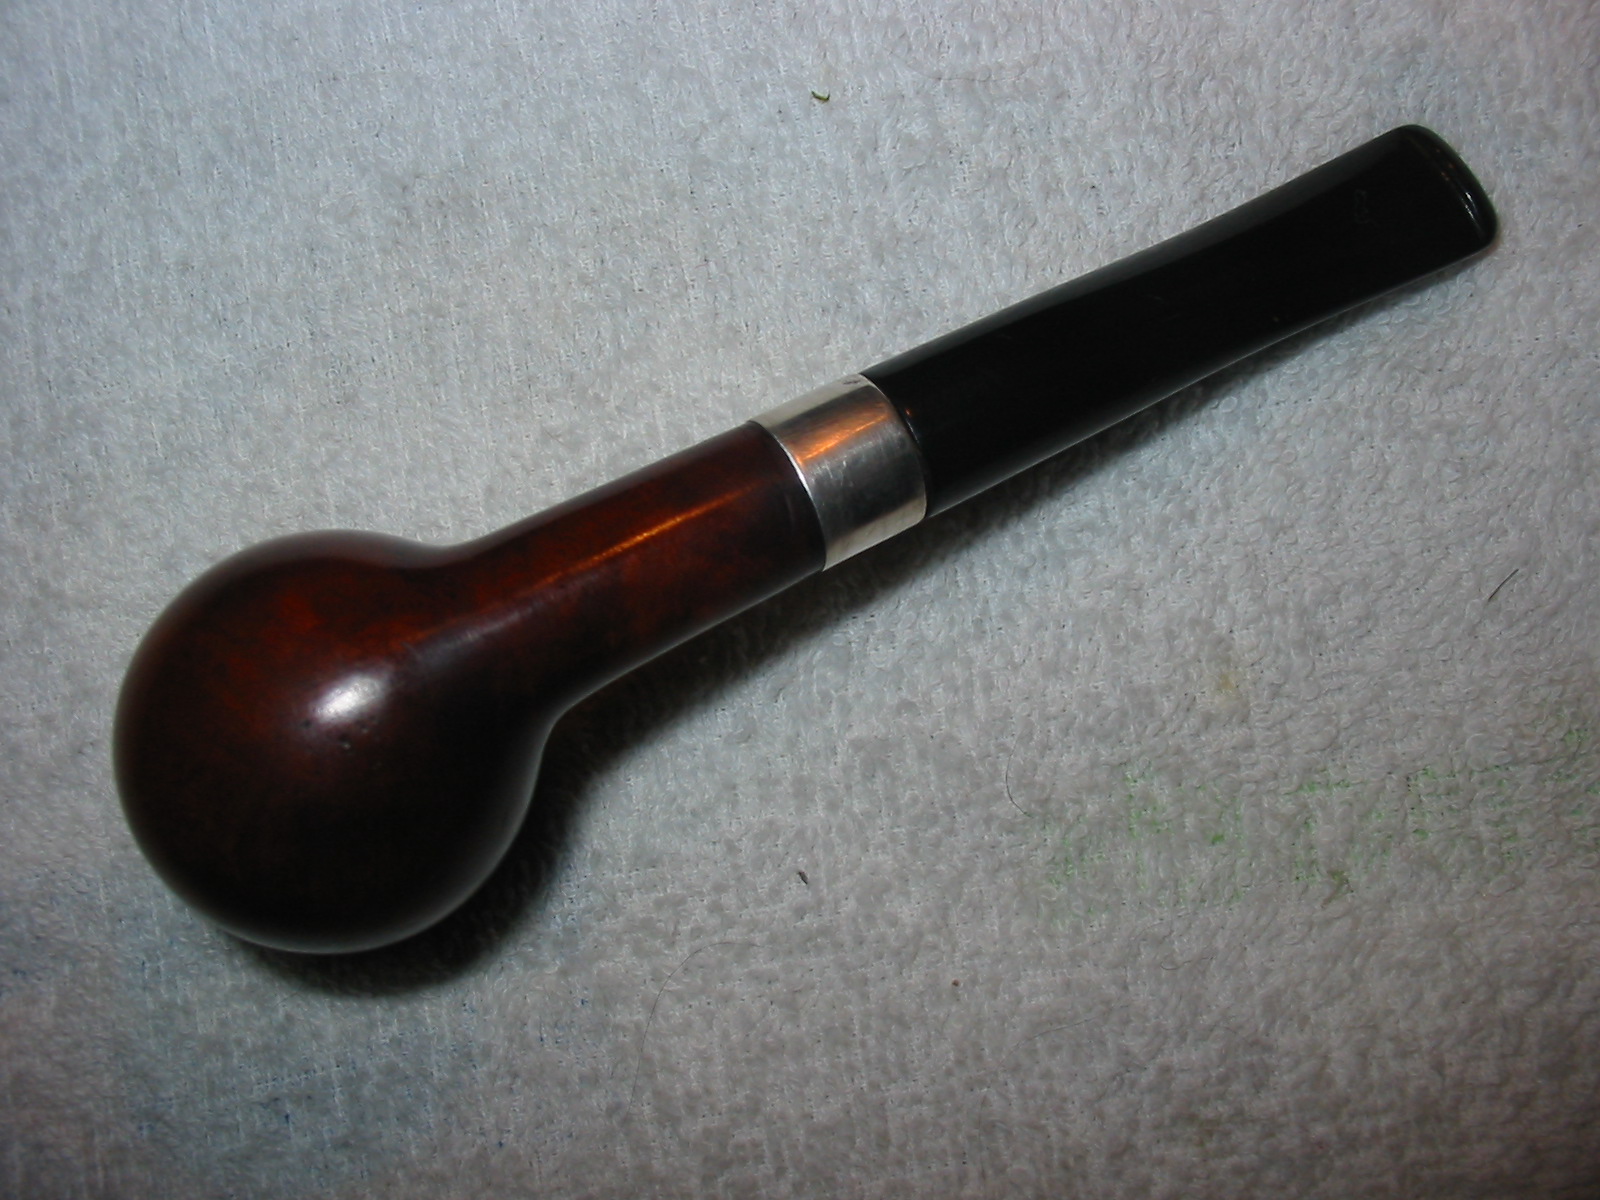
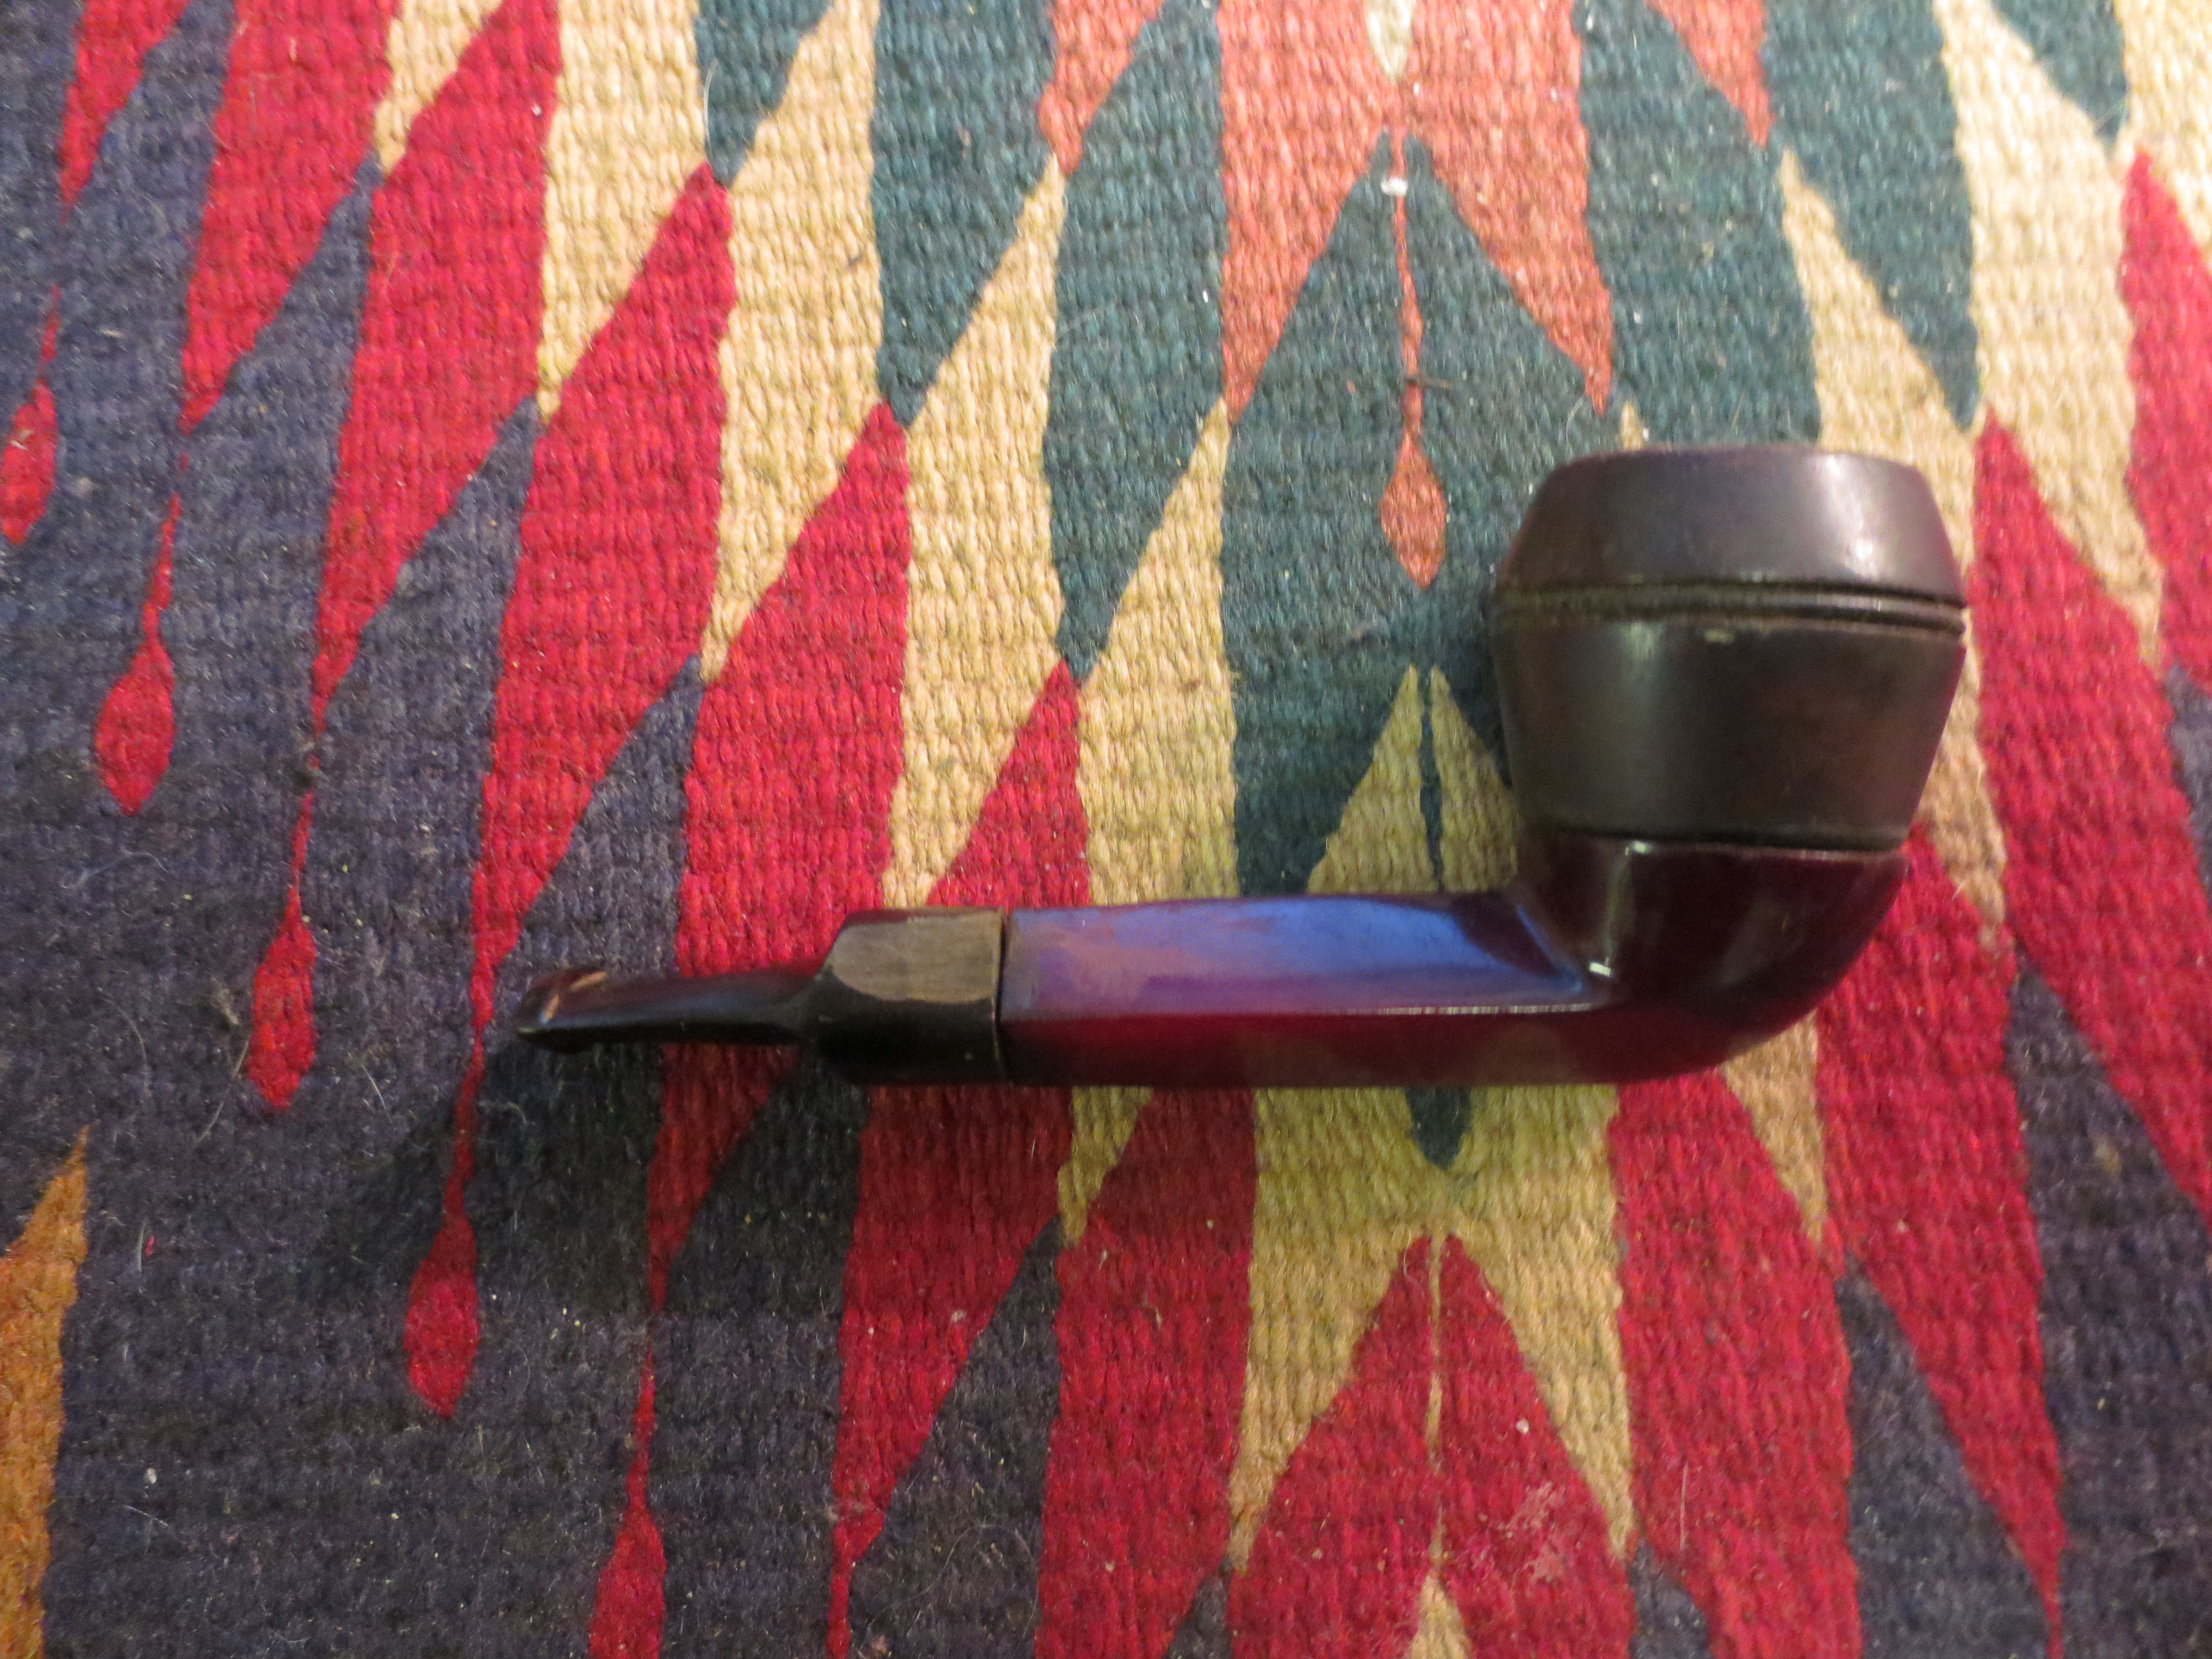
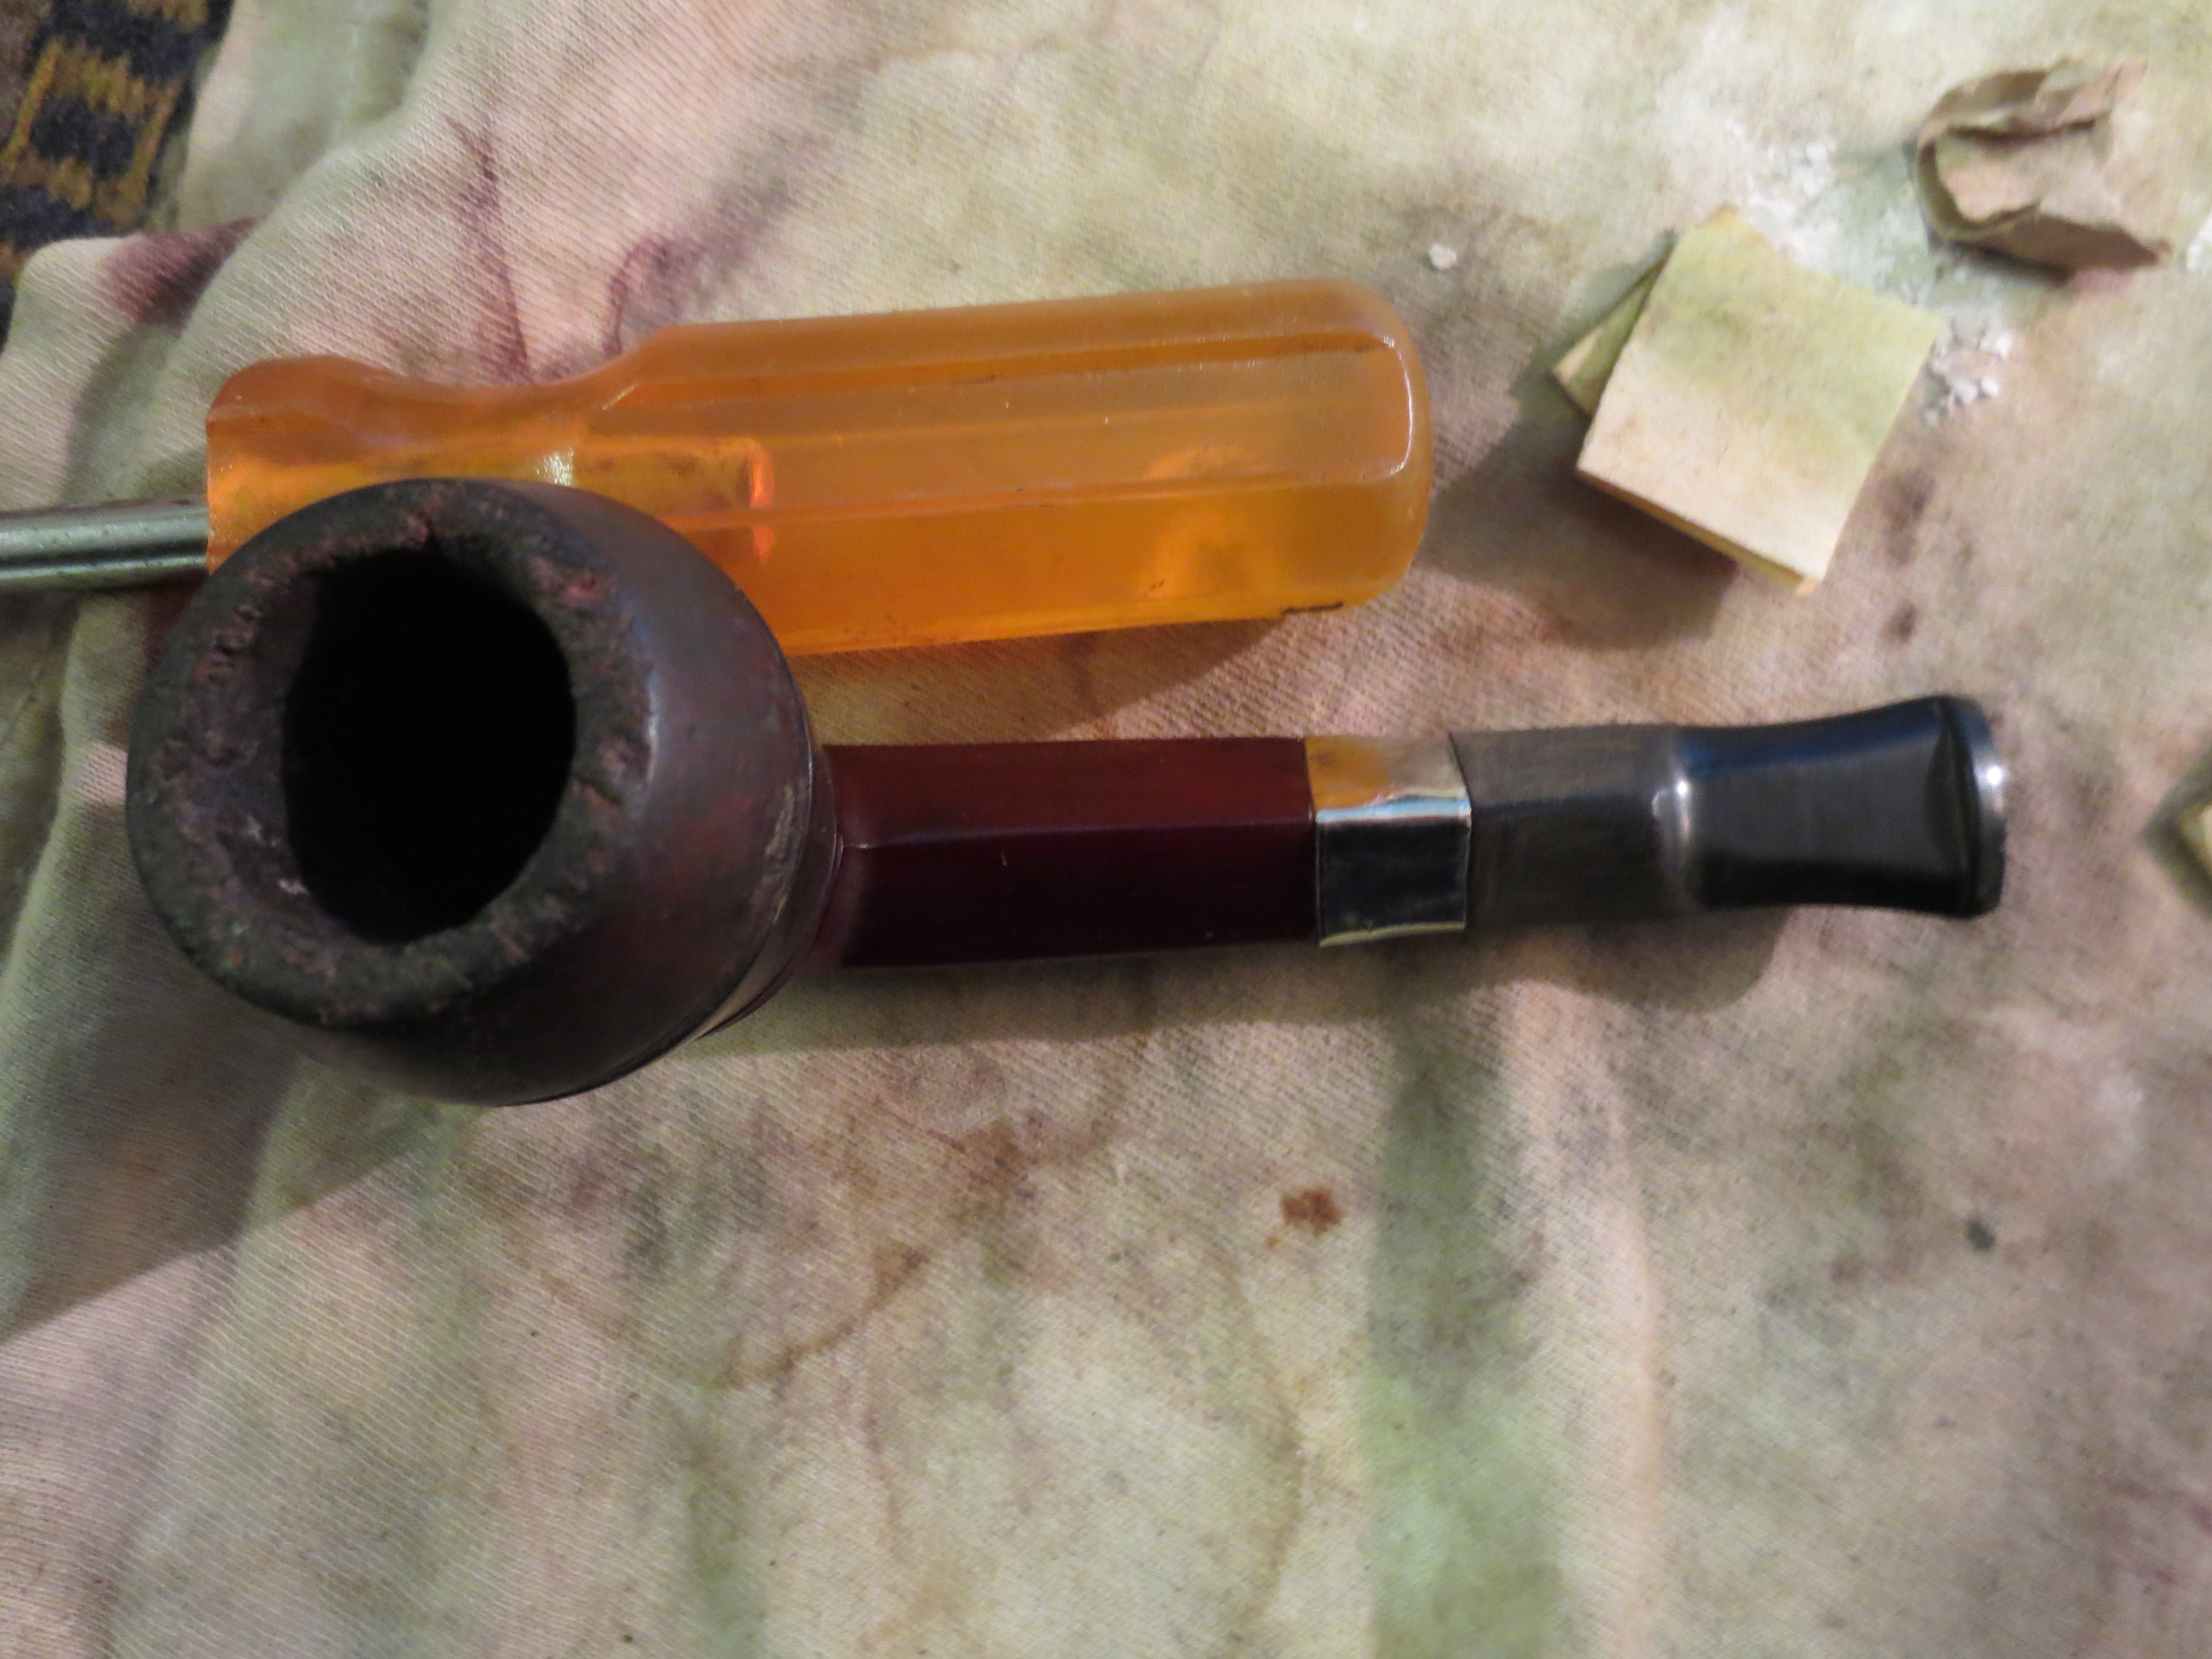
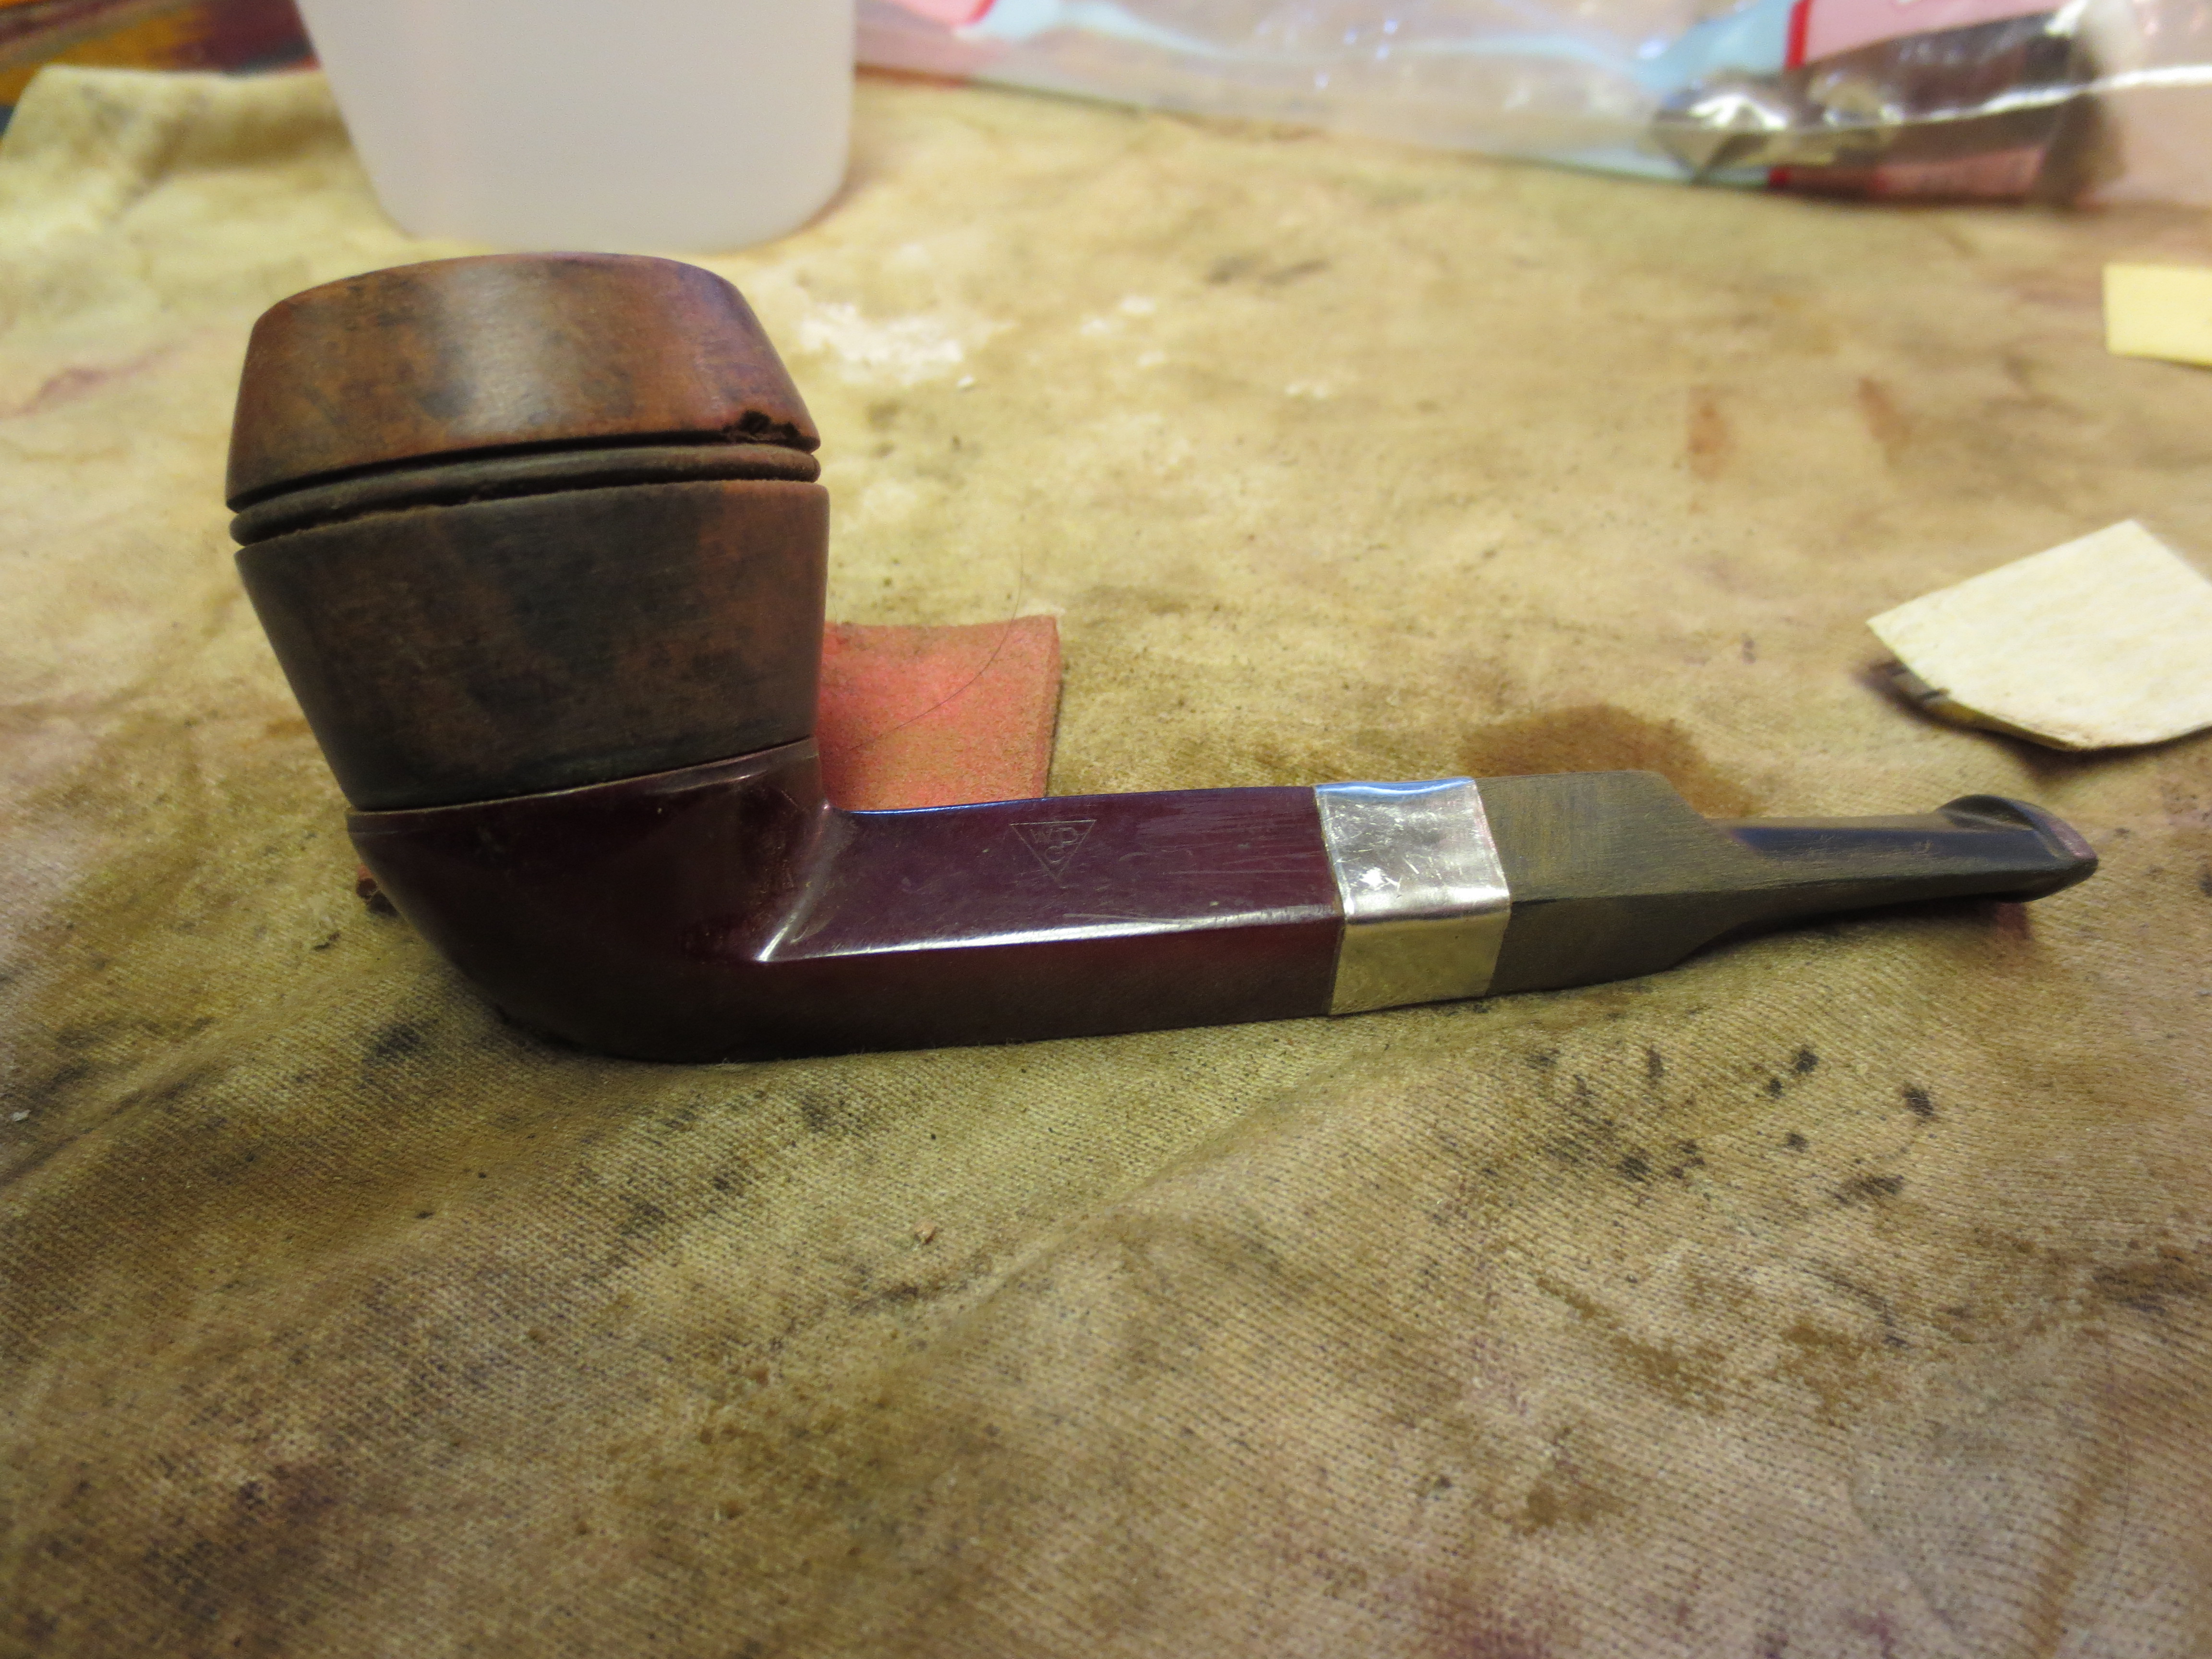
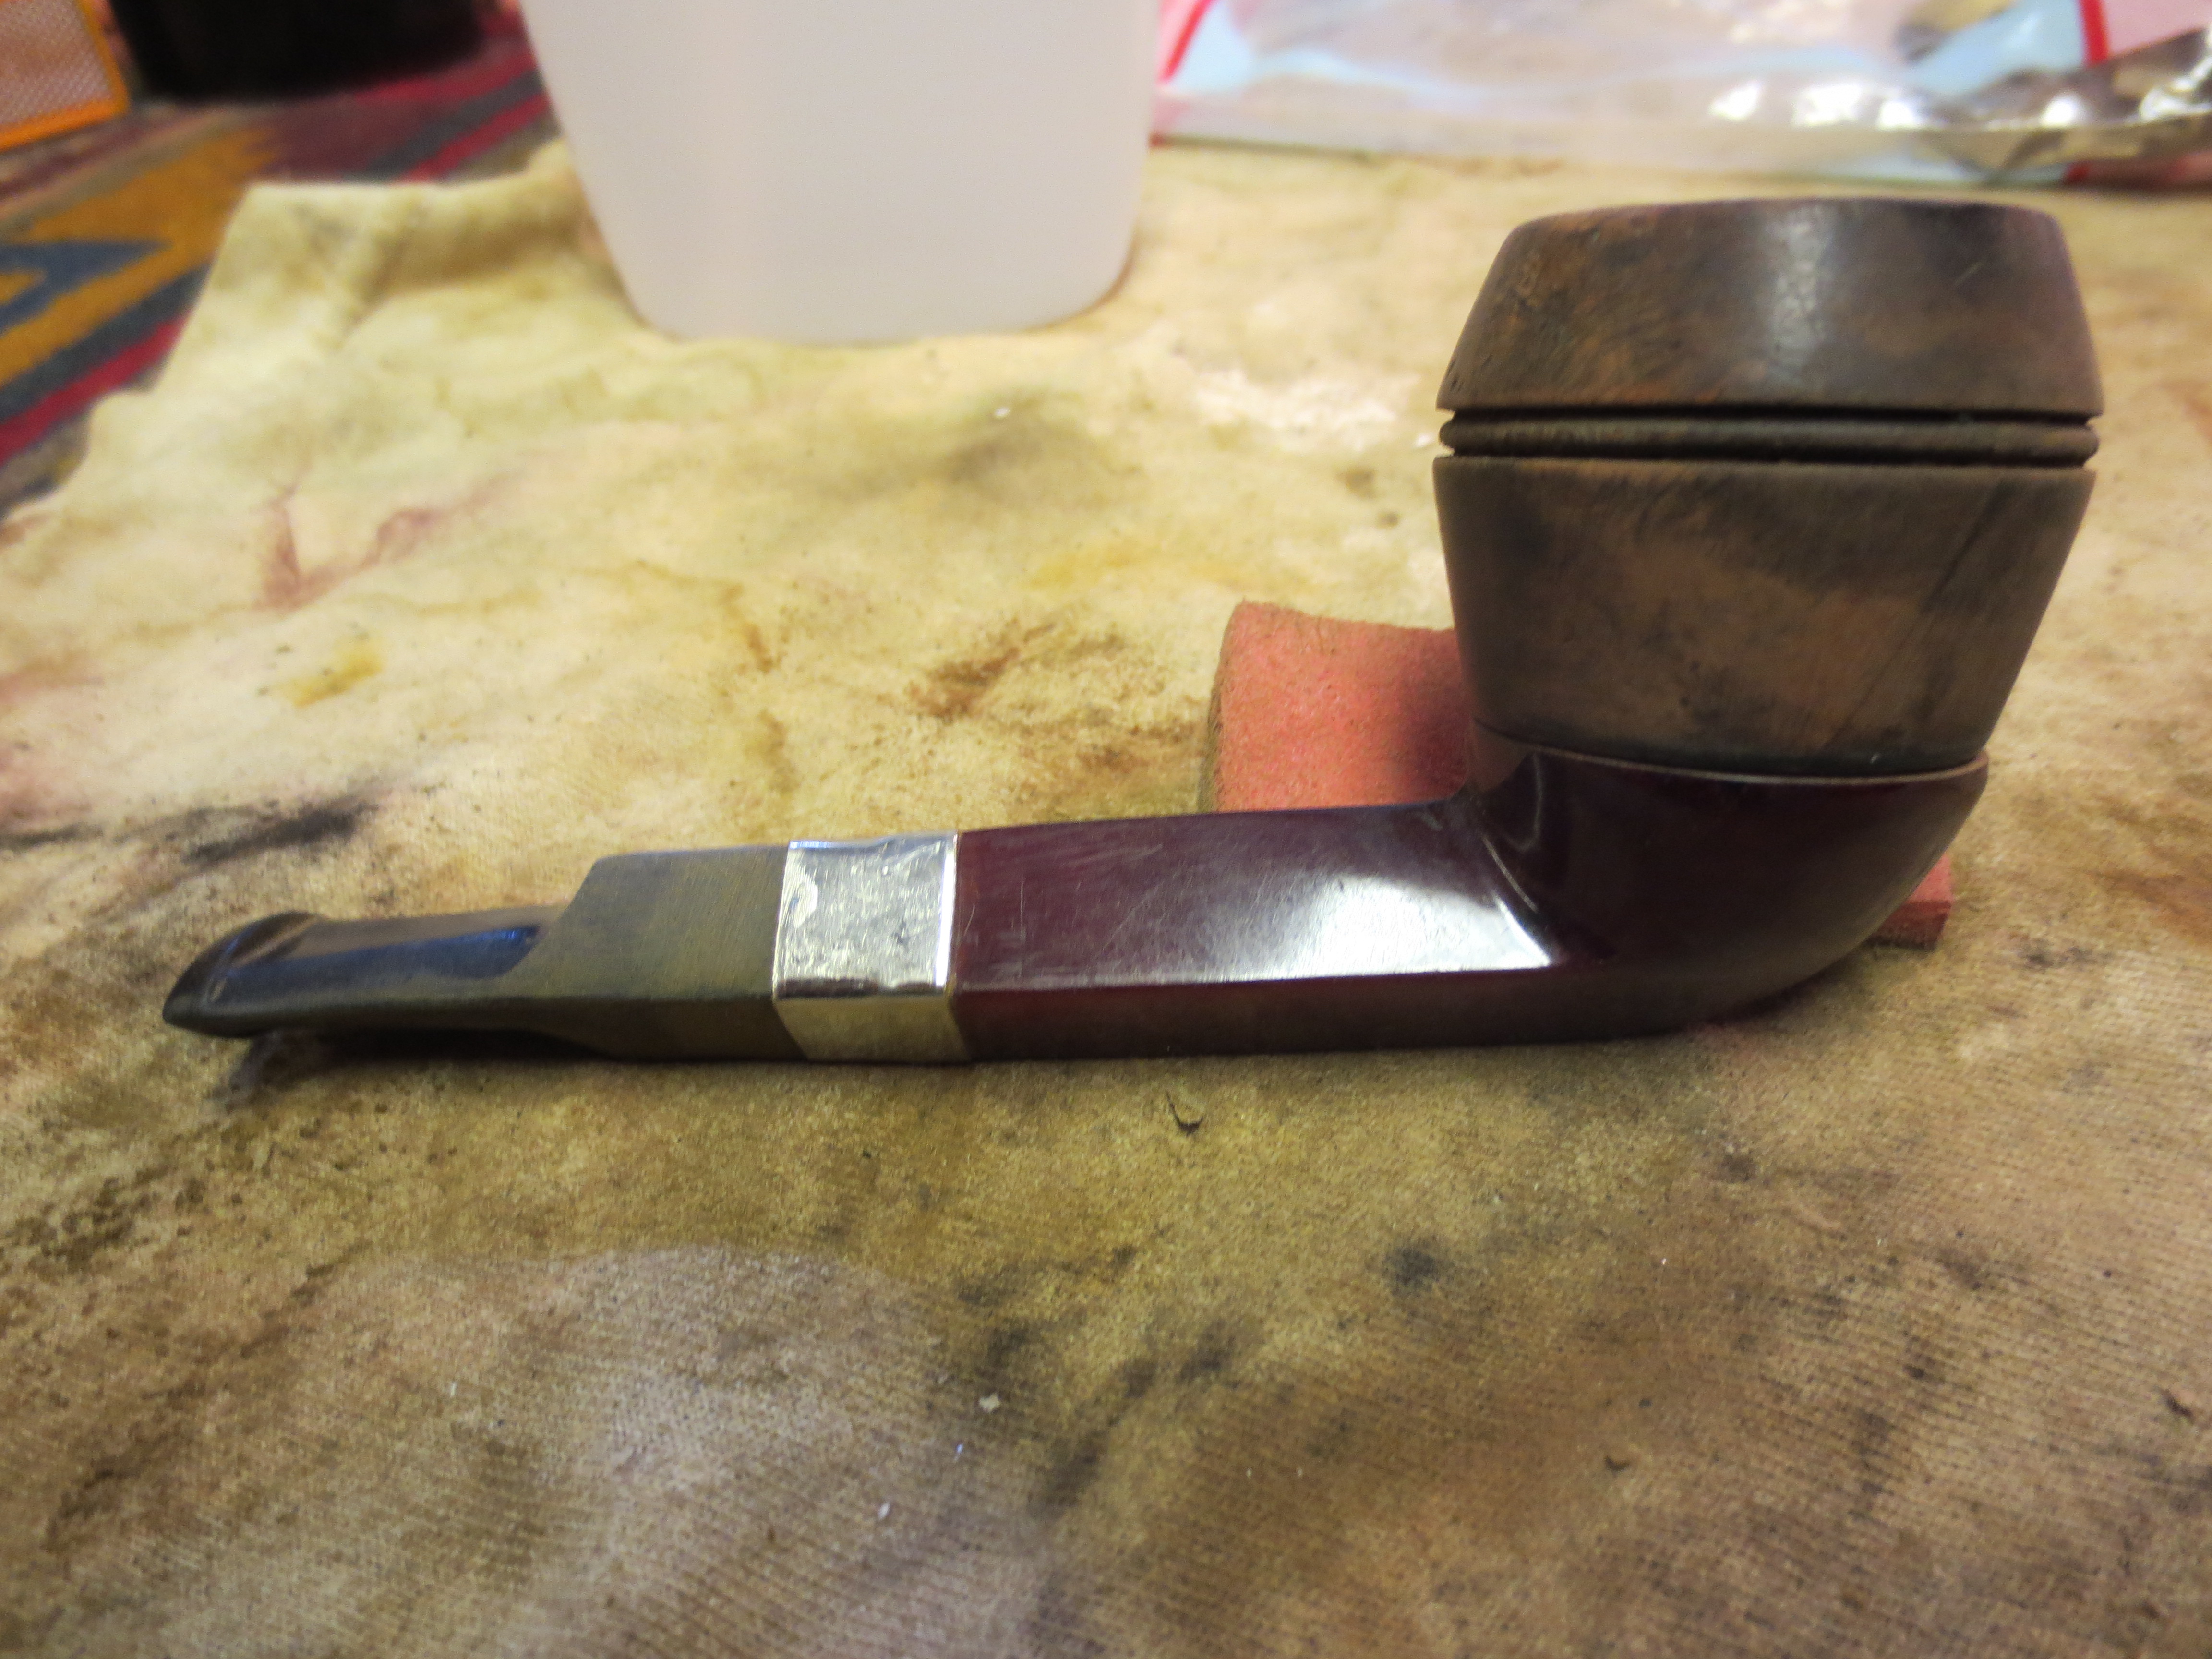
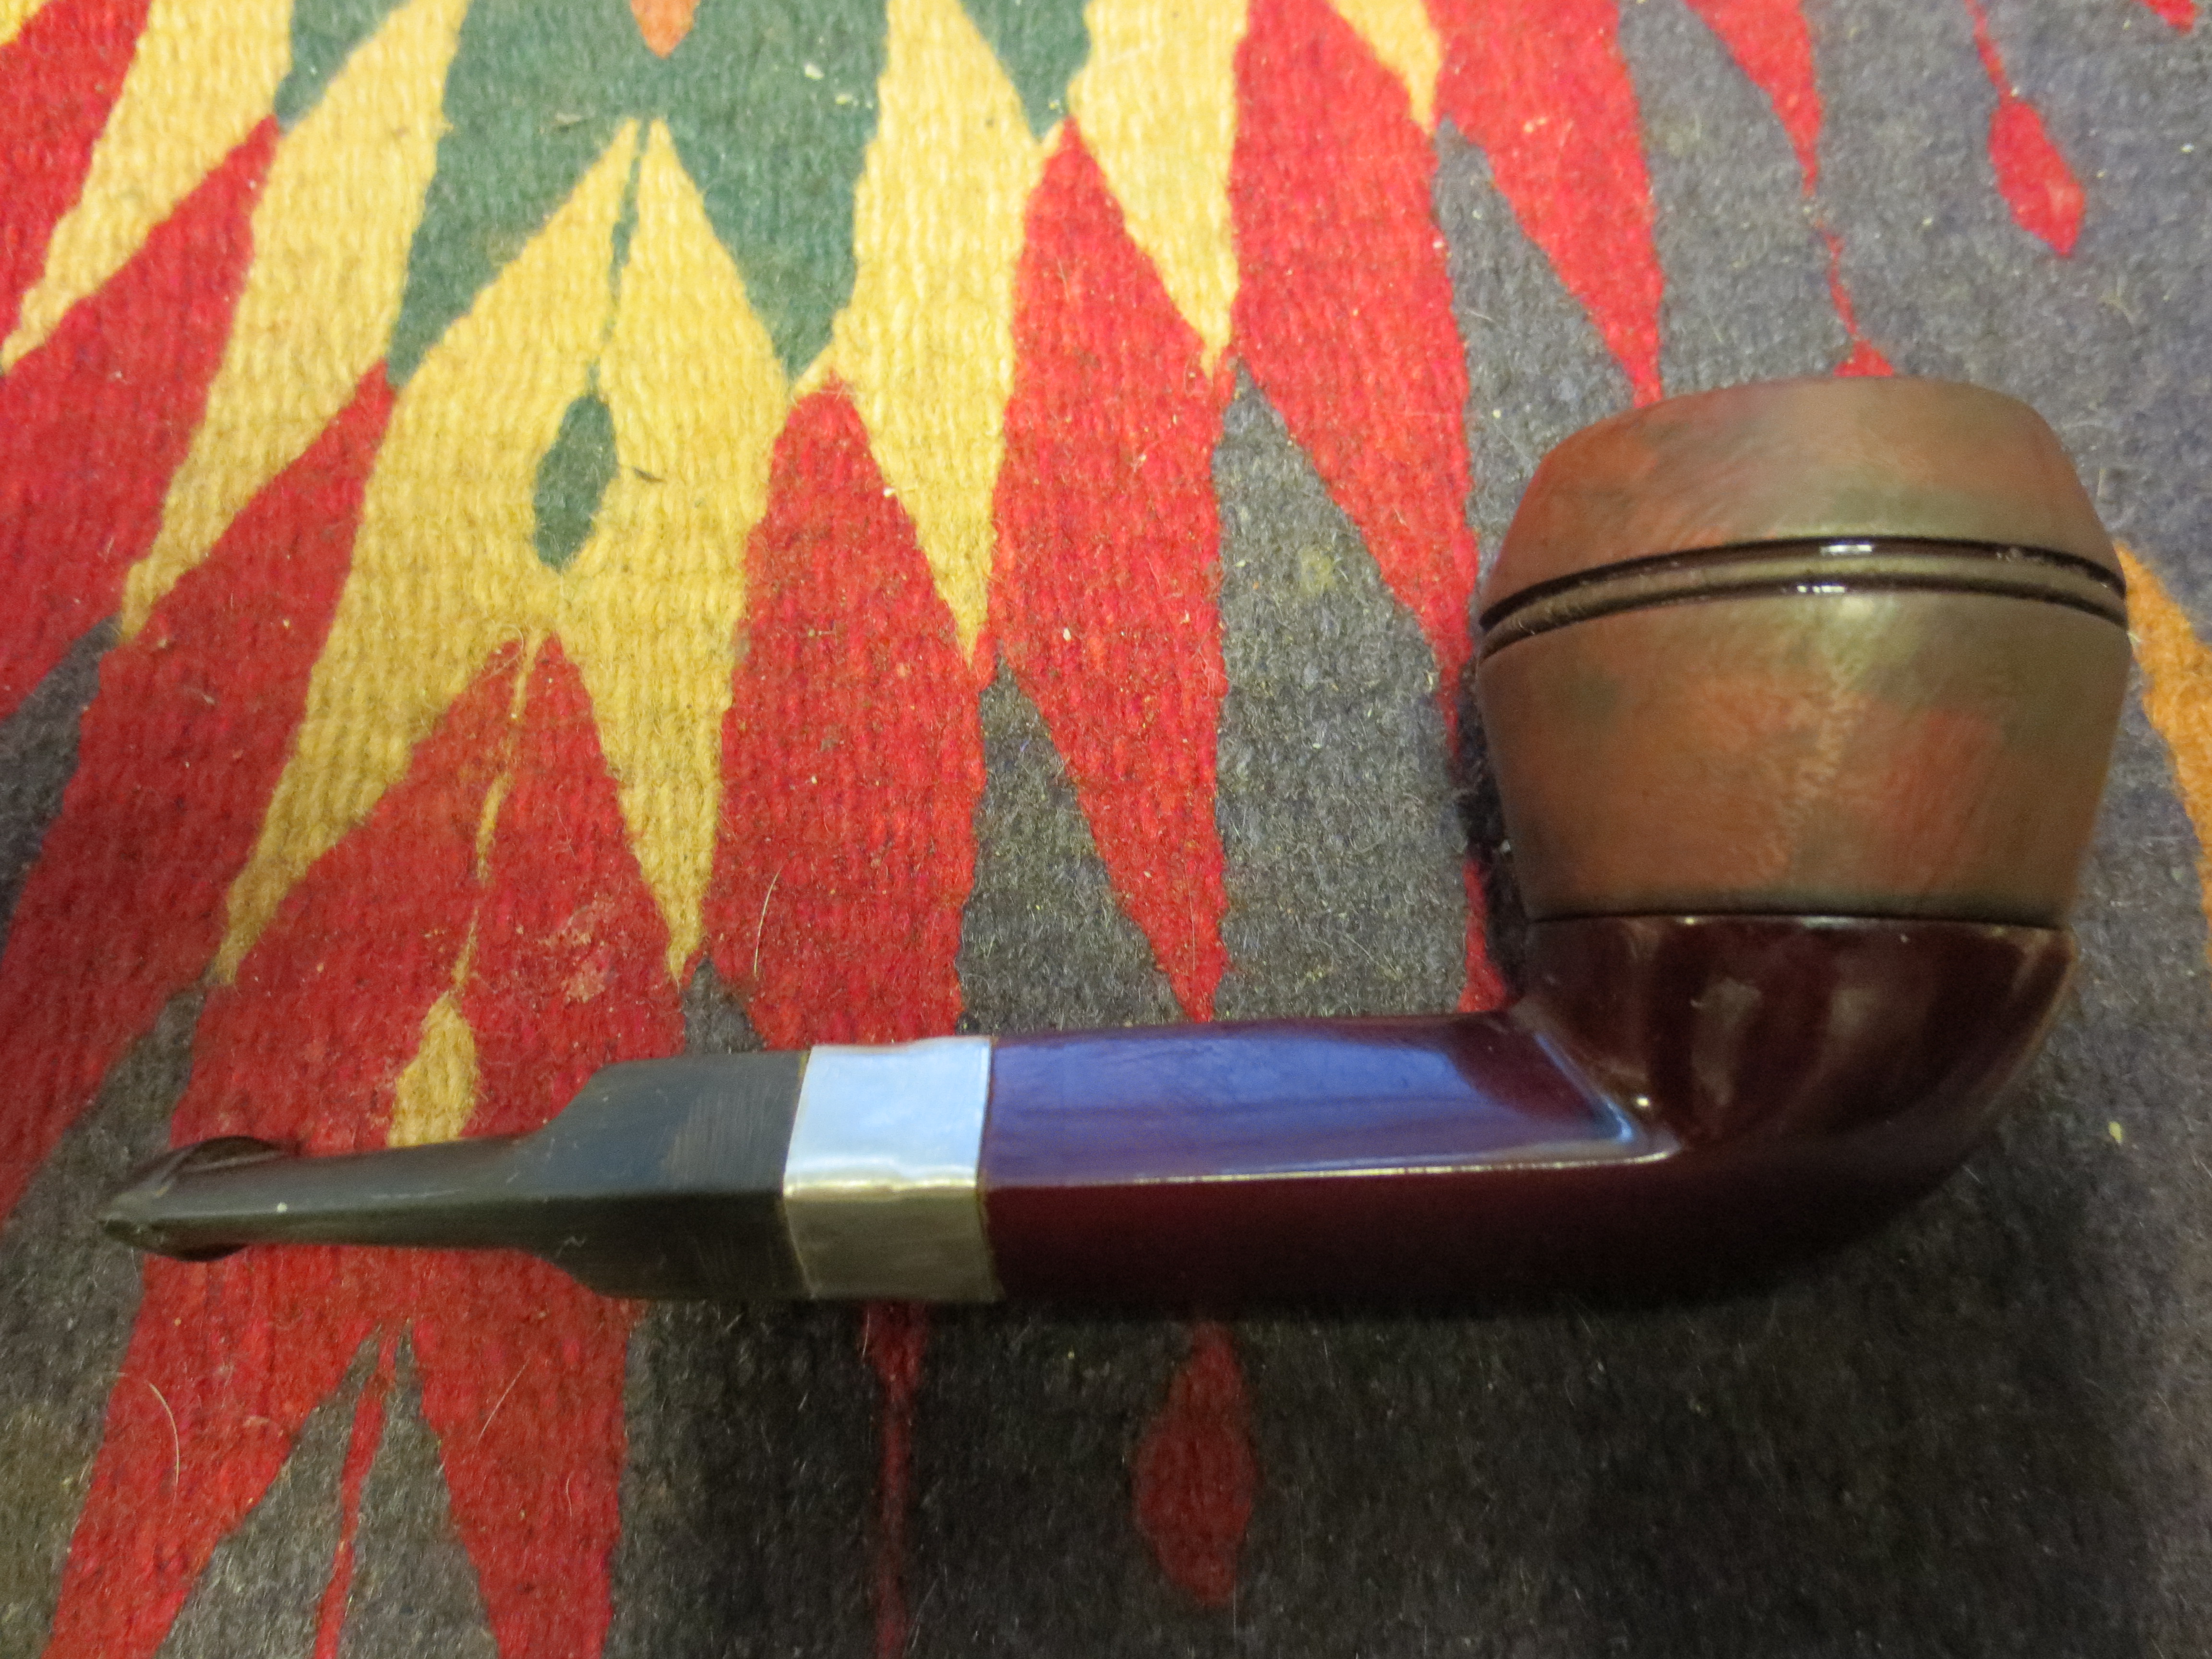
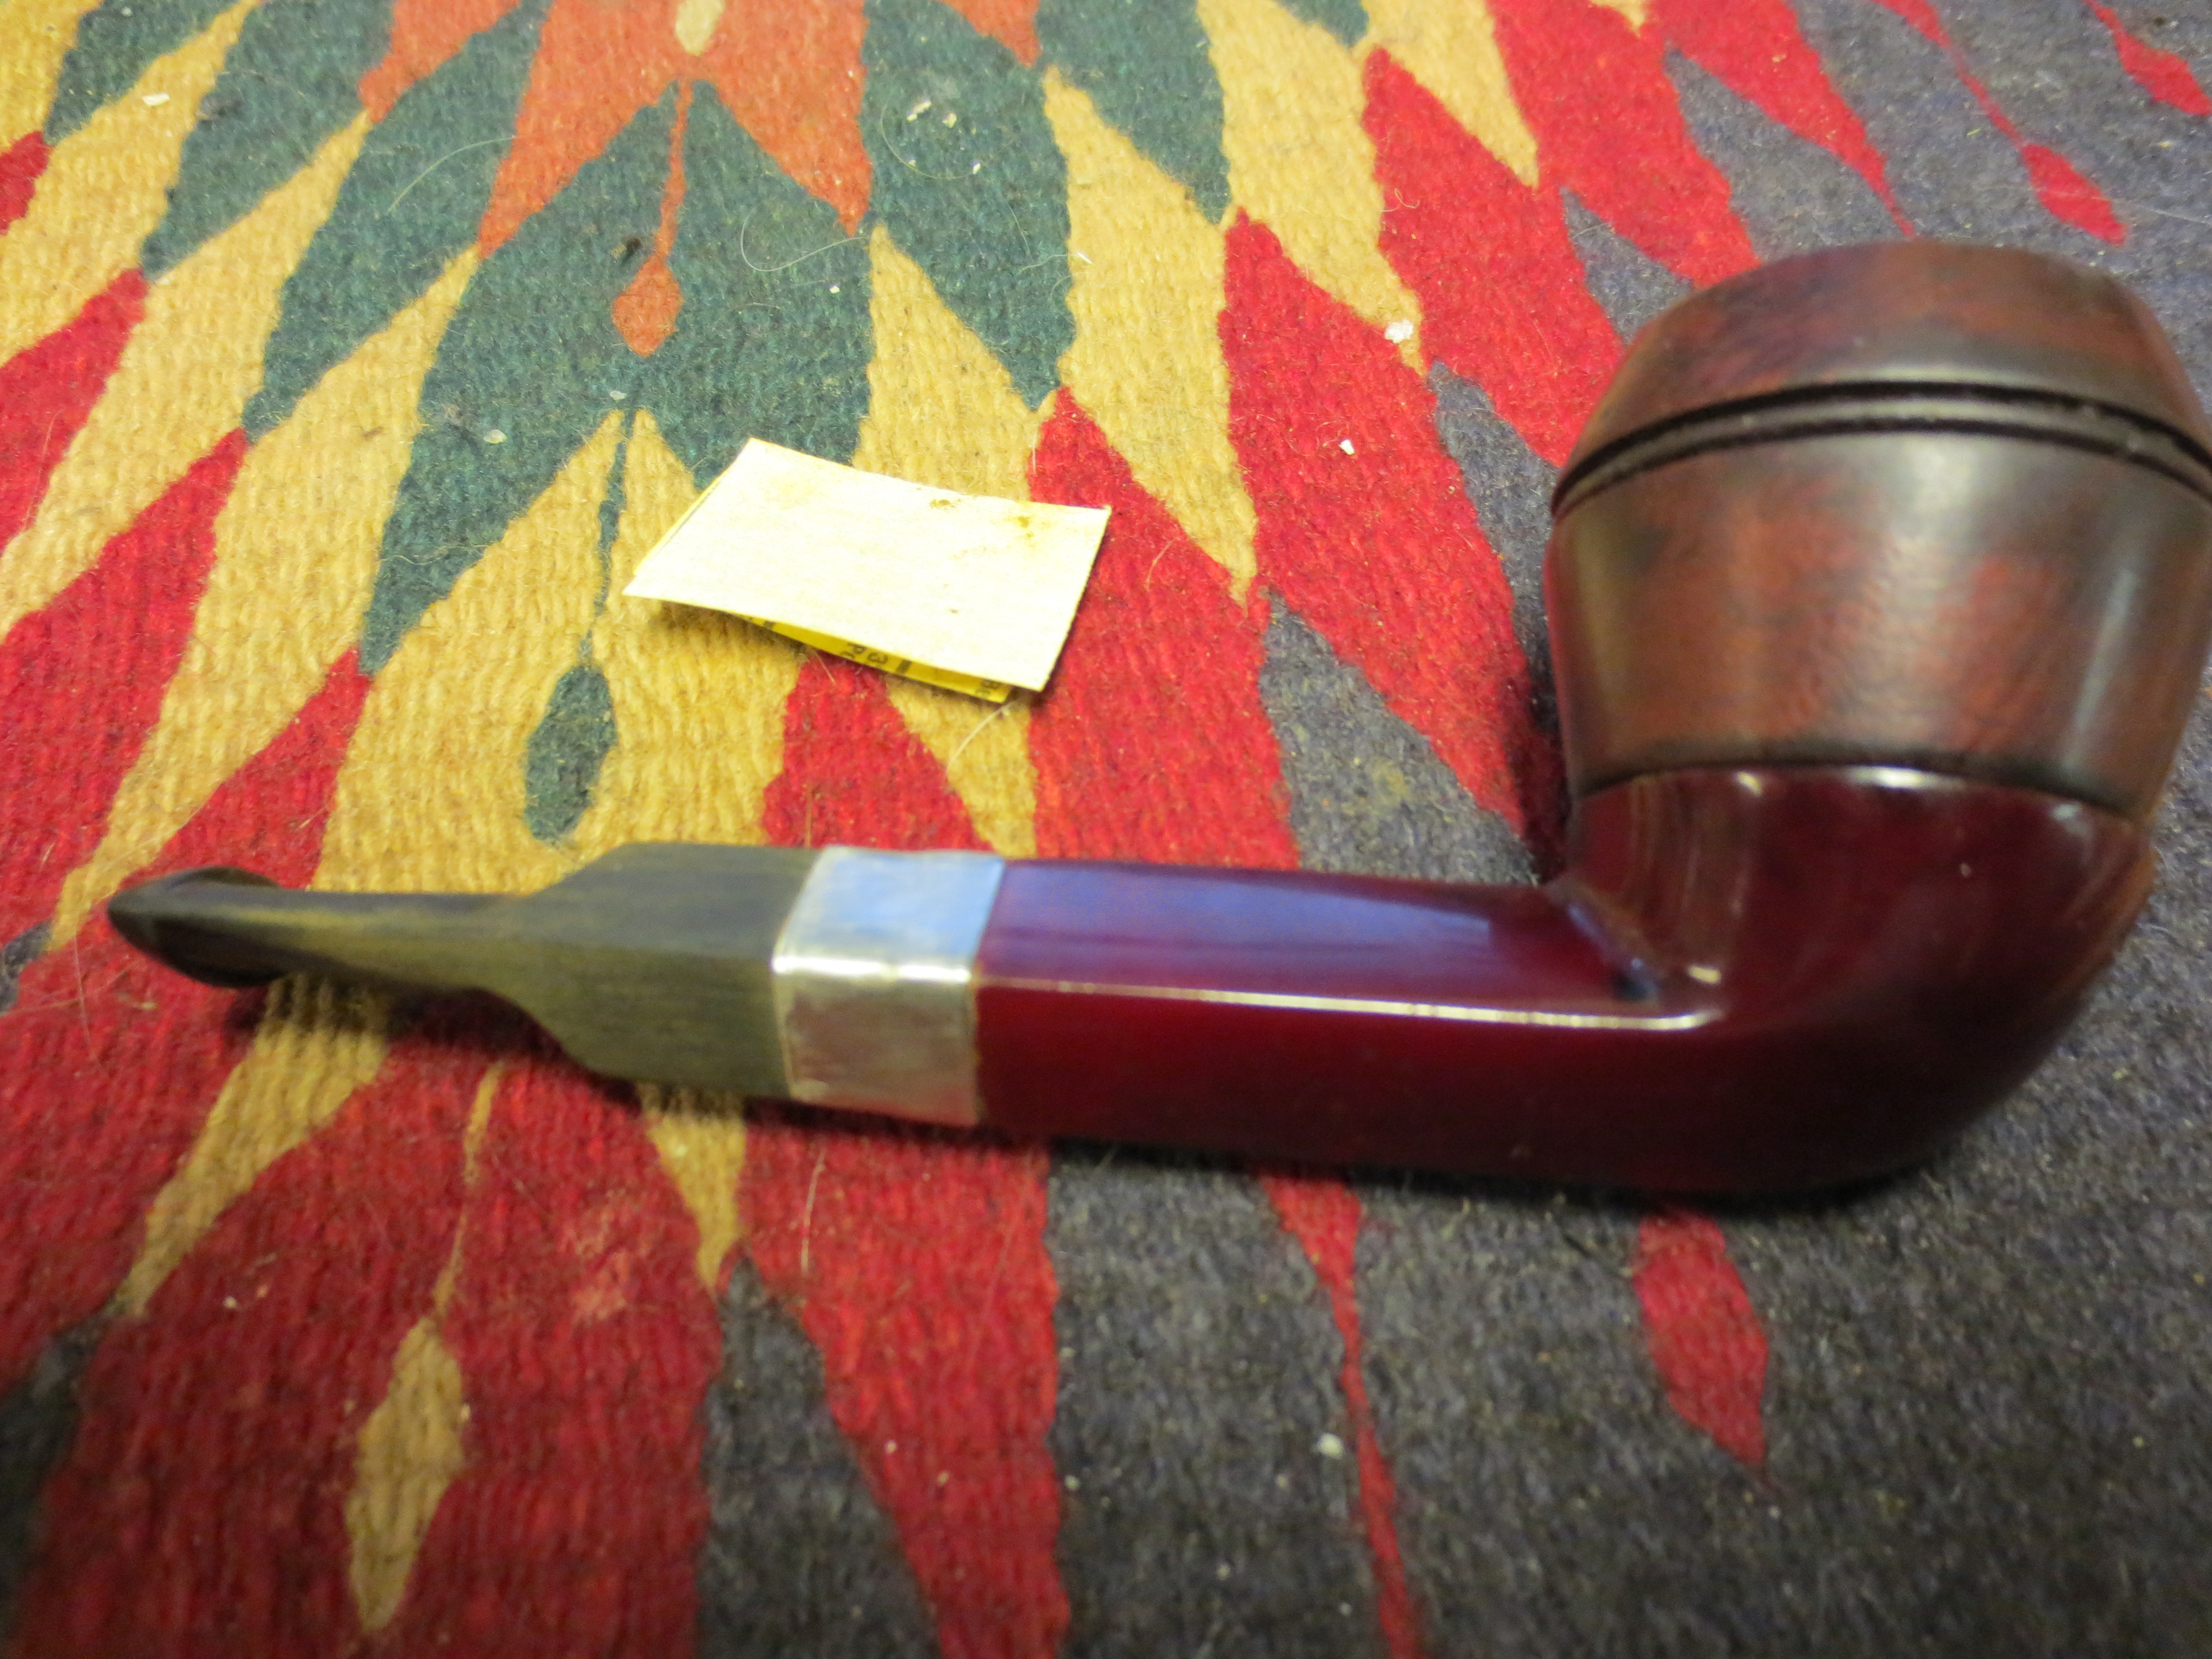
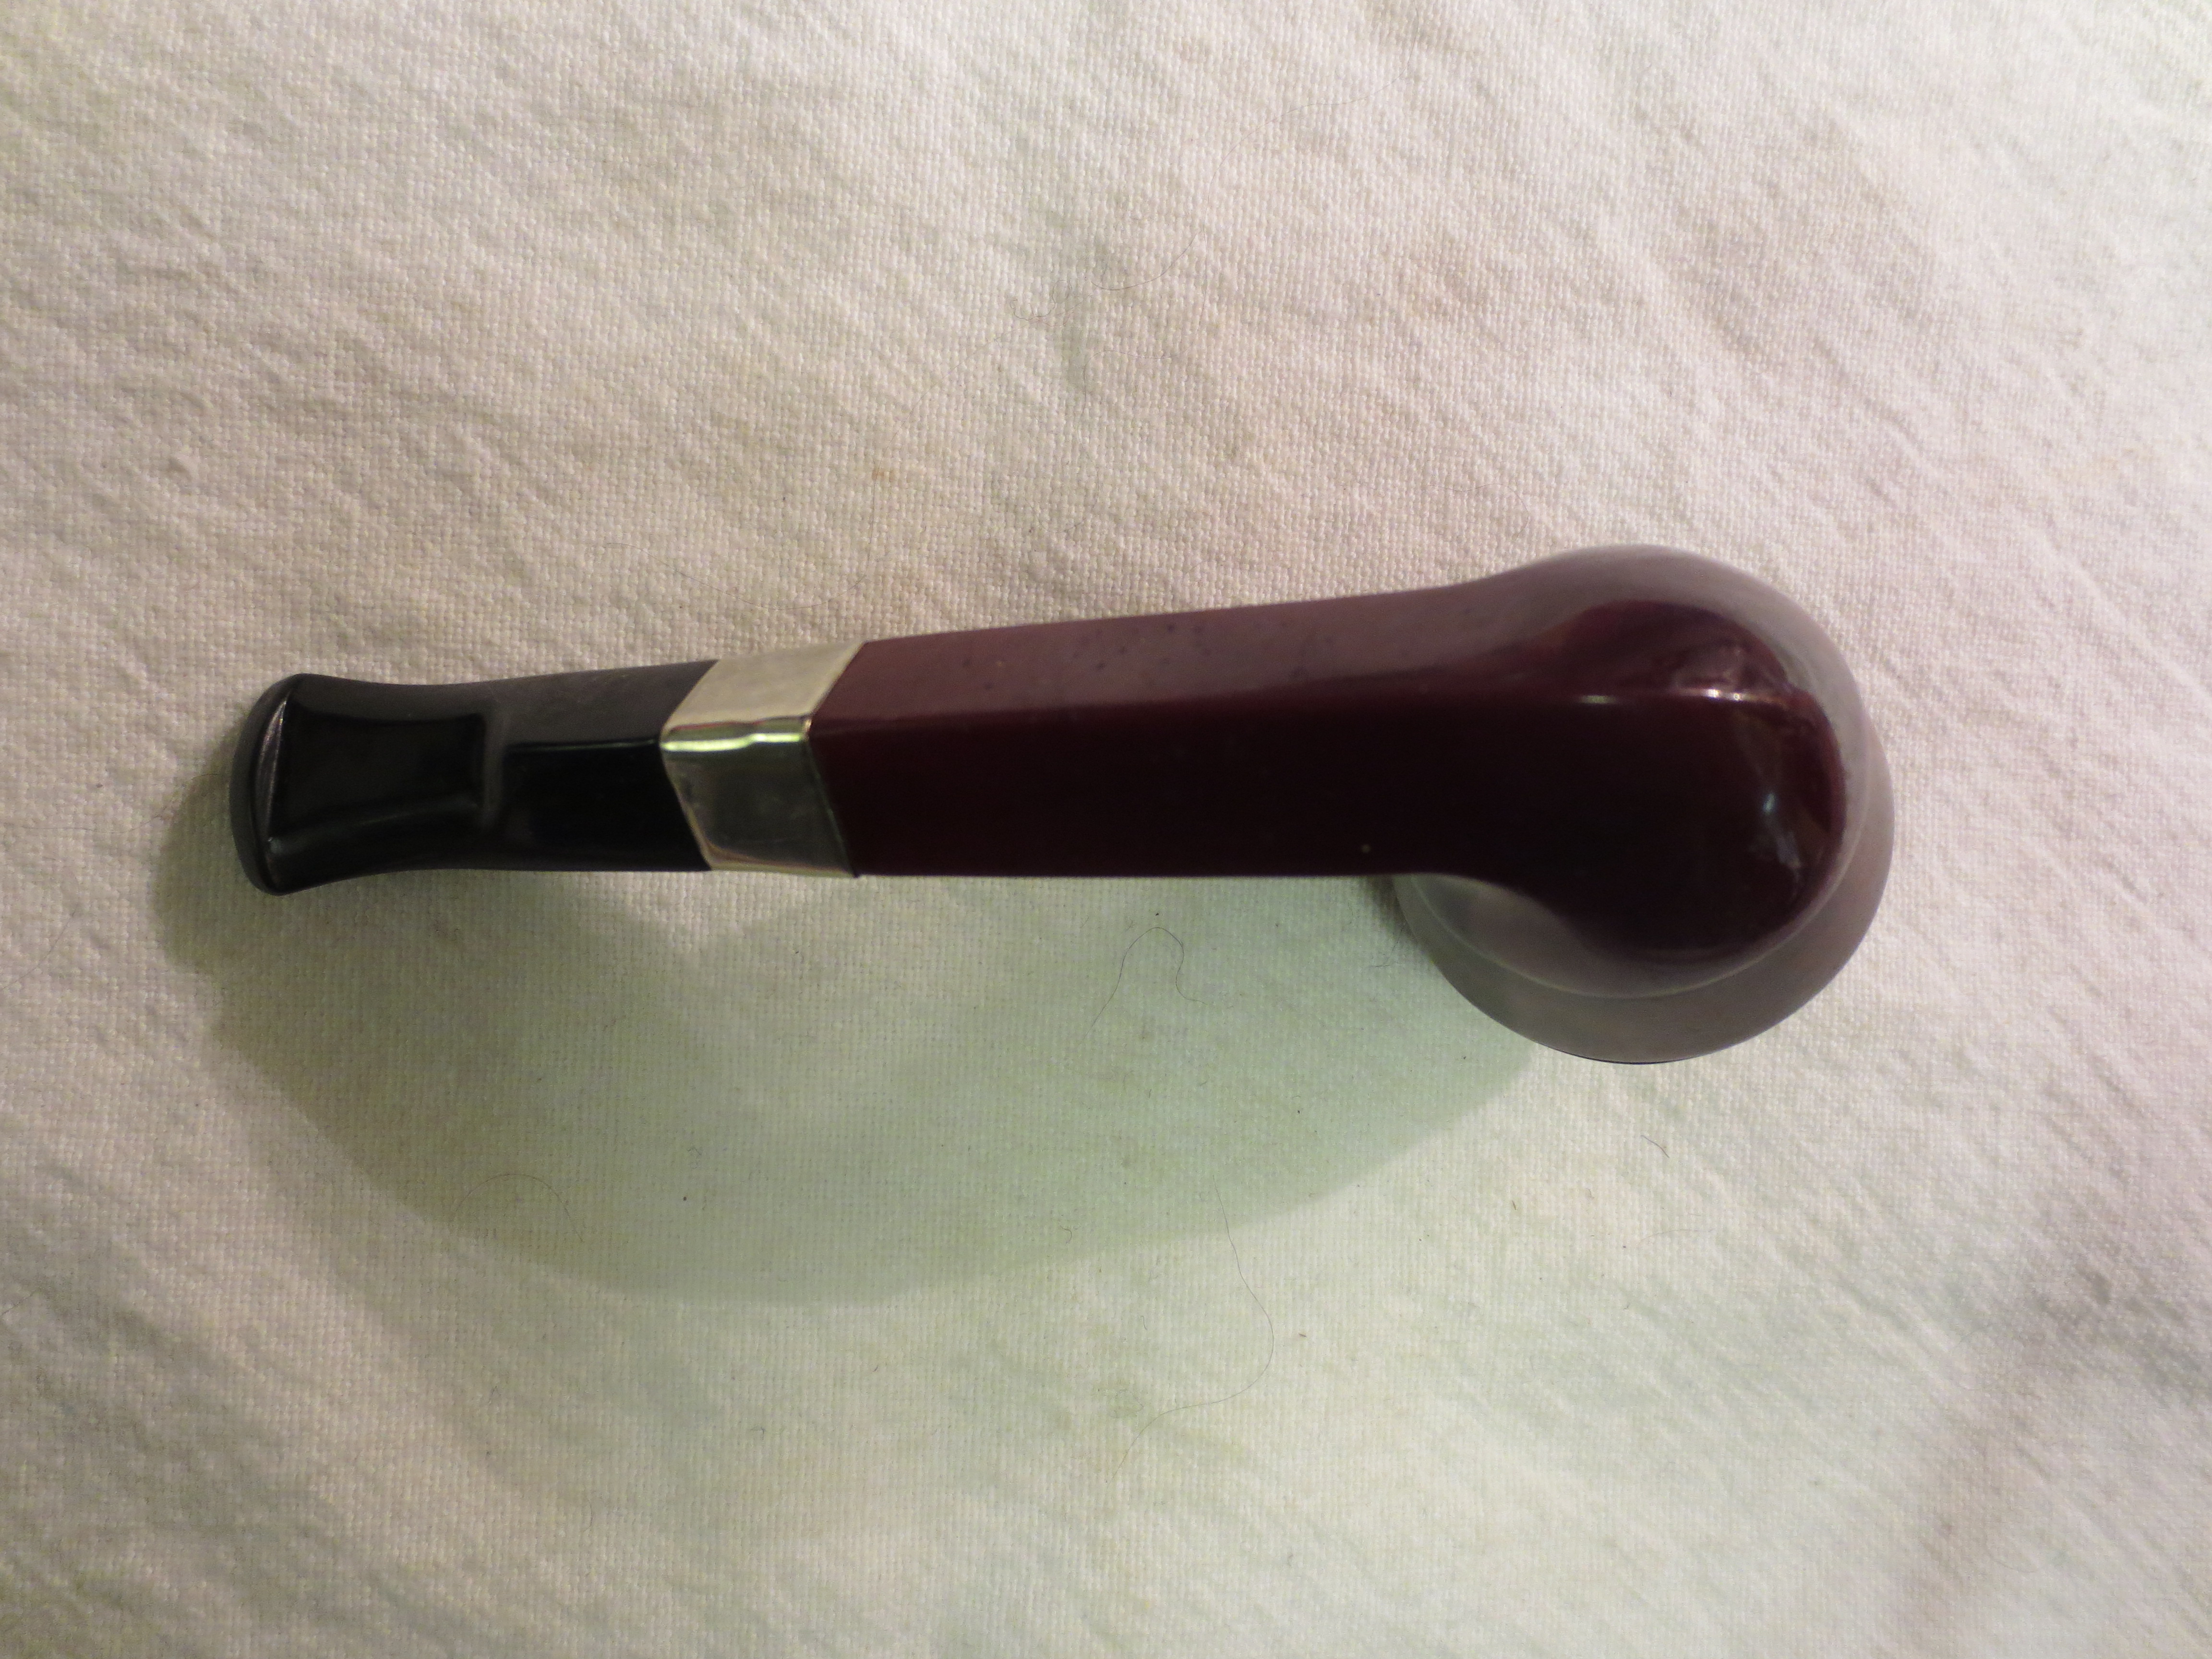
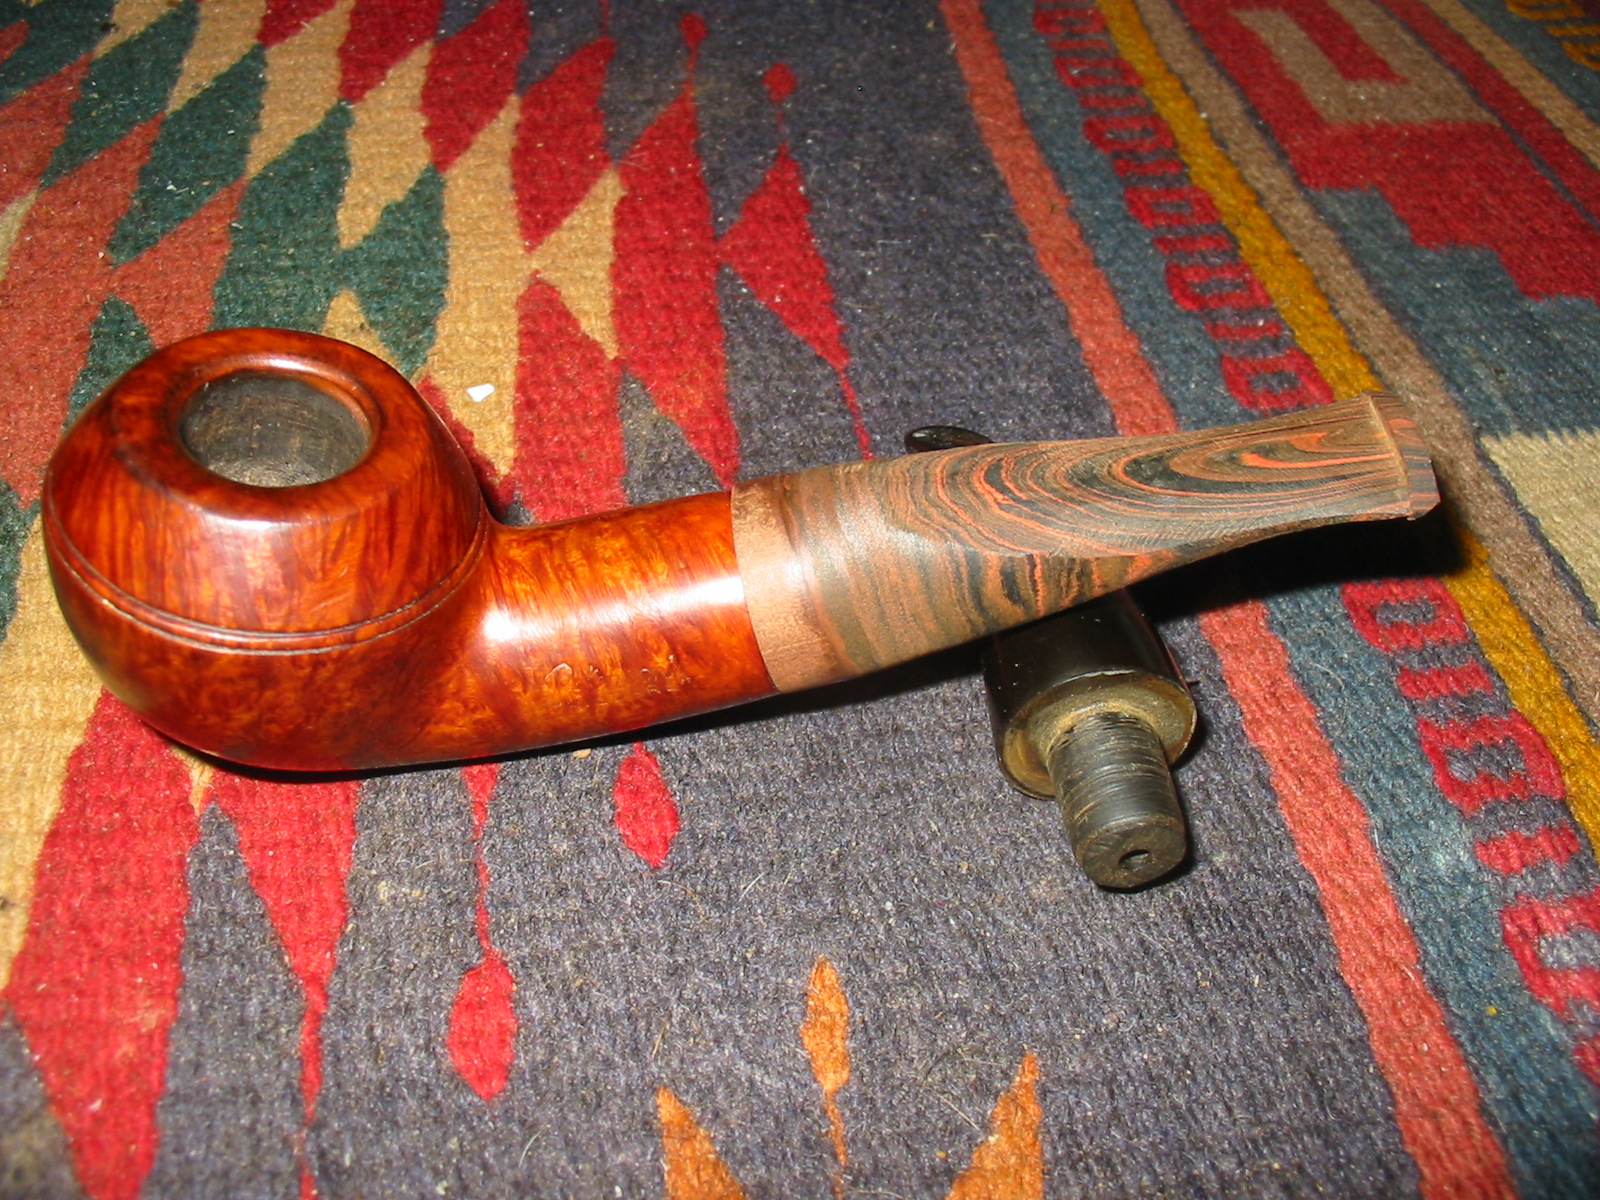
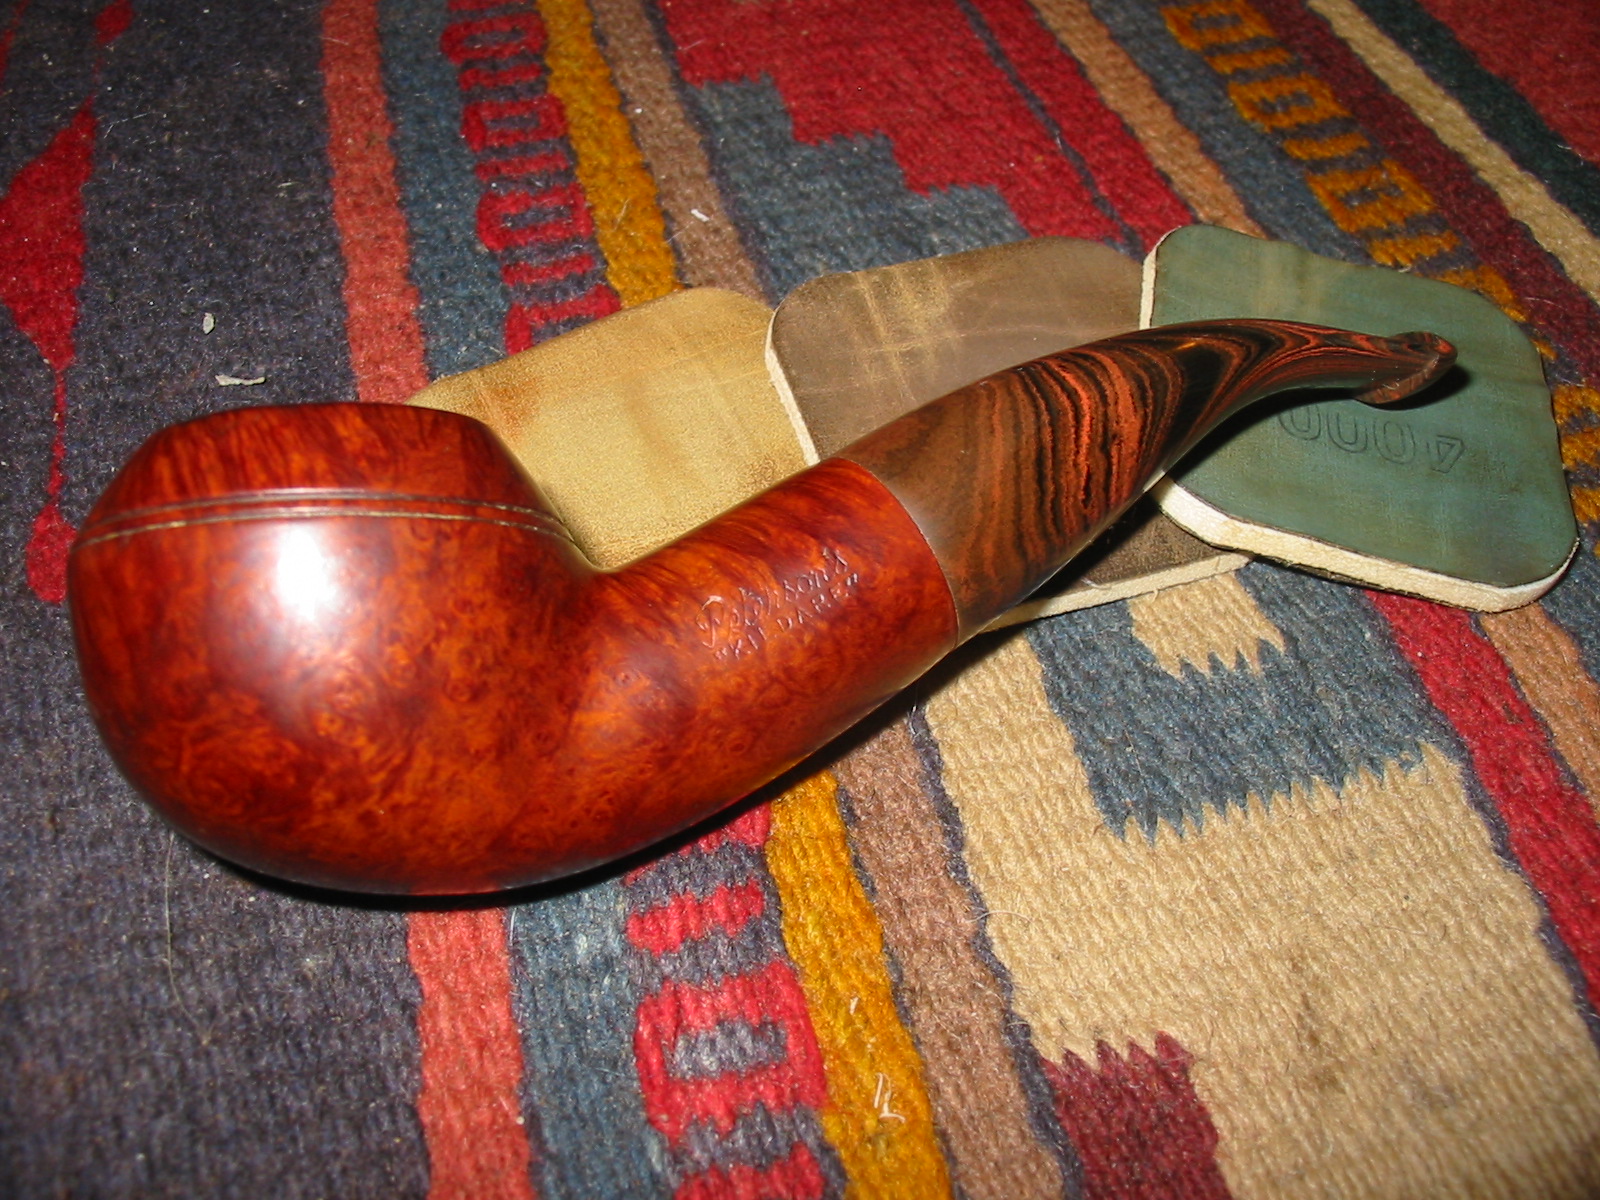
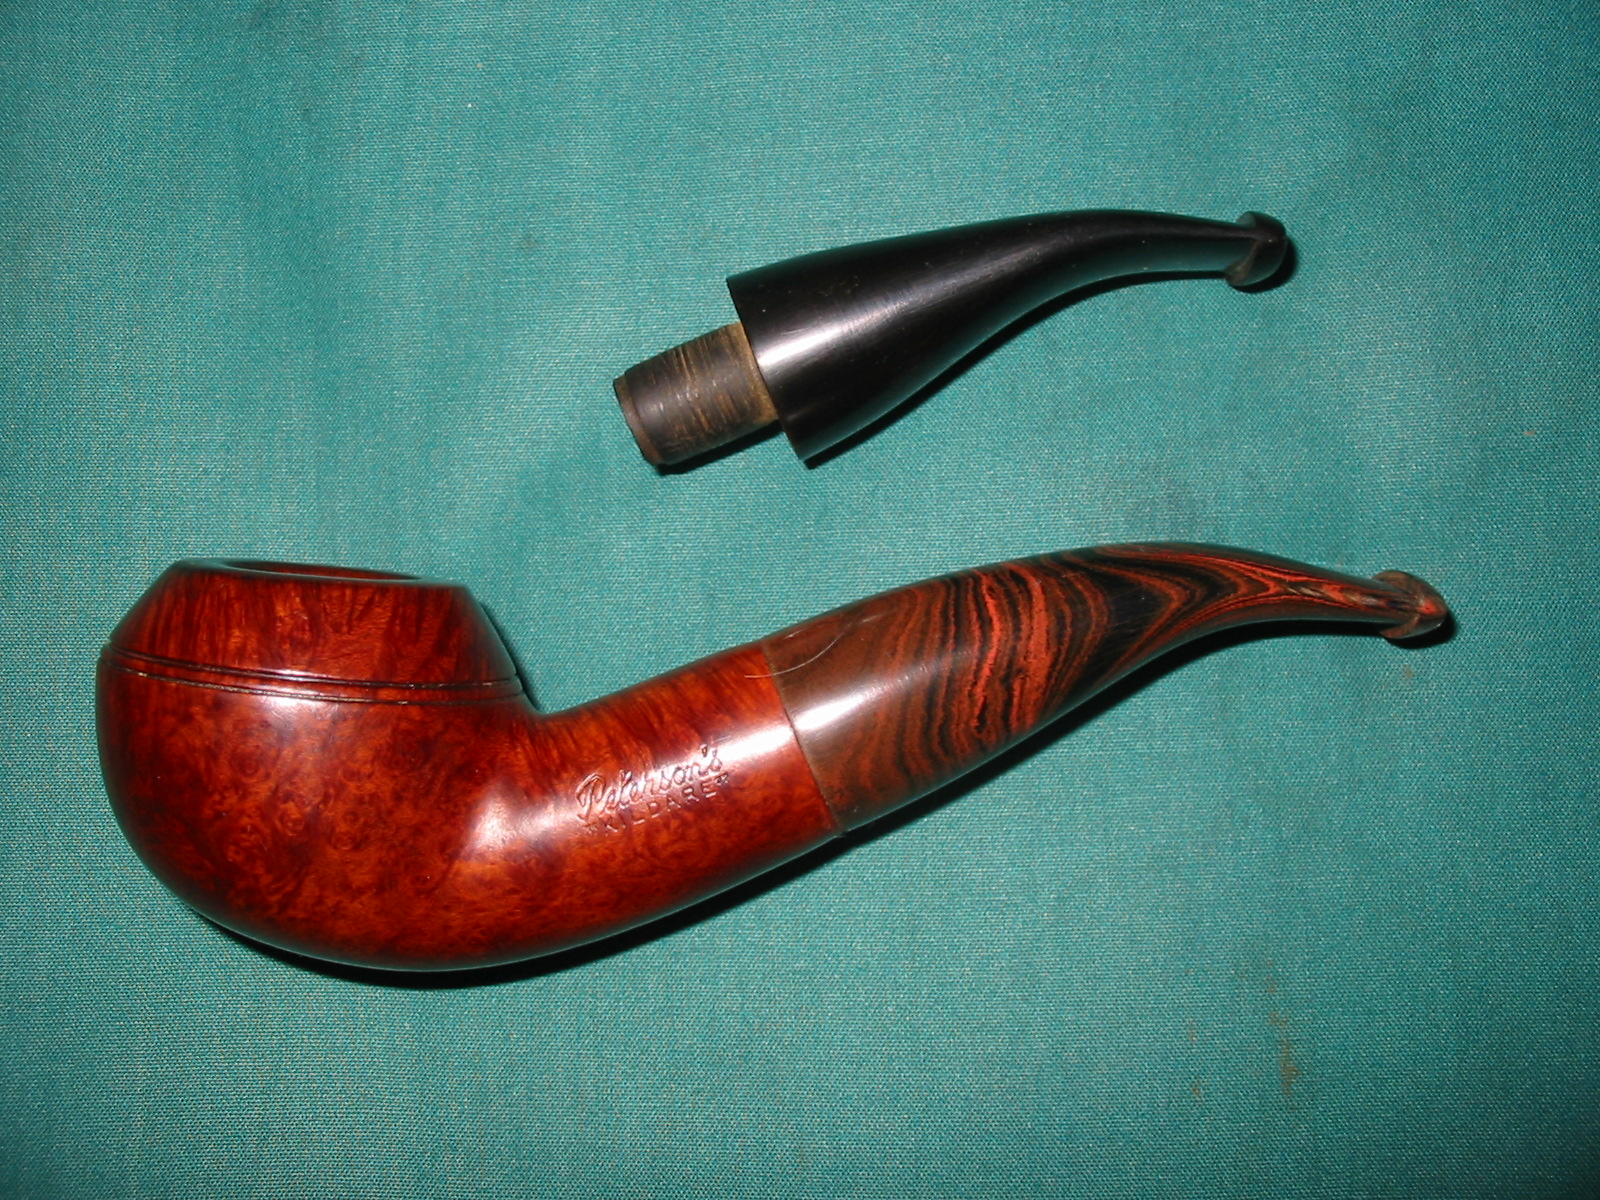
The photo below shows both of the stem that I turned and shaped for the pipe. The black vulcanite one is about ½ inch shorter than the Cumberland stem. Both look very good on the pipe and are comfortable in the mouth.
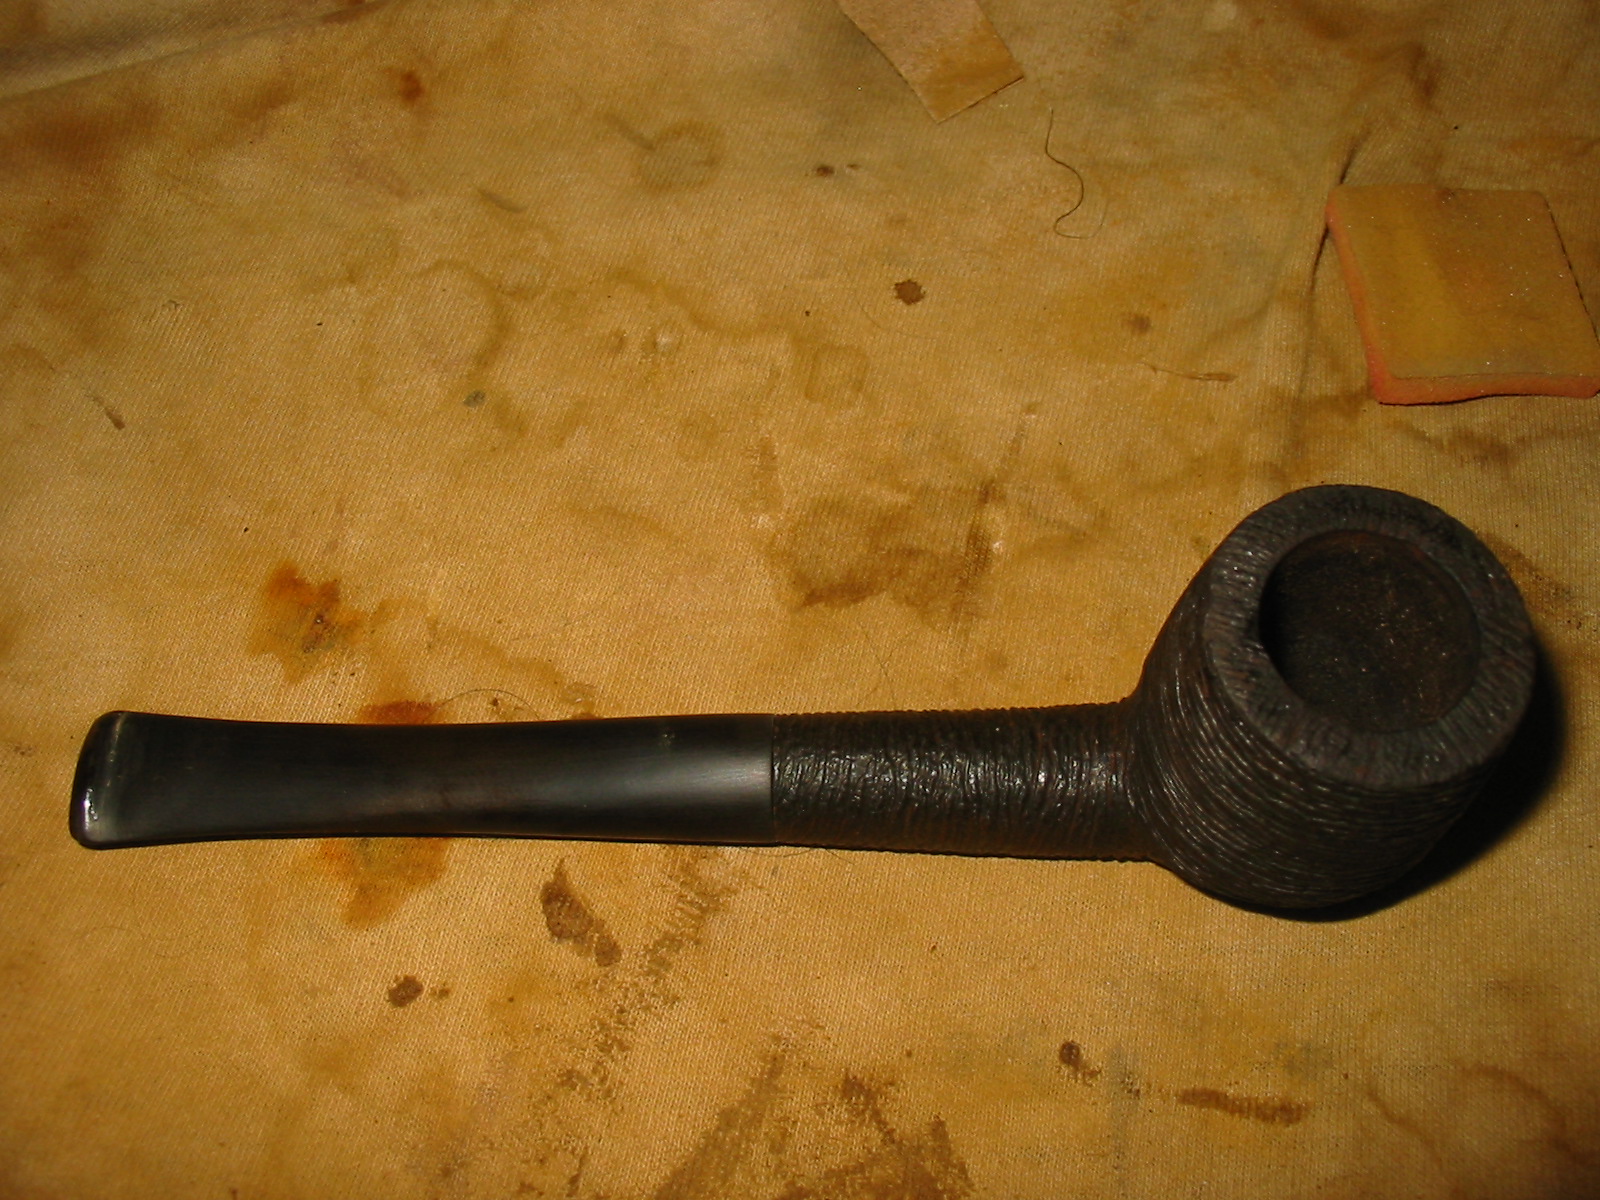
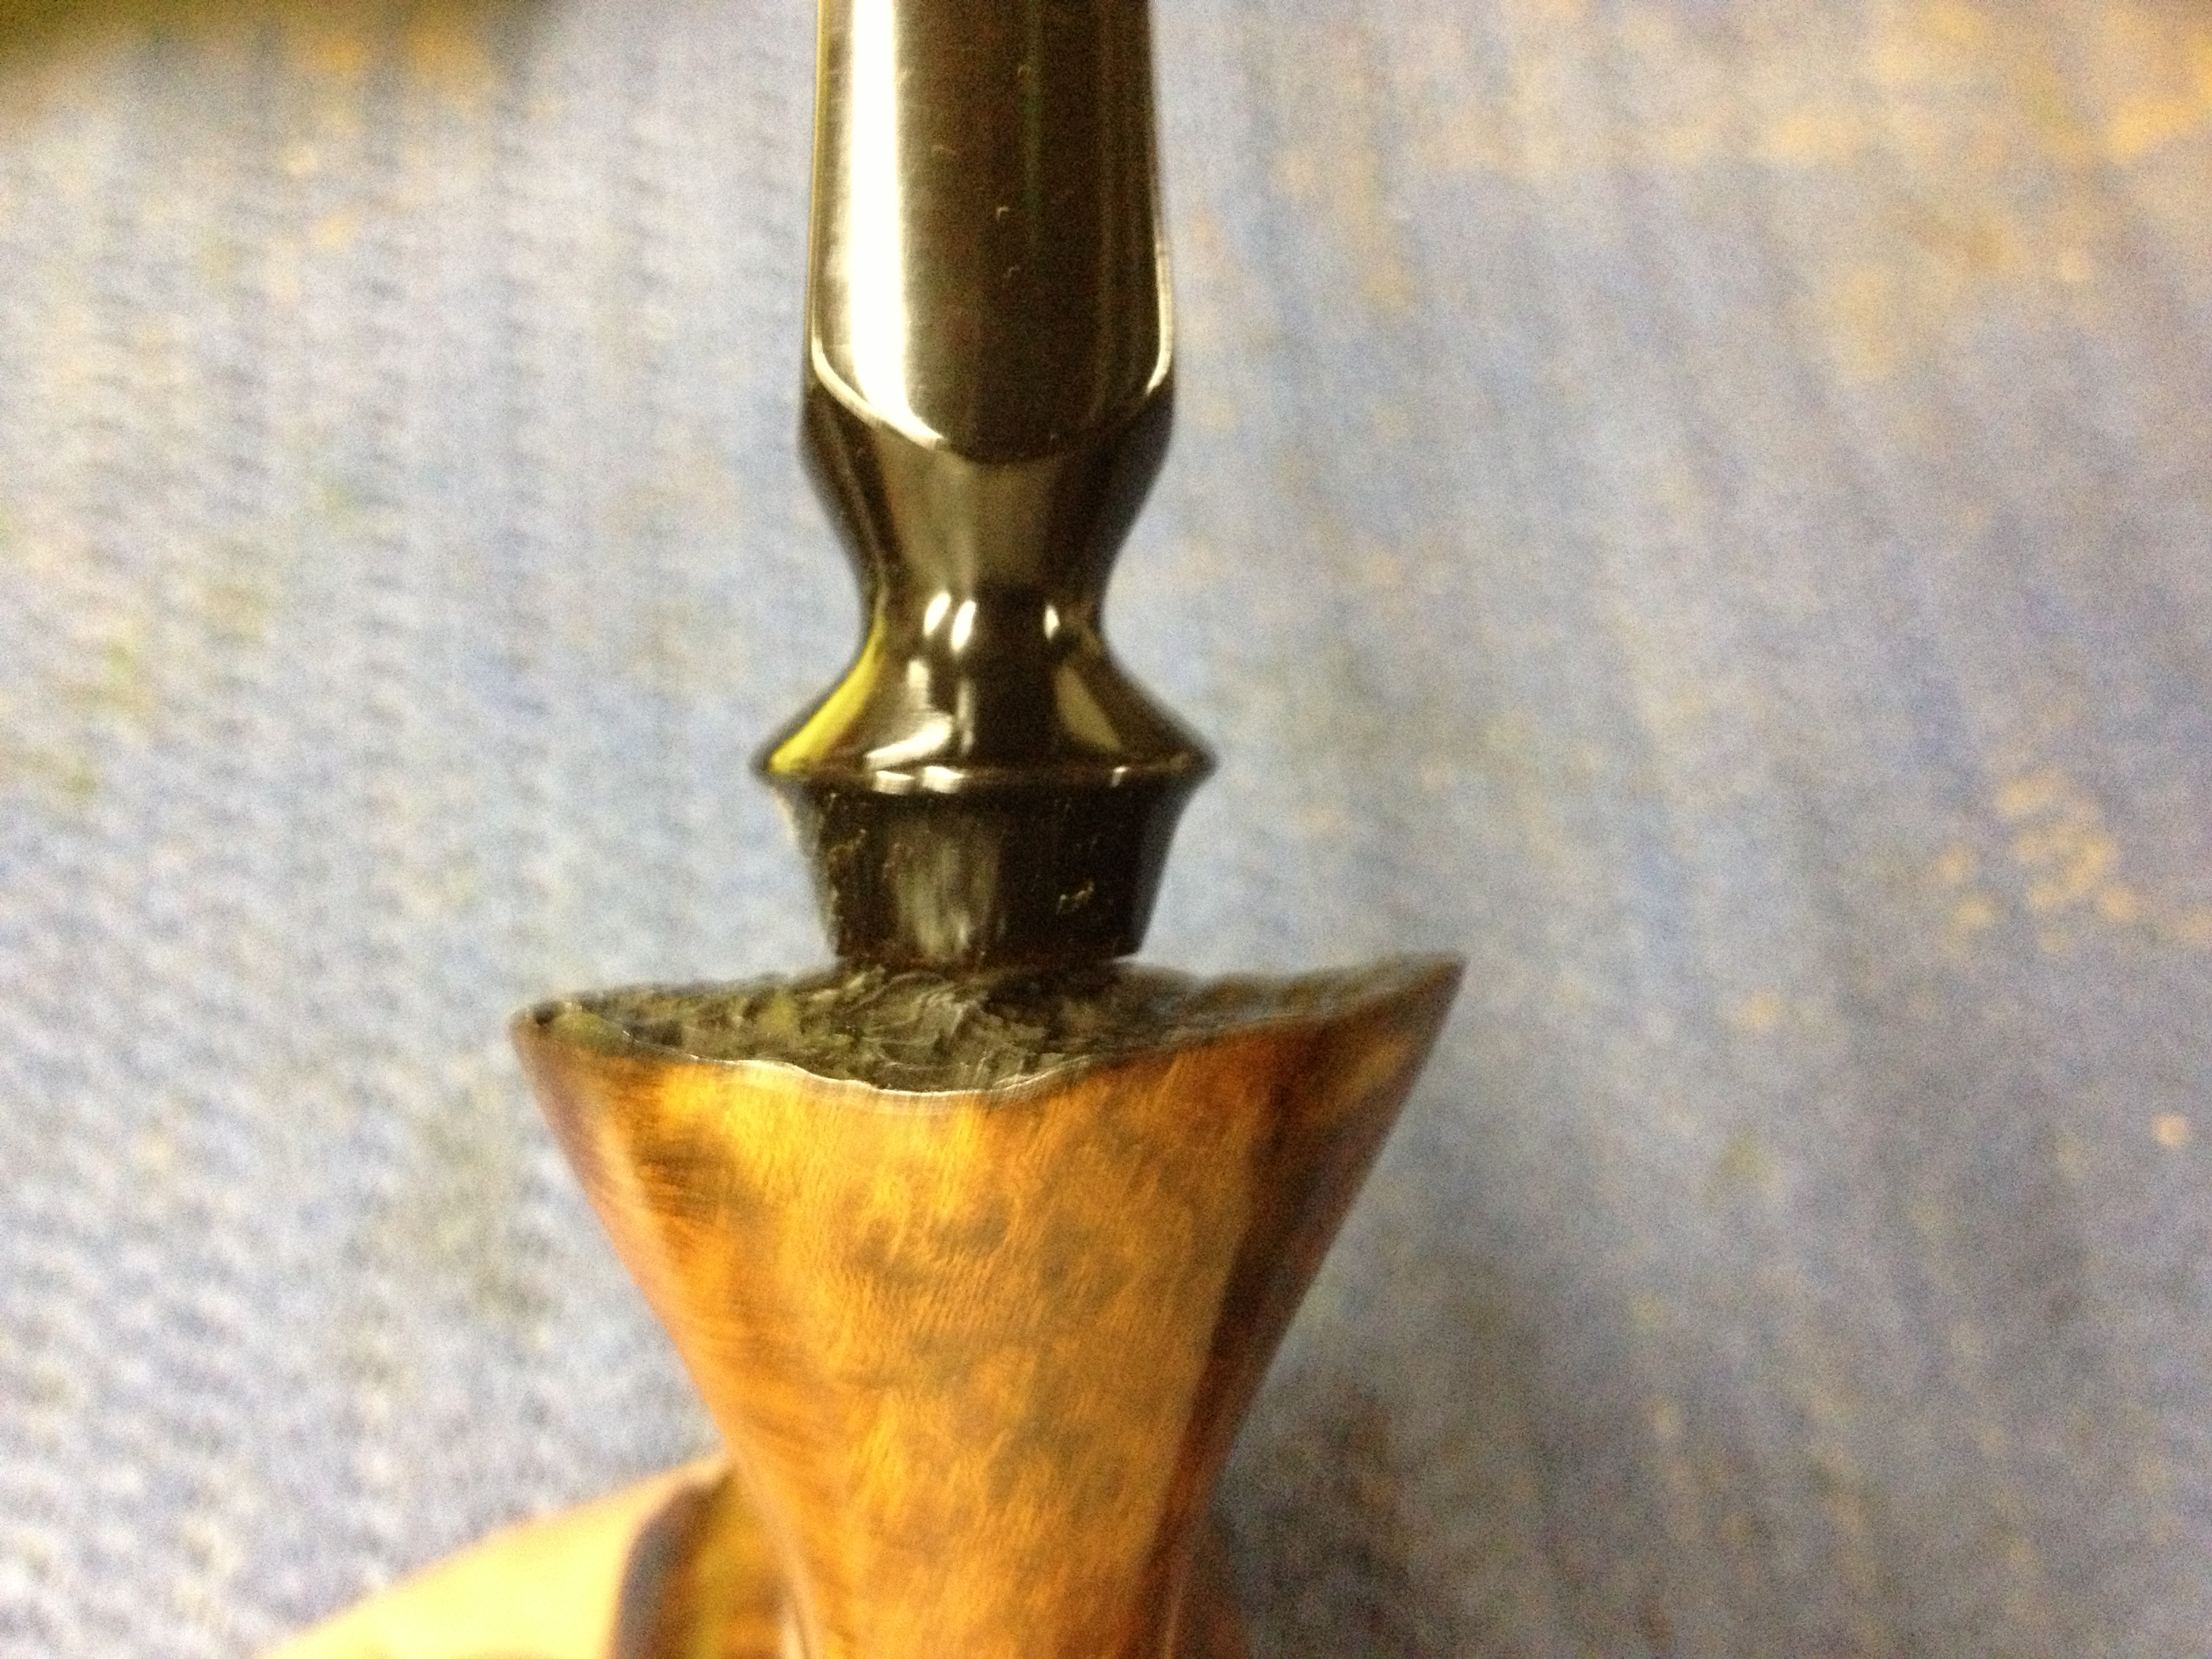
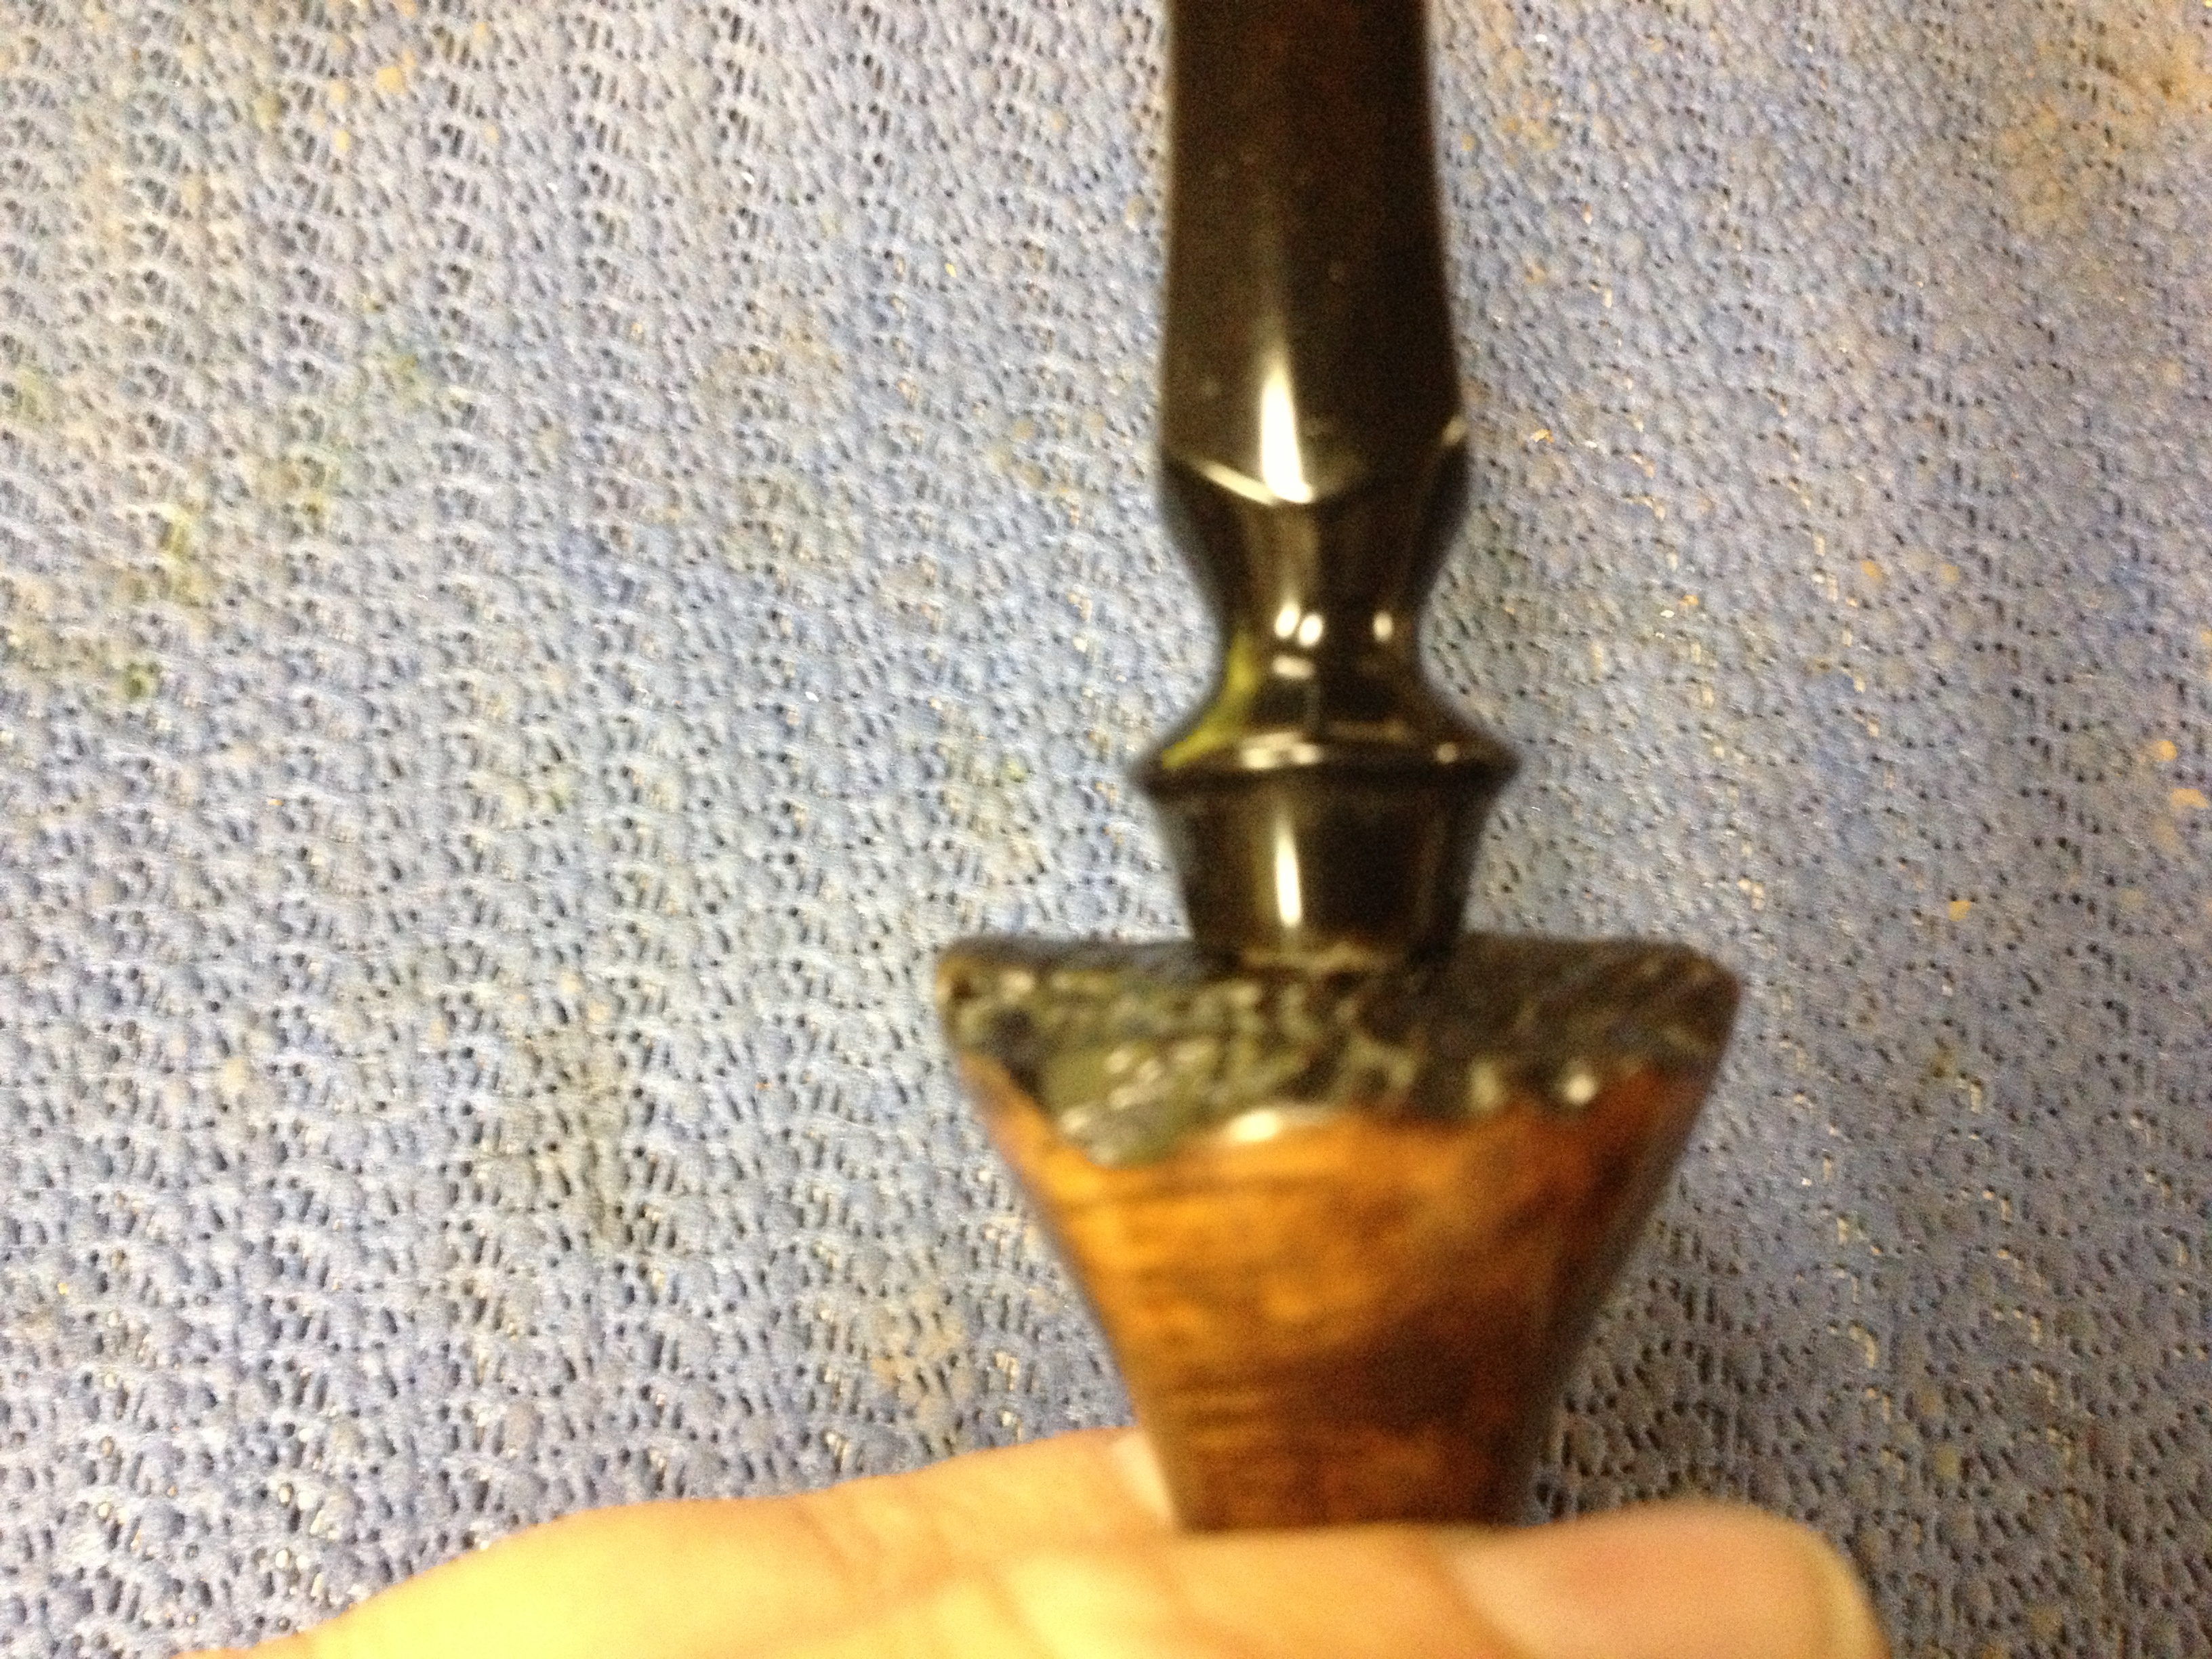
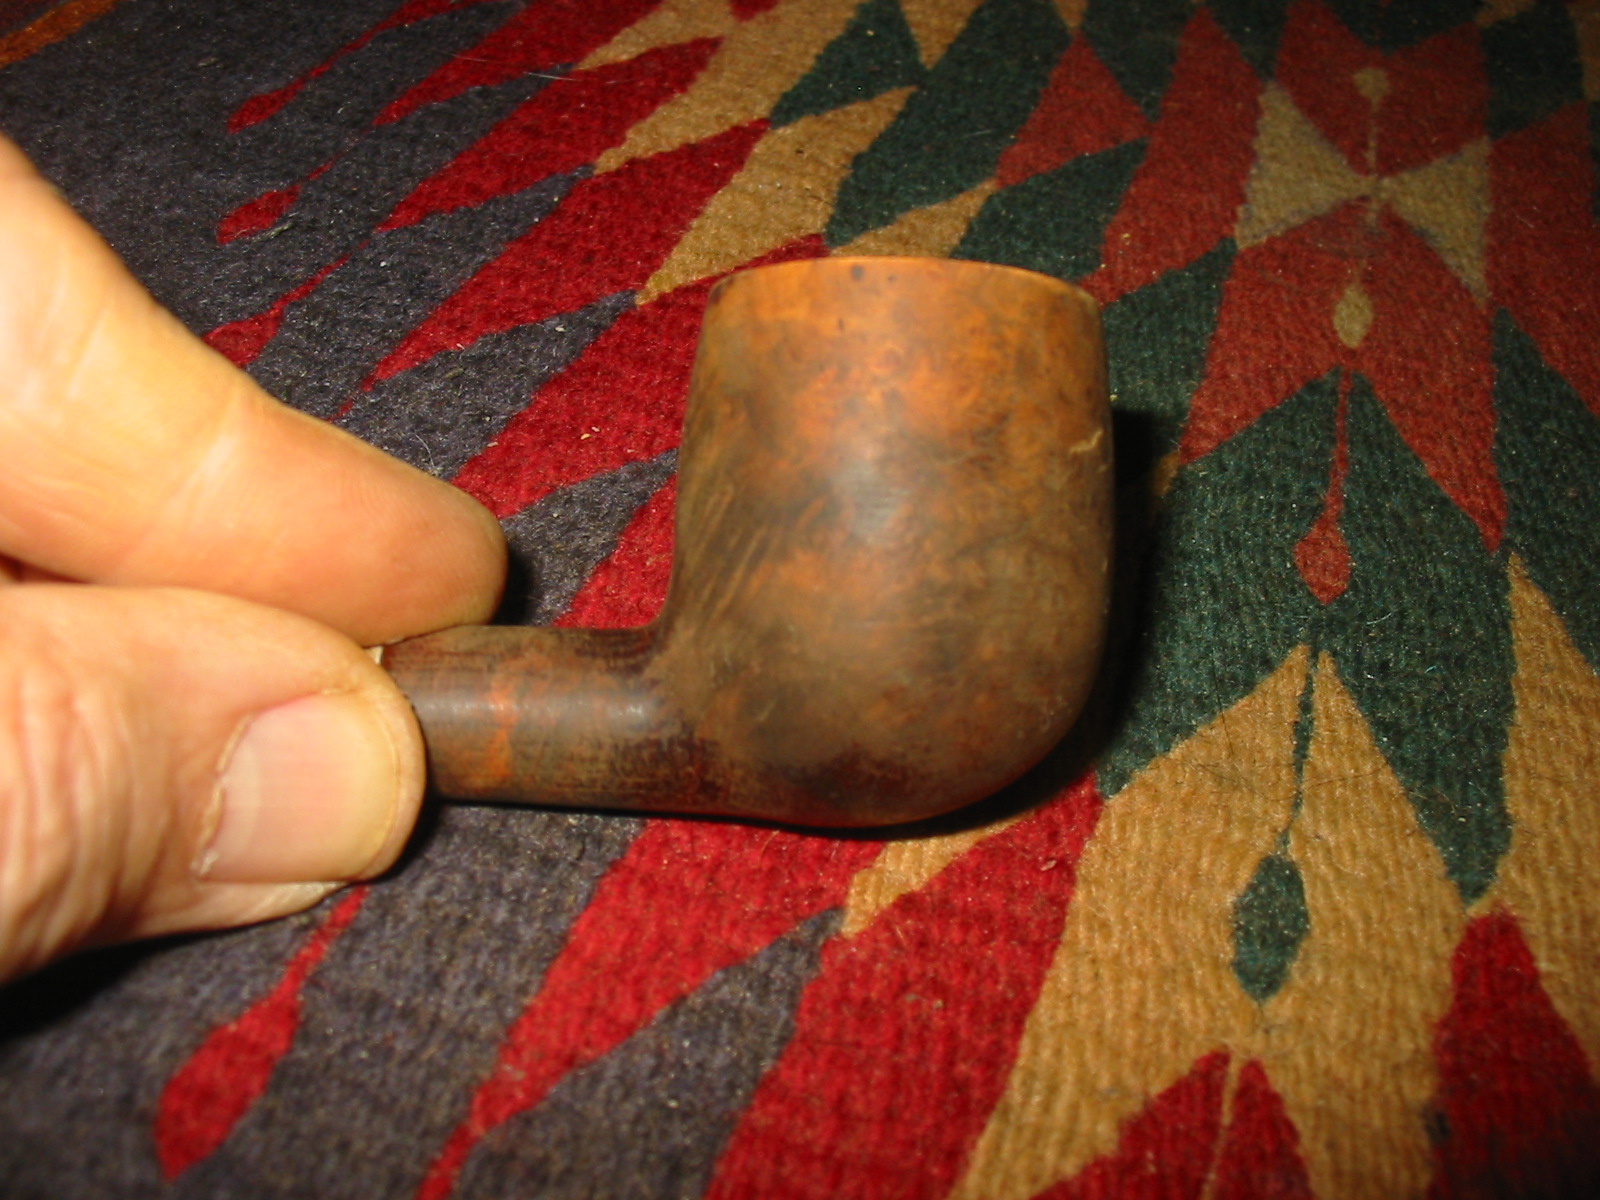
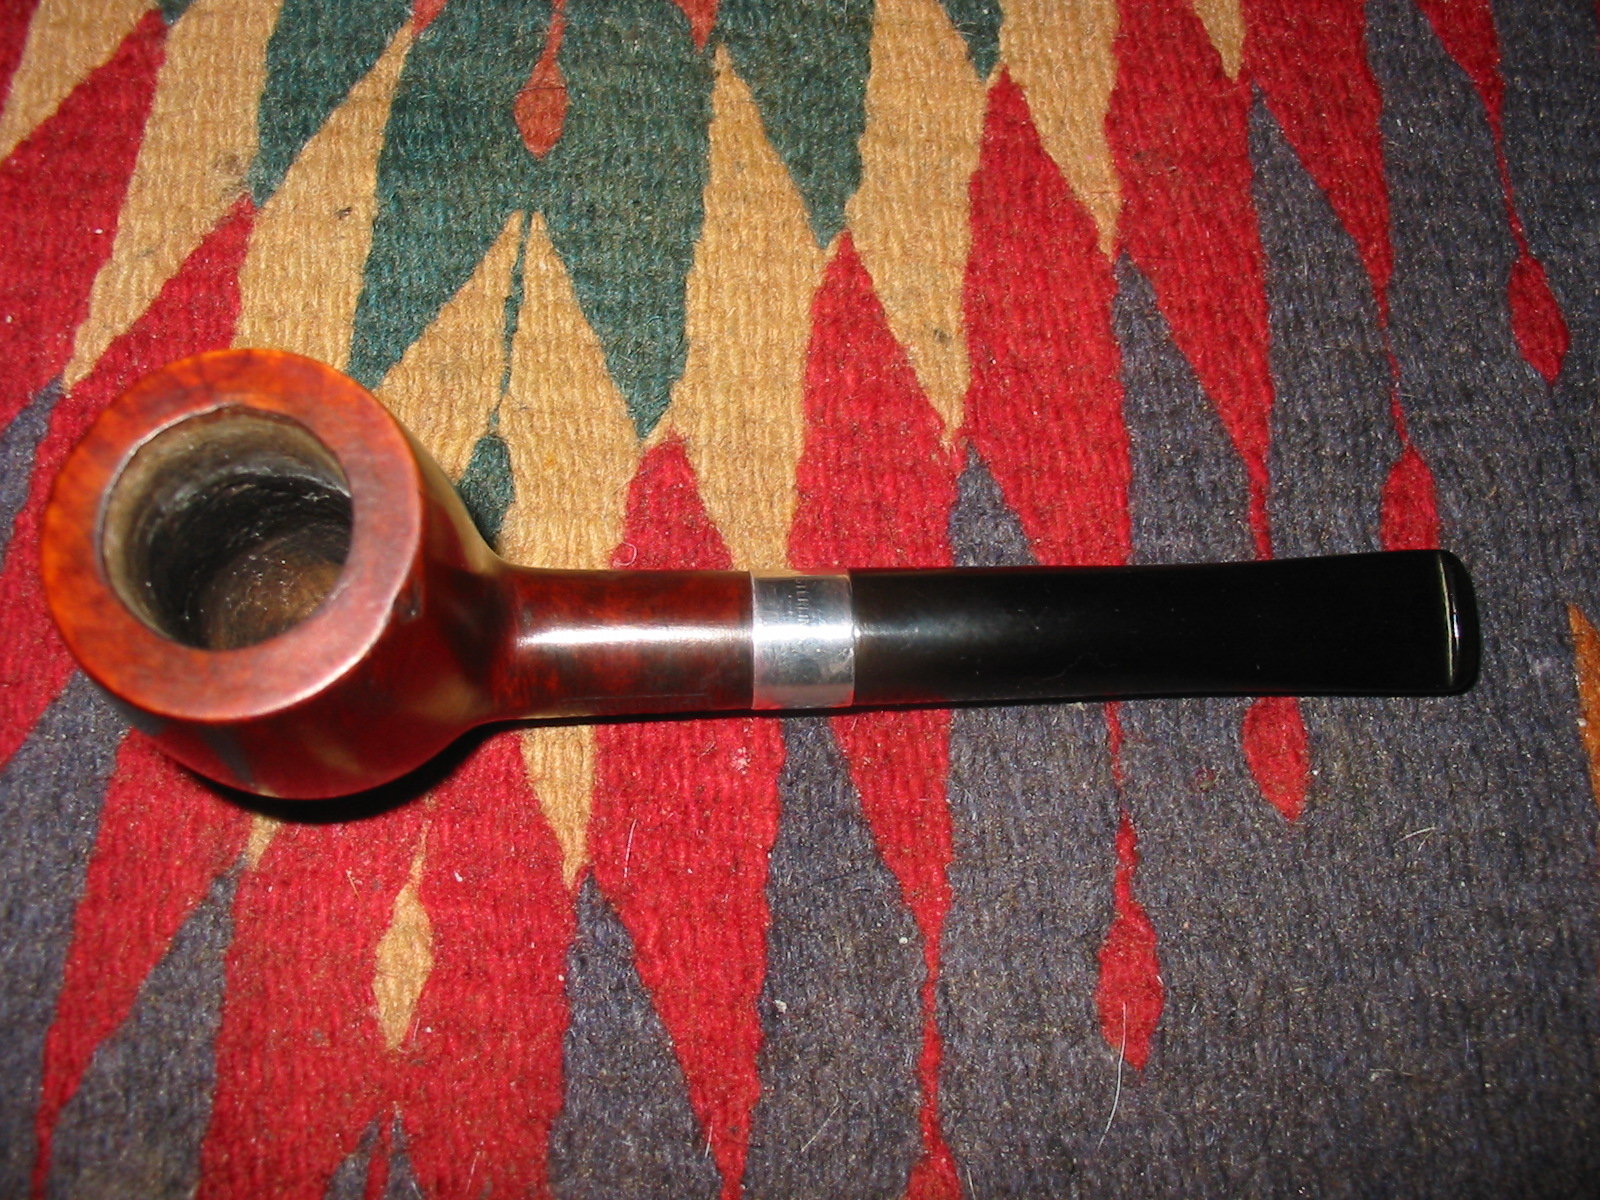
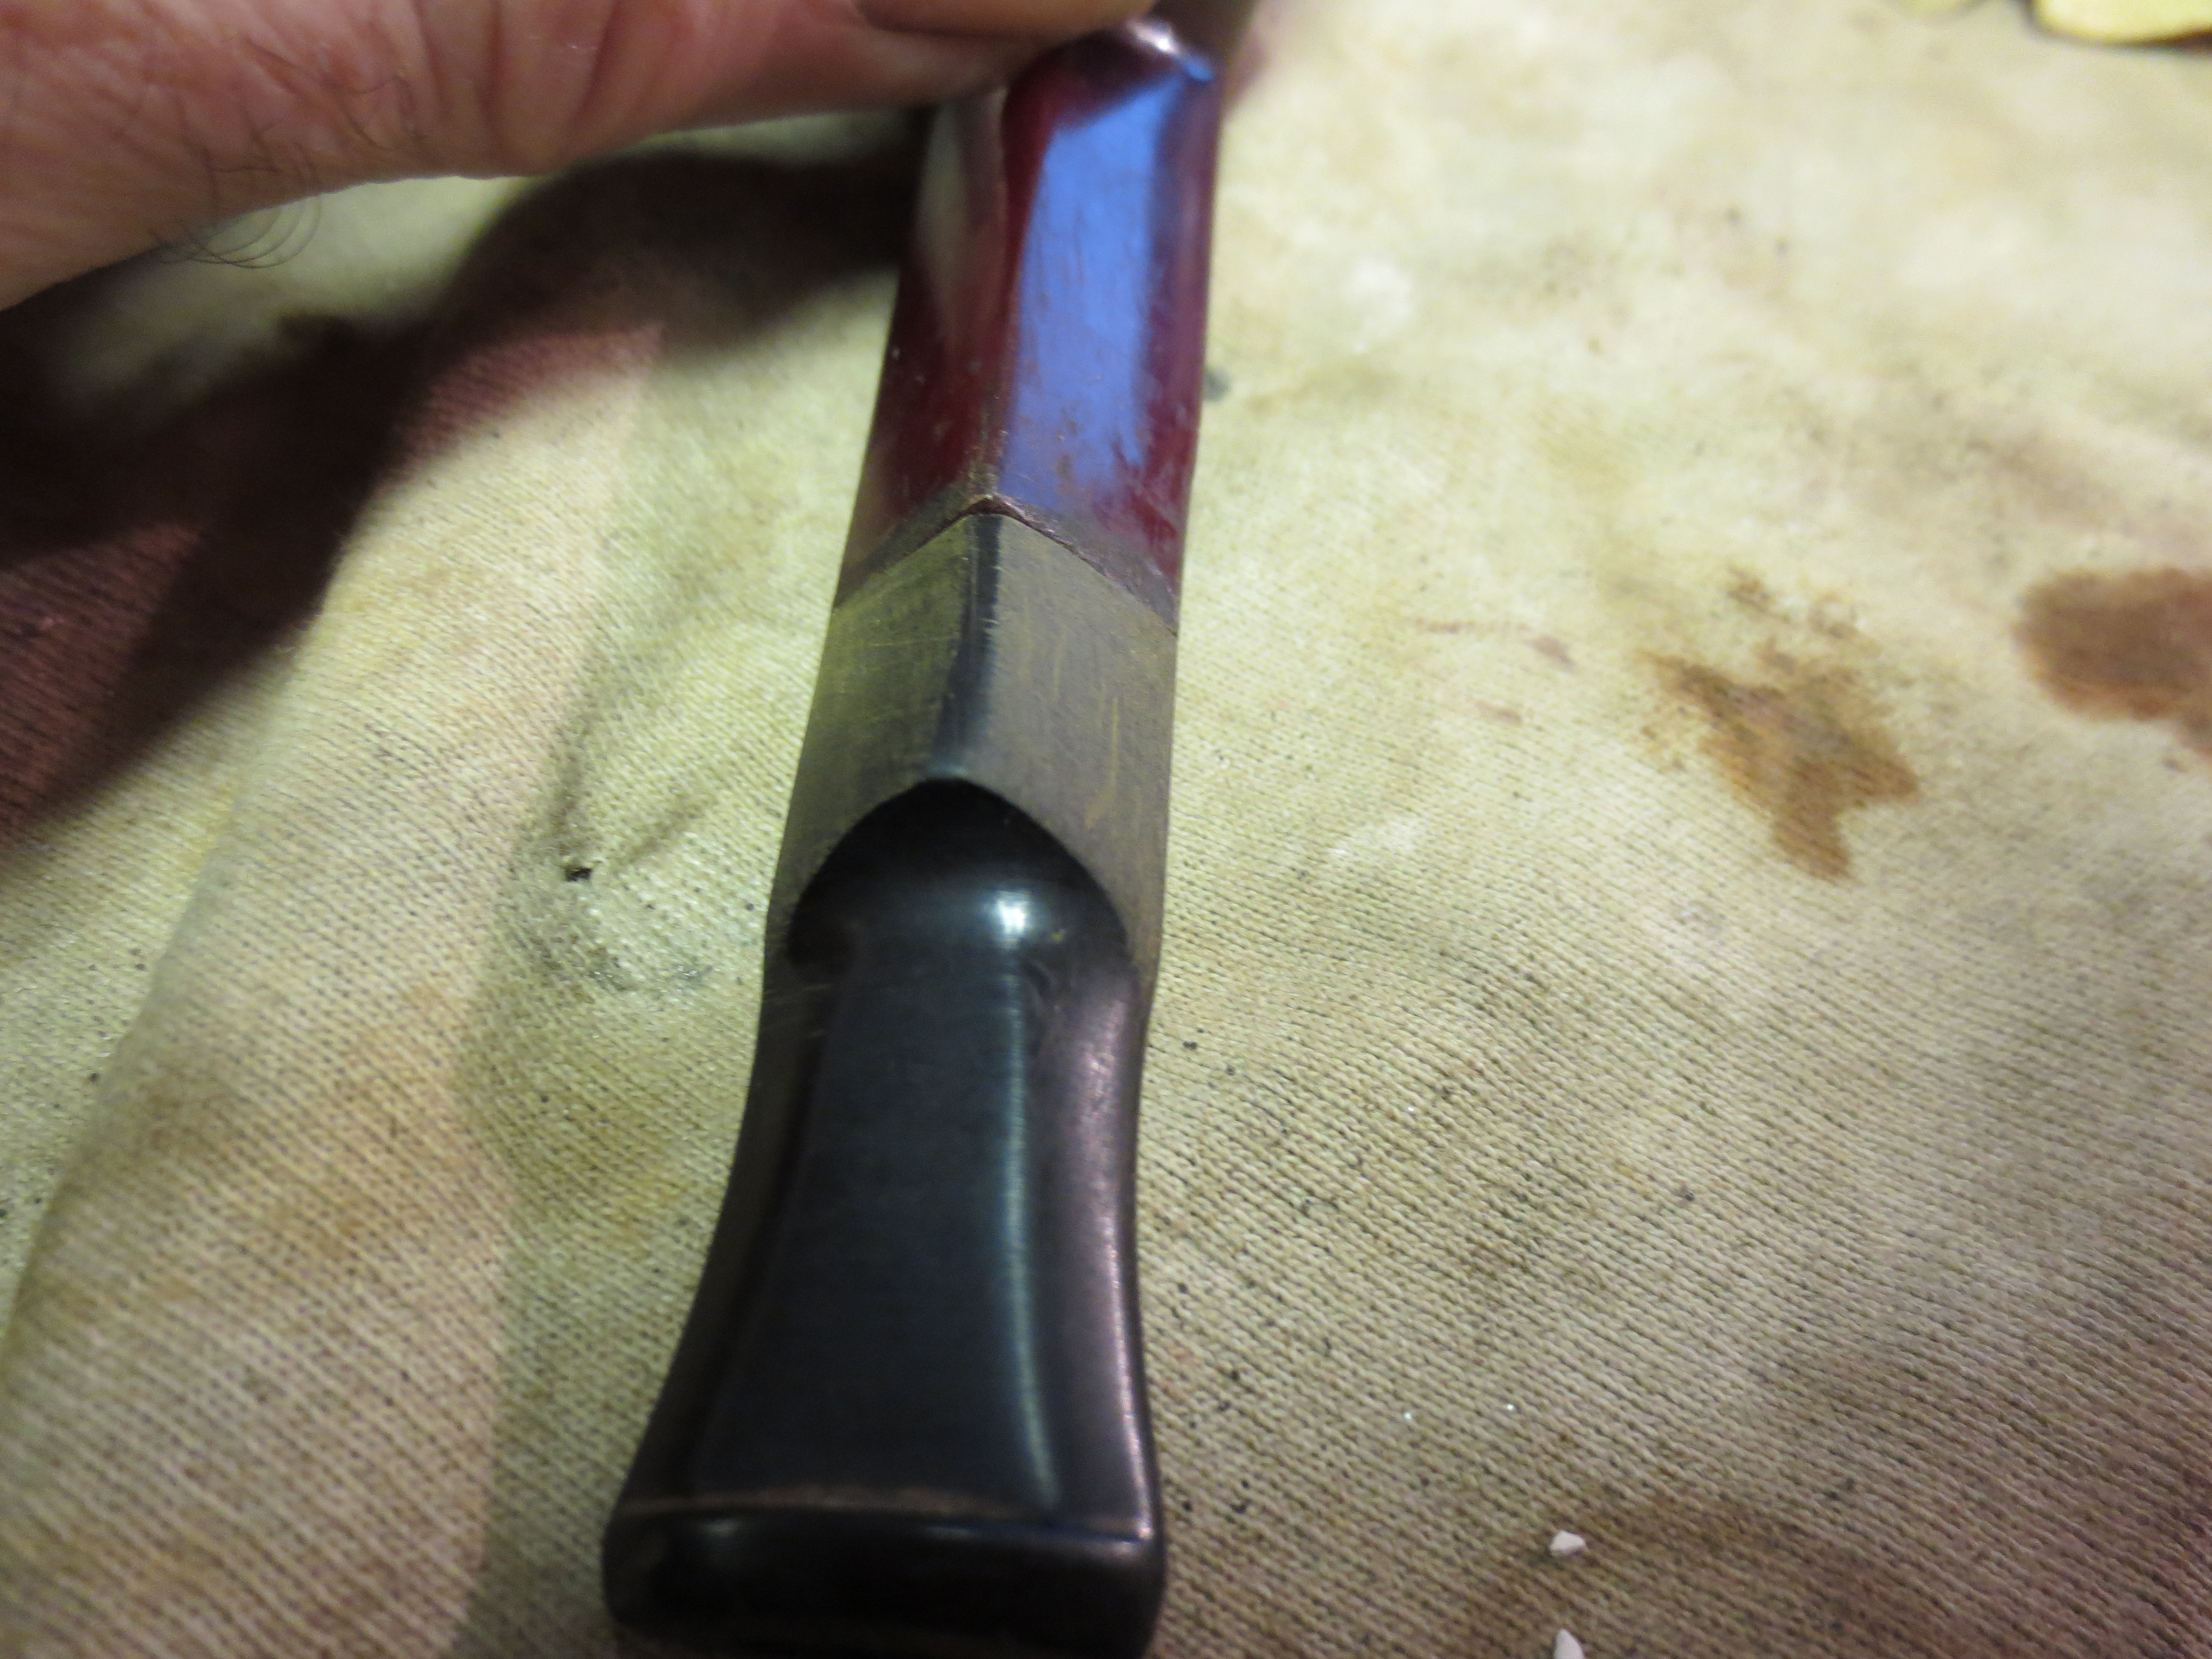
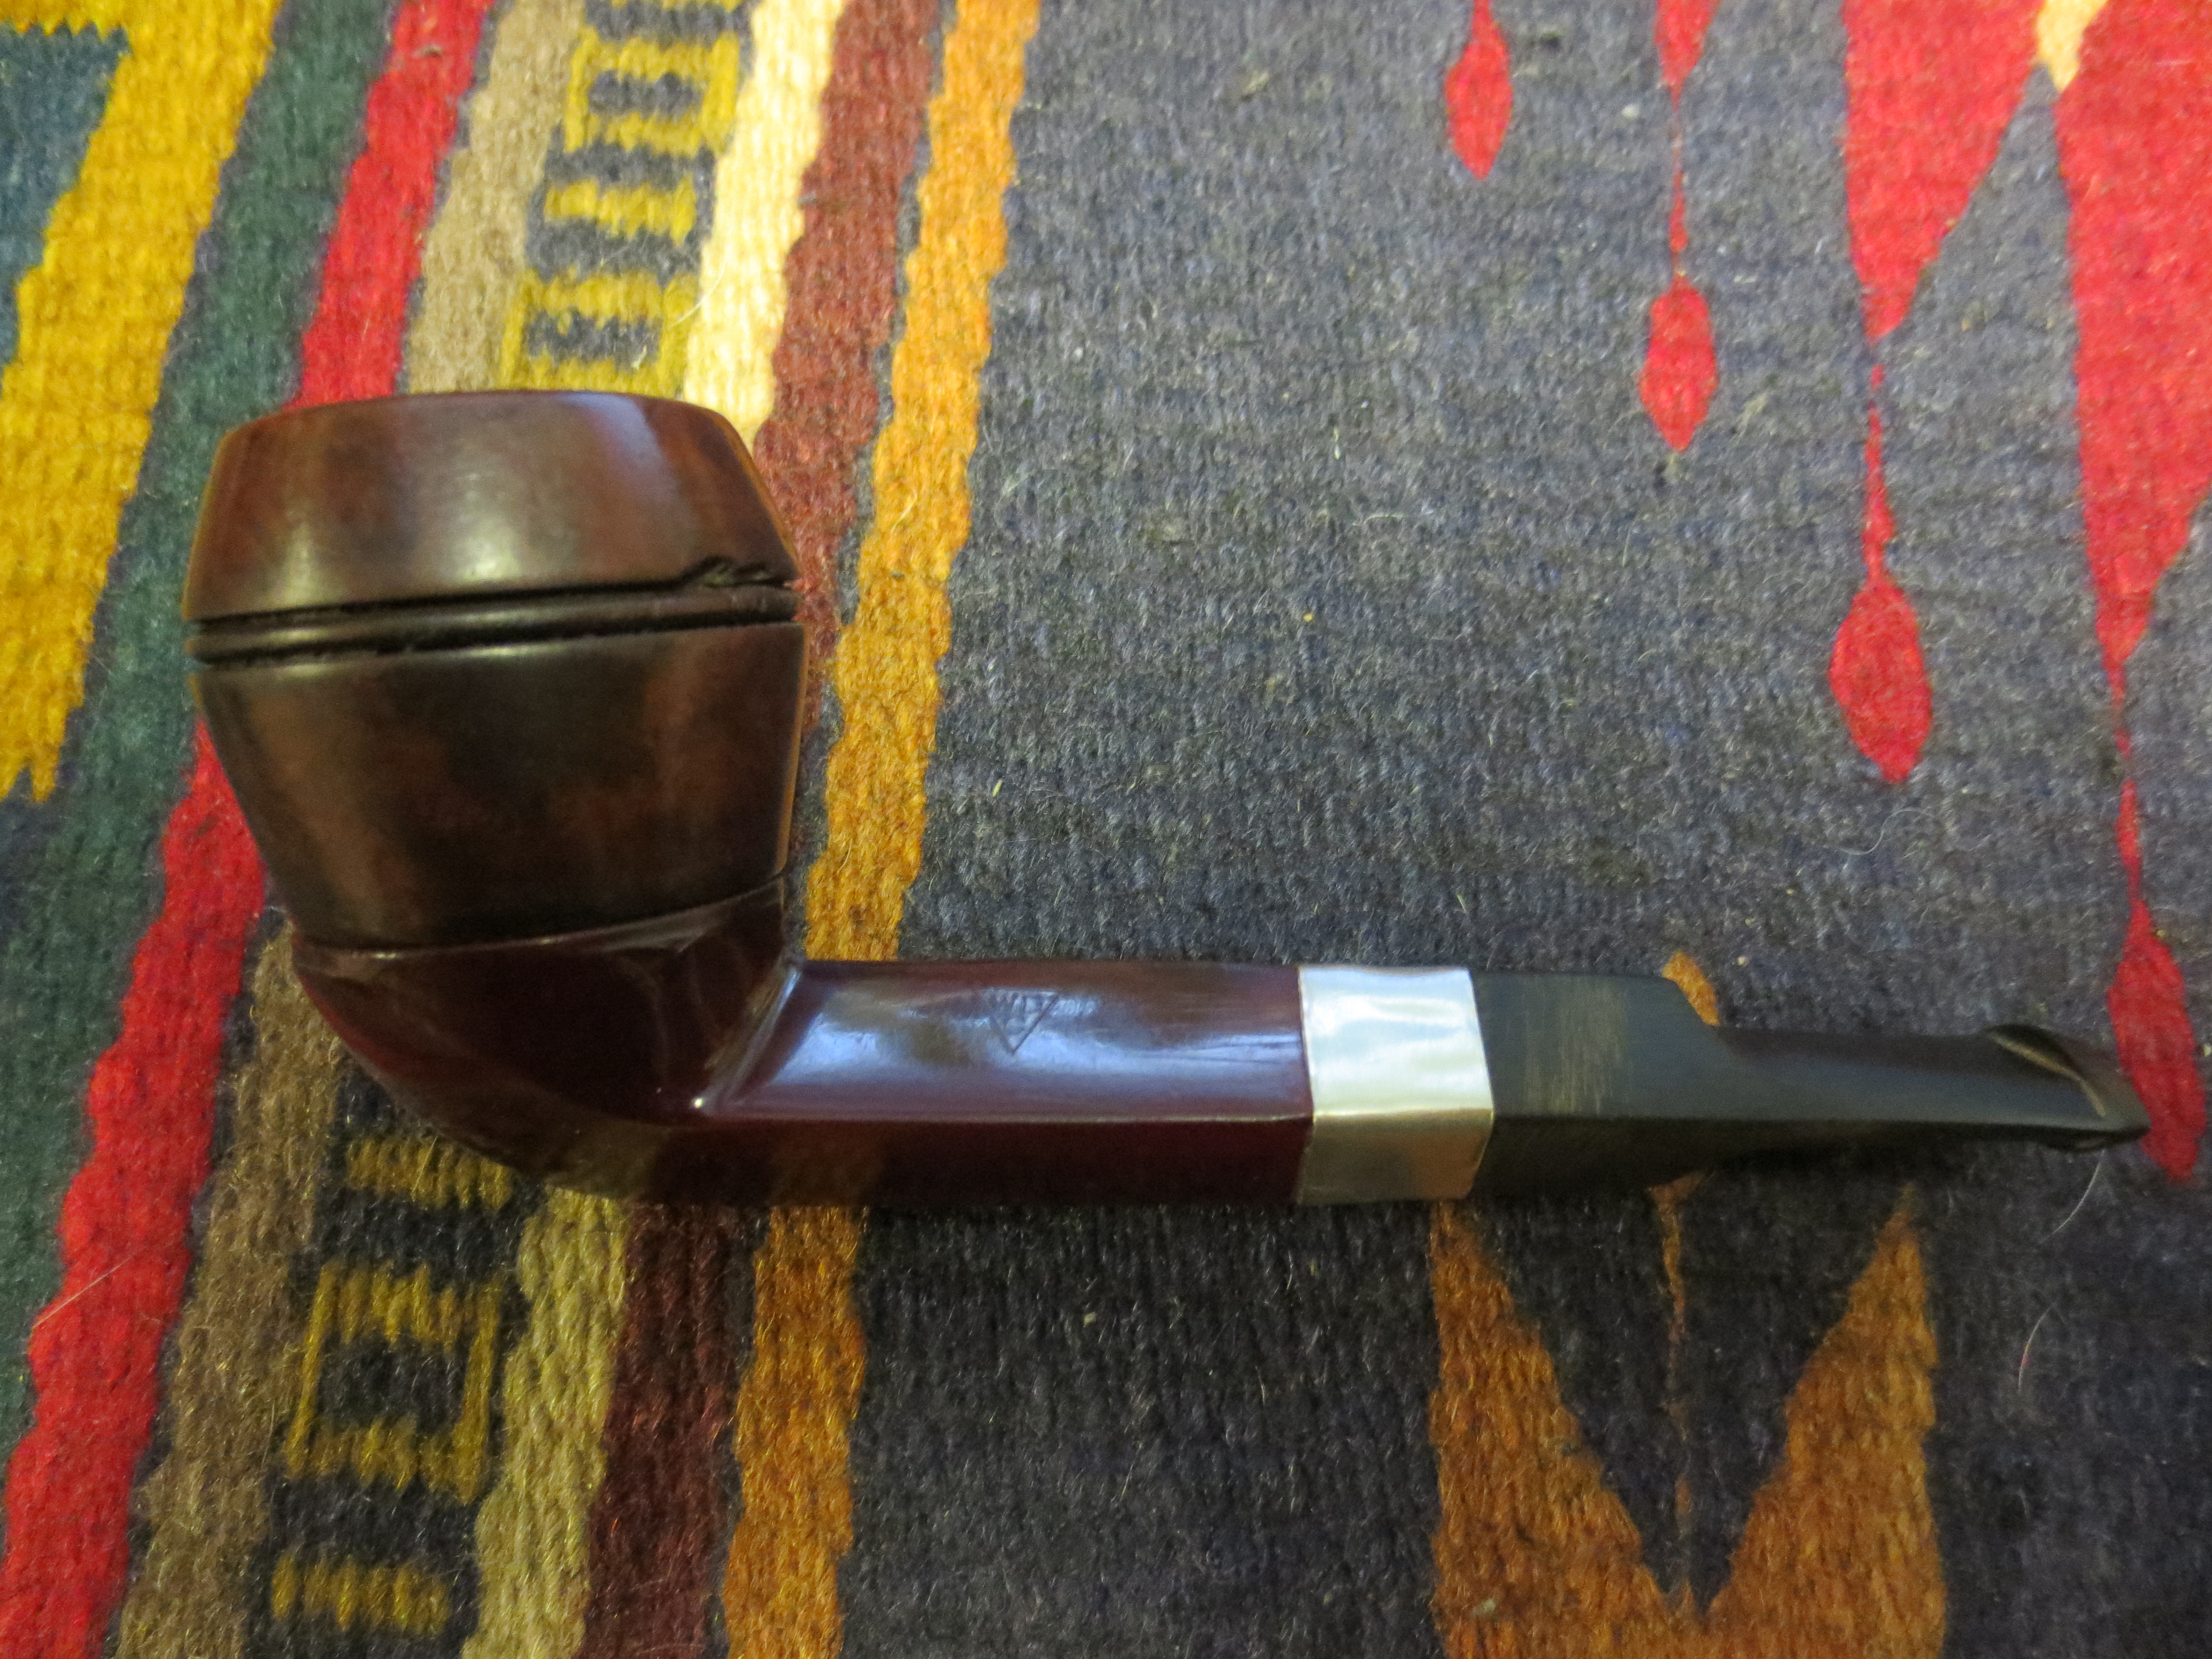
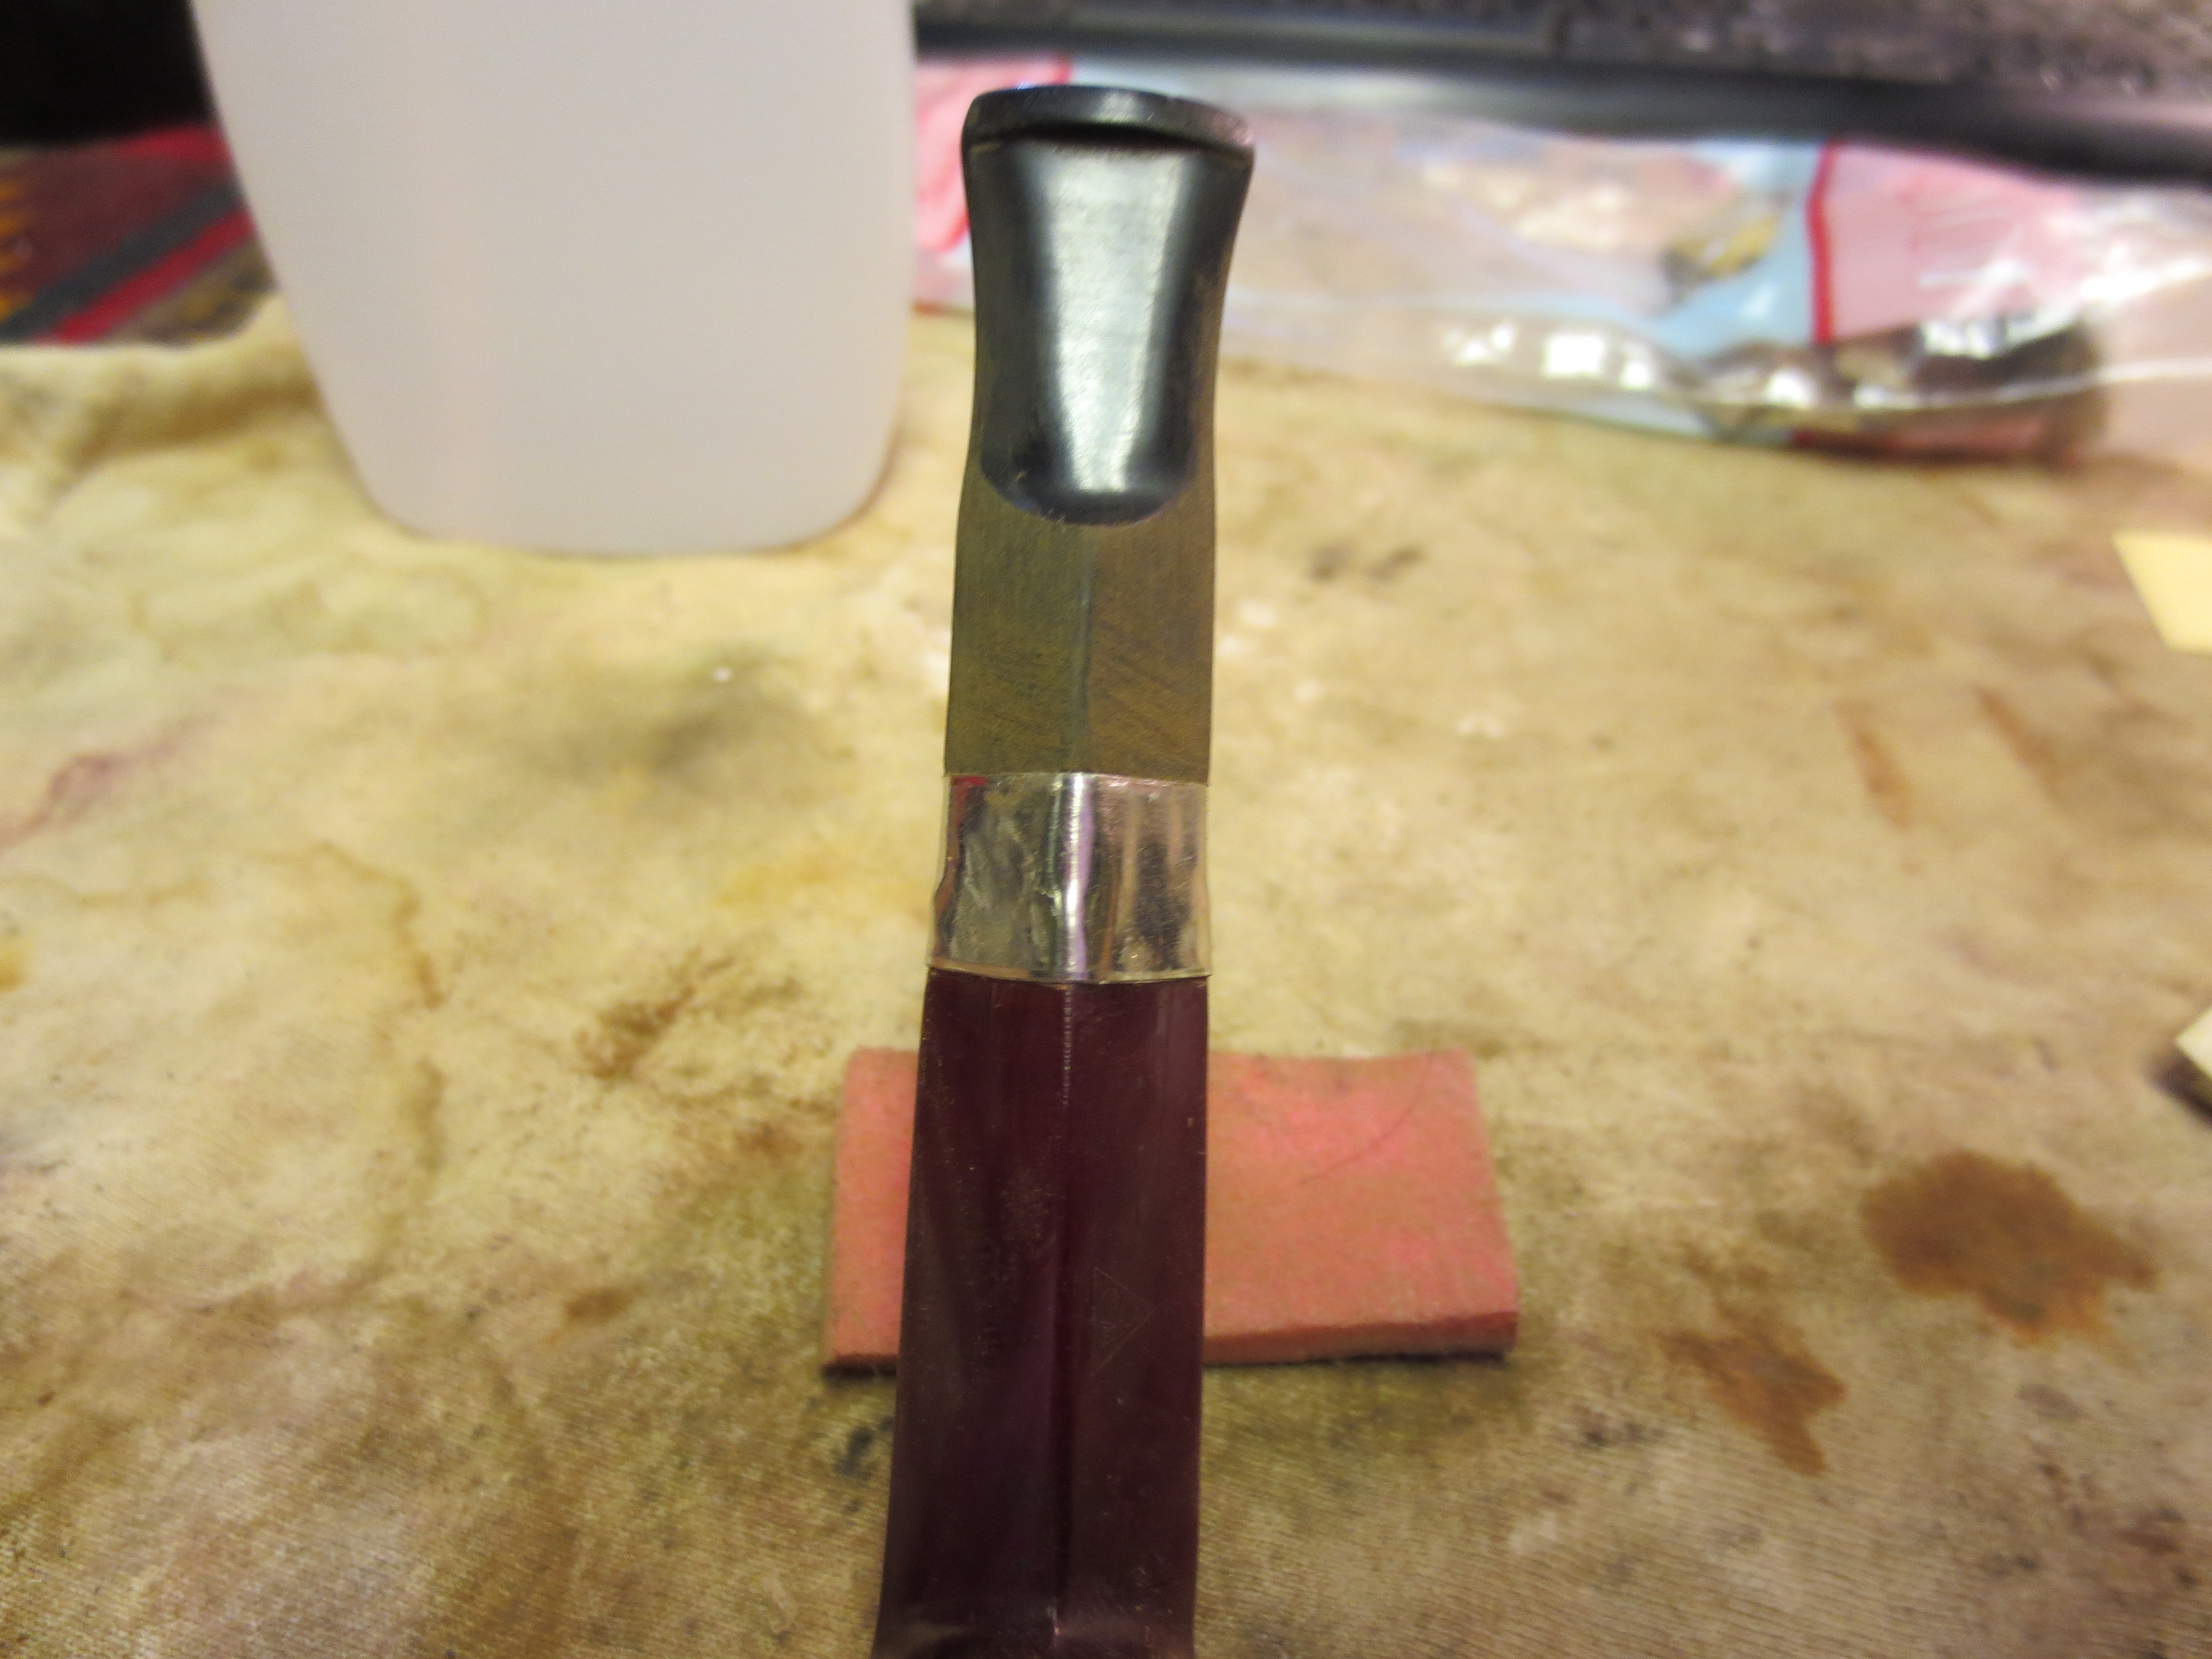
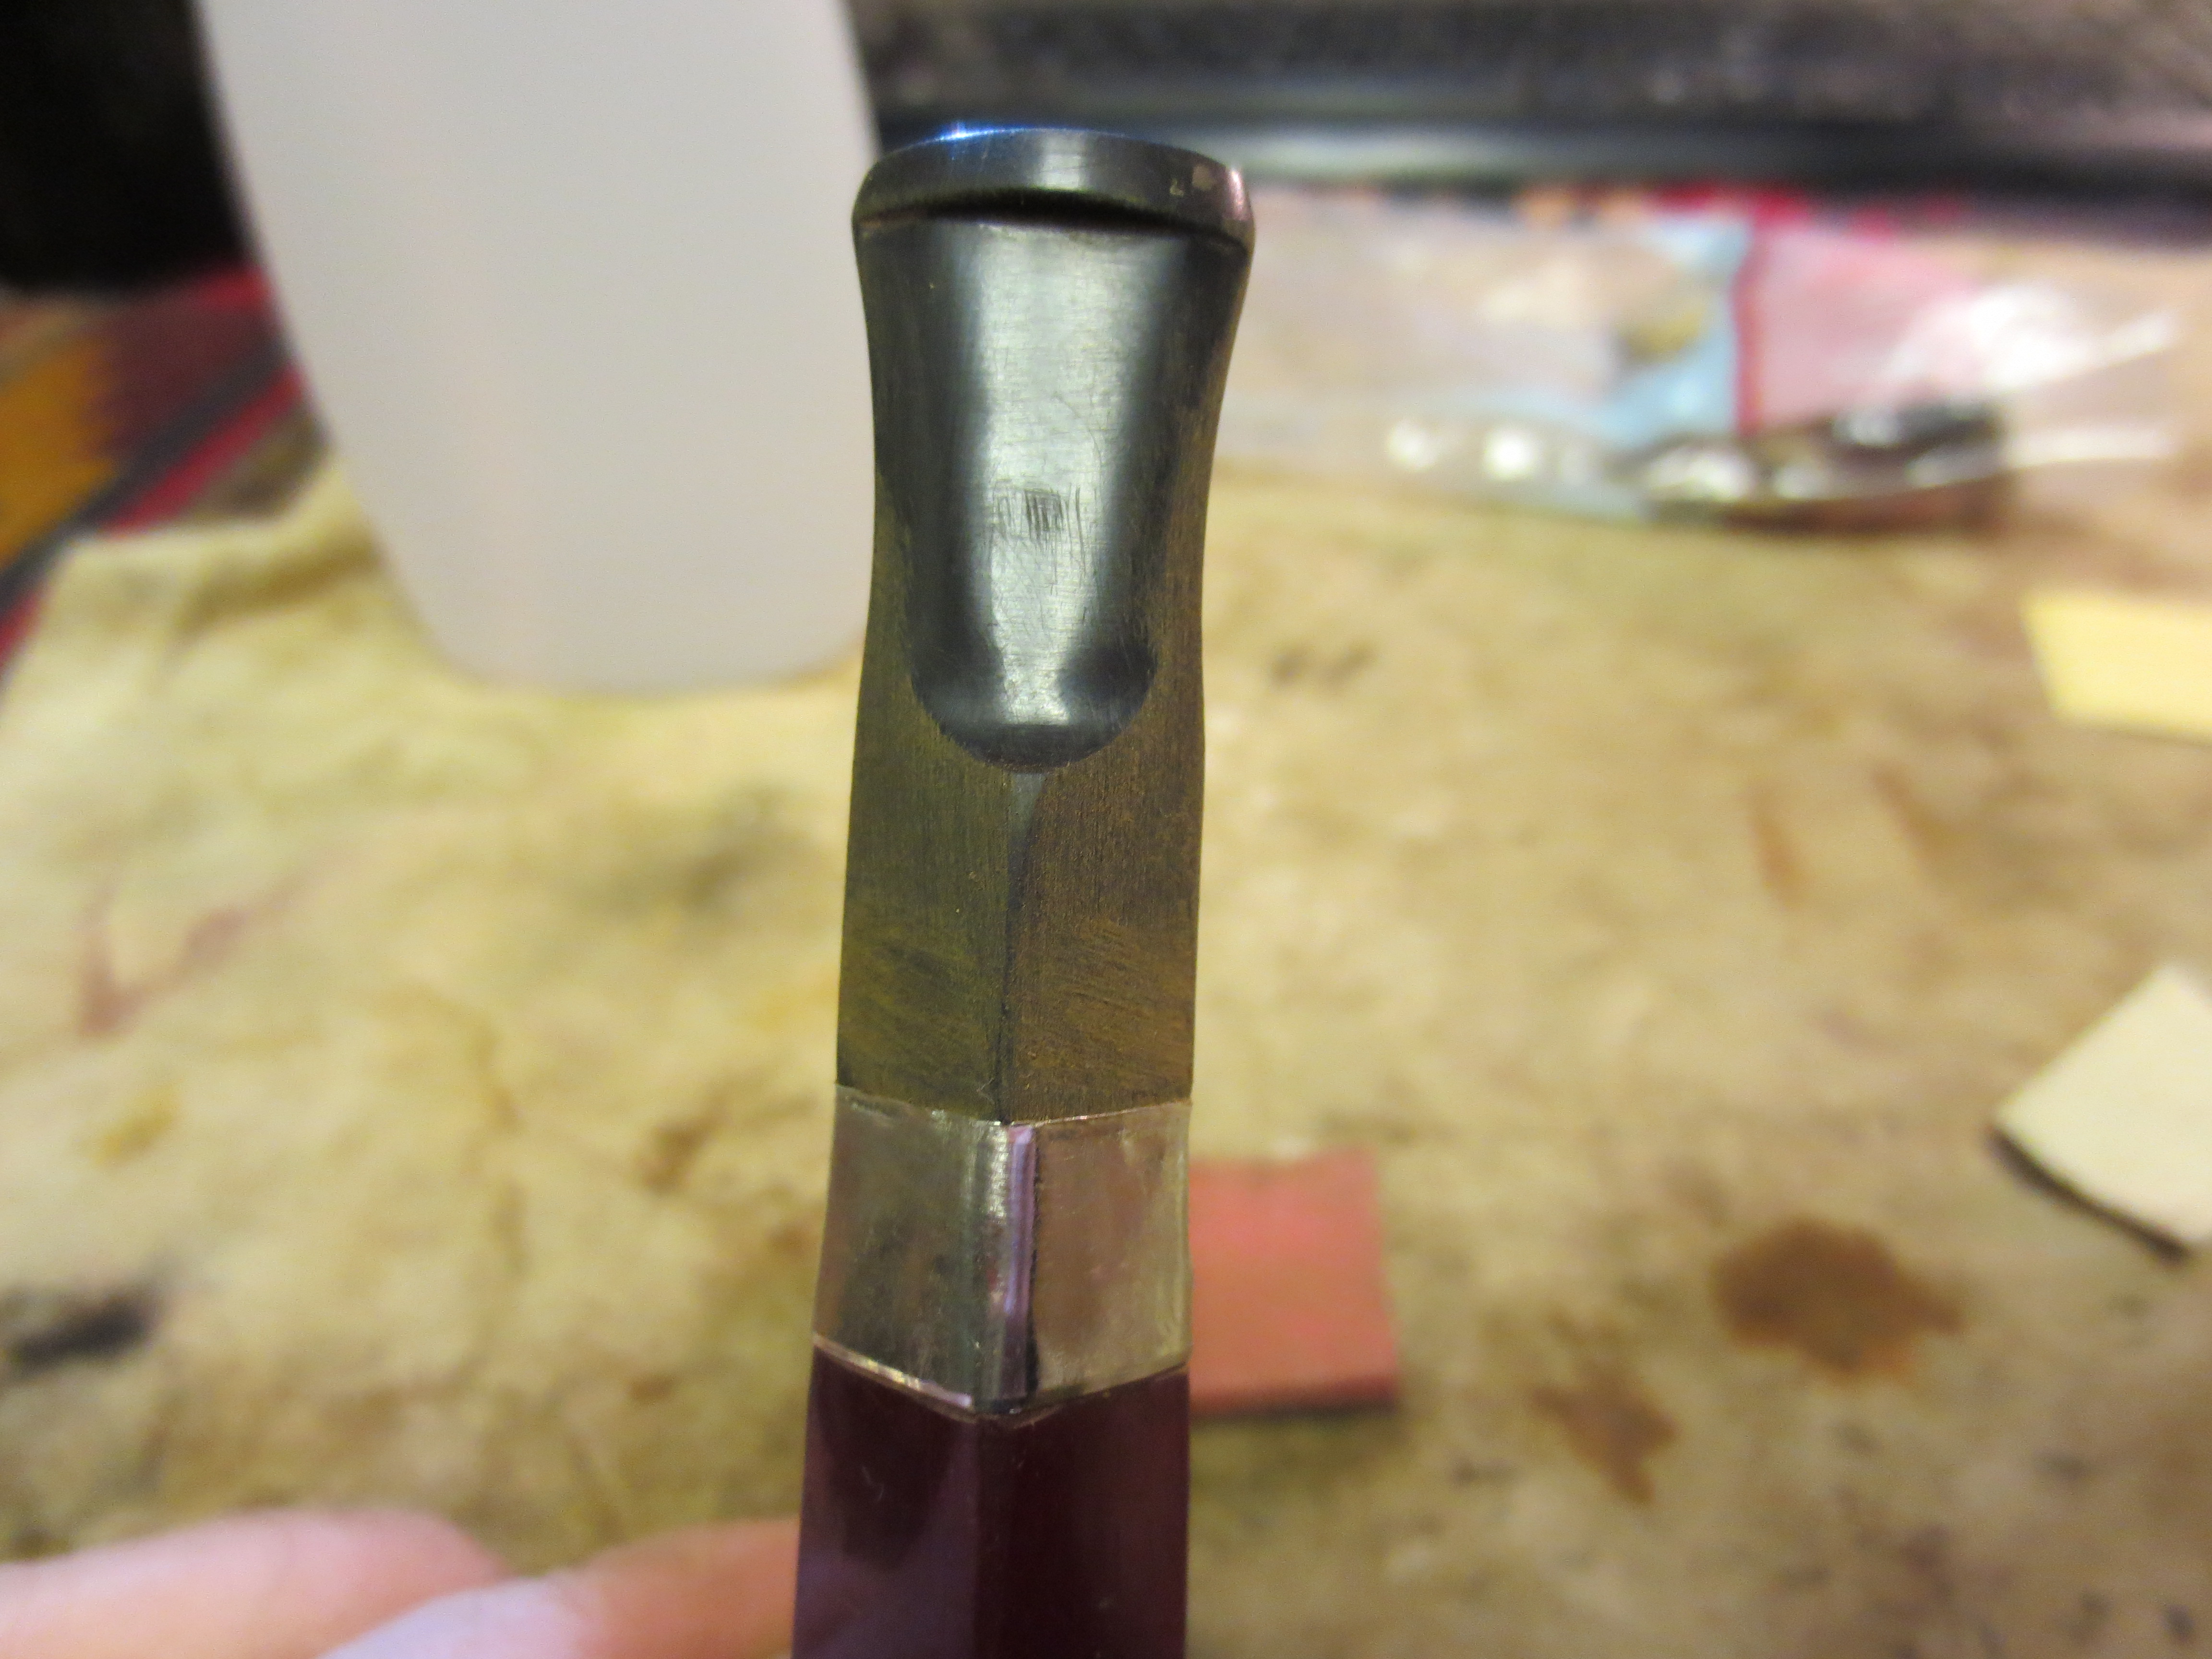
After staring at the pipe and handling it yesterday I was not happy with the stem shank union. There were some problems there with a slight taper to the shank that broke the smooth line of the pipe. I took it back to the work bench last night and did some more work on it. I will post the update later today.
Addendum
I took the pipe to work with me today and held it off and on while working on things and ran my fingers over the joint of the shank and the stem. There was a slight hip, with the shank tapering down slightly at the joint and breaking the flow of the lines of the pipe. It bugged me so when I got home I put it back on the worktable. I would have to deal with it and smooth things out. I knew it would take some more sanding and then refinishing the pipe and stem but so be it. I sat down and read the responses to my post regarding this pipe on Smokers Forums and also read my private messages. I had received a private message from bbqncigars (Wayne). I include his message in the paragraph below.
Steve,
Your restorations have been breathtaking. That said, I have a quibble with this pipe. The last 1/16″ or so of the shank exhibits a taper that is out of place with the lines of the rest of the pipe. This could be from over-buffing/sanding pressure on the end of the shank (BTDT). To restore the continuous line from the shank to the tip would require block sanding (might jeopardize the stamping) or removing the taper by shortening the shank. It’s a beautiful pipe and bit, but the bit/shank junction would drive me nuttier until I fixed it.
Yeah, I can be really anal about things I make that other people will see.
Wayne
I laughed when I read his words because they confirmed my own feelings and put into words some of my reserve regarding the restemming of this pipe. I looked at the pipe again and then wrote him back as follows:
Wayne
I agree with you totally! It bugs me as well. It forms a slight hip between the stem and the shank that really bugs me. I know that I am not finished yet either! The stummel came to me with a slight taper that was only clearly seen when there is a stem in place. The black stem has the same problem due to the shank. I have been contemplating hunting down a silver band to do deal with the issue and clean up the lines but we shall see. I could indeed block sand and may do that instead, we shall see. Thank you for your pm. I appreciate it as it has been bugging me.
Thanks
Steve
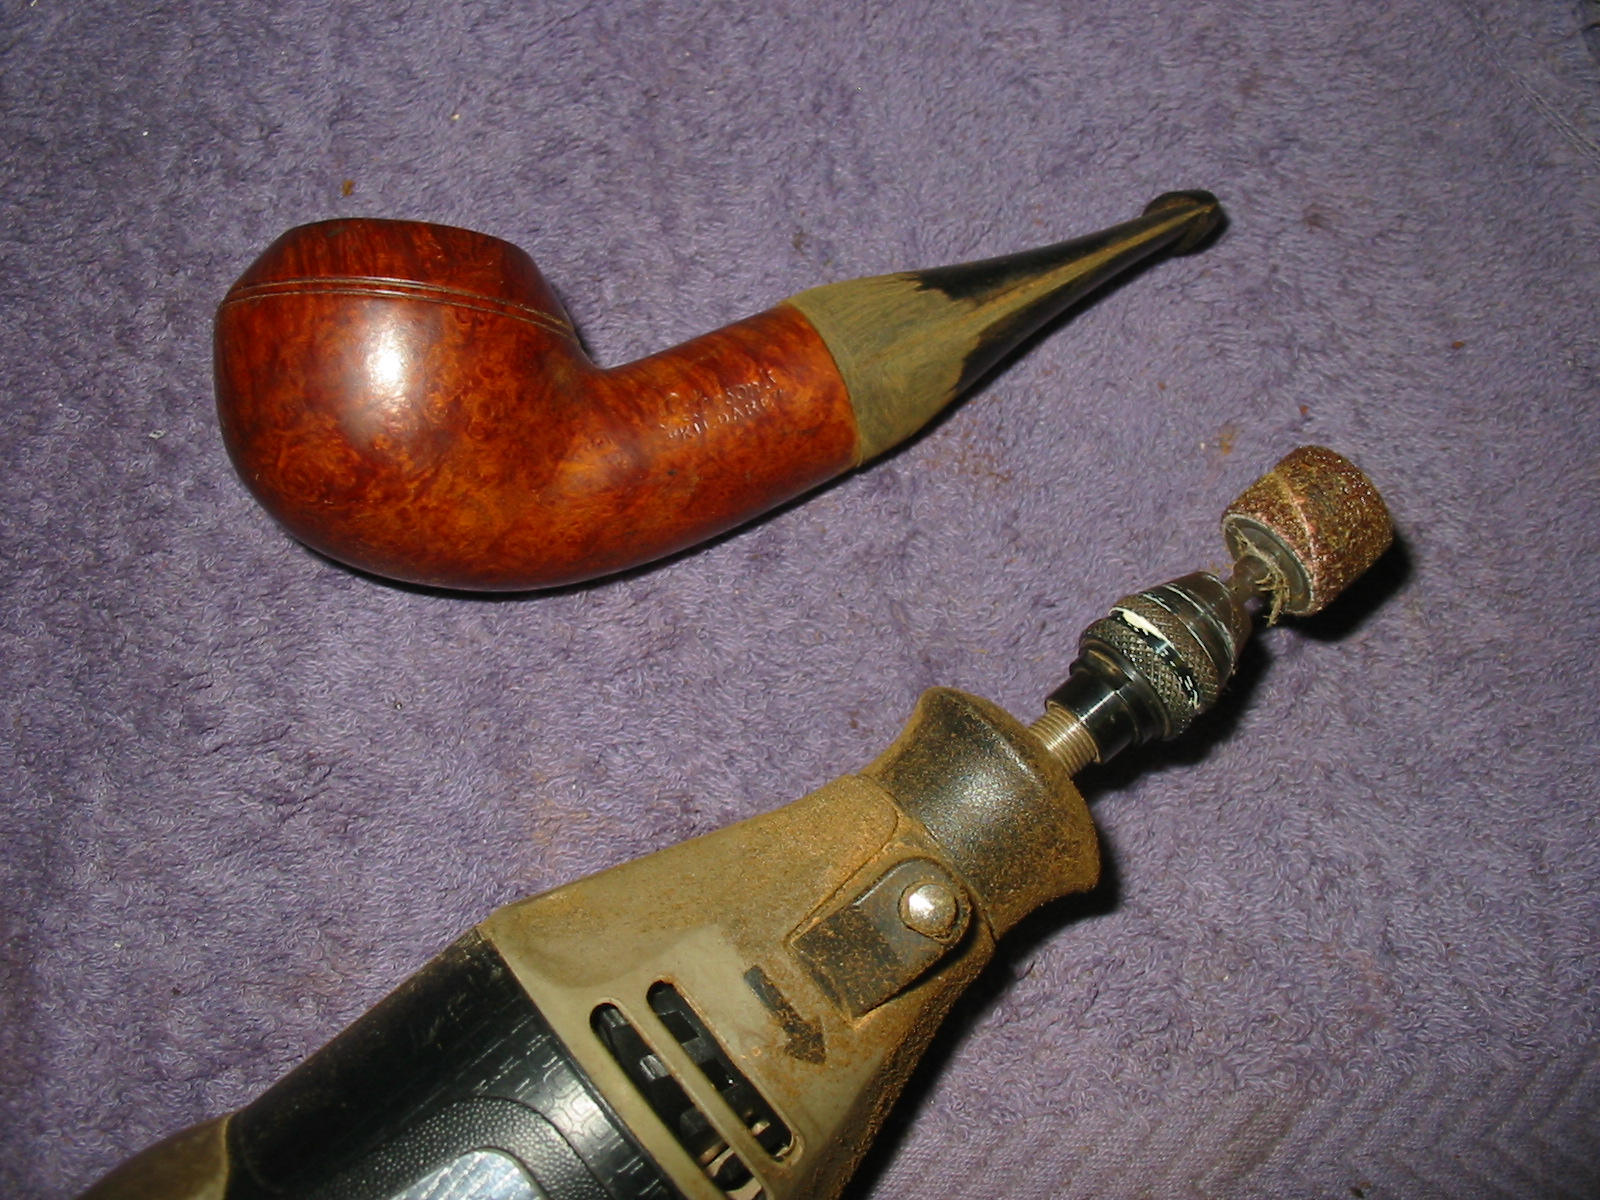
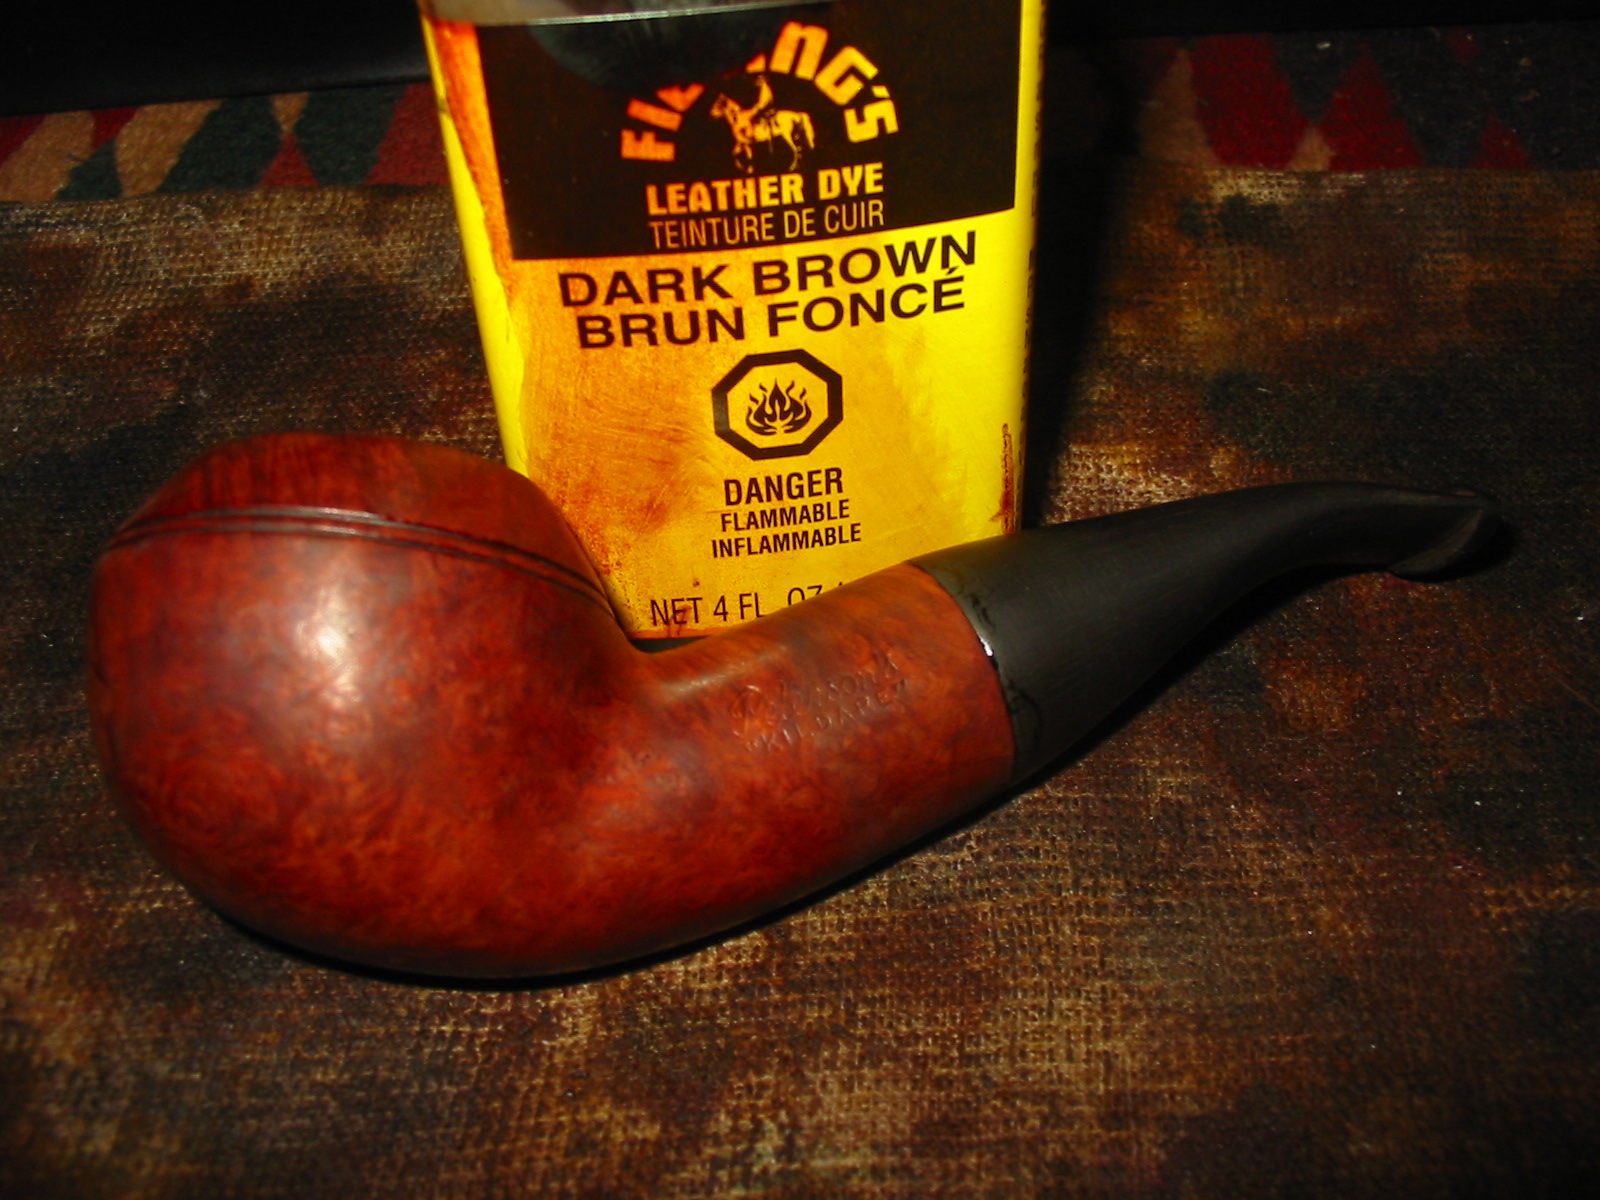
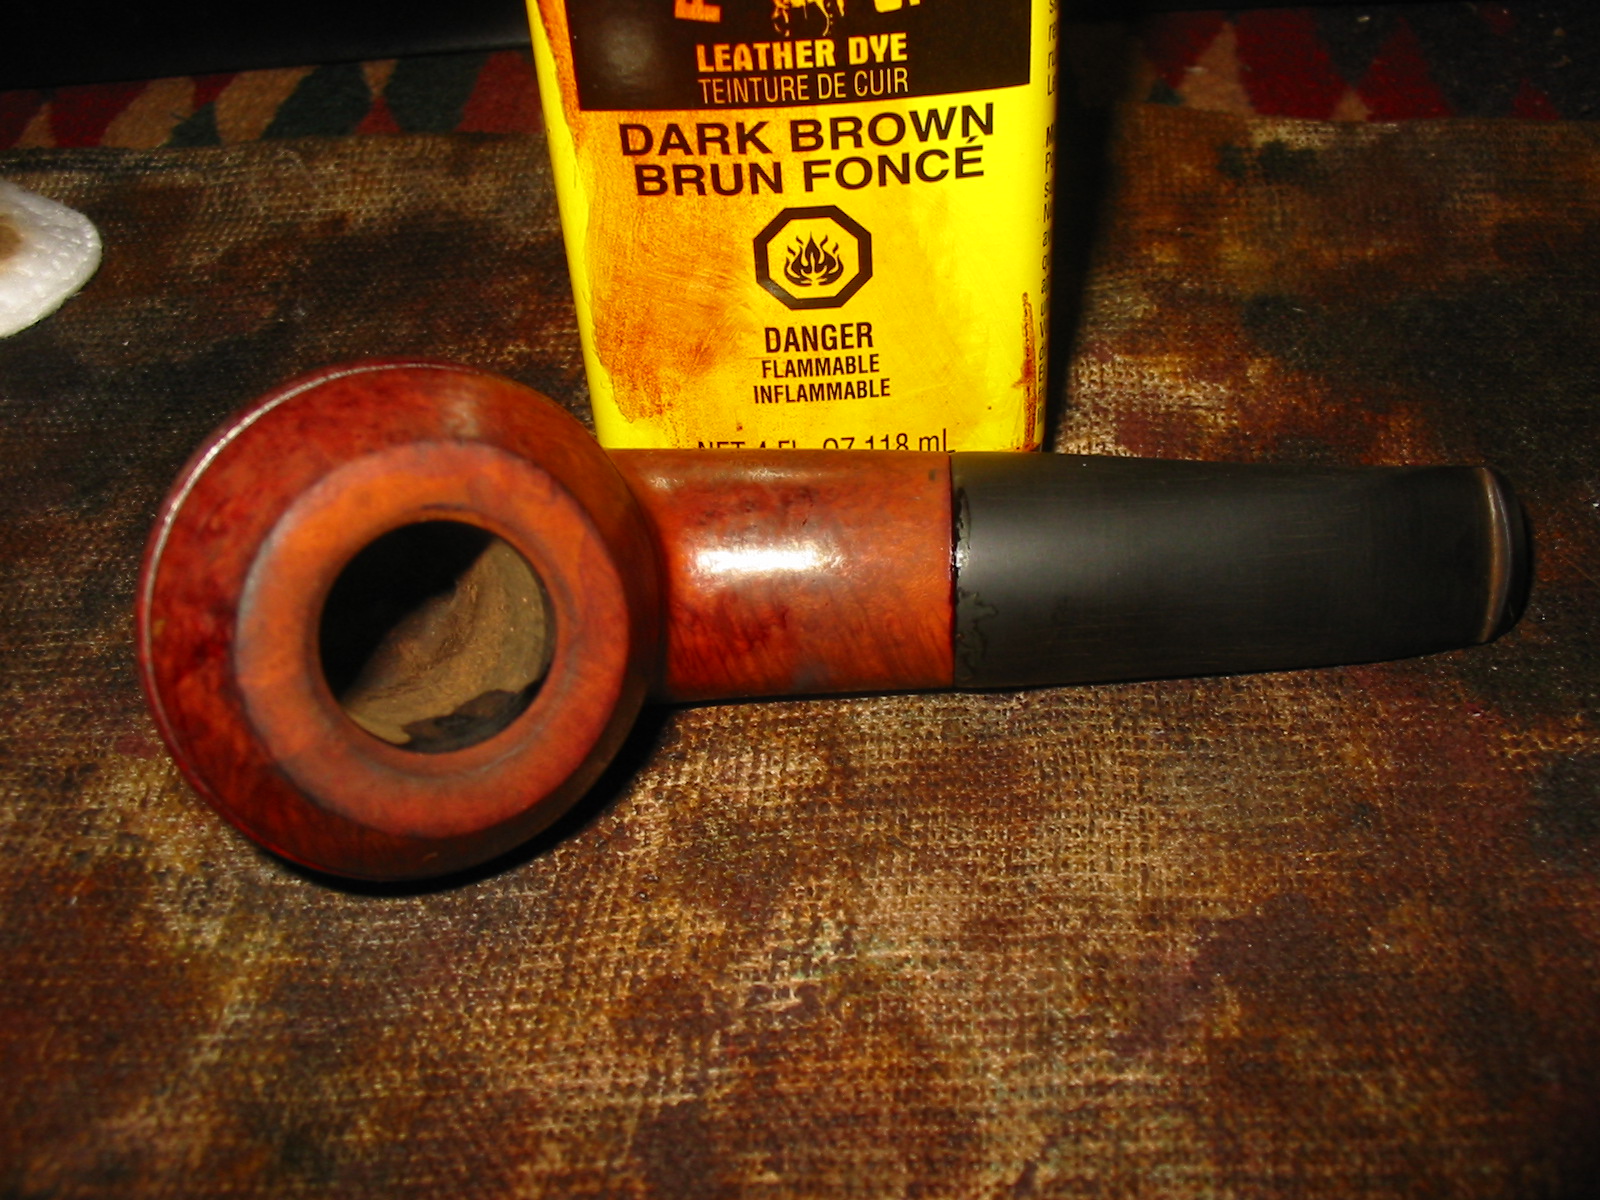
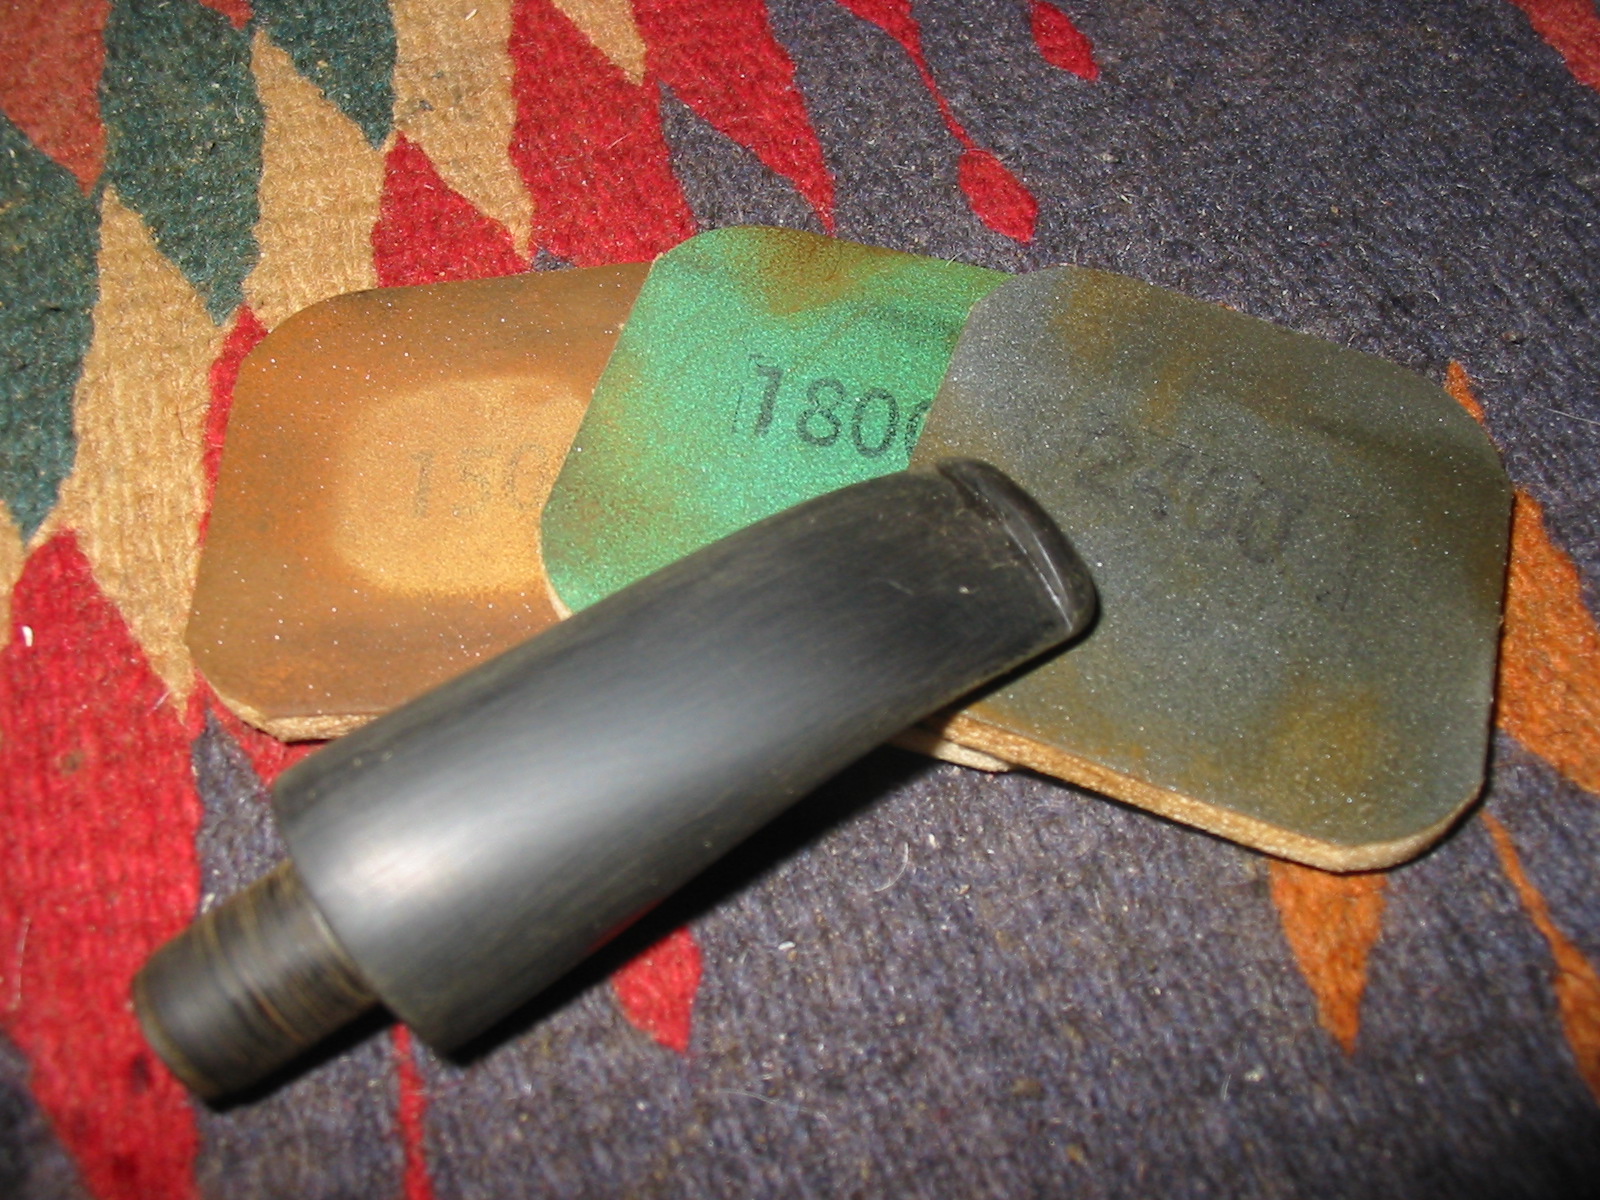
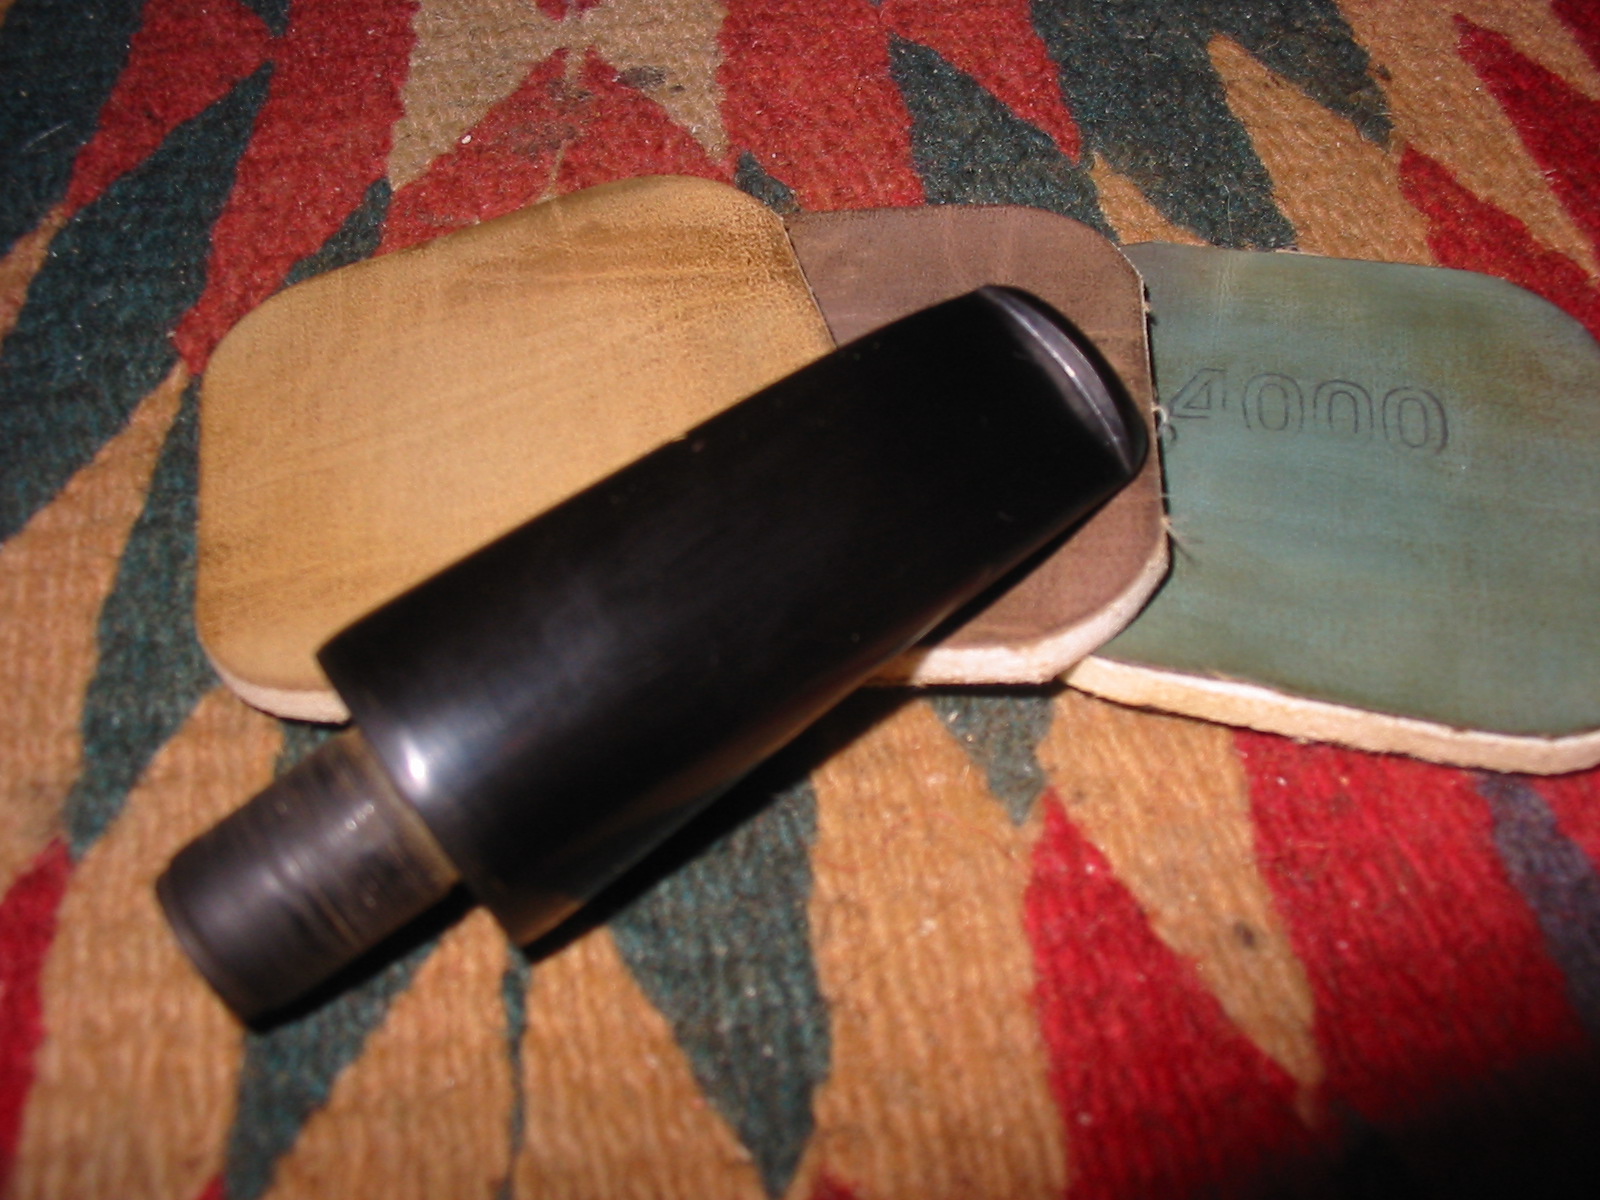
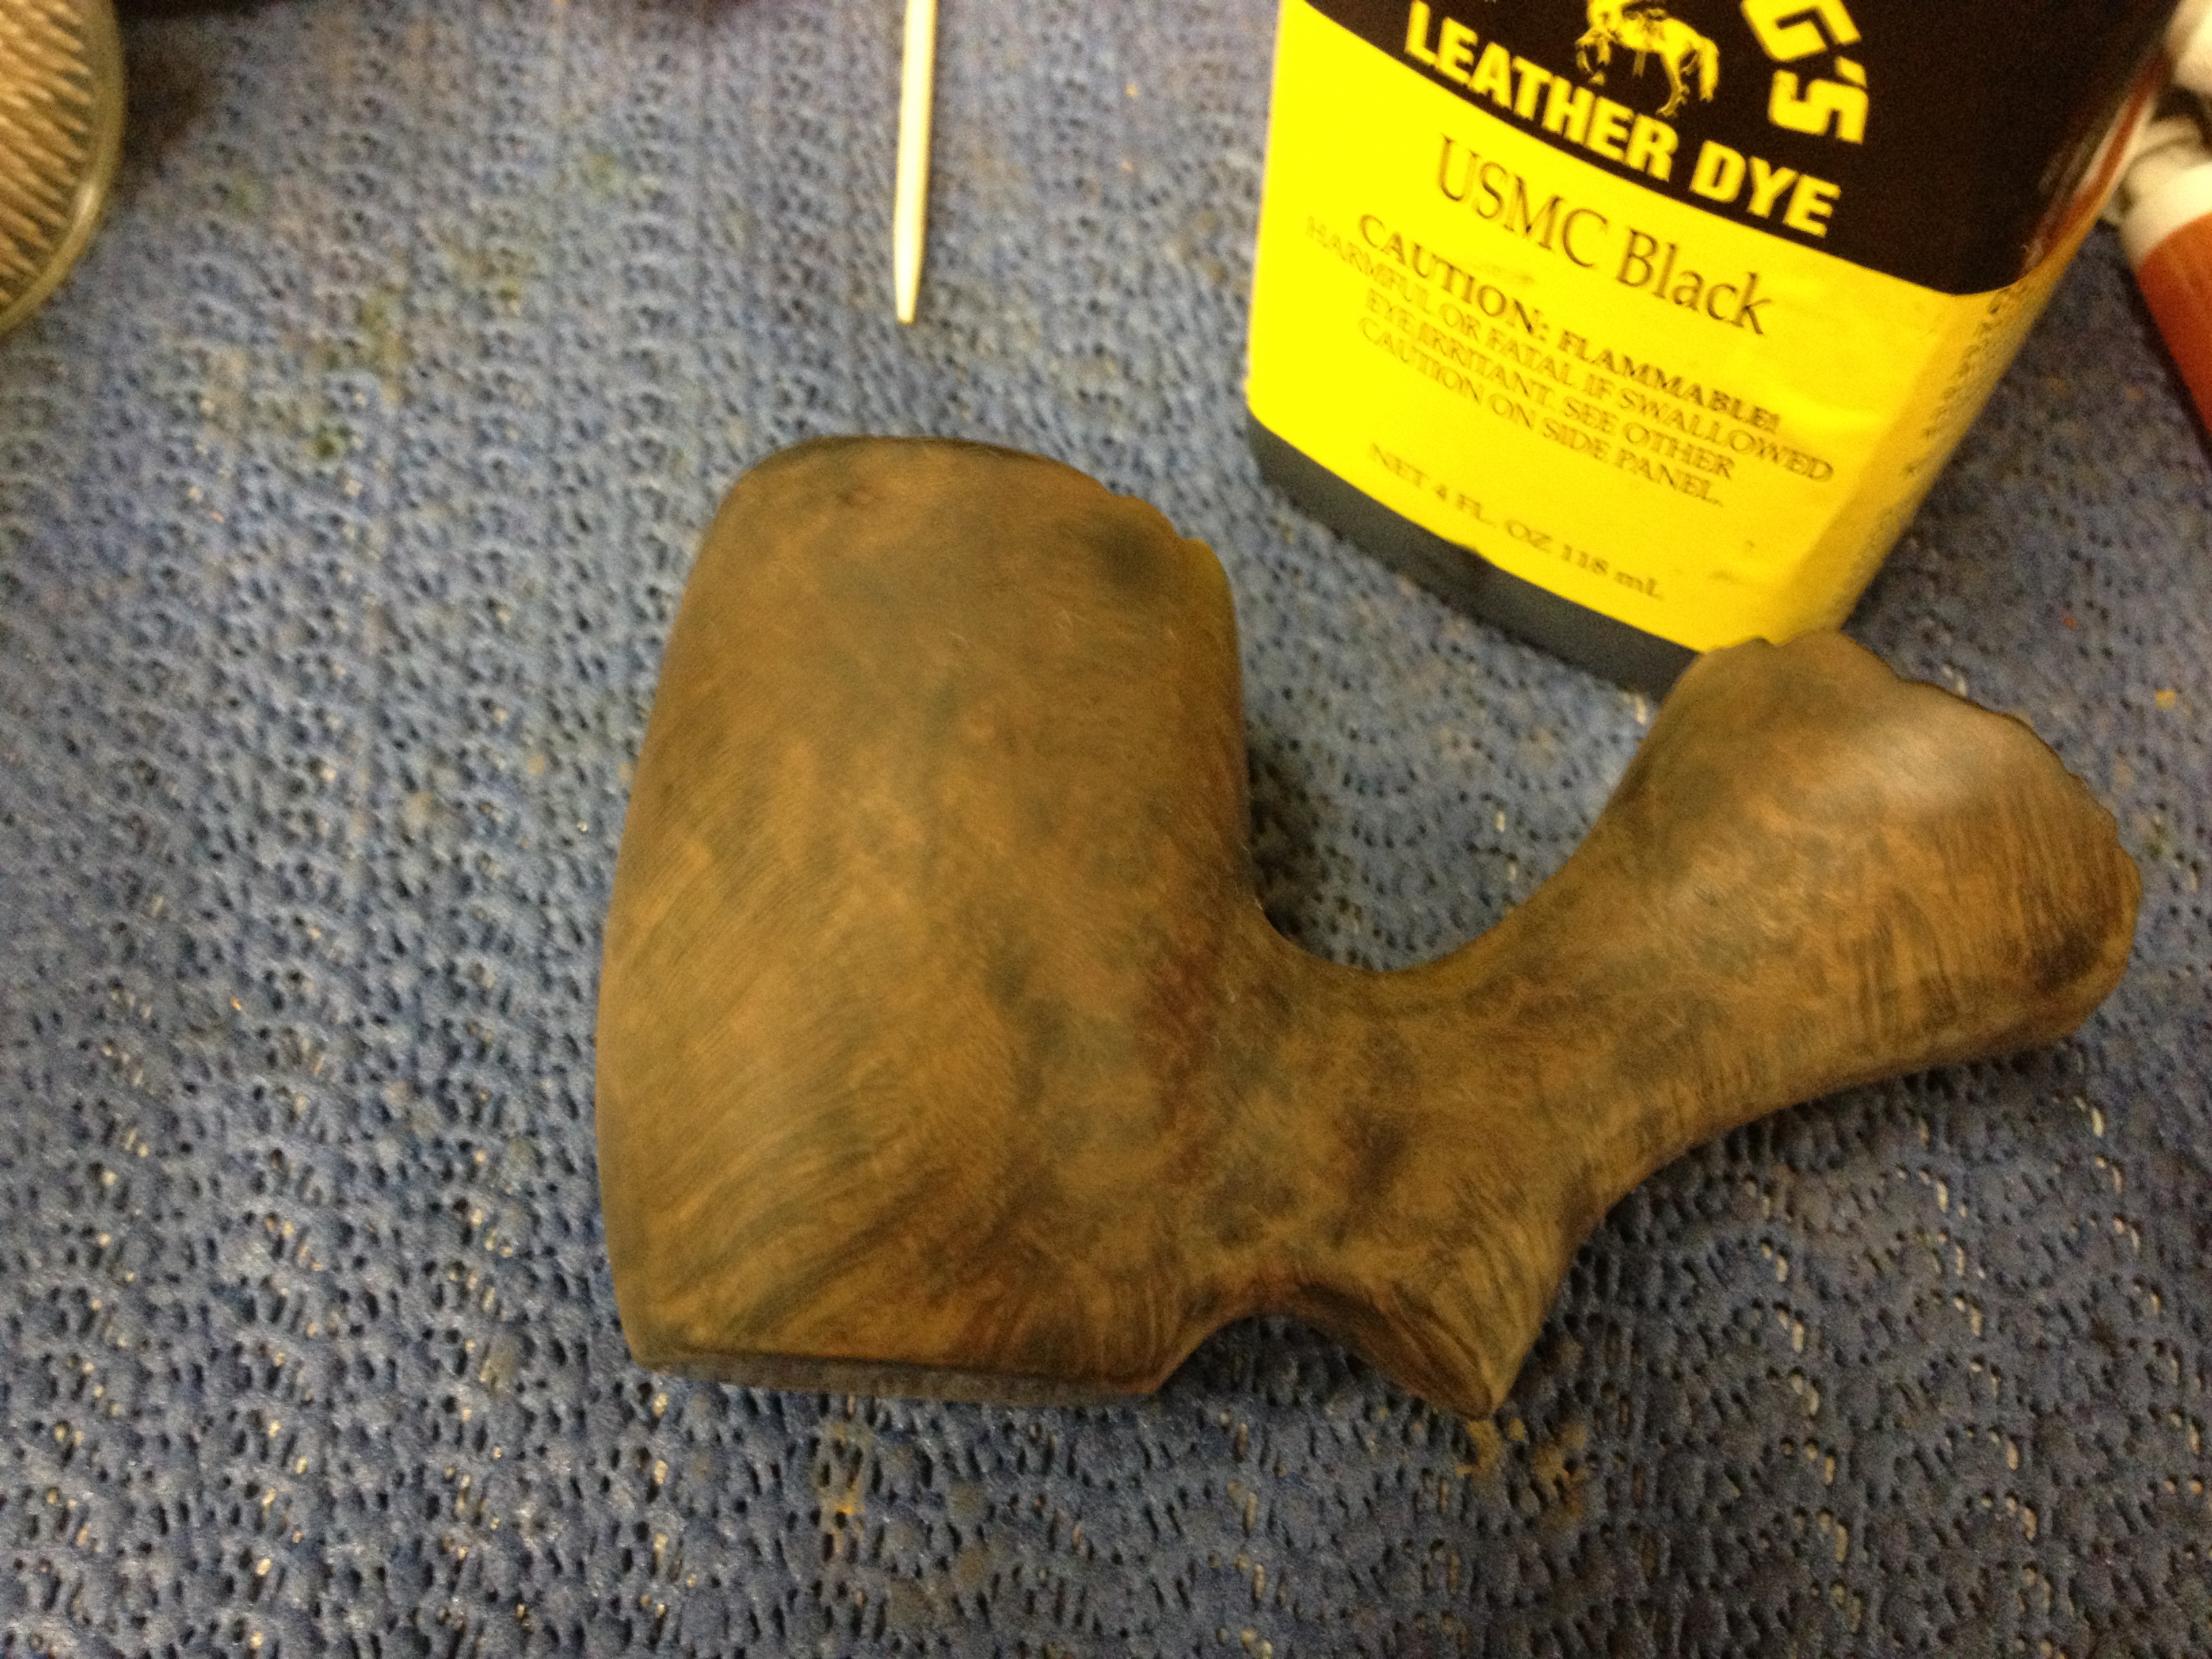
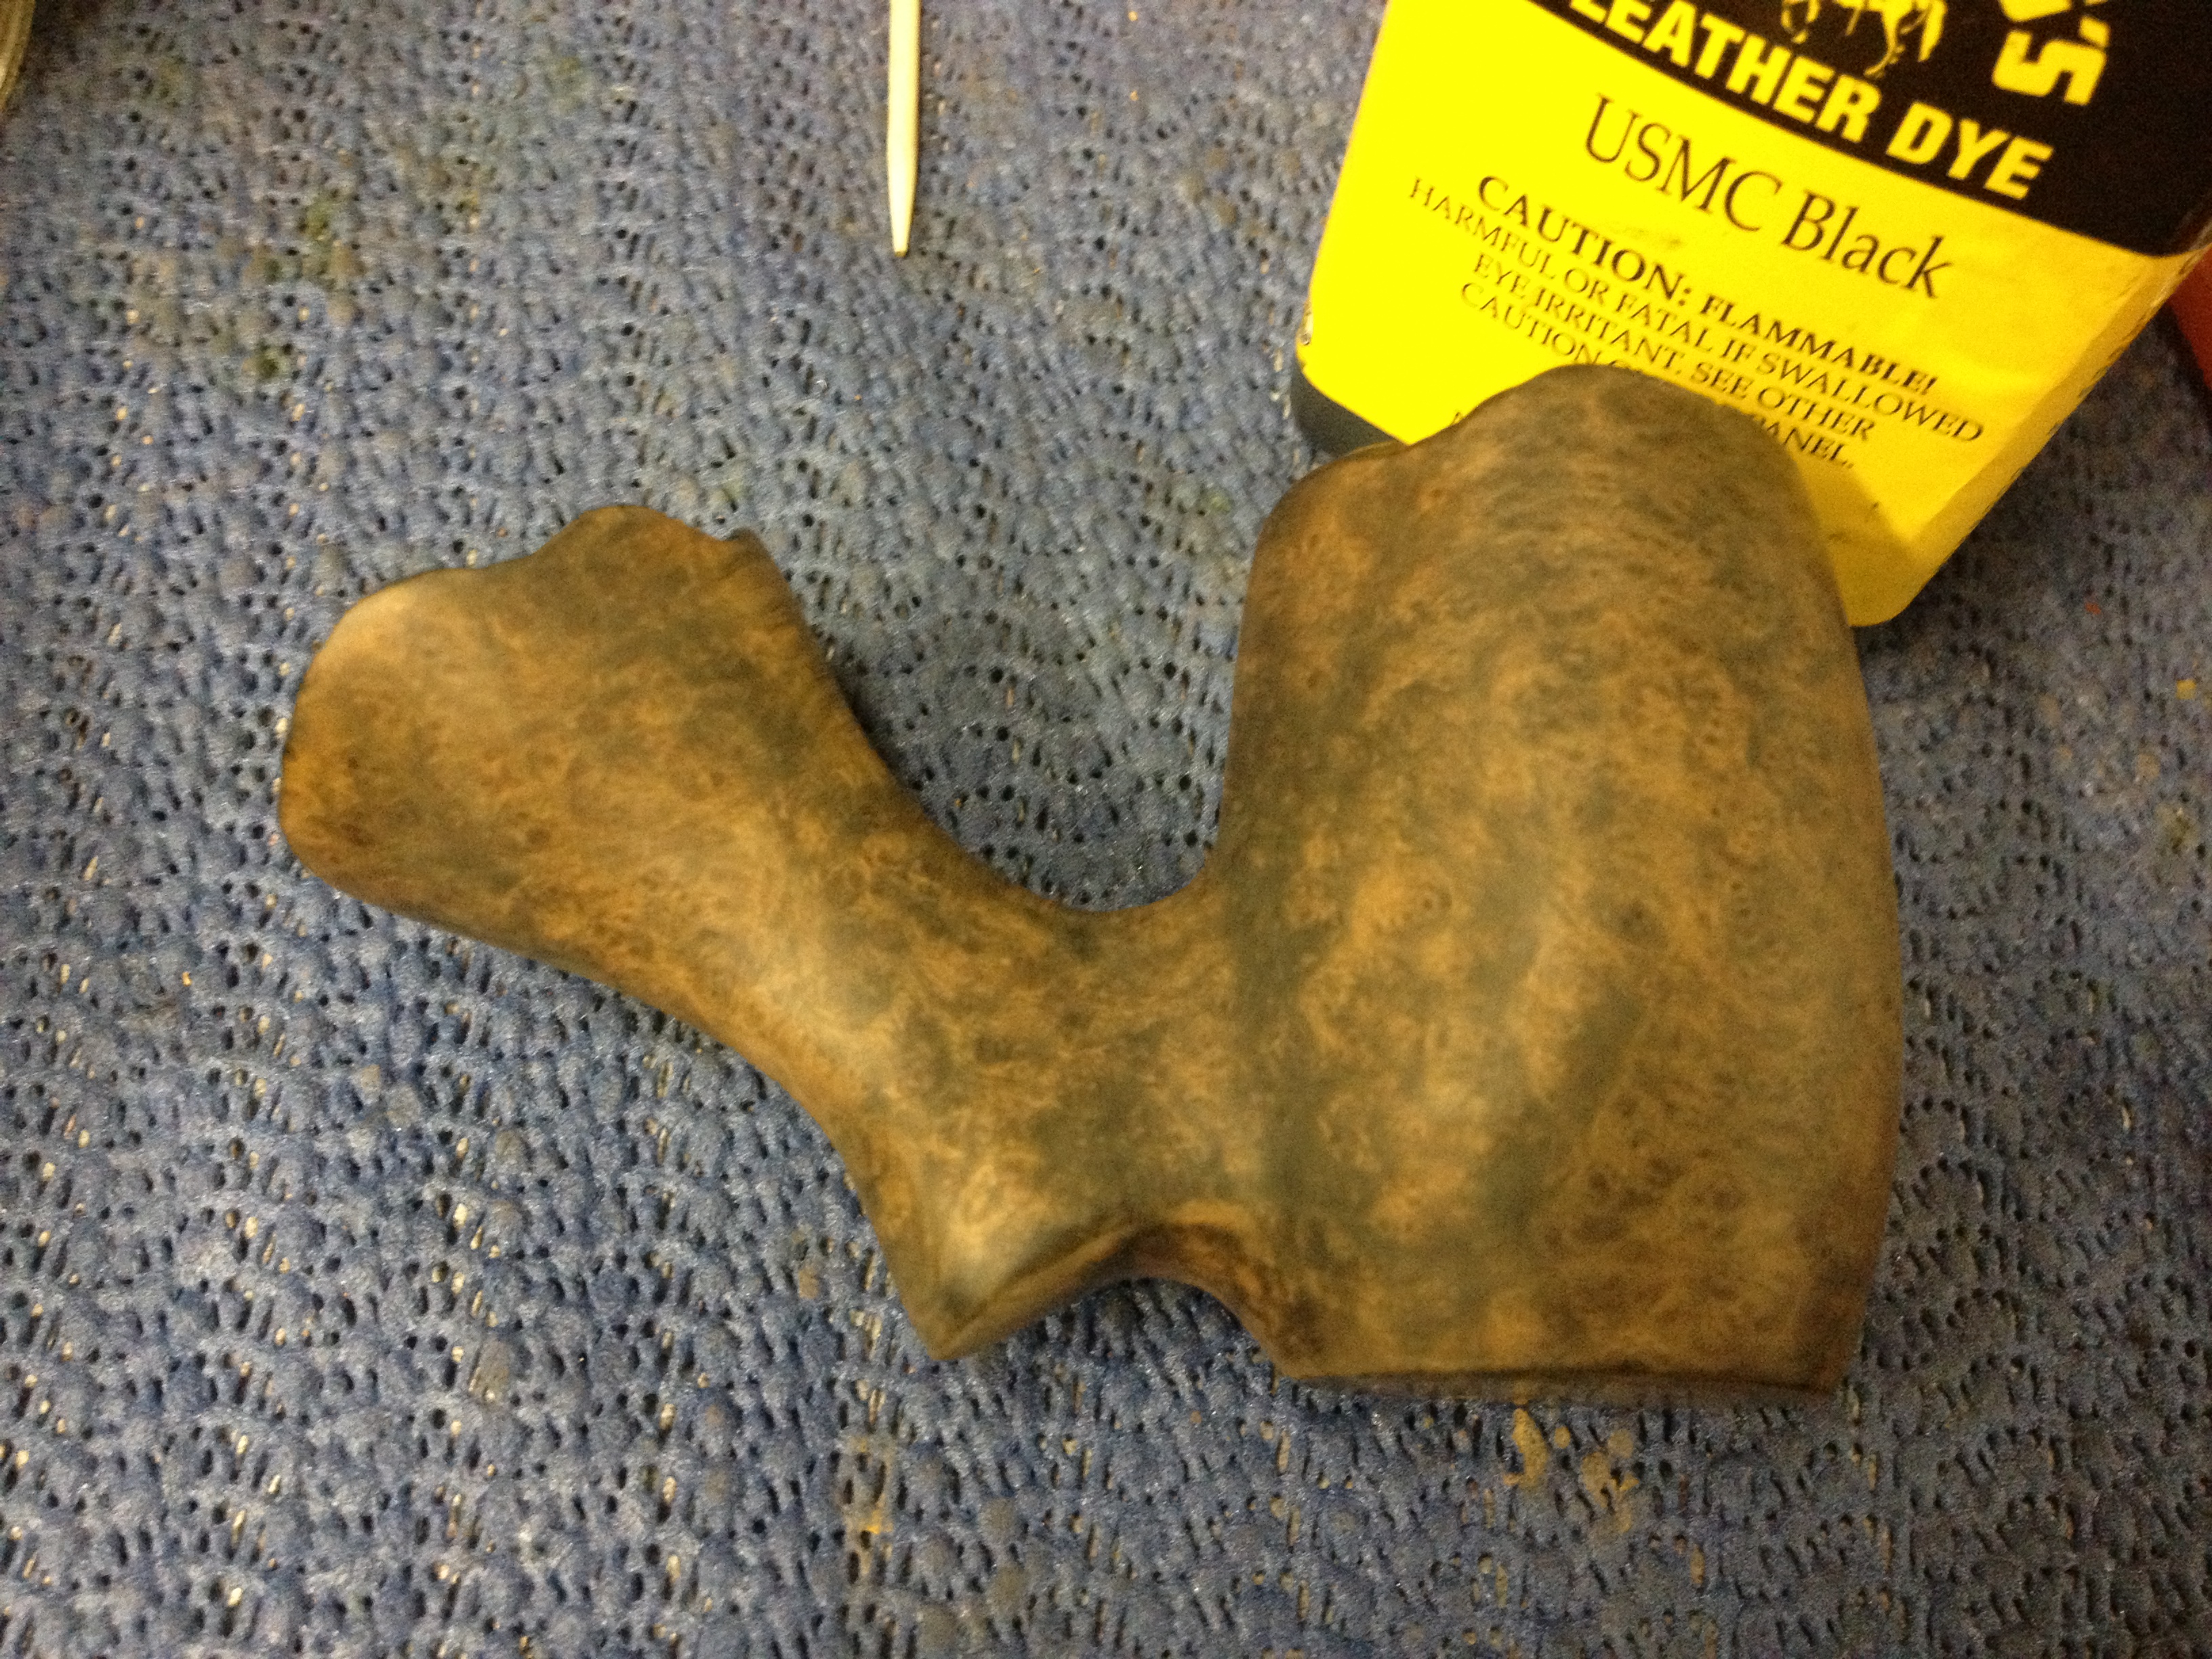
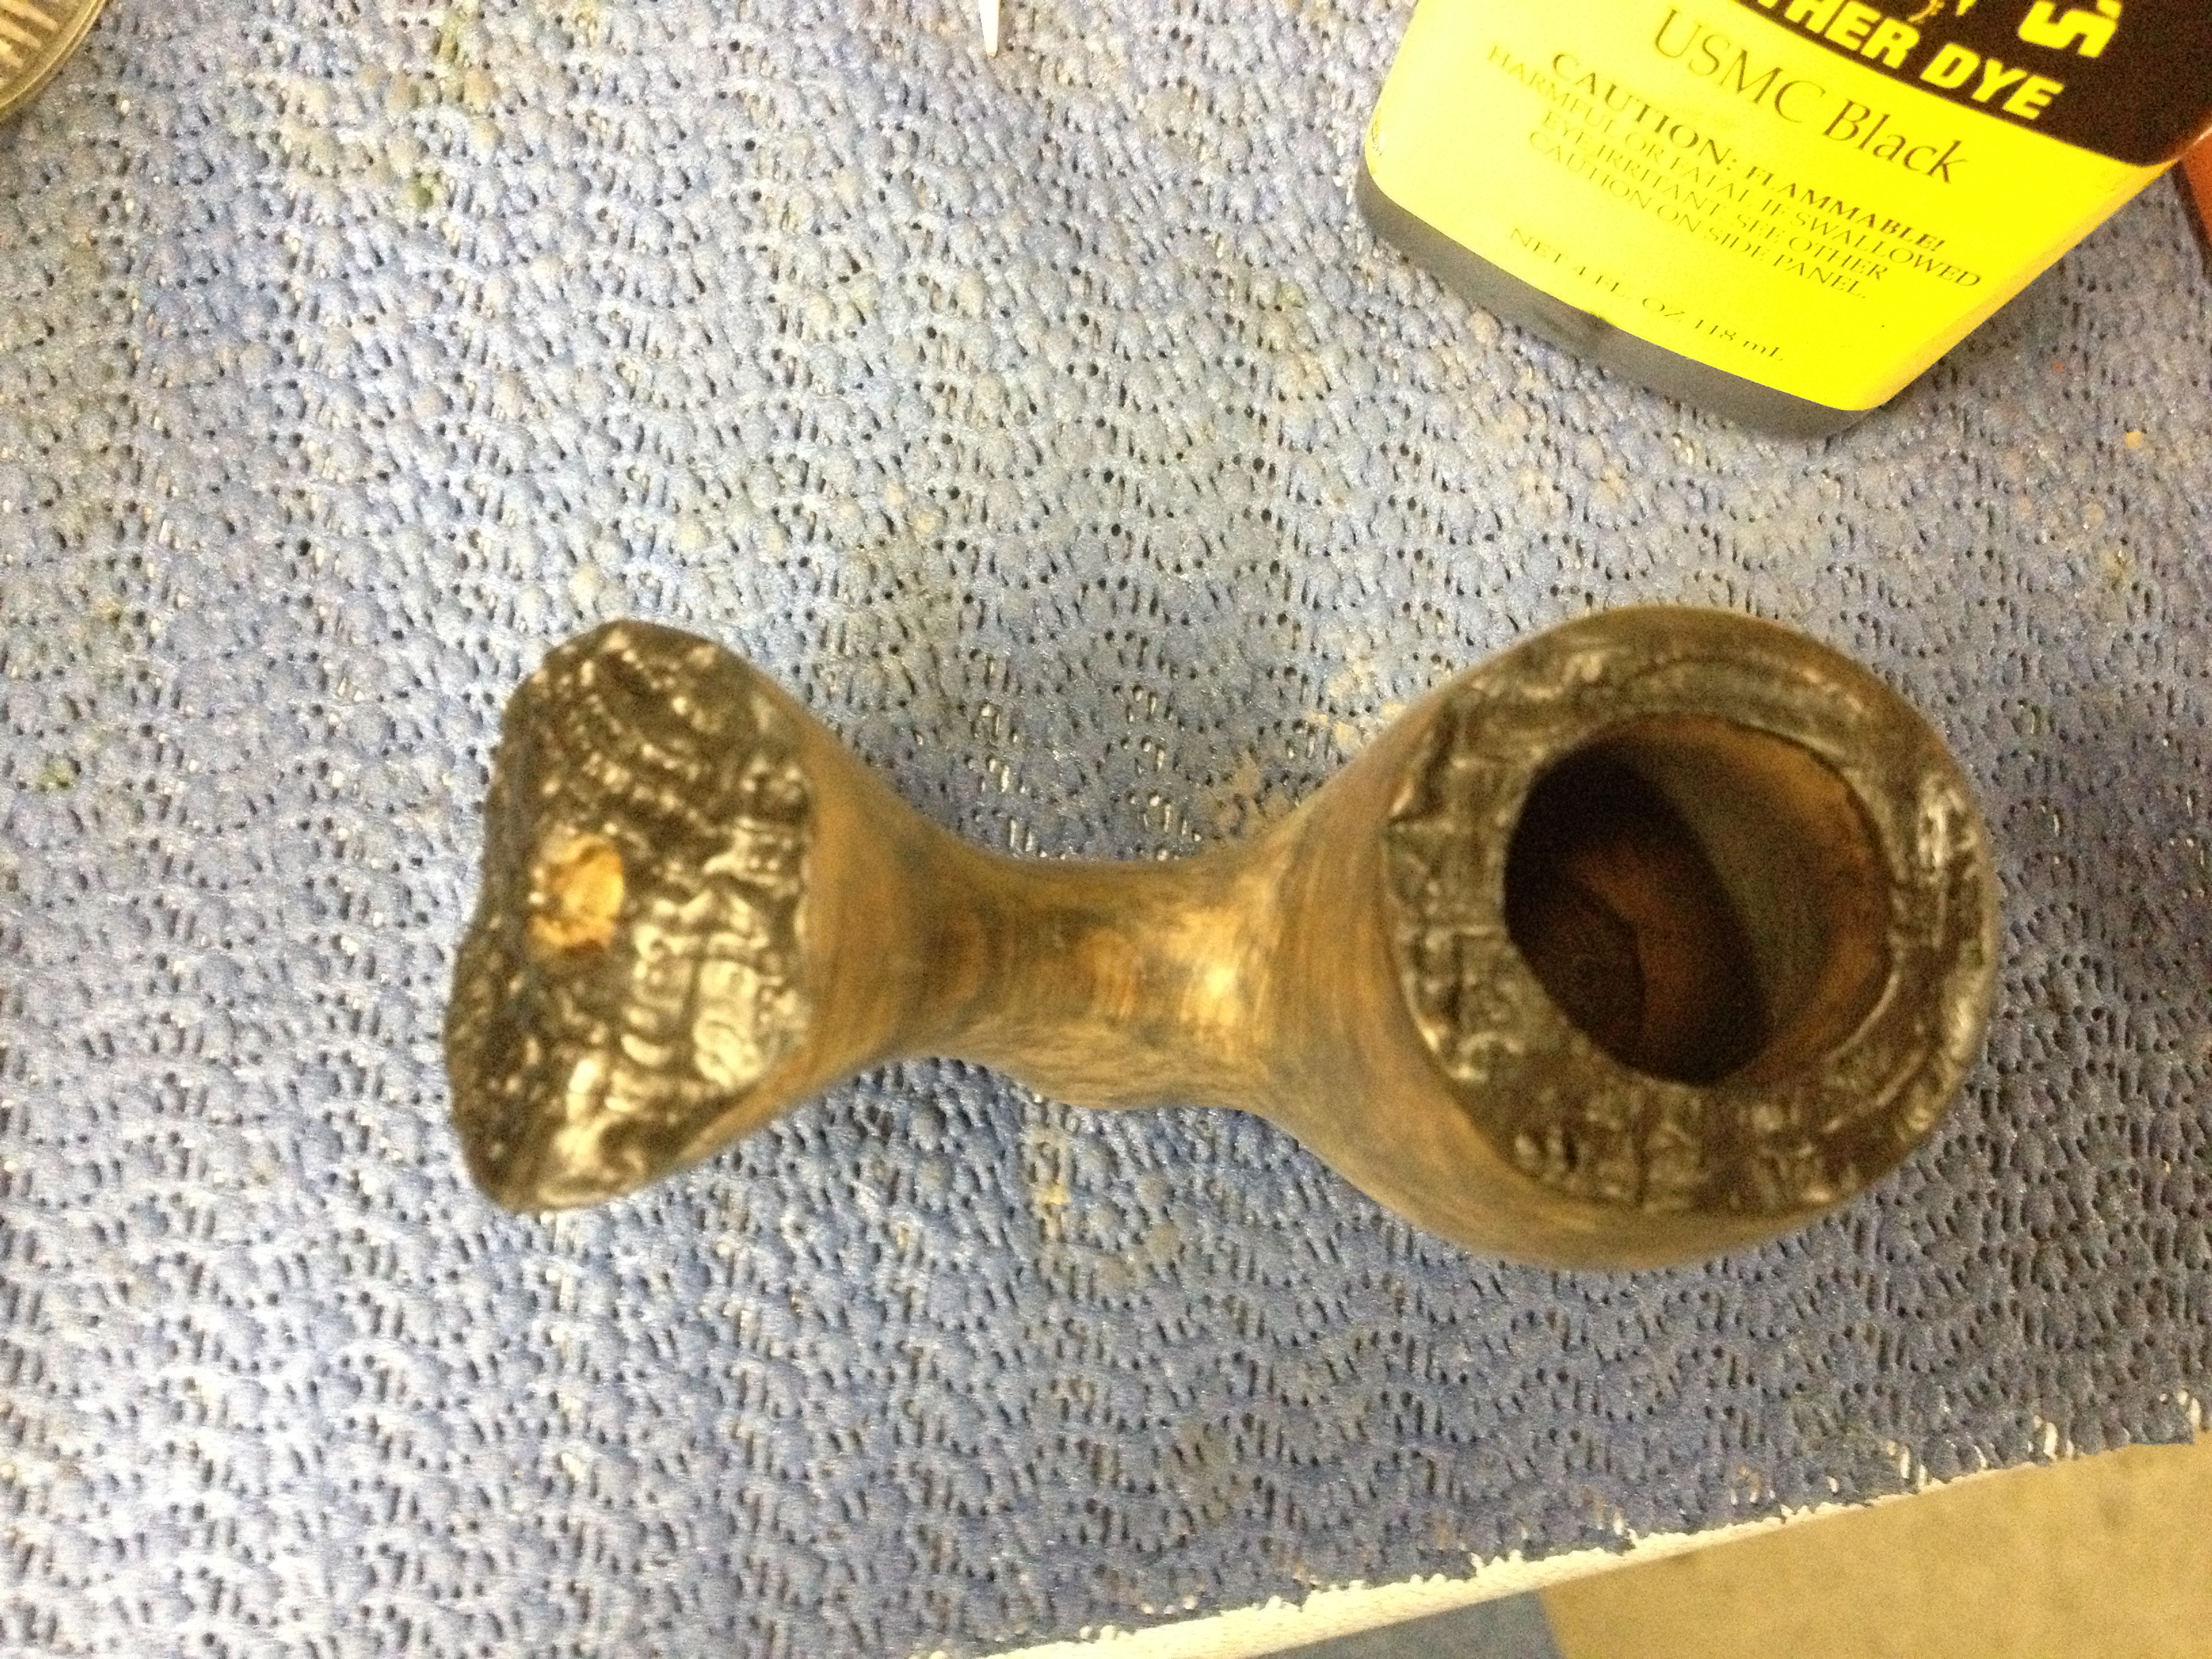
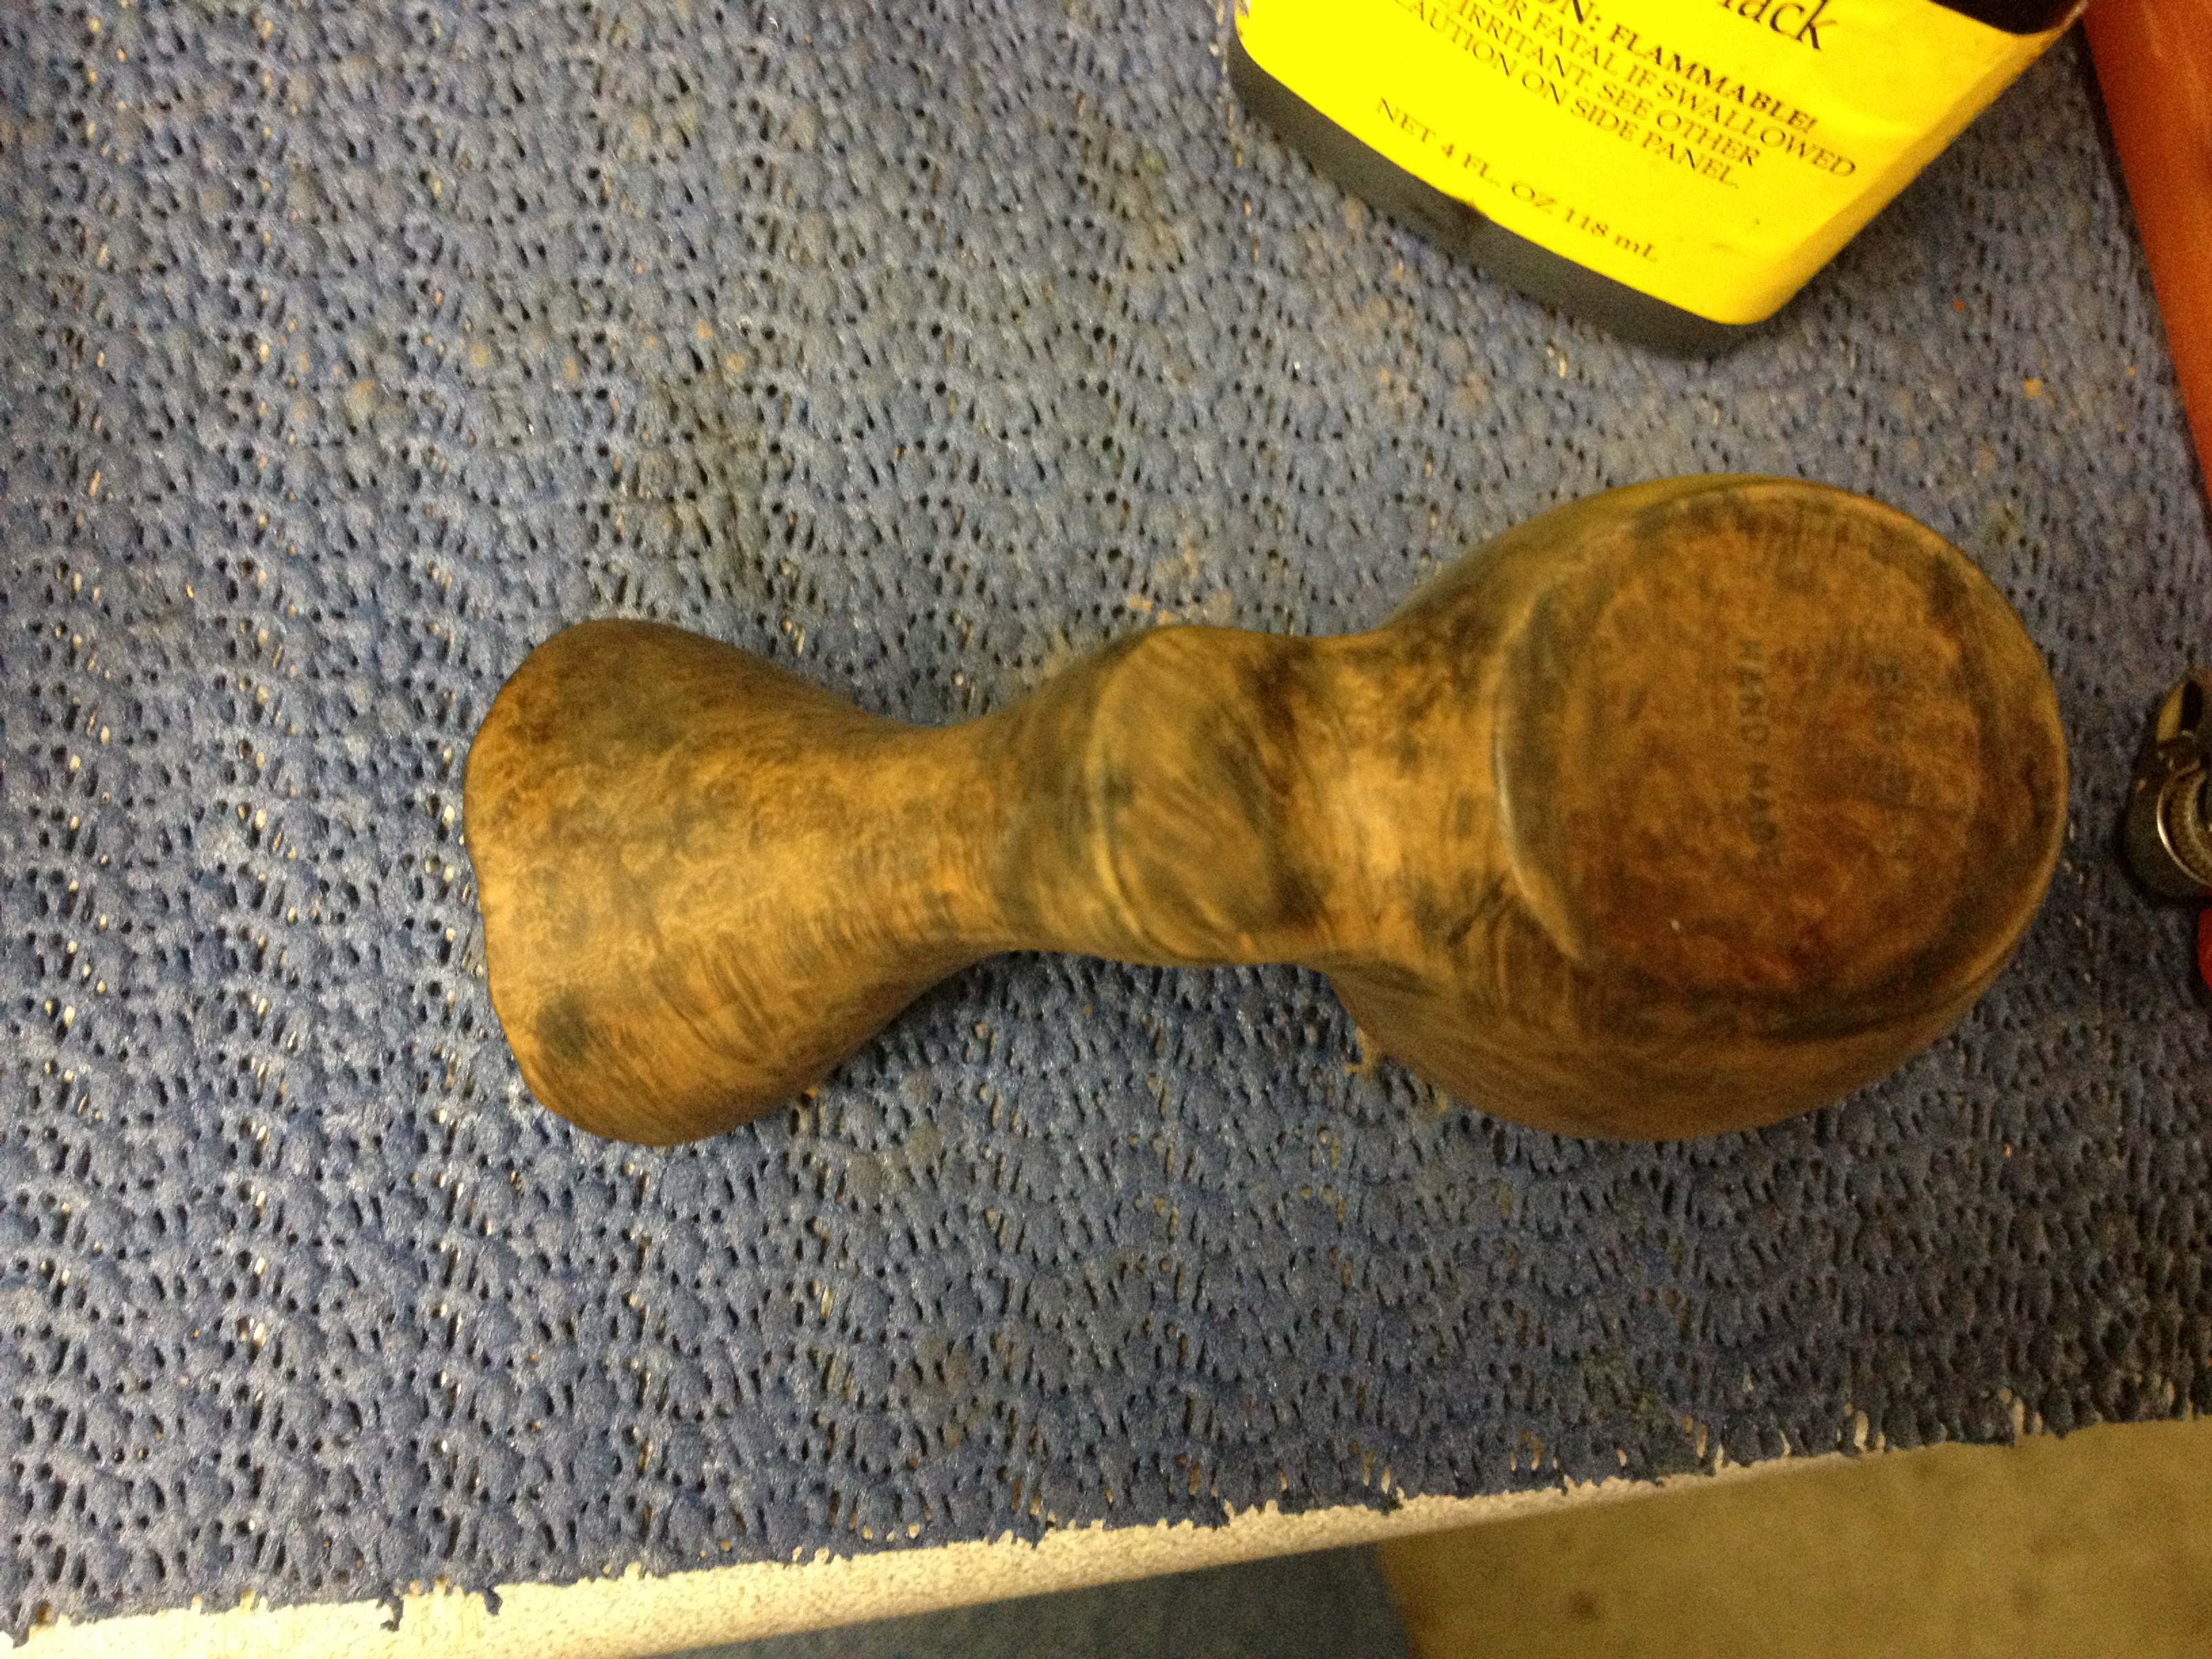
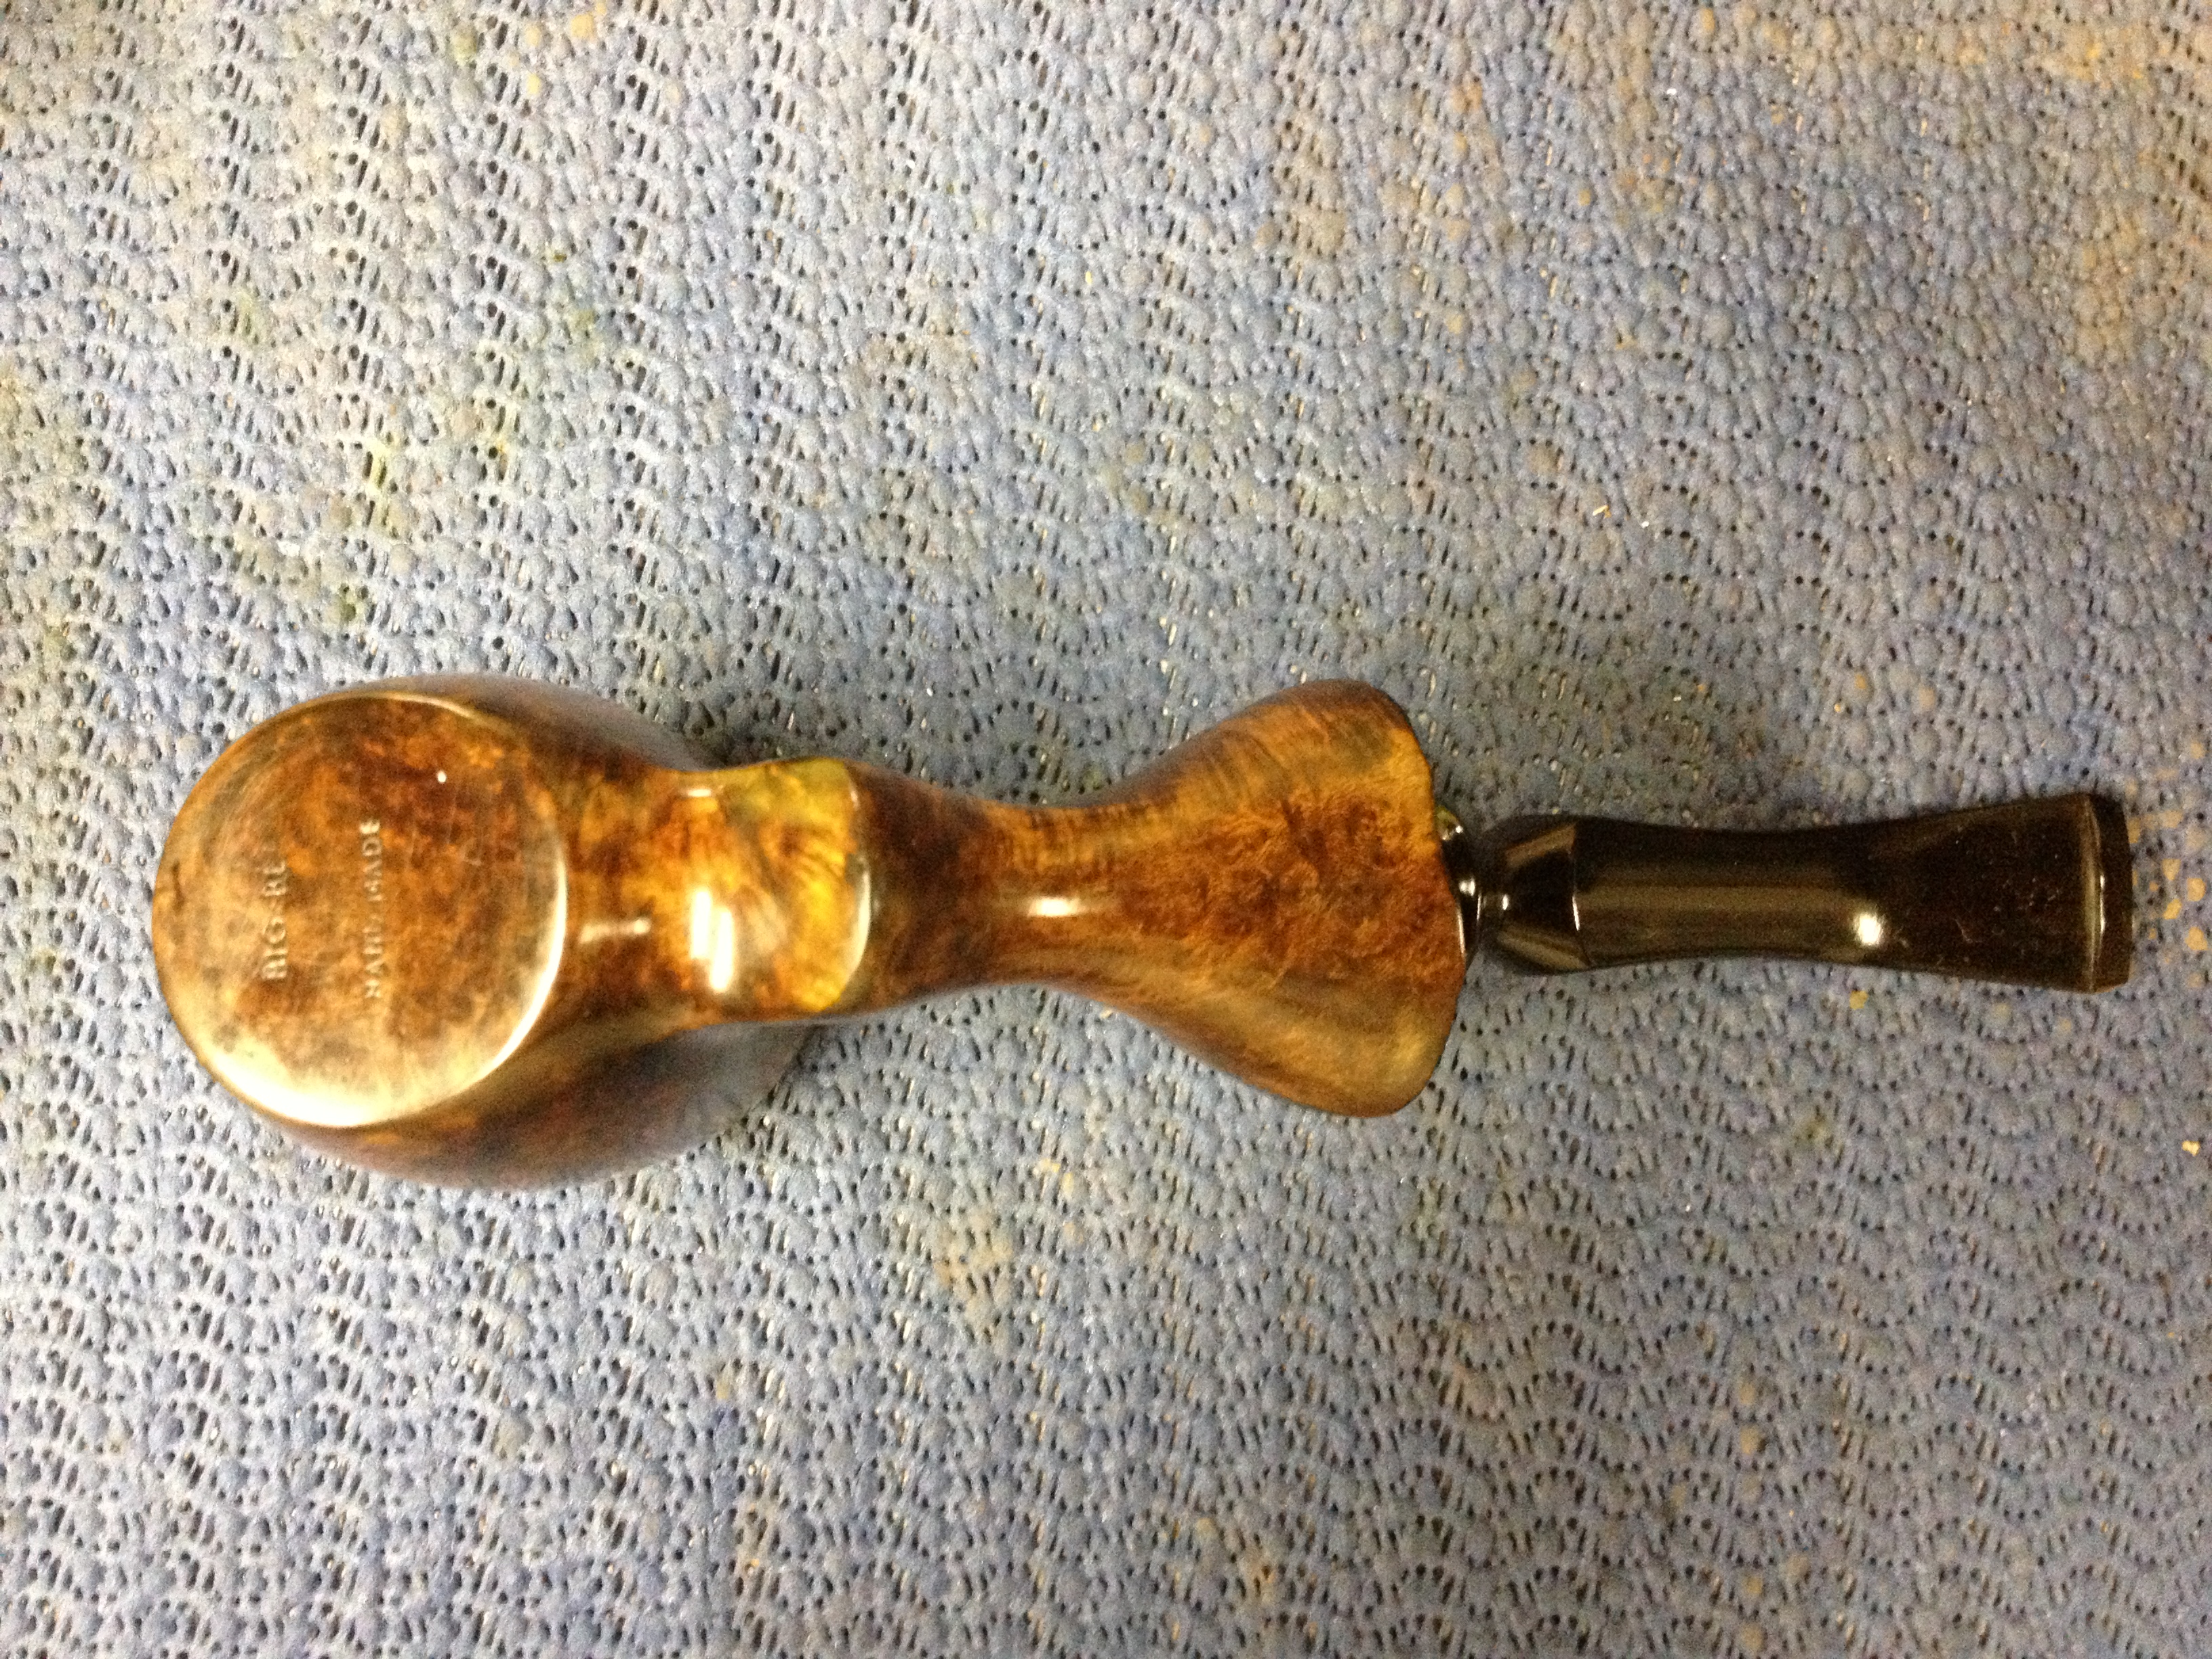
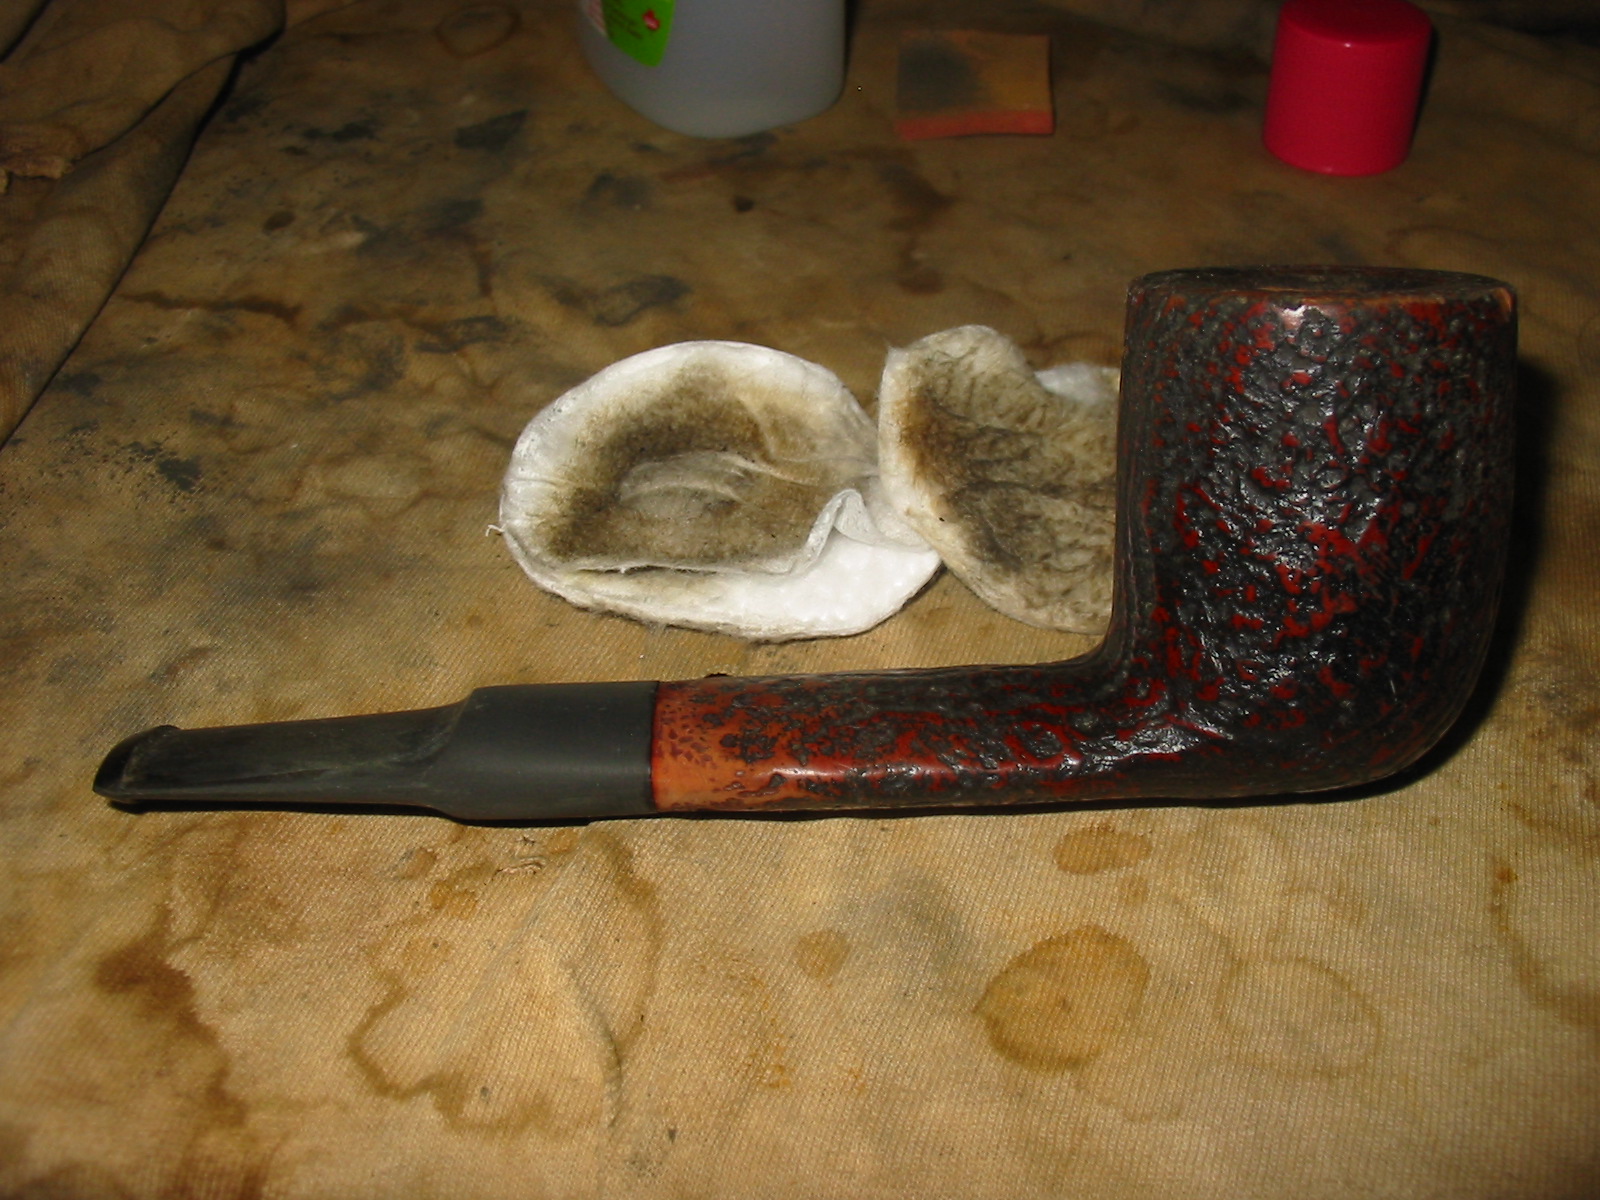
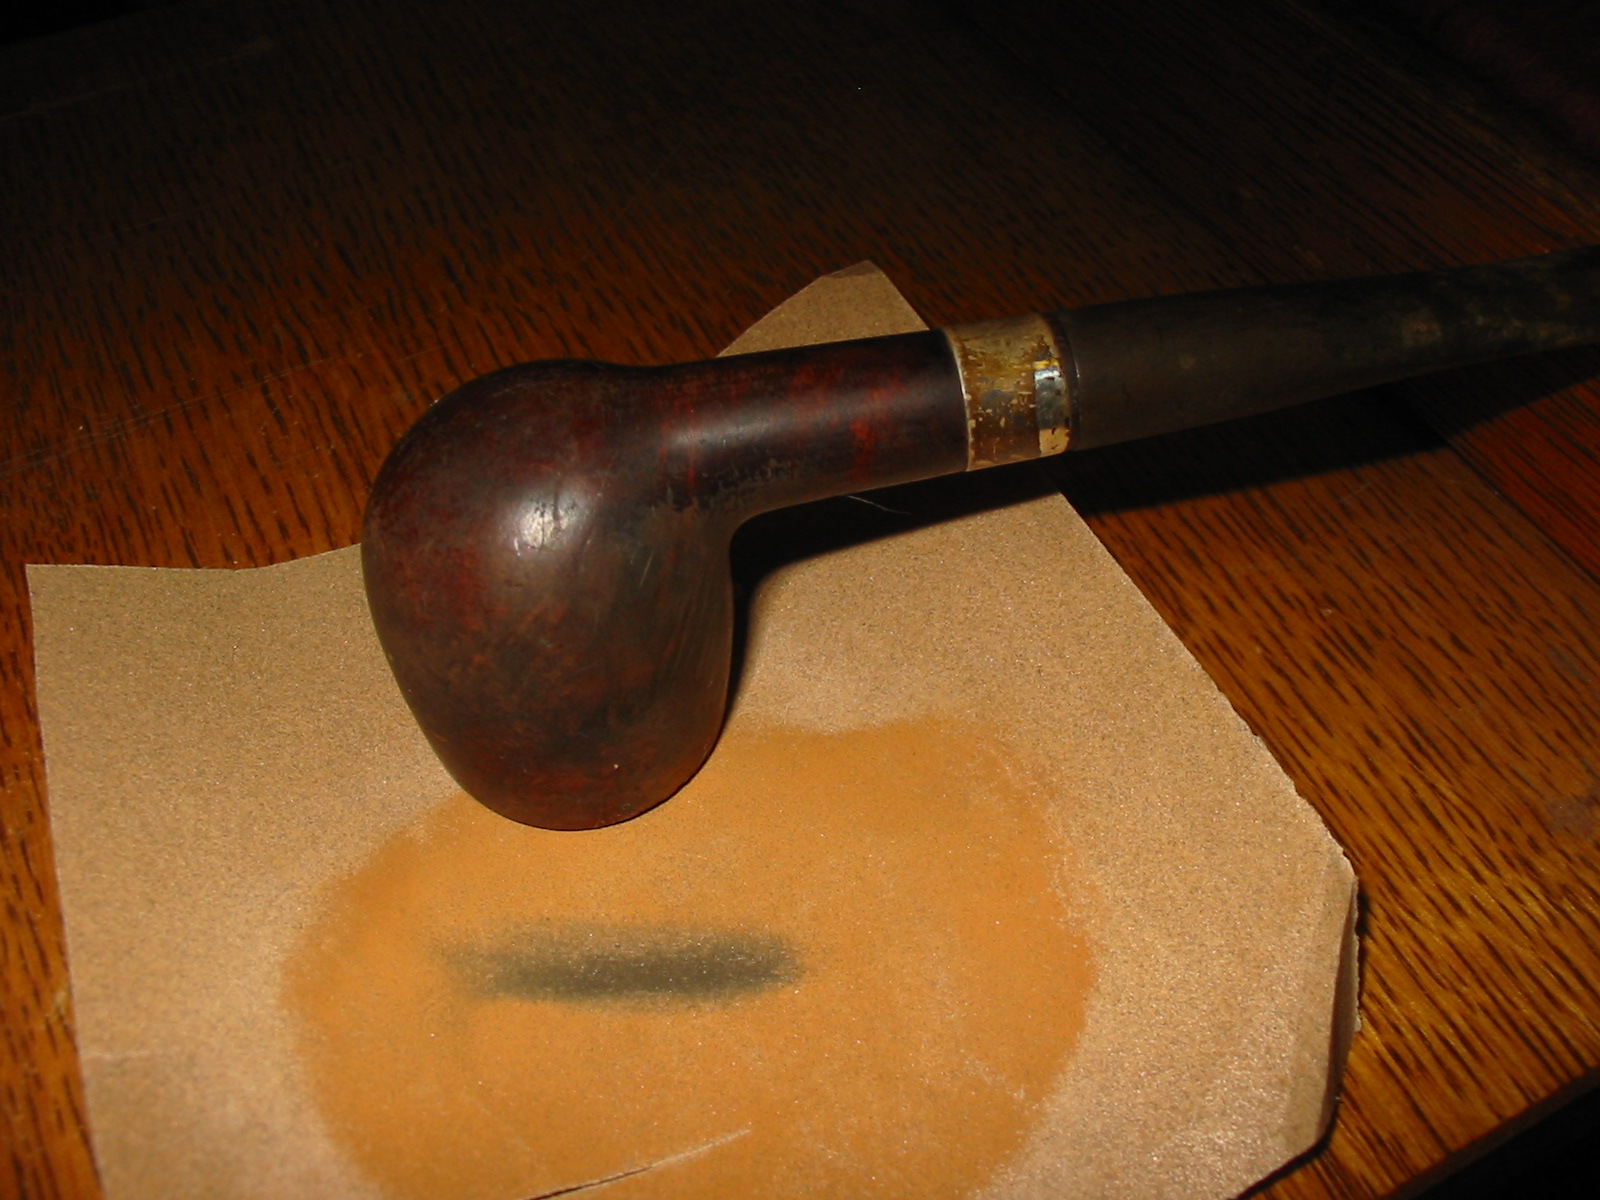
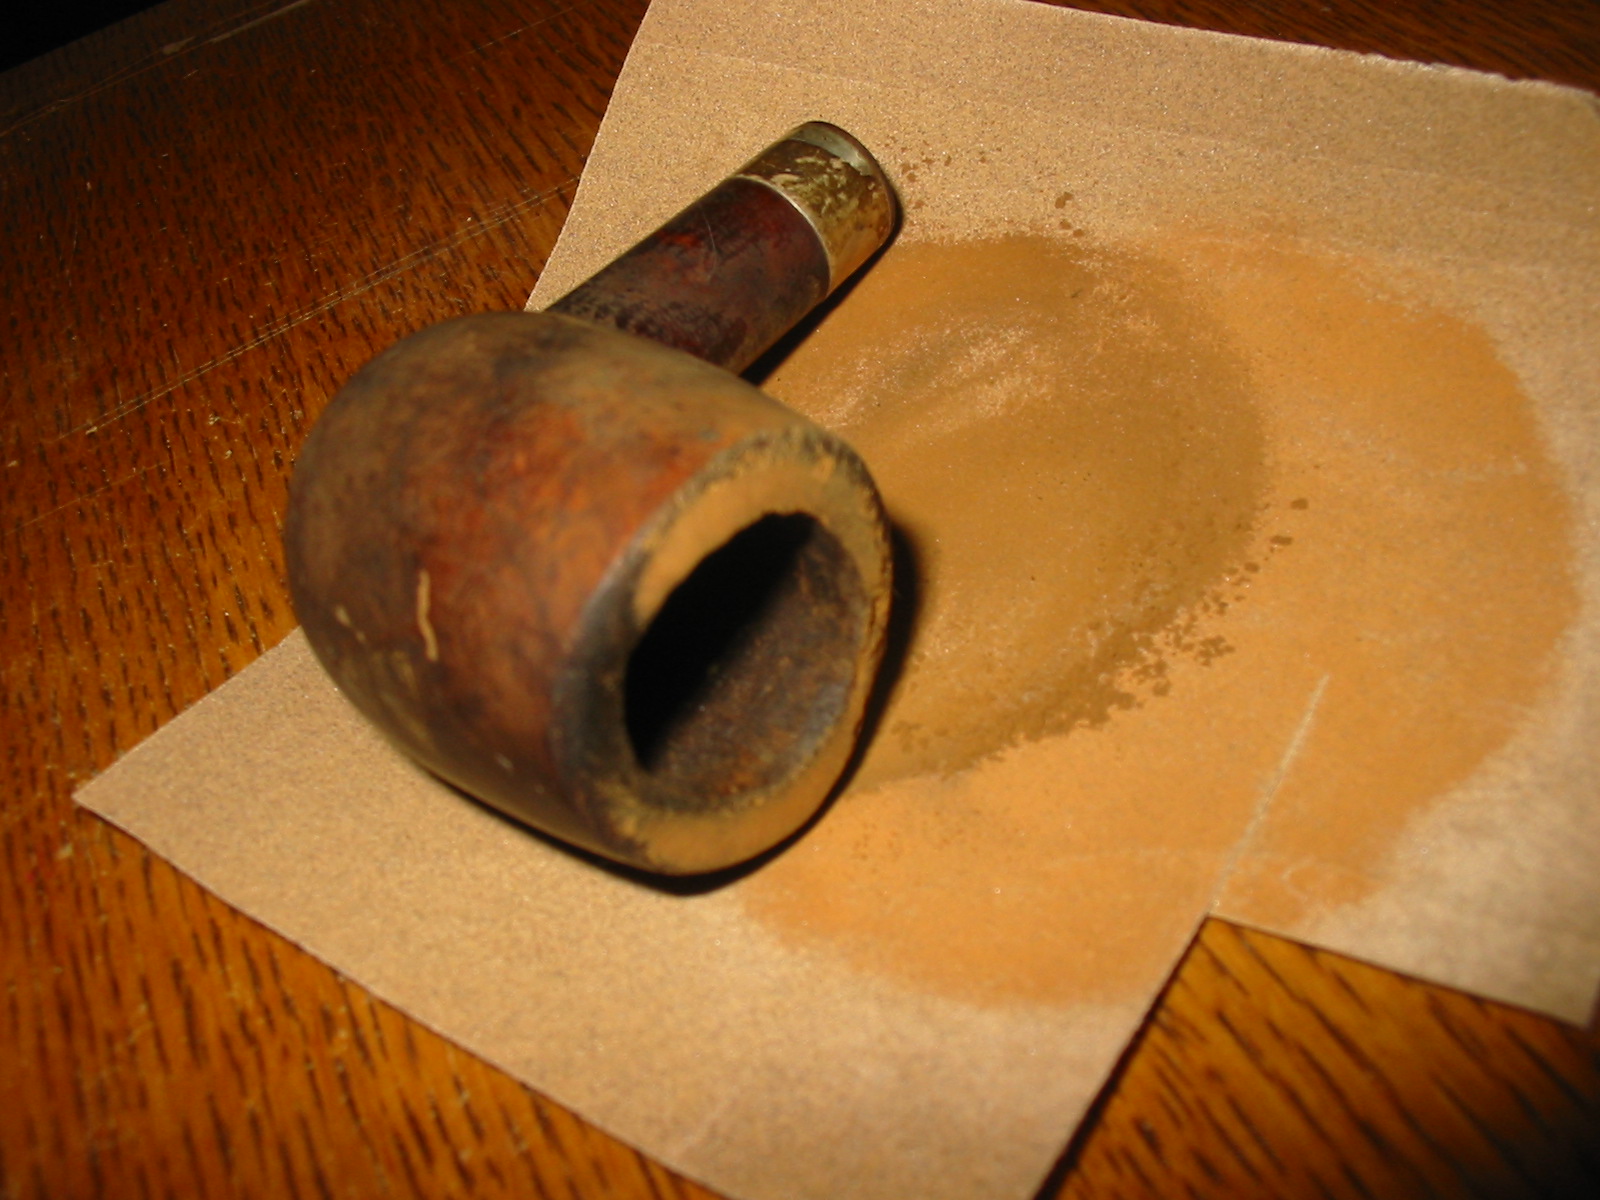
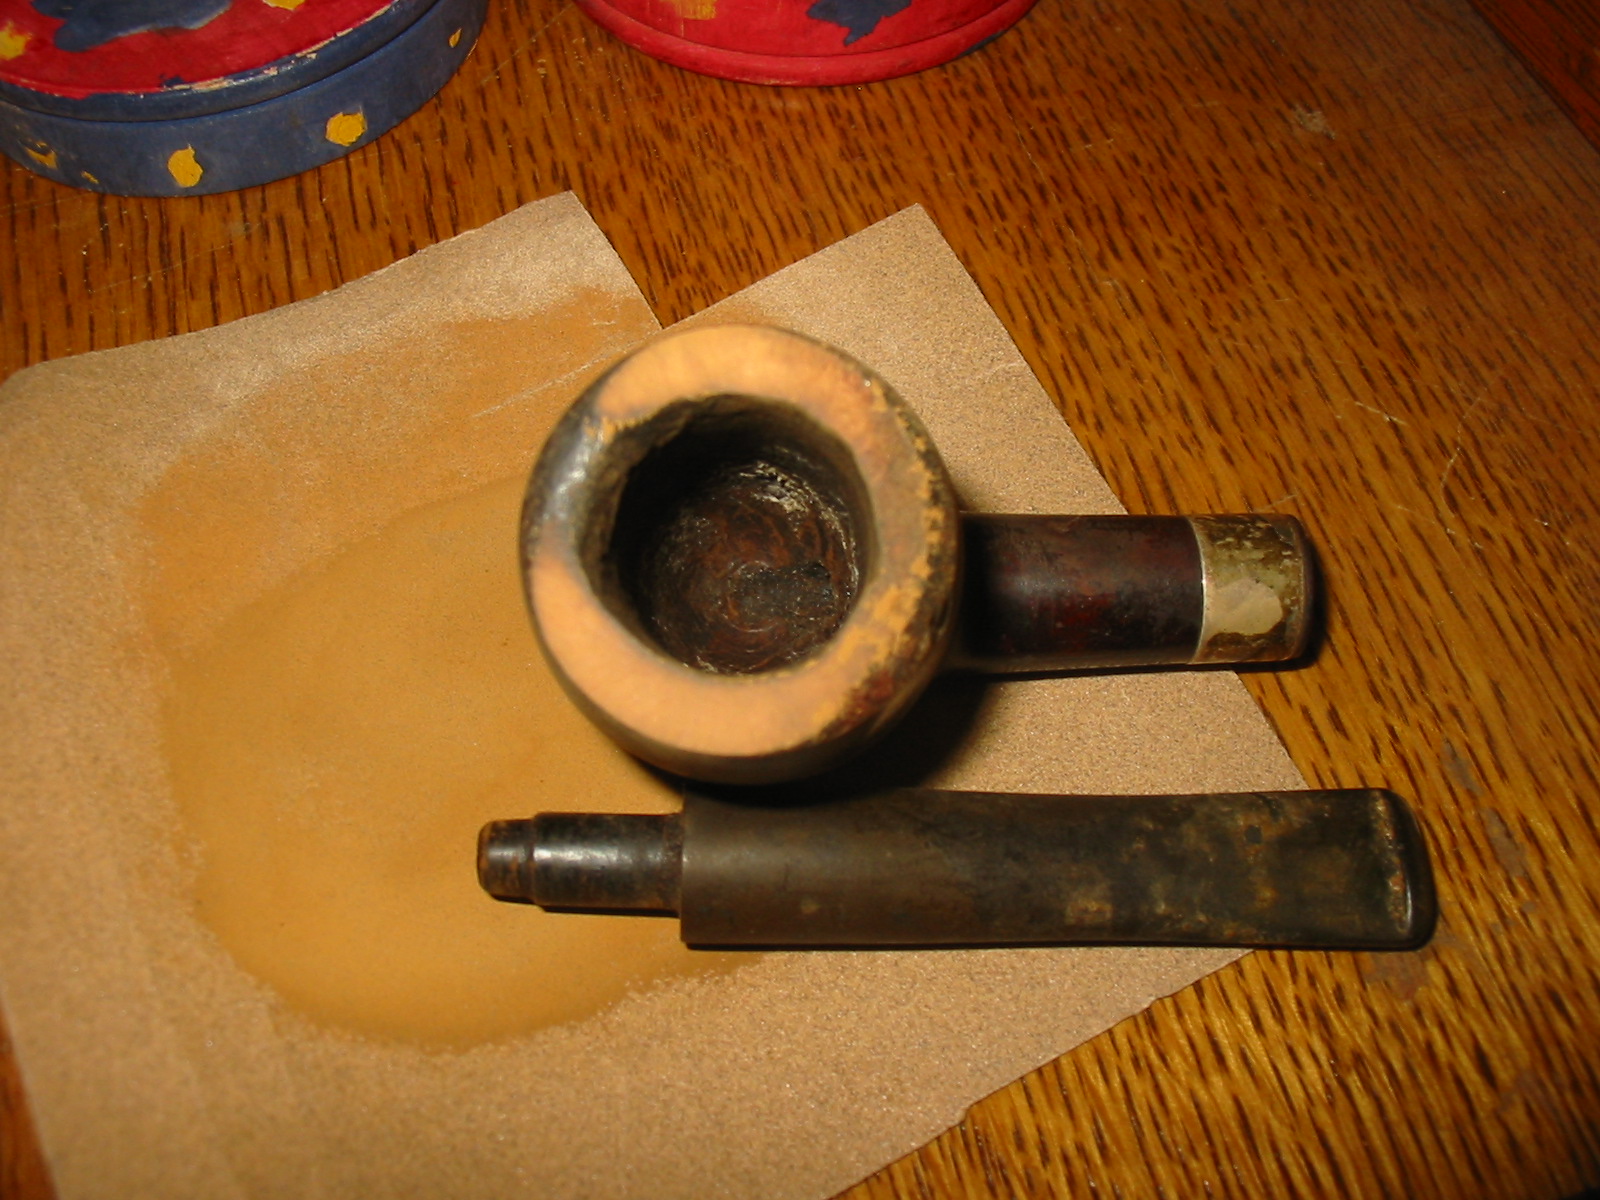
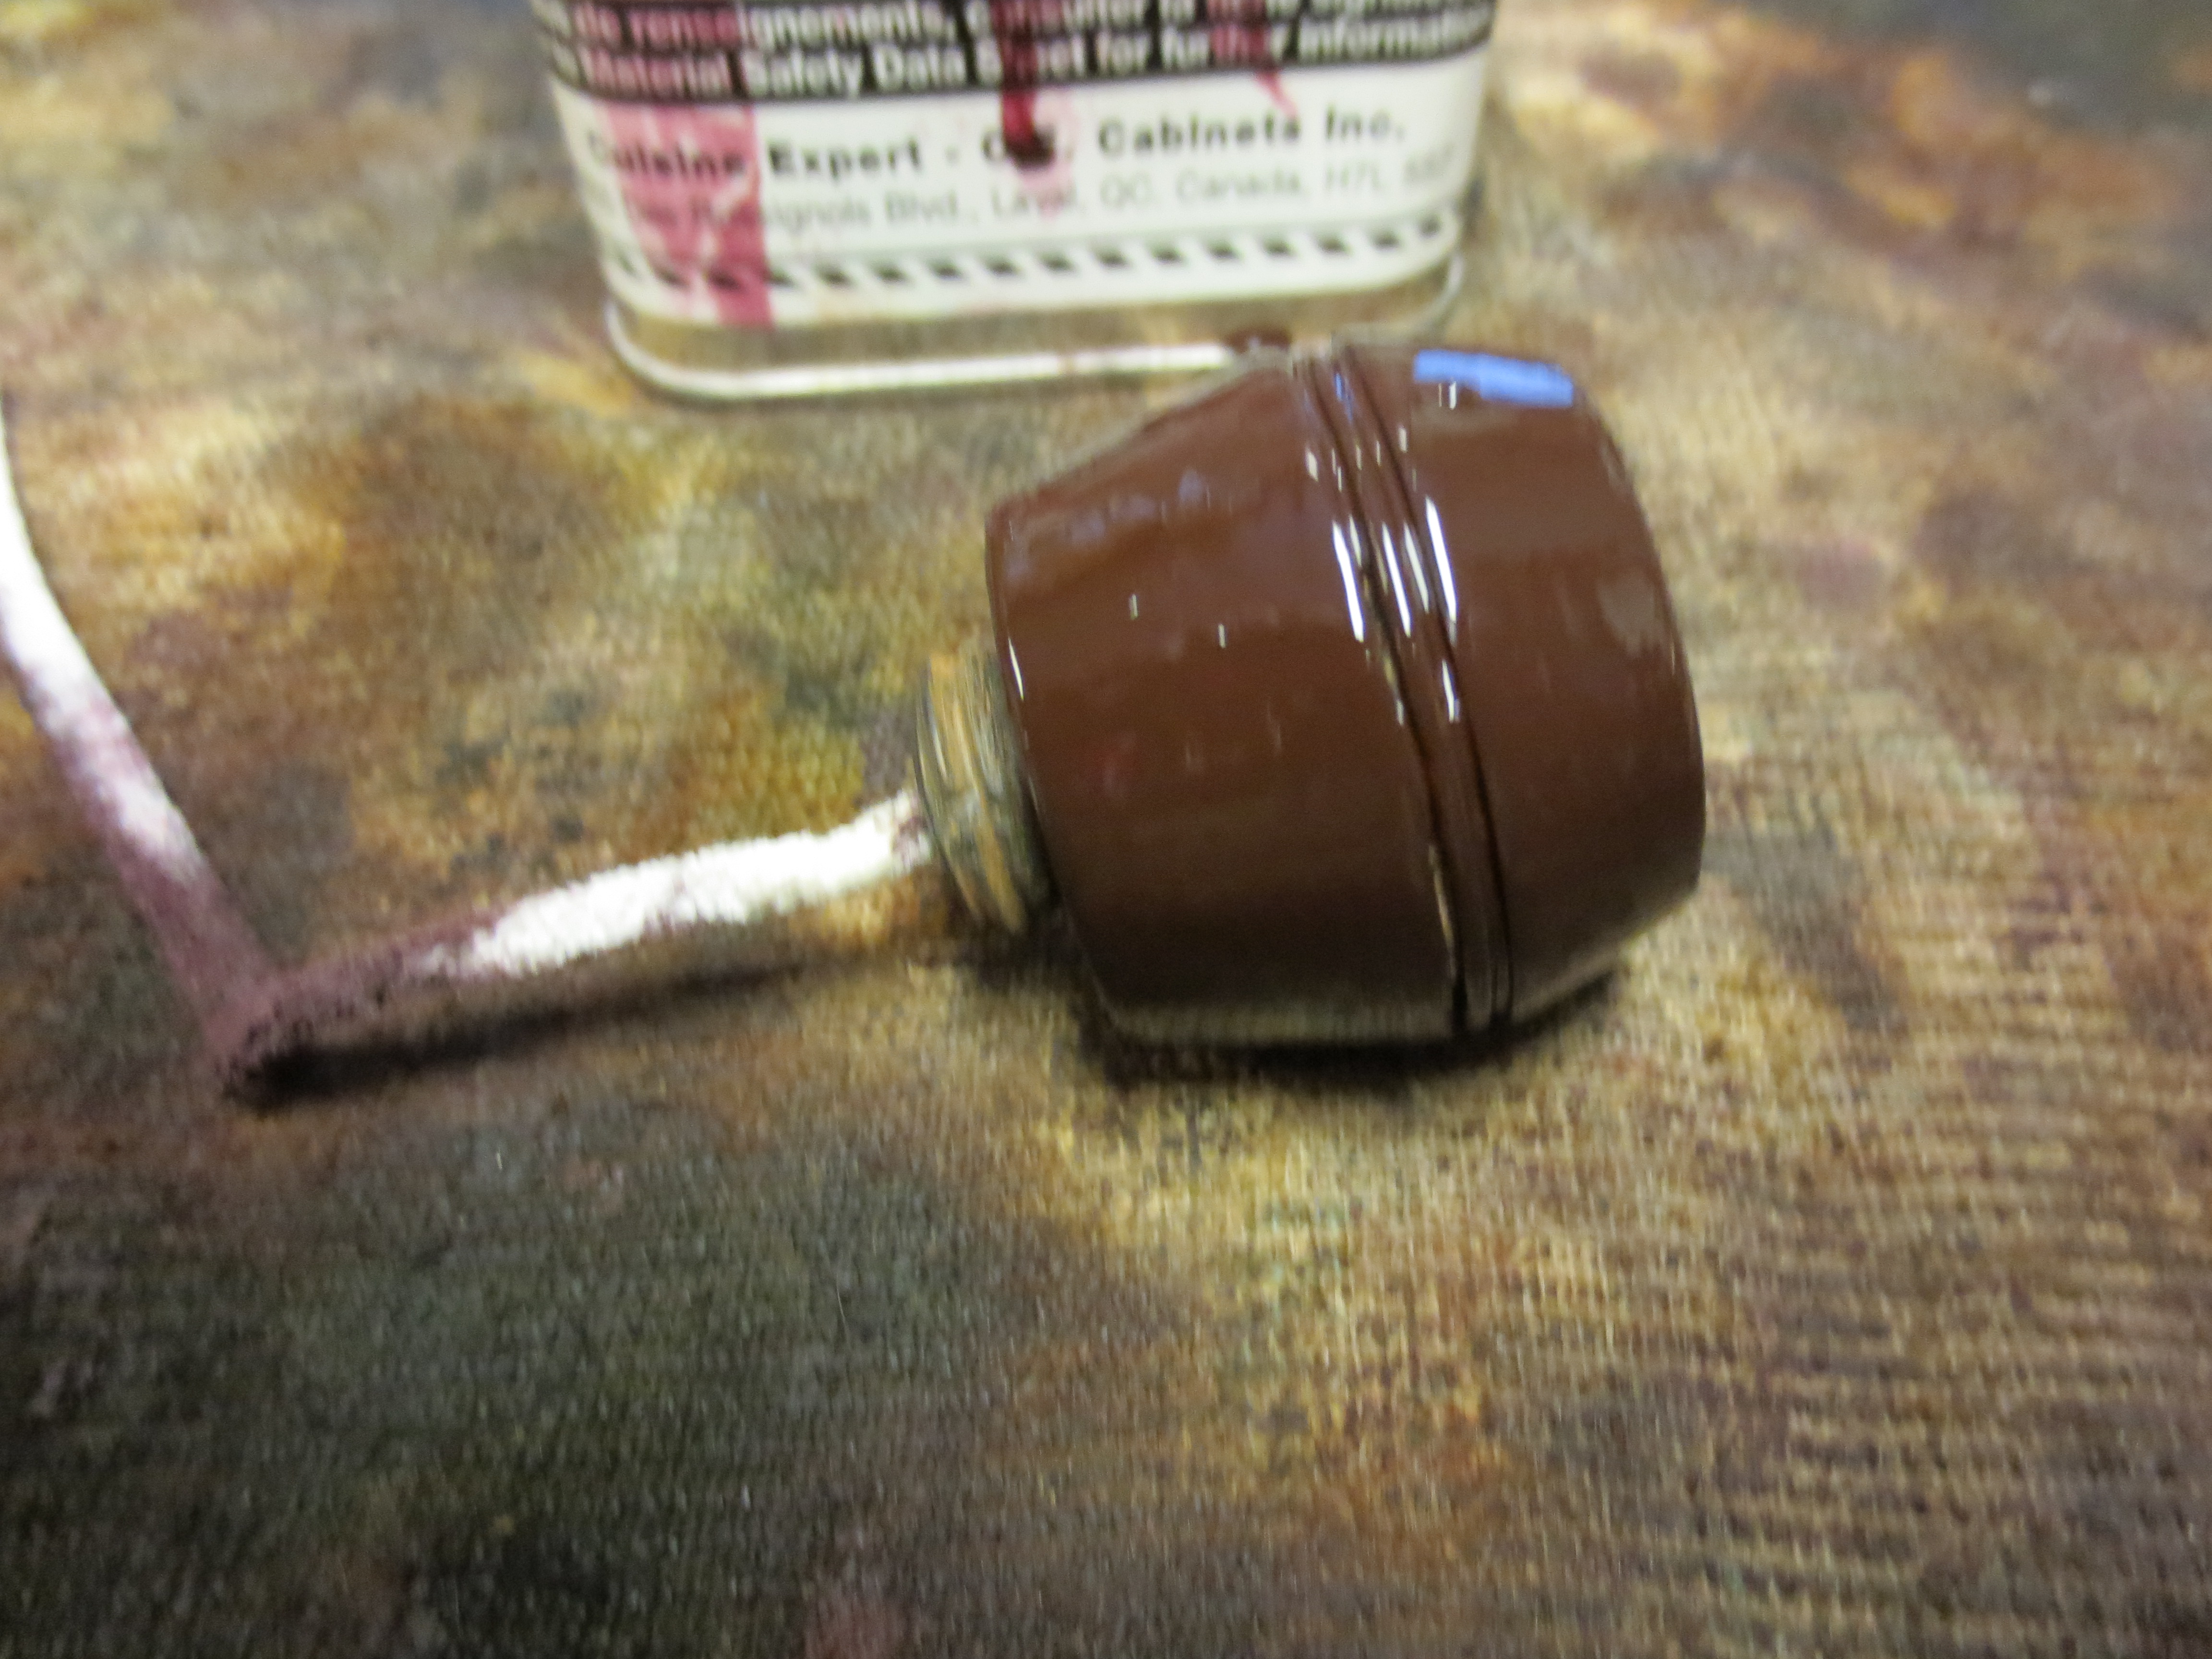
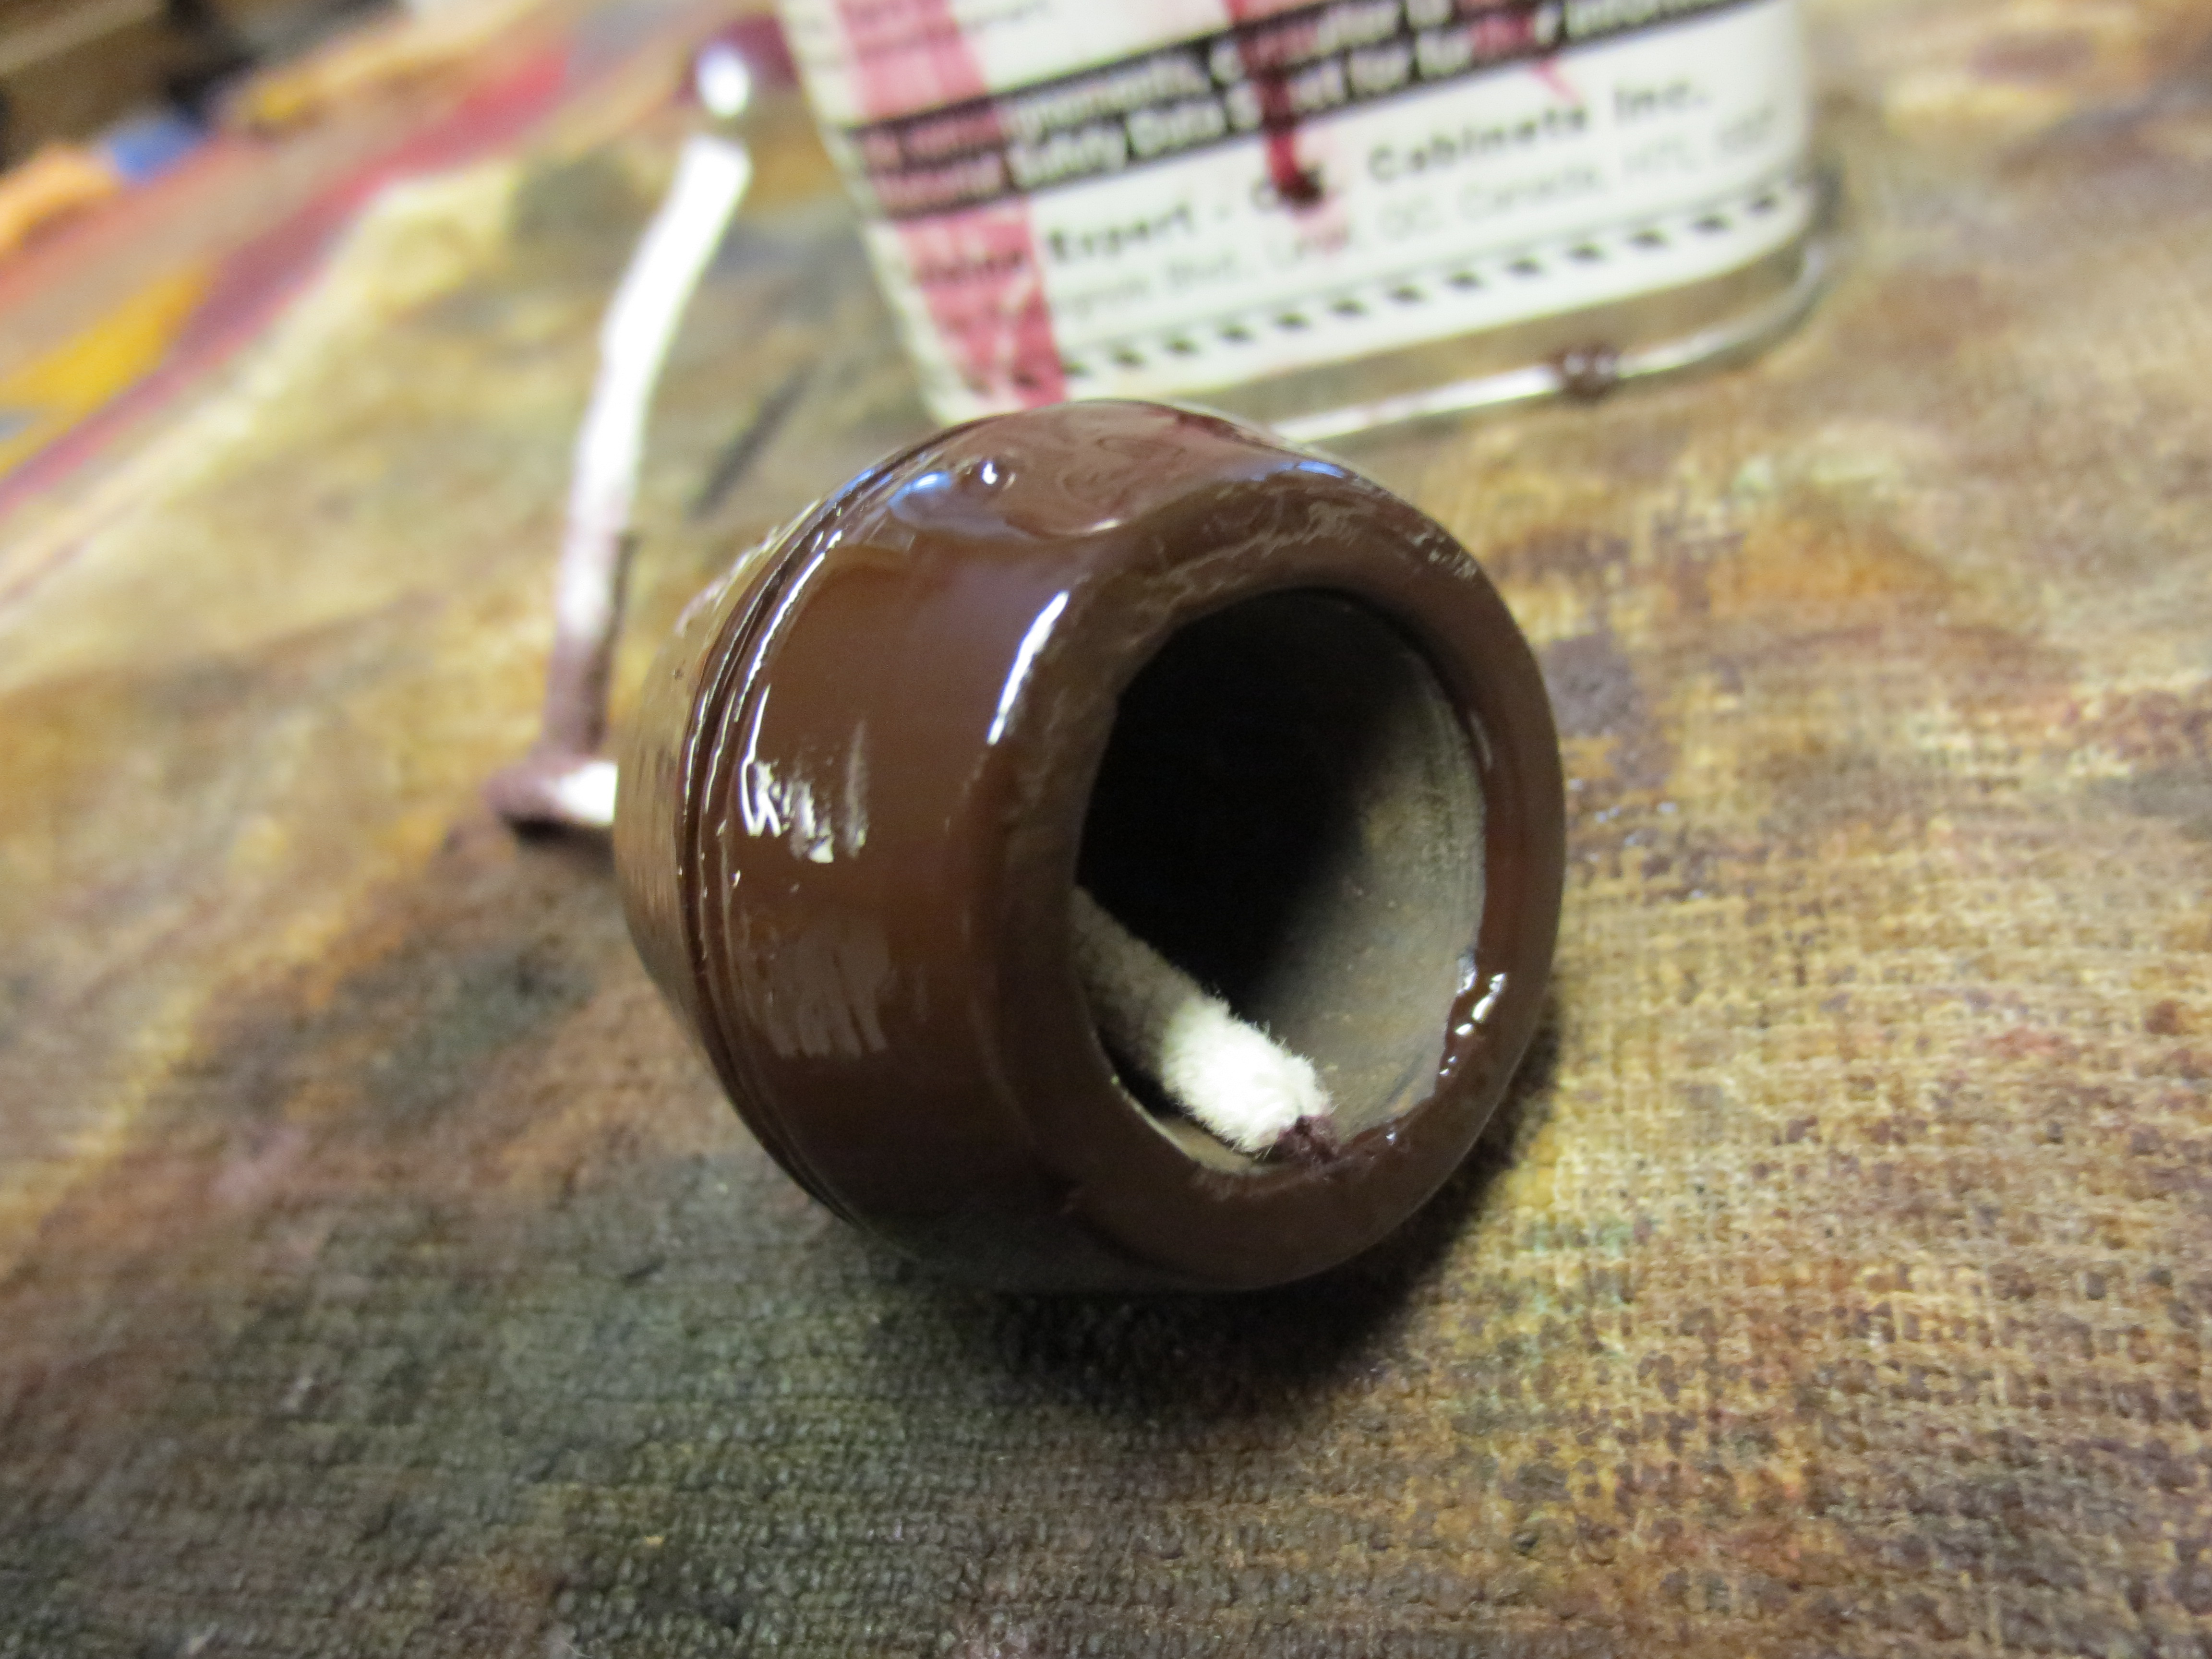
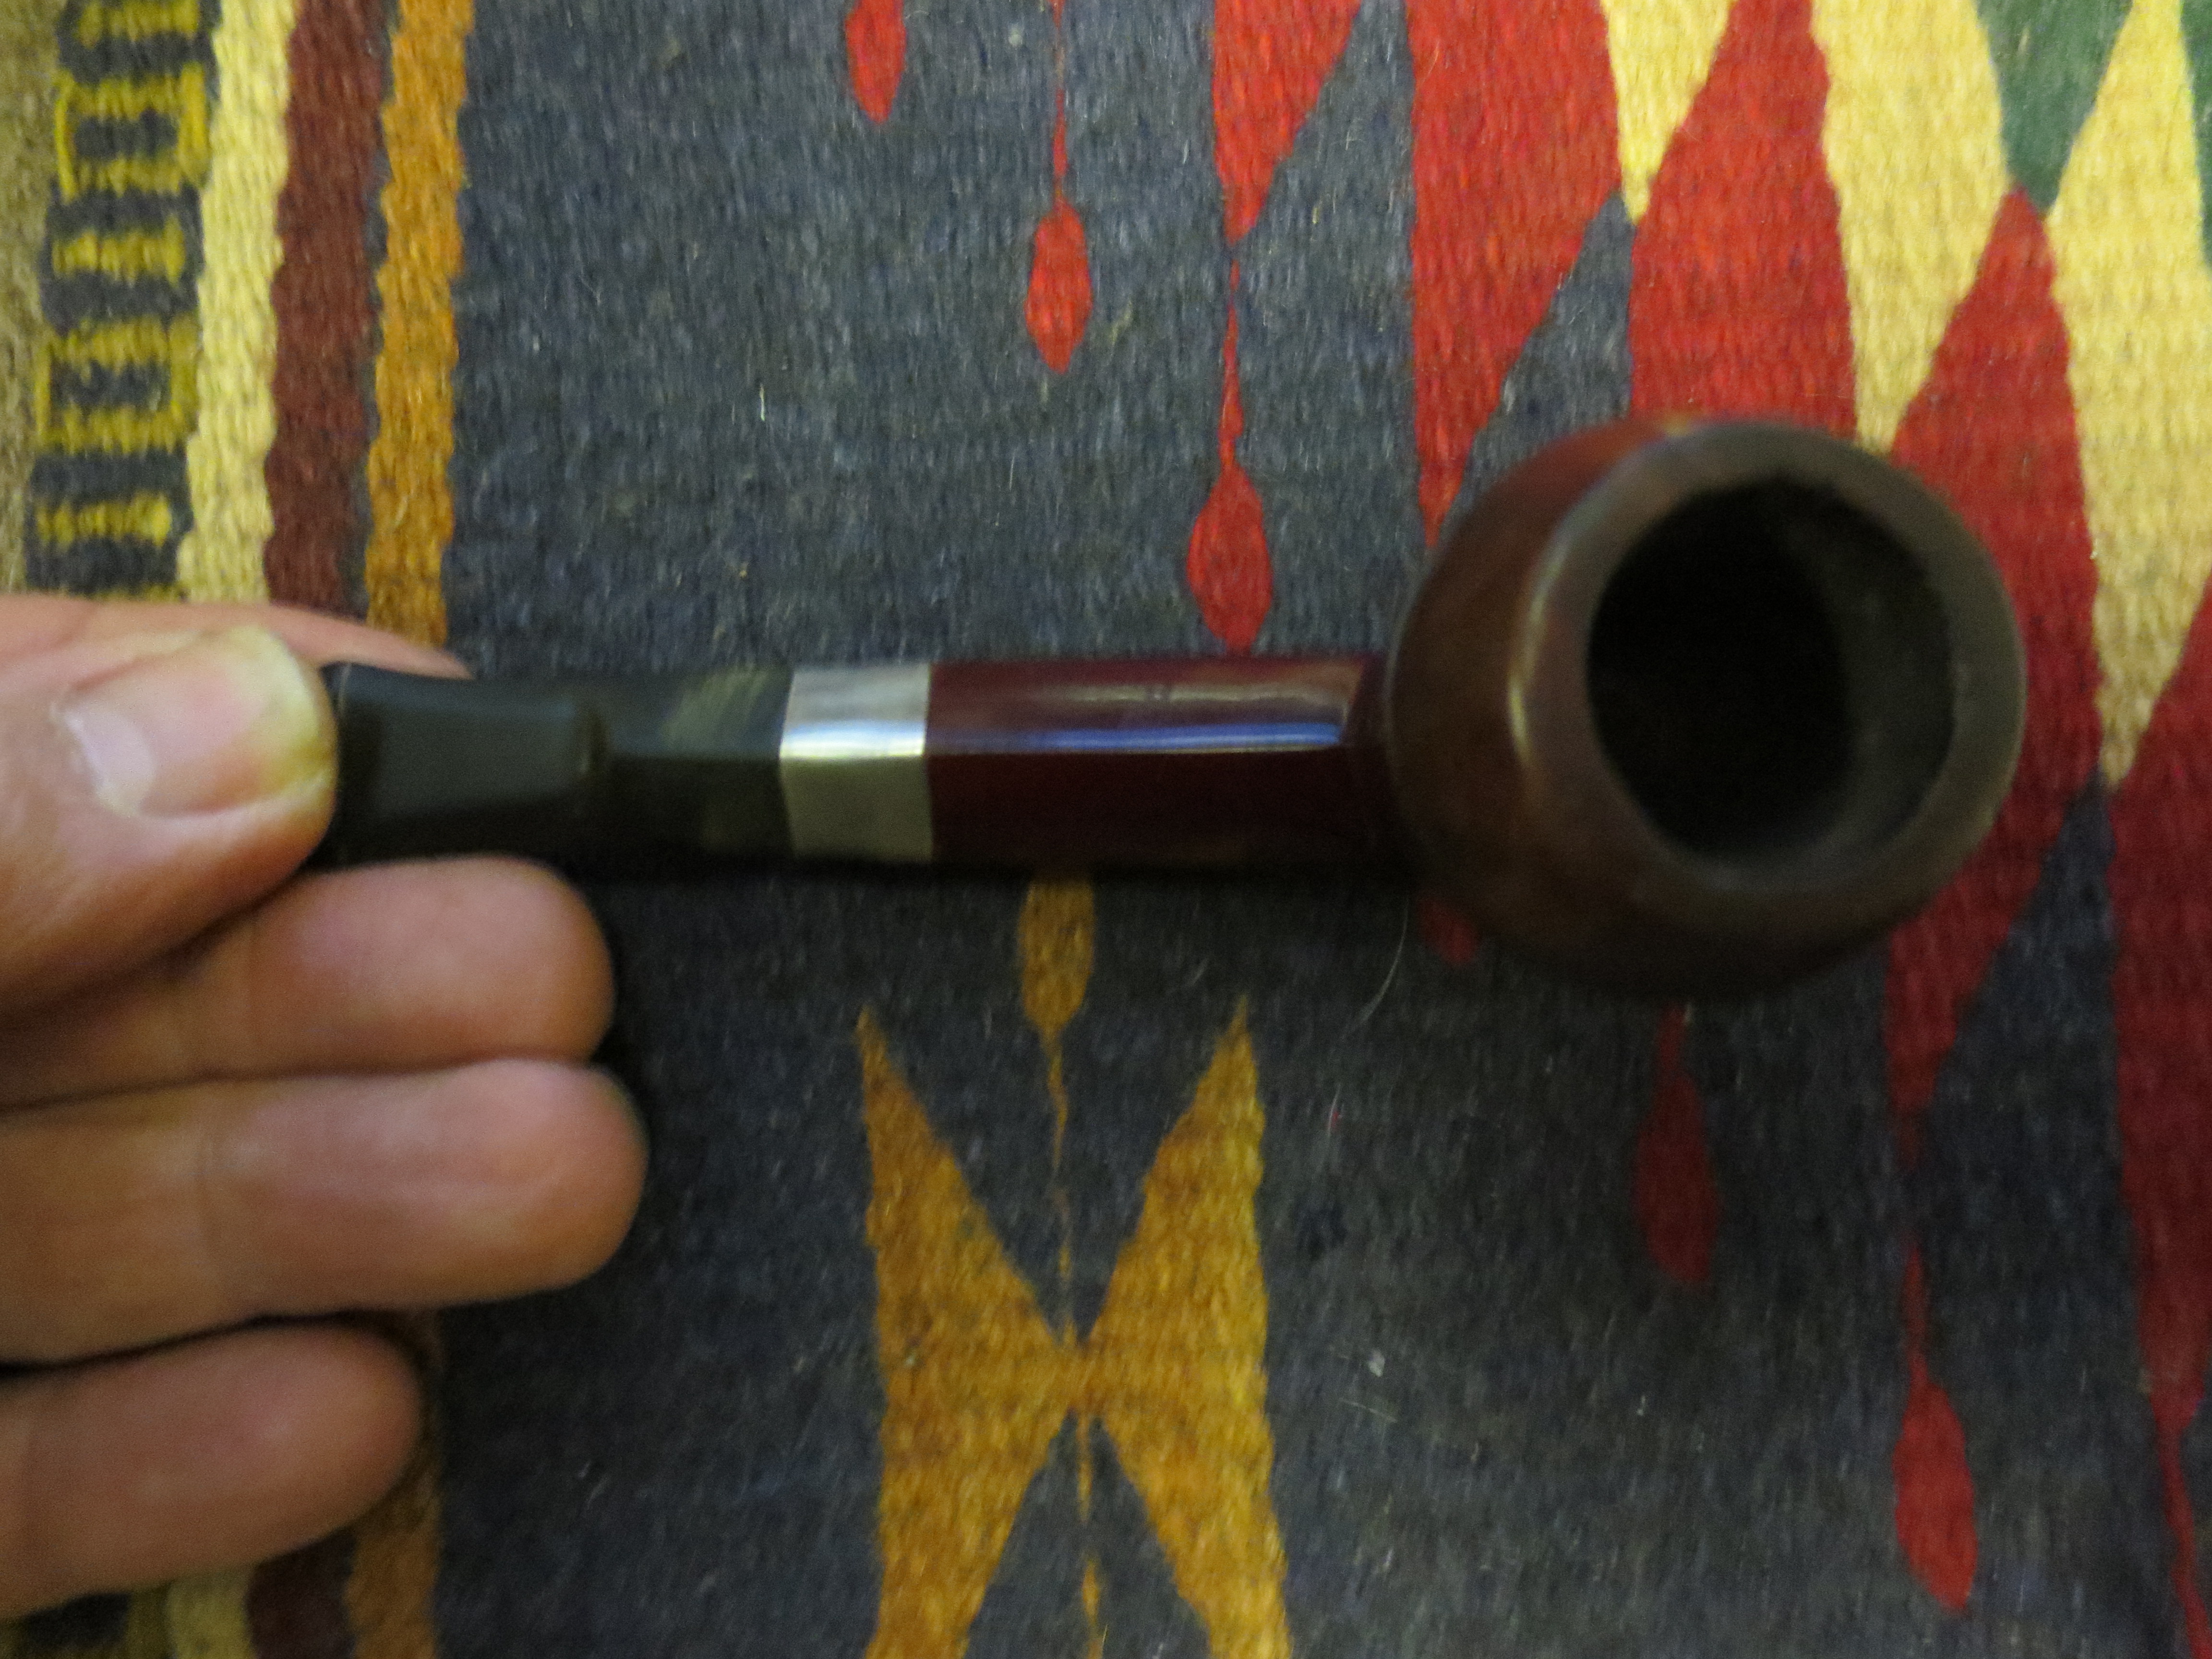
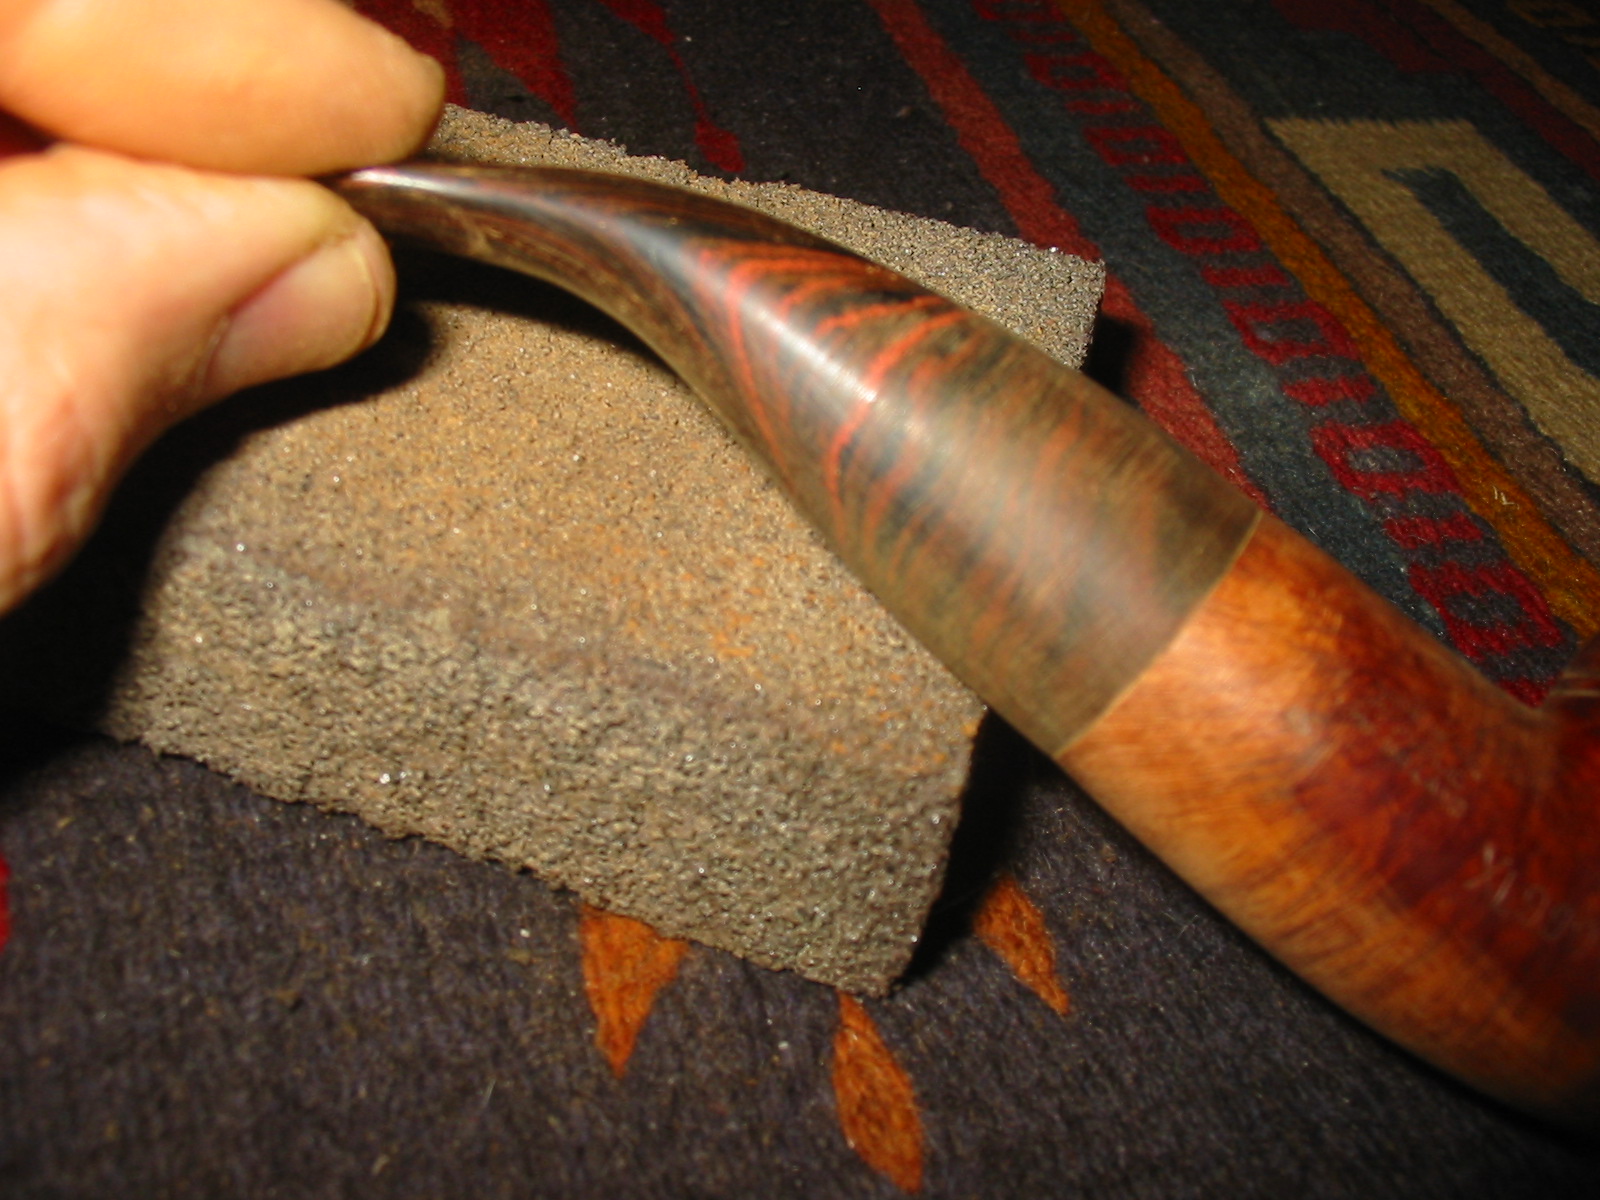
So after dinner this evening I decided to tackle the repair and remedy the situation. I used a pair of sanding blocks, one coarse and one fine to block sand the shank on the top and the bottom and more carefully along the sides of the shank around the stamping on the pipe. I sanded the briar and the stem material until the lines were smooth from the bottom of the bowl to the end of the stem and the same for the top. I worked on the sides to achieve the same thing. After sanding it with the coarse sanding block I sanded it with the fine grit block to remove the scratches.
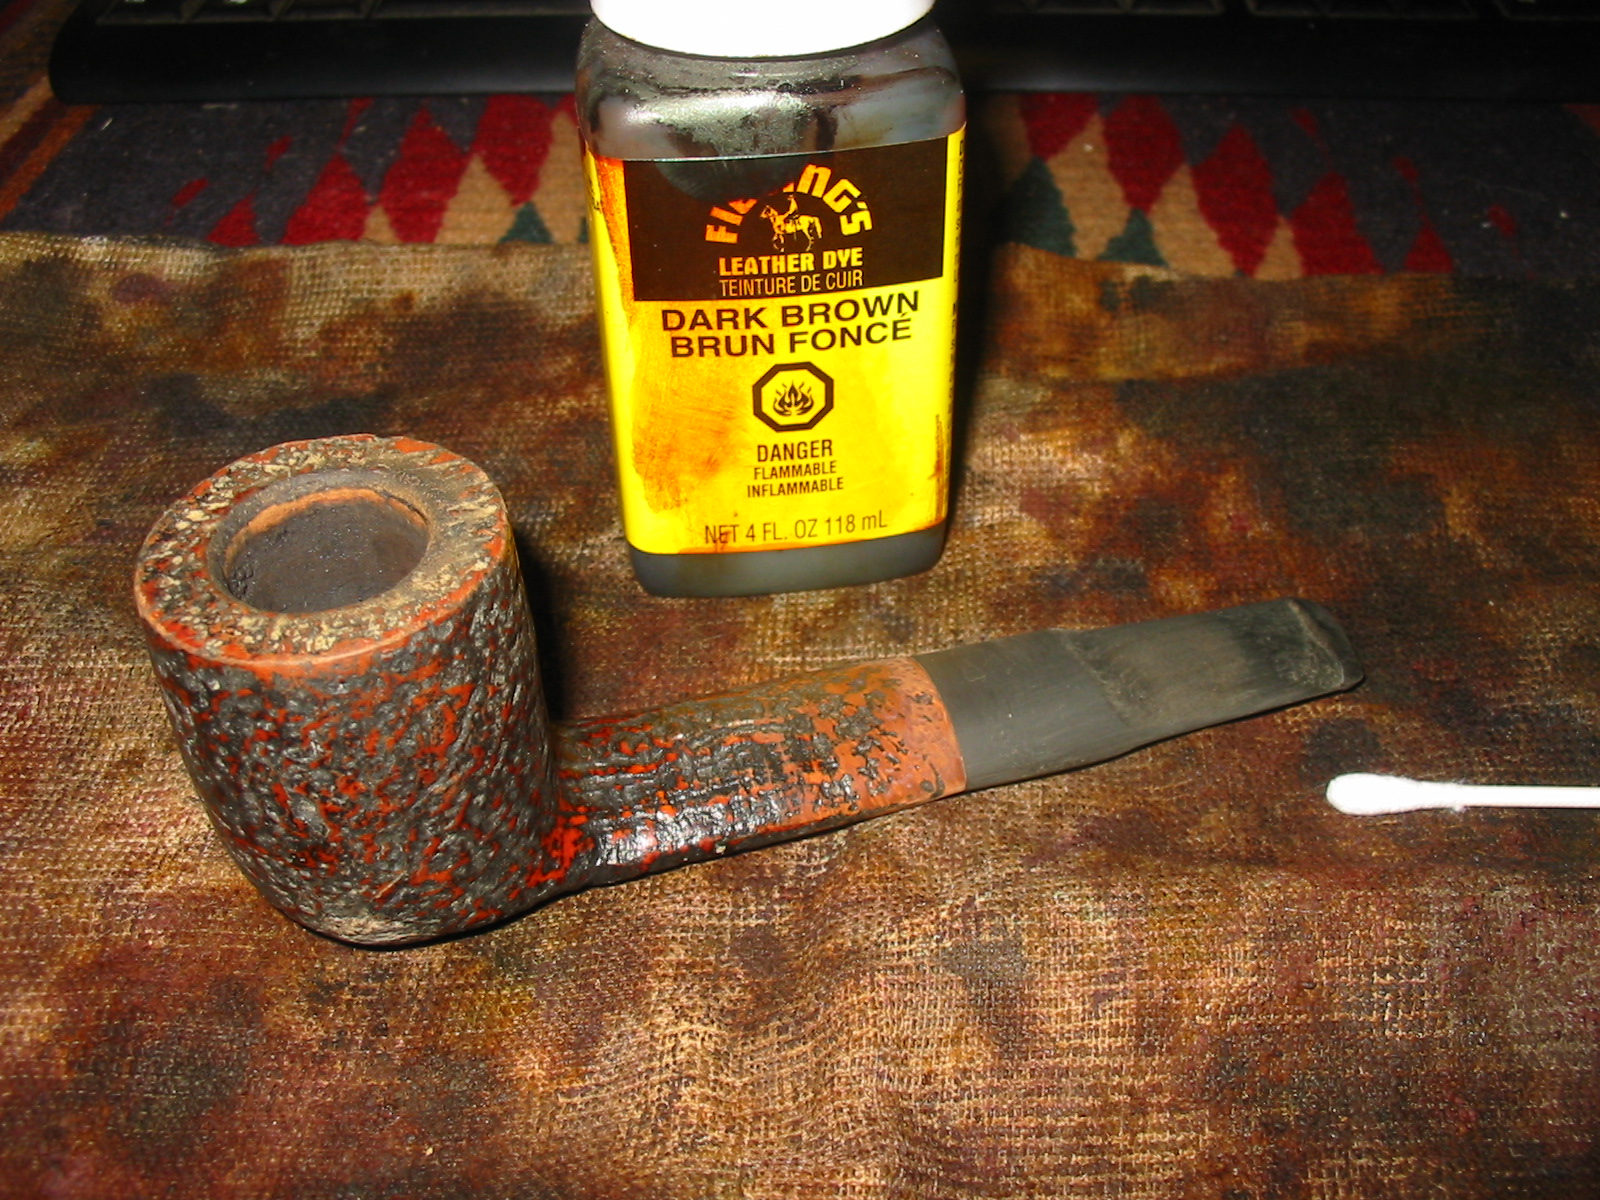
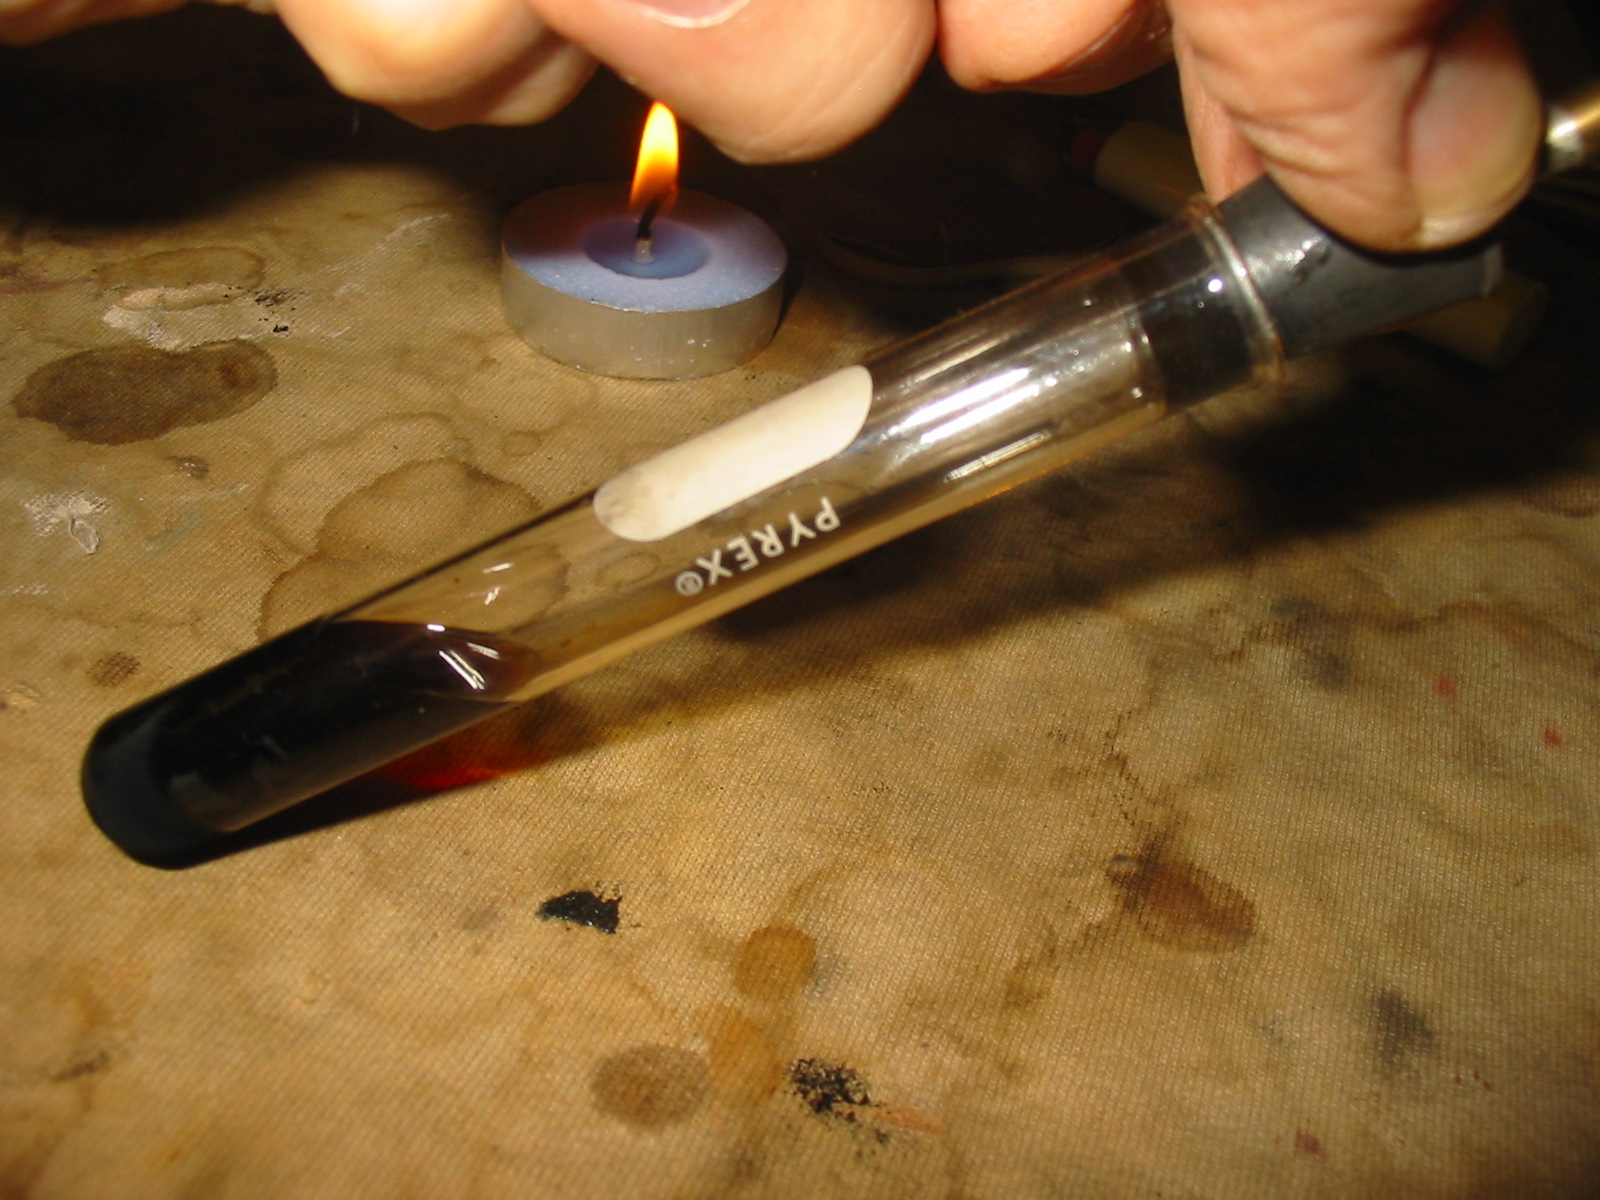
I sanded the stem and shank with 1500-12,000 grit micromesh sanding pads to bring back a smooth finish to the stem and the shank. I heated the shank with a lighter to warm the briar, restained it with a dark brown aniline stain that I thinned with isopropyl alcohol – 1 part stain to 2 parts alcohol. I flamed the alcohol and continued to stain the shank until it matched the rest of the bowl on the pipe. I buffed it with White Diamond and then gave it several coats of carnauba wax and buffed it lightly with a soft flannel buff. Tomorrow morning I will give it a careful examination in the light of day and see where I go from there. Thanks Wayne for your help.