Blog by Steve Laug
This morning I found myself in need of a diamond shaped stem – a short Lovat style stem for a long shanked pipe I was restemming. I did not have any diamond shaped stems in my can of stems so I decided to craft one. I took a round stem that had the same diameter as the high points on the diamond shank and turned the tenon to fit. It was a tiny diameter mortise so I did a lot of work on it with my dremel and with files and sandpaper. Once I had the fit on the mortise I inserted it in place and used the Dremel to reduce the round sides of the stem to match the diamond shank.
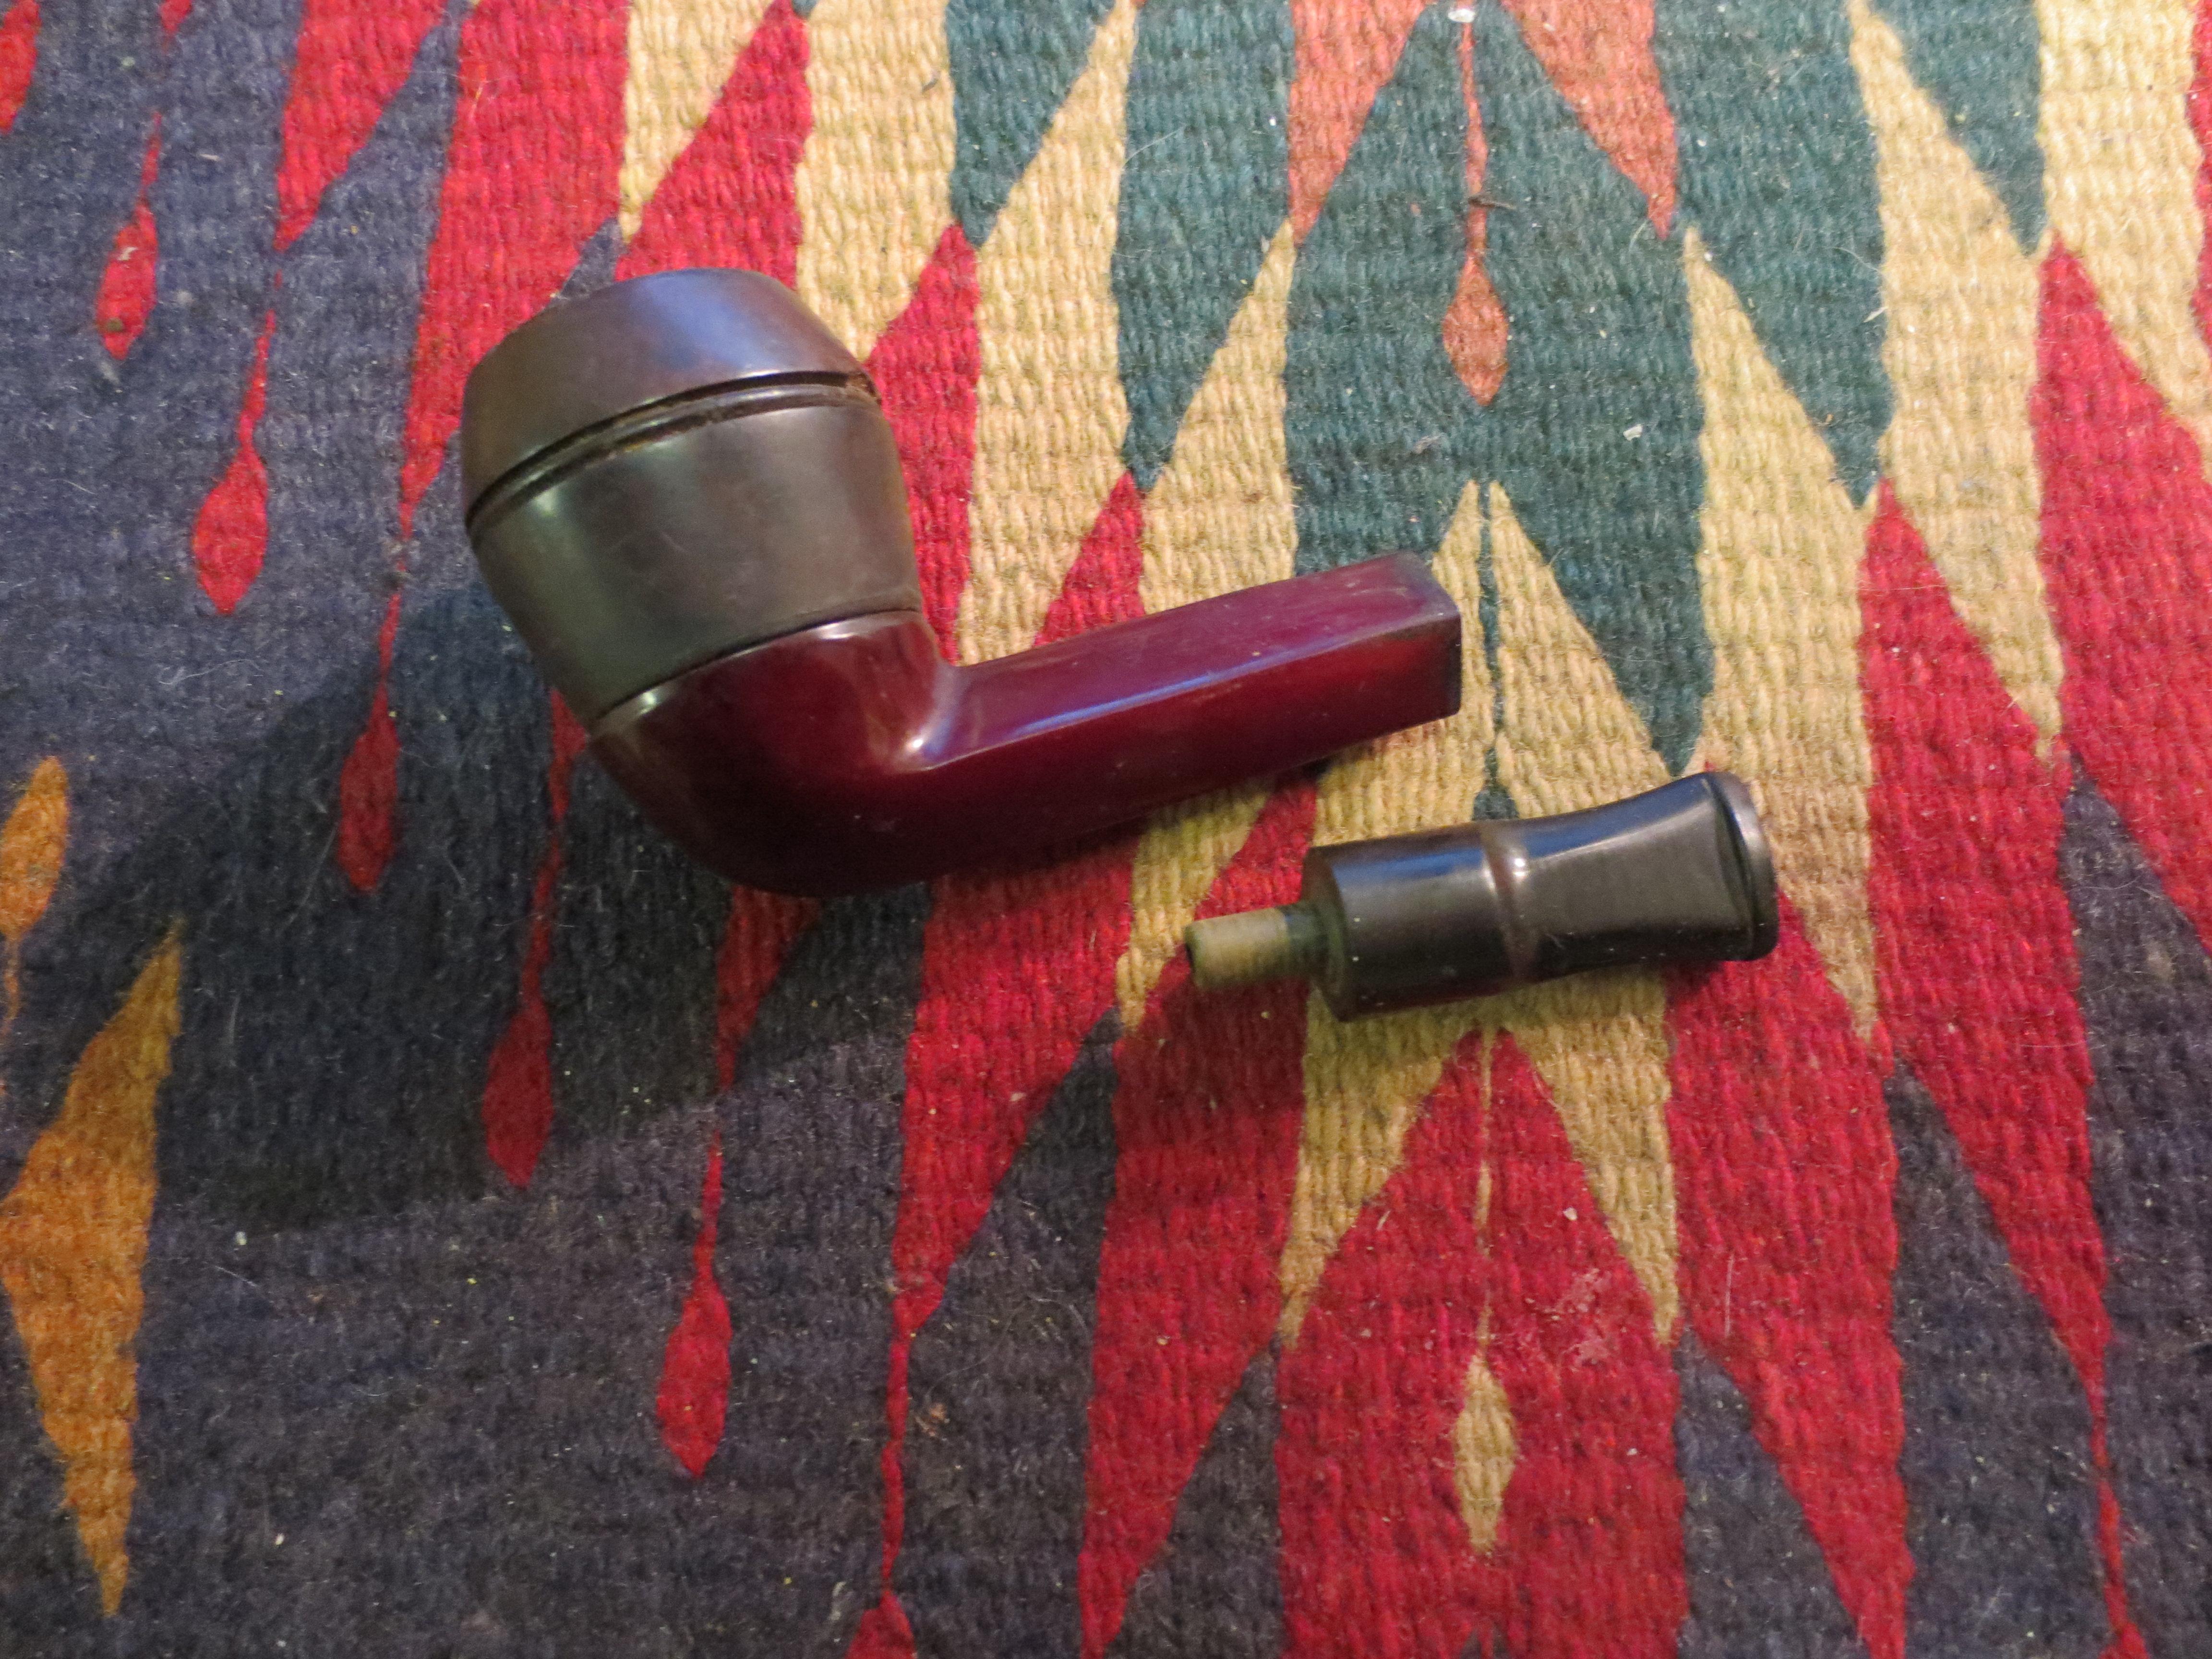
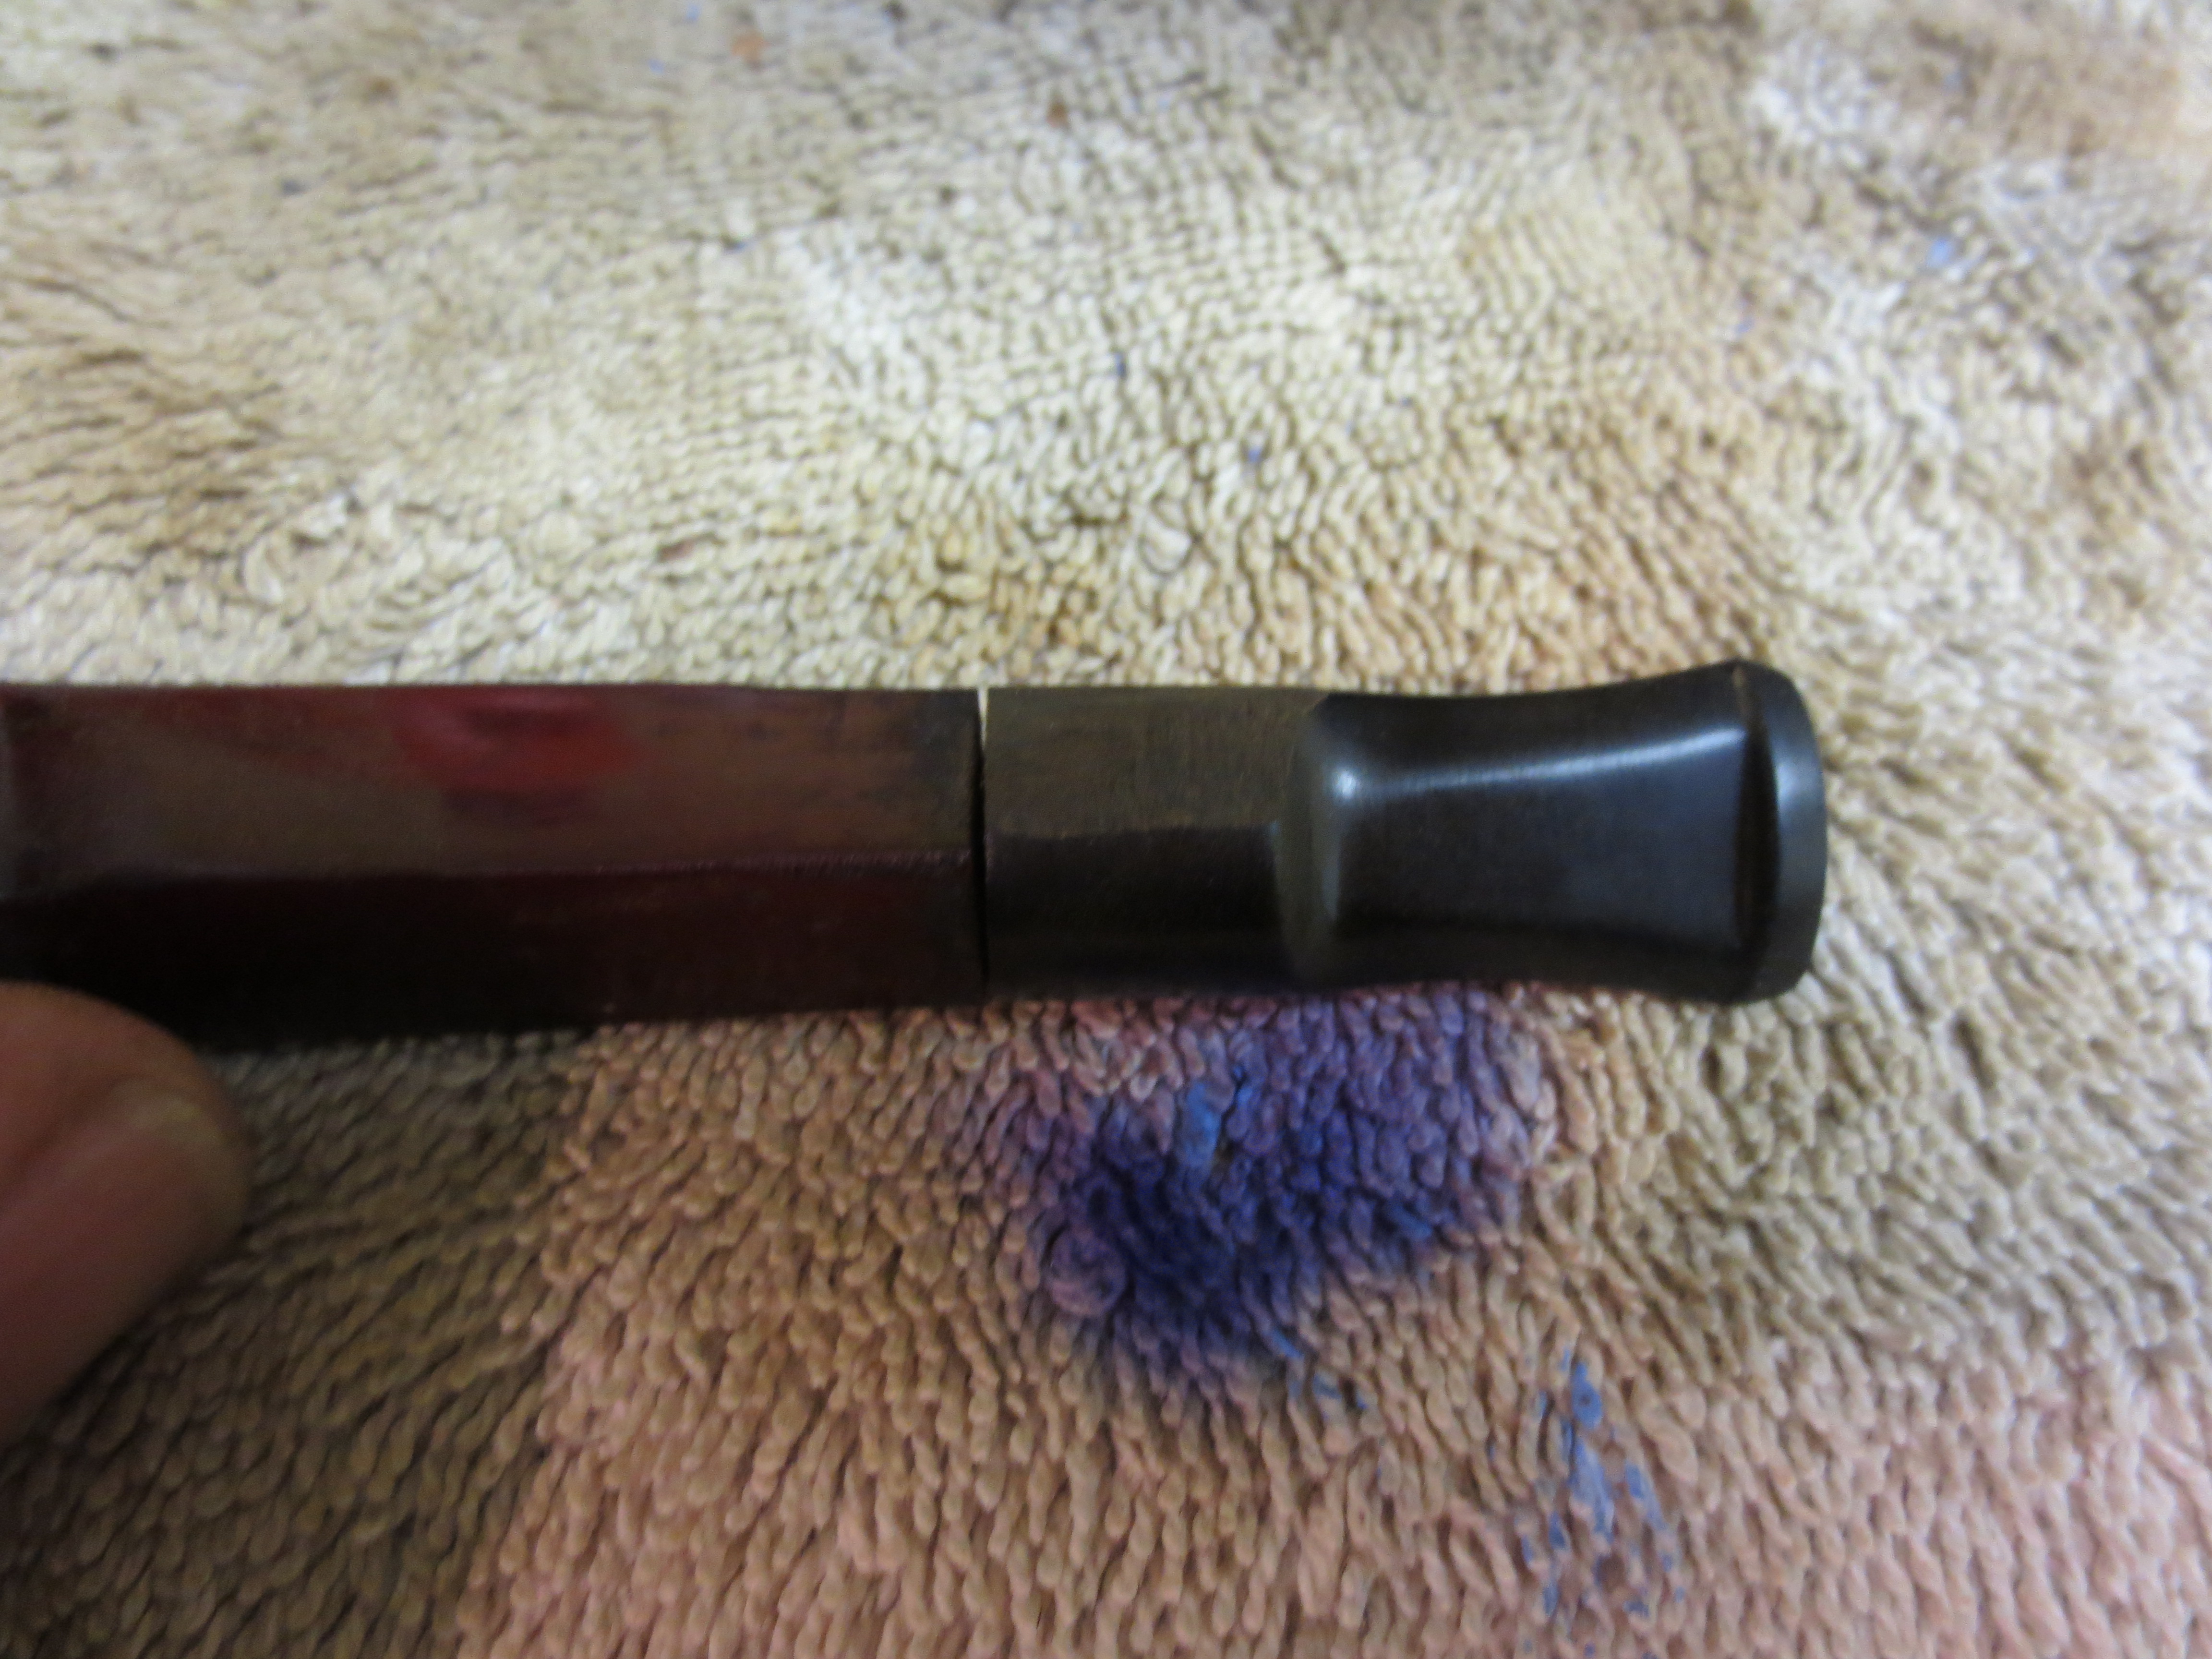
Figure 1 WDC base in need of a diamond shaped stem. Necessity is the mother of invention. I used a round Lovat stem.
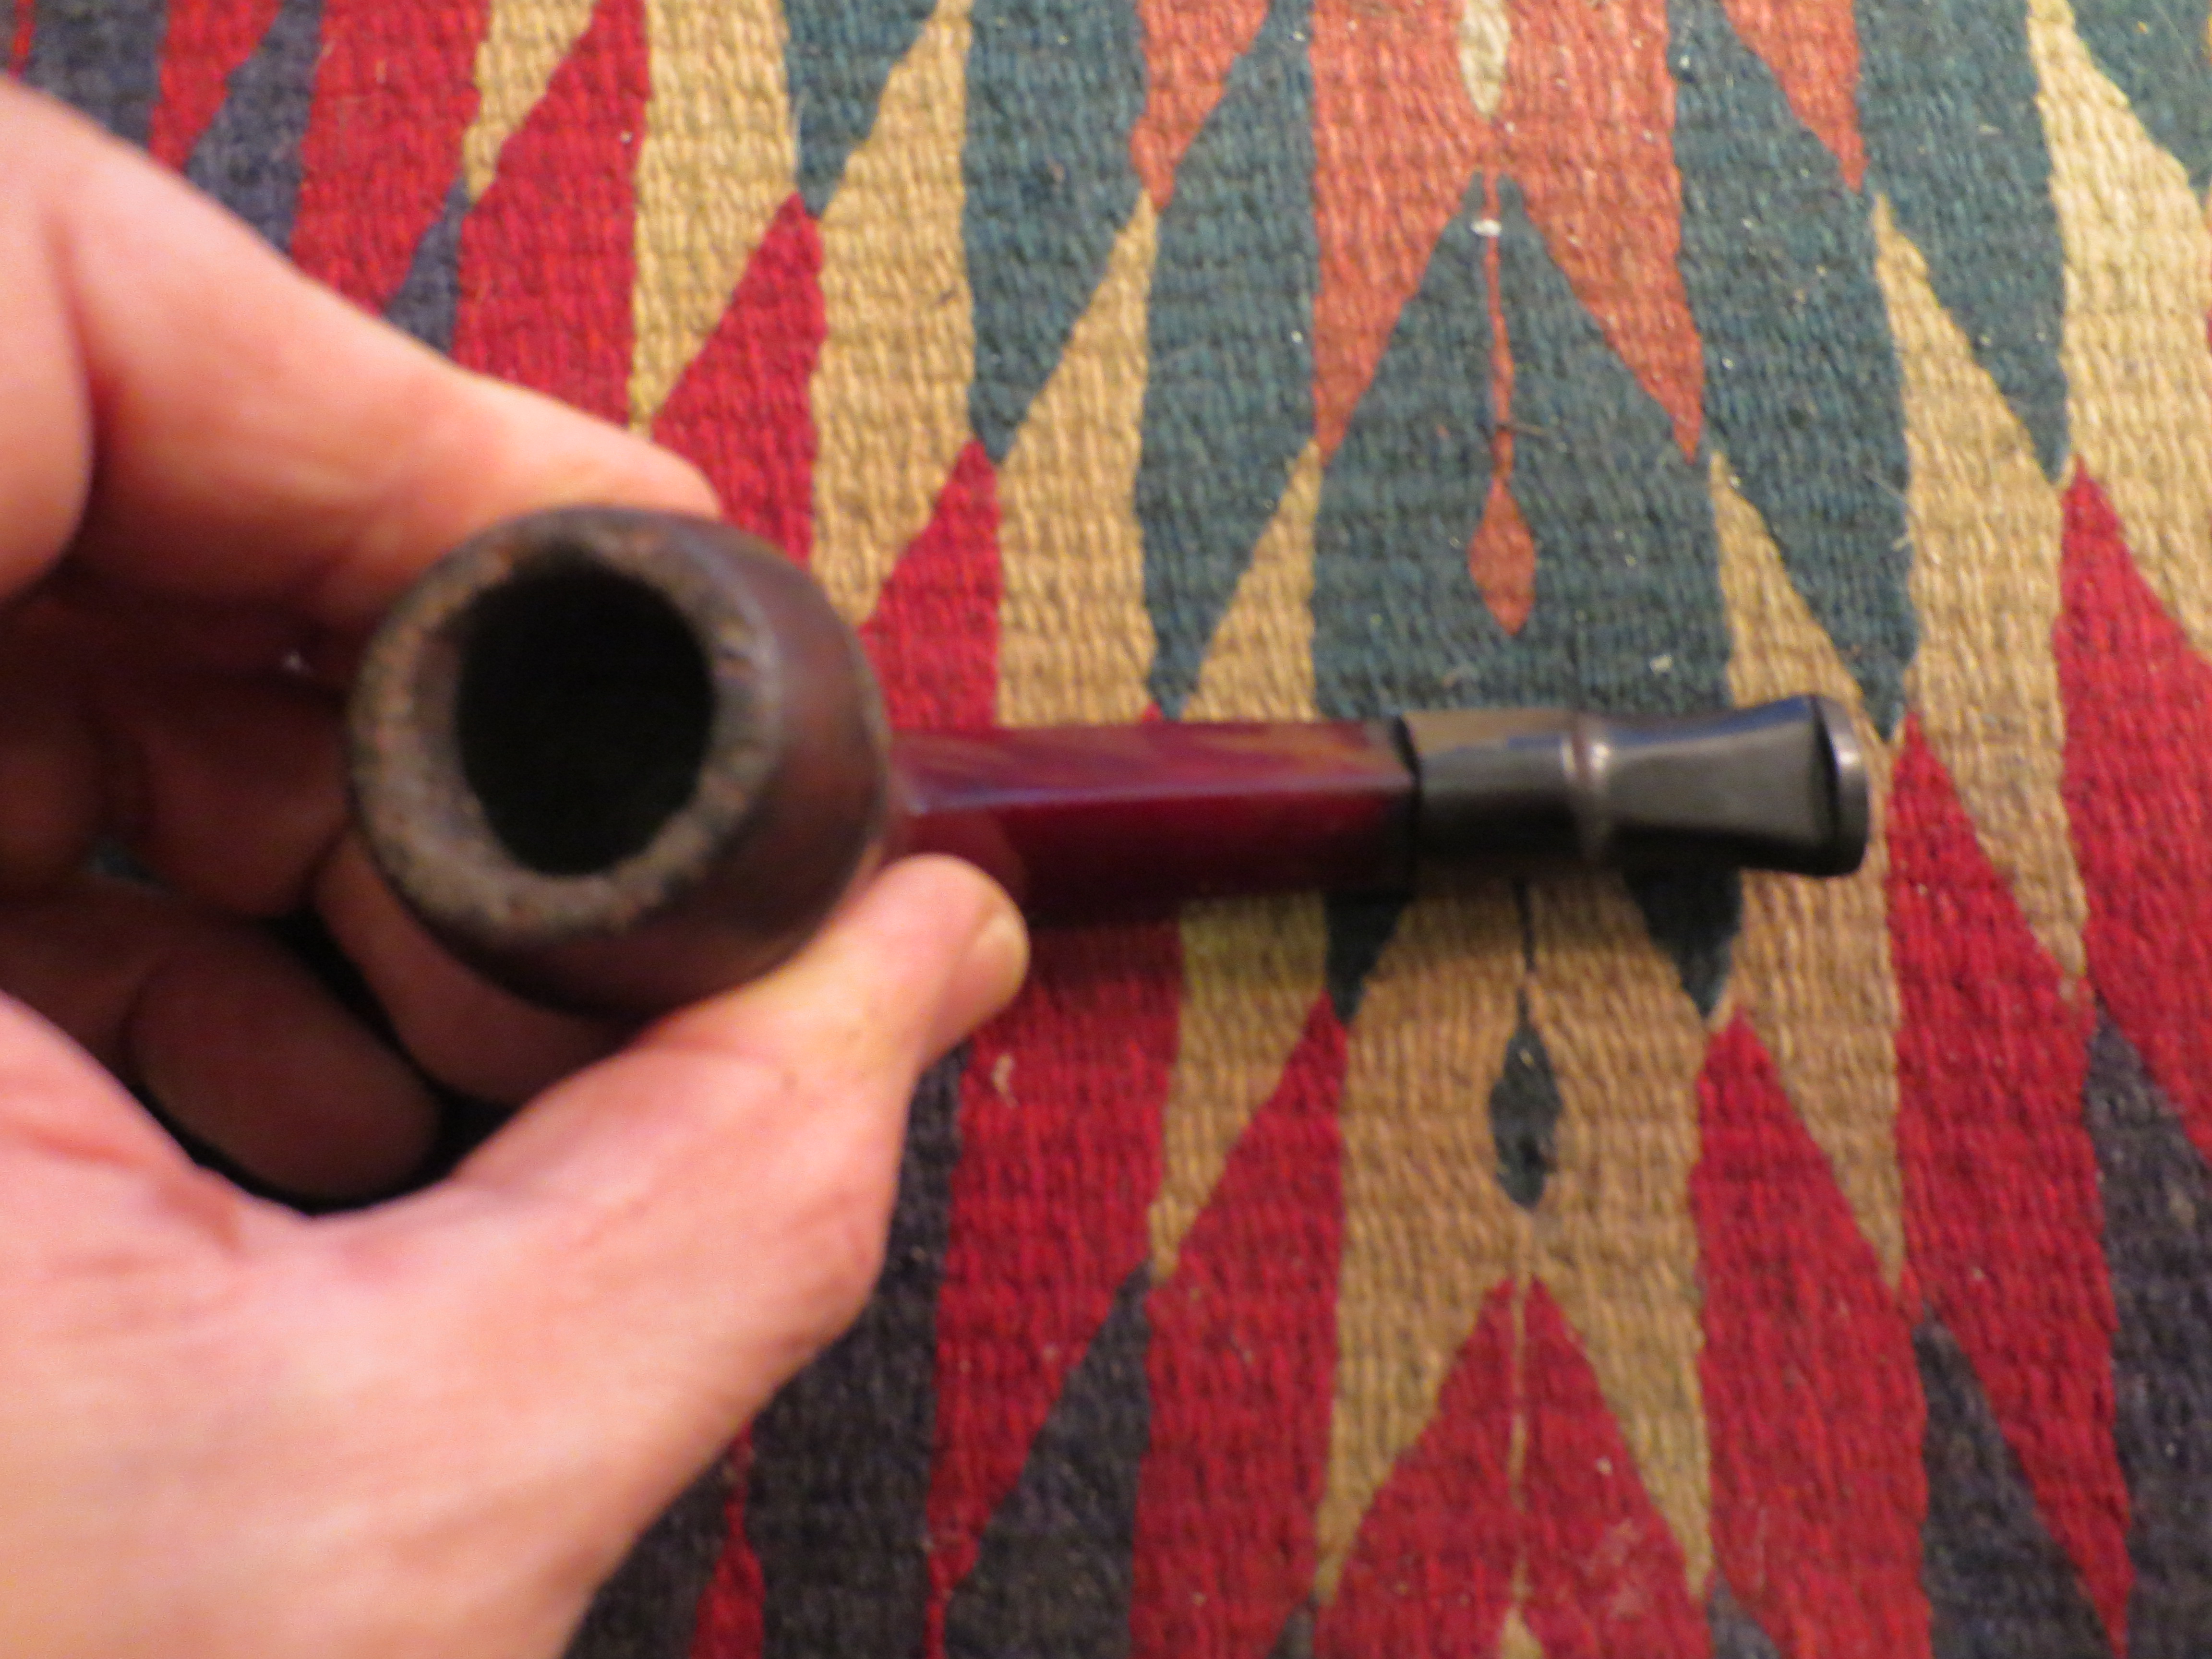
Figure 2 I turned the tenon to fit the mortise and then inserted the stem against the shank.
I worked on one side at a time with the sanding drum on the Dremel running at medium speed. I worked holding the pipe bowl and shank in hand and holding the Dremel with the sanding drum perpendicular to the stem. I worked it the length of the saddle until each side was set at the same angle as the shank of the pipe. This took care so as not to damage the Bakelite of the shank and base.
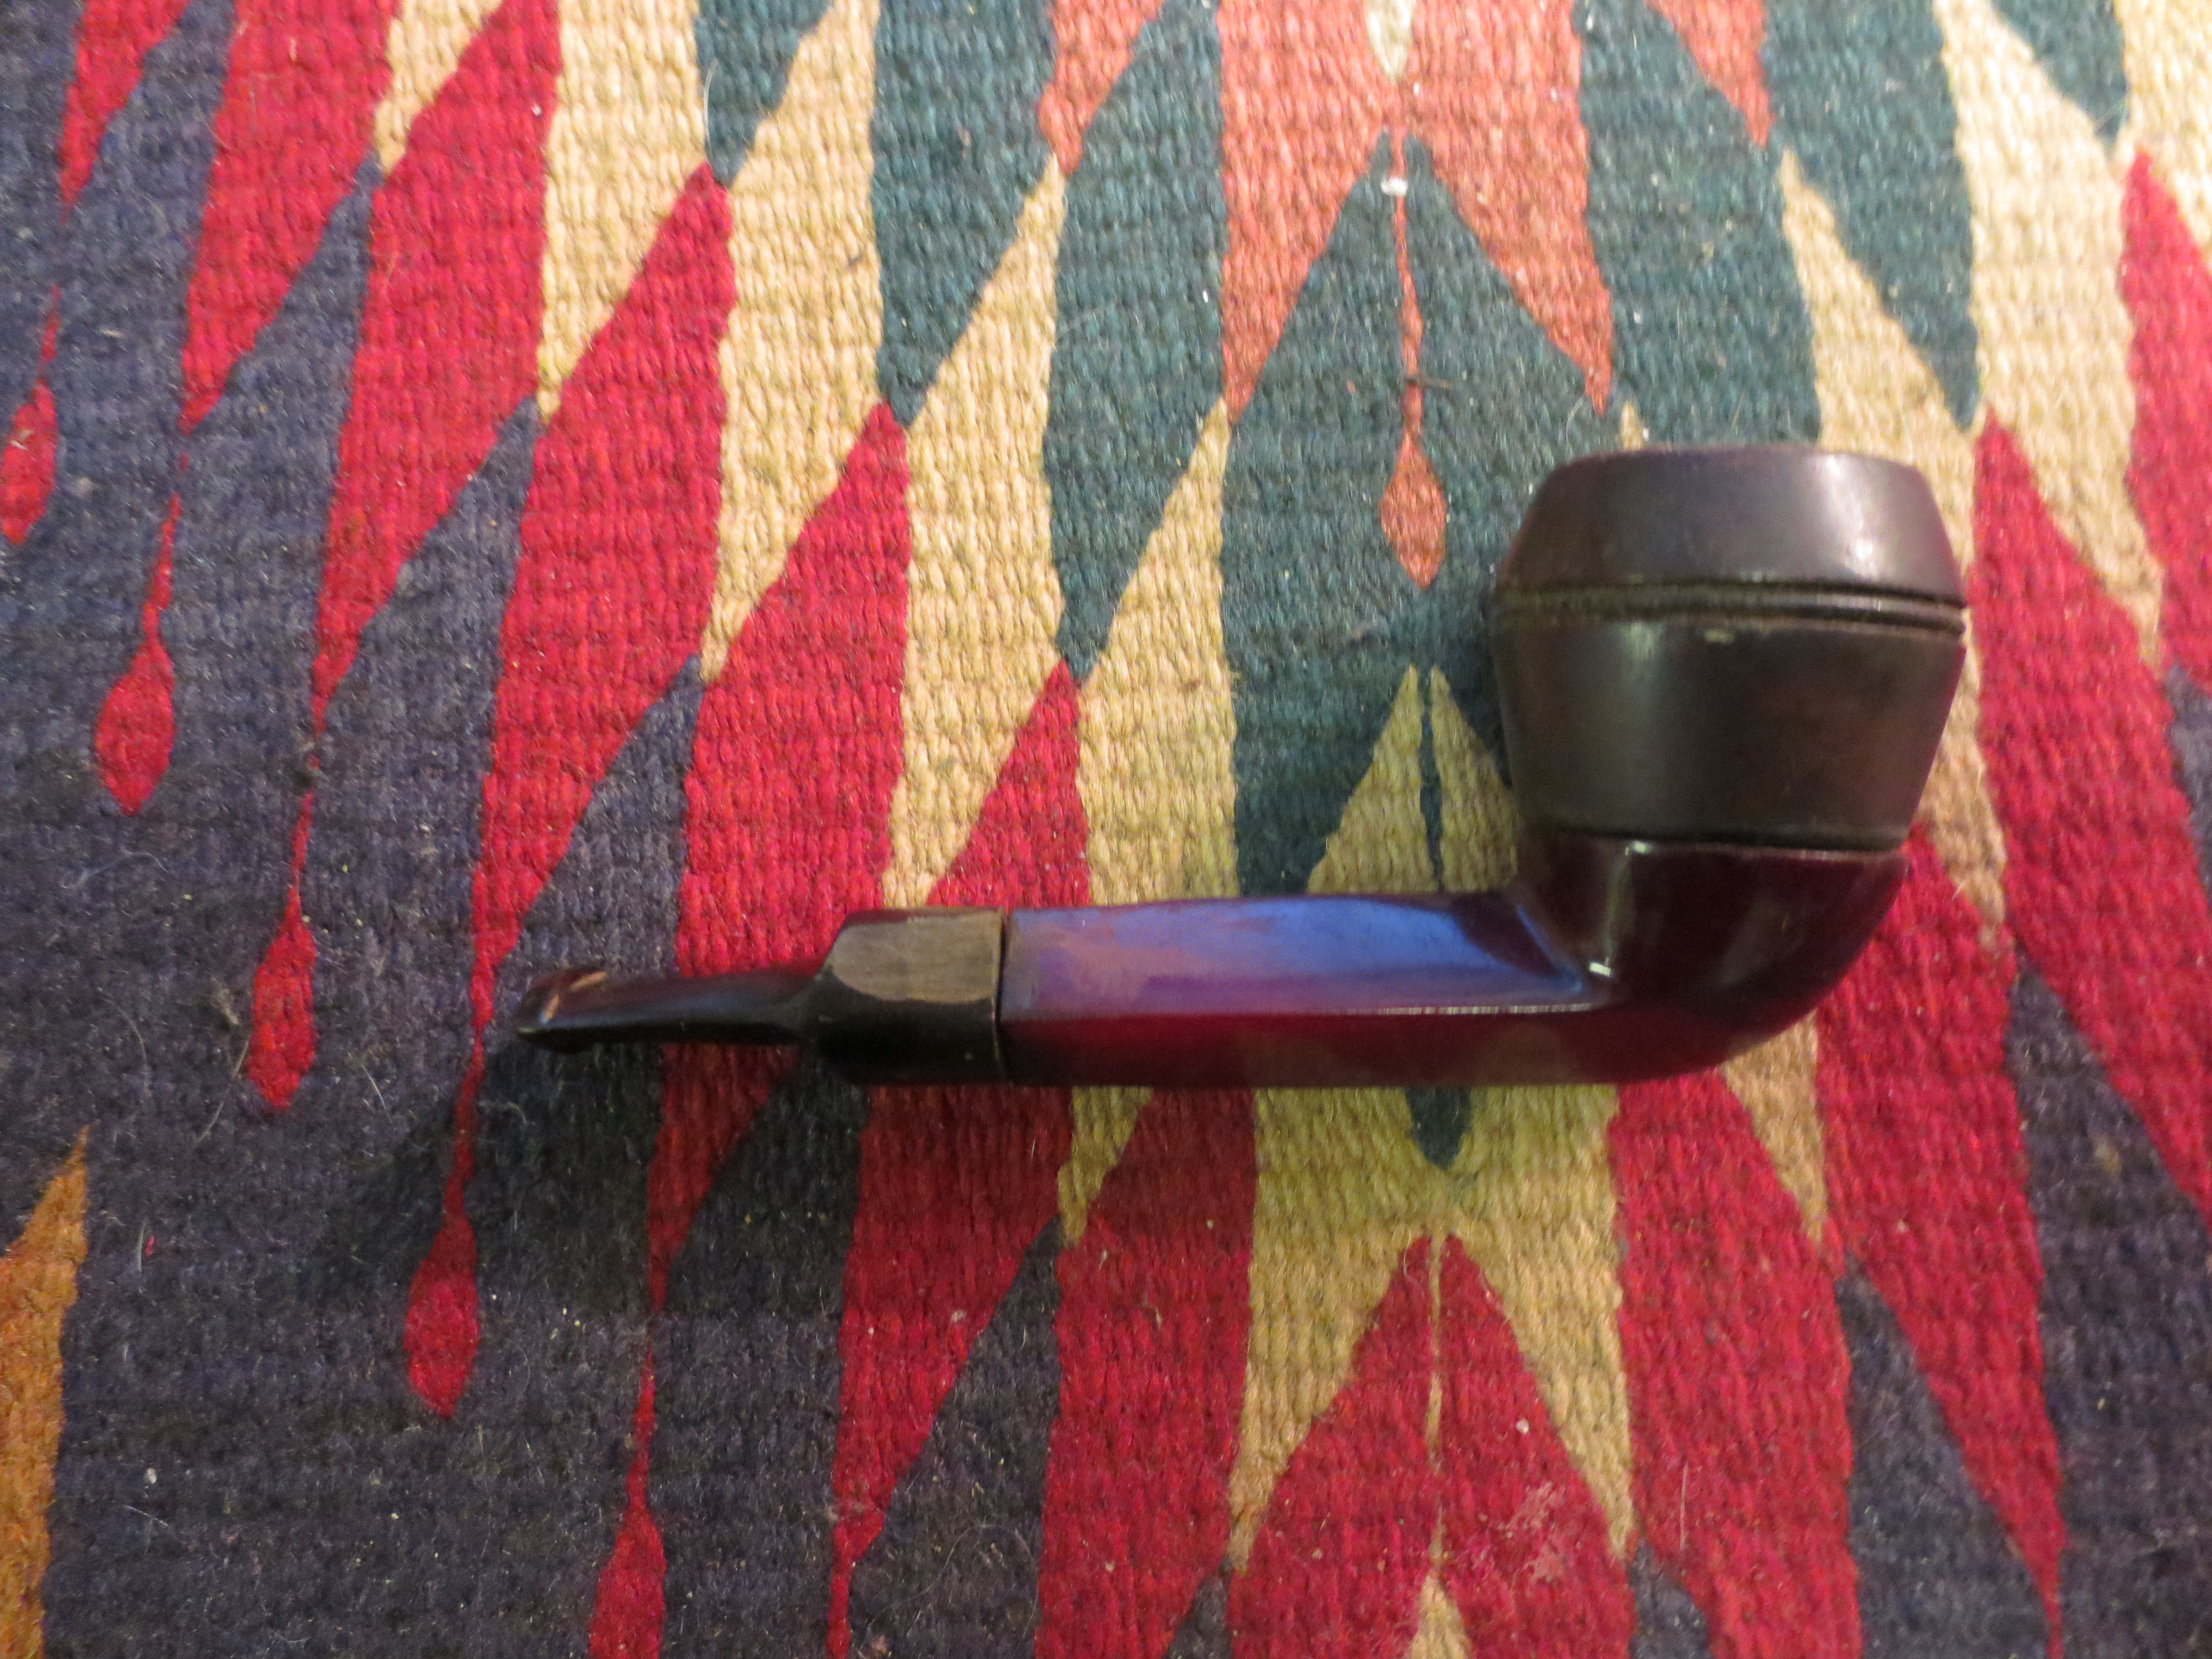
Figure 3 I used a Dremel to shape the stem to match the diamond angles of the shank. I worked on one side at a time.
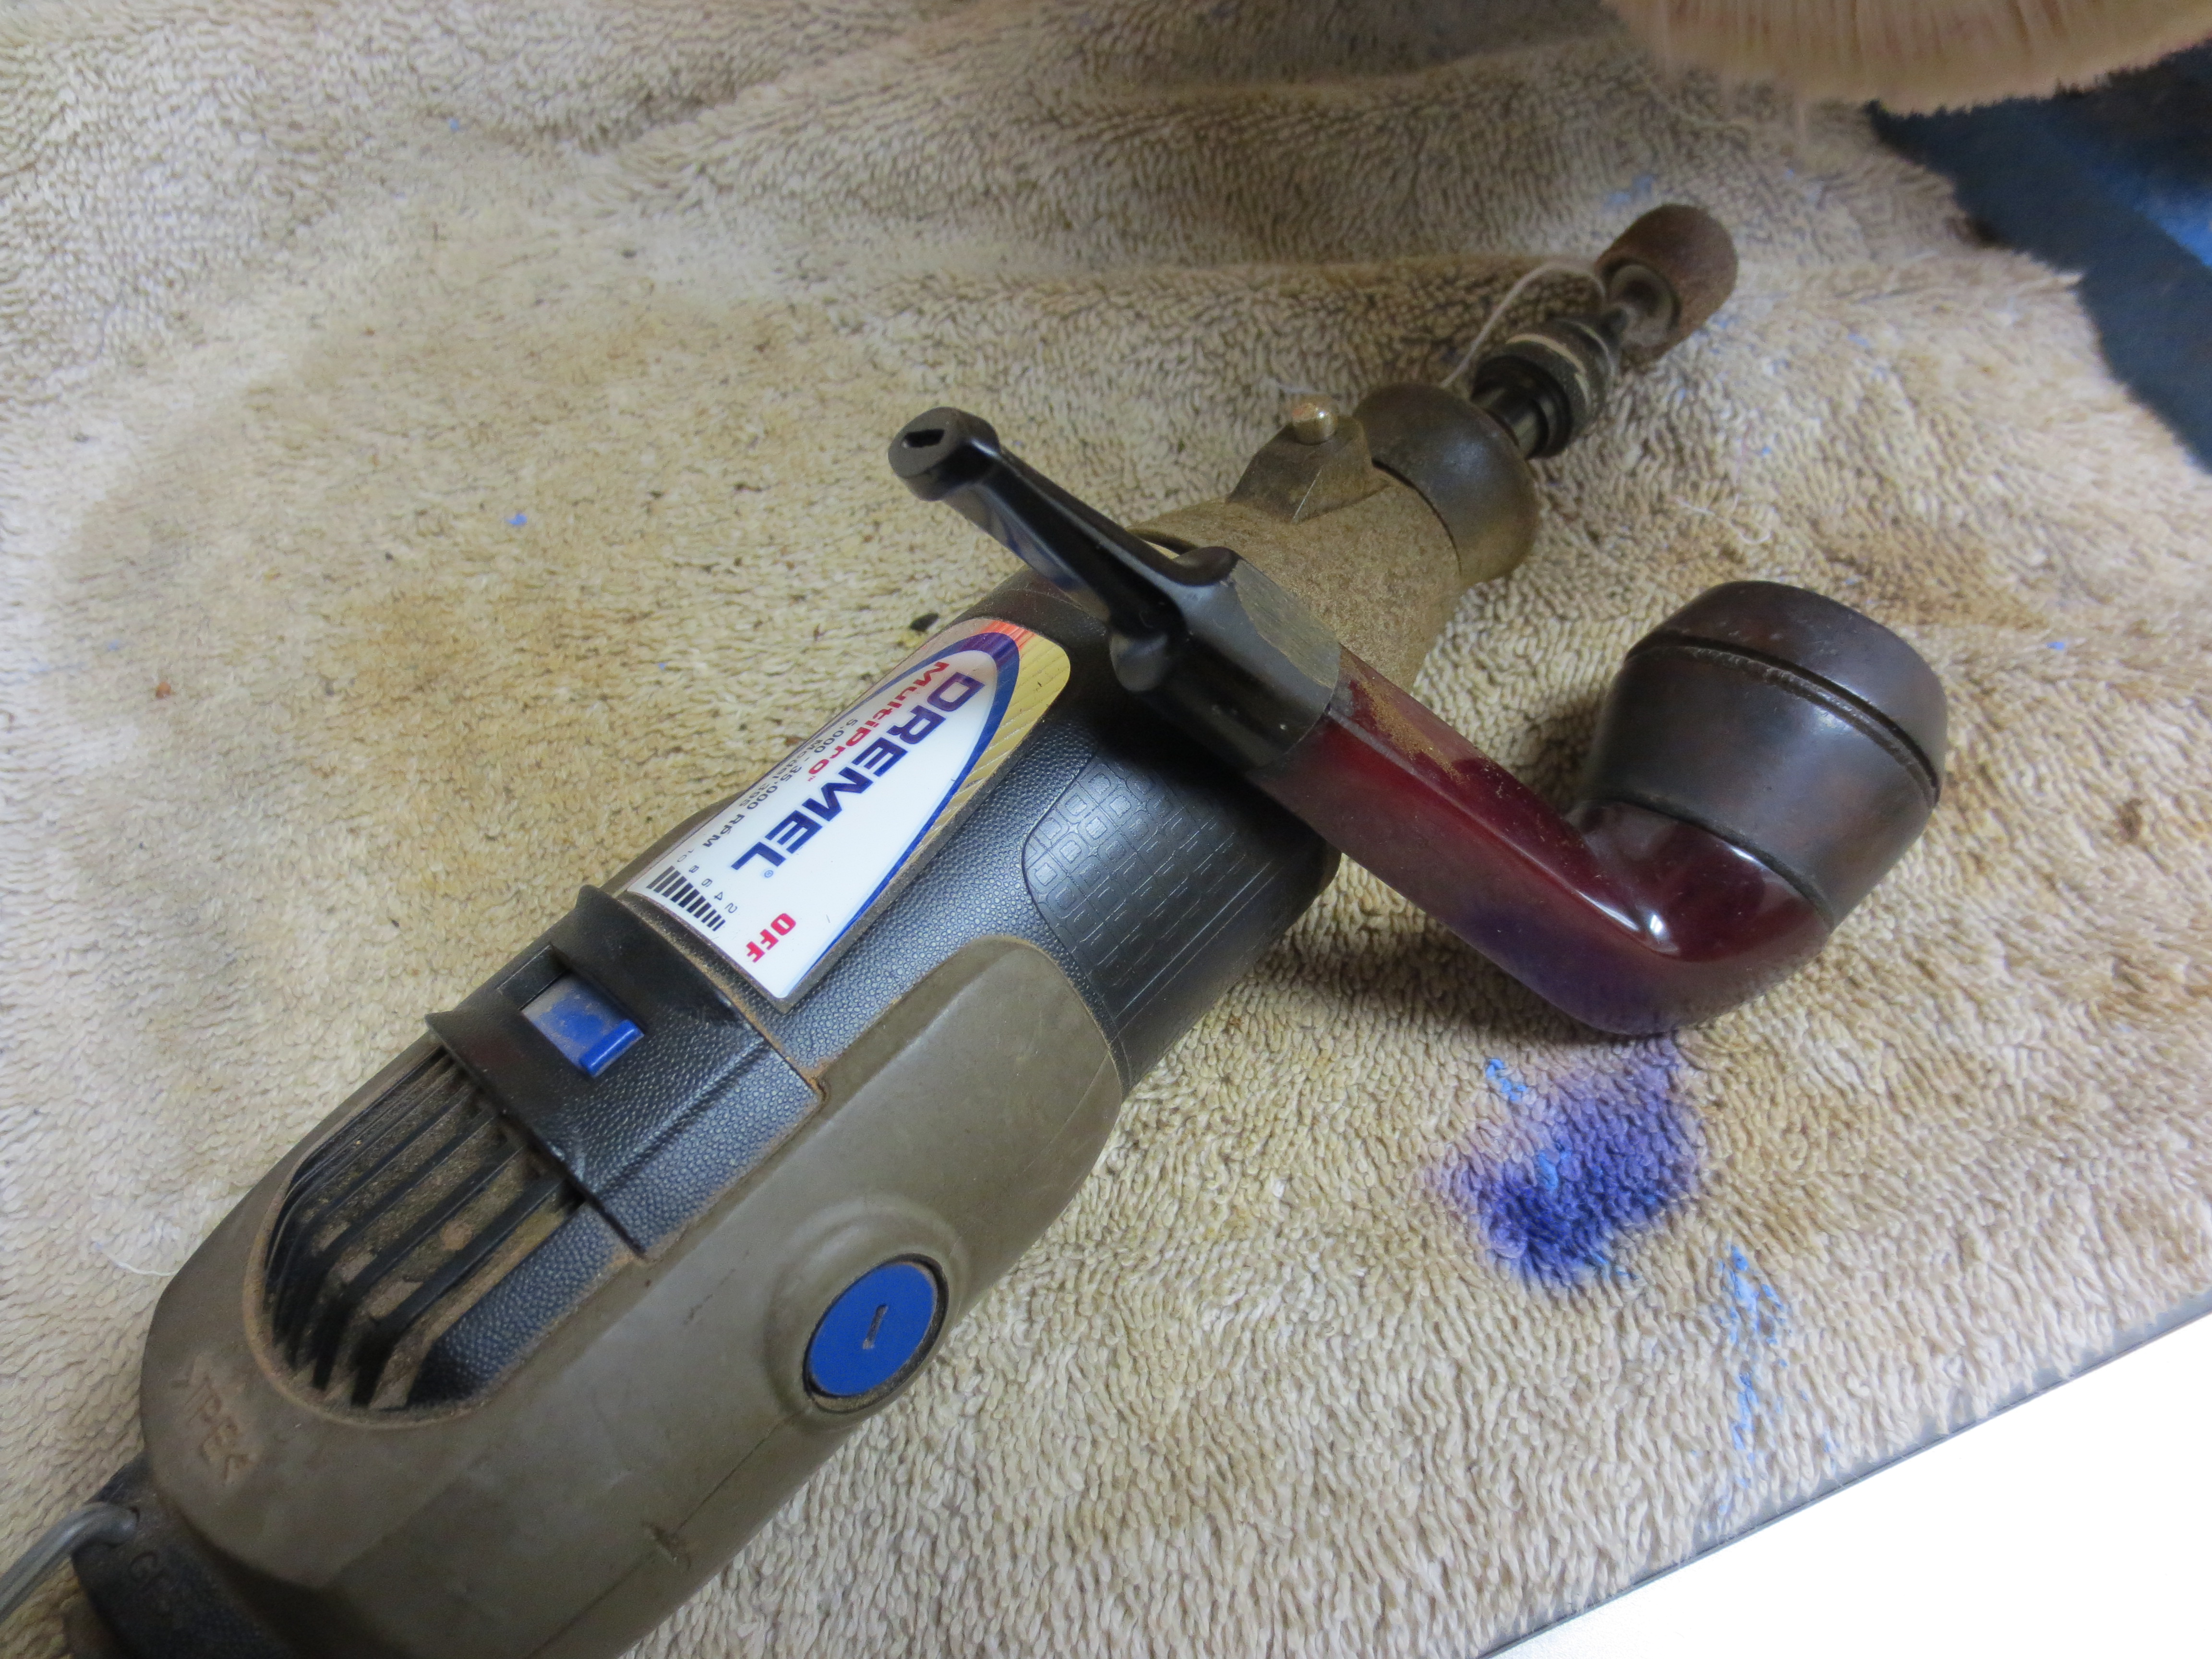
Figure 4 Pipe resting against the Dremel with a sanding drum. Shaping progressed quite quickly. This picture shows one side beginning to take shape.
5 Top view of the shank. Both sides of the round stem are beginning to take on the shape of the shank.
I finished the top side of the stem with the Dremel before going on to the underside. I worked the Dremel so as to leave a relatively straight line down the centre of the stem. The goal was to align the line with the line of the shank on each side. I eye balled it at this point and would fine tune it when I worked it with sandpaper.
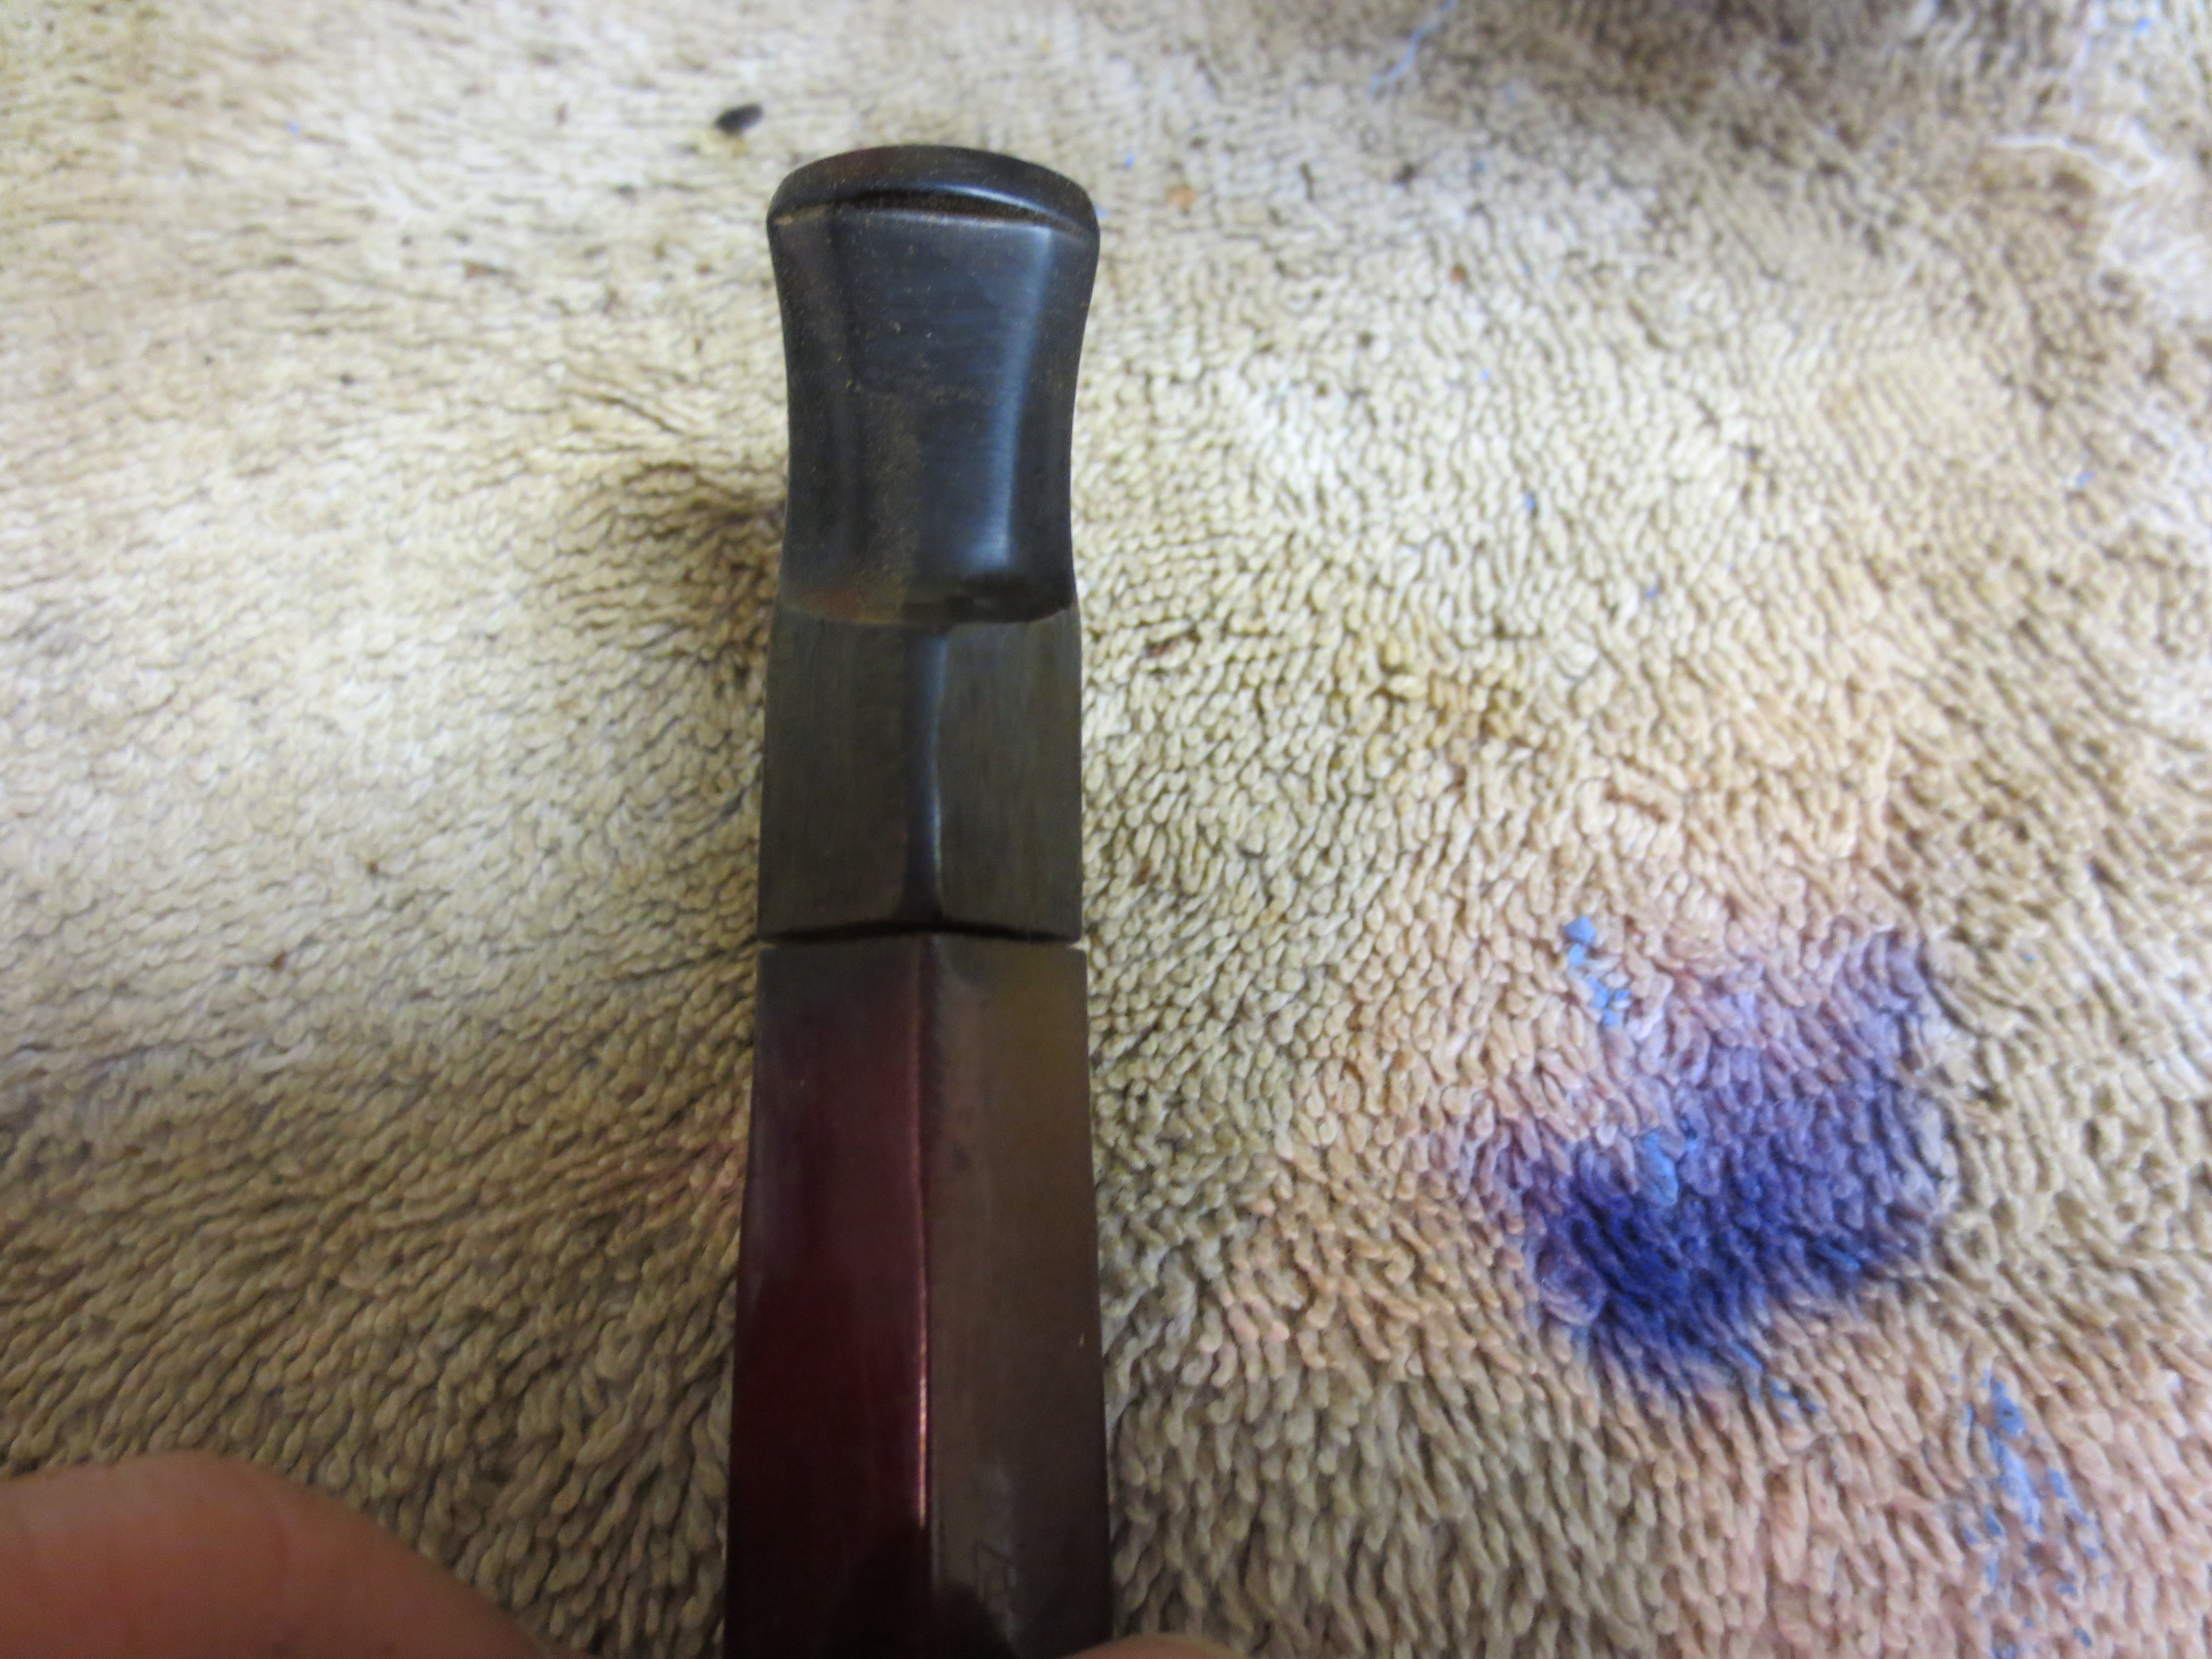
Figure 6 Top view after more shaping with the Dremel.
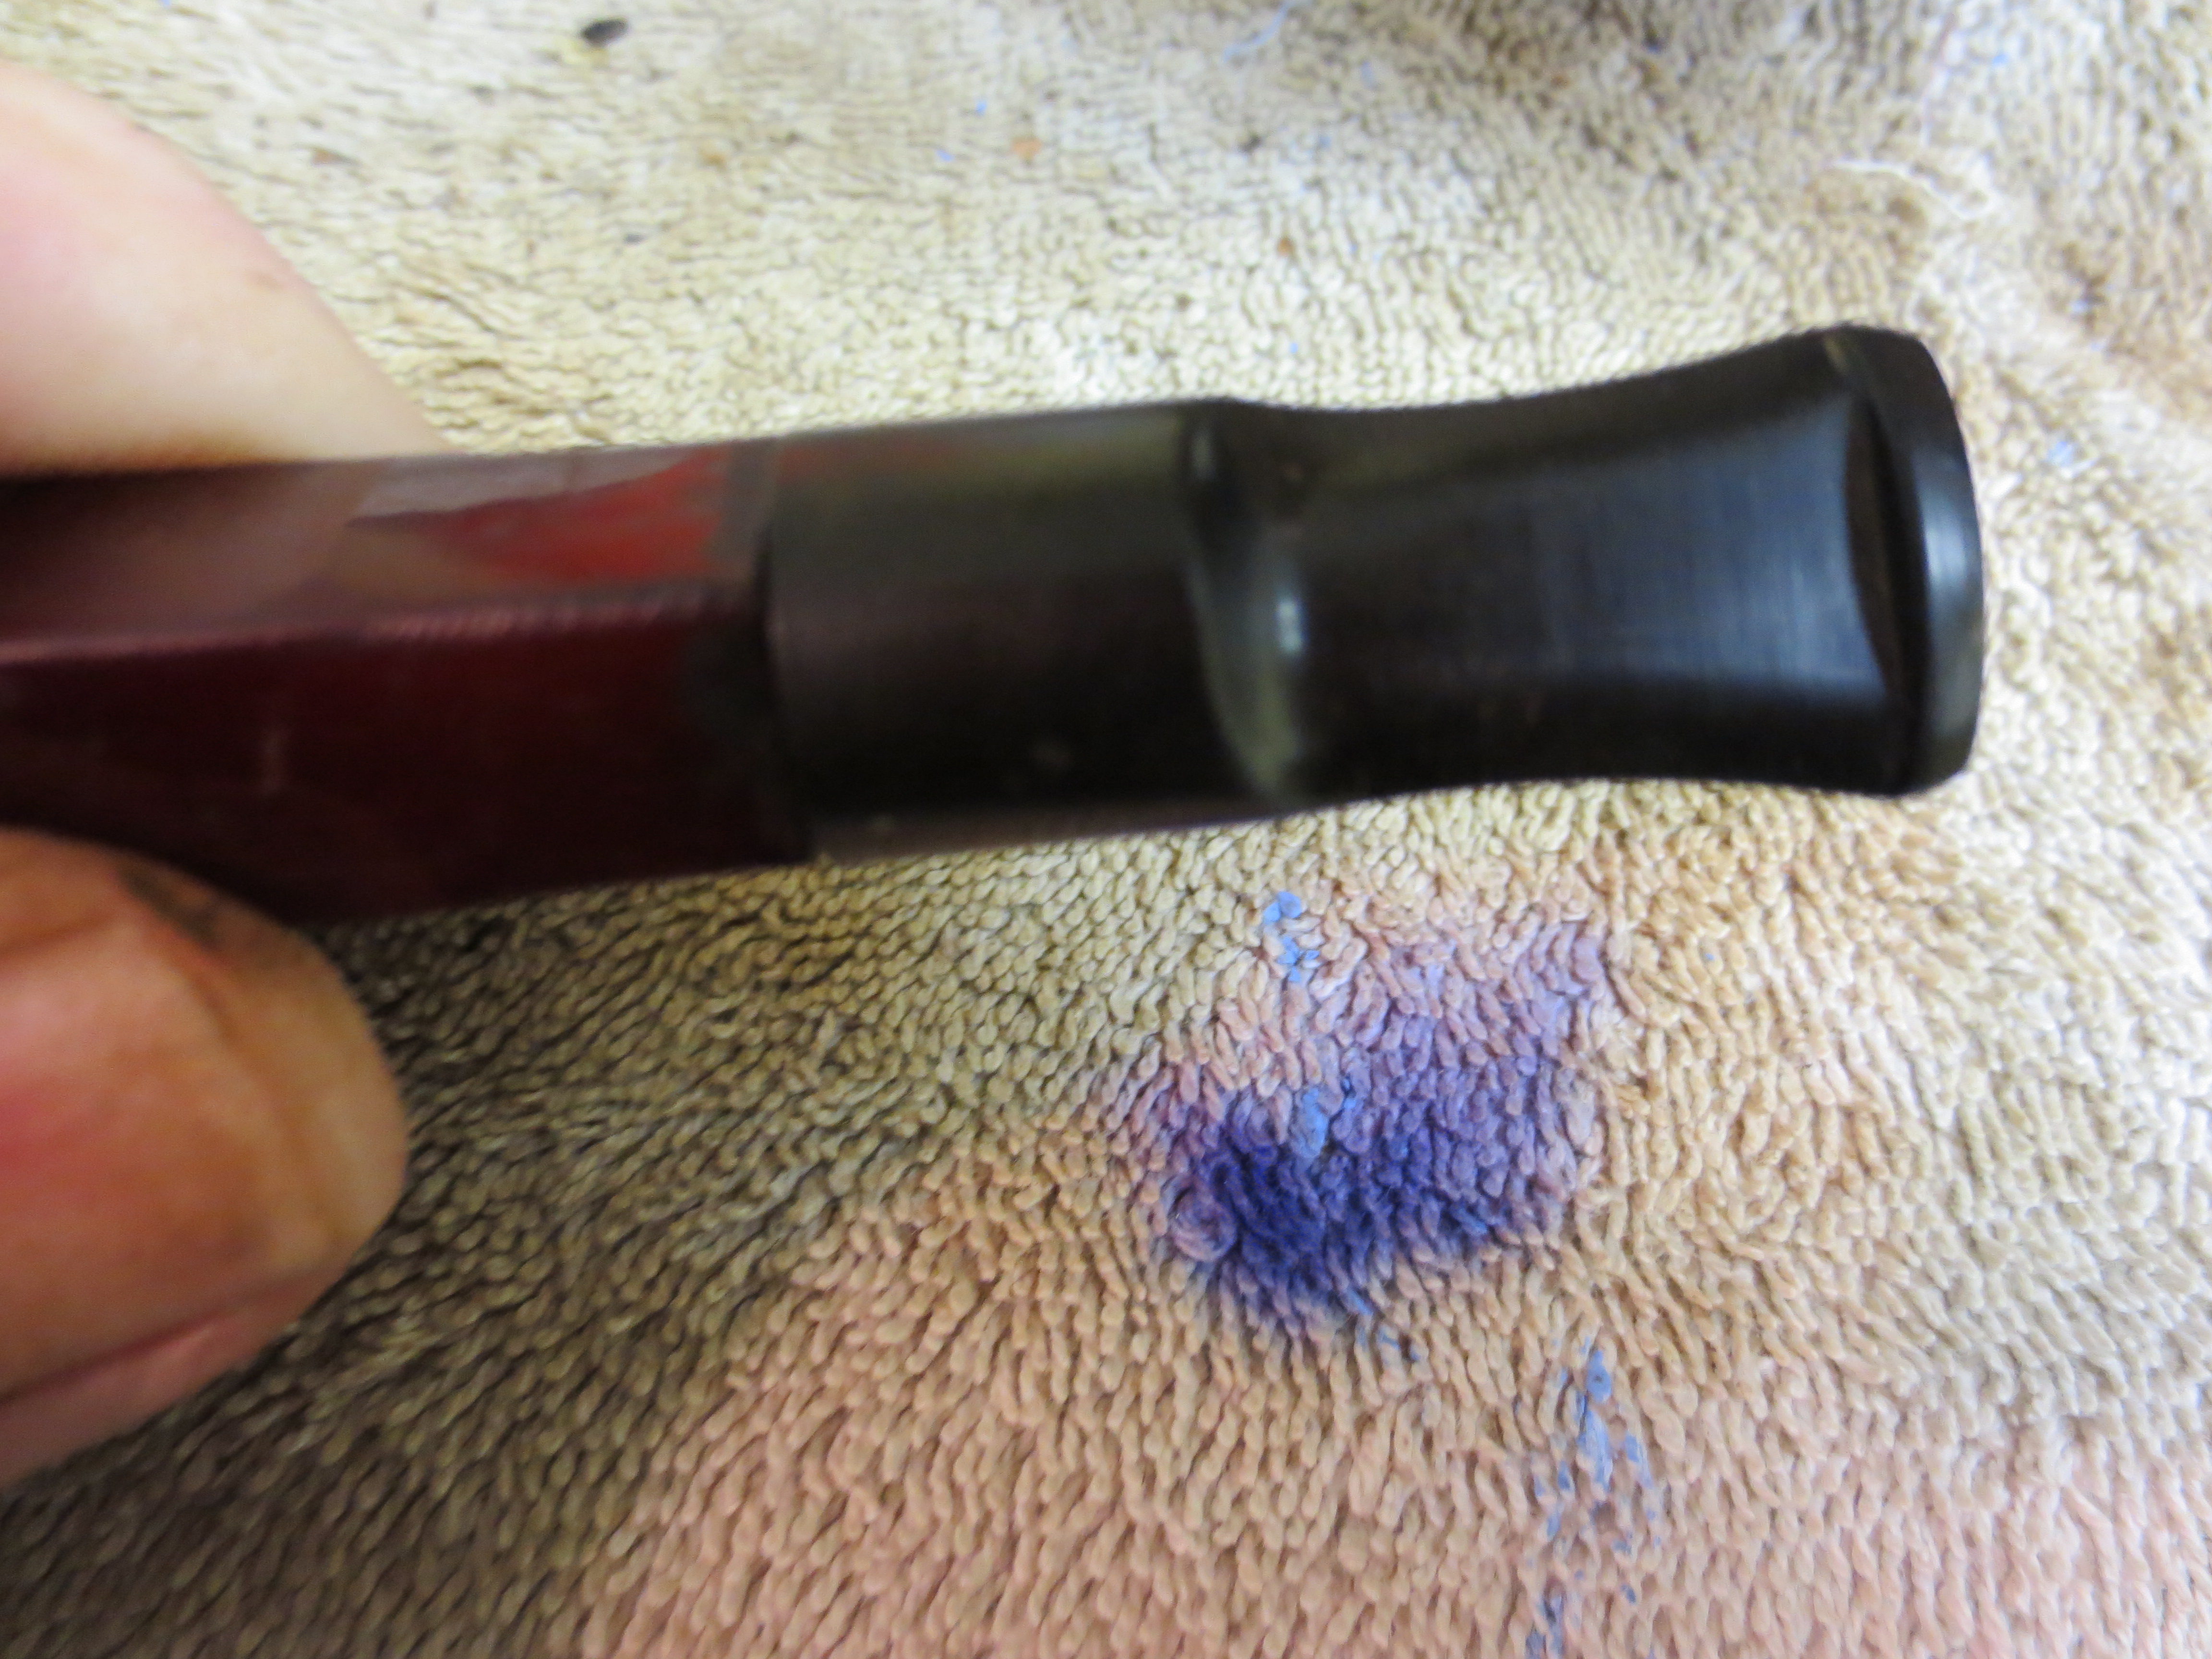
Figure 7 Bottom view before the Dremel did its work.
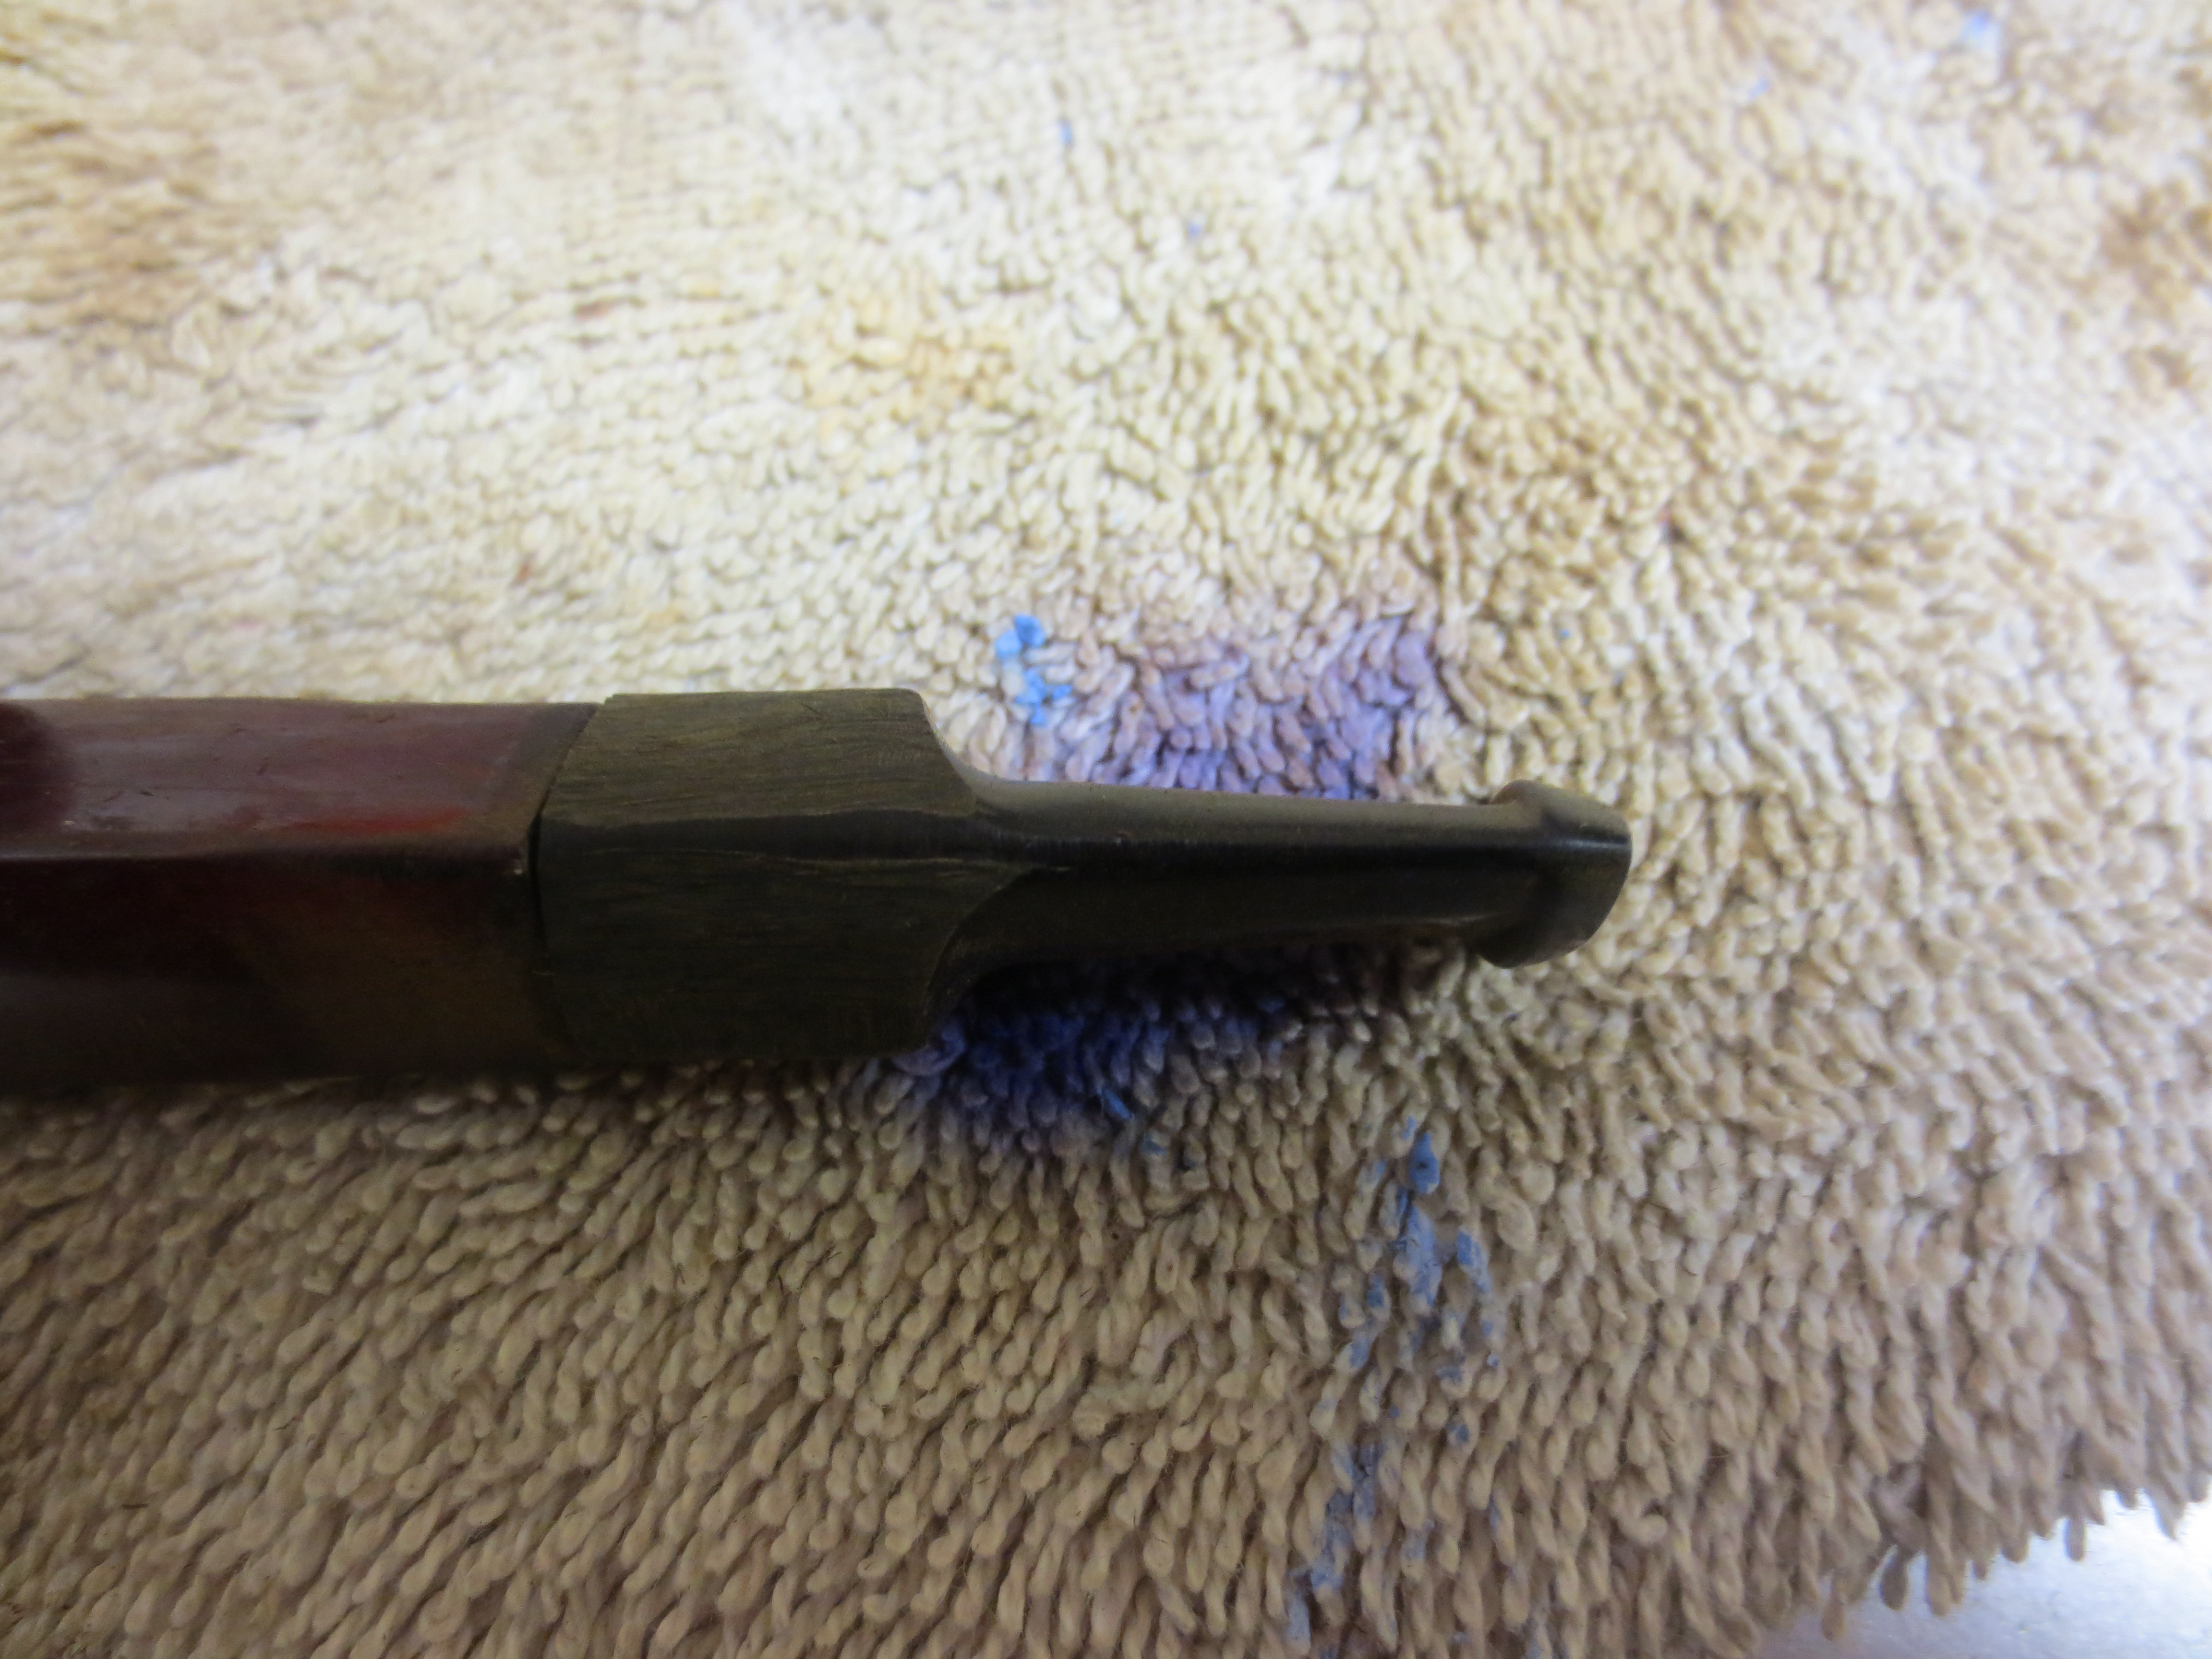
Figure 8 Left side view after the first side has begun to take shape.
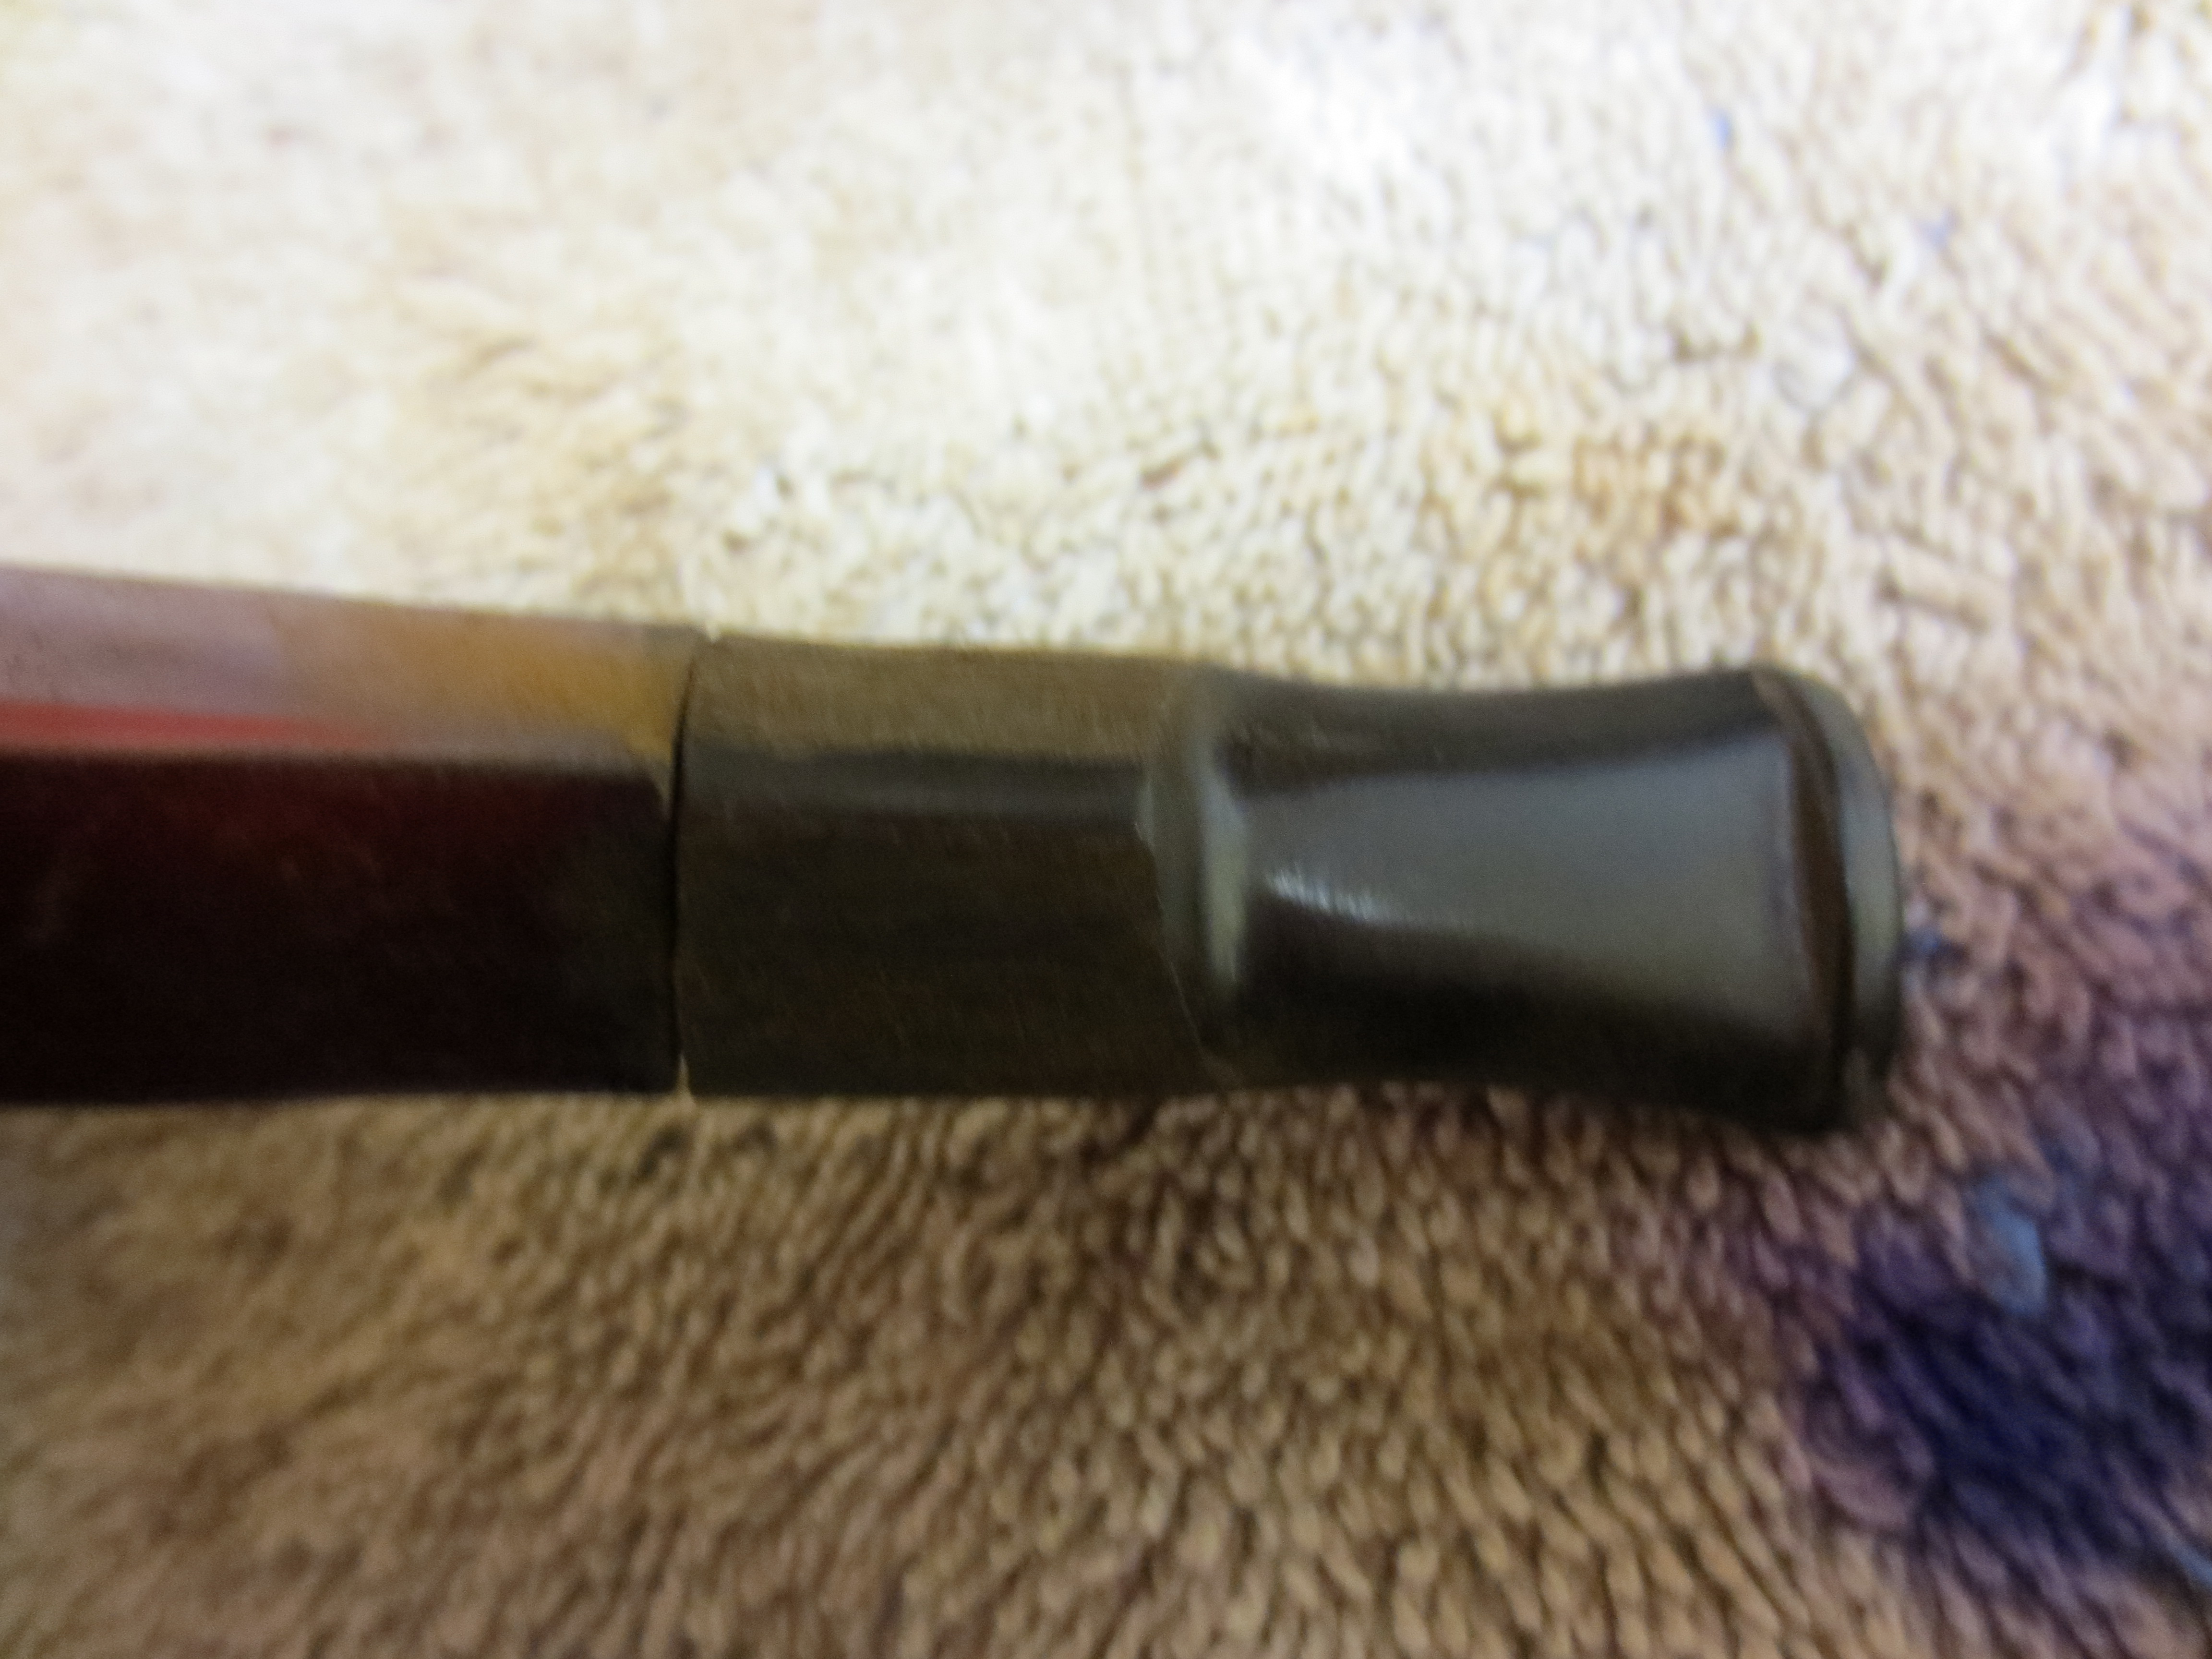
Figure 9 Bottom view after both sides have begun to take shape.
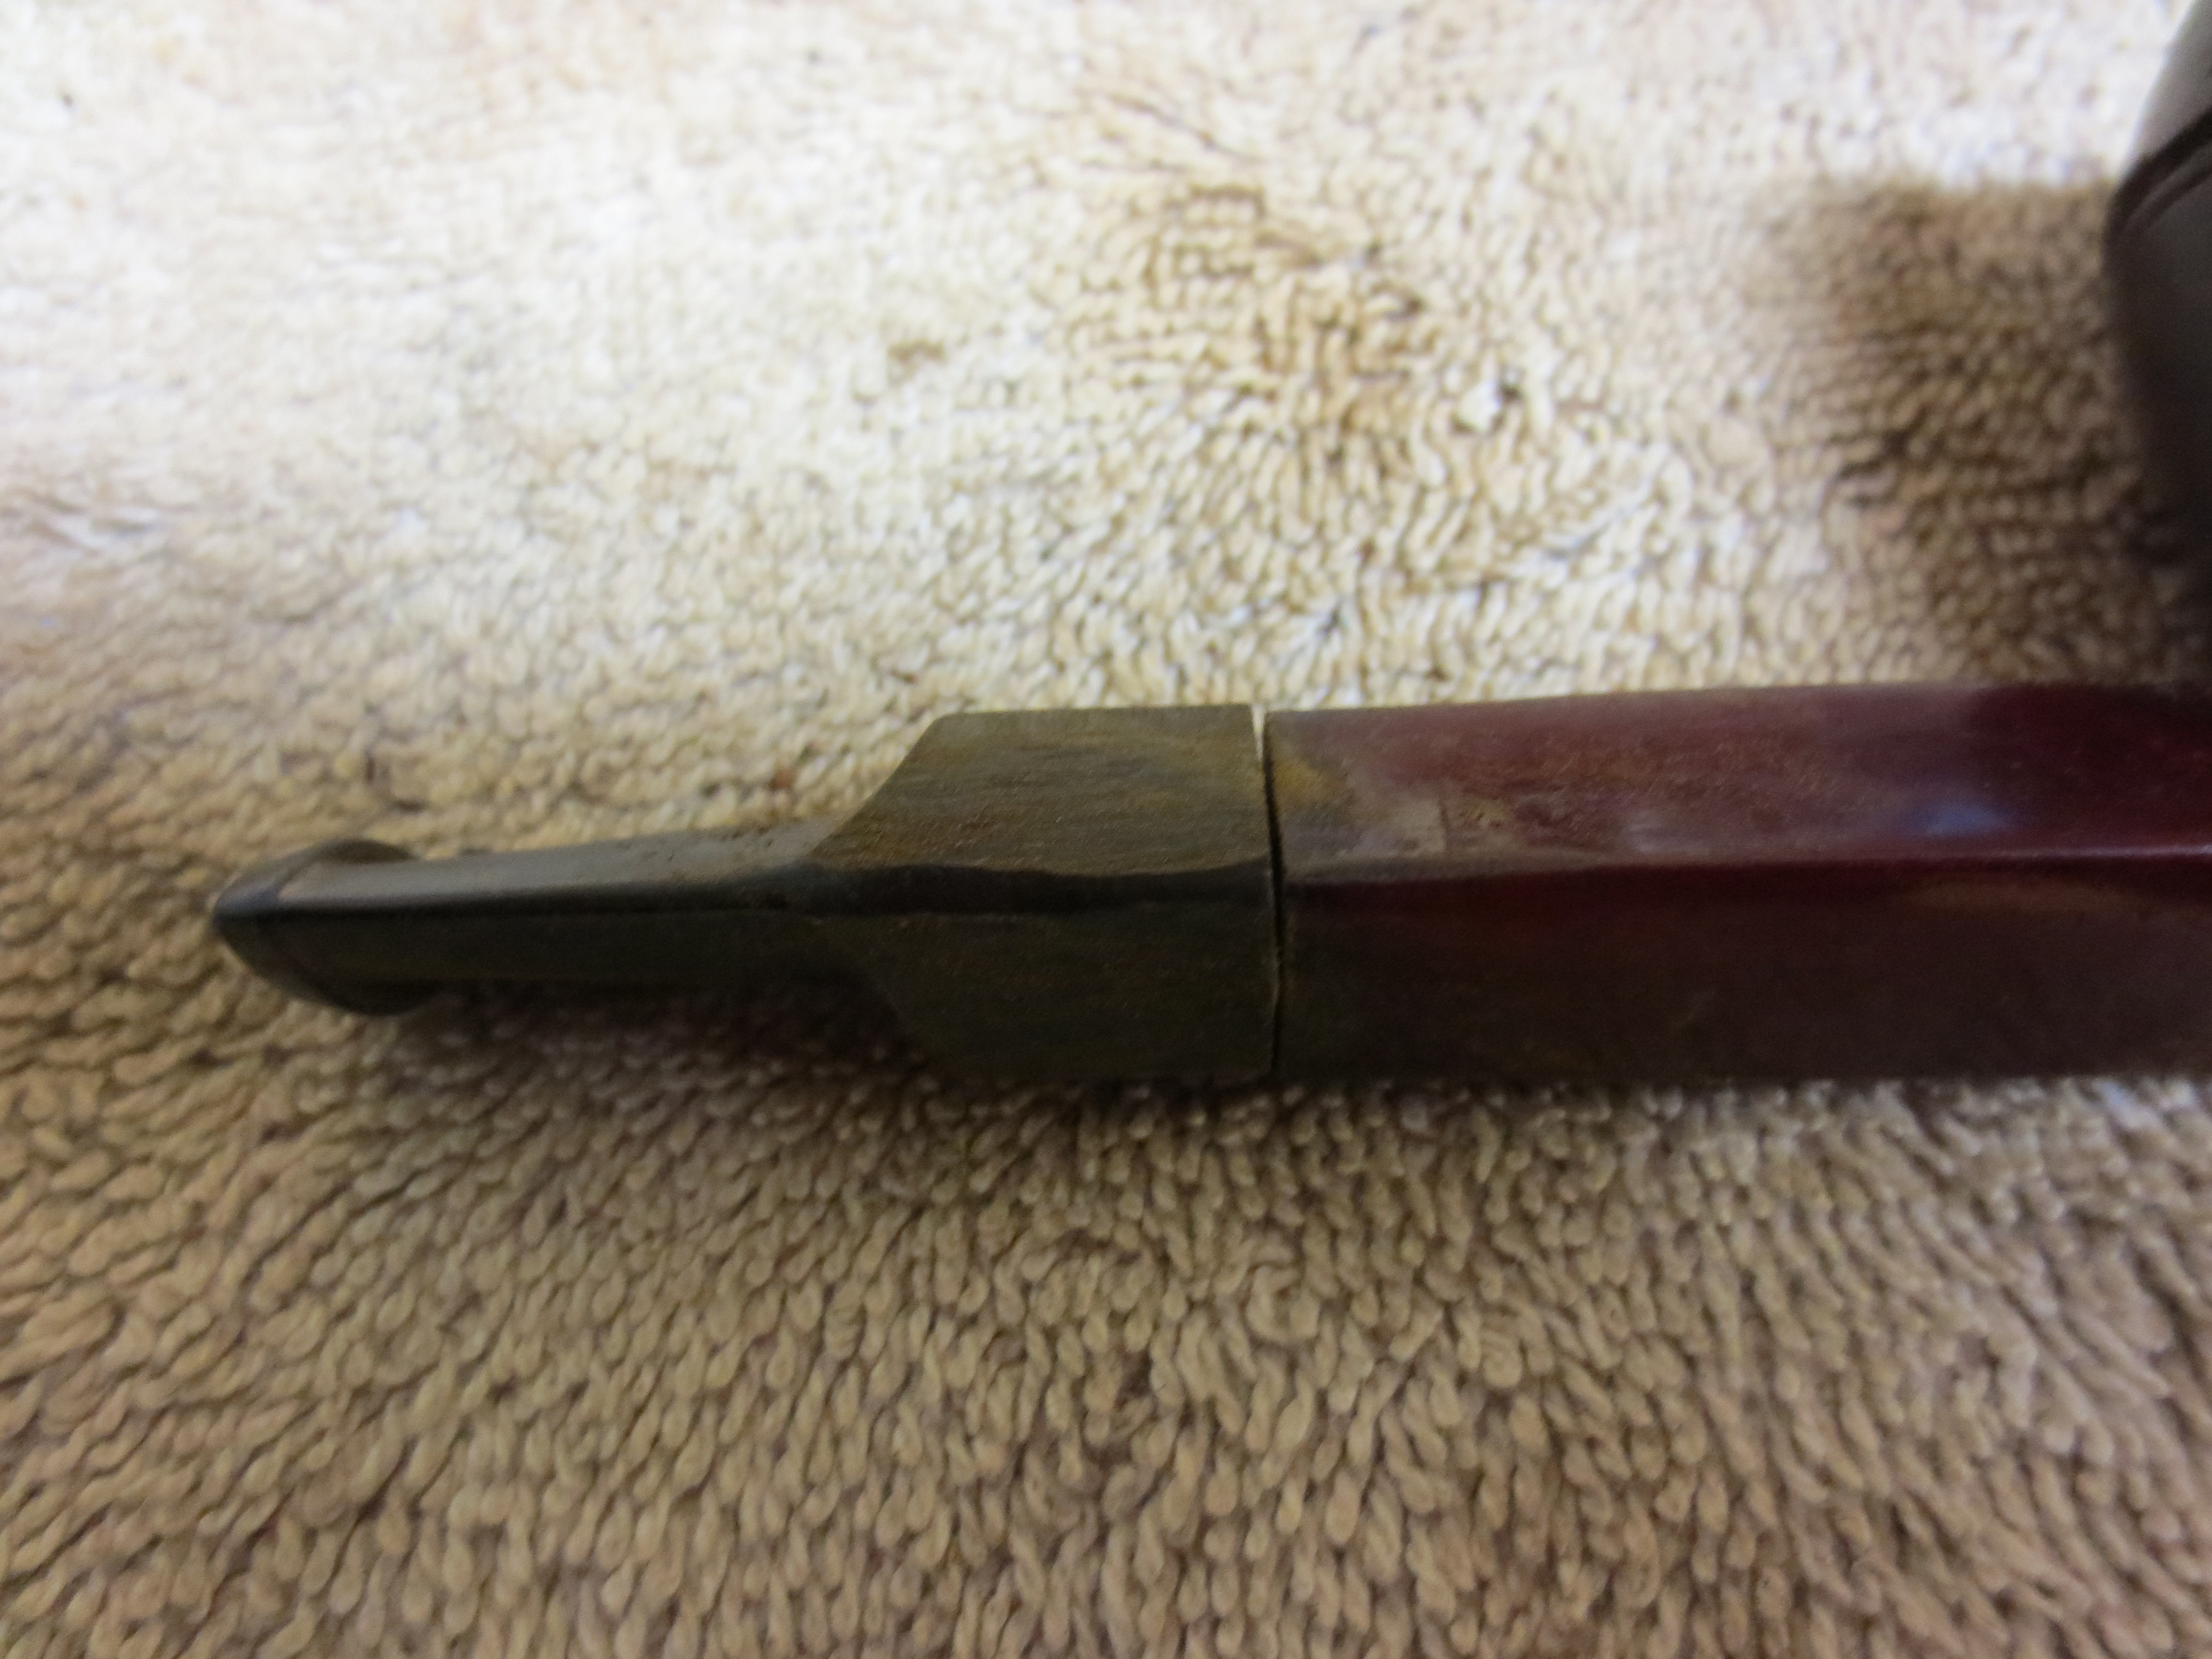
Figure 10 Right side view of the stem after it began to take shape.
From this point in the process all the work was done by hand with a variety of sandpapers from medium grit emery paper through 220 grit sandpaper. I wanted to smooth out the angles and align the edges with the straight line of the shank.
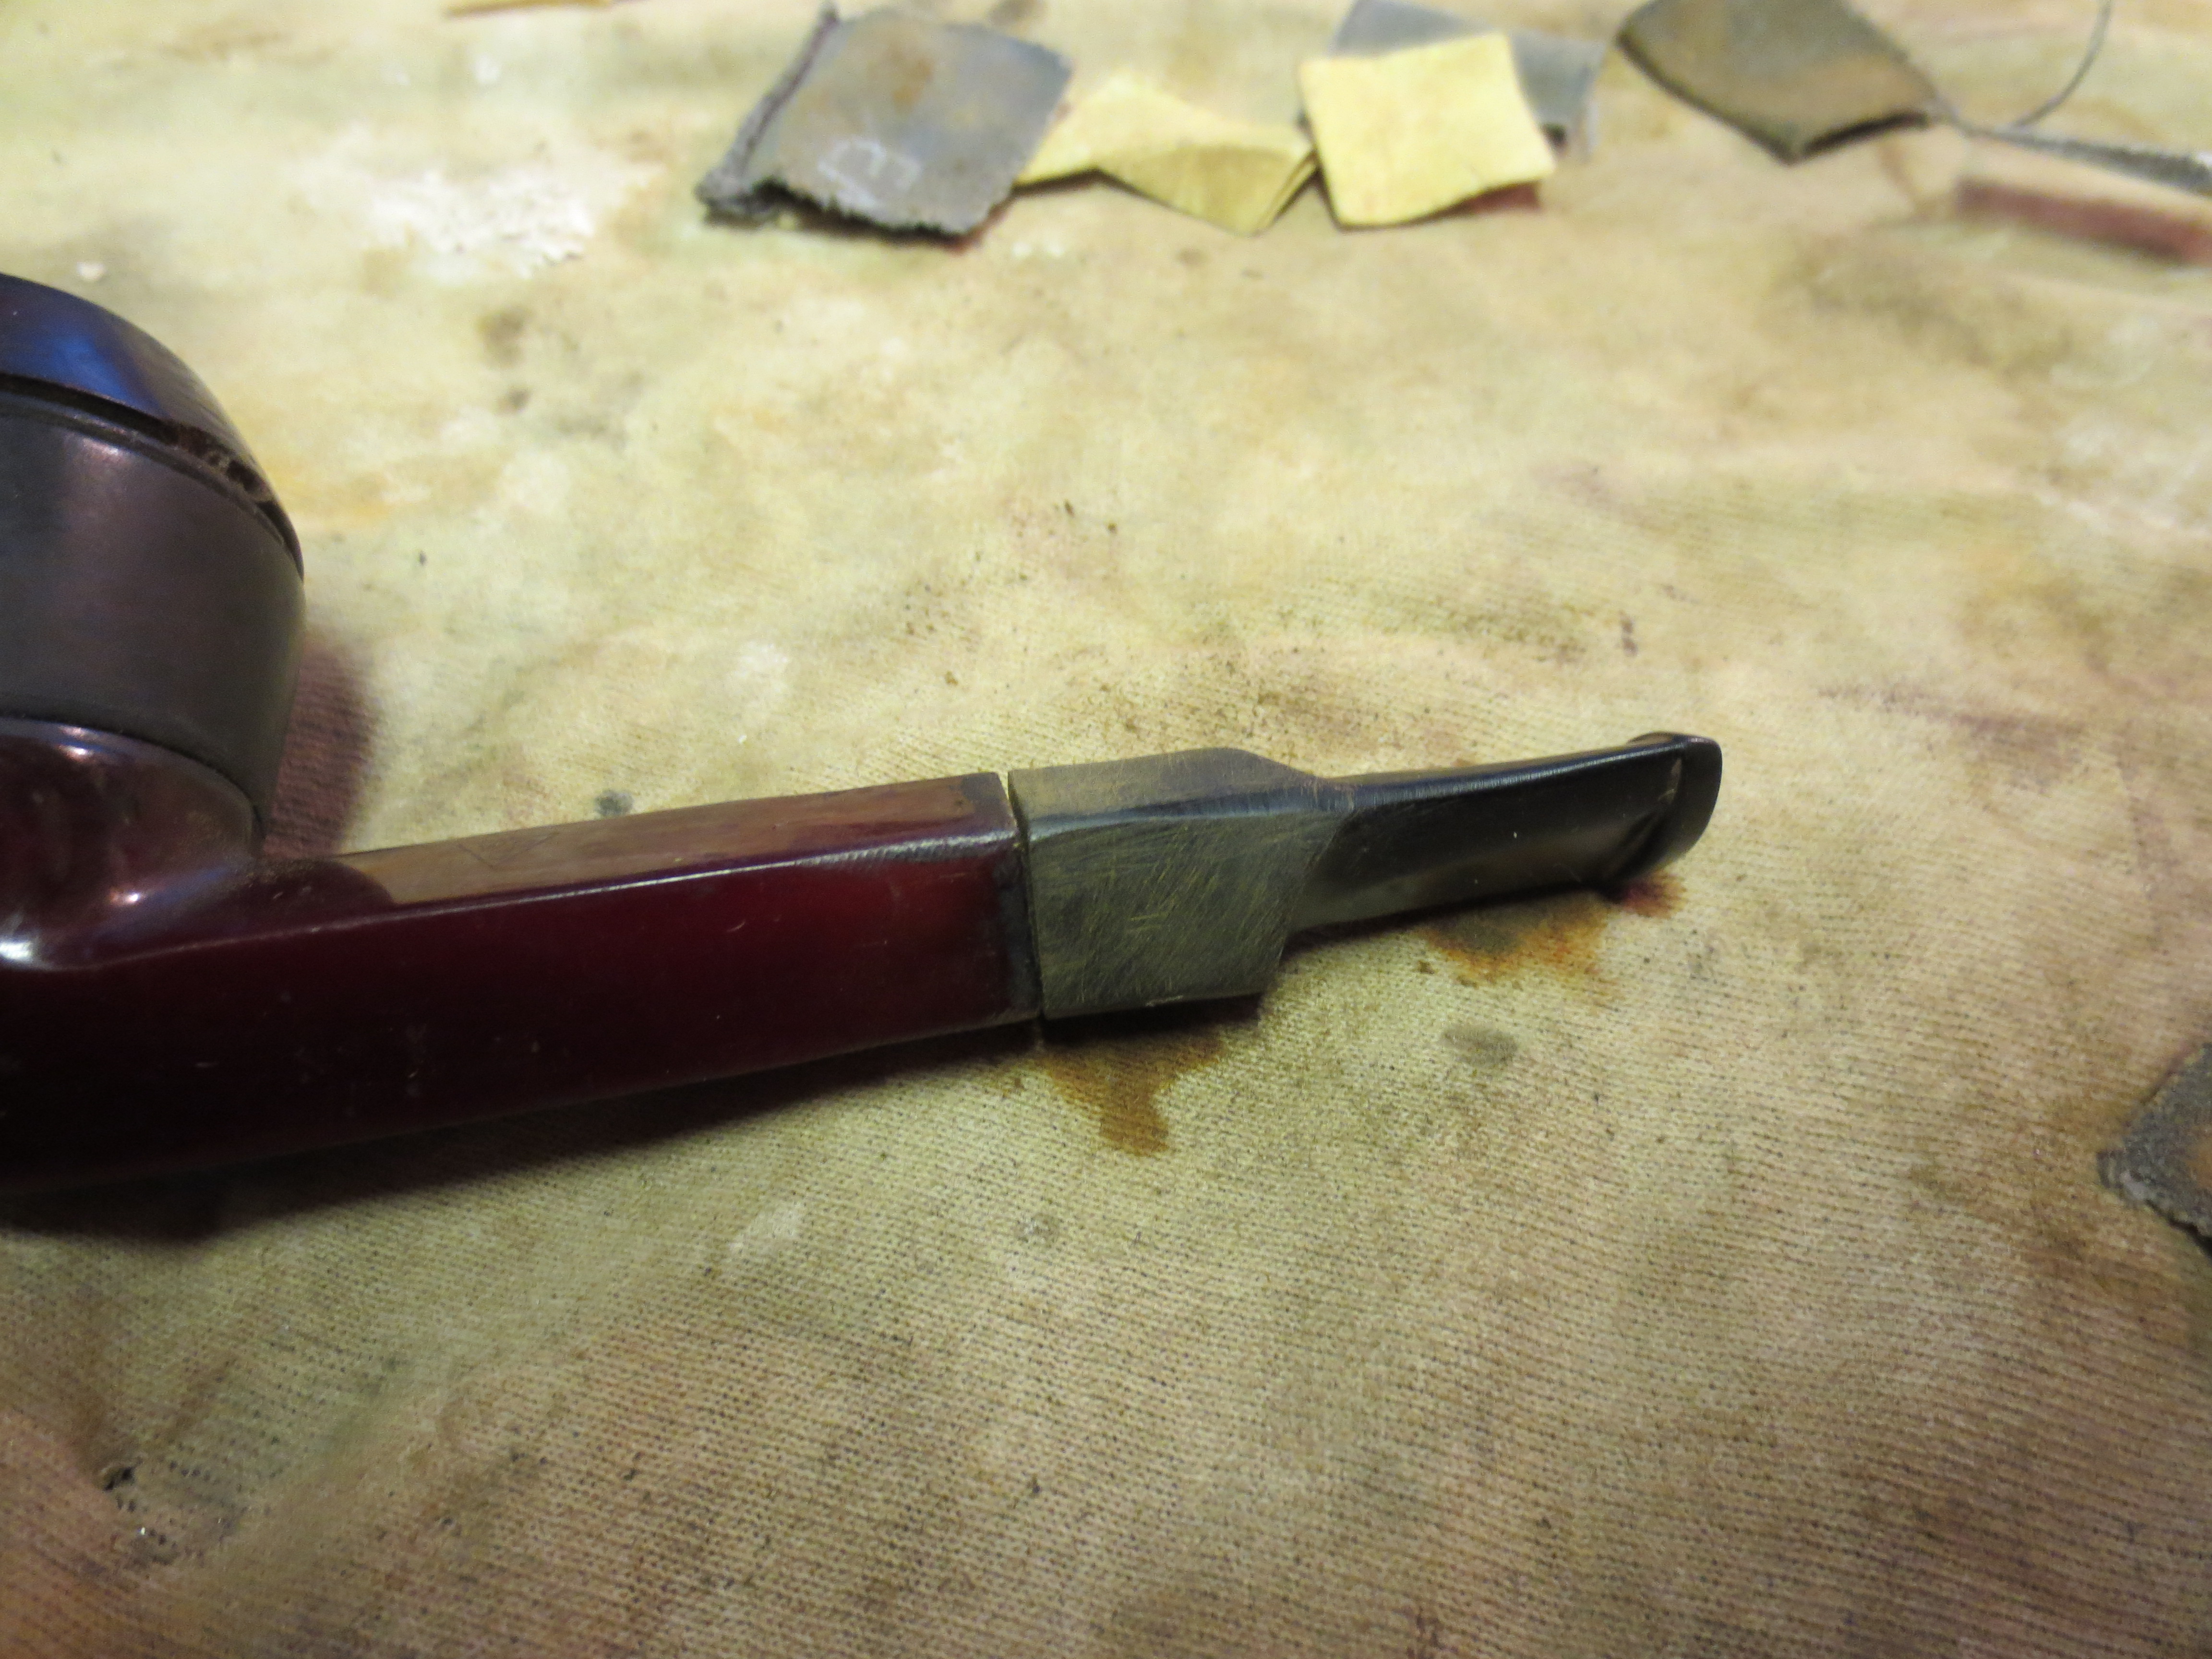
Figure 11 Back to the worktable and the hand sanding.
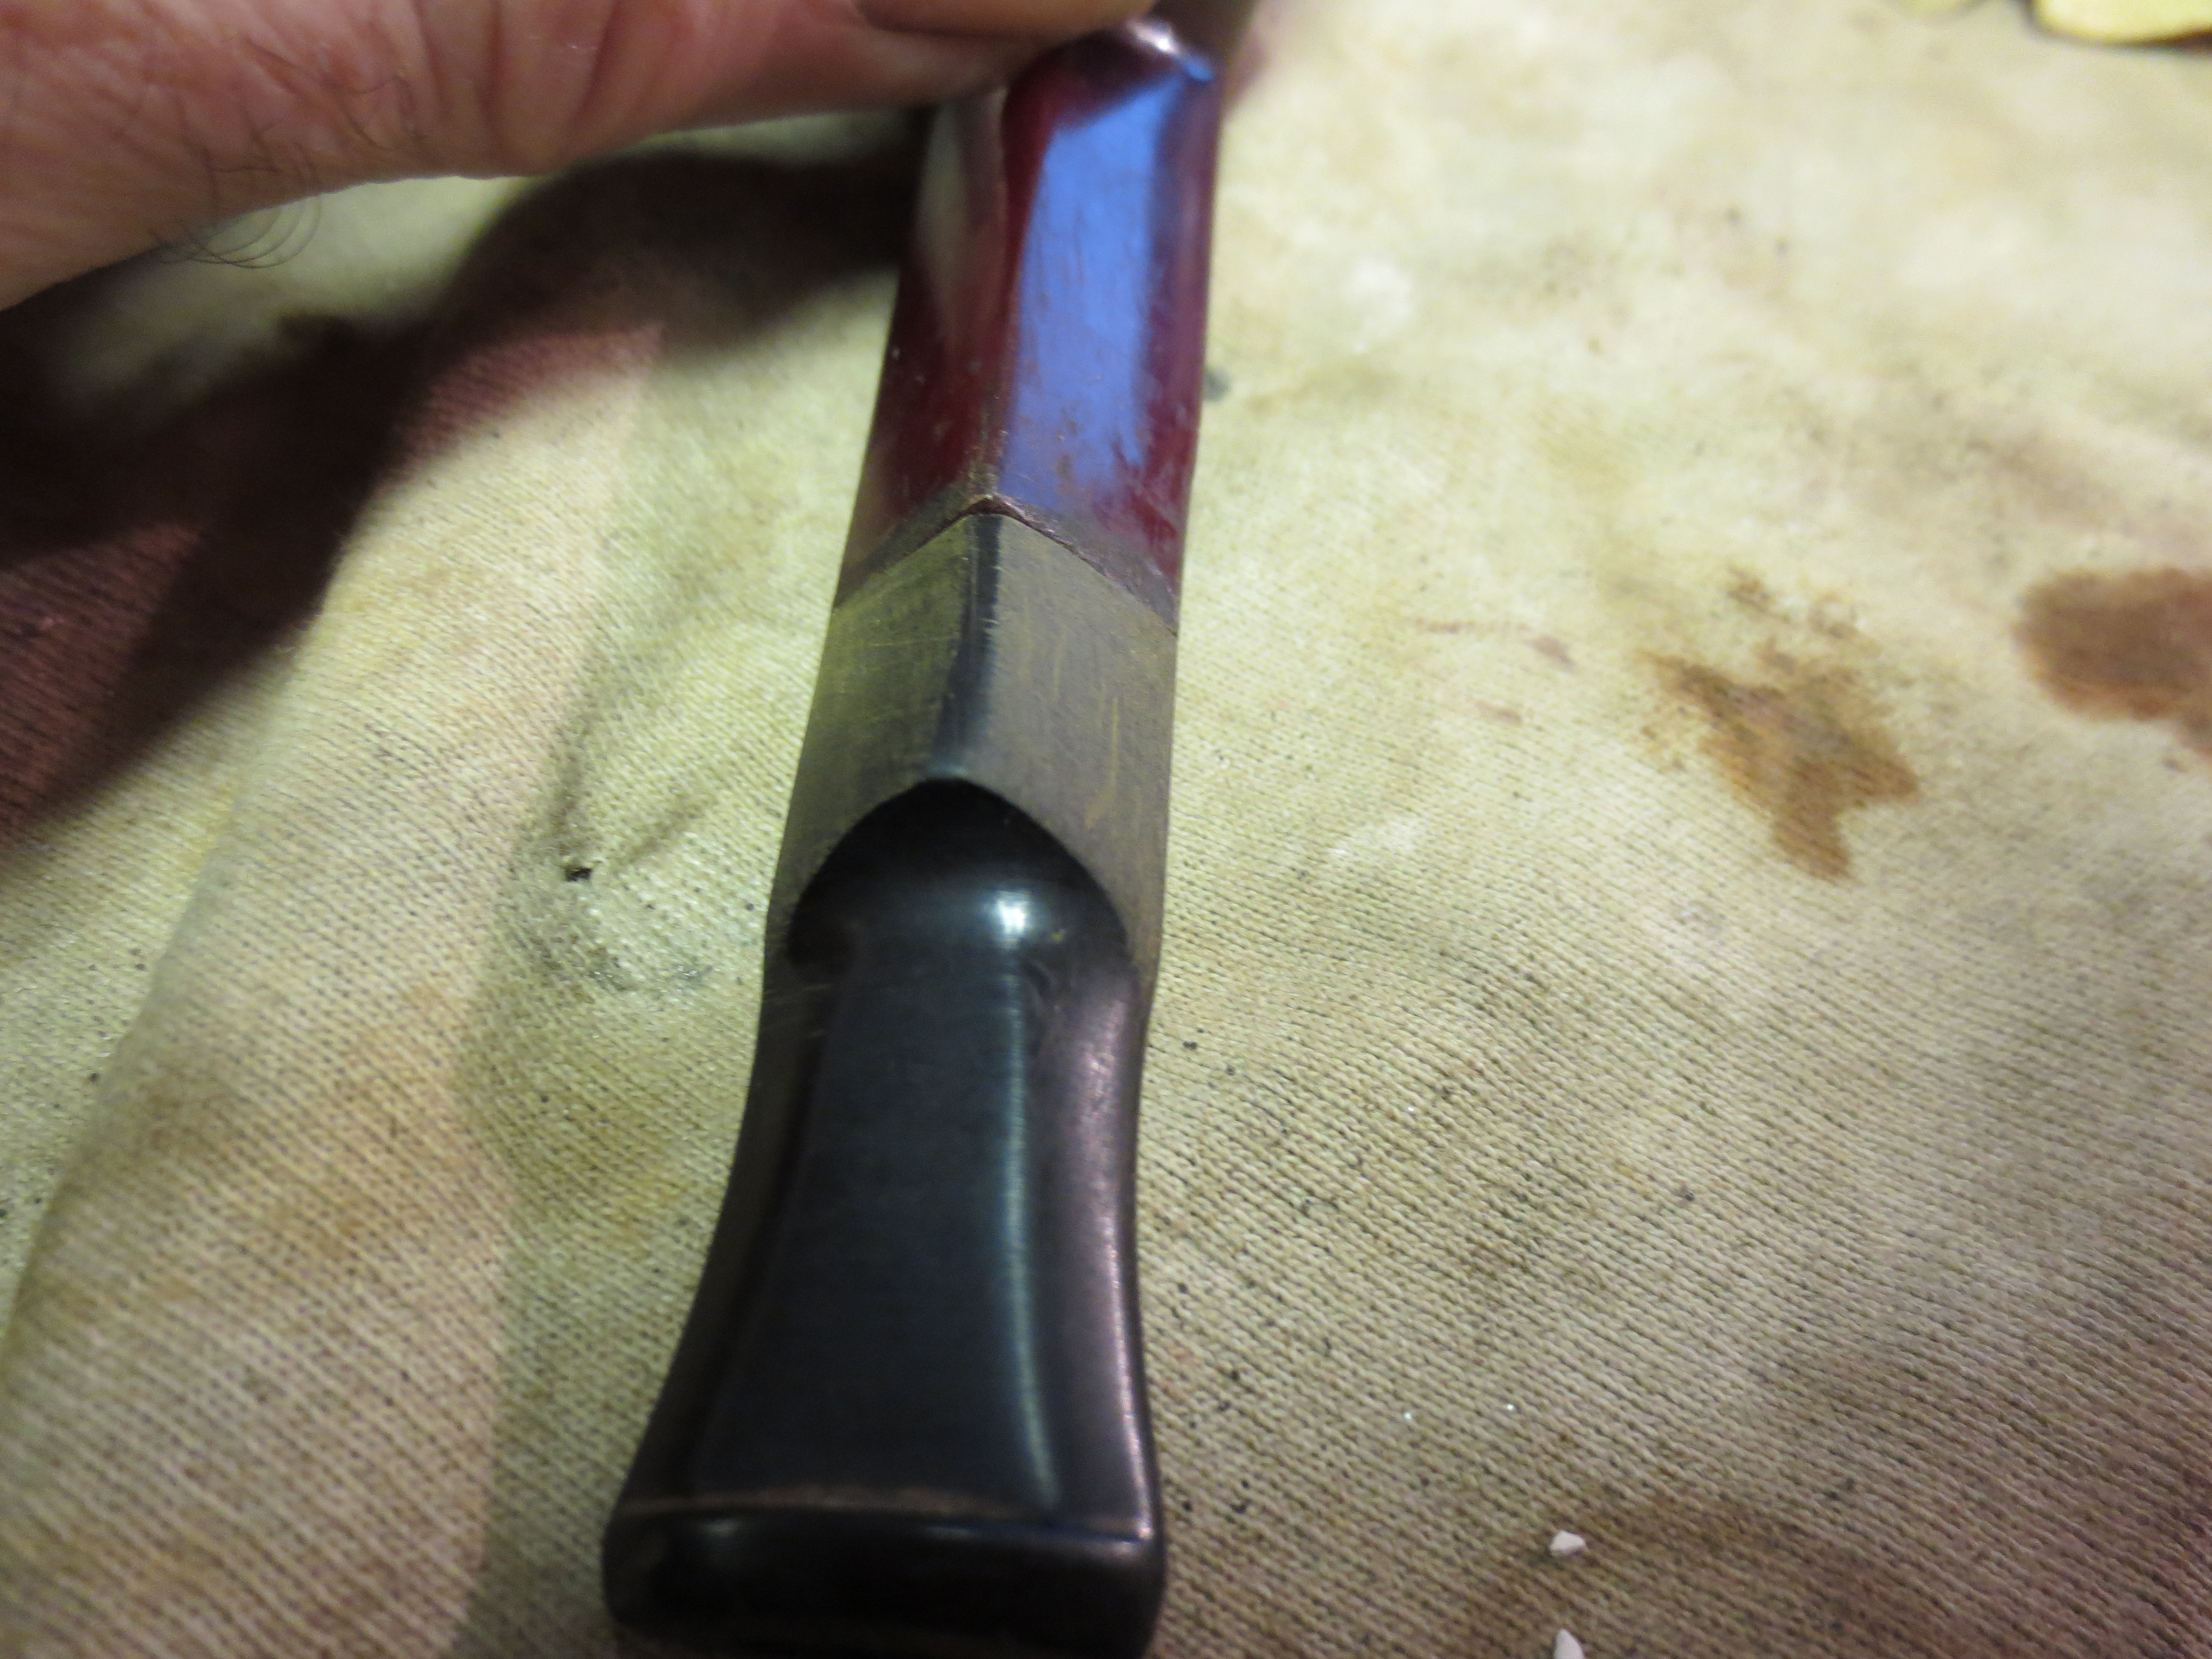
Figure 12 Hand sanding continues.
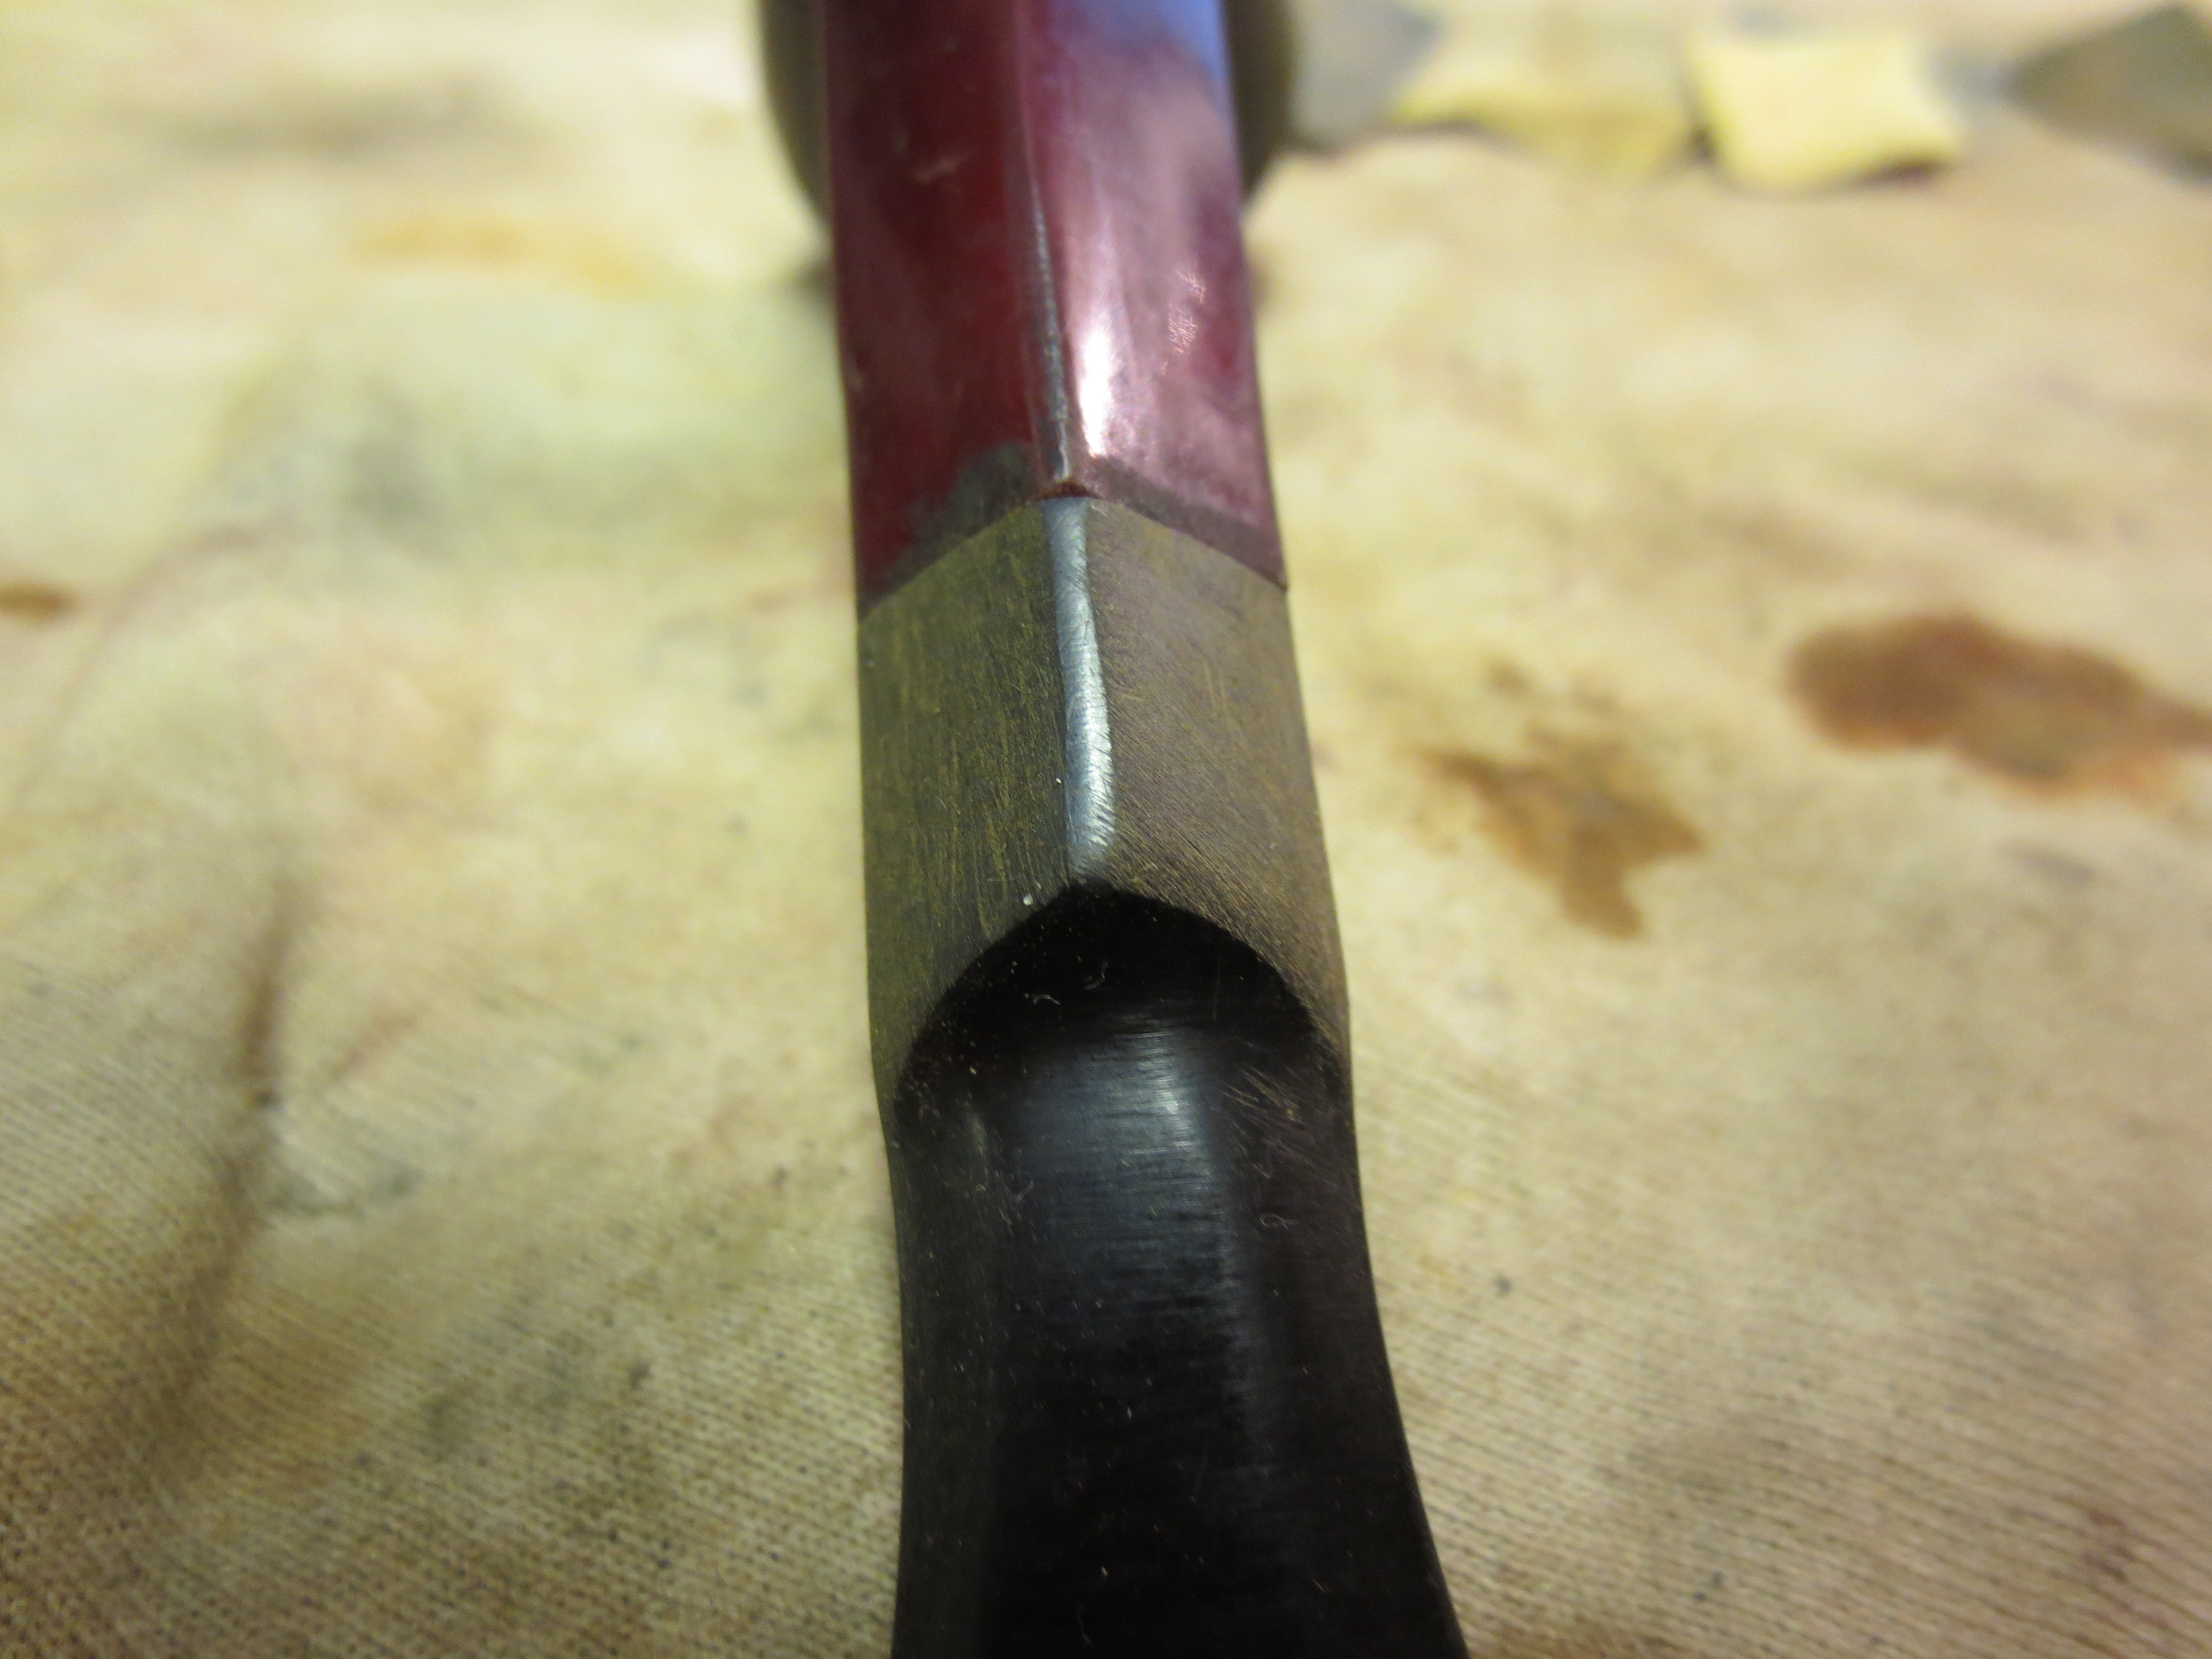
Figure 13 Hand sanding continues.

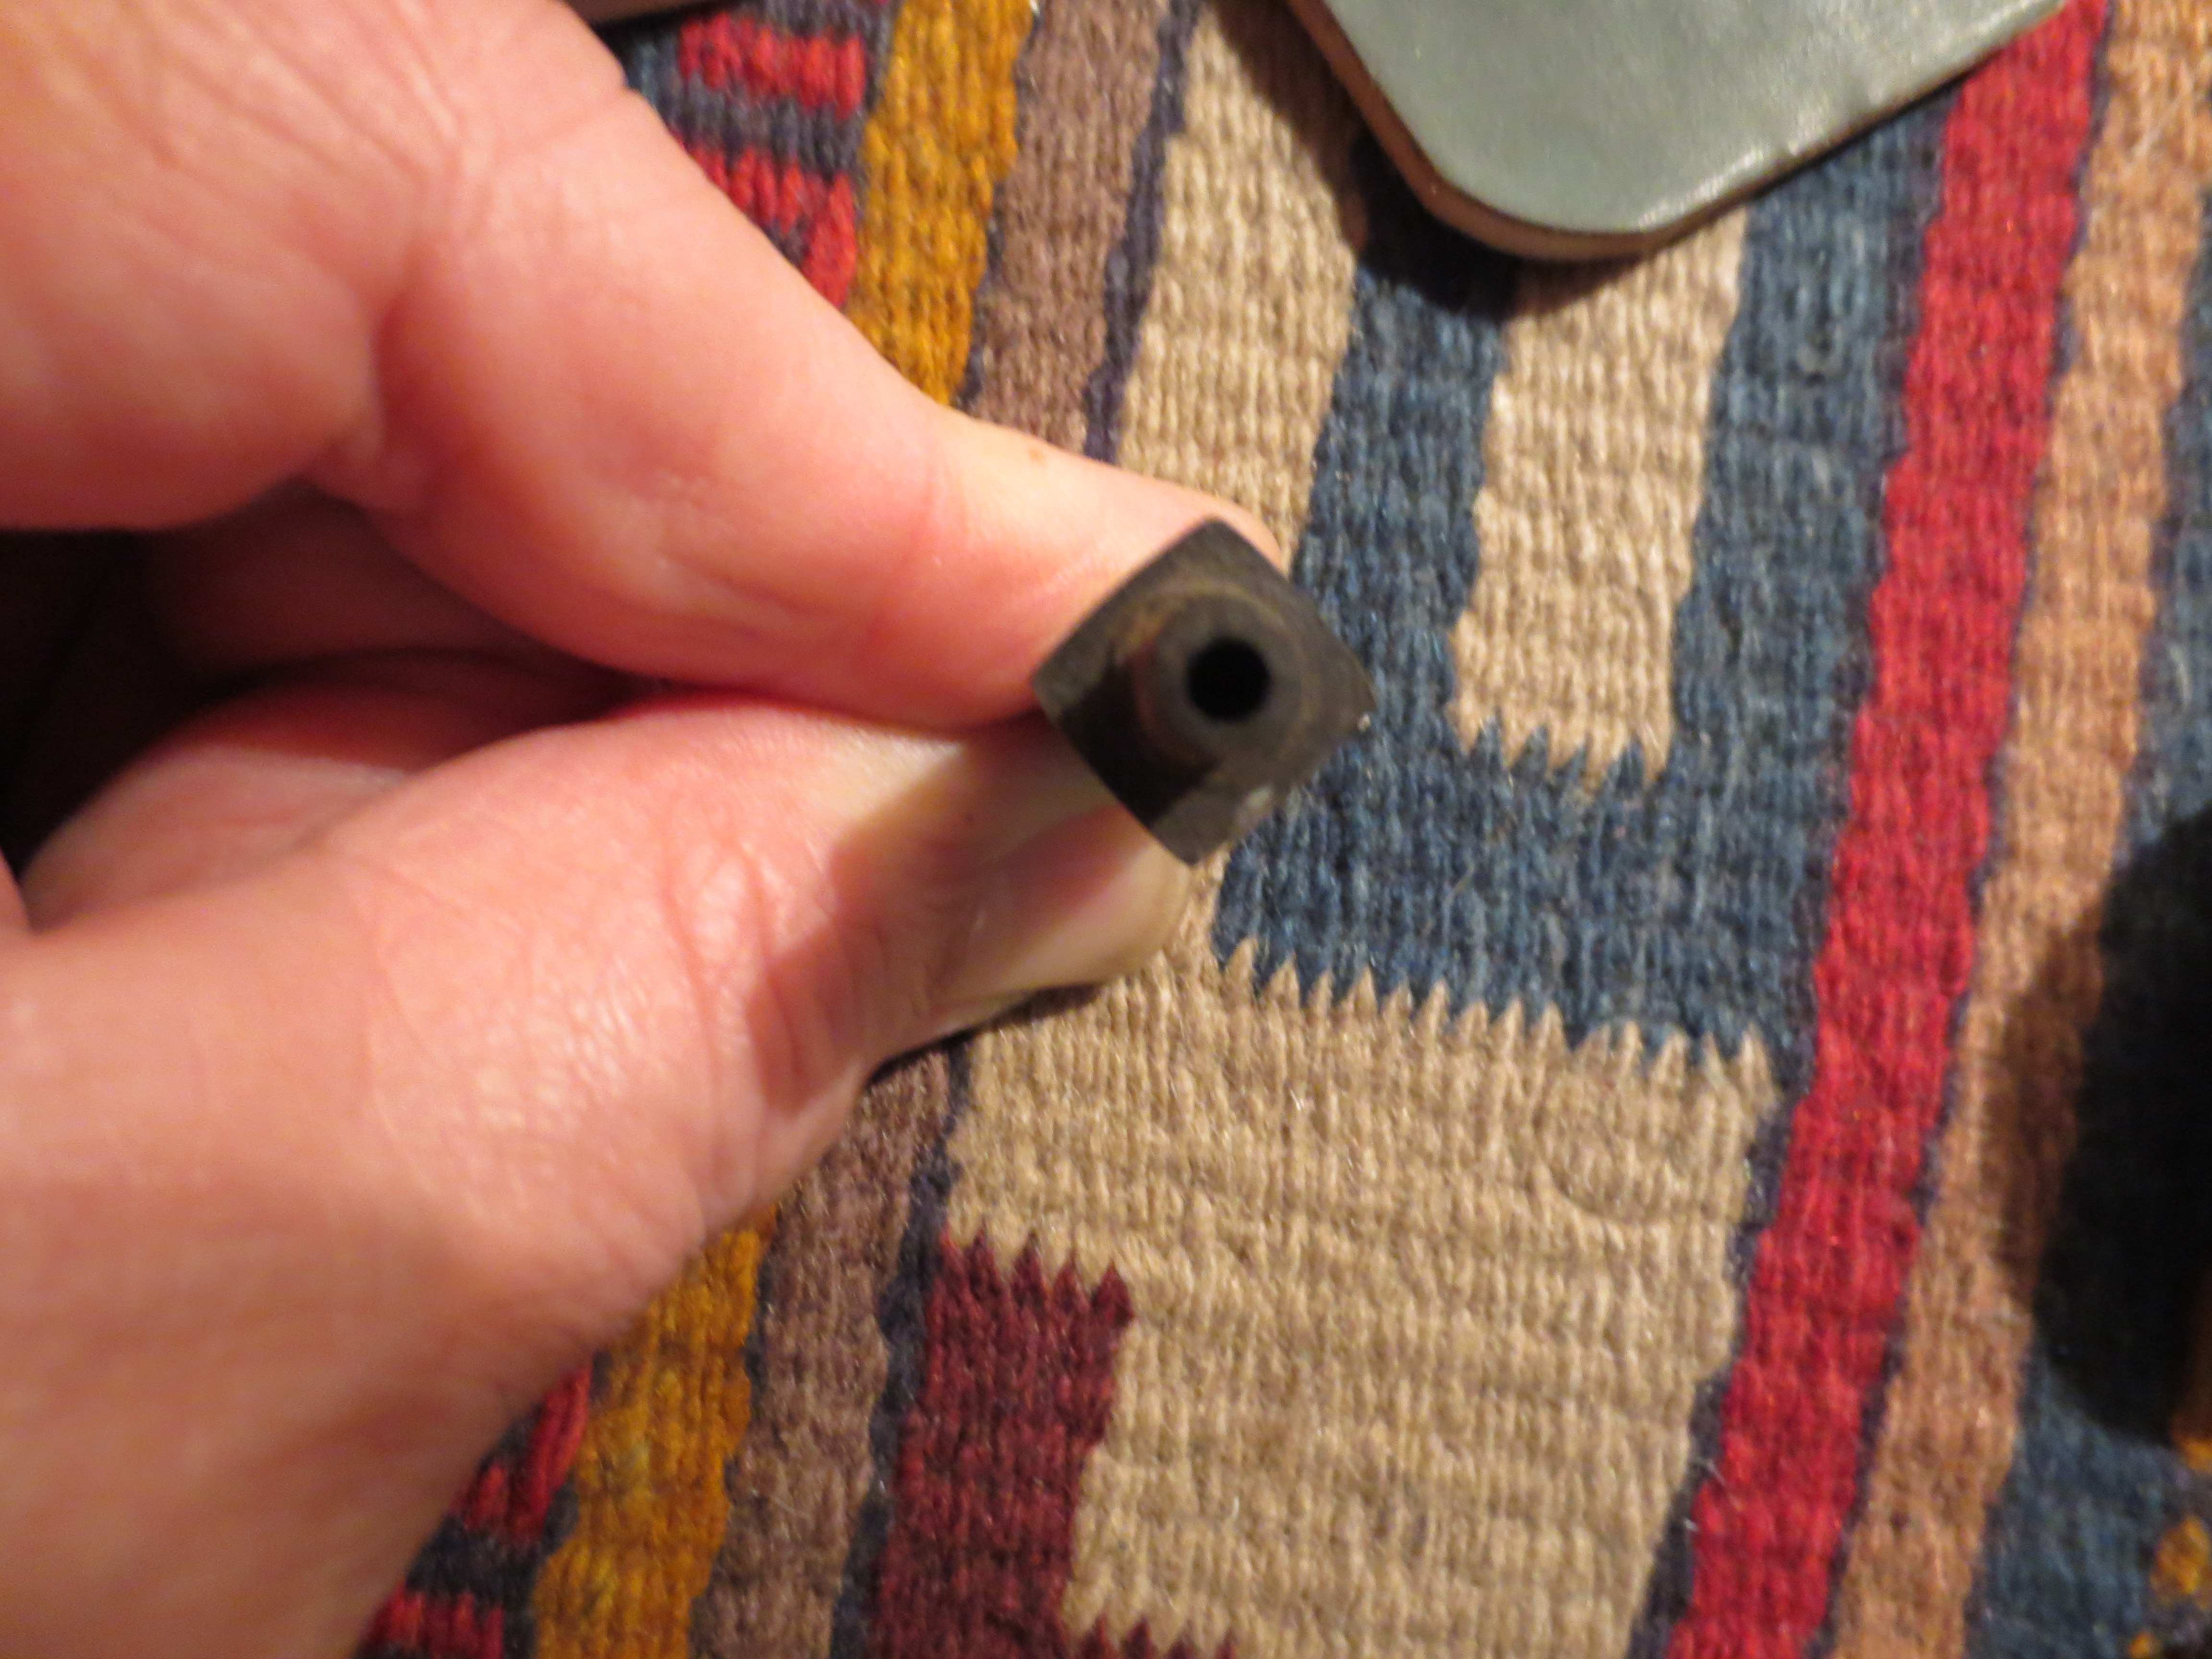
Figure 14 View from the tenon end of the diamond stem at this point in the process.
Originally the Bakelite base had a band on it. I used an older complete one I have here for an example so that I could get the feel for it. The original was more of a brass/gold coloured ornamental band. I have none of those bands so I used a nickel band. After fitting the band I needed to reduce the tenon slightly for a snug fit and also work on the angles of the sides and corners of the diamond to match the banded shank.
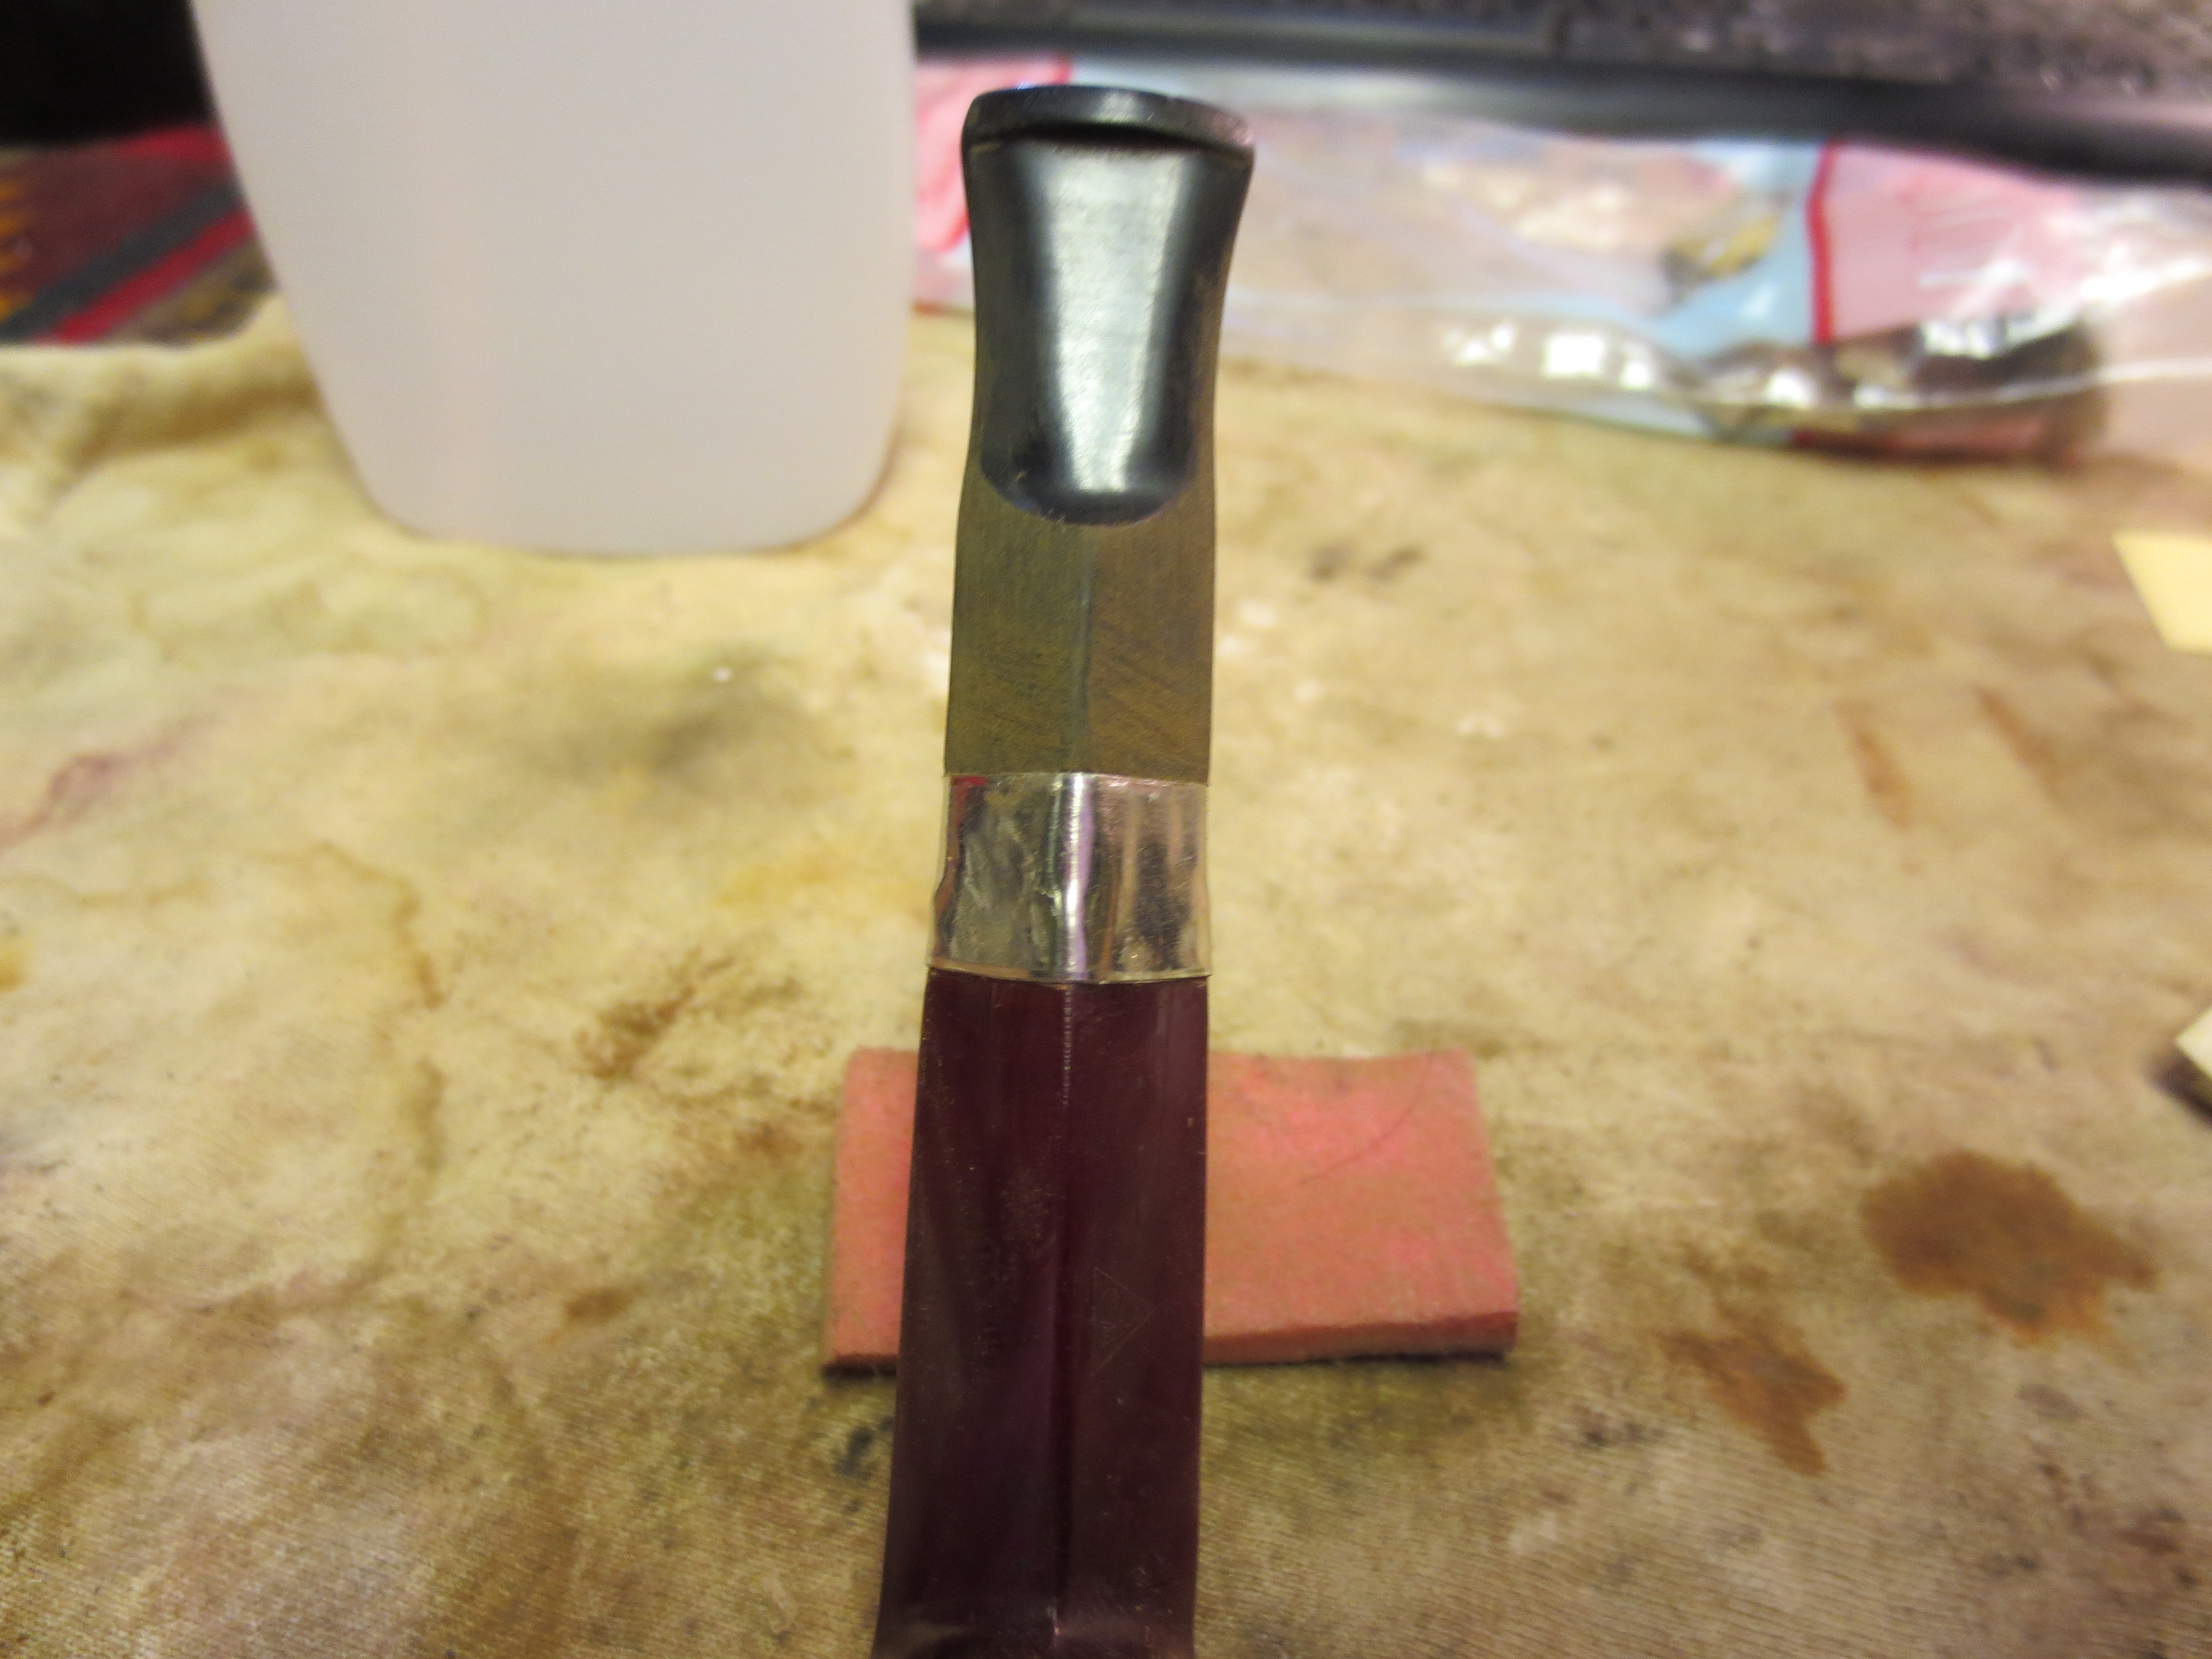
Figure 15 Top view after more hand sanding with a medium grit sanding sponge.
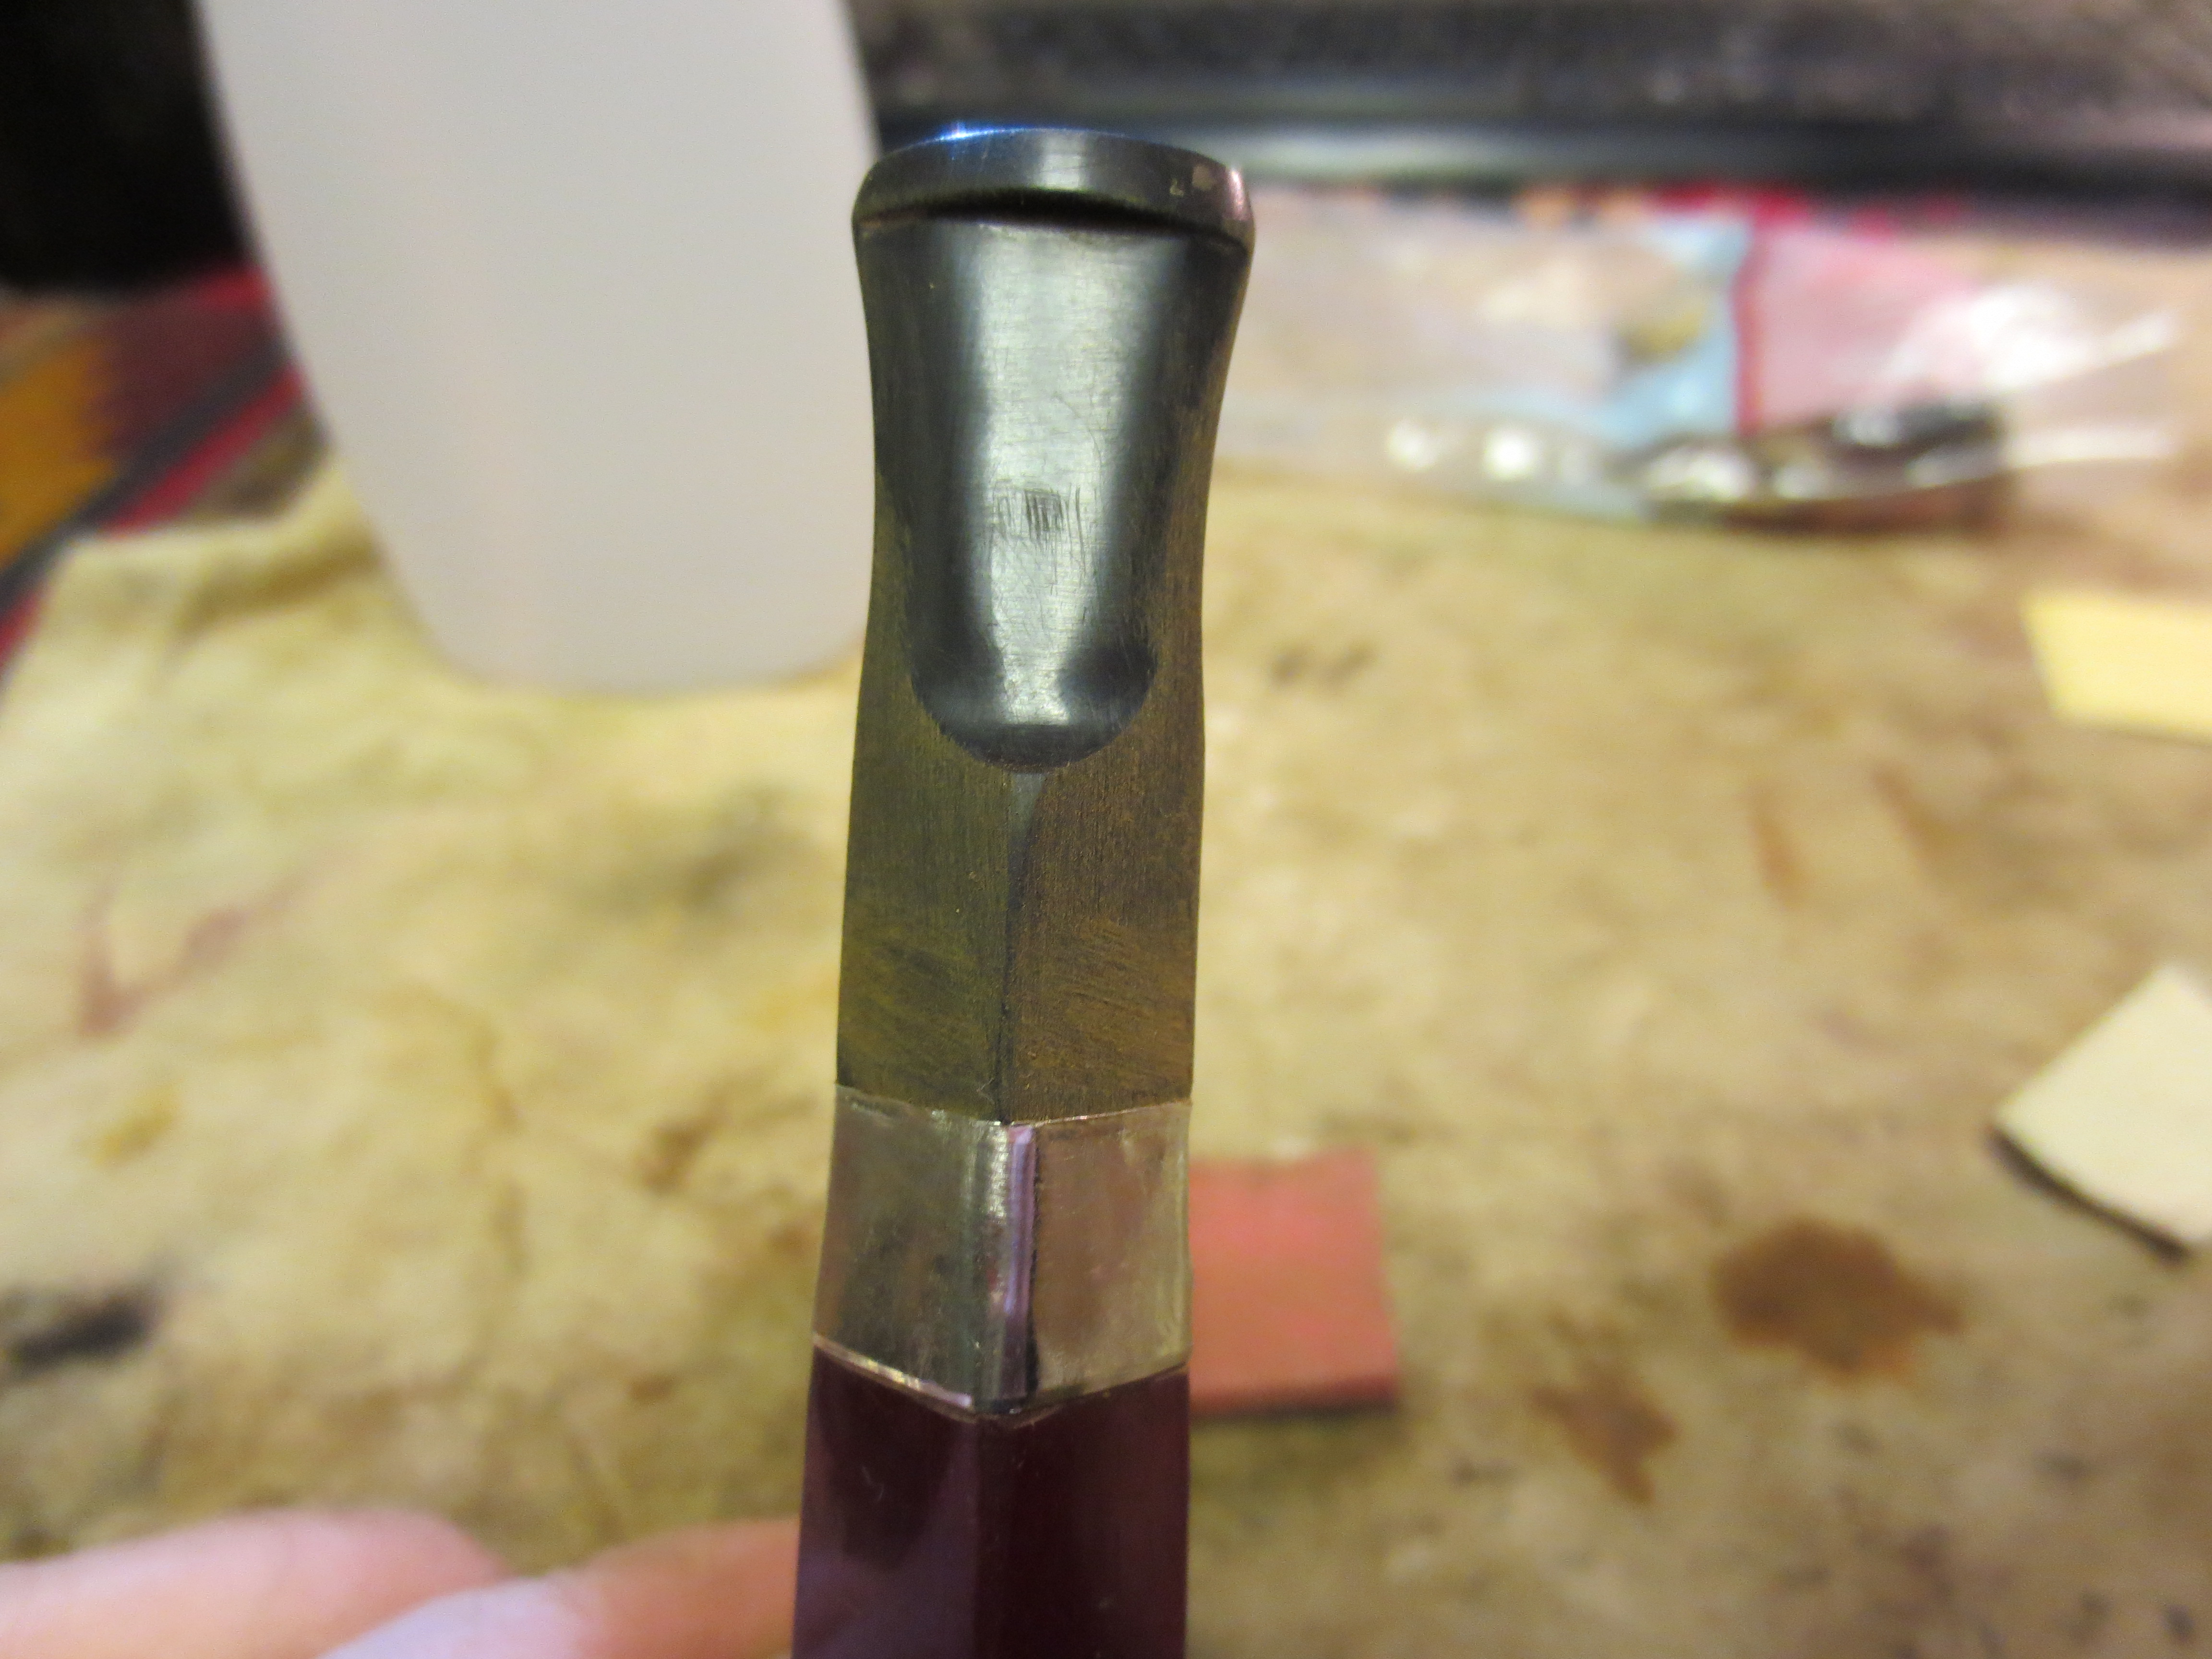
Figure 16 Bottom view after more hand sanding with a medium grit sanding sponge.
At this point in the process I removed the stem from the shank and worked on the sides with a fine grit sanding sponge to remove the scratches and marks from the previous grits of sandpaper. Once I was finished with this portion I cleaned off the stem with a soft cotton pad and Everclear so I could see the scratches that were left before I moved on to sanding with the micromesh sanding pads.

Figure 17 Top view. Shape is finished. Now to sand out the scratches and polish the stem.
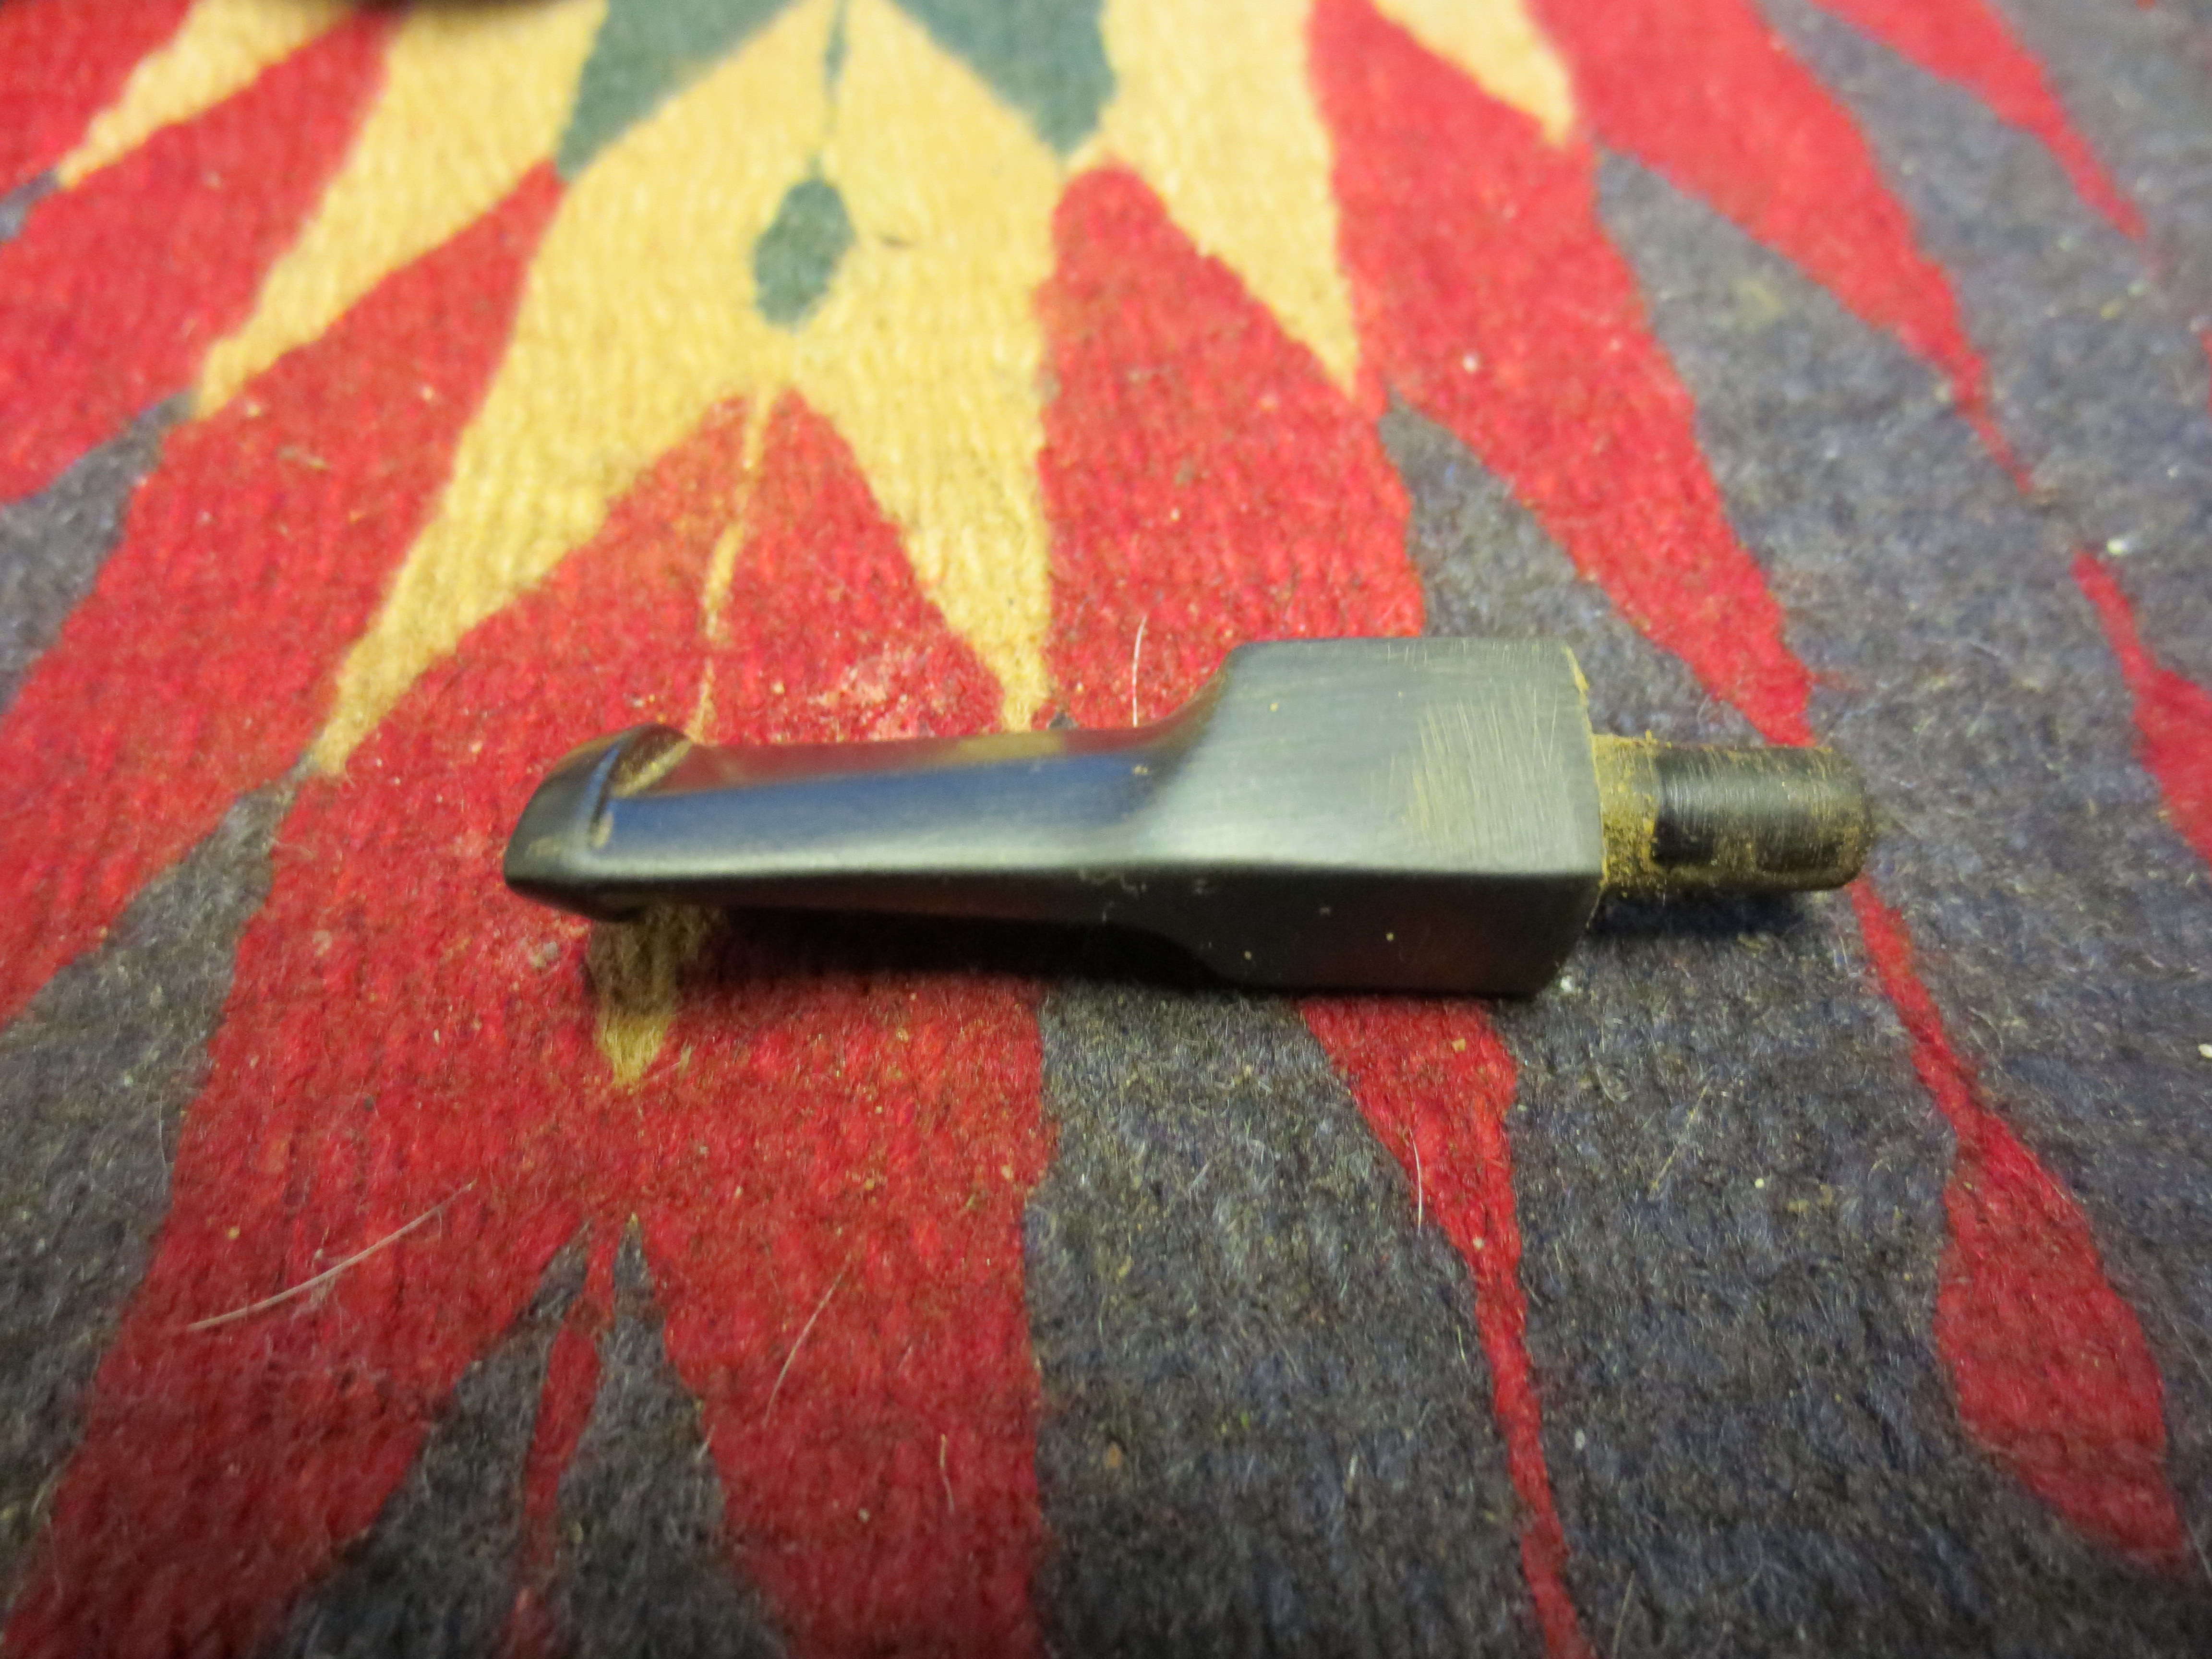
Figure 18 Side view. Shape matches the shank perfectly. Need to remove scratches and polish.

Figure 19 Bottom view. Need to remove scratches and polish.
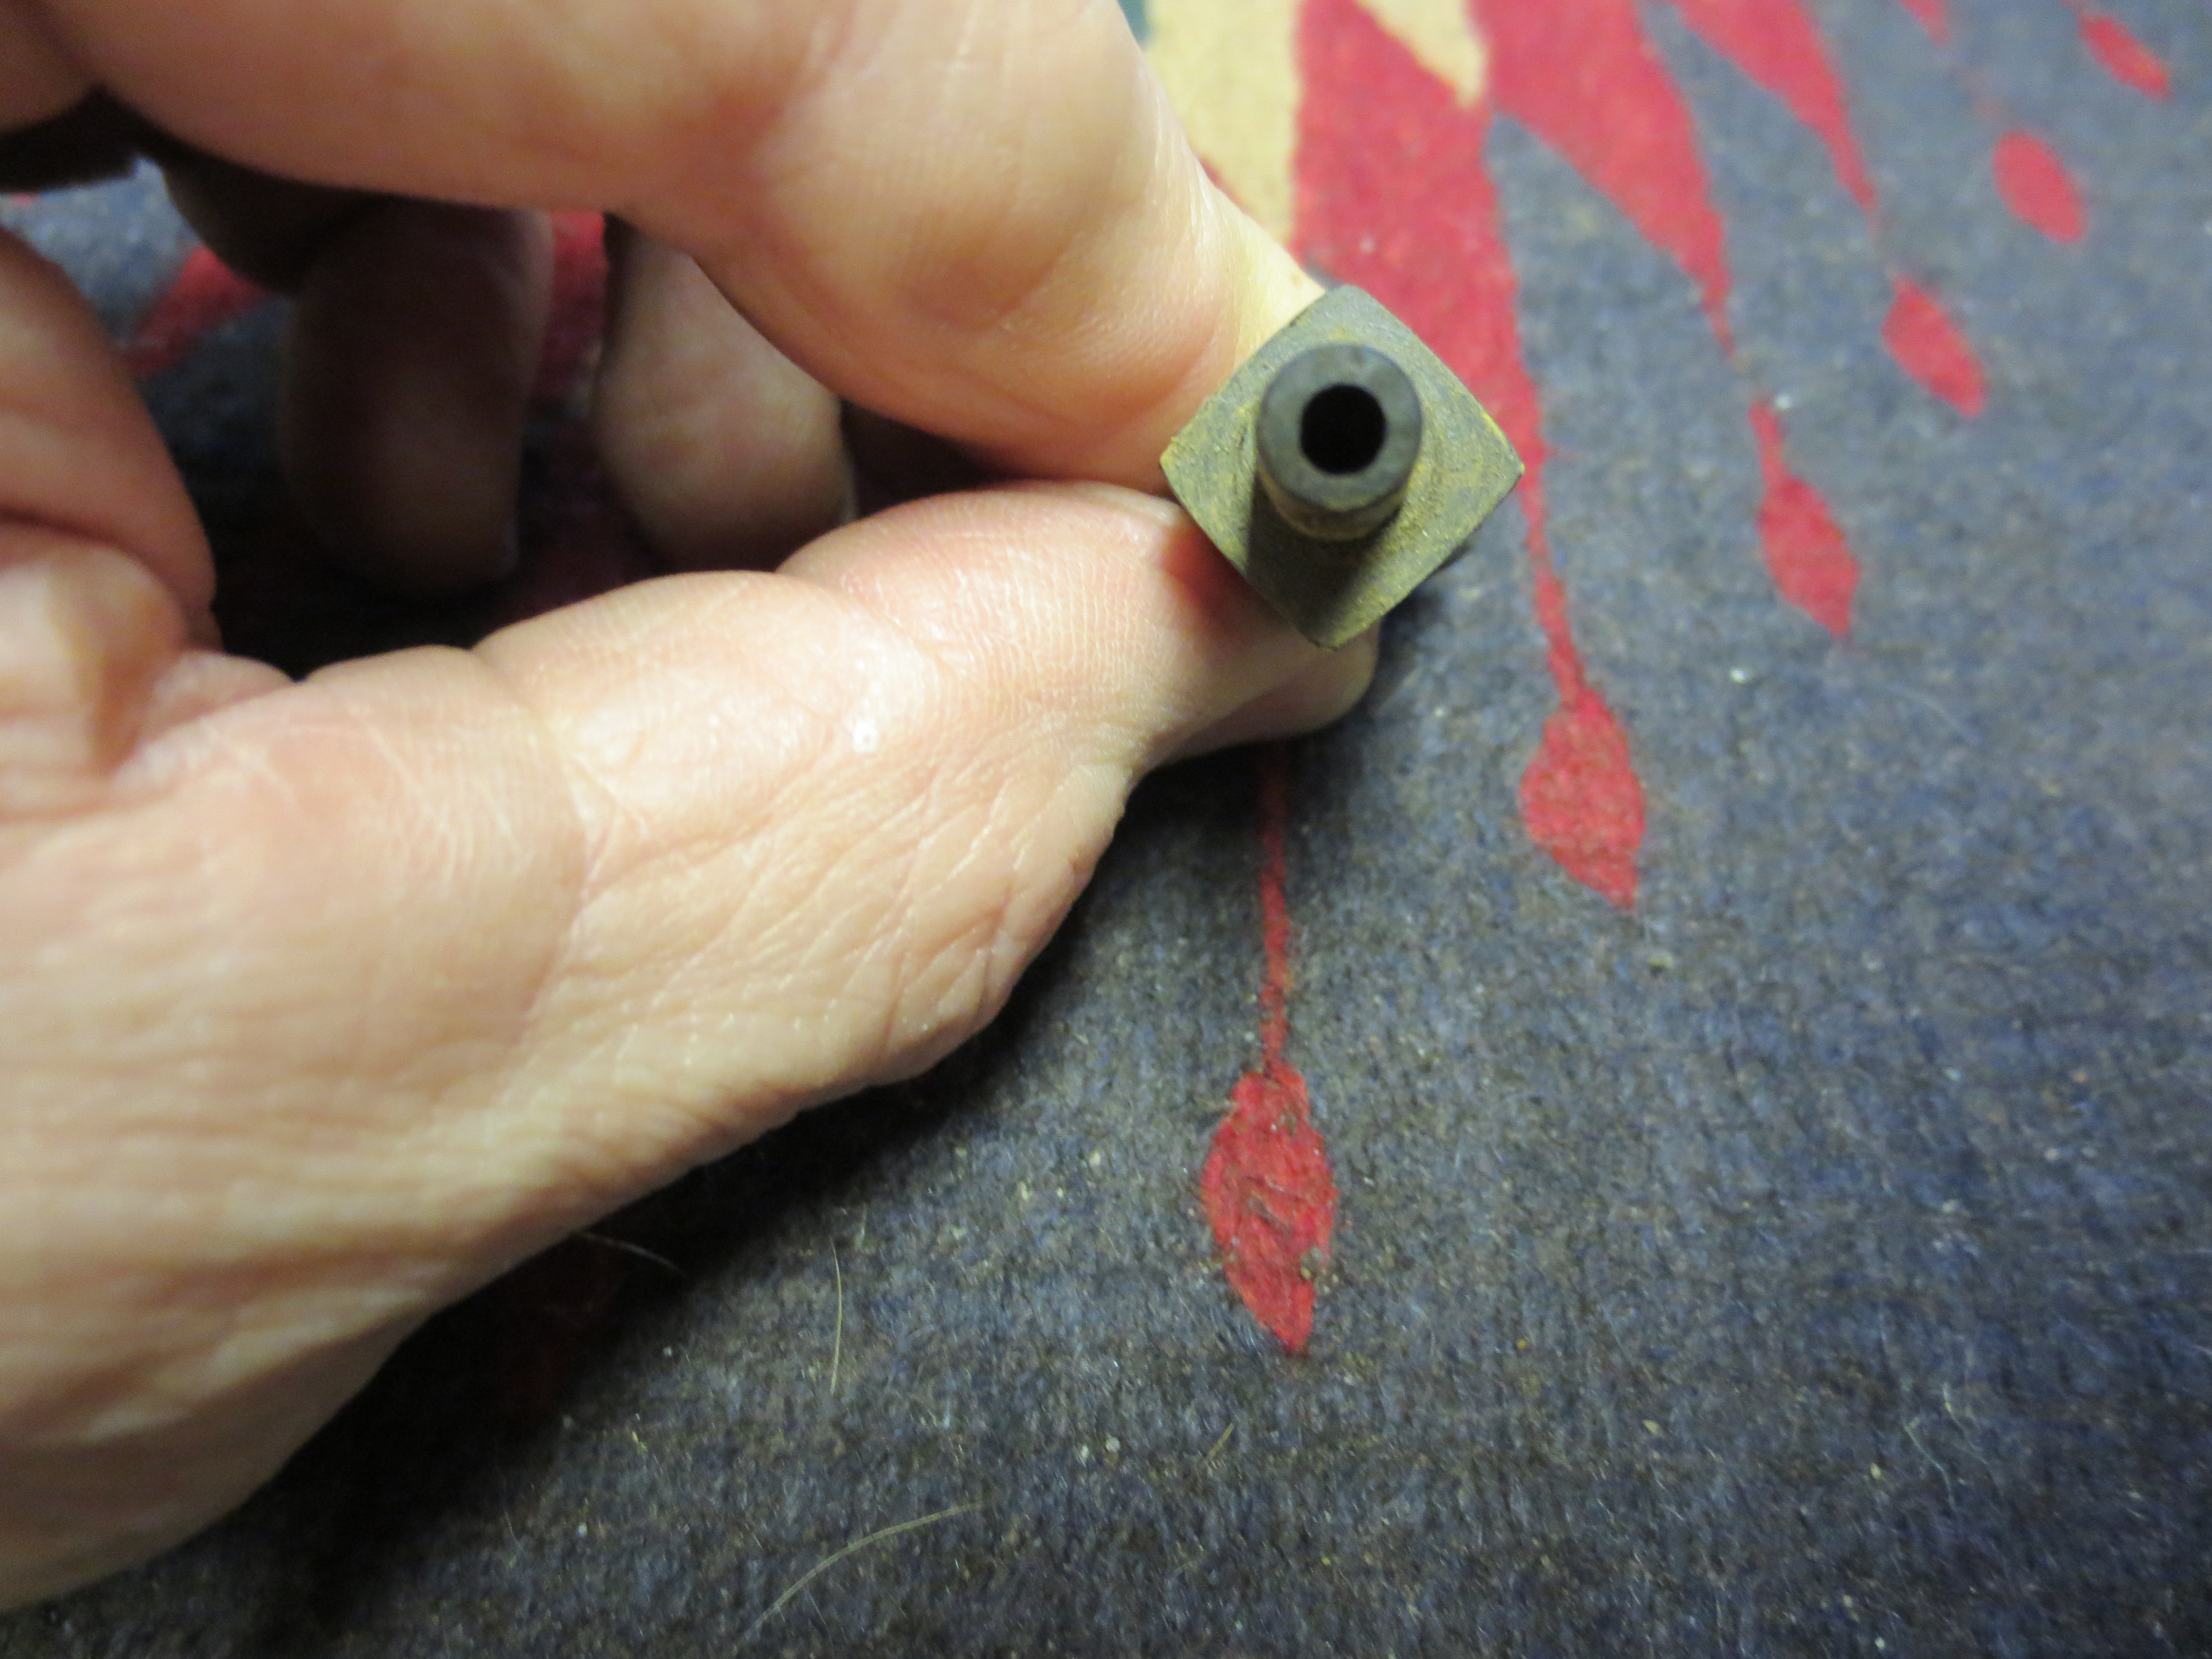
Figure 20 Tenon end view of the diamond shape of the shank. The hardest part of shaping a diamond stem on an old pipe shank like this one is that all sides of the shank were slightly different measurements so that all sides of the stem would have to be as well to match the angles.
Once I saw the scratches that remained I worked over the stem with 320 grit sandpaper to remove the scratches and clean up the surface so that when I sanded with the micromesh the deeper scratches would be gone.

Figure 21 Left side after sanding with 320 grit sandpaper.
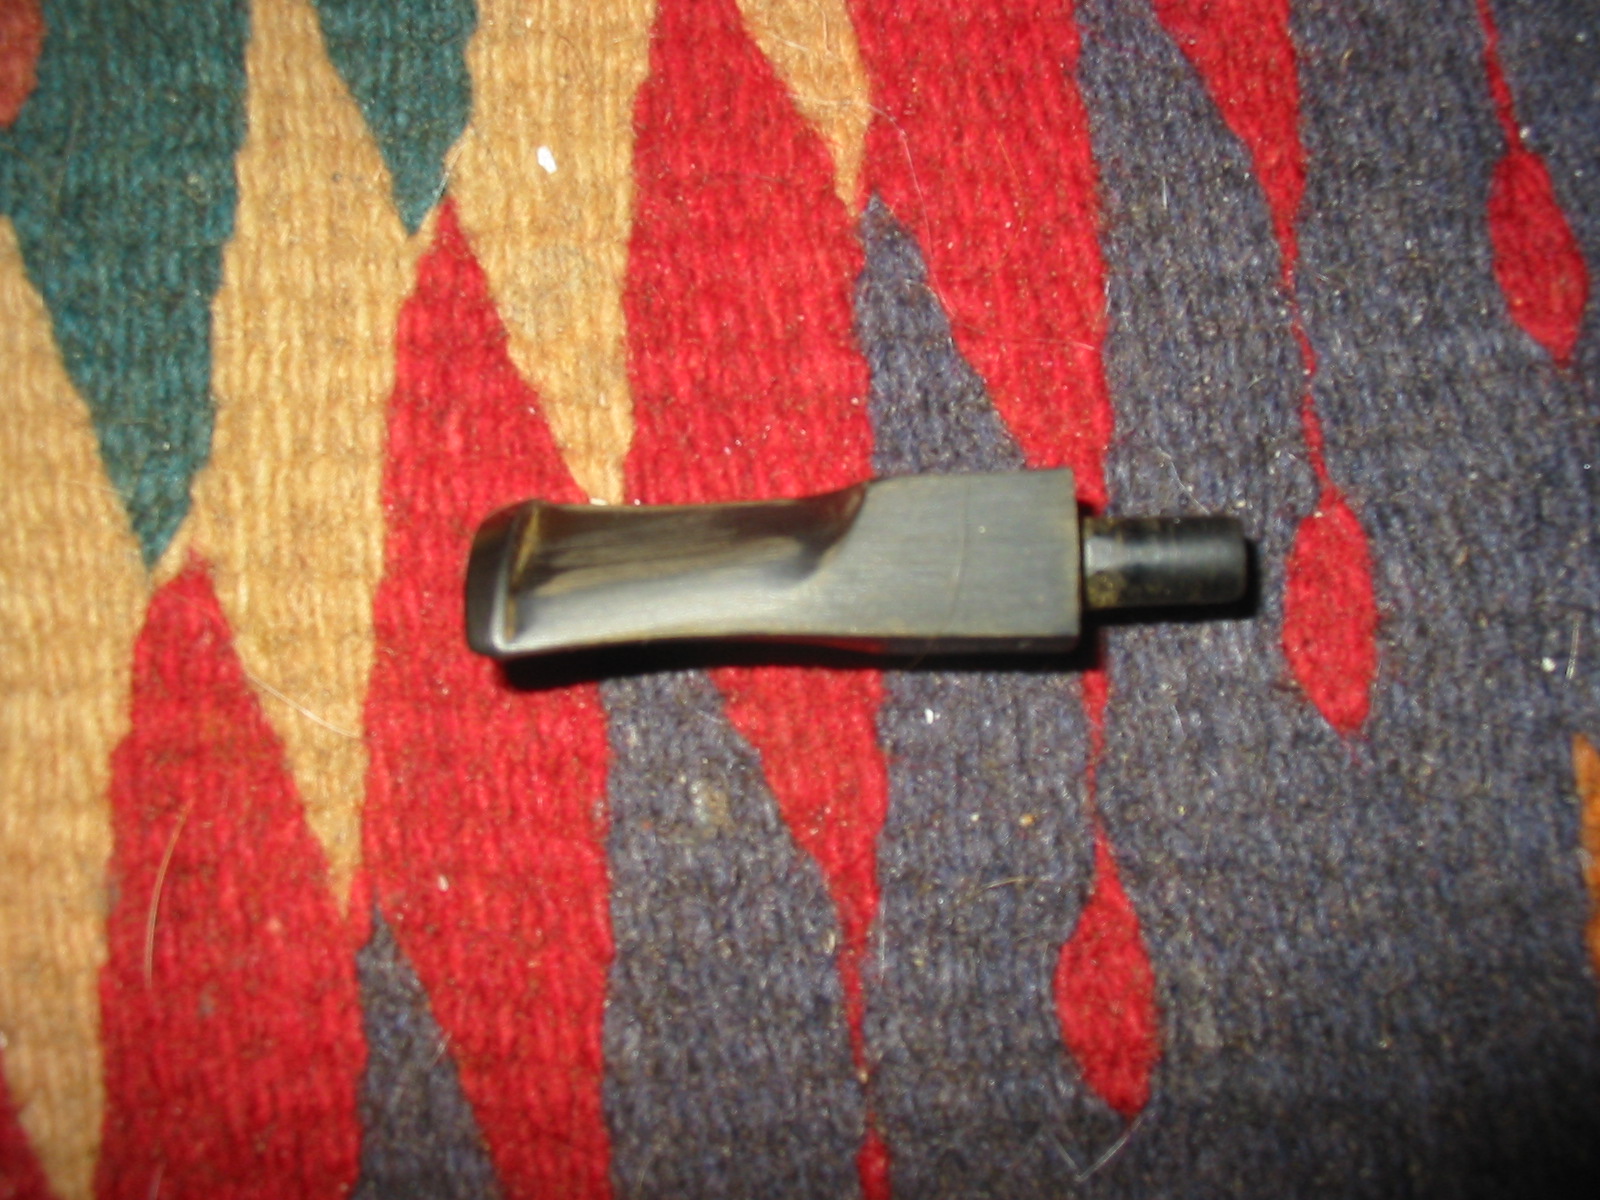
Figure 22 Right side after sanding with 320 grit sandpaper.
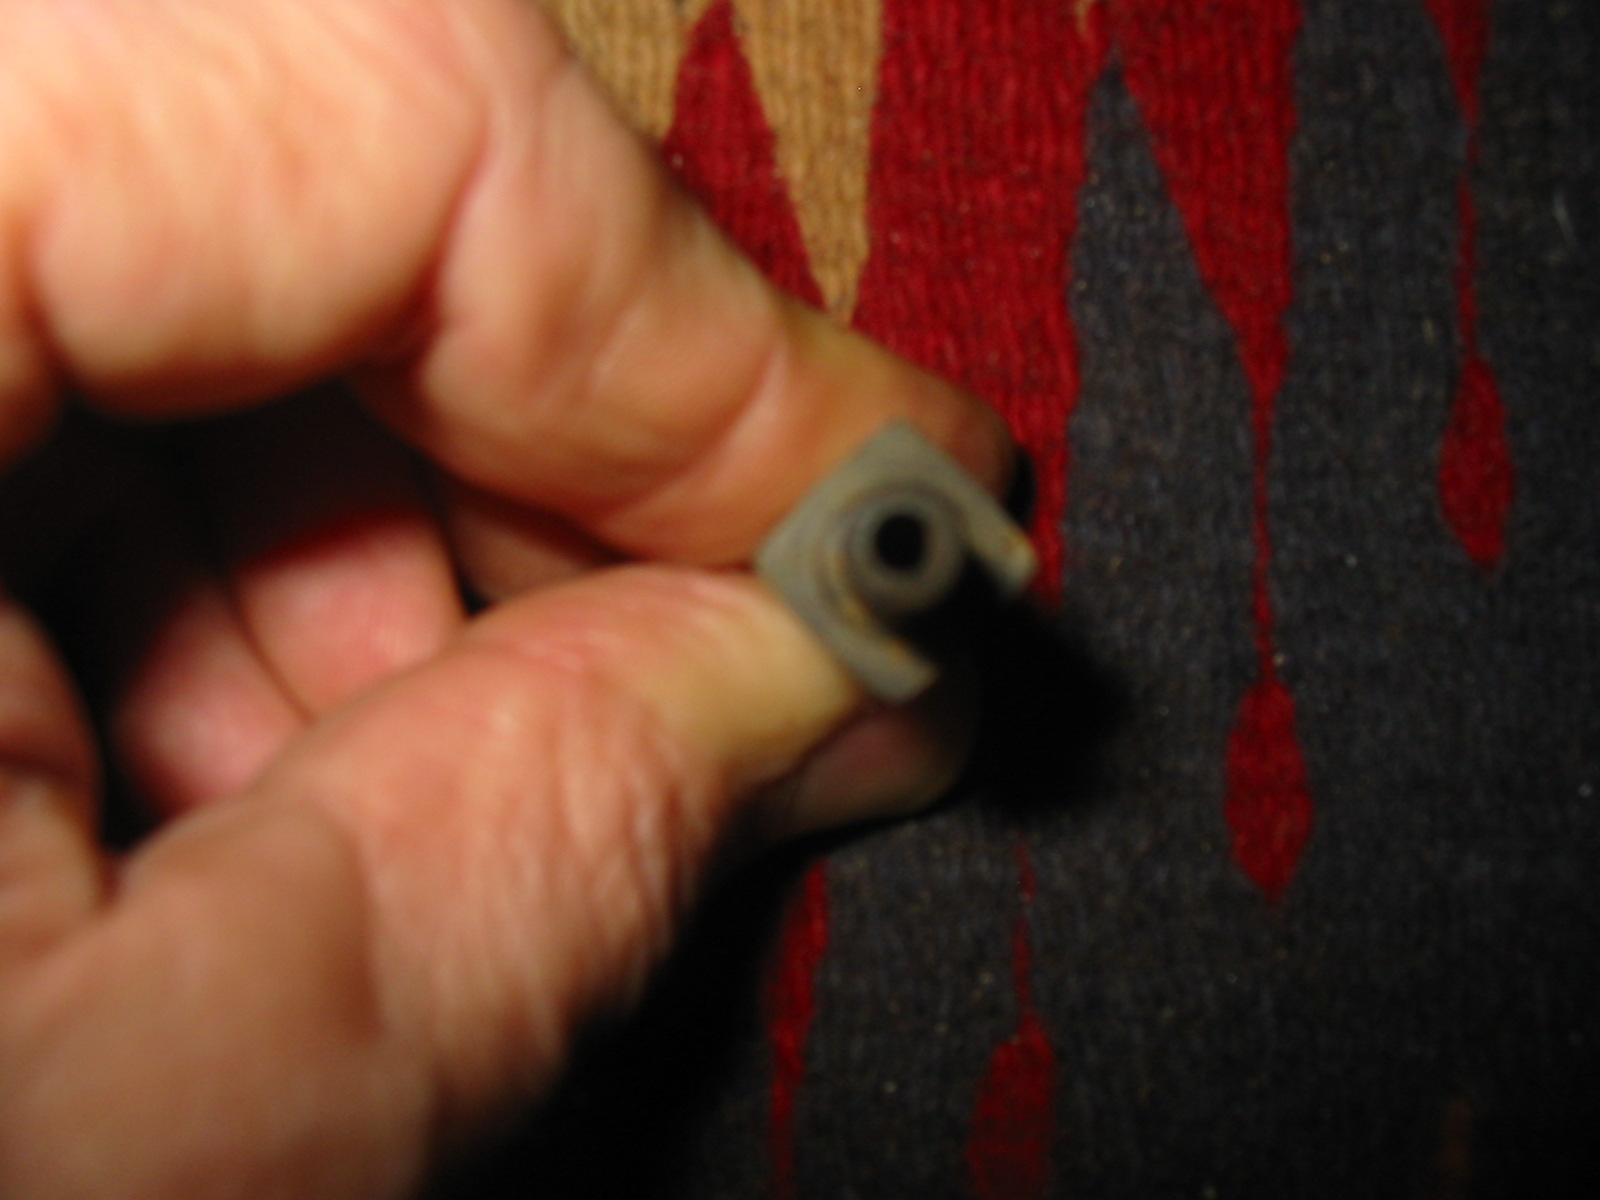
Figure 23 End view showing the diamond shape after sanding with 320 grit sandpaper.
Finally with the scratches removed it was time to move on to the micromesh sanding pads. Photos 1 & 2 show the stem after sanding with 1500 and 1800 grit micromesh. It should clean up nicely with each successive grit of micromesh. Photo 3 shows the stem after sanding with the 2400 grit micromesh. With all three of these grits I wet sanded the stem.
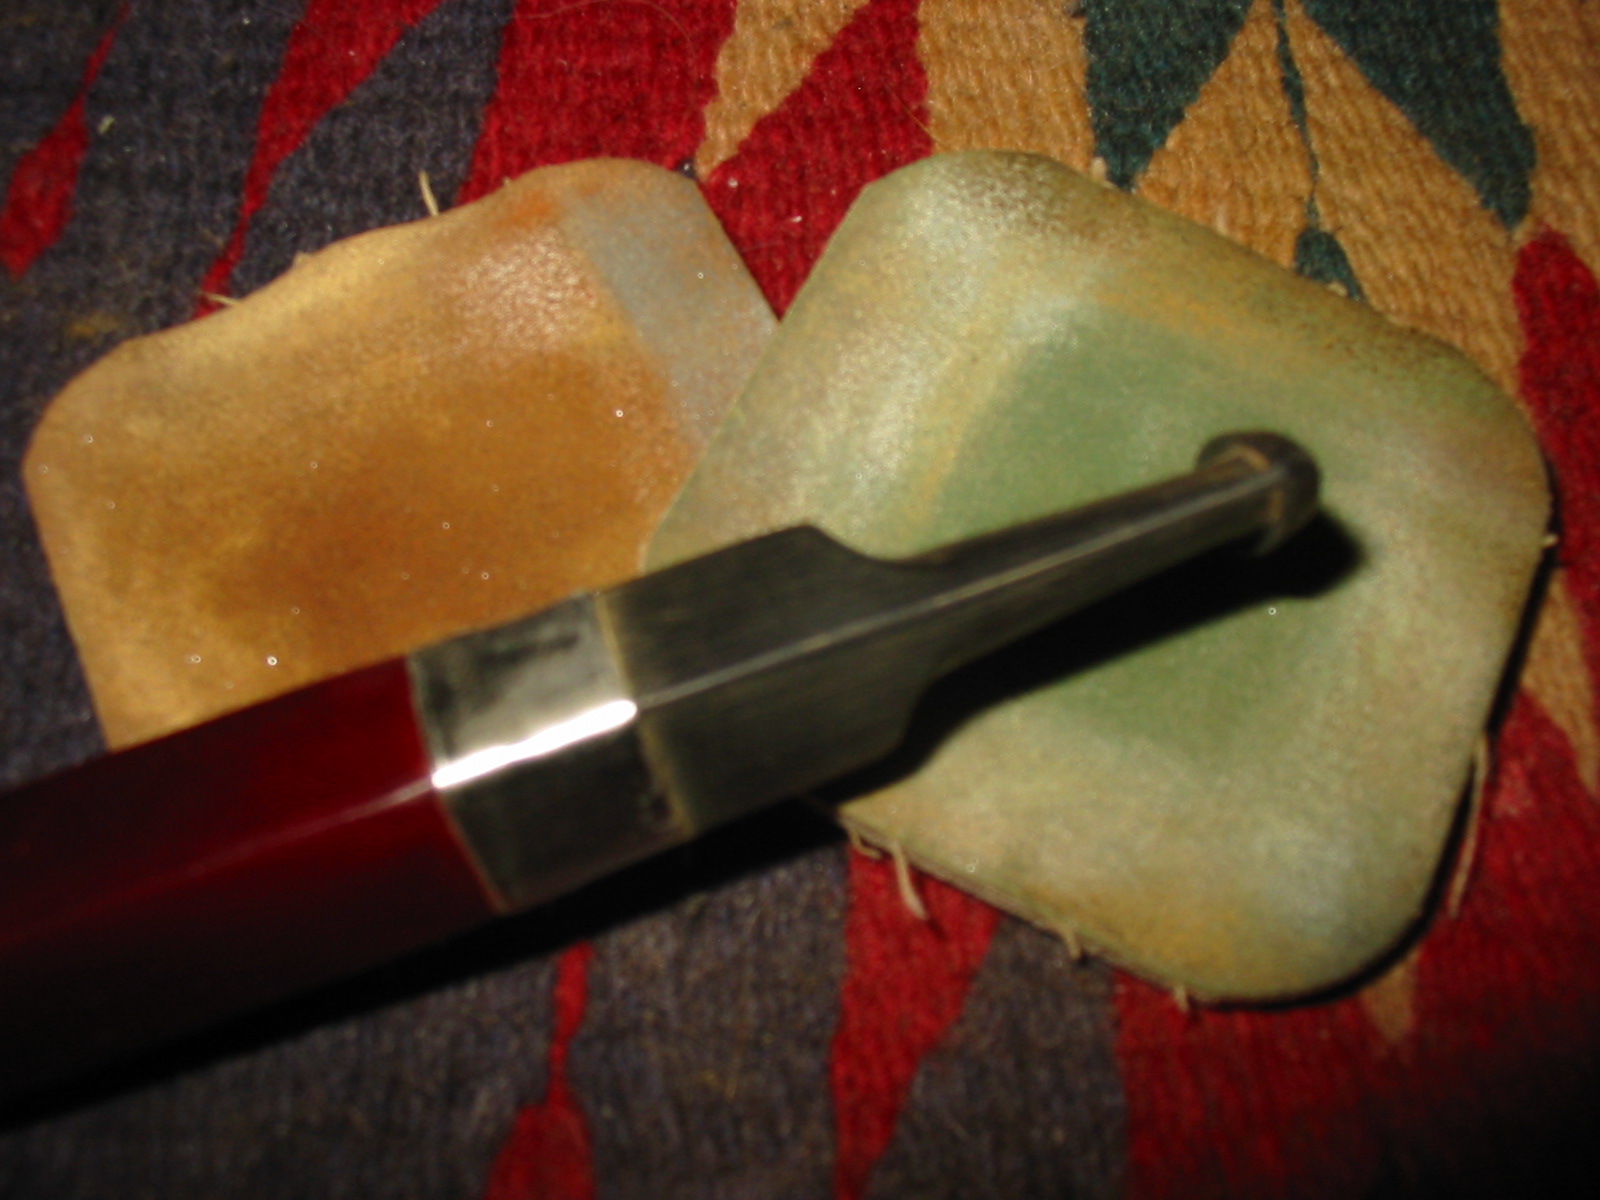
Figure 24 Left side after sanding with 1500 and 1800 grit micromesh sanding pads
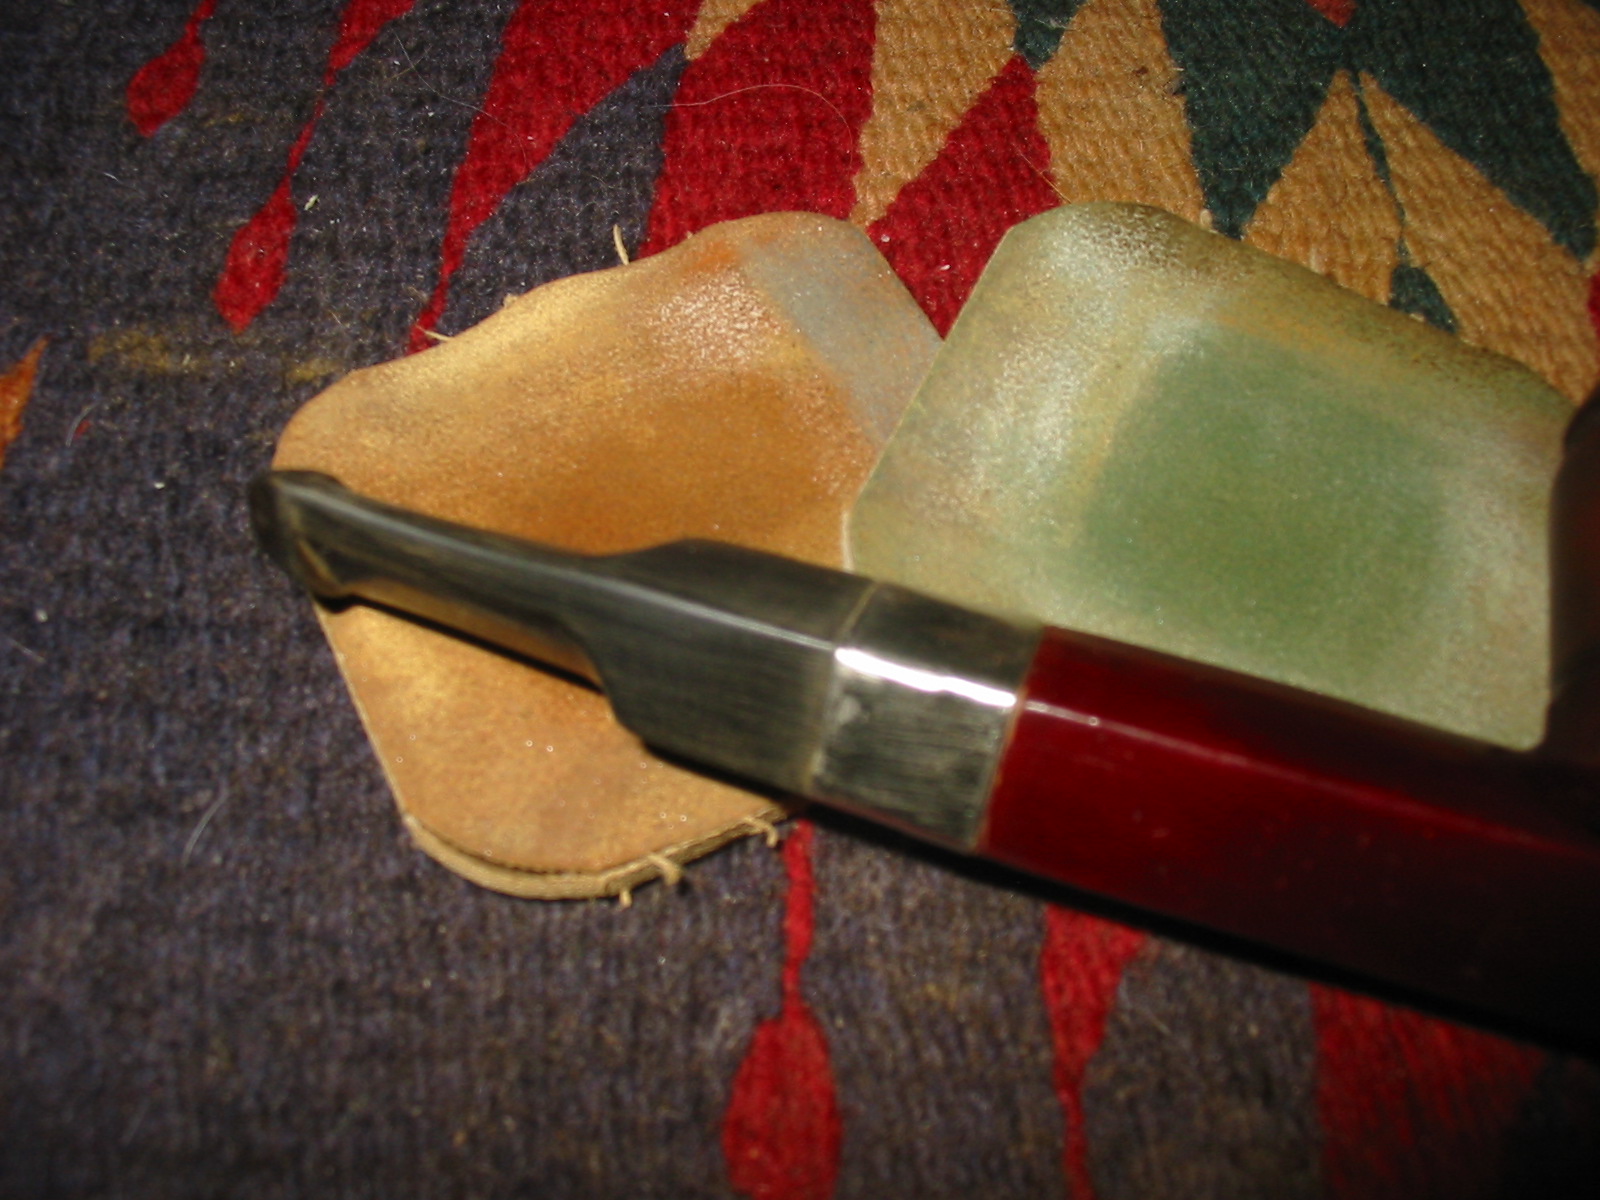
Figure 25 Right side after sanding with 1500 and 1800 grit micromesh sanding pads.
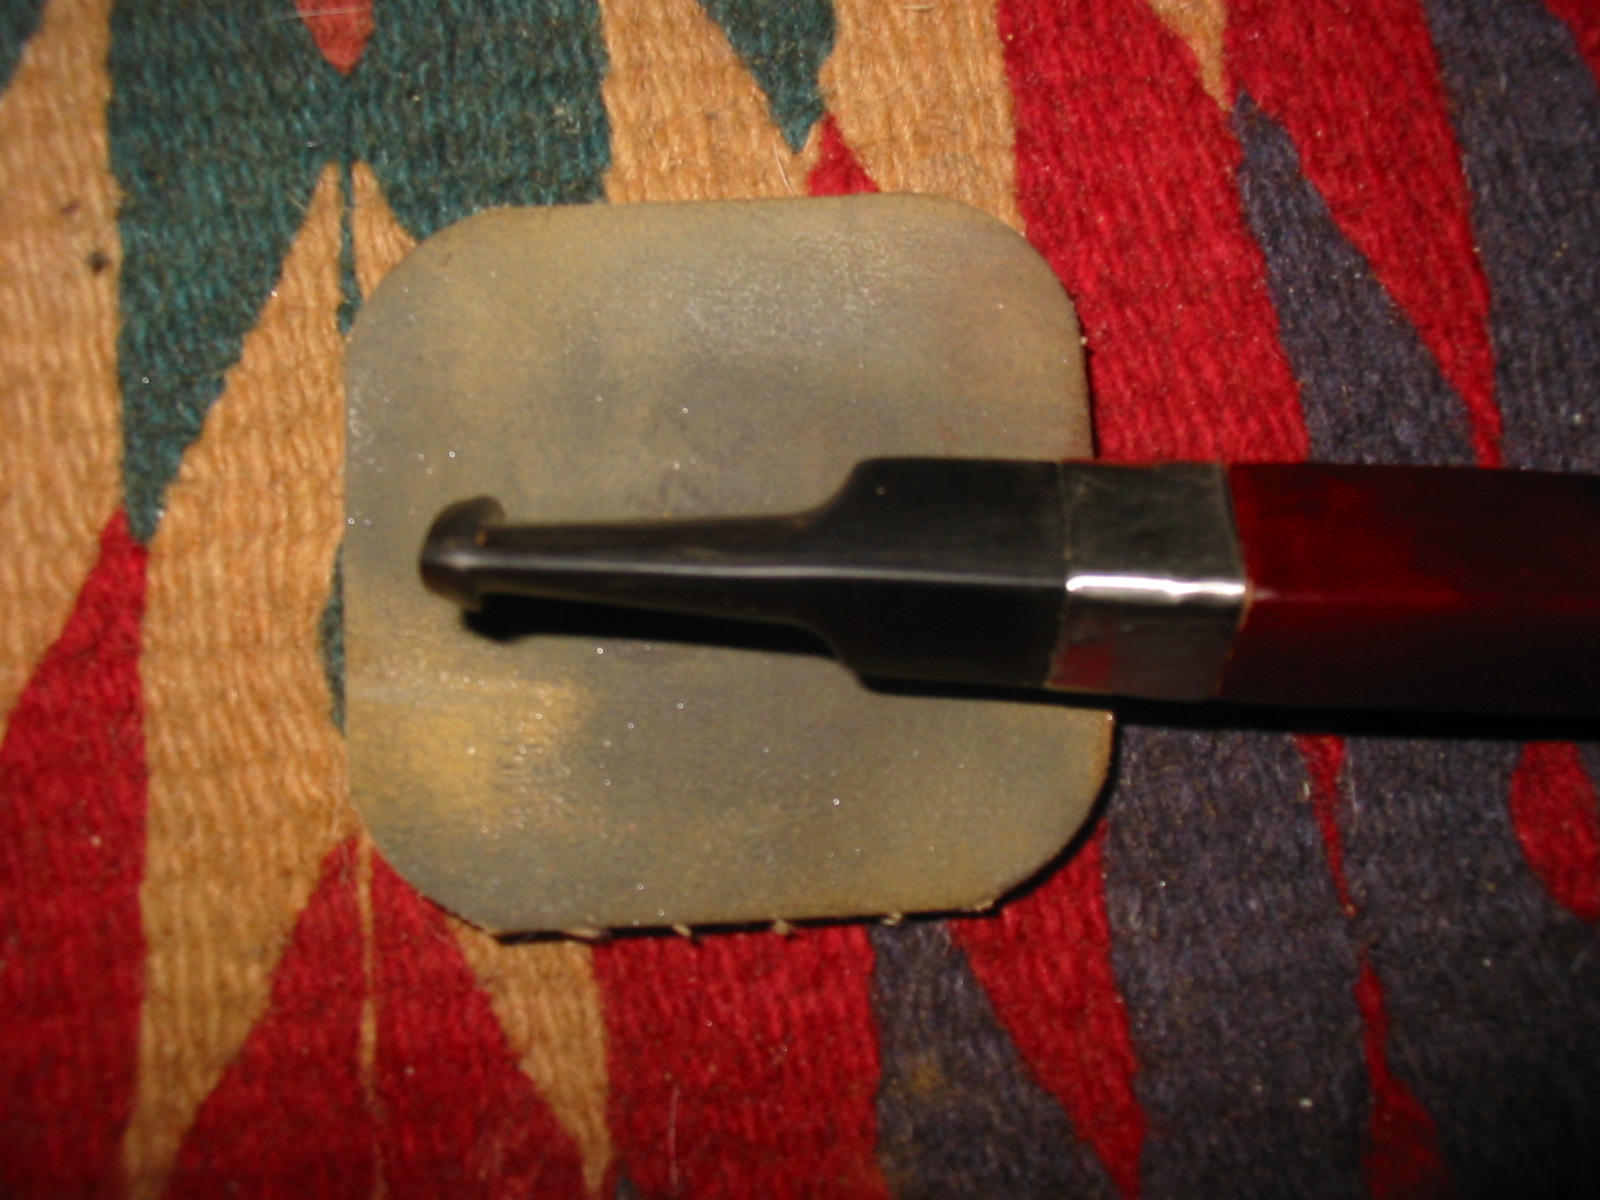
Figure 26 Right side after sanding with 2400 grit sanding pads
I moved on to the higher grits of micromesh. The next five photos below show the 3600 and 4000 grit micromesh. I dry sanded with these pads. The scratches have pretty much disappeared and the higher grits will give the stem a deep shine.
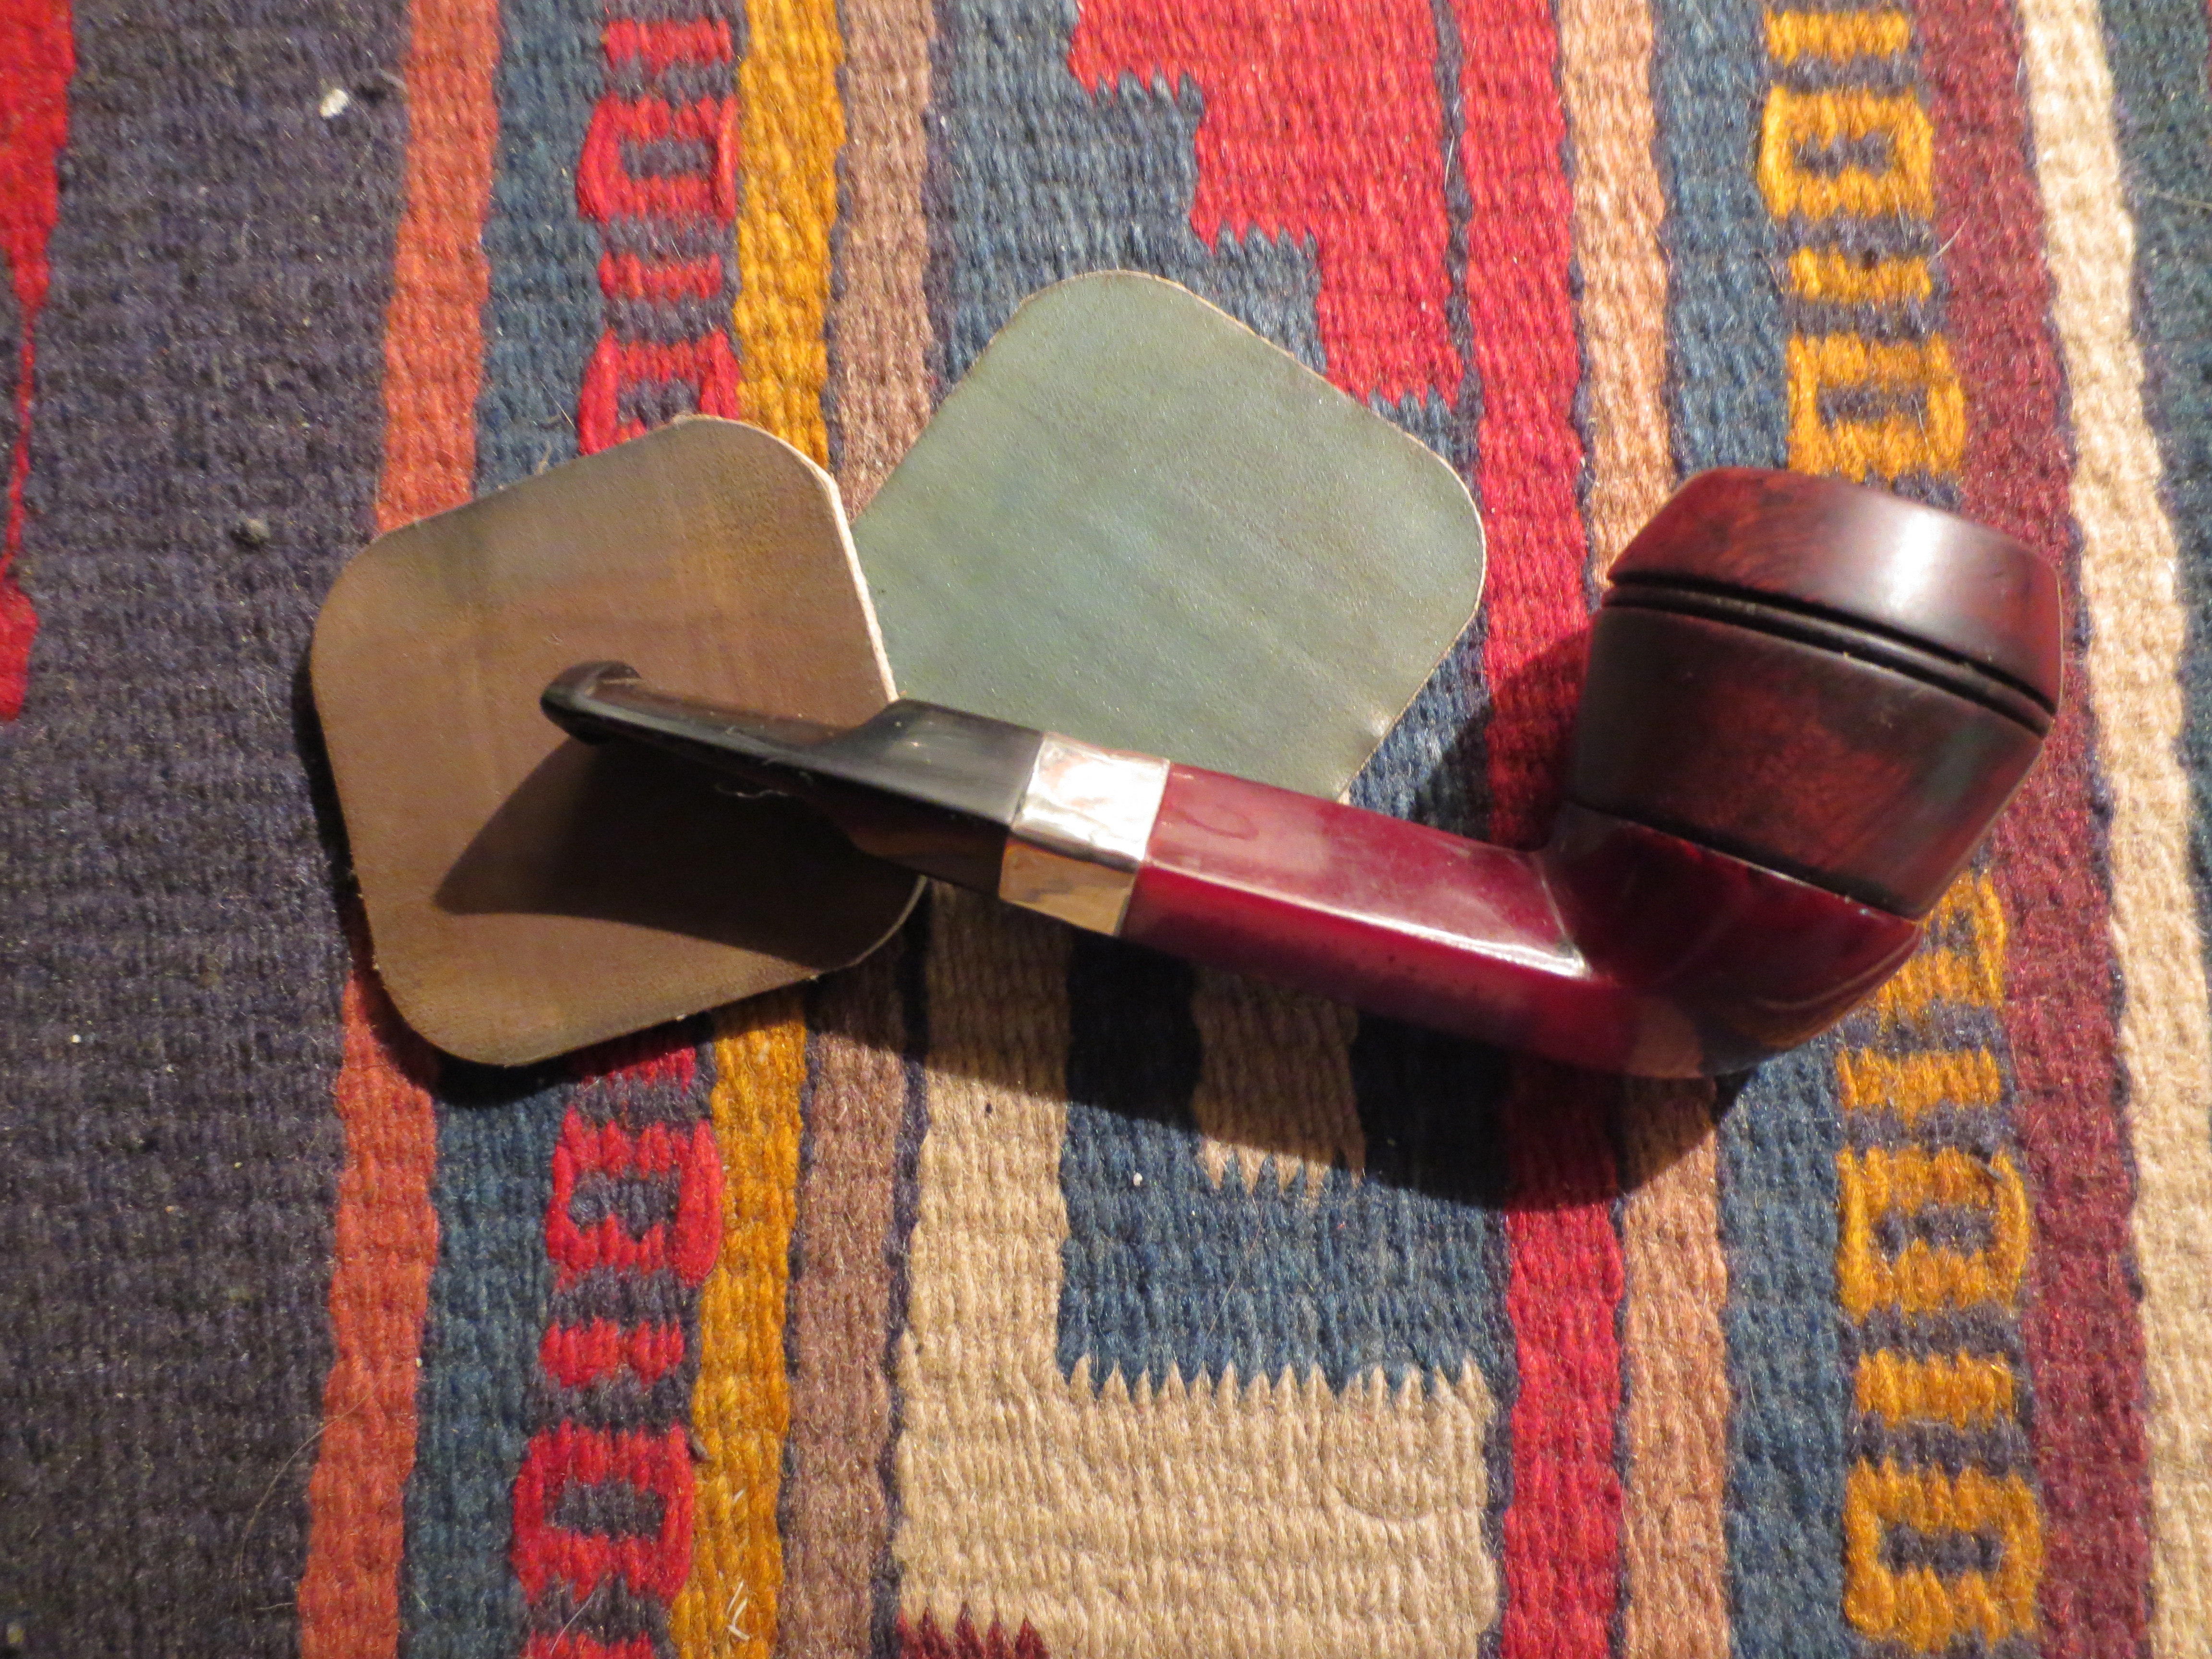
Figure 27 Sanding with 3600 and 4000 grit micromesh.
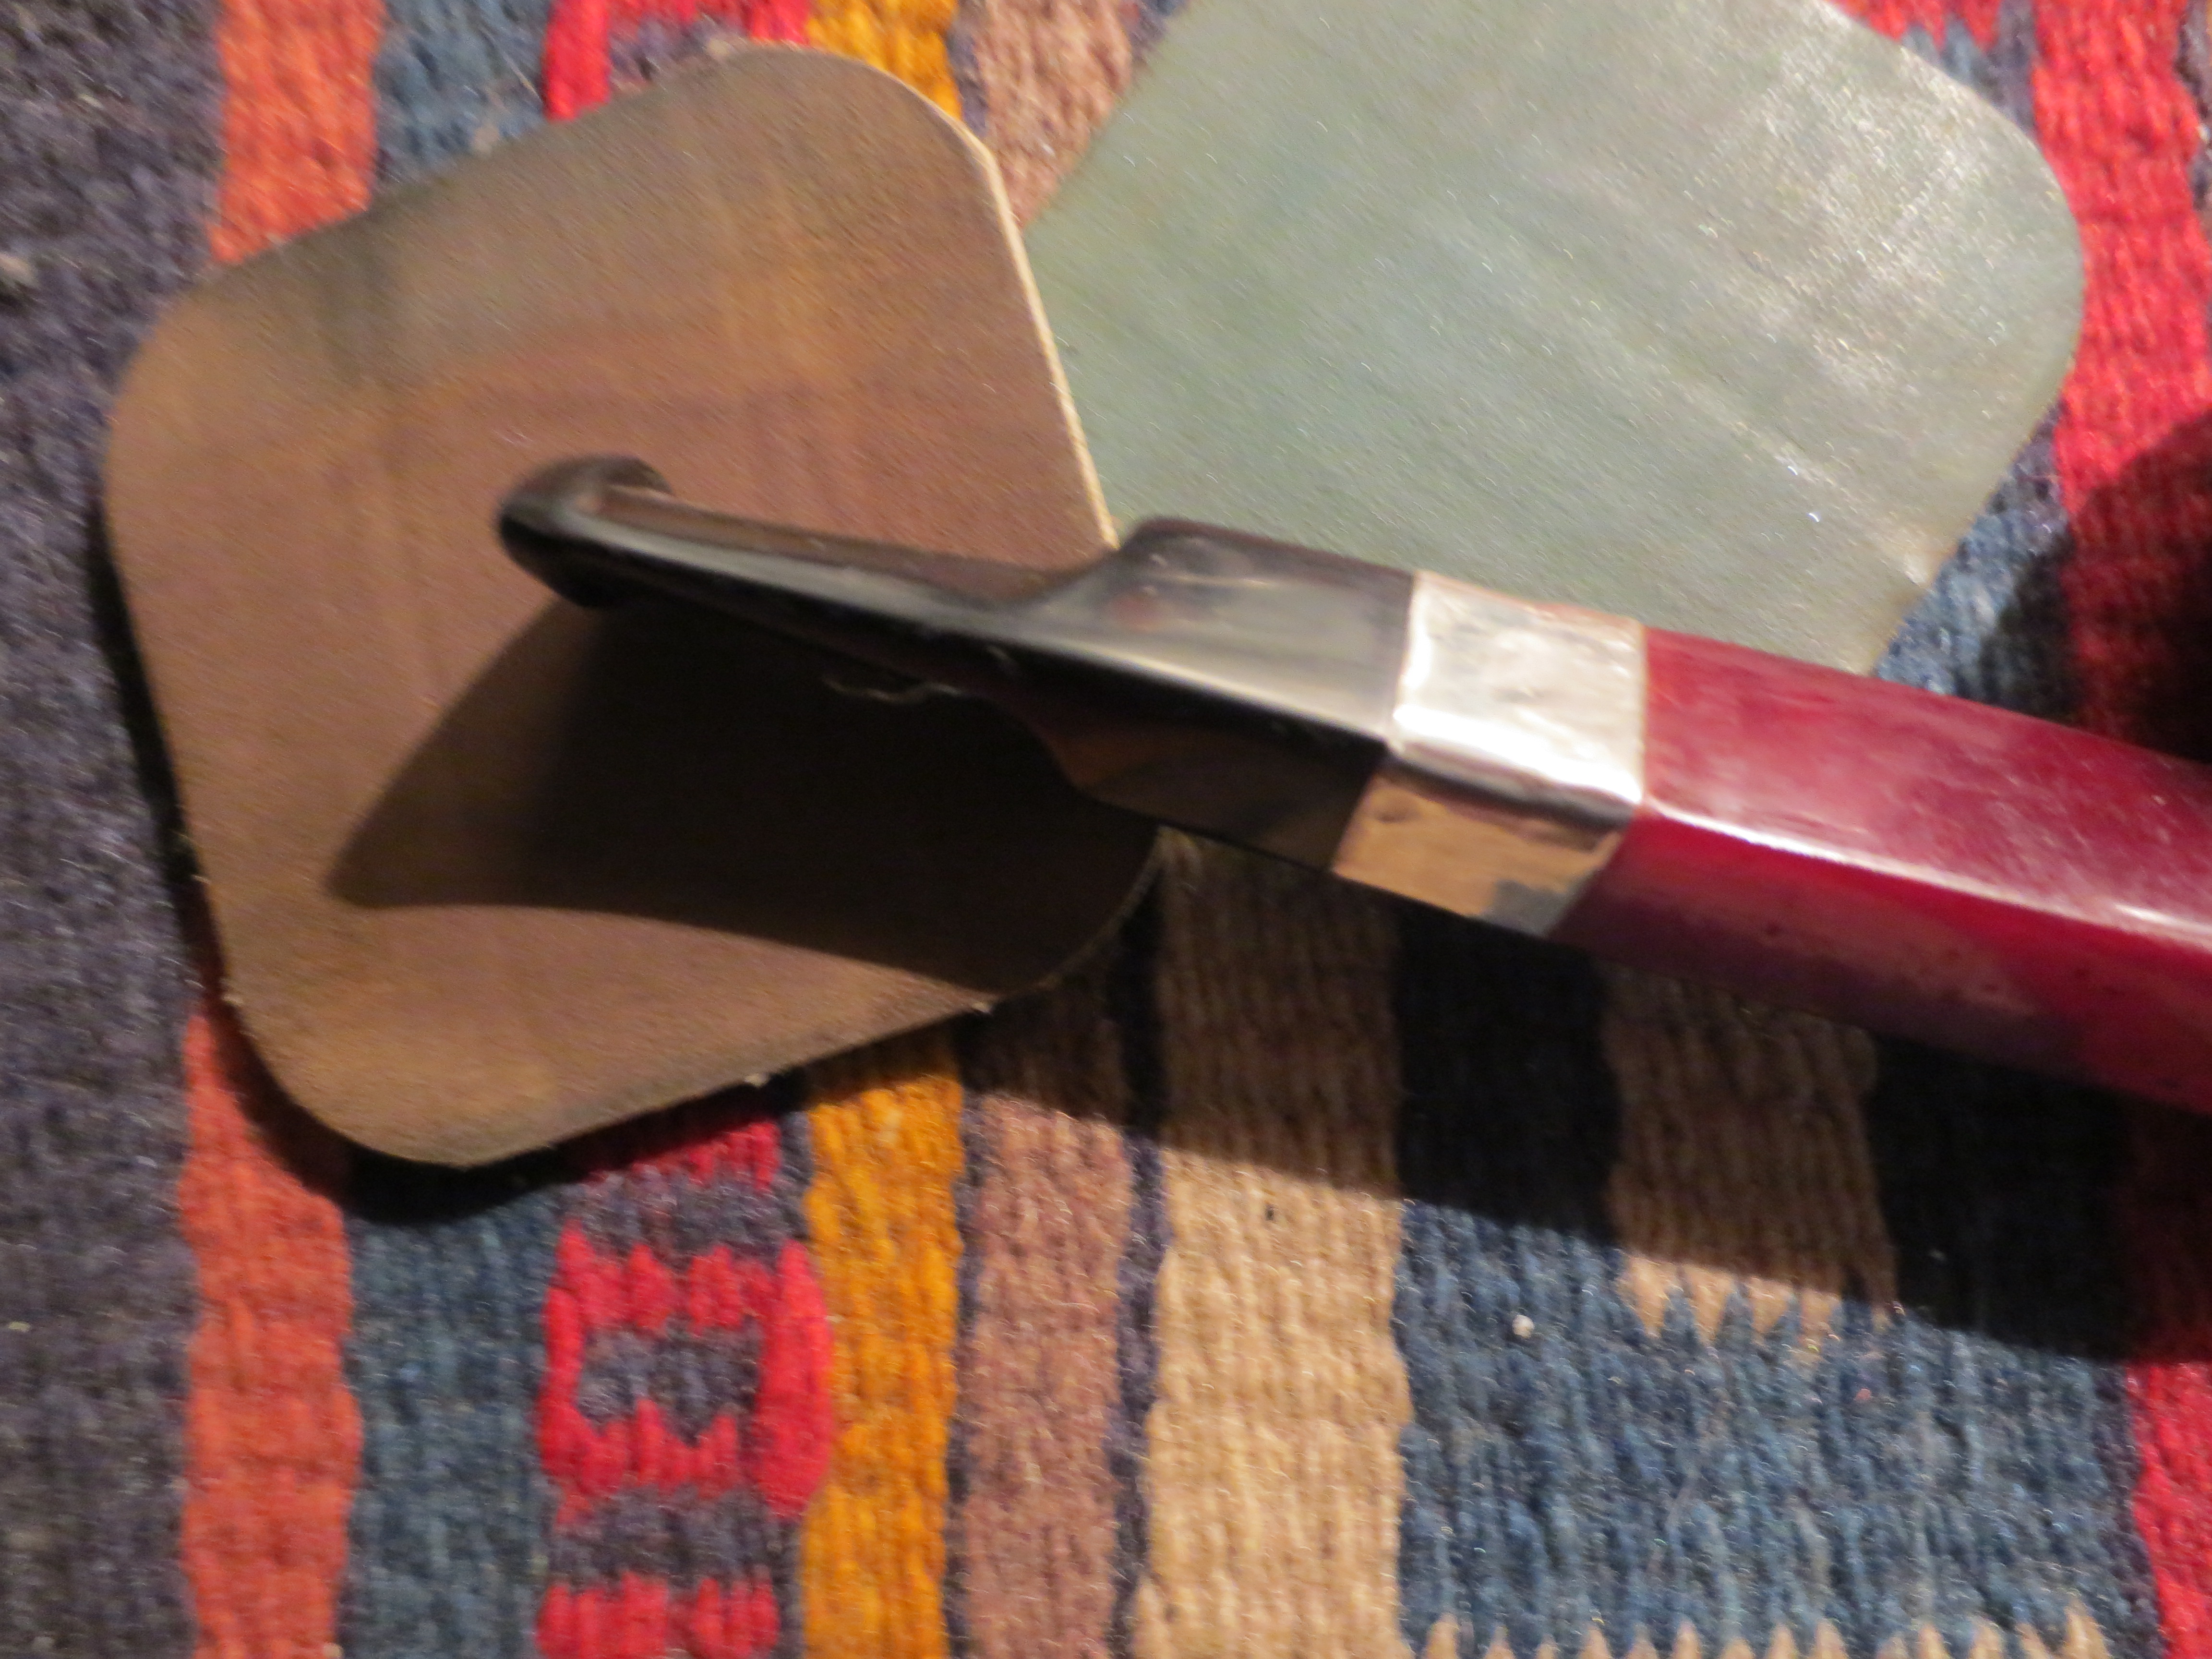
Figure 28 Right side sanded with 3600 and 4000 grit micromesh pads.
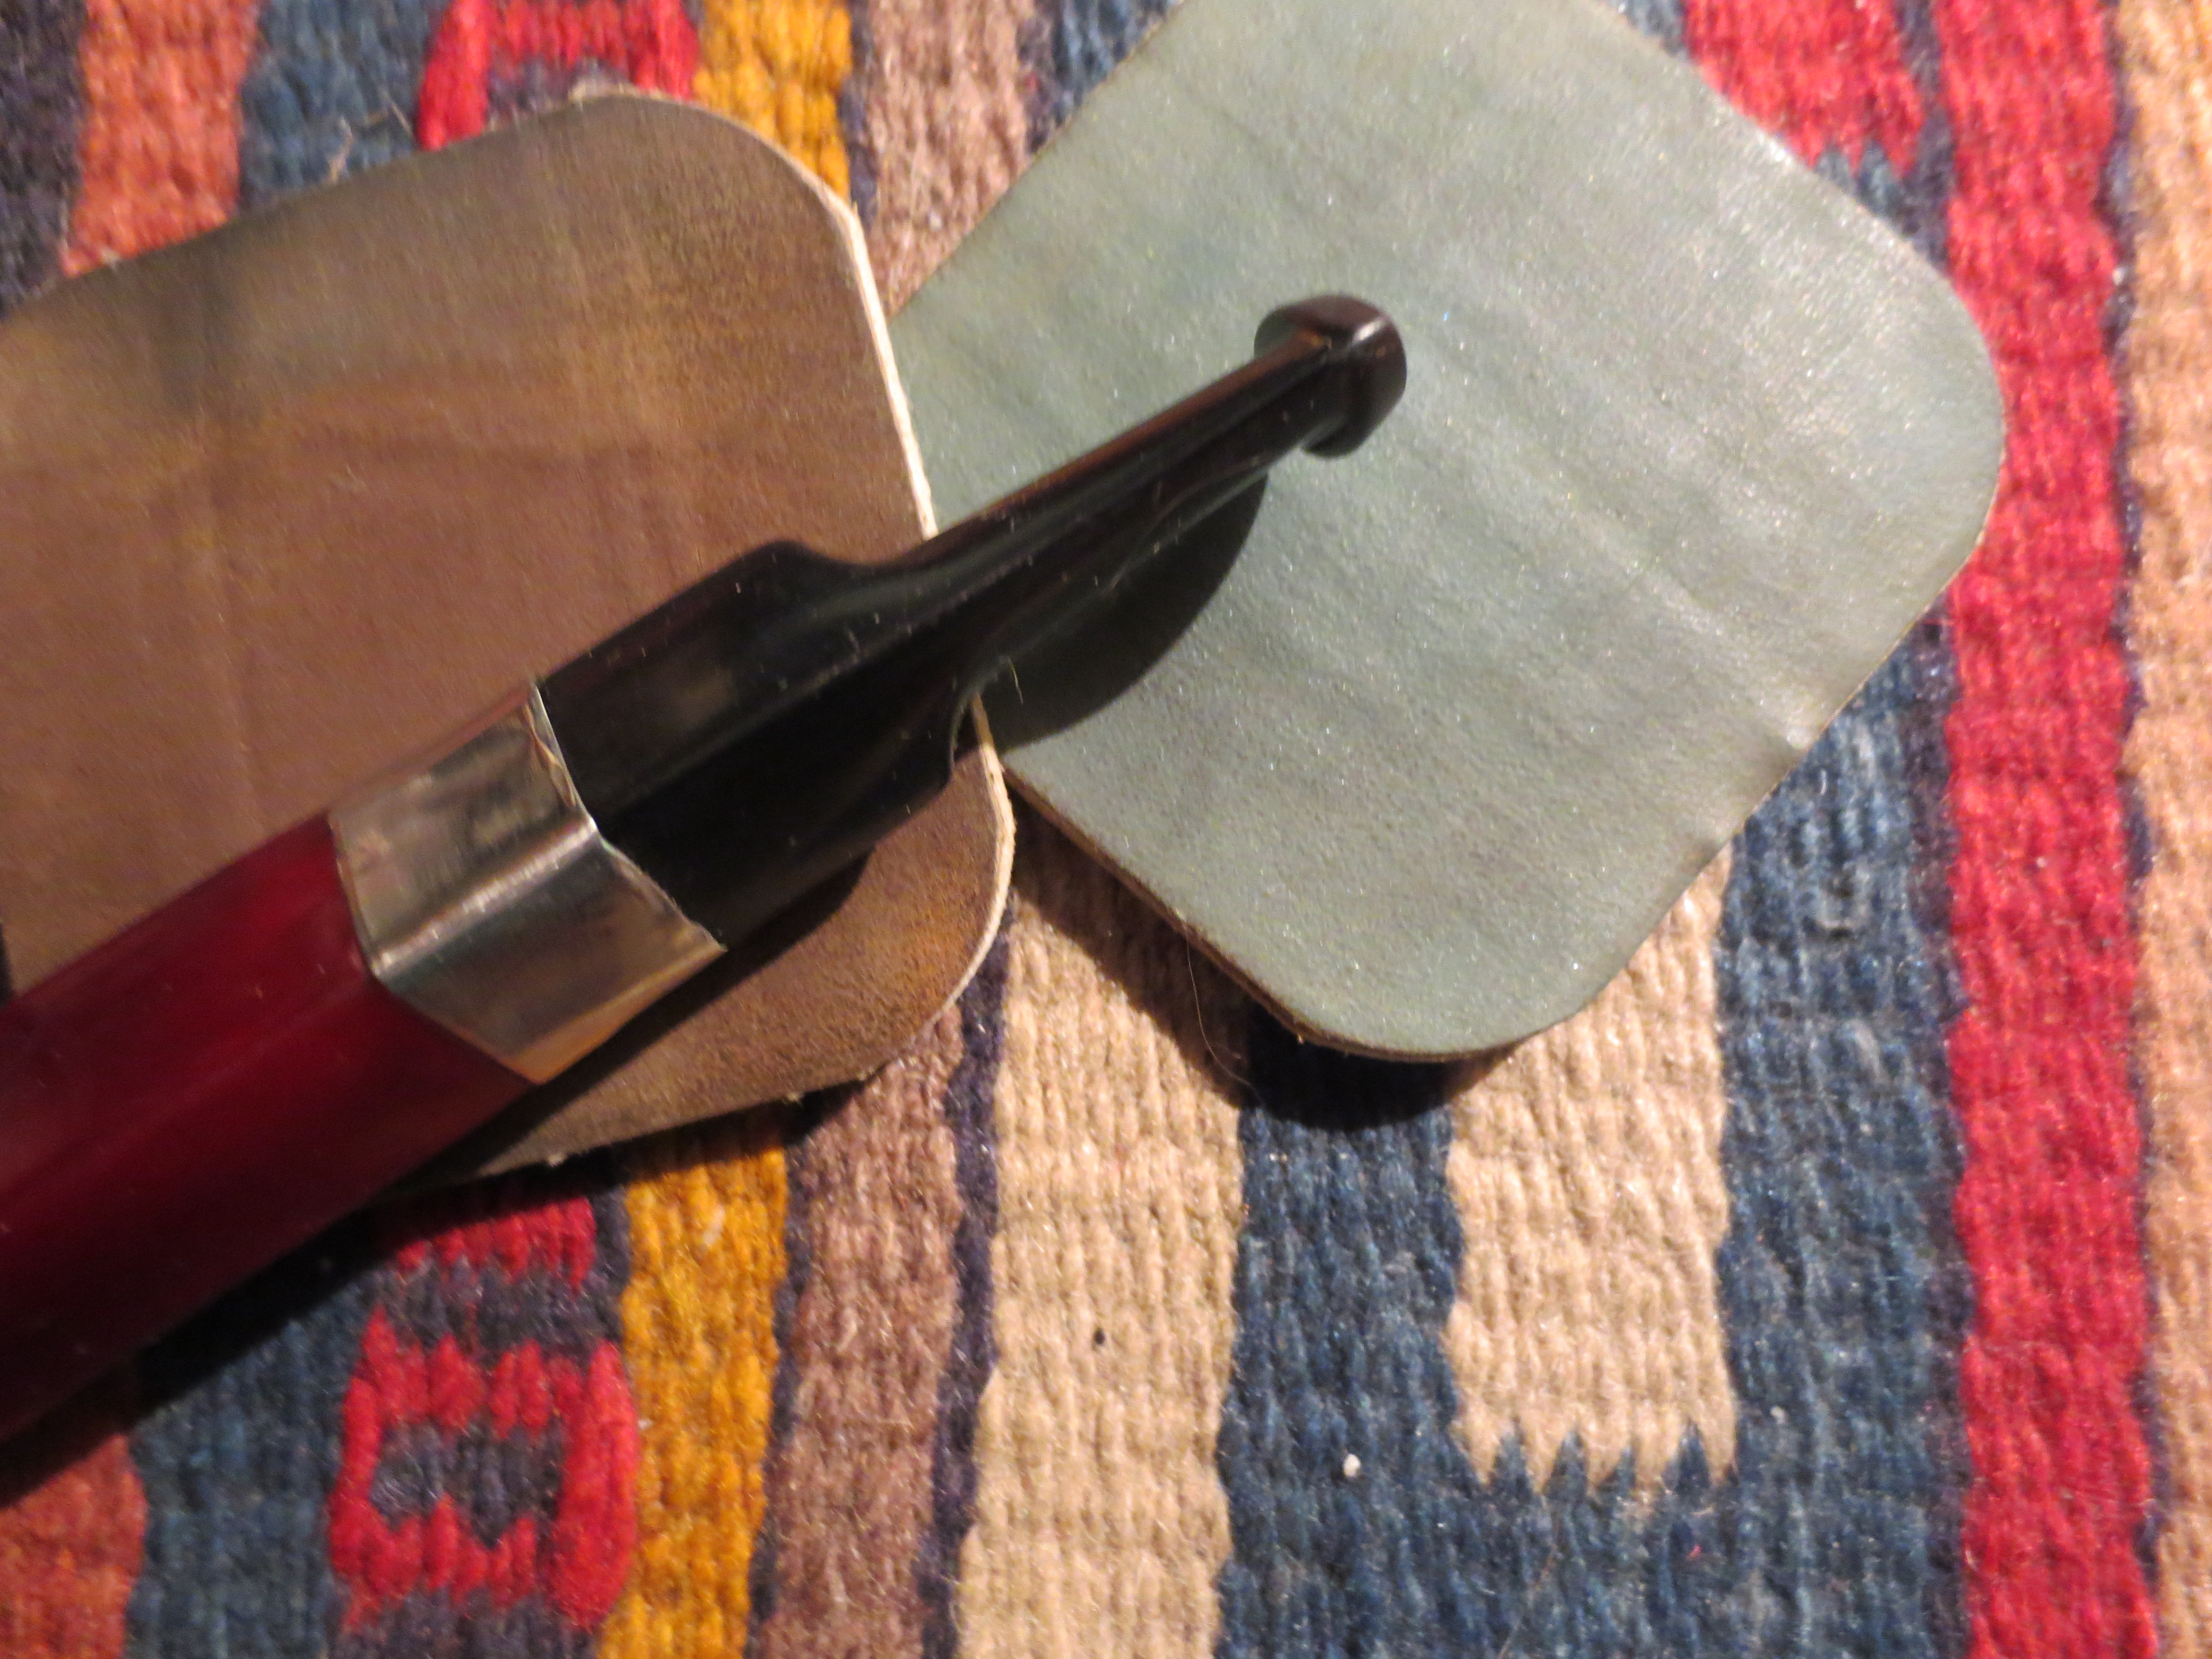
Figure 29 left side of the stem – sanding with 600 and 4000 grit micromesh.
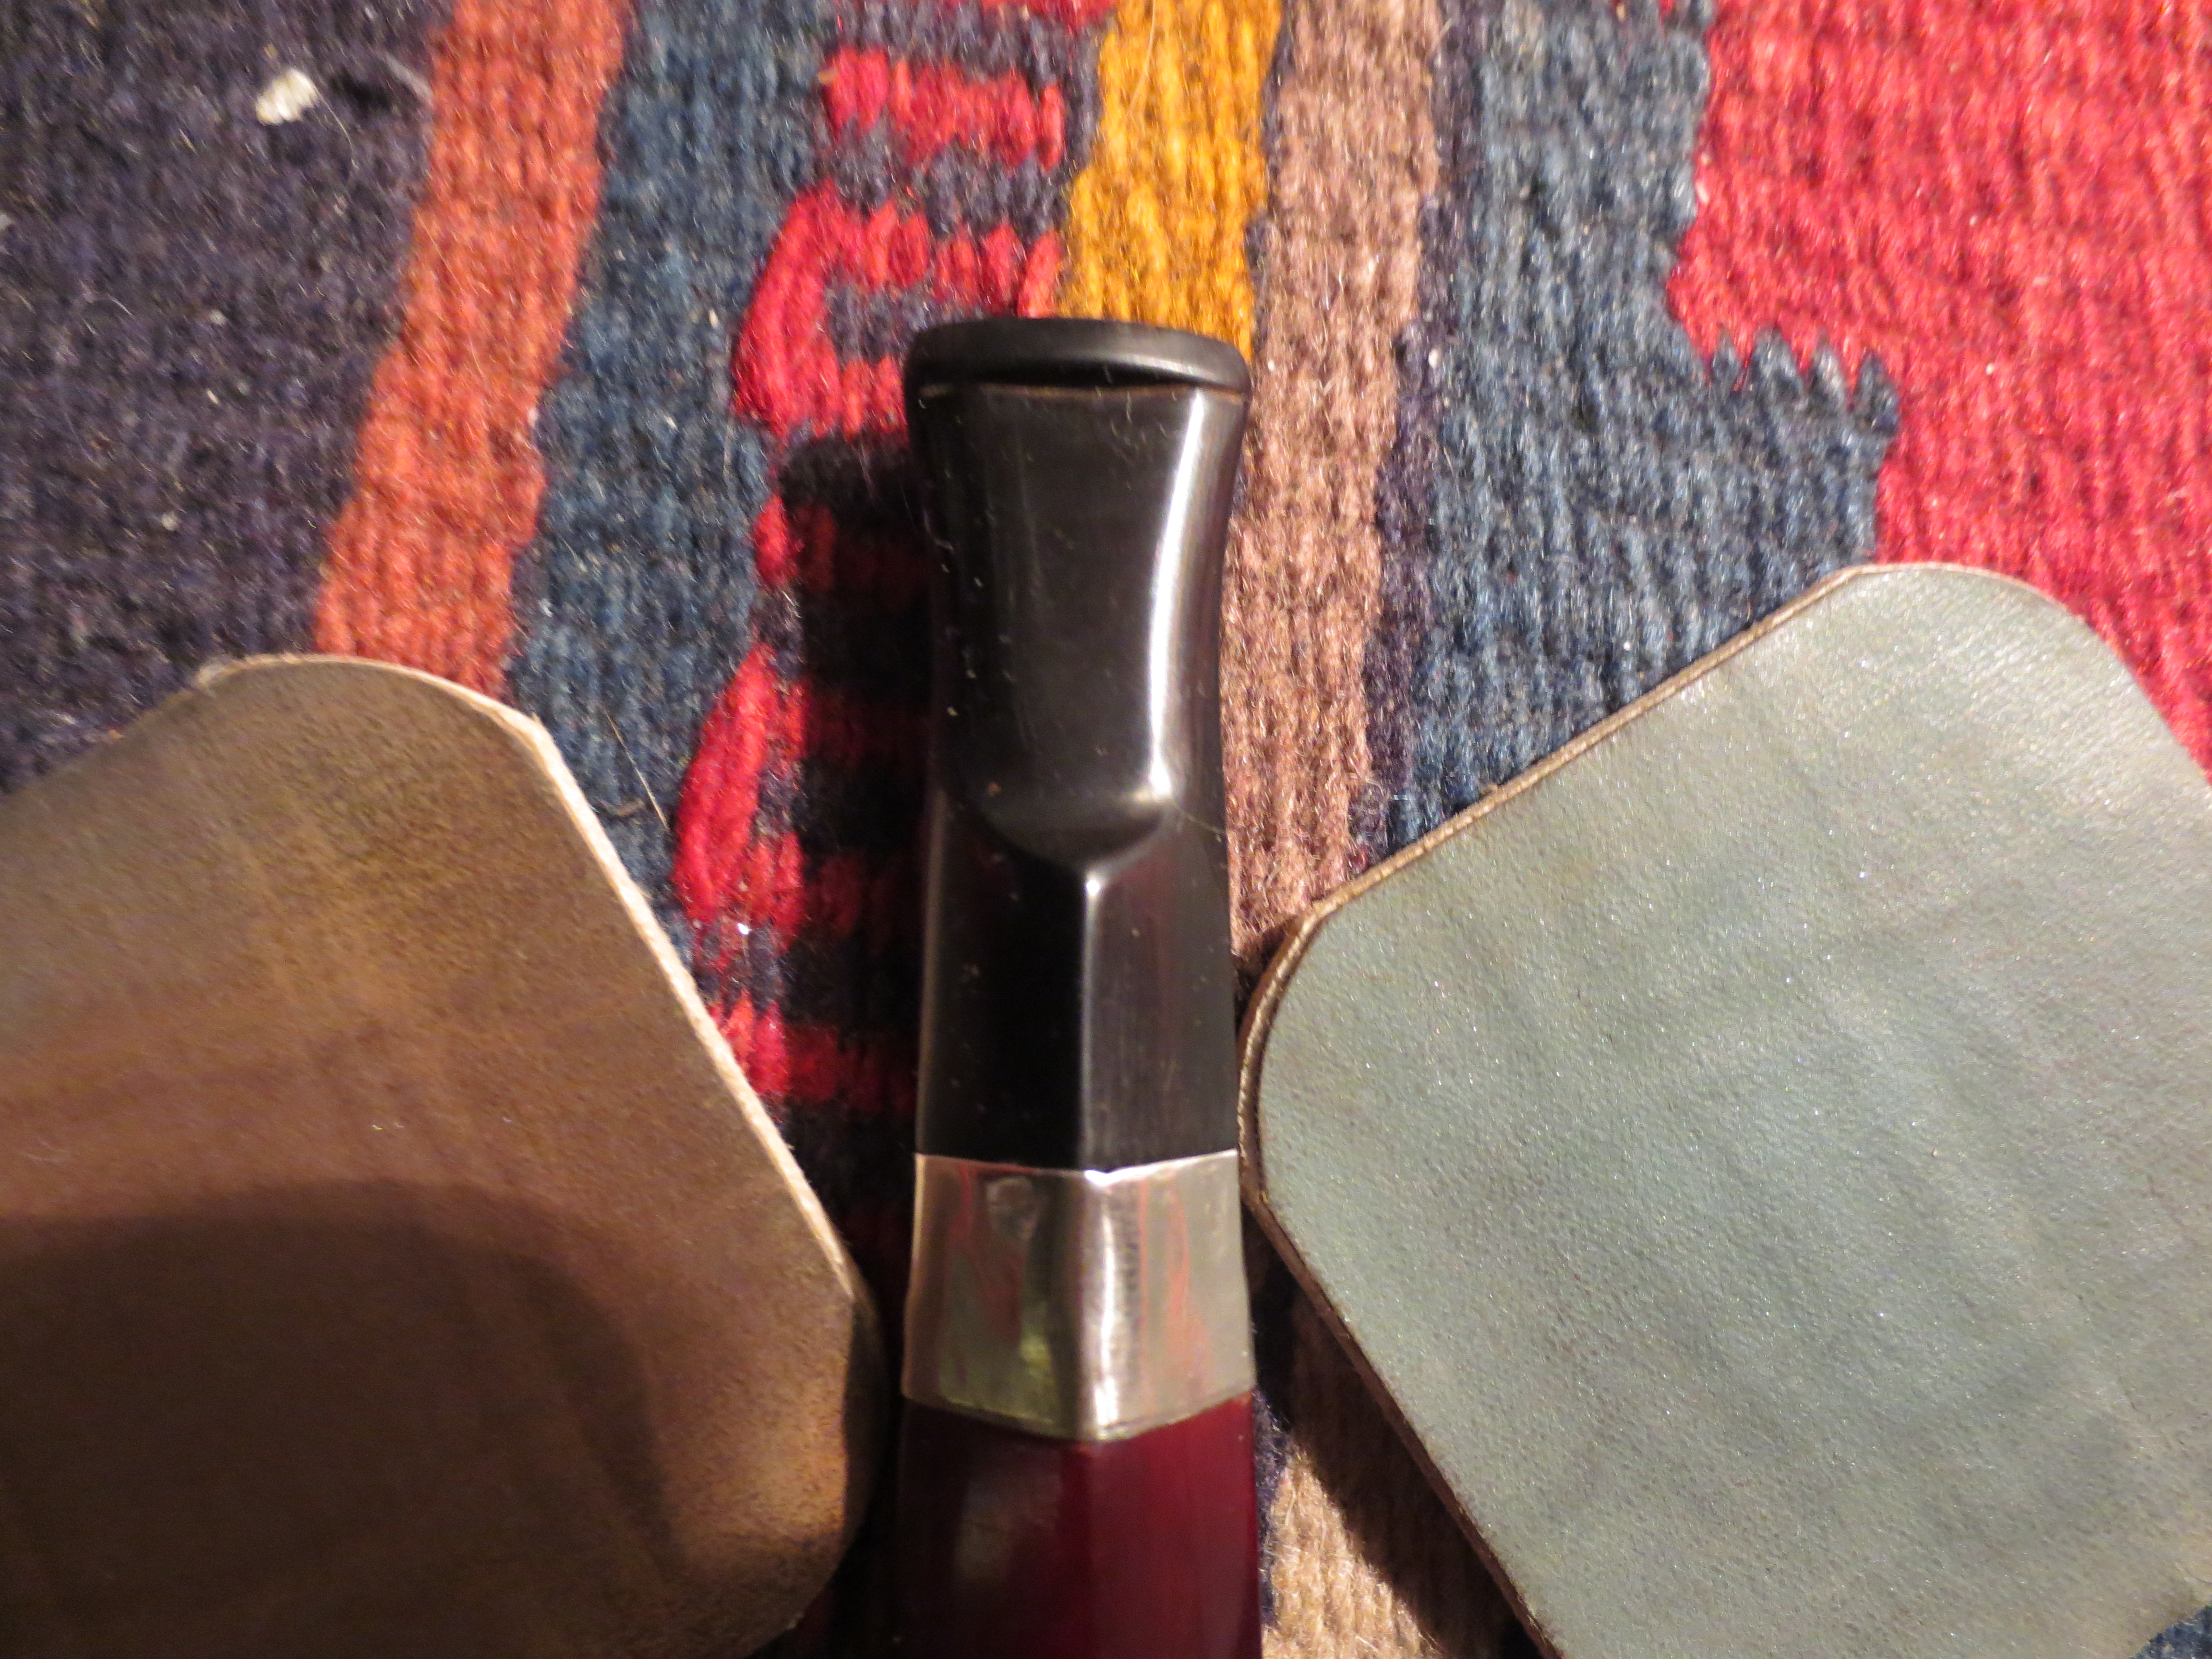
Figure 30 Top view of the stem after sanding with 3600 and 4000 grit micromesh.
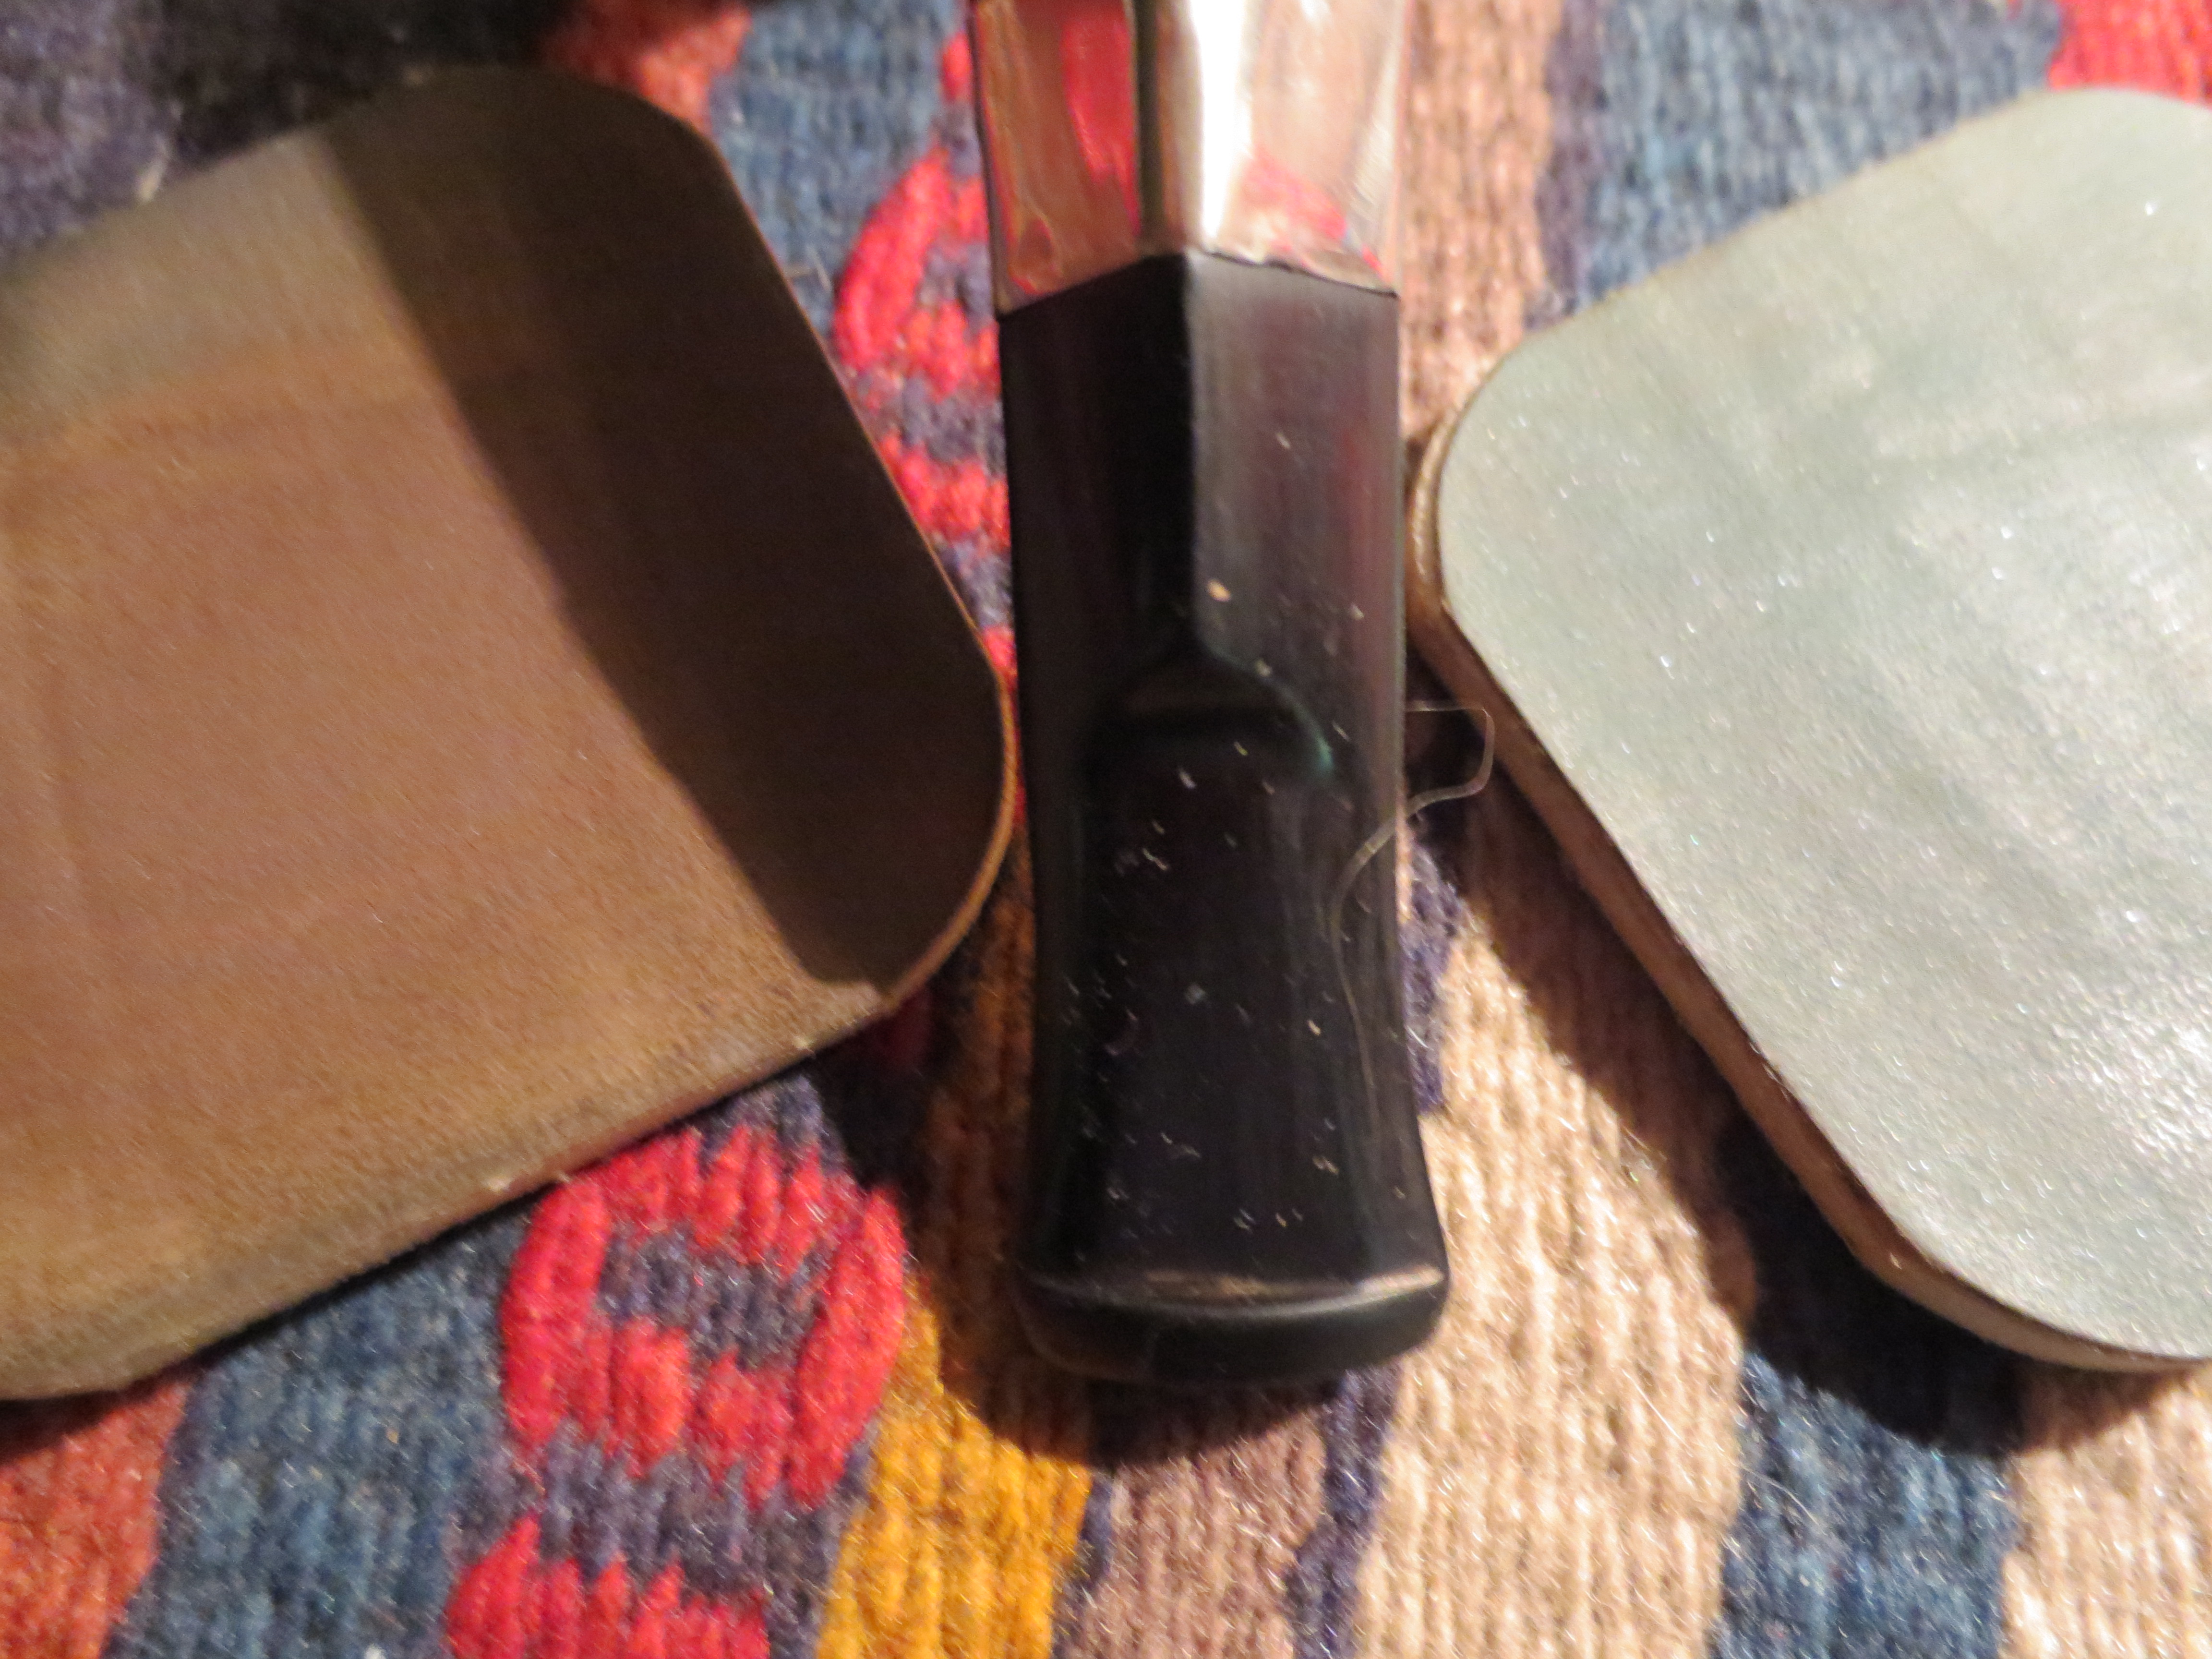
Figure 31 Bottom view of the stem after sanding with 3600 and 4000 grit micromesh
The next photo shows the view of the stem from the tenon end. The diamond shape is complete and the remnants of it being a round stem are gone. More polishing will bring this to life.
From this point on in the process I dry sanded with 6000, 8000 and 12,000 grit micromesh to finish the polishing. Once finished I buffed it with White Diamond and then gave it multiple coats of carnauba wax to preserve the stem. The next four photos show the finished stem.
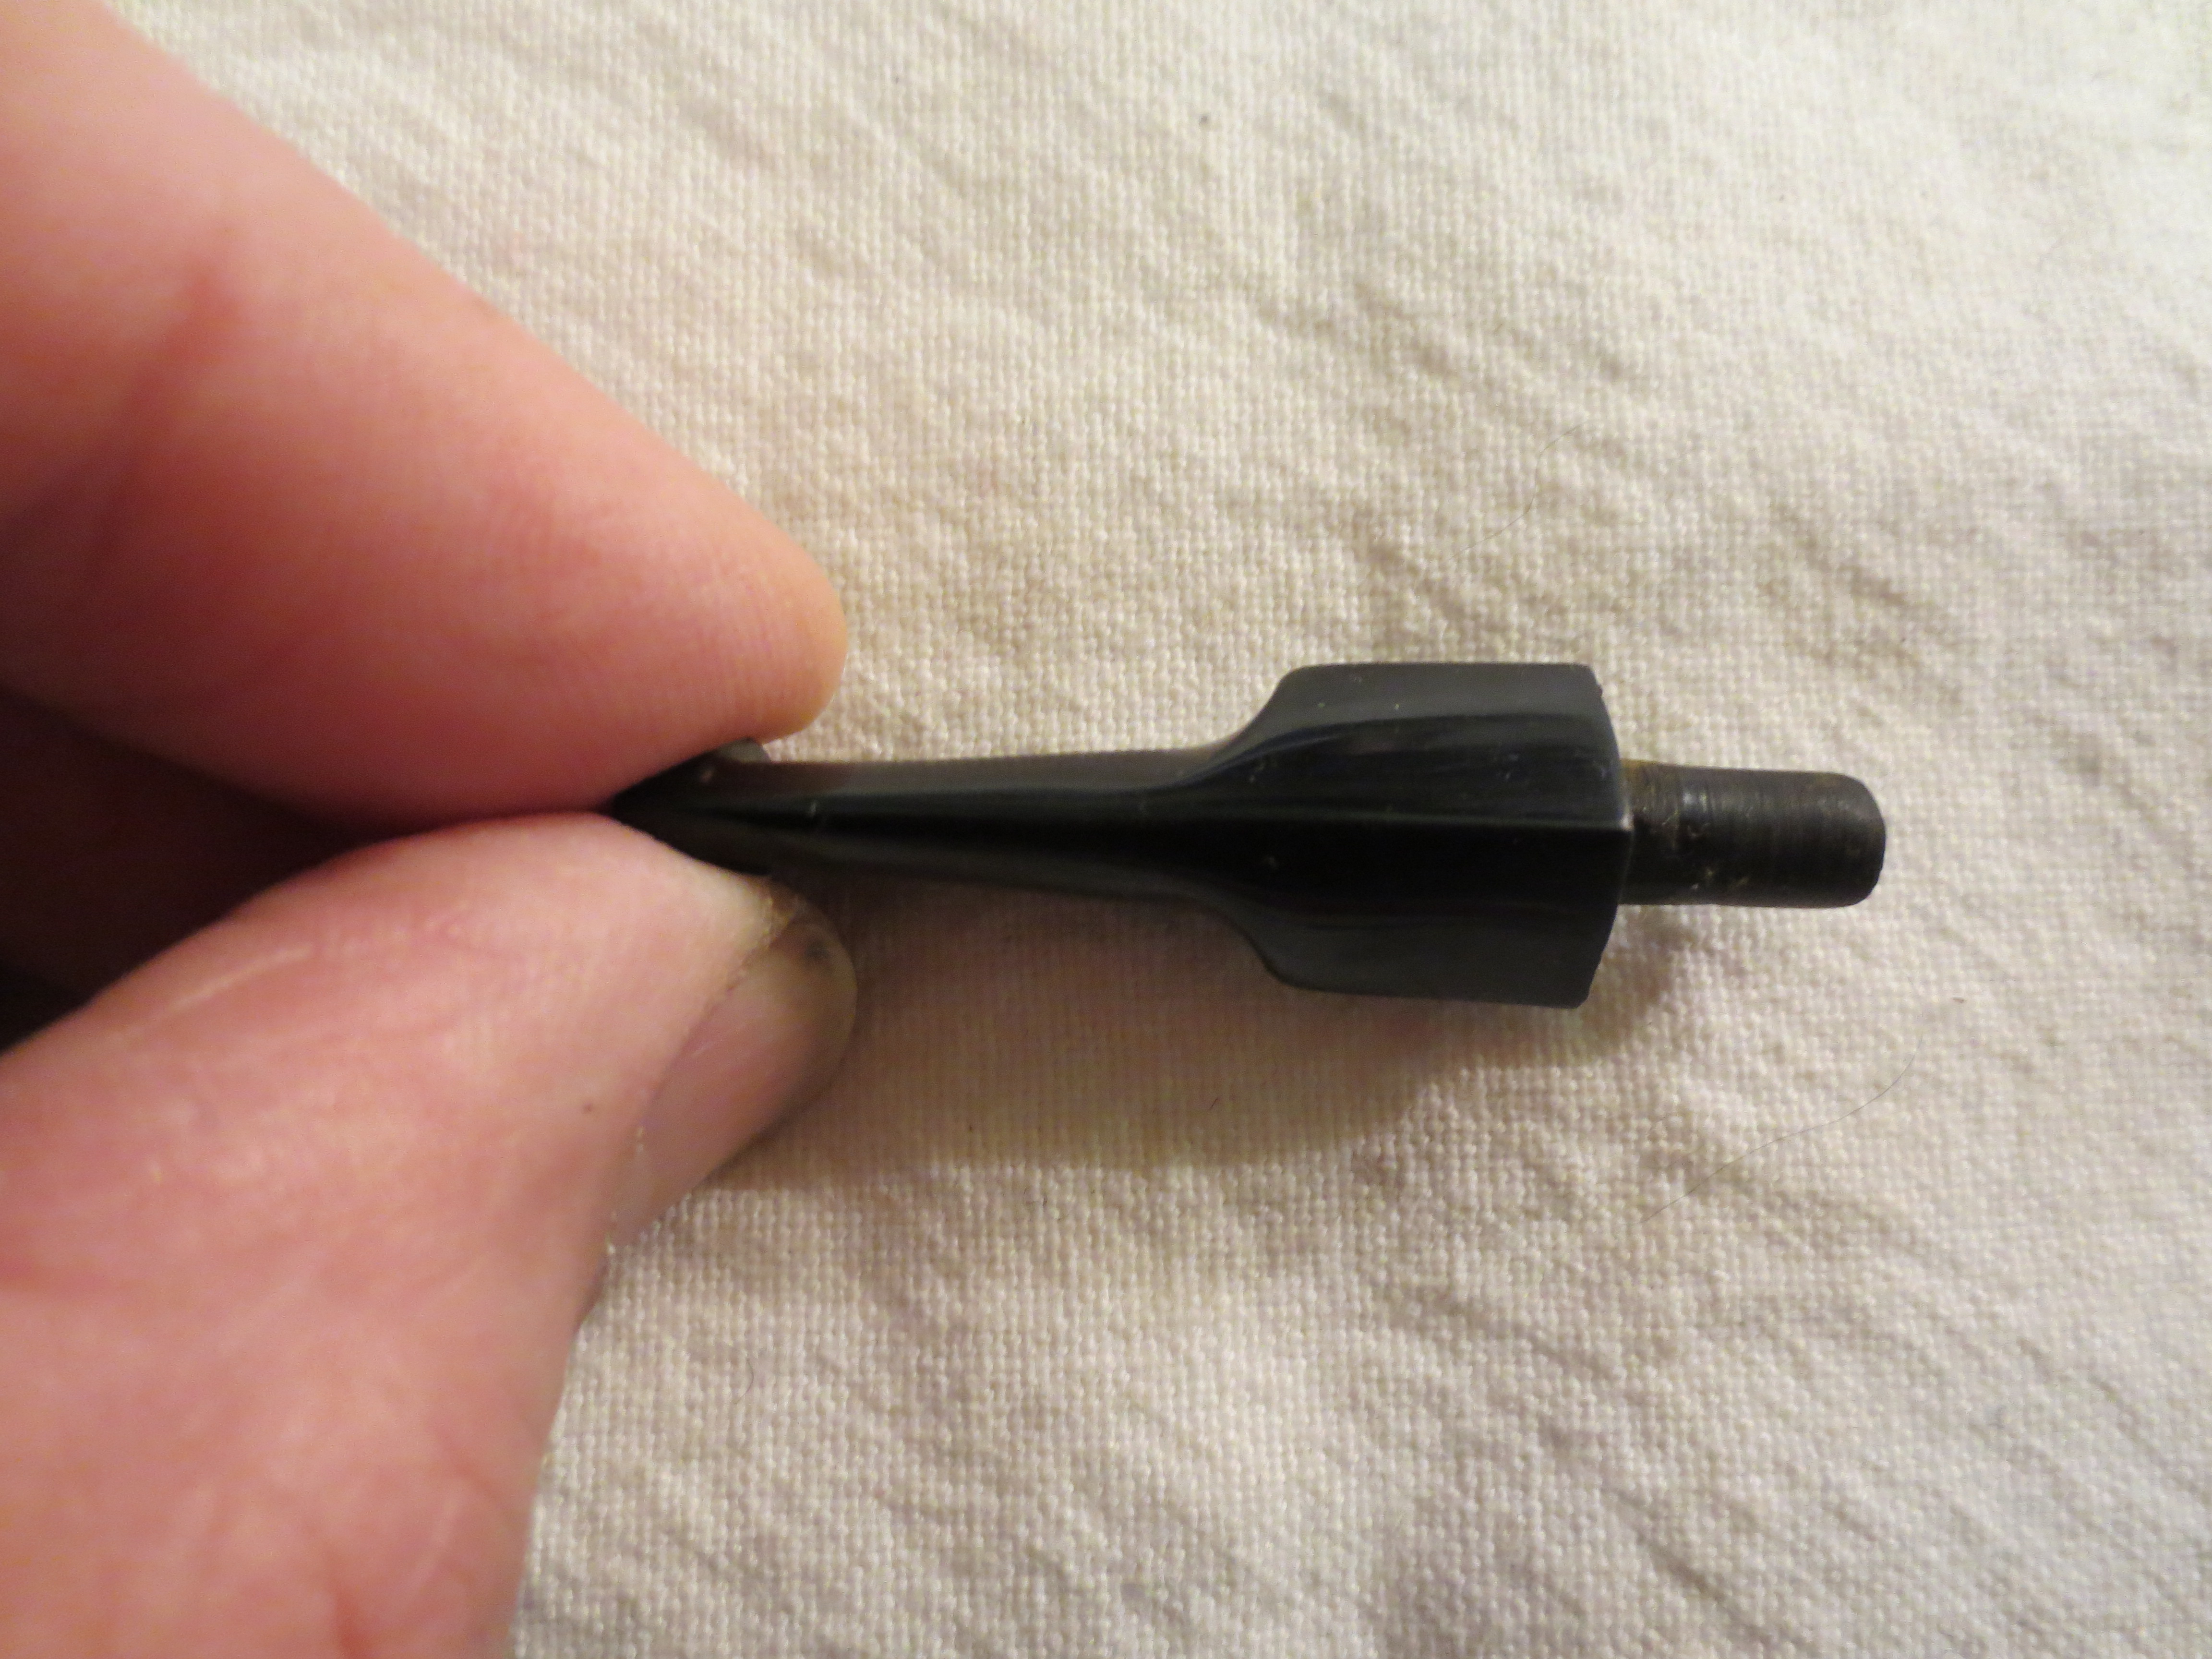
Figure 33 Right side view of the finished stem.
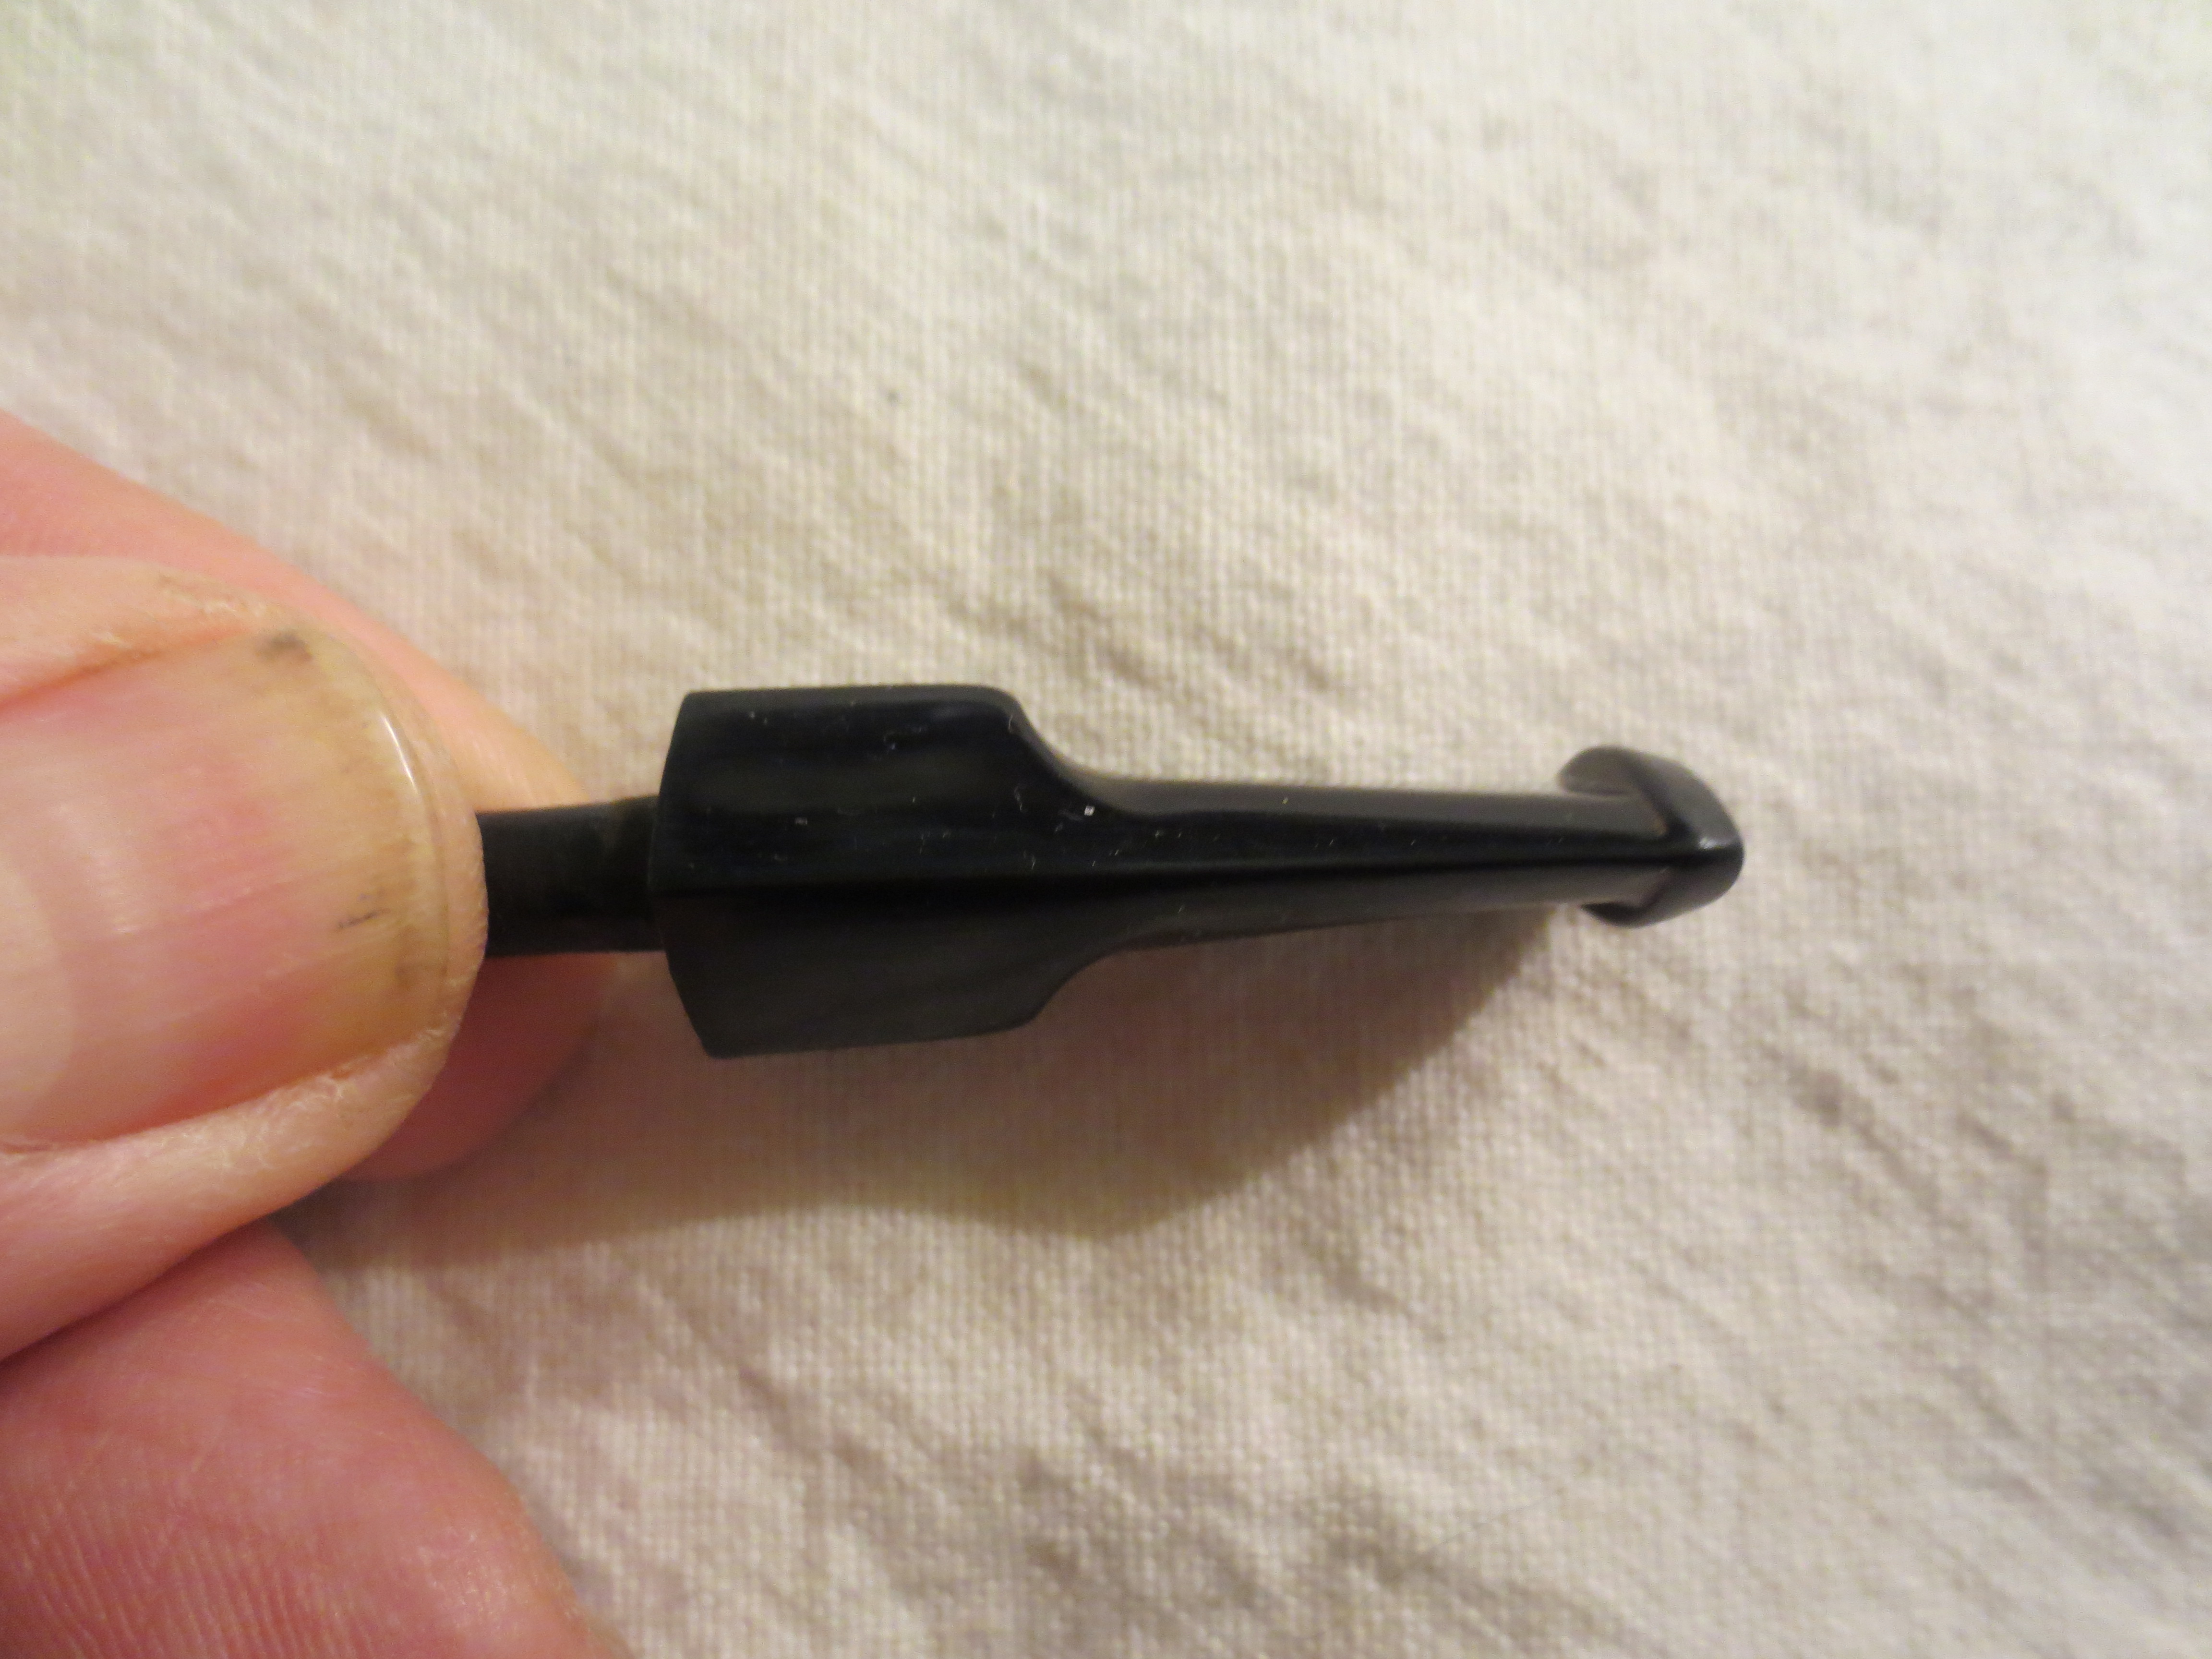
Figure 34 Left side view of the finished stem.
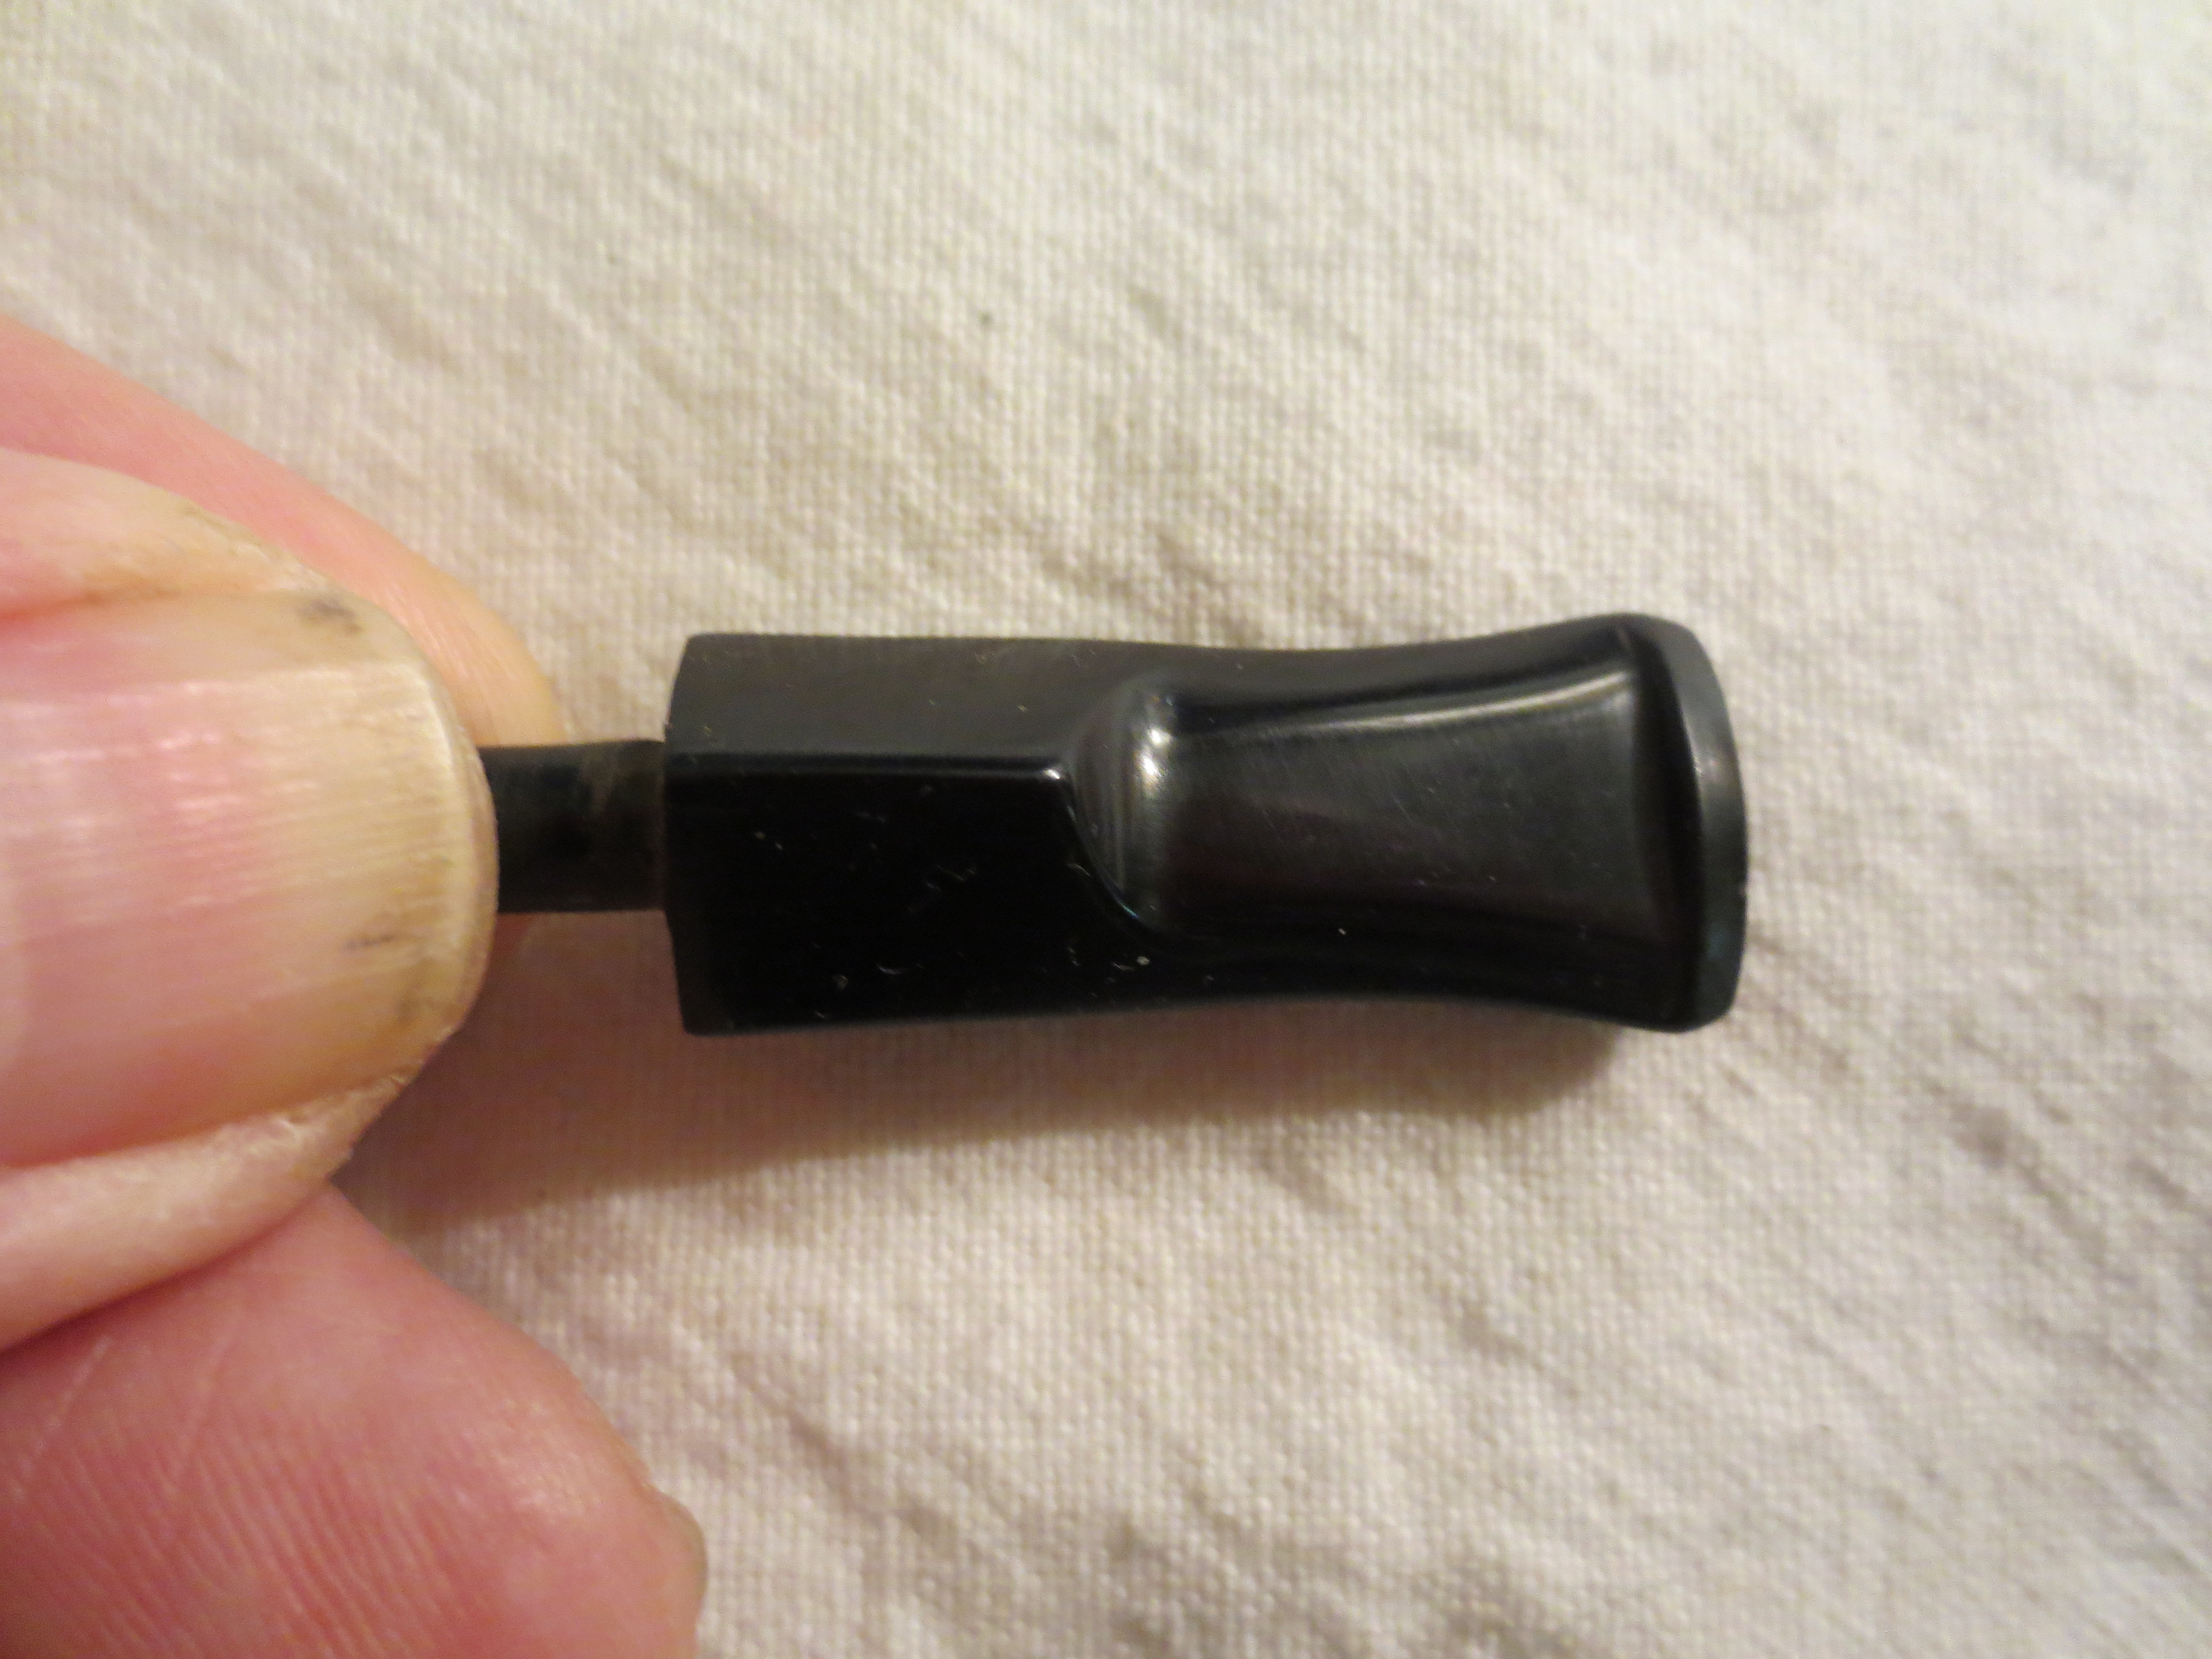
Figure 35 Top view of the finished stem.
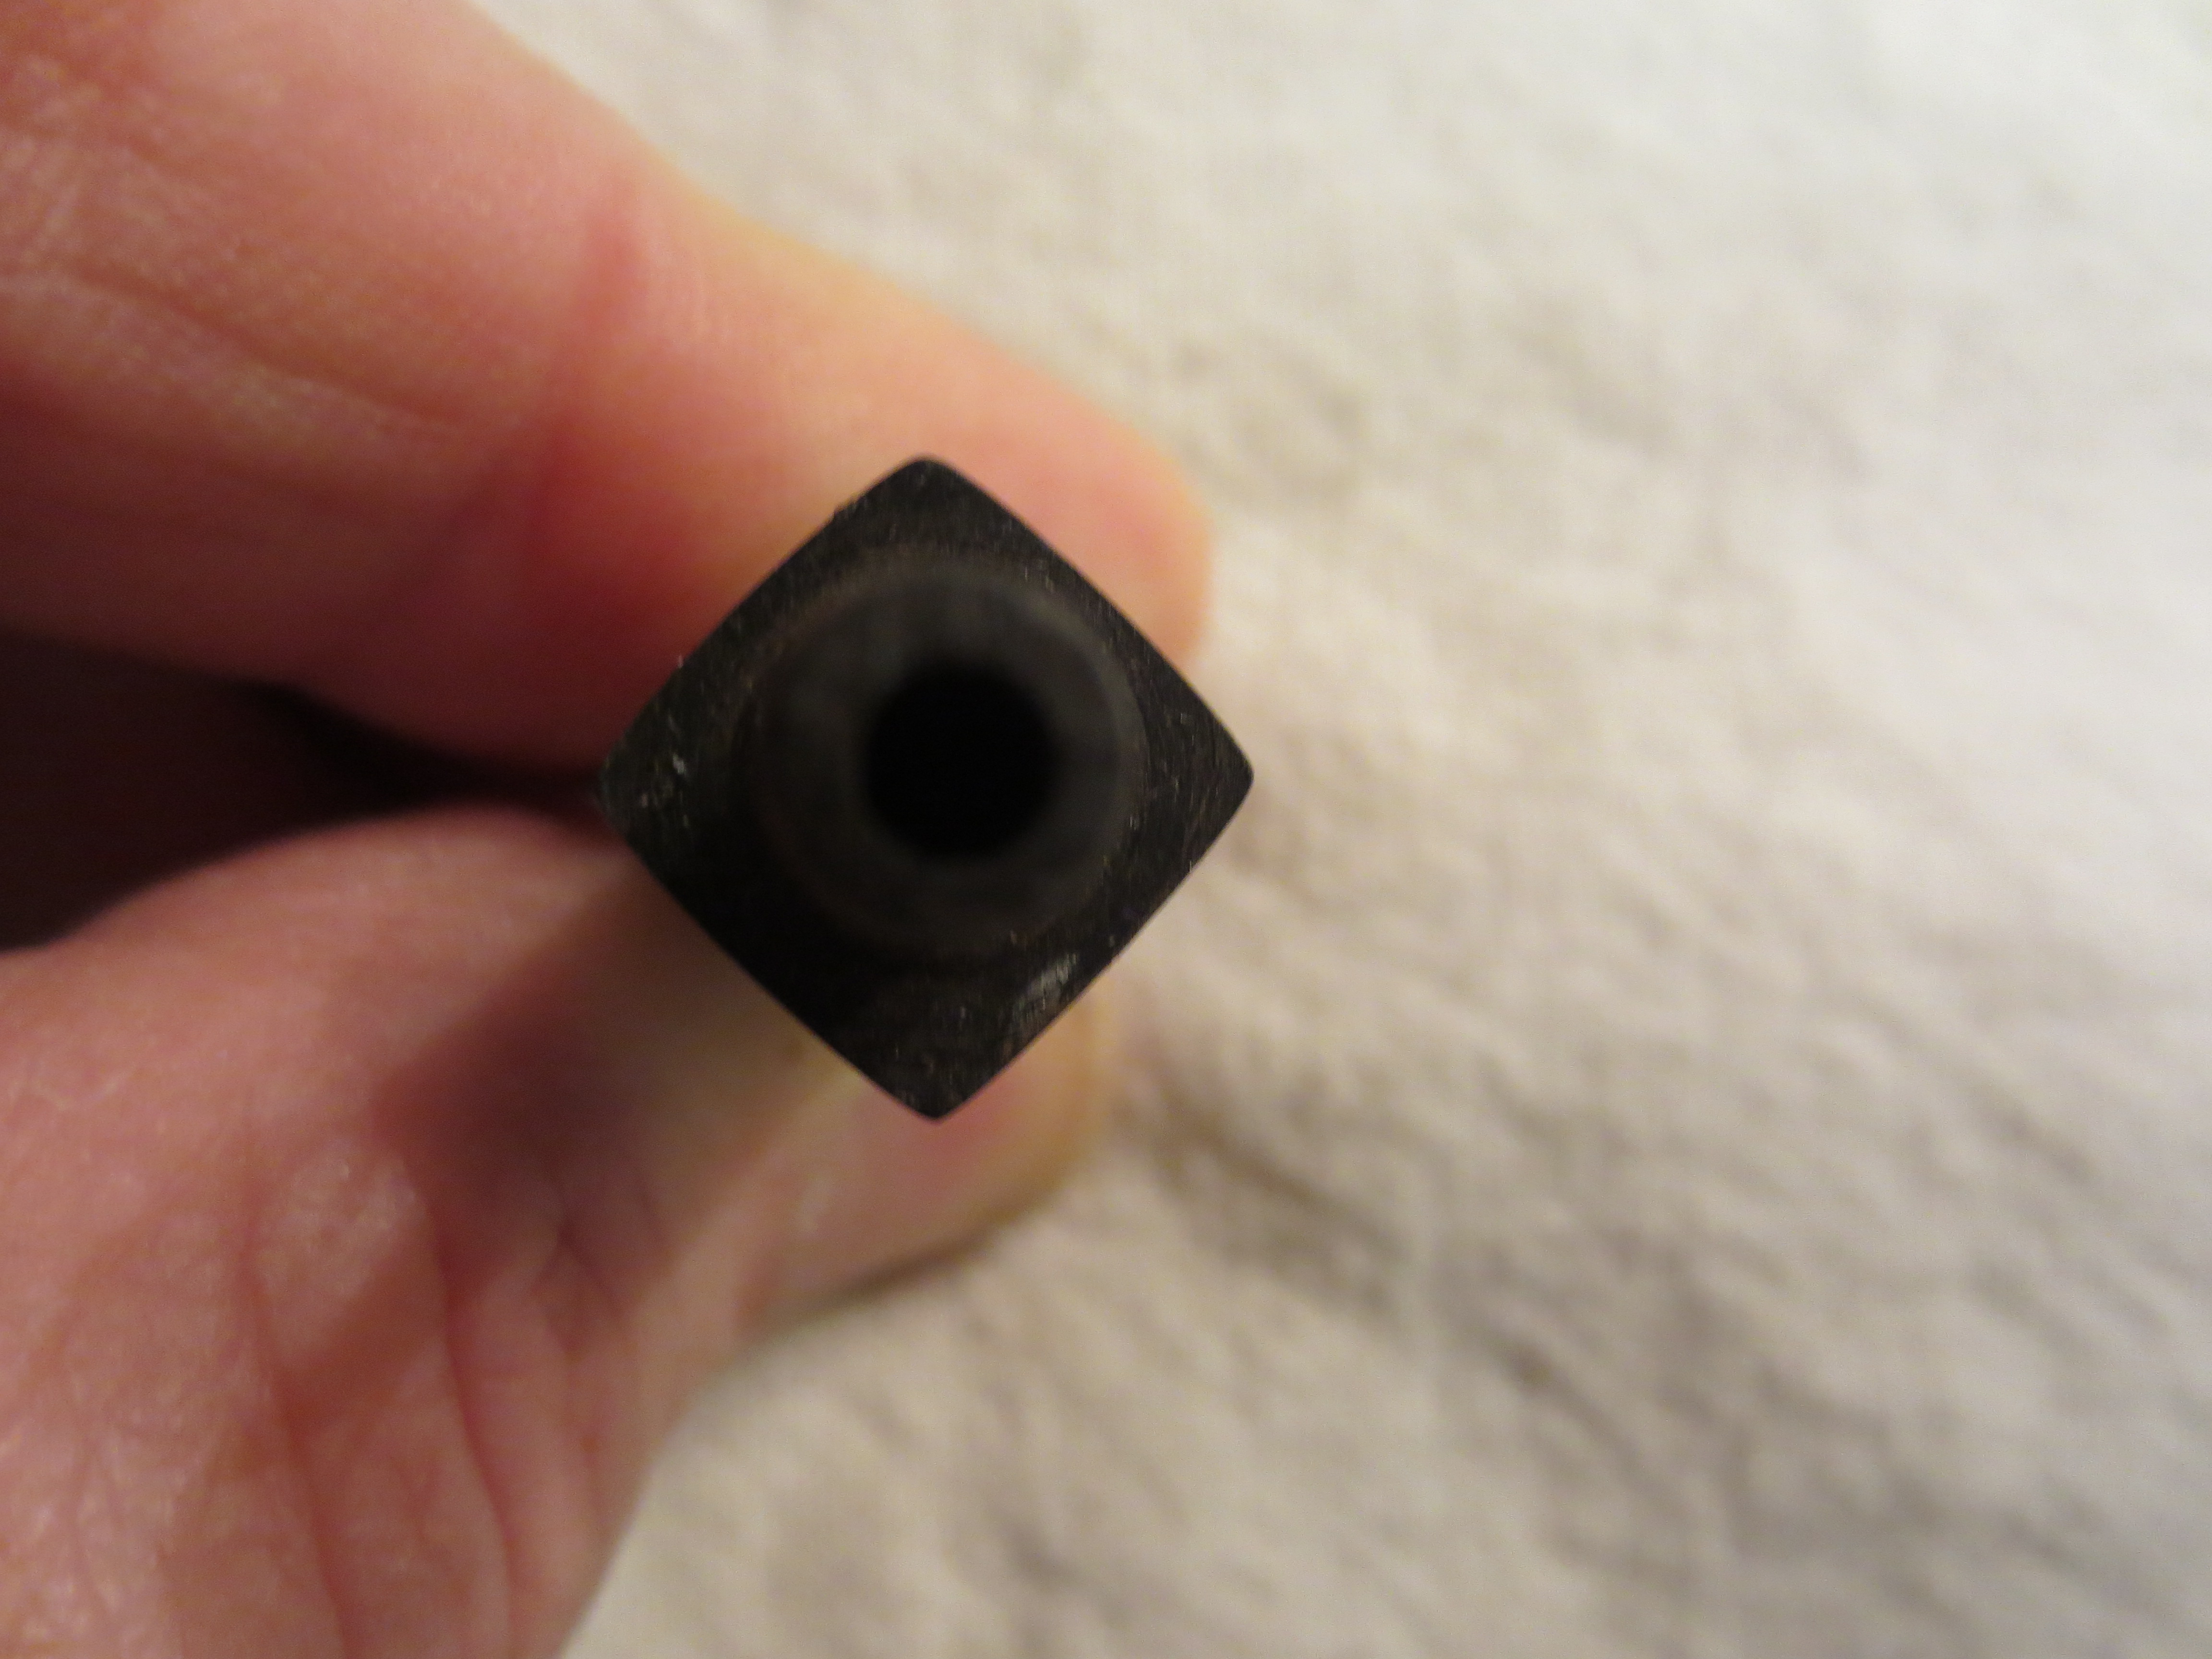
Figure 36 View of the stem from the tenon end.
At this point the stem is finished and ready to be added to the WDC pipe that I was restemming. This process proved a point I have held forever – within in every stem resides another smaller stem or at least one of a different shape. That is why I rarely get rid of a stem. They can be reshaped, the button added on a second time a new tenon added… you get the picture.
