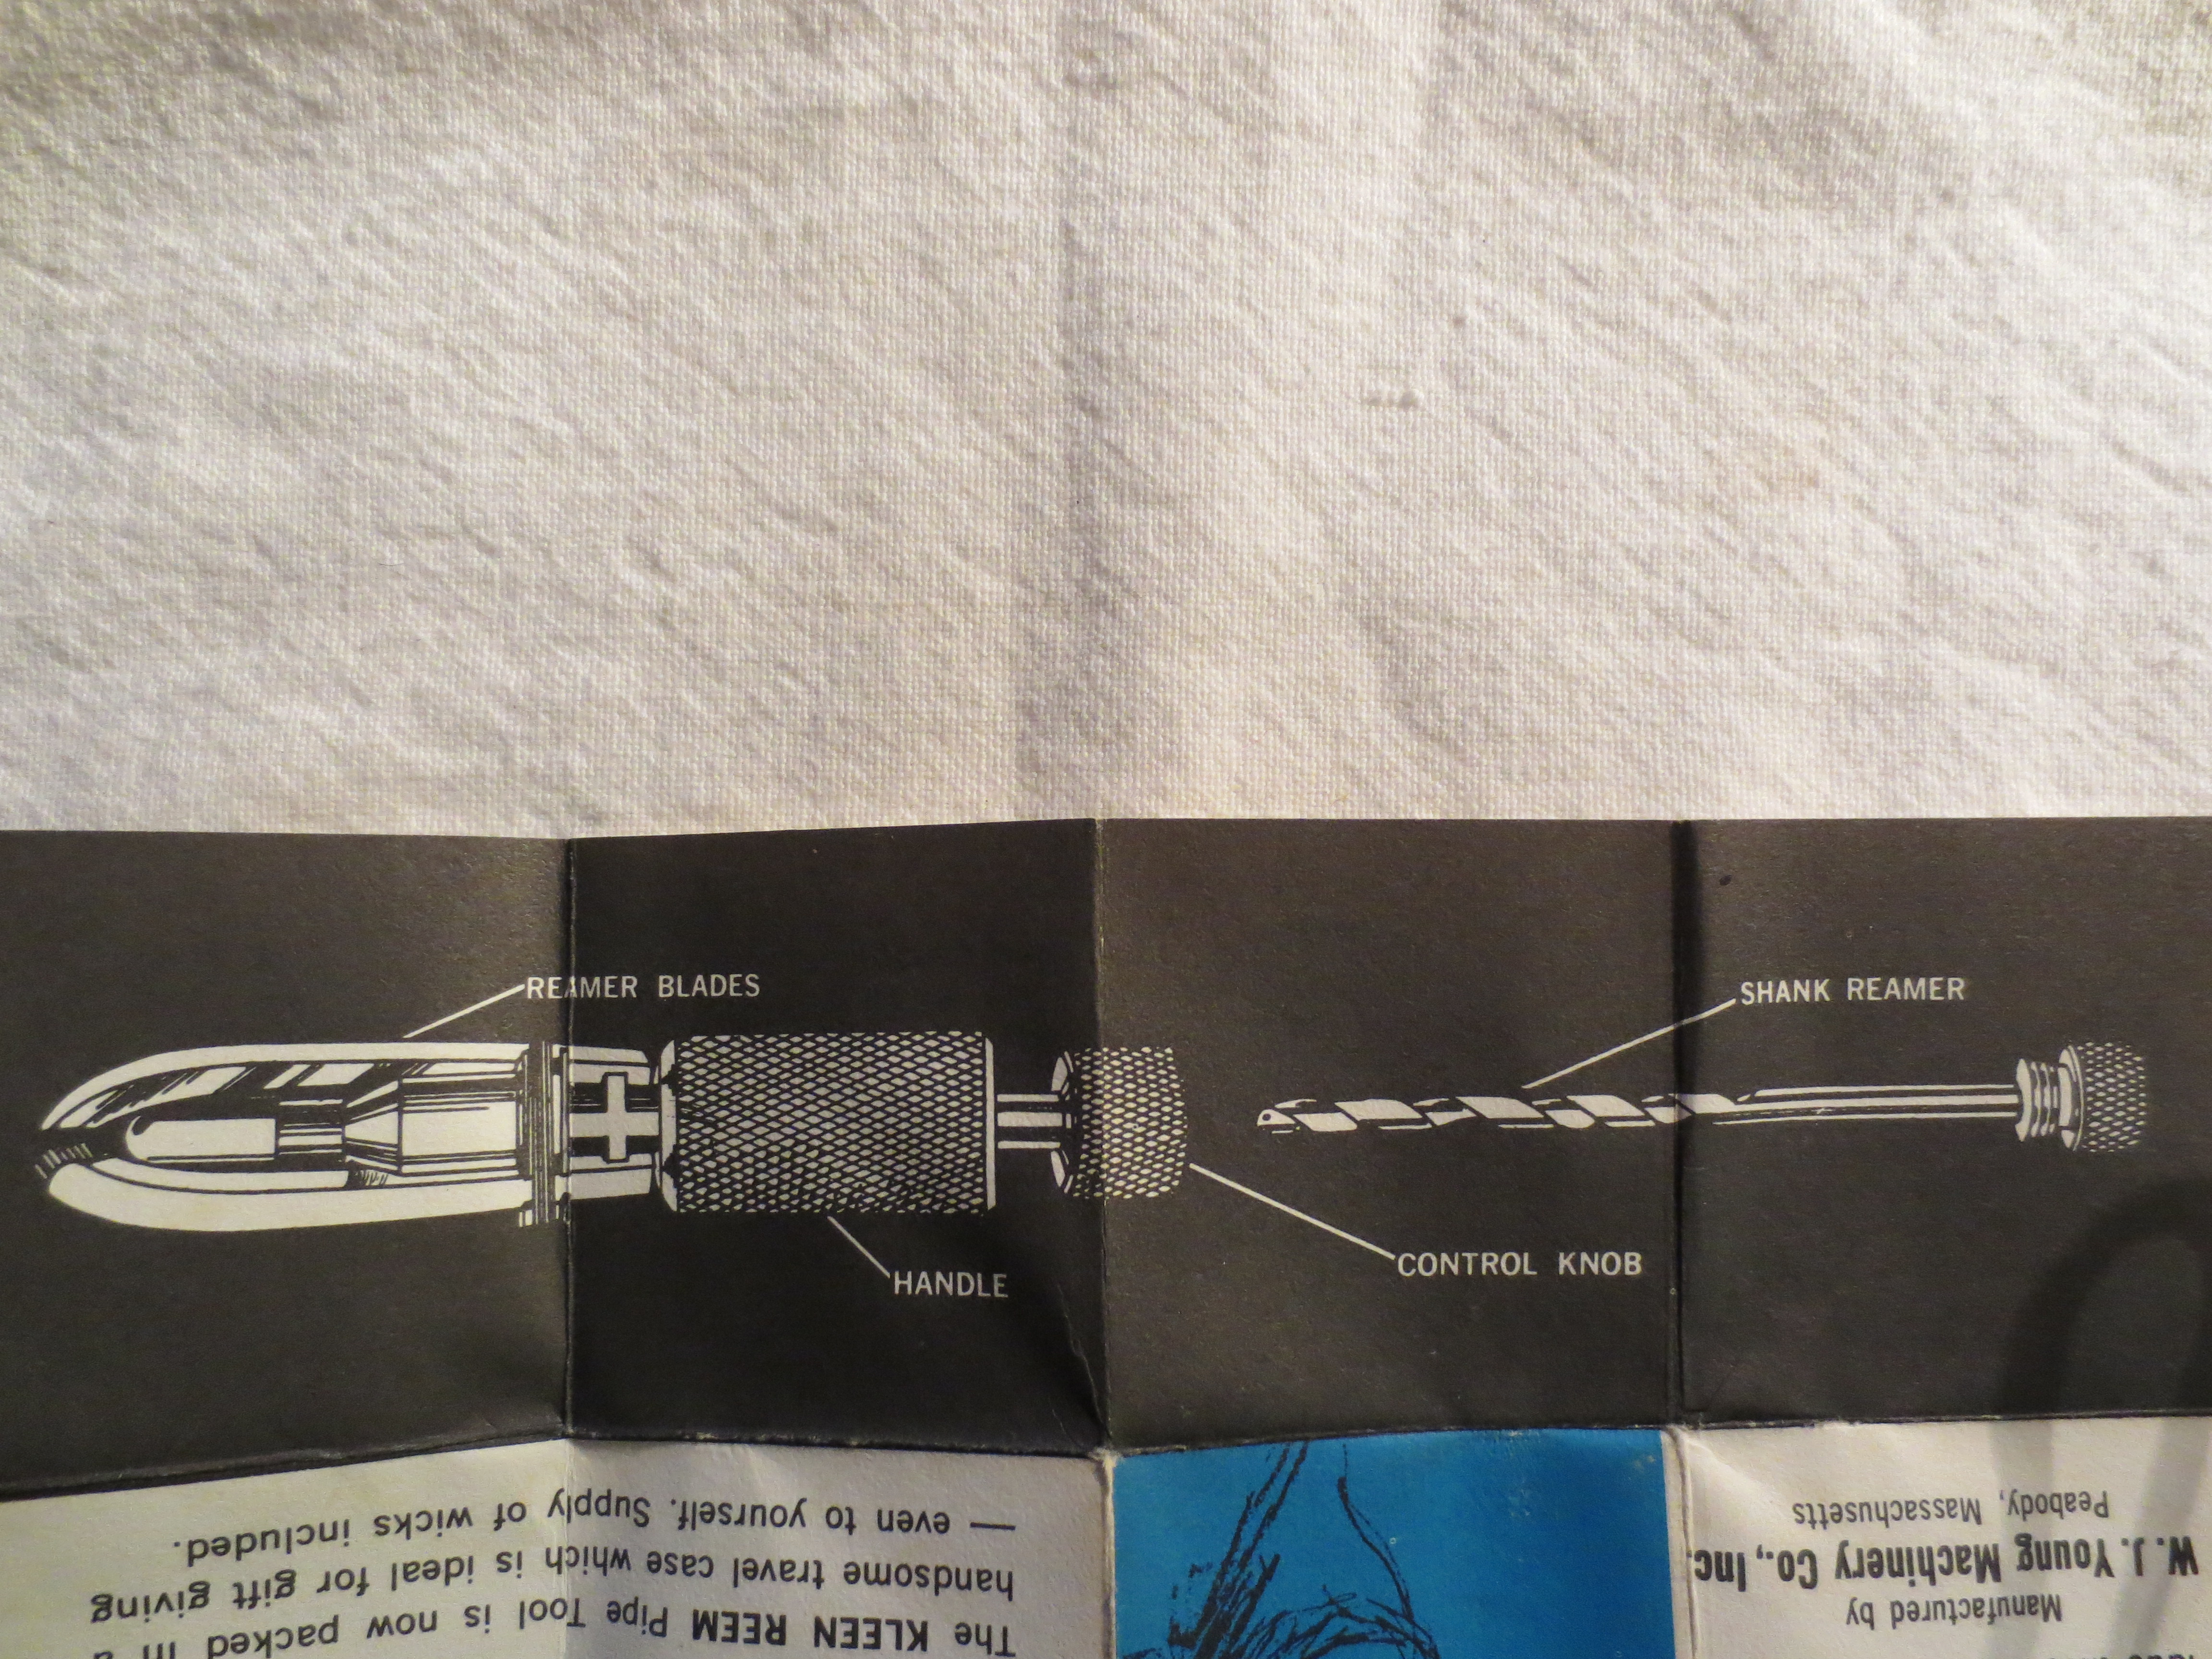
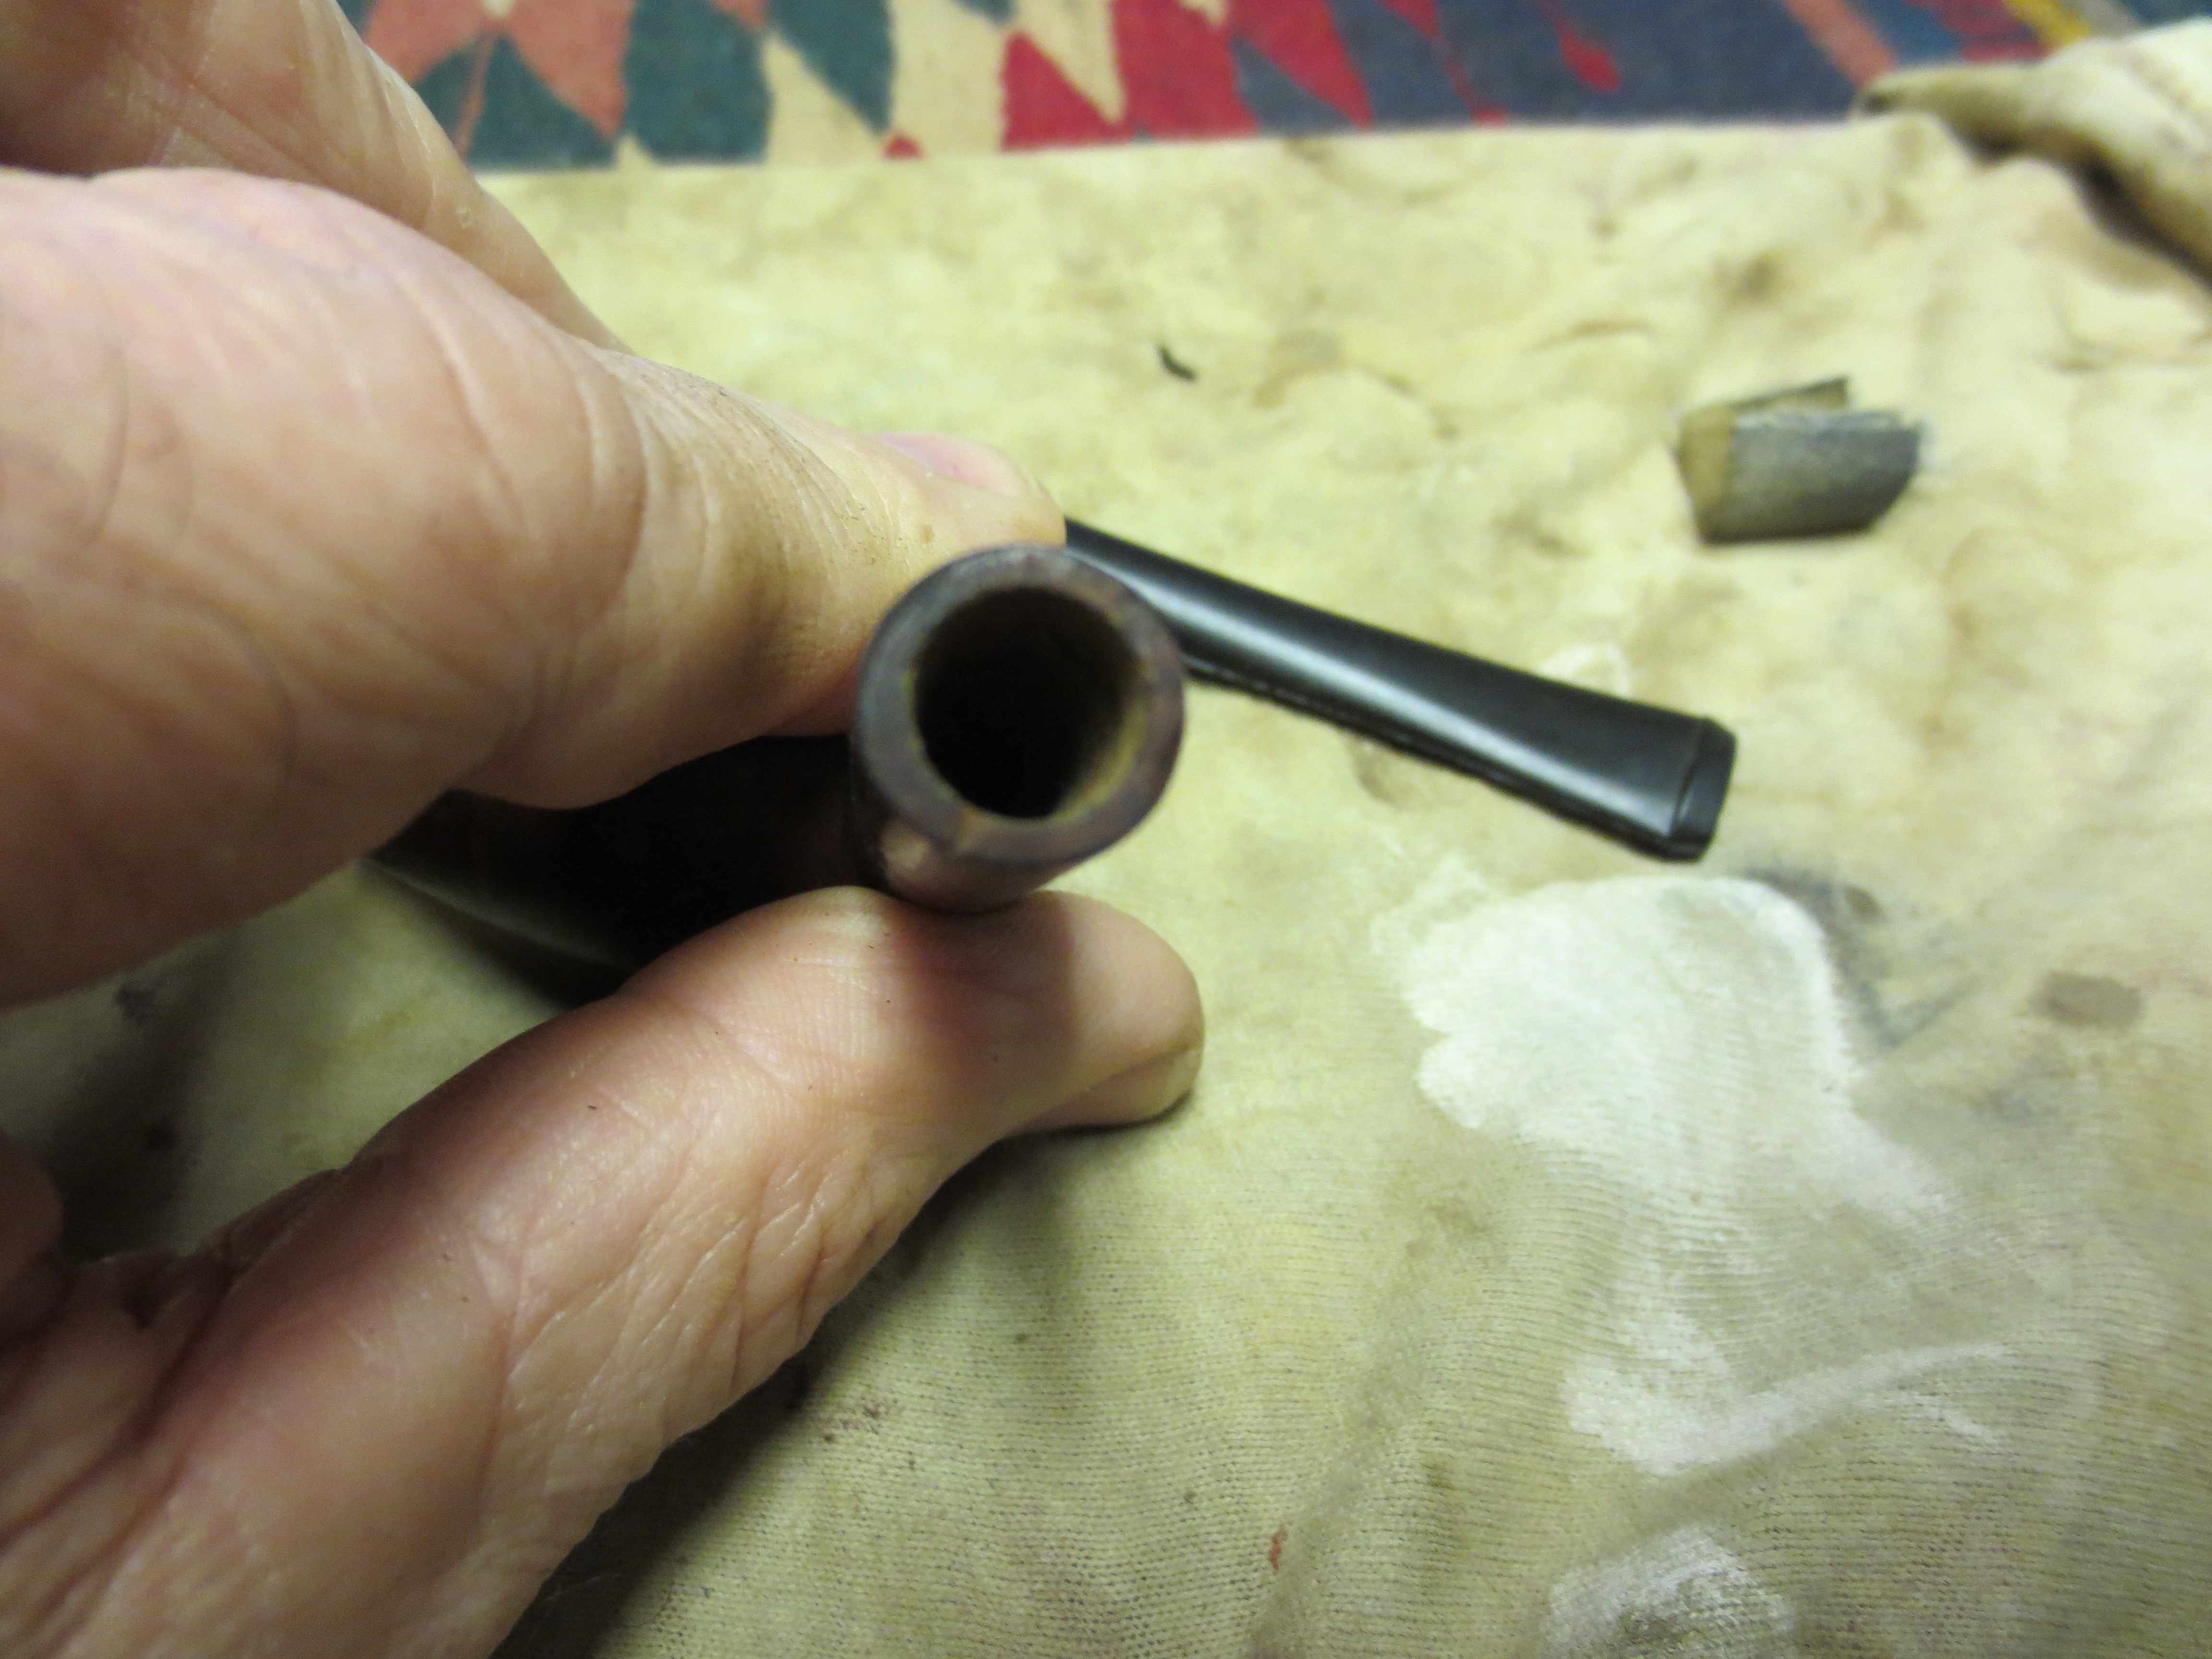
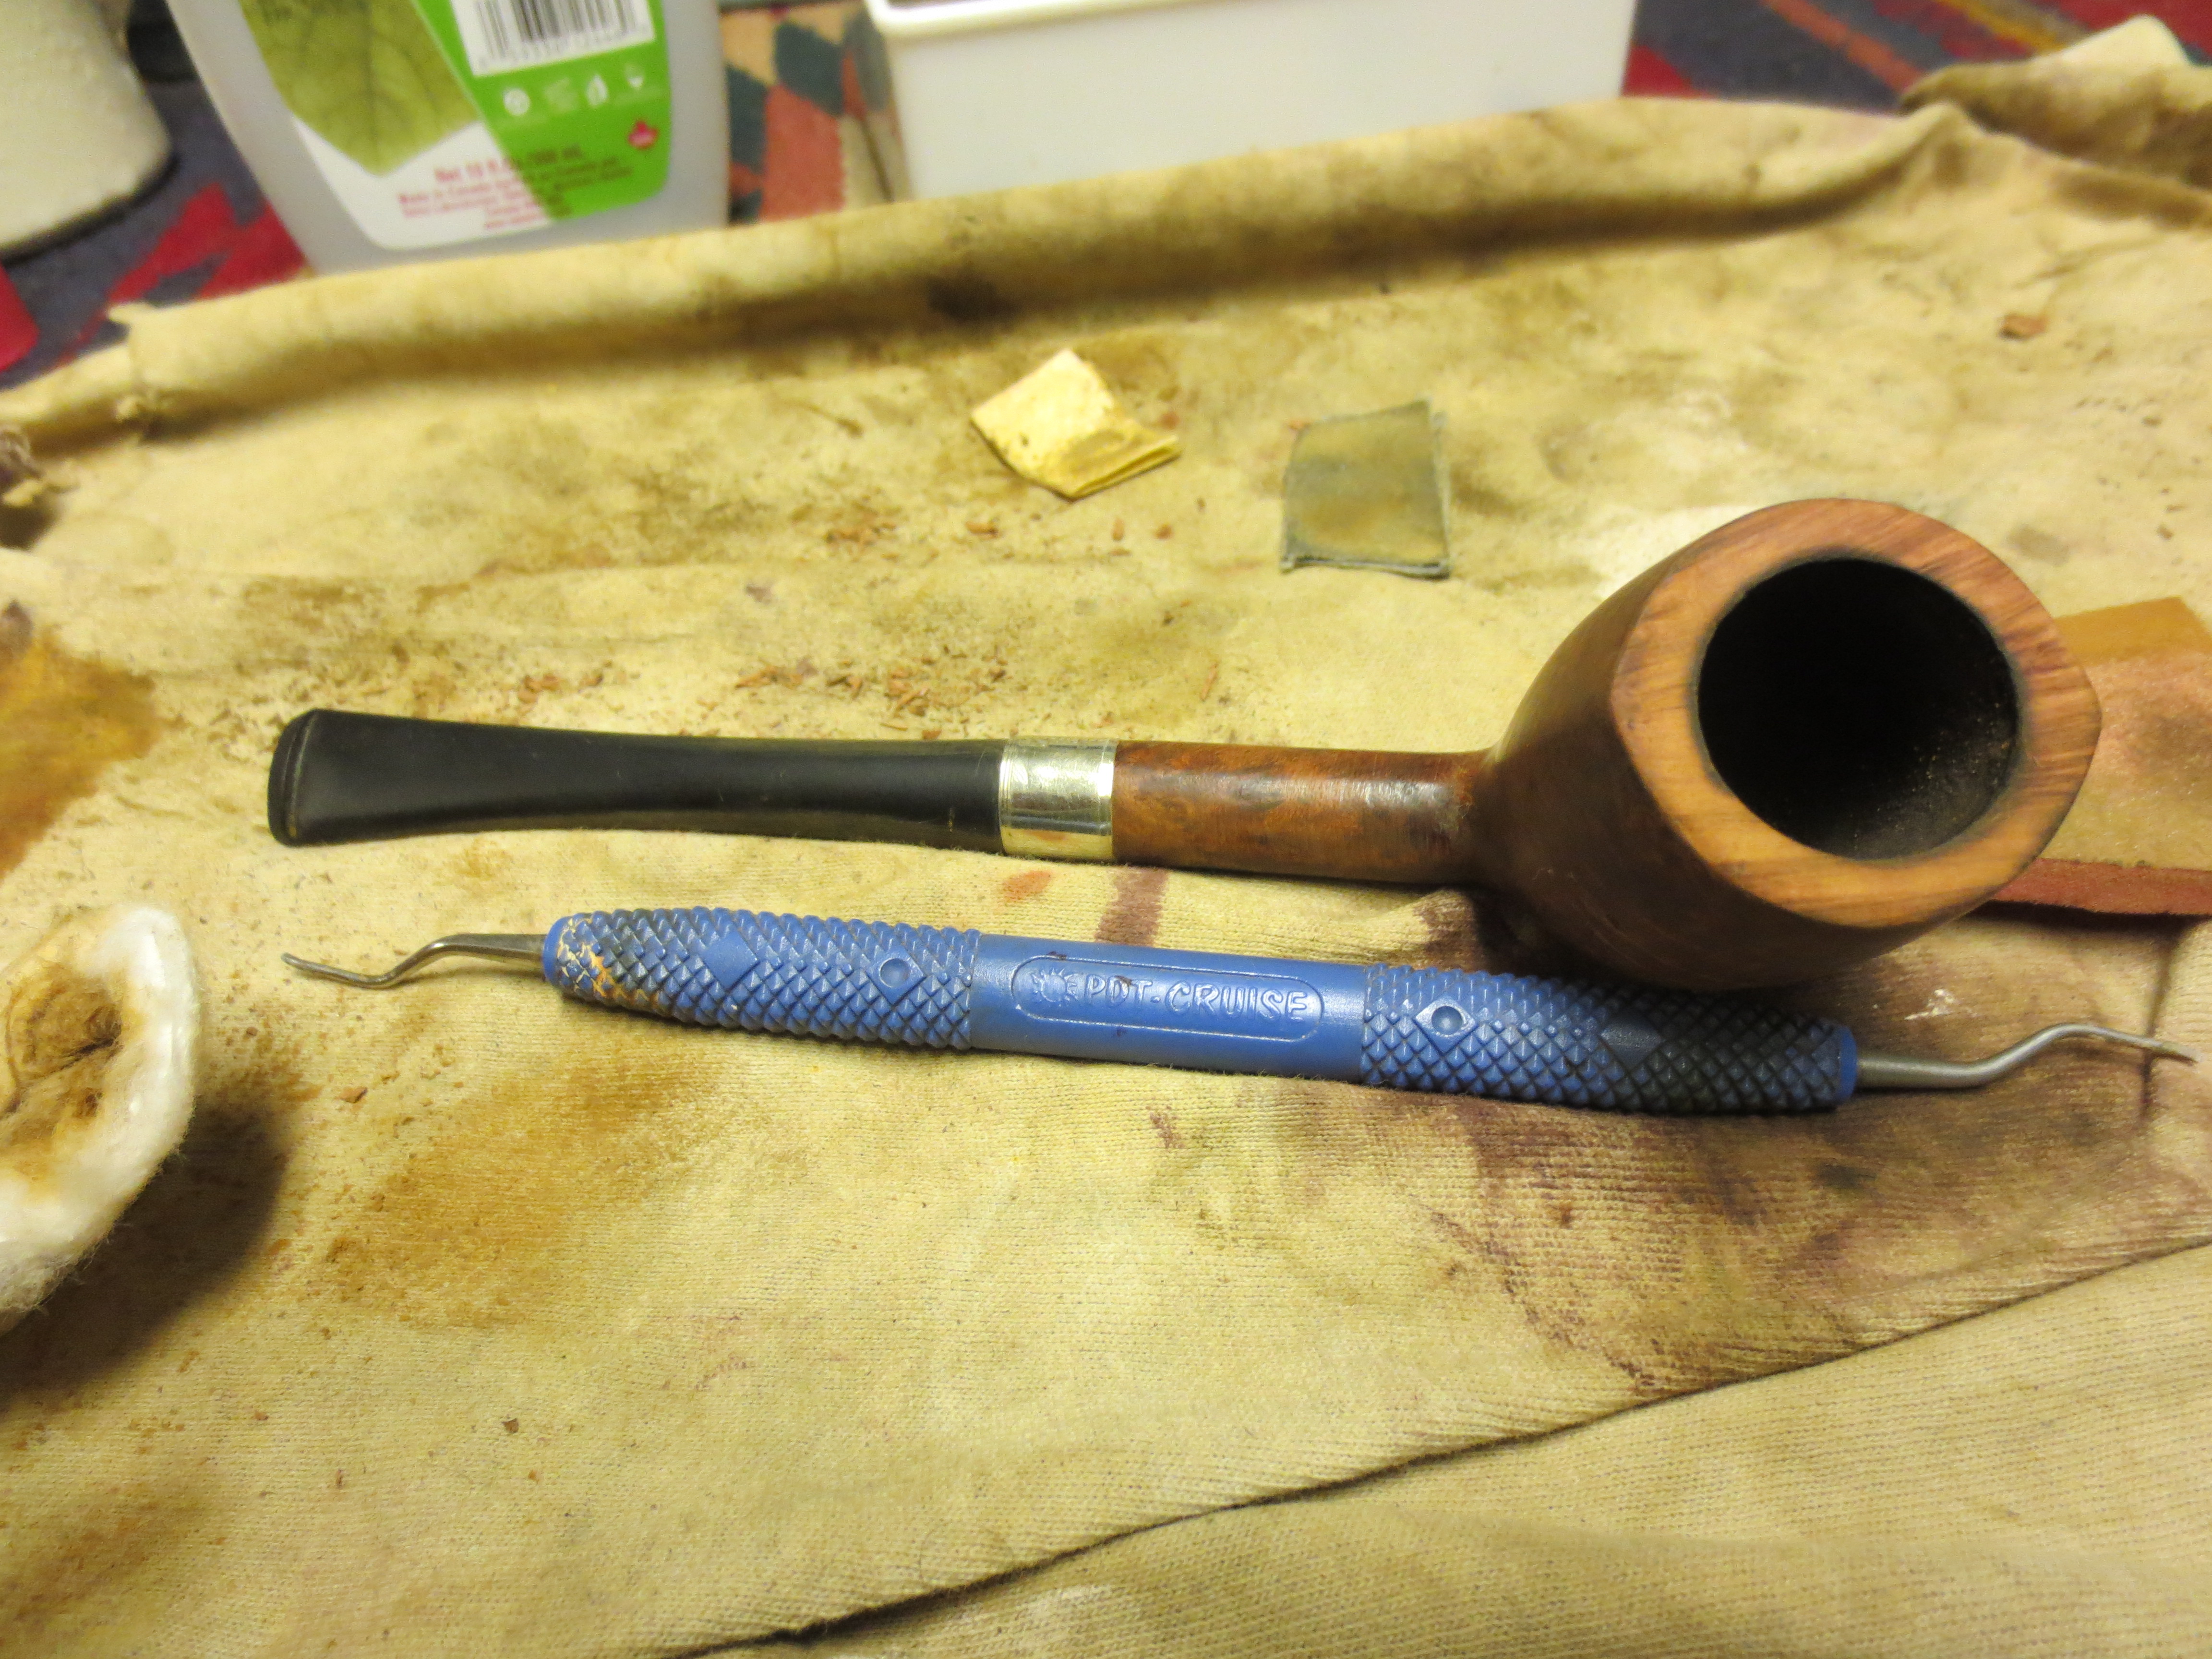
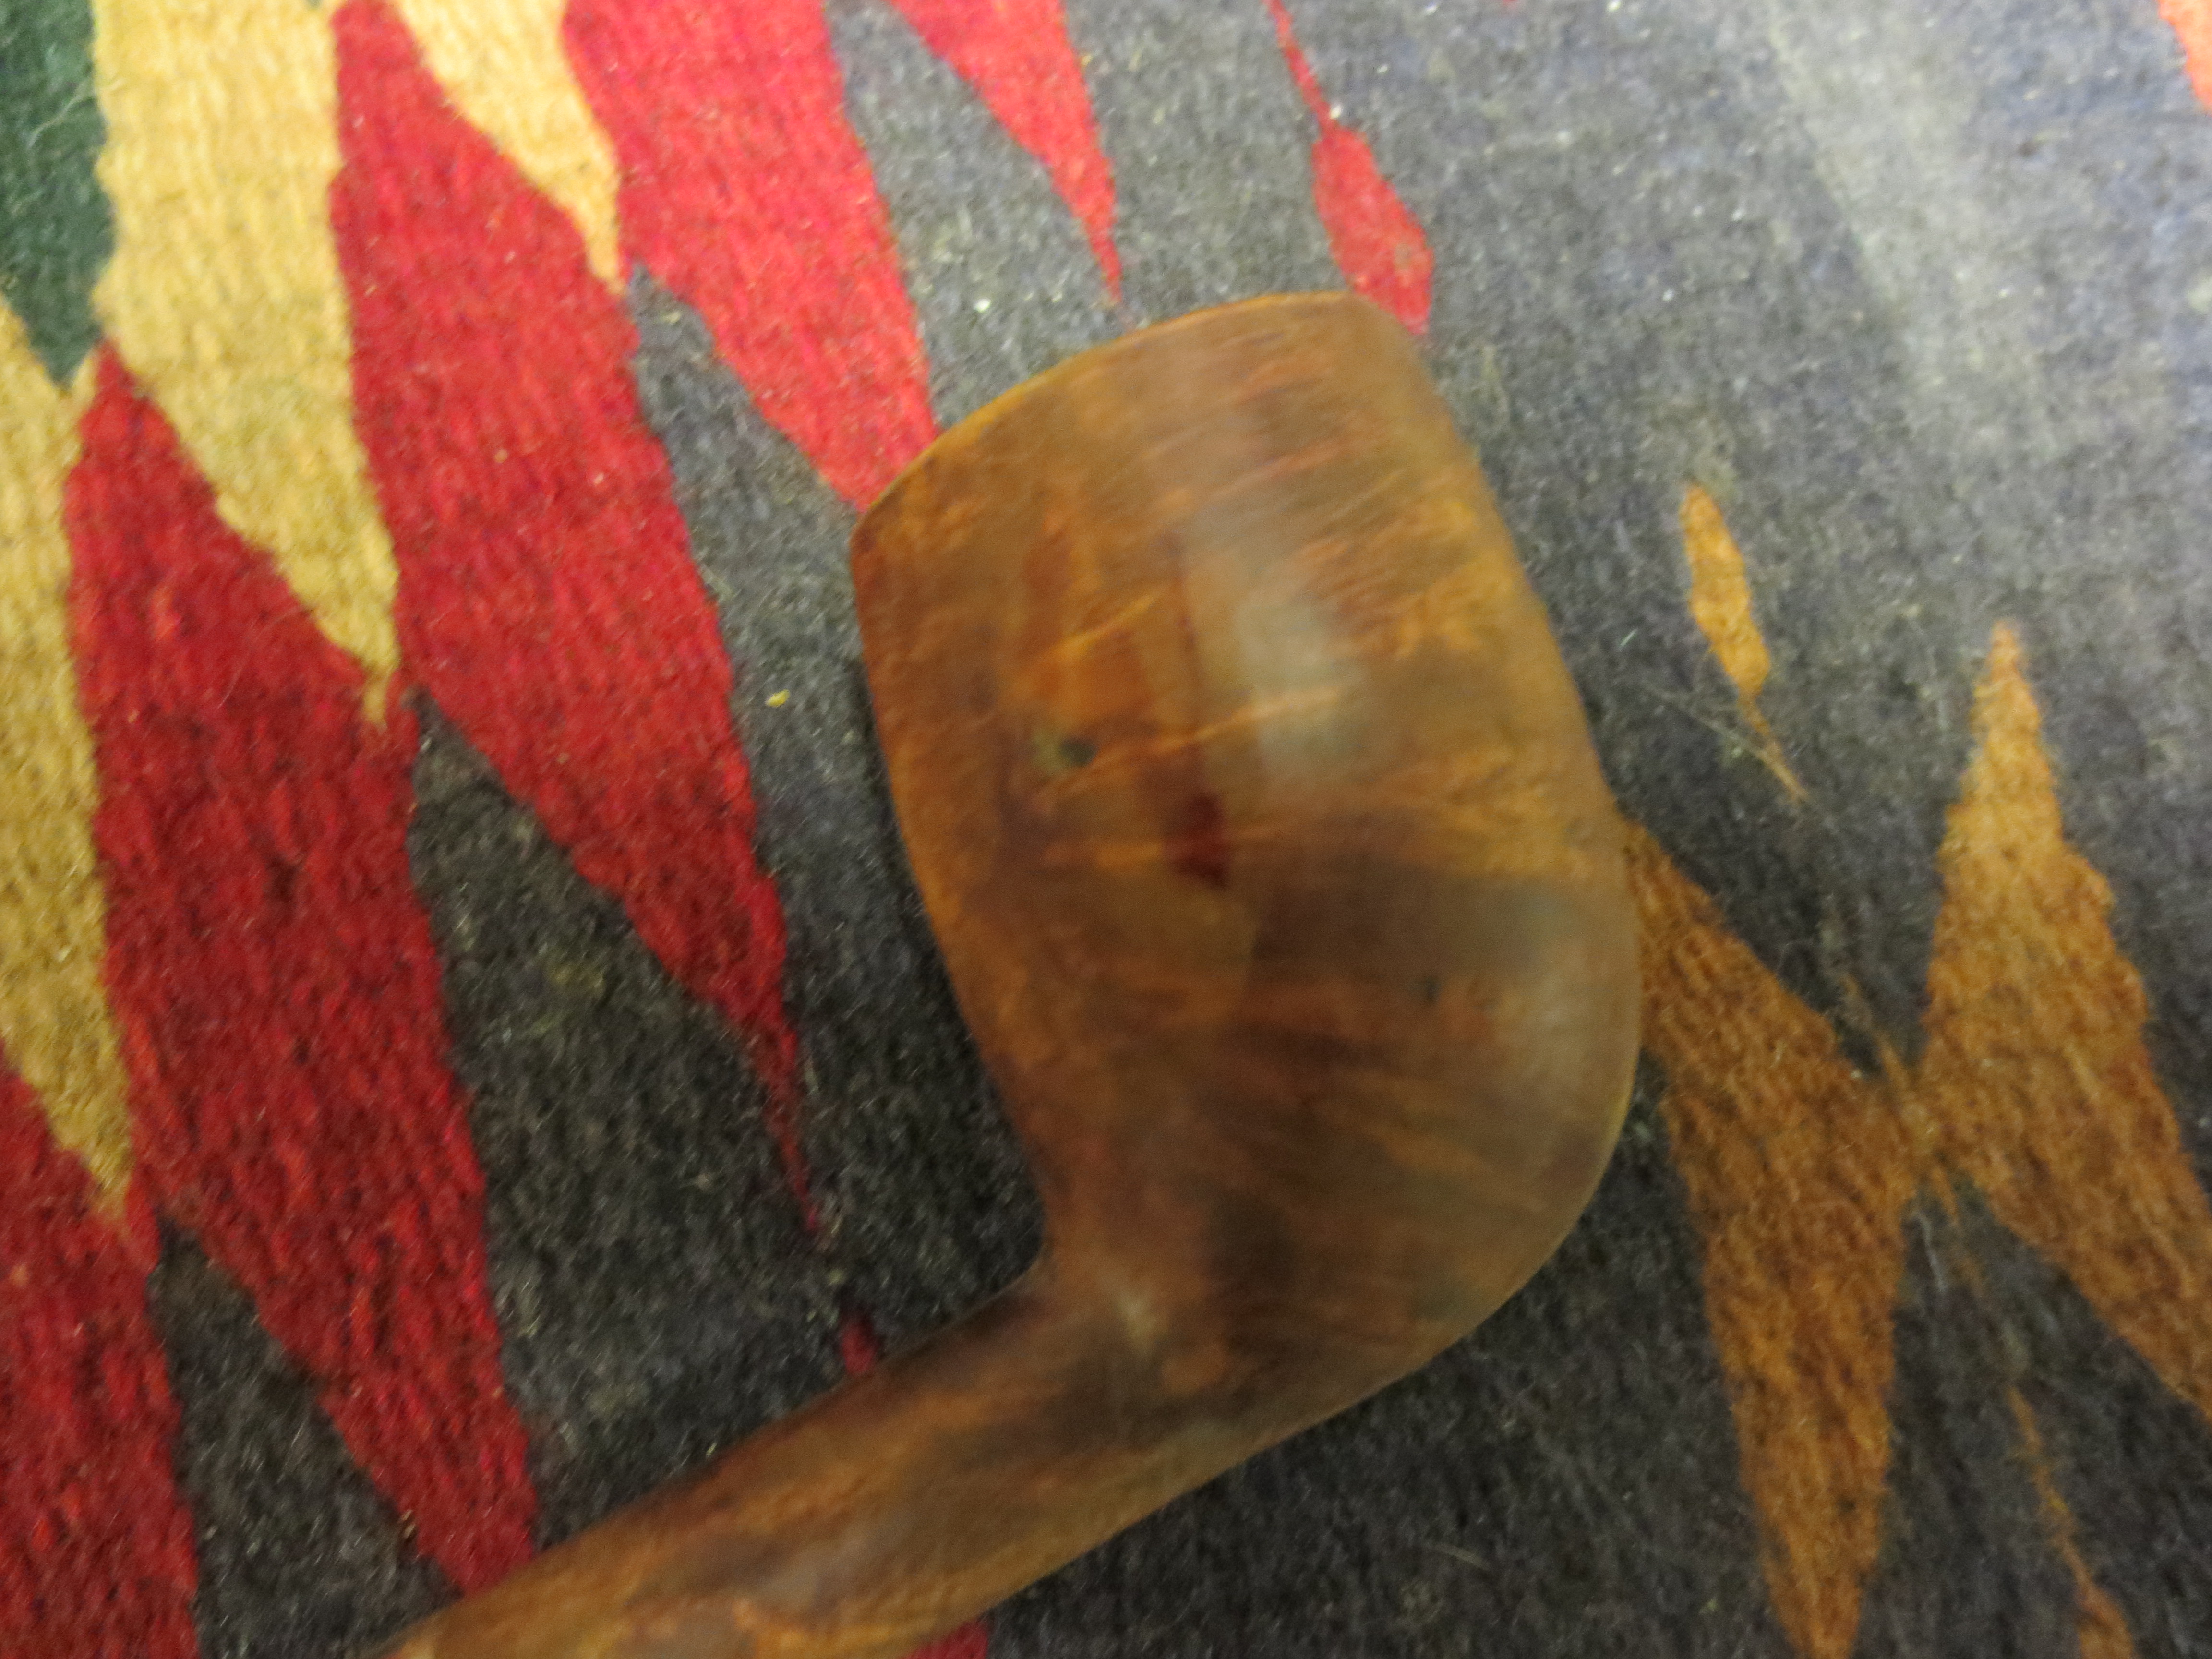
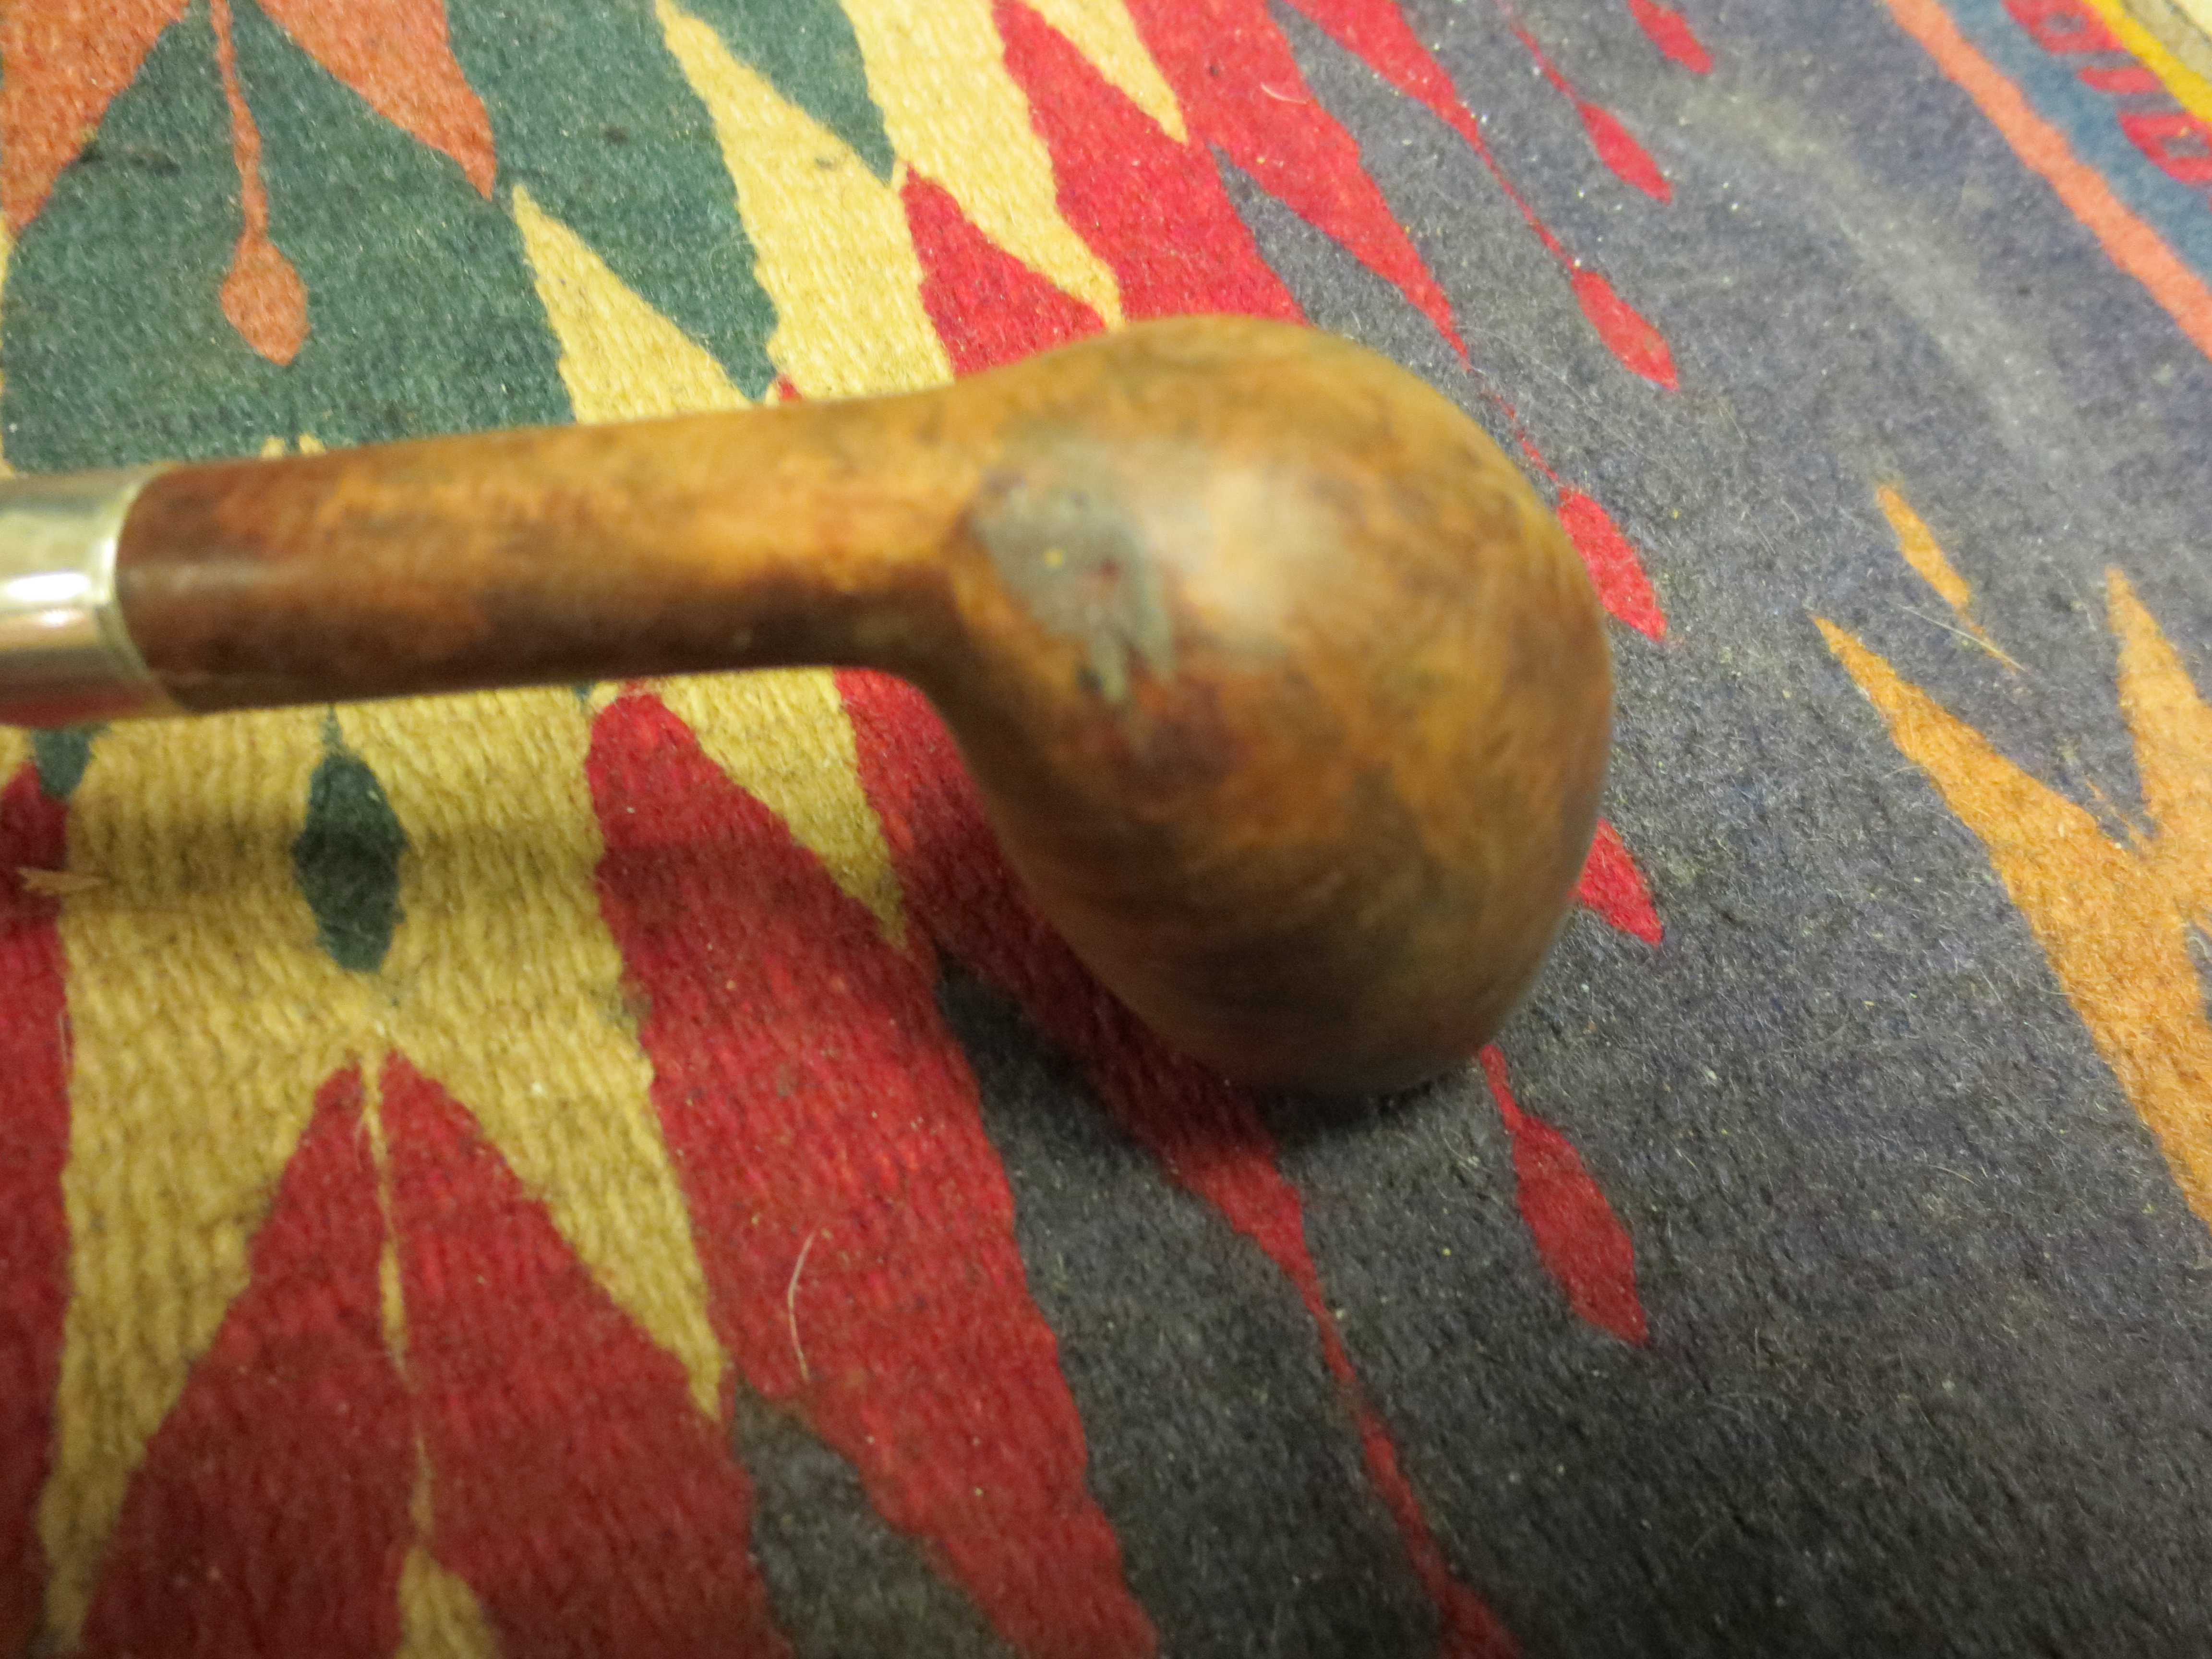
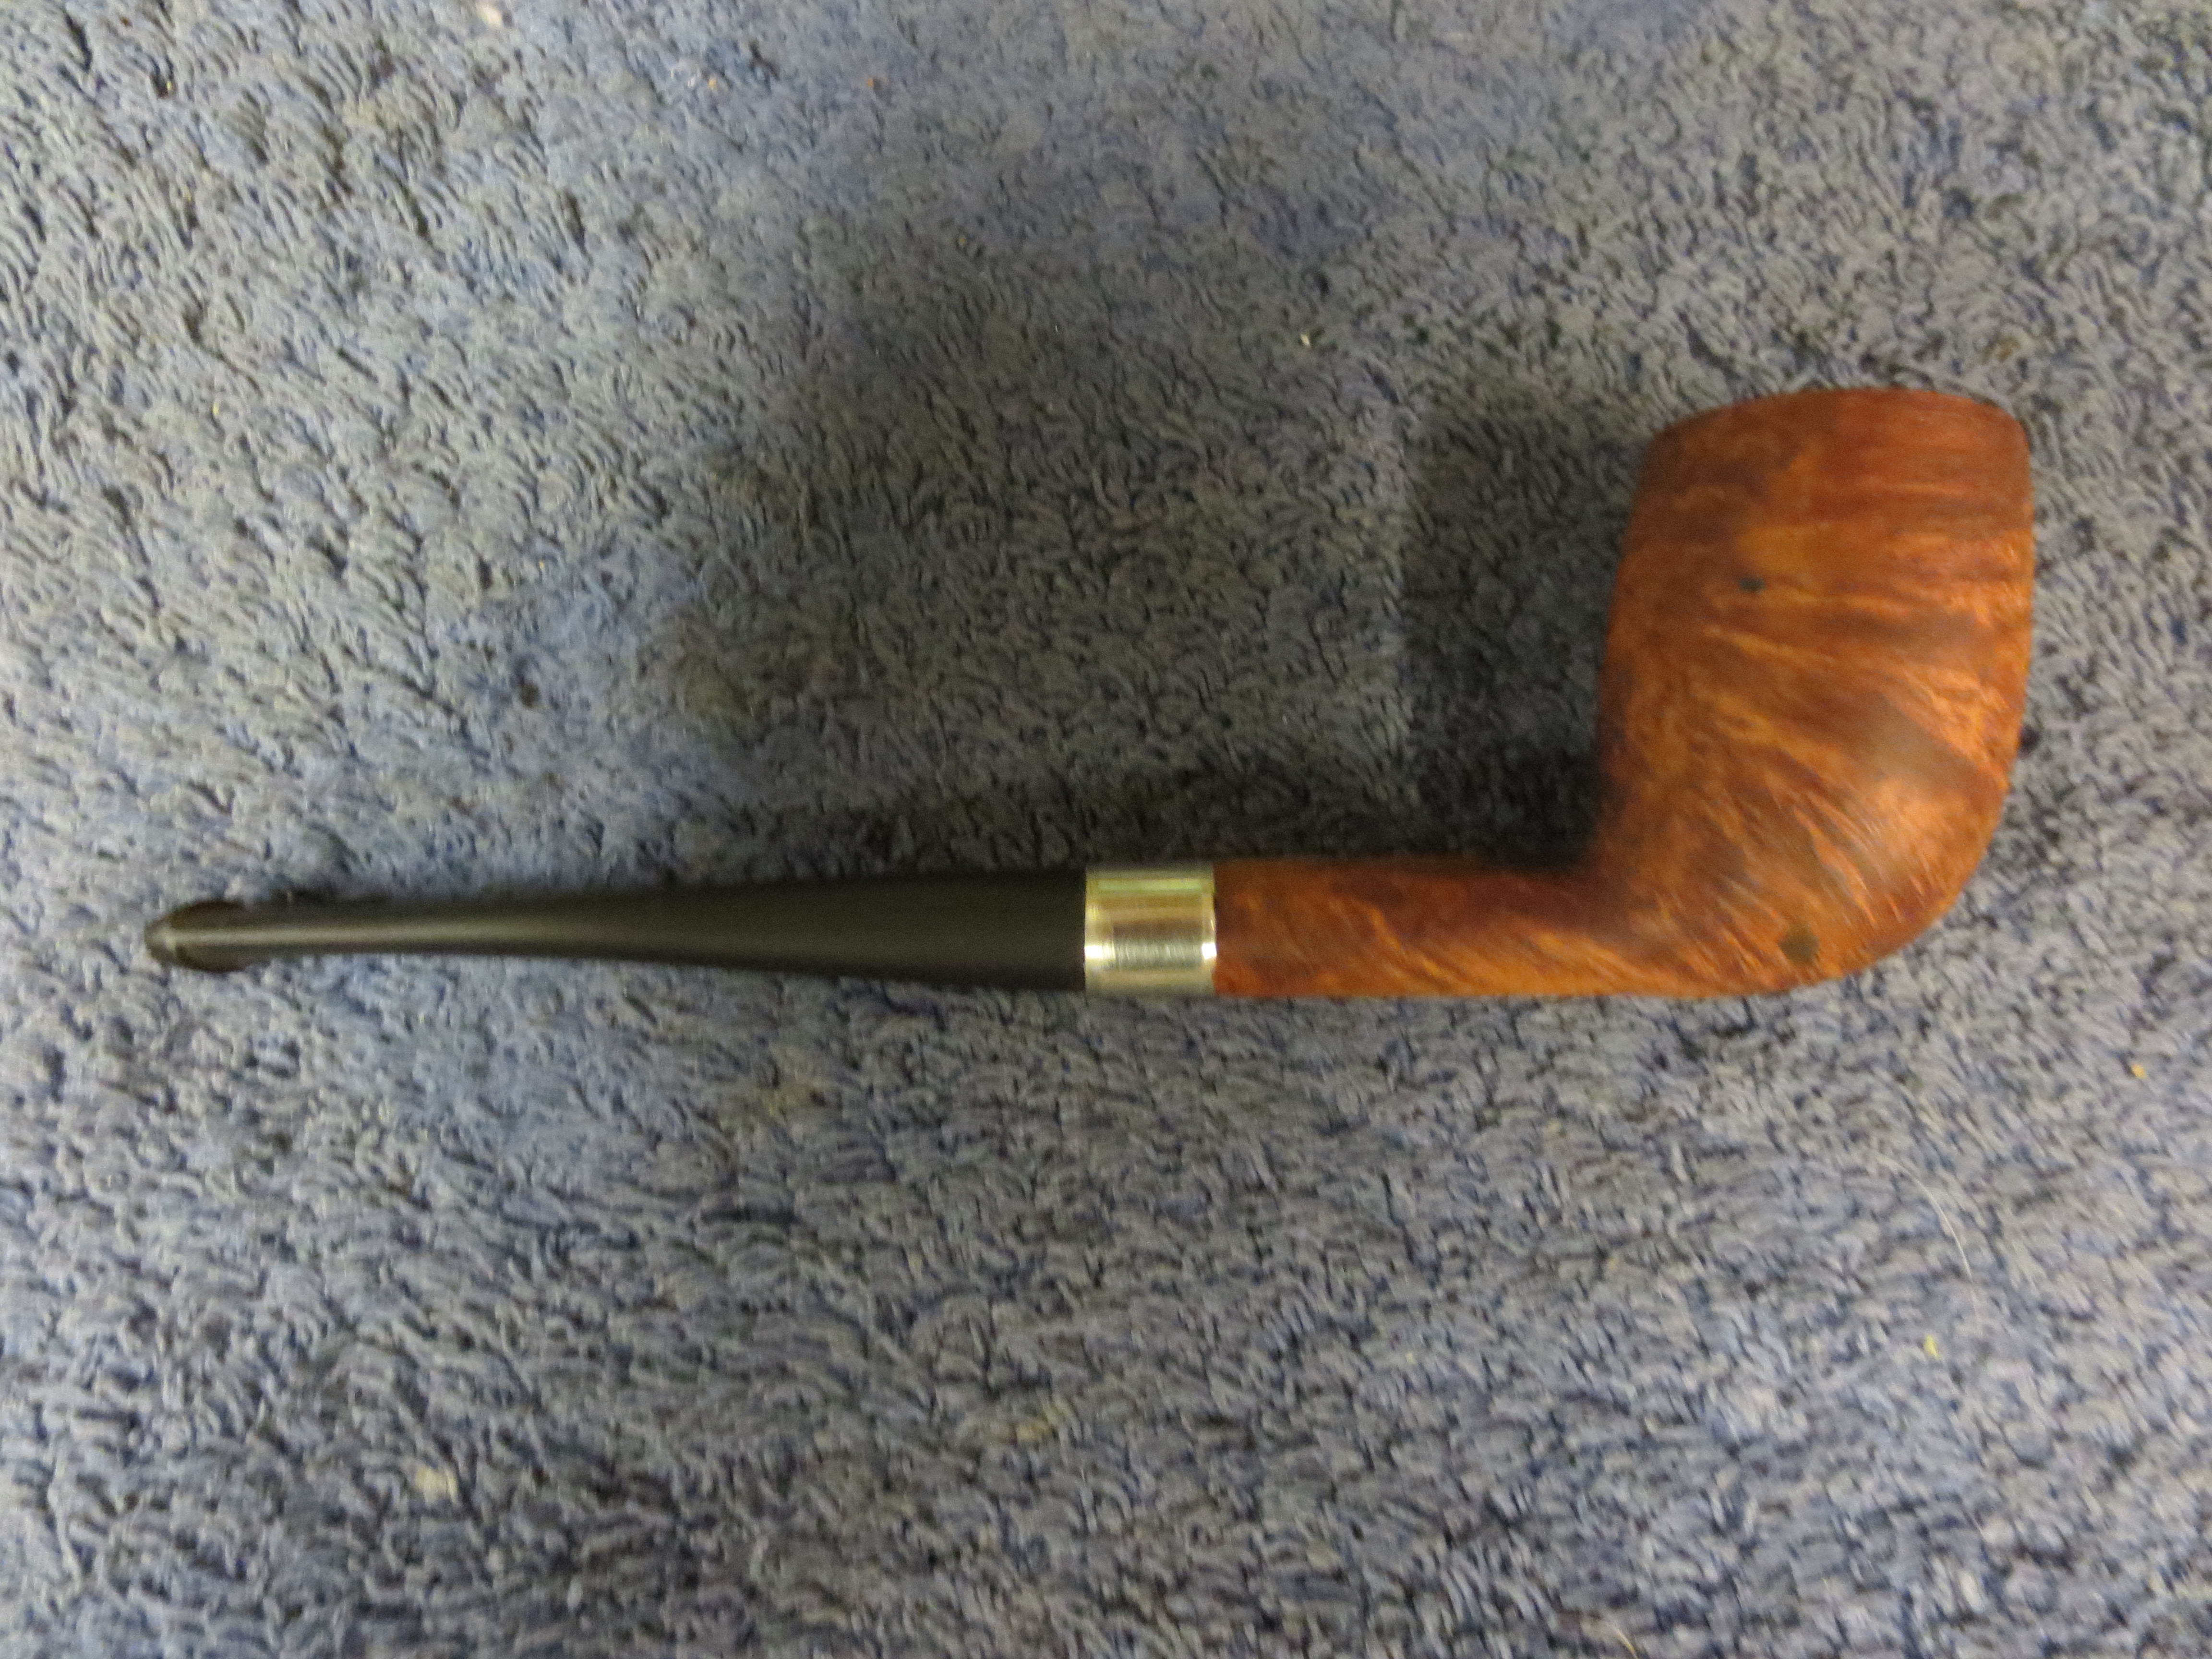
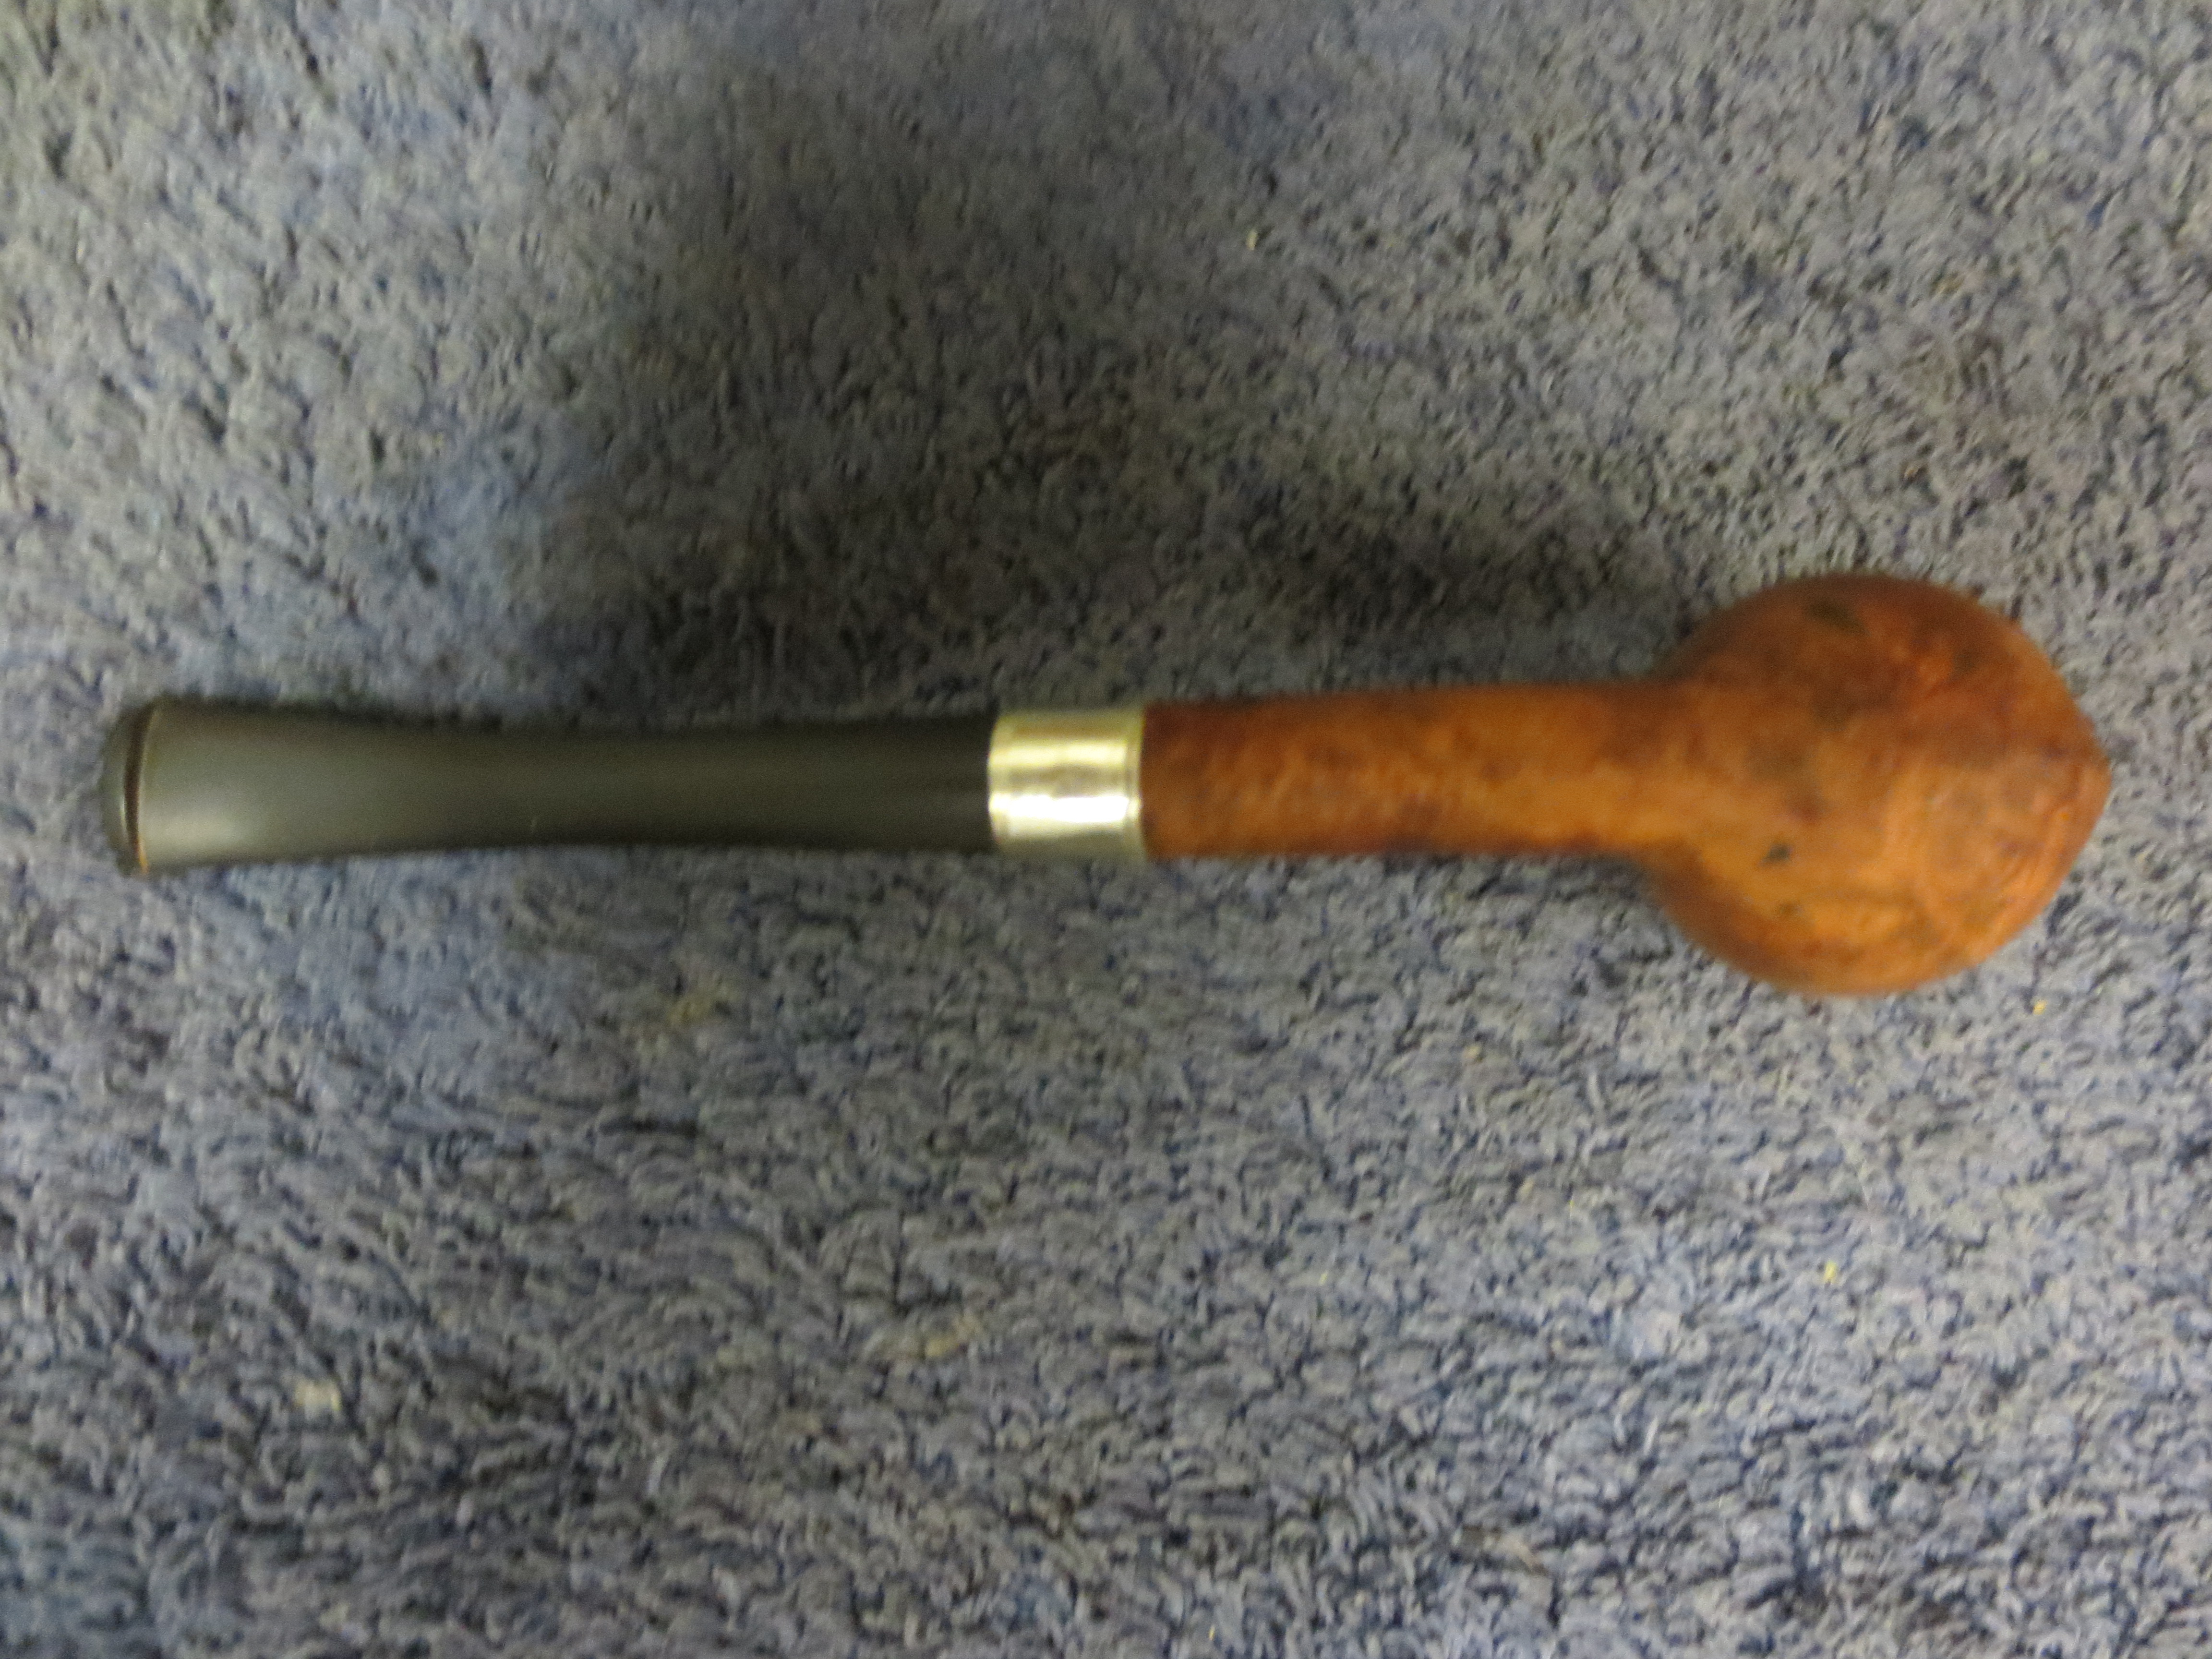
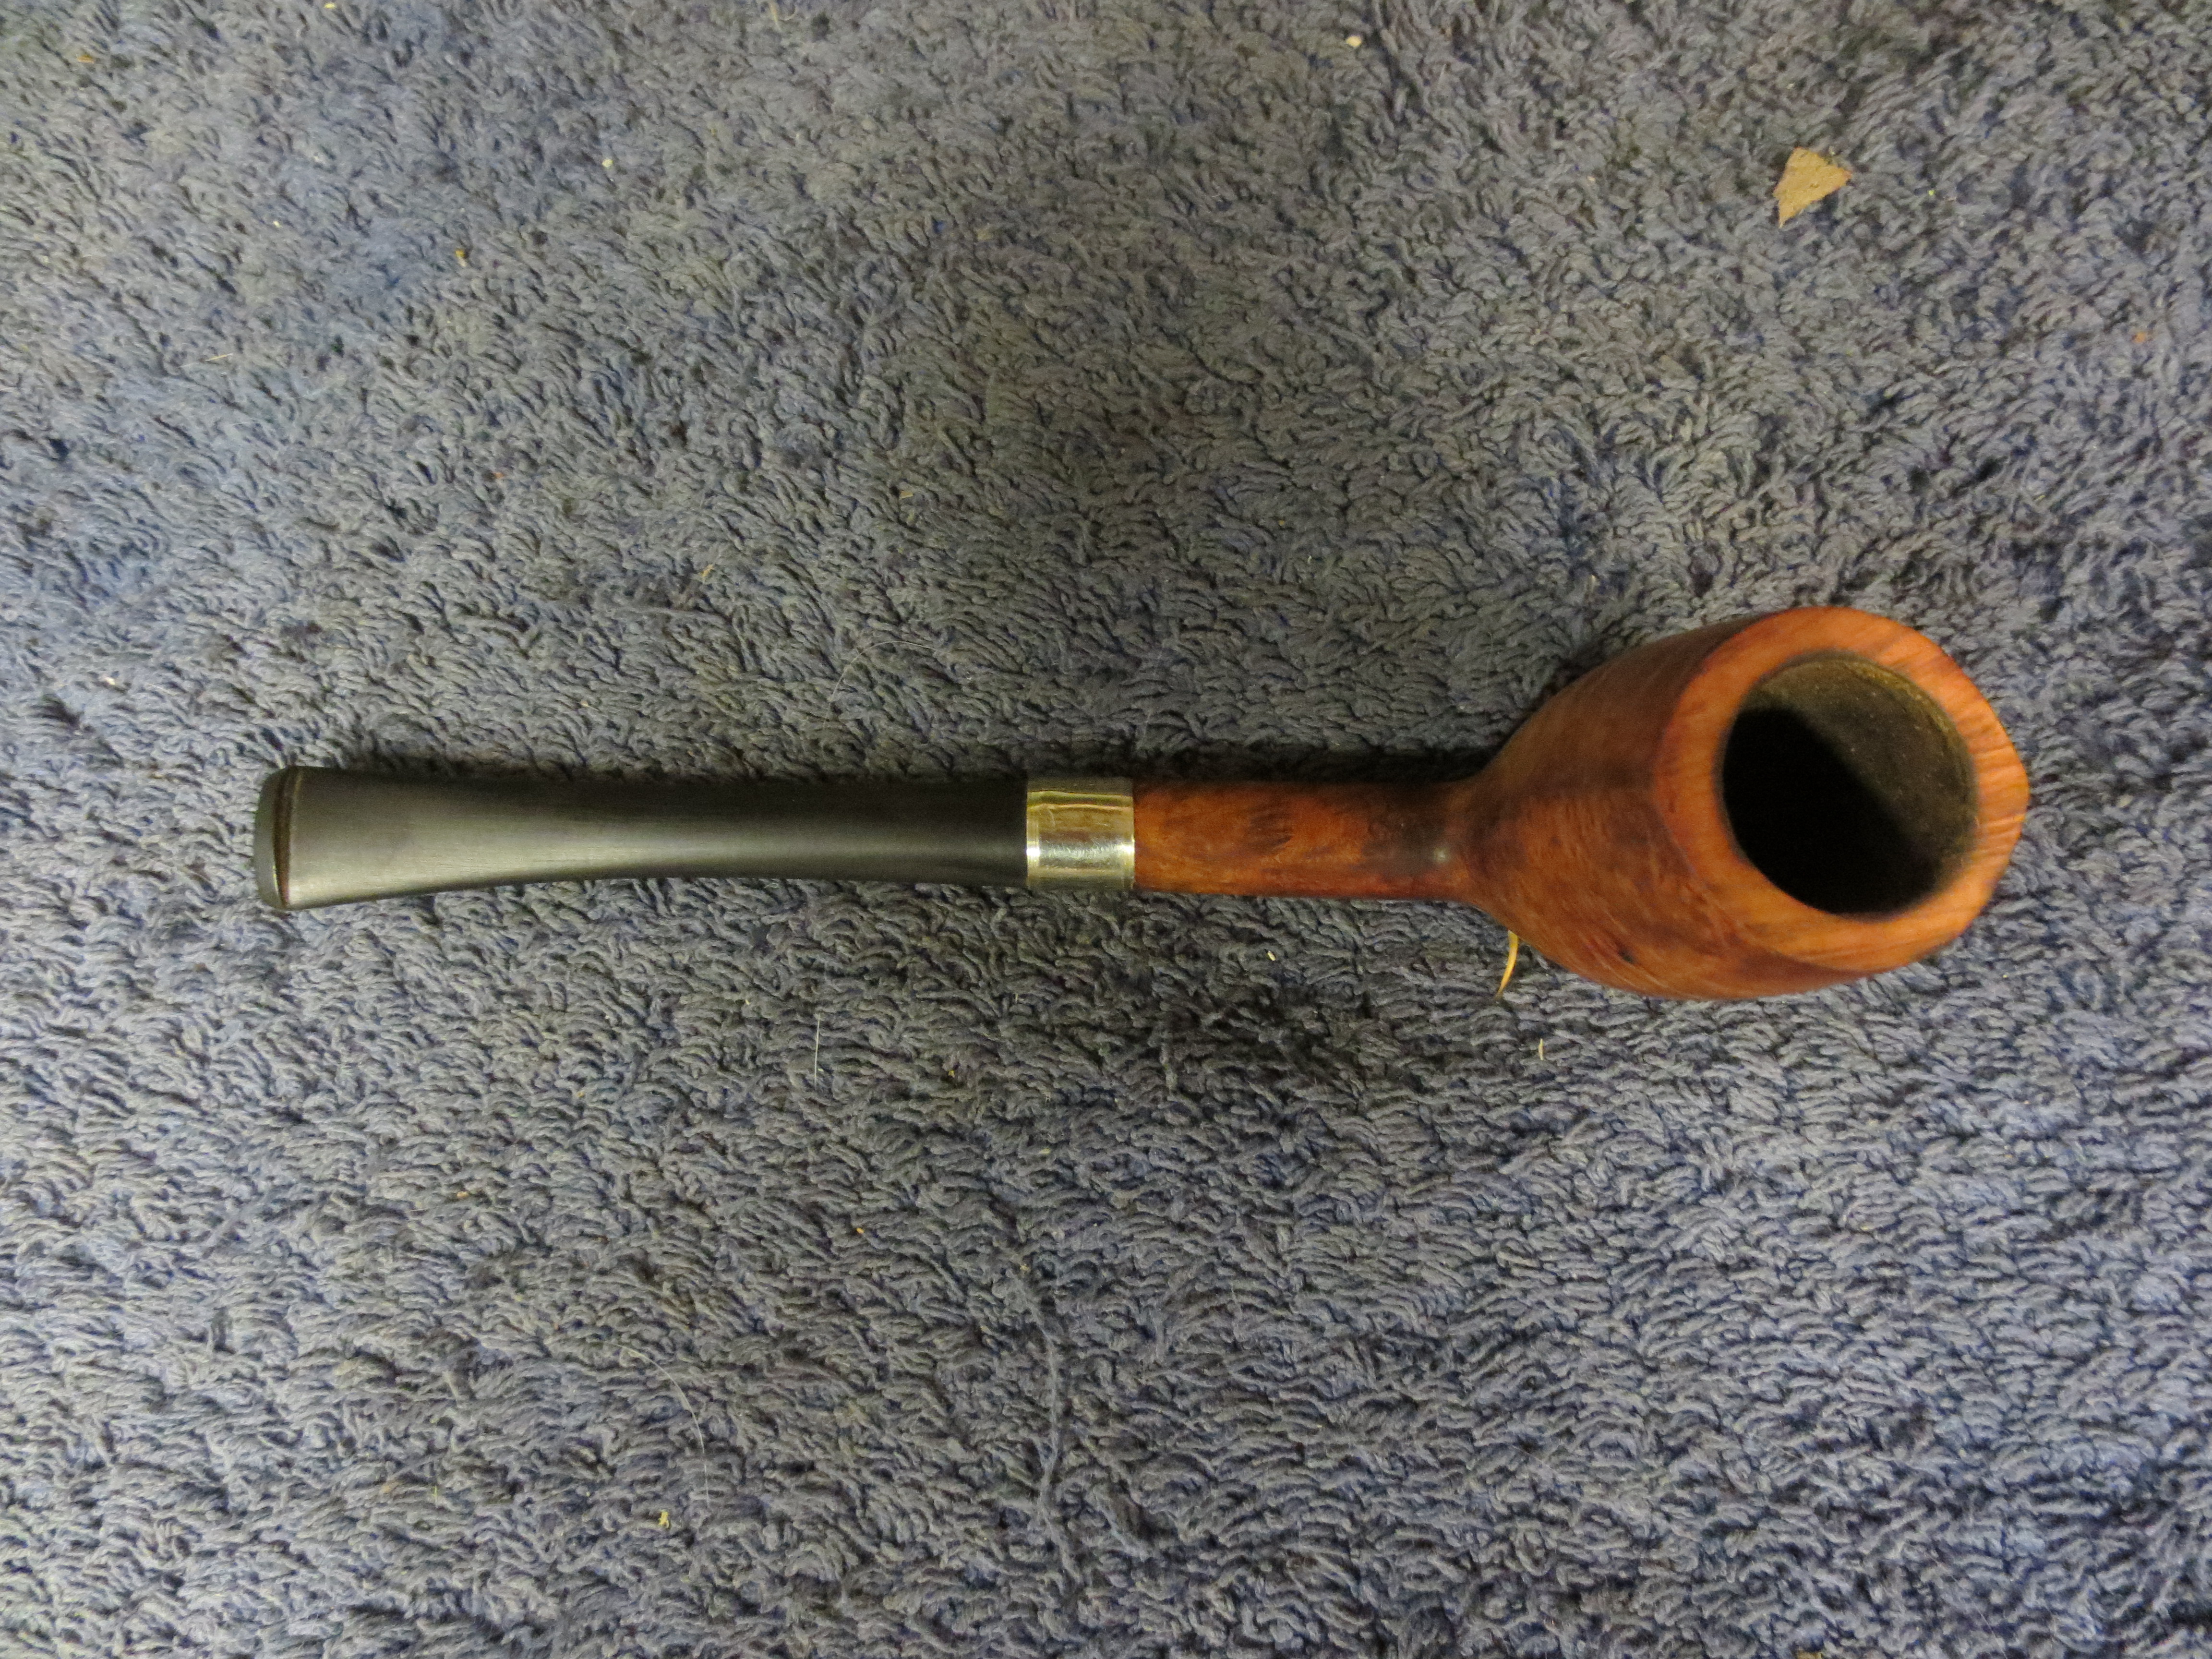
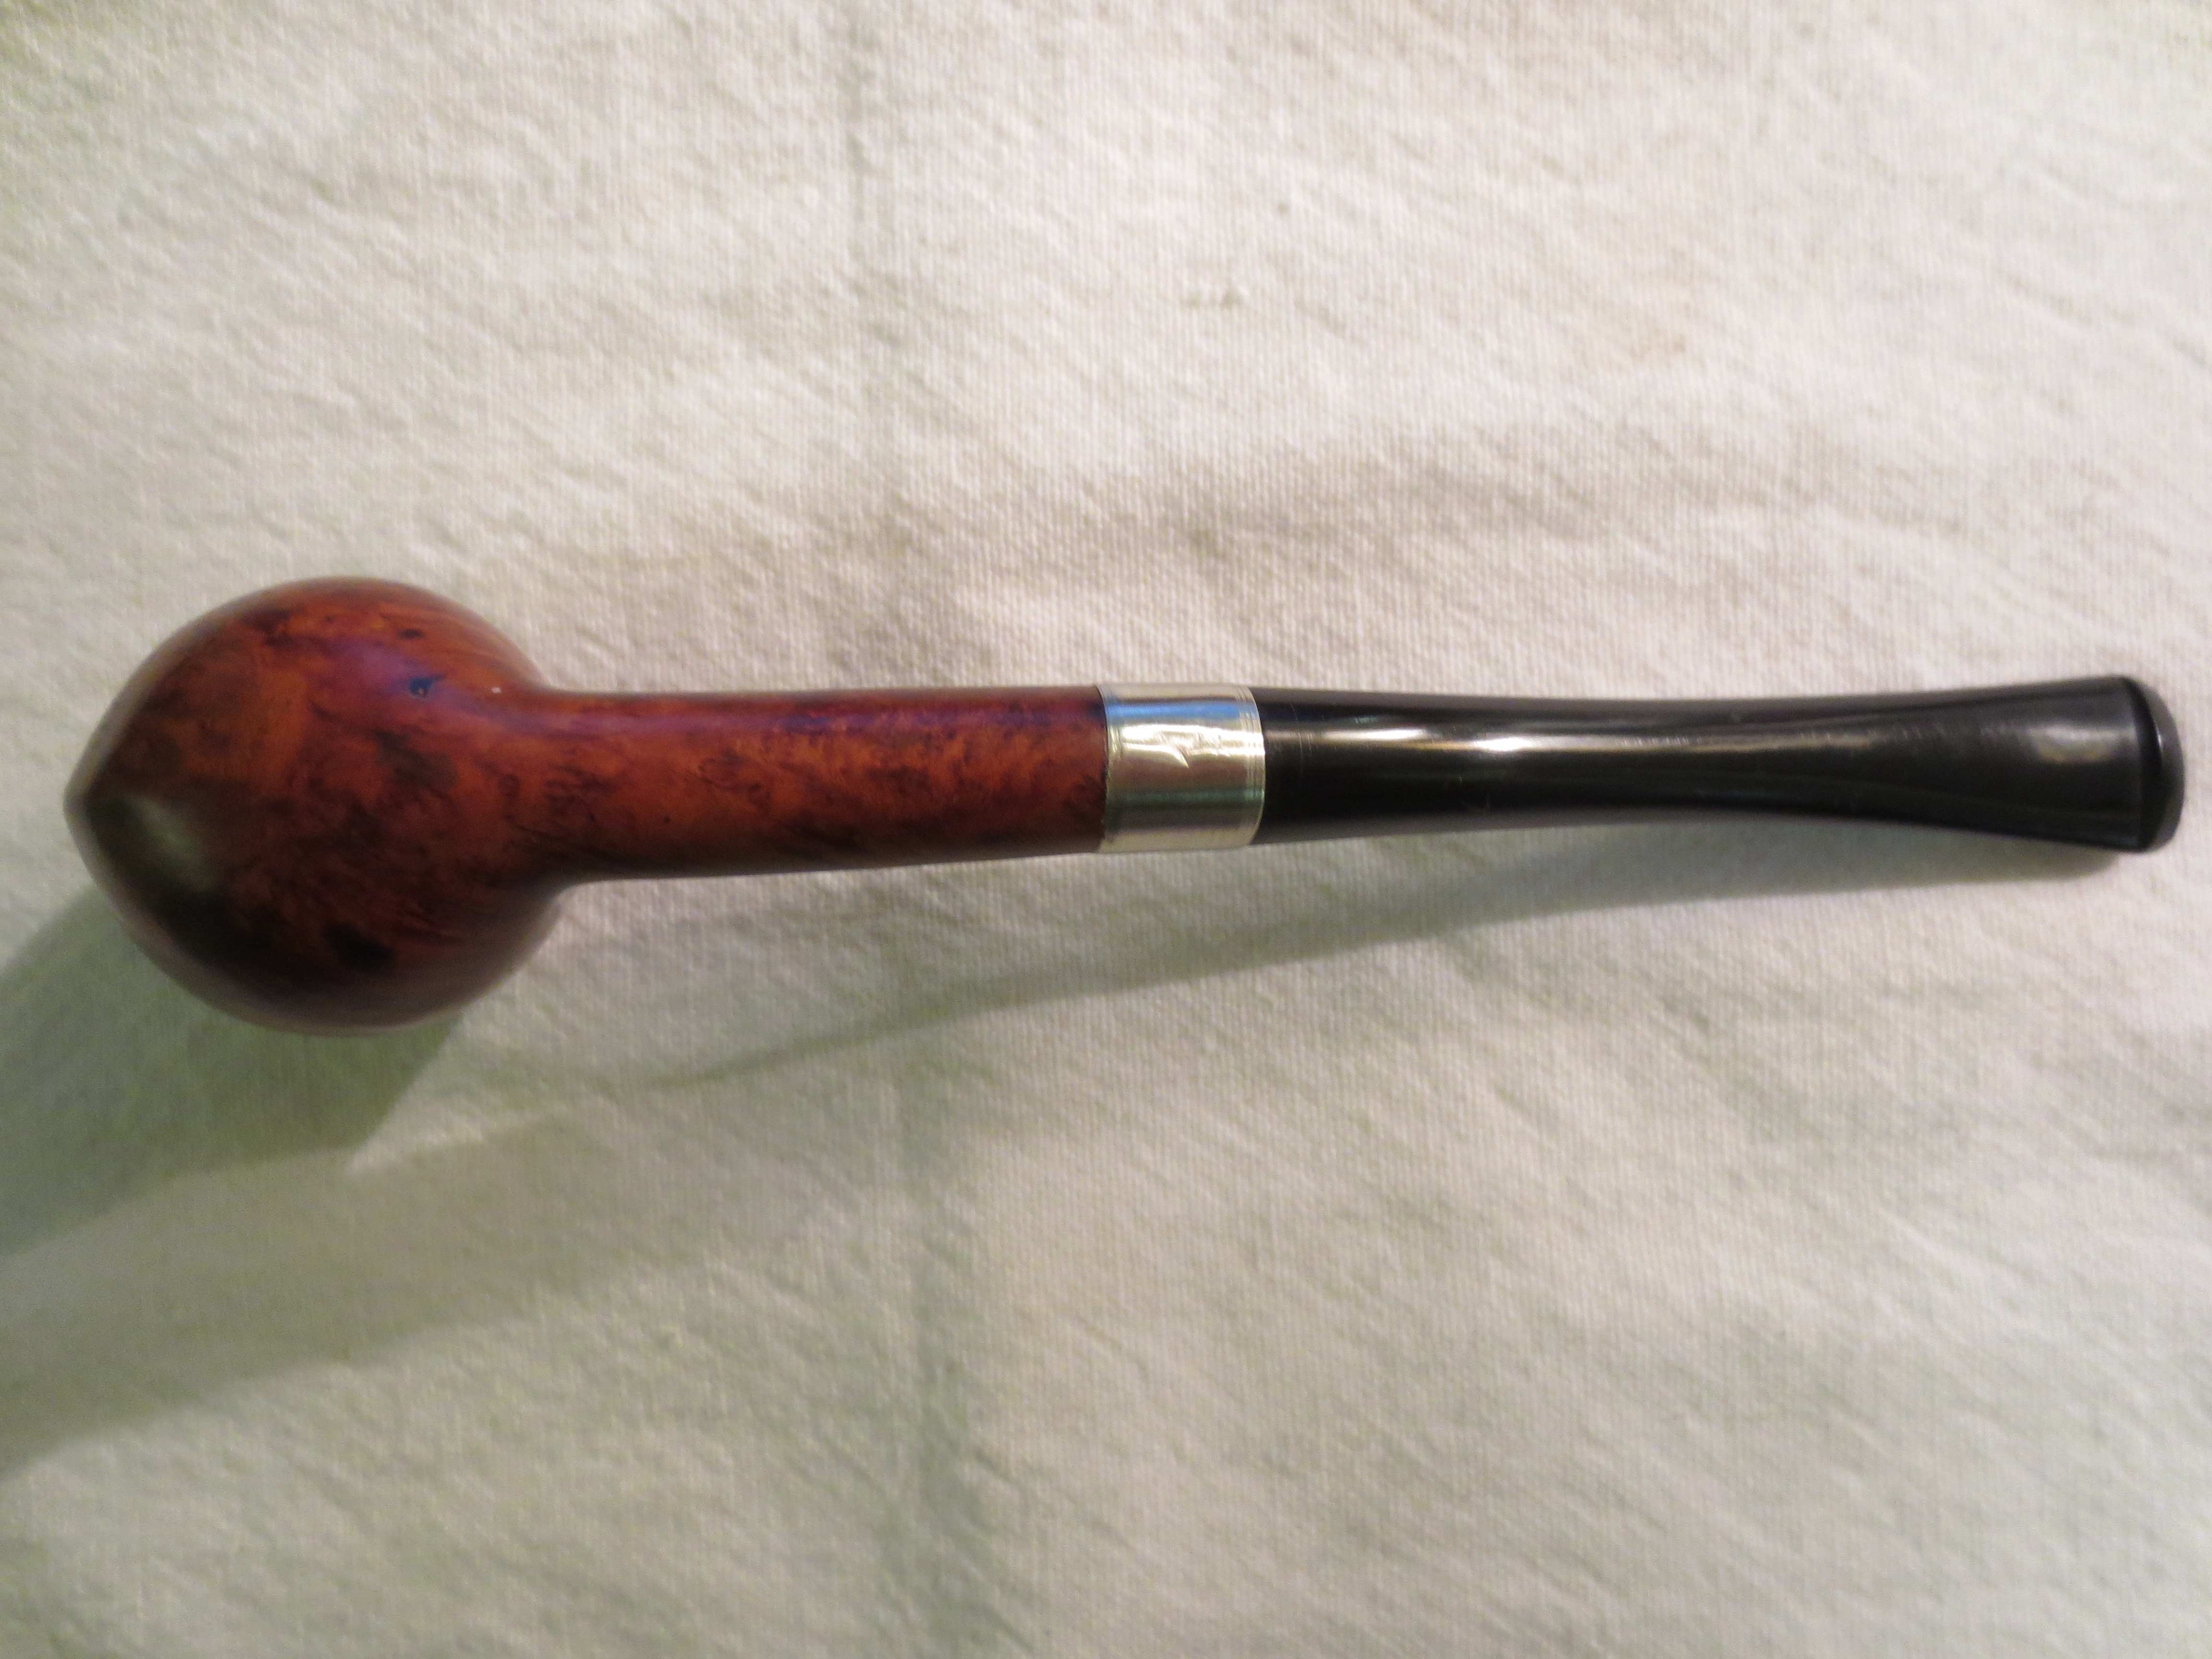
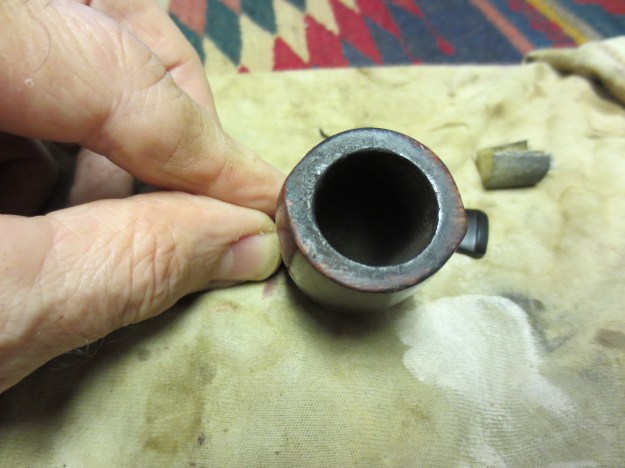
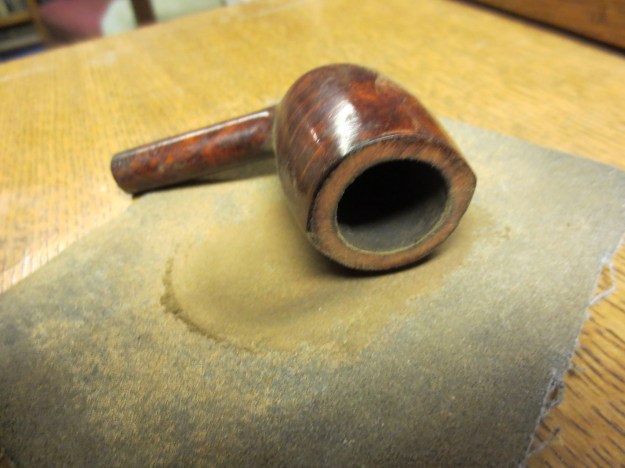
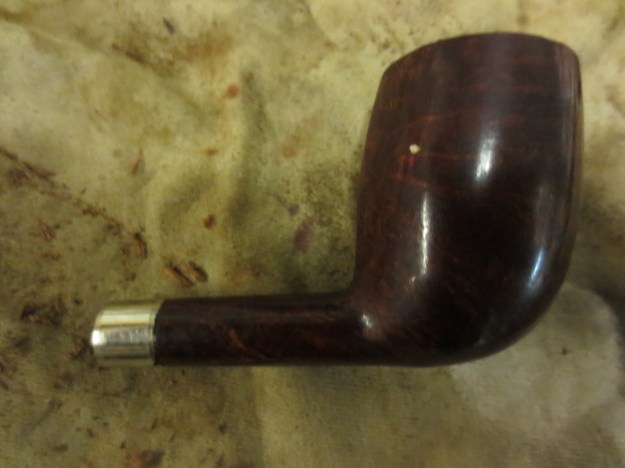
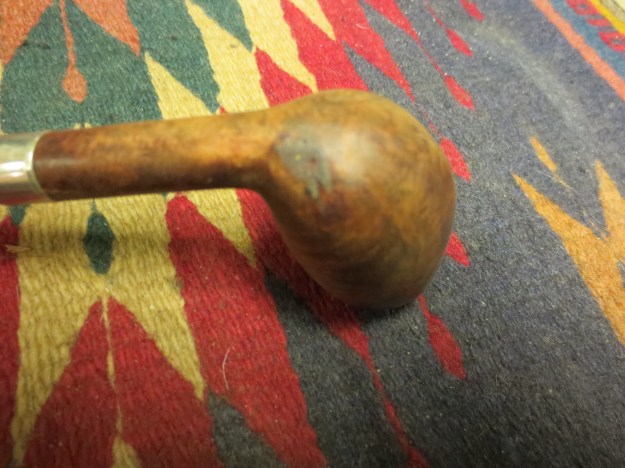
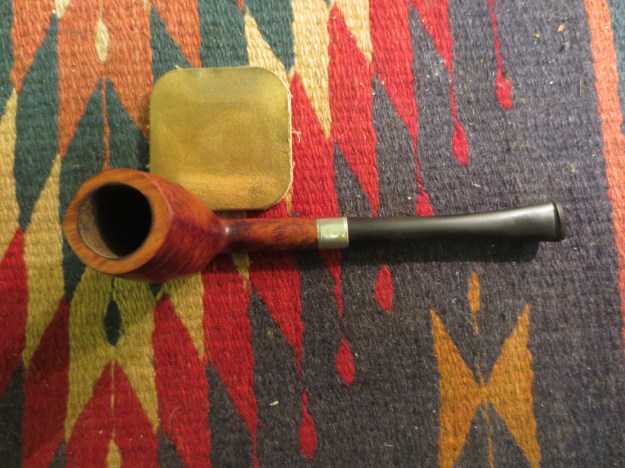
I have no idea what the final letters of the name on this pipe are supposed to be. The shank had been poorly cut off and there were two cracks, one on each side. It is stamped Aarhus over Made in France on the left side of the shank and the number 6 on the right side. The walls of the shank were quite thin. The bowl top was caked and dirt. The bowl was caked and needing cleaning. There was no stem on the bowl. The finish on the pipe was worn and dirty. There were two small sandpits that had been patched with white putty that had fallen out and left two white spots on the bowl. The shape of the pipe is what interested me. It has a pencil shank and the bowl tapers to a ridge on the front and the back. The bowl is also canted toward the front similar to a cutty and from the top is almond shaped. It is a uniquely interesting shape. The grain on this one is quite nice – birdseye front and back and cross grain on the sides. It does not quite align with the cut of the bowl but is very close. The pipe was a part of the lot that I have been working on lately – a purchase from EBay of 12+ pipe bowls that needed to be stemmed. The first series of four photos below show the state of the bowl when I began. The final photo of the four gives a closer look at the mortise and the thinness of the walls of the shank. Note the notches out of the end that give evidence of the shortening of the shank. In the photo I also included the stem that I took out of my can of stems and turned the tenon on.


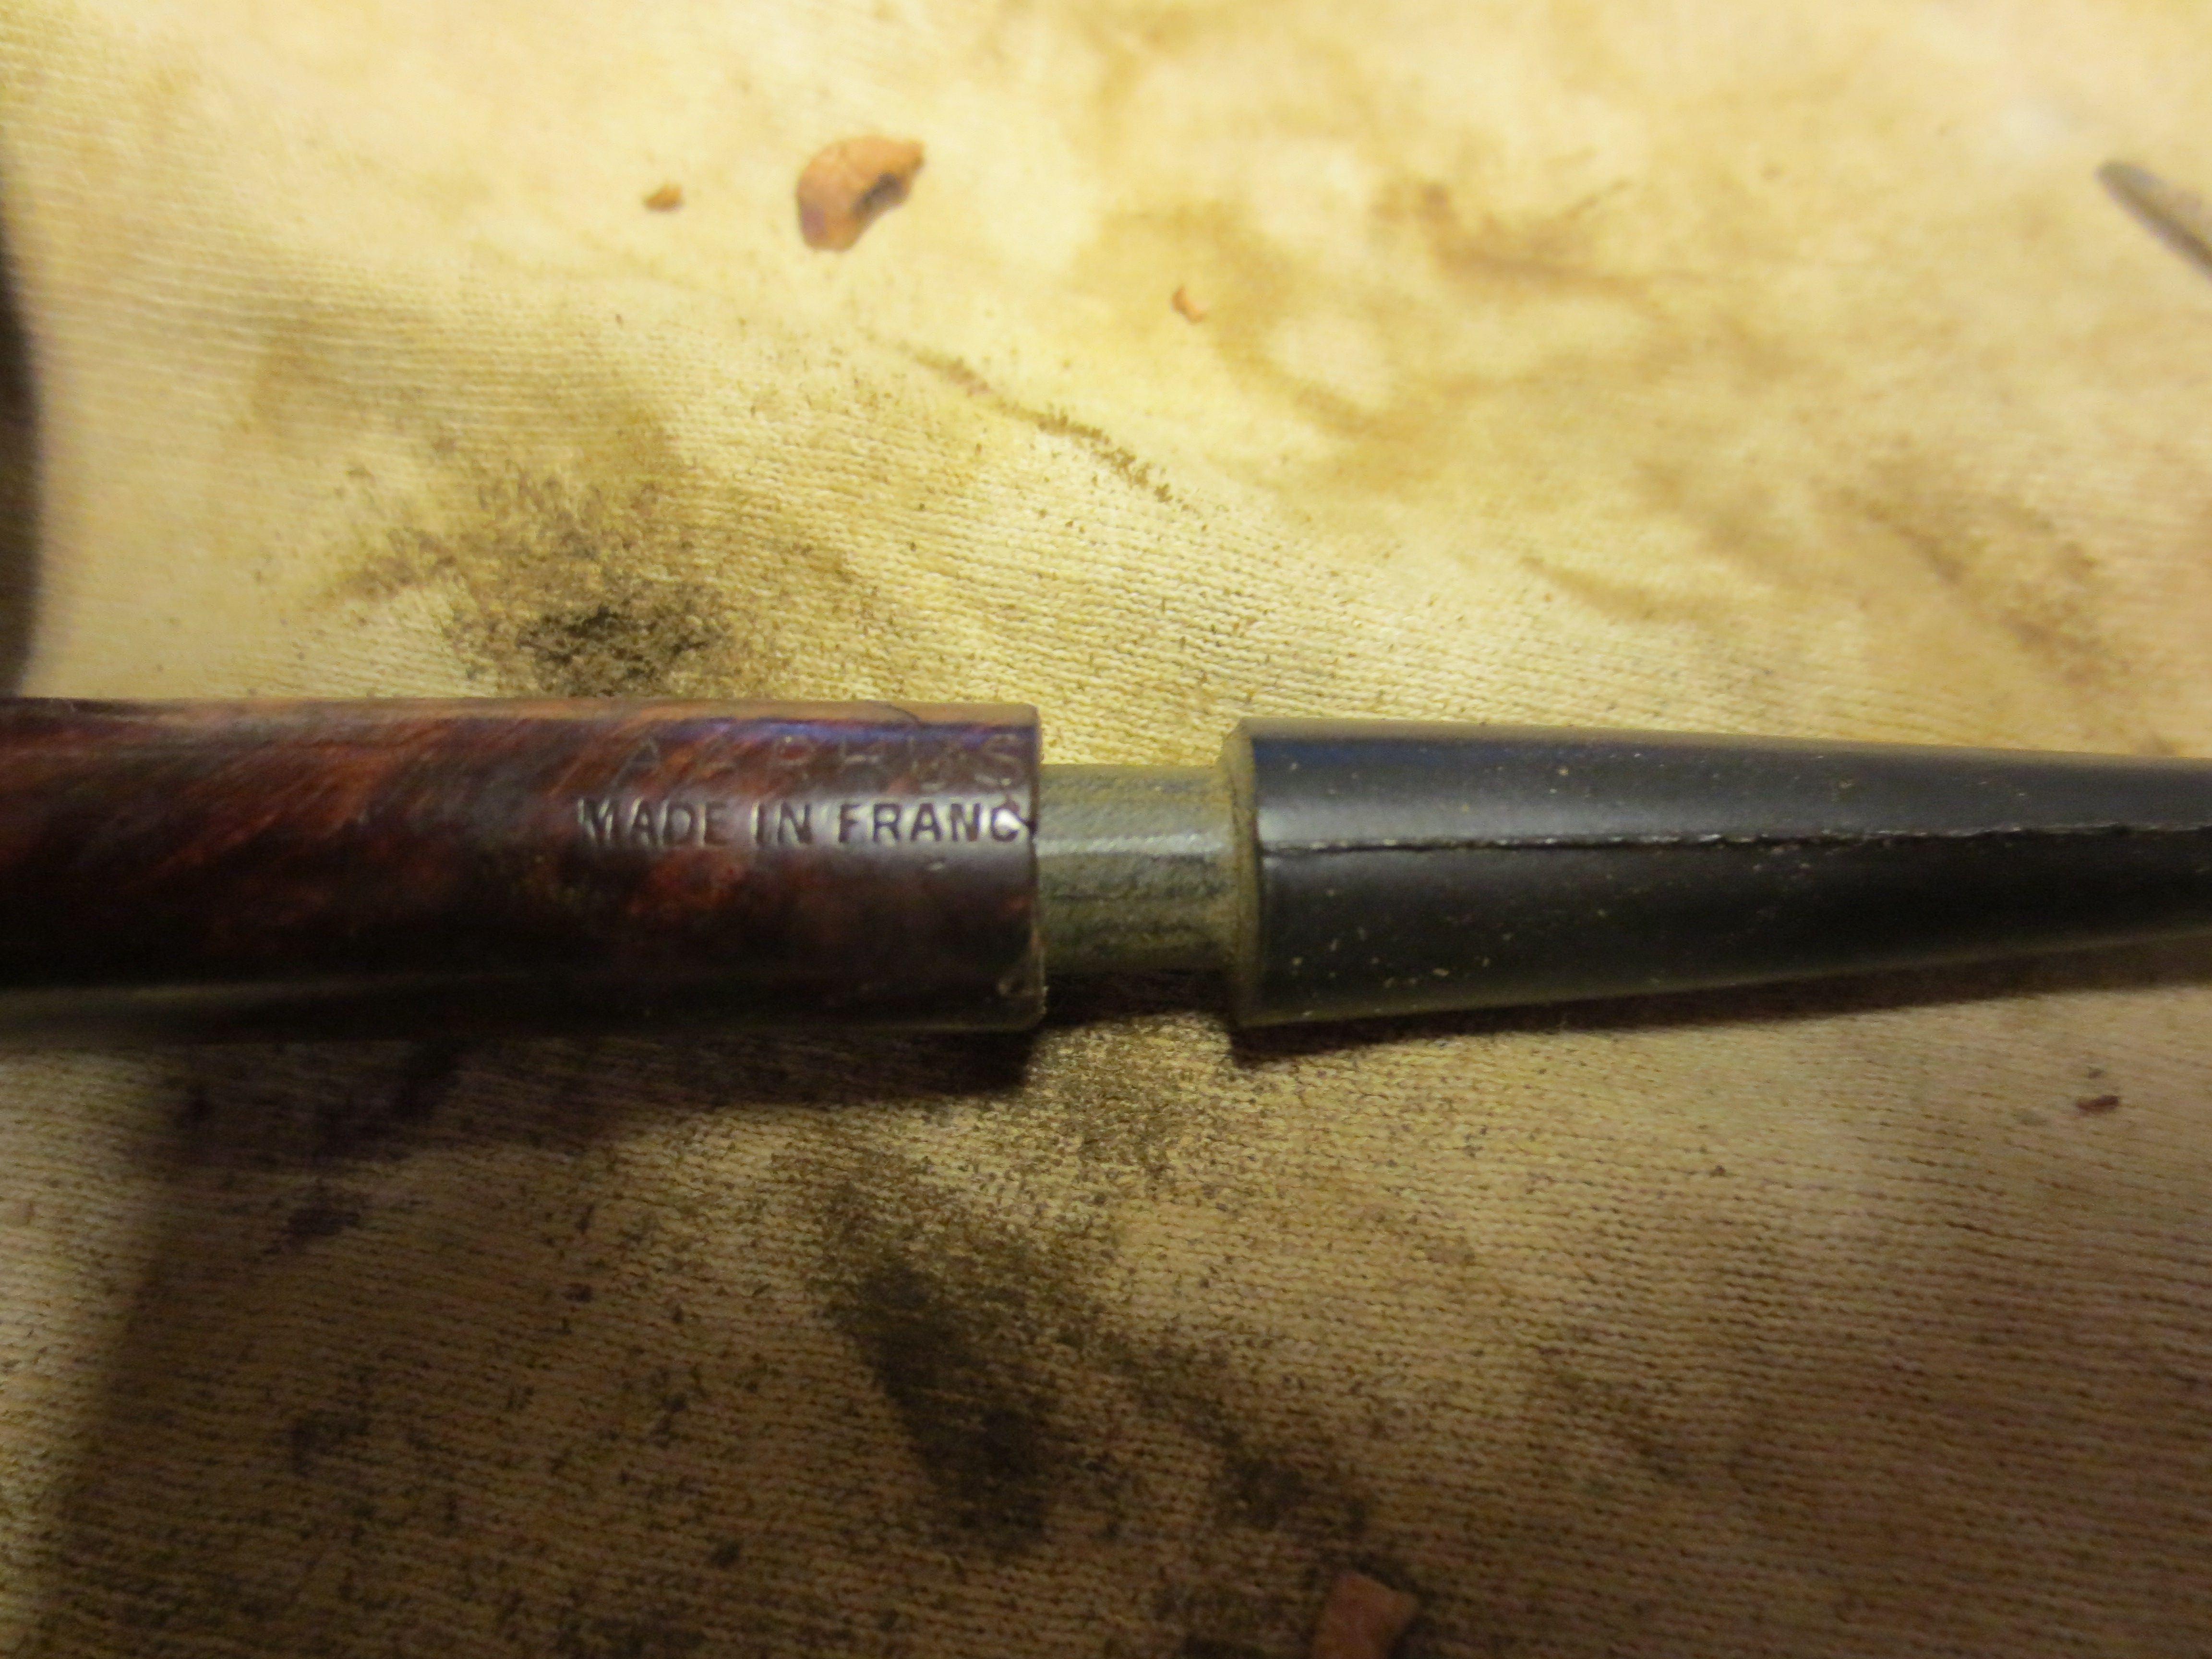
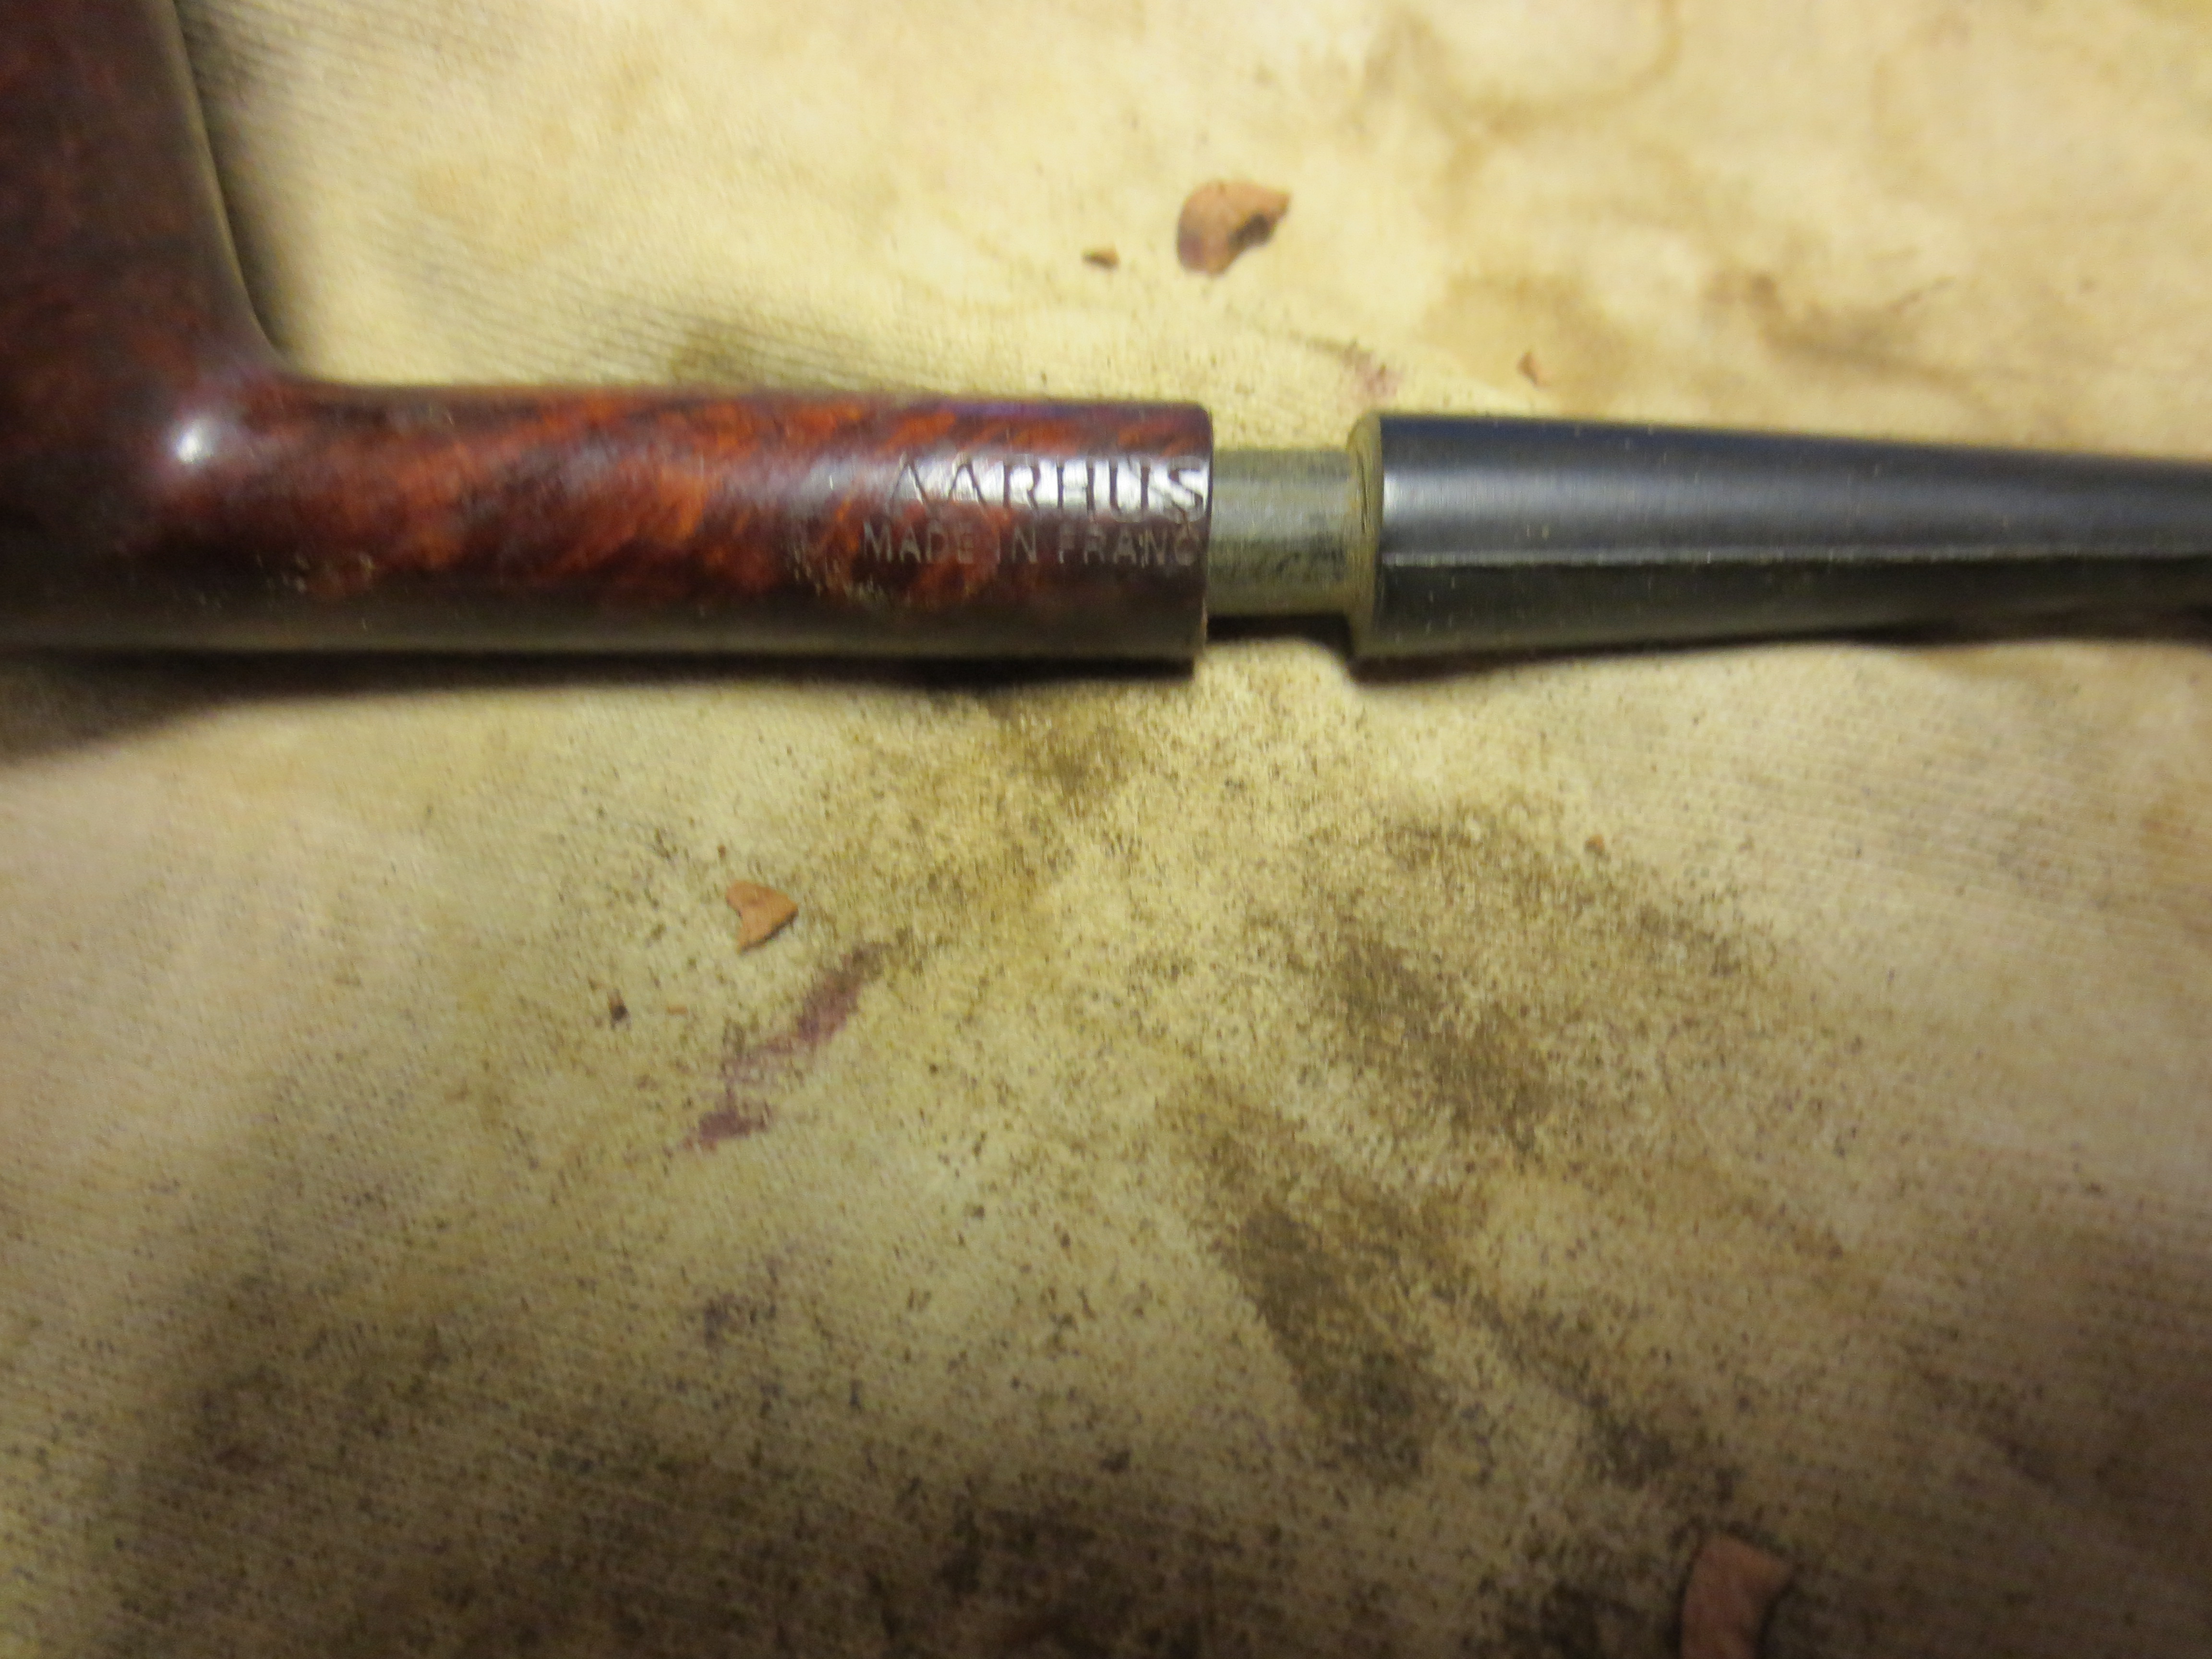
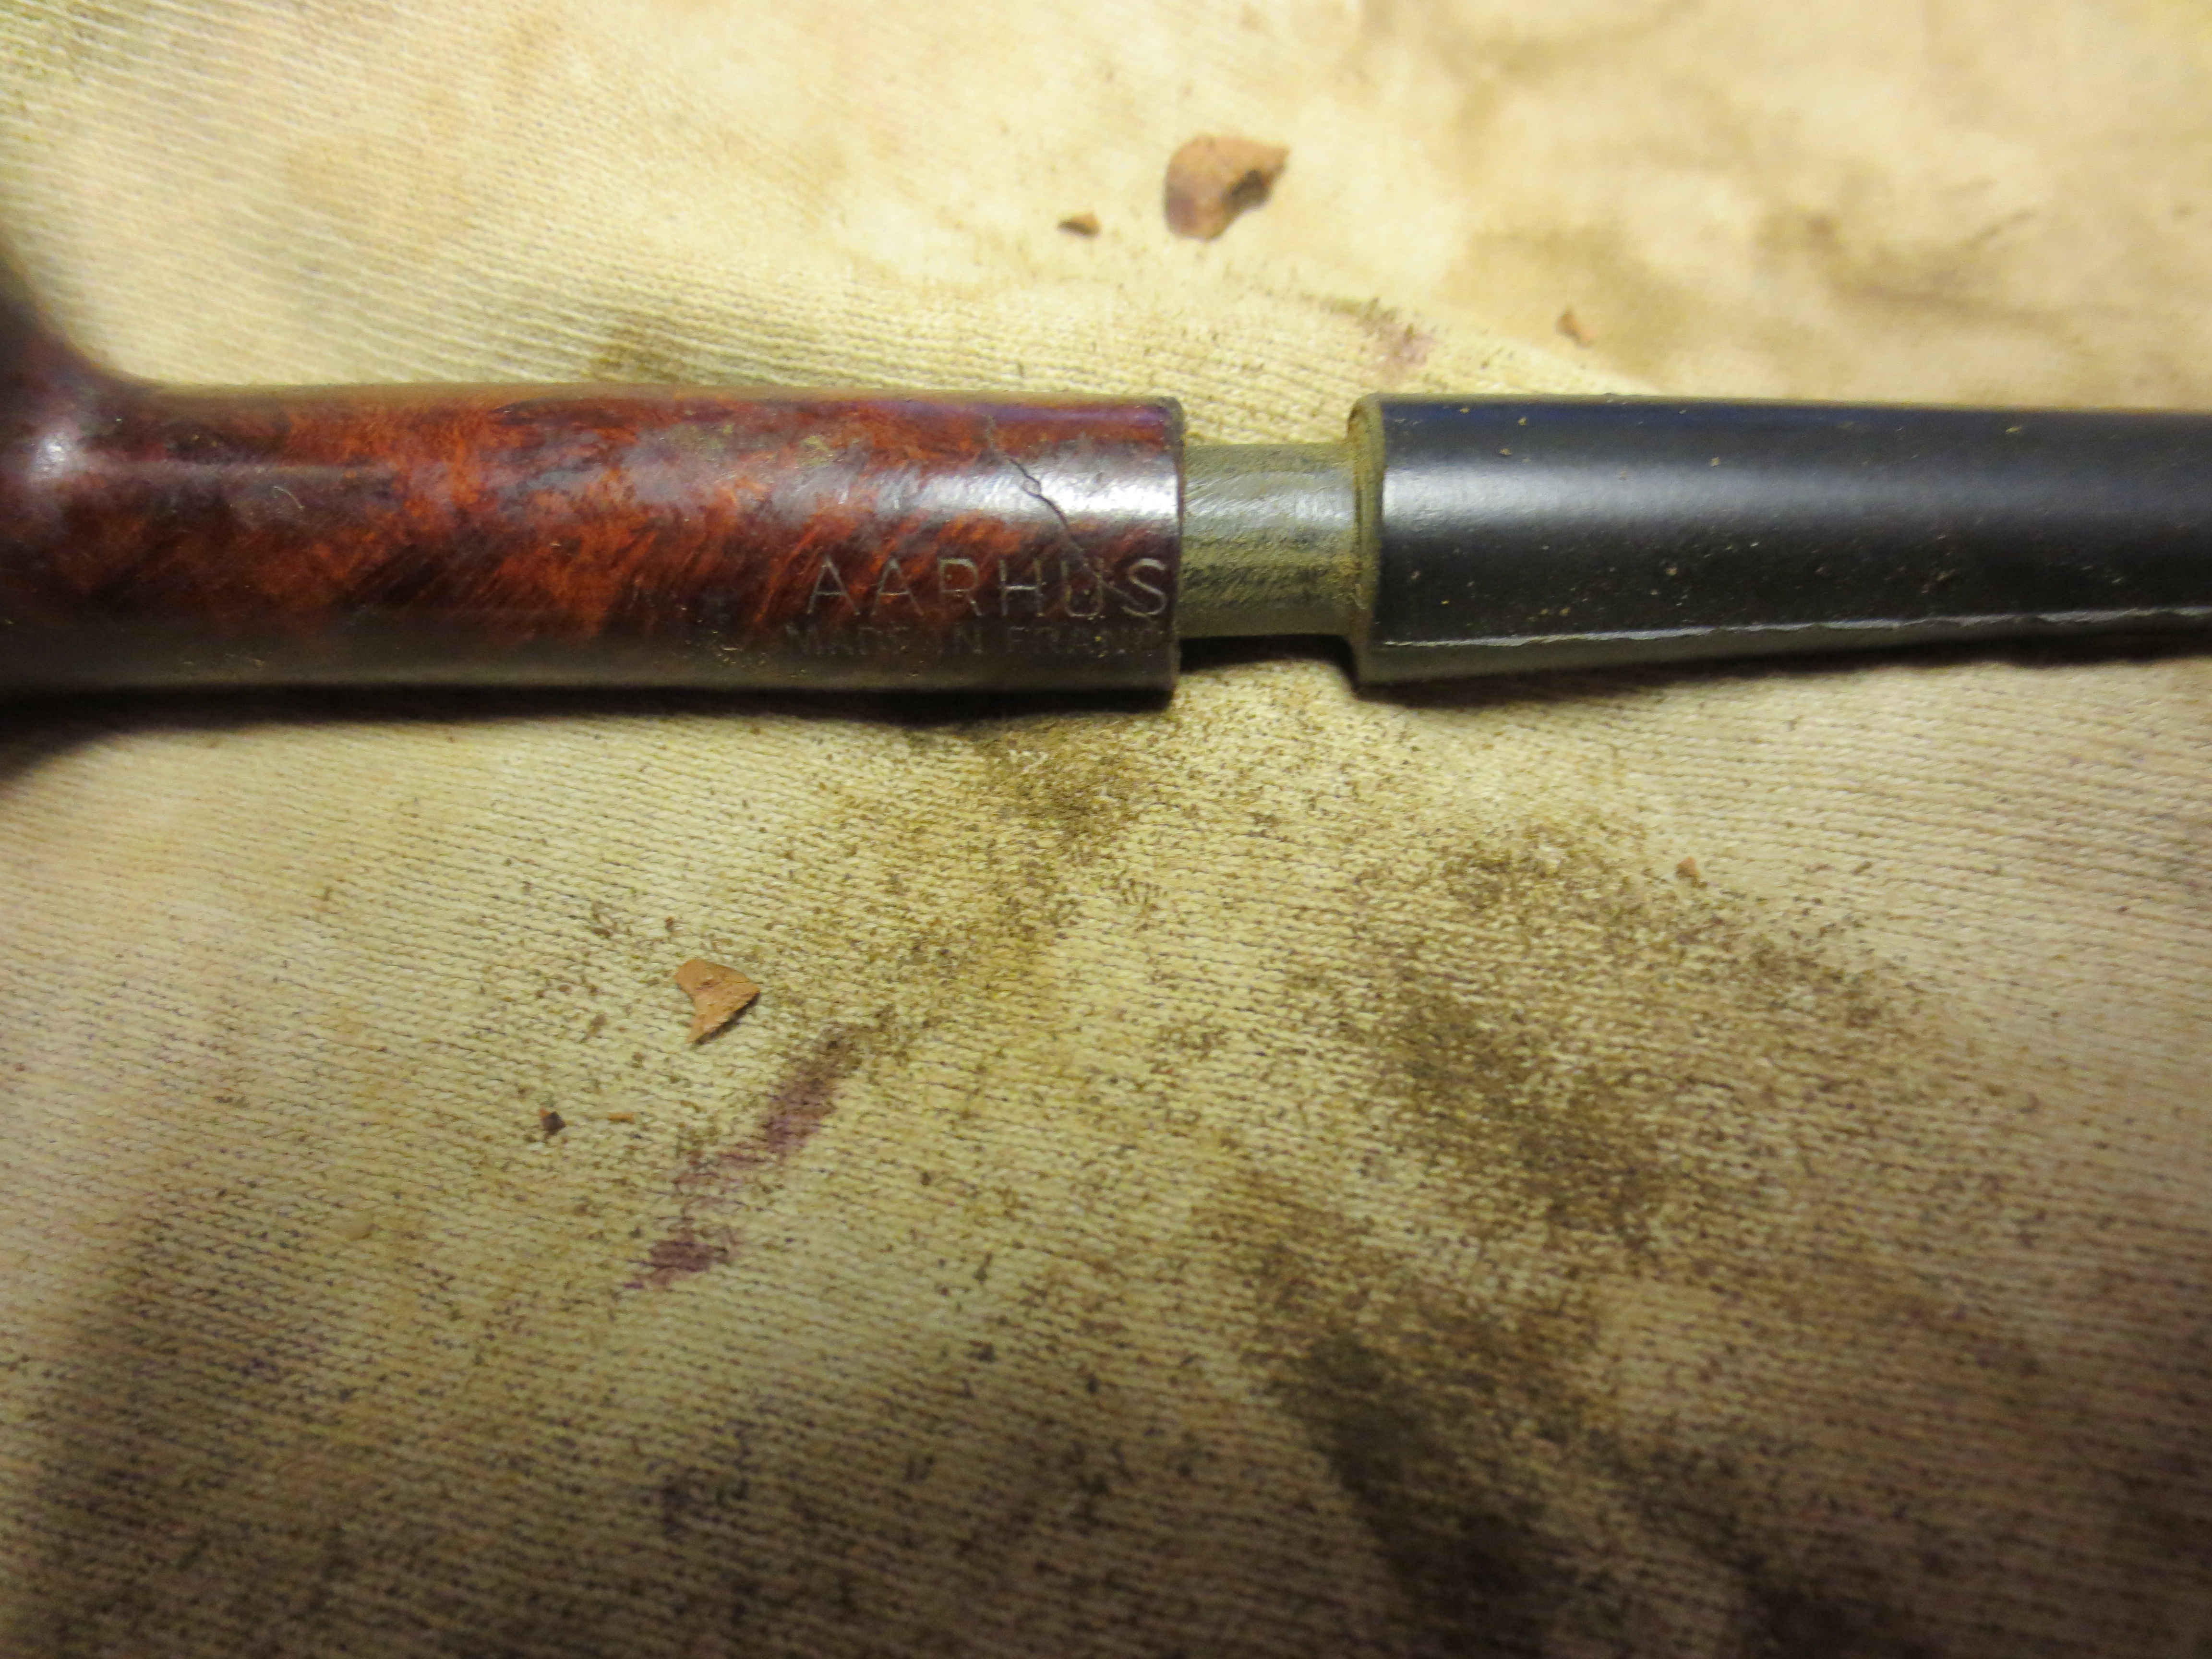
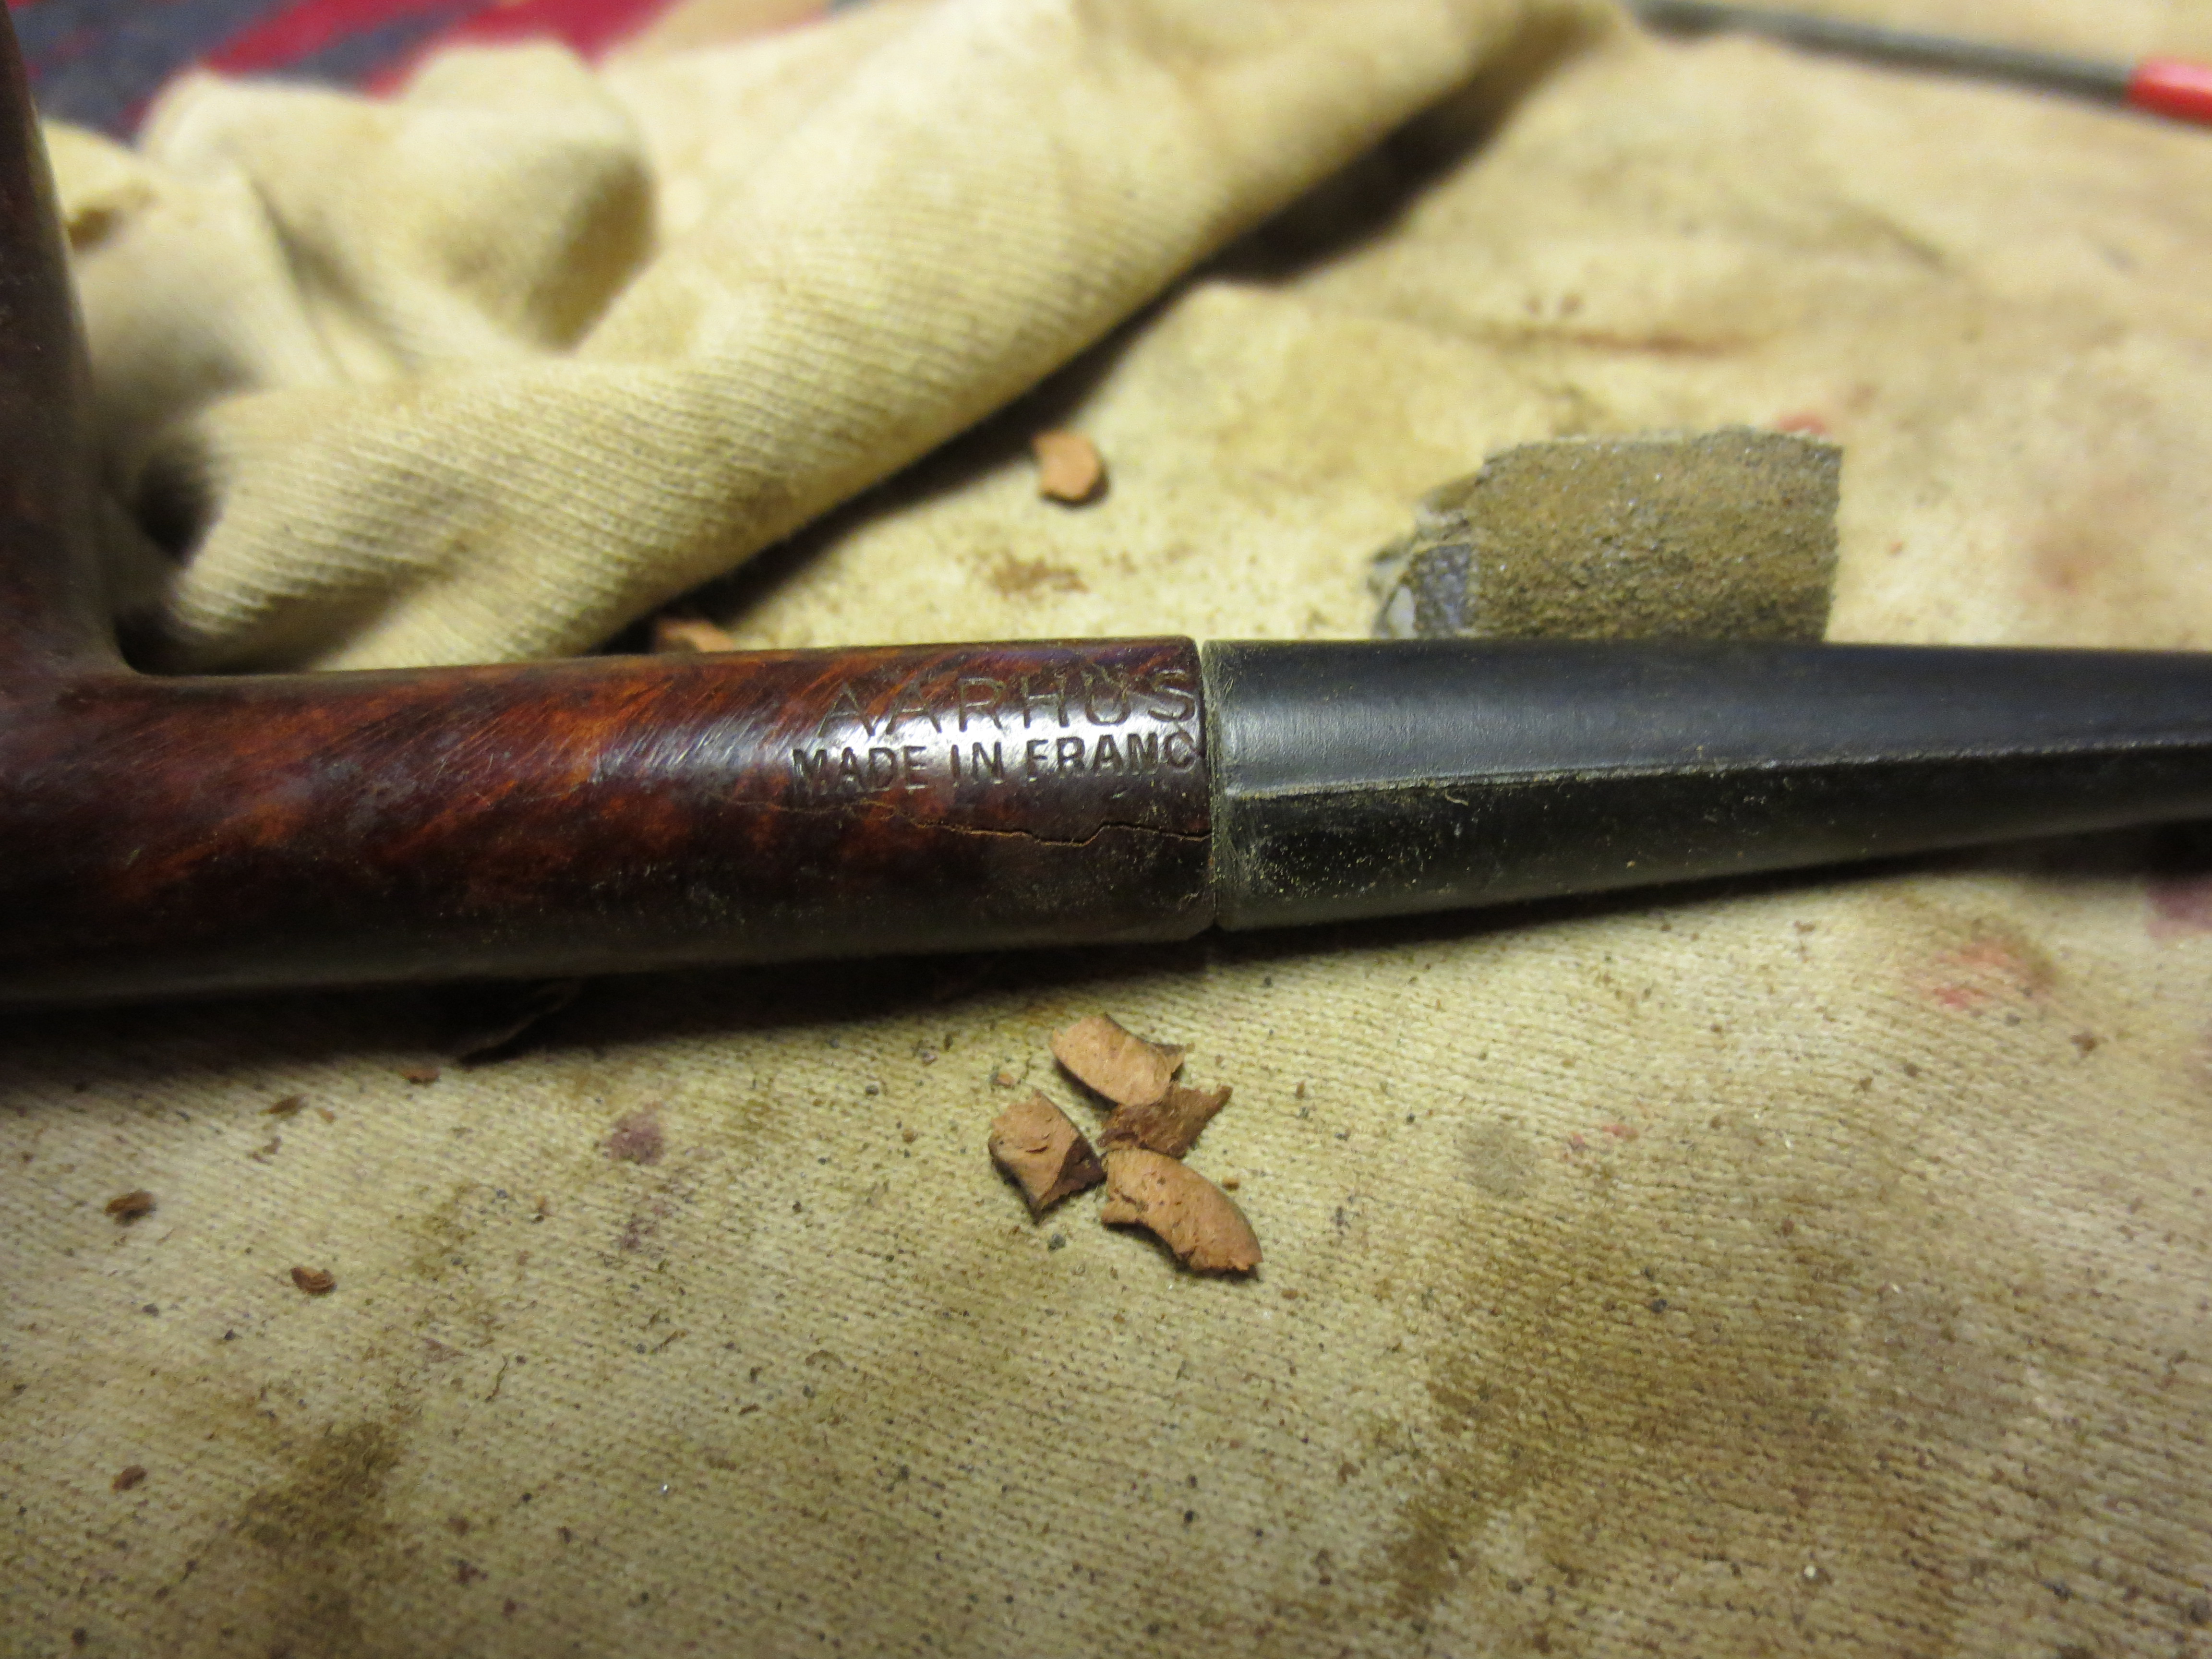
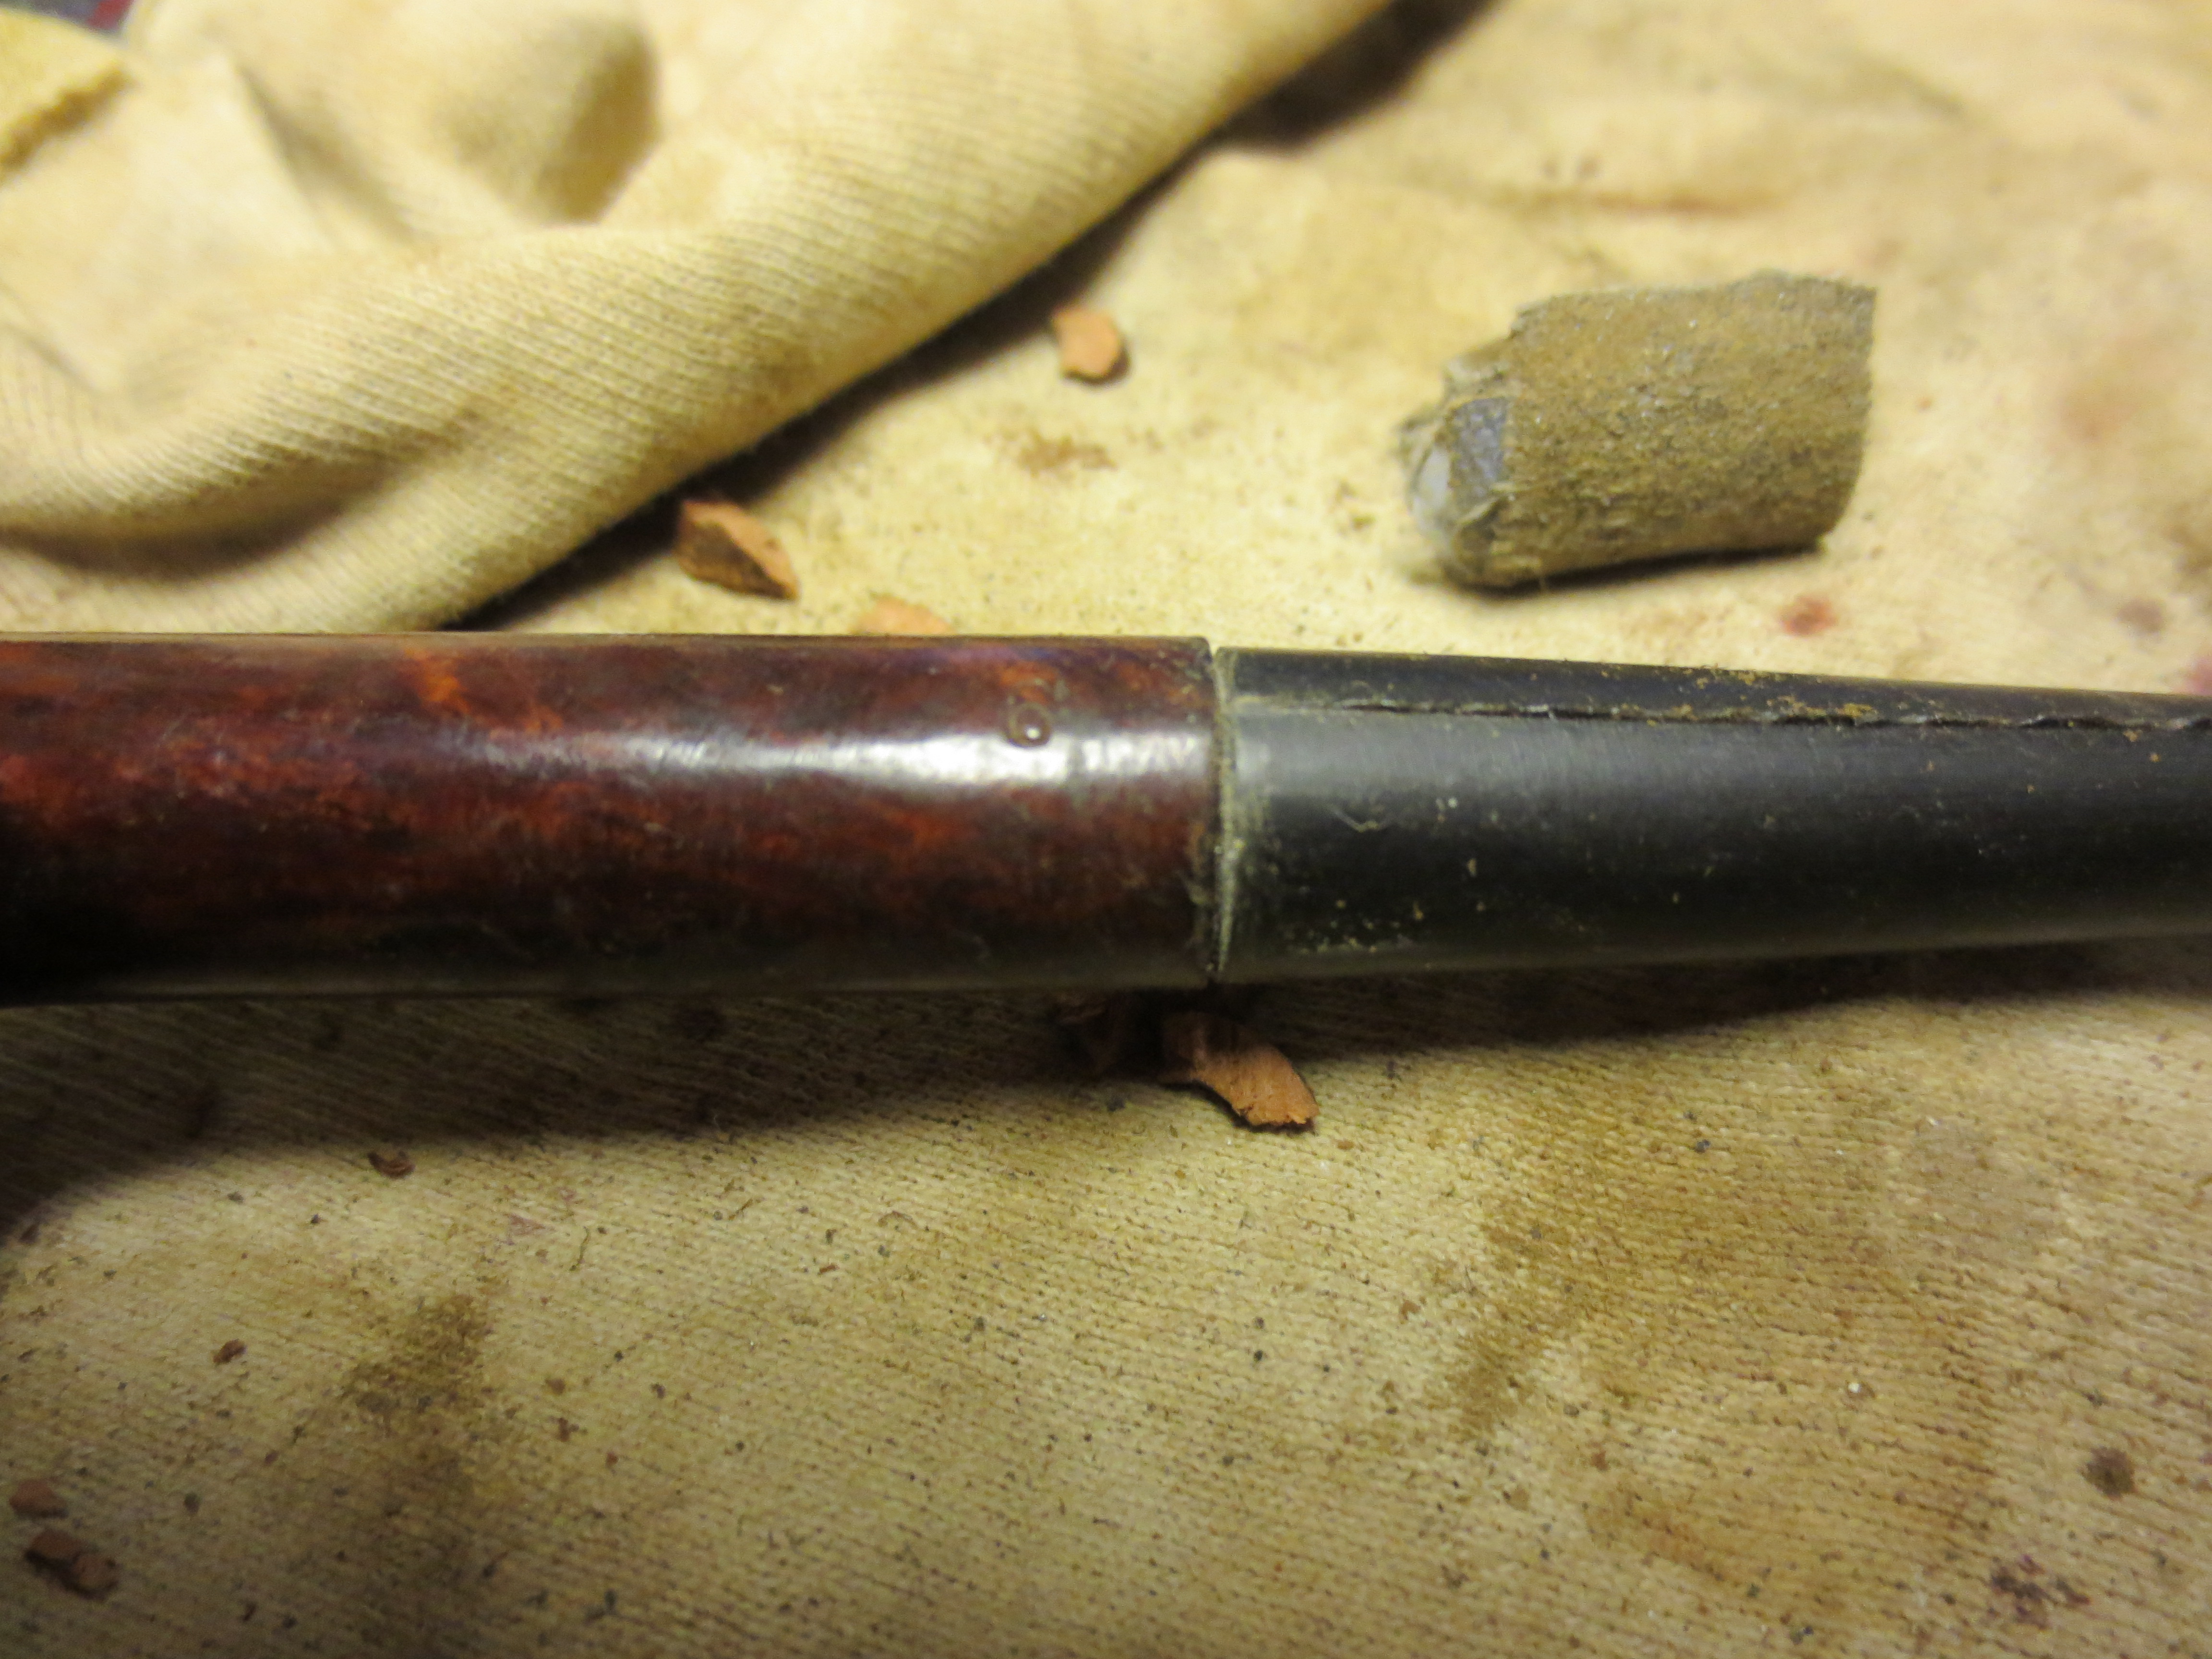
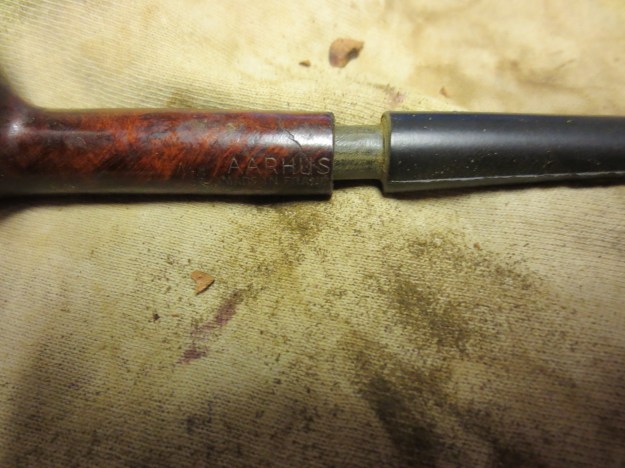
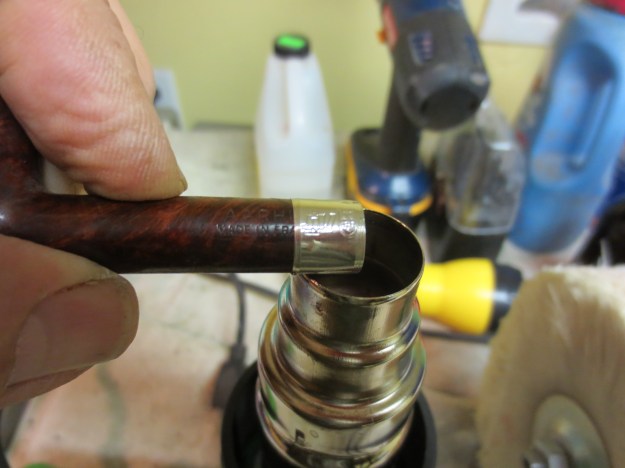
The next three photos show the stamping on the shank and the angle of the cut of portion. It actually cut off the last letter or letters of Aarhus (pipe brand) and the E of France. The third photo shows the crack on the left side of the shank. There was a matching crack on the right side as well.


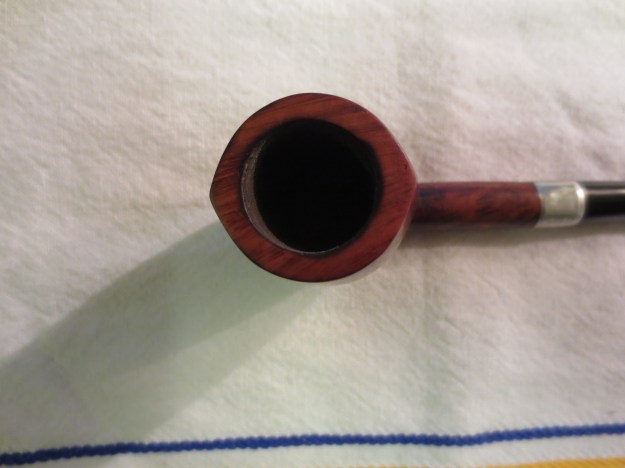
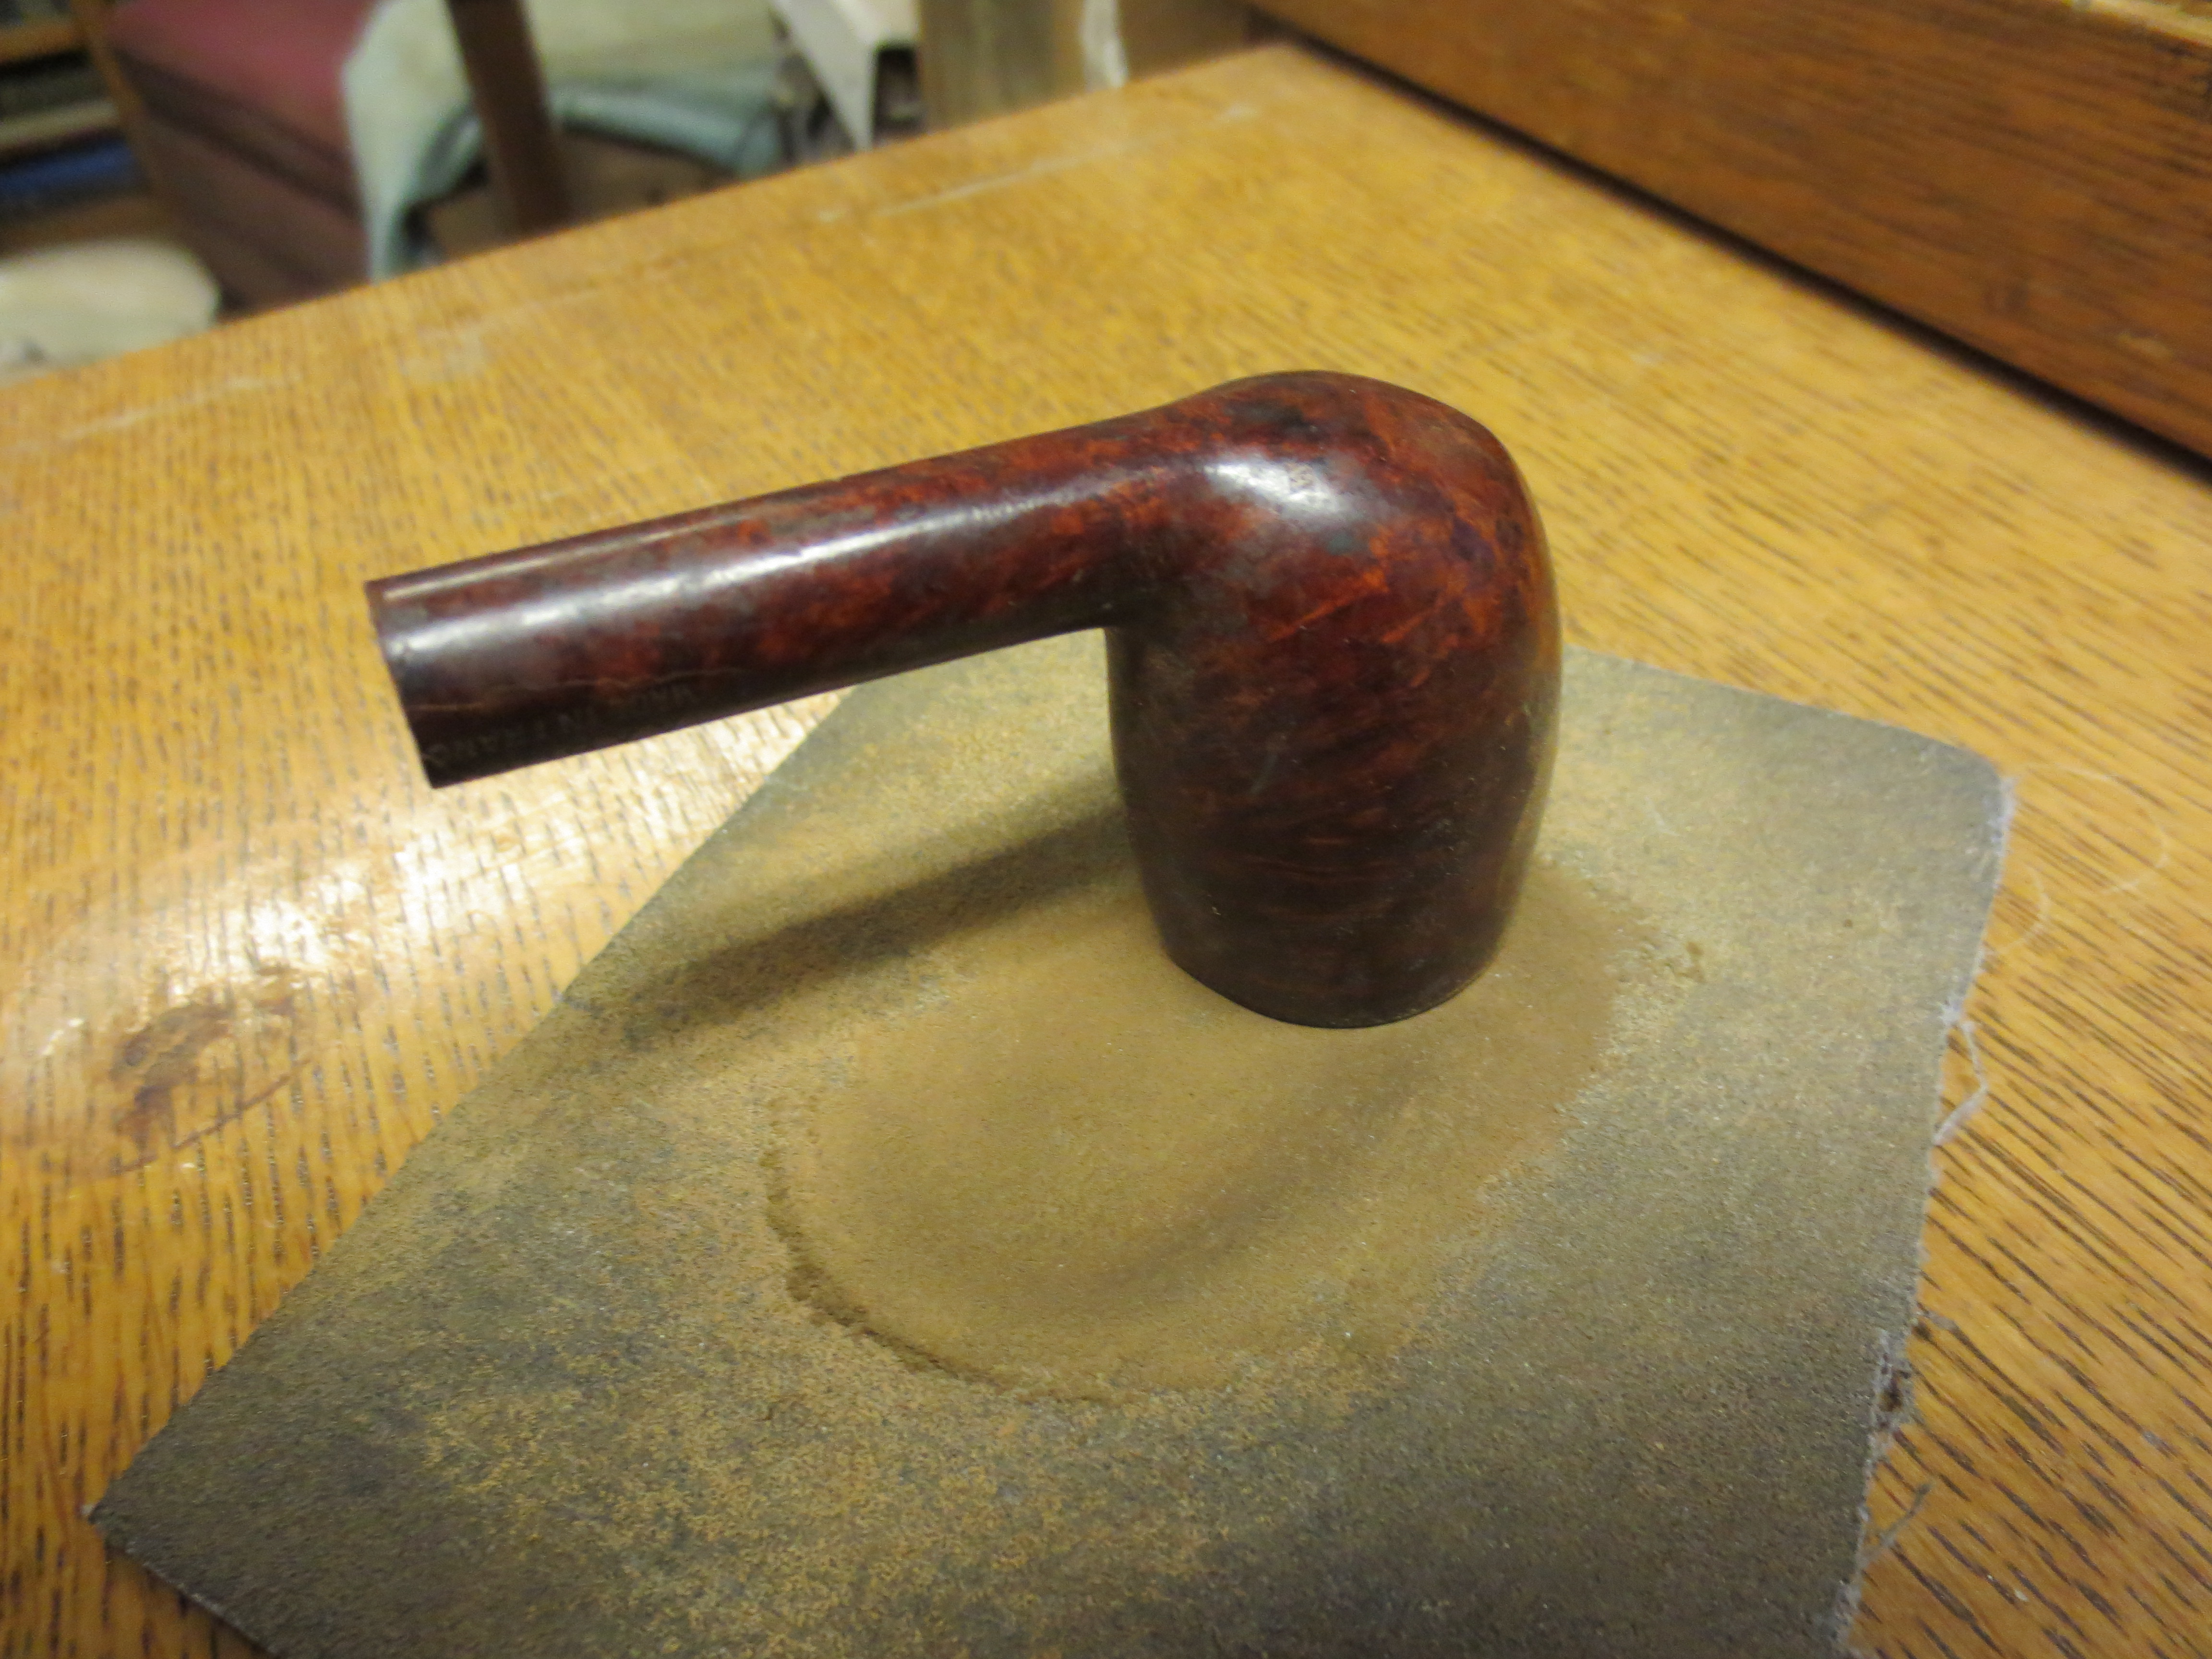
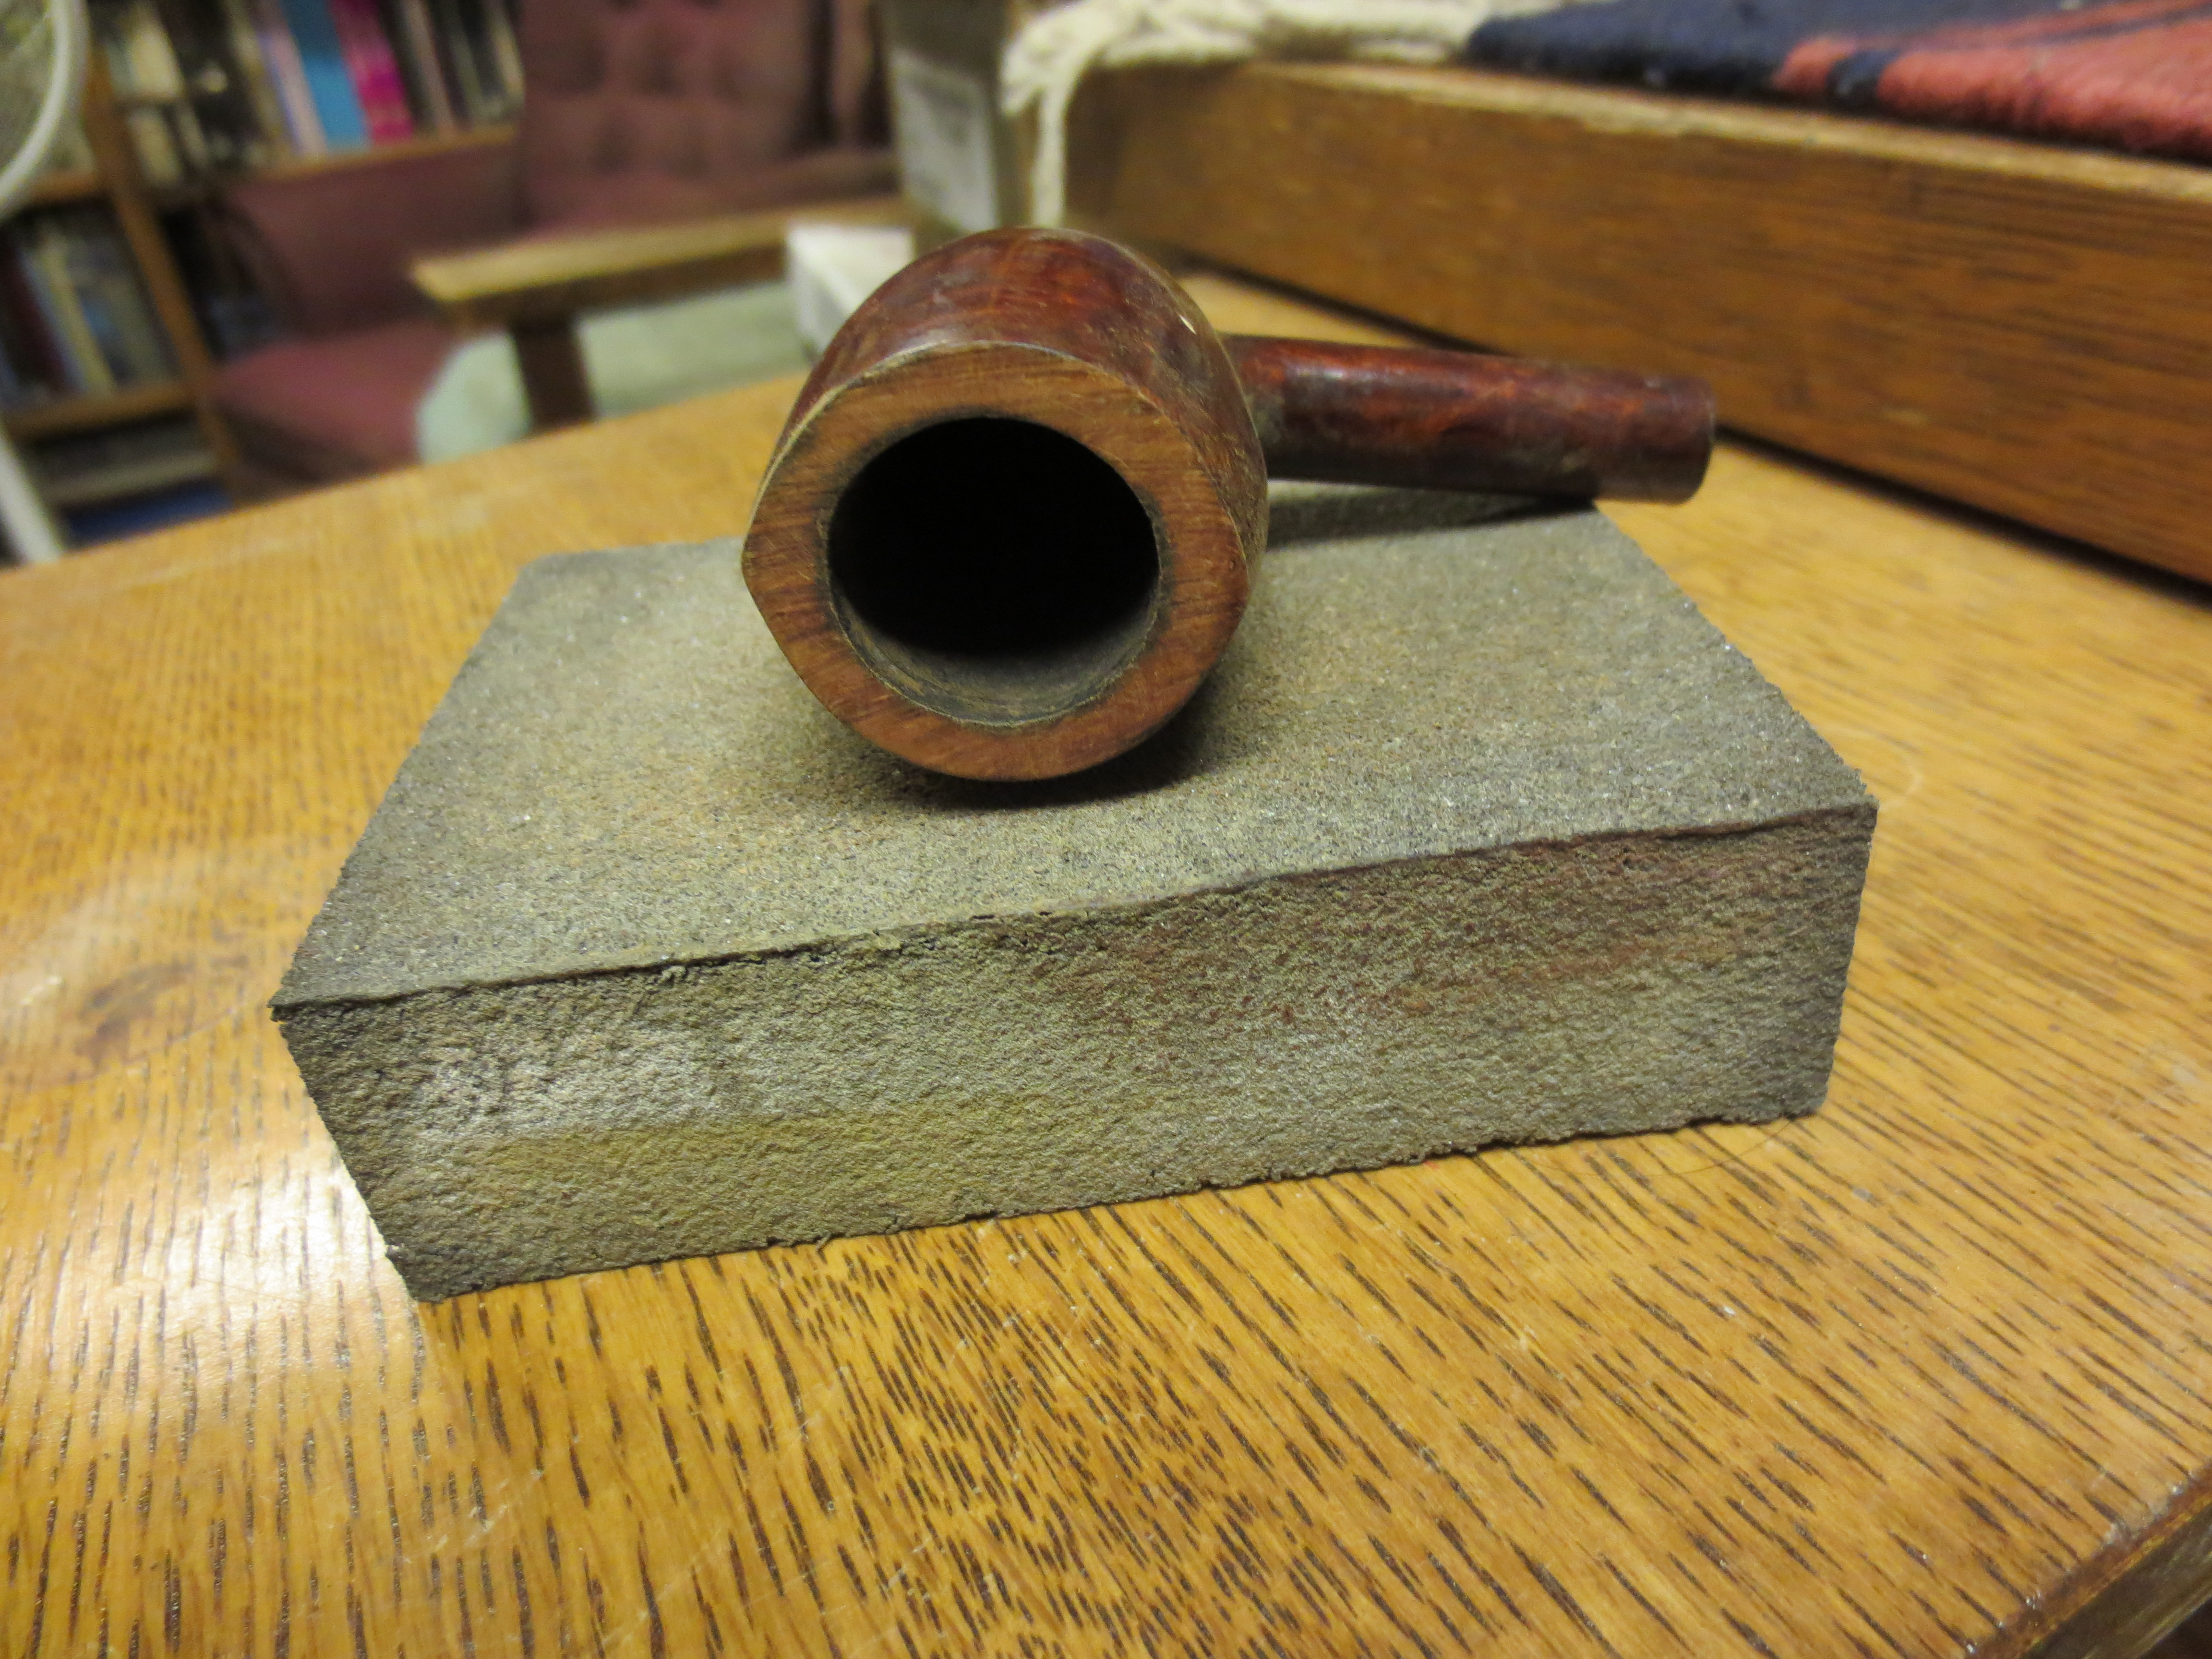
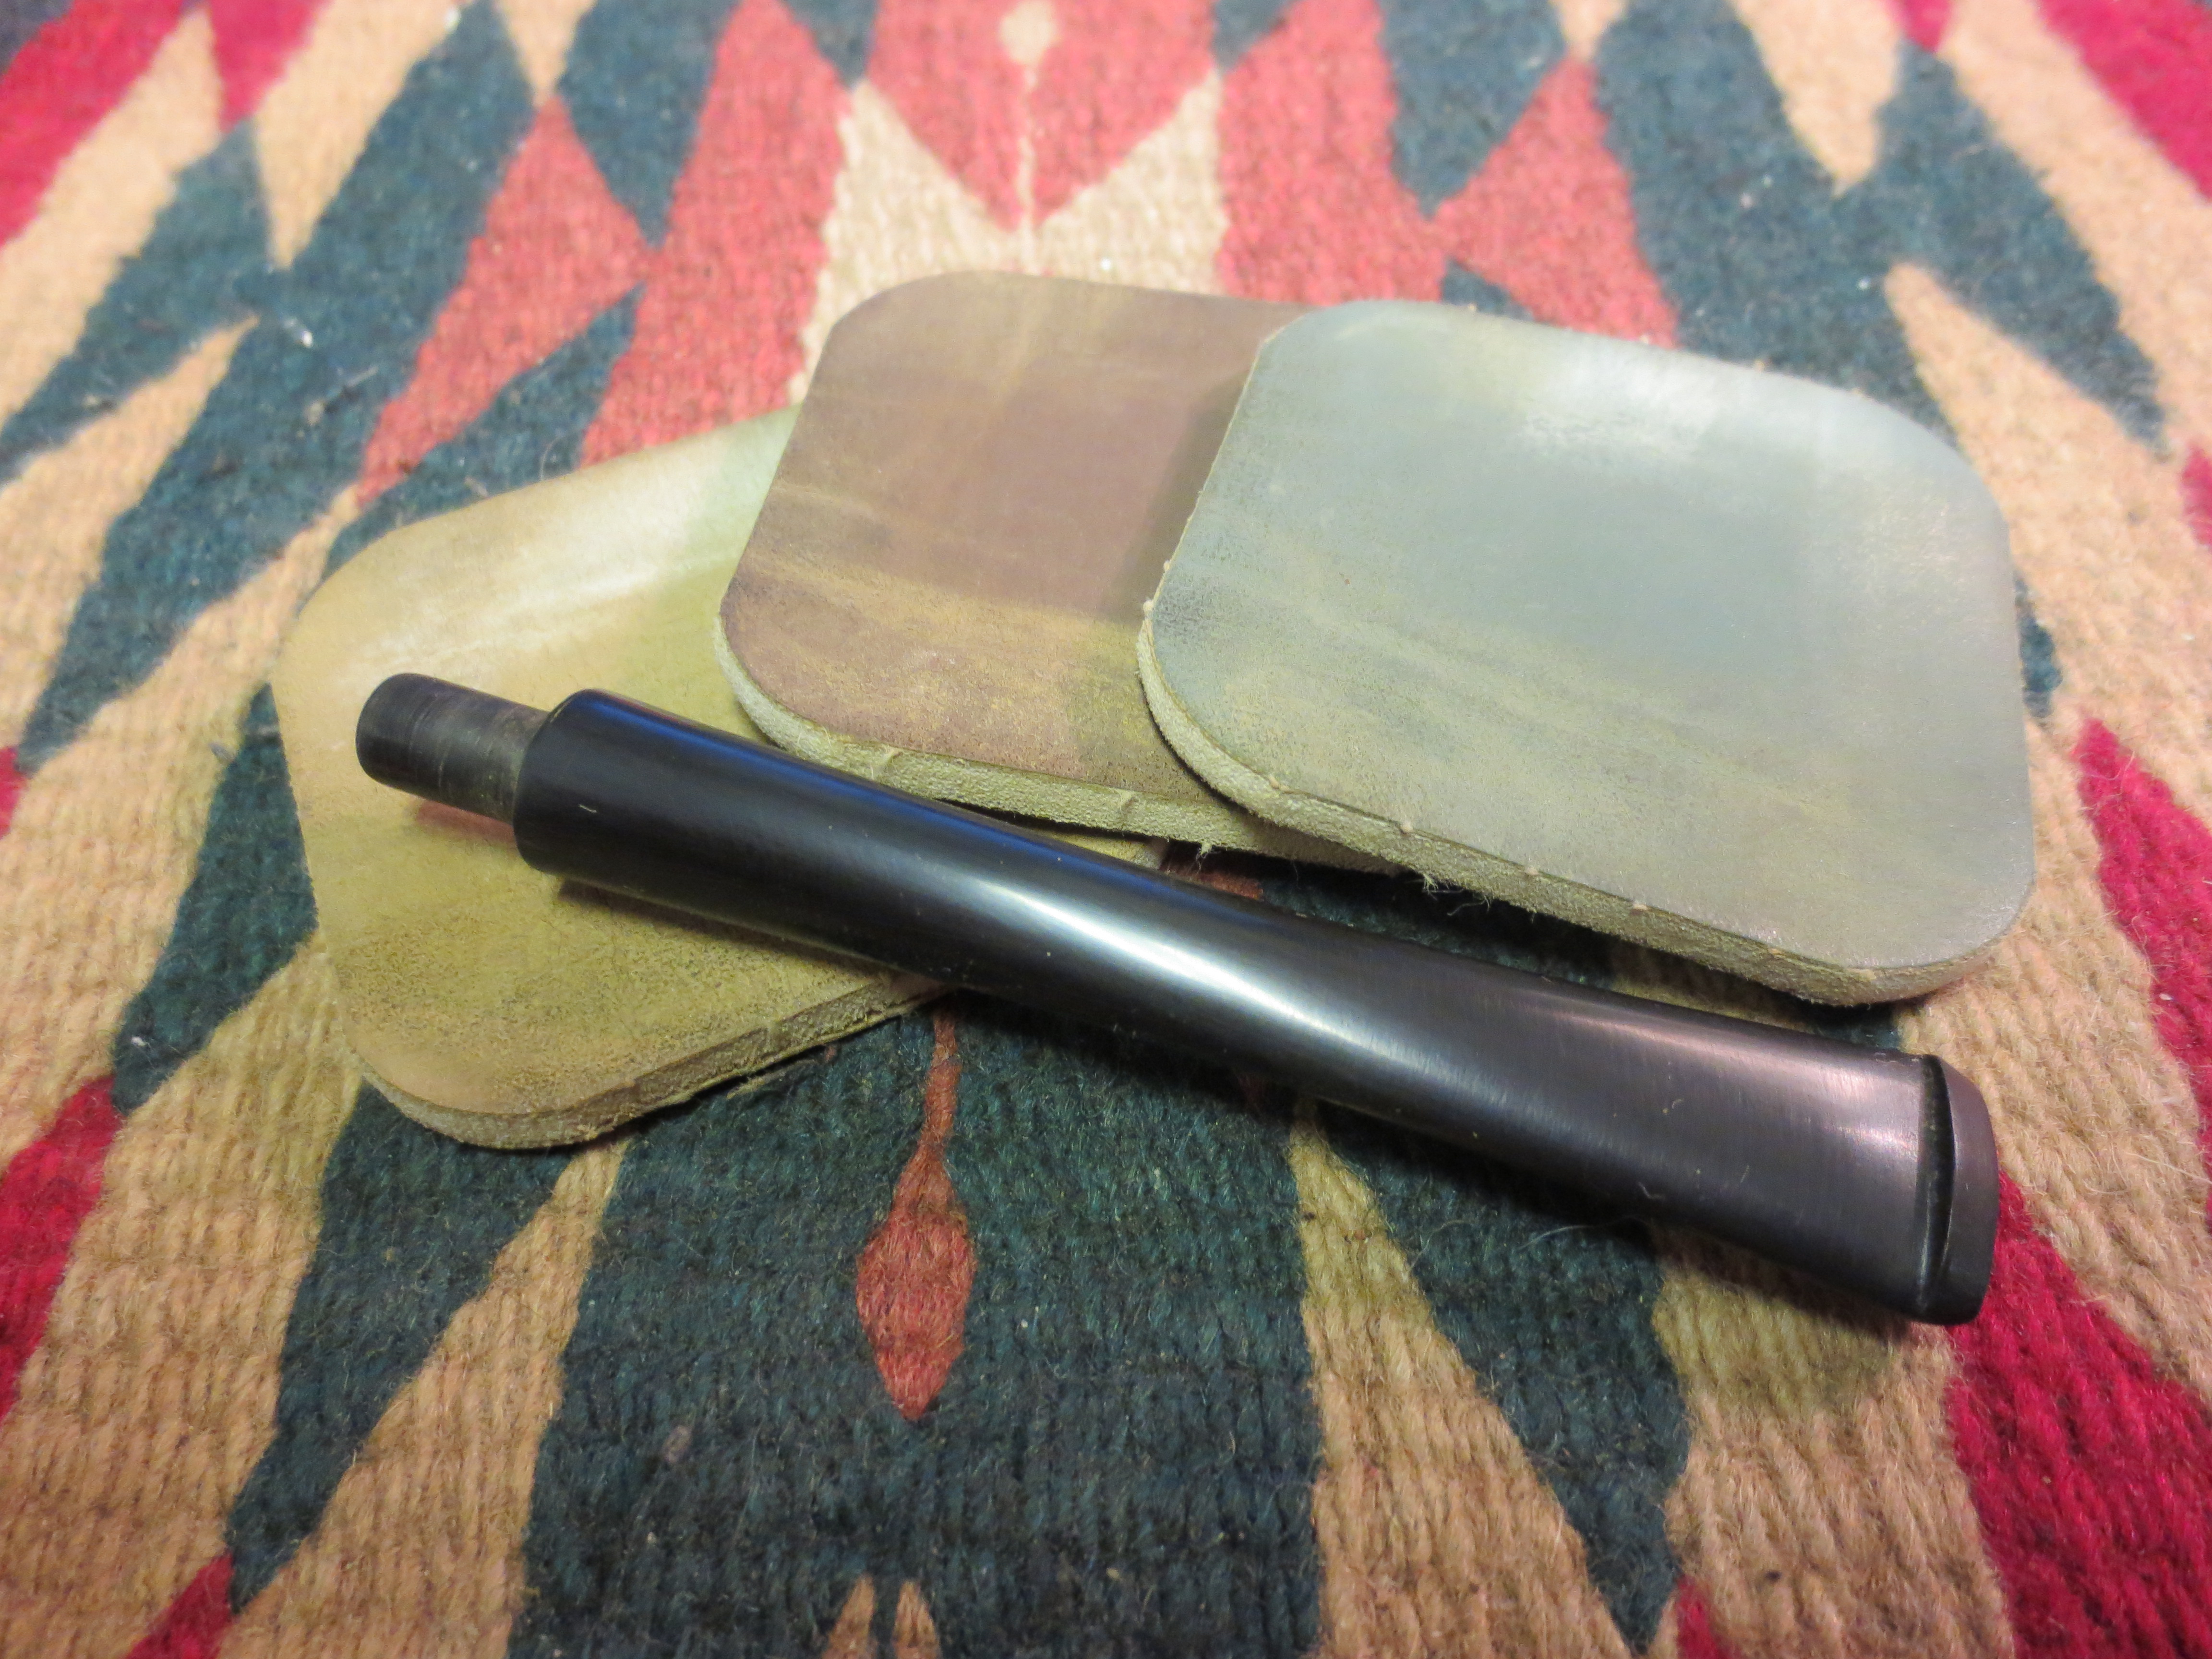
I reamed the pipe and then topped the bowl to remove the damage to the rim and smooth out the surface. I was intending to refinish the pipe anyway so I started with fine grit emery paper to clean off the thick tars on the surface (Photos 1 &2). I then used a medium grit sanding sponge to clean up the surface from the scratches of the emery paper (Photo 3).


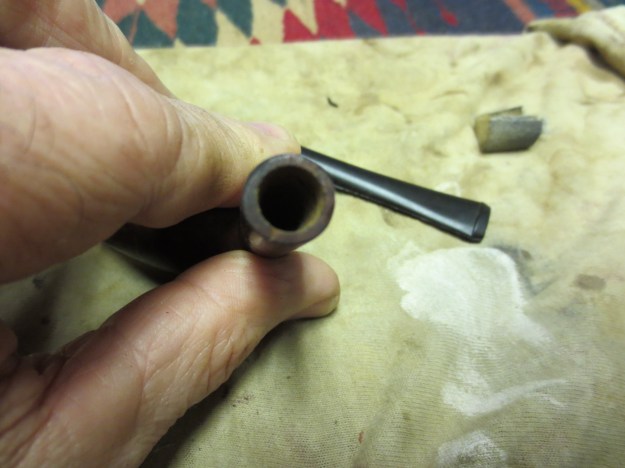
I worked on the tenon in order to get a good smooth fit in the mortise. In Photo 1 below you can see how I used the stem to open the crack so I could repair it. I dripped in some superglue and squeezed it back together. You can see in Photos 1 and 2 the fit of the stem against the shank. The gap between stem and shank shows the angular cut that had been done on the shank. There were also small pieces of briar missing on the bottom edge of the shank. The end was rough and with the cracks left no choice but to band it. (In the photos there are some chunks of briar. These were inside of a band that I was cleaning up to reuse on the tenon of this pipe.)


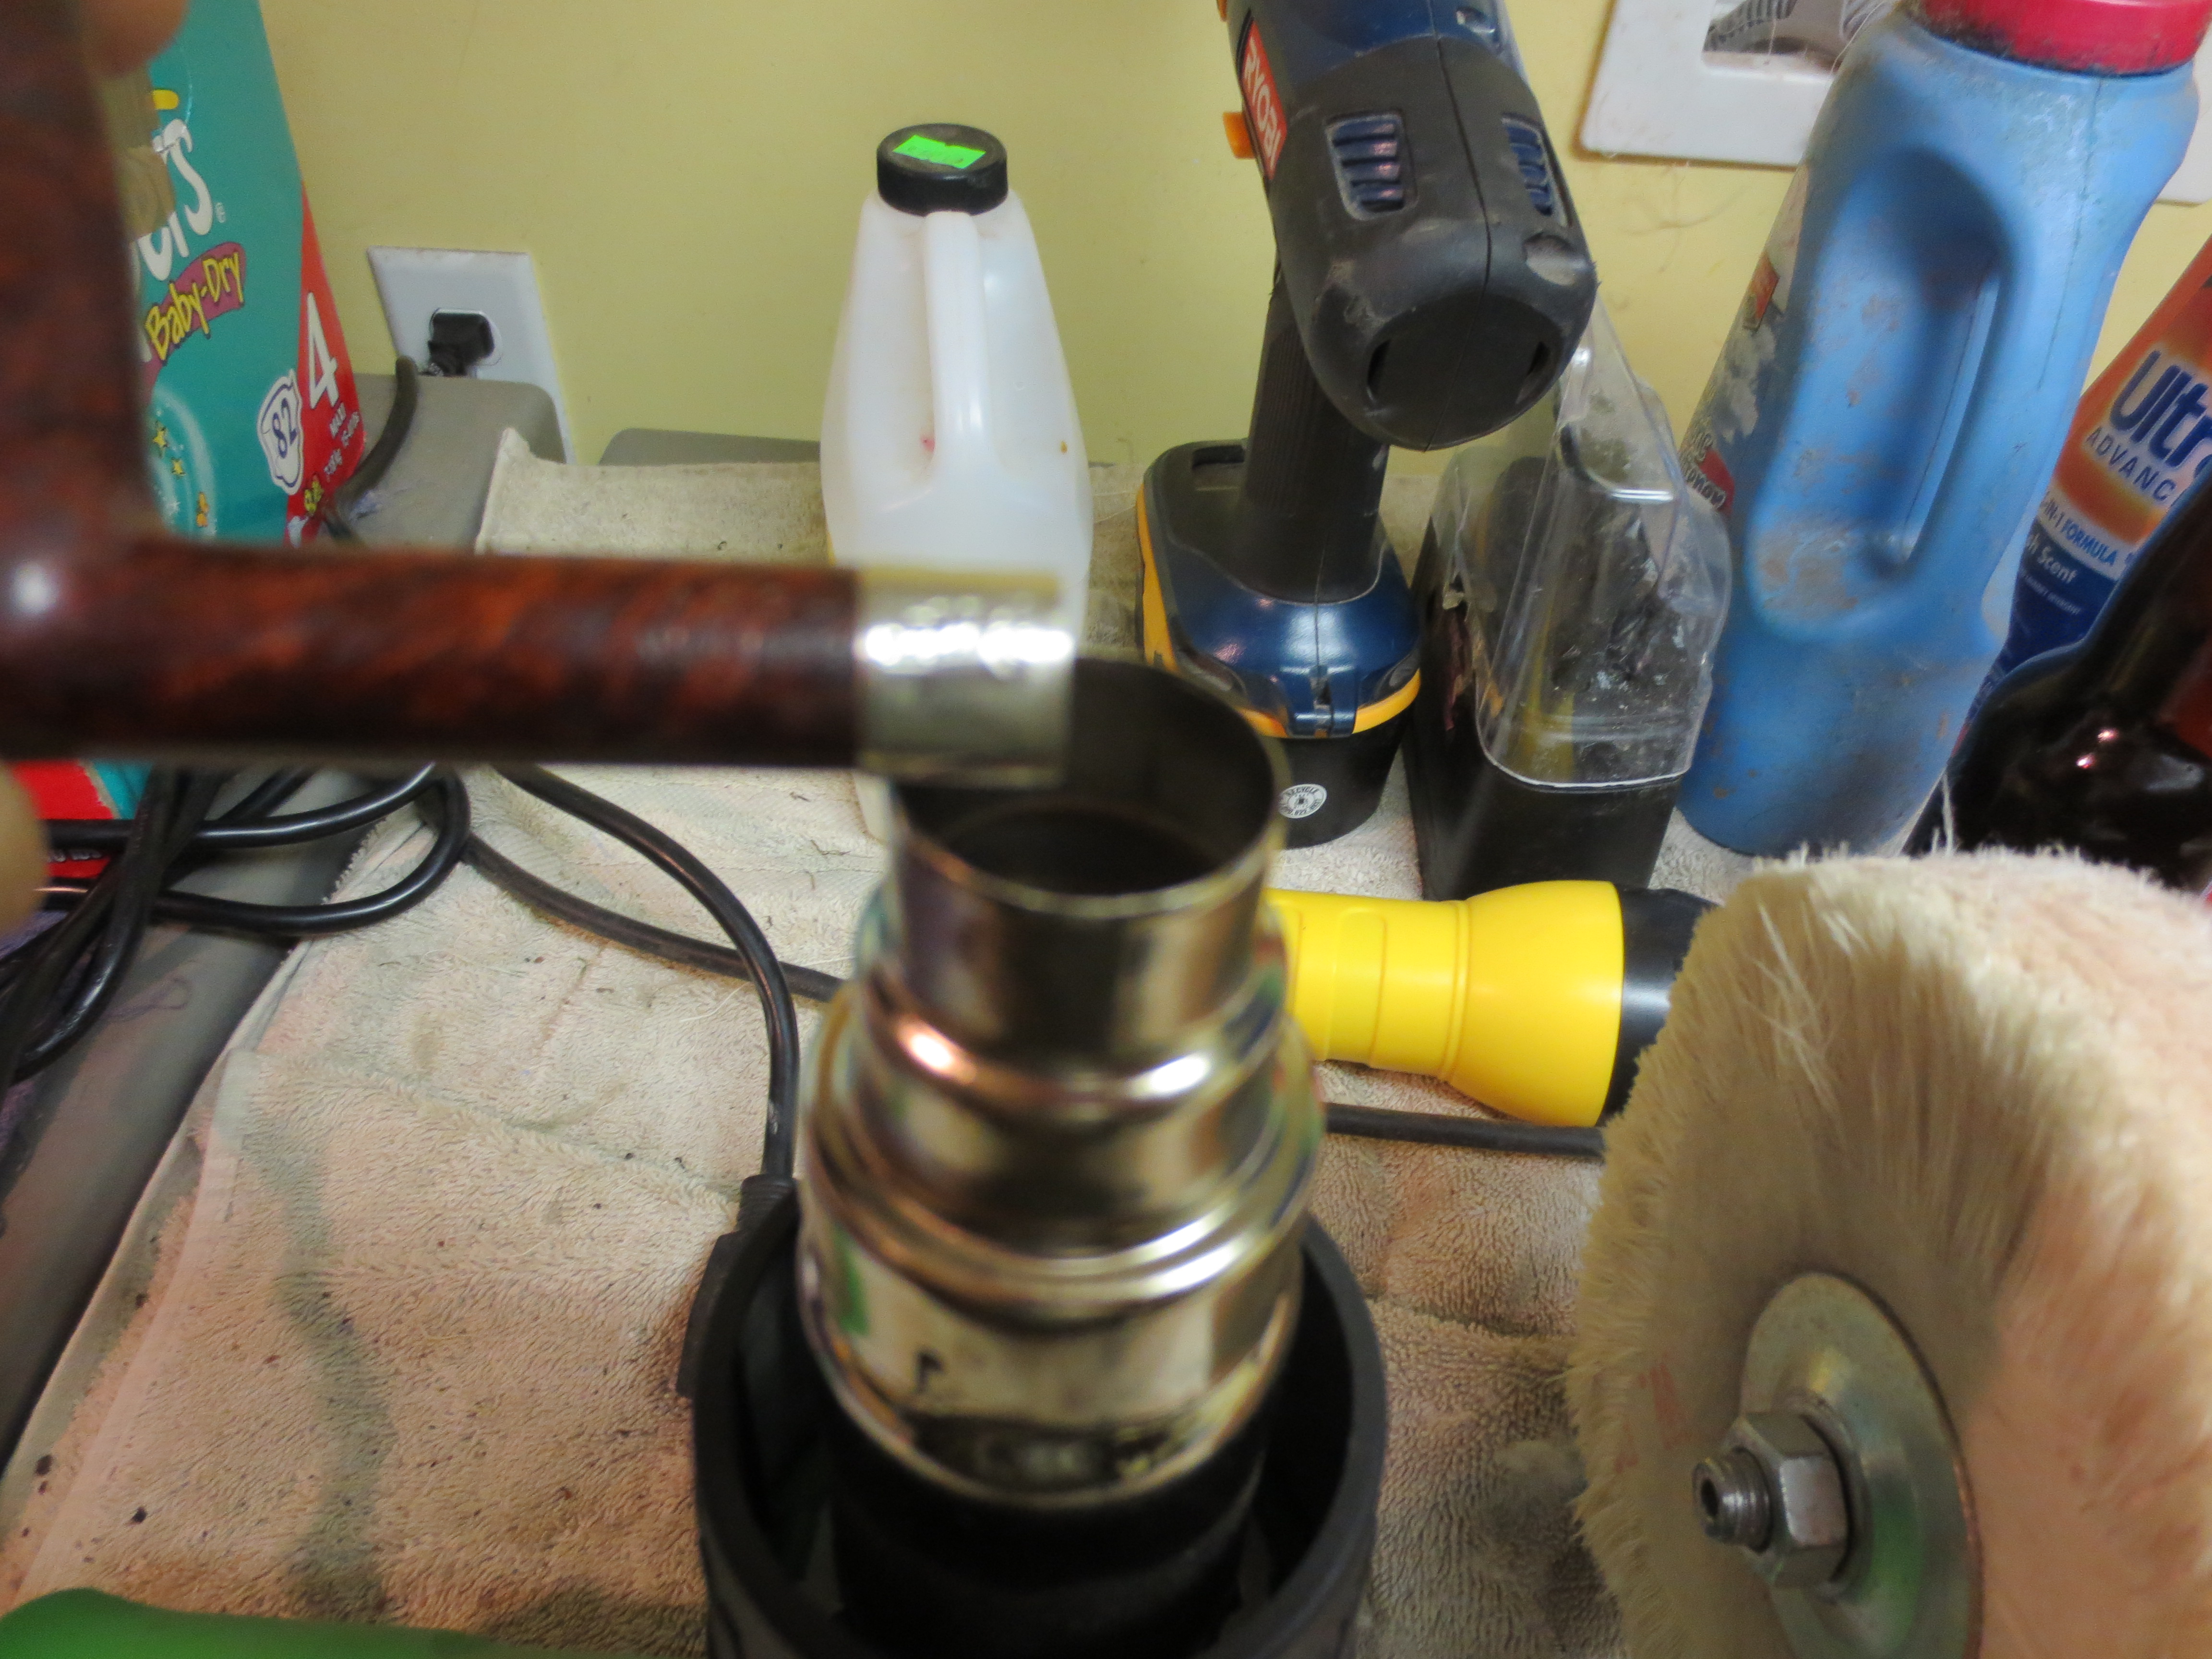
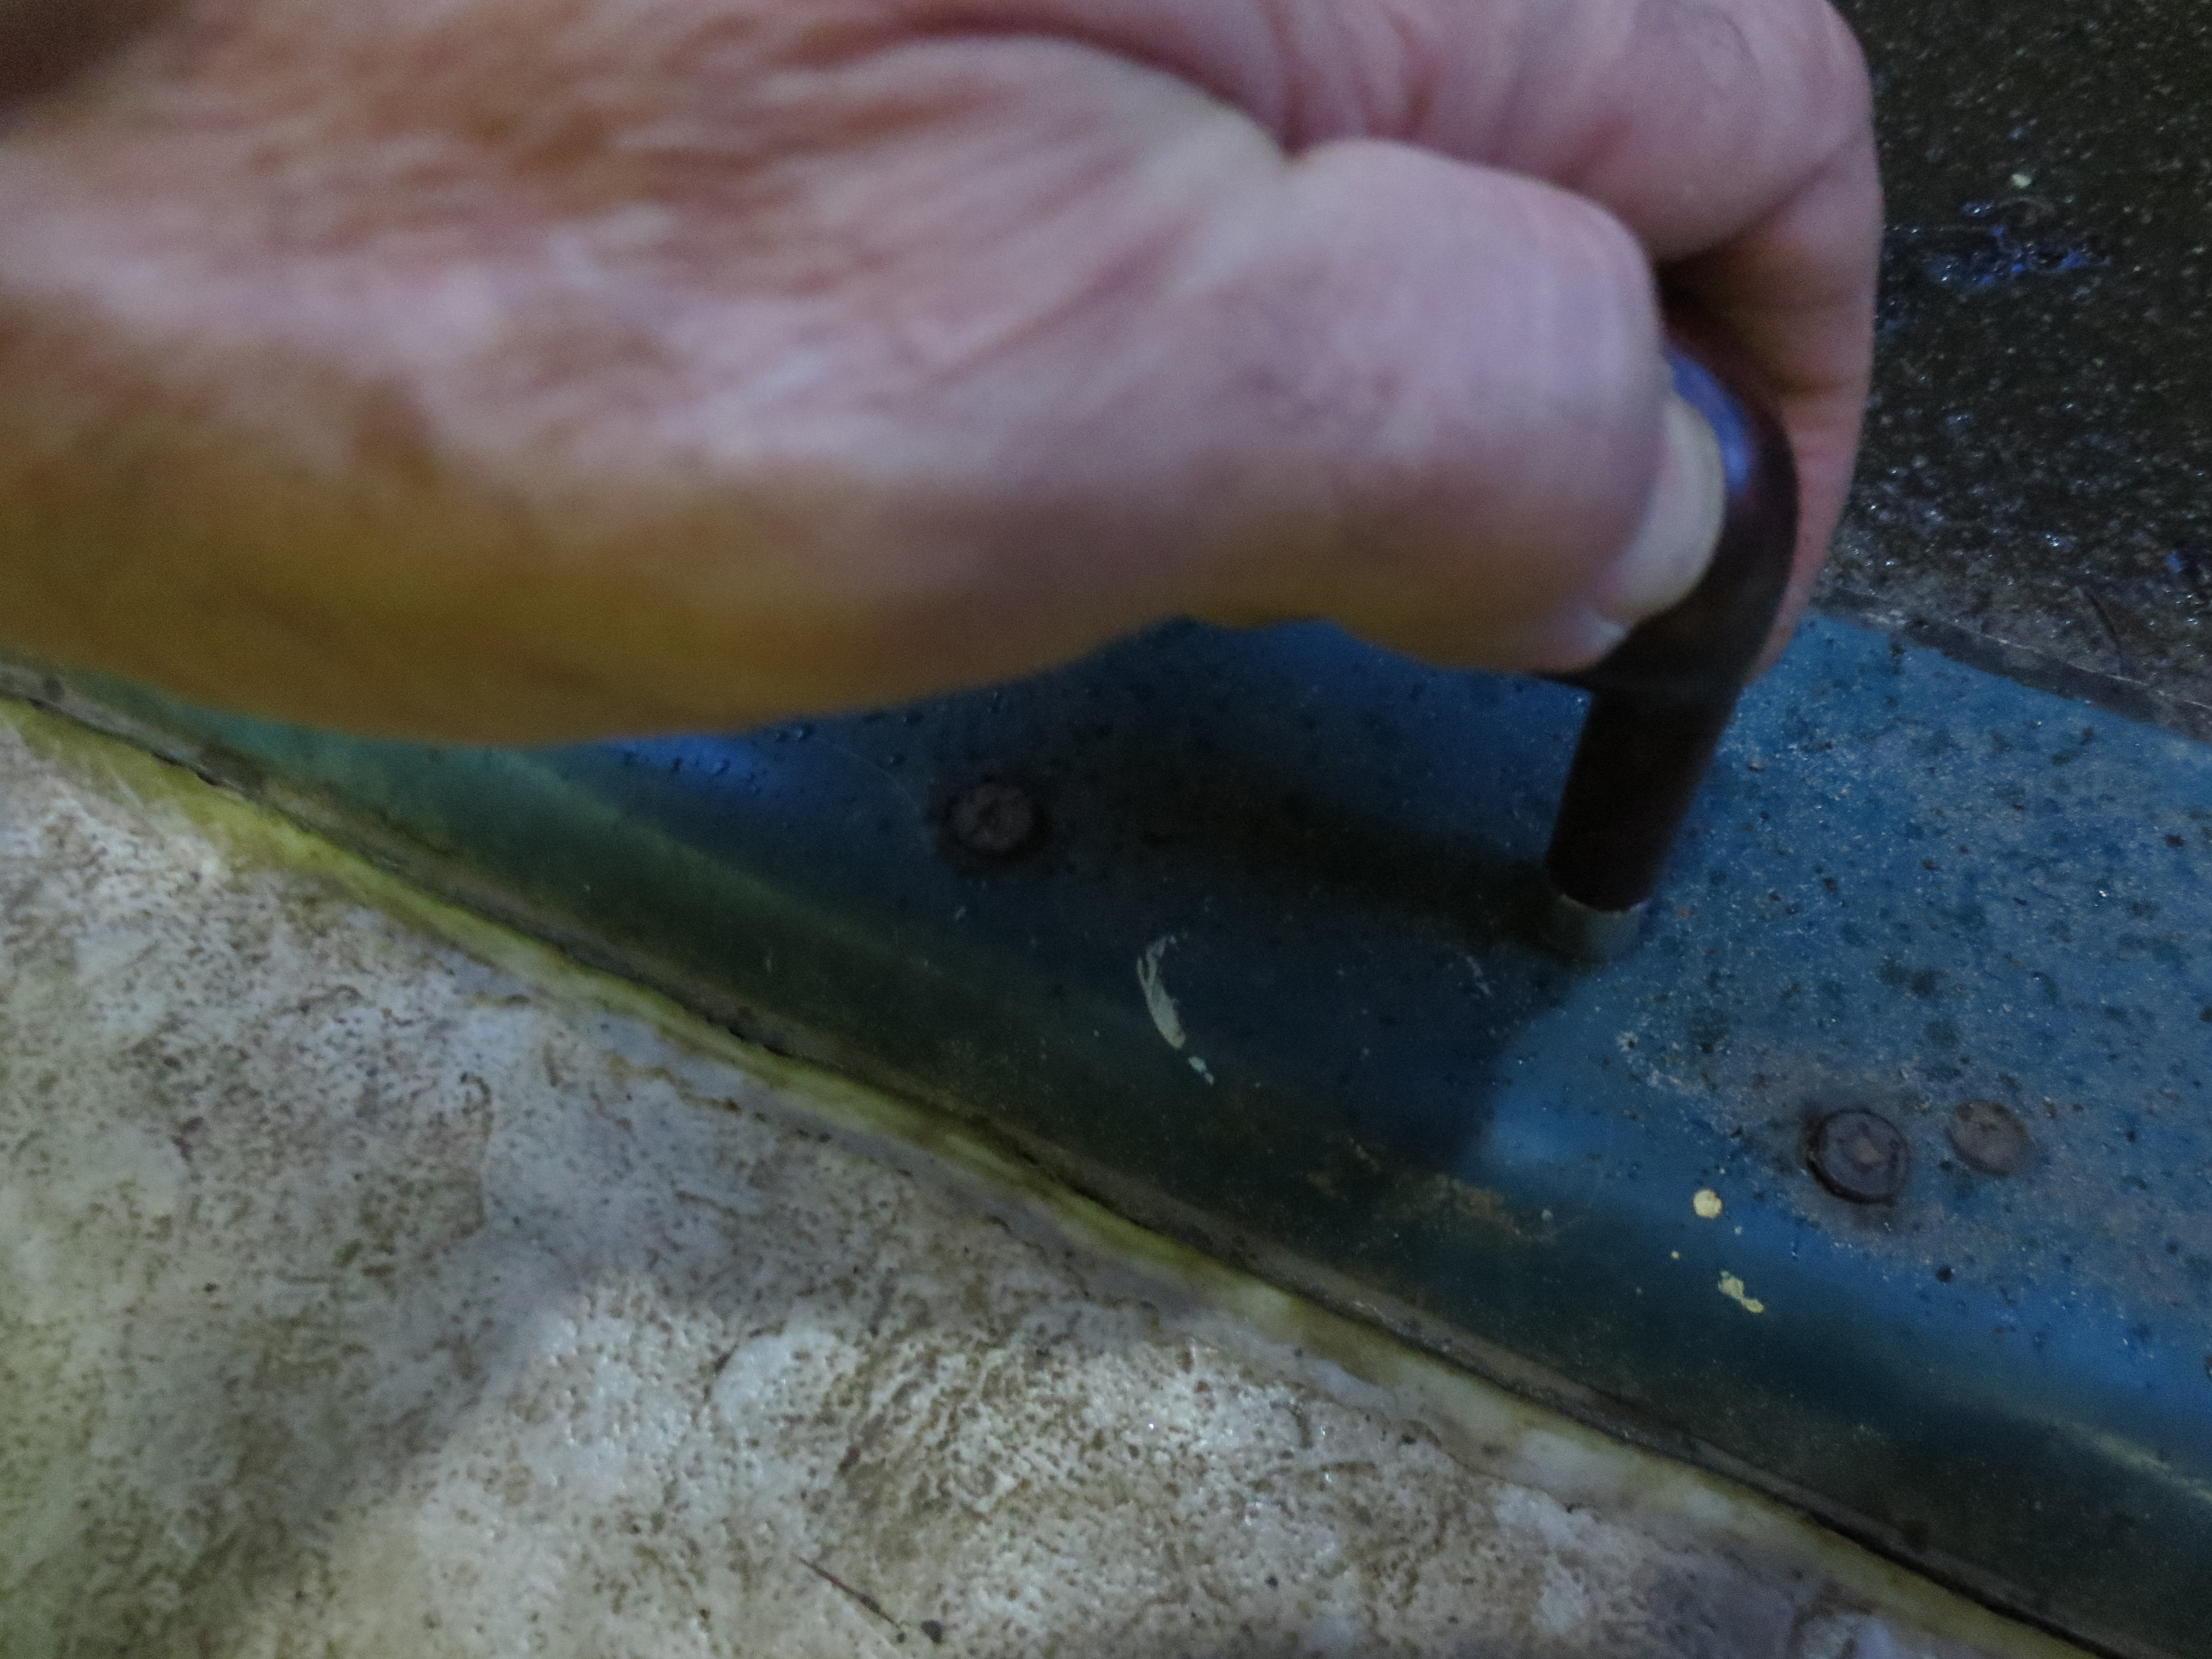
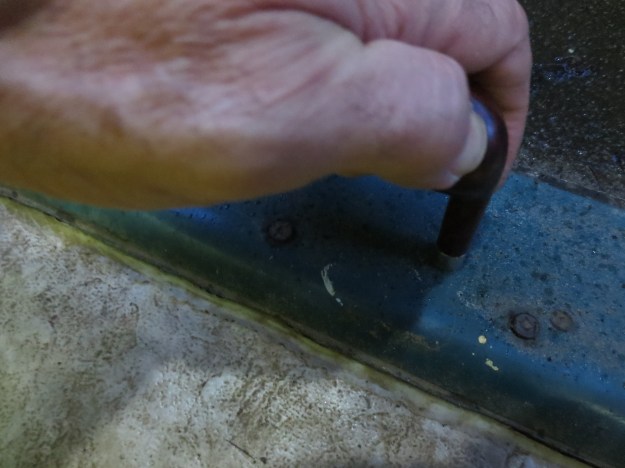
I set up my heat gun and placed the band on the end of the shank. It was a tight band and I was able to just insert the edge in the band so that I could heat the band for pressure fitting it on the shank. The next four photos show the heating of the band and the metal plate that I use to press it into place on the shank. I heated it and pressed it on in three different increments as the band cooled before it would go all the way into place.


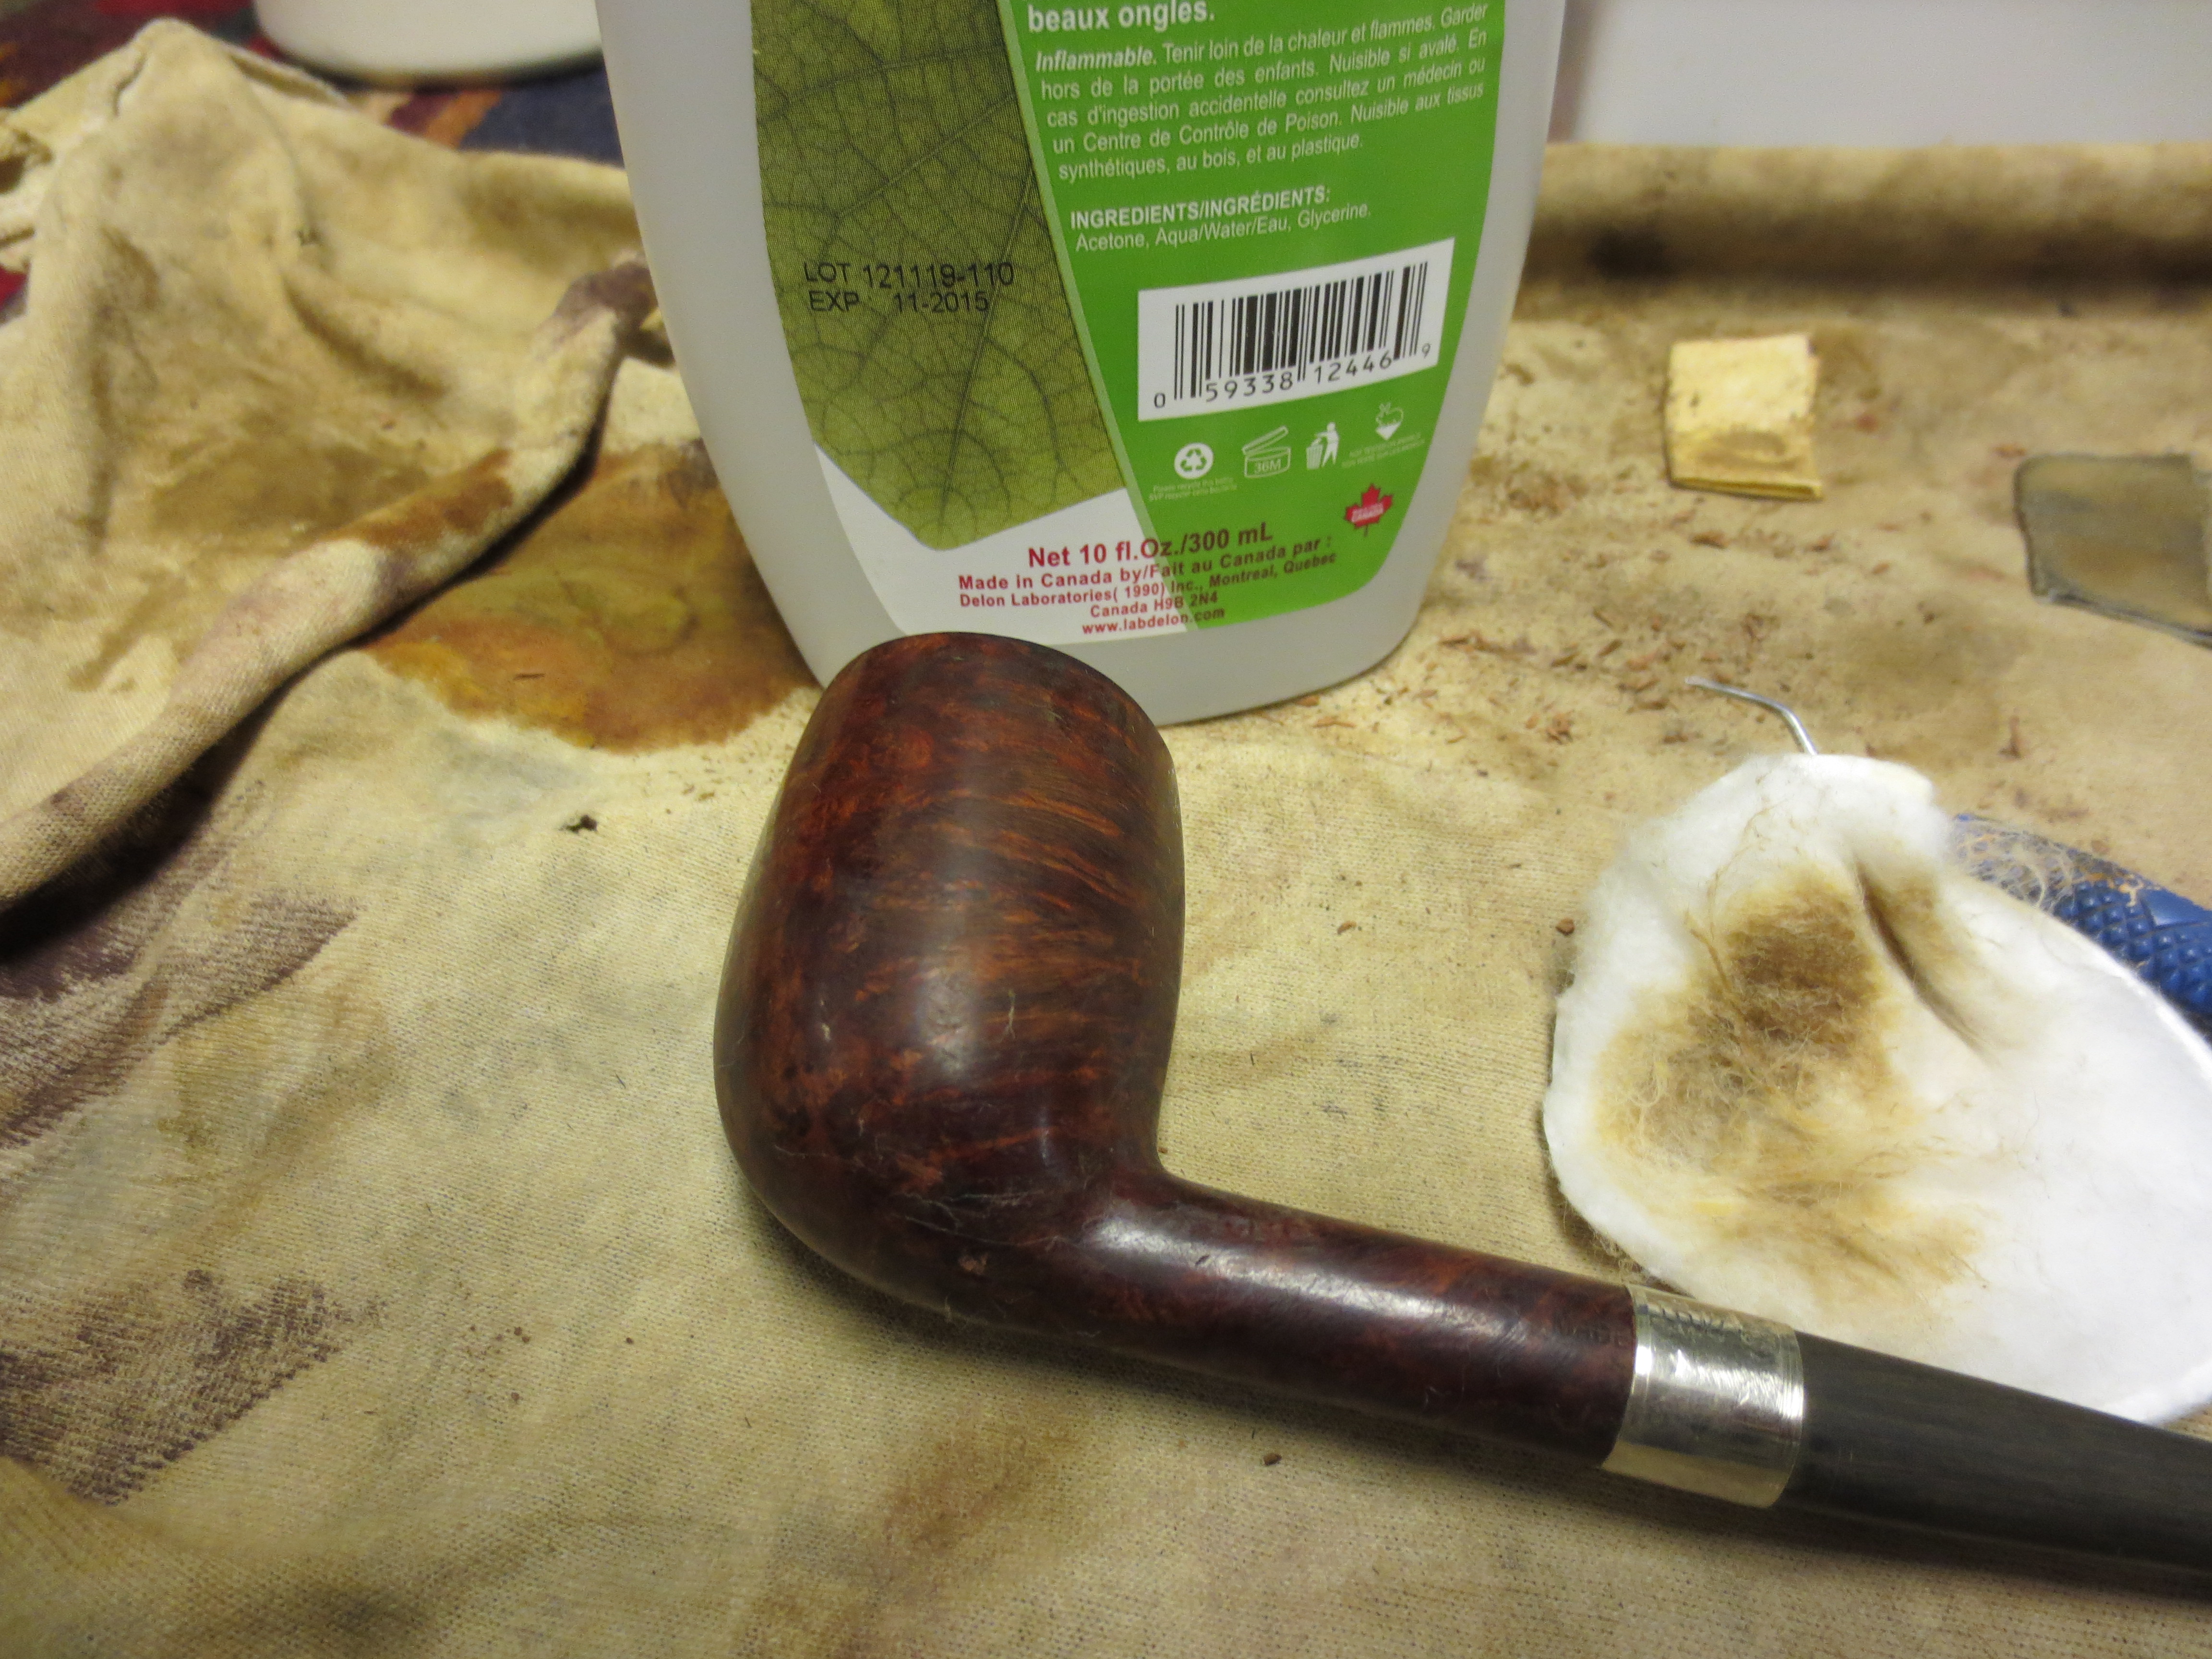
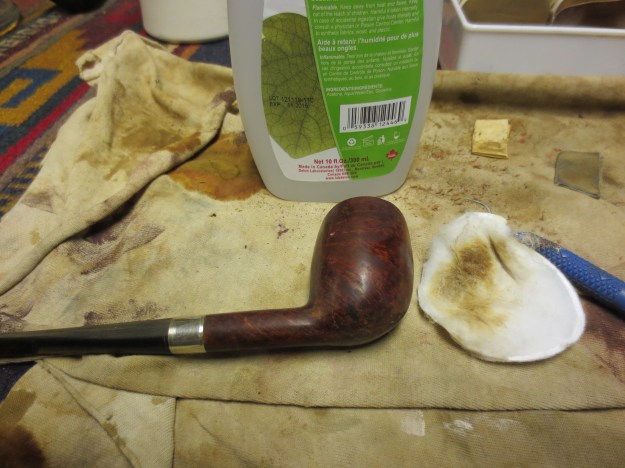
The next two photos show the newly banded shank. In the second photo you can also see the white putty fill about half way down the side of the bowl.
I finished fitting the stem on the pipe and sanded down the slag from the edges and end of the stem. I also wiped down the bowl with acetone. It had a coating of varnish on it that was crackling and also did not allow me to rework the fills properly. Once I had it wiped down I picked out the white putty in the two fills that were present with a dental pick and wiped down the bowl again with the acetone. The fills were on the right side mid bowl and on the left side at the bottom of the shank bowl junction.

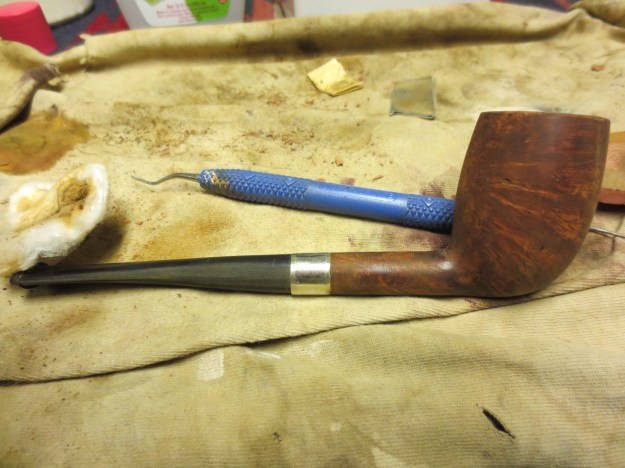
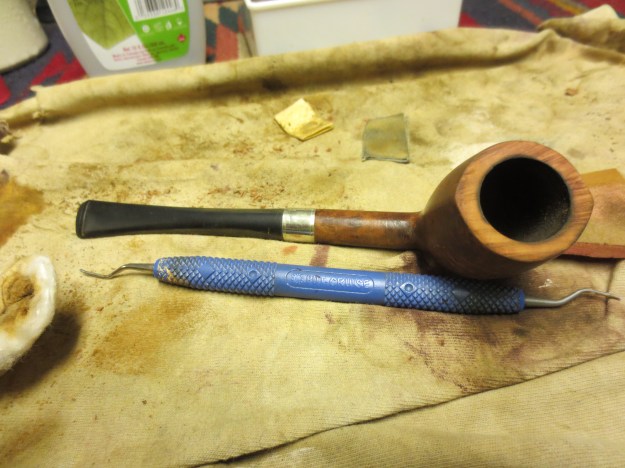
I sanded the bowl and shank with 320 grit sandpaper and then a fine grit sanding sponge to remove the finish completely. The next three photos show the sanded bowl and shank. The grain was quite nice on the pipe. The dark stain had hidden it pretty well. I was beginning to think about not restaining the bowl but leaving it with the remaining colour and polishing and buffing it. Time would tell.

I packed briar dust into the clean sandpit areas on the pipe and then dripped superglue on top of the briar dust. The next two close up photos of the bowl show the patches before I sanded away the excess and cleaned them up to match the surface of the briar.

I used 320 grit sandpaper to remove the excess that was shown in the above photos and smooth out the surface. I followed that by sanding with a fine grit sanding sponge. The next four photos show the replaced fills. There were also some dark stains on the bowl that I wanted to work on. I continued to sand the bowl as a whole with the sanding sponge to minimize the dark stain marks on the briar. The colour of the briar is really starting to look great.


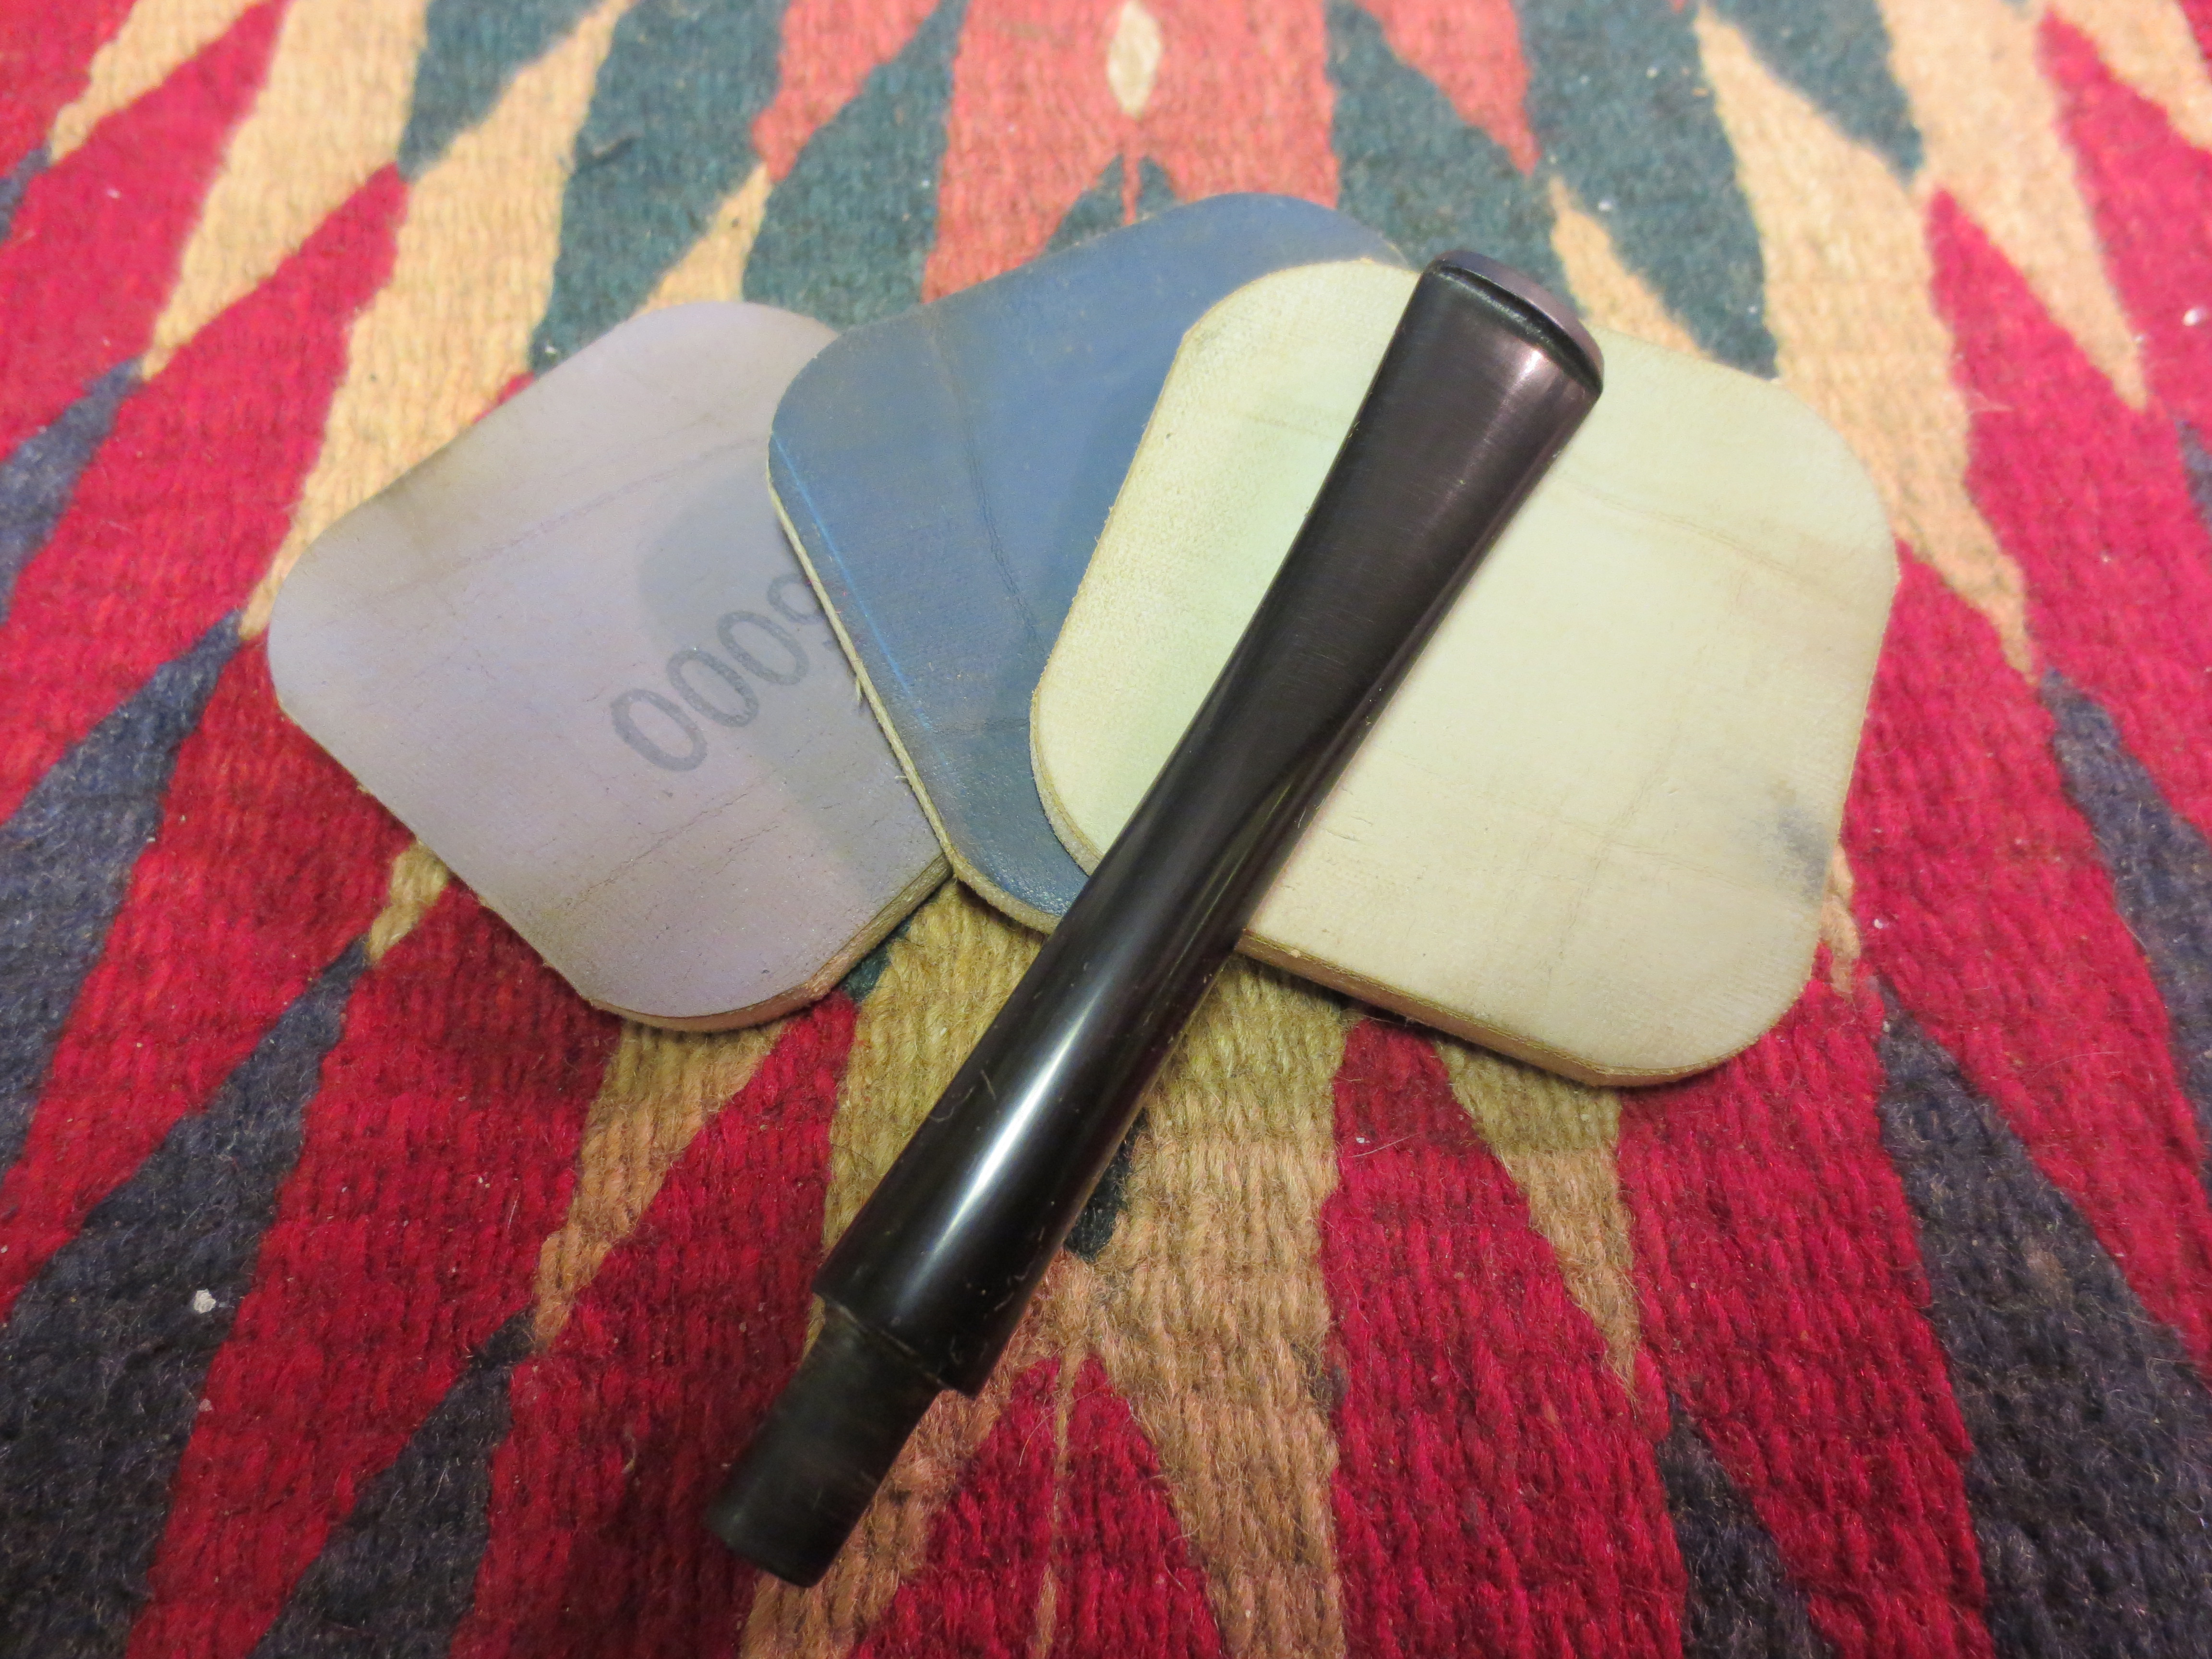
I then sanded the bowl and the stem with micromesh sanding pads. I wanted to remove the scratches and begin to develop a shine. I wet sanded with the 1500-2400 grit micromesh sanding pads and then went on to dry sand with the 3200-12,000 grit sanding pads. The next 9 photos show the developing shine on the bowl and the stem. I also sanded the nickel band with the micromesh pads.

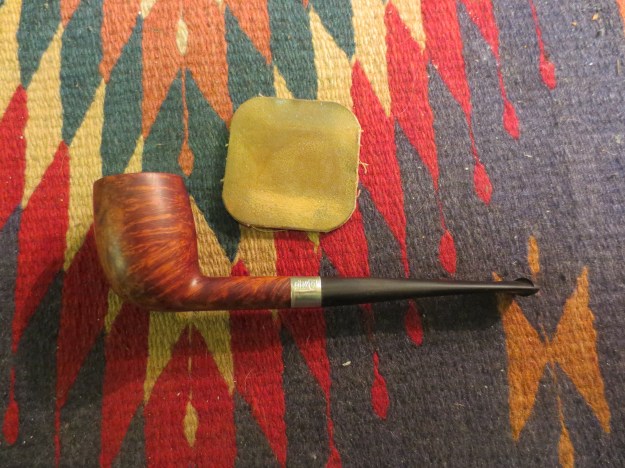
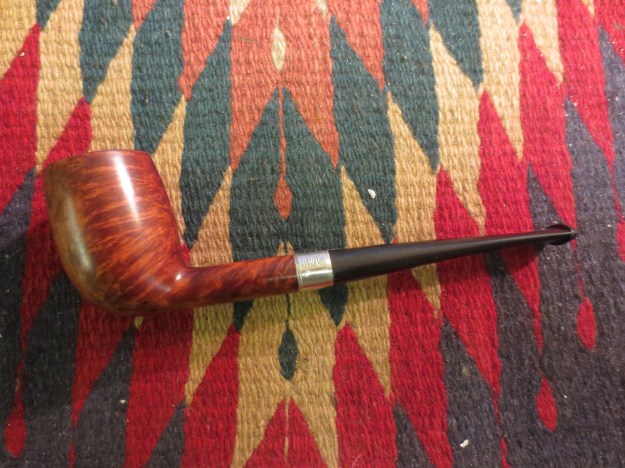

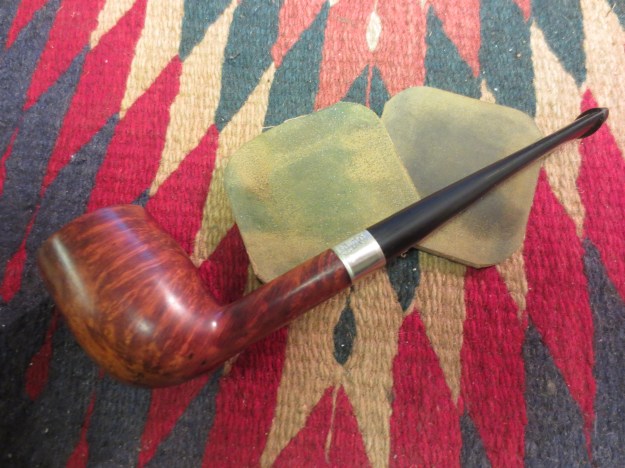
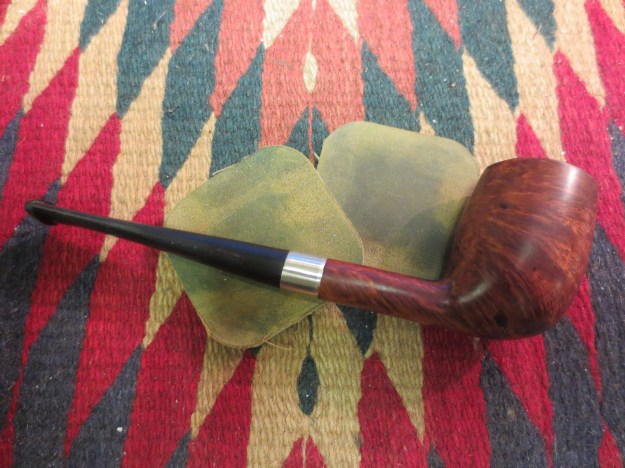


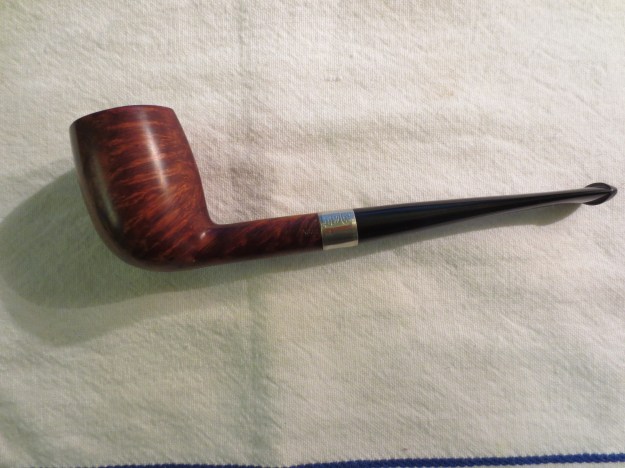
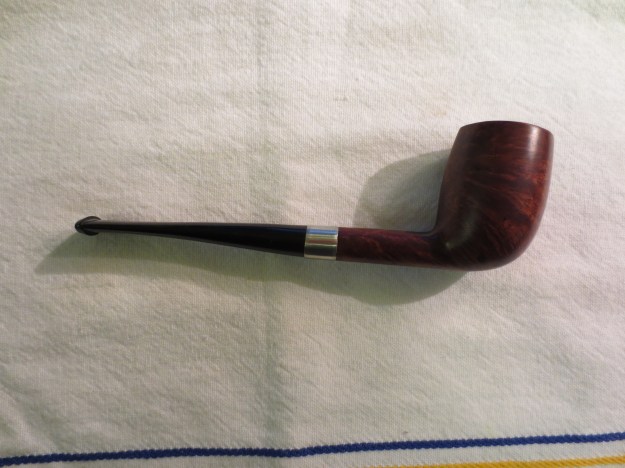
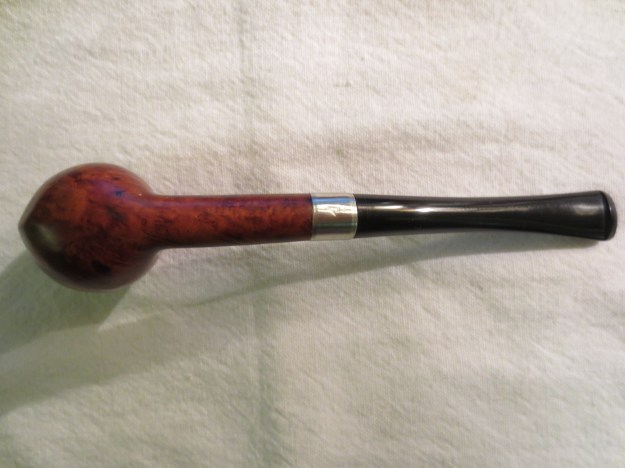
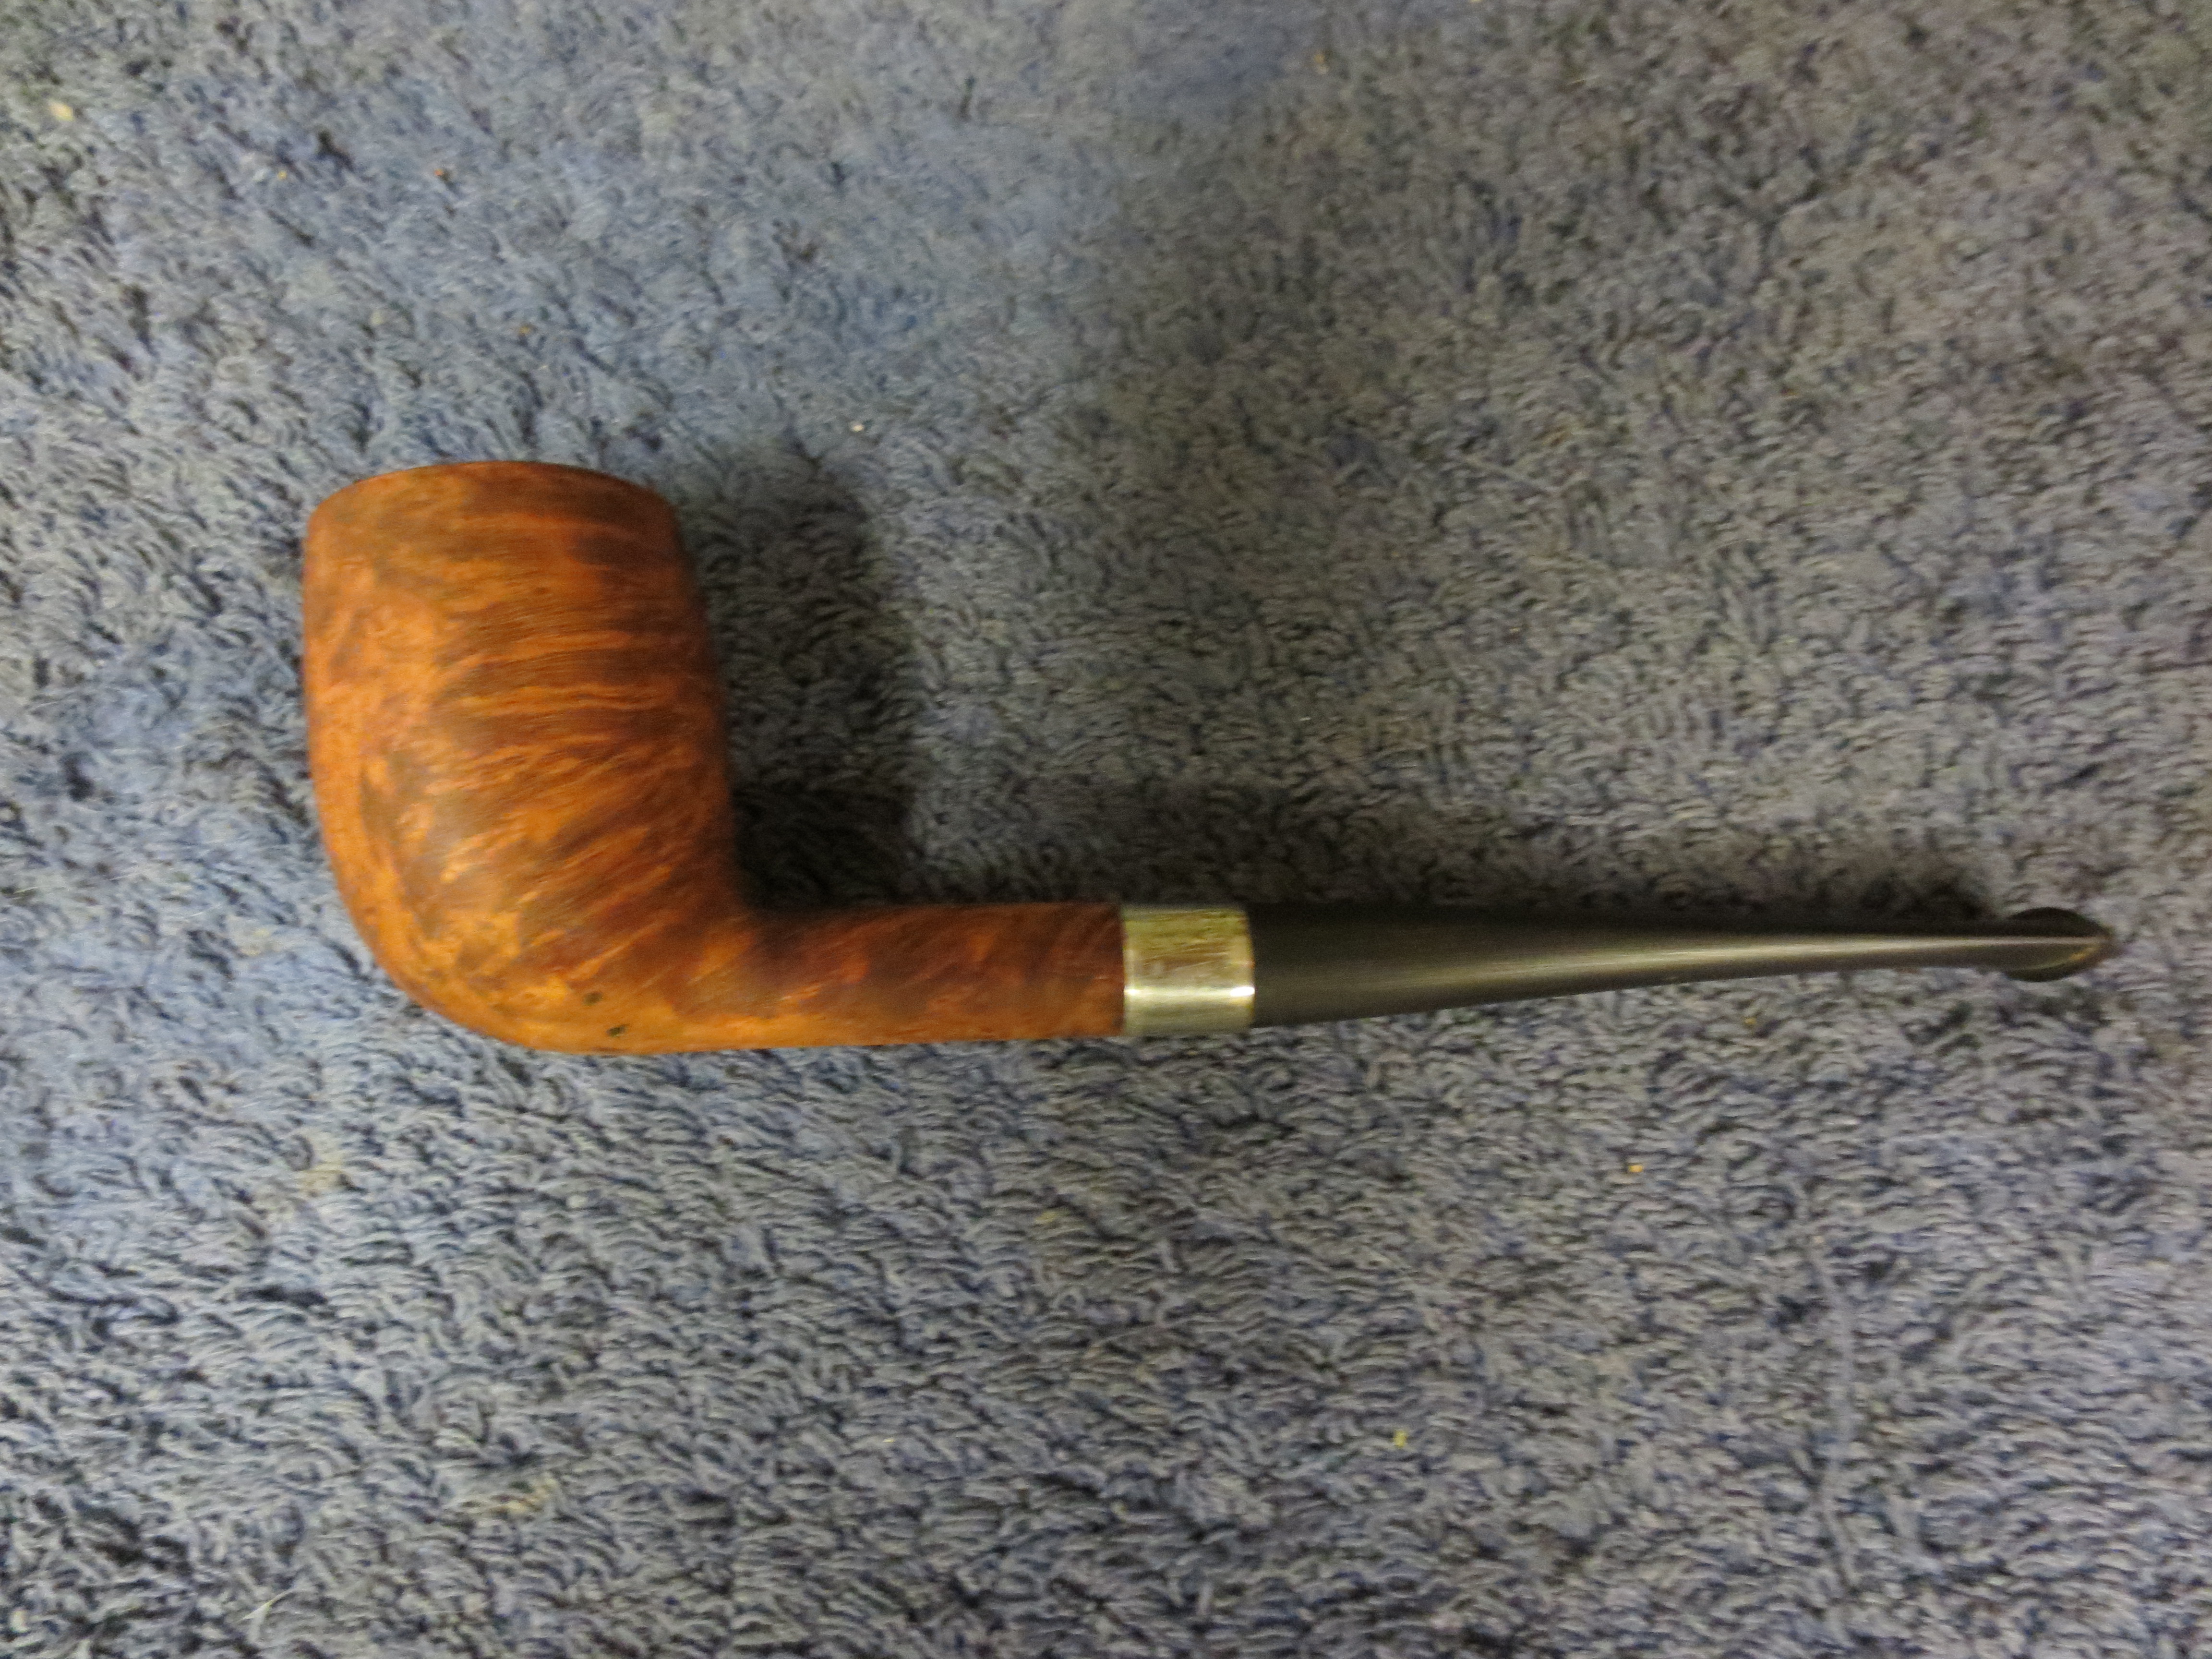
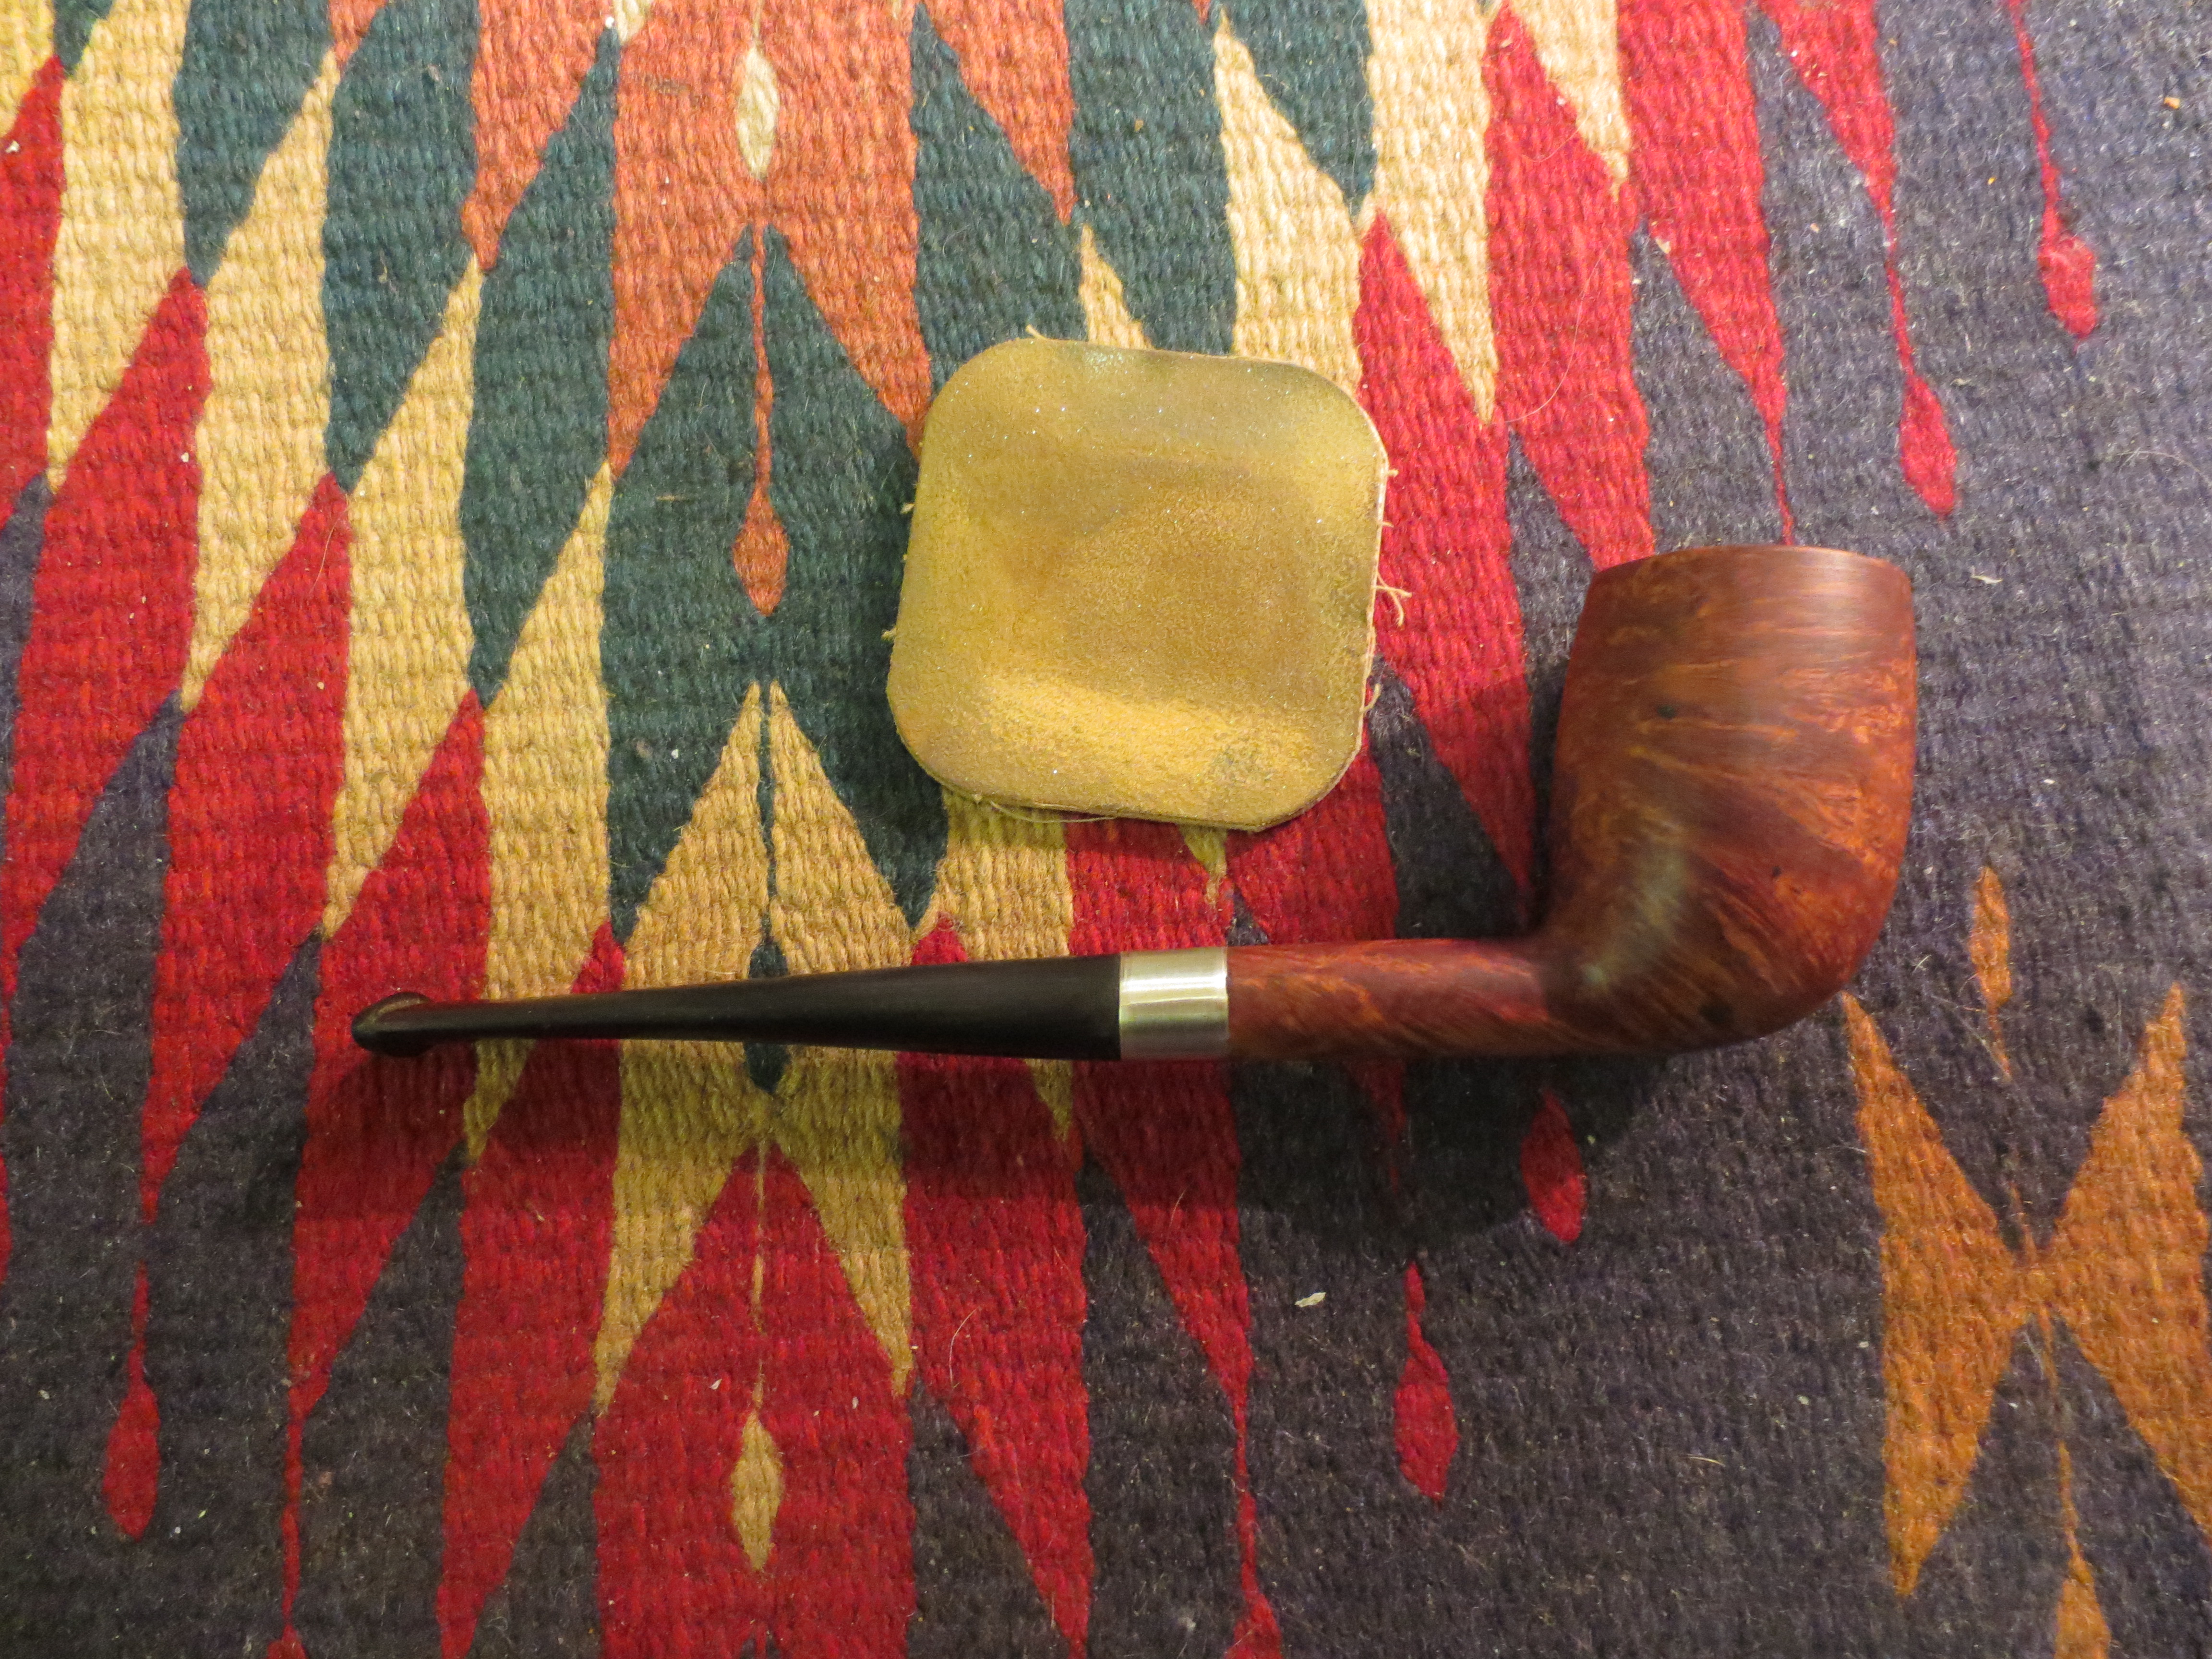
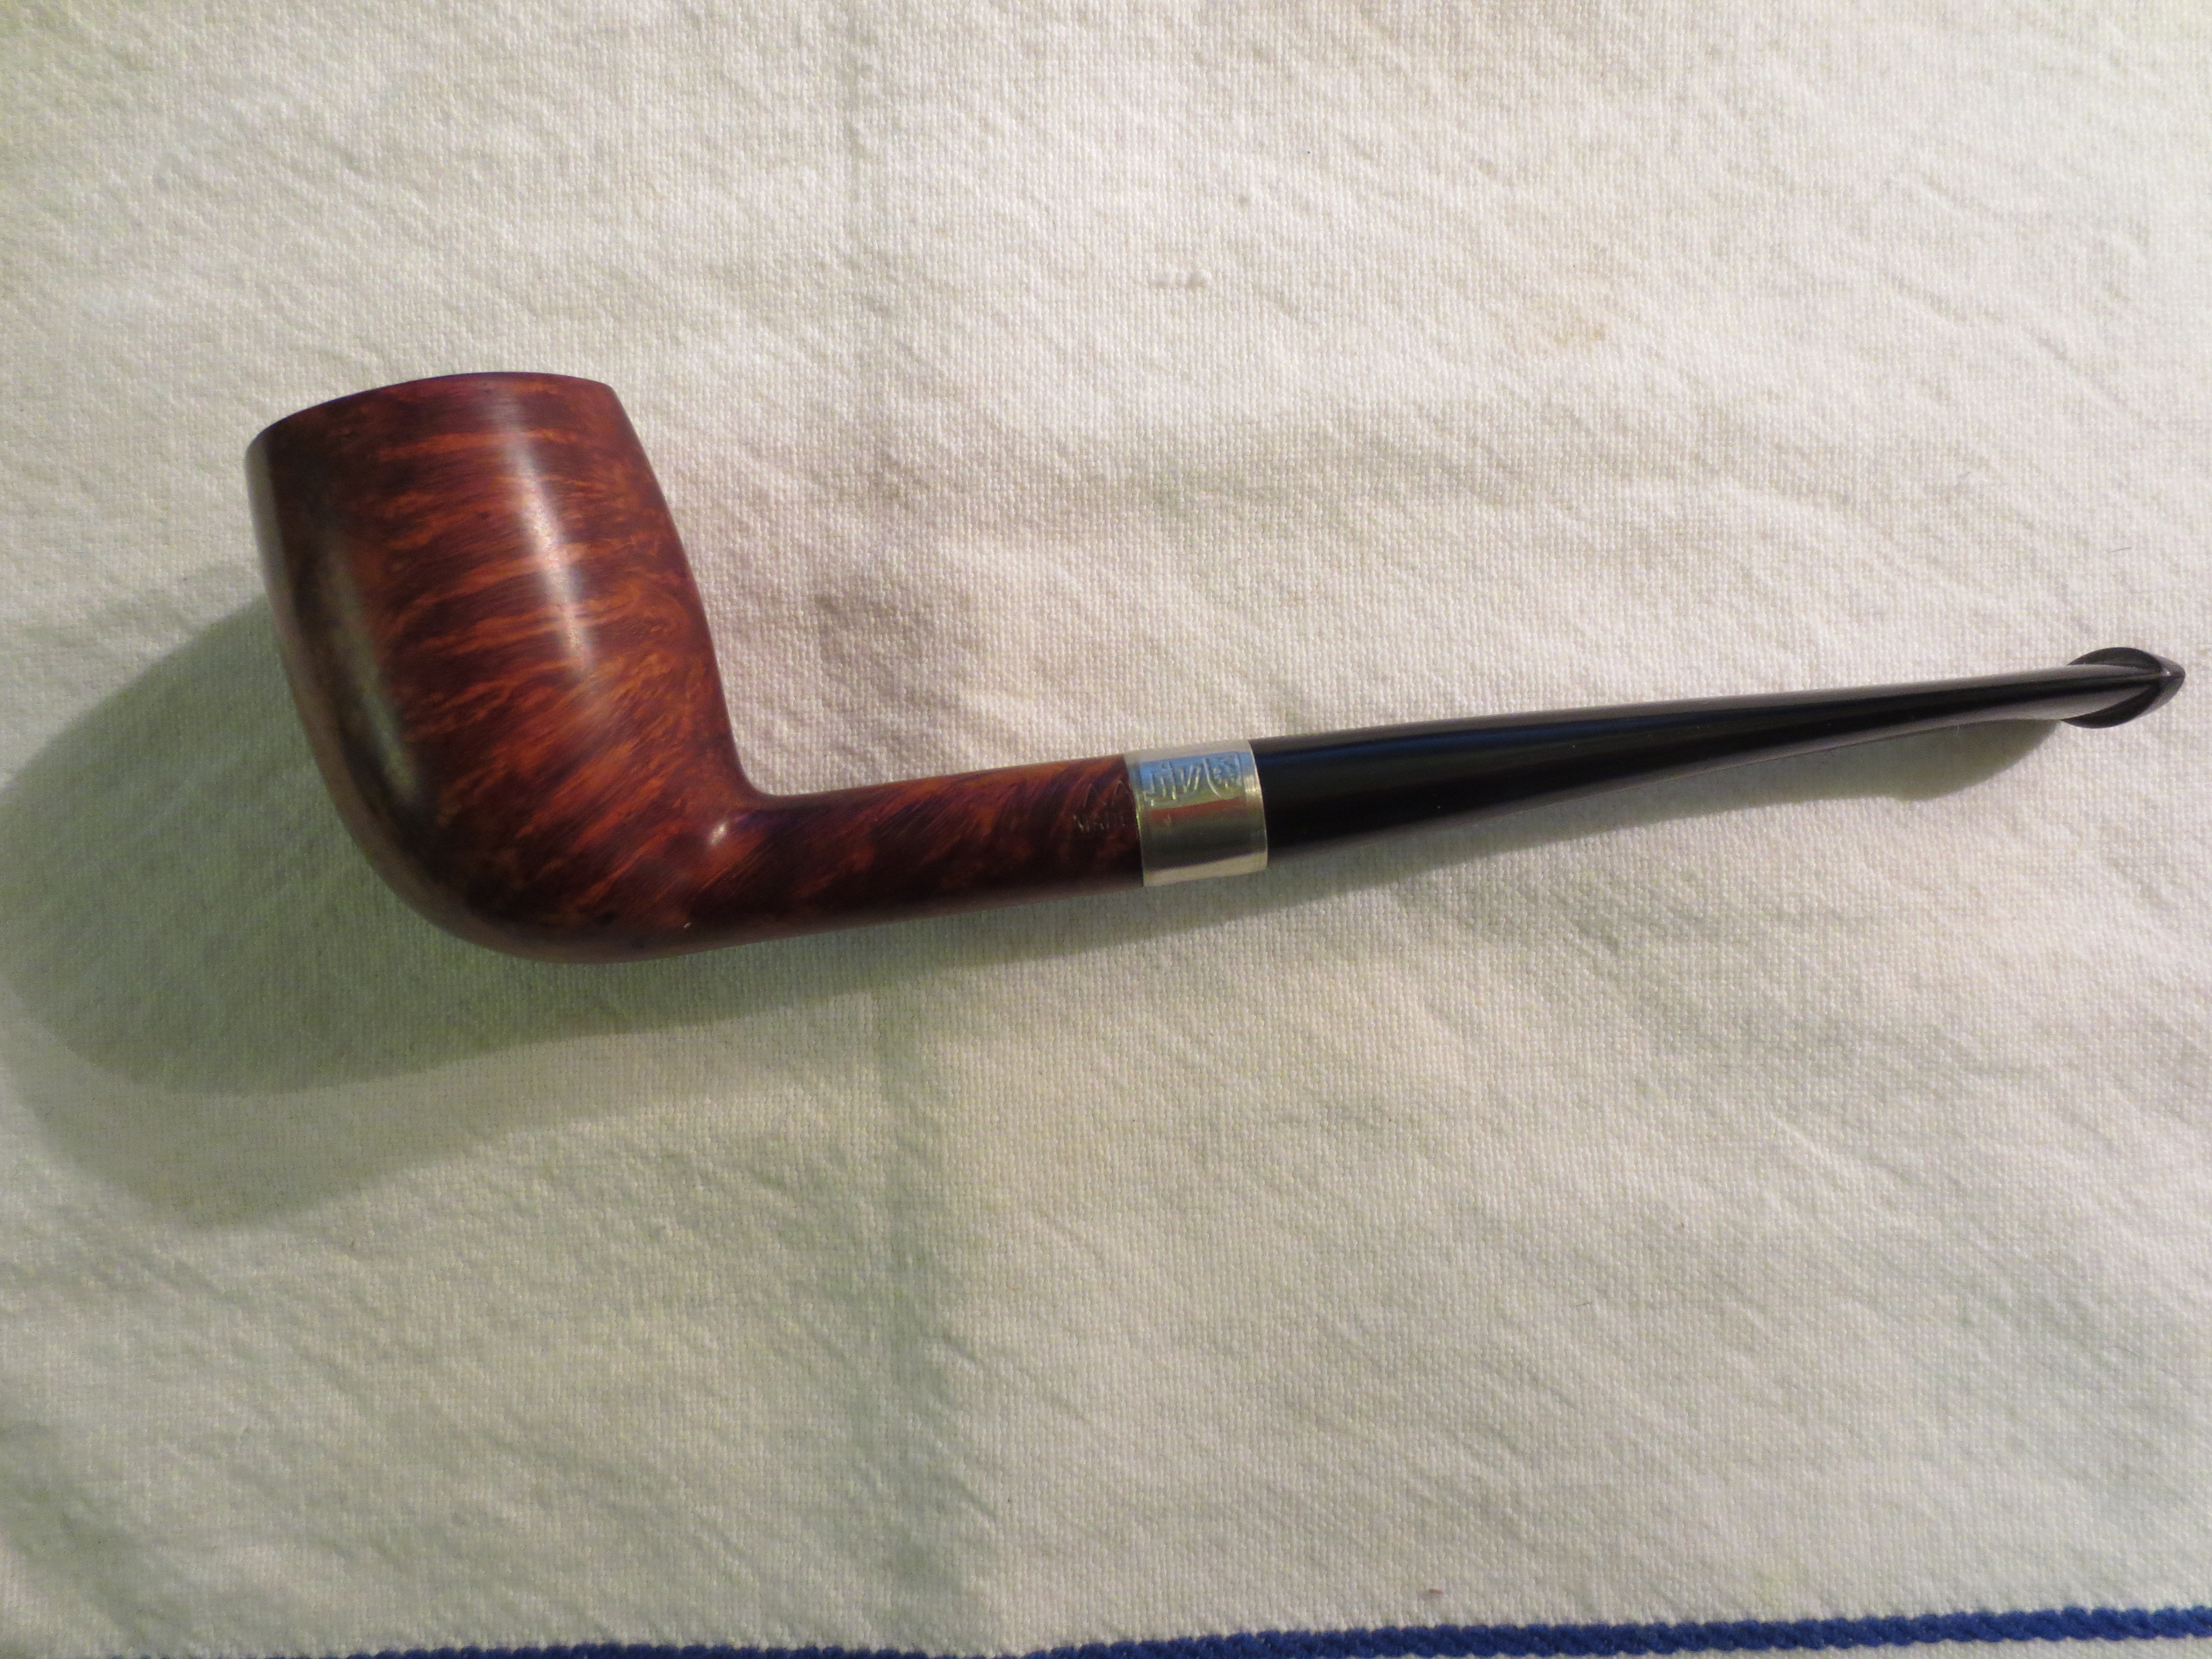
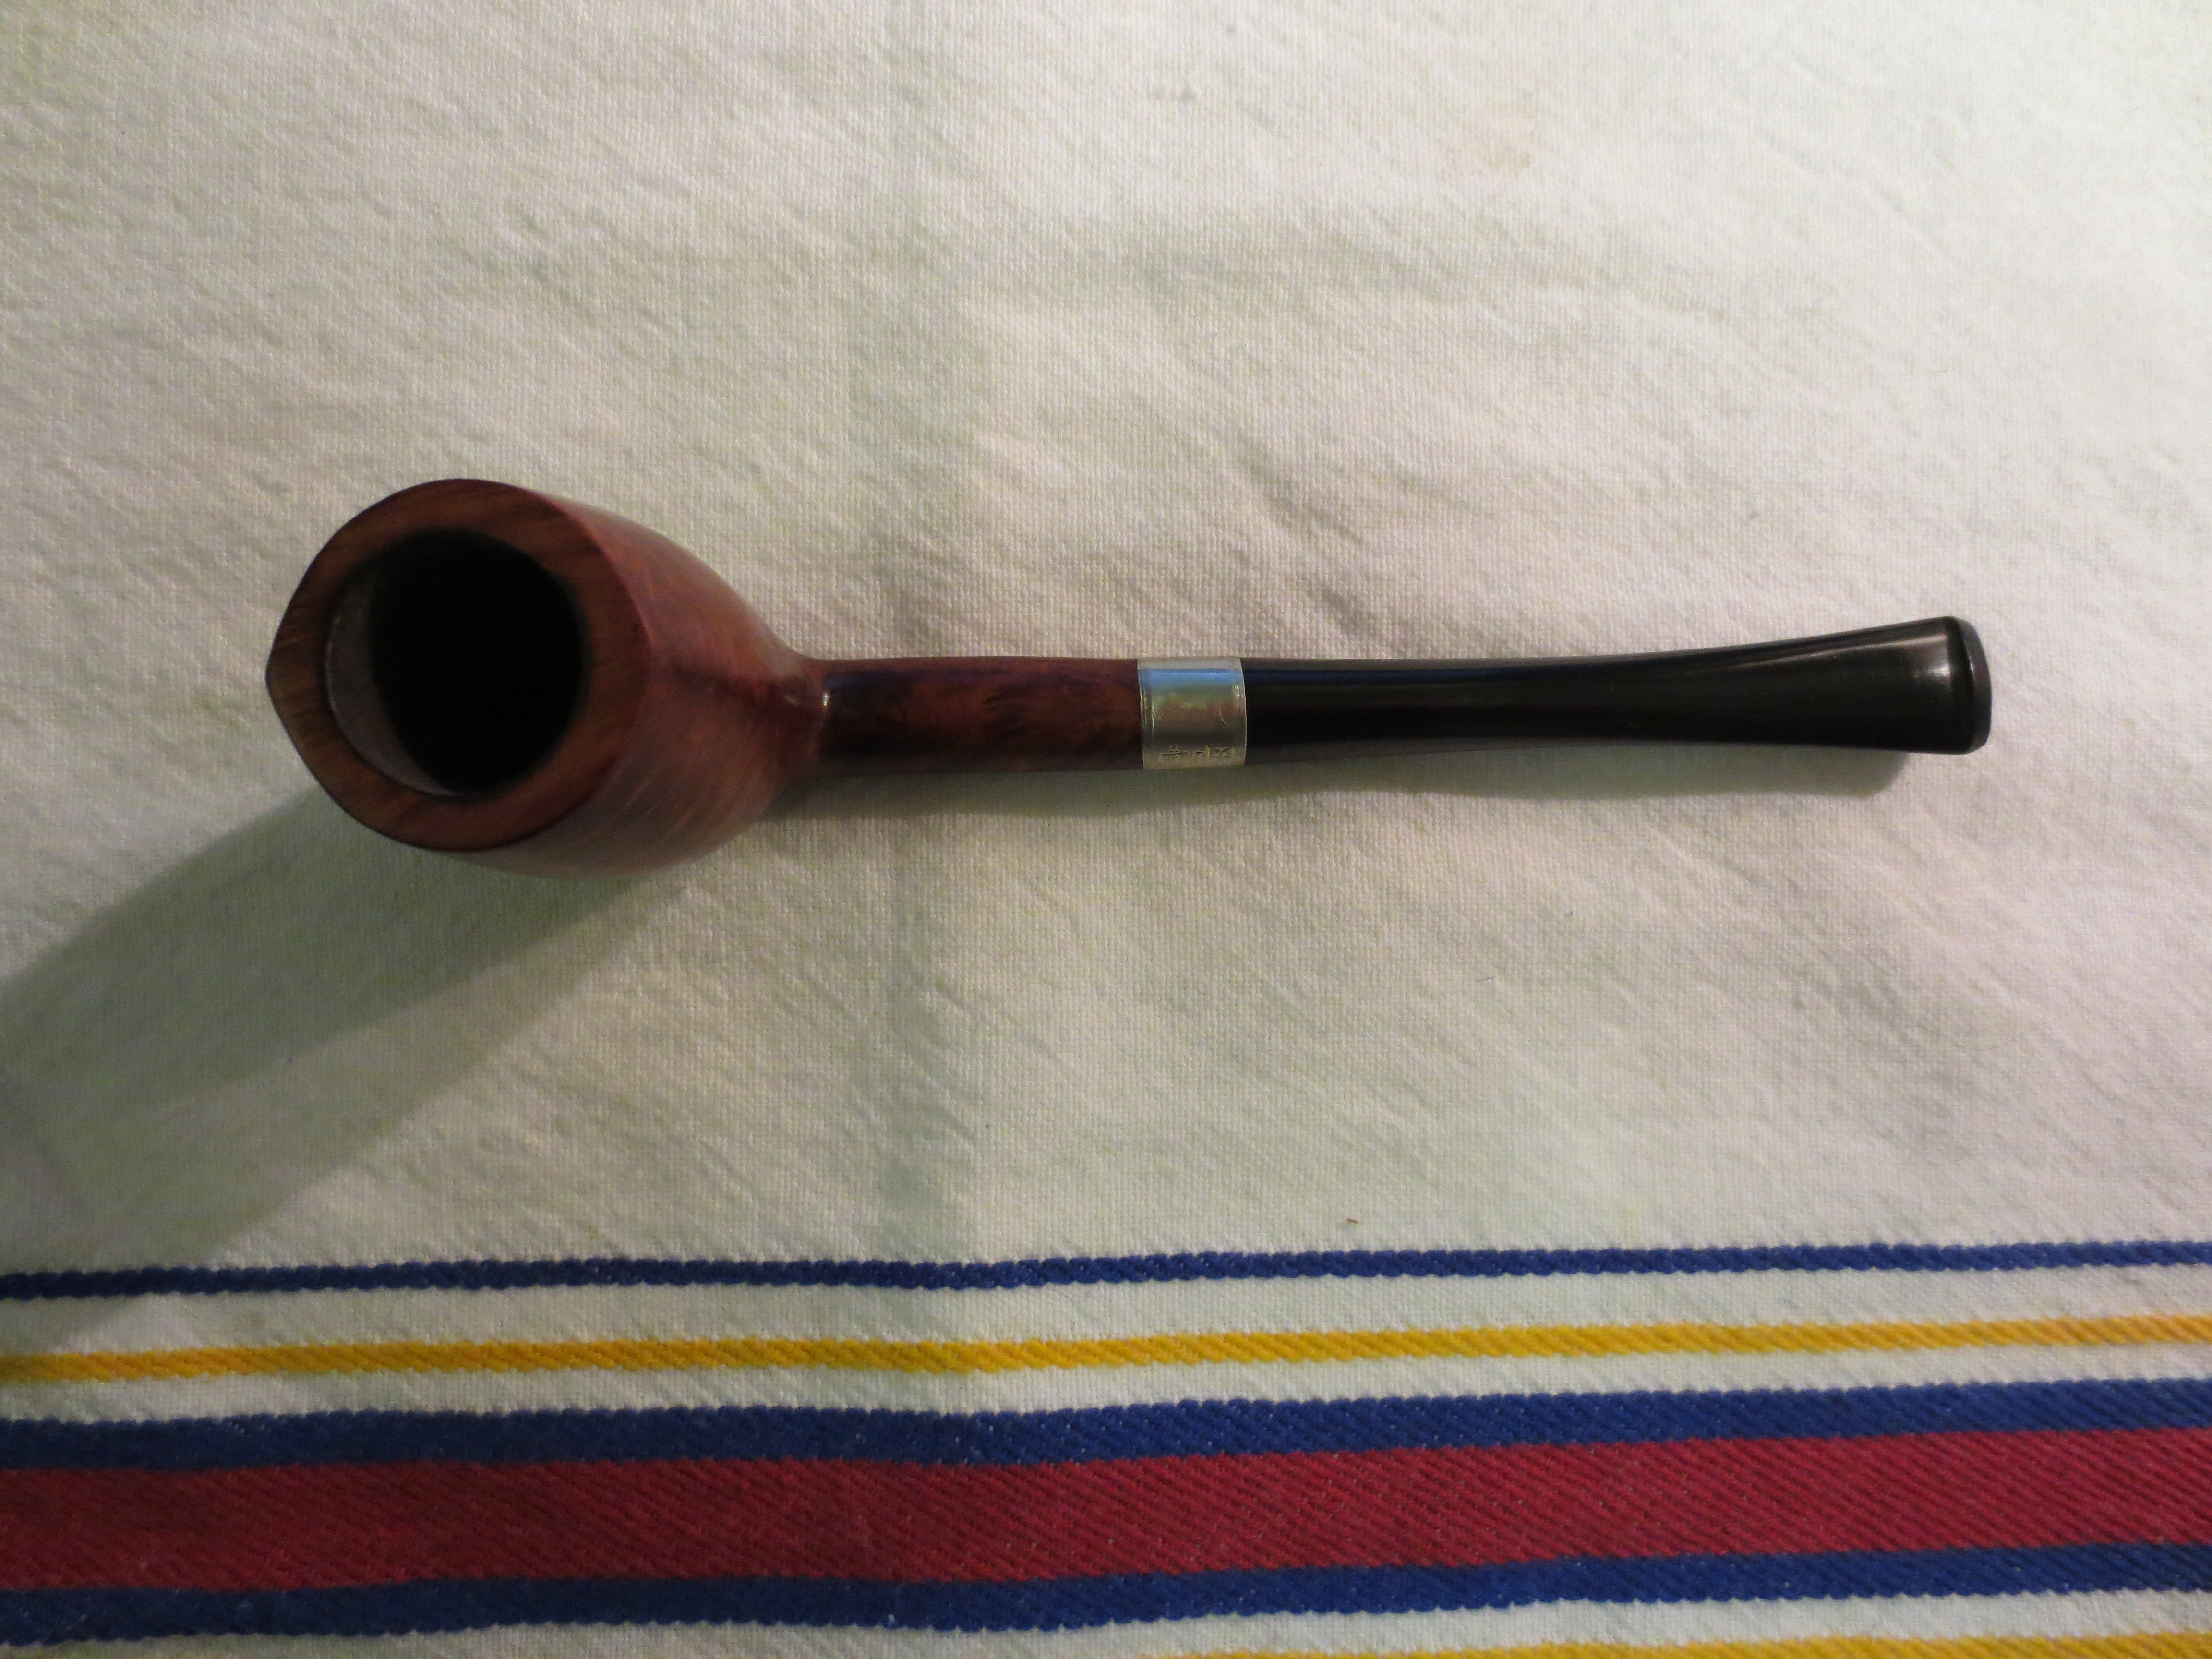
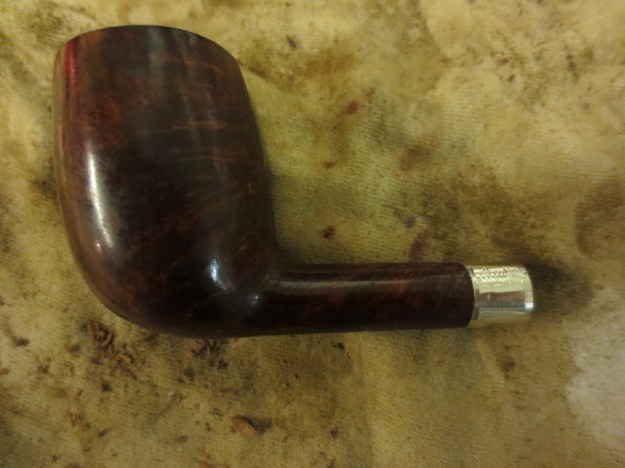
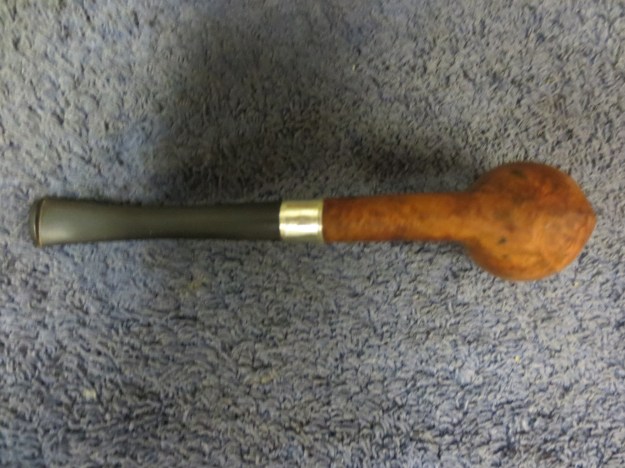
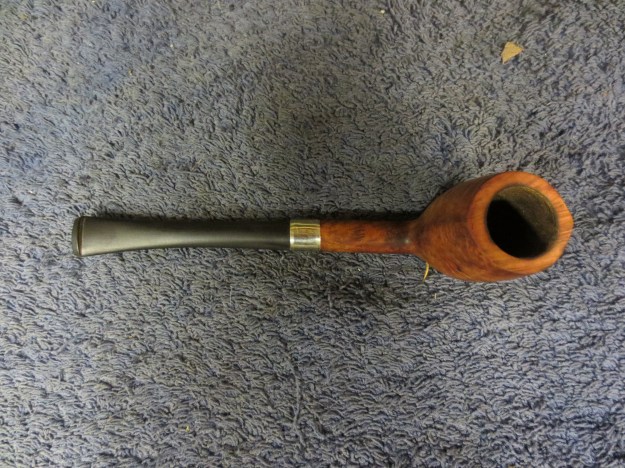
By the time I finished sanding with the 12,000 grit micromesh sanding pad the bowl looked really good. I decided against restaining it and instead reinserted the stem and took the pipe to the buffer. I buffed the entirety lightly with White Diamond to remove any remaining light scratches and to brighten up the shine on both bowl and stem. I then wiped down the stem with Obsidian Oil, and buffed the pipe with carnauba and a soft flannel buff. The final five photos show the finished pipe. It is ready to use. The only remaining question is, “What is the brand? What letters follow Aarhus???” Can any of you help me with that information? It is an unfamiliar brand to me and I can find nothing on the Pipephil Logos and Stampings website or in Who Made that Pipe. Thanks ahead of time for your help.