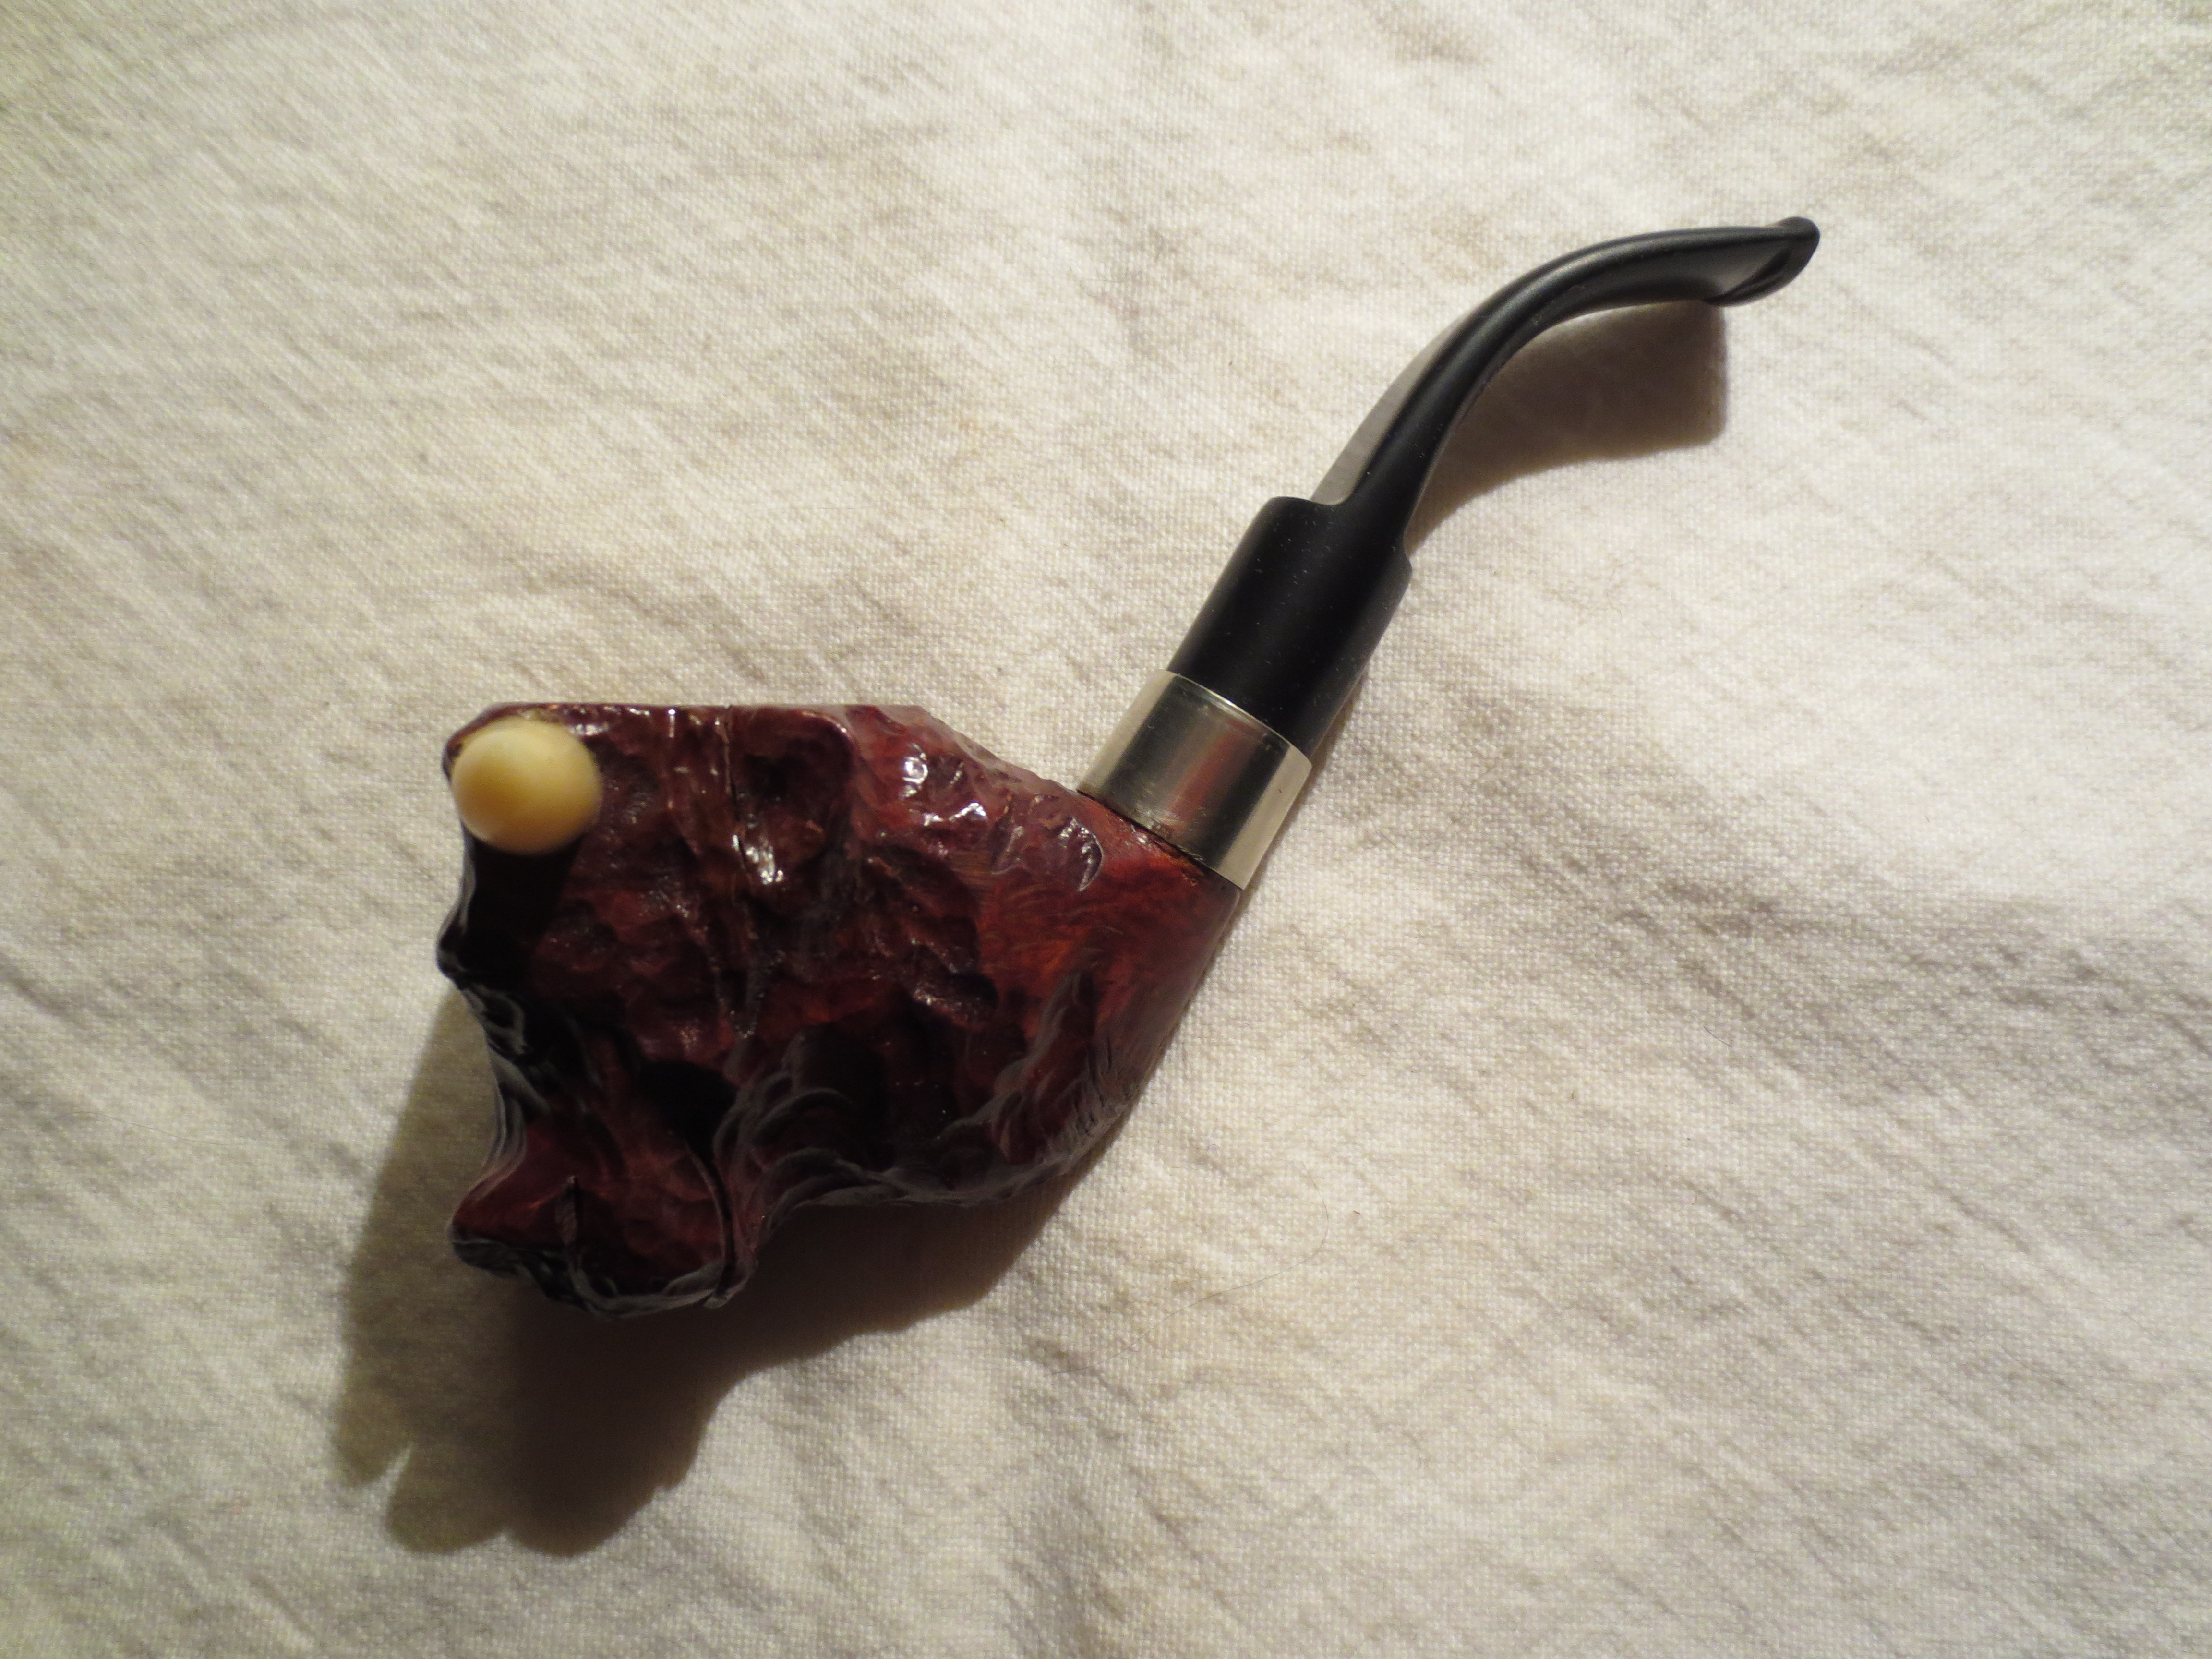
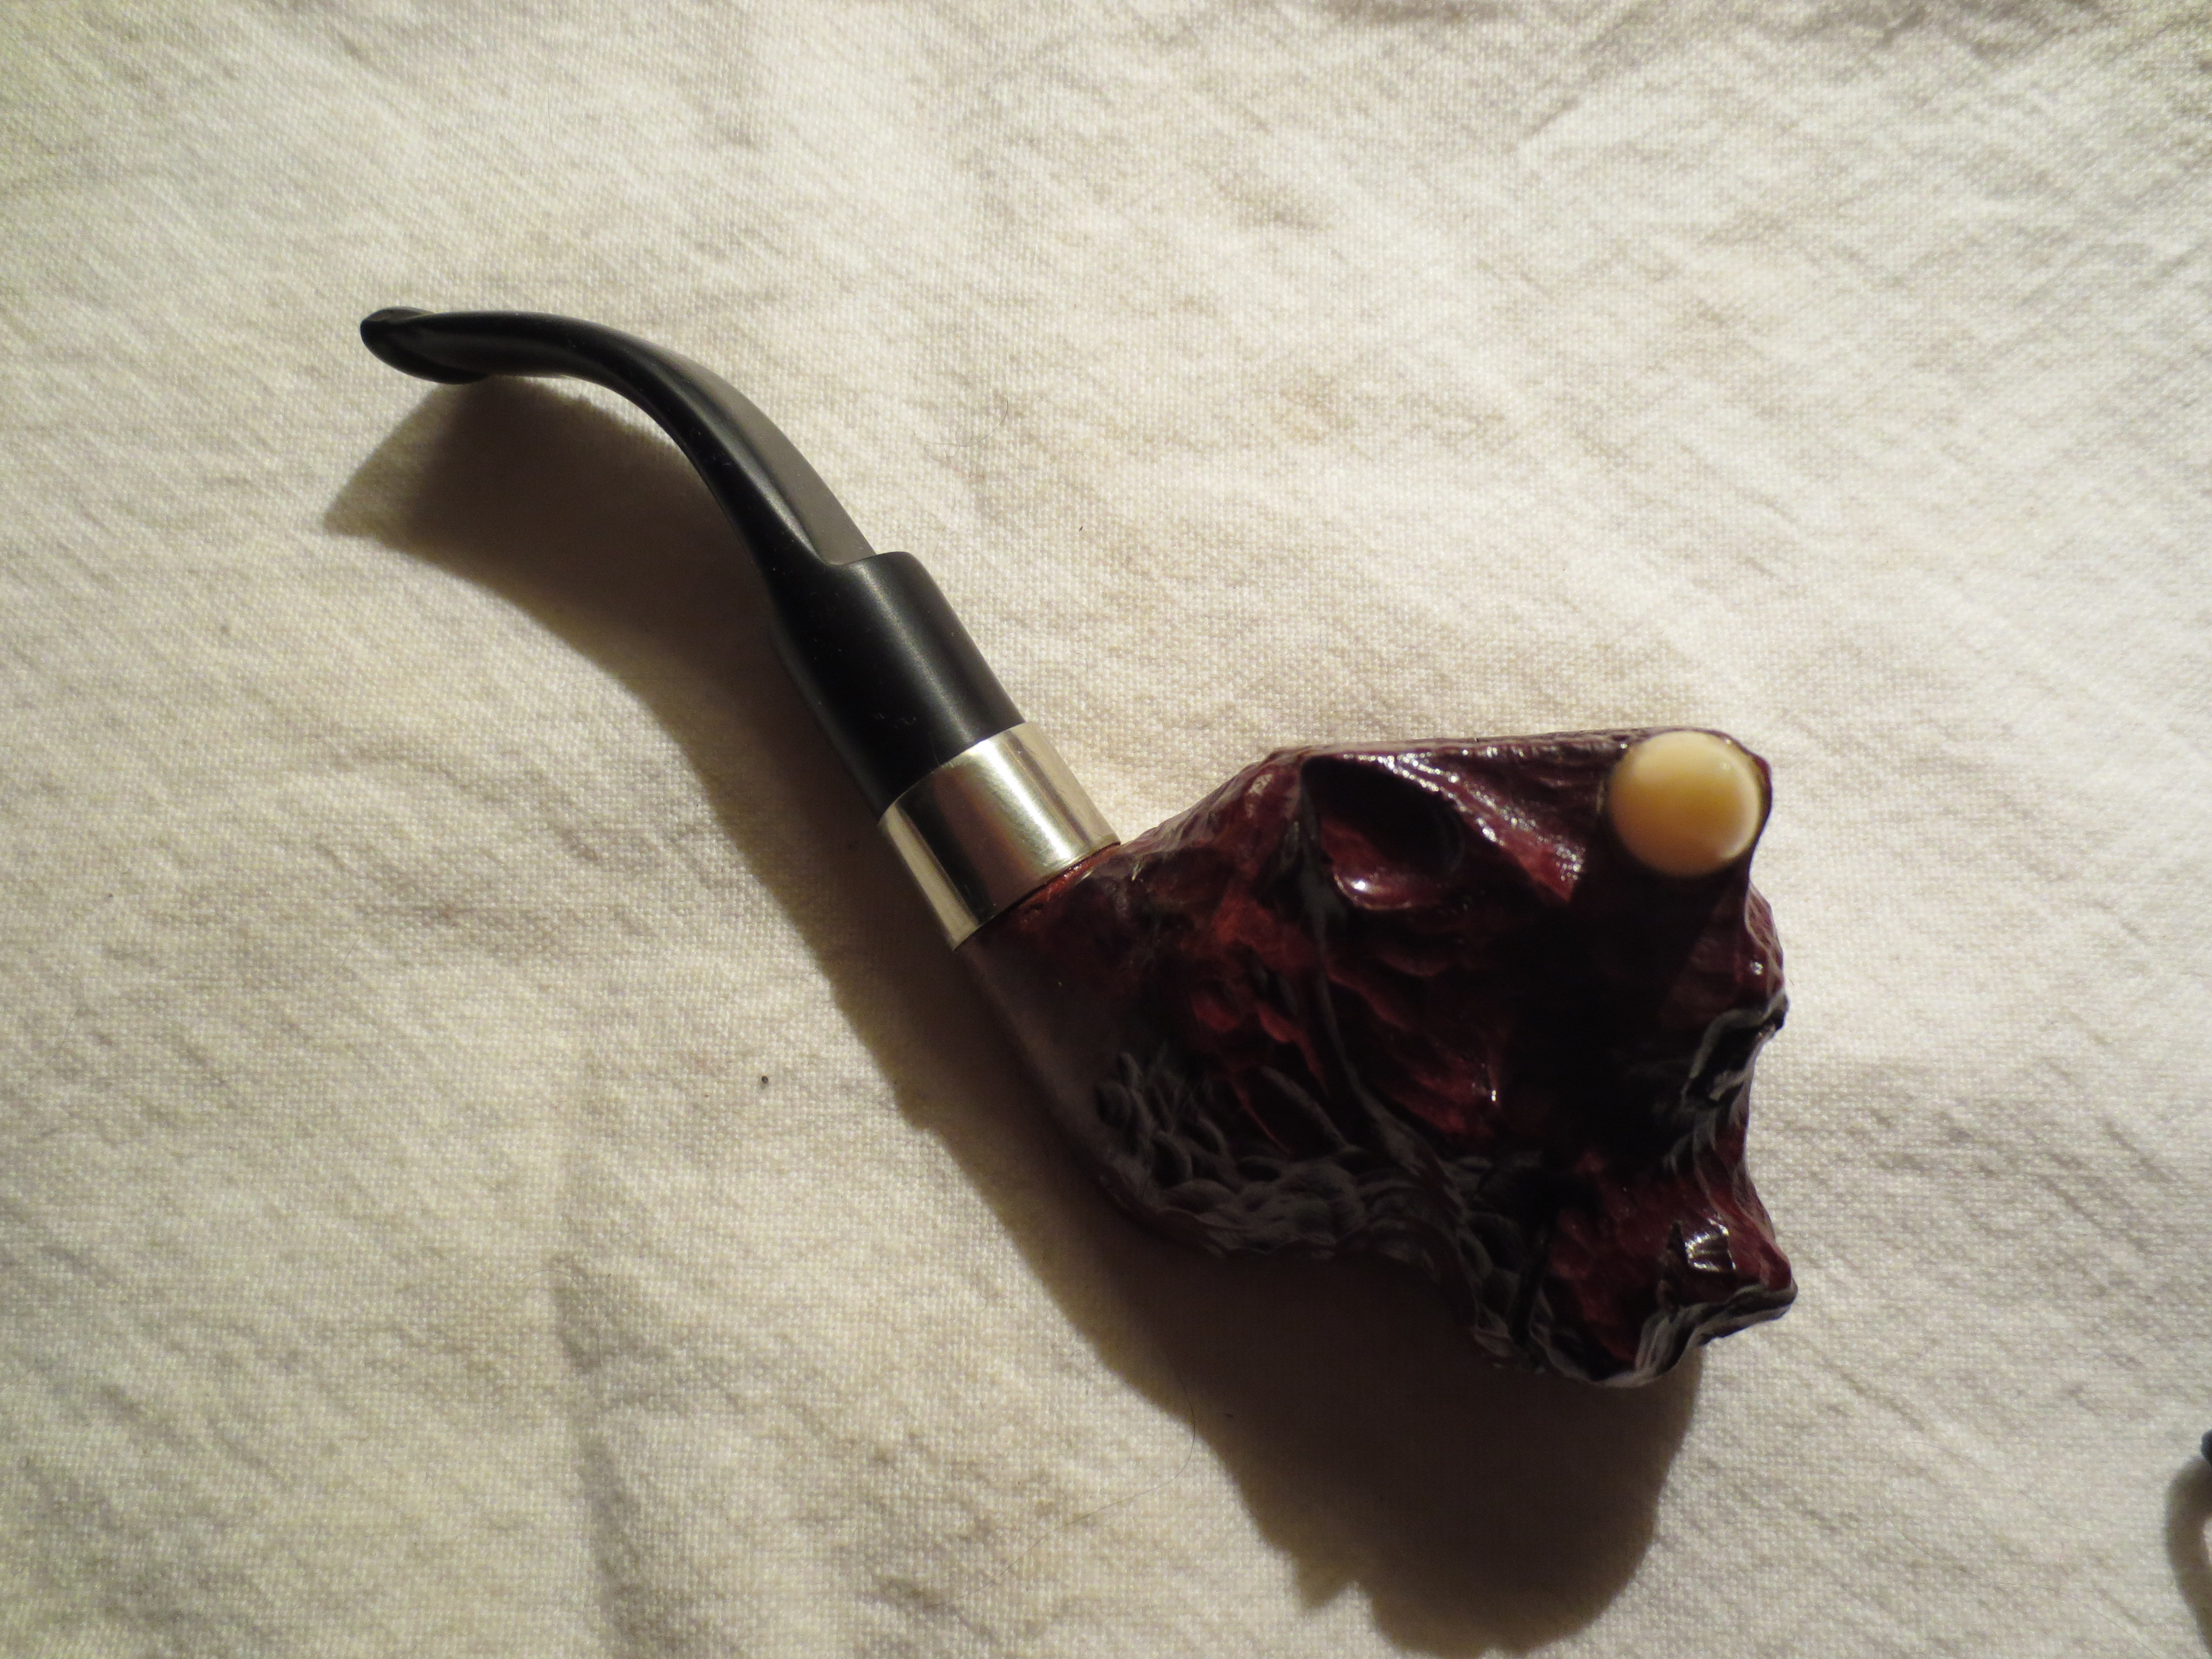
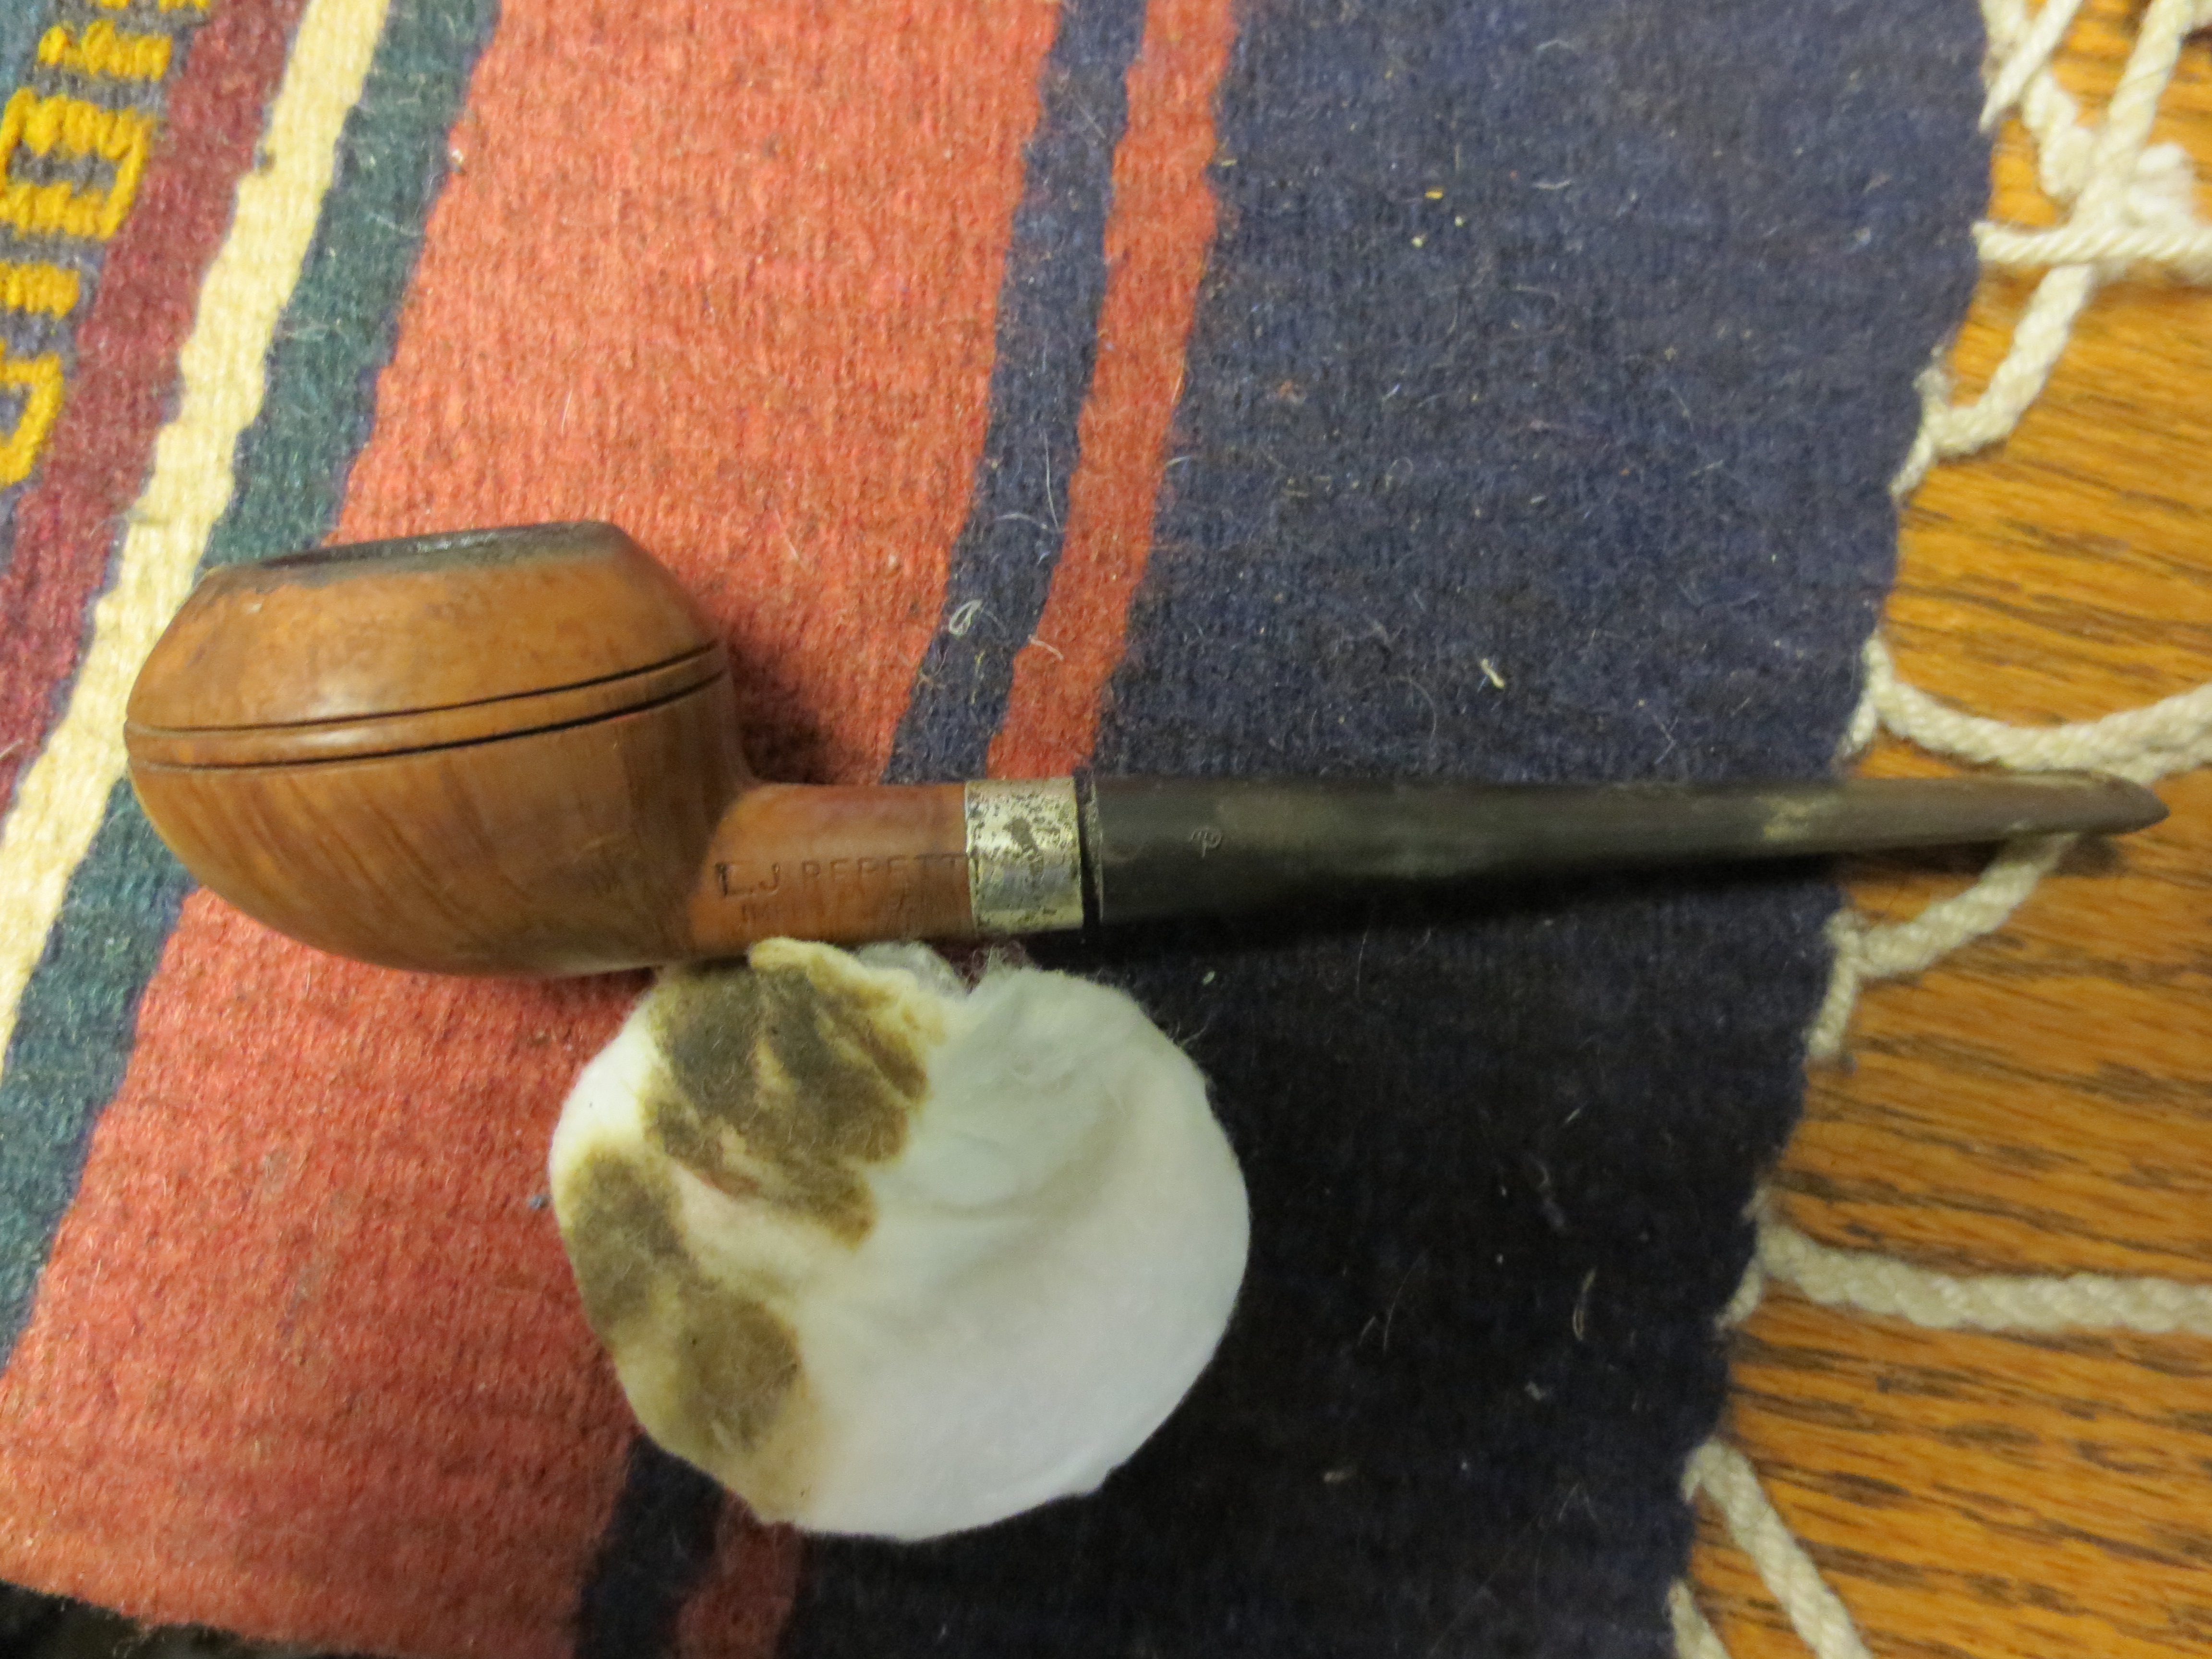
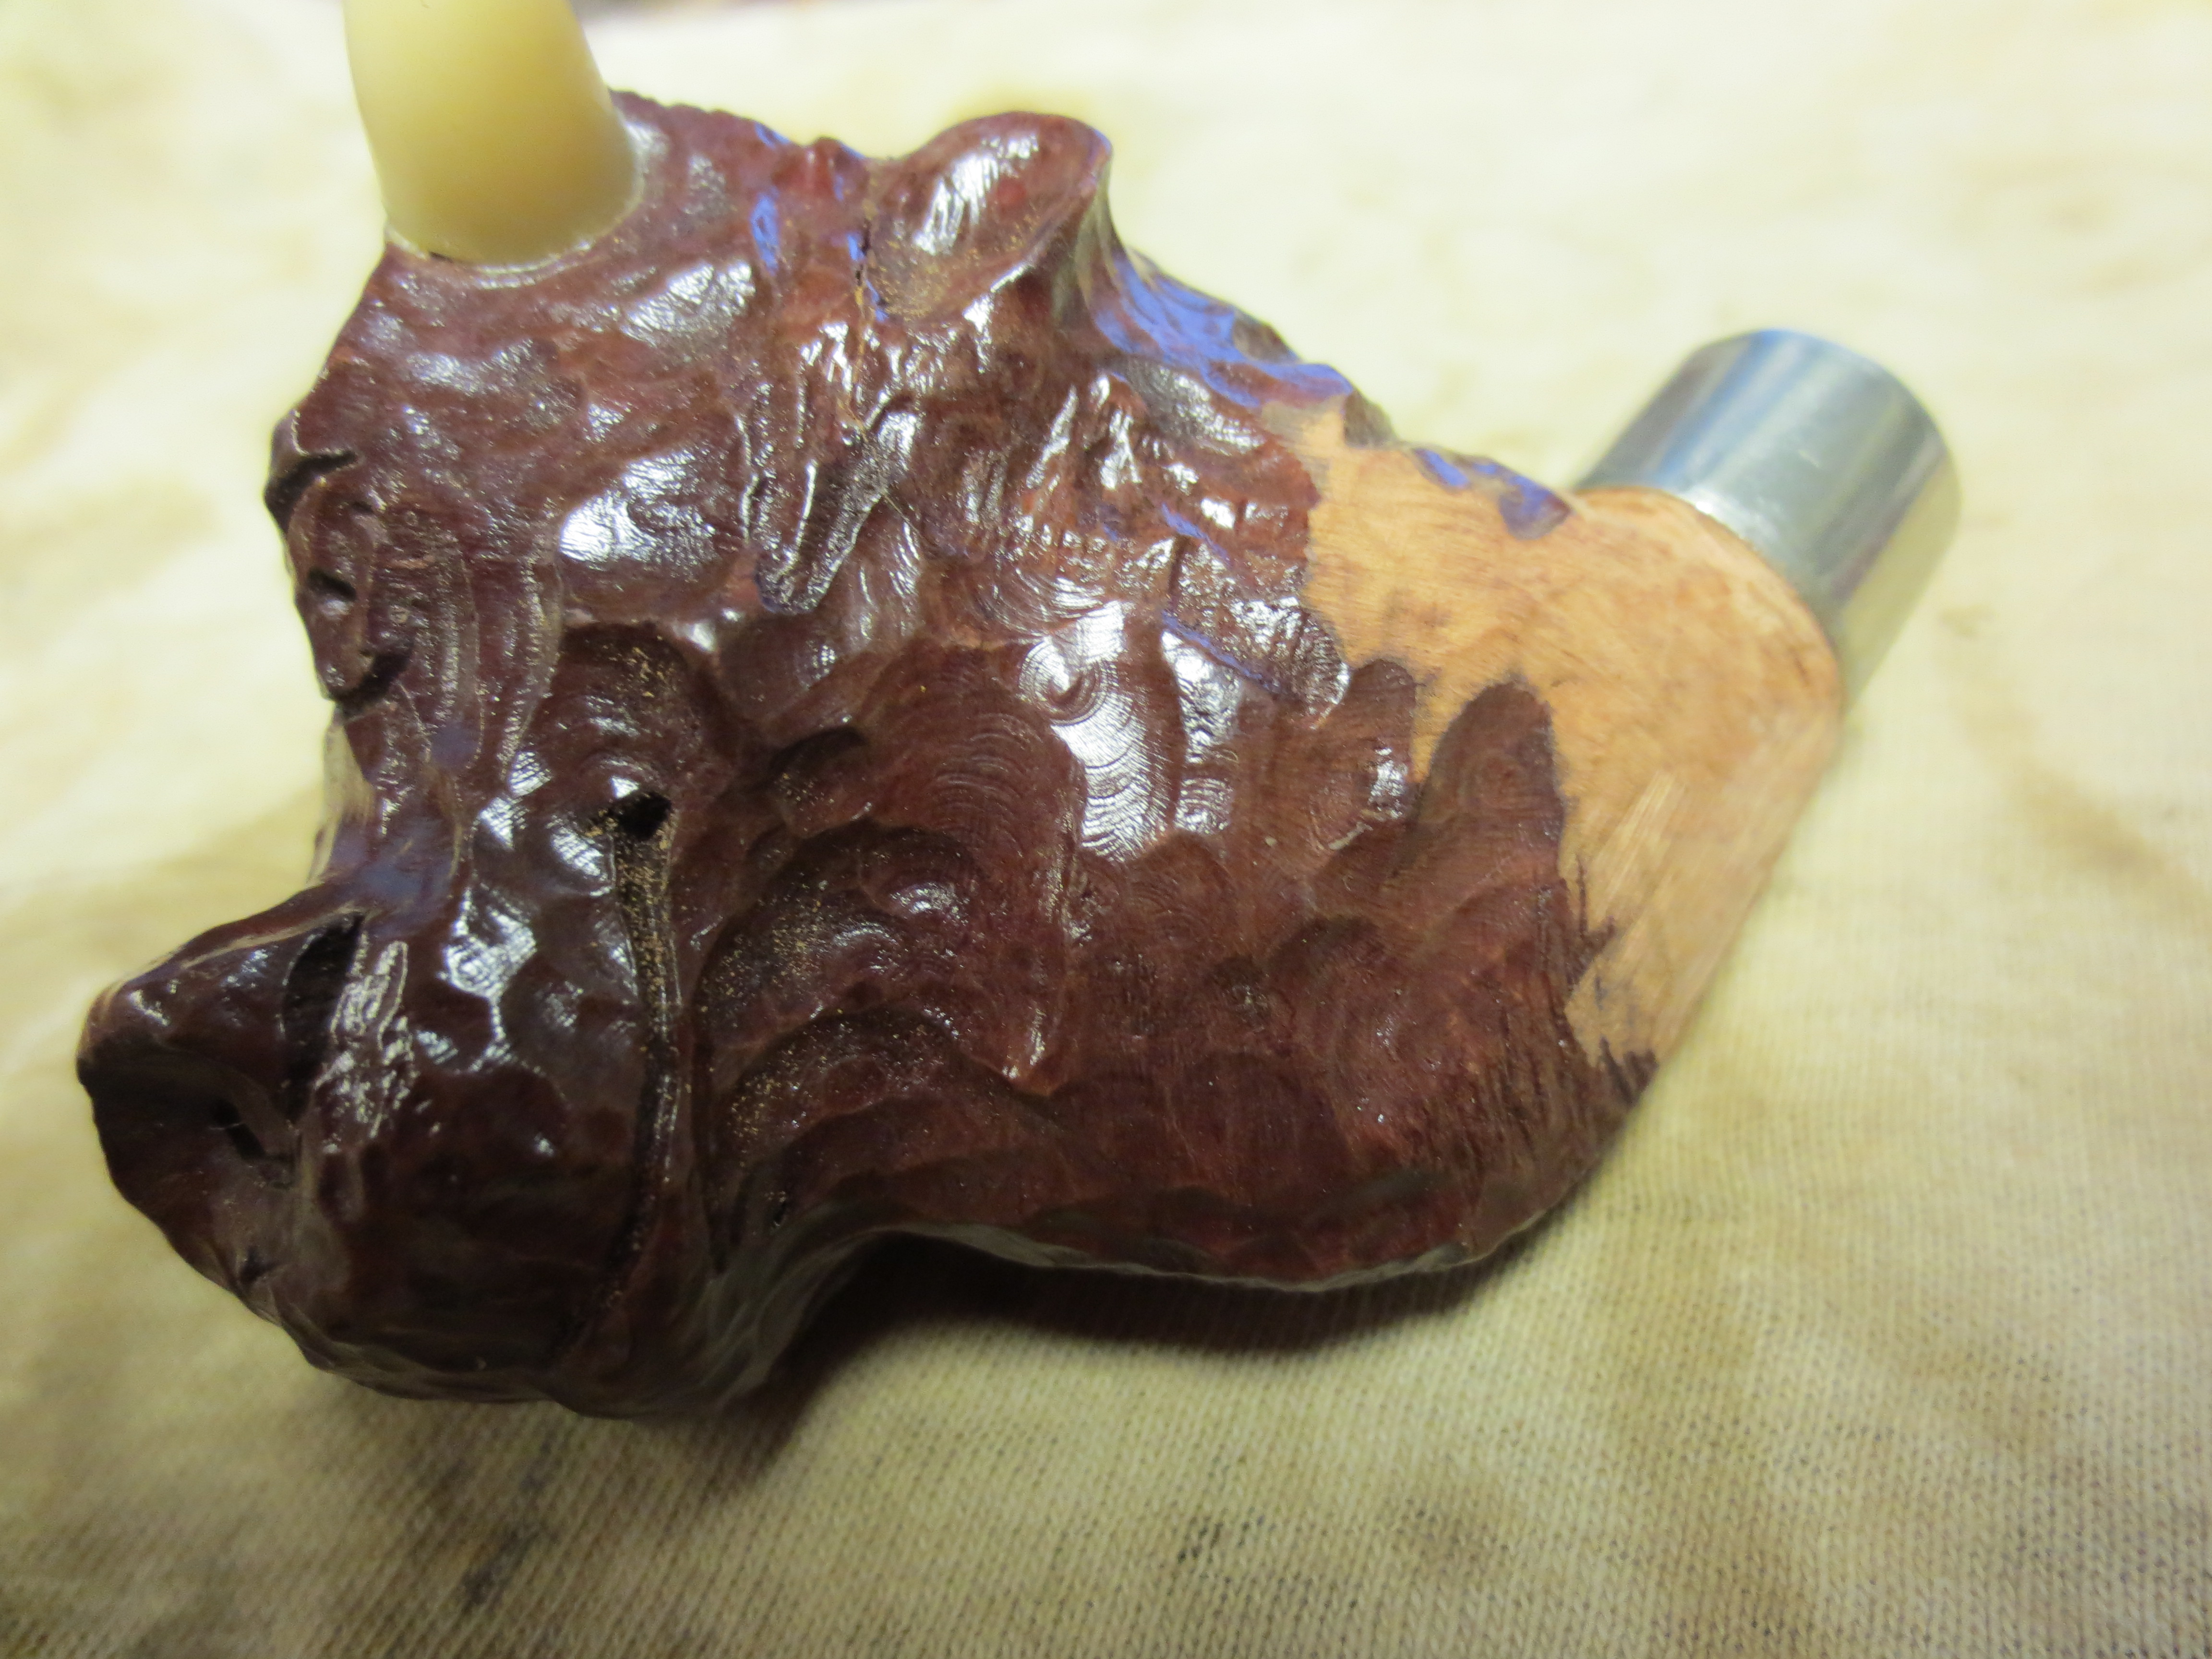
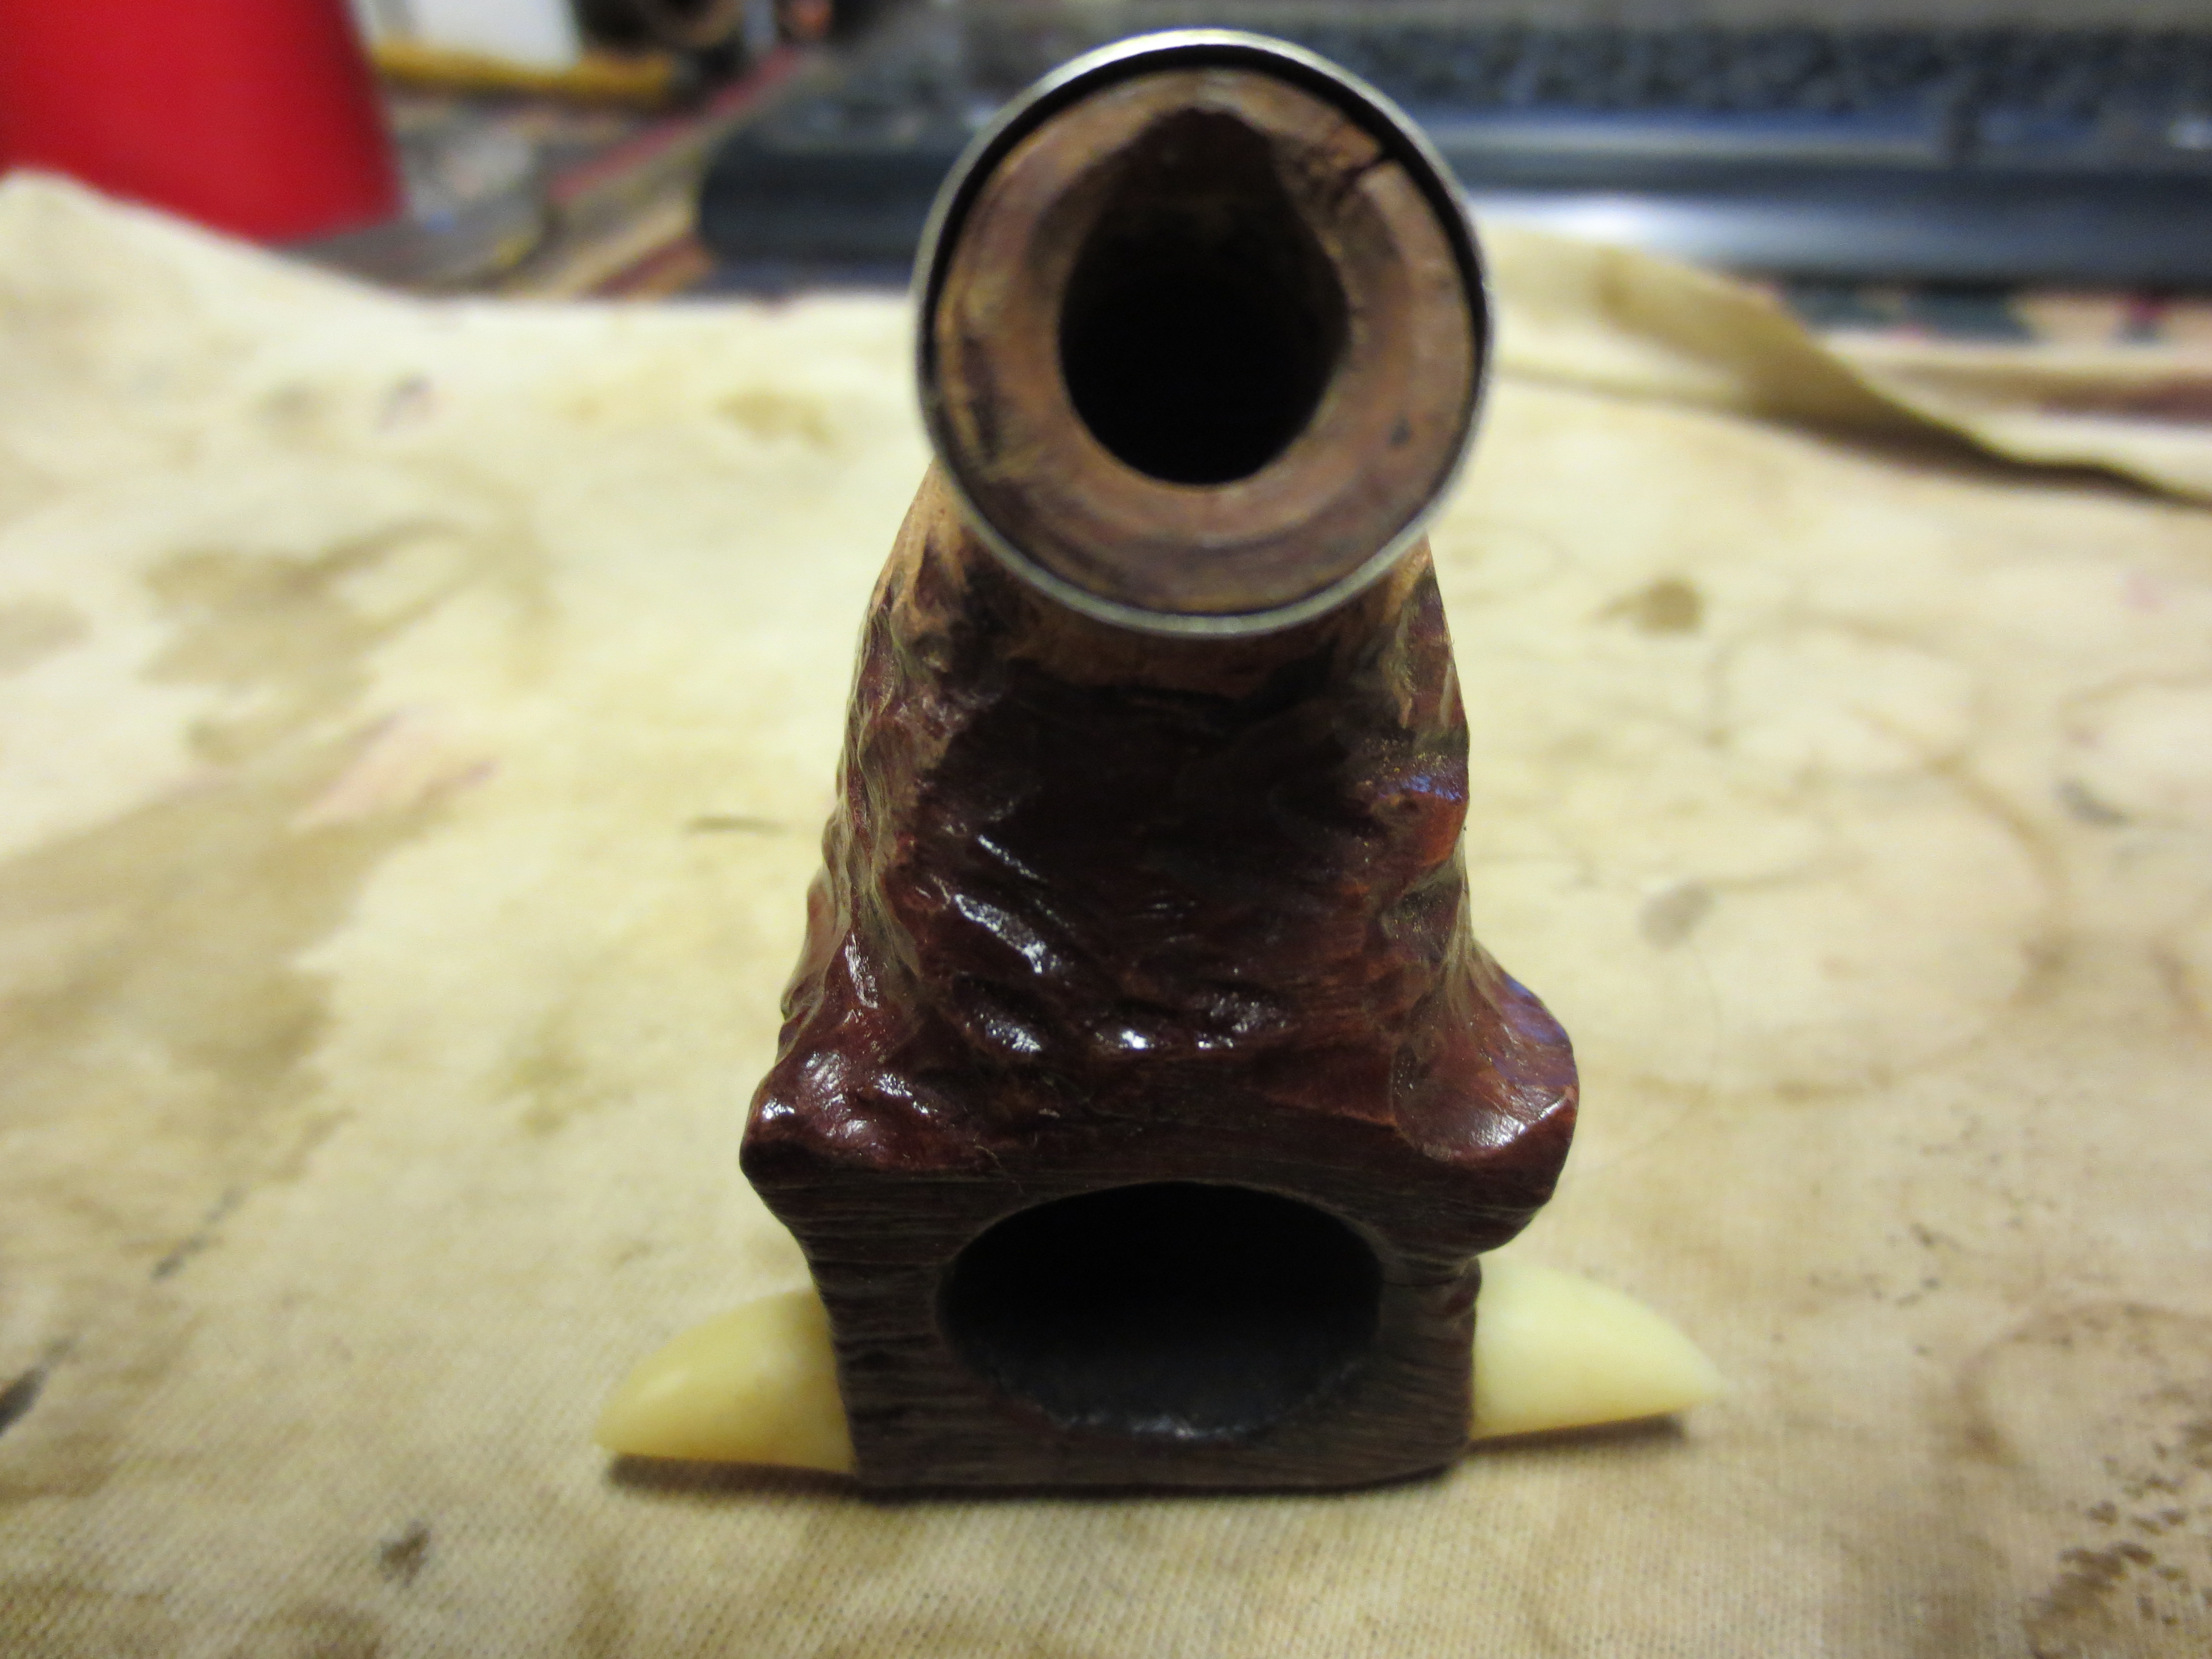
I have never been a big fan of carved animal pipes- whether birds, bulls, horses, etc. There is just something about them that always makes me shy away. Needless to say when I picked up this one in an EBay lot I put it in the bottom of the box of pipes to be refurbished and kept burying it lower in the box. A few weeks ago when I had very few left I decided to give it a go. There were a few challenges about it that made it look interesting. It was without a stem and the shank was damaged – several cracks in it. The angles of the shank made banding it a challenge and the thickness of the neck of the bull at the base of the shank made it formidable. Those attracted me to giving it a try. I also figured I could do some carving on the shank to make it possible to band it and then sand rework an old stem to fit the newly carved shank. The bowl has some kind of impermeable coating on it. Acetone will not cut it; Everclear will not cut it and even a soak in the alcohol bath will not cut it. It is like a coat of Urethane. All my attacks on it resulted in not even damaging the surface. Ah well it will stay as it is then.
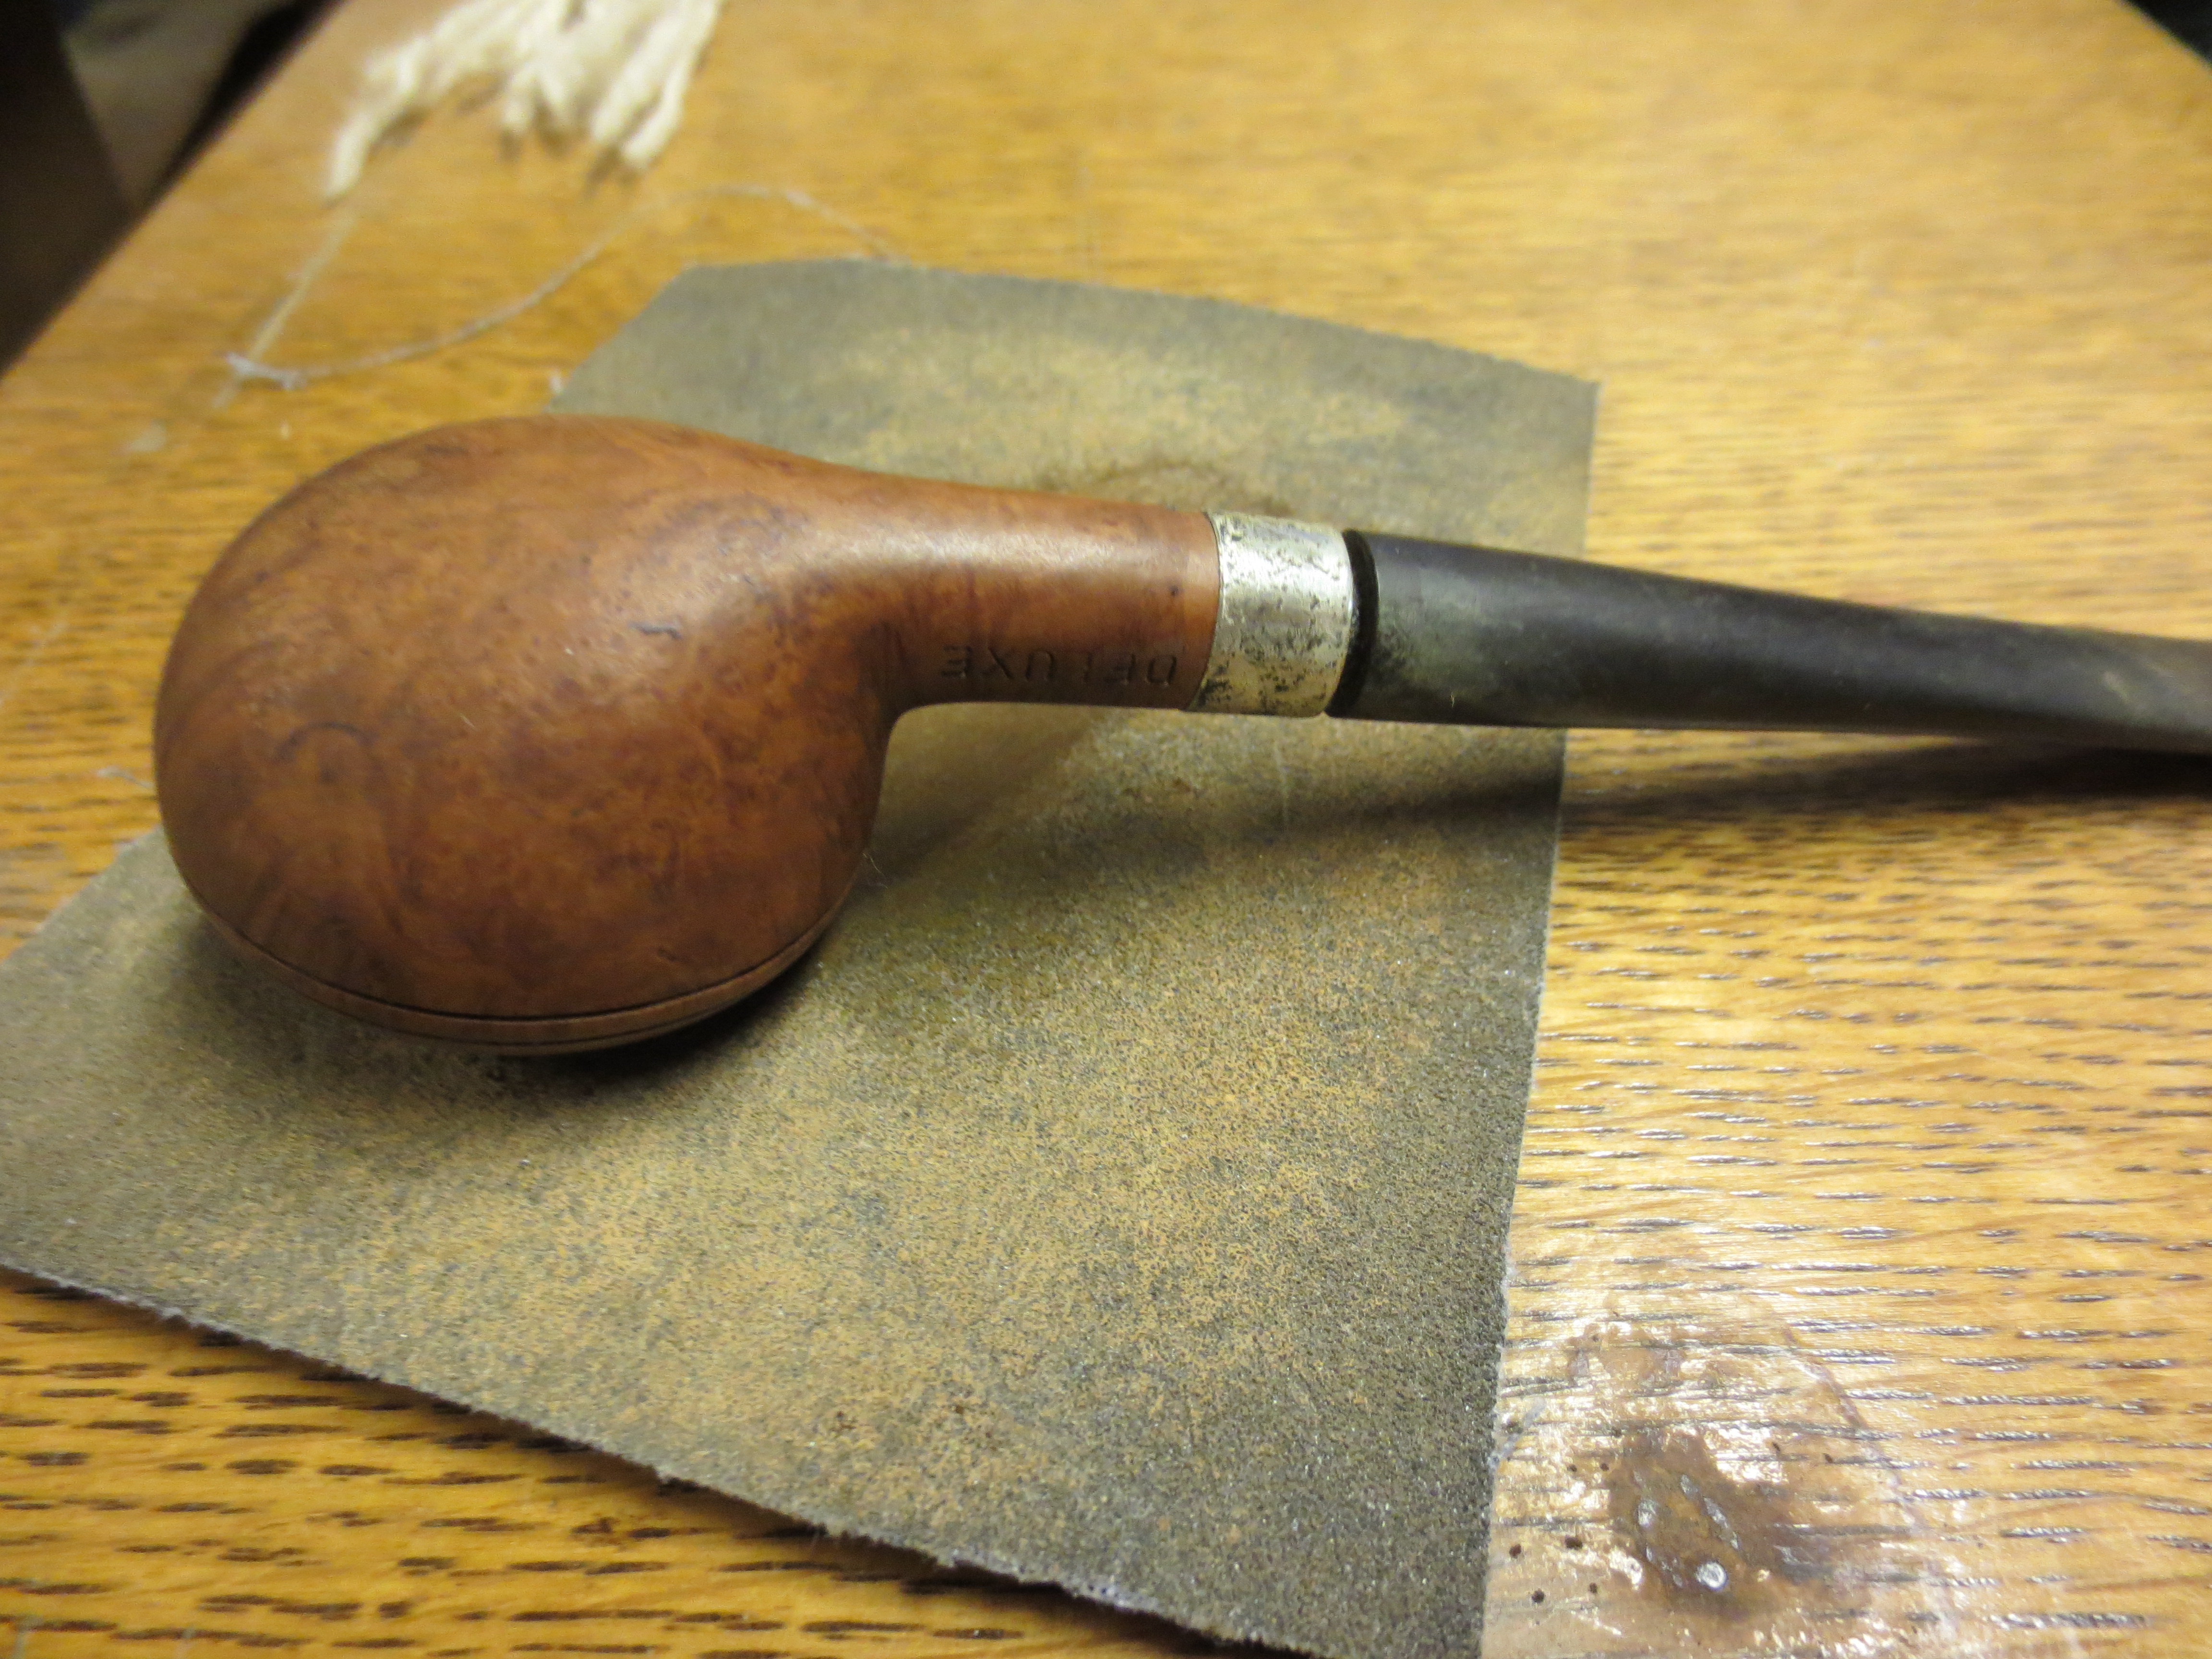
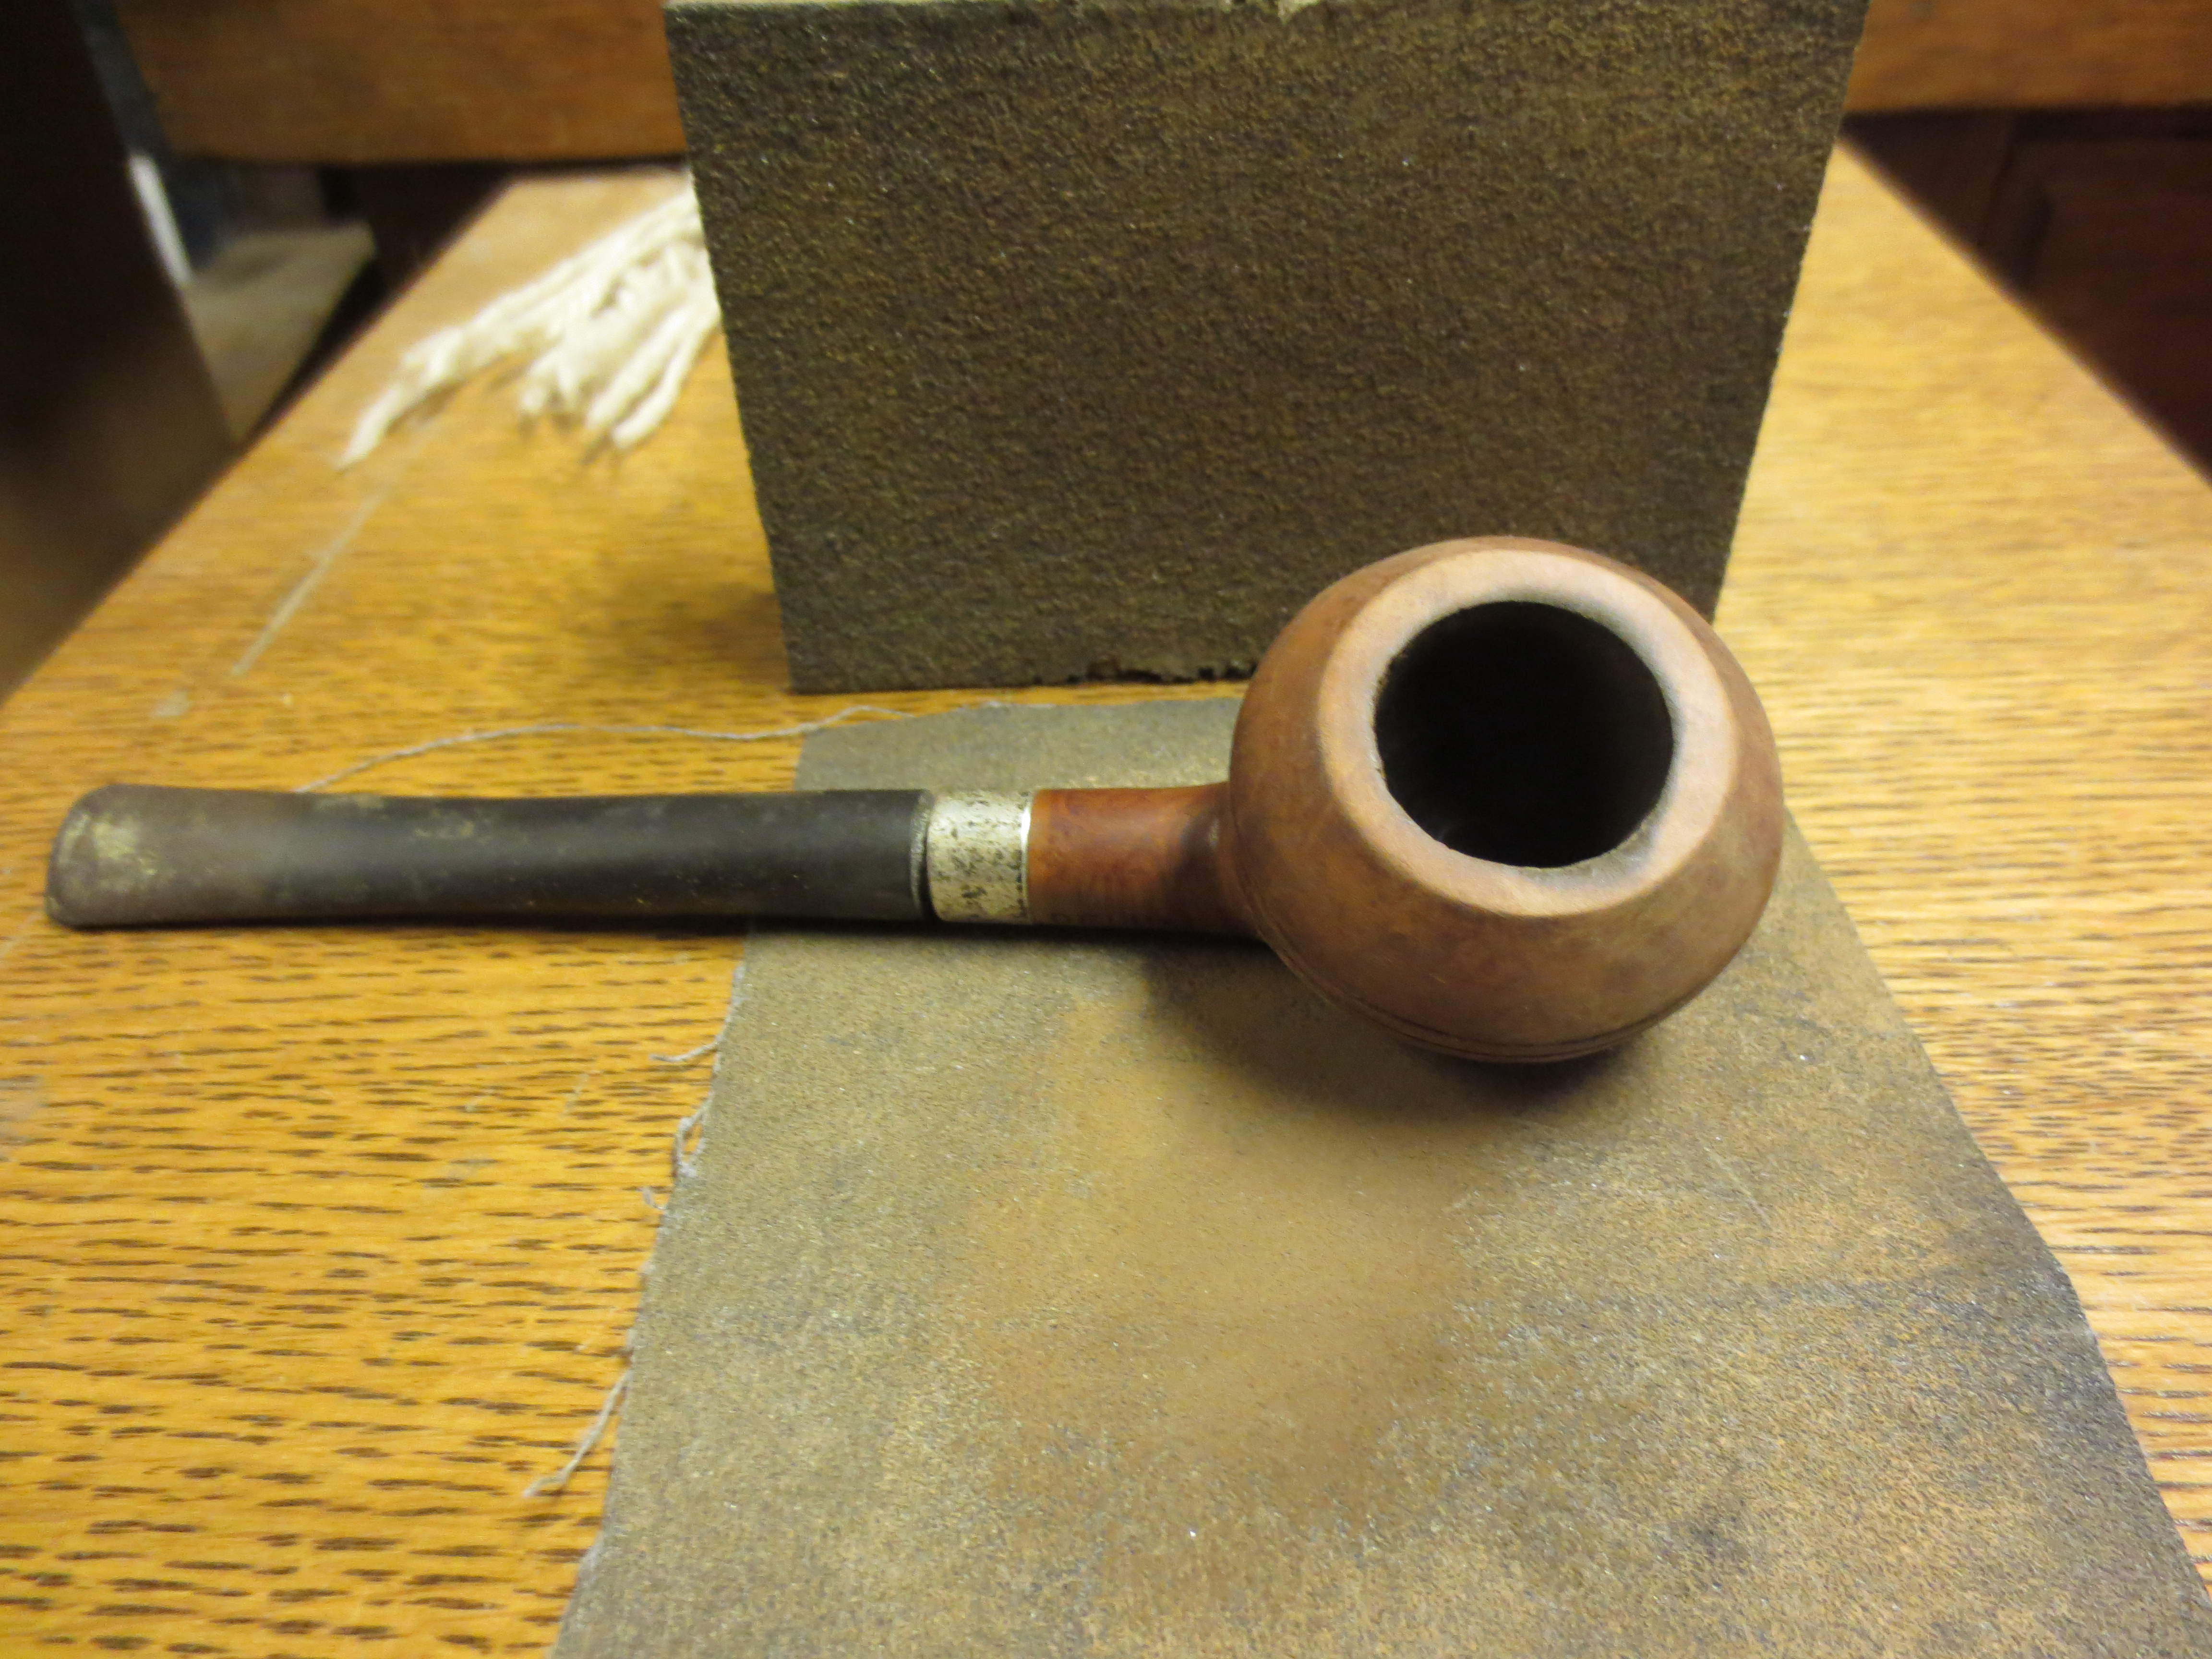
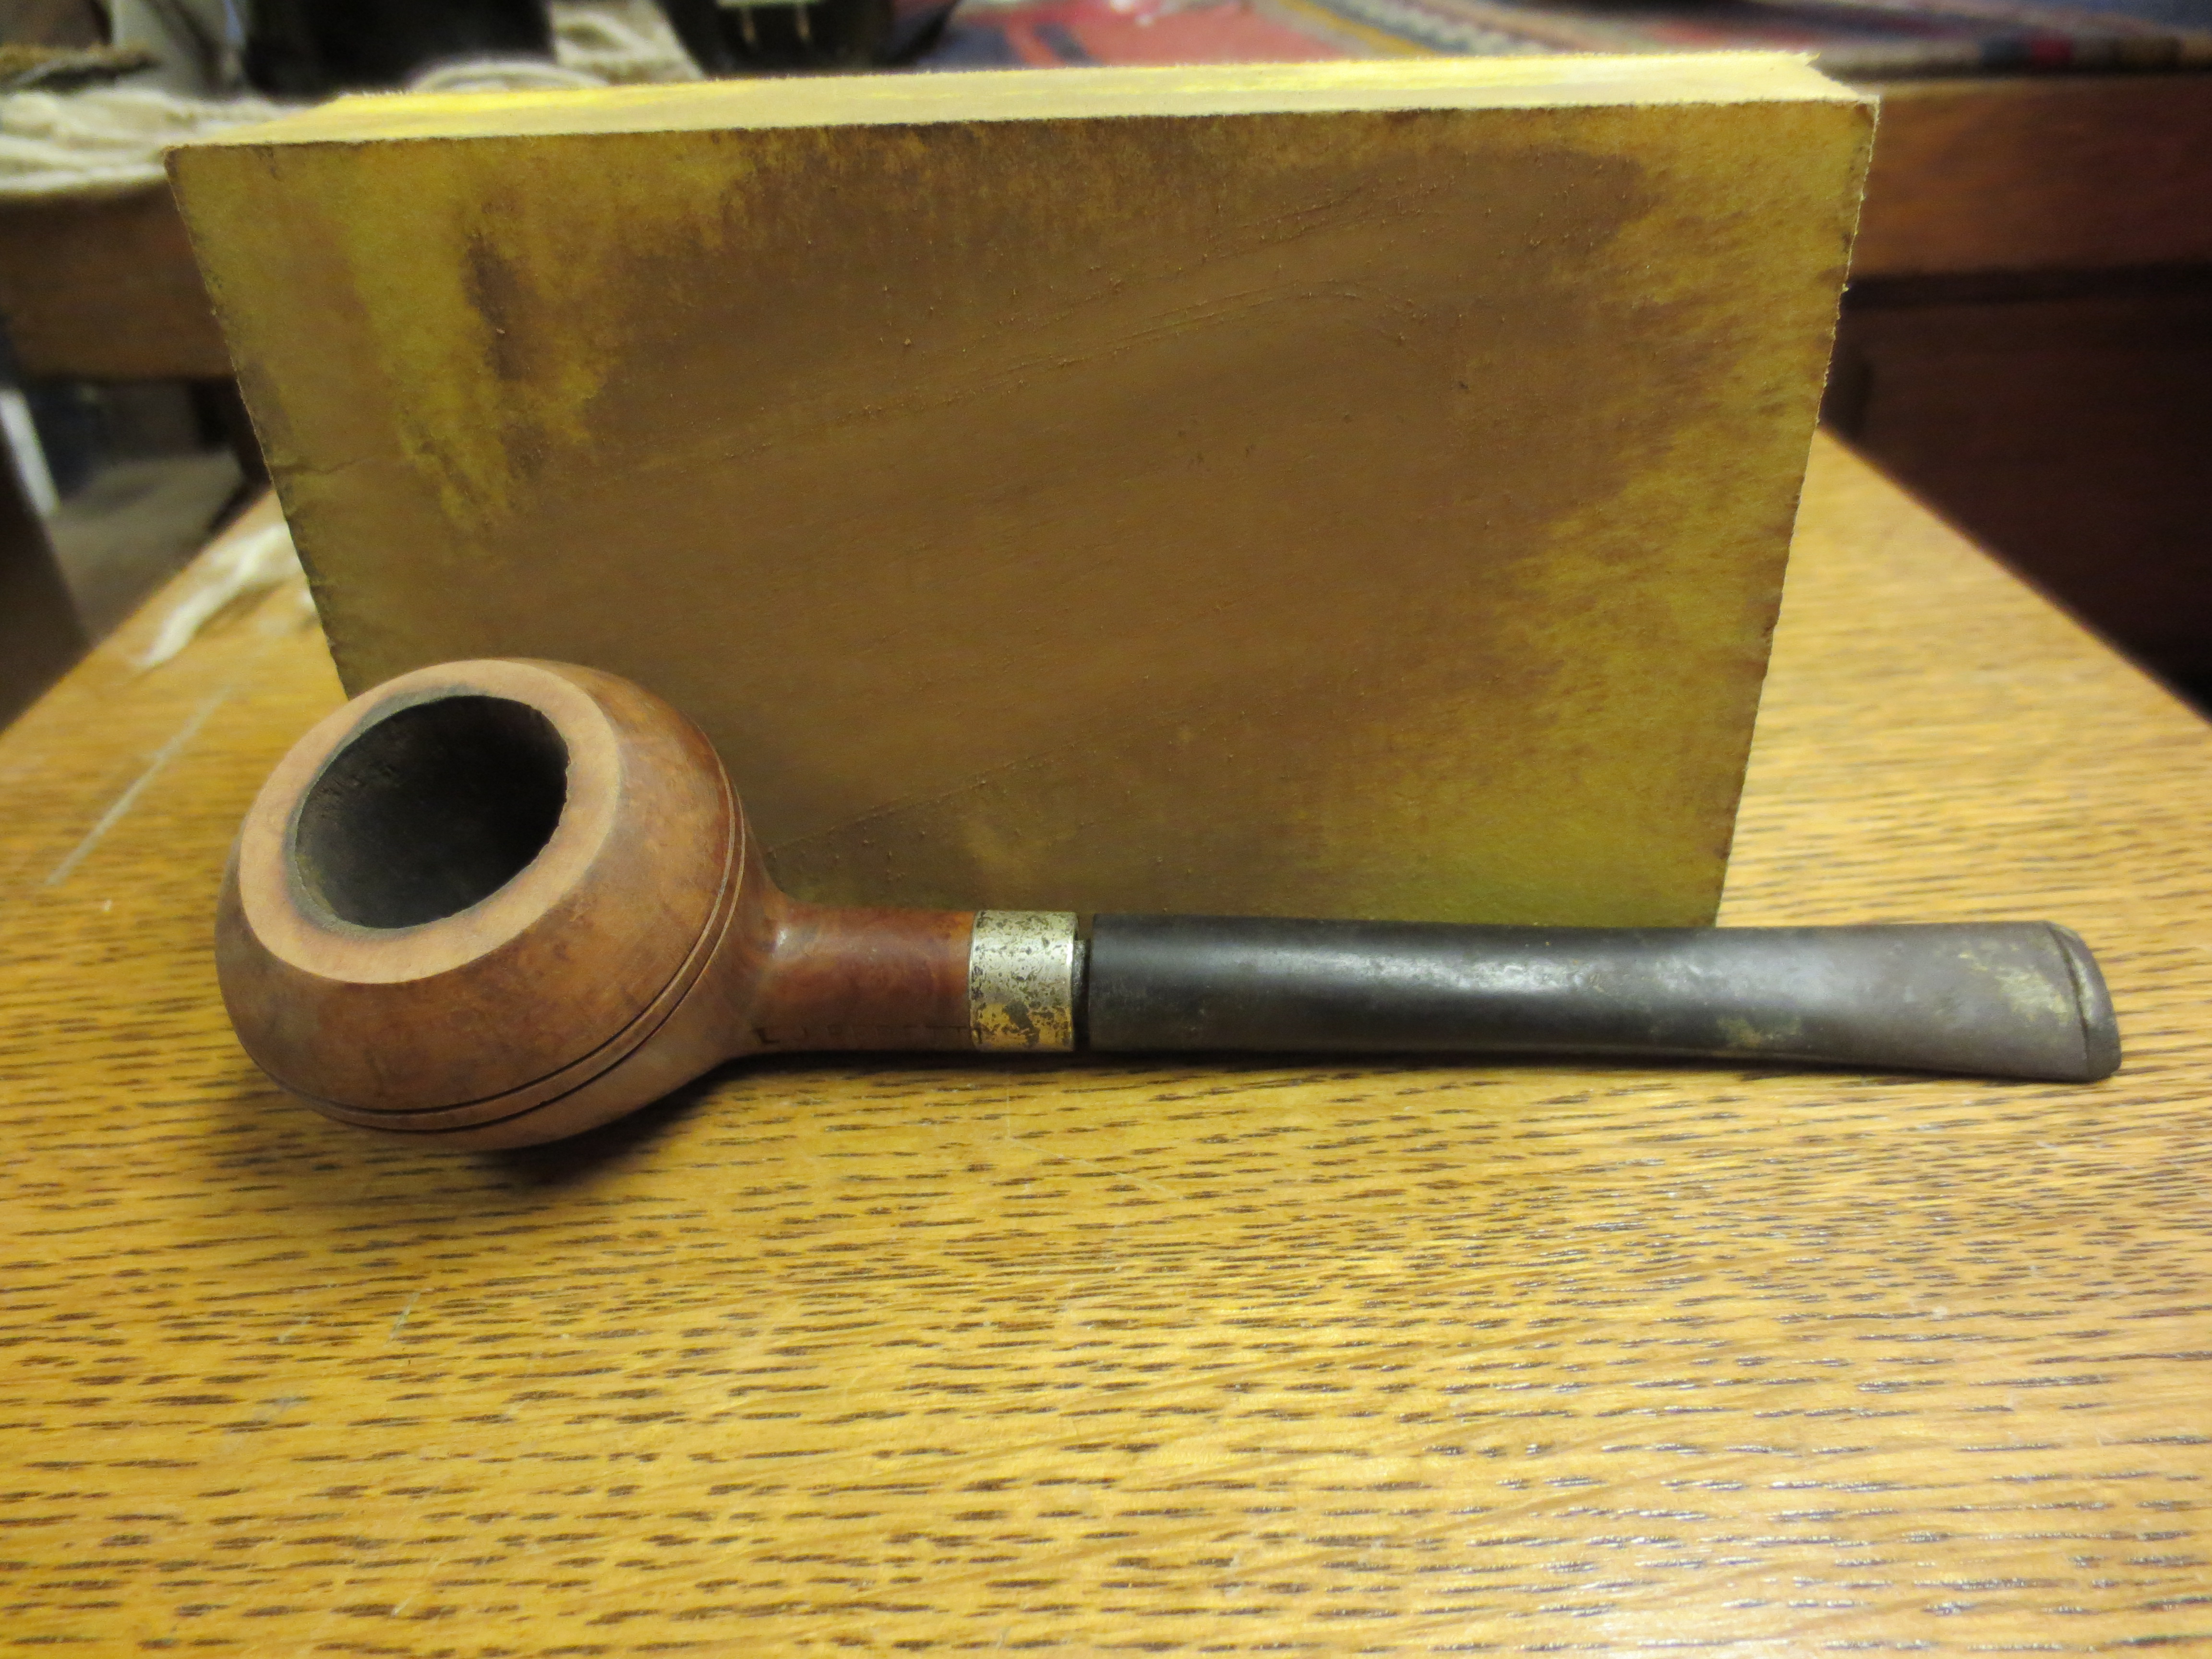
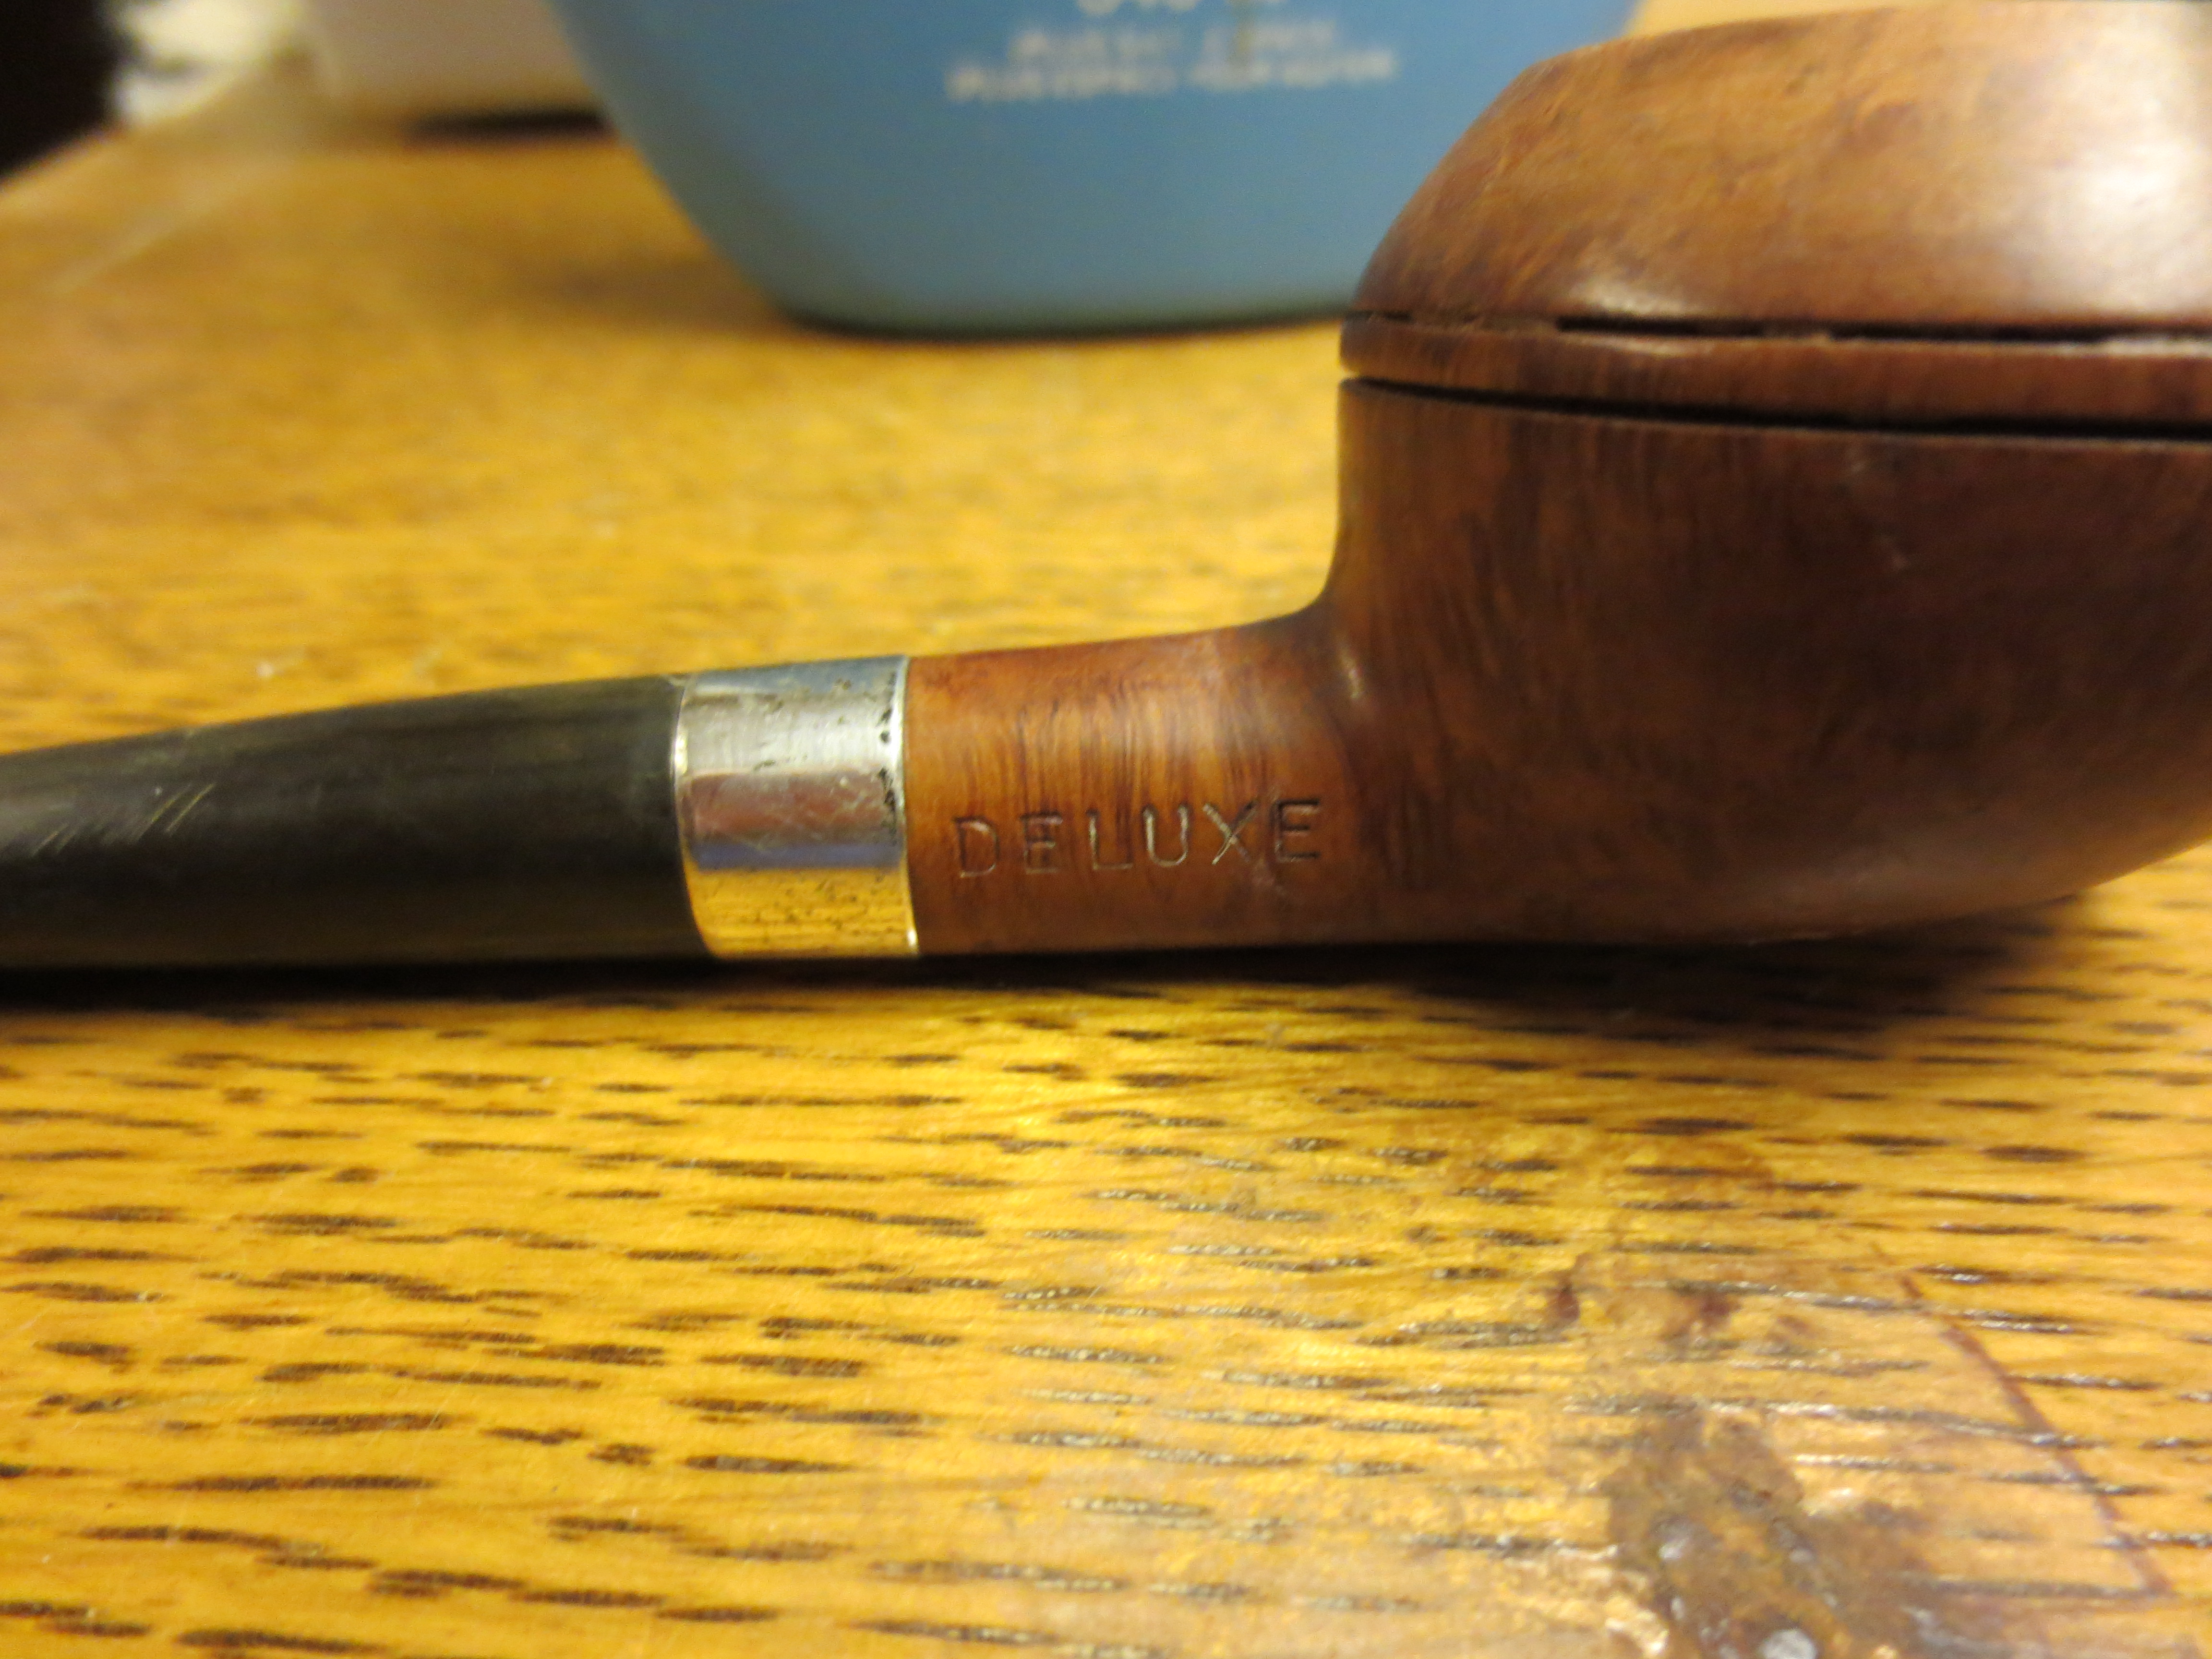
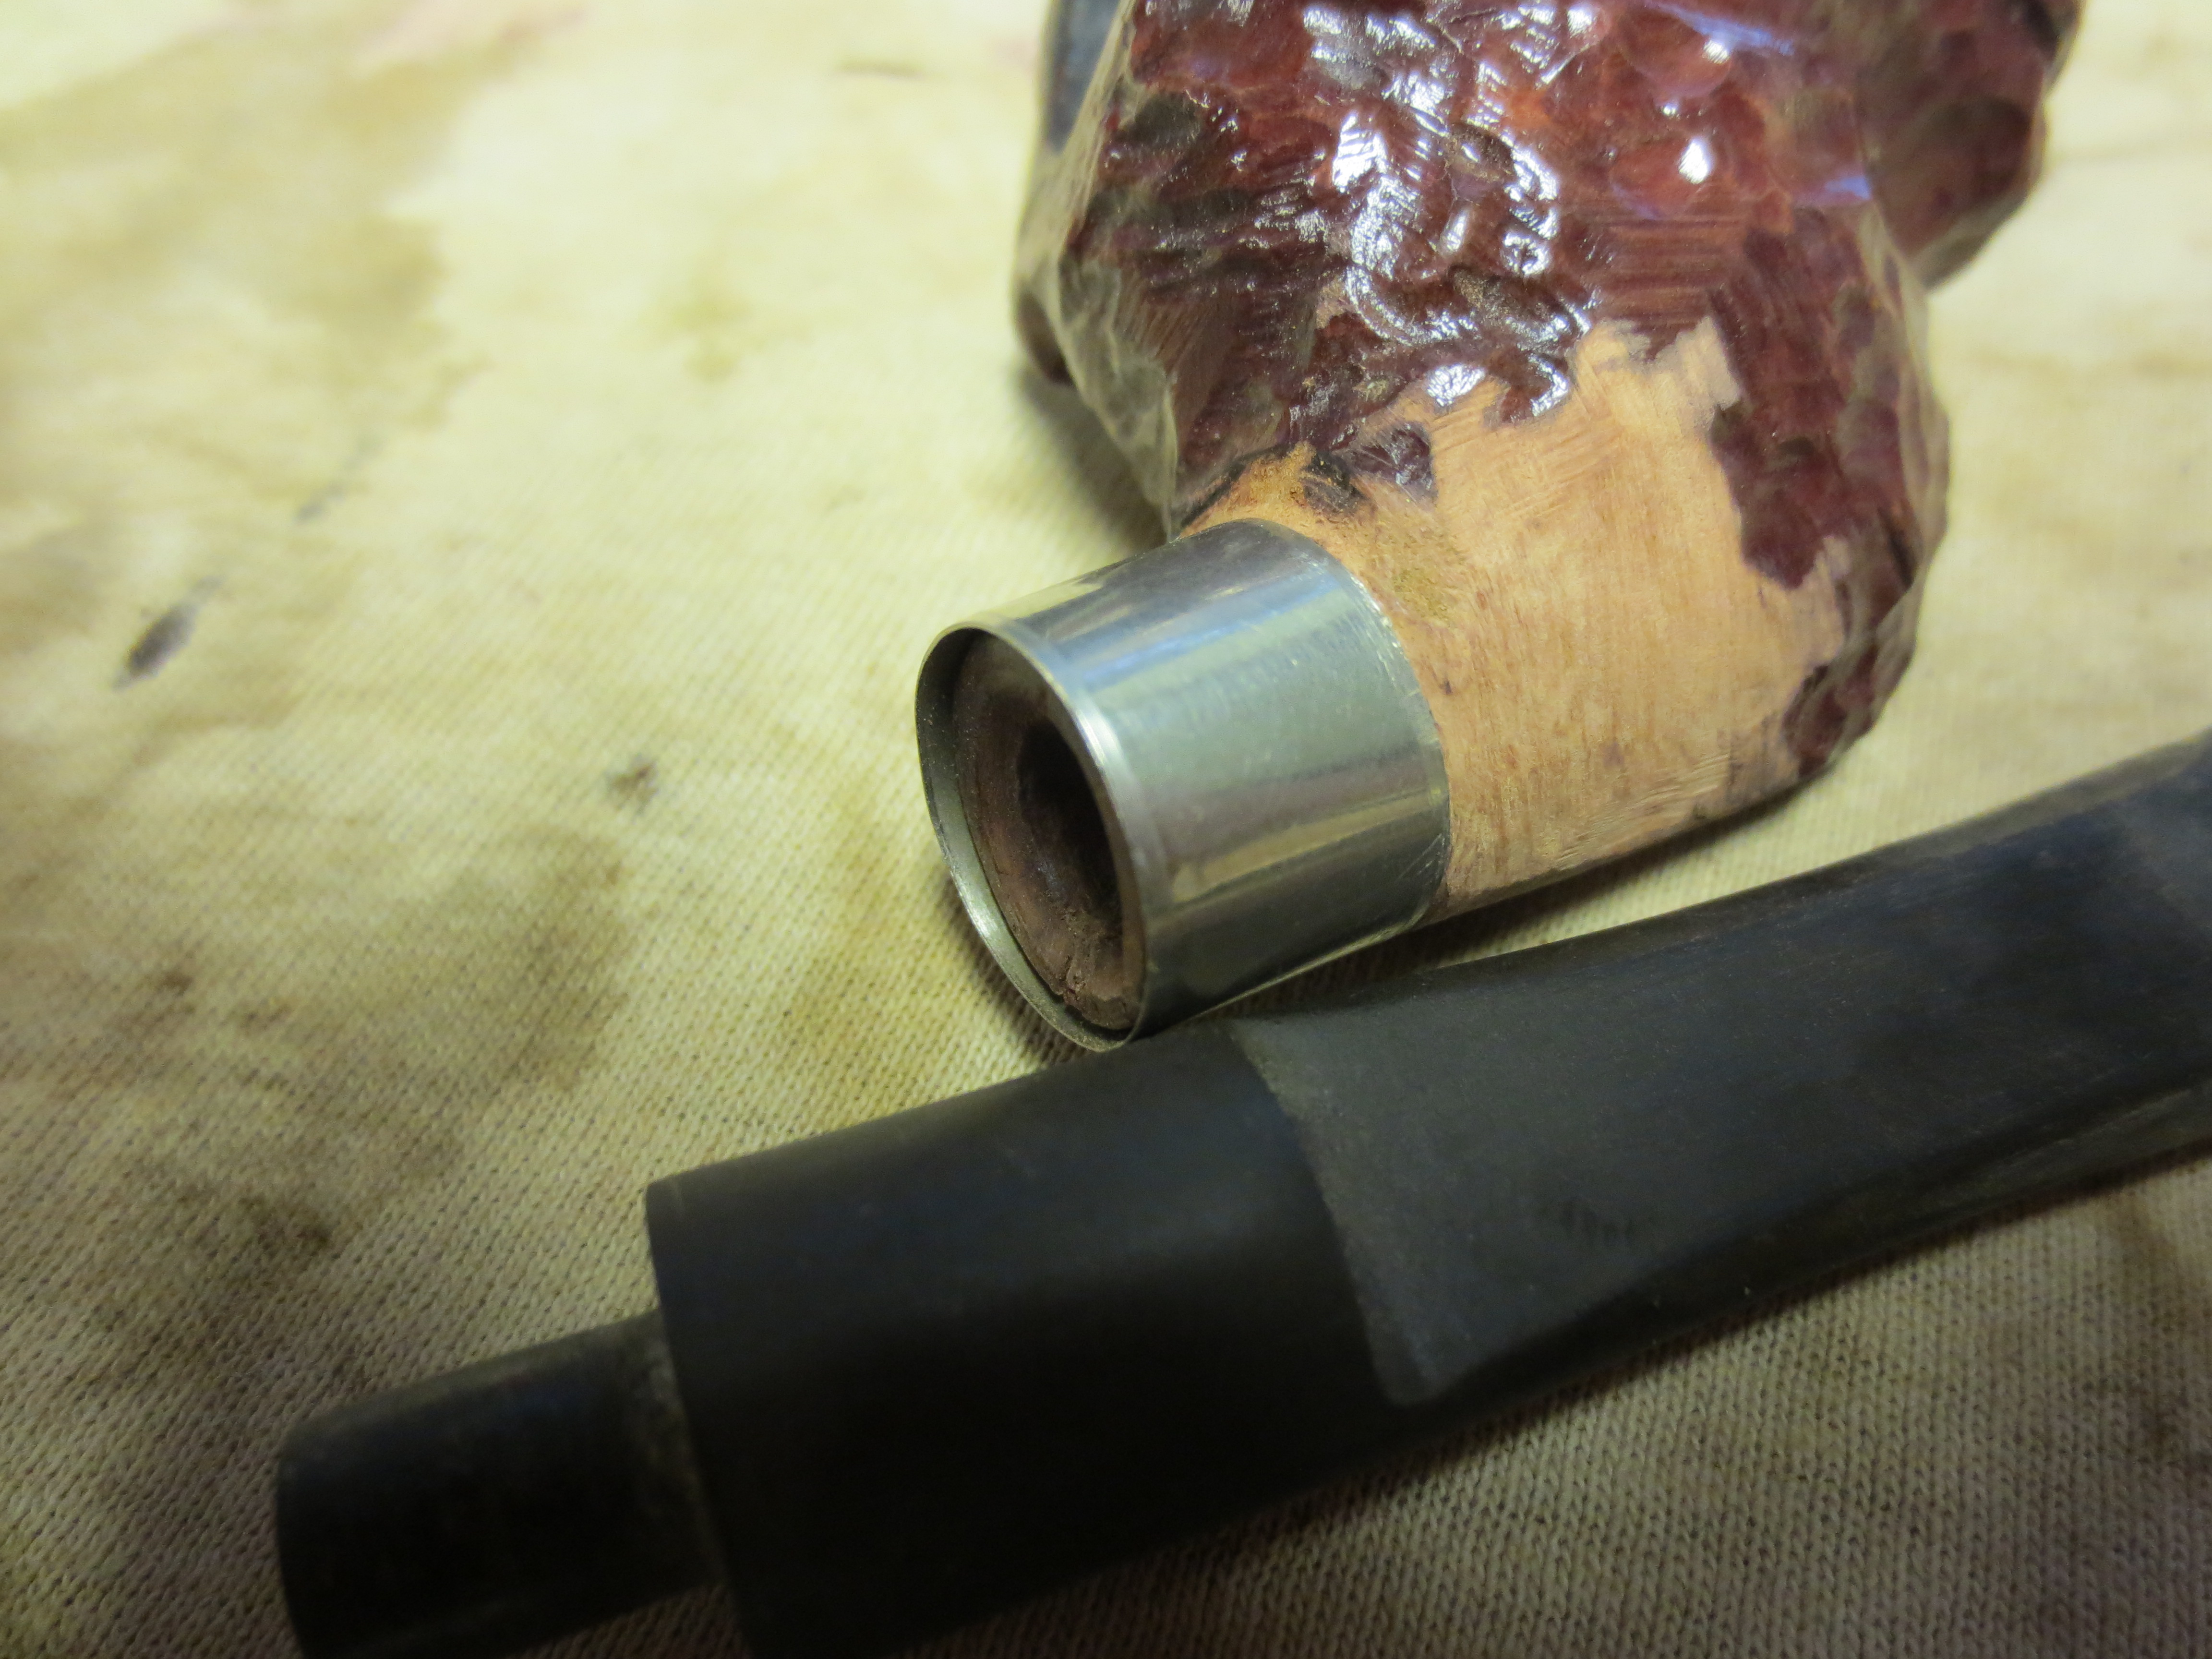
I used my Dremel to sand back the shank area so that a band would fit it. I sanded back the neck of the bull to allow for a visible shank. I also had to sand the area at the back of the head to fit the band on the shank. I sanded it with some medium grit emery paper to remove the deep scratches from the Dremel and then worked it over with 240 and 320 grit sandpaper to smooth it out. I finished by wet sanding the shank with micromesh sanding pads from 1500-3200 grit. Once I had it cut back and ready, I heated a band with my heat gun and pressure fit it onto the newly formed shank. The next three photos show the newly banded shank. I left a little excess length on the band so that it would form a seat for the stem (visible in Photo 2). The shank end was so badly damaged that I could not get a smooth end on it. In Photo 3 you can also see the cracks in the shank that I repaired with superglue and pressure.
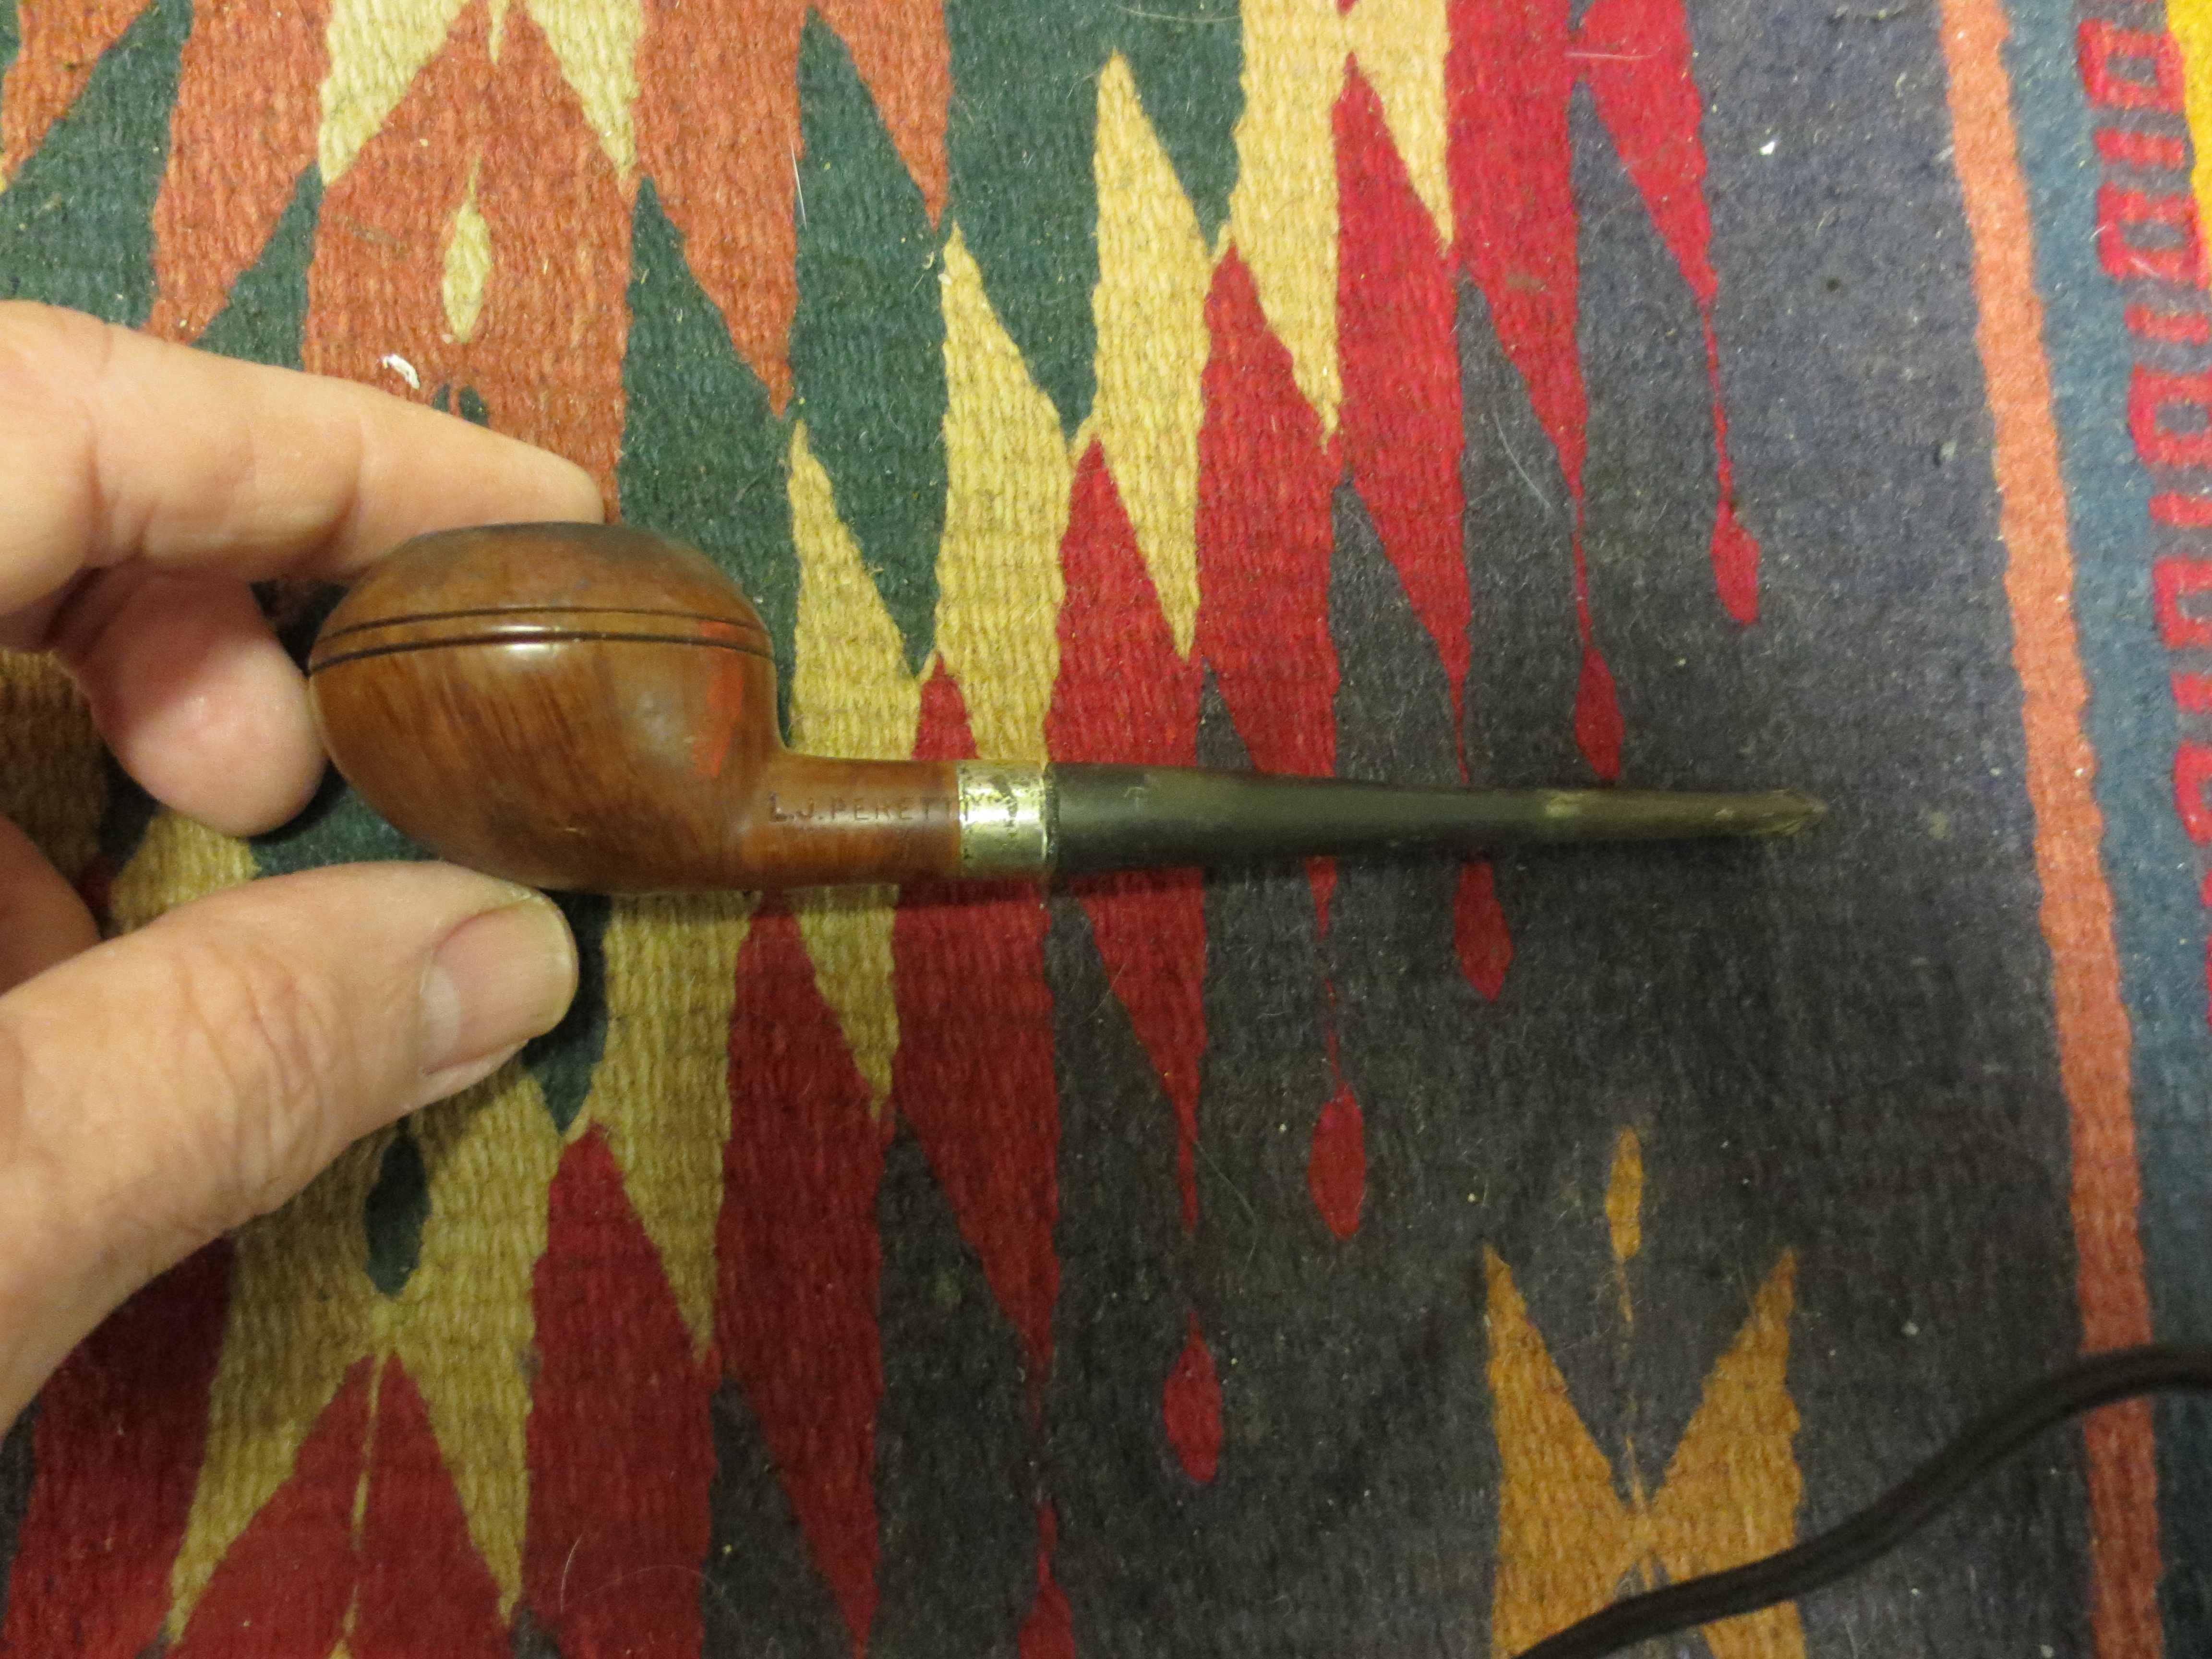
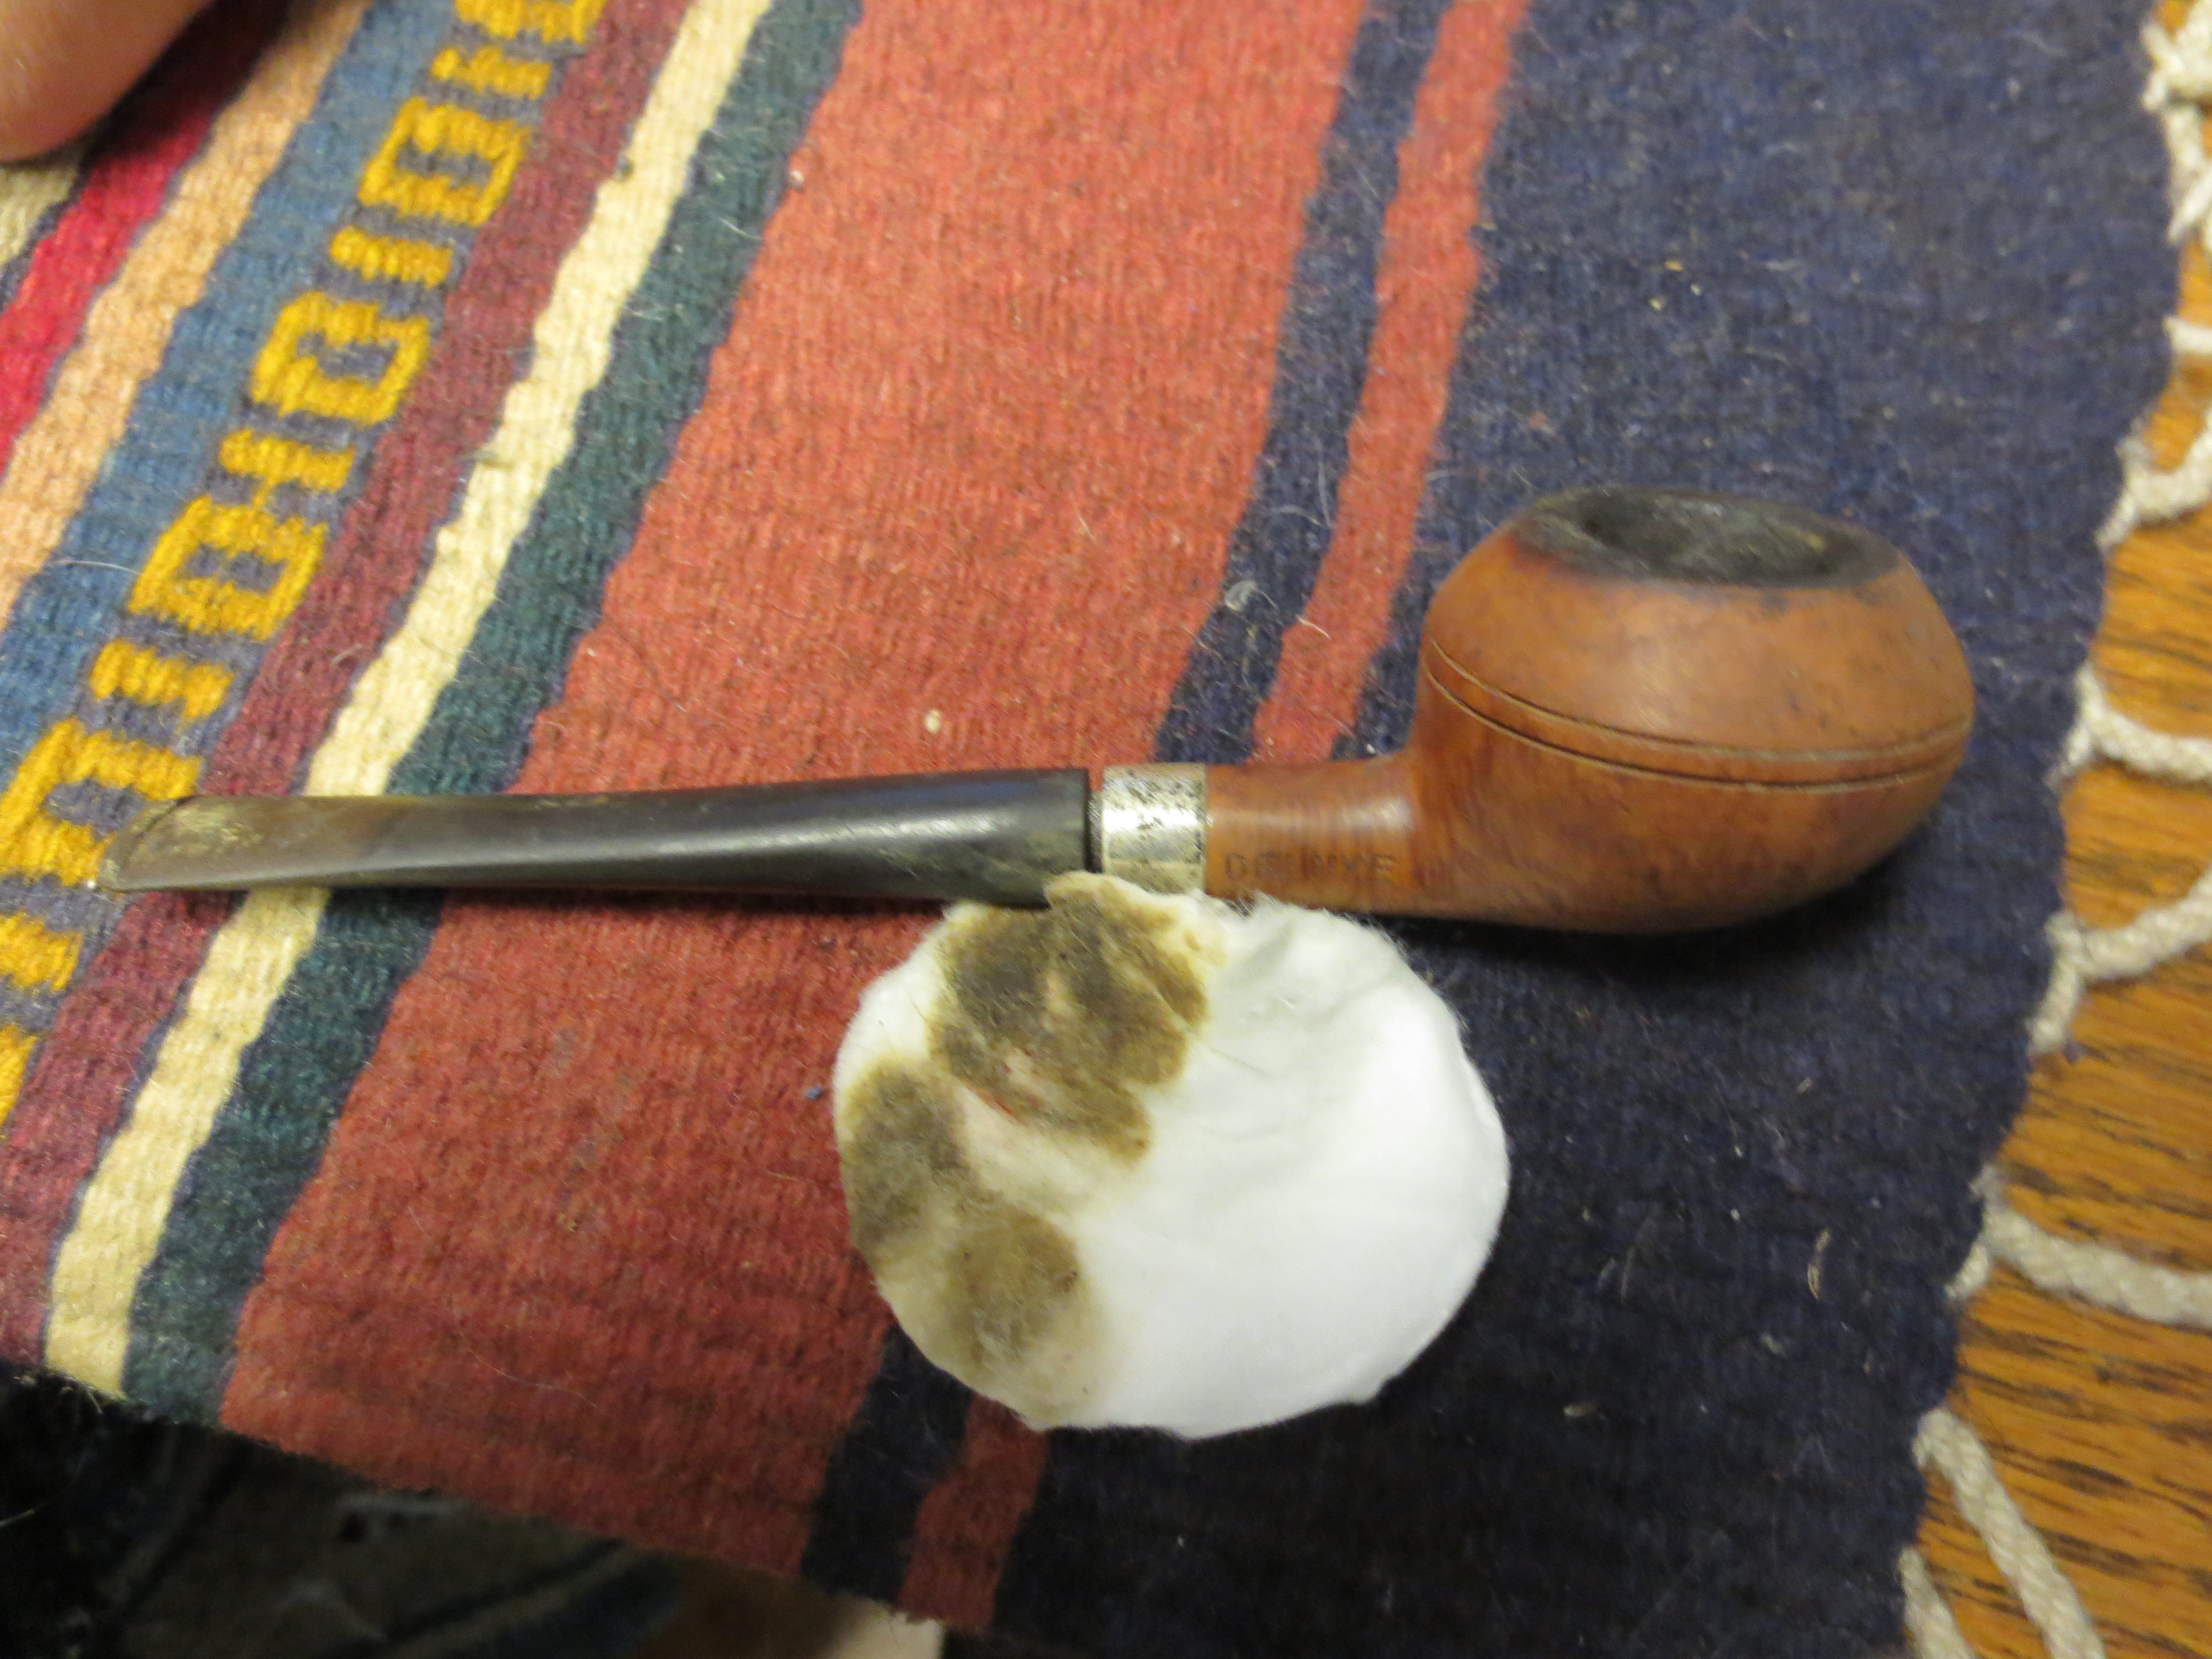
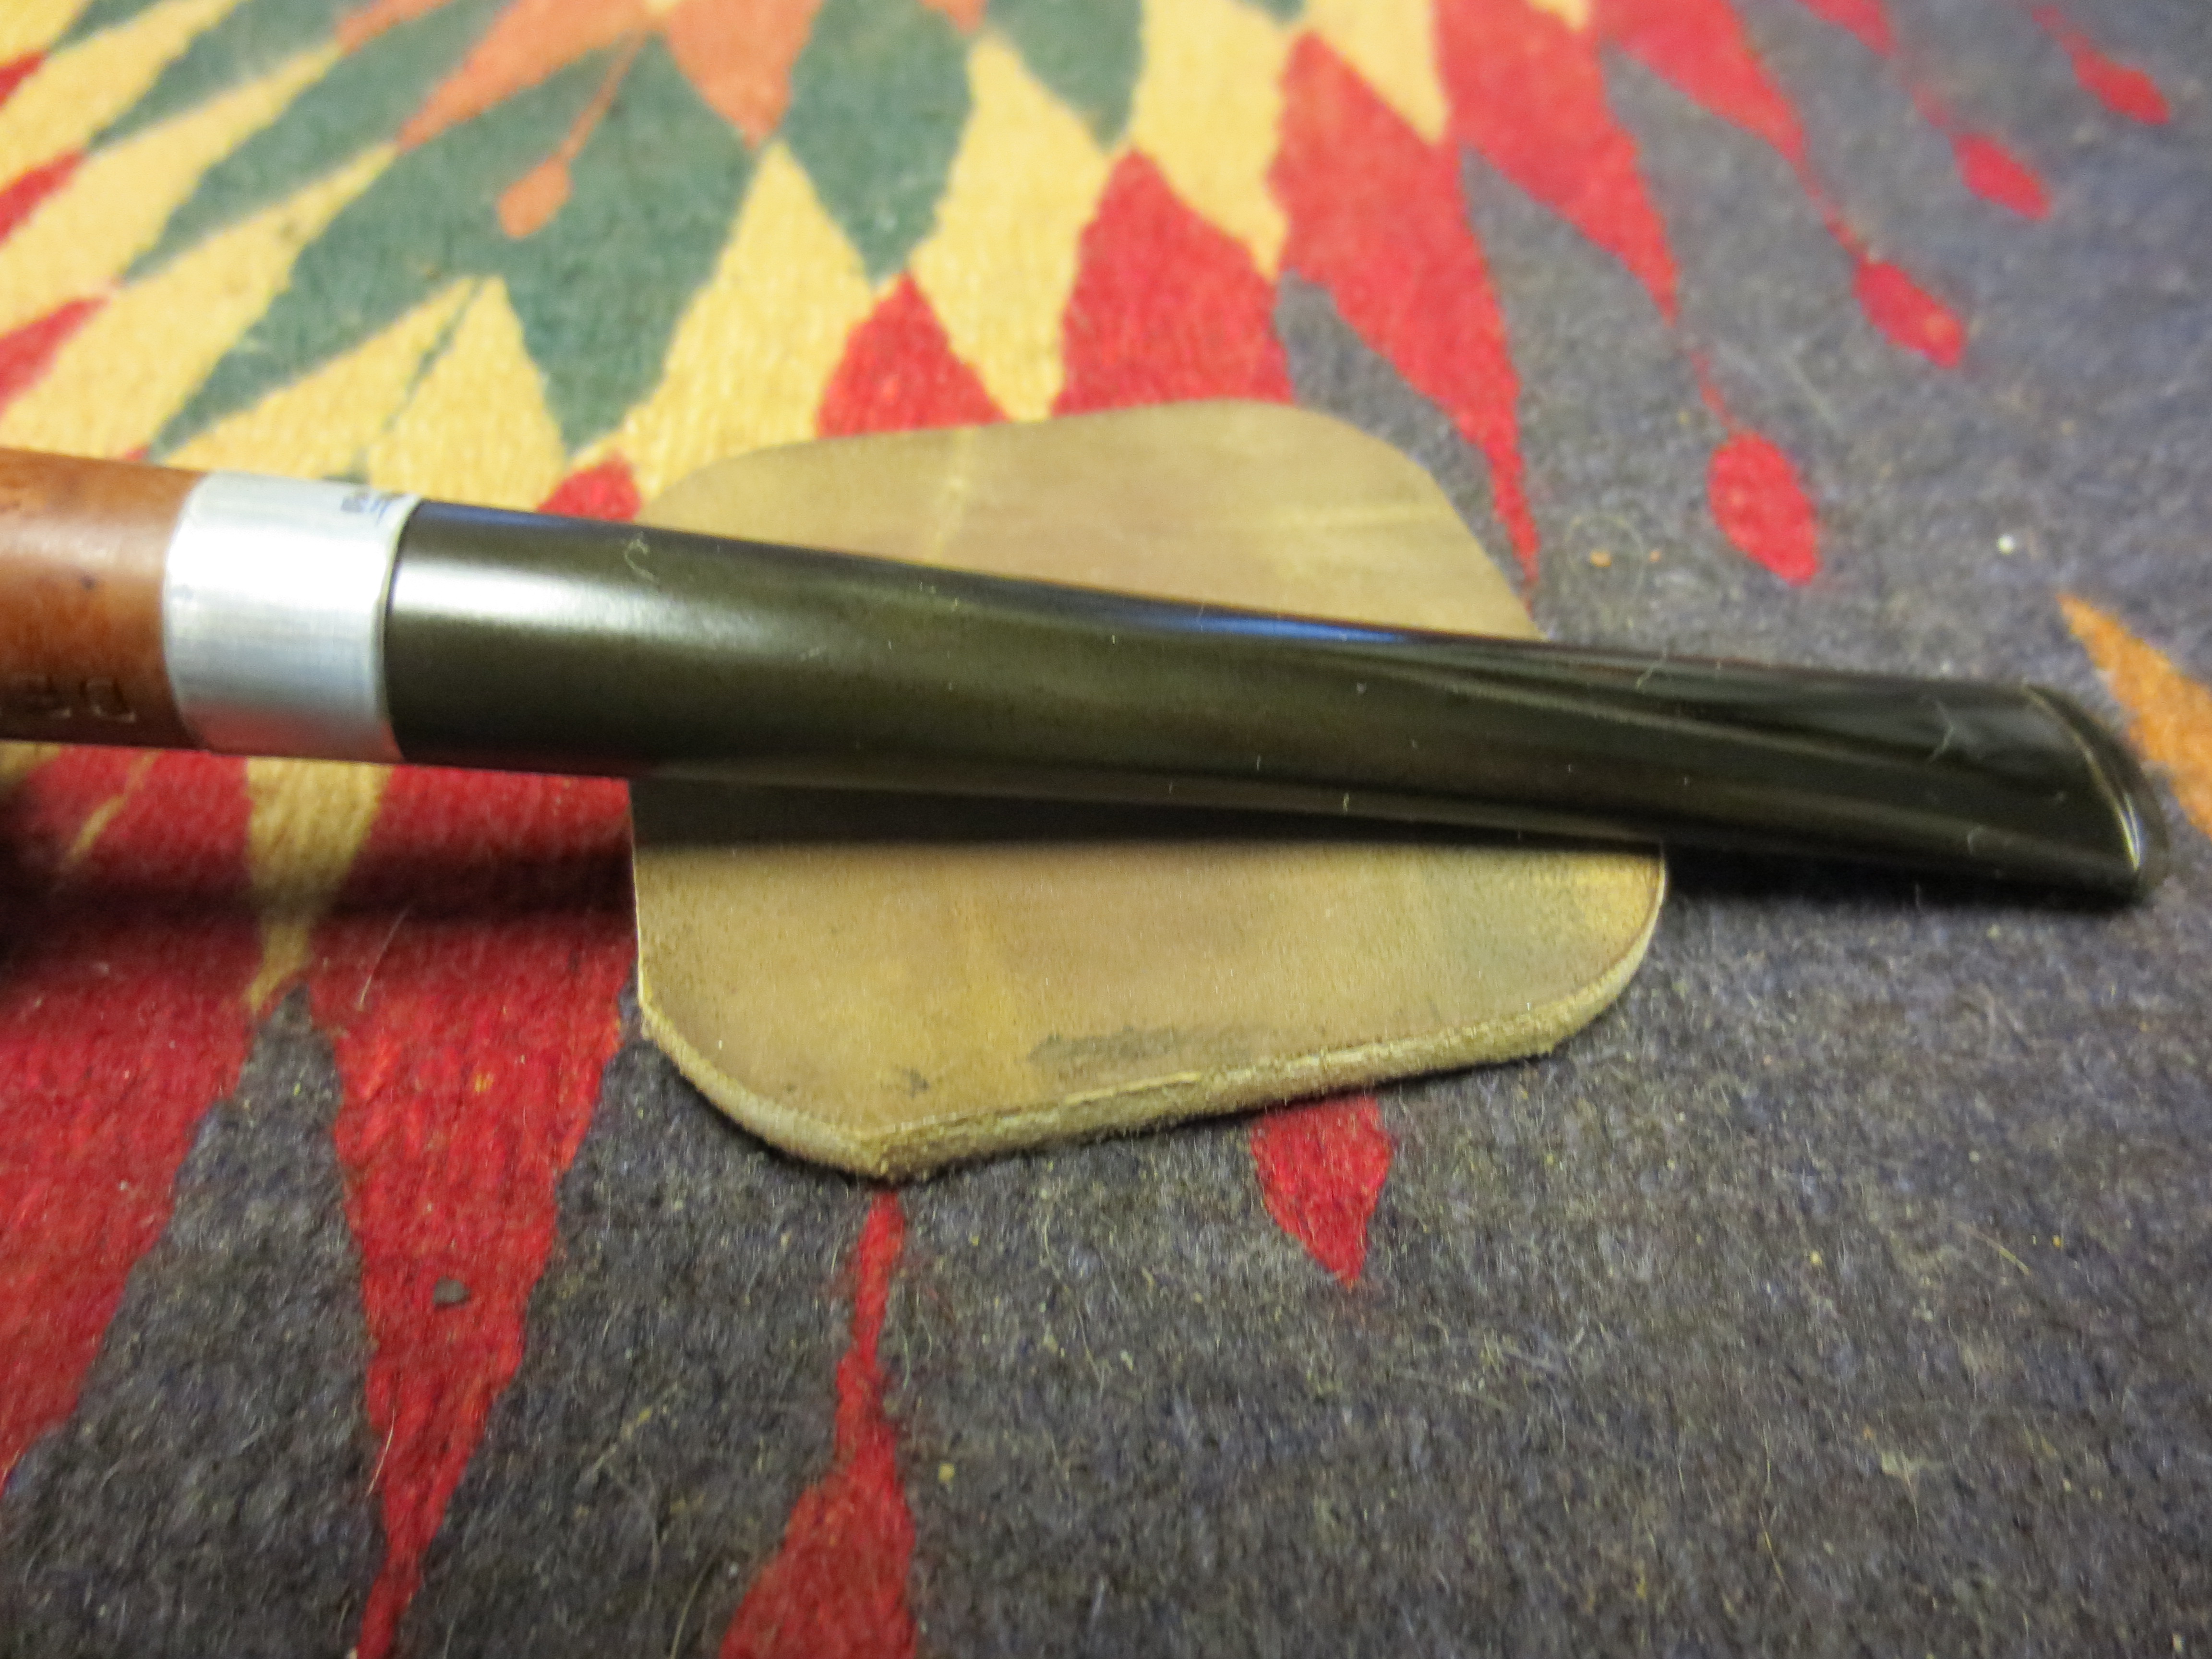
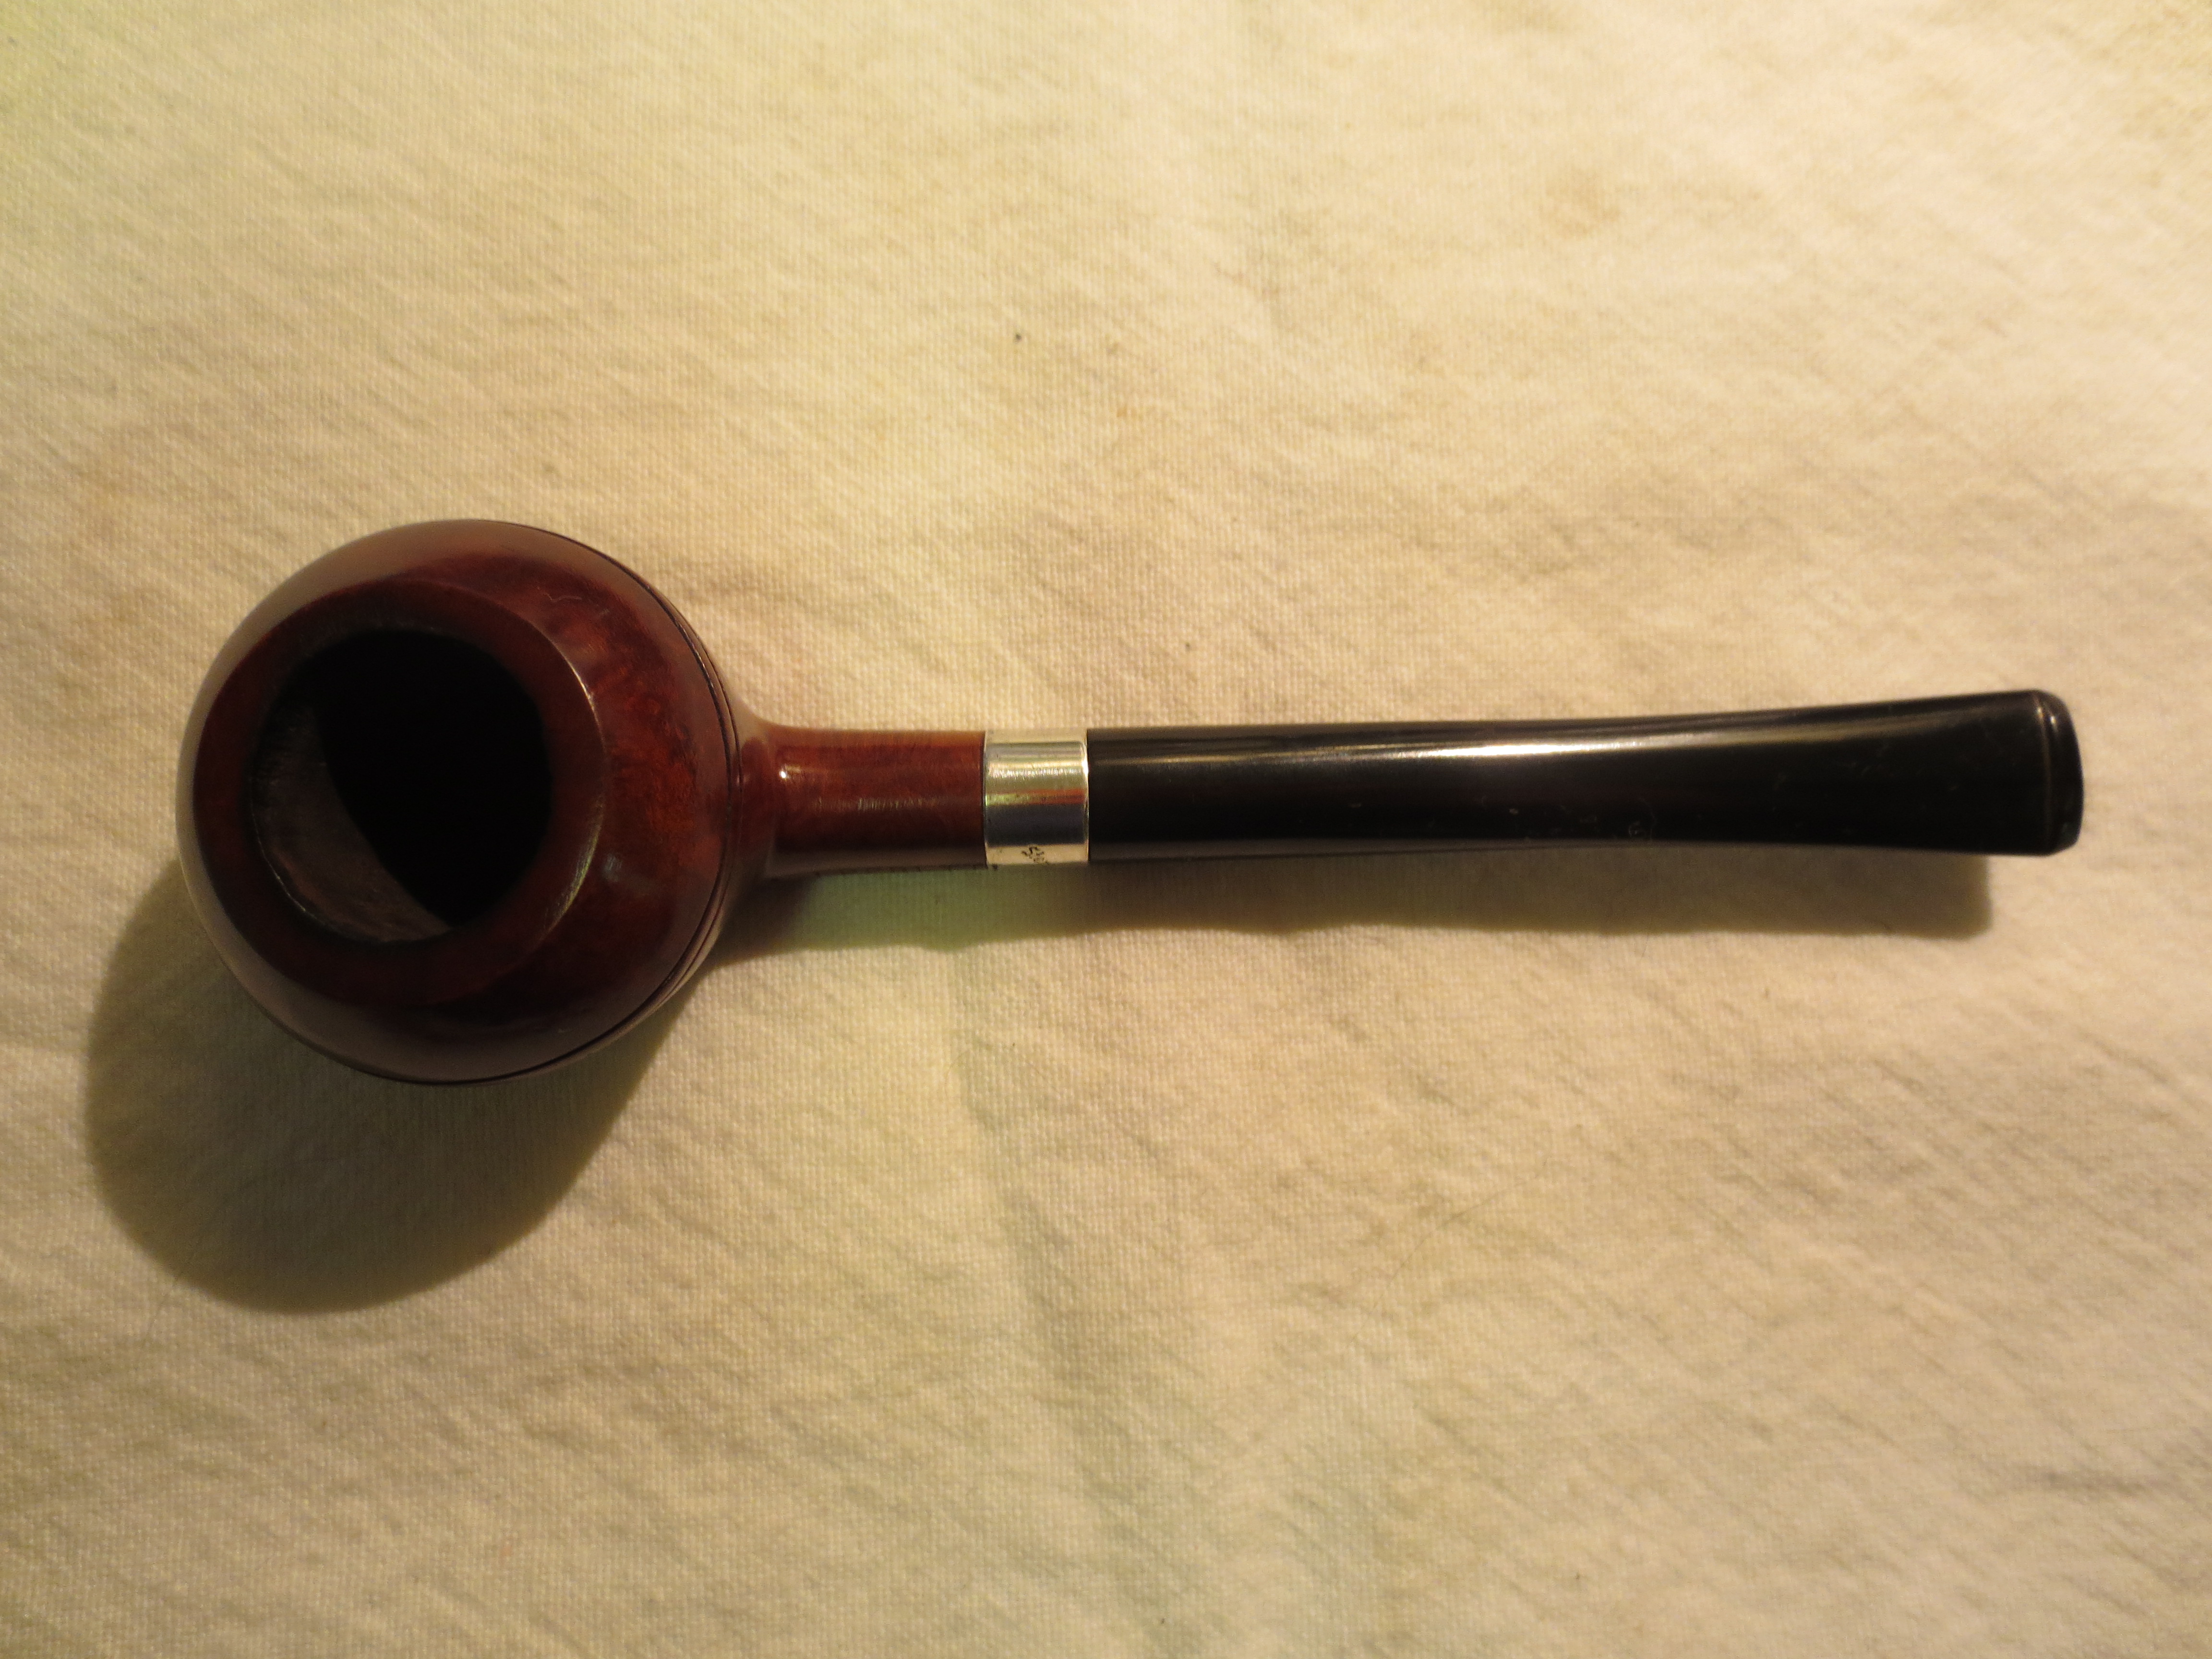
I had an old stem in my can of stems that was the right shape. It was also in rough shape. It was one of those I had held on to that should have probably been pitched. However, it was right for this shank and would be reparable with a bit of work. This pipe sat on my work table throughout the repairs I was doing on all the other pipes I have worked on in the past month. It was just sitting there and every so often I would pick it up and work on it. The next series of nine photos shows the stem that I was working on for the pipe.
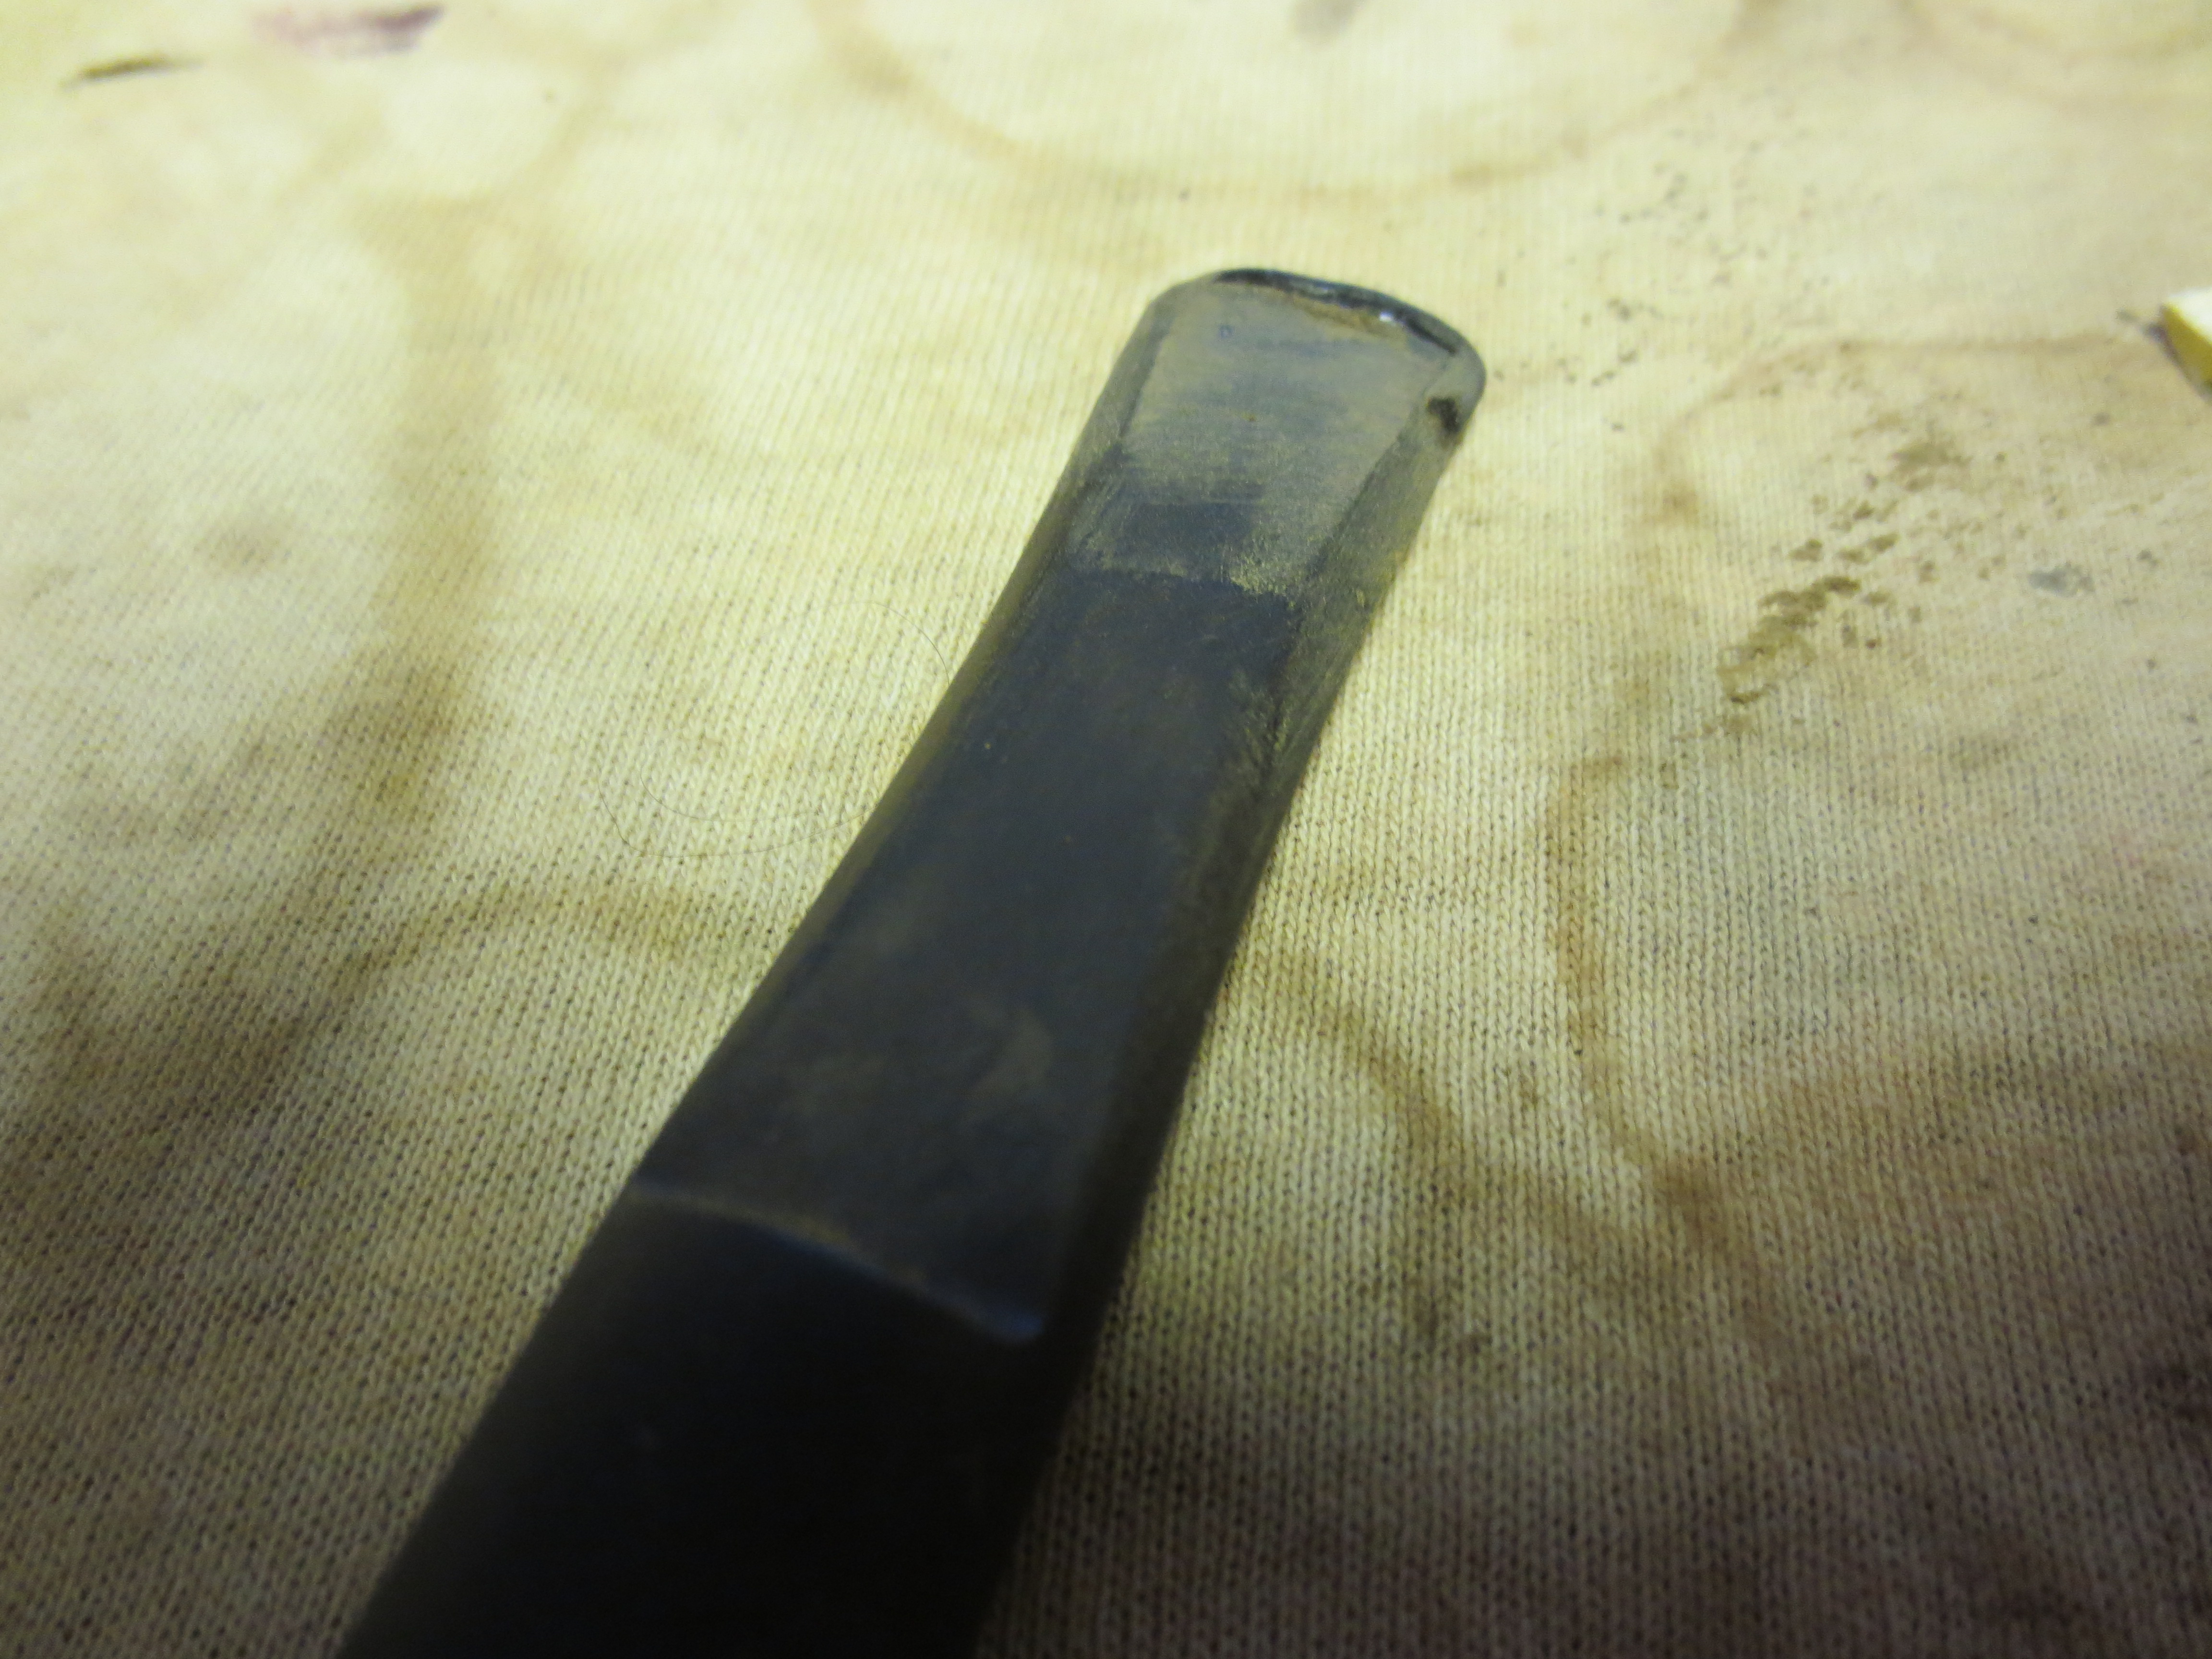
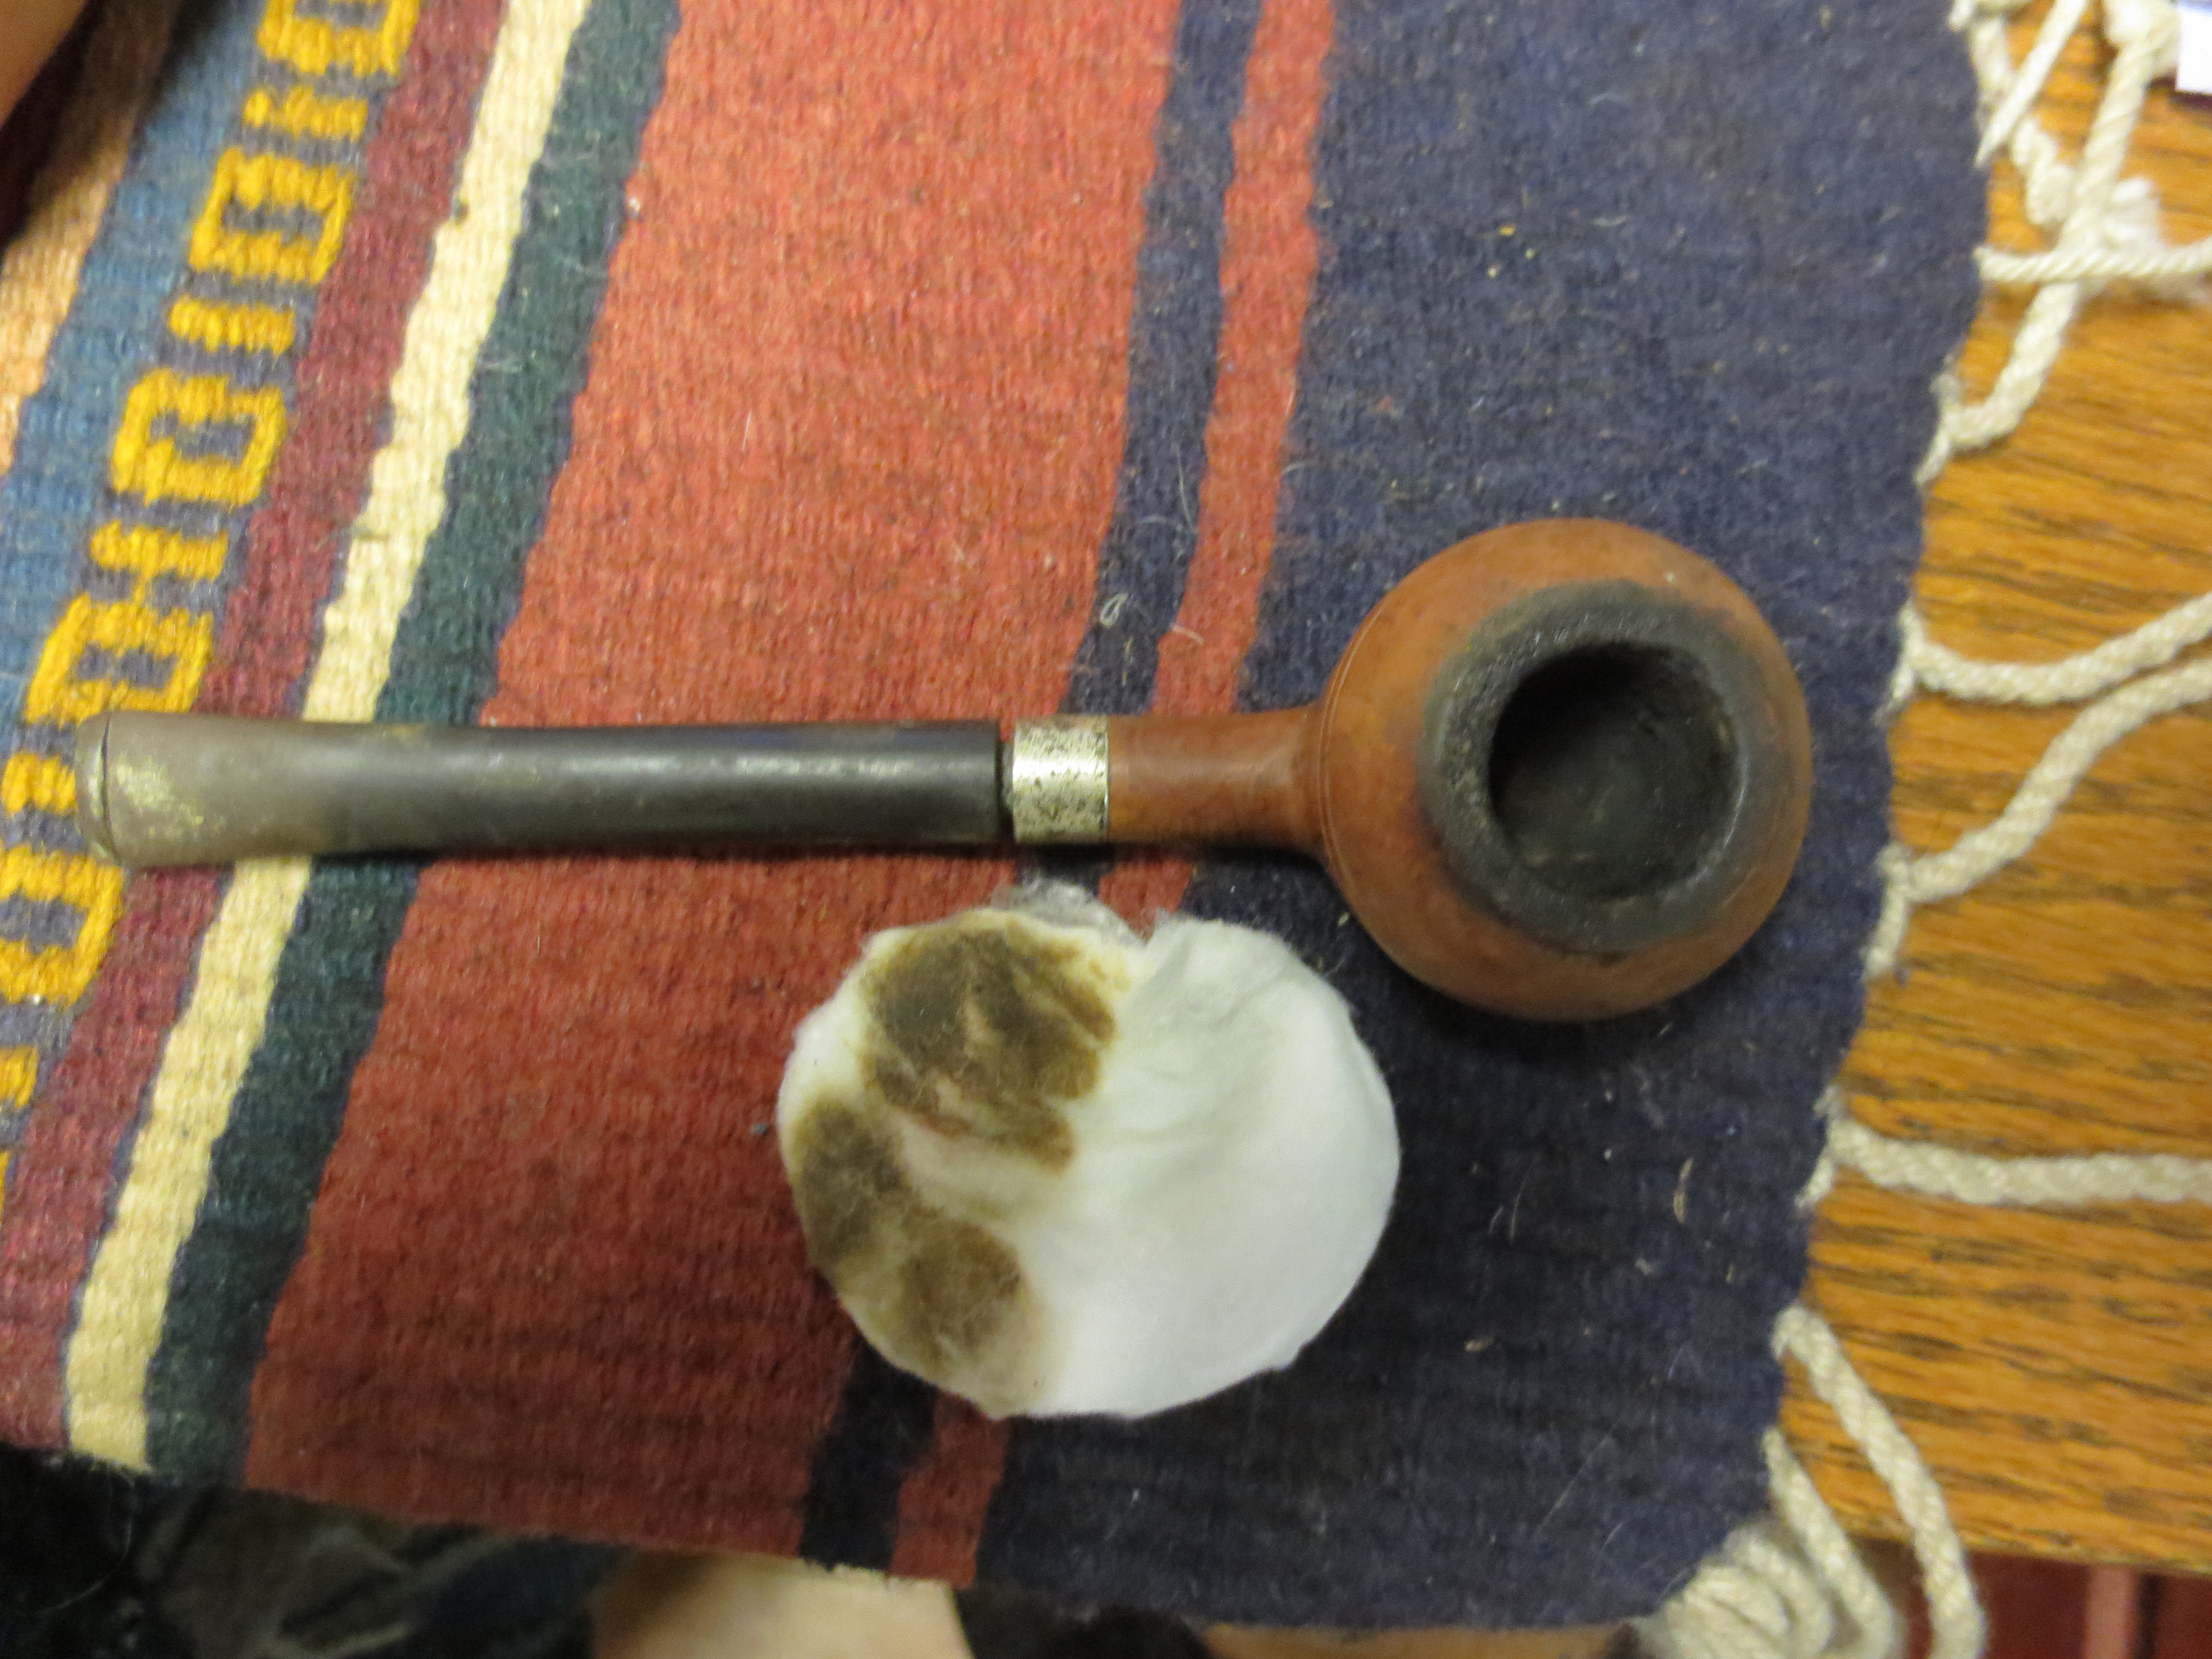
Figure 1 Top view of the stem before I worked on it. There were bite marks, tooth marks and pieces missing.
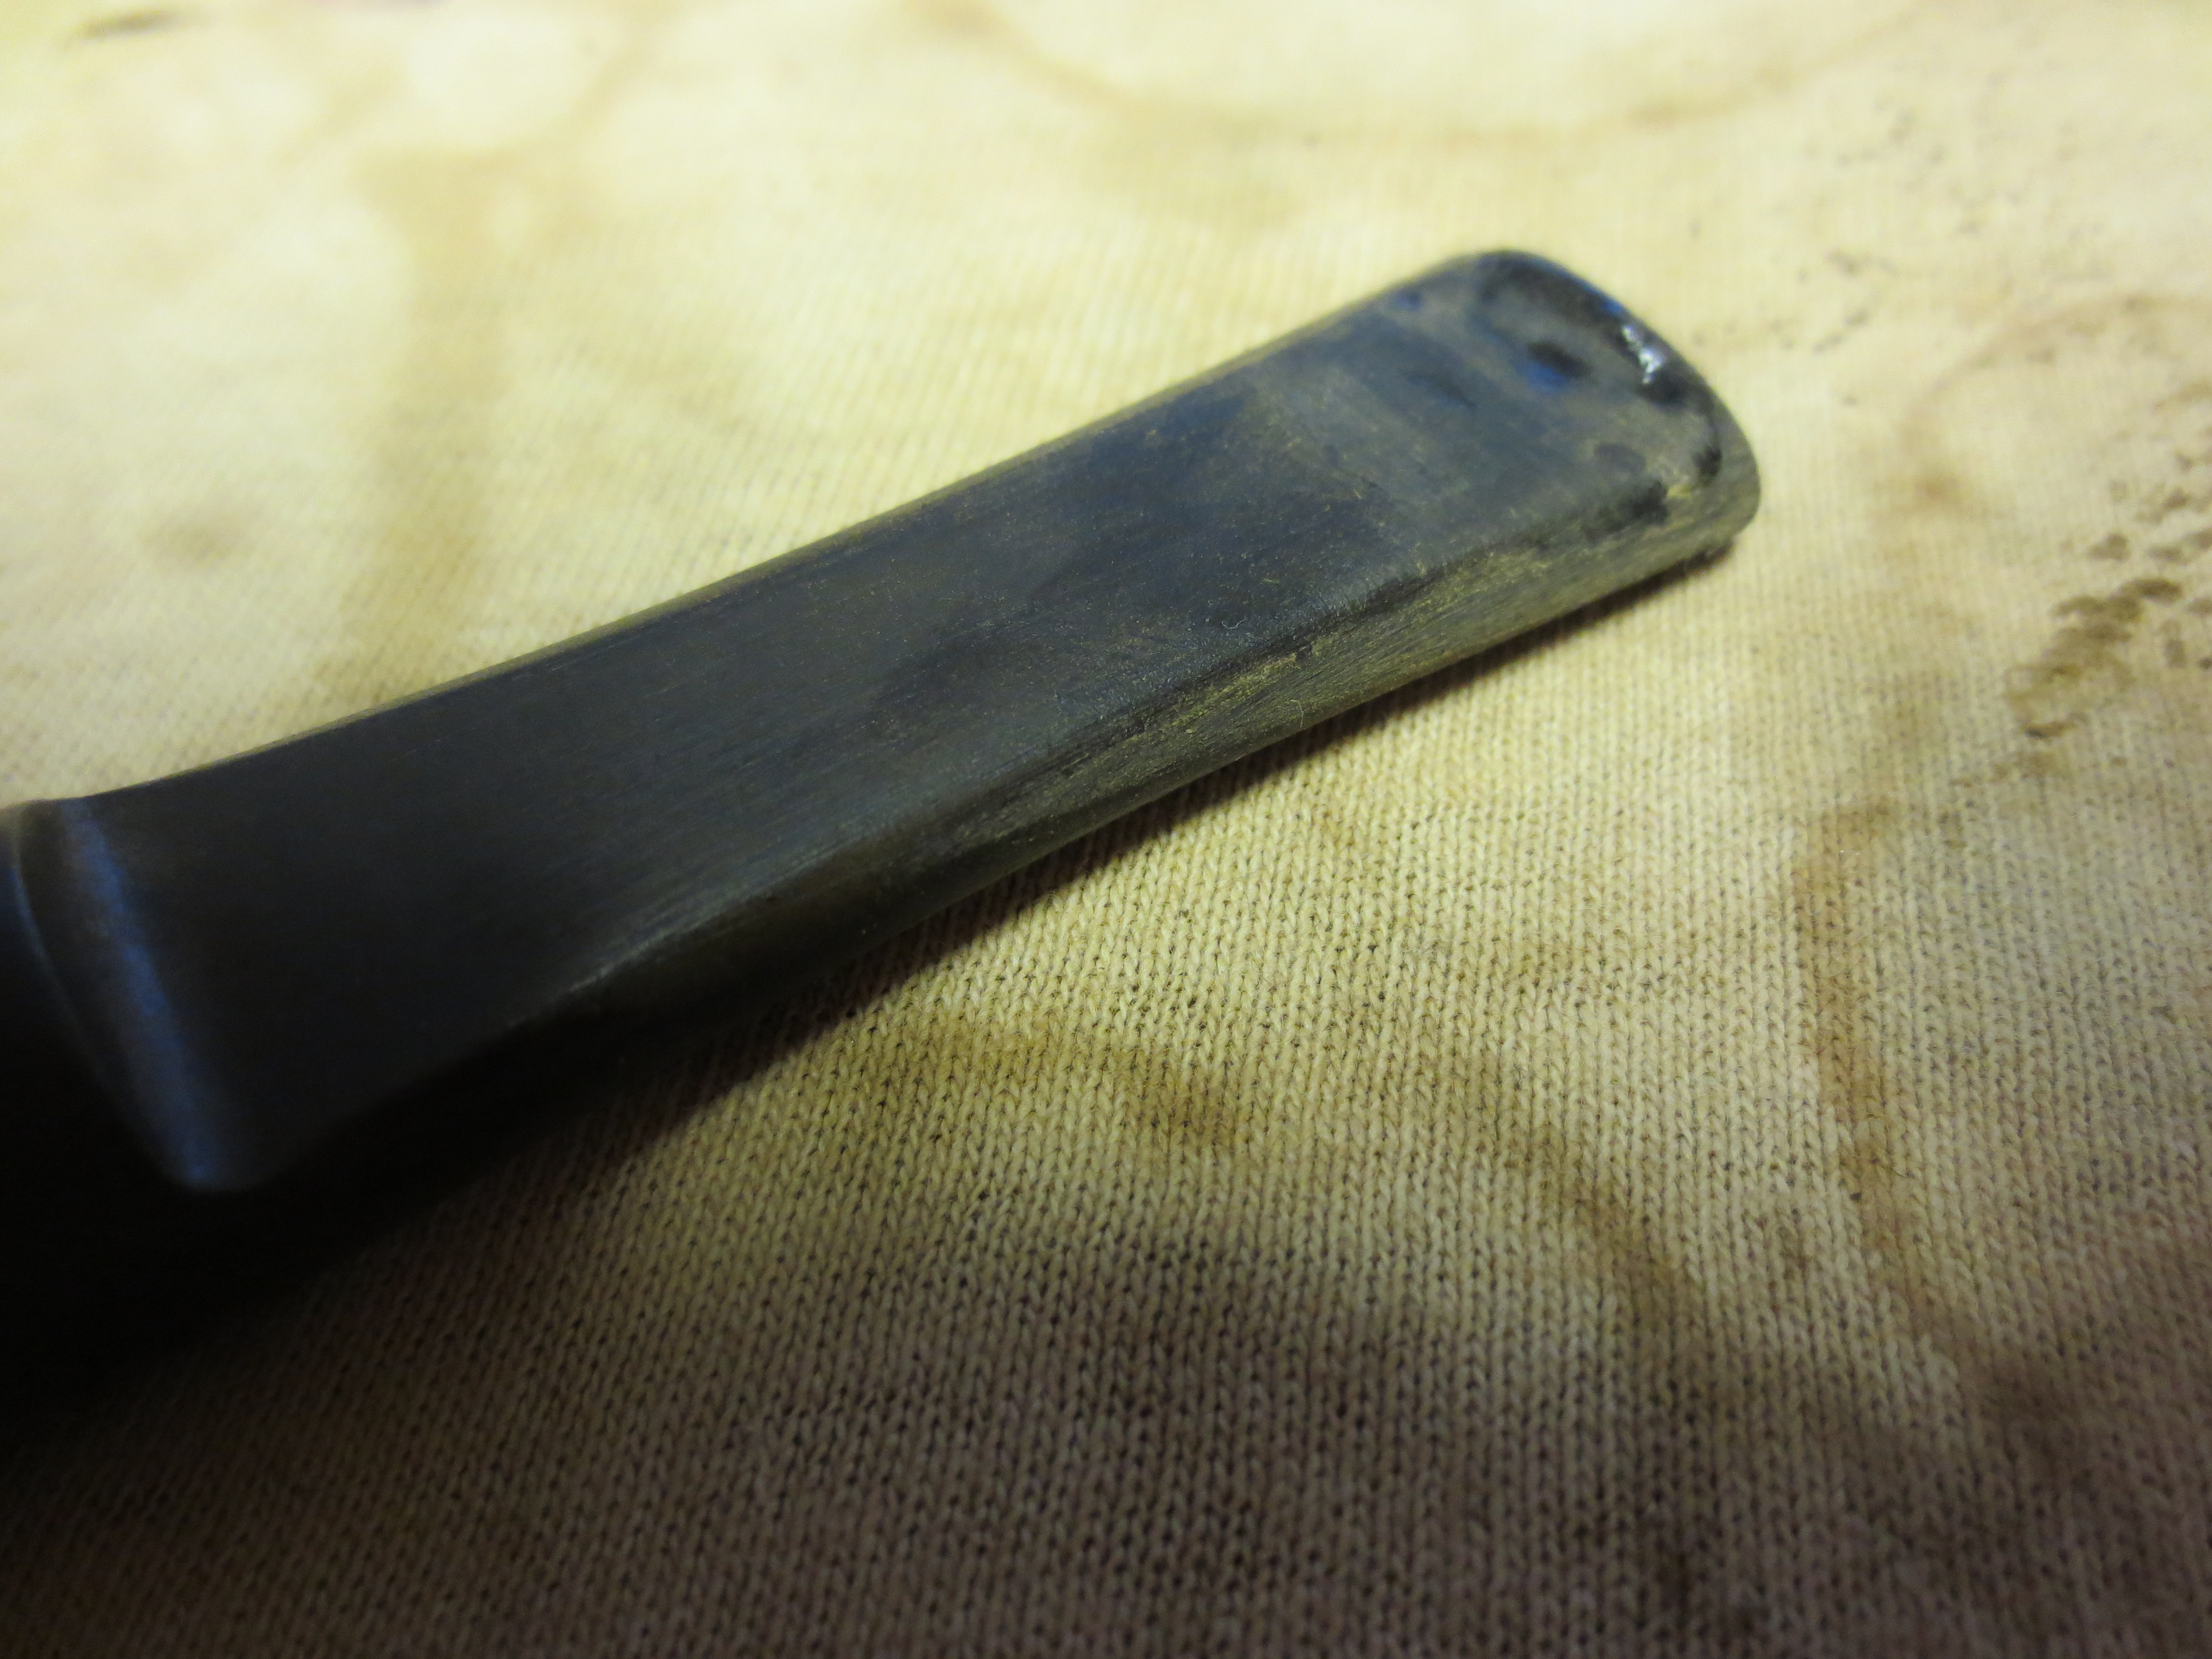
Figure 2 I sanded down the stem and filled the deep pits with black superglue. The top side of the stem shows the shiny black glue patches.
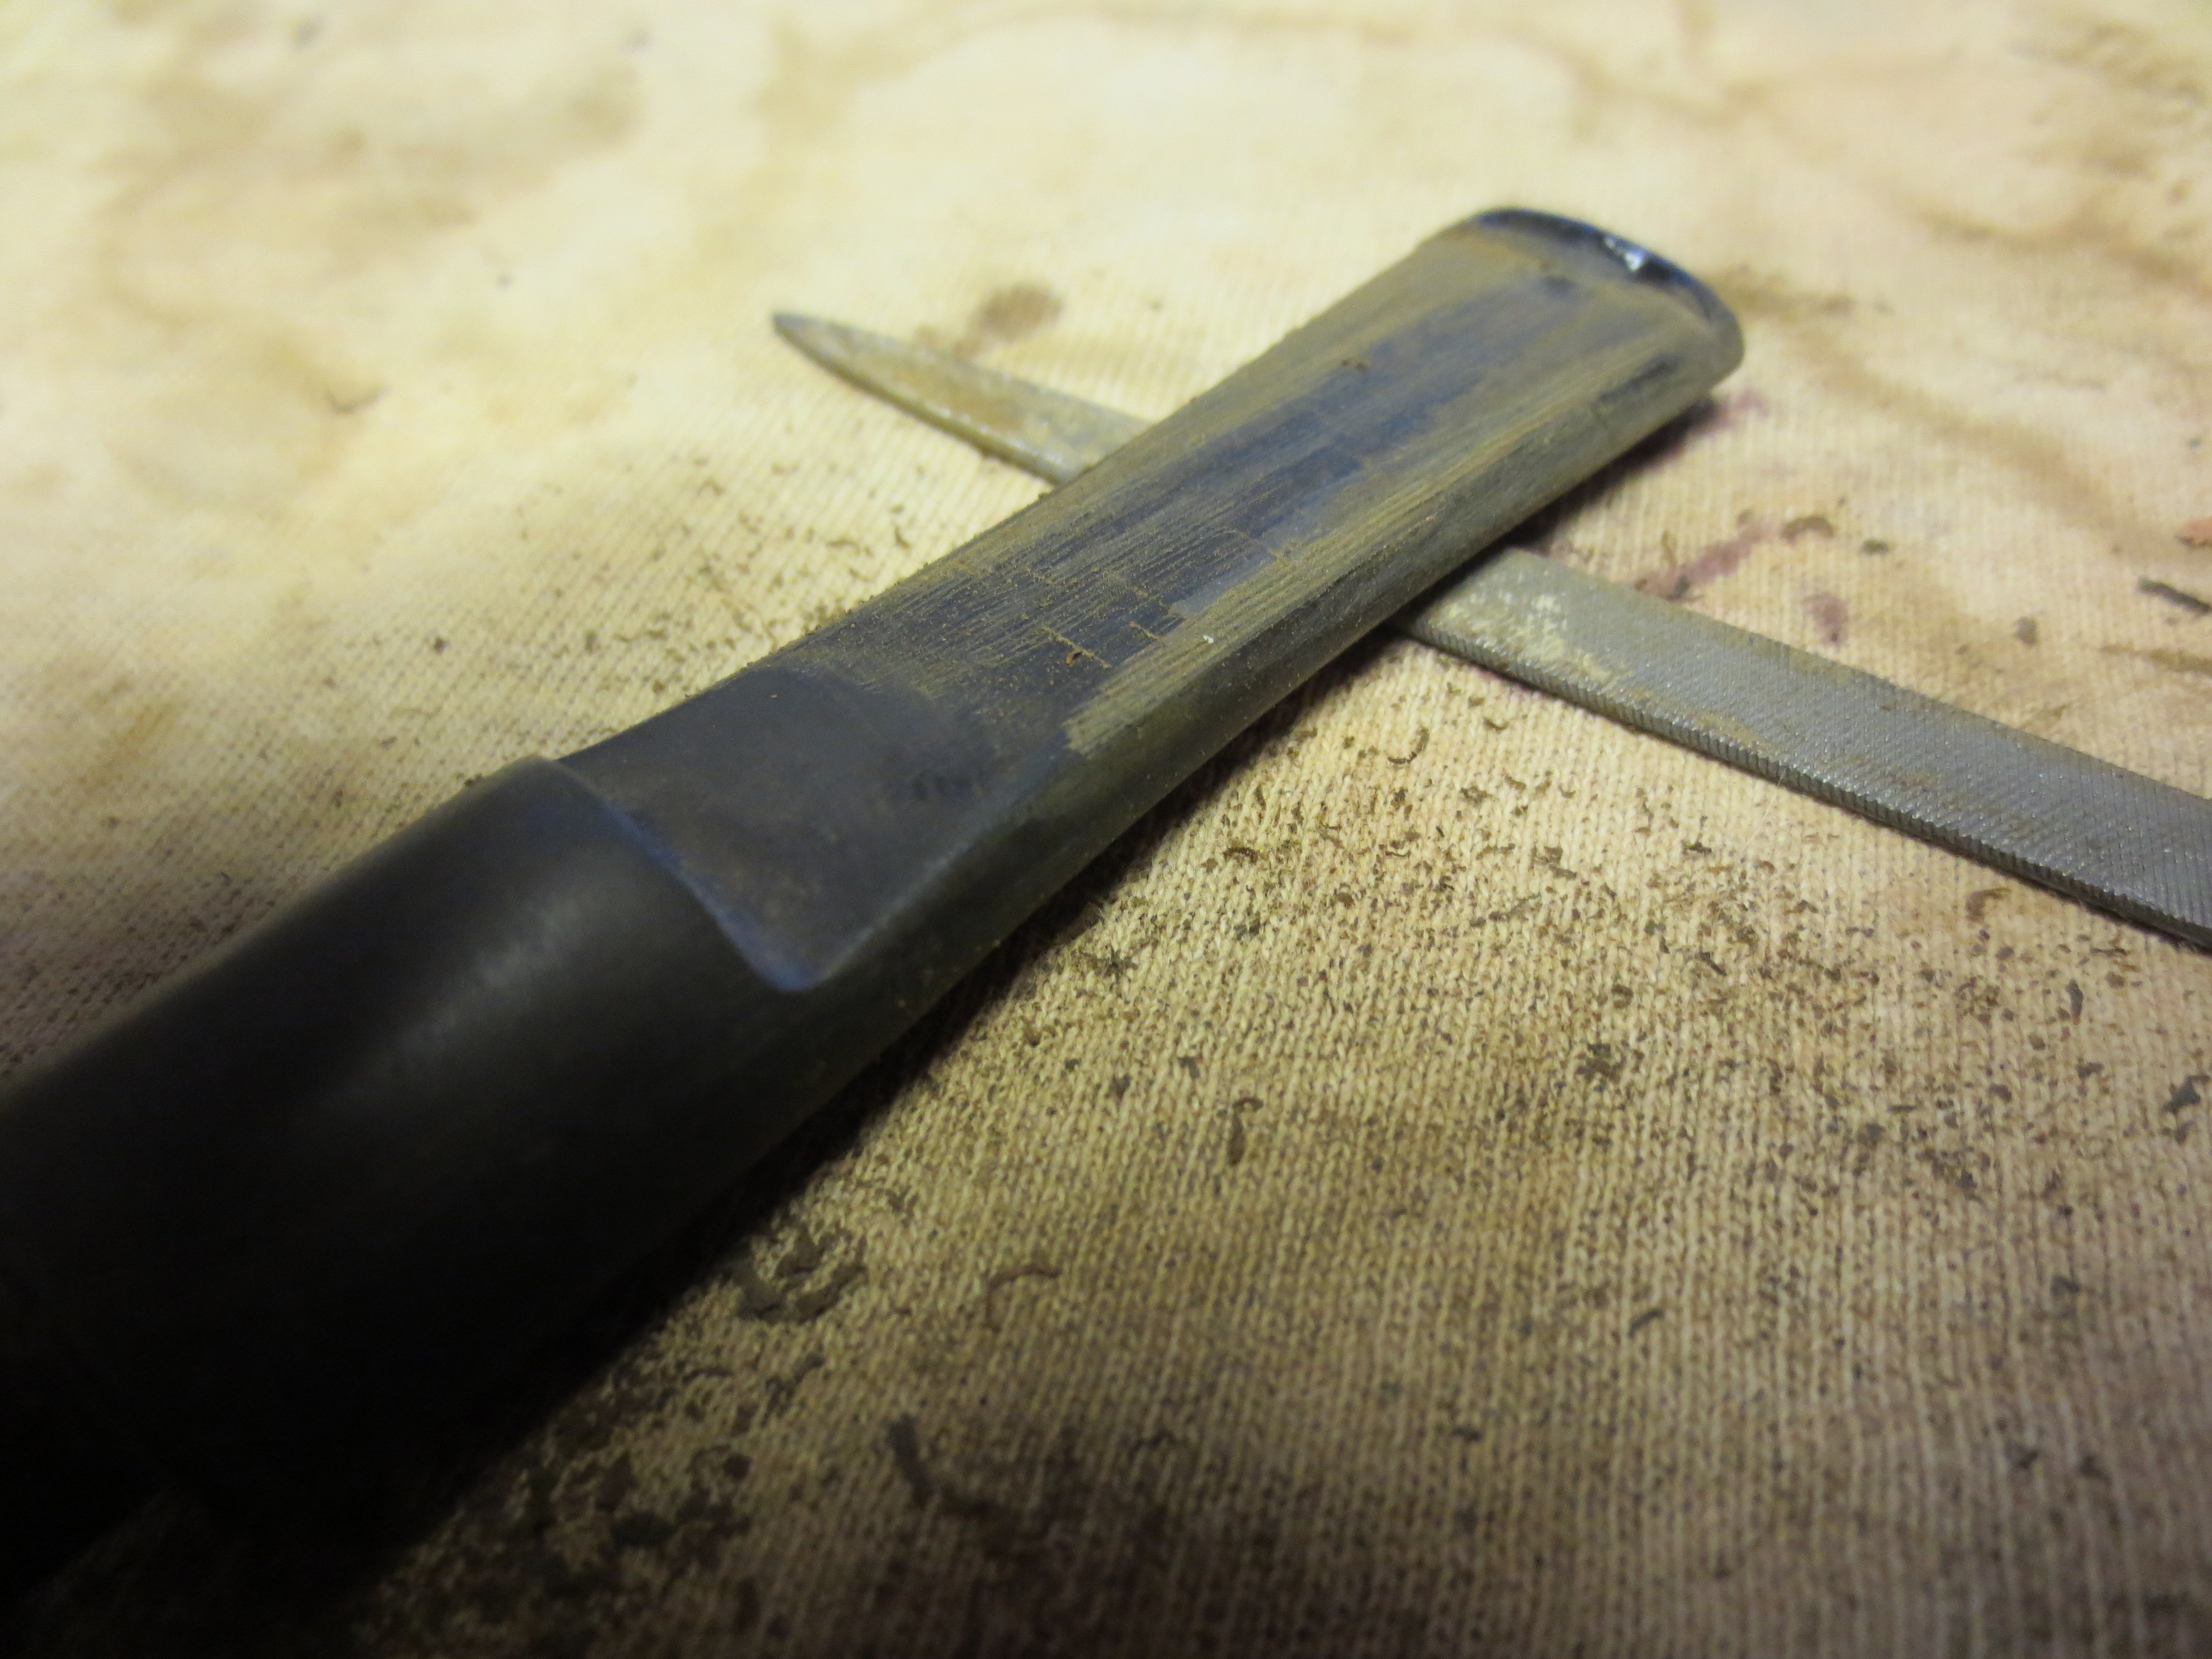
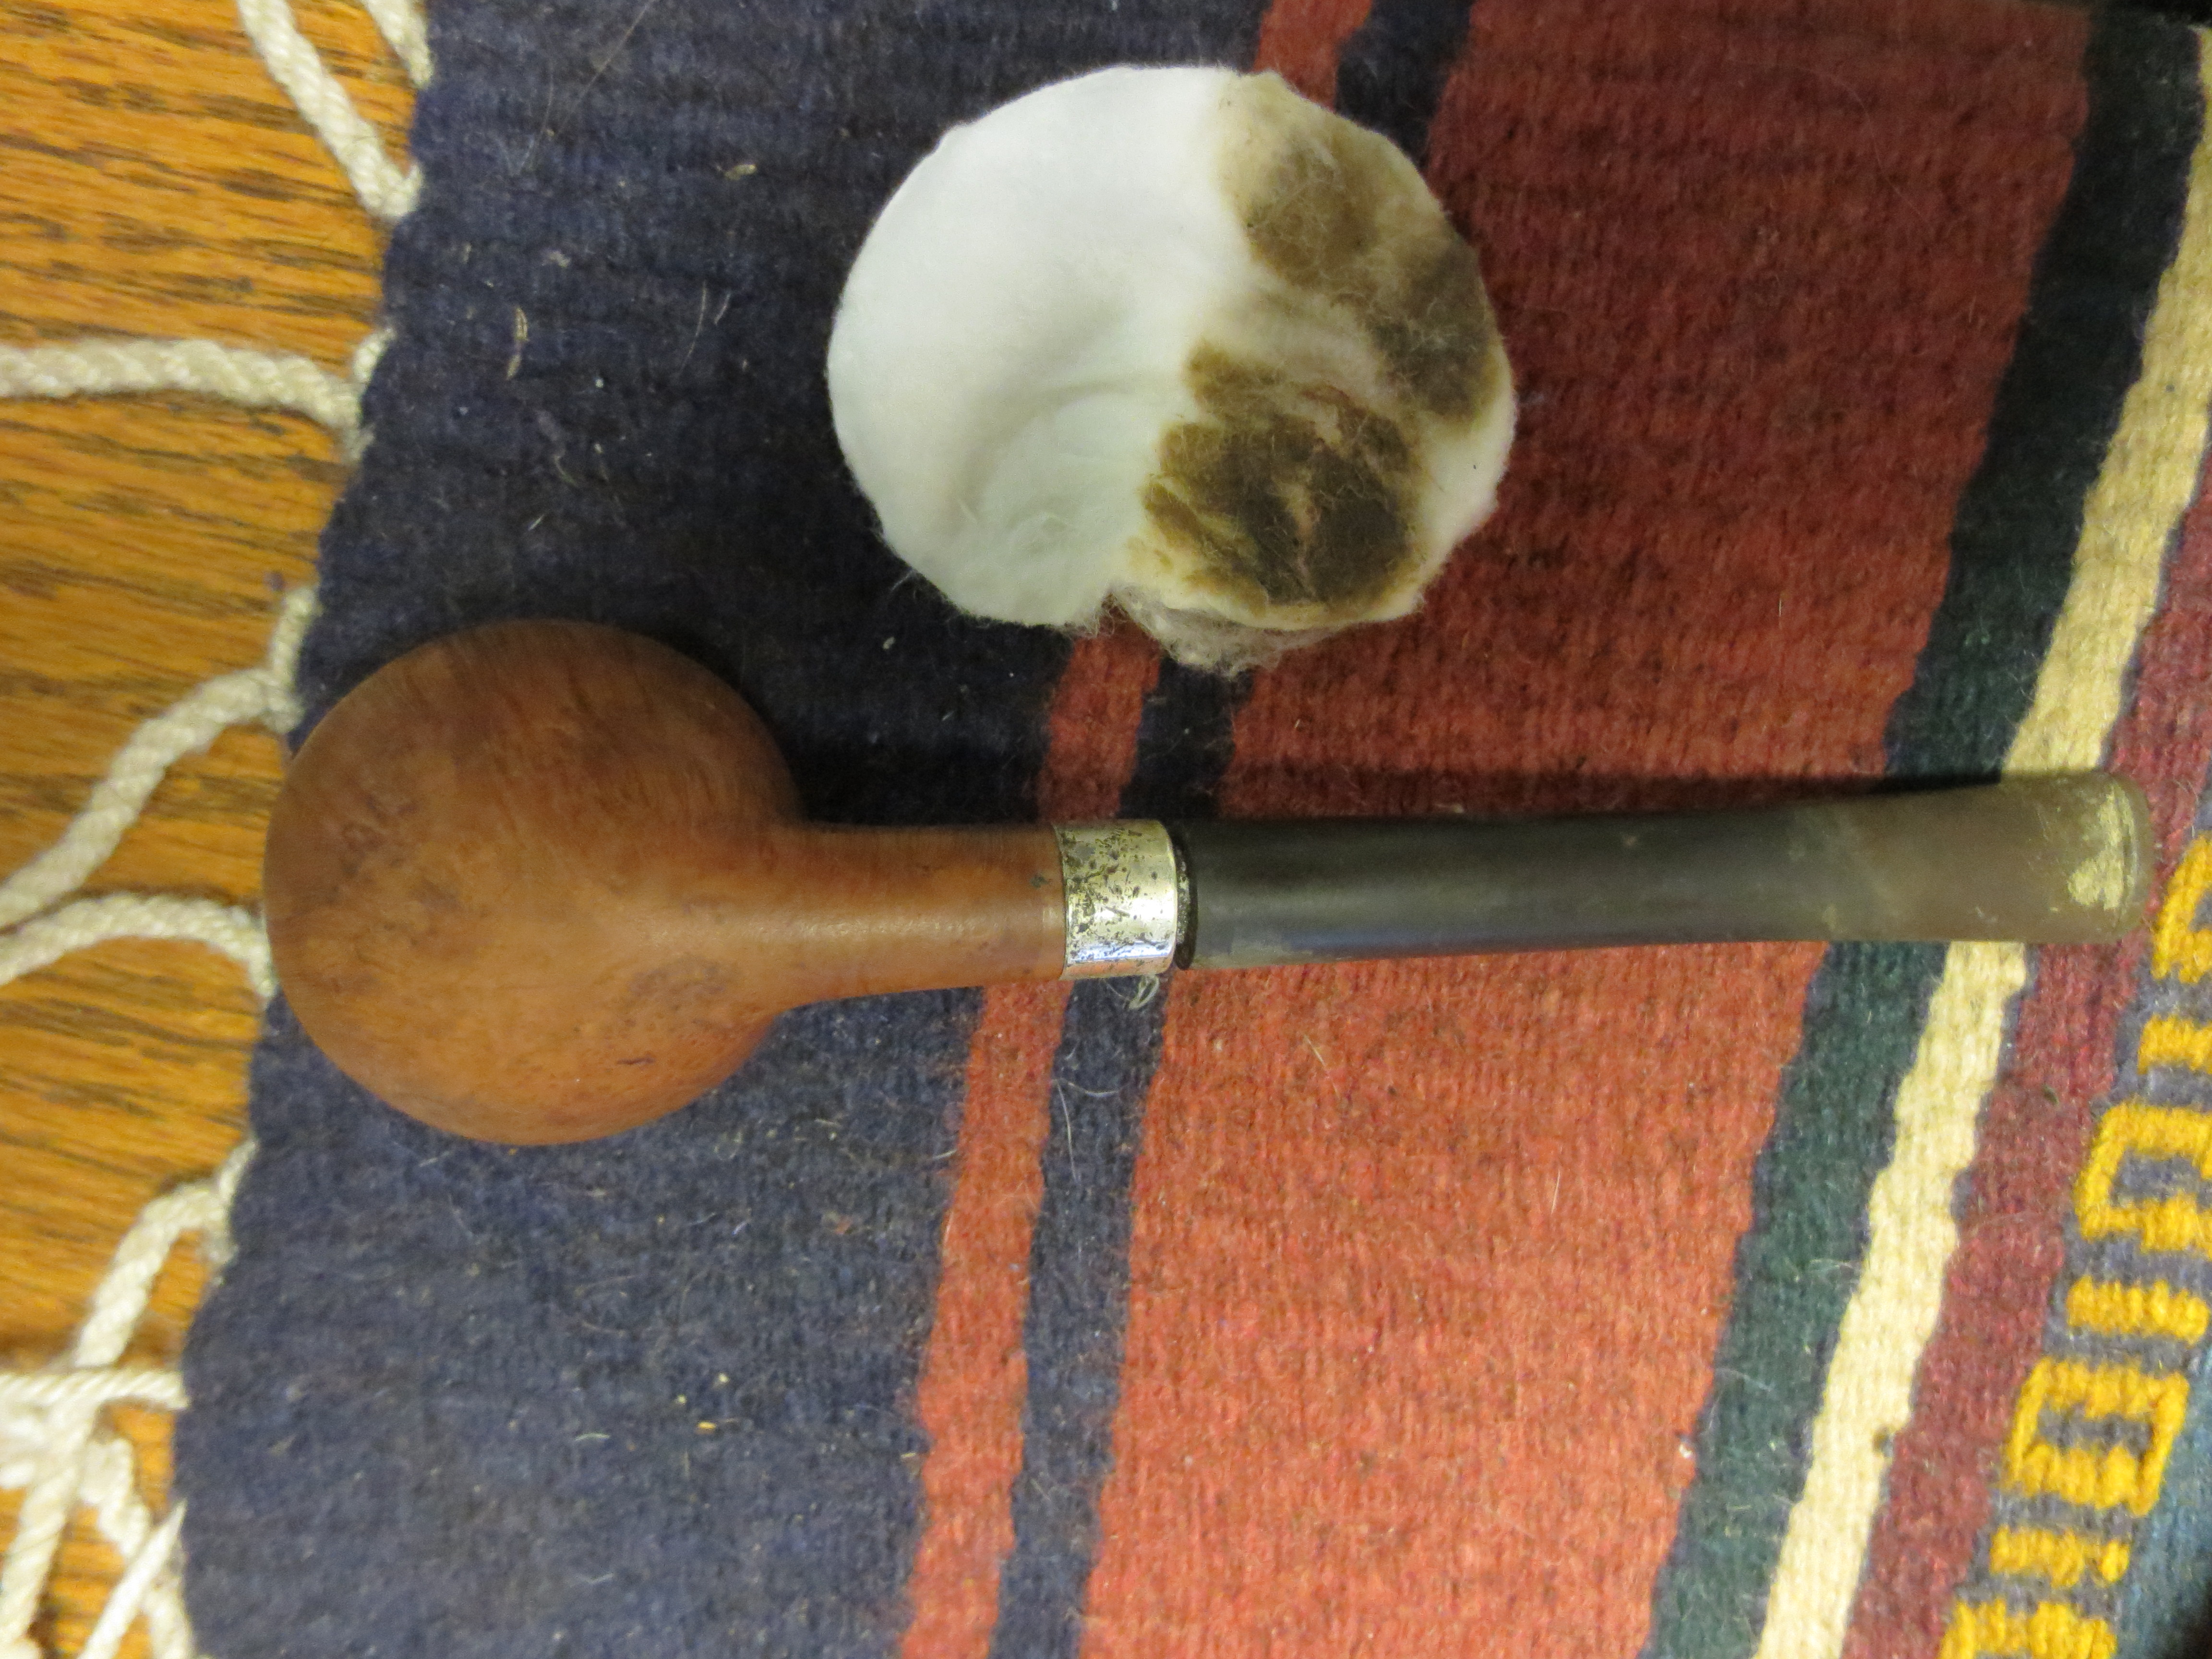
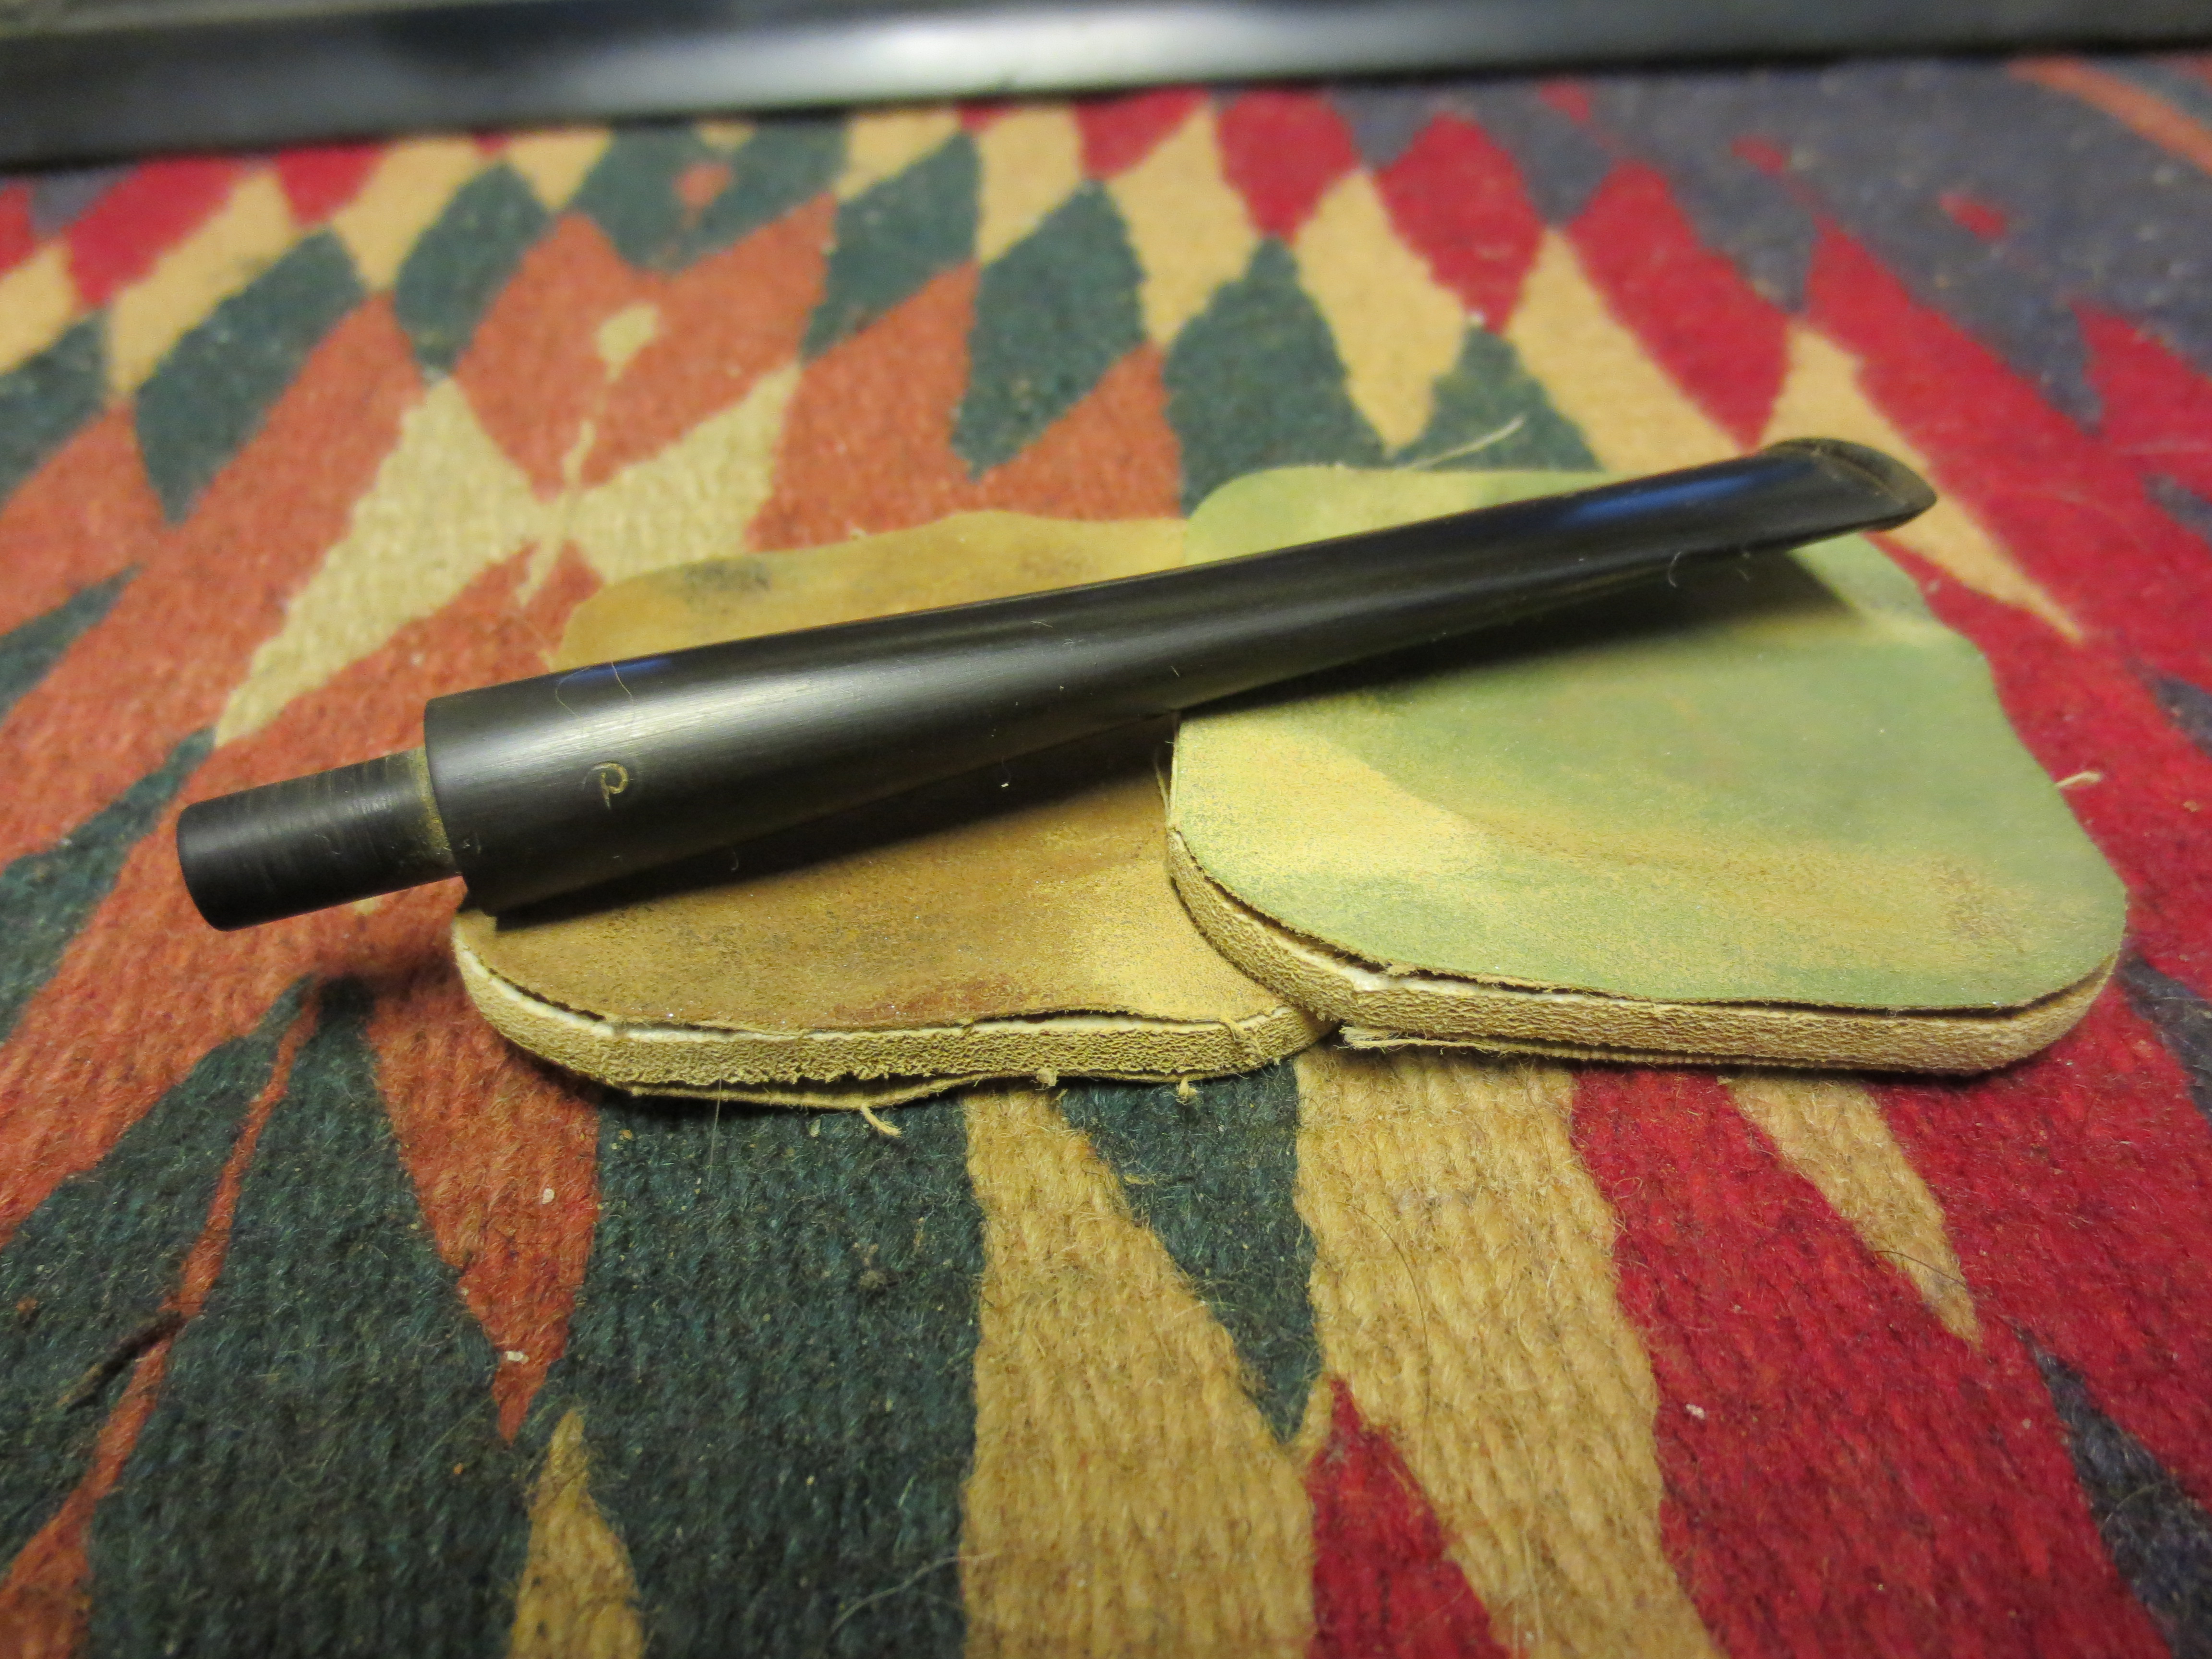
Figure 3 The underside of the stem. I used a file to sand down the edges and the flat blade of the stem.
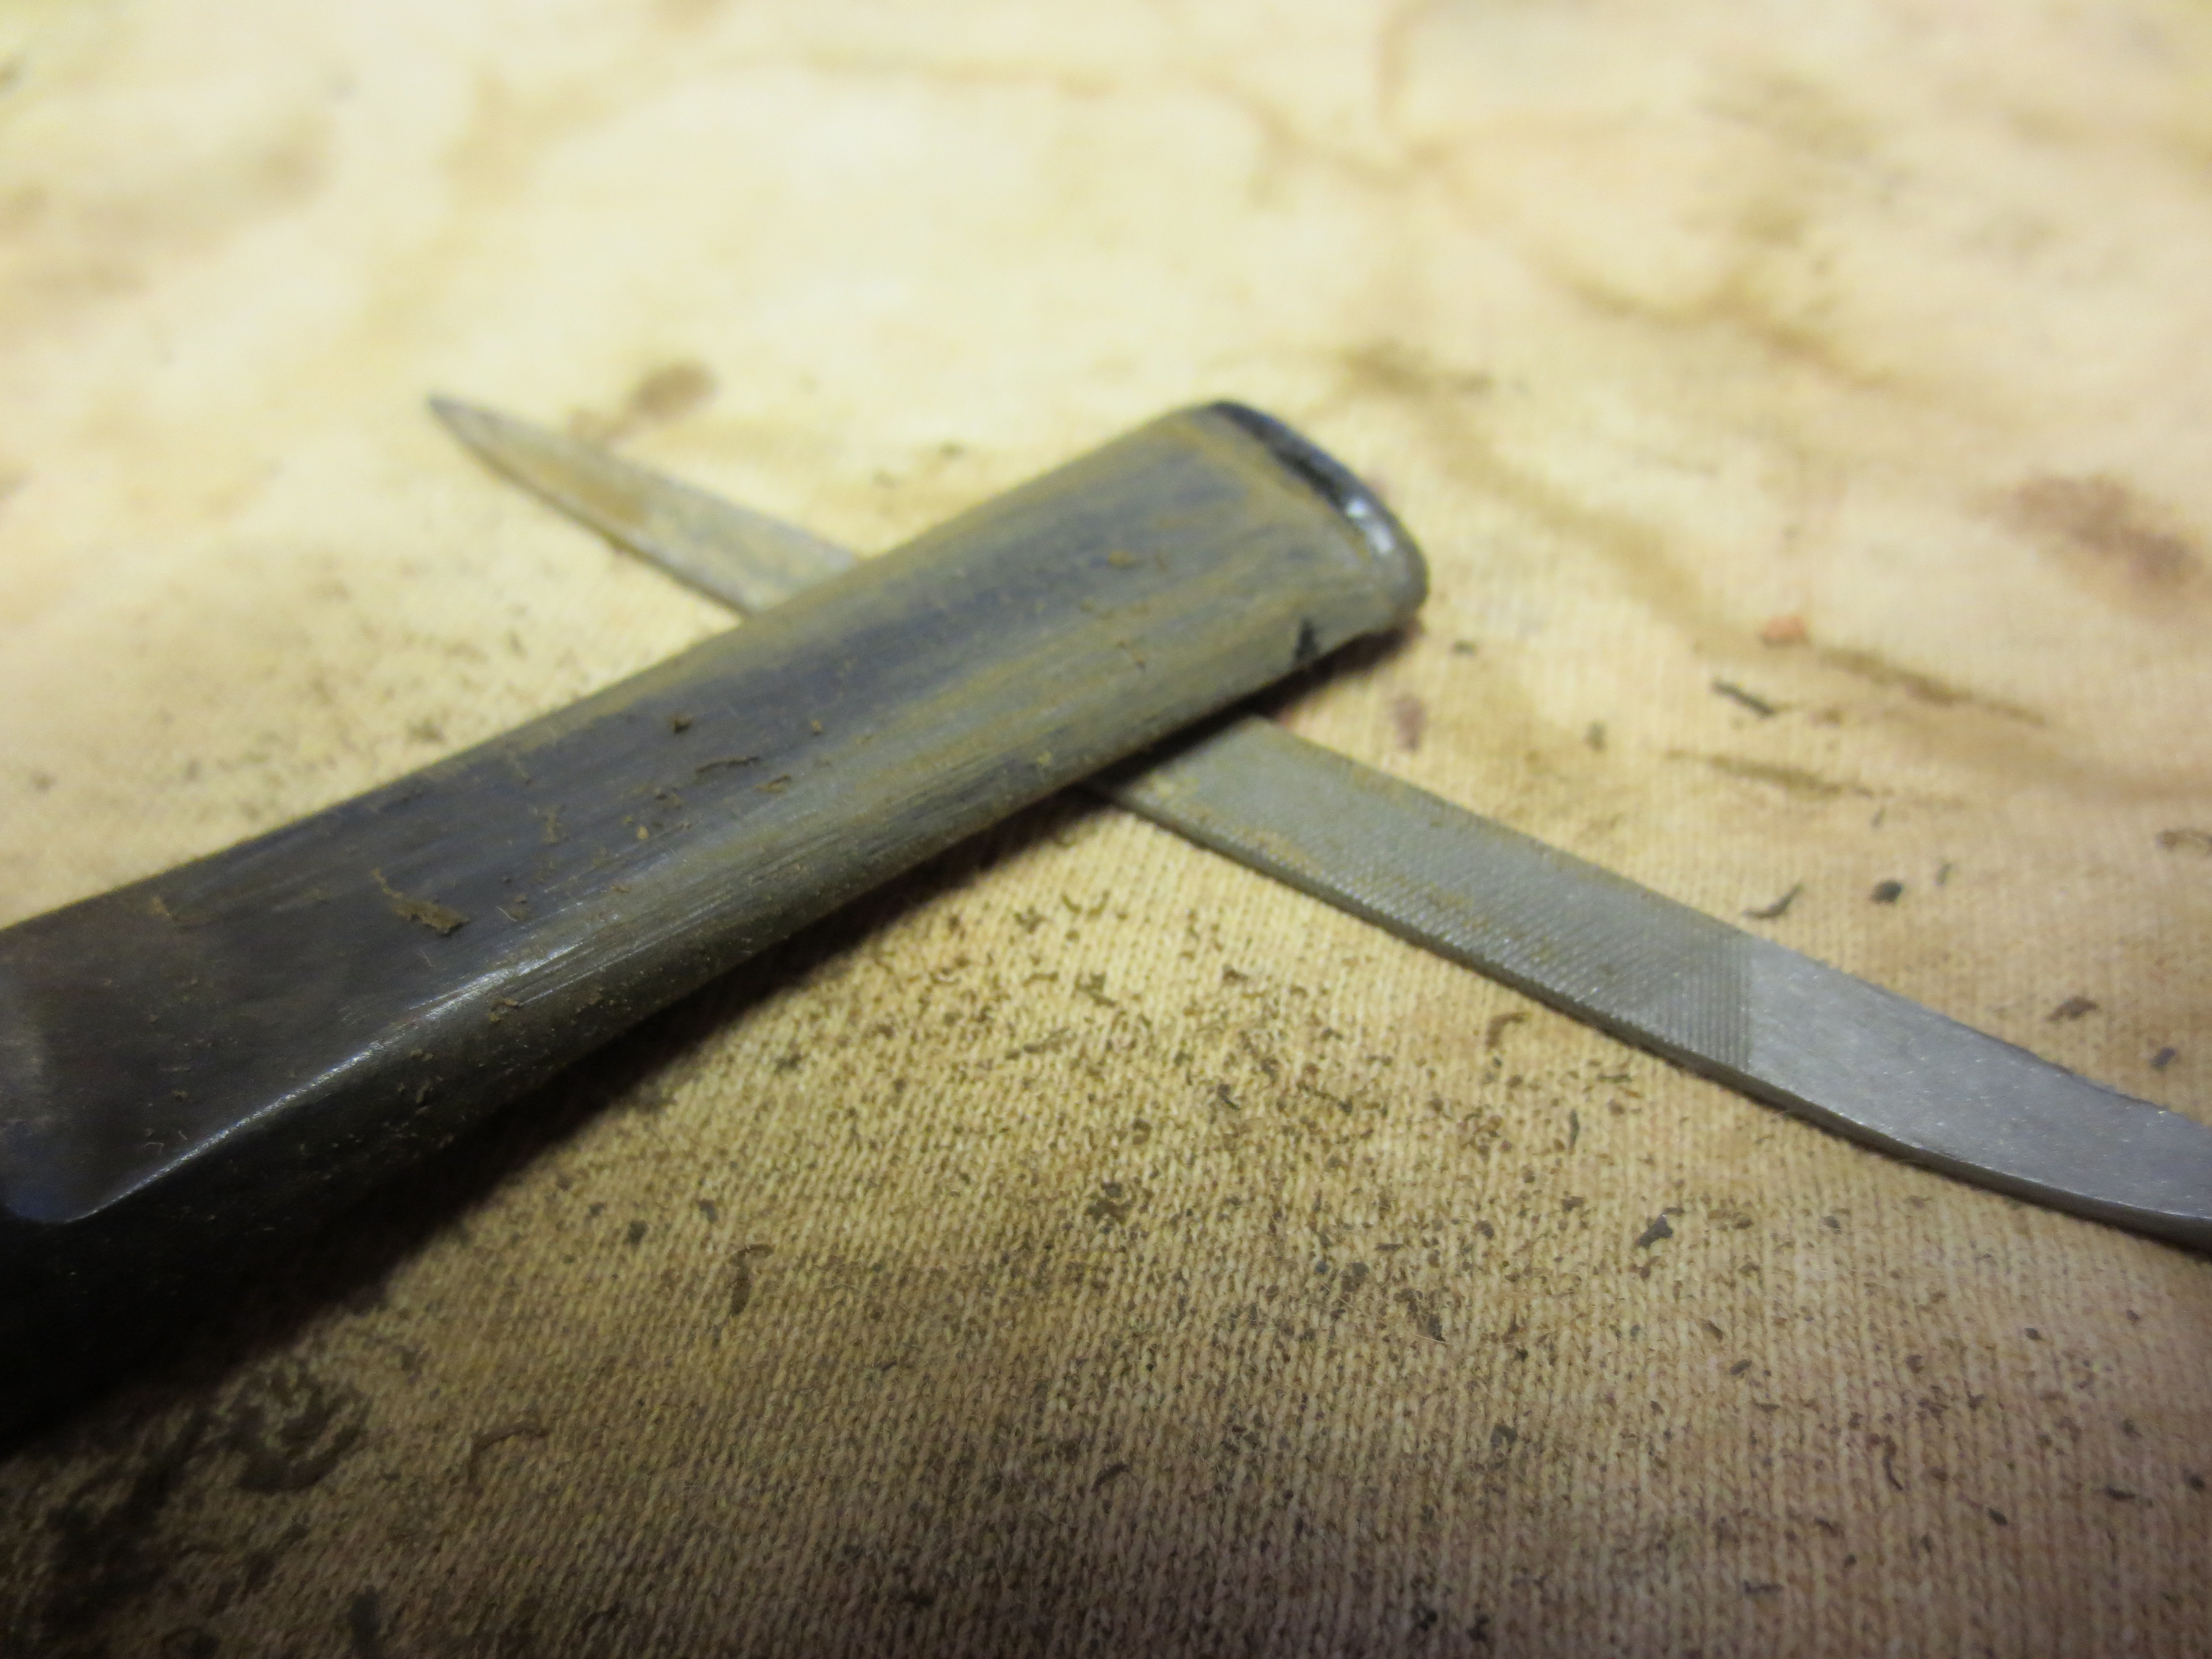
Figure 4 The stem is beginning to take shape after much filing and sanding on the sides and around the button. This is a photo of the topside of the stem.
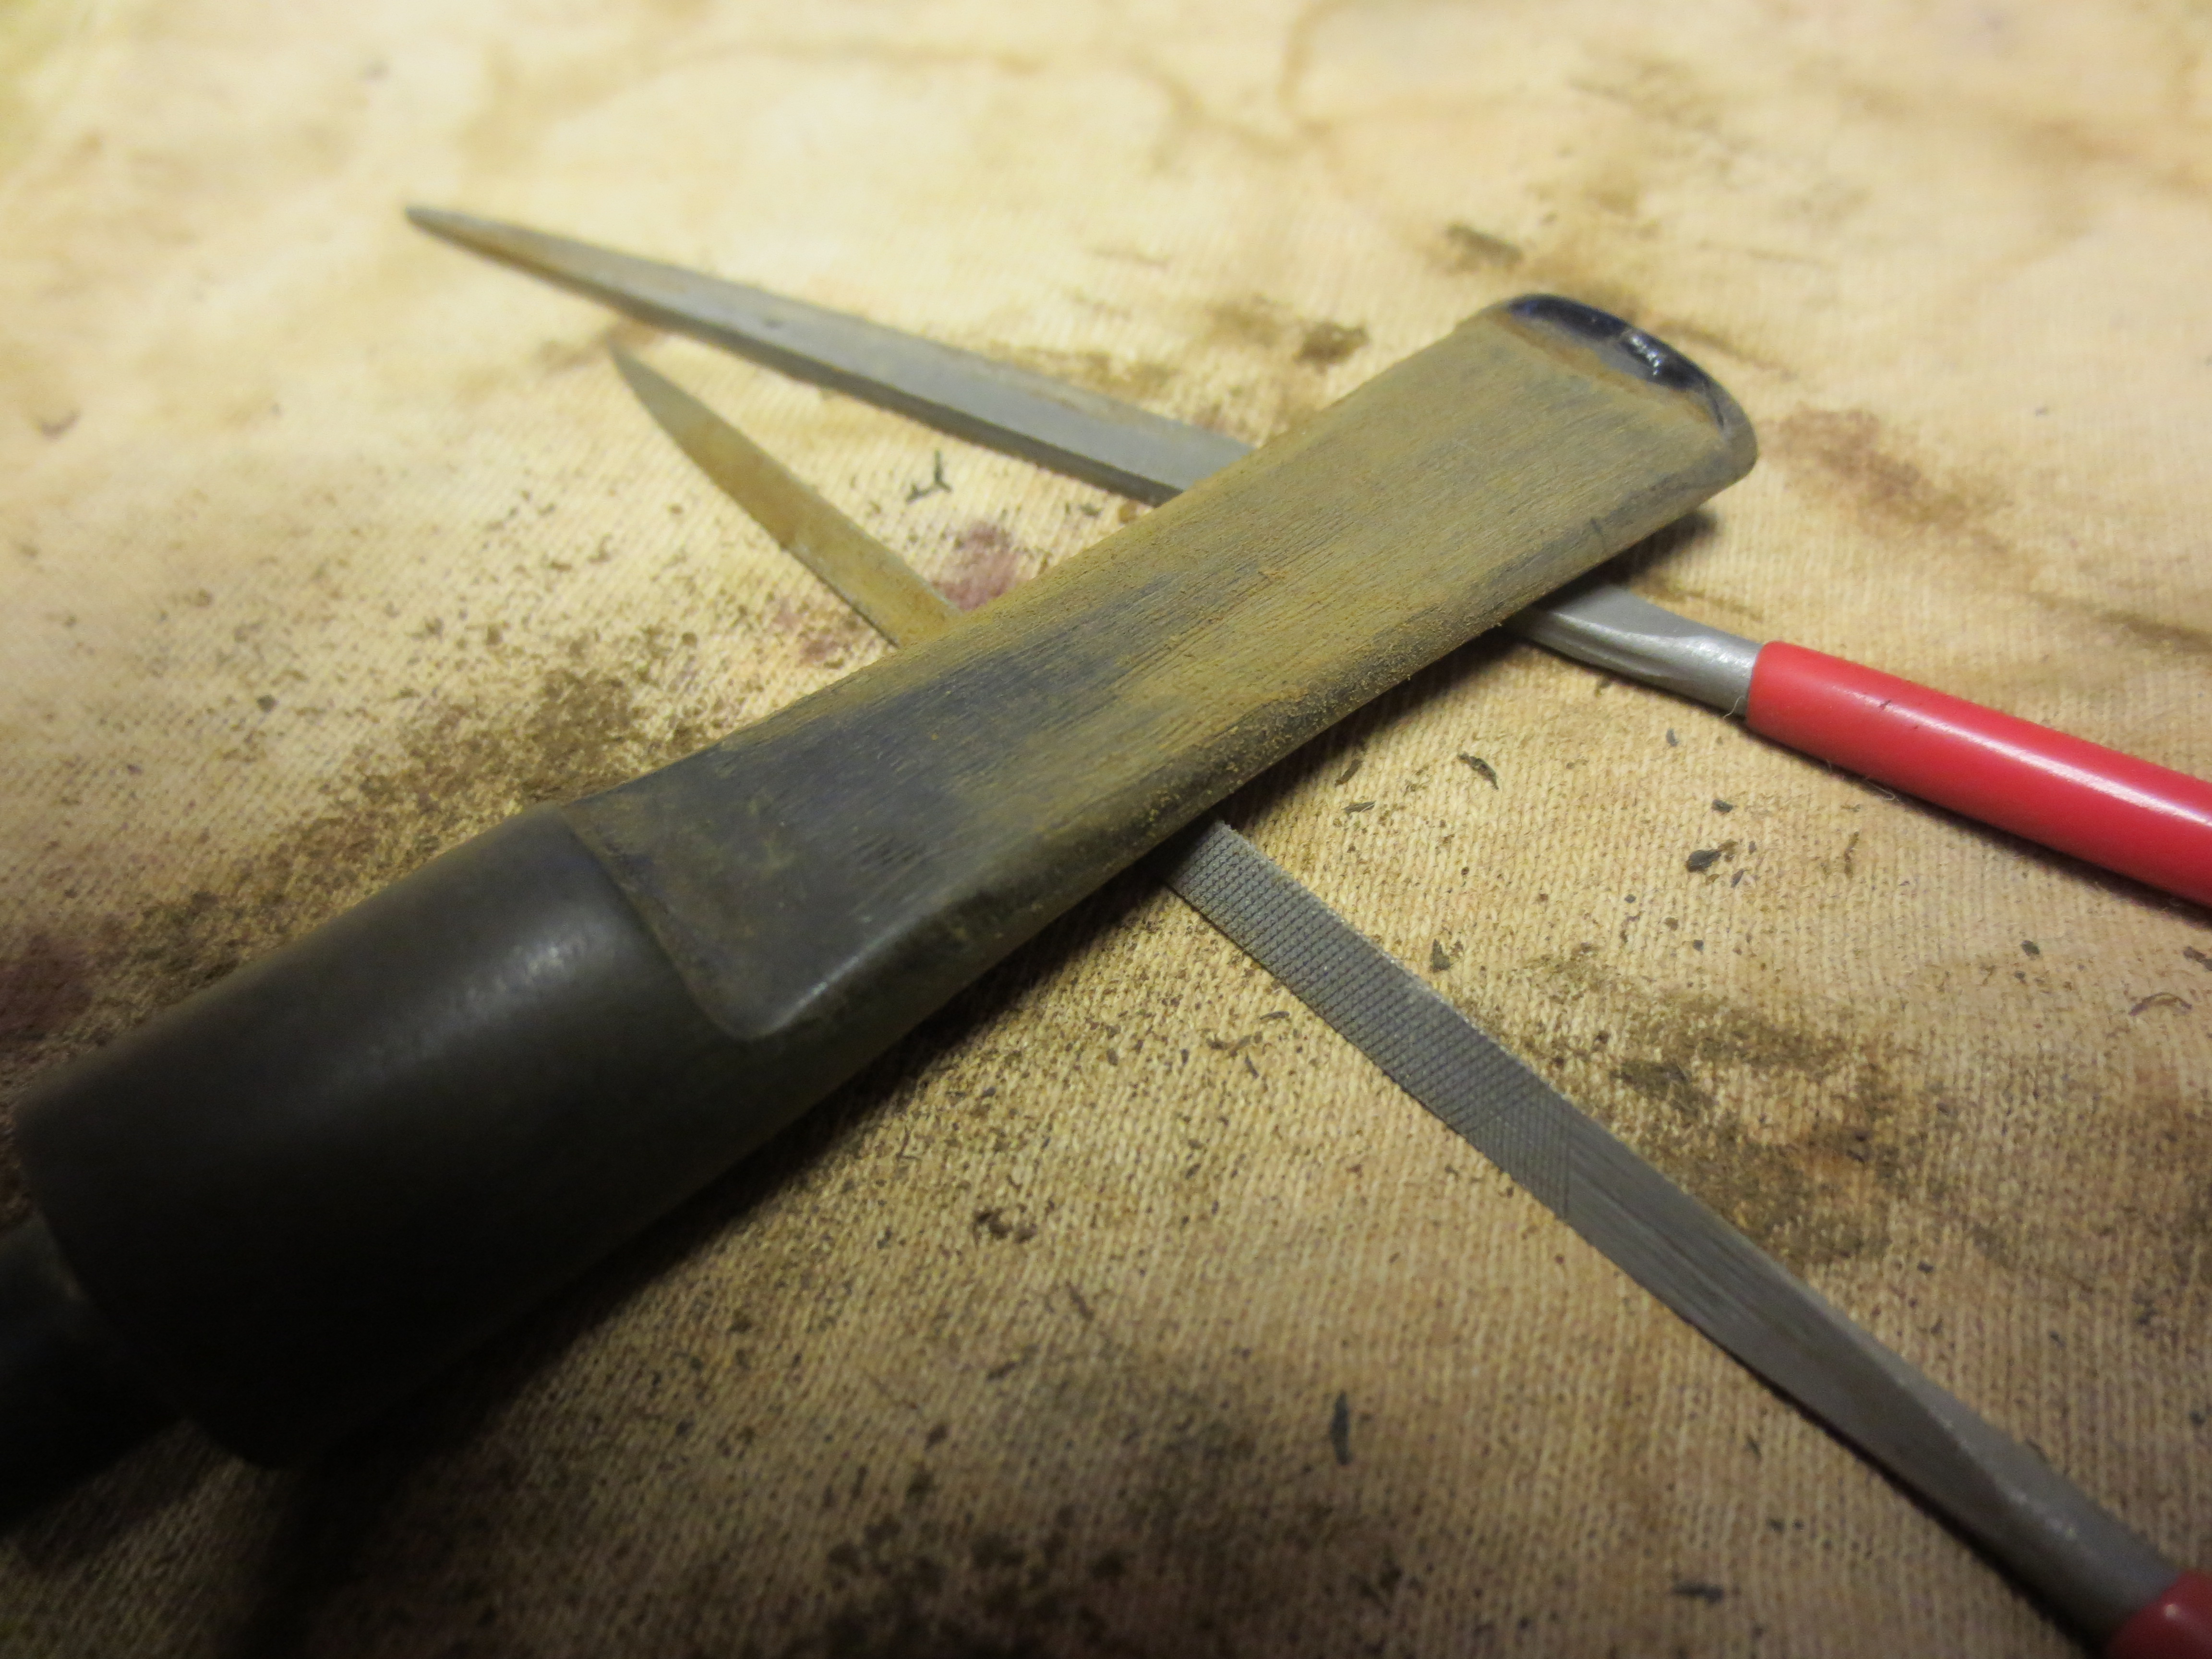
Figure 5 The underside of the stem with the filing and shaping bringing it into shape.
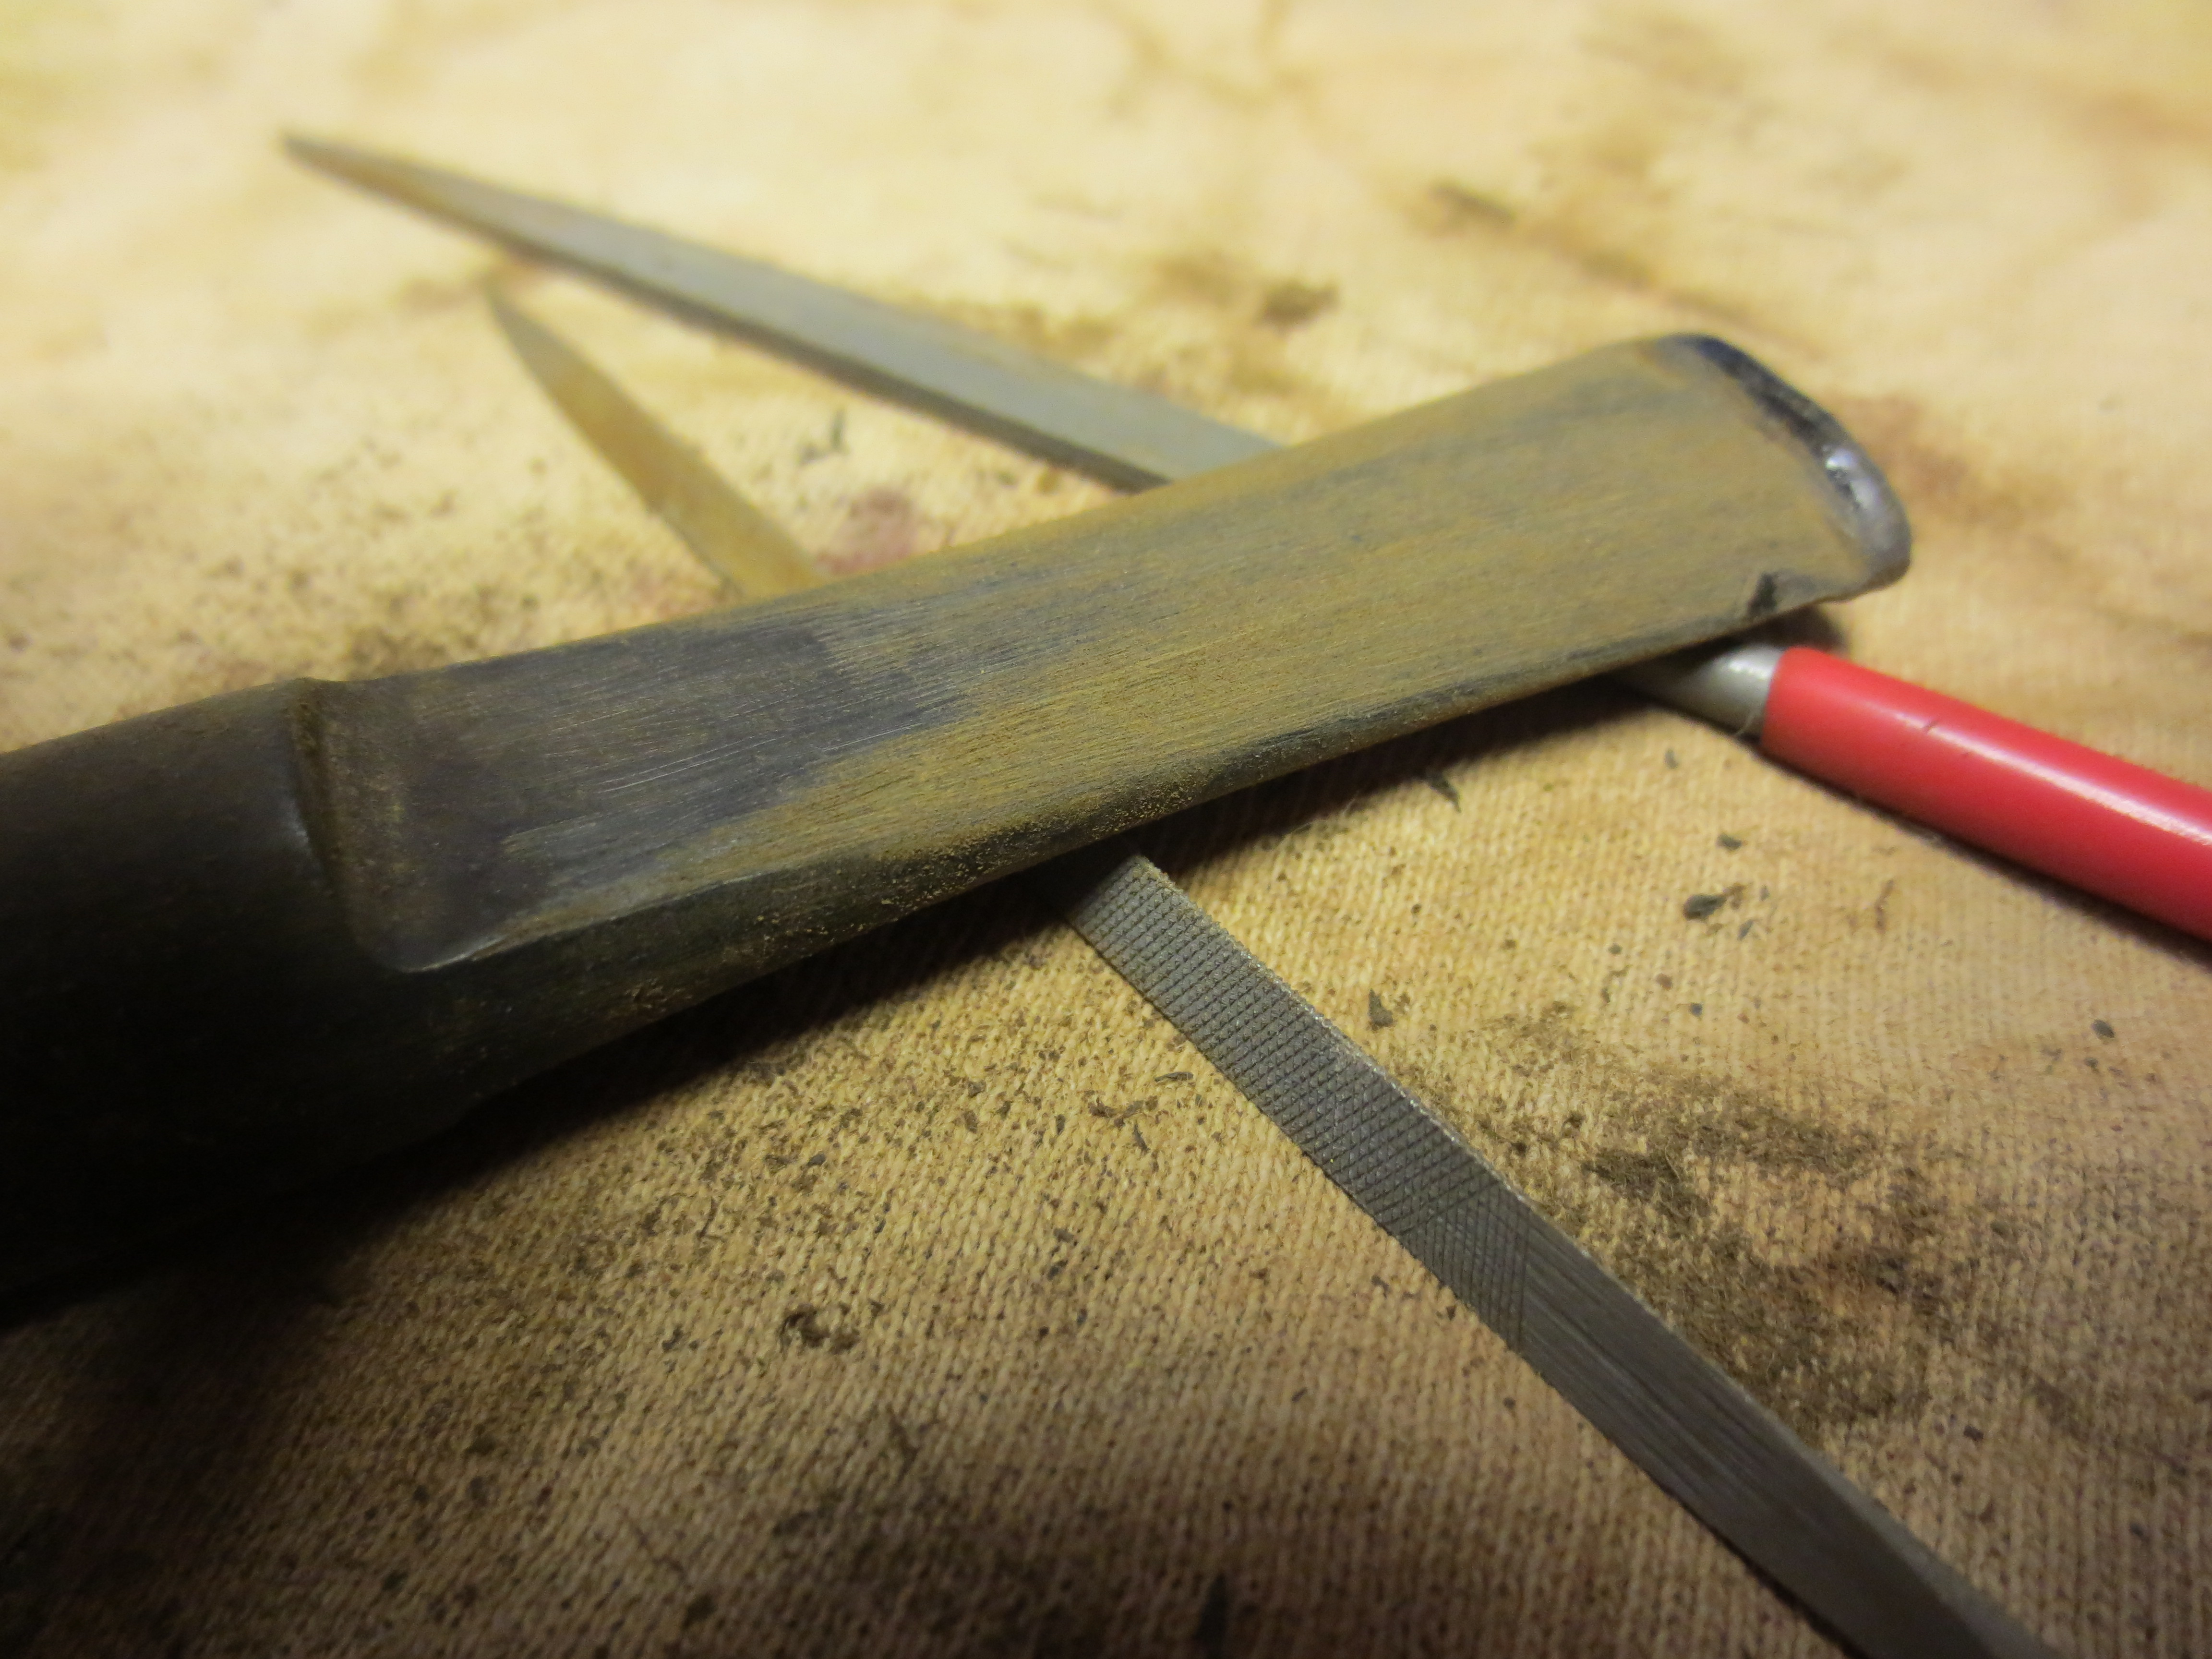
Figure 6 The top side – note the left side dent on the edge of the stem. This would require more sanding, shaping and filling with black superglue.
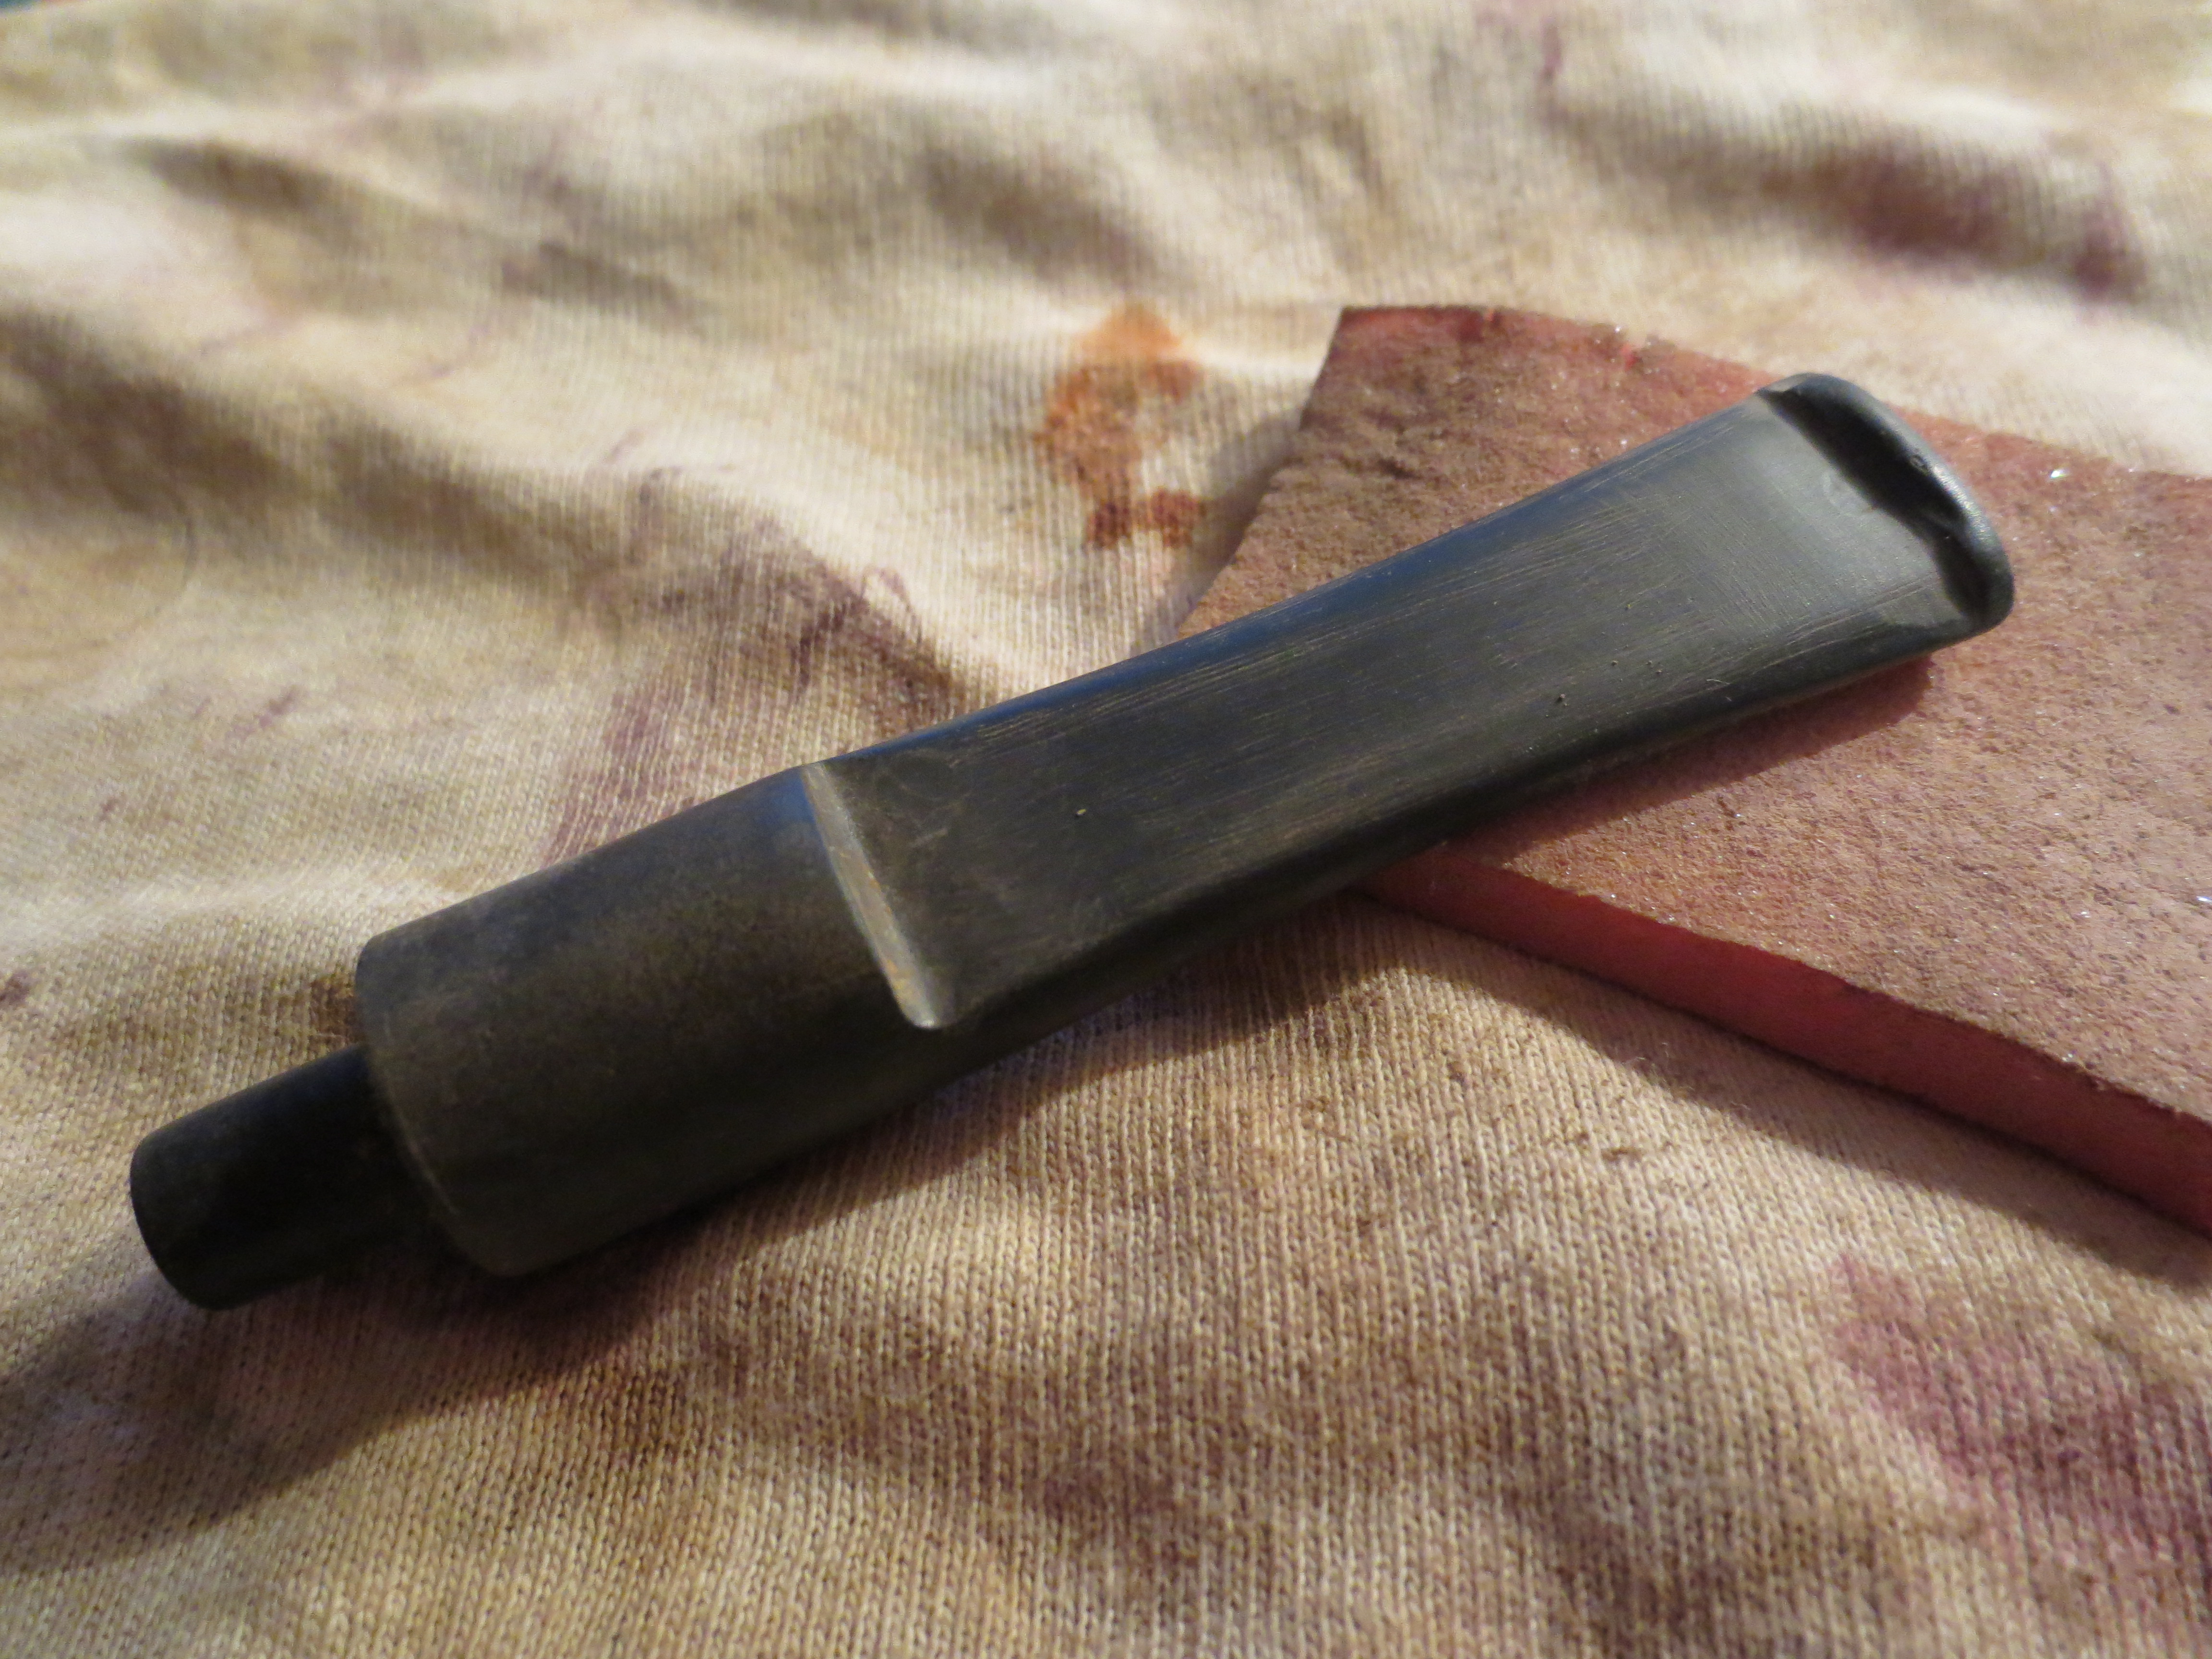
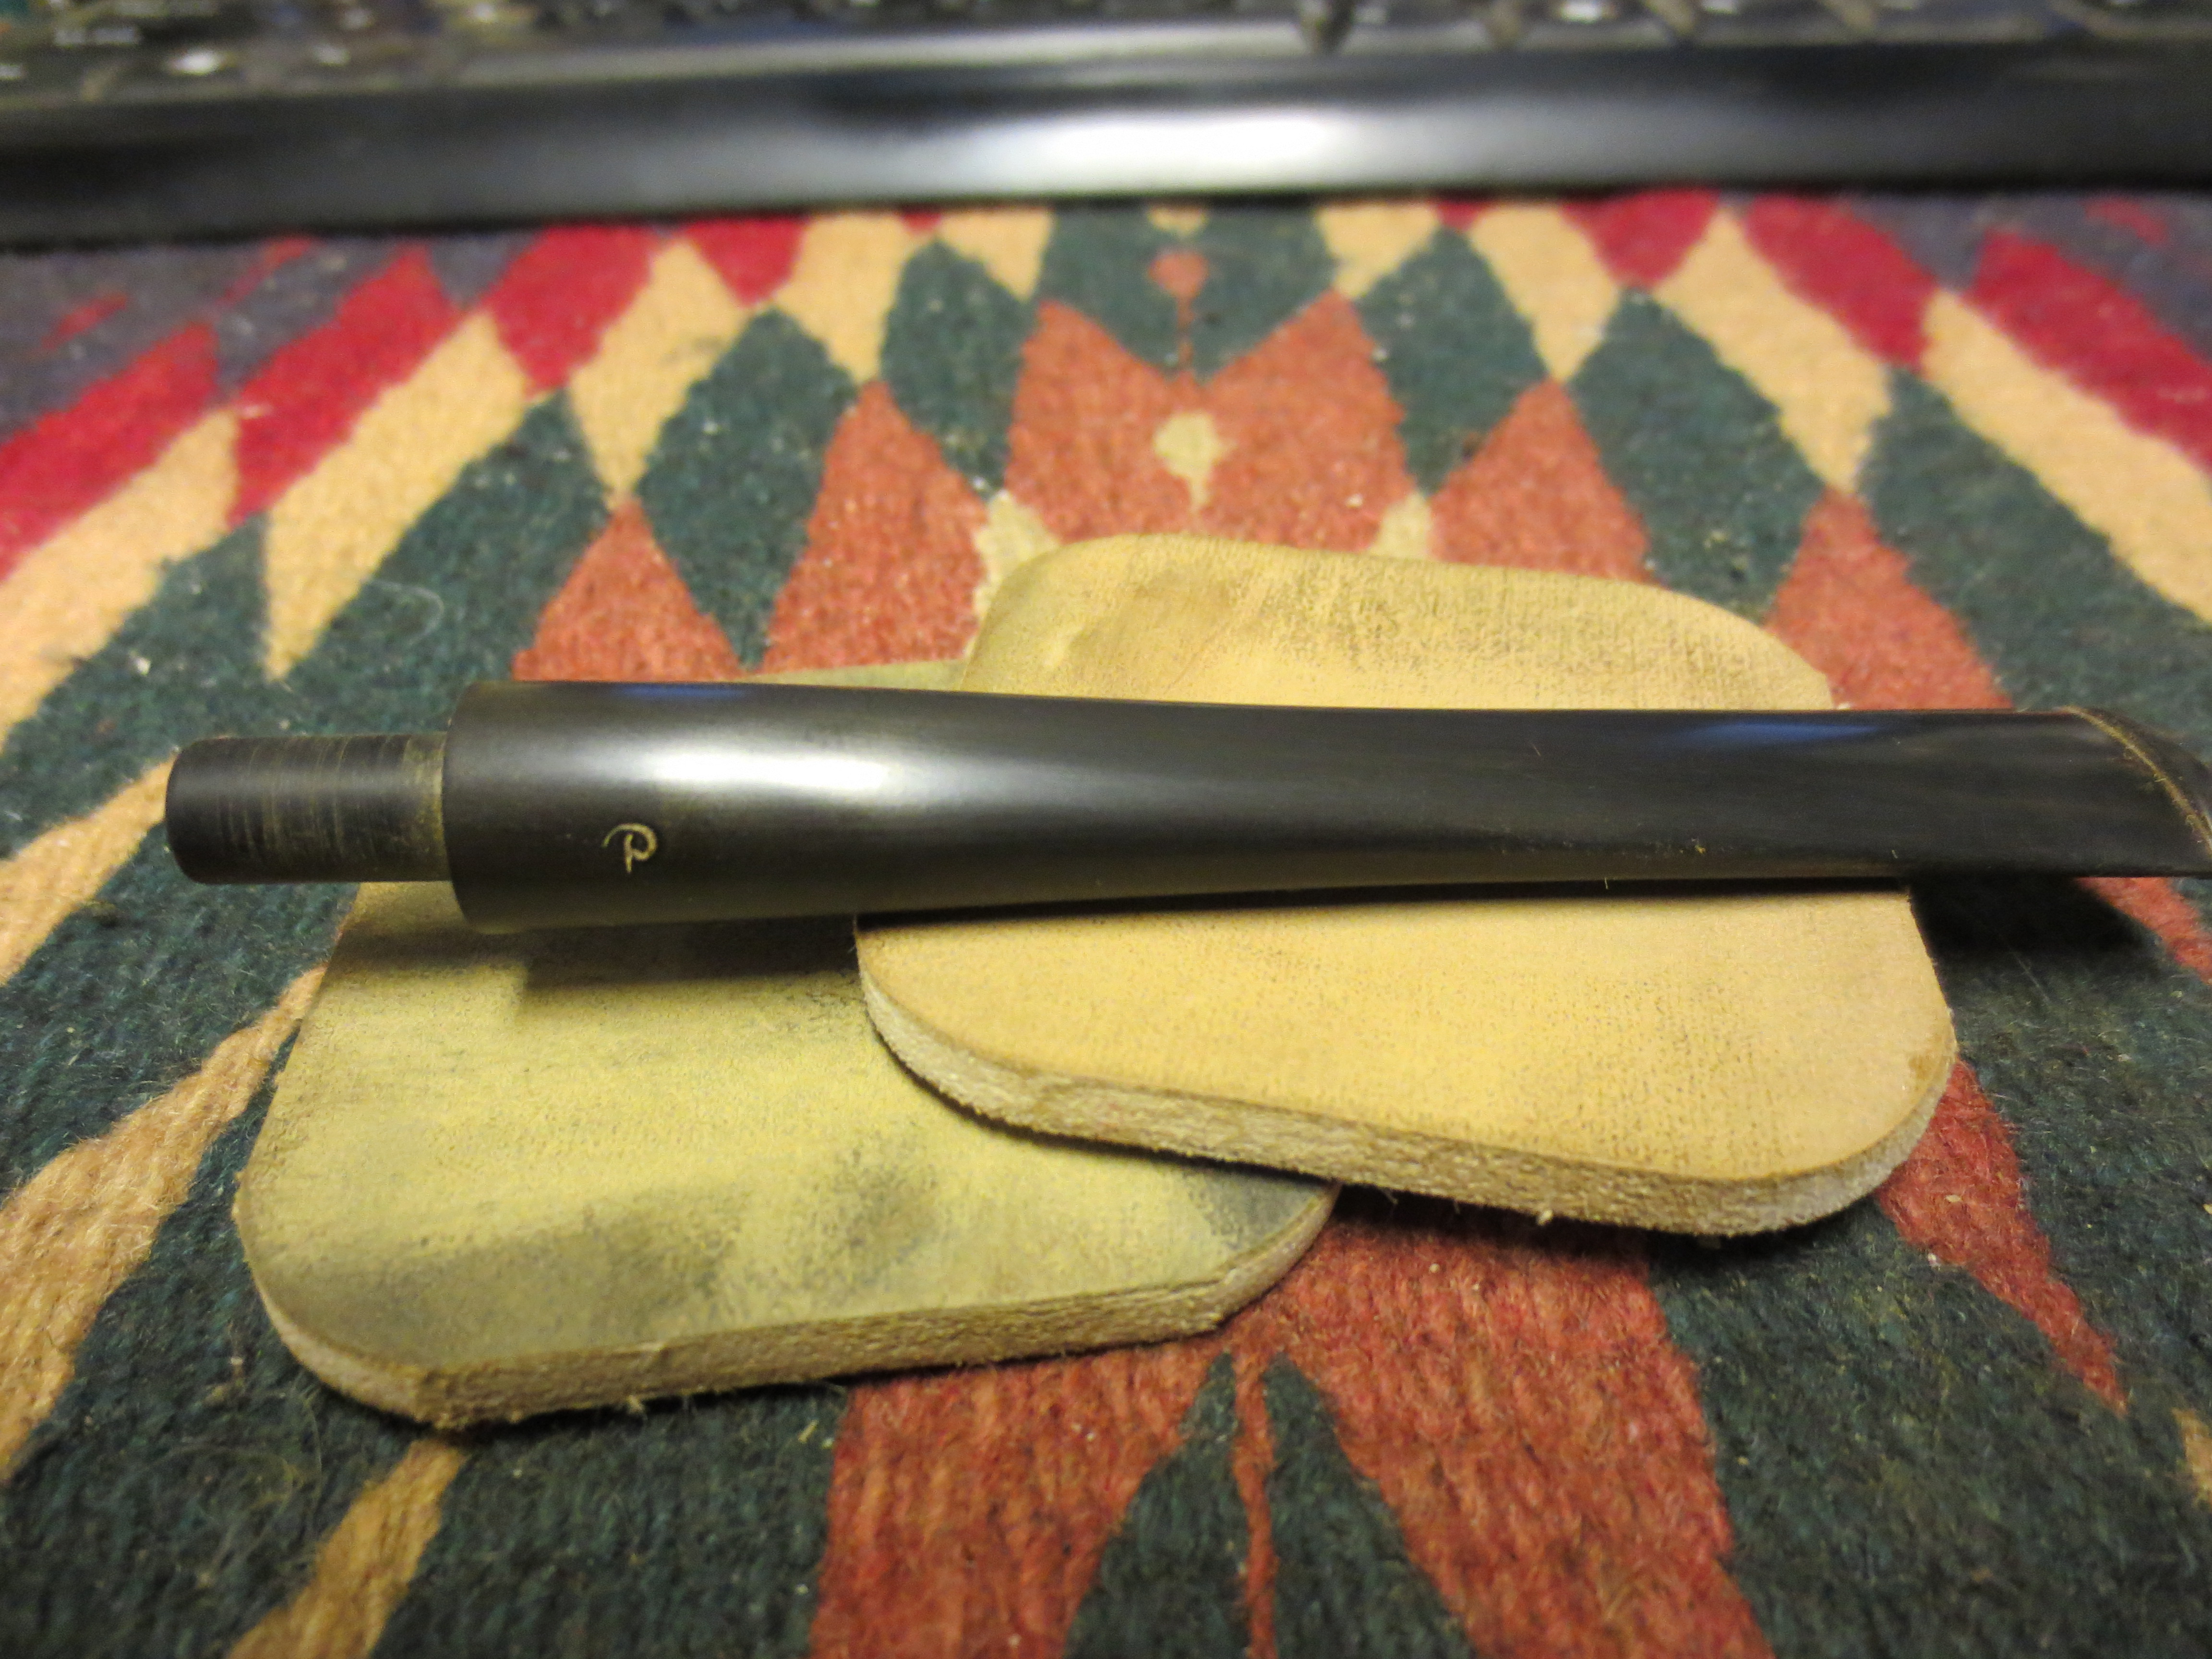
Figure 7 Topside of the stem. I sanded it with 320 grit sandpaper and then medium grit sanding sponge. It is beginning to take shape.
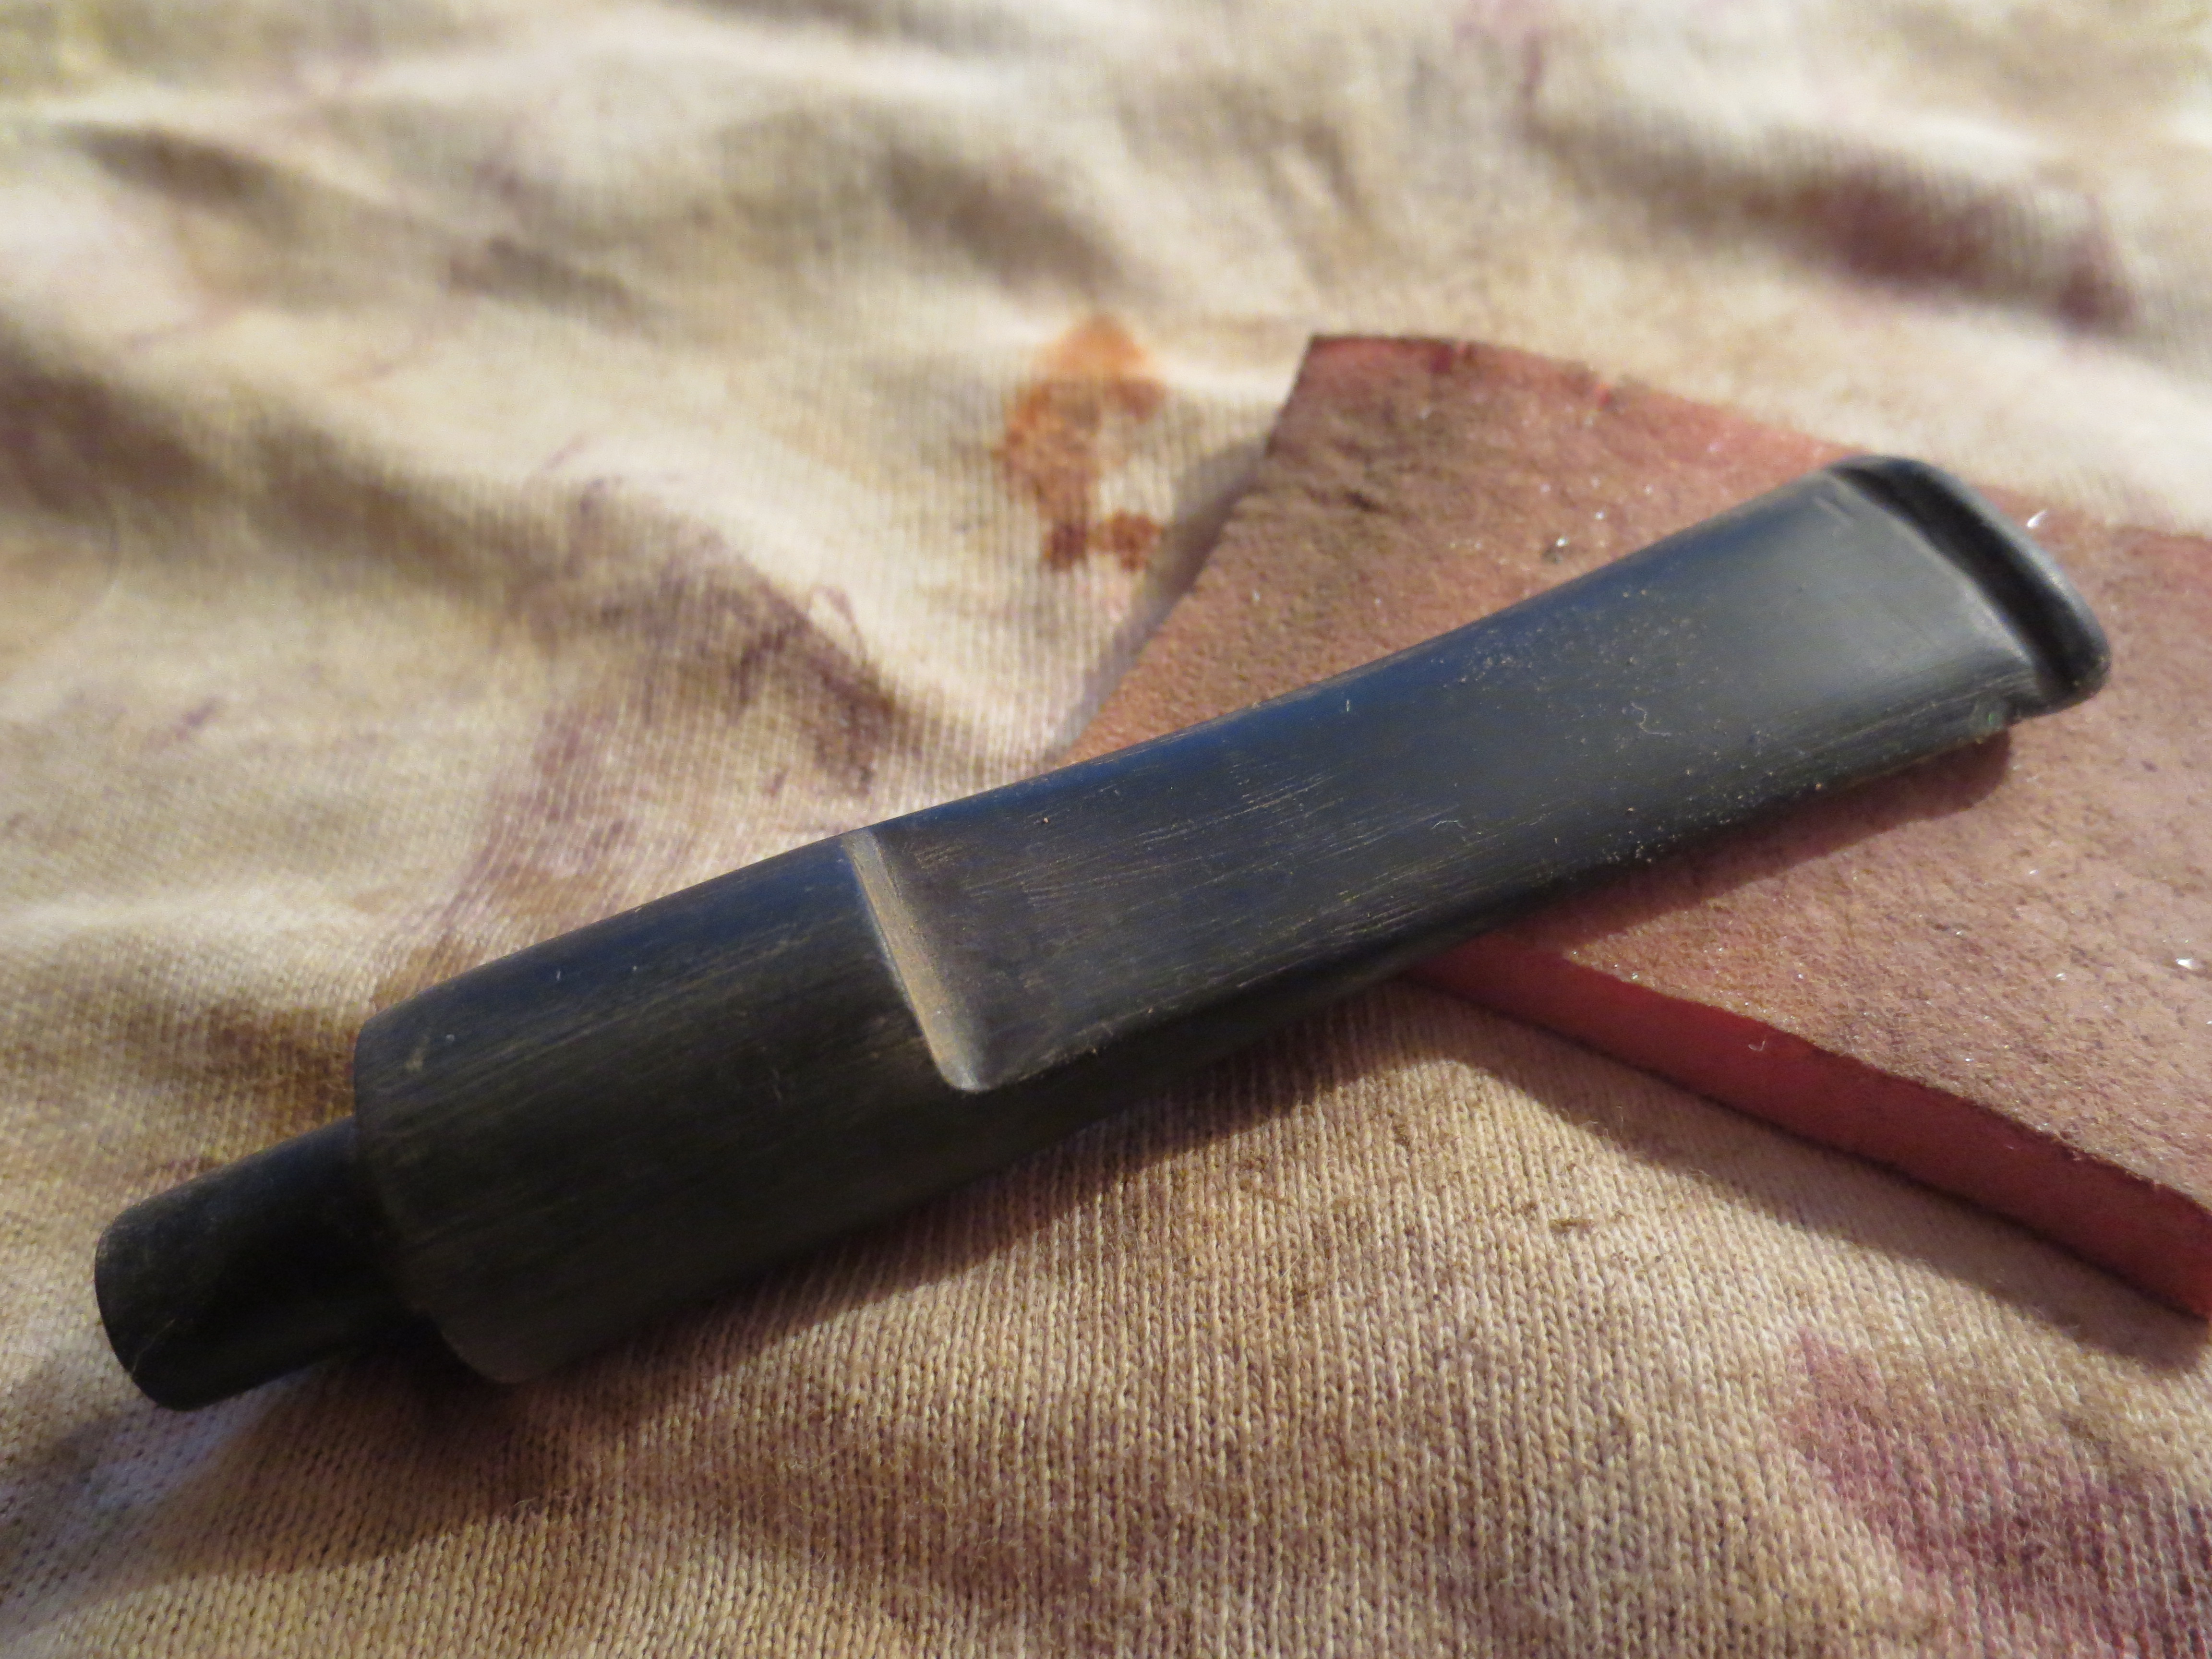
Figure 8 Underside of the stem- again sanded and shaped. The dents and edges are starting to be cleaned up.
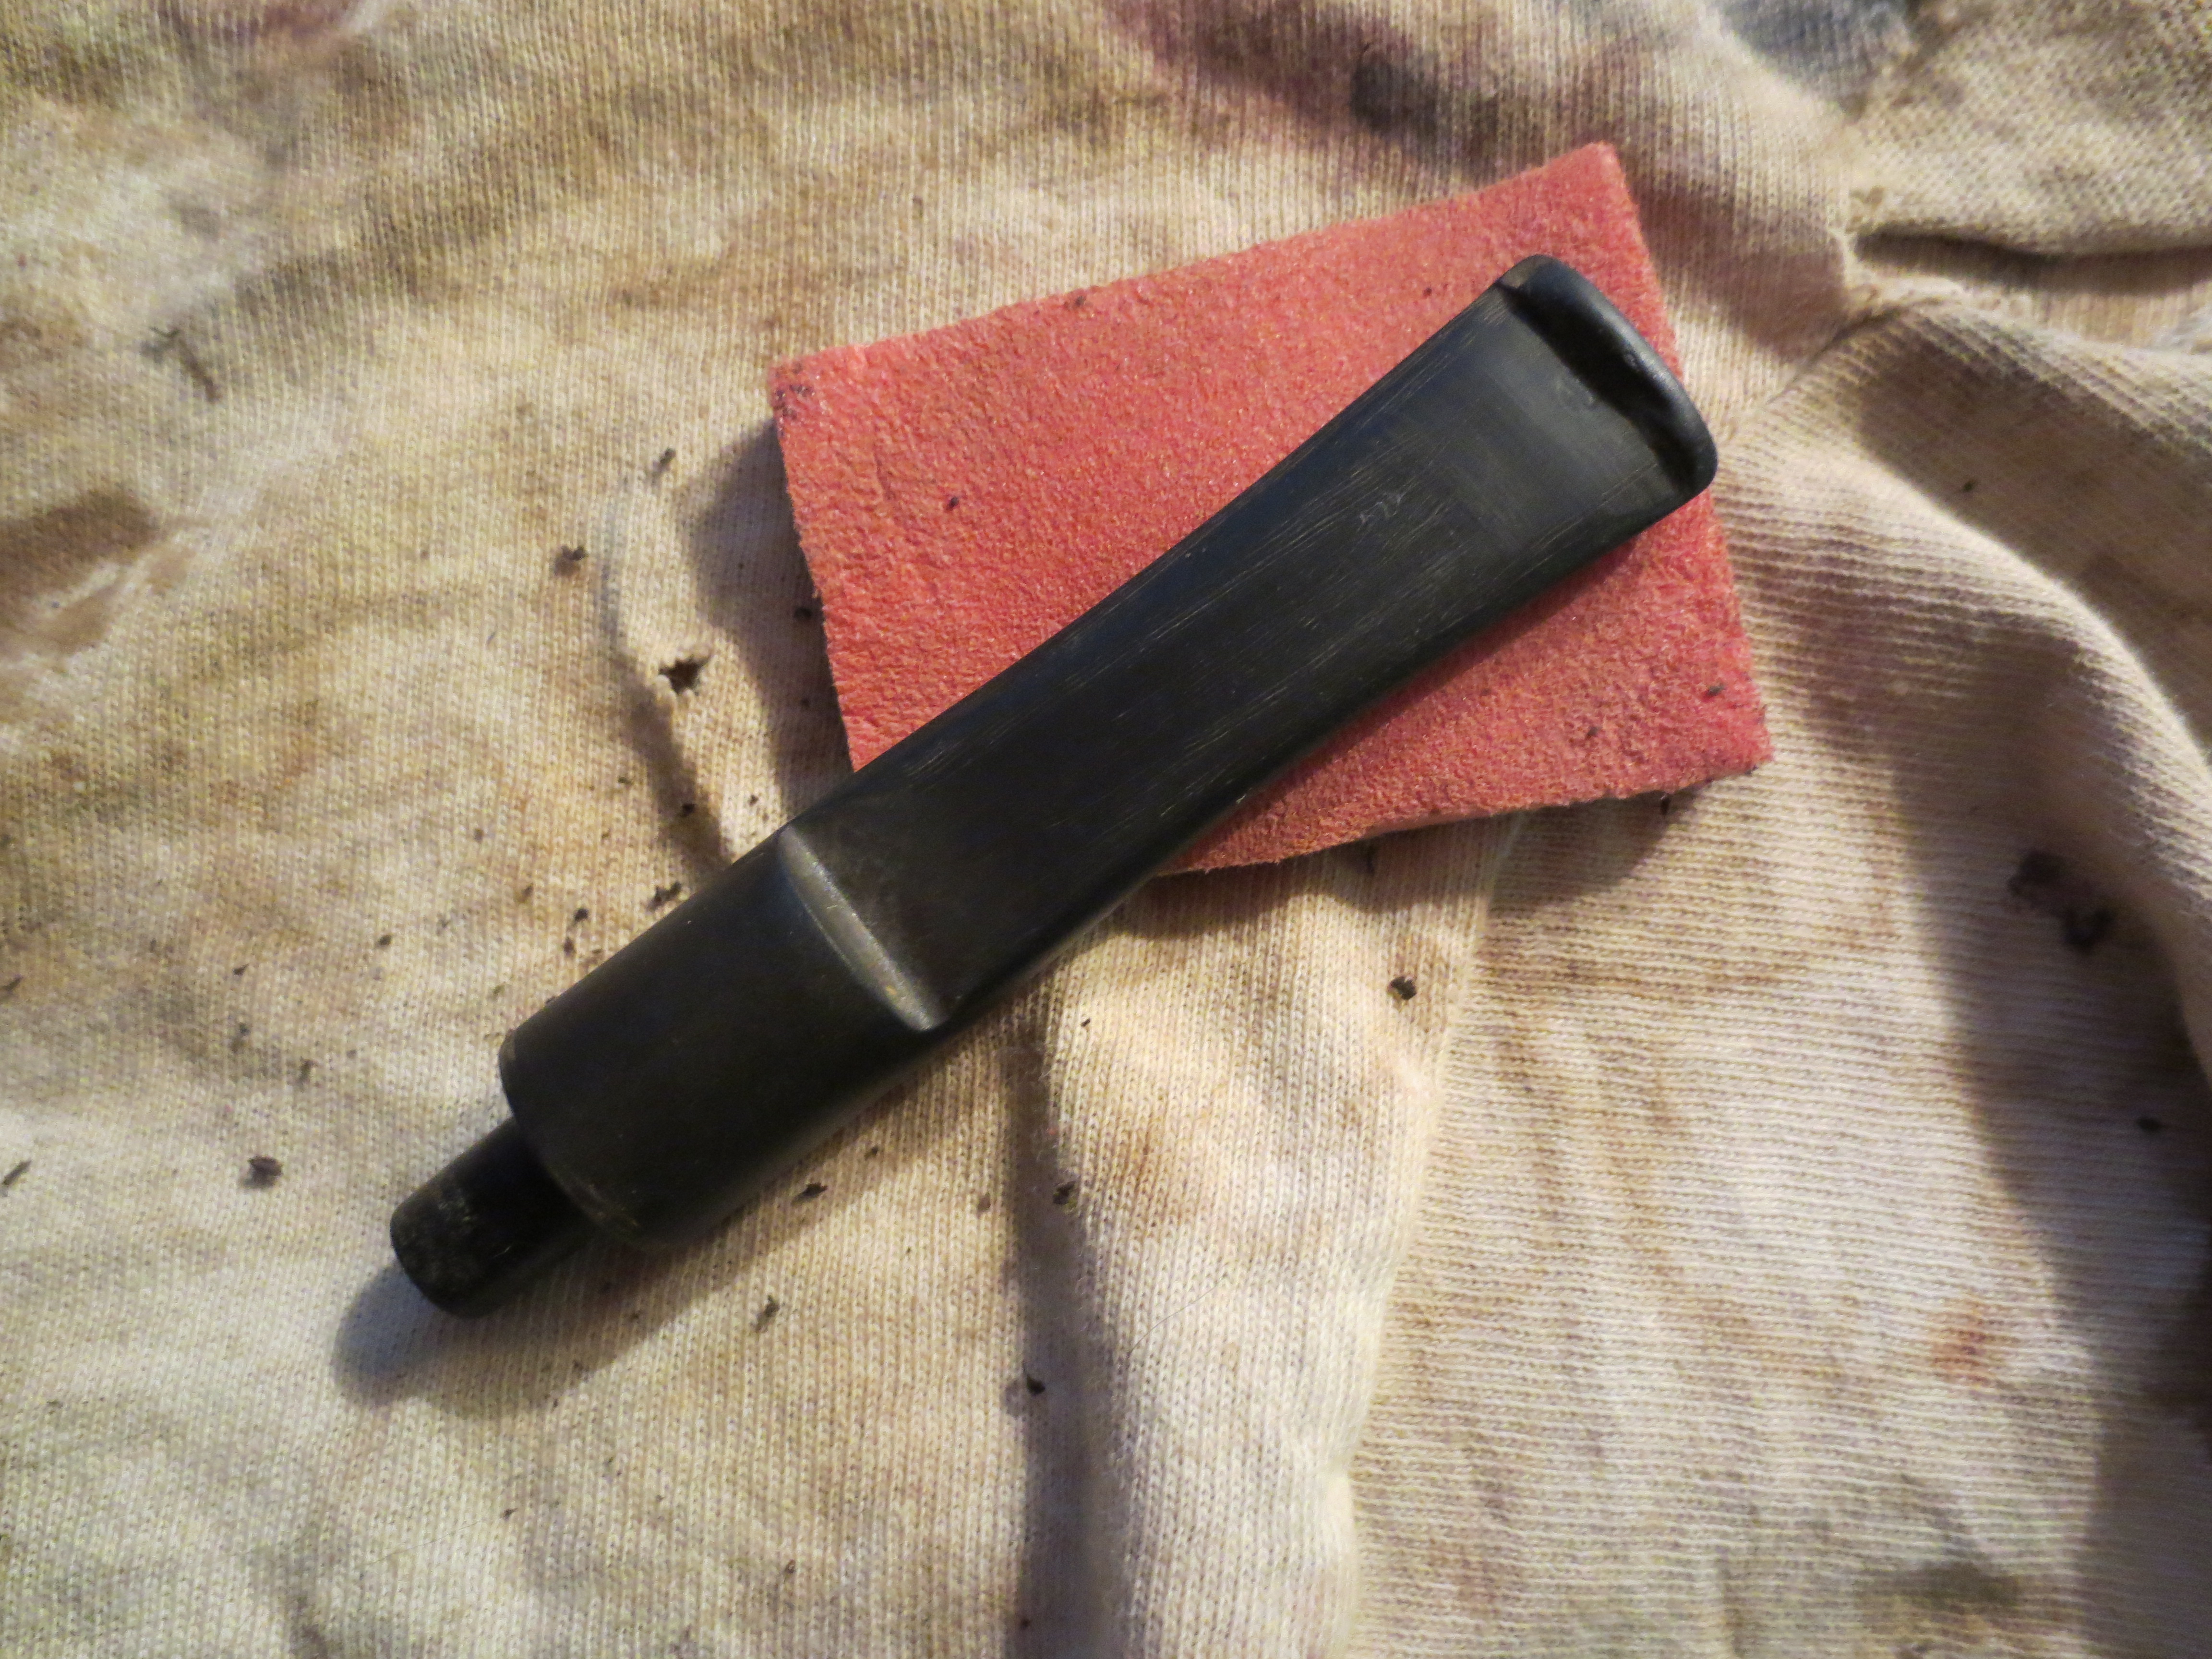
Figure 9 Underside finished with the majority of the shaping. Now a lot of fine tuning needed to be done.
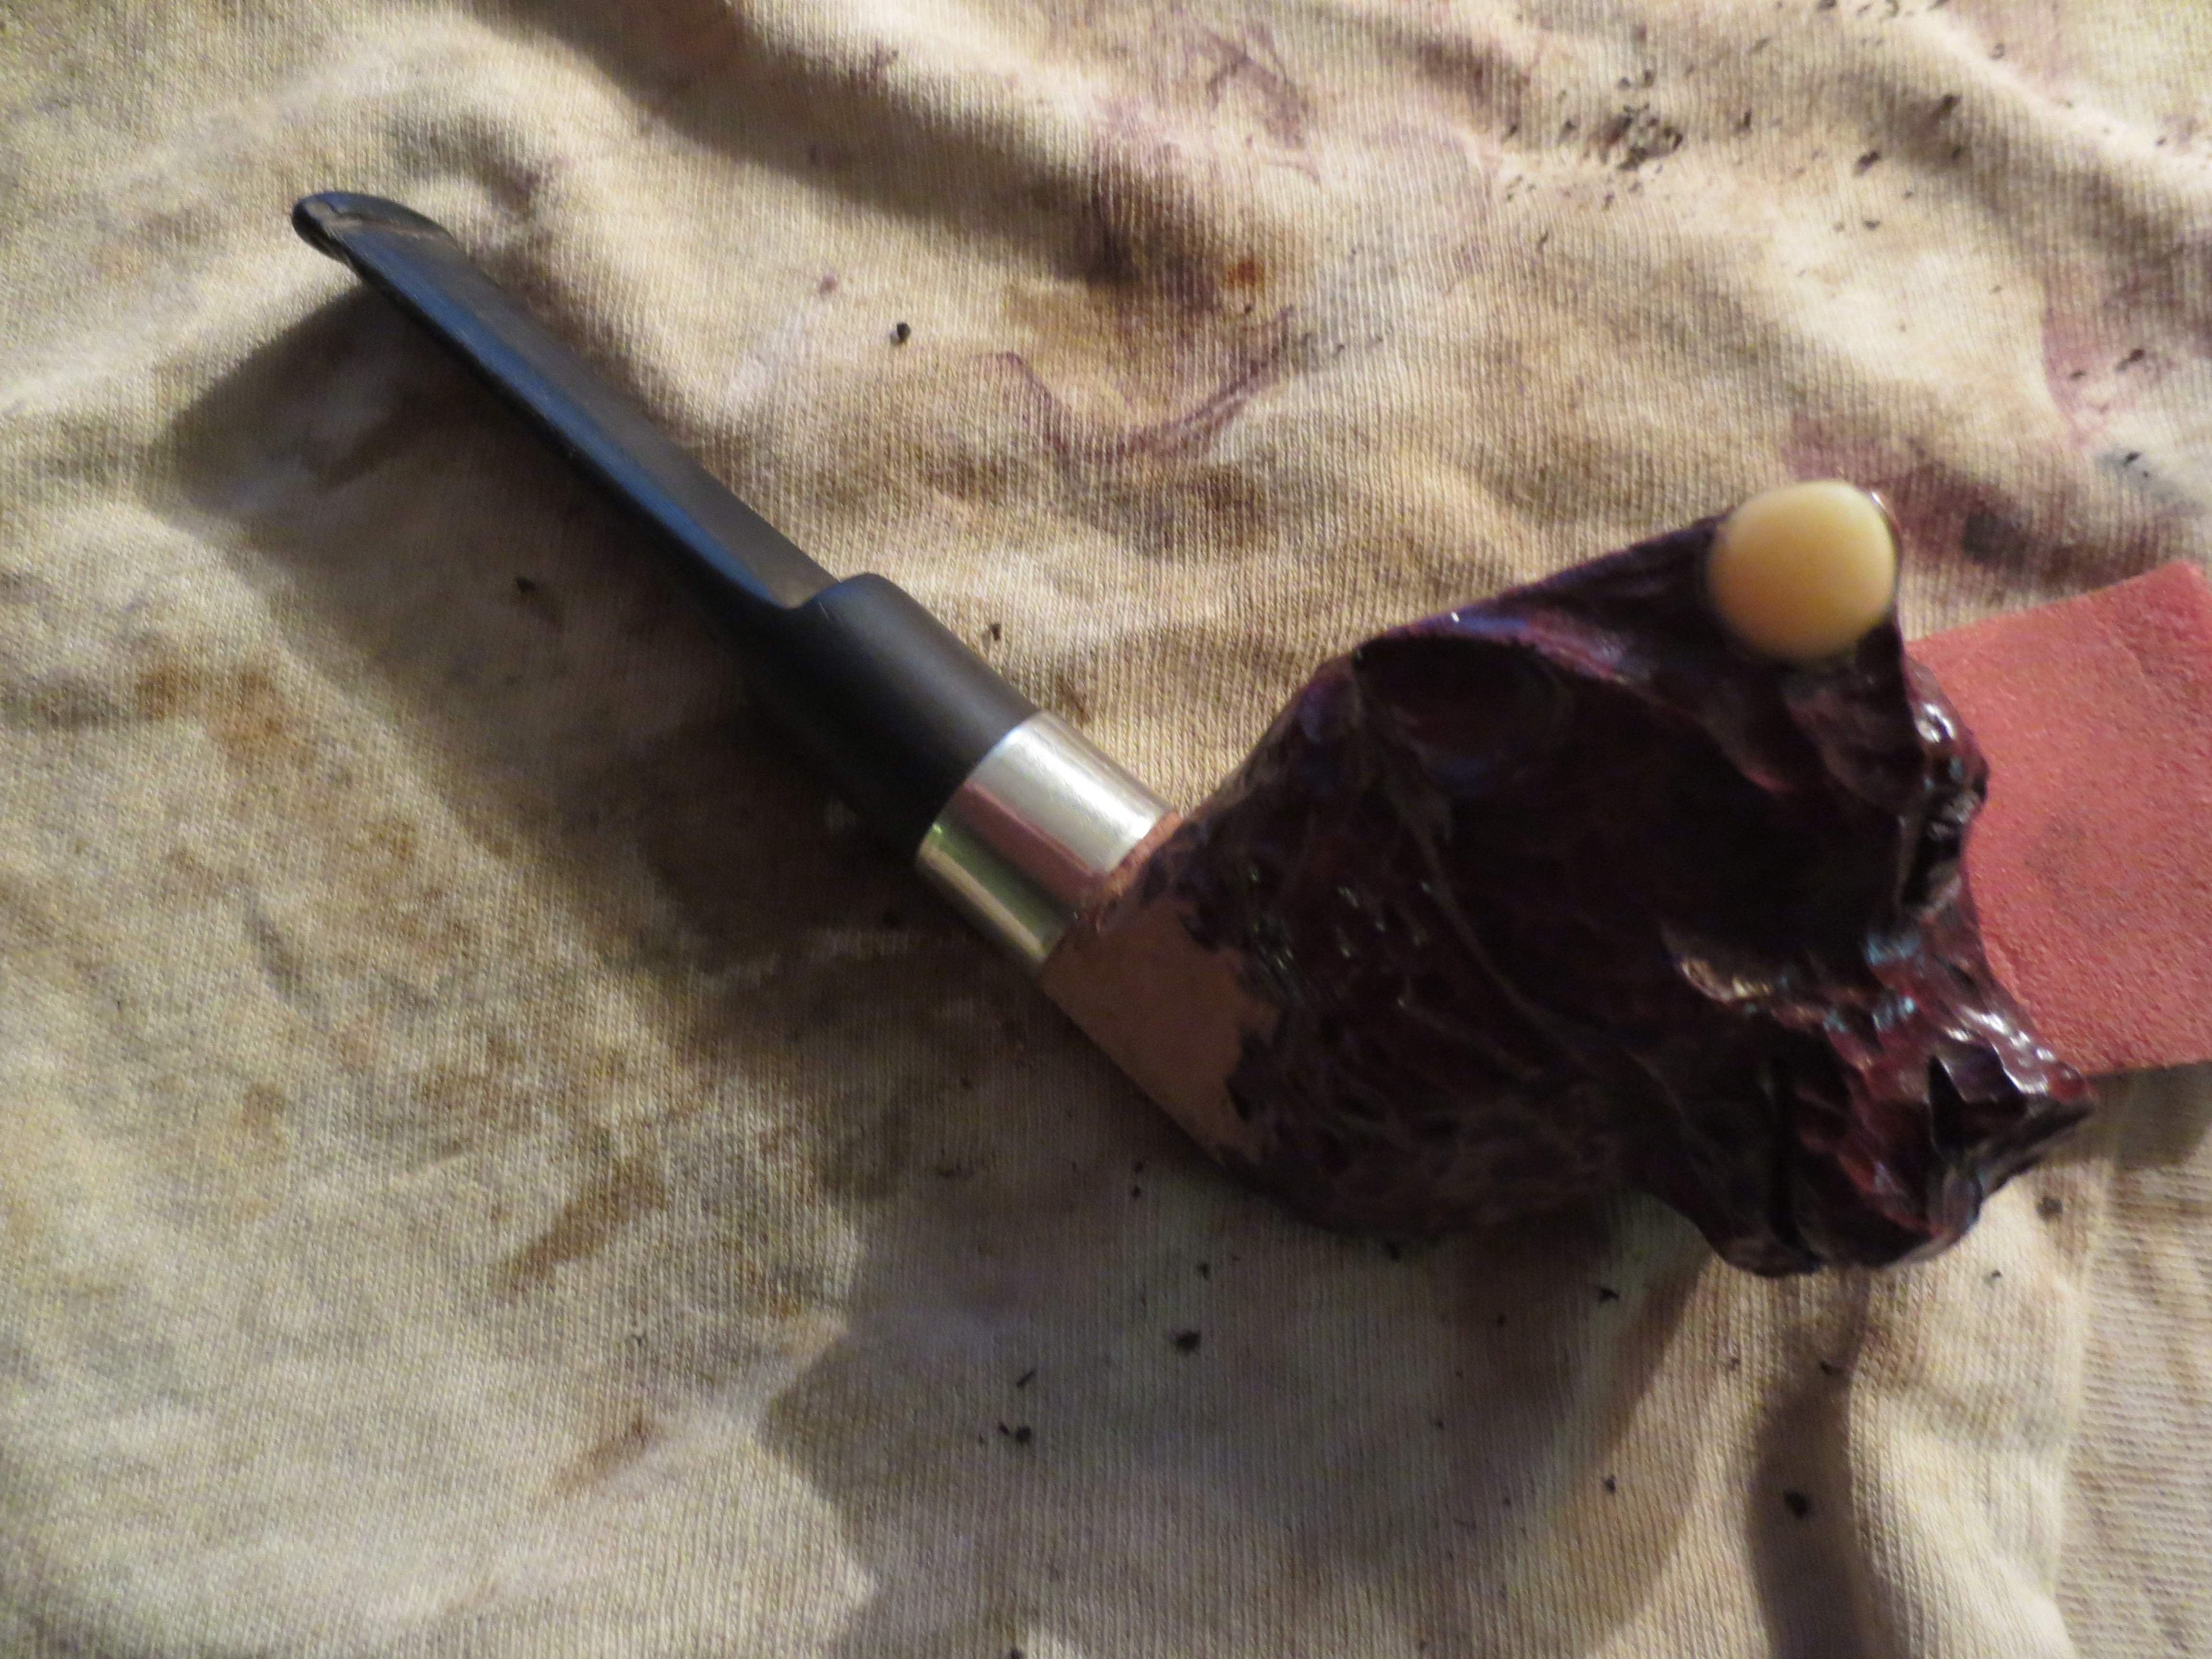
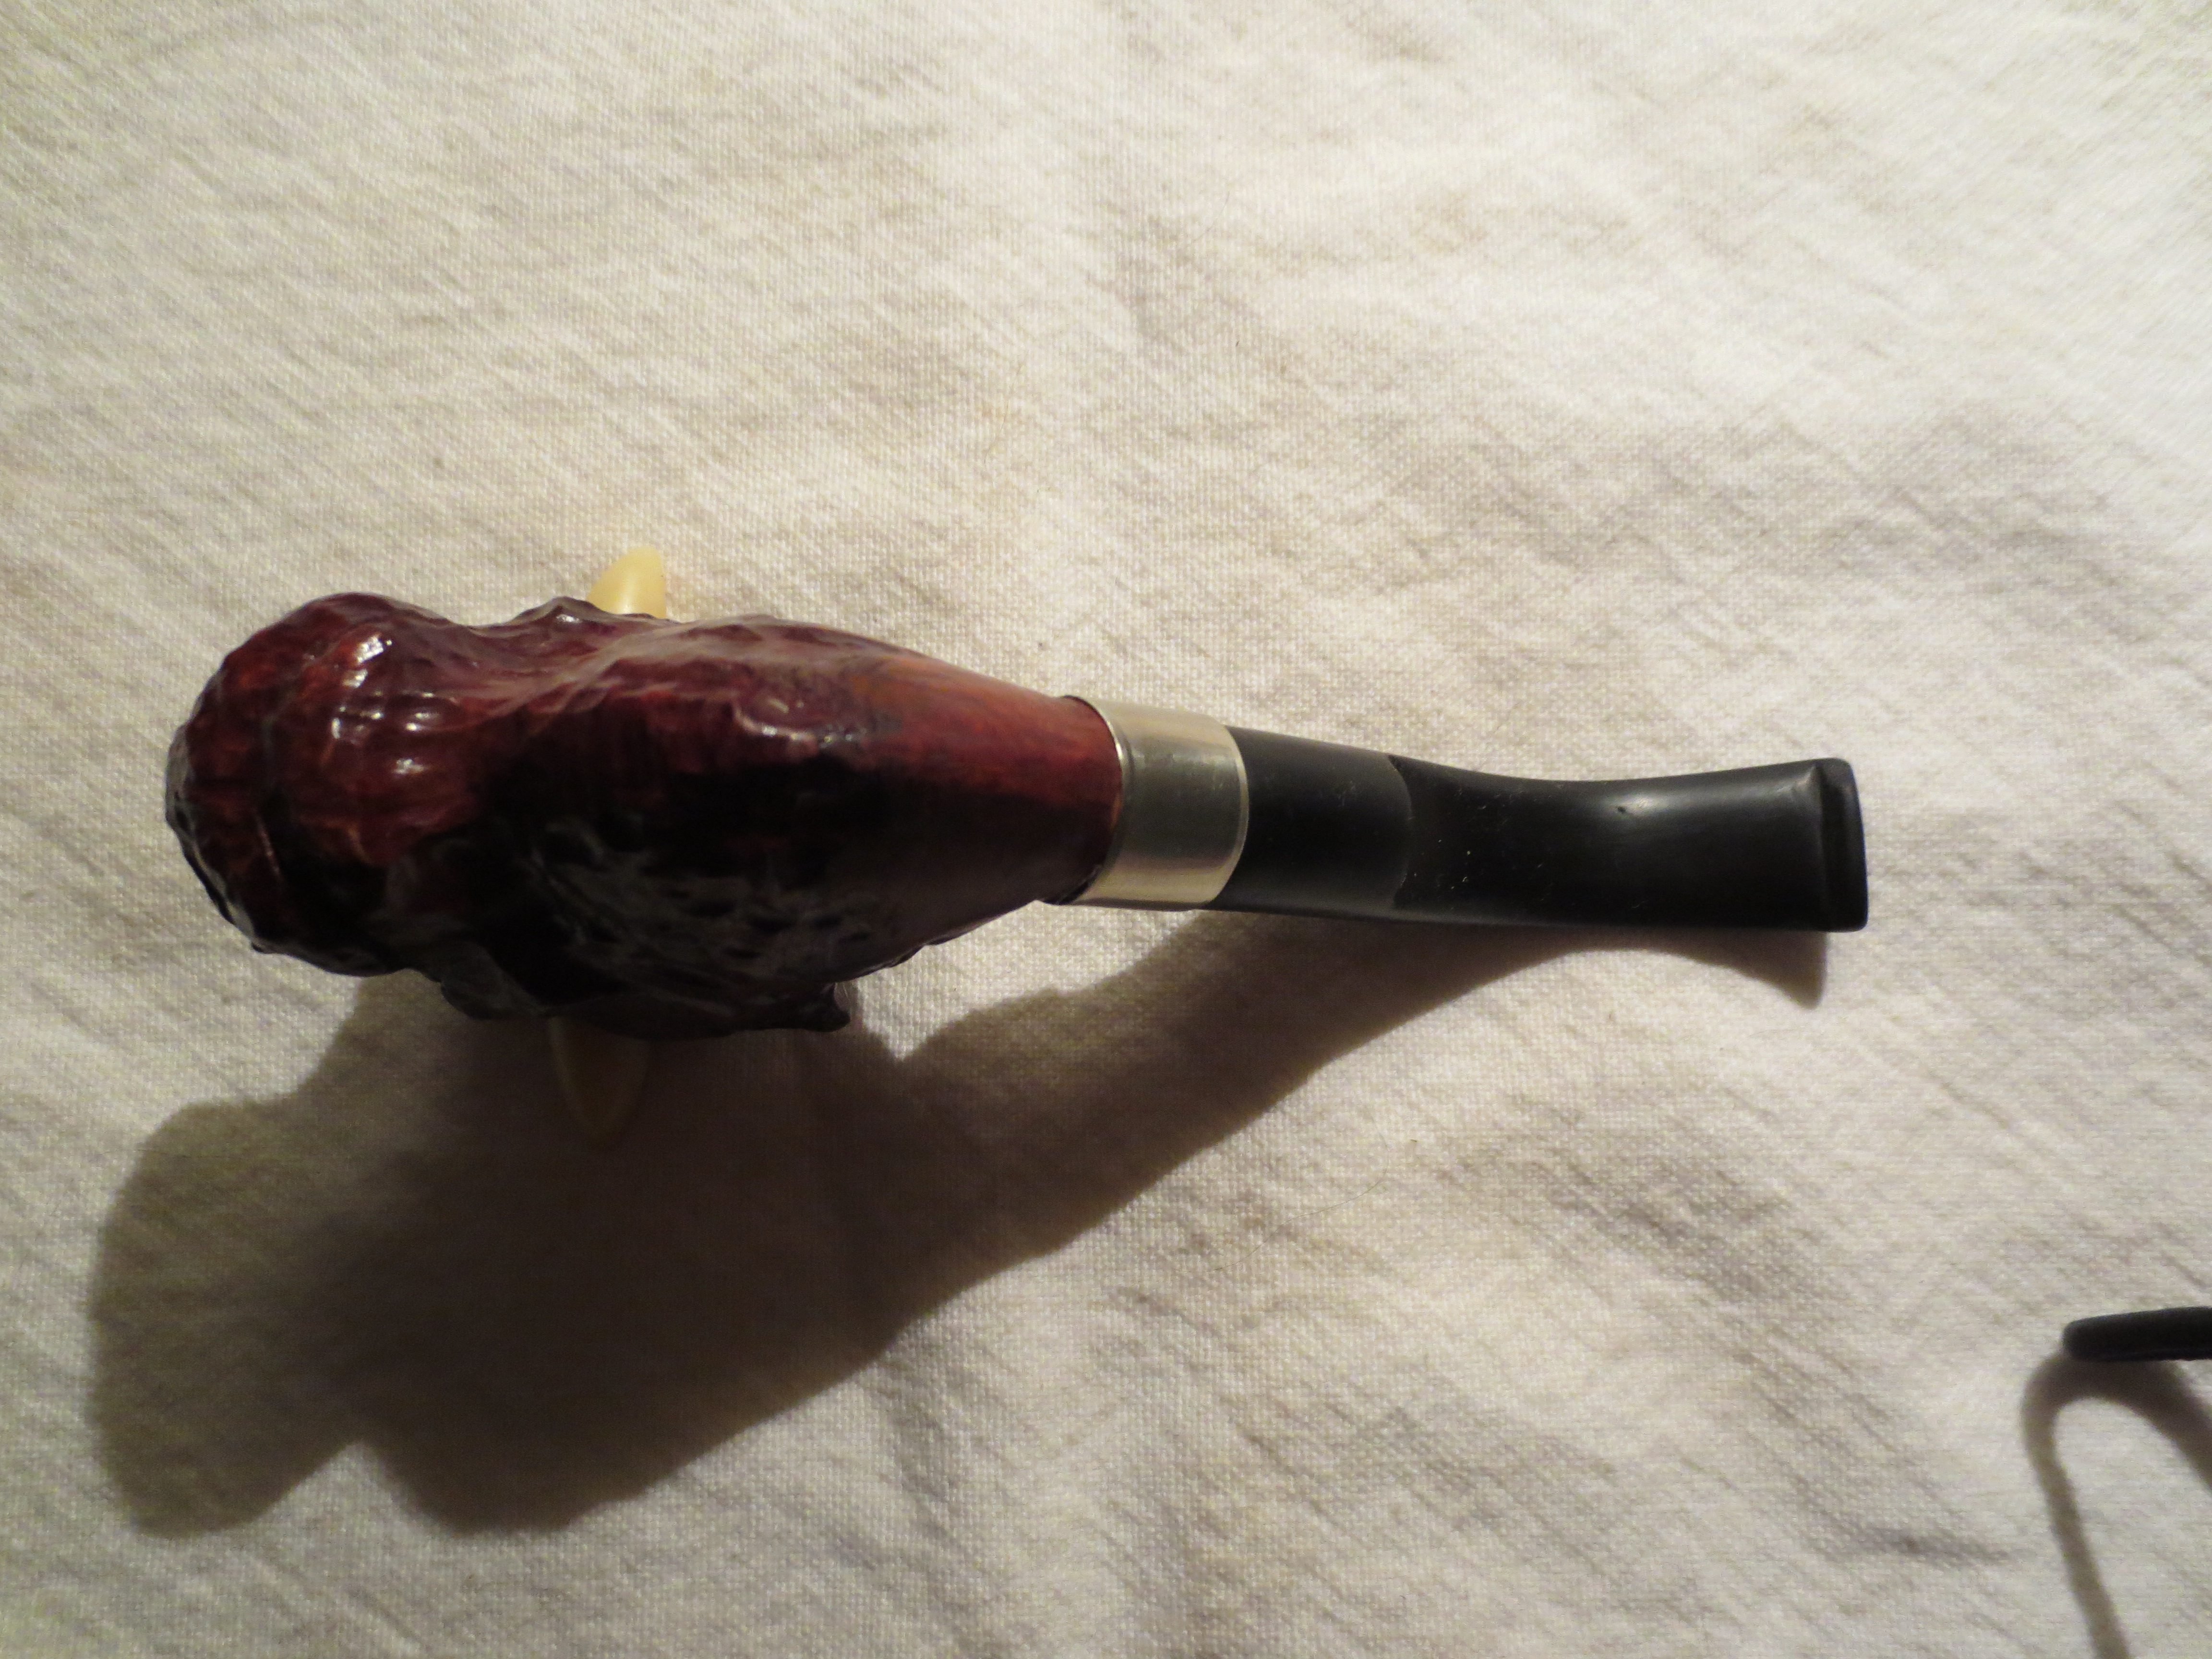
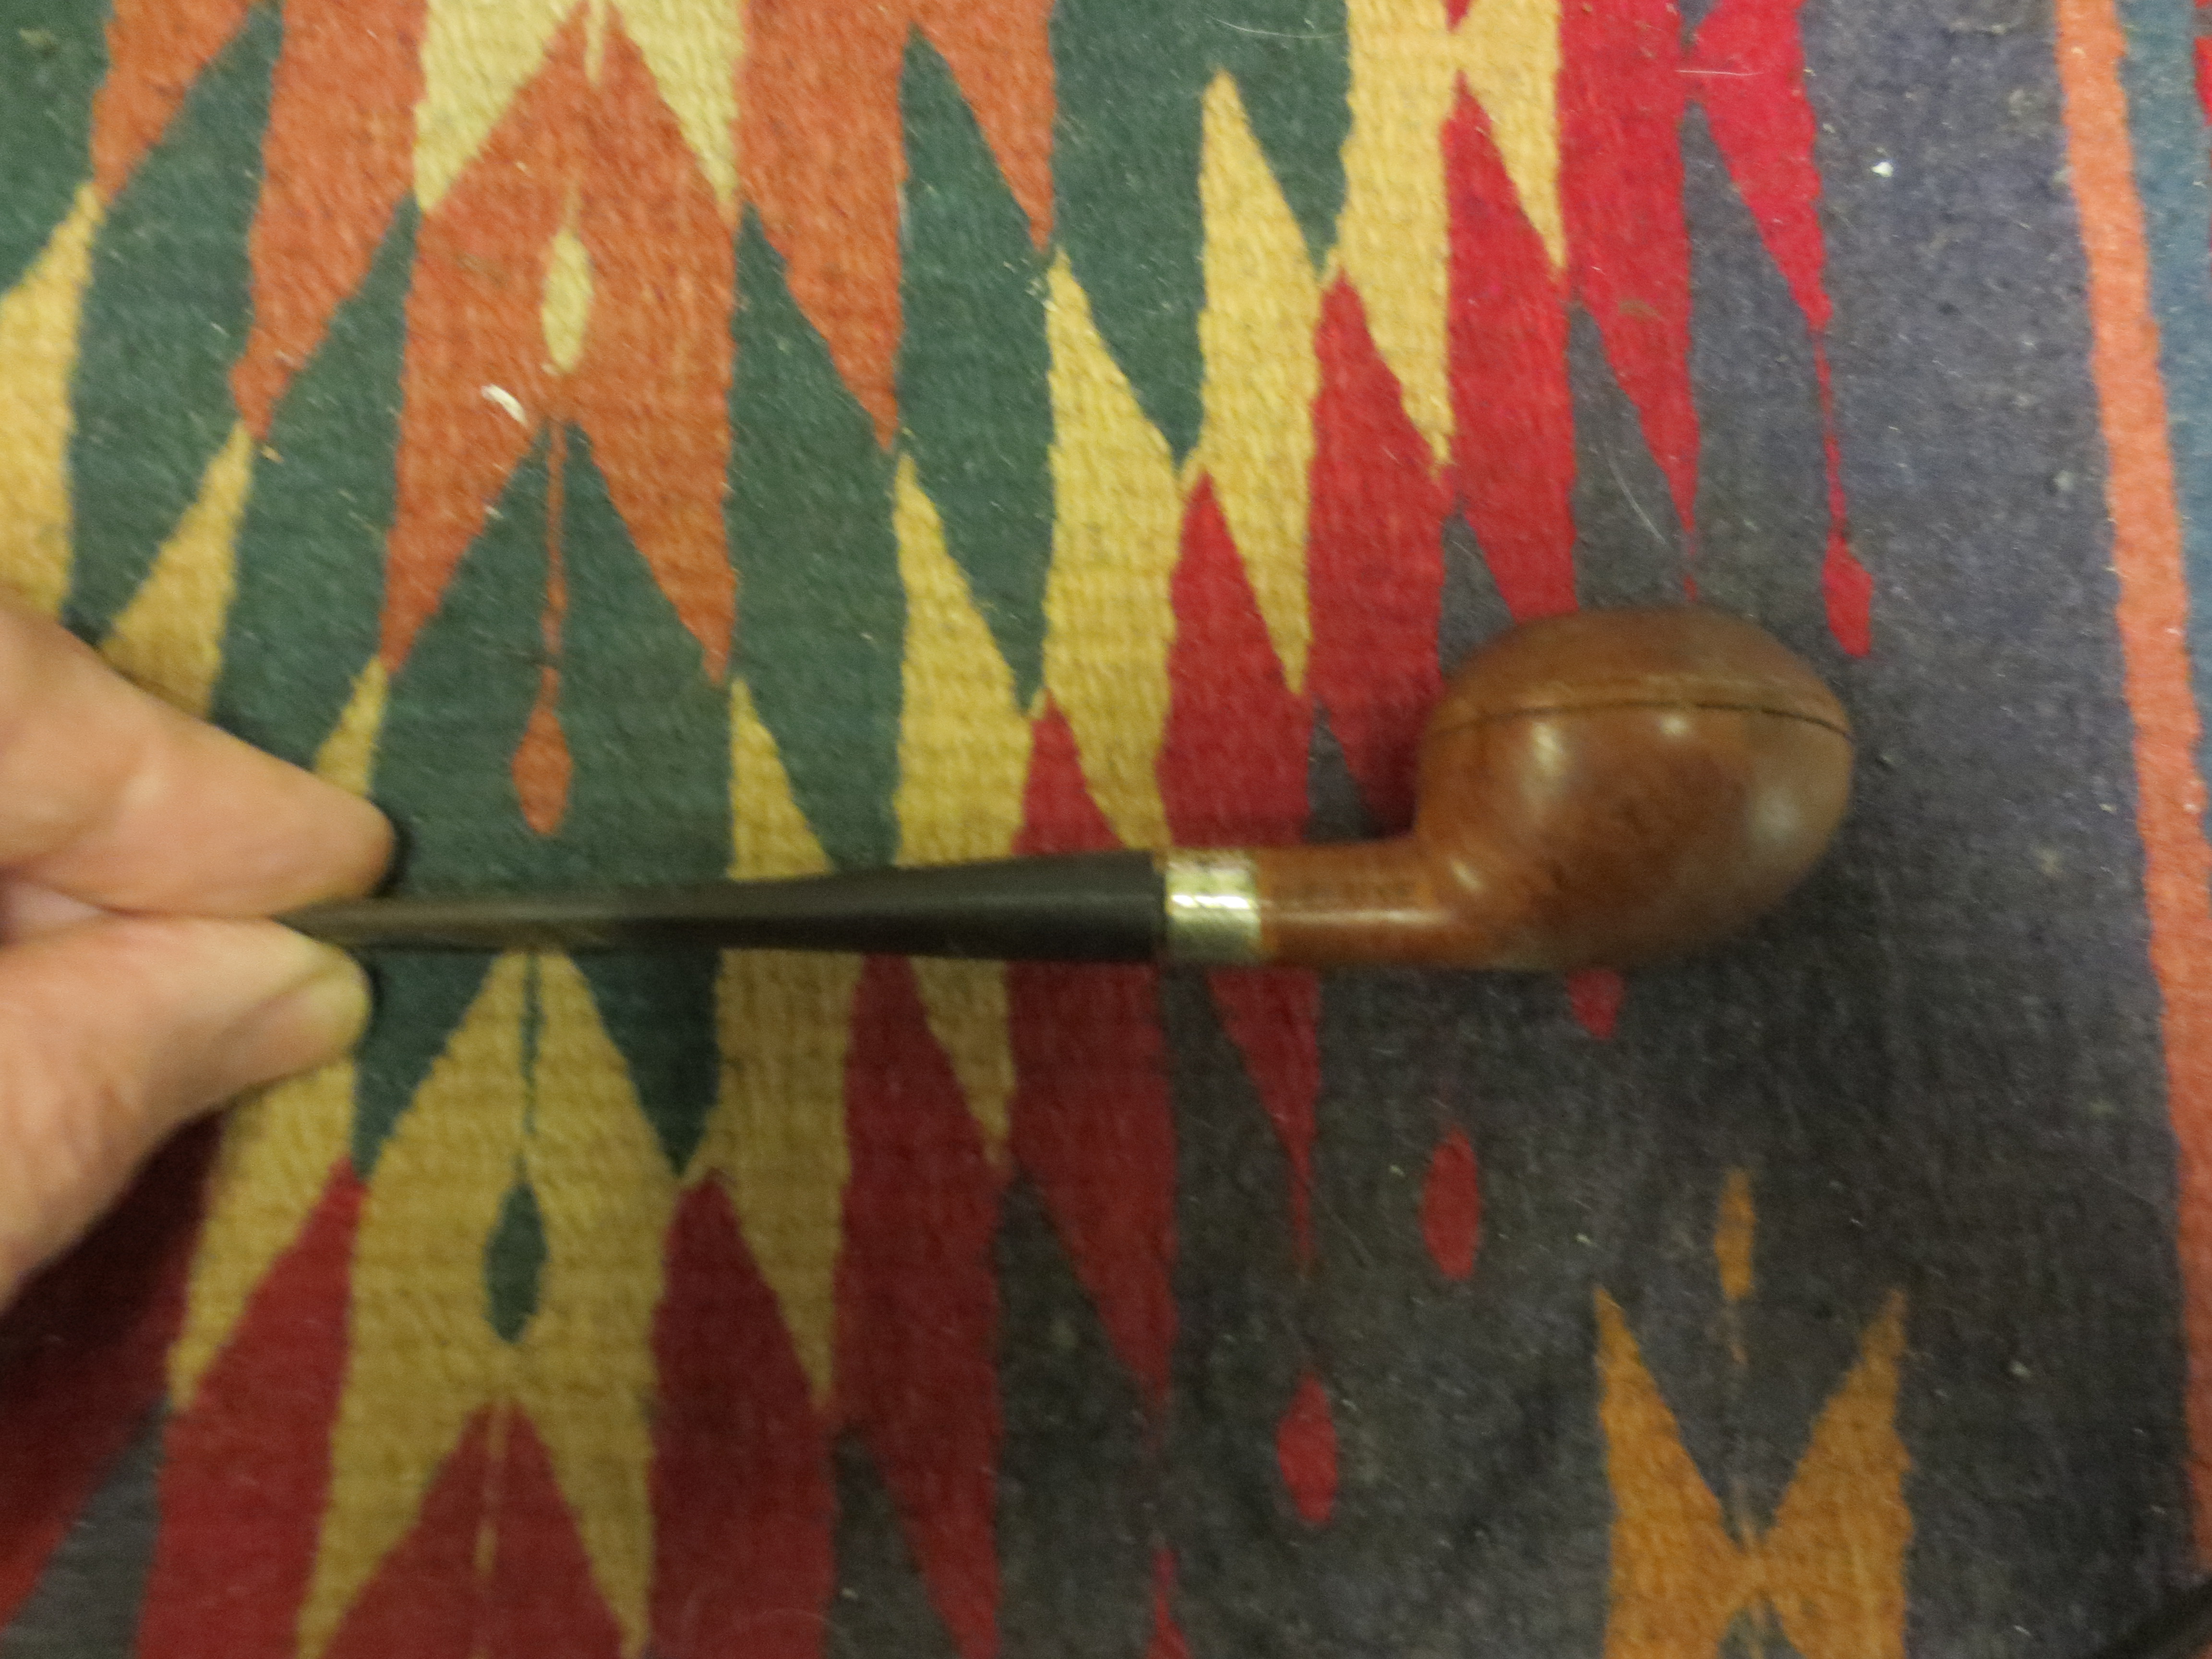
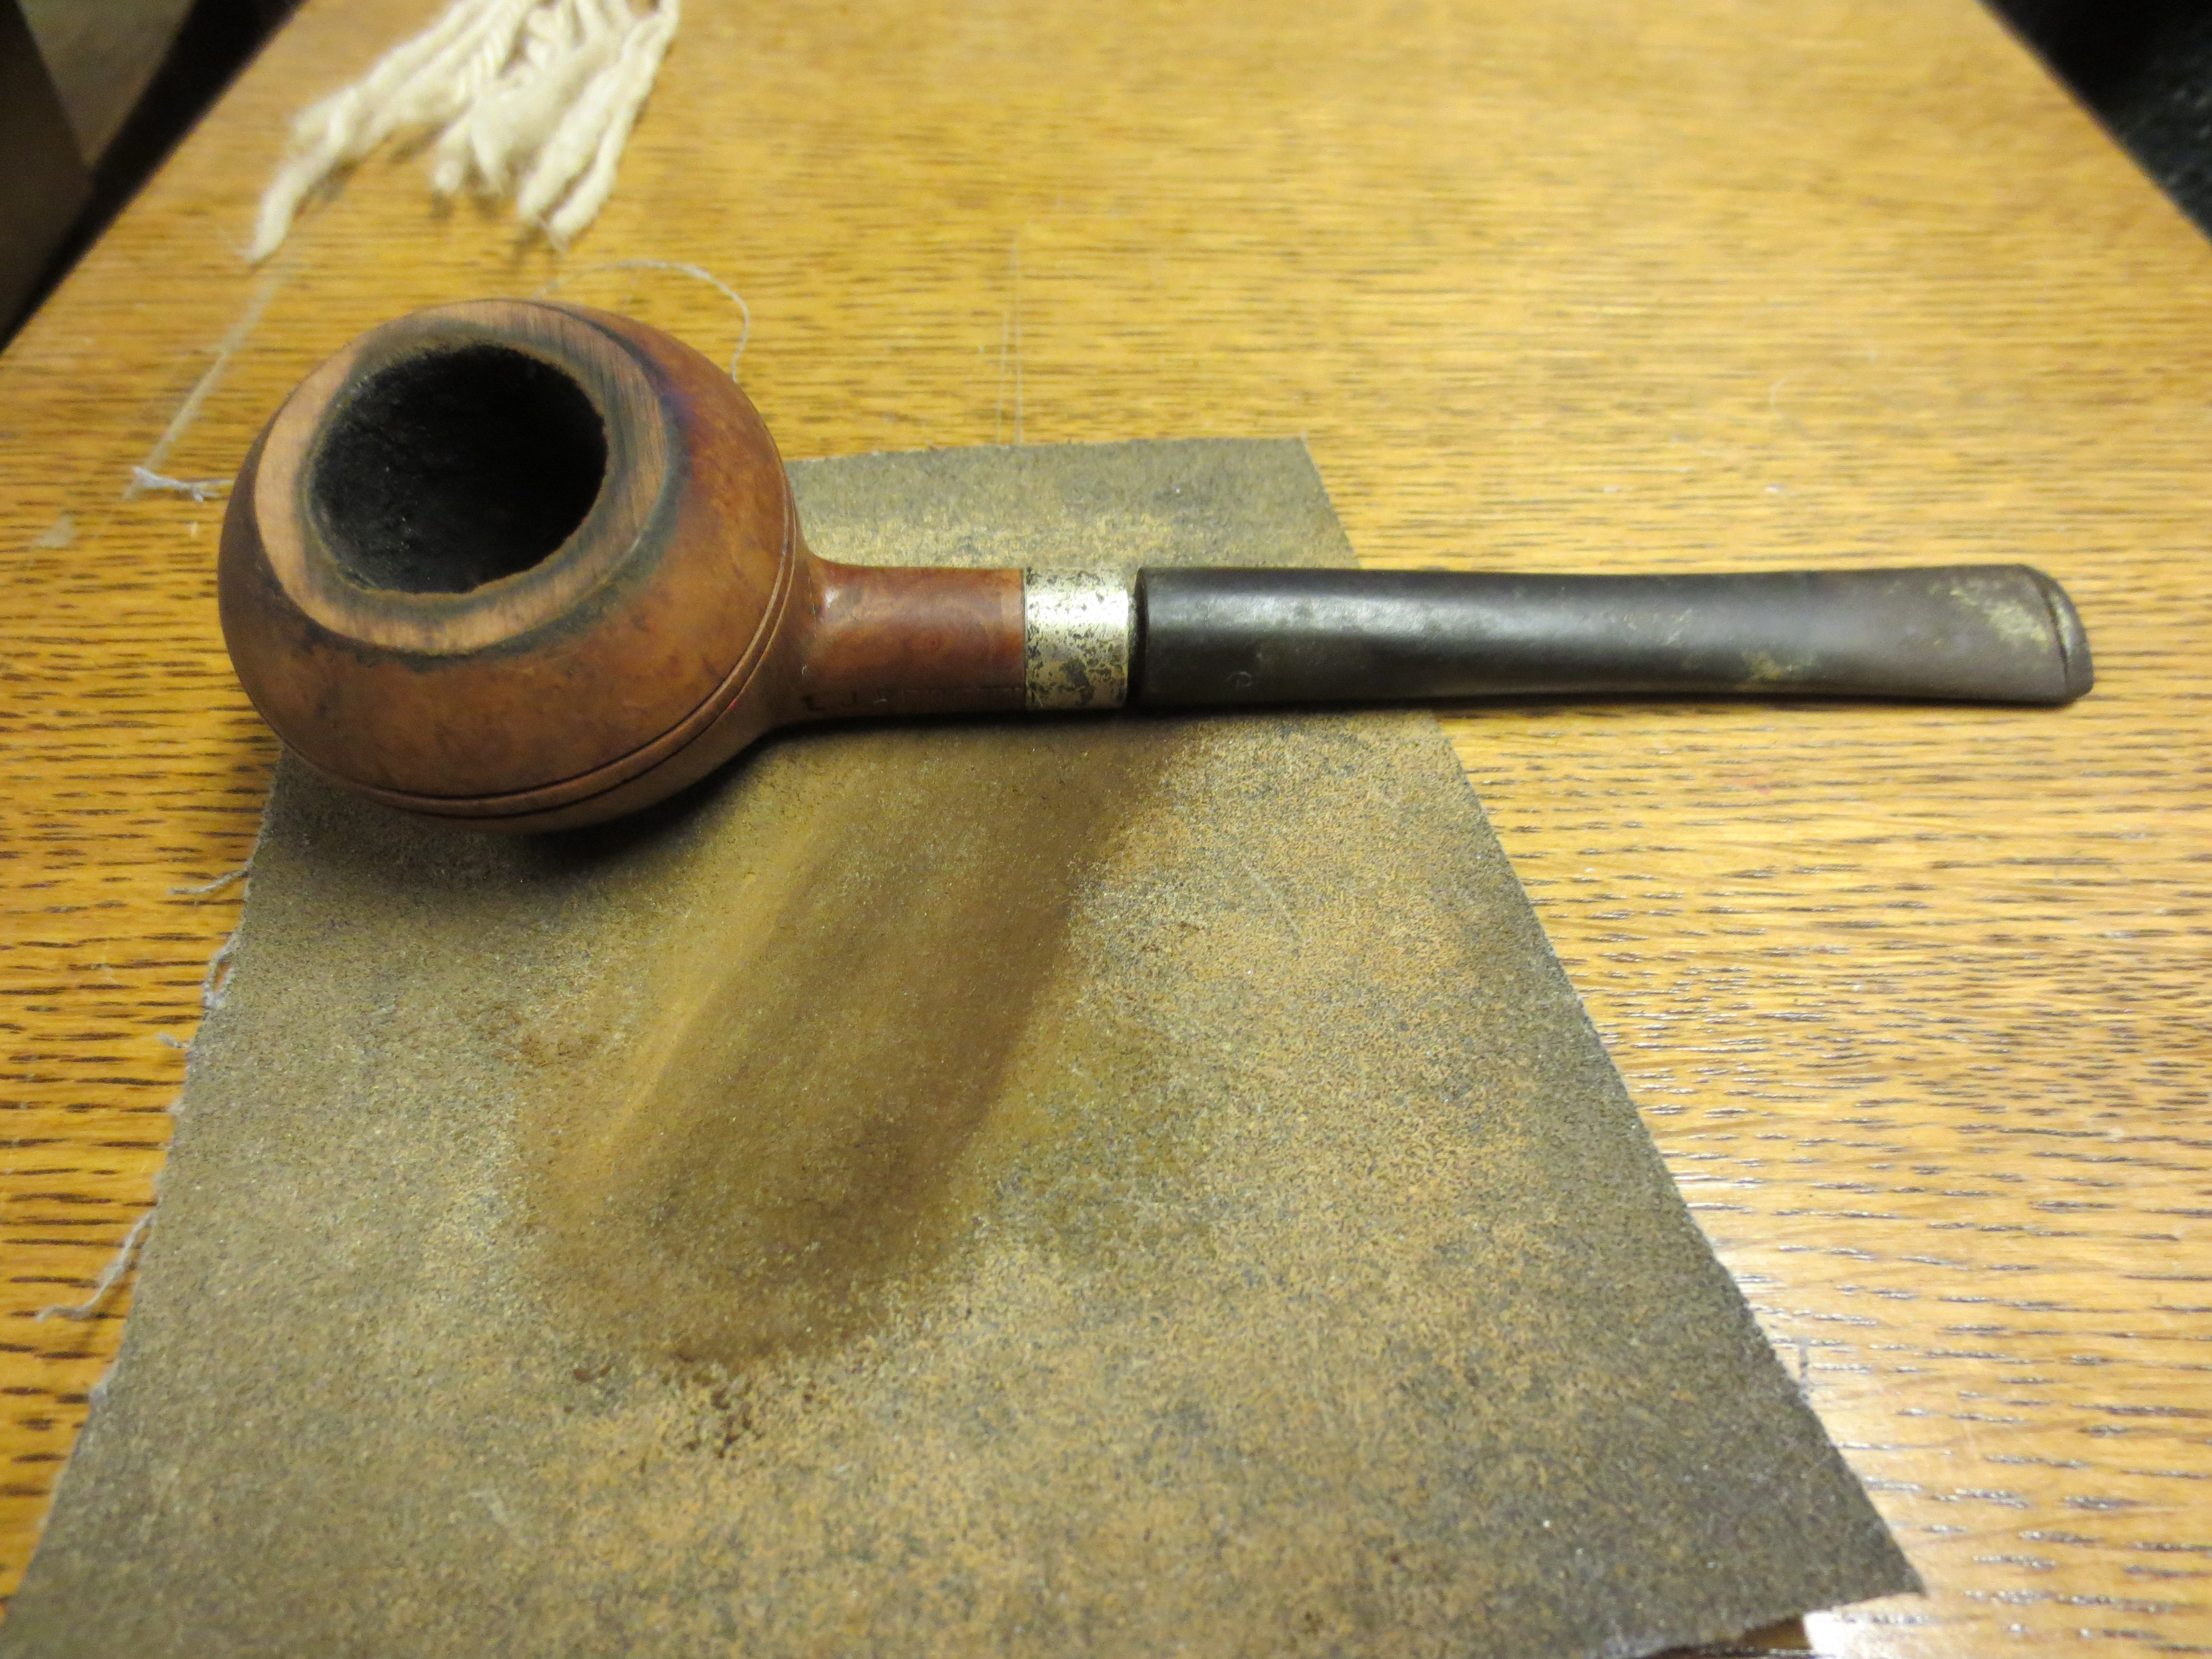
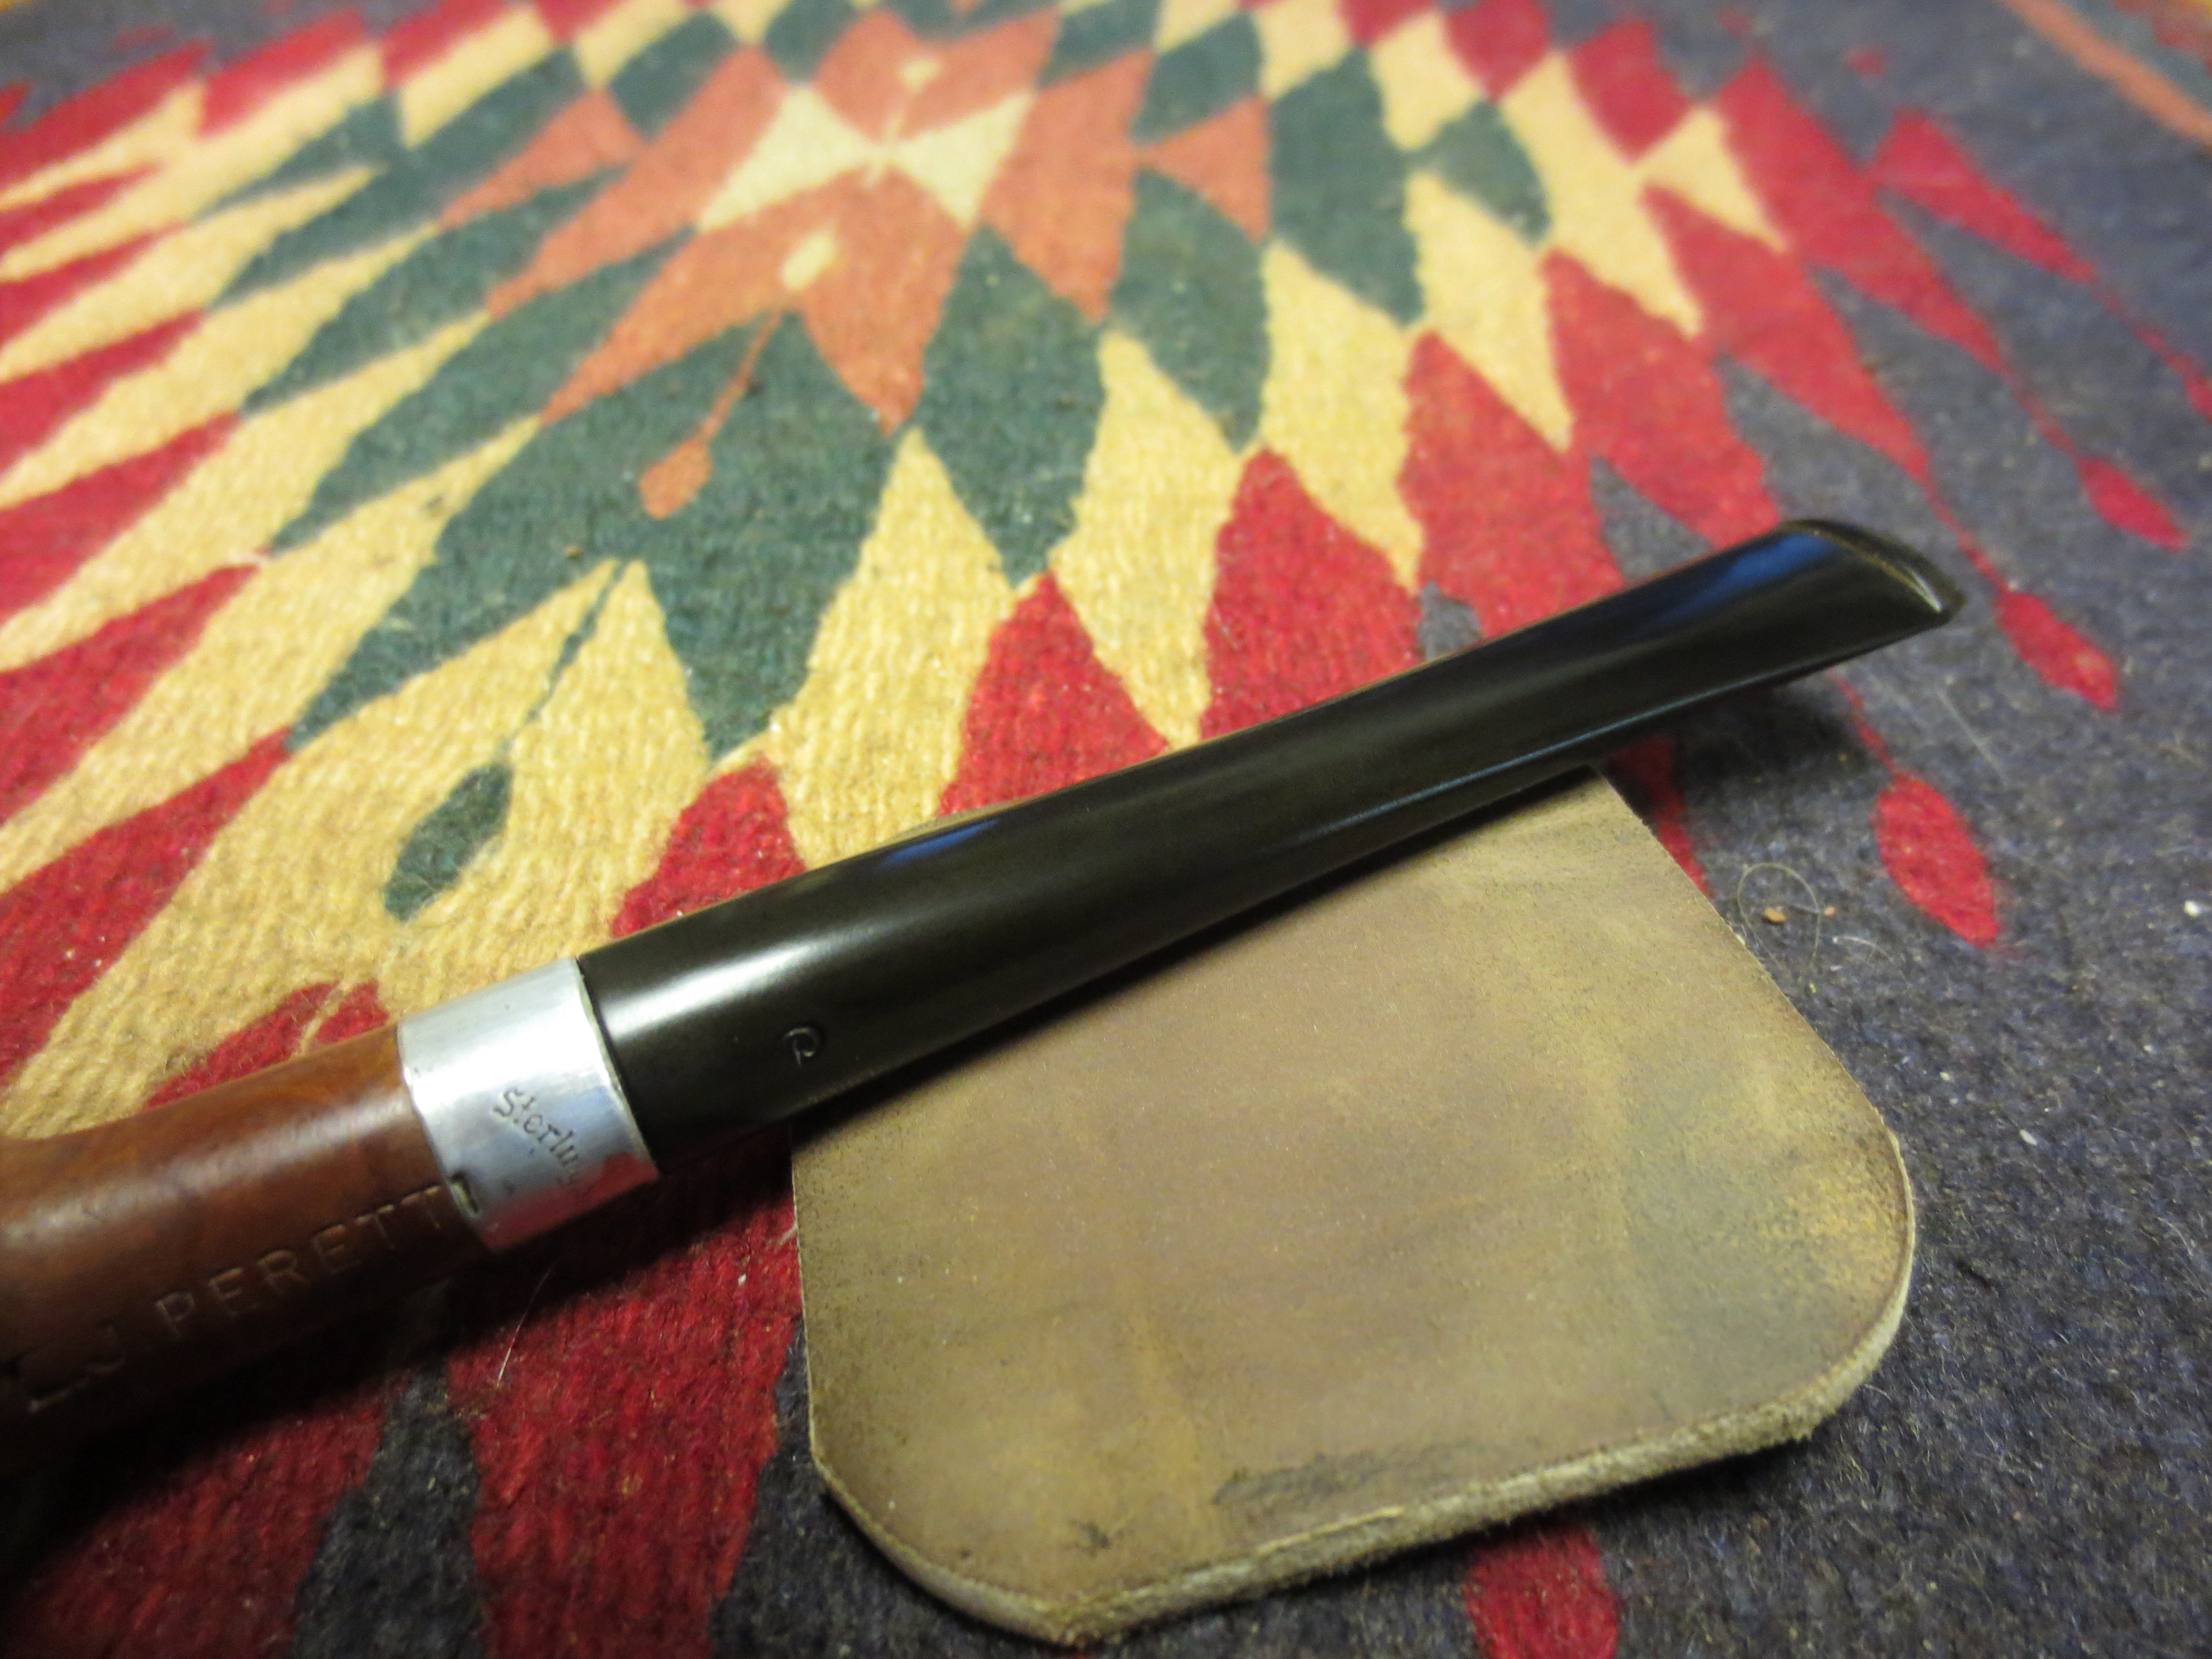
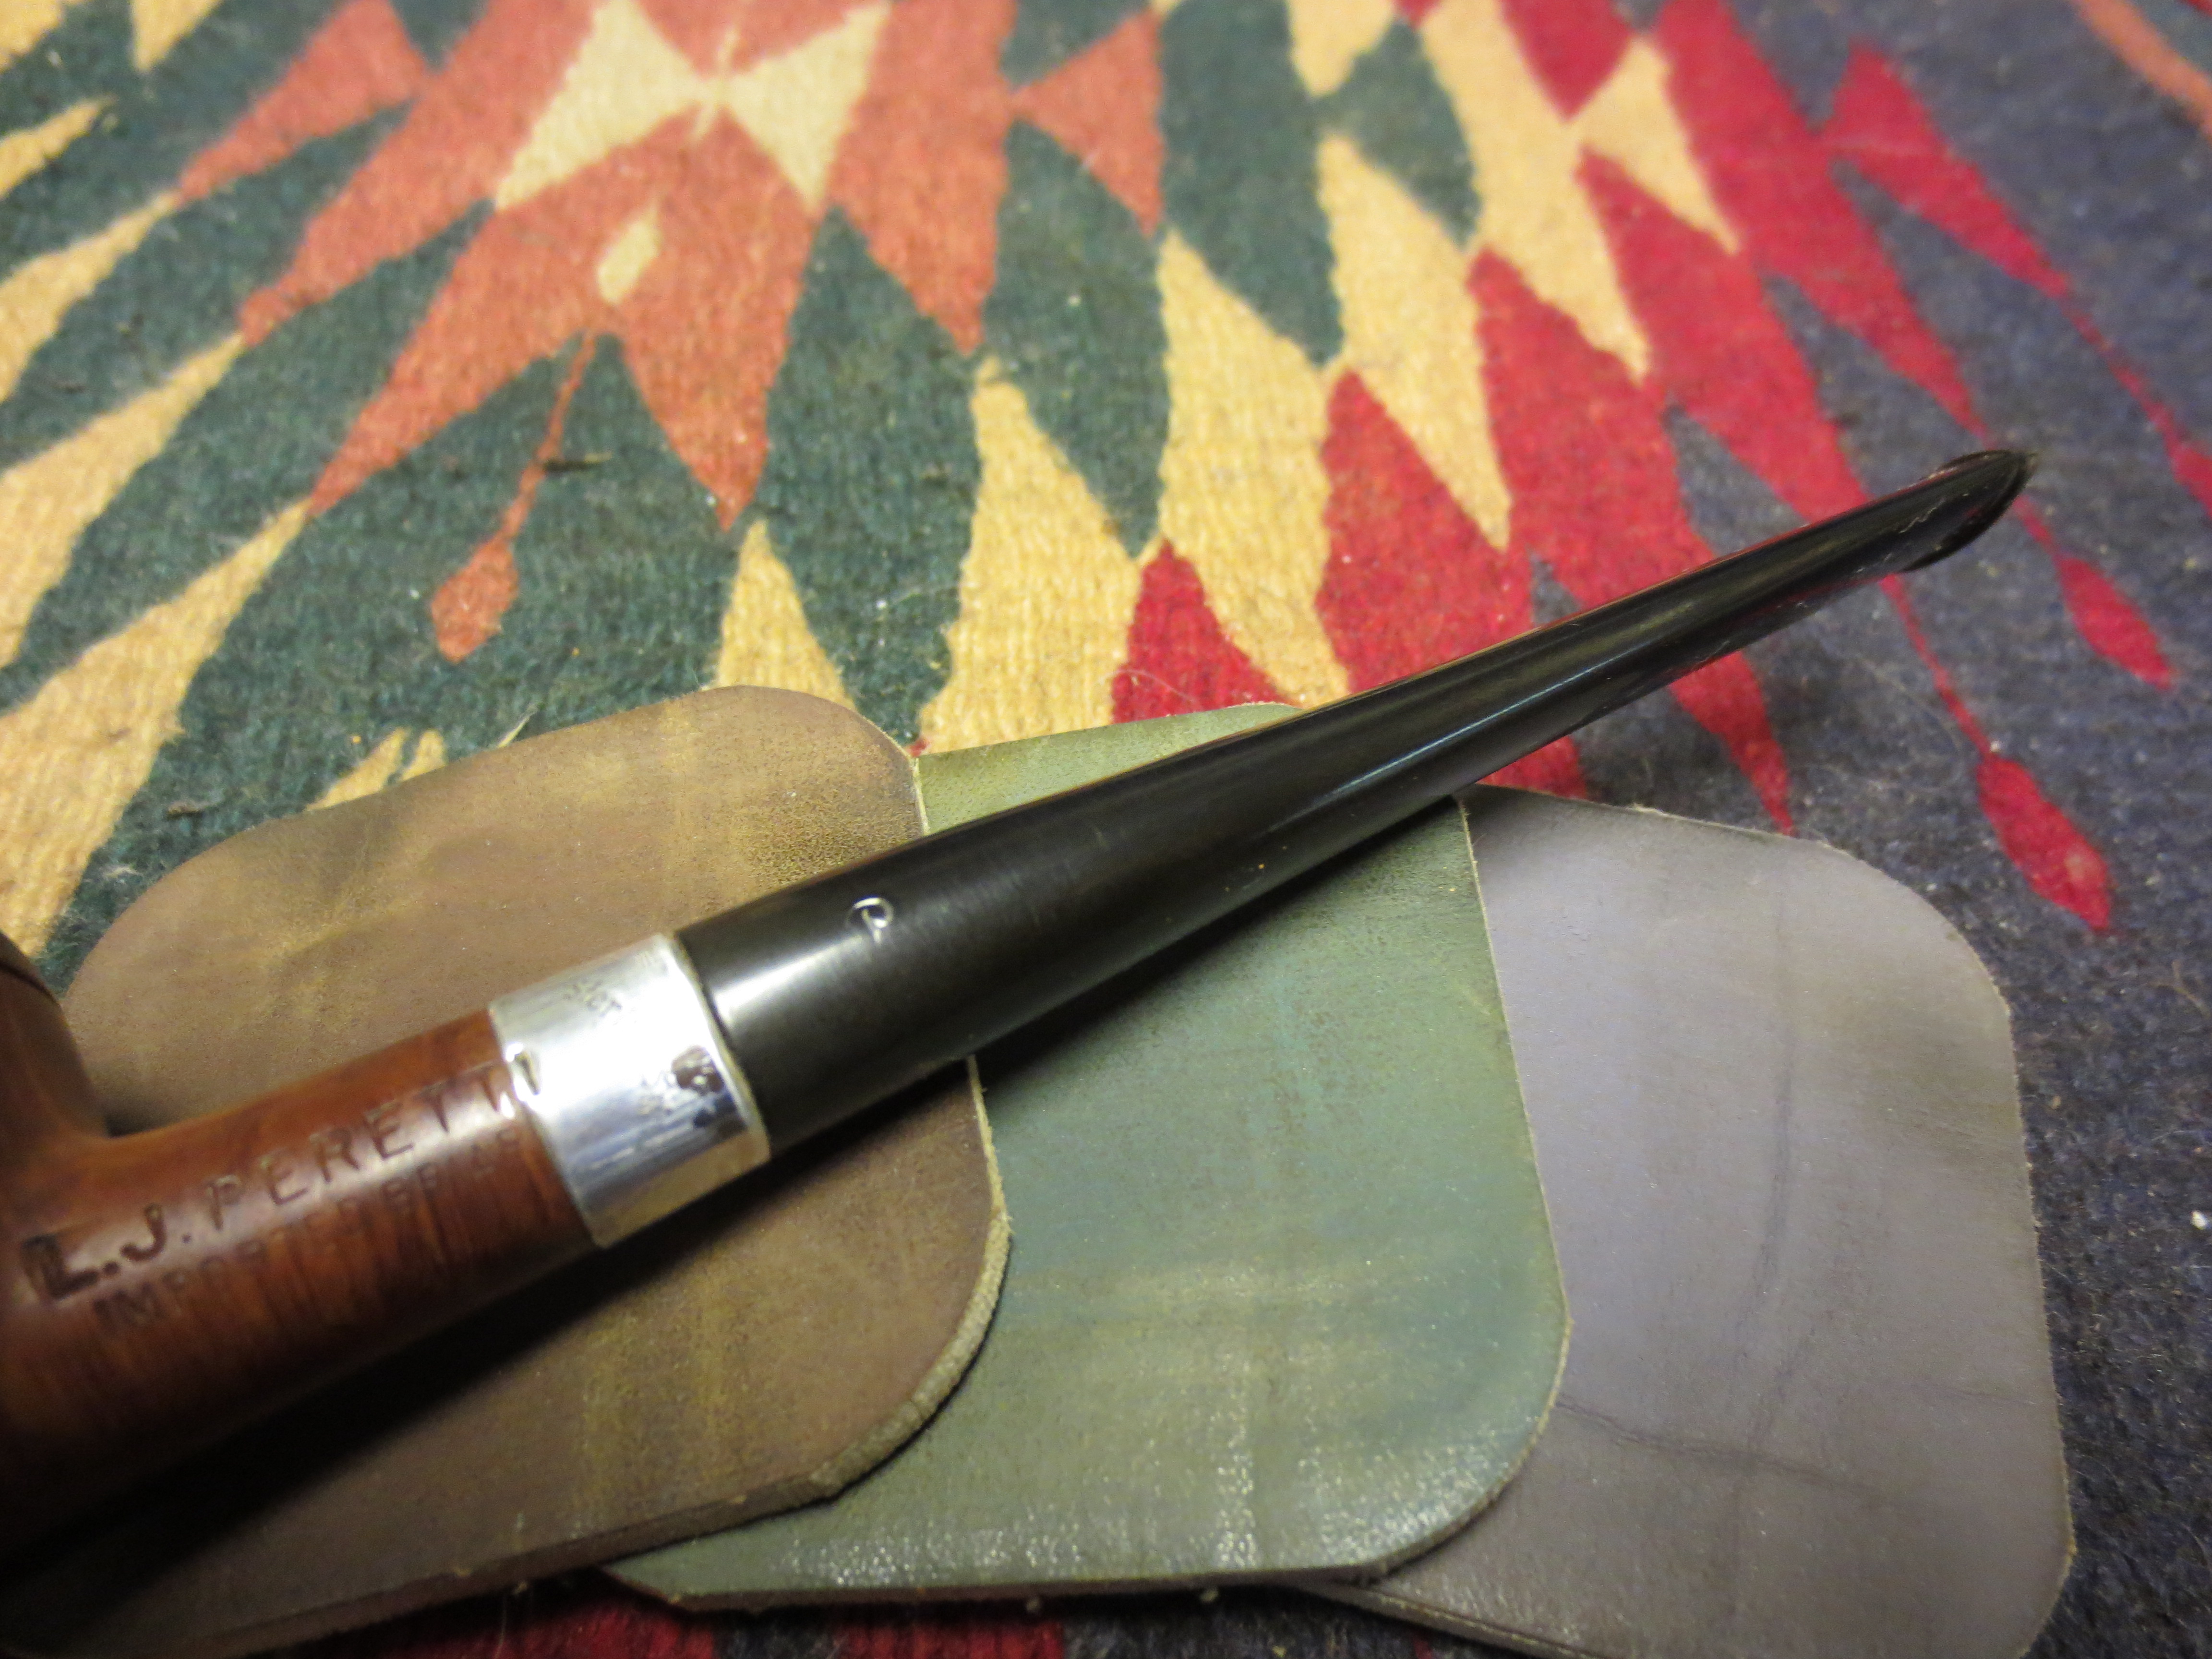
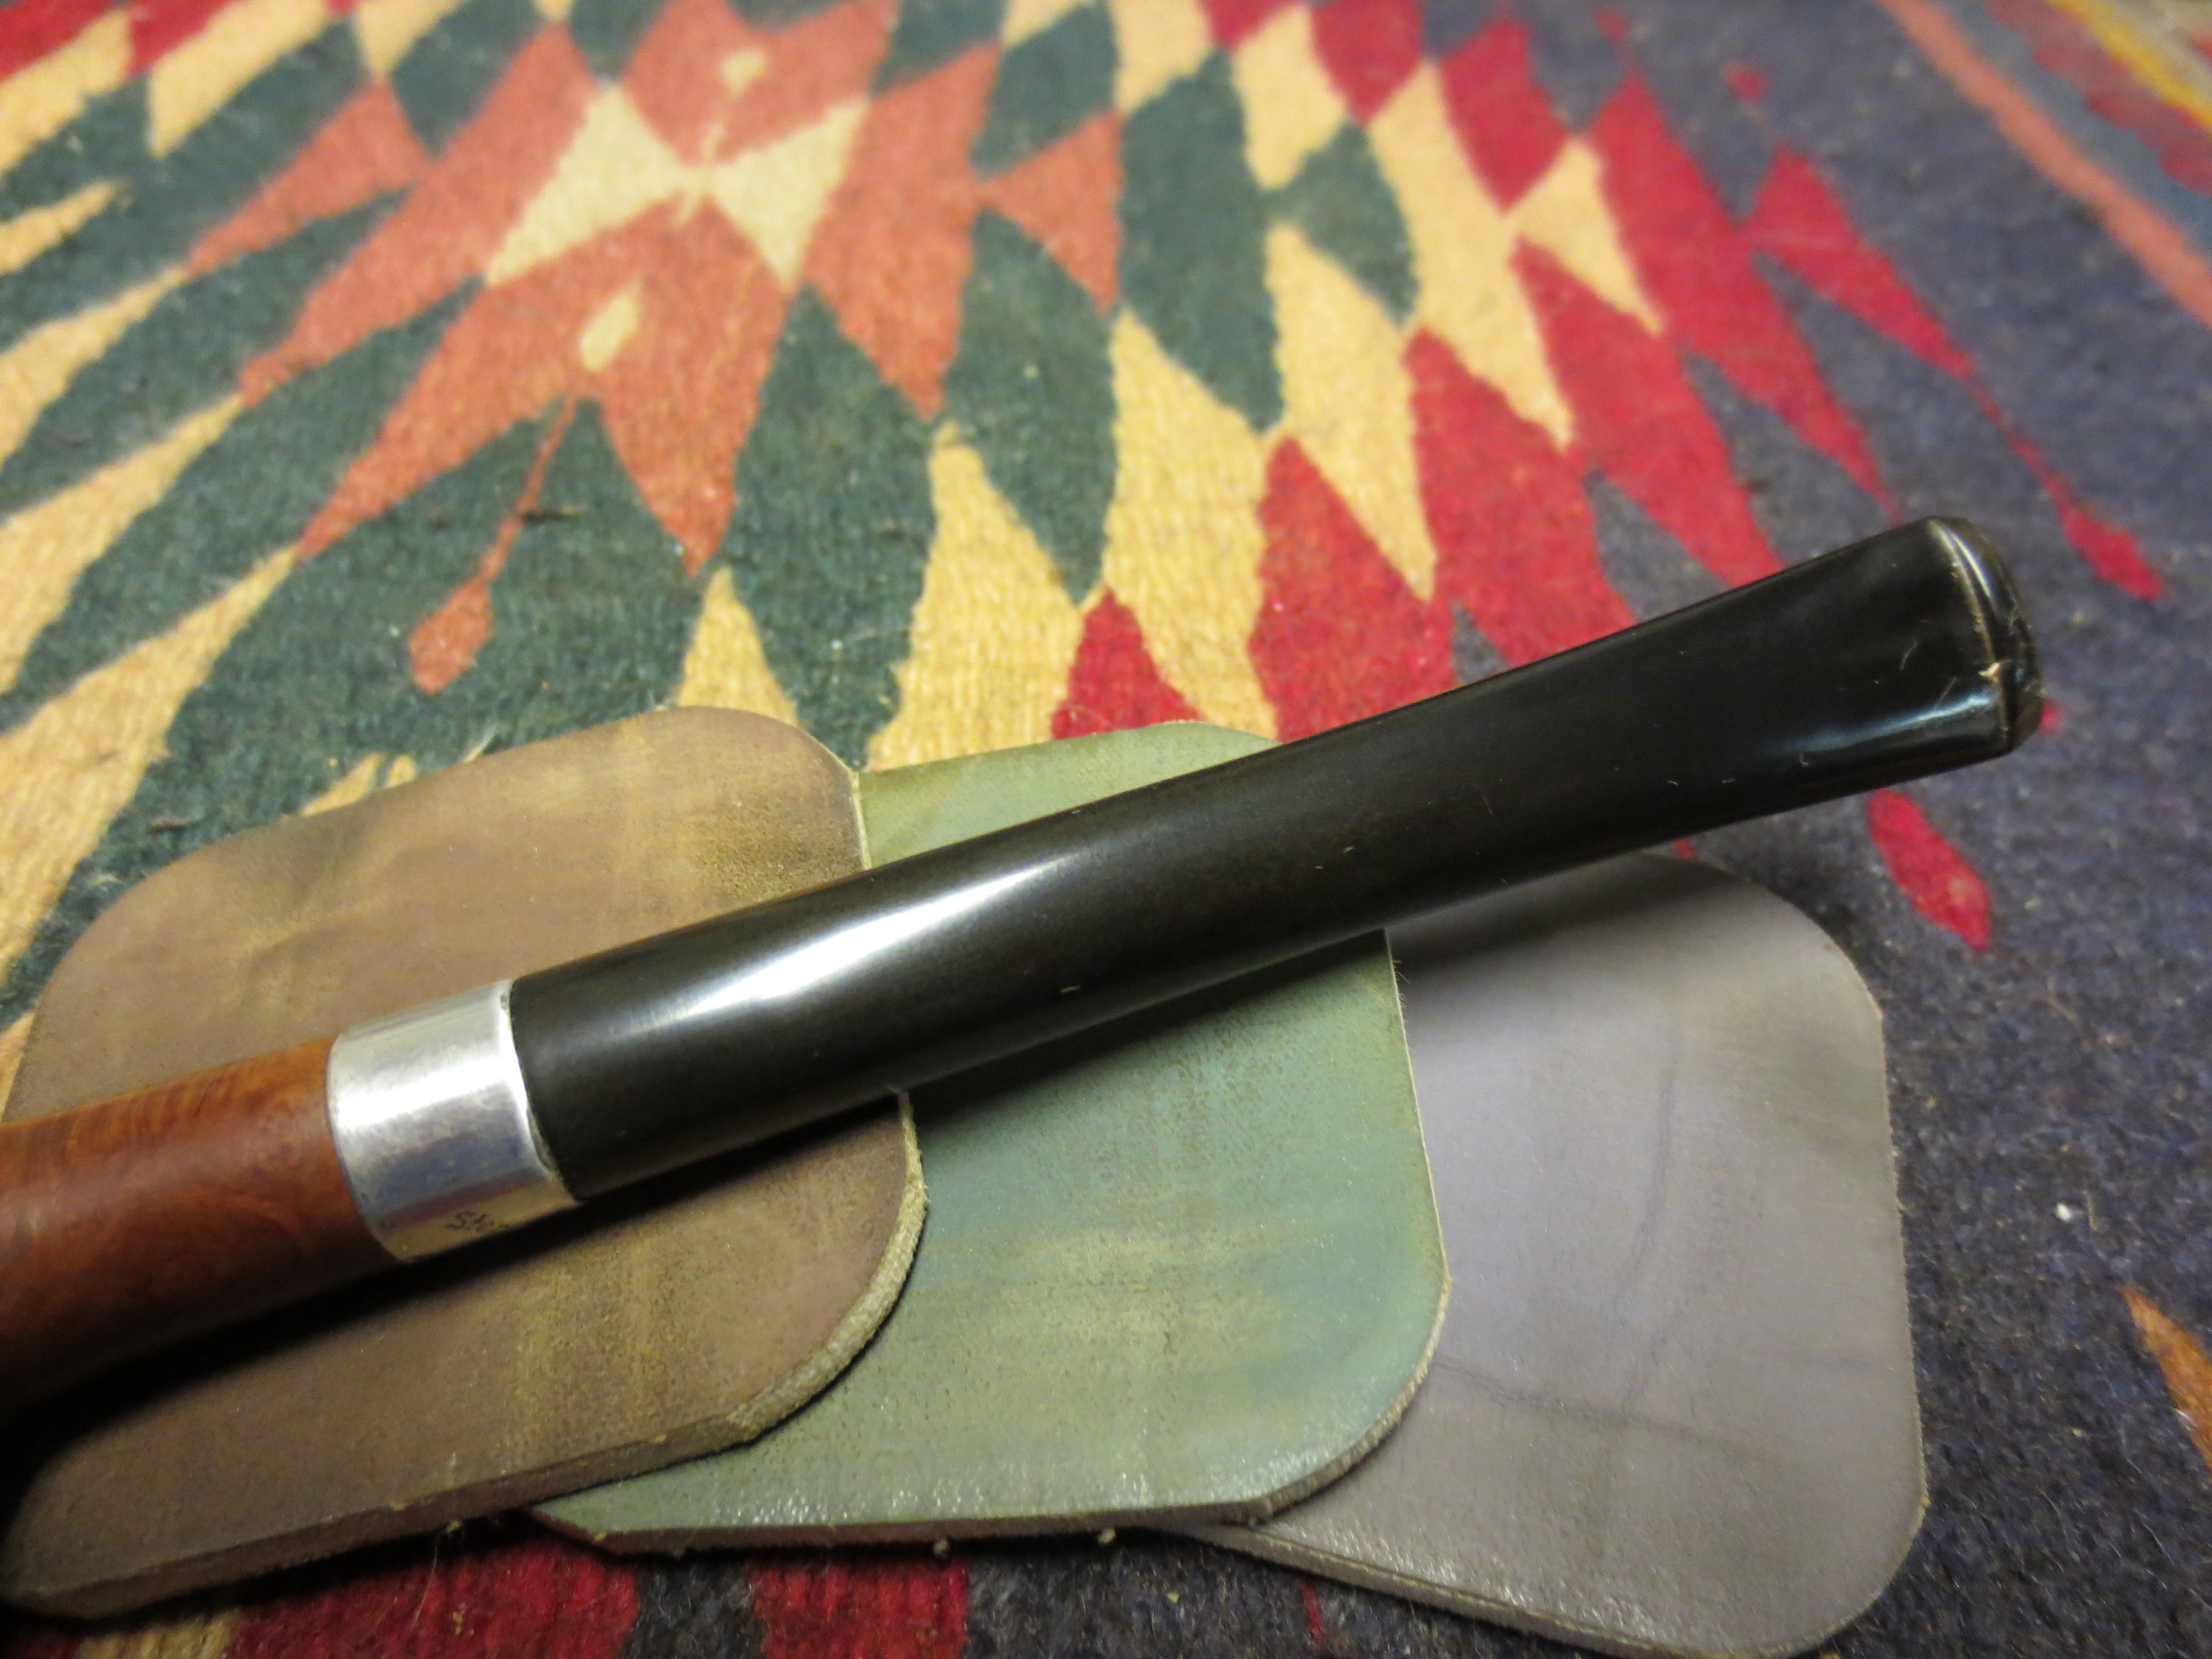
Figure 11 The finished stem fit into the repaired shank. Right side view.

Figure 10 The finished stem shaped and inserted in the repaired shank. Left side view.
Once I had the stem cleaned up and repaired it was ready to be heated and bent to fit the flow of the pipe. I set up my heat gun and turned it on low heat. I held the stem over the heat at a distance of 2-3 inches and kept it moving back and forth to prevent the vulcanite from burning. When the vulcanite was pliable I used a wooden rolling pin and bent the stem over the curve of the rolling pin. I find that using this keeps the stem from bending at an angle.
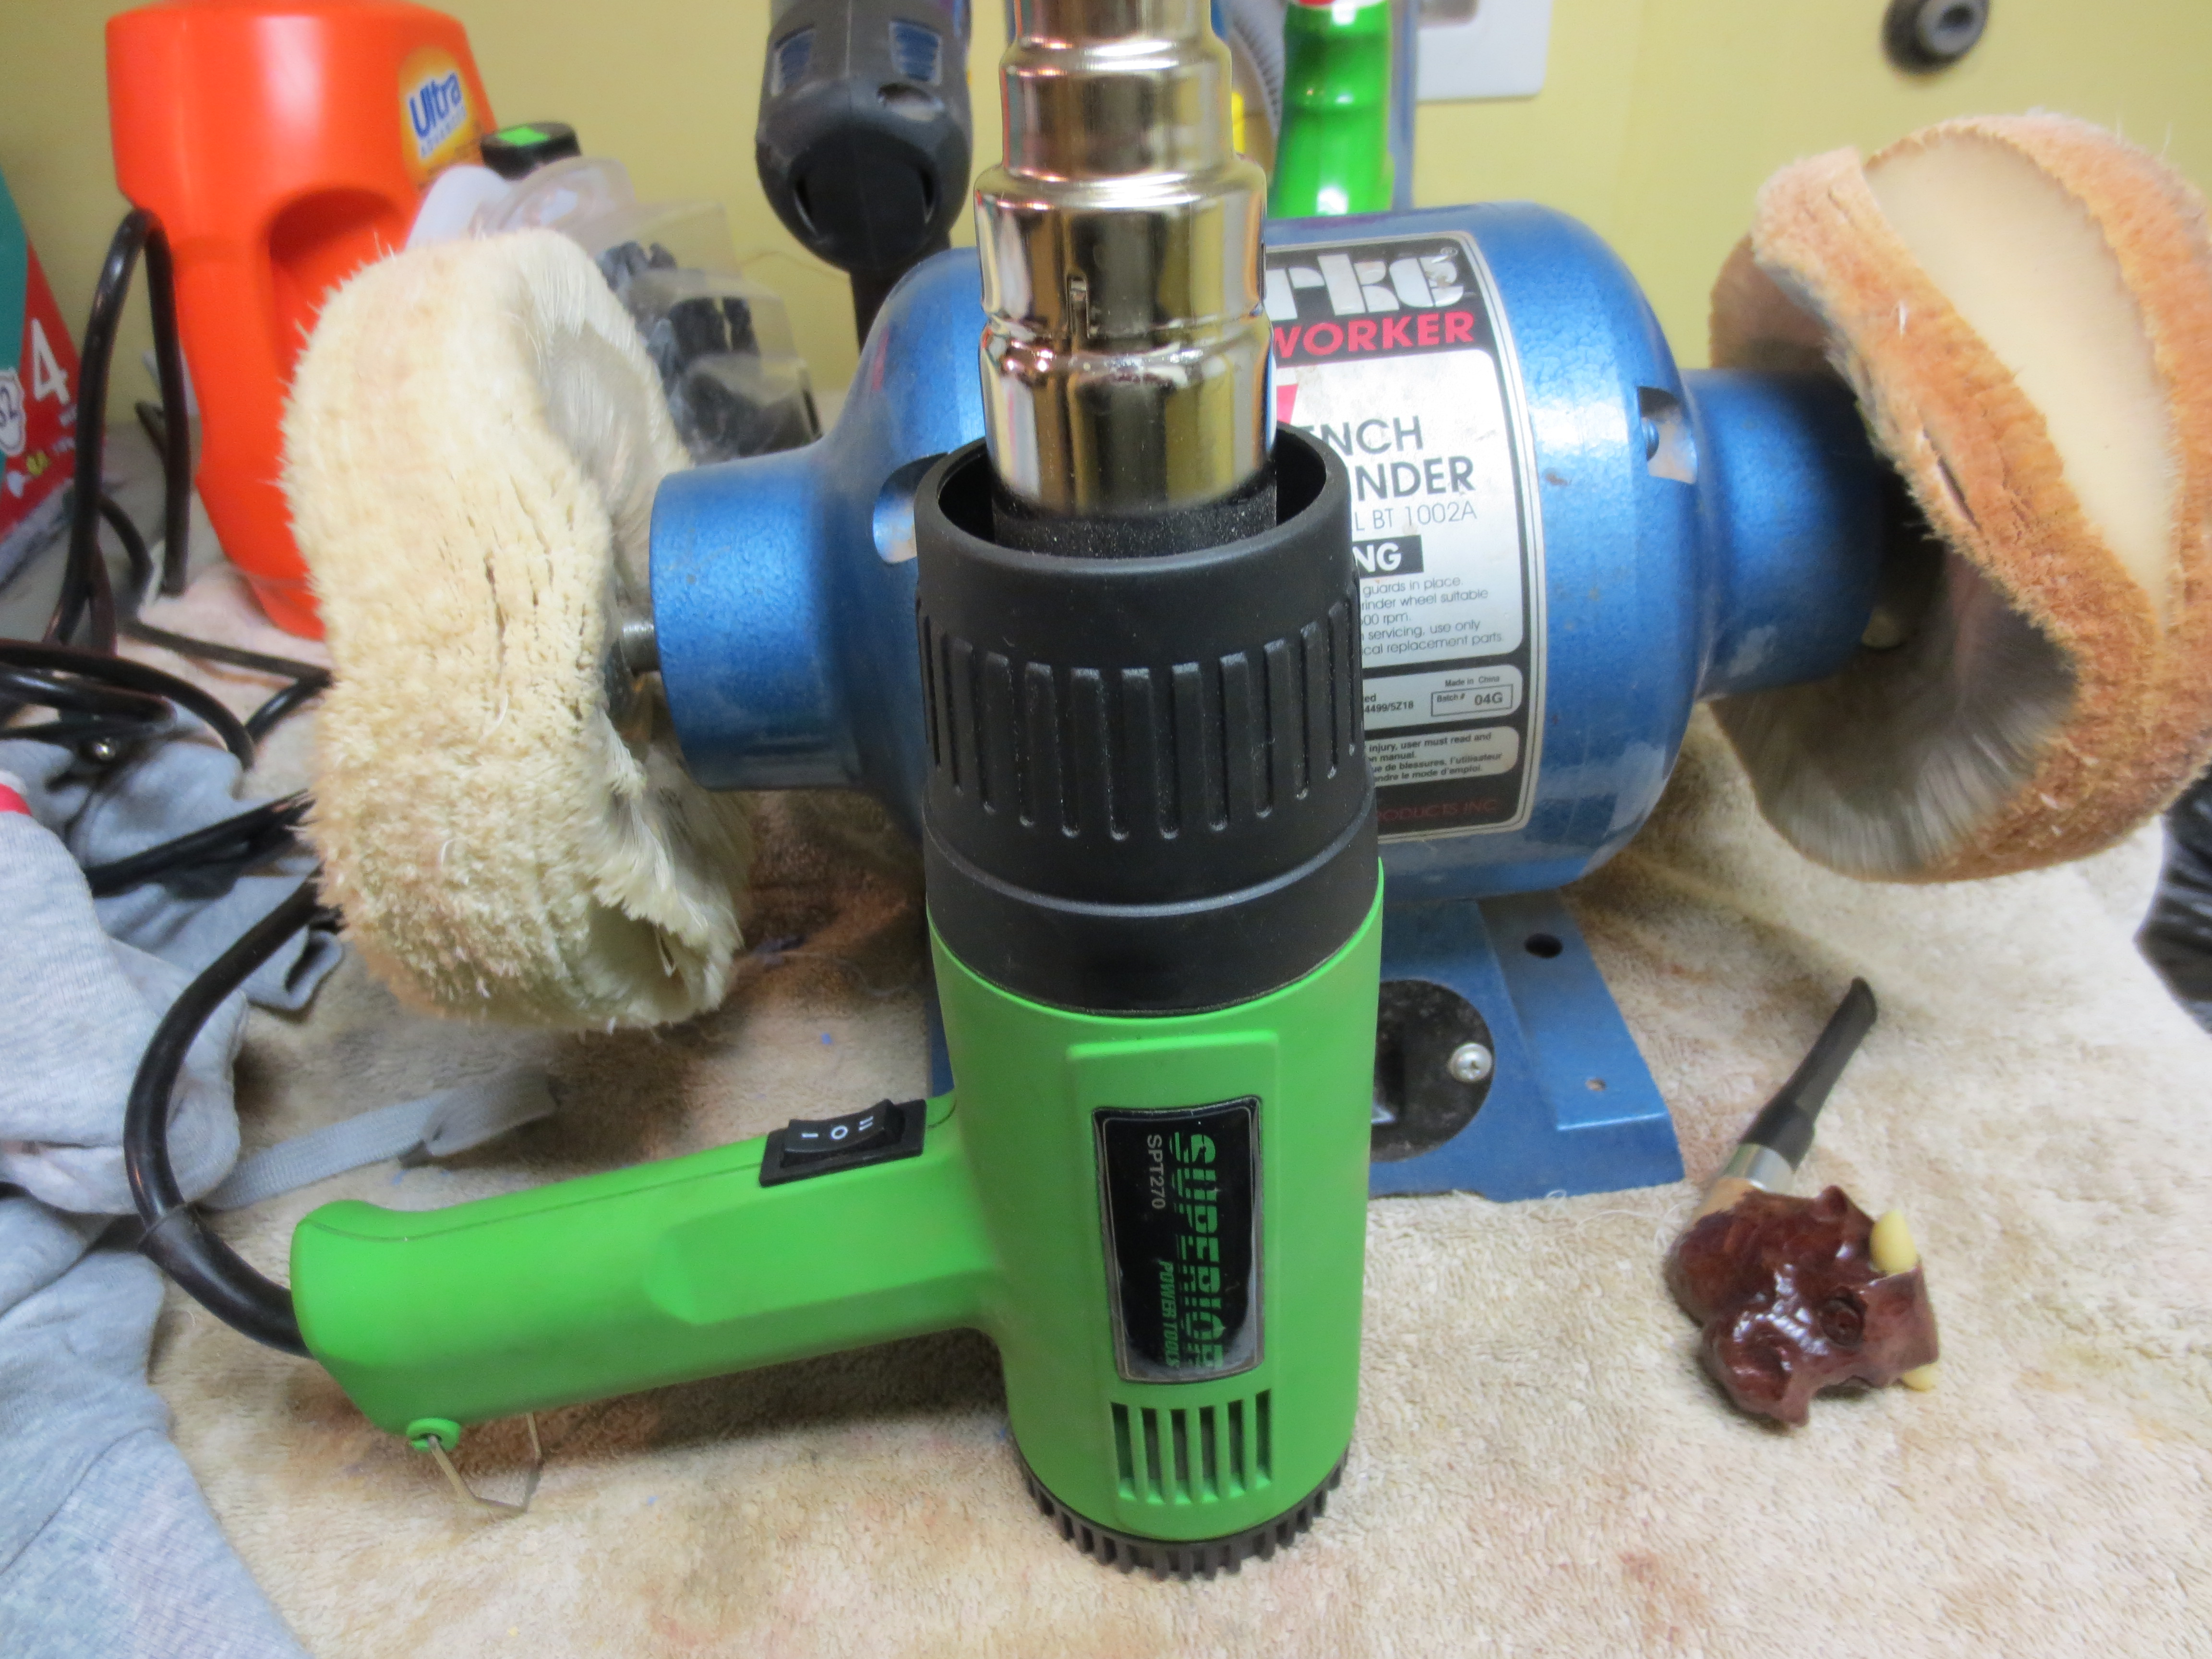
Figure 12 Heat gun set up and ready to use to bend the stem.
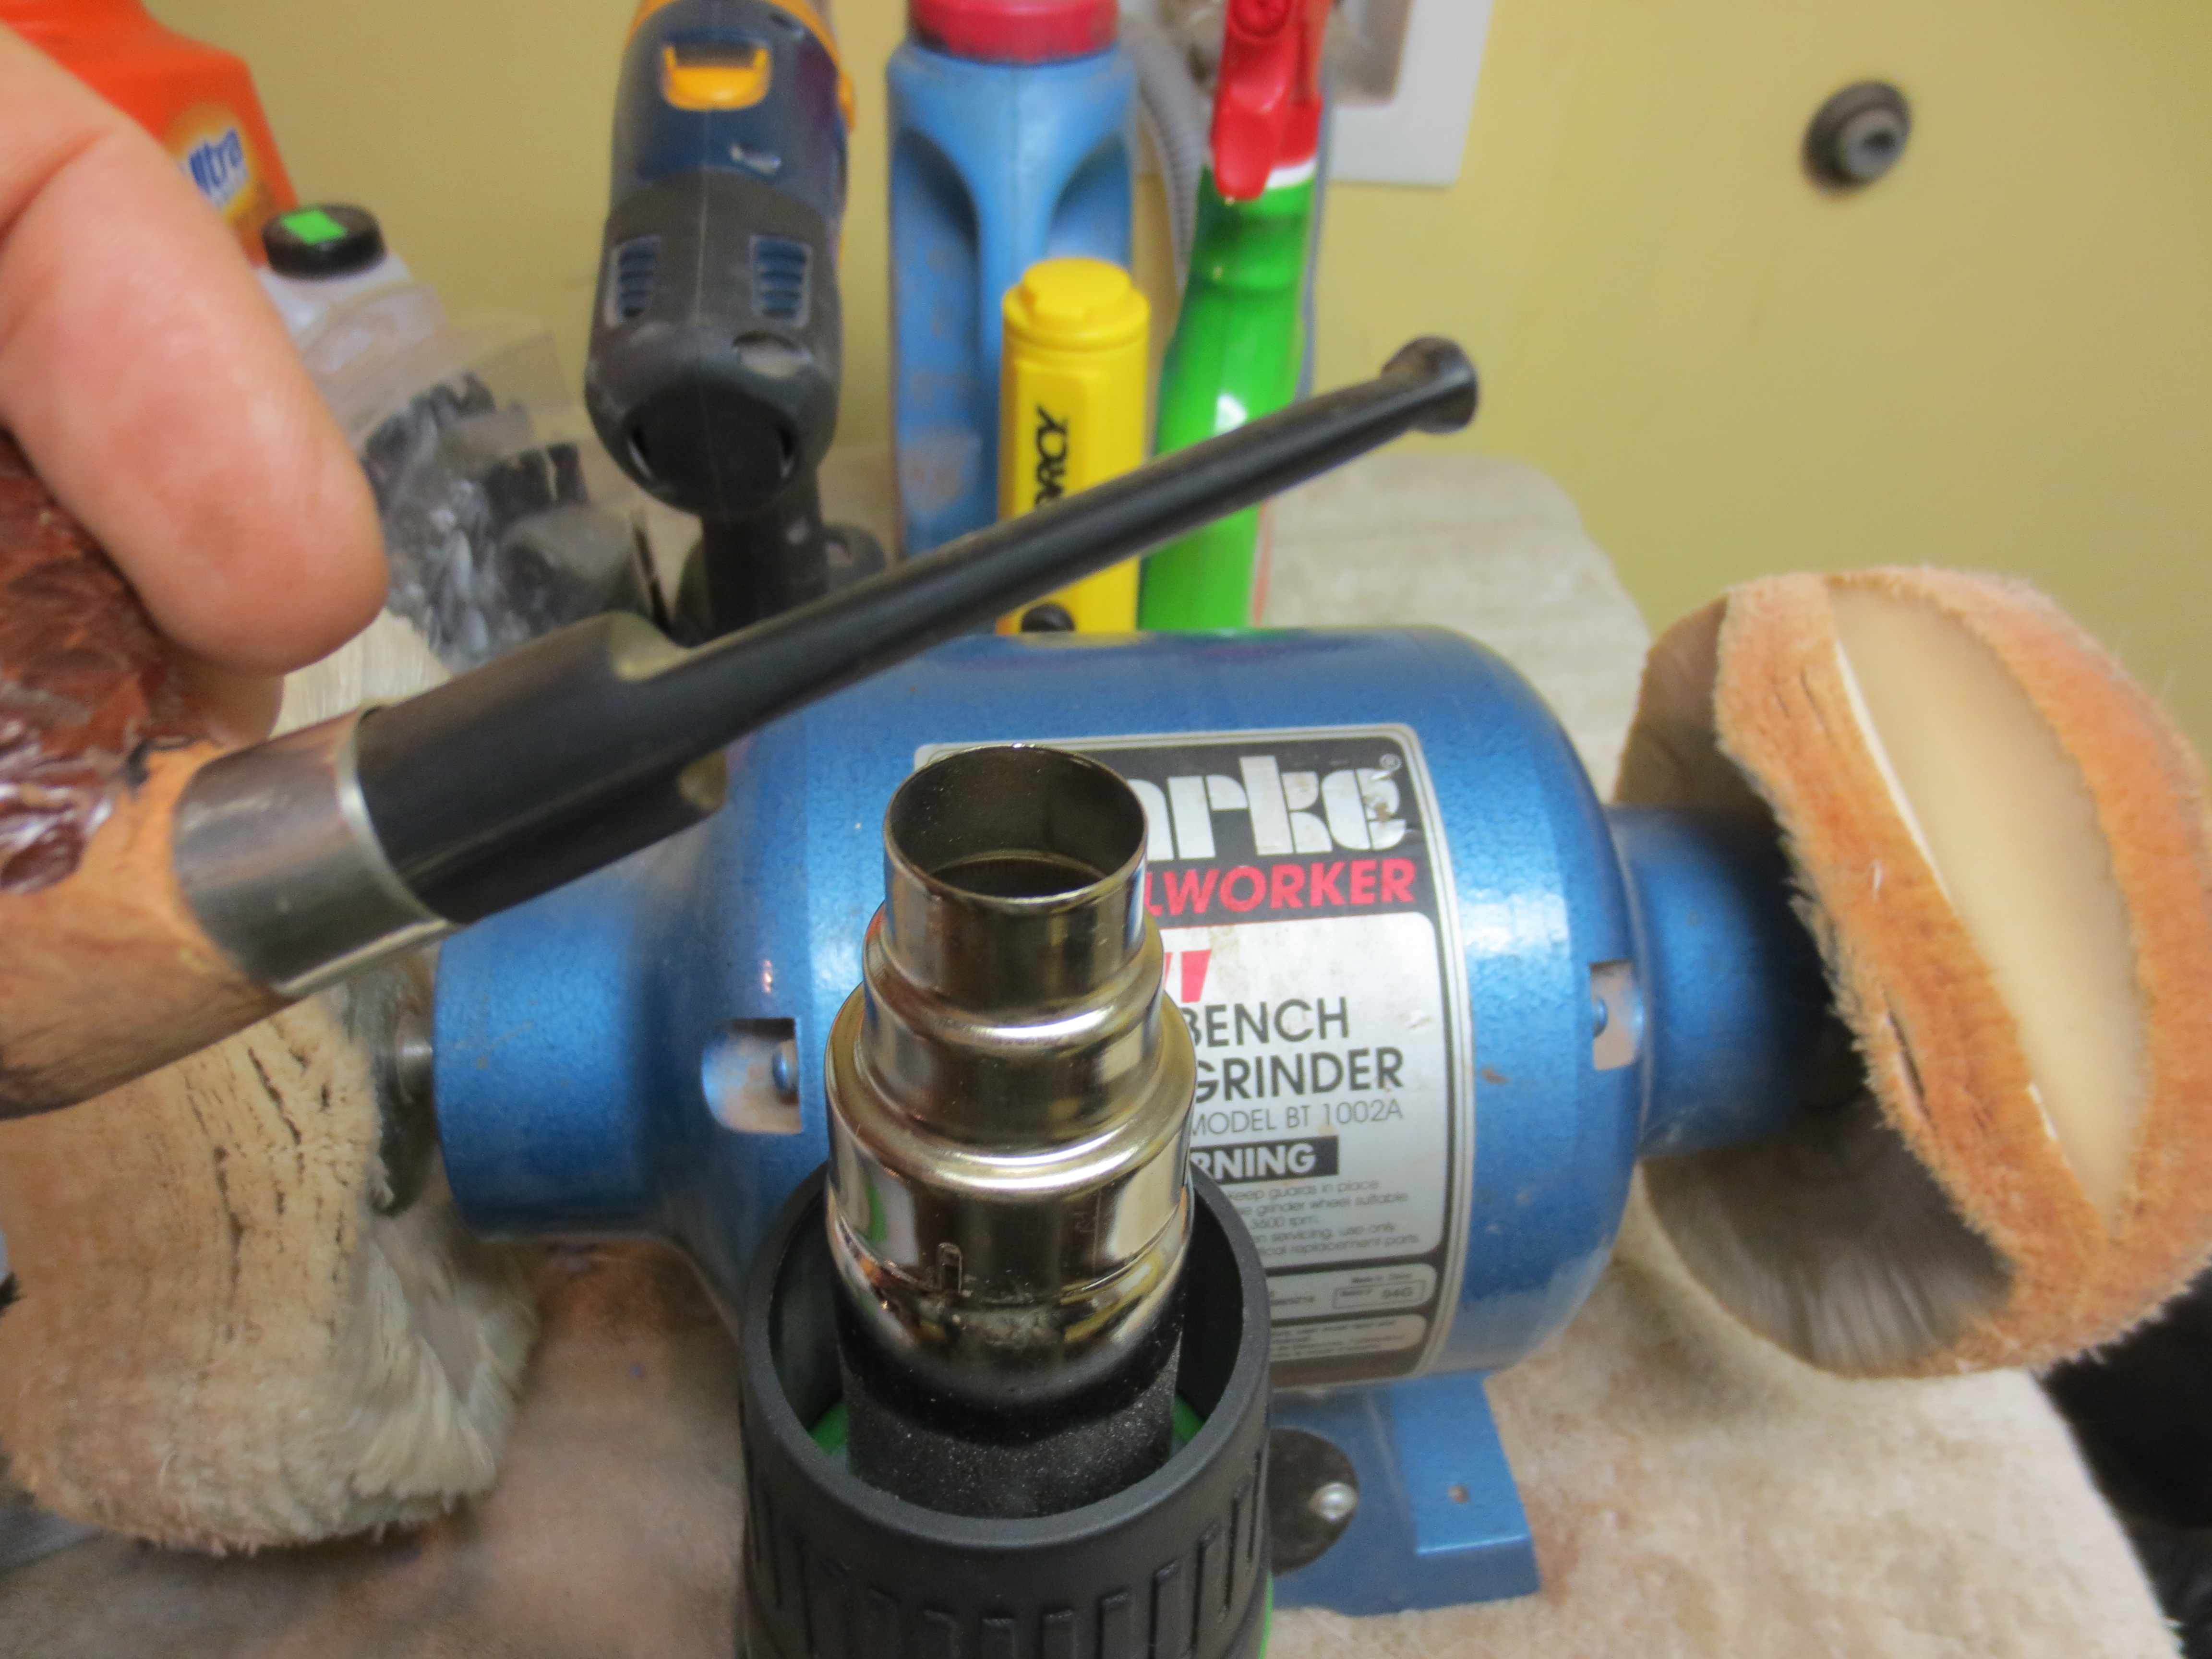
Figure 13 Heating up the vulcanite stem.
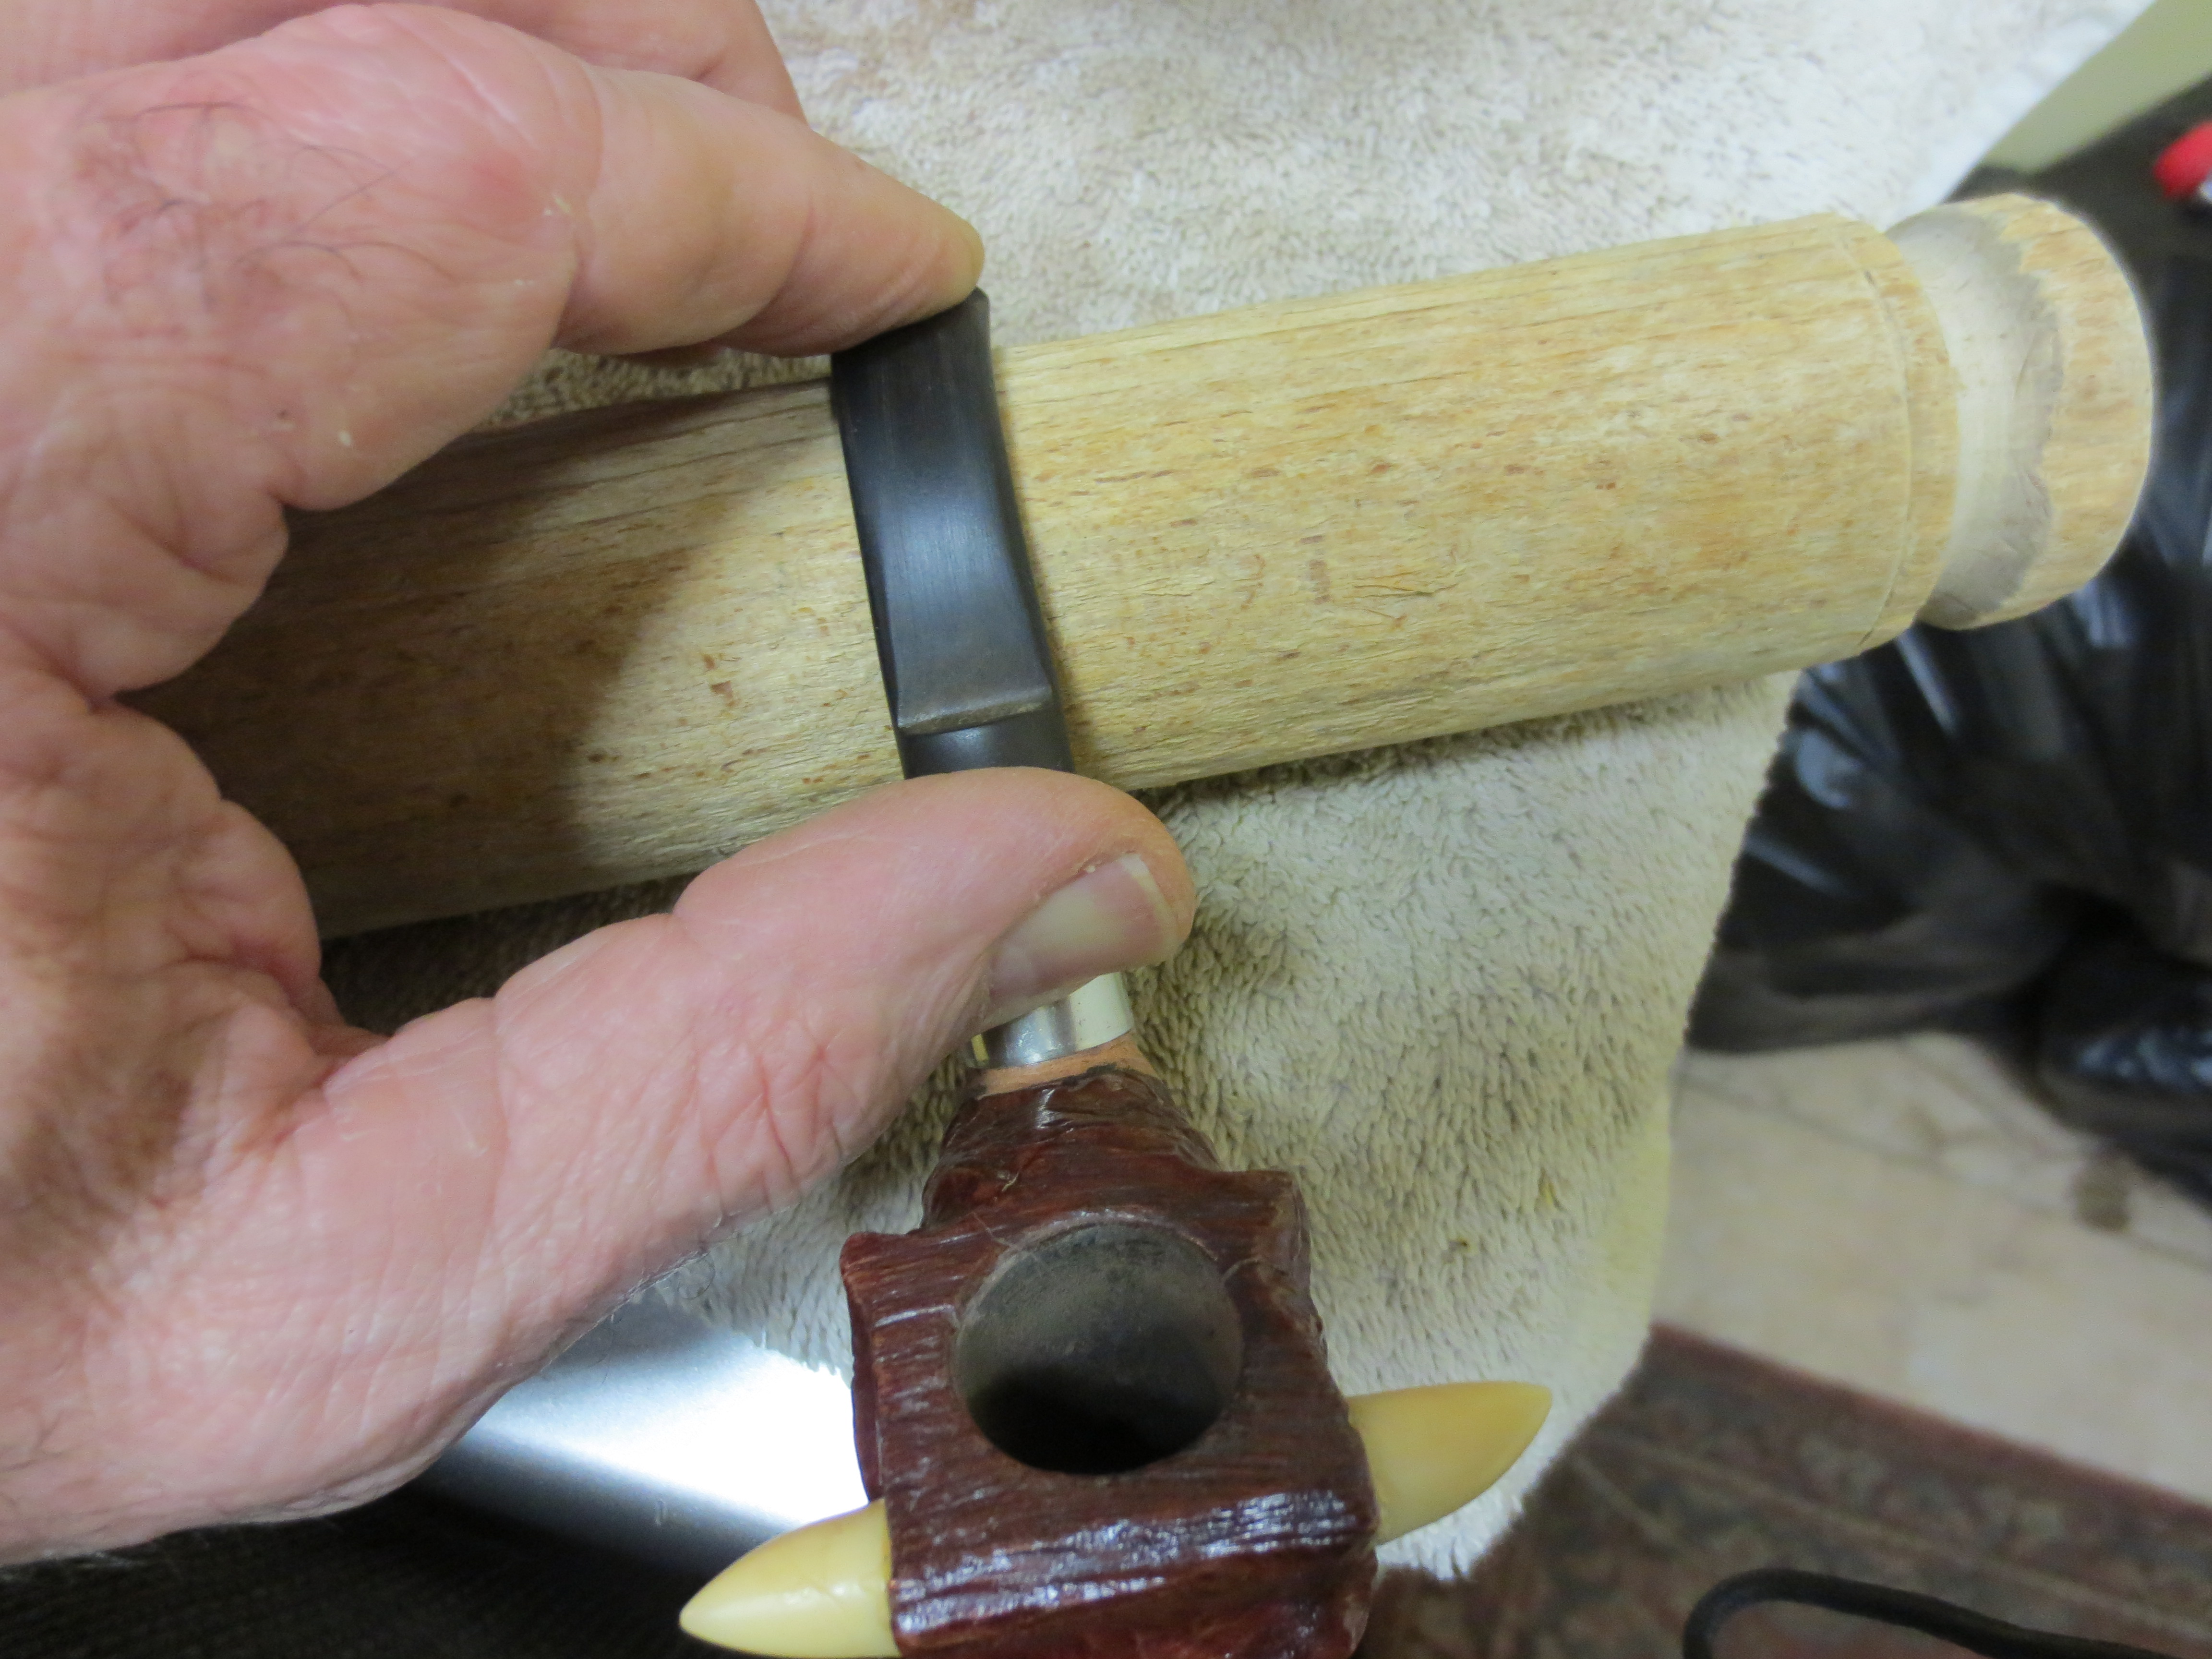
Figure 14 Bending the stem over a wooden rolling pin that I scavenged from my wife’s thrift shop box.
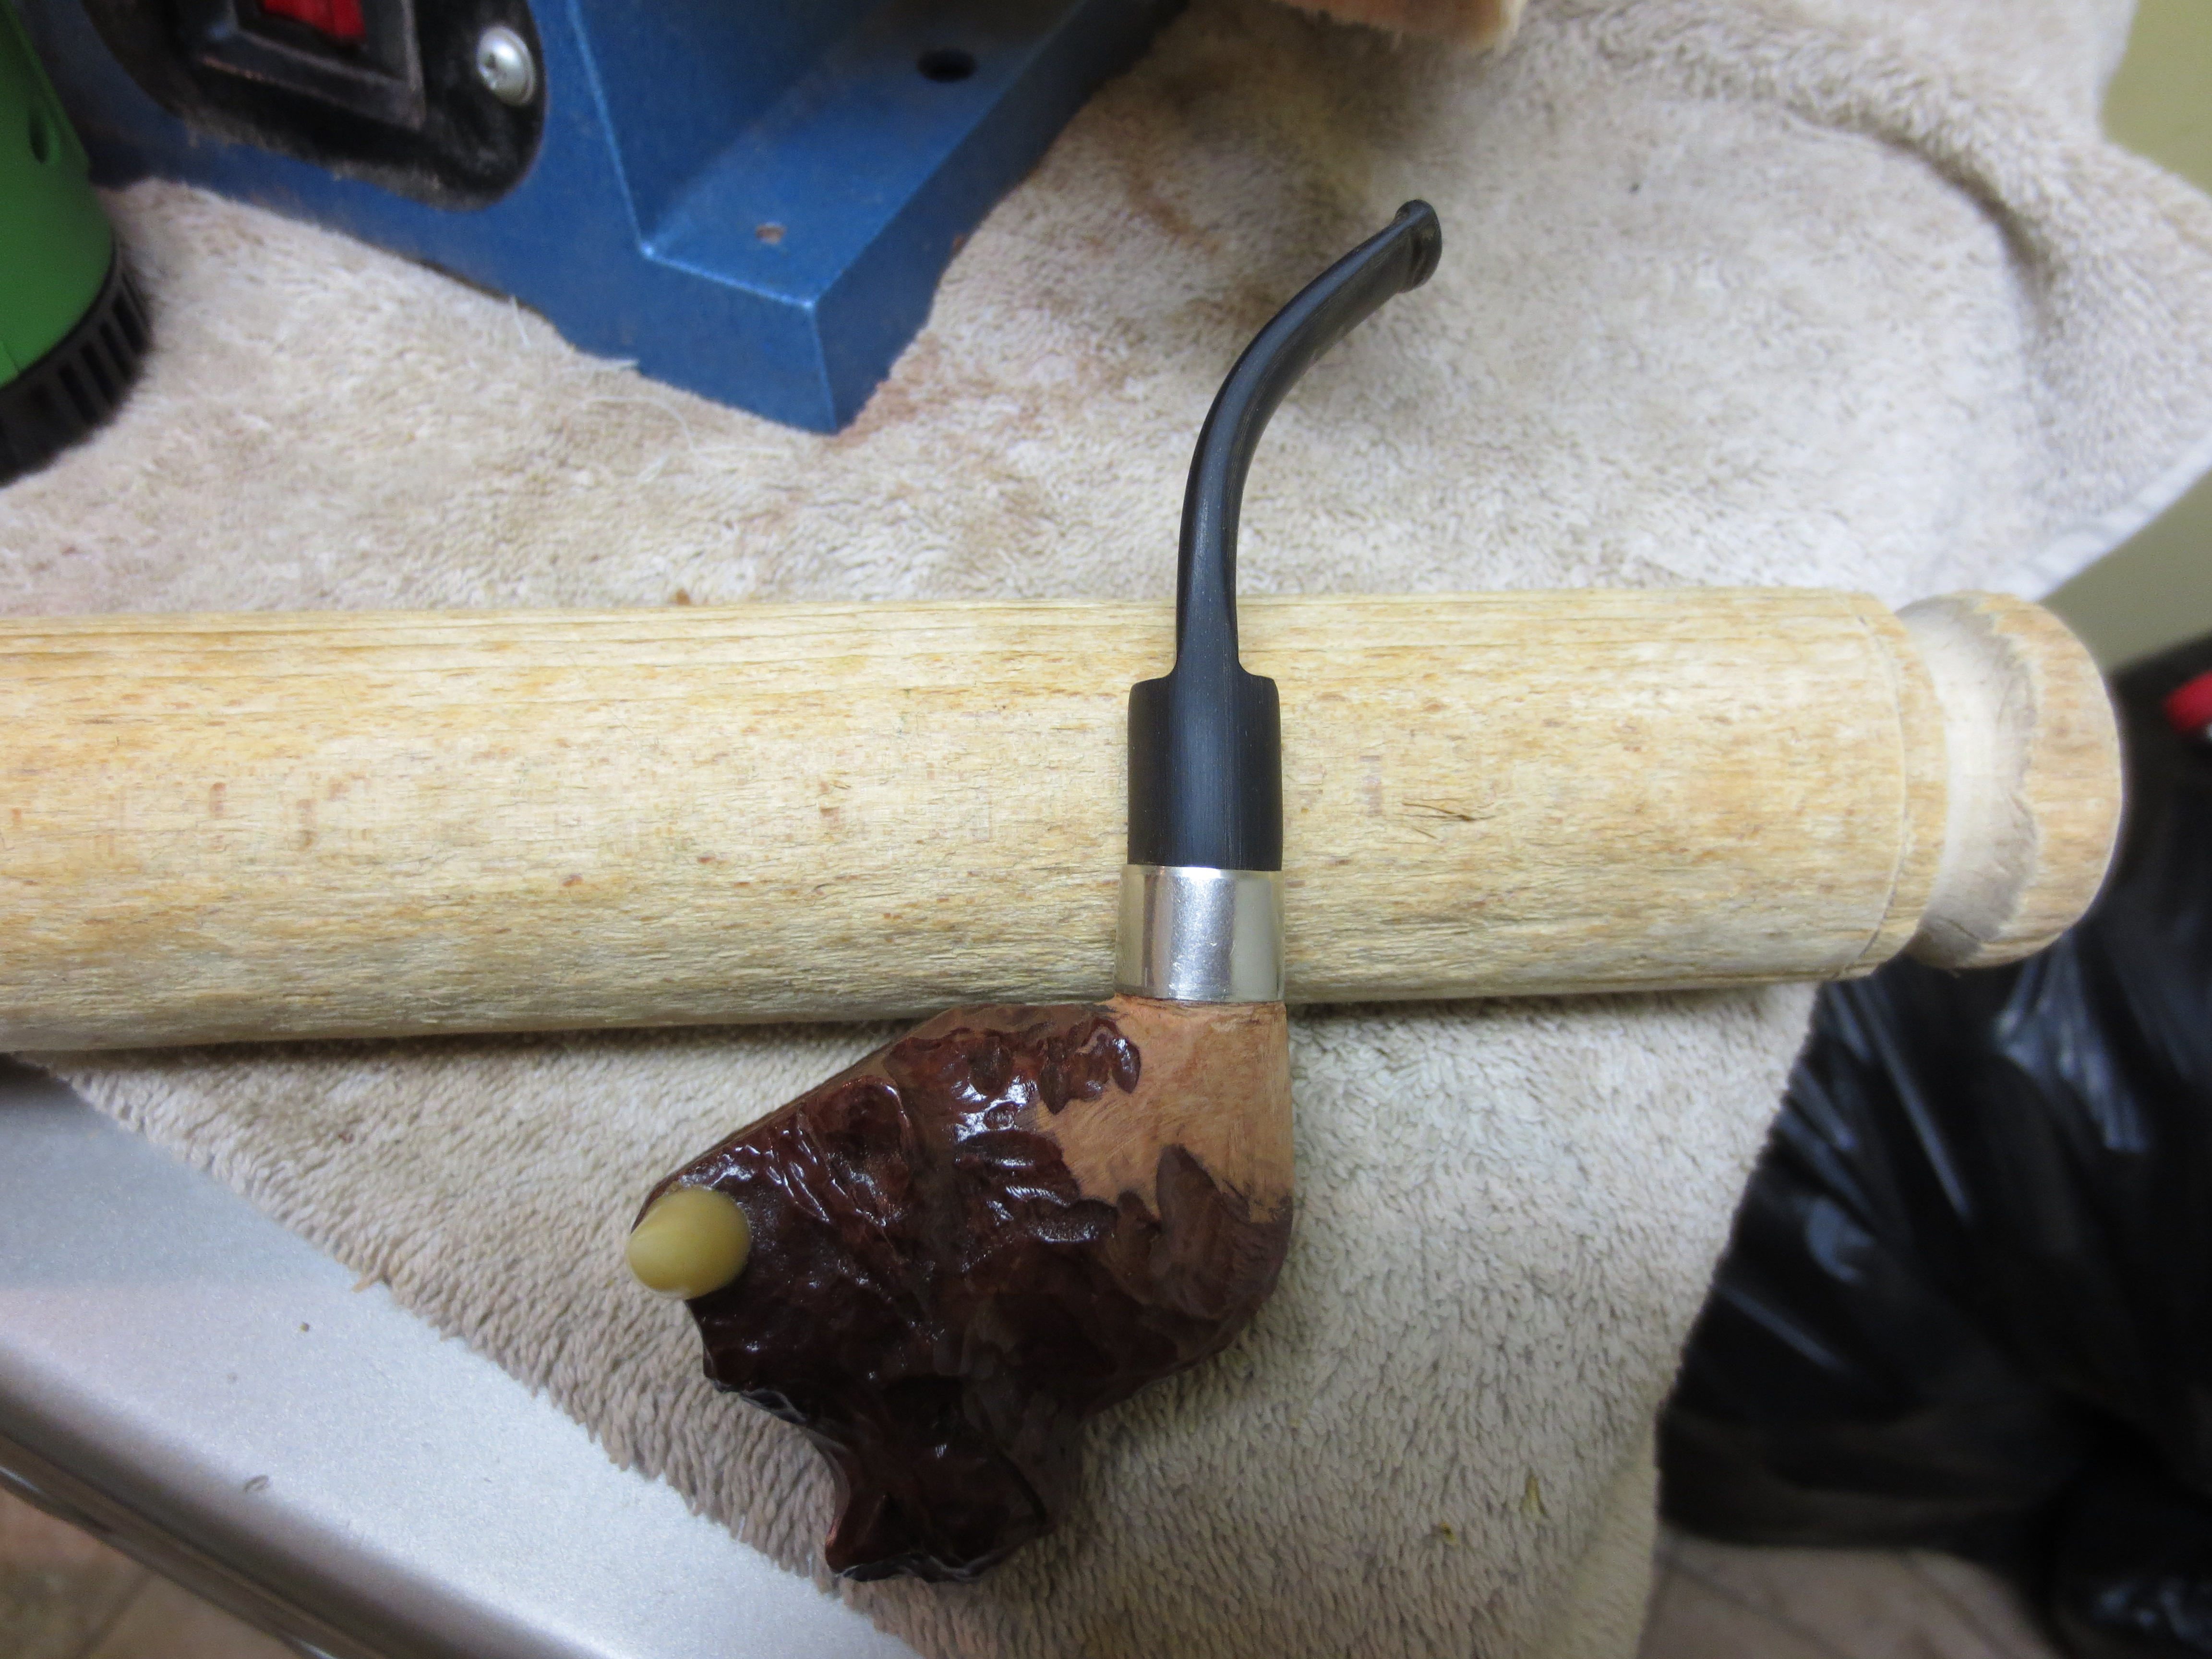
Figure 15 The finished bend in the pipe. It is now ready to polish the stem and the shank.
I took it back to the work table and began to sand the stem and the shank with a fine grit sanding sponge. I continued to sand it and then worked on the shank with micromesh sanding pads from 3600-12,000 grit to prepare it for restaining.

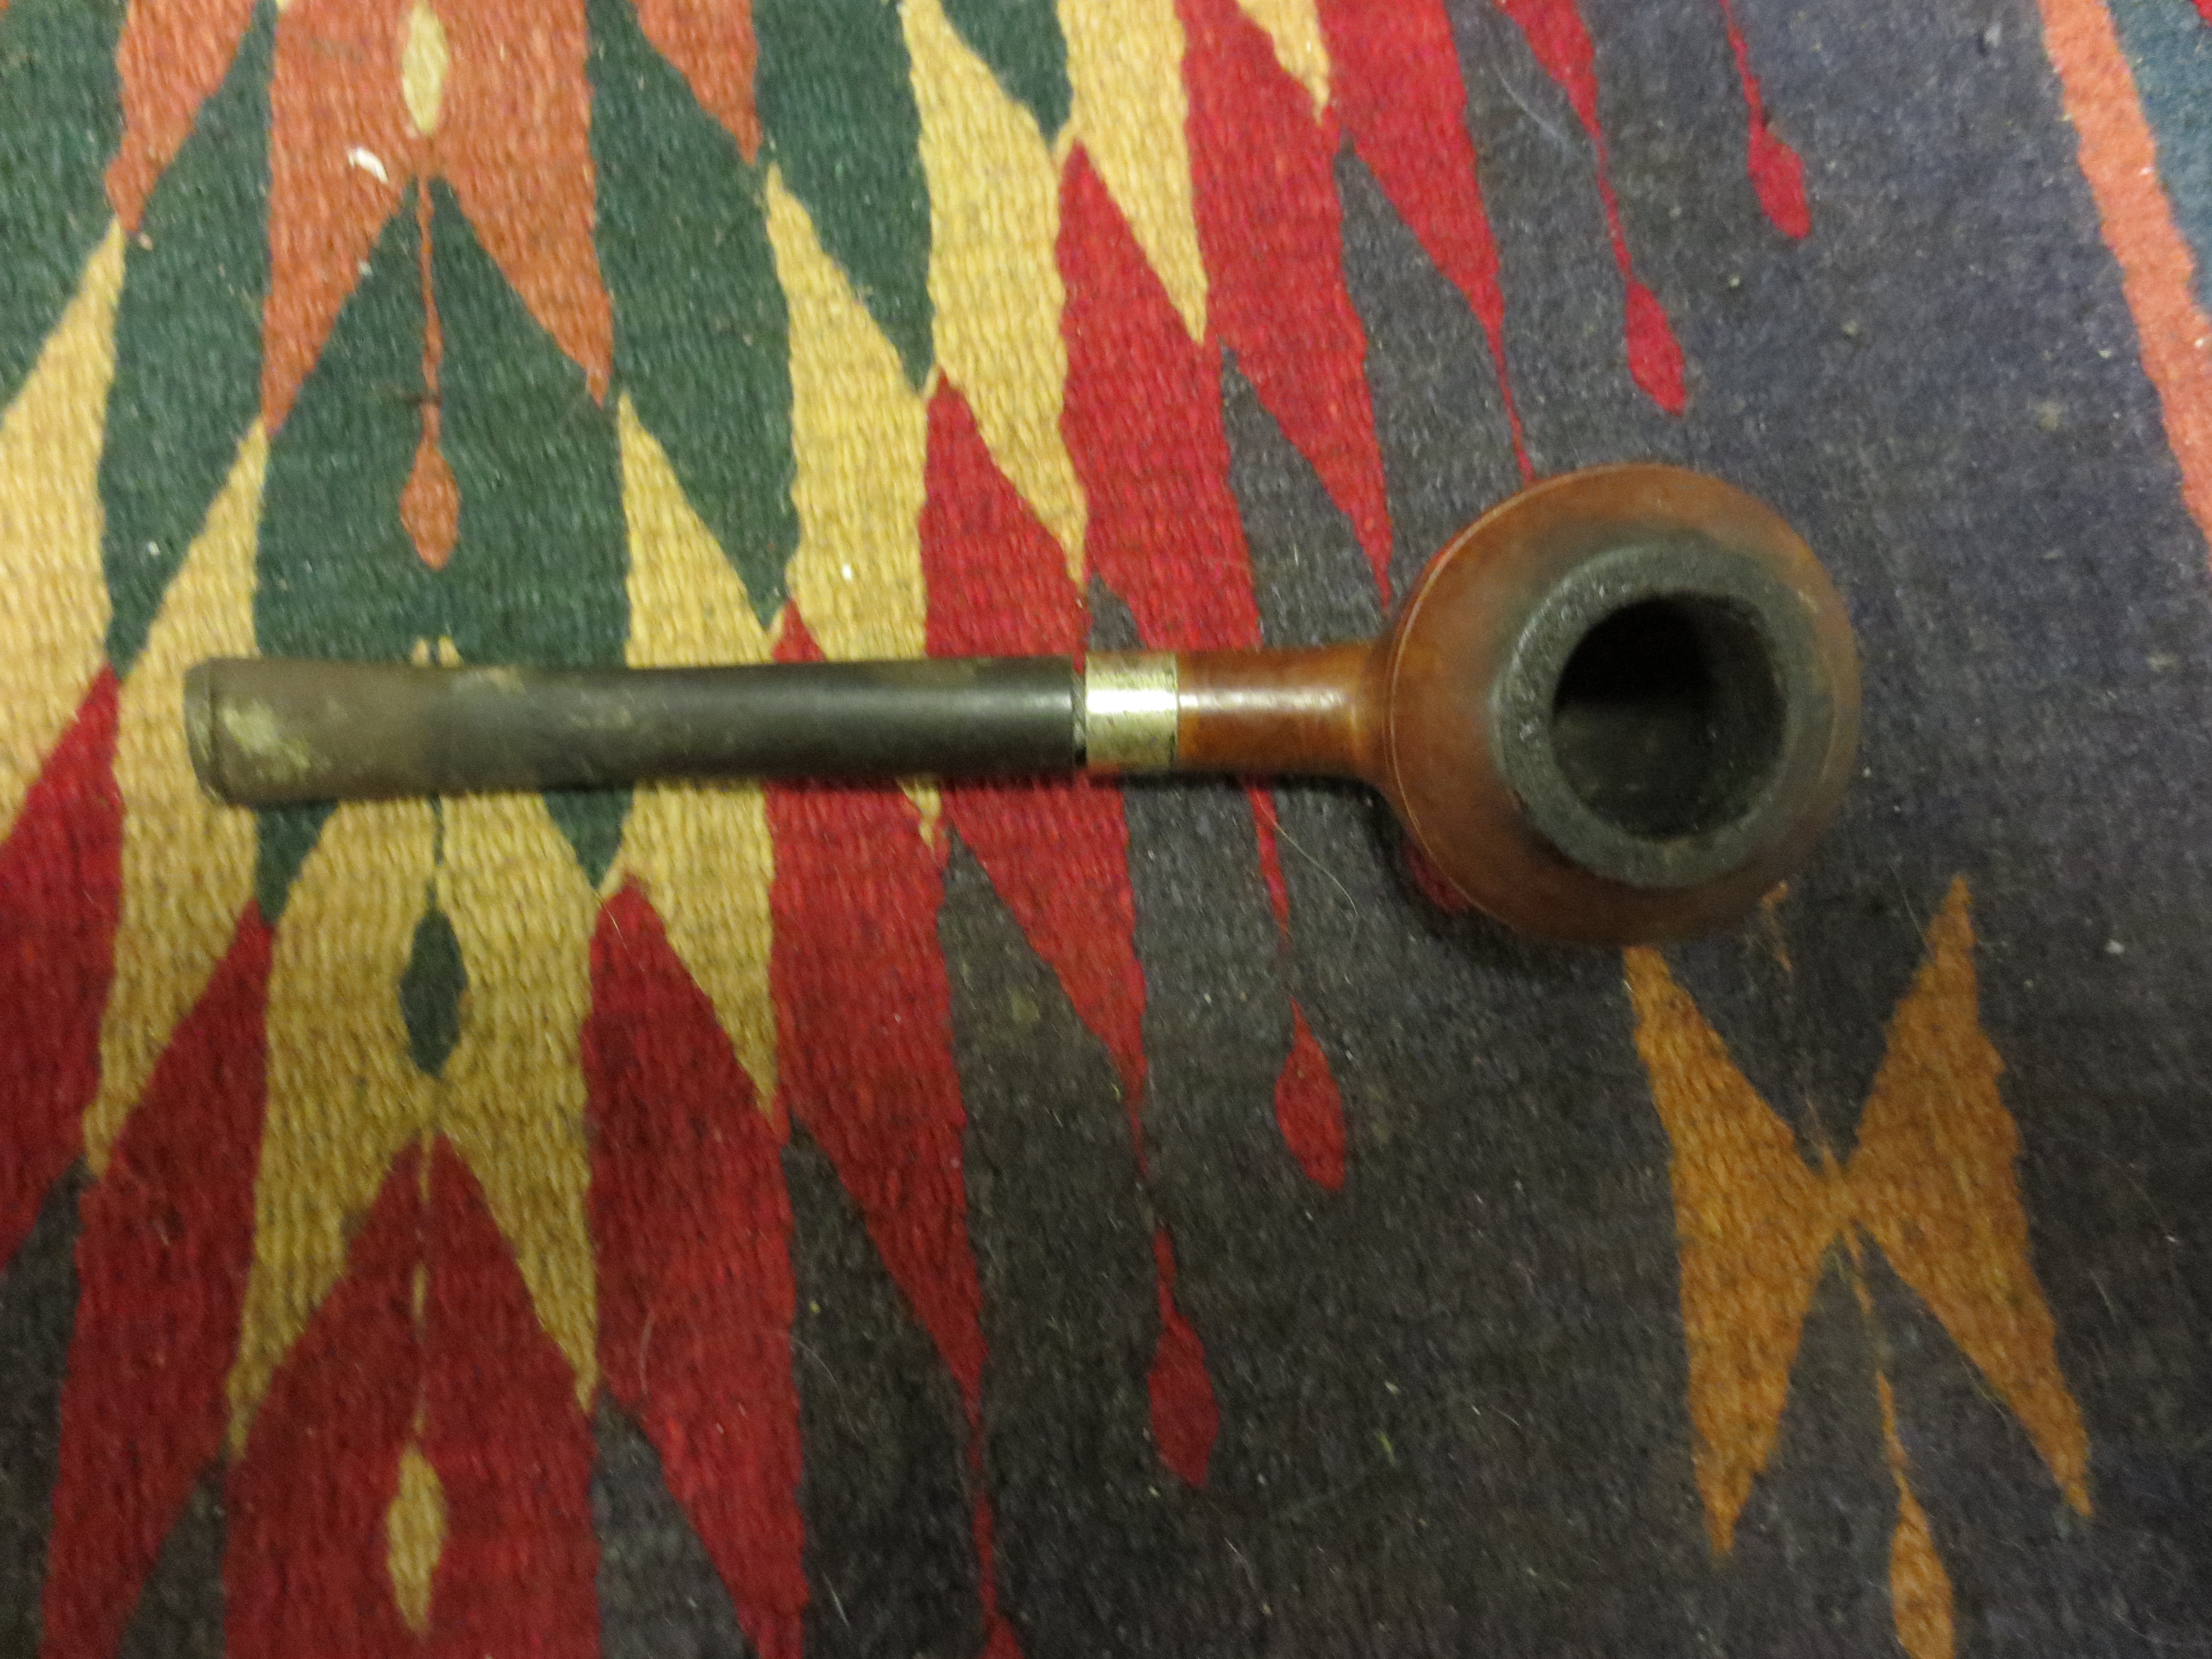
Figure 16 Shank preparation for staining.
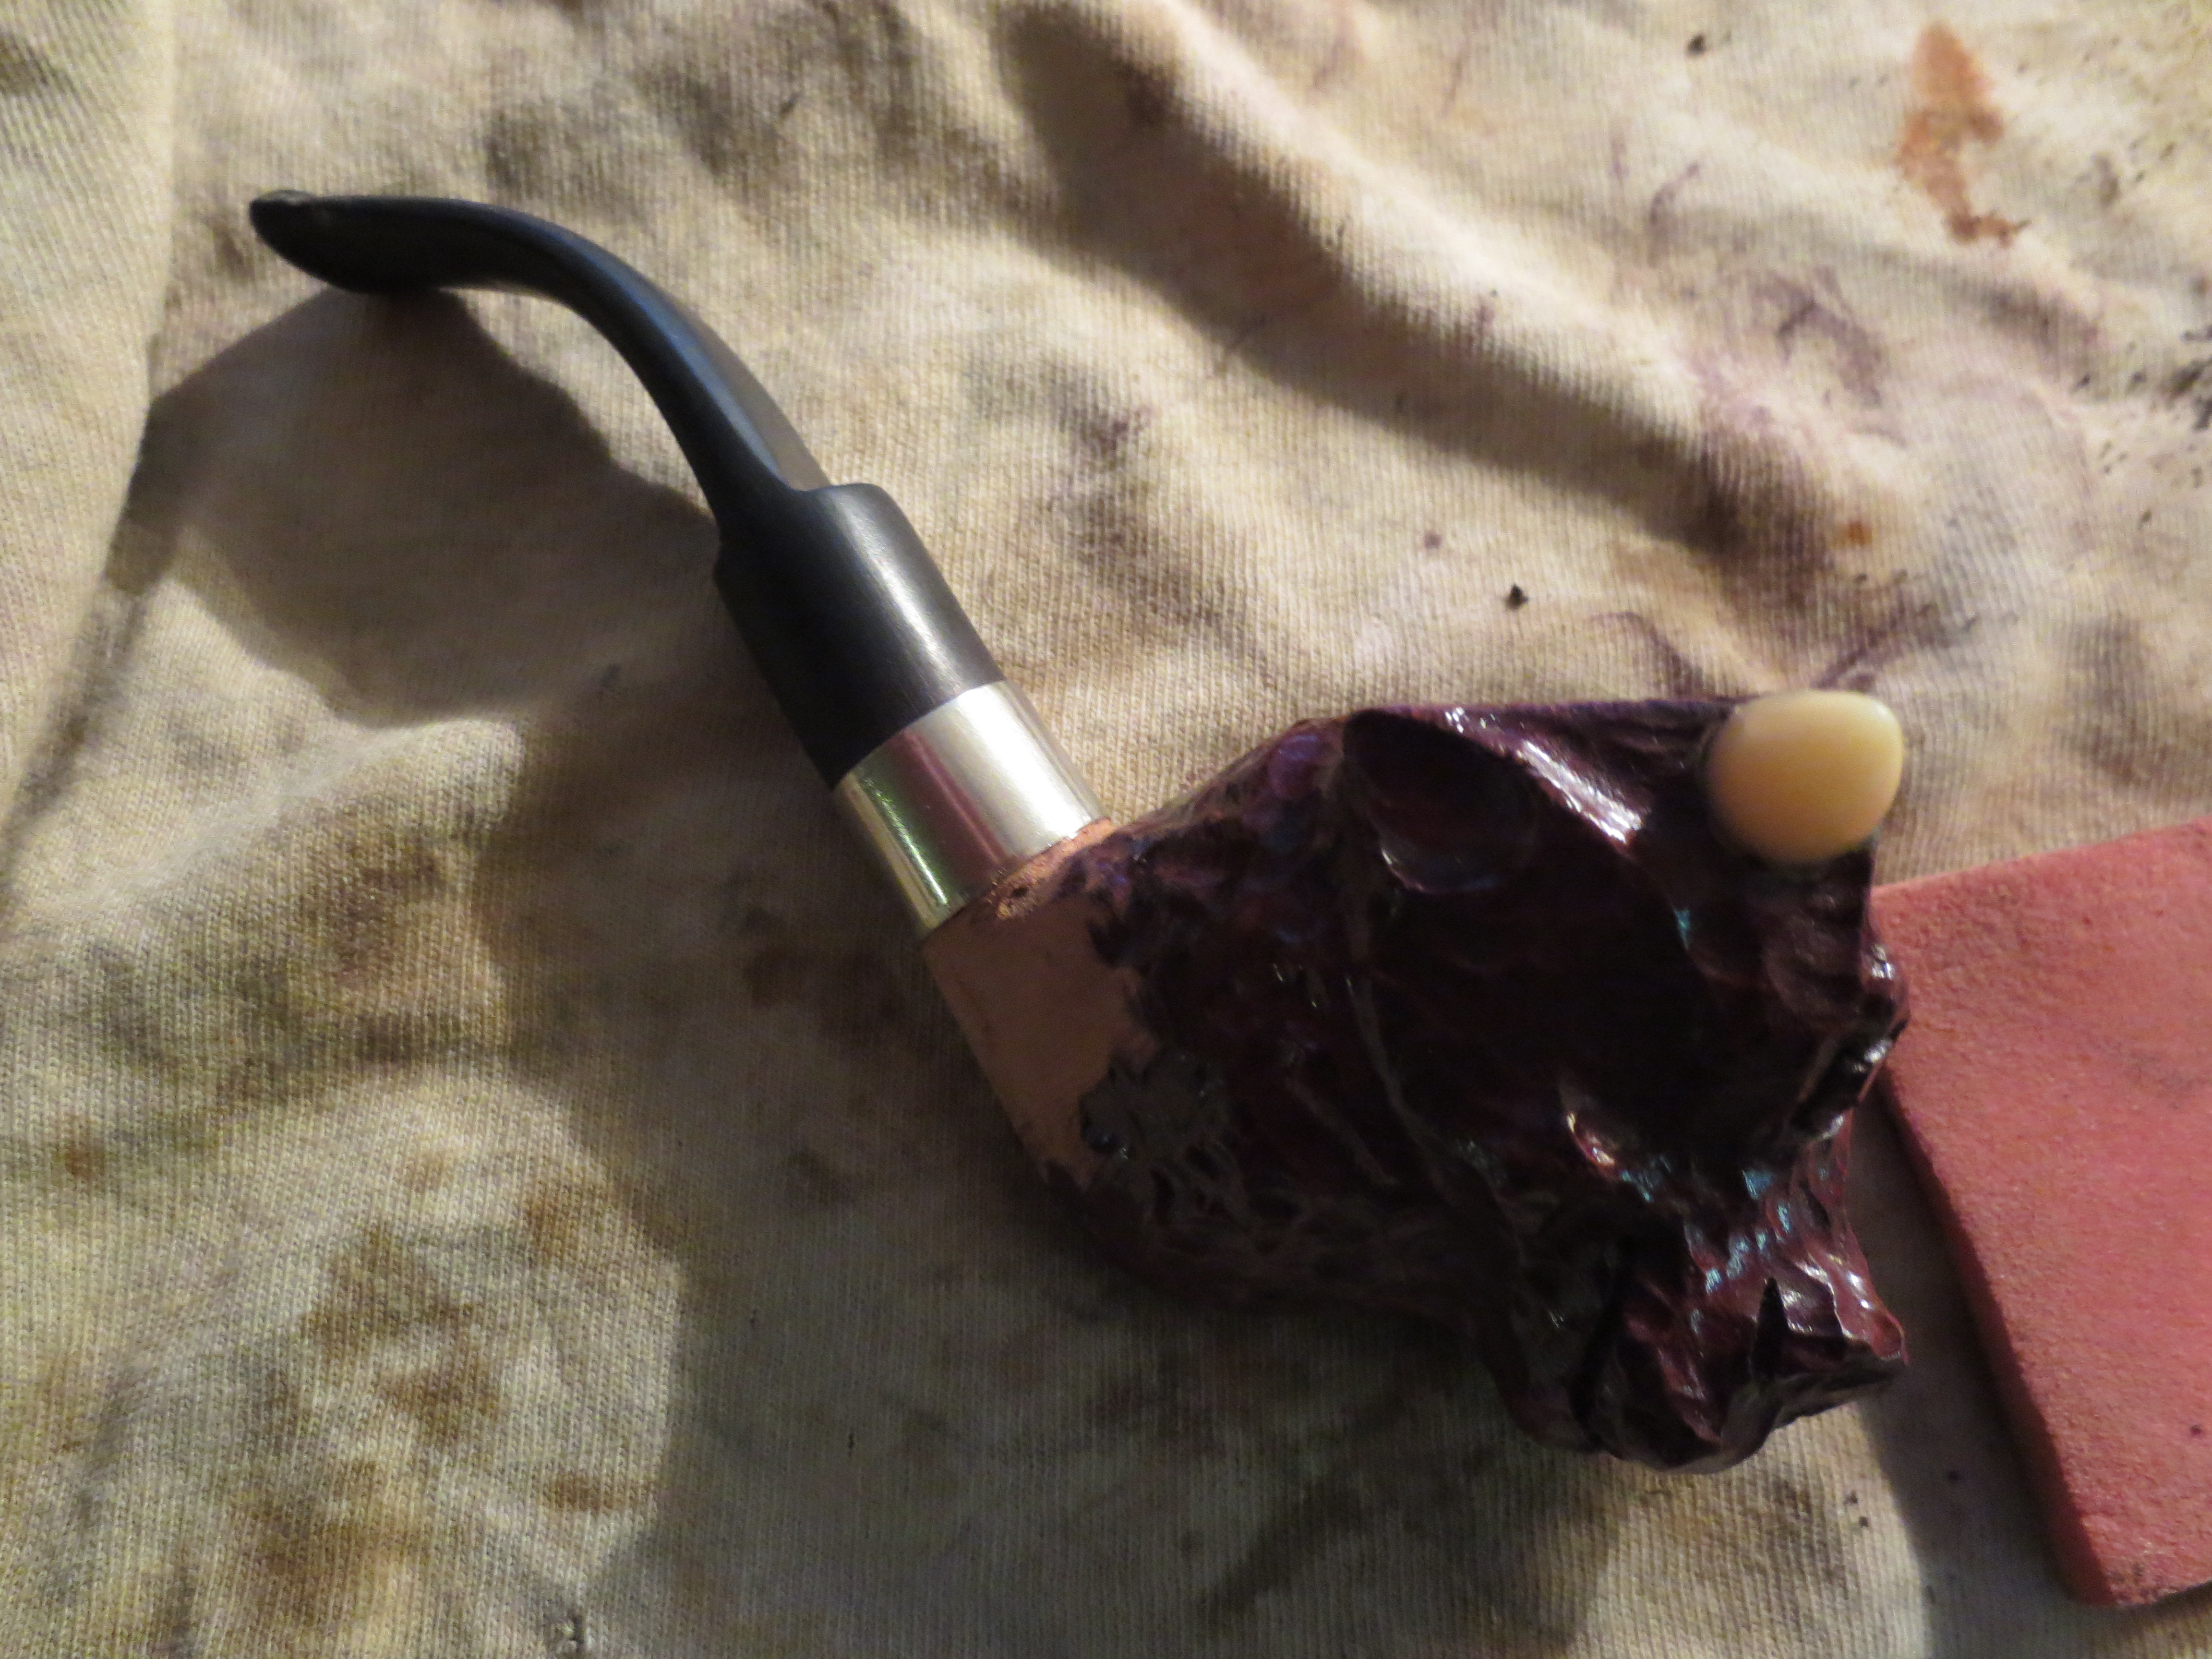
Figure 17 Shank preparation for staining.
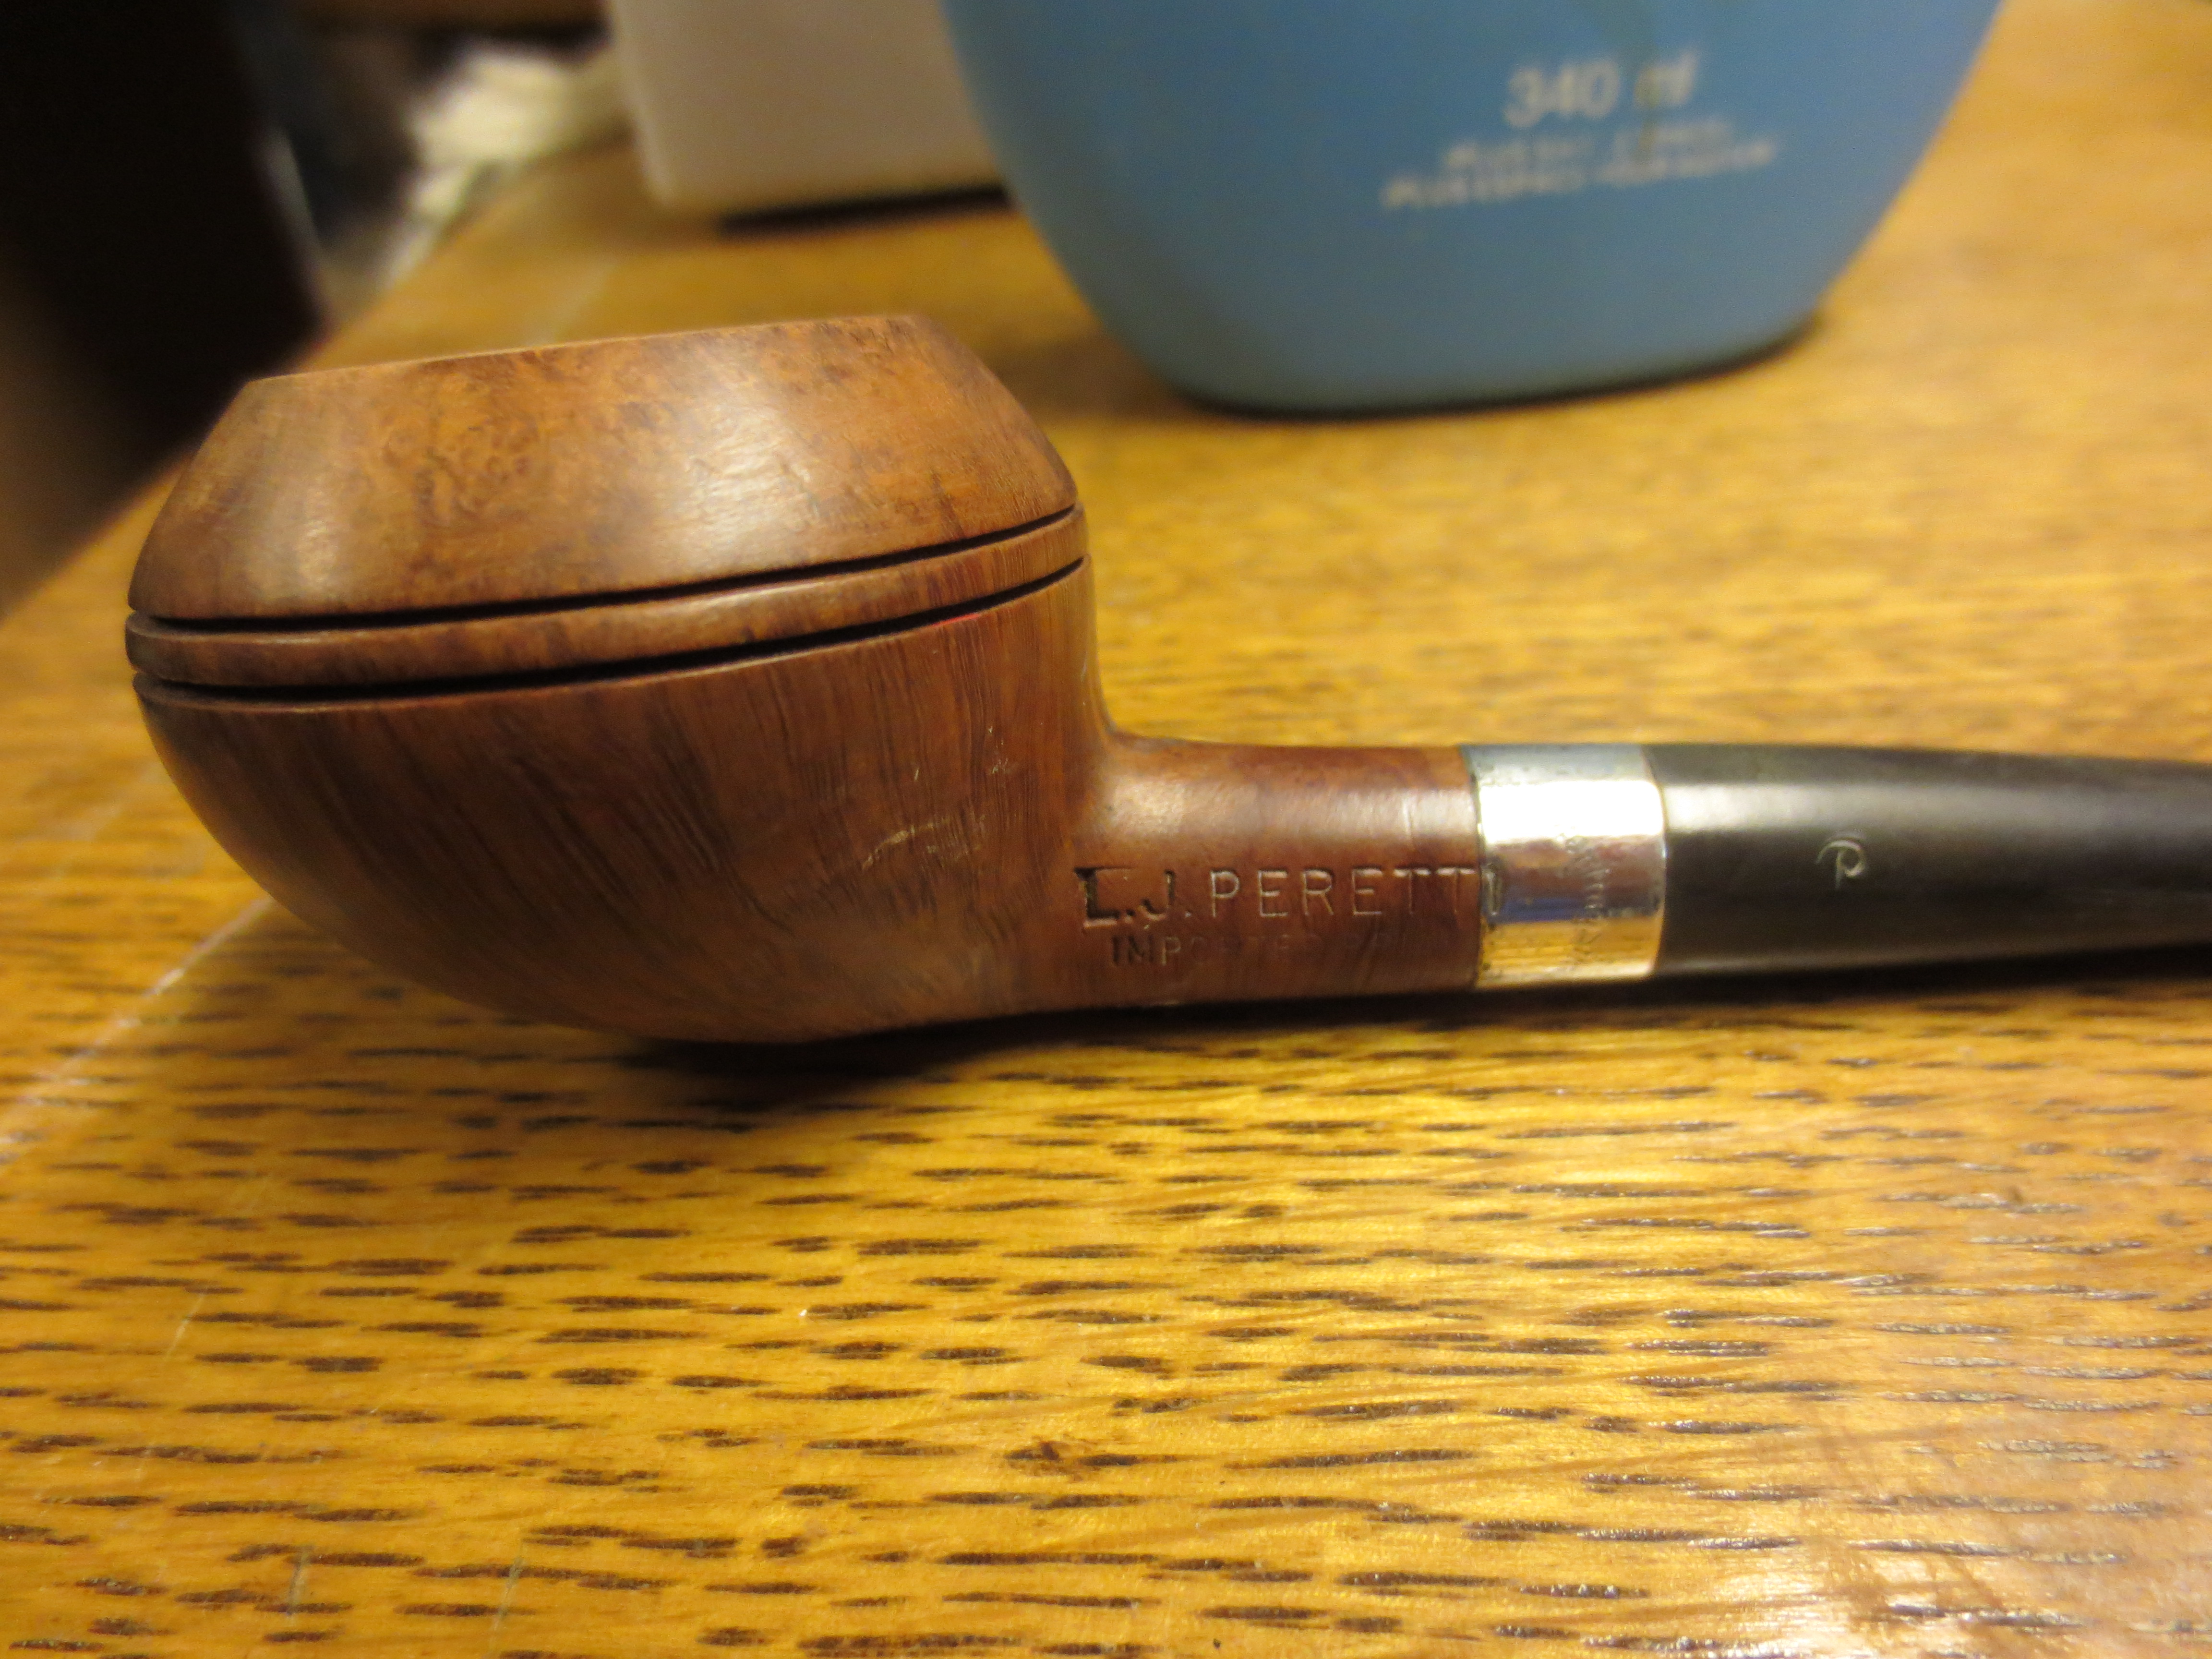
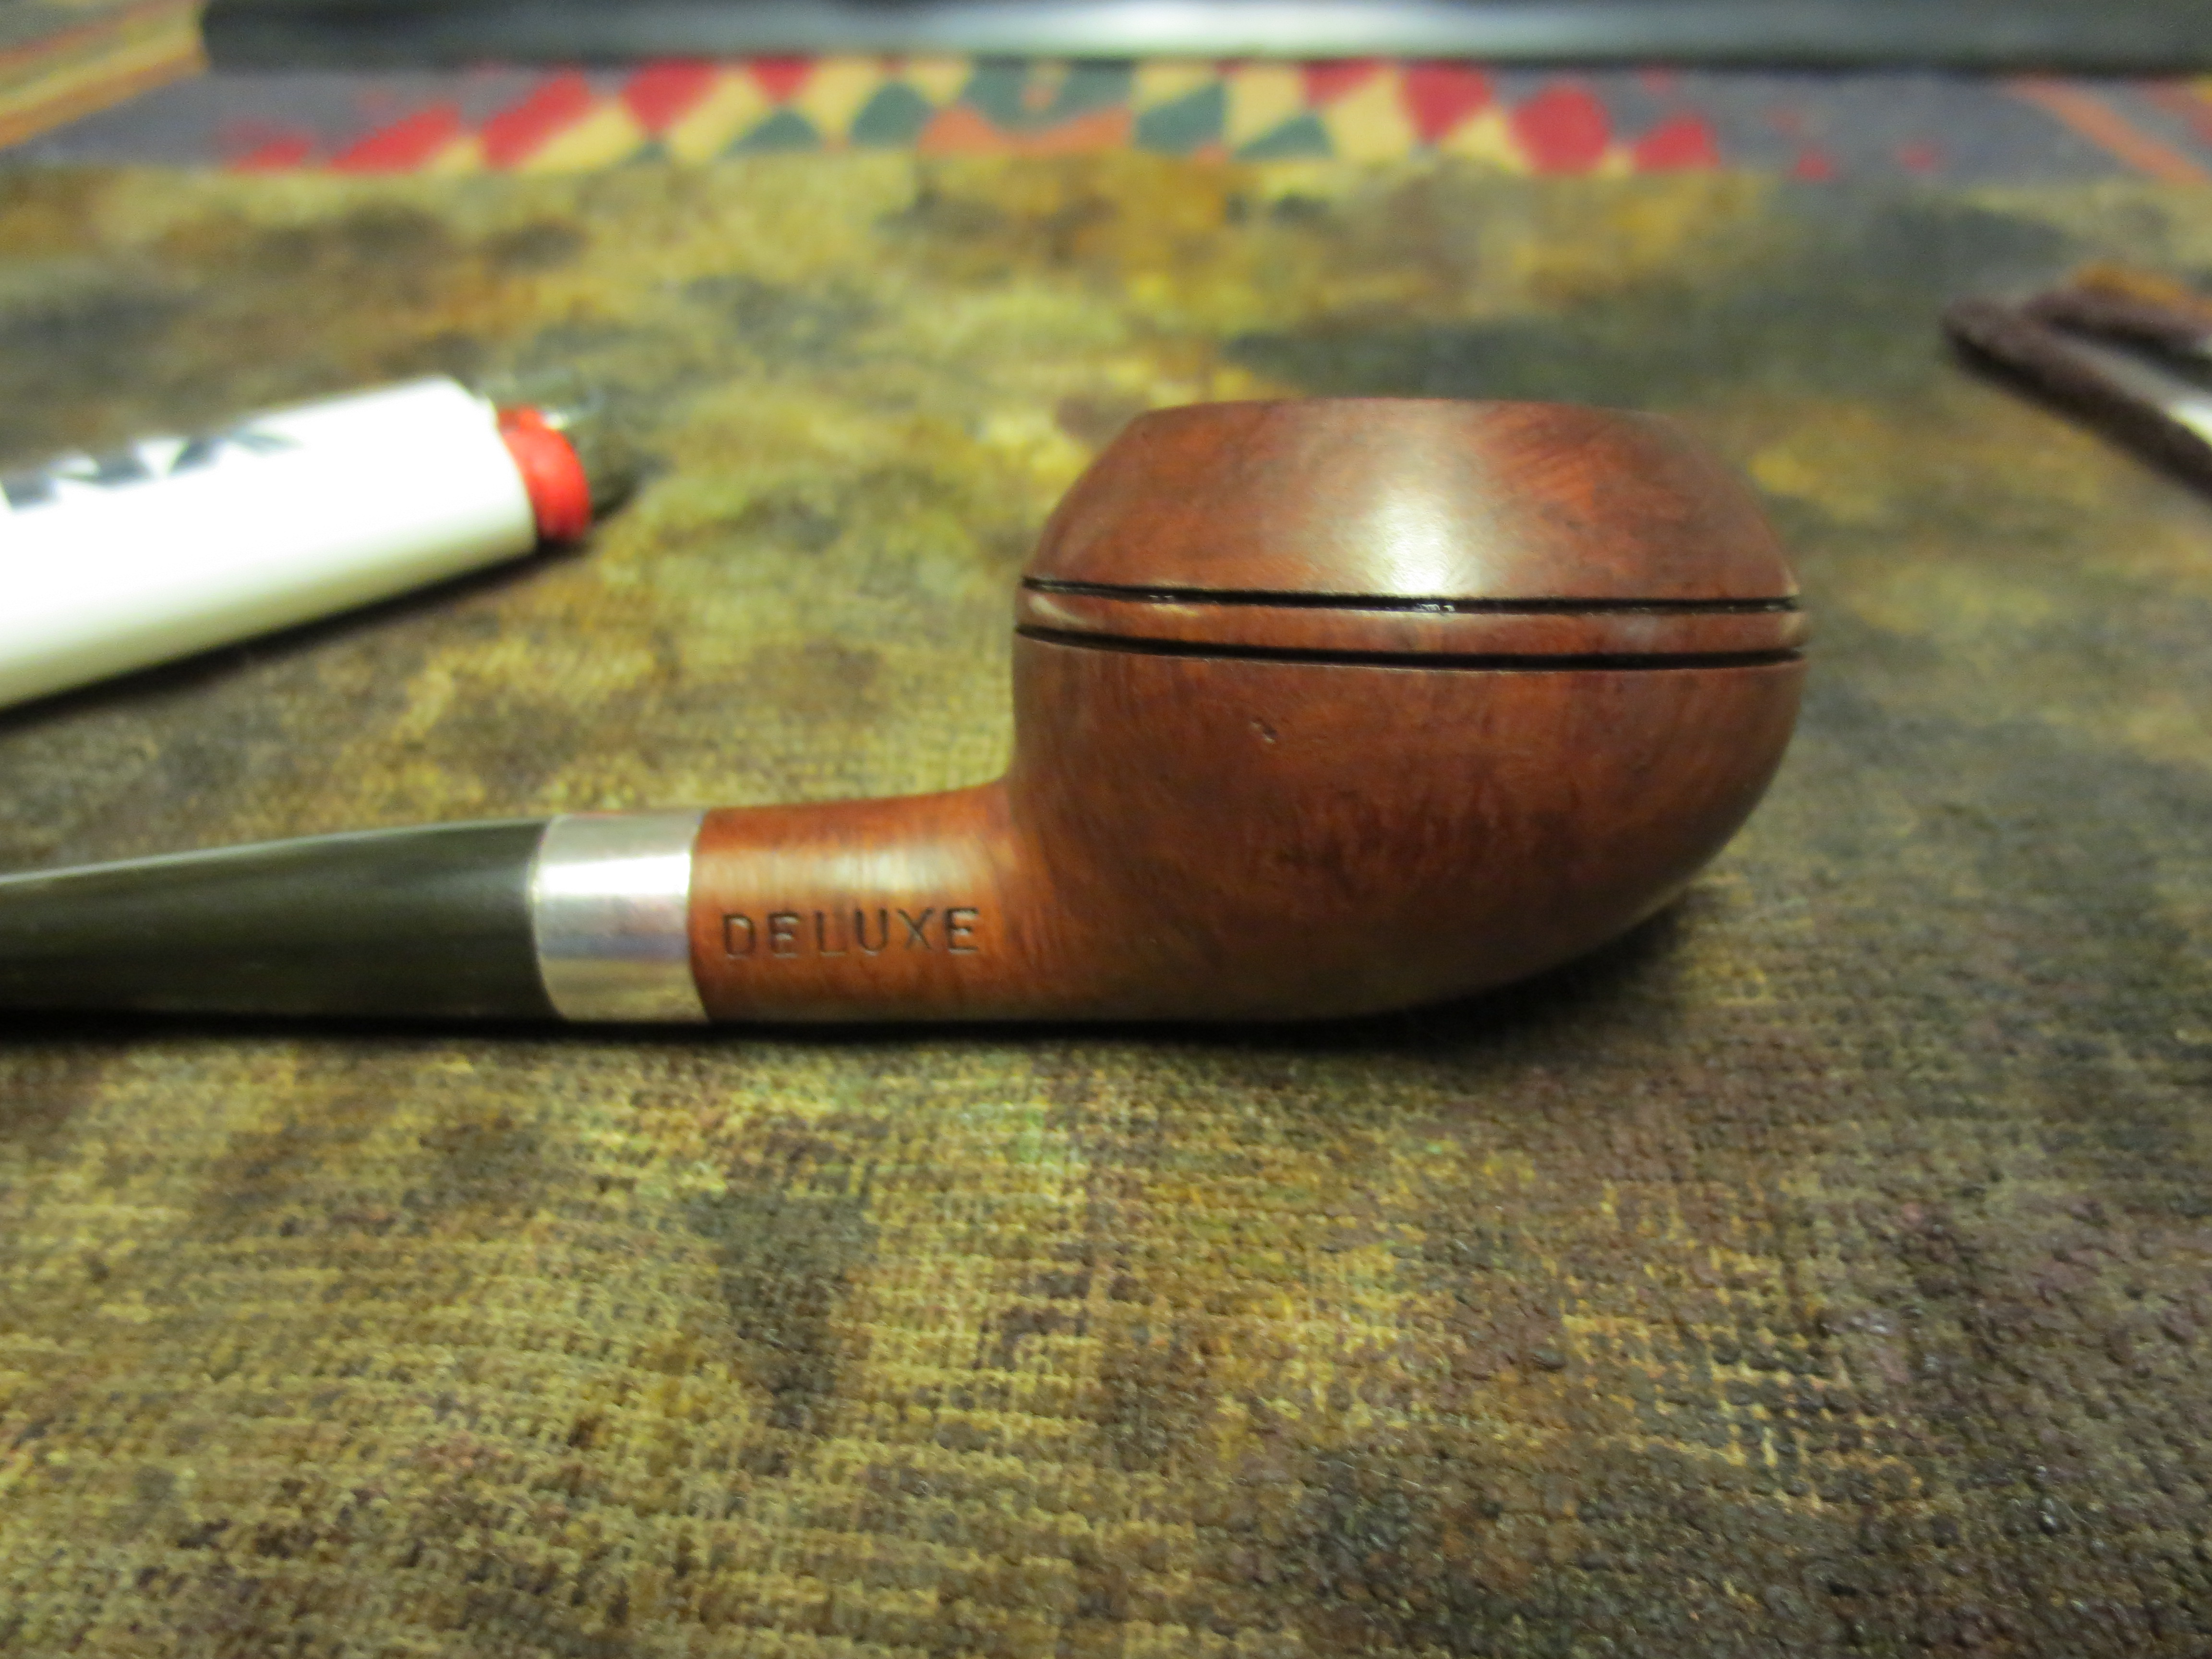
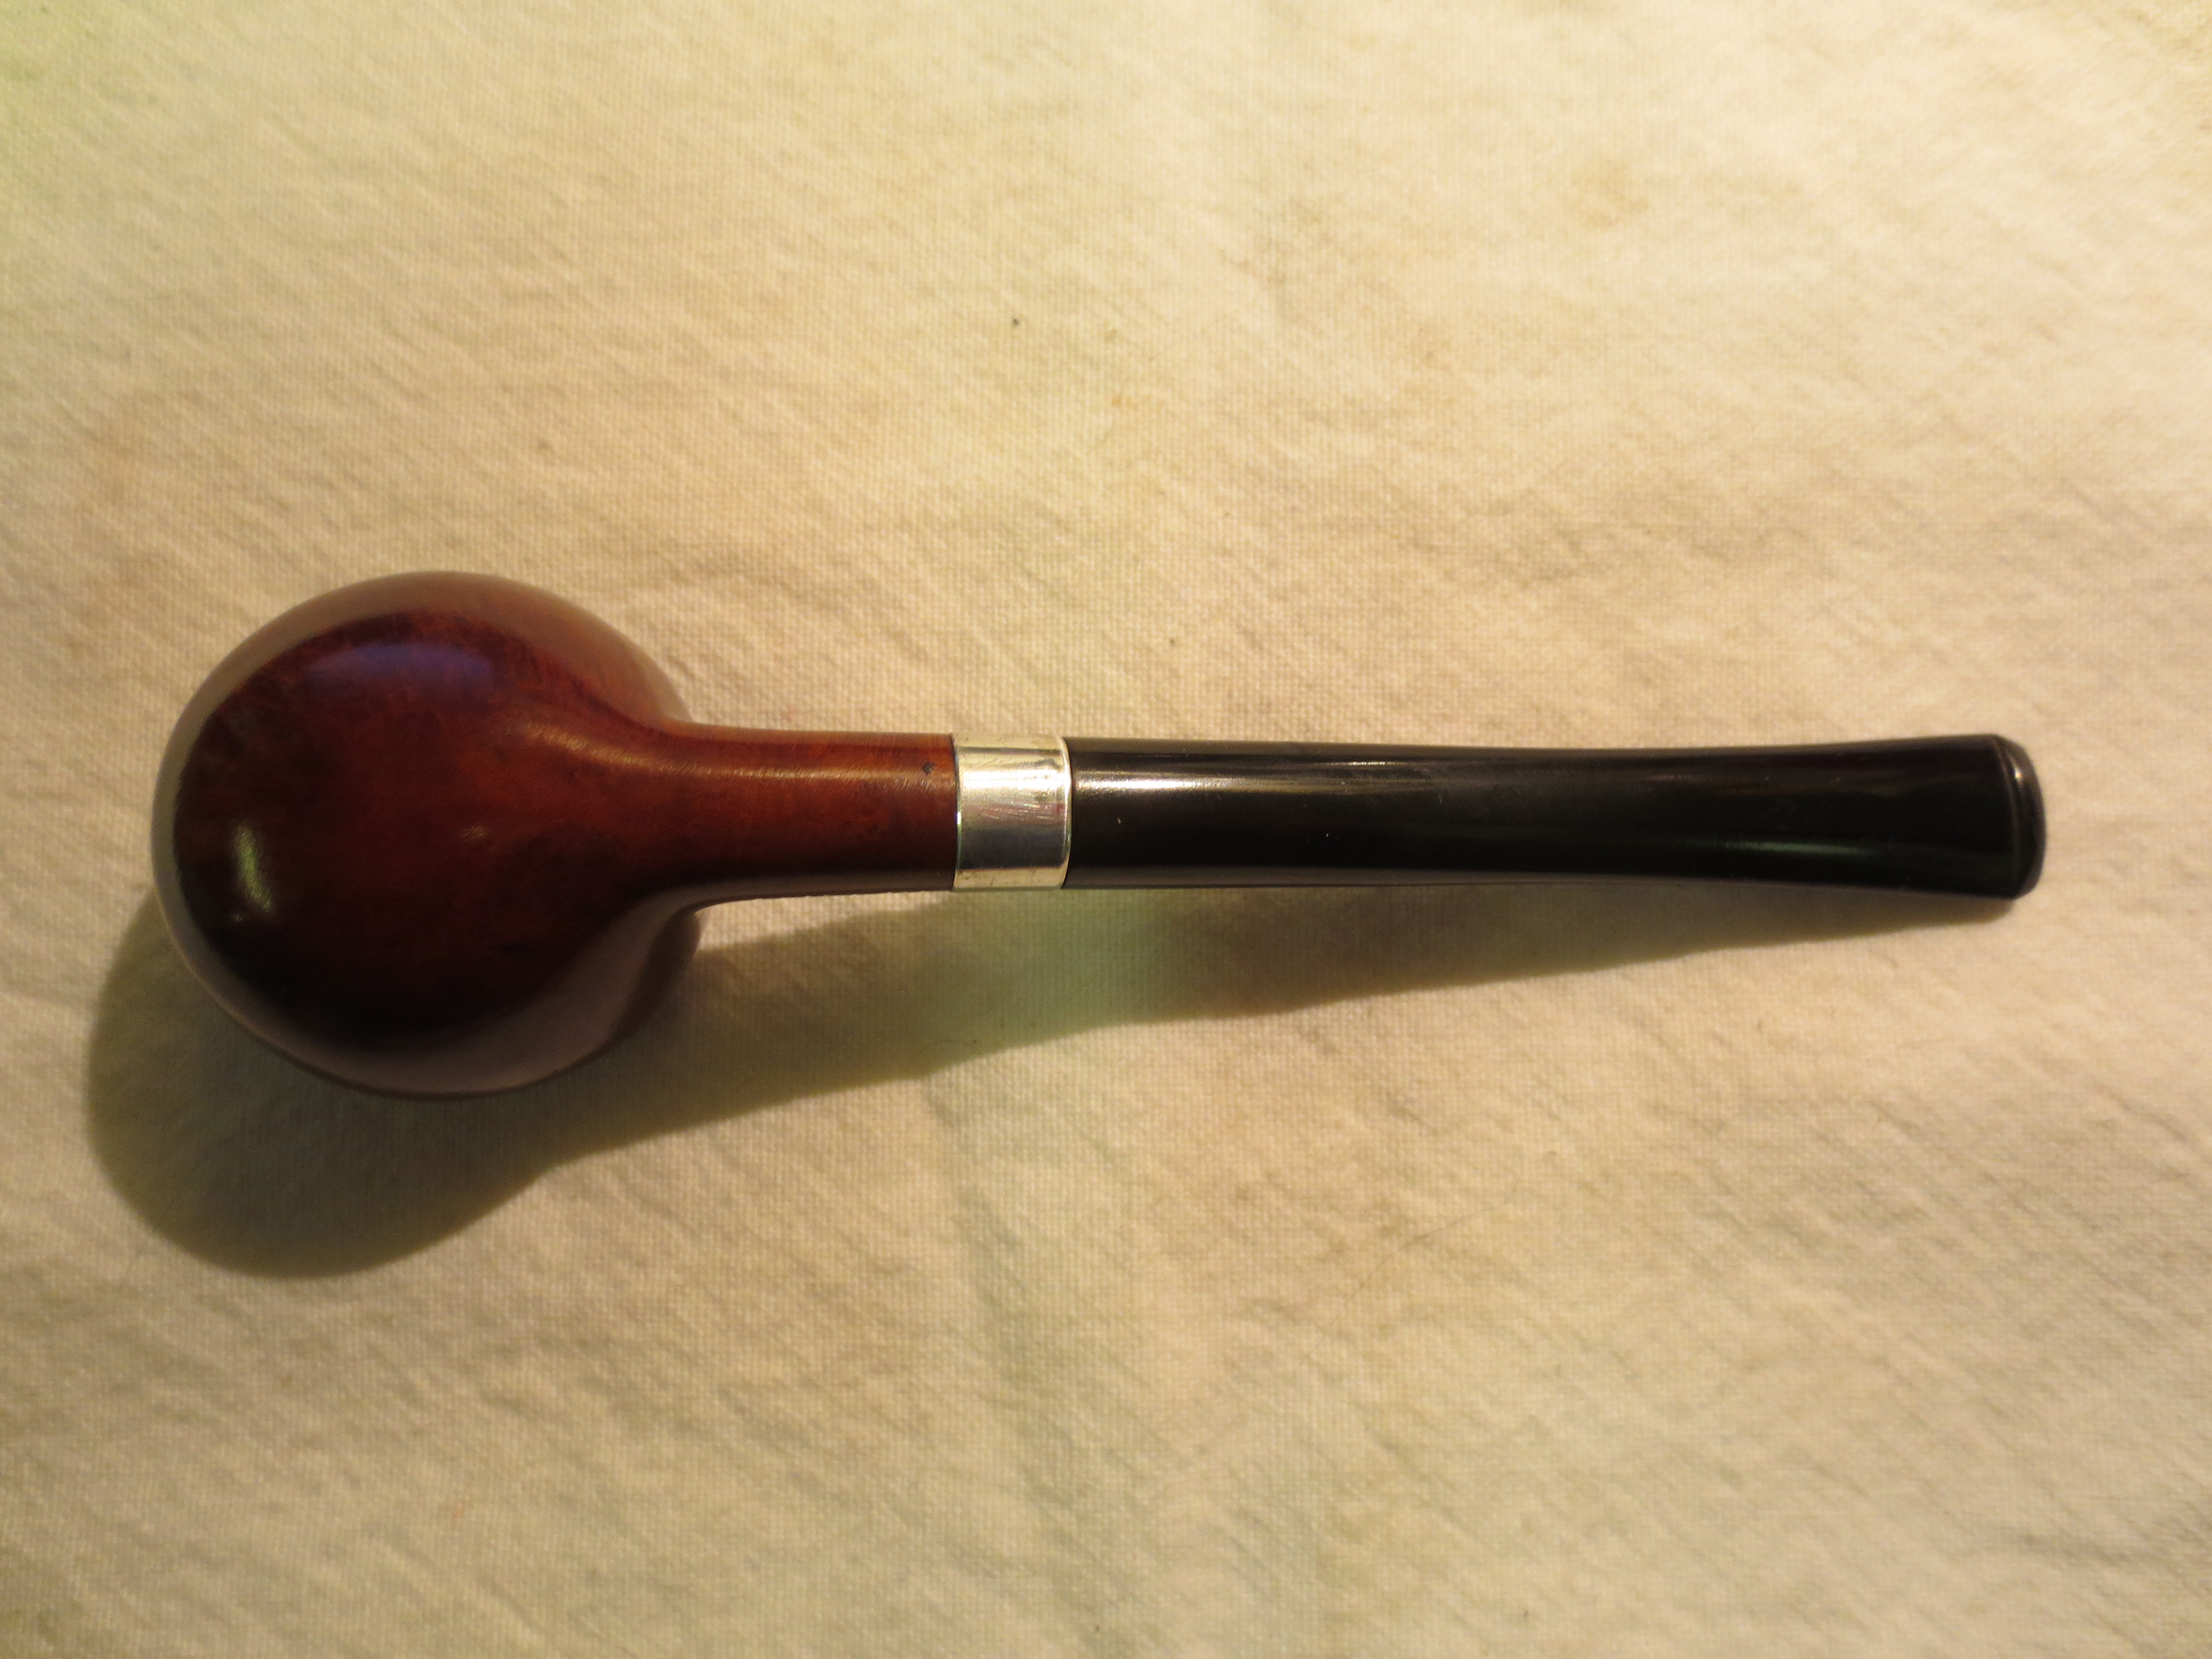
Once the shank was prepared I stained it with a dark brown aniline stain. I flamed it and repeated the staining and flaming until the brown matched that of the rest of the bowl. I then gave it a coat of Danish Oil medium walnut to seal the shank and give it a shine that would match the head of the bull. I also finished sanding the stem with the remaining grits of micromesh (3600-12,000 grit). When I finished I buffed the stem and shank with White Diamond and gave it all several coats of carnauba wax. The next series of five photos show the finished pipe.