Blog by Steve Laug
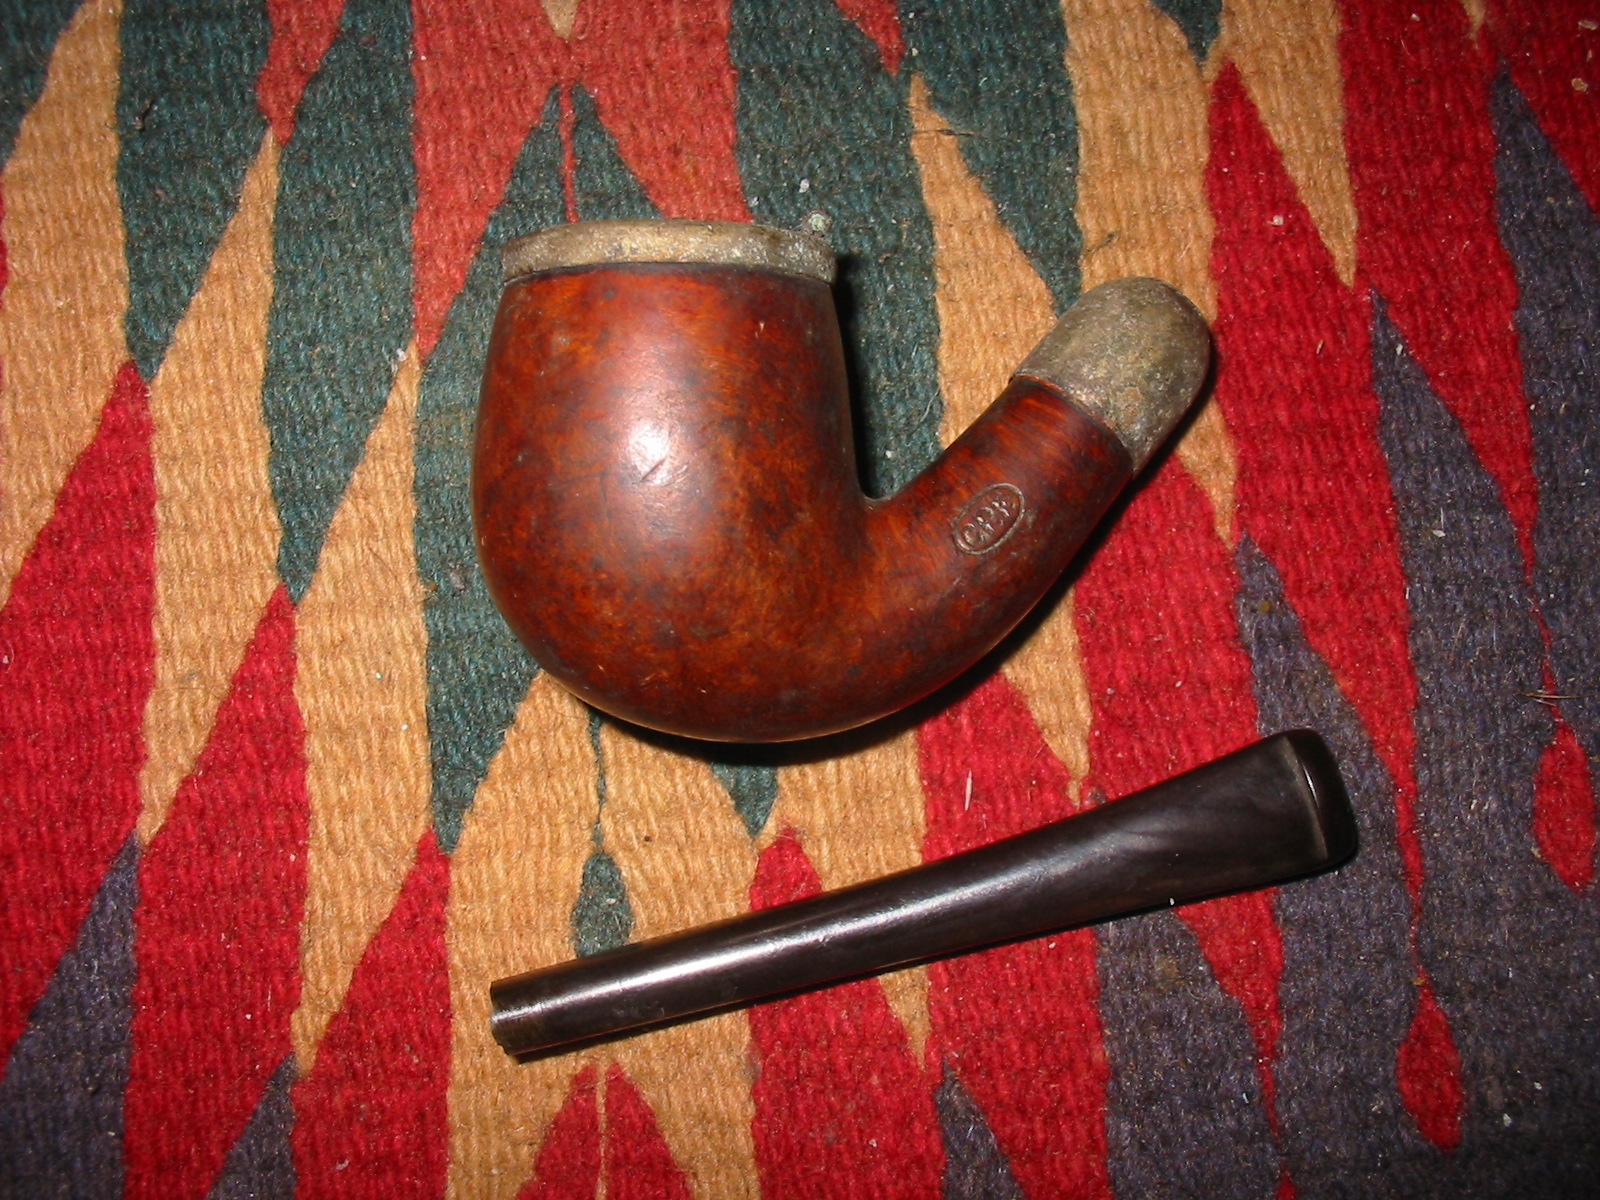
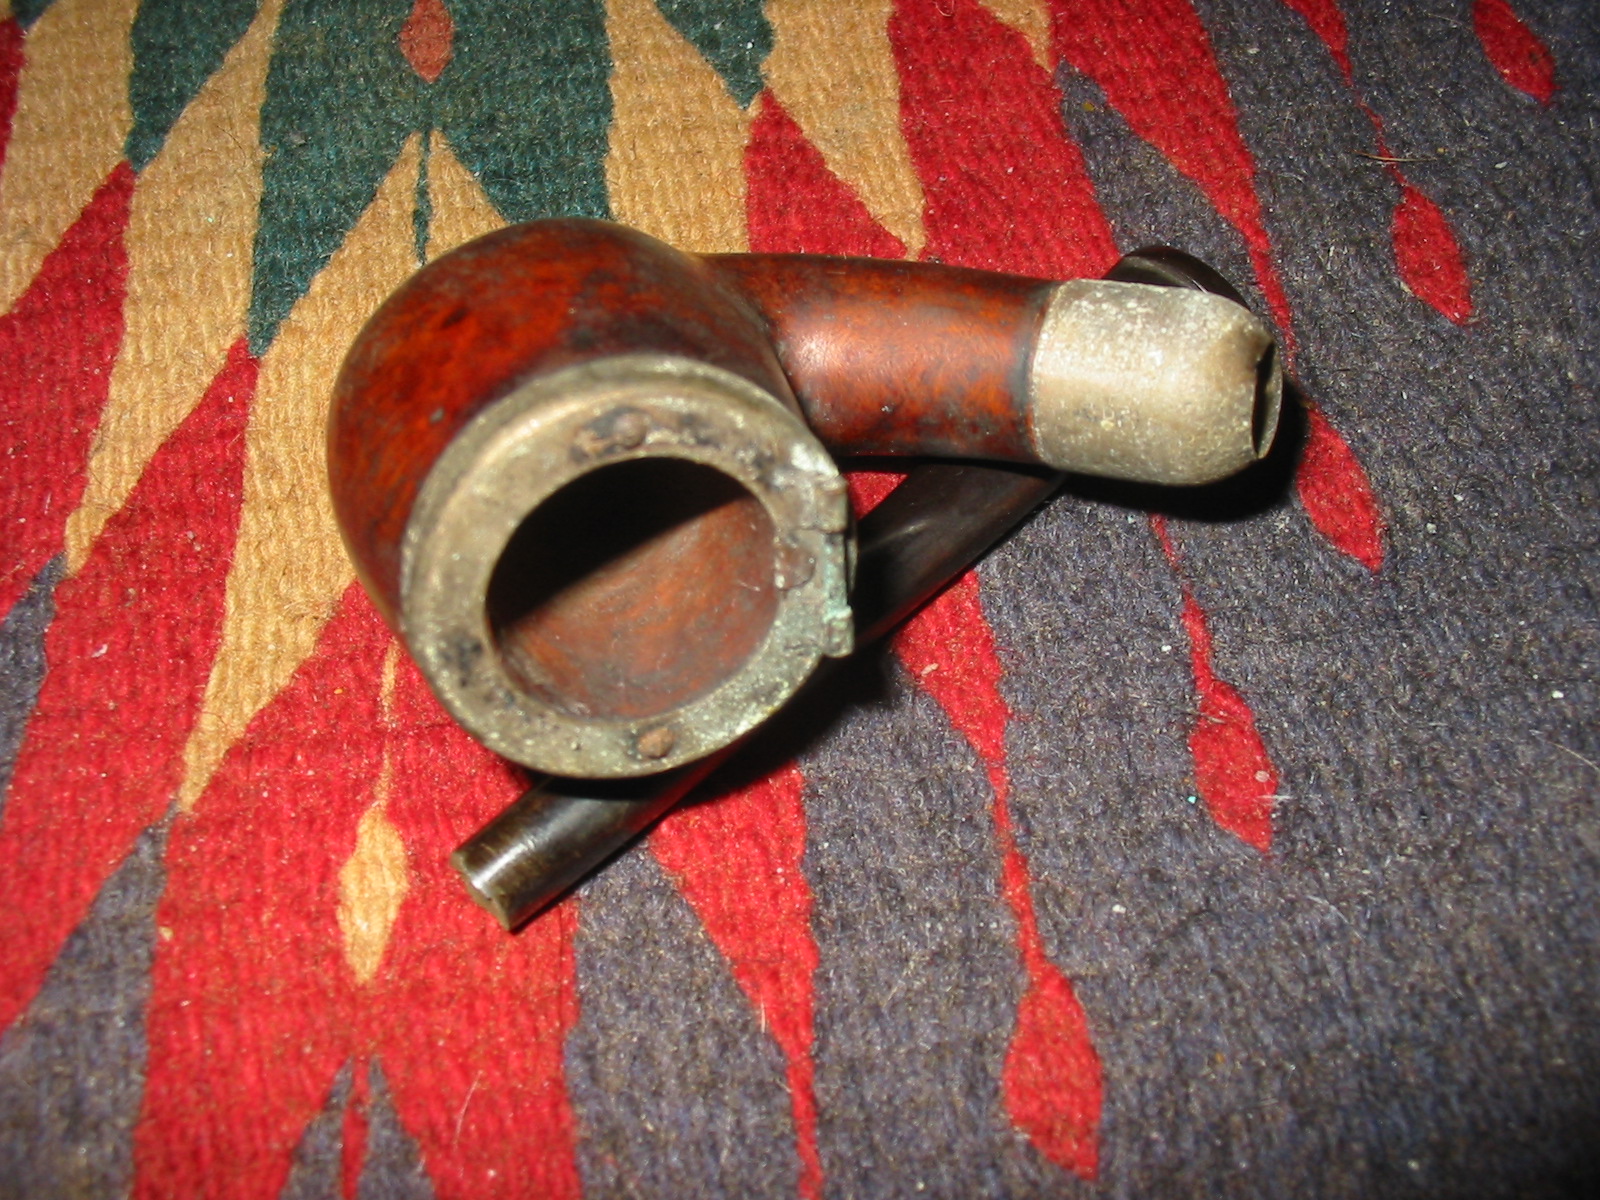
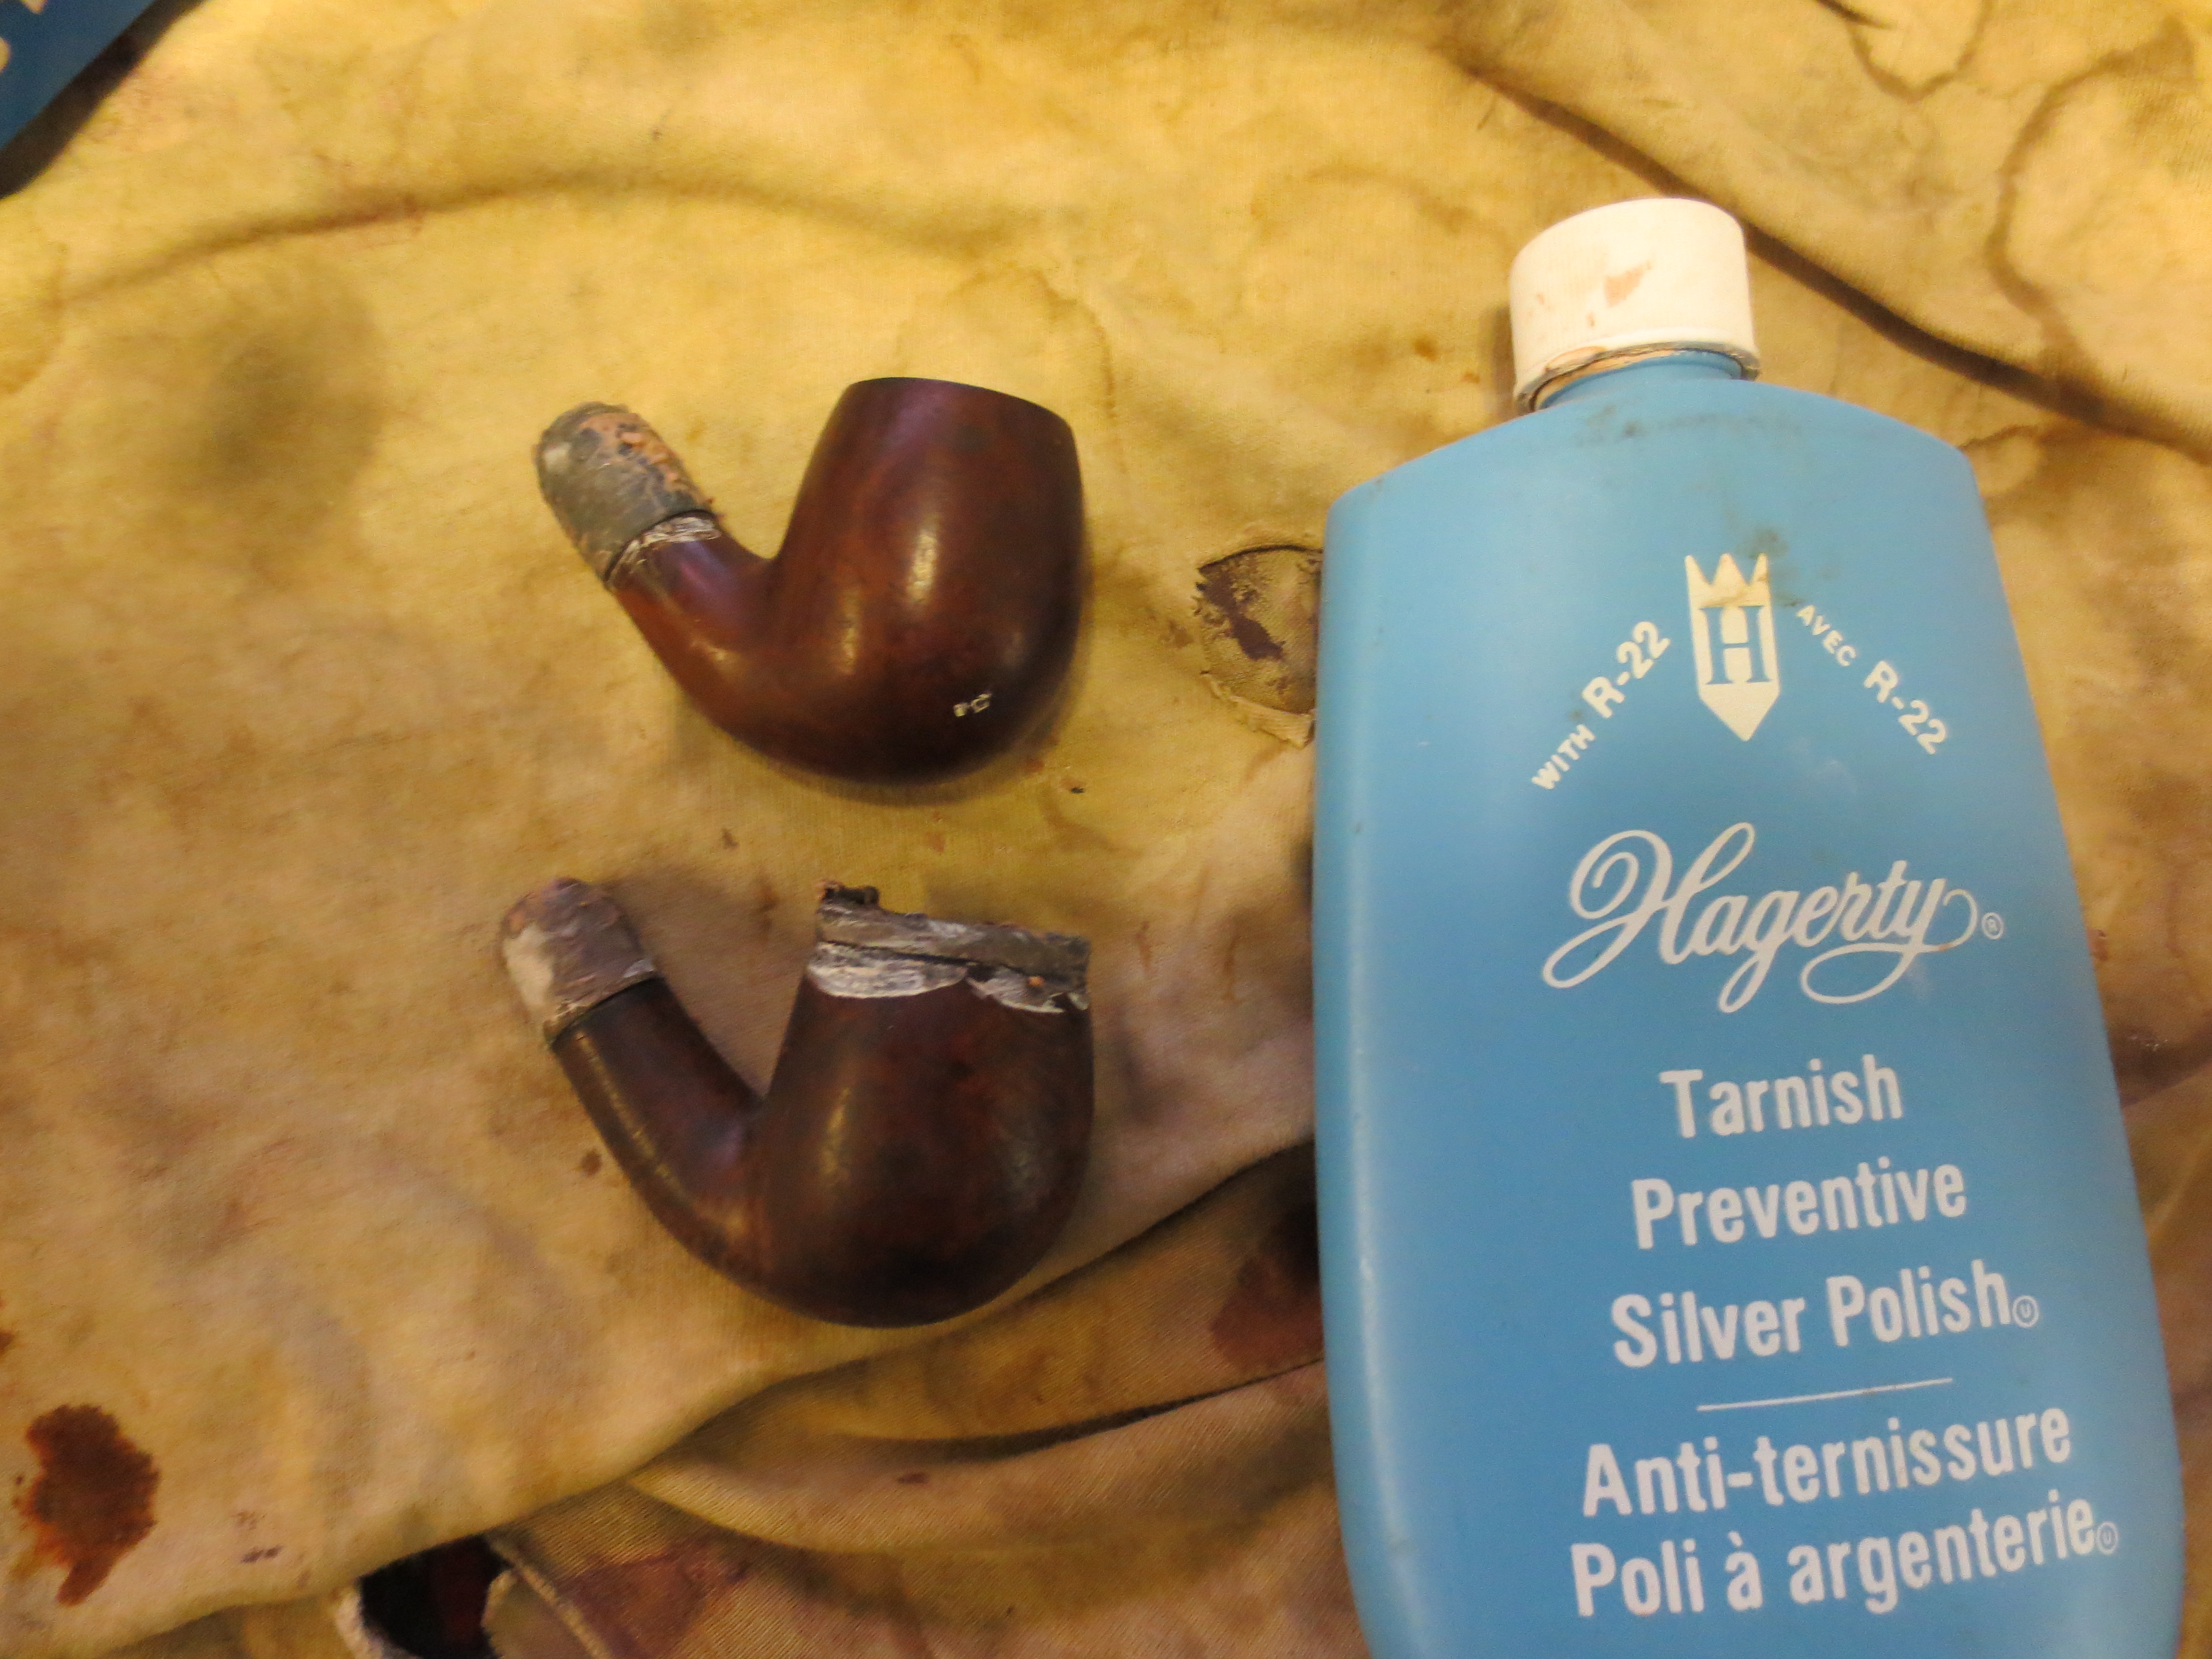
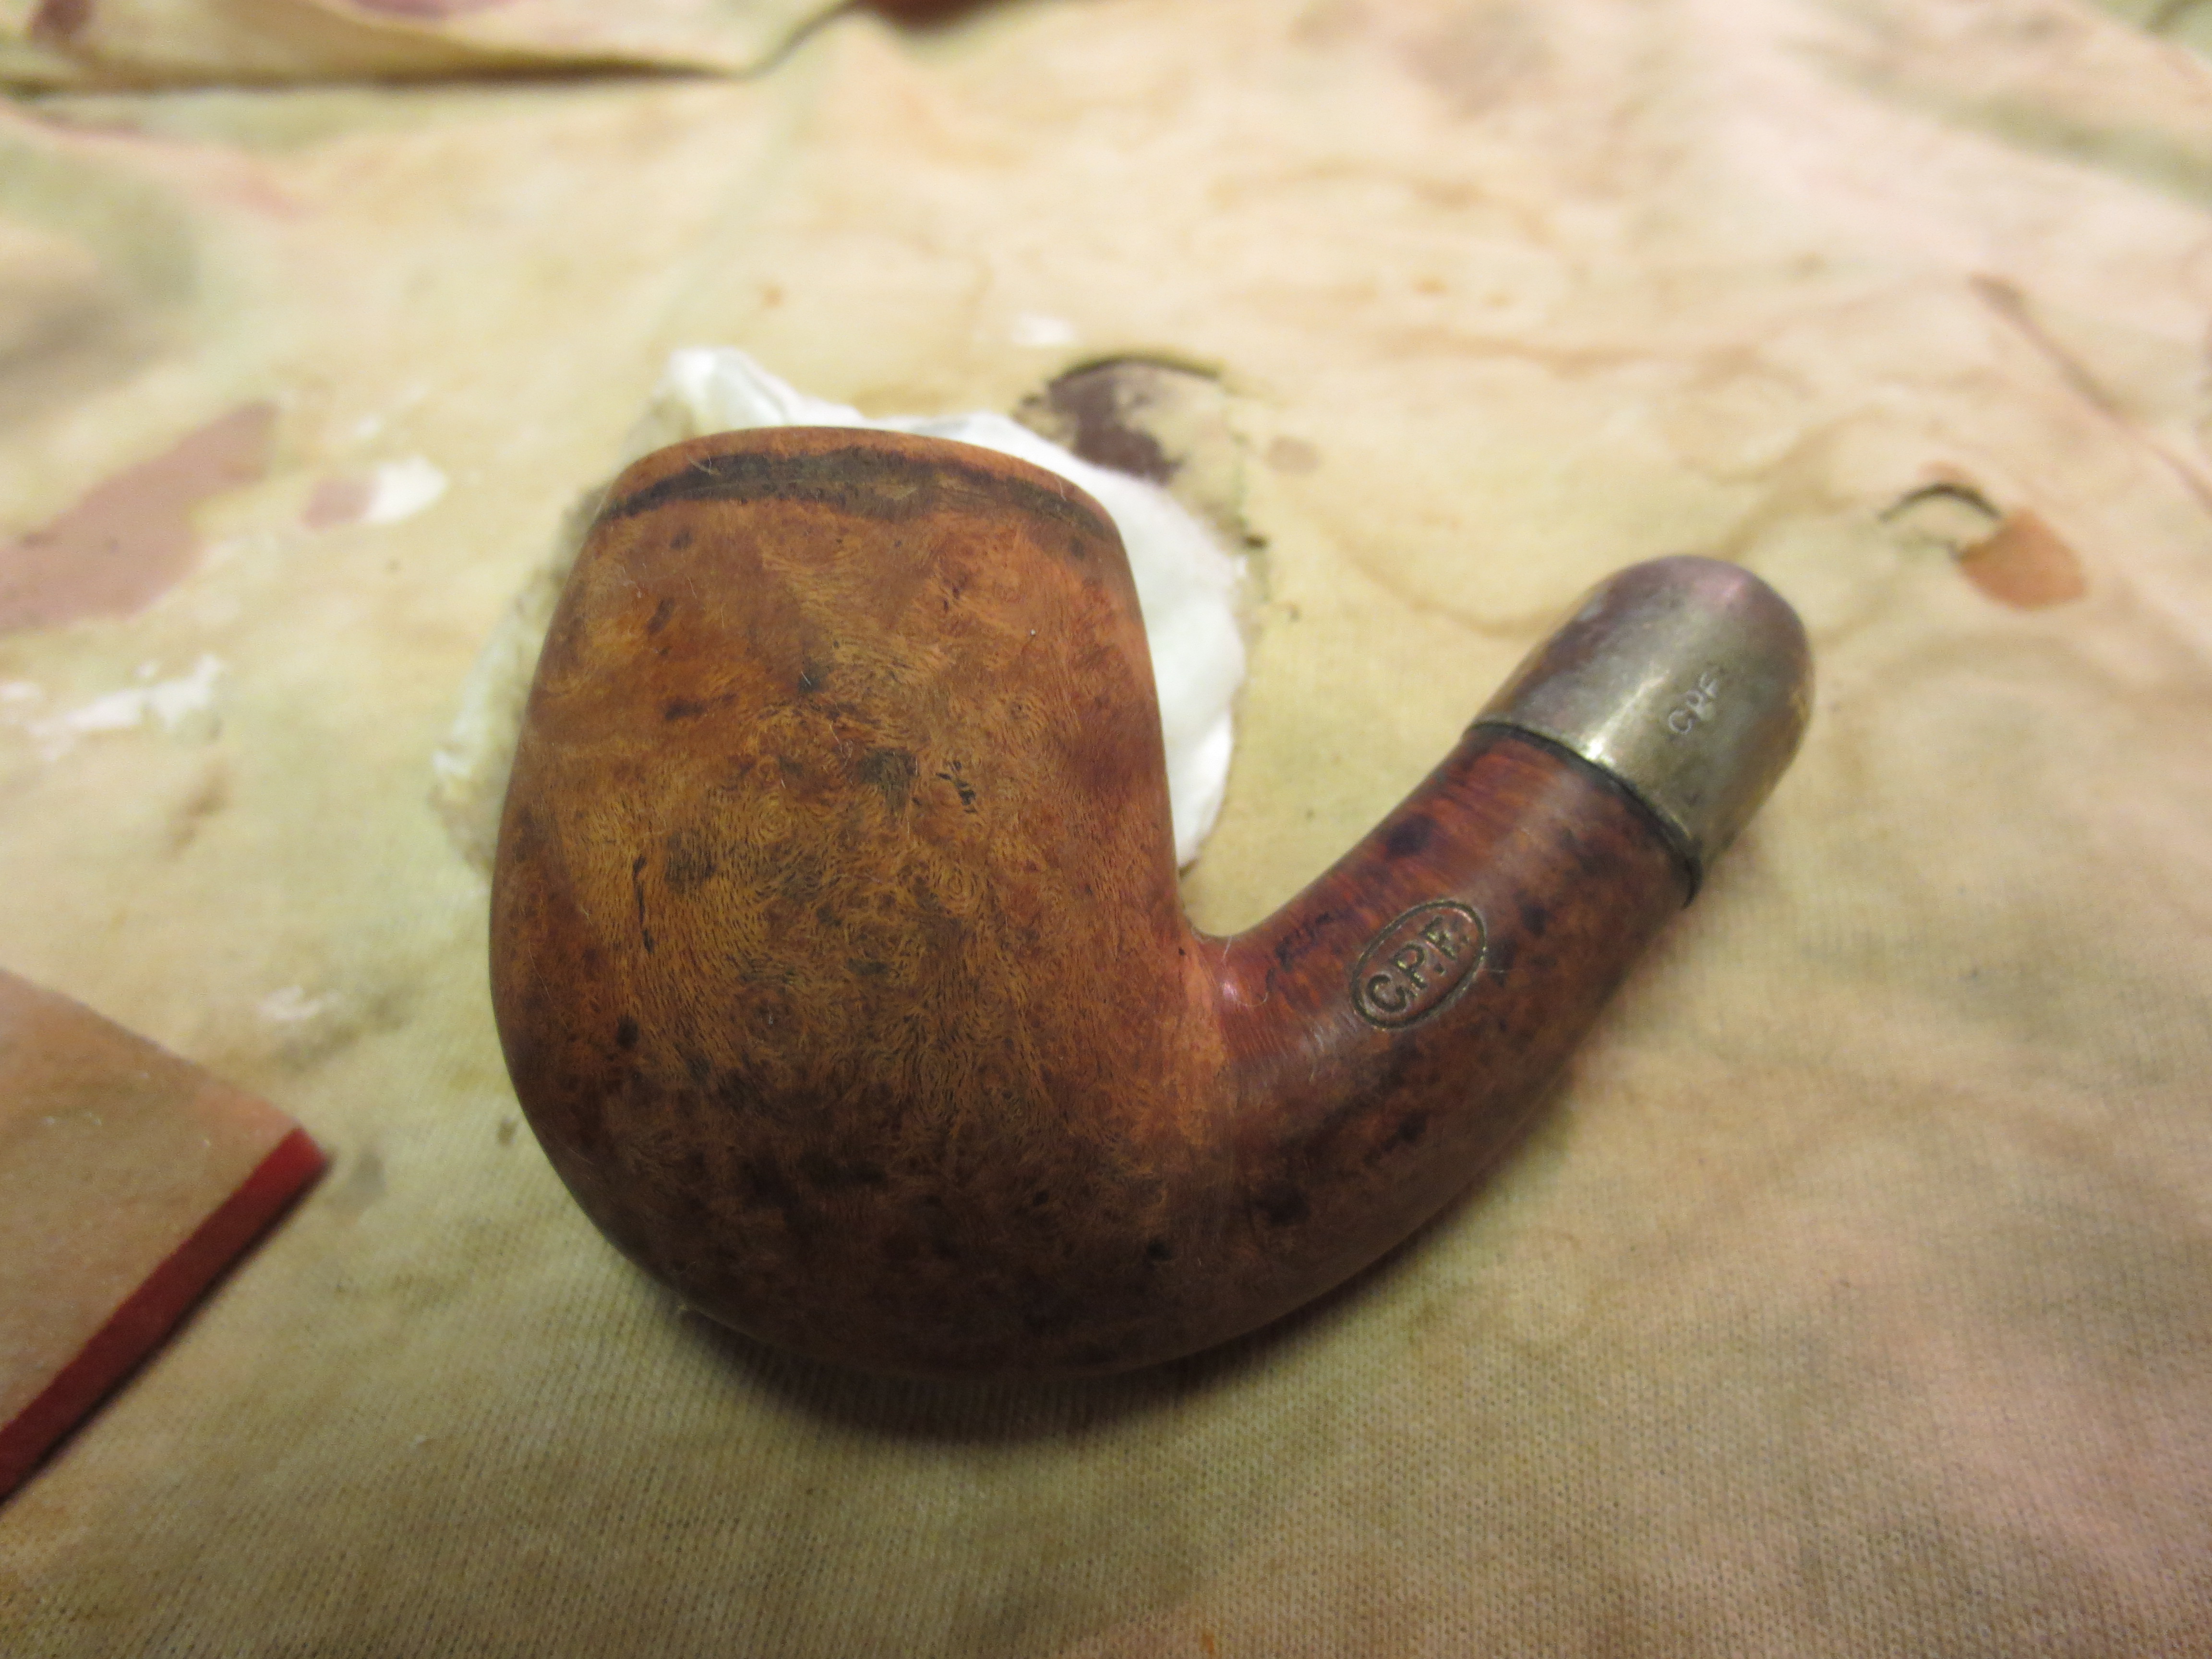
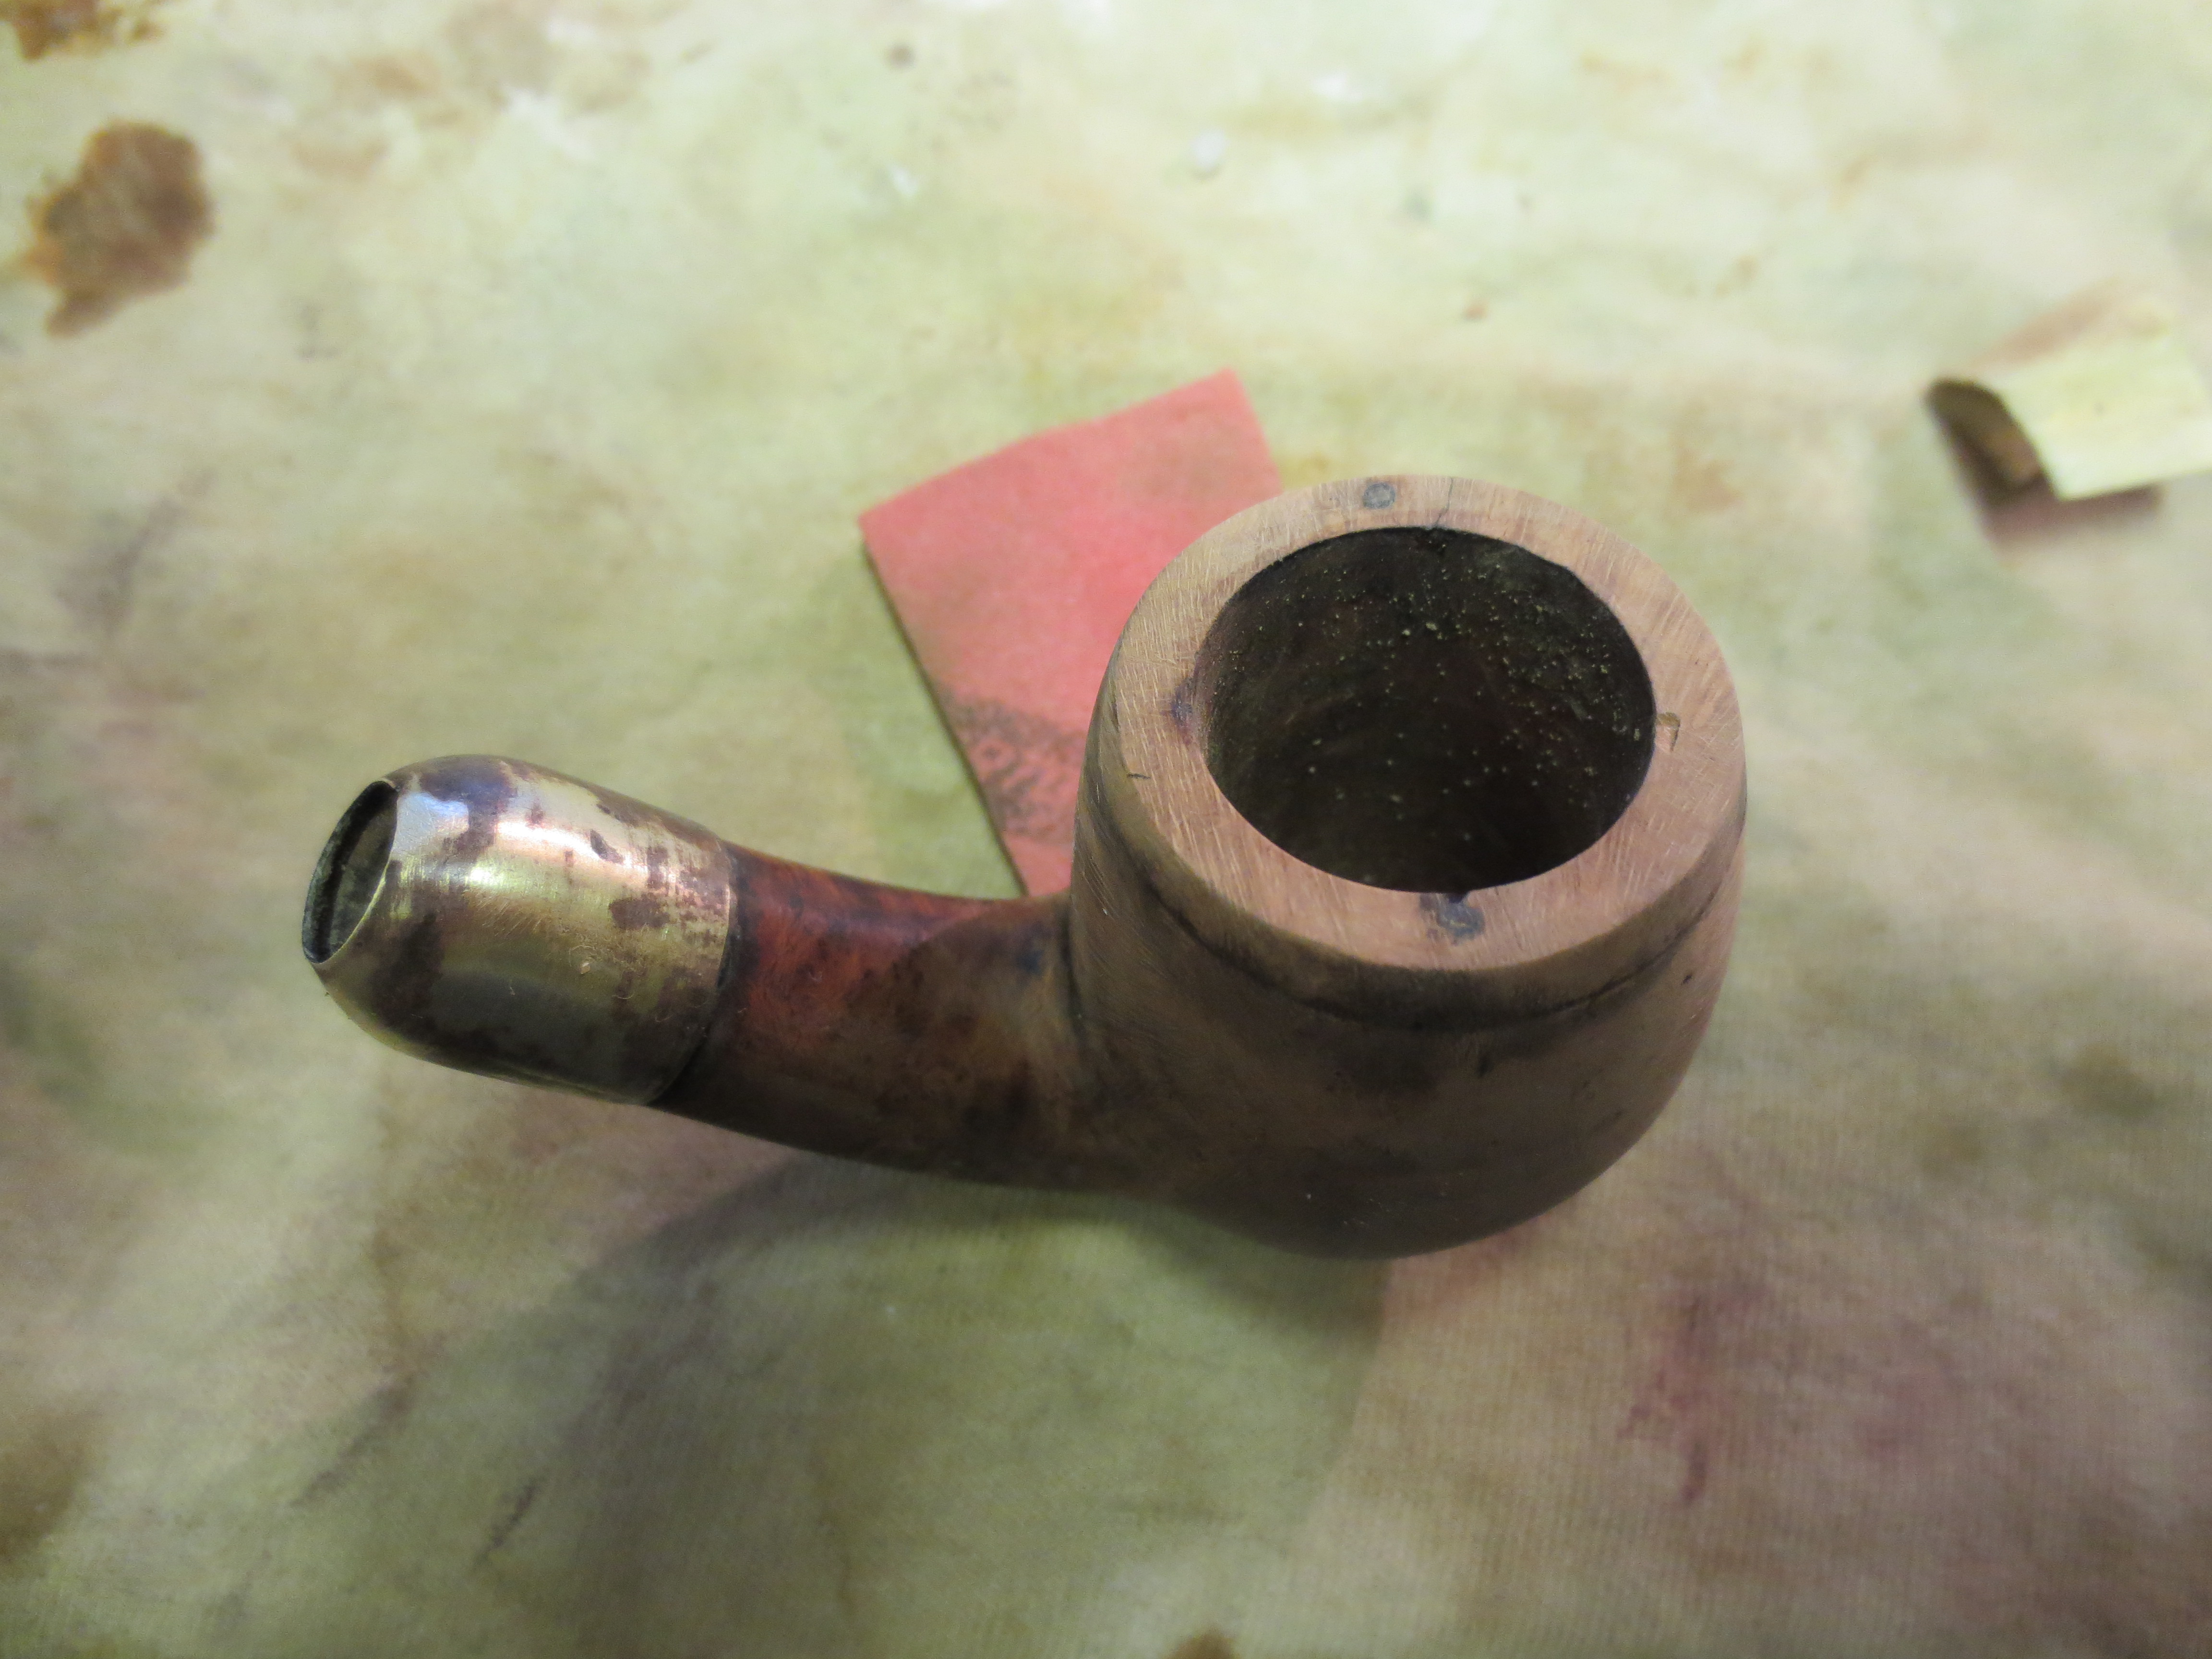
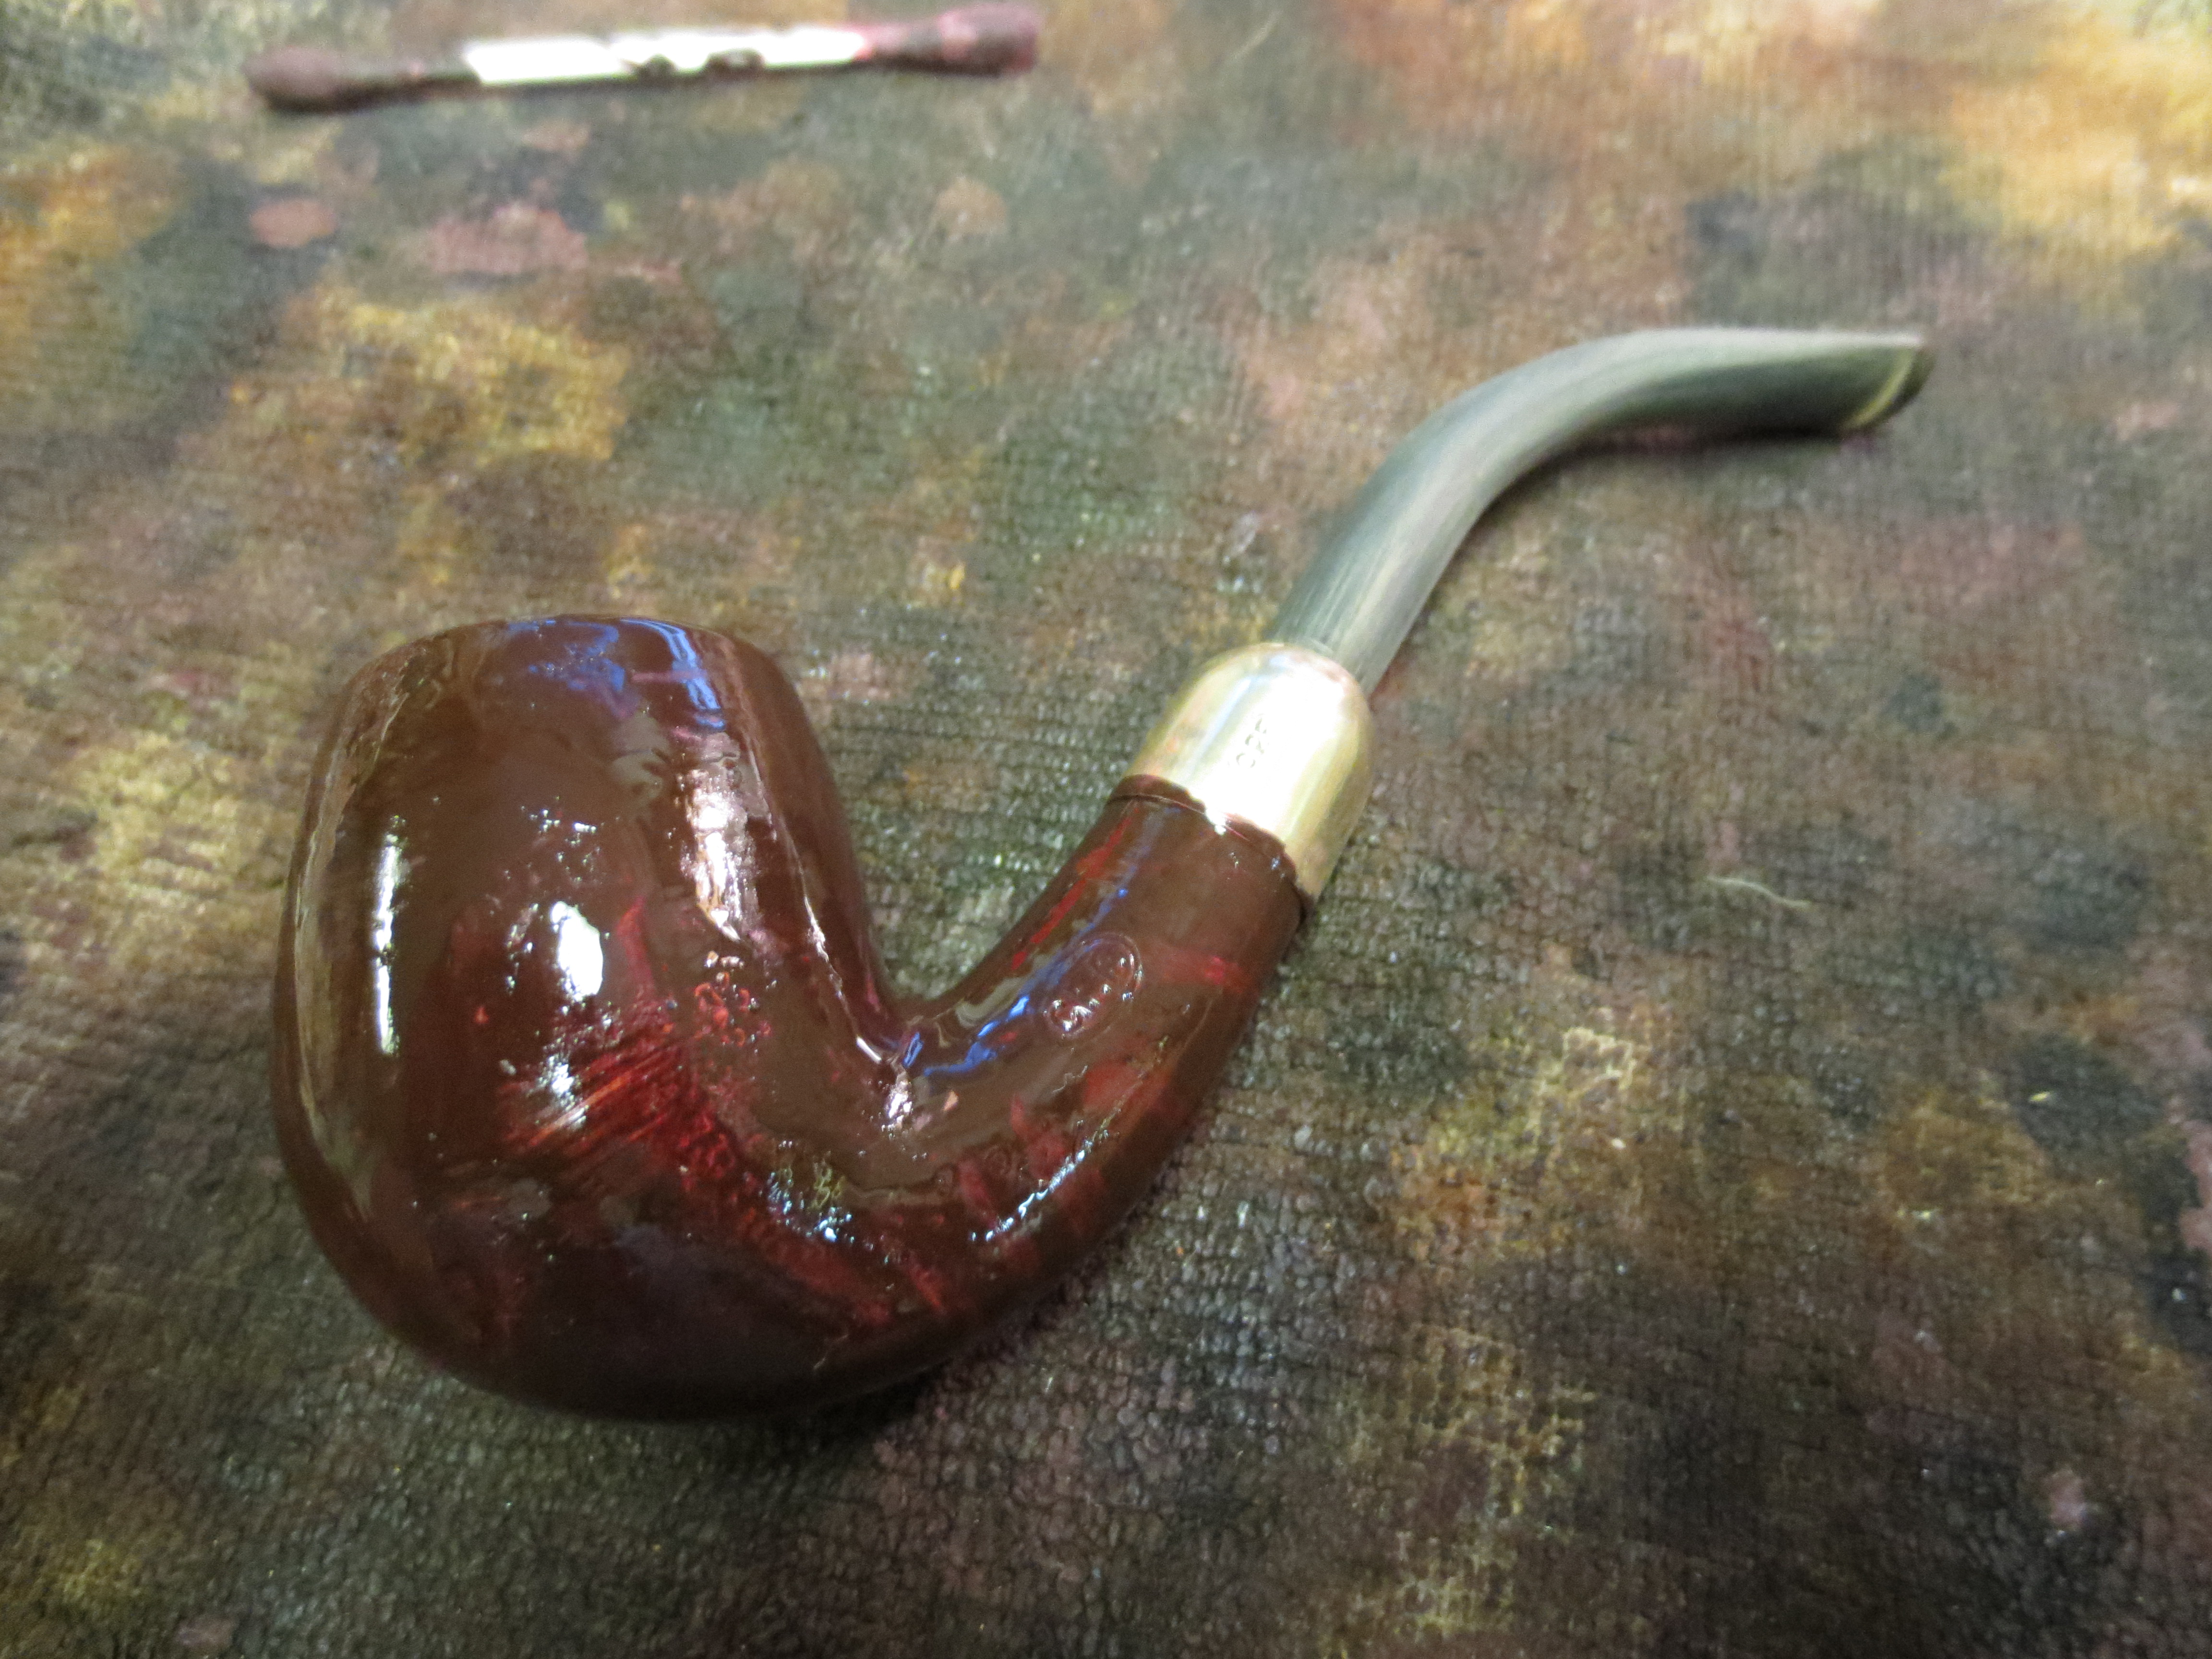
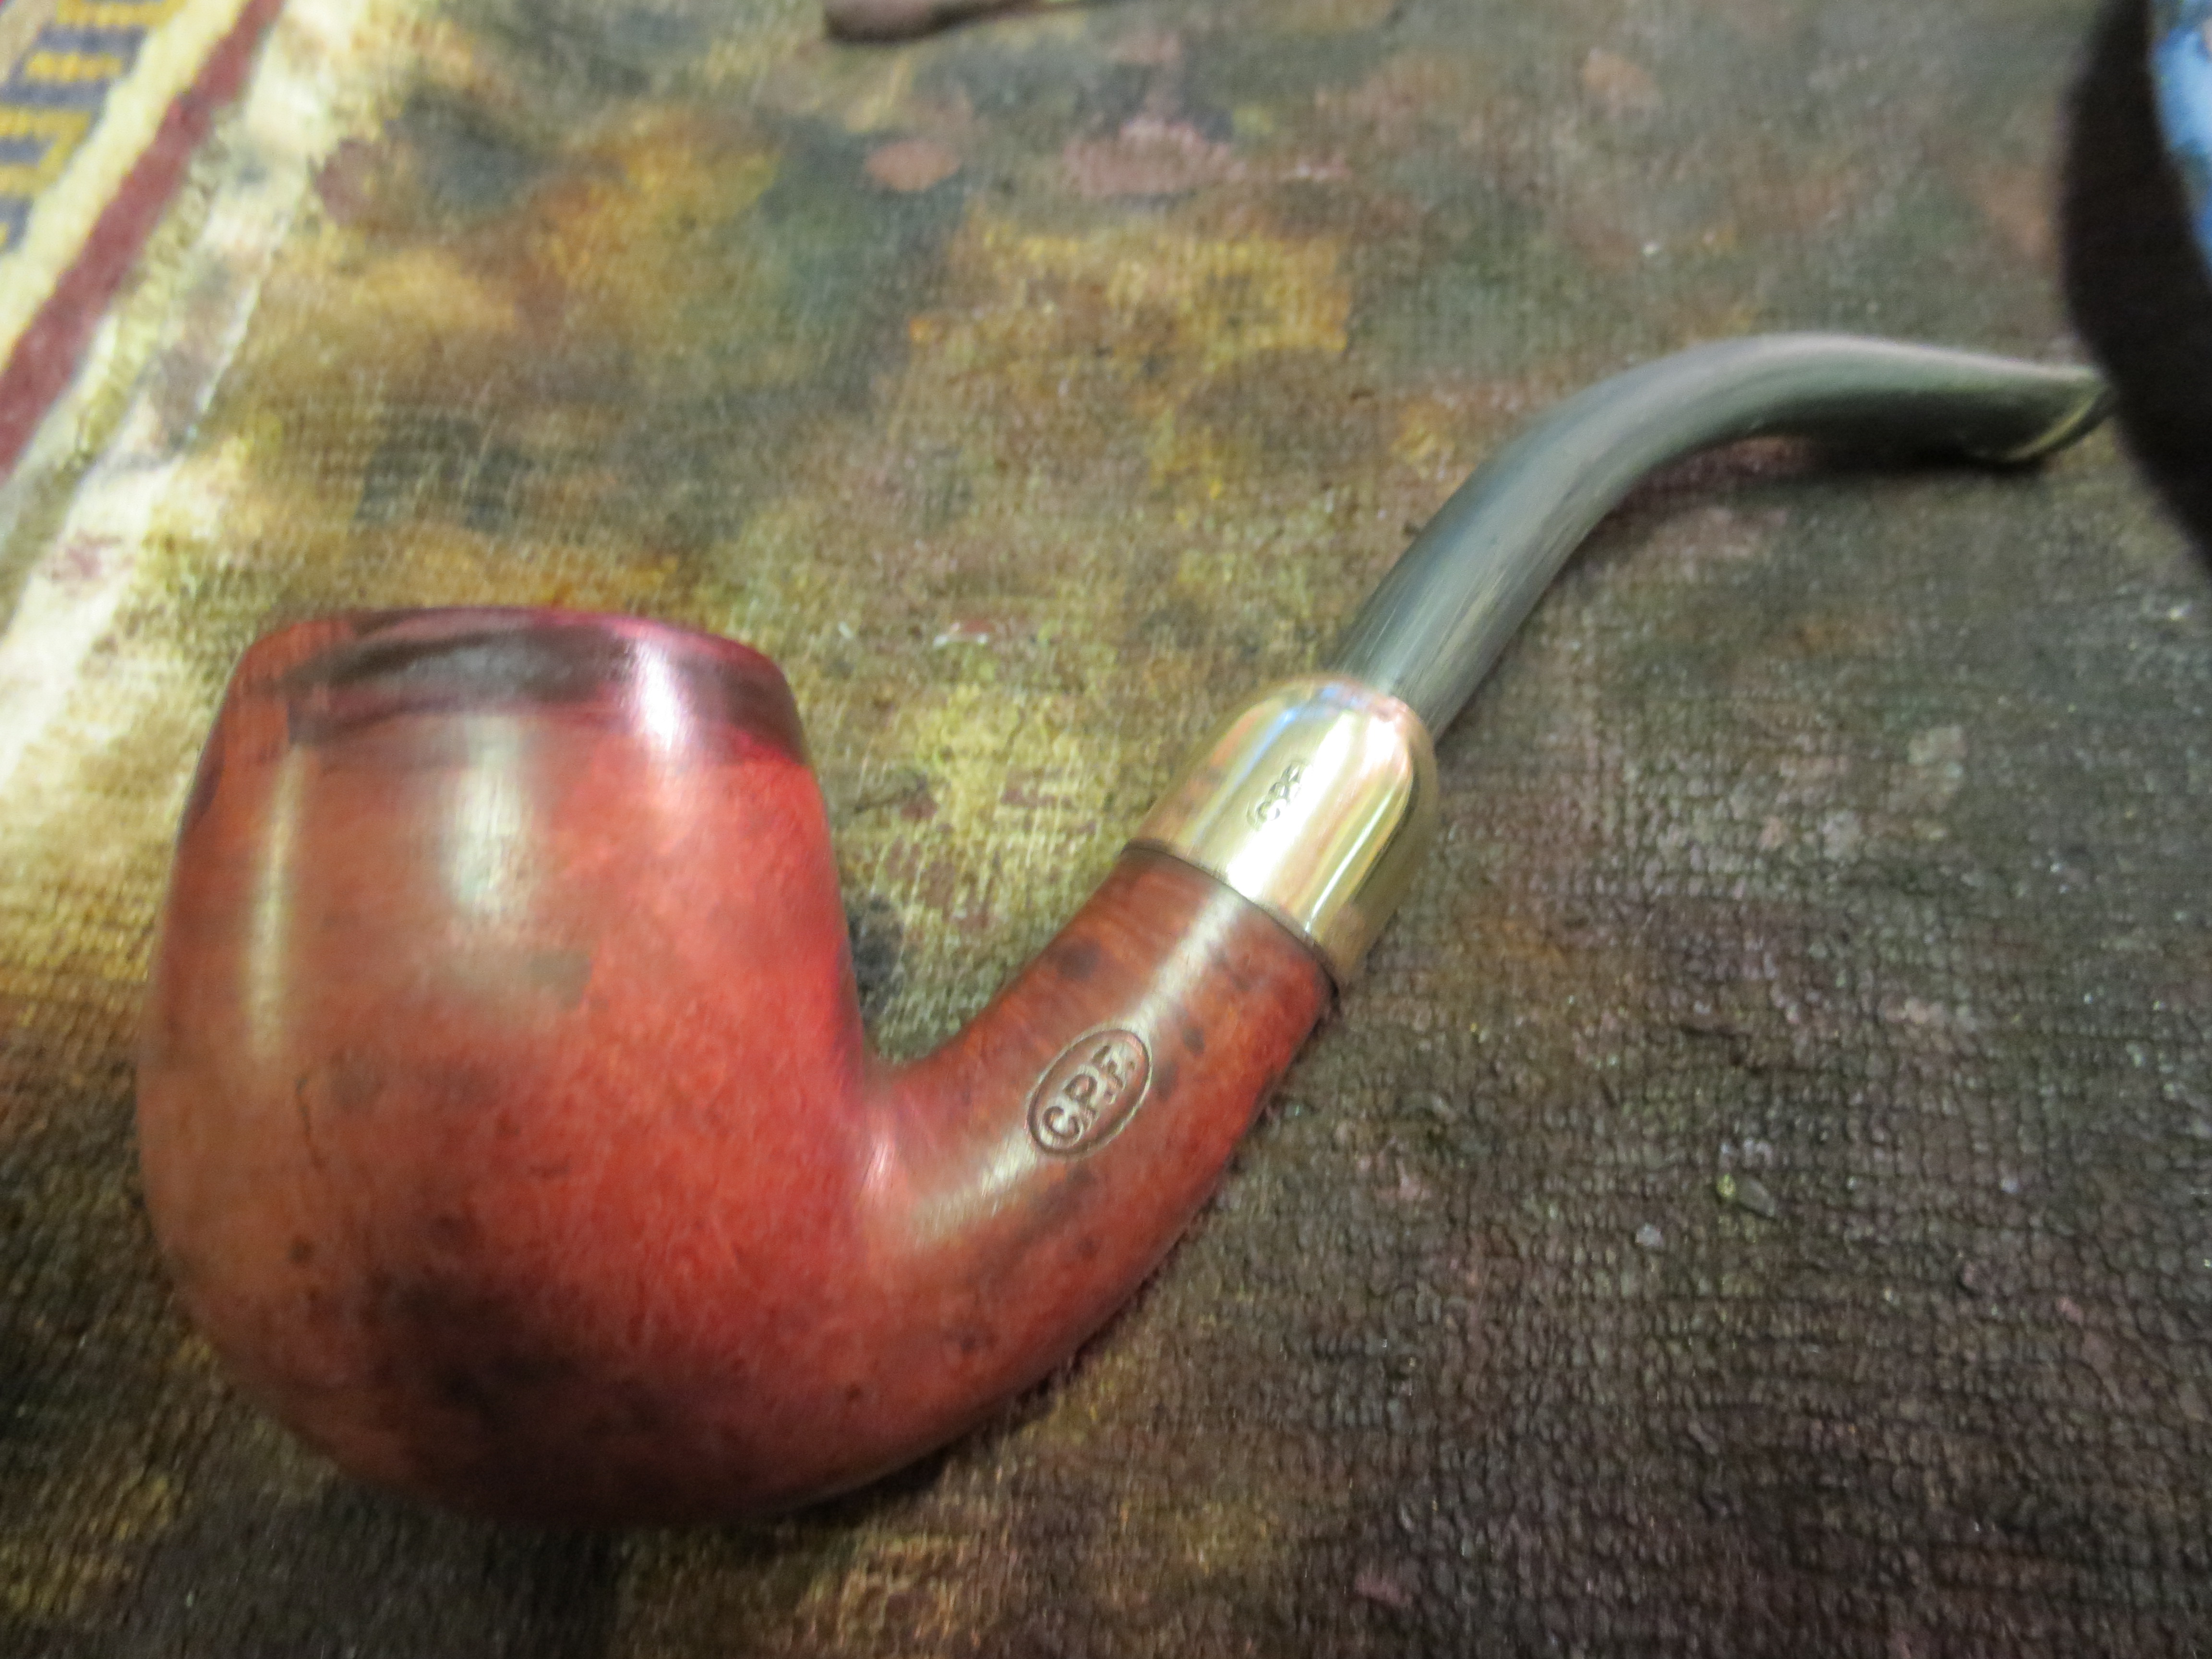
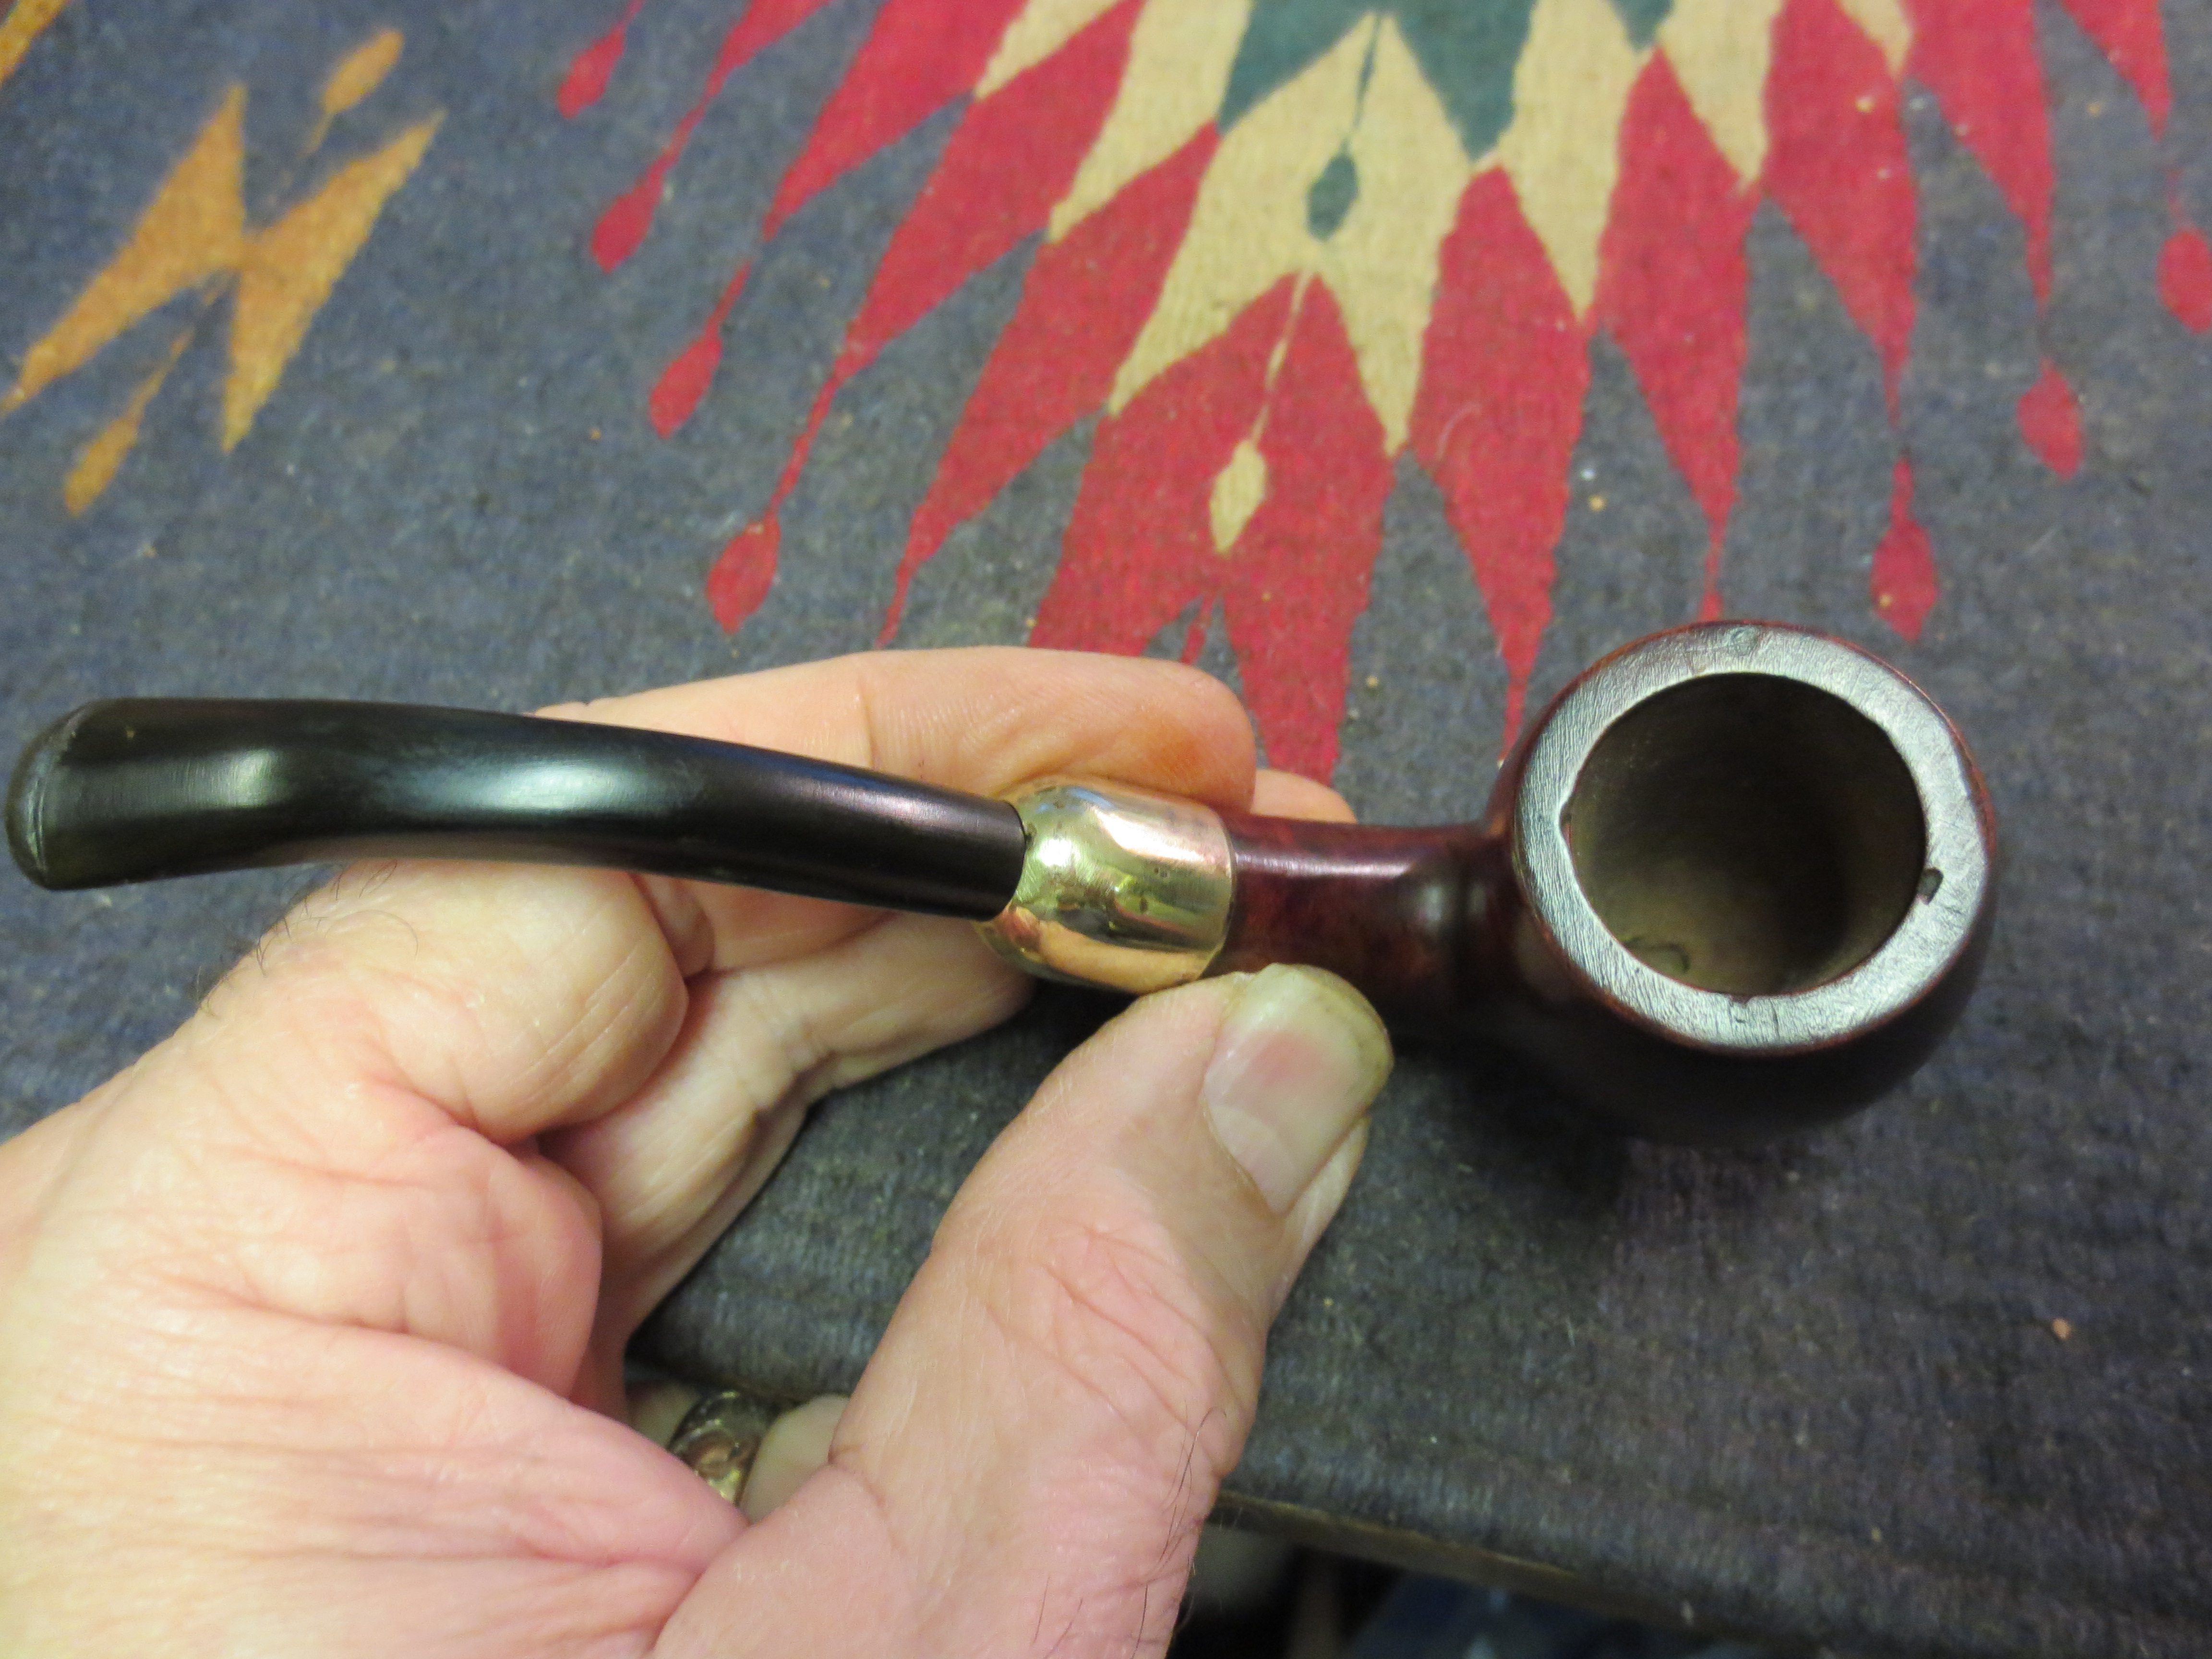
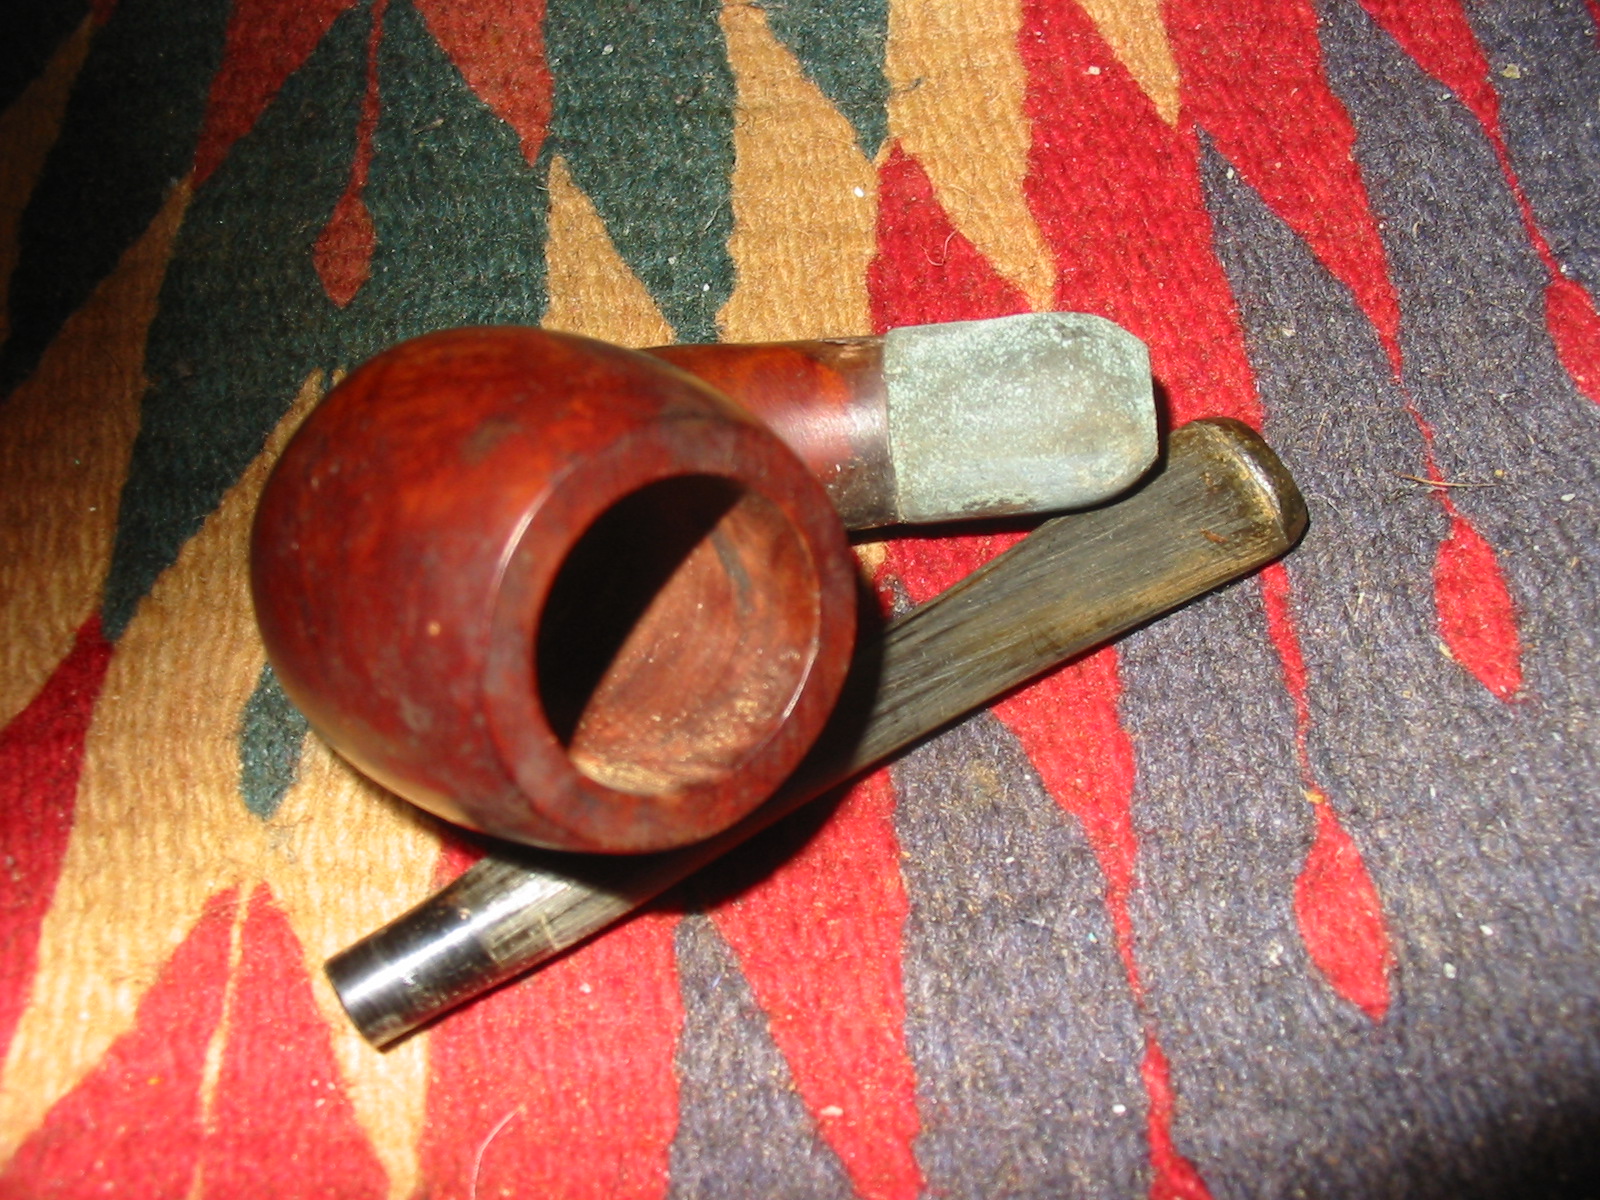
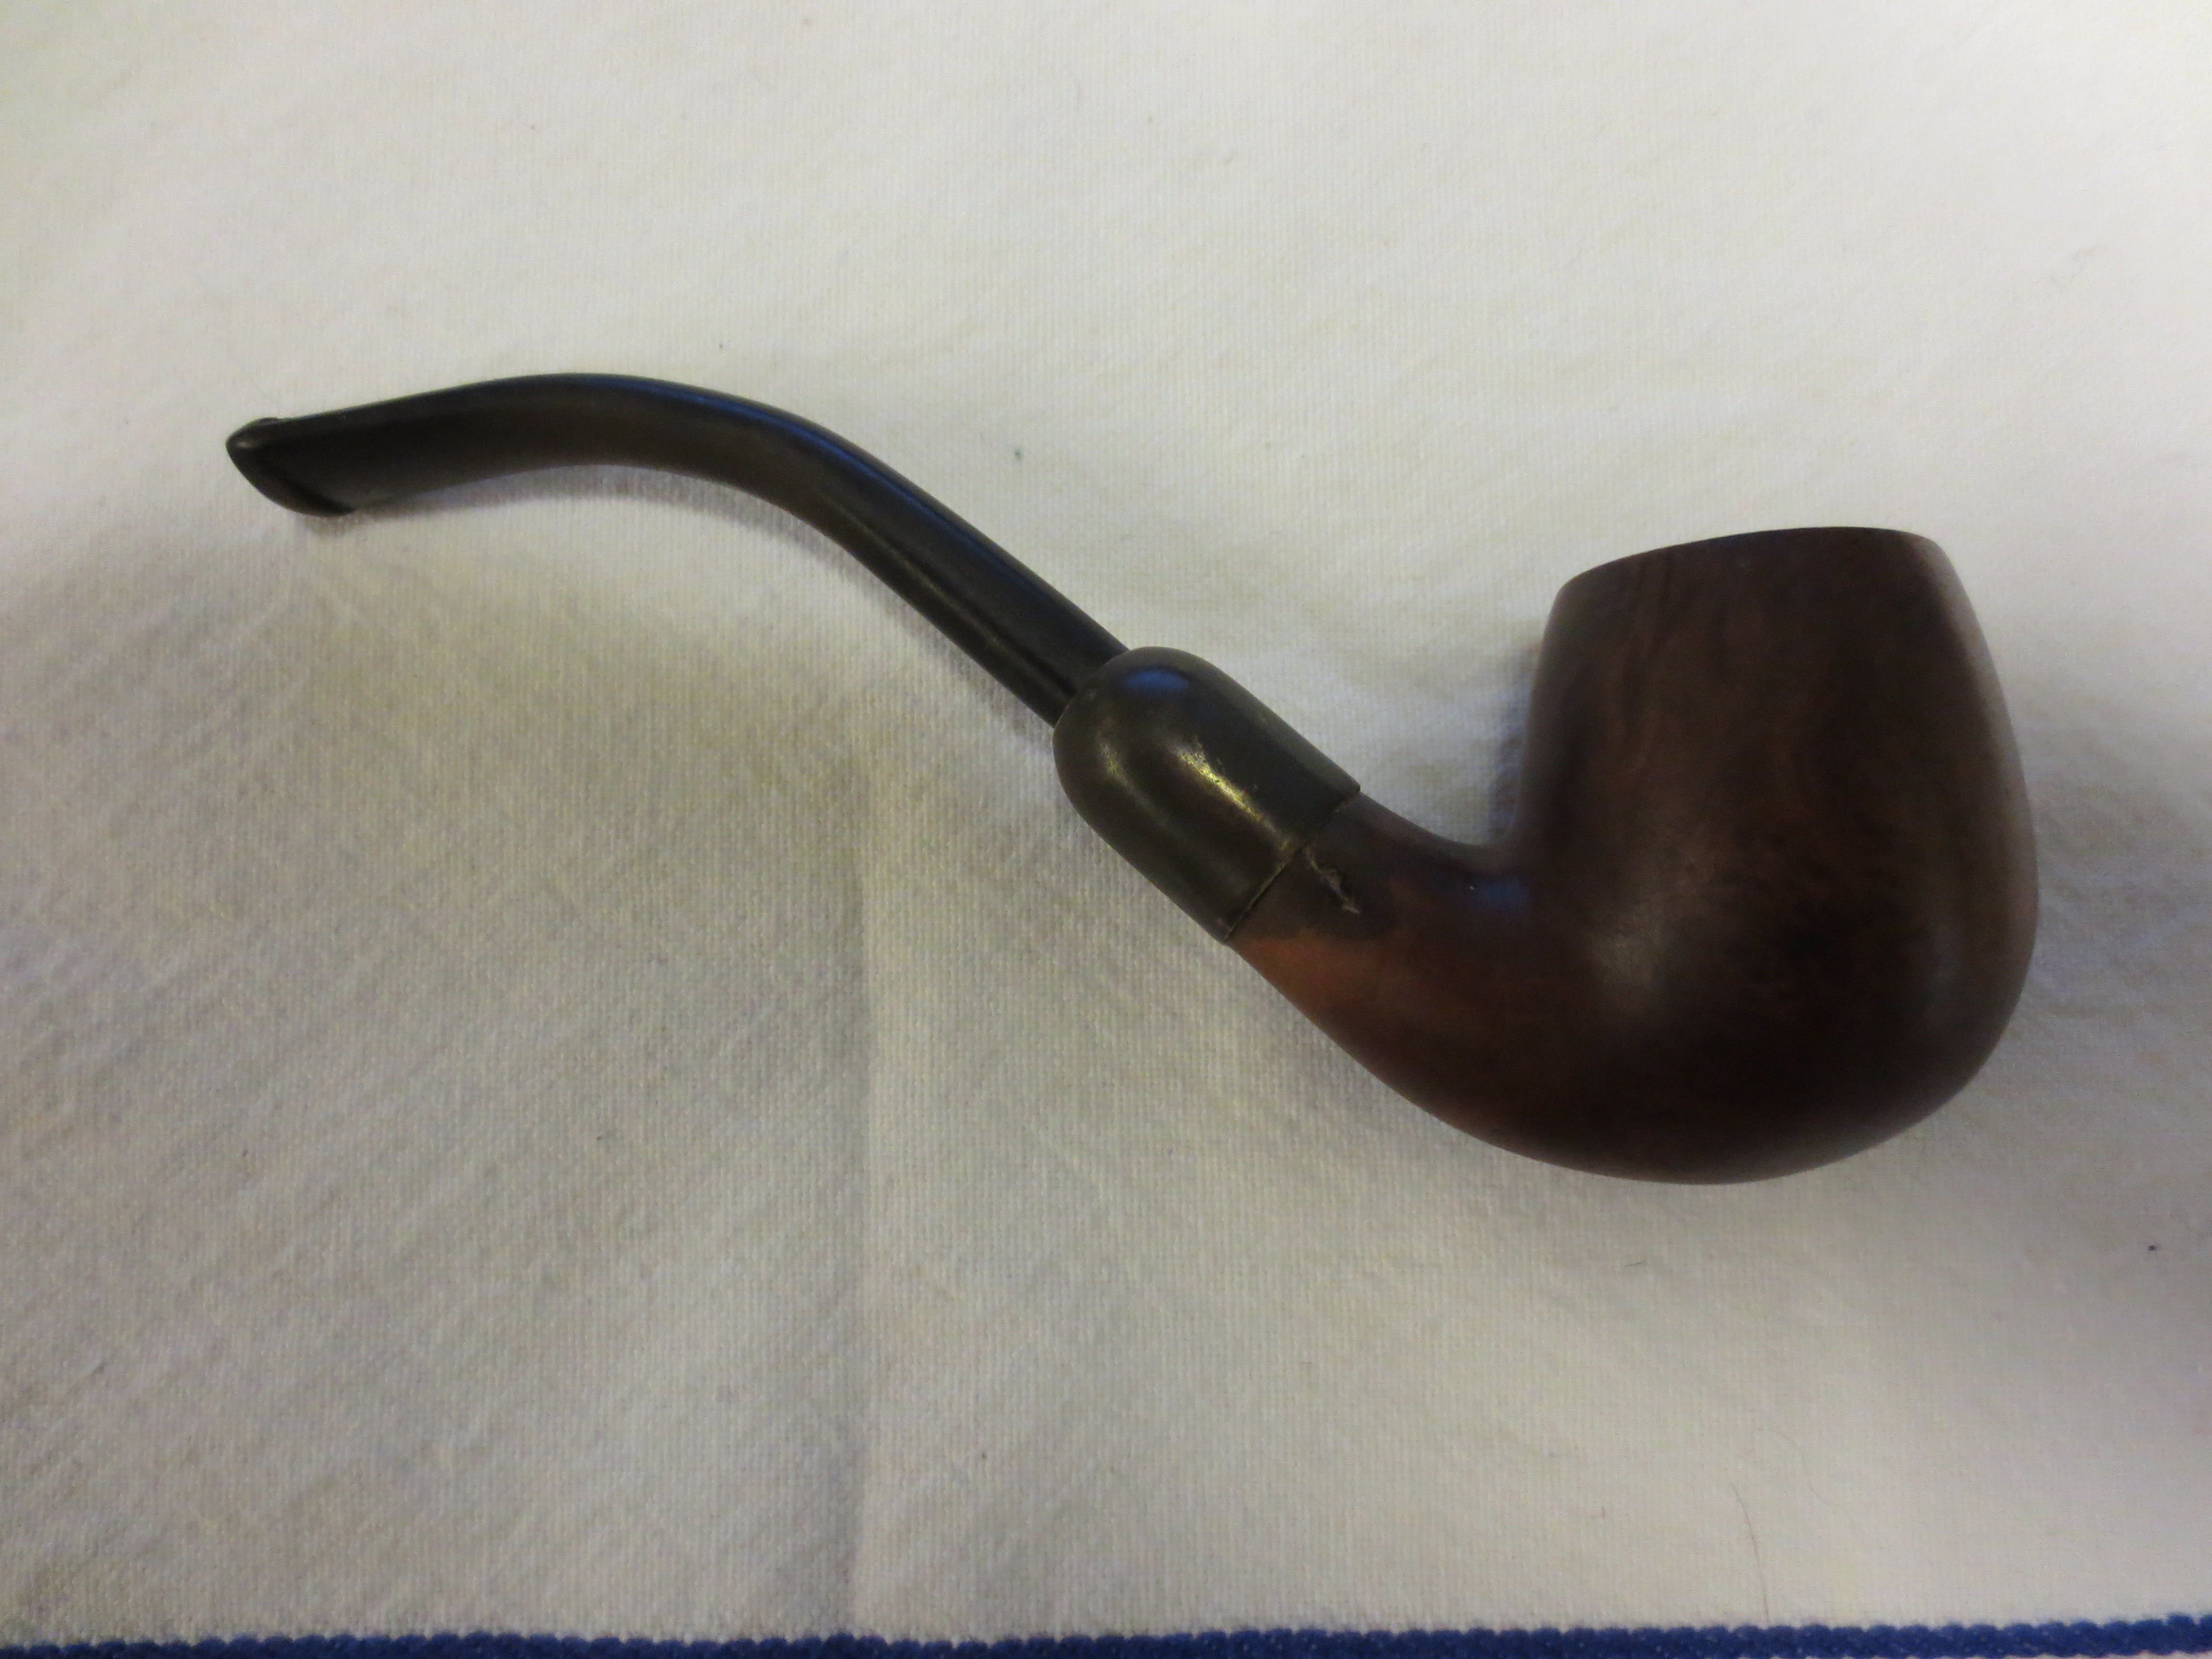
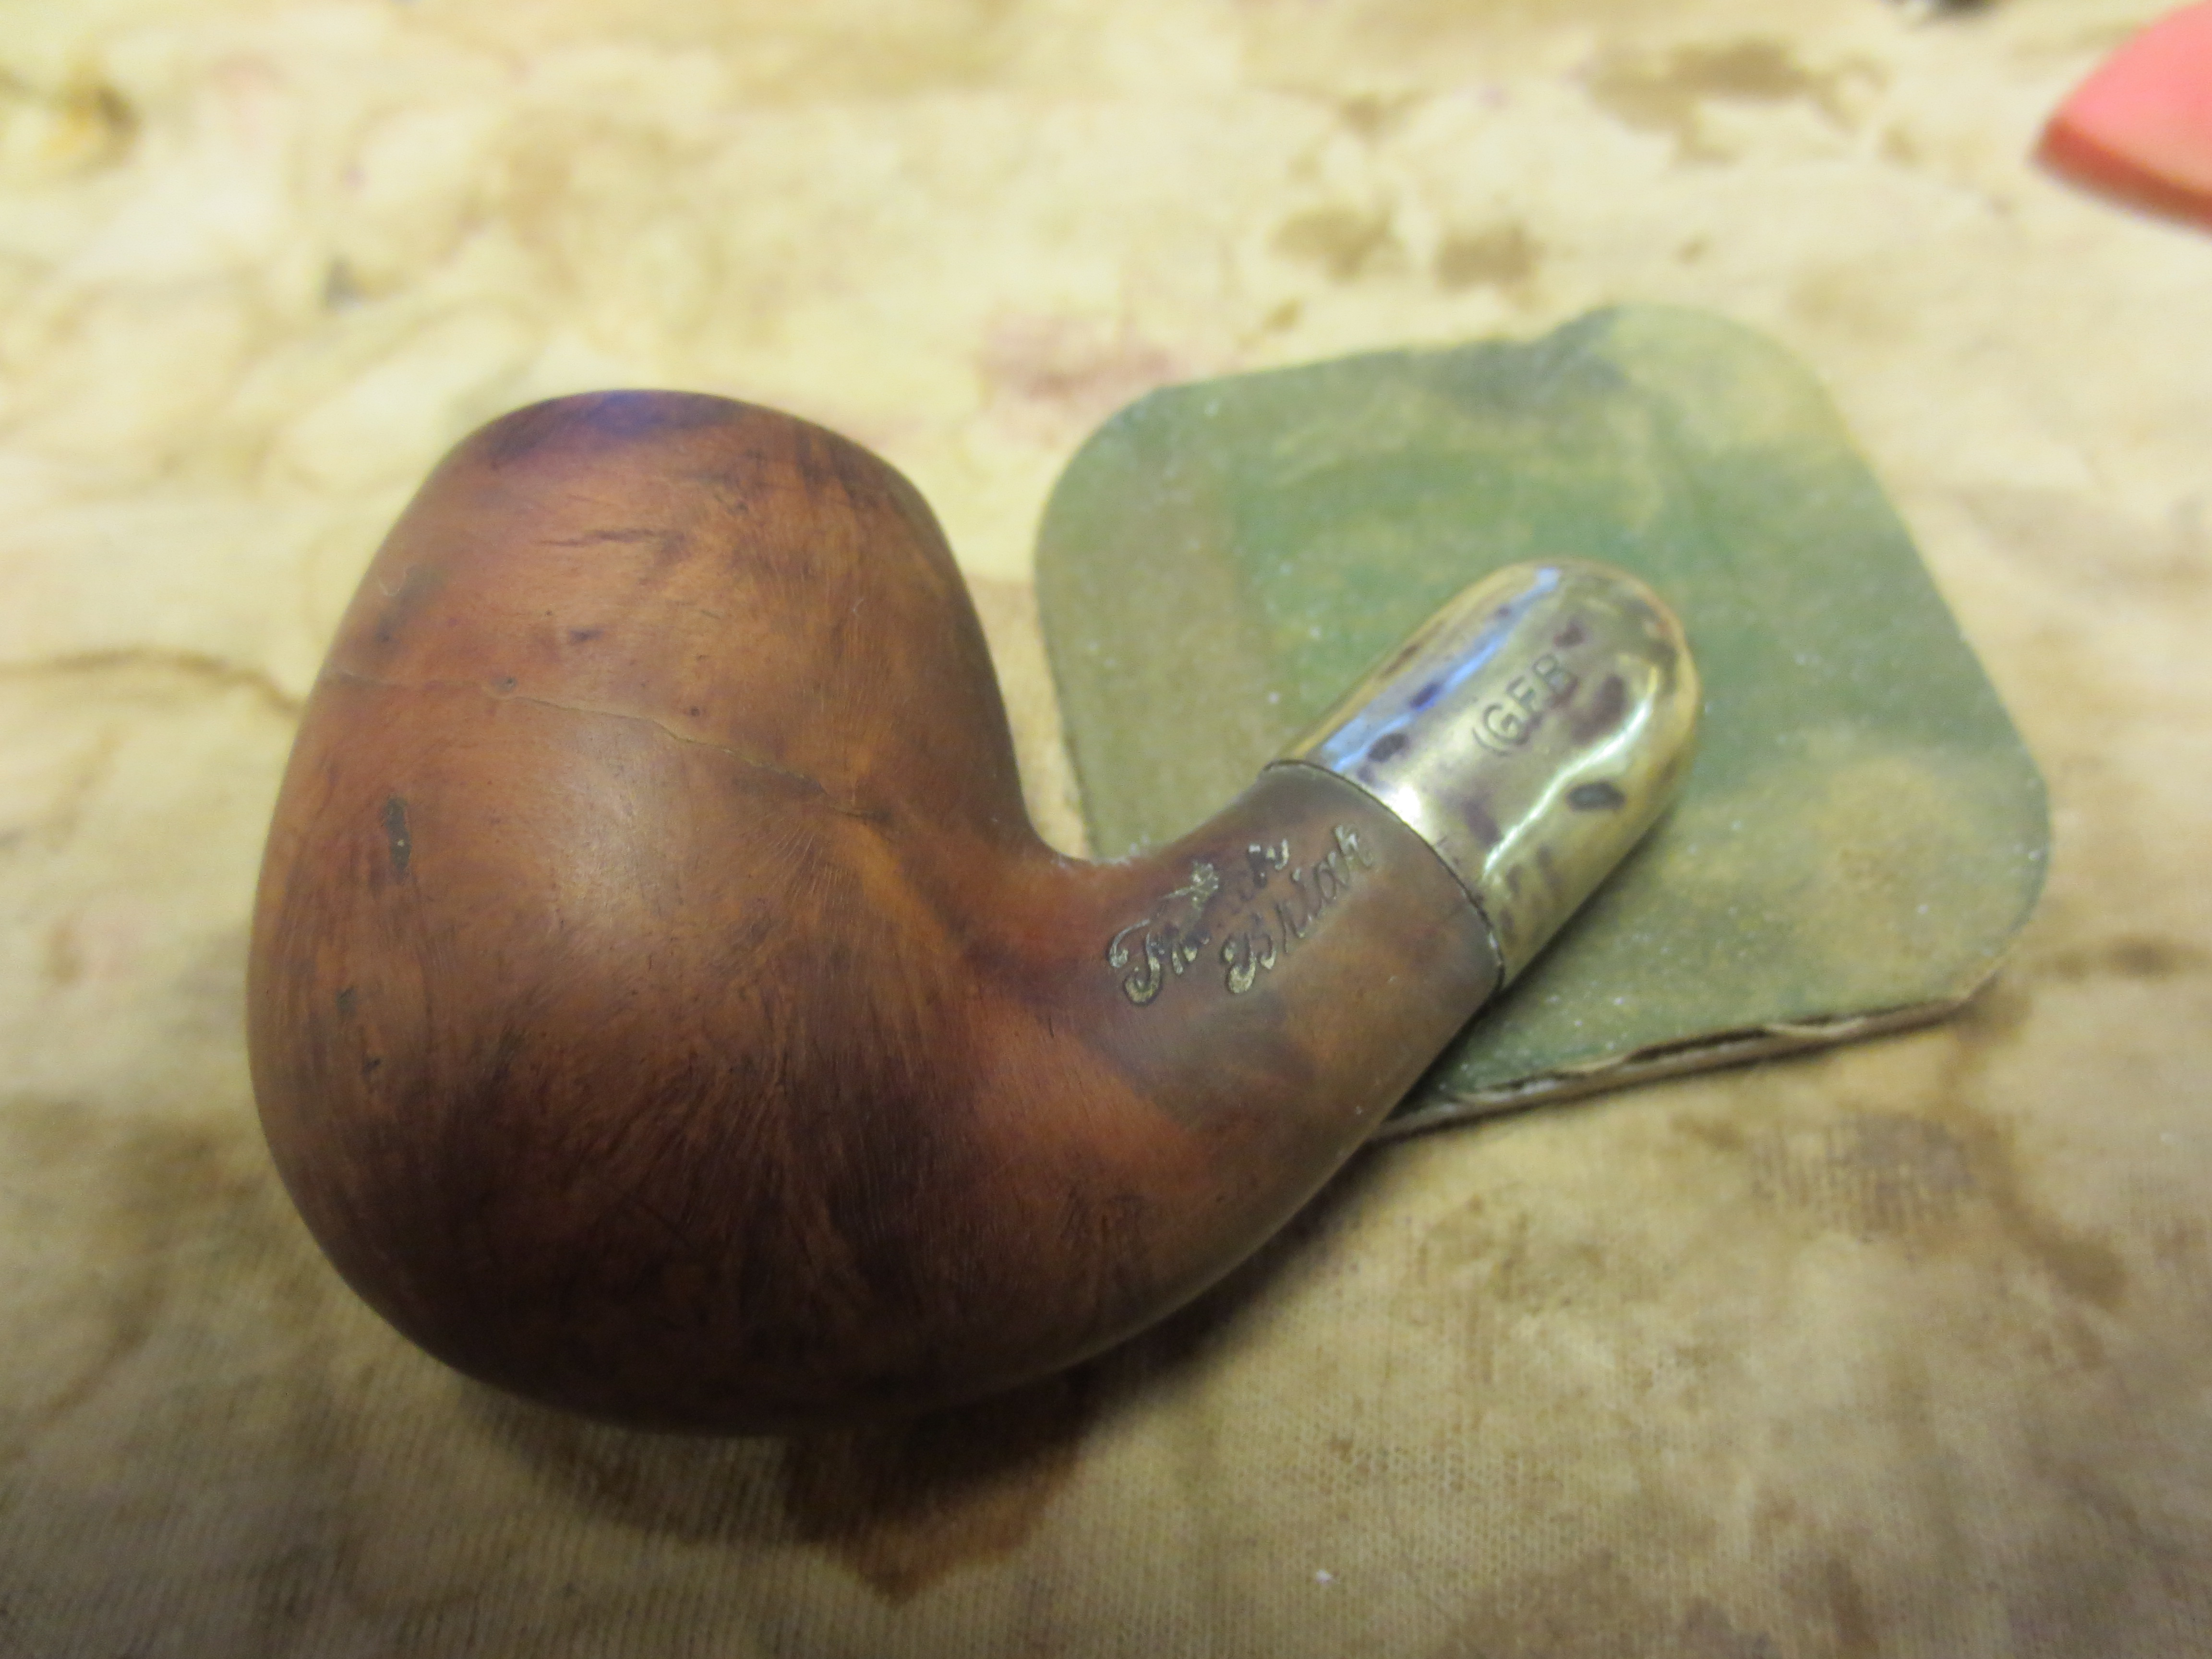
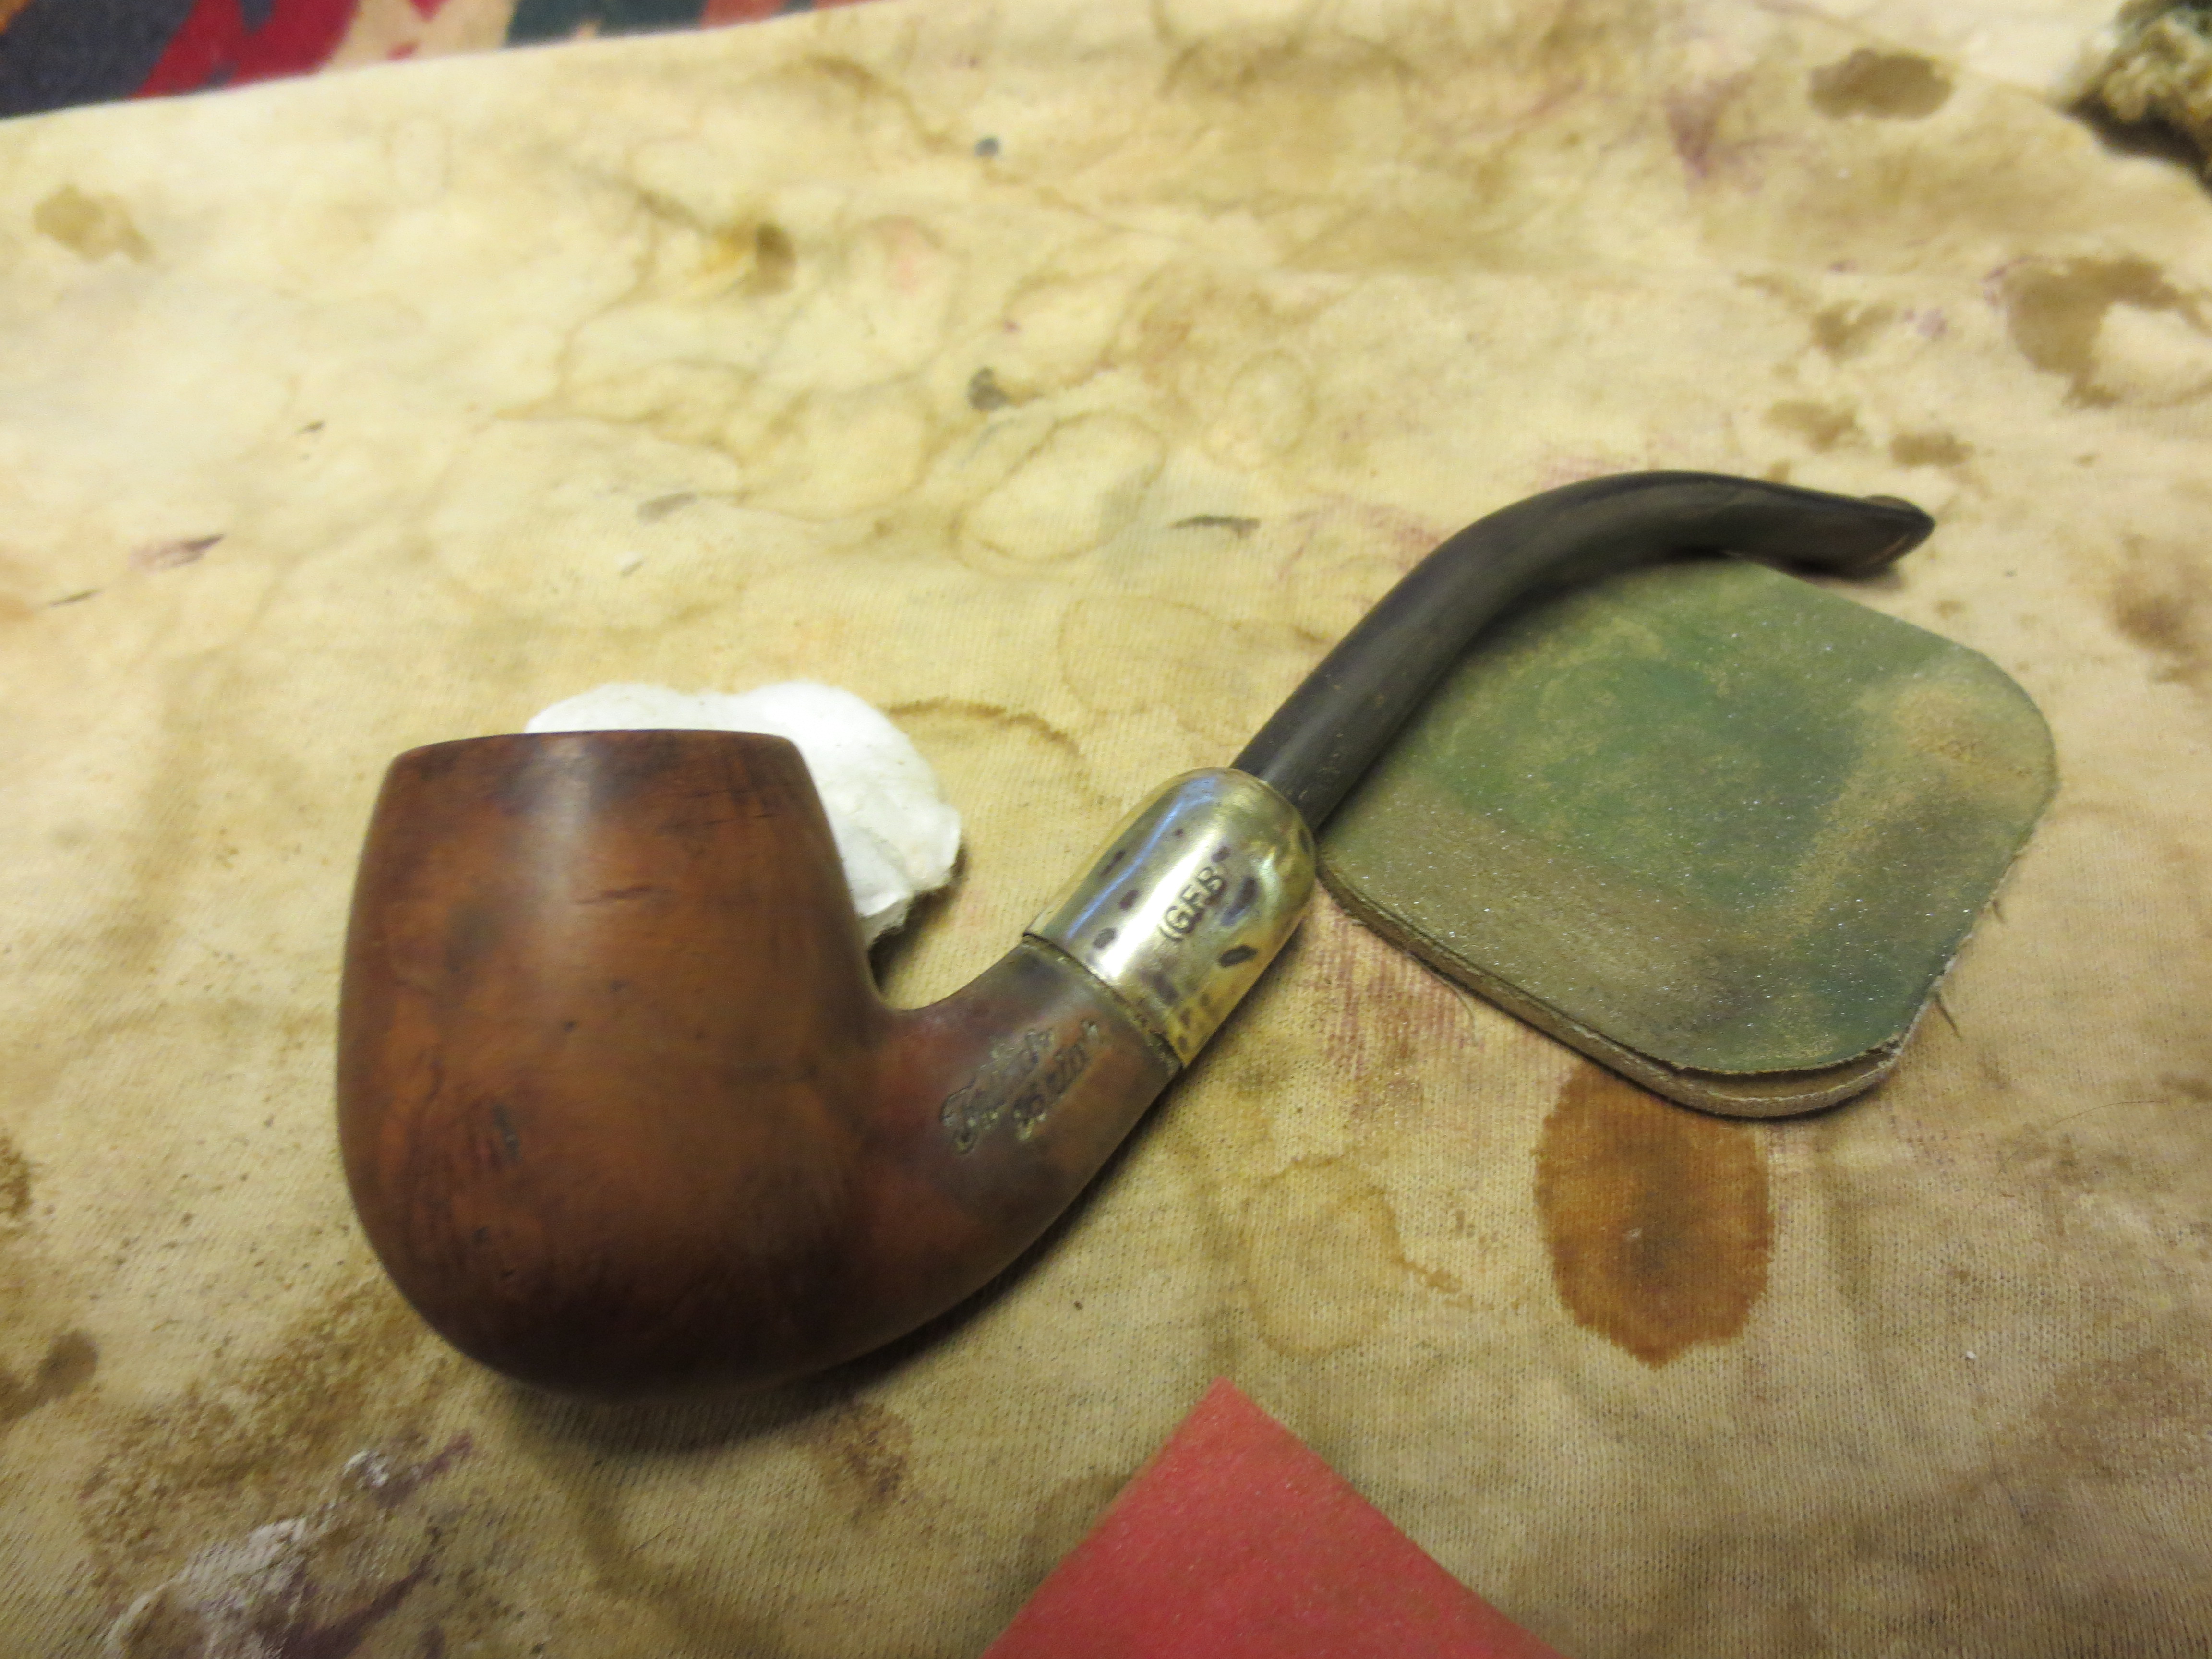
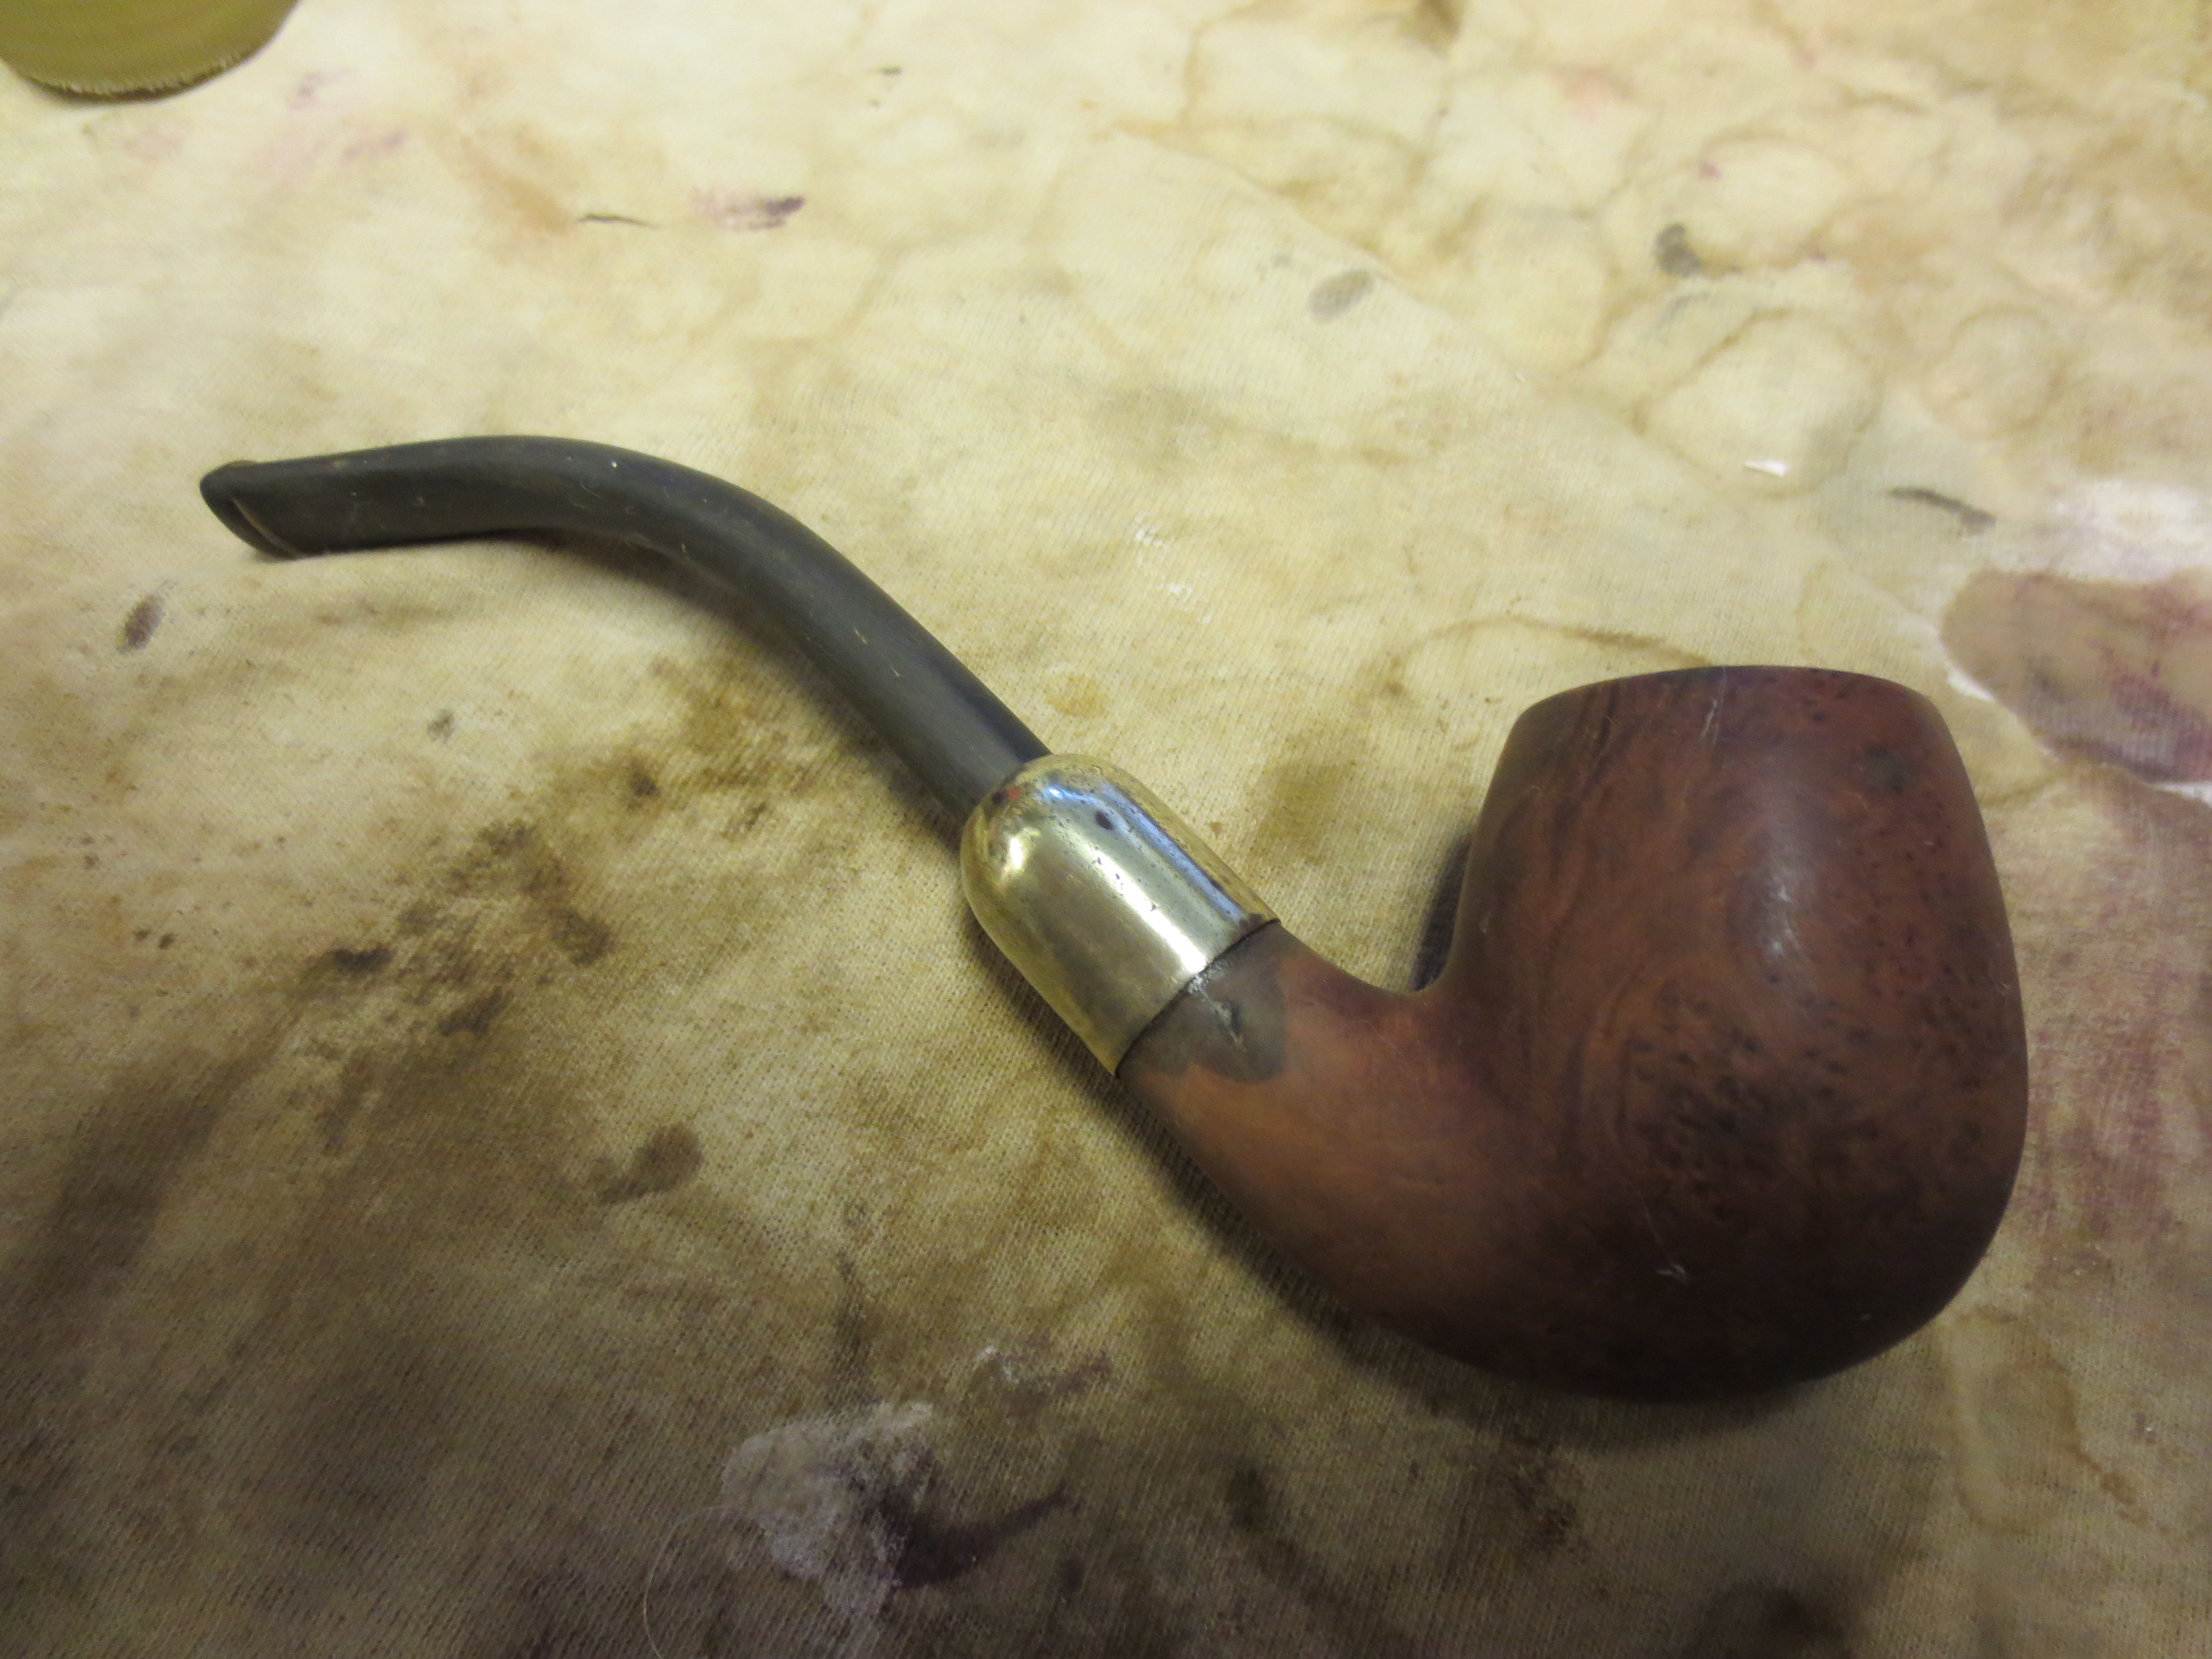
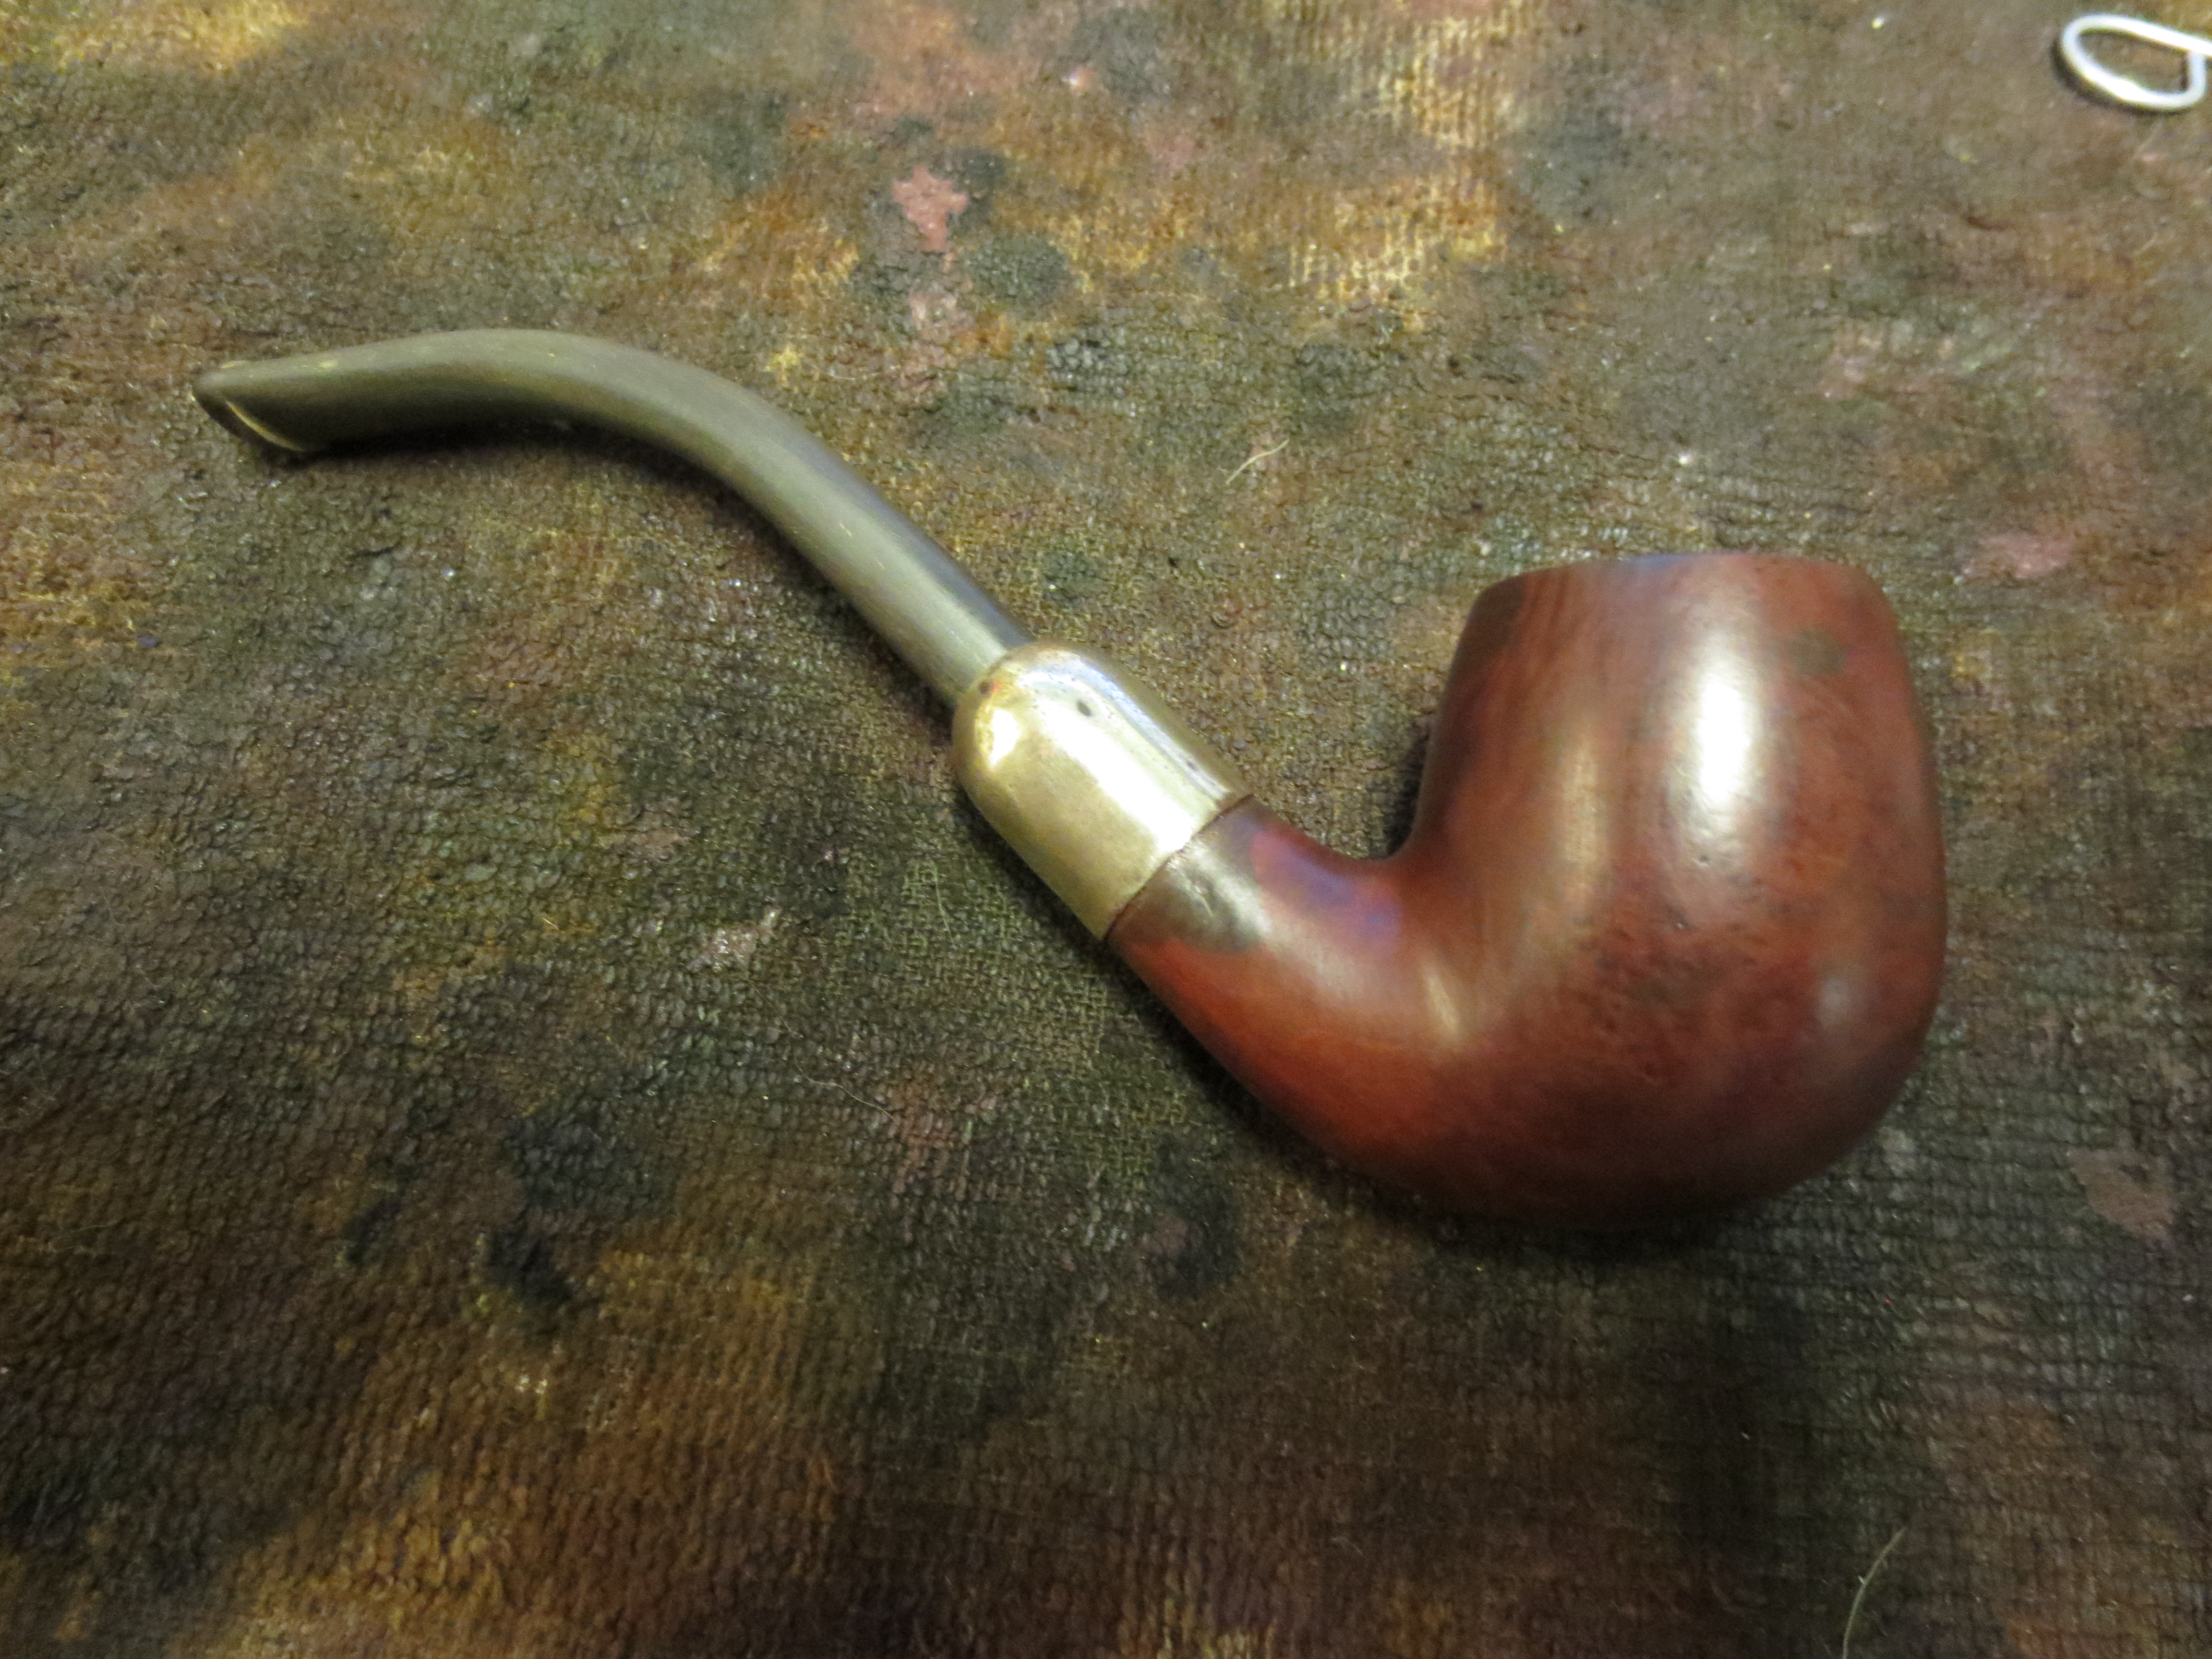
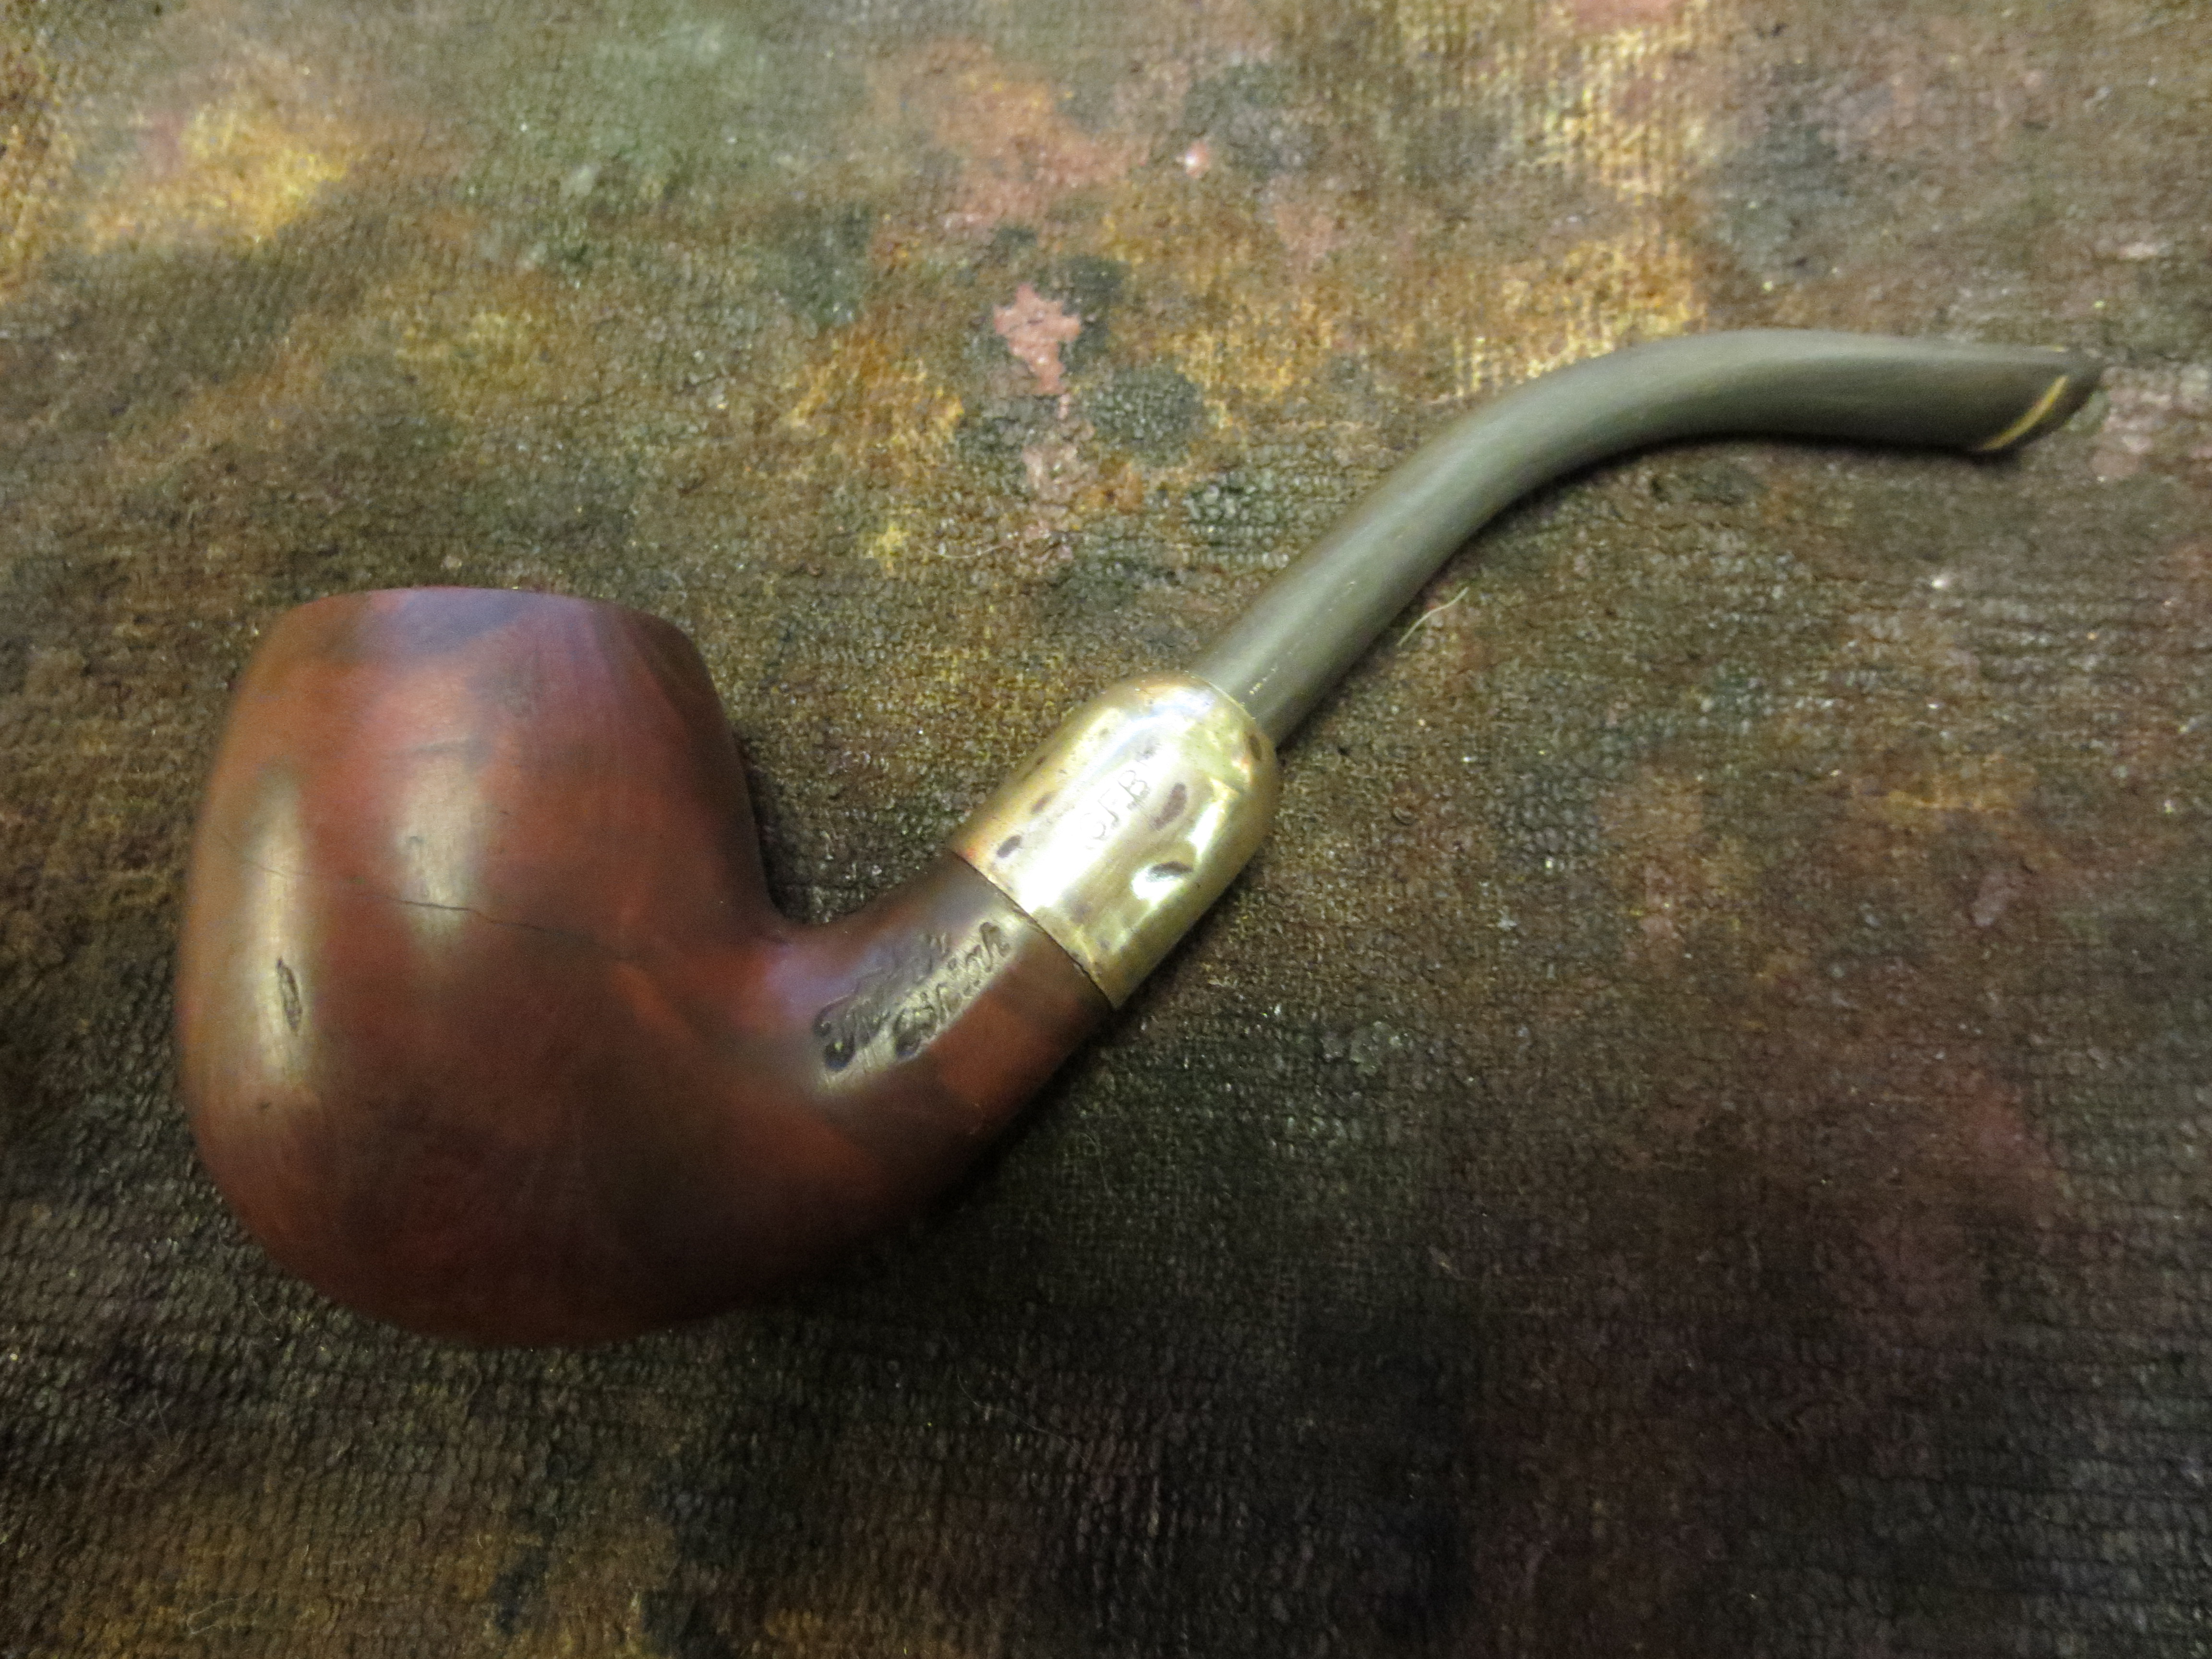
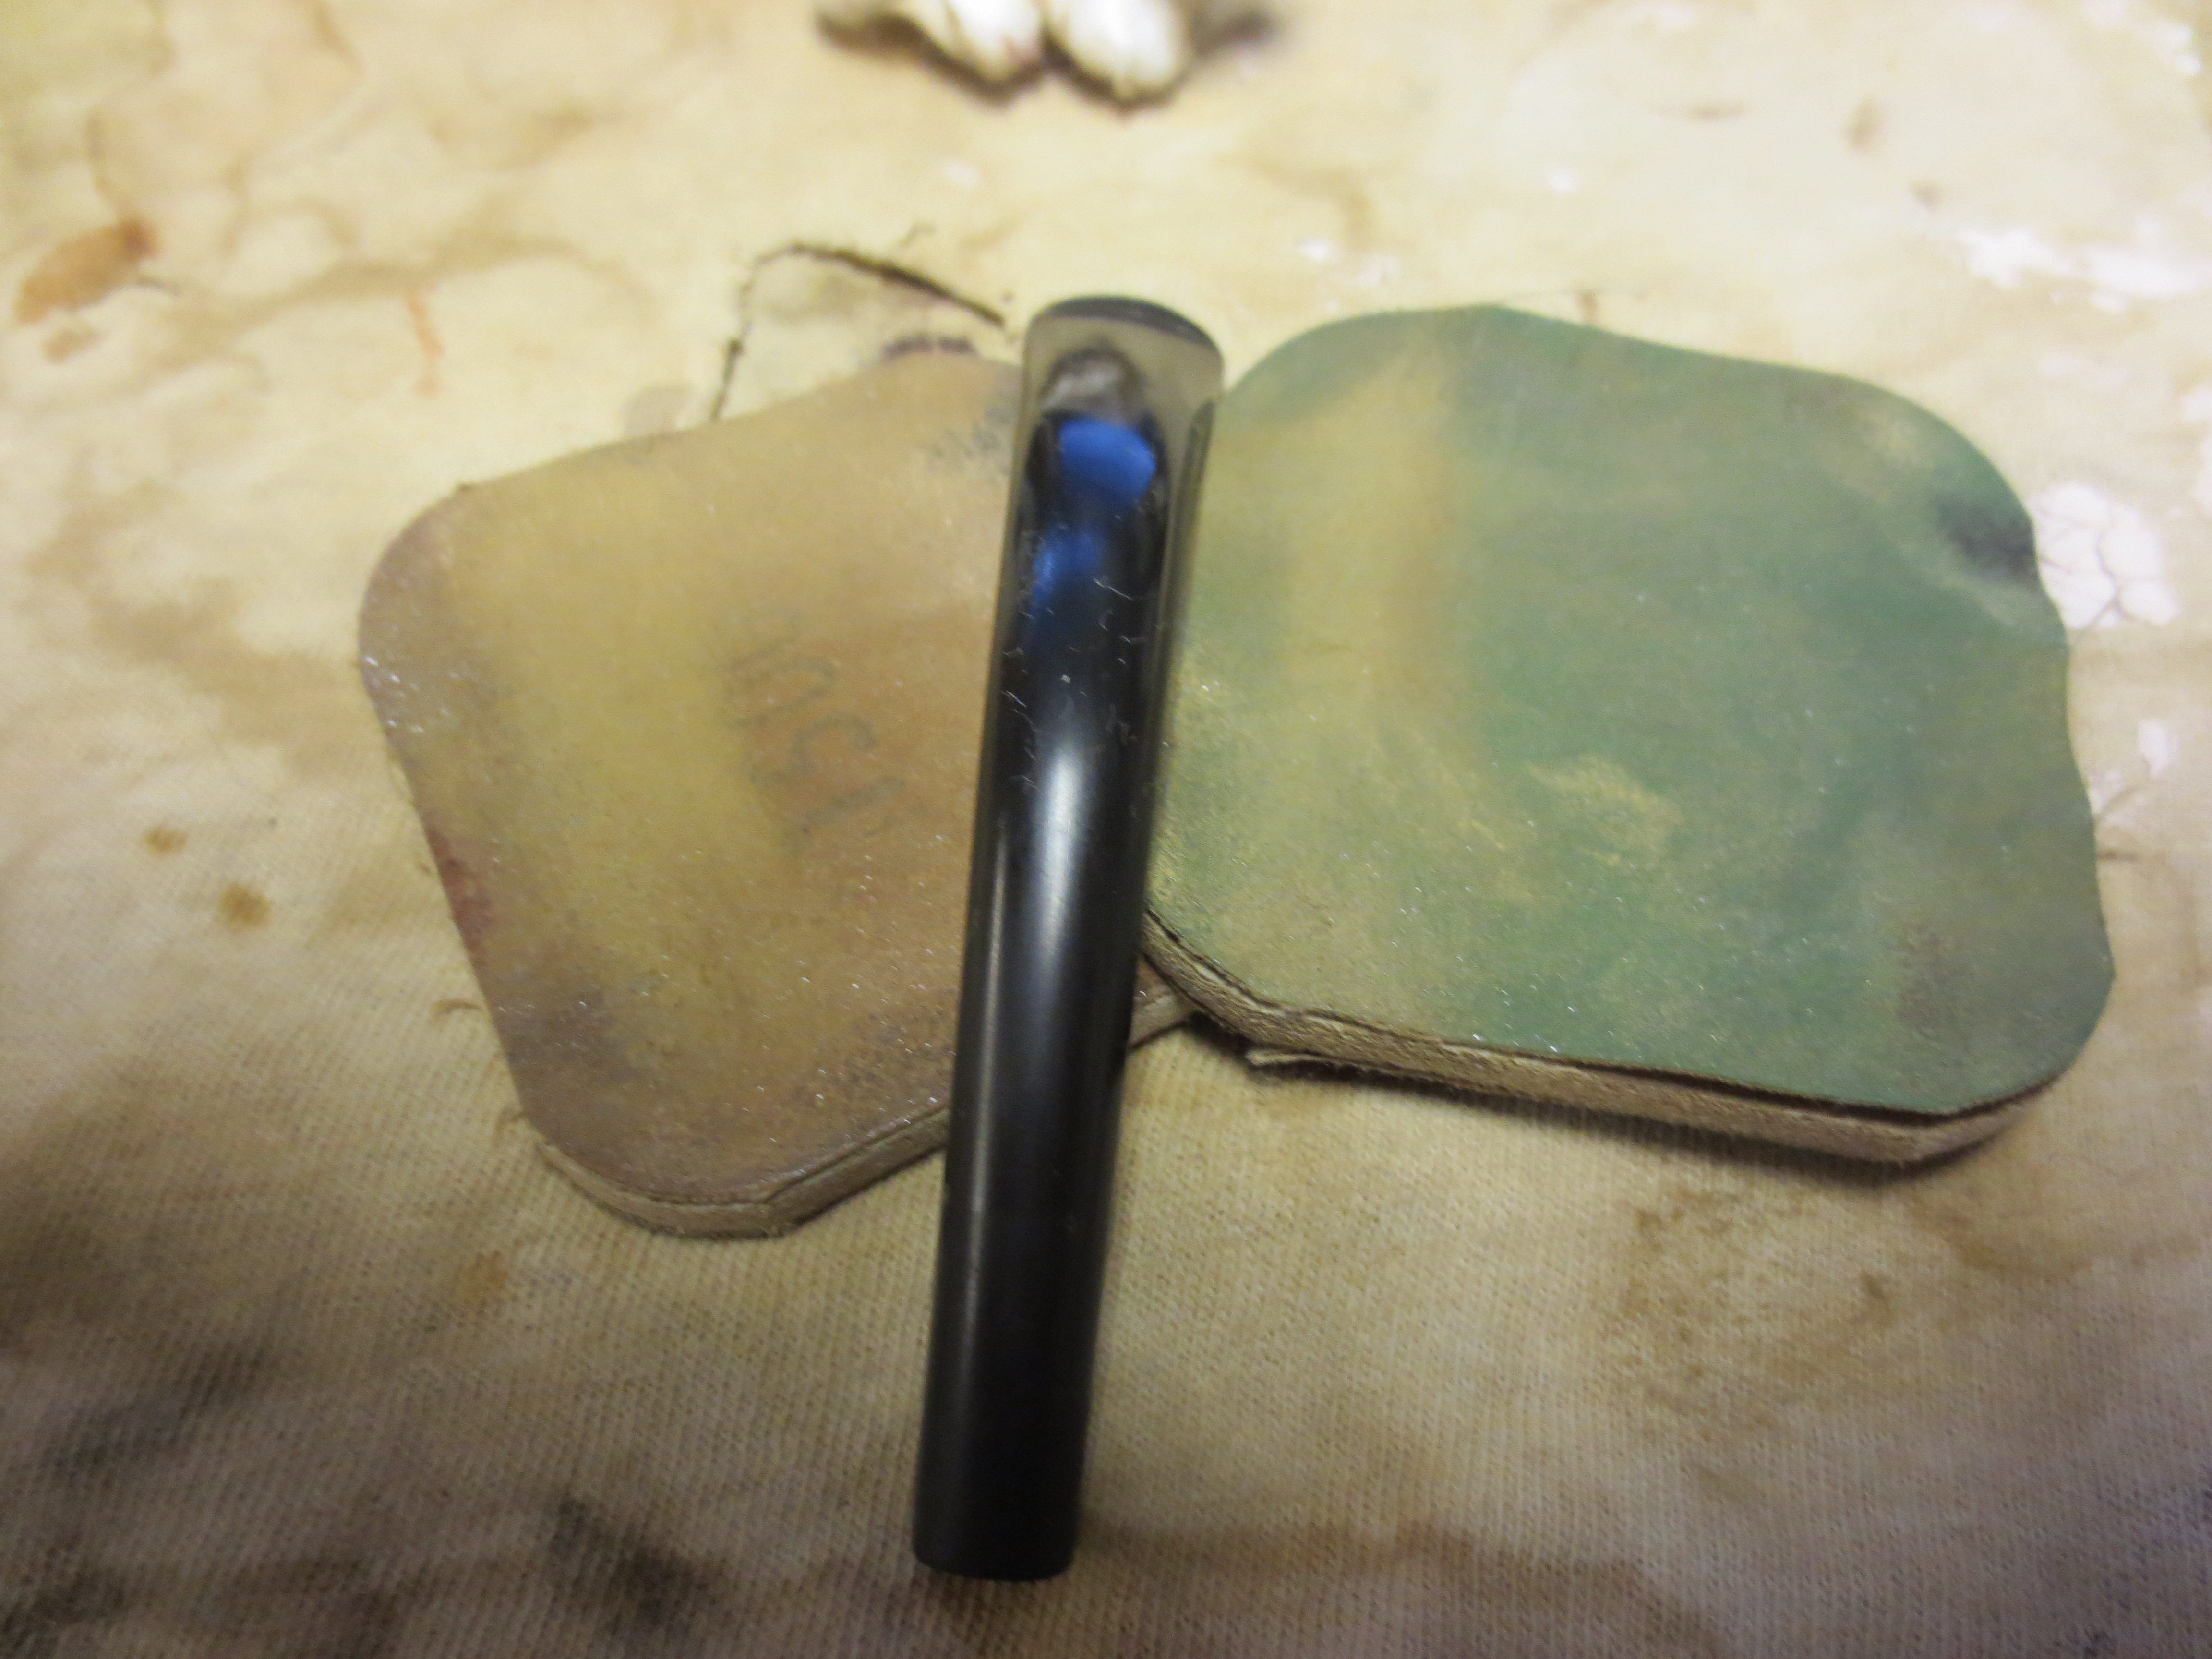
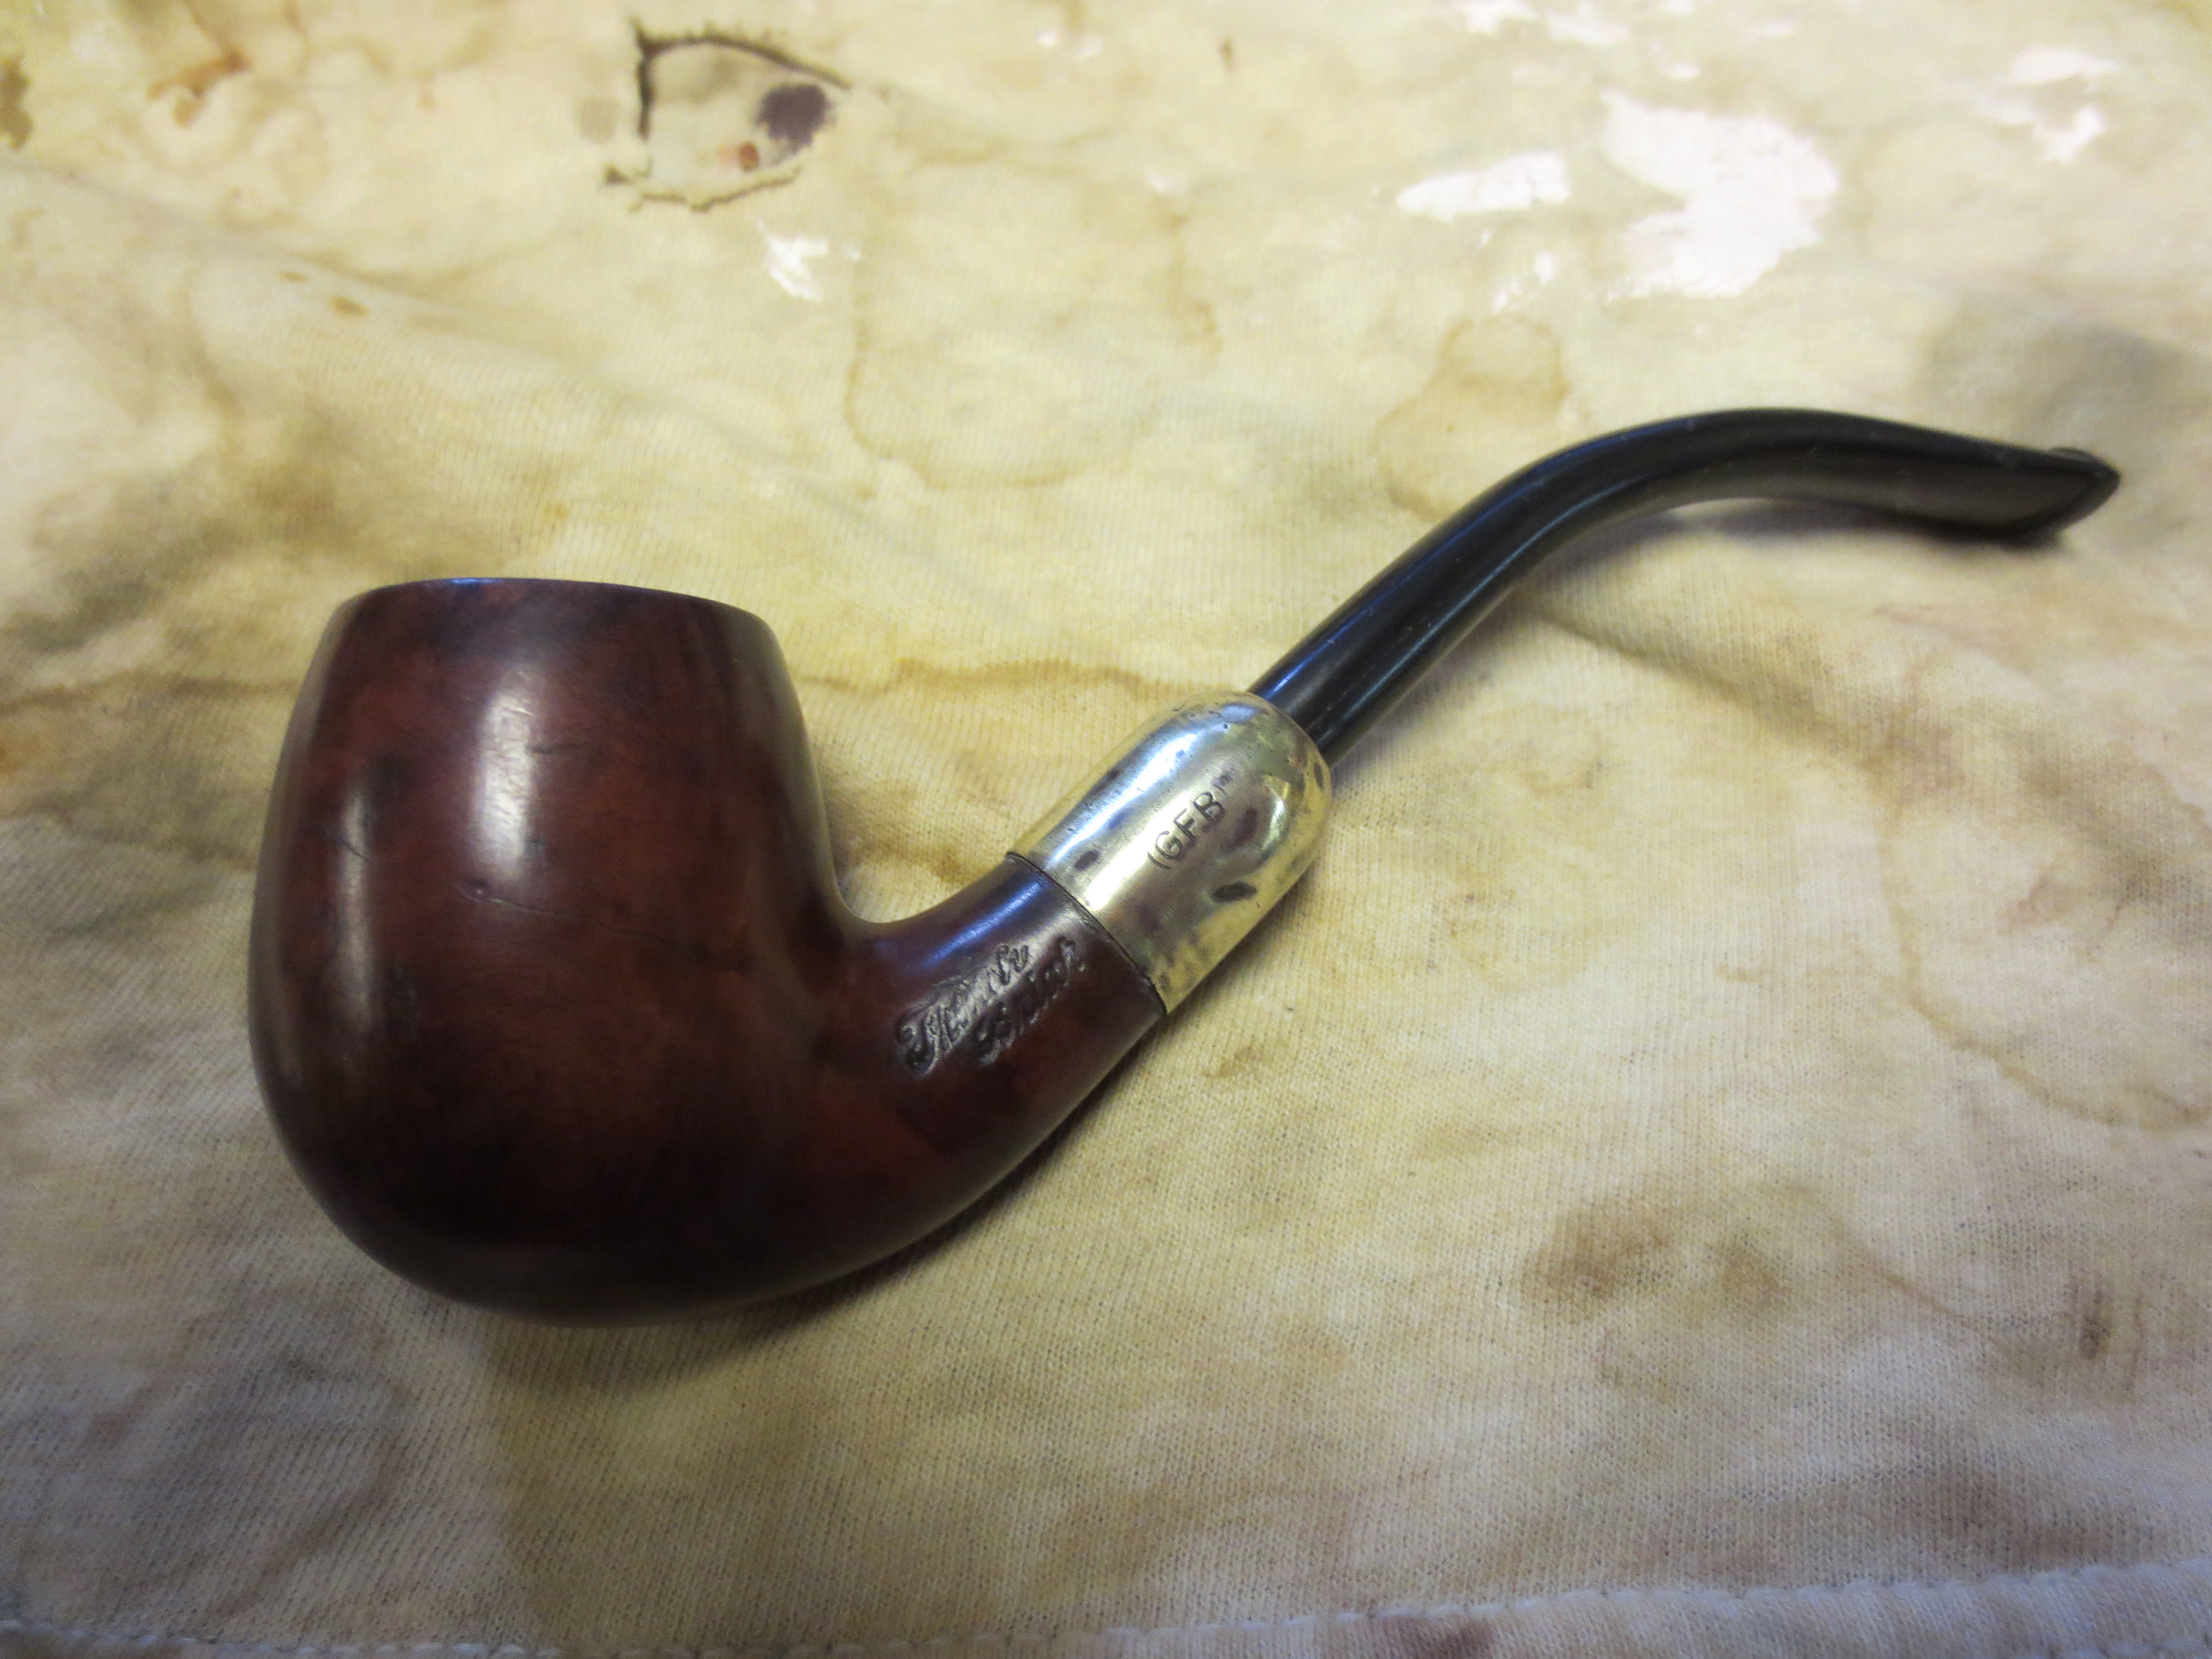
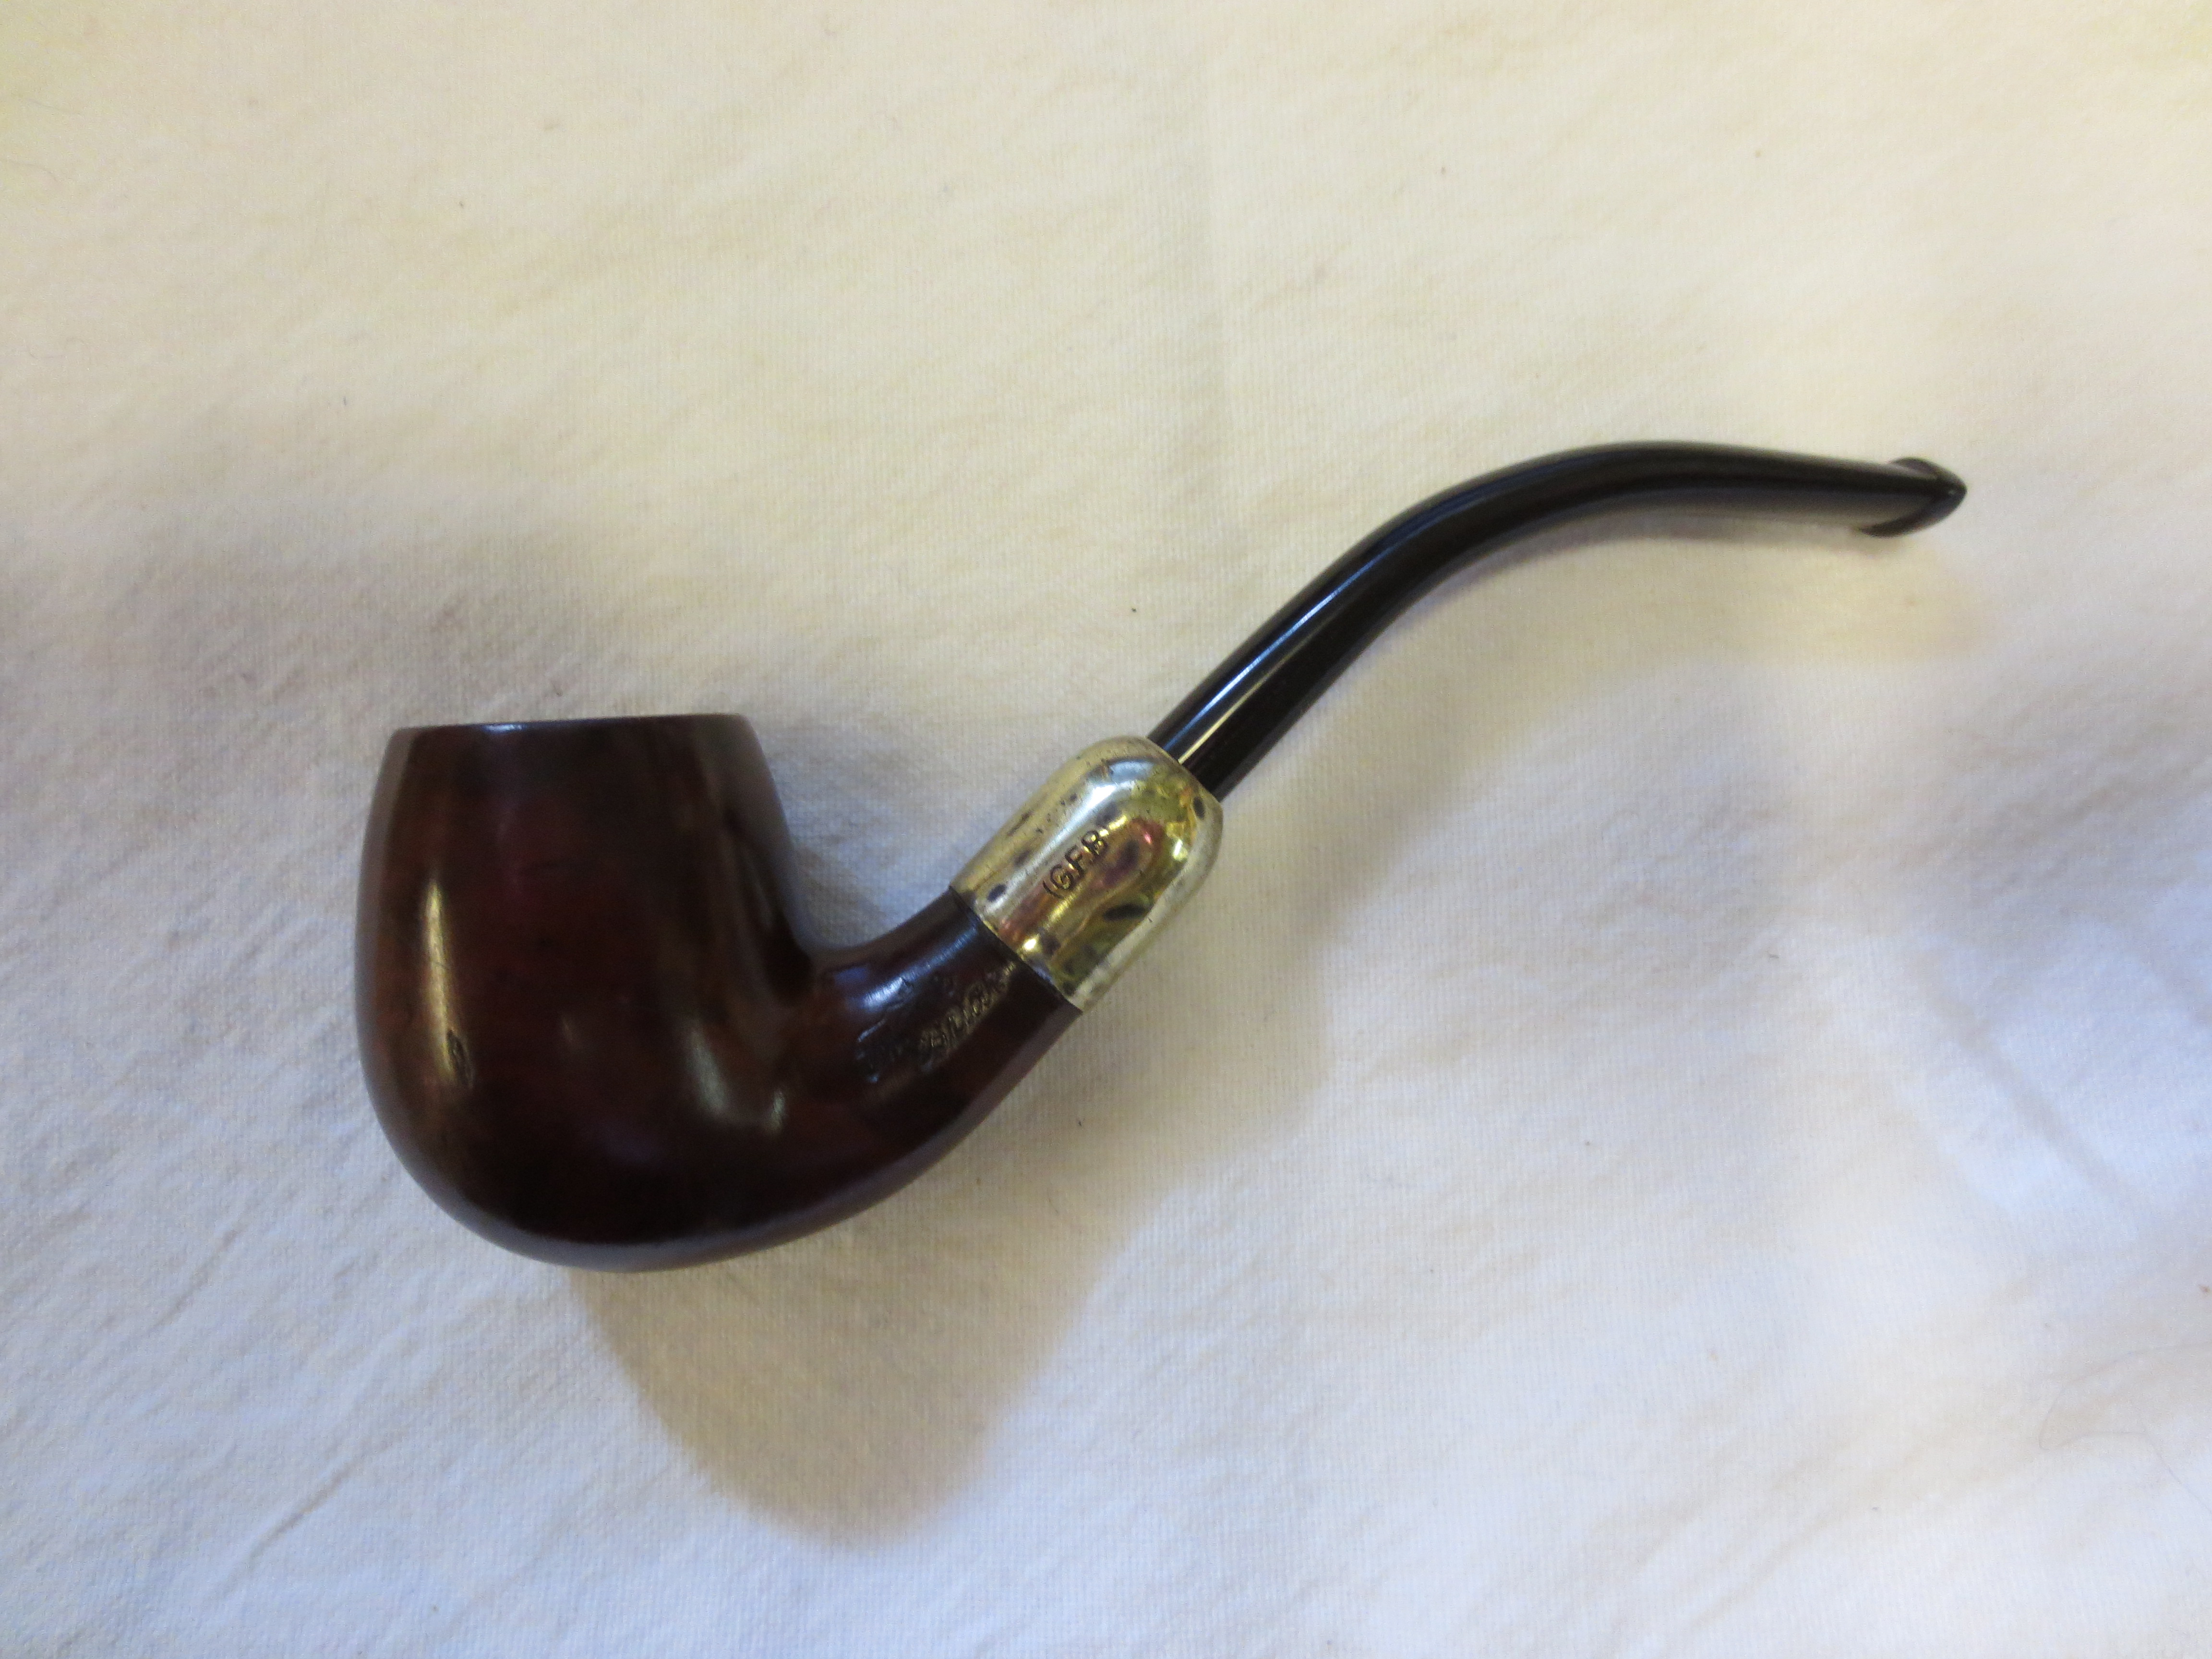
This project was another pipe bowl that was in the lot from EBay. It is a billiard stamped French Briar in script on the left side of the shank and it too was in very rough shape at first glance. It is an old timer. The band on this one was also as badly oxidized as the CPF billiard I wrote of before. It was to the point of being crusty with oxidation and a greenish hue. They were also rough to the touch which led me to believe that they were pitted underneath all of the oxidation. It came stemless but I found a stem of the proper age in my can of stems. The finish was rough, a reddish hue in terms of stain, but there were no deep dings or dents. There was one spot on the right side of the shank near the shank cap where there was a sandpit that had darkened from some bleed off the oxidized shank cap. This one did not have any darkening around the bowl or shank other than the one spot near the sandpit. The shank cap on this one was also loose and when I touched it, it came off (I am glad they stayed on the pipe long enough to arrive here. One of the lot is missing the end cap so that will prove a later challenge. Again after the initial examination I came to see that underneath the grime there was a pretty nice piece of briar. The first series of two photos shows the state of the pipe when I took it to my work bench to begin working on it early this morning.

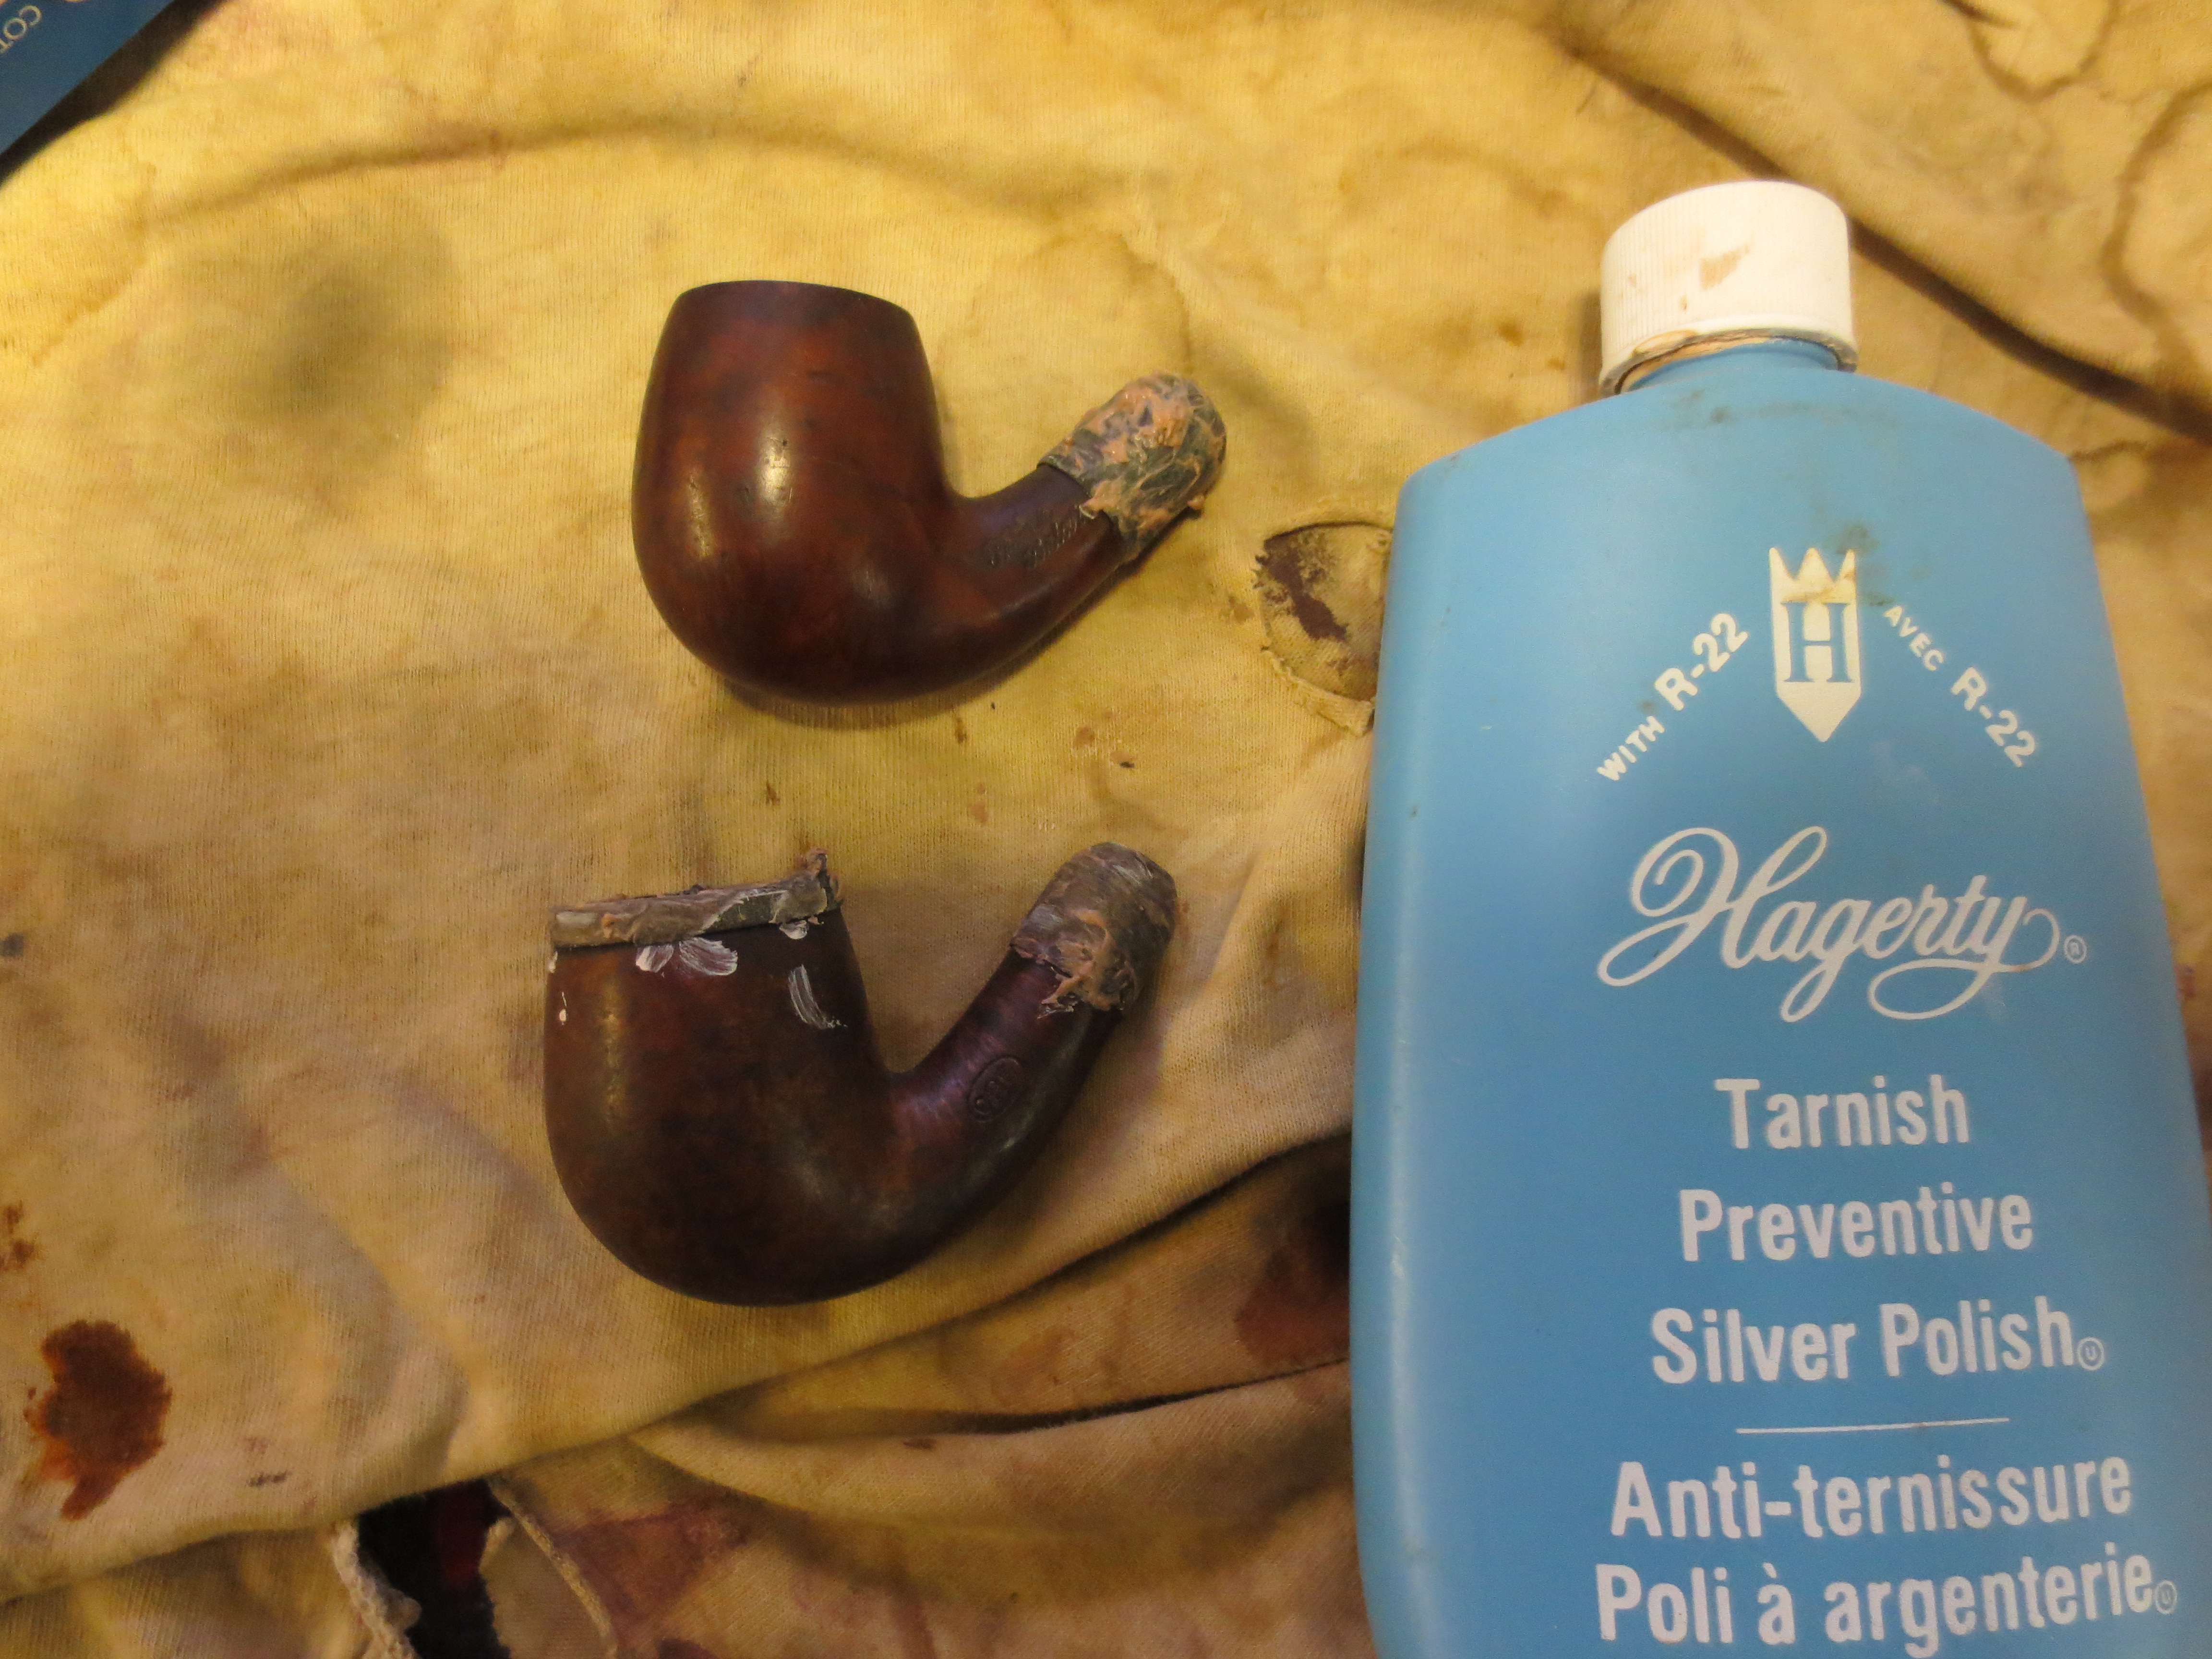
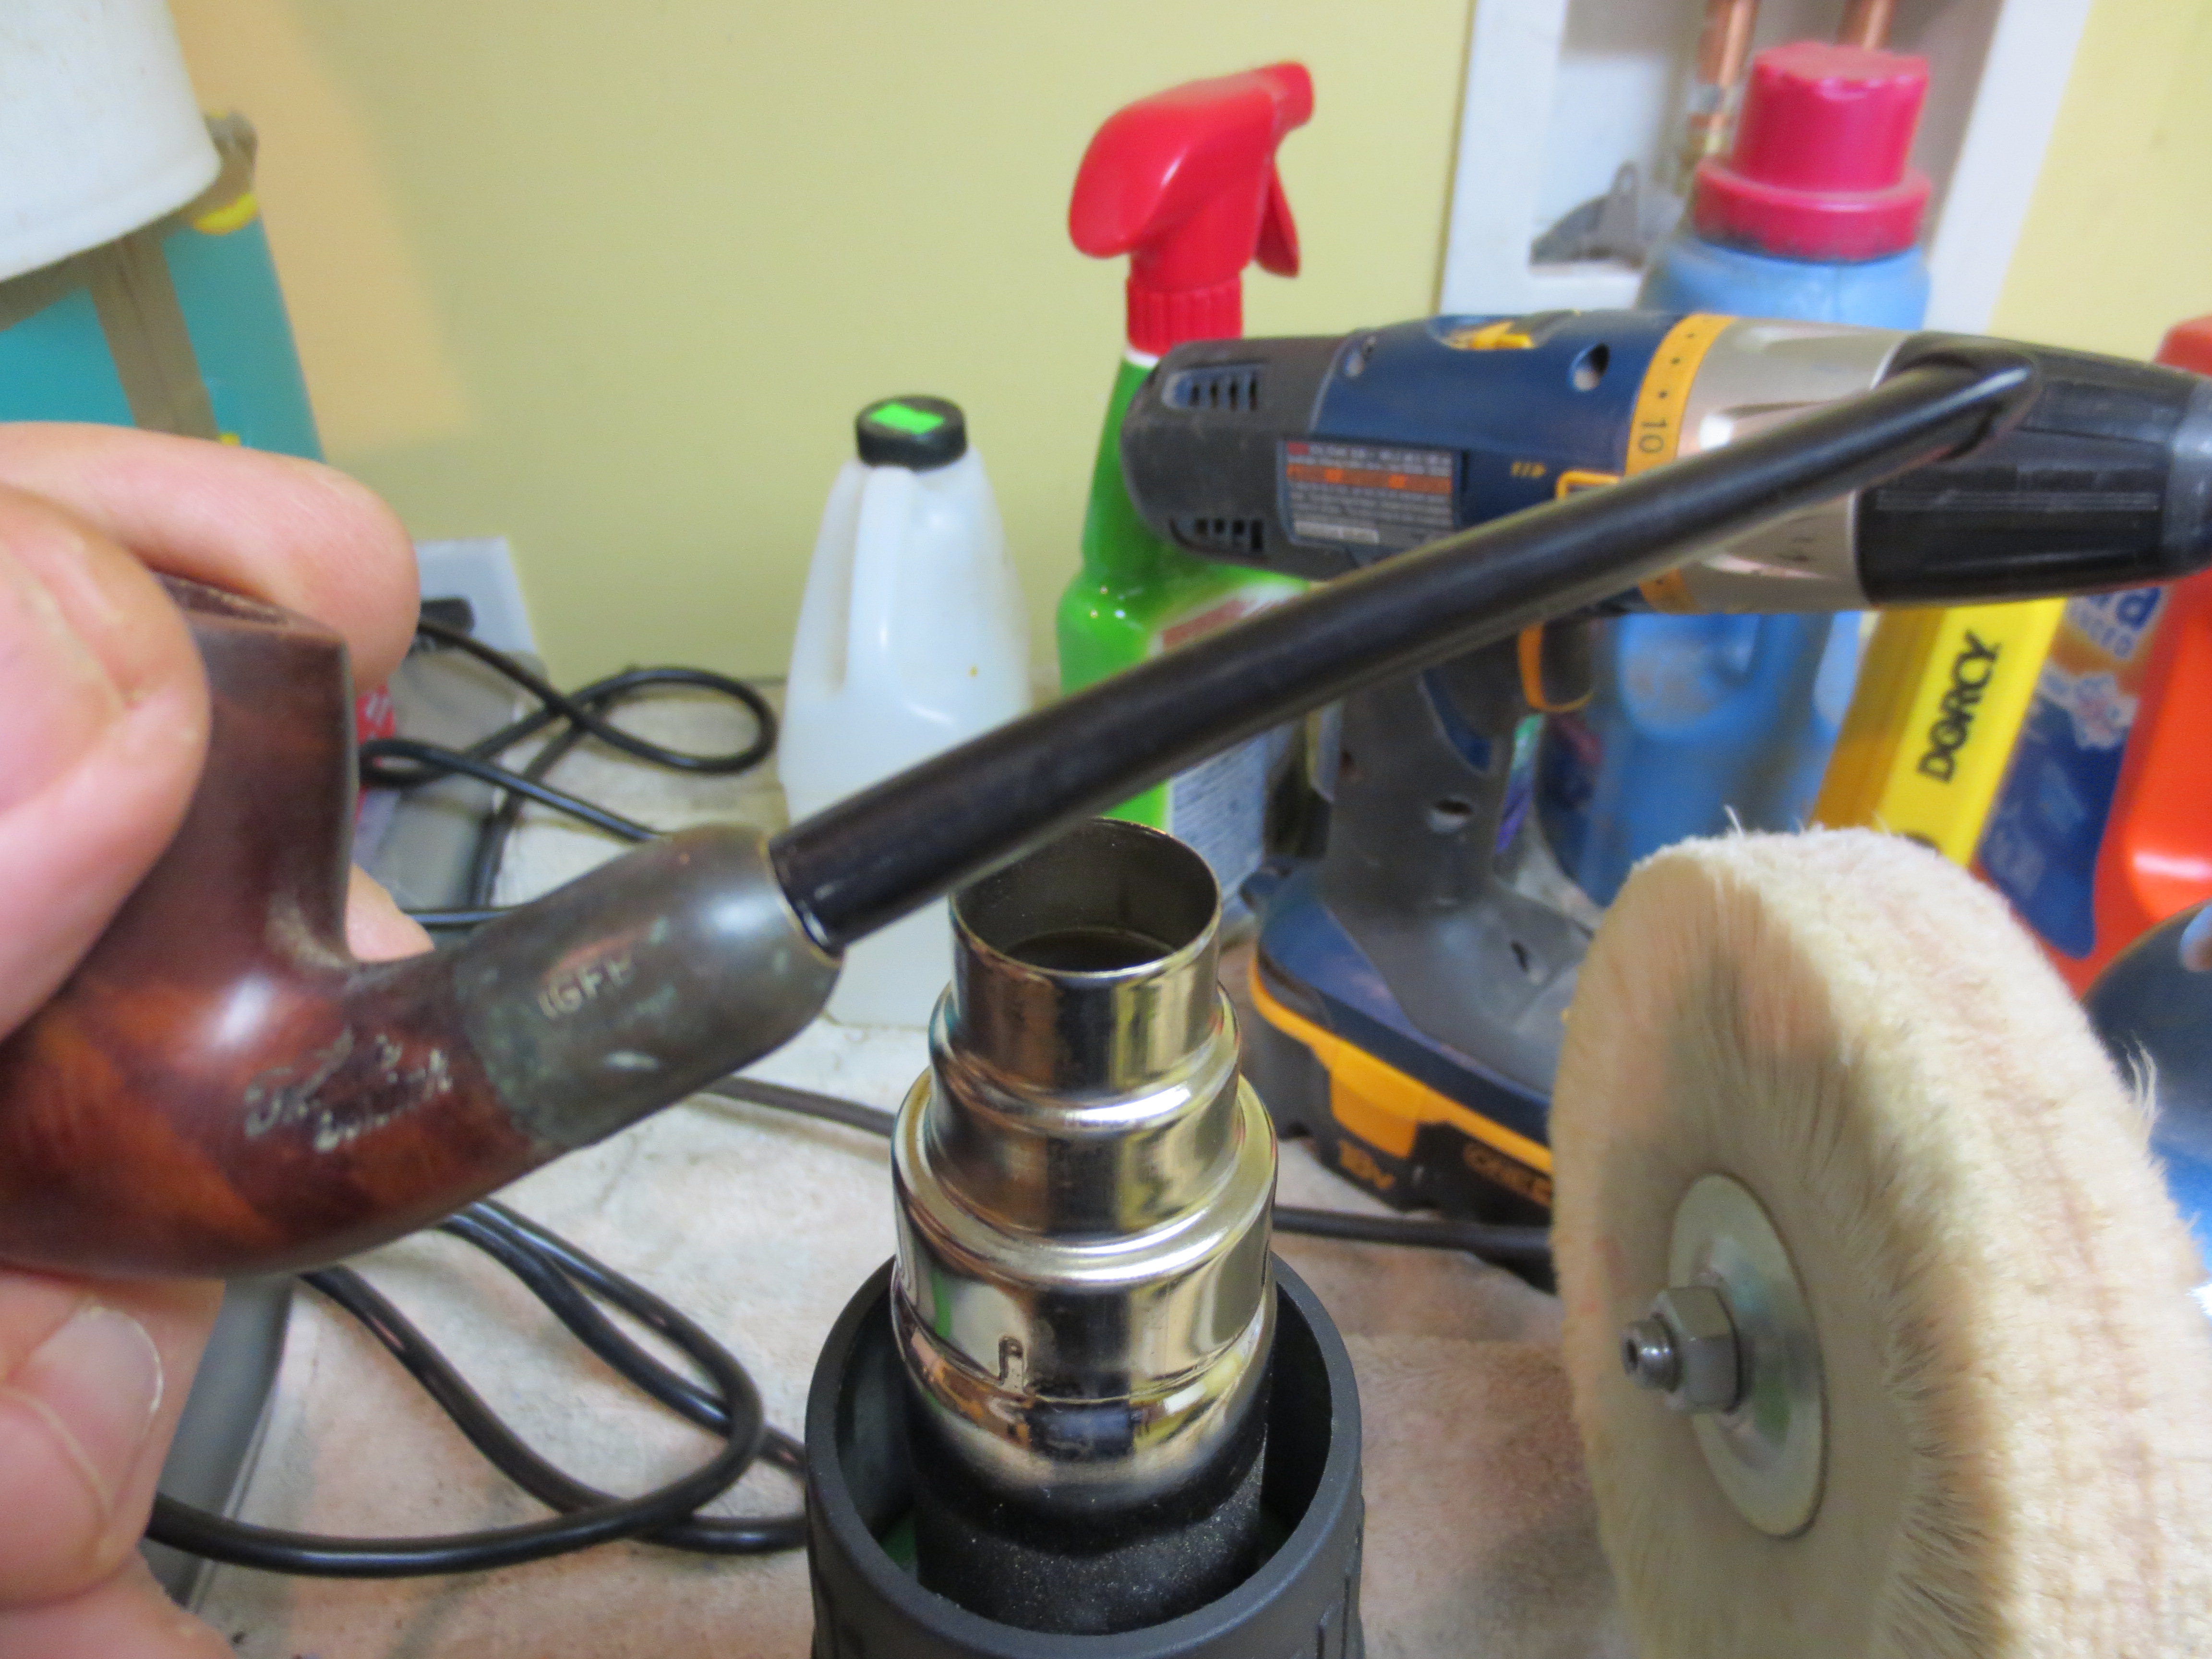
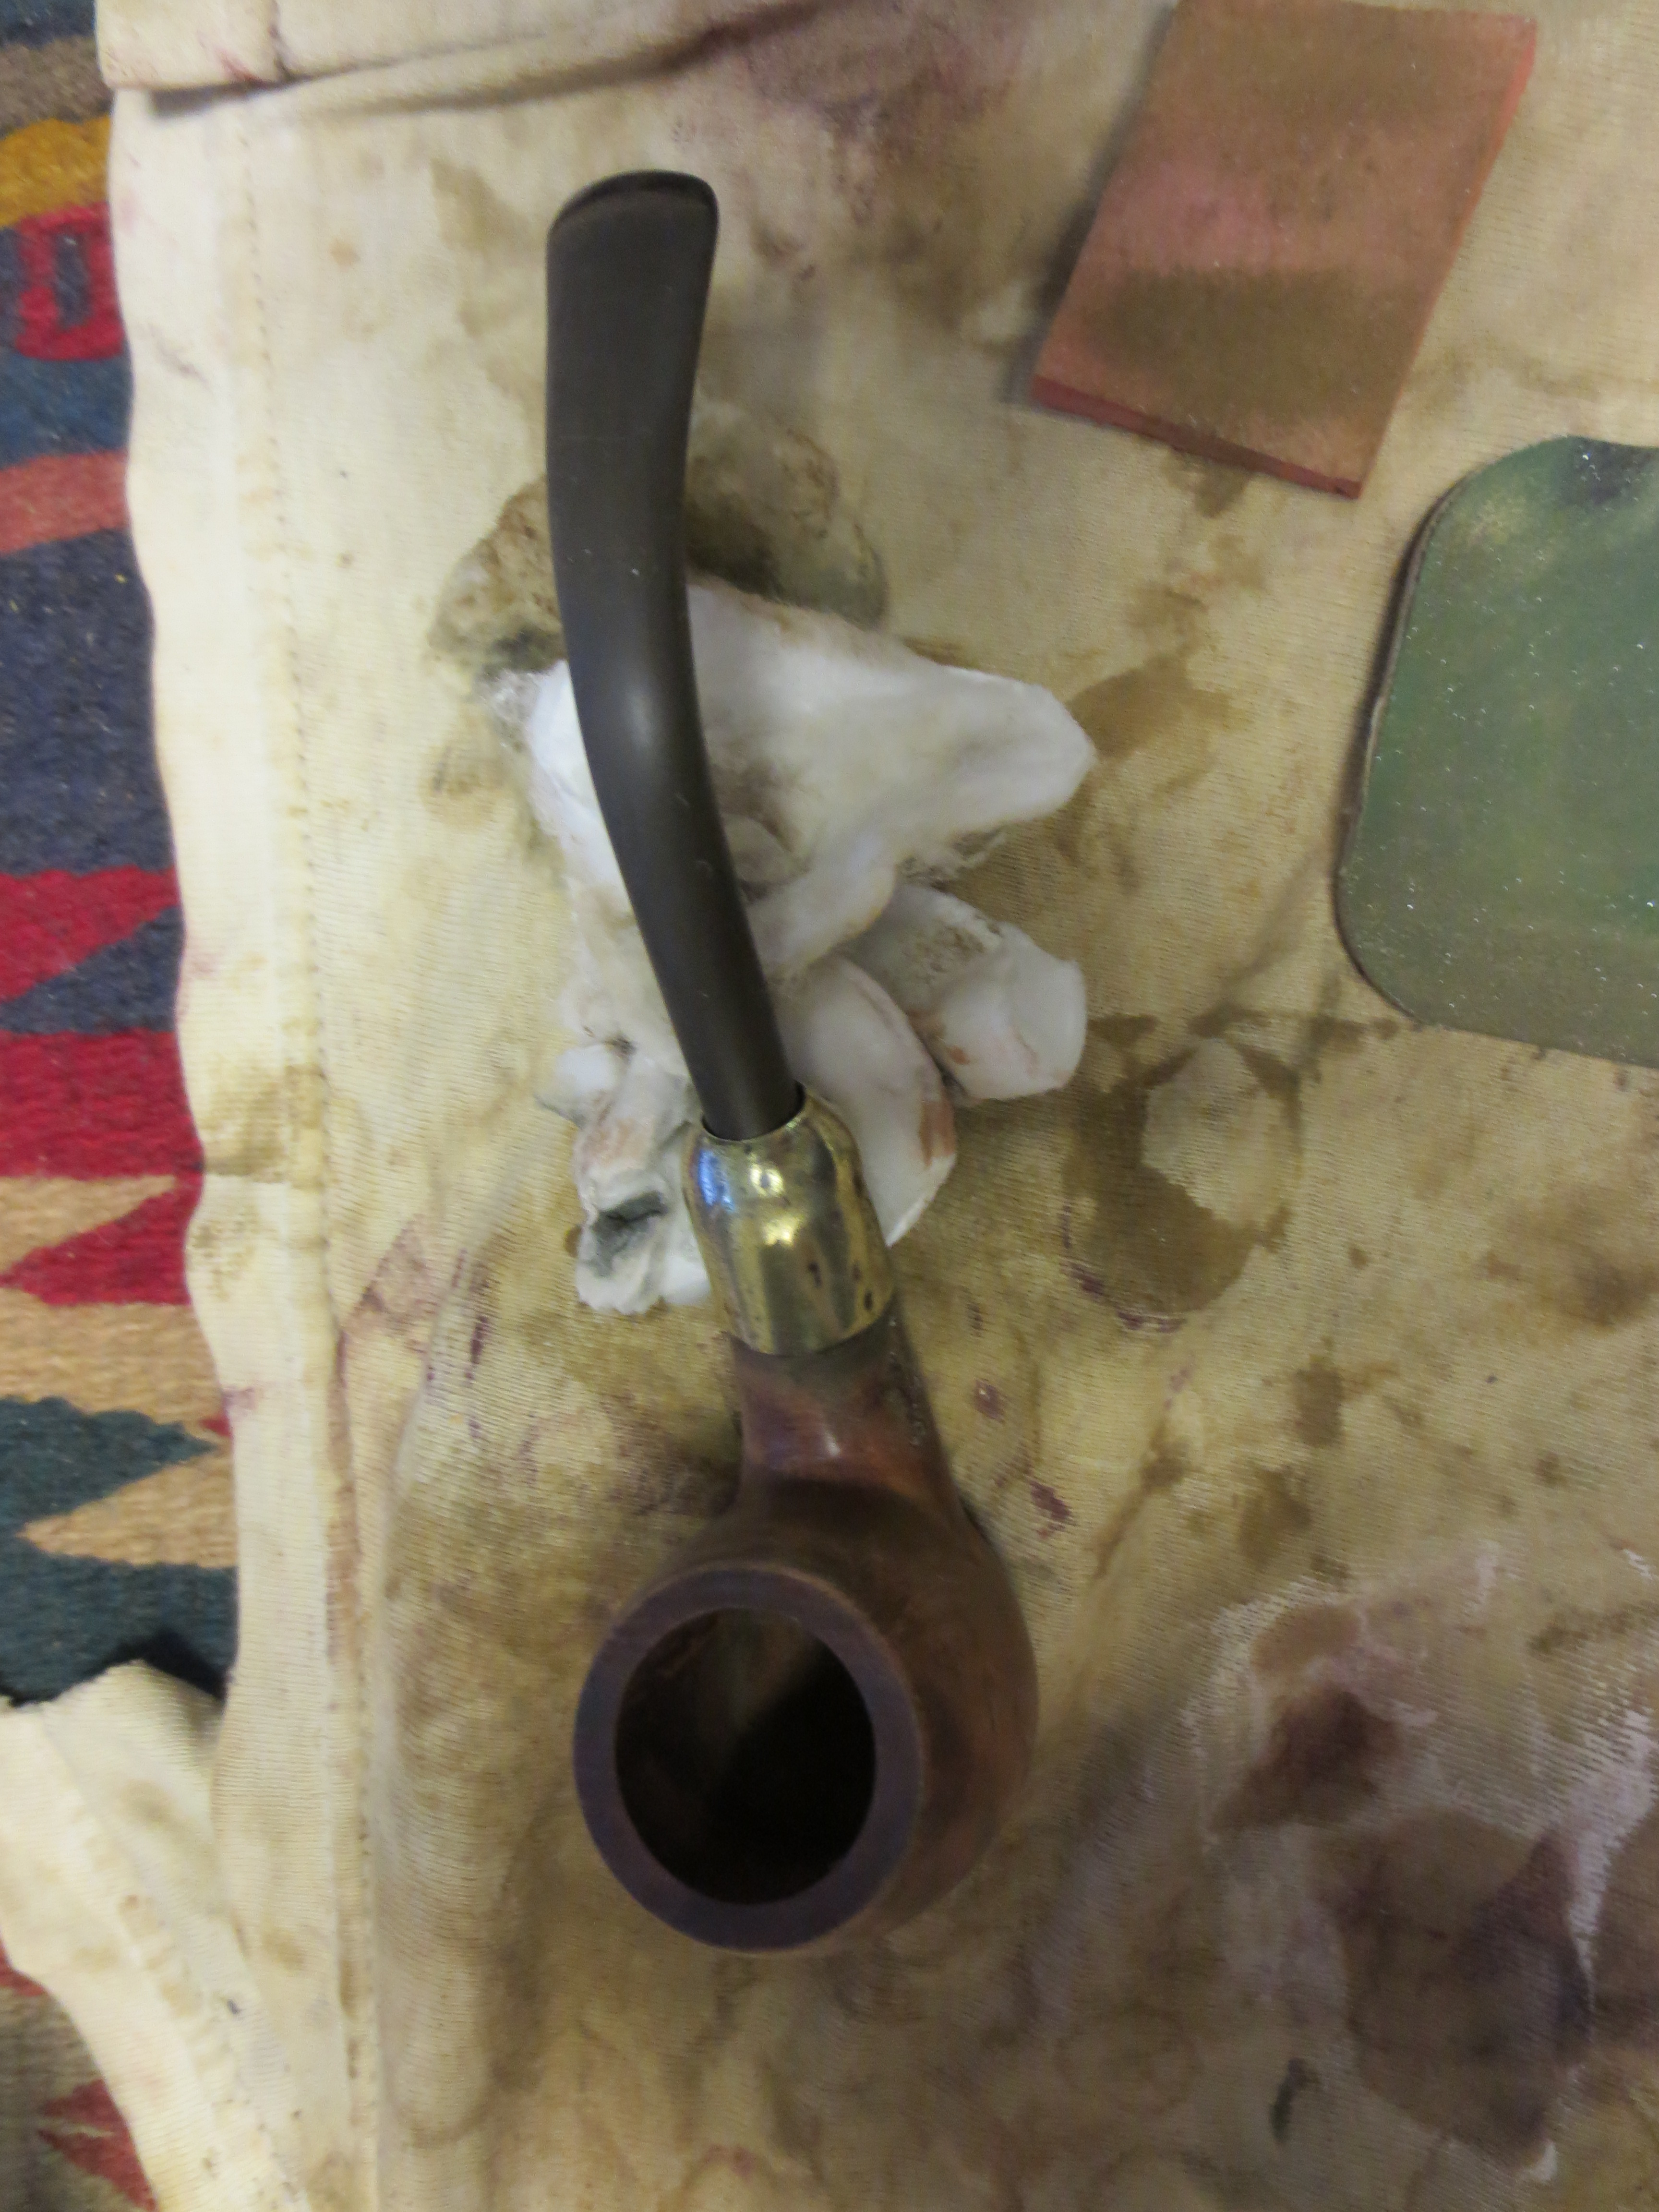
I cleaned the shank cap the same time I worked on the CPF billiard. I applied the Hagerty Tarnish Remover and scrubbed the cap with a cotton pad. I was able to remove some of the heavy oxidation and darkening but not a significant amount. The next two photos show the process of cleaning the shank cap with the Hagertys.


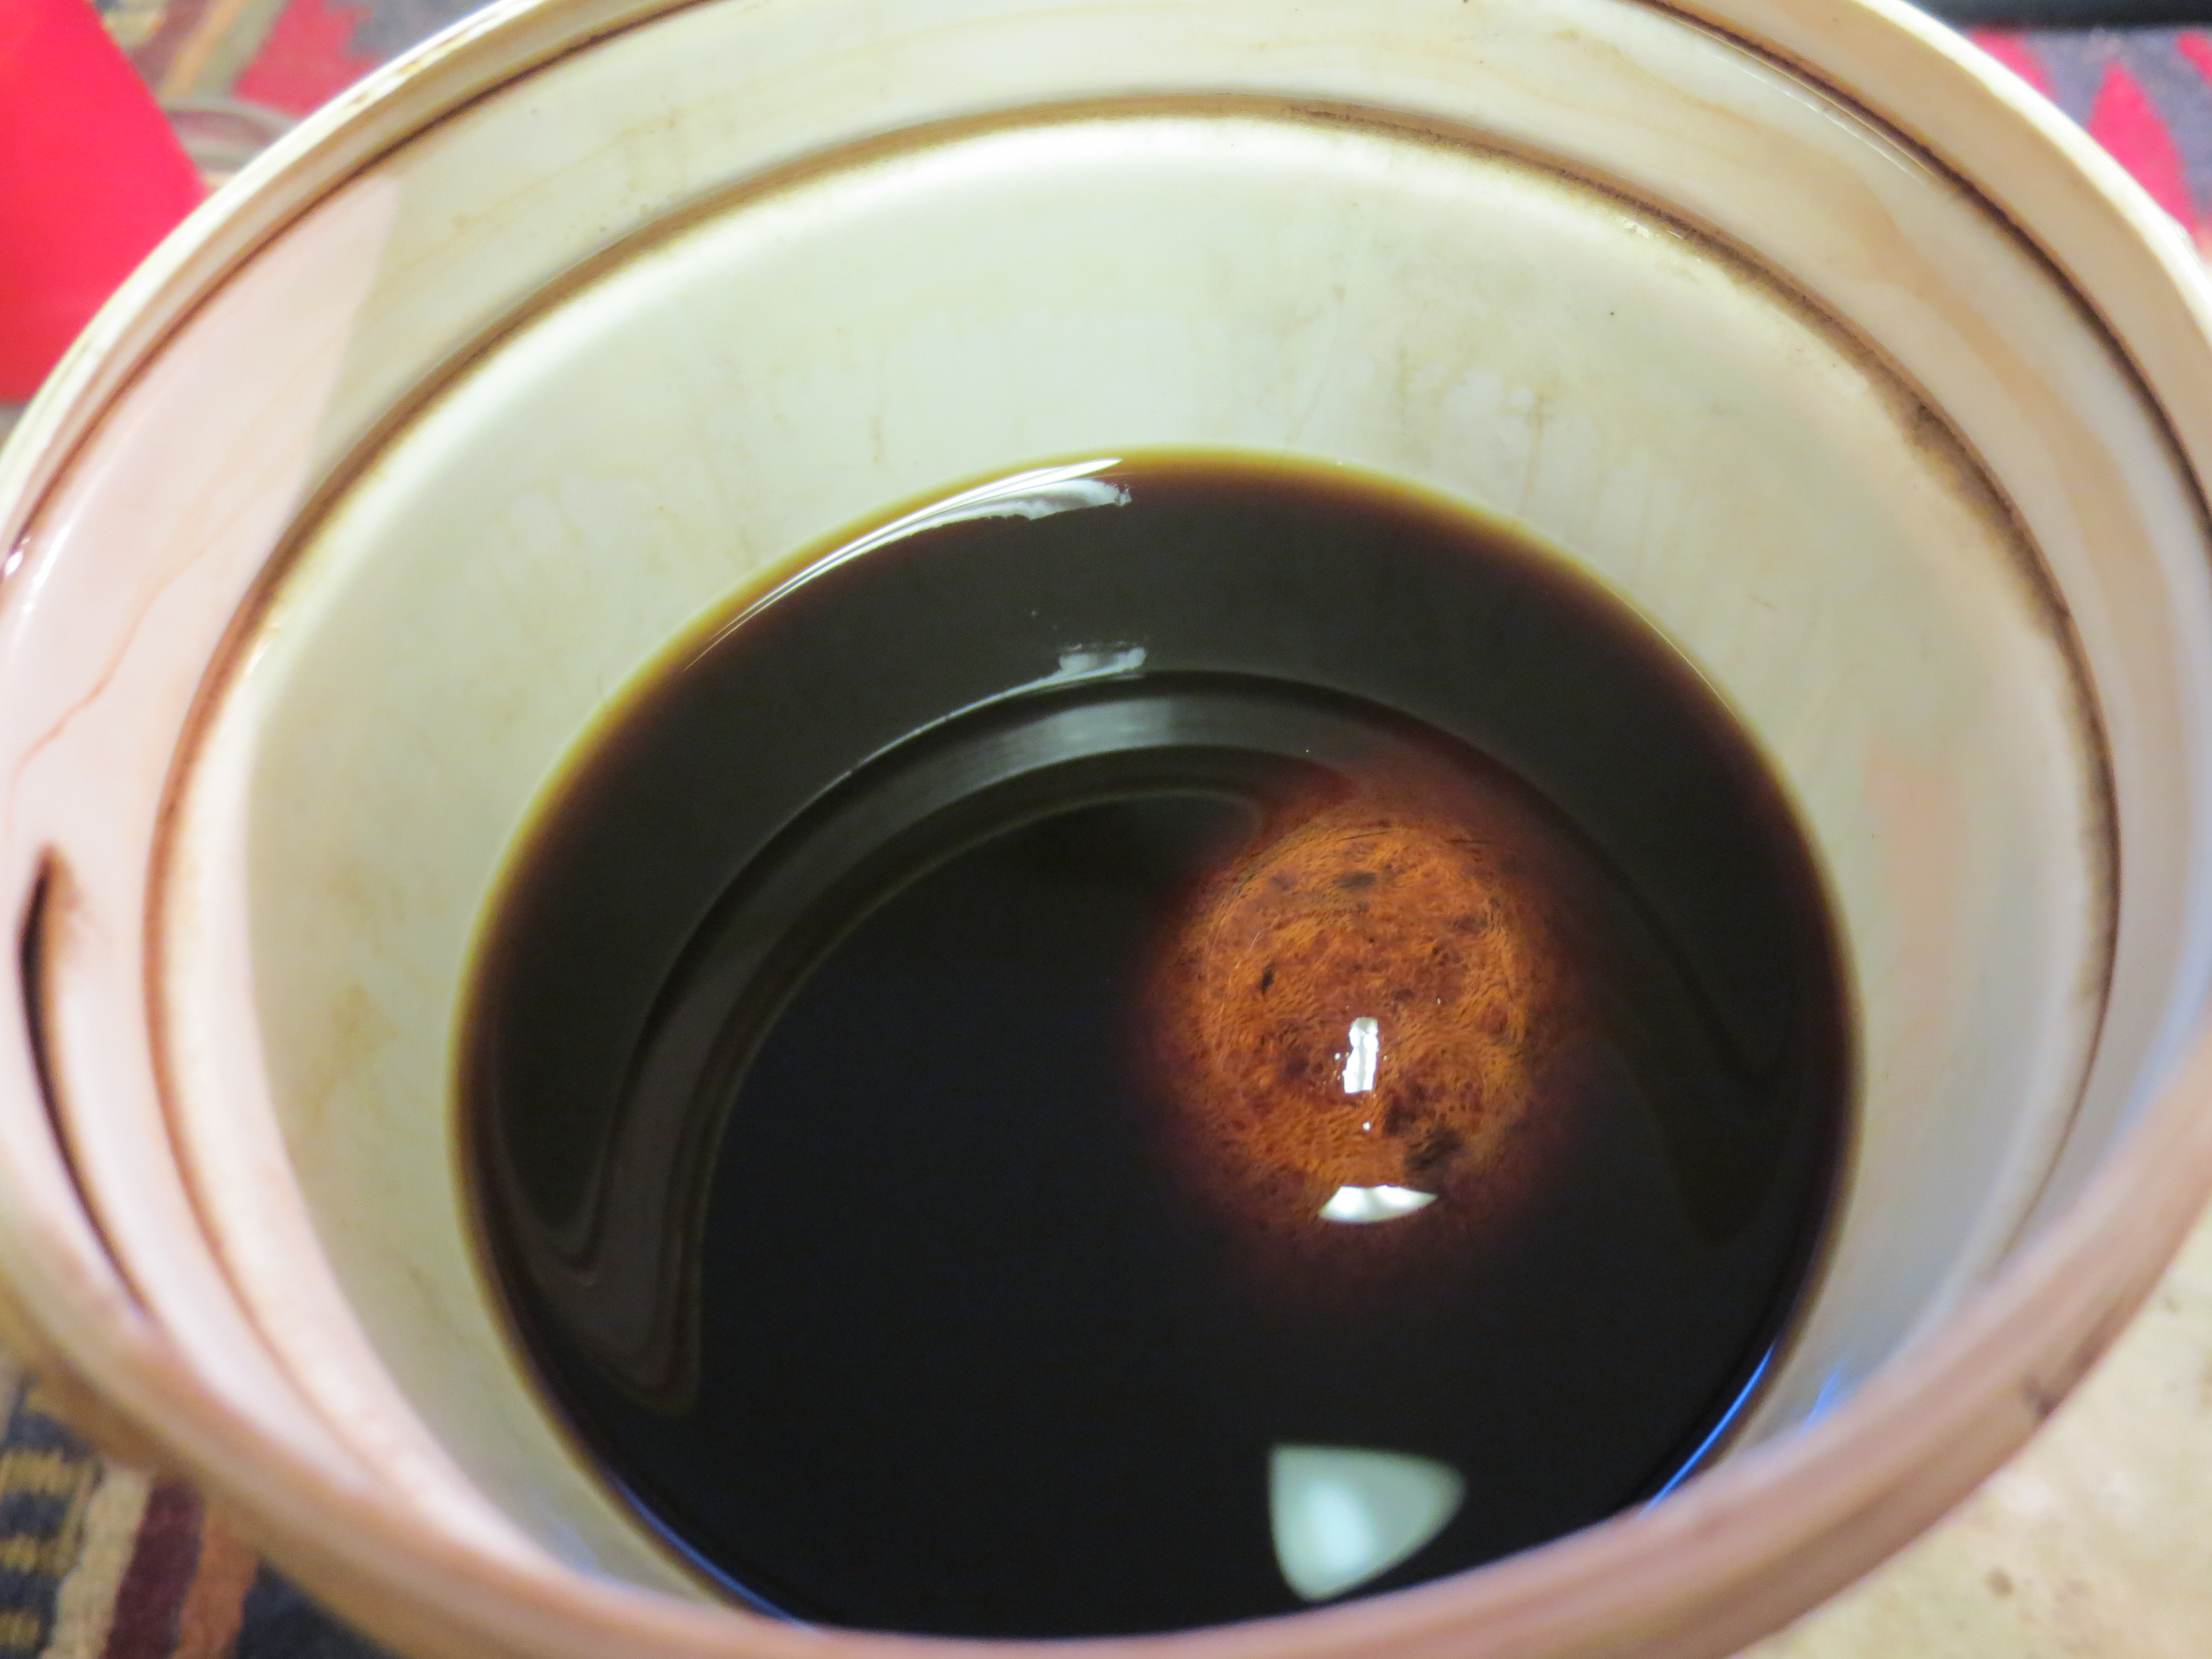
I dropped the bowl in the alcohol bath with the CPF billiard and let it soak while I work on the CPF pipe. Once it had been sitting in the bath for about an hour I removed it and dried it off.

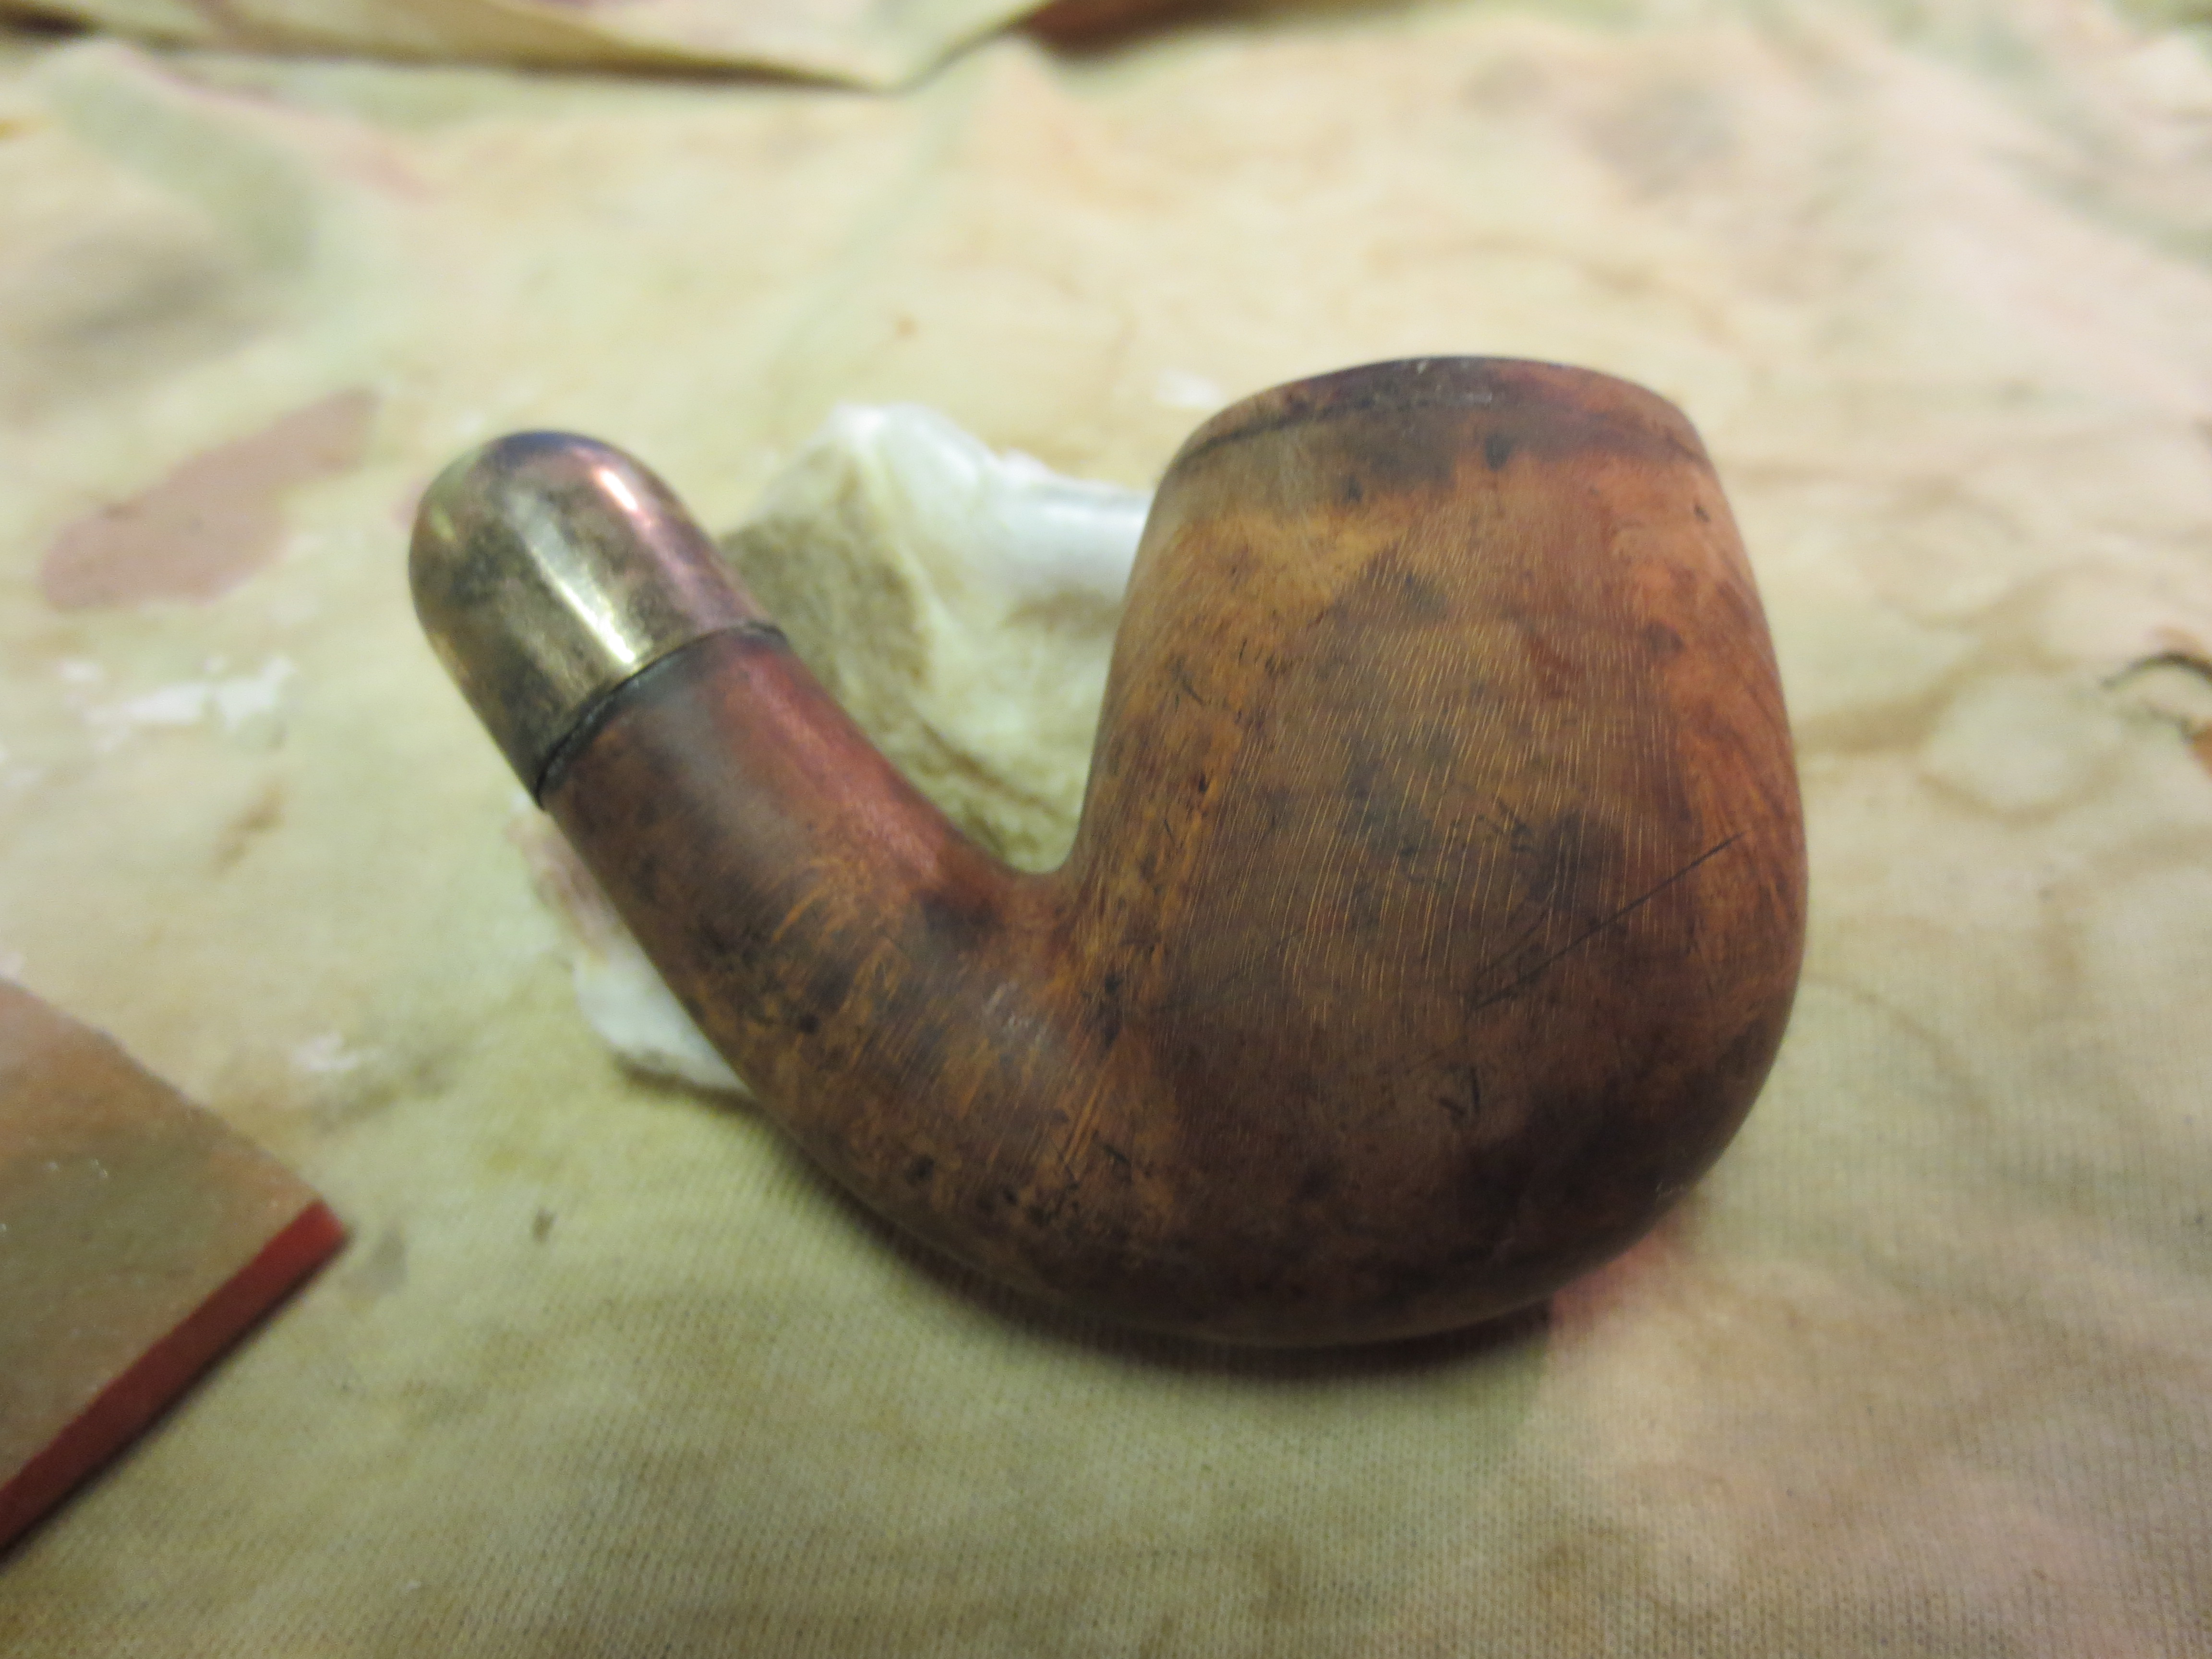
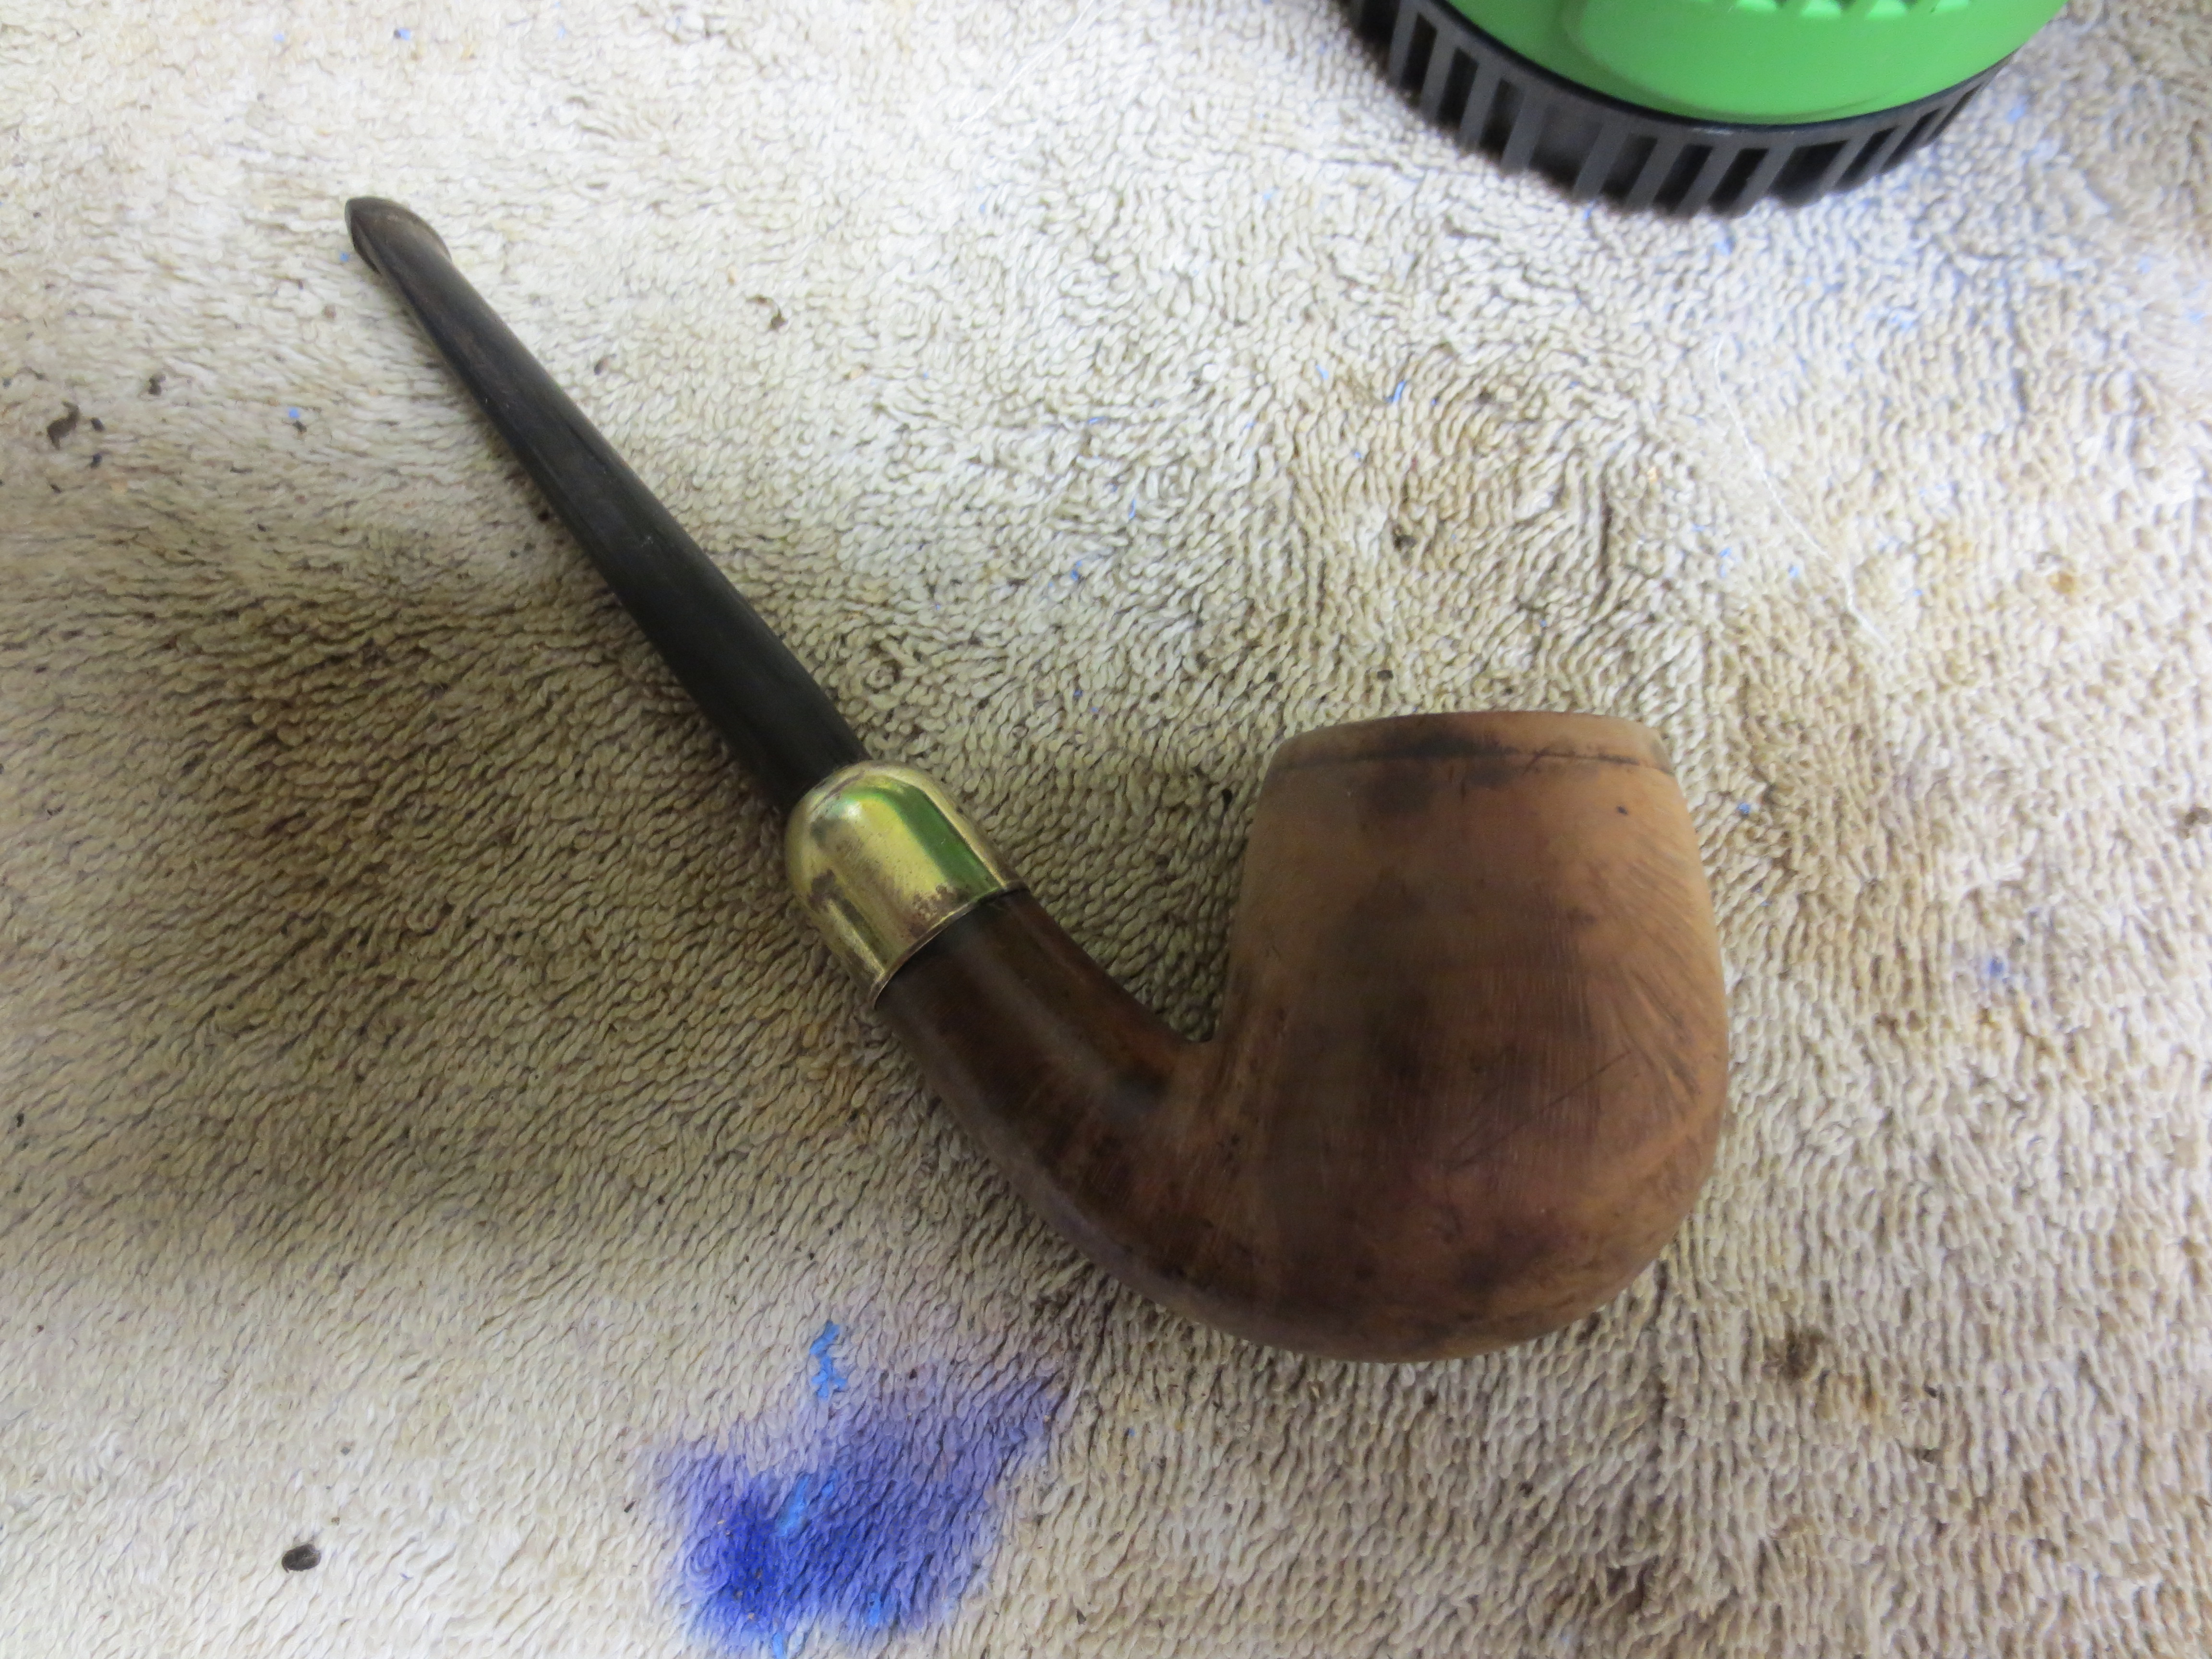
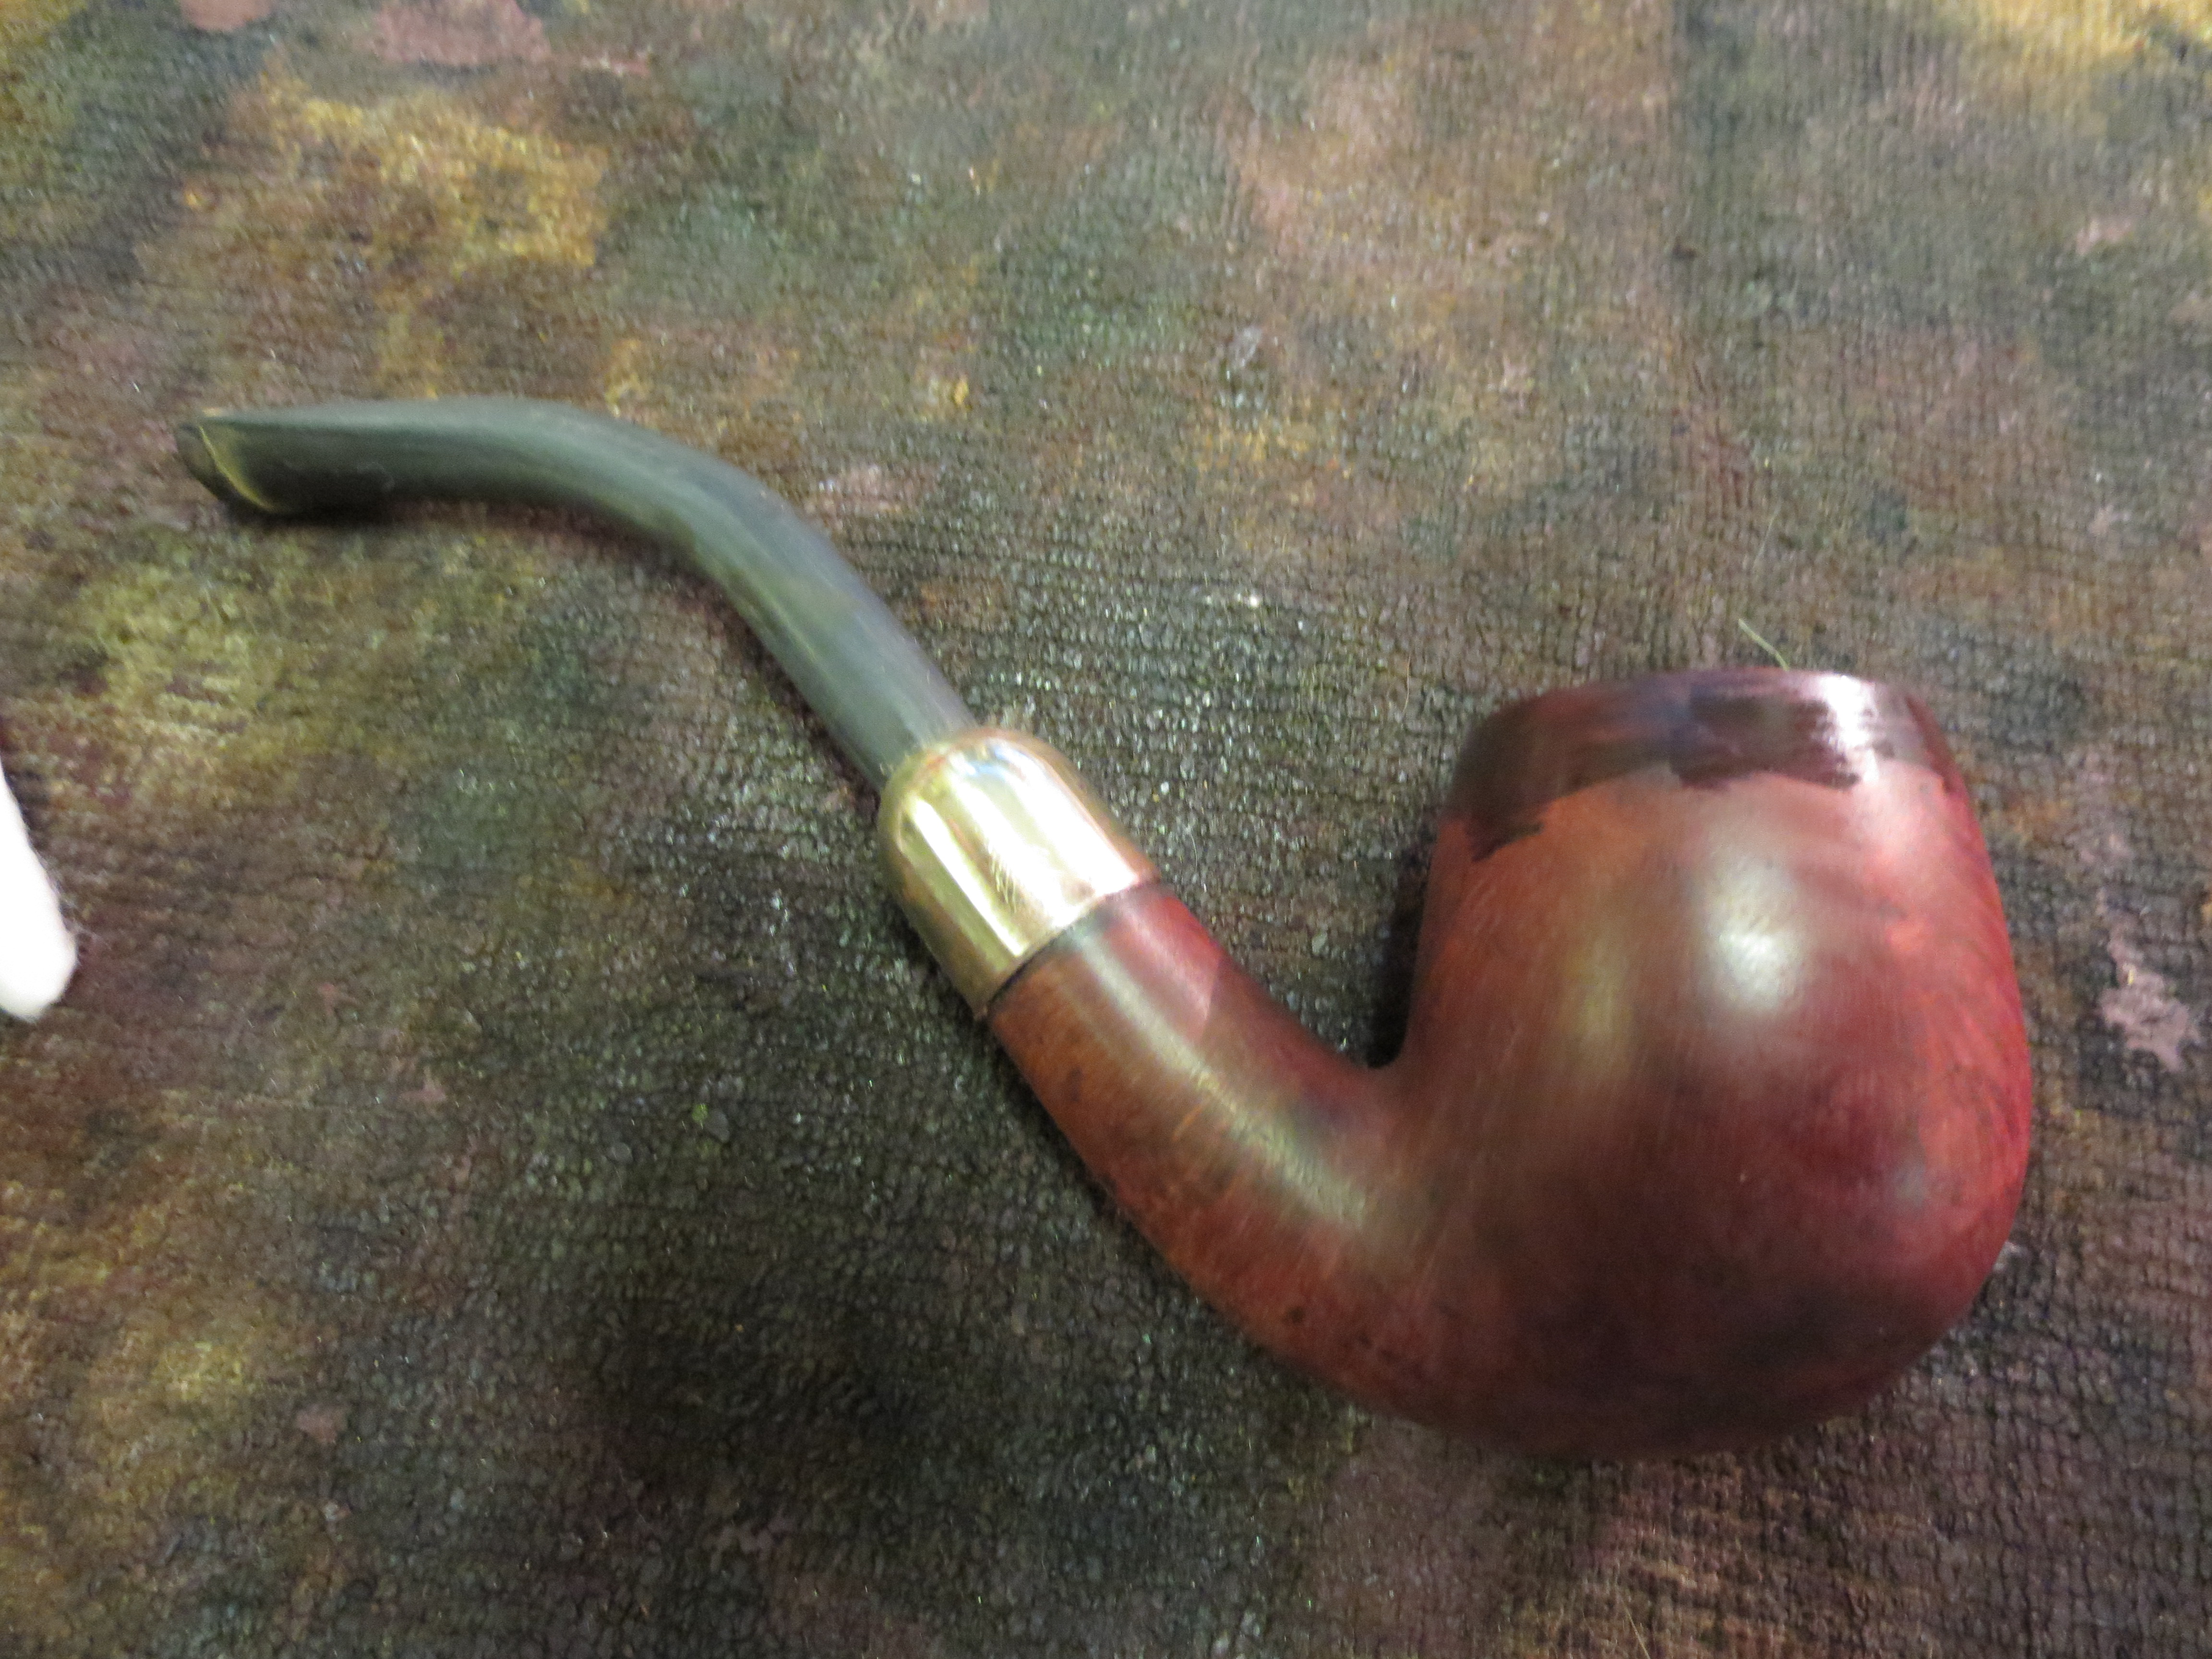
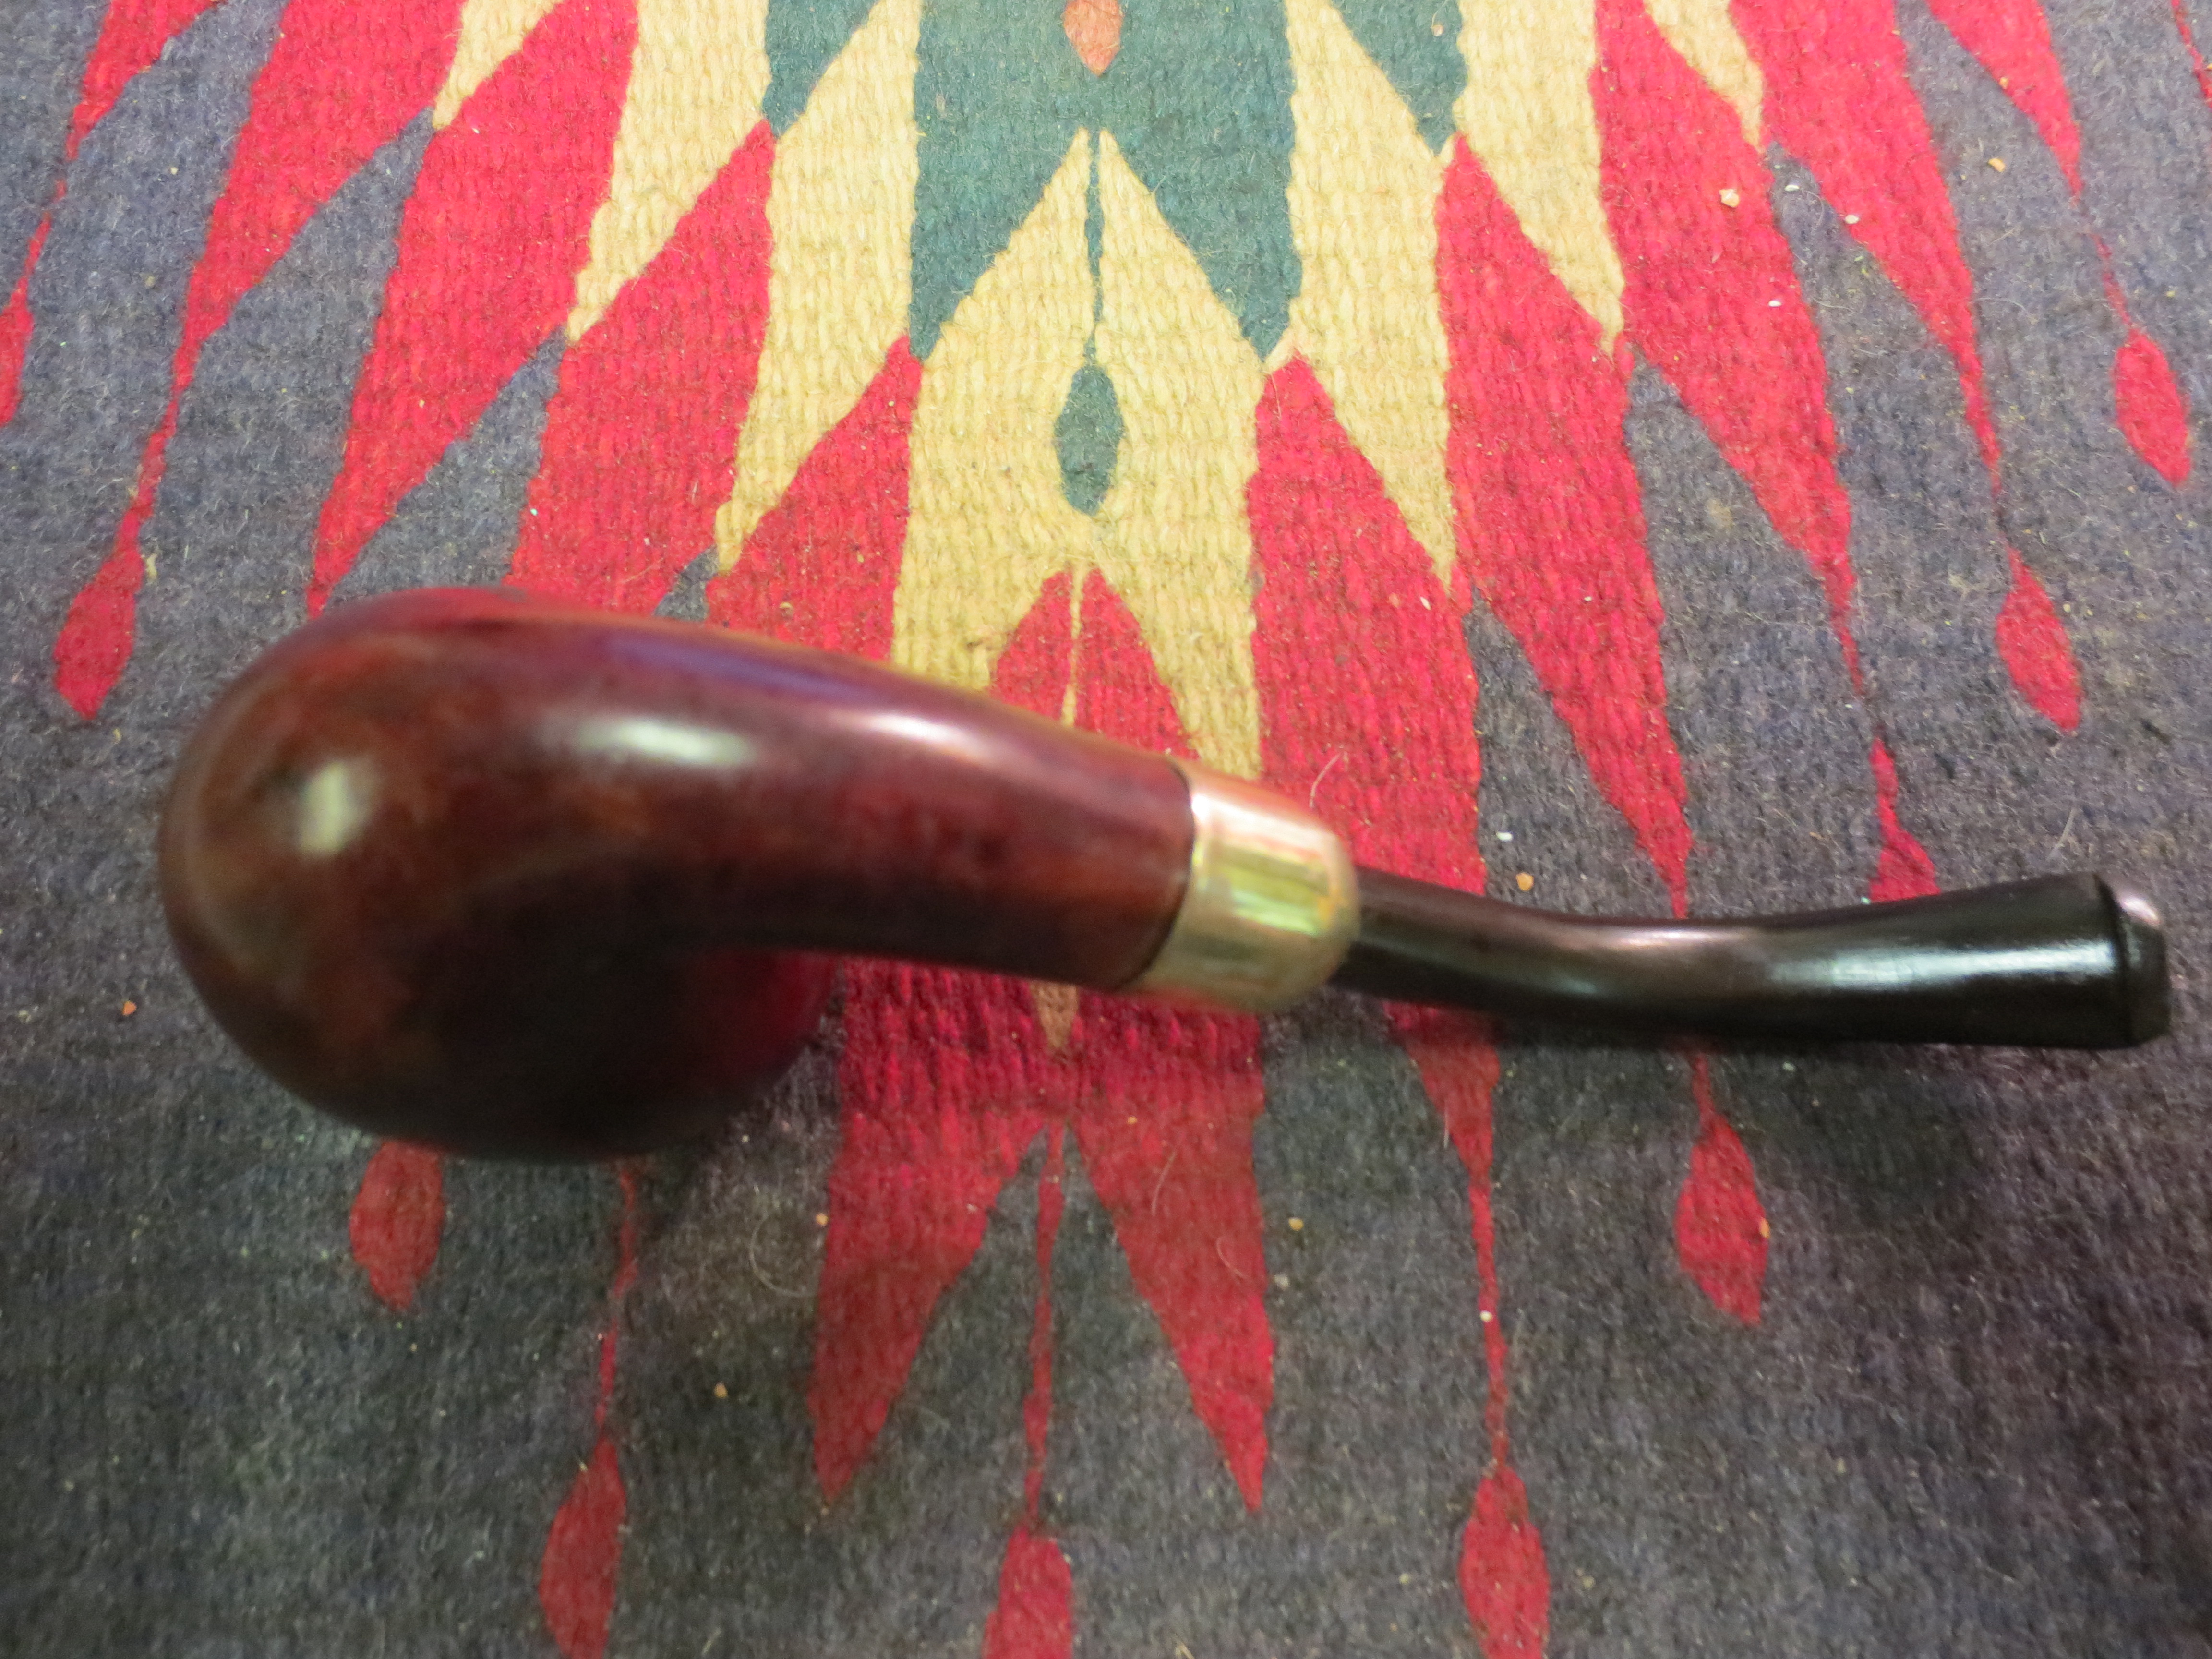
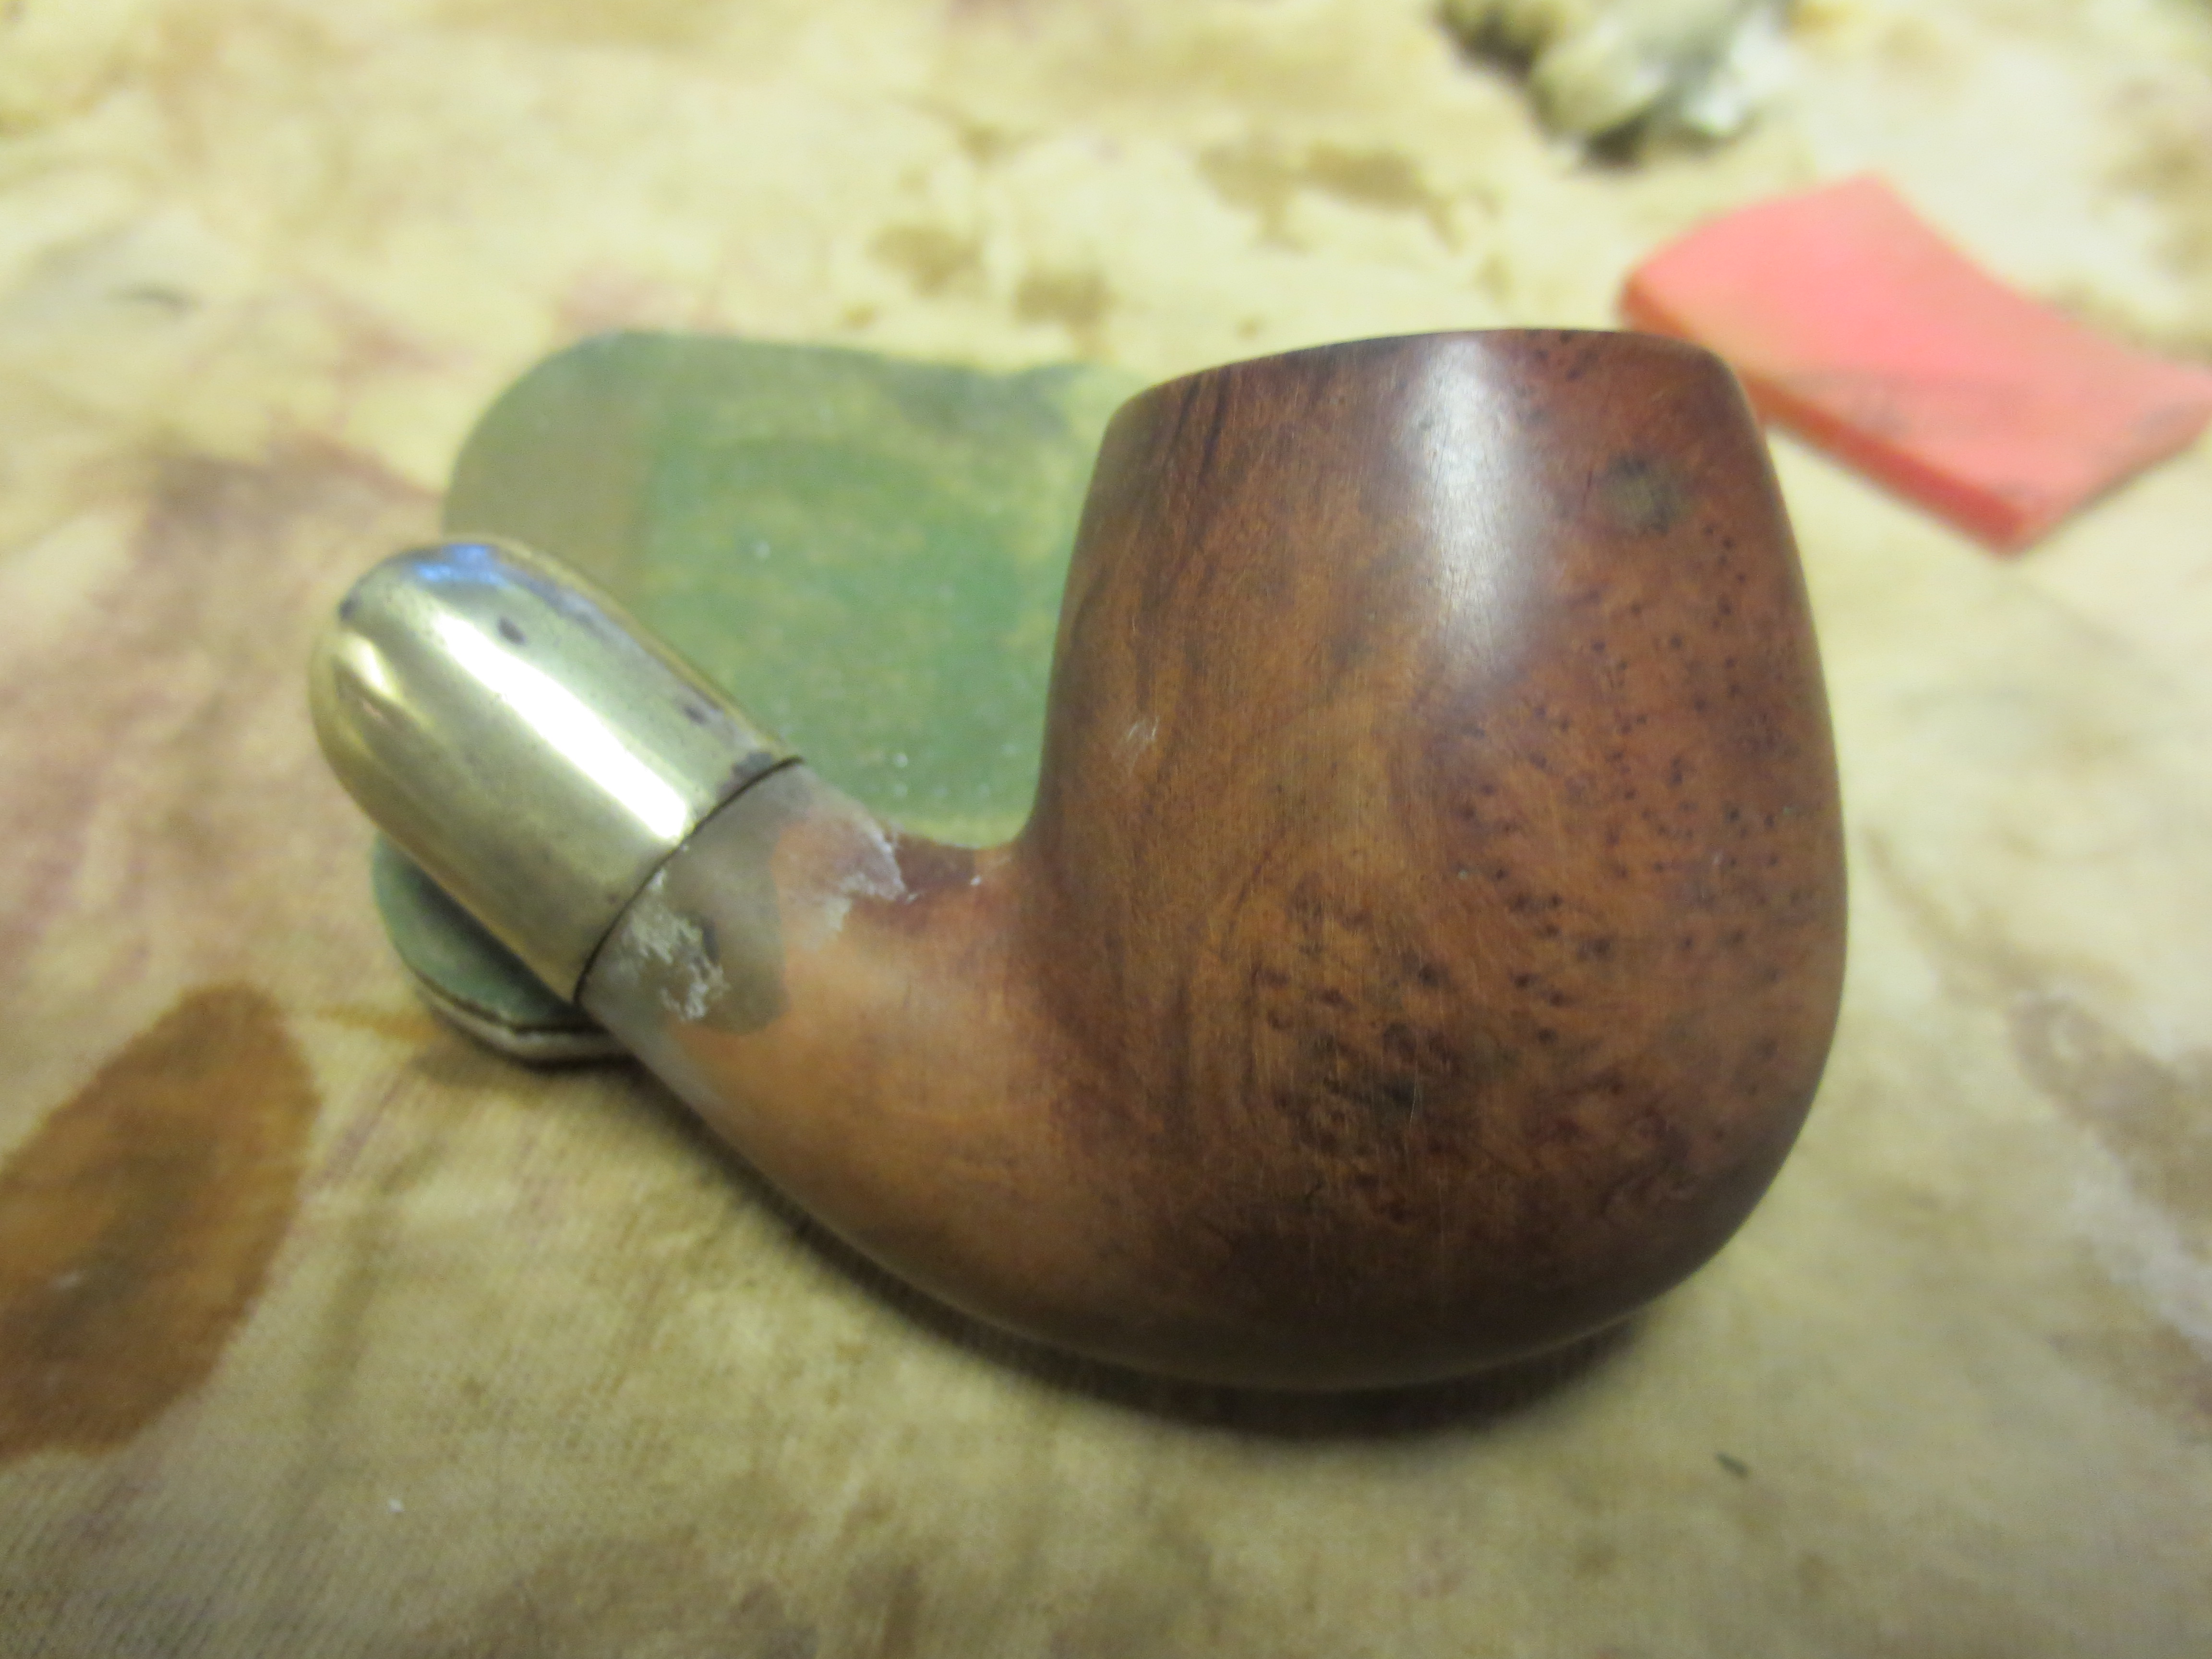
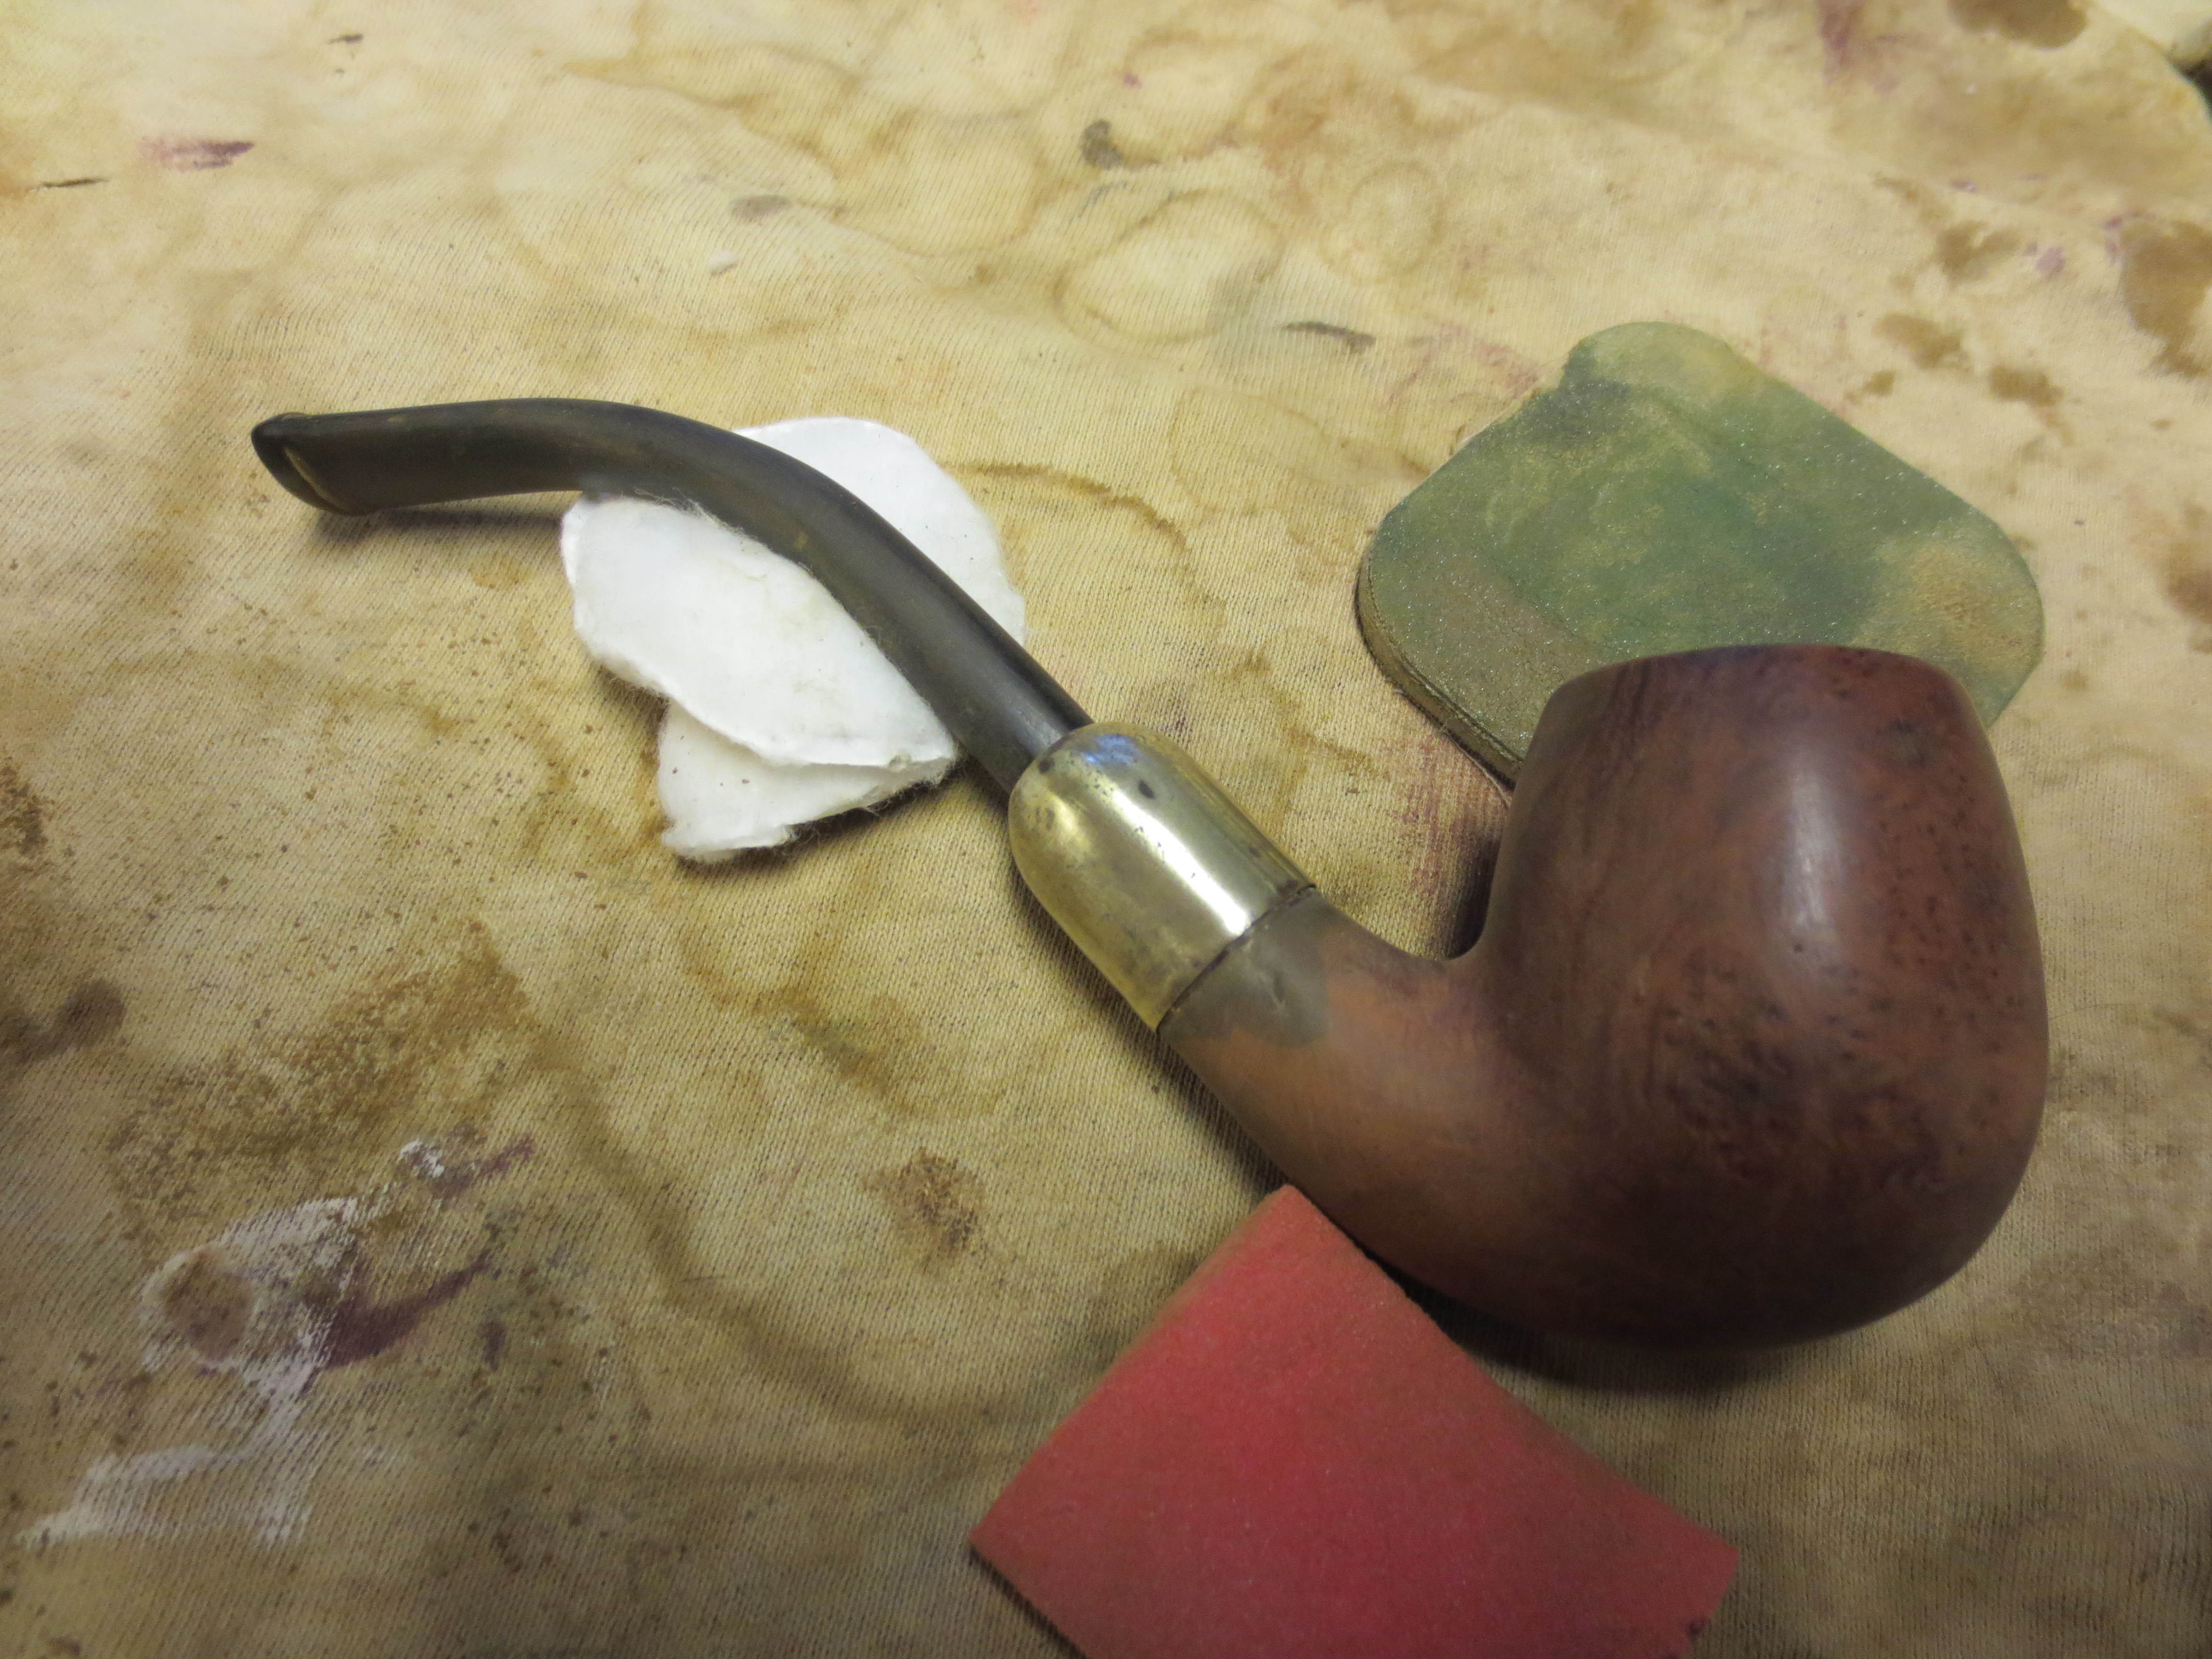
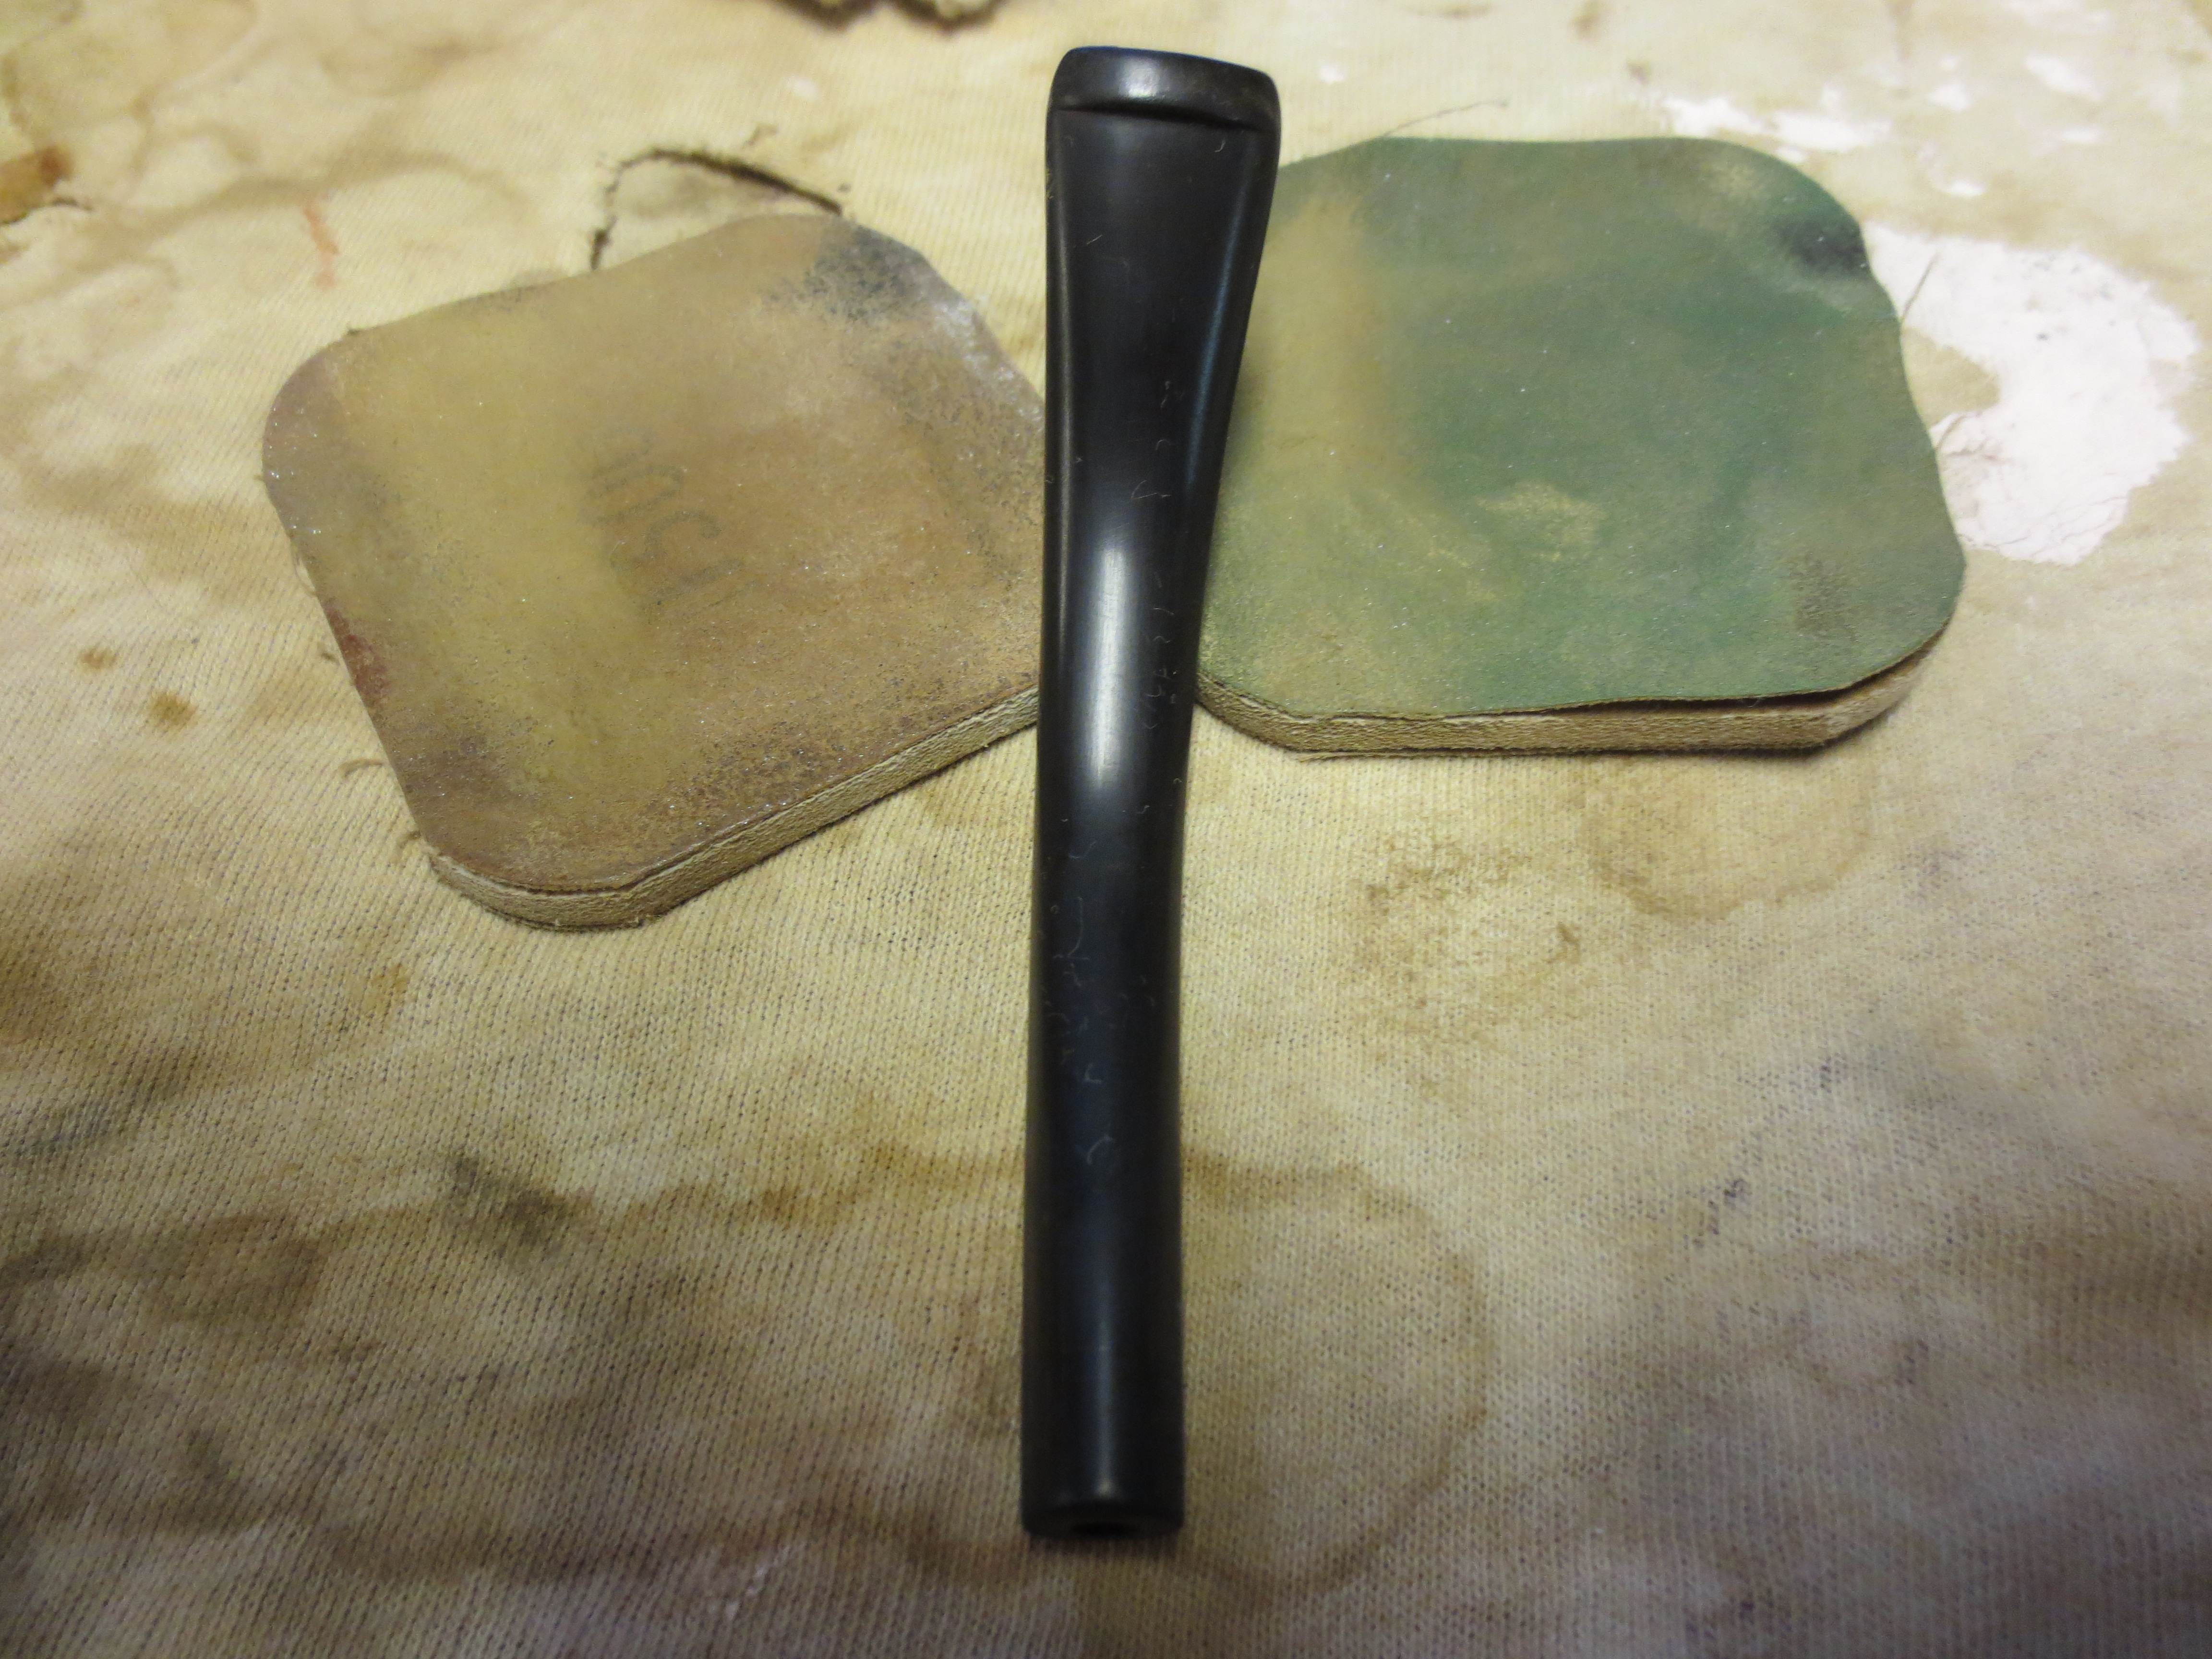
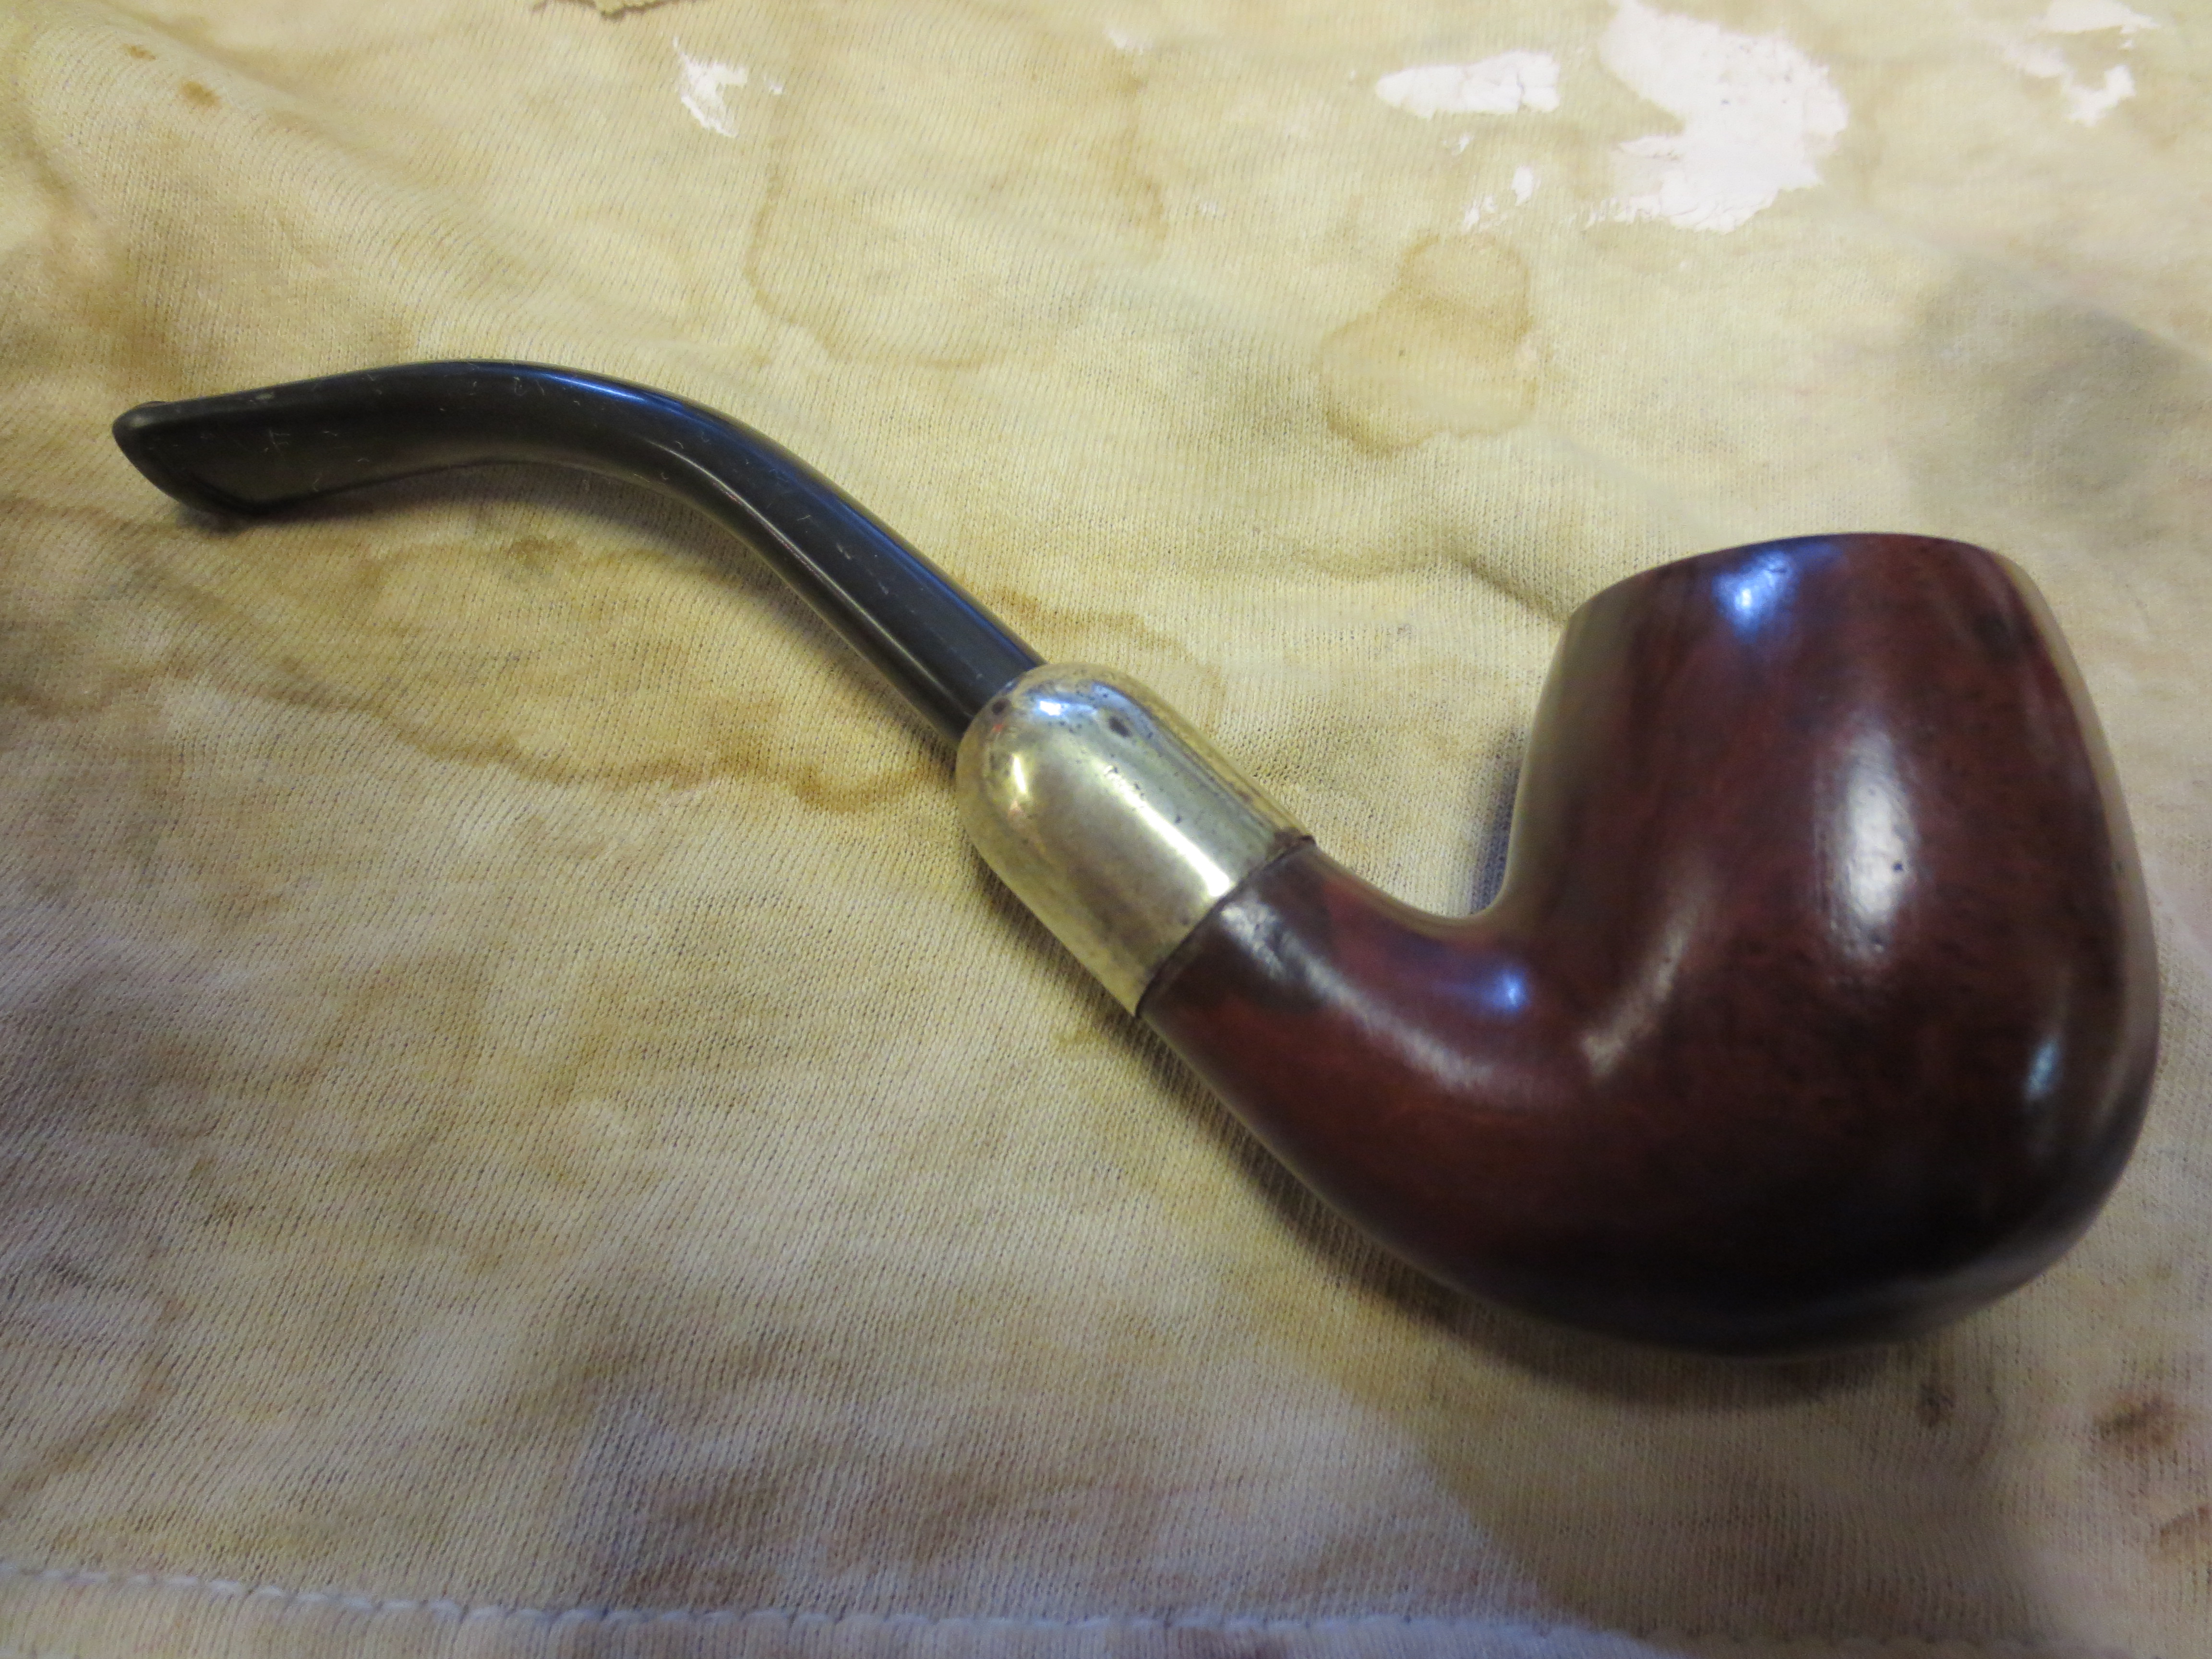
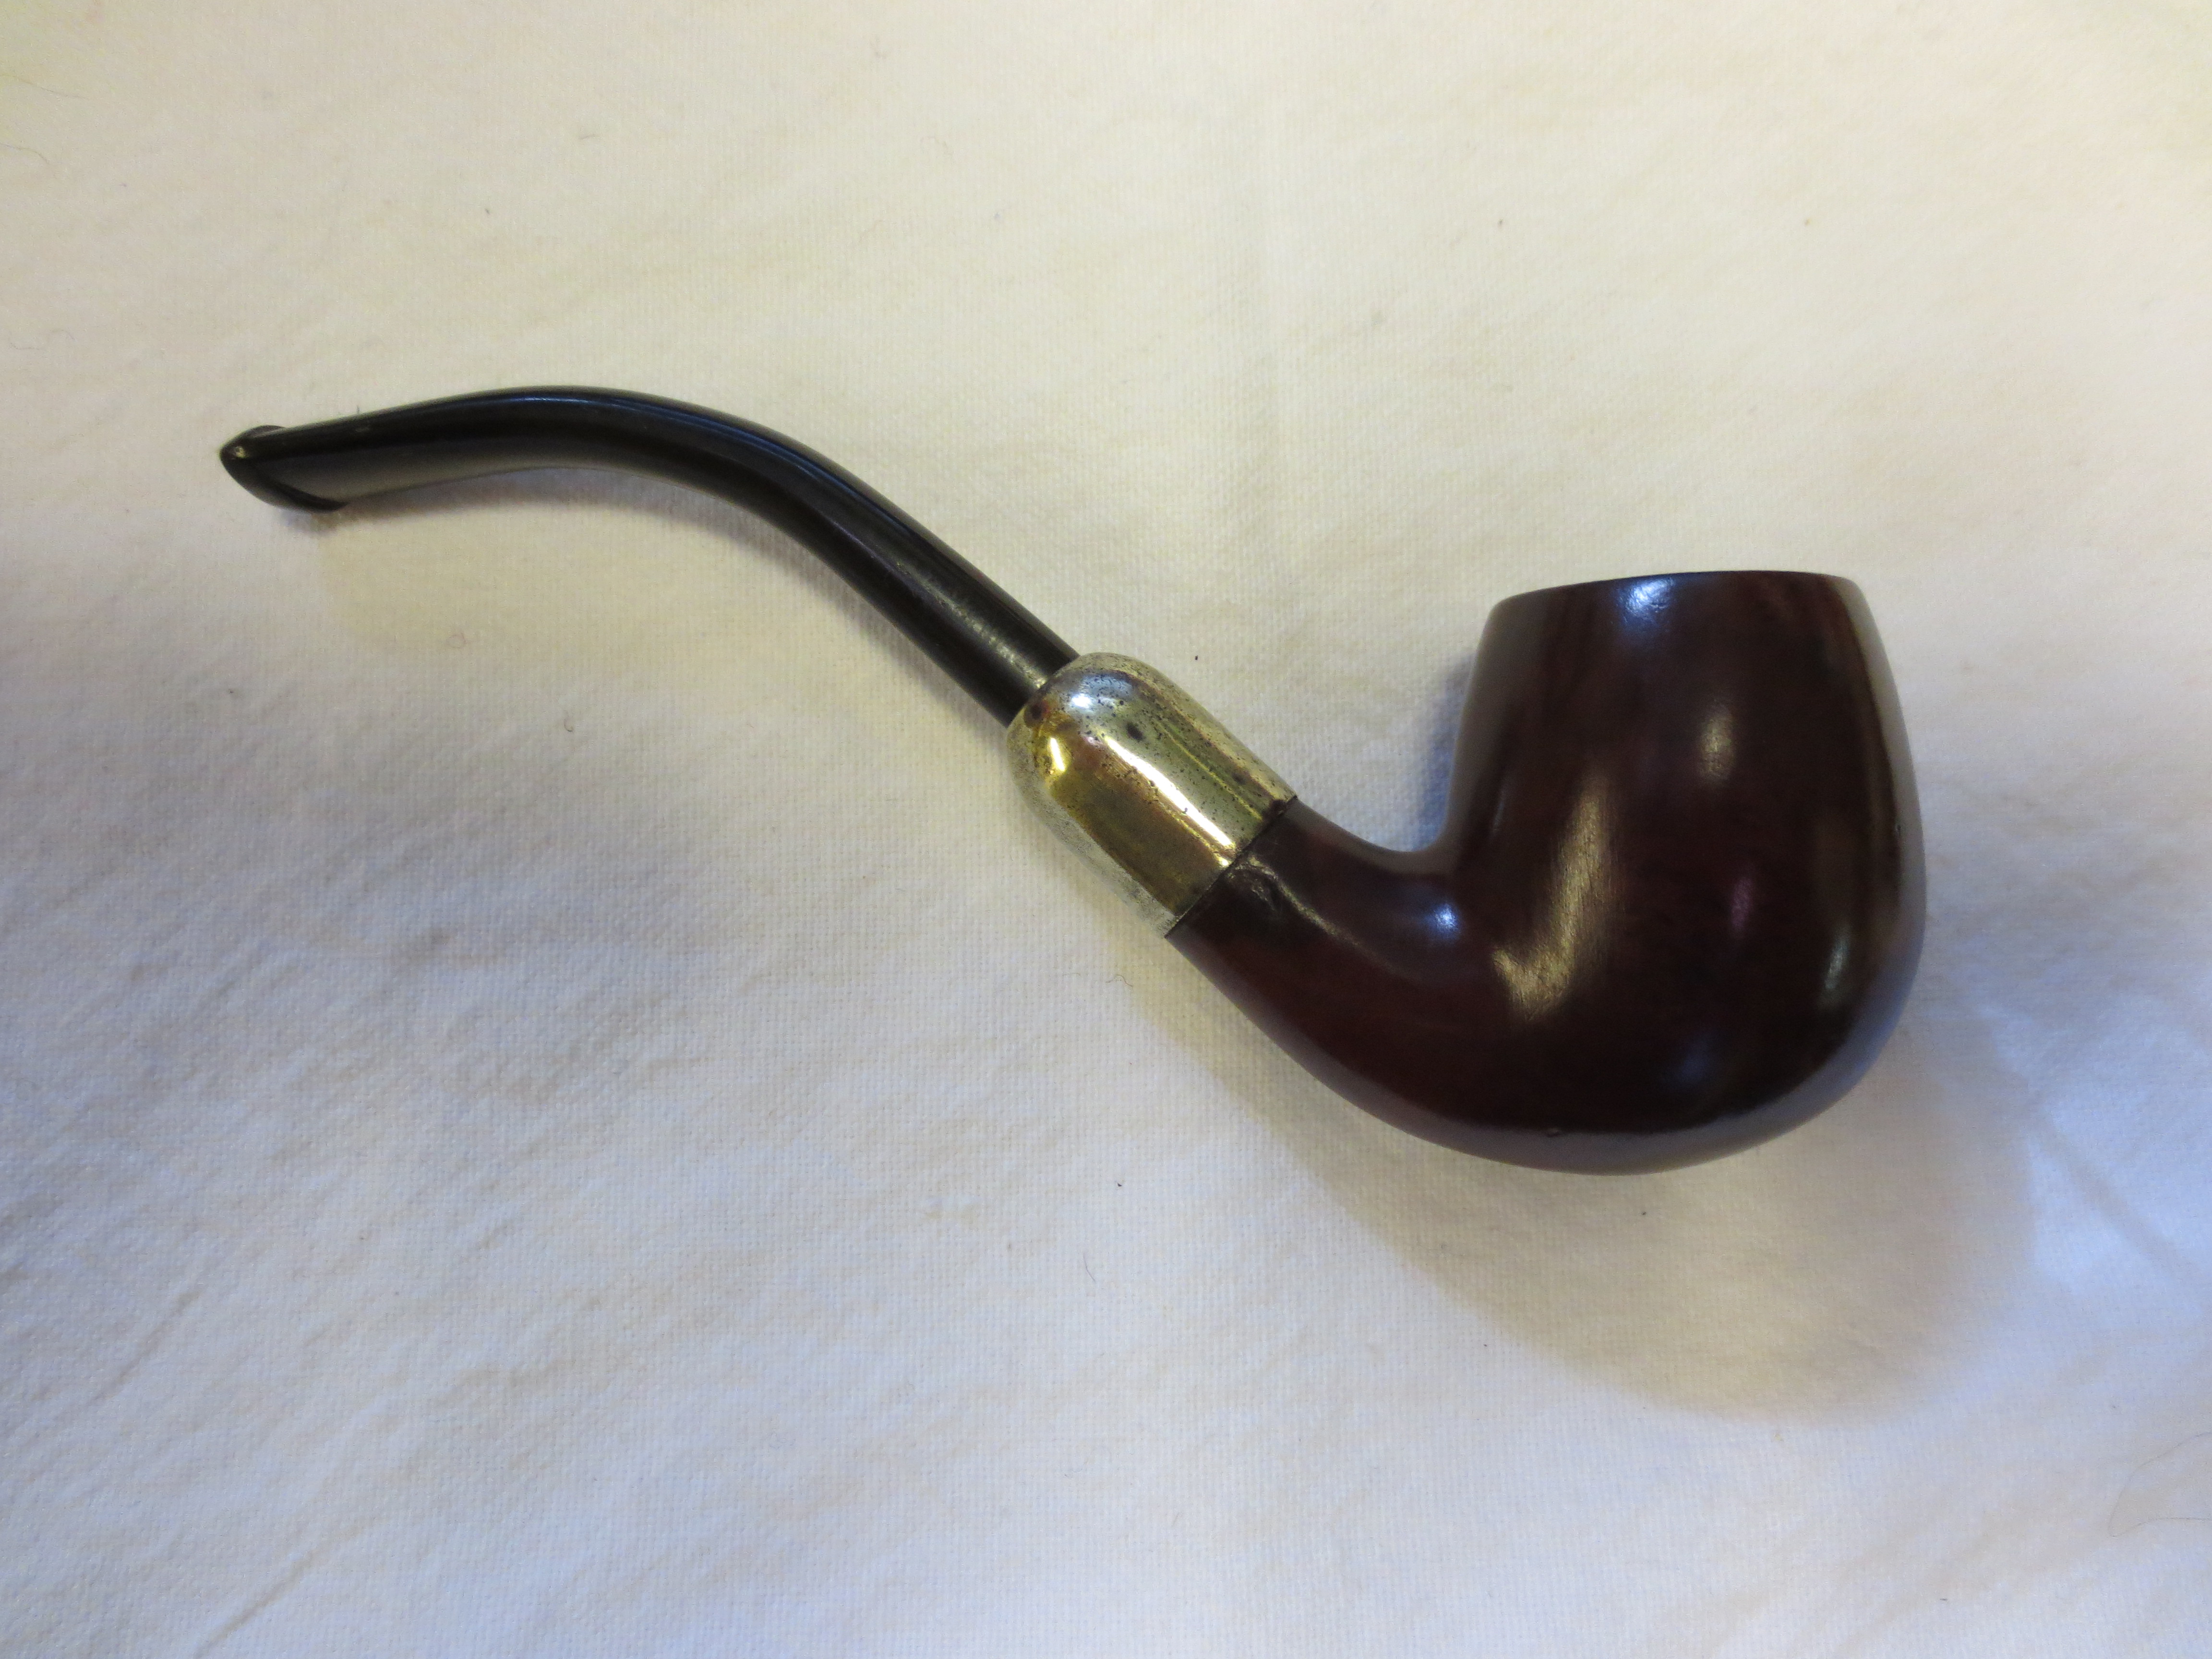
The next series of four pictures show the pipe after it had been sitting overnight and dried from the alcohol bath. Most of the grime is gone from the outside of the bowl of the pipe and the oxidation on the stem was not fairly smooth – just black and needed to be cleaned. The shank cap also had quite a few dents that would make it a challenge to remove the oxidation.

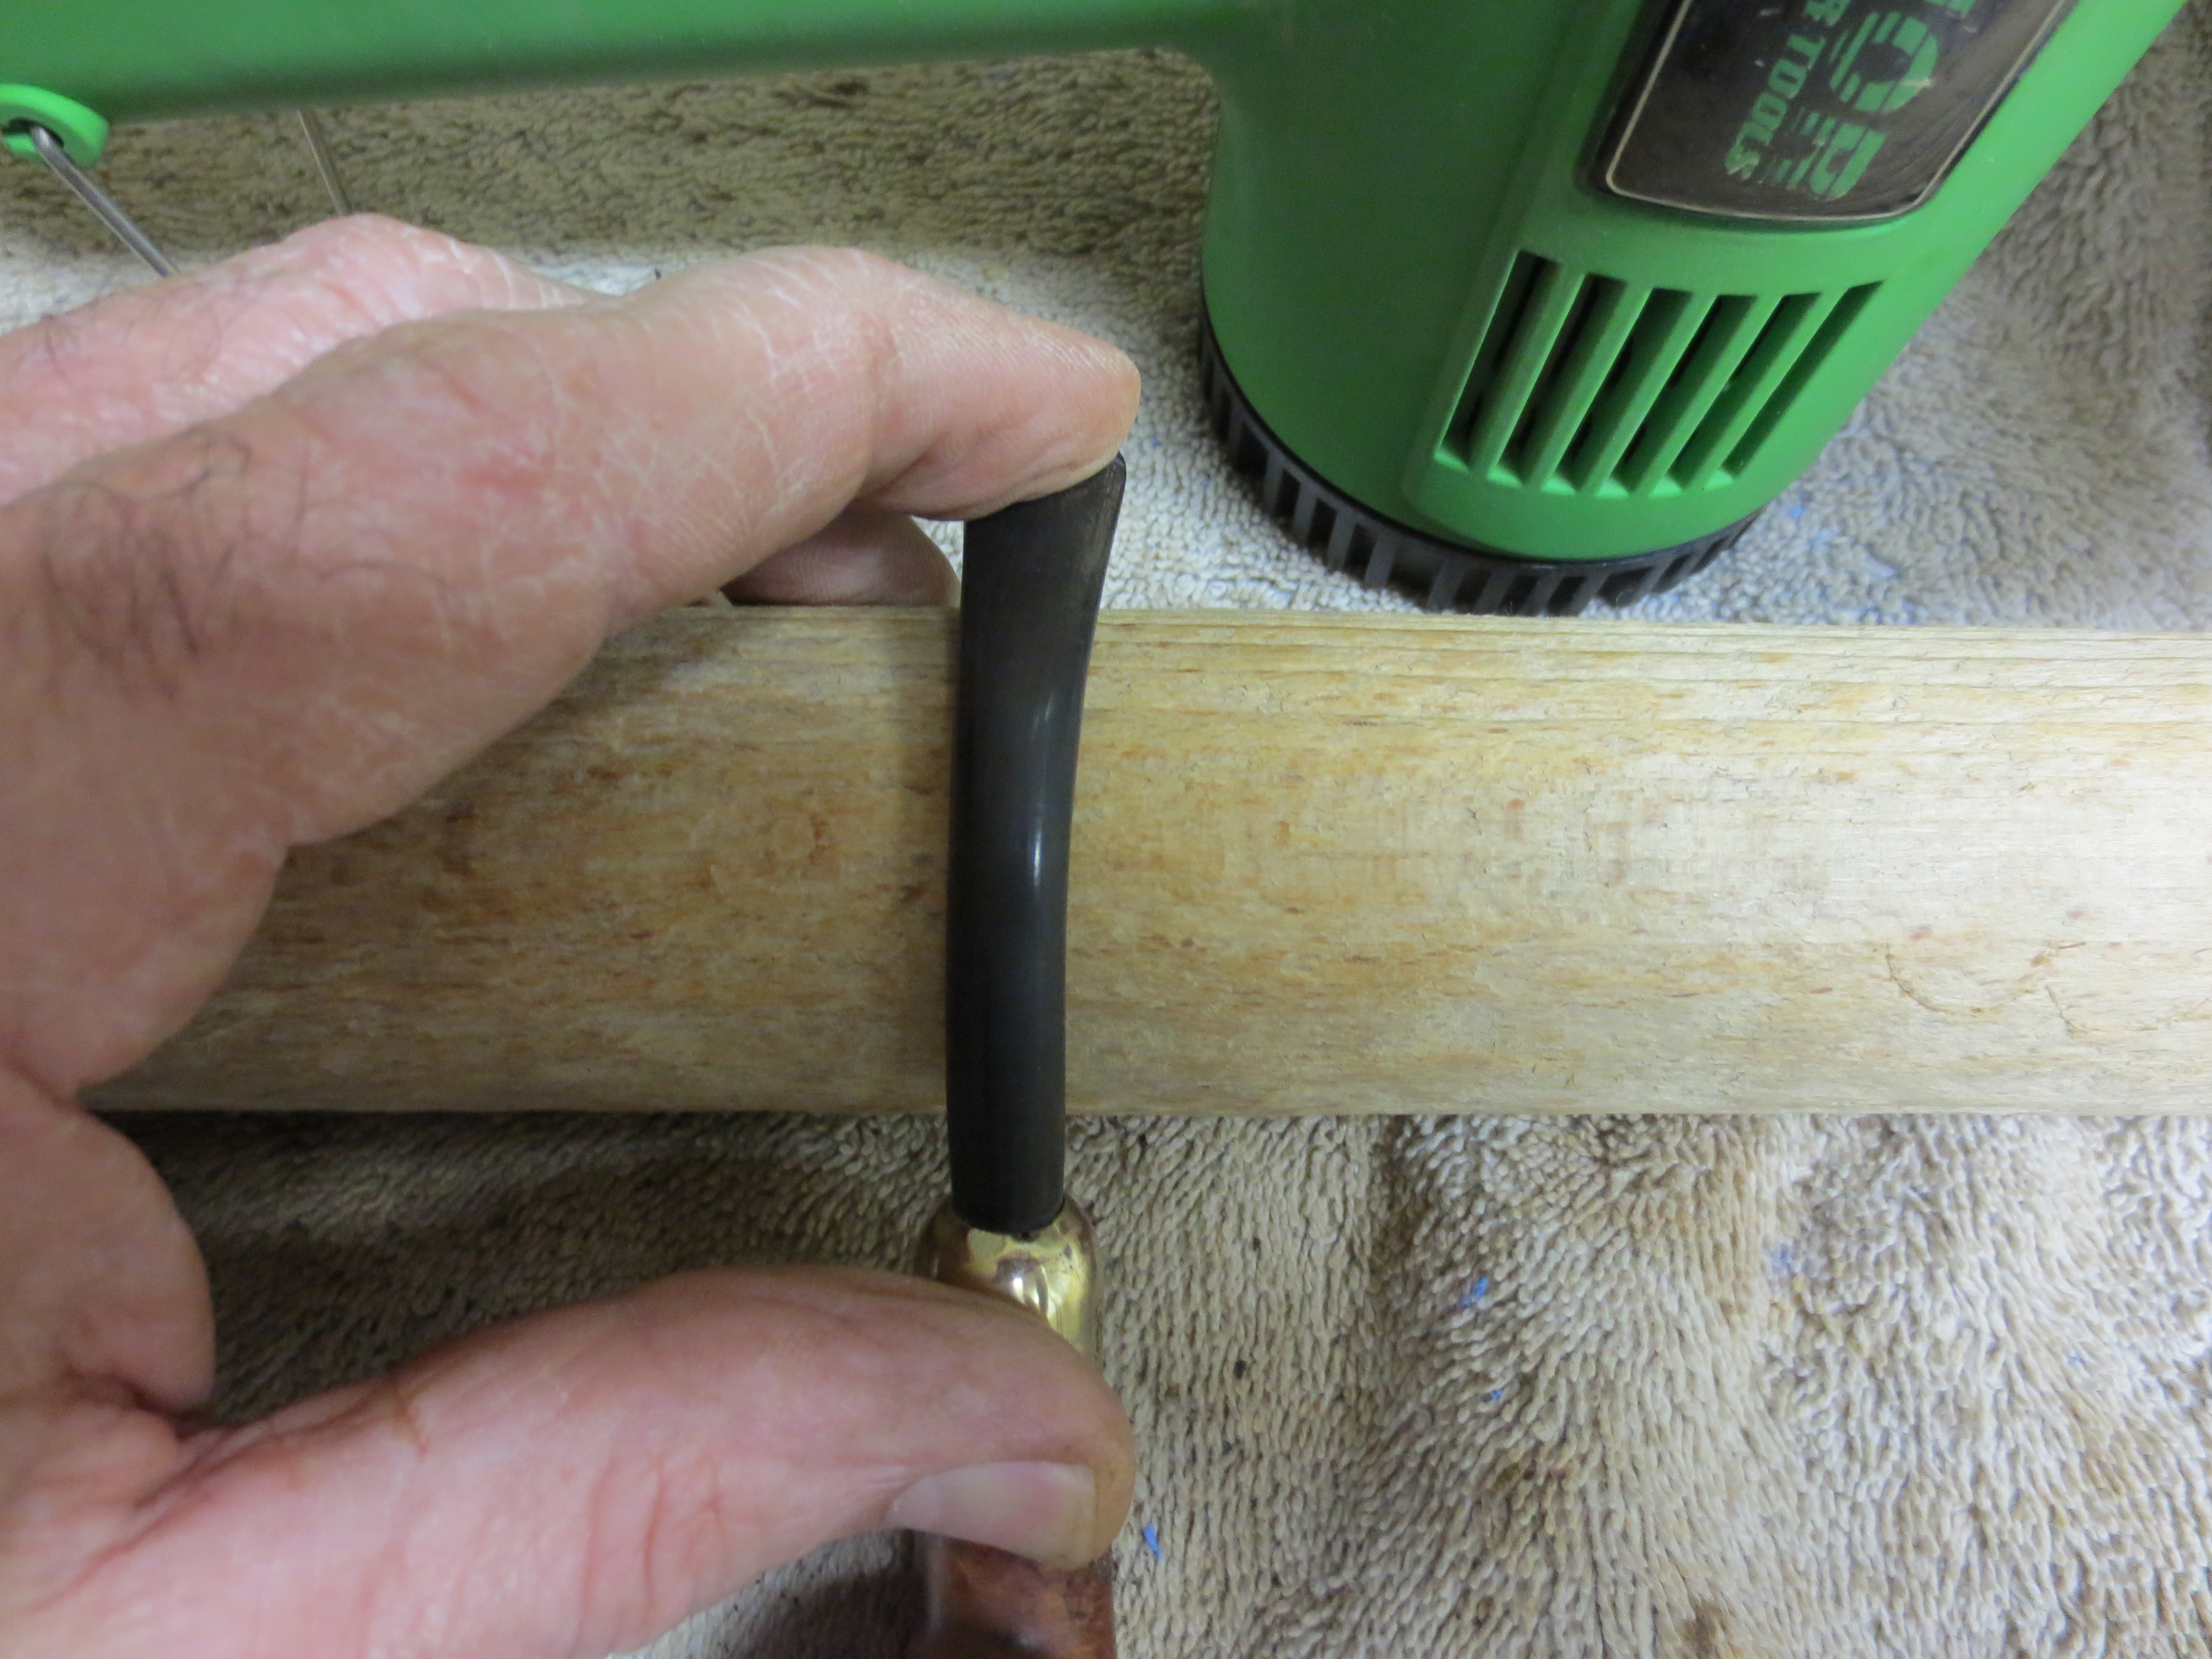
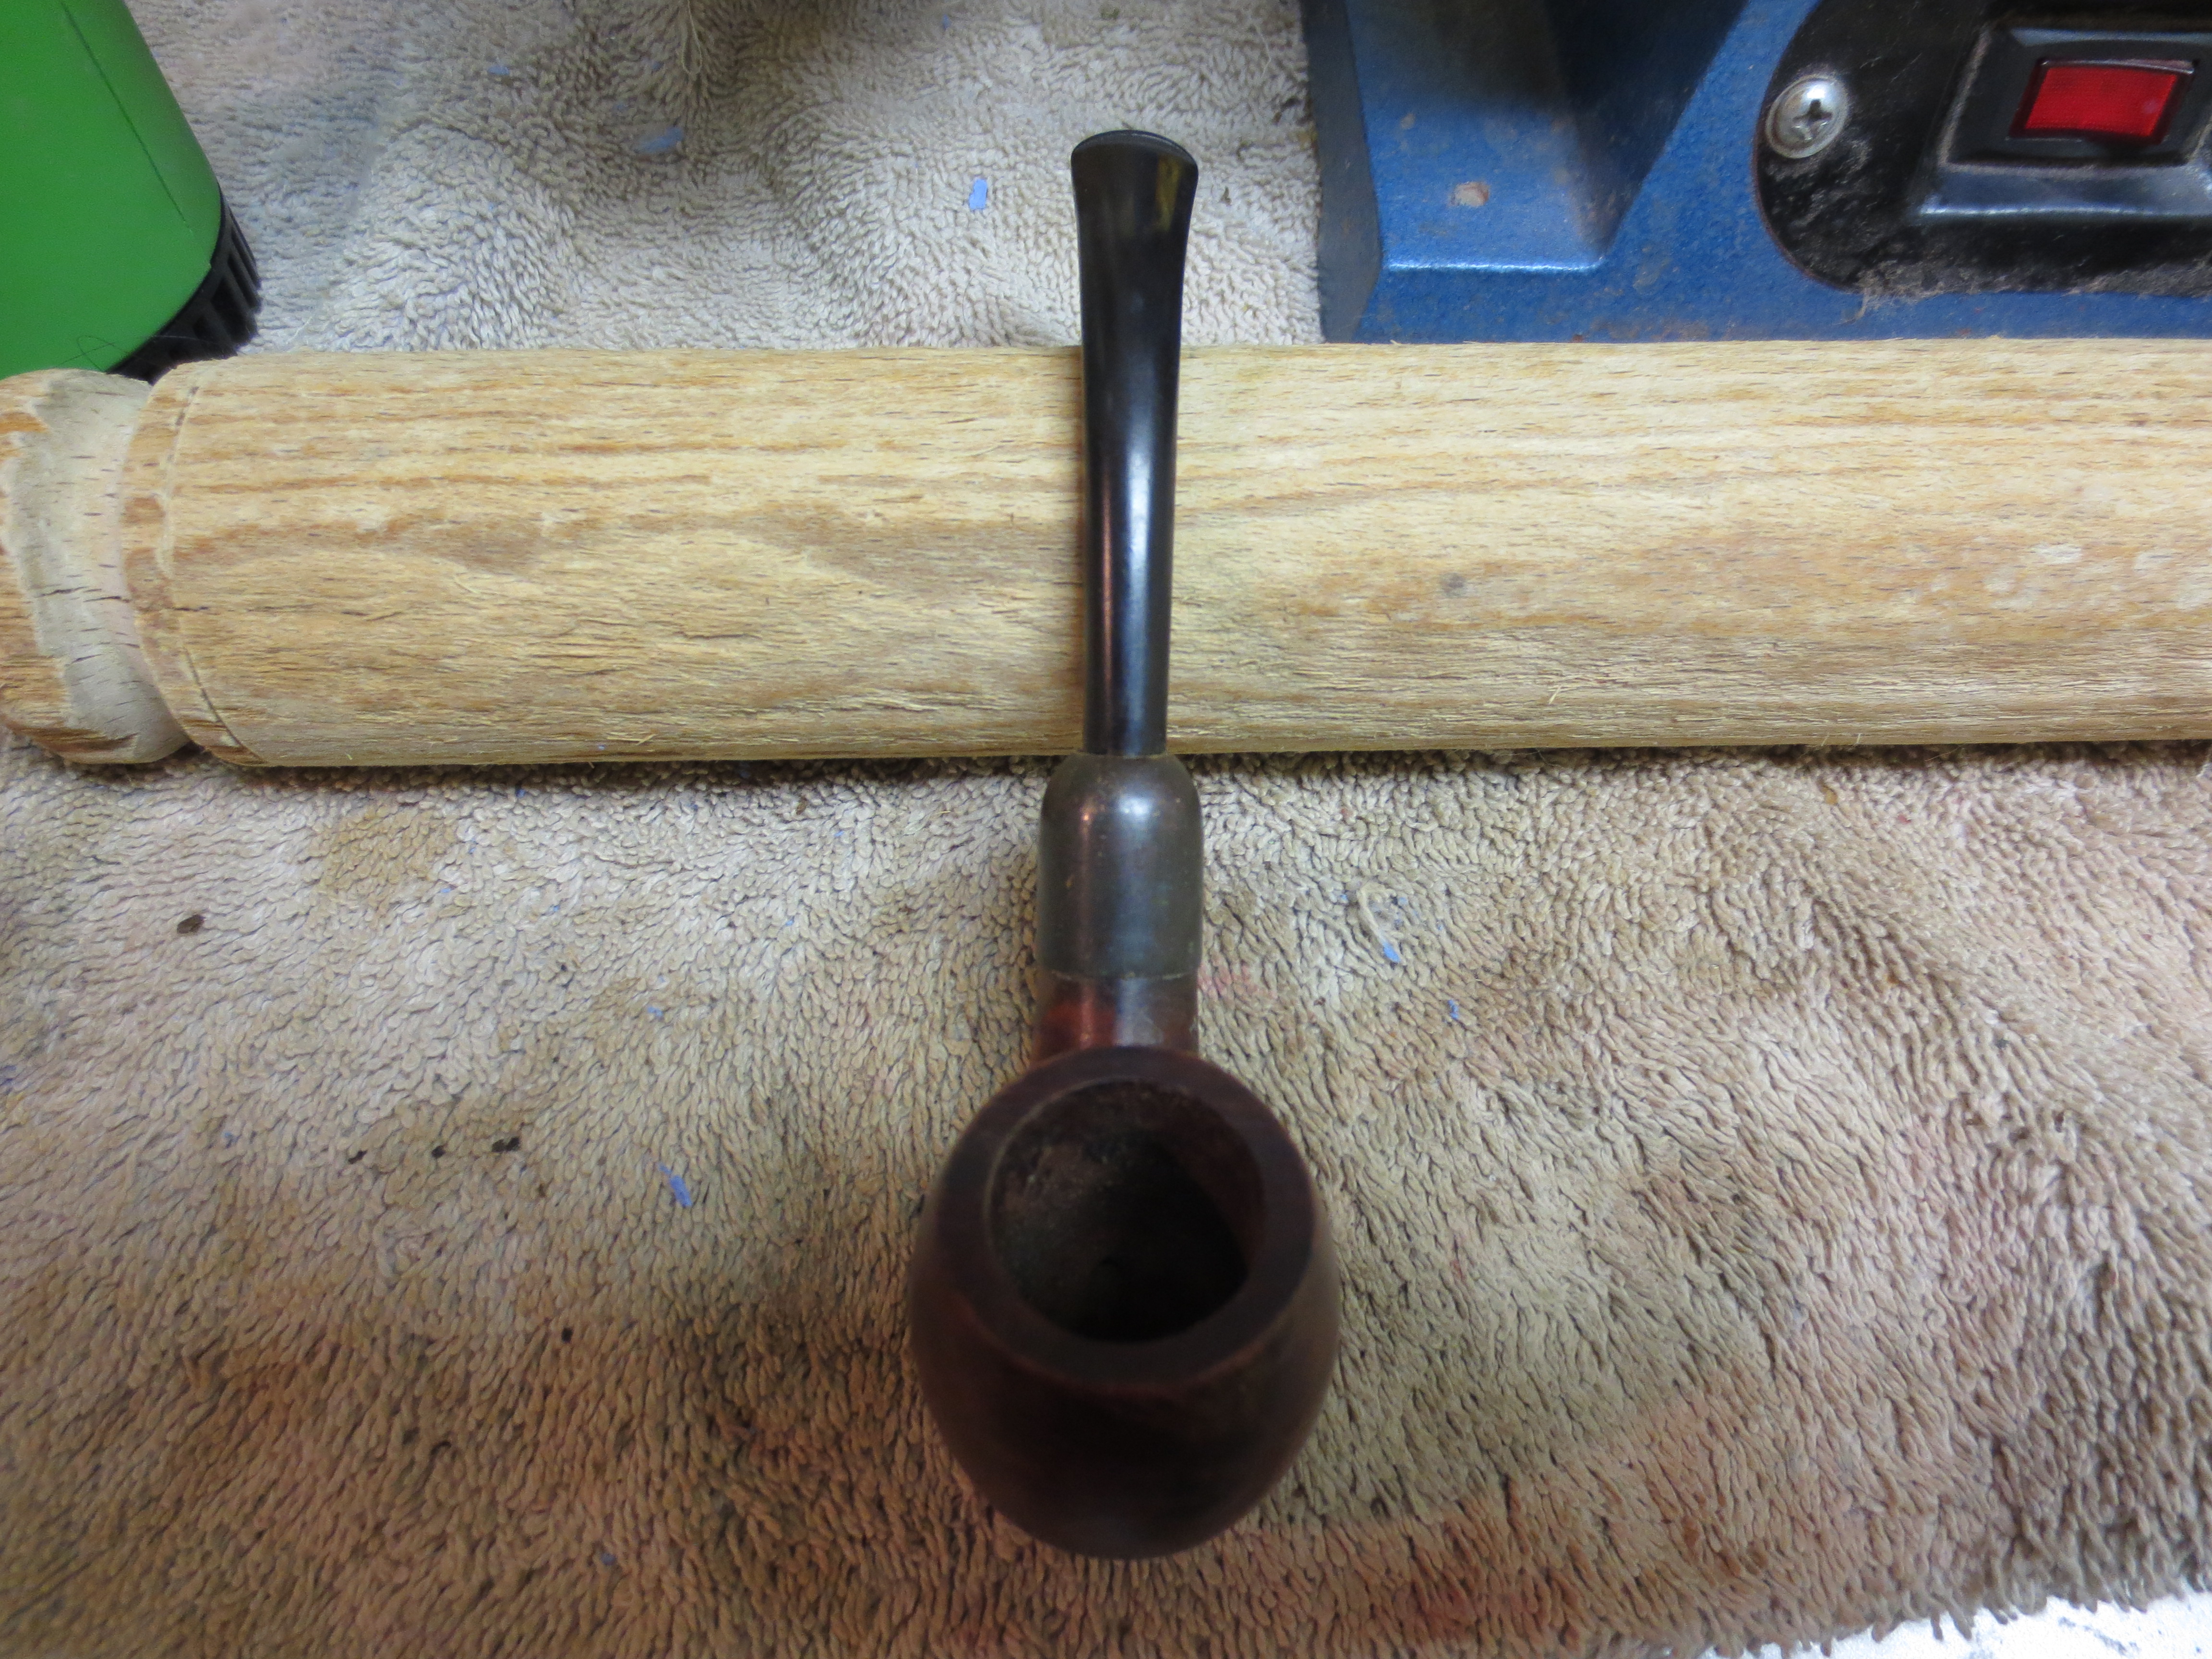
At this point in the process I decided to bend the stem. It was pretty clean and did not have any oxidation on it. It merely needed to be polished and shined. So I set up my heat gun and the old rolling pin to bend the stem over and went to work on it. The next three photos show the bending process and the finished bend in the stem.
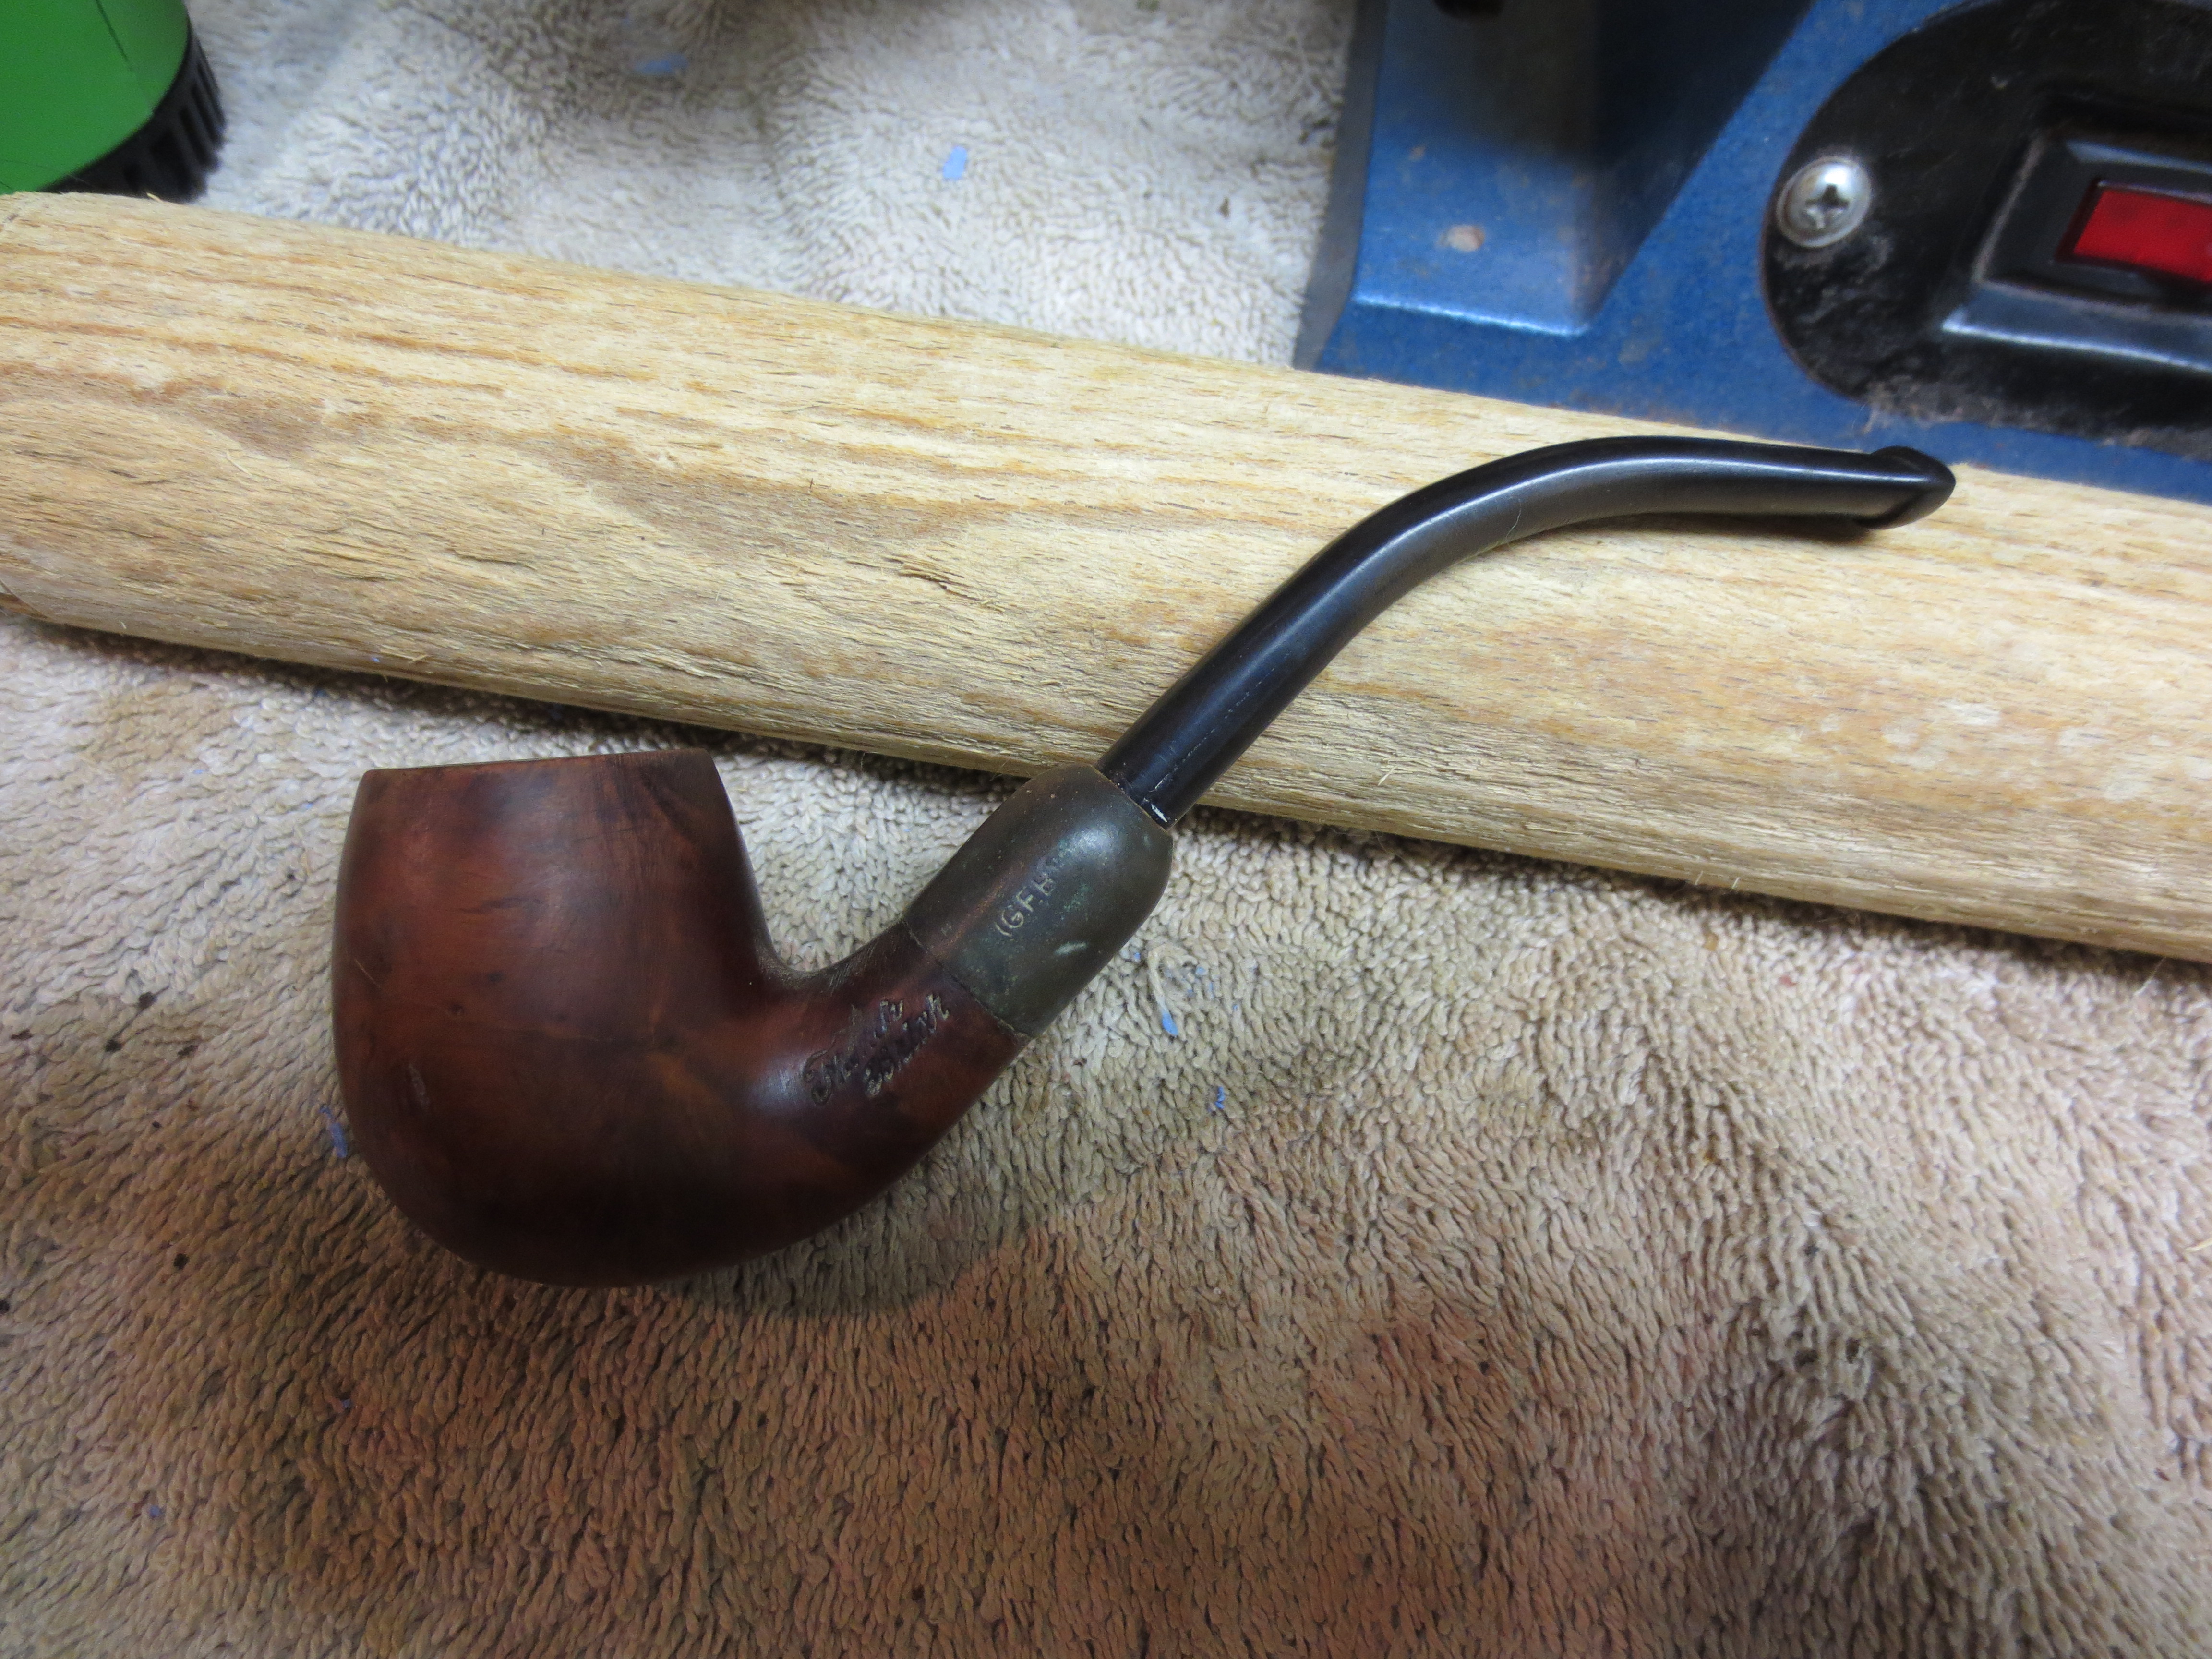
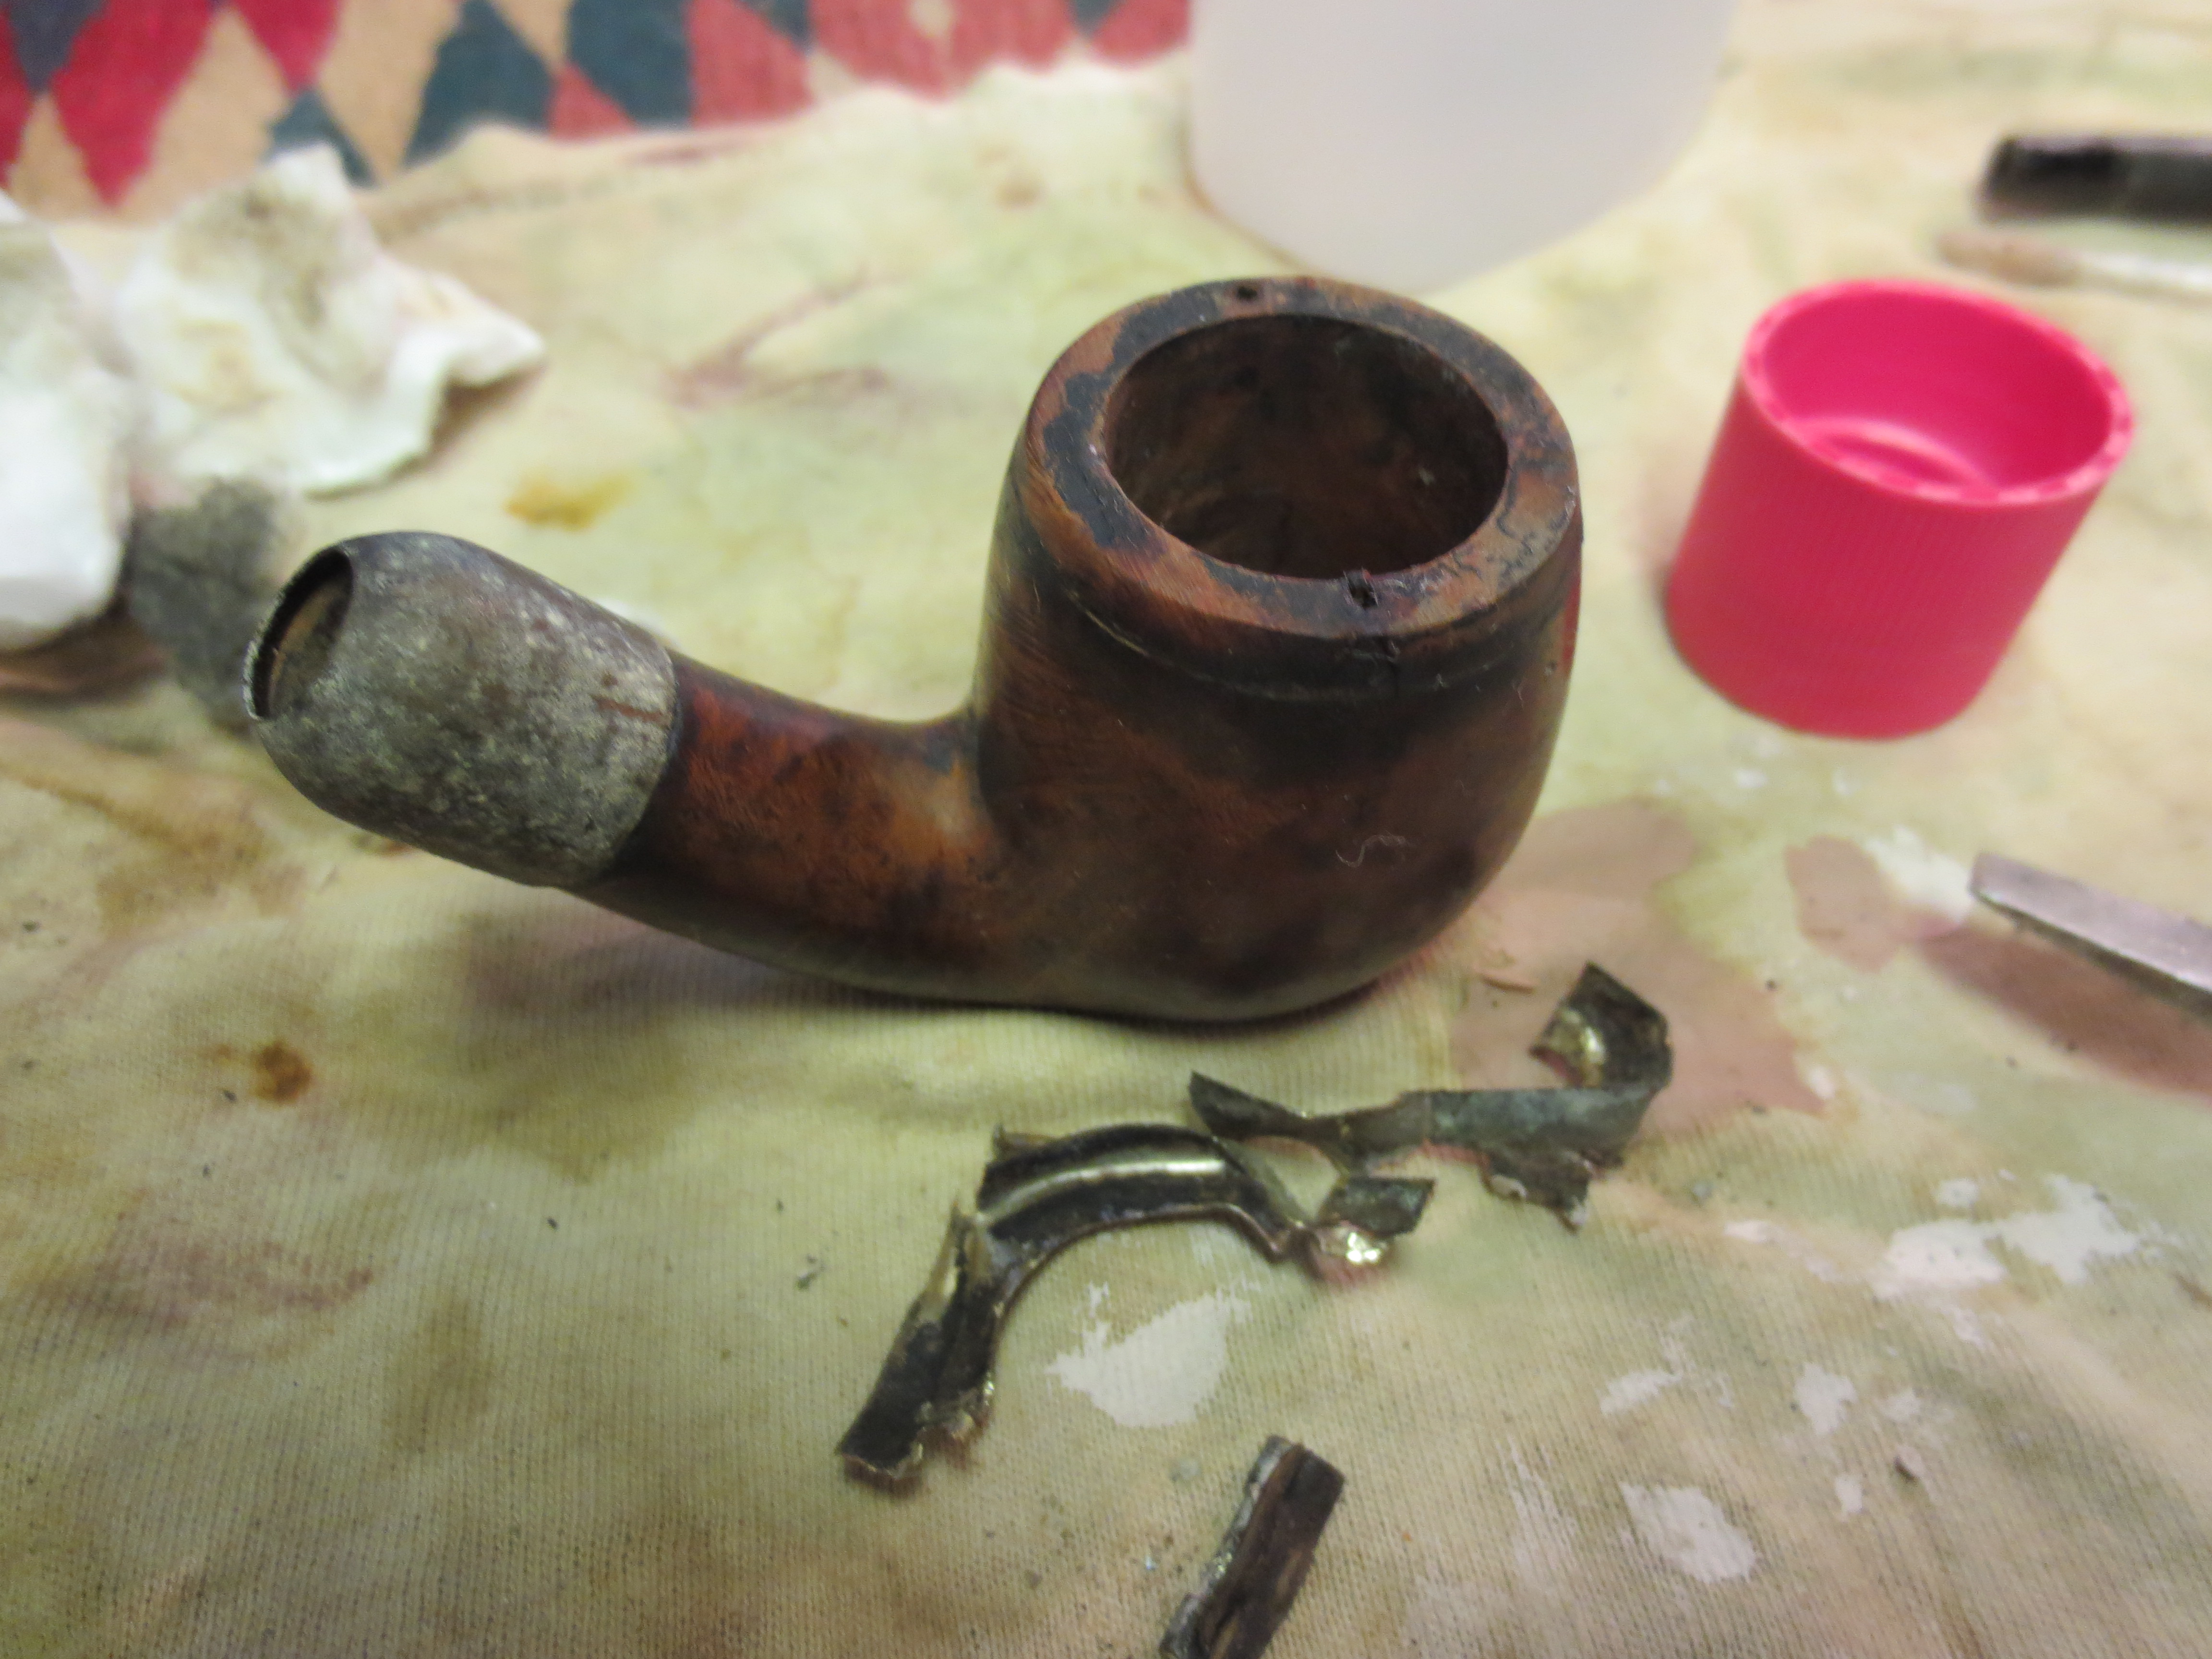
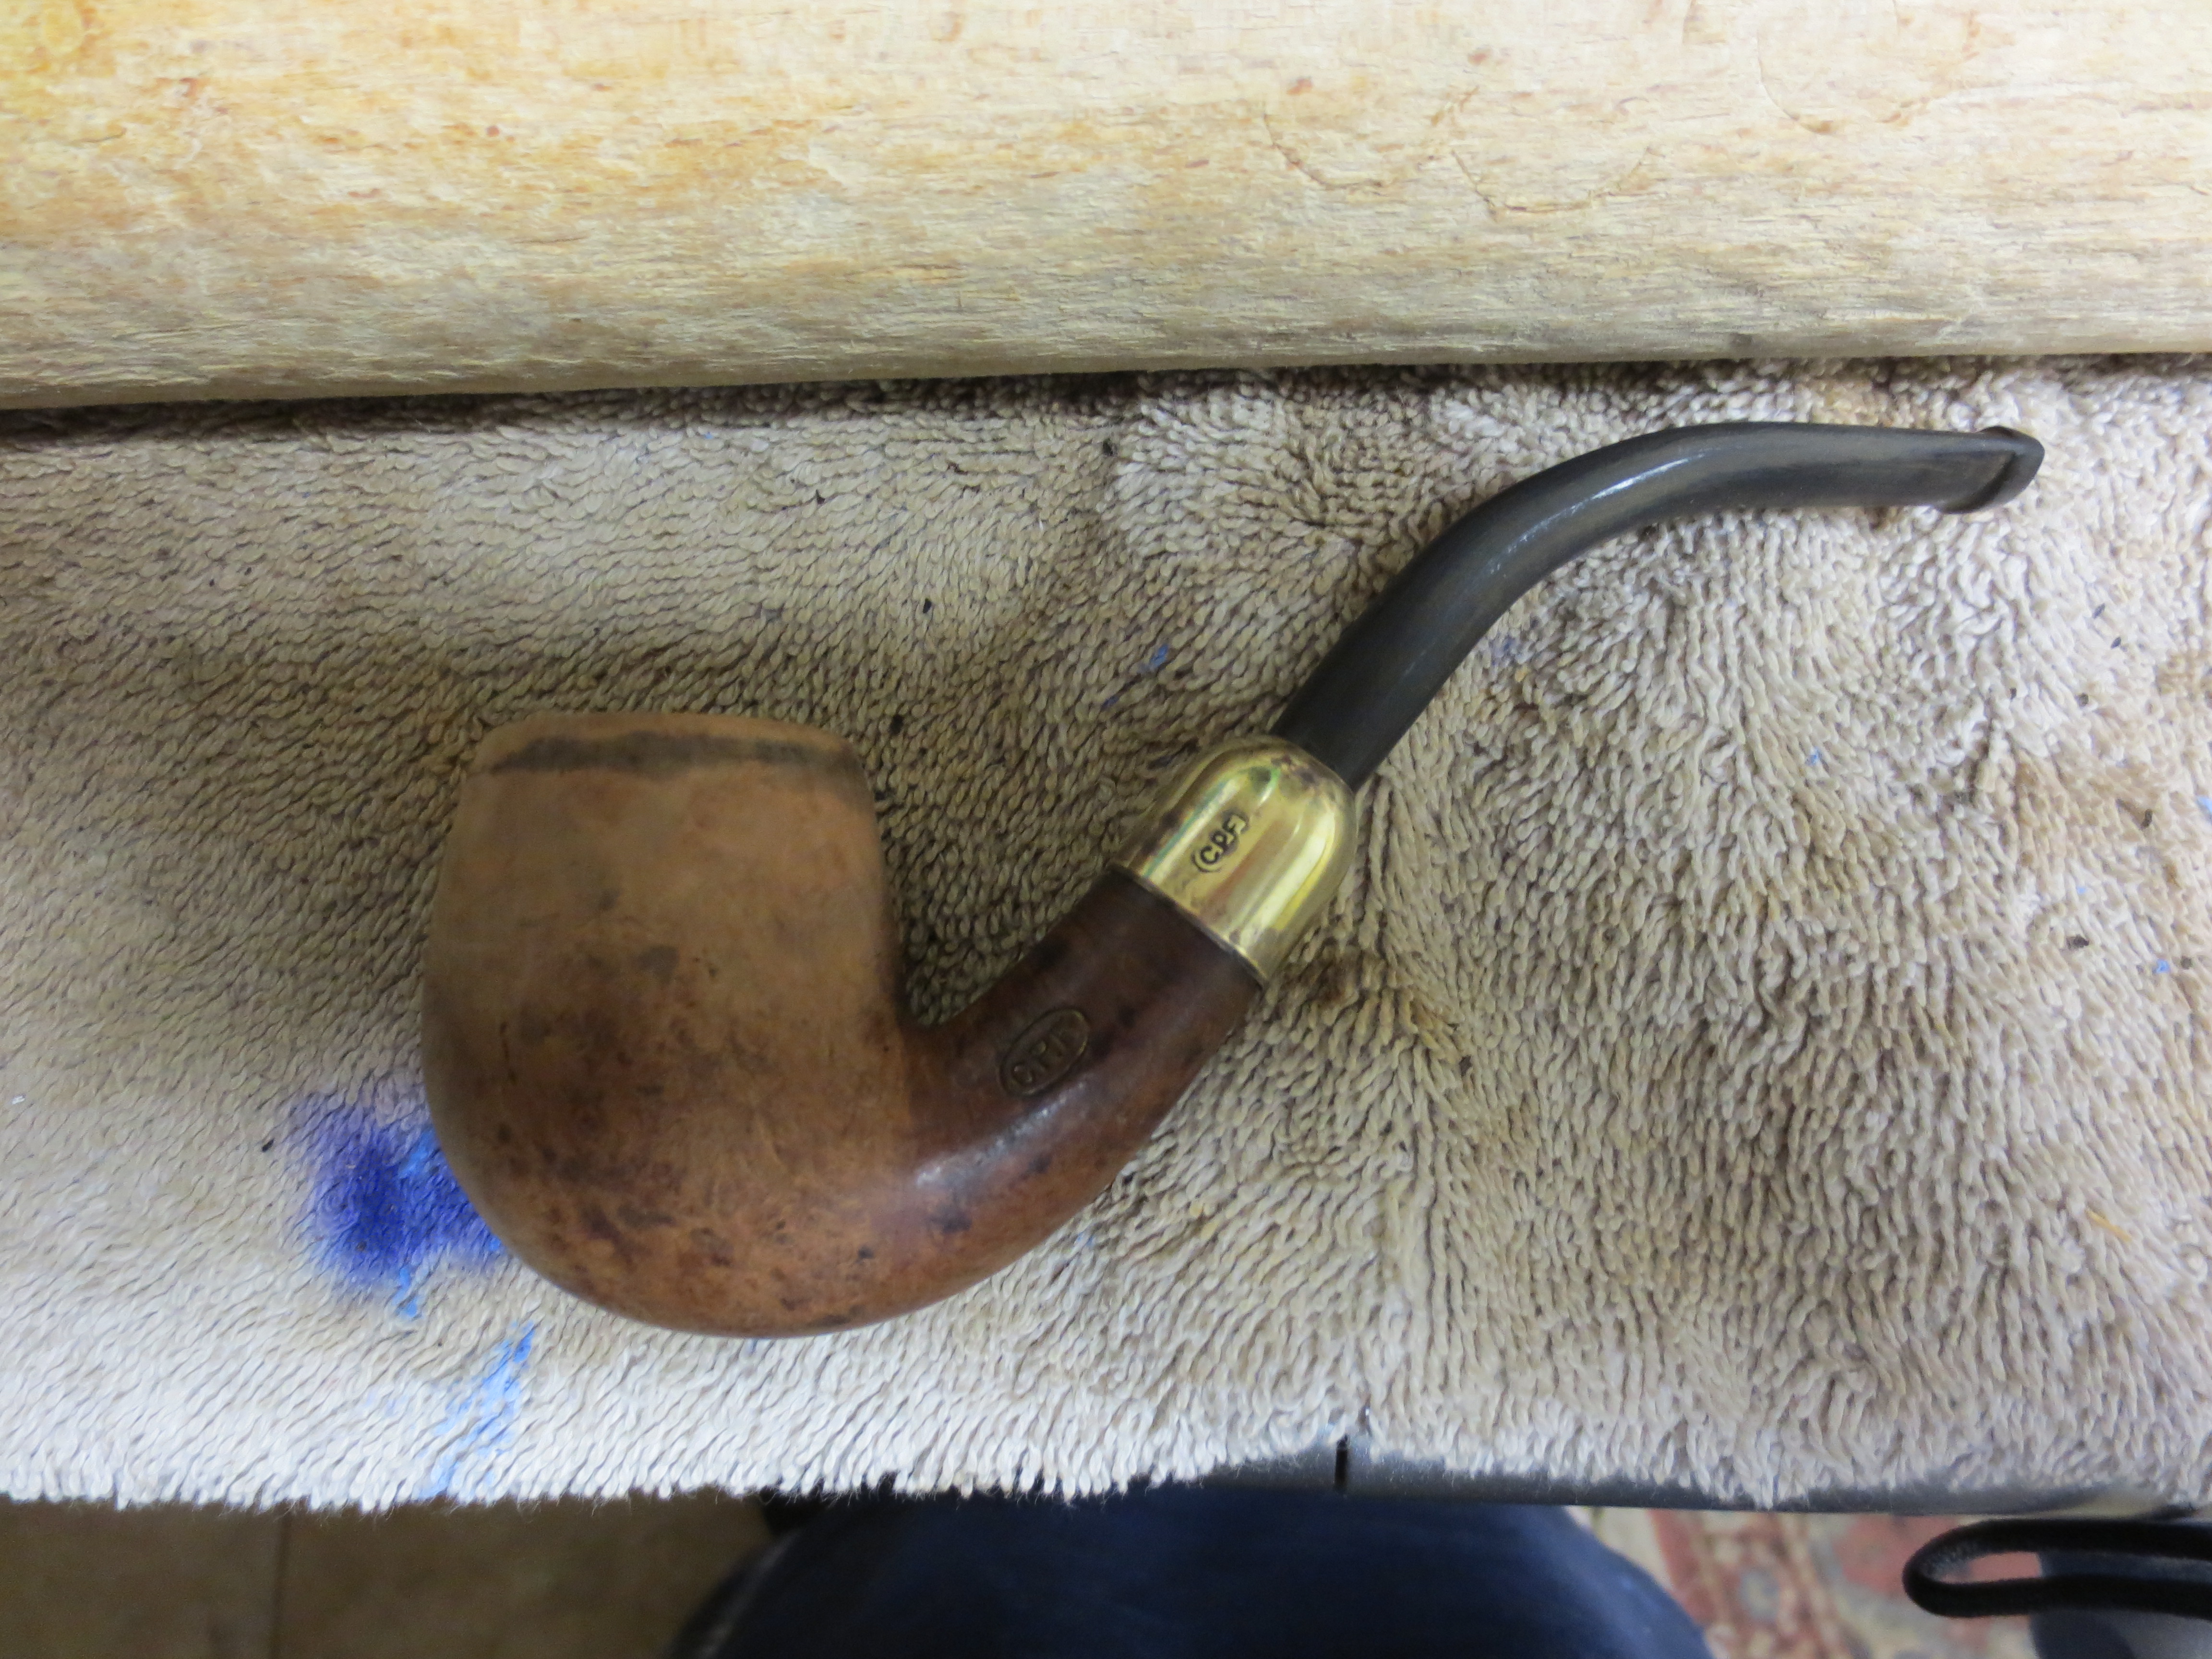
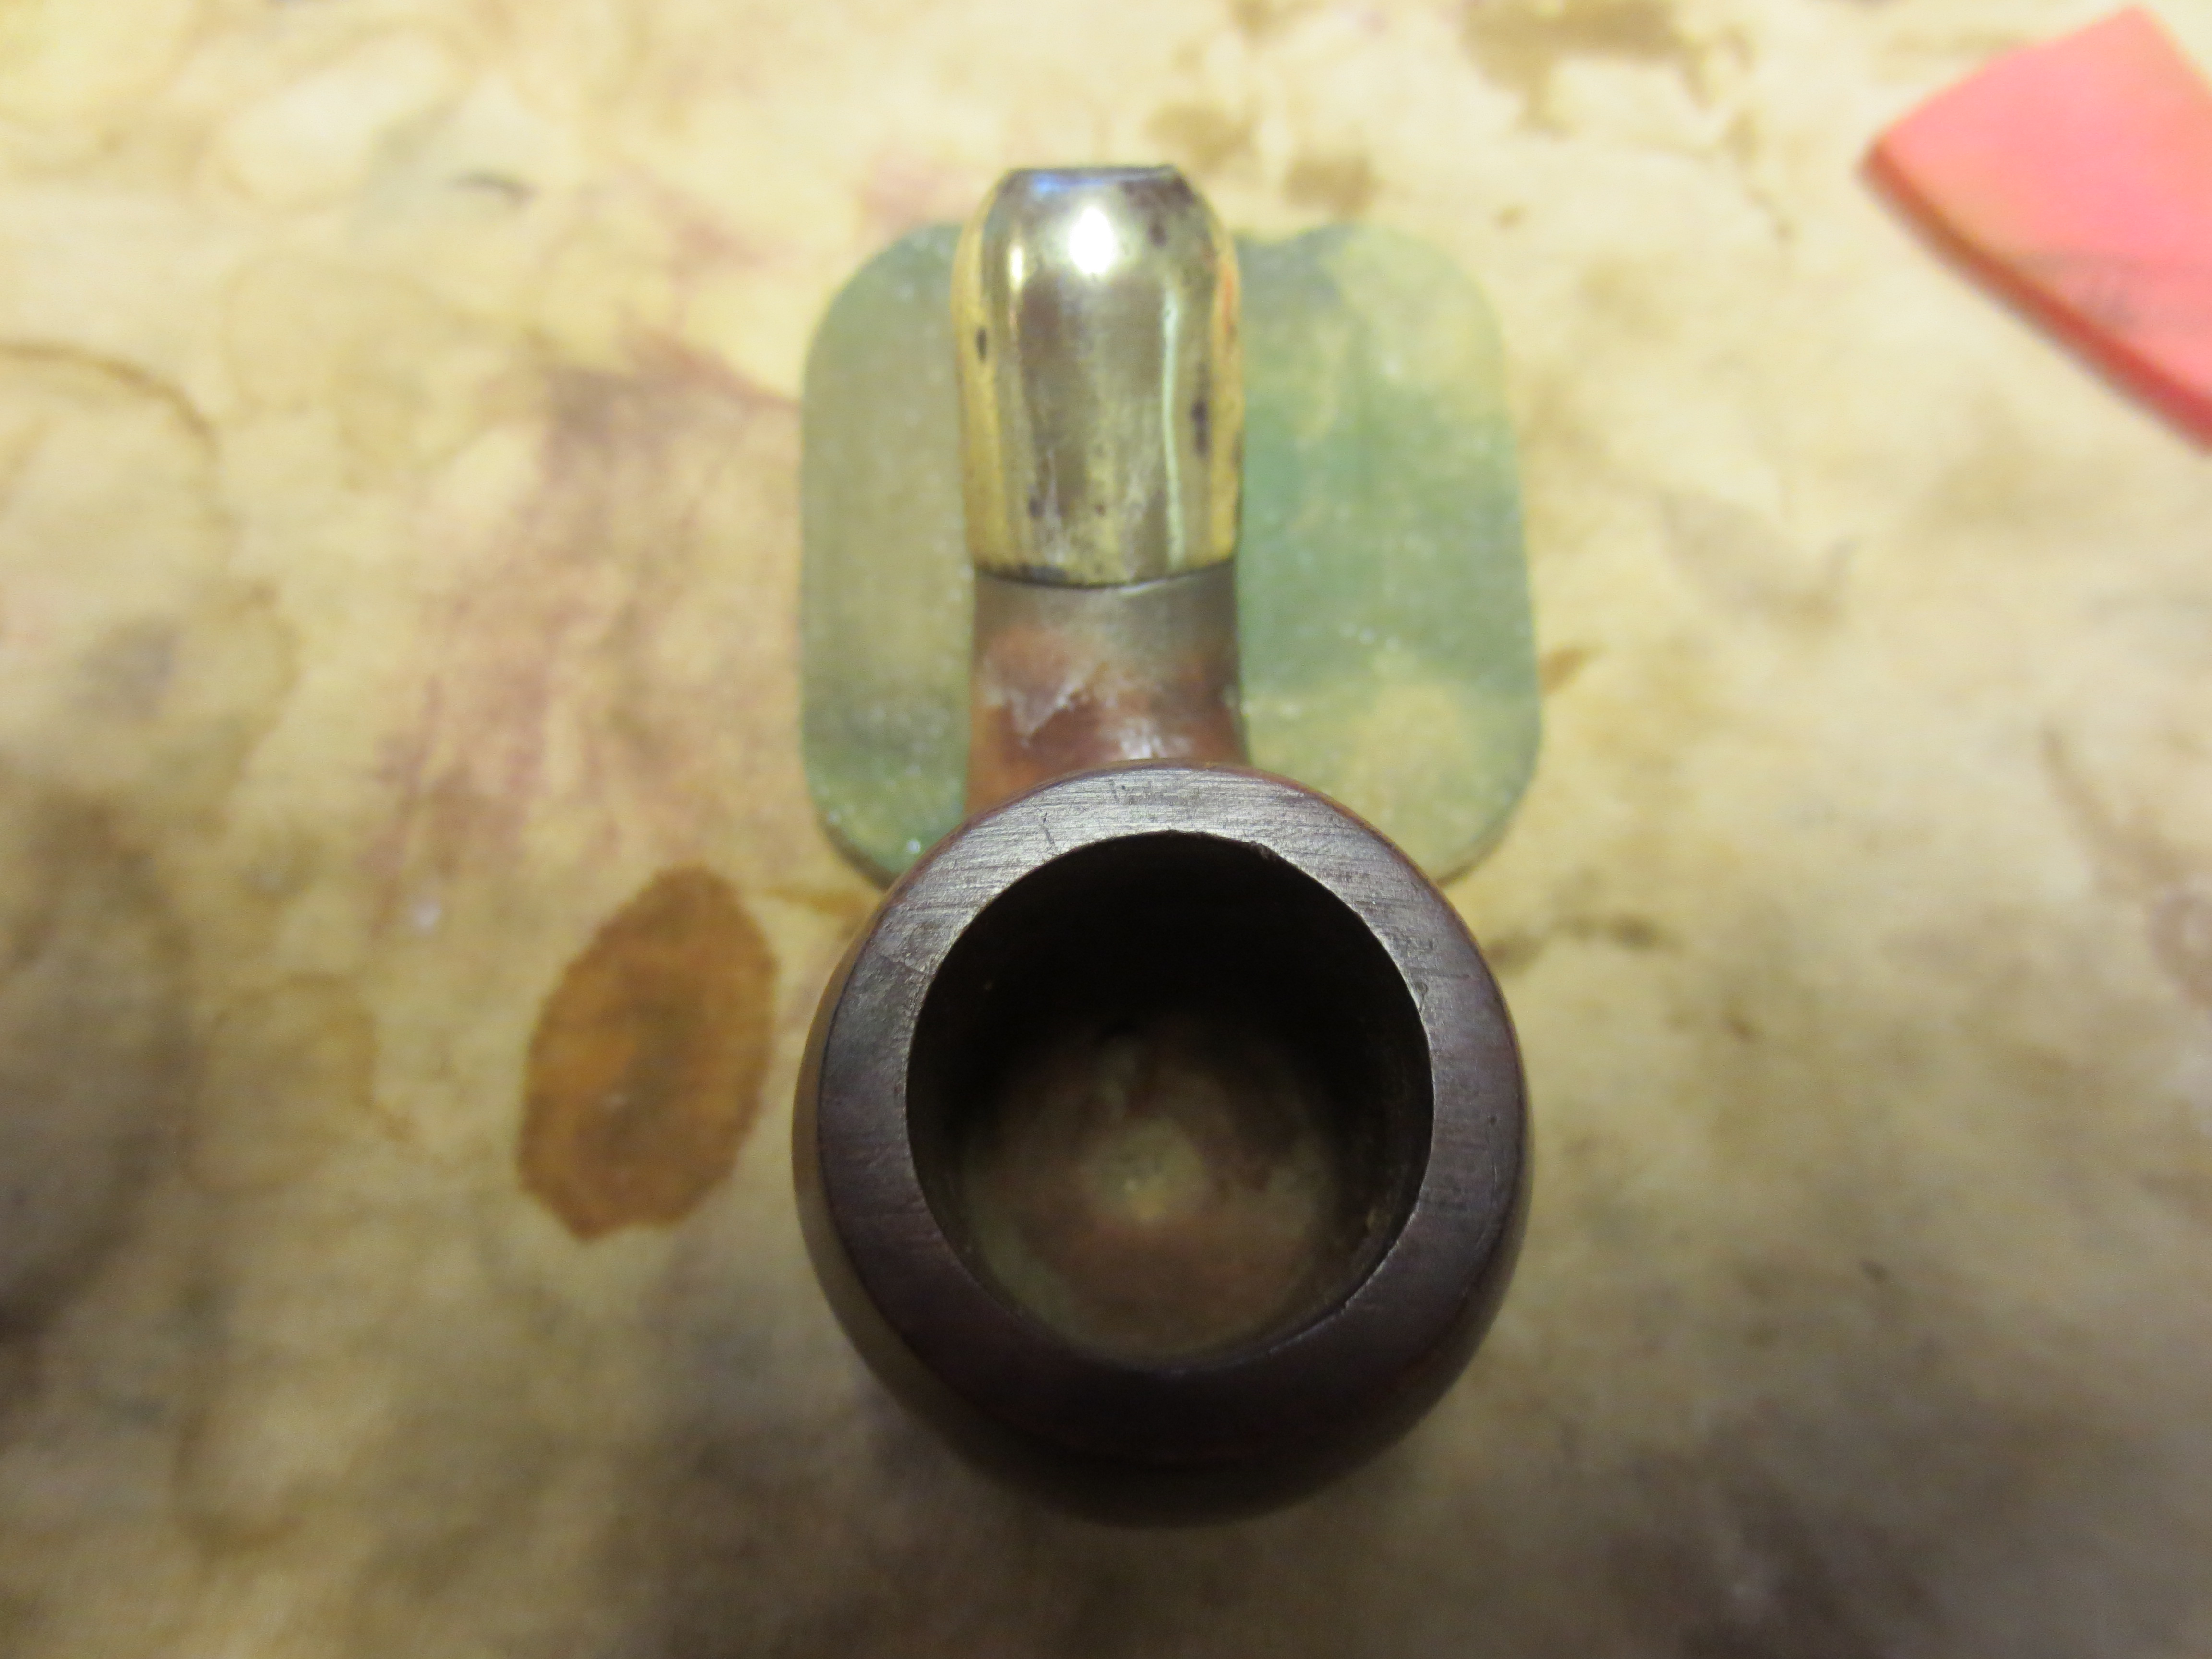
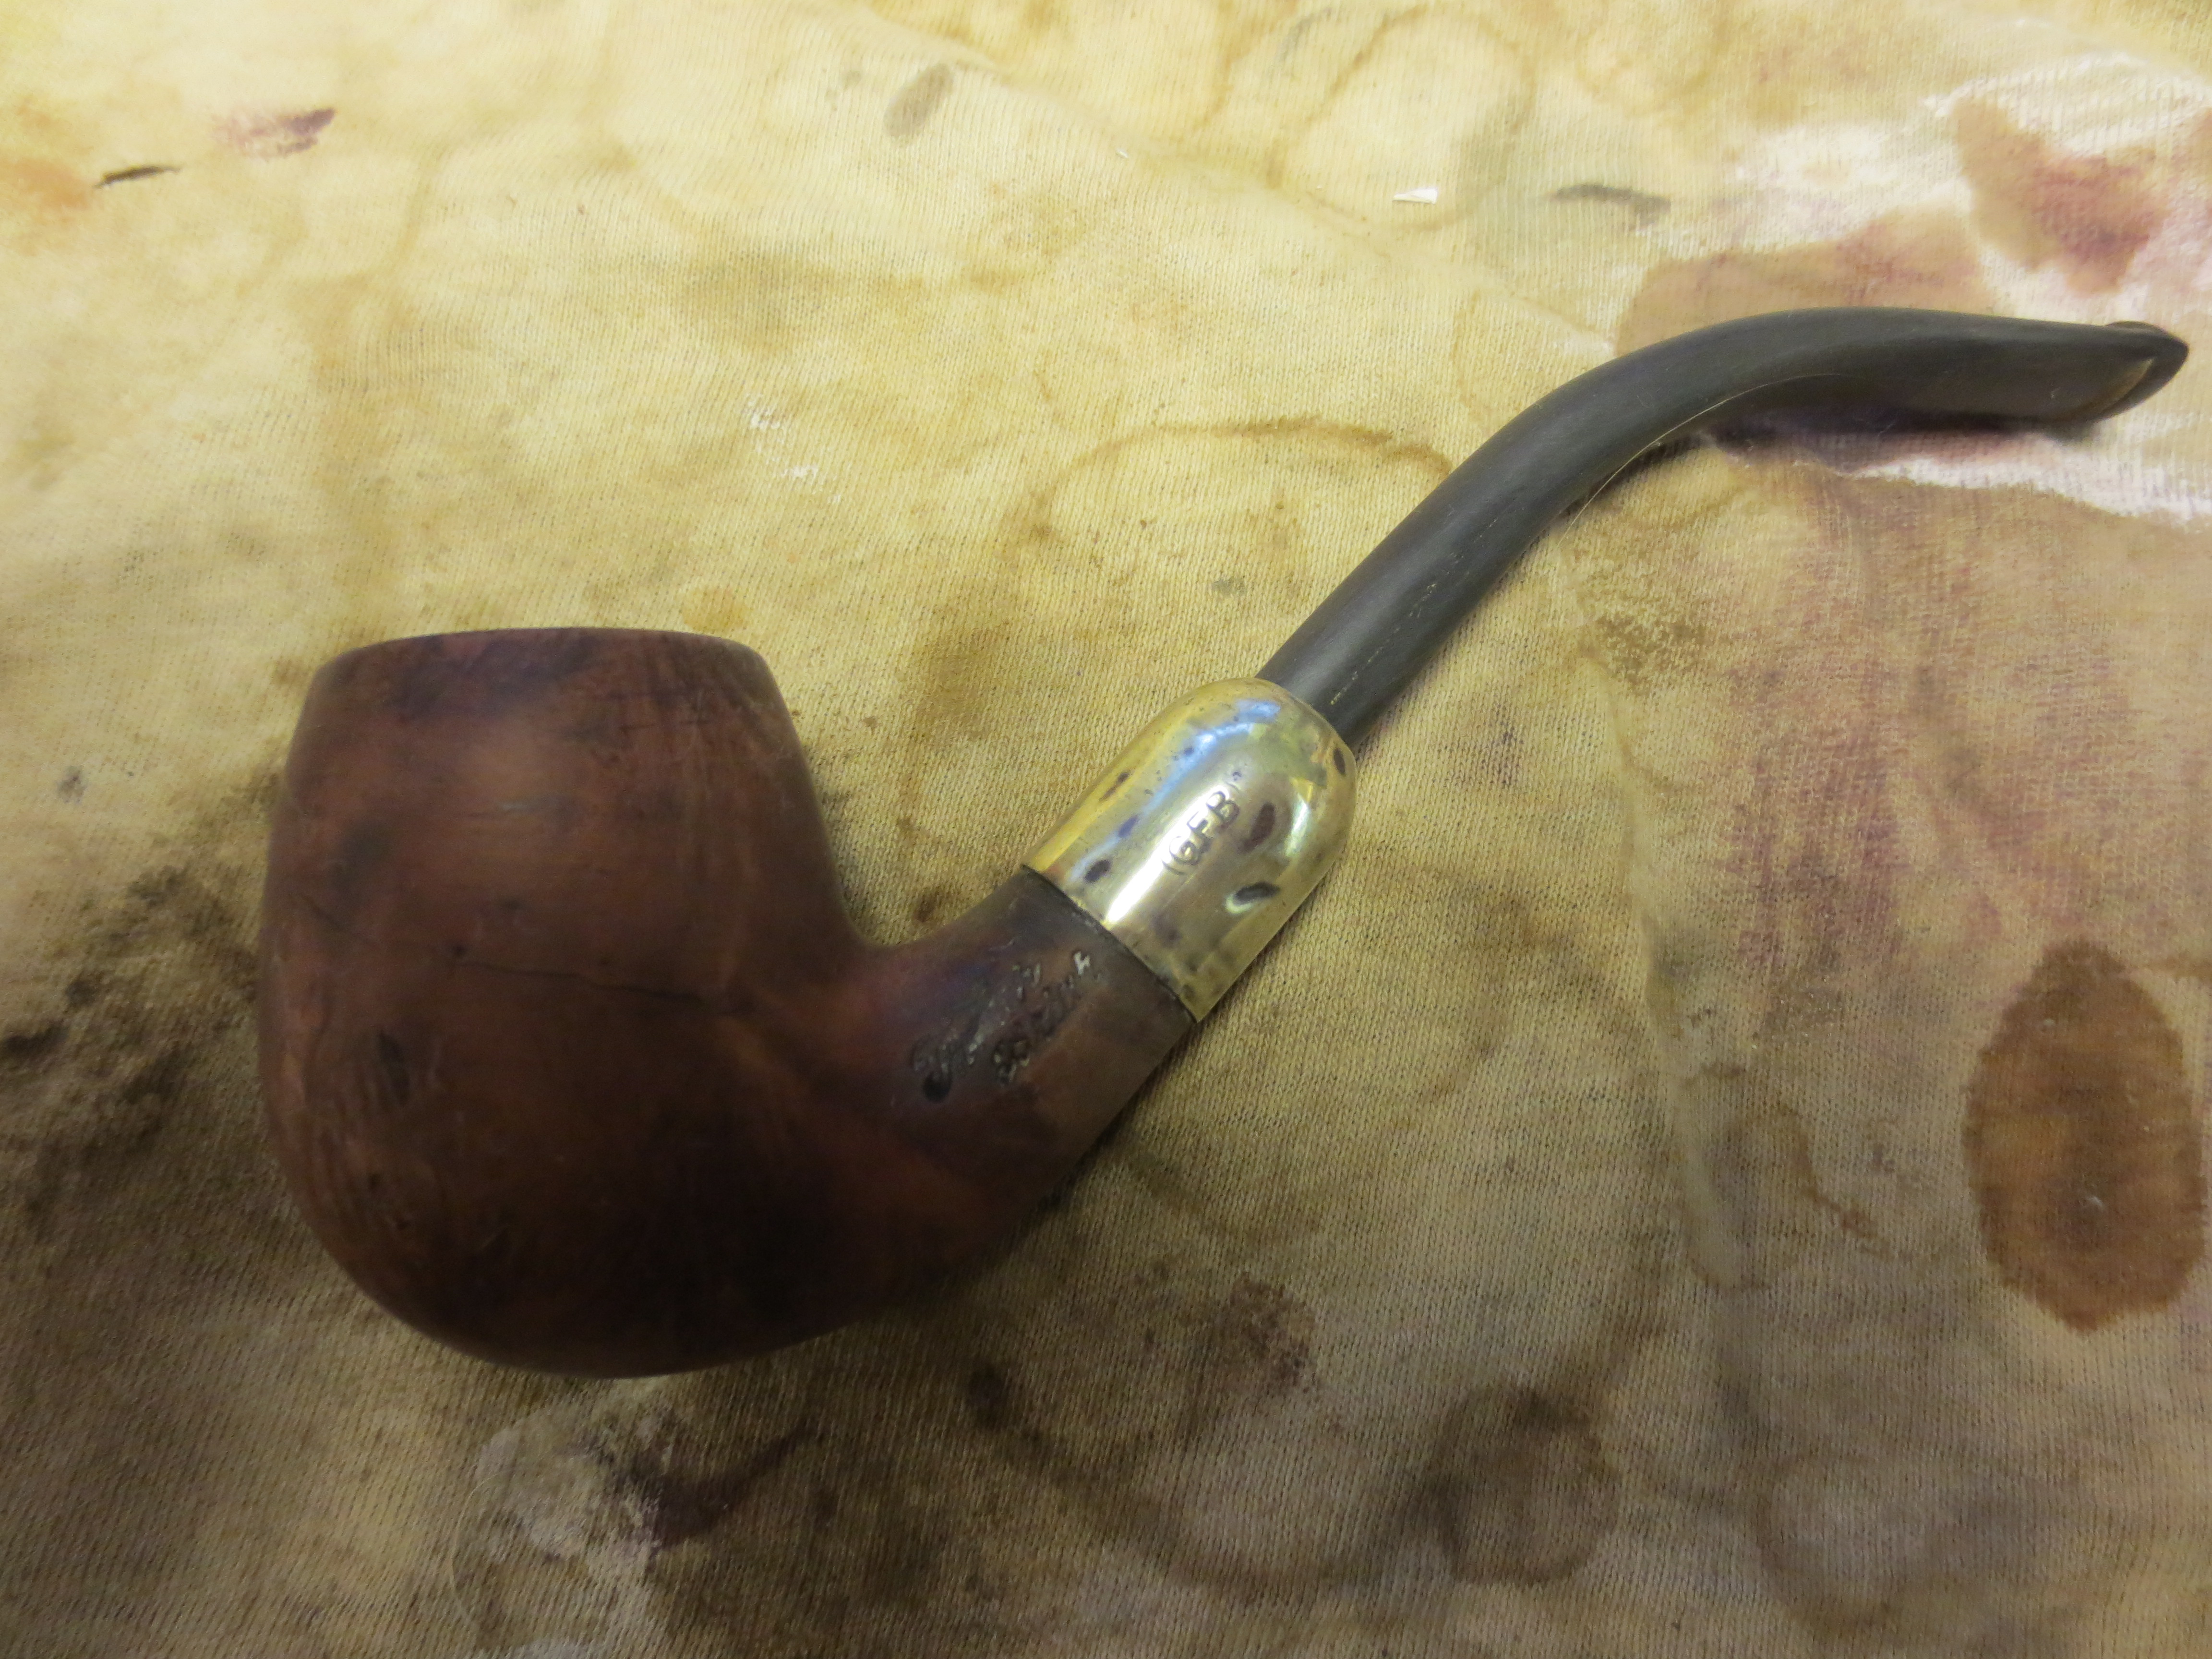
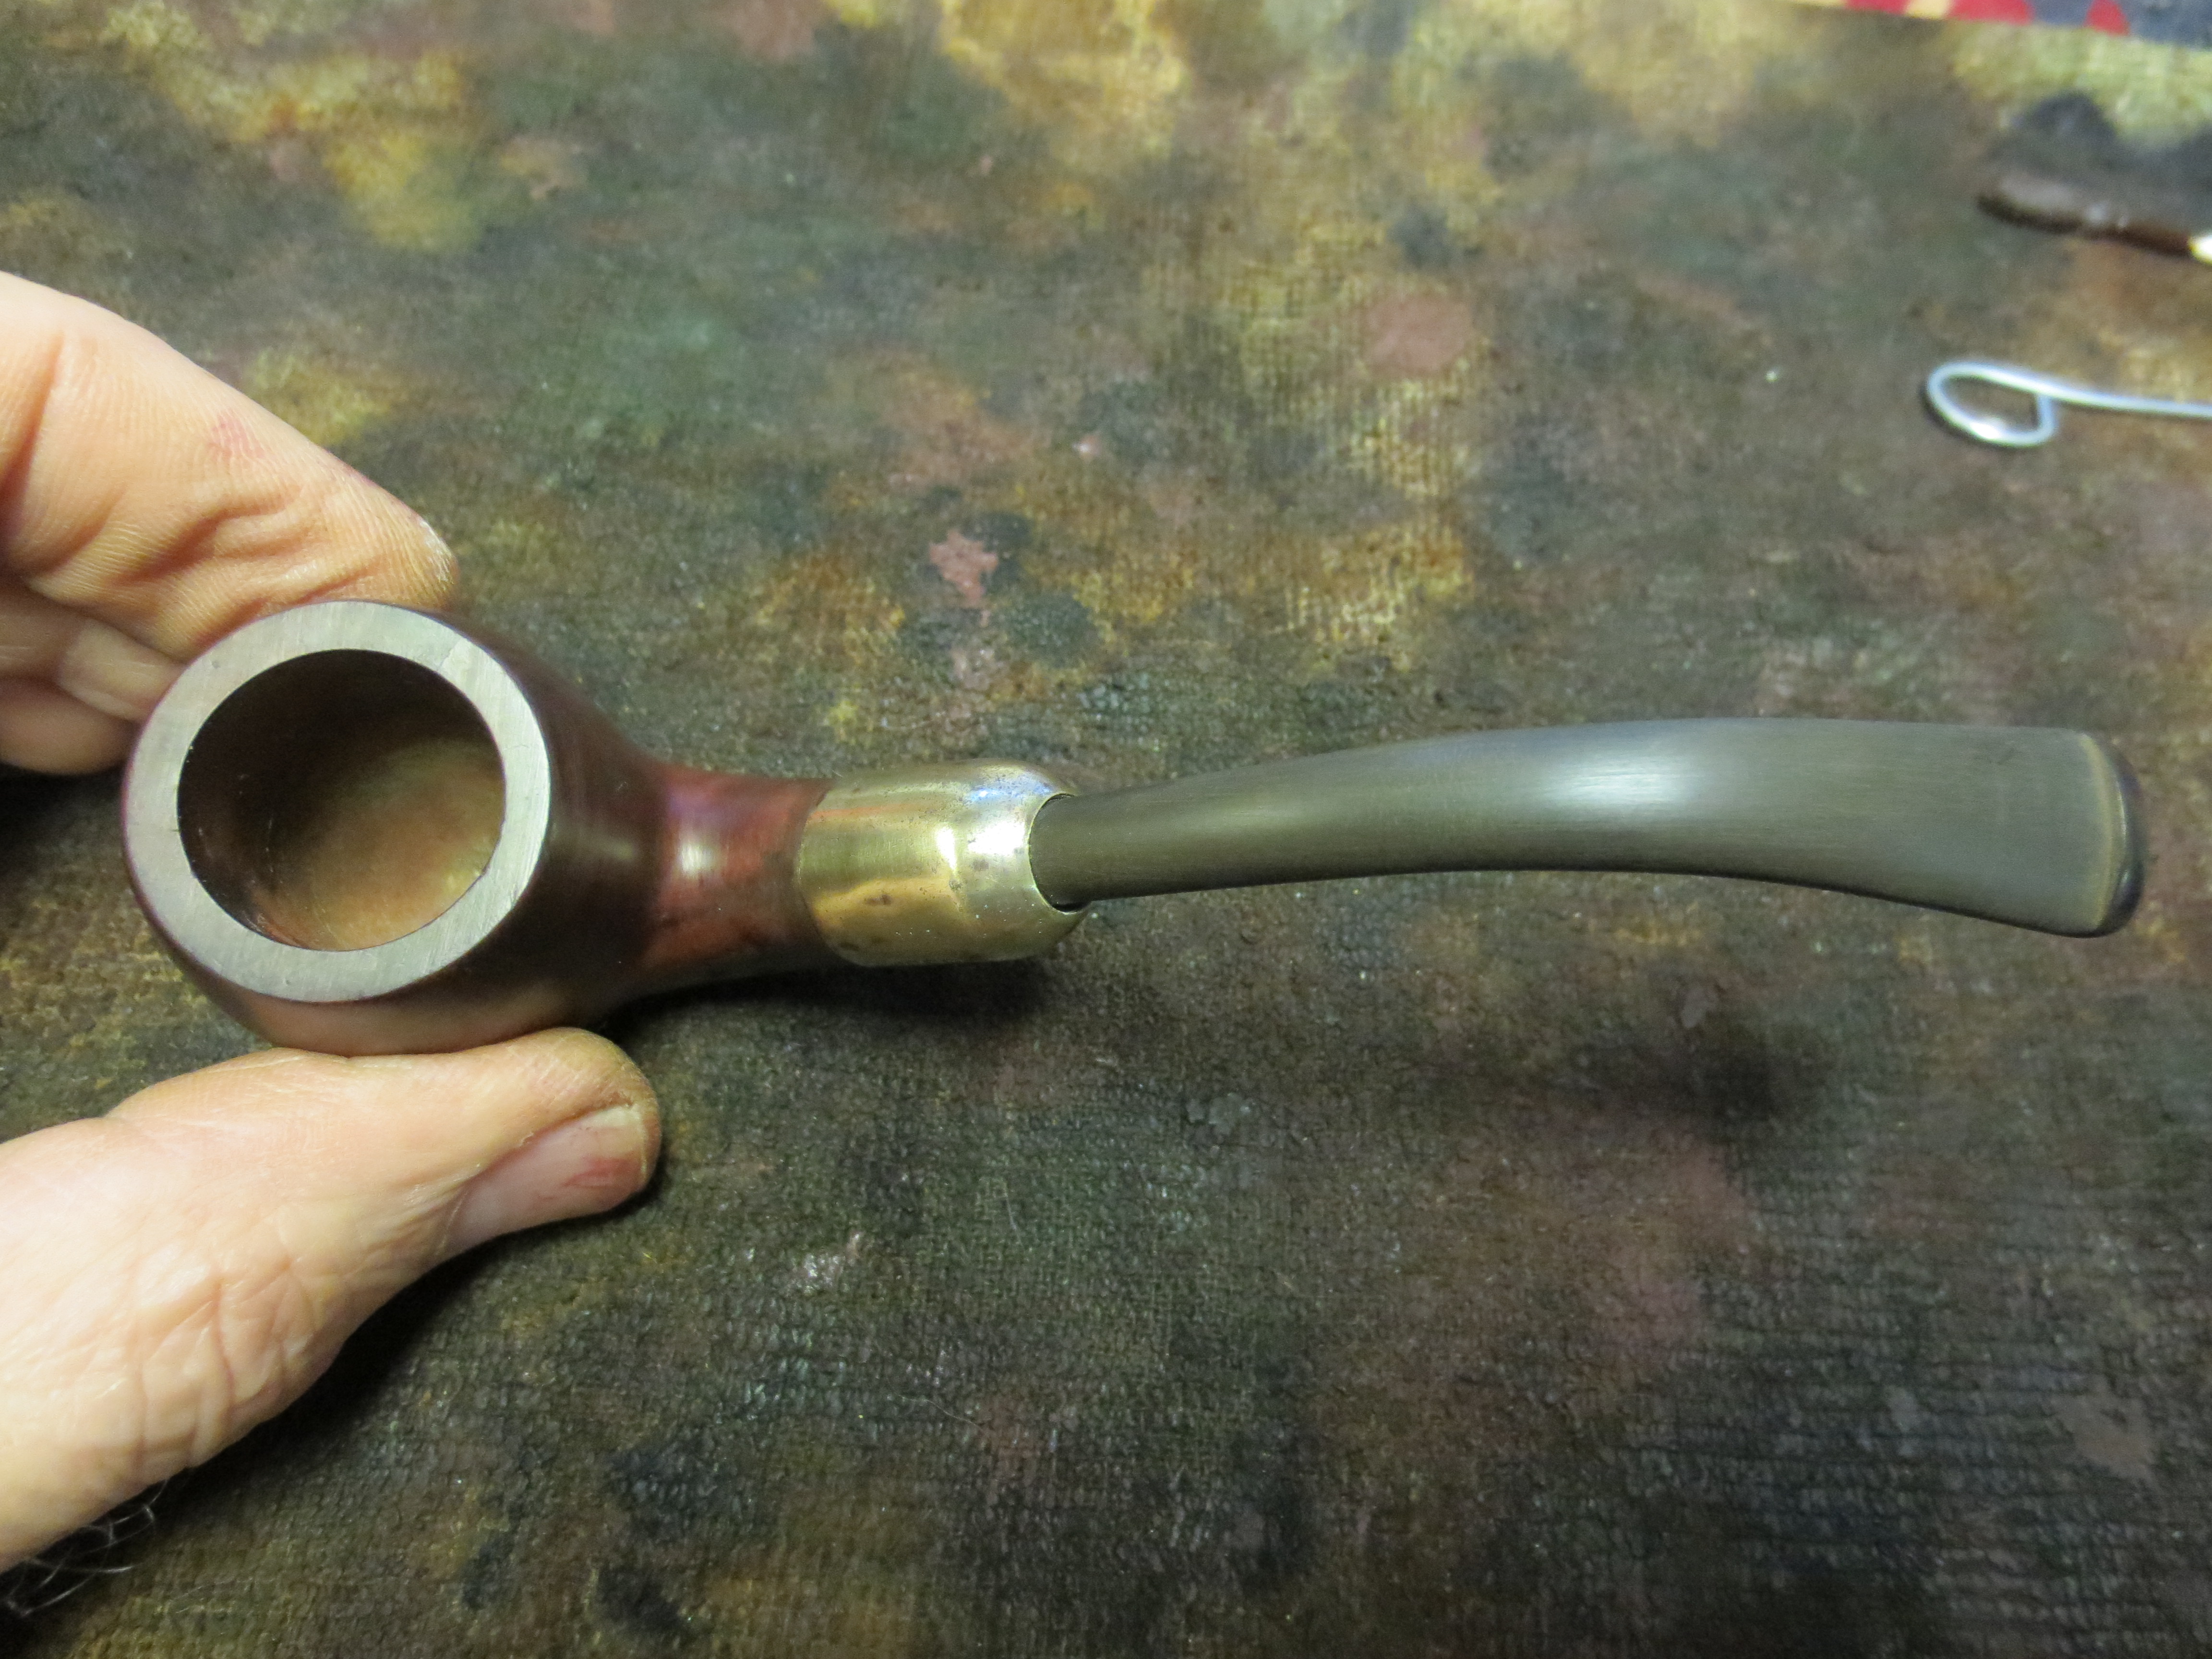
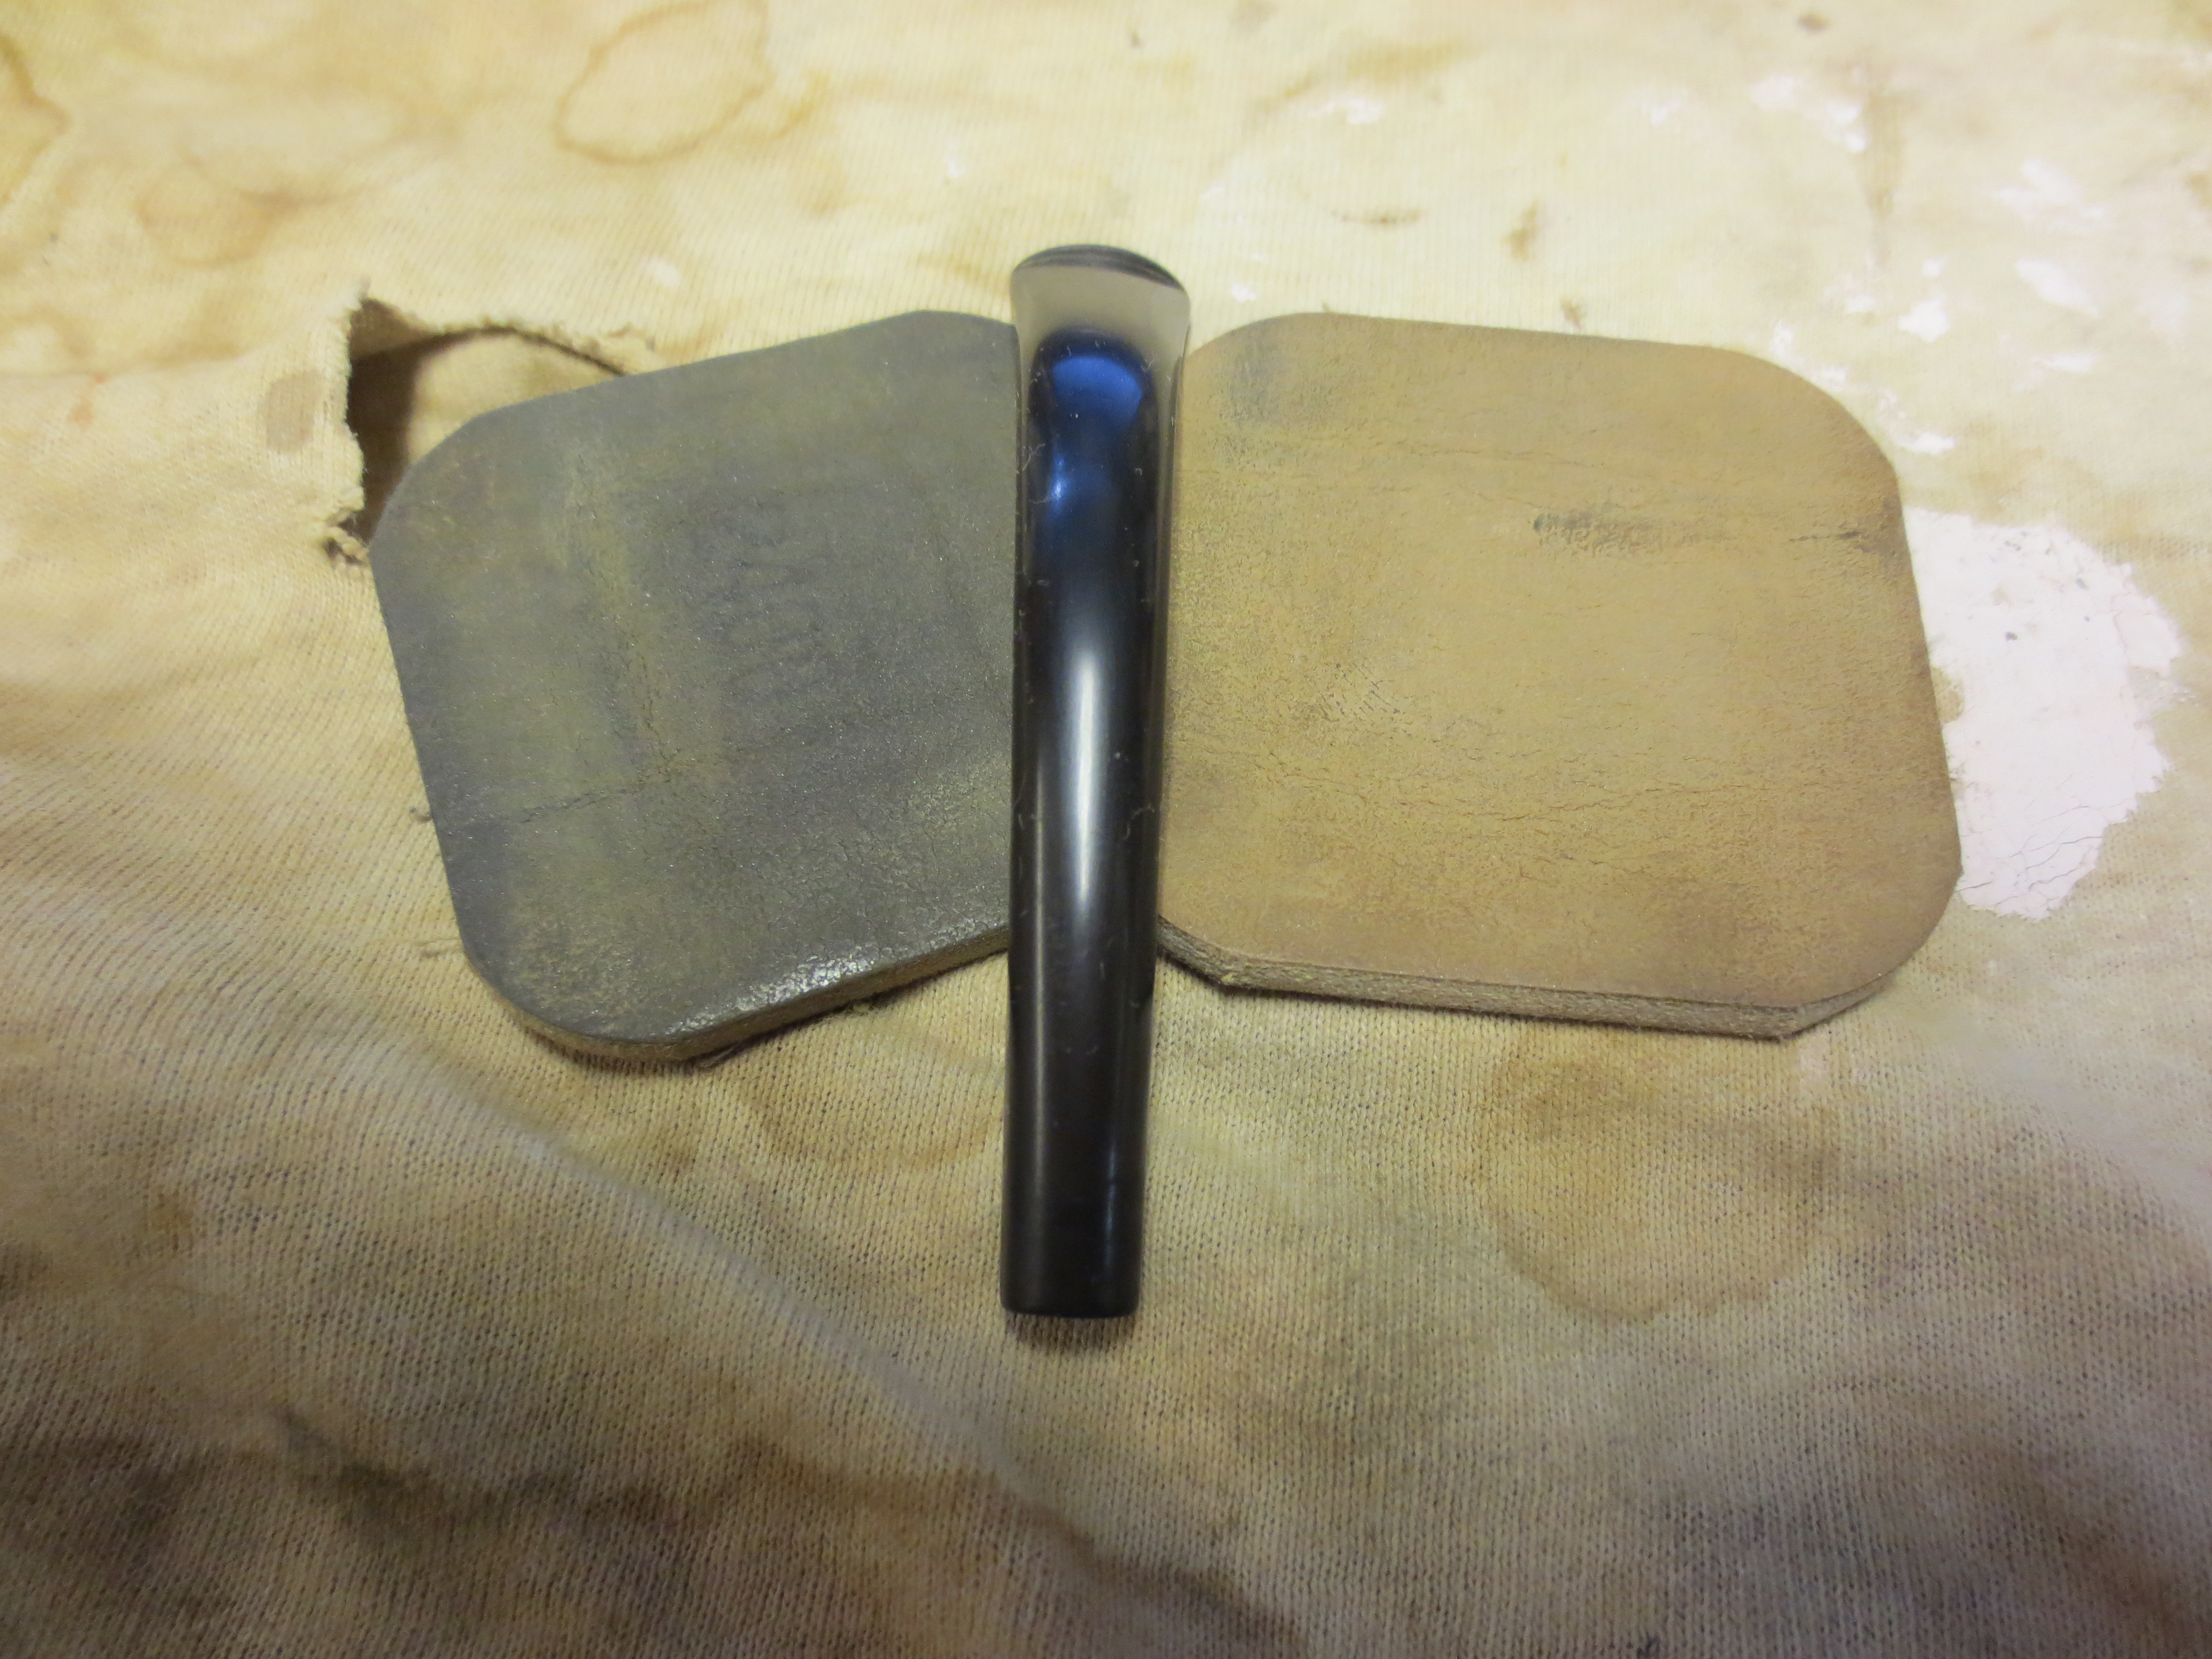
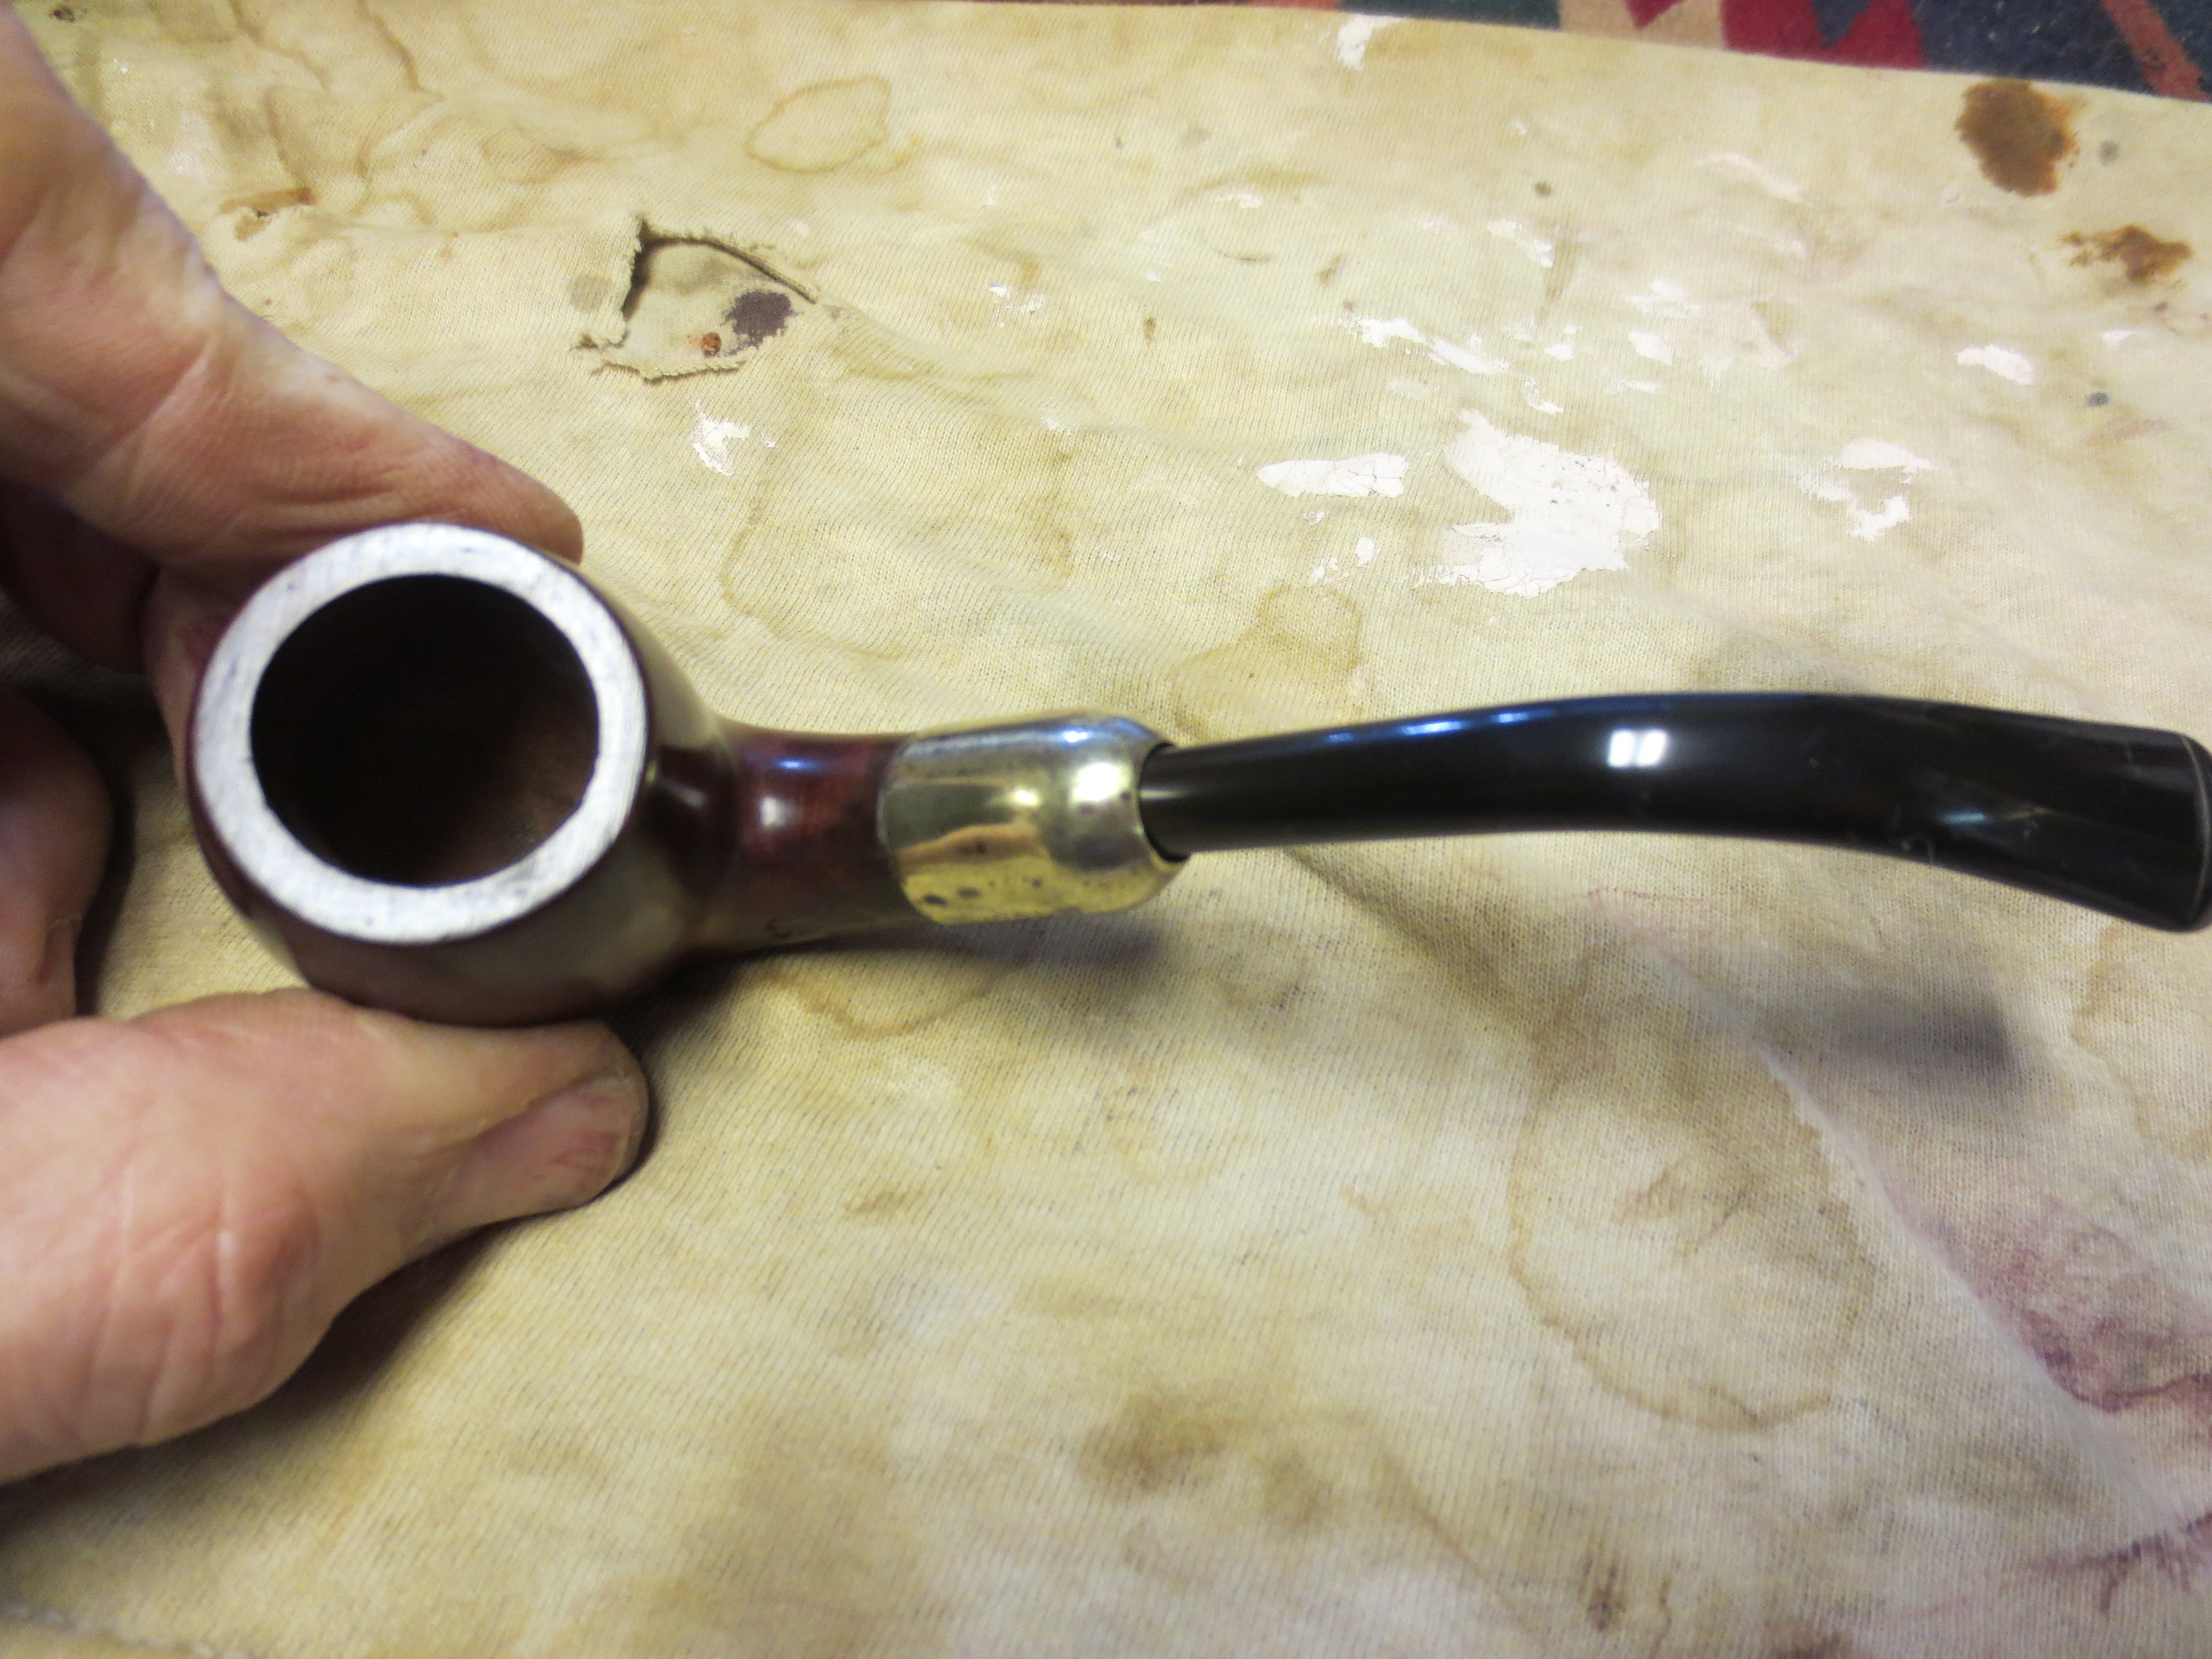
At this point in the process I took the pipe back to the work table and took two more pictures before taking the end cap off the shank and working on the pipe bowl and end cap.
I scrubbed down the shank cap with the Hagertys Tarnish Remover while I had it off of the shank. I also sanded it with my fine grit sanding sponge to remove the heavy buildup of oxidation. It took a lot of elbow grease to clean it off and to avoid damage to the stamping that became apparent in the cleaning of the cap. Once I had it relatively clean I sanded the bowl with the sanding sponge, wiped it down with an acetone wet cotton pad and prepared to reglue the shank cap. I used white glue to reglue the cap. I applied the glue to the shank of the pipe quite heavily as I wanted to close the gap between the cap and the shank. I pushed the cap into place and wipe away the excess glue. The next three photos show that process.


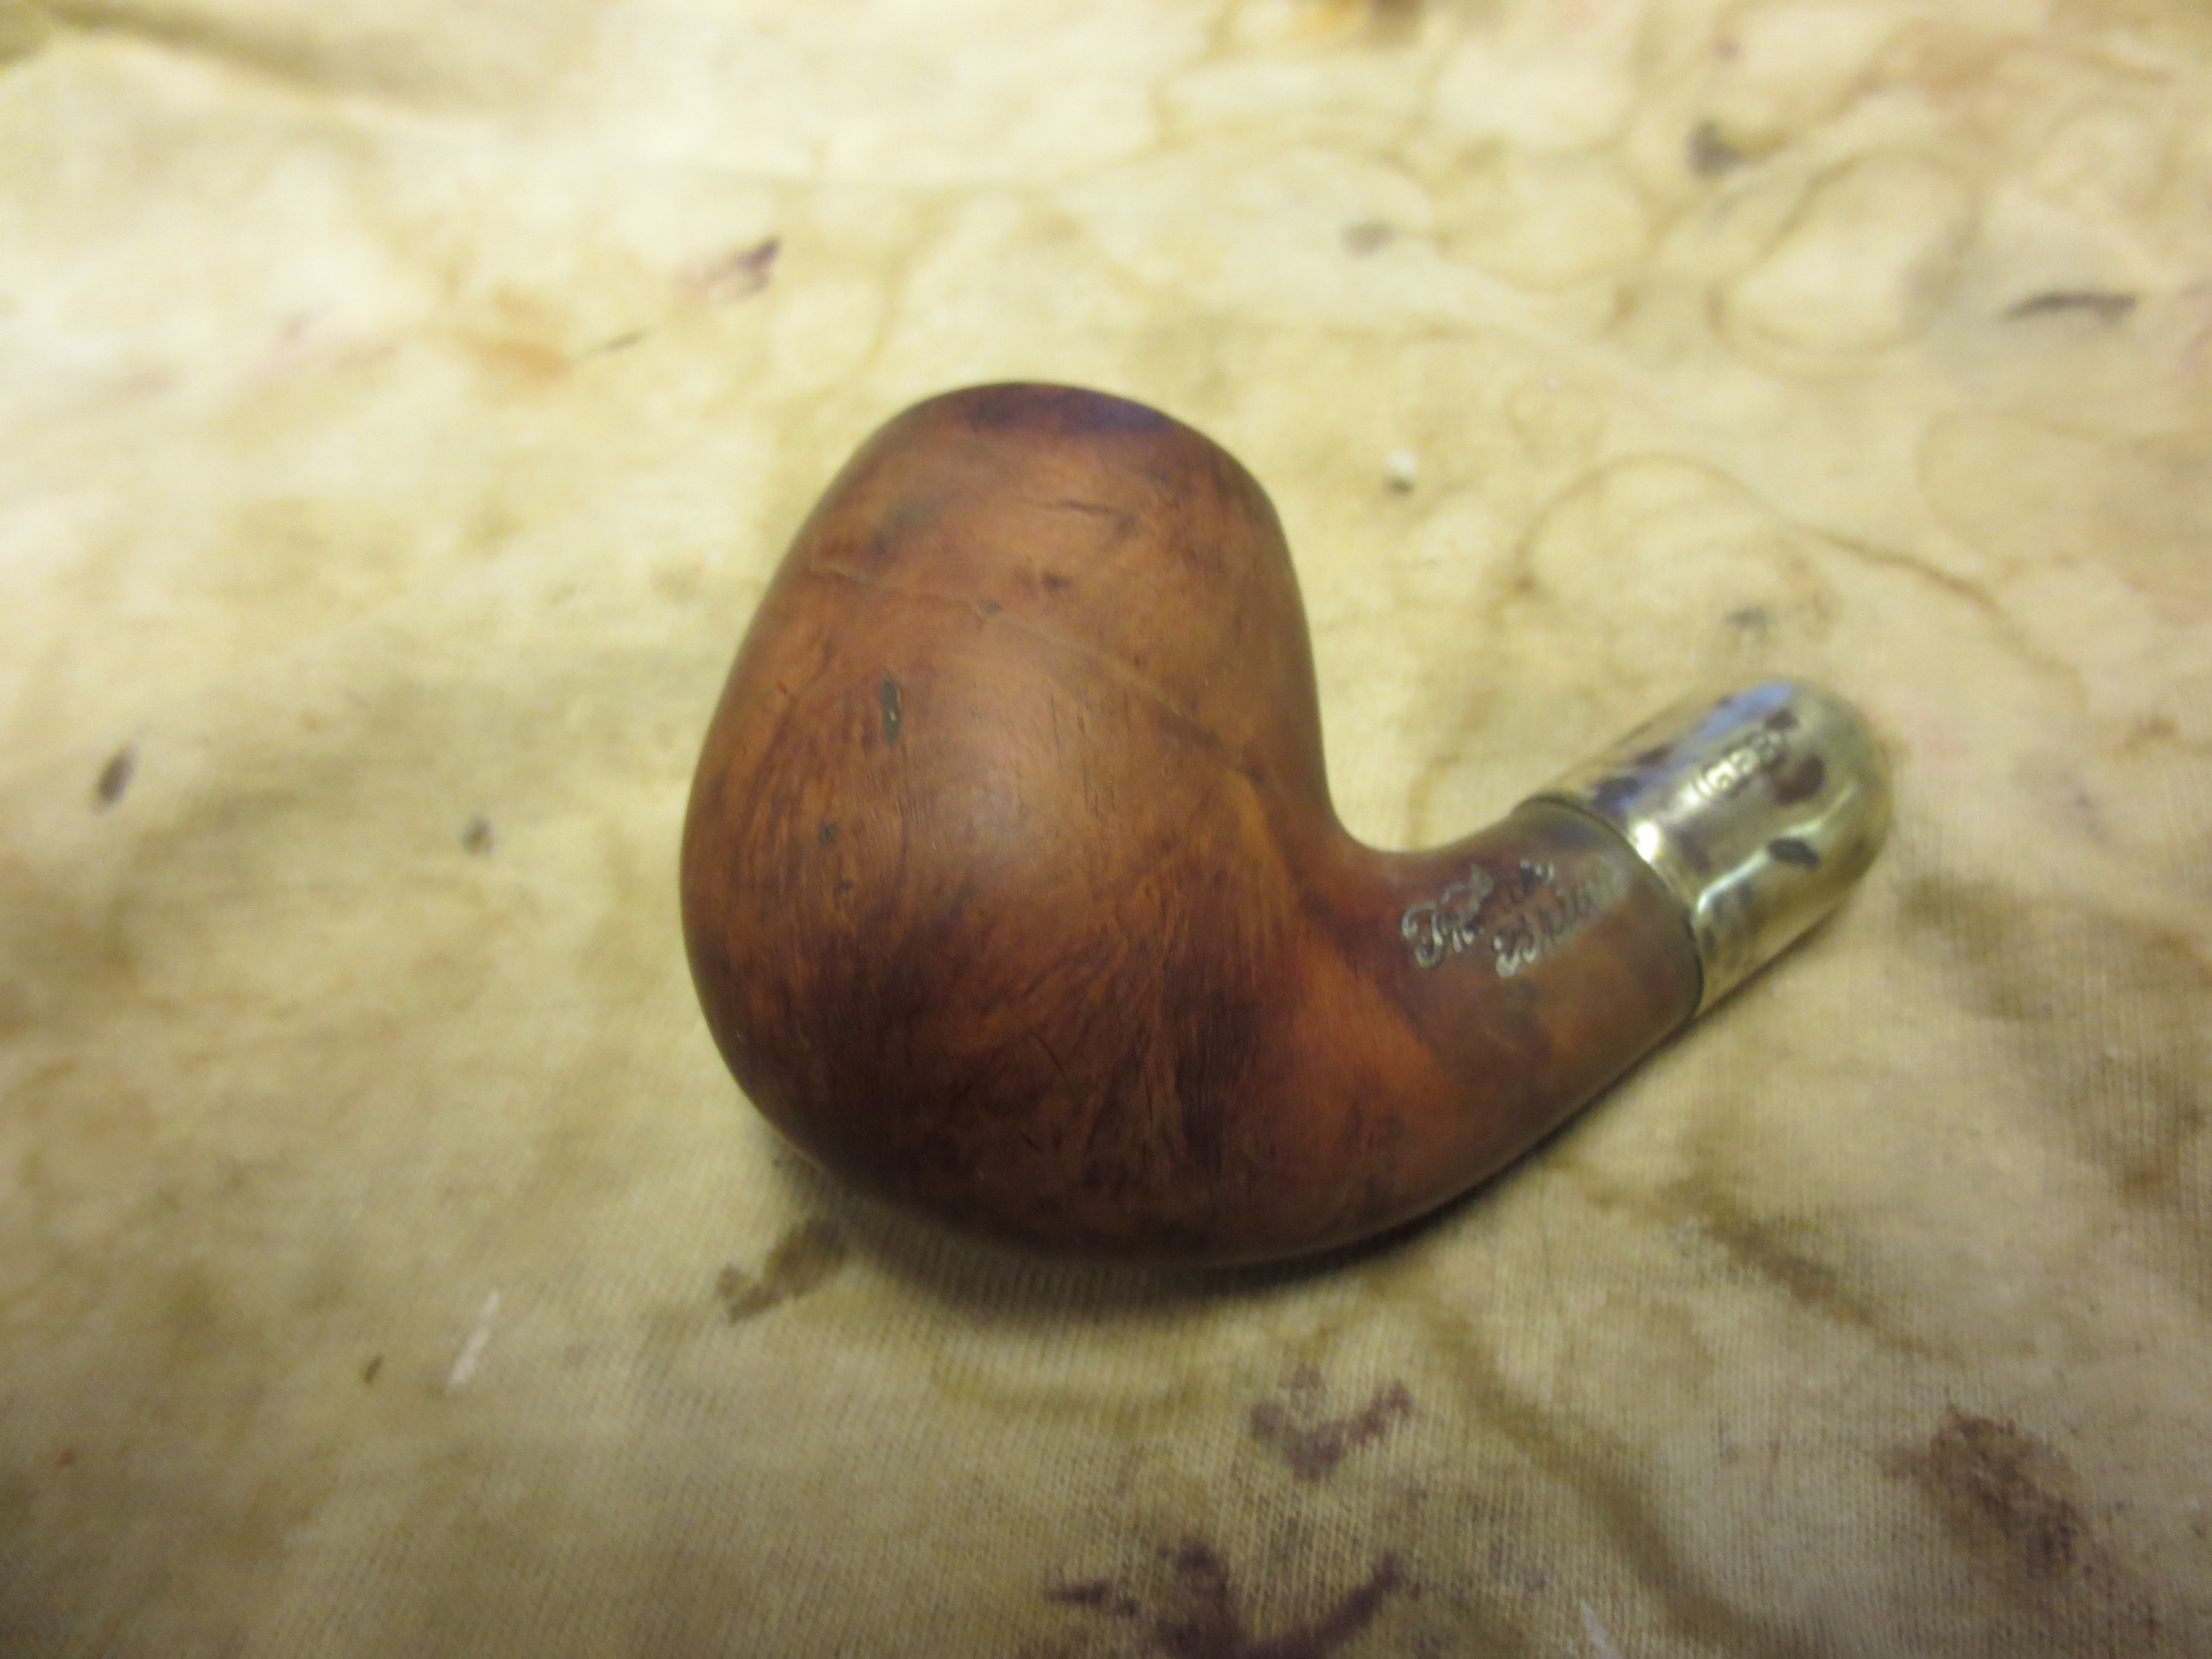
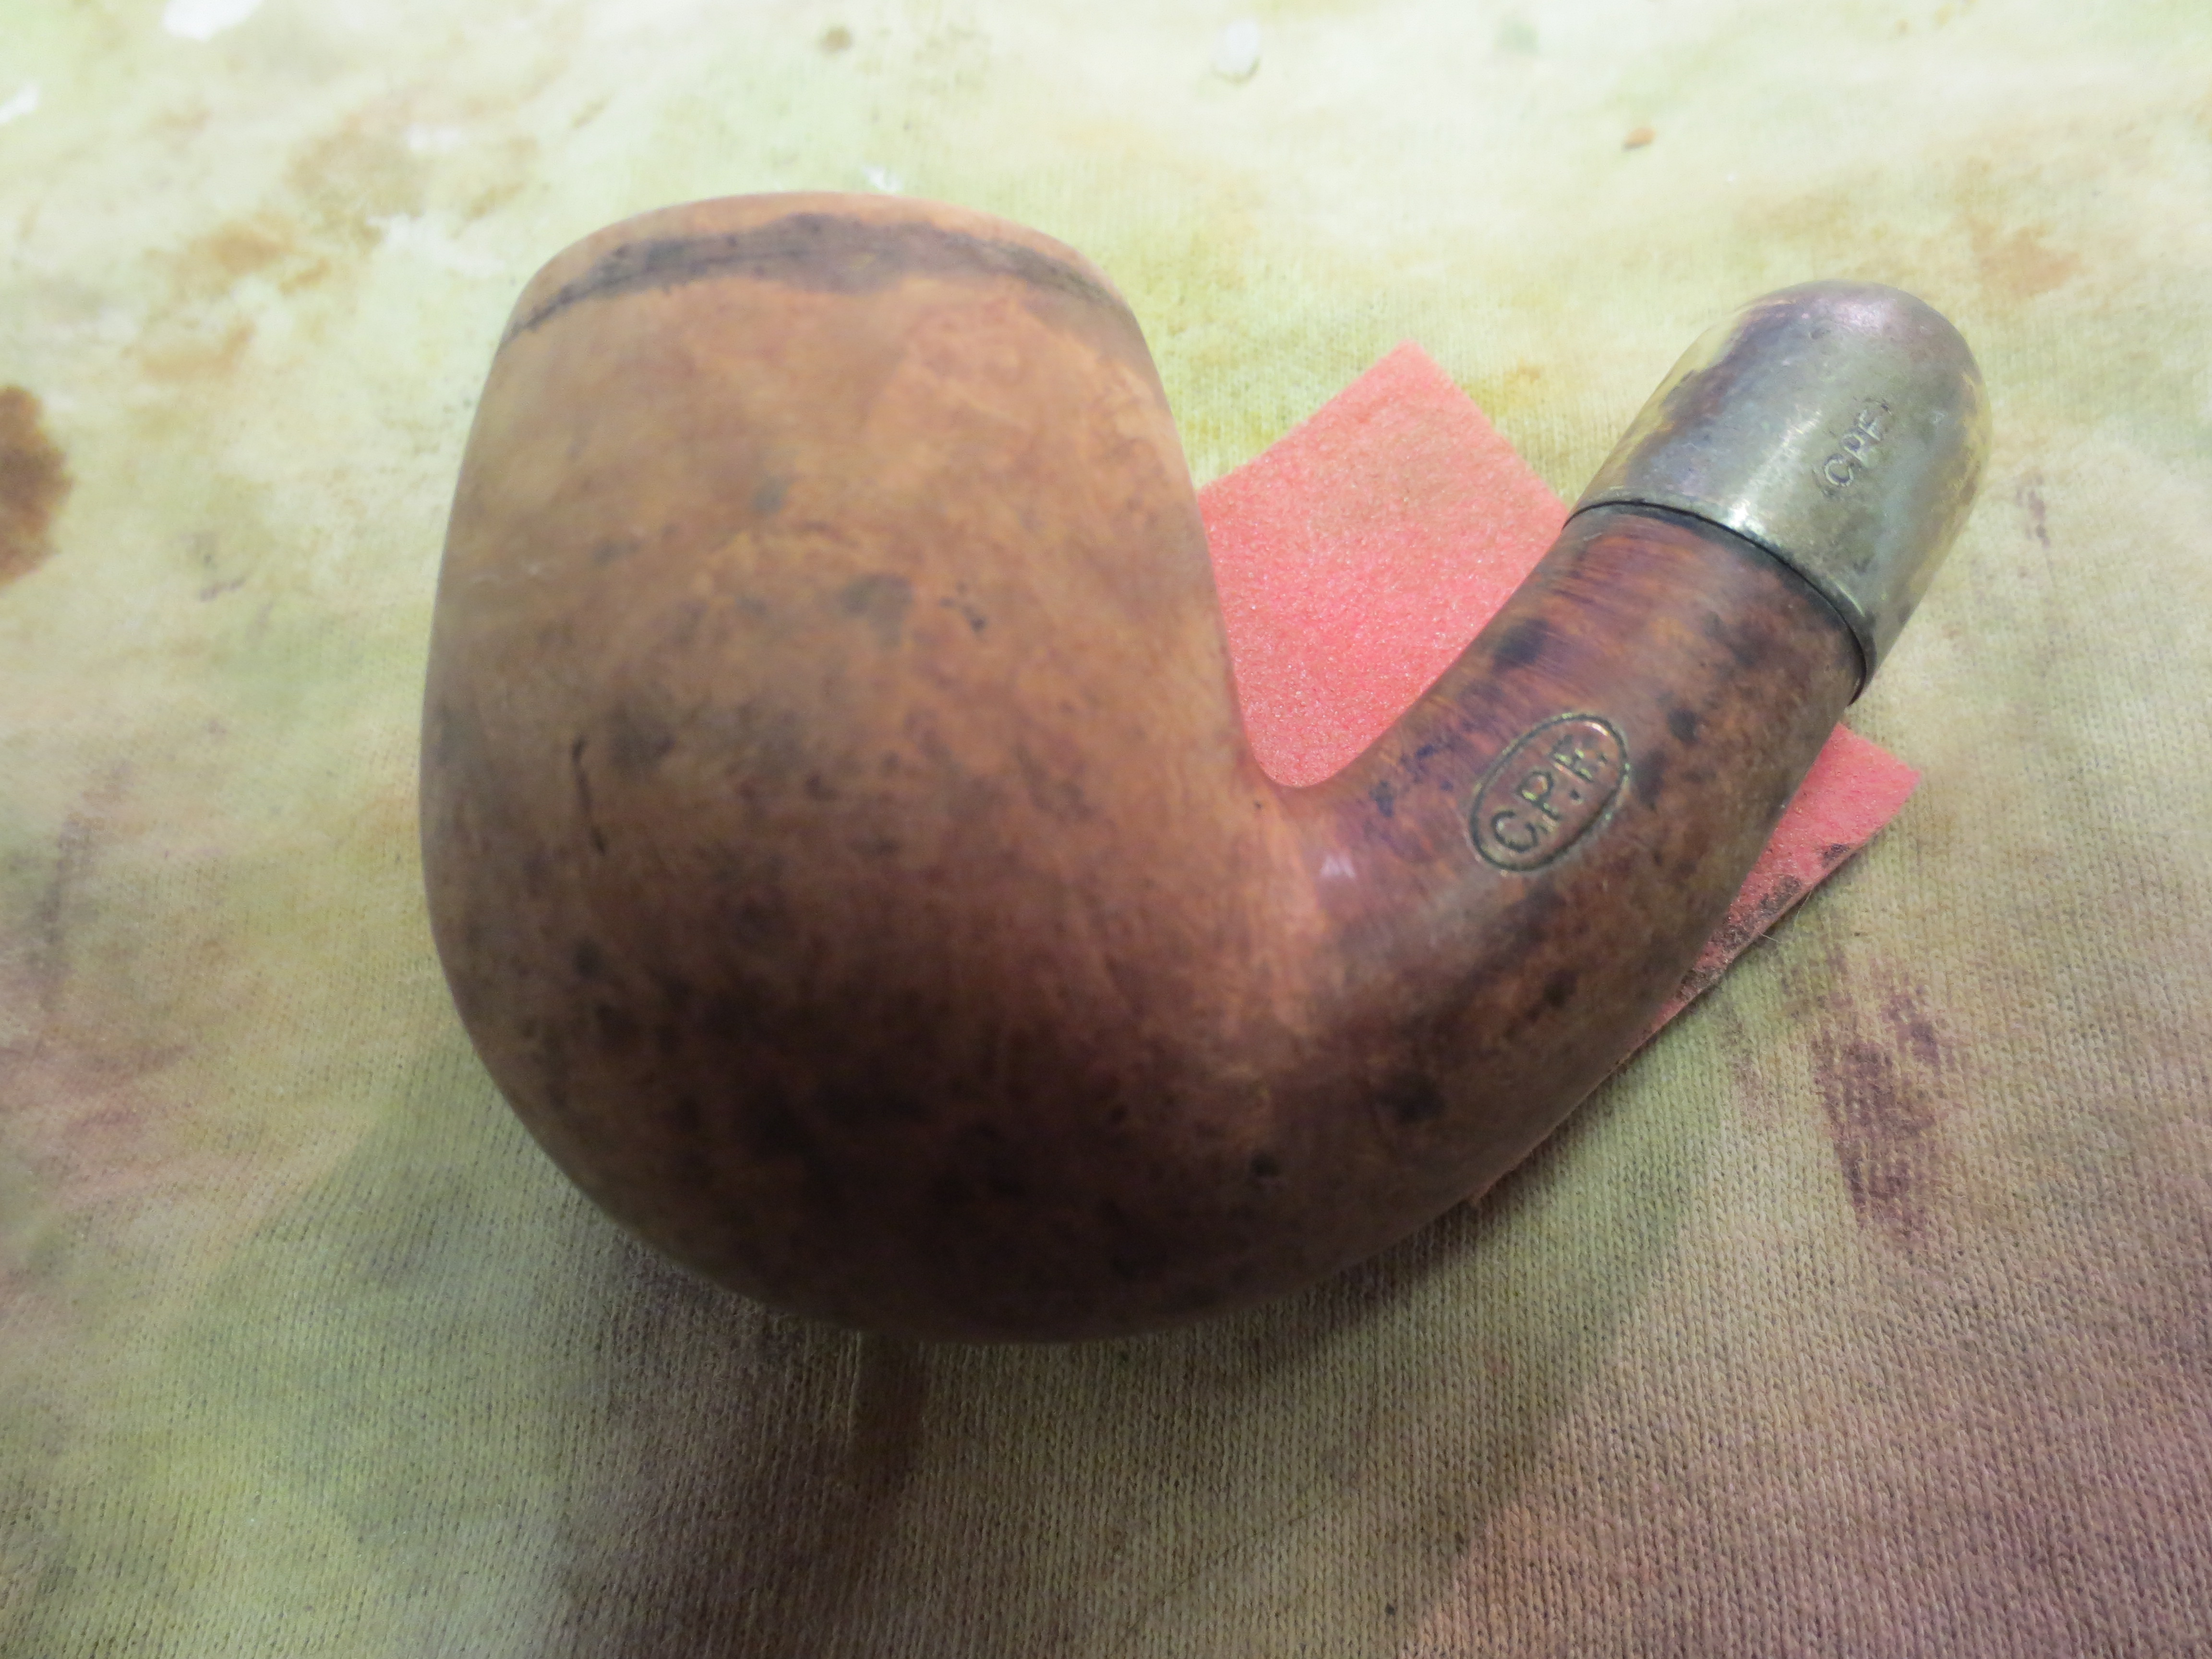
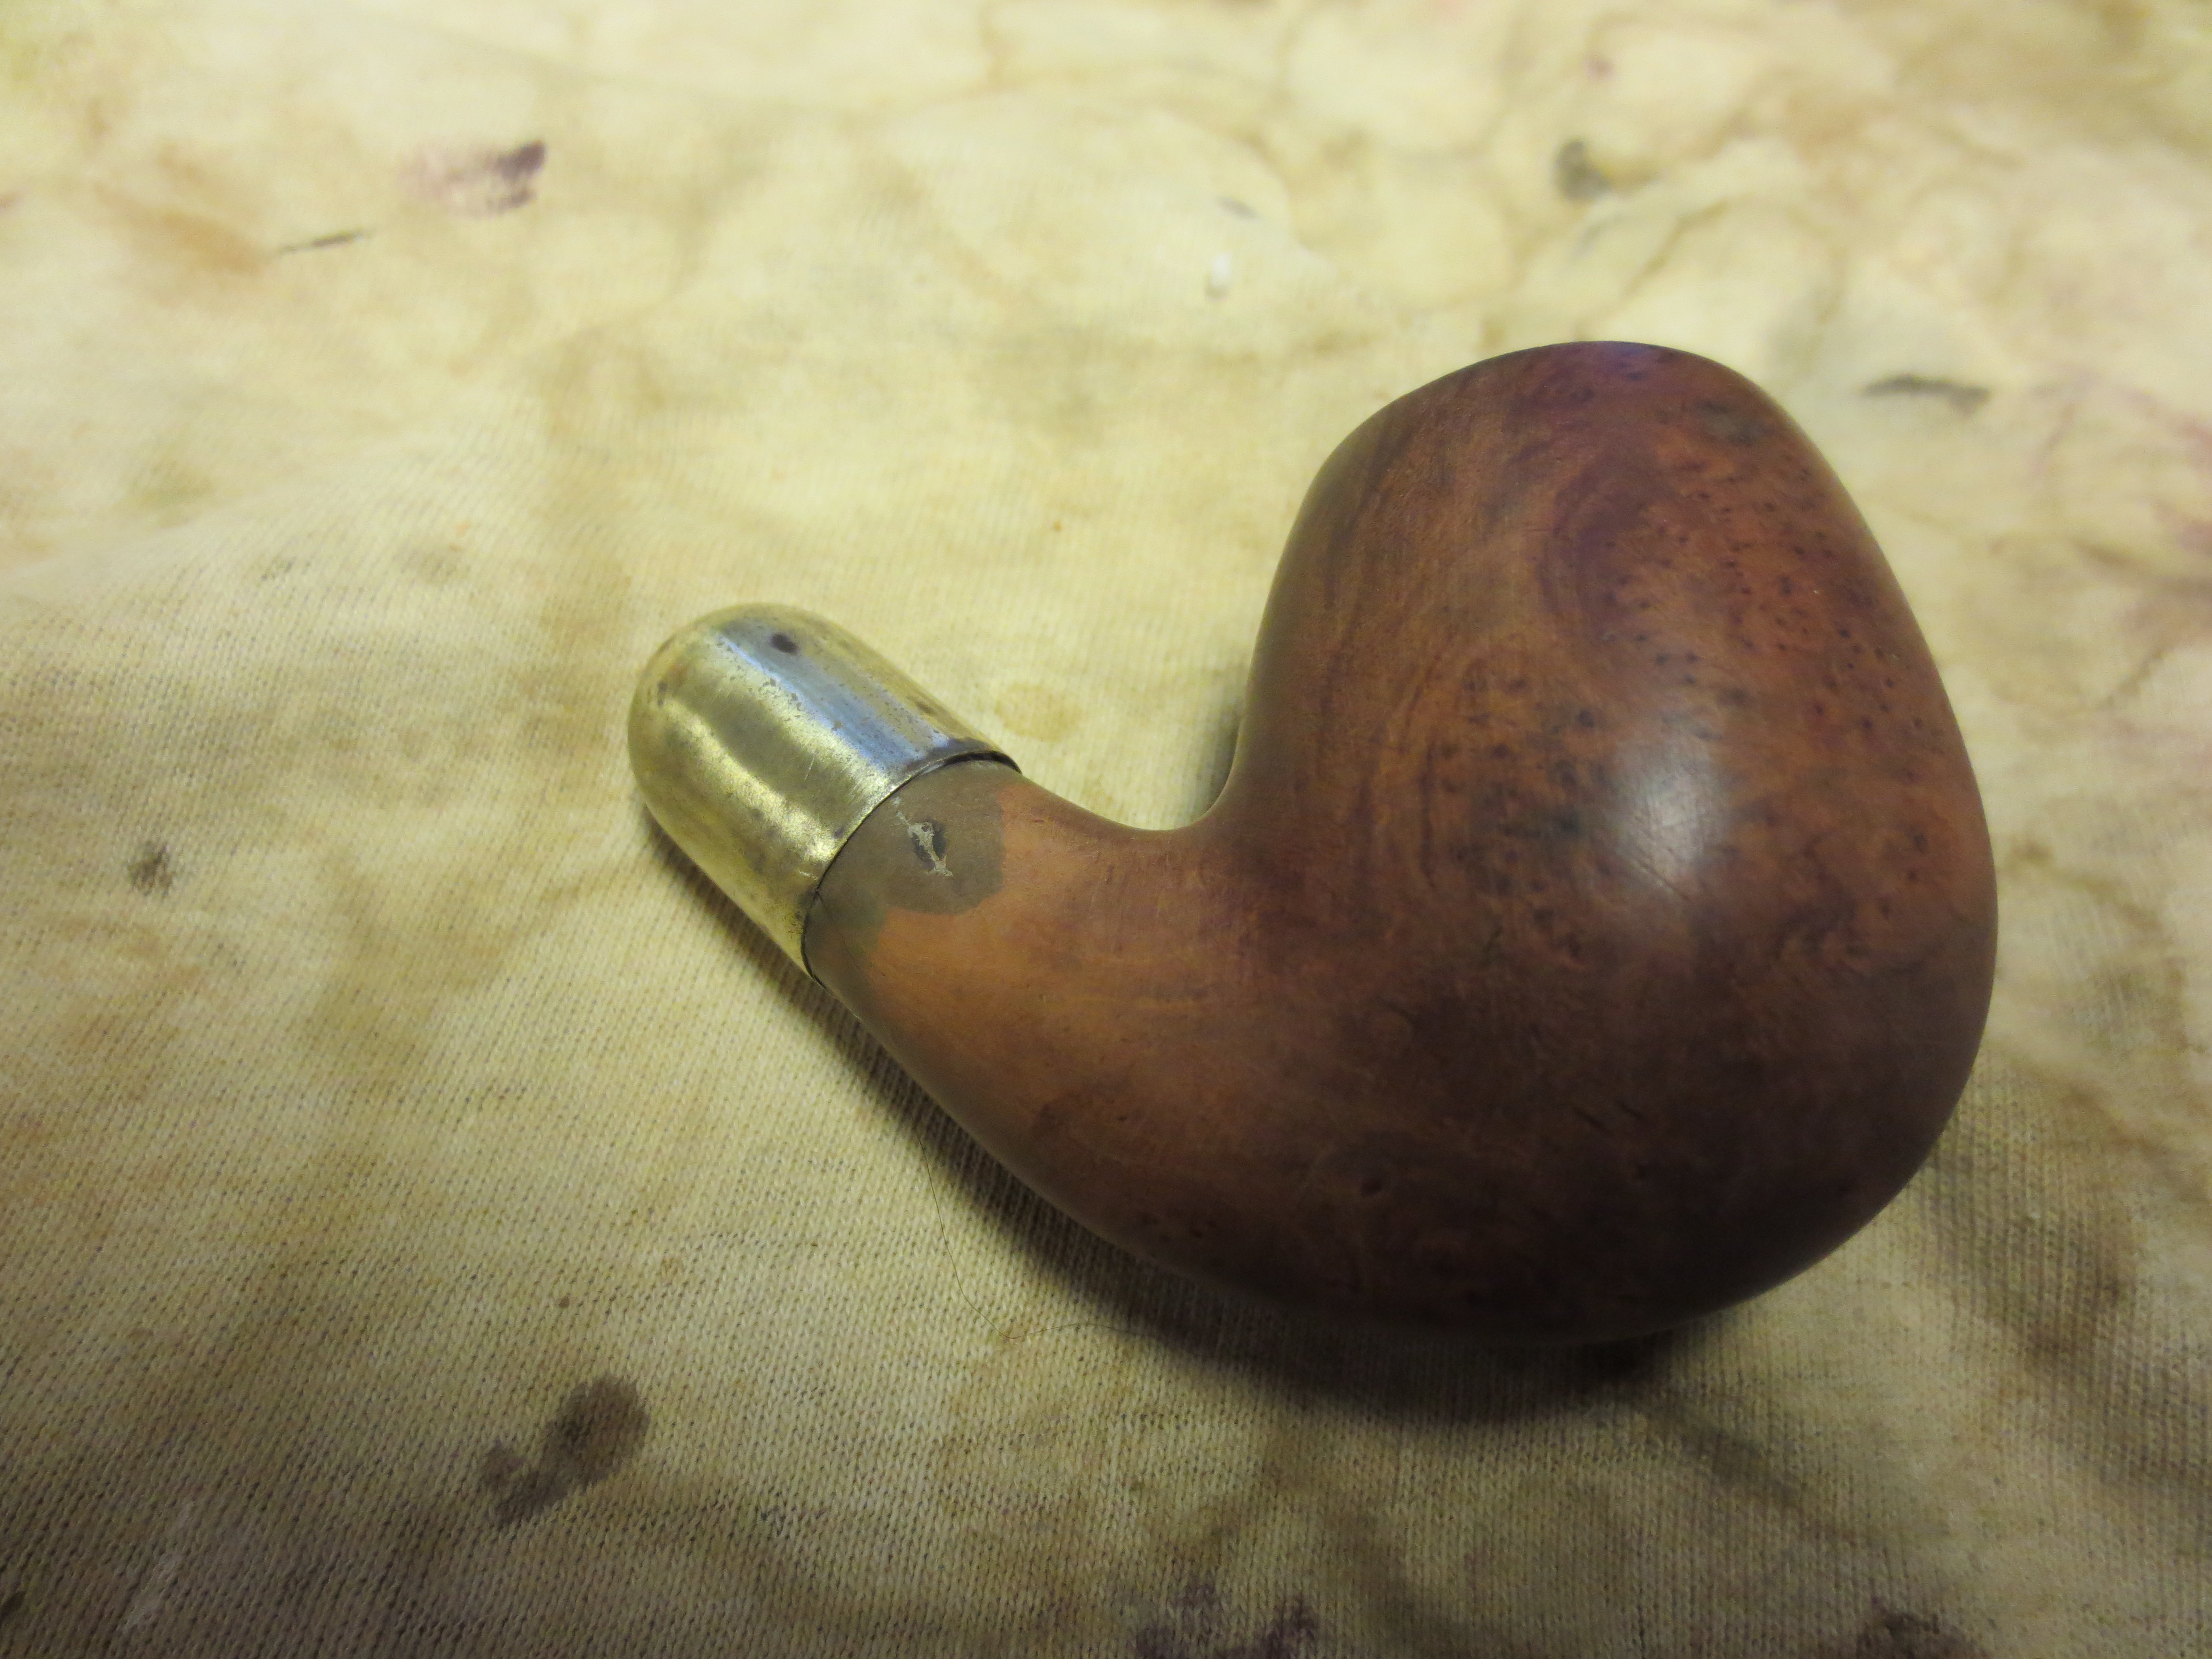
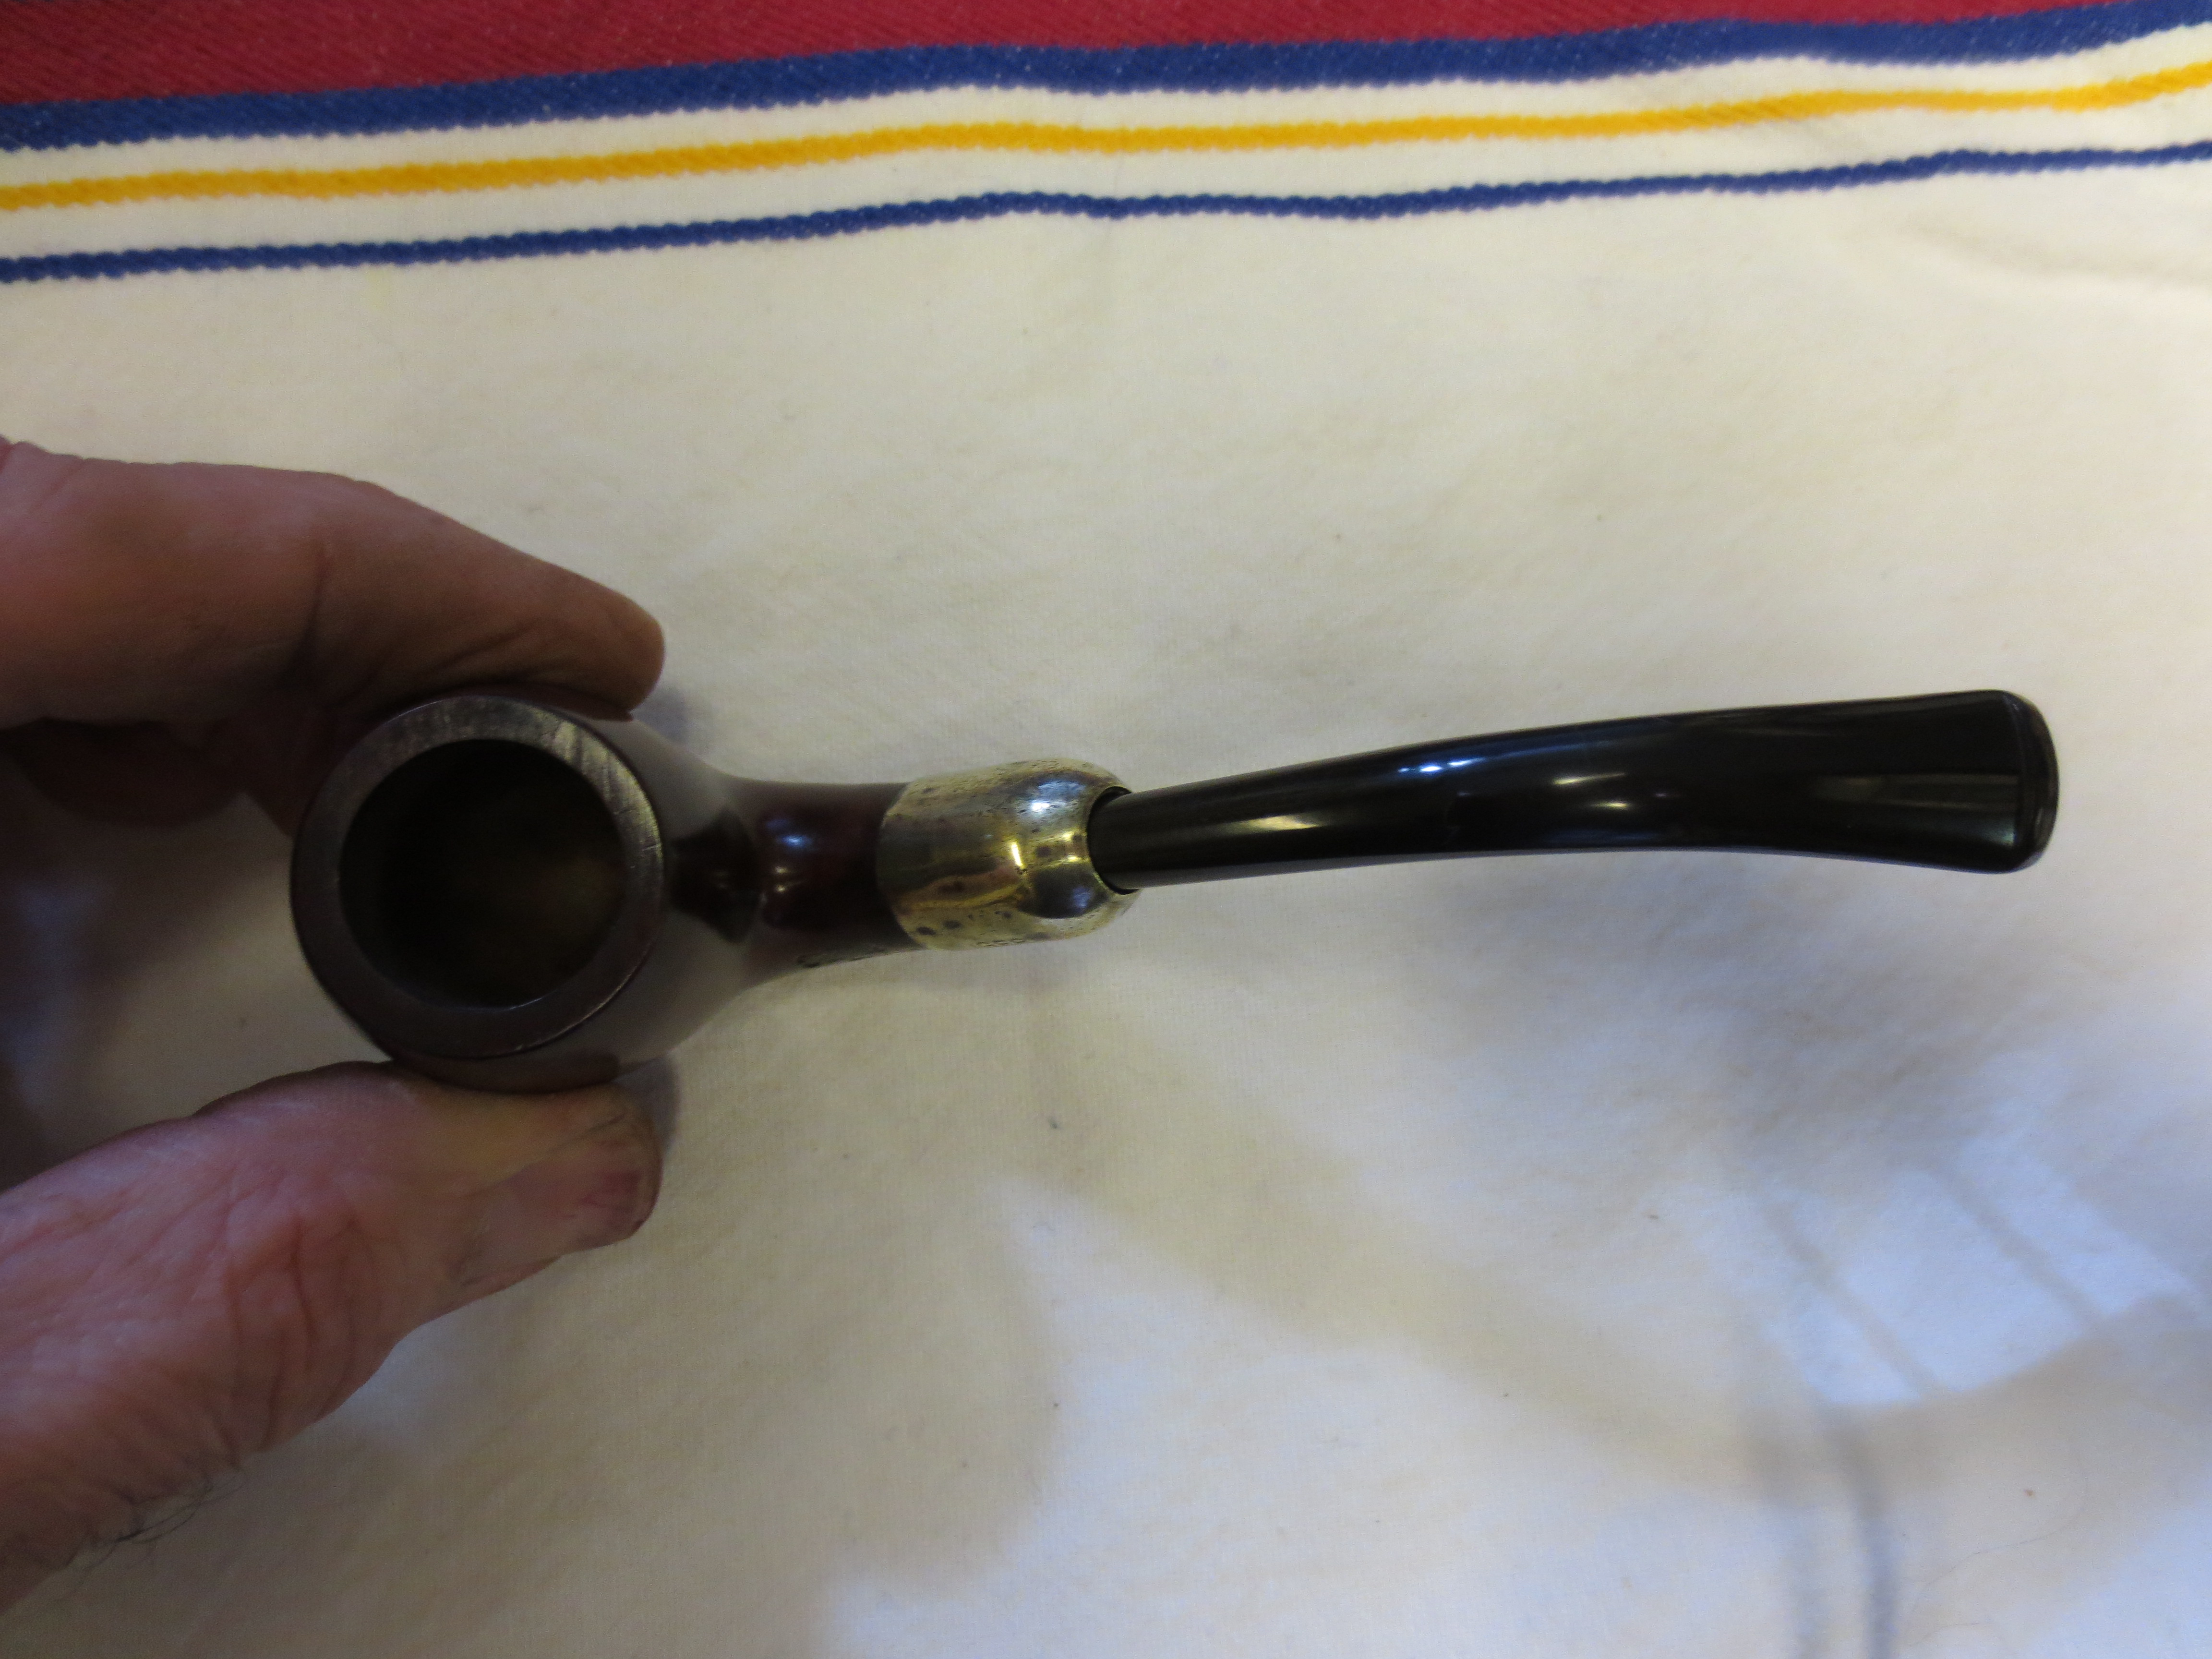
While the glue was drying I picked out the grit from the sandpit on the right side of the shank and repaired it with briar dust and superglue. The photo below shows the filled and repaired sandpit just next to the shank cap. The second photo below shows the newly place end cap and the work that still remained on the nickel/silver (?) shank cap.
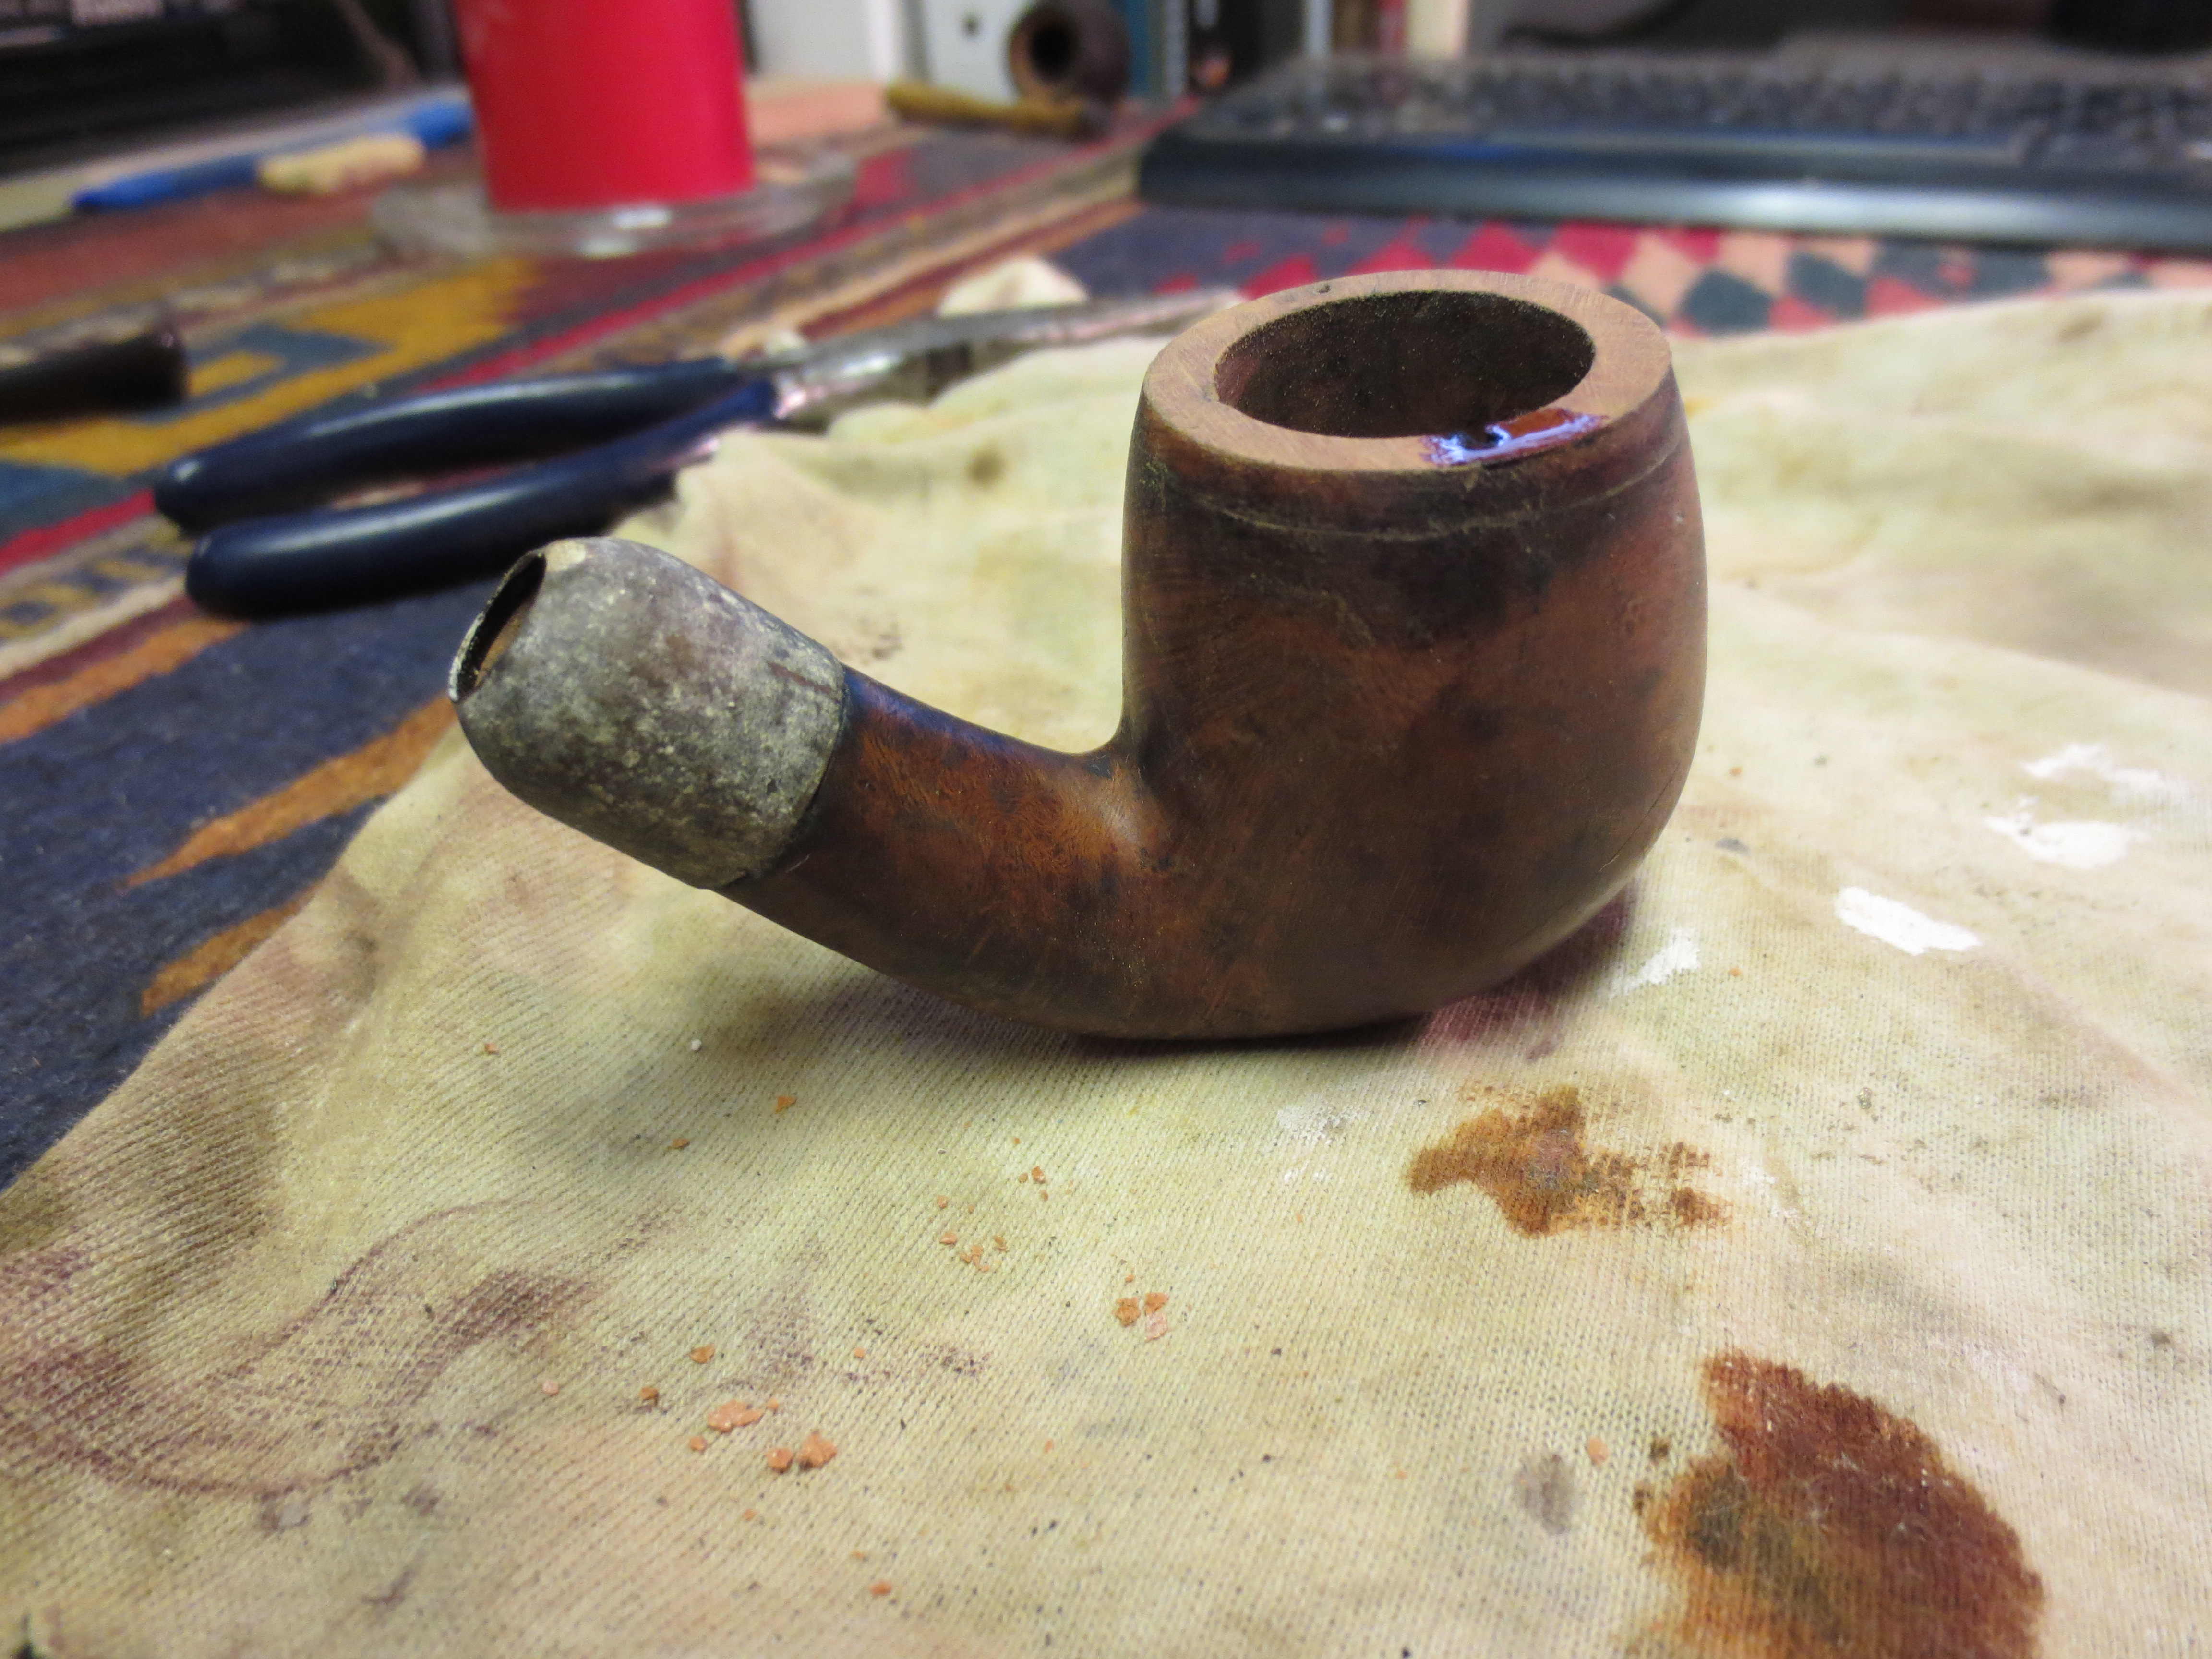
I worked on the shank cap once it was dry with micromesh sanding pads. I used 1500 – 2400 to wet sand the cap. It took much elbow grease to get it to the point is at in the four photos shown below.
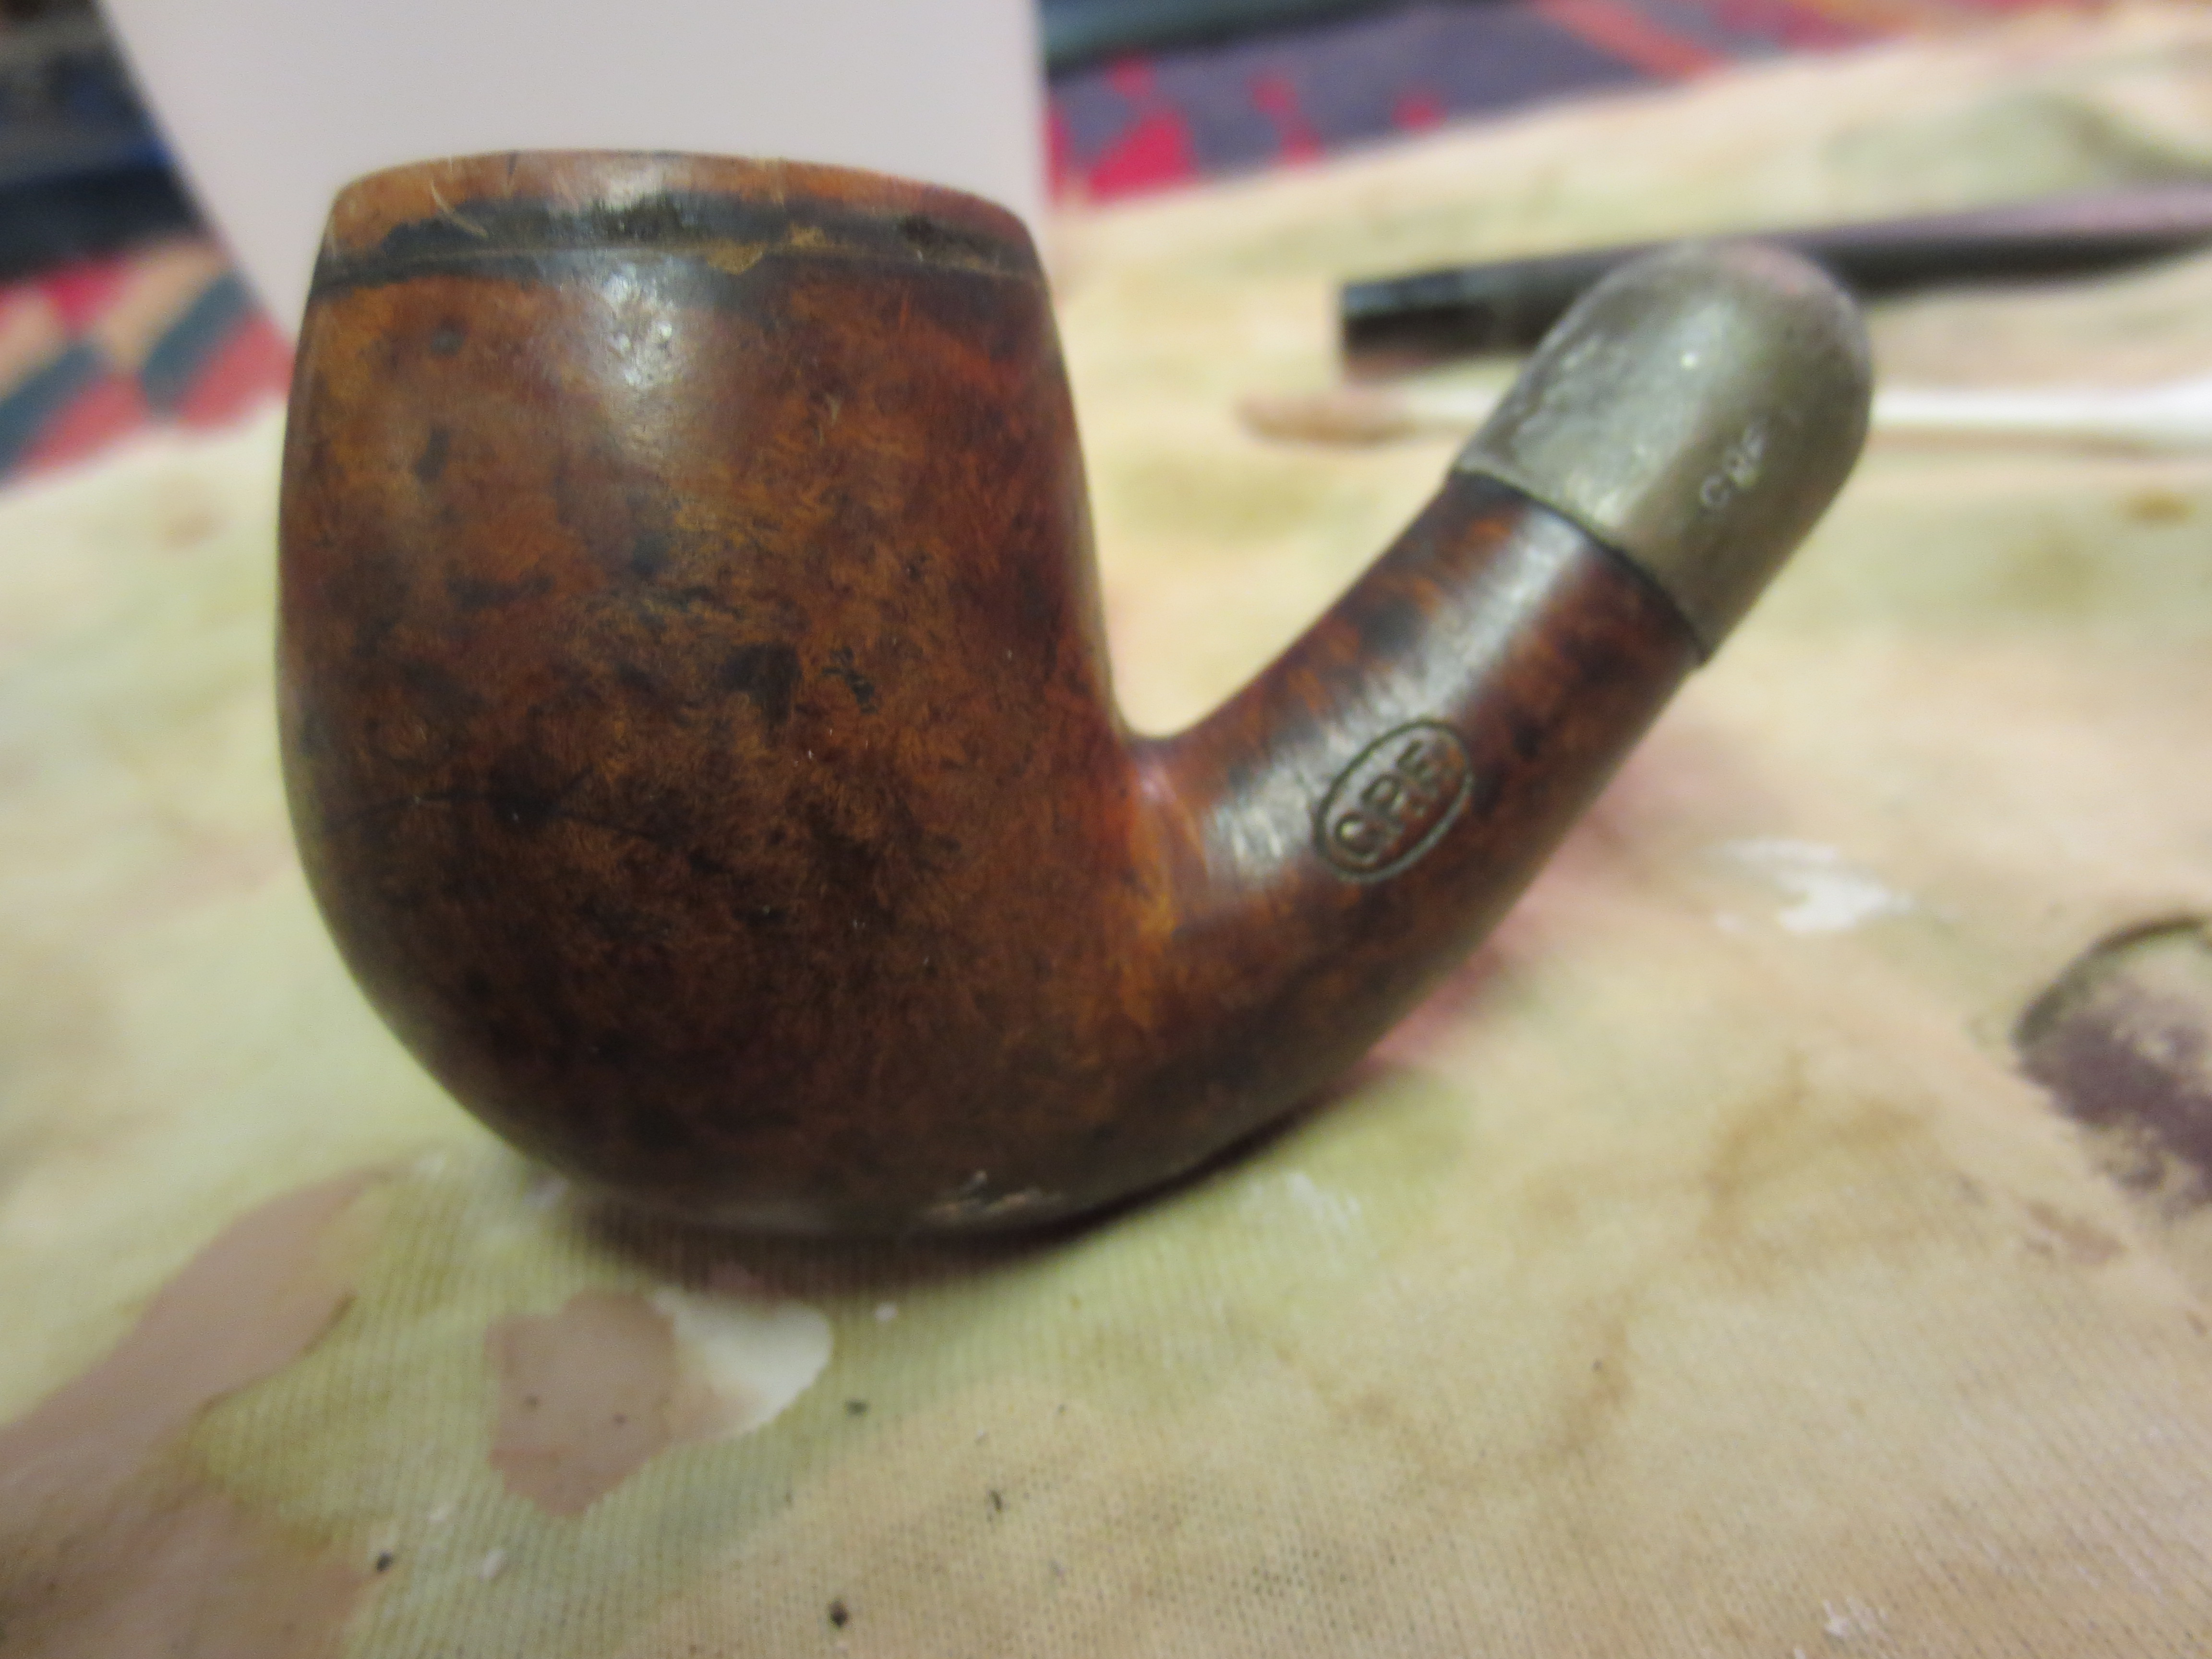
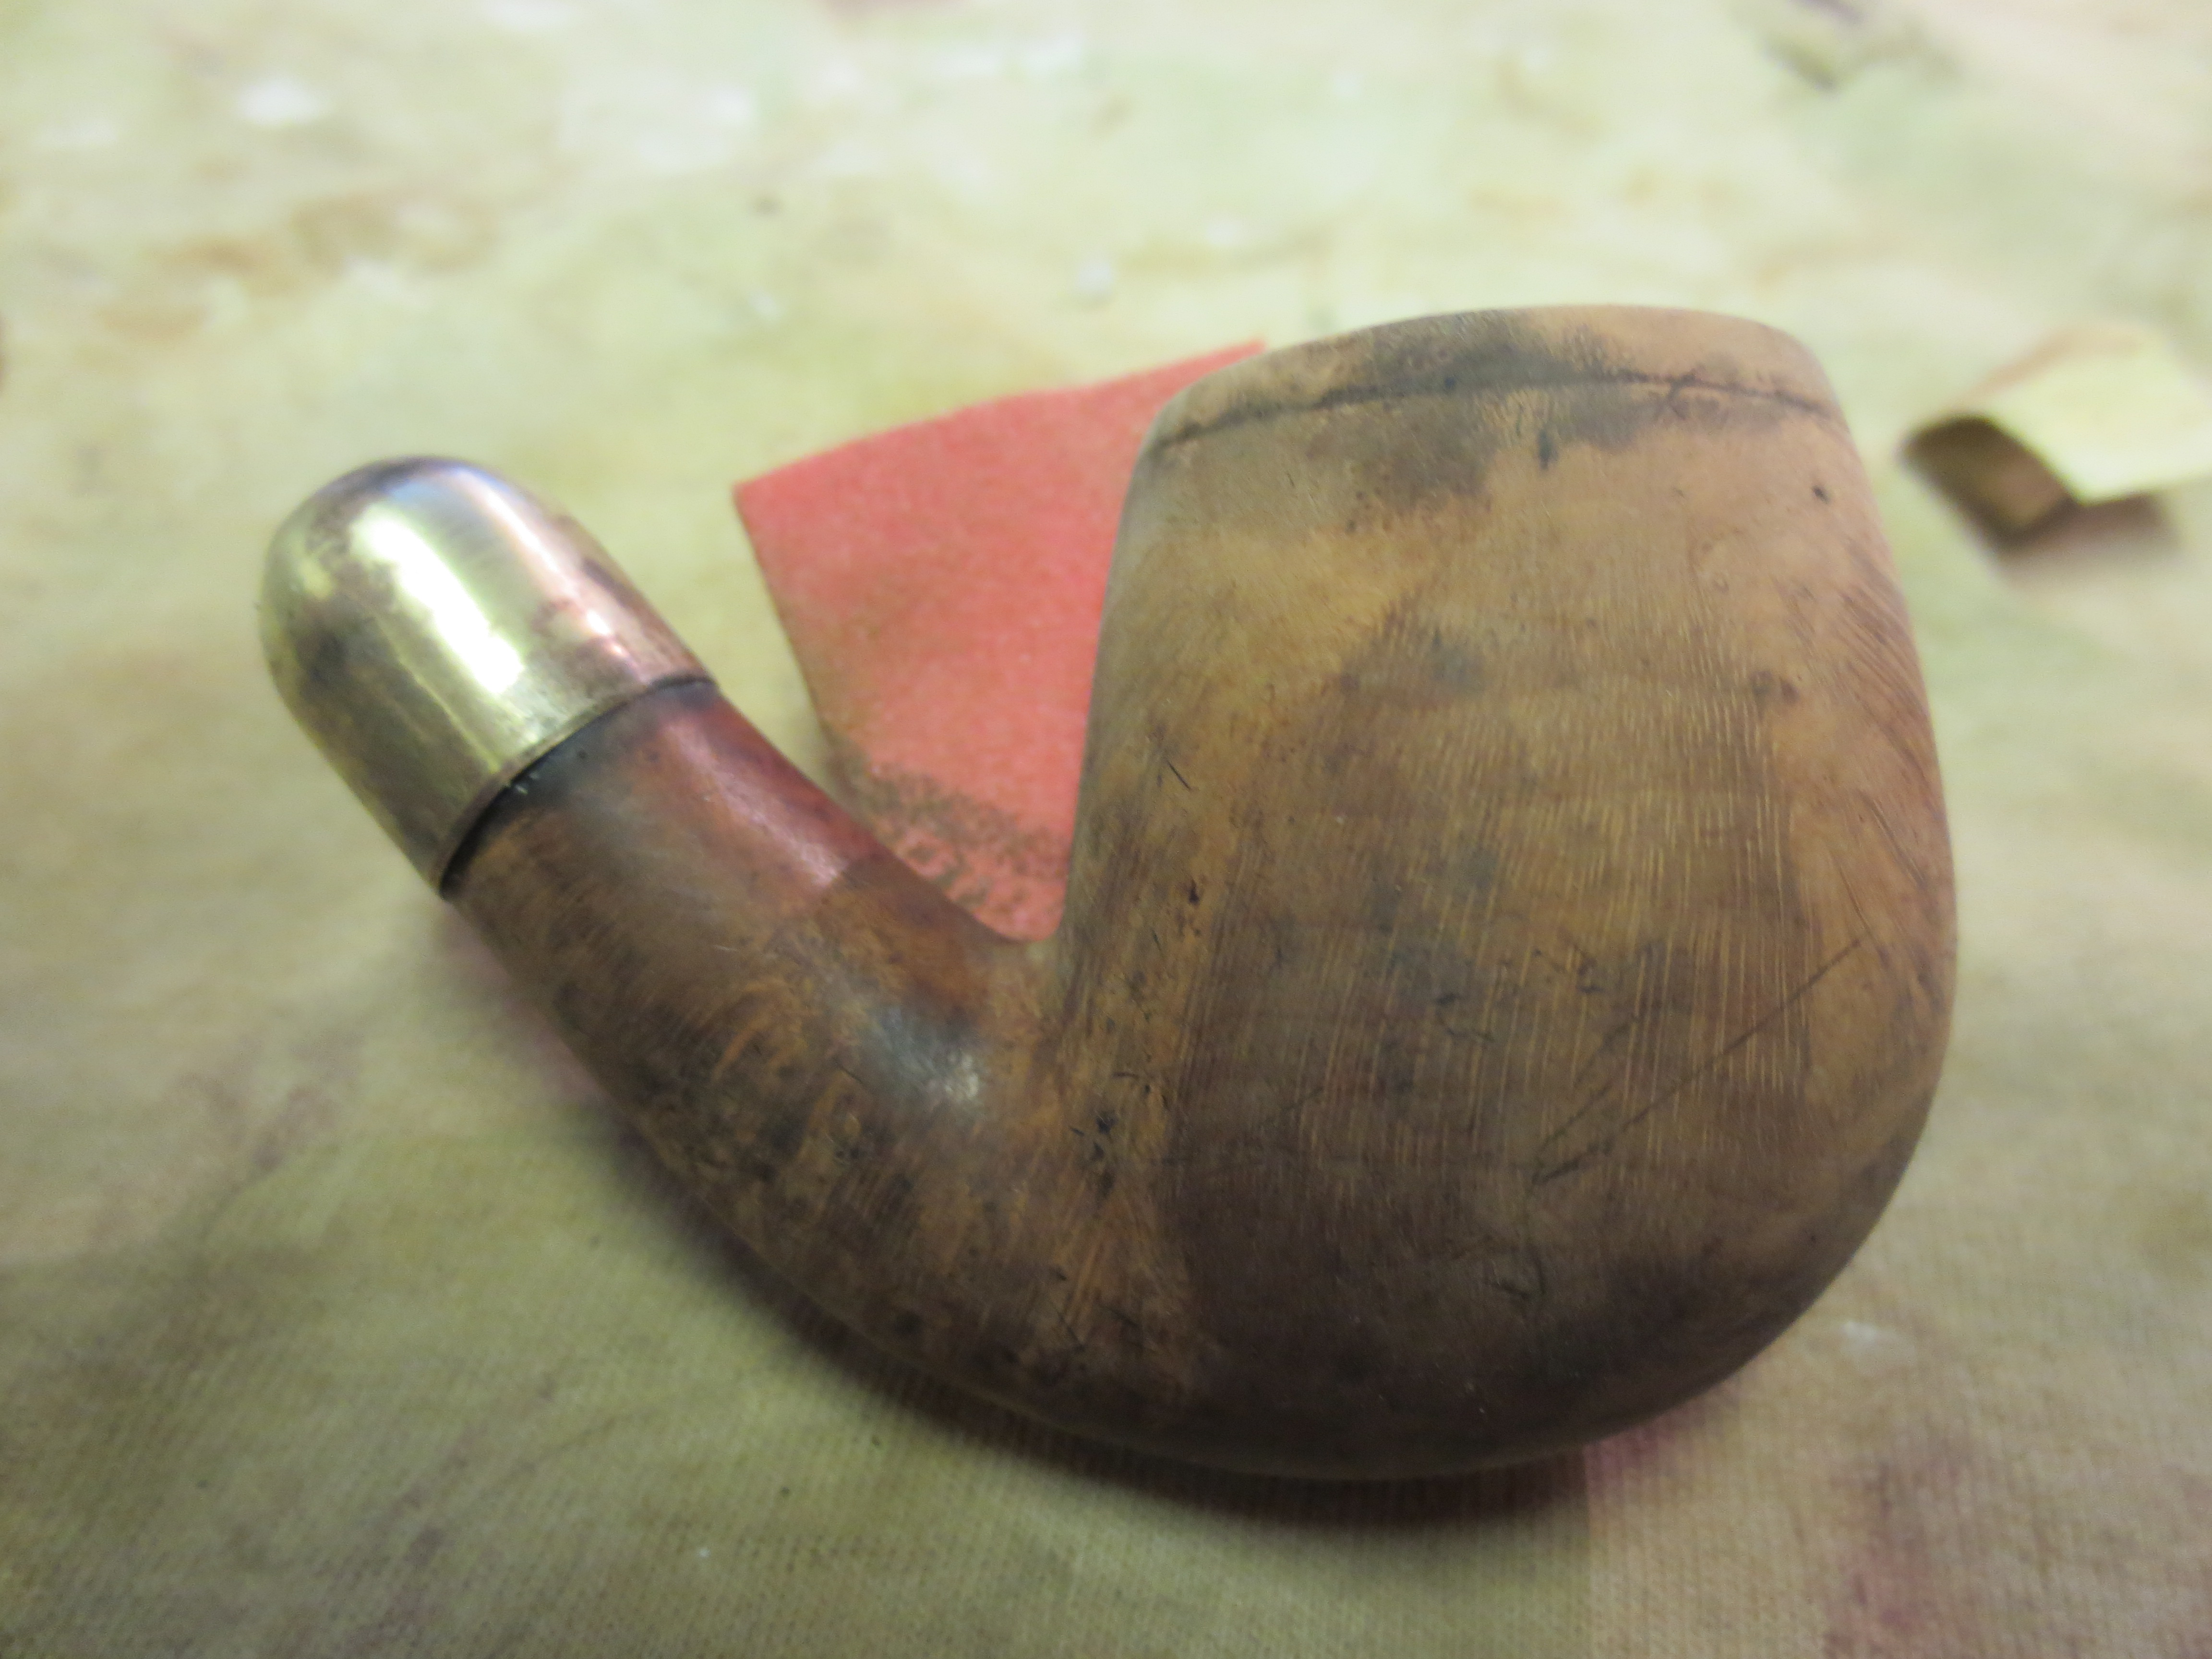
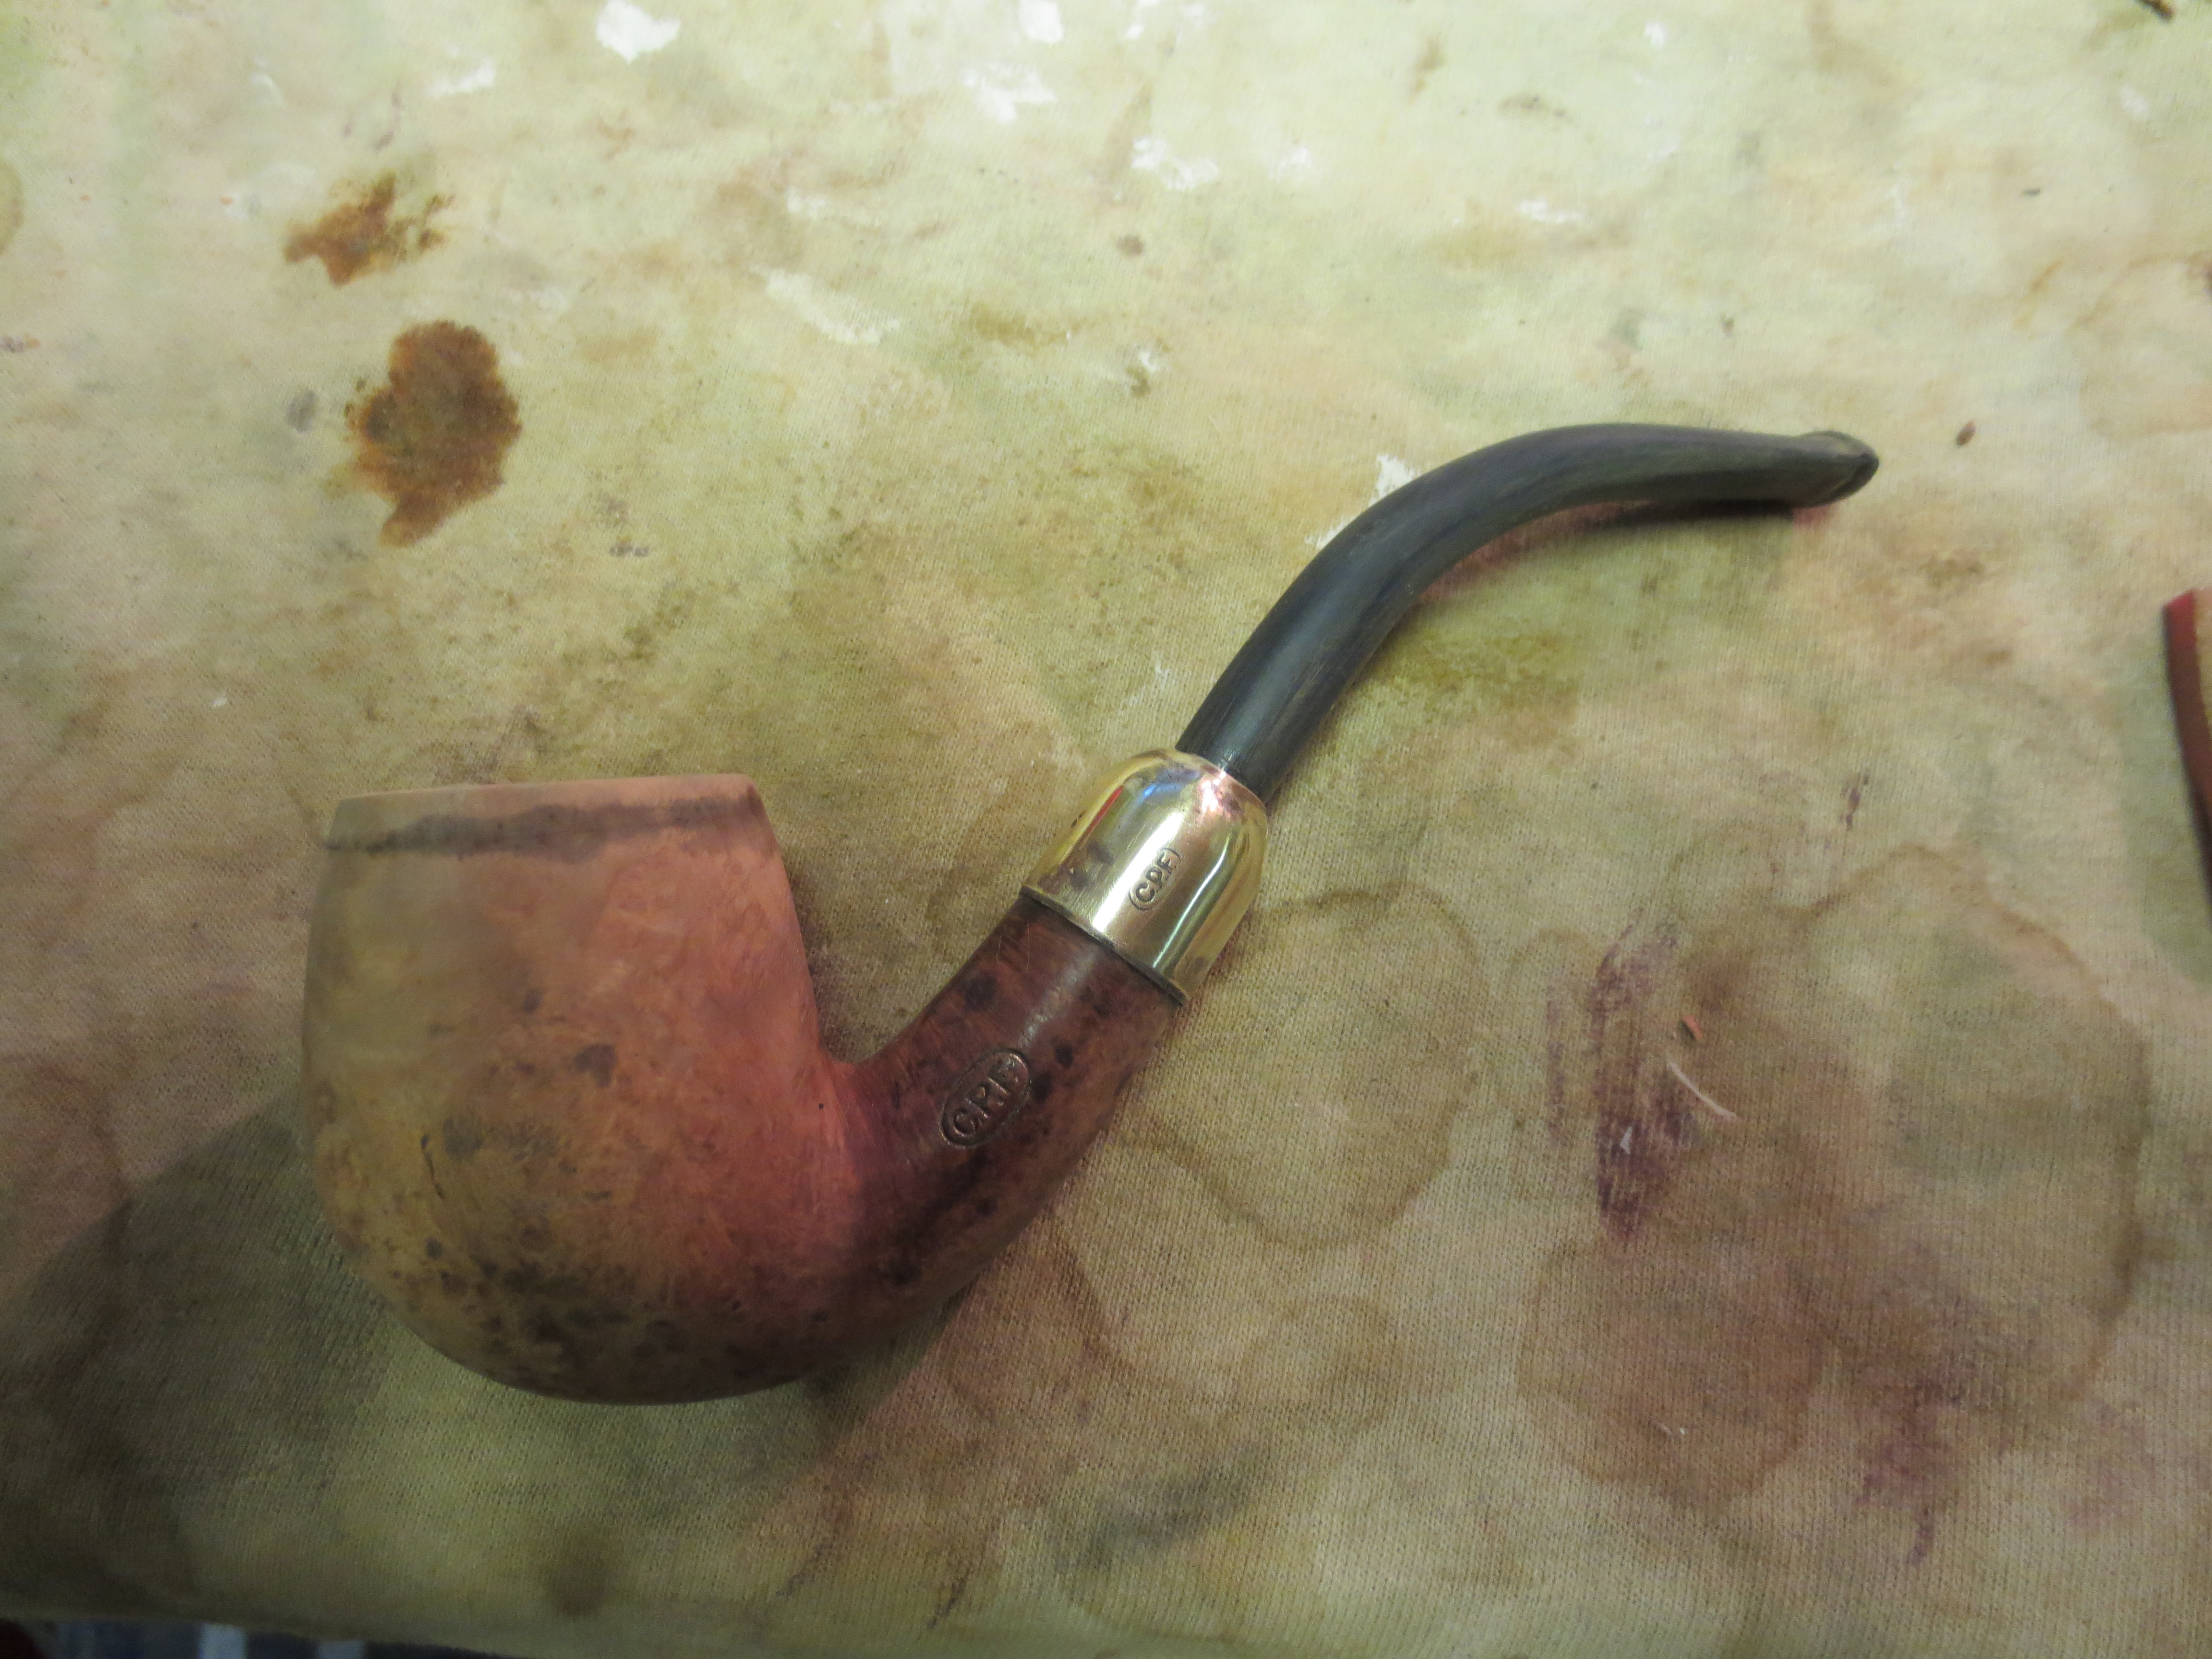
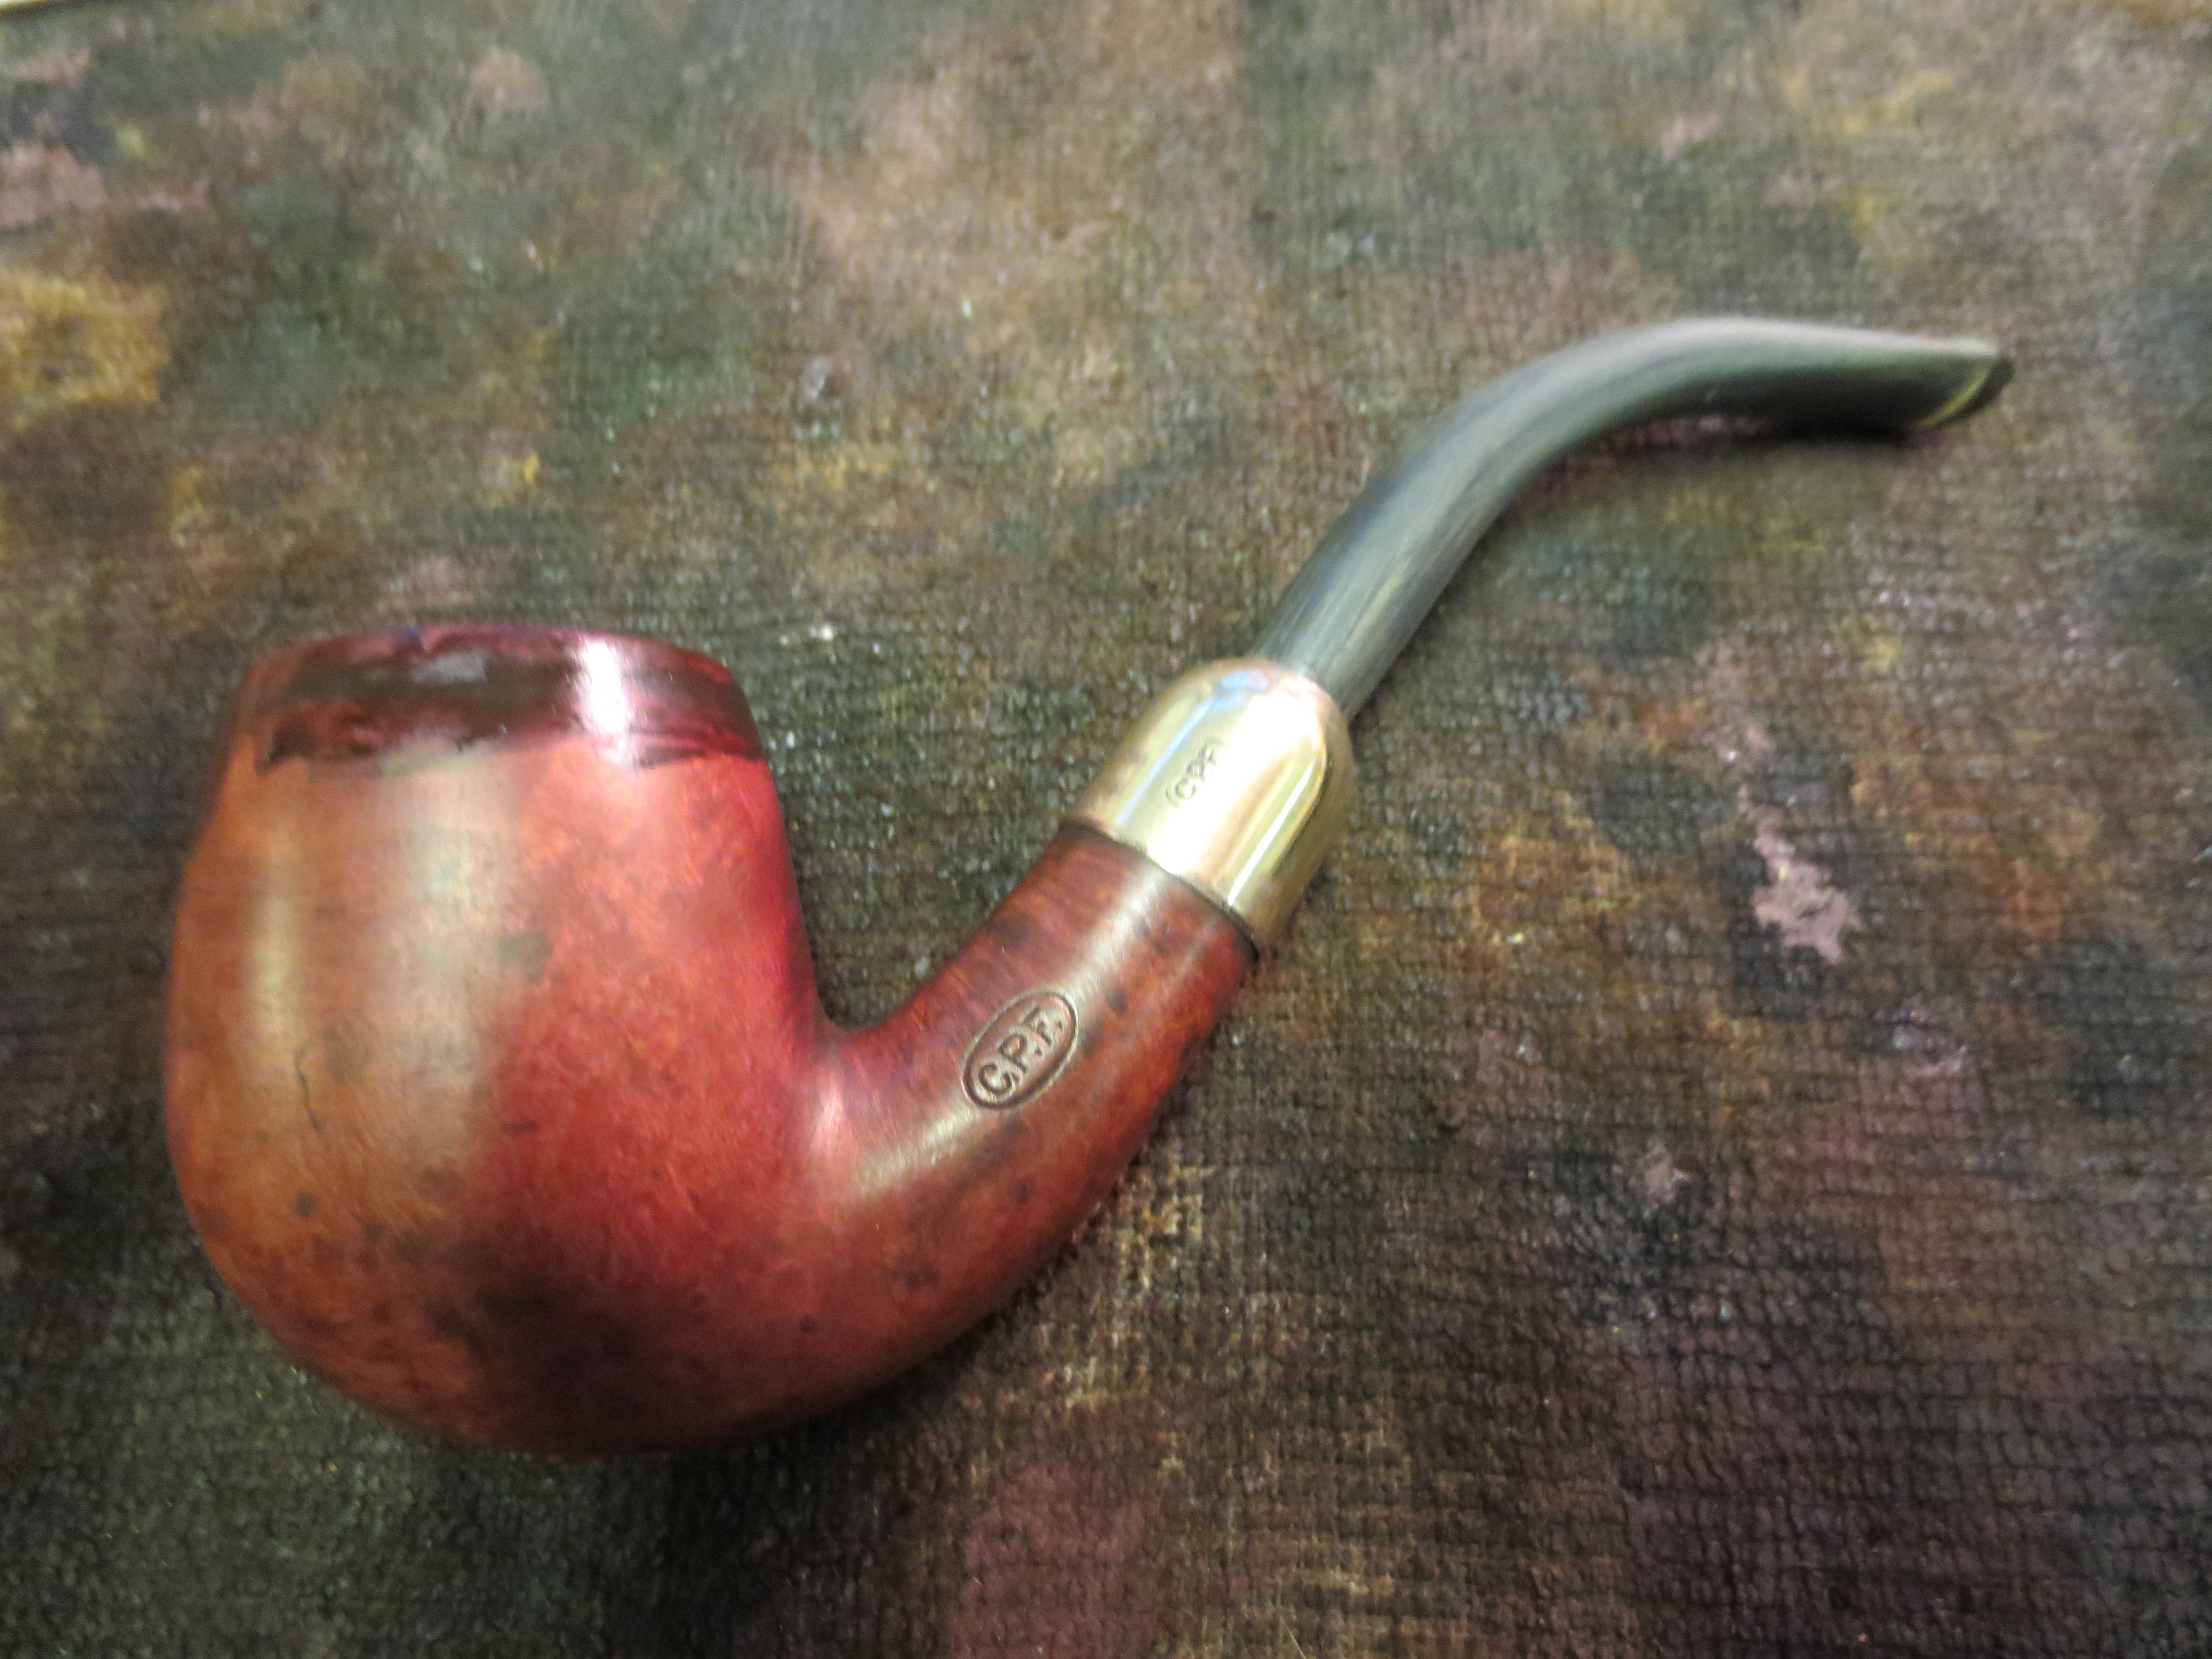
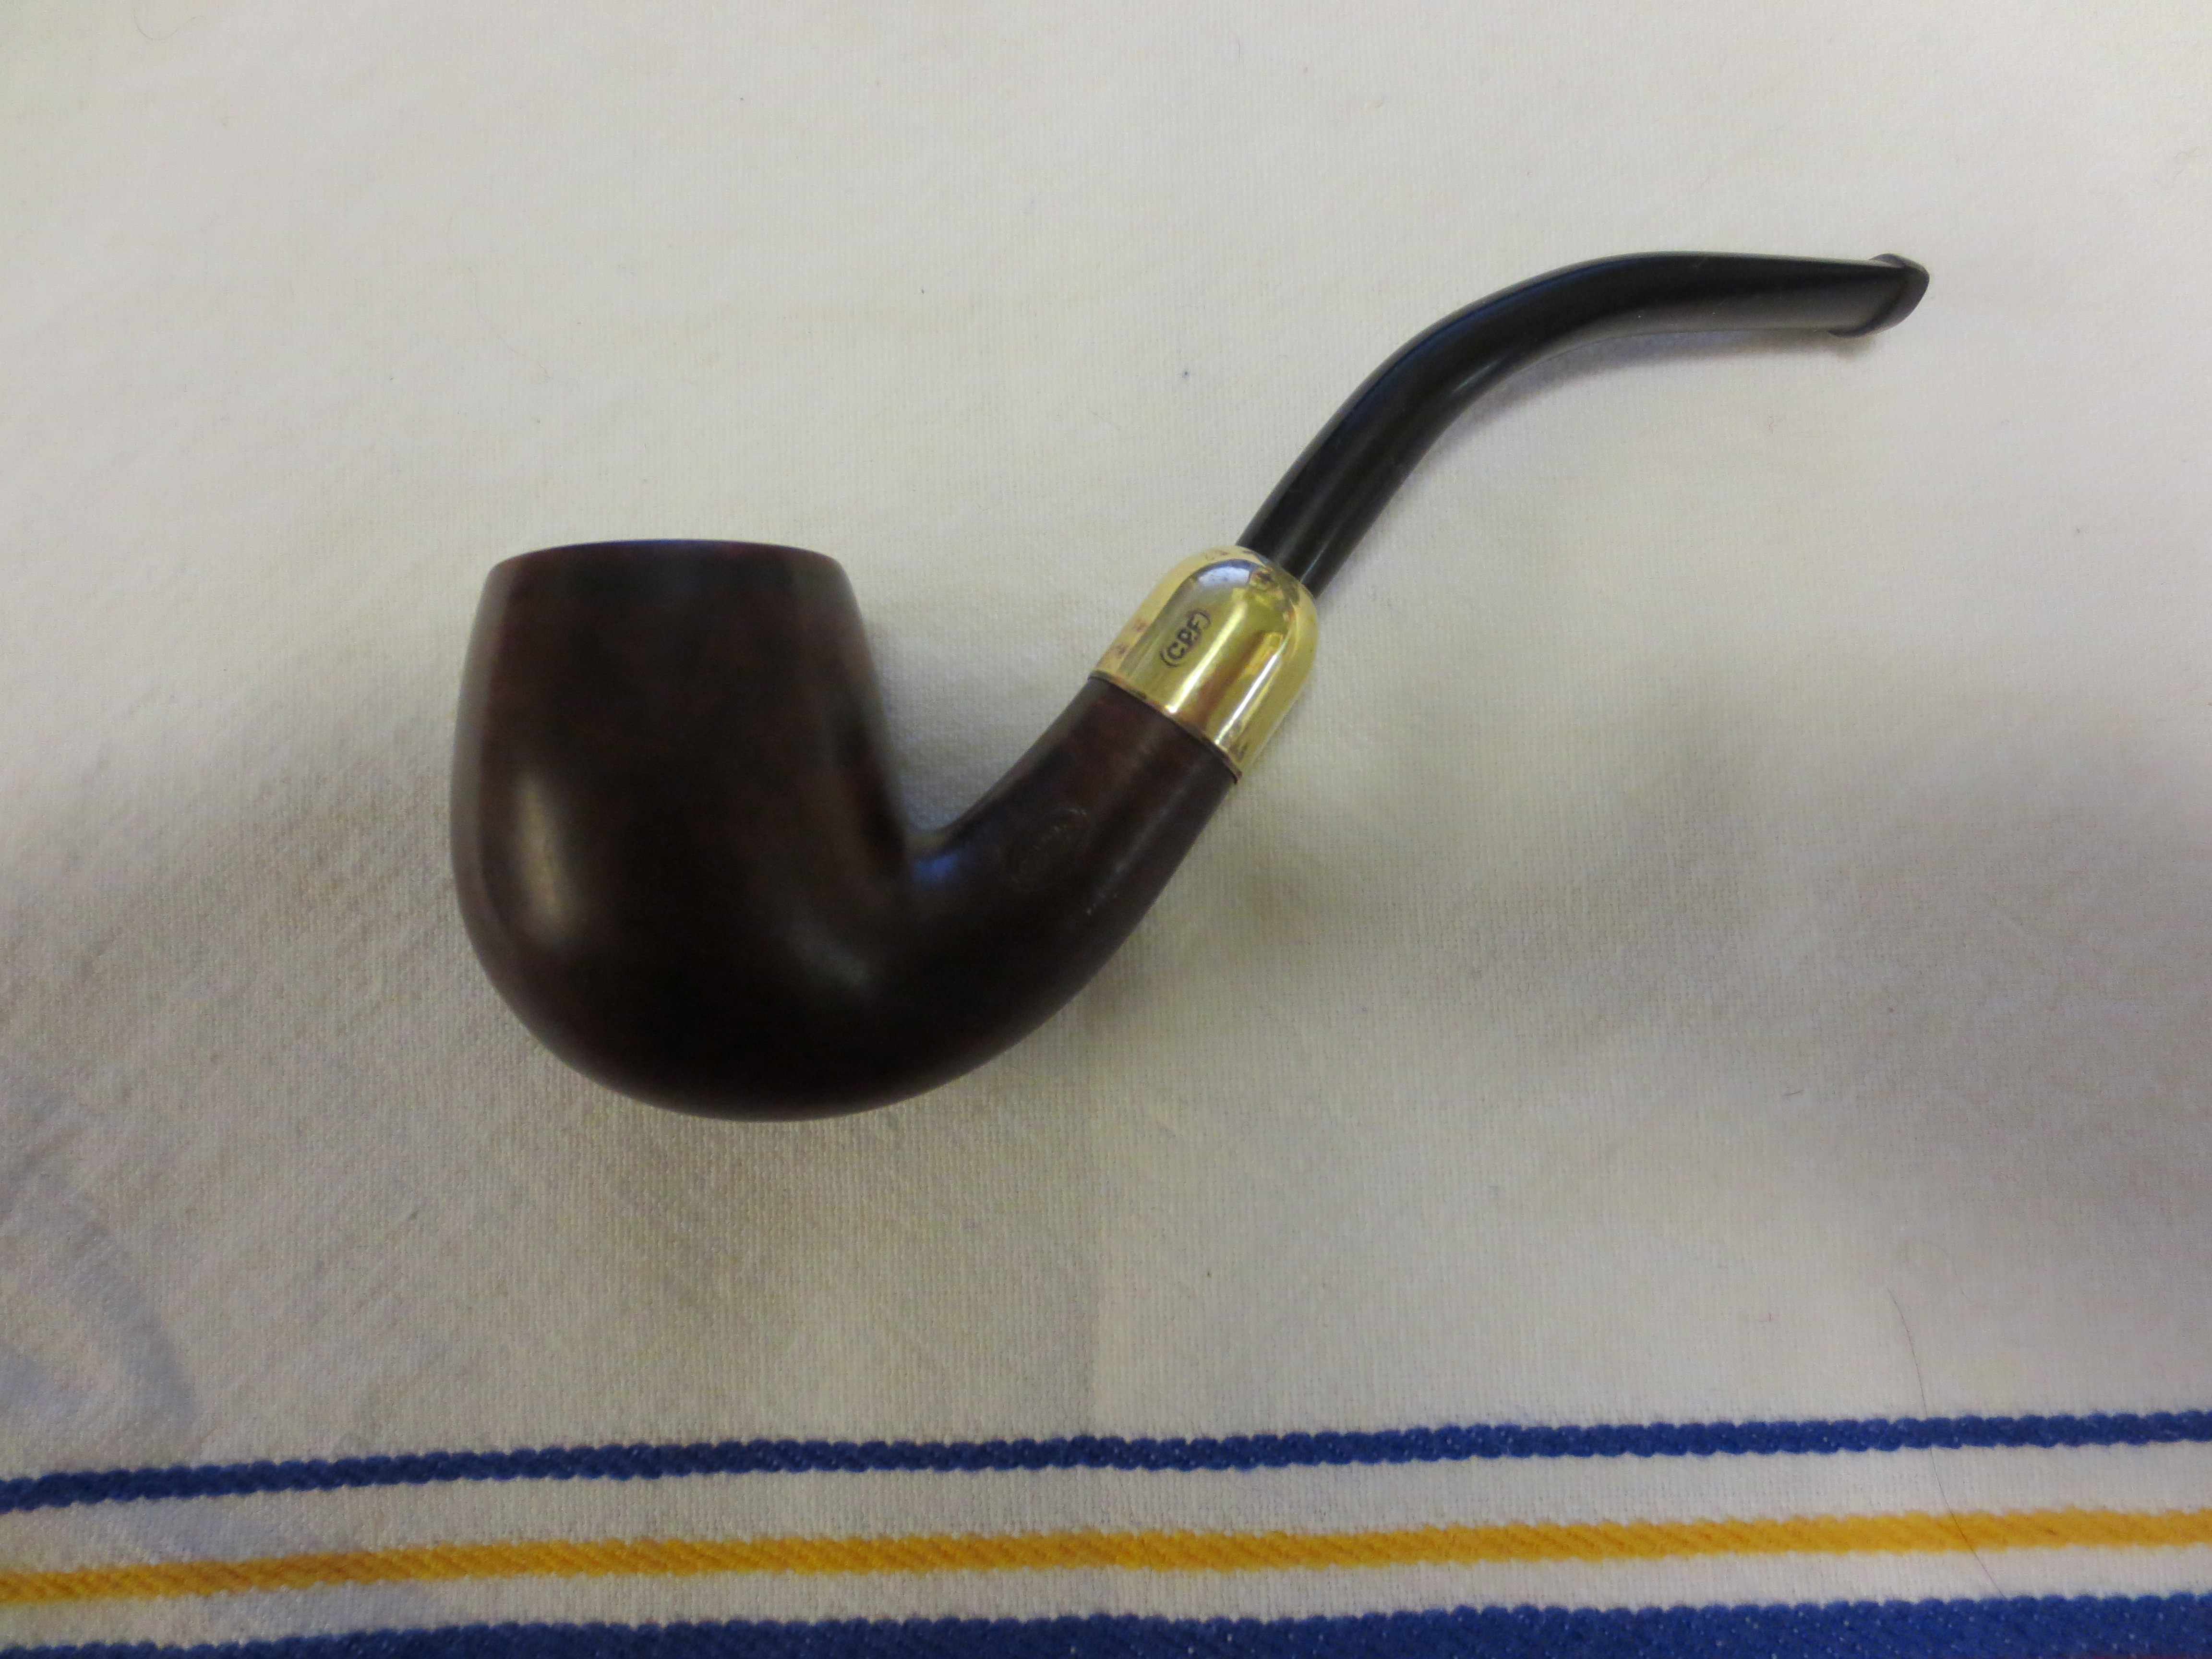
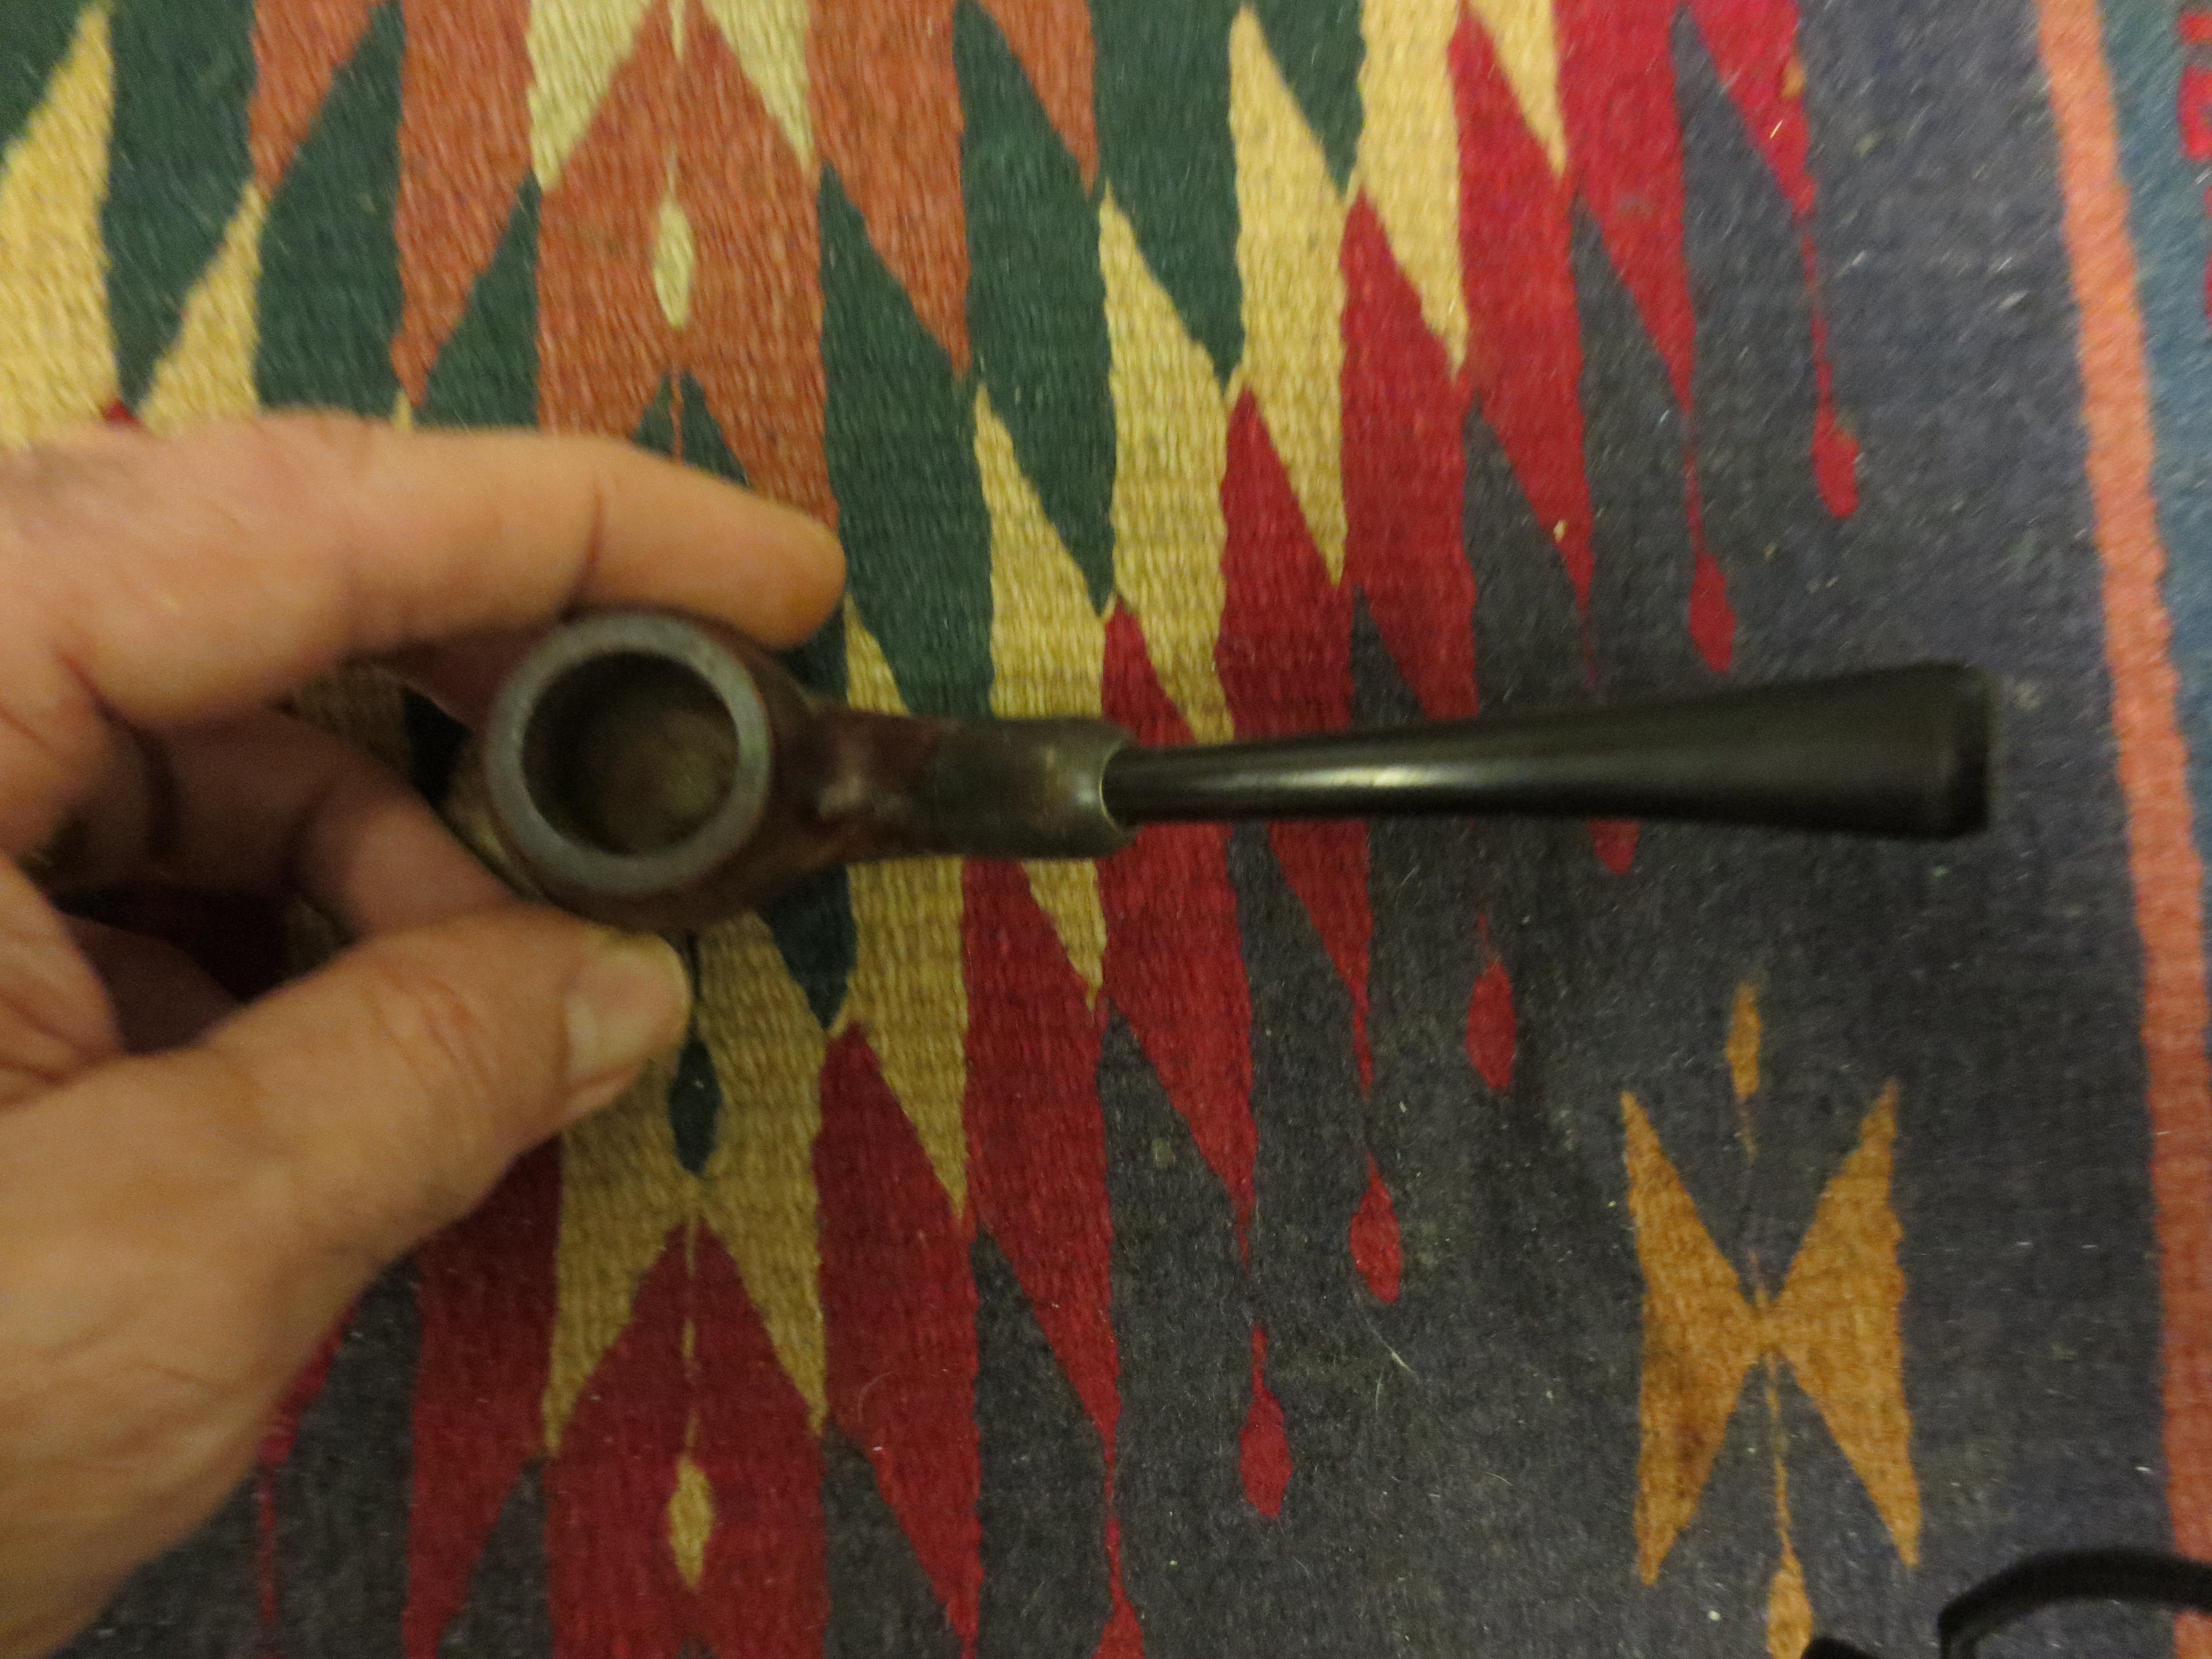
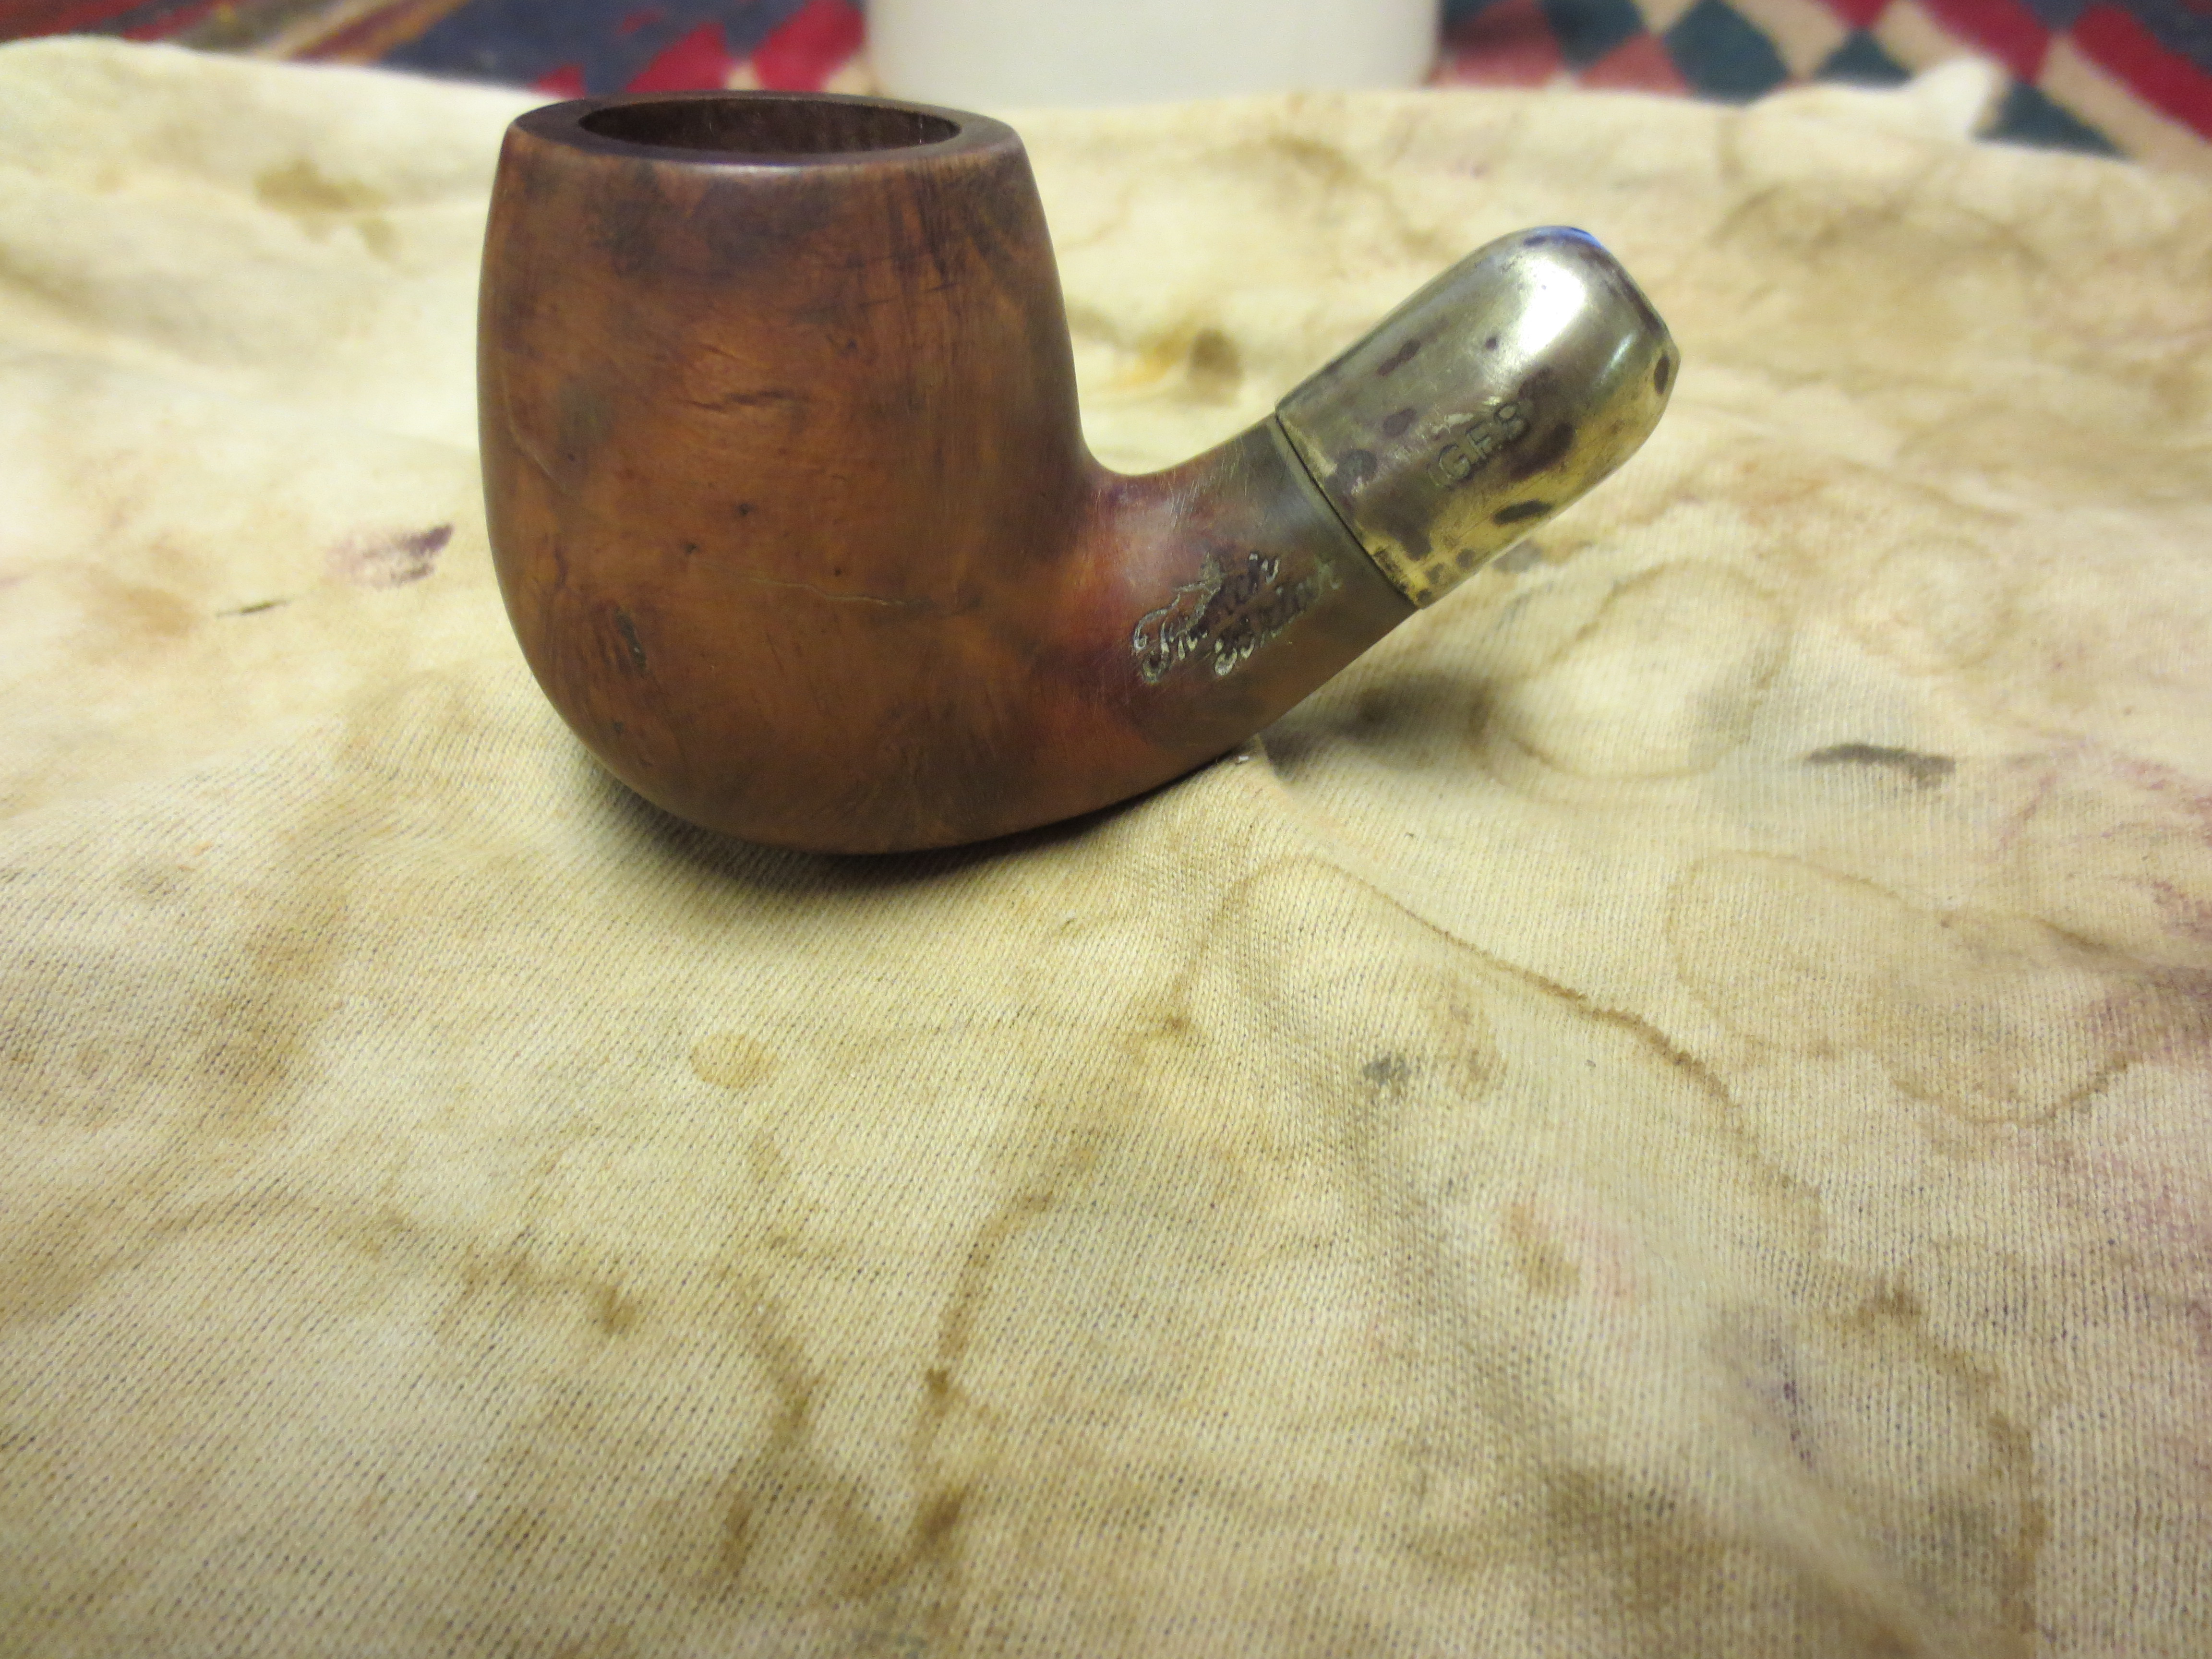
The GFB stamp on the cap shows up clearly in the photo above and the ones below. There were many small dents in the cap that I was not able to remove. However, I continued to polish the cap with some Neverdull Wool – a cotton product that is impregnated with a tarnish remover. It is soft enough to get into the dents on the cap. I then went on to sand the bowl with the fine grit sanding sponge to clean up the finish. The next six photos show the sanding progress. Once it was finished I wiped the bowl down with some Everclear on a cotton pad to remove the sanding dust and prepare the surface of the wood for restaining.
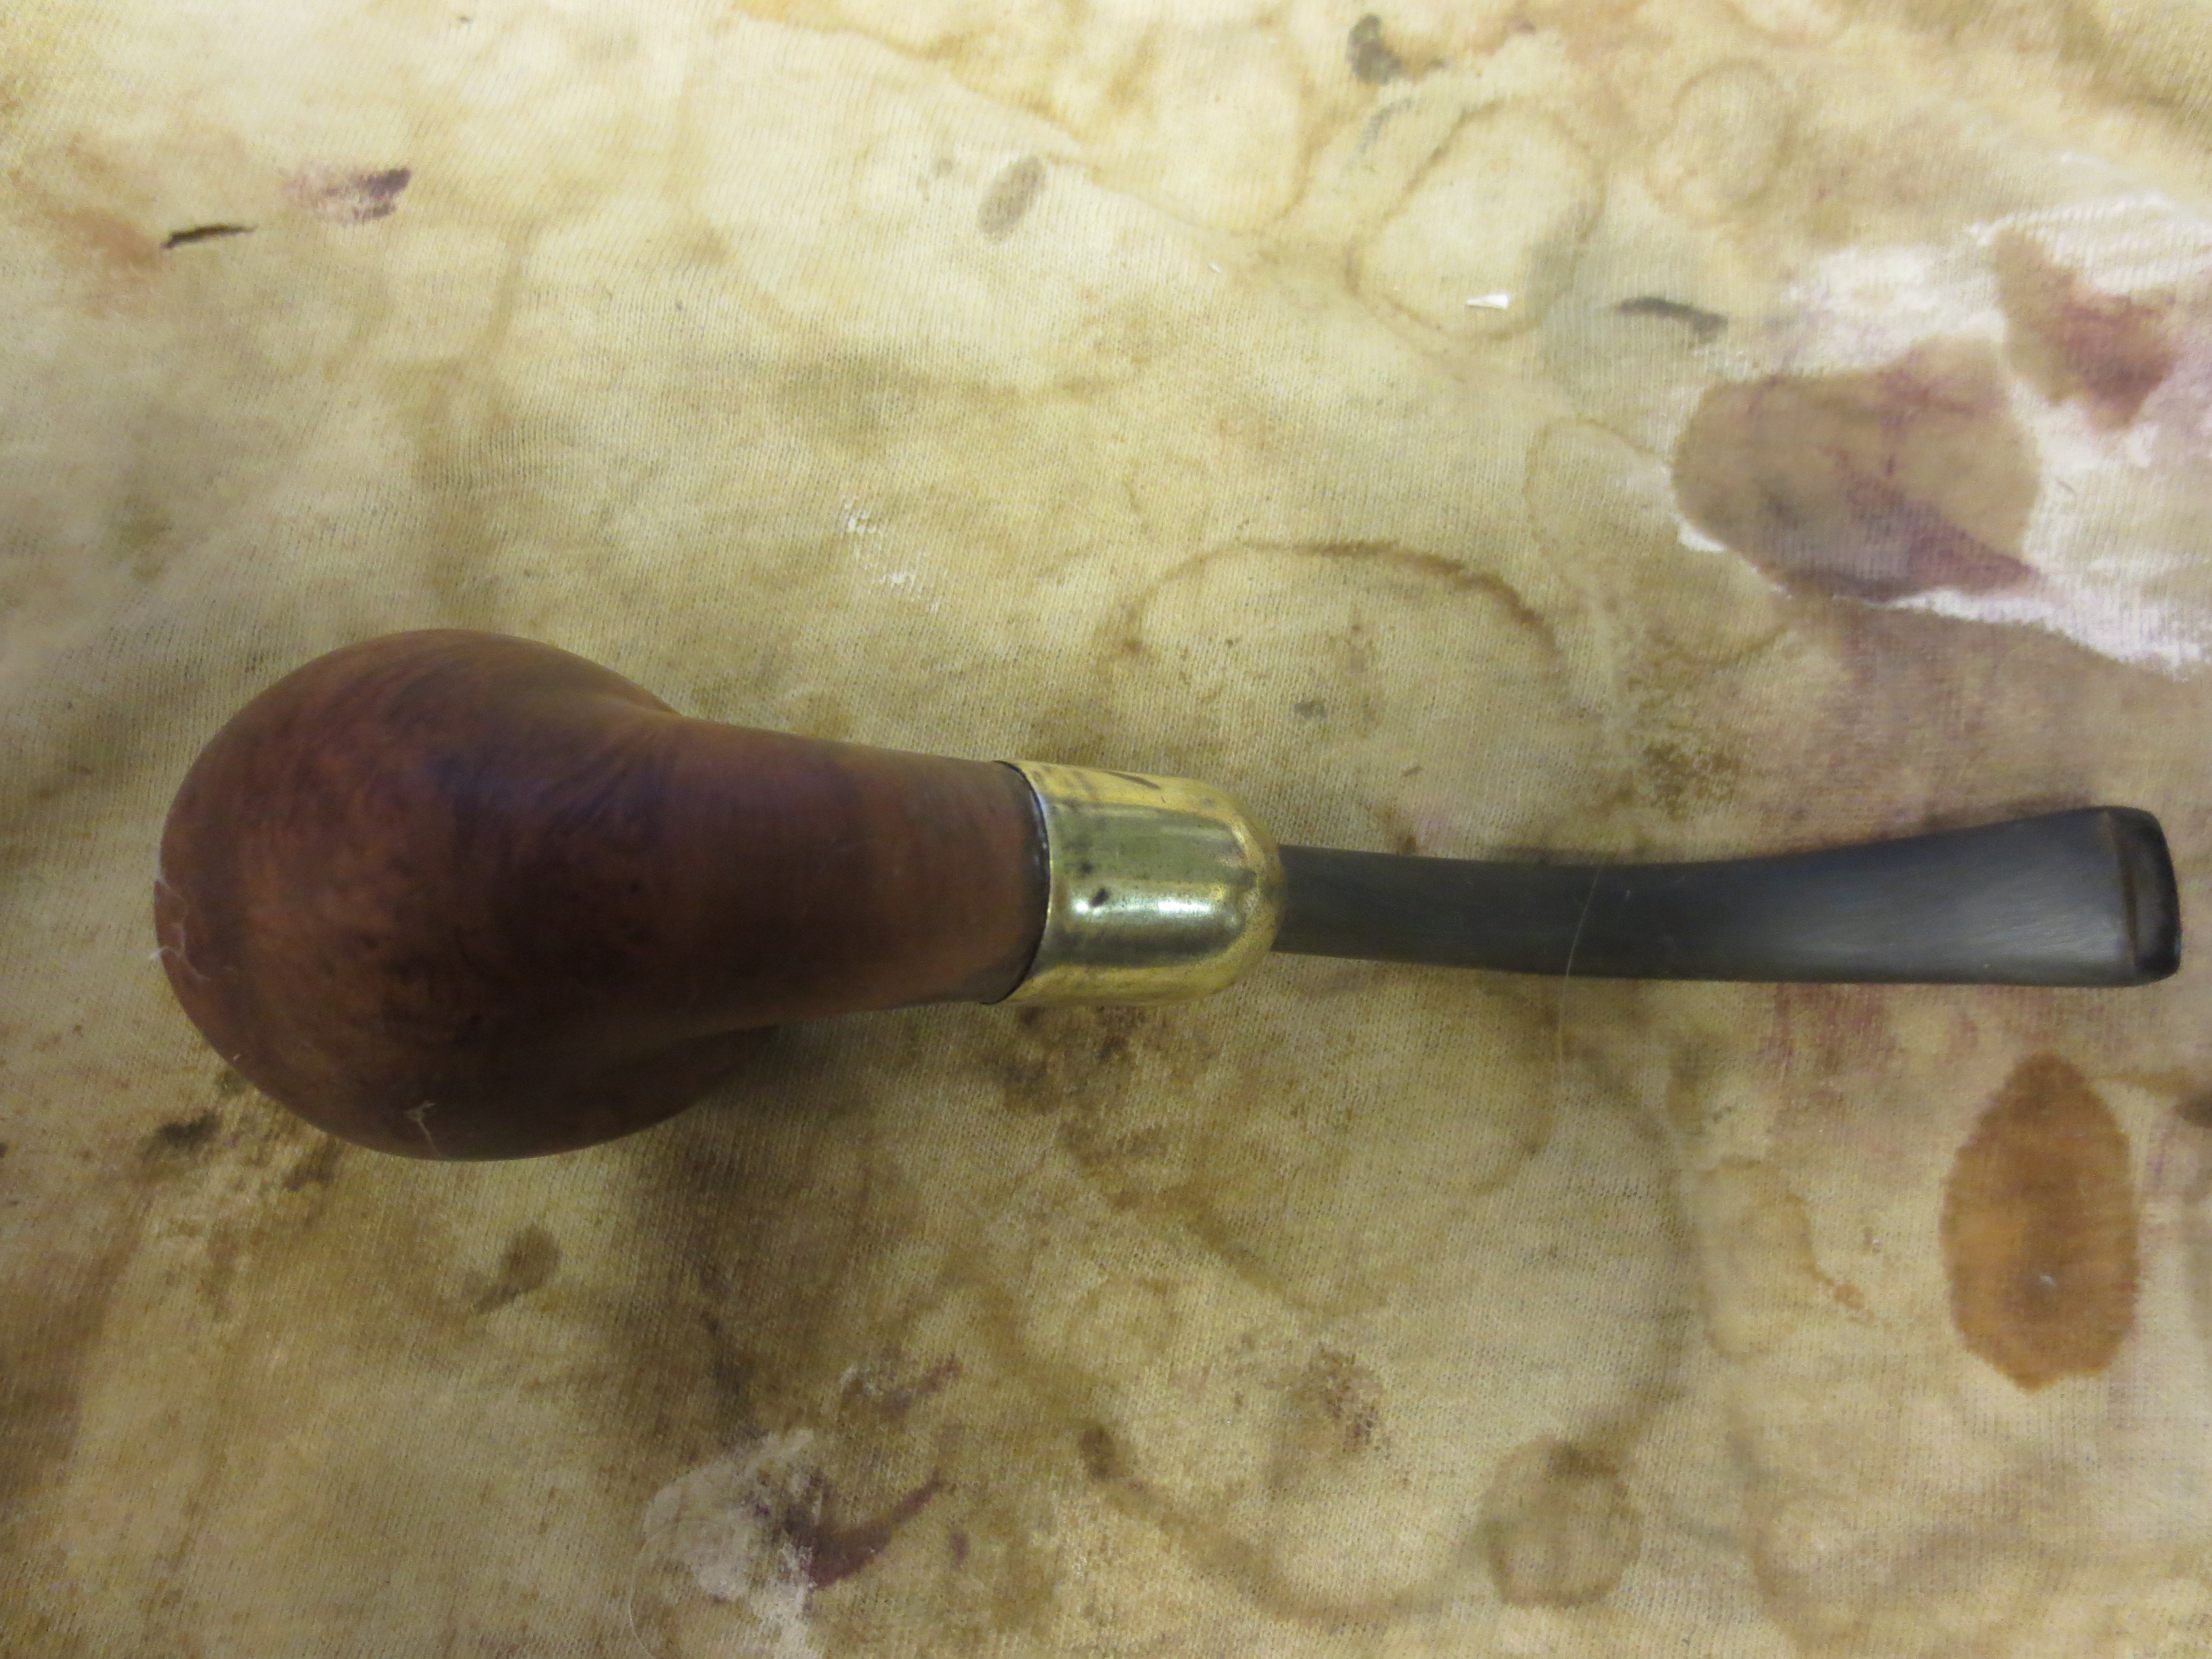
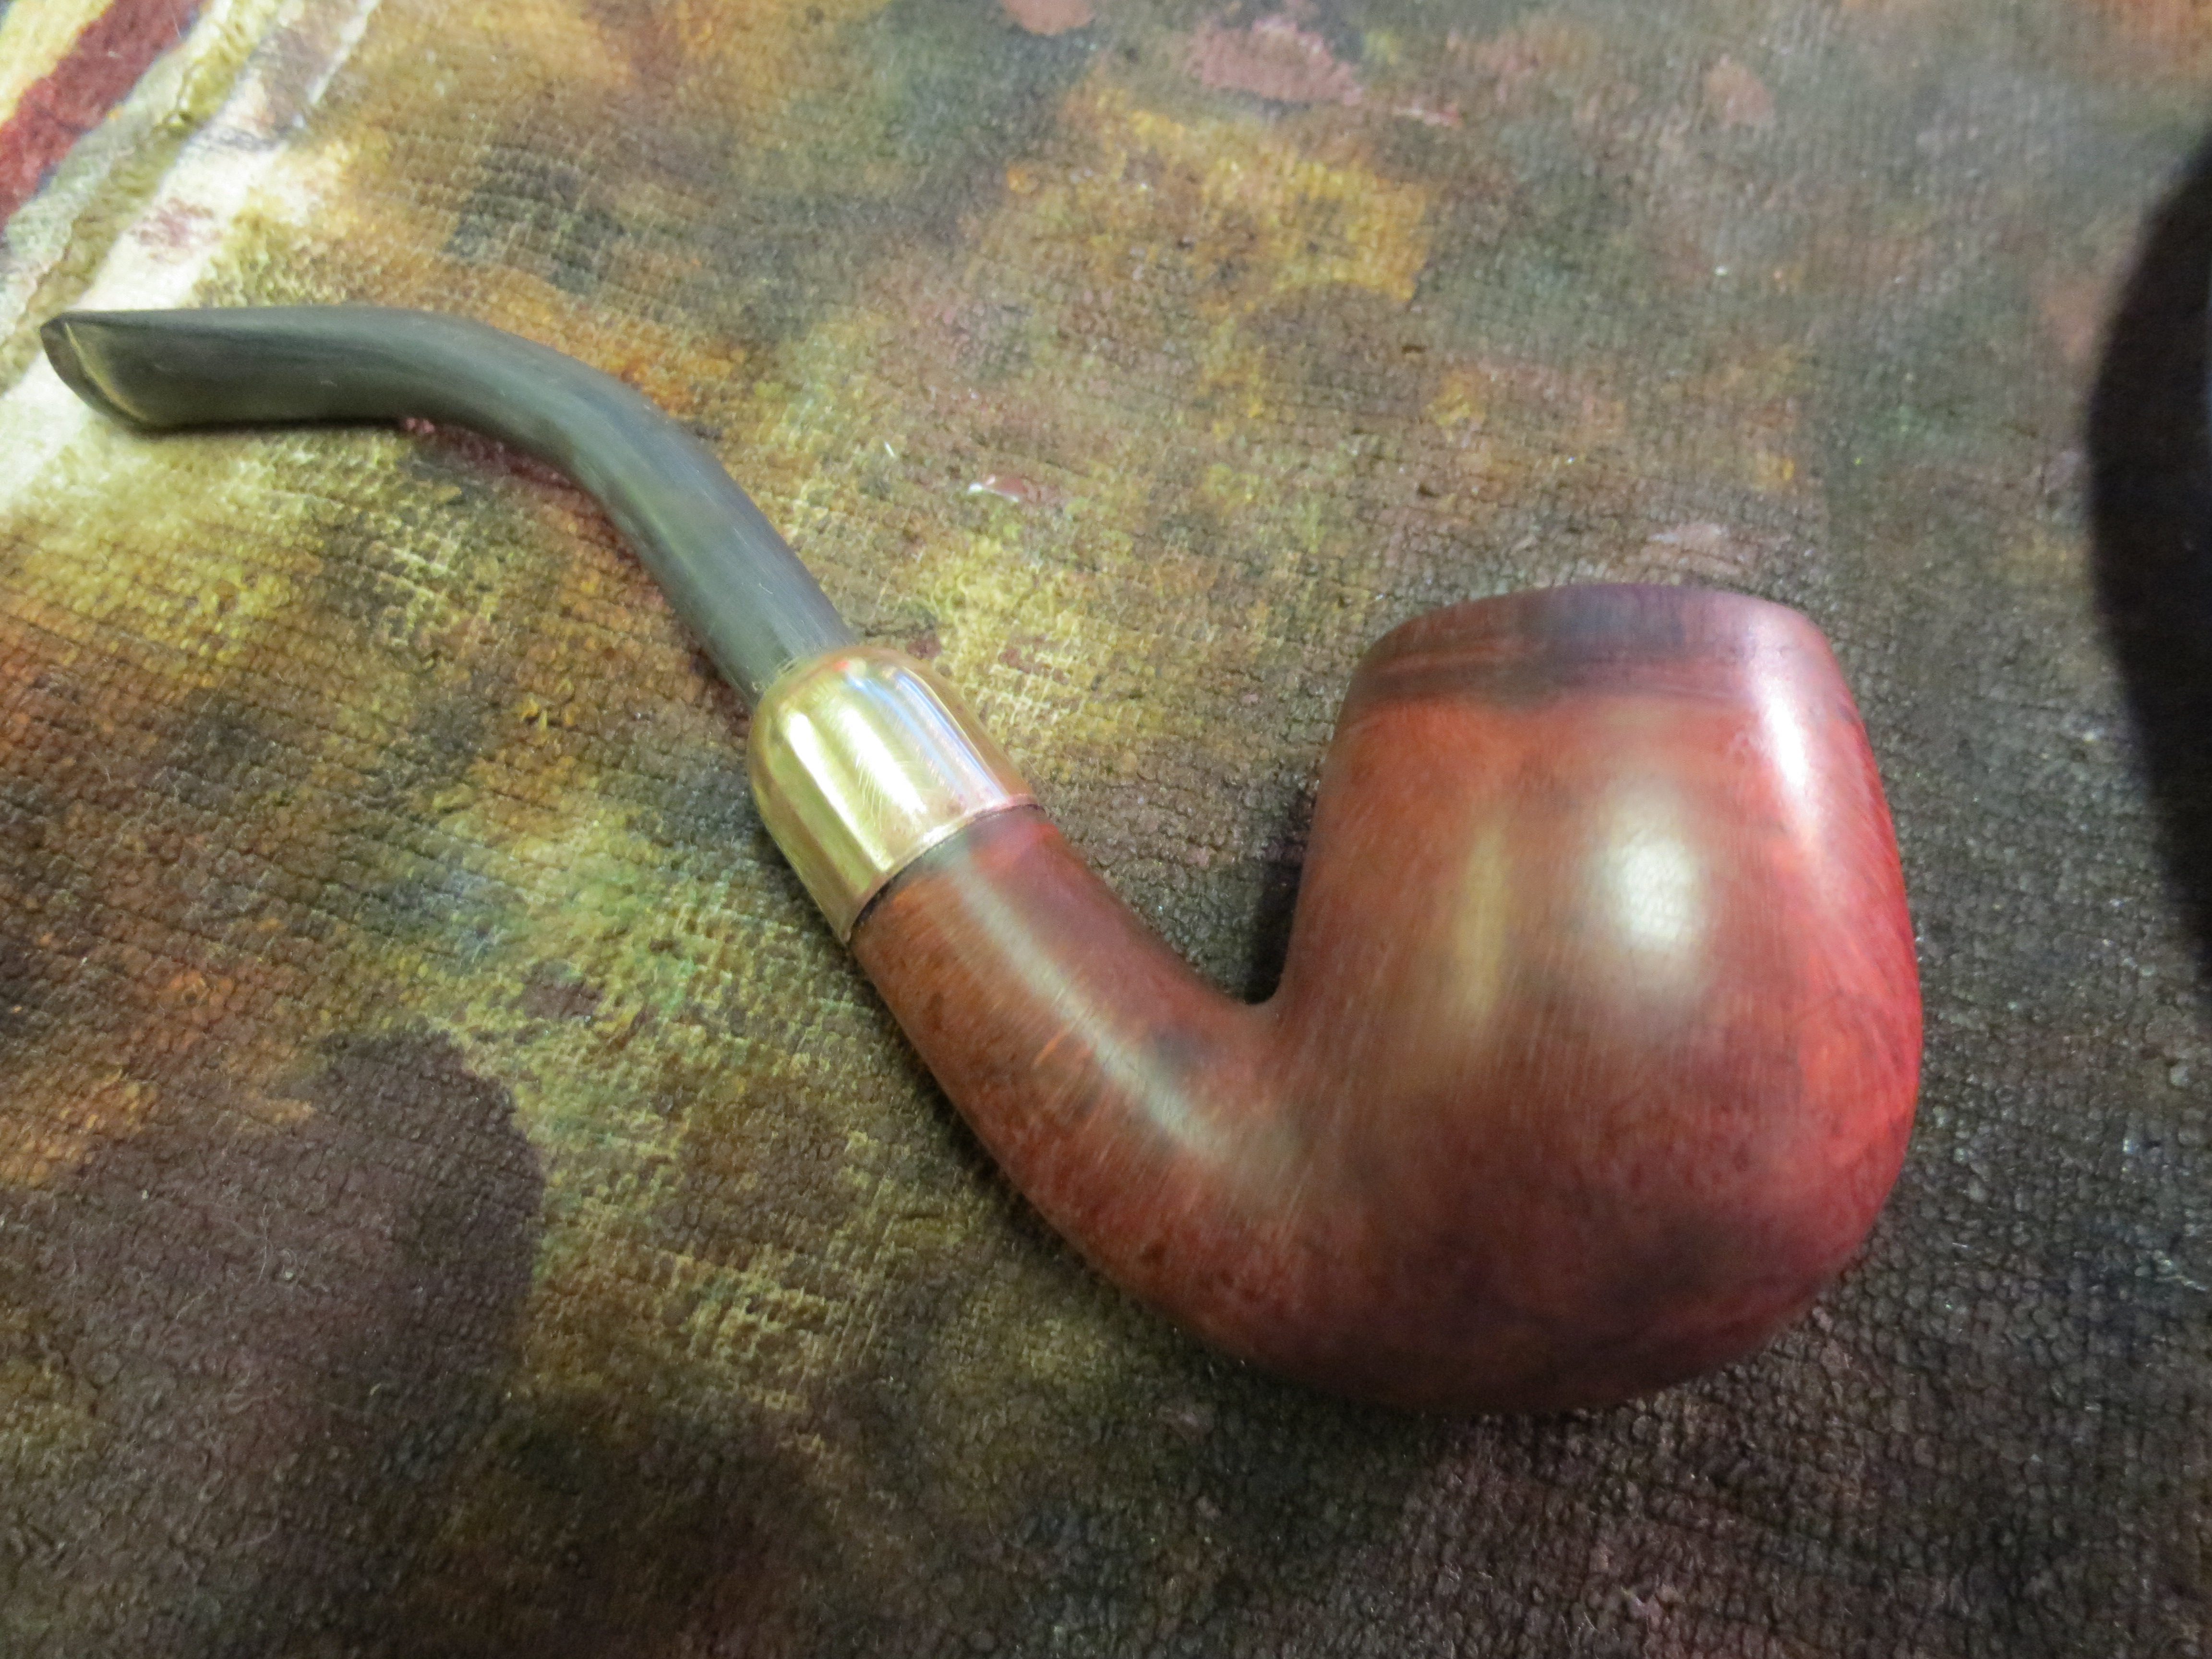
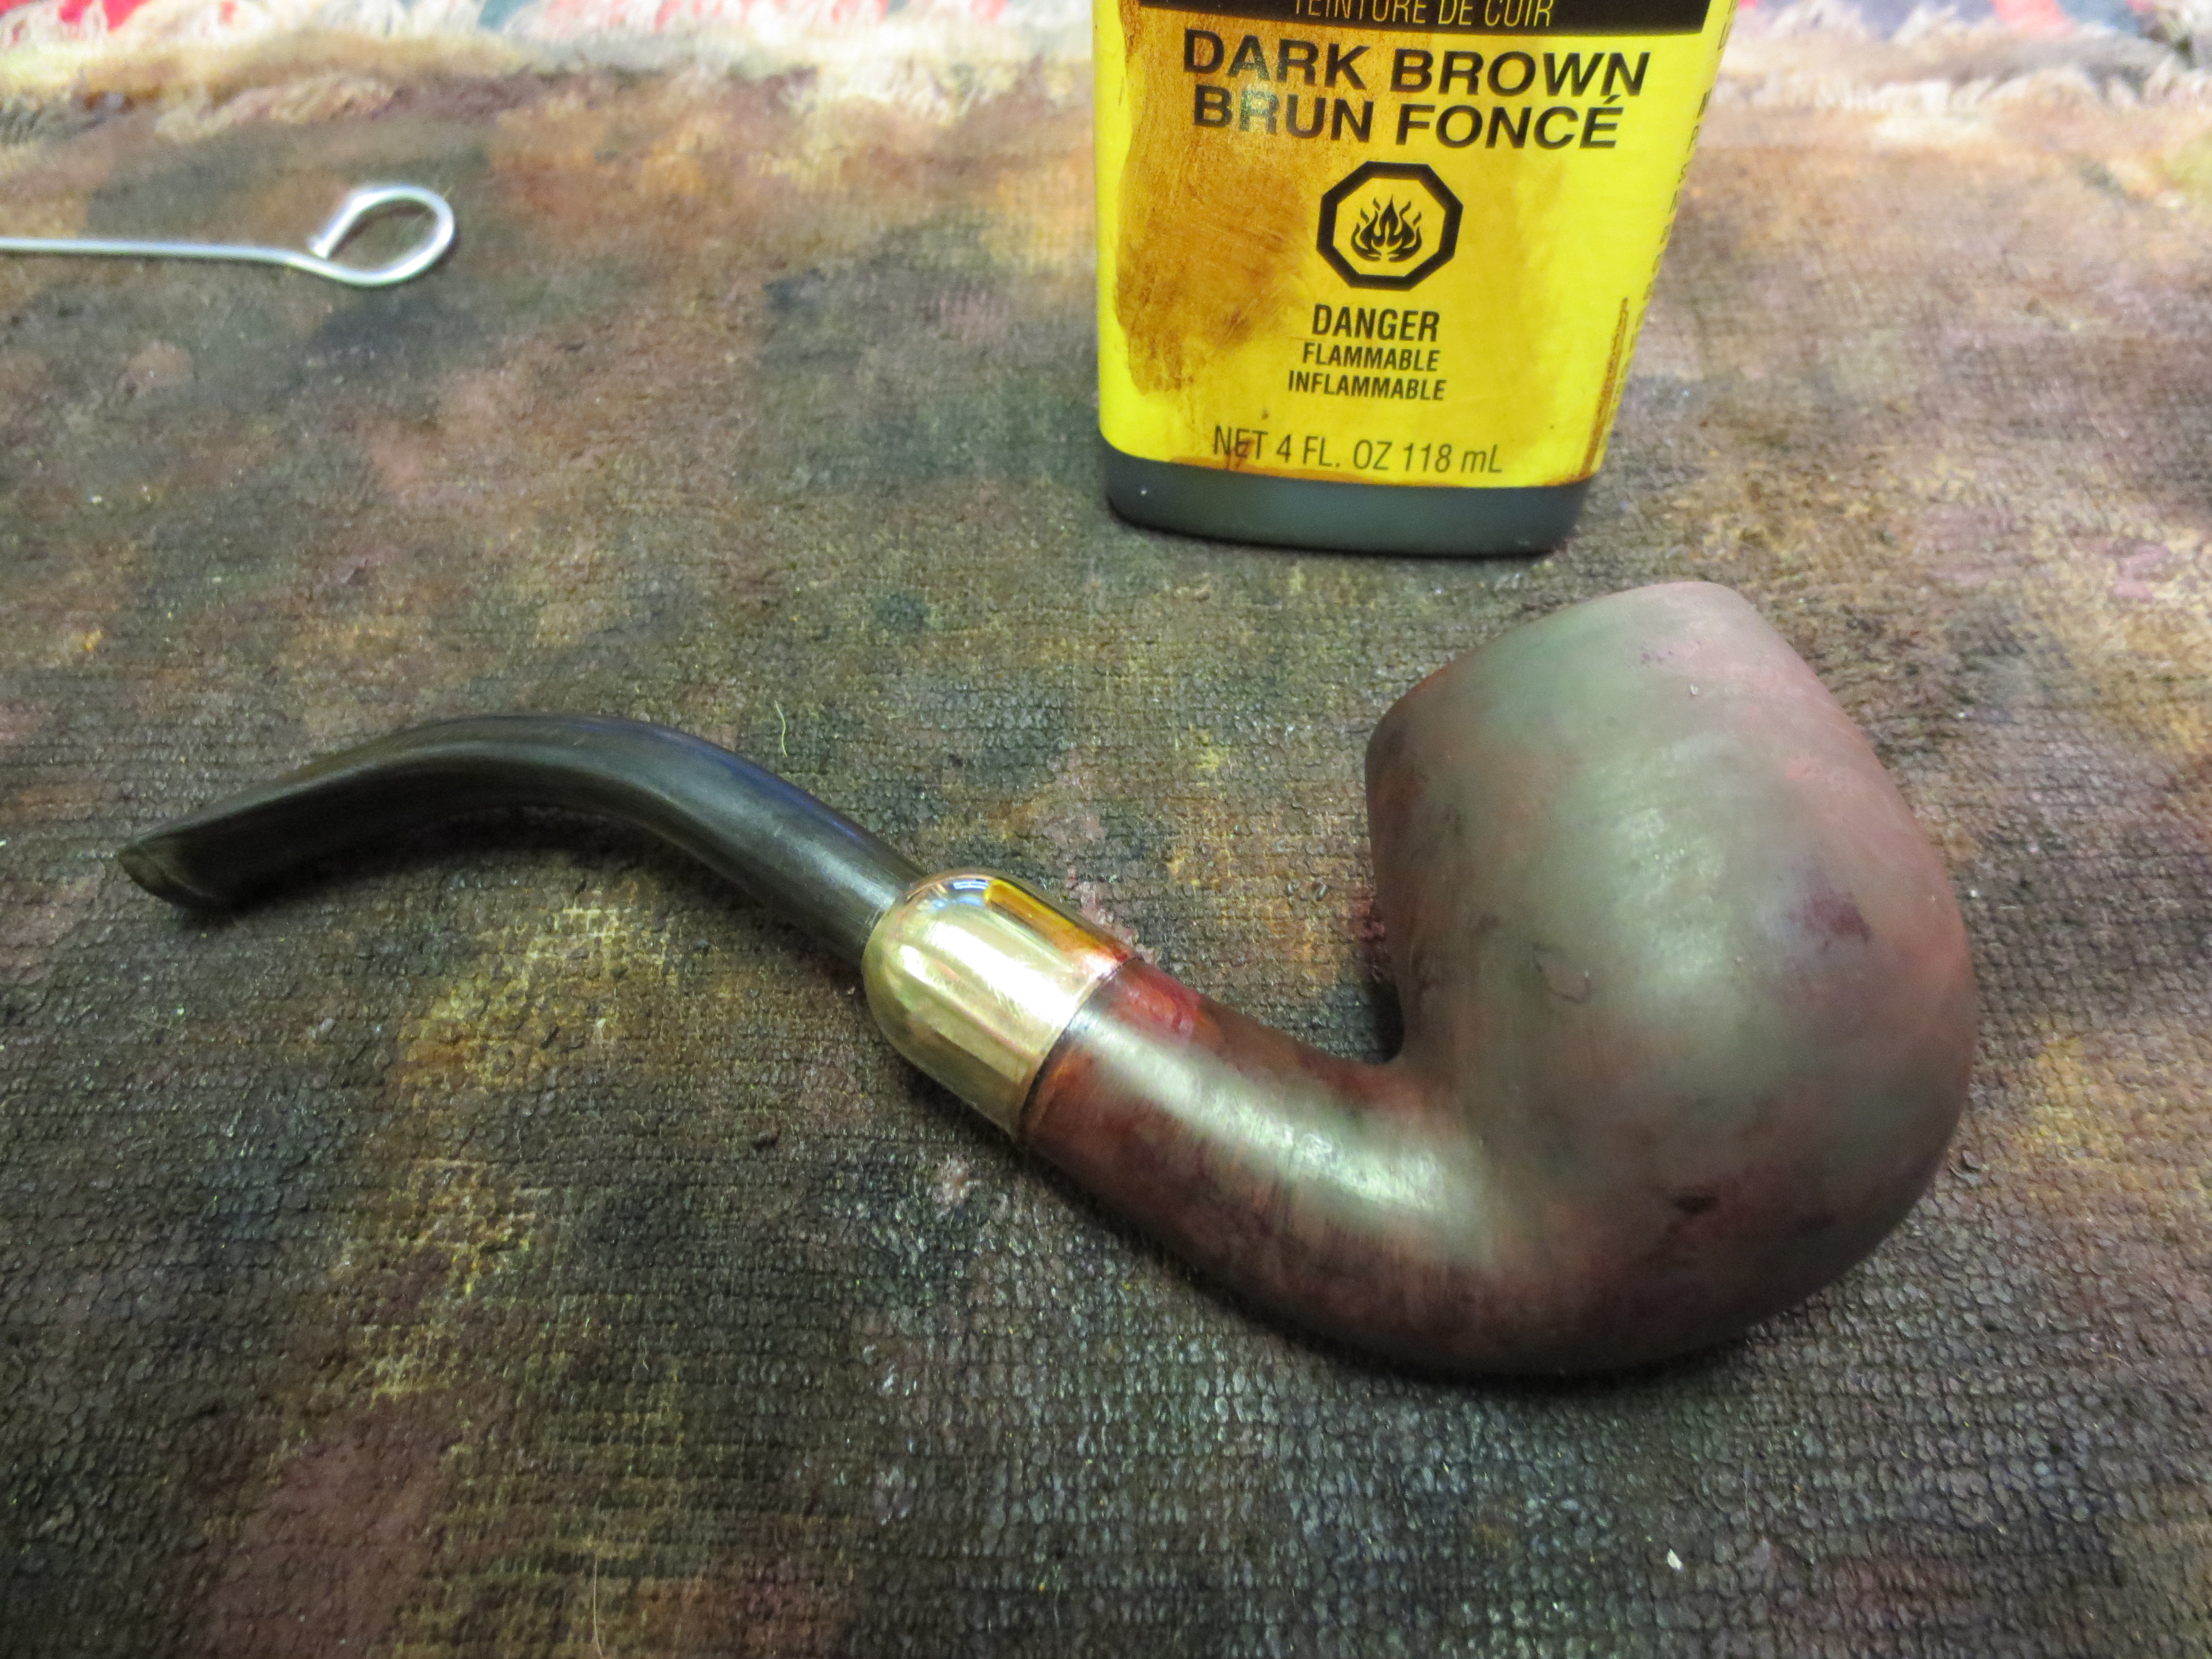
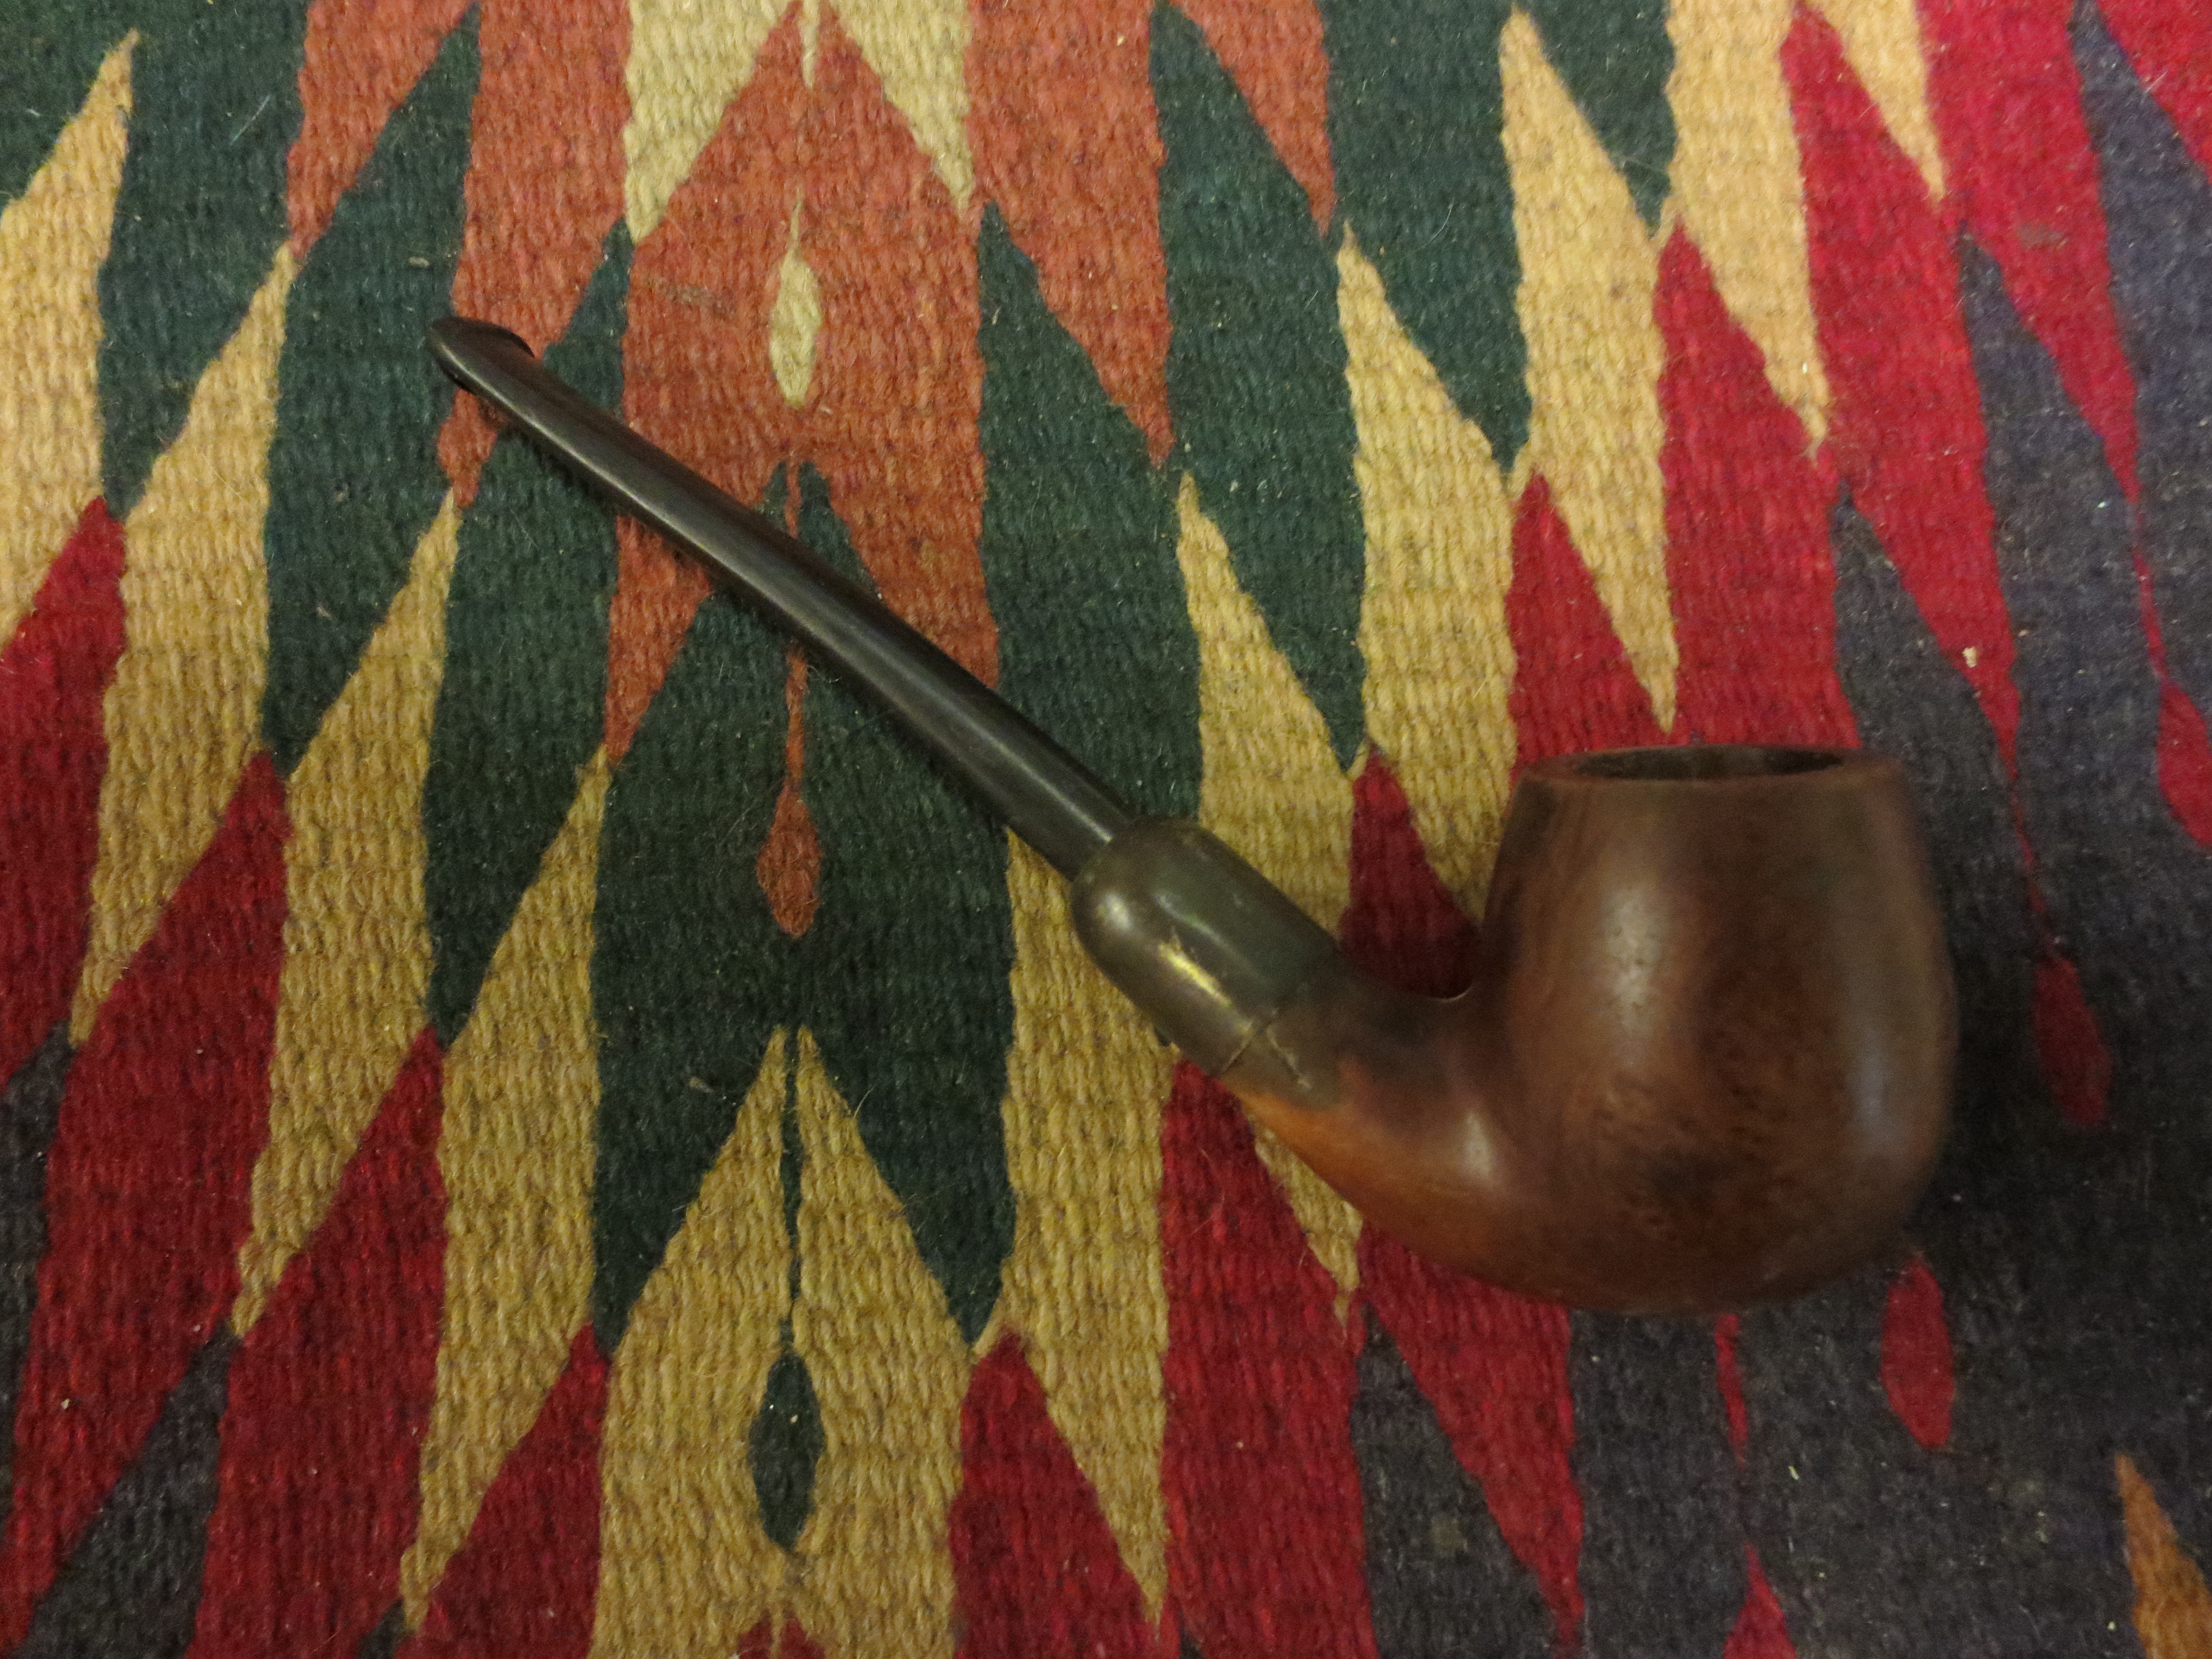
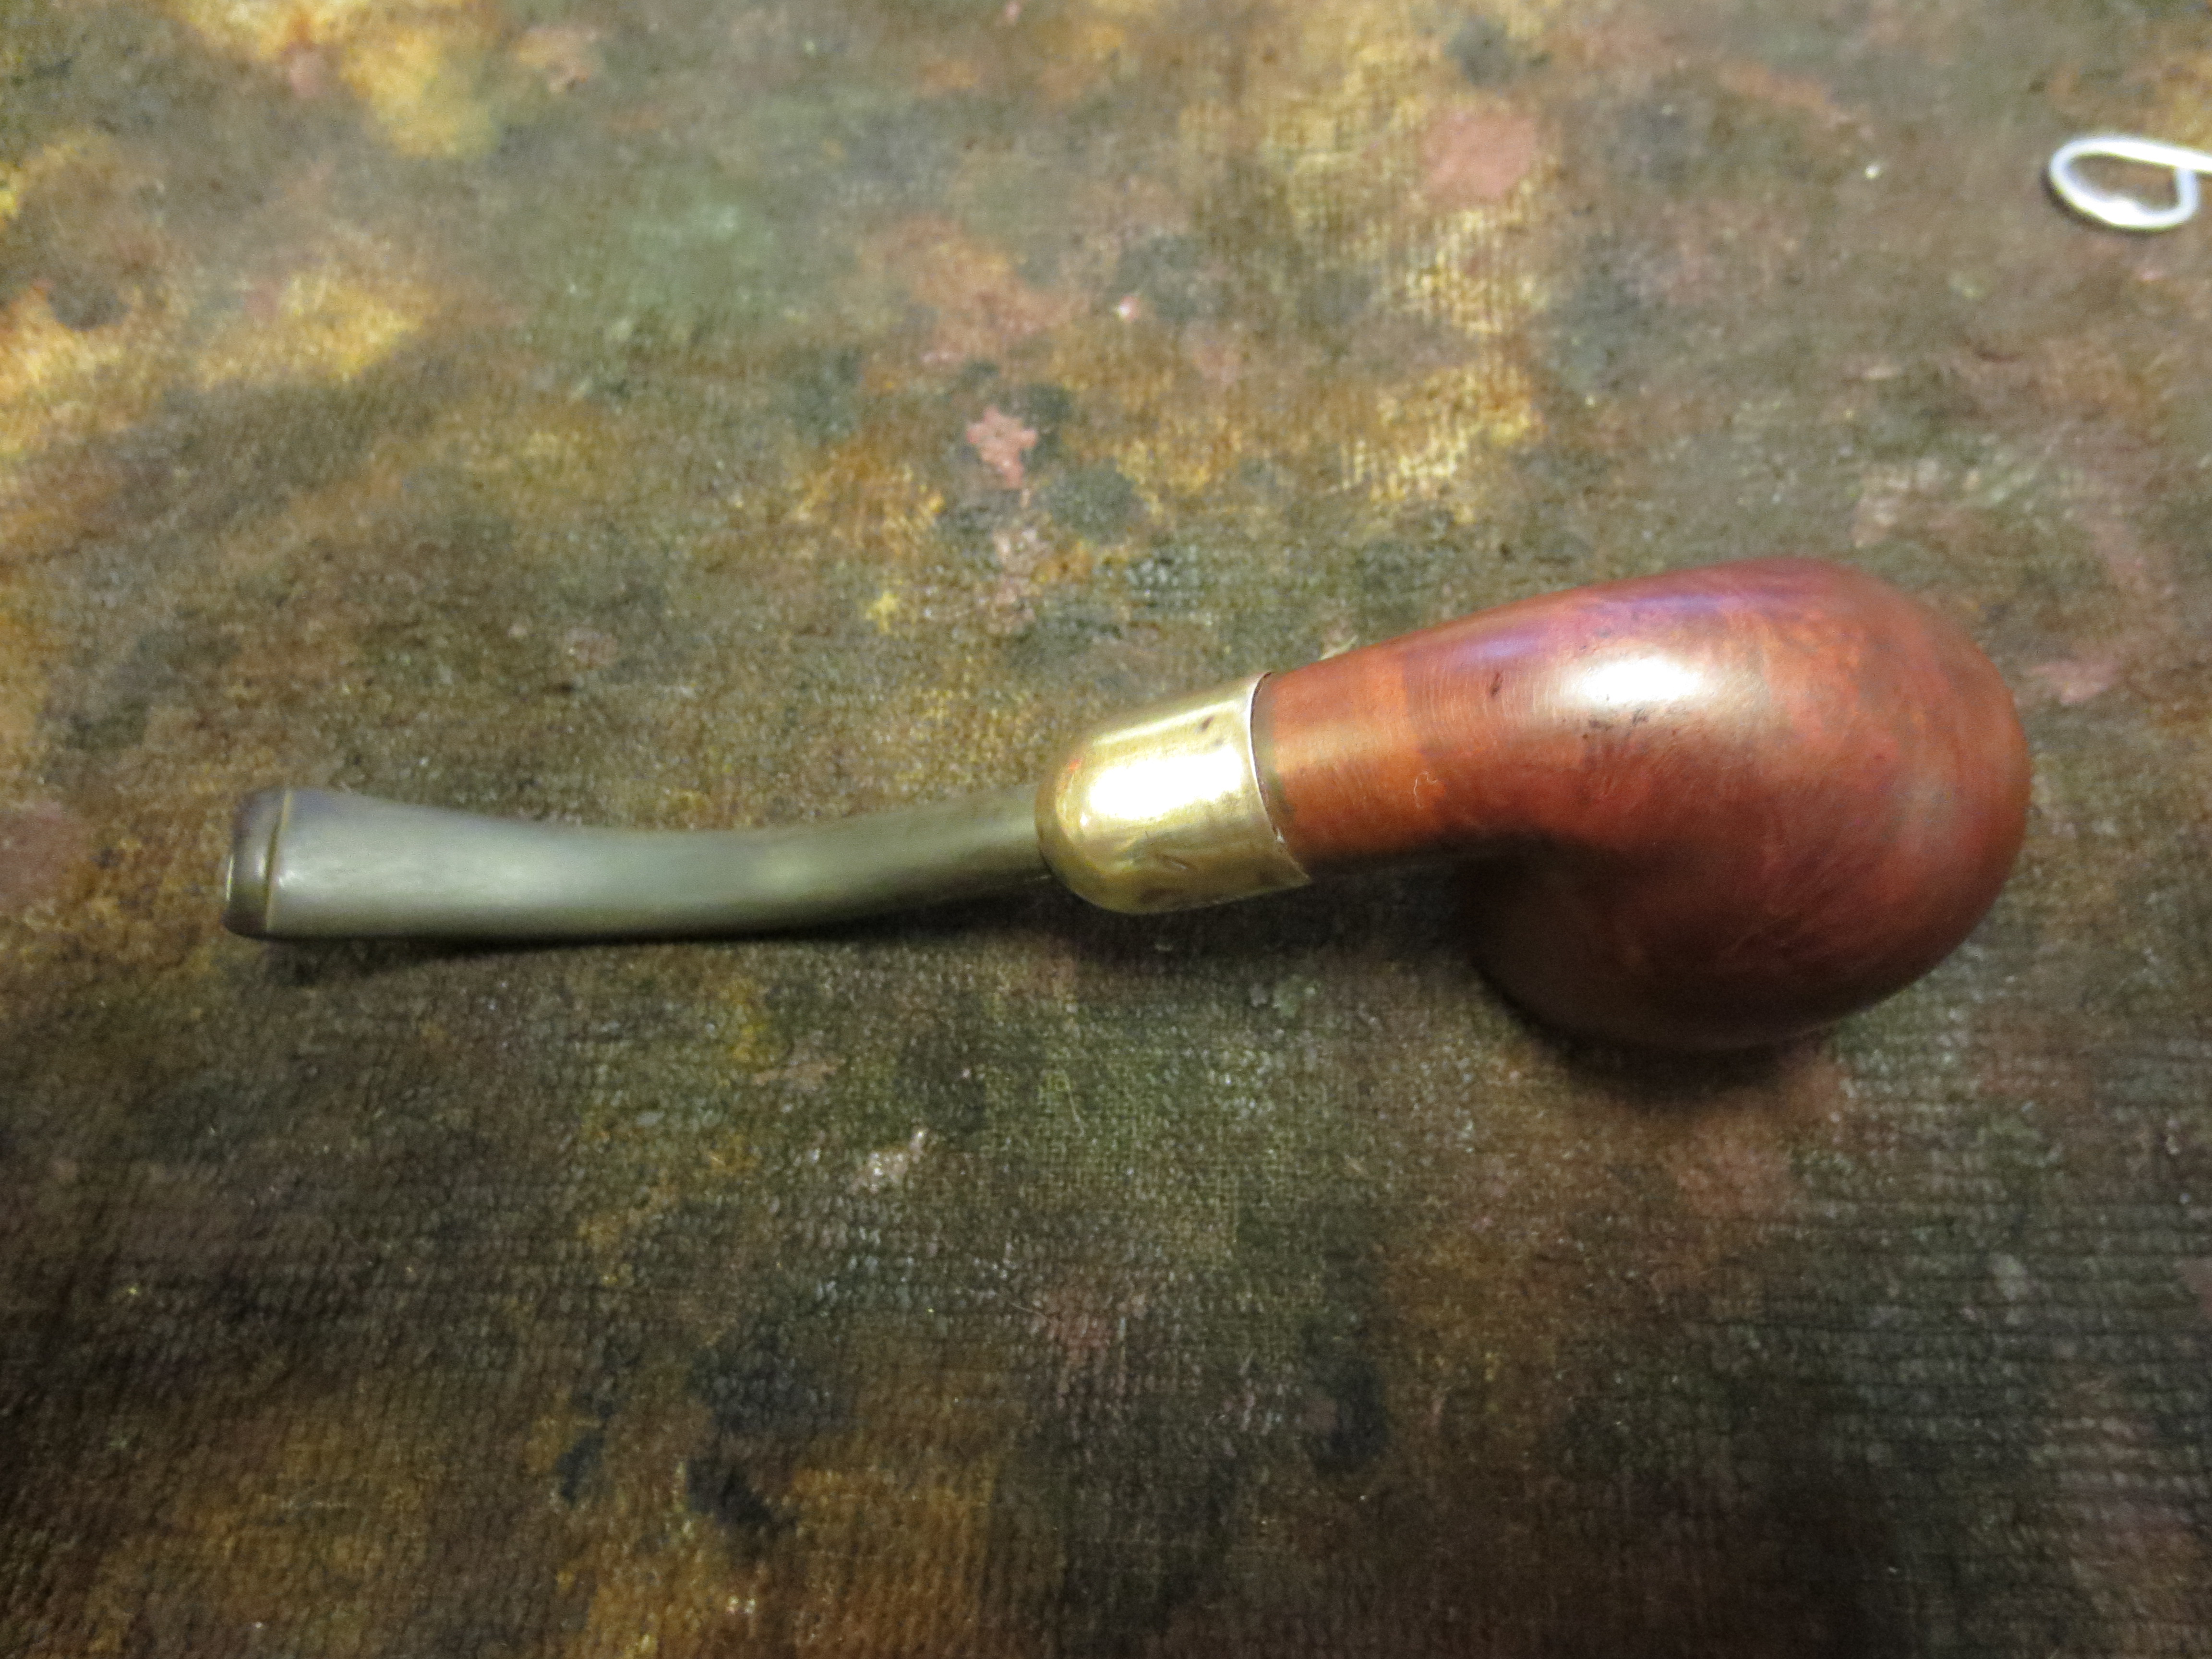
I decided to restain the pipe bowl with an oxblood stain to maximize the stain that remained in the briar. I believe the original stain was oxblood coloured so the look would approximate the original finish of the pipe. I applied the stain, flamed it, reapplied it and flamed it a second time. The first two photos below show the pipe after the application of the stain. The next four photos show the pipe after it has been hand buffed with a soft cotton cloth to remove excess stain on the briar. The filled area near the shank cap on the right side is visible and the darkening of the area is also clear.
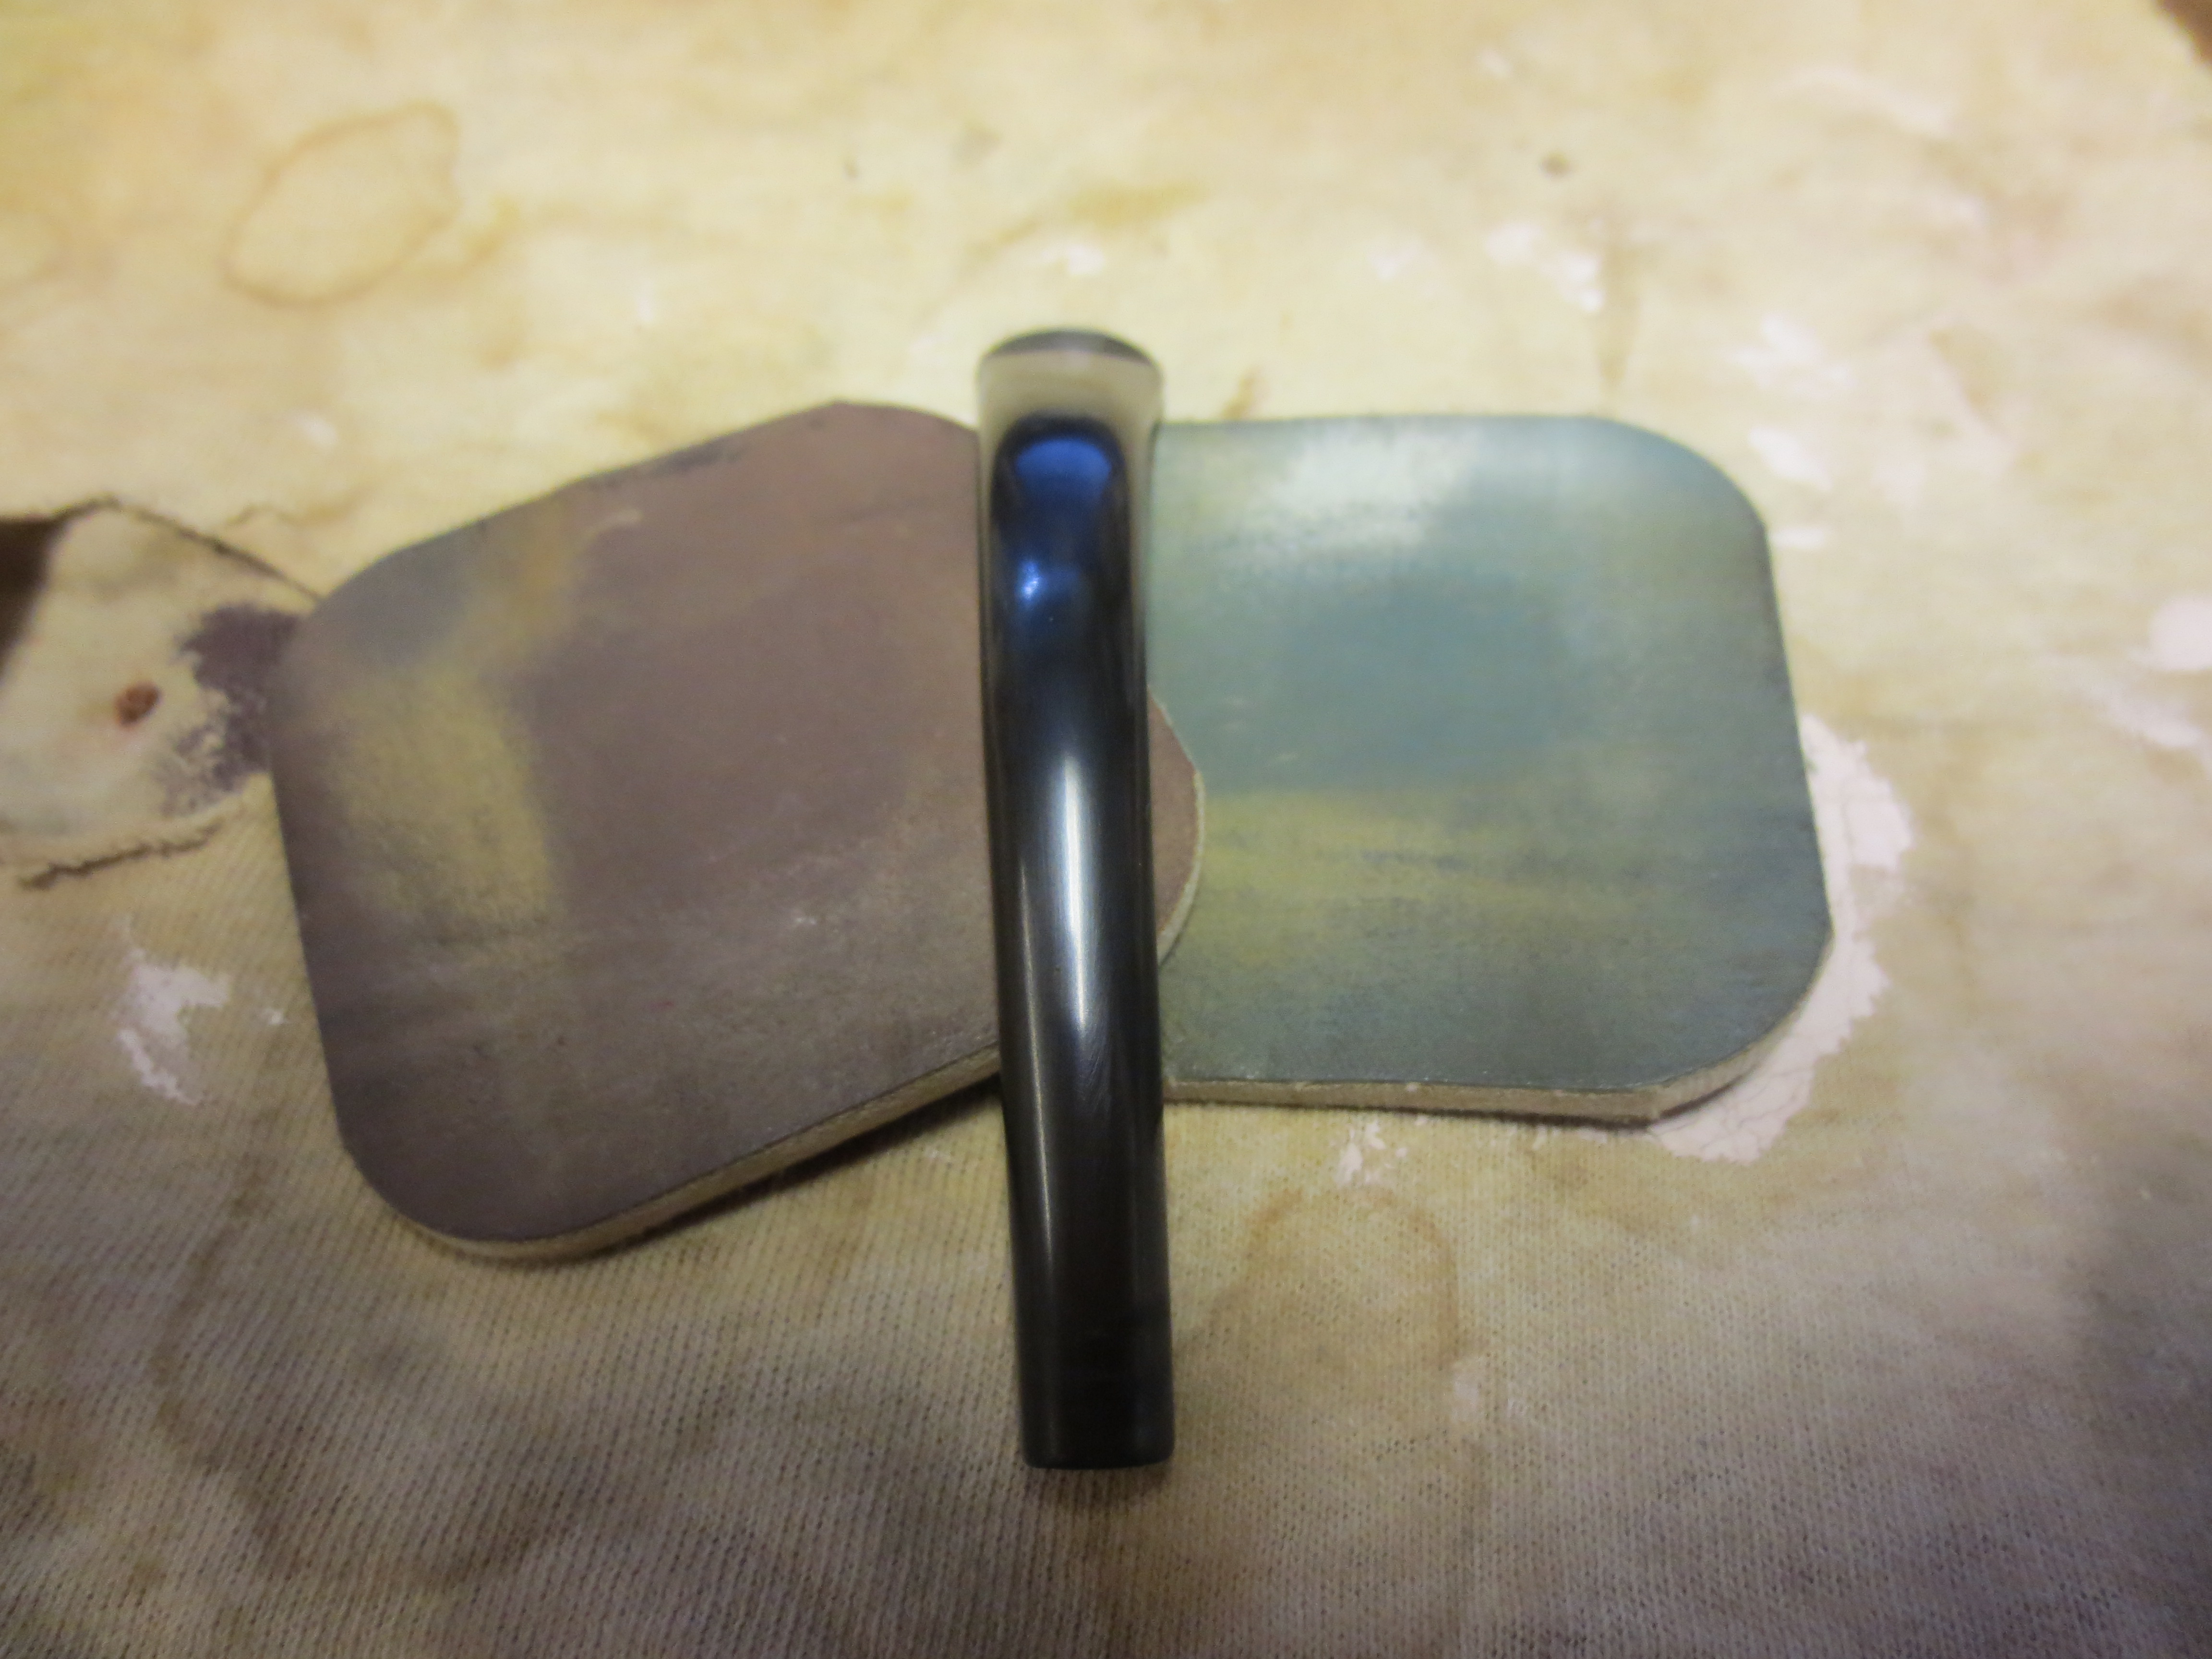
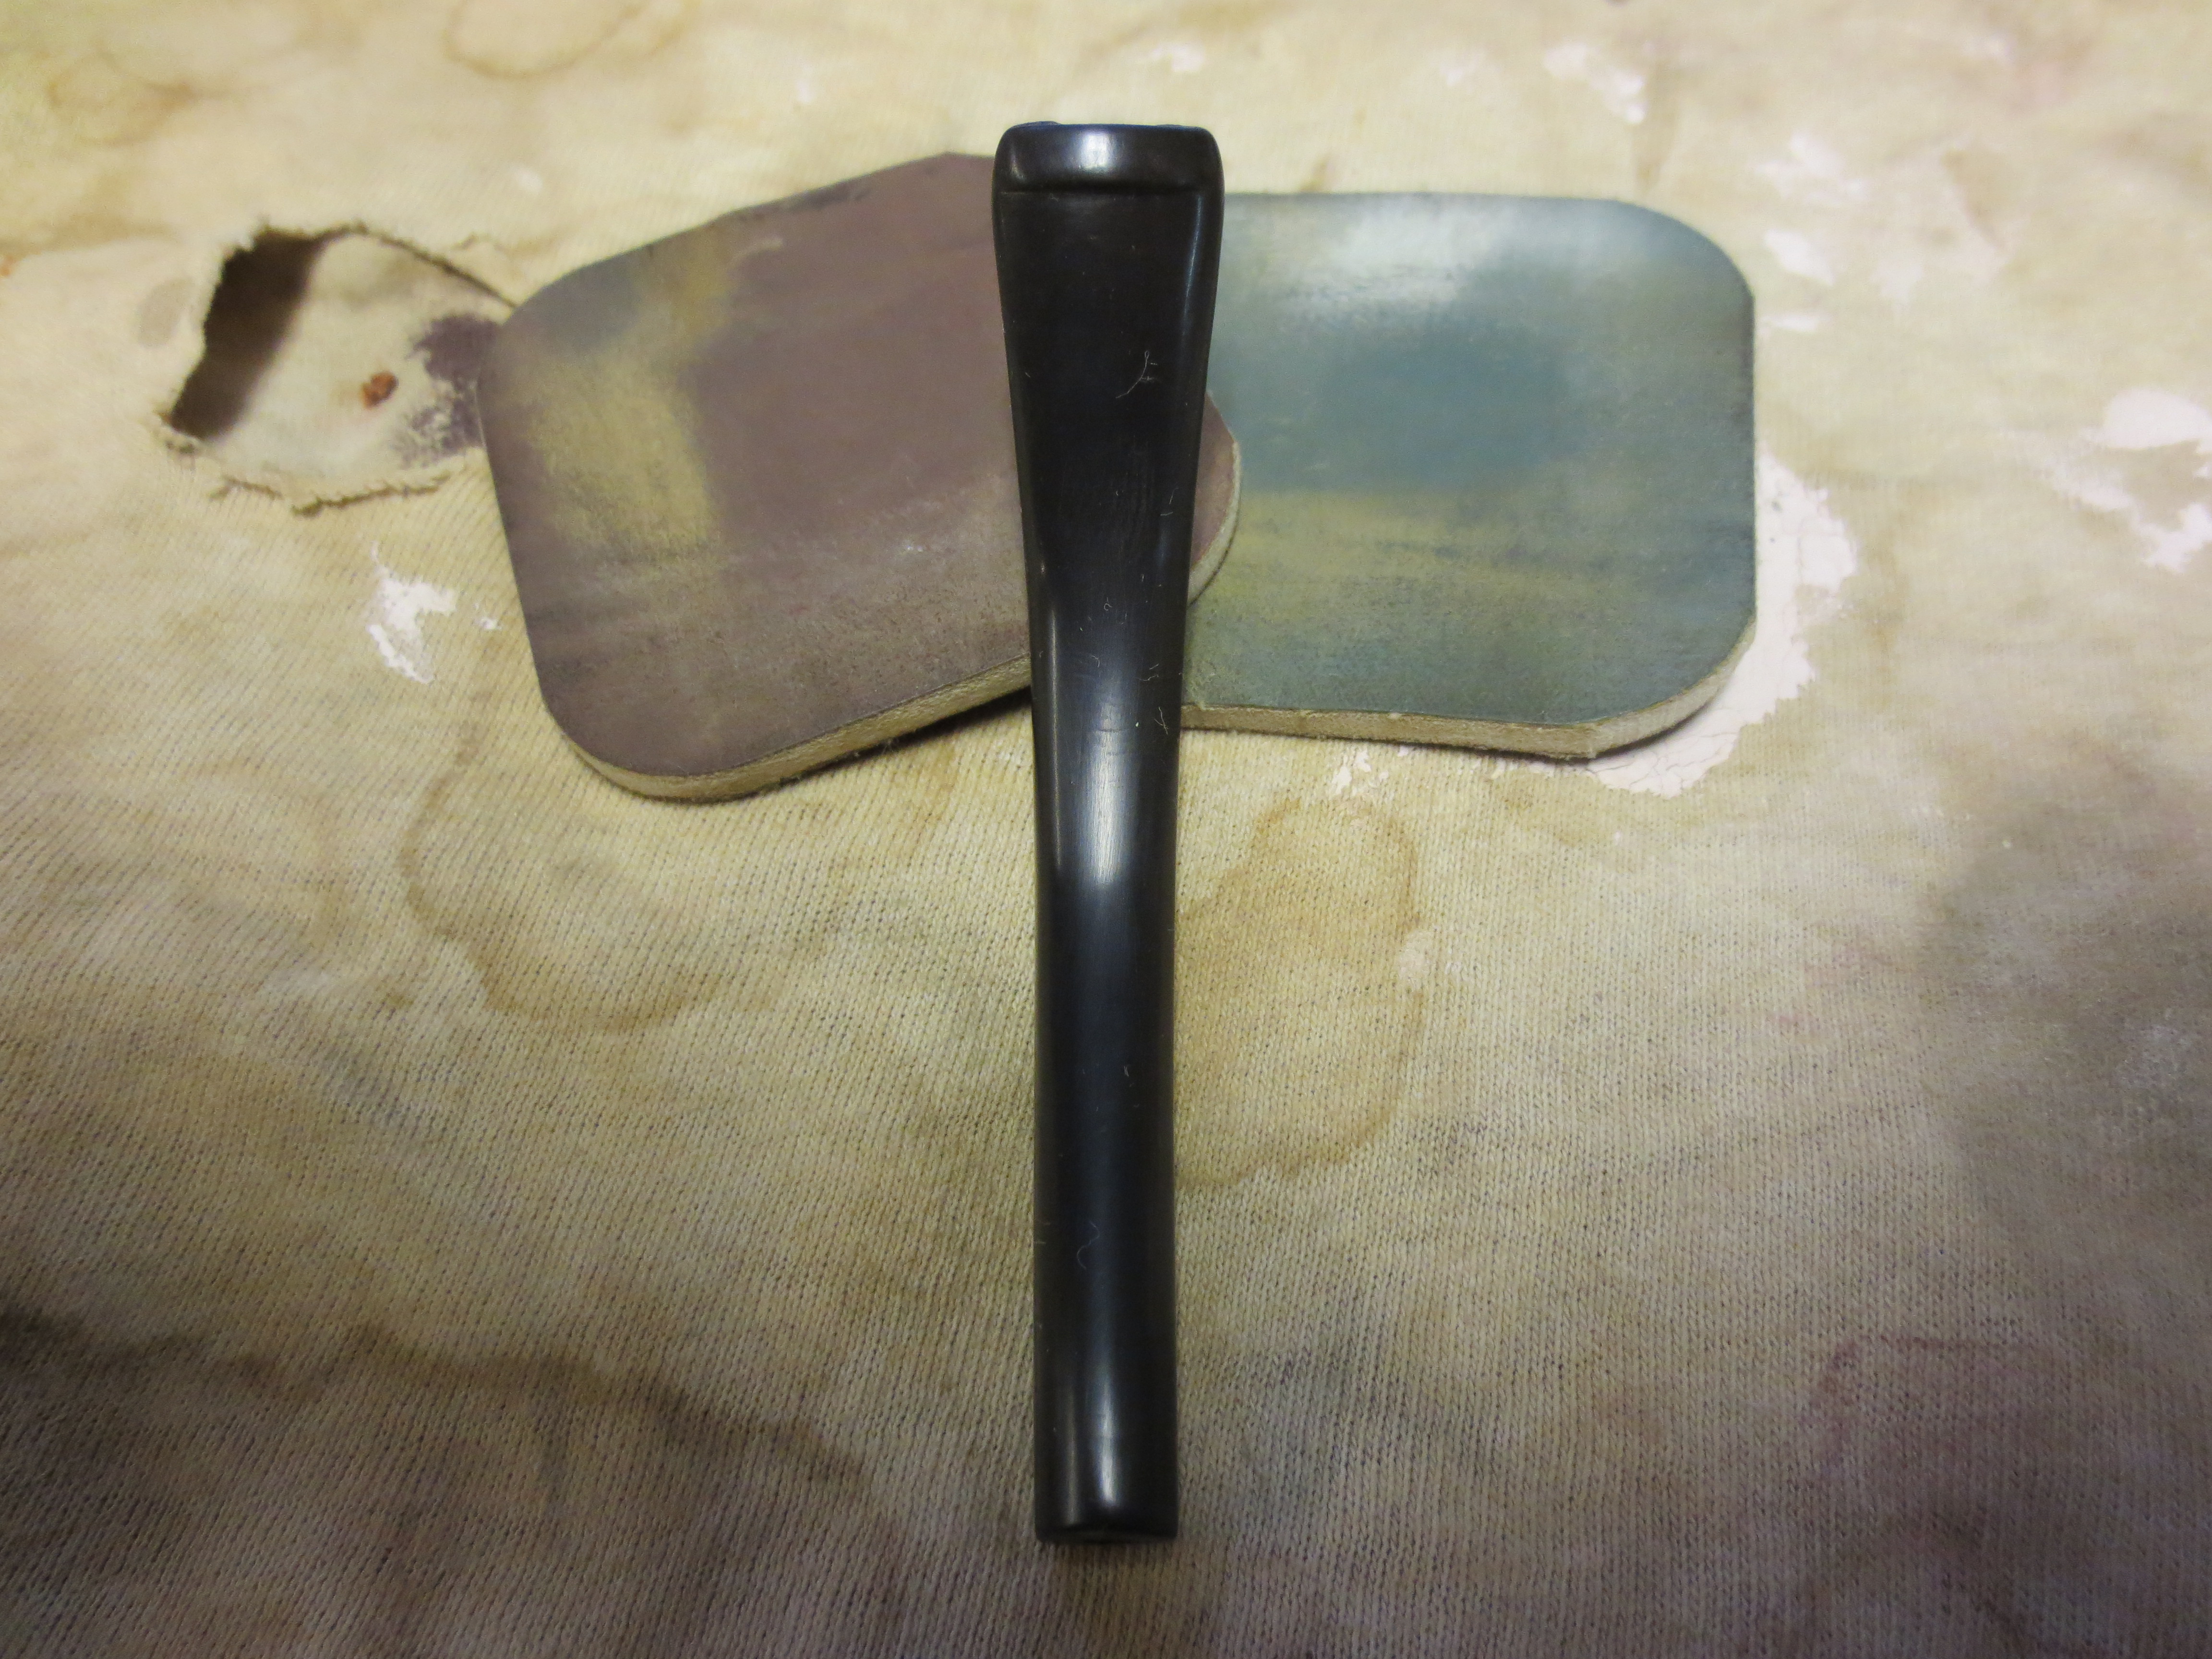
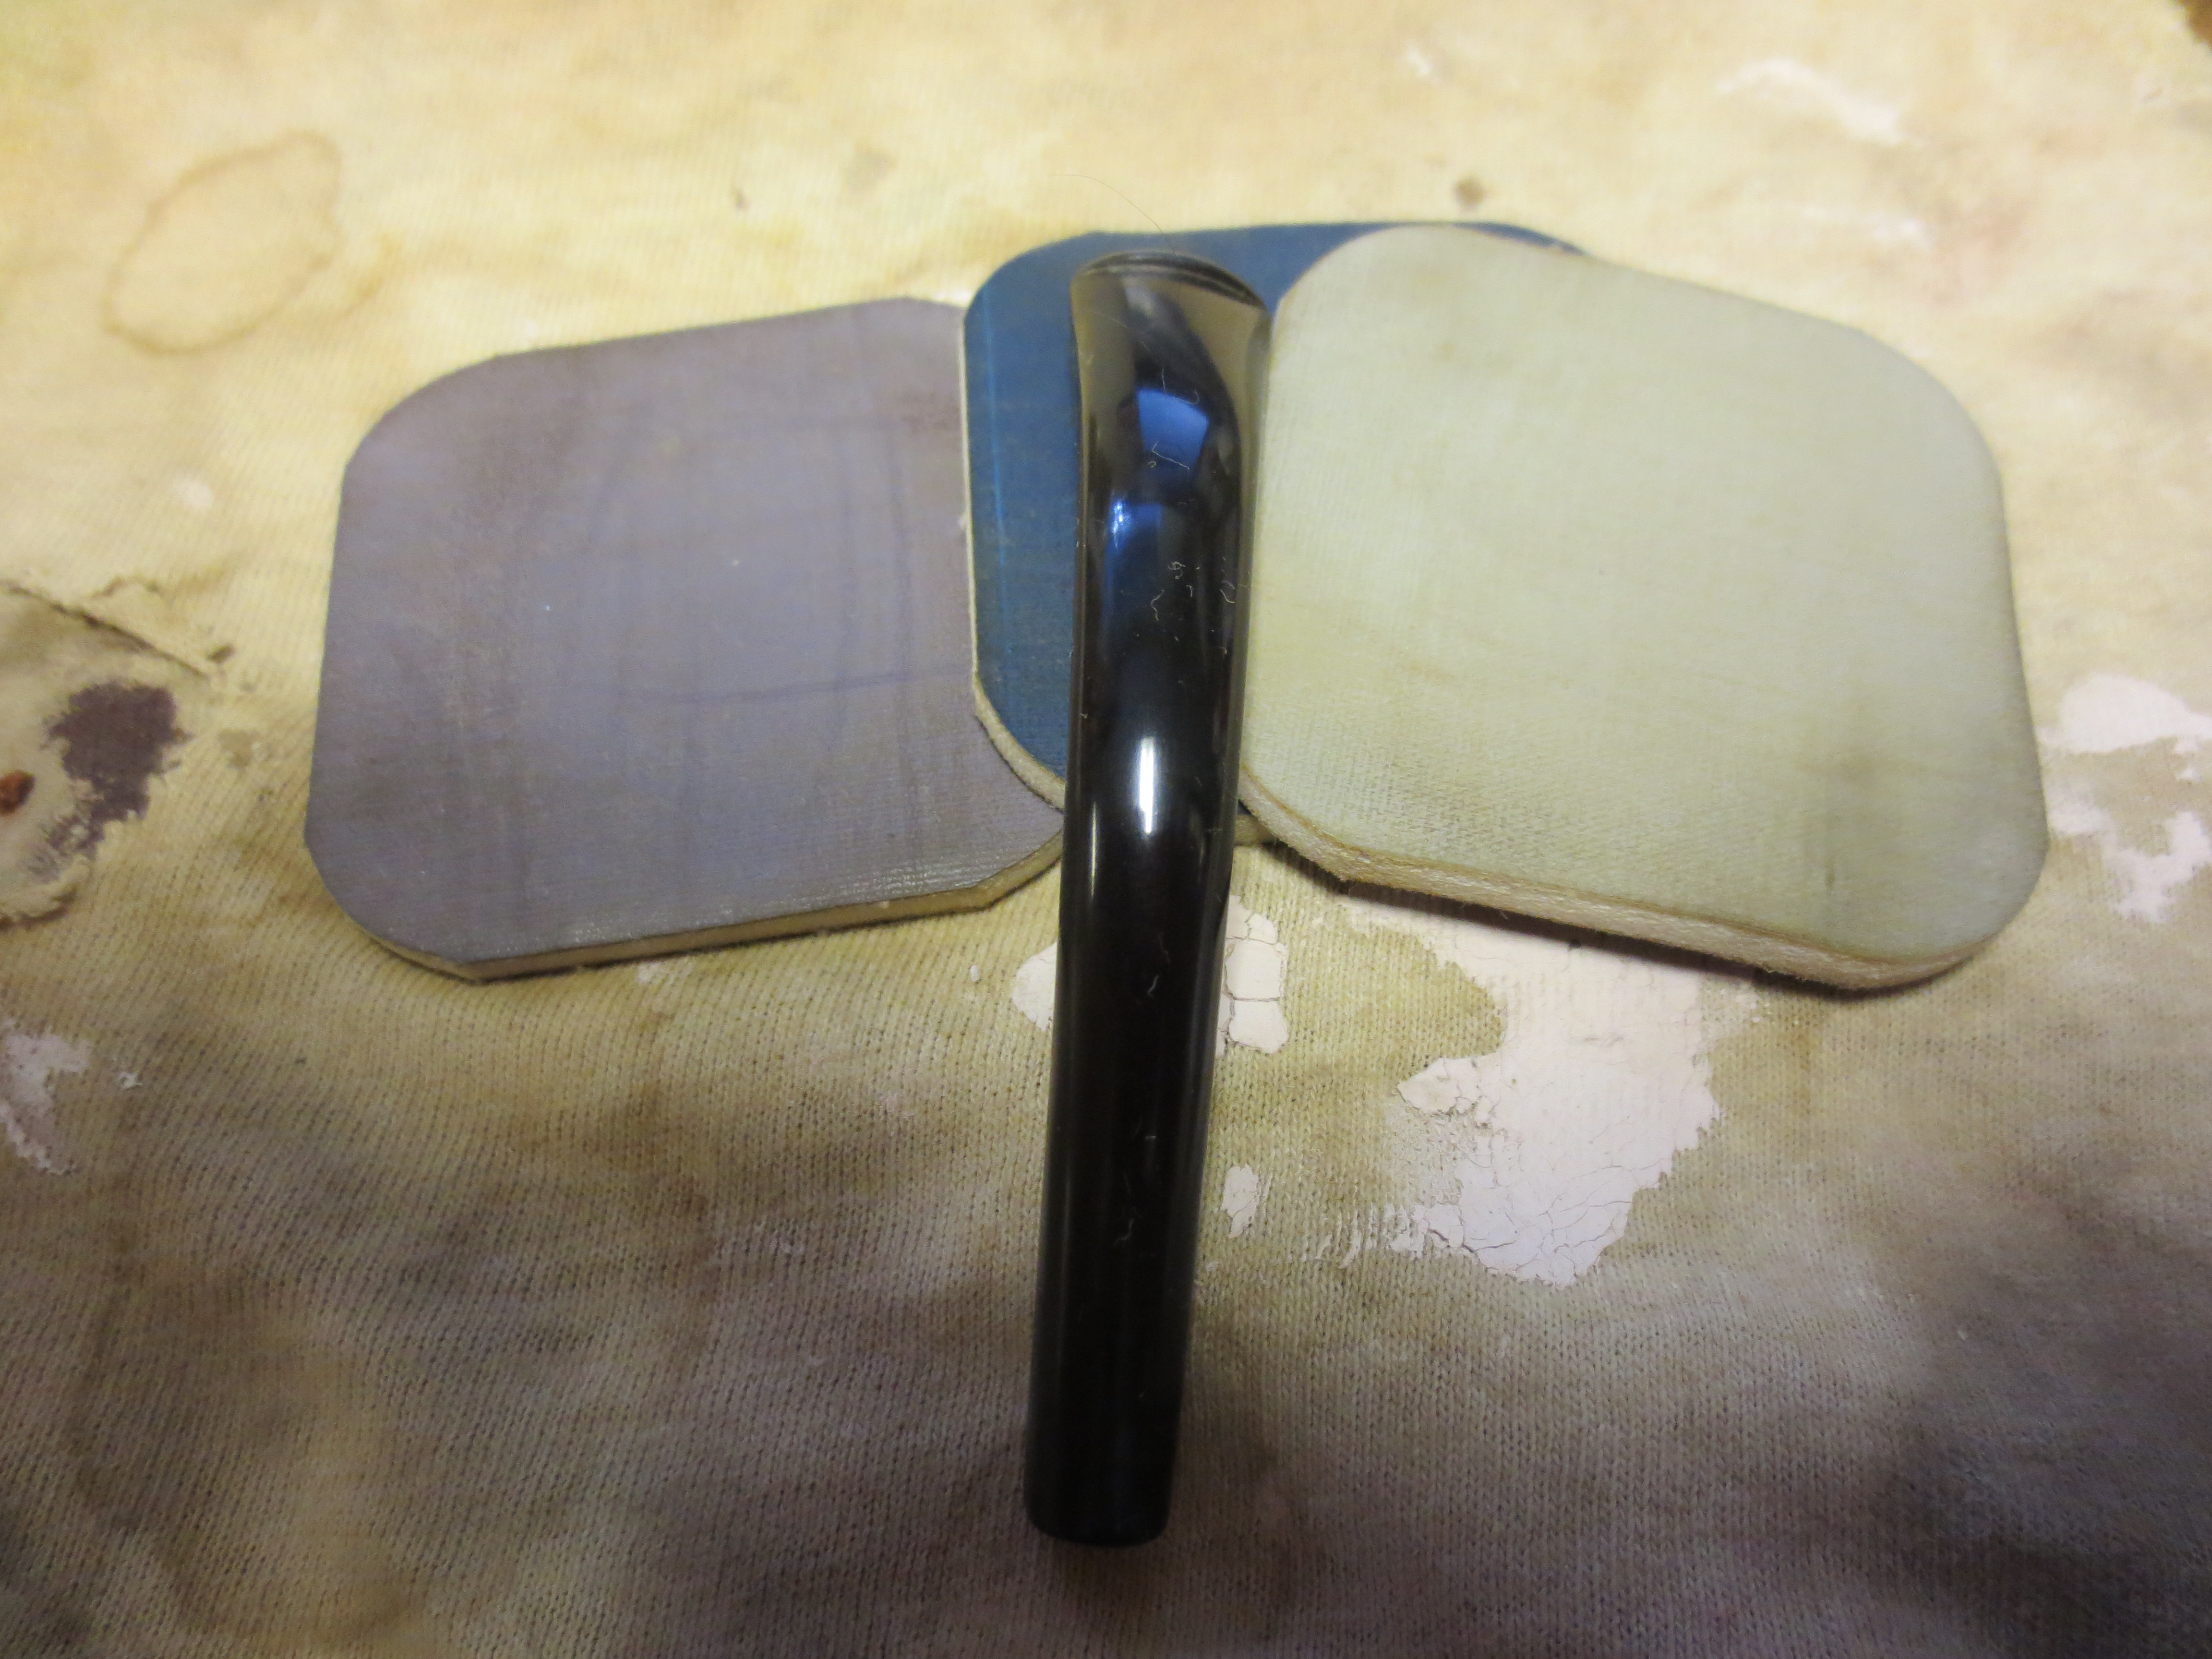
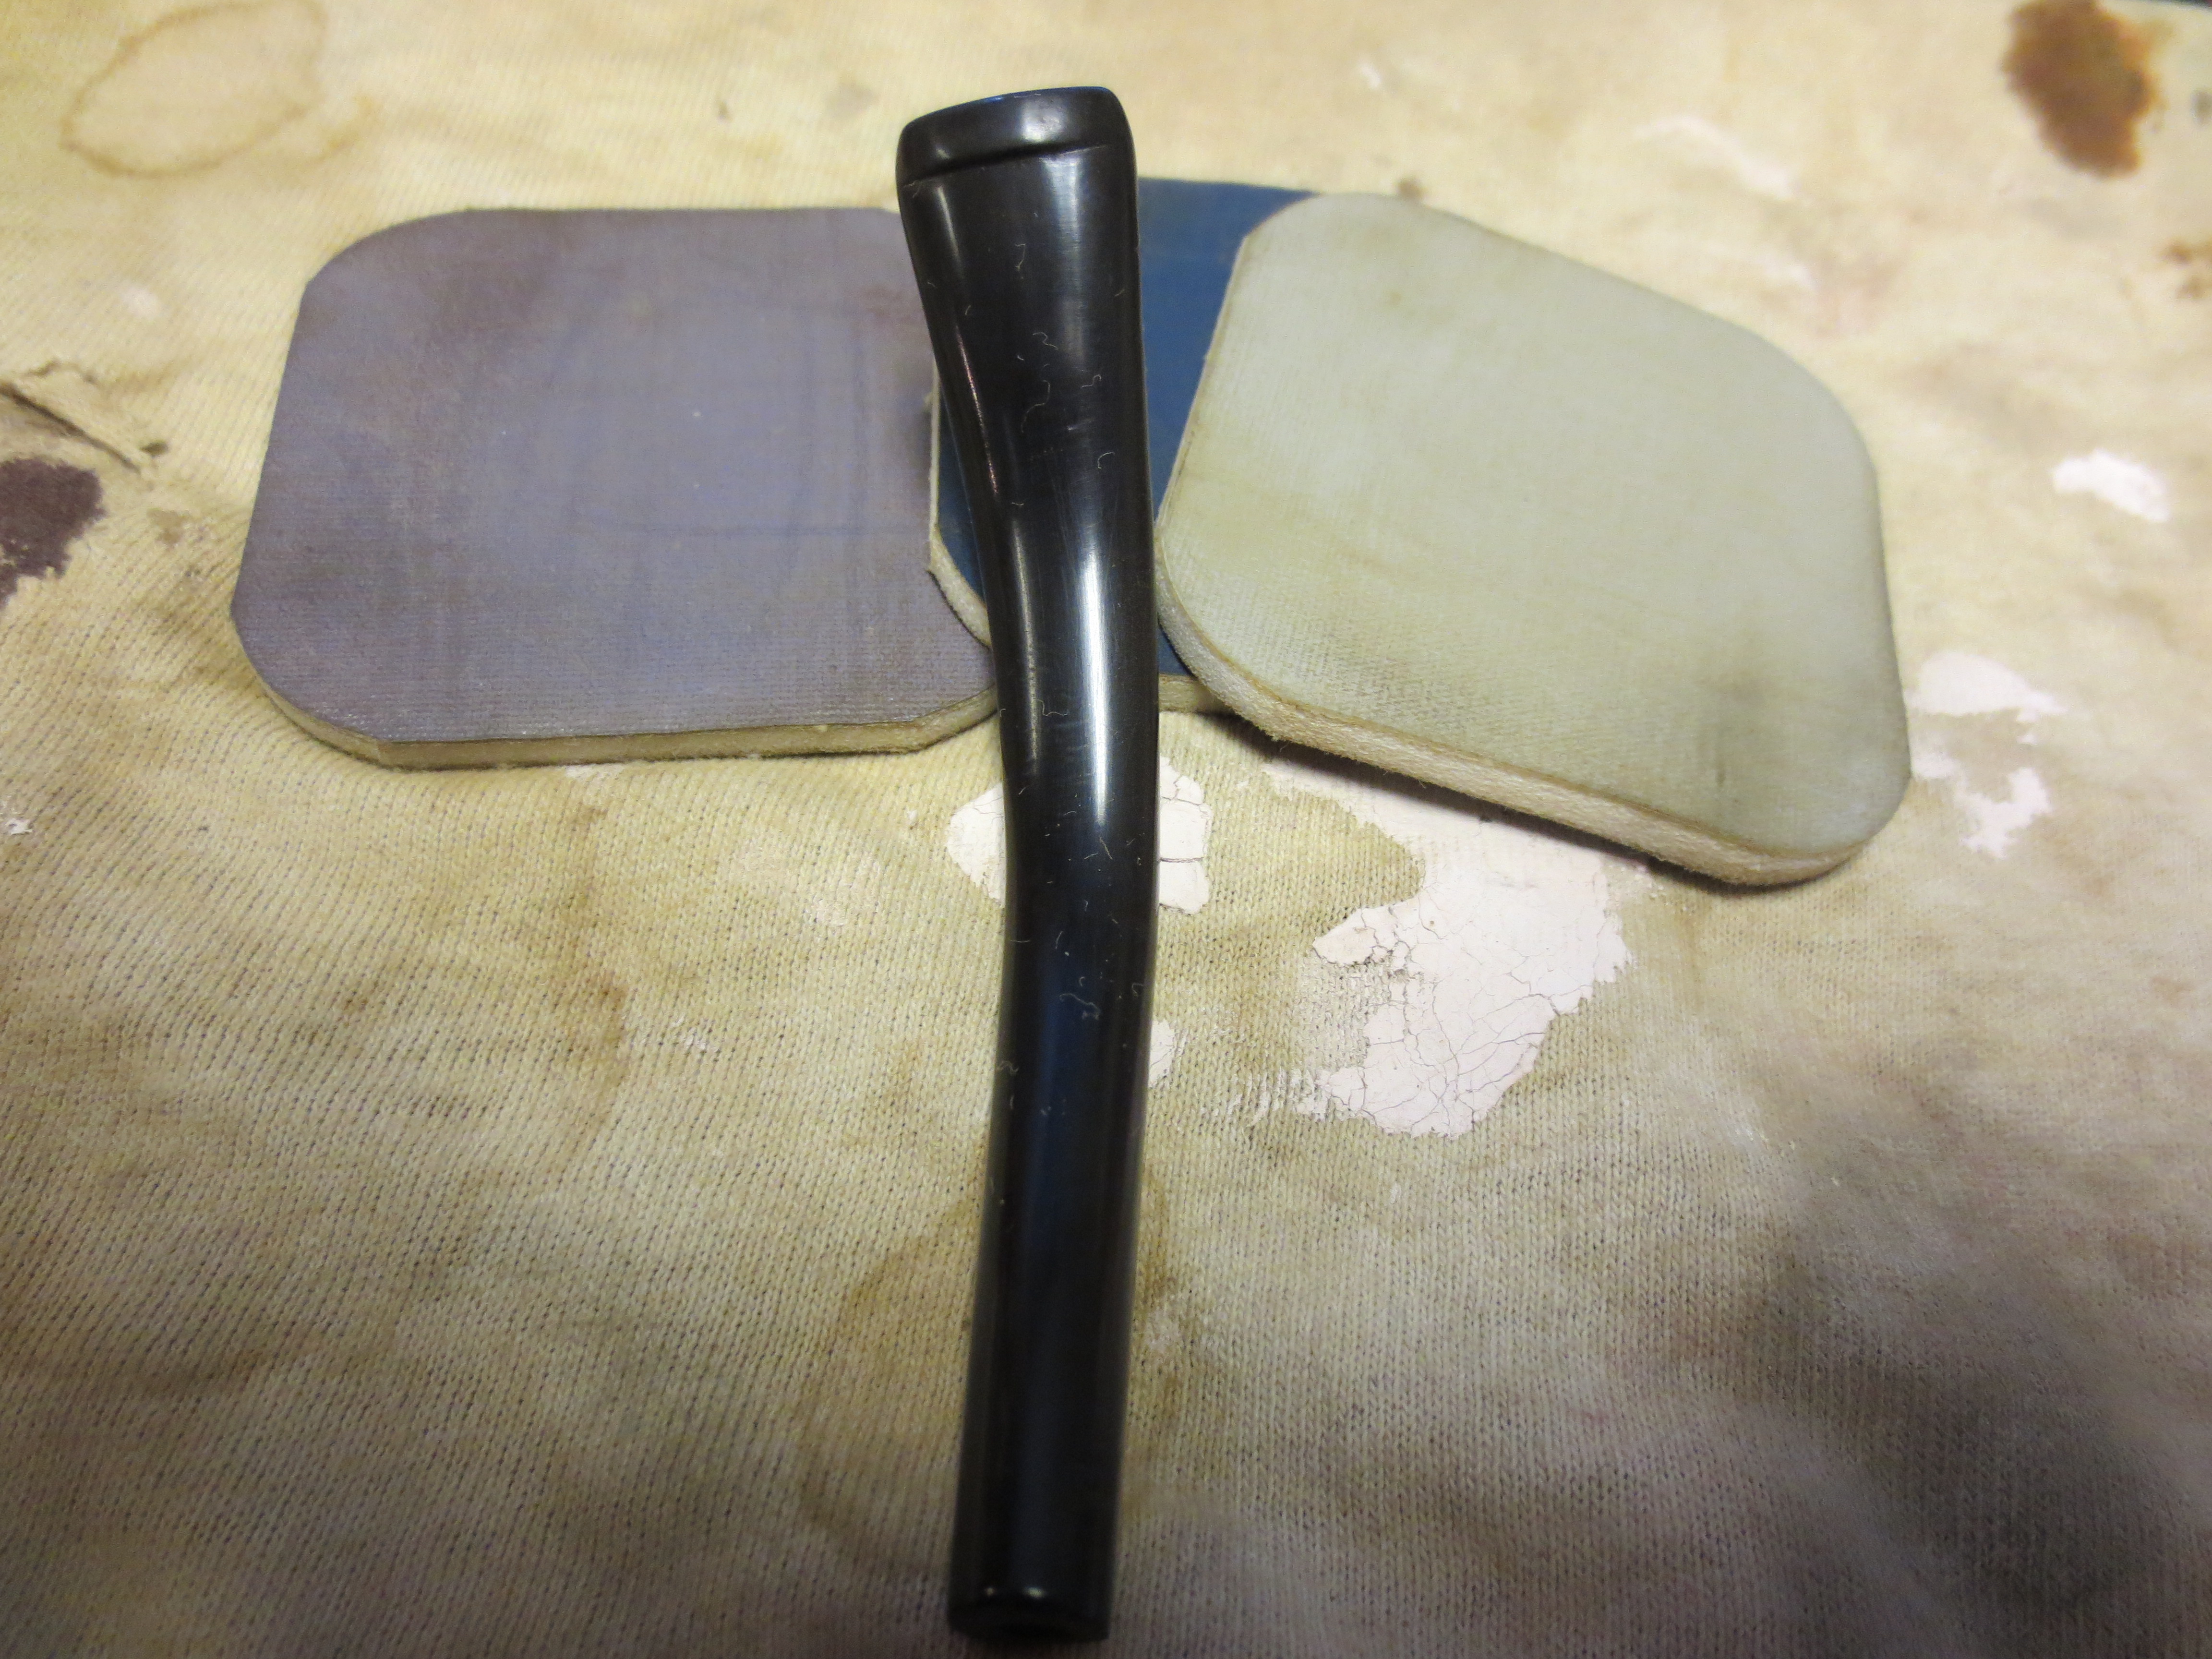
At this point in the process I set the bowl aside and worked on polishing the stem. I quickly gave it a once over with the fine grit sanding sponge and then worked my way through the micromesh sanding pads from 1500 – 12,000 grit. The next series of eight photos shows the shine that comes to the surface of the vulcanite with each successive grit of micromesh.
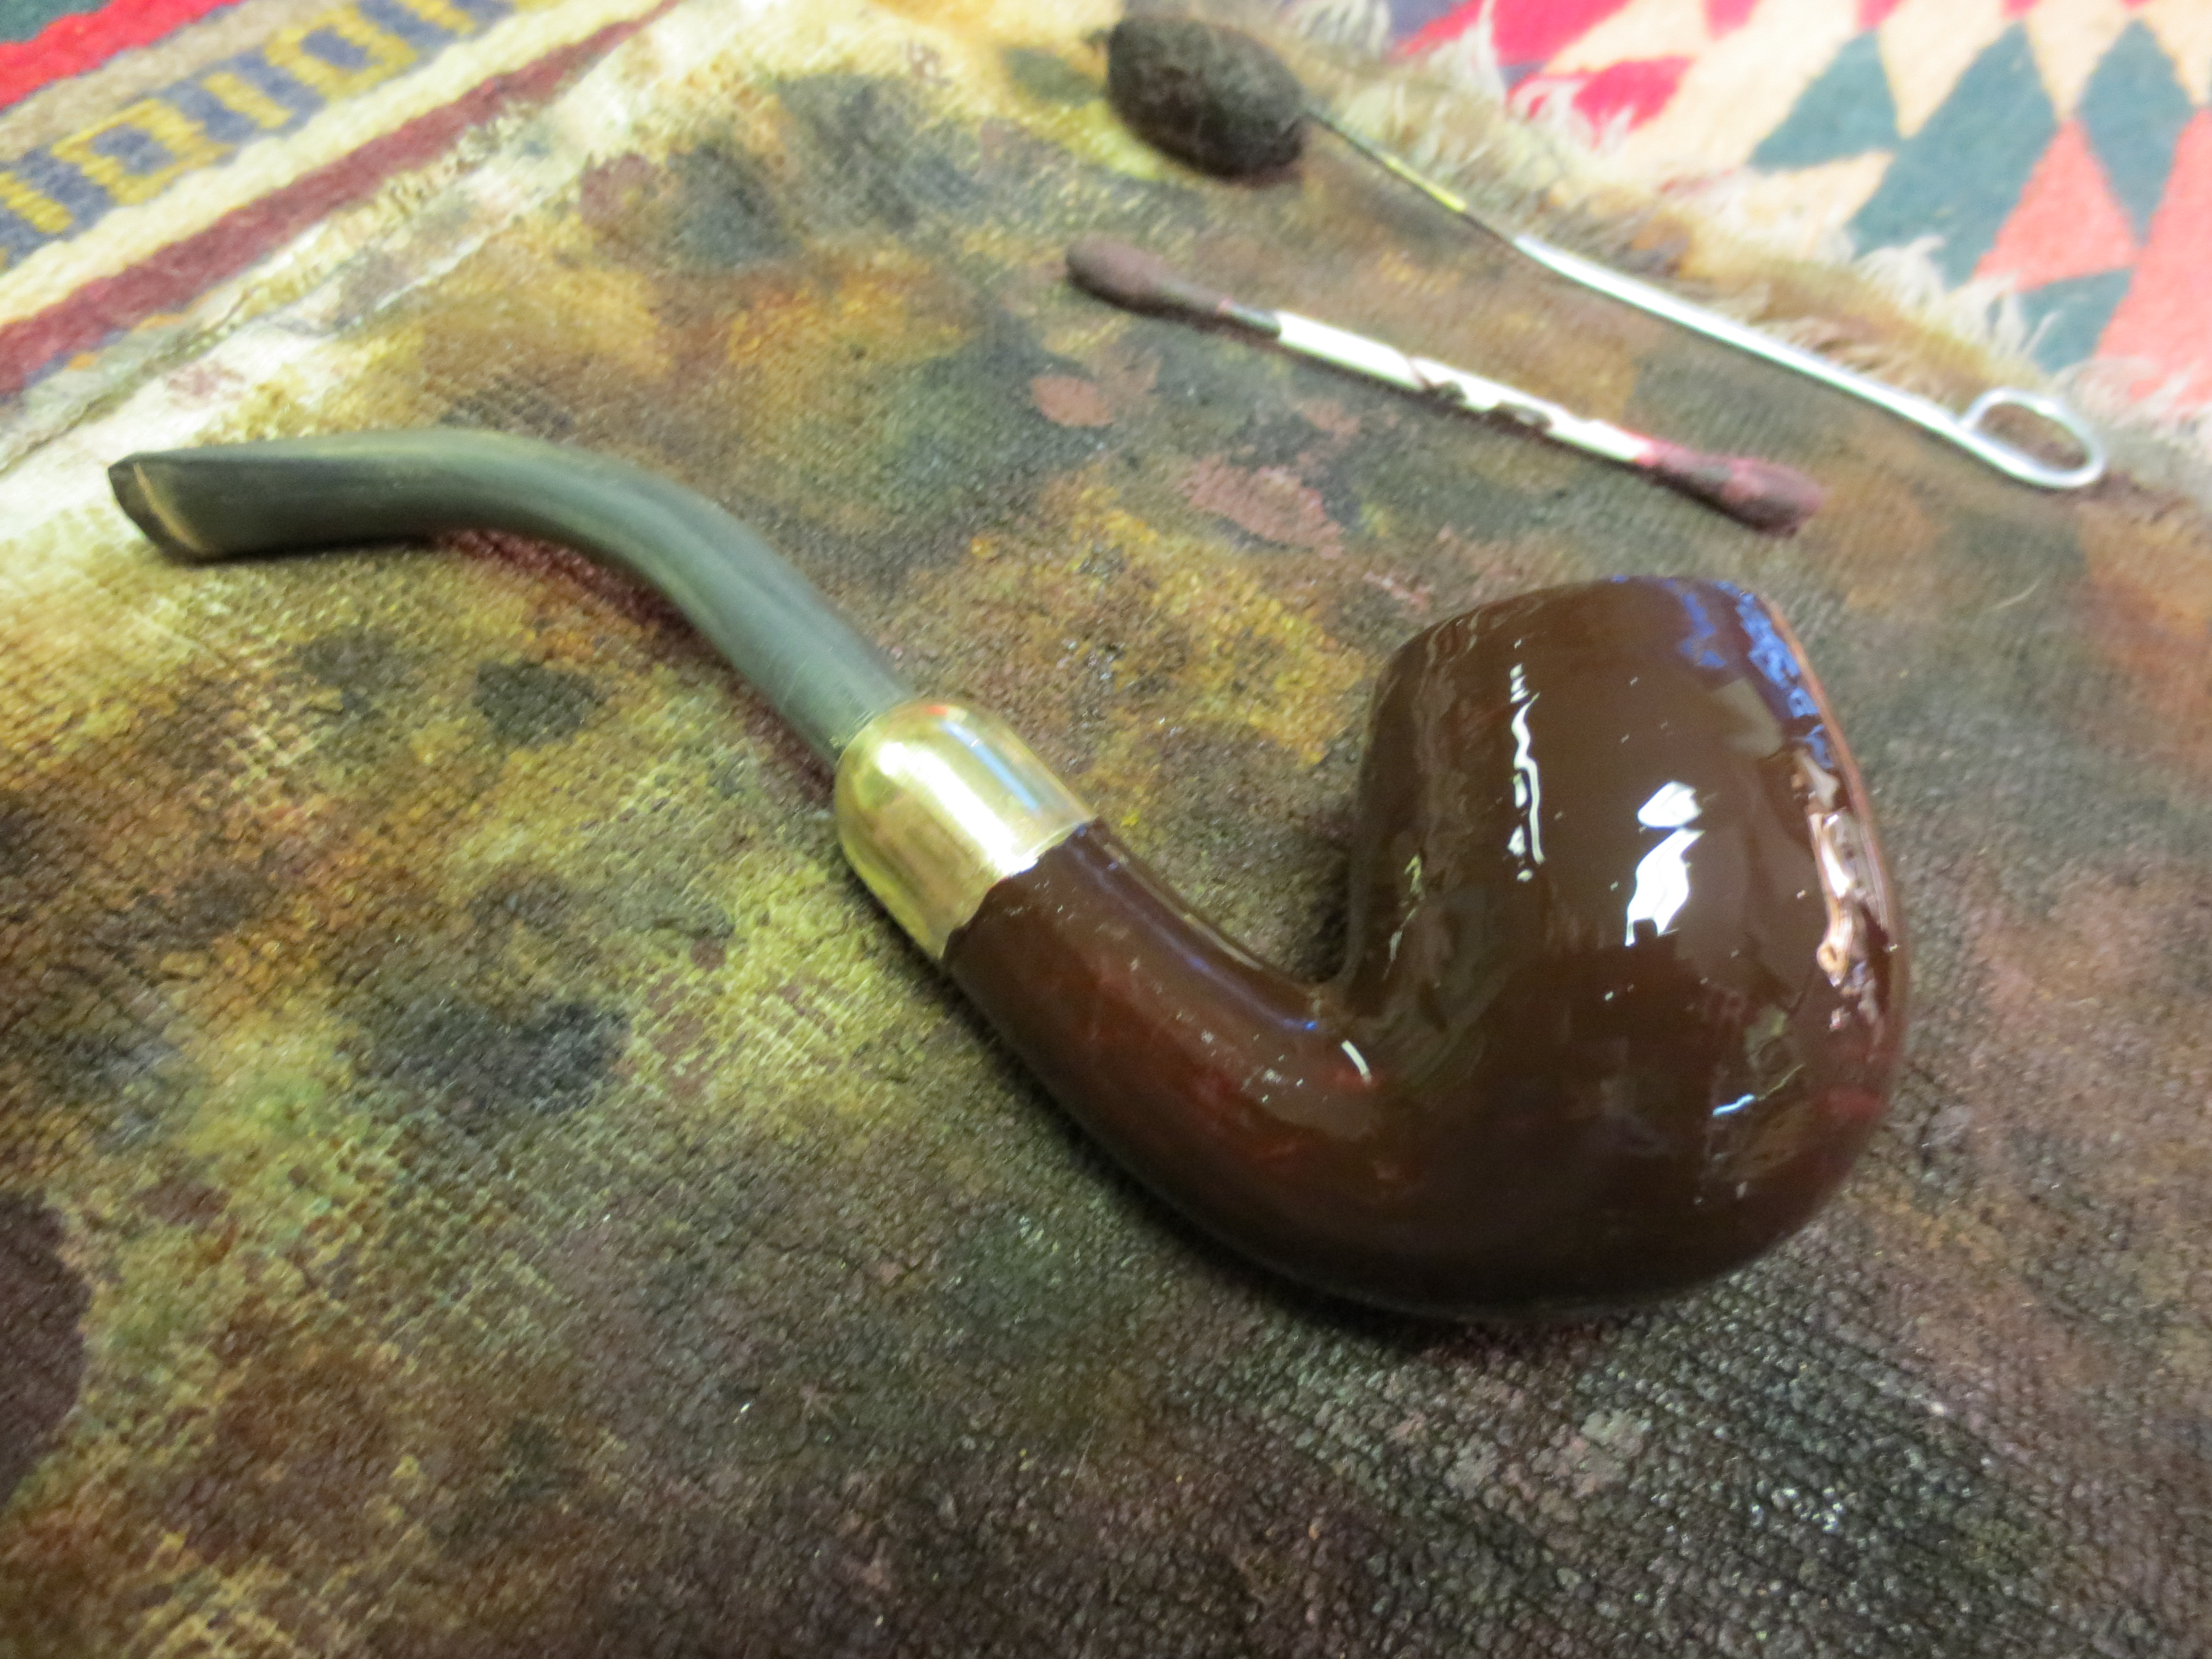
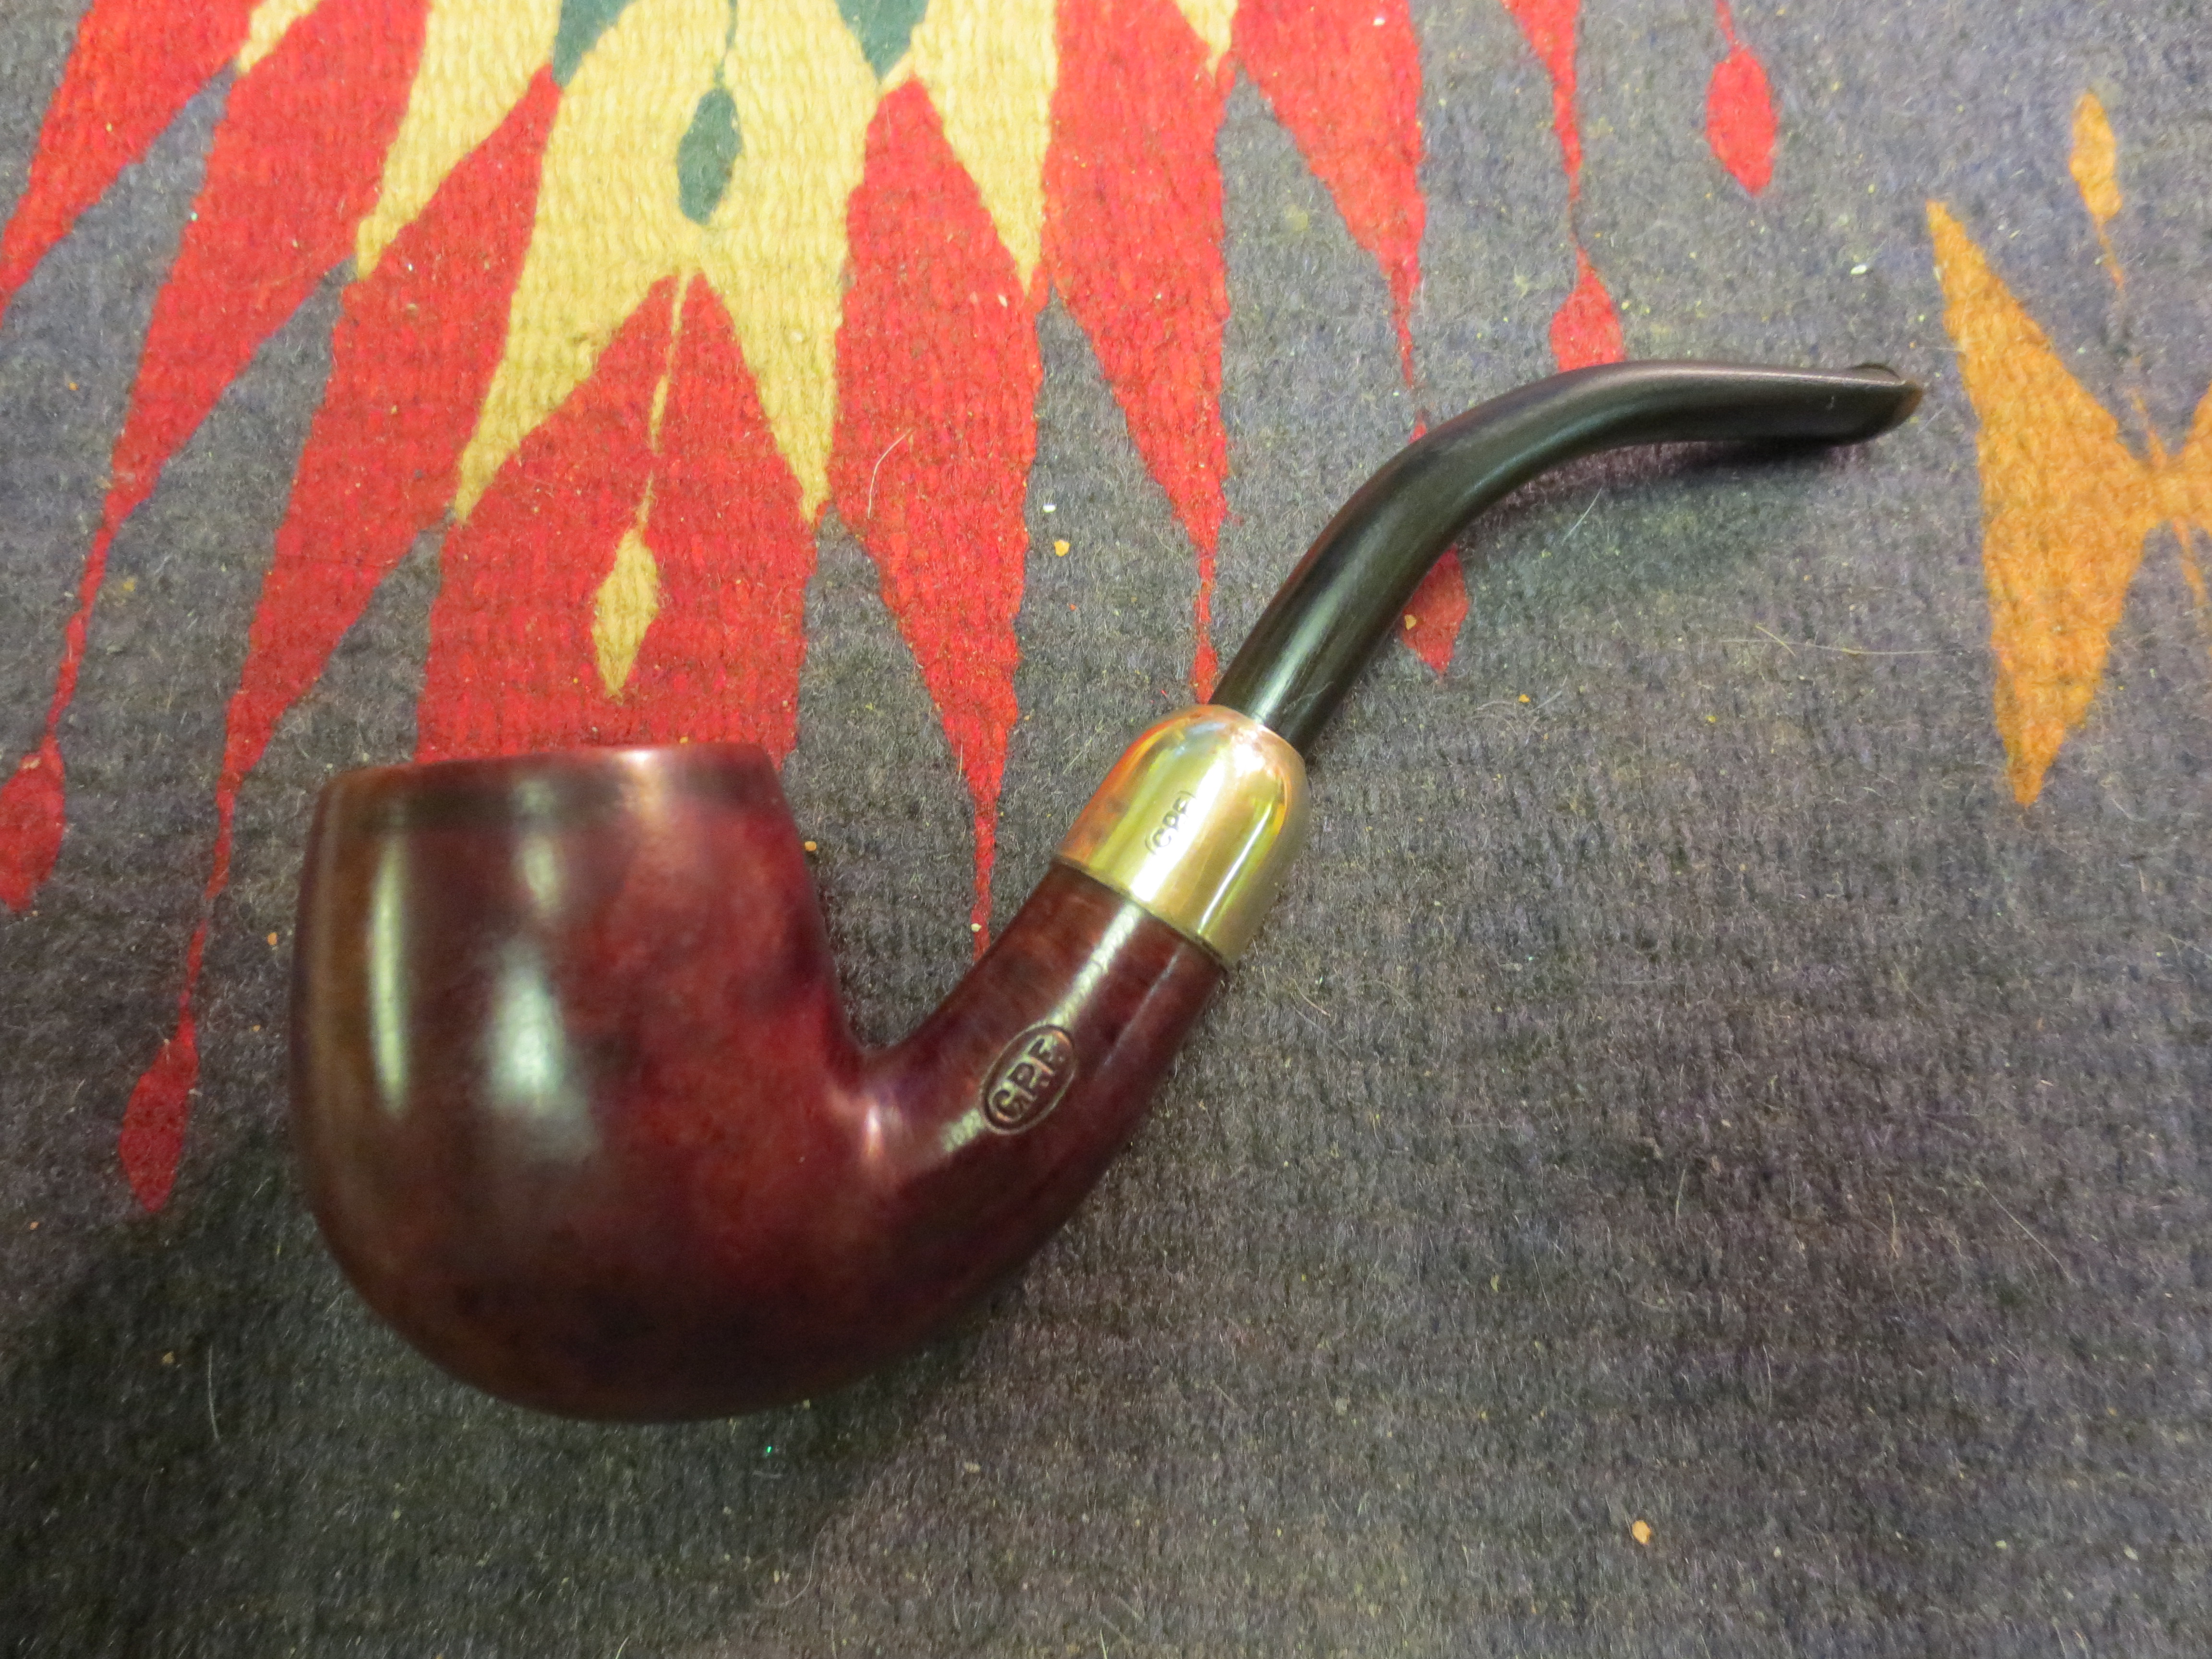
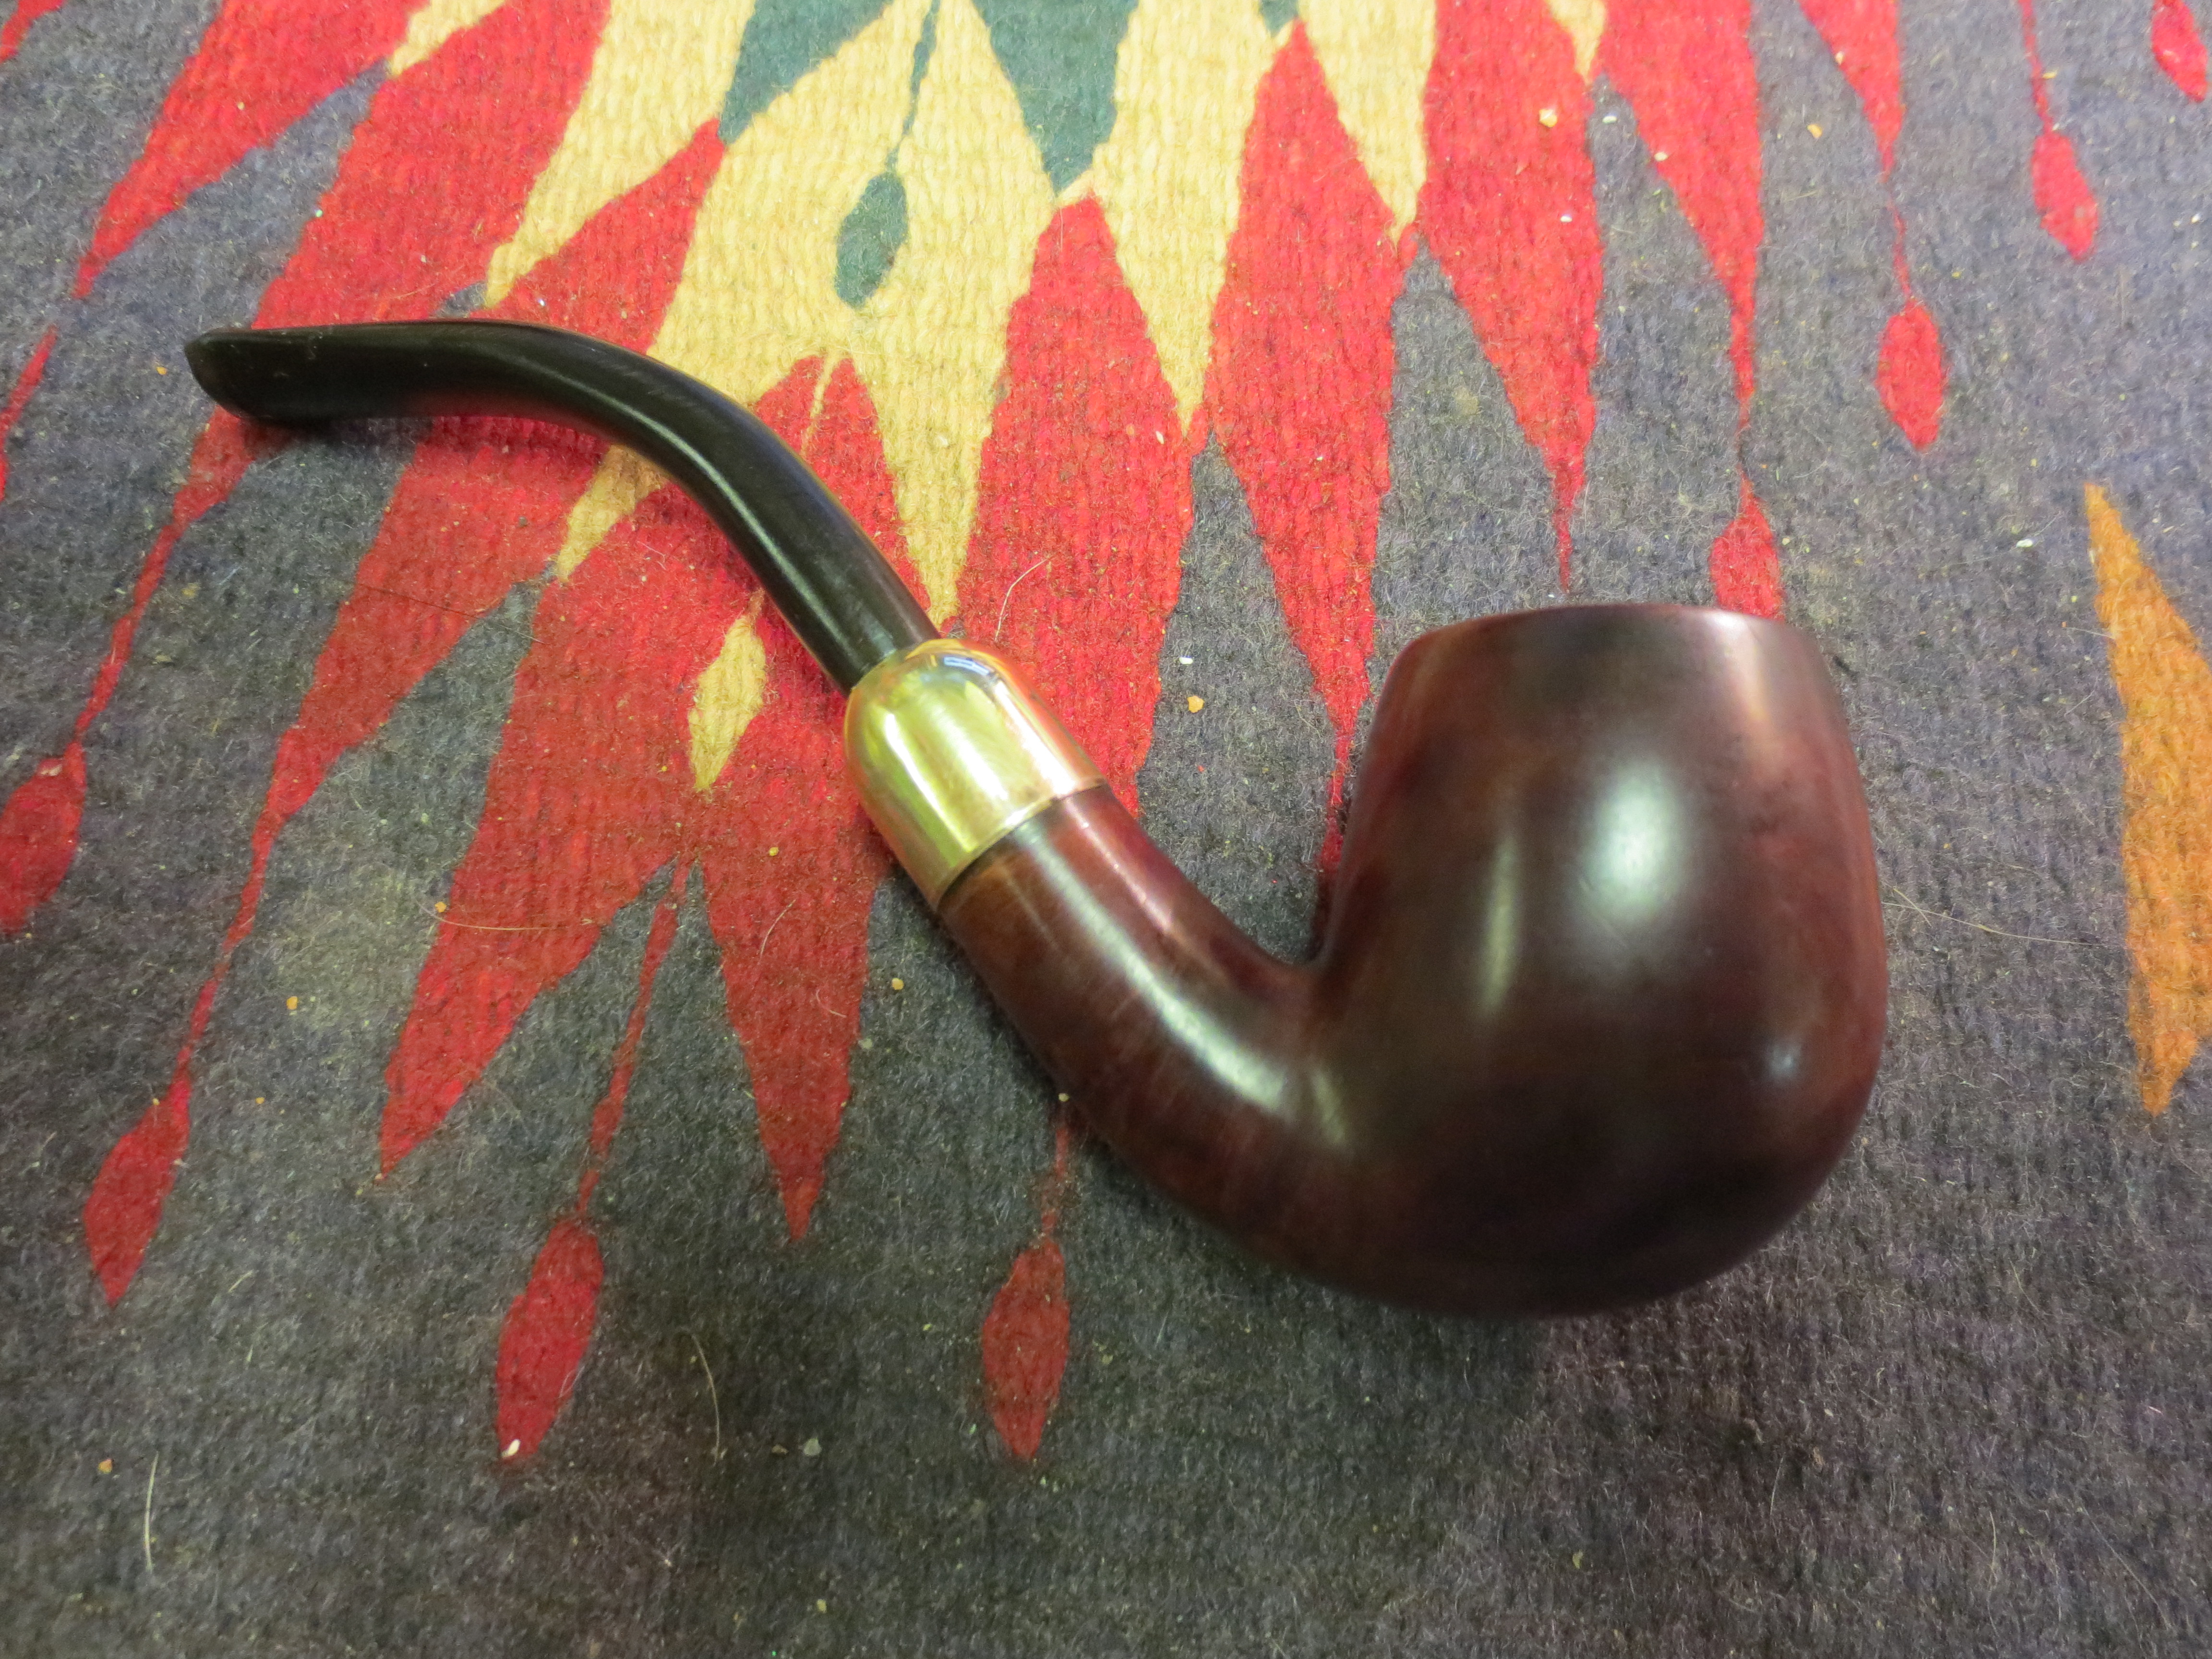
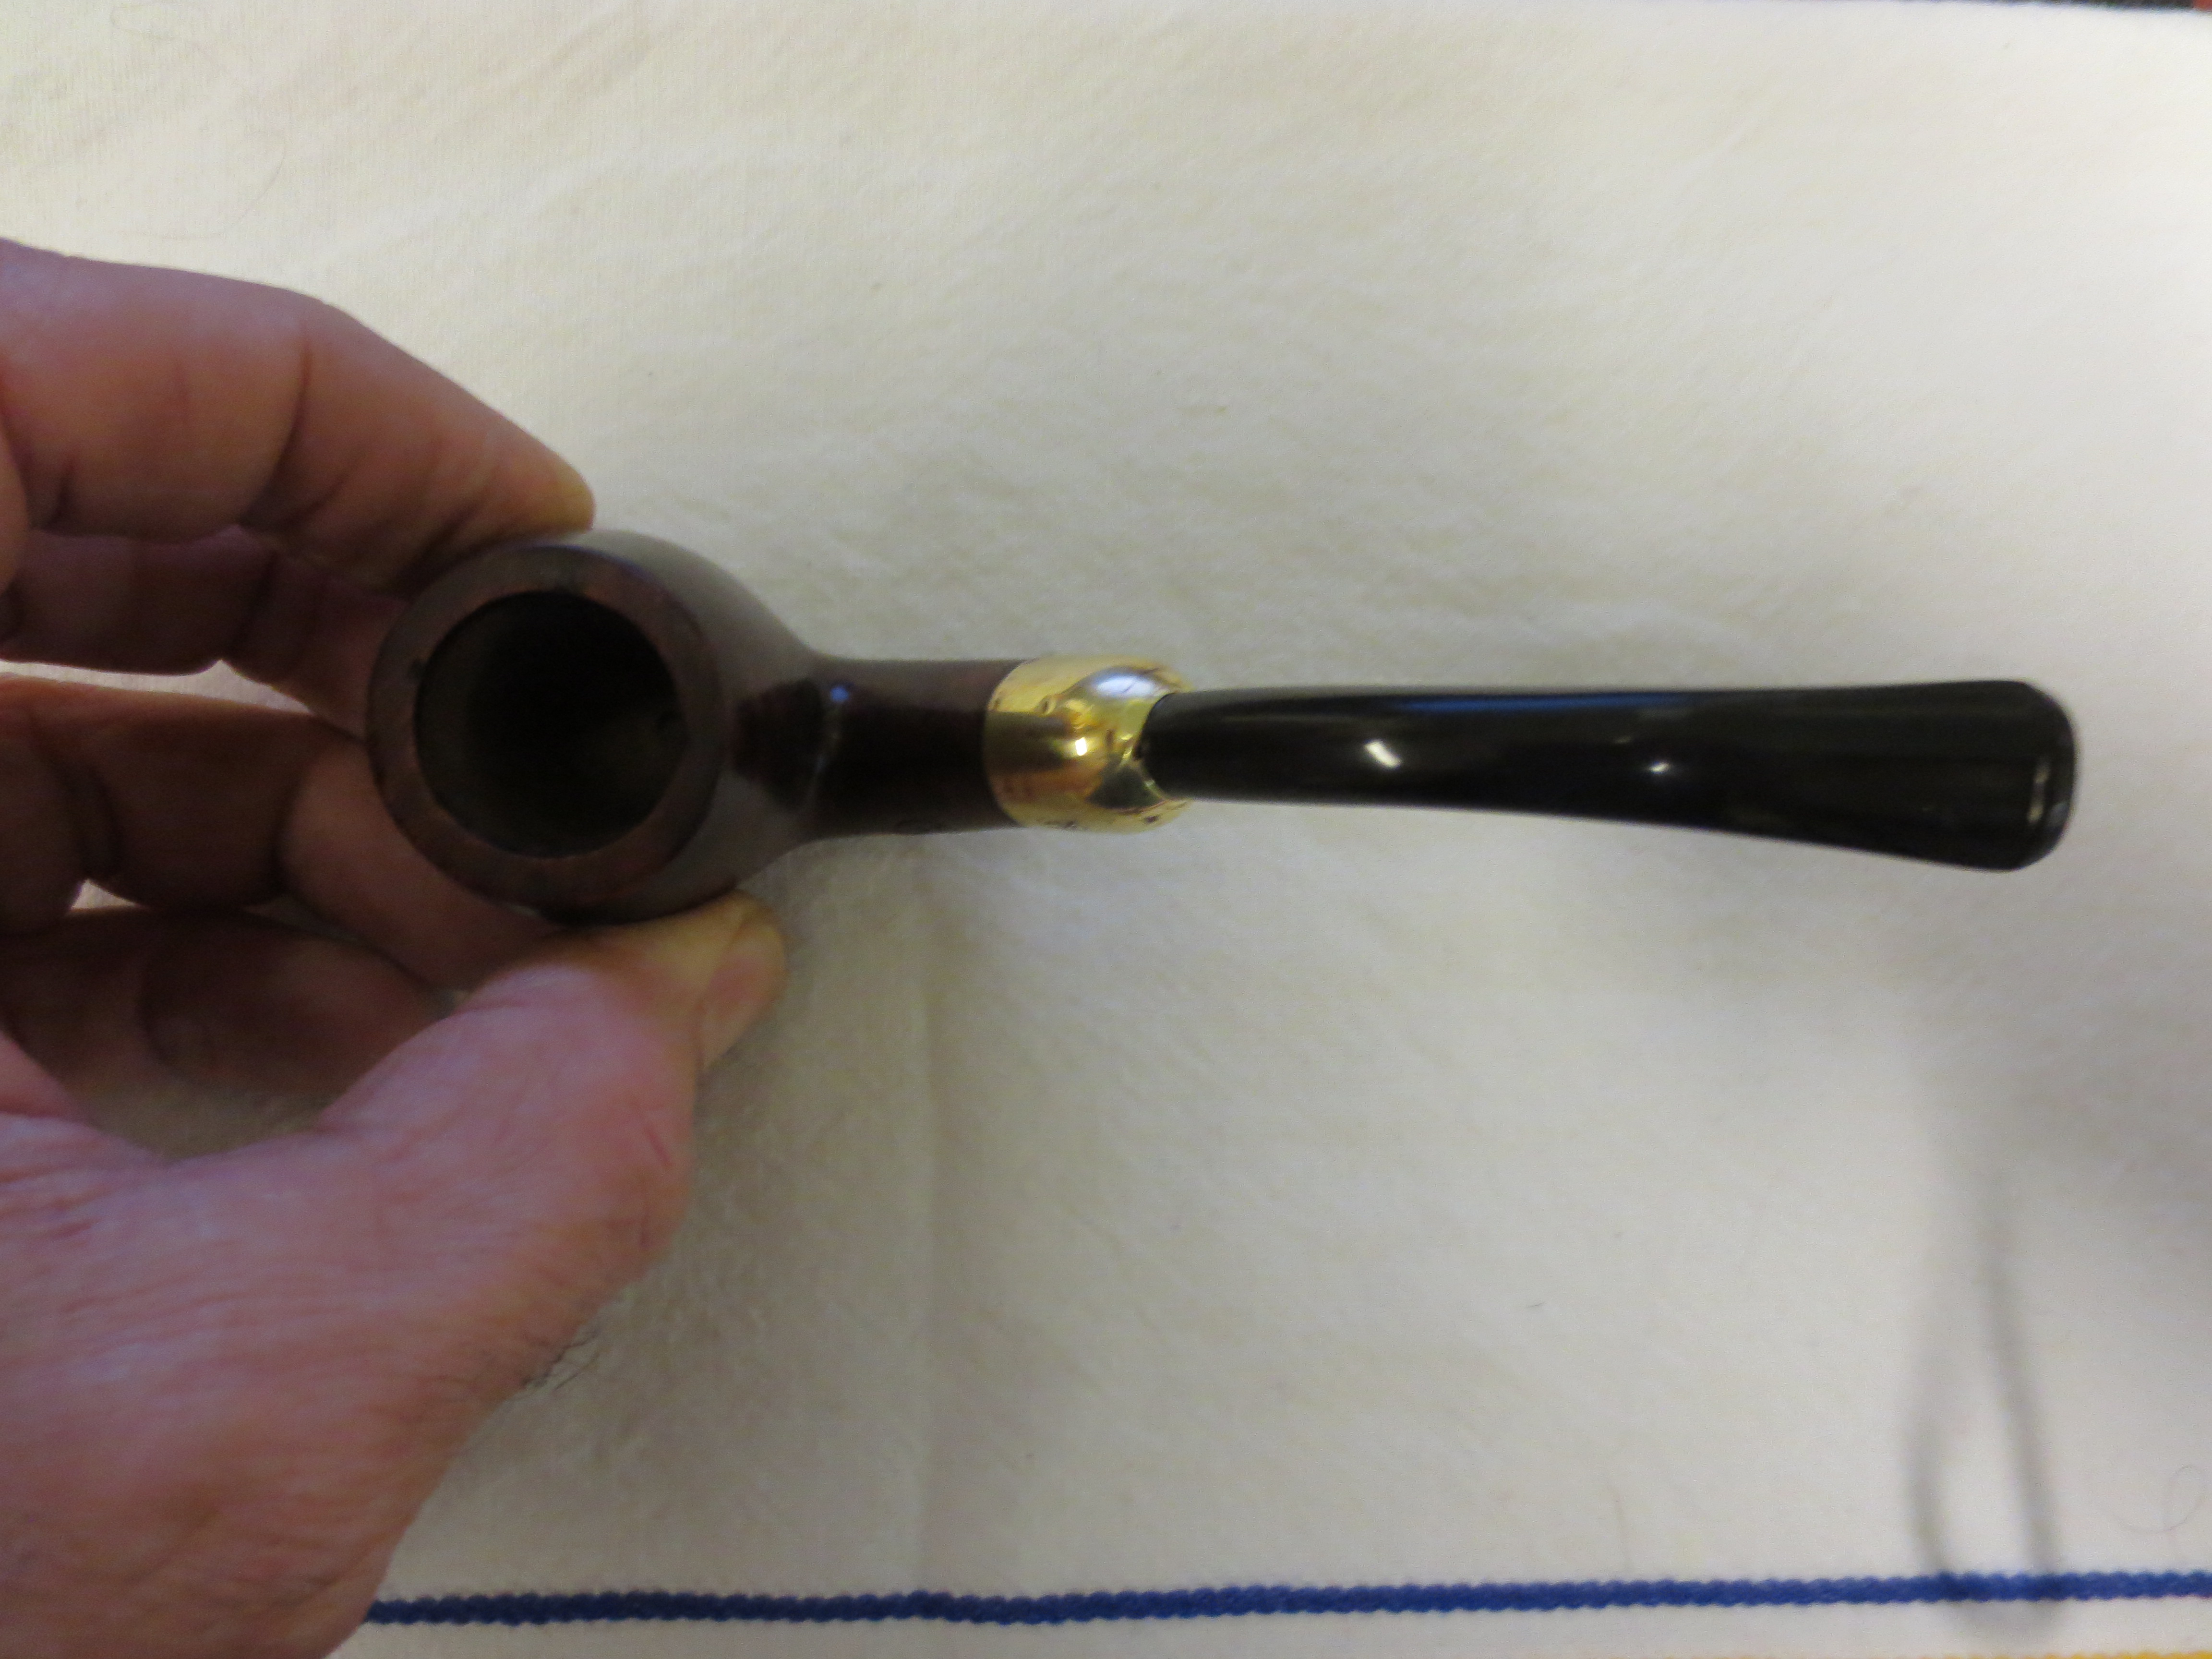
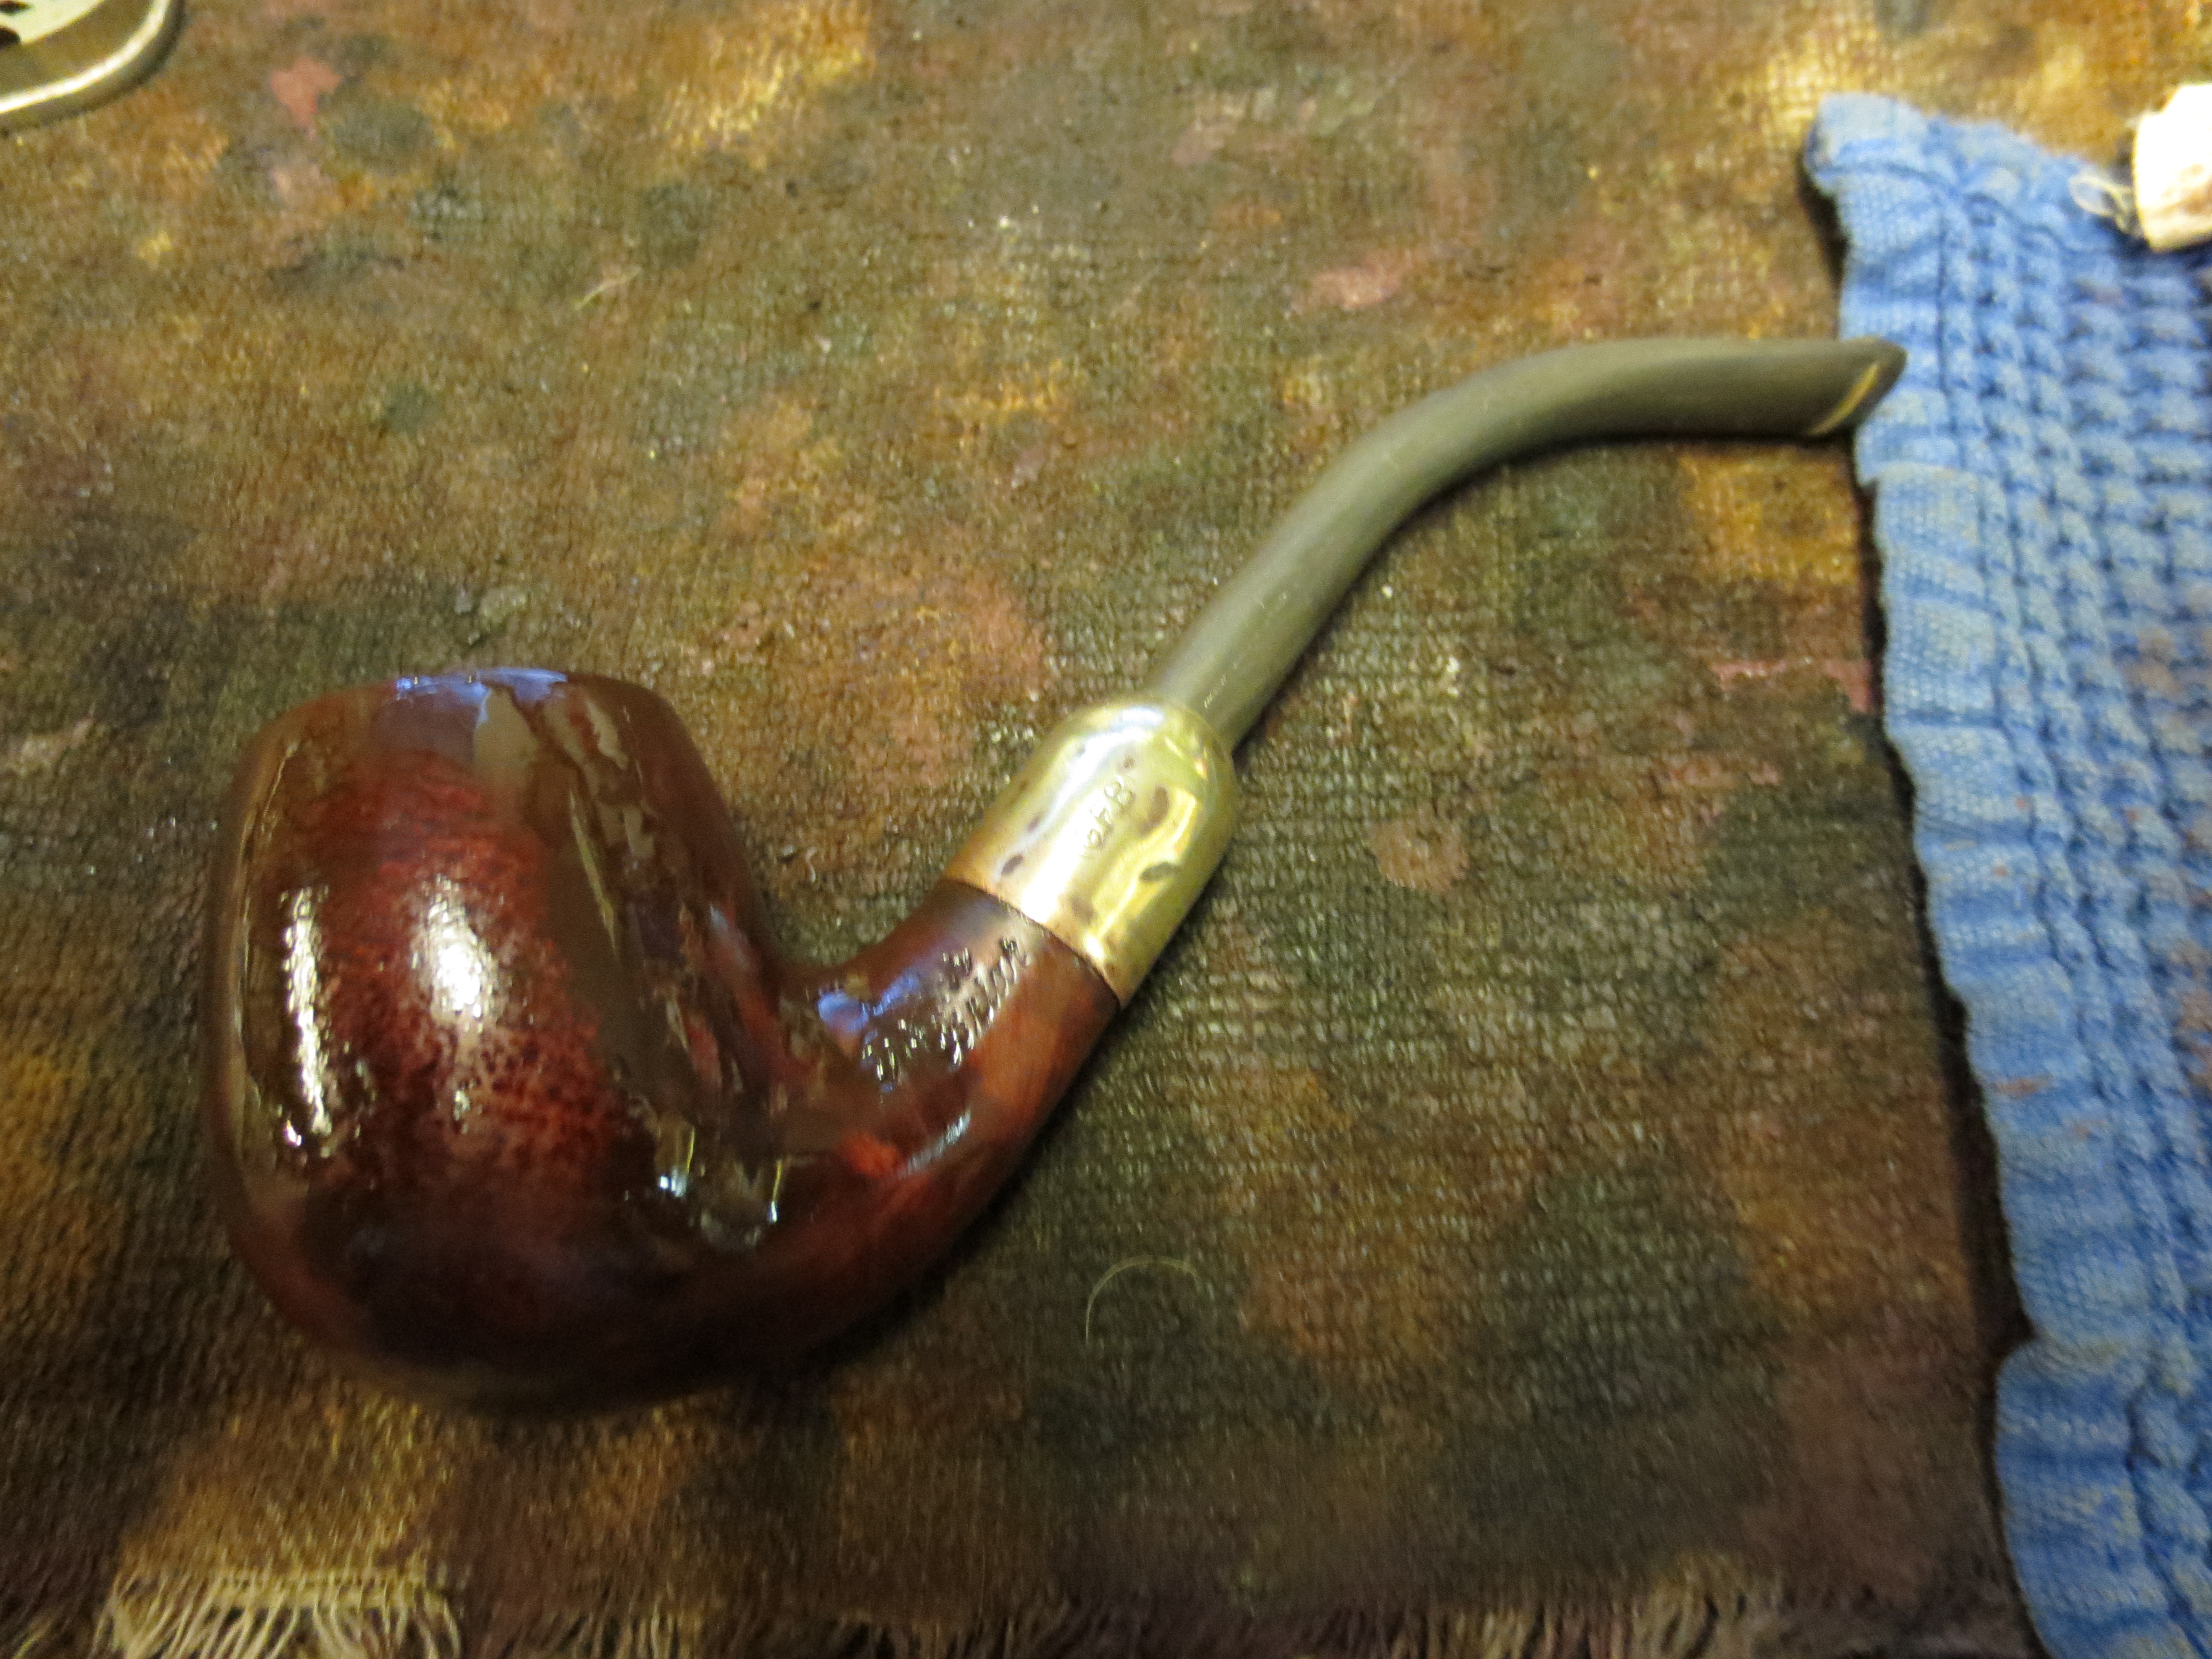
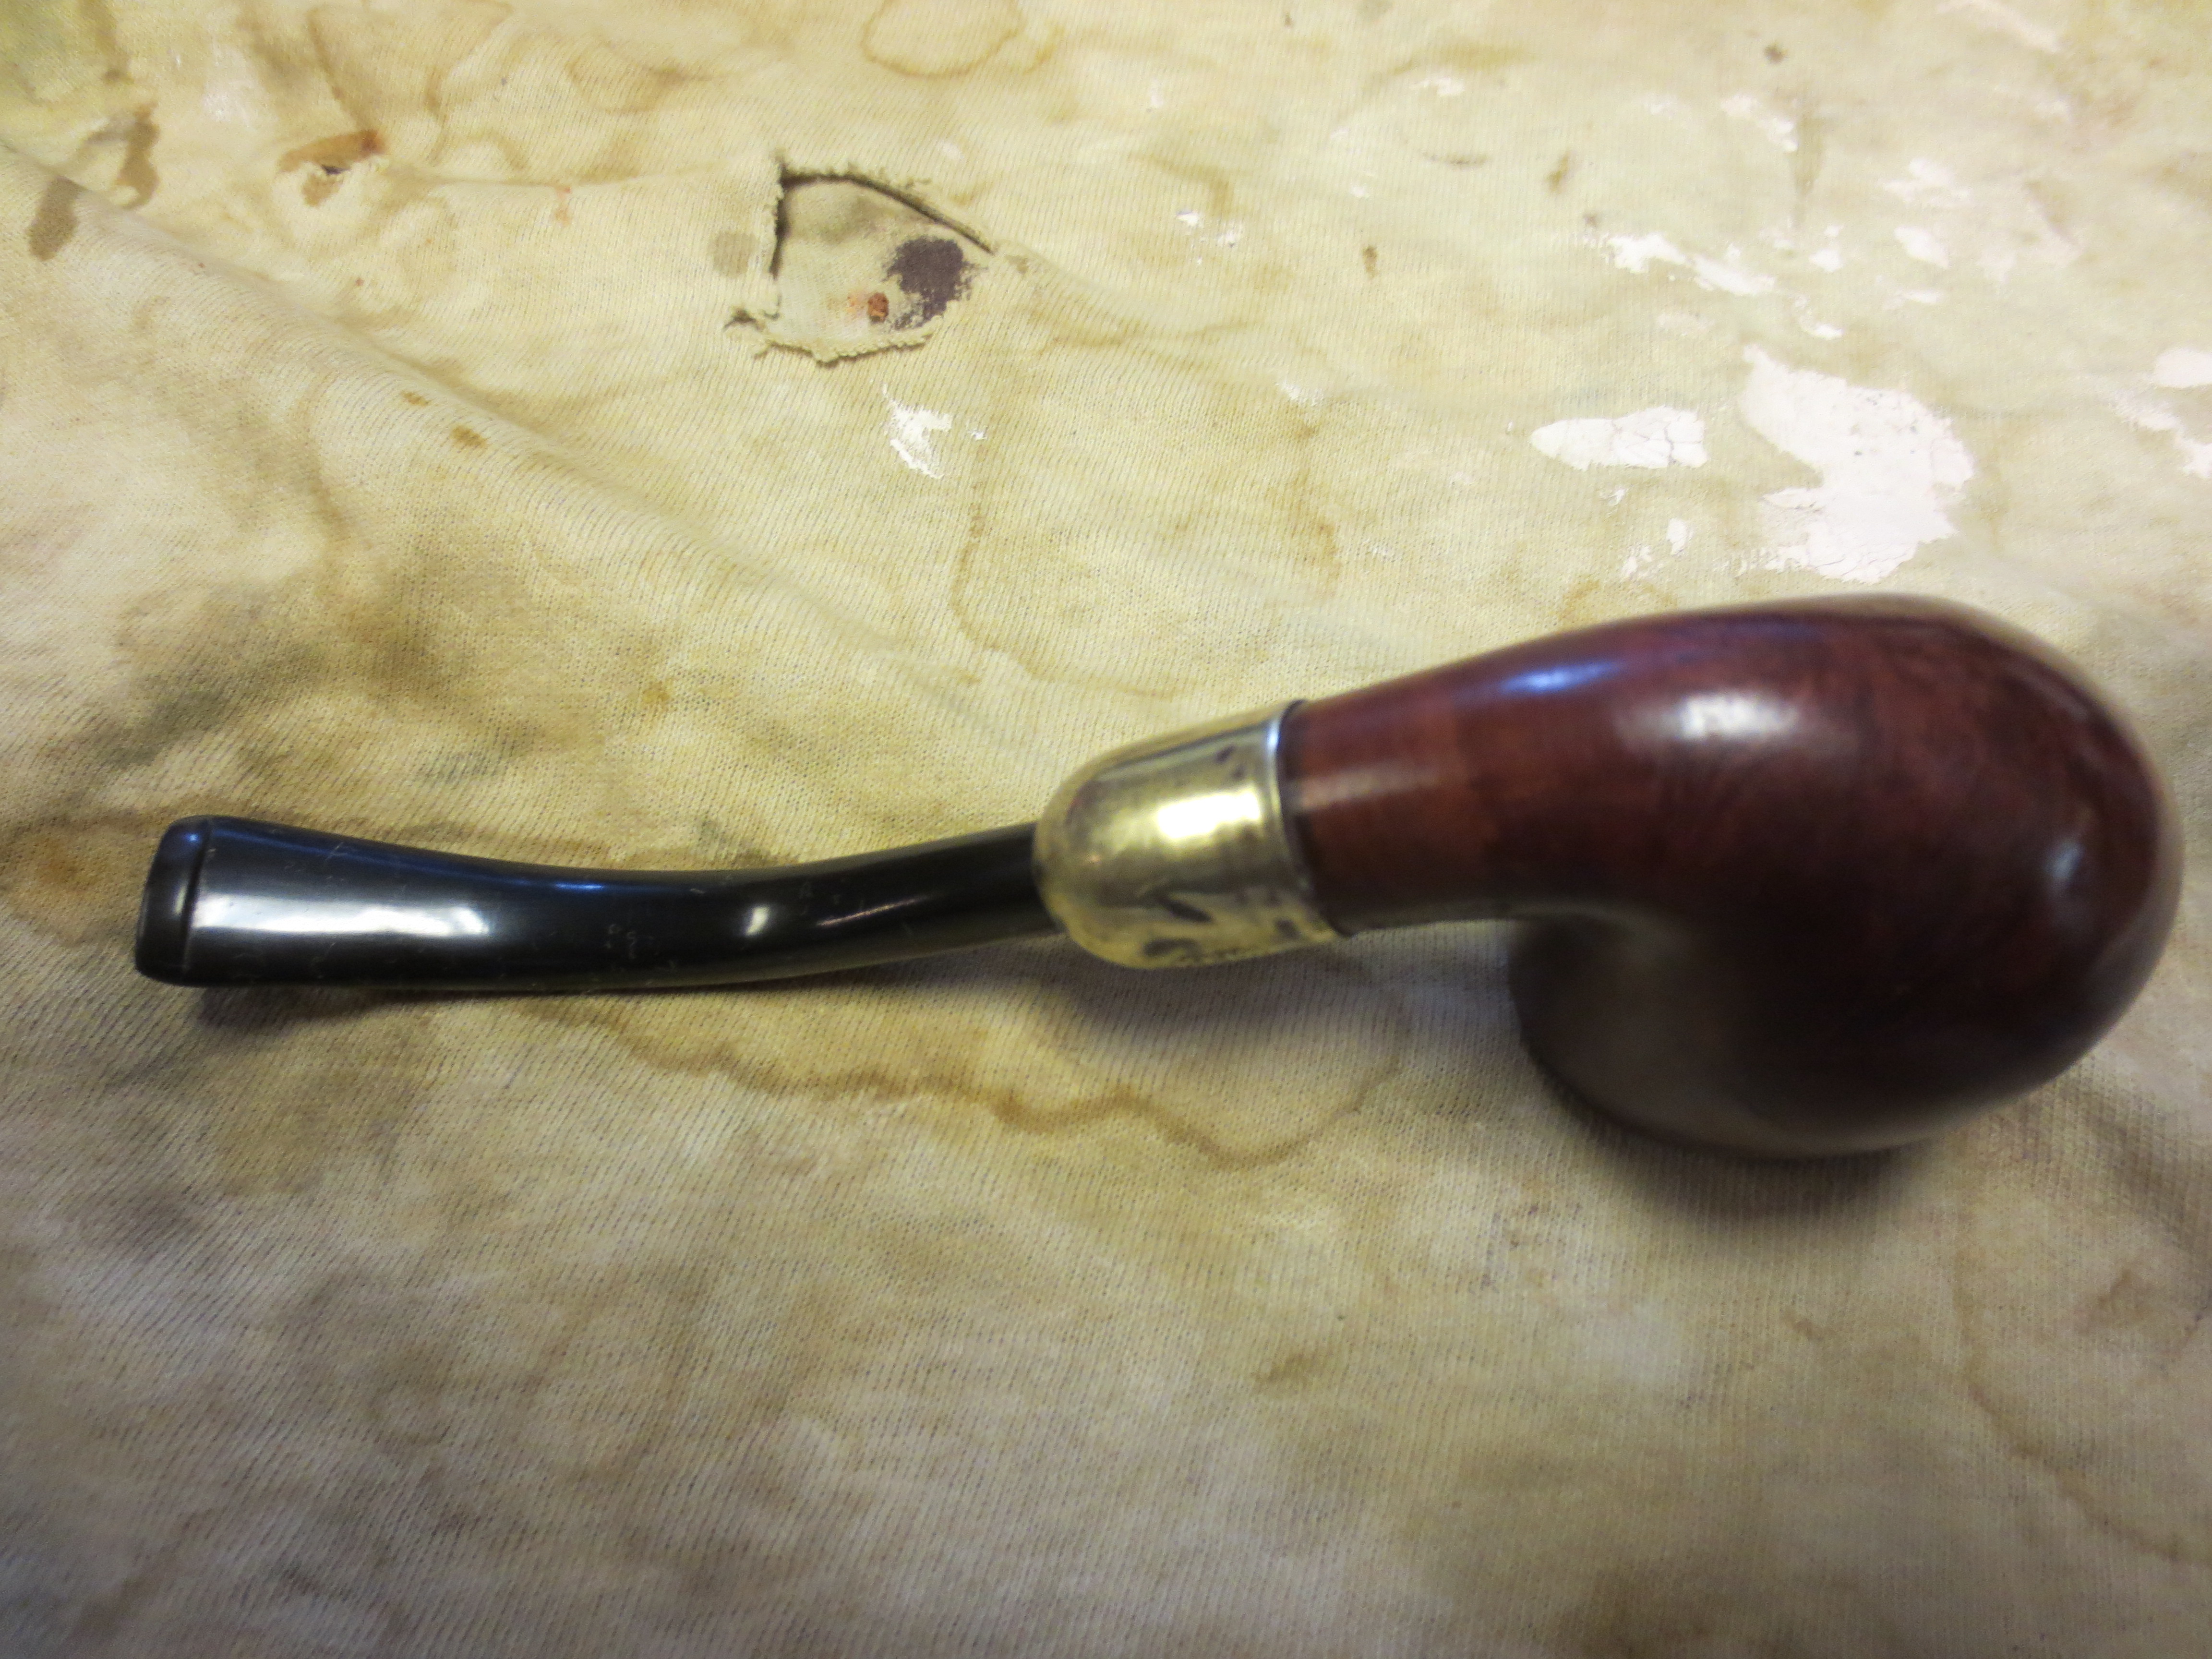
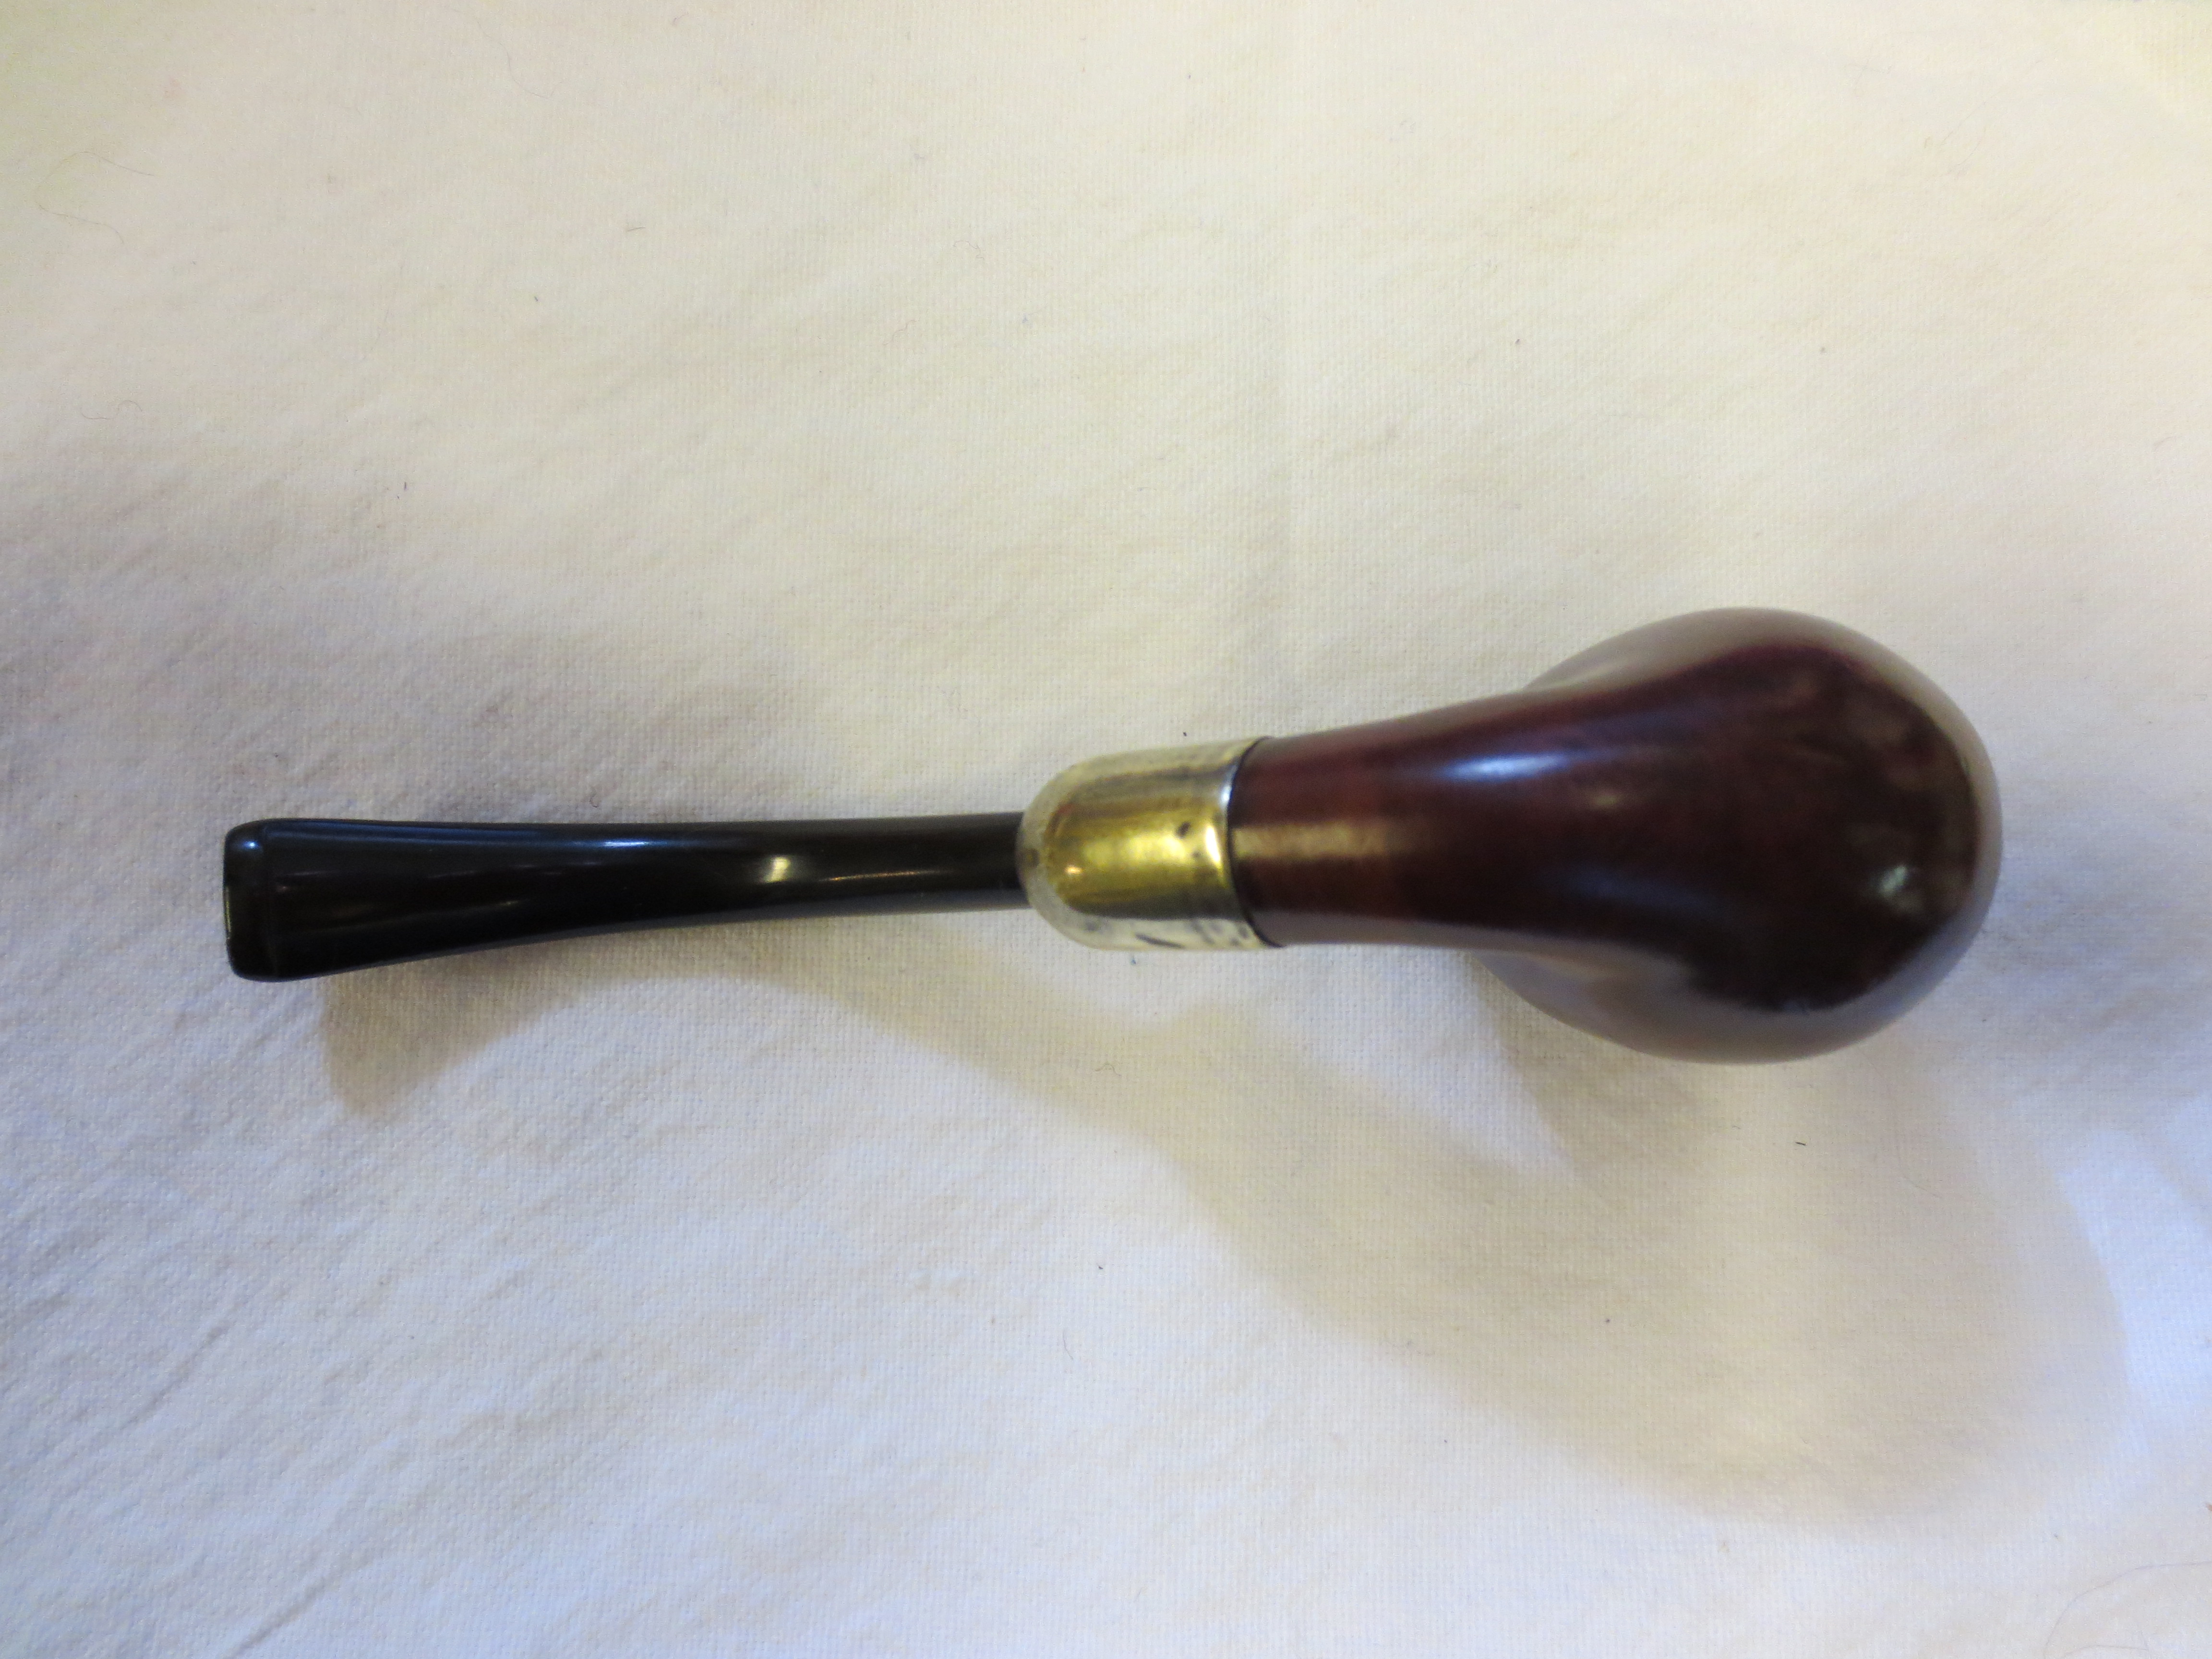
I wiped the stem down with Obsidian Oil and then hand waxed it with some carnauba paste wax that I have in the shop. It is the wax available from Walker Briar Works and I will often hand apply it to the stems at this point in the process and hand buff a shine. I then reassembled the pipe, polished the bowl with a little of the carnauba as well. I hand buffed the pipe with a soft cotton cloth I use for that purpose. The next four photos show the pipe after this process. I purposely did this on this pipe to see if the wax would cause the area on the right side of the shank that is darker to blend in a bit and be less visible. It seemed to work very well.
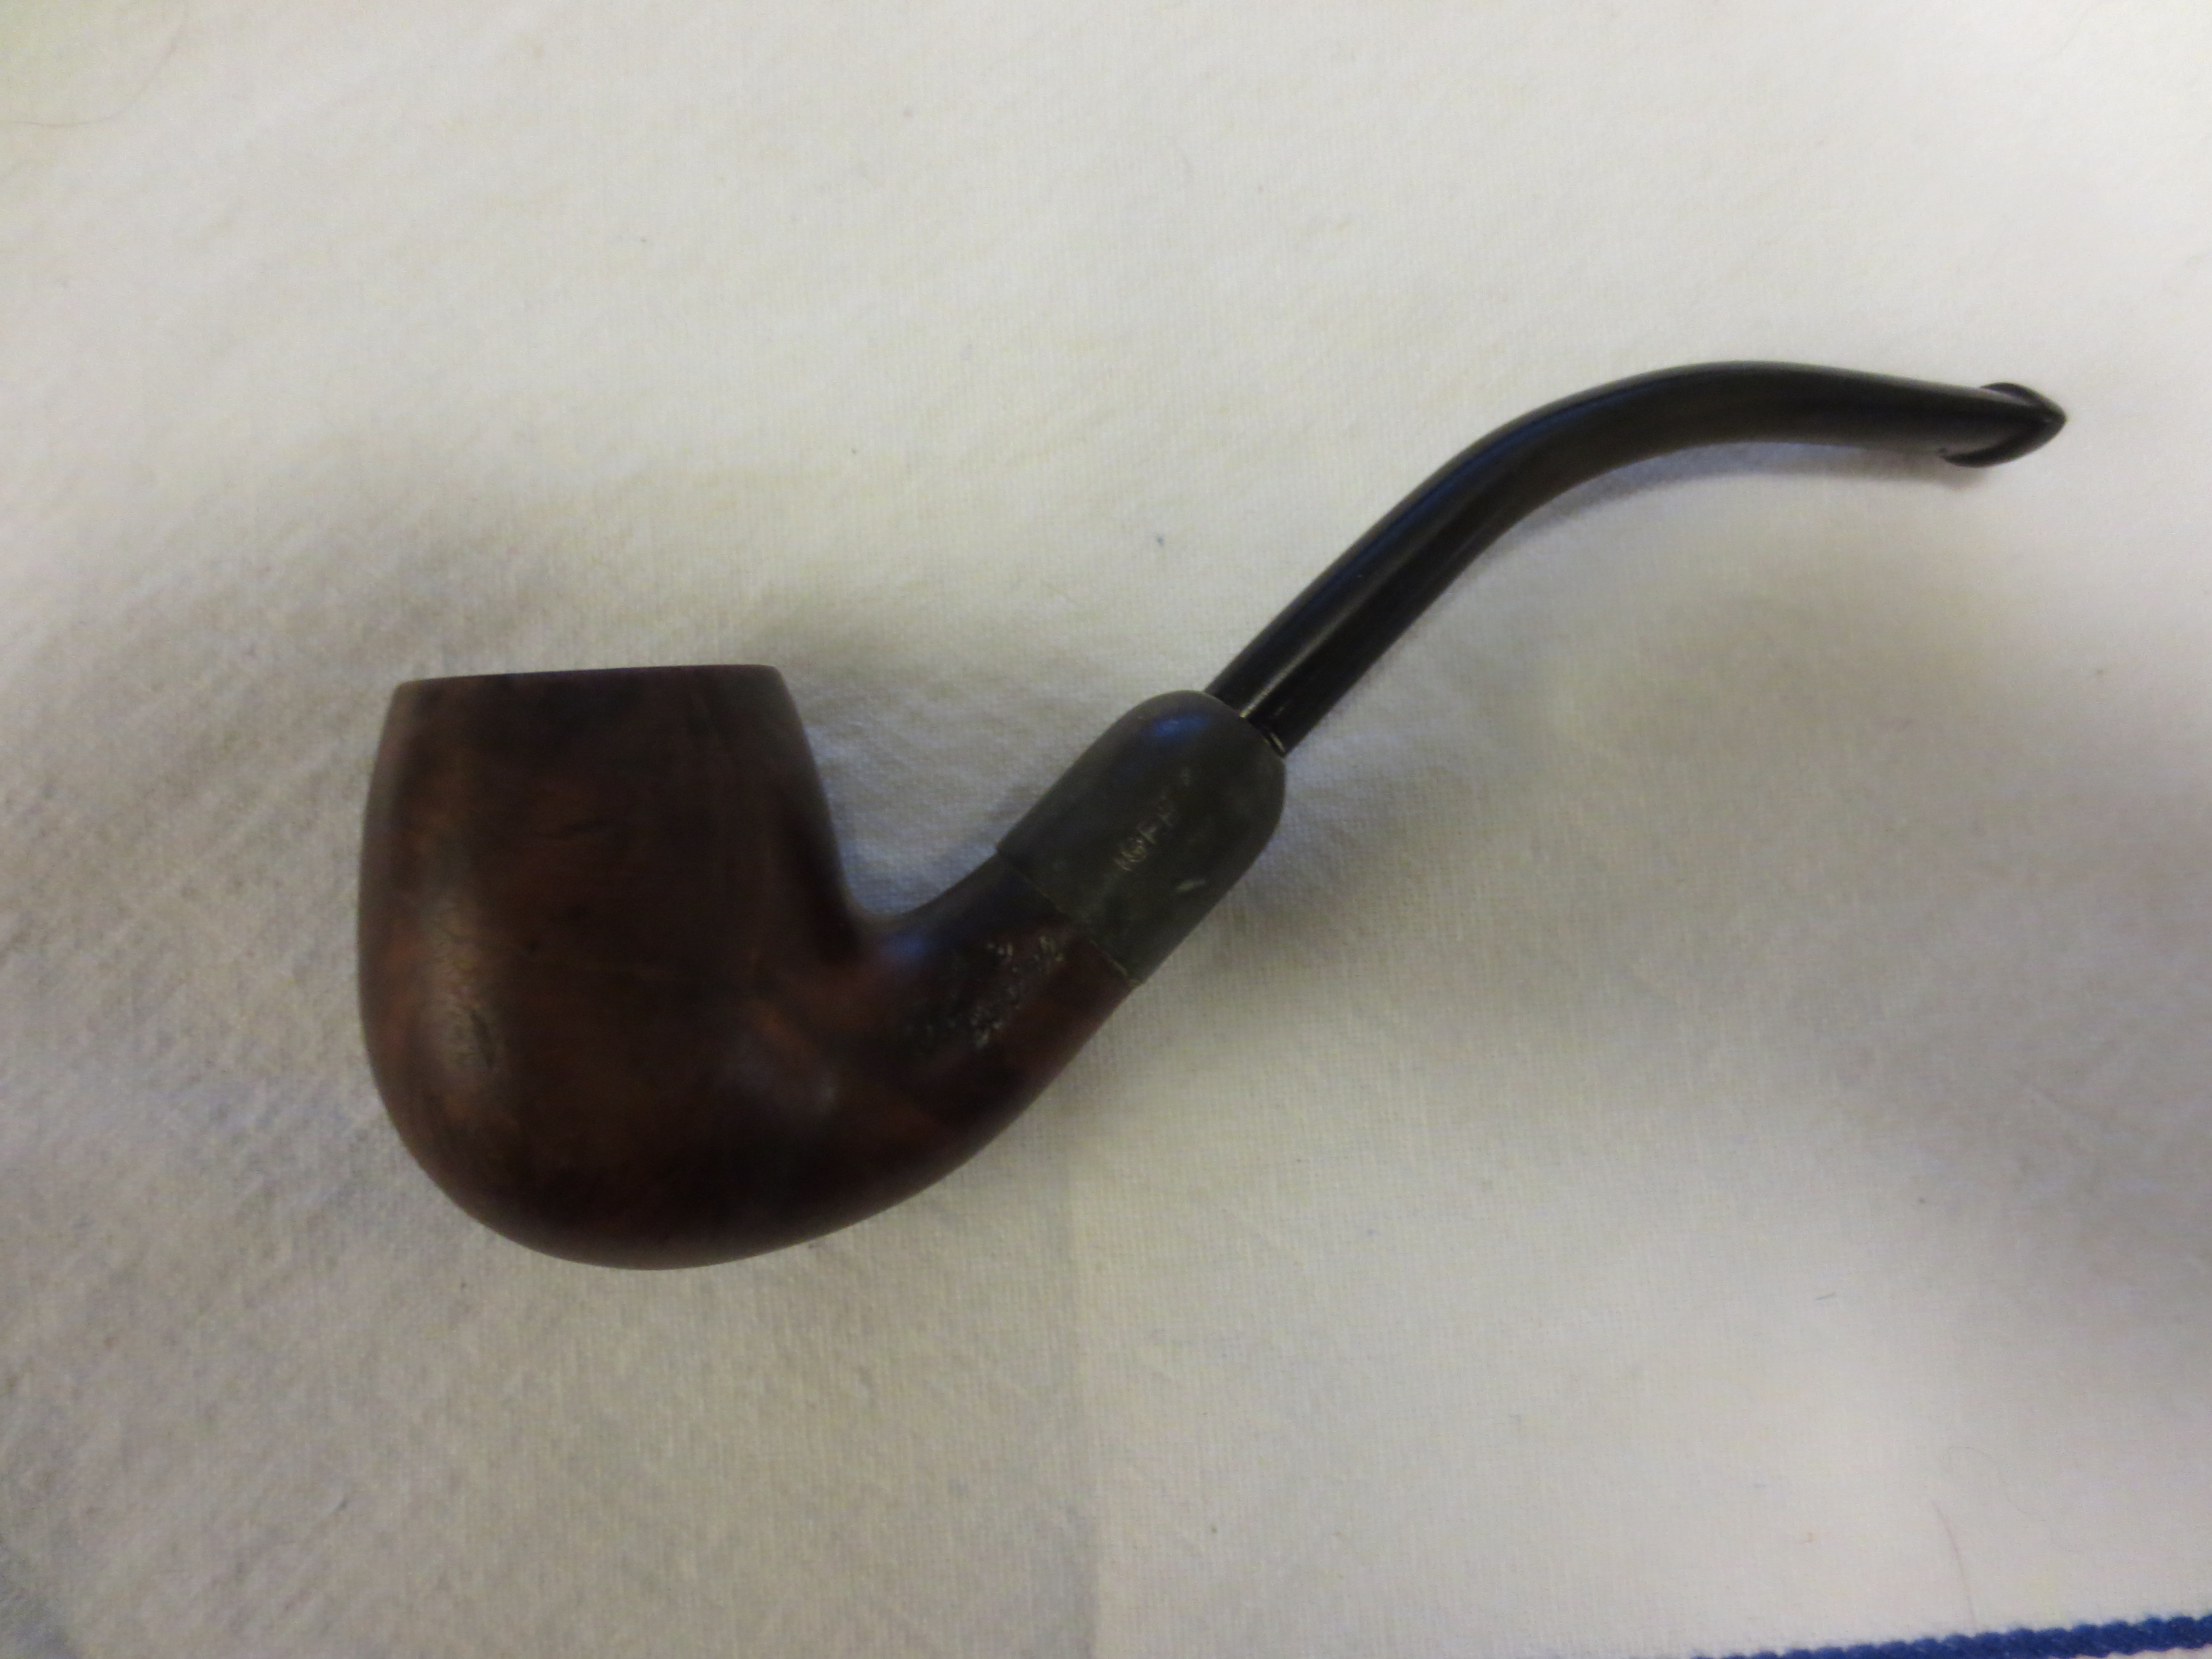
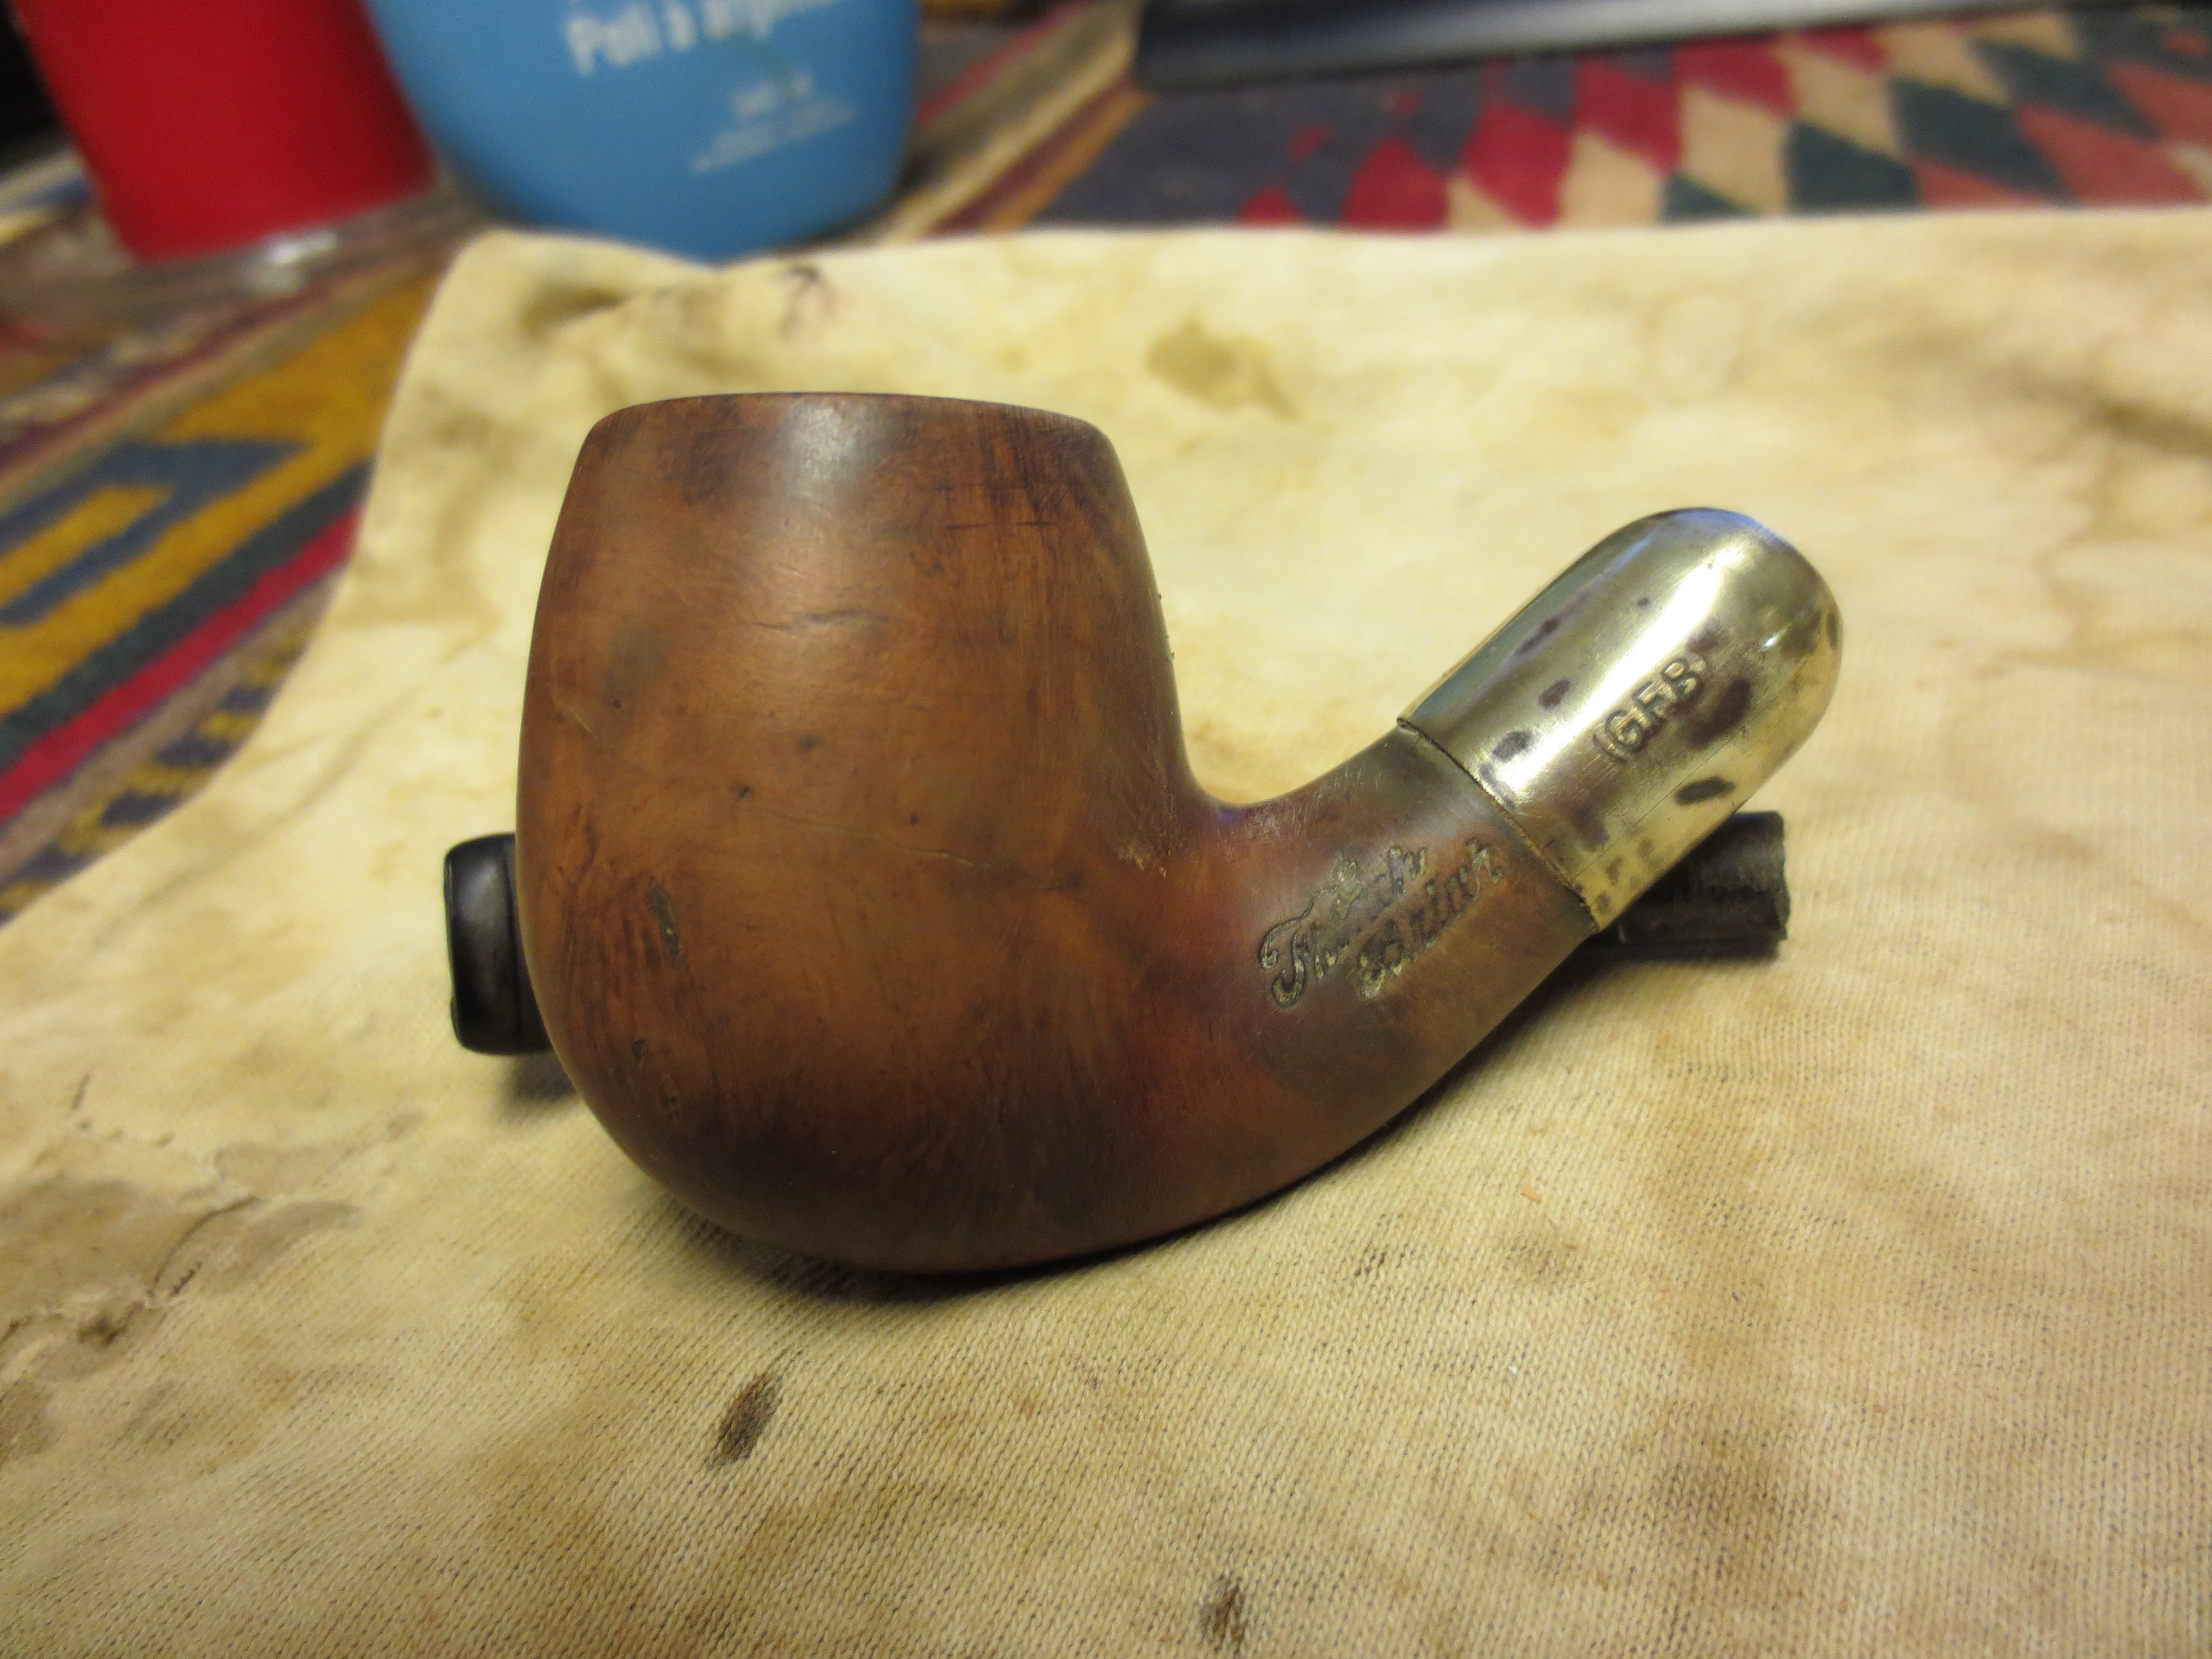
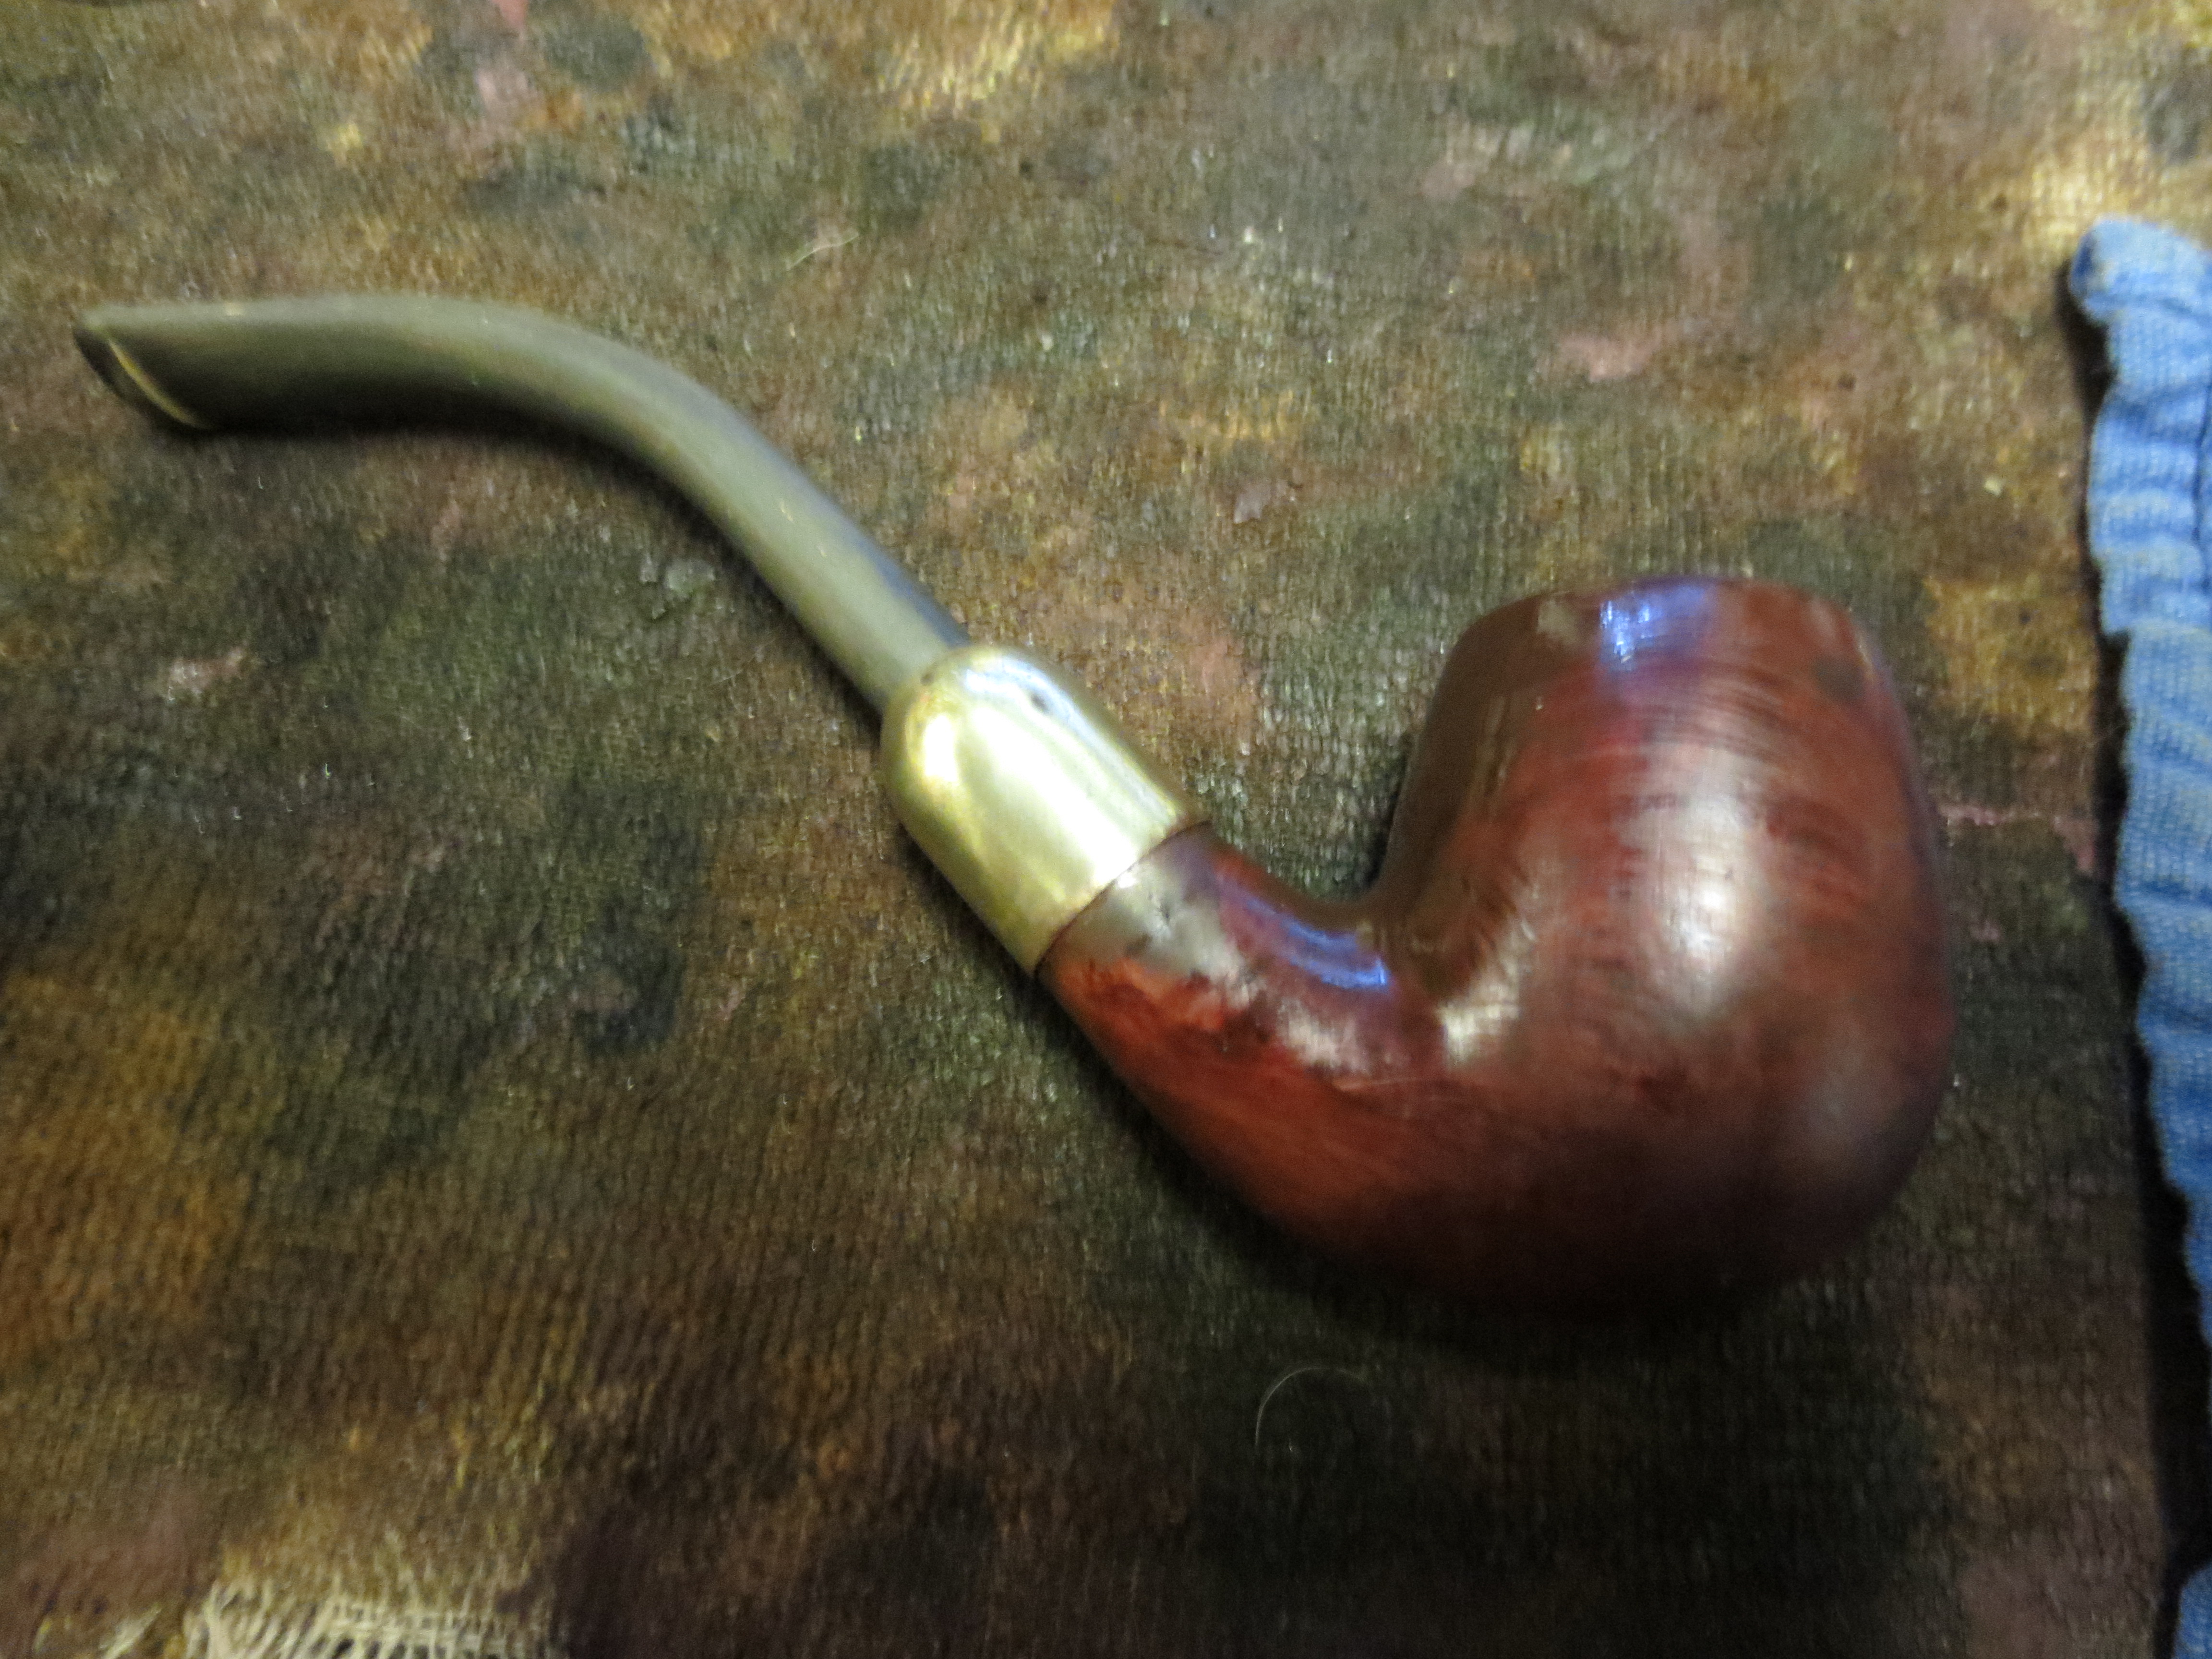
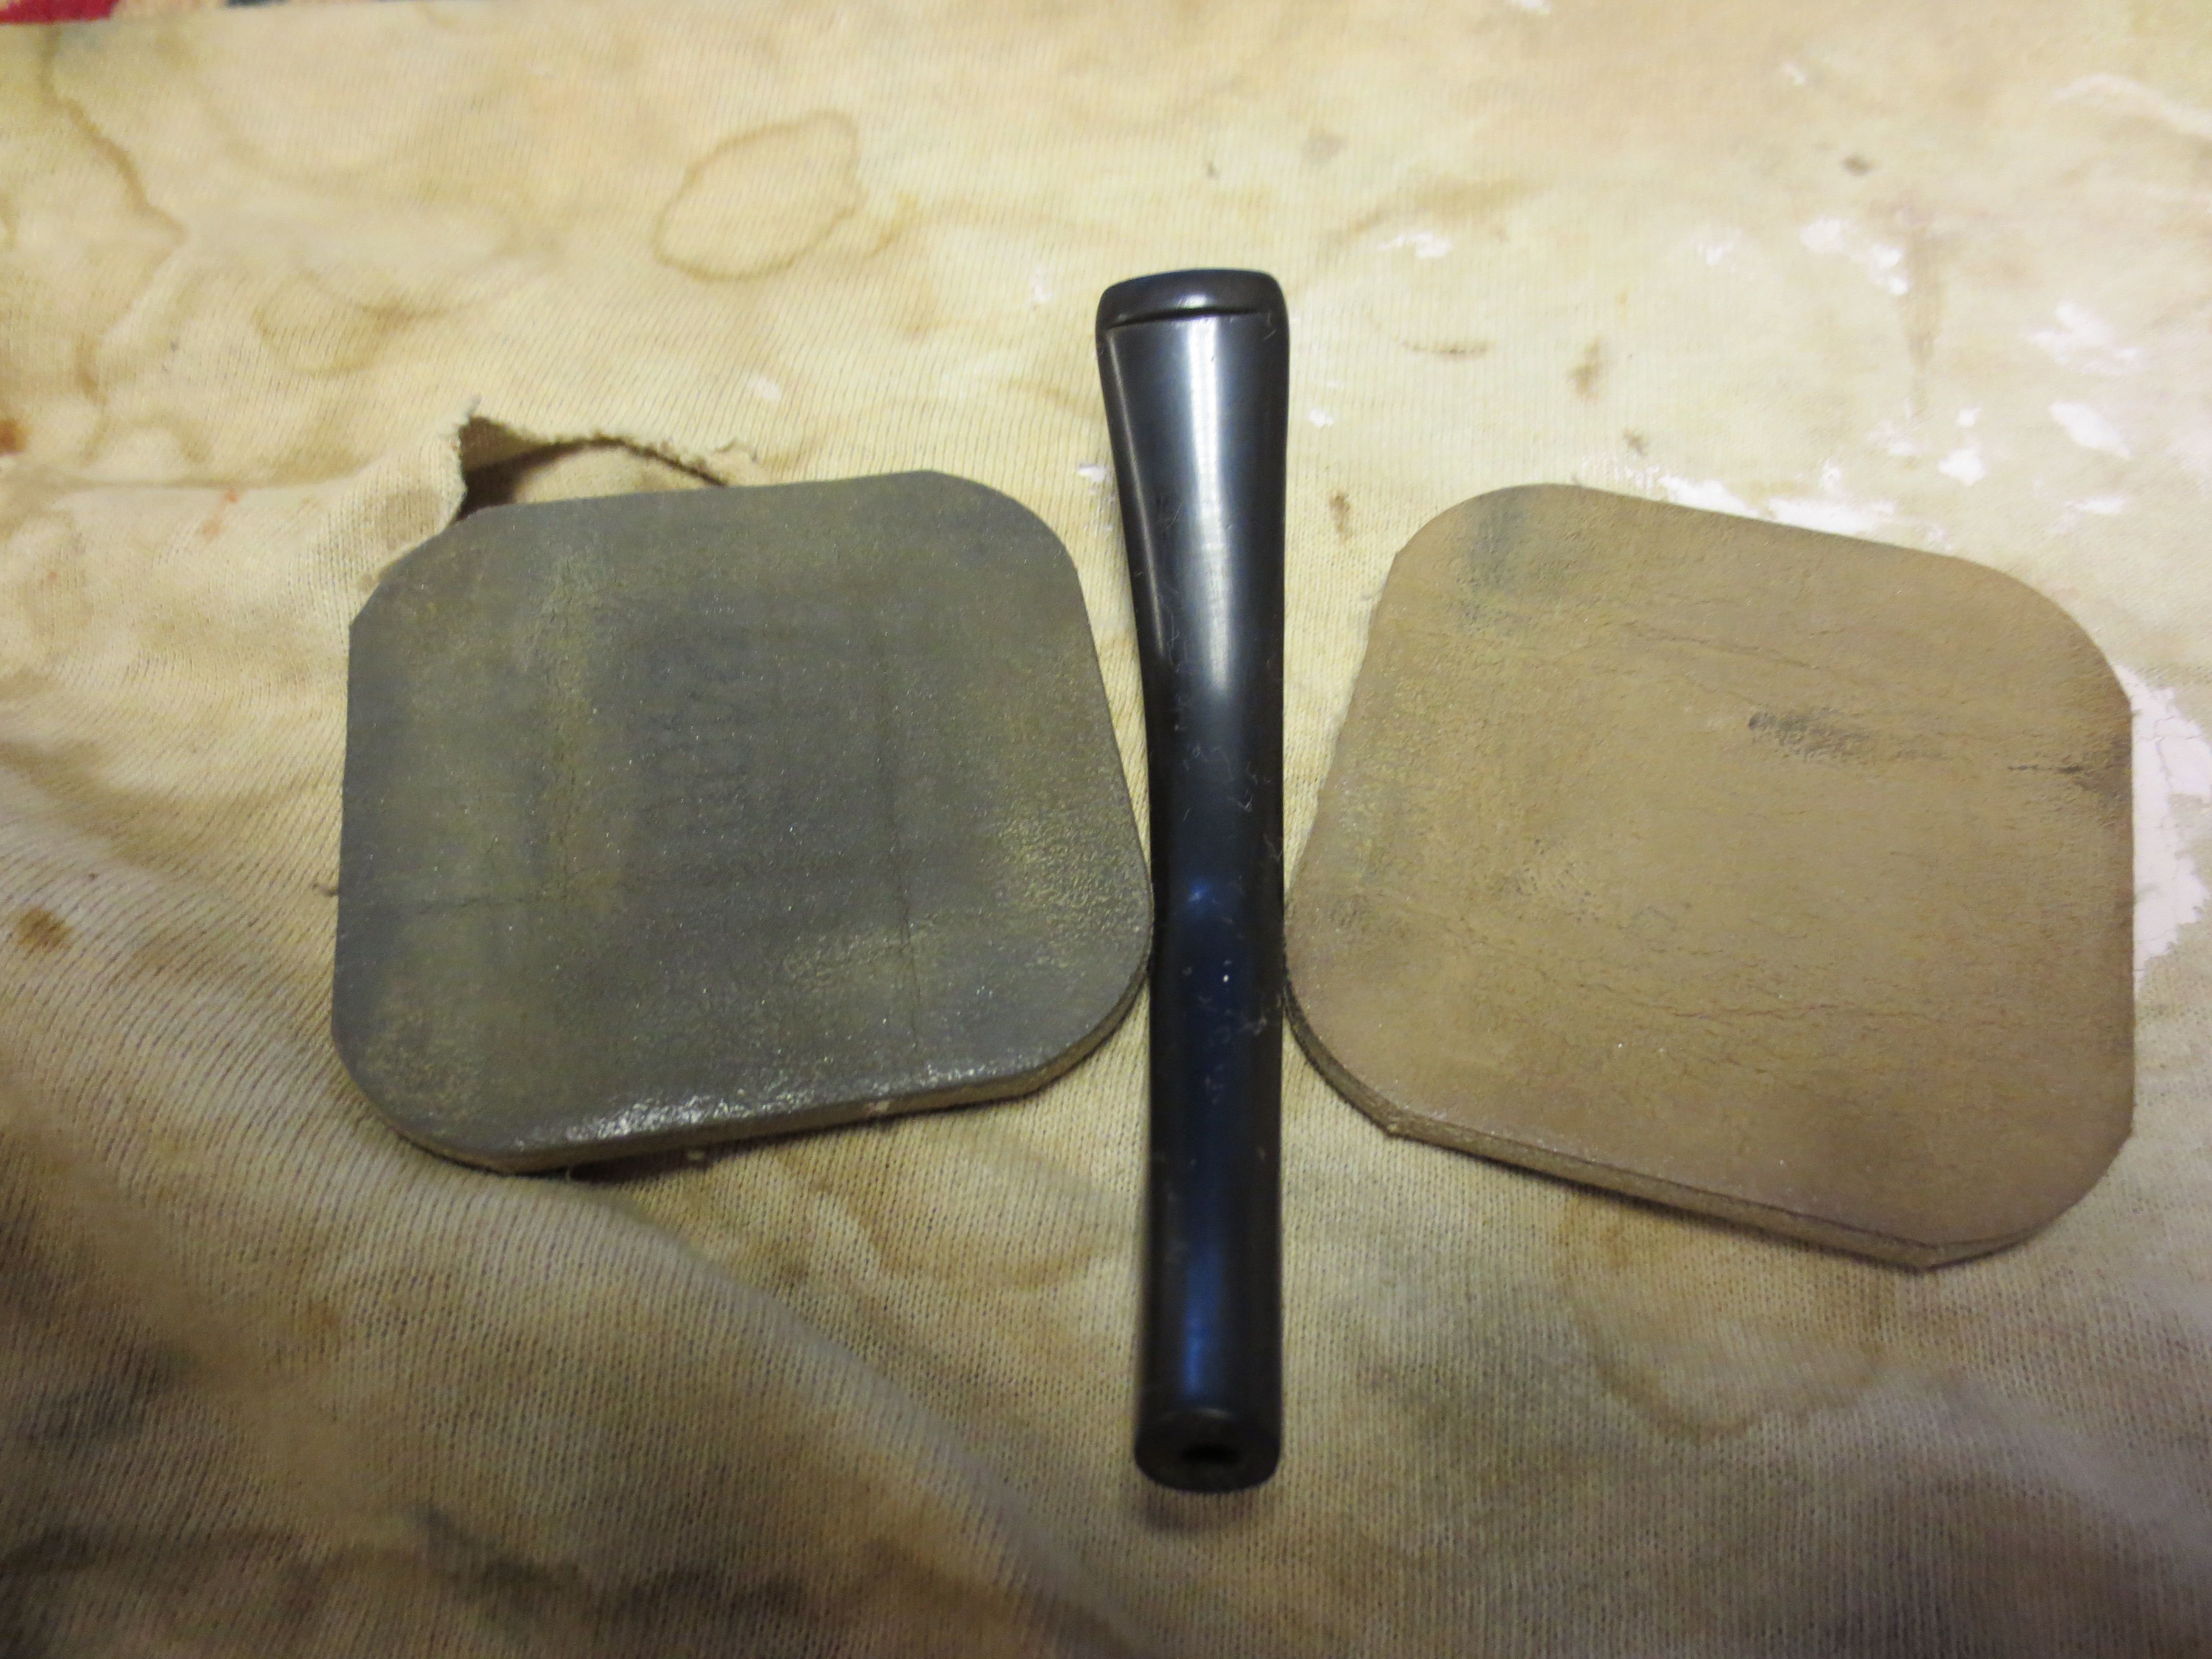
Once I was finished with the hand buff and had checked out the dark spot I took the pipe to my buffer. I lightly buffed the pipe and stem with White Diamond and then gave it multiple coats of carnauba wax and a final buff with a soft, clean flannel buffing pad. The next four photos show the finished pipe. It has been brought back to life and should well serve a new generation of pipe smokers. I do believe it will live longer than I do!
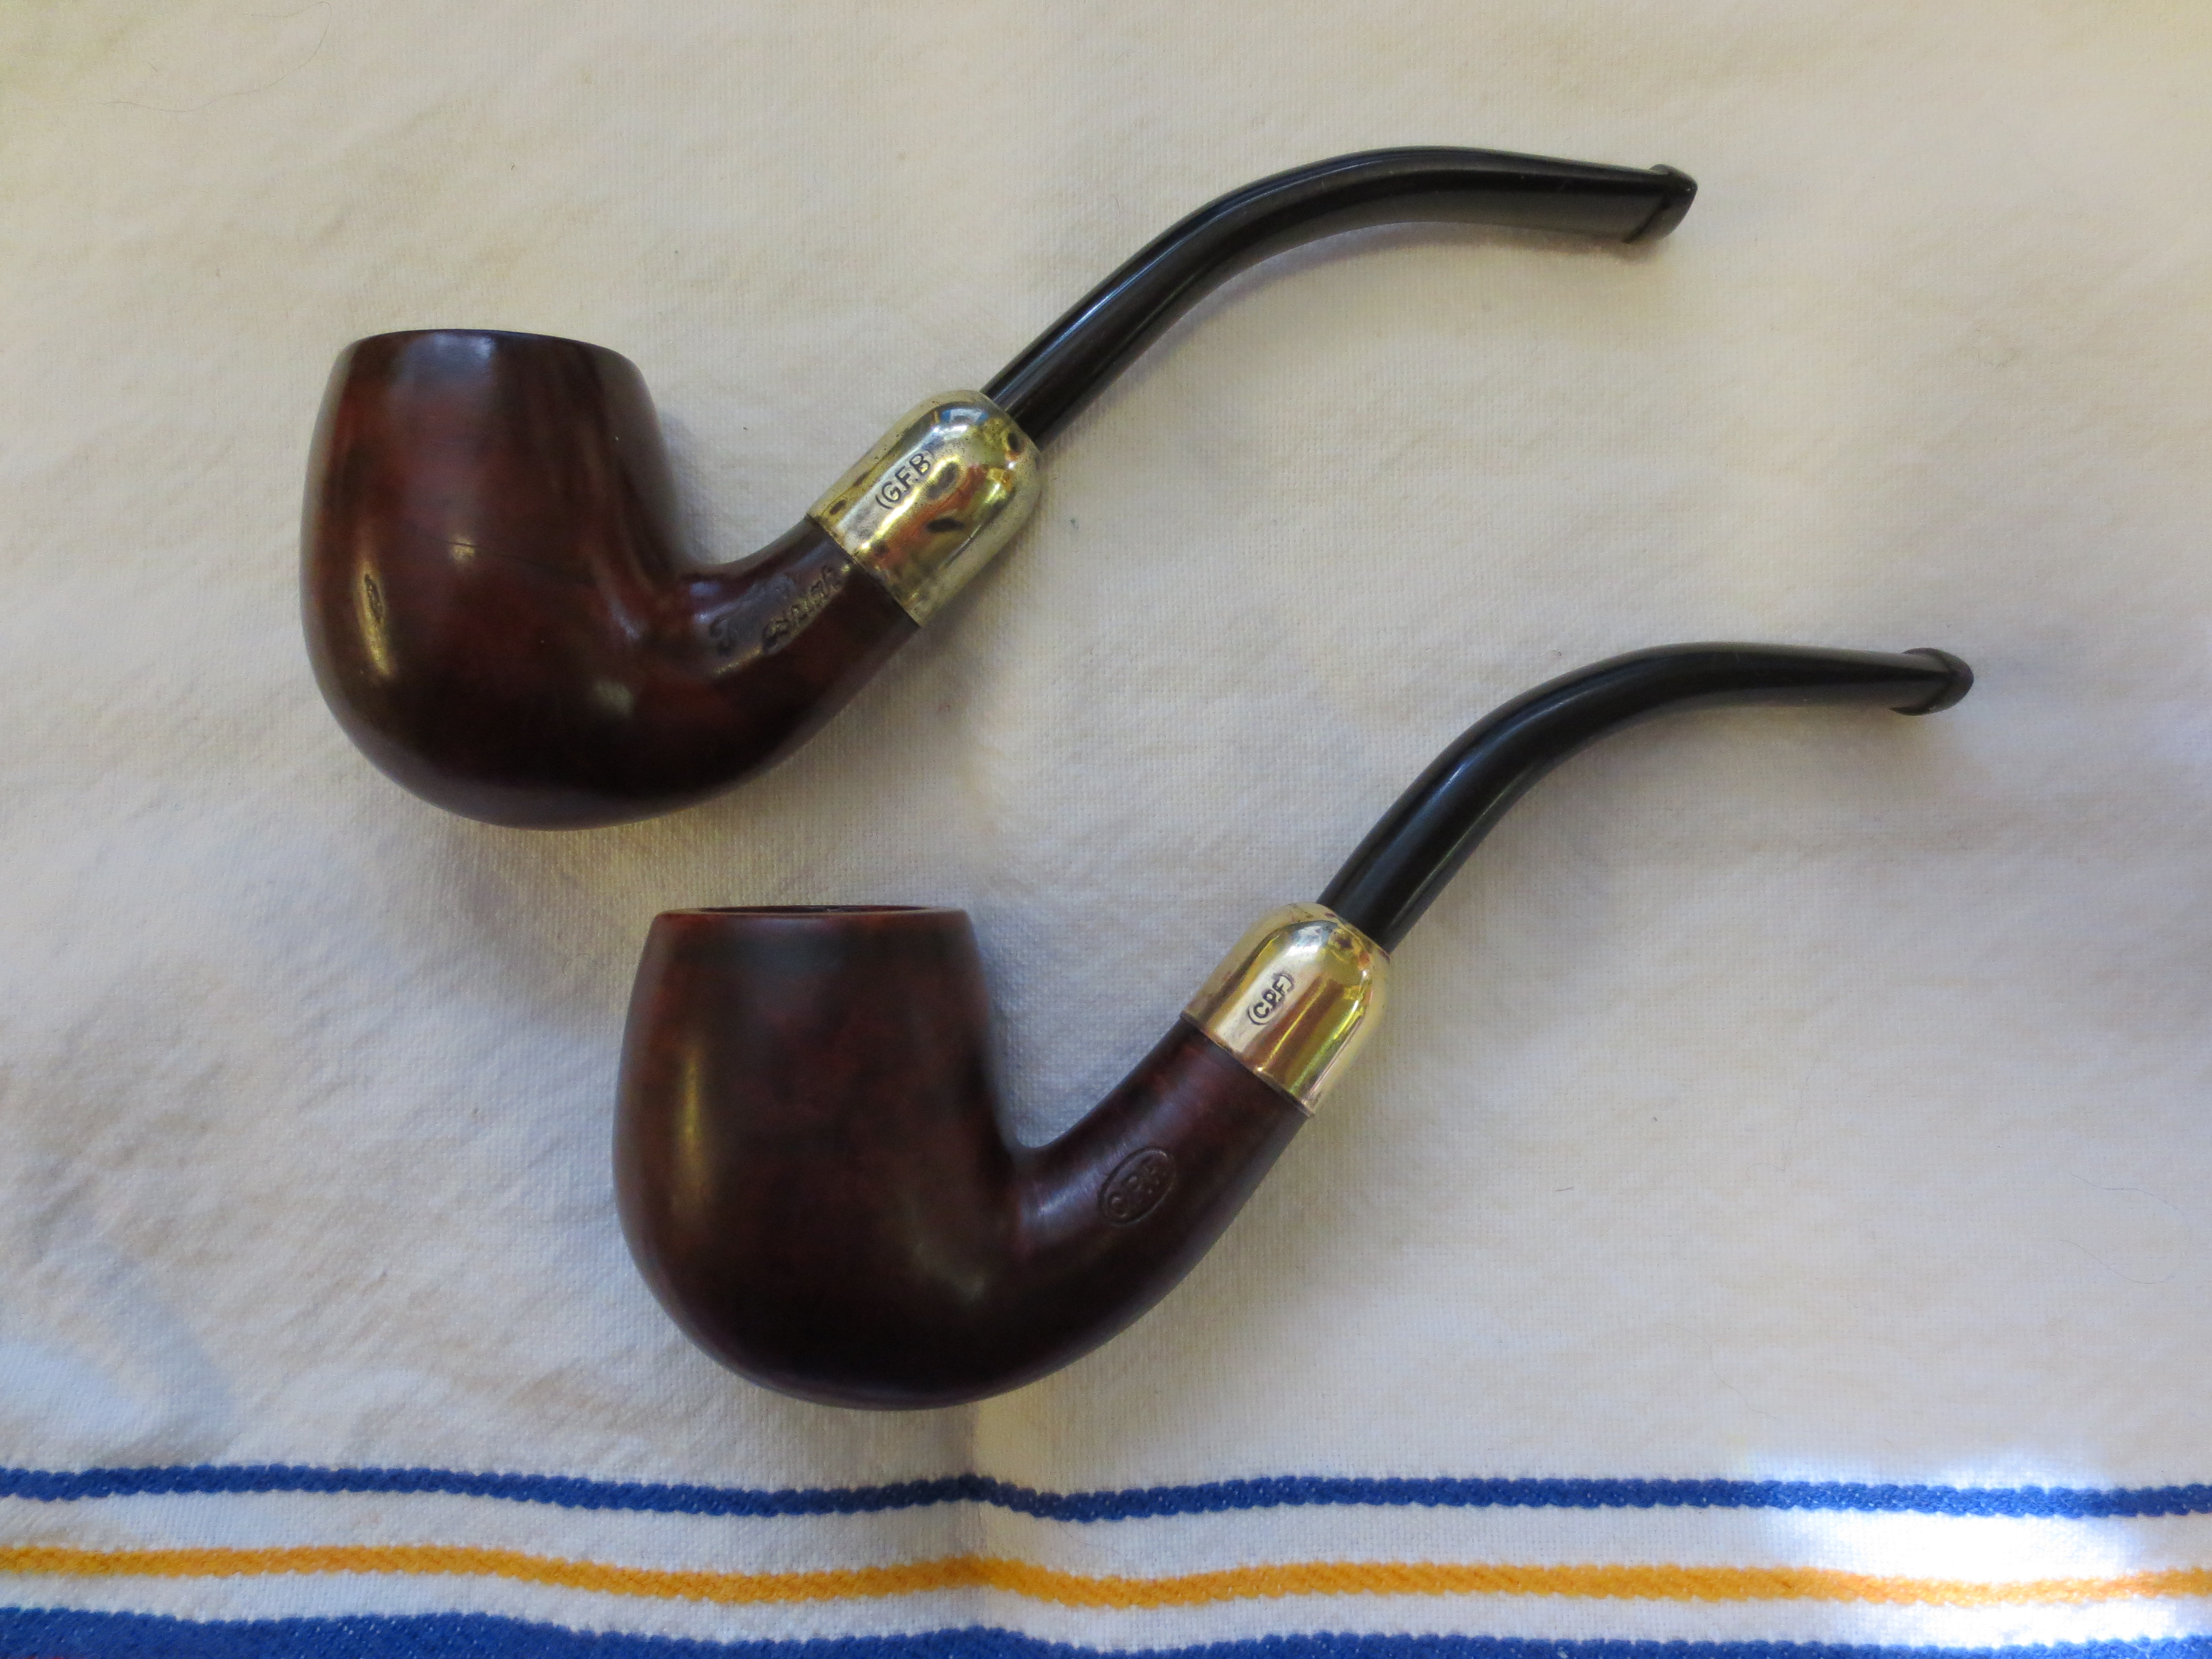
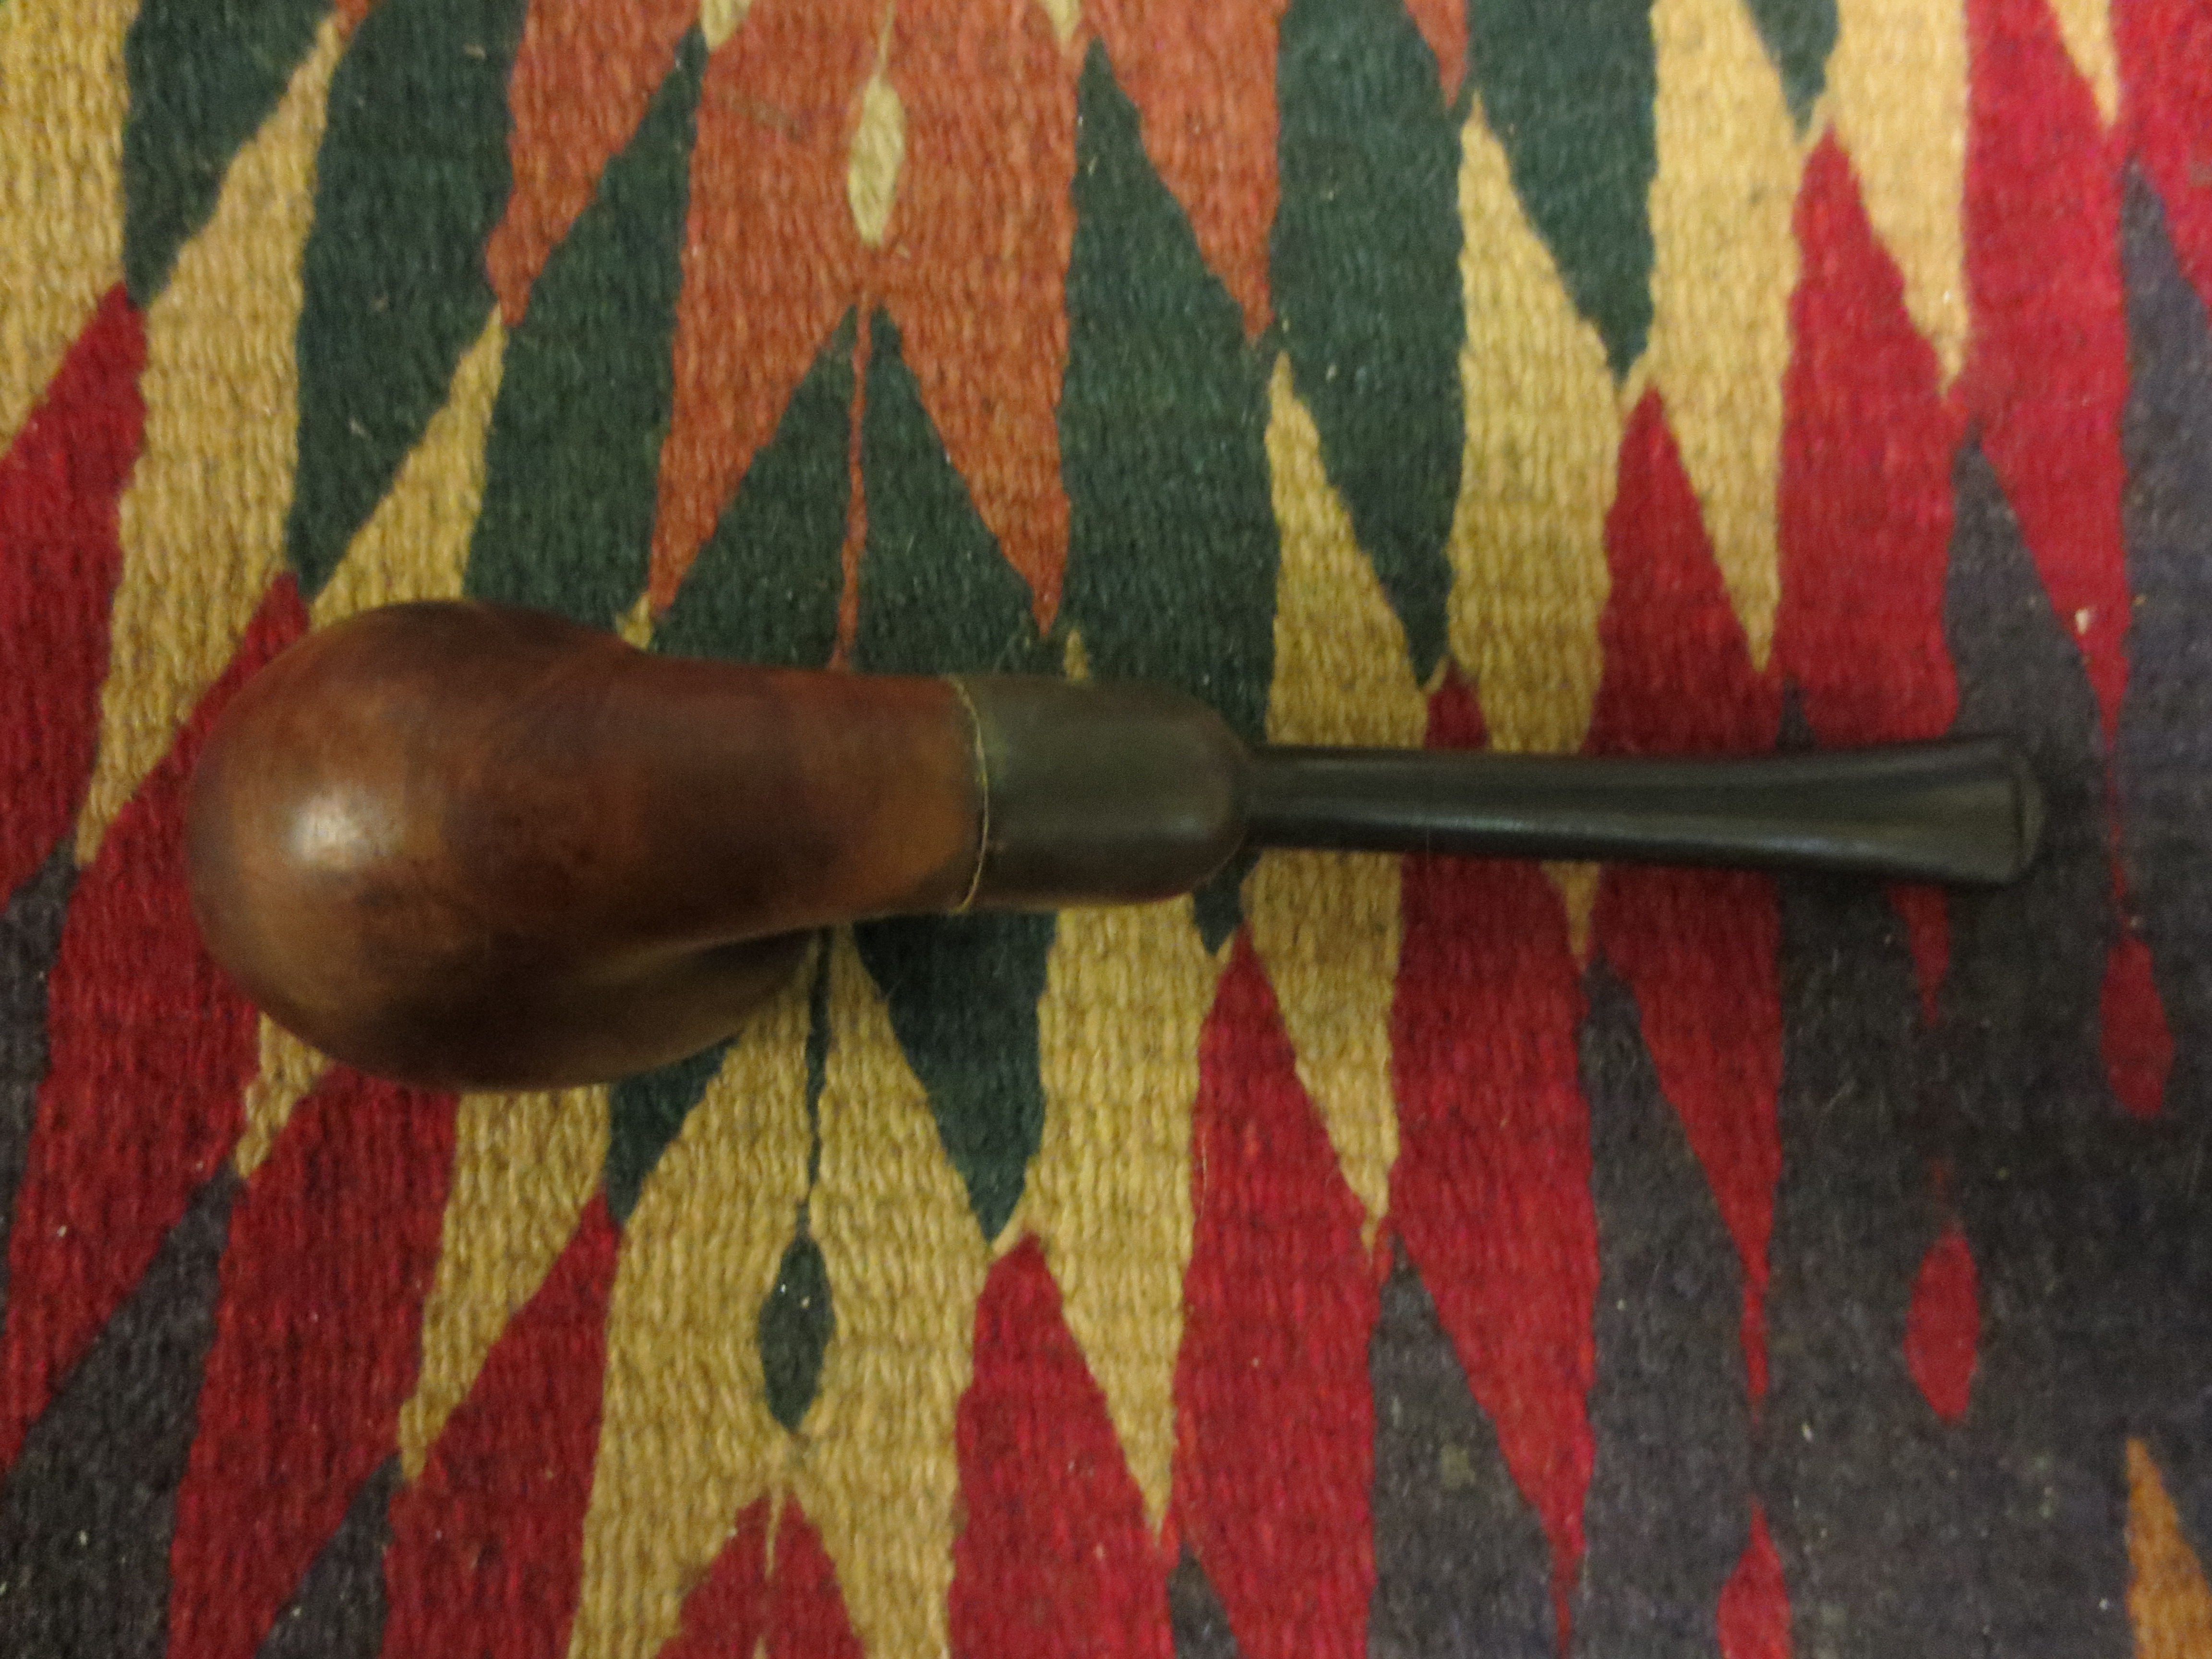
As I finished this piece on the GFB pipe I thought I would take some photos of the CPF and the GFB old timers posed together. The next two photos show the pair in their newly found glory. I can’t help but think that this is how they looked when they were purchased by the original owner. I believe that both came from the same pipe smoker so now they are returned to the look that must have caught his eye when he purchased them. The pair look enough alike I wanted you to see them in this pose! A noble pair of old pipes, don’t you agree?