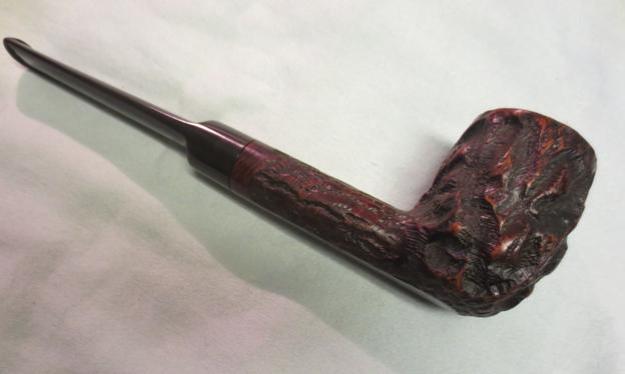
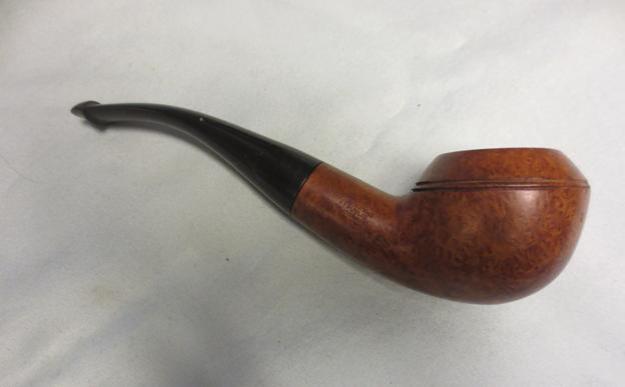
Blog by Steve Laug
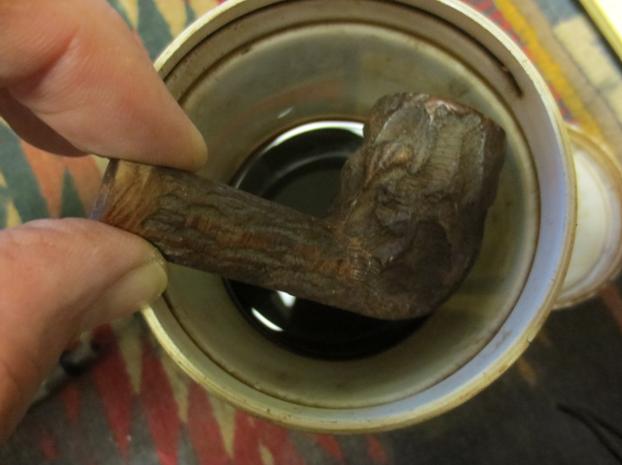
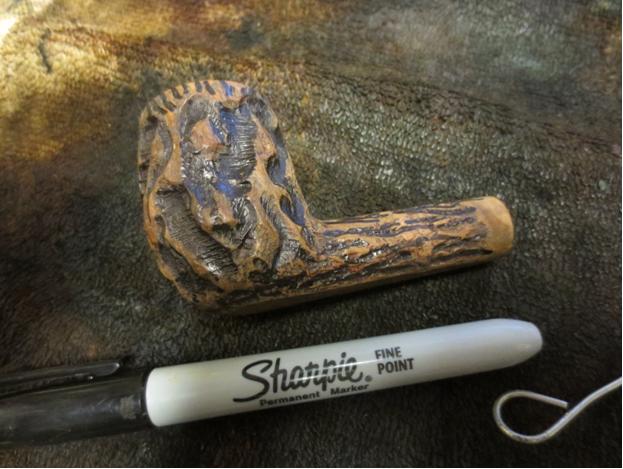
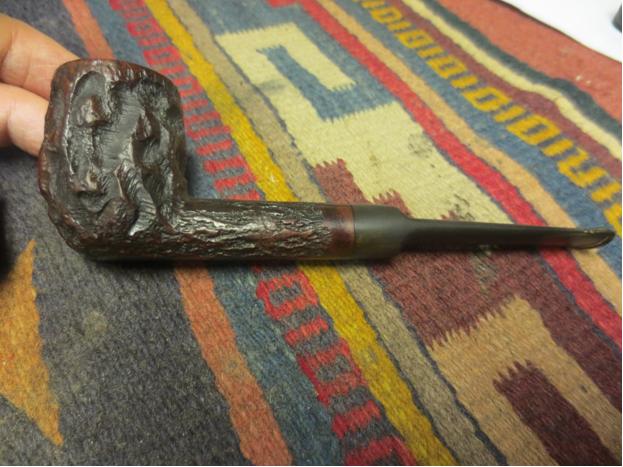
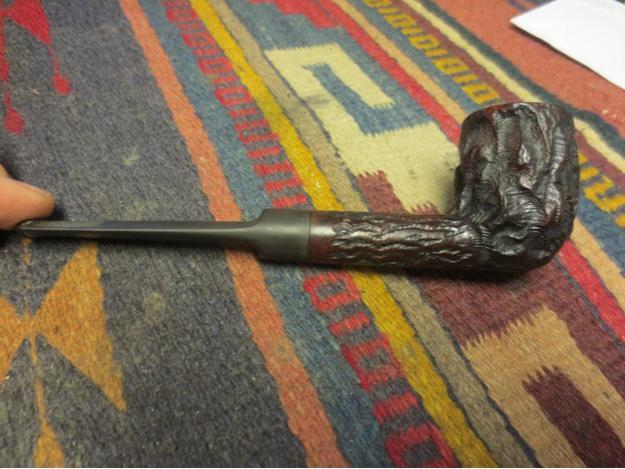
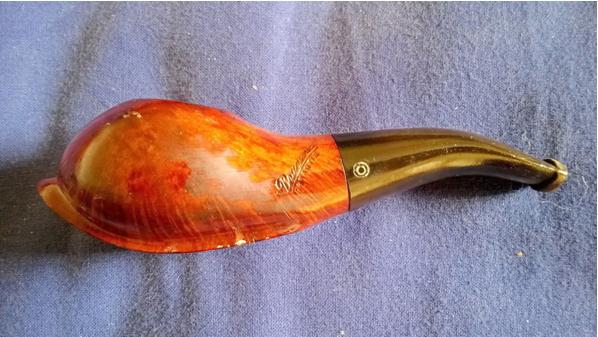
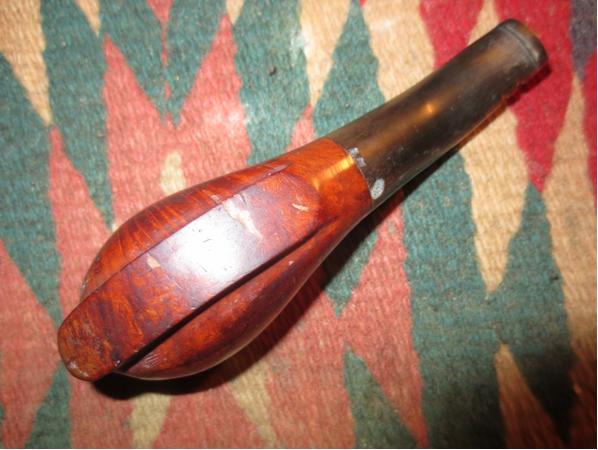
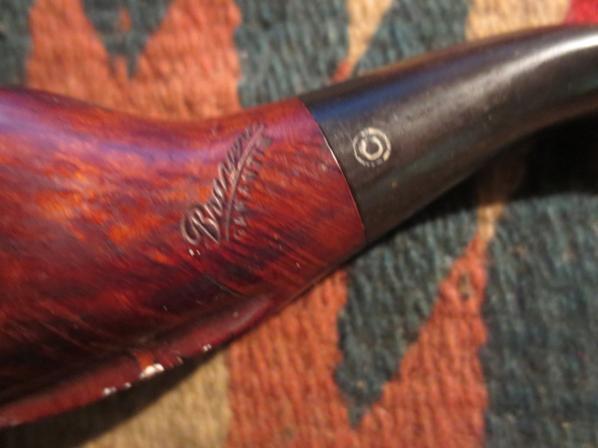
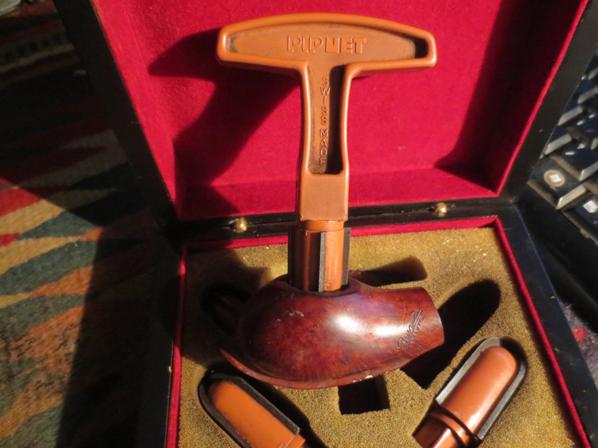
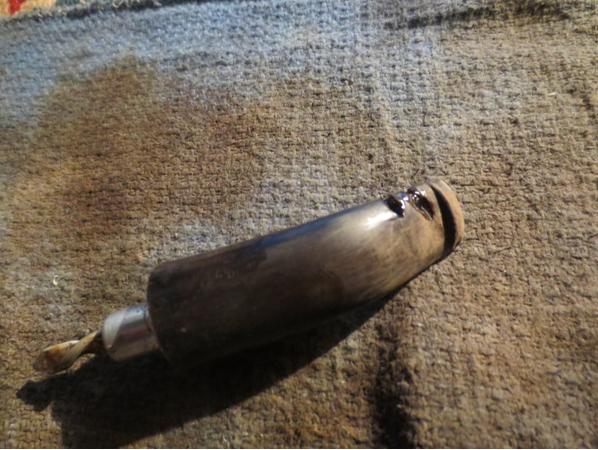
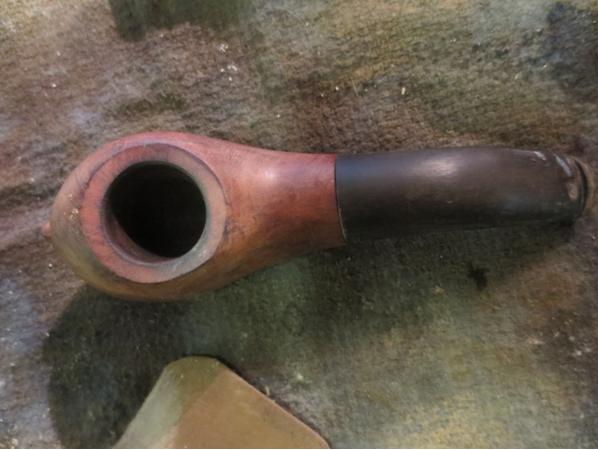
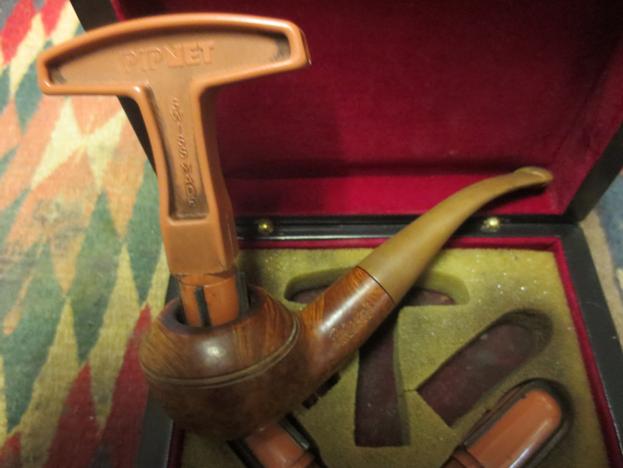
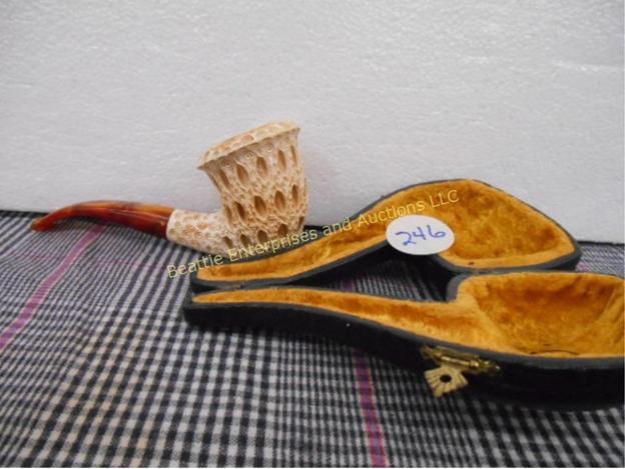
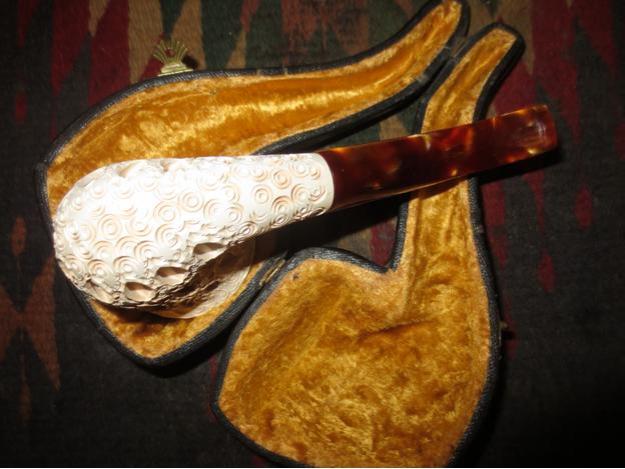
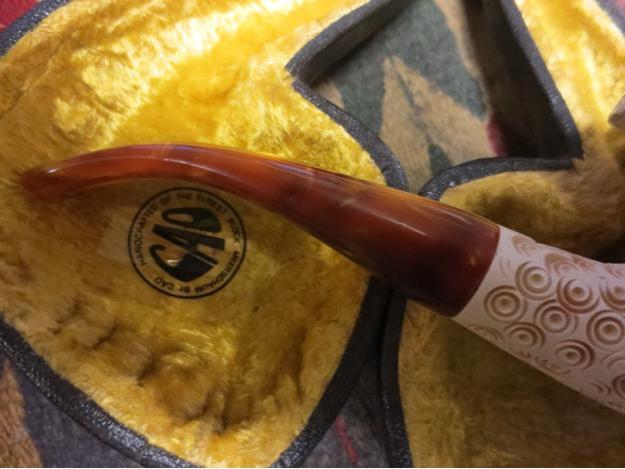
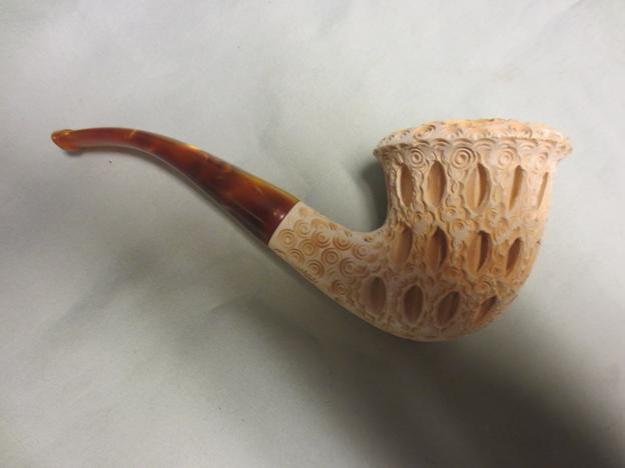
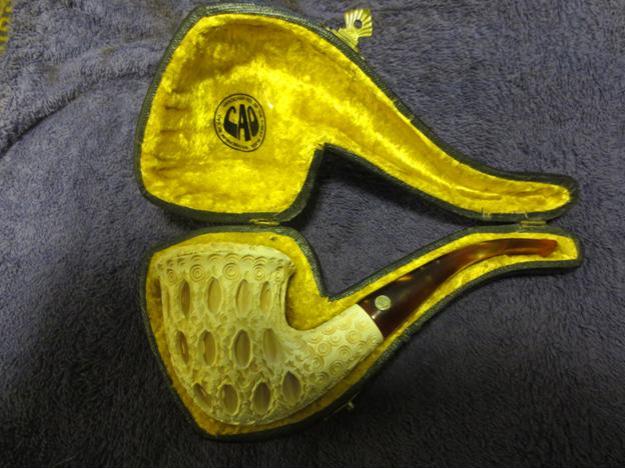
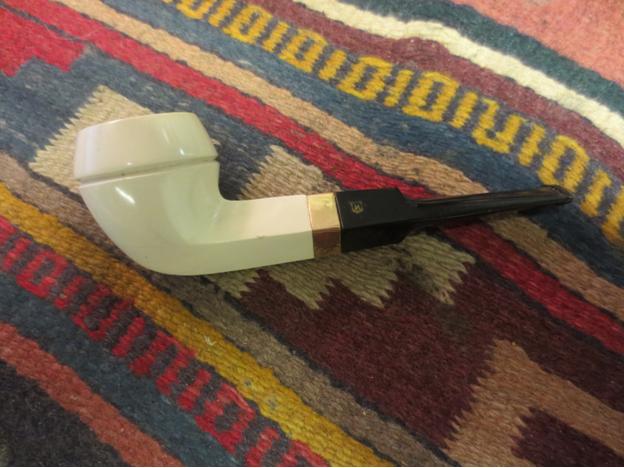
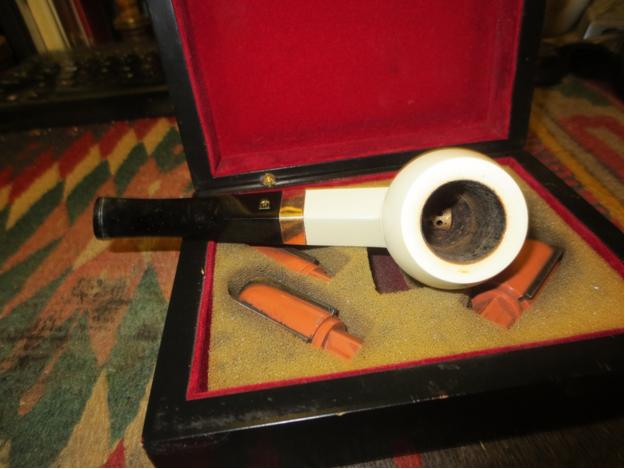
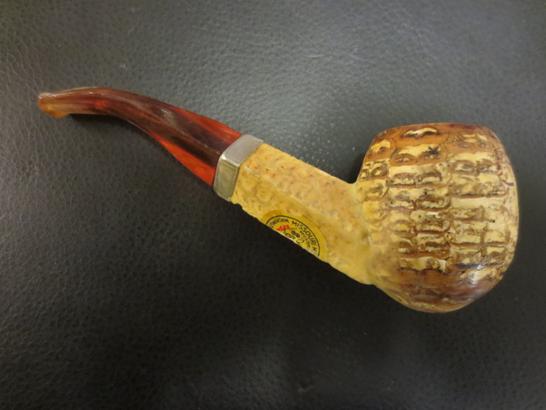
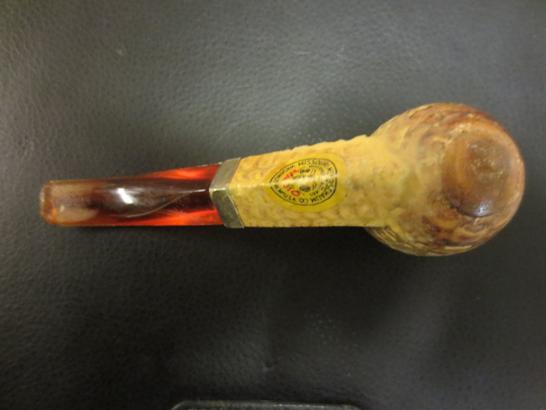
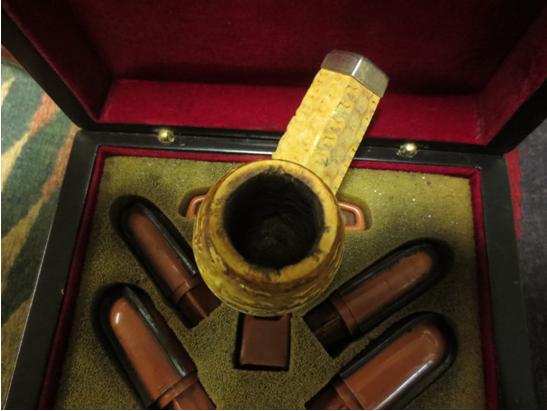
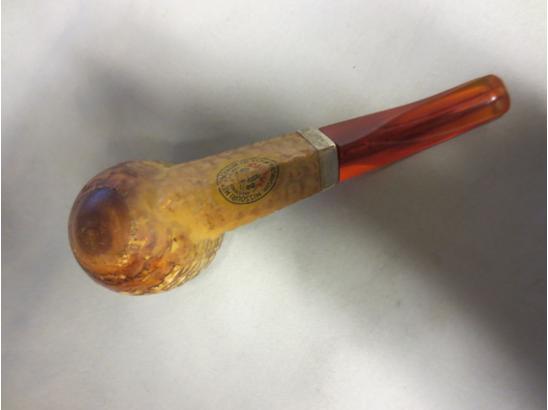
My brother, Jeff has been on a roll picking up some nice pipes that he gifted me. The first was the CAO meer that I reworked the stem and wrote about. The second was the Peterson Kildare 999 (one of my favourite shapes). The third one that I worked on was a no name meerschaum. It is a bent barrel shaped pipe with a stag running through the trees carved on the front of the bowl. The meerschaum is very heavy and dense in appearance so I am pretty certain it is a pressed meerschaum pipe. The stem is a bright yellow Lucite that actually shows better craftsmanship than the Lucite stem on the CAO meerschaum. The pipe came in a decent brown leather cover case with smooth fabric in the lid and a soft faux fur in the base. The hinge and the clasp were brass. The pipe fit well in the case. The photo below comes from the auction and gives a clear picture of the pipe as it was advertised. The issue that I had to address with this one was that the mortise insert for the push stem connector was shattered in the shank. When I twisted the stem out of the shank a portion of the insert came with it. I looked into the mortise and I could see the cracks and breaks in the insert. It would need to be pulled.
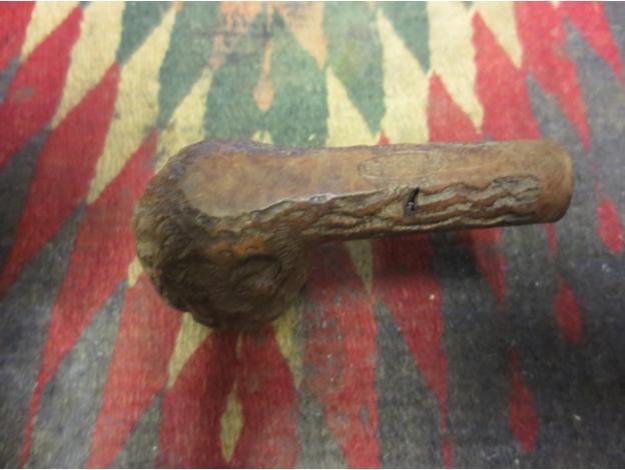
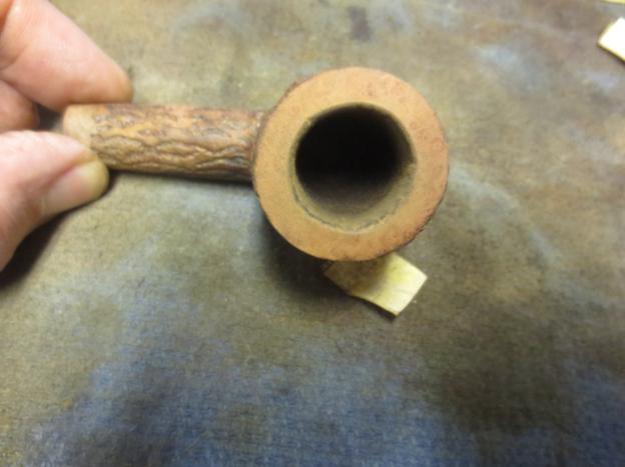
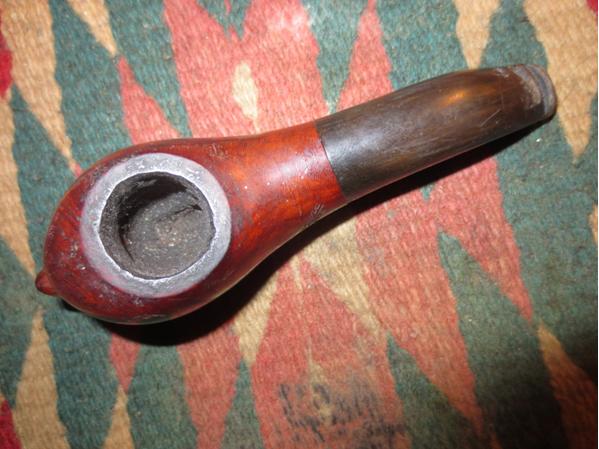
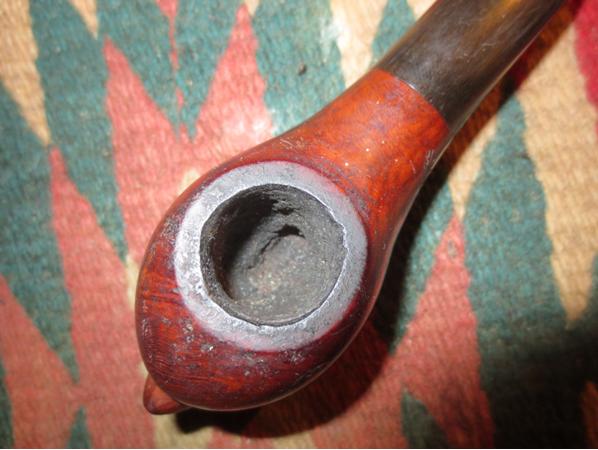
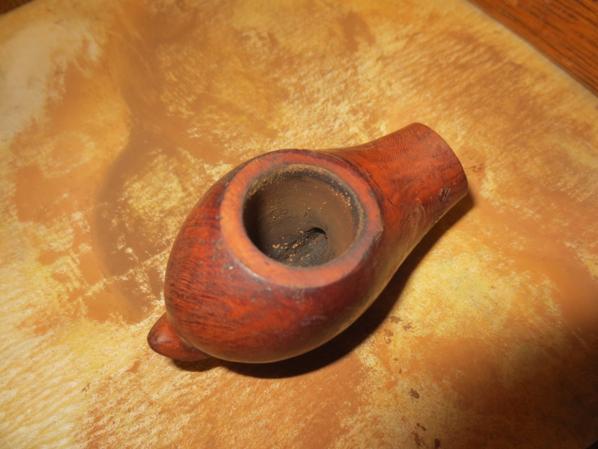
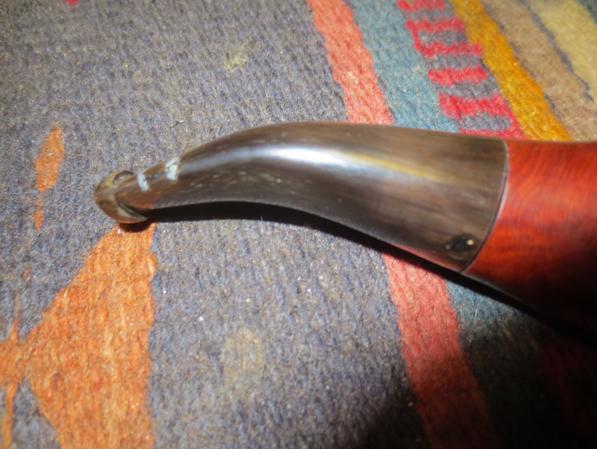
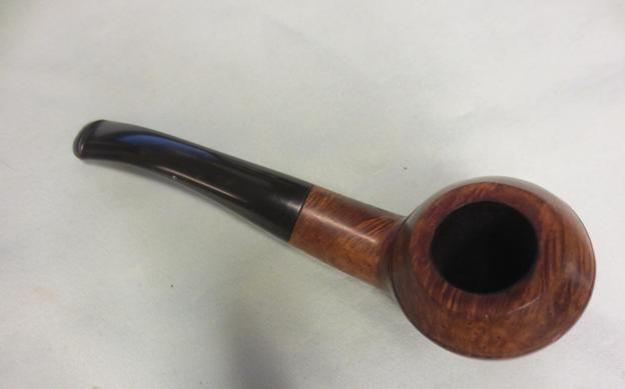
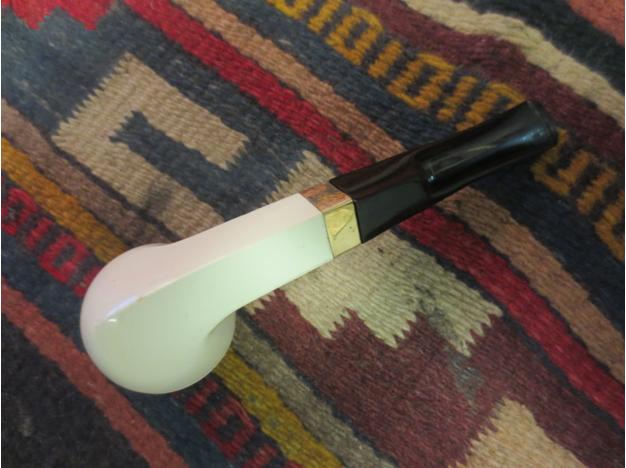
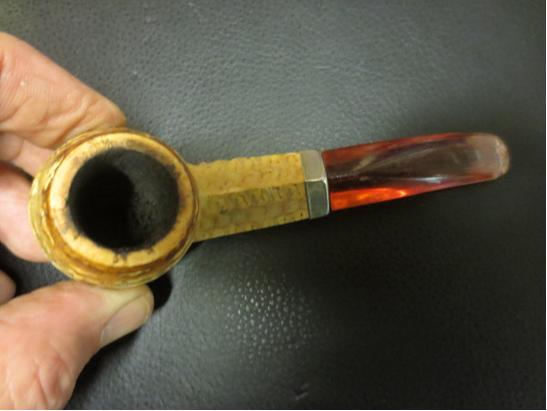
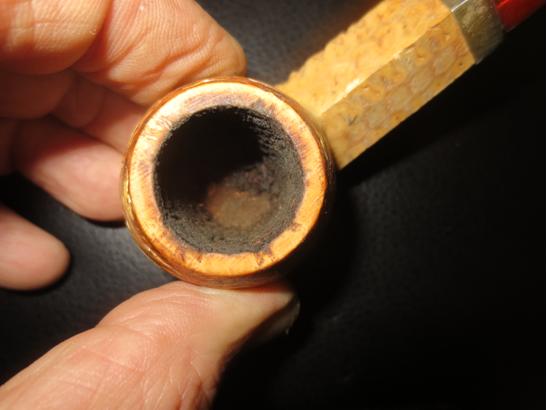
 The bowl of the pipe was pretty clean. The inside of the bowl was slightly darkened but looked like it had been smoked only a few times (if that). There was also some rim darkening that probably would clean up easily enough. Under a bright light it appeared that there was either a small crack or a scratch on the outer rim just above the ring on the barrel on the right side of the bowl. I checked the mark with a jeweler’s loupe and it appears to be a small hairline crack. I cannot feel it with my finger when I run it over the surface. There is a scratch below the band on the barrel as well, just below this. That particular line is not a crack but a scratch. That is the bad news and the good news regarding the crack. The shank was clean past the insert.
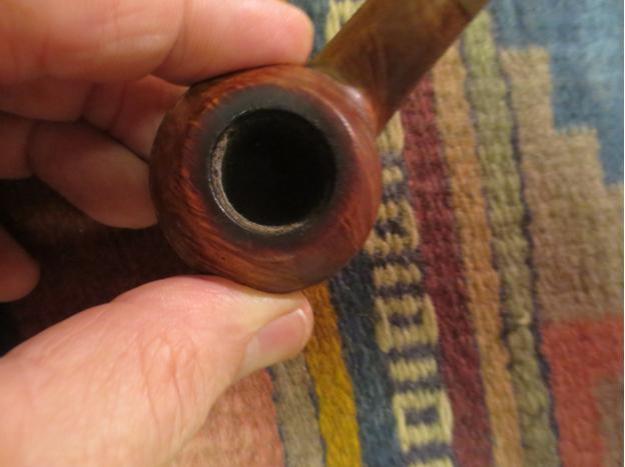
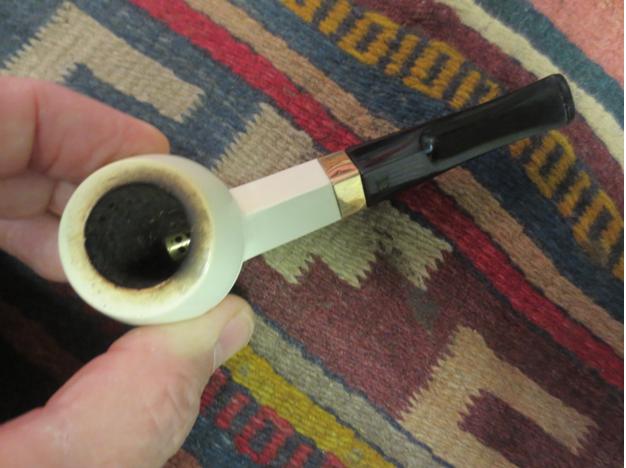
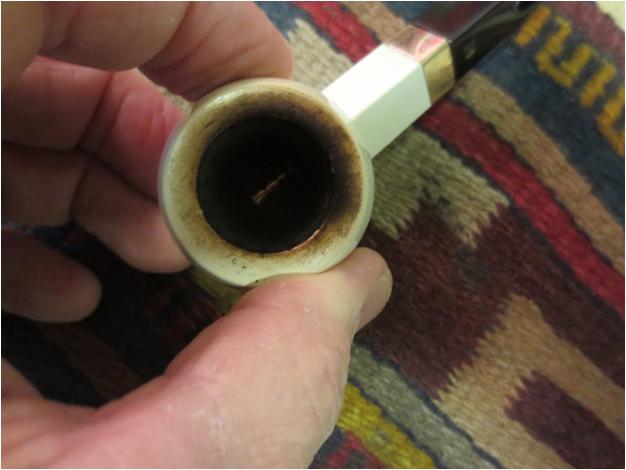
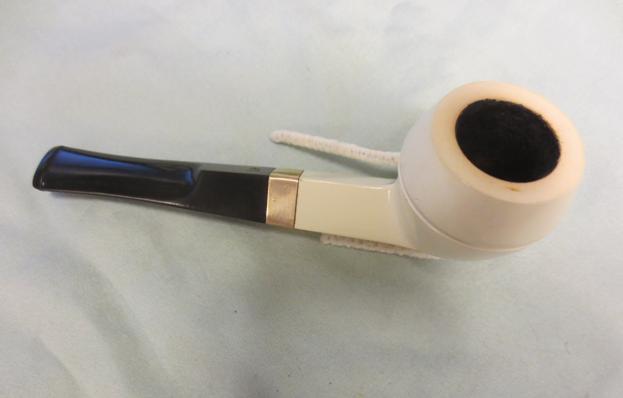
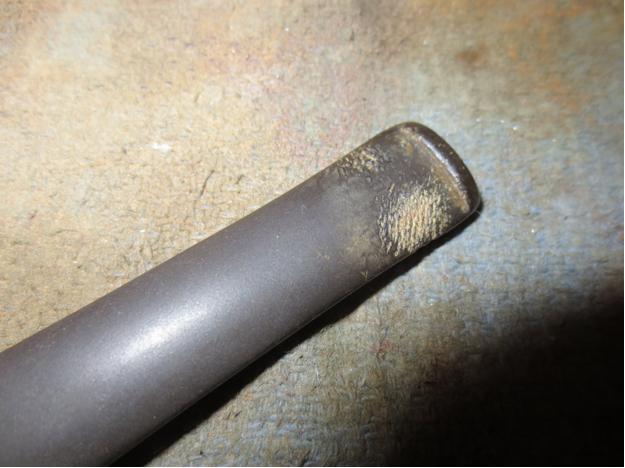
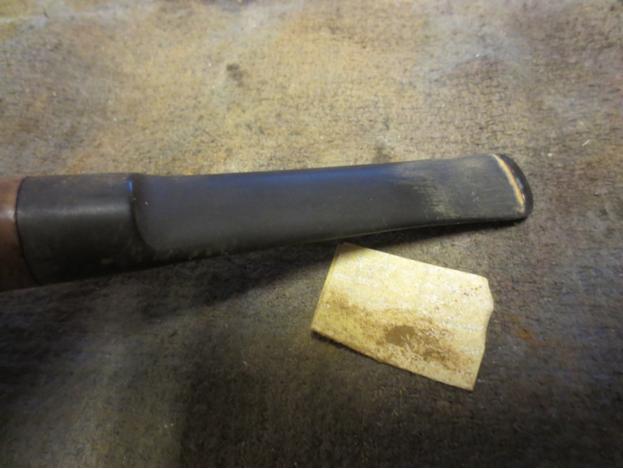
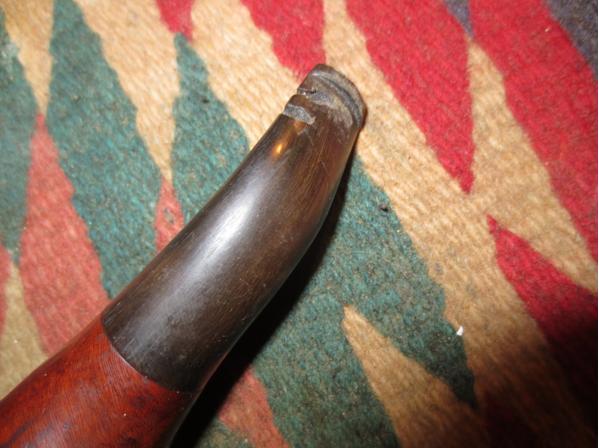
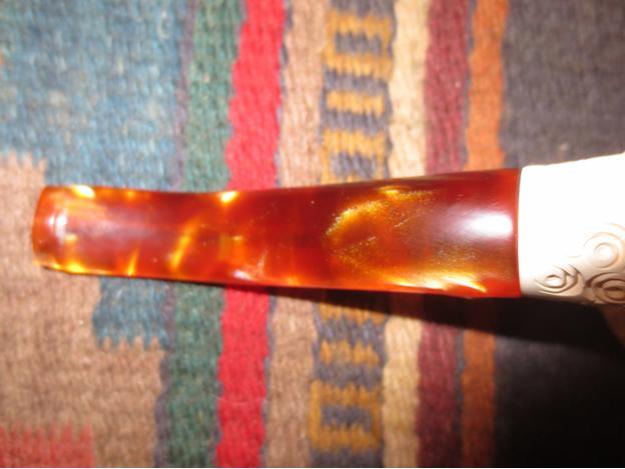
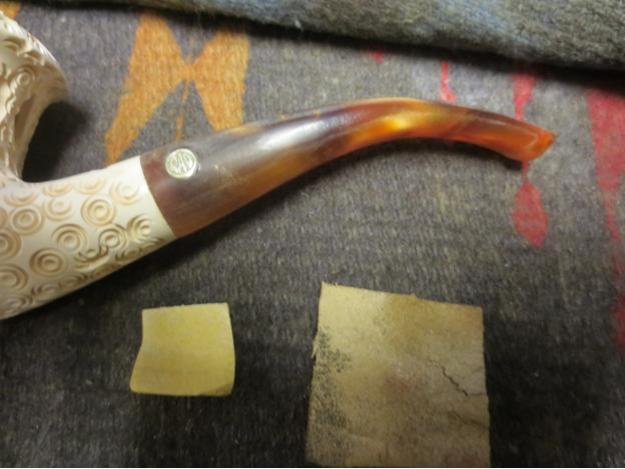
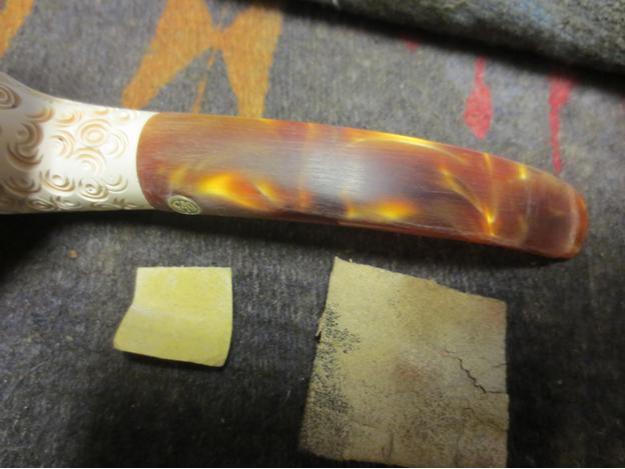
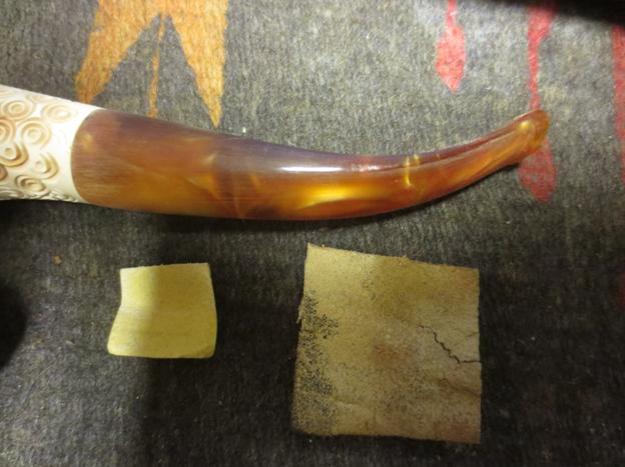
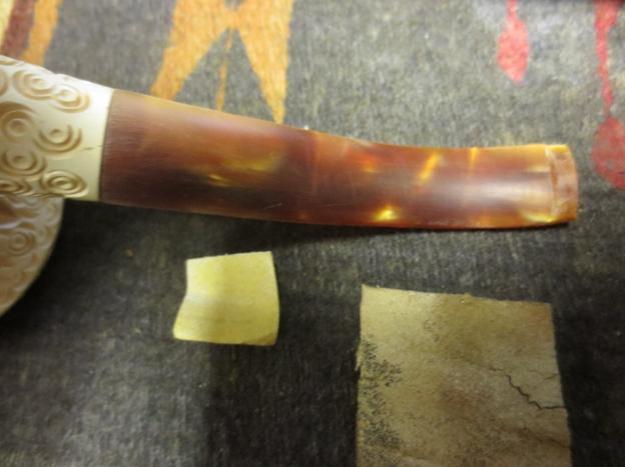
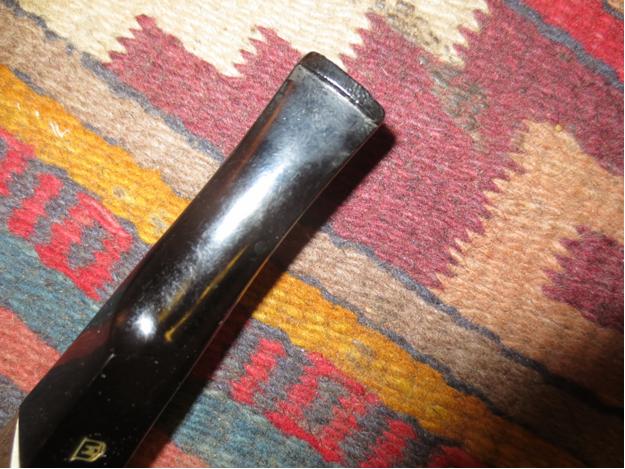
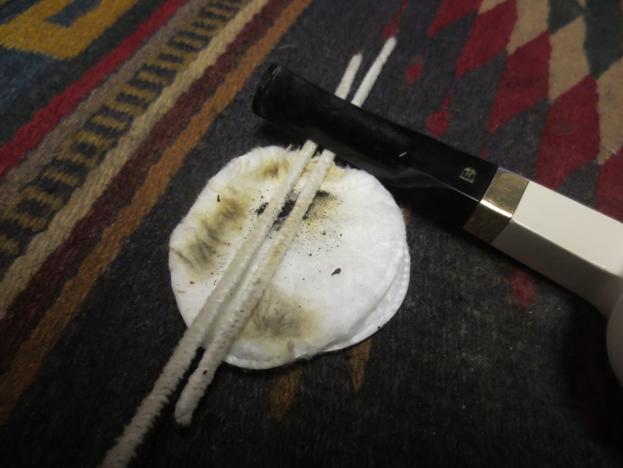
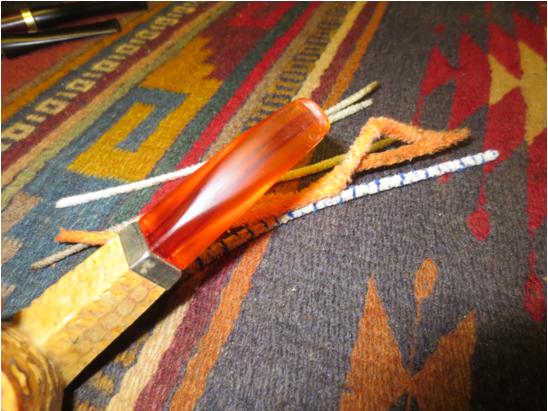
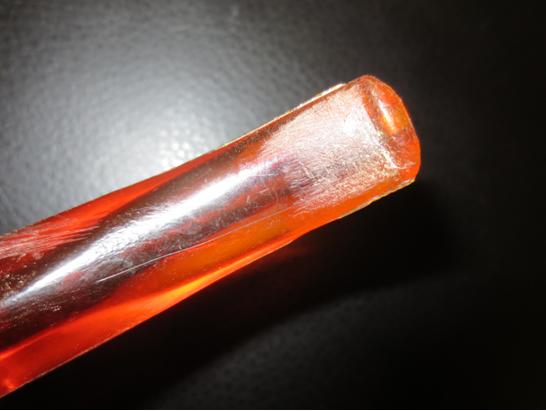
The stem had some oils and stain in the airway. There were light tooth marks and chatter on the underside of the stem next to the button. The slot was well cut in the end of the button and the interior of the Y was smoothly sanded. The button itself was well shaped. The stem did not align with the shank. Though they were both the same diameter, the airway in the shank was slightly off centre which made the right side of the stem extend past the edge of the shank while the left side was slightly smaller than the shank diameter at that point. I may need to do a bit of work on the right side to make it match the right side.
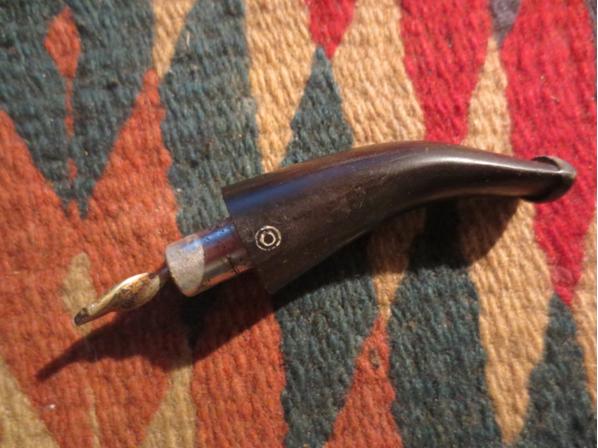
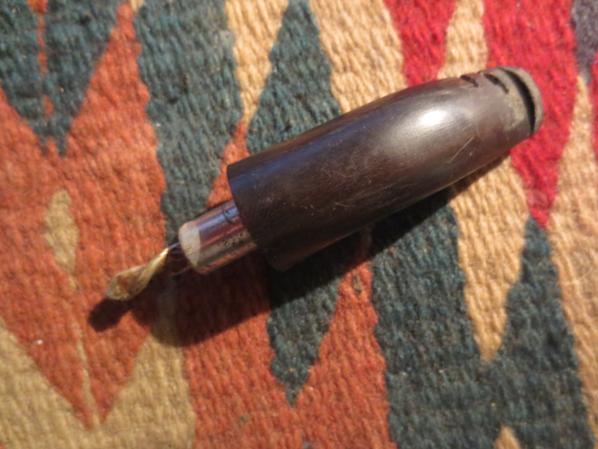
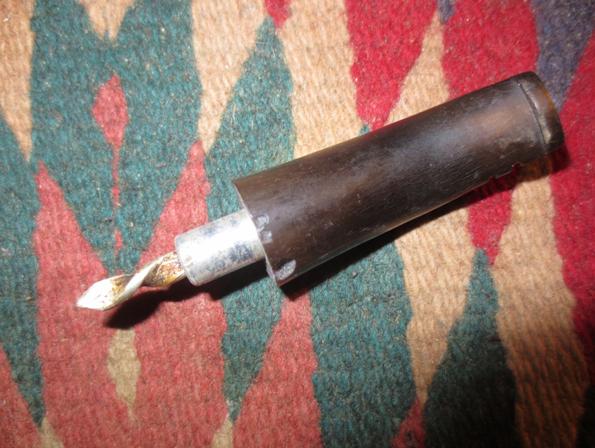
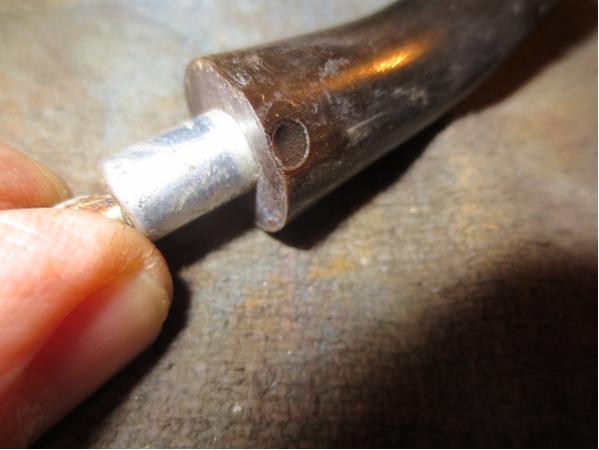
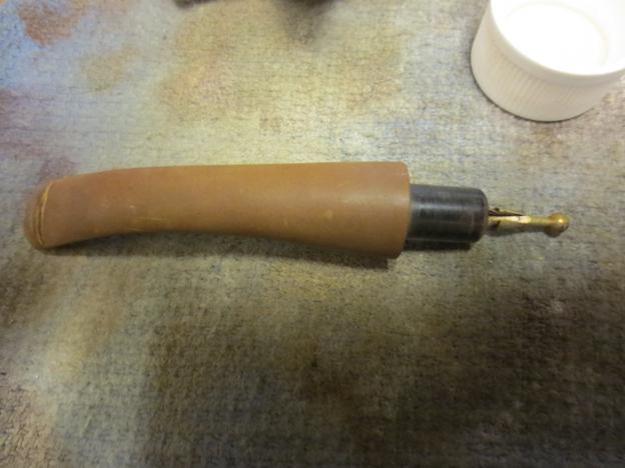
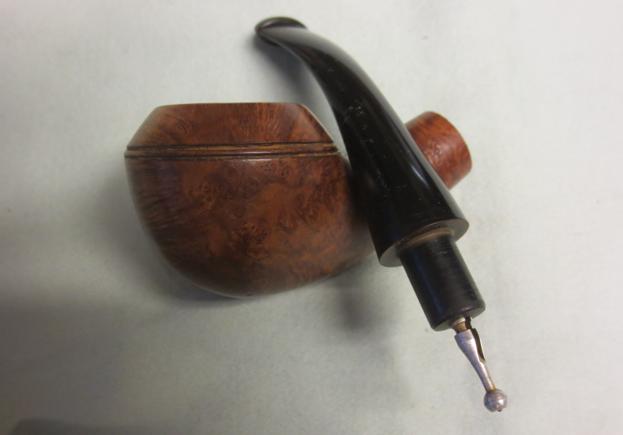
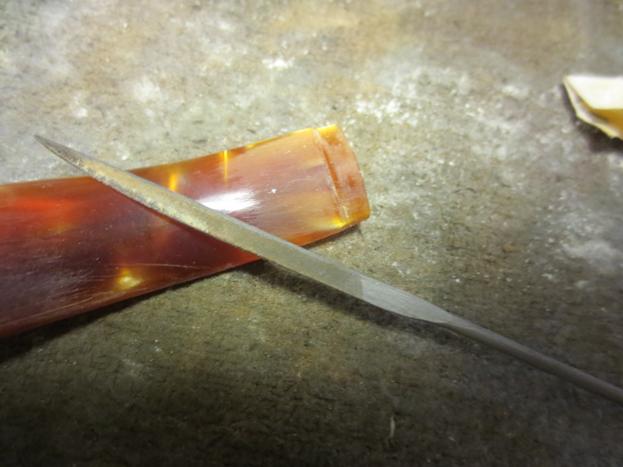
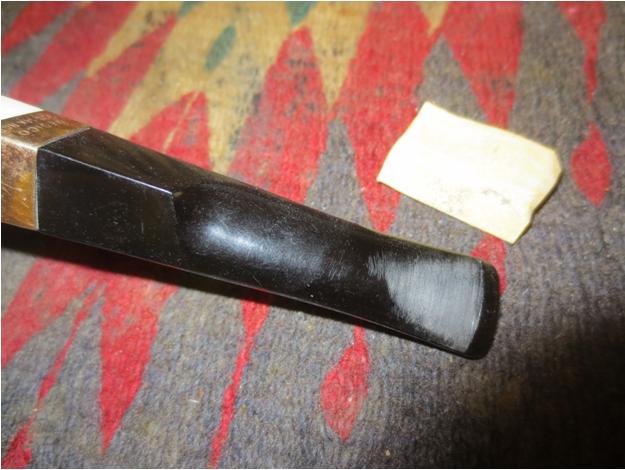
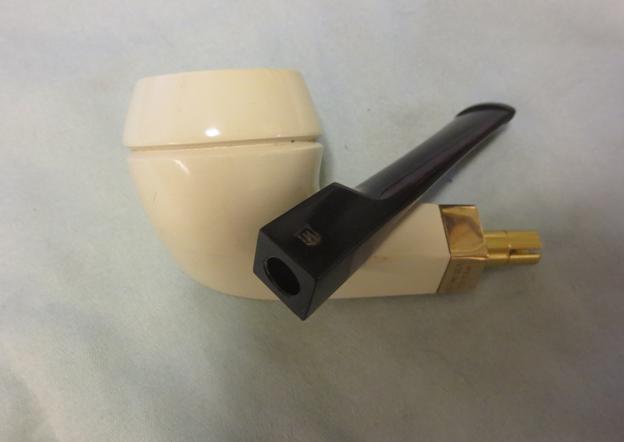
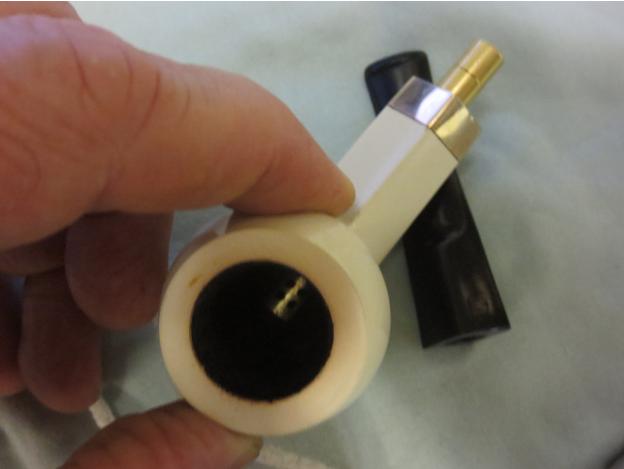
I removed the stem from the shank and wiggled the broken portion of the mortise insert that was stuck at the top of the push tenon in the stem free from the stem. I used a knife blade inserted in the shank to bite into the broken insert and twisted it free of the shank. It came out in three pieces that fell apart when they hit the table top.
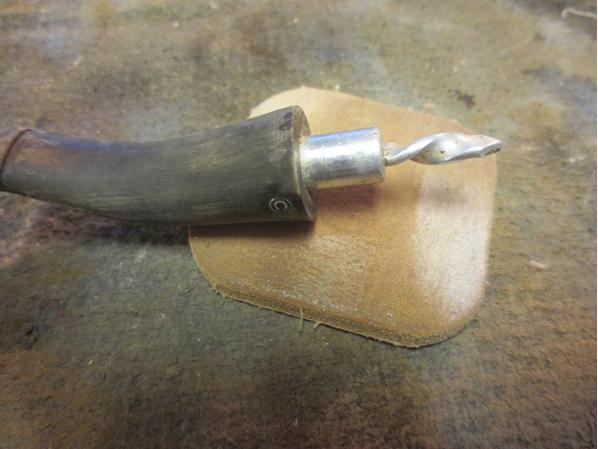
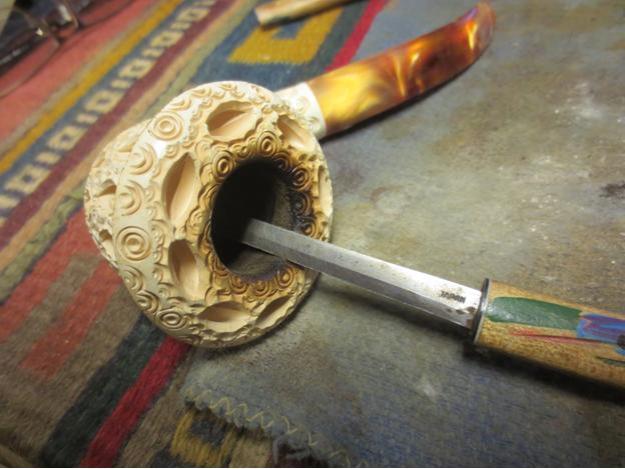
 I have a few Delrin push tenons and inserts that I ordered for just such an occasion and took one out of the box where I have them. I cleaned up the edges and casting overage on the top cap. I sanded it to smooth out the Delrin fitting. I aligned the thread in the shank with those on the insert and screwed it into place in the shank. When I replace these I do not glue them in place in case they again disintegrate or crack. It will make a replacement much simpler for whoever has to work on the pipe next.

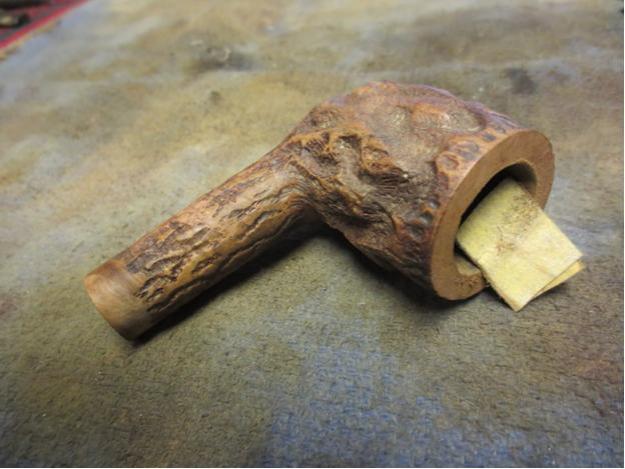
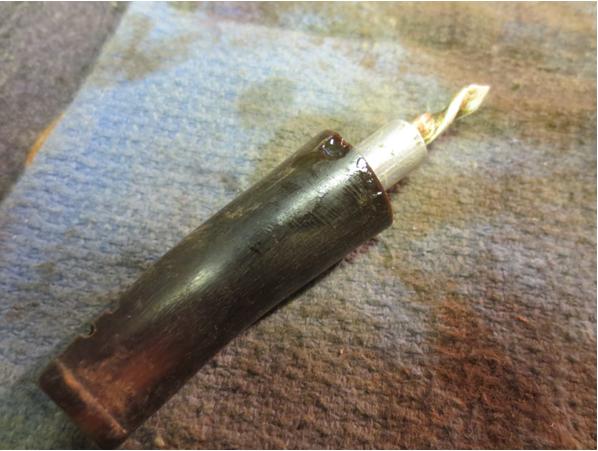
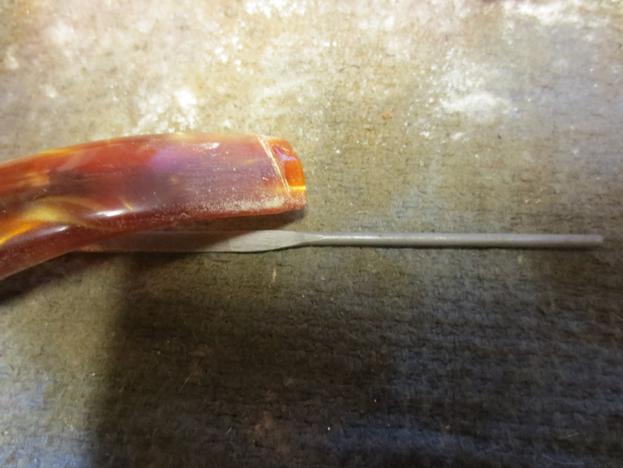
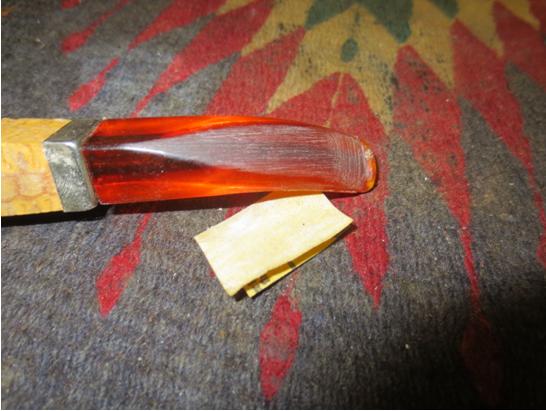
 I unscrewed the push tenon from the stem so that I could clean out the area behind it. It was a cheap clear nylon that was discoloured and had some grooves cut in the surface from the fractured mortise insert pieces. I would replace it with the Delrin tenon counterpart once I cleaned out threads in the end of the shank and the airway in the stem. I used cotton swabs, pipe cleaners and alcohol to remove the staining and oils in the airway. The new Delrin tenon had a larger airway and gave a more open draw on the pipe. It will be a significant improvement to the smokability of the pipe. A small bonus was that once I replaced the tenon and put the pipe back together the stem aligned better with the shank. I lined up well enough that the only small overage in diameter of the stem is on the underside. Also a quick draw on the pipe once it was together confirmed the new more open draw. It looked like this quick repair gave some unexpected bonuses that were worth the little effort.


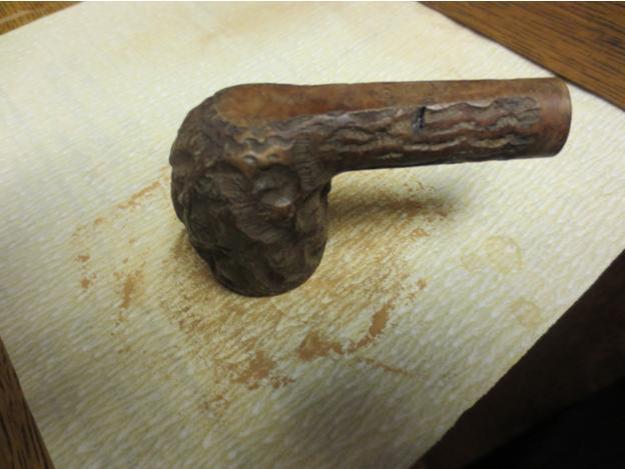
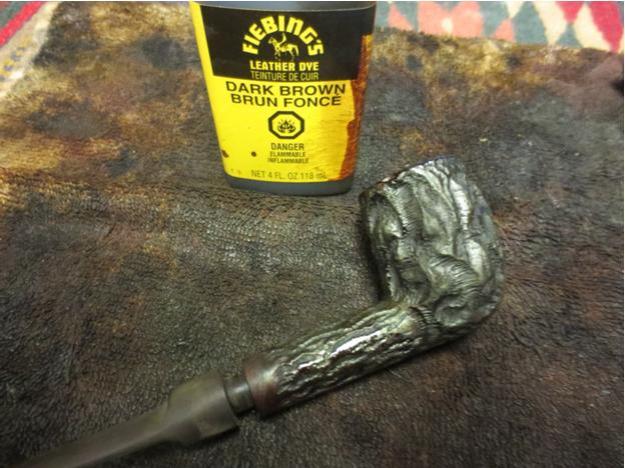
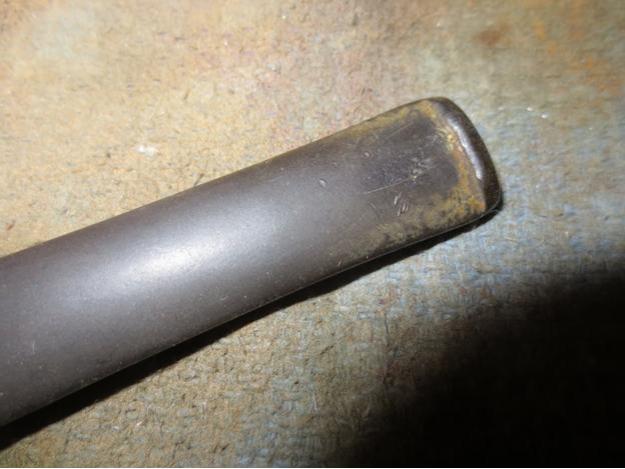
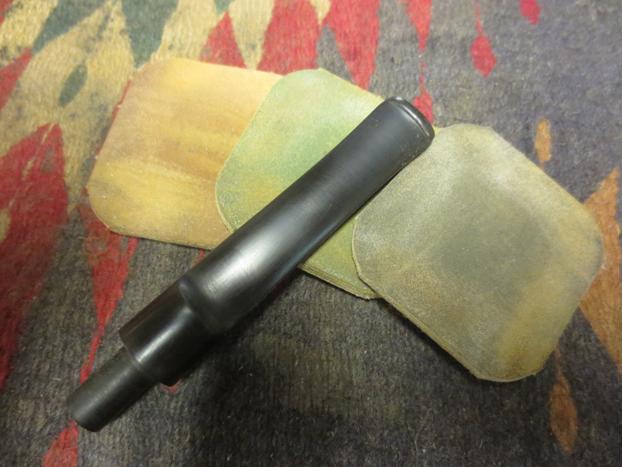
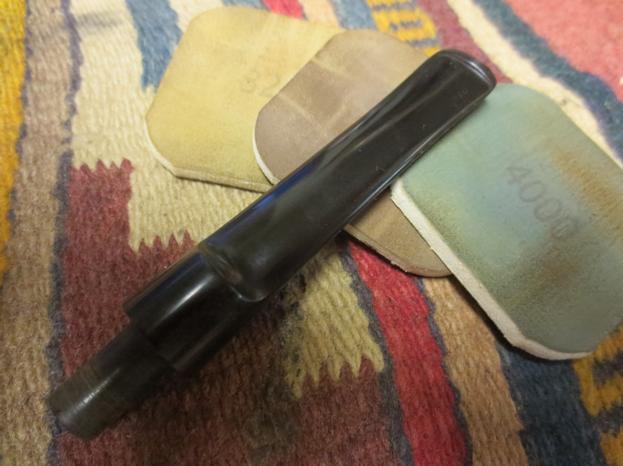
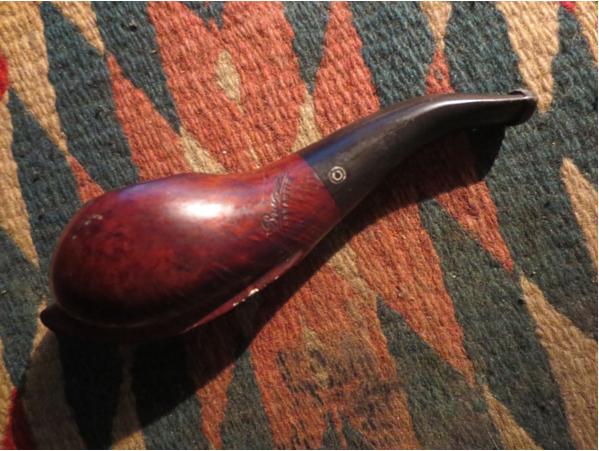
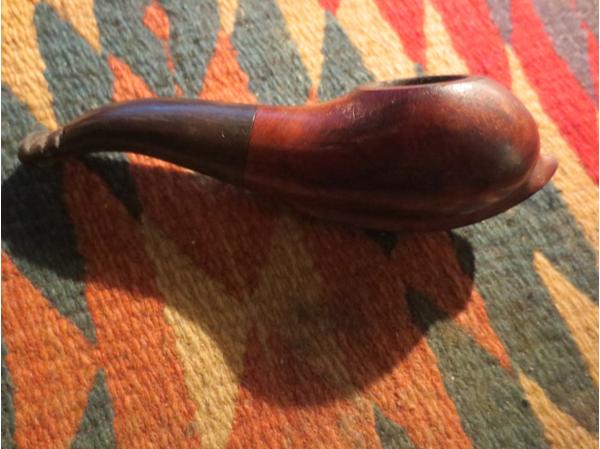
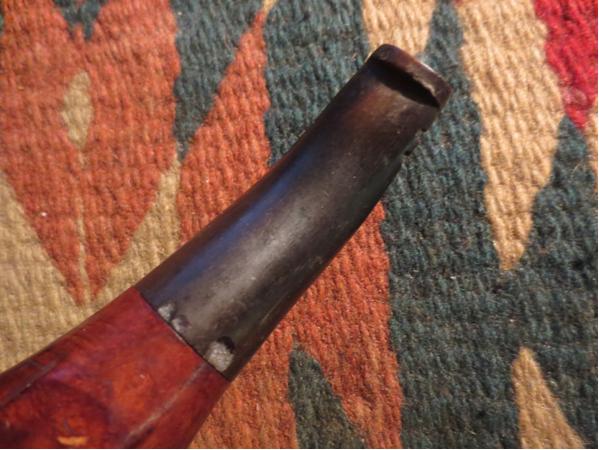
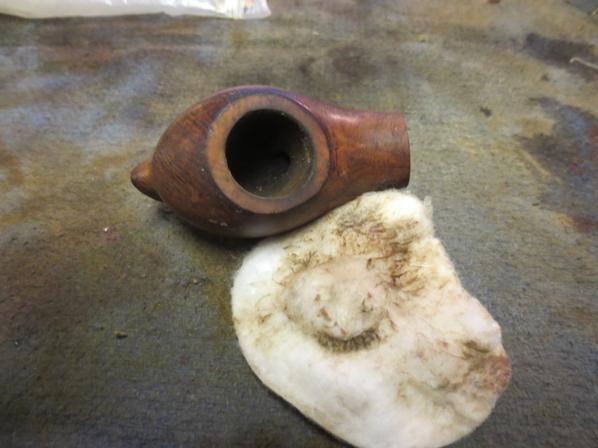
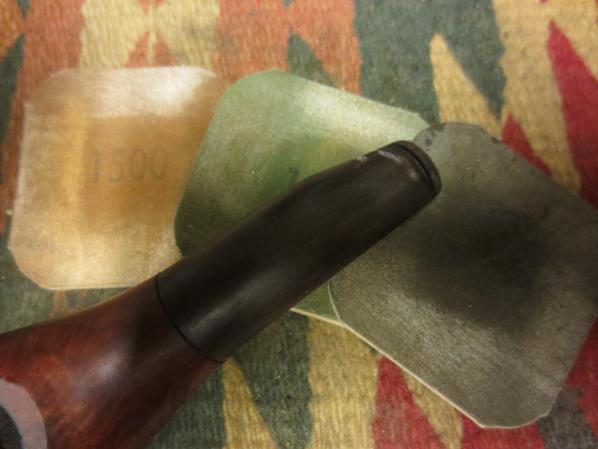
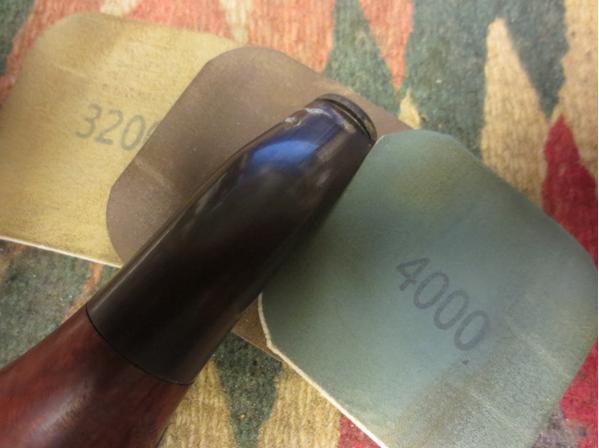
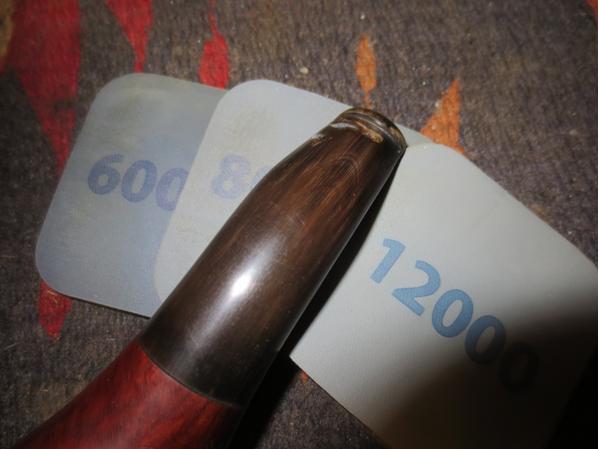
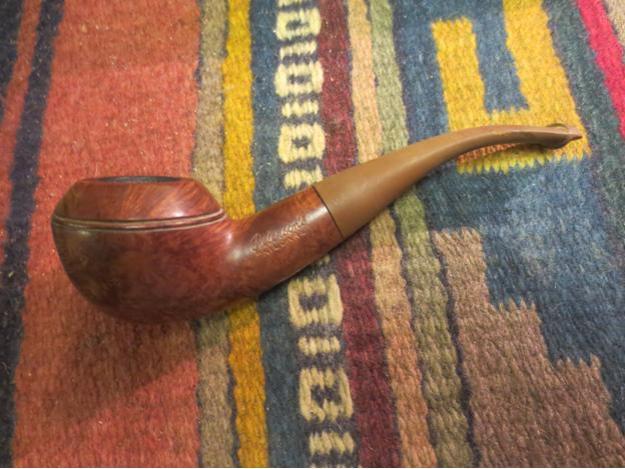
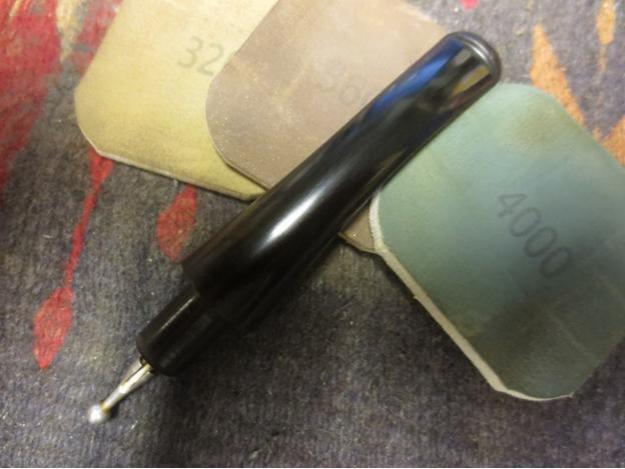
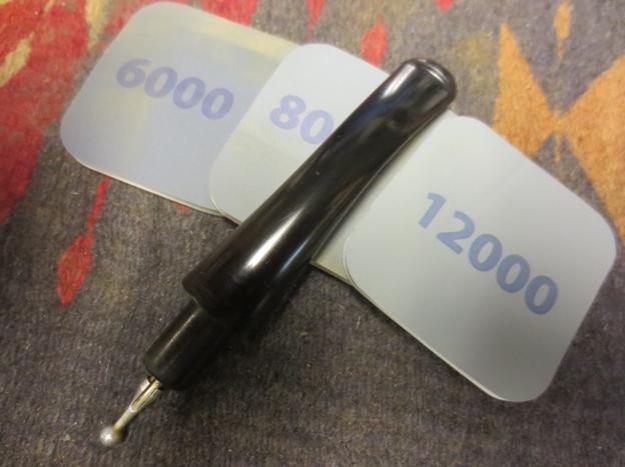
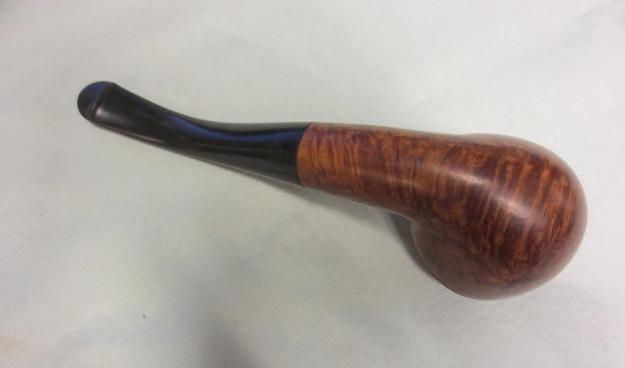
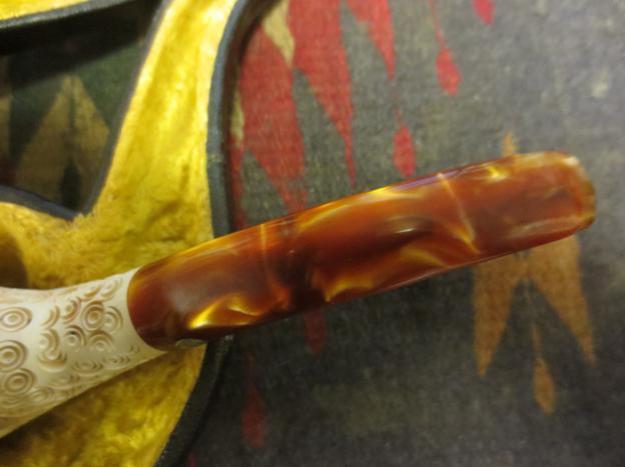
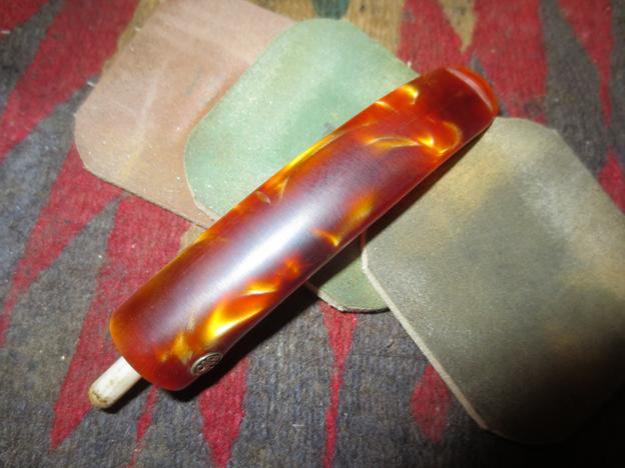
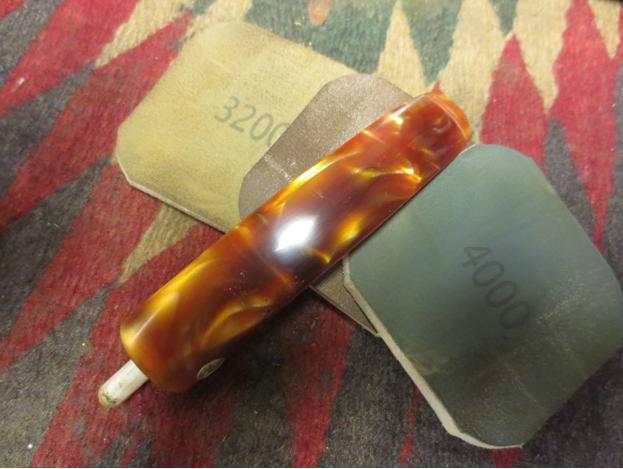
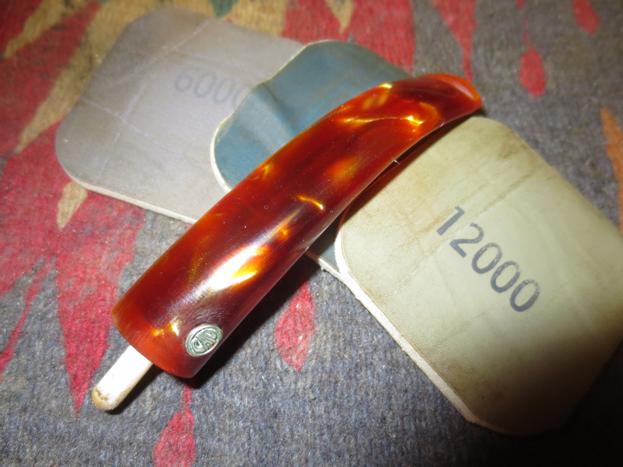
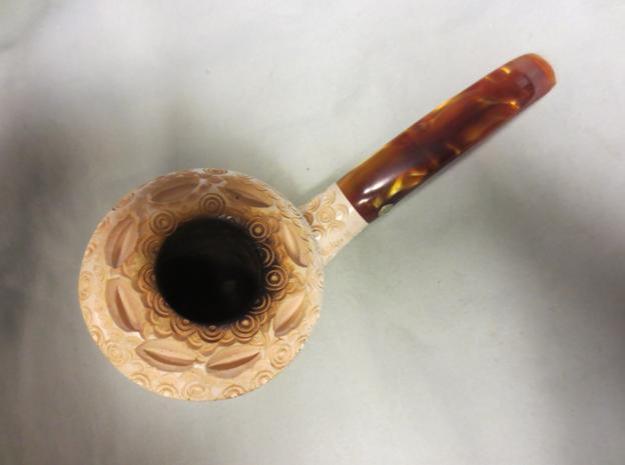
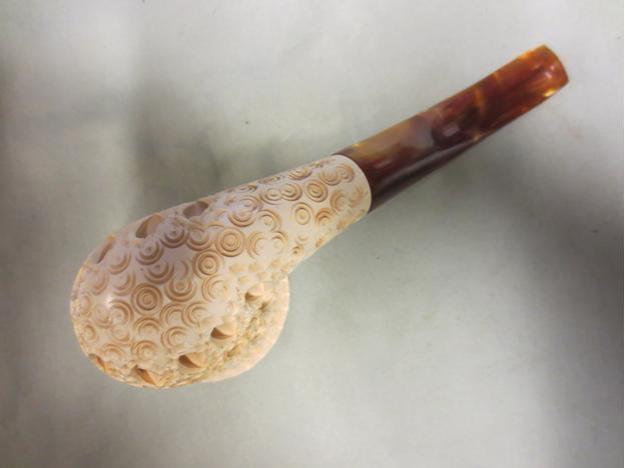
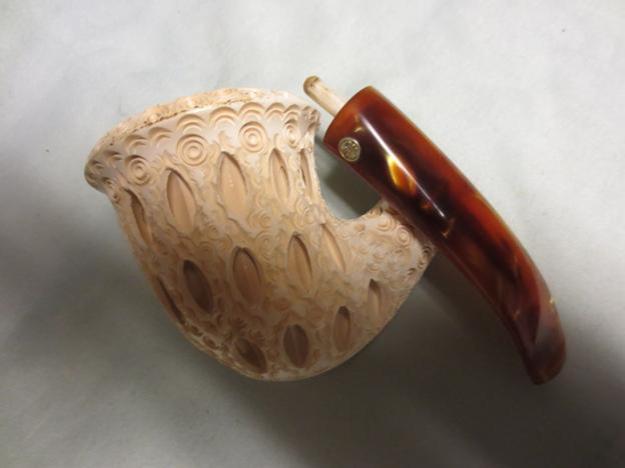
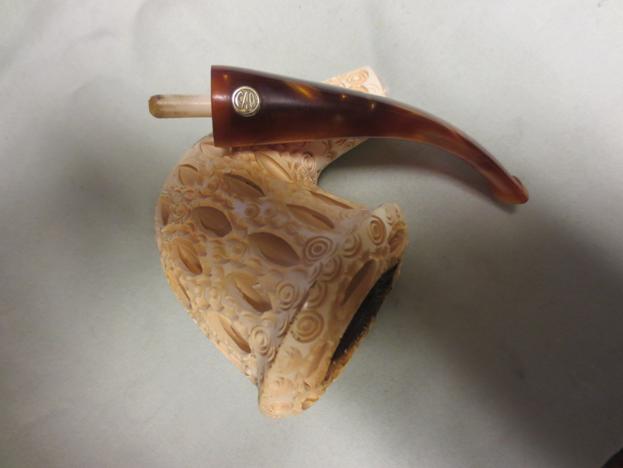
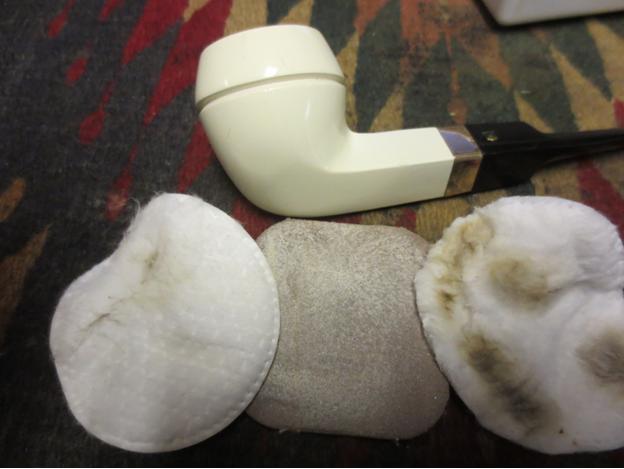
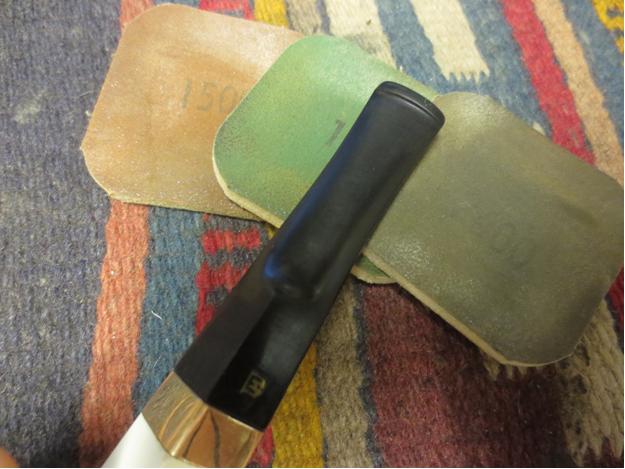
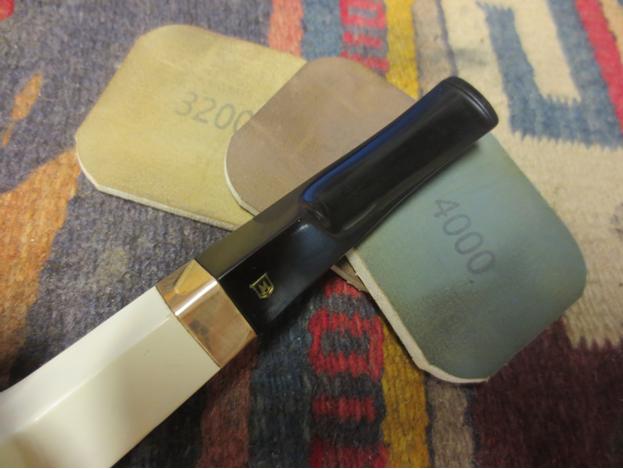
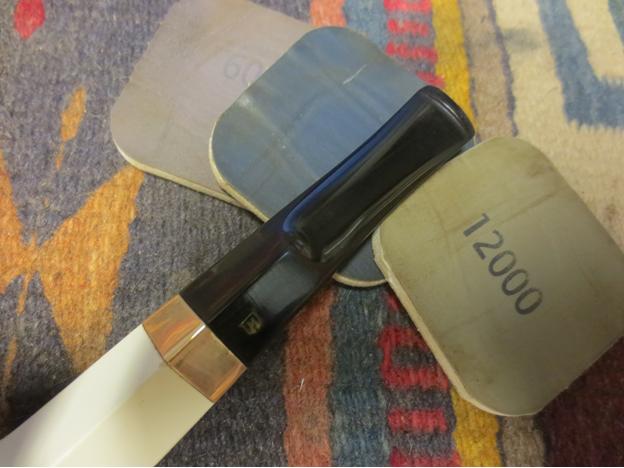
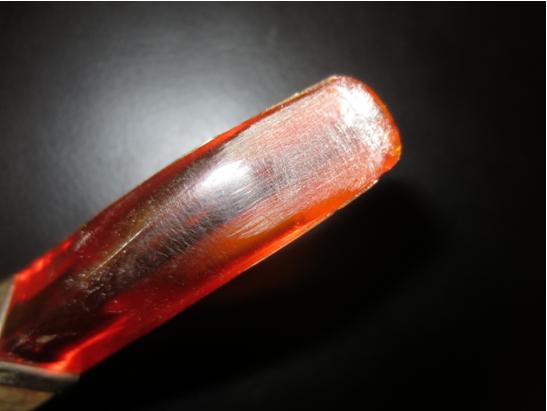
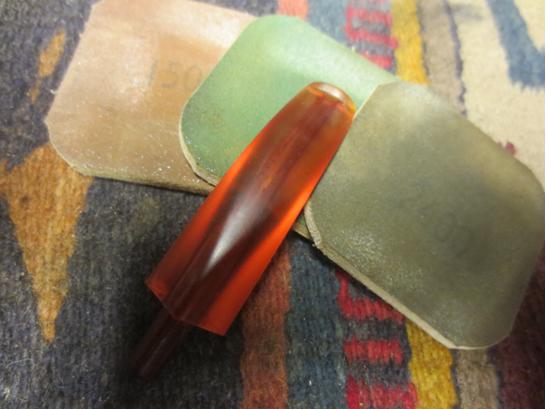
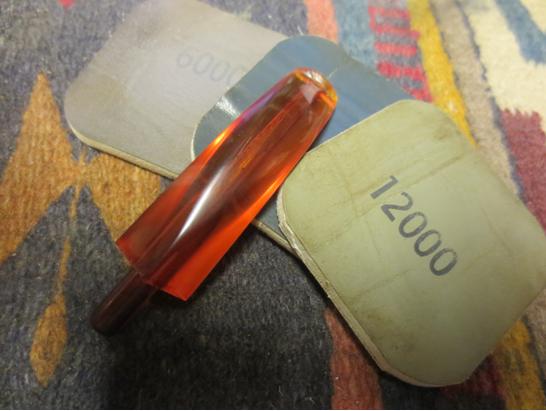
 I sanded the tooth chatter on the stem with 220 grit sandpaper and with a medium and fine grit sanding sponge. I wet sanded this area with 1500-2400 grit micromesh pads. I was able to remove all of the tooth chatter and polish the stem. The stem is clean and the finish has a shine. I scrubbed the top of the bowl with cotton pads and saliva to remove the tars and oils on the rim. A little elbow grease and the majority of the darkening came off.
 I left the scratch on the side of the meer as I did not want to chance removing the top coat if the bowl was pressed meer.
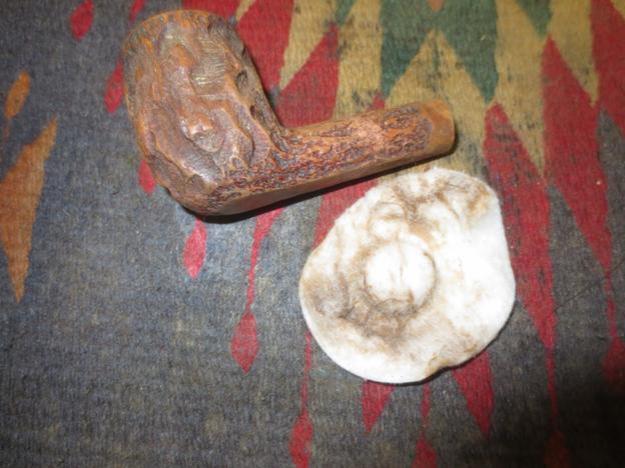
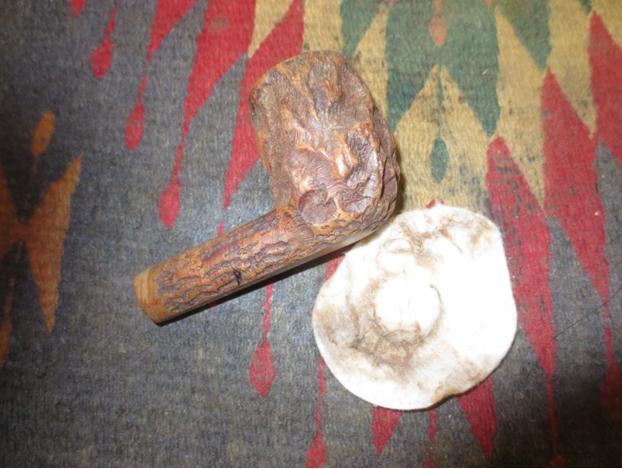
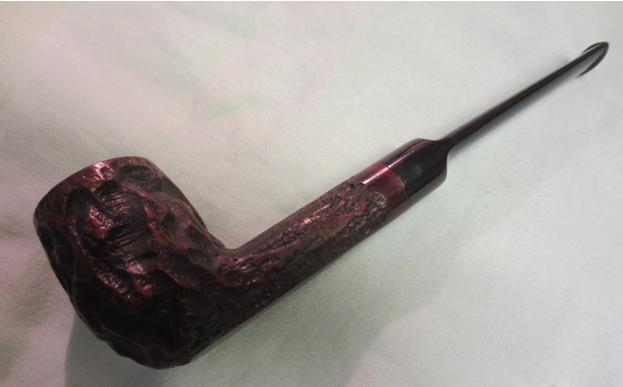
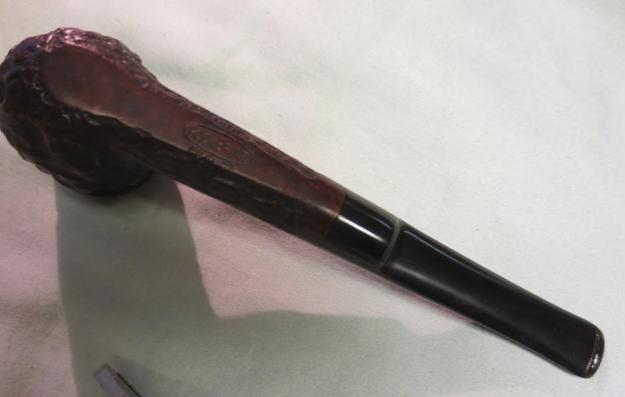
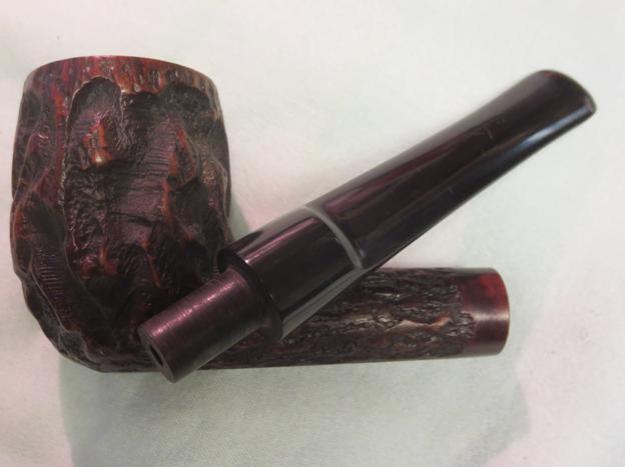
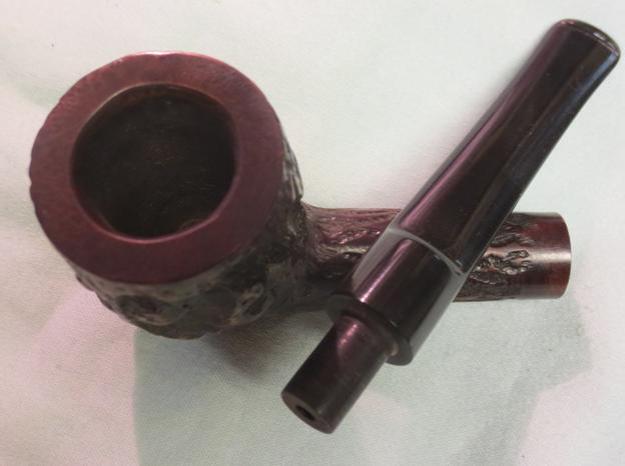
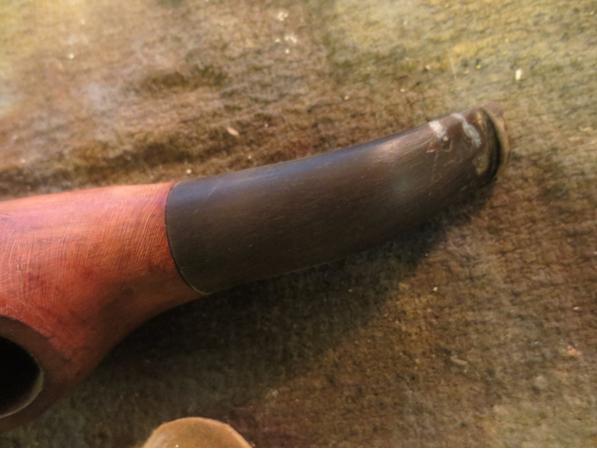
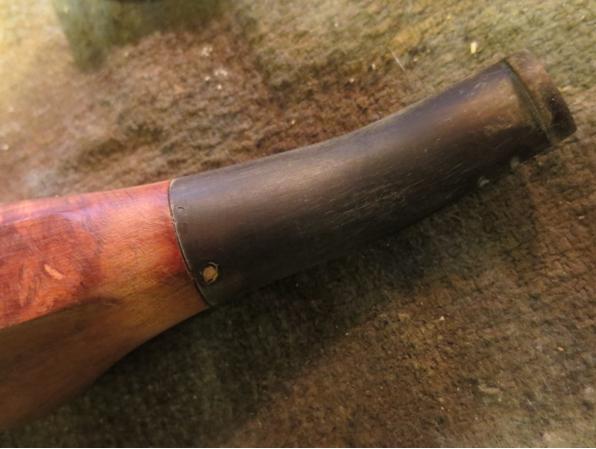
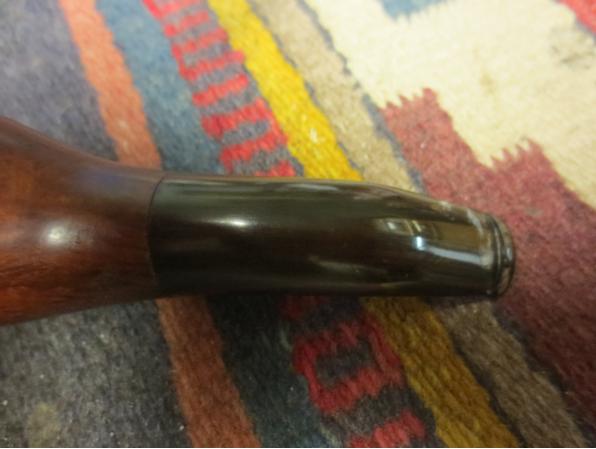
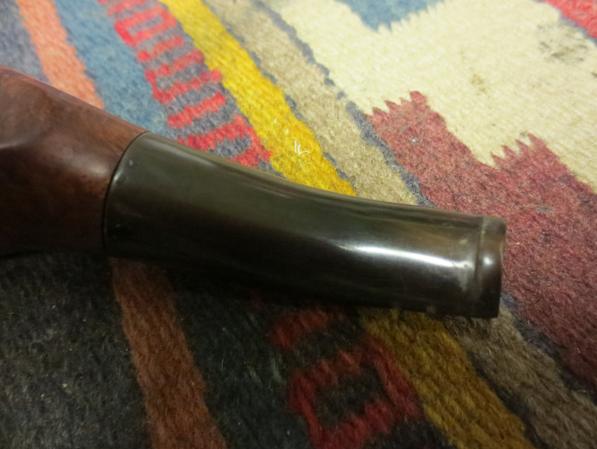
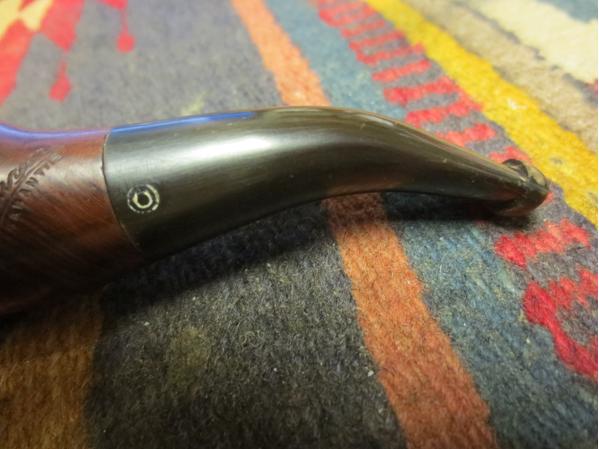
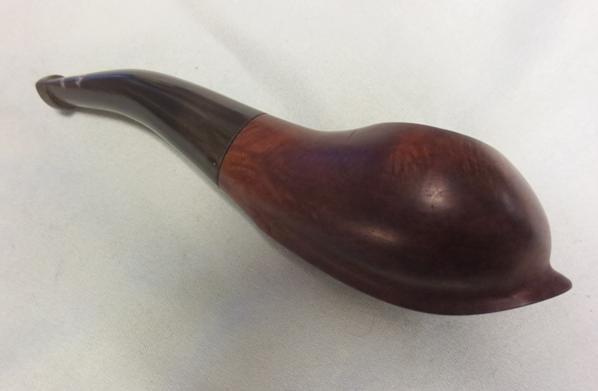
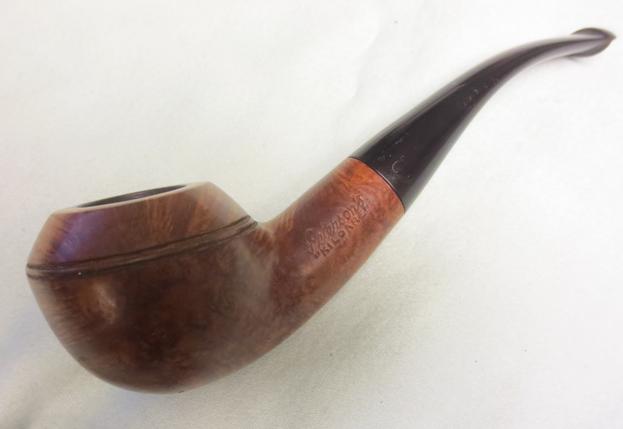
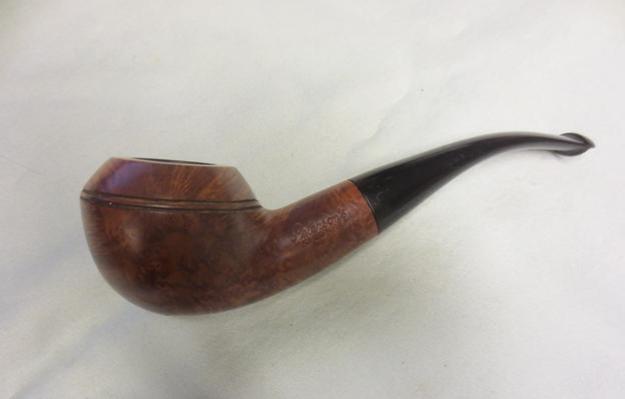
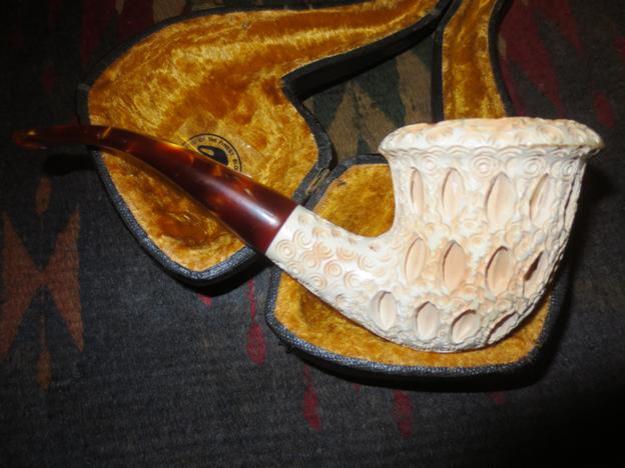
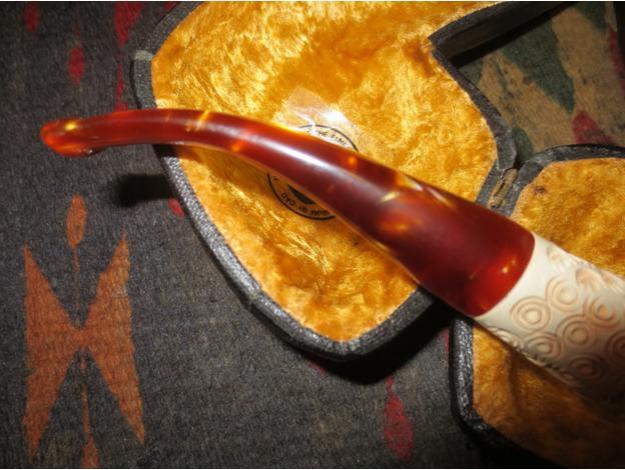
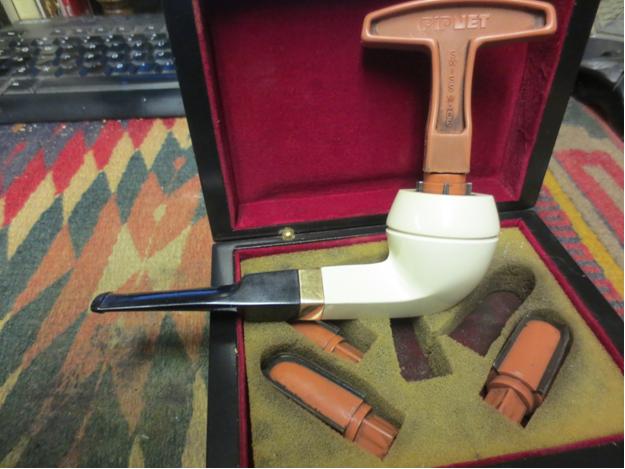
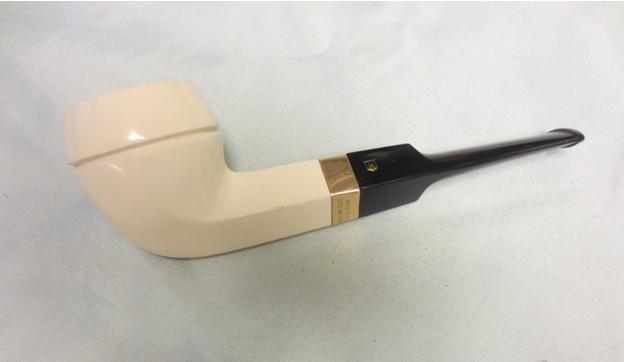
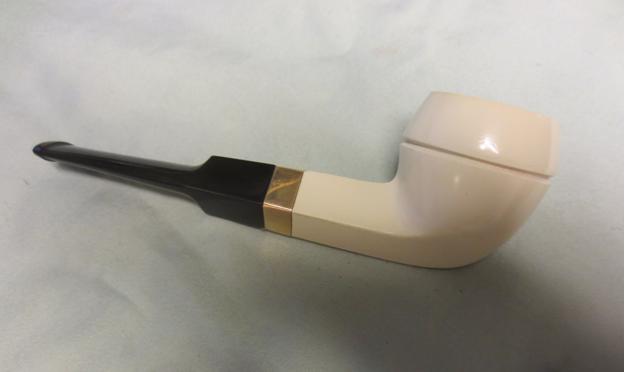
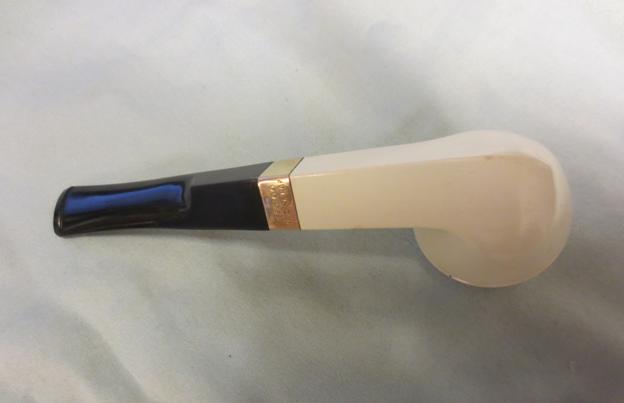
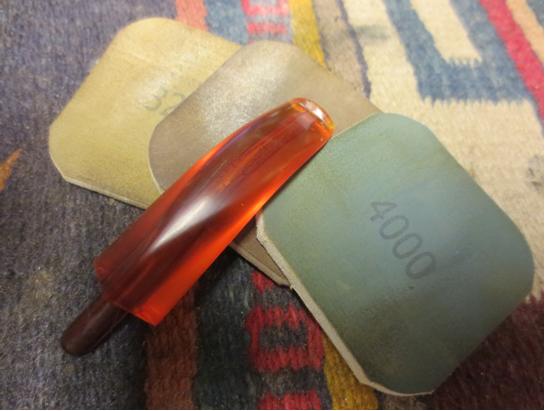
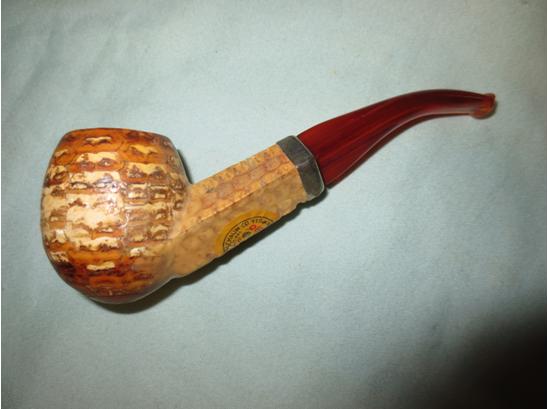
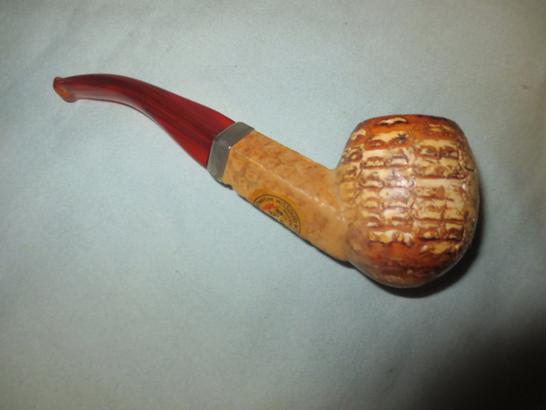
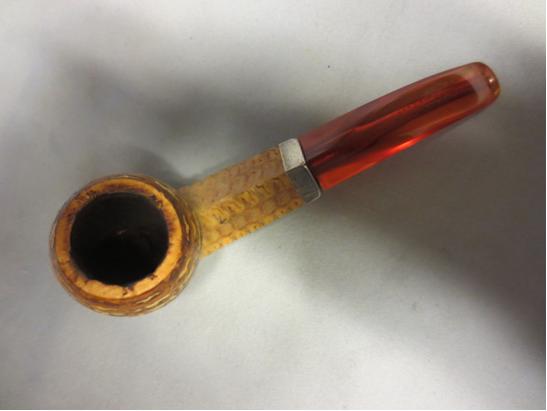
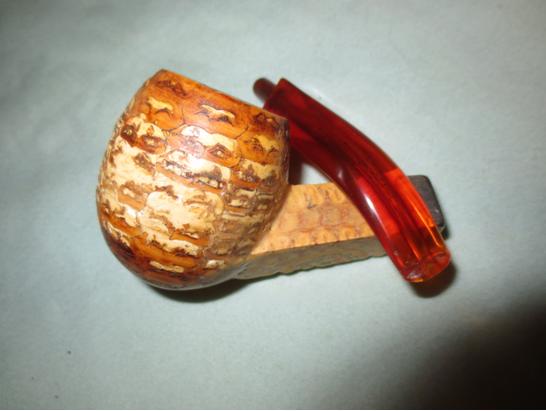
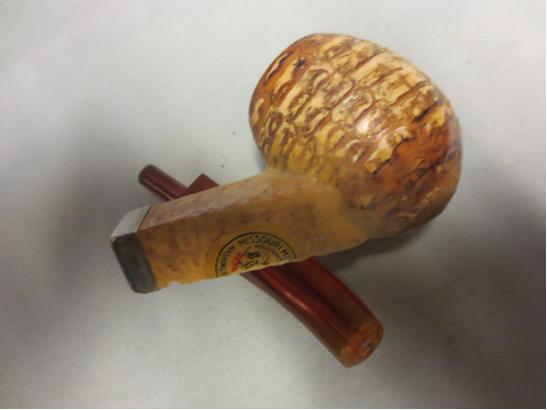
 I rubbed down the surface of the bowl and the rim with some white beeswax to protect the finish and to encourage colouration of the bowl. I let the wax dry and then hand buffed the pipe with a microfibre cloth. The finished pipe is shown in the photos below. It is polished, repaired and ready to be used.