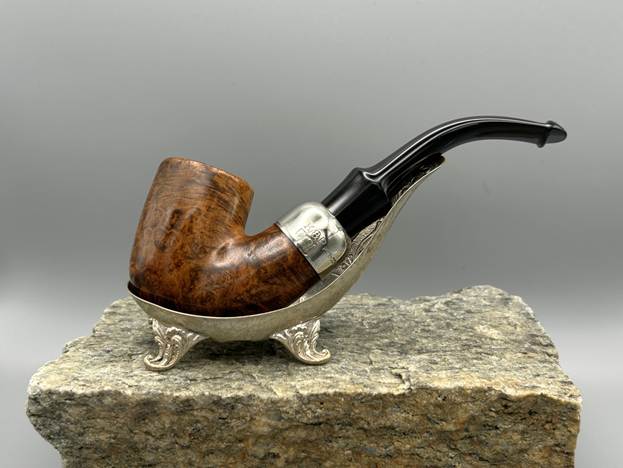
Tag Archives: Peterson System Standard Pipes

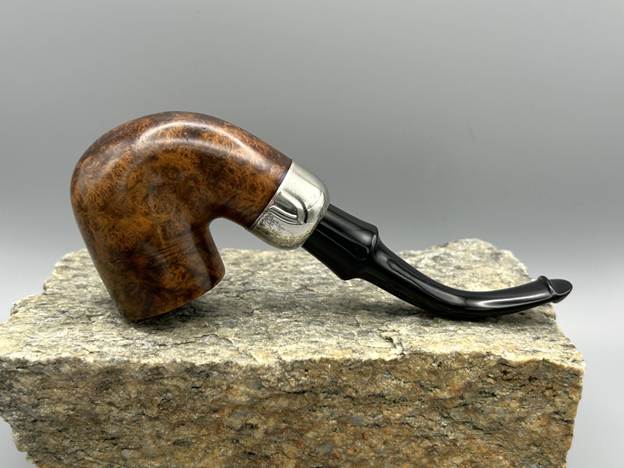
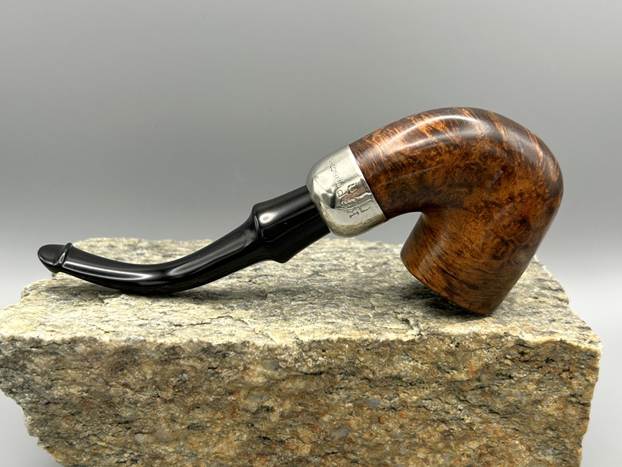
Bringing Back a PRE-Republic Peterson System Standard 313


by Kenneth Lieblich

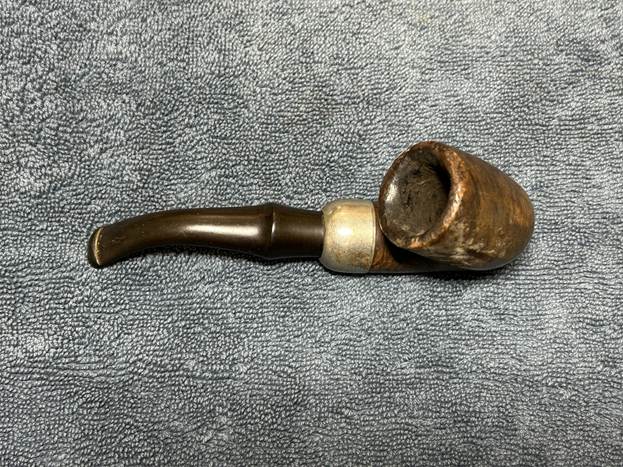
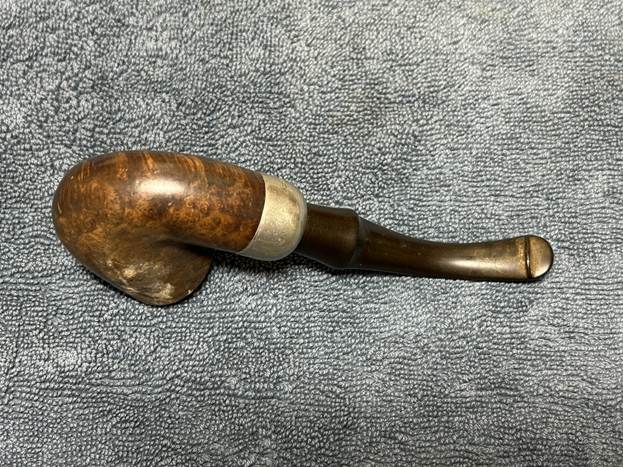
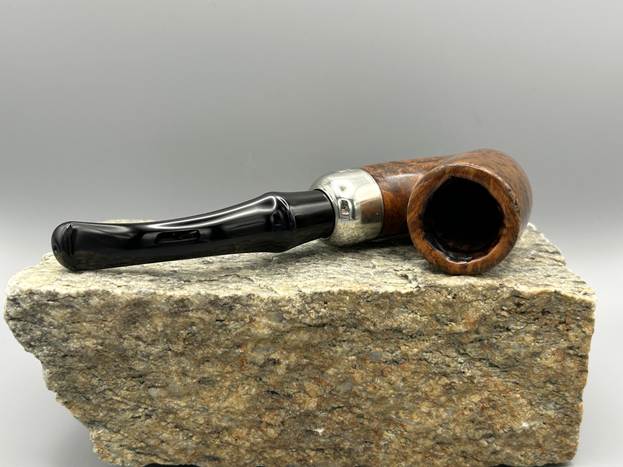
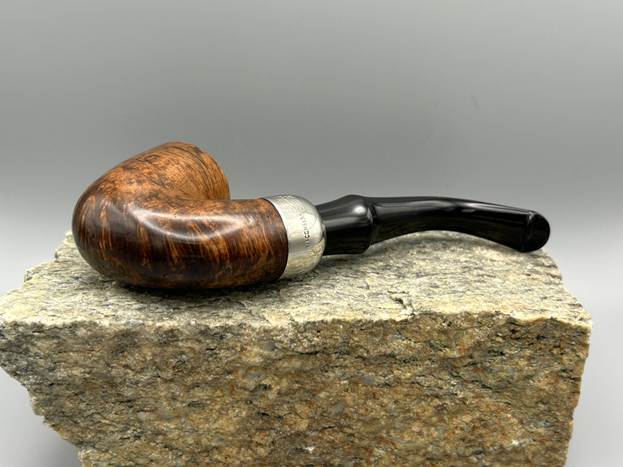
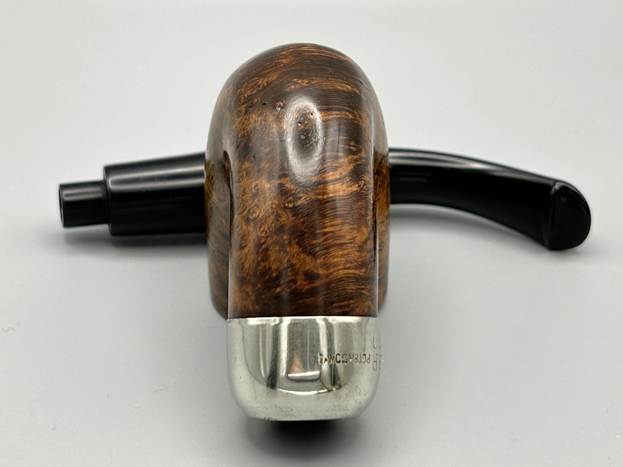
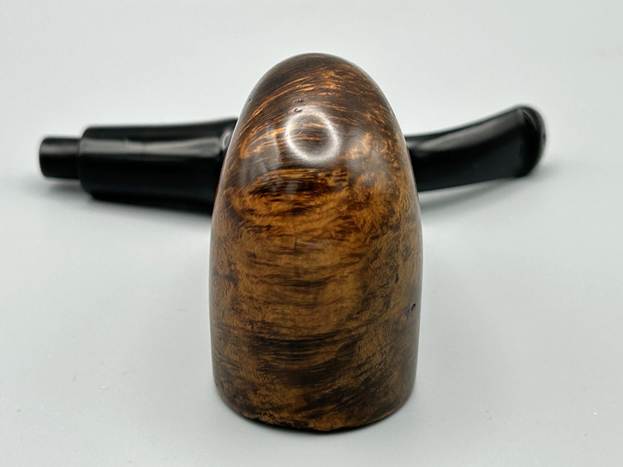
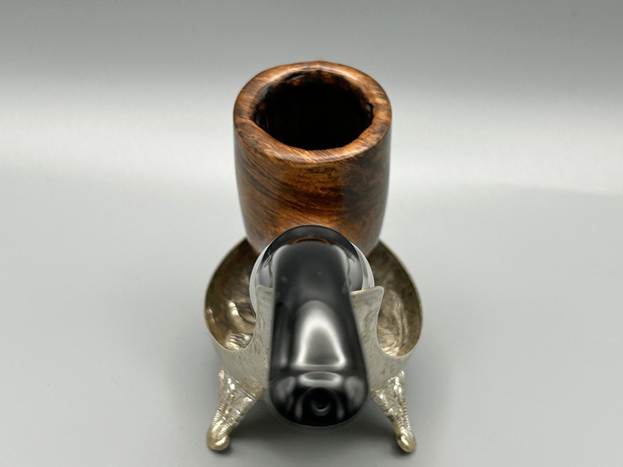
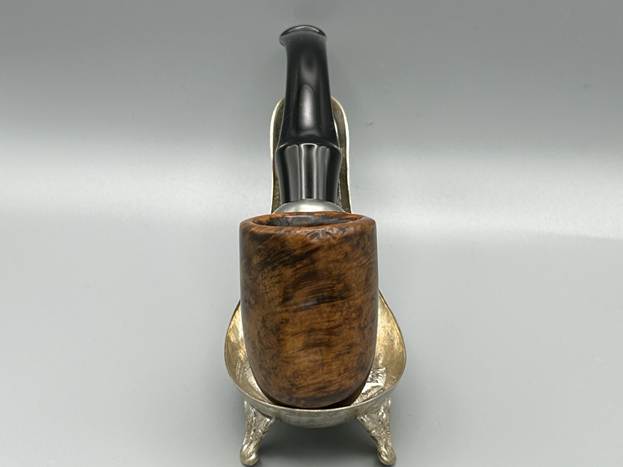
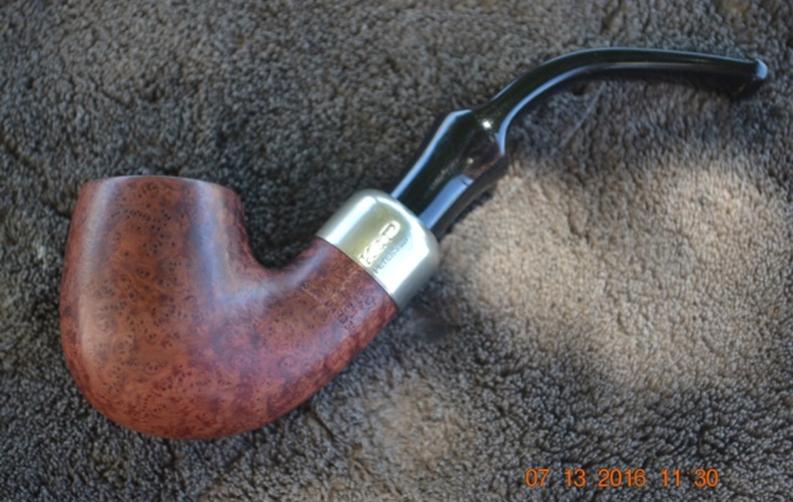
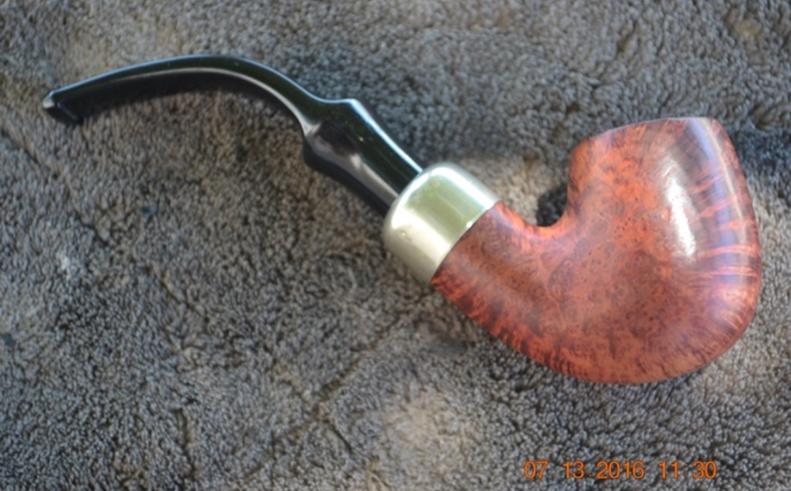
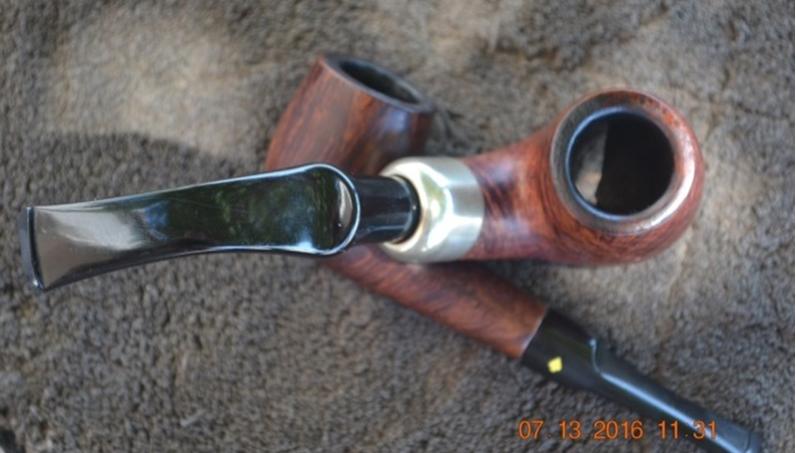
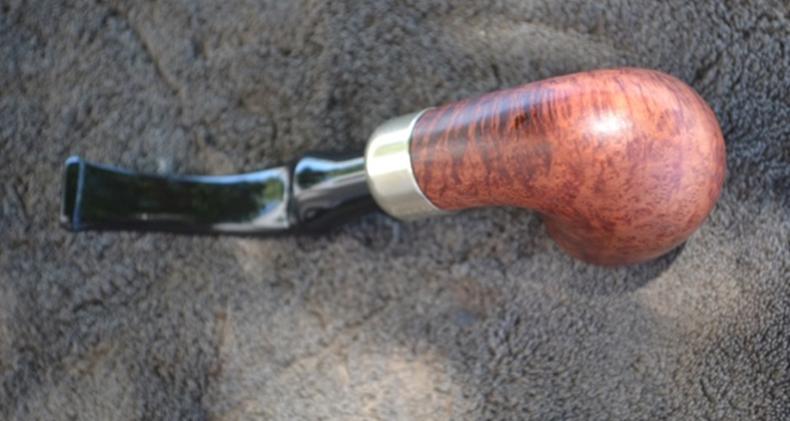
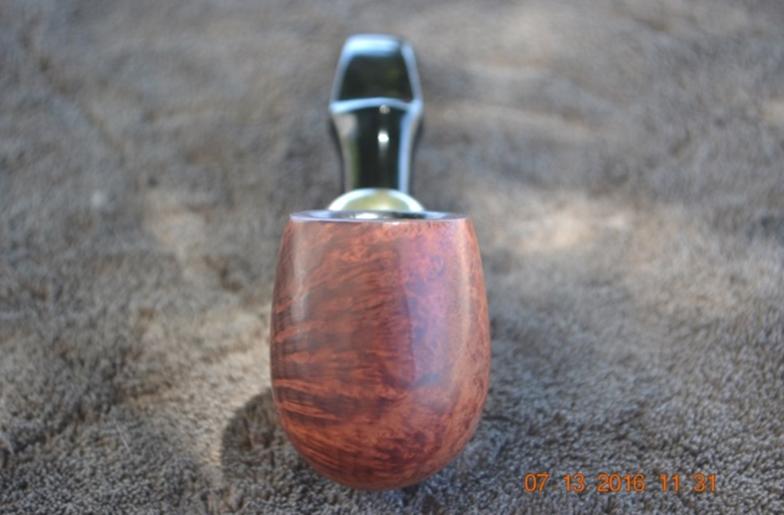
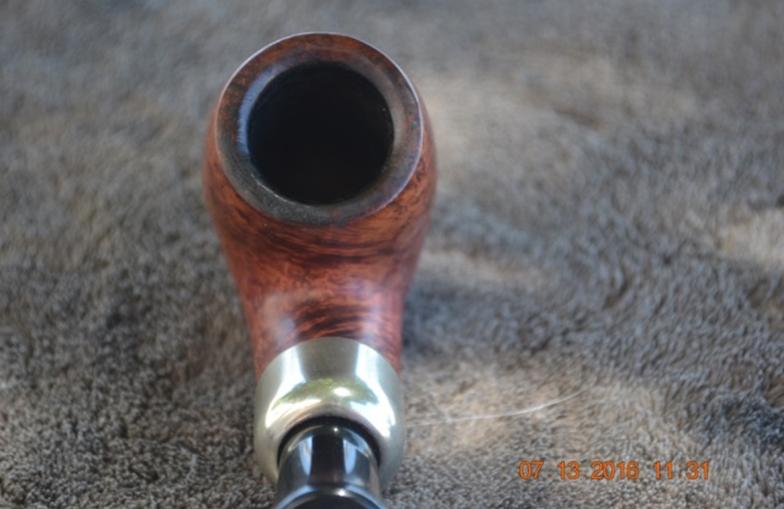
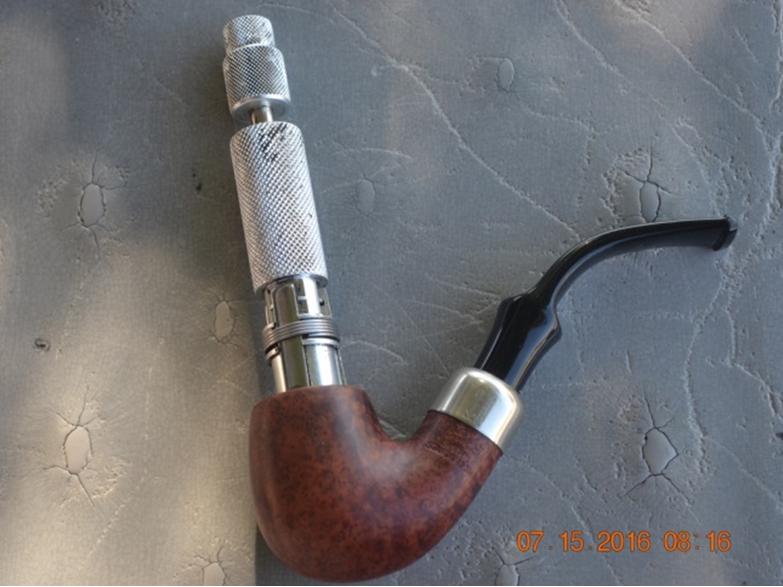
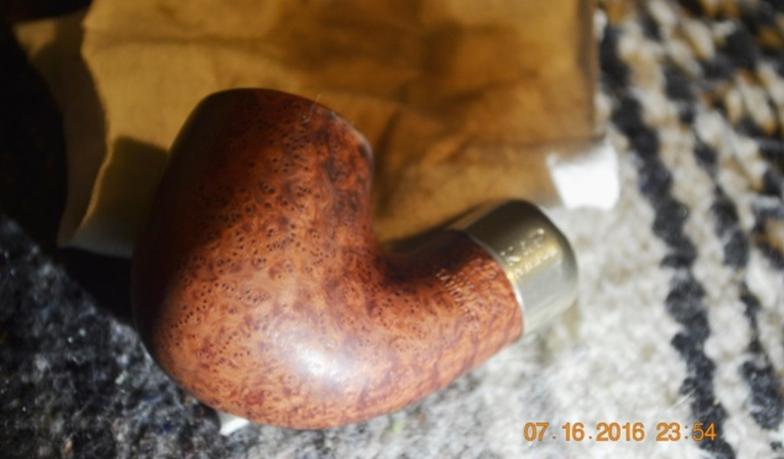
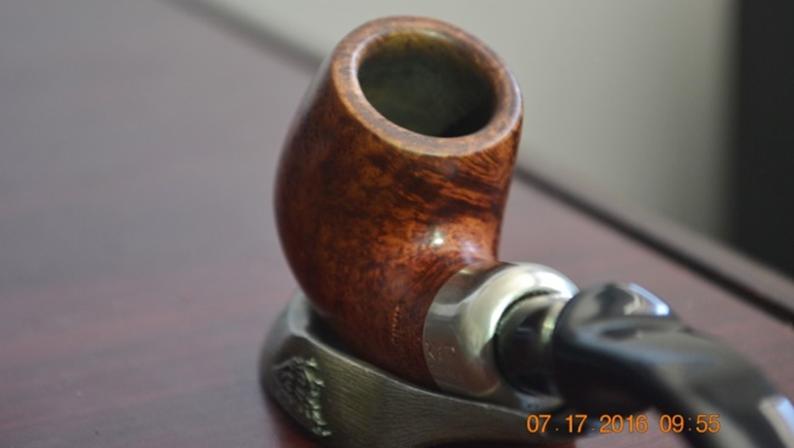
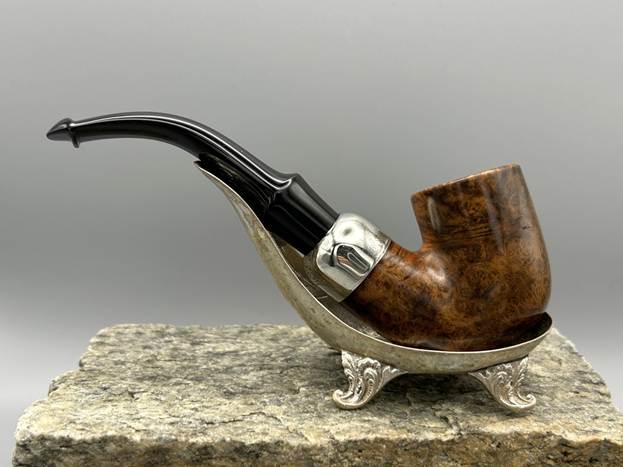
This old beauty is both delightful and a bit rough-and-tumble. Today I tell the tale of a pre-Republic Peterson System Standard 313. Peterson describes it as ‘full-bent, medium size, Dutch shape’. It’s a bit older than the usual Peterson fare. Oddly, I have no memory of this pipe’s acquisition. I suppose it doesn’t really matter. It’s a great old warrior of a pipe. It carries with it some battle scars and those remain – they will always be part of this Pete’s life story. Now it’s time to get this pipe into the hands of a Peterson fan.
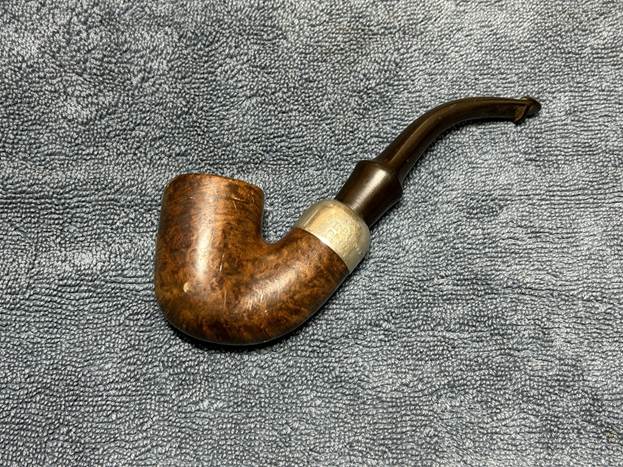
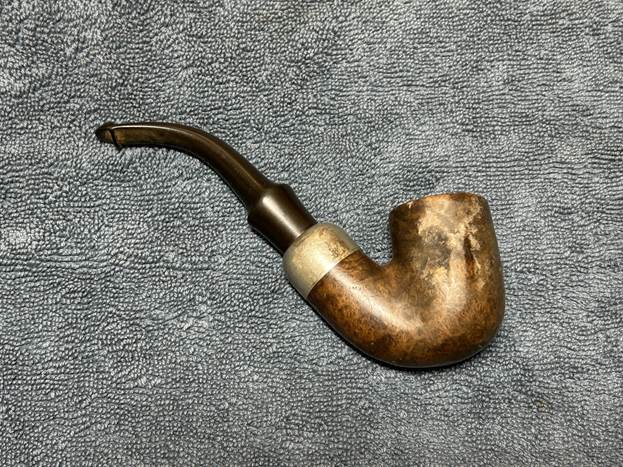
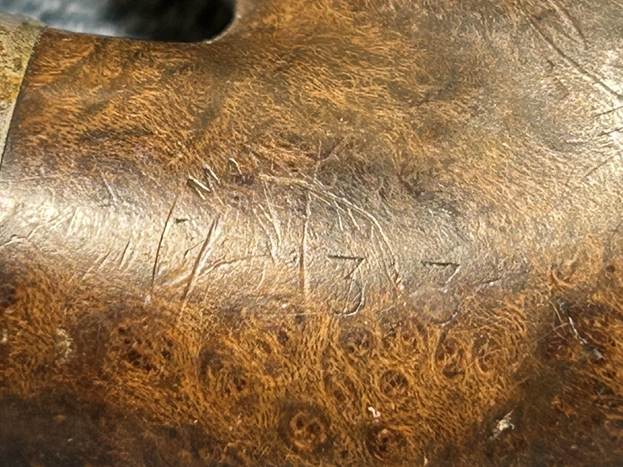
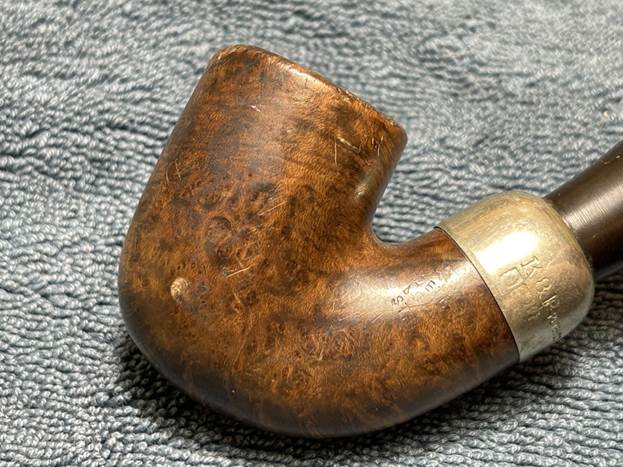
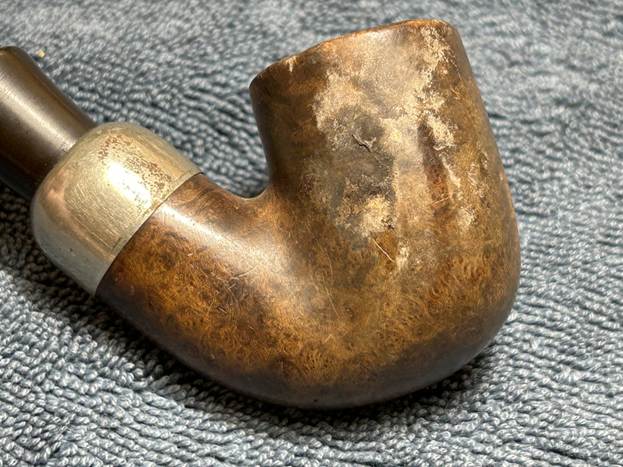
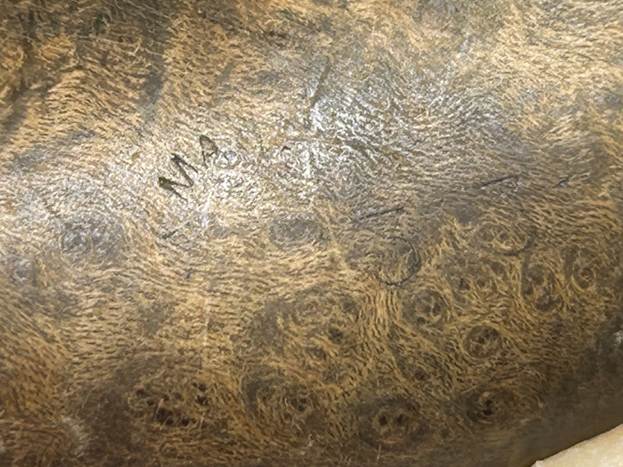
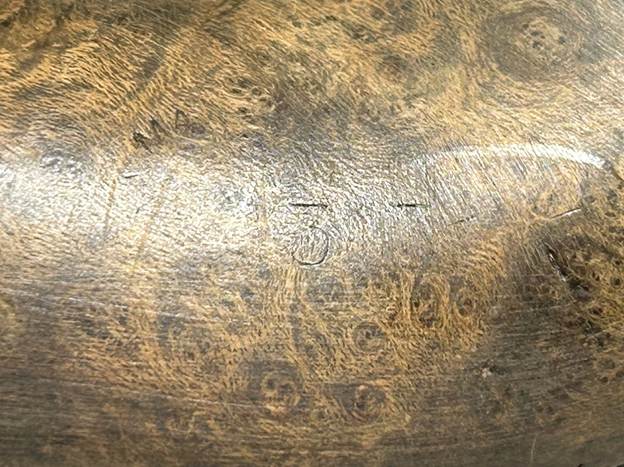
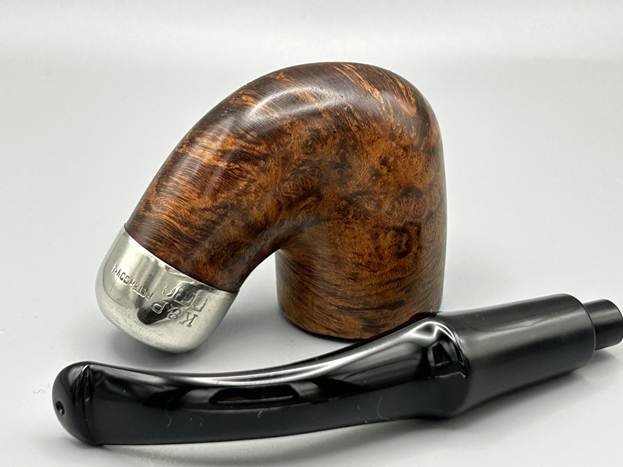
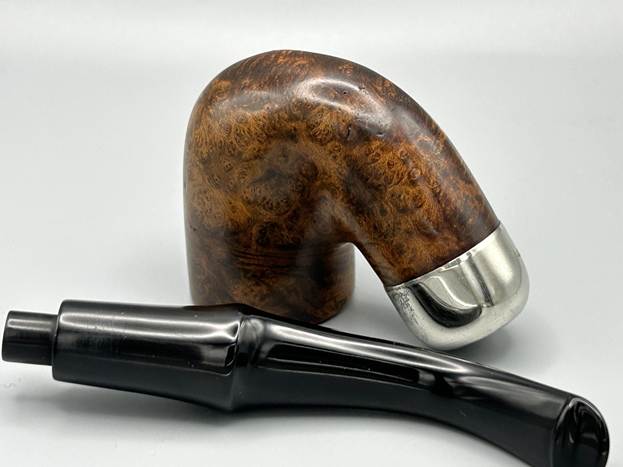
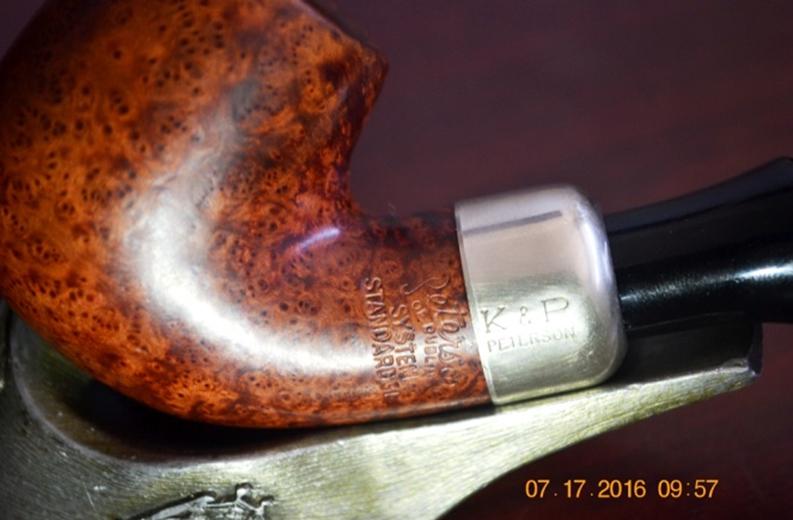
Let’s look at the markings. They are quite worn and faded, but not so faded that we can’t work them out. This Peterson 313 pipe has the classic ‘System’ look: bent shape, nickel mount, and tapered, army-style stem. Of course, it also has the traditional Peterson P-lip stem. The markings on the left side of the shank are Peterson’s [over] System [over] Standard. The right side of the shank showed Made in Ireland in a circle and, next to that, the shape number 313. The nickel mount on the shank had K&P Peterson’s [over] the typical Peterson faux hallmarks. There were no markings on the stem. The images below show the marks before cleaning. I will show them after cleaning later in this article.
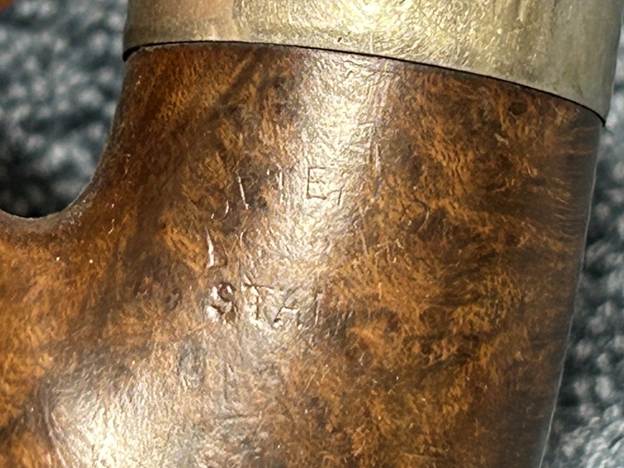
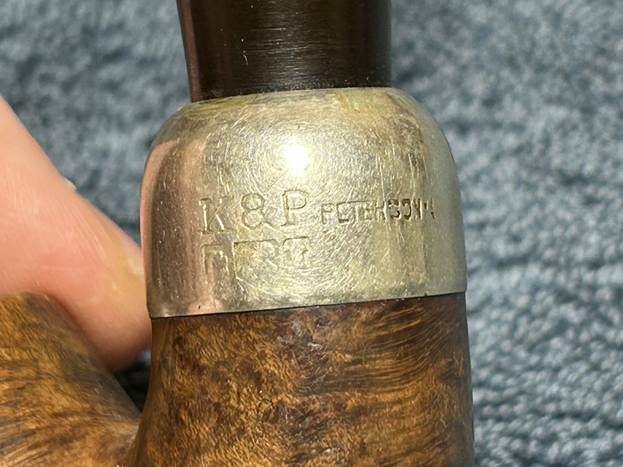
The Peterson System pipes are well-storied among Peterson collectors/admirers. I took the opportunity to read the article on Pipedia, specifically about the System pipes, by Jim Lilley. There is lots of good information there and I encourage you to read it: https://pipedia.org/wiki/A_closer_look_at_the_famous_Peterson_Standard_System_Pipe.
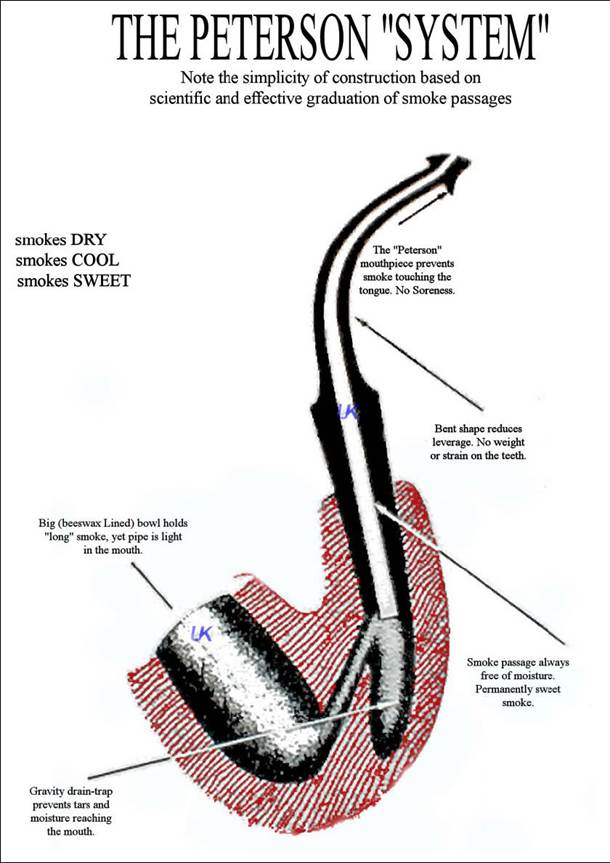
Having seen that the words ‘Made in Ireland’ were in a circle, I knew that I was dealing with an older pipe. Precisely how old would require some elementary research. The main Pipedia article on Peterson included a few interesting lines:

Charles Peterson applied for a patent for an improved tobacco pipe on the 8th of August 1890. He was awarded patent number 12393 on the 16th of June 1891 for Great Britain and Ireland. This came to be known as the famous ‘System Pipe’ patent…. Later they stamped their pipes with “Made in Ireland” in a circle format 1945-1947…

This is helpful in dating this pipe. I can comfortably say that this pipe dates from 1945 through 1947 – that is to say, about 80 years old (at the time of writing).
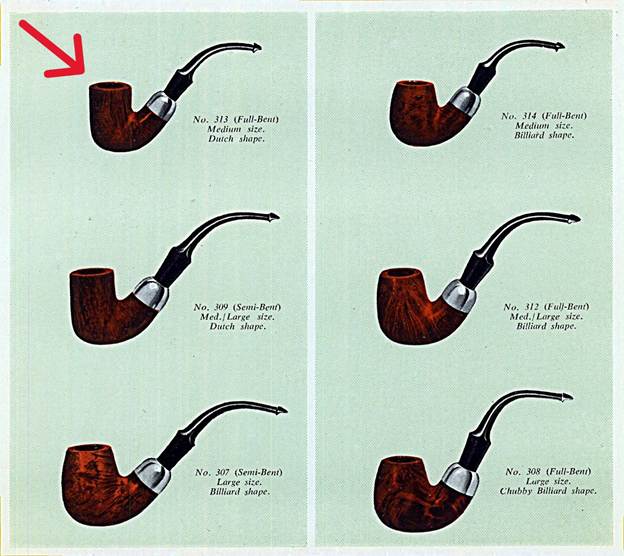
As usual, I also owe a debt of gratitude to Mark Irwin of Peterson Pipe Notes. He has a very interesting article on the various System shapes and I highly recommend having a look: https://petersonpipenotes.org/146-a-guide-to-system-shapes-1896-2019-part-1-the-300-shape-group/. He writes the following on the history of the 313:

The 313 is an original Patent dutch billiard bowl, pictured in the 1896 catalog as shape 8 and listed in the 1906 catalog as one of the small Patents. It was given its current shape number as a 2nd Quality pipe in the 1937 catalog, where it also appears as a 3rd Quality pipe with shape number 363. That catalog also gives shape number 8S to its De Luxe version, where it also appears as a Classic Range 2004B (K and 1st Quality) and 338 (Kapet and De Luxe). In the late 1970s it was released in the Dunmore System line as number 73.

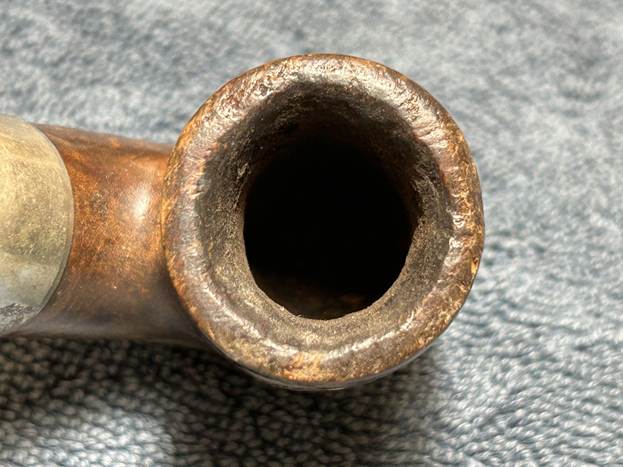
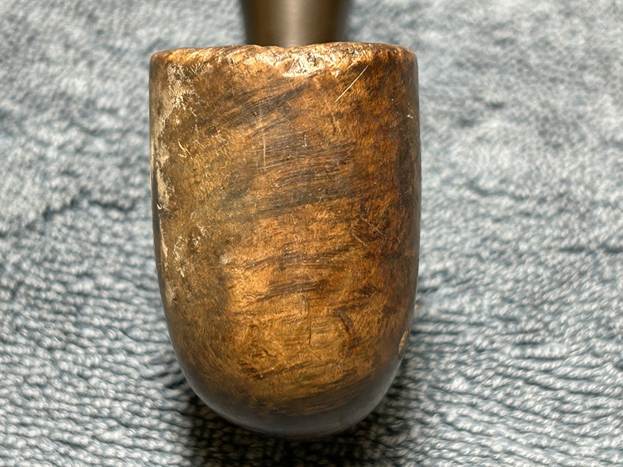
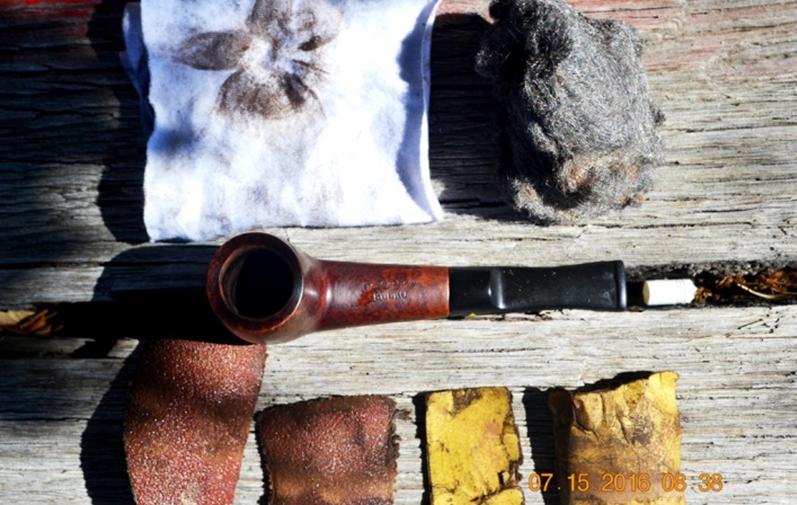
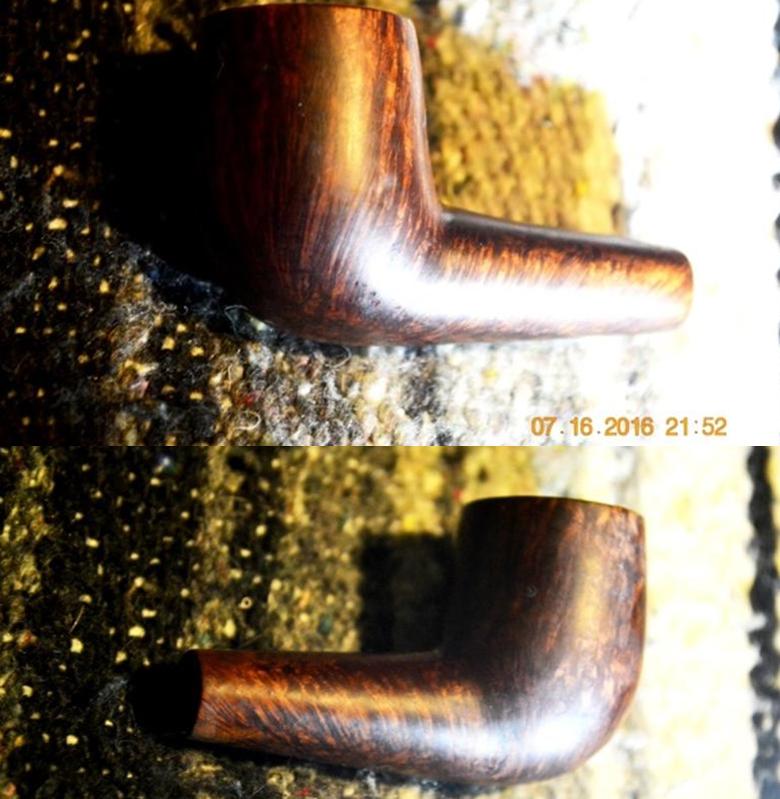
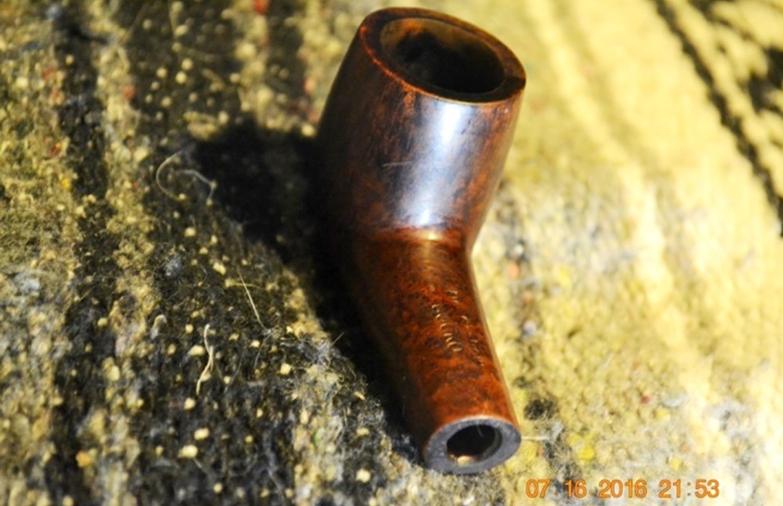
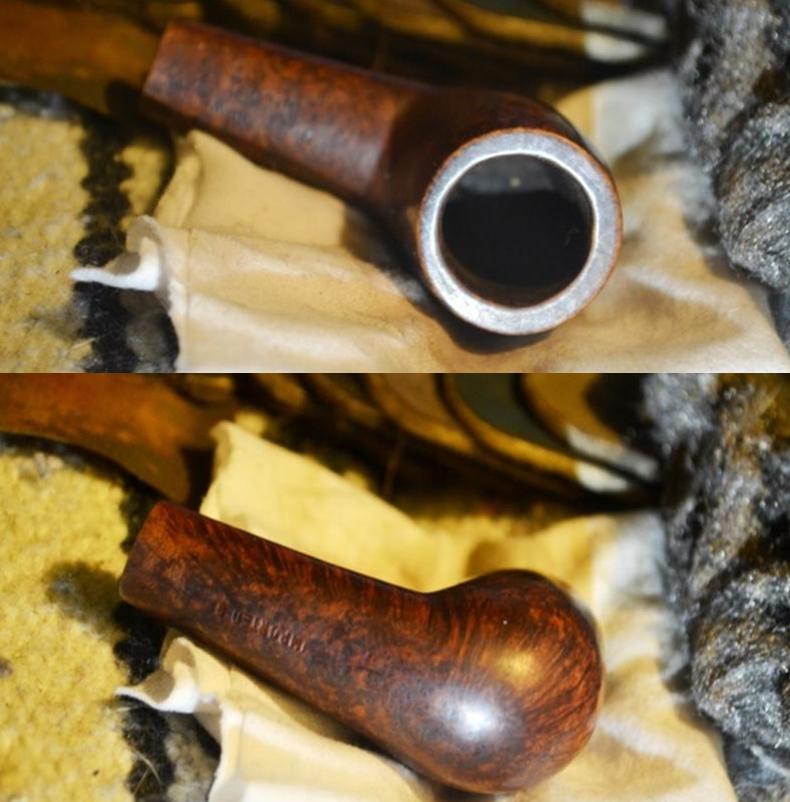
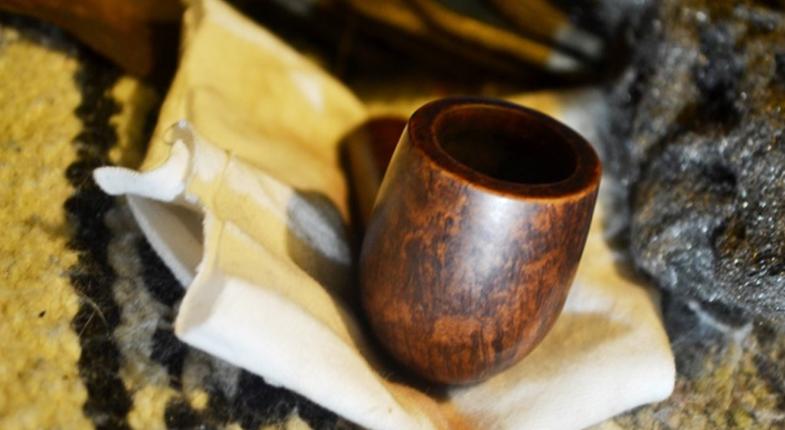
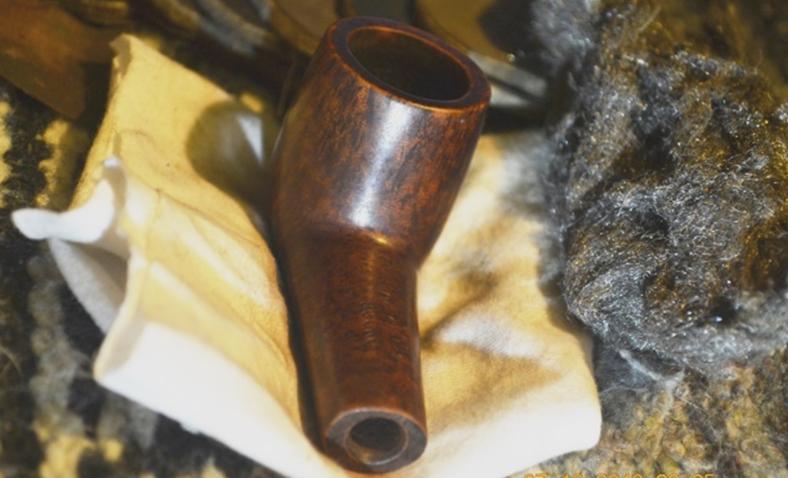
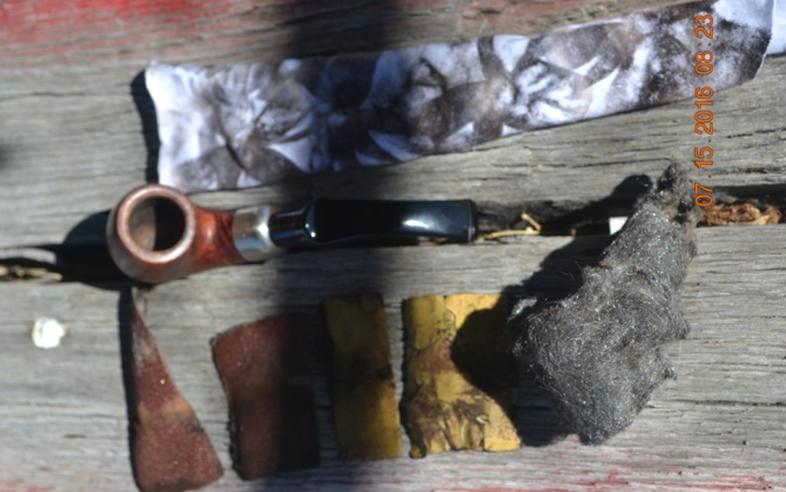
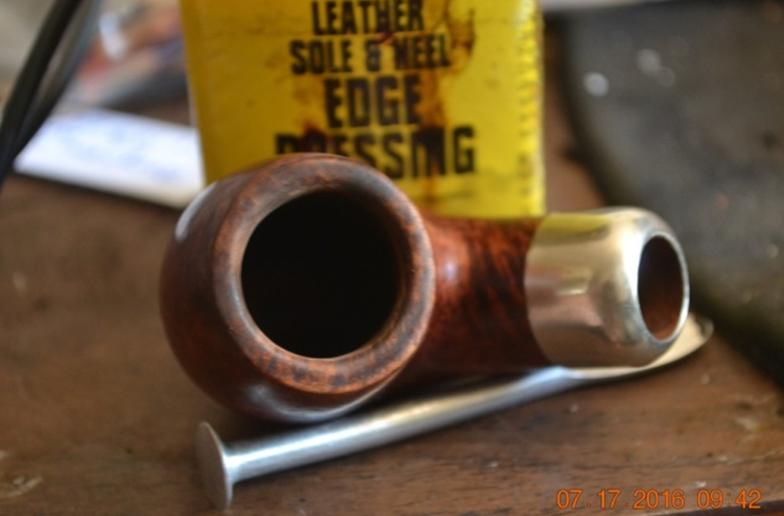
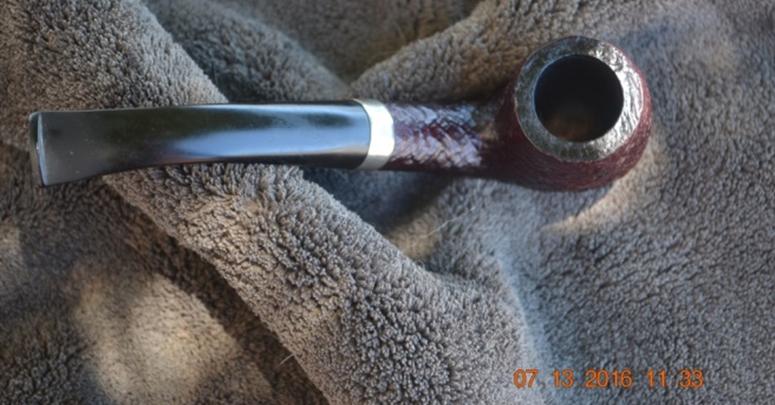
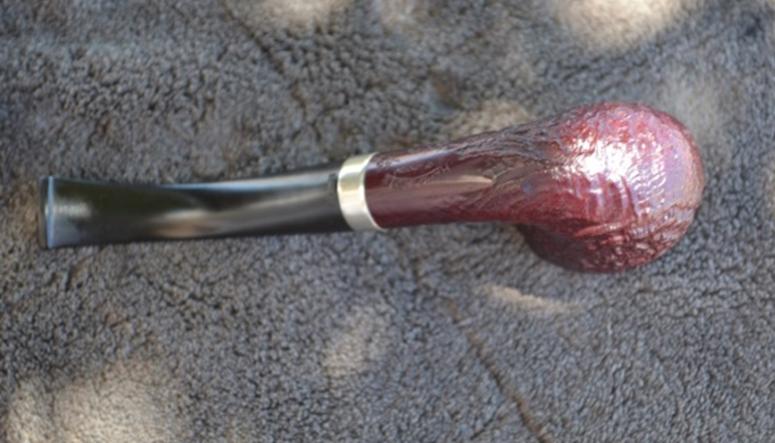
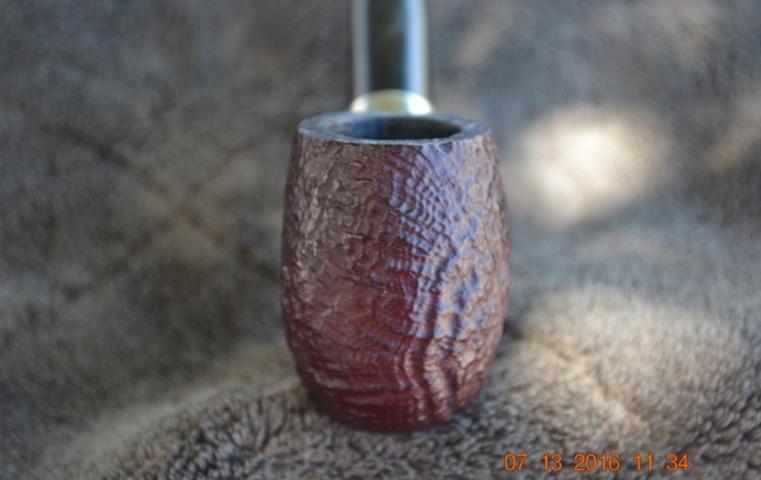
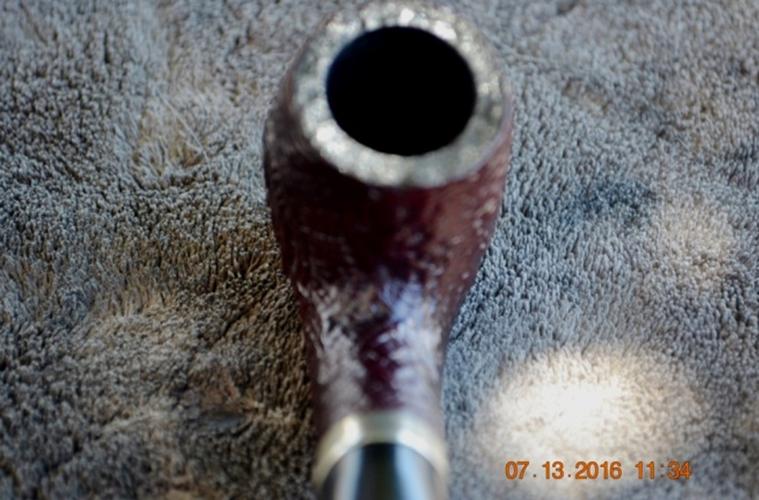
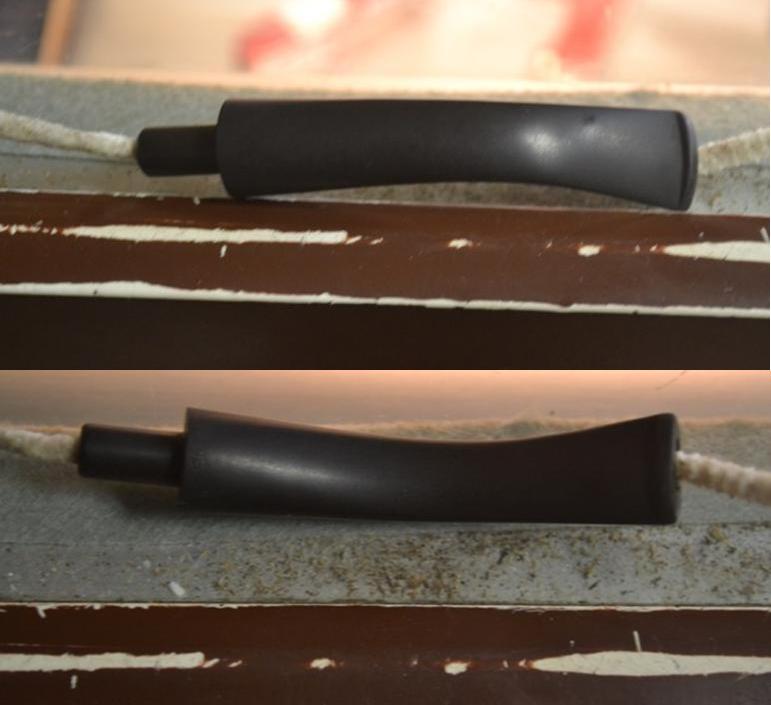
On to the pipe itself – well, it has seen better days. This one was obviously a great smoker, because the previous owner smoked it thoroughly. Mind you, the stem was in surprisingly good shape – compared with the stummel. It’s a bit dirty, oxidized, calcified, and has a few tooth marks. The bowl has a bit of lava on the rim, lots of cake in the bowl, and a notable nick on the rim. More than that, it has been reamed overly aggressively. But, as Steve always says, this is part of the pipe’s history. Despite the filth, you can see how smart this pipe is. Let’s get on with the work.
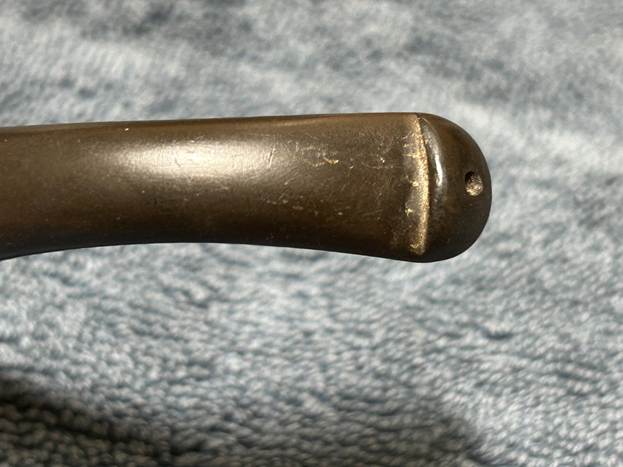
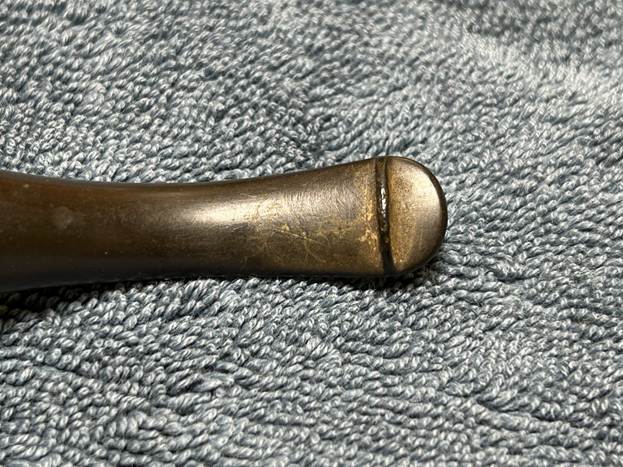
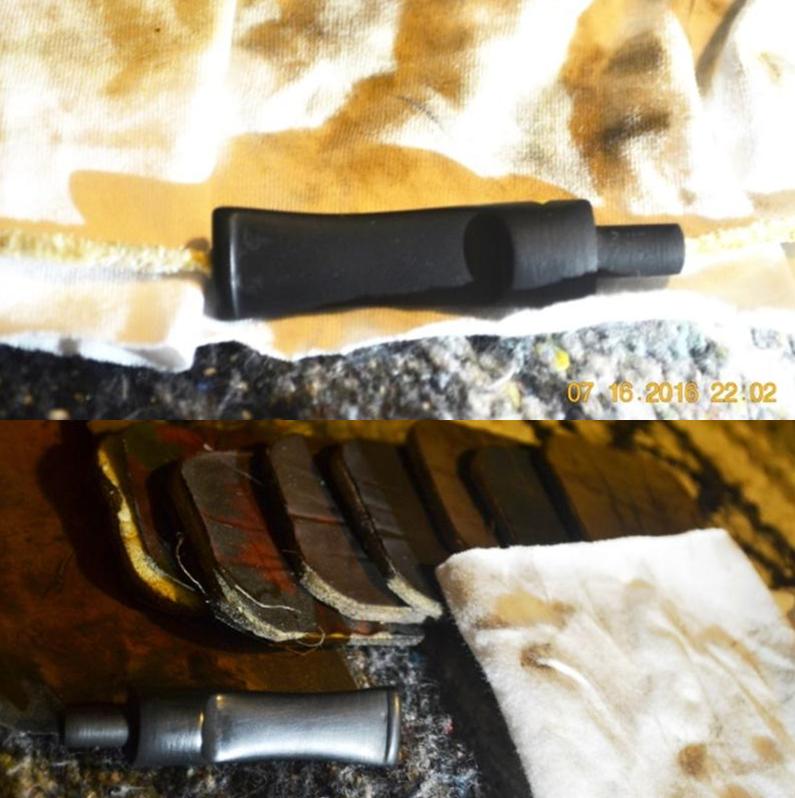
I used a disposable lighter and ‘painted’ the stem with its flame. The gentle heat of the flame can cause the dents in the vulcanite of the stem to expand back into shape. It helped a bit.

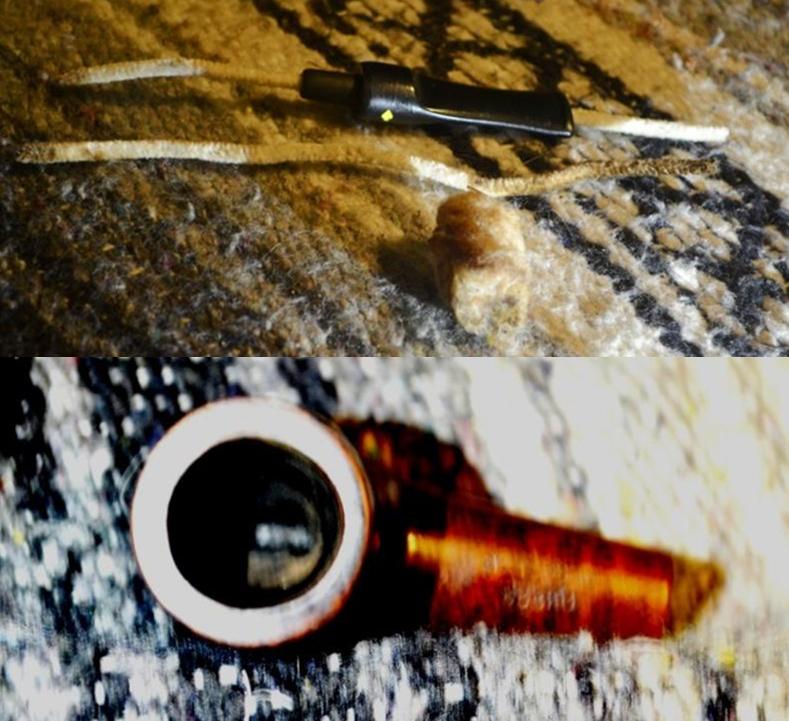
I used isopropyl alcohol on a few cotton rounds and wiped down the stem to provide an initial cleaning of filth before moving on to the next steps. The primary cleaning came next. I disinfected the inside of the stem with both pipe cleaners and cotton swabs dipped in lemon-infused 99% isopropyl alcohol. I scrubbed thoroughly to make sure the interior was very clean. I used a LOT of pipe cleaners and cotton swabs.
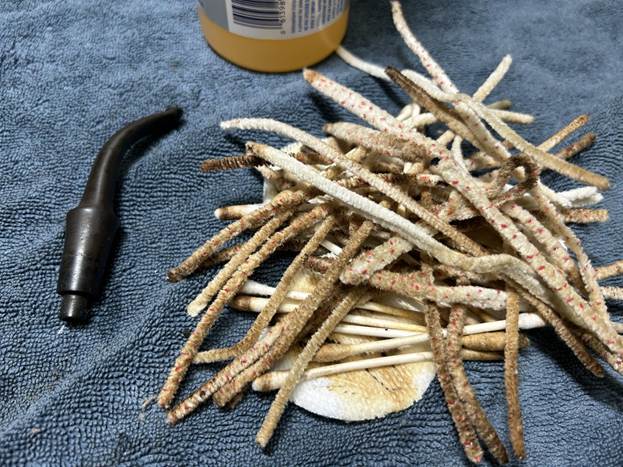
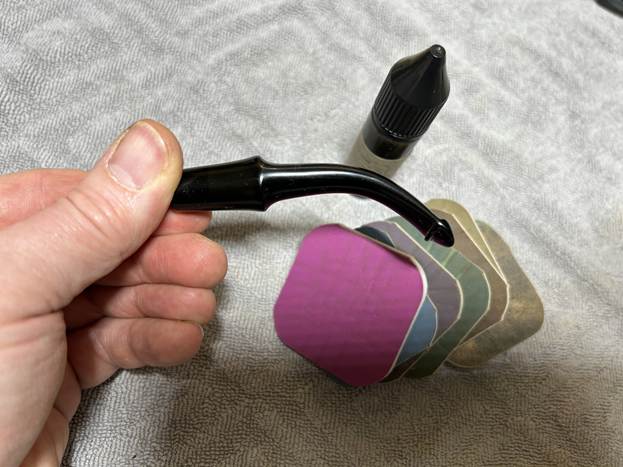
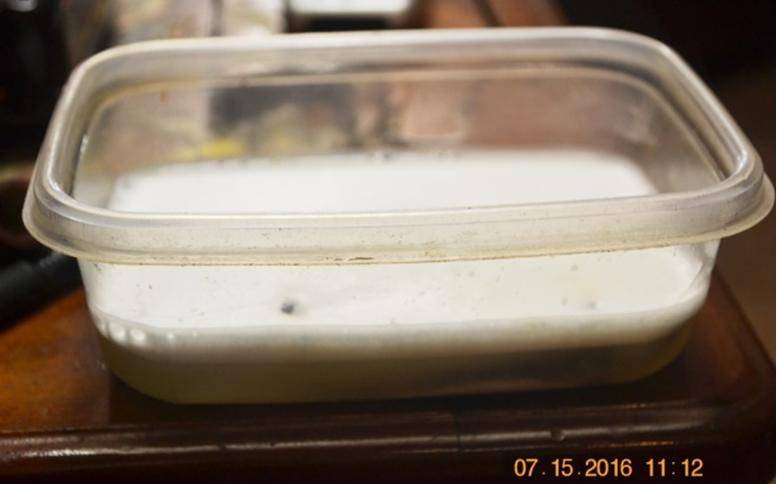
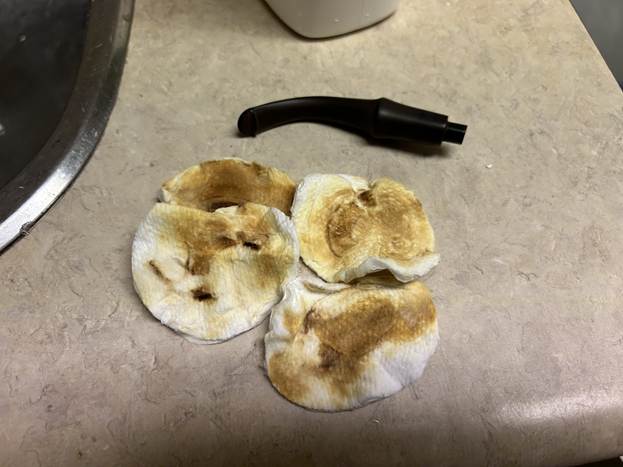
The goal of the next step is the removal (or minimization) of oxidation. Going to my sink, I used cream cleanser, cotton rounds, and a toothbrush, and scoured the stem to remove as much surface oxidation as possible. As the photos show, the result was a hideous, ochre-coloured mess – but better off the stem than on it.
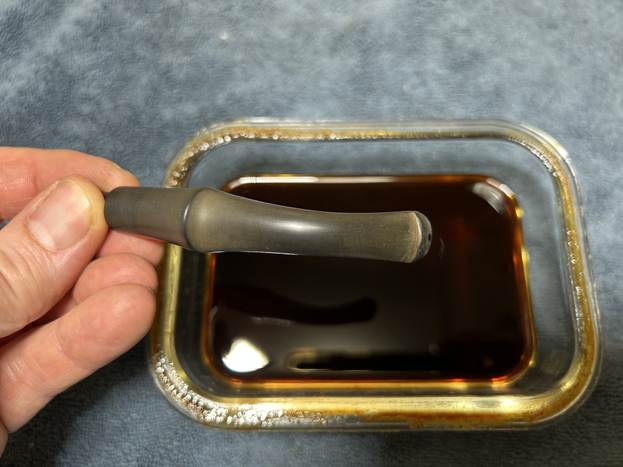
Once the stem was reasonably clean, I soaked it overnight in some Briarville Stem Oxidation Remover. This solution works to draw oxidation in the stem to the surface of the vulcanite. This is a major aid and an important step in ensuring a clean stem. The following day, I drew out the stem from its bath and scrubbed the lingering fluid with a toothbrush.
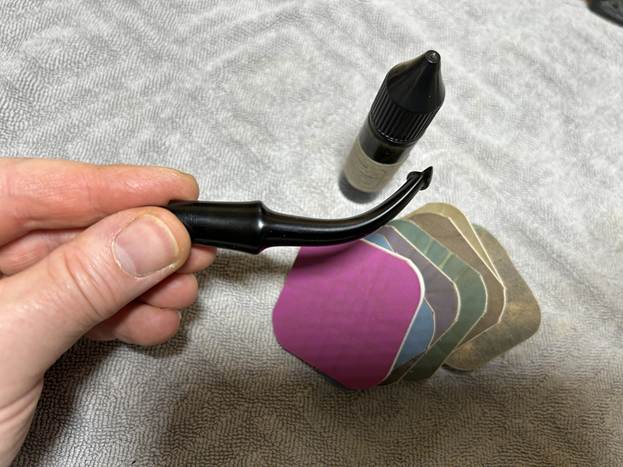
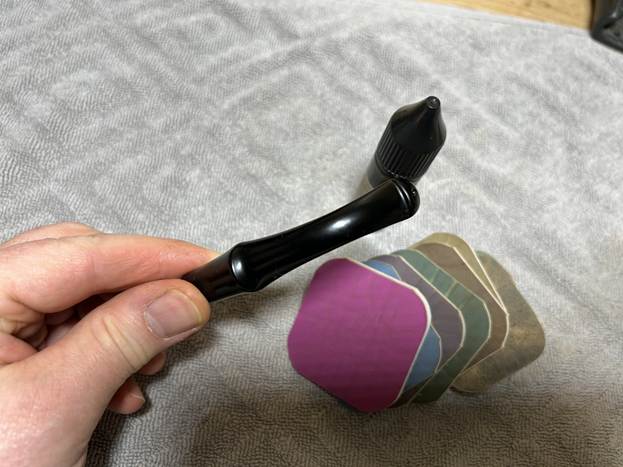
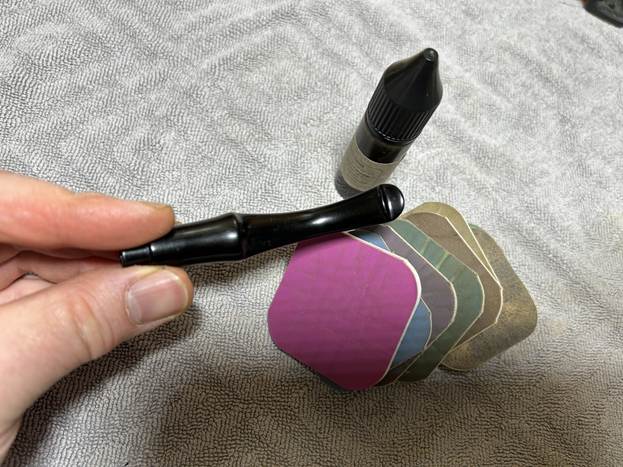
The penultimate step for the stem is sanding. I used all nine of the micromesh sanding pads (1,500 through 12,000 grit) to sand out flaws, even out the vulcanite, and provide gentle polishing of the finished surface. I also applied pipe-stem oil while using the last five micromesh pads. There was a wonderful, deep black shine to the stem when I was done.
As the stem was (nearly) complete, I moved on to the stummel. The first step was to ream out the bowl – that is to say, remove all the cake inside the bowl. This accomplished a couple of things. First (and most obviously), it cleaned the bowl and provided a refurbished chamber for future smoking. Second, when the old cake was removed, I could inspect the interior walls of the bowl and determine if there was damage or not. I used a reamer, a pipe knife, and a piece of sandpaper taped to a wooden dowel. Collectively, these ensured that all the debris was removed – surprisingly, there wasn’t too much.
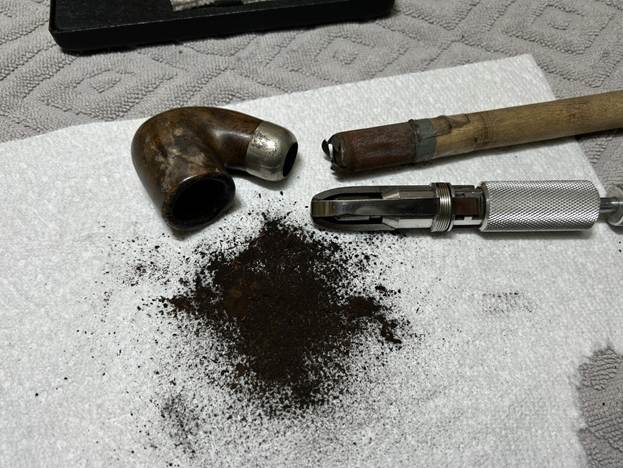
The inside of the stummel needed to be cleaned thoroughly. However, this pipe was so clogged, that I first needed to open the horribly occluded airway. So, I took a long drill bit, held in a drill chuck, and hand-cranked it to dislodge the dreadful detritus inside. Hand cranking is essential because it provides a precision and caution that a power drill cannot provide.
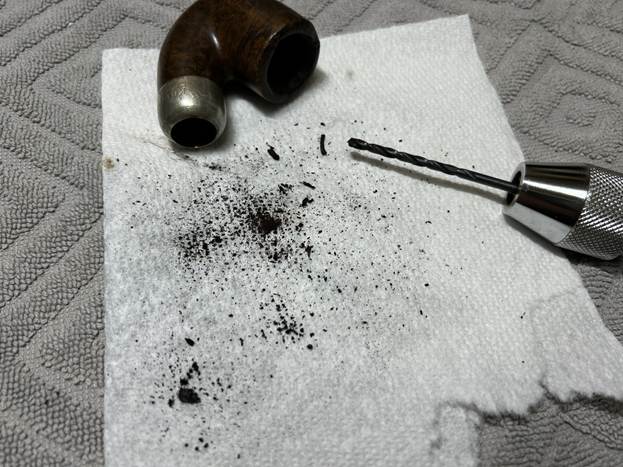
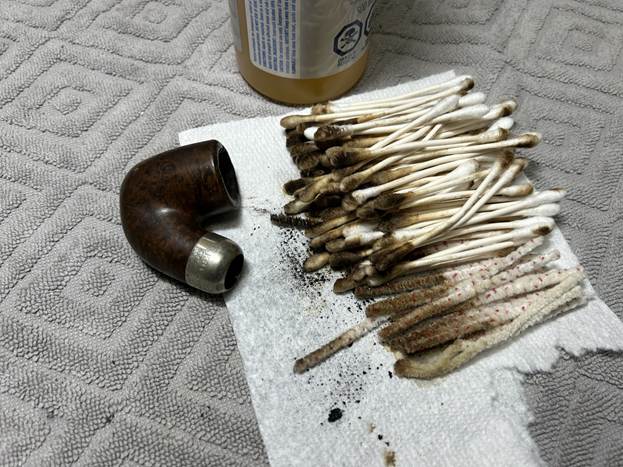
Similar to the stem, I then cleaned the stummel with both pipe cleaners and cotton swabs dipped in lemon-infused 99% isopropyl alcohol. With a pipe this dirty, it took quite a while and an extraordinary amount of cotton to clean.
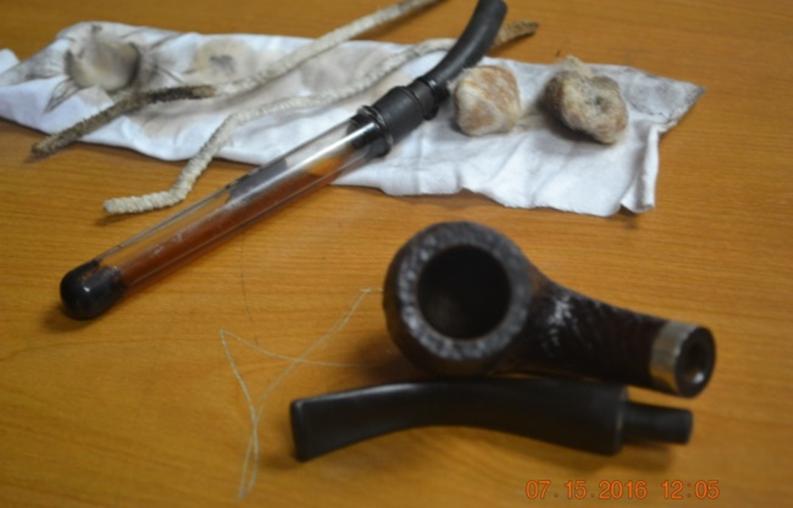
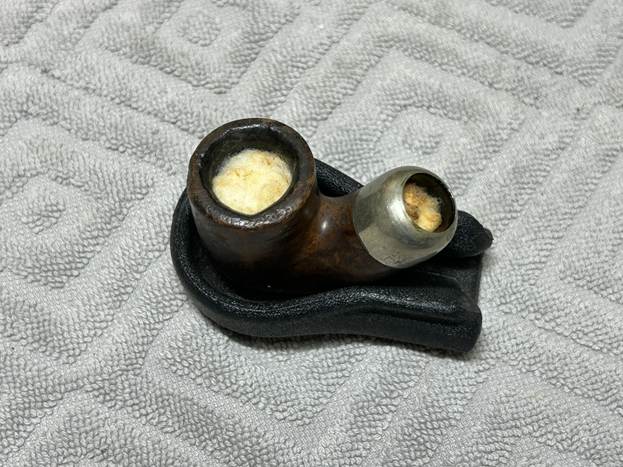
I then decided to ‘de-ghost’ the pipe – that is to say, exorcize the remaining filth from the briar. I filled the bowl and the shank with cotton balls, then saturated them with 99% isopropyl alcohol. I let the stummel sit overnight. This caused the remaining oils, tars and smells to leach out into the cotton.
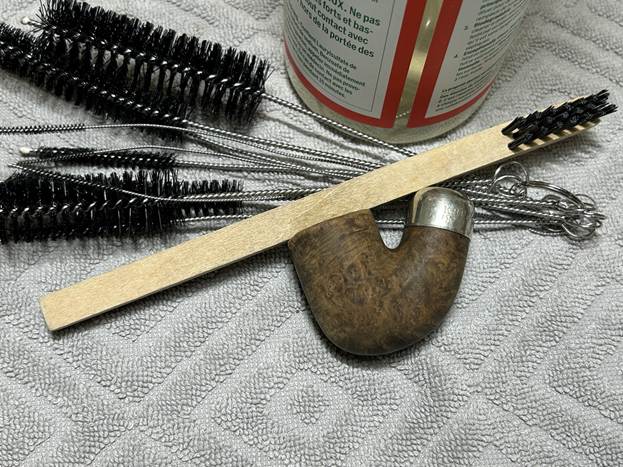
To tidy up the briar, I wiped down the outside, using a solution of a pH-neutral detergent and some distilled water, with cotton rounds. I also used a toothbrush in the crevices. This did a good job of cleaning any latent dirt on the surface of the briar. The last step of the cleaning process was to scour the inside of the stummel with the same mild detergent and tube brushes. This was the culmination of a lot of hard work in getting the pipe clean.
Now, here are some photos of the markings after having been cleaned. They are a little clearer.
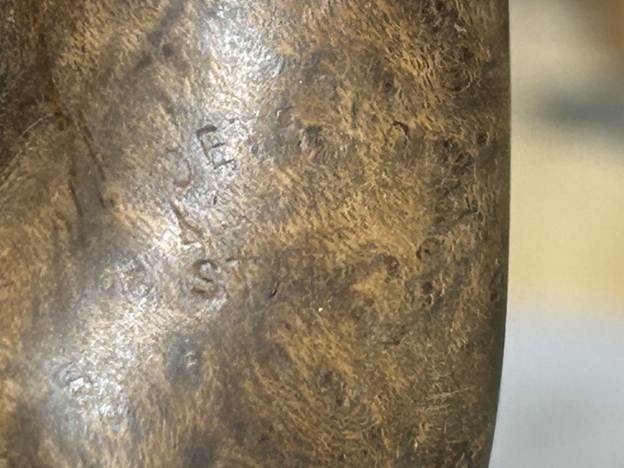
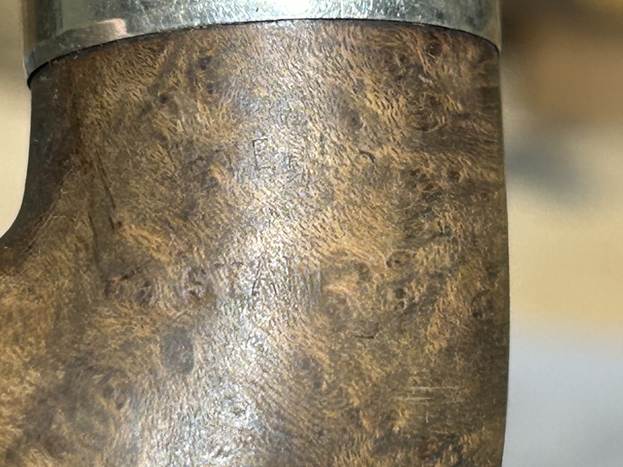
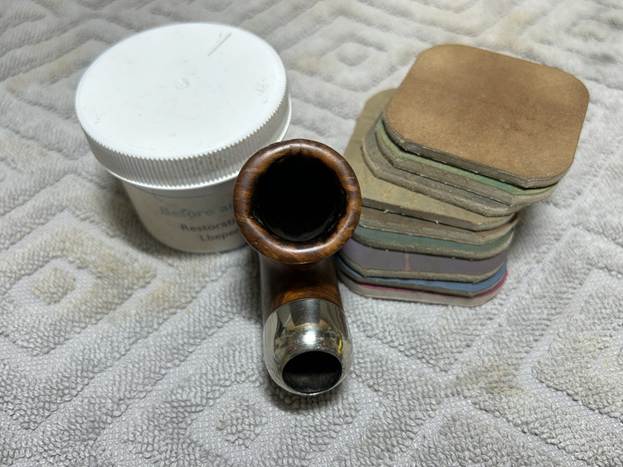
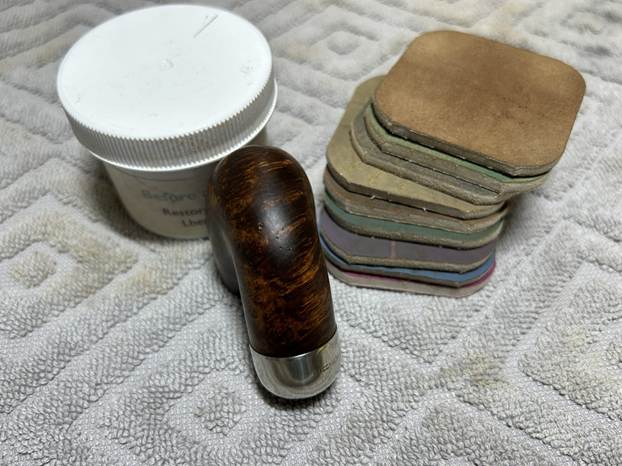
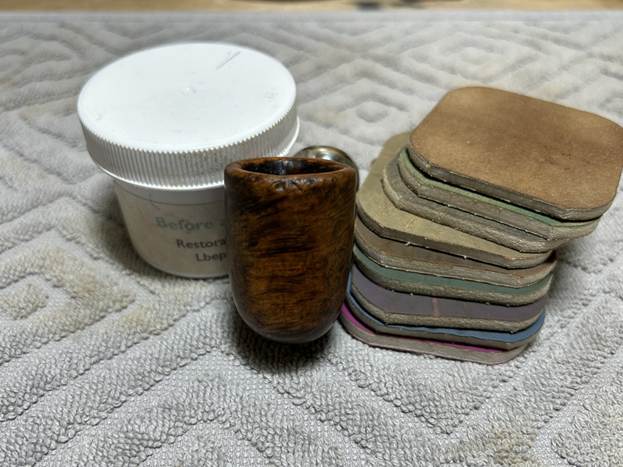
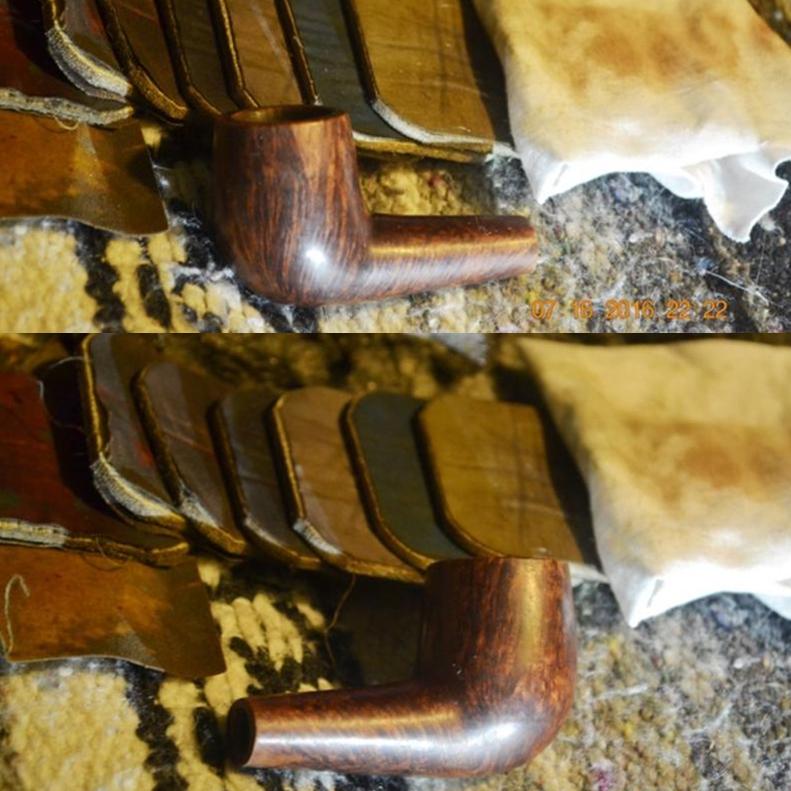
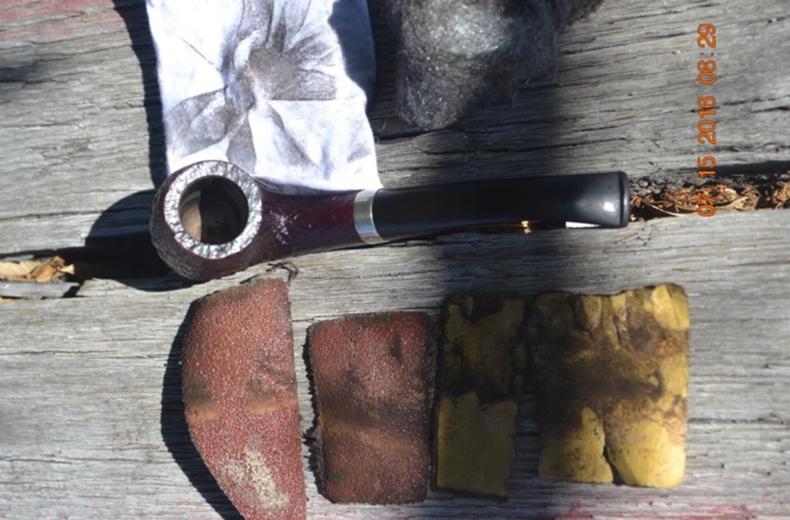
I used all nine micromesh pads (1,500 through 12,000 grit) to sand the outside of the stummel and finish it off. This sanding minimizes flaws in the briar and provides a beautiful smoothness to the wood. I rubbed some LBE Before & After Restoration Balm into the briar and let it sit for an hour or so. The balm moisturizes the wood and gives a beautiful depth to the briar. I then buffed the stummel with a microfibre cloth.
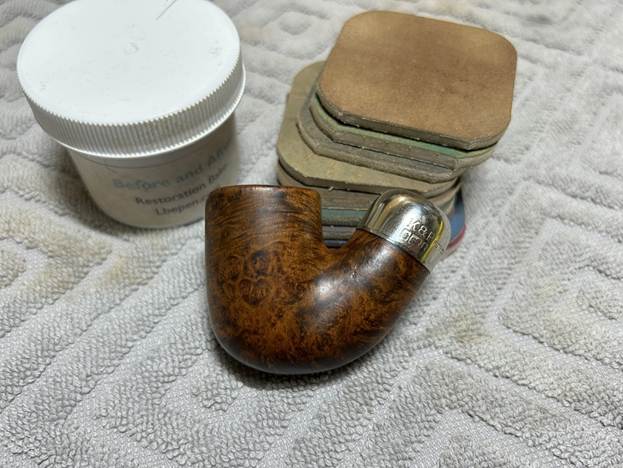
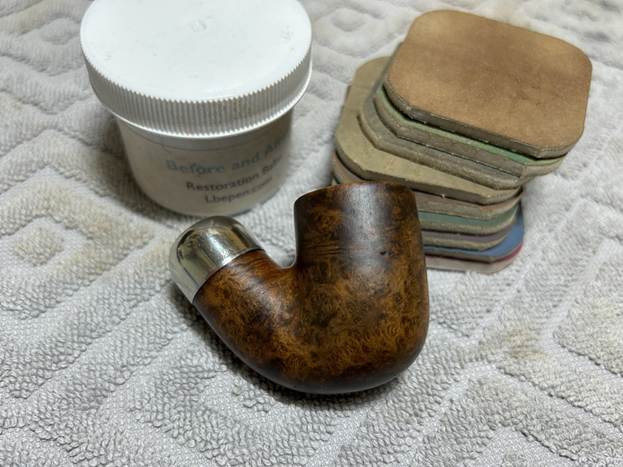
For the final step, I took the pipe to my bench polisher and carefully buffed it – first with a blue diamond compound, then with some carnauba wax. This procedure makes the pipe look its best – the stummel sings and the stem glows.

All done! This pre-Republic Peterson System Standard 313 looks fantastic again and is ready to be enjoyed by its next owner. I am pleased to announce that this pipe is for sale! If you are interested in acquiring it for your collection, please have a look in the ‘Irish’ section of the store here on Steve’s website. You can also email me directly at kenneth@knightsofthepipe.com. The approximate dimensions of the pipe are as follows: length 4⅓ in. (111 mm); height 1¾ in. (44 mm); bowl diameter 1⅛ in. (30 mm); chamber diameter ¾ in. (18 mm). The weight of the pipe is 1⅛ oz. (34 g). I hope you enjoyed reading the story of this pipe’s restoration as much as I enjoyed restoring it. If you are interested in more of my work, please follow me here on Steve’s website or send me an email. Thank you very much for reading and, as always, I welcome and encourage your comments.
Three Cleanups for a Friend


Guest Blog by Robert M. Boughton

Member, International Society of Codgers
Member, North American Society of Pipe Collectors
http://www.naspc.org
http://www.roadrunnerpipes21.biz  under construction
http://about.me/boughtonrobert
Photos © the Author except as noted

How shall not the ministration of the spirit be rather glorious?
— 2 Corinthians 3:8

INTRODUCTION

As Chuck Richards, my good friend and mentor, has now worked his last official day at the local tobacconist where we enjoyed our pipes together on so many occasions – each of us often absorbed by our own thoughts – his presence is missed by many.  Almost every time I visit the shop, I see customers come in, eager to pick Chuck’s mind on one thing or another concerning pipes, only to learn that he is no longer there.  Then a young emeritus member of our pipe club, who moved away a couple of years ago to study engineering at Purdue, called a mutual friend and said he had some pipes that needed cleaning.  When he asked for Chuck, our common friend referred him to me.

Soon after, I received an email from the young man, Joe Allen, who no doubt still looks too young to be smoking a pipe by the day’s legal standards.  I found out Joe was concerned with three pipes he described as having excess cake and some rim burn and other typical problems he wanted cleaned up by someone he knows and trusts.  I made him an offer he couldn’t refuse.  No, I didn’t have to kill my friend’s horse and put its head in his bed; I have trouble picturing Joe atop that amazing species of animal, although for all I in fact know about him he could be a country boy who grew up on a farm with horses and cows and all the rest, and be outraged at the suggestion that he is in any way equestrian challenged.
All I knew about Joe’s present whereabouts was that he changed his major from engineering (thank God) and moved to Missouri to go to med school and become a surgeon.  Now, that’s more the speed of the Joe Allen I remember.Joe1For Joe, I was tempted to tell him to send them to me with a return label so I could do the work for free.  But then my senses returned.  I just can’t keep cleaning and fixing my friends’ pipes without getting something in return other than the pleasure of working on their beautiful prizes!  So we settled on $10 each, which included return postage.  I didn’t even have a clue as to the kind of pipes Joe was sending me, except of course that they were designed for tobacco.

For that and other reasons, I was excited when the insured box arrived at my Post Office several days later, $30 in cash tucked with a note in an envelope stashed inside.  When I got to my car, I used my handy flip knife to open the well-wrapped package that was padded with the exceptional care for the precious cargo one would expect from a future surgeon.  I knew from the layers of bubble wrap that stuffed the small USPS Priority Mail box, and in particular upon finding the three pipes in question wrapped in smaller taped pieces of the same material, that they were cherished and adored by Joe.  I was honored that he entrusted his treasures to me and determined not to disappoint him.

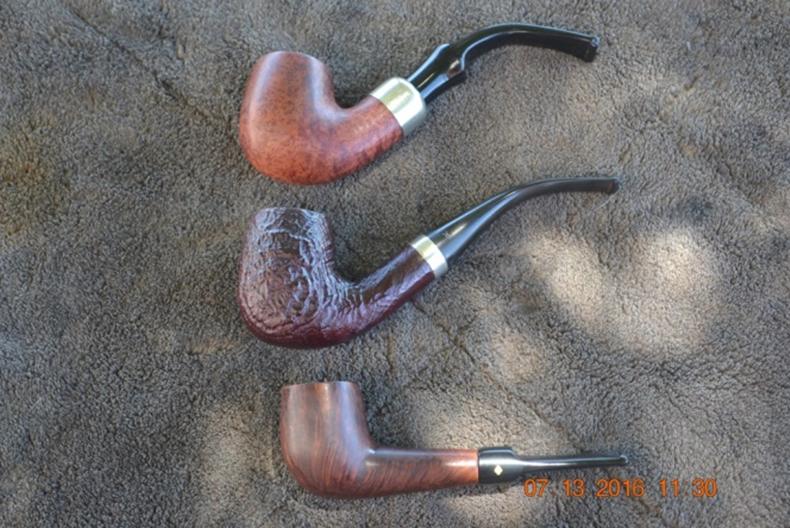
Anyone who knows me, even if only from my blogs here, might have guessed that I had to get a look at the pipes right then and there.  With complete respect and care for the contents, I removed each of the neat little bubble-wrapped pipes one at a time.  I was surprised and pleased by the variety.

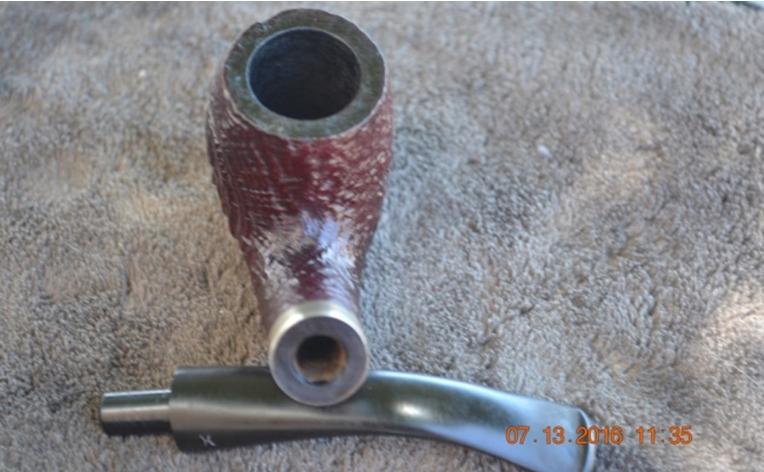
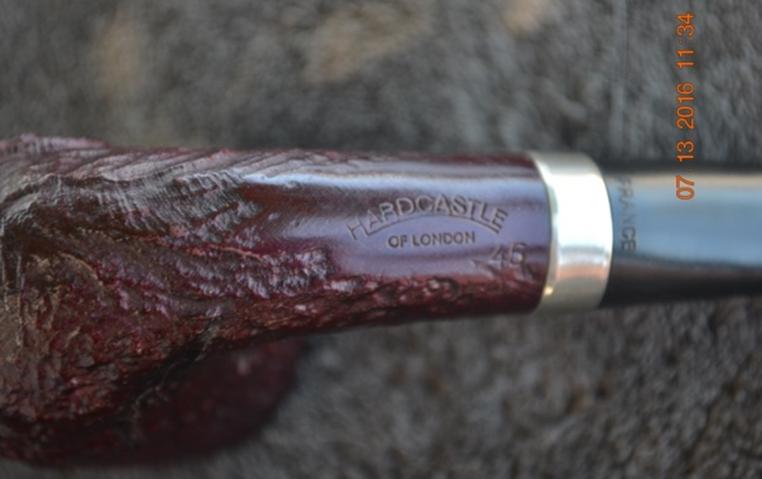
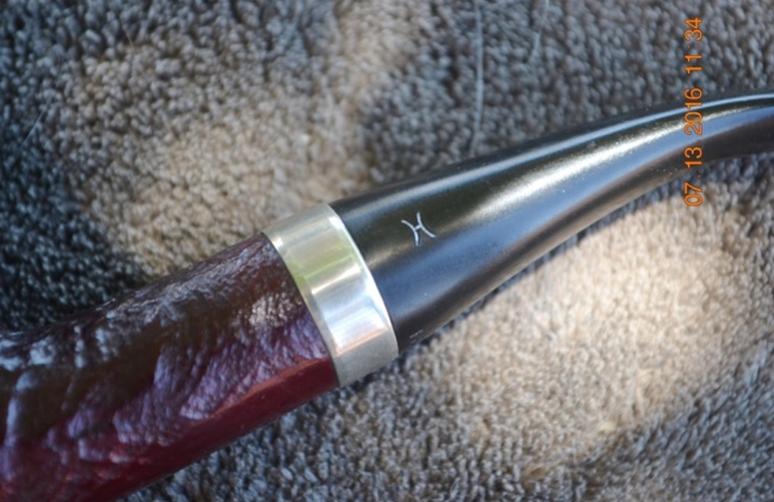
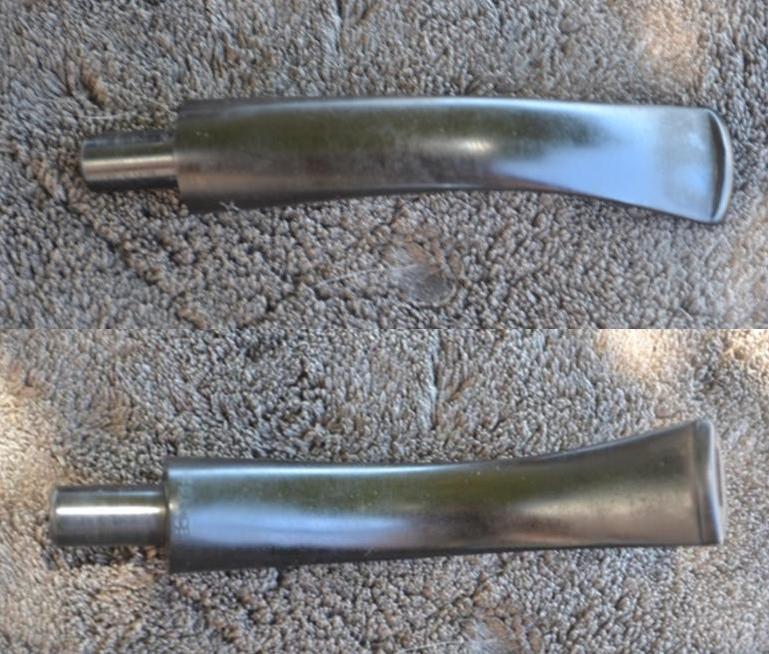
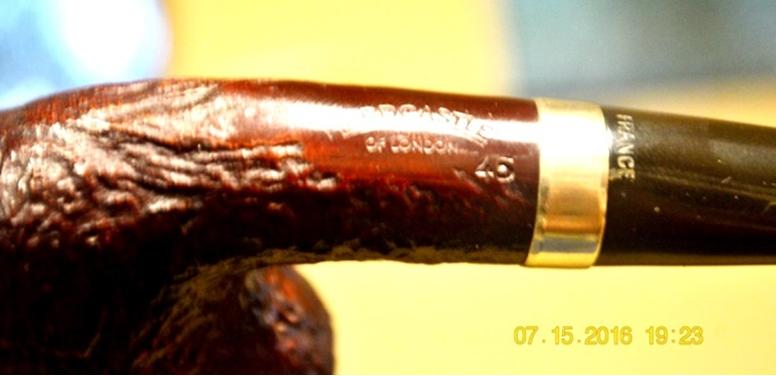
The first was a Hardcastle of London rustic bent billiard #45 of a beautiful, dark red color.  There are two stamps on the bit, an H on the left side and, in capital letters across the underside where it meets the shank, the word France.  I can find no mention of French made Hardcastles and suspect this may have been from a convenient bit supplier.  Steve confirms my guess.  But the fine briar smoker was in excellent, almost new condition that appeared to present no problems, although of course one popped up that I will describe later.
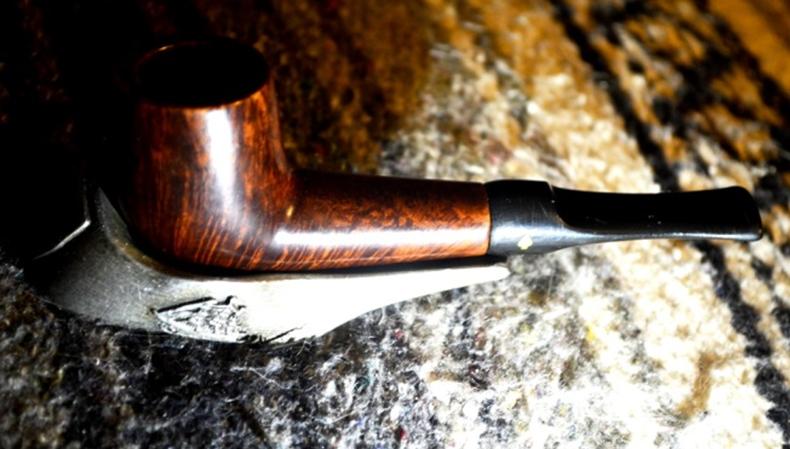
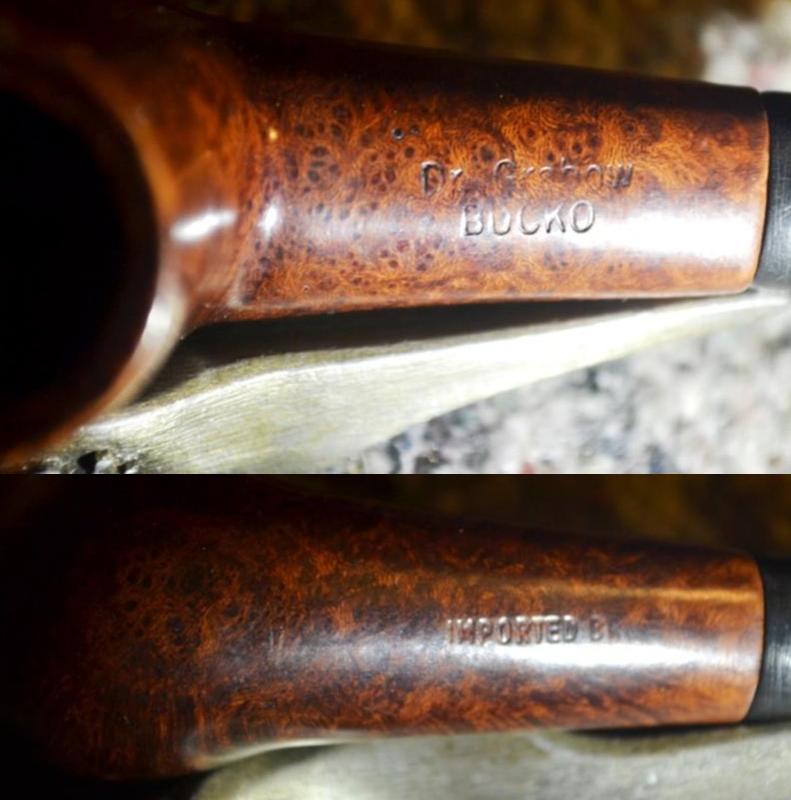
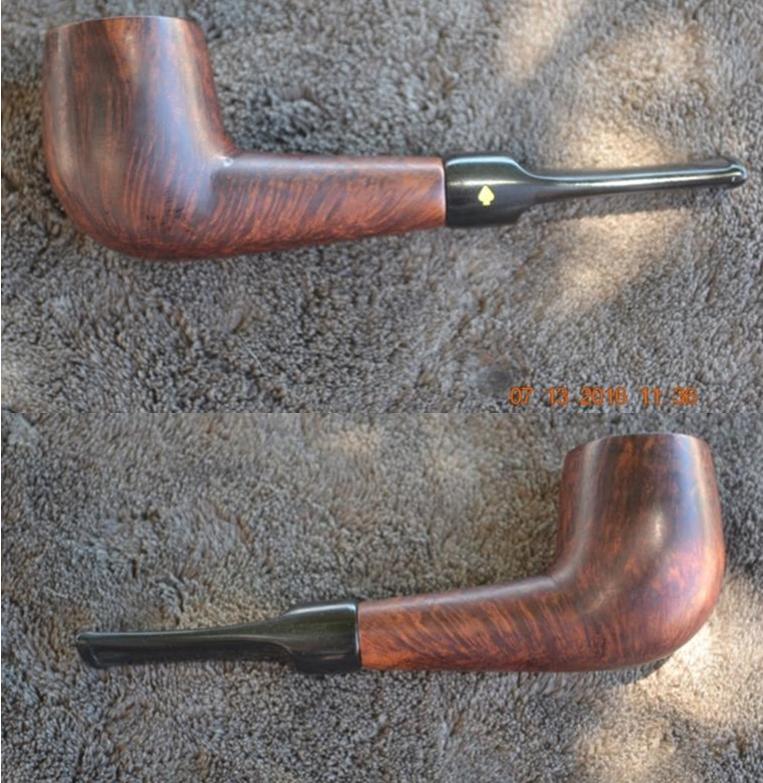
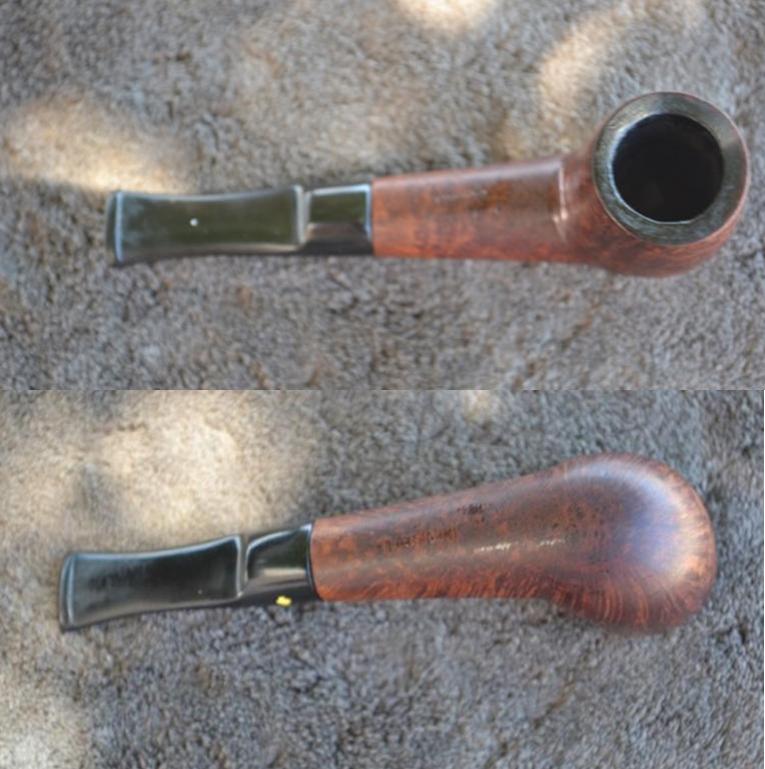
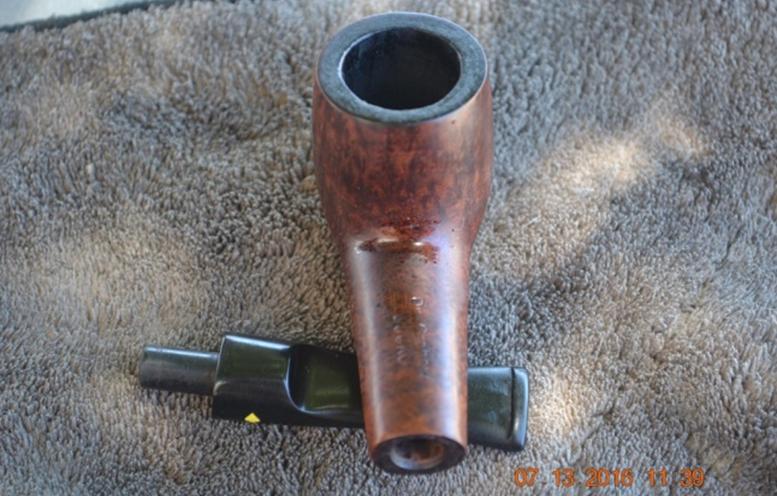
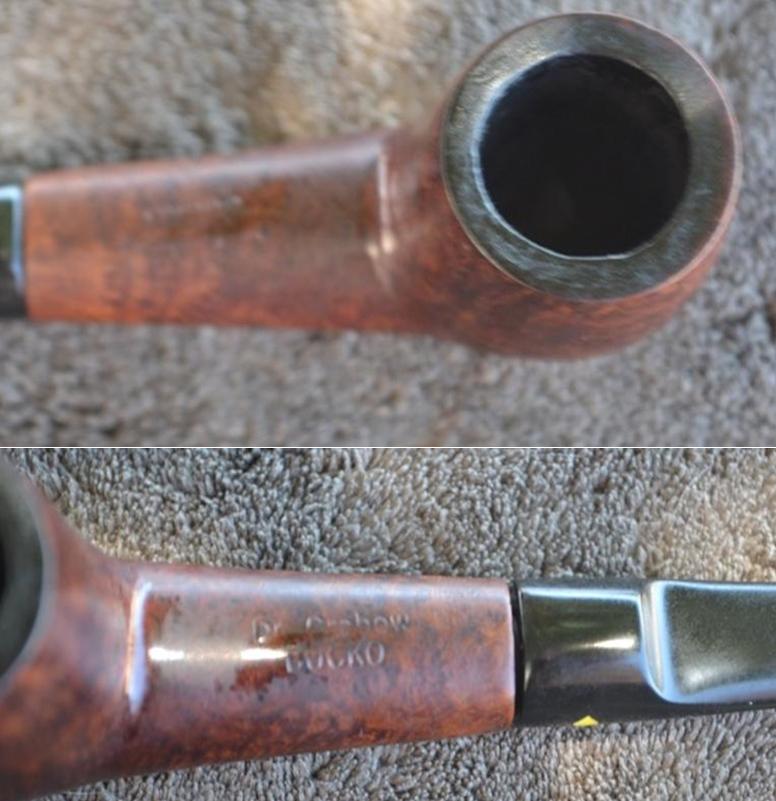
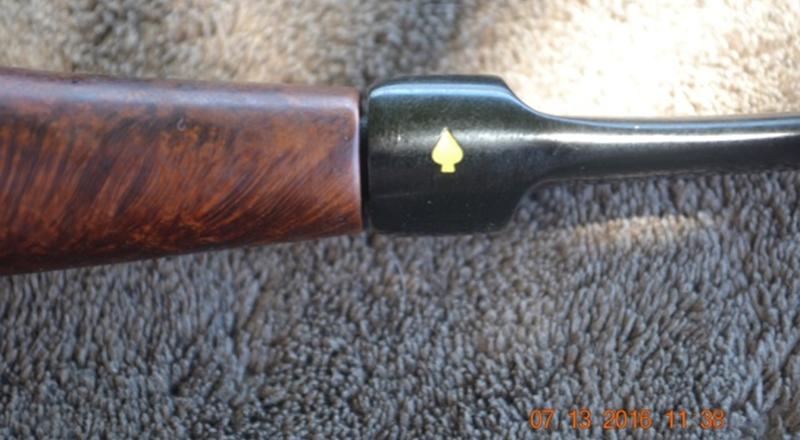
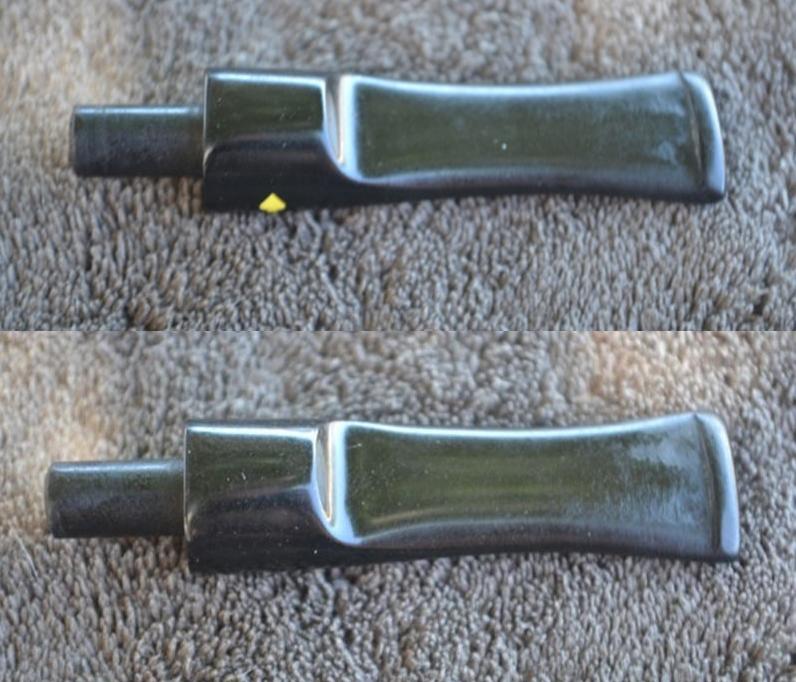
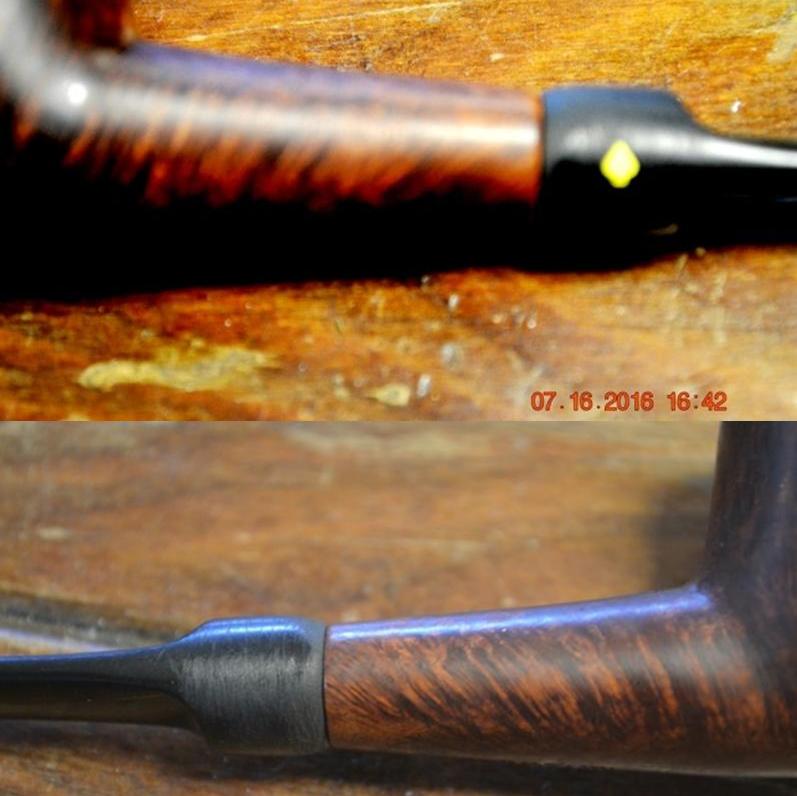
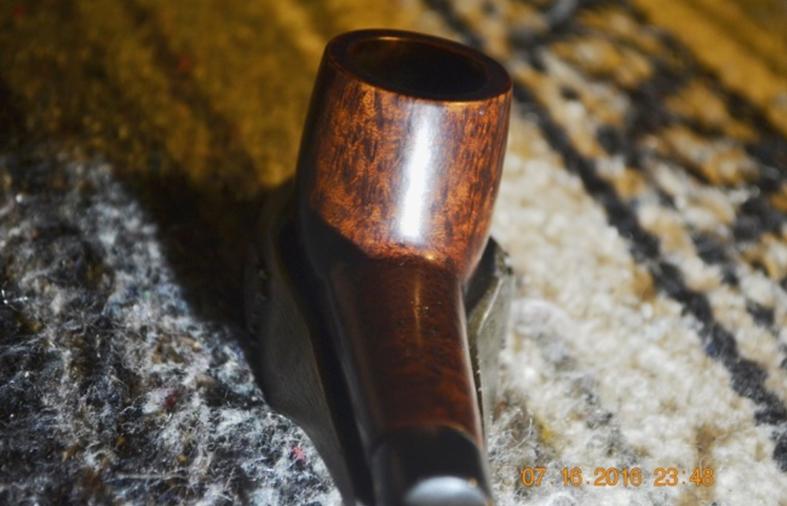
The second was a very nice Dr. Grabow smooth straight billiard with the name Bucko and a yellow spade on the left side of the bit.   My first impression of the Bucko, other than its wonderful vertical grain around both sides and the back and a nice birds-eye on the front, was that the bit seemed to be a replacement, as it was not flush with the shank opening.  I was happy, though, to see the bit rather than the shank was too big in places, just right on both sides and only extended too far on the top and bottom.  I knew I could fix that.

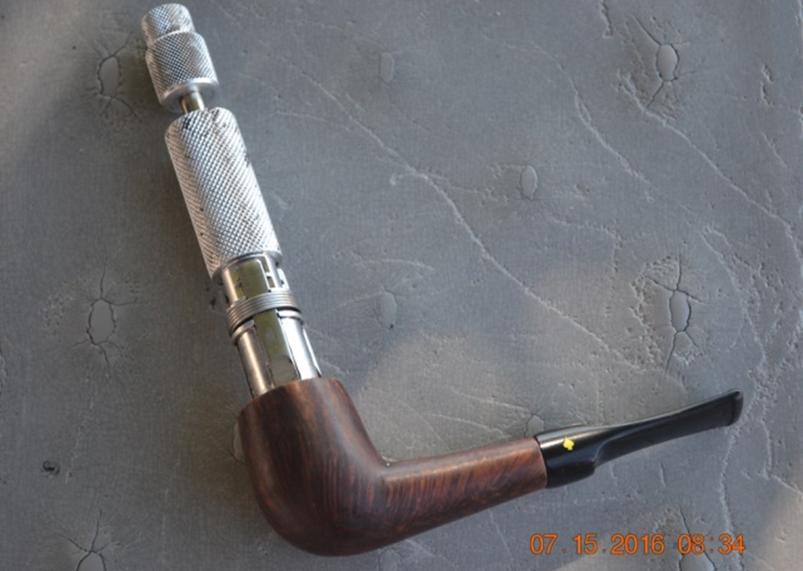
Then came the last pipe, and I even guessed the brand from feeling the shape through the bubble wrap: a classic K&P Peterson of Dublin System Standard smooth bent billiard.  Admiring it, I was startled when the bit popped out in one of my hands holding it with reverence.  Giving it an easy slight twist back into the nickel banded shank, it did it again.  And again.  Well, I ventured to guess, this little beauty was going to be an interesting challenge.Joe2I could not wait to get to work on them, having estimated a two-day turn-around.  First, of course, I had to stop by the tobacconist for a little relaxation and contemplation while I puffed one of my own pipes and studied Joe’s excellent set awaiting my gentle ministrations.  All of them, which were nowhere near as dirty or caked-up as Joe indicated, presented interesting challenges nevertheless.

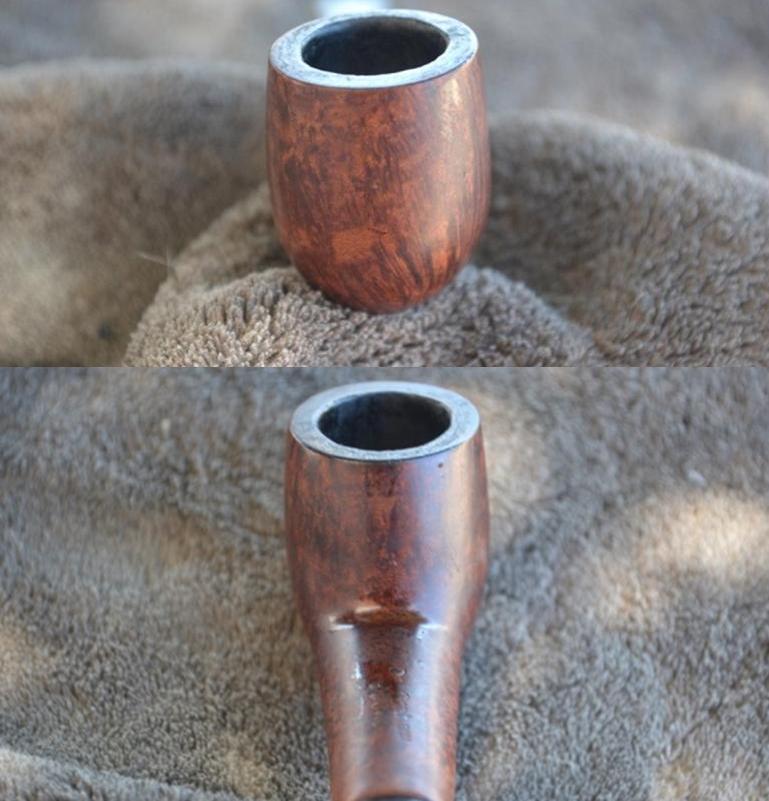
RESTORATIONS – DR. GRABOW BUCKOJoe3 Joe4 Joe5 Joe6For all the nasty talk about the brand, I have to admire the appealing visual twists on classic shapes that Dr. Grabow will throw into some of its designs, in particular the older ones.  Take this billiard, for example, with the unusual oblong aspect of the tapering shank.  At a glance, the problems that presented with the stout little Bucko were all minor.  There was slight rim darkening, far less than average chamber char, and a small amount of the original stain on the top of the shank that appeared to have been applied with some haste resulting in a shiny patch where heat drew out the liquid, which then re-dried.  Then again, perhaps the Bucko’s stummel had faded everywhere else, and that little area was all that remained of the factory finish.  Another possibility is that whoever chose the replacement bit prepped the wood for a refinish that for whatever reason was never applied.Joe7Closer inspection reaffirmed the theory of a replacement bit that was added without quite enough attention to detail, although the sides were perfect.  Again, only the top and bottom were misaligned. Joe8I began with the rim, which came clean after firmer than usual rubbing with superfine “0000” steel wool, and went for my usual approach on the chamber:  I used my Senior Reamer before sanding, first with 150-grit paper, then 180, 220 and 320.Joe9 Joe10I decided I might as well get the only real challenge with the Bucko out of the way and regarded the bit.Joe11I started with 220-grit paper to take off the excess Vulcanite on the top and bottom, but that got me nowhere.  I reached for the 180, and about a half-hour later was done with the fitting task.  I tossed the scratched bit in a preliminary OxiClean wash.  The scratches came off with wet micro meshing from 1500-12000. Joe13 Joe14 Joe15I took a close look at the scratches on the stummel.Joe16 Joe17With only the steel wool and the full range of micro mesh, wiping the wood with a soft cotton cloth between each grade, I was able to give the briar a nice, even smoothness.Joe18 Joe19Joe20 Joe21I retorted the pipe with Everclear.

Joe22After using the electric buffers to apply red and white Tripoli, White Diamond and carnauba to the bit and all of the same except for the red Tripoli to the stummel, here is the finished Bucko.Joe23 Joe24 Joe25 Joe26 Joe27 Joe28PETERSON SYSTEM STANDARDJoe29 Joe30 Joe31 Joe32 Joe33 Joe34I started by reaming and sanding the chamber and dispensing with the light rim char.  After giving my Senior Reamer a few turns in the chamber, I used 150-, 180-, 220- and 320-grit papers to make it ultra-smooth, but the steel wool was not enough to do the trick with the rim so I used a light touch of 320-git paper for the rest of the burns there.  As the second photo below shows, it turned out quite well. Joe35 Joe36There were some scratches and light pocks on the stummel that I eliminated by lightening the color of the stummel somewhat with steel wool.Joe37 Joe38Then I applied Fiebing’s Brown boot treatment to the stummel, let it cool and removed the thin layer of residue with 12000 micromesh.Joe39 Joe40The bit that appeared at first to be loose worked itself out somehow, maybe with the retort I did next.  And that was it, other than buffing the wood with white Tripoli, White Diamond and carnauba.  This was the only time I didn’t need to do anything to the bit.Joe41 Joe42 Joe43 Joe44 Joe45 Joe46HARDCASTLE OF LONDONJoe47 Joe48 Joe49 Joe50 Joe51 Joe52 Joe53 Joe54 Joe55Just to shake things up a bit, as I never start with the bit, that’s what I’m going to do.  Besides, this one is so easy, I might as well get the hardest part out of the way.

When I removed the bit the first time, I noticed it was so tight it wouldn’t budge.  Afraid of breaking either the tenon or part of the shank, I followed one of Chuck’s first lessons to me. Grasping the bit firmly in one hand – prepared to stop if I felt one more hint that a foreign substance was making the two parts stick – I turned the stummel with my other hand.  The sound was awful, but the parts came loose with a slowness I didn’t rush.  All that was needed to loosen the bit so it was easy to turn into the shank was a couple of tight turns of steel wool around the tenon.

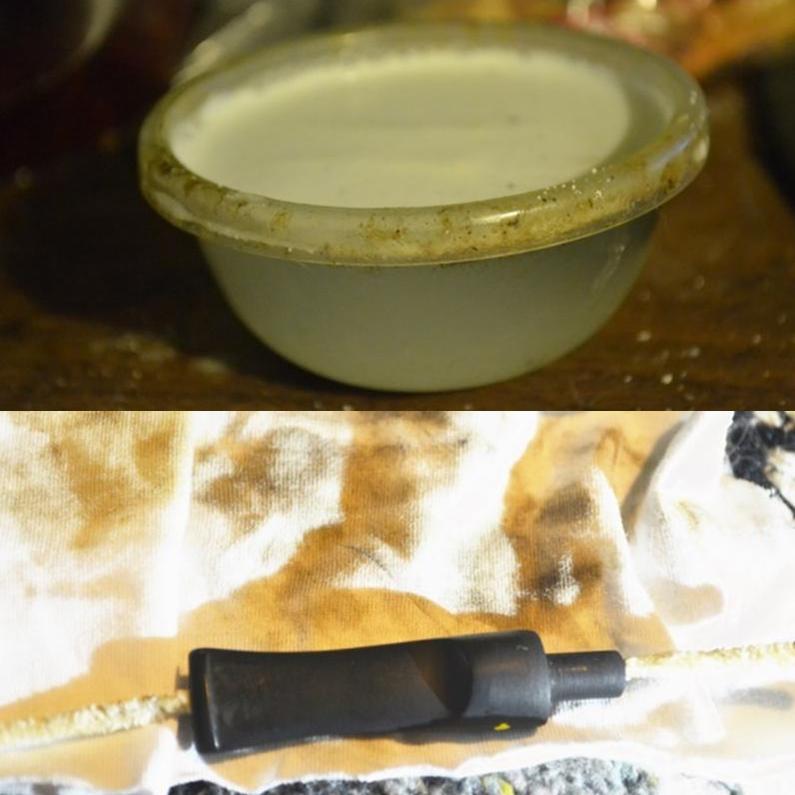
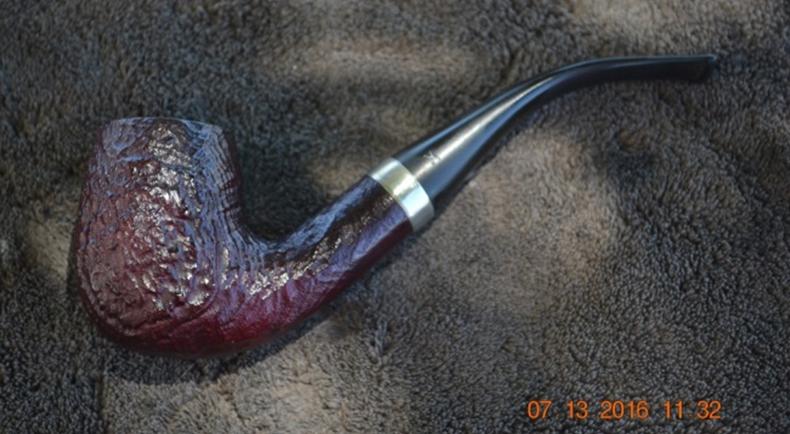
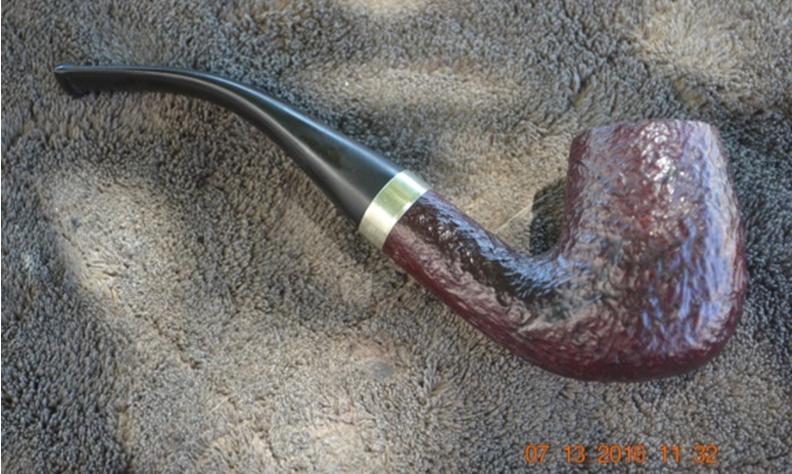
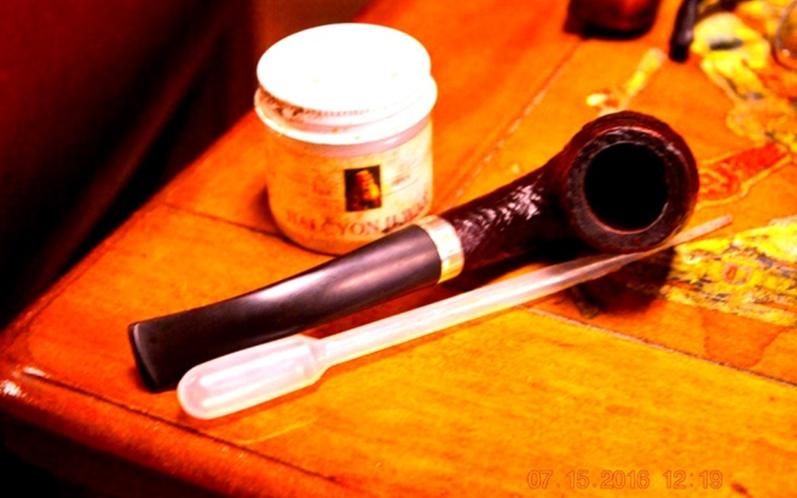
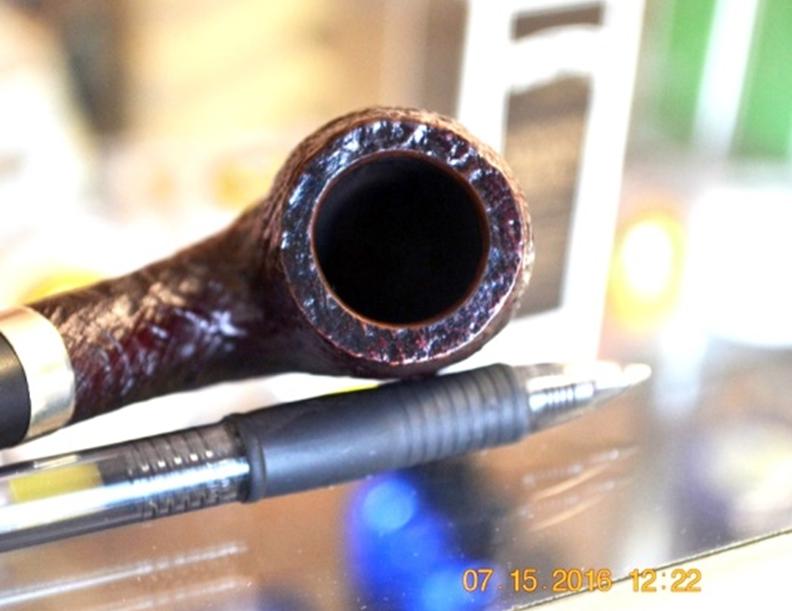
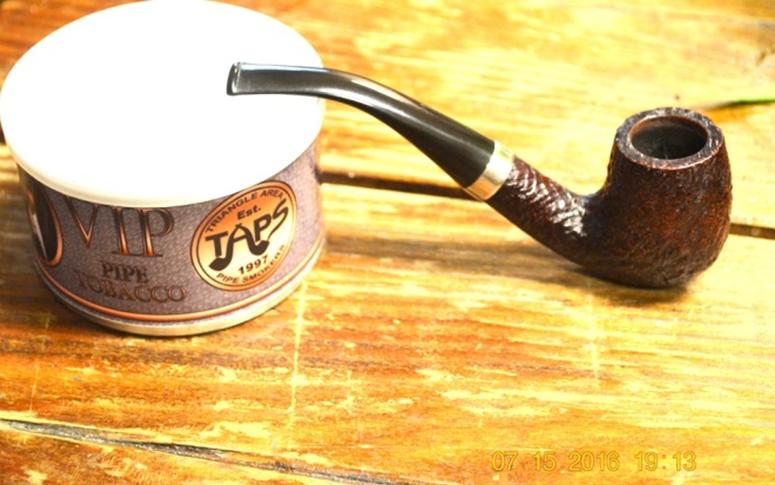
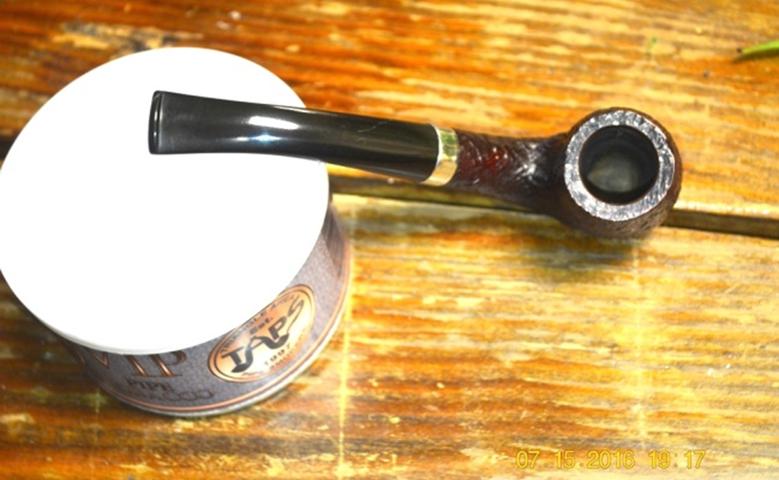
The discoloration is shown just as it in fact appeared with my own eyes for once, rather than the camera’s POV.  In my opinion, just as a camera will add a few unwanted and unfair pounds to humans, so will it give a more flattering gloss to Vulcanite than the material often deserves. I gave it an OxiClean bath for about a half-hour.Joe56 Joe57And here it is after the bath and a brisk rub down with a soft cotton cloth.Joe58After wet micro meshing from 1500-12000, buffing on the wheel with red and white Tripoli, White Diamond and carnauba, and re-filling the empty H with a white china marker, this is the final result.Joe59I reamed and sanded the chamber and rid the rim of dark marks.  I used the same approach as the first two pipes on the chamber, and again, only steel wool was needed for the rim.Joe60 Joe61All that was left before the final buff was to retort the pipe, and as always, I was glad I did.Joe62Coating the already beautiful, rusticated red briar with Halcyon II wax, I set it aside to dry before wiping it down with a soft cotton cloth.Joe63 Joe64I was almost sad to be finished.Joe65 Joe66 Joe67 Joe68 Joe69 Joe70 Joe71CONCLUSION

Now I have to return these three fine pipes to their owner.

SOURCES

http://www.pipephil.eu/logos/en/logo-hardcastle.html

https://pipedia.org/wiki/Hardcastle