Blog by Paresh Deshpande
Believe you me friends, this is FUN!! Being able to work on different pipes, be able to choose your project, choose a brand you wish to work on, is an exhilarating experience for me. Prior to the Mumbai Bonanza striking me, I was restricted mostly to working on my inherited collection of pipes, each complete with its stem challenges and similar stummel condition and was getting slightly monotonous to say the least.
I was fortunate enough to have heeded the advice of my dear friend and mentor, Mr. Steve, and struck a deal with a trash collector from Mumbai. He did not know what he was selling and I did not know what I was buying as we reside in different cities!! The argument that Mr. Steve presented was that if not anything, I shall at least have some spares and this was logical. I struck a deal and here are pictures of the pipes that I received in this lot. 

 This lot contains some very nice collectible pipes, a few well known brand pipes and some mediocre pipe brands. Overall, with seven Dunhills, a Preben Holm #1, a couple of Made in England Pete System pipes, Charatan’s, Custom-Bilt, Stanwell and other assorted pipes, I would say that I had hit a huge jack pot!!! Hence, I like to call this find as “Mumbai Bonanza”.
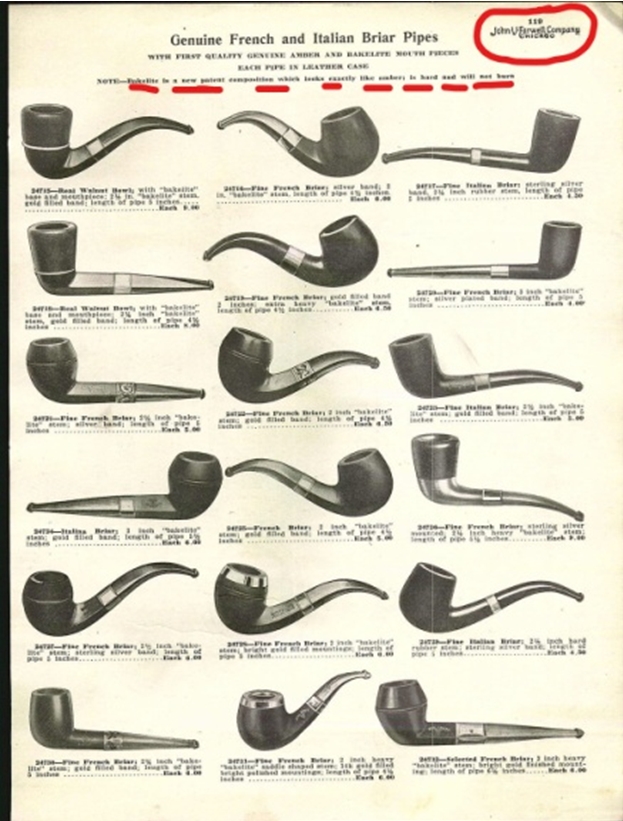
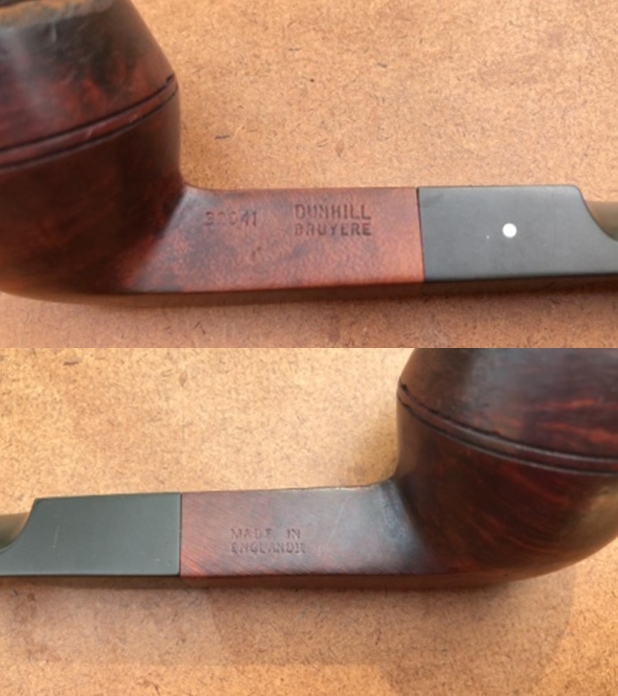
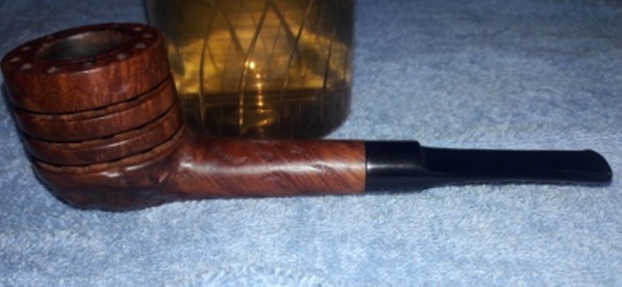
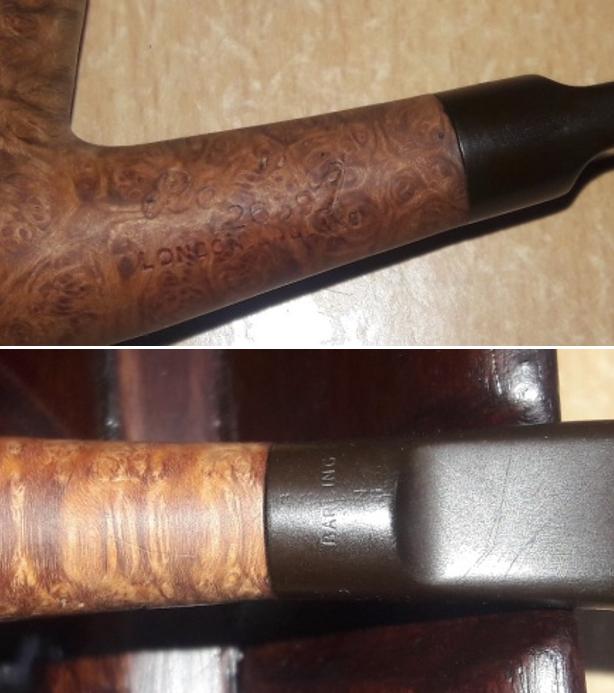
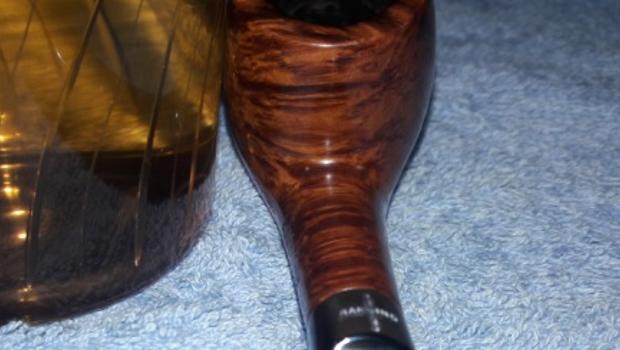
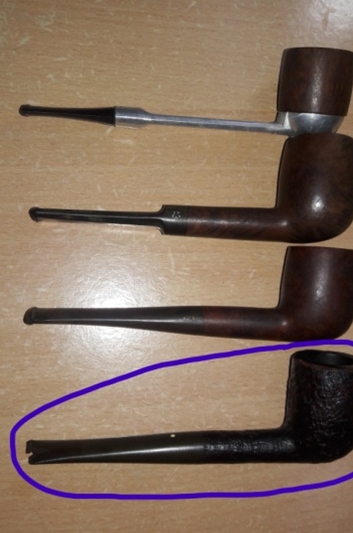
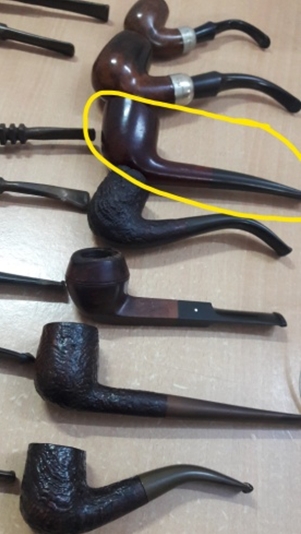
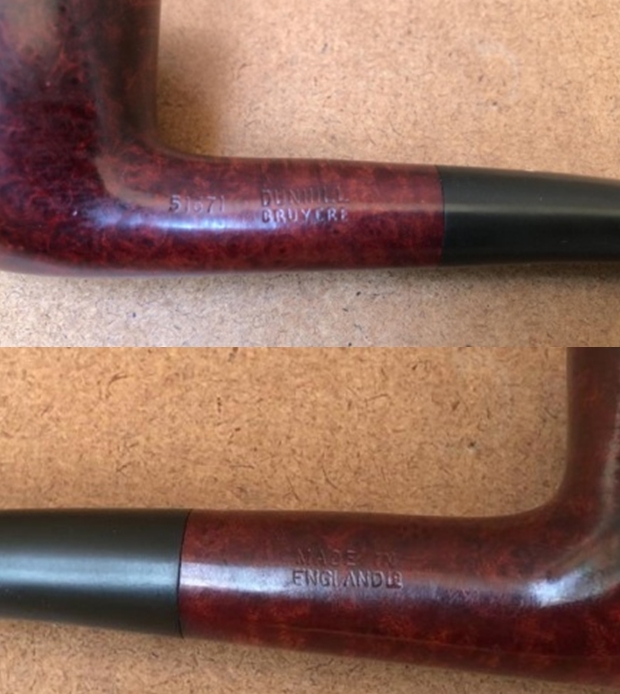
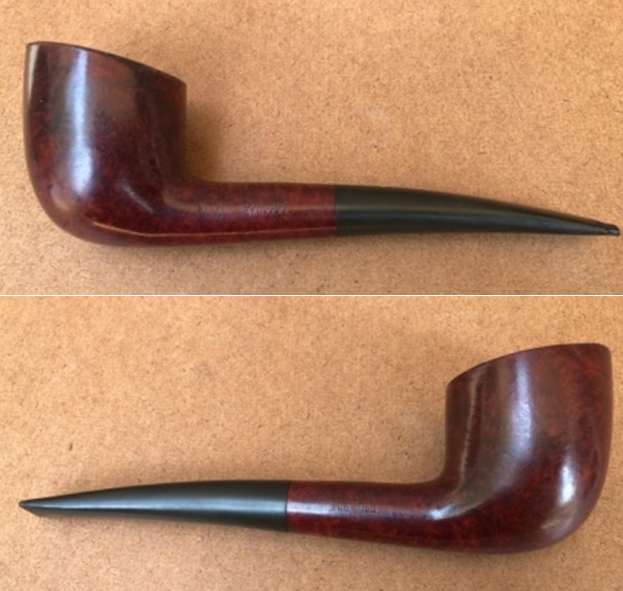
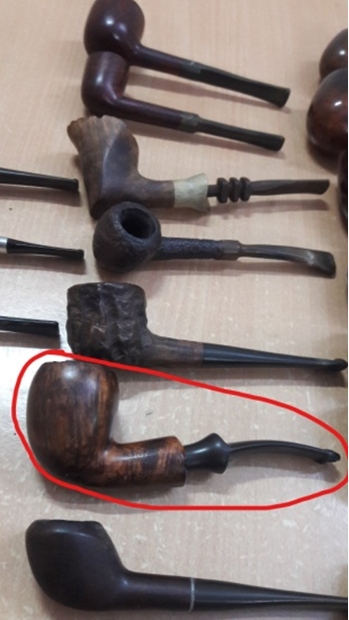
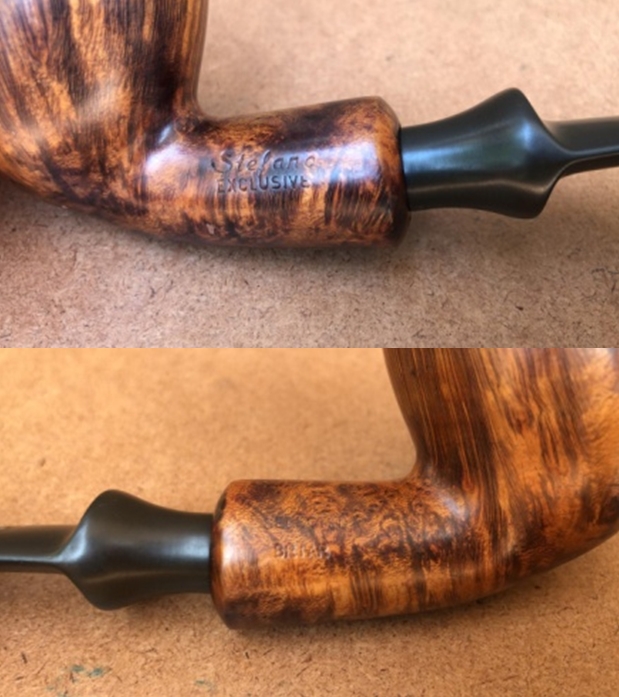
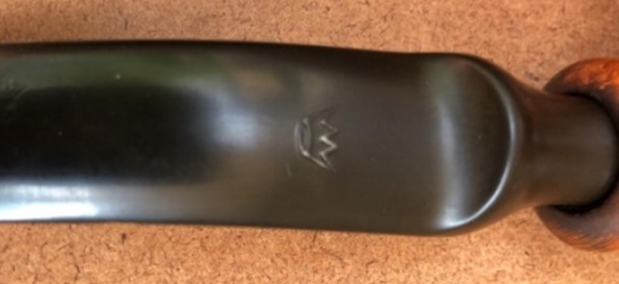
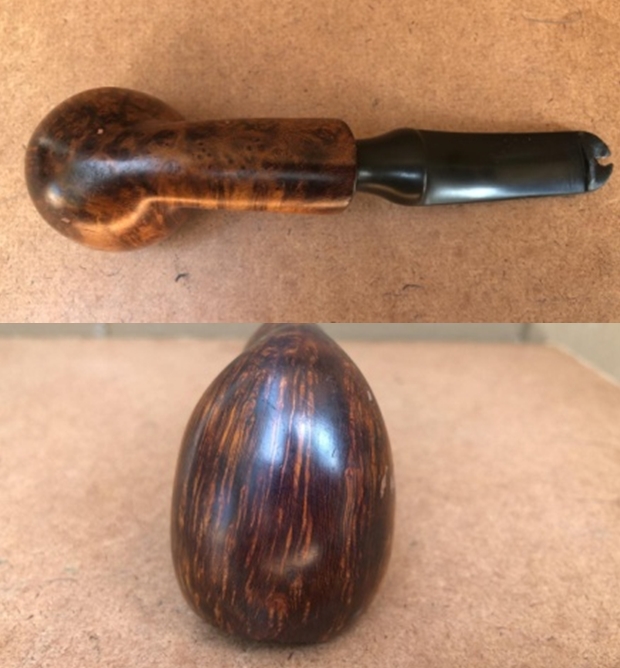
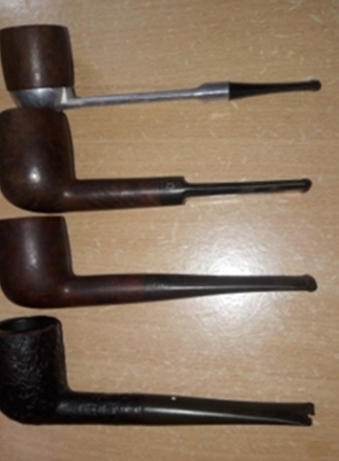
The pipe that I decided to work on from this find is a smallish full bent Dunhill Shell billiard, and is marked in pastel blue circle in the picture below (the ones circled in red and yellow are completed projects). This is a beautiful deeply sandblasted billiard with a lovely tactile feel in the hand. The play of dark red brown hues on the sandblast makes for a visual treat. It is stamped on a smooth surface on the foot and the underside of the shank with the shape number 52 followed by F/T followed by DUNHILL Shell Made in England 9 (9 is underlined) 0 all in a straight line over PATENT No 417574/34 followed by an encircled 3 at the shank end. This stamping indicates that this pipe is a fishtailed group 3 sized shell and dates this pipe to being manufactured in 1949 and sold in 1950. The Trademark Dunhill White Dot adorns the top of the vulcanite stem. The stampings are deep, crisp and clear. With this information, I move ahead with the restoration of this beautiful sandblasted Dunhill bent billiard.
INITIAL VISUAL INSPECTION
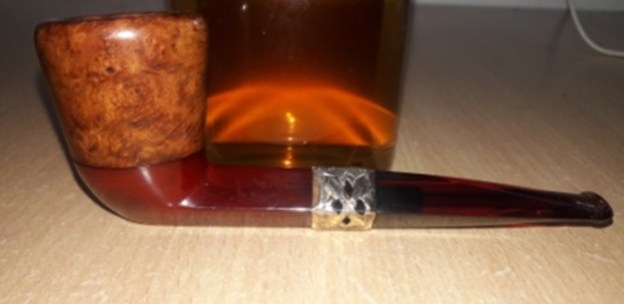
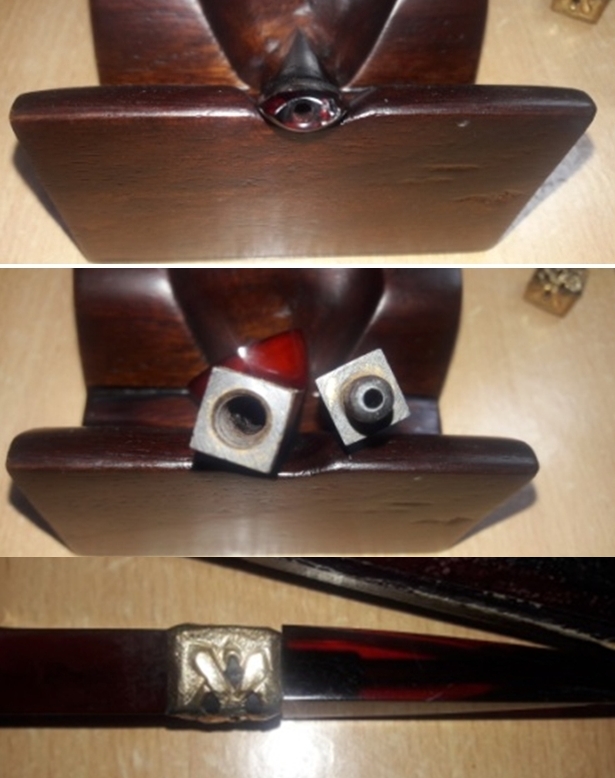
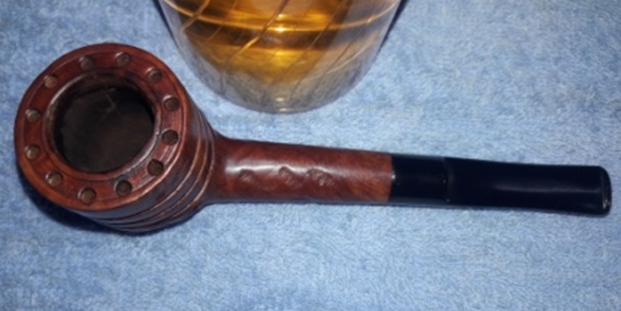
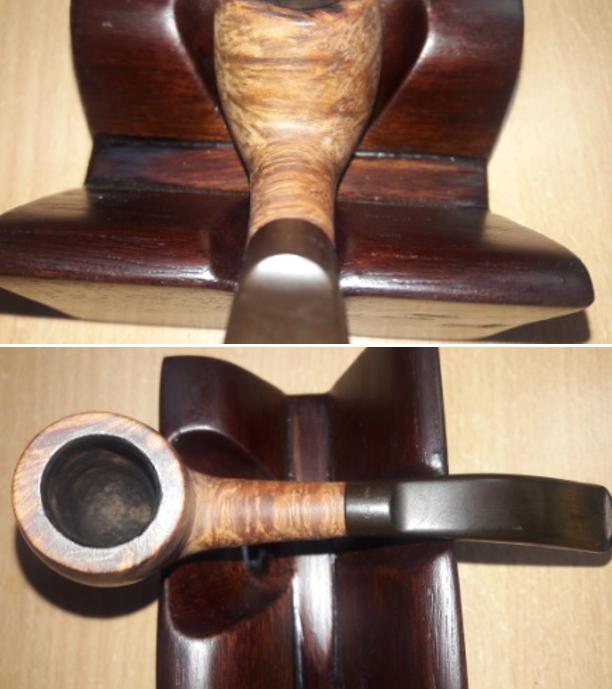
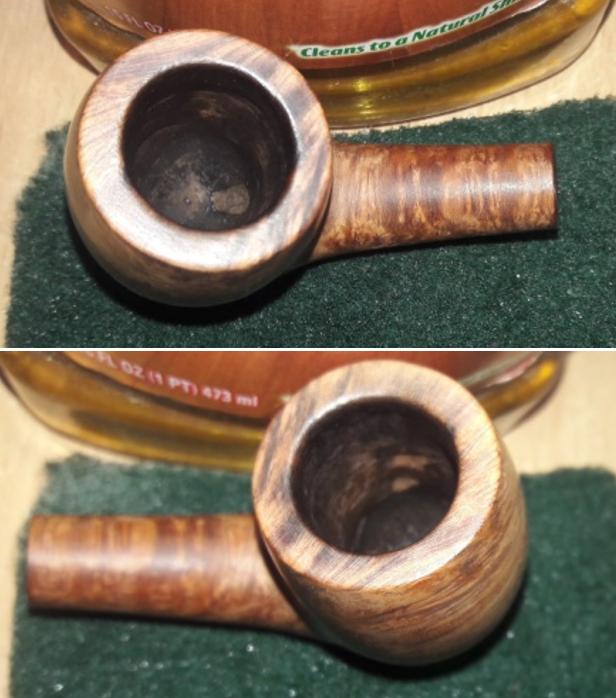
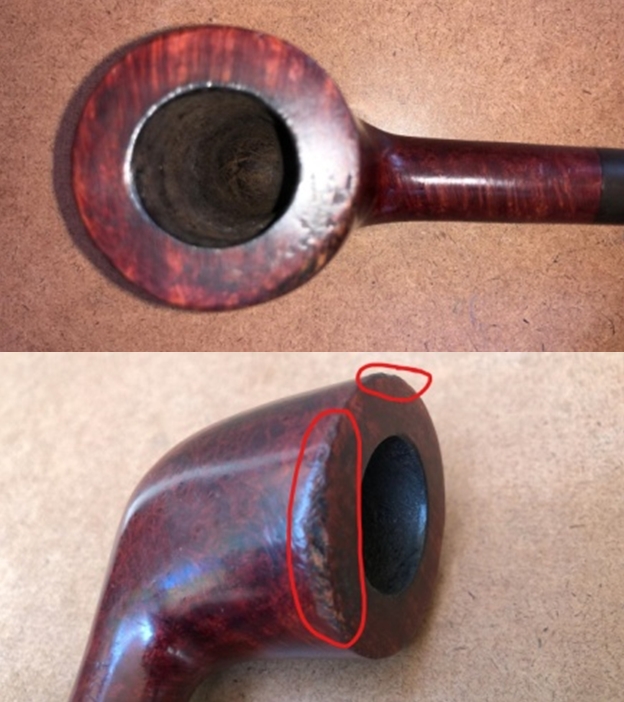
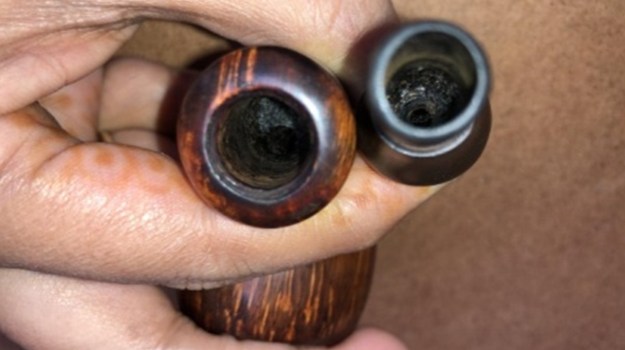
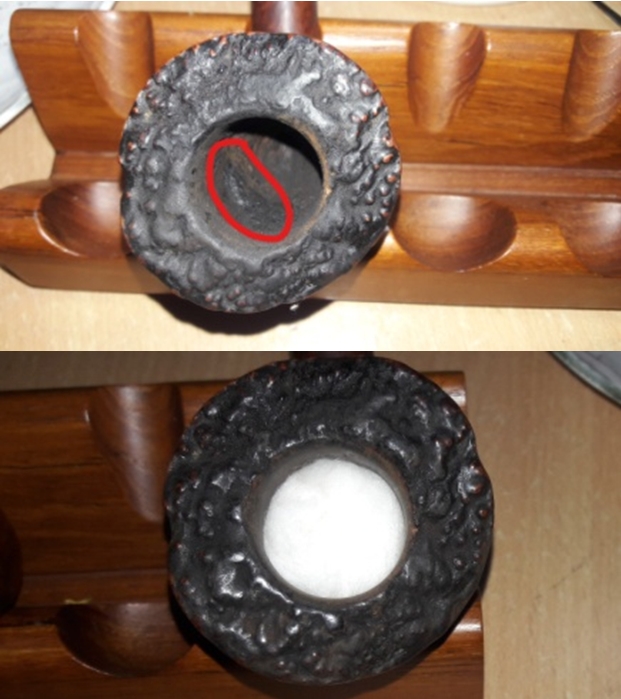
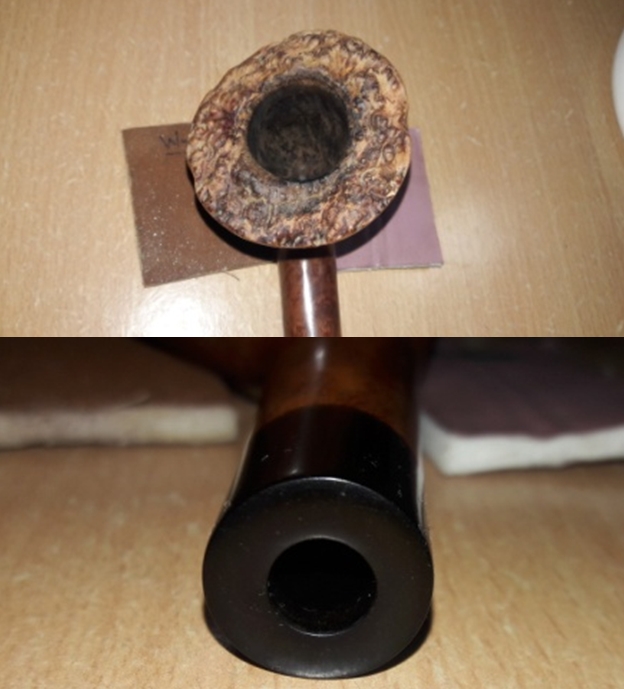
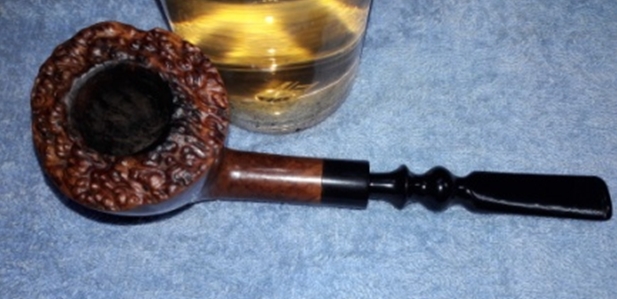
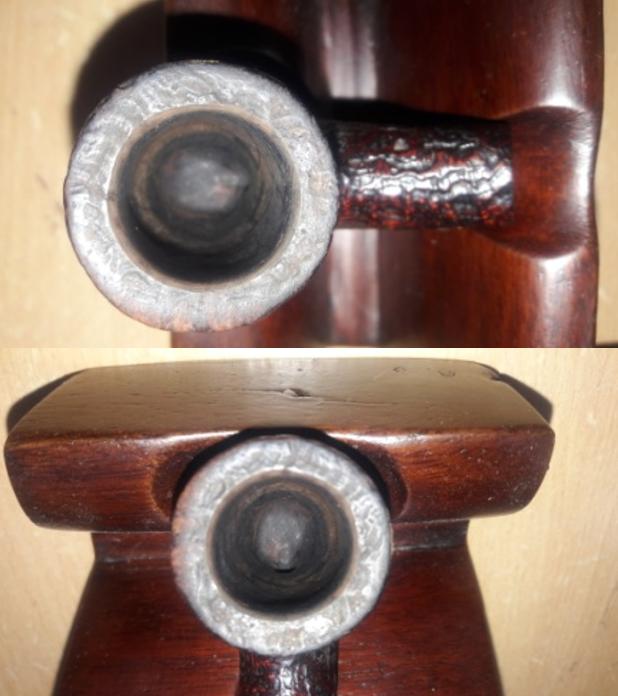
The chamber has a thick layer of even and smooth cake which indicates that the pipe has been well used but also well cared for by its previous Steward. From what I can see, the chamber walls appear to be without any damage. The chamber is odorless. There is an overflow of lava on the blasted rim top surface. The inner and outer rim edges appear to be in pristine condition. The mortise is clean and so is the shank airway.
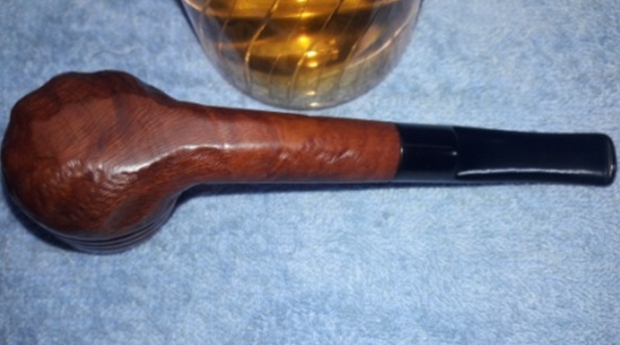
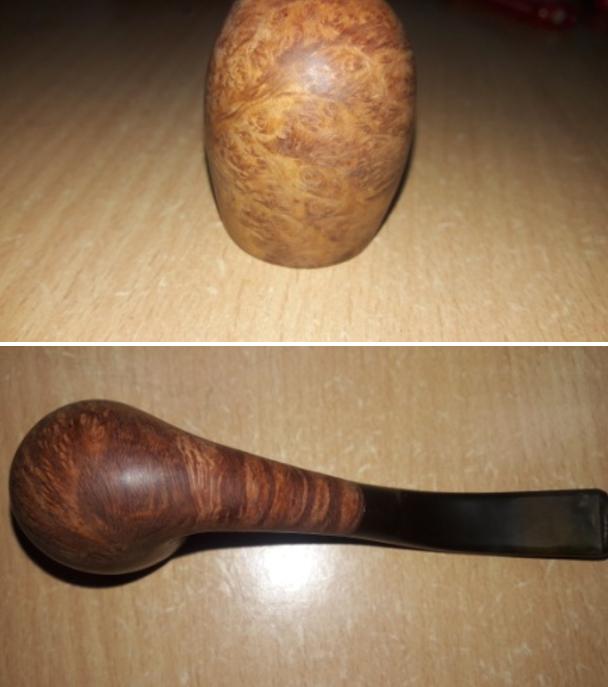
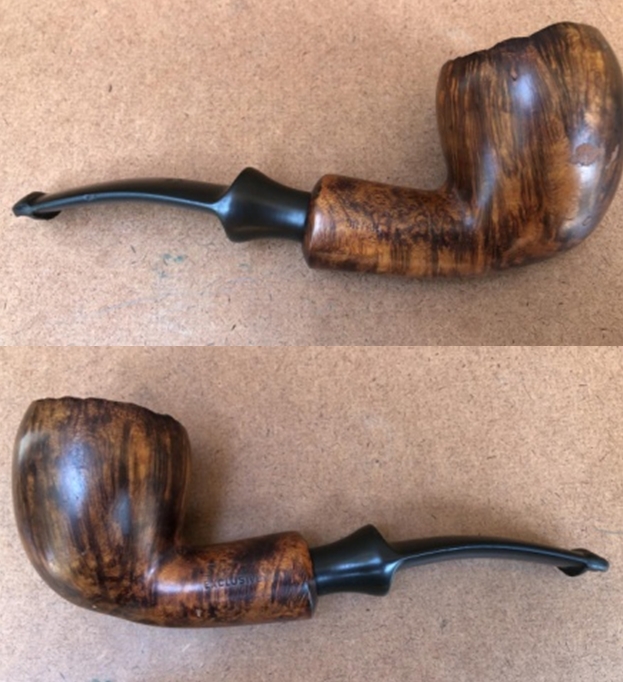
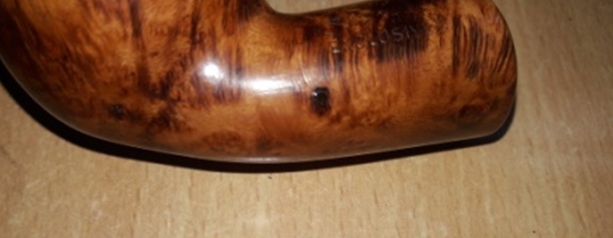
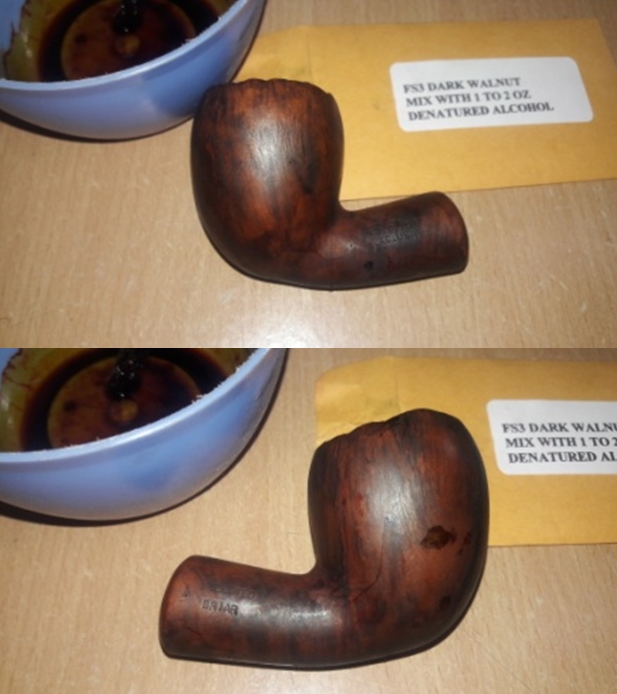
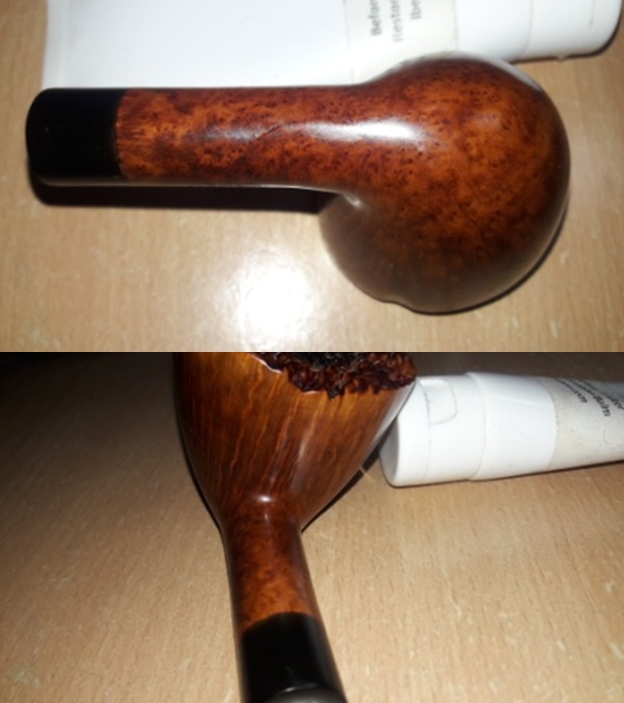
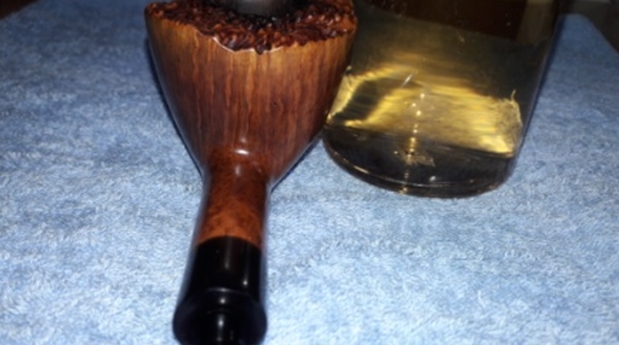
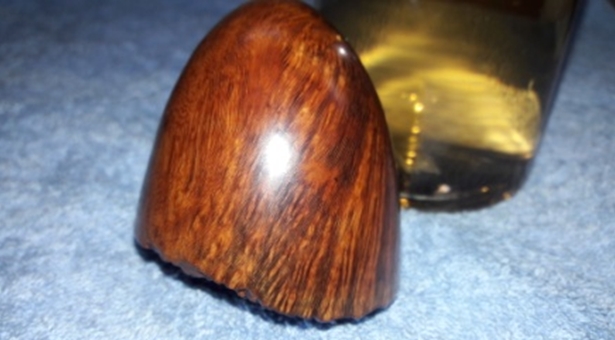
 The stummel boasts of some beautiful deep sandblast pattern all around. It is dirty with grime and oils filling in much of the craggy finish. The briar, in this condition also, looks amazing. I can’t wait to see after I have worked on it.
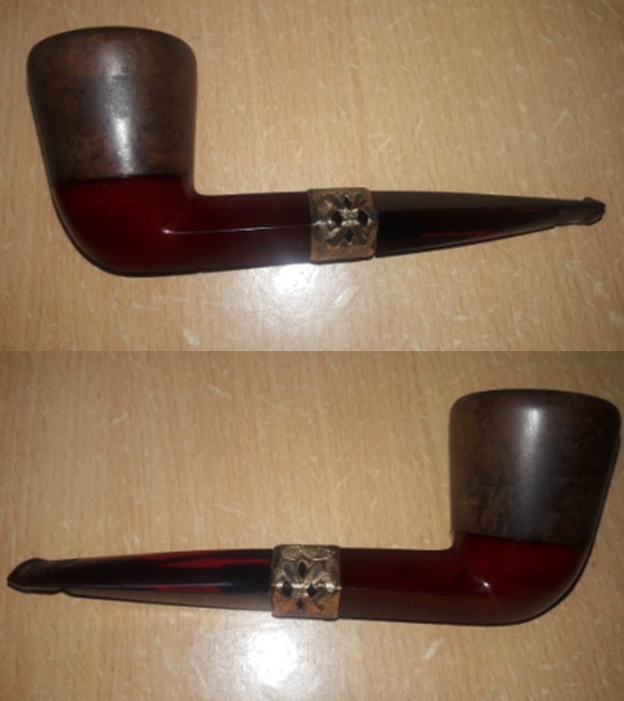
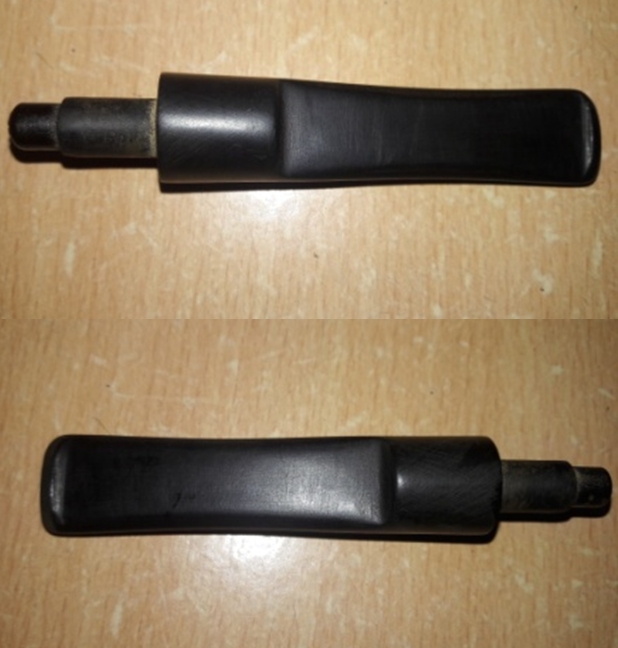
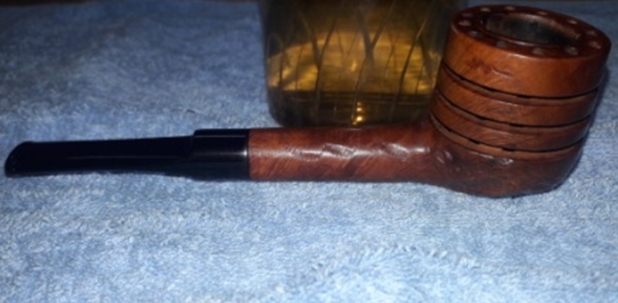
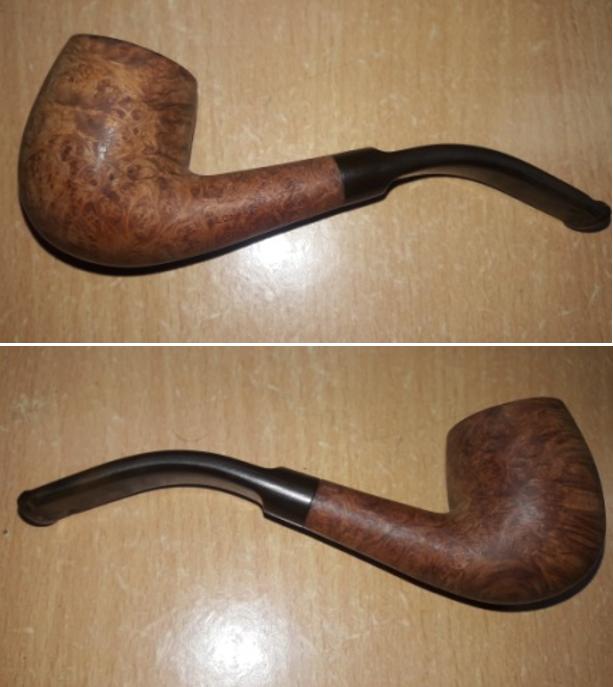
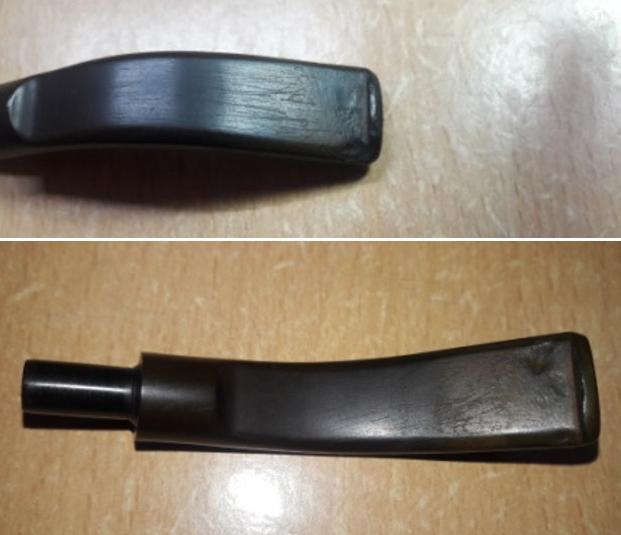
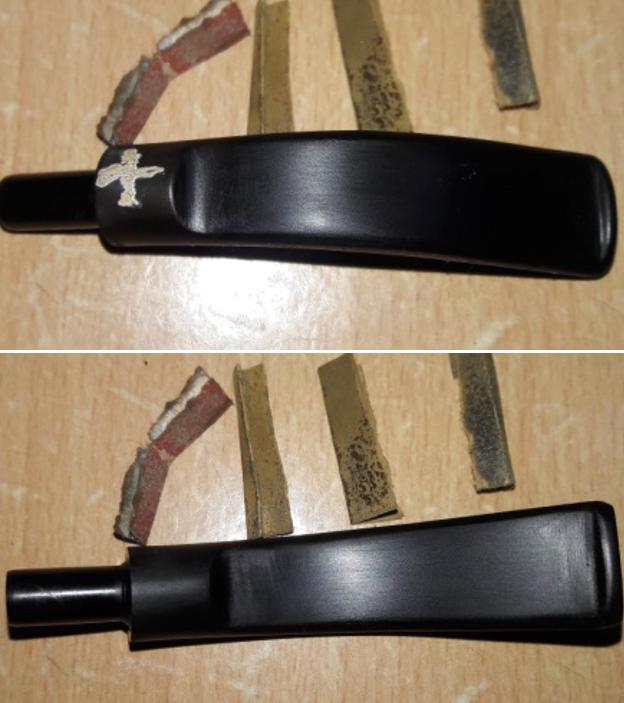
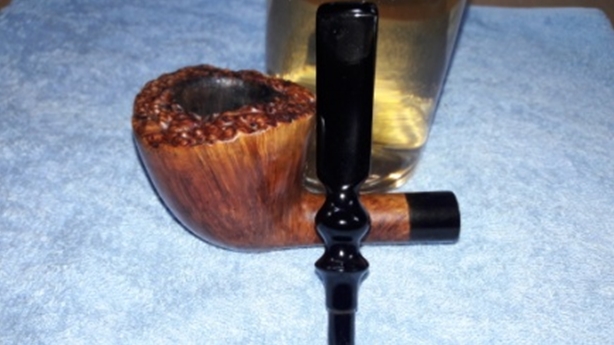
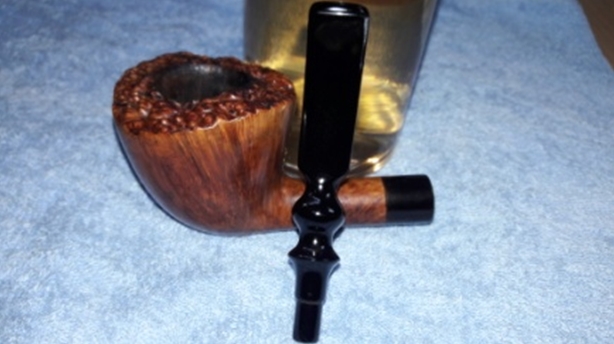
 The round shank of the bent billiard flows into a bent tapered stem which has a flare, like a fish tail, at the button end and hence the stamp F/T. The vulcanite stem shows significant damage to the button end with deep bite marks on both upper and lower surface of the stem. The lip is also severely damaged and will have to be reshaped.
 In this project, repairs to the damaged stem will be a major challenge, however if compared to previous stem repairs, this should be a cake walk.
THE PROCESS
Since the stem has significant damage, and from my experience of stem repairs, this will be time consuming and laborious part and hence I start this project by tackling the stem first
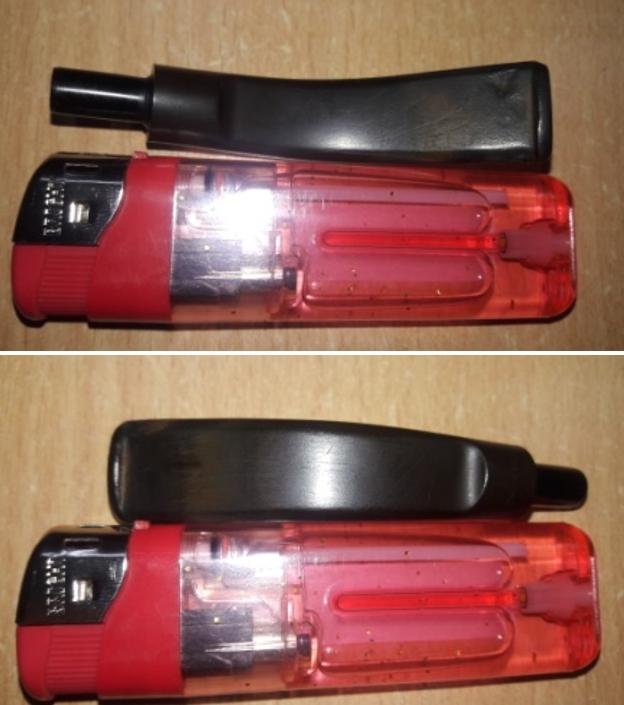
Now that I was clear about the path to be followed, I first flame both the surfaces of the stem with a Bic lighter. The heat from the flame raises the vulcanite to the surface and takes care of the tooth chatter that was seen earlier. I sand the stem with a folded piece of 220 grit sand paper to get rid of the oxidation, have a clear idea of the areas which require fill and its extent while providing a smooth surface for the intended fill. I cleaned out the internals of the stem with hard bristled and regular pipe cleaners dipped in isopropyl alcohol. Once I was satisfied with the internal cleaning, I wiped the stem surface, particularly the damaged button end, with a cotton pad and alcohol to remove any traces of dirt and grime.
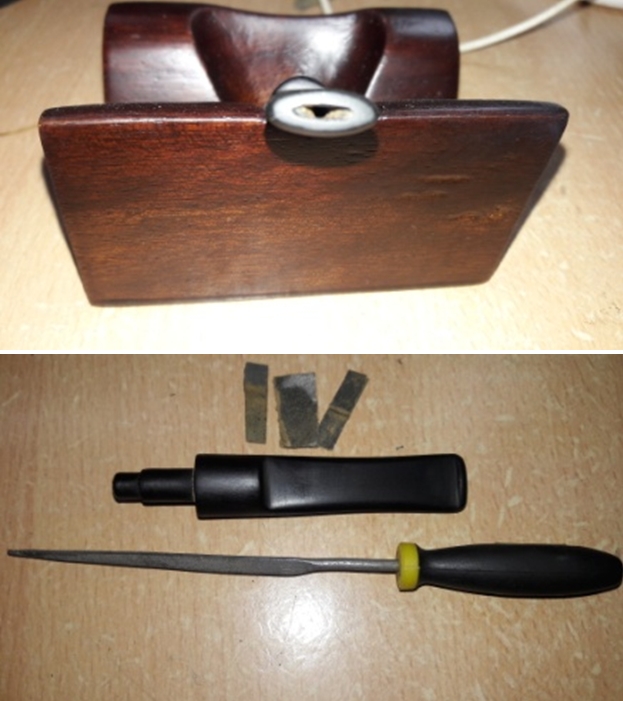
 To begin the stem repairs, I prepared a mix of CA superglue and activated charcoal and generously applied it over the damaged surface and set it aside for curing over night. Before moving ahead, I would like to mention here that I had applied this mix to achieve sufficient thickness which would help during the filing and sanding while shaping the button and achieving the correct stem profile.
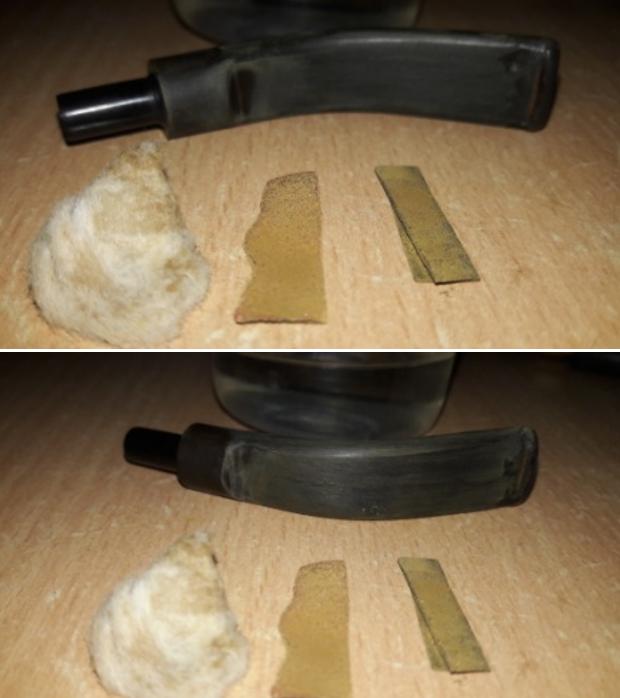
 While the stem repair was set aside to cure, I moved ahead to deal with the stummel repairs. I start the reaming with a size 1 head of the PipNet reamer and progress to size 2 head. I further clean the chamber with a folded piece of 180 grits sand paper to sand out the remaining traces of cake and expose the walls of the chamber to ascertain that there are no cracks/ heat fissures. Using my fabricated knife, I gently scrapped away the lava overflow. I wiped the chamber with a cotton pad dipped in isopropyl alcohol to remove the carbon dust left behind by all the reaming and sanding process. This also eliminated all traces of old smells from previous usage. The walls of the chamber were solid with no damage.
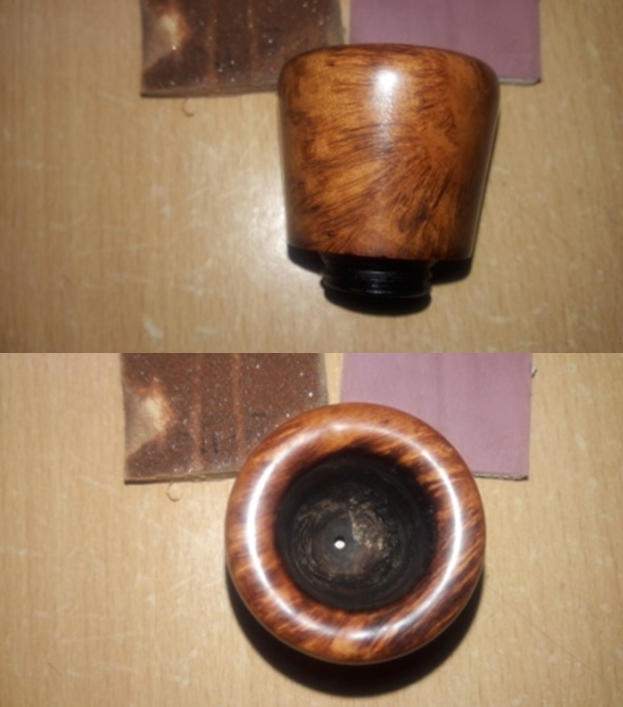
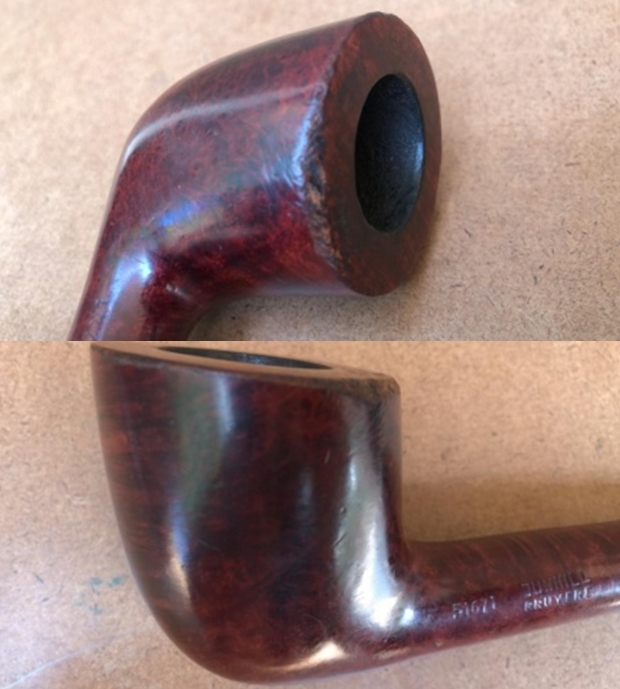
 Continuing with the cleaning regime, using a soft brass wired brush I gently scraped away the thick lava coat in the blast of the rim. With a hard bristled tooth brush and dipped in undiluted Murphy’s oil soap, I very deliberately scrubbed the sandblast finish on the stummel and the rim top. The stummel and rim top was dried using paper napkins and soft cotton cloth and set it aside to dry out naturally. The stummel looks fresh and clean.

 Next, I rub a small quantity of “Before and After Restoration Balm” in to the briar with my finger tips and let it rest for a few minutes. The balm almost immediately works its magic and the briar now has a nice vibrant appearance with the beautiful contrasting hues colors that are unique to this sandblast pipe, on full display. I further buff it with a horse hair shoe brush.

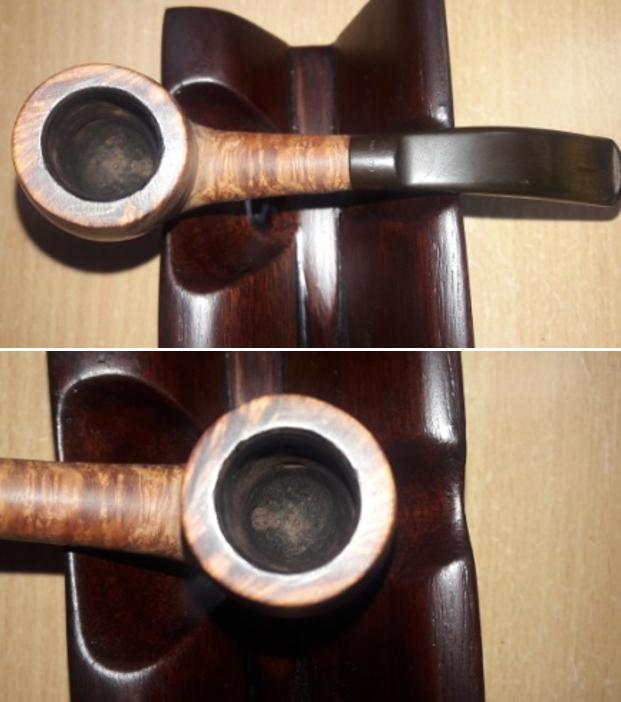
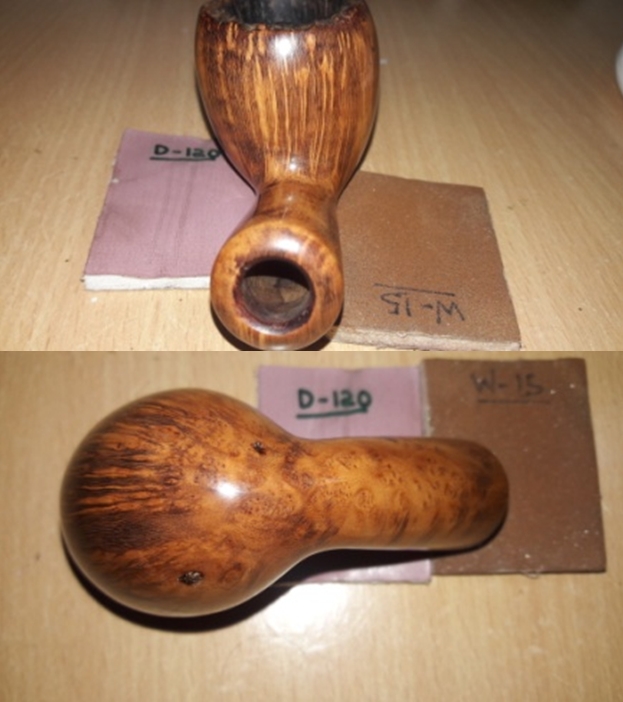
 After I had applied the balm, the rim top surface appeared too darkened and unclean. I was not happy with the way the rim top looked at this stage and decided to further clean it. I scrapped the rim top surface with a brass wired brush with a bit more pressure than I normally apply. The rim surface appeared clean as can be seen in the picture below. I reapplied the balm, hoping that the surface would look clean with the sandblast patterns showing themselves proudly. But alas!! The rim top surface appeared as before, blackened and unclean. I was at my wits end when after repeated cleaning with the brass brush with increasing pressure each time, the rim top surface appeared as before, dark and unclean. Mind you readers, being a sandblasted surface, topping really was not an option that I desired to adopt. I let the rim top surface be, satisfied that it was clean and sans any old lava overflow.
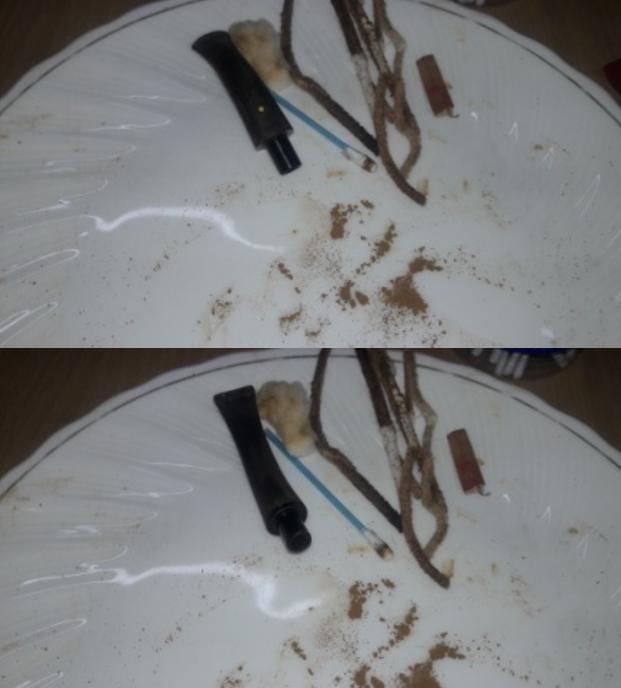
  In my exuberance to appreciate the beautiful and rugged patterns on the stummel caused by sandblasting, I missed out on cleaning the mortise and the shank airway. This is what exactly I addressed at this stage. Using bristled and regular pipe cleaners dipped in isopropyl alcohol, I first moistened the oils, tars and gunk in the mortise. Thereafter, with my fabricated spatula, I scrapped out all the tars and oils from the mortise. As I progressed with my cleaning, eventually the pipe cleaners started coming out clean indicating that the shank internals are clean.
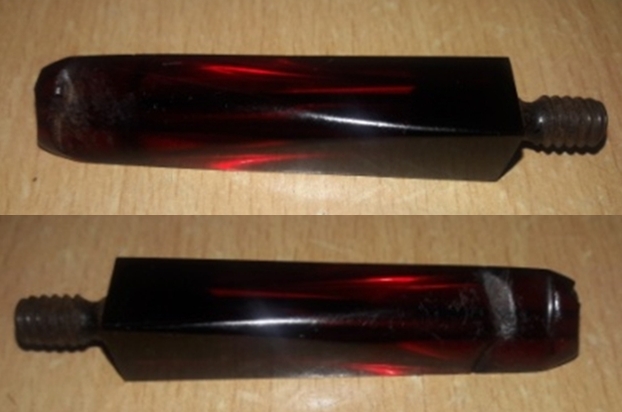
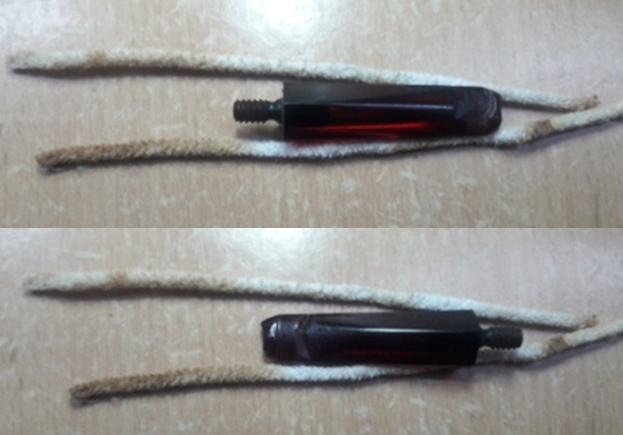
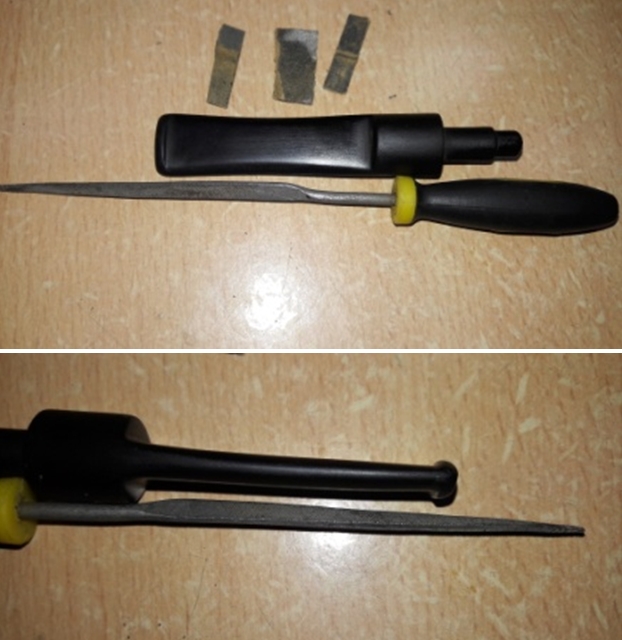
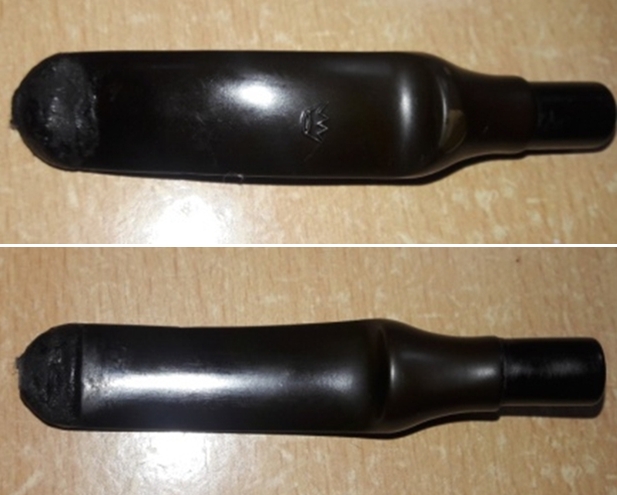
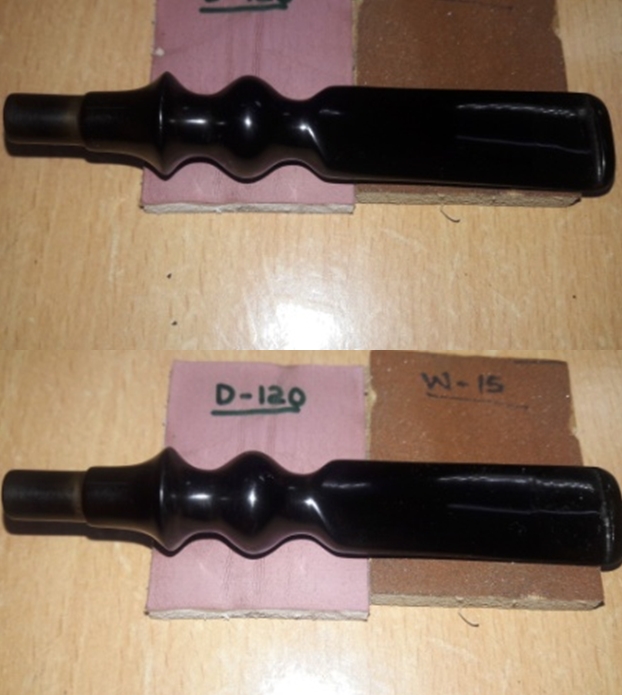
 I set the stummel aside and turned my attention to the stem repair. The fill had cured nicely and I moved ahead and began the process of filing and shaping the button end with a flat head needle file. For a better blending, I further sand the entire stem with 220 followed by 400, 600 and 800 grit sand paper. This helps to reduce the sanding marks left behind by the more abrasive 220 grit paper. To bring a deep shine to the vulcanite stem, I went through the complete set of micromesh pads, wet sanding with 1500 to 2400 grit pads and dry sanding with 3200 to 12000 grit pads. I wiped the stem with alcohol after each pad and rubbed it down with Extra Virgin Olive oil to rehydrate the vulcanite. The repairs have blended in very well and the stem now looks shiny black and beautiful. The internals of the stem was once again cleaned out using alcohol and pipe cleaners to clear the airway of all the debris resulting due to the sanding. The finished stem is shown below.
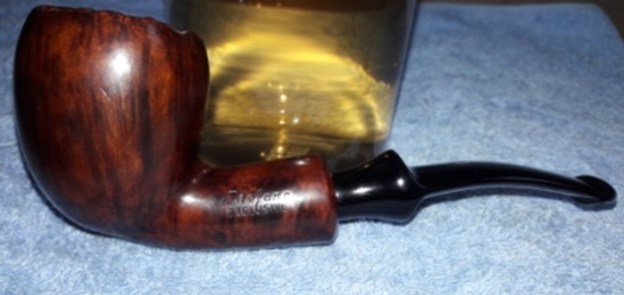
 To finish, I re-attach the stem with the stummel. I mounted a cotton cloth buffing wheel to my local machine which is similar to the Dremel. I set the speed at about half of the full power and applied White compound to the entire pipe. I wiped/ buffed the pipe with a soft cotton cloth to clear it of any leftover compound dust. I then mounted another cotton cloth wheel on to the polishing machine and applied several coats of carnauba wax. I finished the restoration by giving the entire pipe a rigorous hand buffing using a microfiber cloth to raise the shine further.
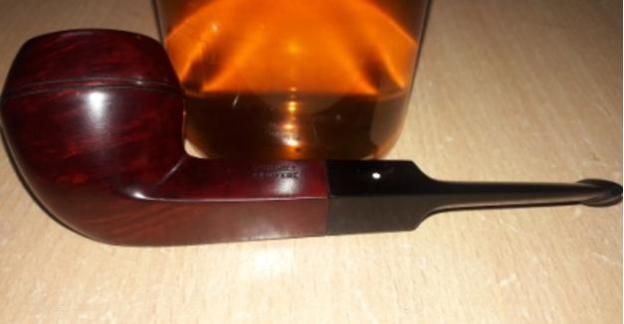
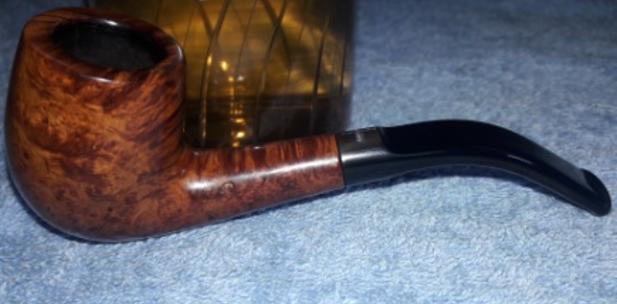
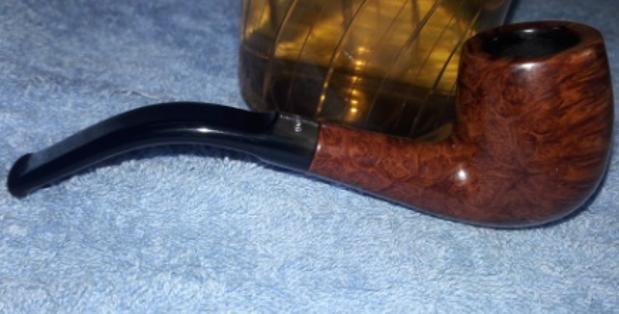
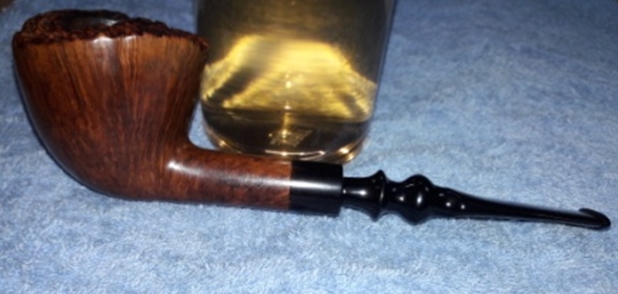
 The completed pipe looks lovely, fresh and vibrant. The deeply sandblasted surface proudly displays the contrasting dark brown hues which was the hallmark of Dunhill Shell pipes with a nice tactile feel in the hand. It surely is one of the best looking sandblasted pipes and will find a place of pride in my humble collection. As and when I load this pipe with my favorite tobacco (I love my English blends…) and sip my scotch, I wish this dude could tell me all about its past life!! Ah, this would be bliss…cheers!