
by Steve Laug
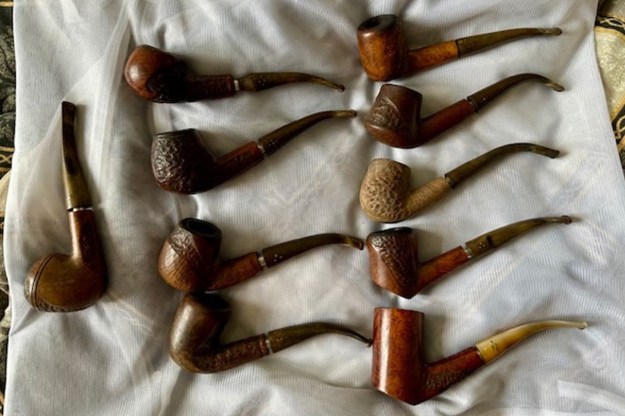
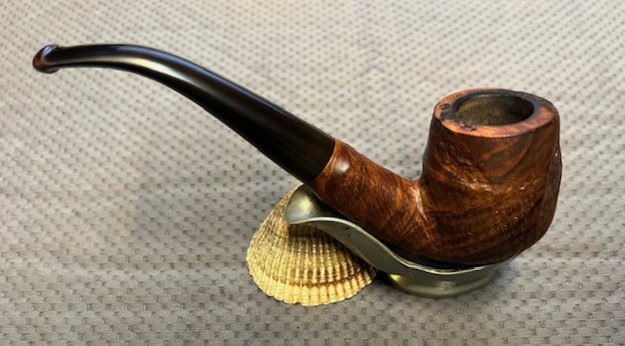
A while back I was asked by a customer and friend, Jack to take on some projects for him. I have worked on a few pipes for him over the years so we seem to have a standing agreement that I will clean up his pipes. This time he sent a batch containing 11 pipes – six Bertrams, an Arlington, a GBD, an old WDC Triangle Bakelite and one marked Texaco. All of them were in various conditions and would need different types of work. I took a photo of the pipes before I started working on them.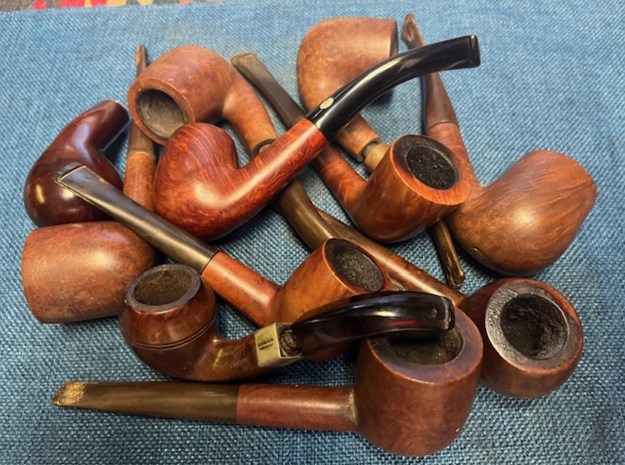 I chose to work on the Arlington Imported Briar Dublin next. This richly stained Saddle Stem Dublin is a beautiful pipe. It is clearly stamped on the left side of the shank and reads Arlington in script [over] Imported Briar. The grain around the bowl is highlighted by the stain and really stands out. It has a rich darker, reddish brown finish that is on the bowl and shank. It was filthy with dust and debris ground into the sides of the bowl. The rim top has a heavy lava overflow on the top and edges coming from a thick cake in the bowl. The saddle vulcanite push stem had some tooth marks and chatter on both sides ahead of the button. I took photos of the pipe before I started working on it. It really is another beauty.
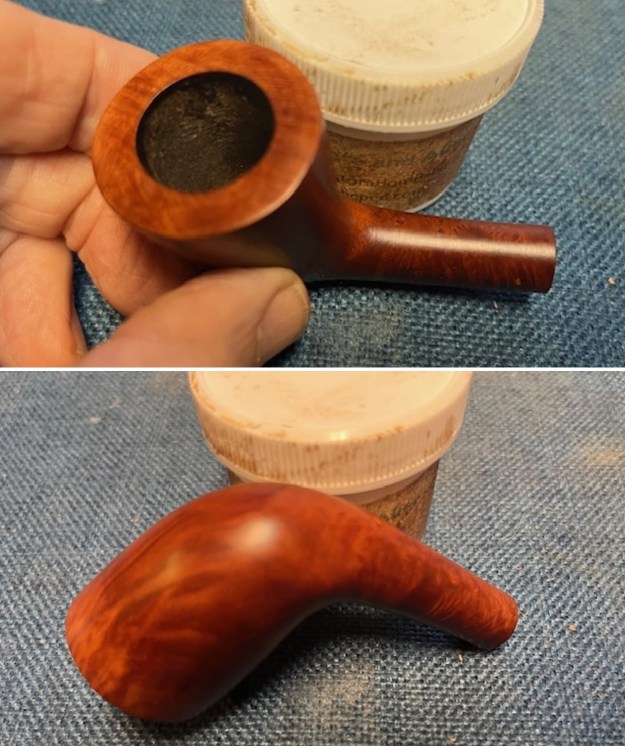
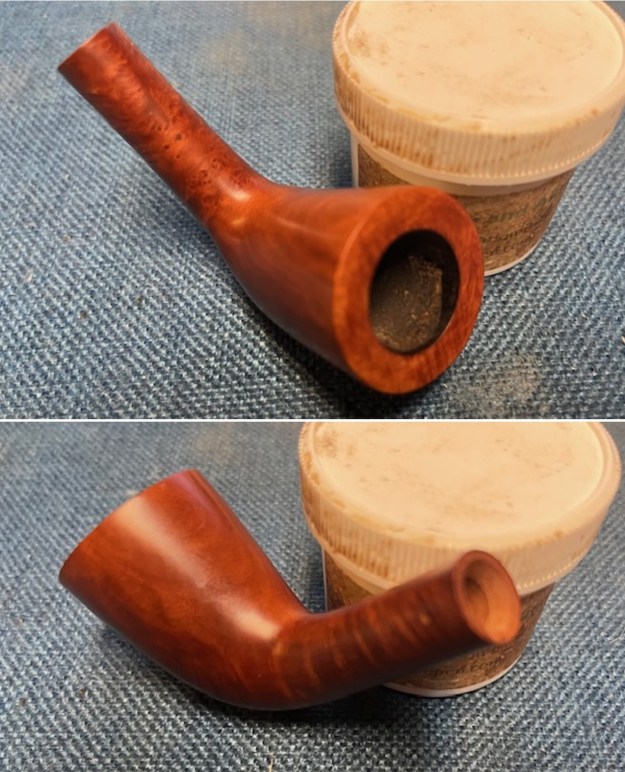
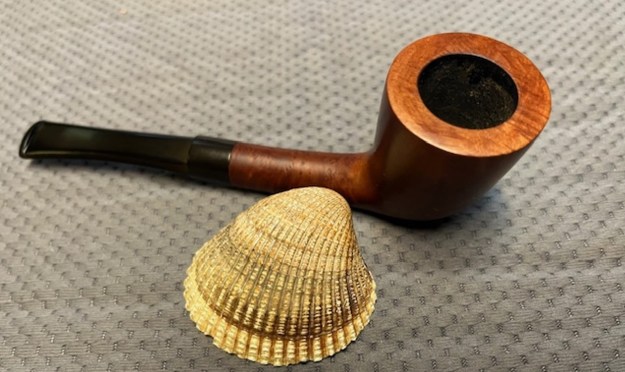
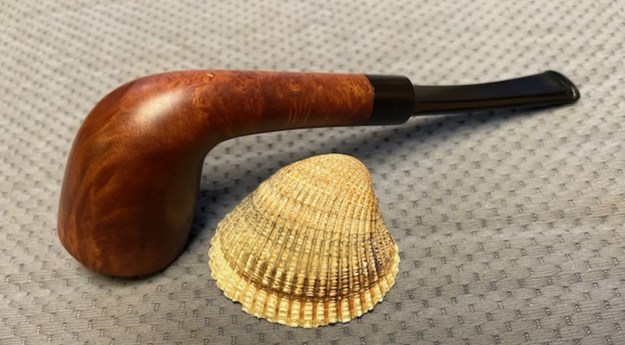
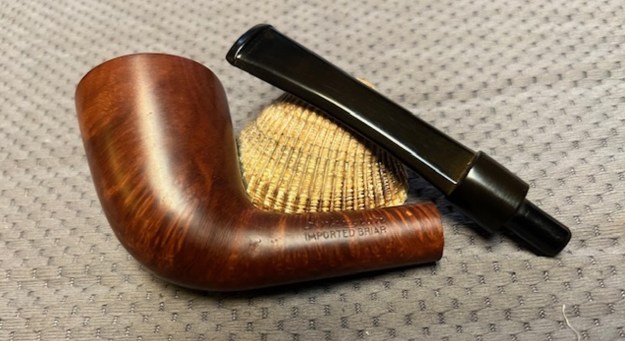
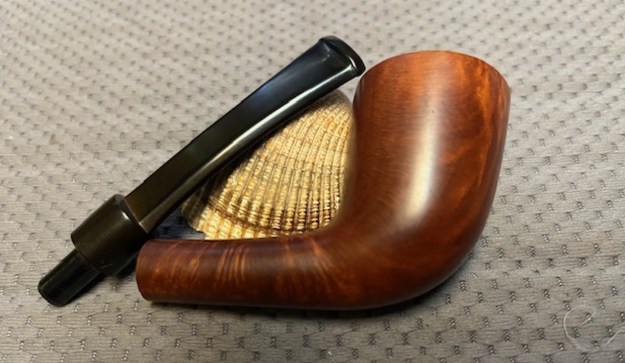
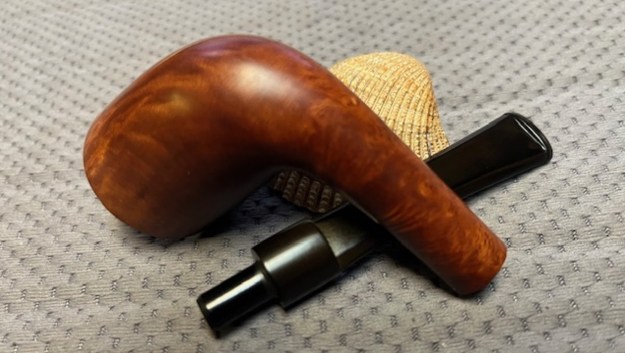
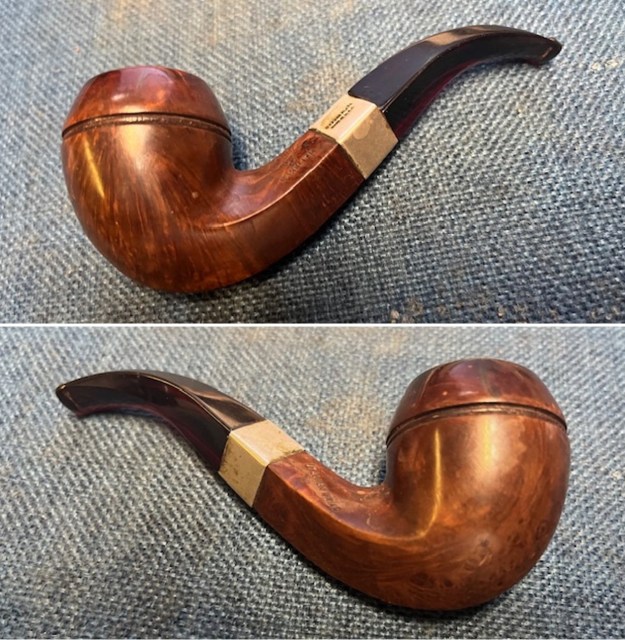
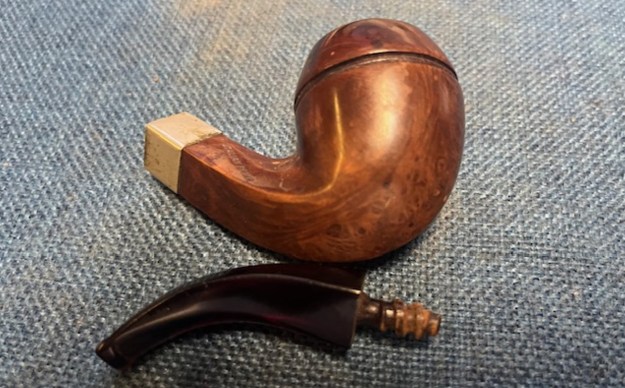
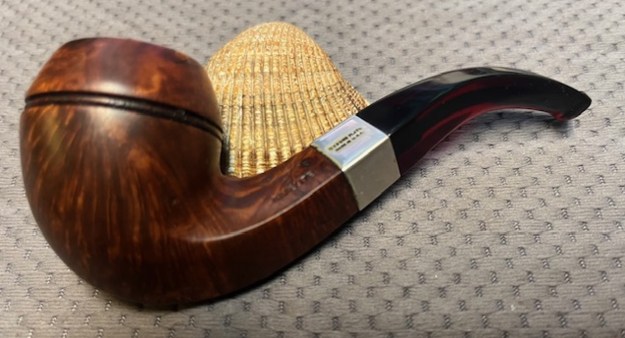
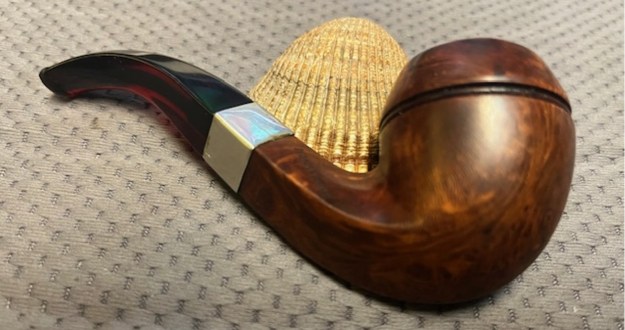
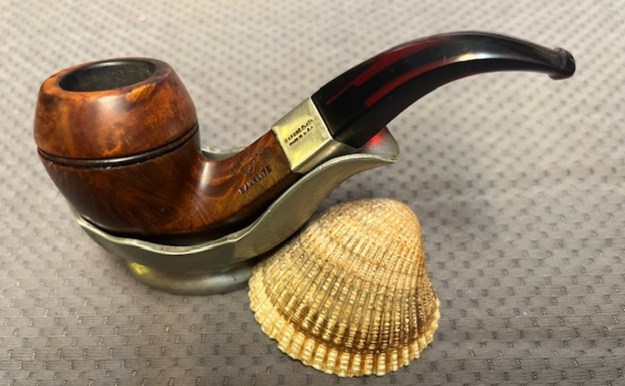
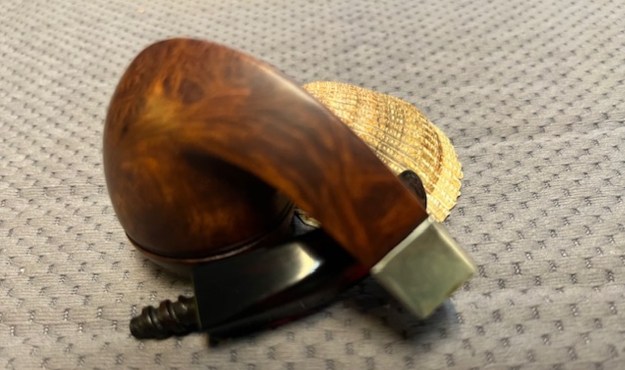
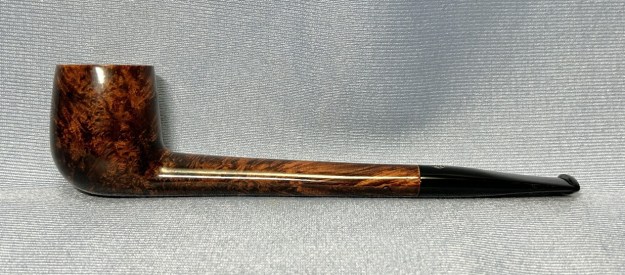
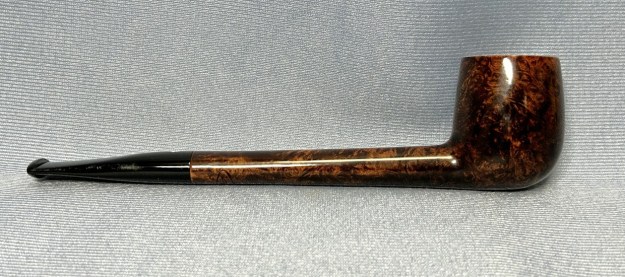
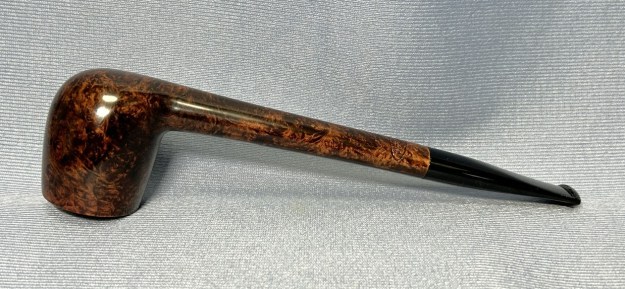
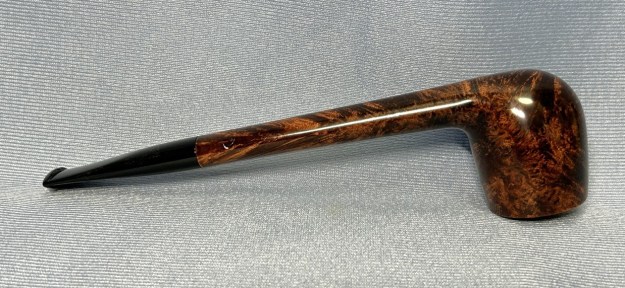
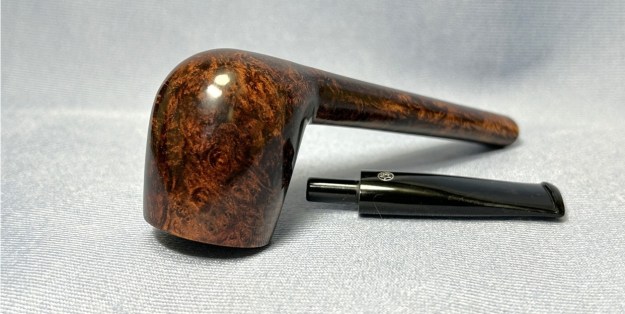
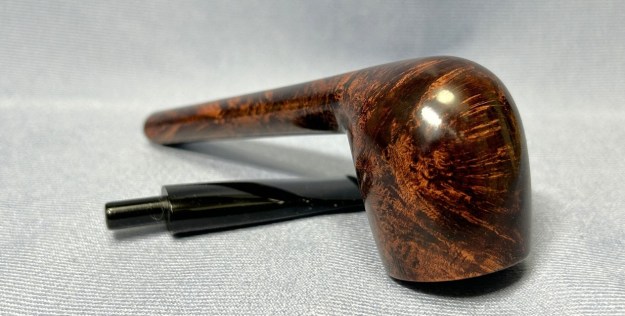
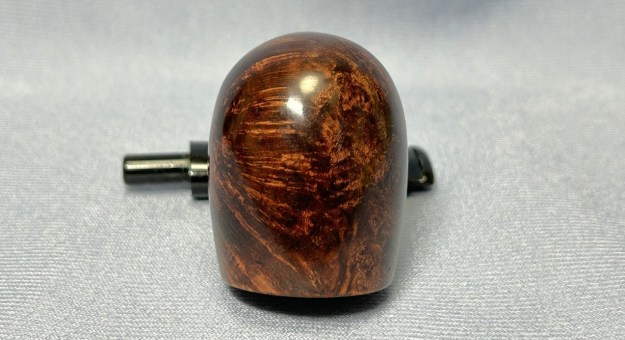
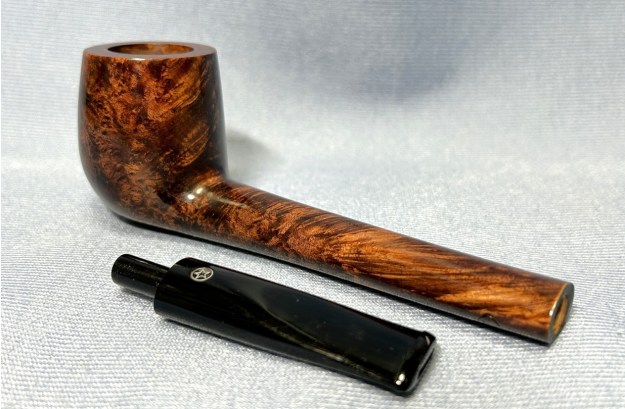
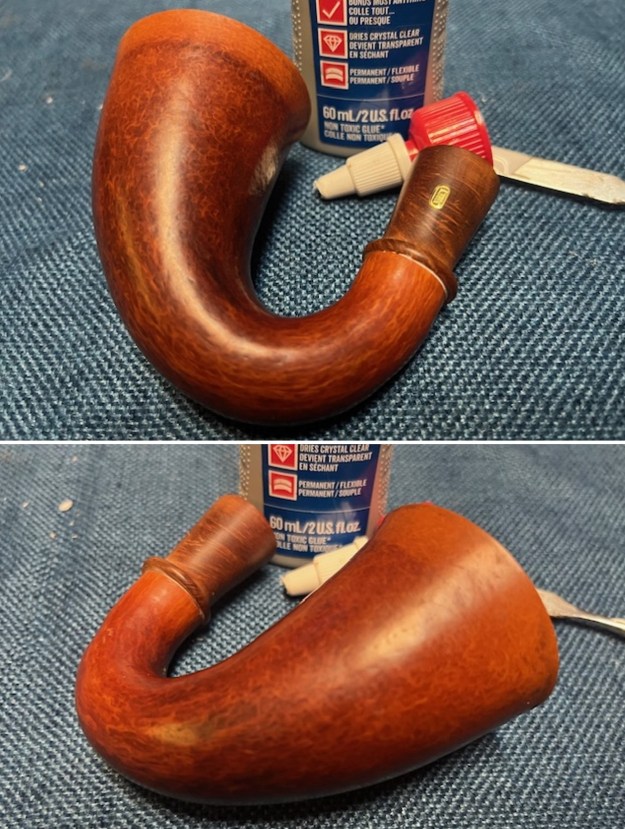
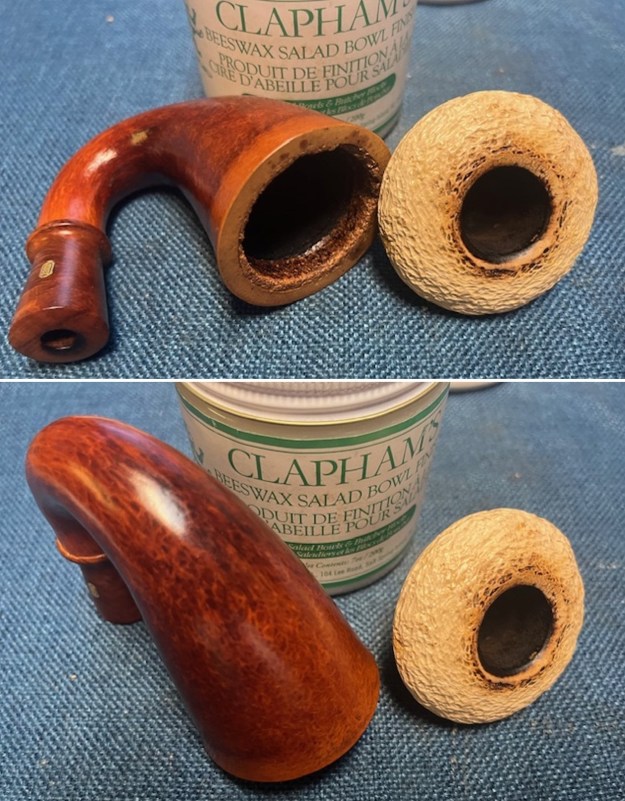
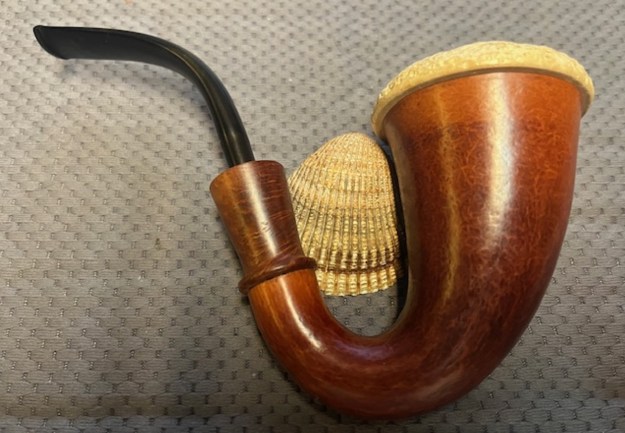
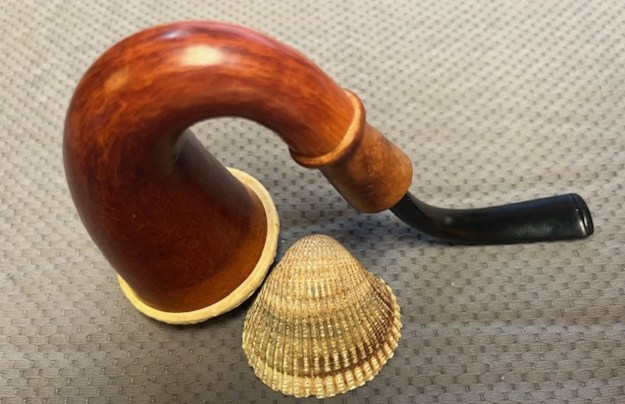
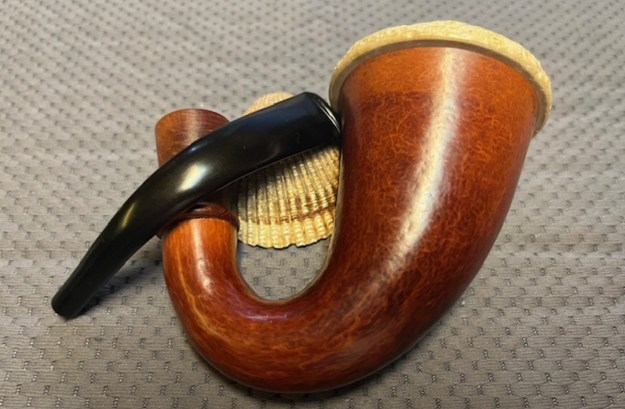
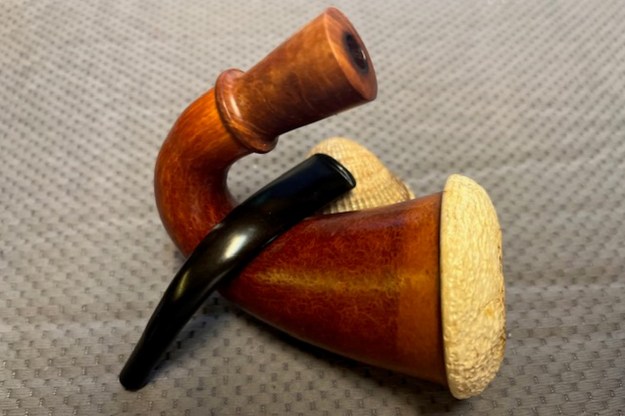
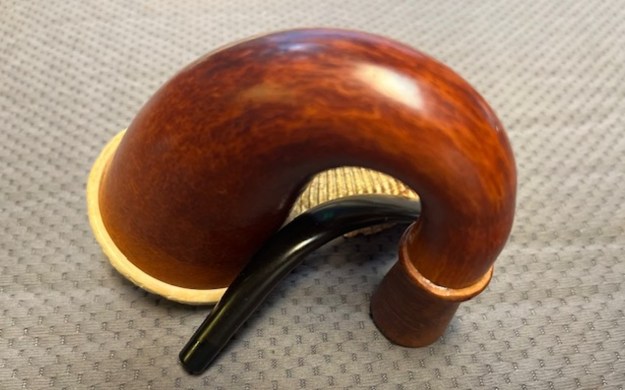
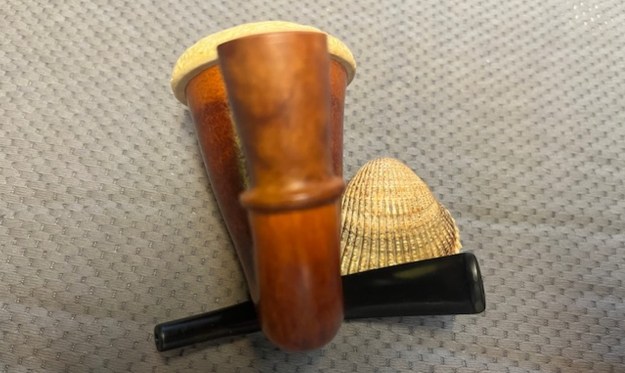
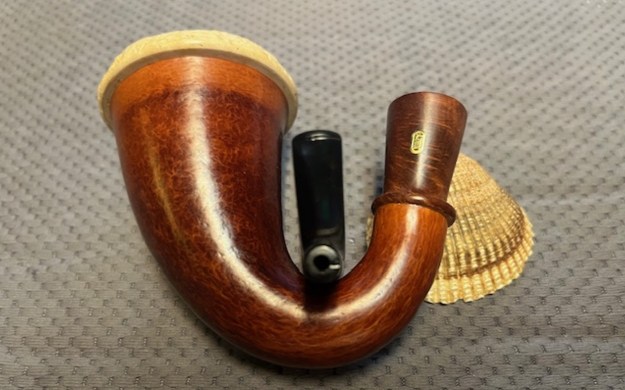
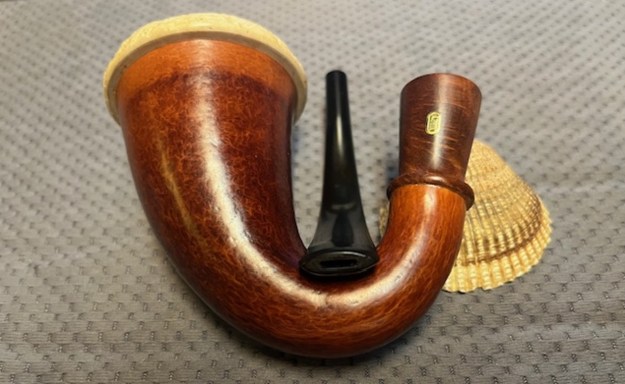
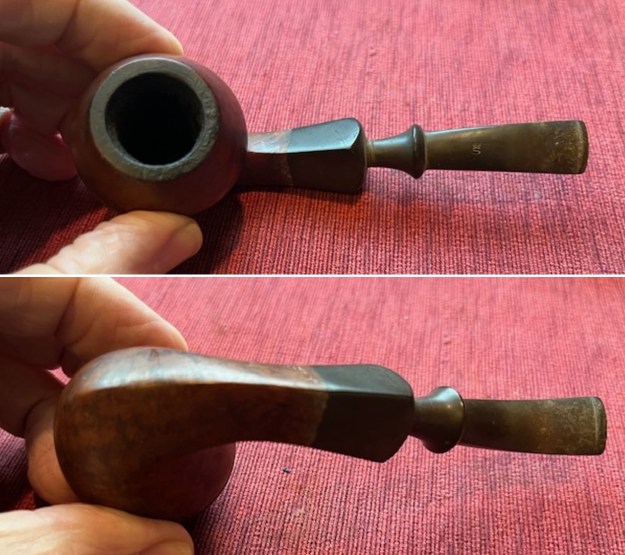
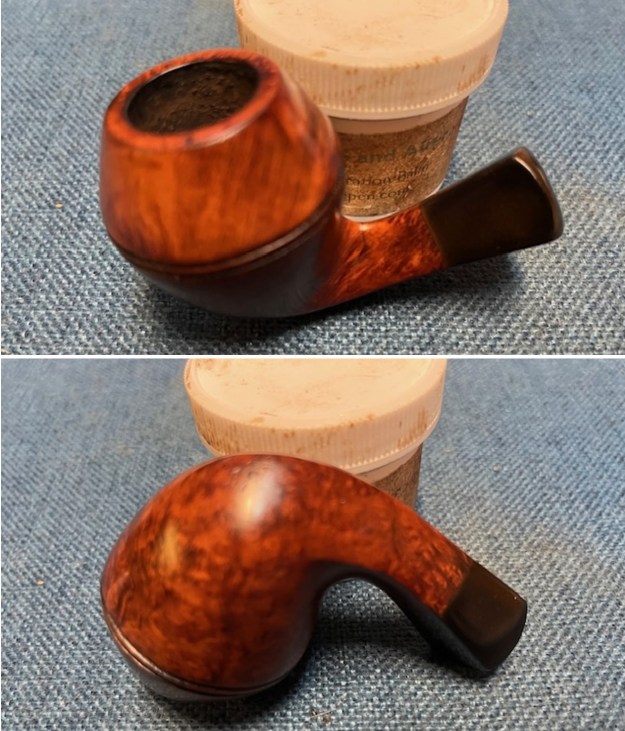
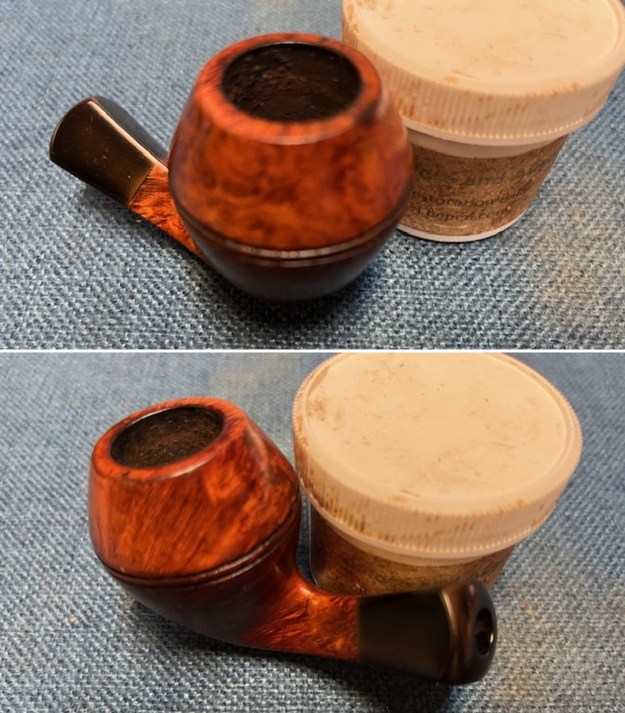
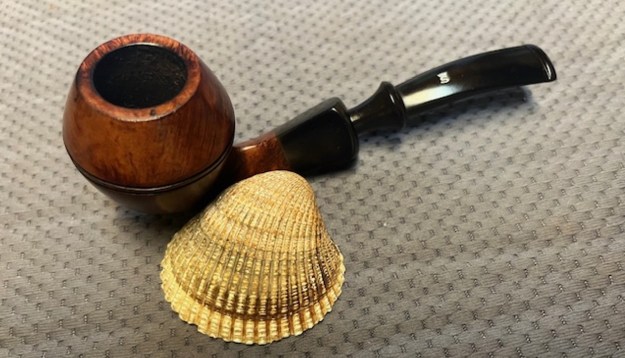
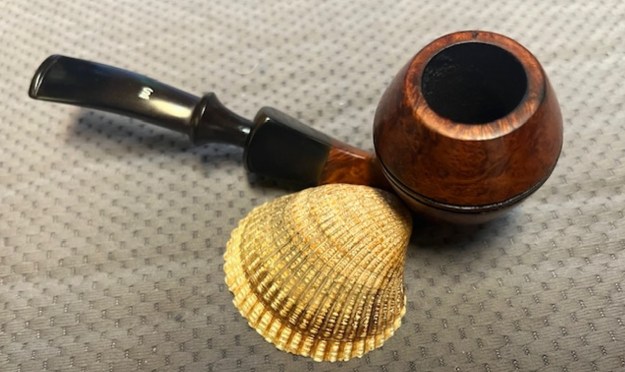
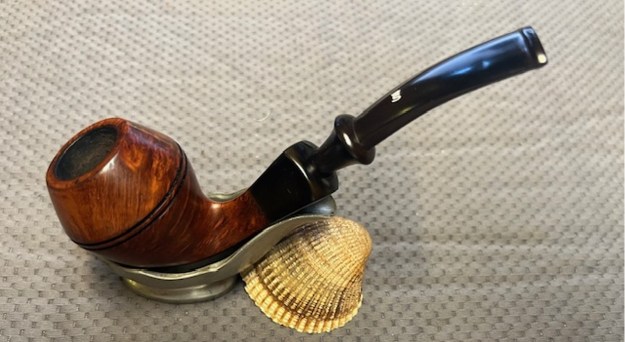
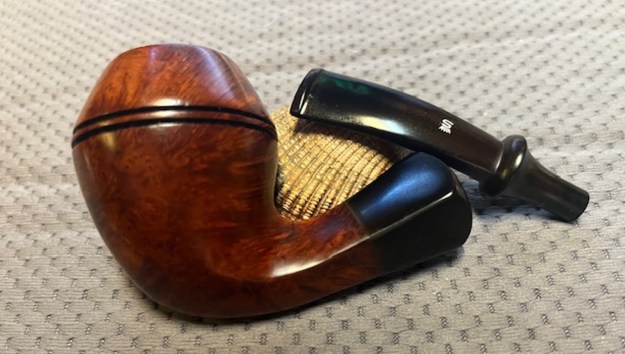
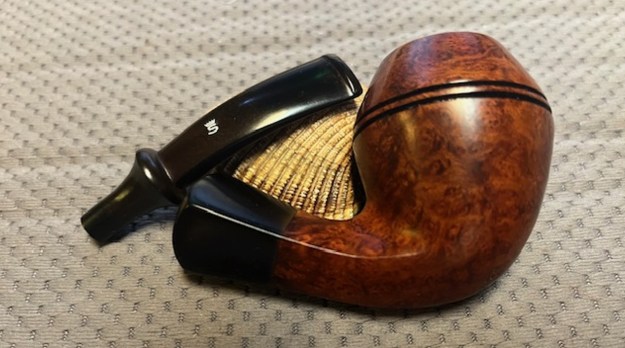
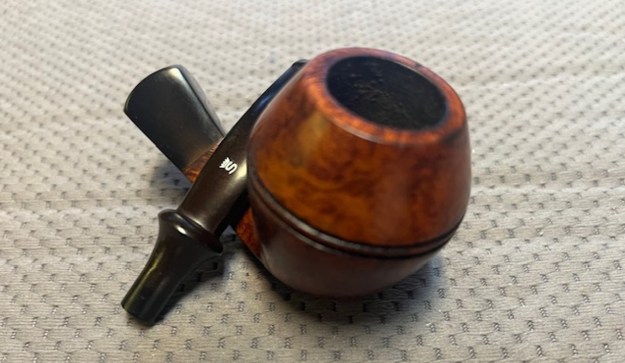
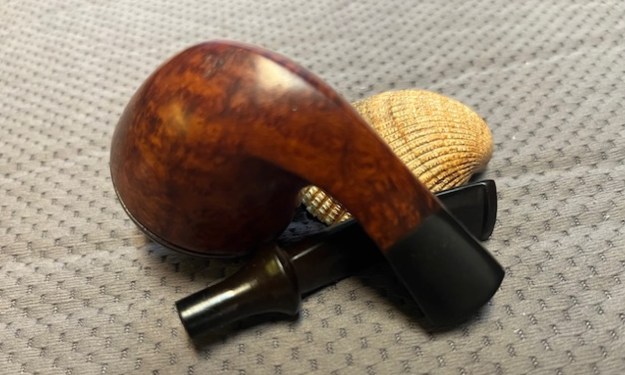
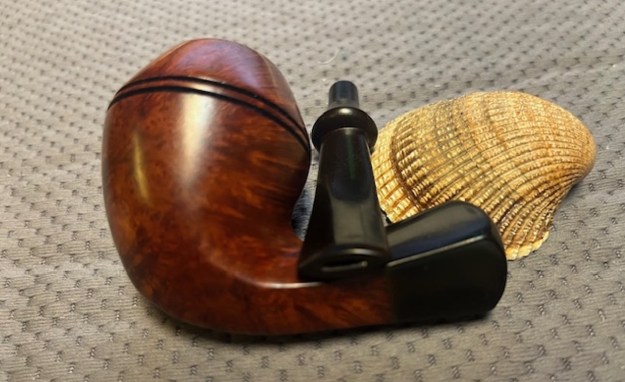
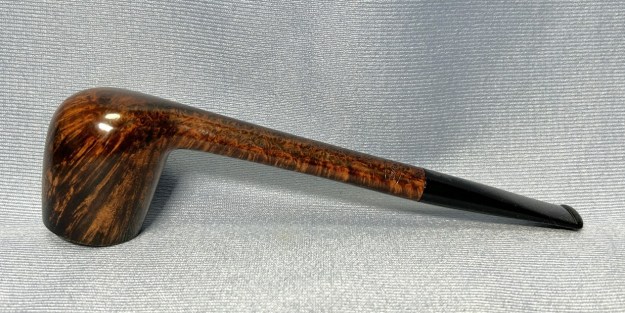
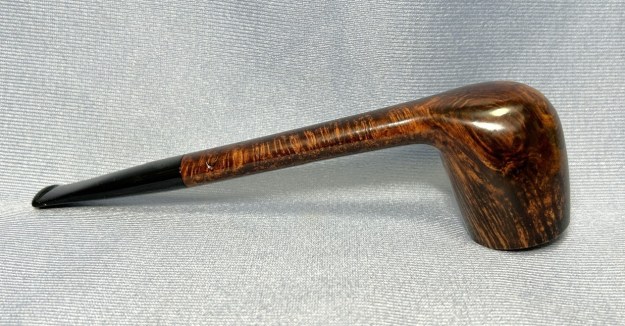
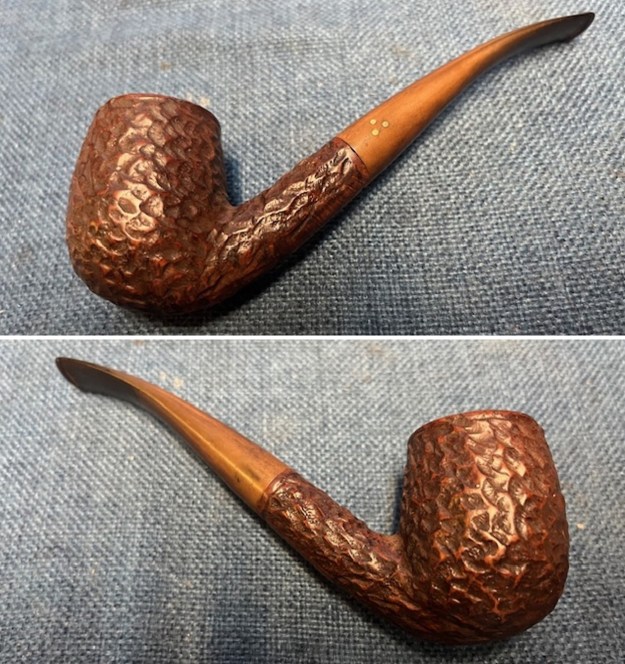
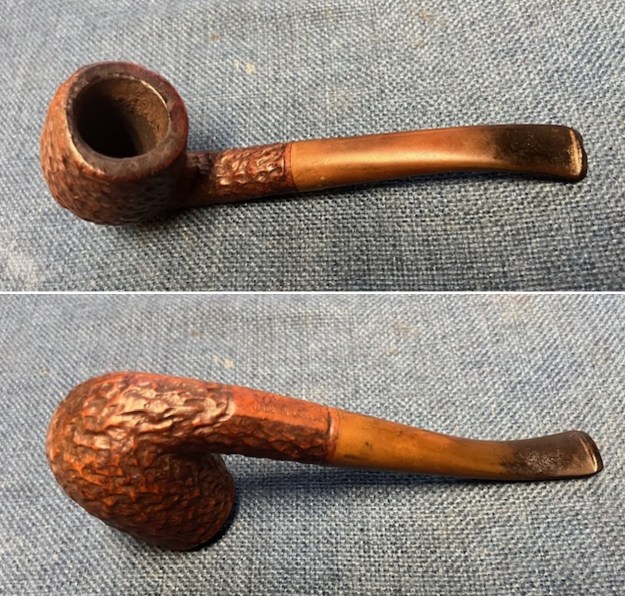
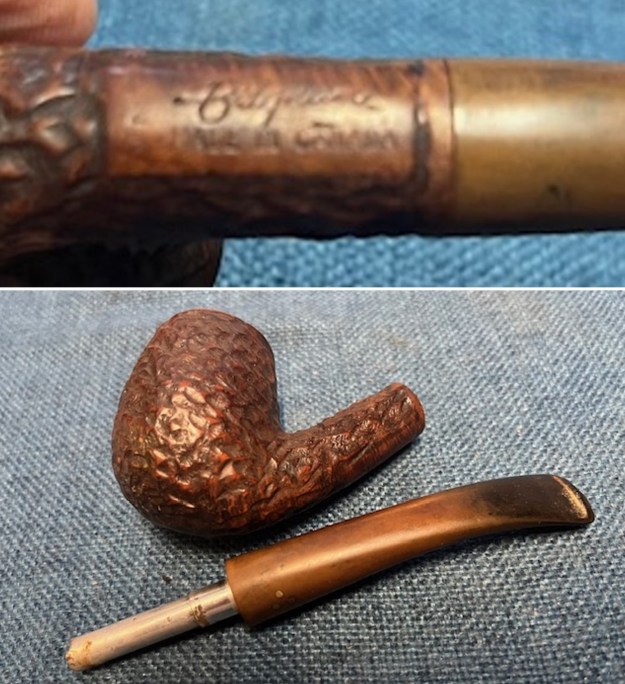
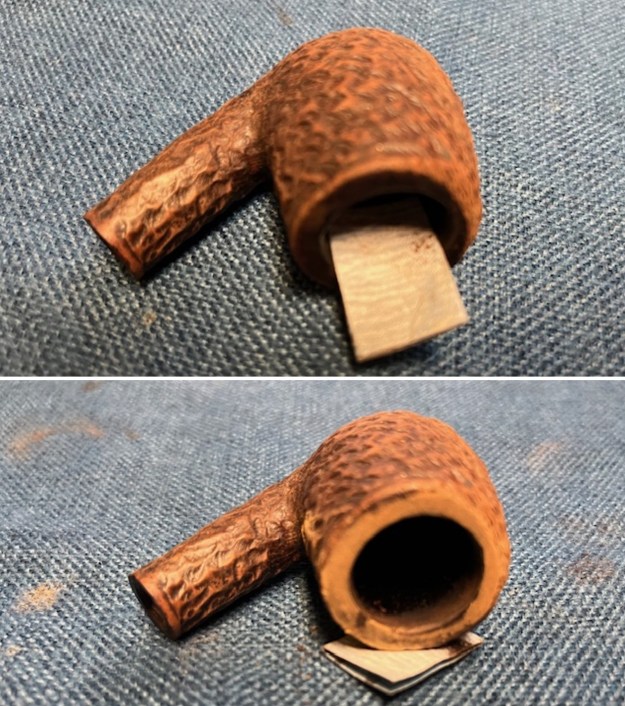
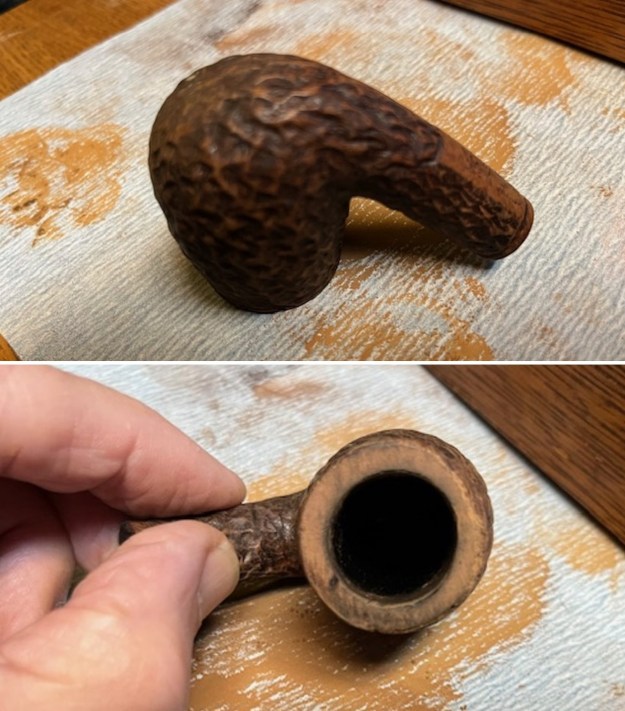
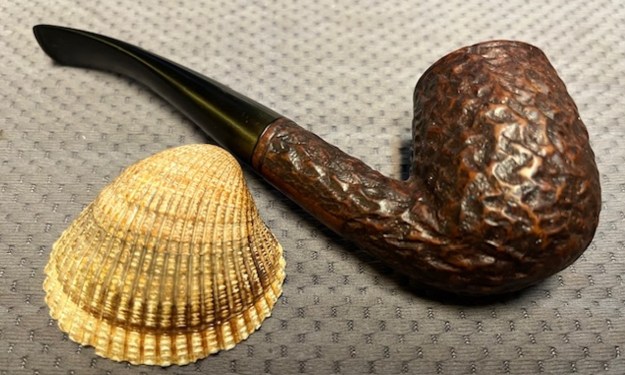
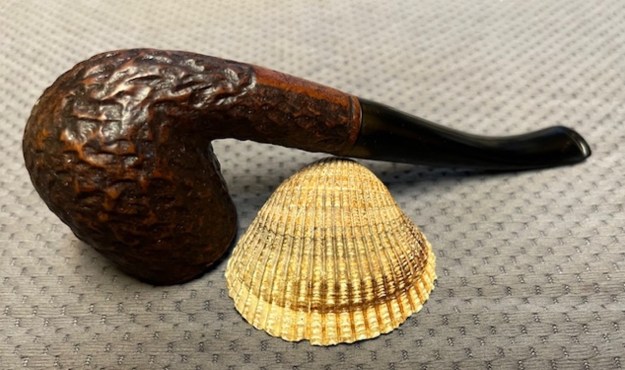
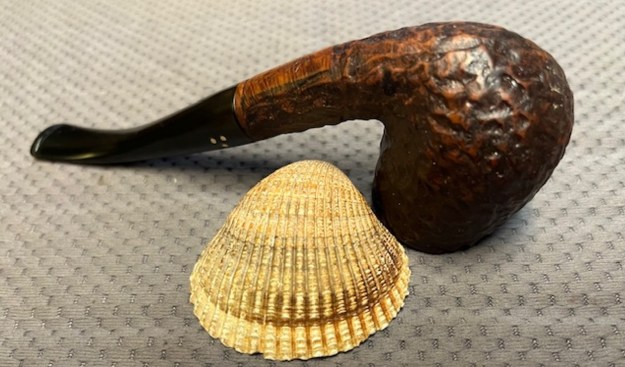
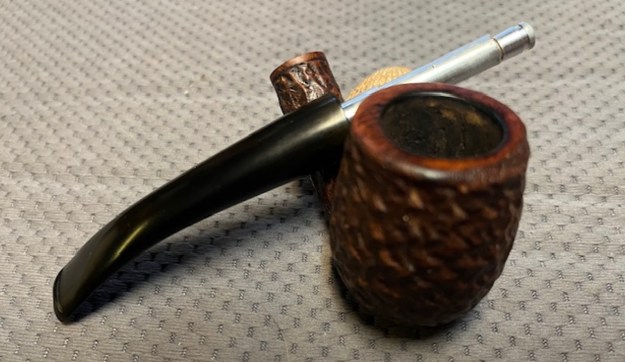
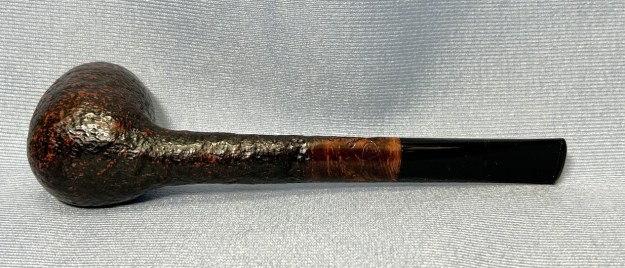
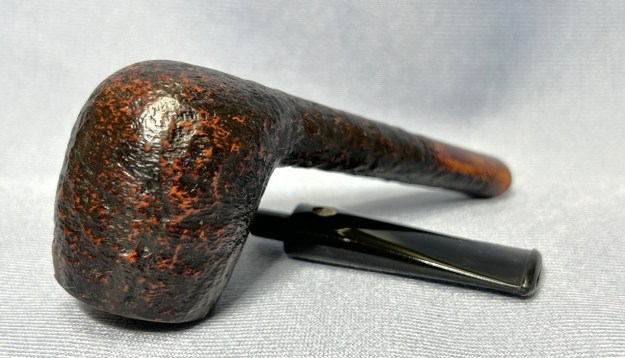
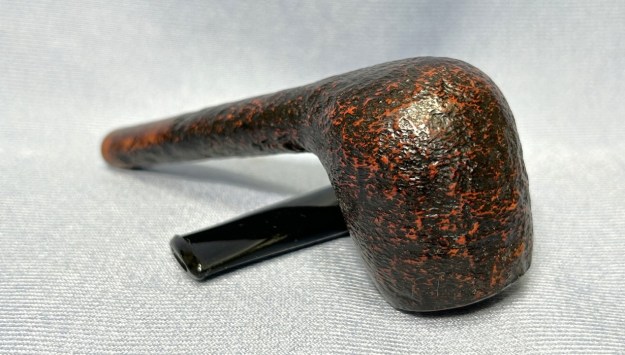
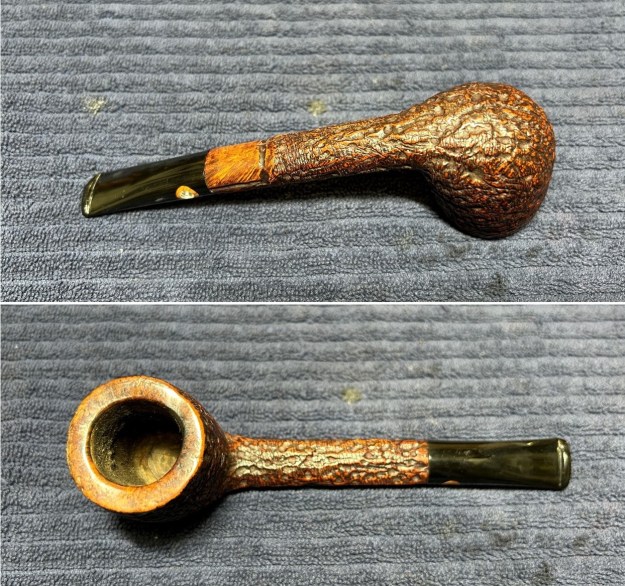
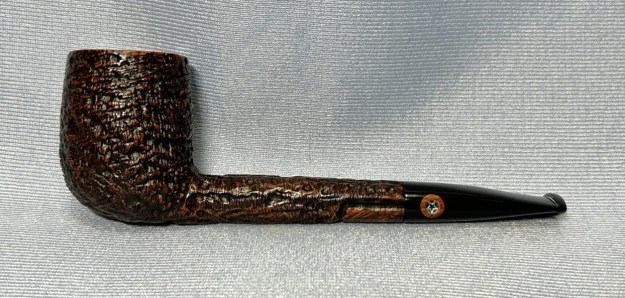
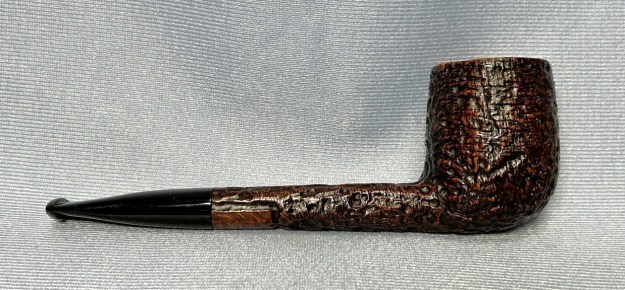
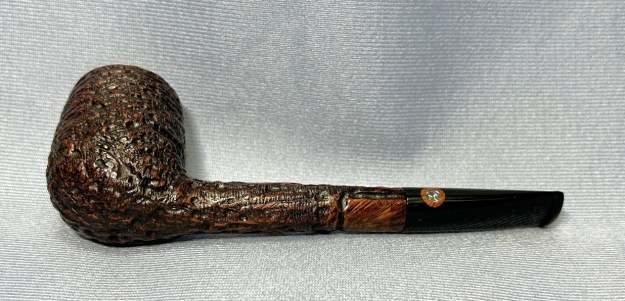
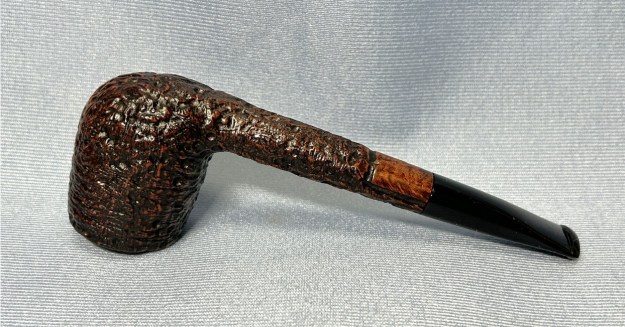
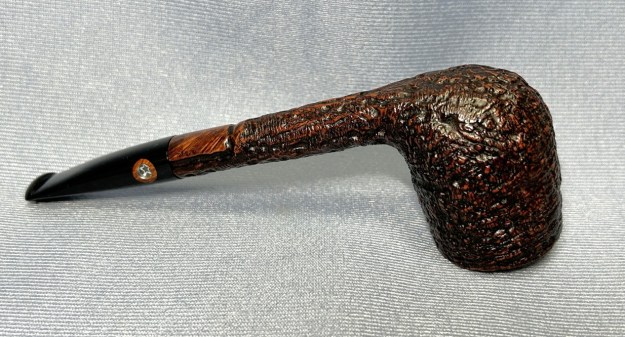
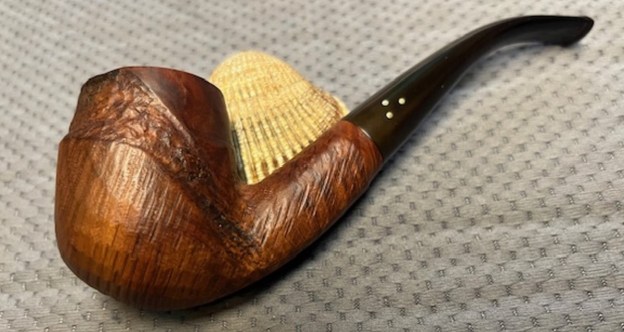
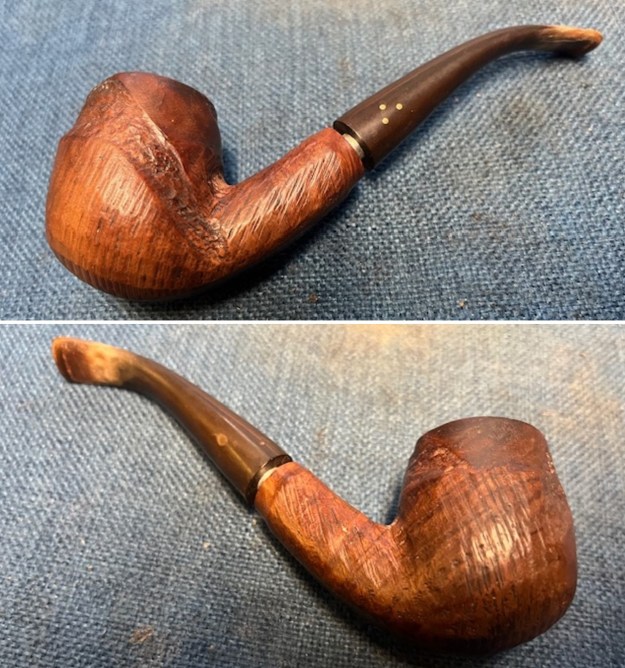
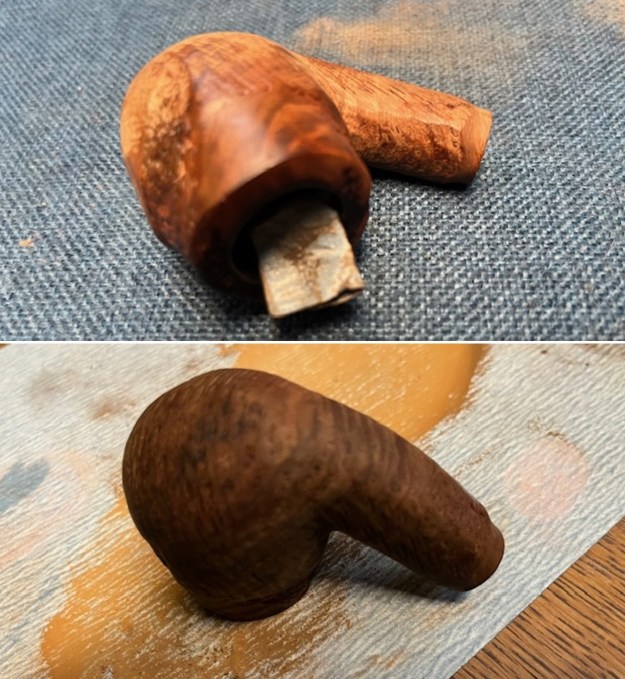
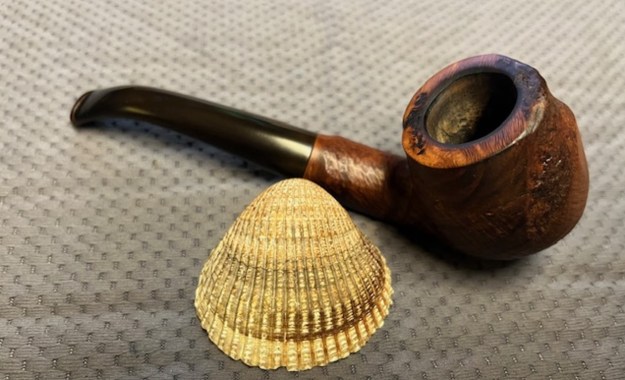
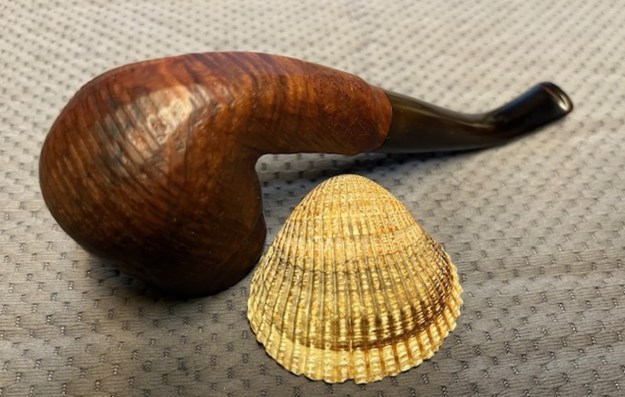
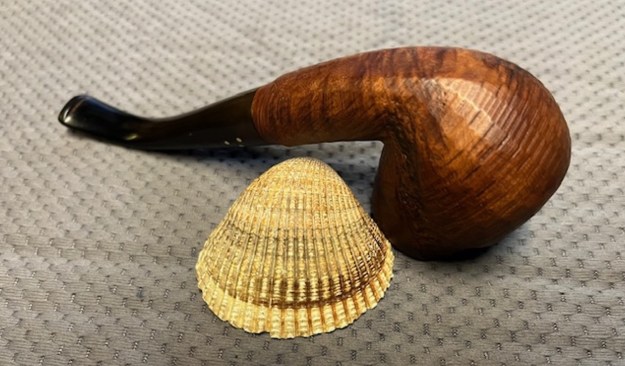
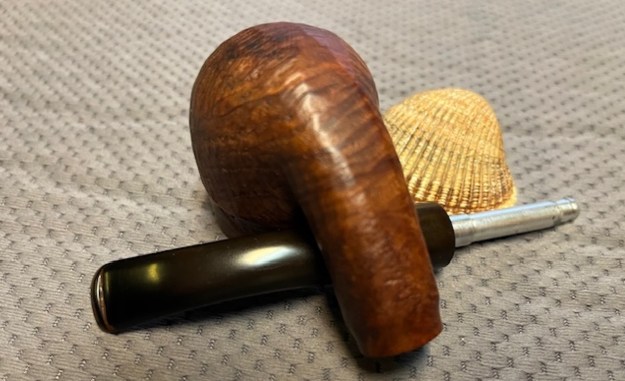
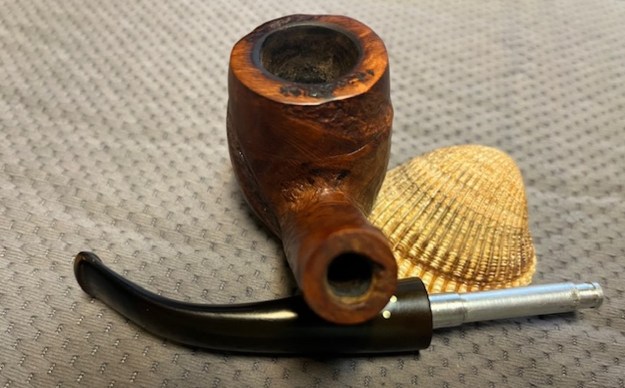
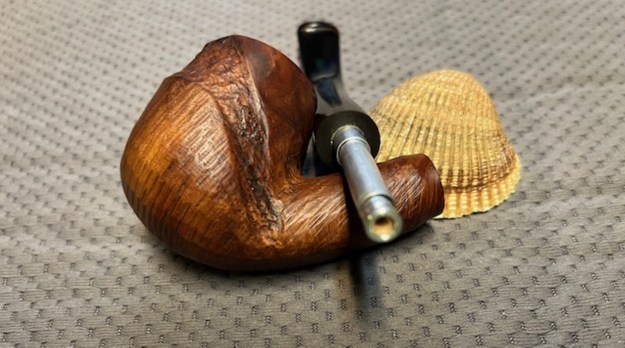
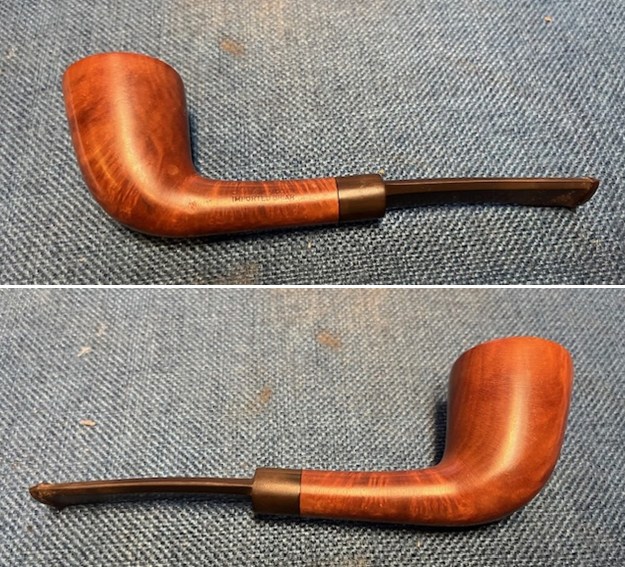
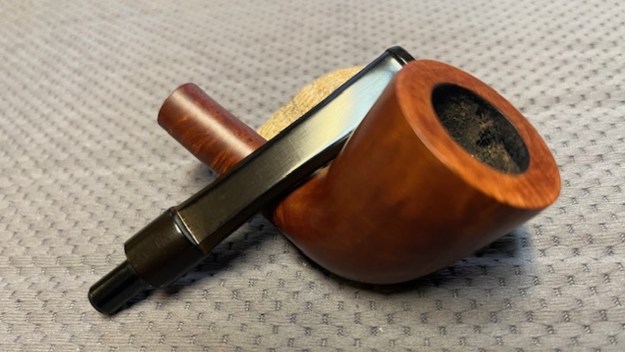
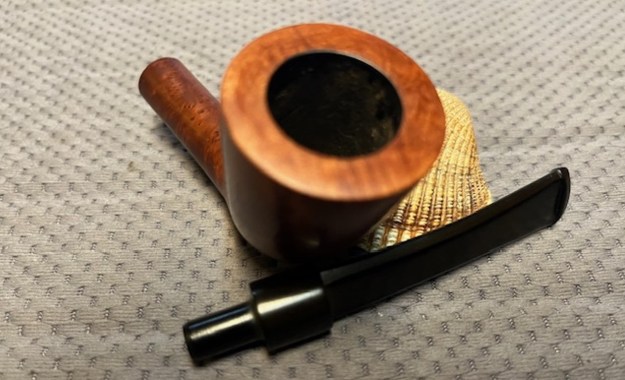
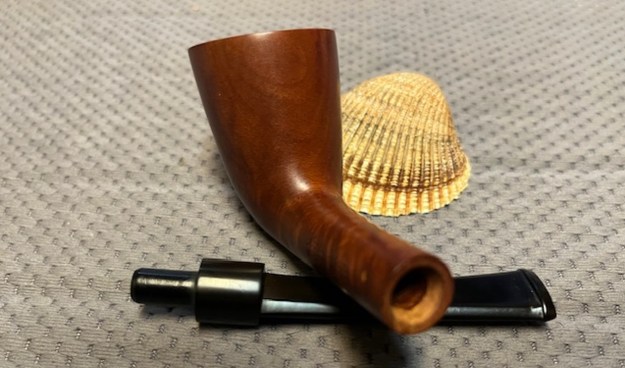
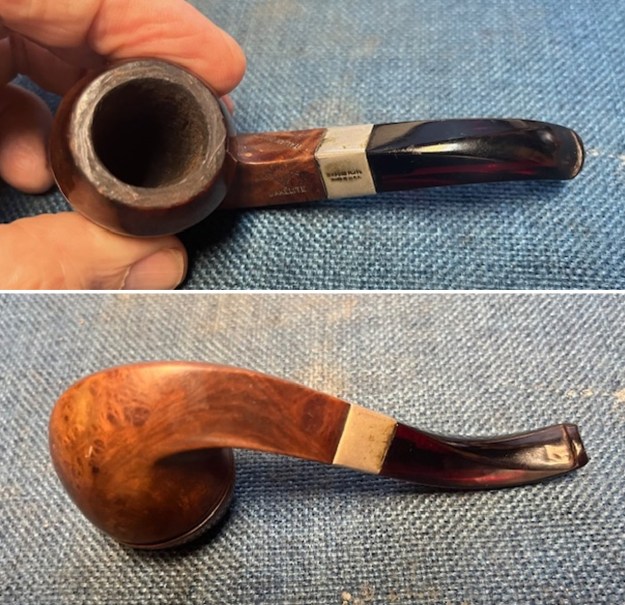
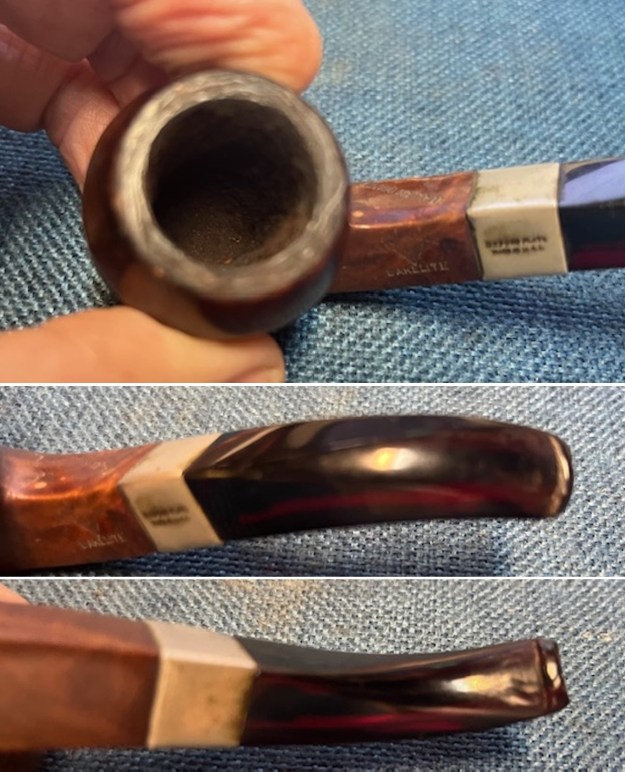
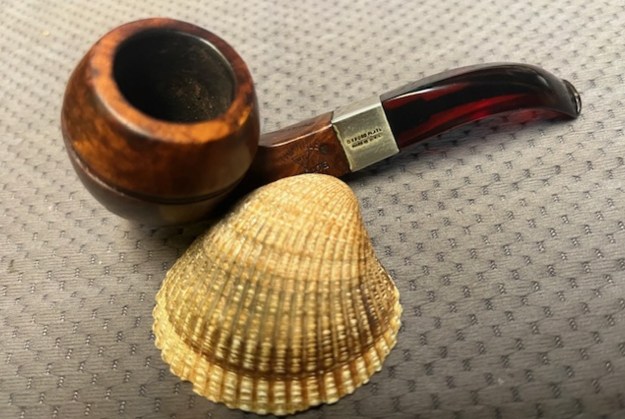
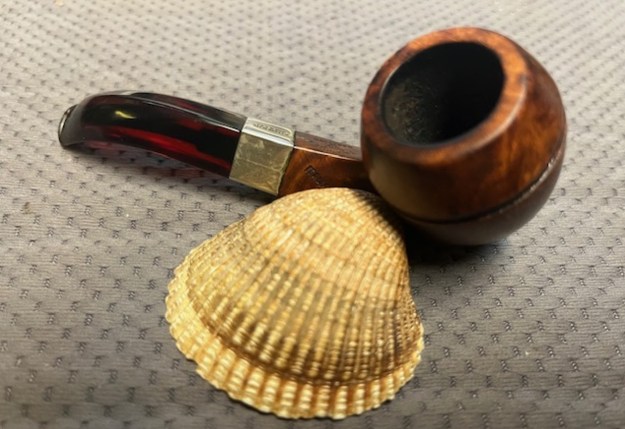
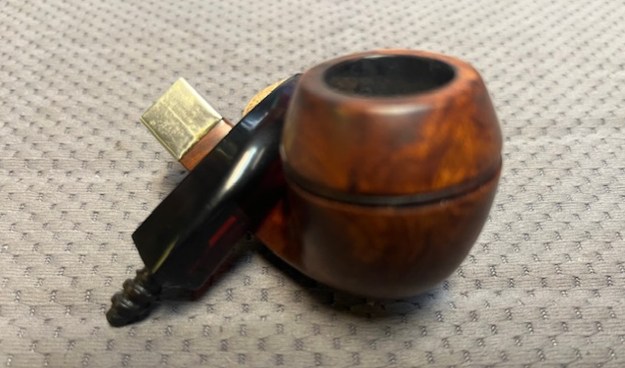
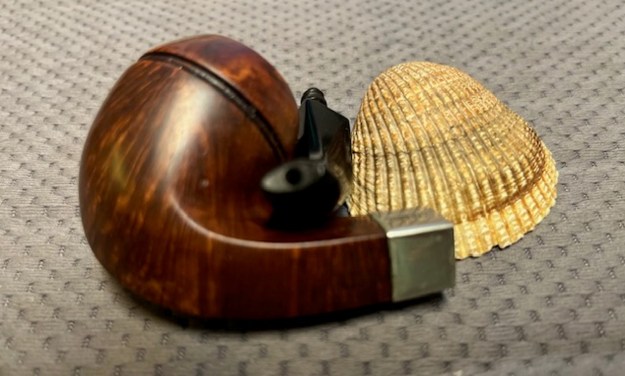
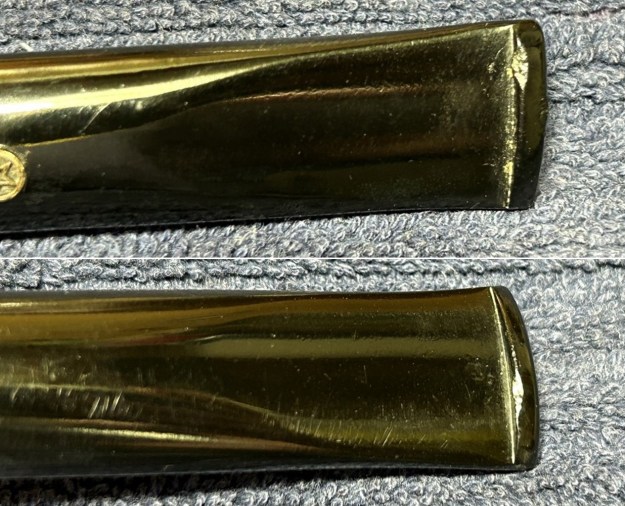
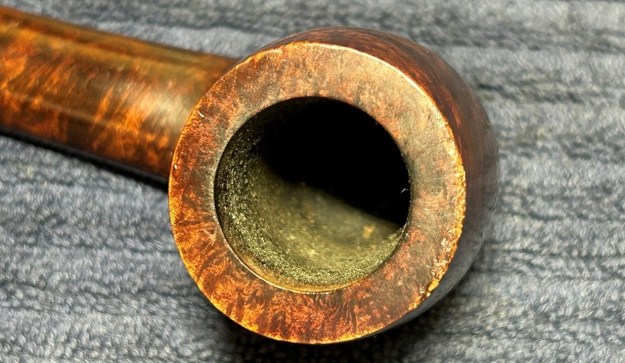
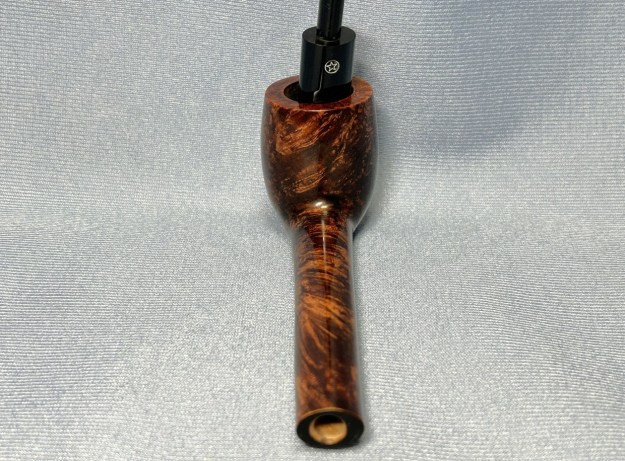
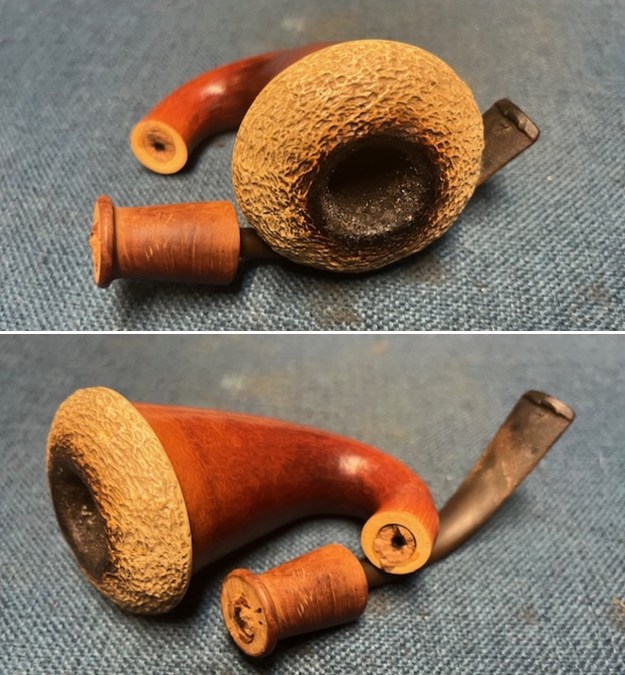
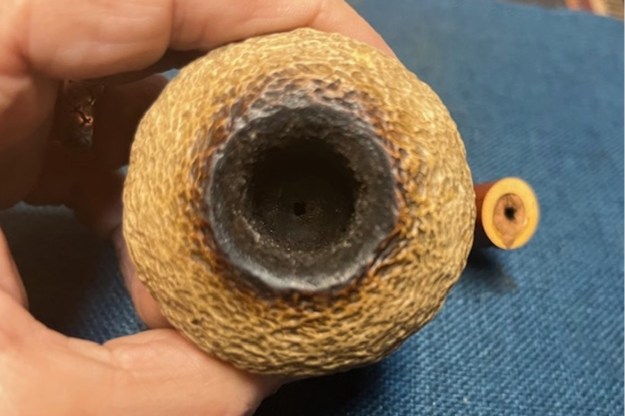
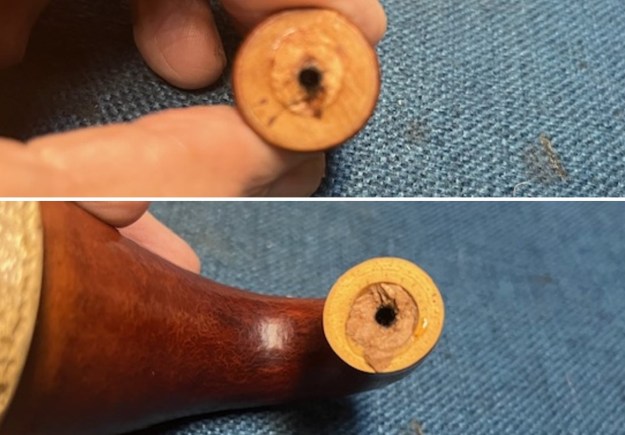
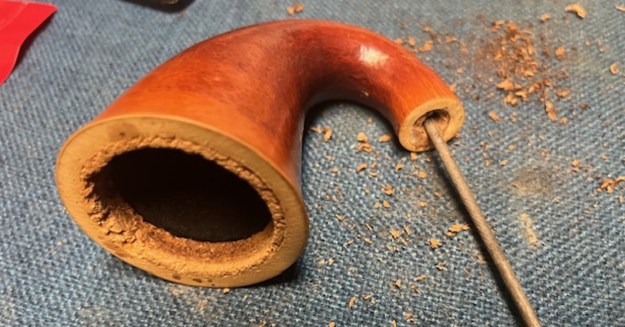
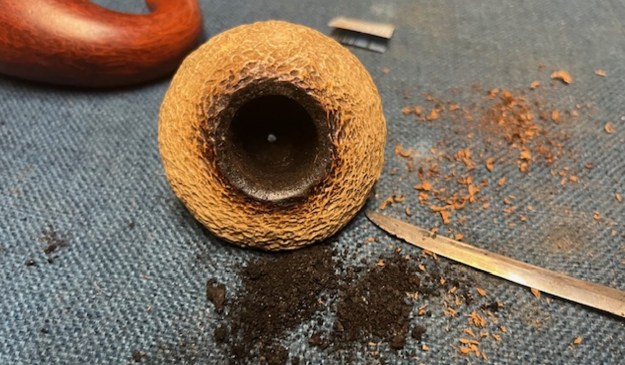
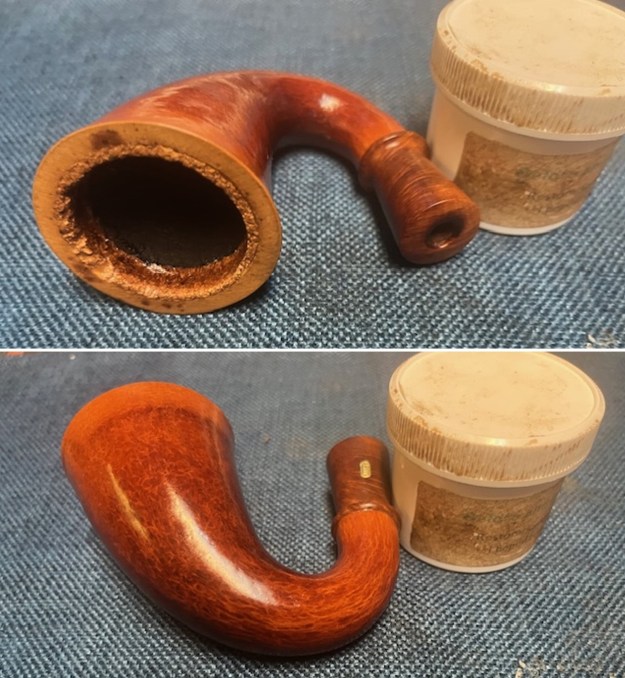
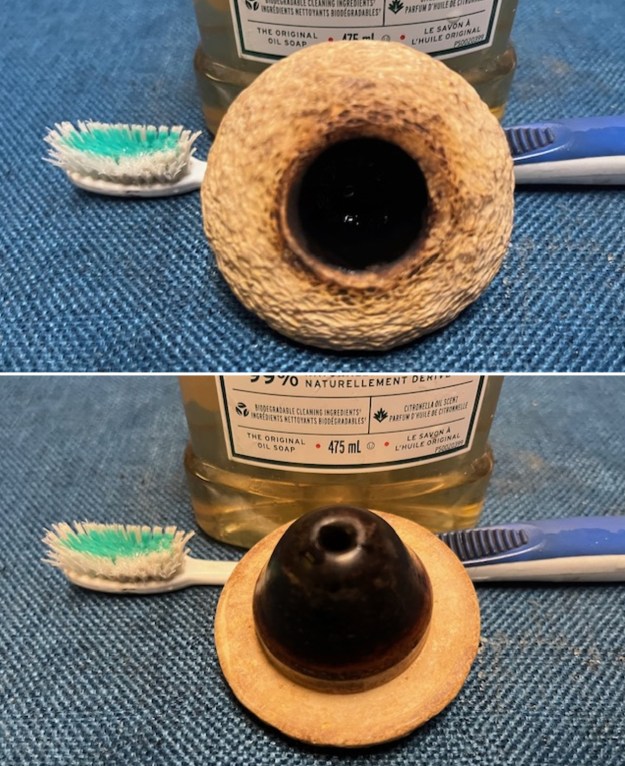
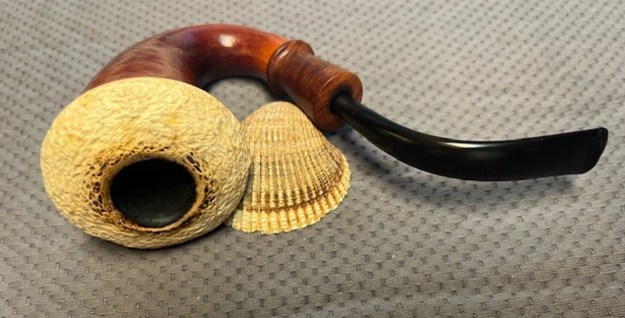
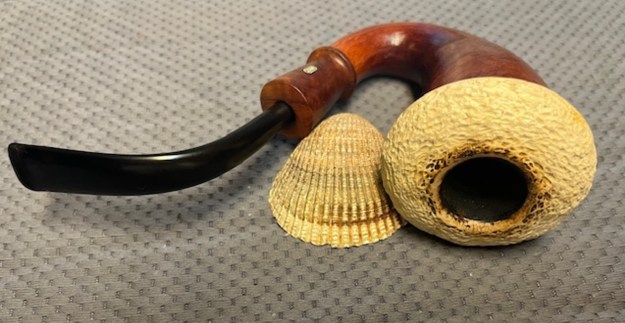
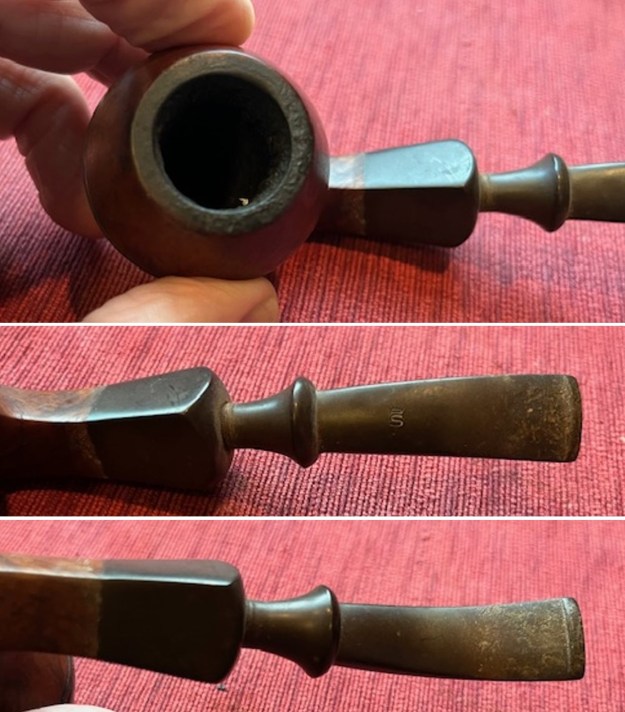
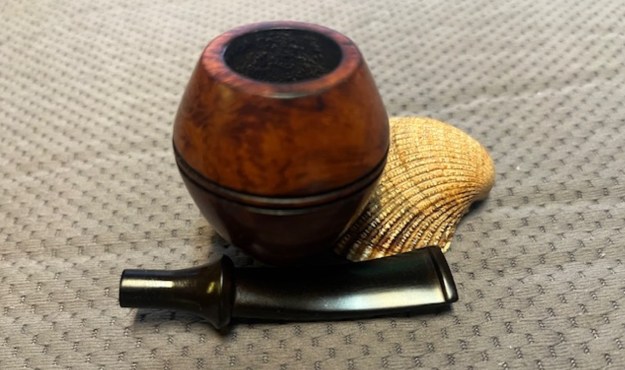
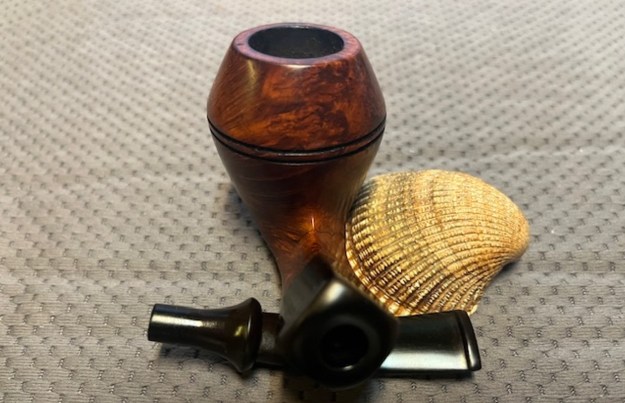
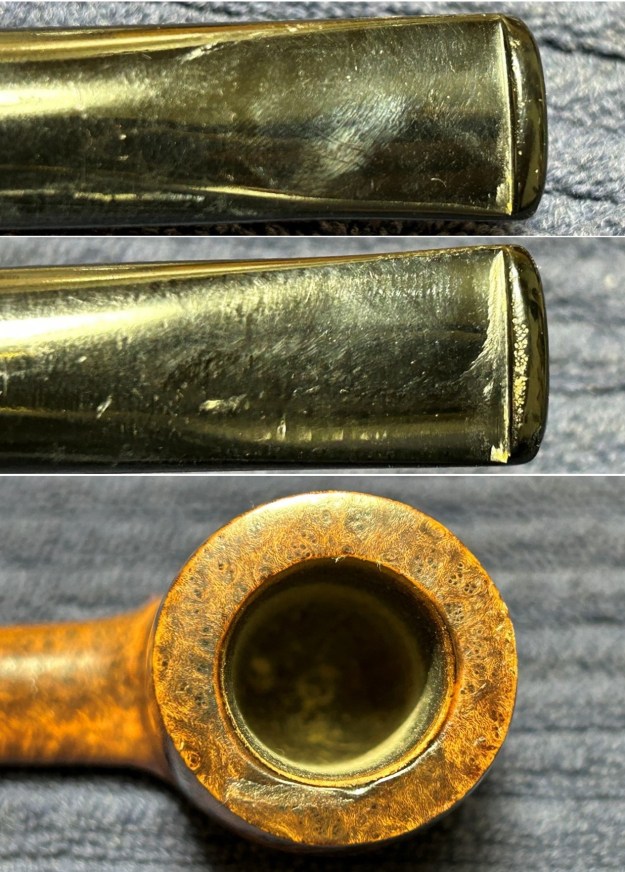
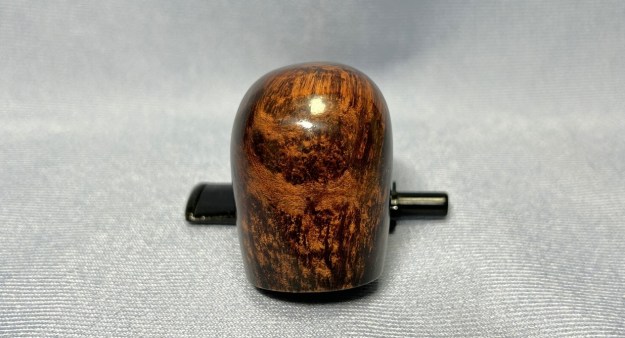
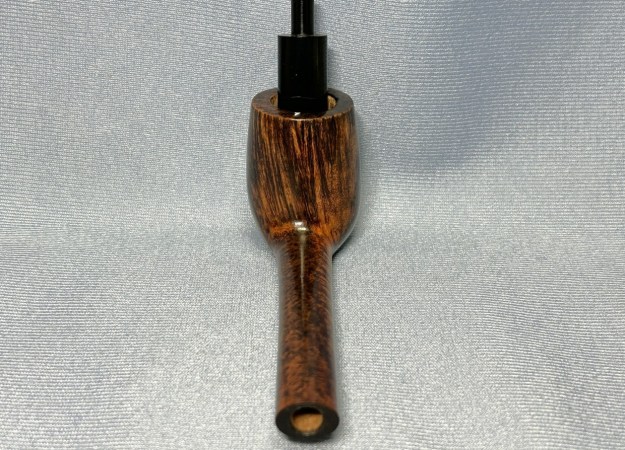
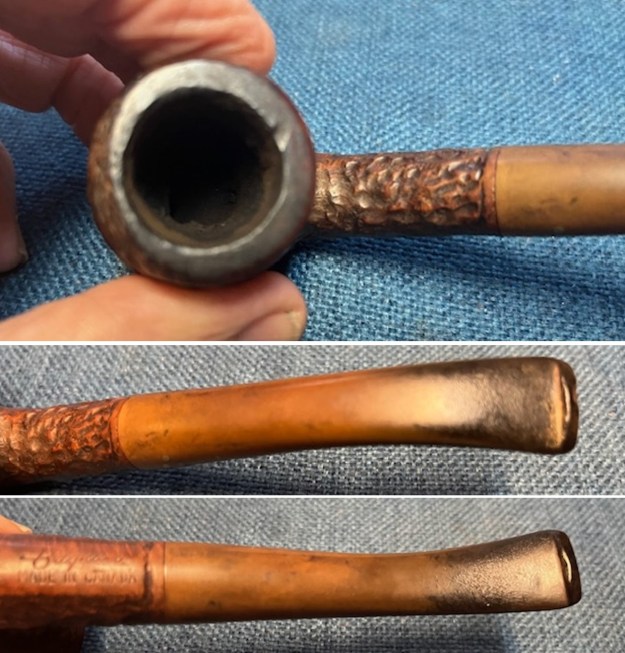
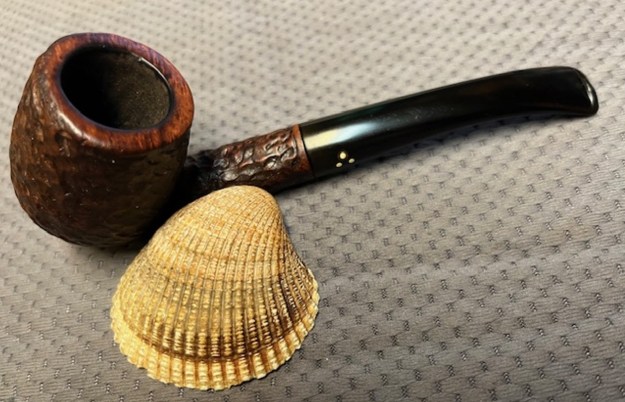
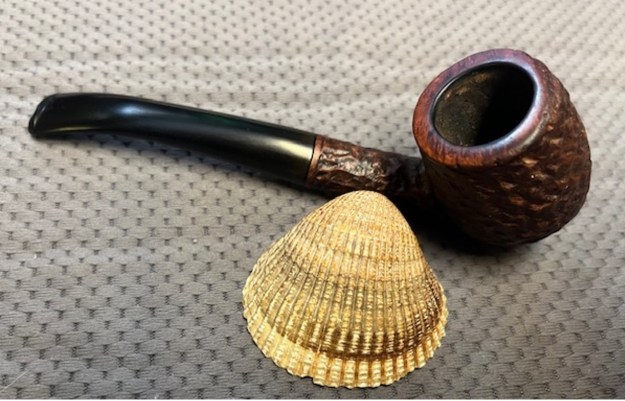
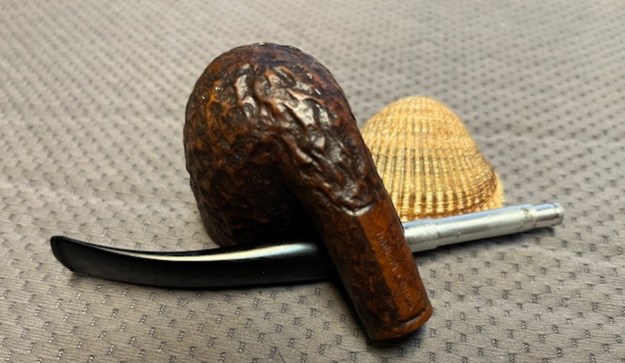
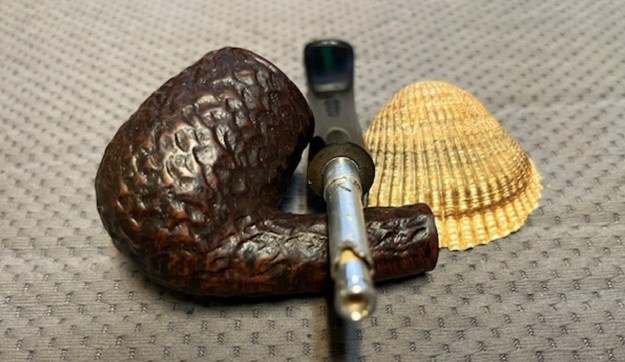
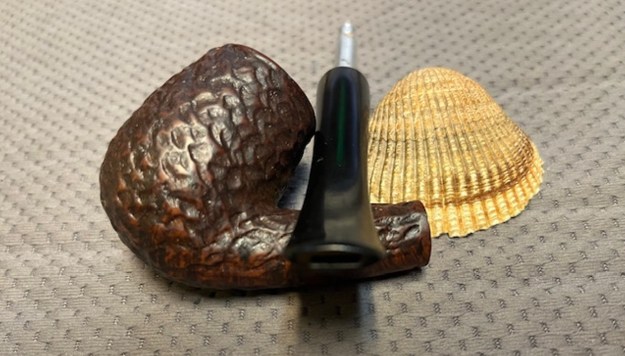
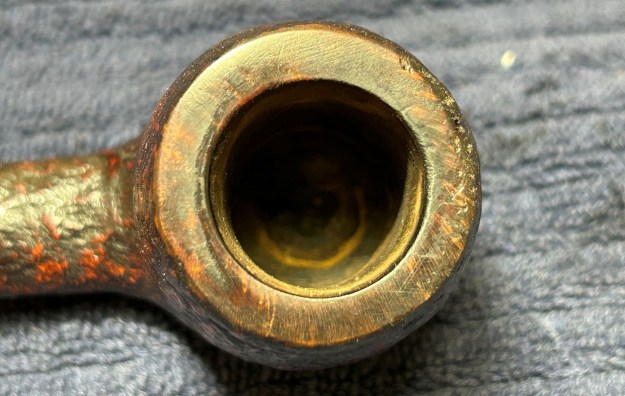
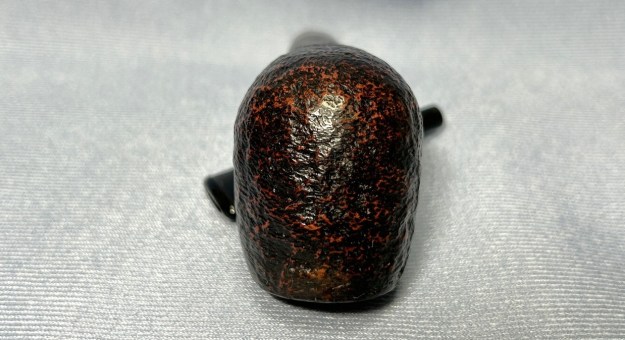
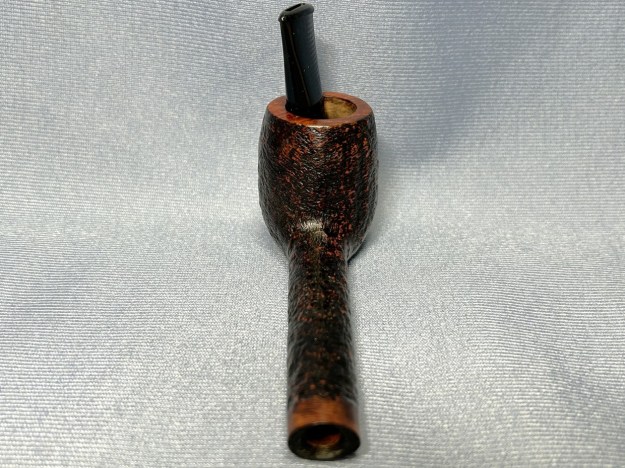
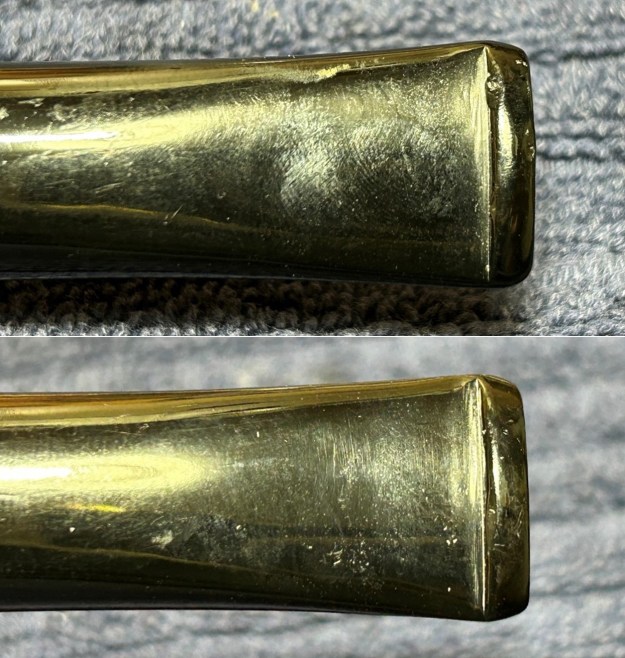
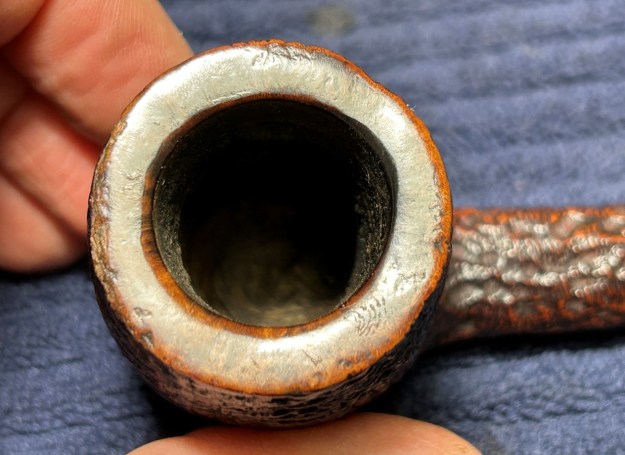
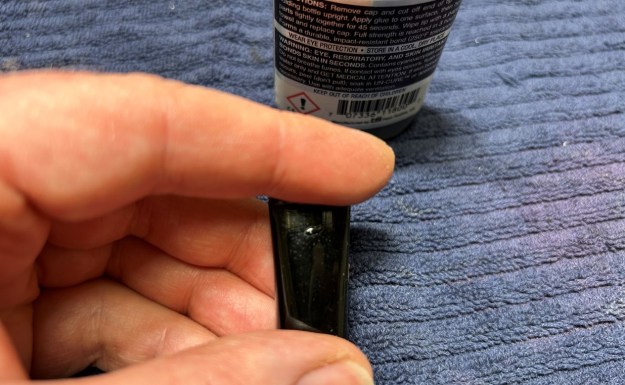
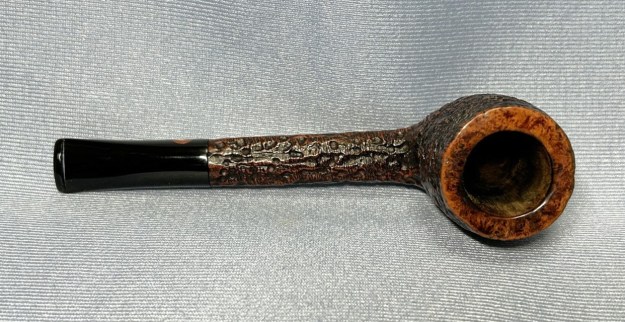
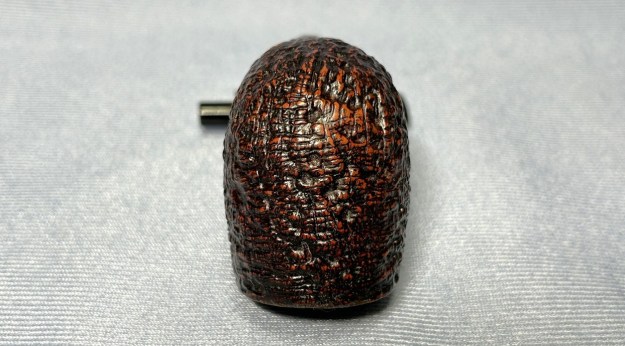
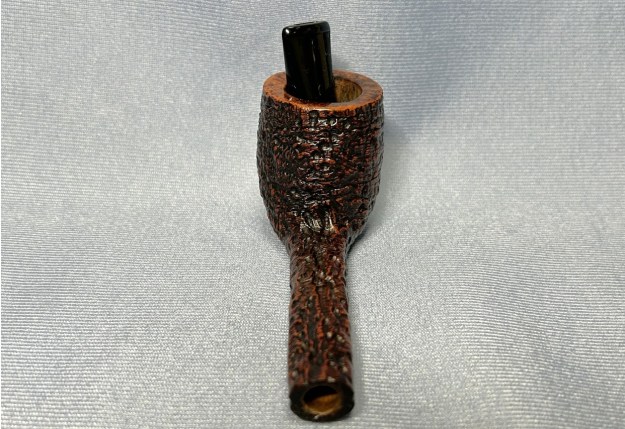
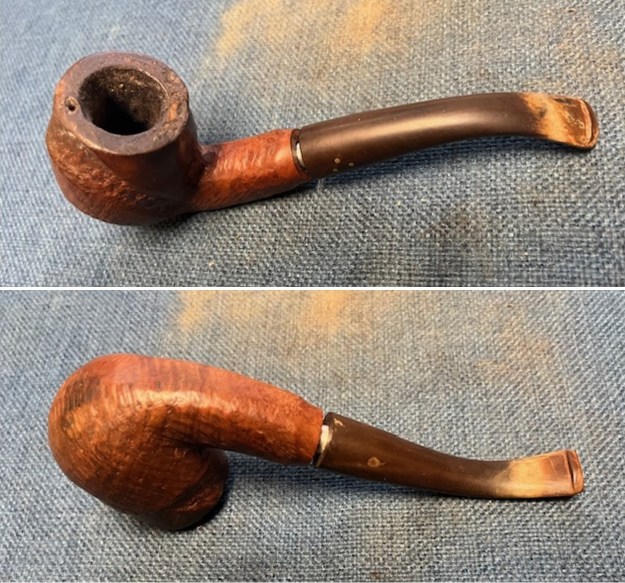
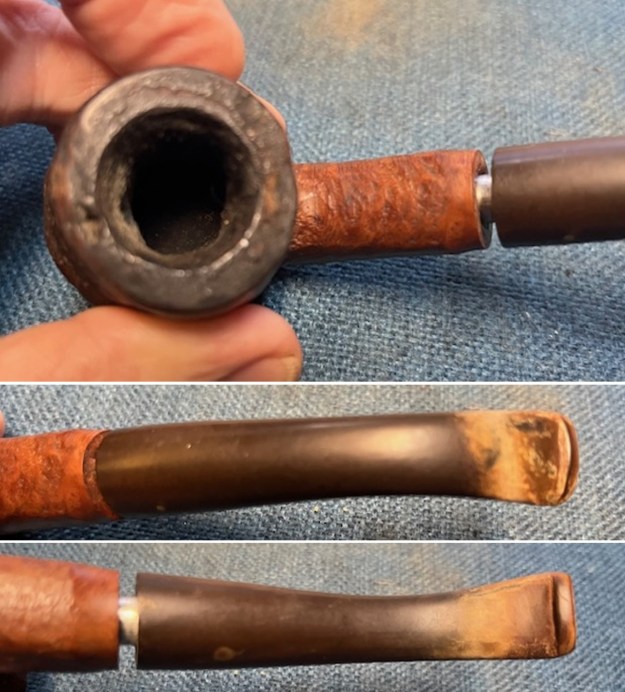
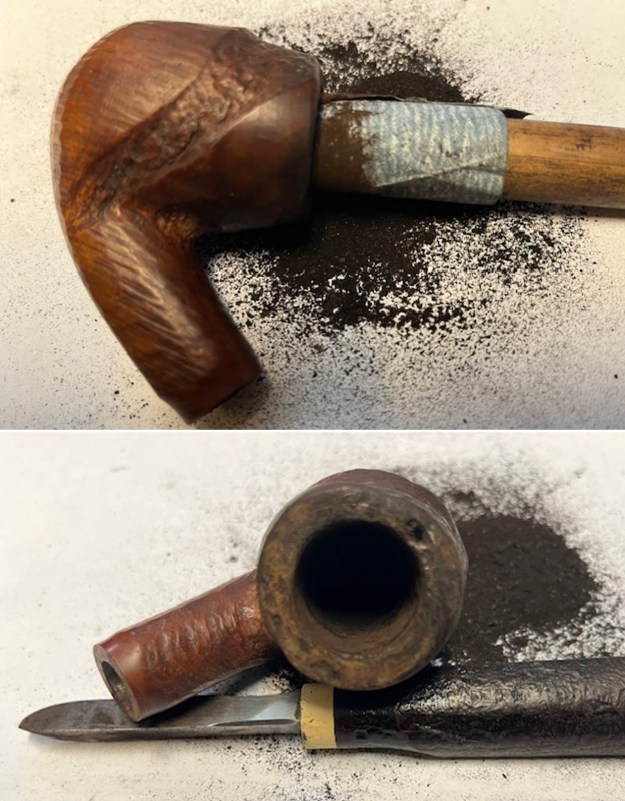
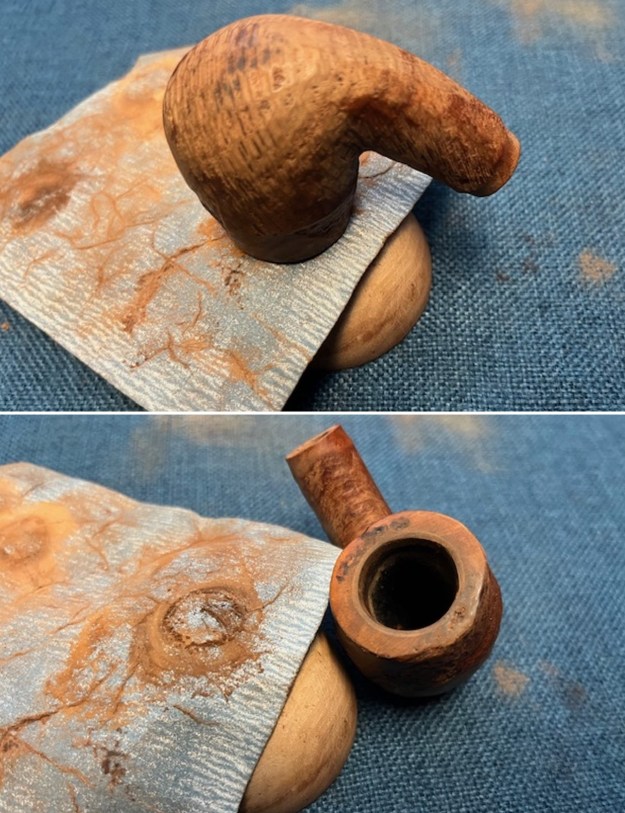
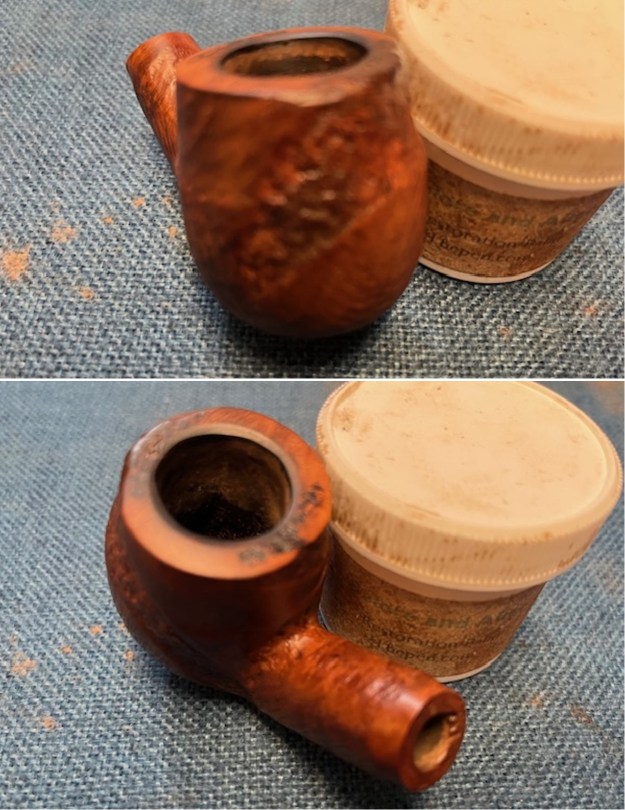
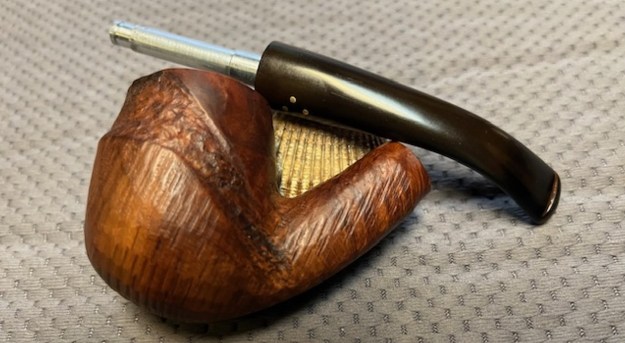
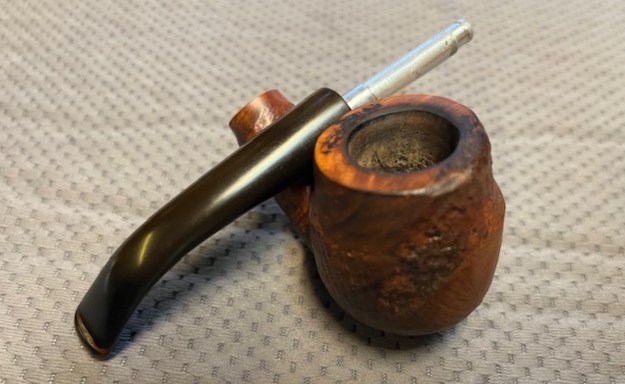
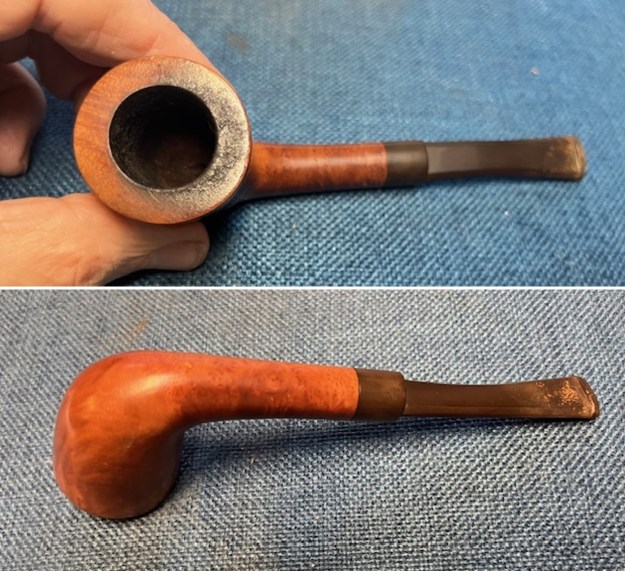 I took photos of the rim top and the stem to show the condition. You can see the thick cake in the bowl and overflow of lava on the rim top. The photos of the stem show the tooth marks and damage in the vulcanite on the top and underside ahead of the button.
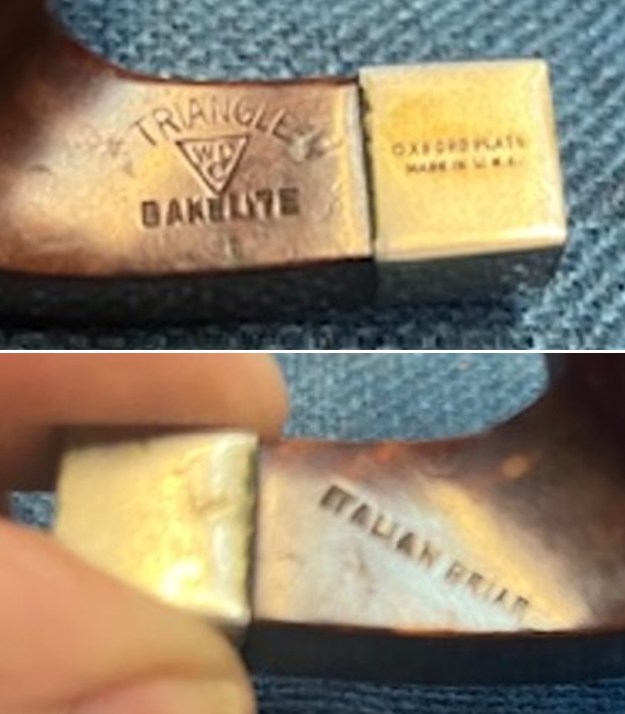
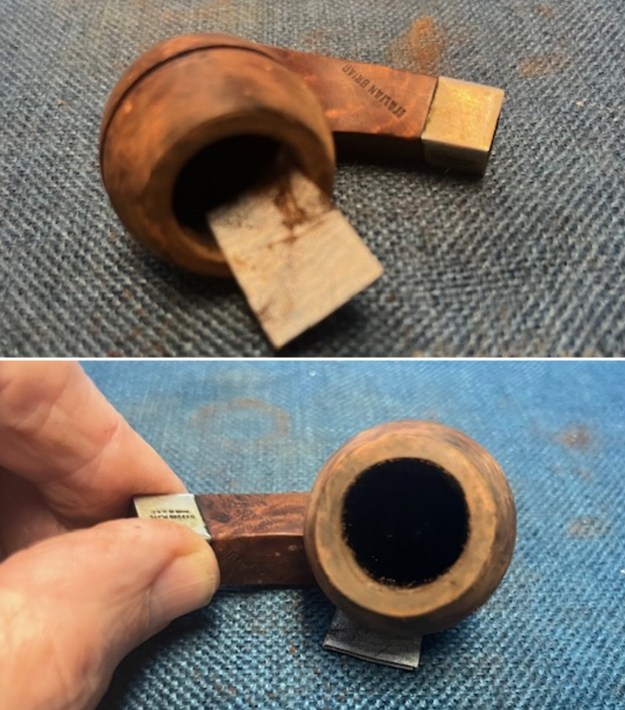
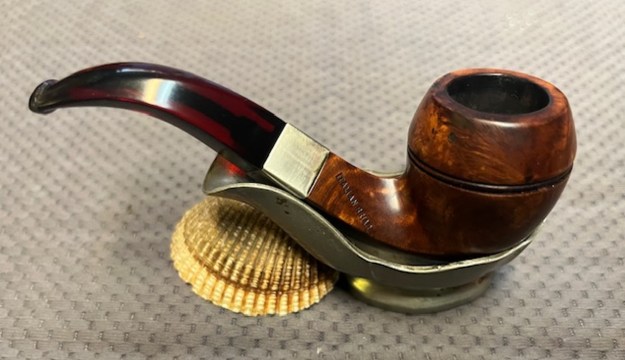
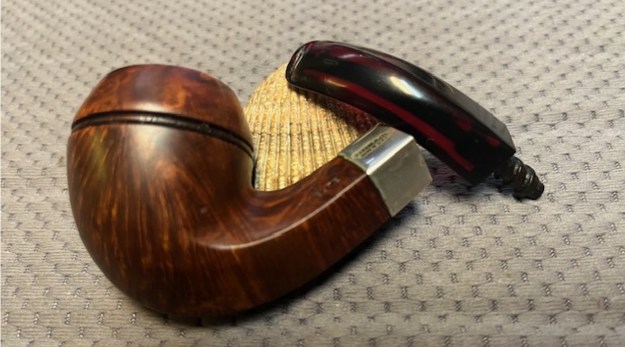
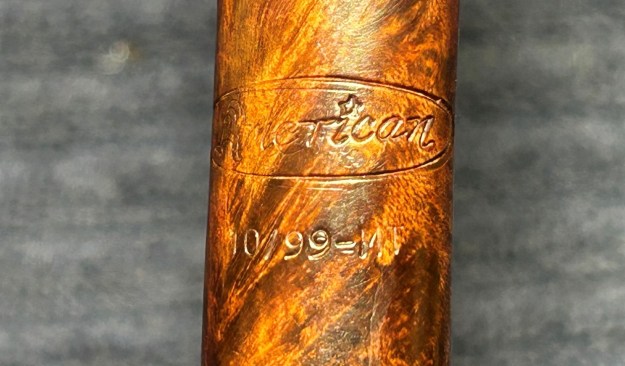
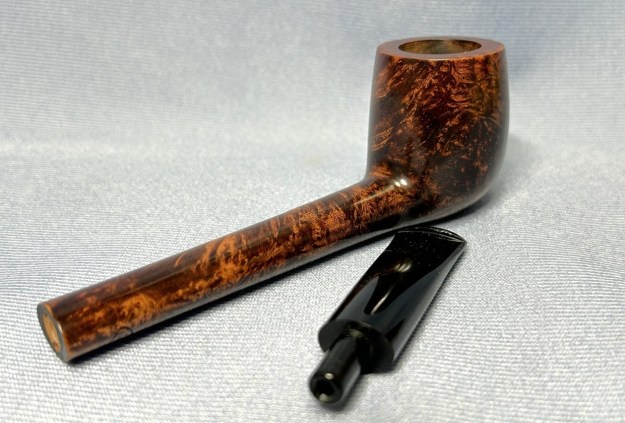
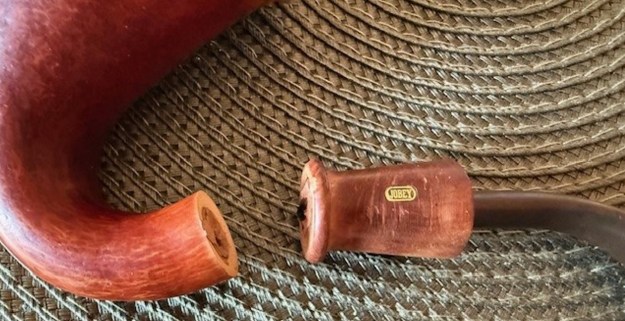
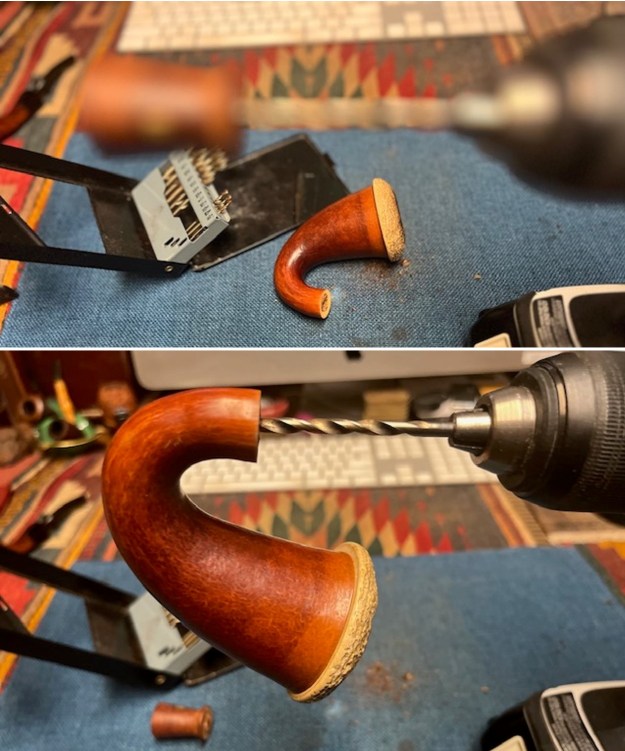
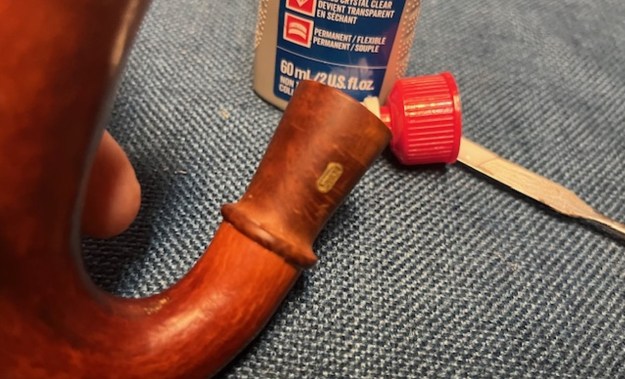
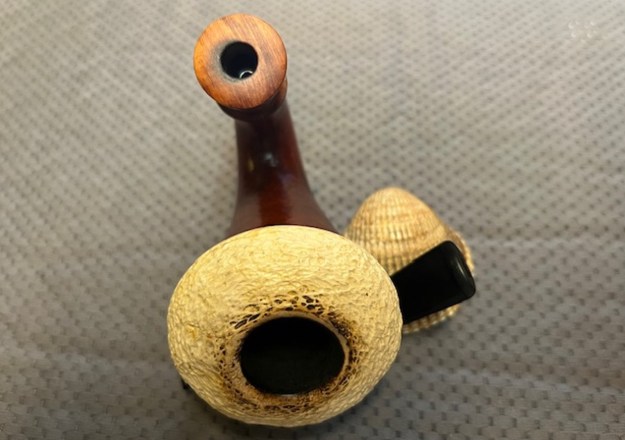
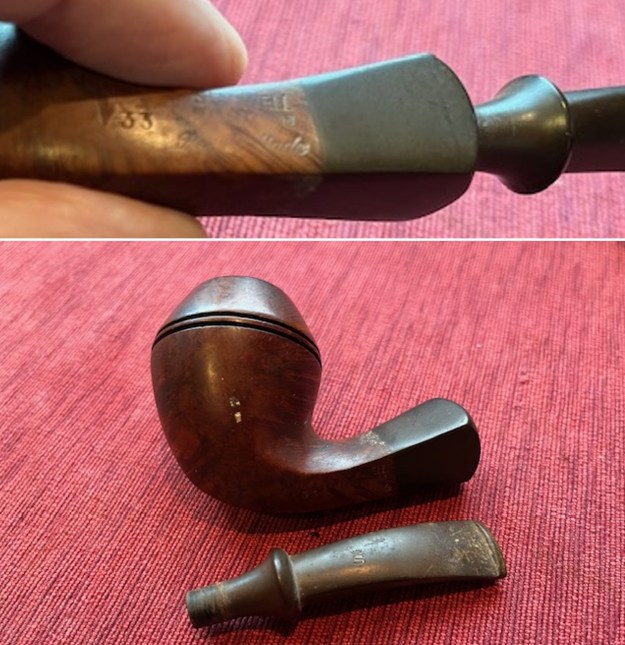
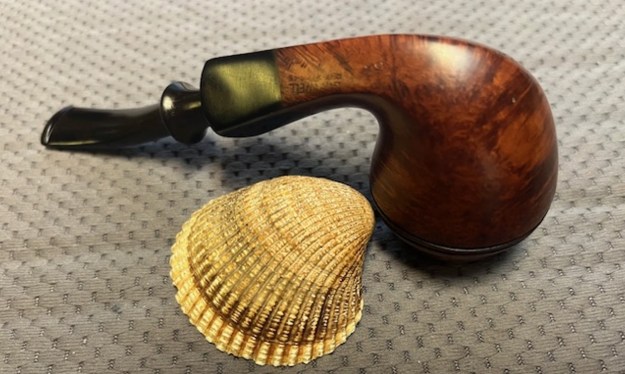
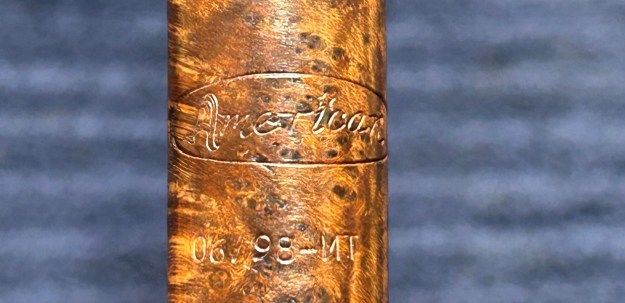
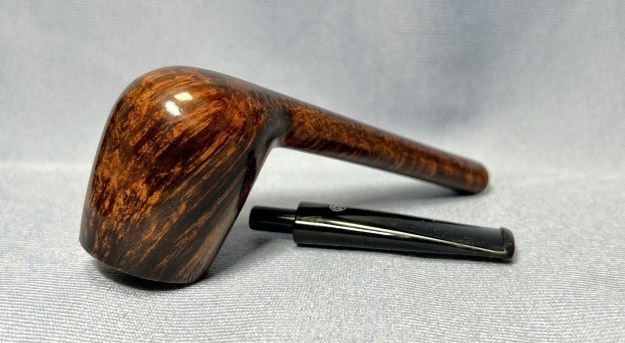
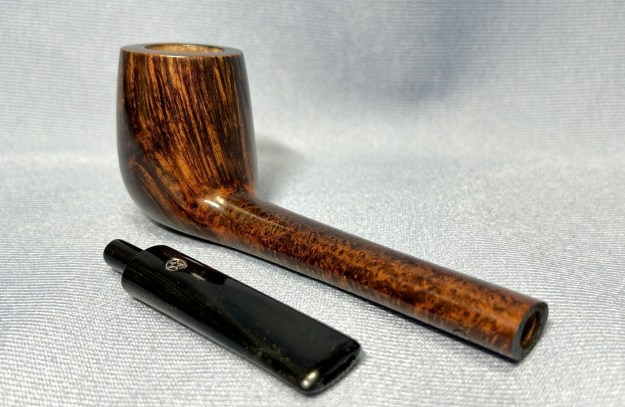
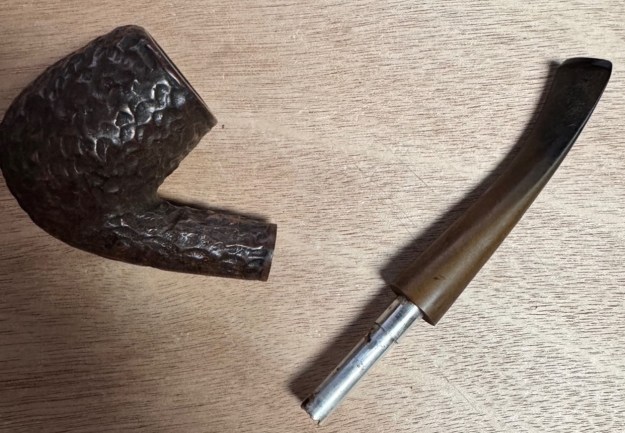
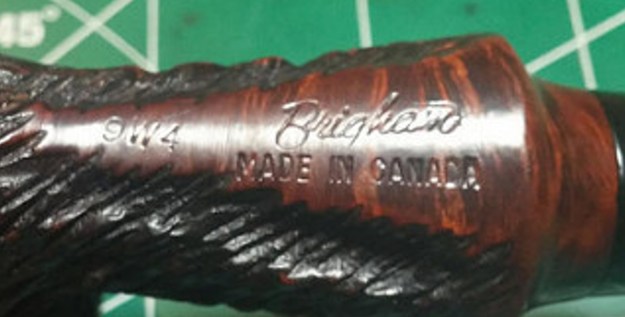
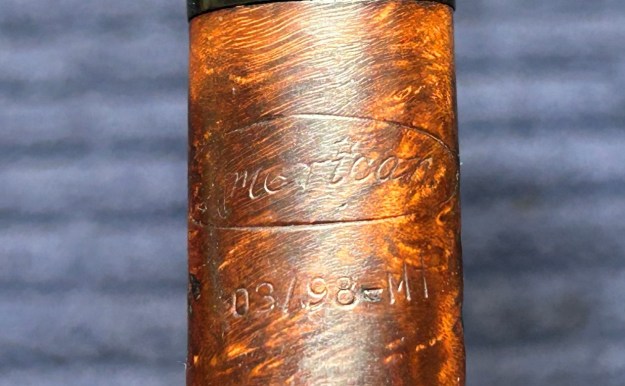
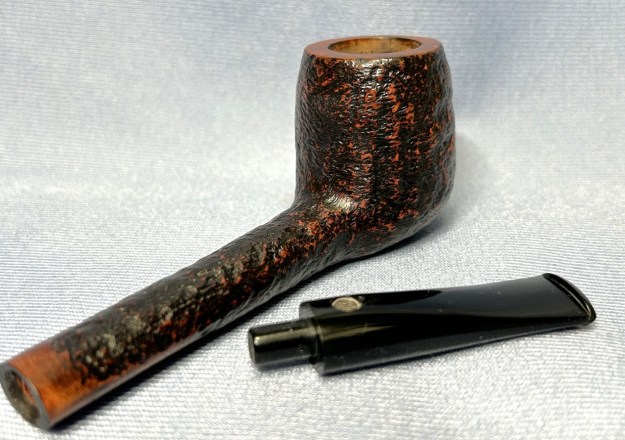
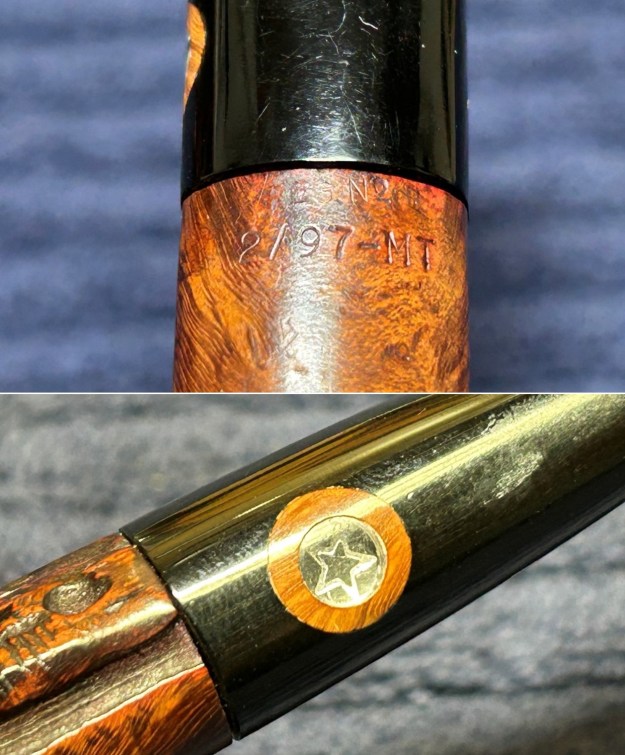
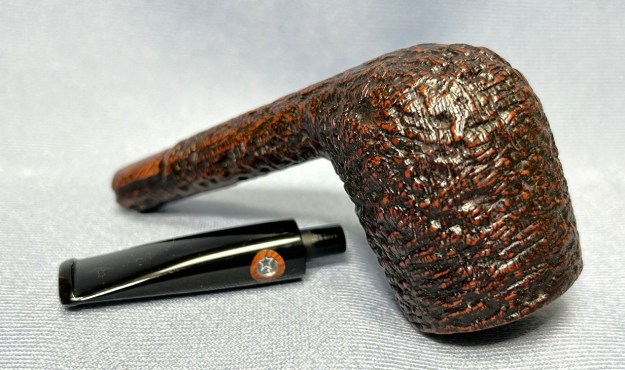
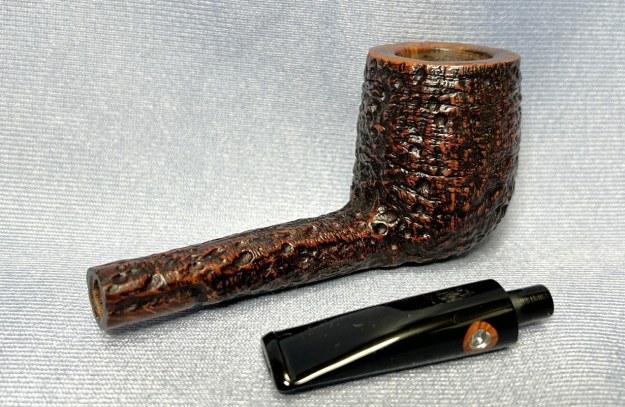
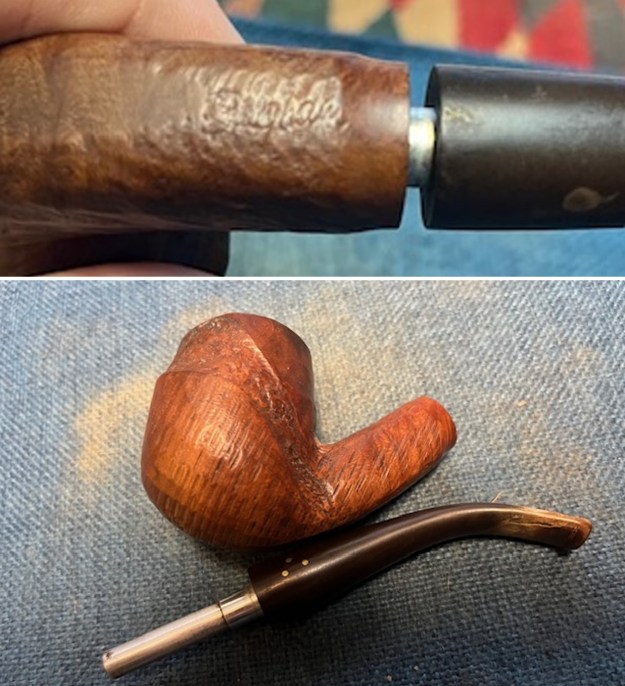
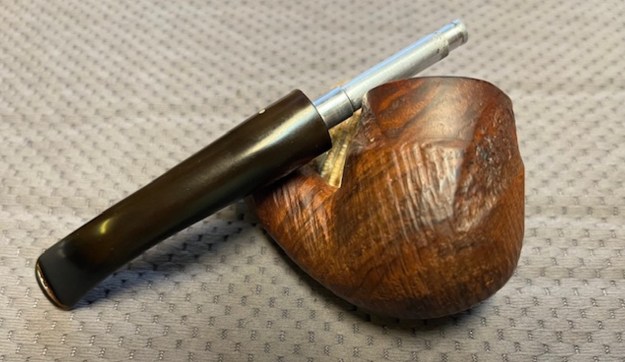
 I took a photo of the stamping on the side of the shank to capture it. It was clear and readable as noted above. I removed the stem from the shank and took a photo of the parts.
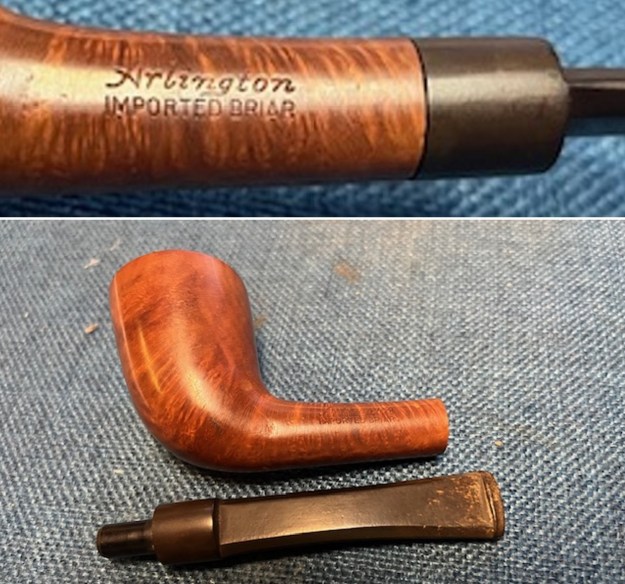 Before I started my work on the pipe itself I turned to Pipephil to get a quick overview of the background information on the Arlington brand (http://pipephil.eu/logos/en/logo-a7.html). The side bar stated that it was a brand of the Arlington Briar Pipe Corp. I have included a screen capture of the pertinent information below.
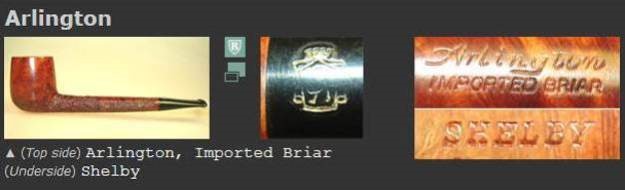 I turned to Pipedia for more information (https://pipedia.org/wiki/Arlington). I quote the article below.
Arlington Briar Pipes Corporation was founded in 1919 in Brooklyn, New York, and produced the Arlington, Briarlee, Firethorn, Kimberly, Krona and Olde London brands among dozens of others, primarily acting as a subcontractor making pipes to be sold under other brand names. Among others, in the 1950’s, Arlington turned pipes for the famed Wilke Pipe Shop in New York City. The corporation was dissolved by the State of New York as inactive on December 6, 1978. Arlington Briar Pipe Corporation, located at 200 Kosciusko Street, Brooklyn, New York, registered only a single brand trademark, the Arlington brand, the trademark for which was applied for on November 13, 1962 and granted on February 25, 1964. Jack Kaye, of Arlington Briar, was also granted a patent for a combined mirror and stand in 1967.
According to José Manuel Lopes, “North American brand that belonged to Arlington Briar Pipes Corp., Brooklyn, New York, founded in 1919. In the 1940s, Ludwig Rosenberger gave the company new life, and it continued until the 70s. His son, Mel Rosenberger, has recently launched the DiMonte brand. Jack Uhle was also linked to Arlington.” Arlington, as far as known, mainly operated as a sub-contractor for other brands. The Jobey pipes are said to be made by Arlington at an unknown point of time. Arlington’s own pipes are seldom seen.
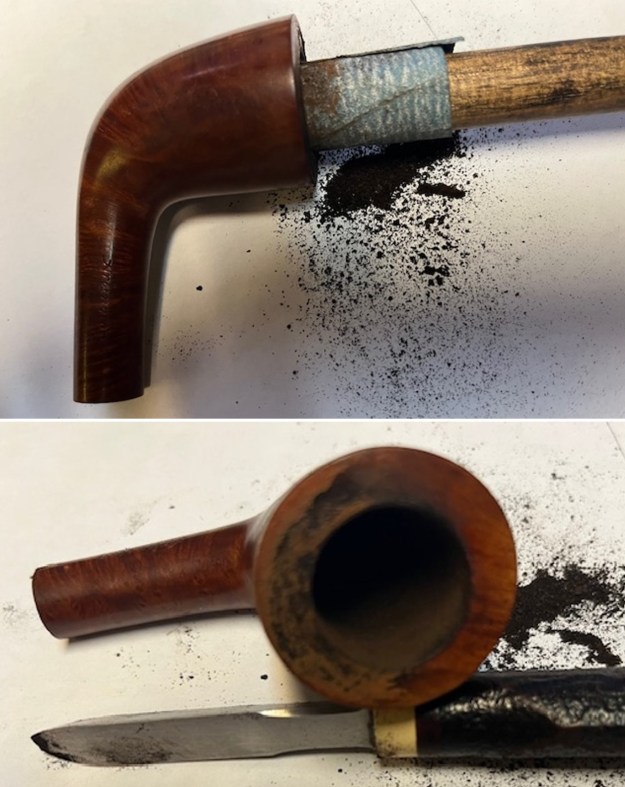
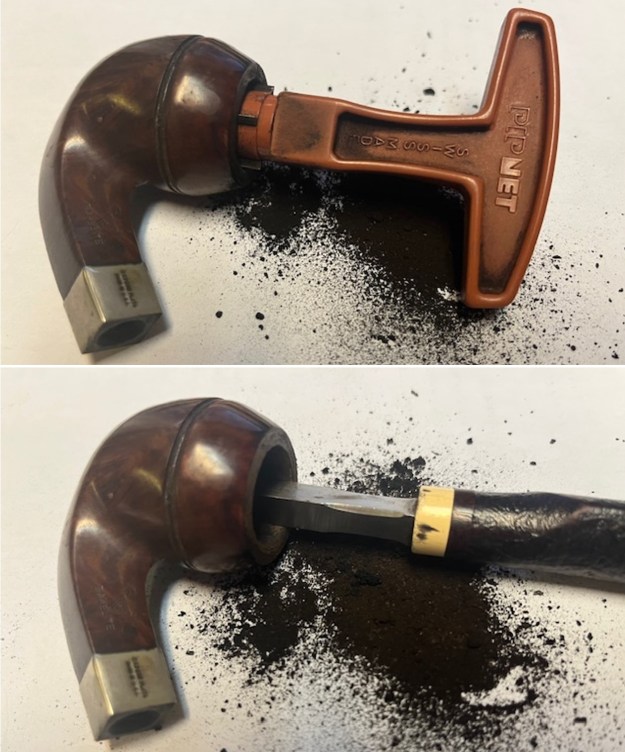
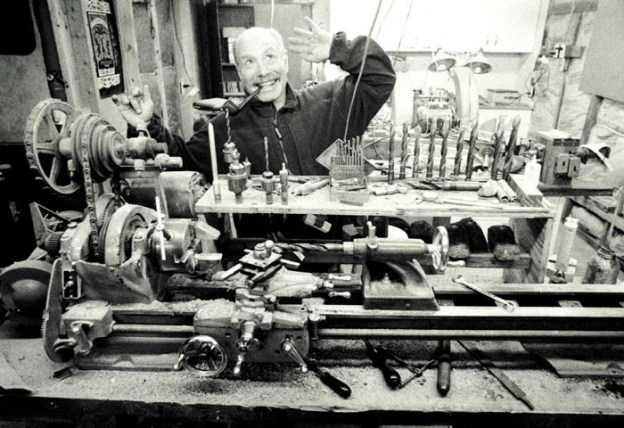
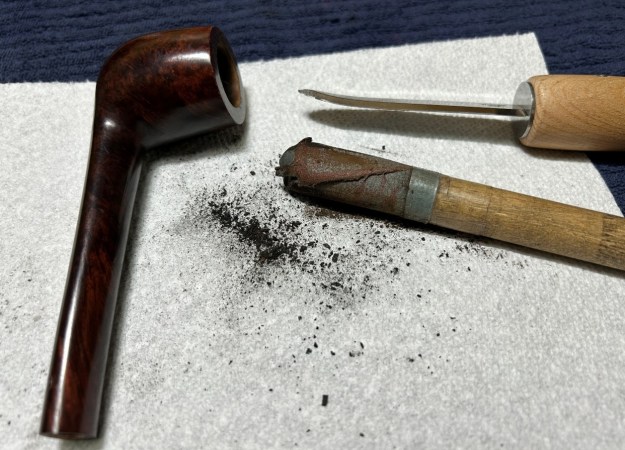
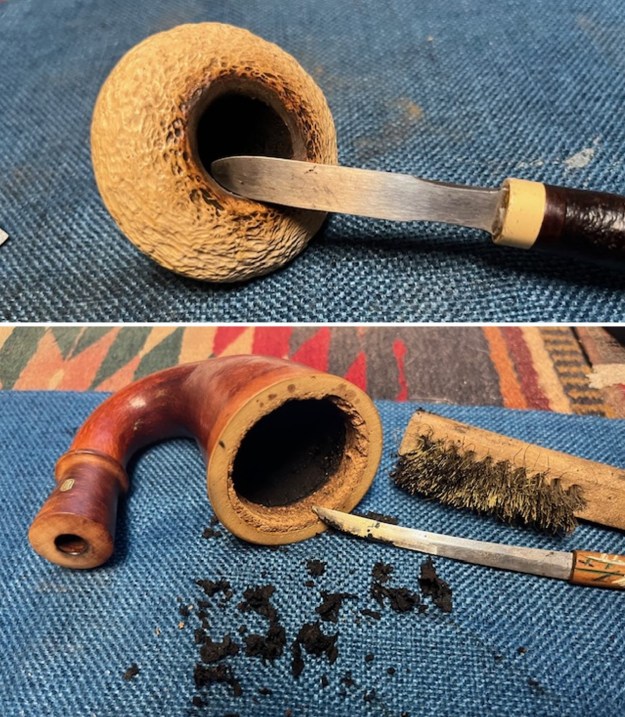
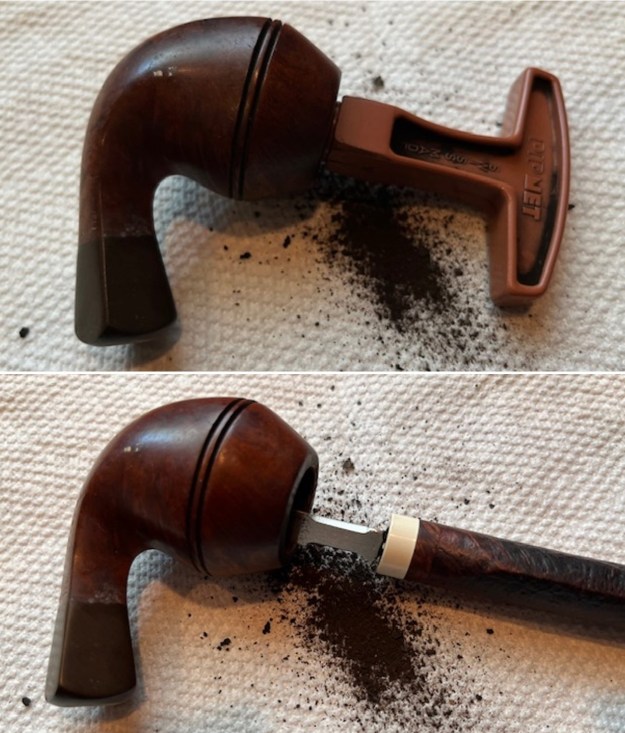
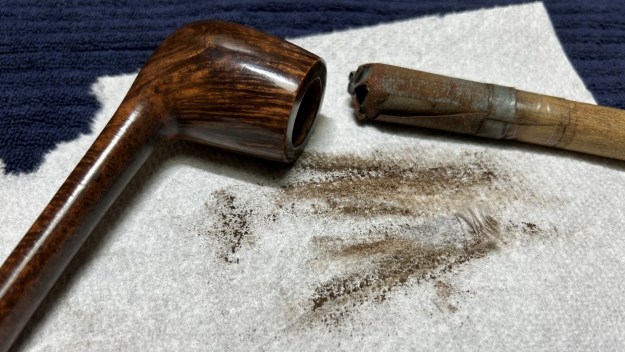
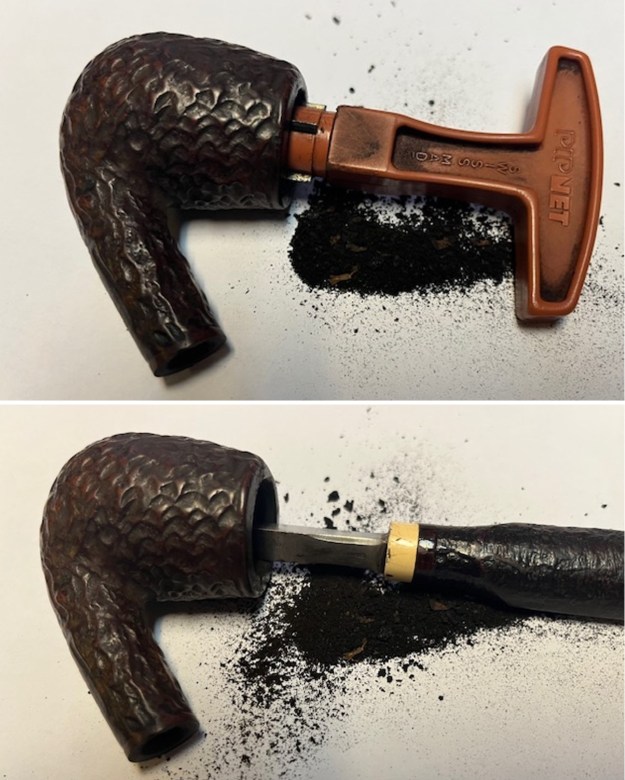
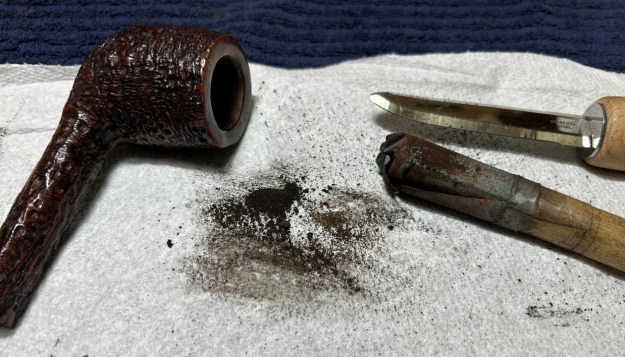
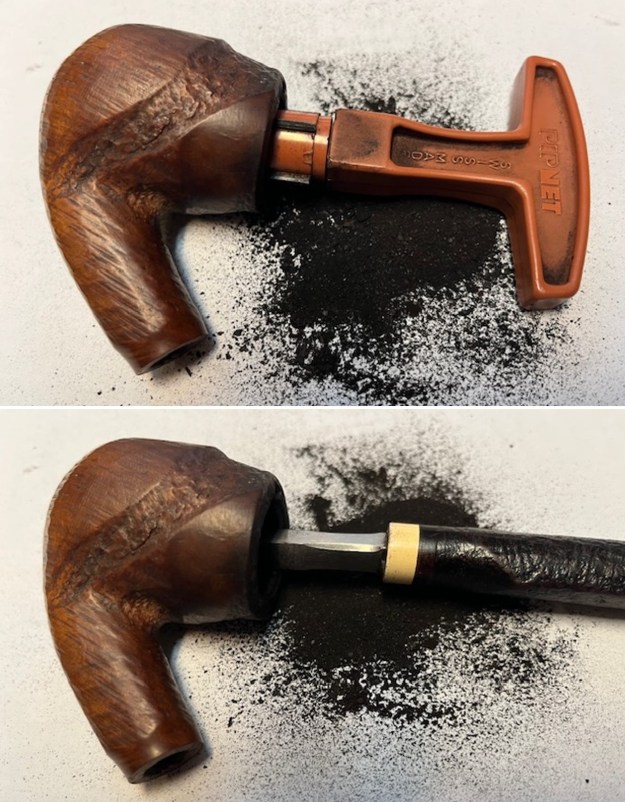
The article also included the following photo from an RTDA catalog. It is a great addition to the information above.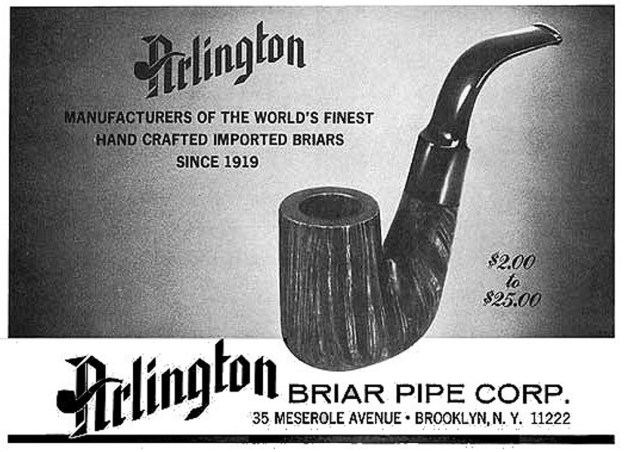 I started my work on the pipe by reaming the bowl with a PipNet reamer. I used the first cutting head and took the cake back to bare briar. I cleaned up the reaming with a Savinelli Fitsall Pipe Knife and removed all the remnants of the cake. I scraped the rim top with the flat edge of the blade at the same time and removed most of the thick lava build up. I sanded the walls of the bowl with a piece of dowel wrapped in 220 grit sandpaper. The walls look very good at his point in the process.
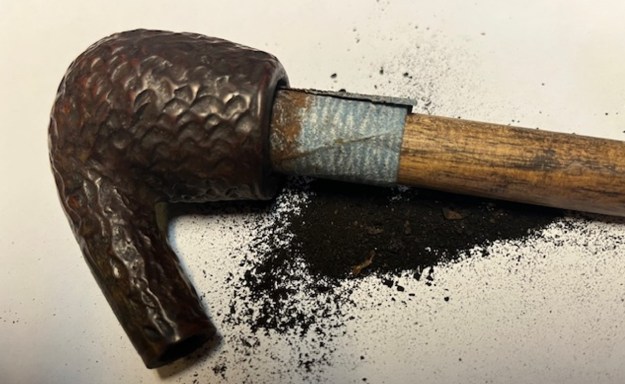
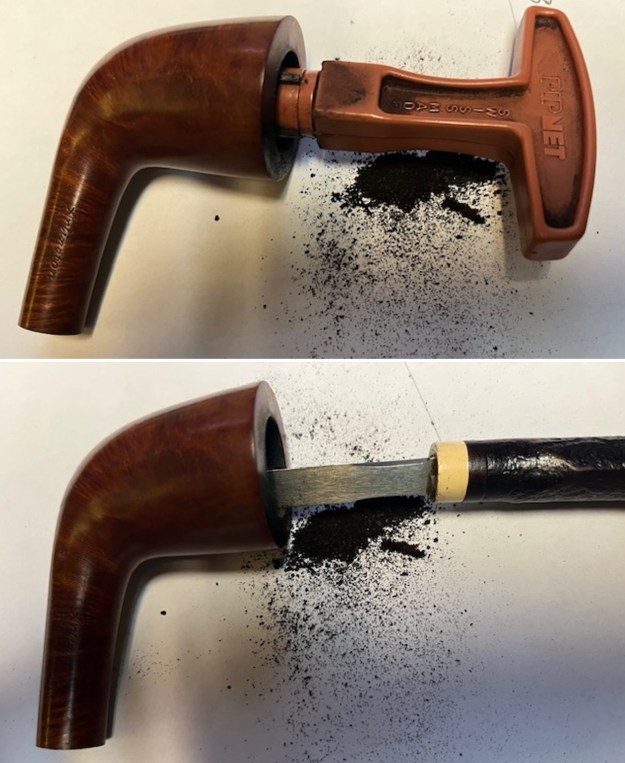
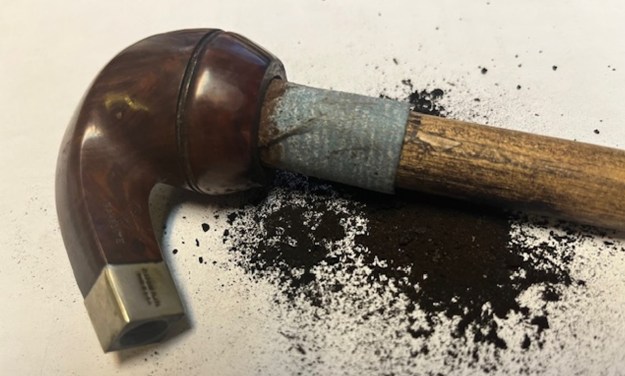
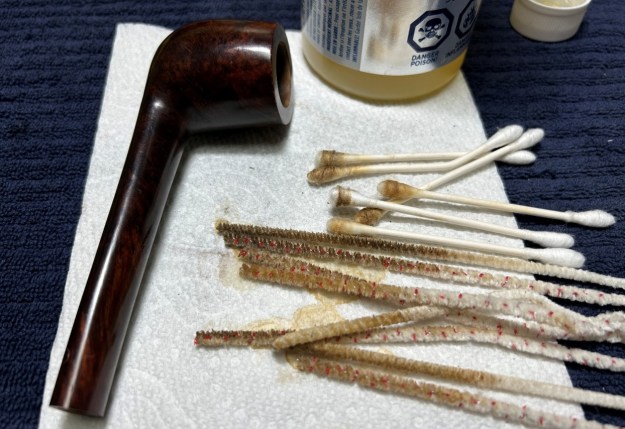
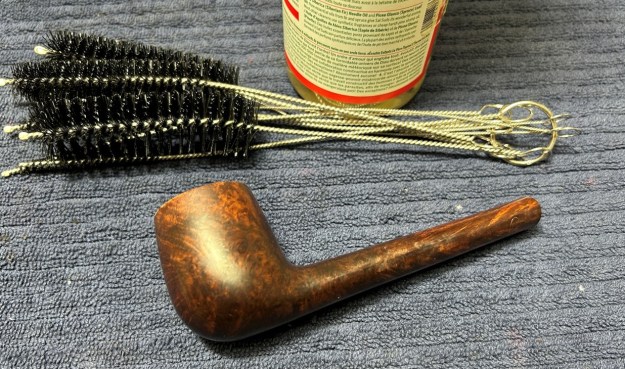
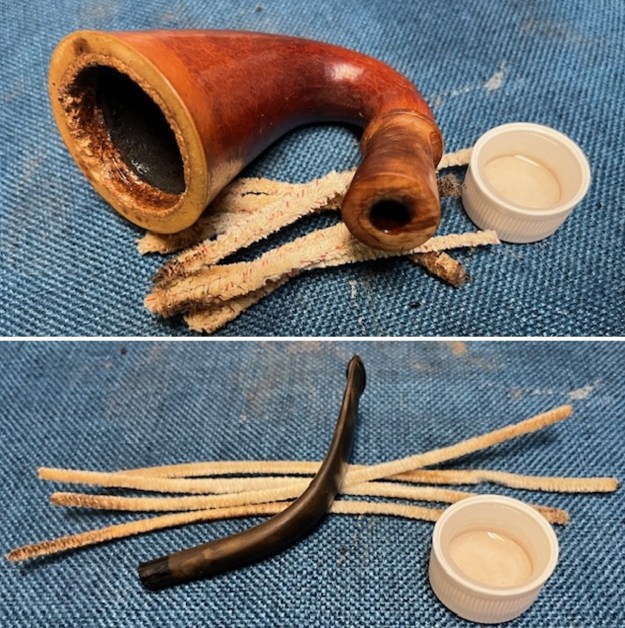
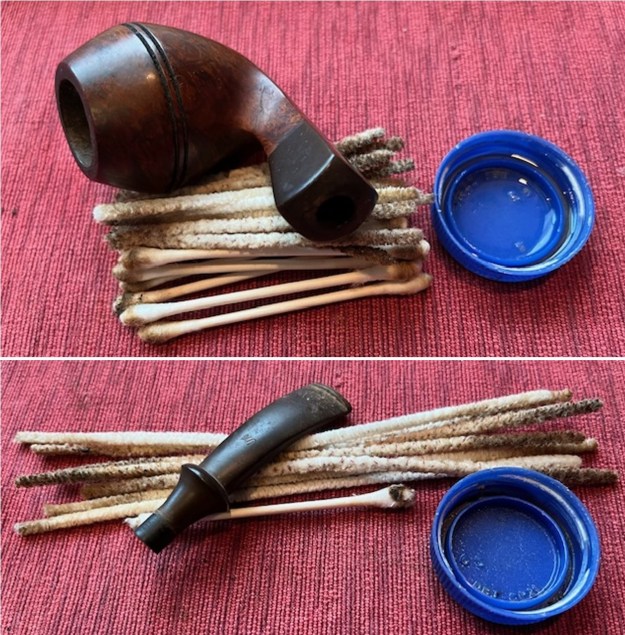
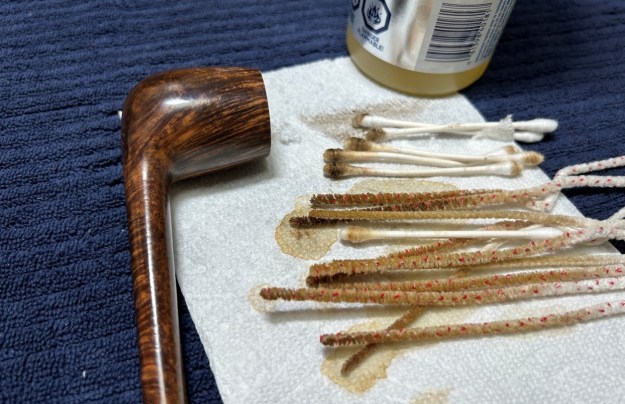
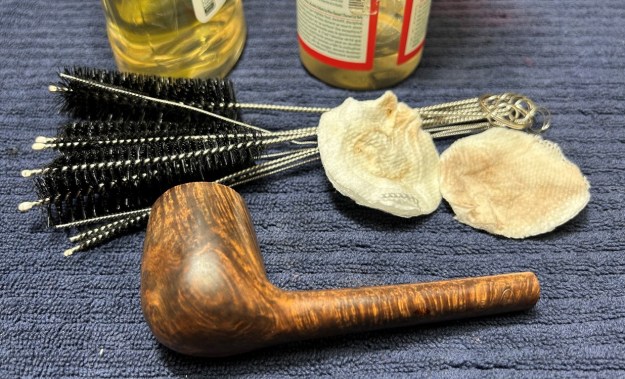
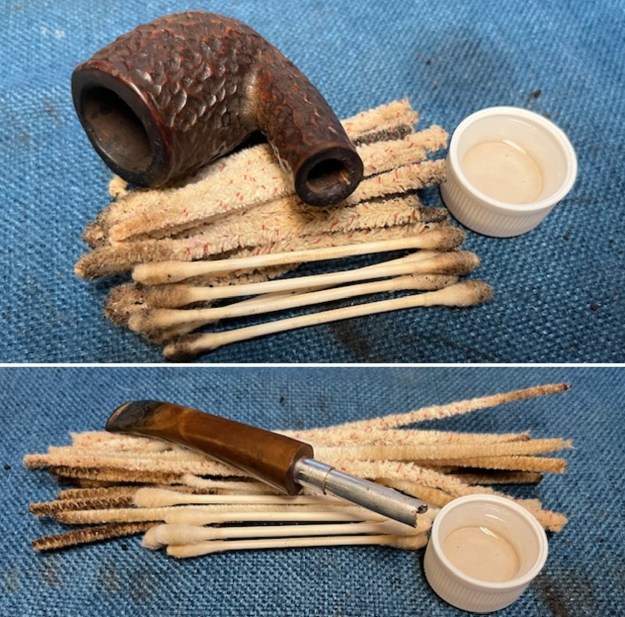
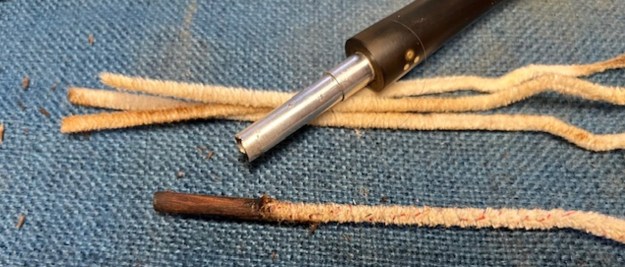
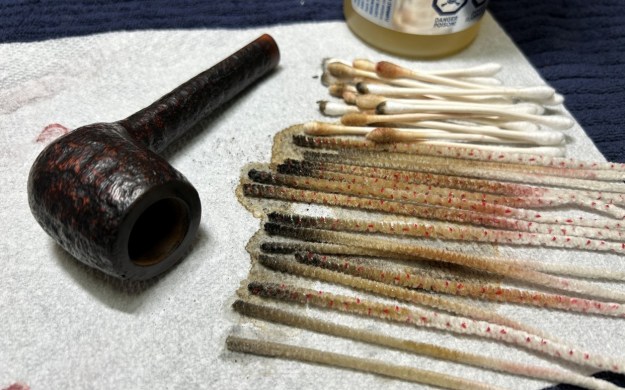
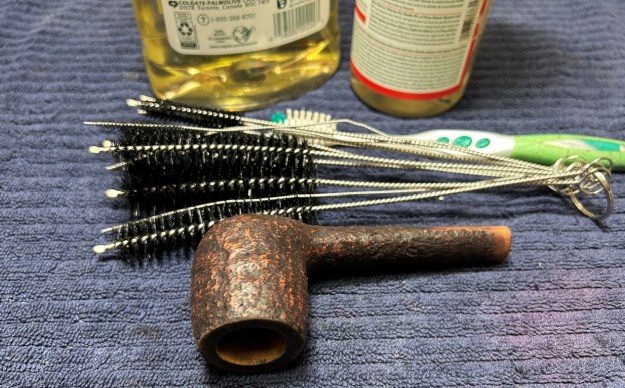
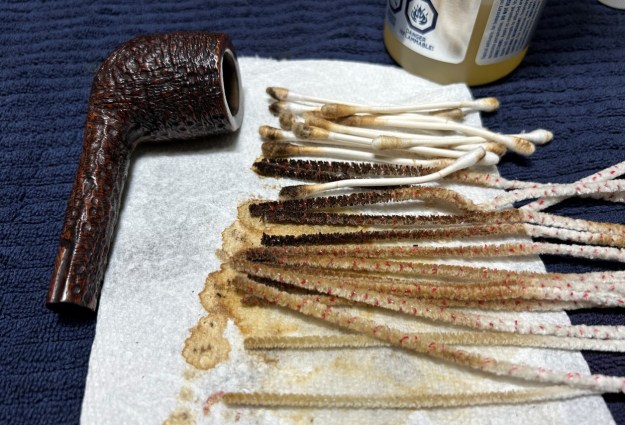
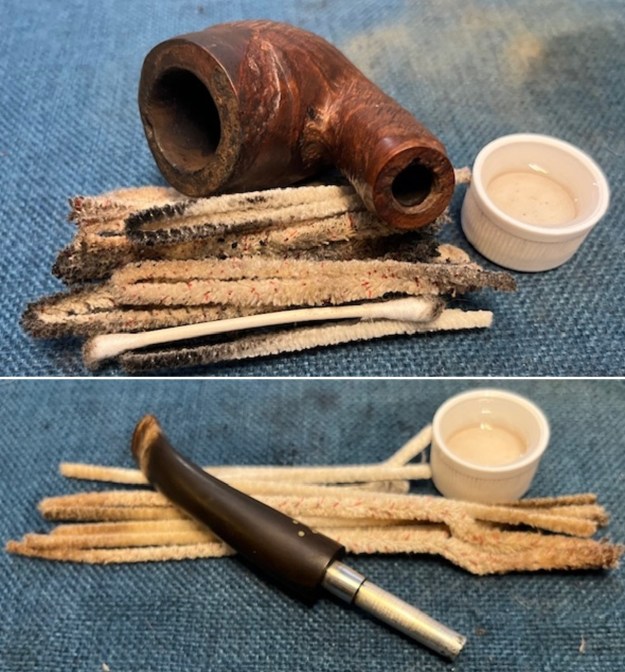
 I cleaned out the shank, the airway and the mortise with alcohol, cotton swabs, hard bristle and soft bristle pipe cleaners. It was a very dirty pipe which just meant that it had really been enjoyed by the previous pipe man. I cleaned the bone tenon and the inside of the airway in the stem with alcohol, cotton swabs and pipe cleaners in the same way as I did the shank. It also was very dirty.
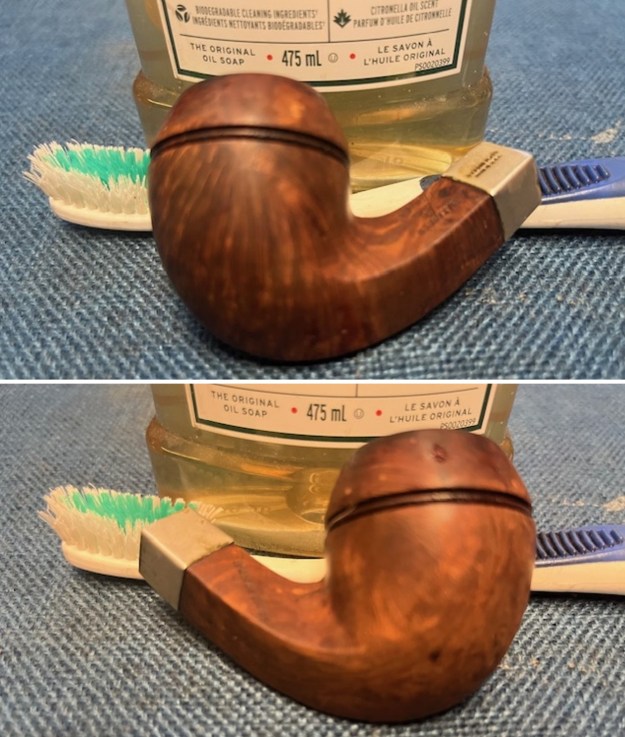
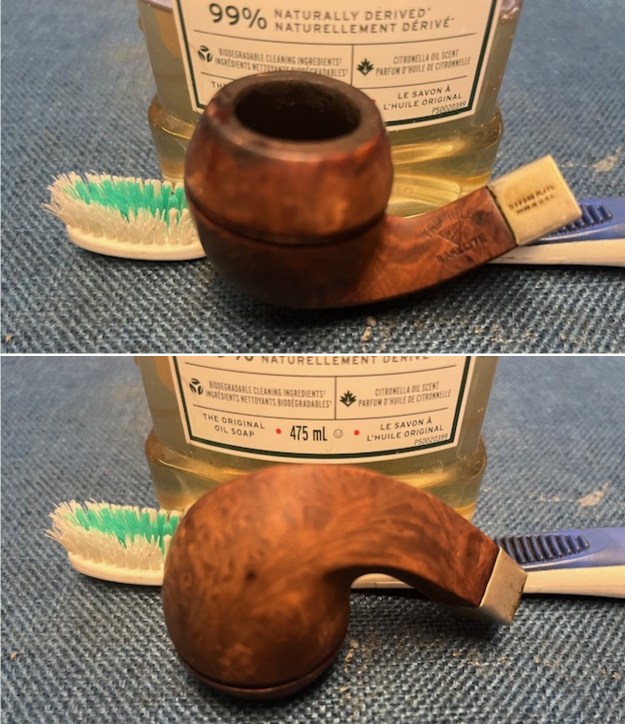
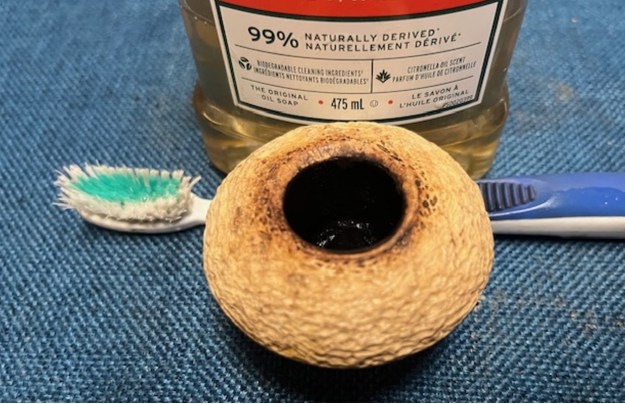
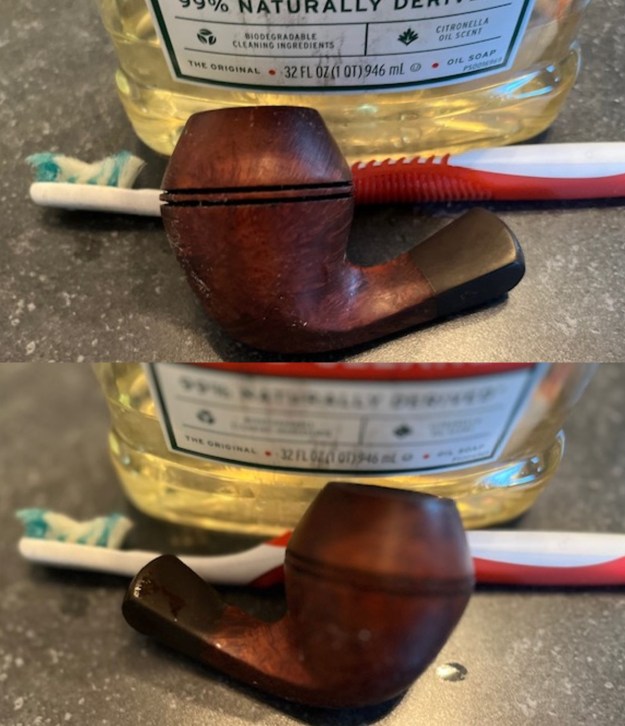
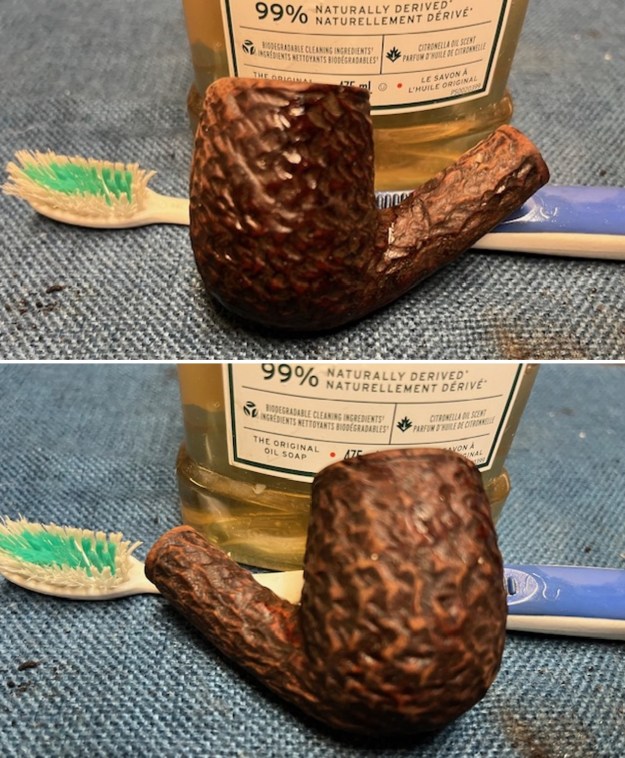
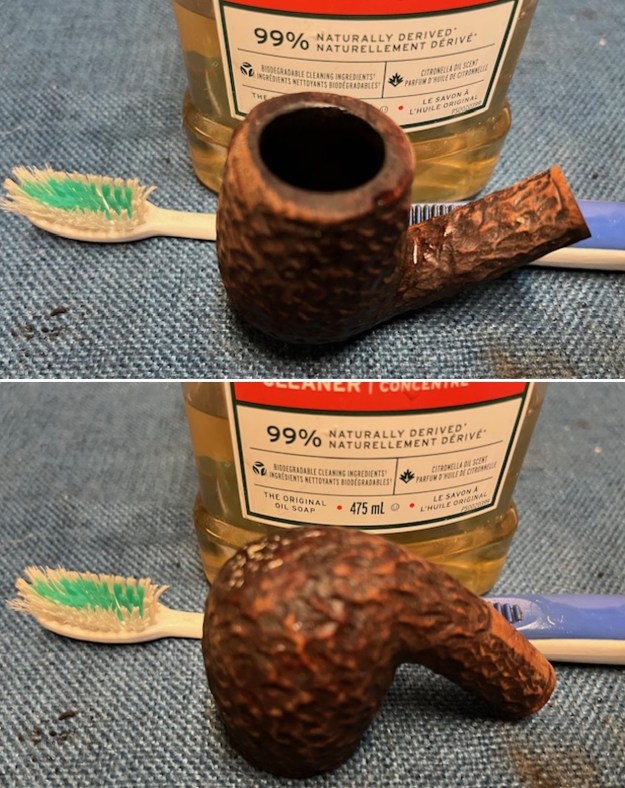
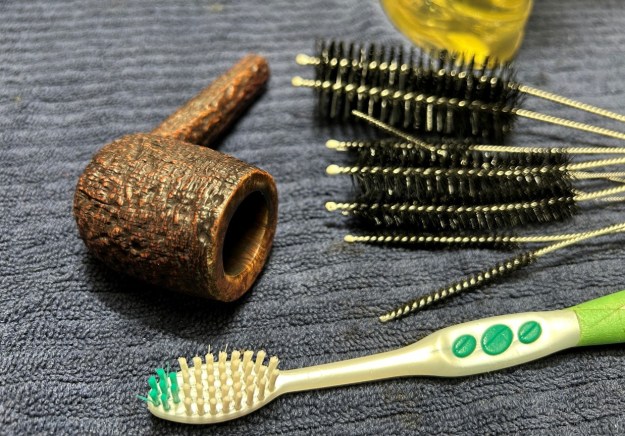
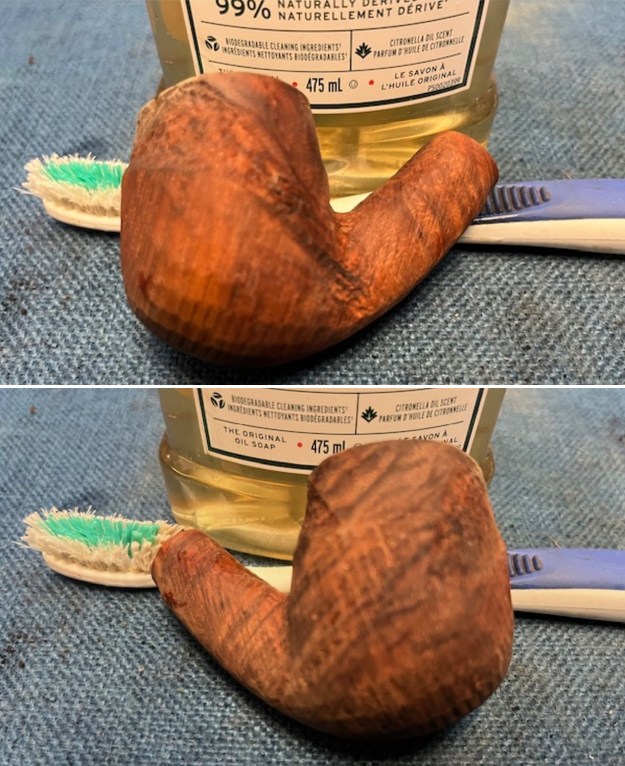
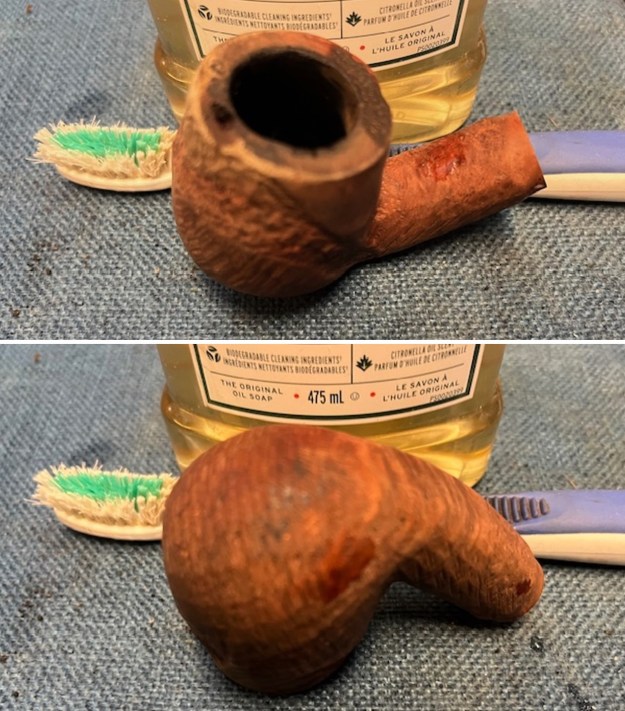
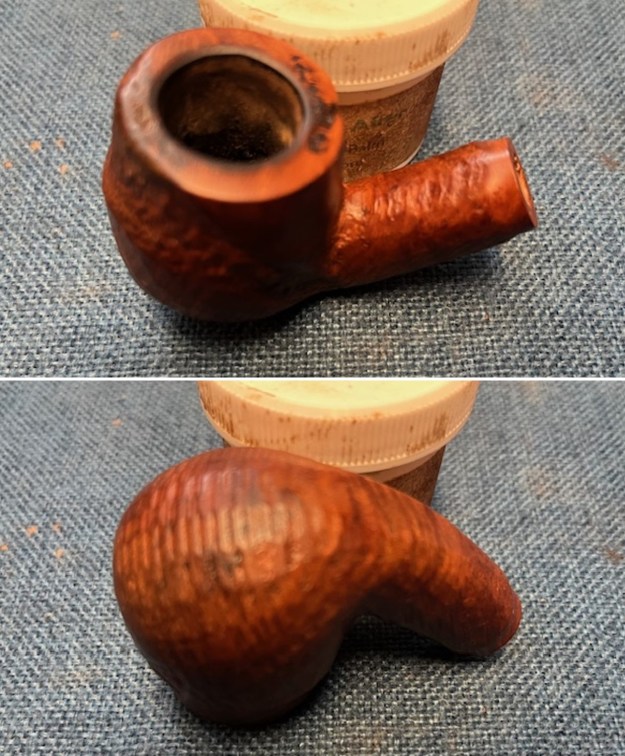
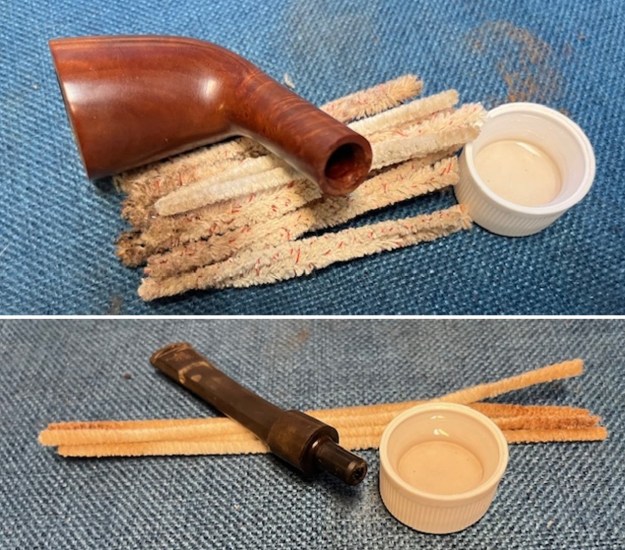 I scrubbed the exterior of the bowl and shank with a tooth brush and undiluted Murphy’s Oil Soap. I scrubbed the lava on the rim top and overflow on the outside of the bowl with the soap. I rinsed the briar with warm water to remove the grime and debris of the scrubbing. It looked significantly better after the scrubbing. The darkening on the rim top is very clear.
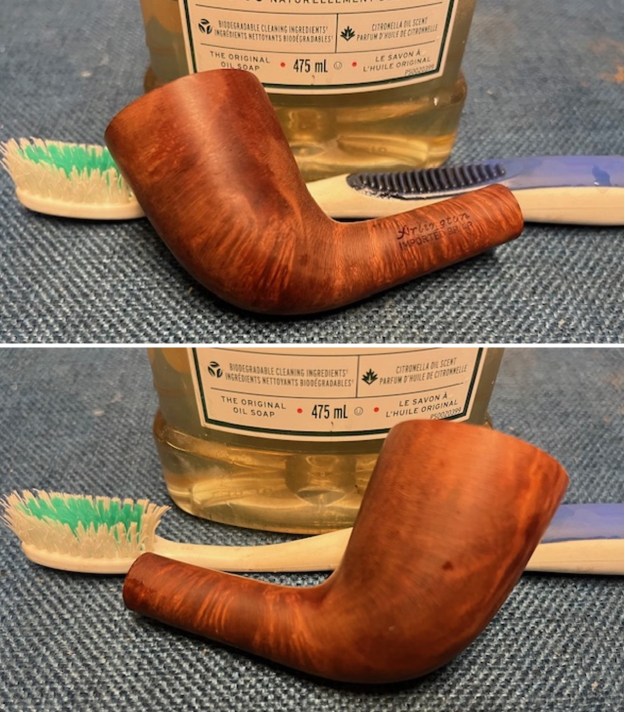
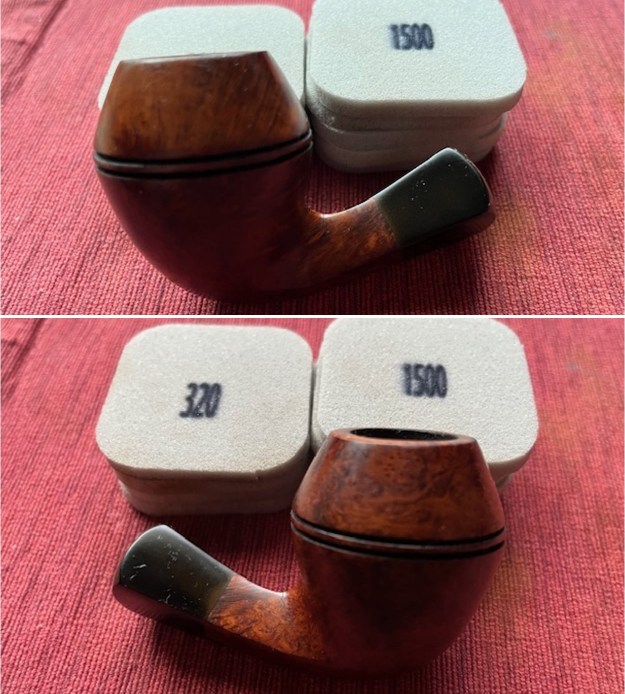
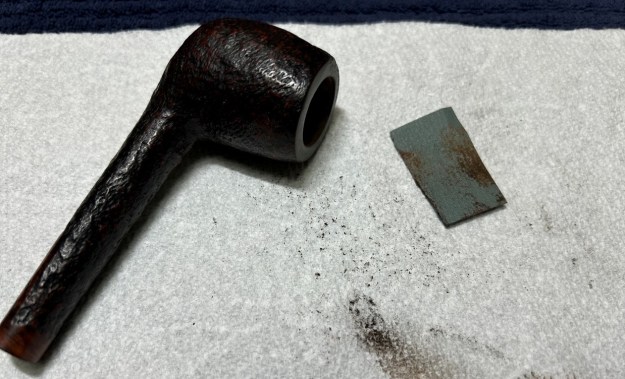
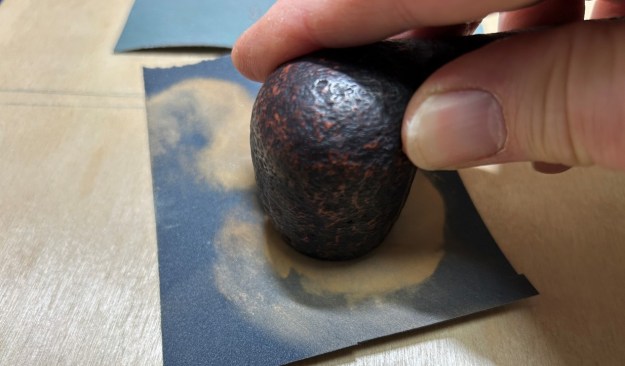
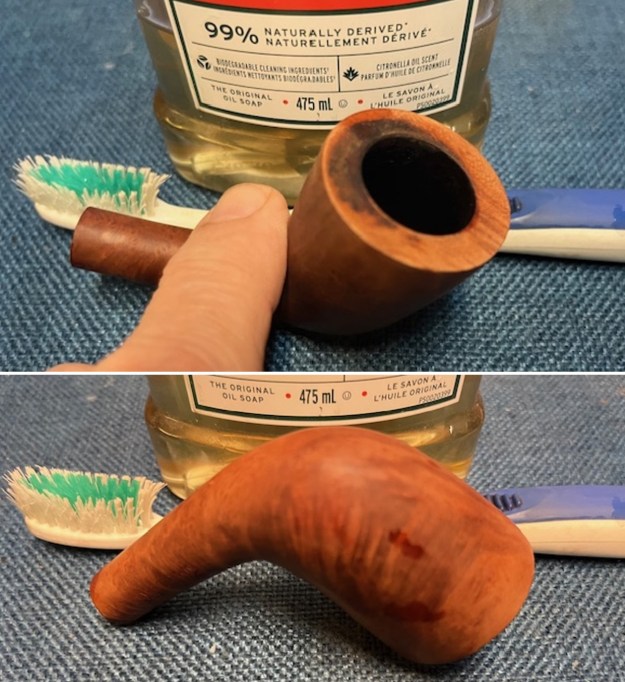 The darkening on the rim top and inner edge of the bowl would need to be dealt with. I cleaned up the inner edge with a piece of sandpaper. I sanded the top of the rim with the piece of 220 grit sandpaper and was able to remove the darkening.
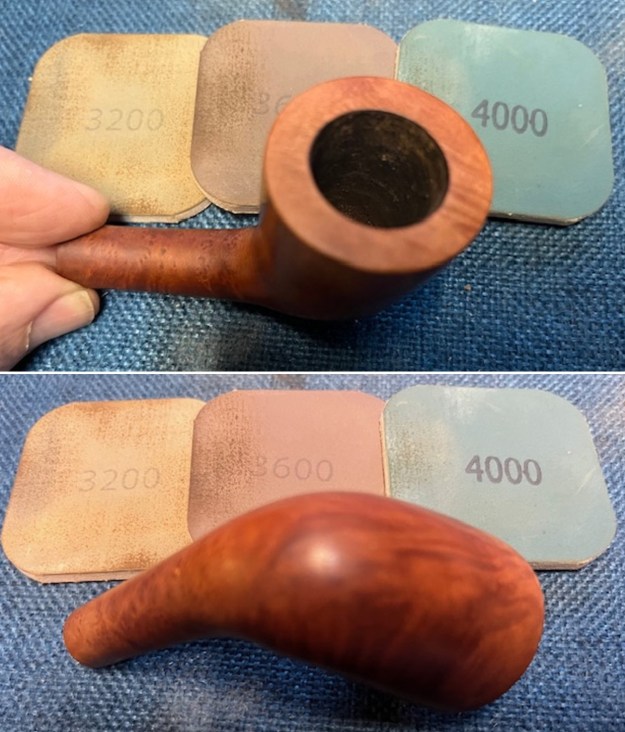
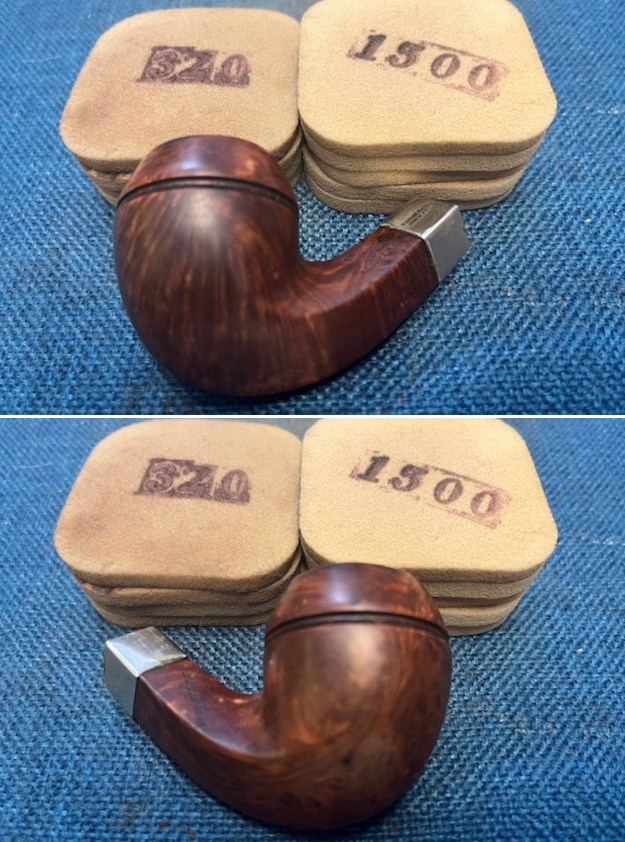
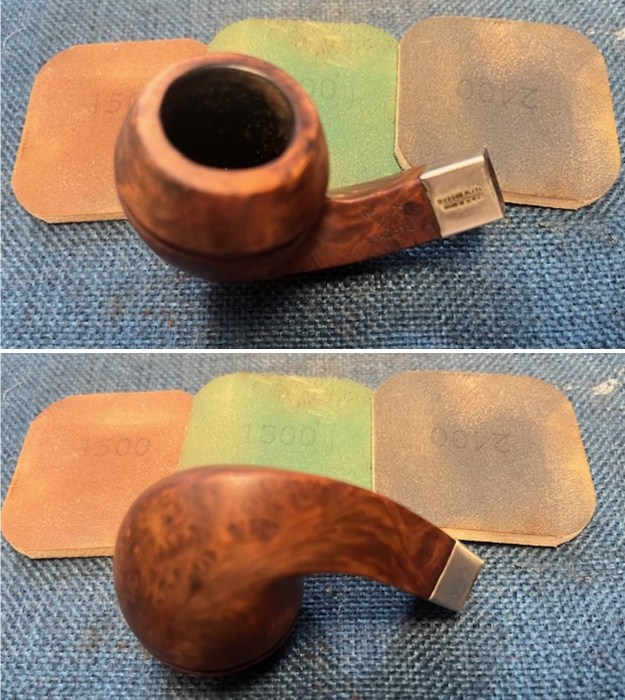
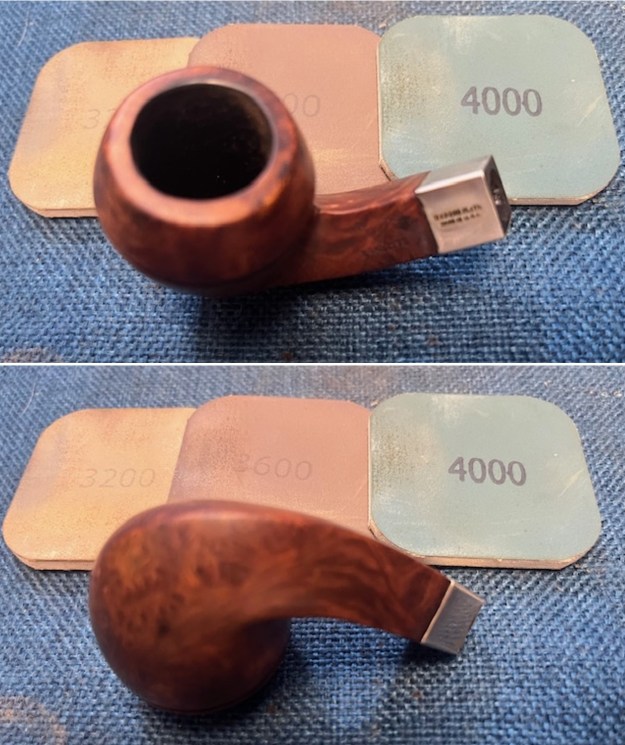
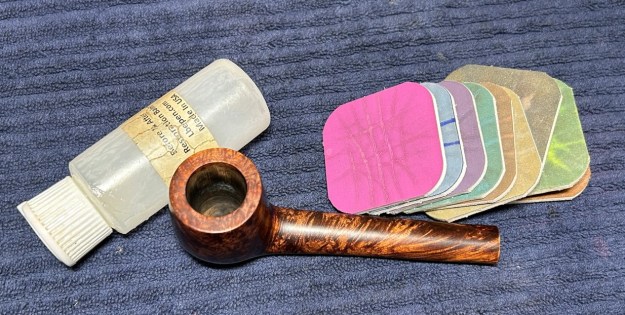
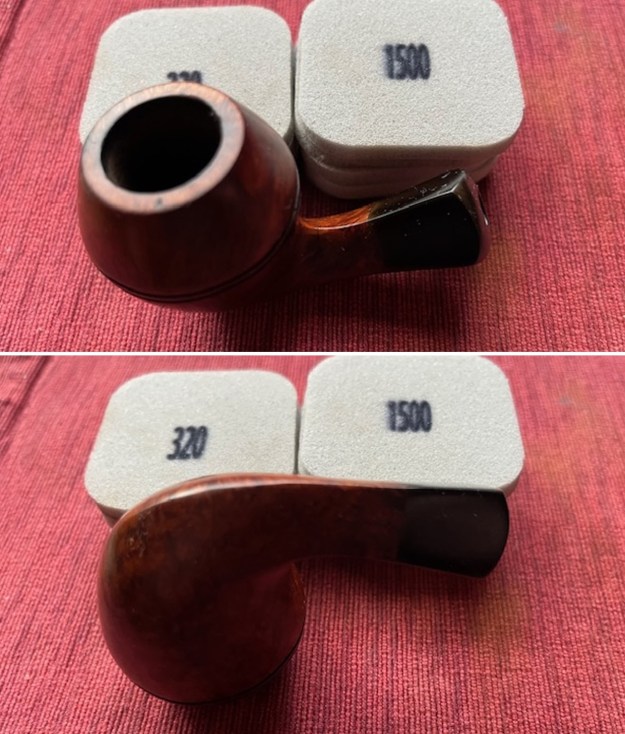
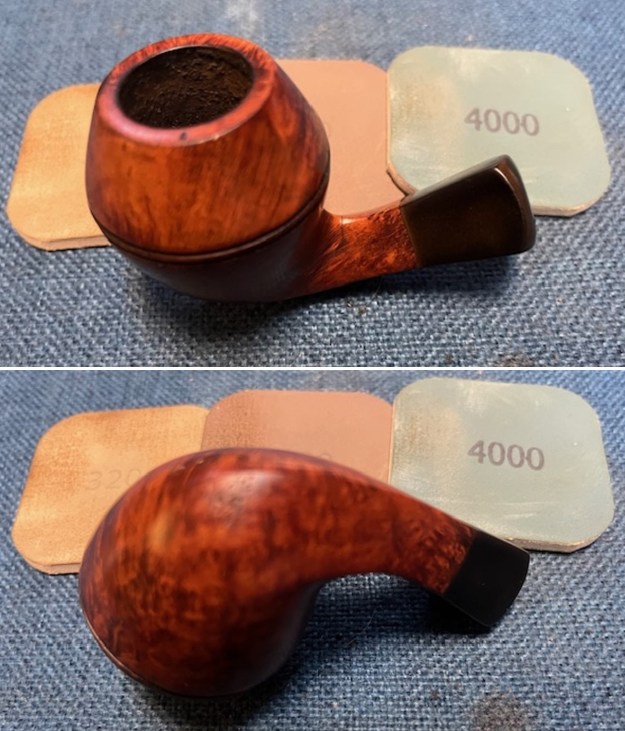
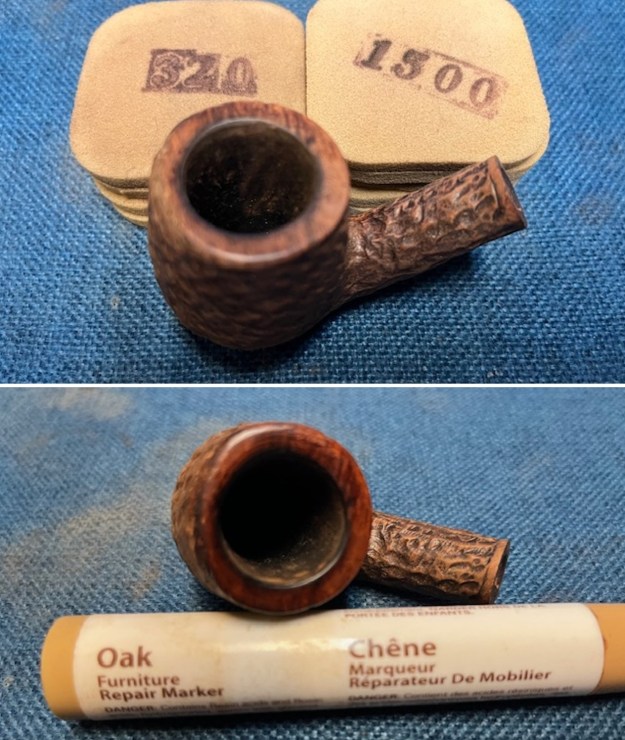
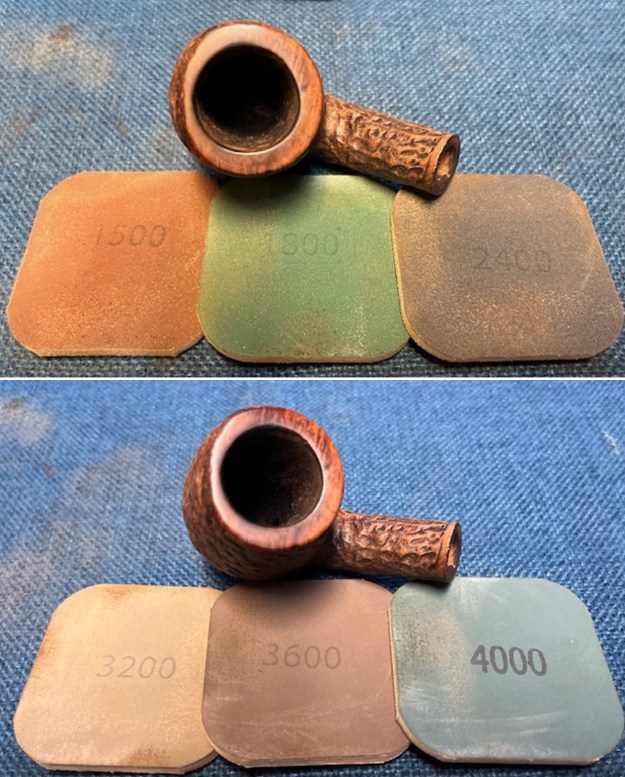
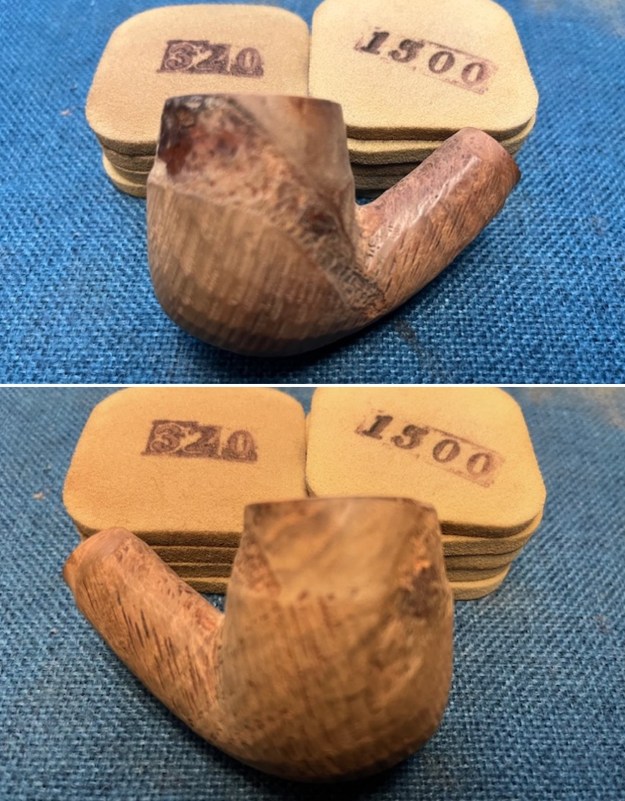
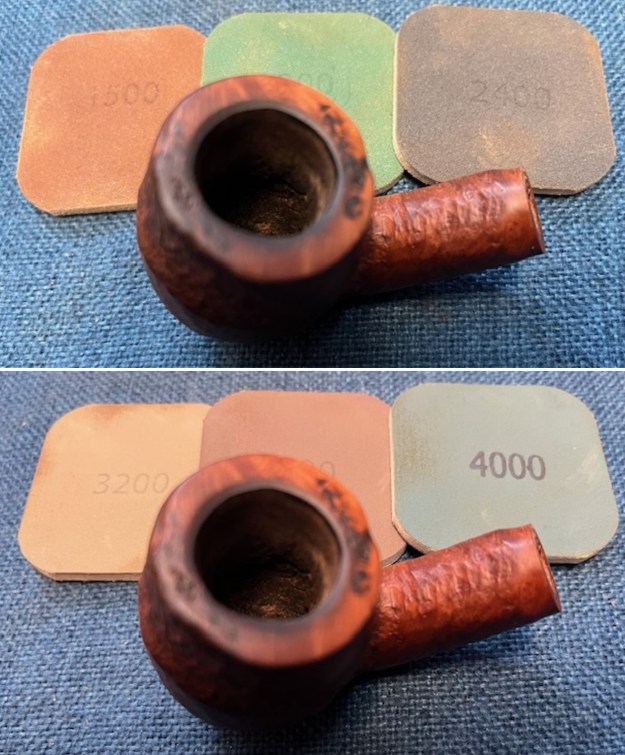
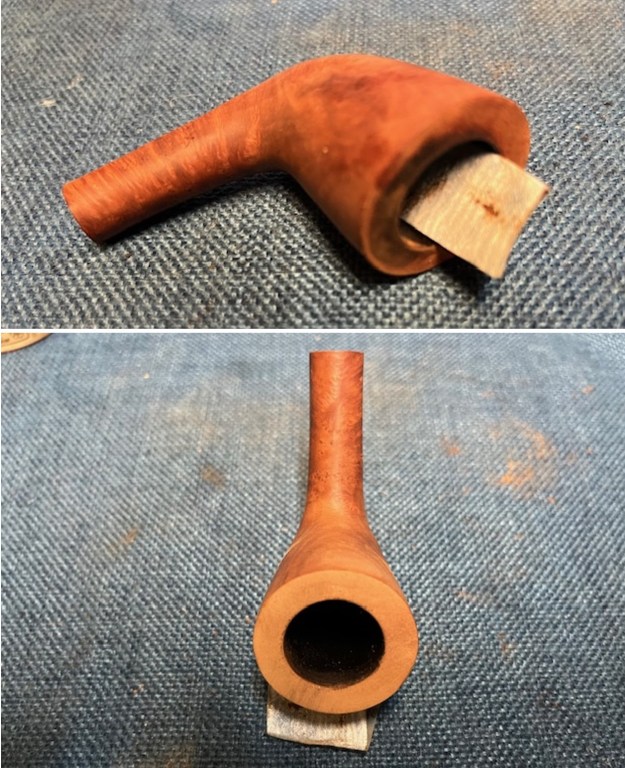 I finished that and moved on to it with 320-3500 grit sanding pads to finish the rim top and the bowl and shank. The briar began to take on a rich shine and the darkening on the top was gone. The photos tell the story.
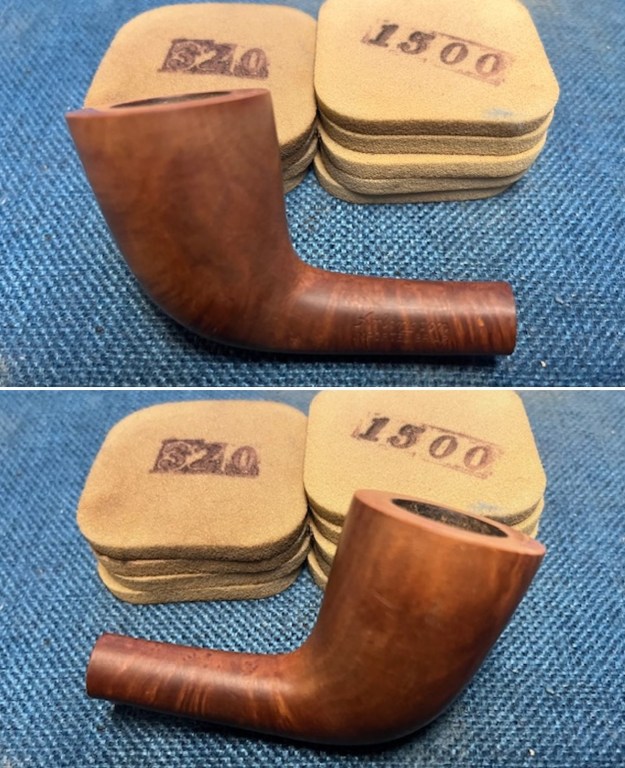
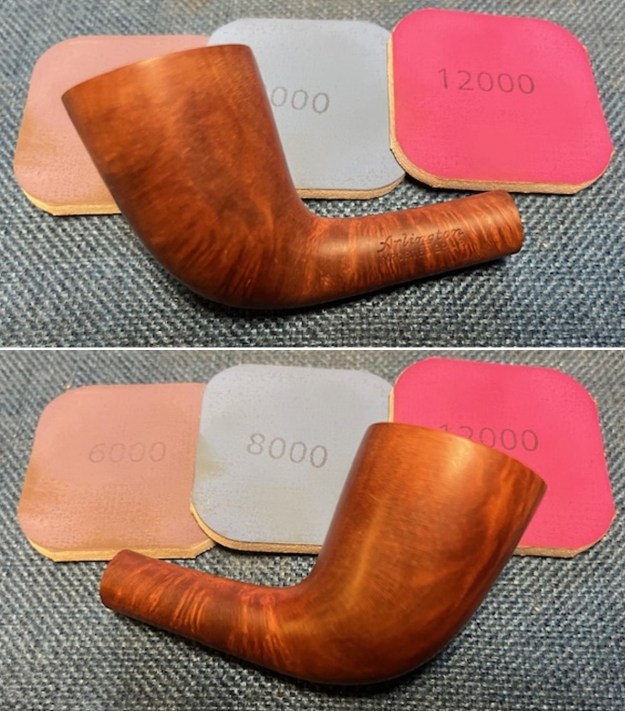
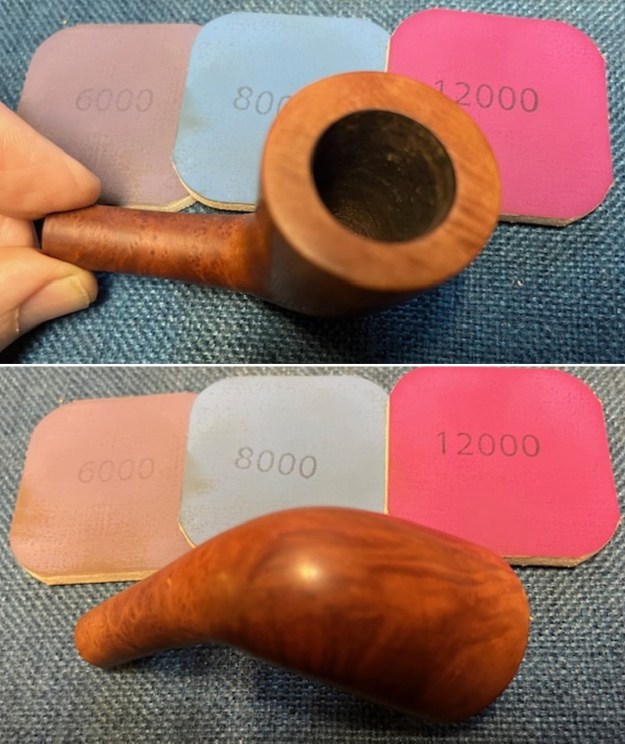
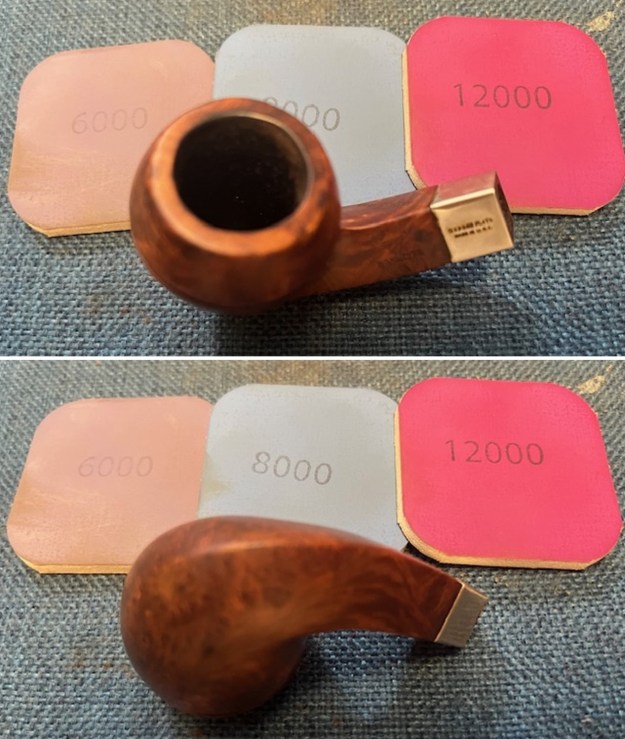
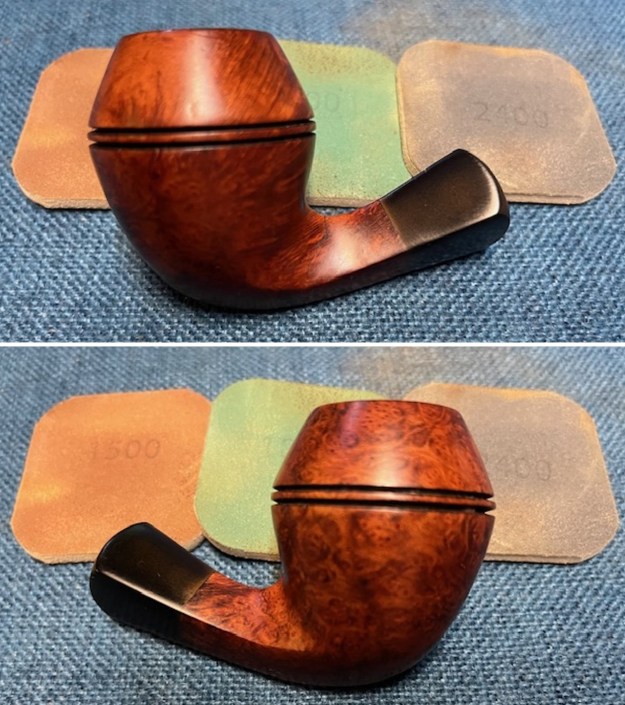
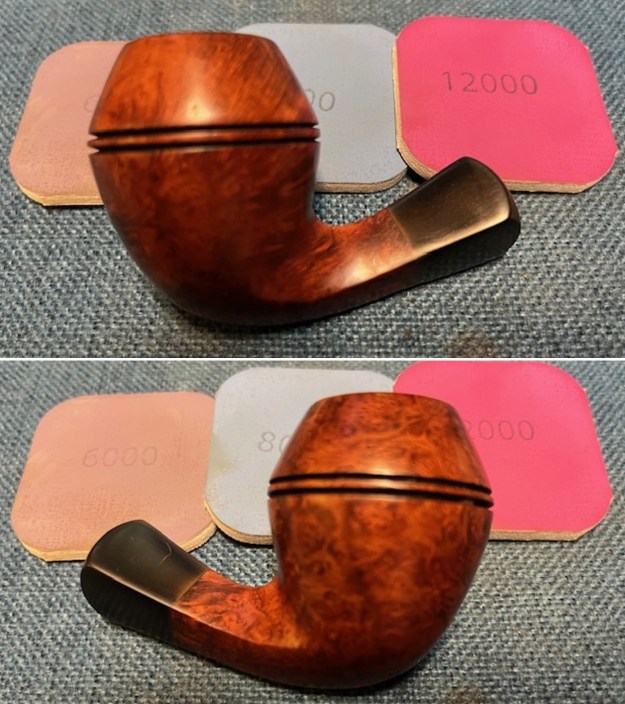
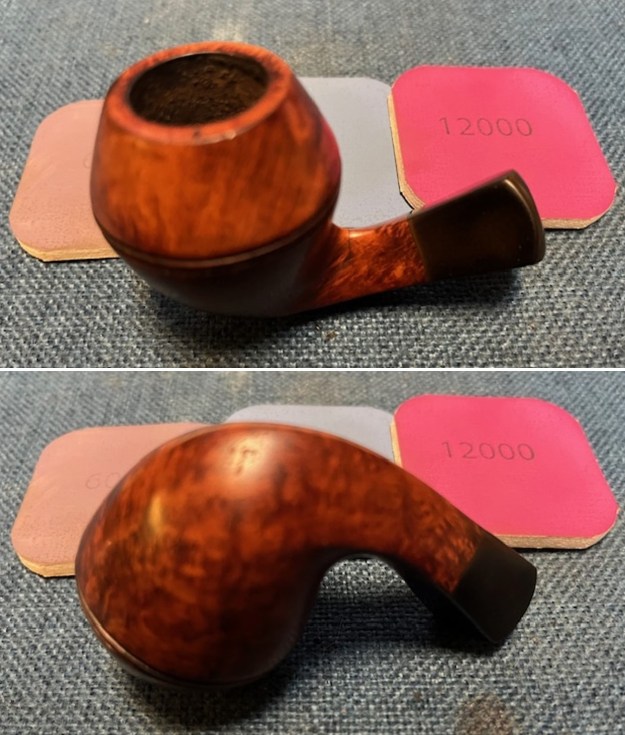
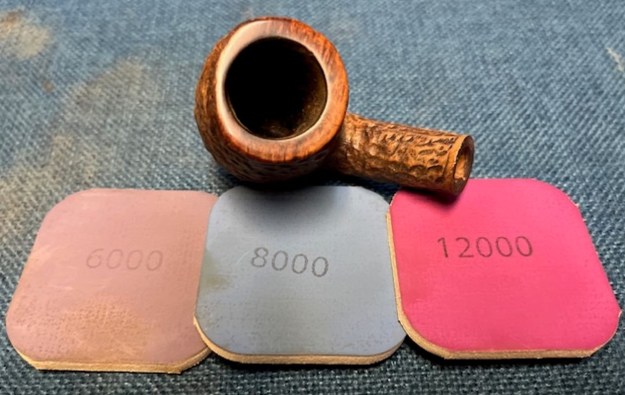
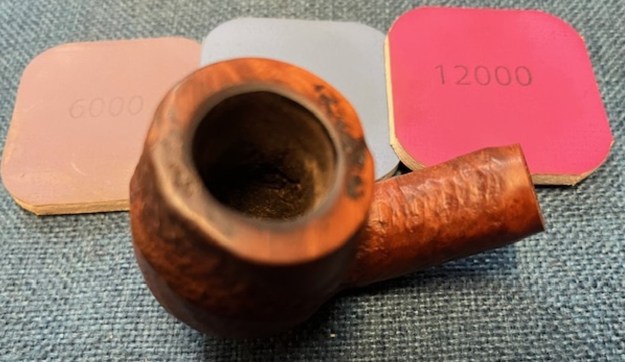
 I polished the smooth rim top with micromesh sanding pads – dry sanding it with 1200-15000 grit pads. I wiped the bowl down with a damp cloth after each sanding pad. The grain started to rise to the surface as I polished it.
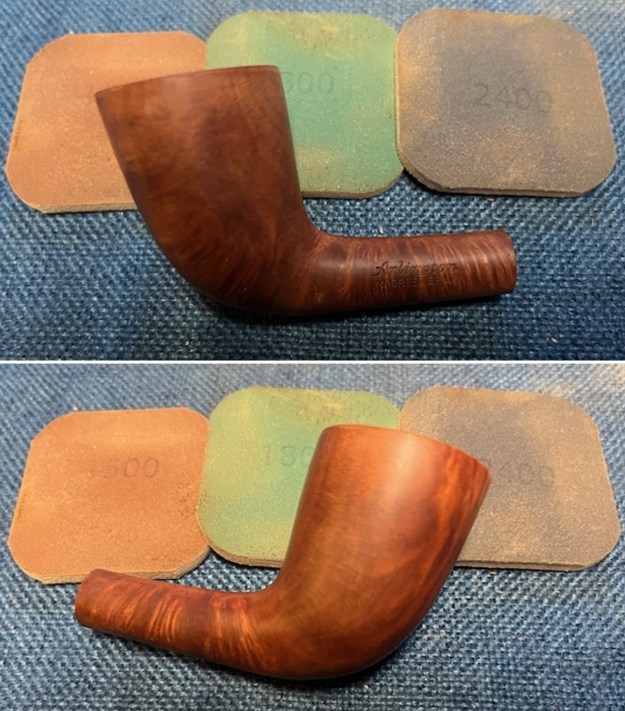
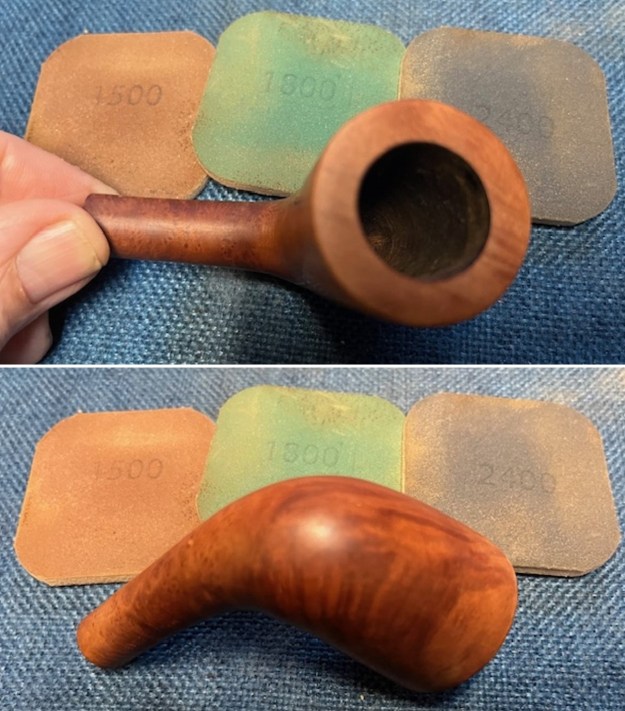
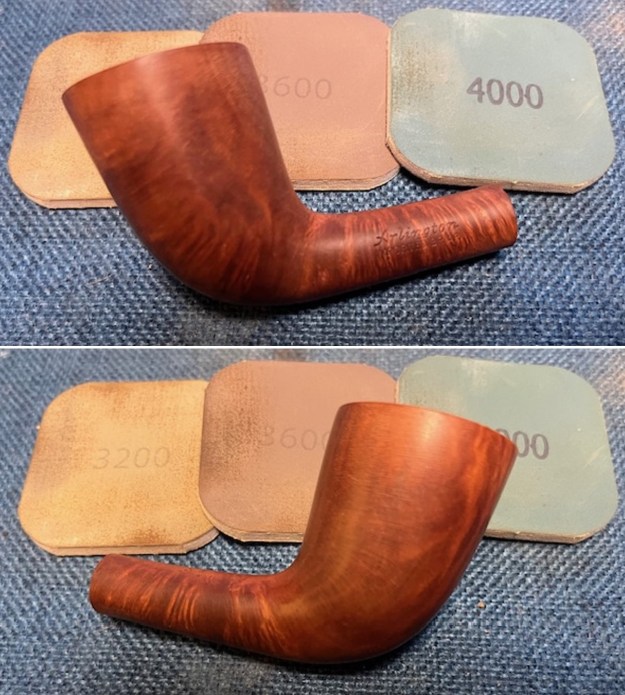
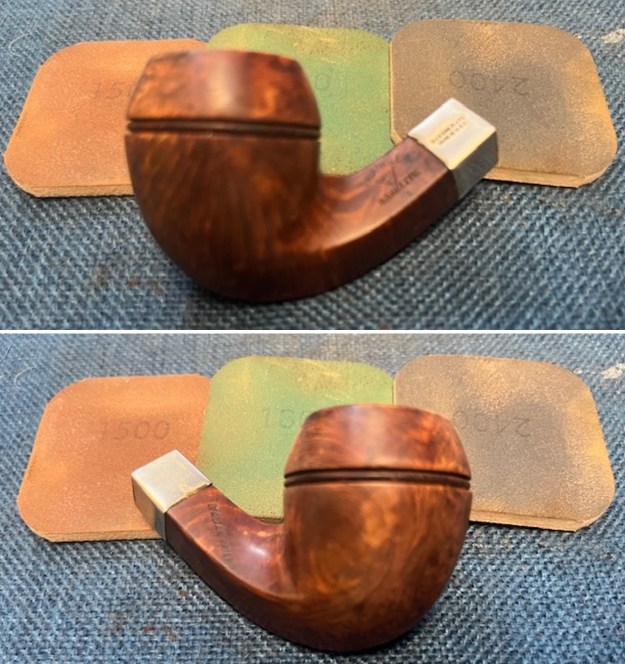
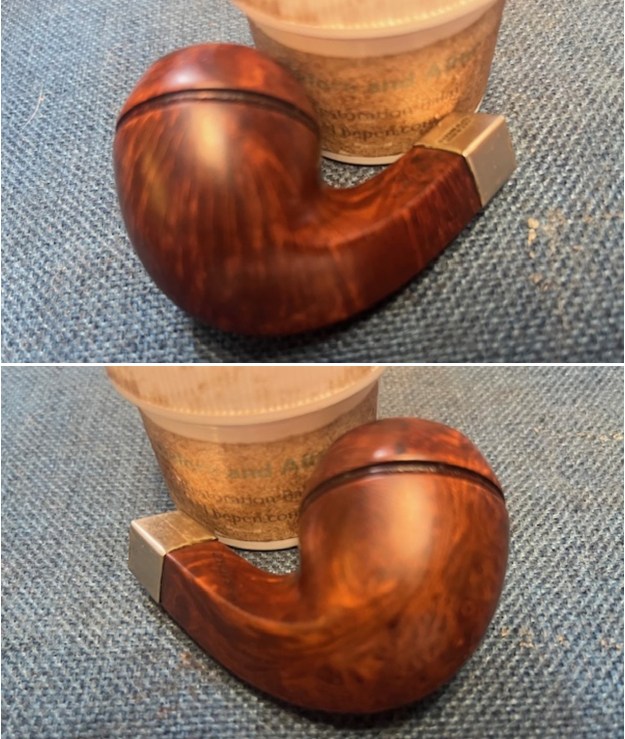
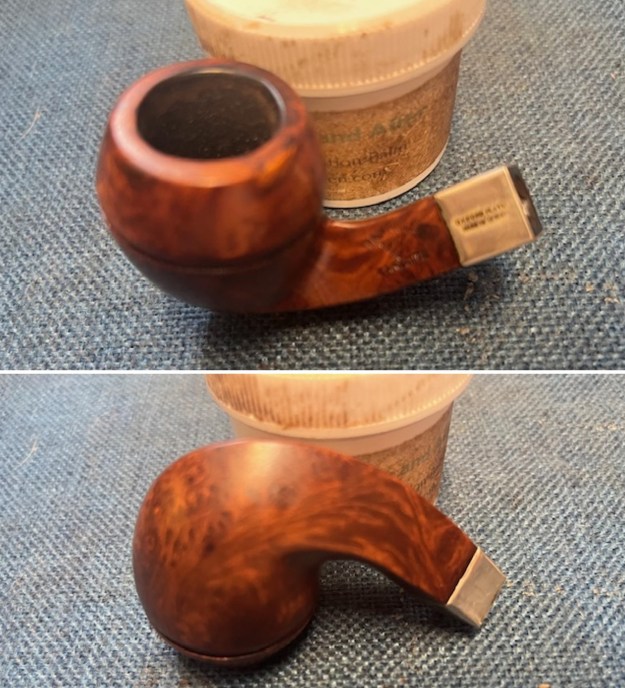
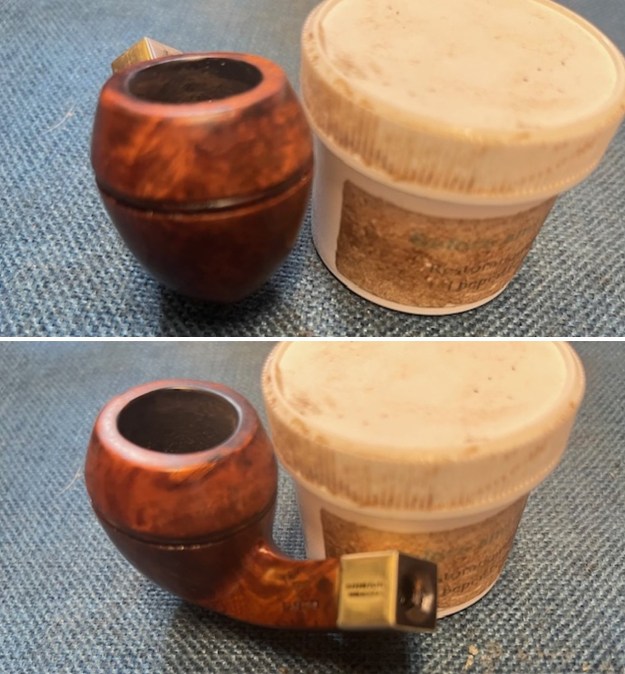
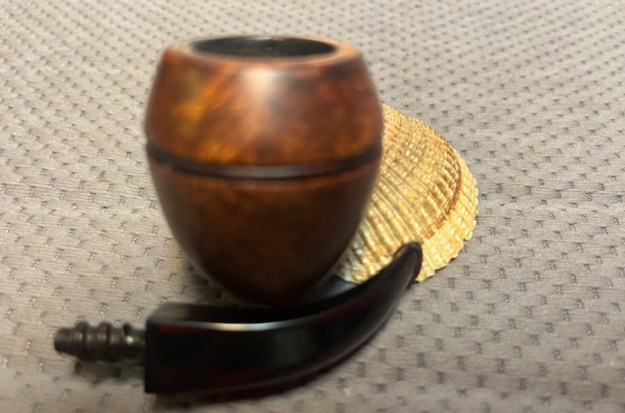
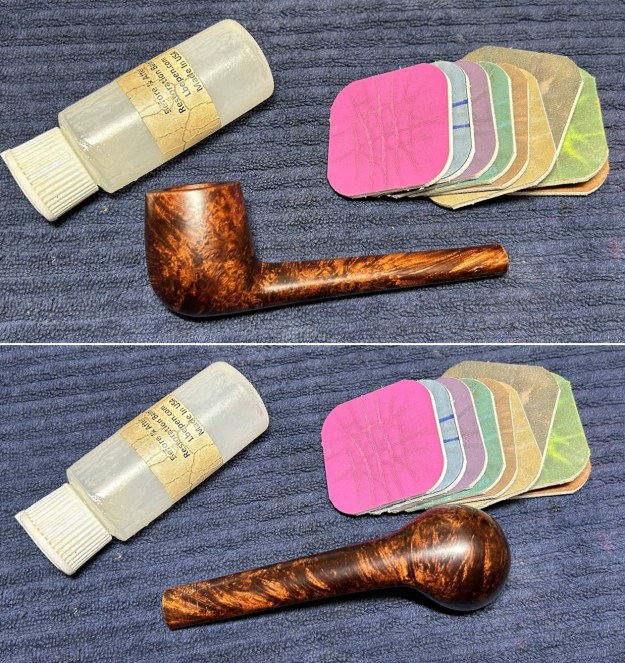
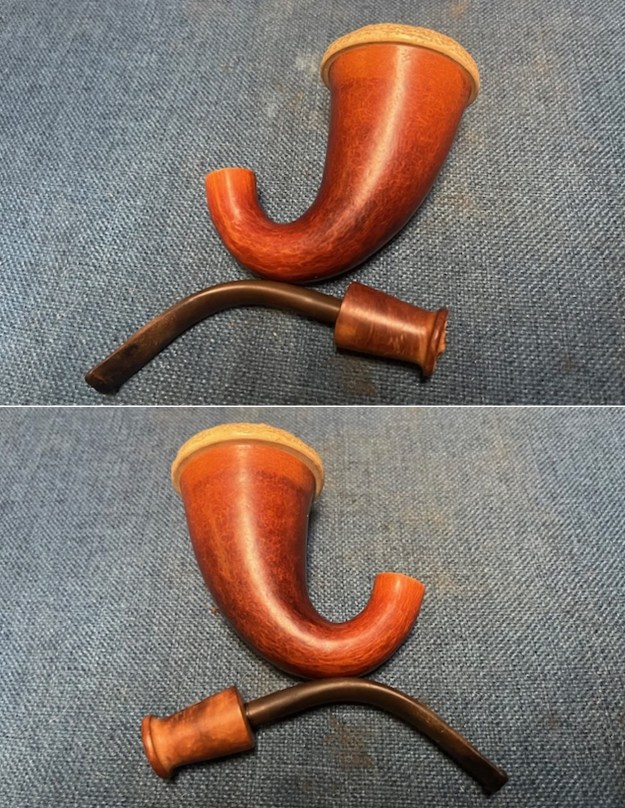
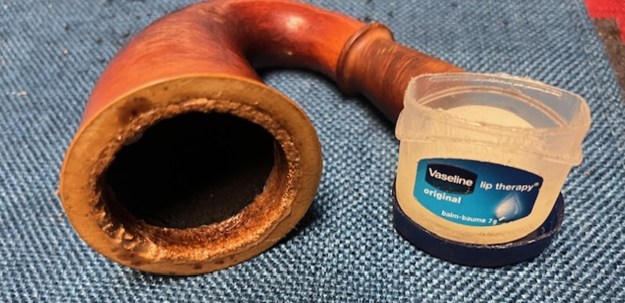
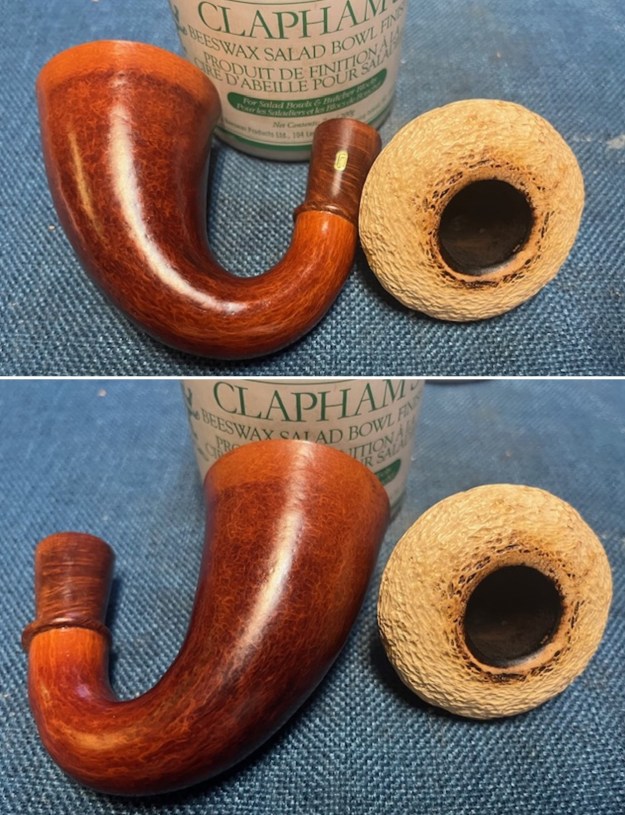
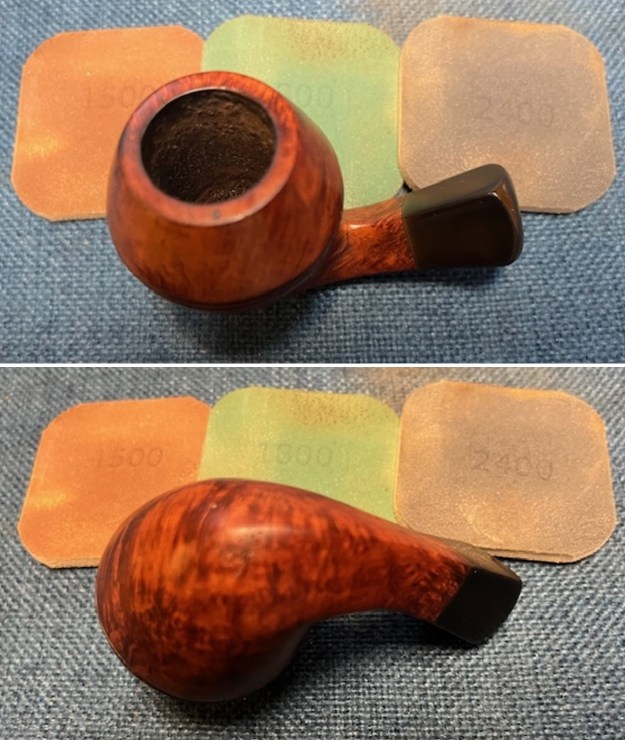
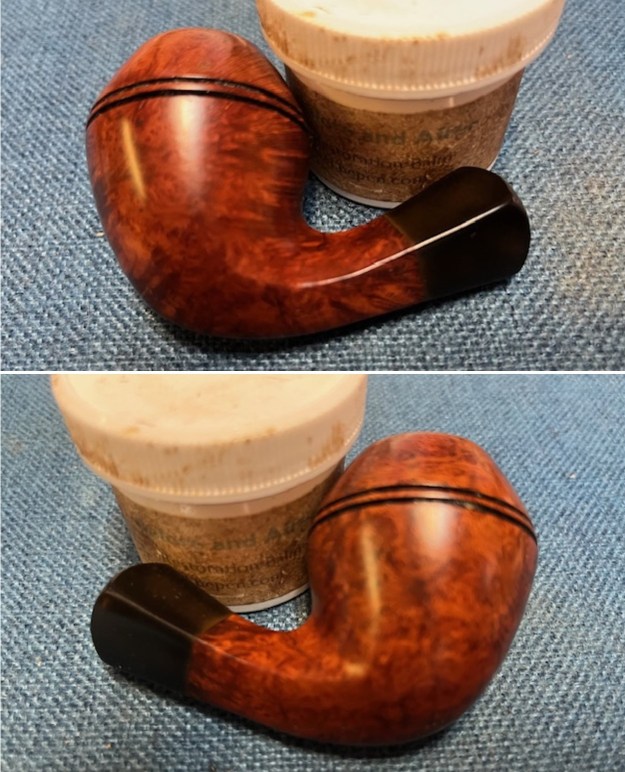
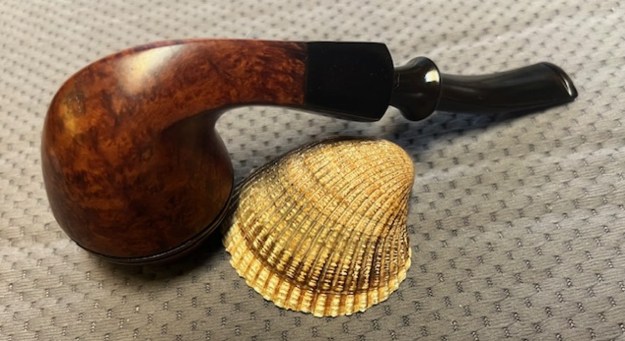
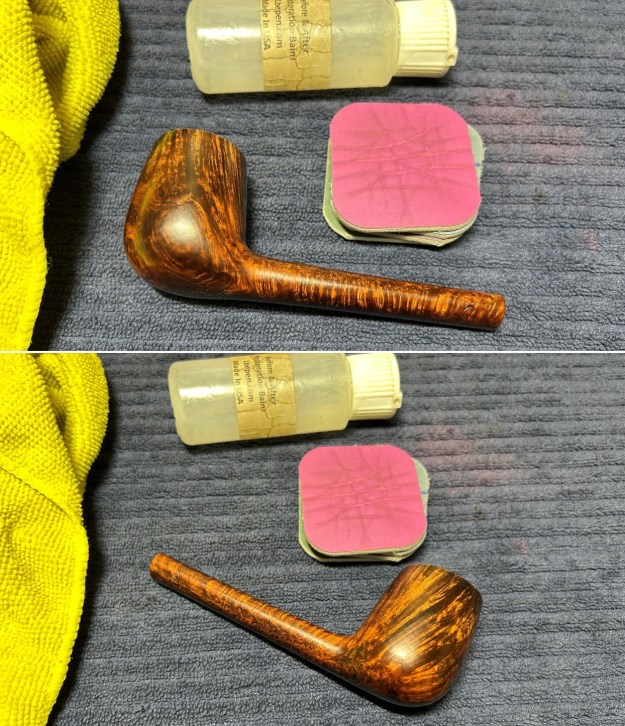
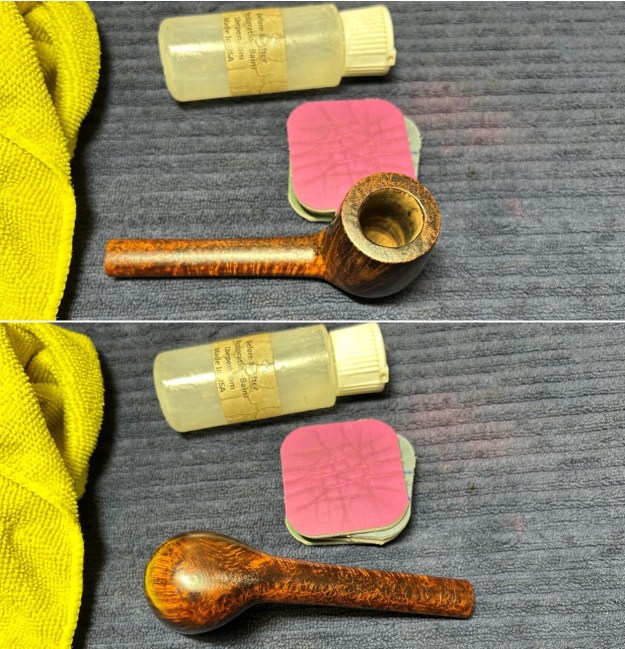
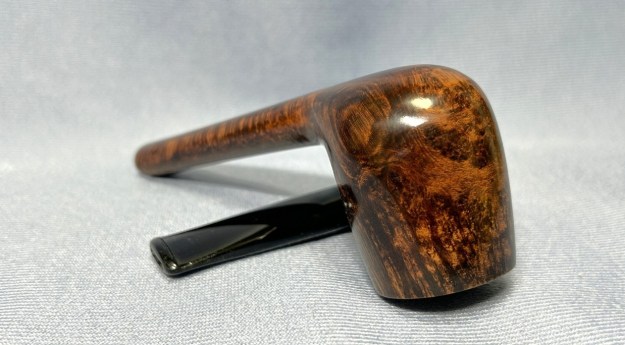
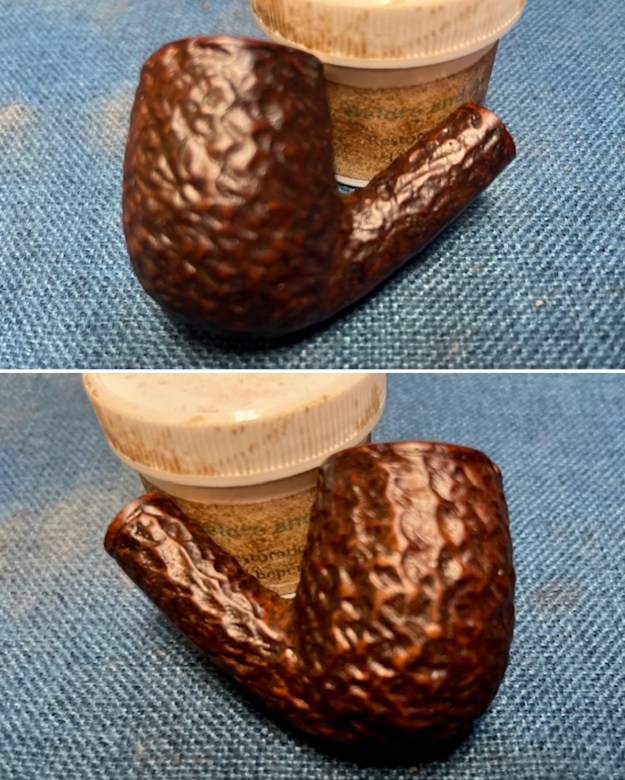
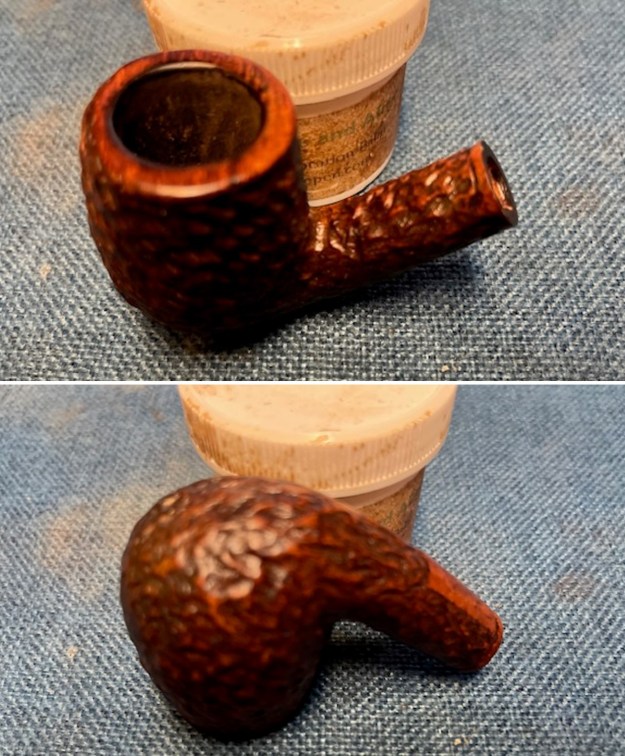
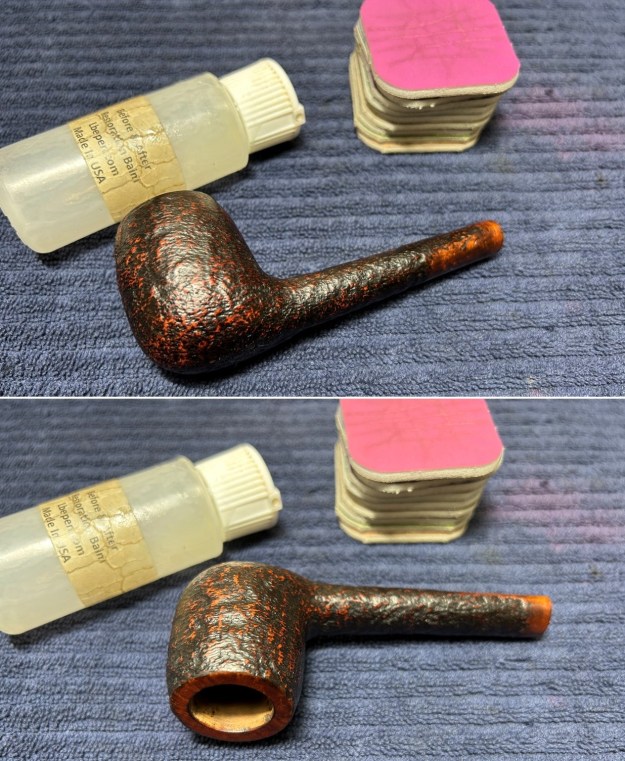
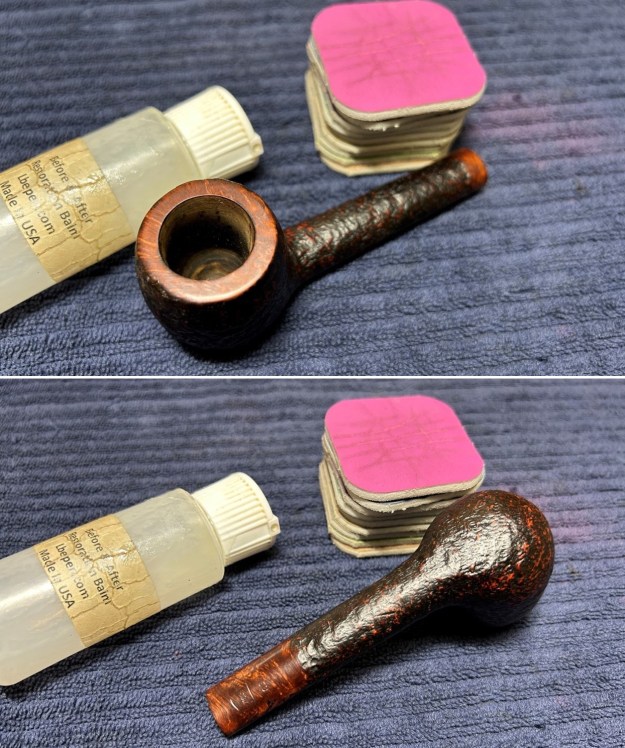
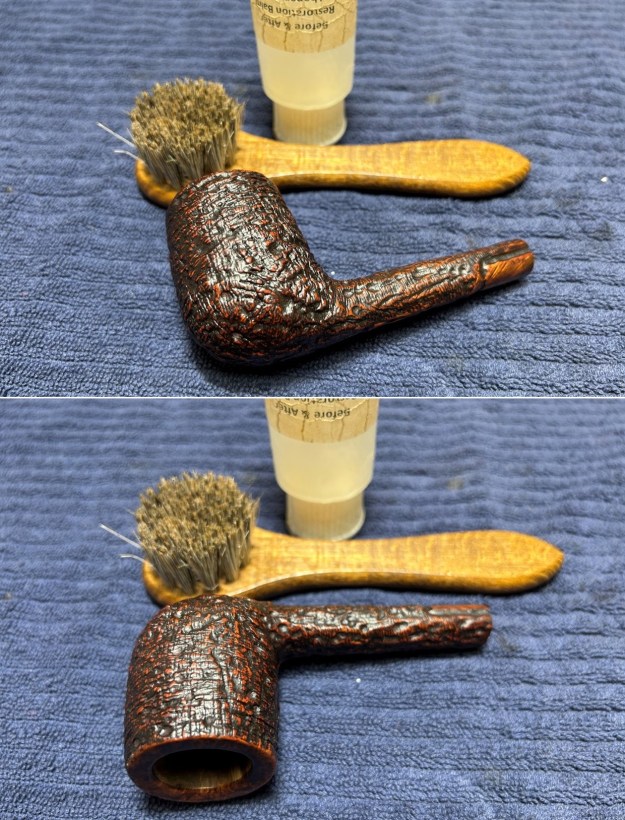
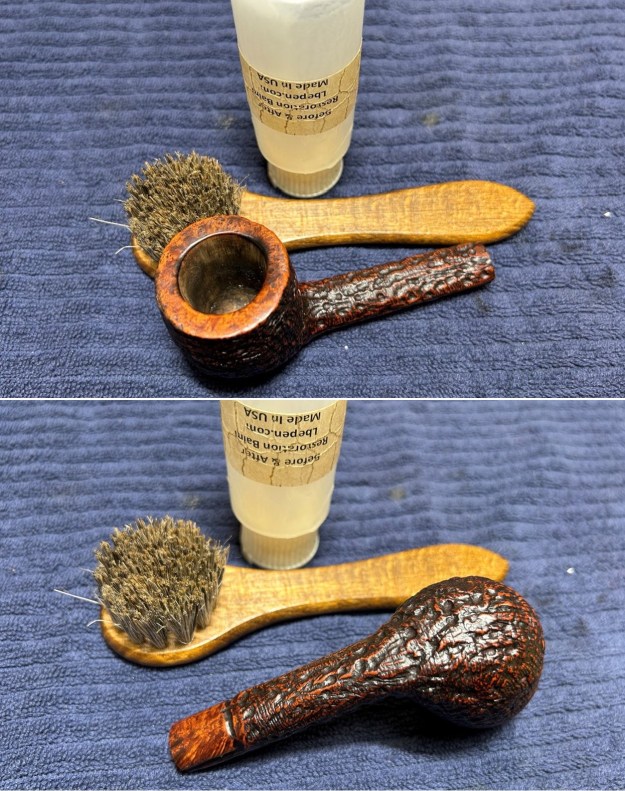
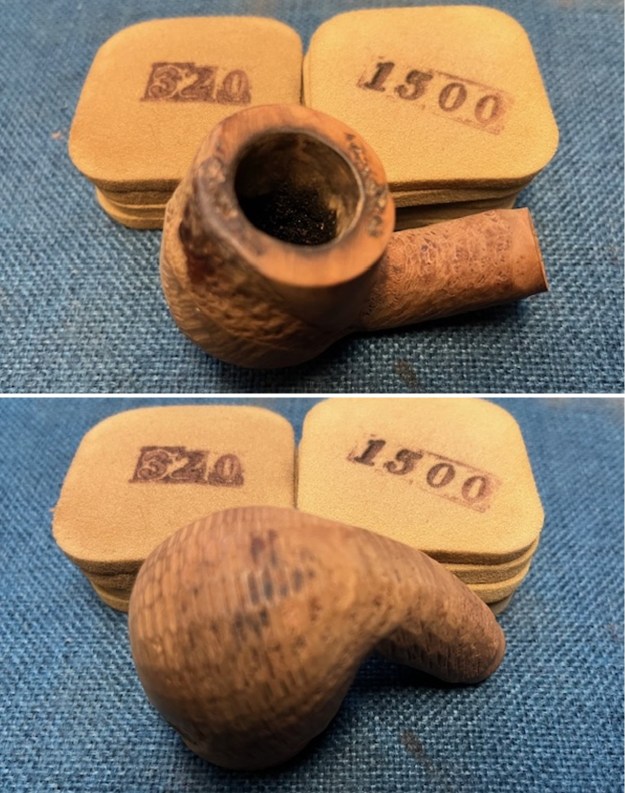
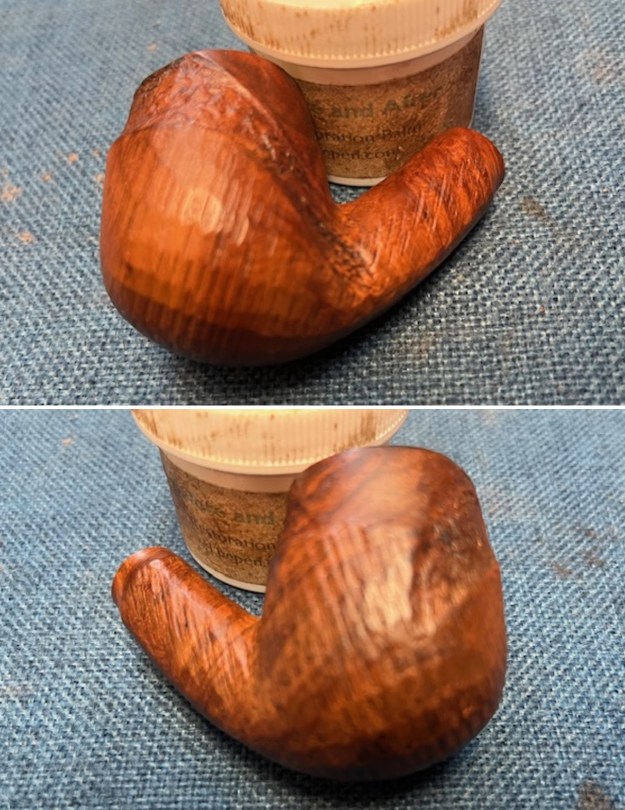
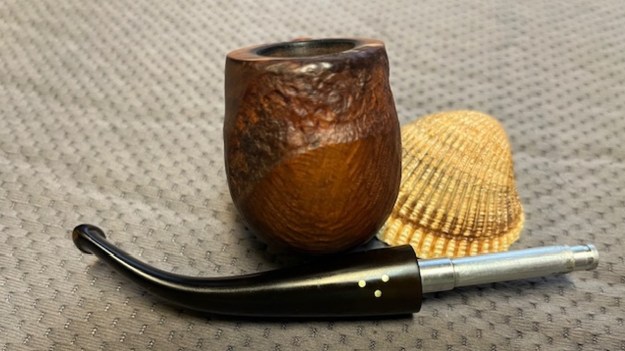
 I rubbed the bowl and shank down with Before & After Restoration Balm to deep clean the finish on the bowl and shank. The product works to clean, enliven and protect the briar. I worked it in with my fingers to get it into the briar. I let it sit for 10 minutes then I wiped it off and buffed it with a soft cloth. The briar really began to have a rich shine. I took some photos of the bowl at this point to mark the progress in the restoration. It is a beautiful bowl.
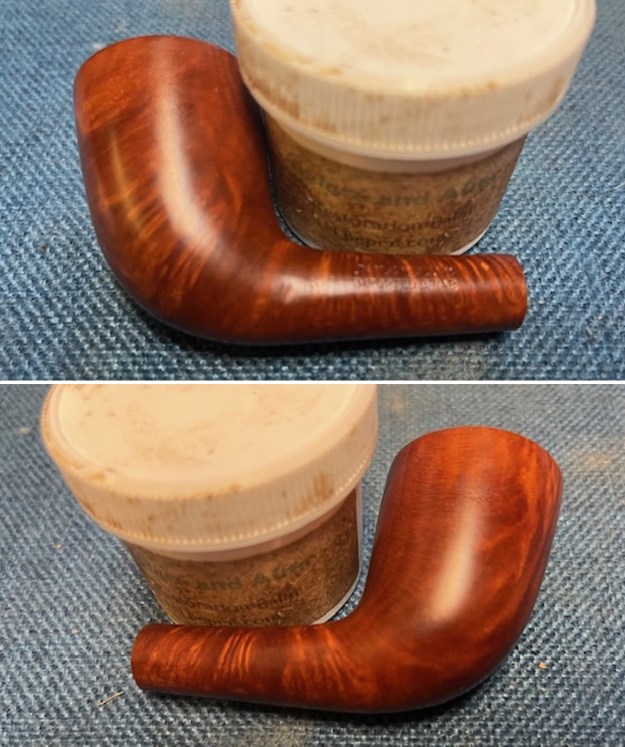
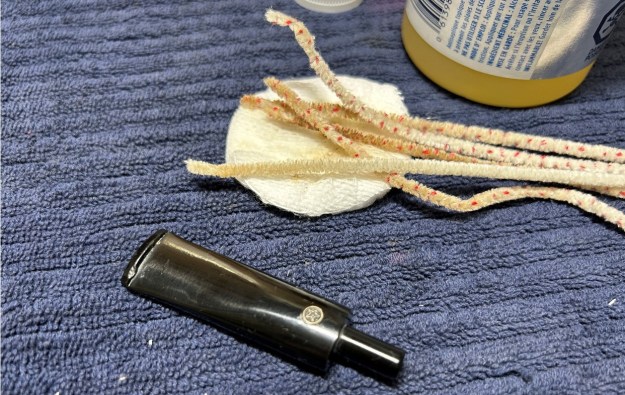
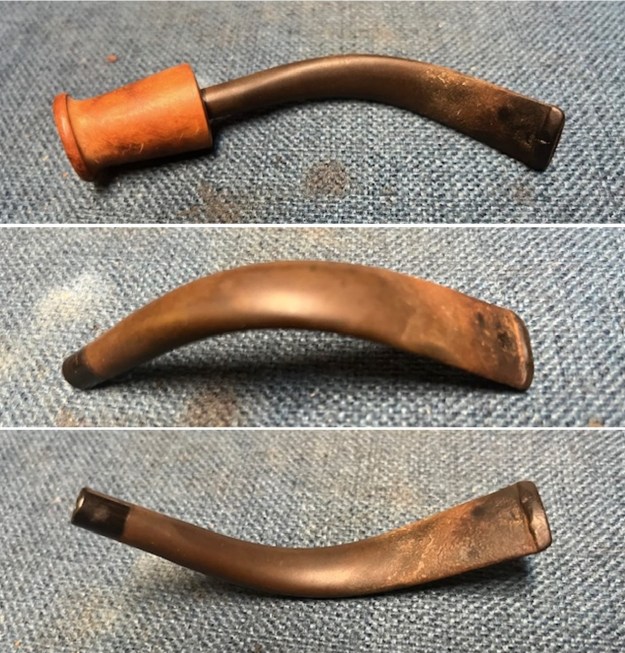
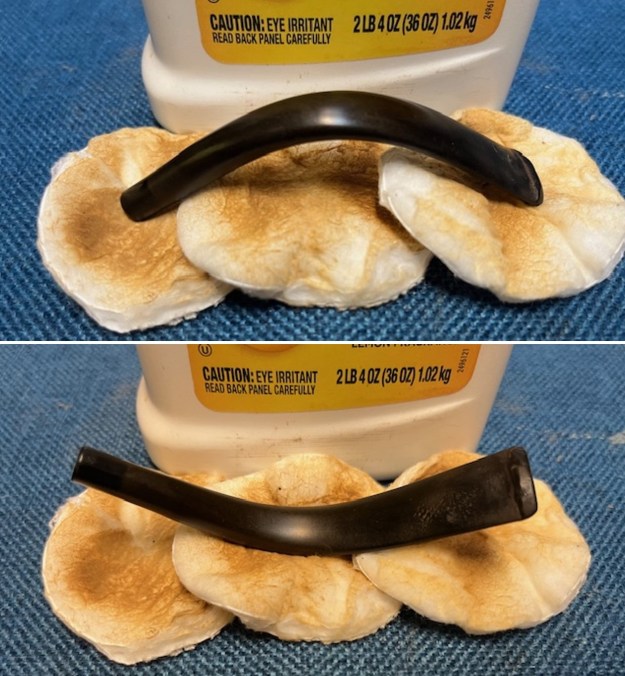
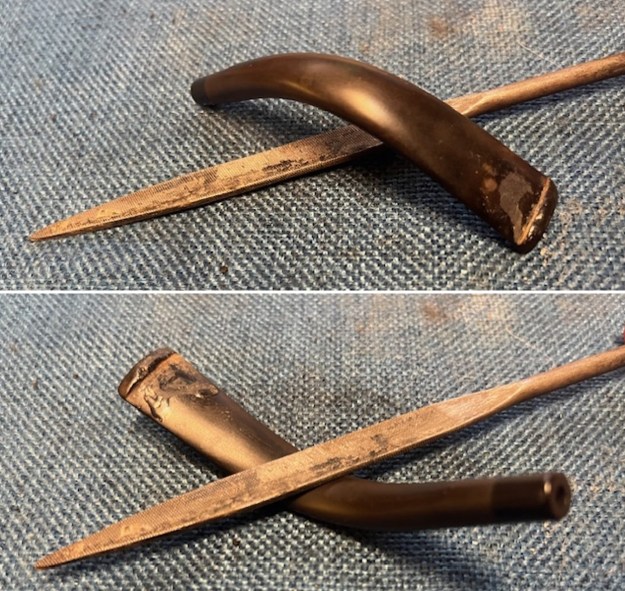
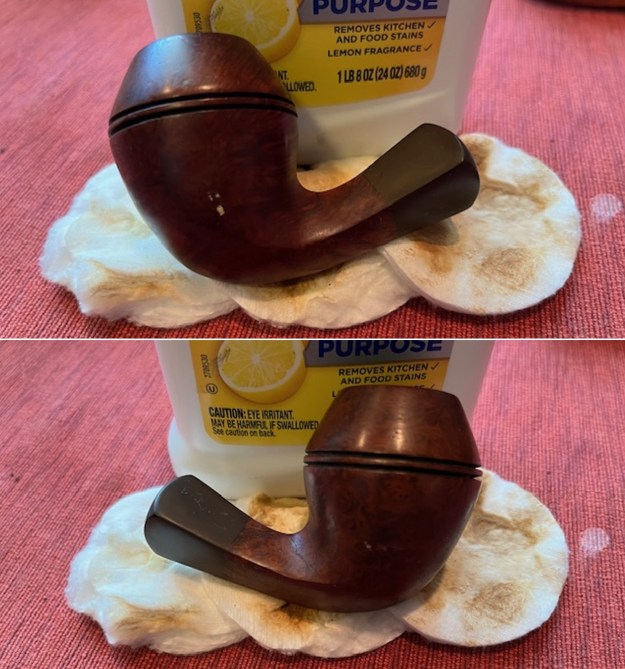
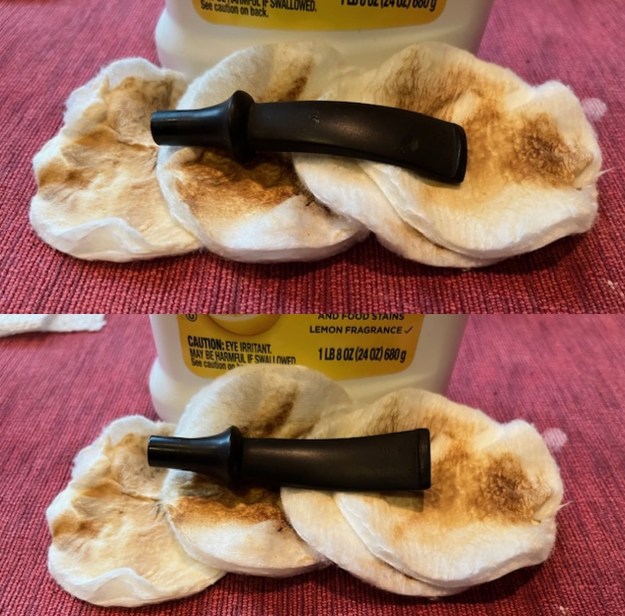
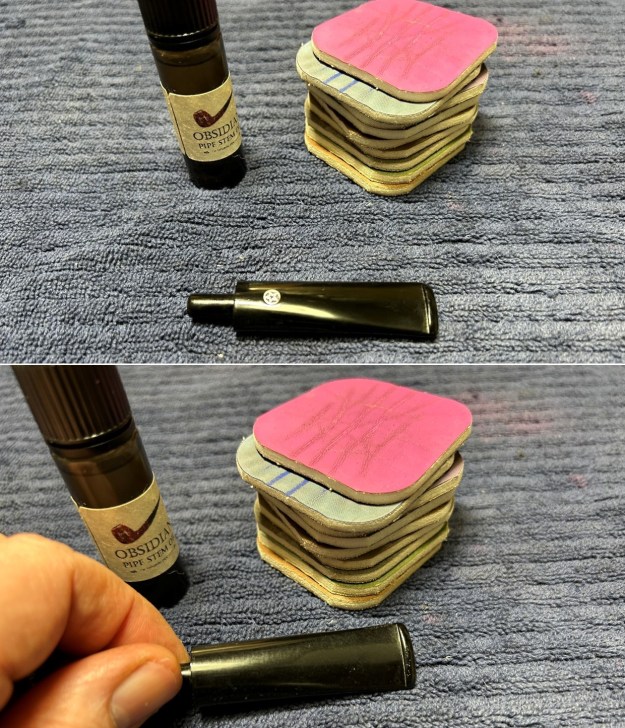
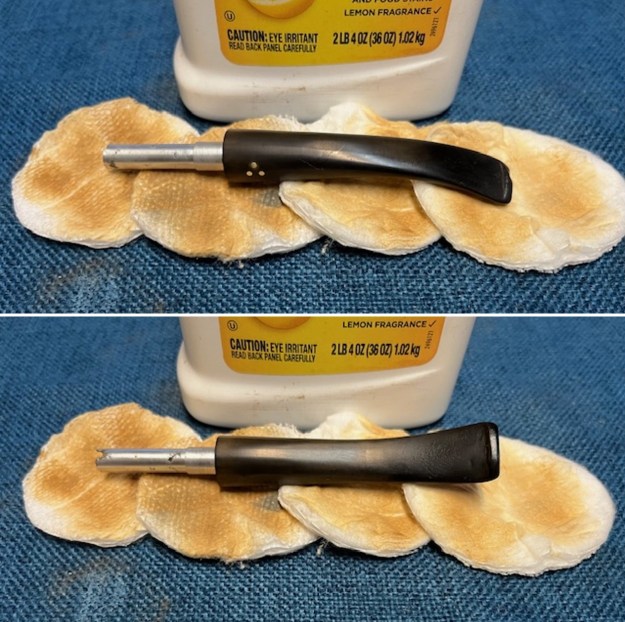
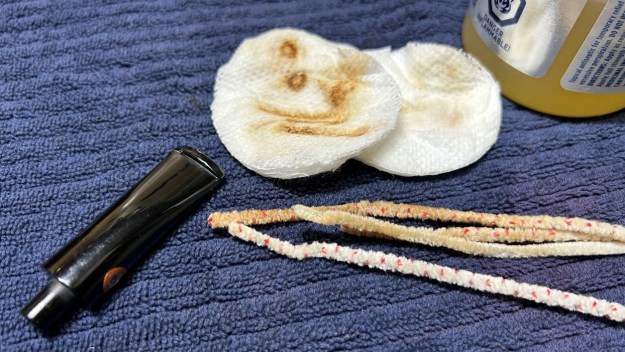
 I turned my attention to the stem. I scrubbed the oxidized surface of the stem with Soft Scrub Cleanser and cotton pads. It took some elbow grease but it definitely looks better.
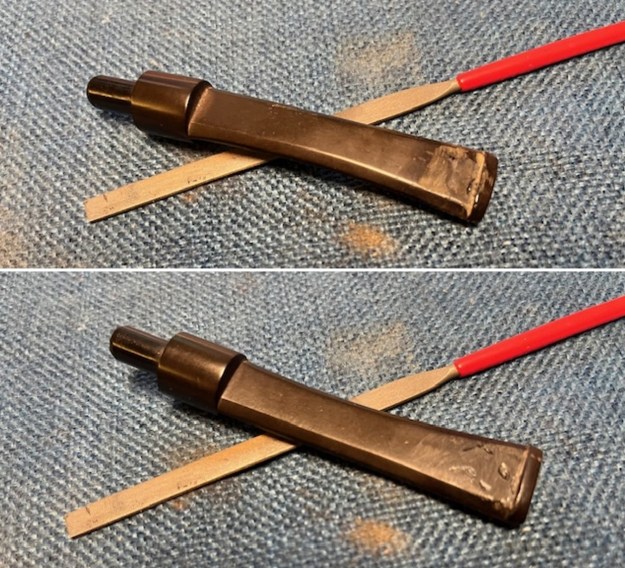
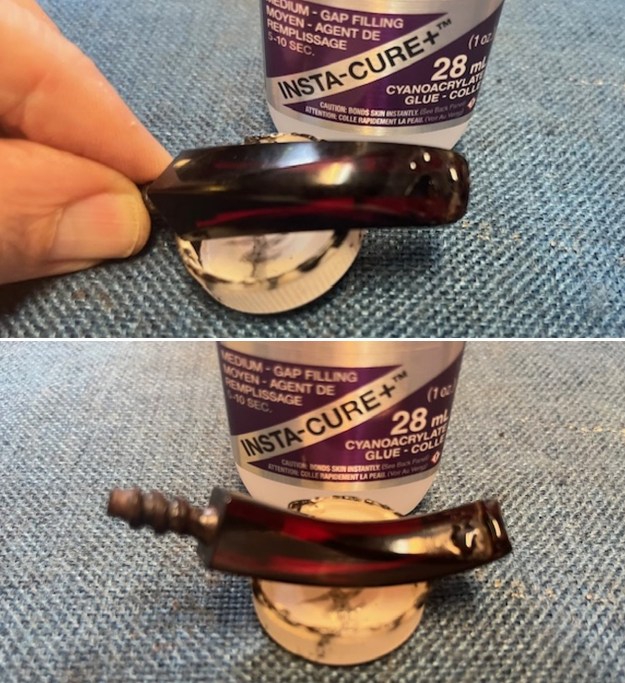
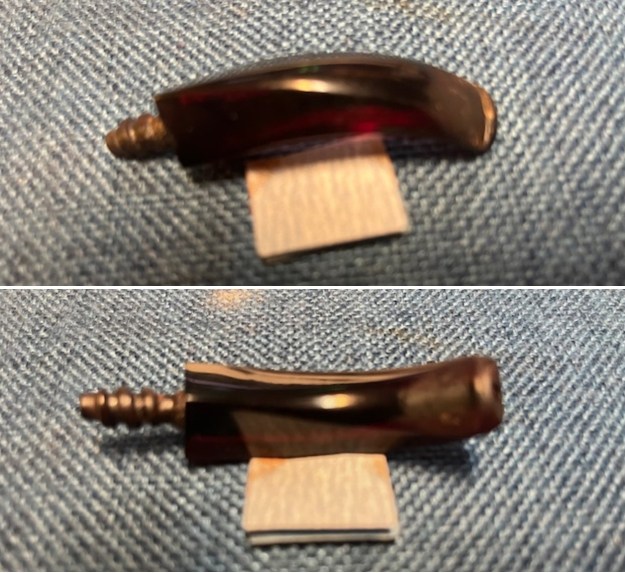
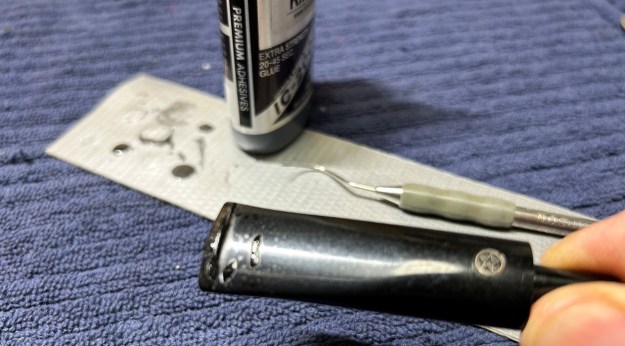
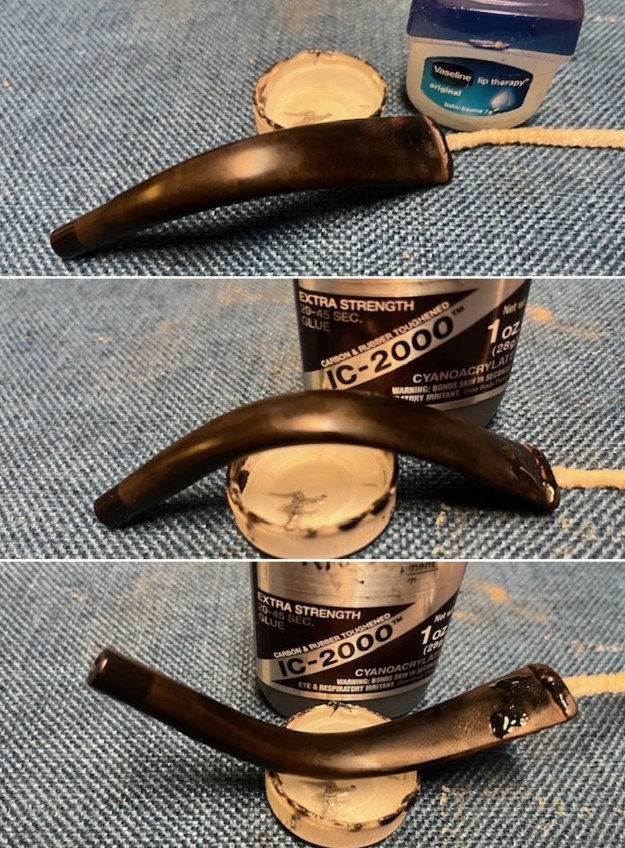
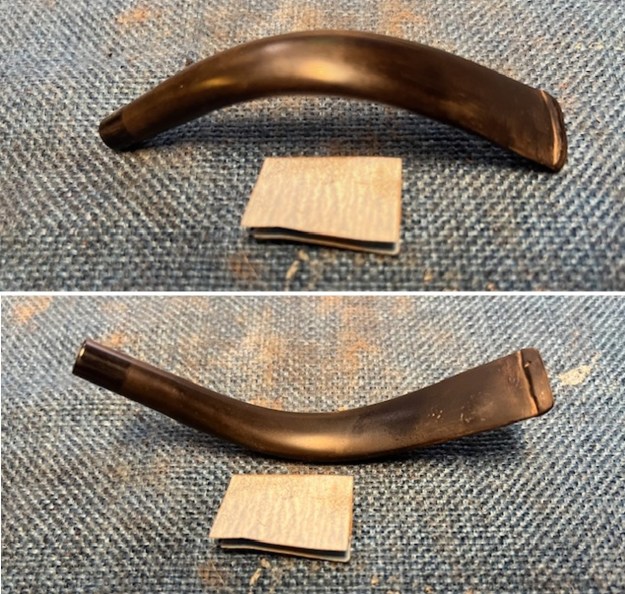
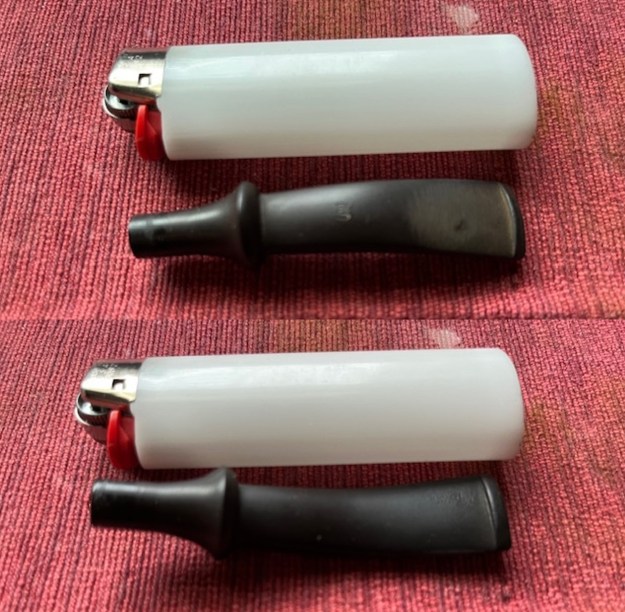
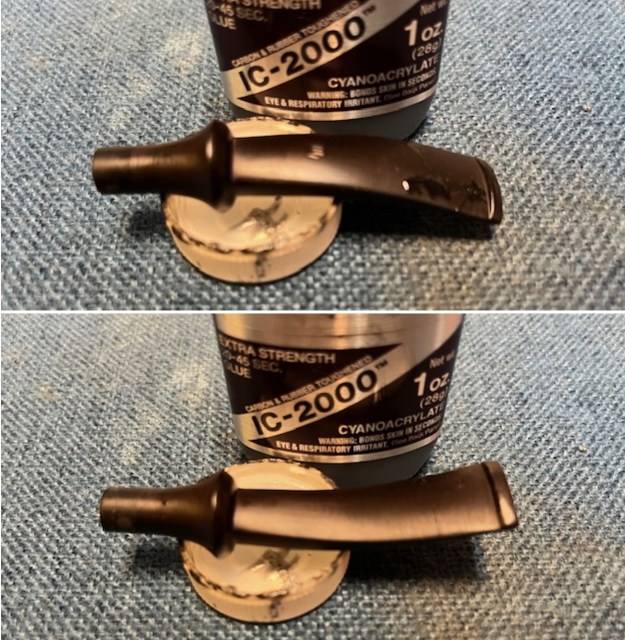
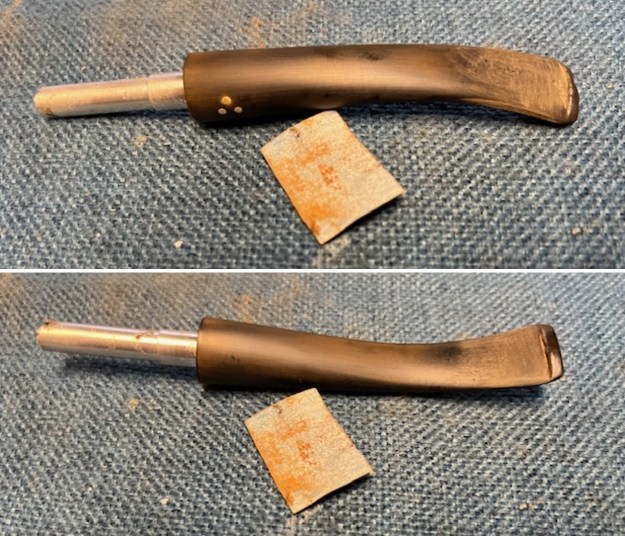
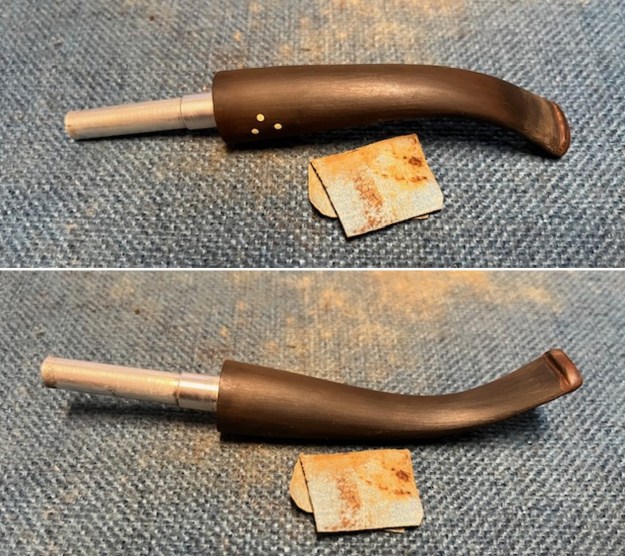
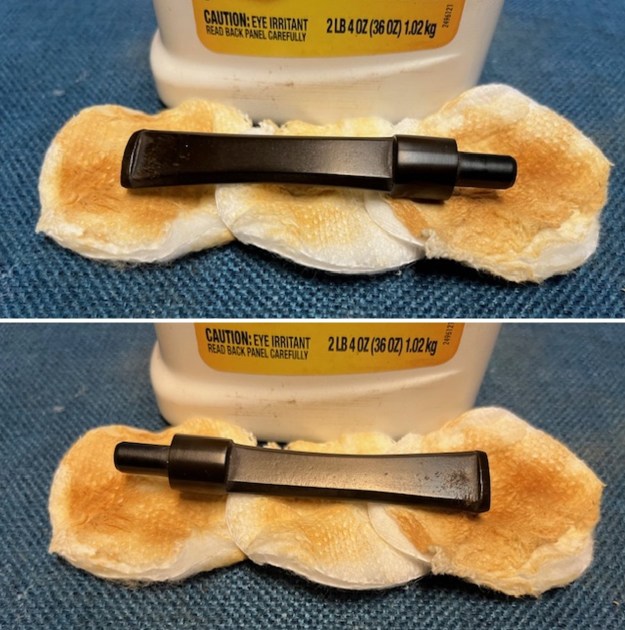 I “painted” the surface of the vulcanite where the tooth marks were with the flame of a lighter. I filled in the deep tooth marks that remained with a rubberized Black CA glue. After it cured I flattened the repairs with a small flat file. I sanded the repairs further to flatten out the tooth chatter with a folded piece of 220 grit sandpaper. Progress was happening!
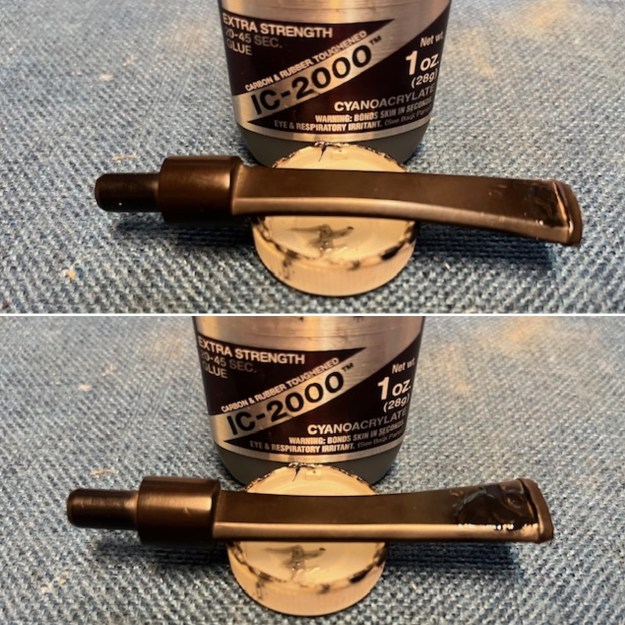
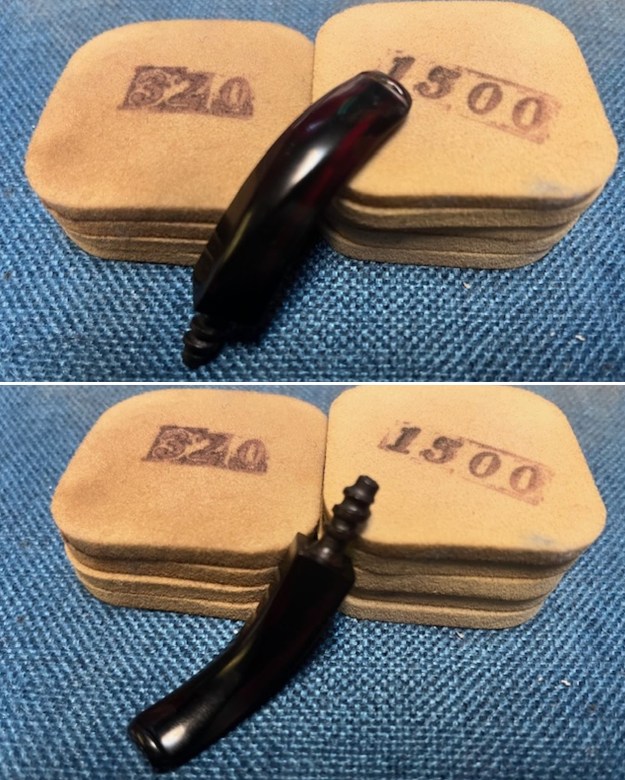
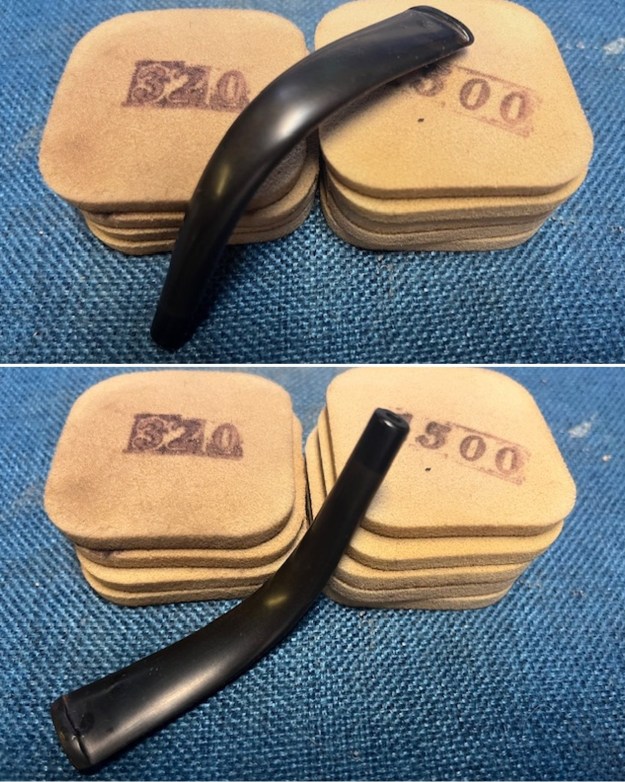
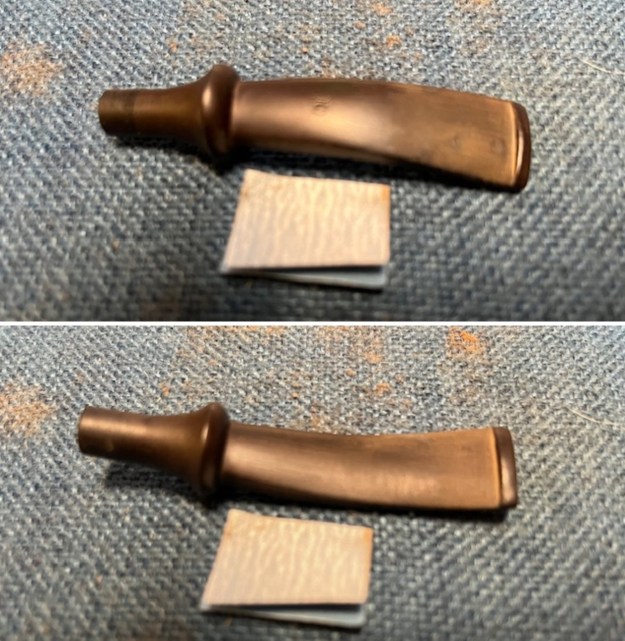
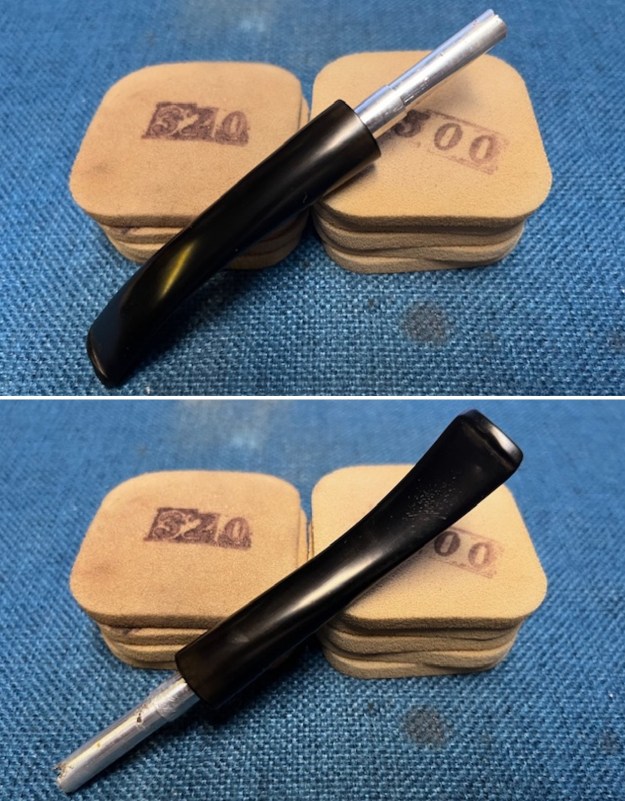
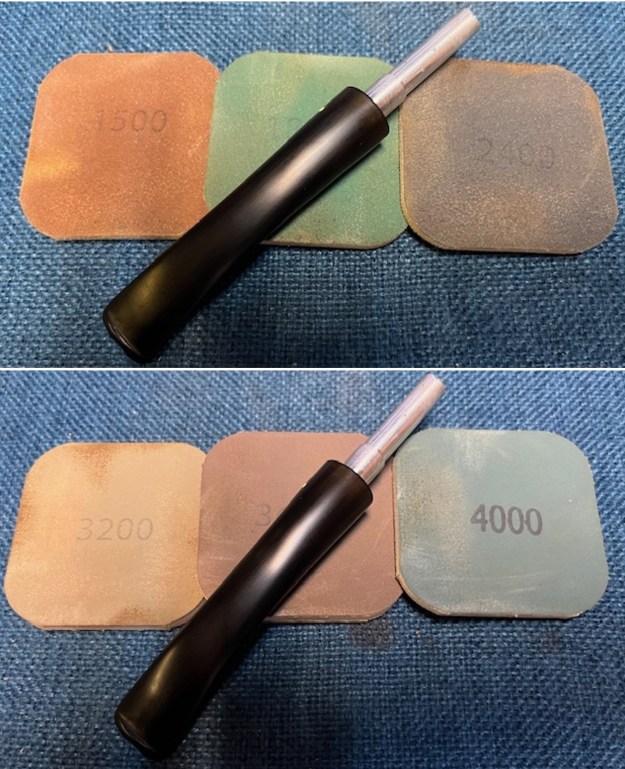
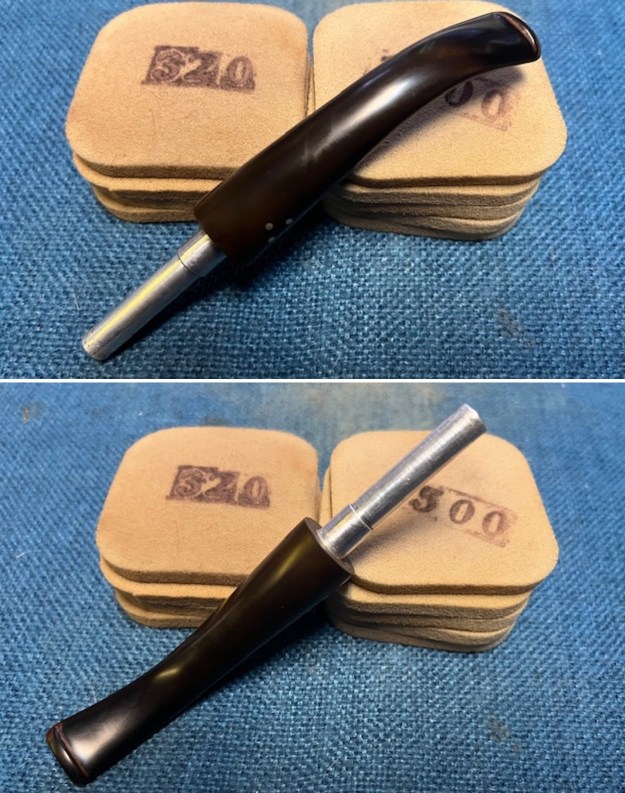
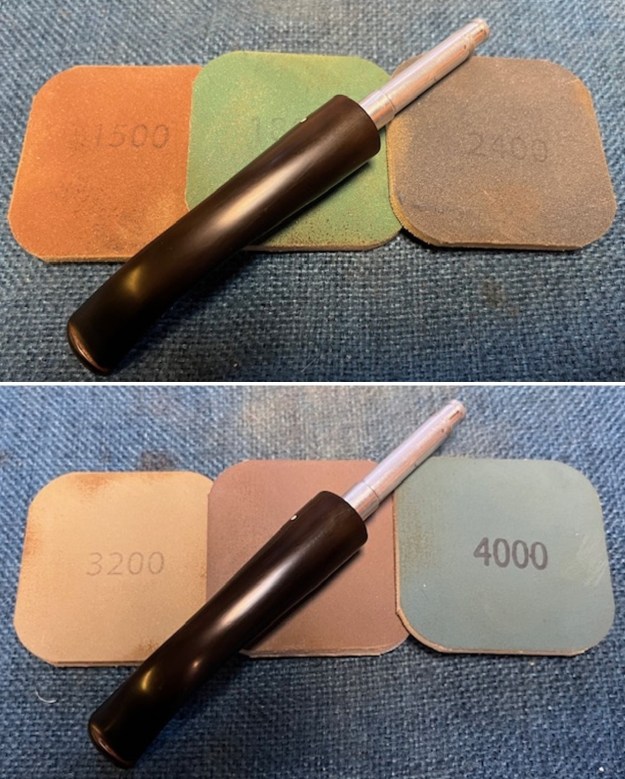
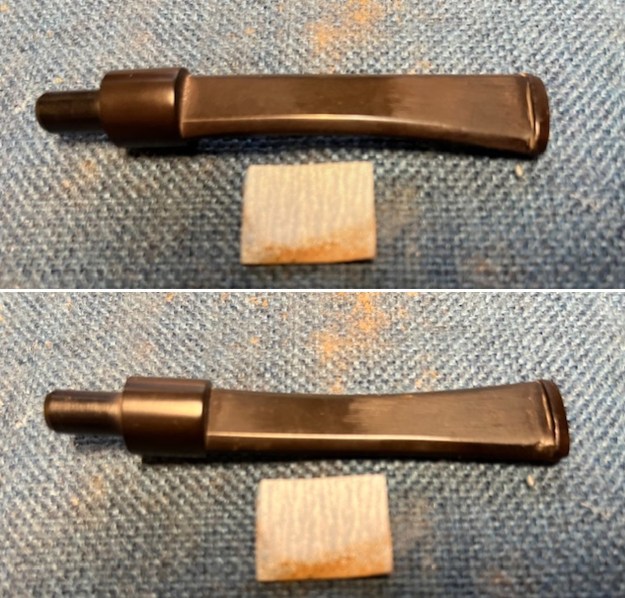 I sanded the surface of the vulcanite with the 2 x 2 inch sanding pads – 320-3500 grit pads to remove the remaining oxidation. I dry sanded the surface until I have removed all of the oxidation and the stem started to really shine.
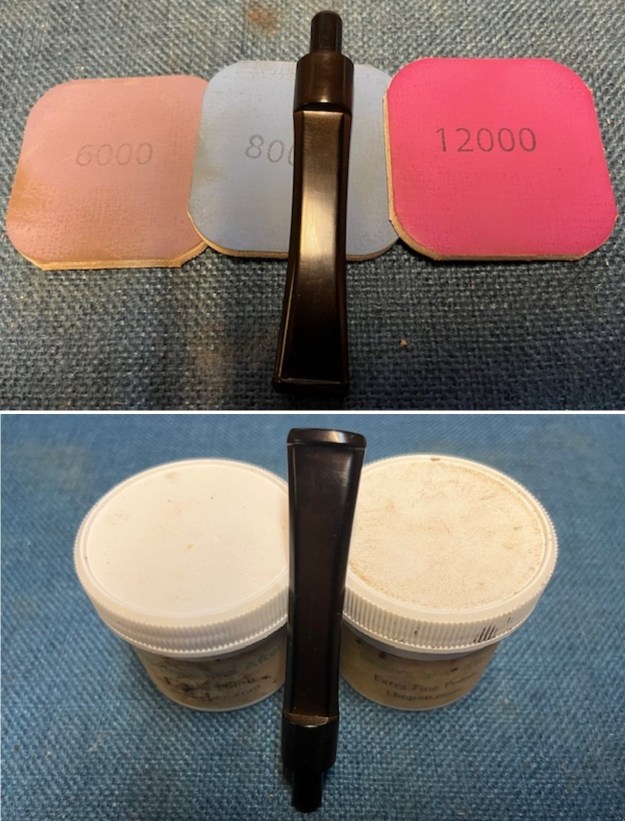
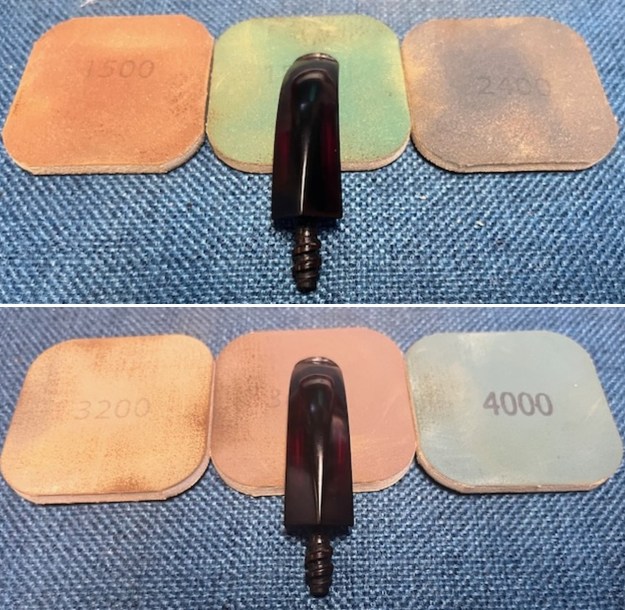
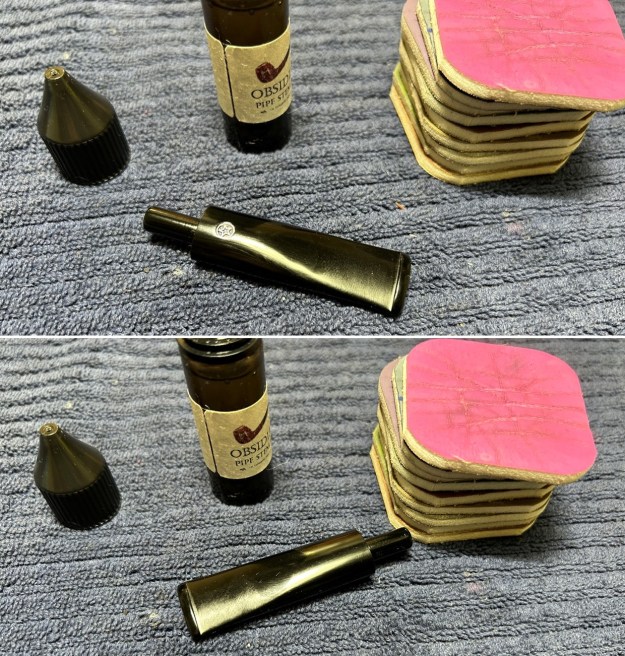
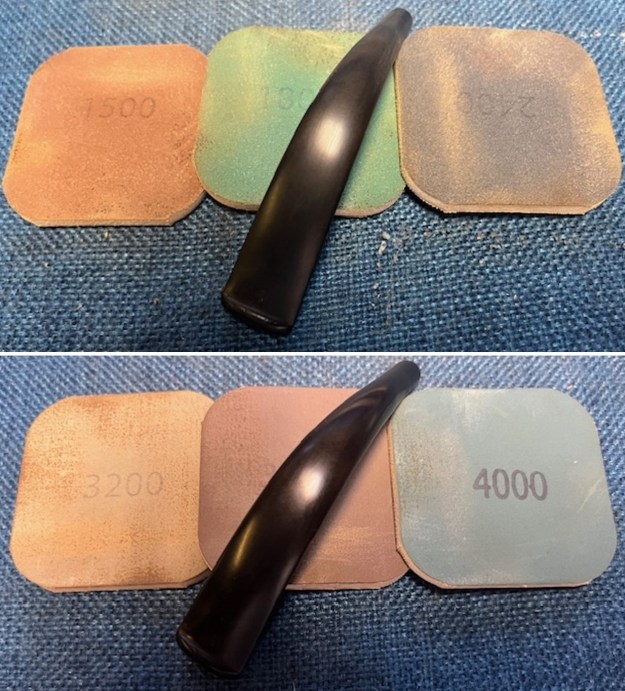
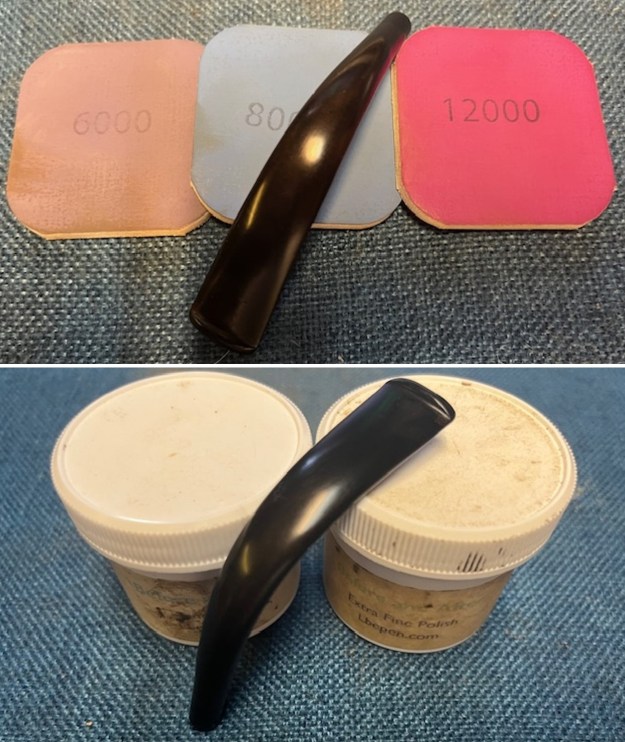
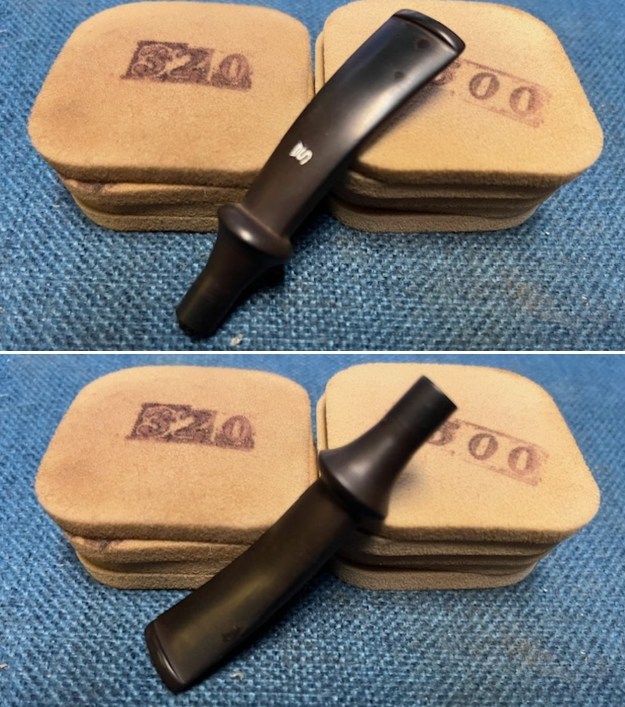
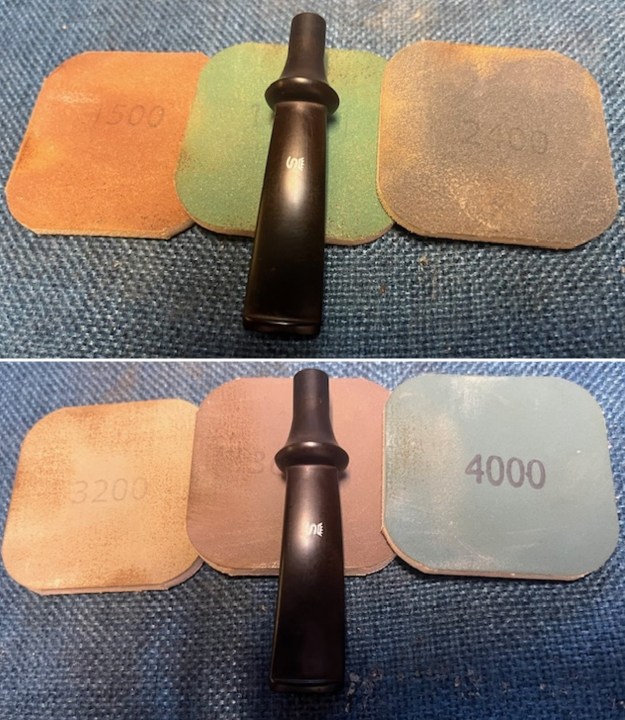
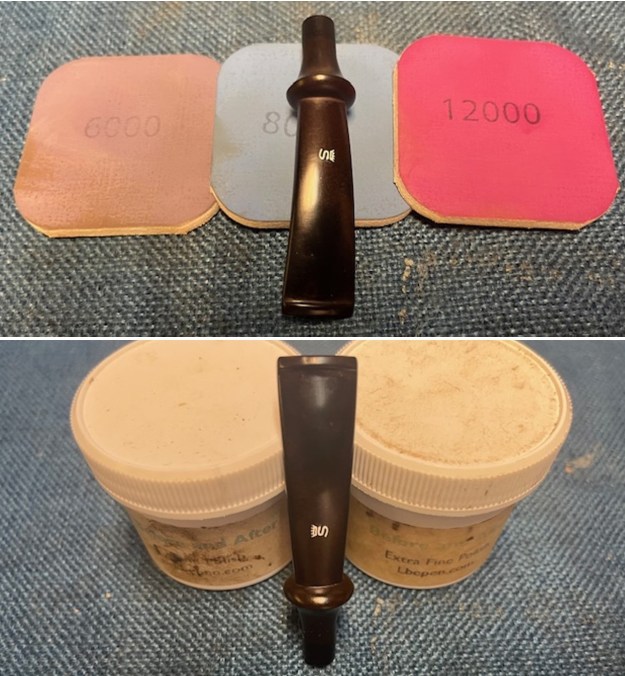
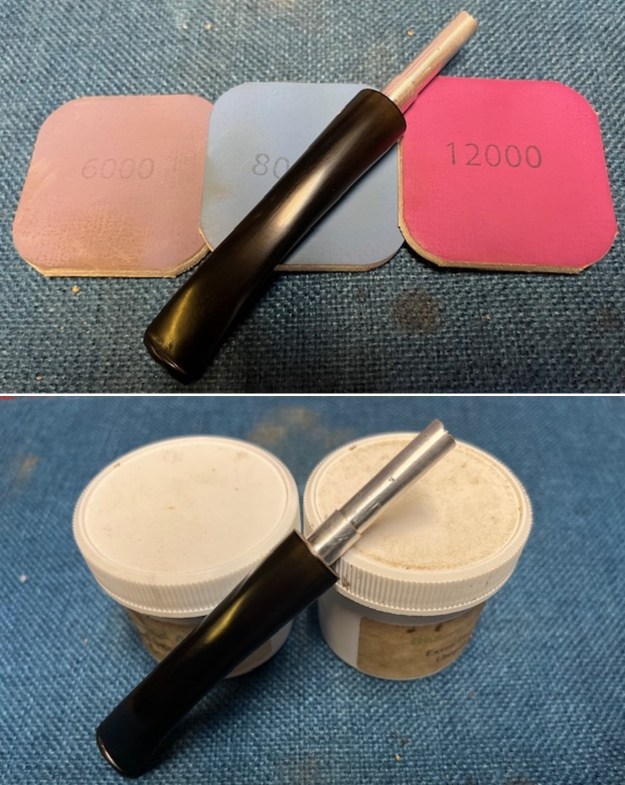
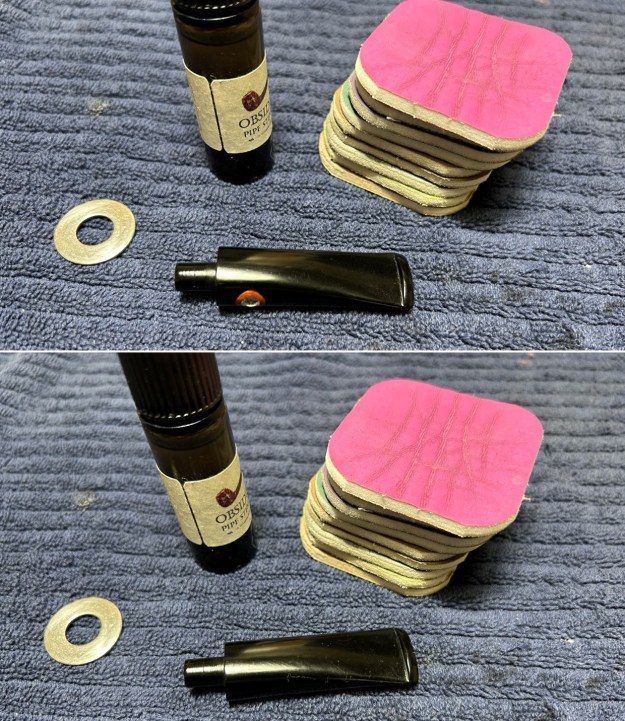
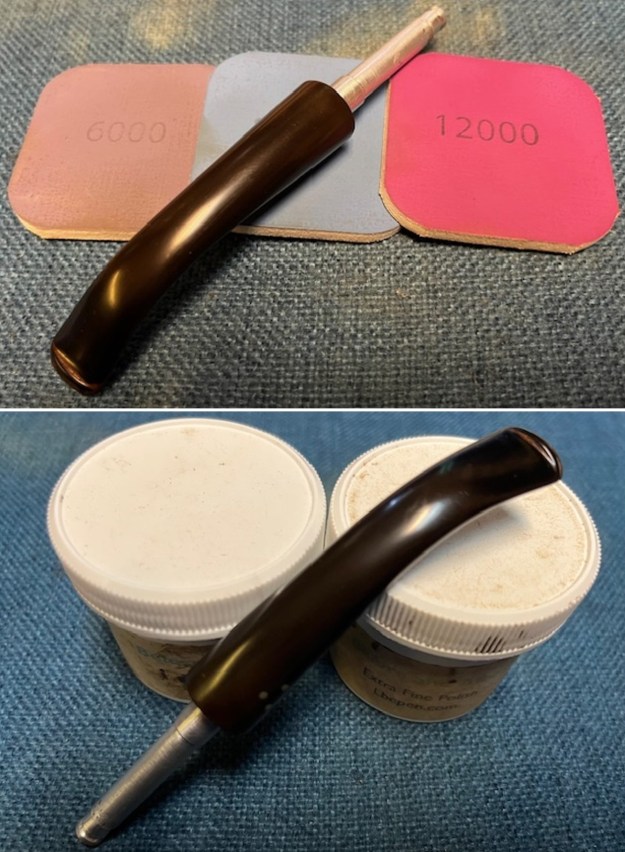
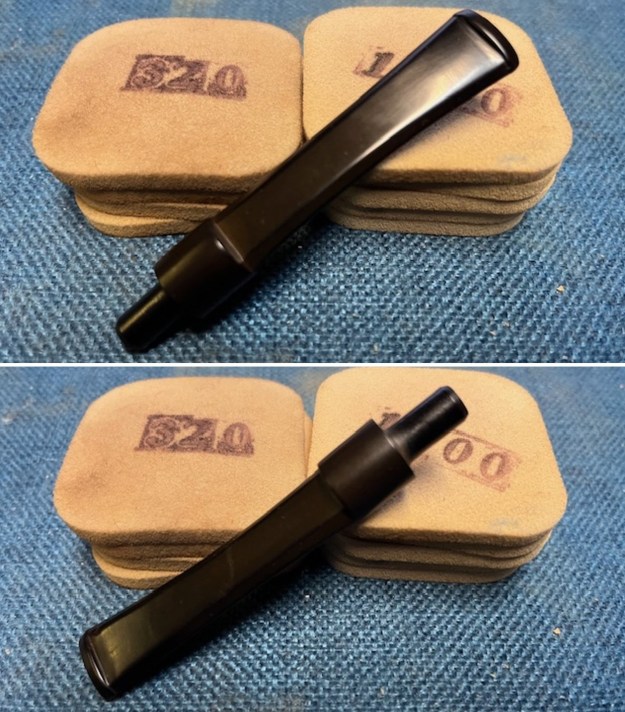 I polished the stem with micromesh sanding pads – dry sanding with 1500-12000 grit pads. I wiped the stem down after each sanding pad with Obsidian Oil. I polished the stem with Before & After Pipe Stem Polish – both Fine and Extra Fine. I gave it a coat of Obsidian Pipe Stem Oil. It works to protect the stem from oxidizing. I set it aside to dry.
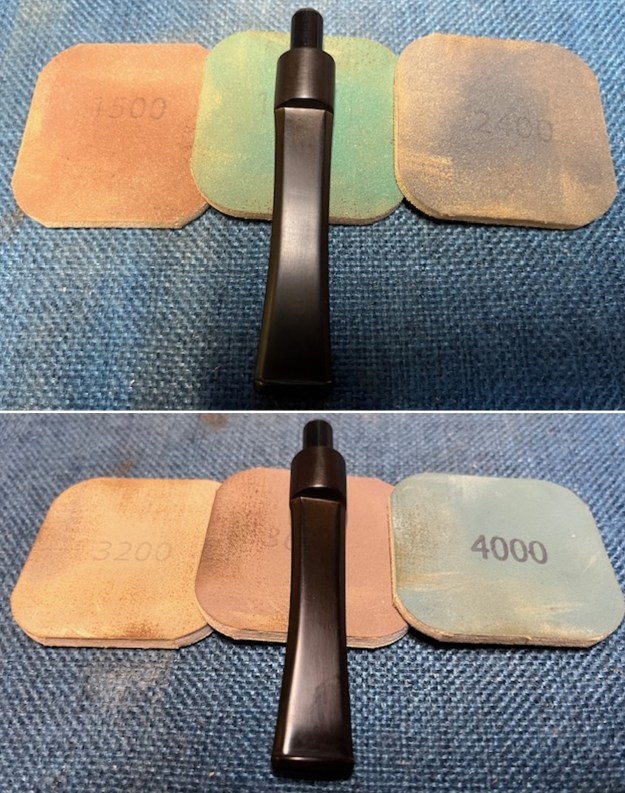
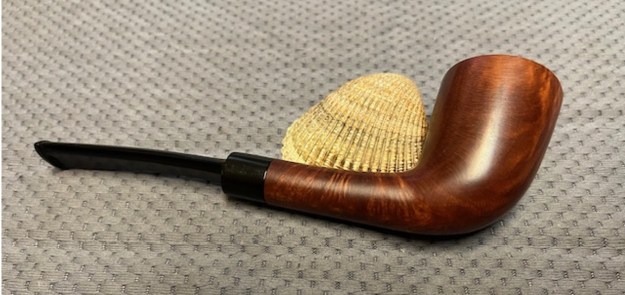
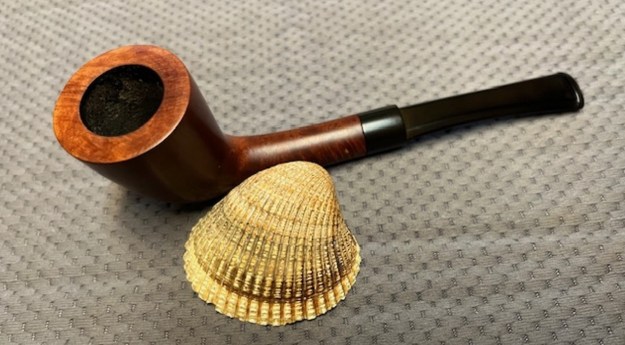
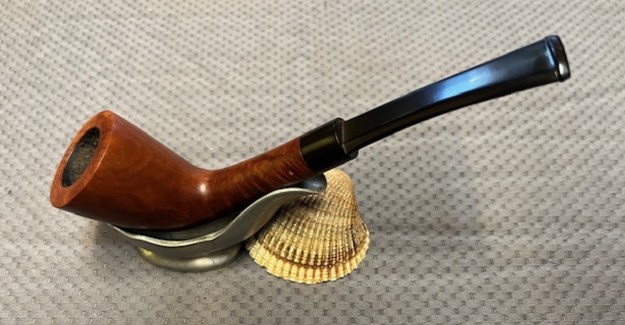
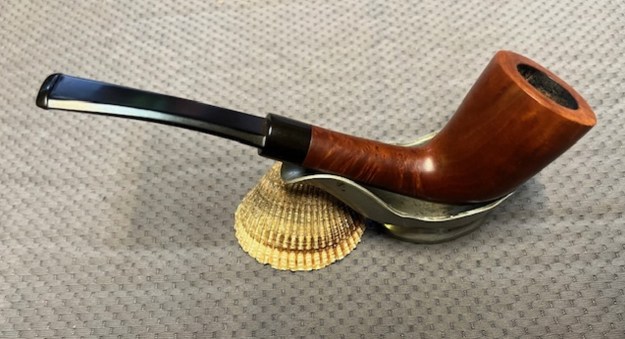
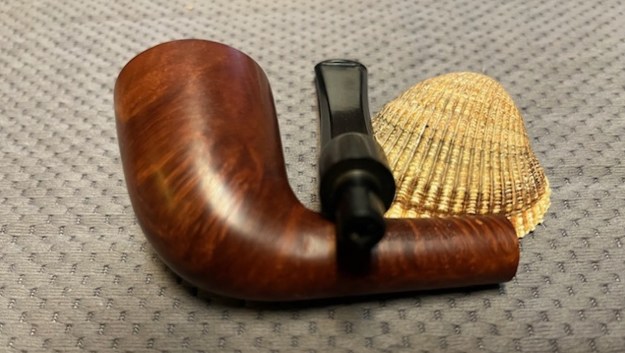
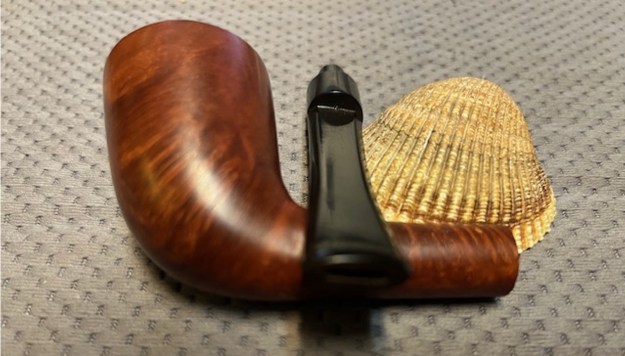
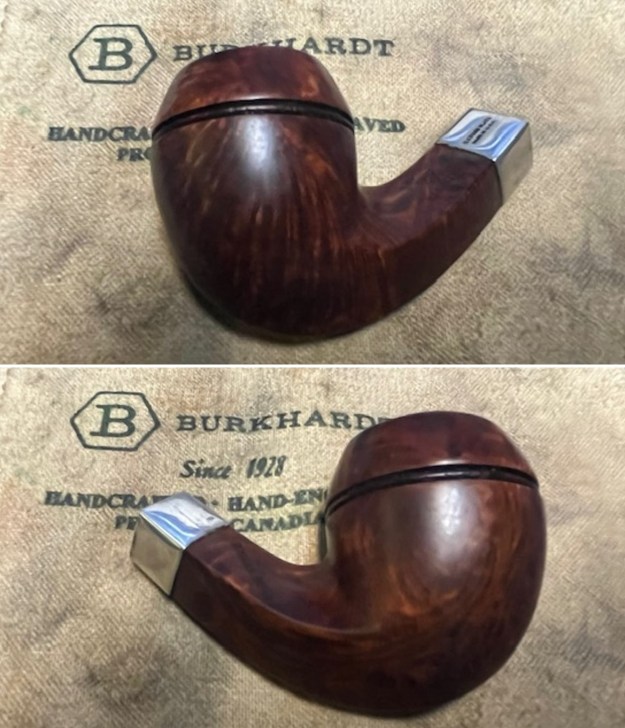
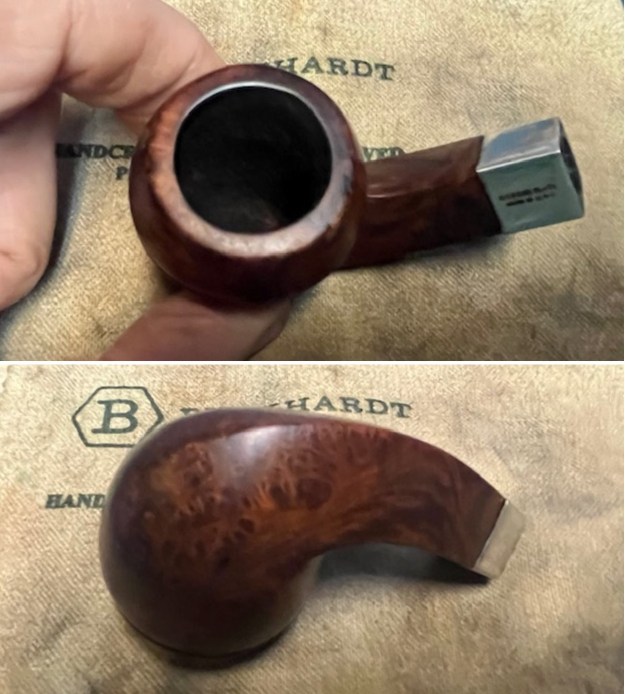
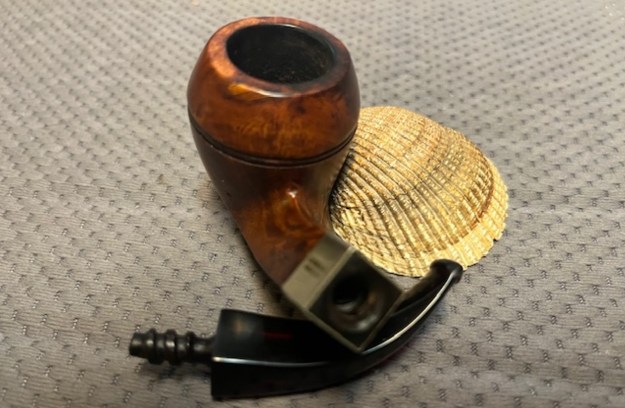
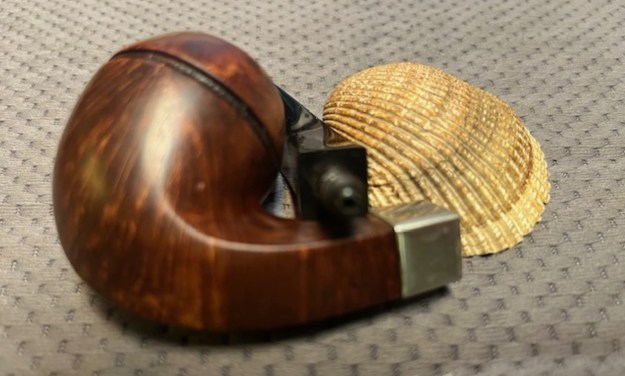
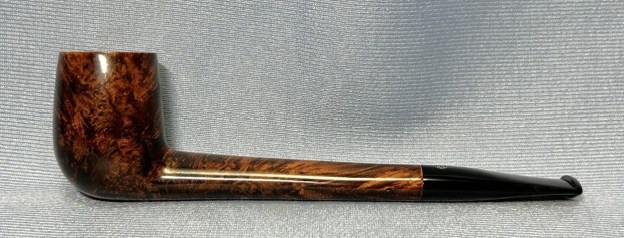
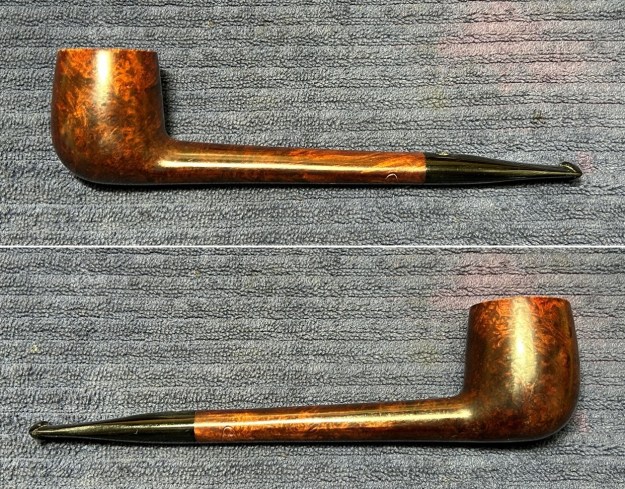
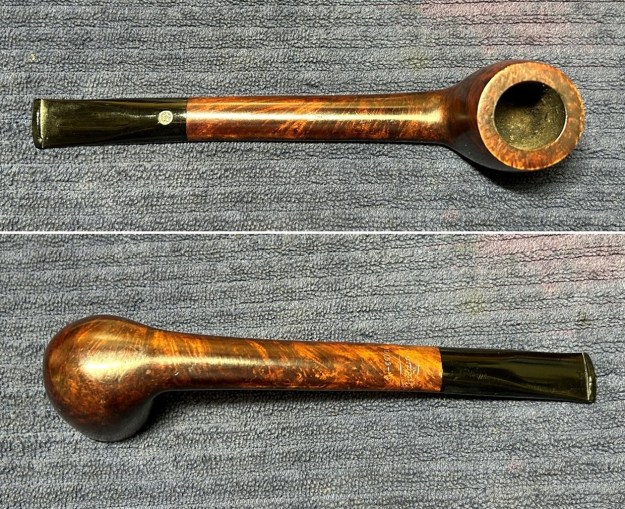
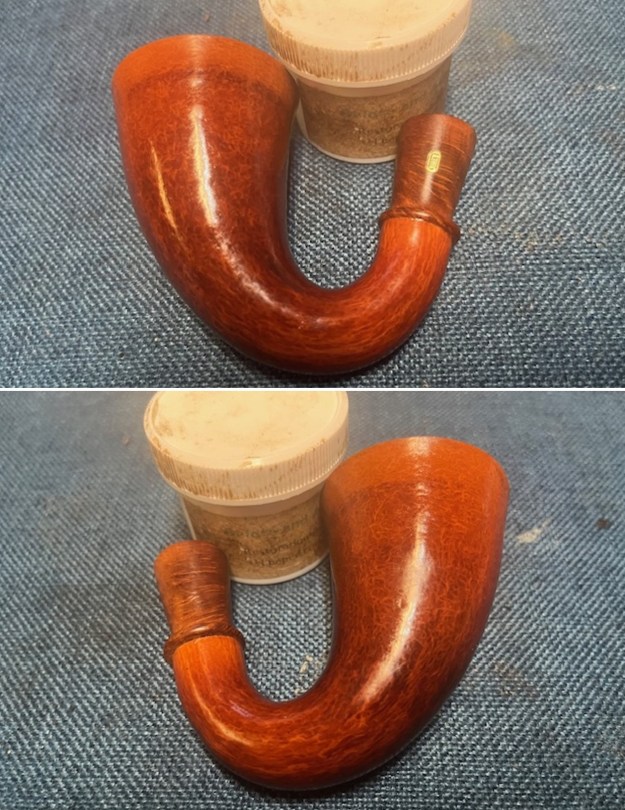
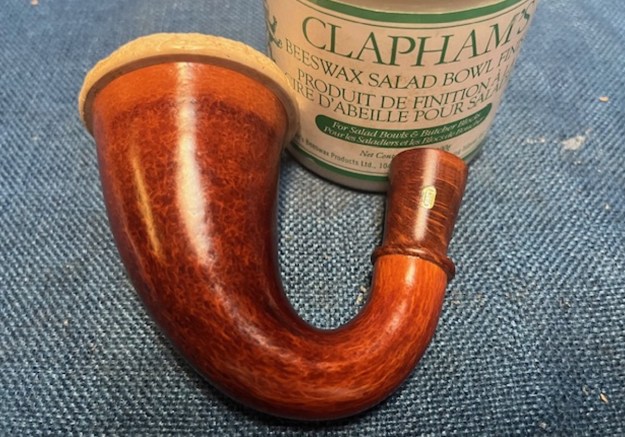
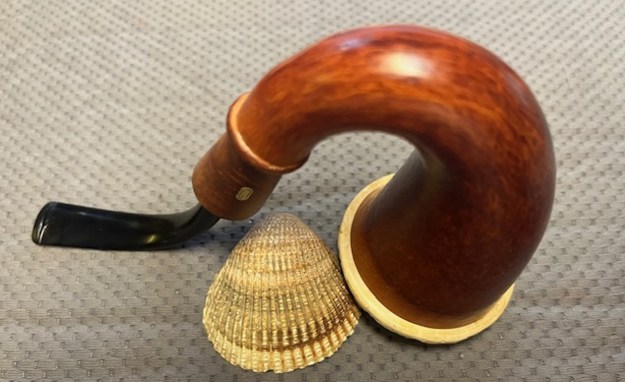
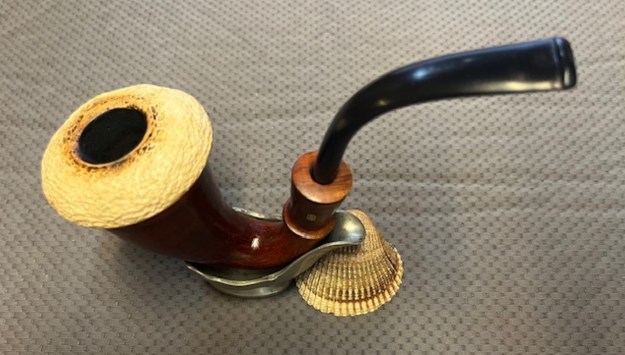
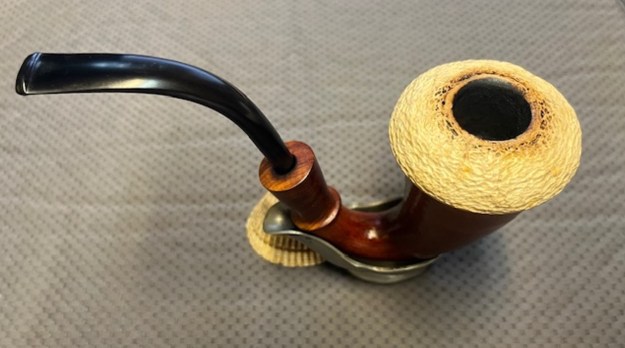
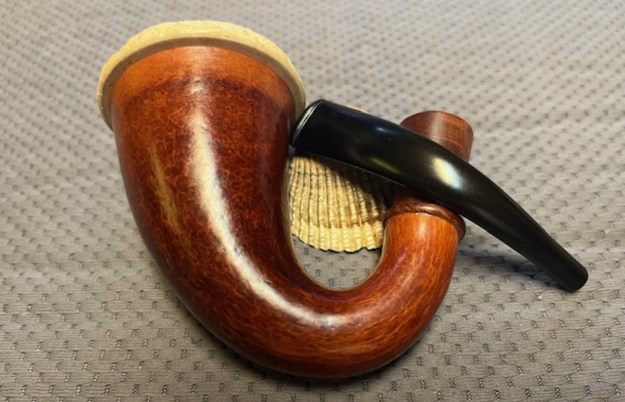
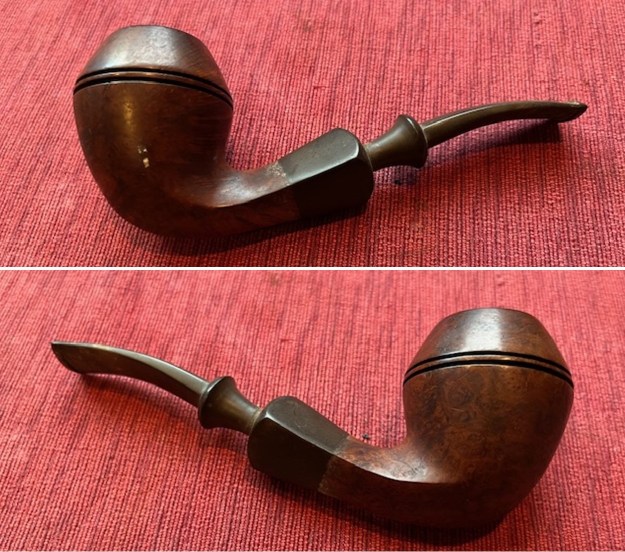
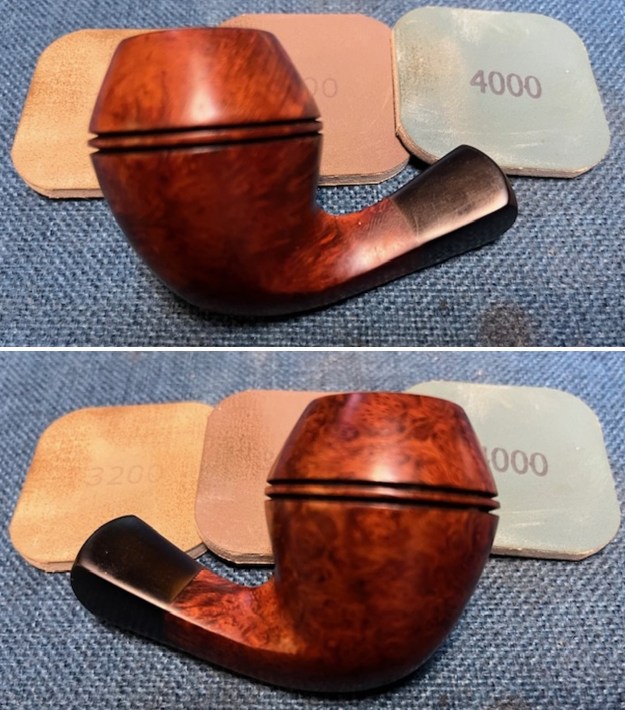
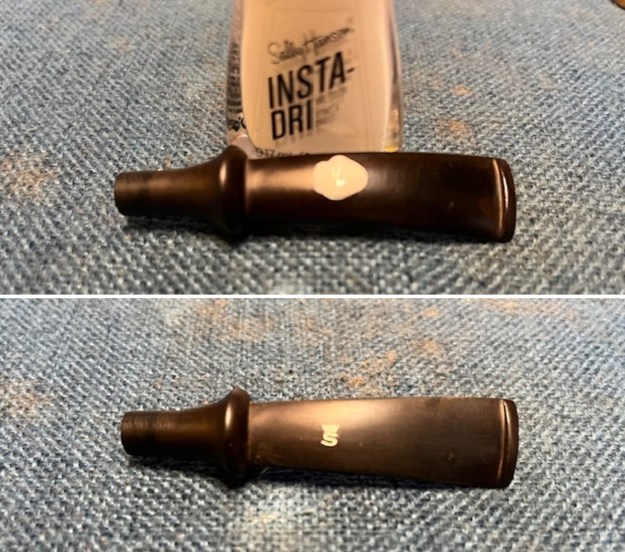
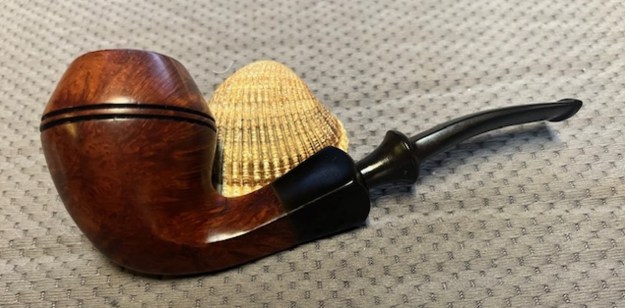
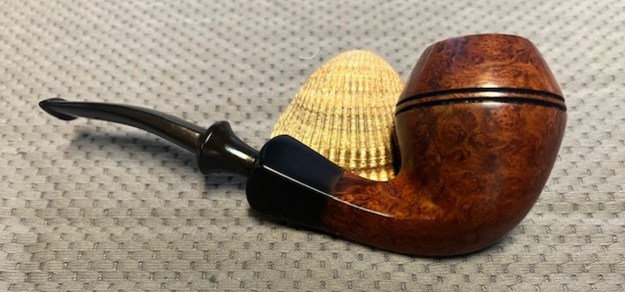
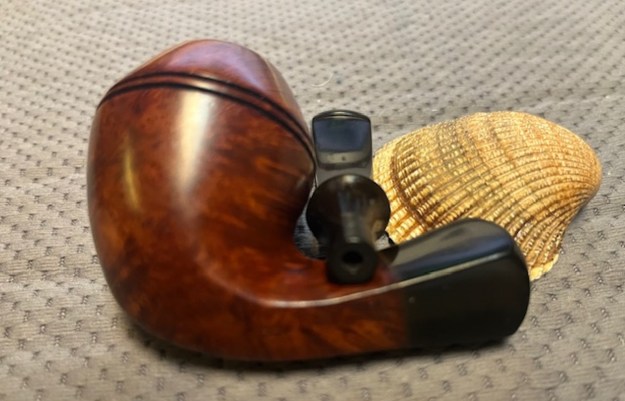
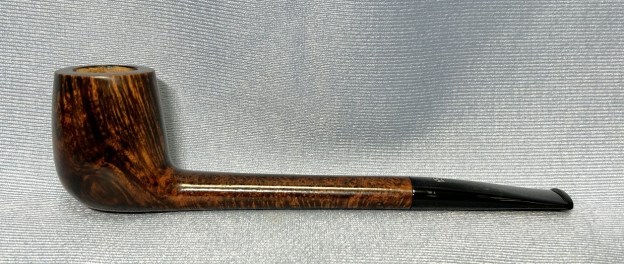
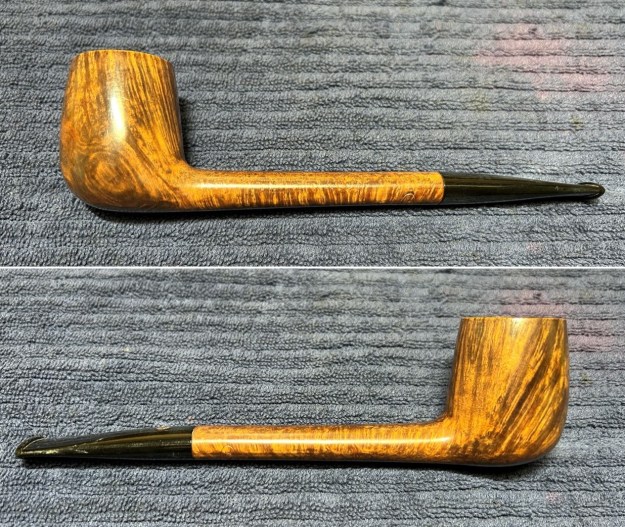
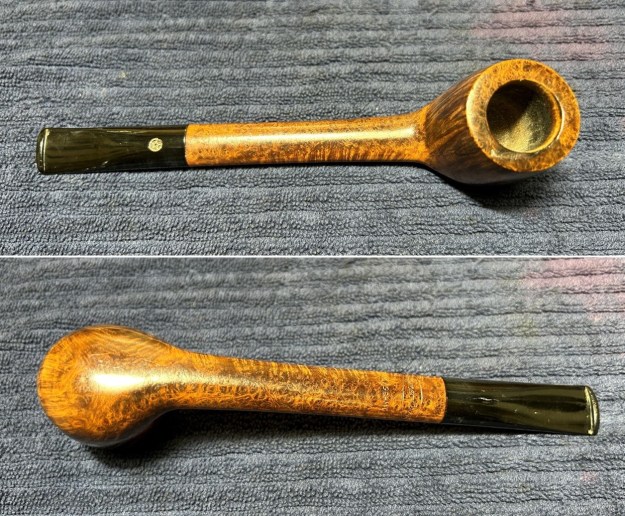
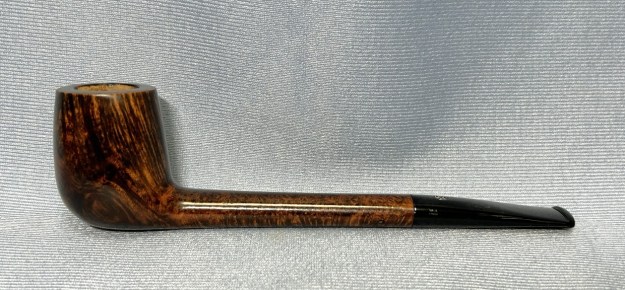
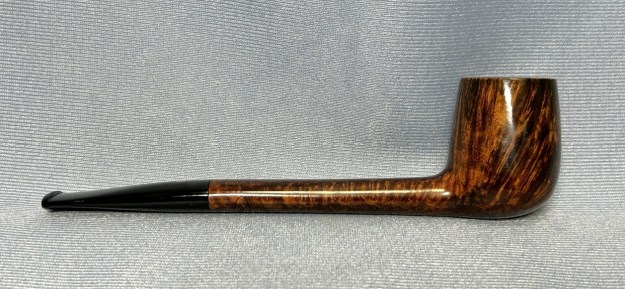
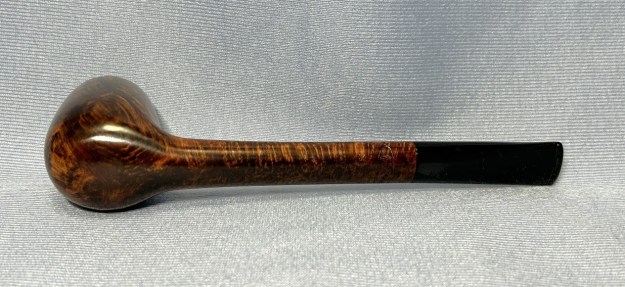
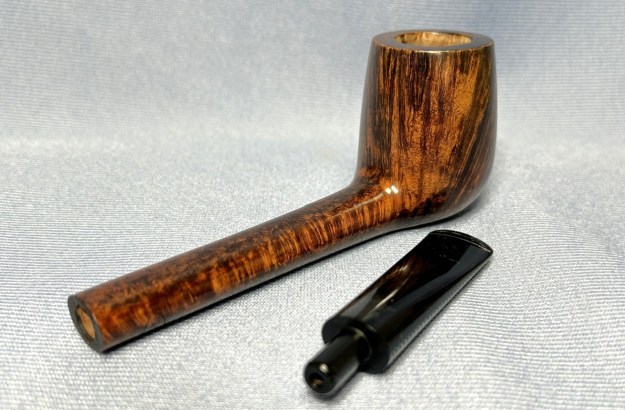
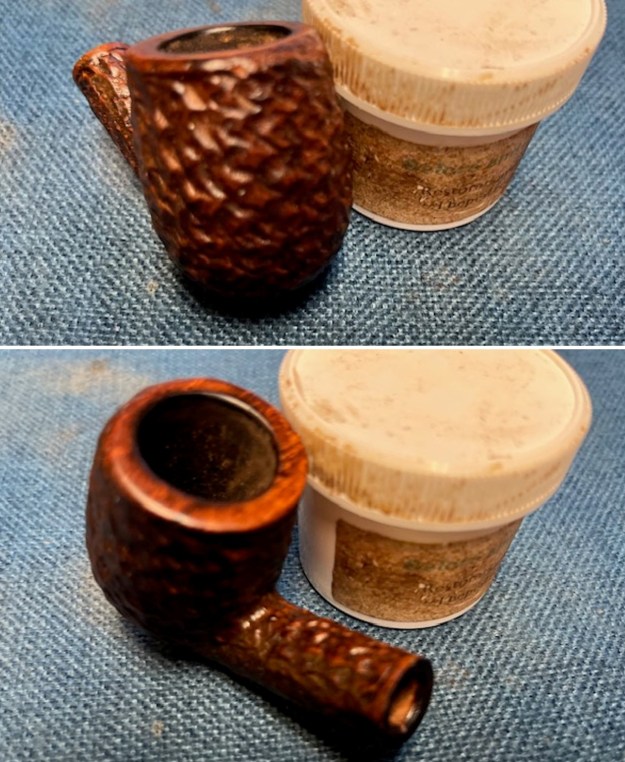
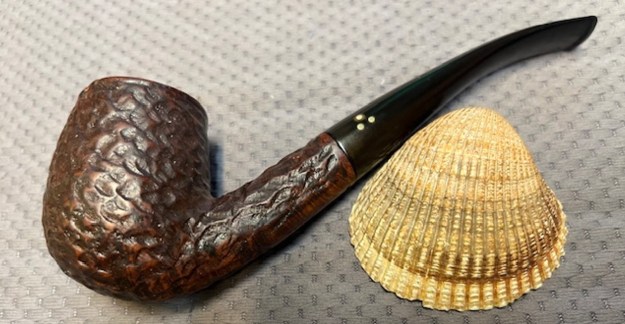
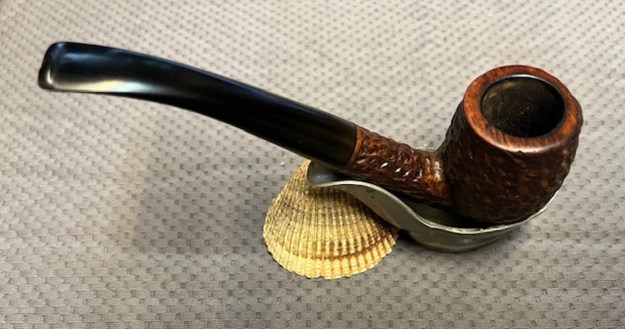
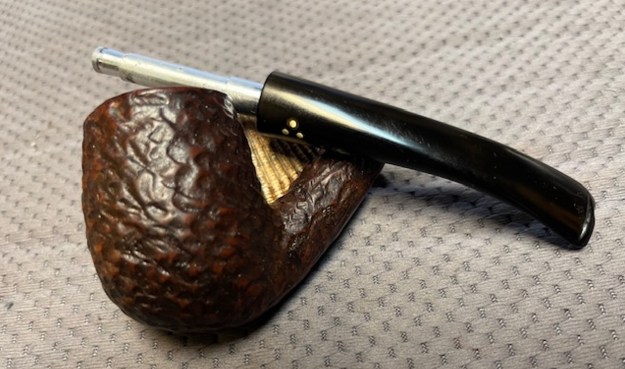
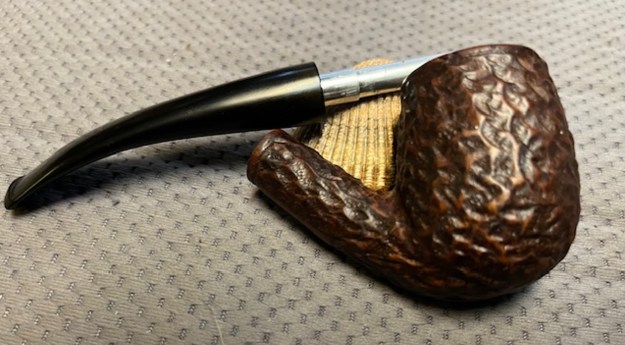
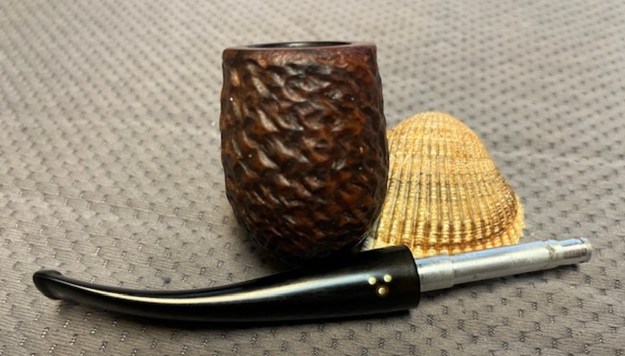
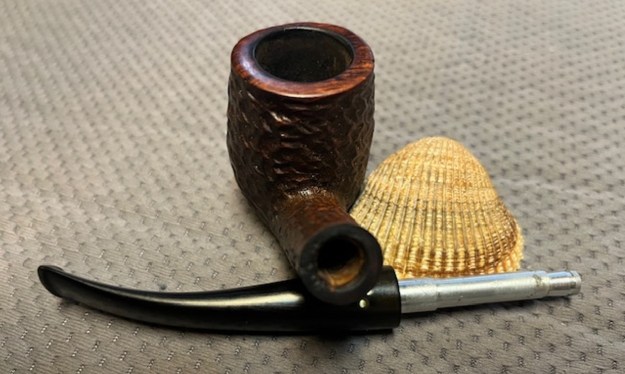
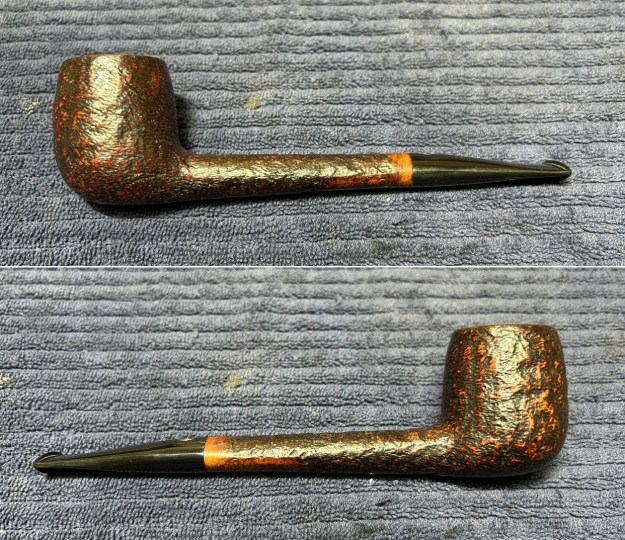
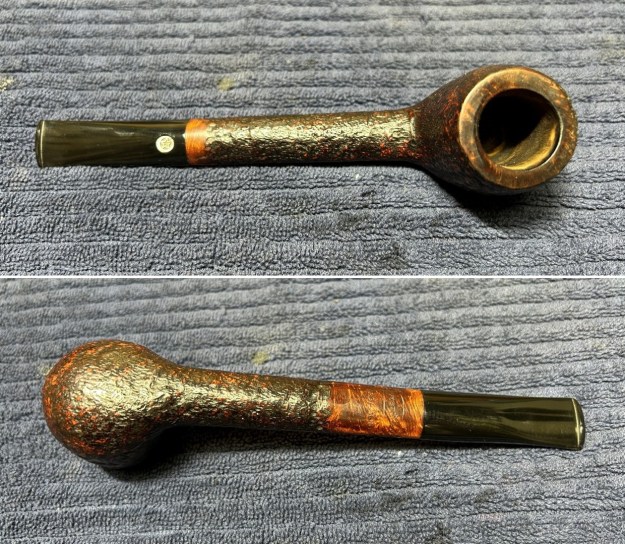
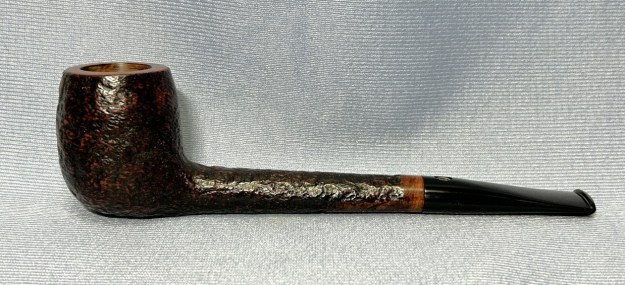
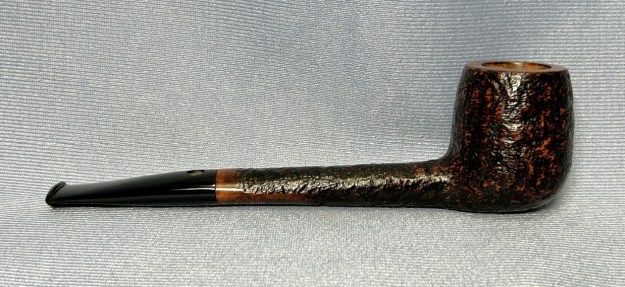
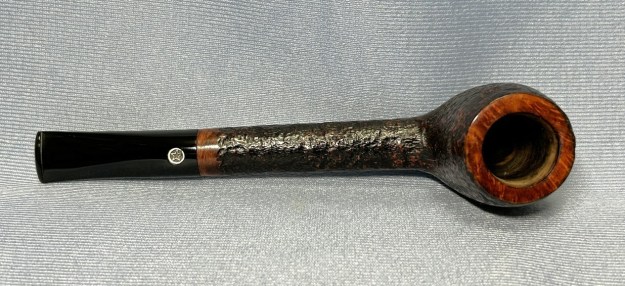
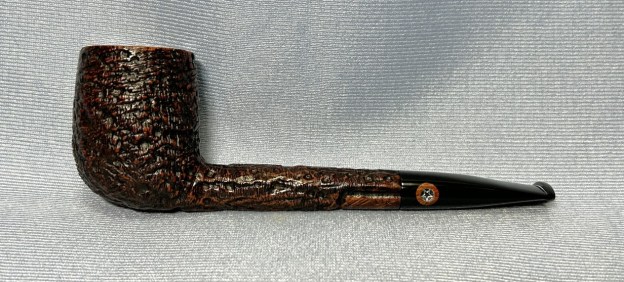
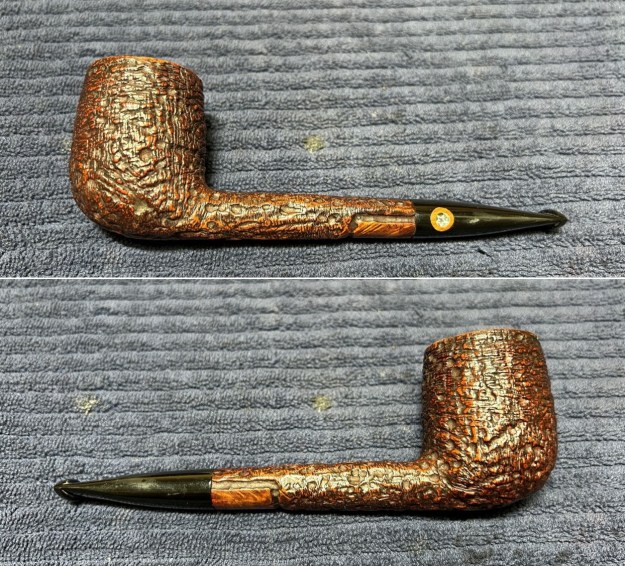
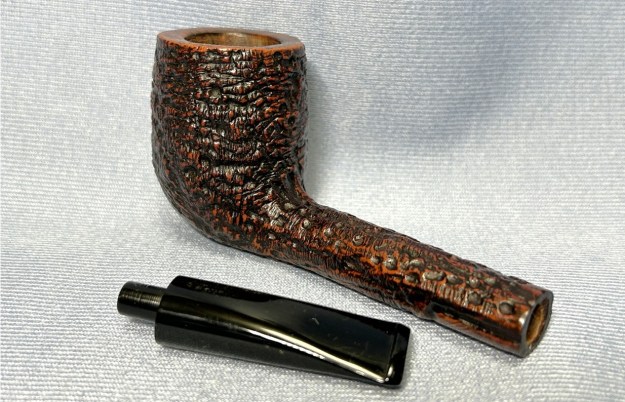
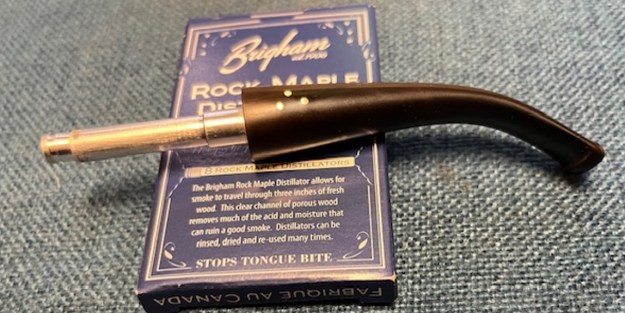
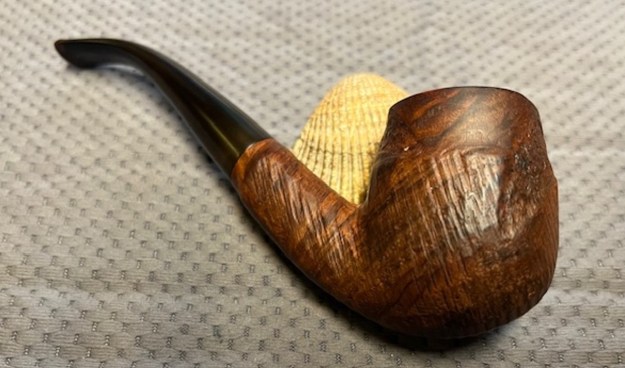
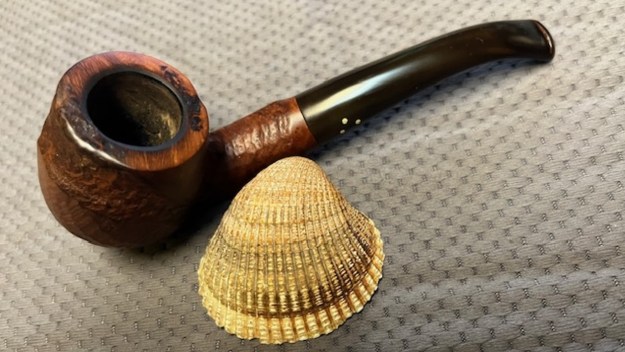
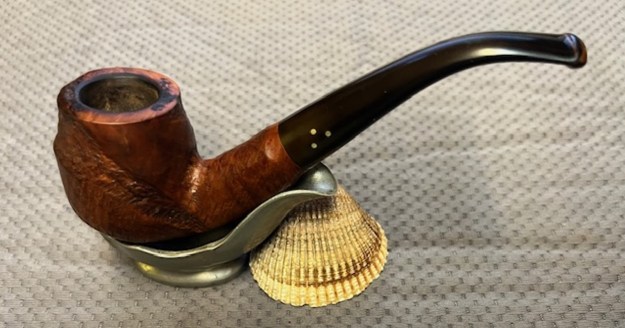
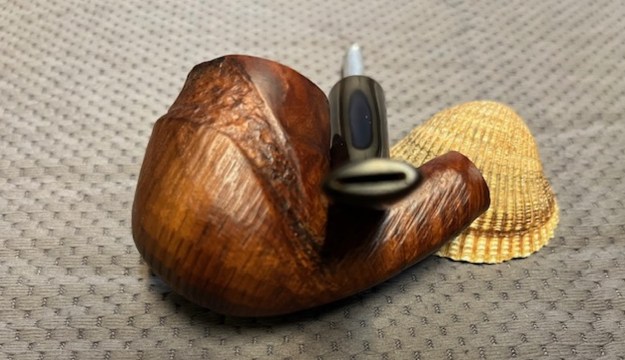
 I am excited to finish this Arlington Imported Briar Saddle Stem Dublin. I put the pipe back together and buffed it with Blue Diamond on the buffing wheel. I gave the bowl multiple coats of Conservator’s Wax and the stem multiple coats of carnauba wax. I buffed the pipe with a clean buffing pad to raise the shine and then by hand with a microfibre cloth to deepen it. It is fun to see what the polished bowl looks like with beautiful grain on the smooth portions and the rustication depths all around it. The polished grain on the pipe looks great with the black vulcanite stem. This Arlington Dublin is great looking and the pipe feels great in my hand. It is light and well balanced. Have a look at it with the photos below. The dimensions are Length: 6 inches, Height: 2 inches, Outside diameter of the bowl: 1 3/8 inches, Chamber diameter: ¾ of an inch. The weight of the pipe is 31 grams/1.06 ounces. It is another beautiful pipe that I will send to Jack after I finish working on the other 9 pipes. I look forward to hear what he thinks of this next beauty. It should be a great smoking pipe.
As always, I encourage your questions and comments as you read the blog. Thanks to each of you who are reading this blog. Remember we are not pipe owners; we are pipe men and women who hold our pipes in trust until they pass on into the trust of those who follow us.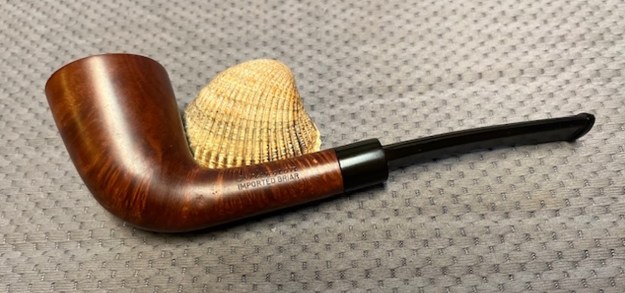


