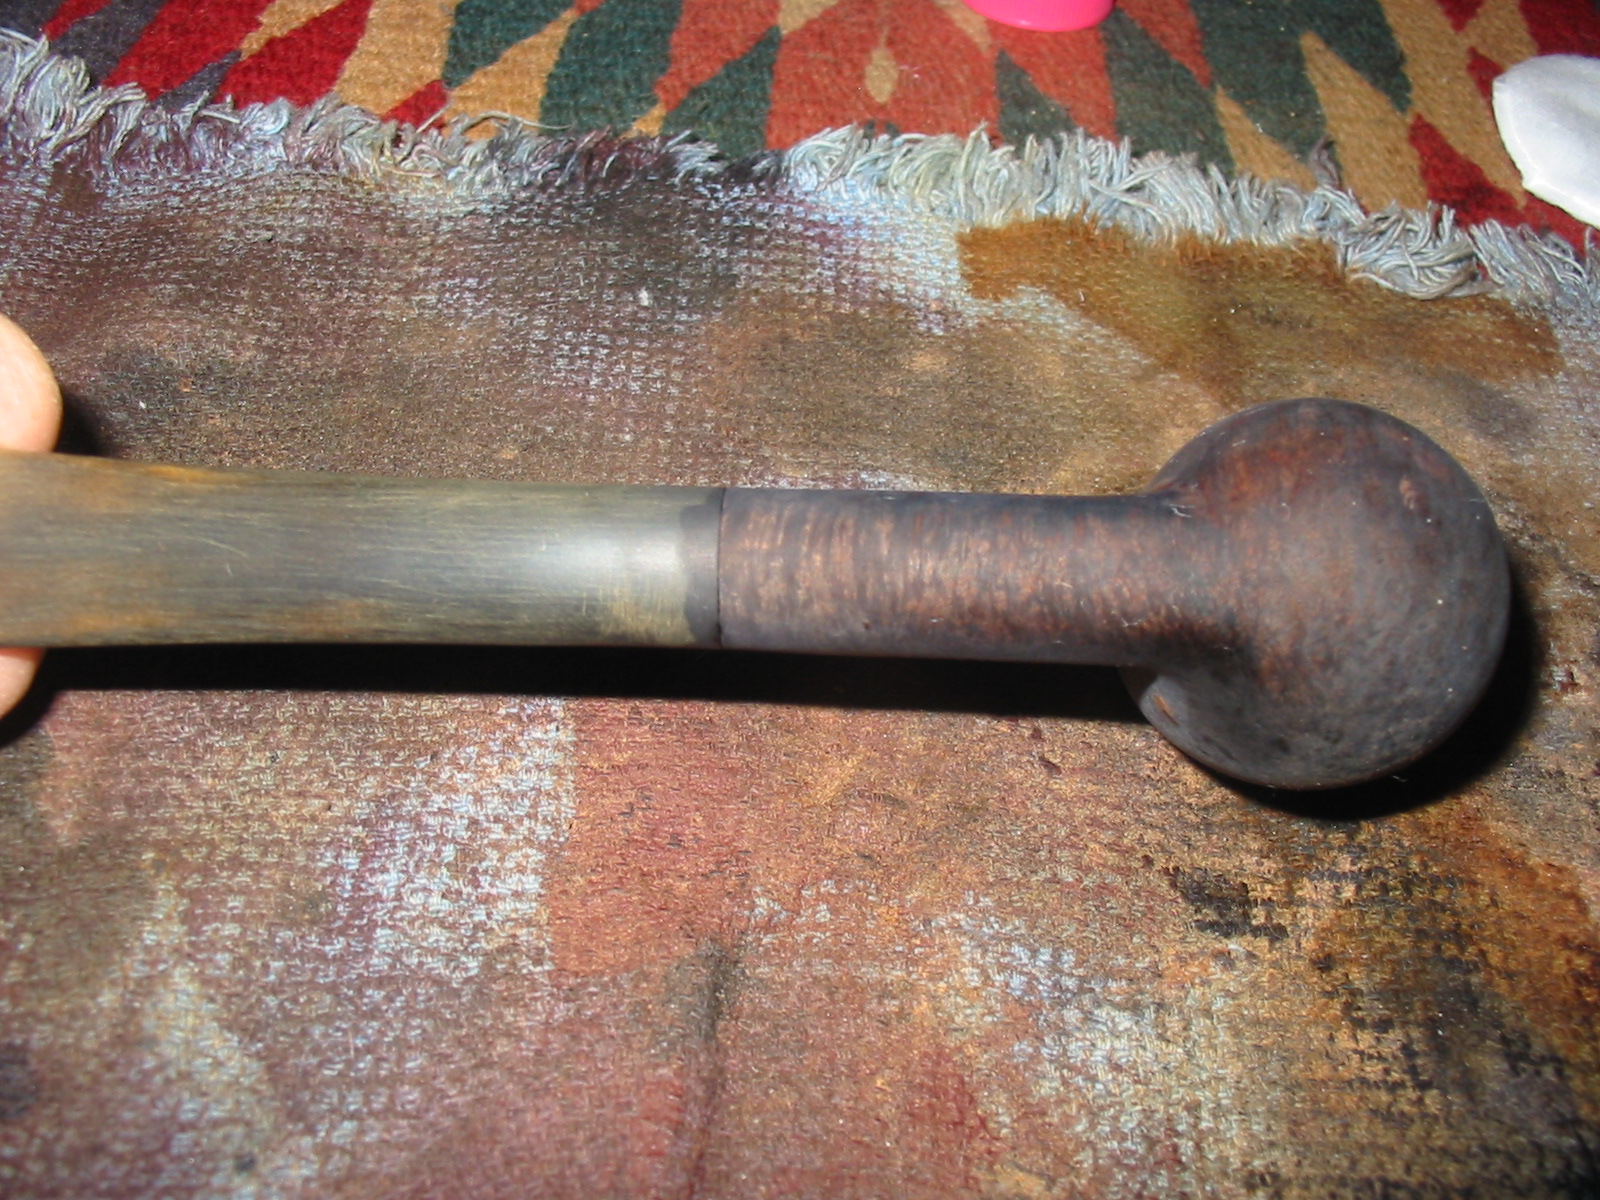
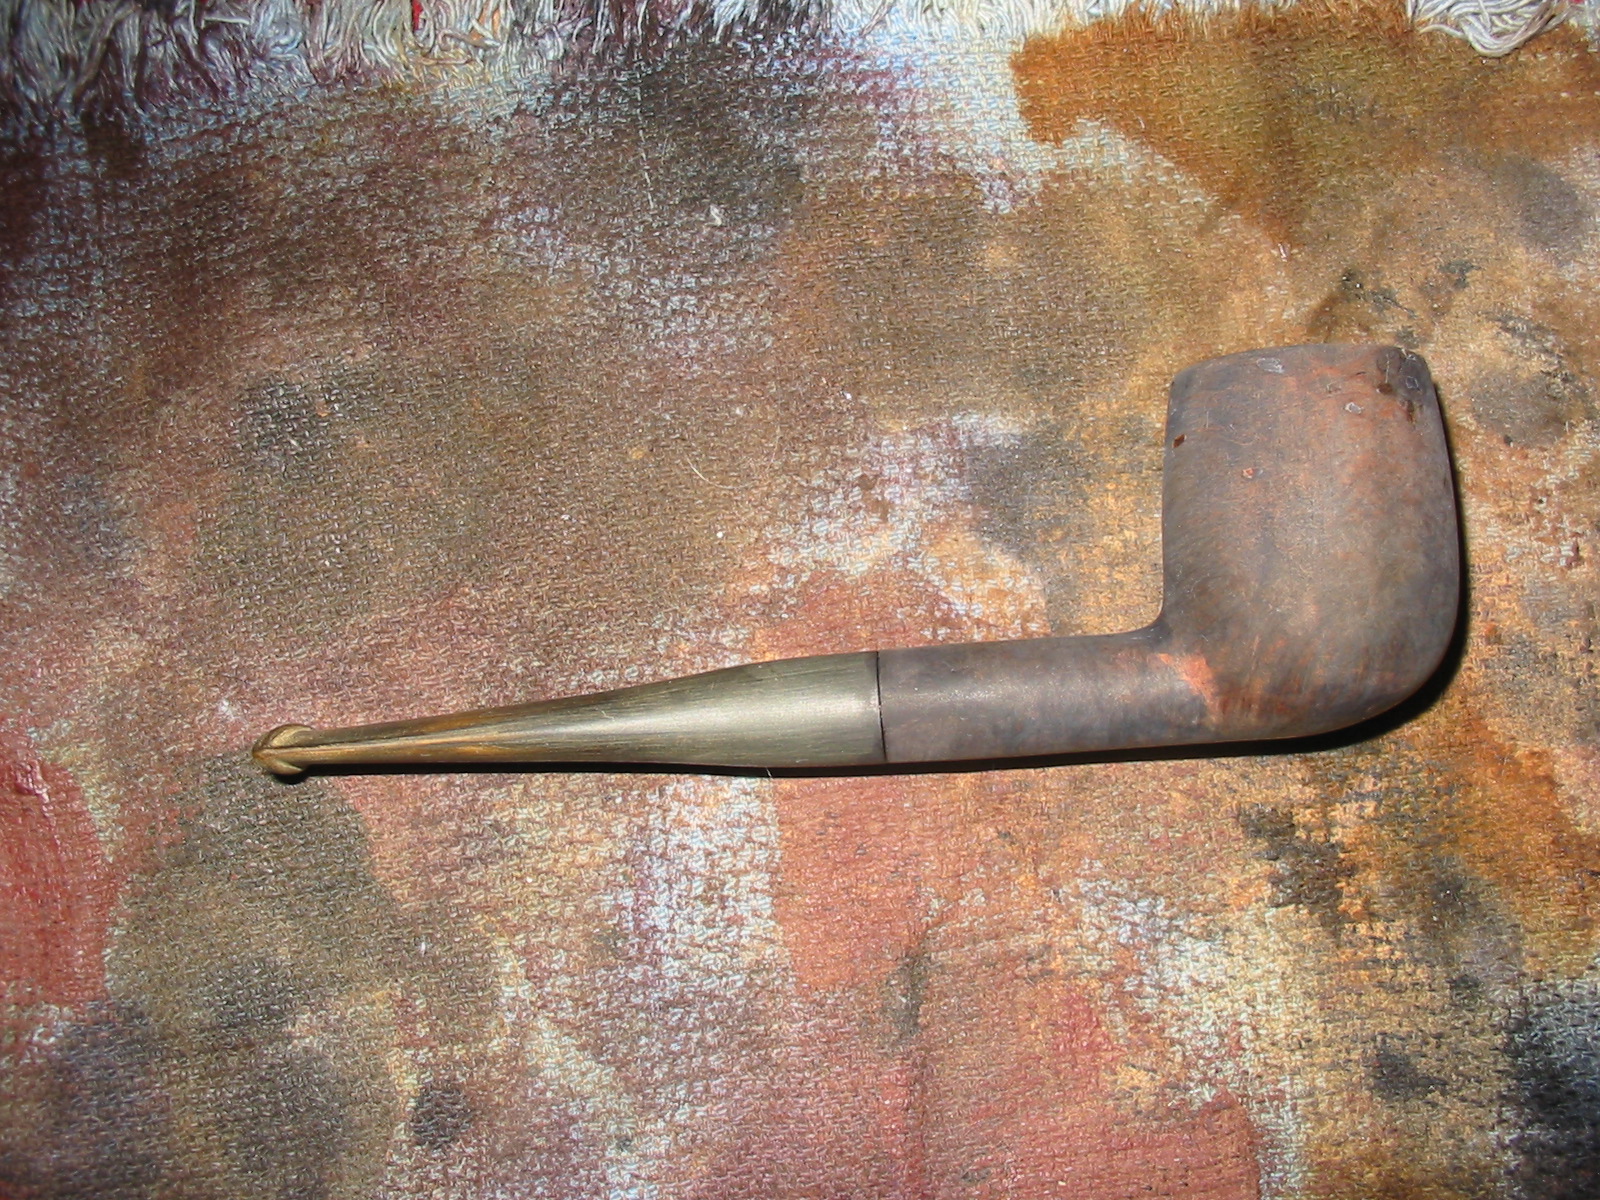
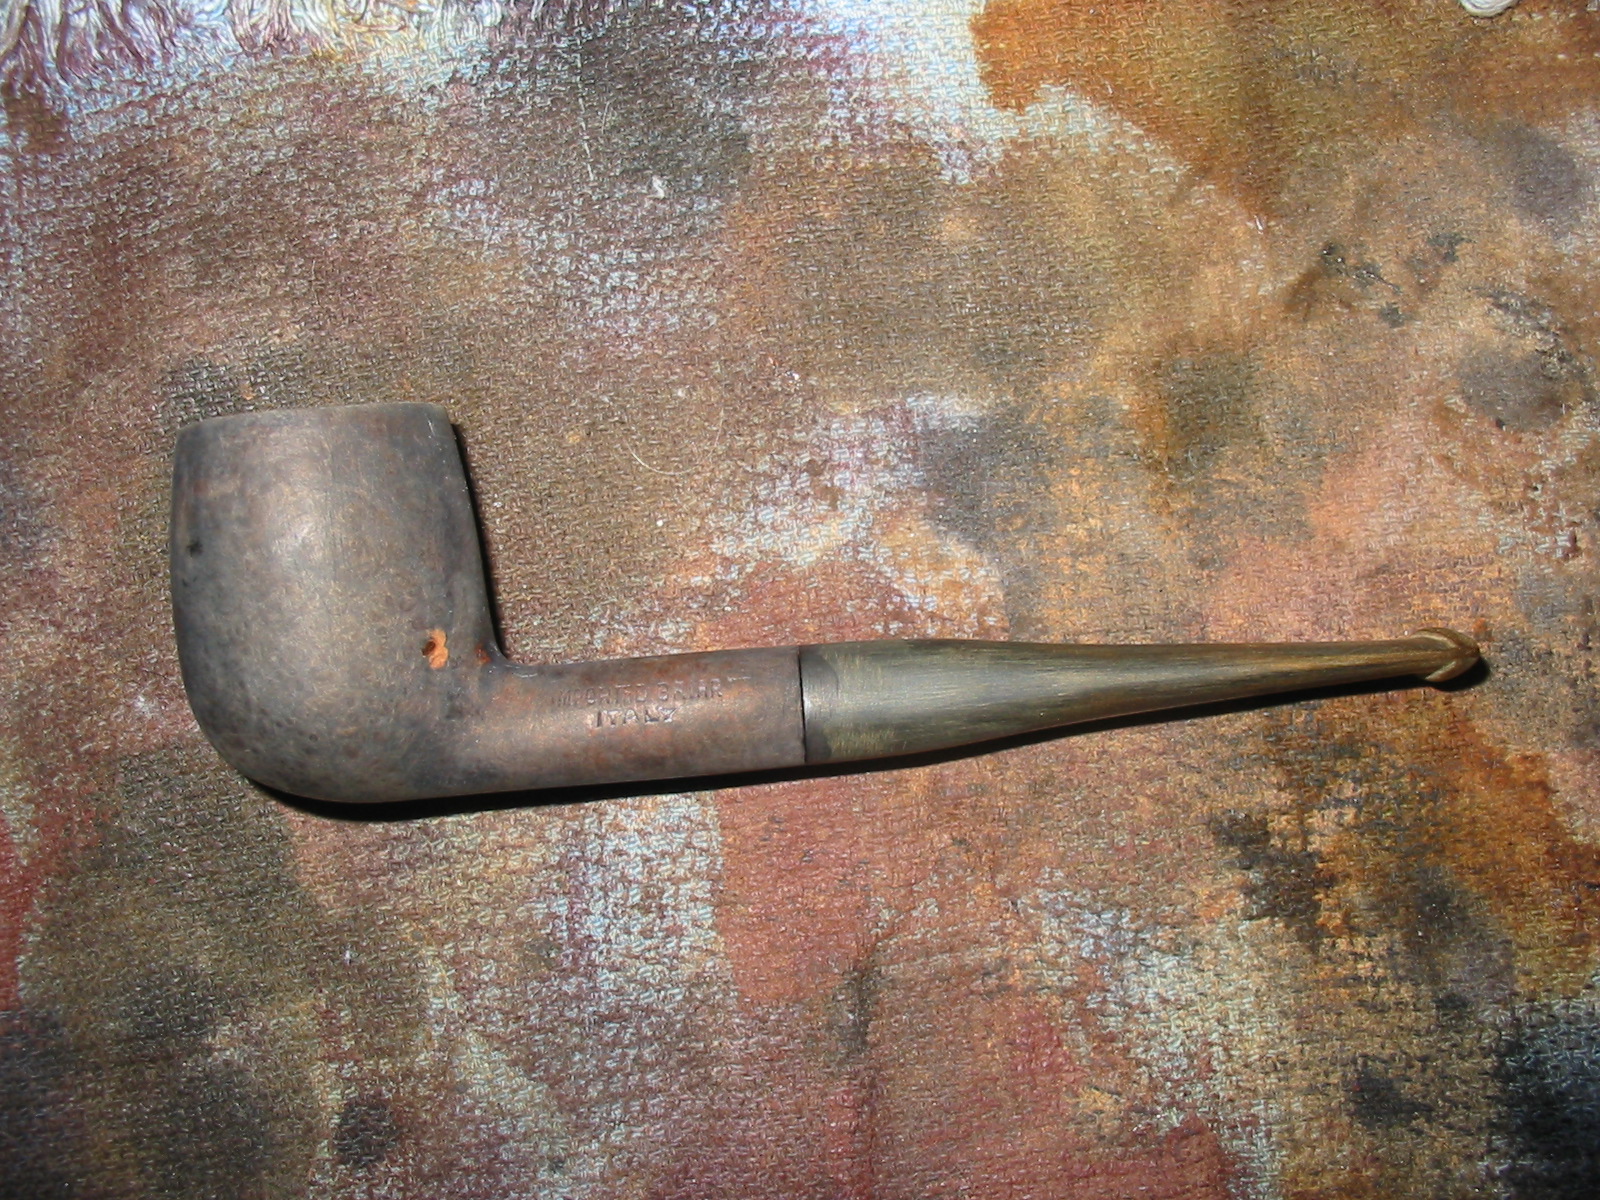
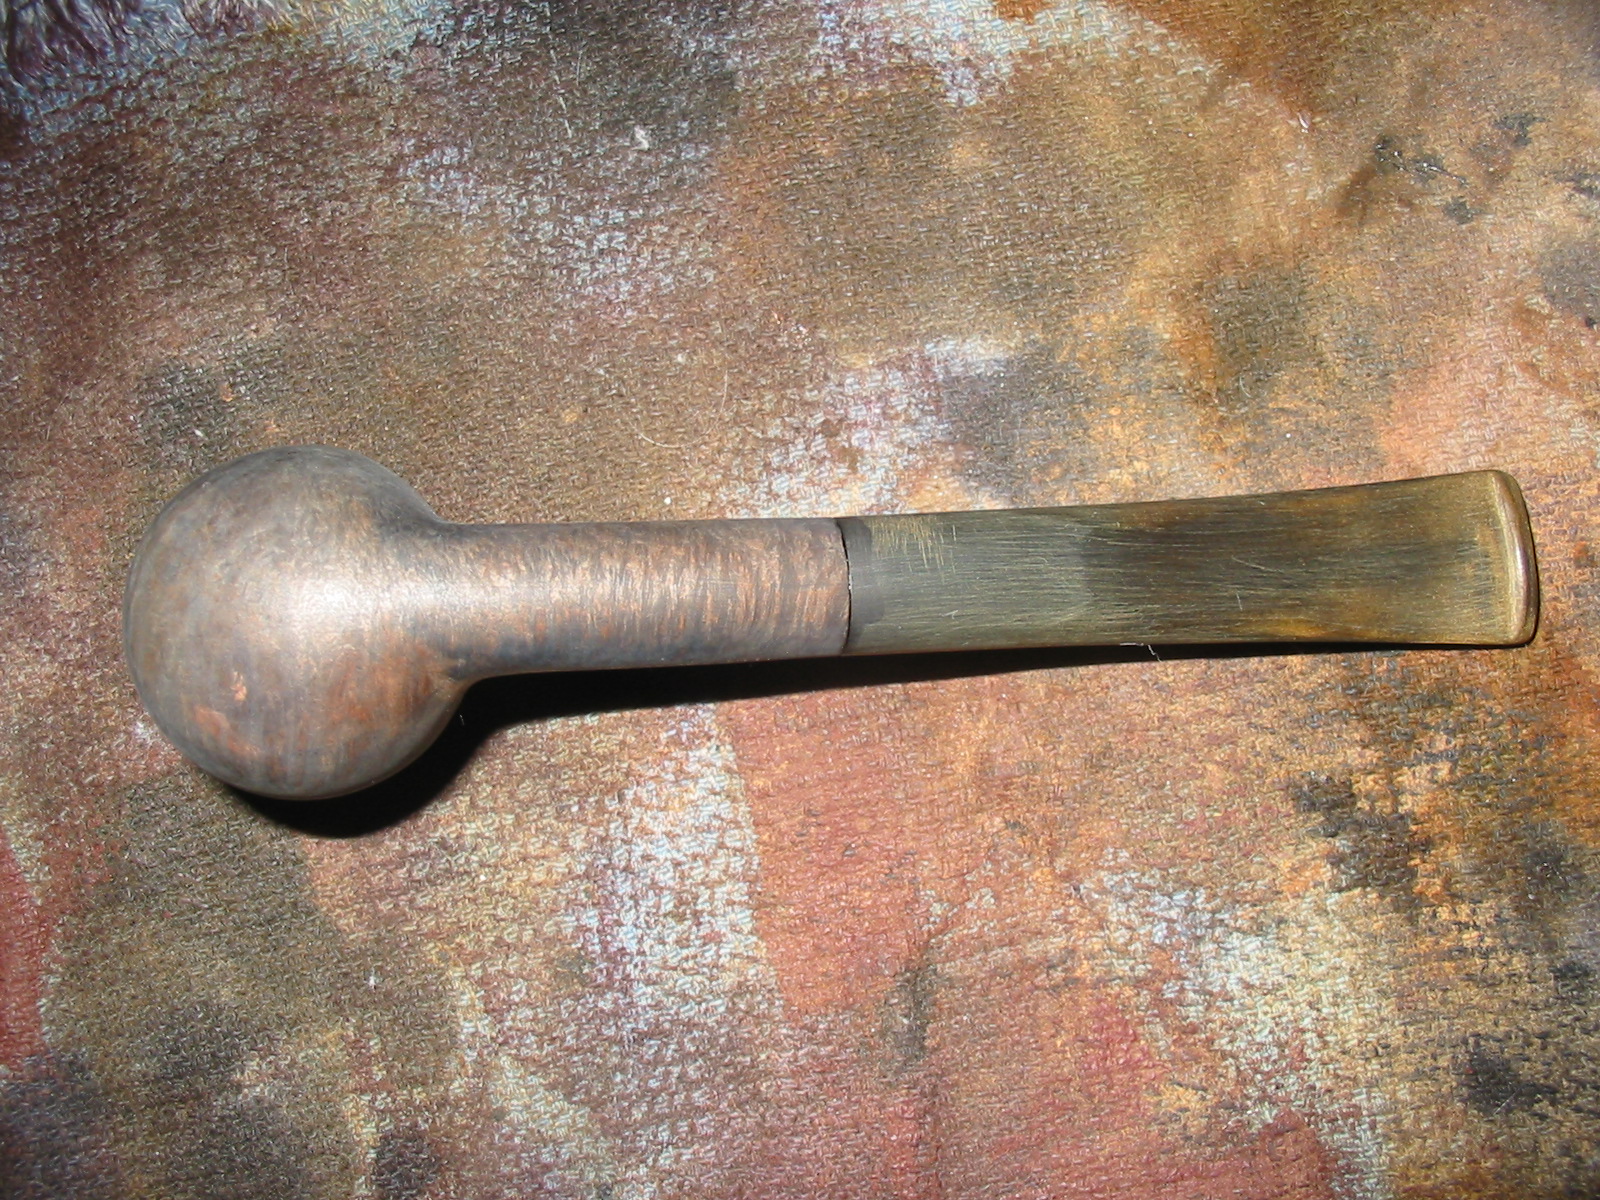
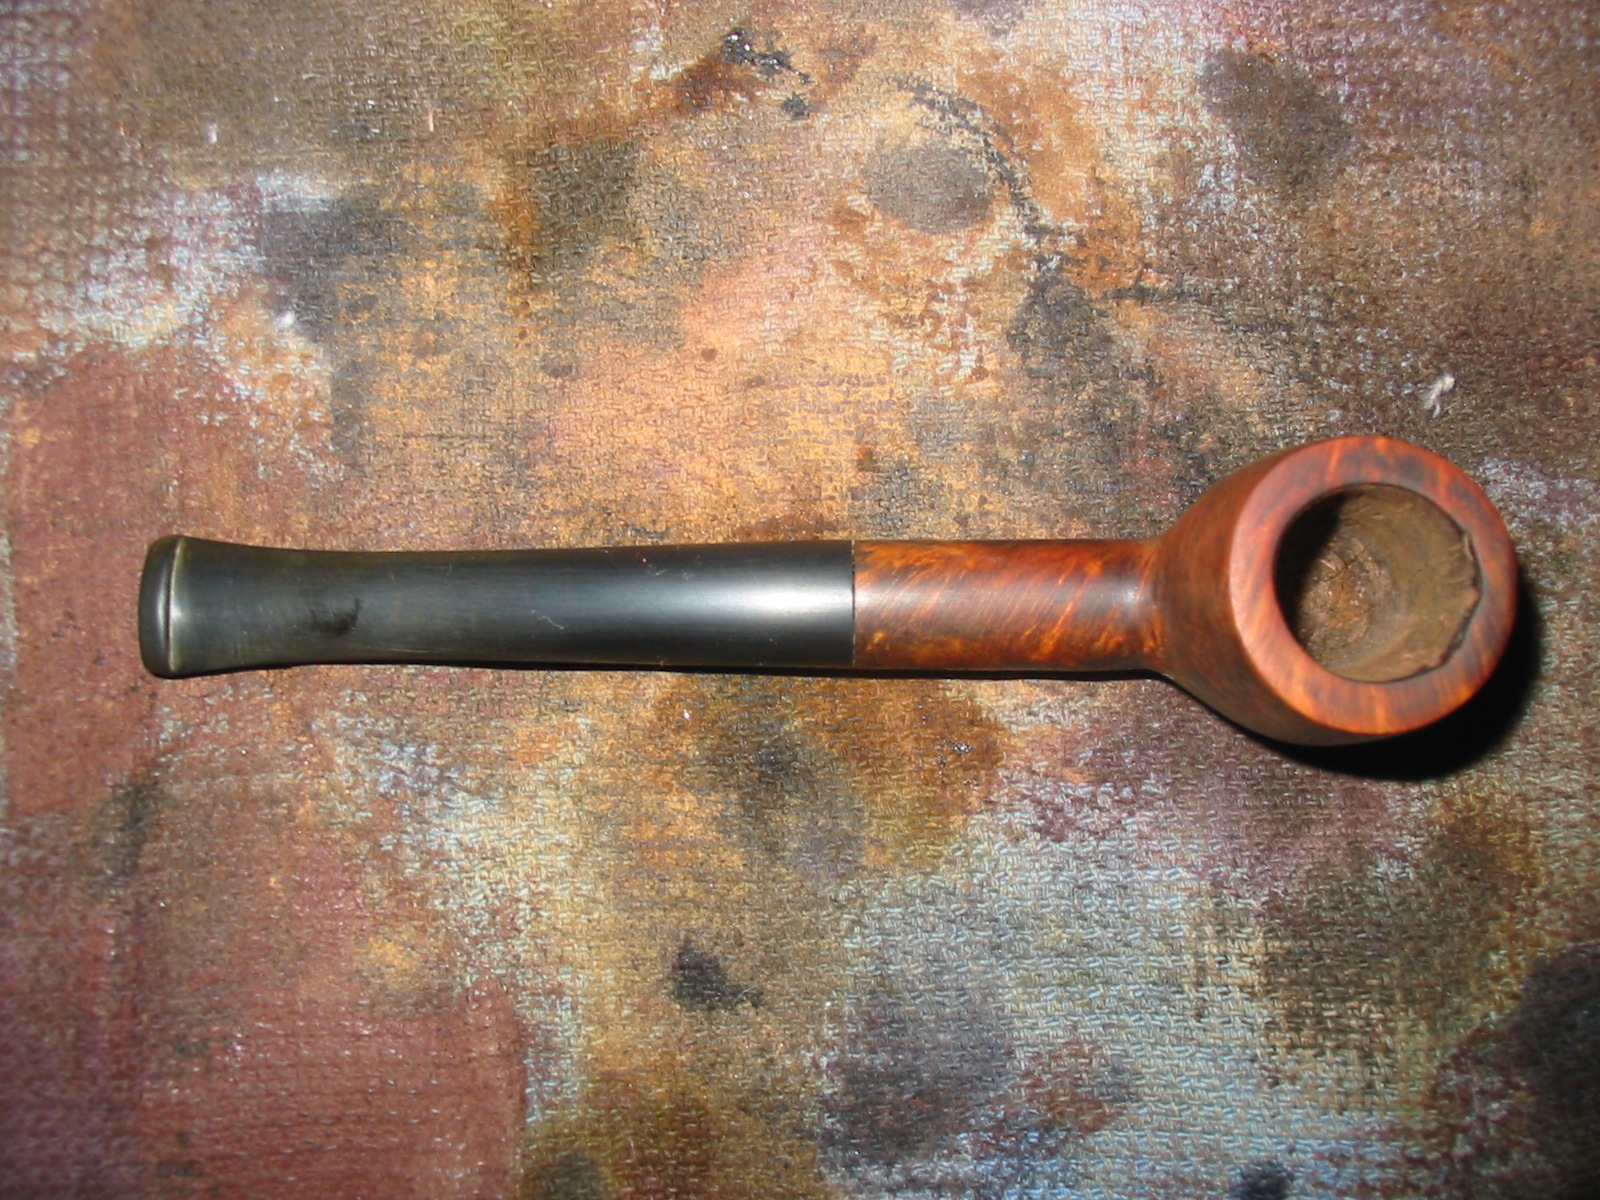
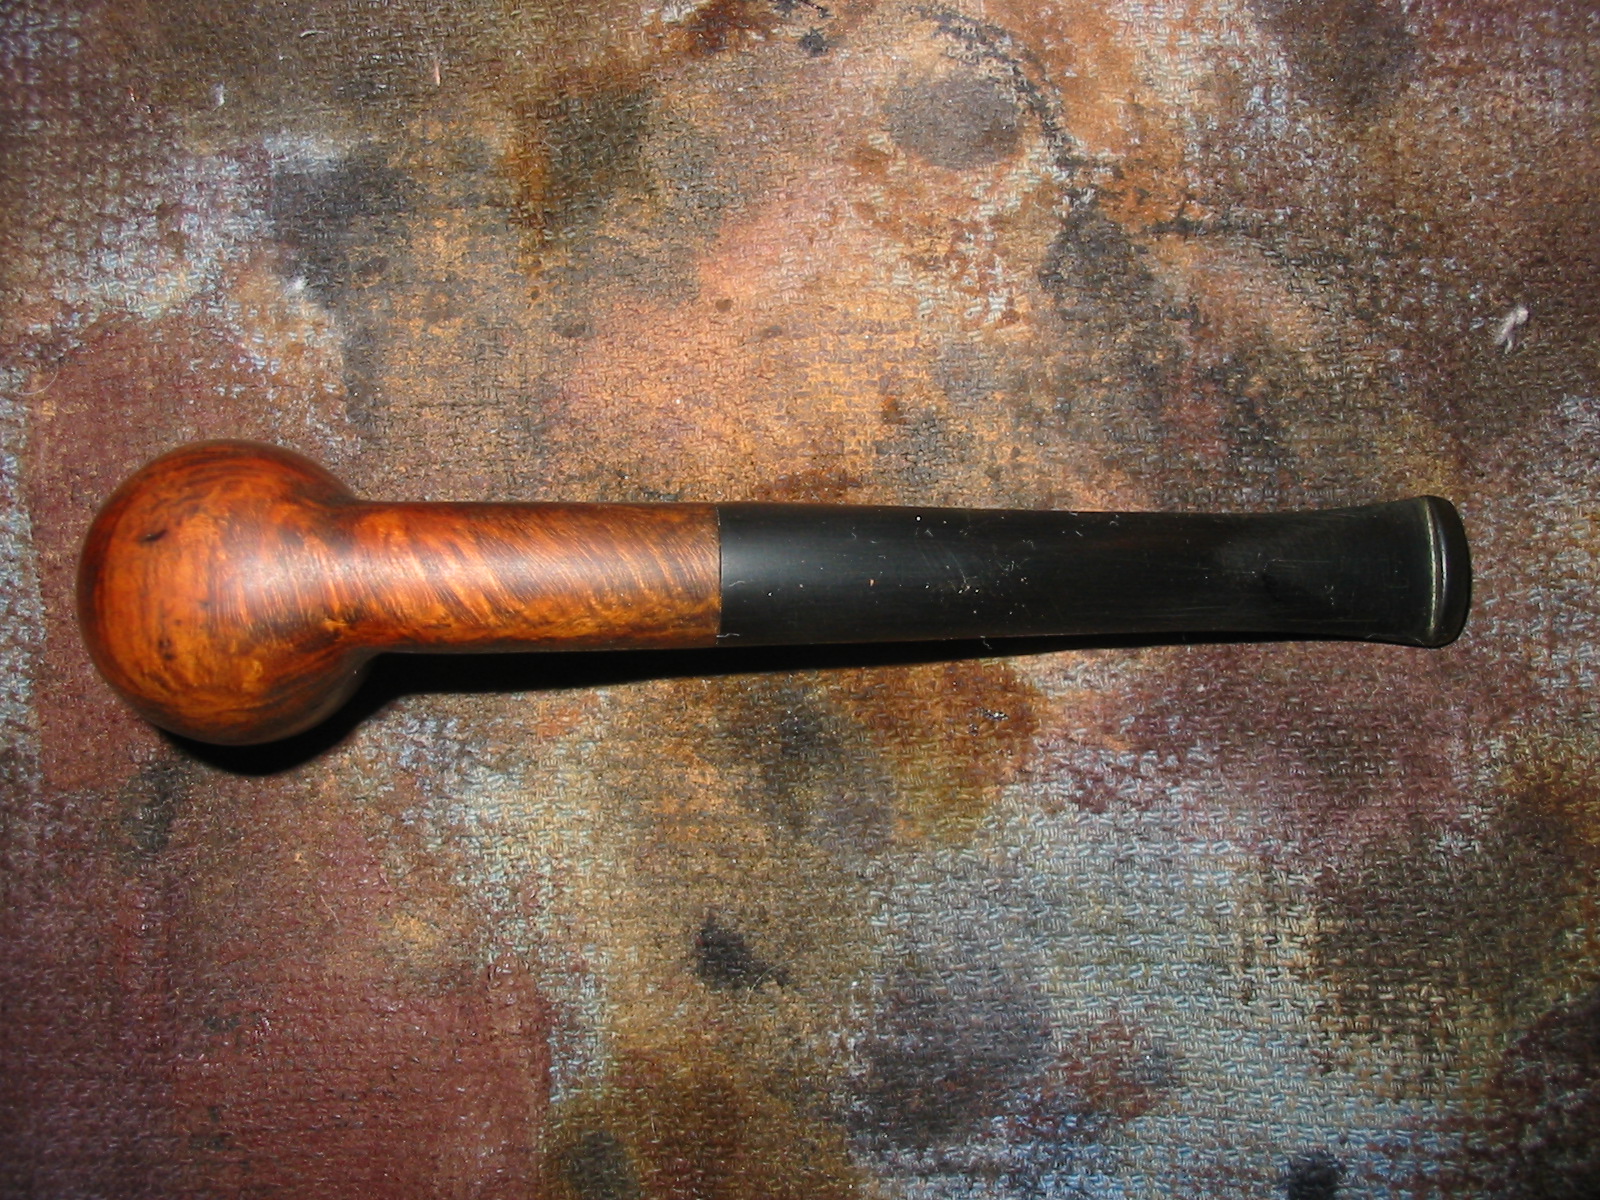
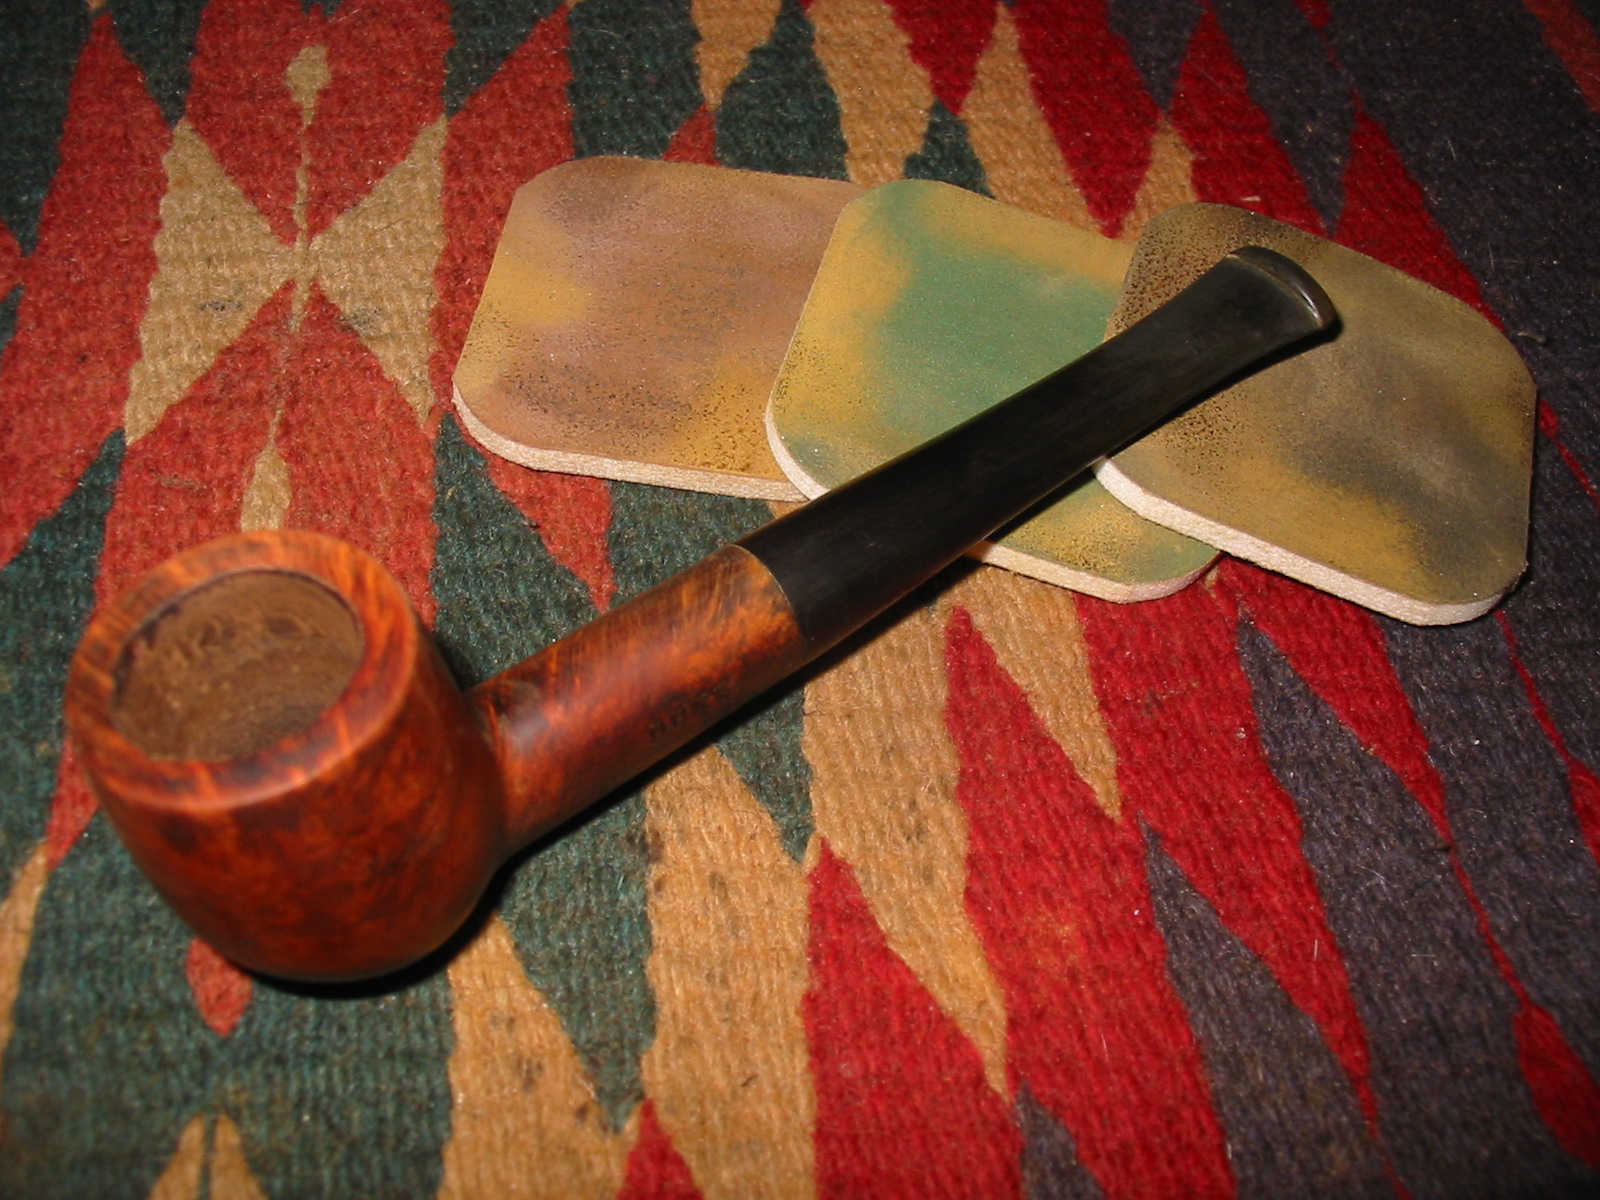
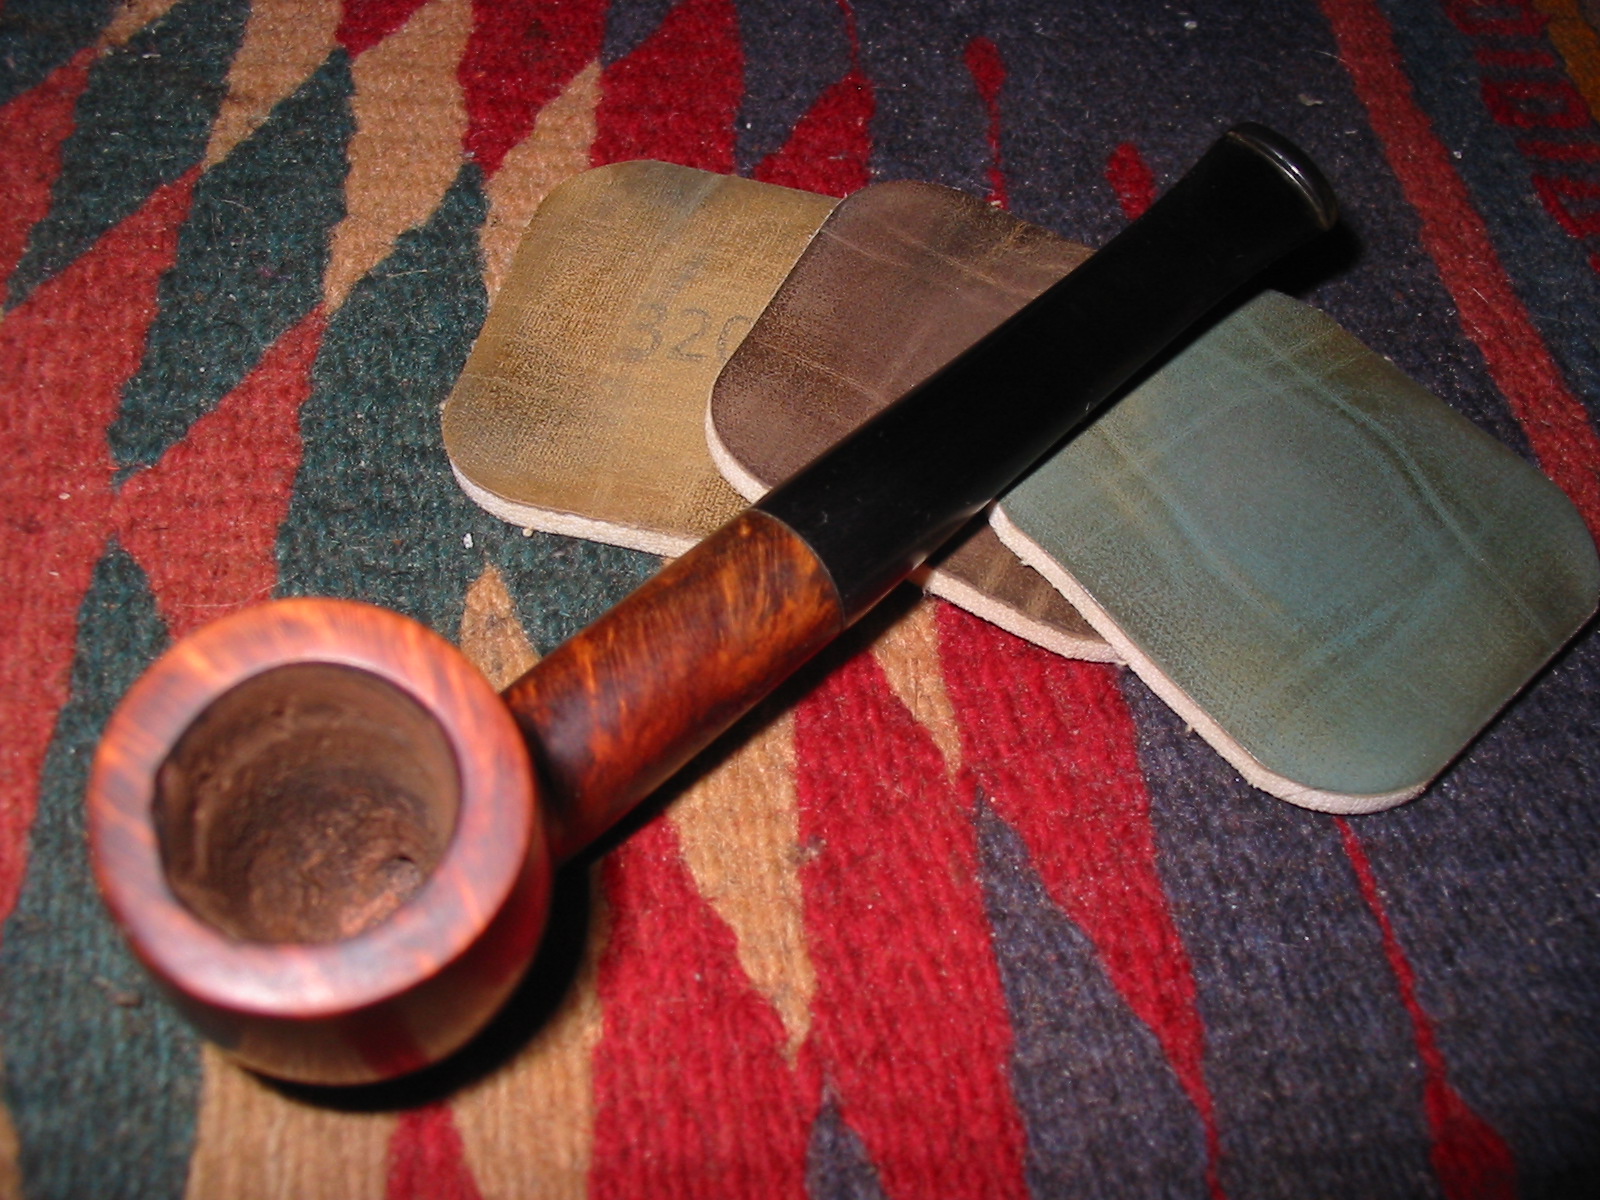
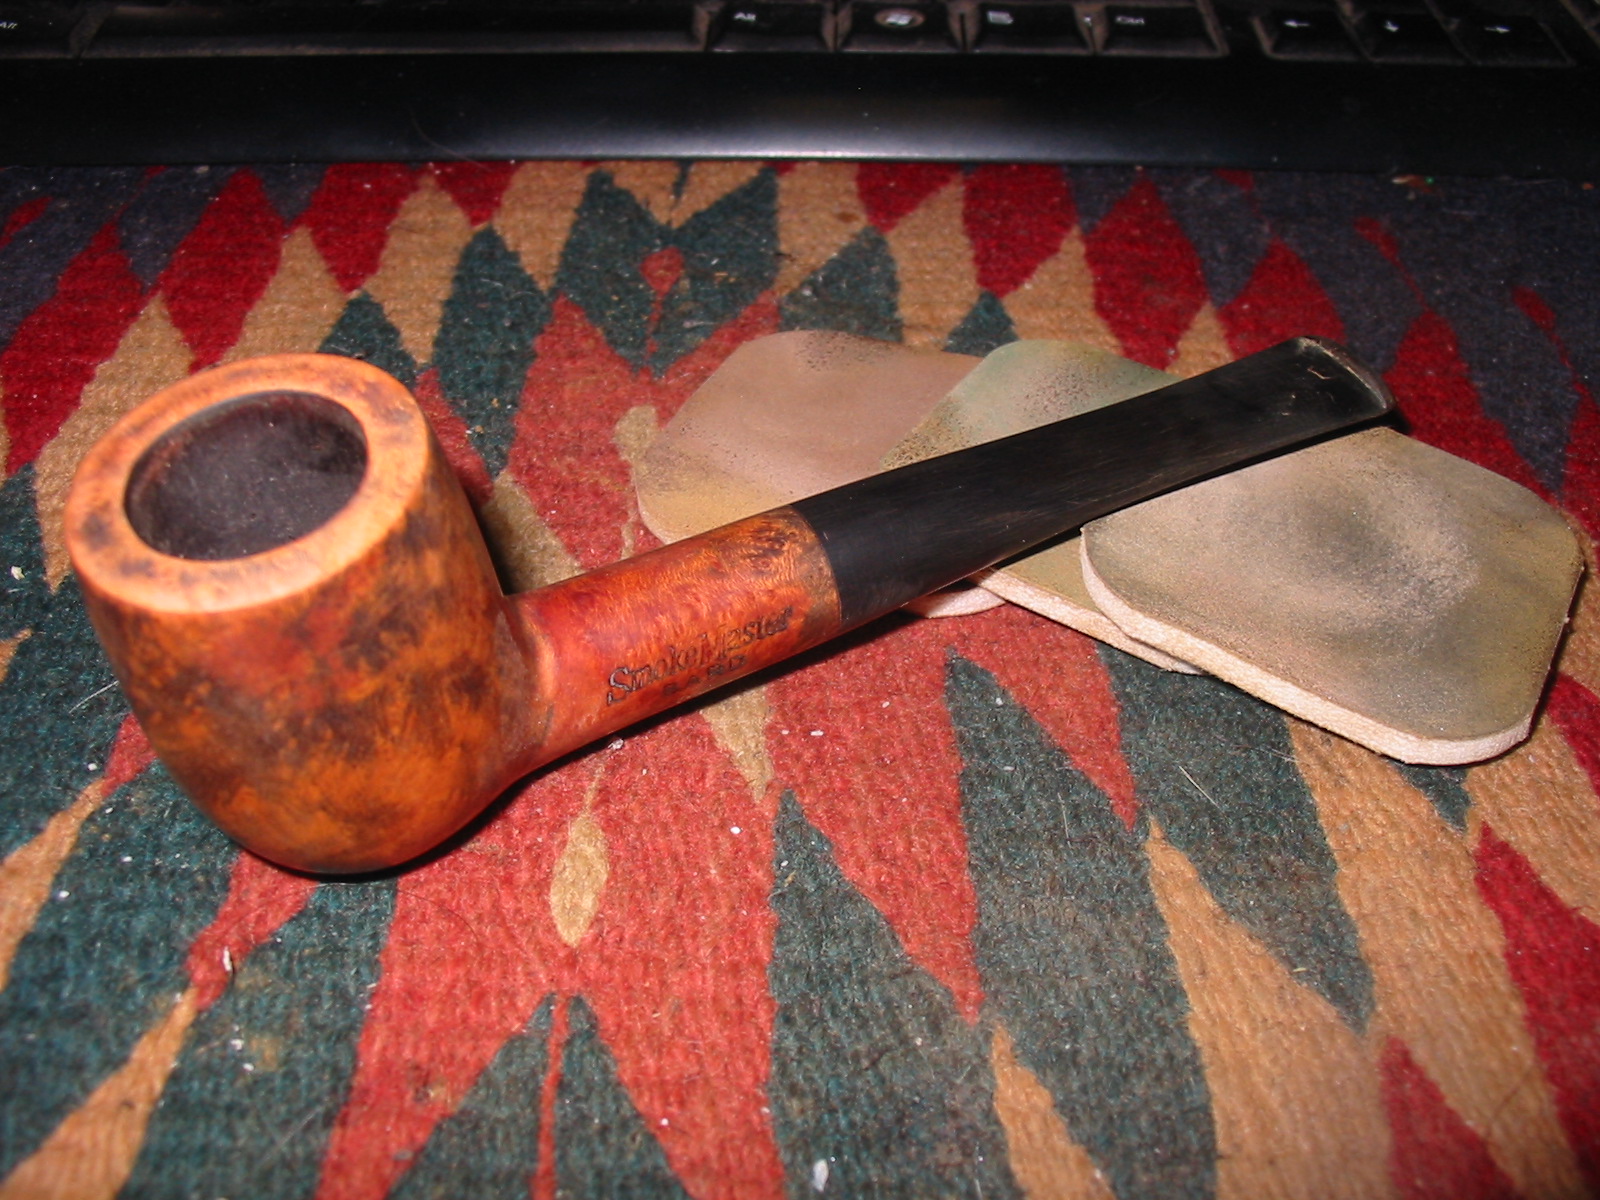
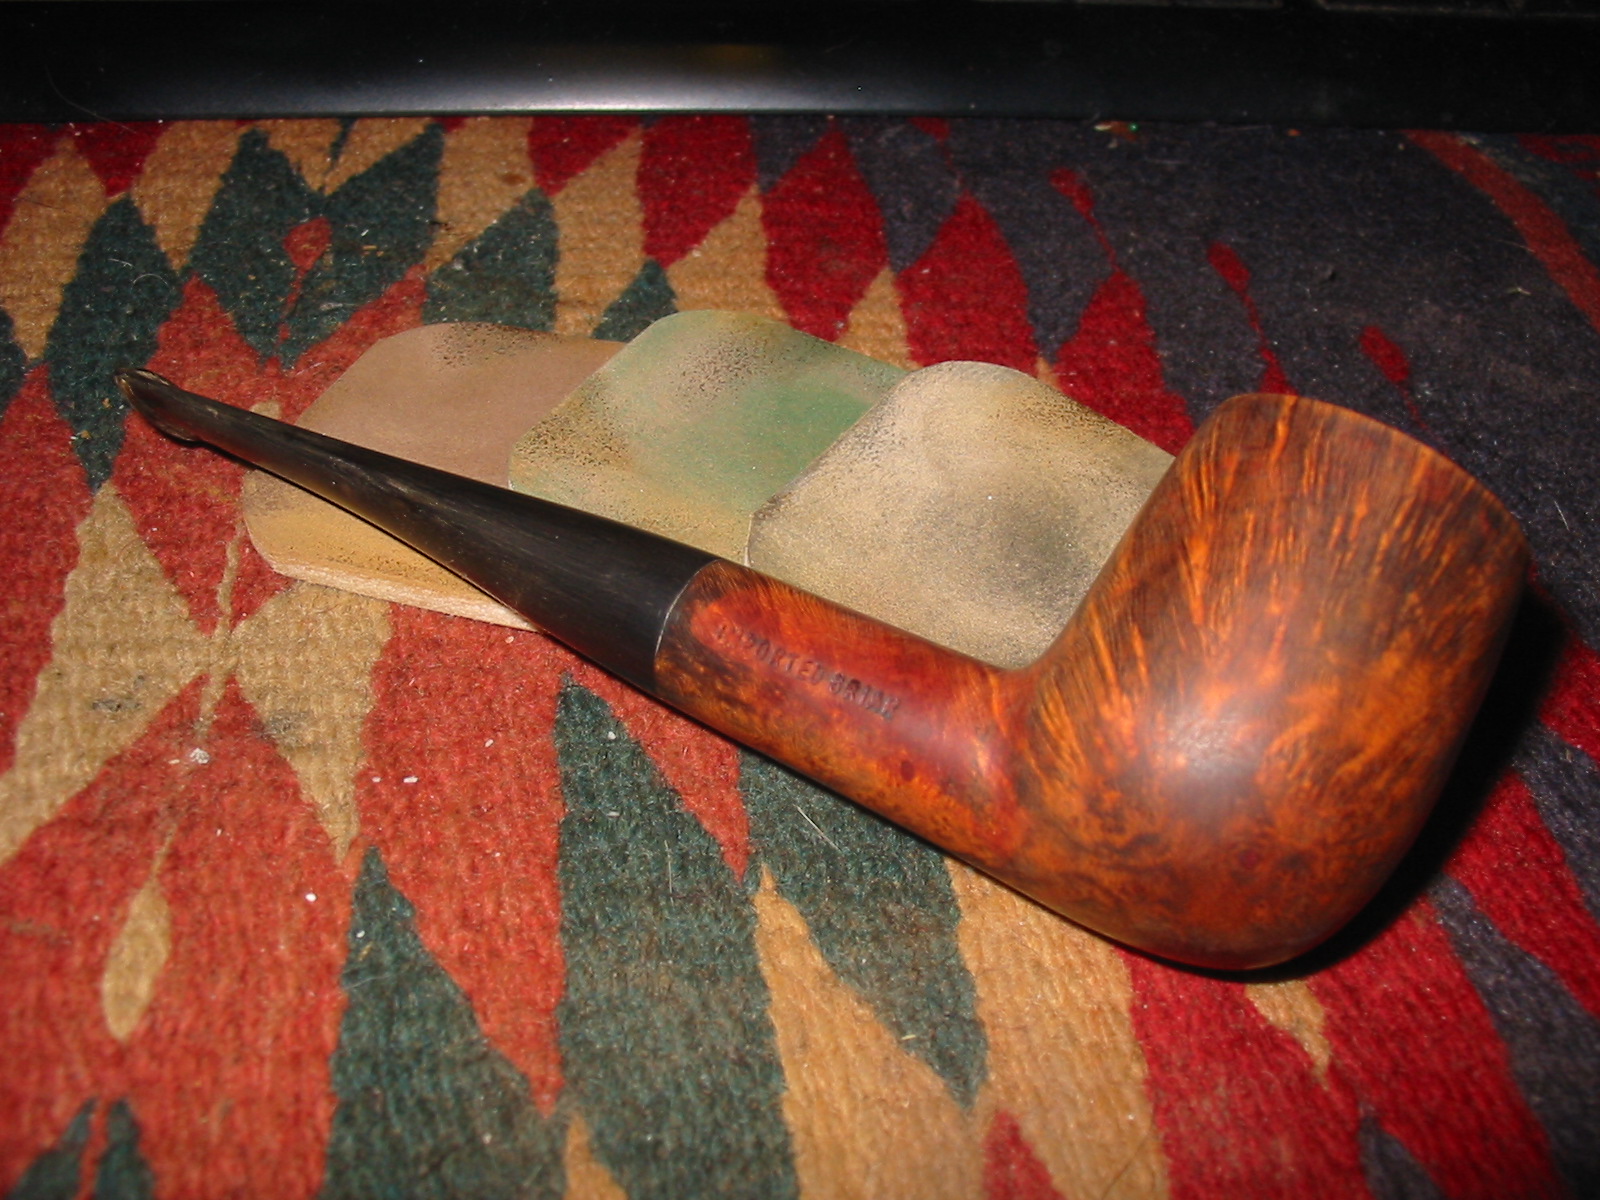
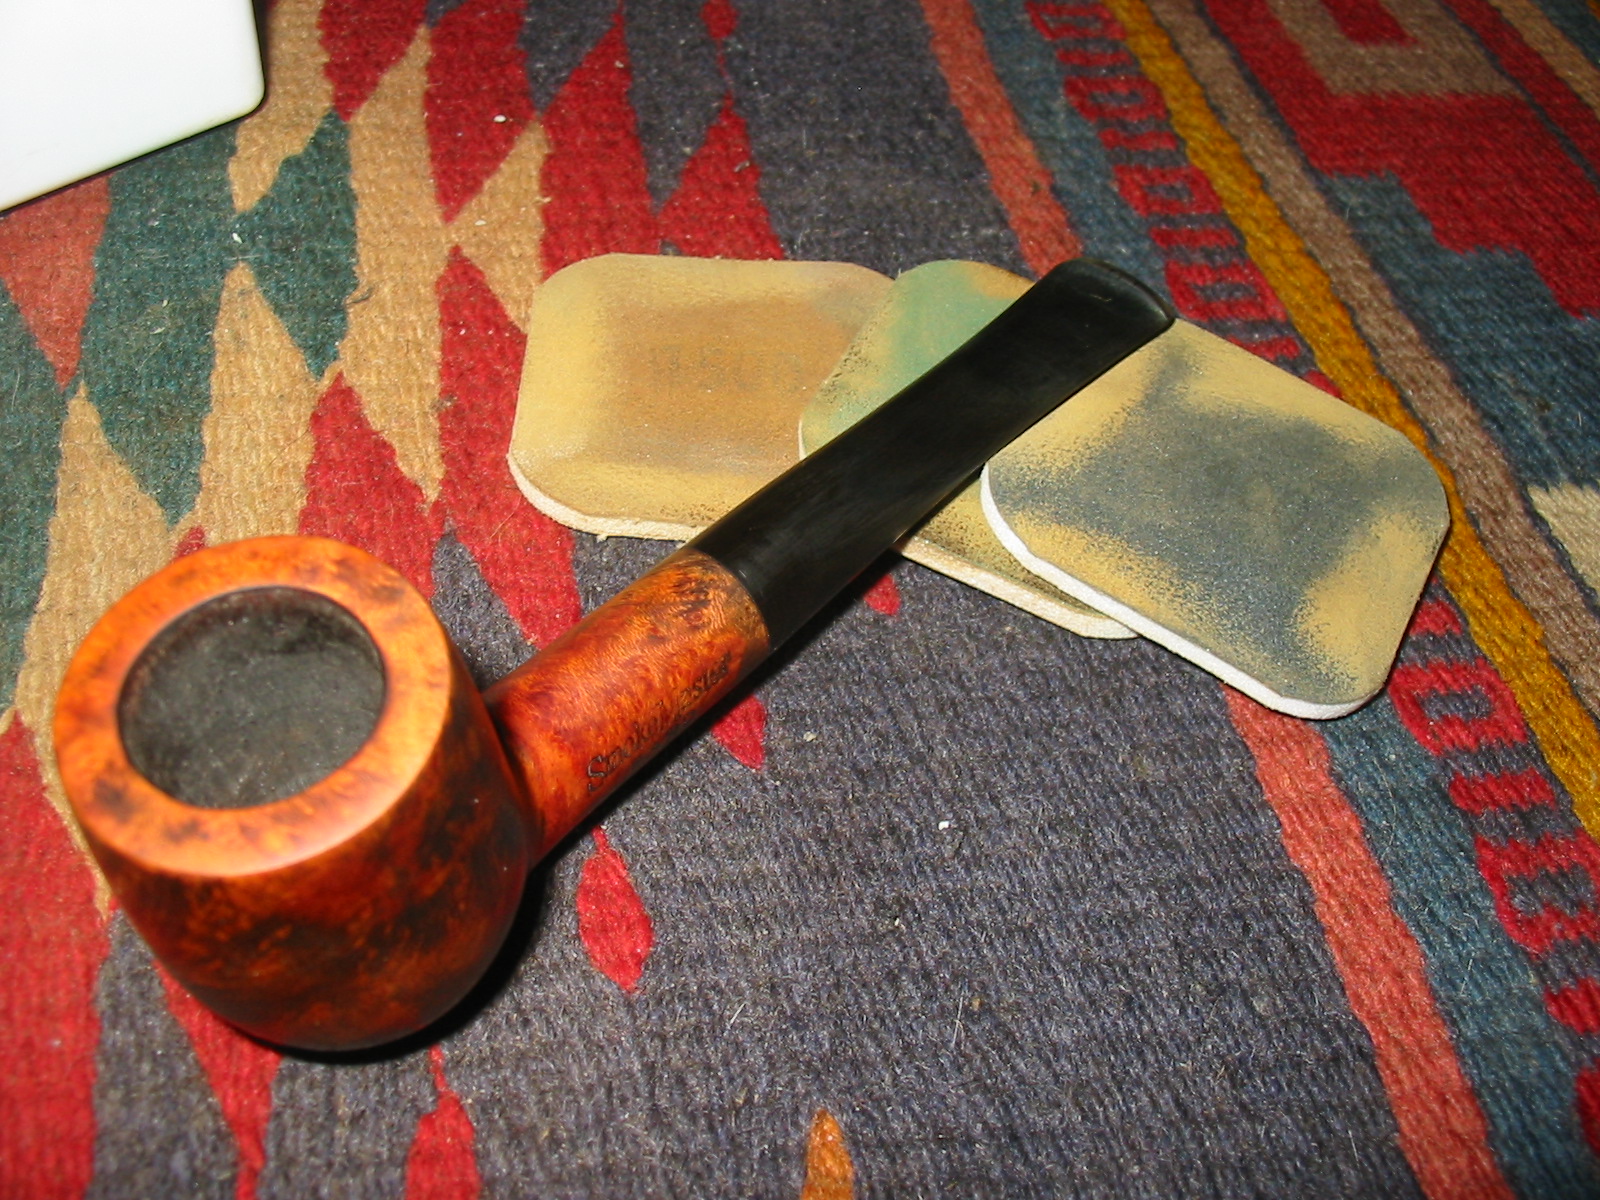
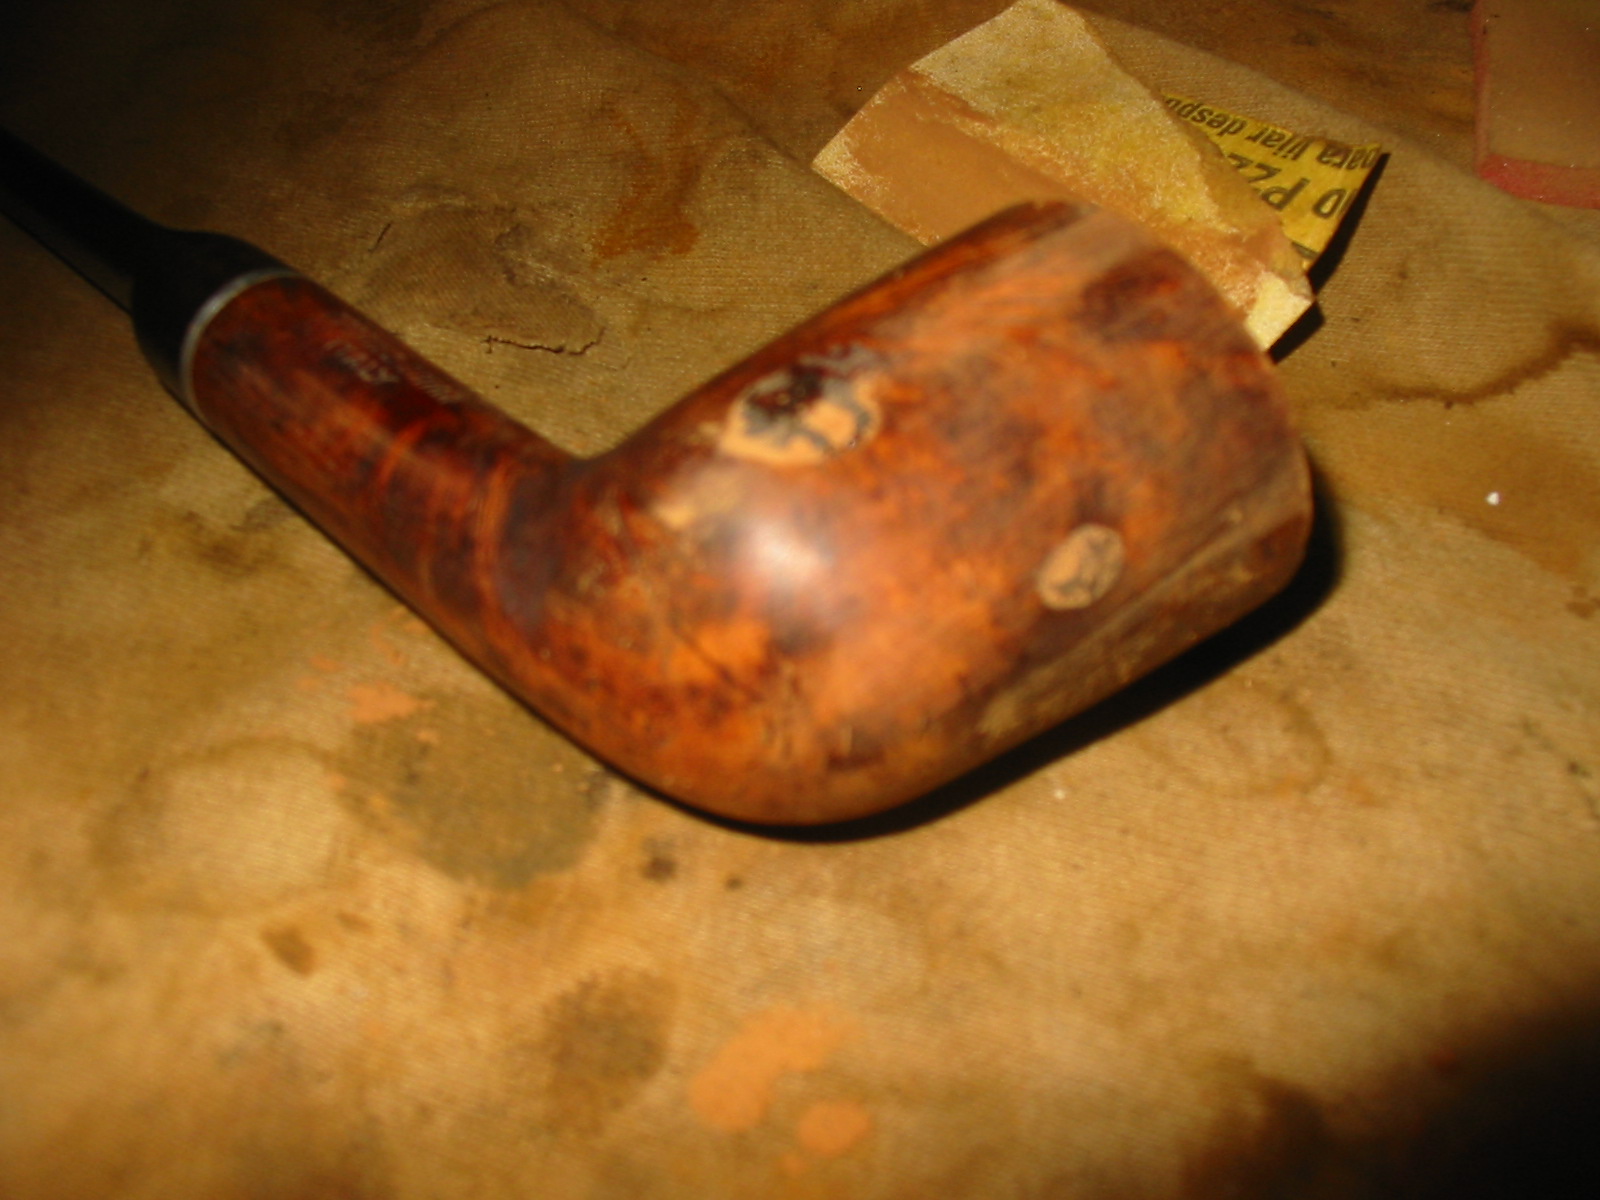
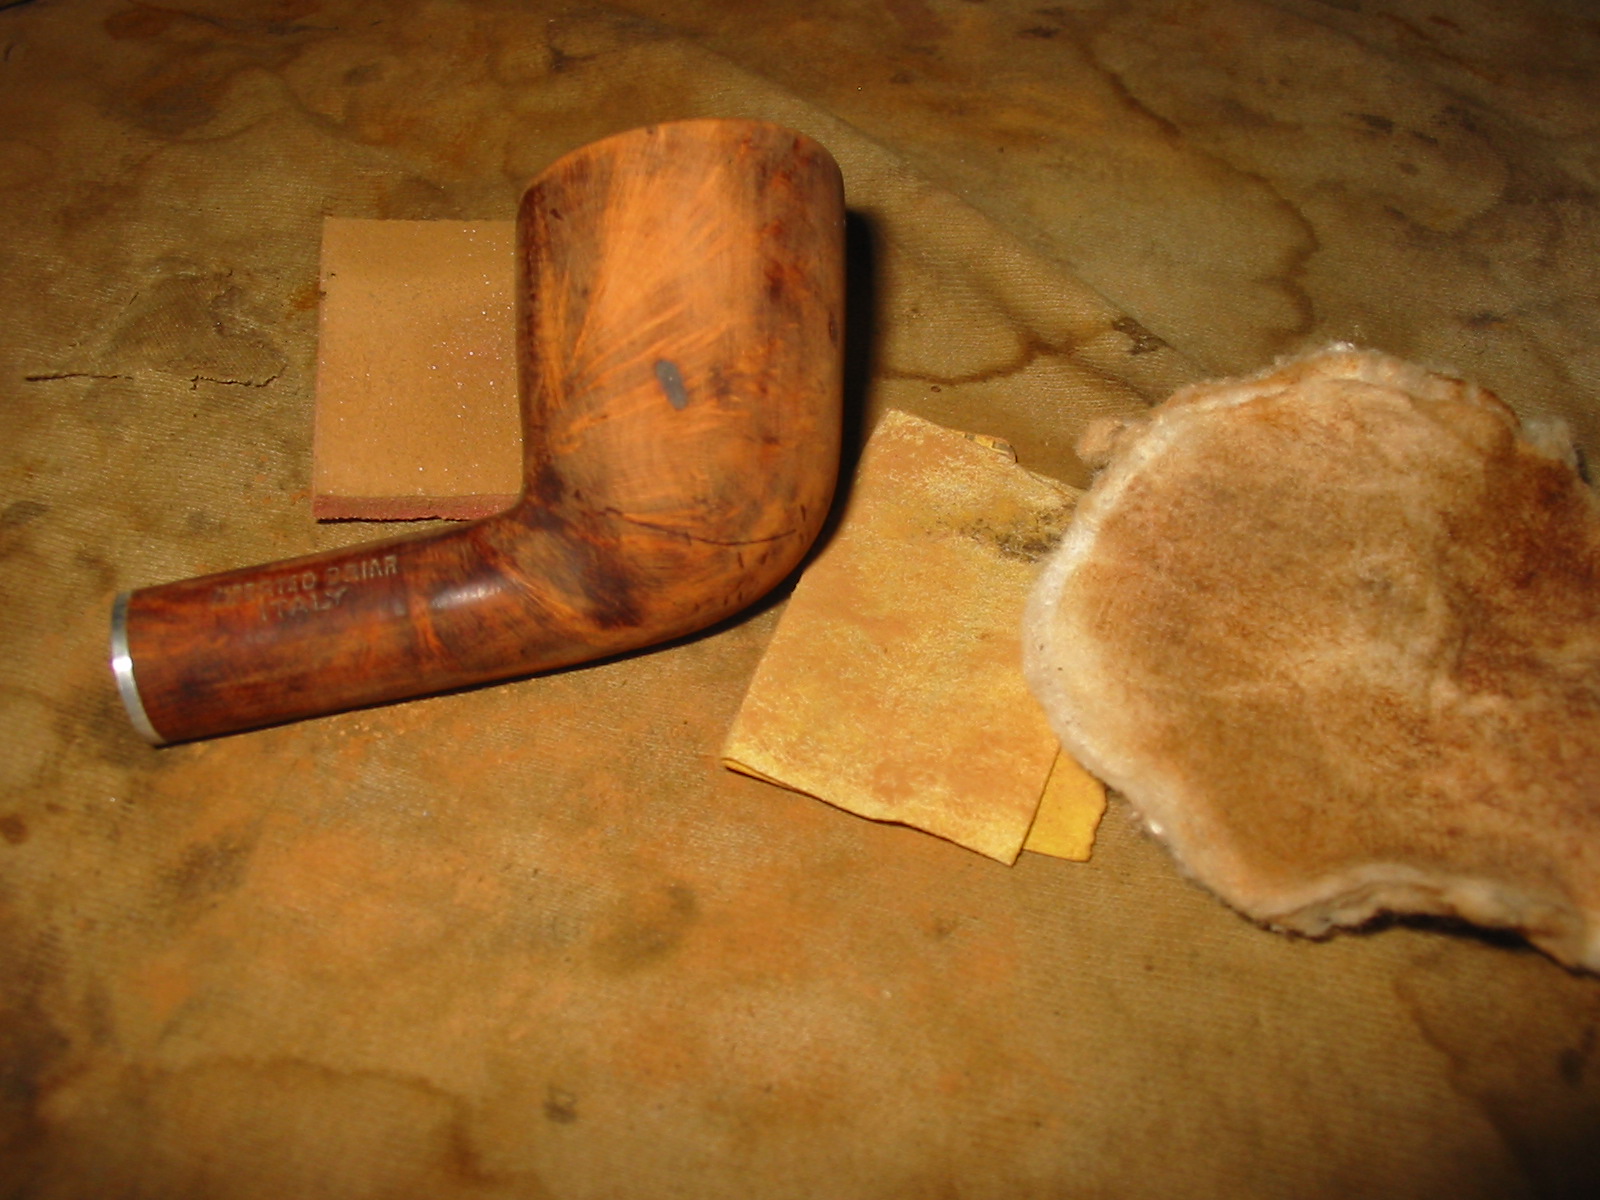
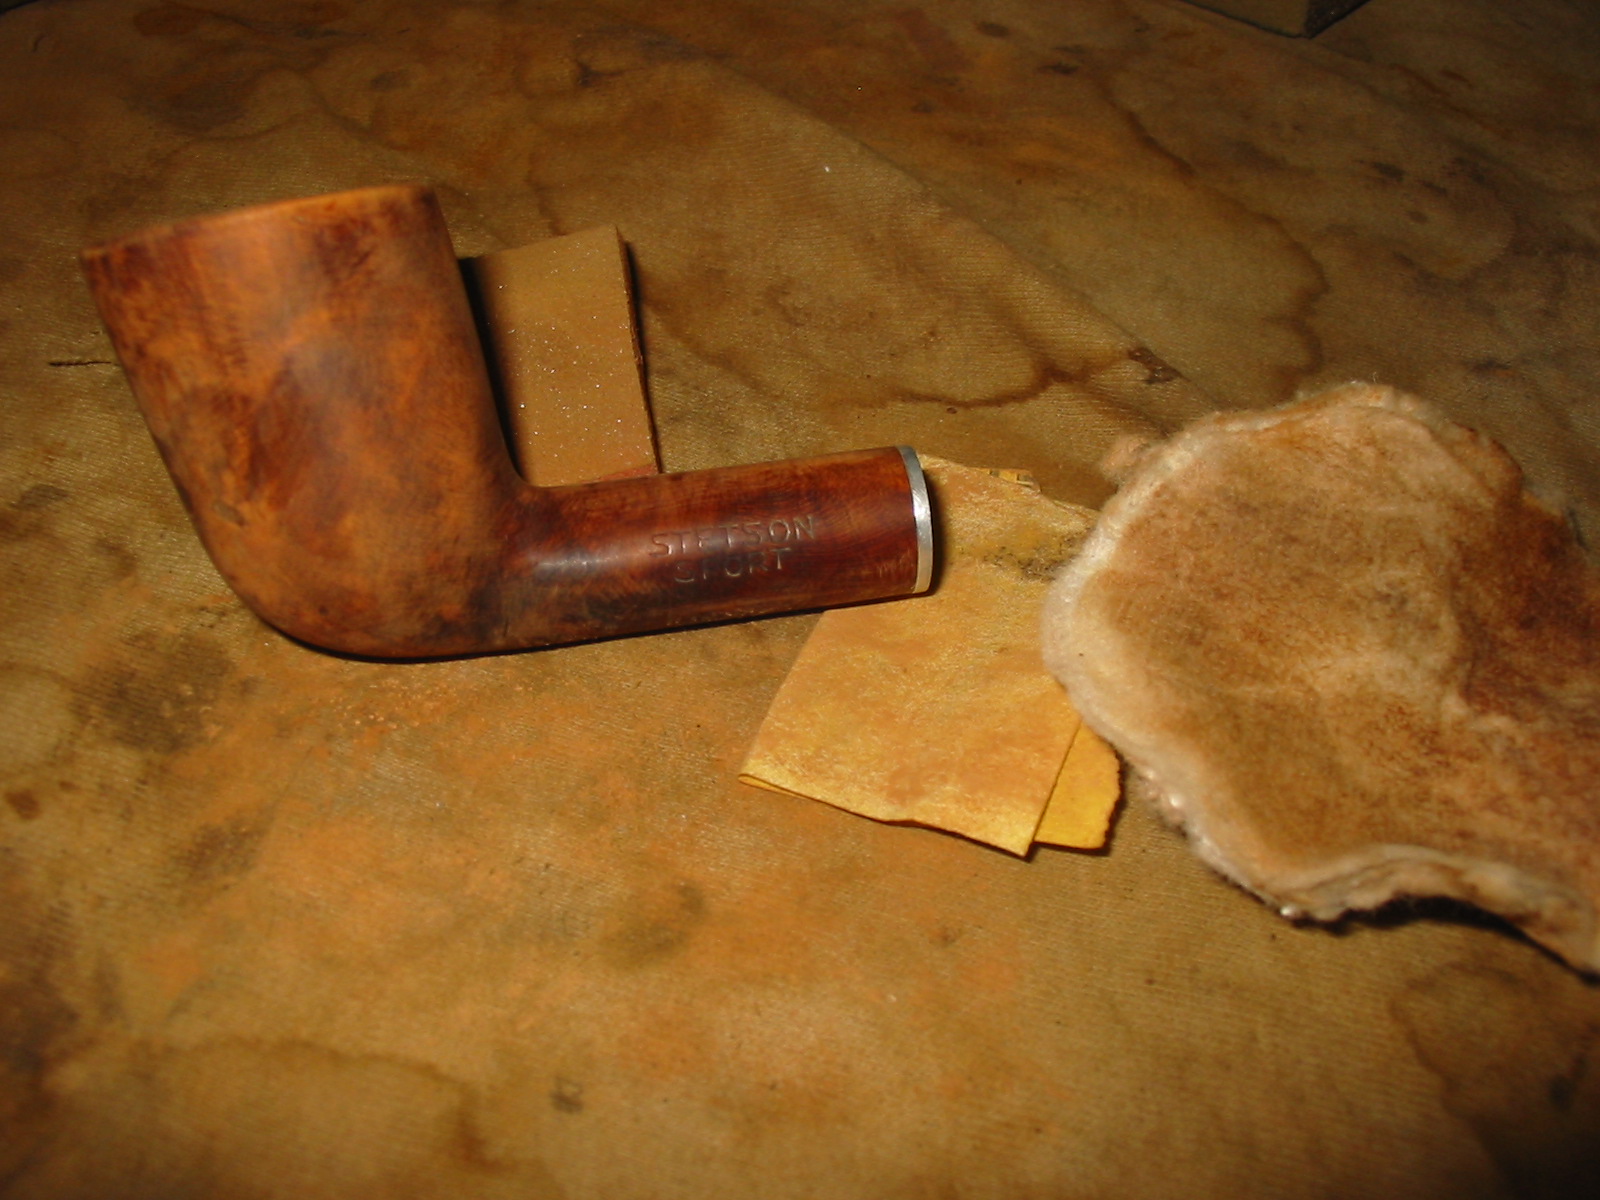
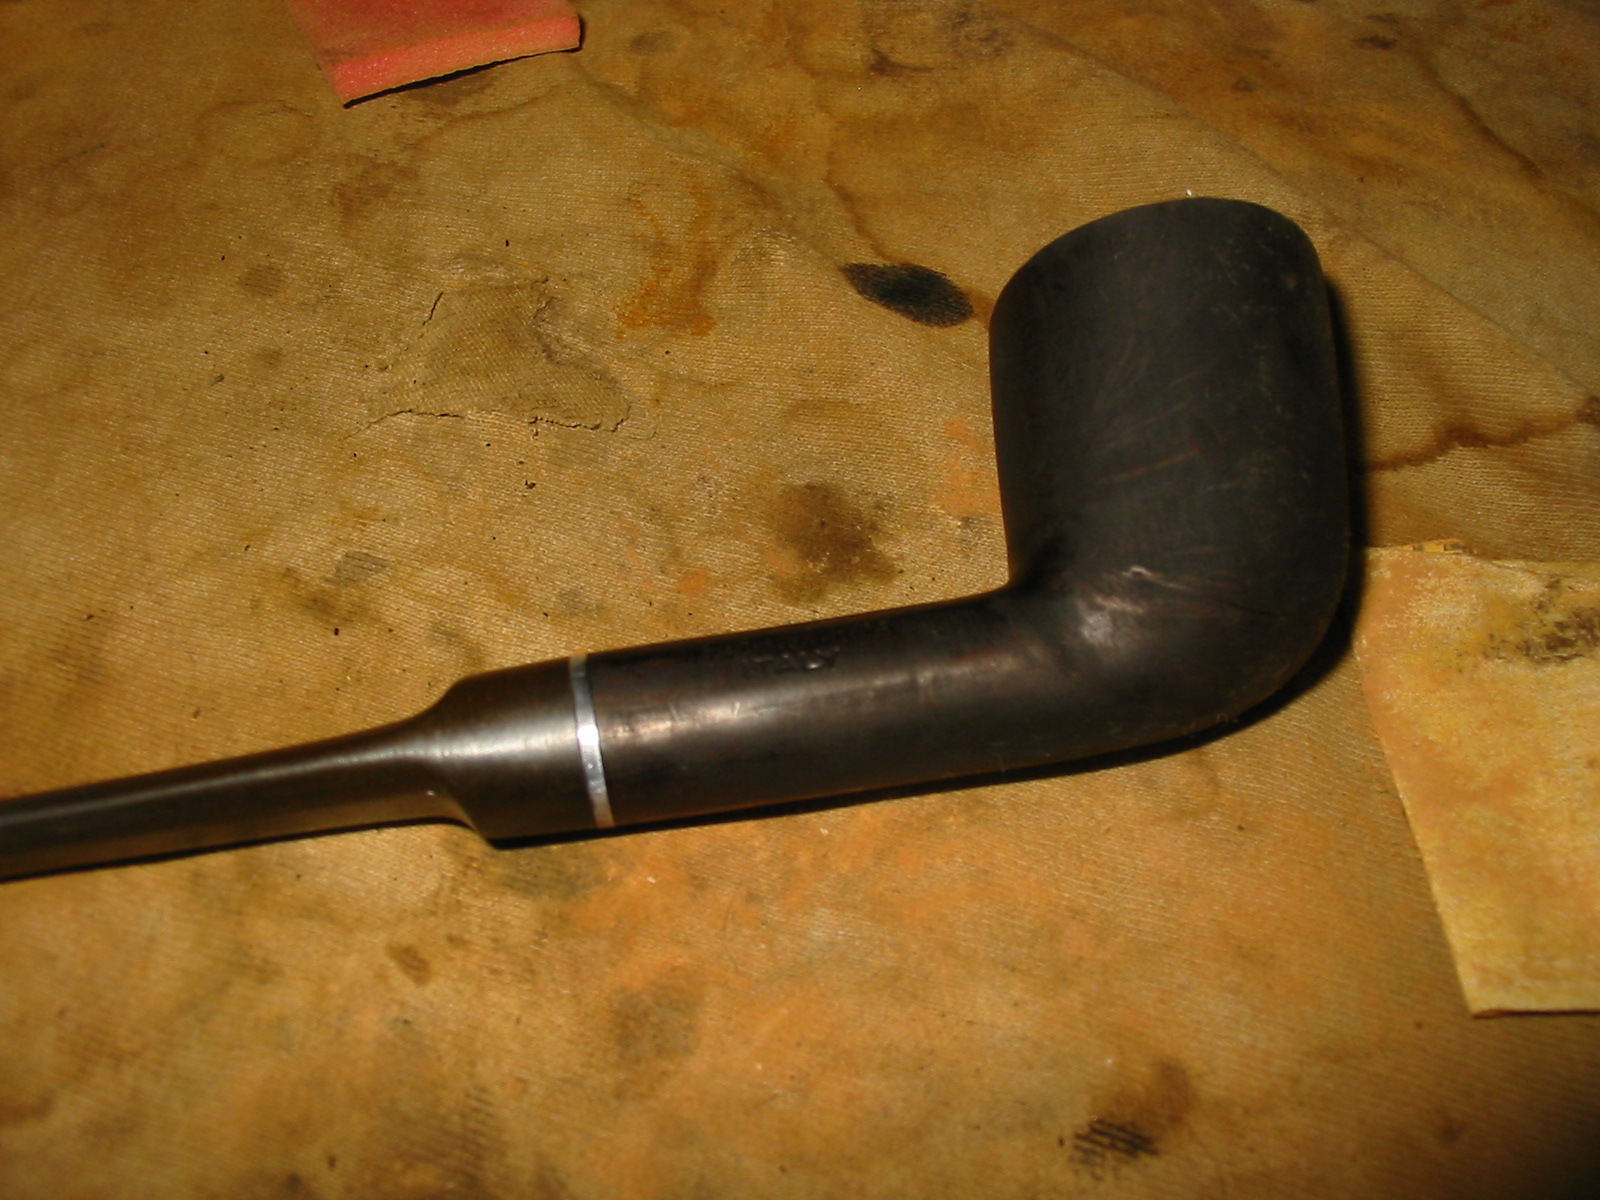
Tag Archives: micromesh sanding pads

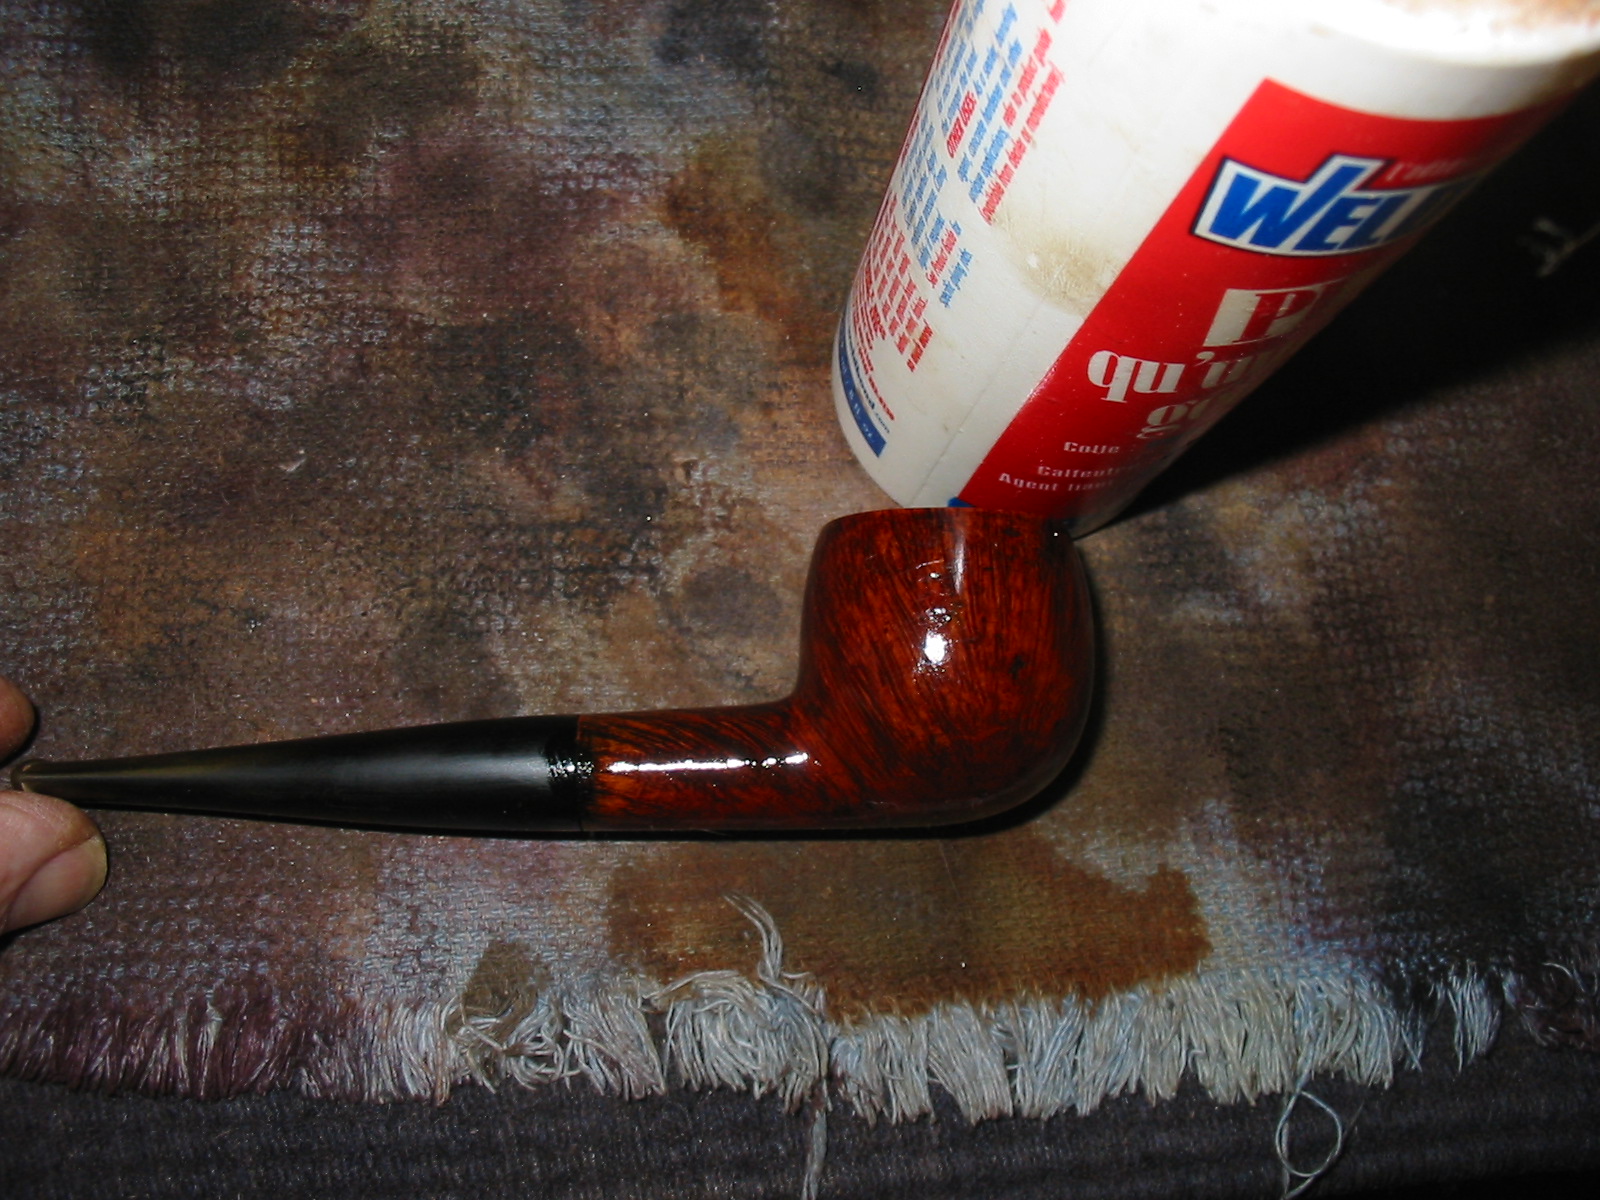
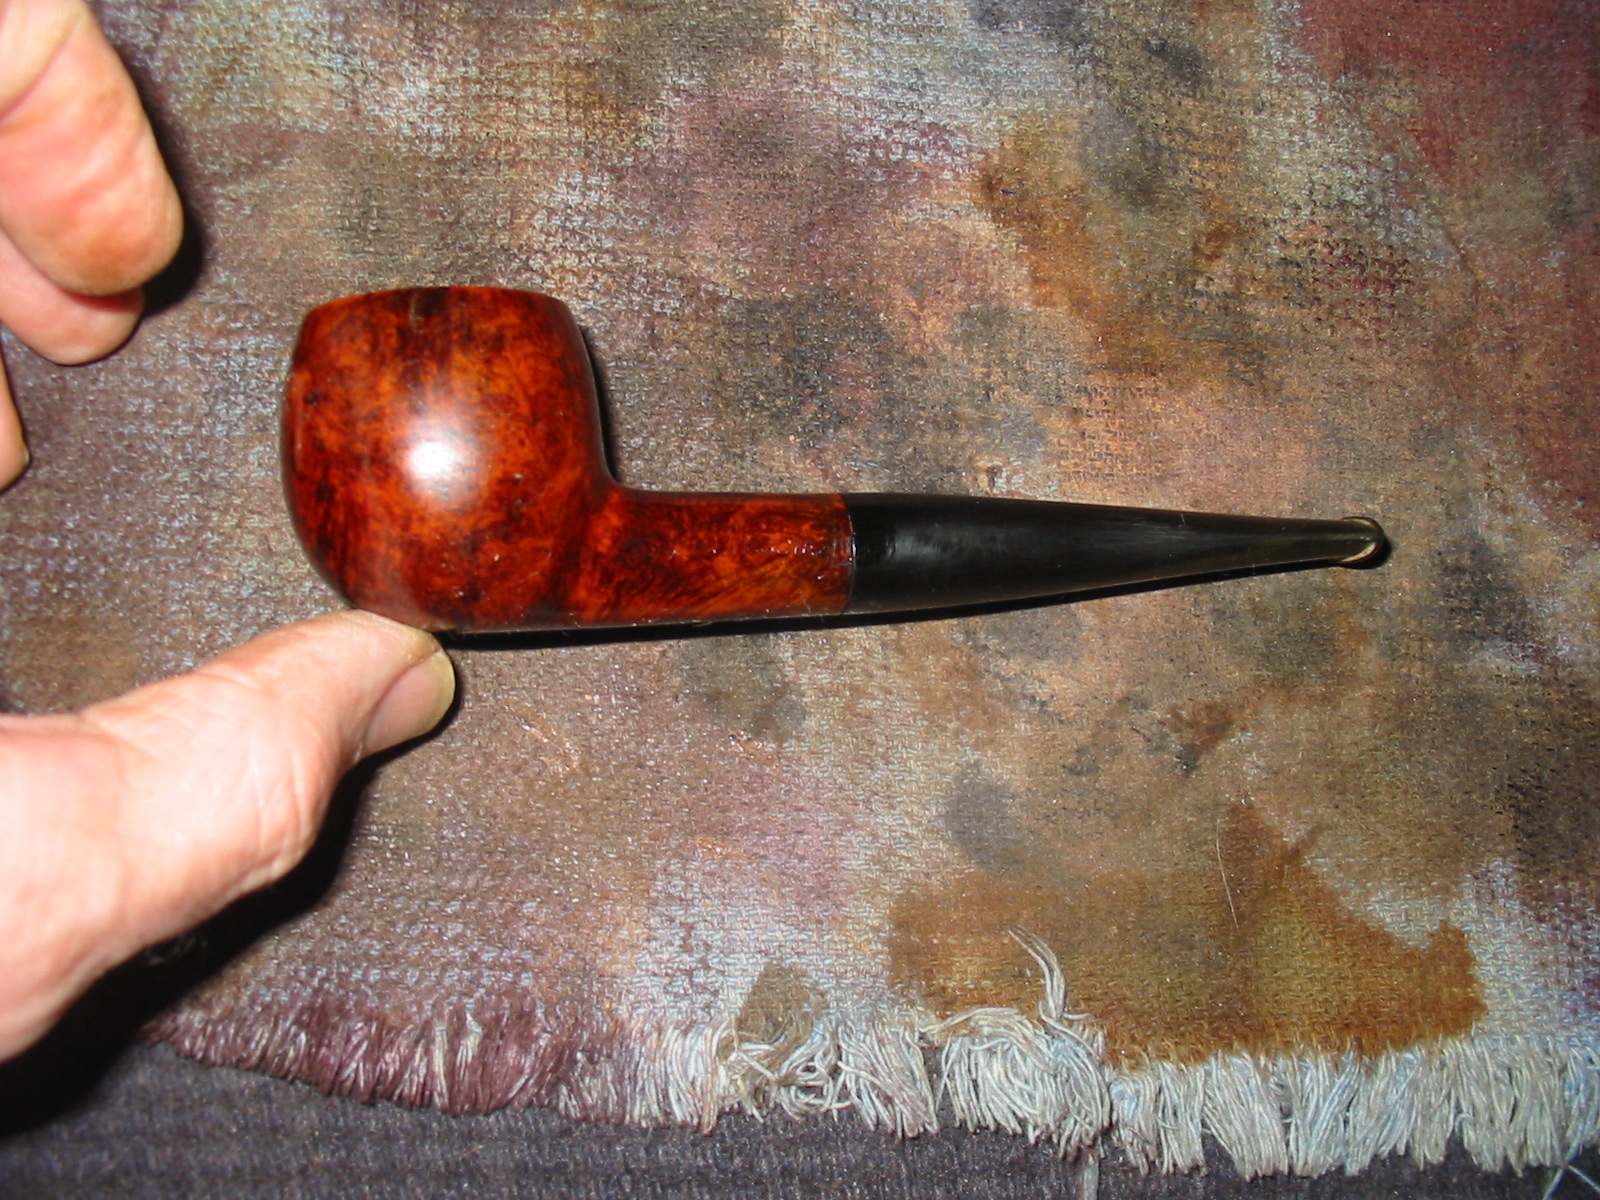
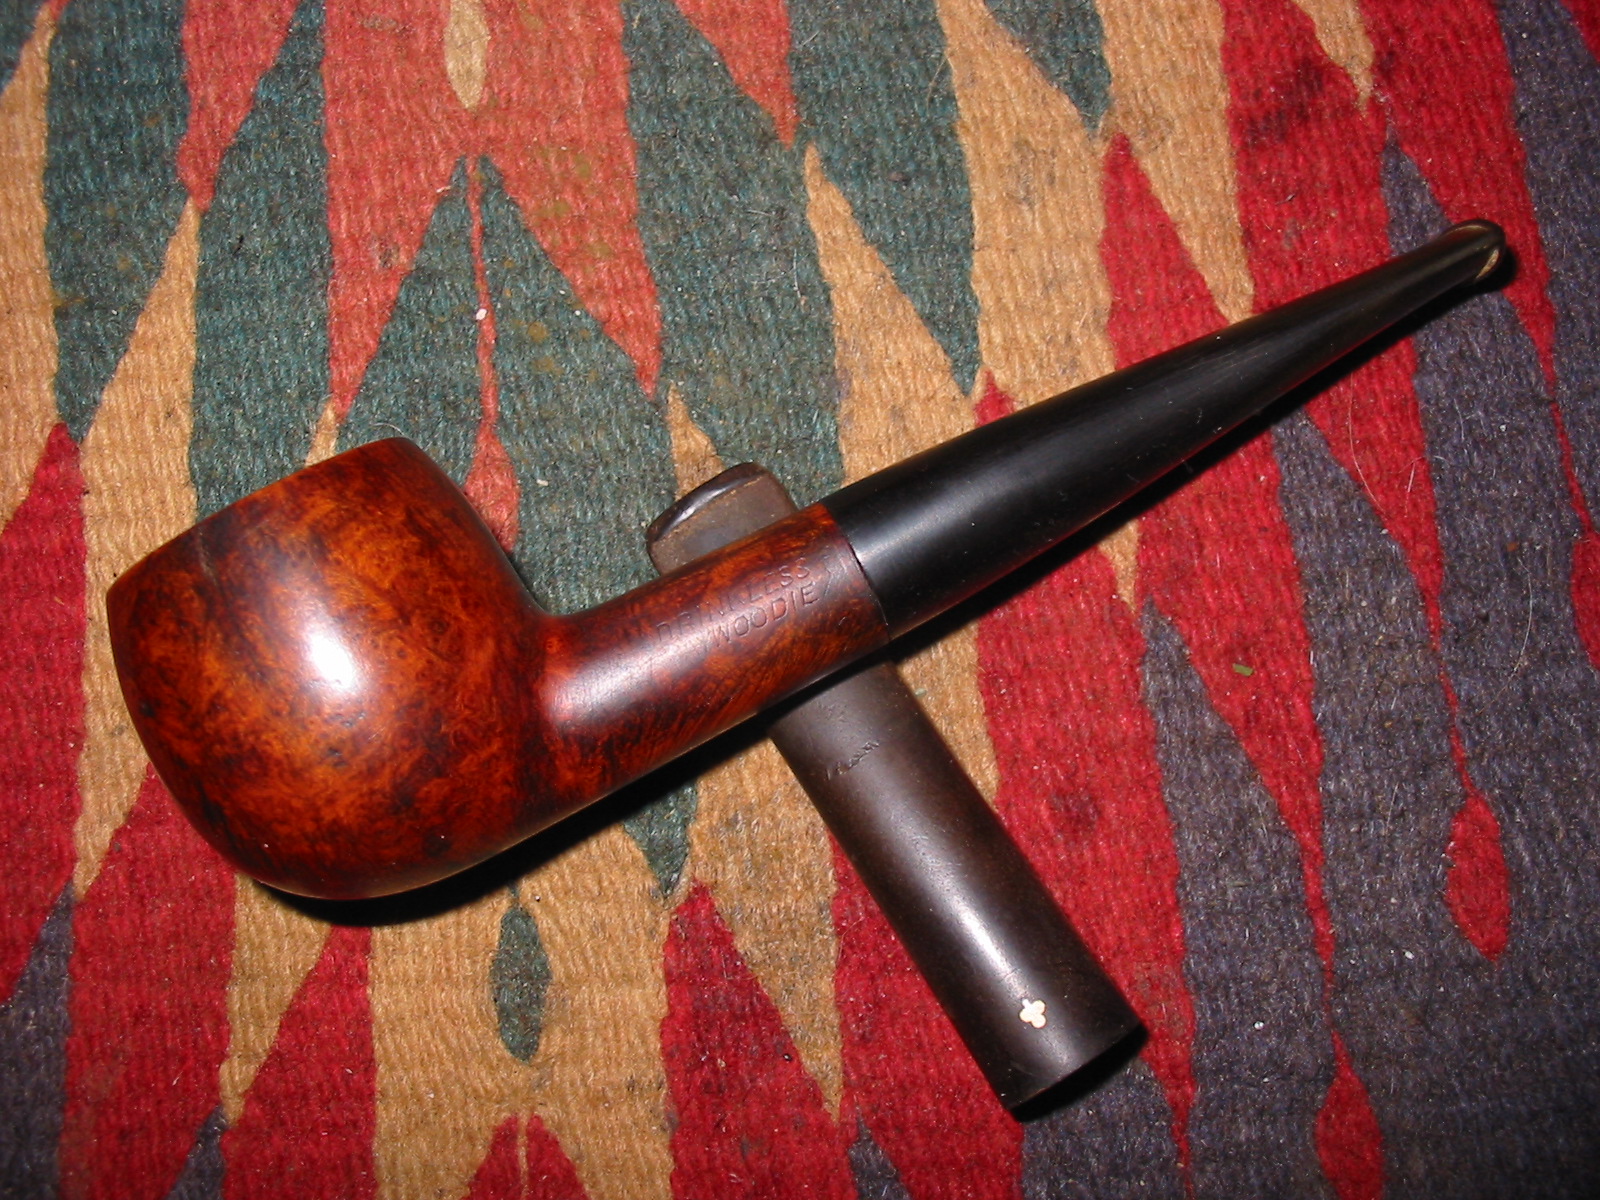
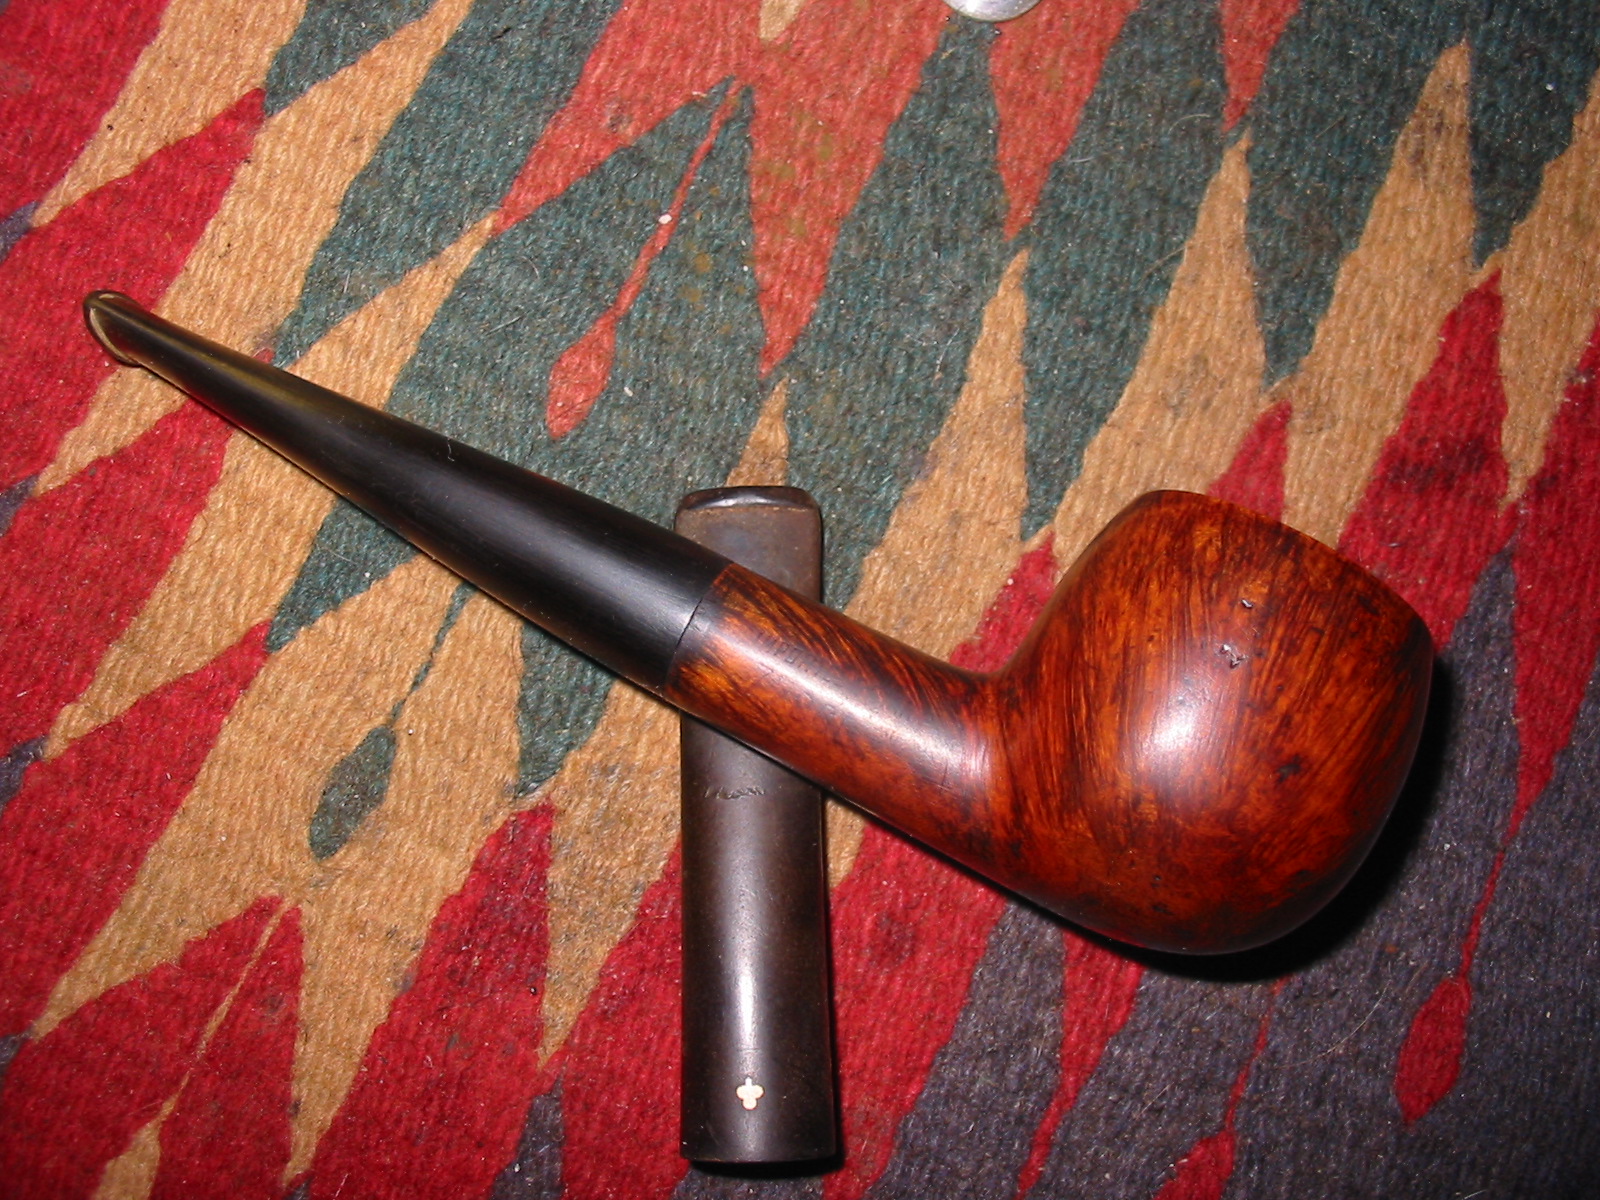
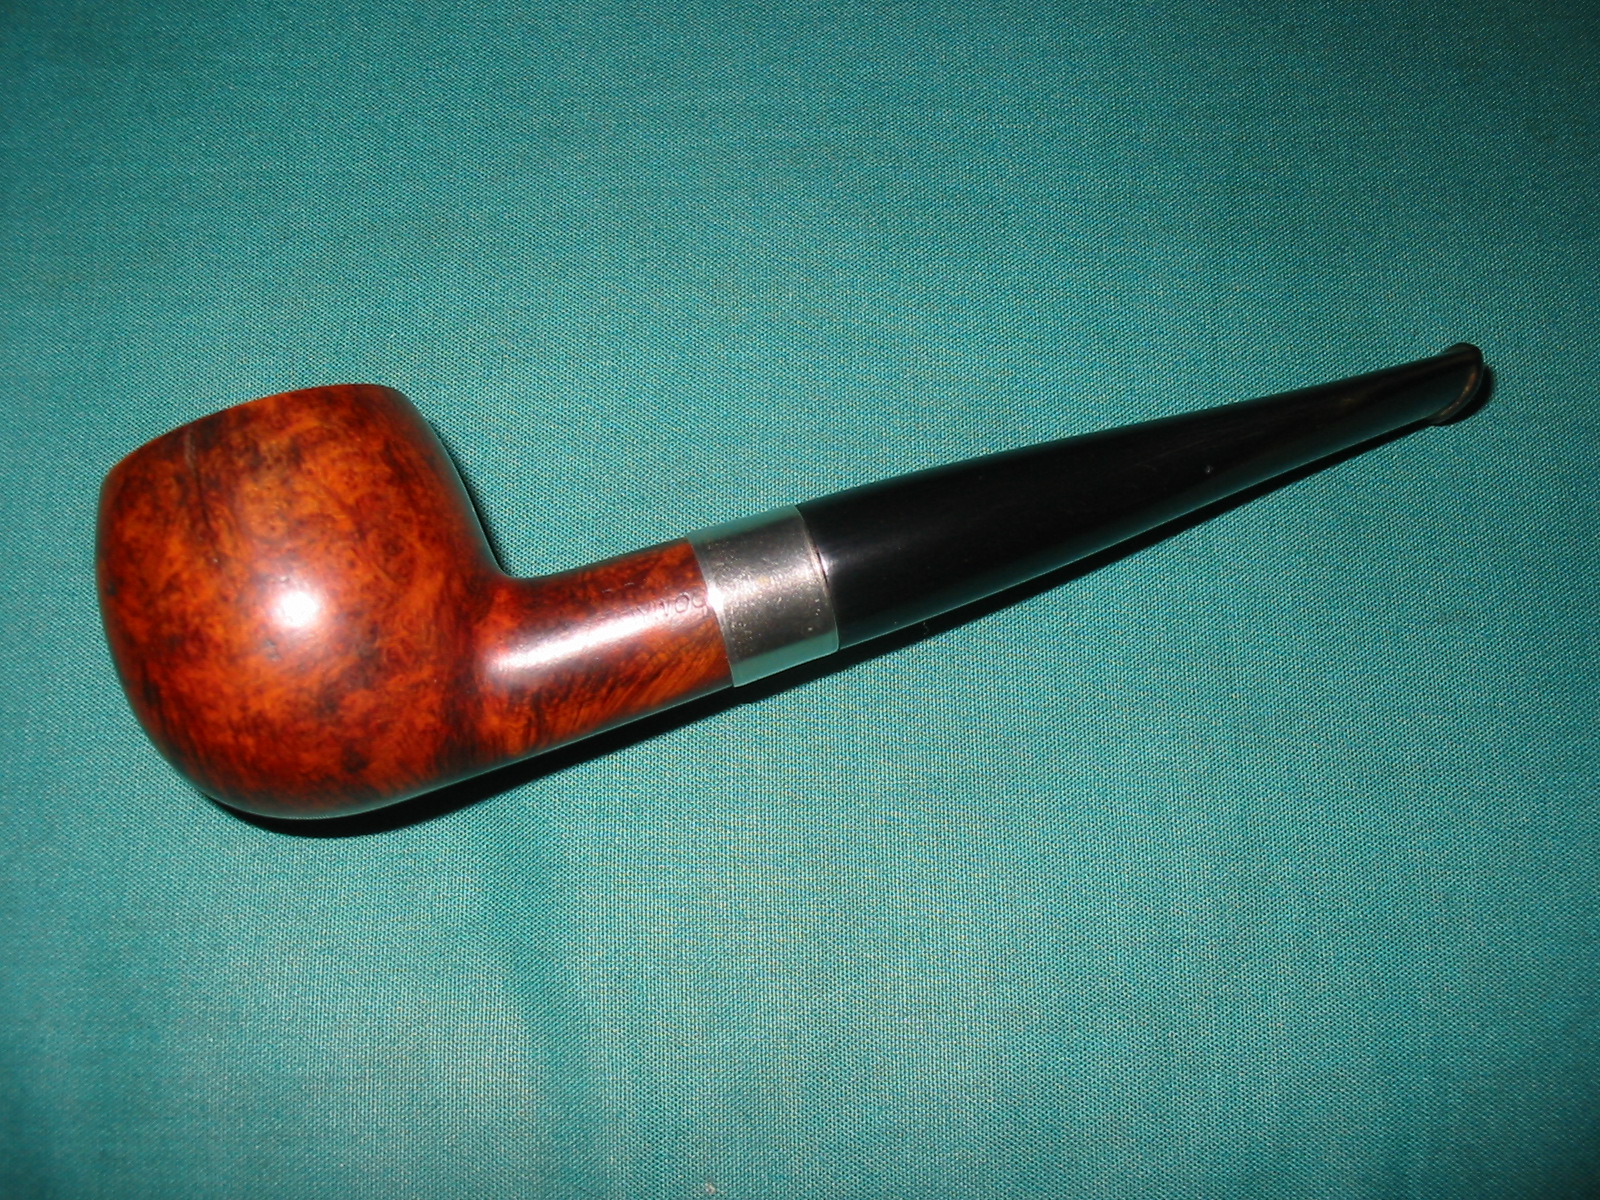
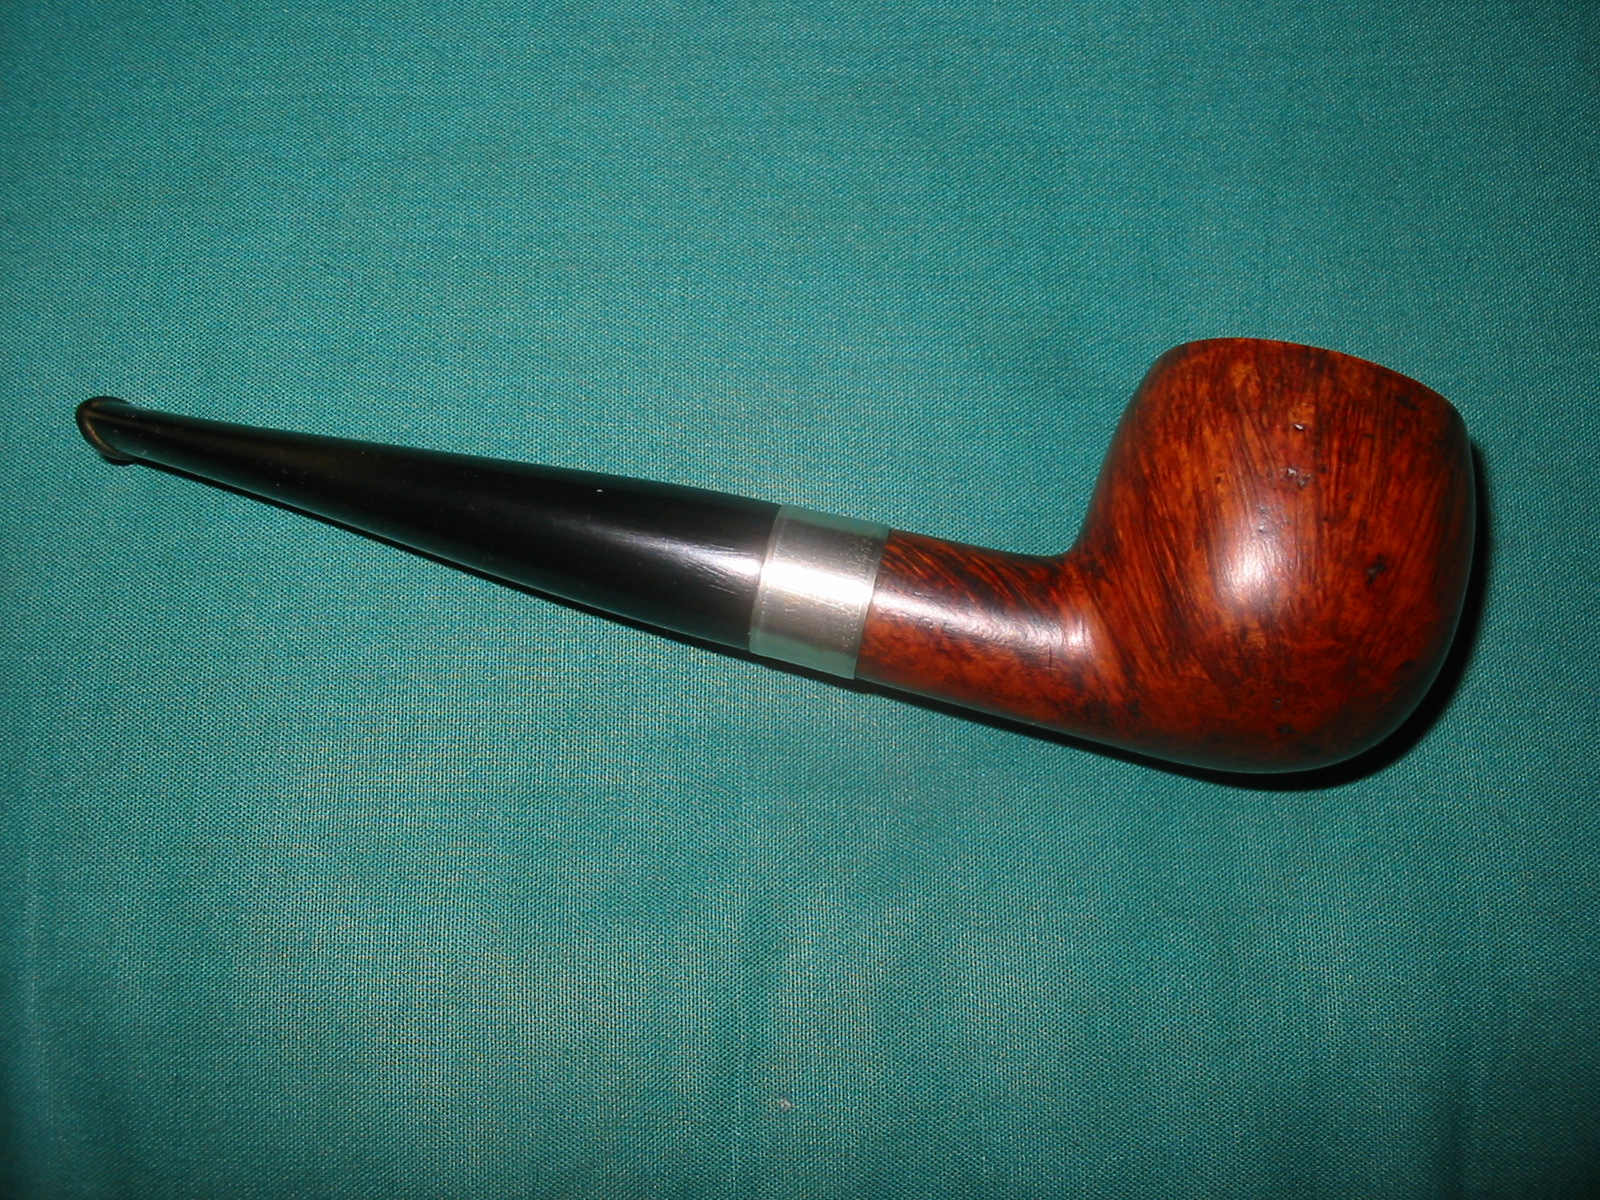
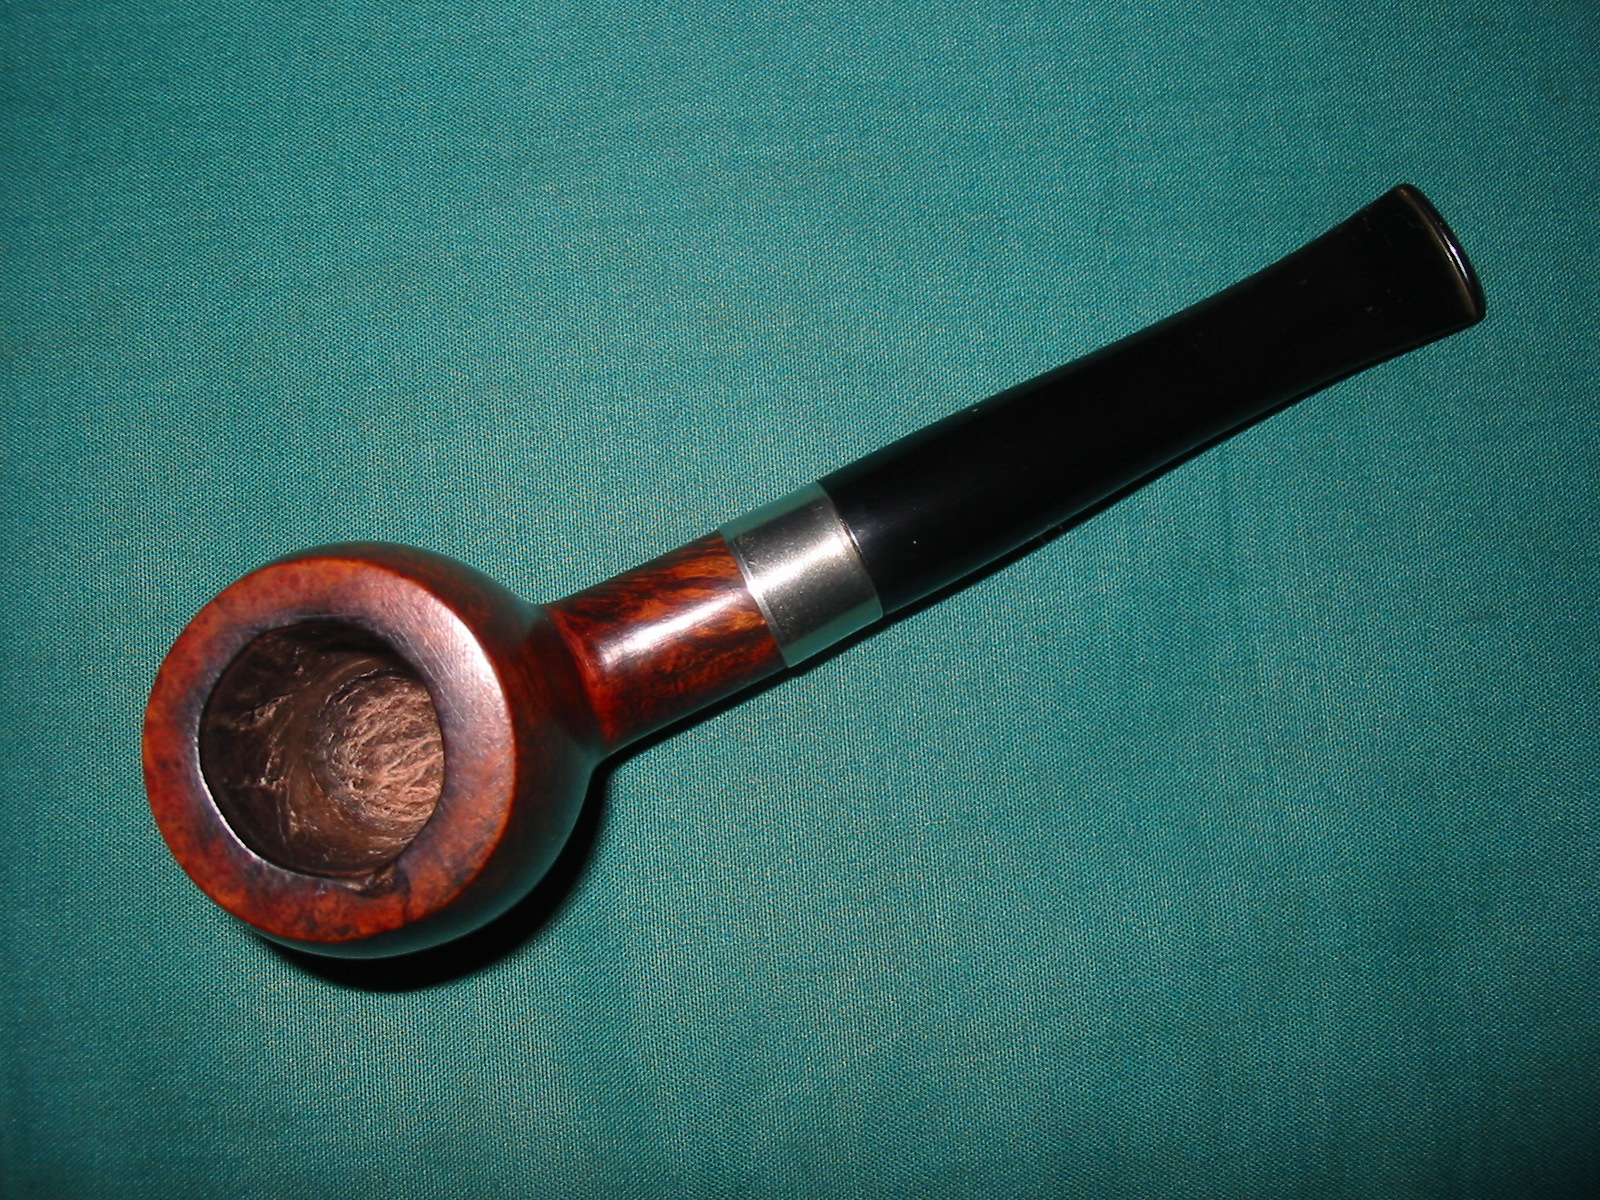
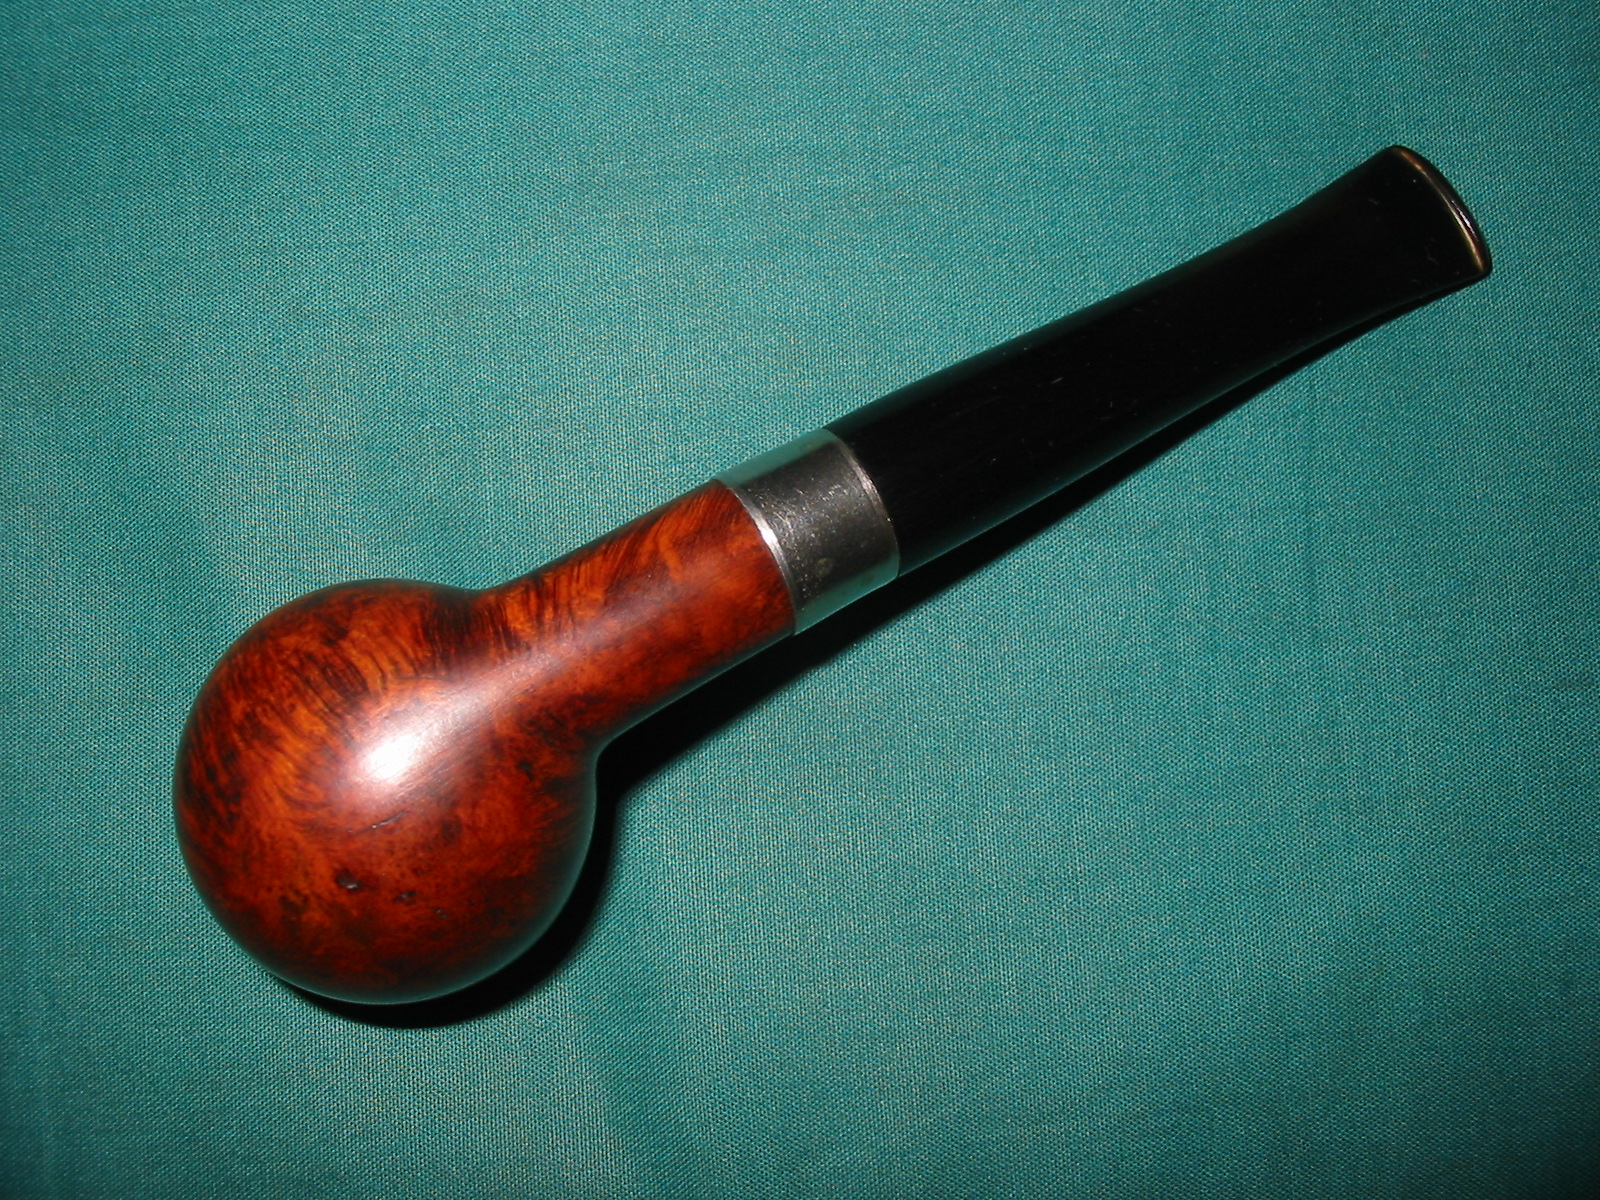
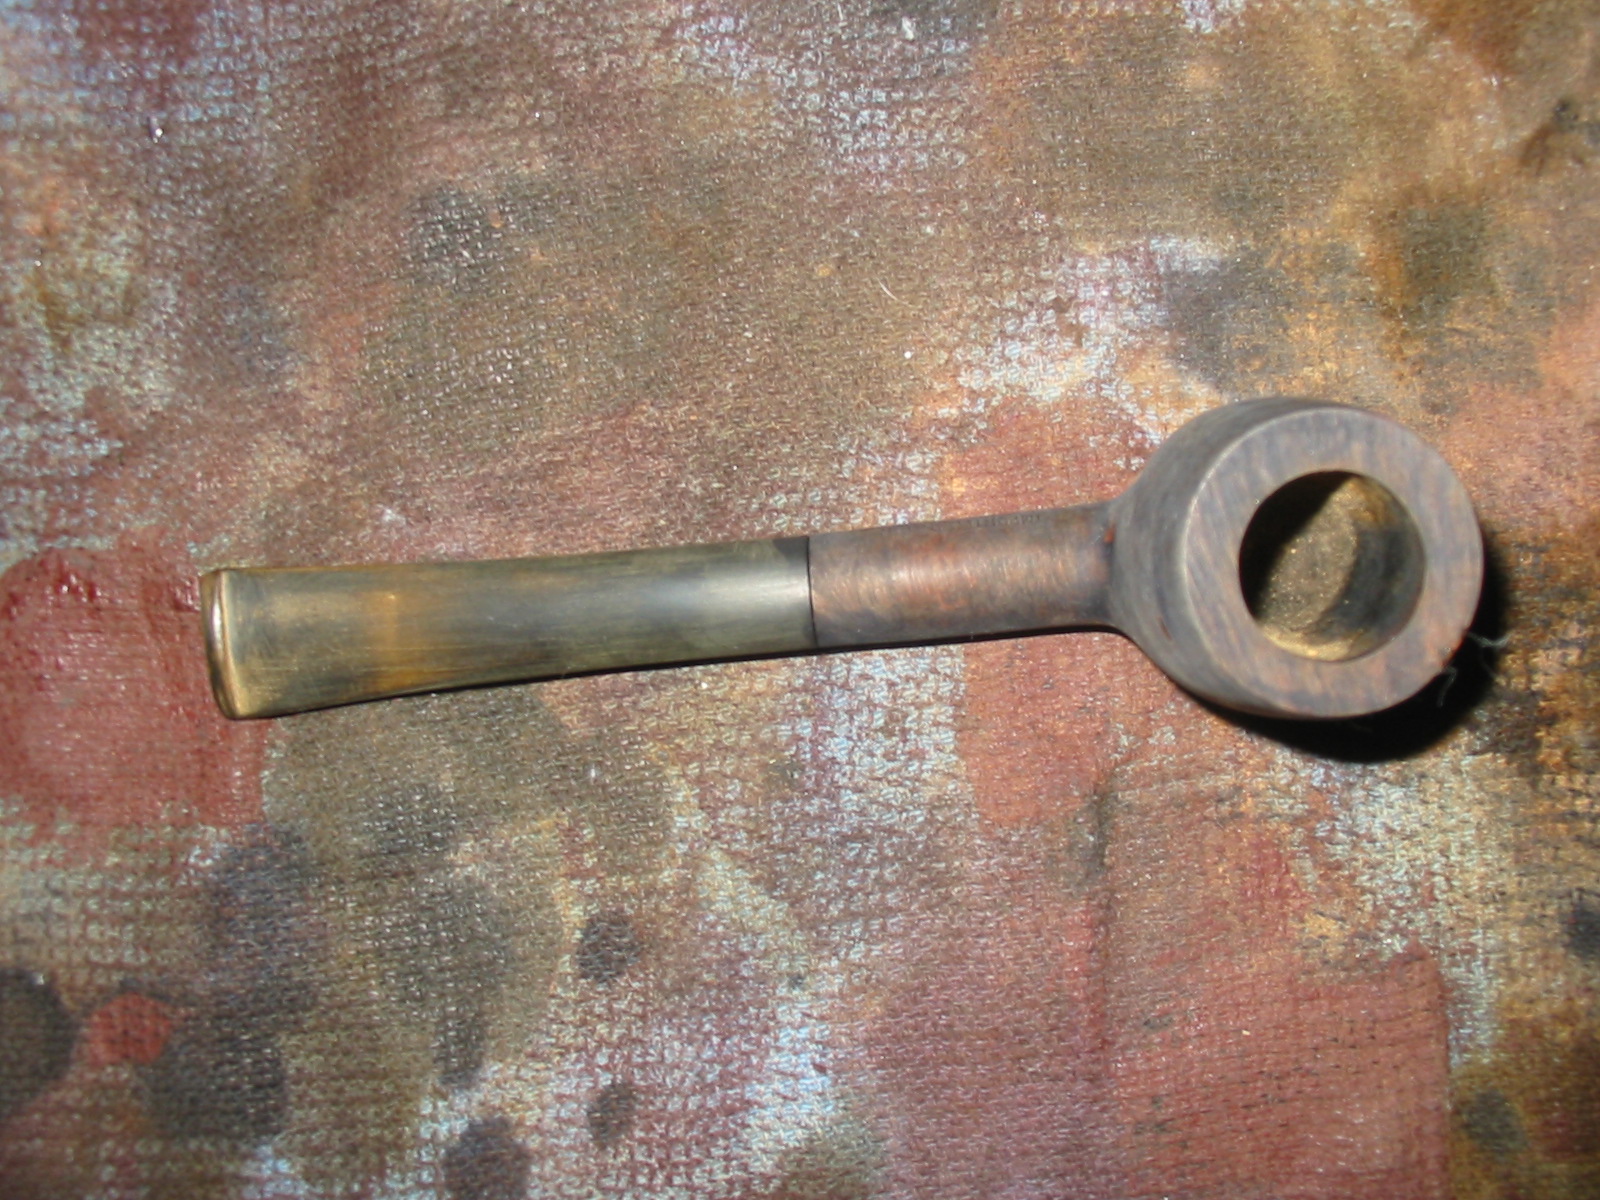
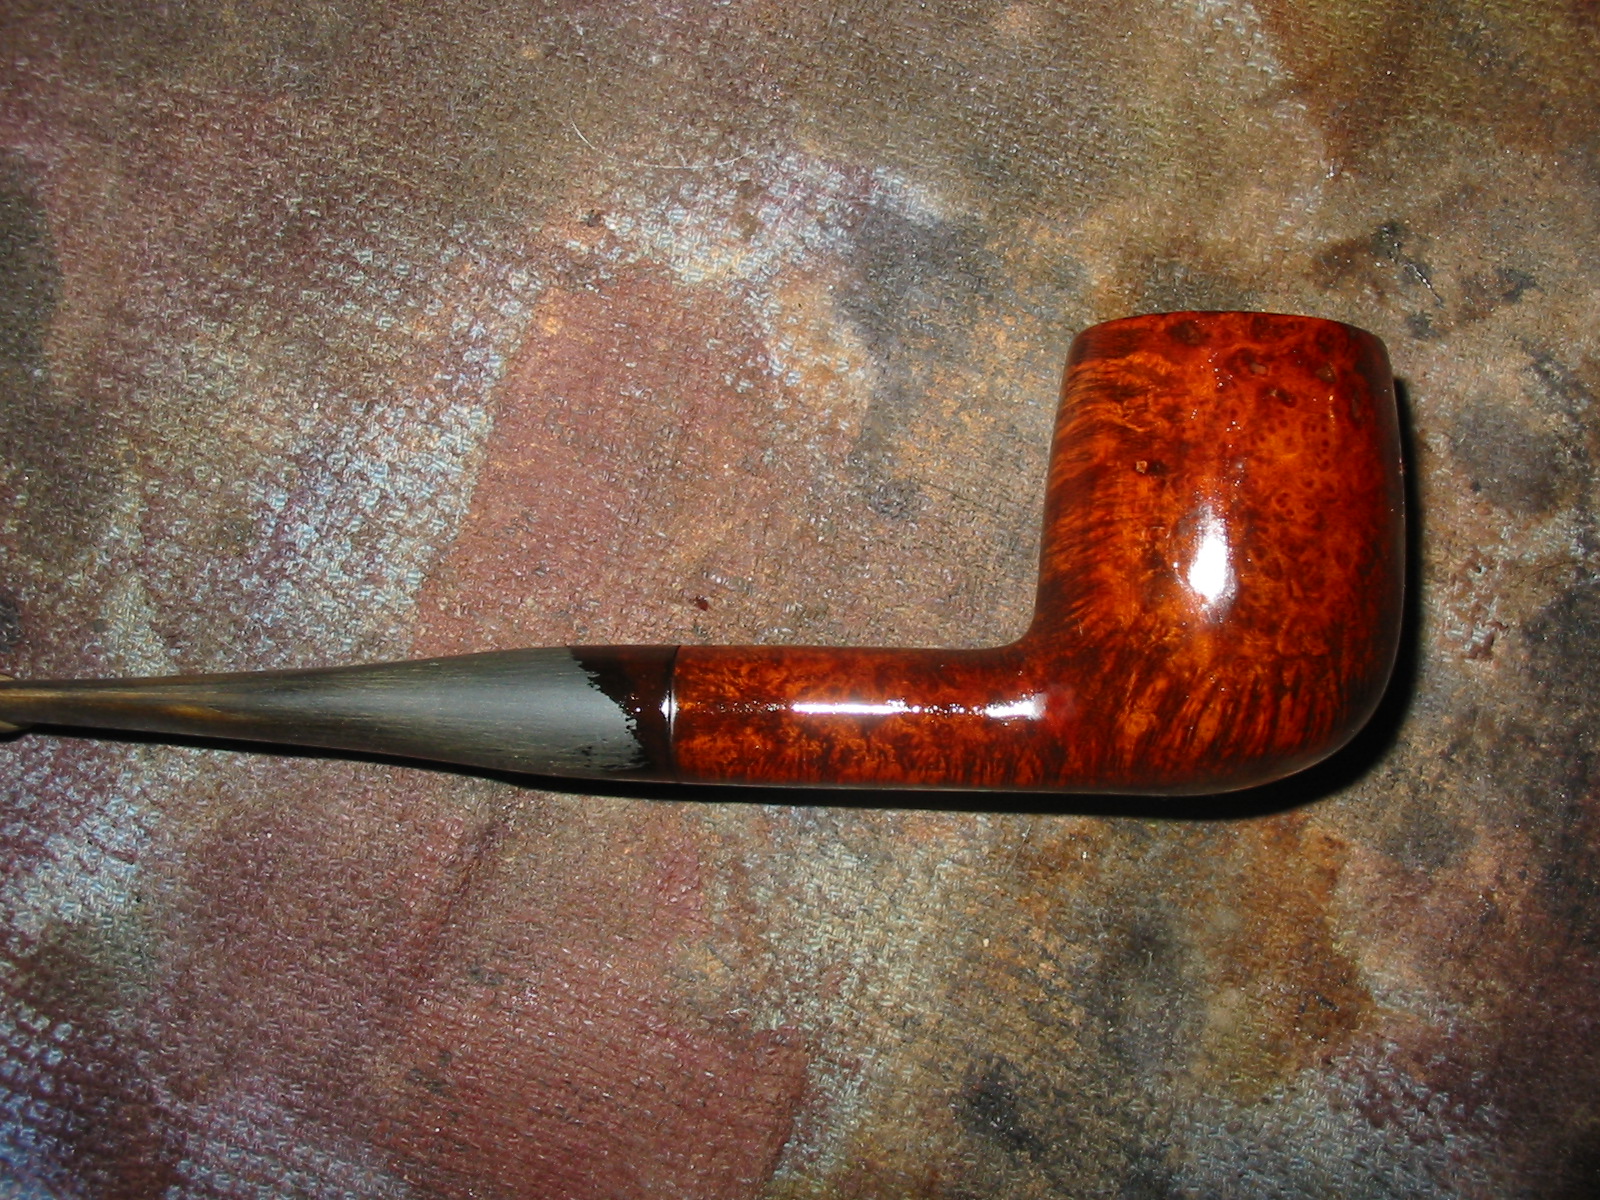
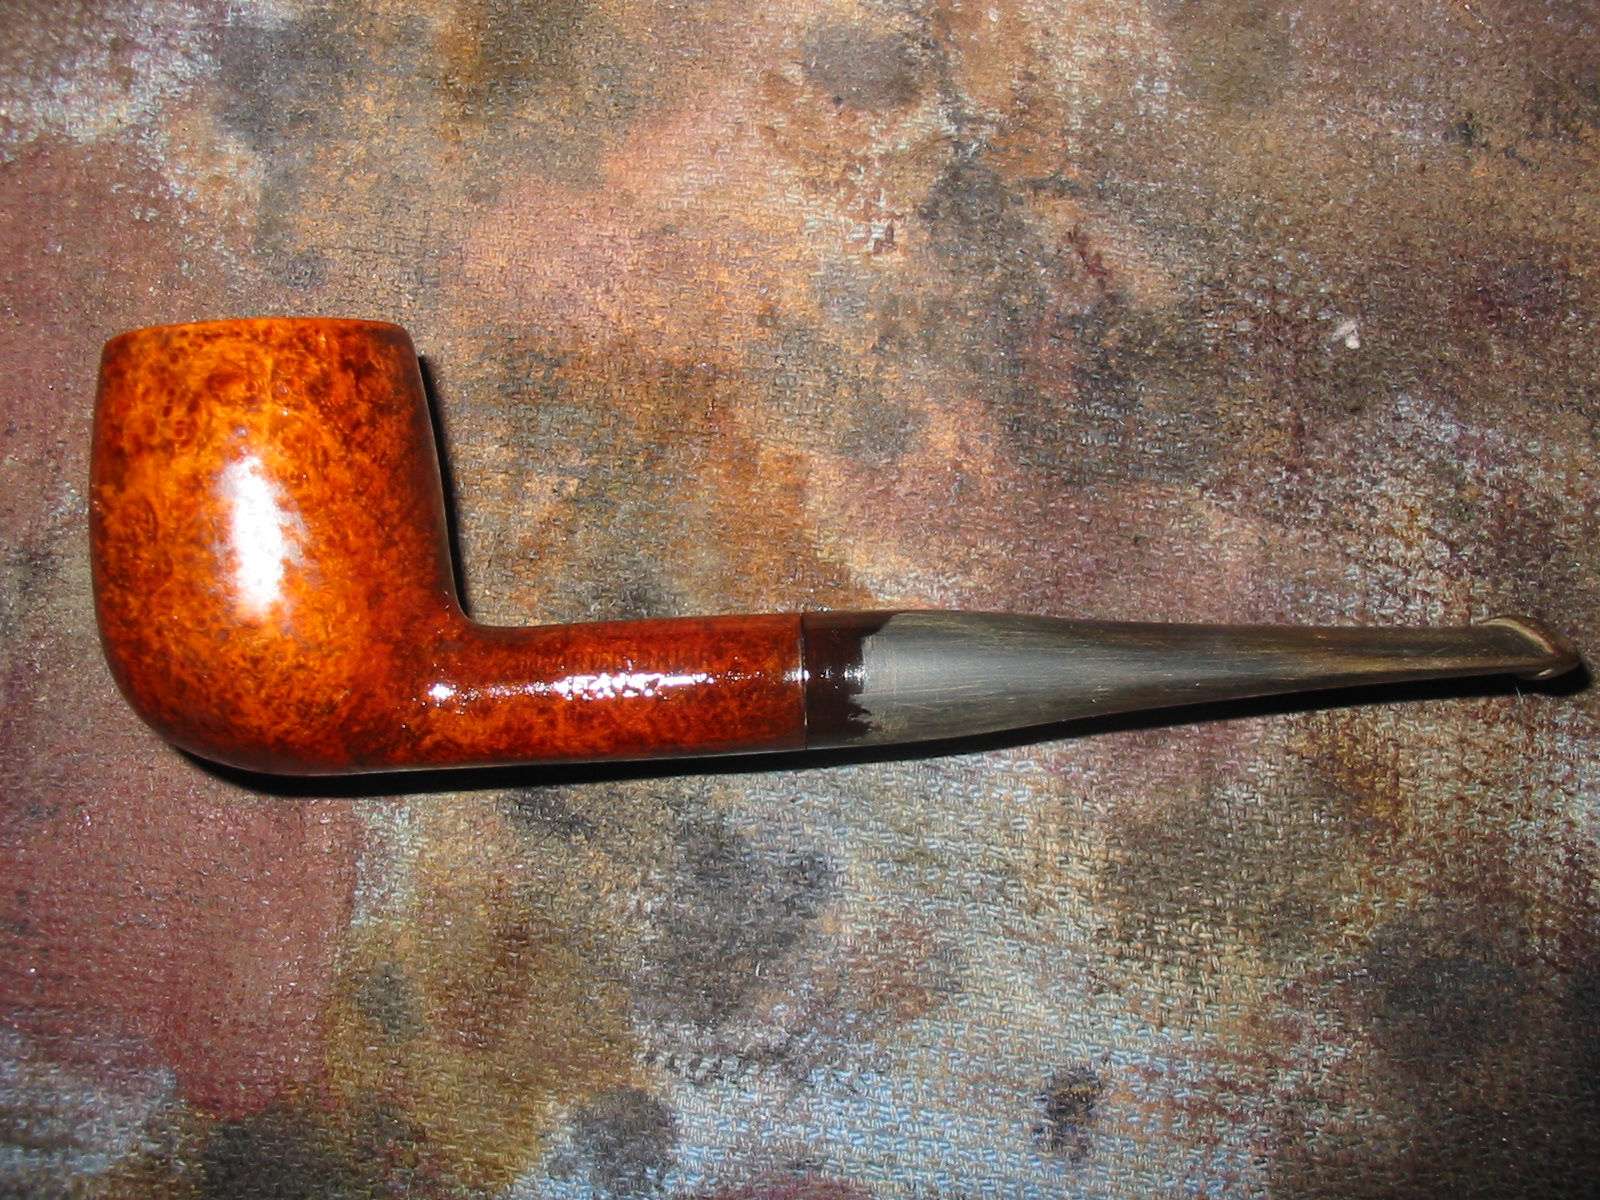
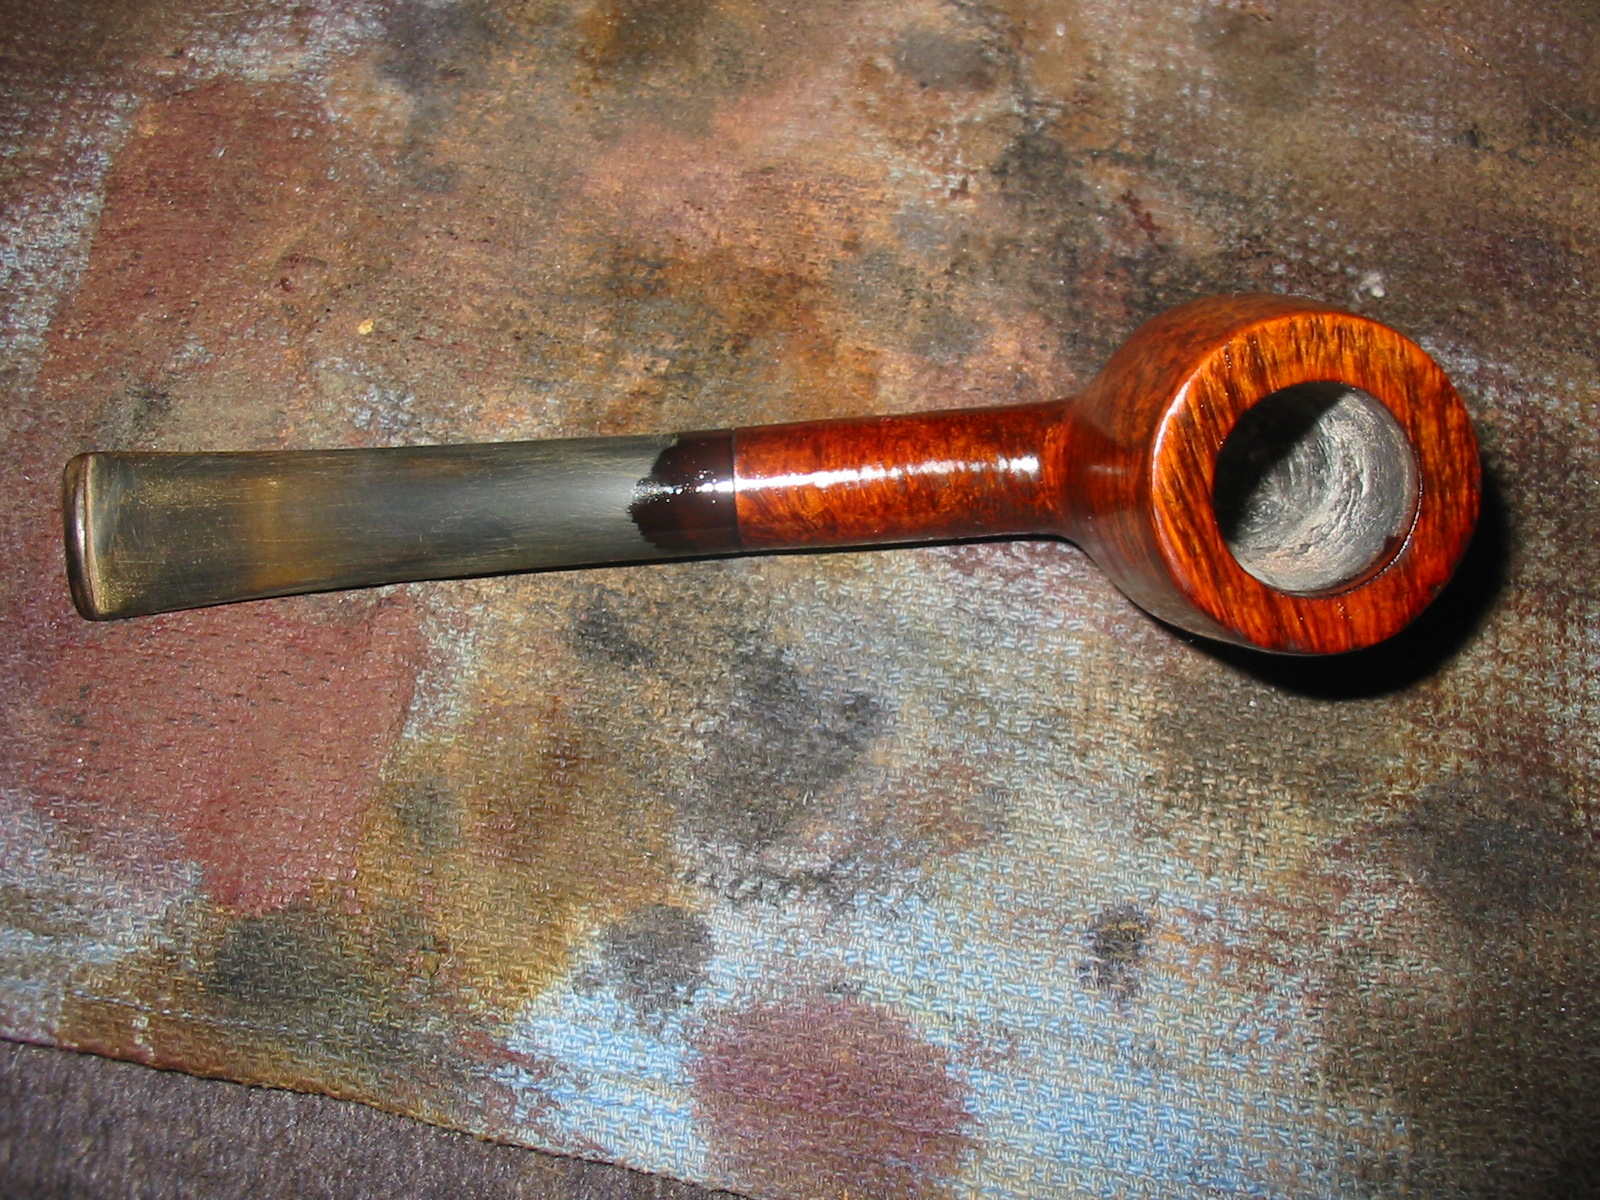
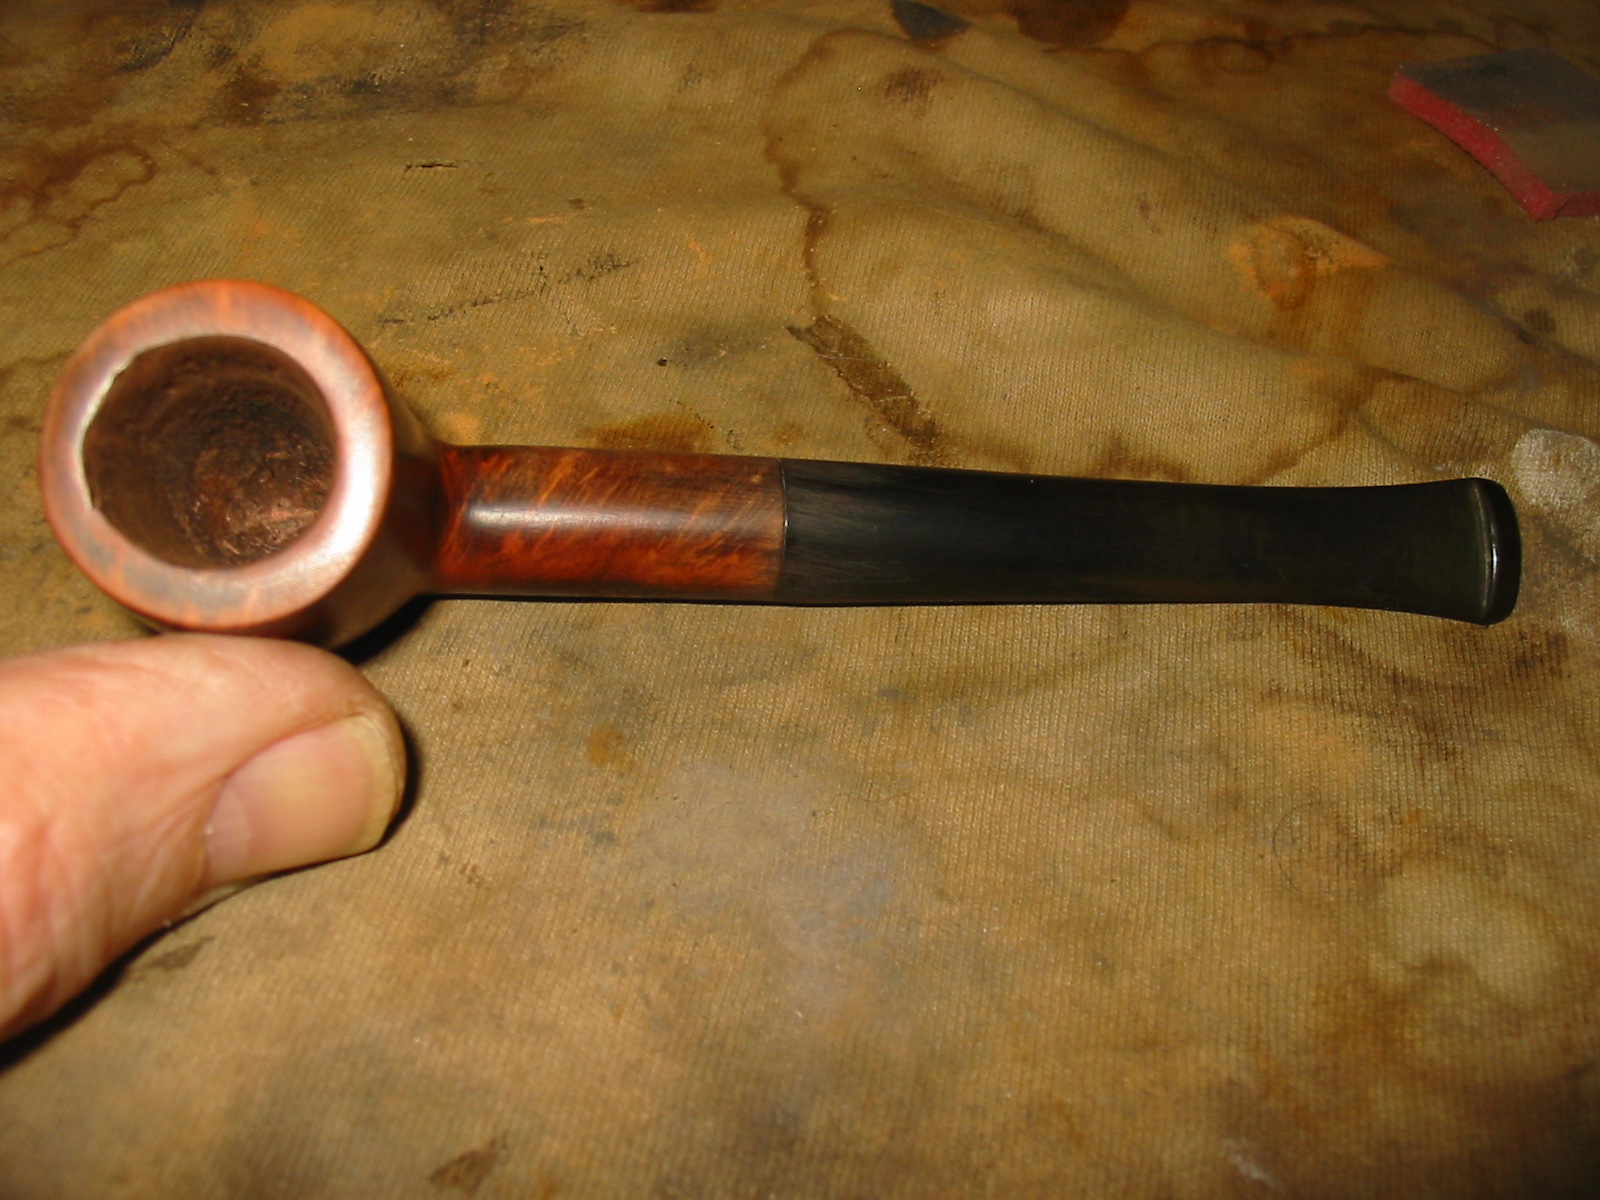
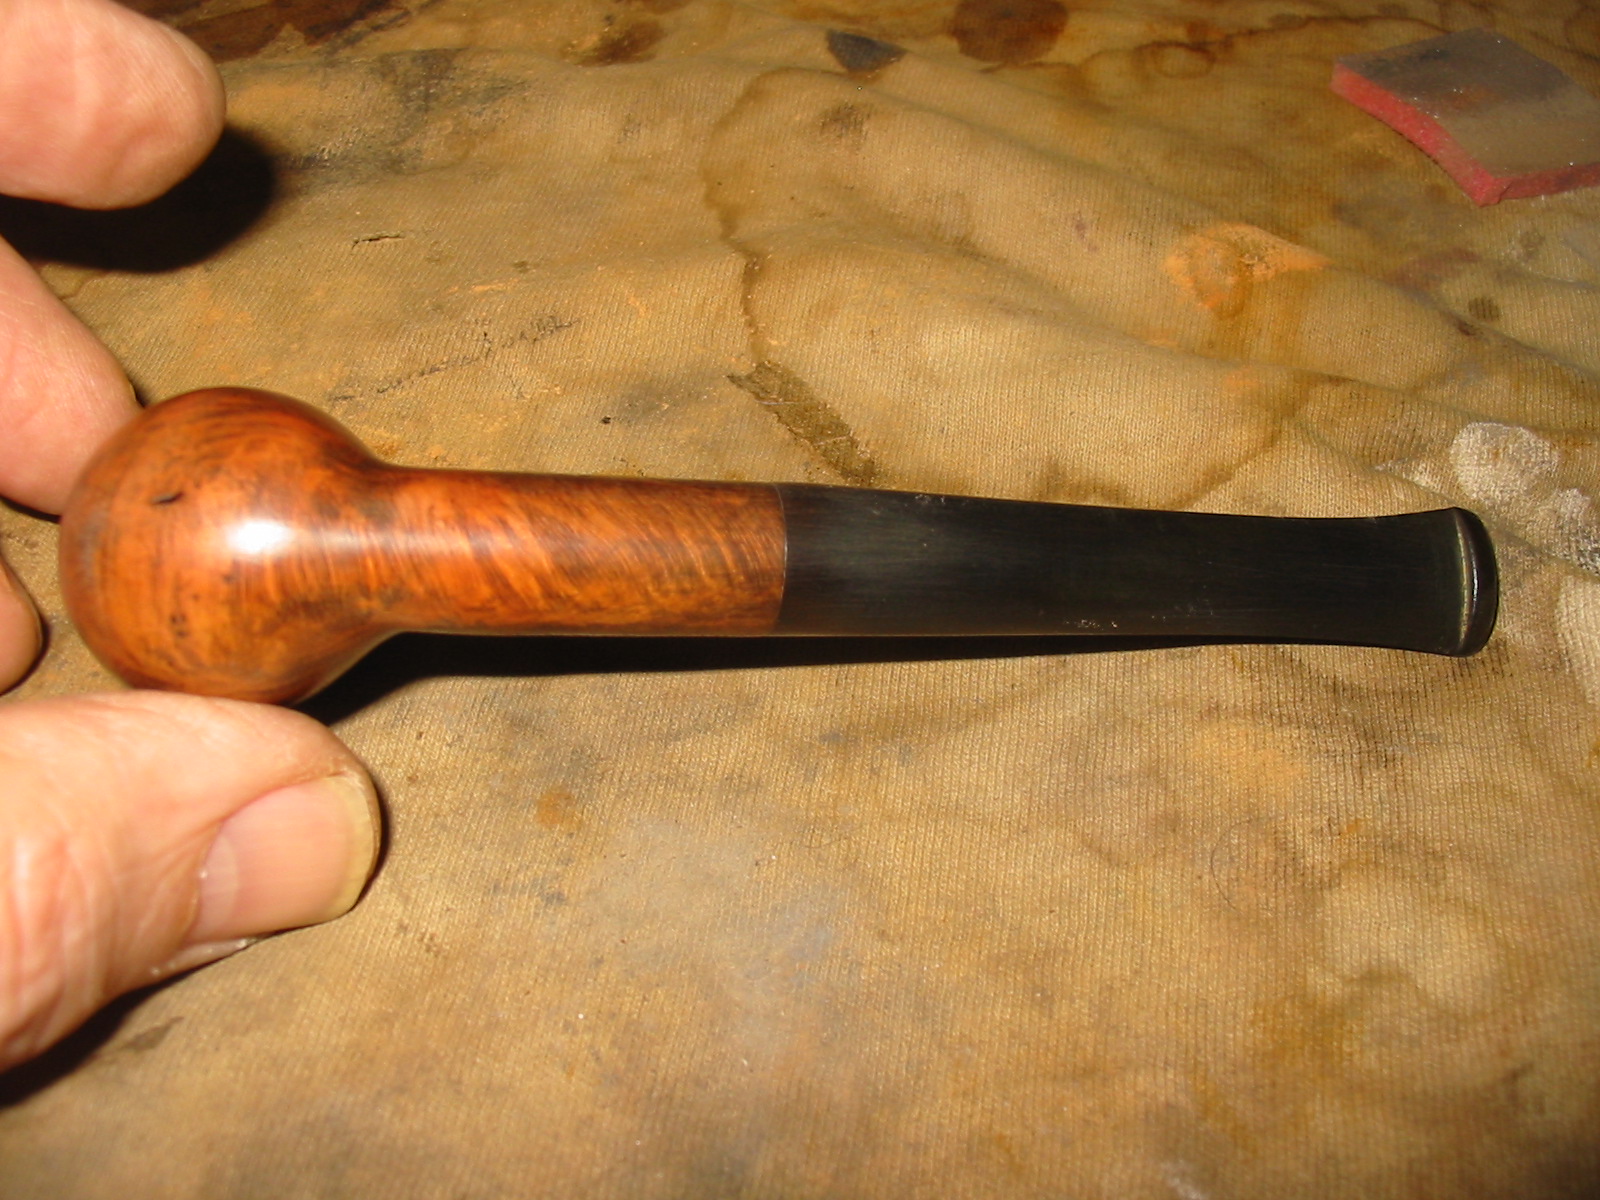
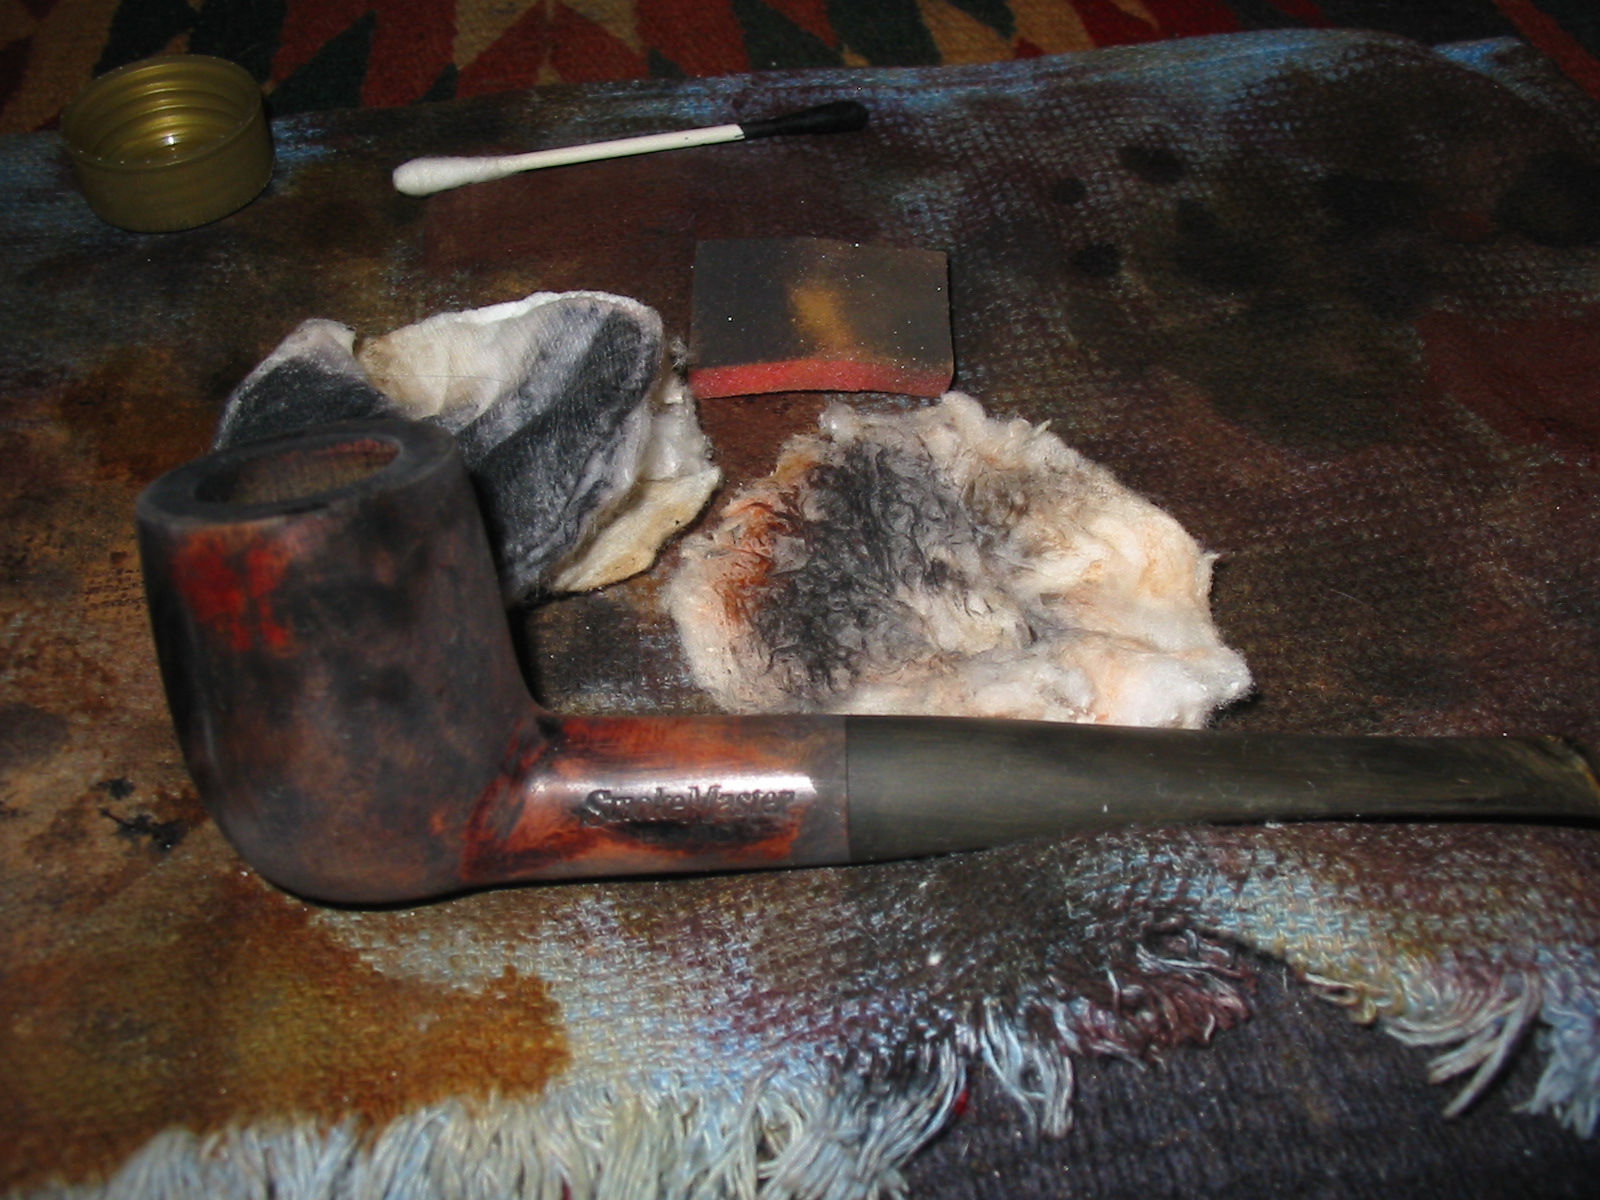
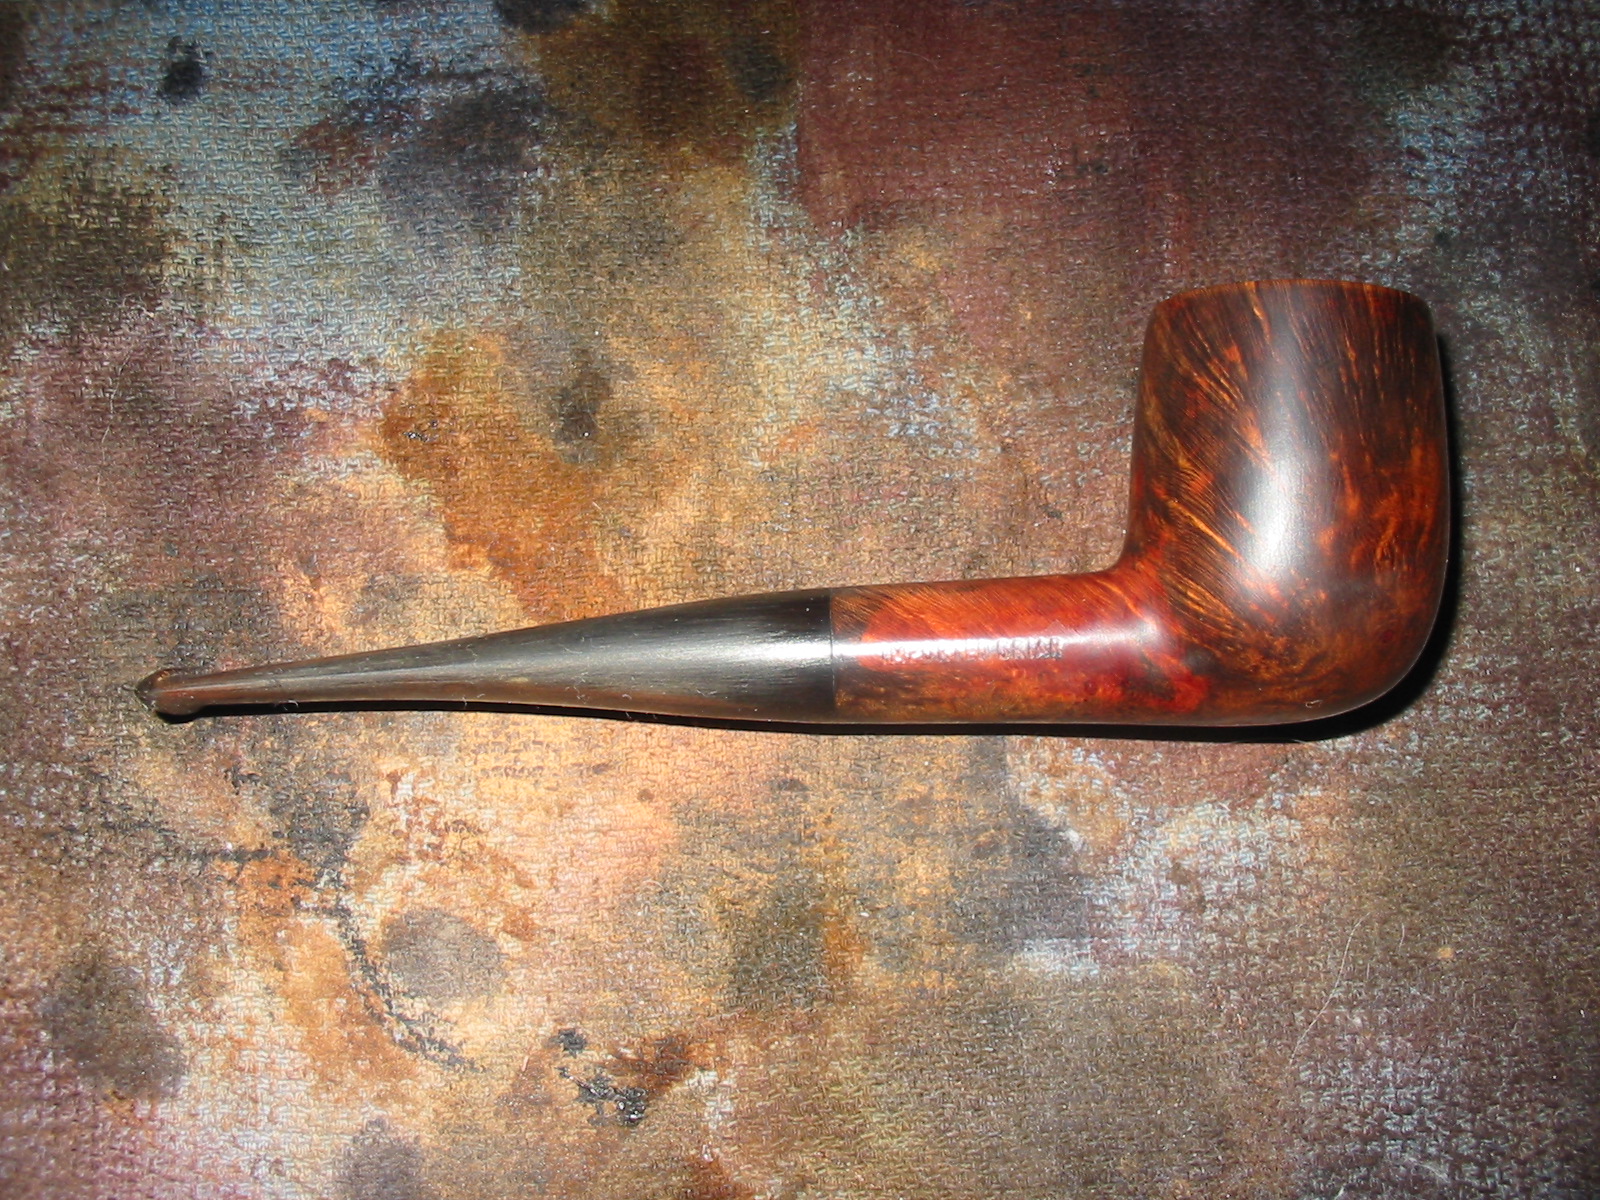
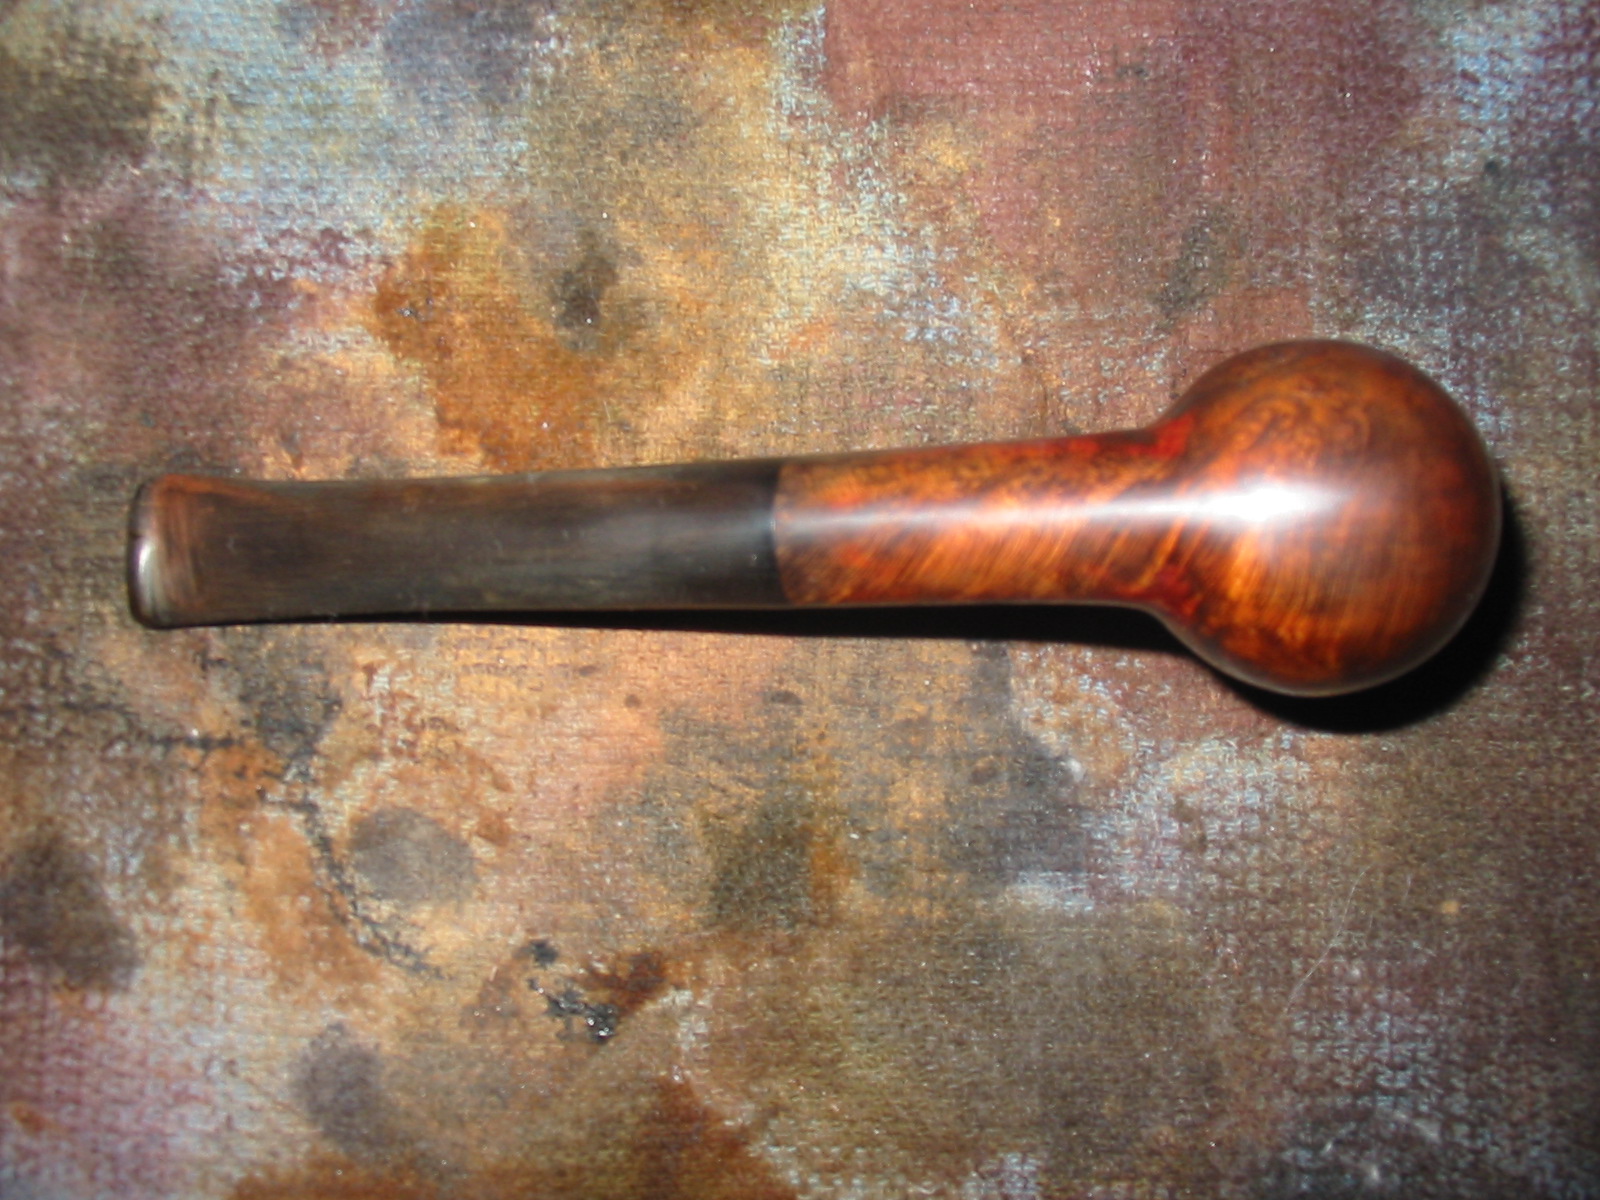
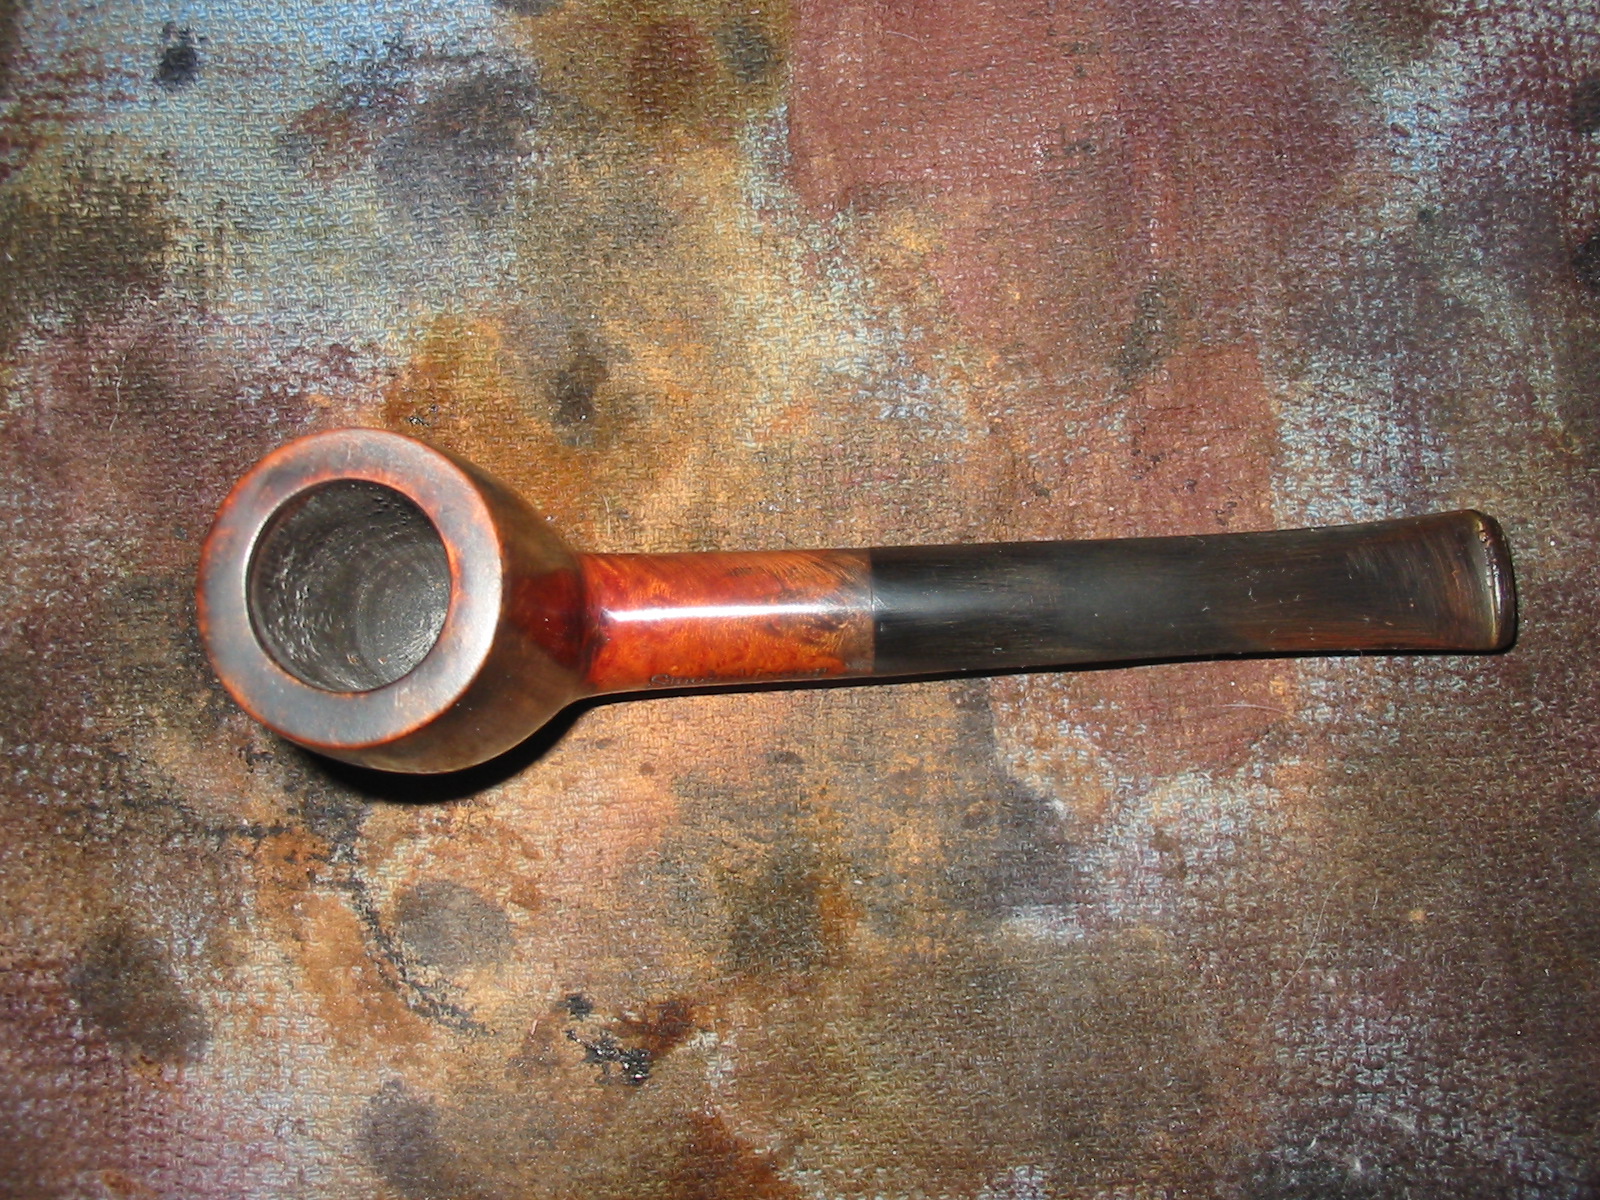
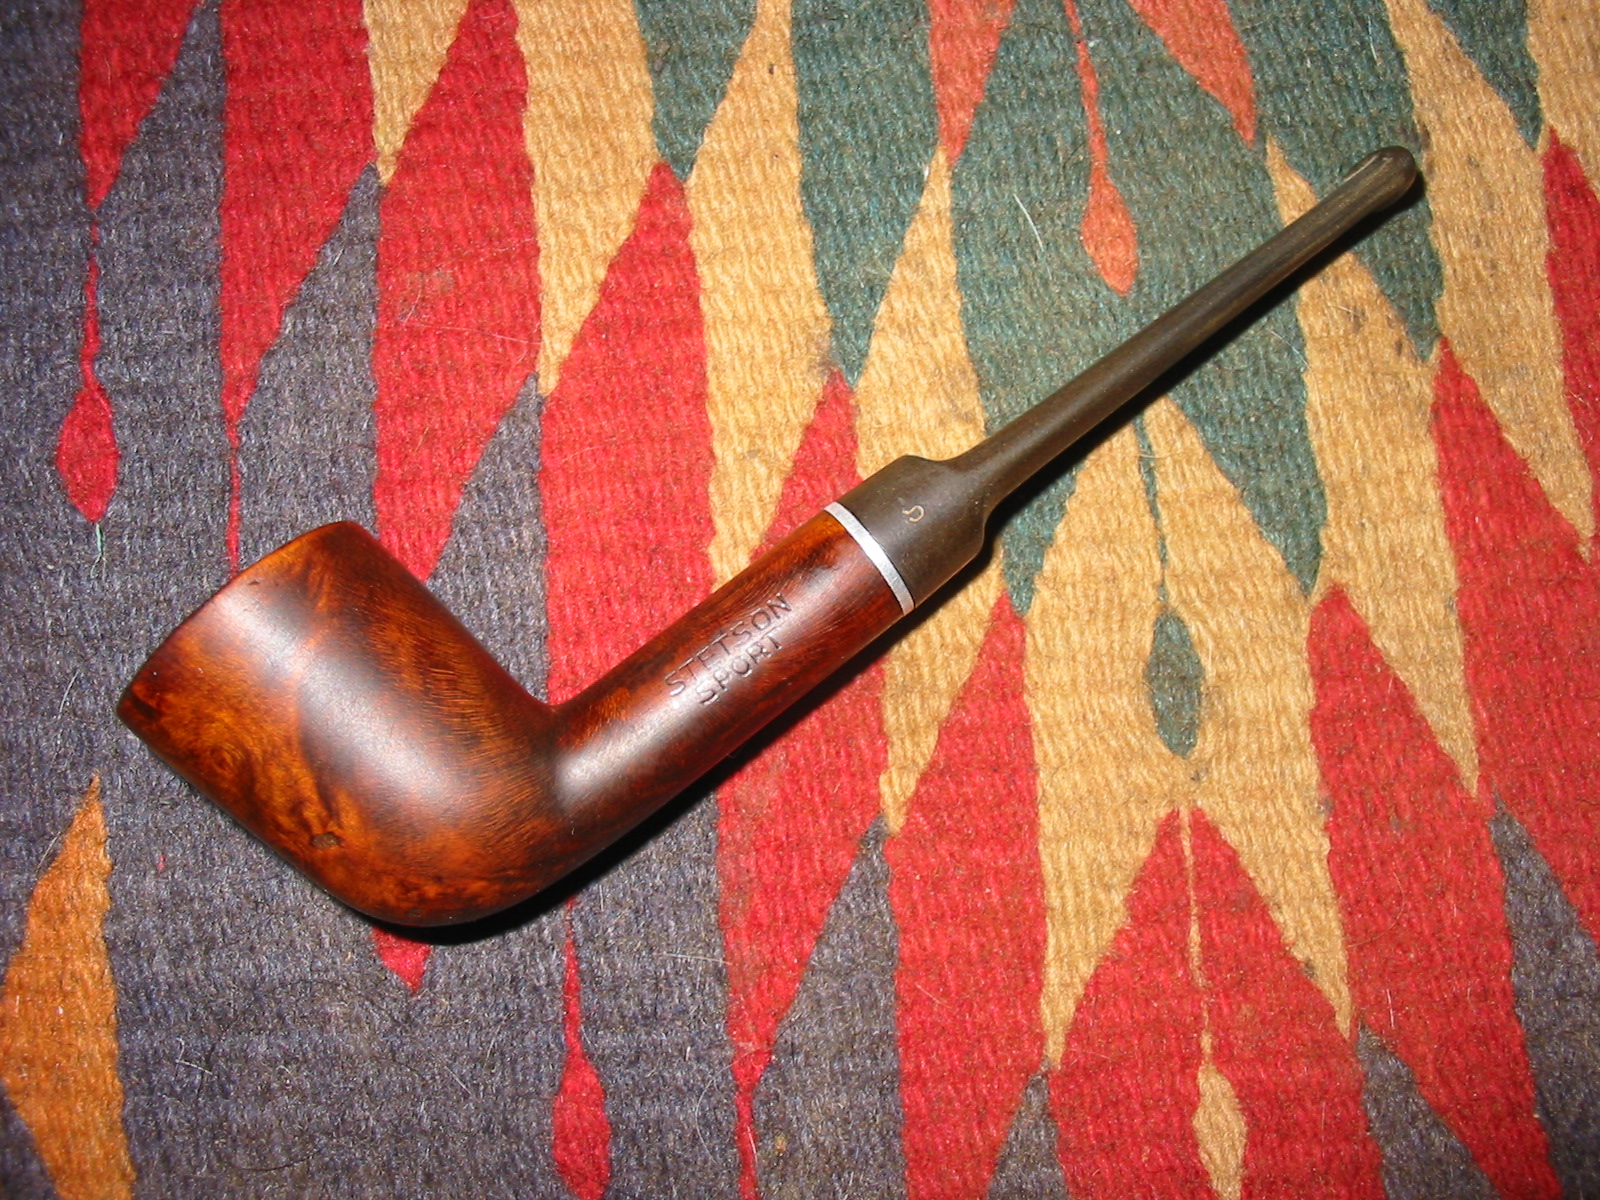
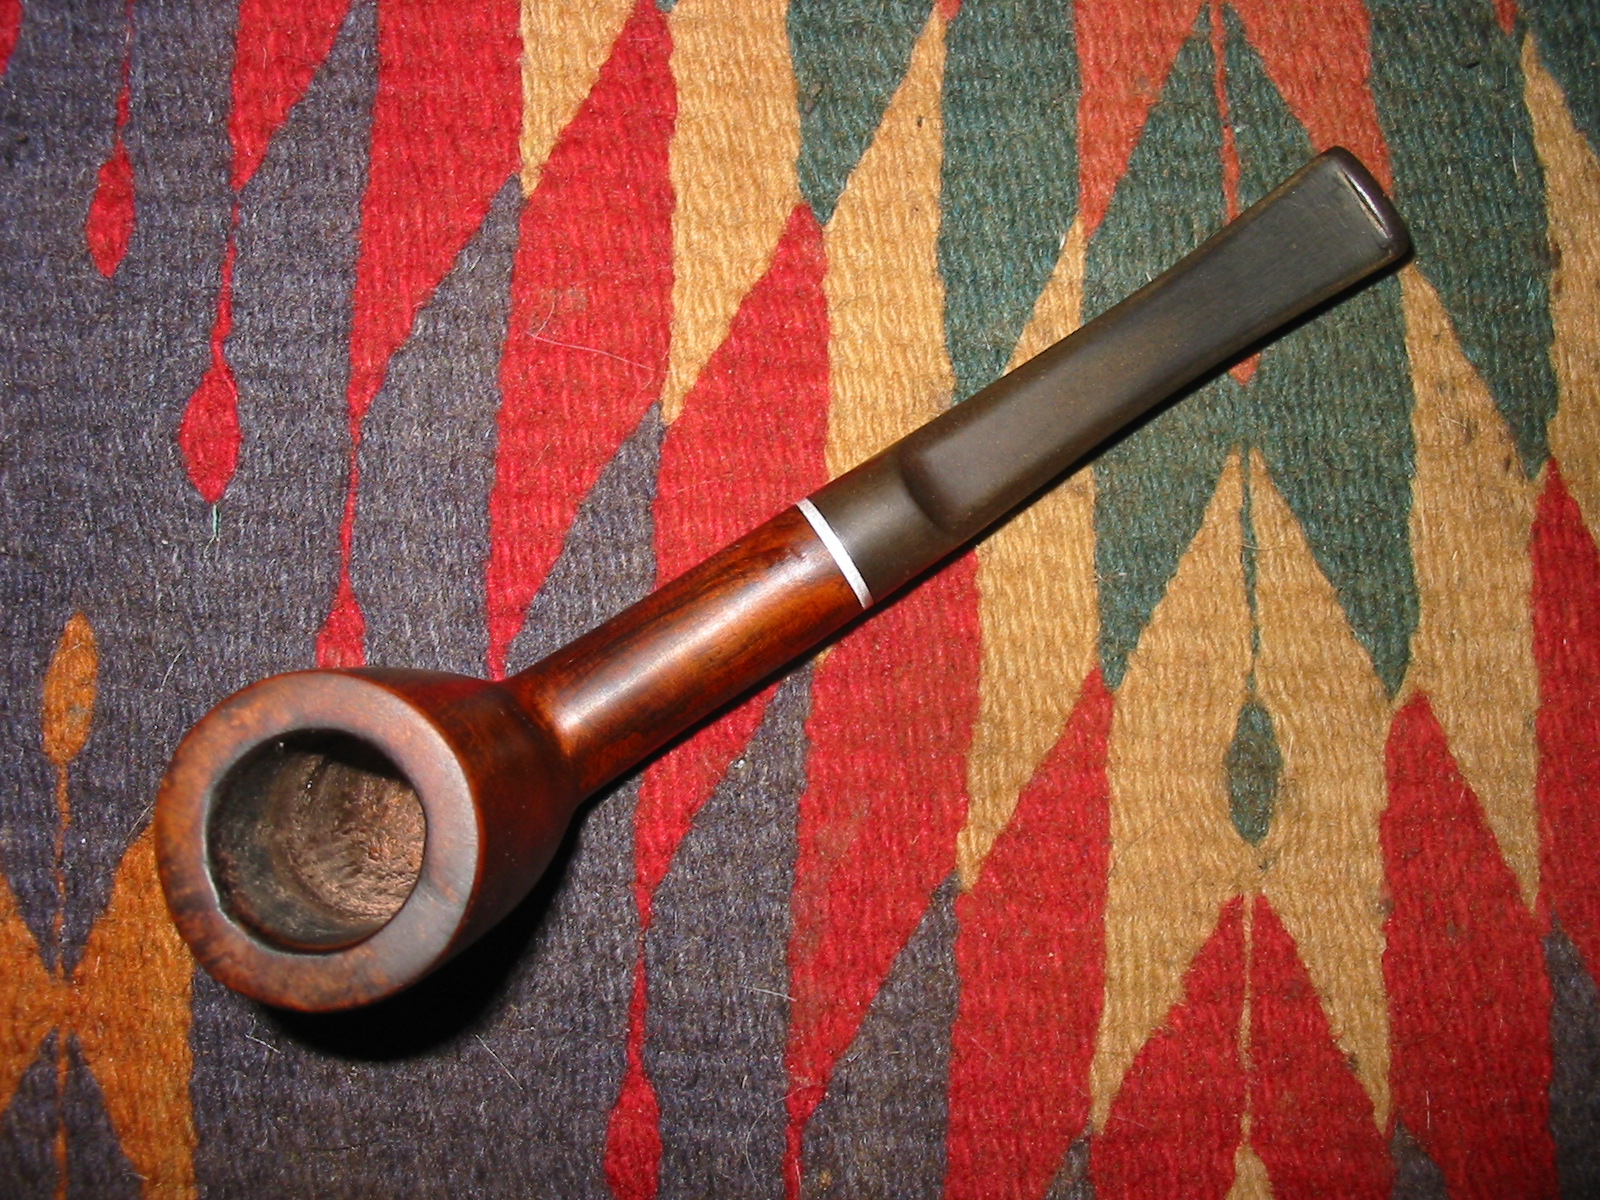
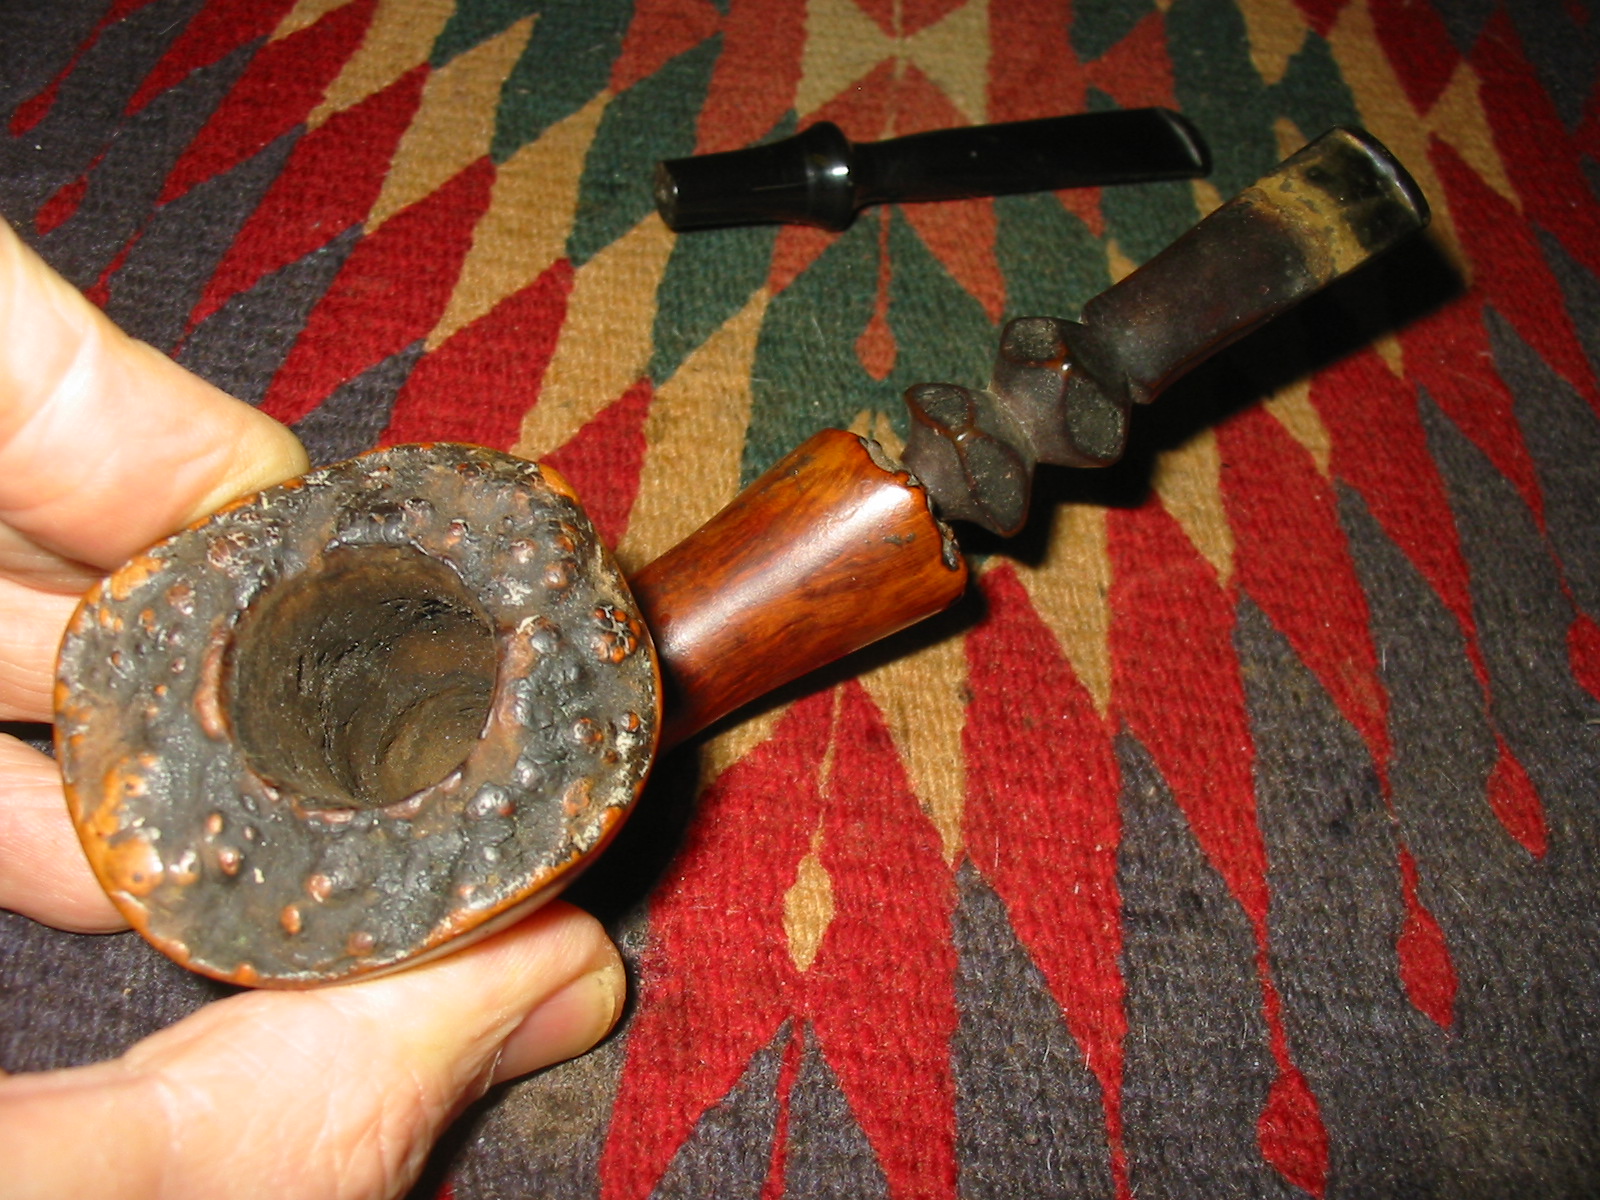
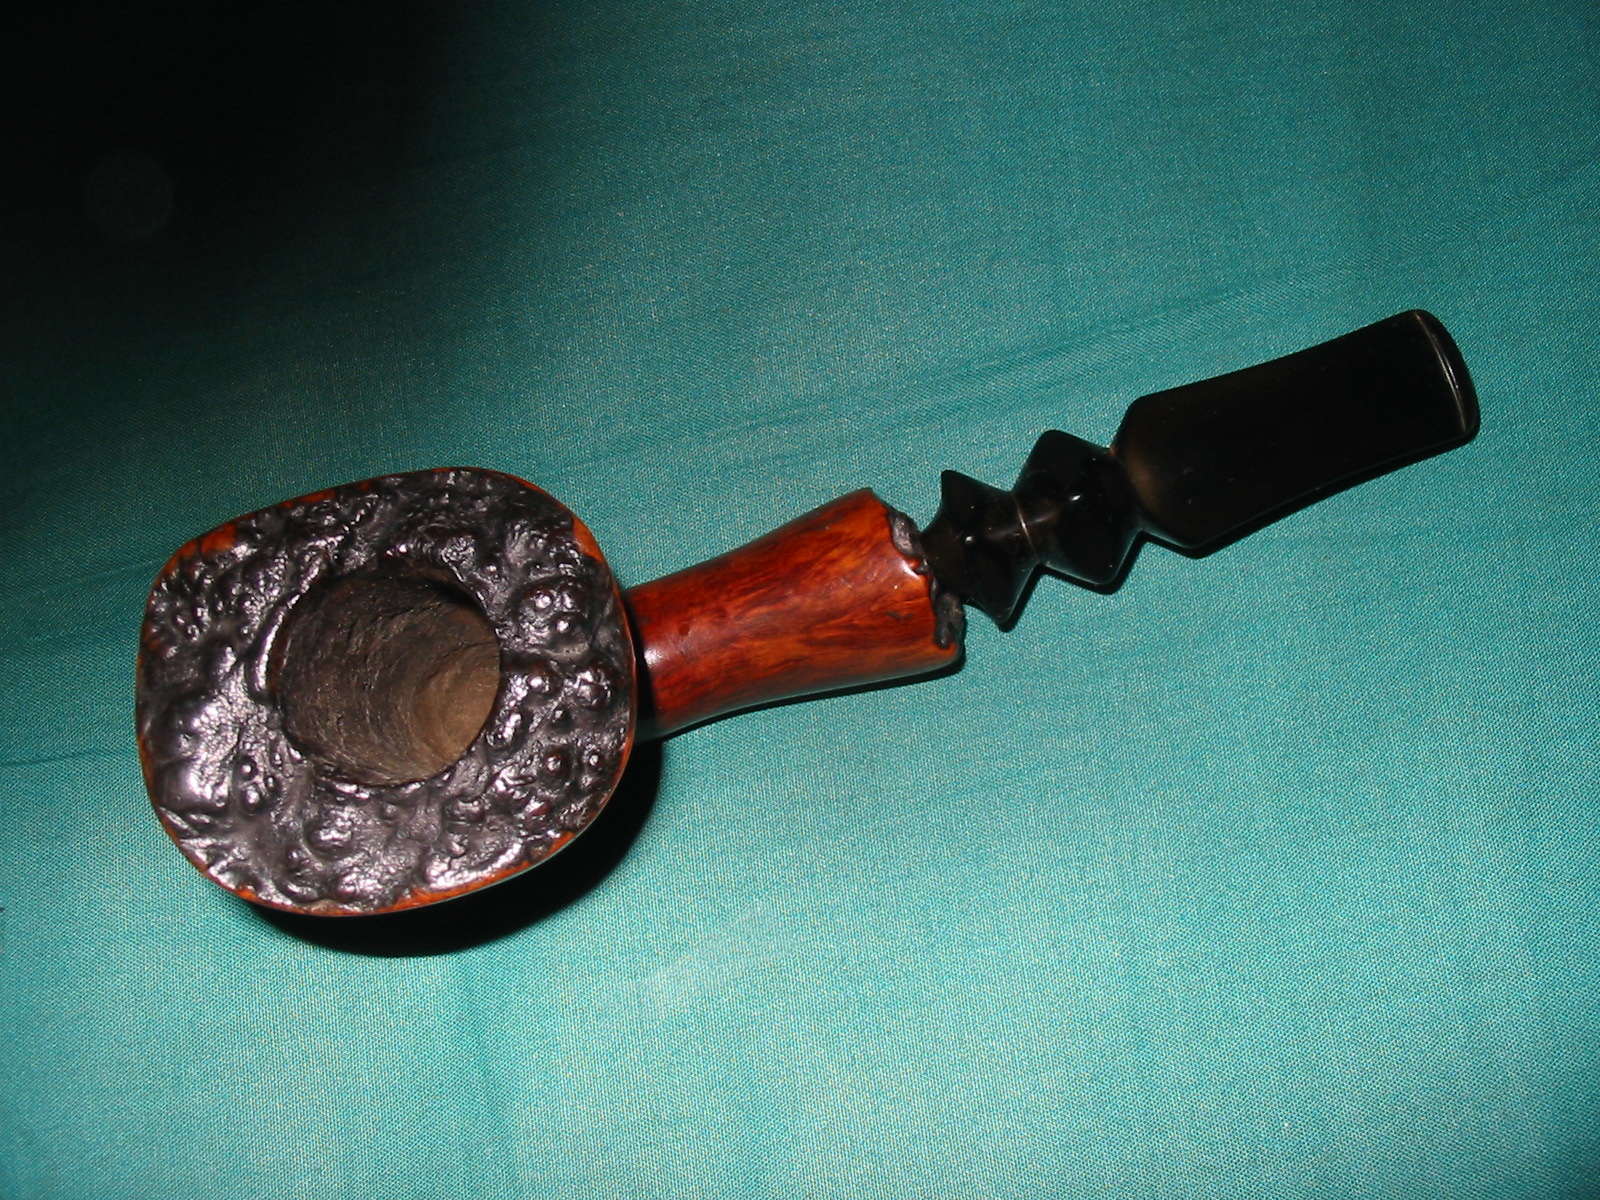
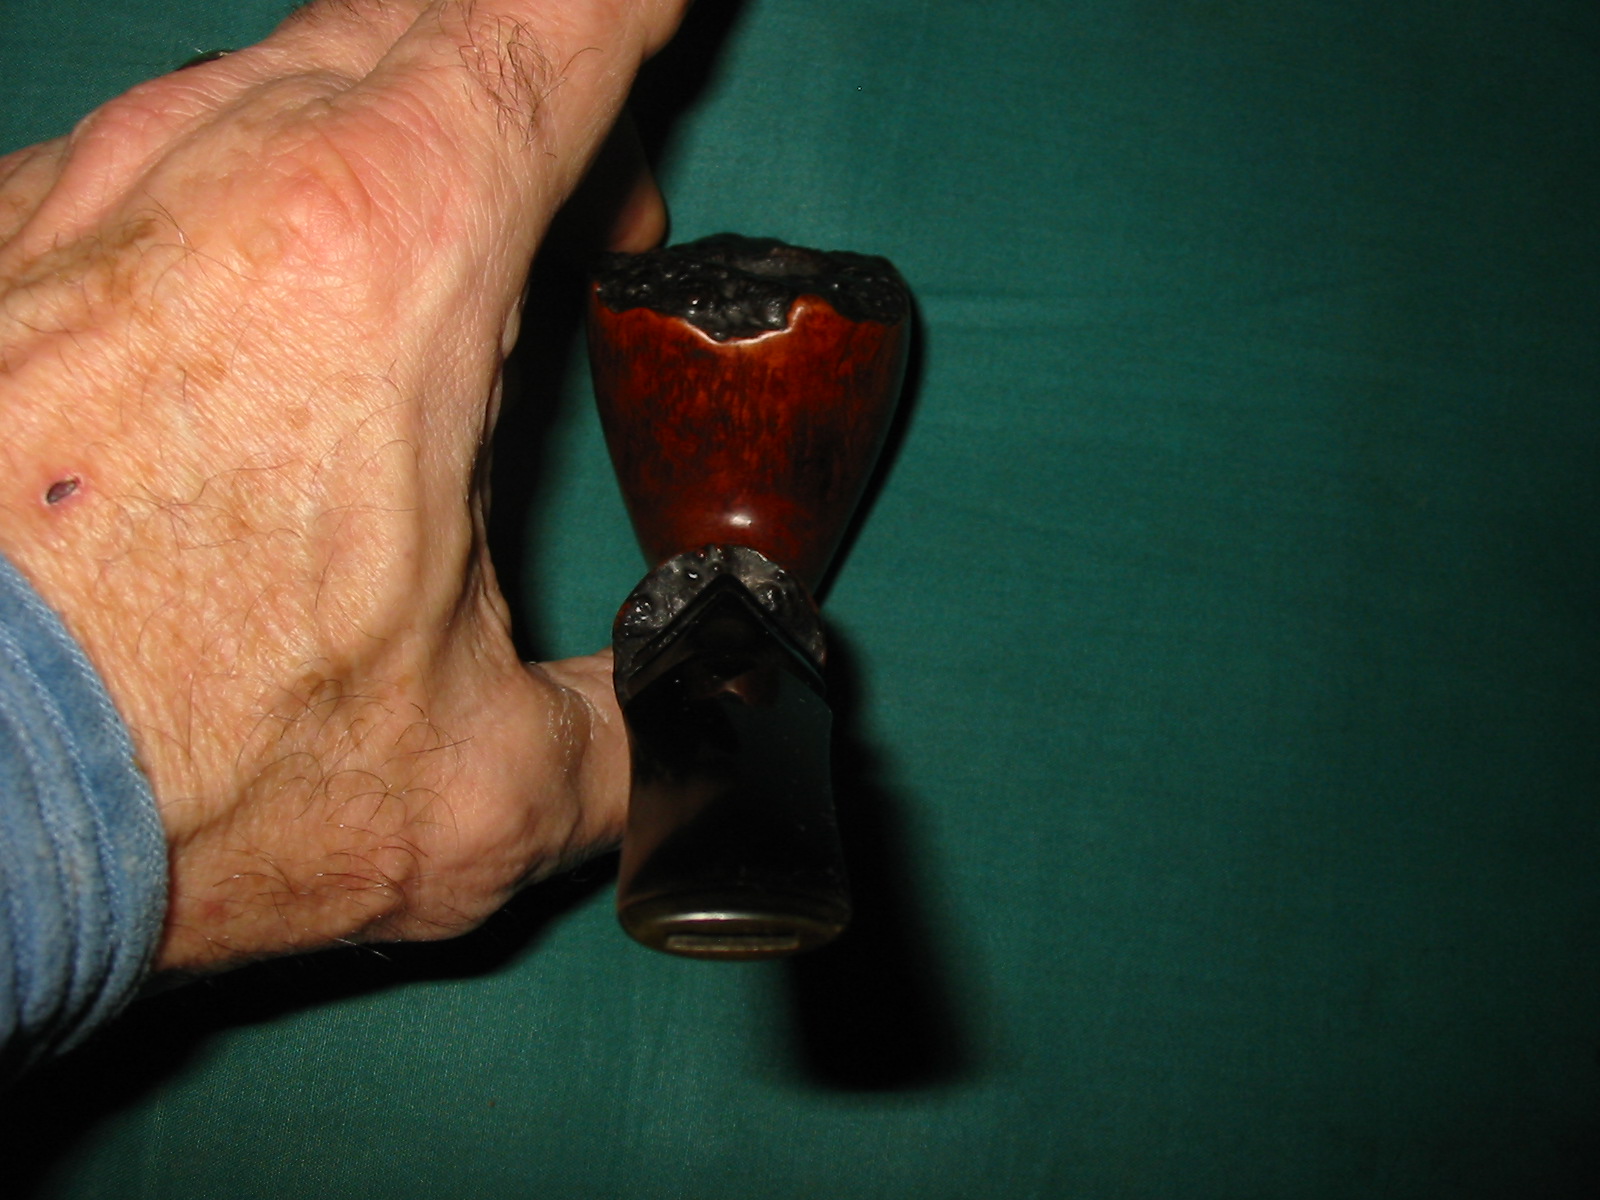
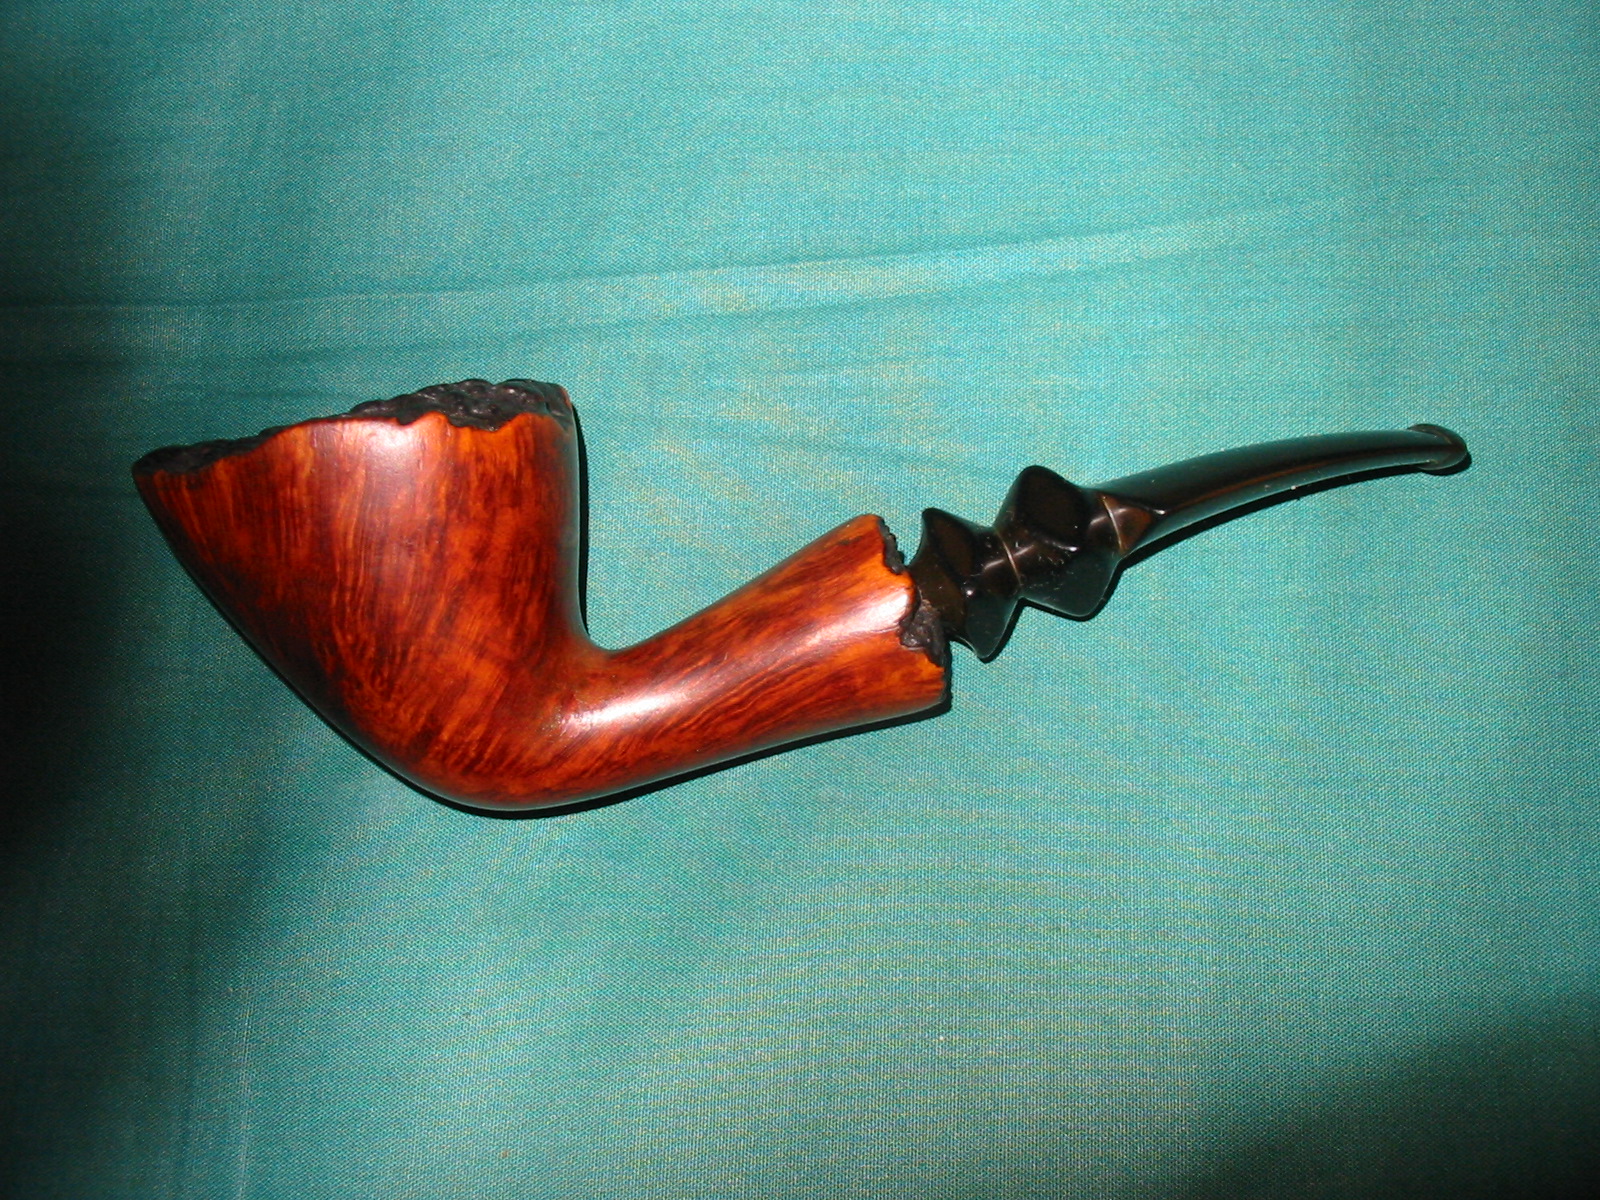
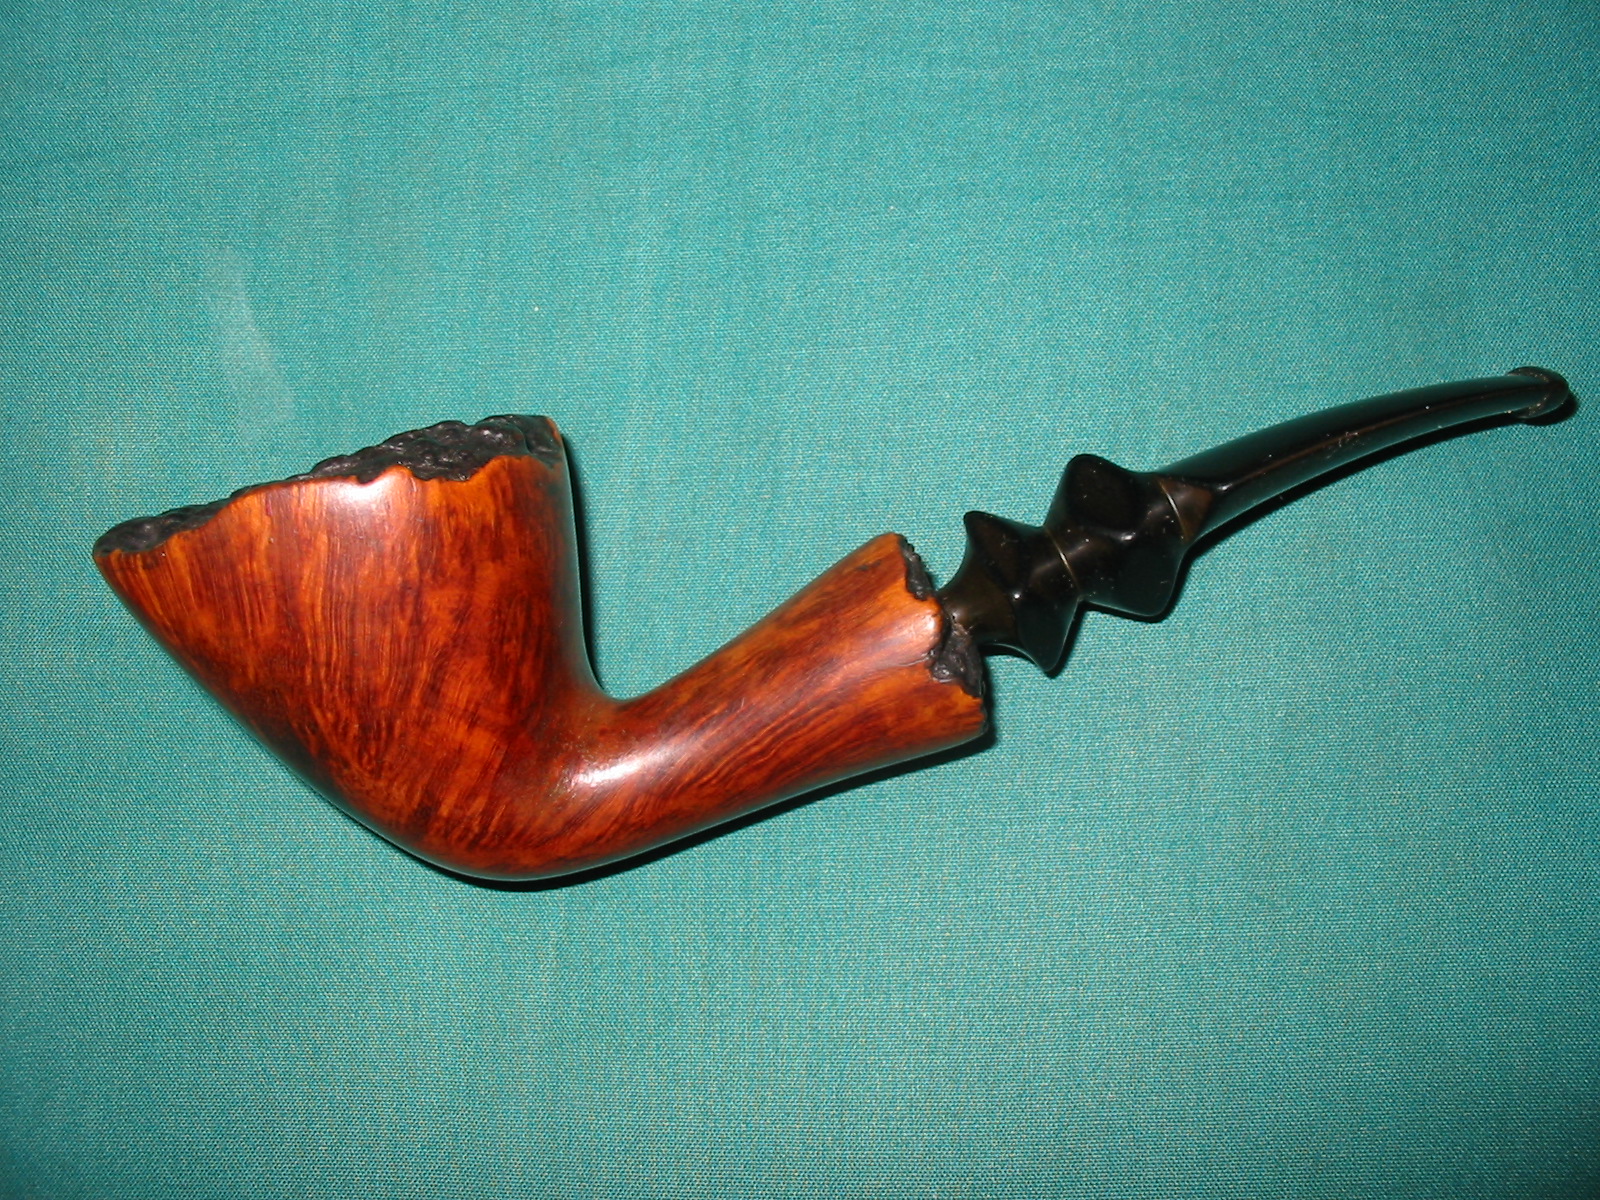
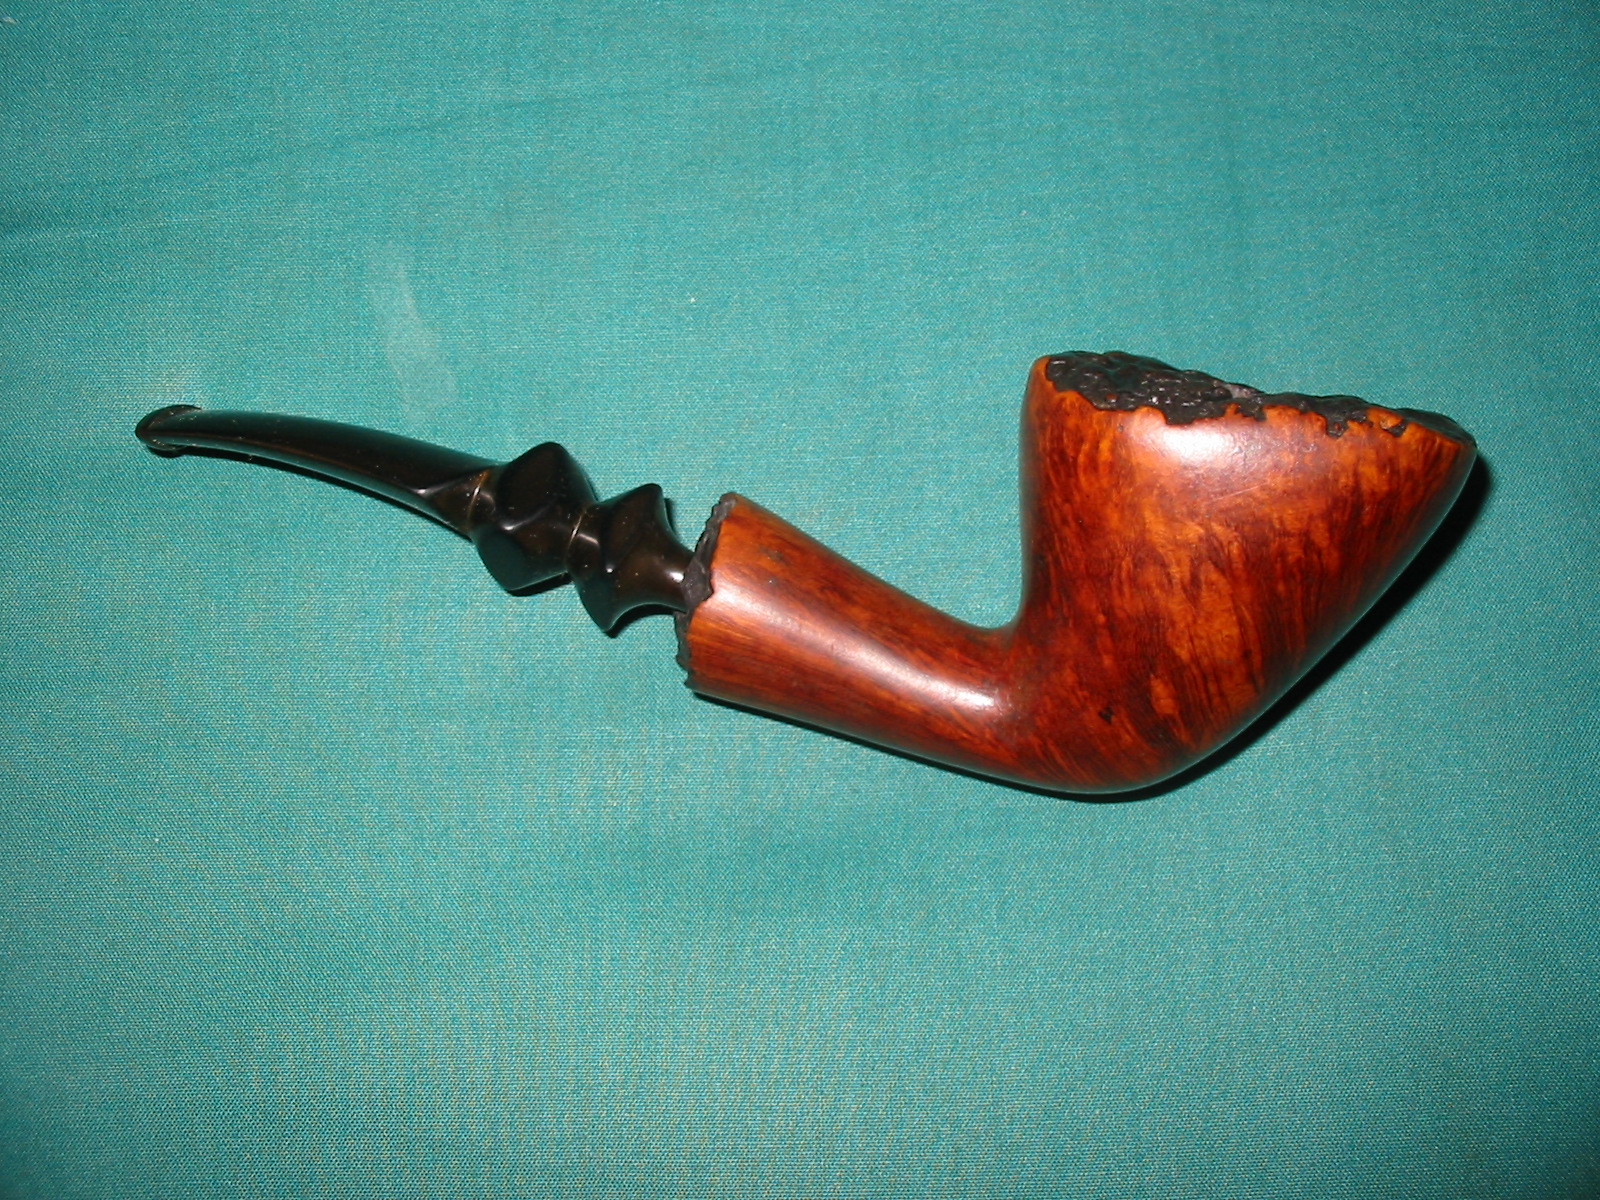
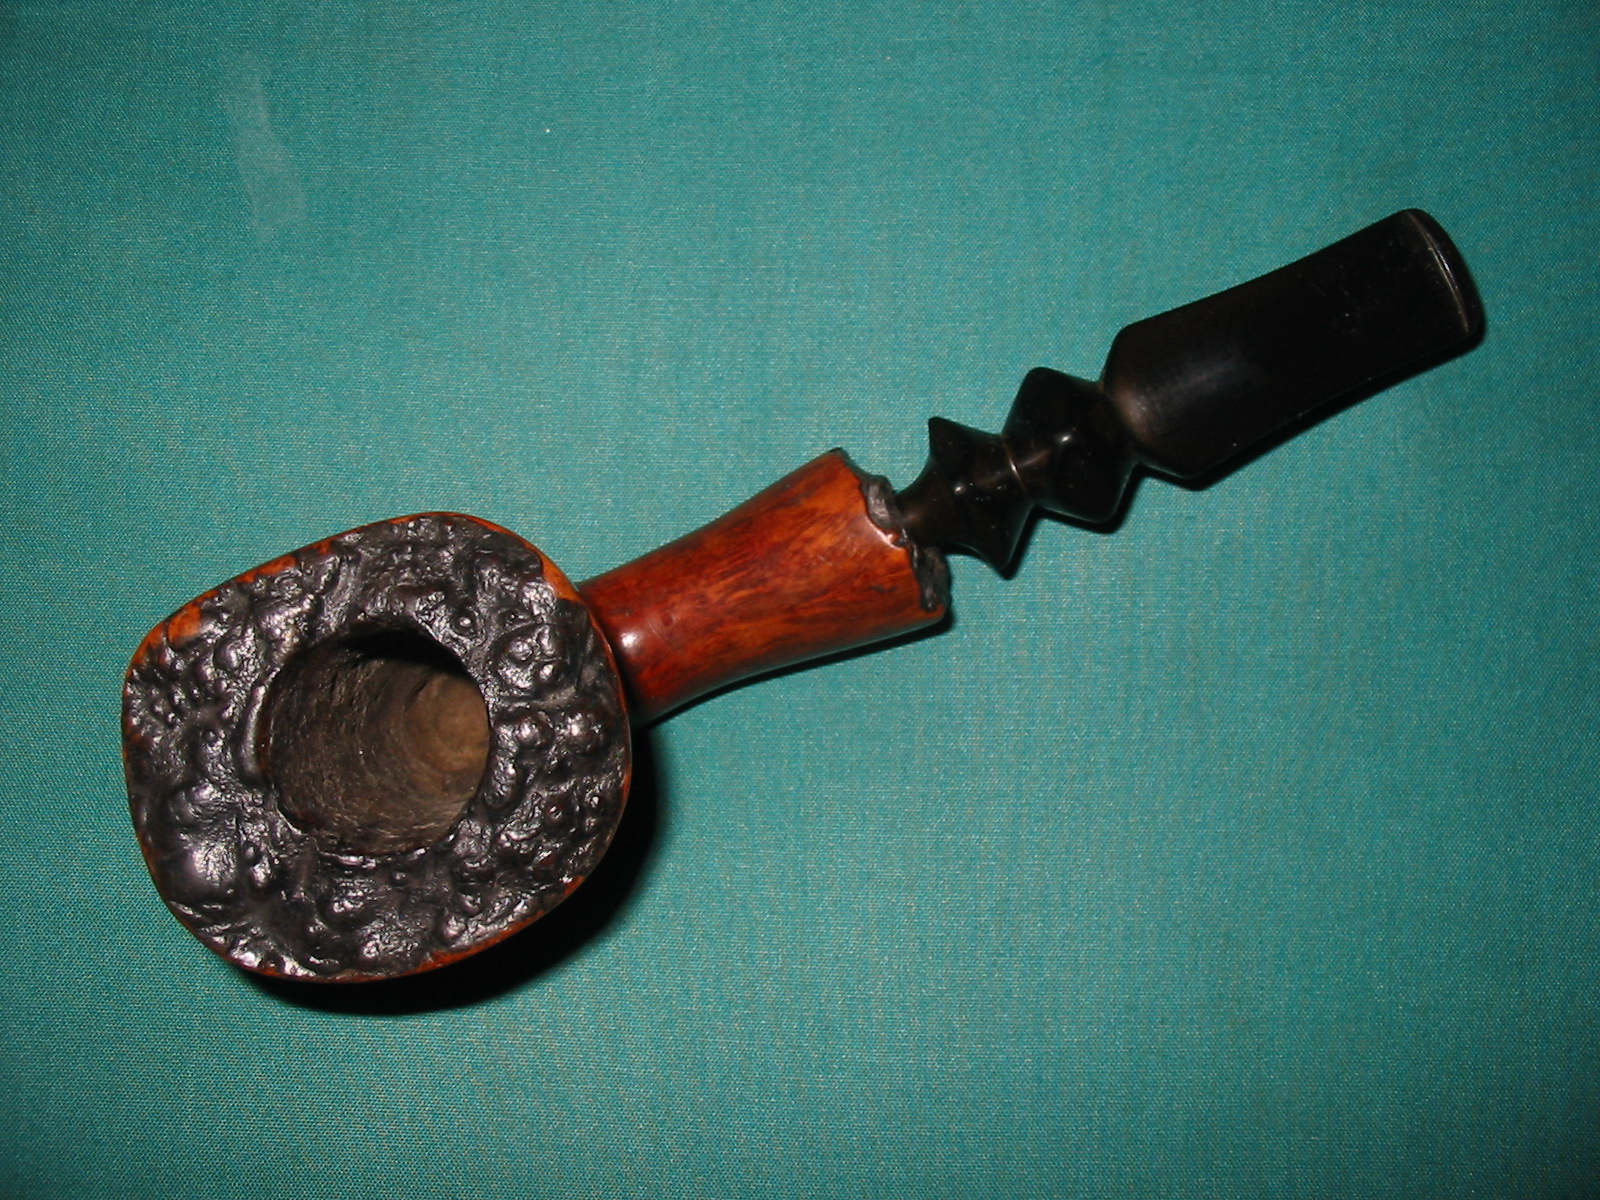
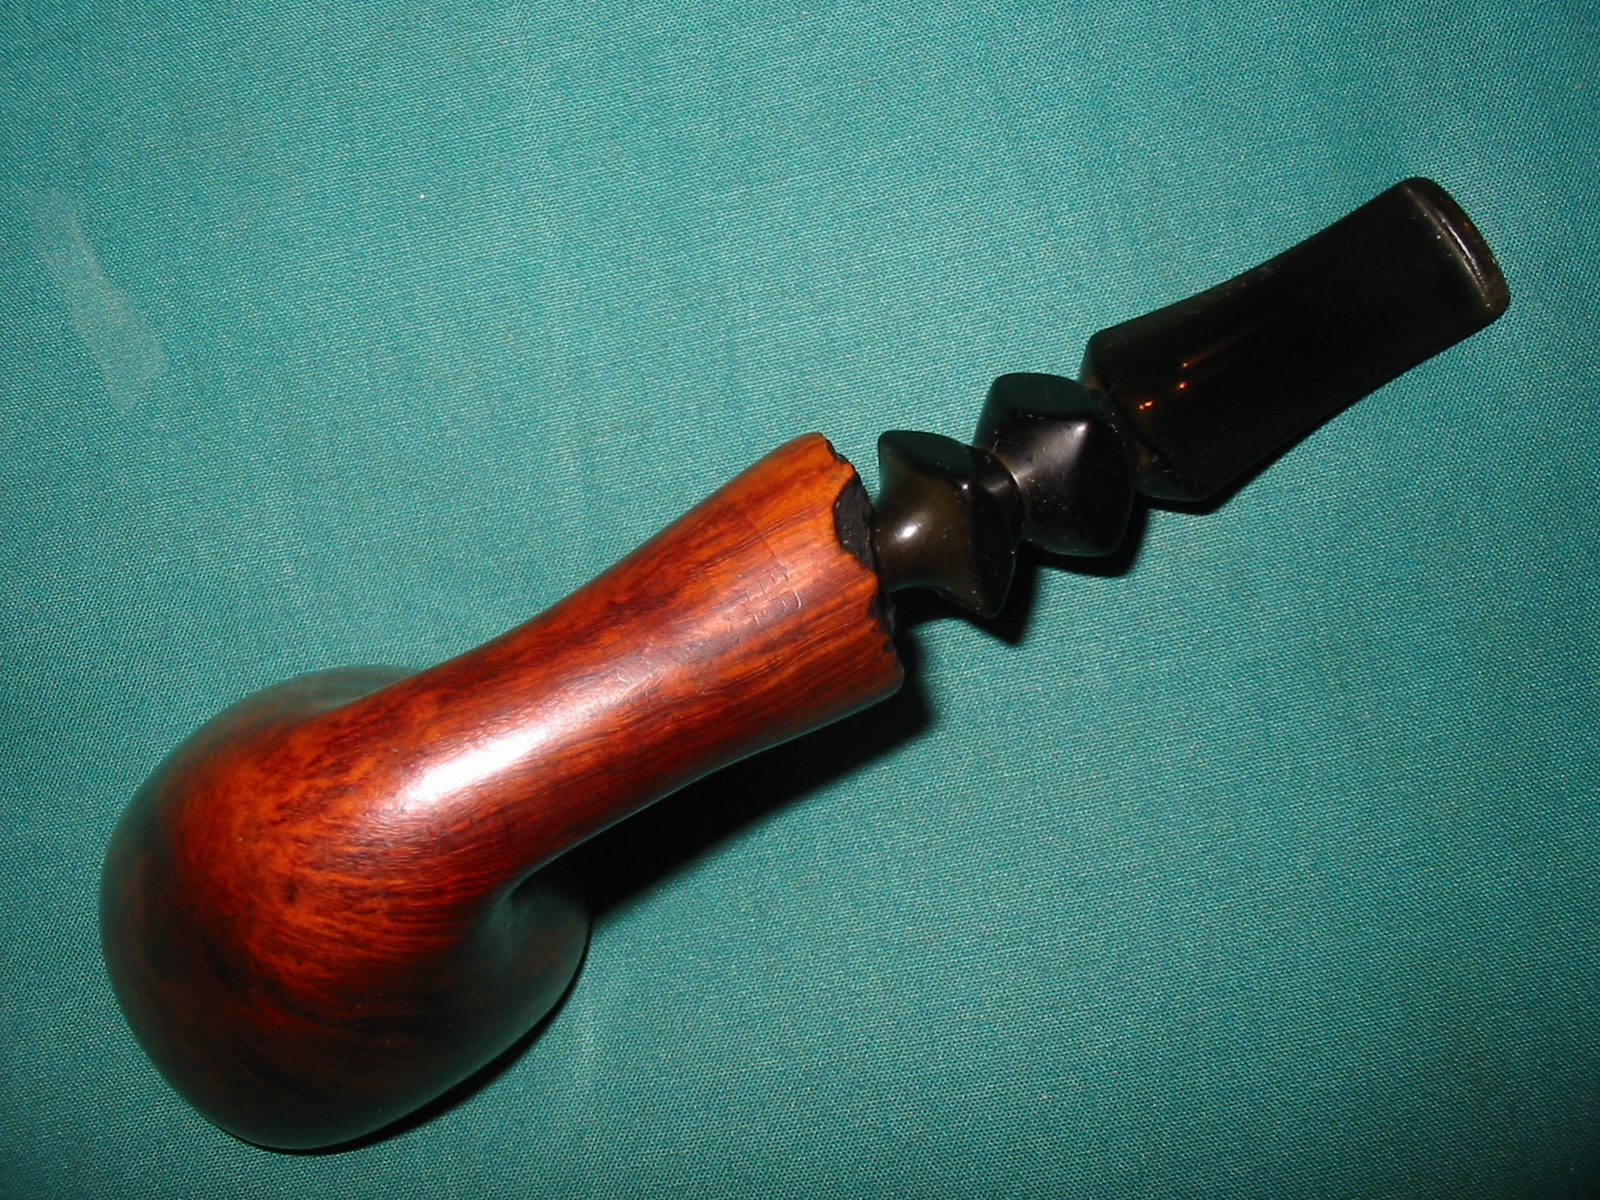
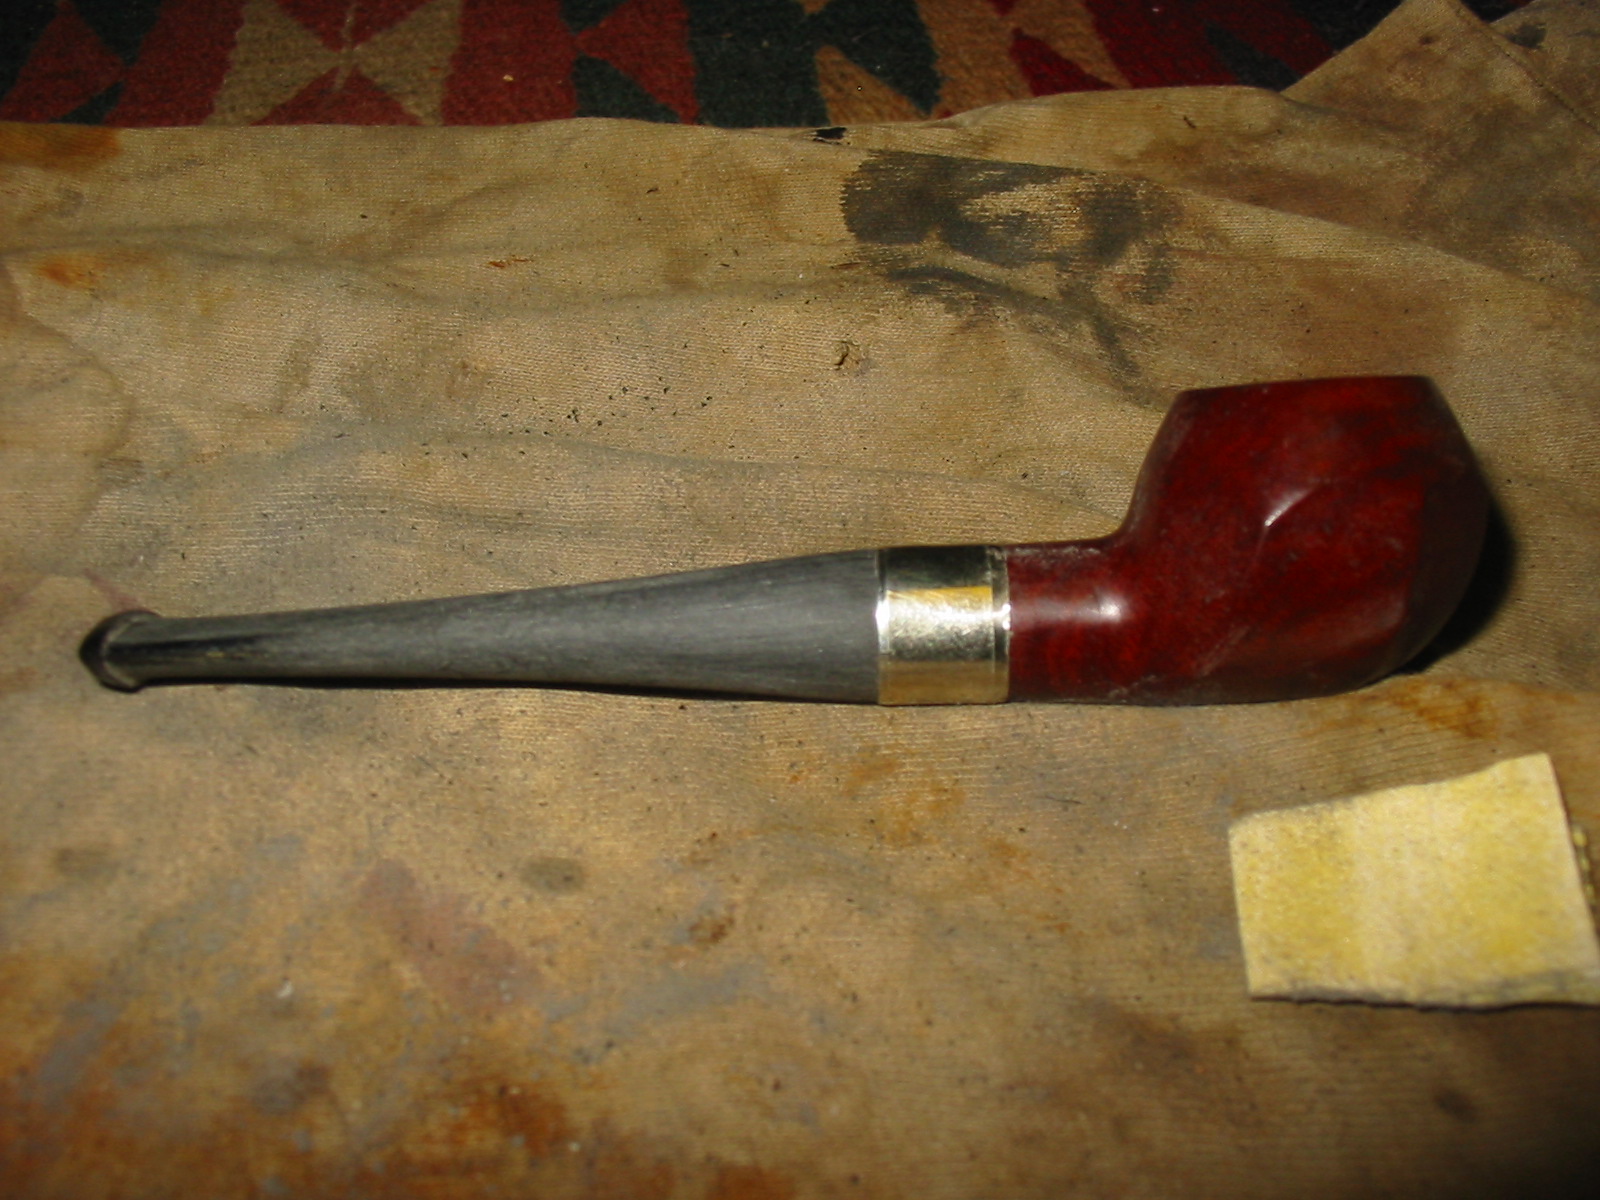
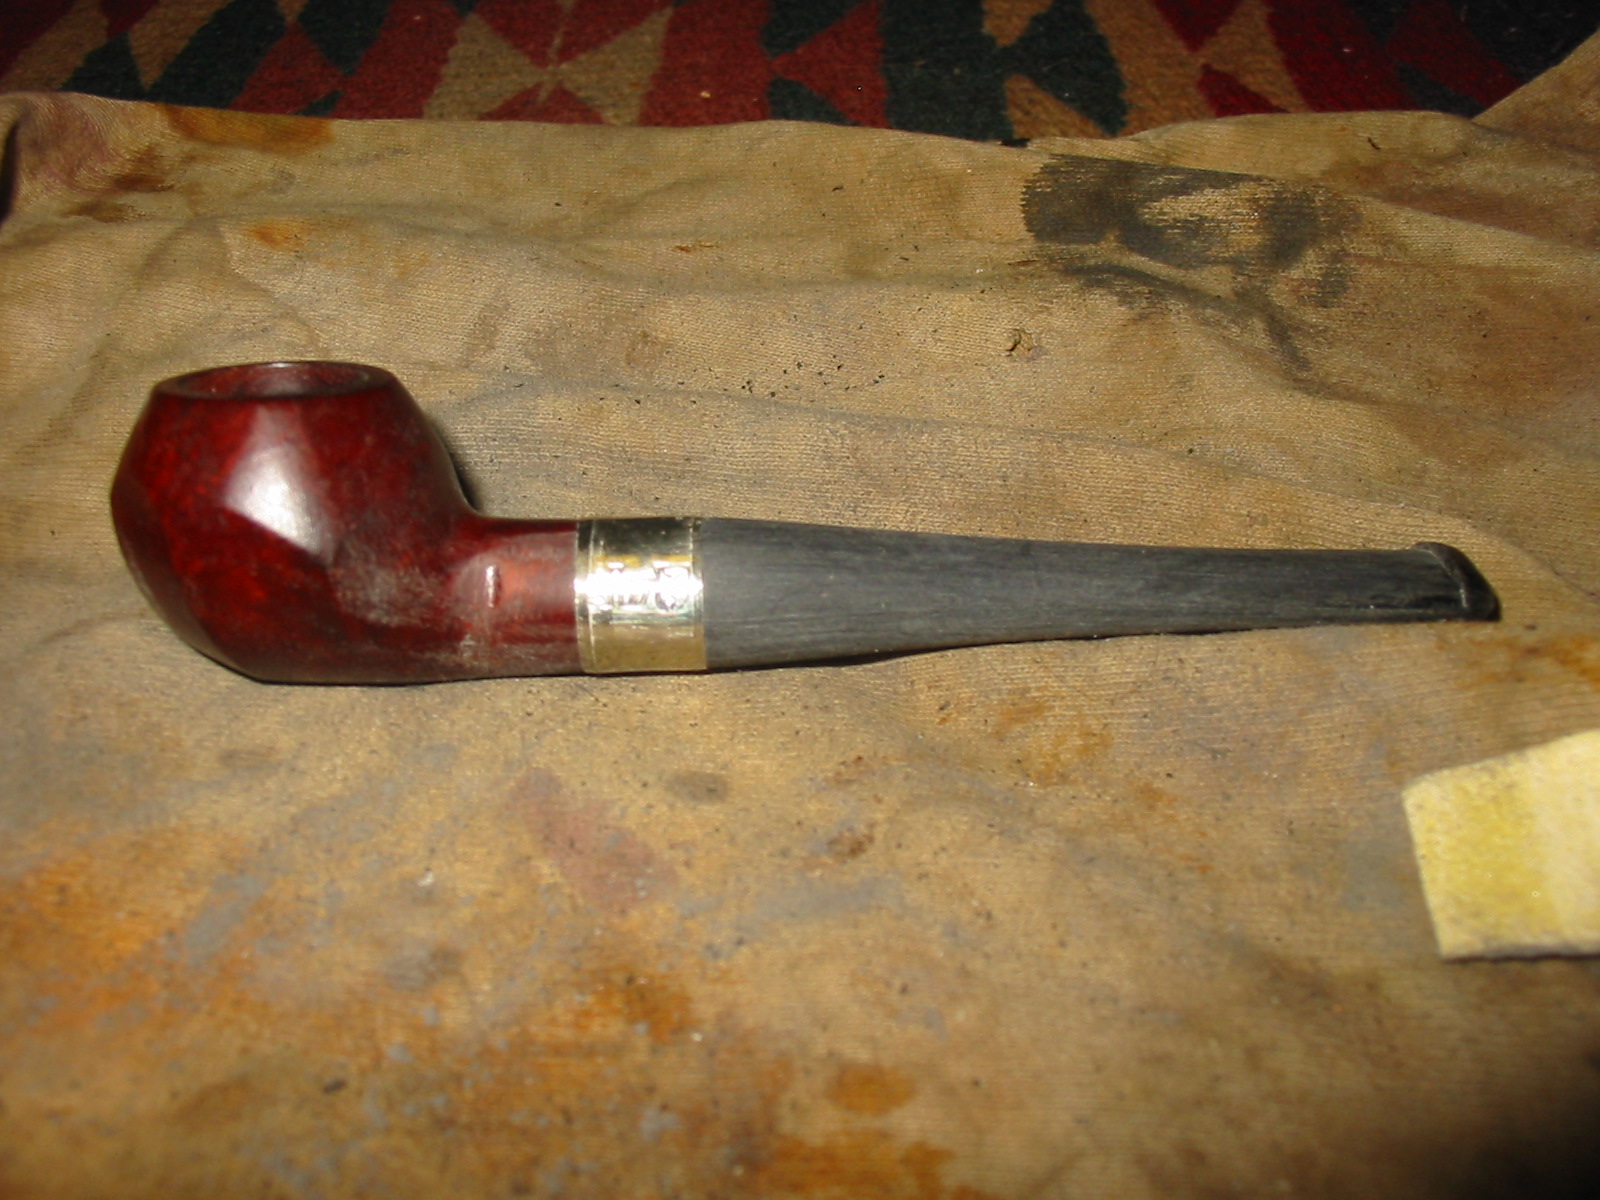
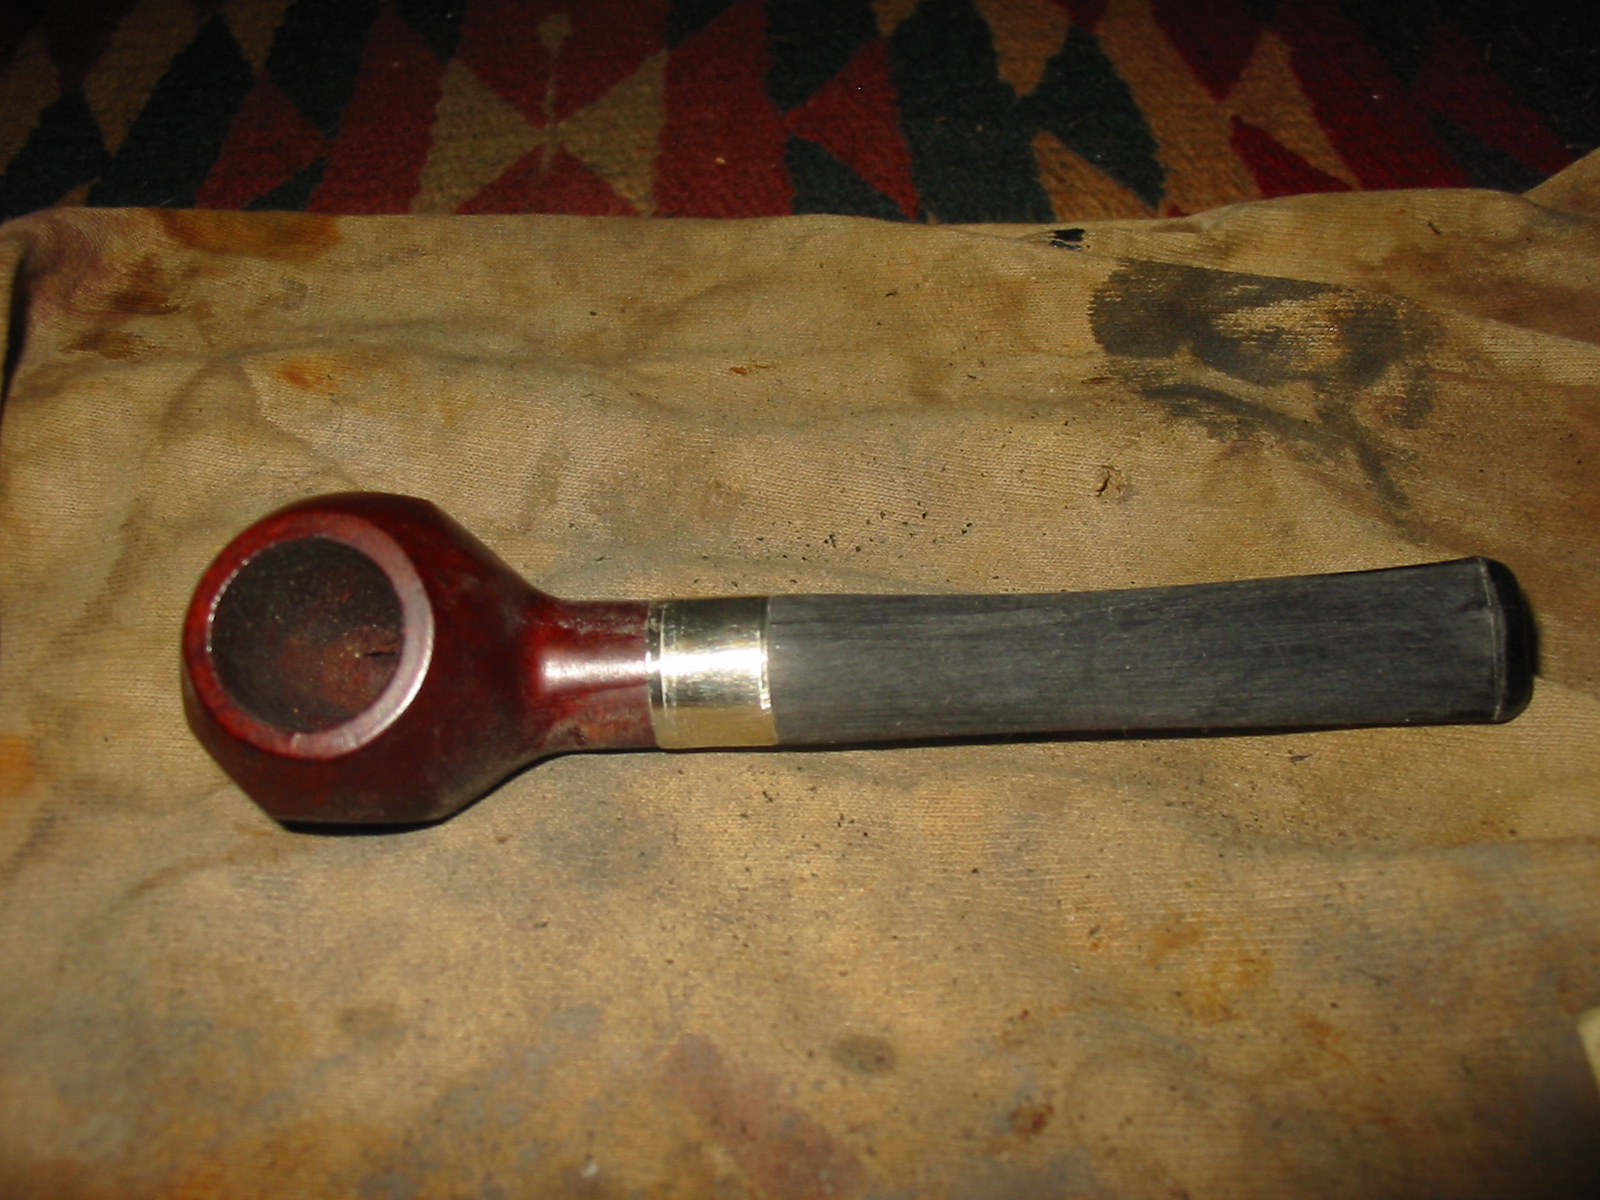
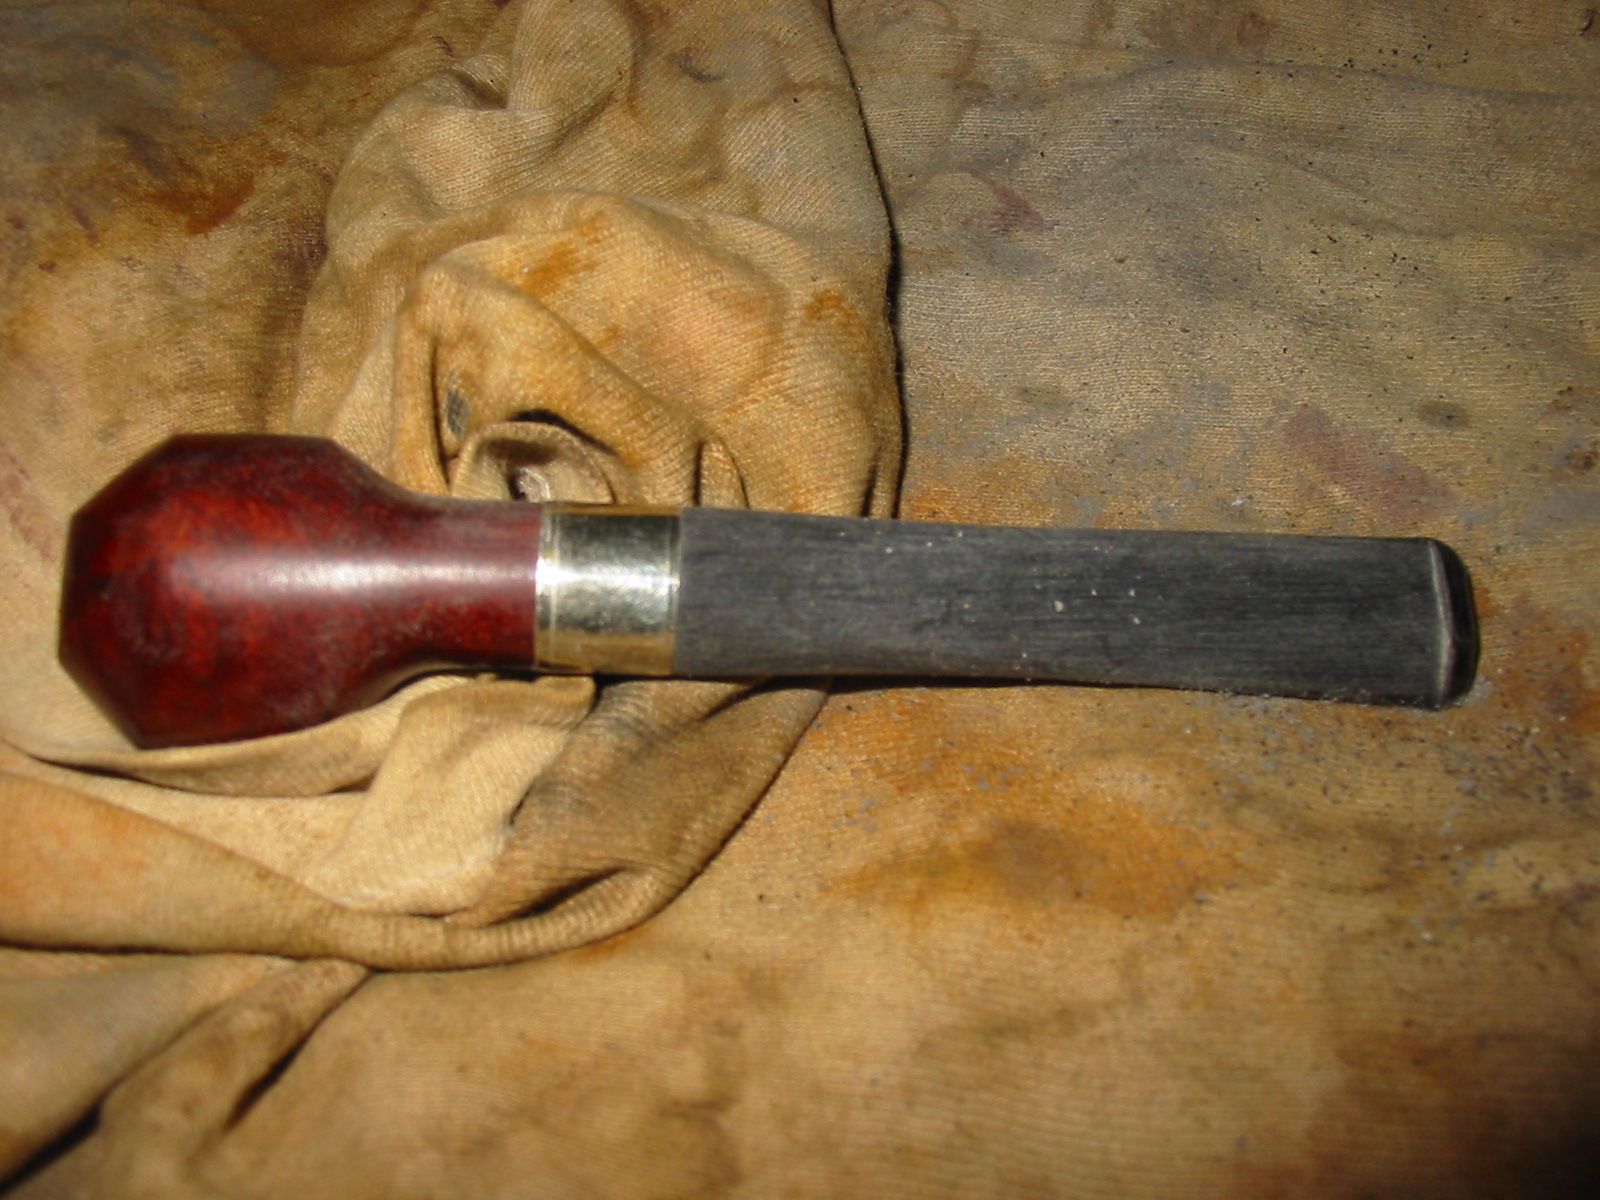
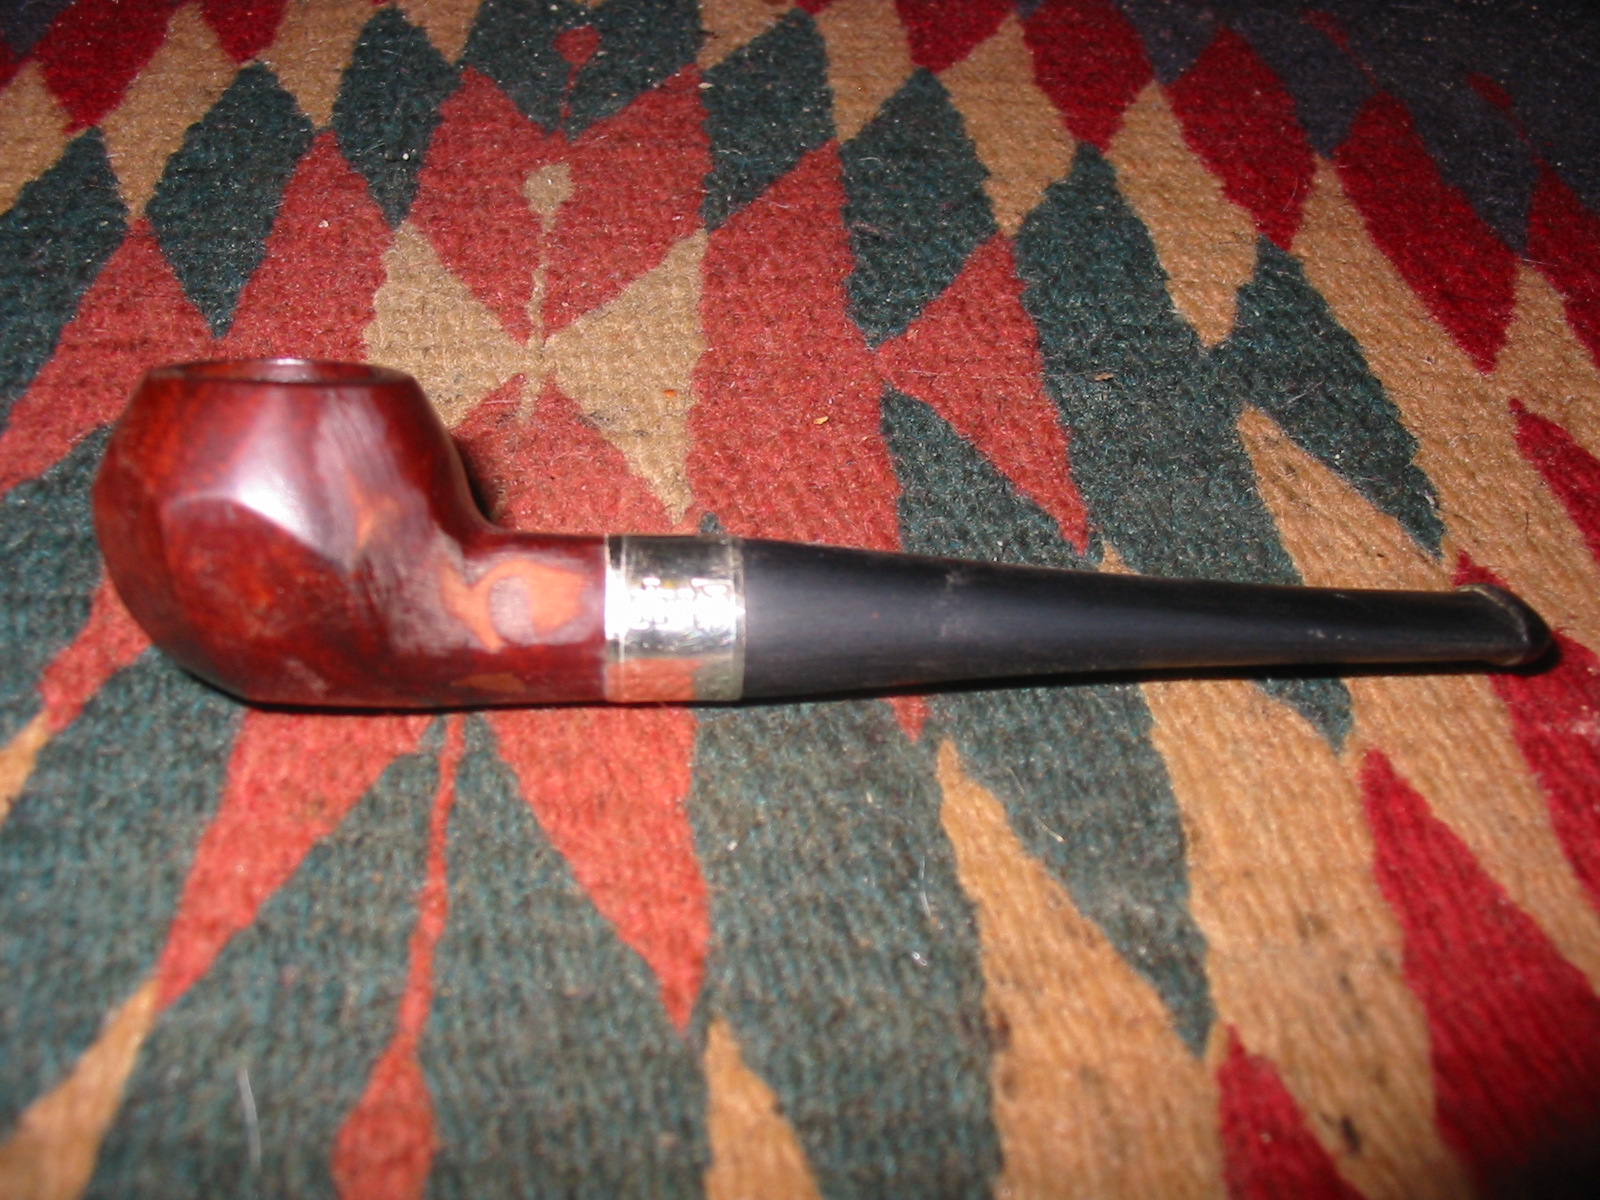
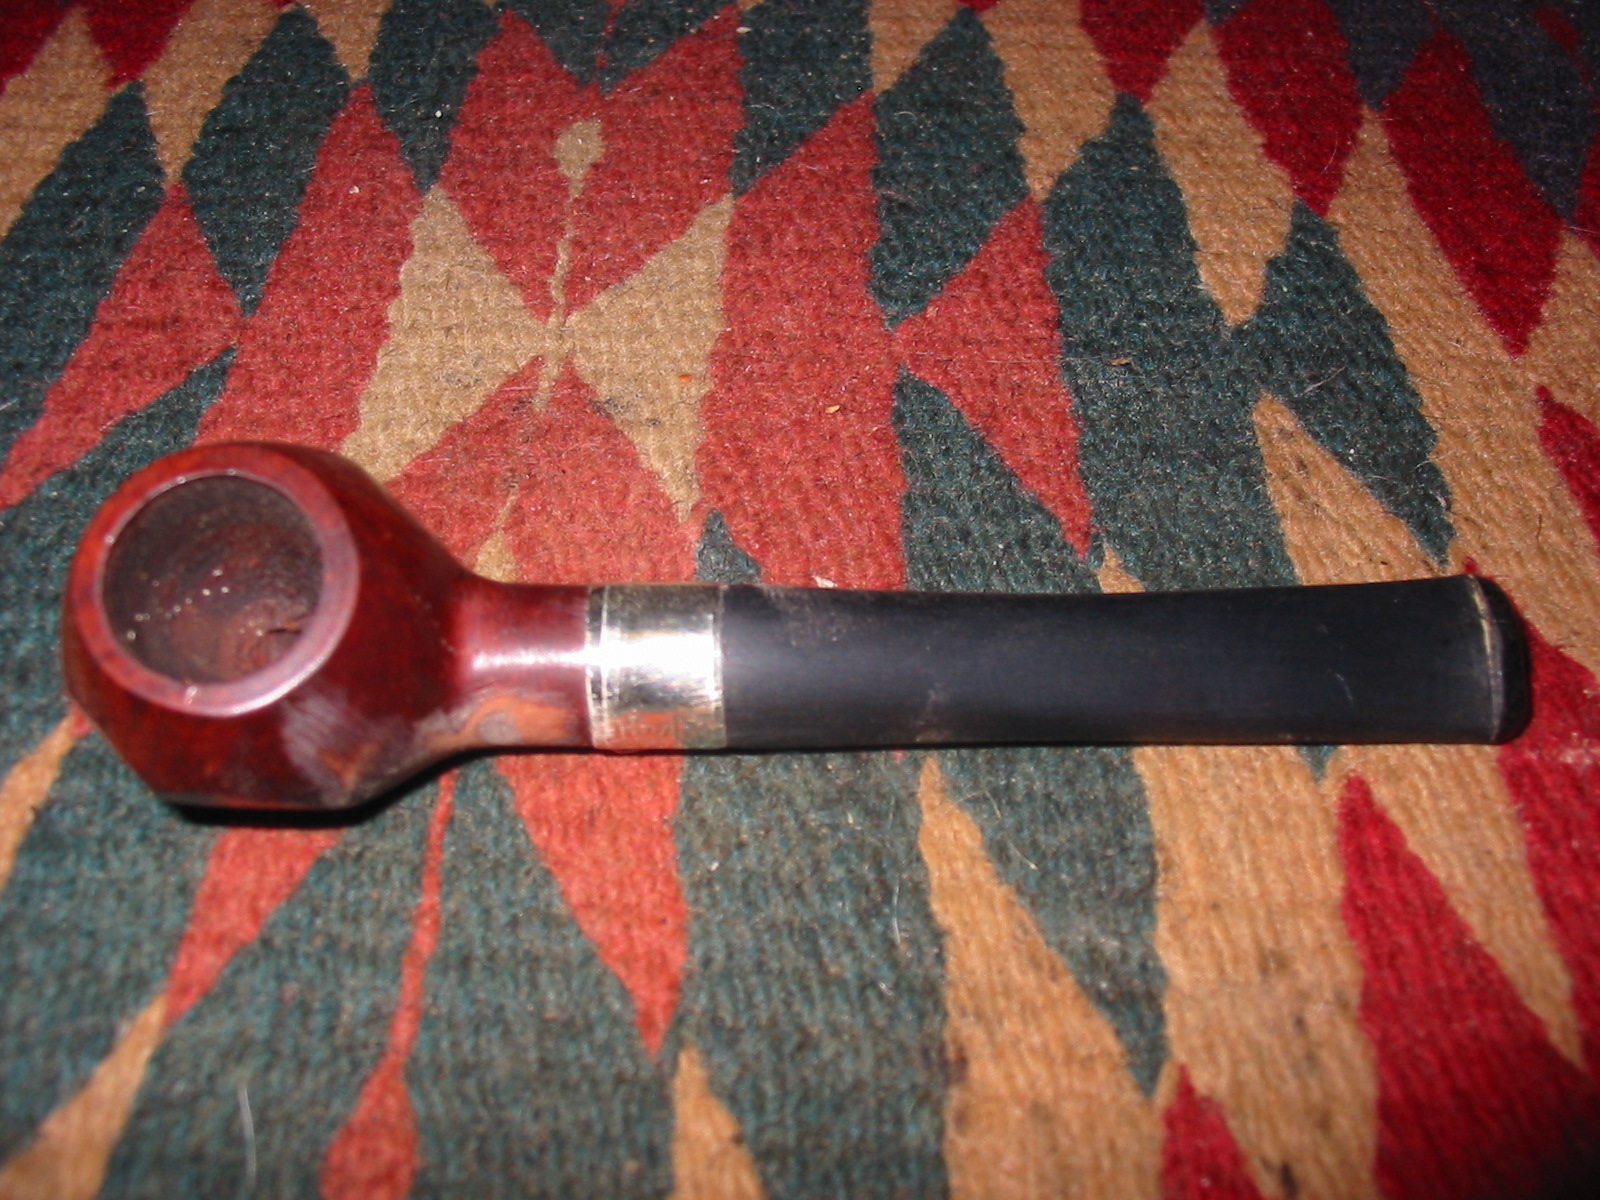
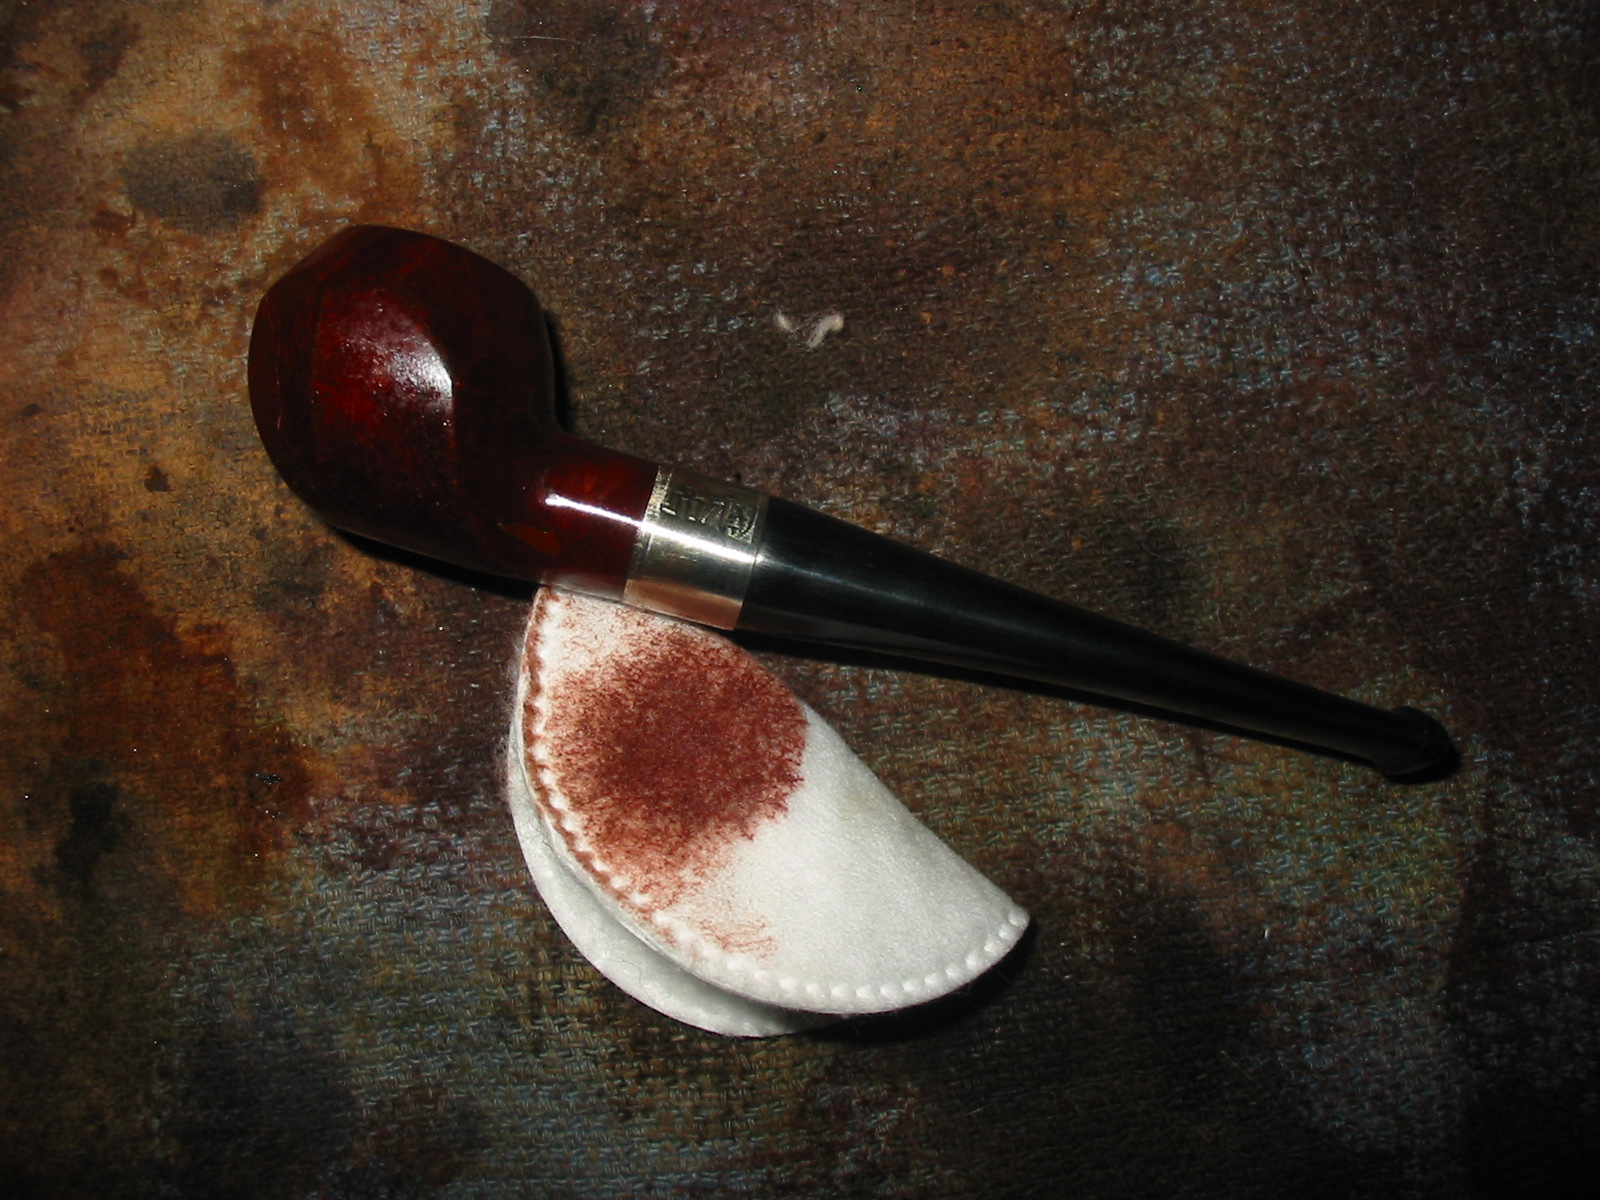
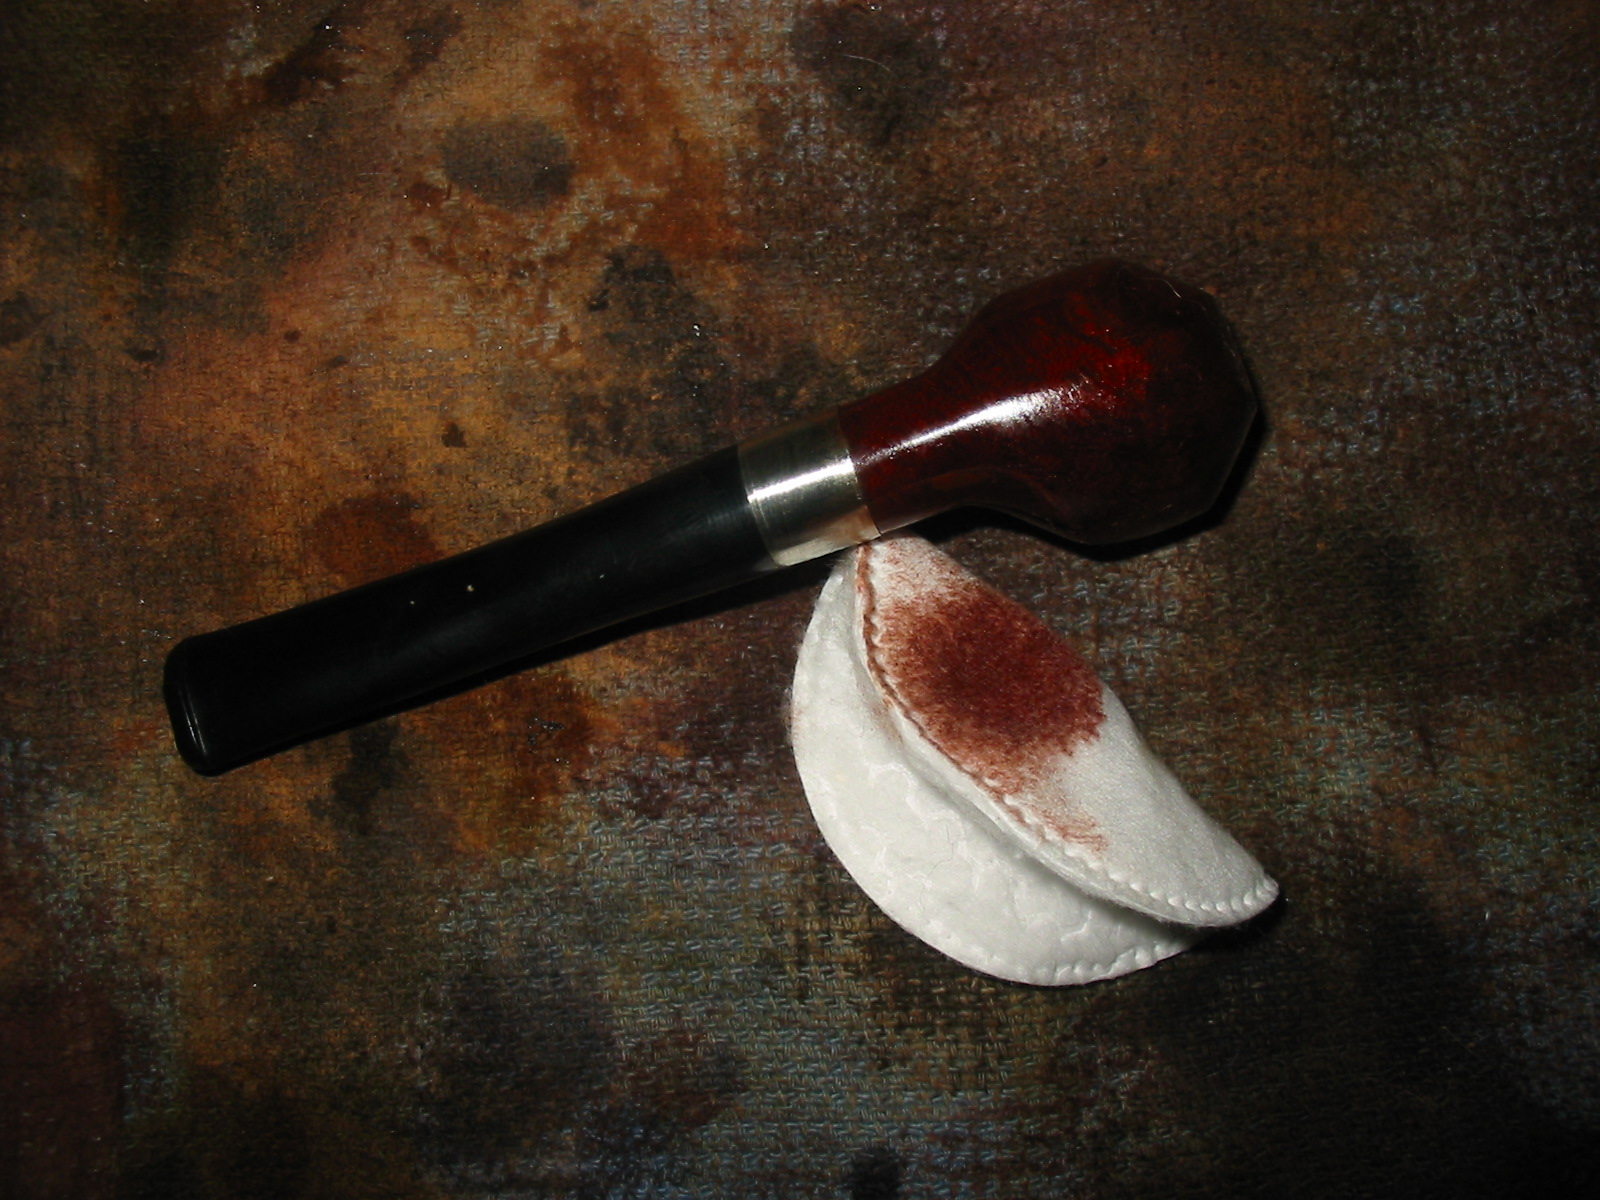
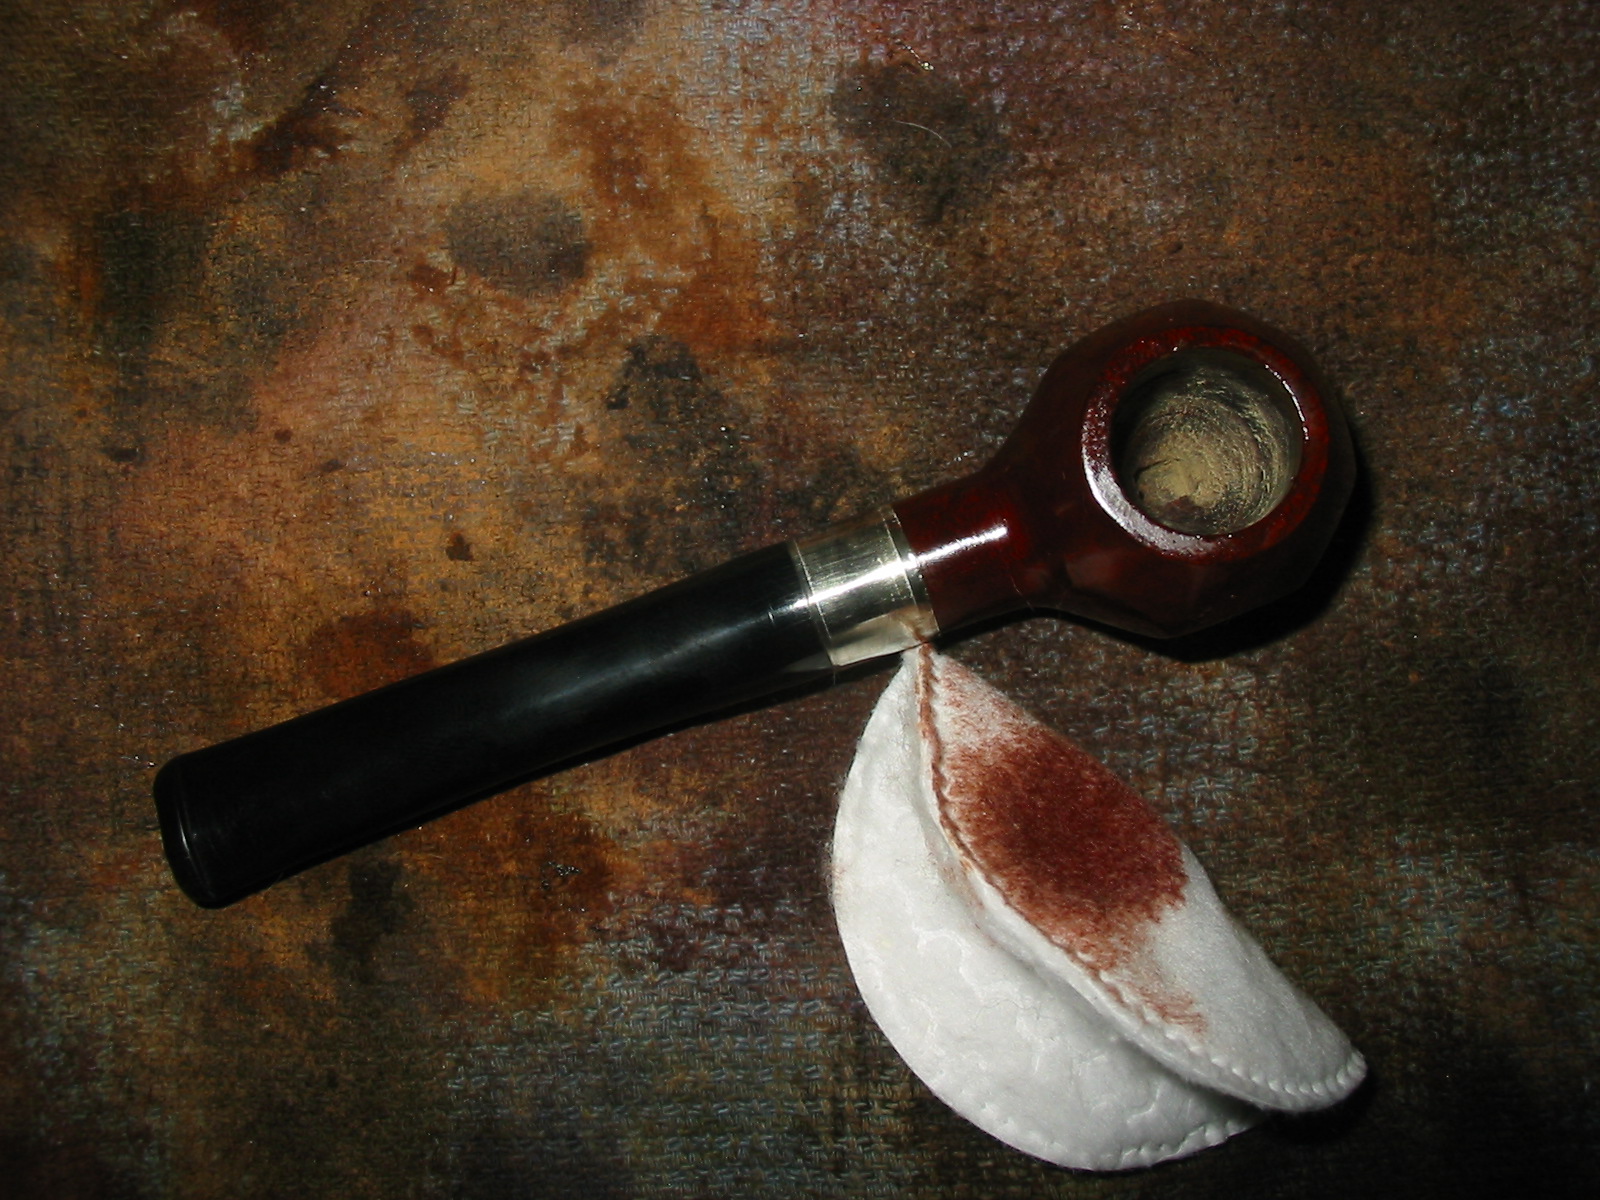
Kaywoodie Drinkless Apple Repurposed and Refurbished


Blog by Steve Laug

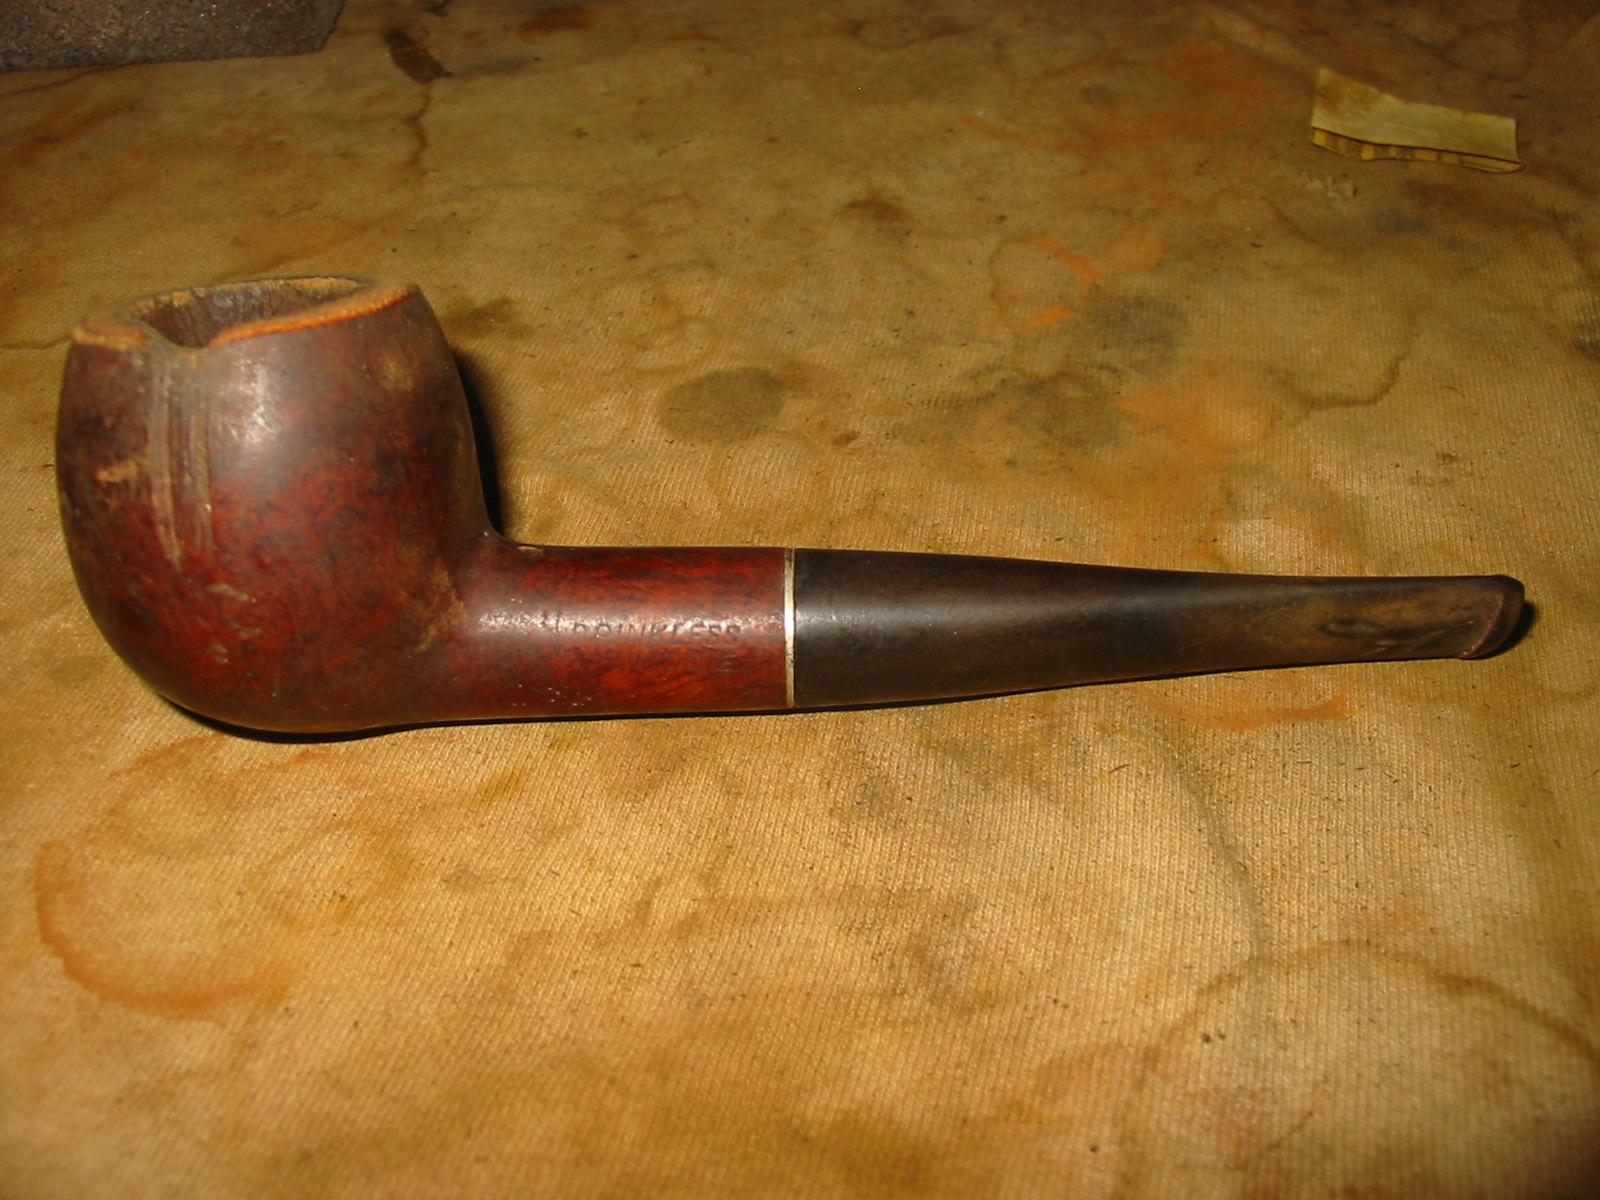
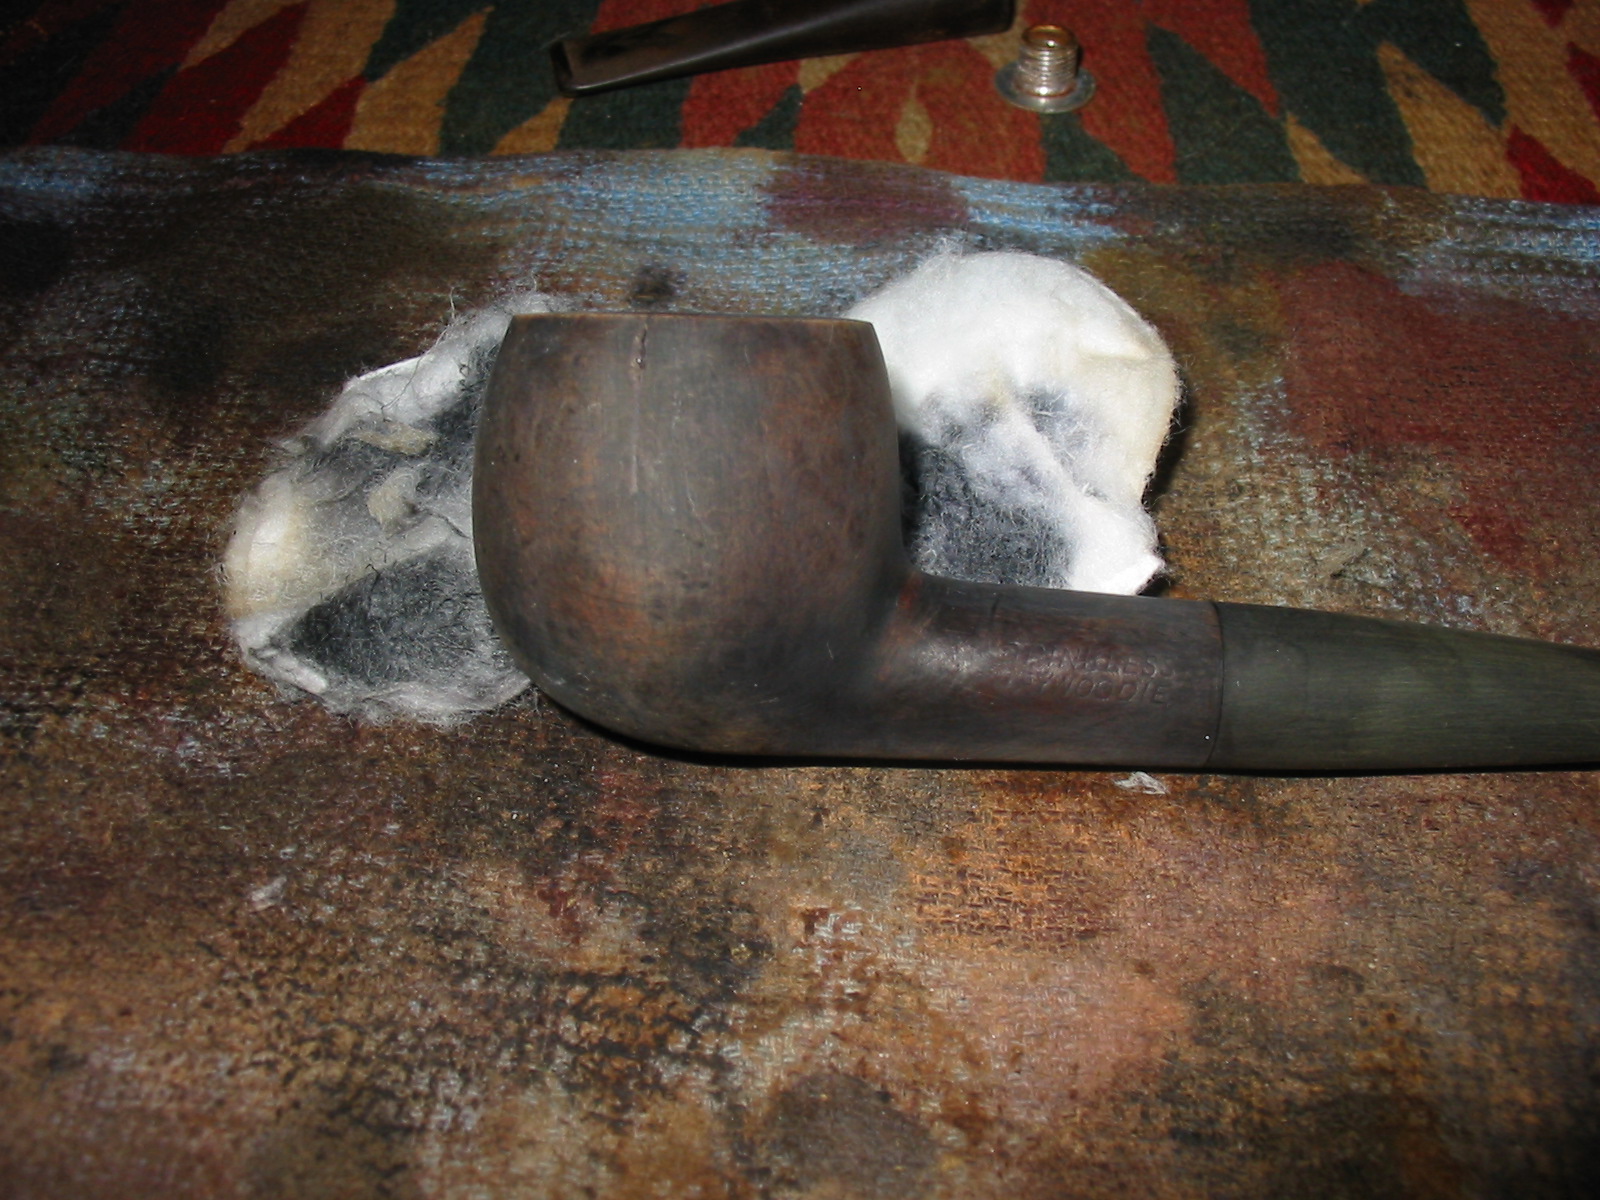
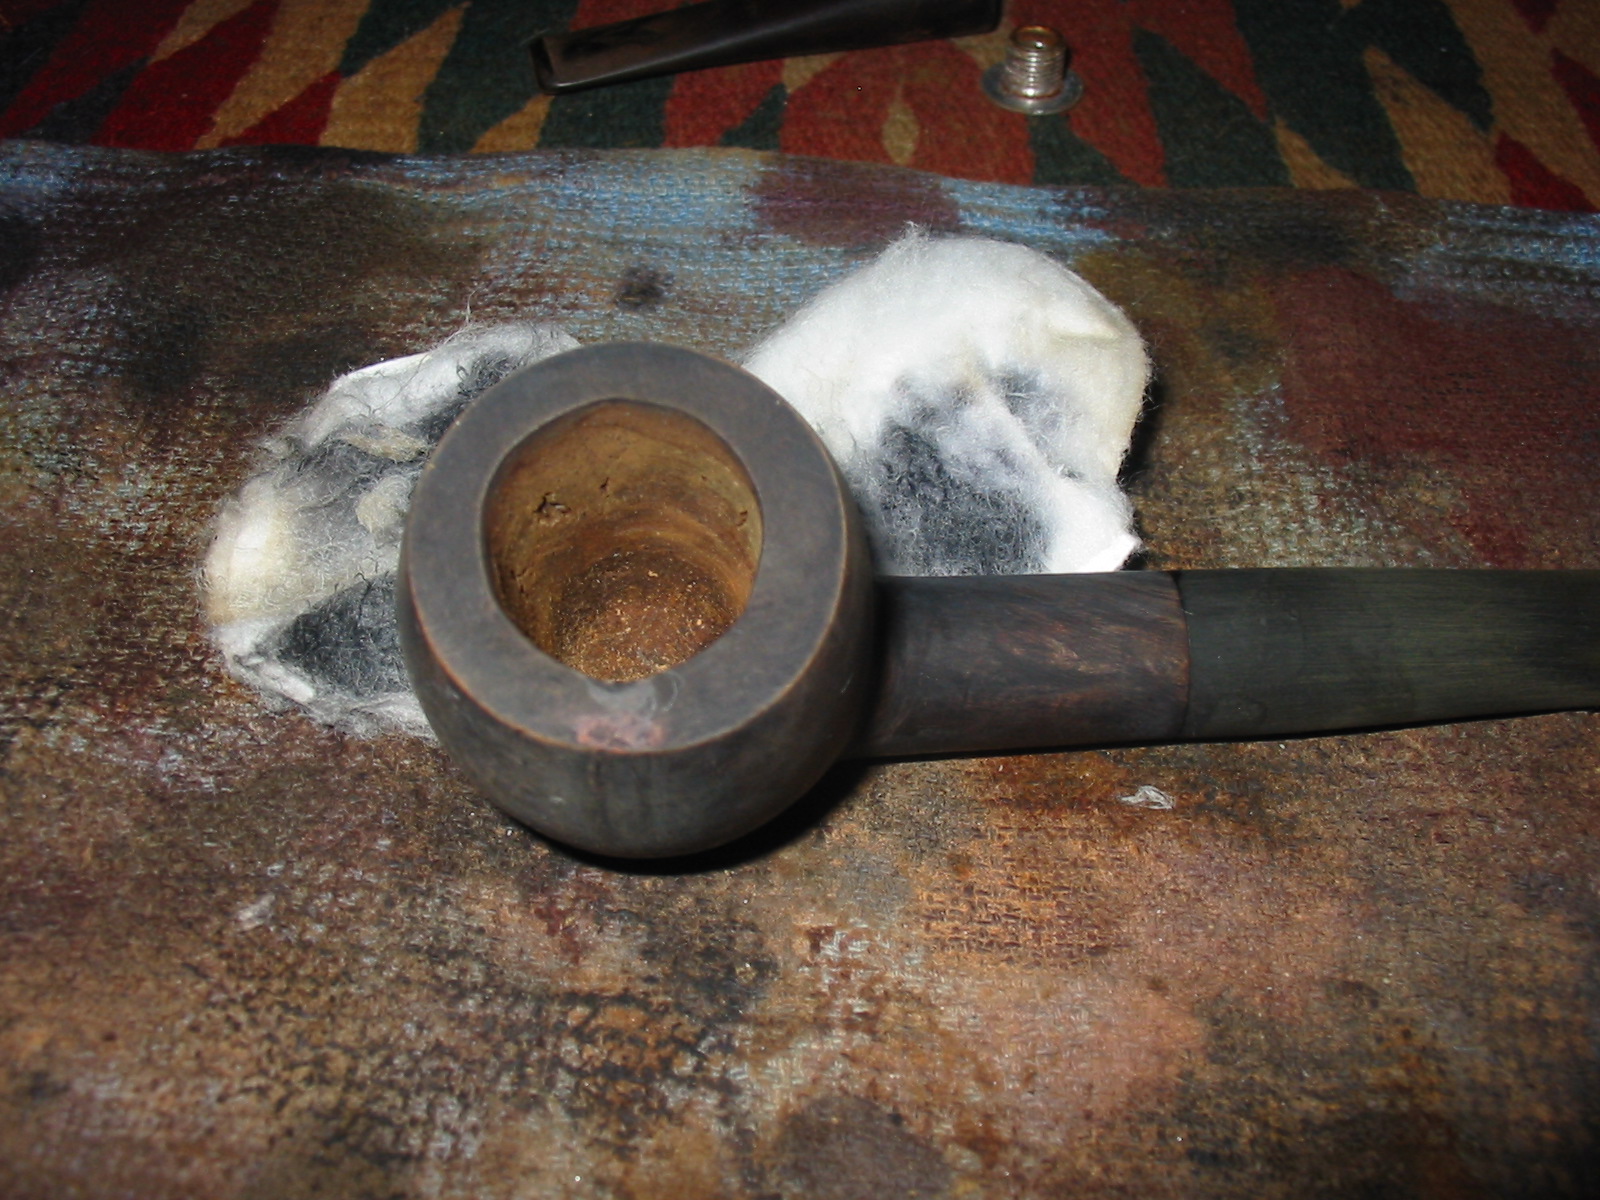
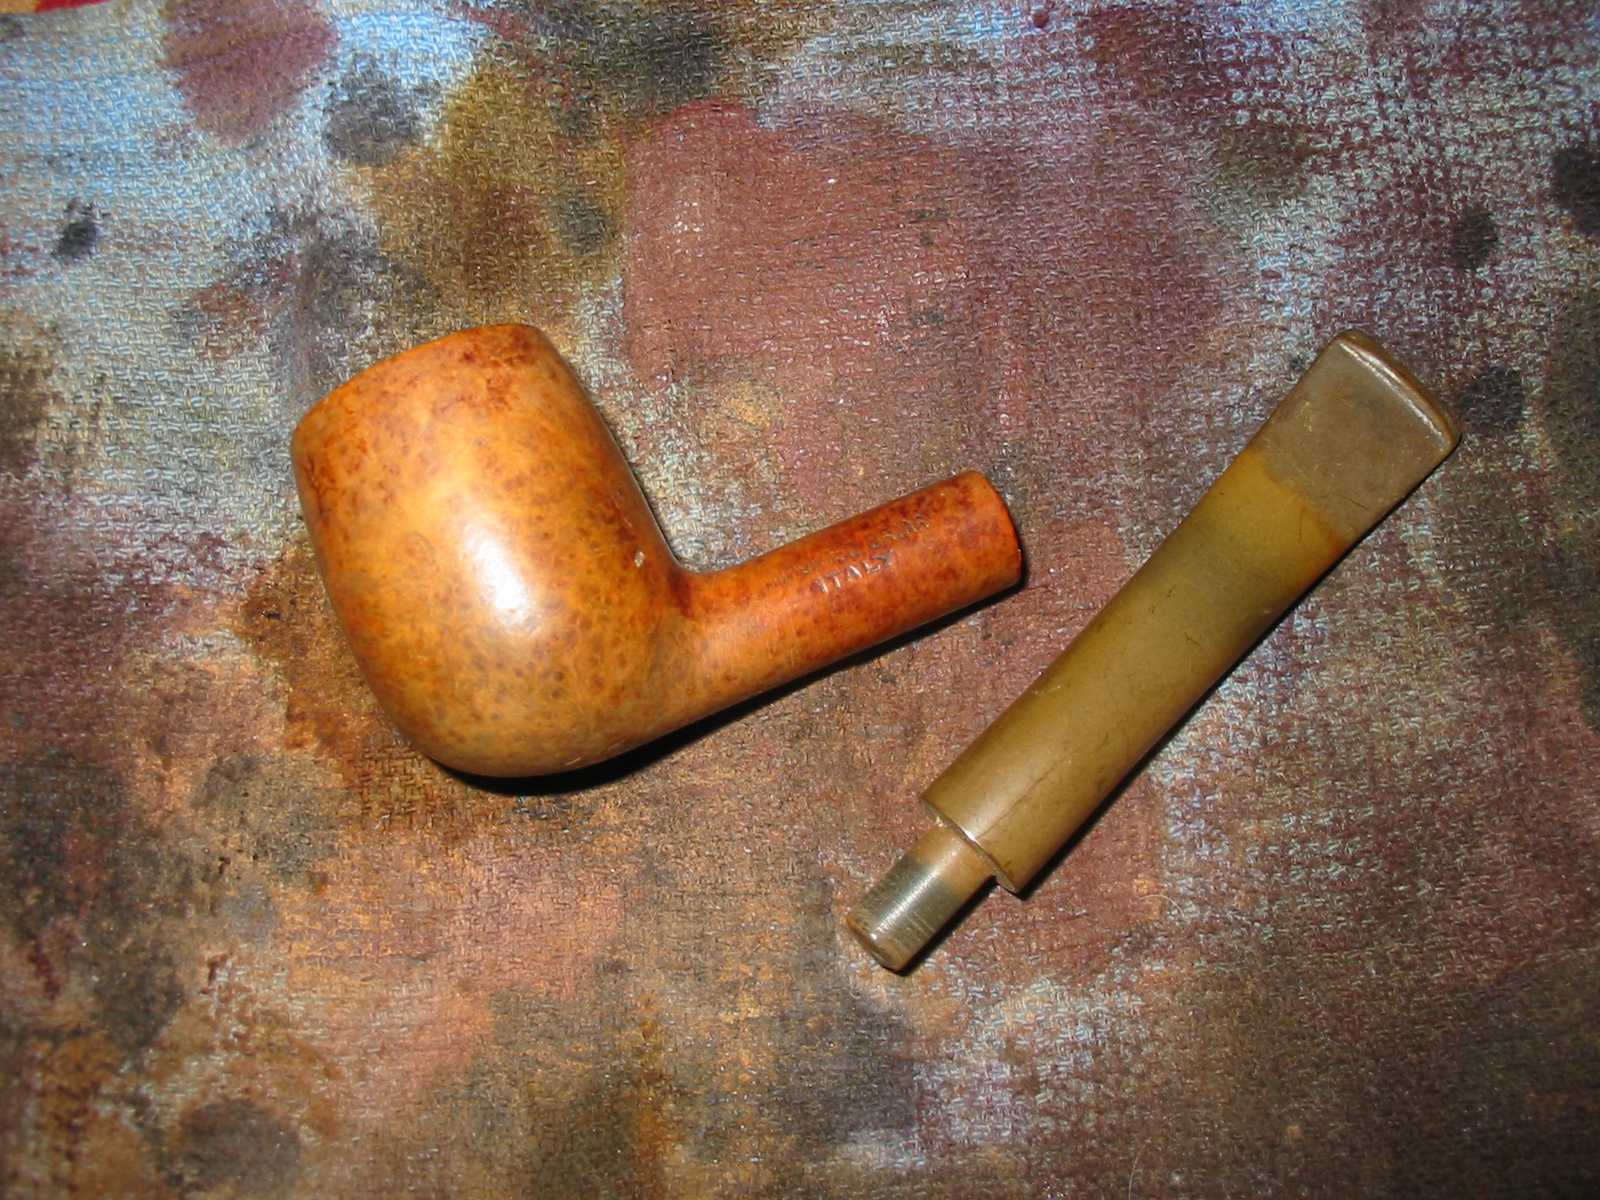
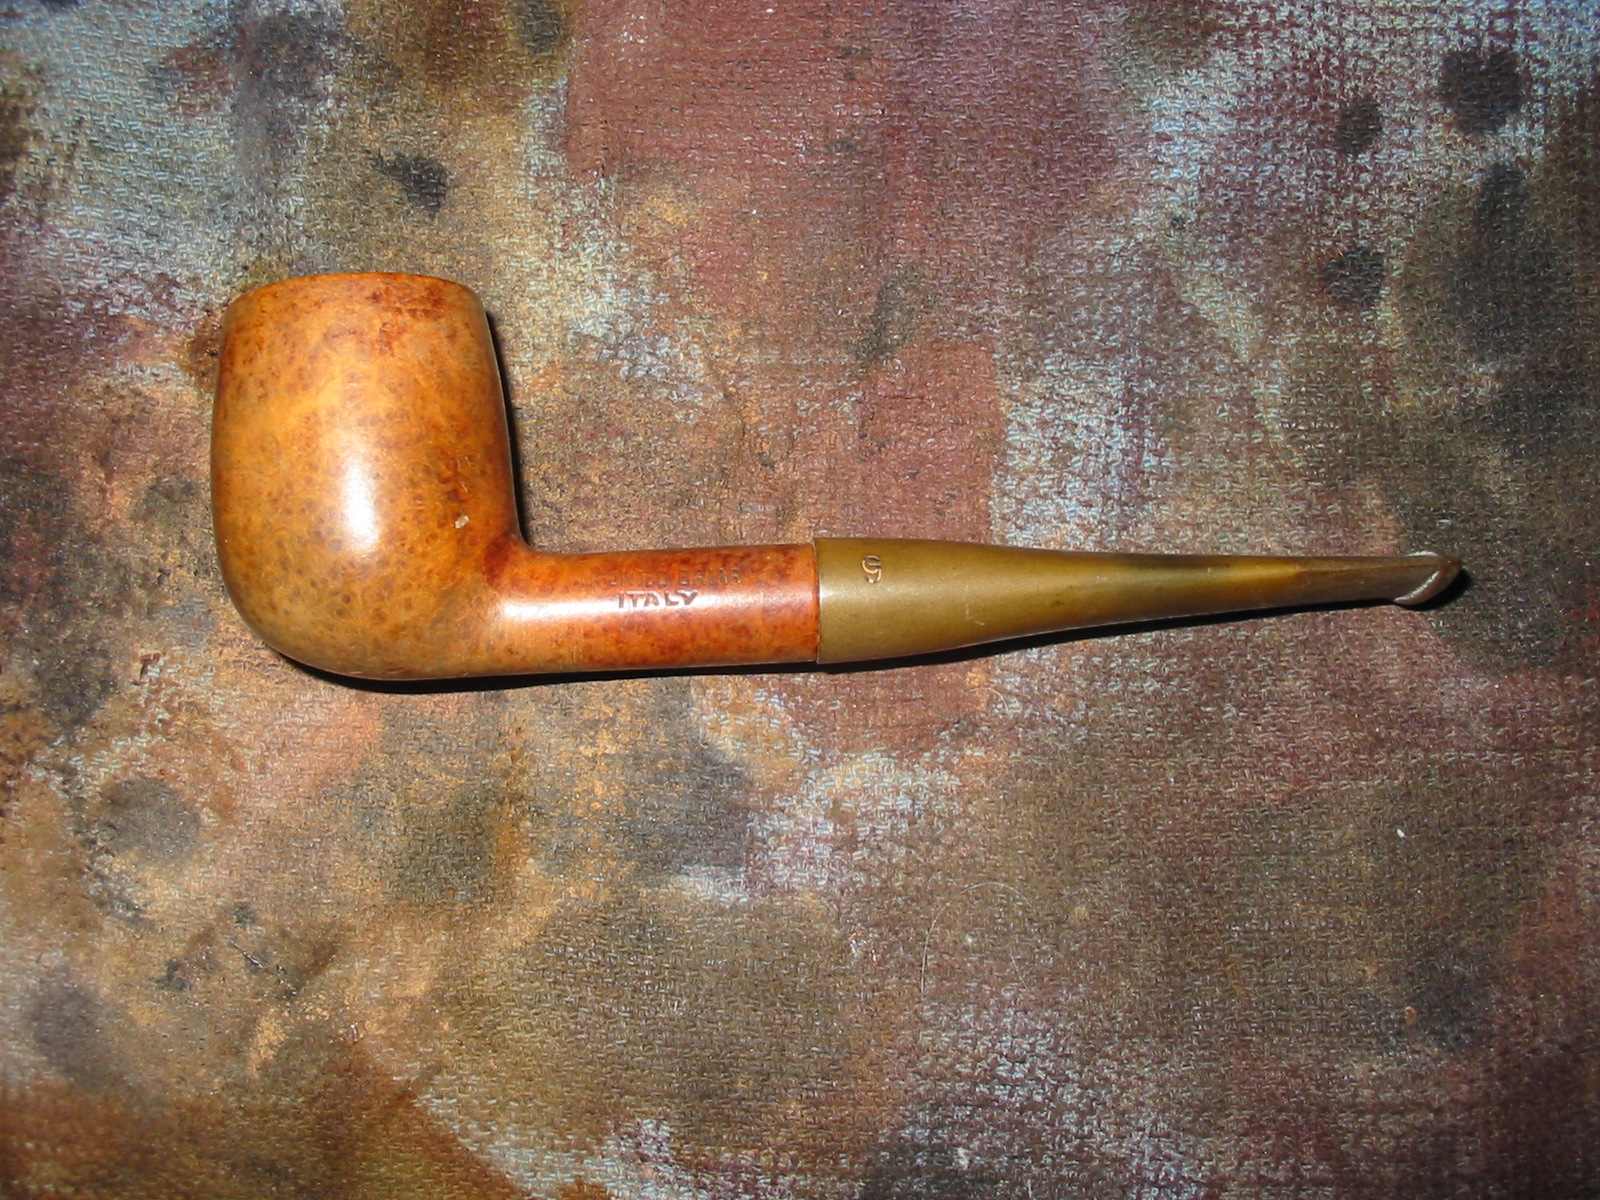
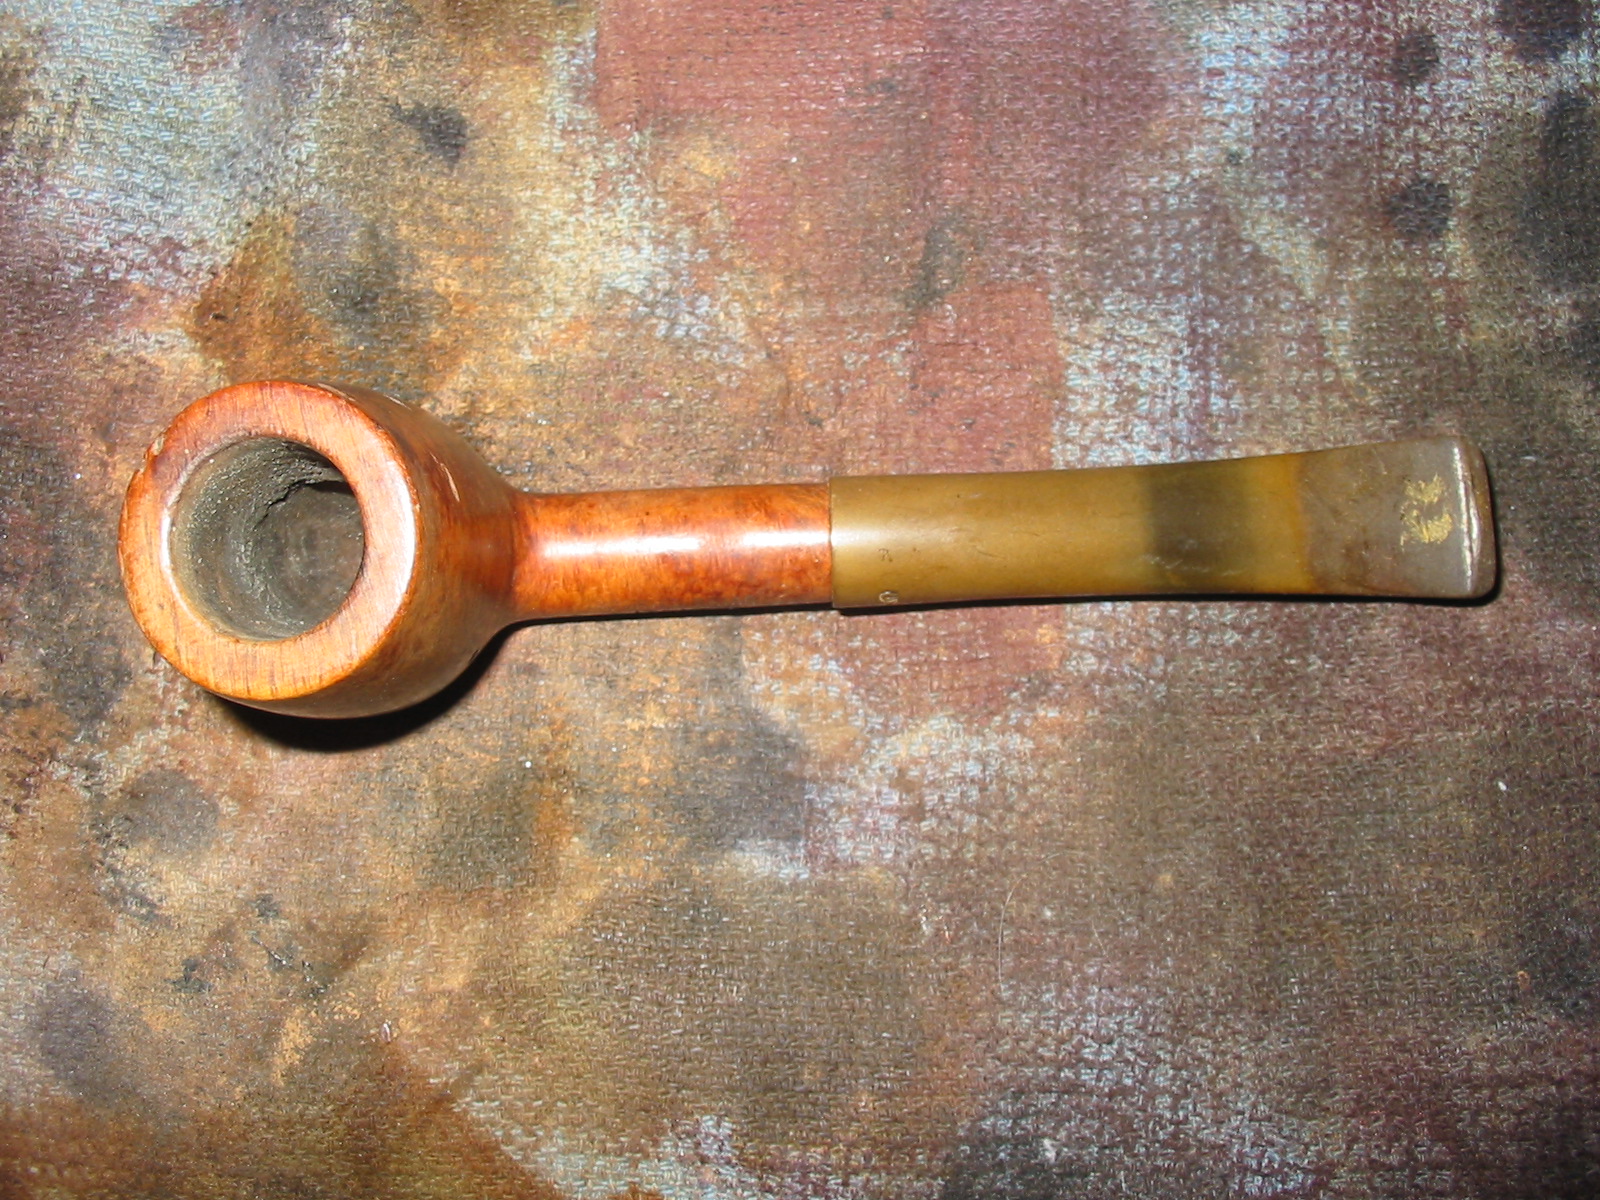
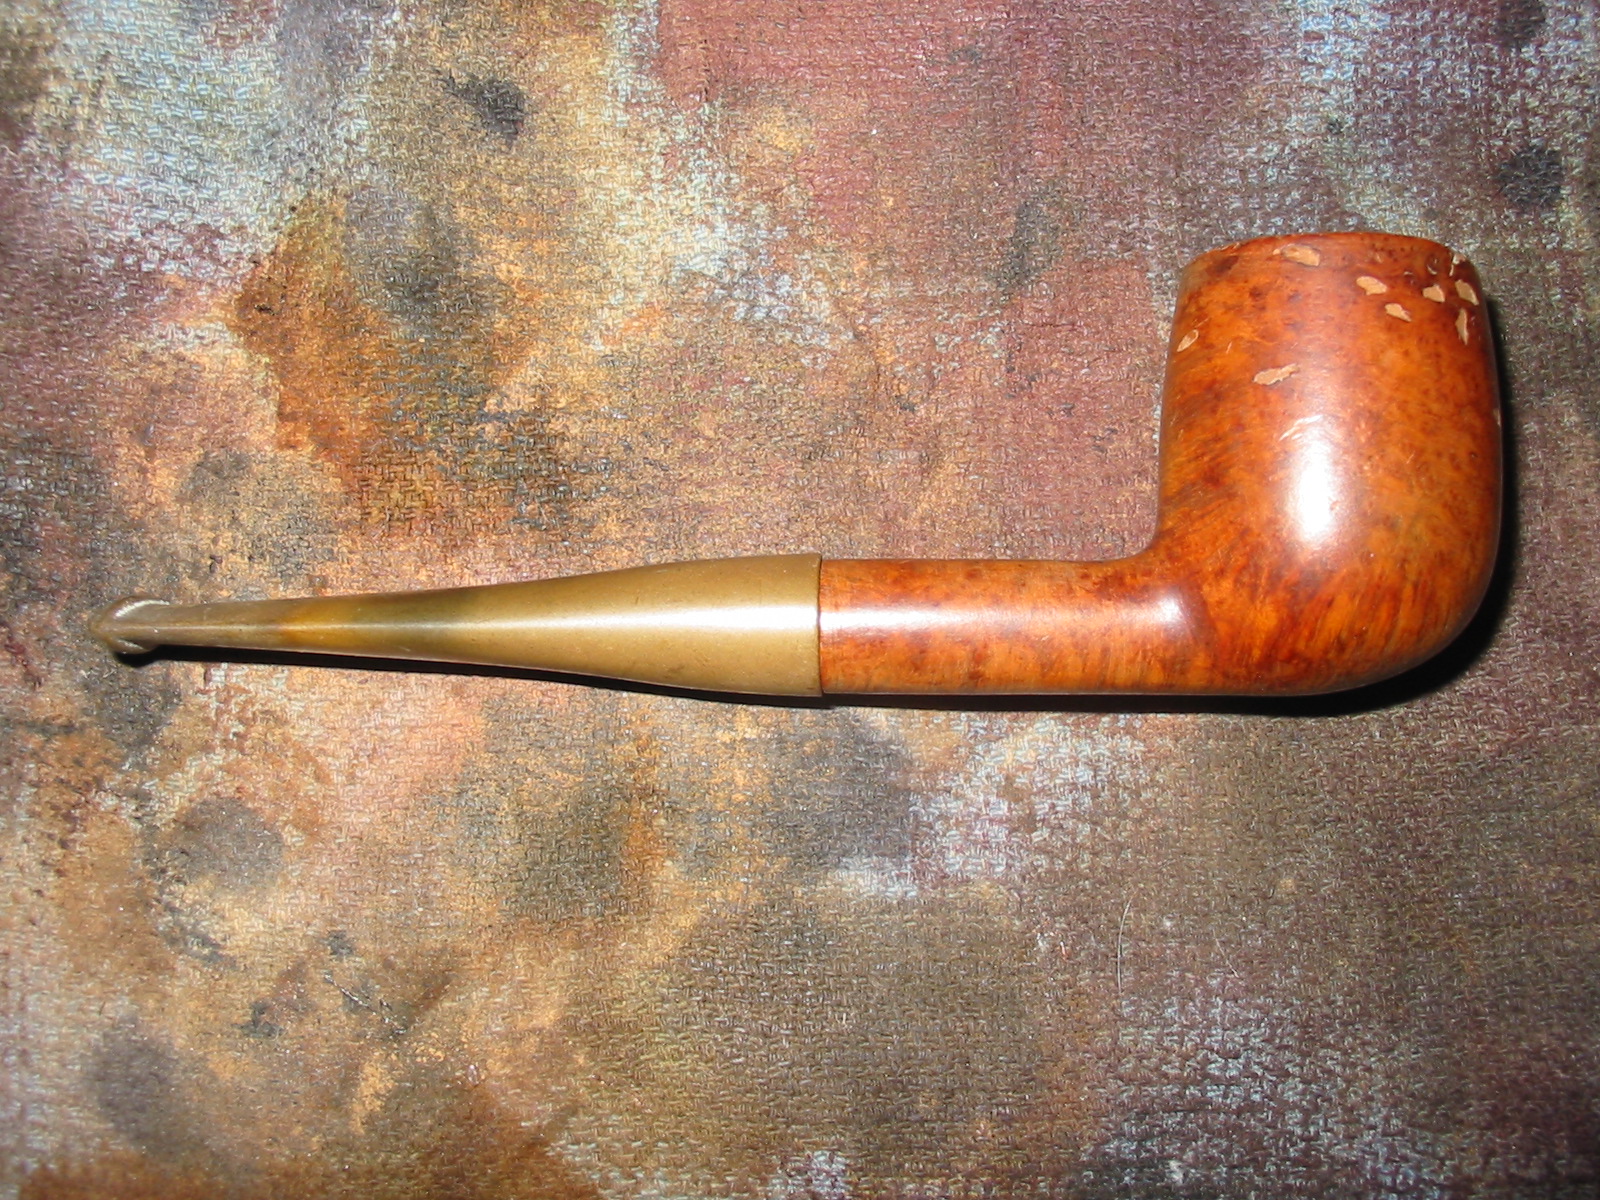
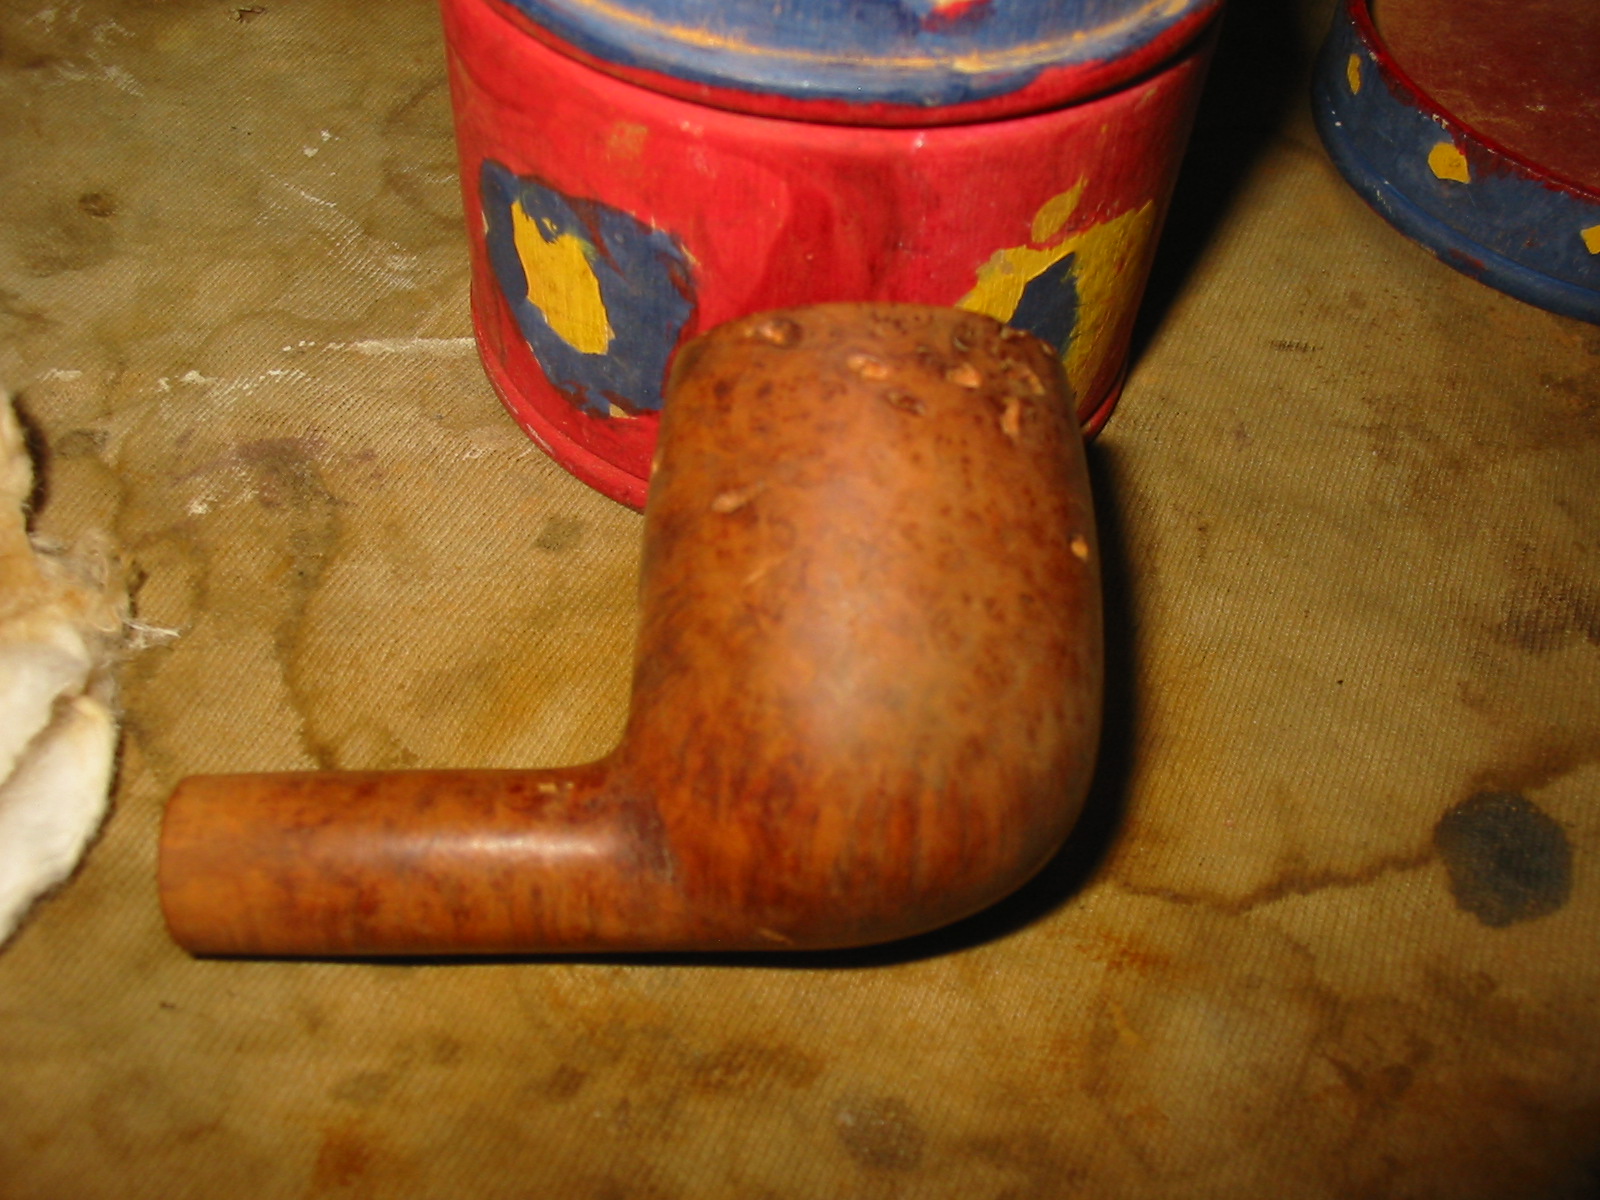
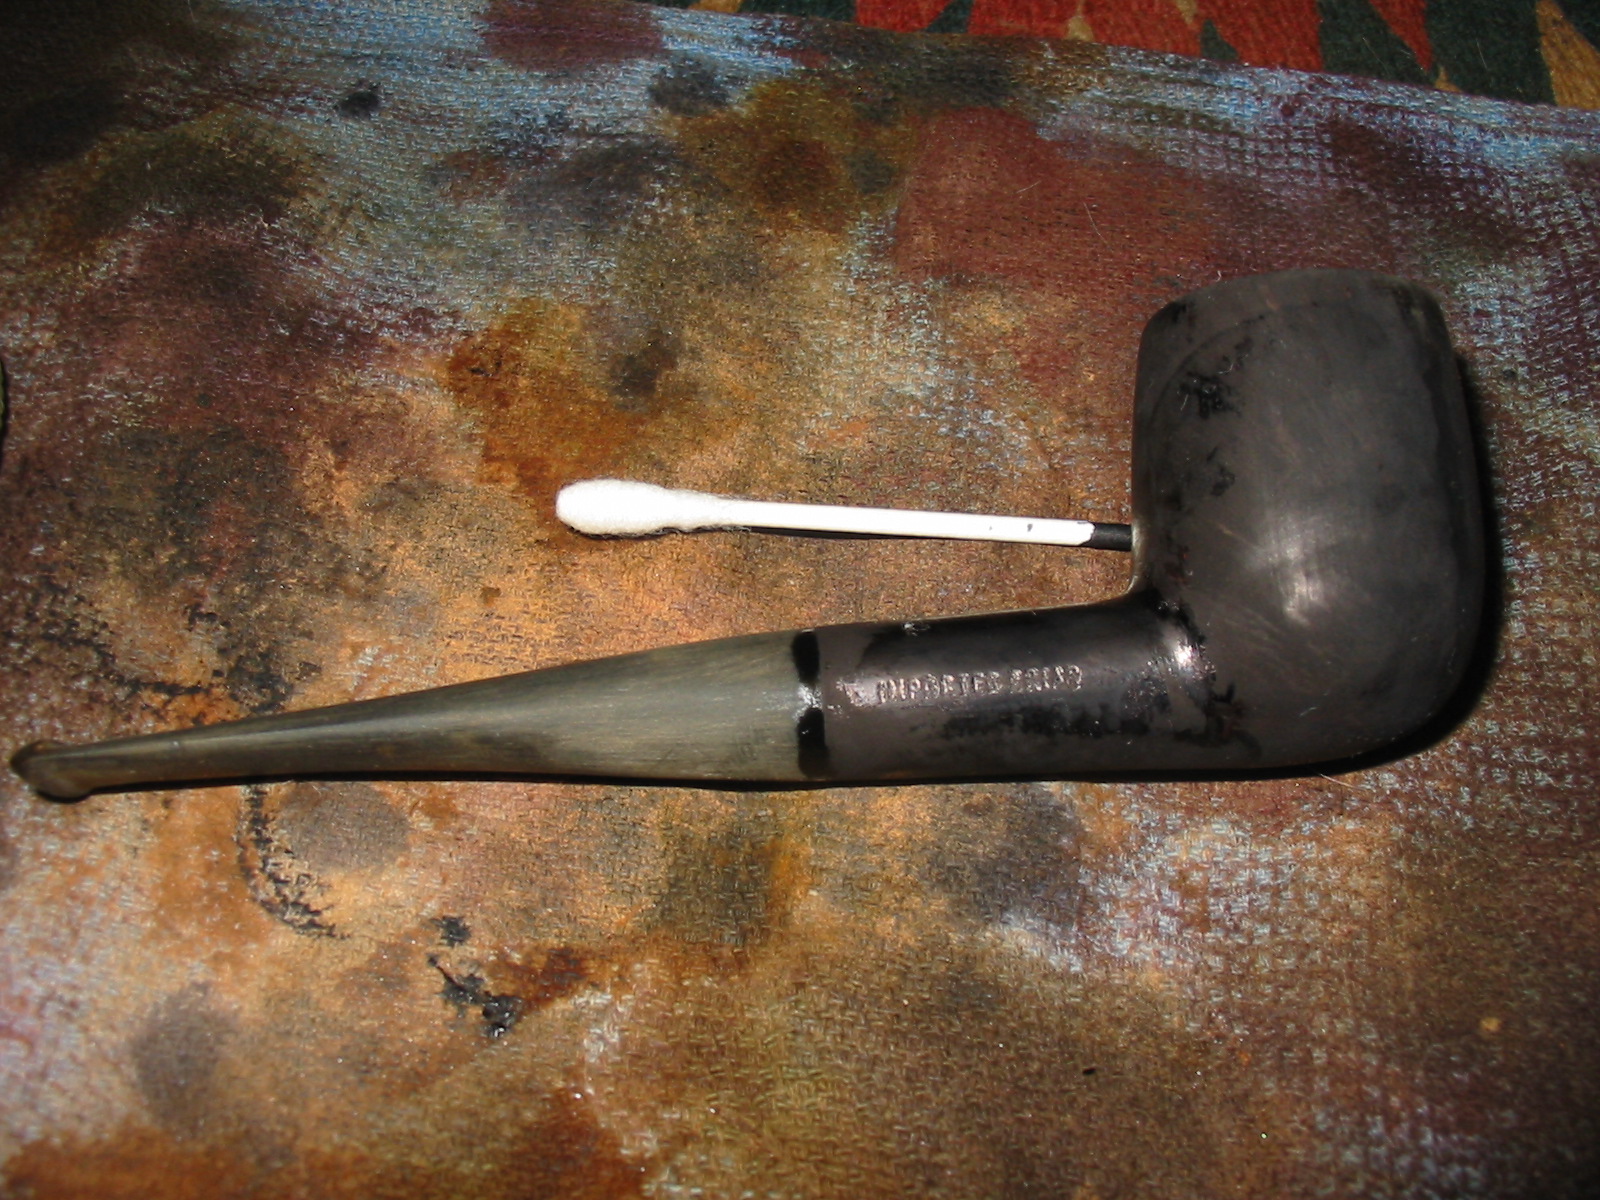
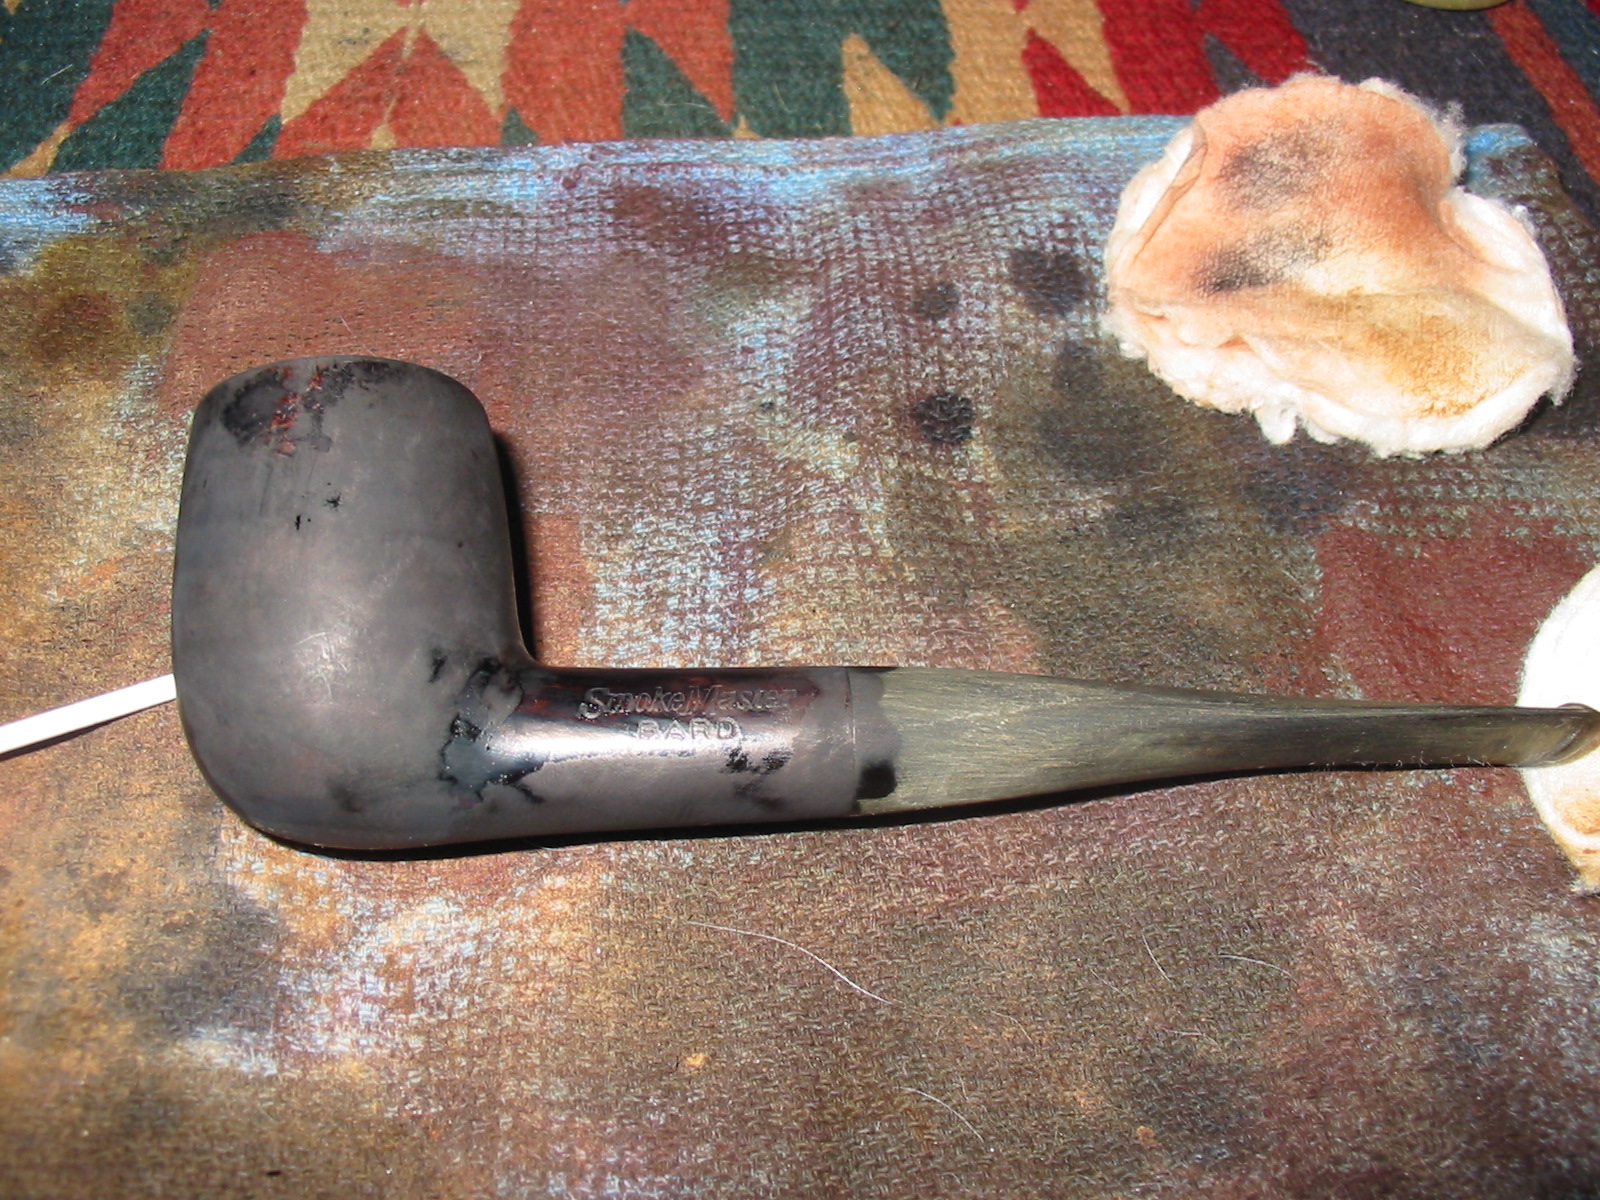
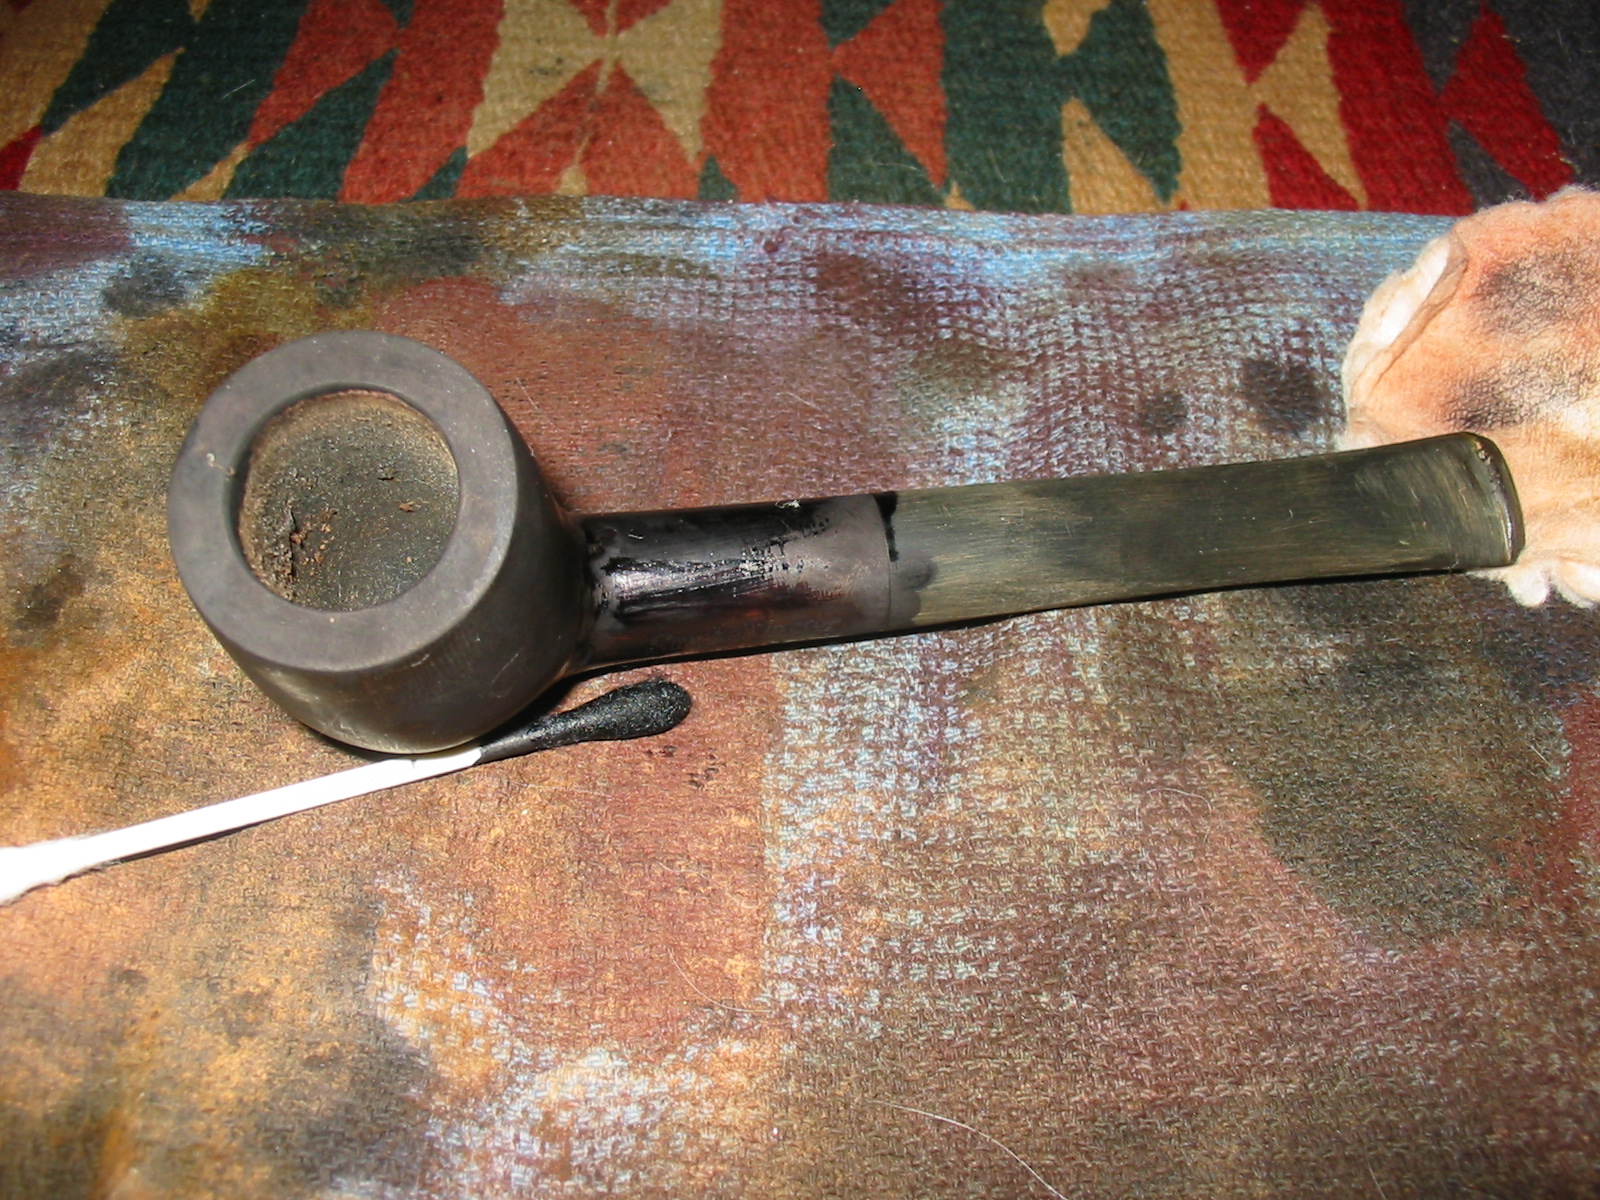
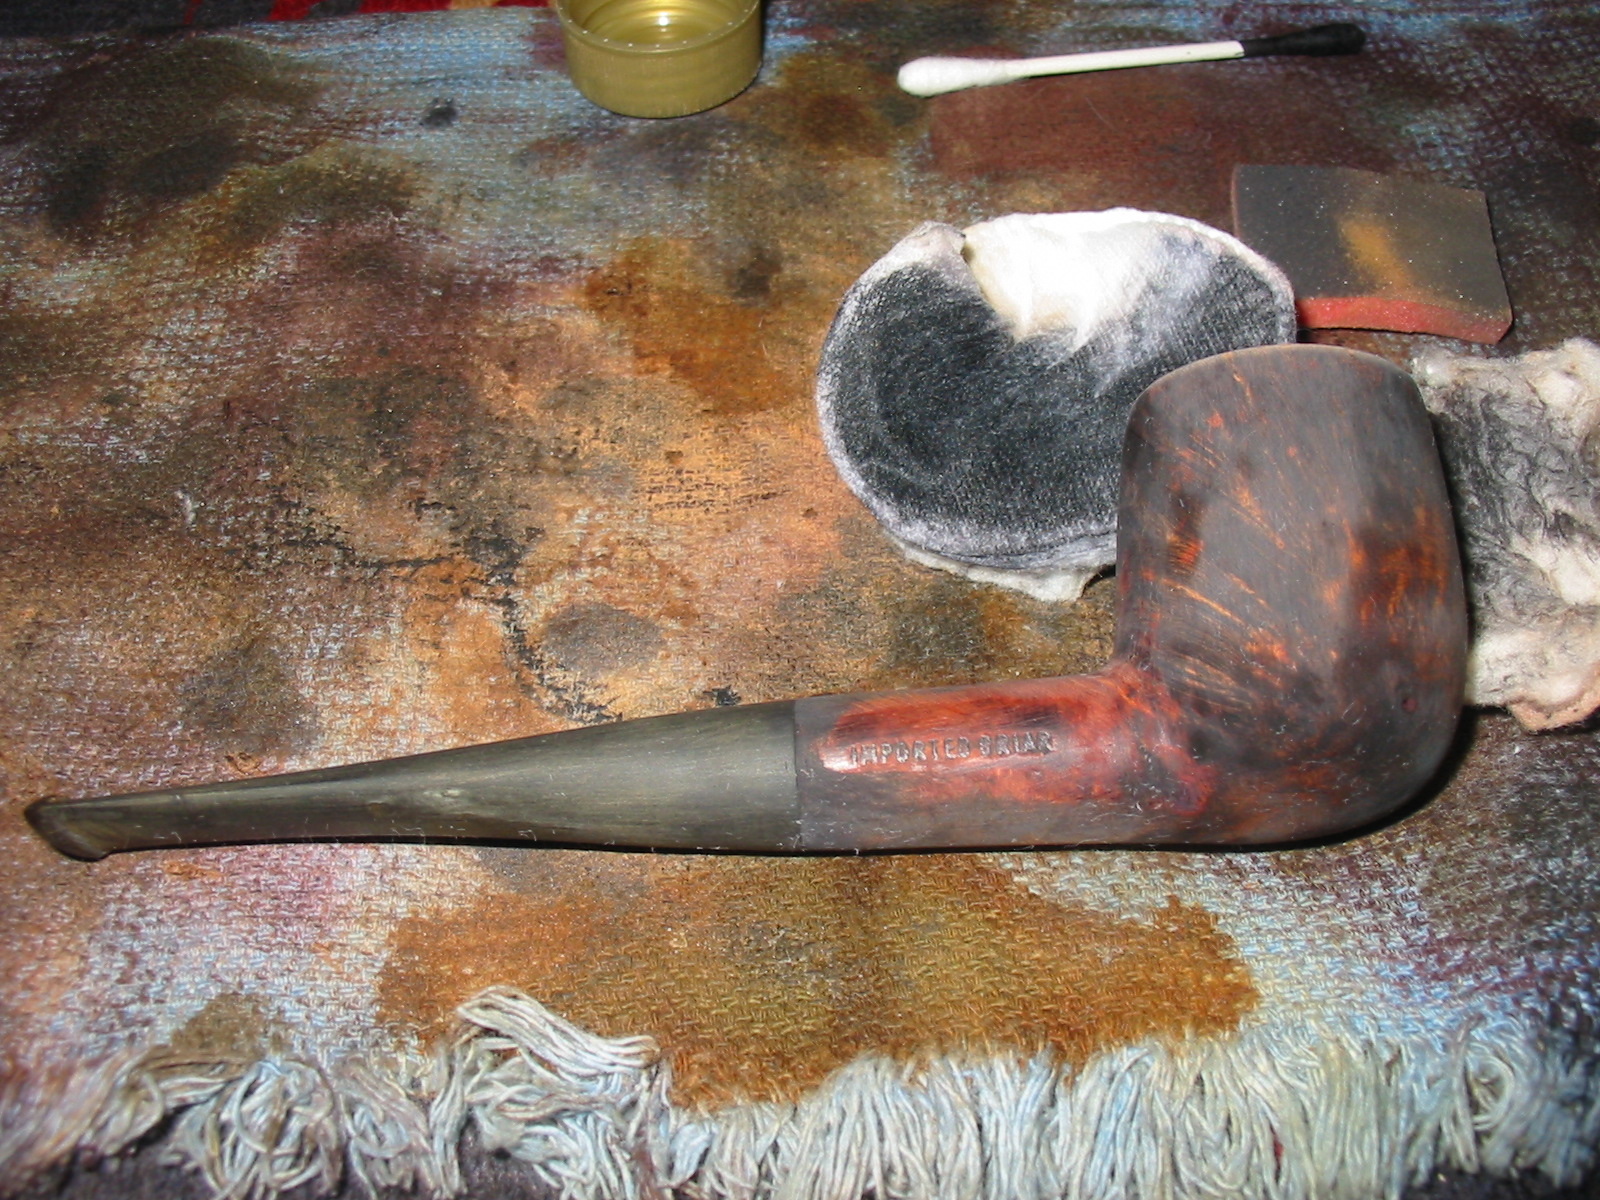
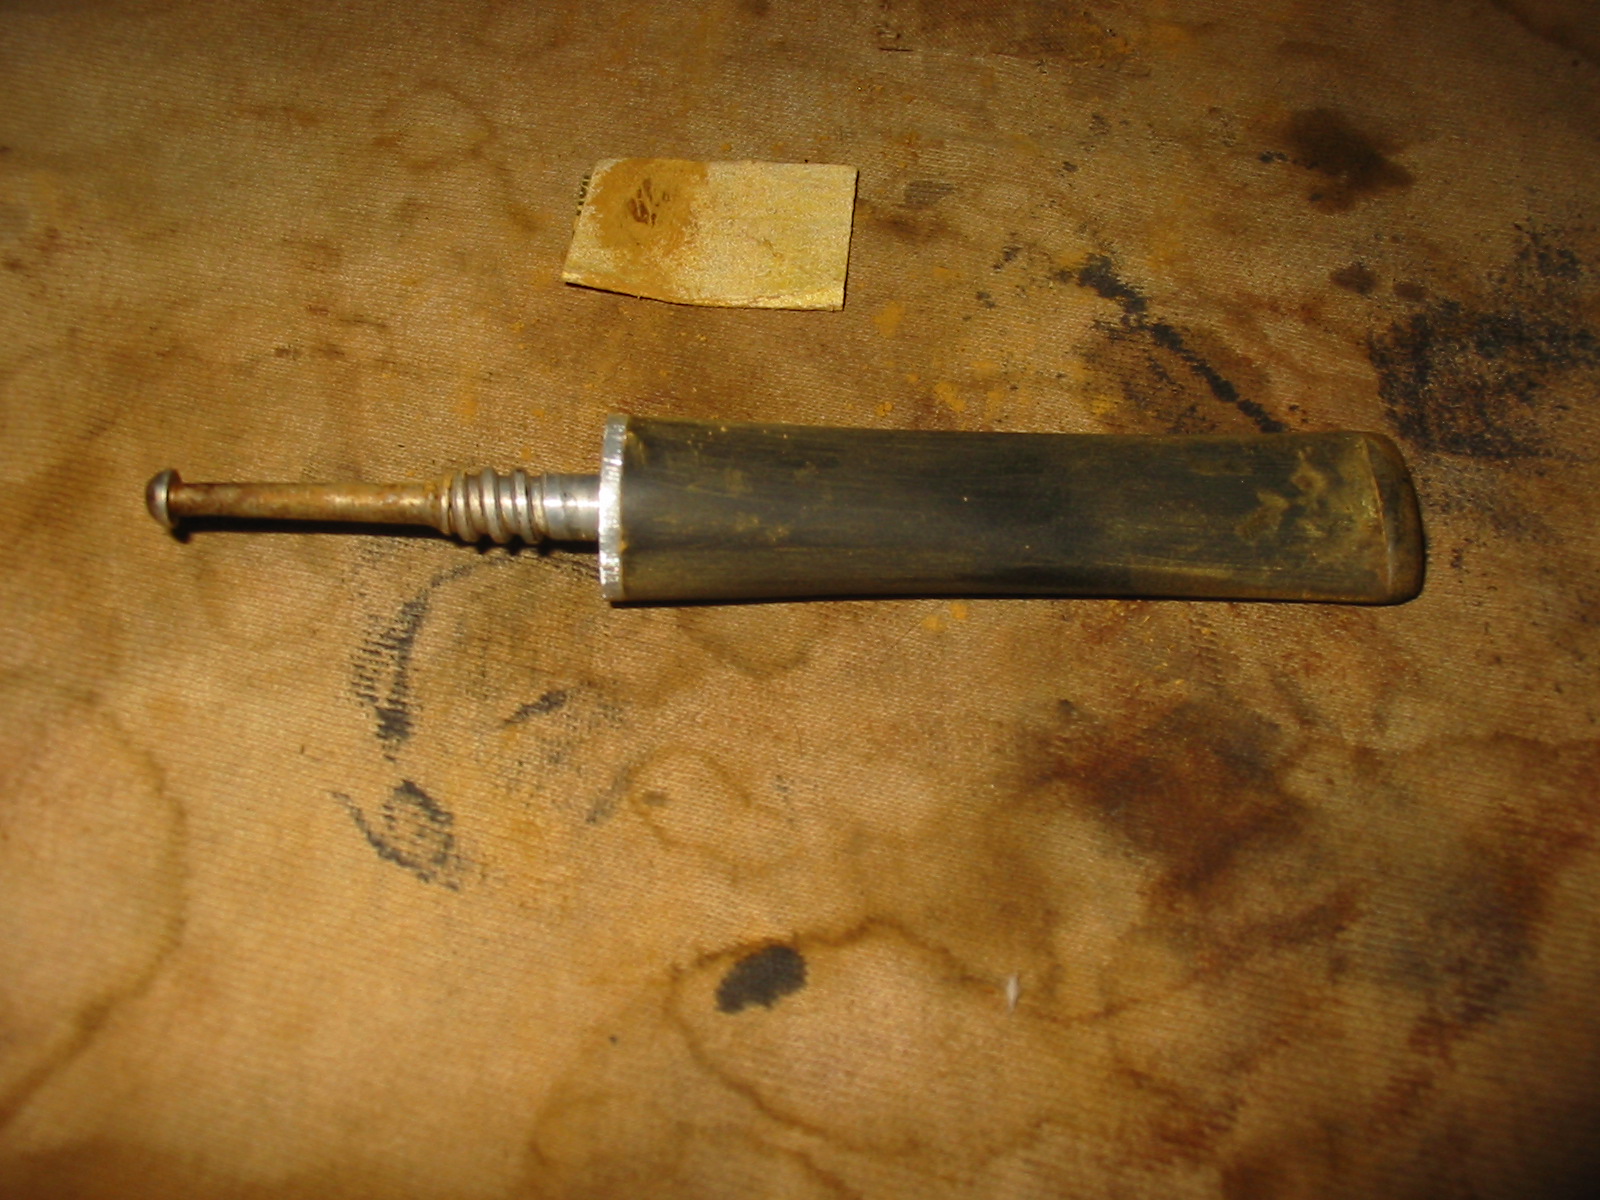
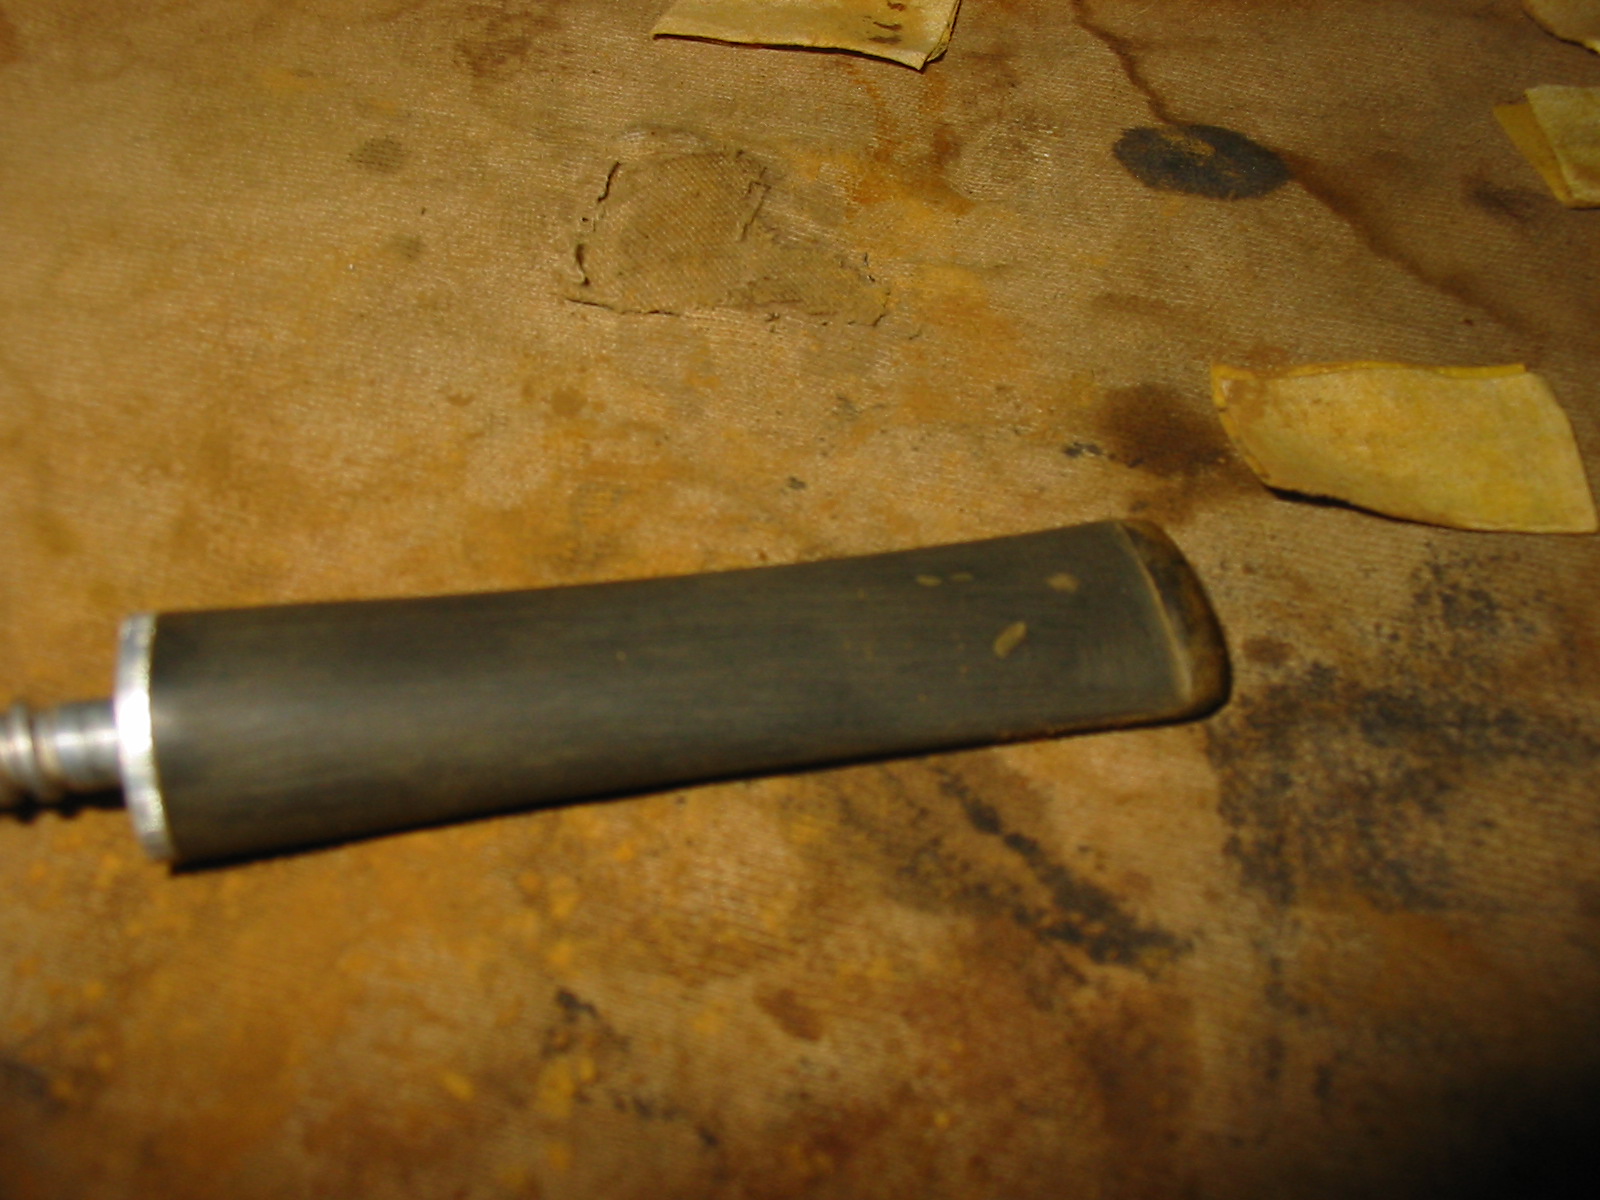
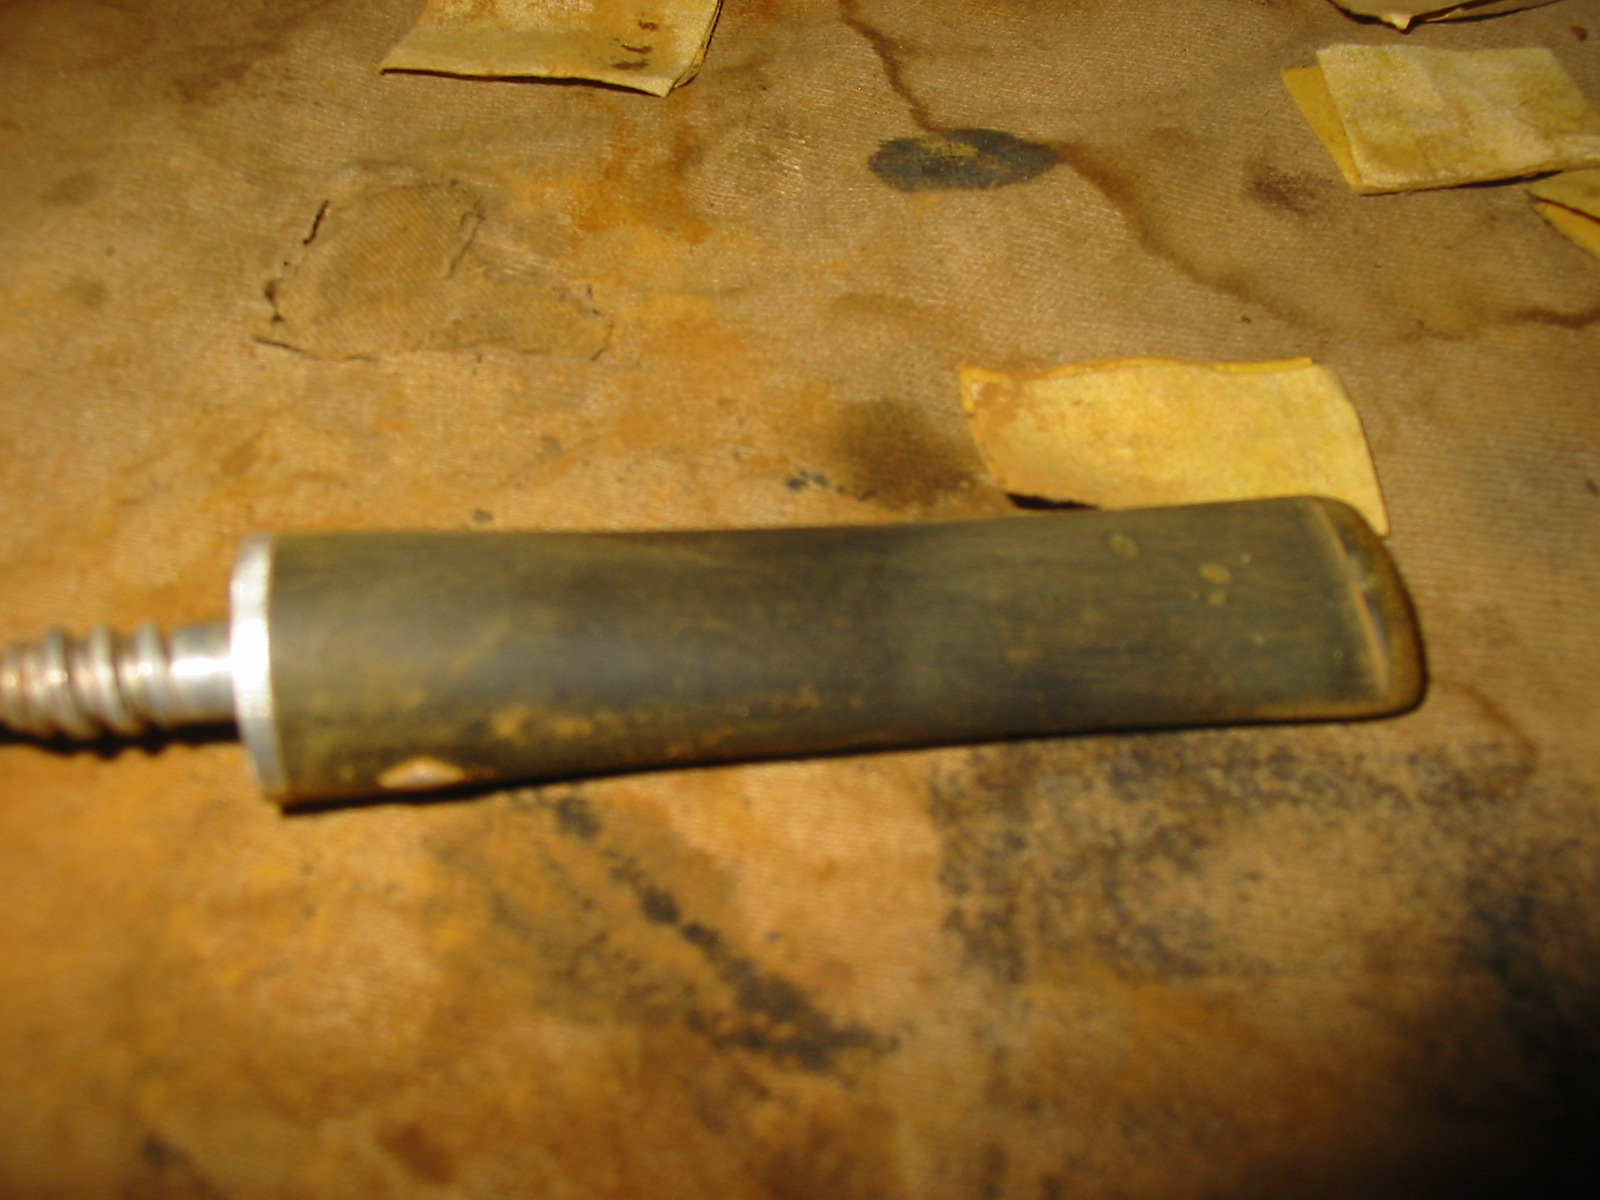
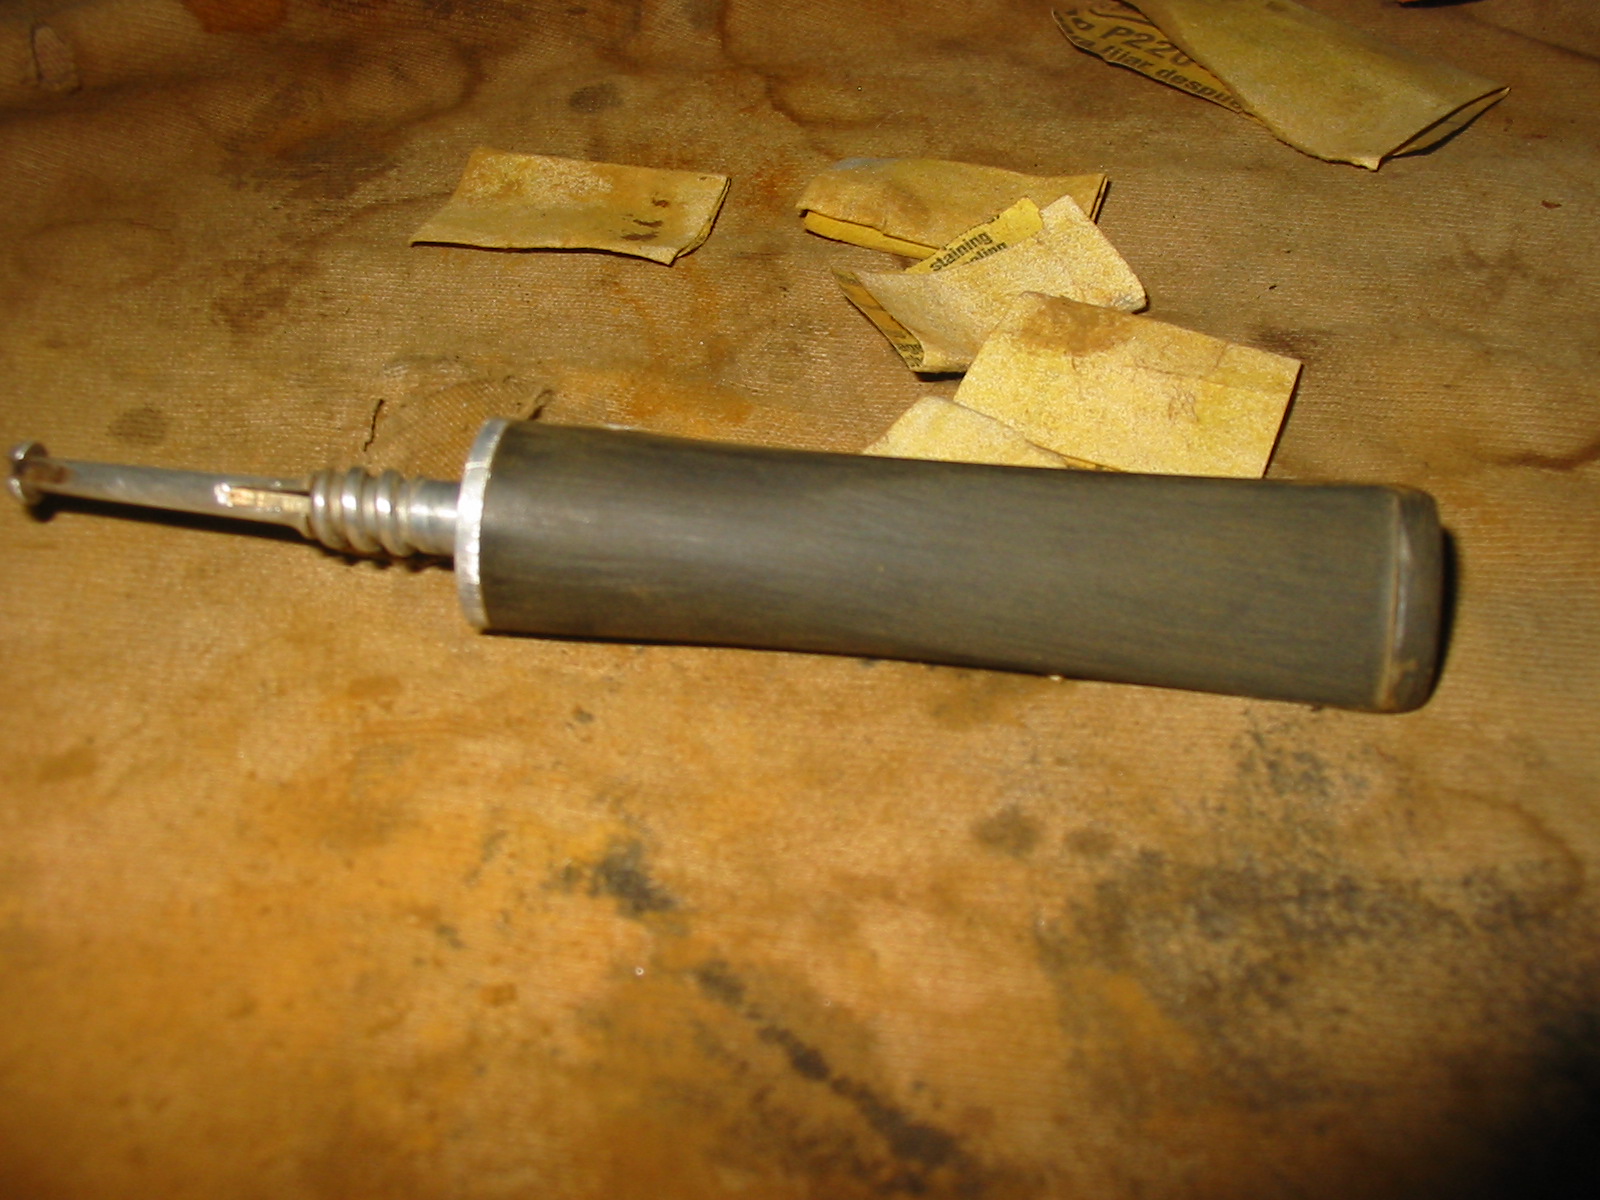
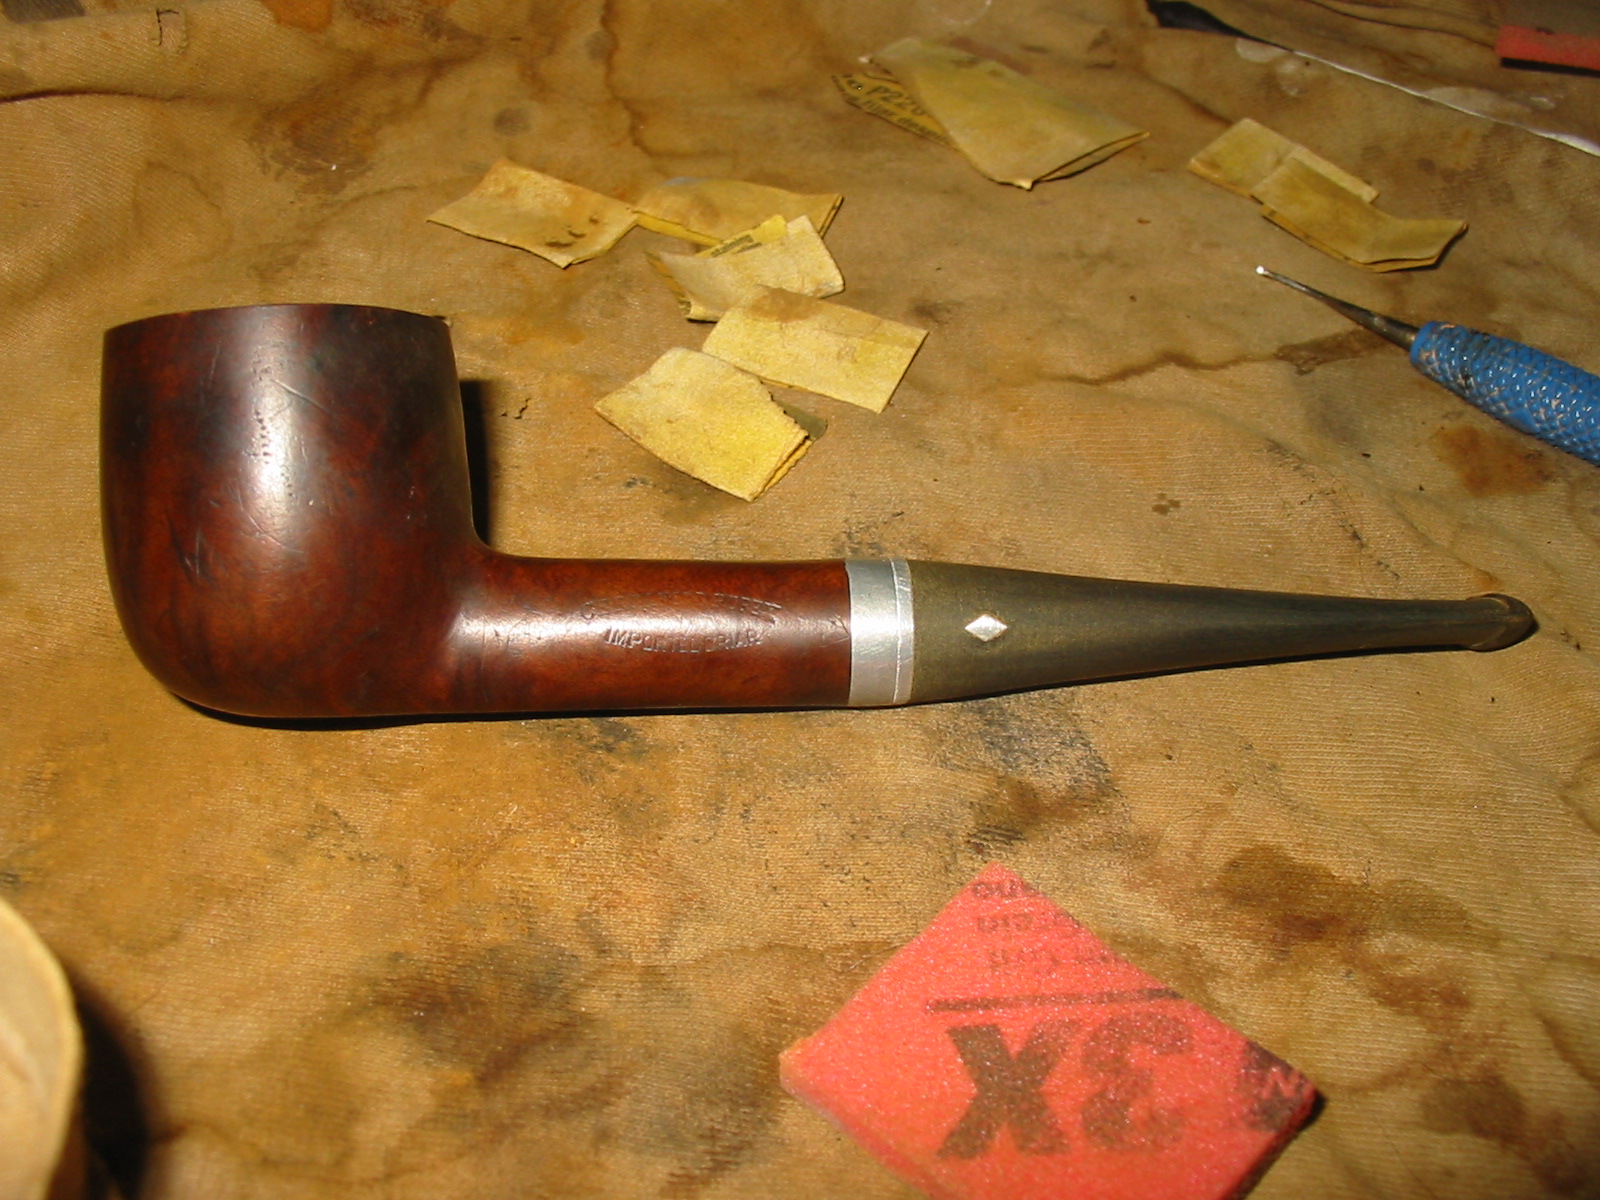
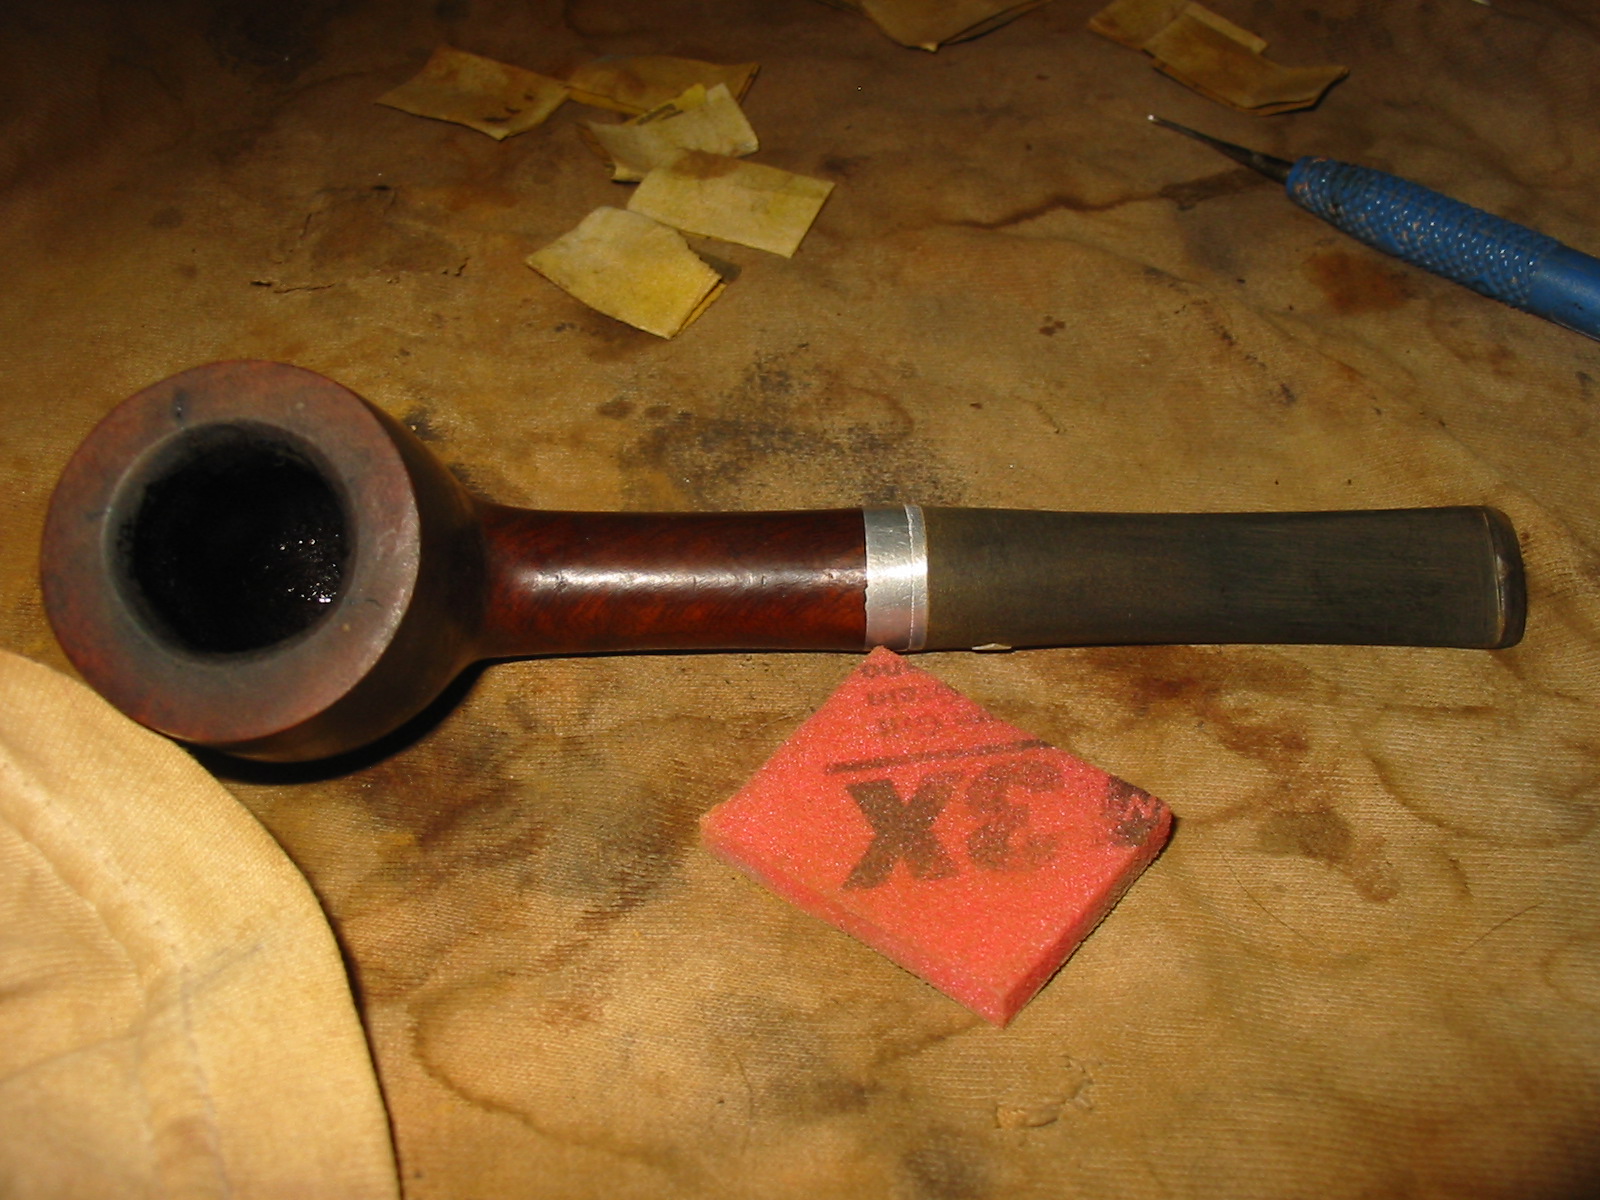
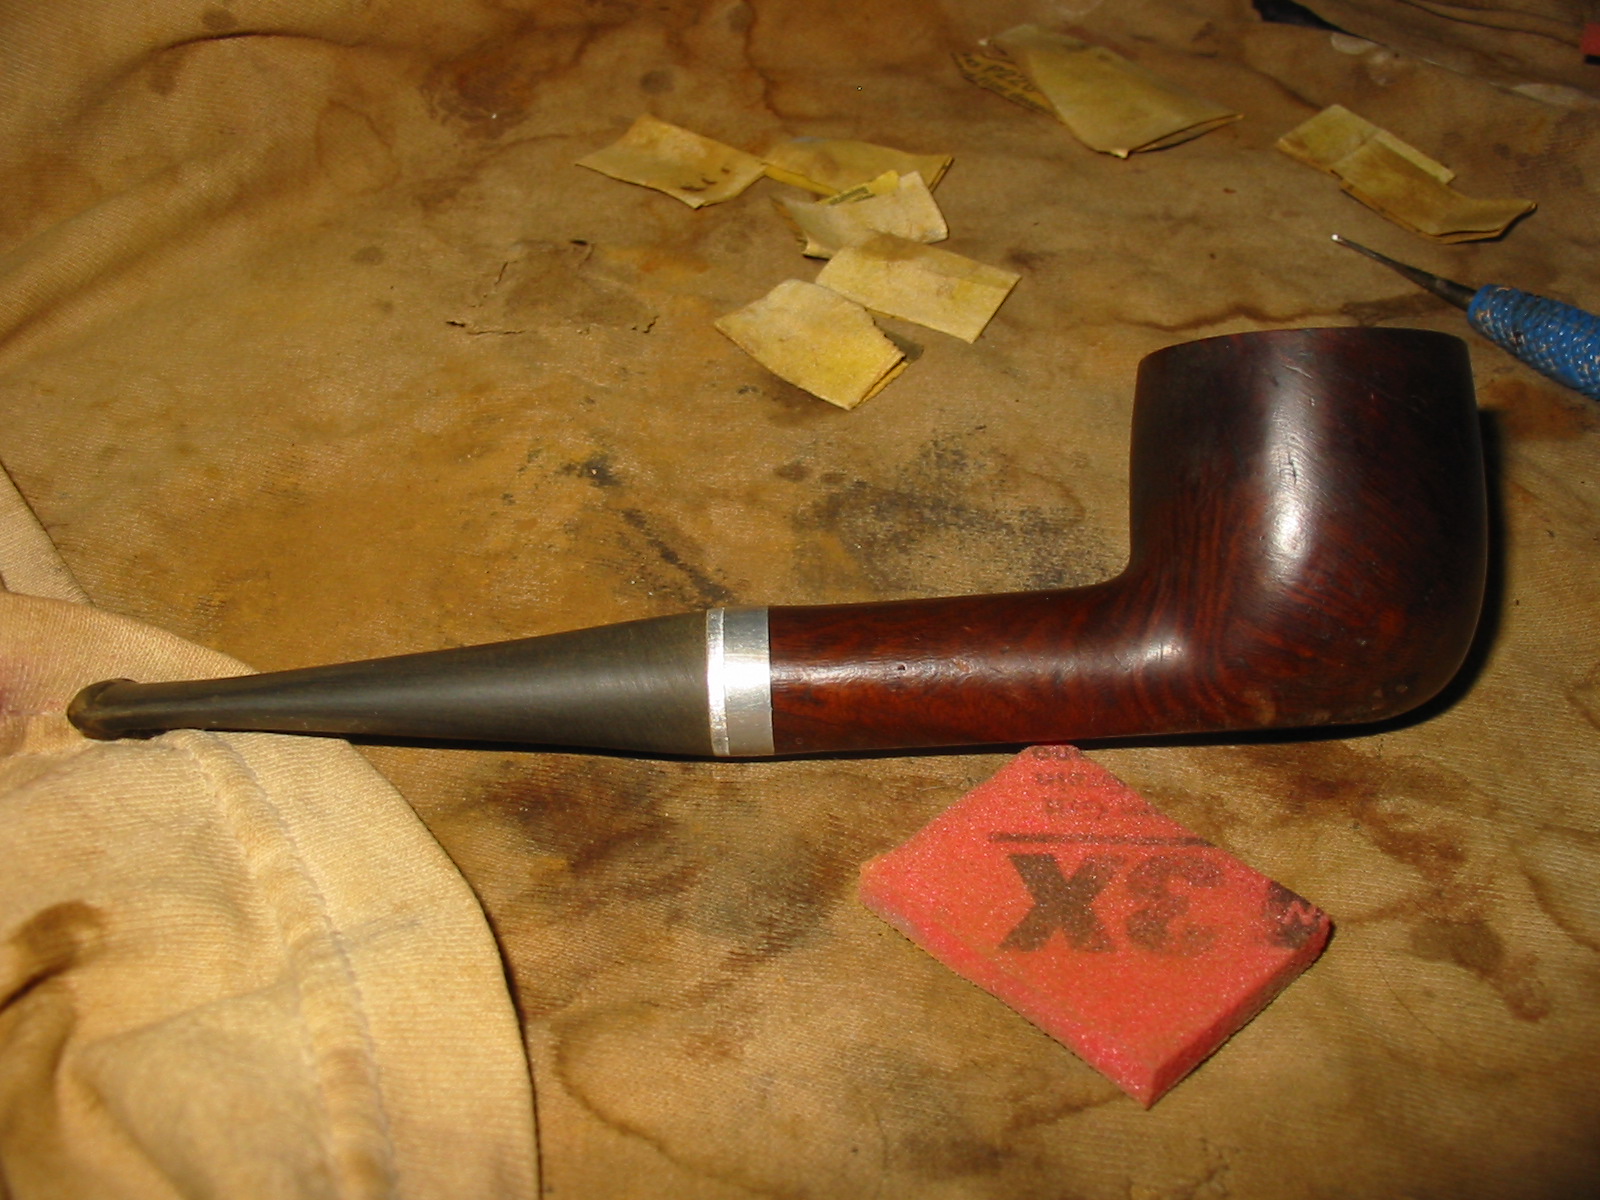
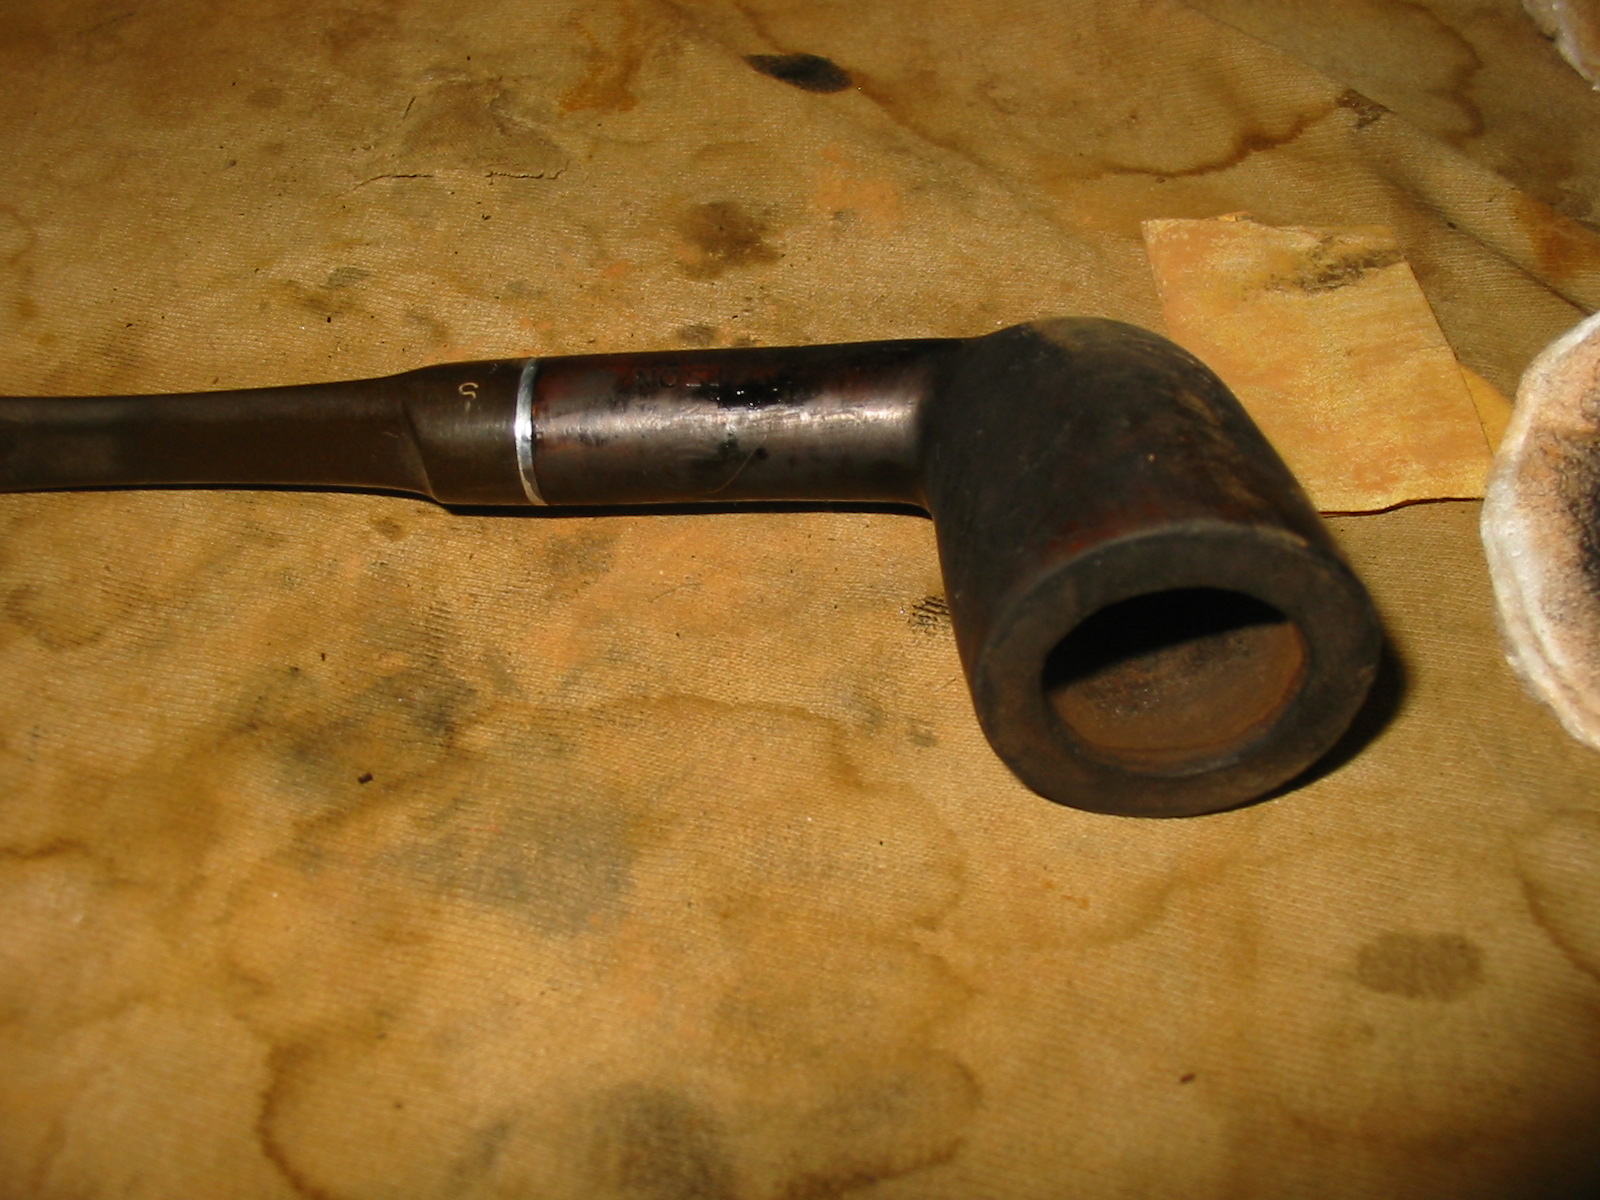
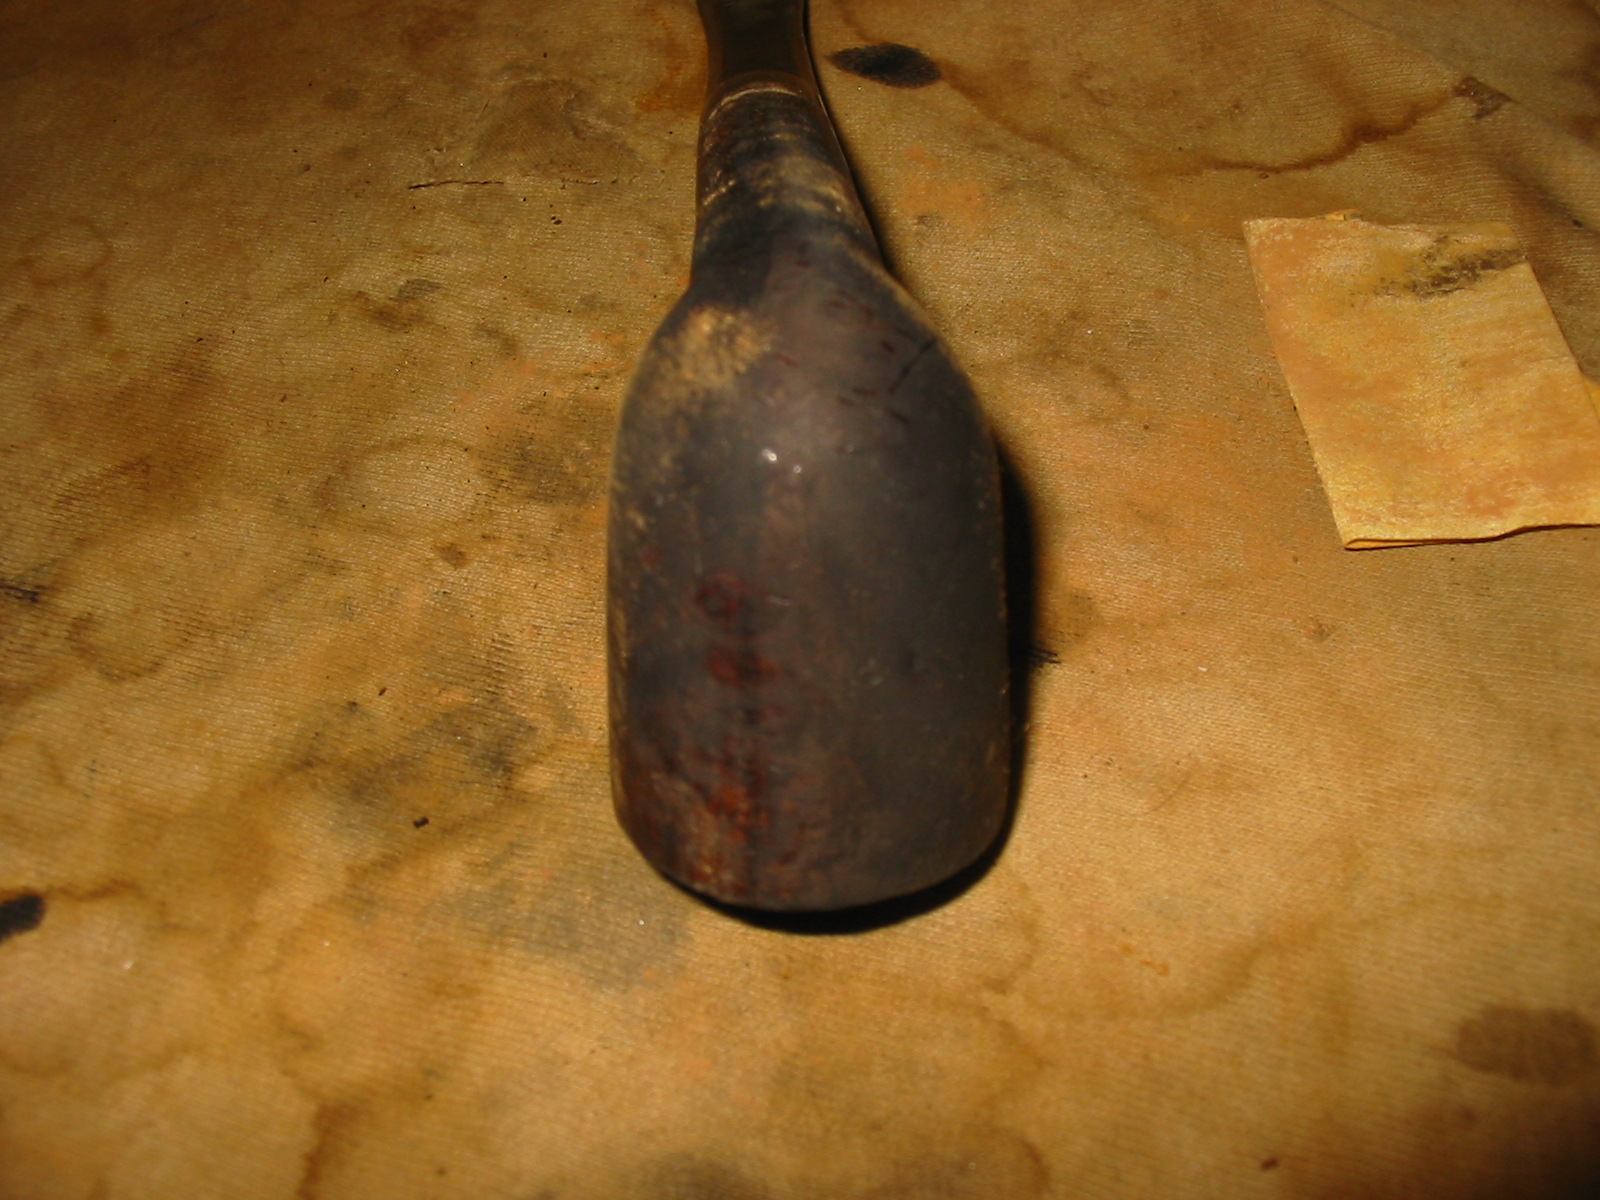
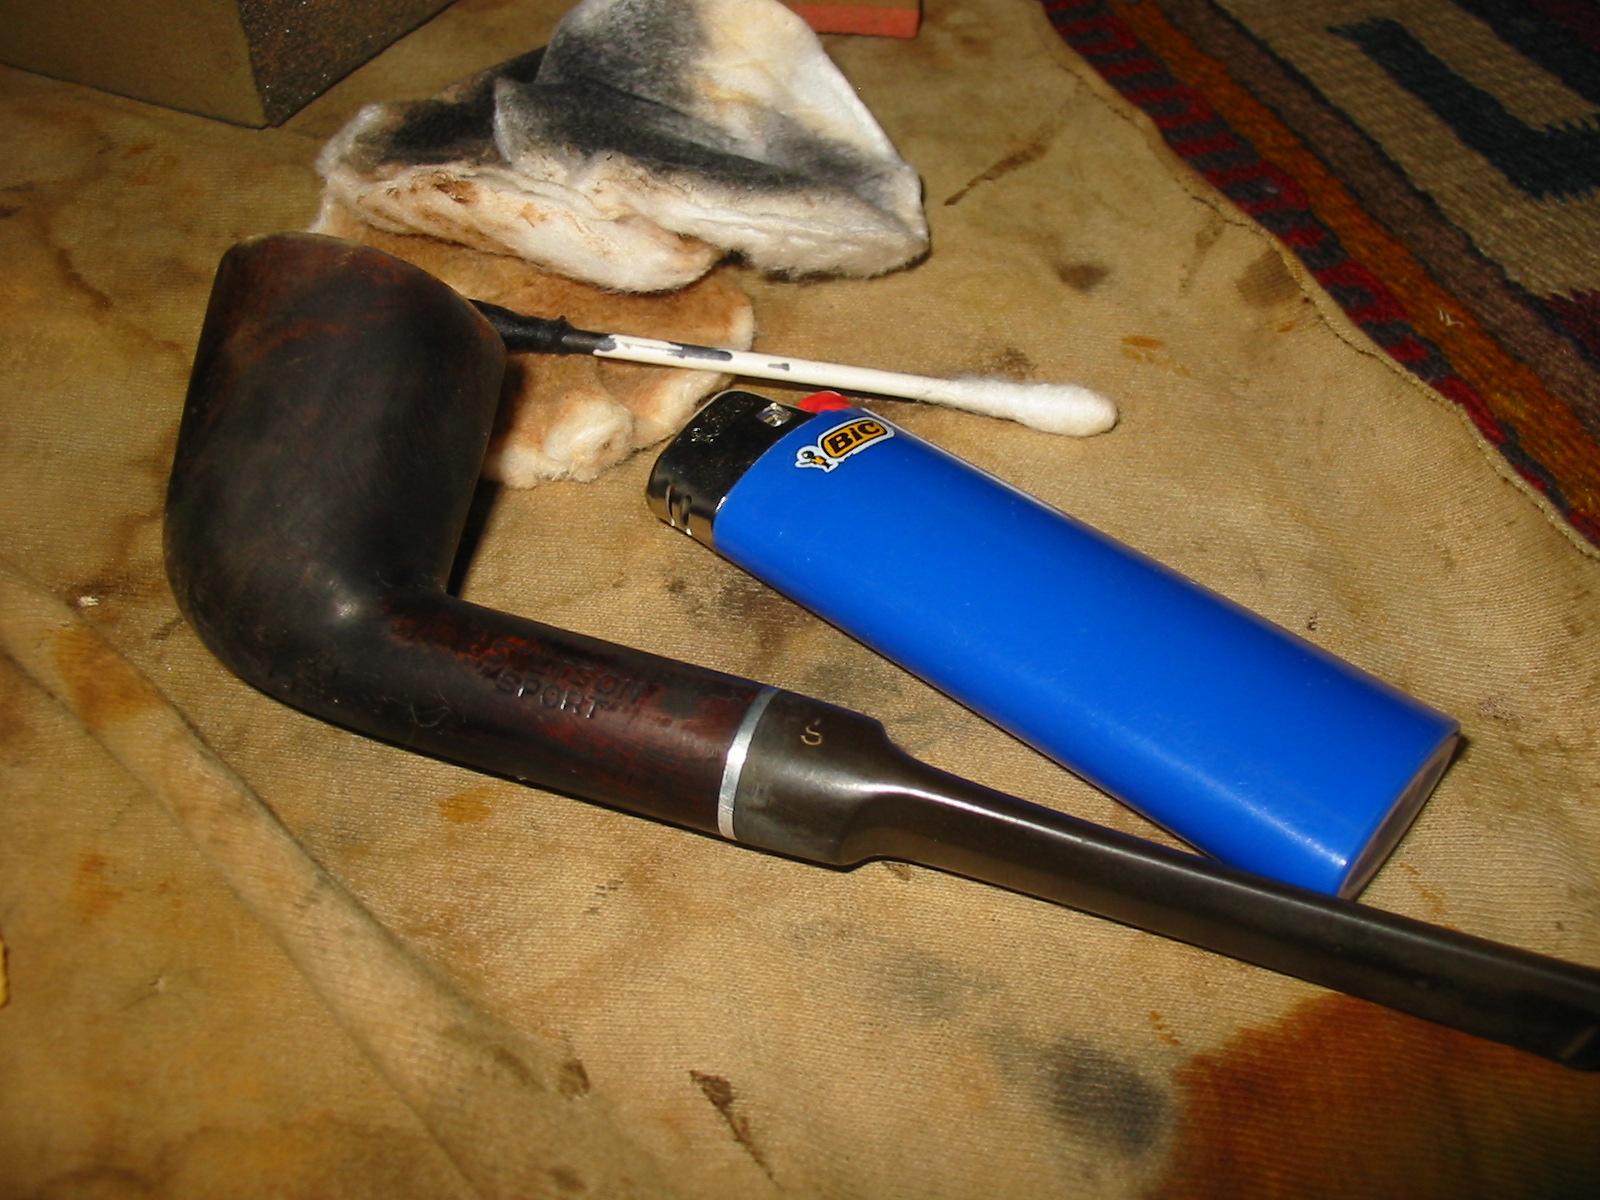
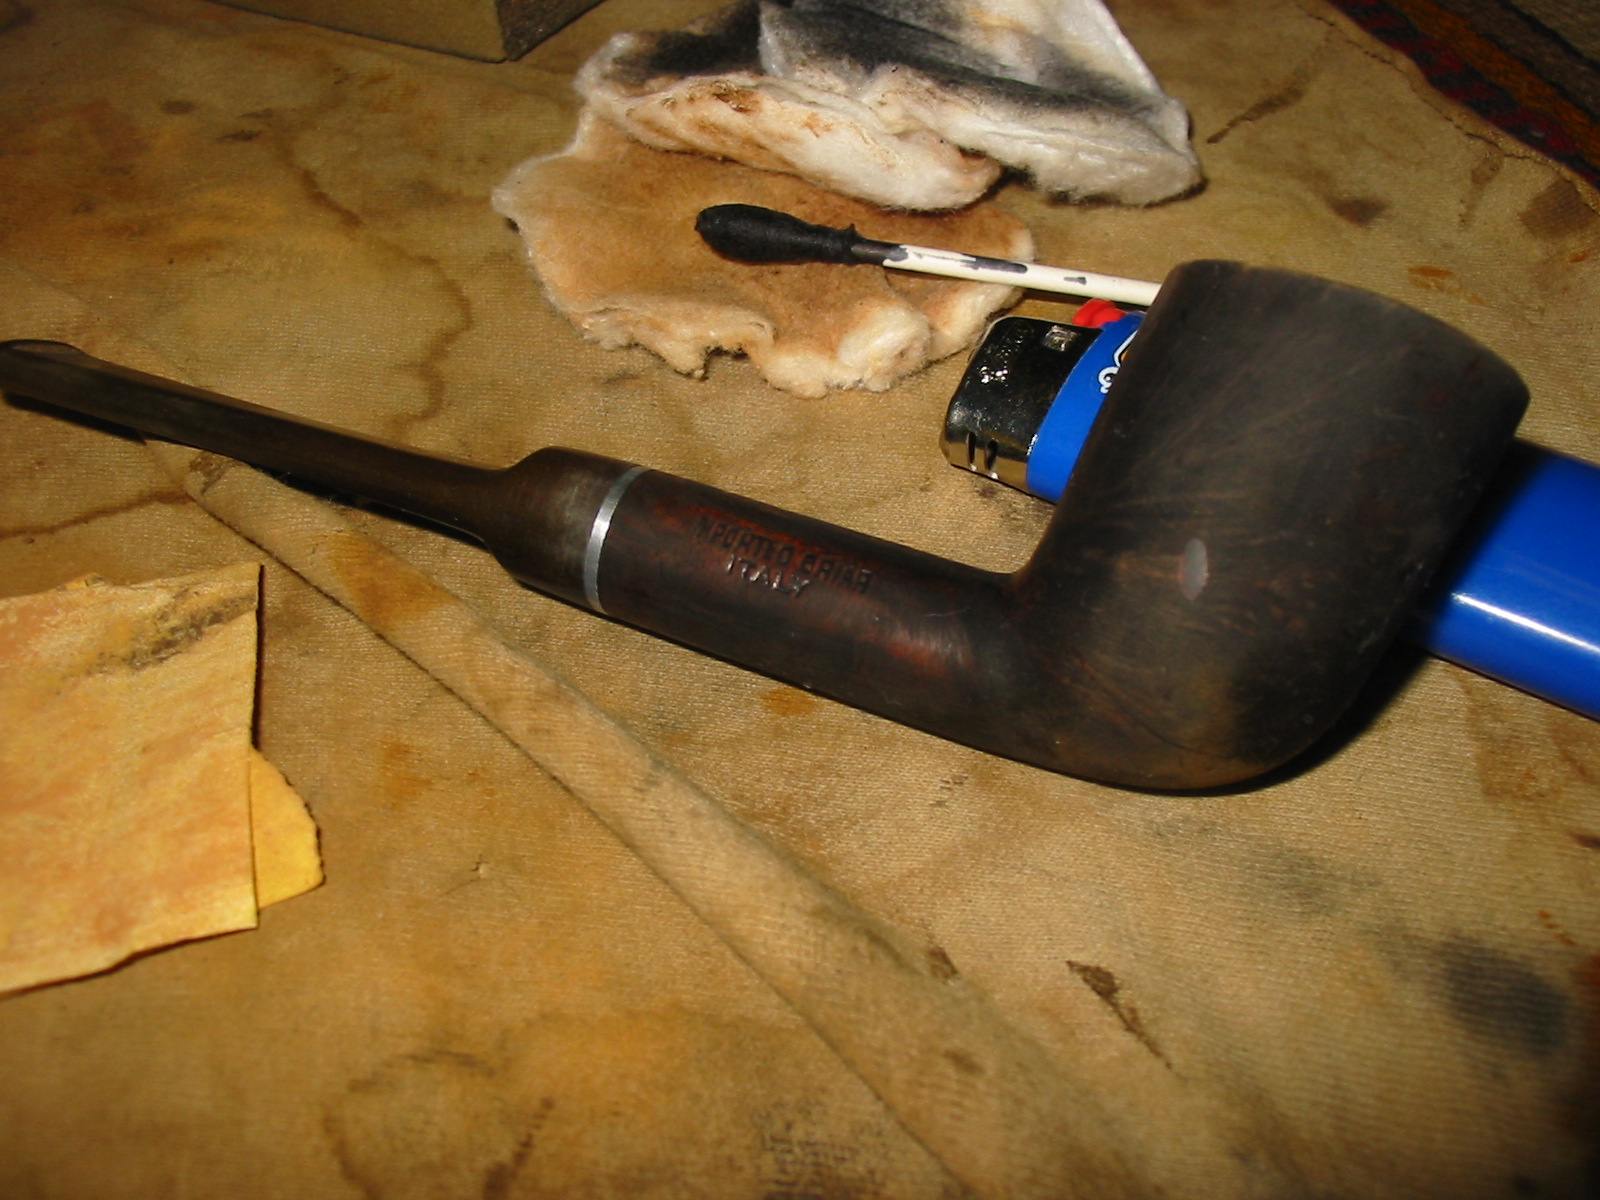
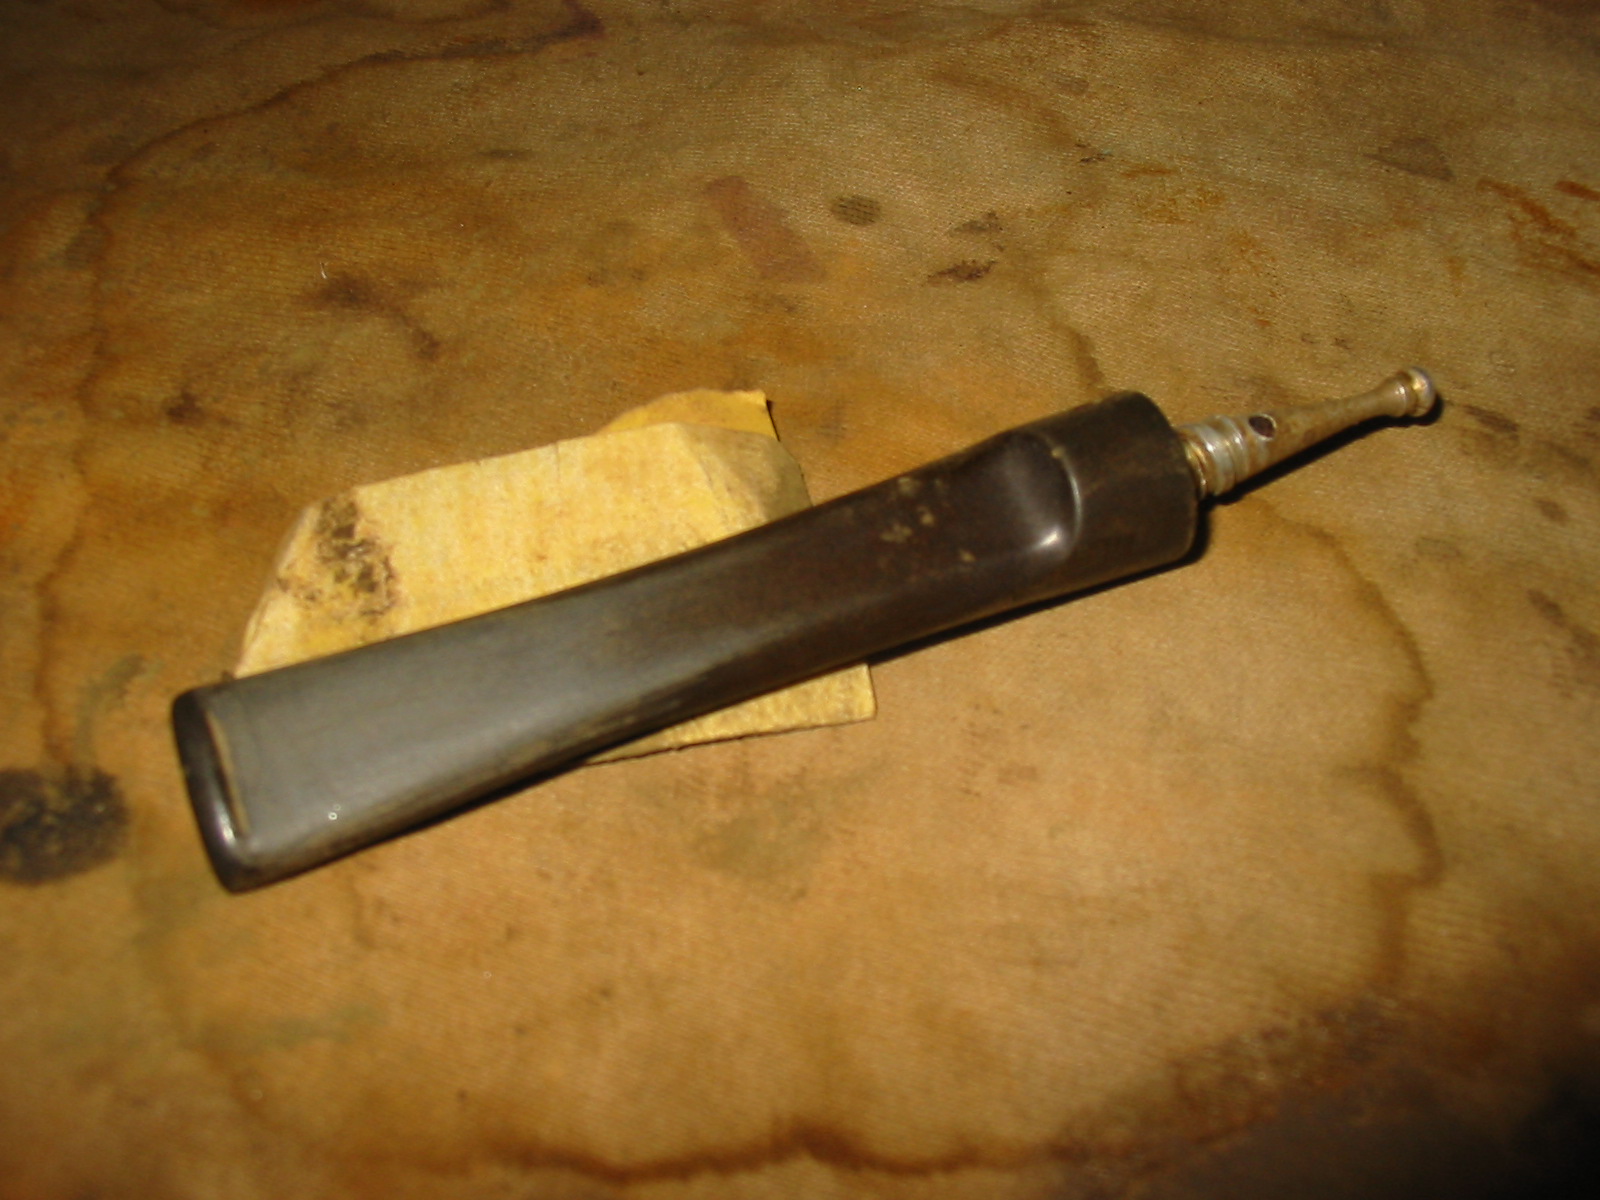
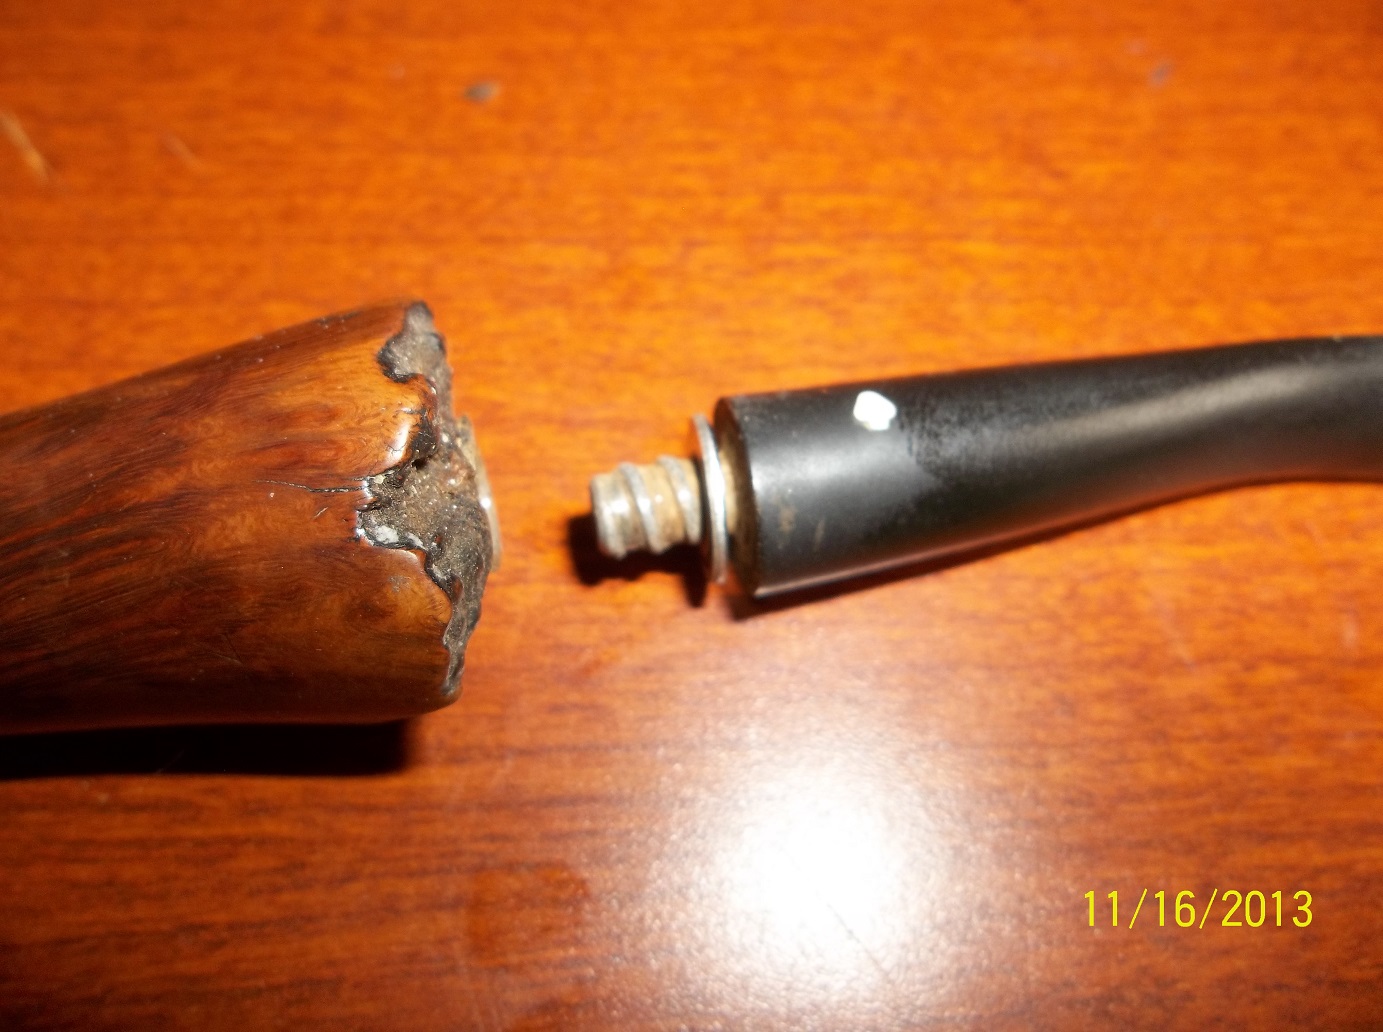
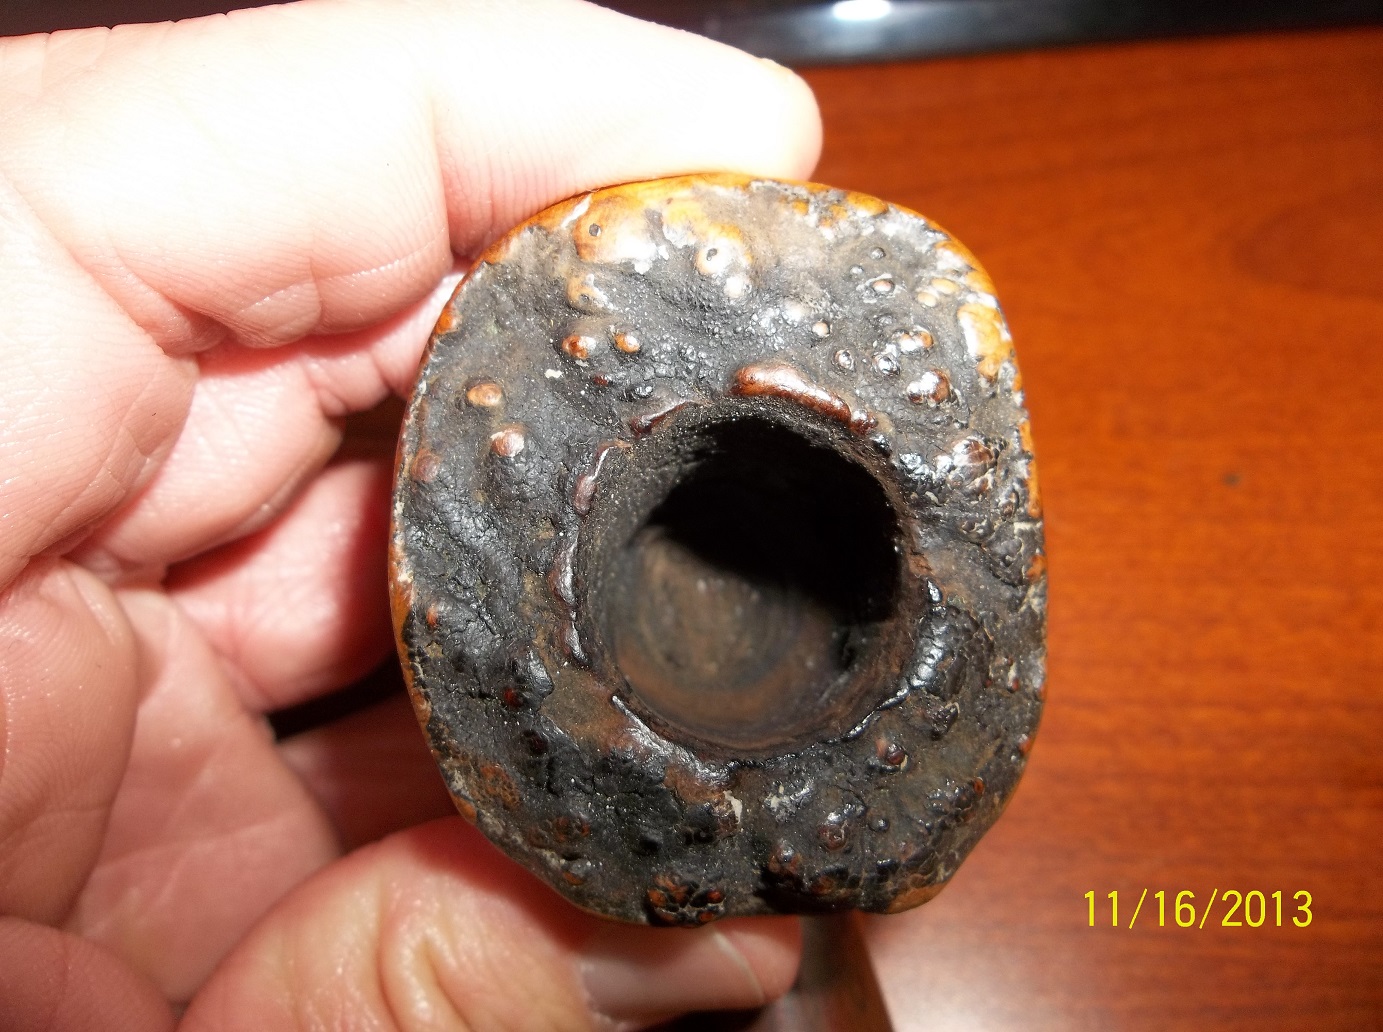
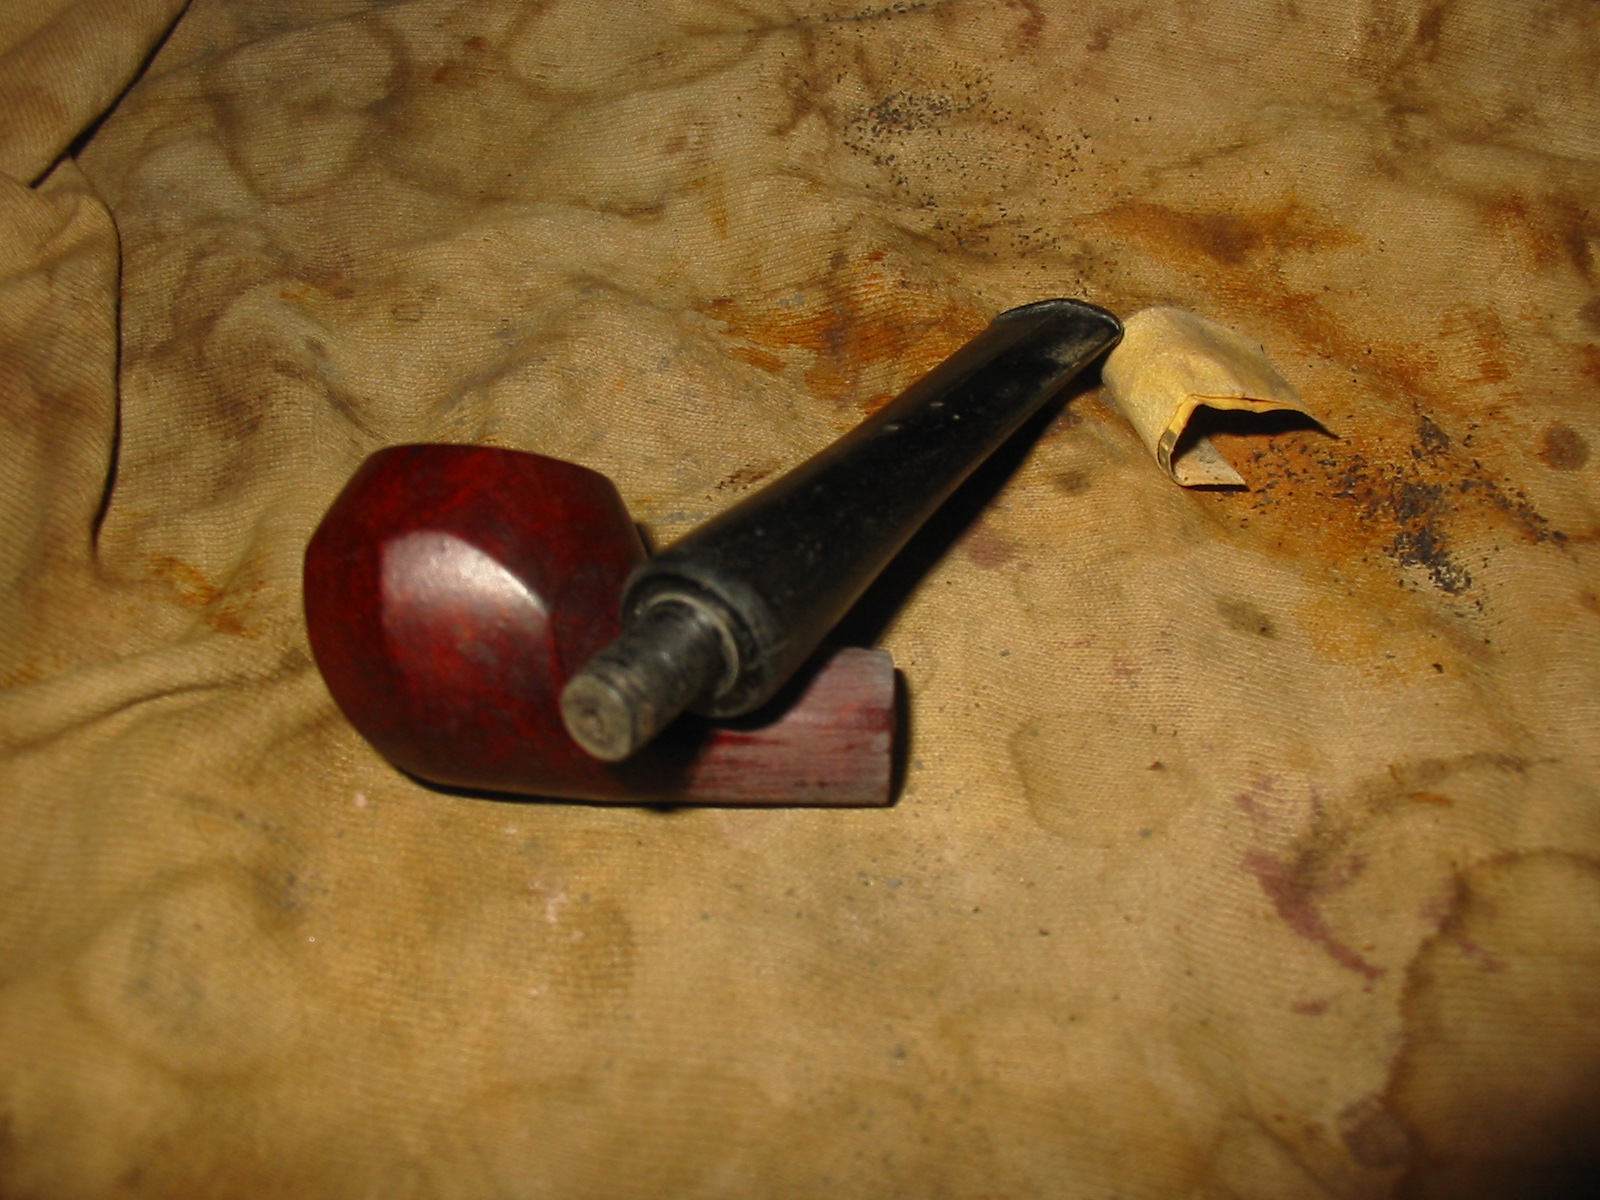
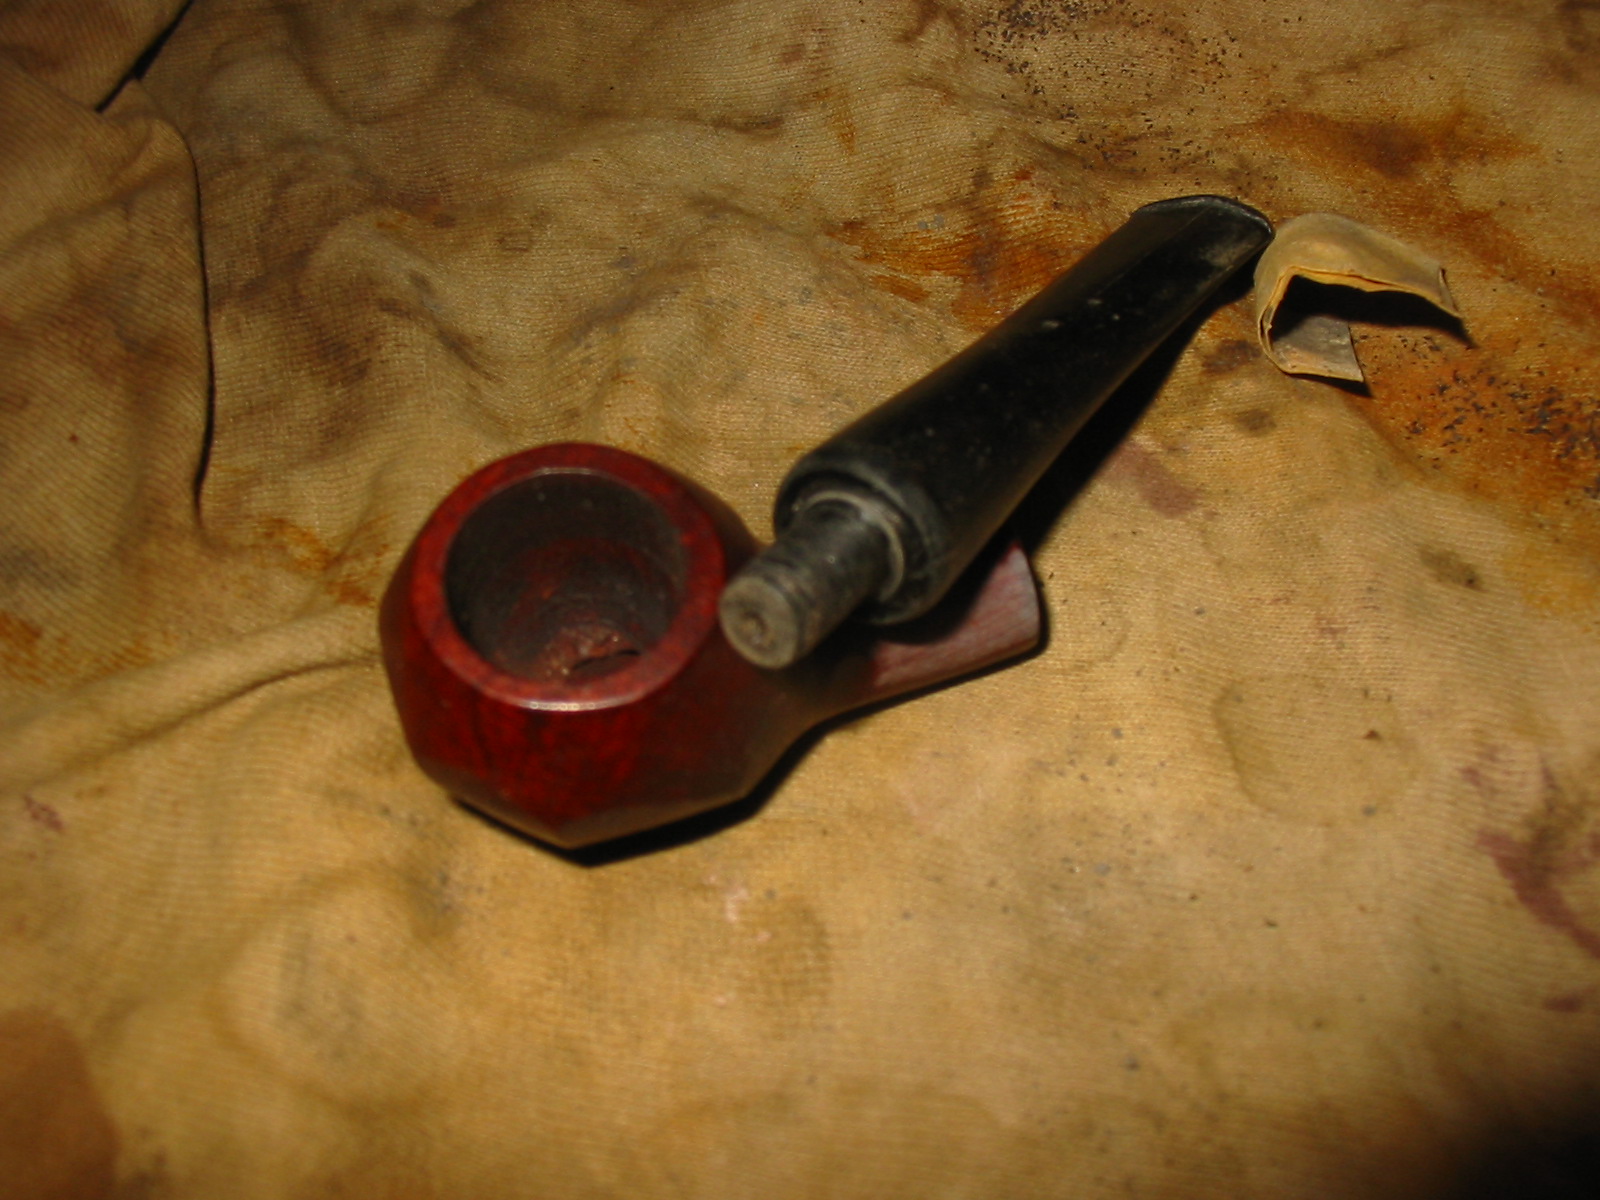
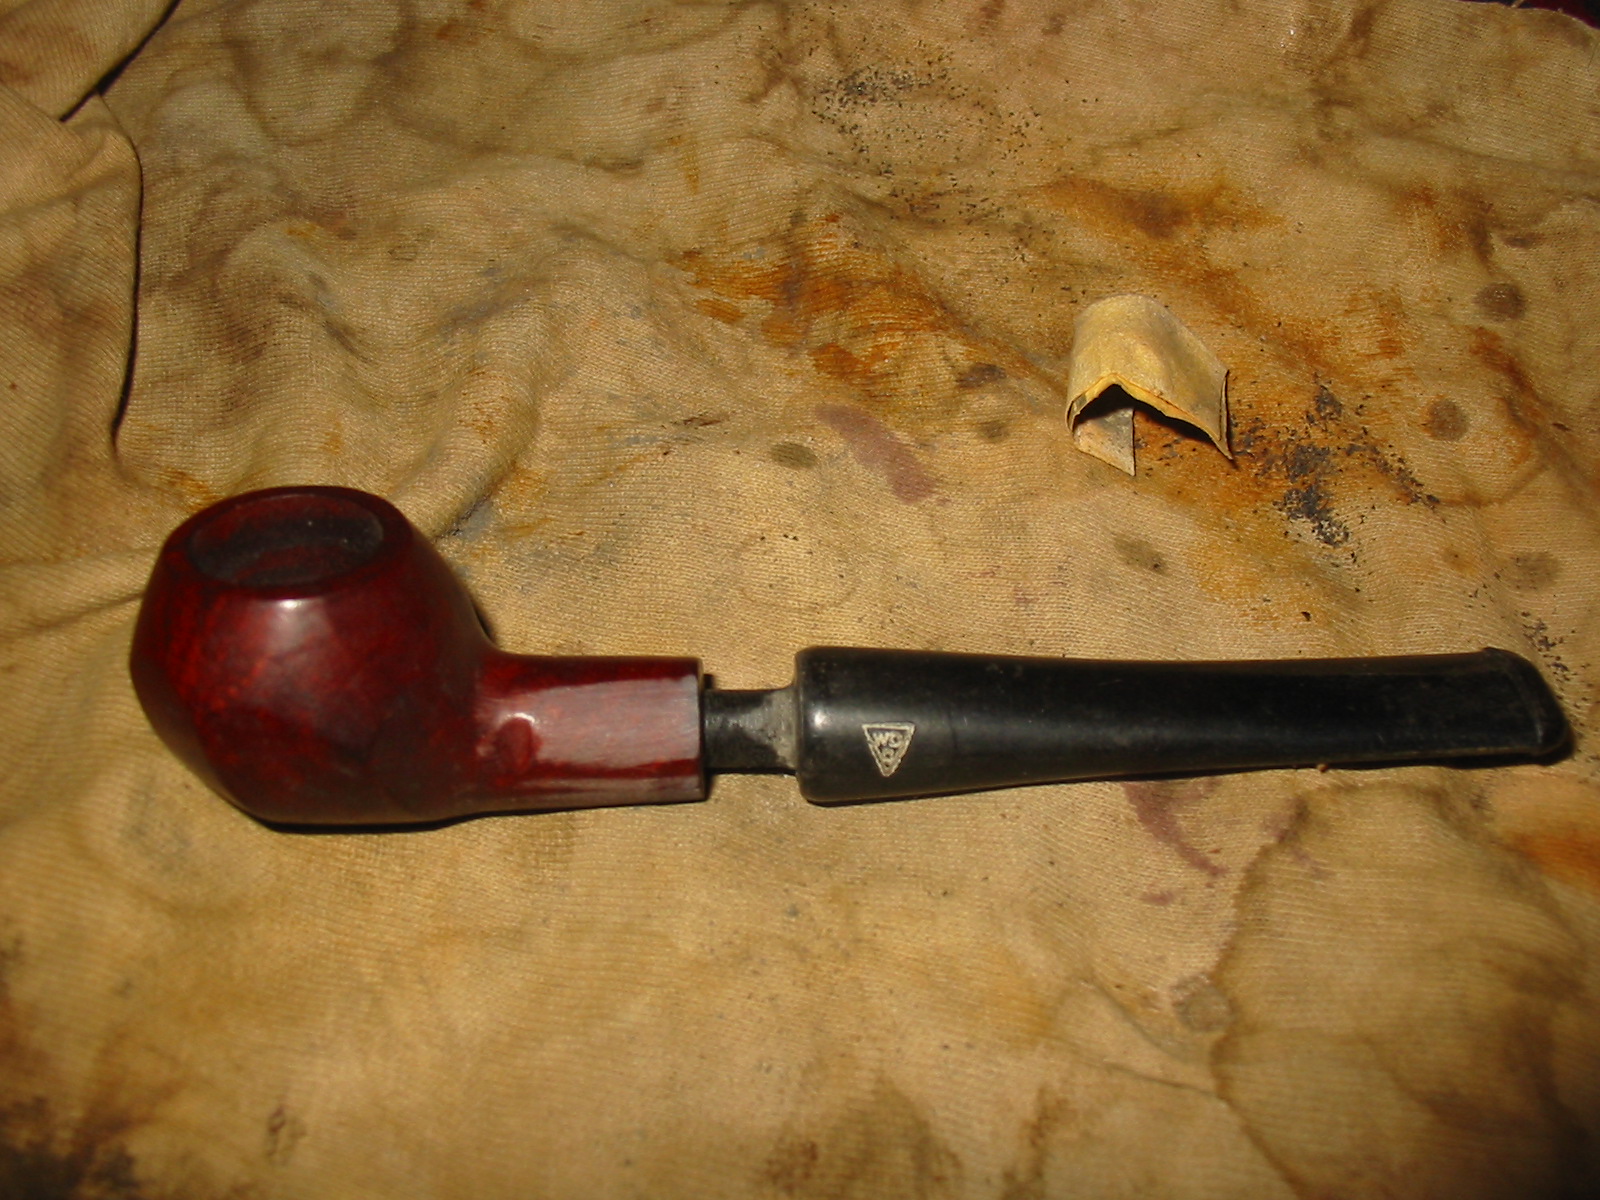
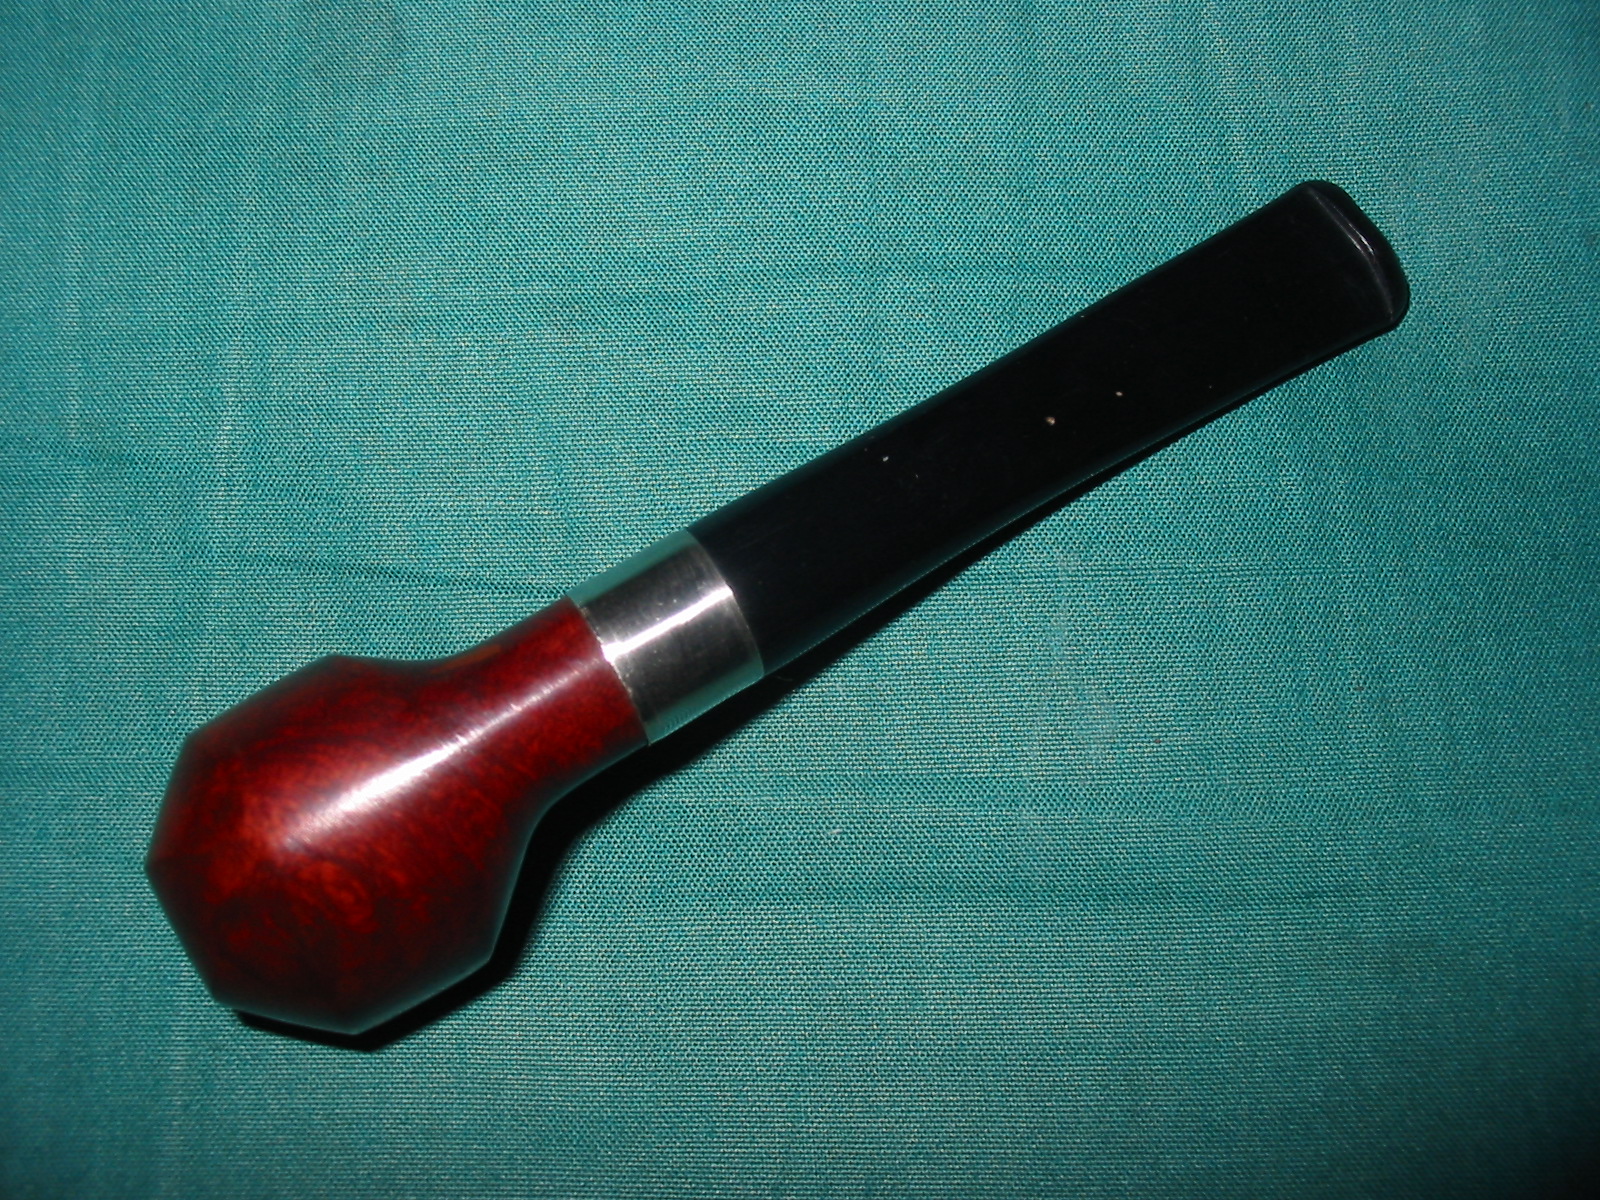
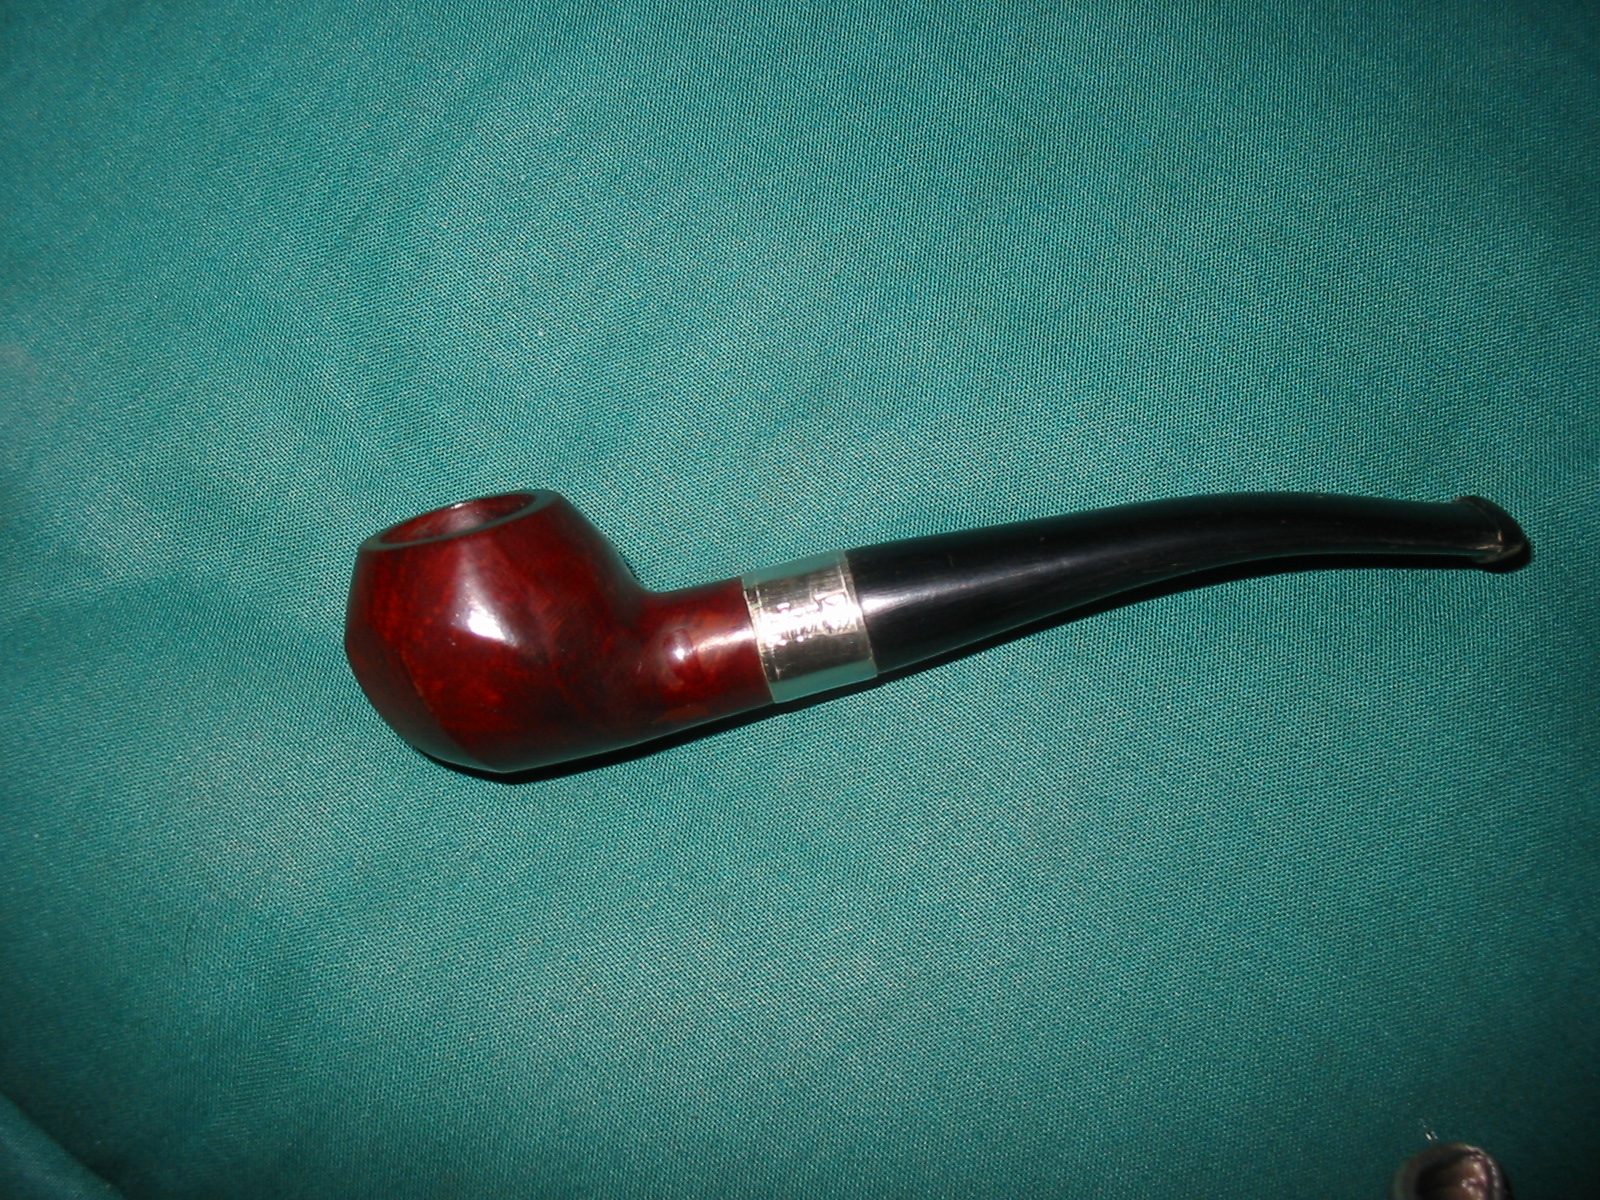
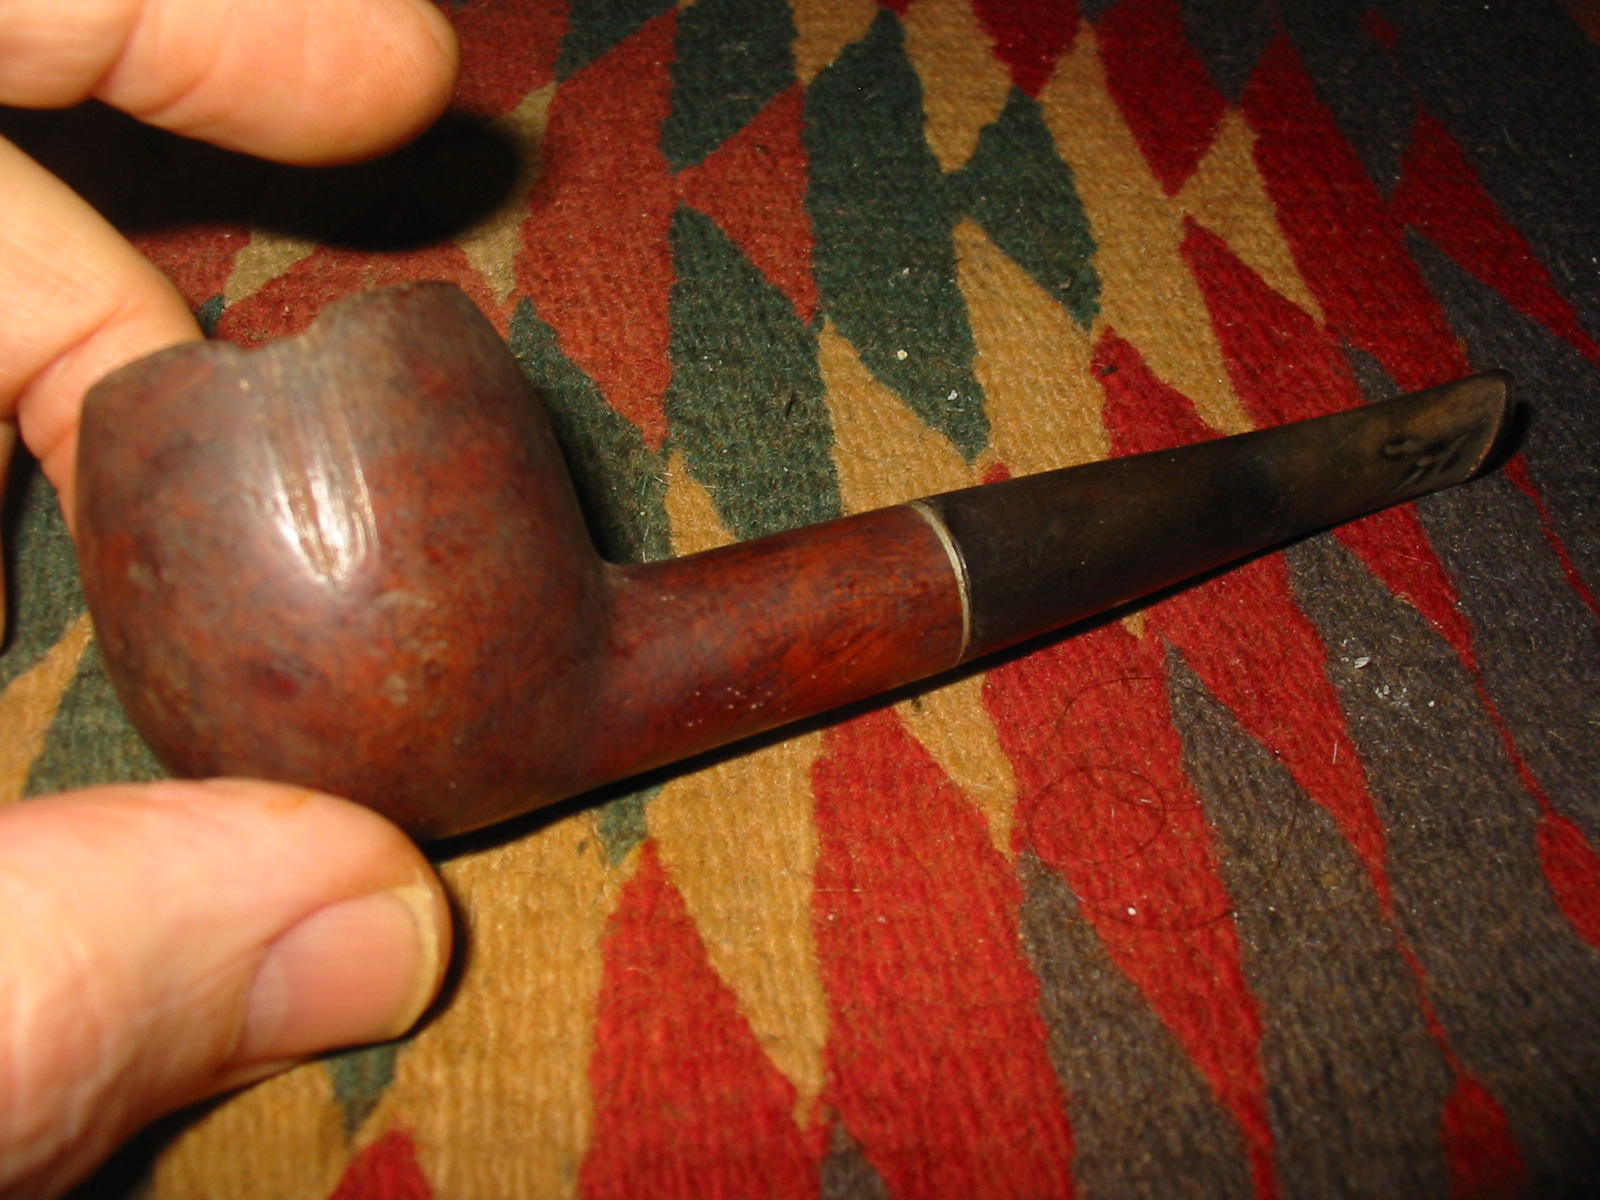
I was gifted this old Kaywoodie Apple in an exchange recently. It is the last of the box of pipes that I have to refurbish. I left it to last as it had some serious problems. The stem was overturned and had deep tooth marks at the button. The bowl had some deep scoring on the left side of the bowl. Those issues might not seem too serious at first glance but they were more so than I had expected. I inspected the stinger apparatus and saw that it had been reglued in the stem. I heated the stinger with a heat gun and turned it back into the shank of the pipe. As I turned it carefully the stem fell off in my hand. I looked and saw that it was corroded through and the heat had softened the glue and the piece literally fell out of the stem. I tried to epoxy it back into the stem and connect the two pieces but it would not stay. Each time I put it back into the shank it fell out – no matter how much curing time I gave it. That was the first issue. In looking at the tooth marks they were repairable but with the broken stinger and threaded tenon I wondered whether it was worth fixing it. The grooves on the bowl and the dip in the rim above them could be repaired and would be a simple fix if I decided to keep the pipe. Those were the issues that caused me to lay the pipe aside for a bit and work on other pipes. That is why it is the last pipe in the bottom of the box.
IMG_3047

IMG_3048

IMG_3049

IMG_3050

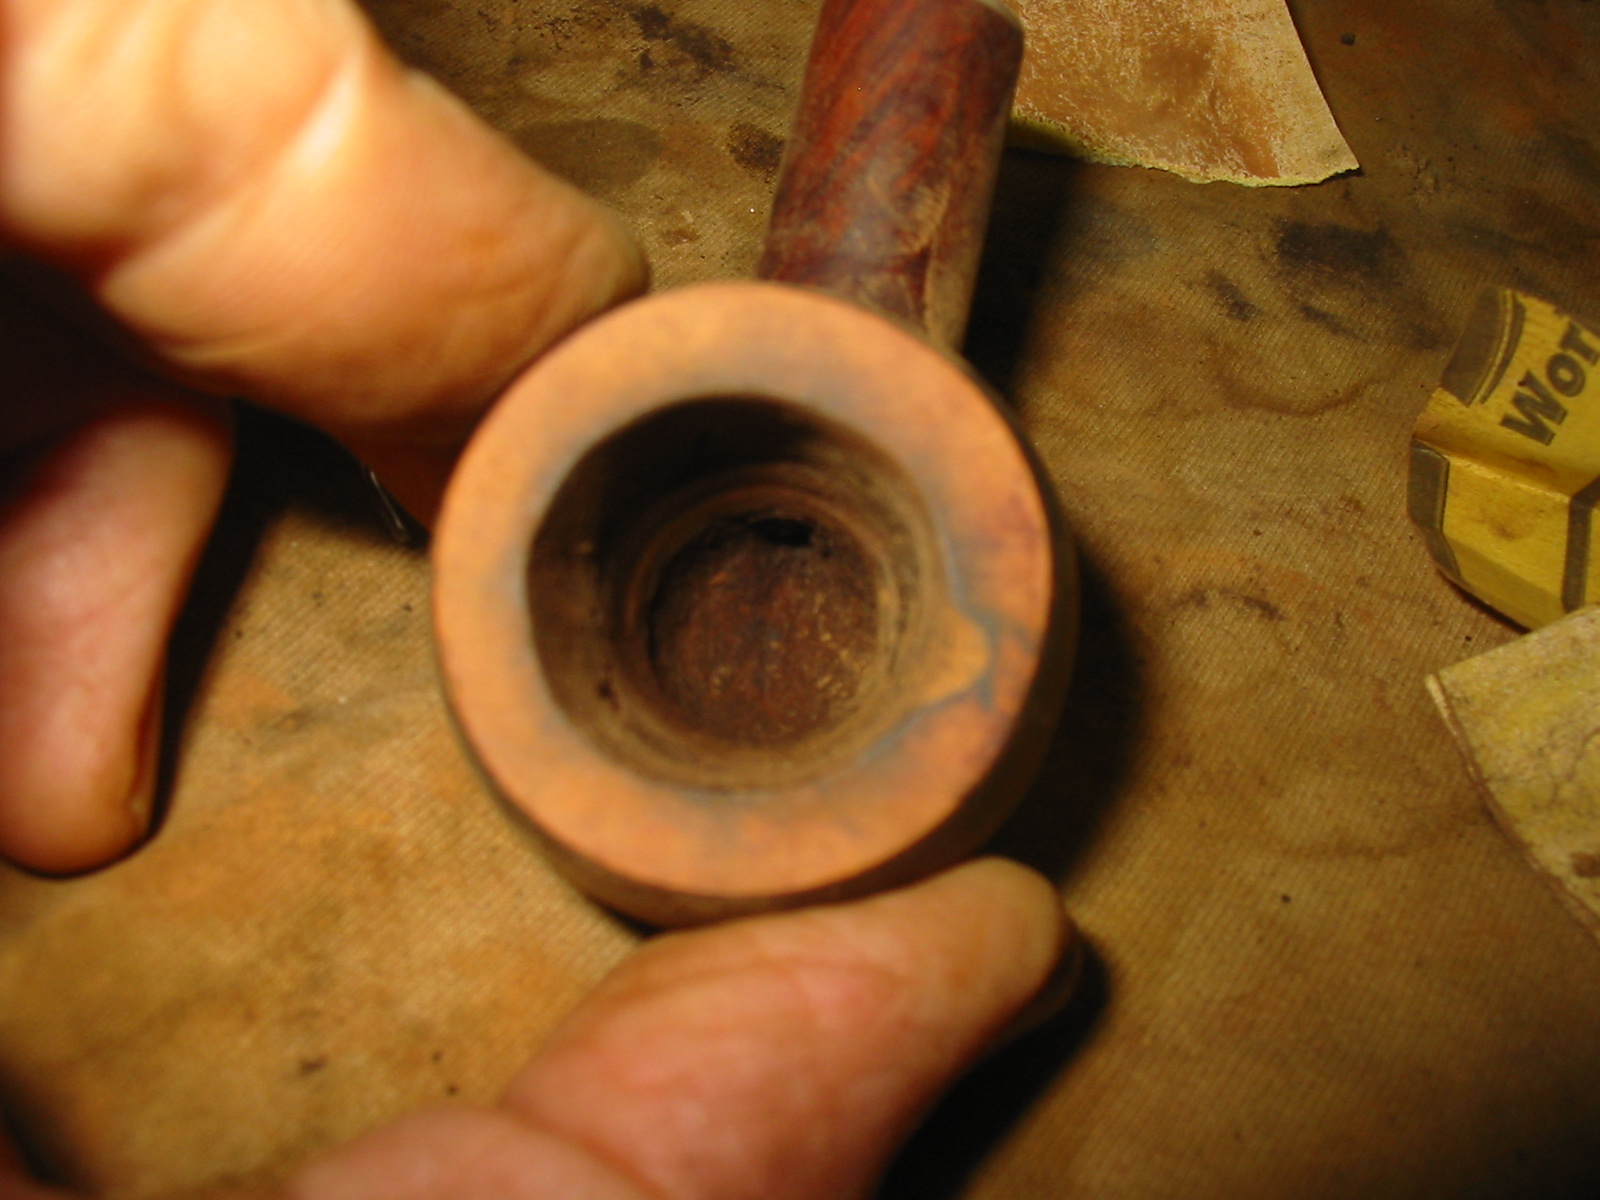
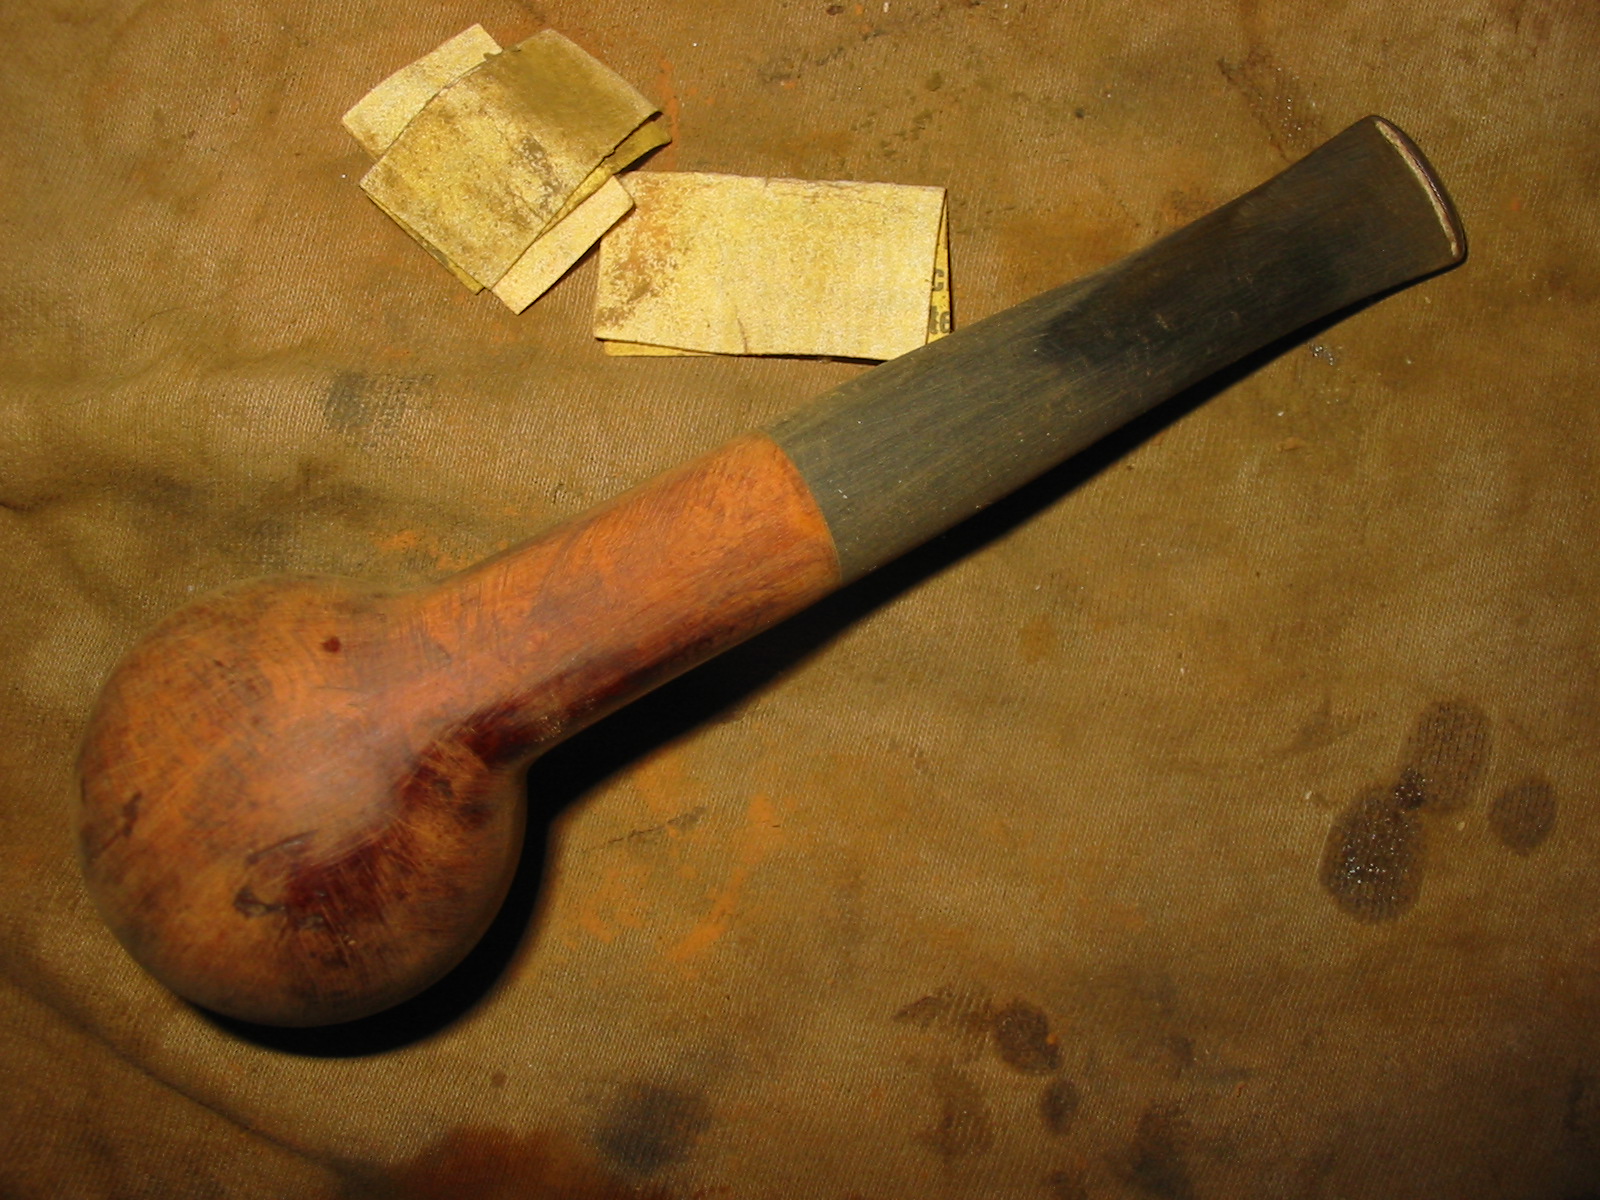
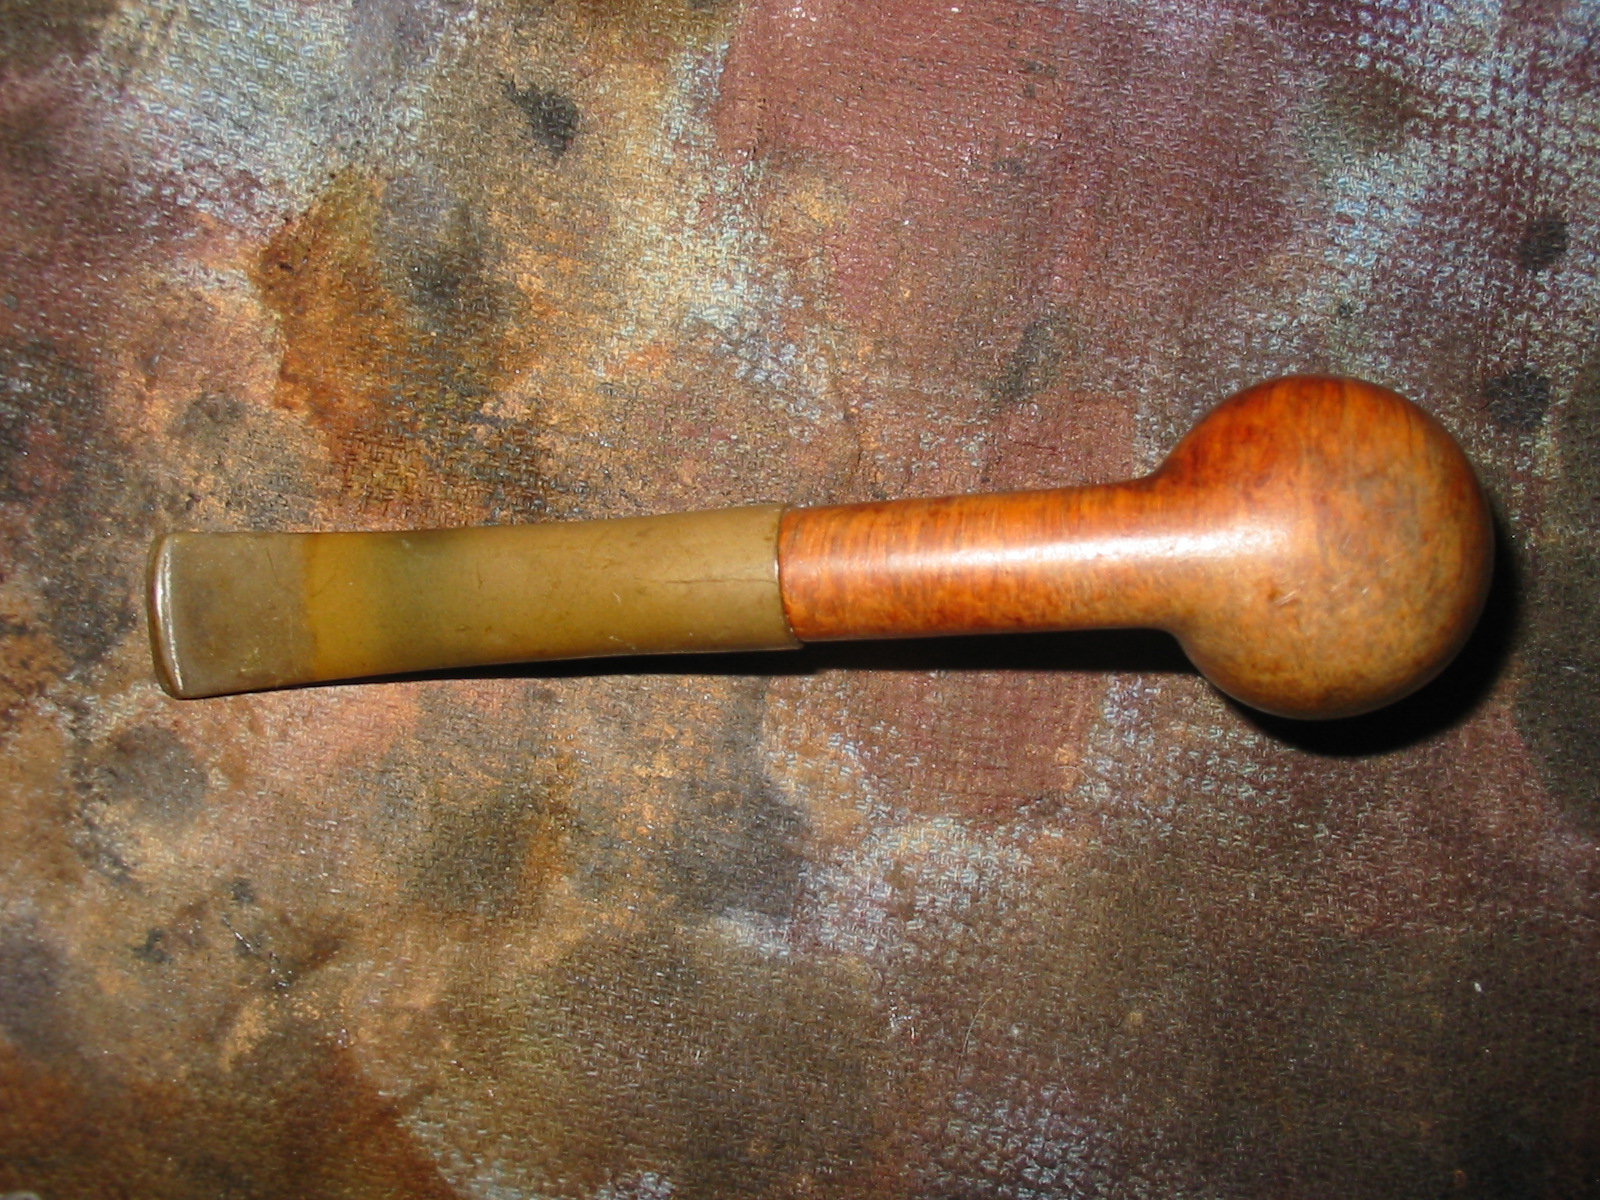
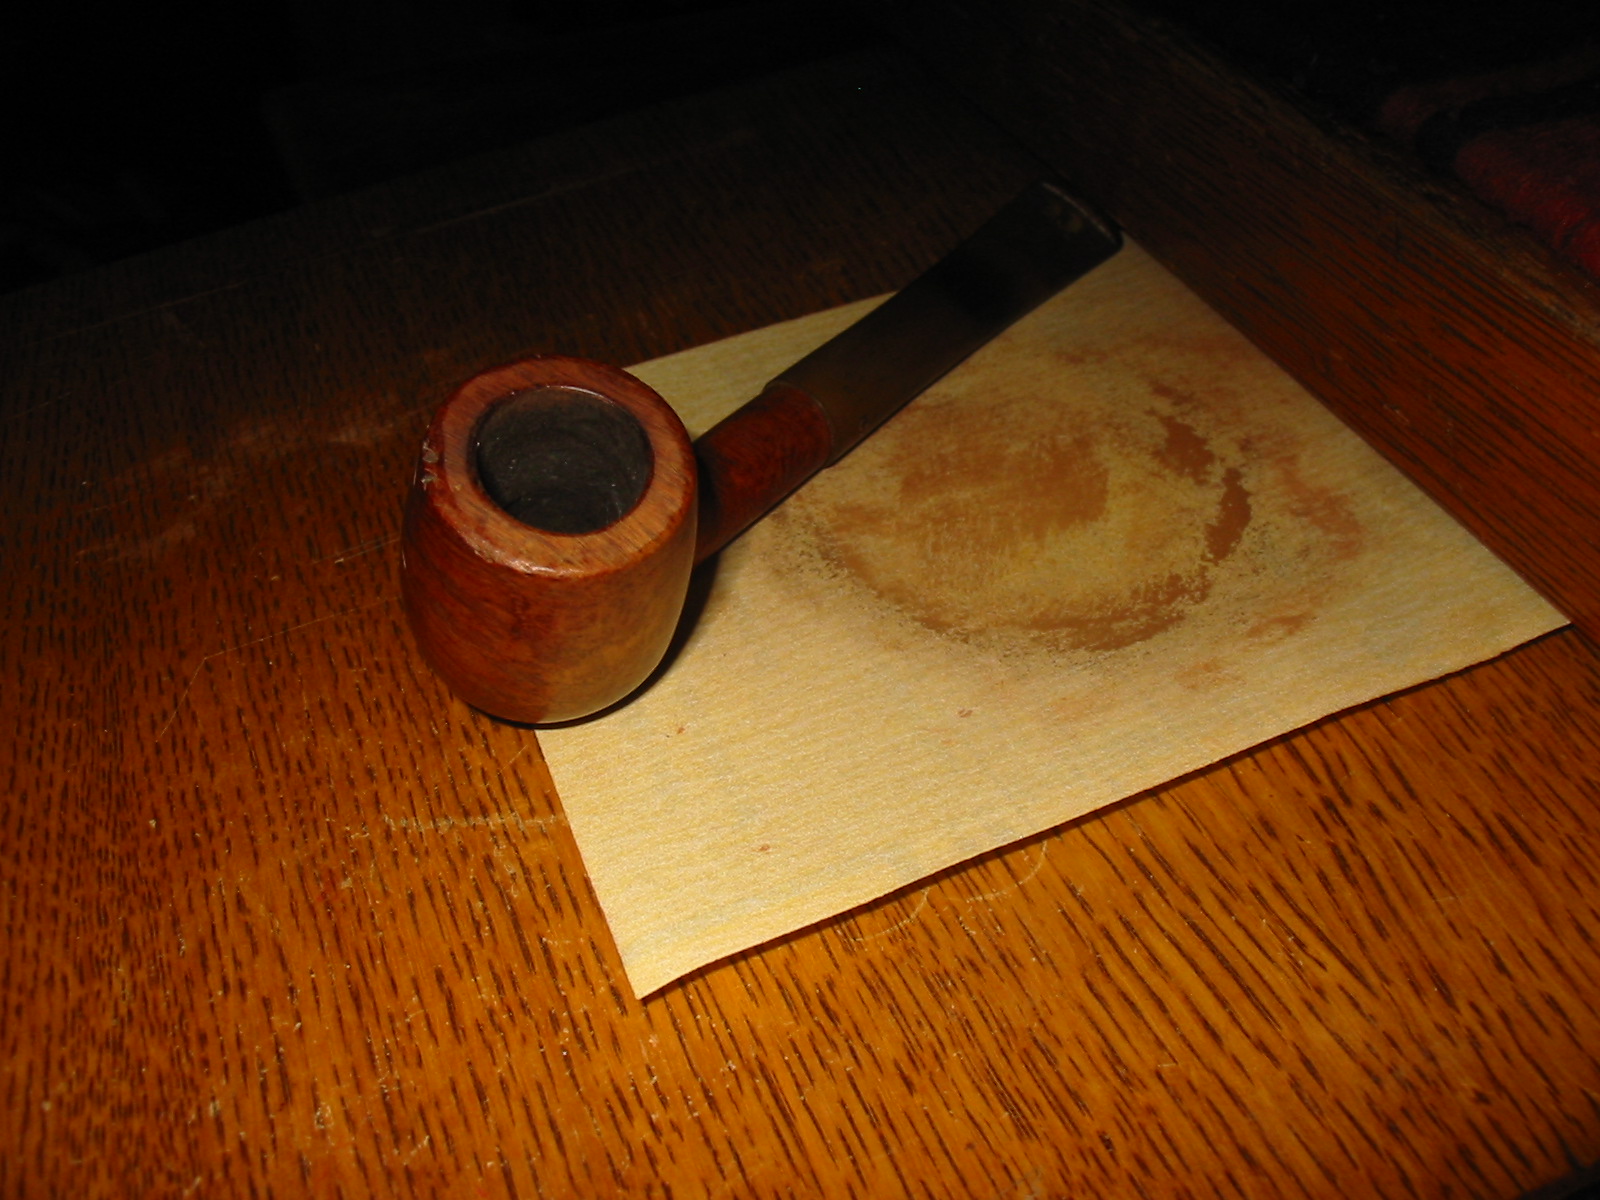
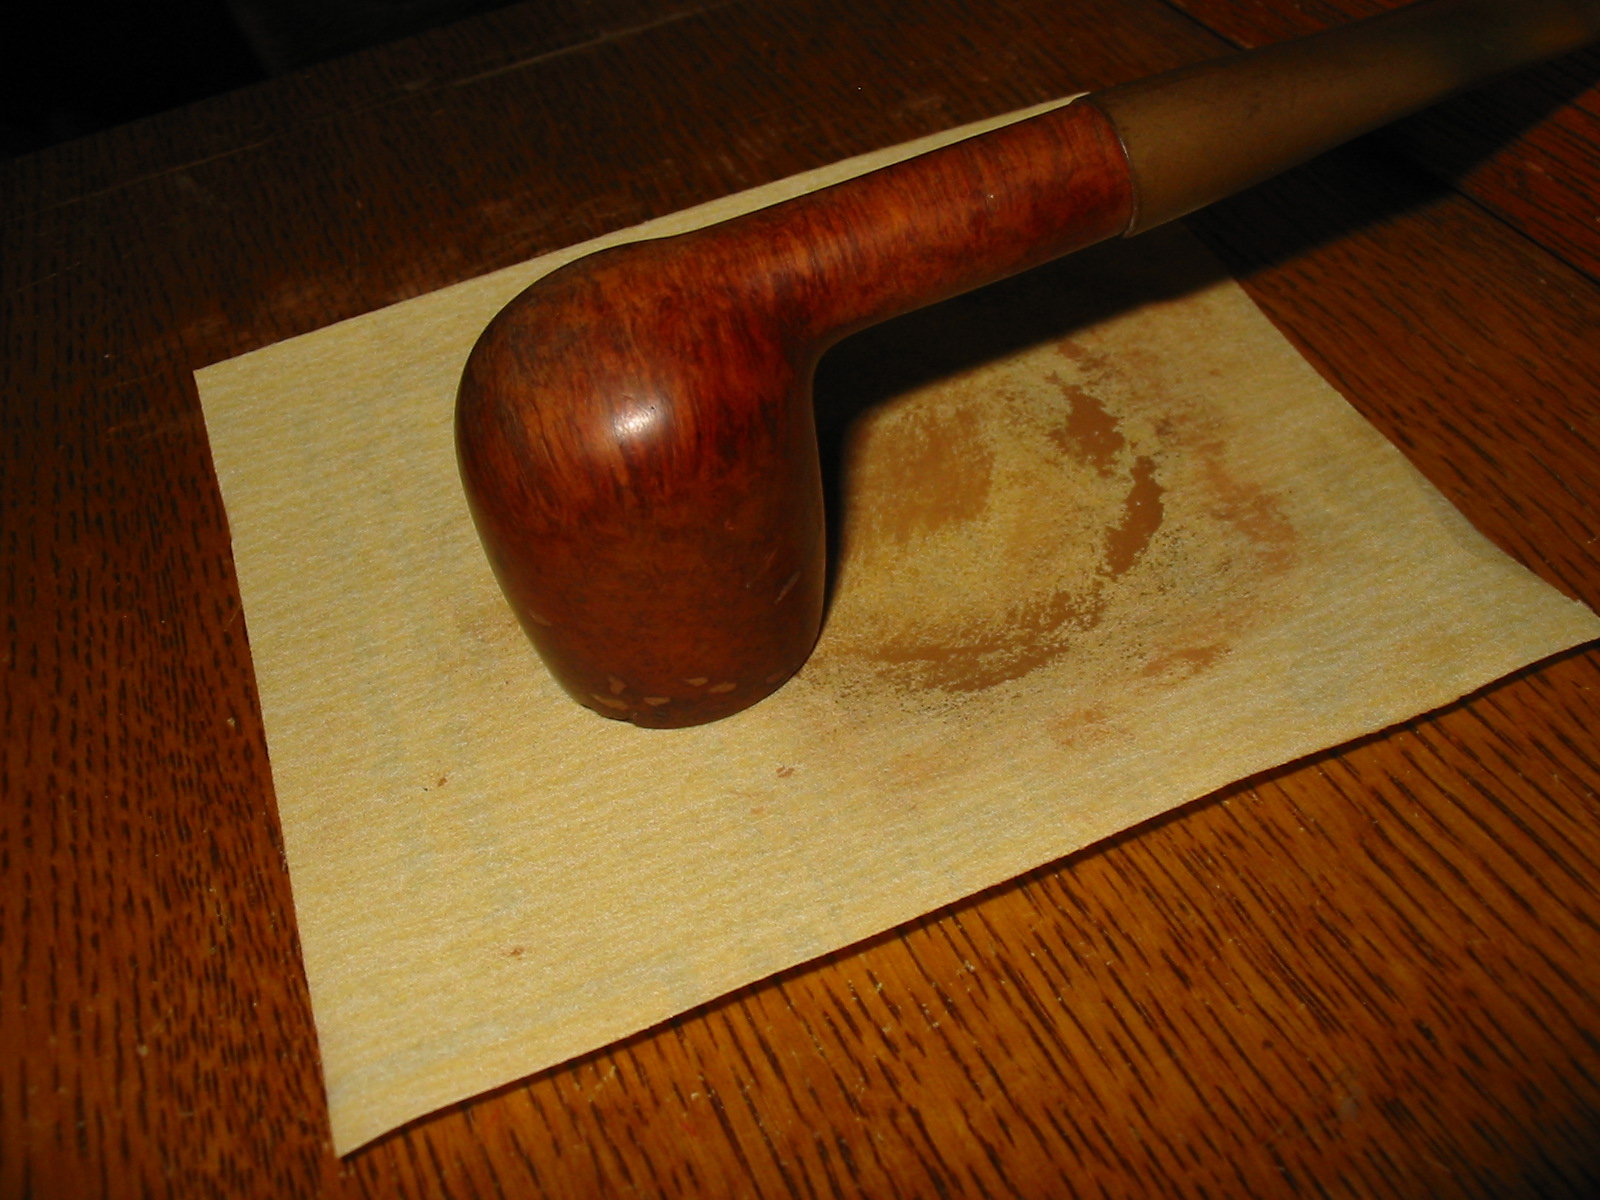
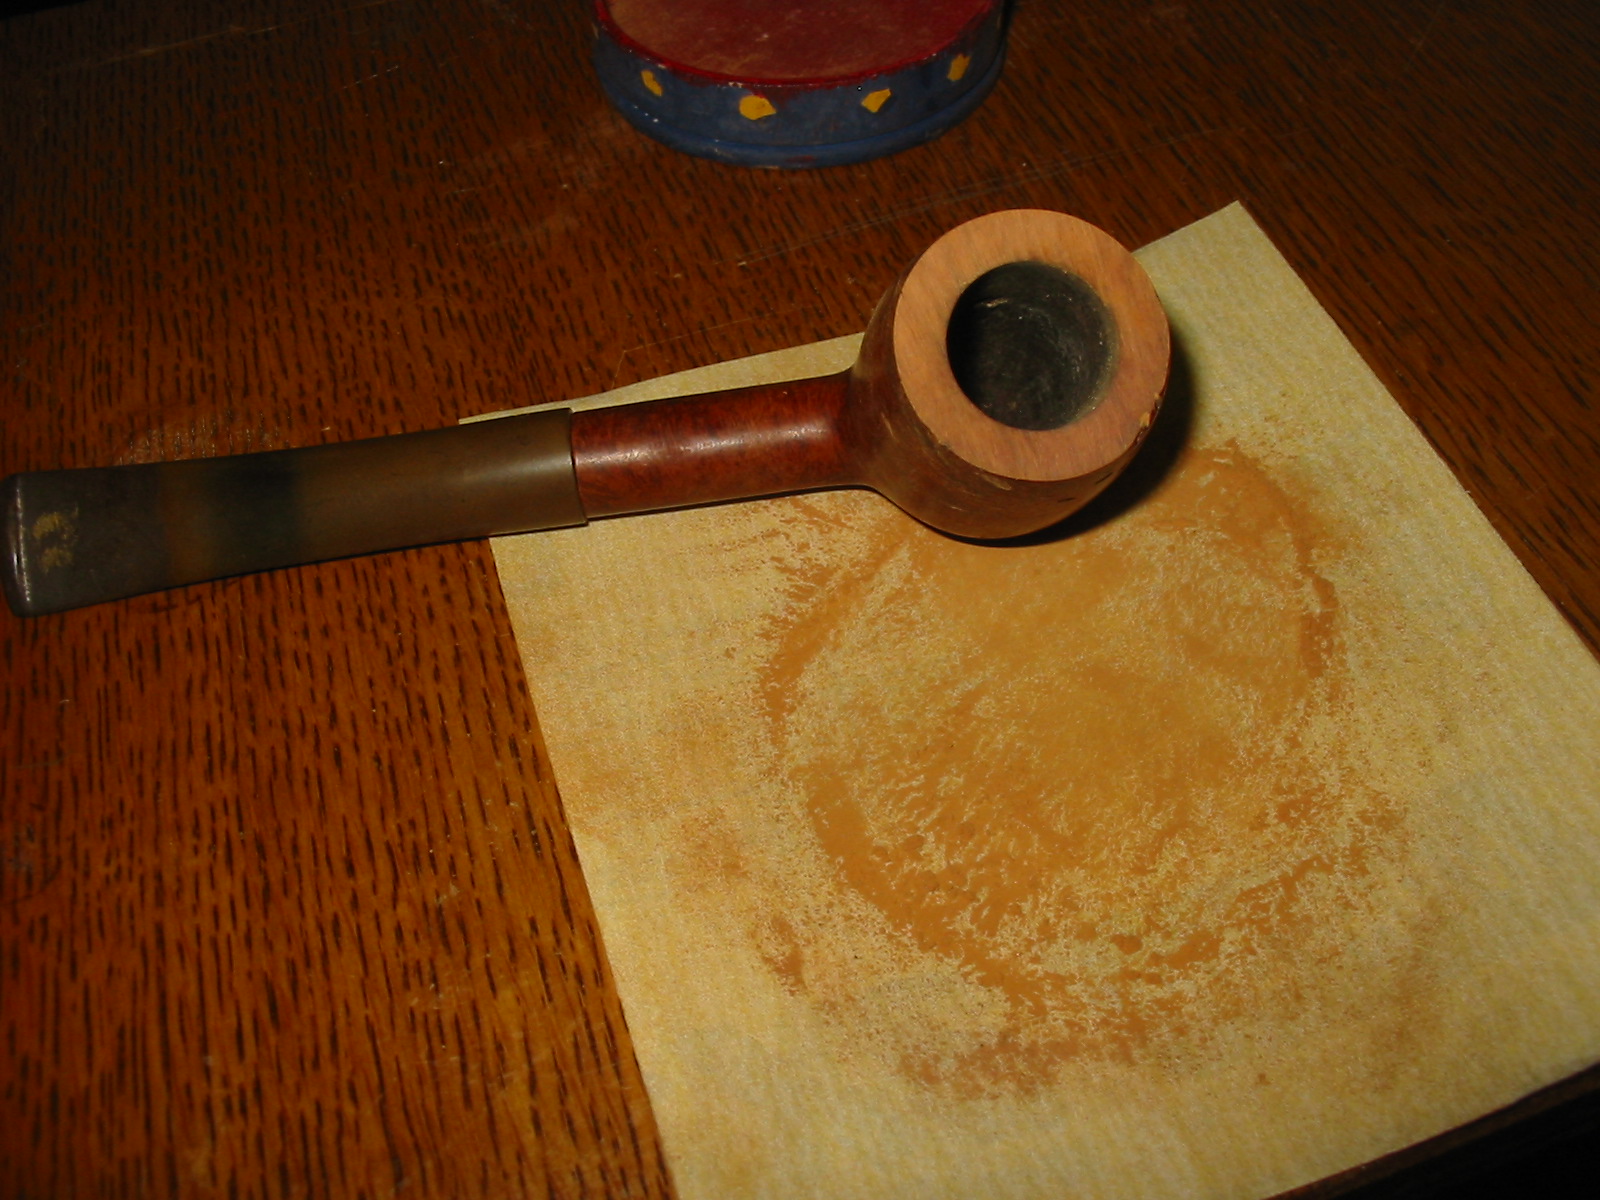
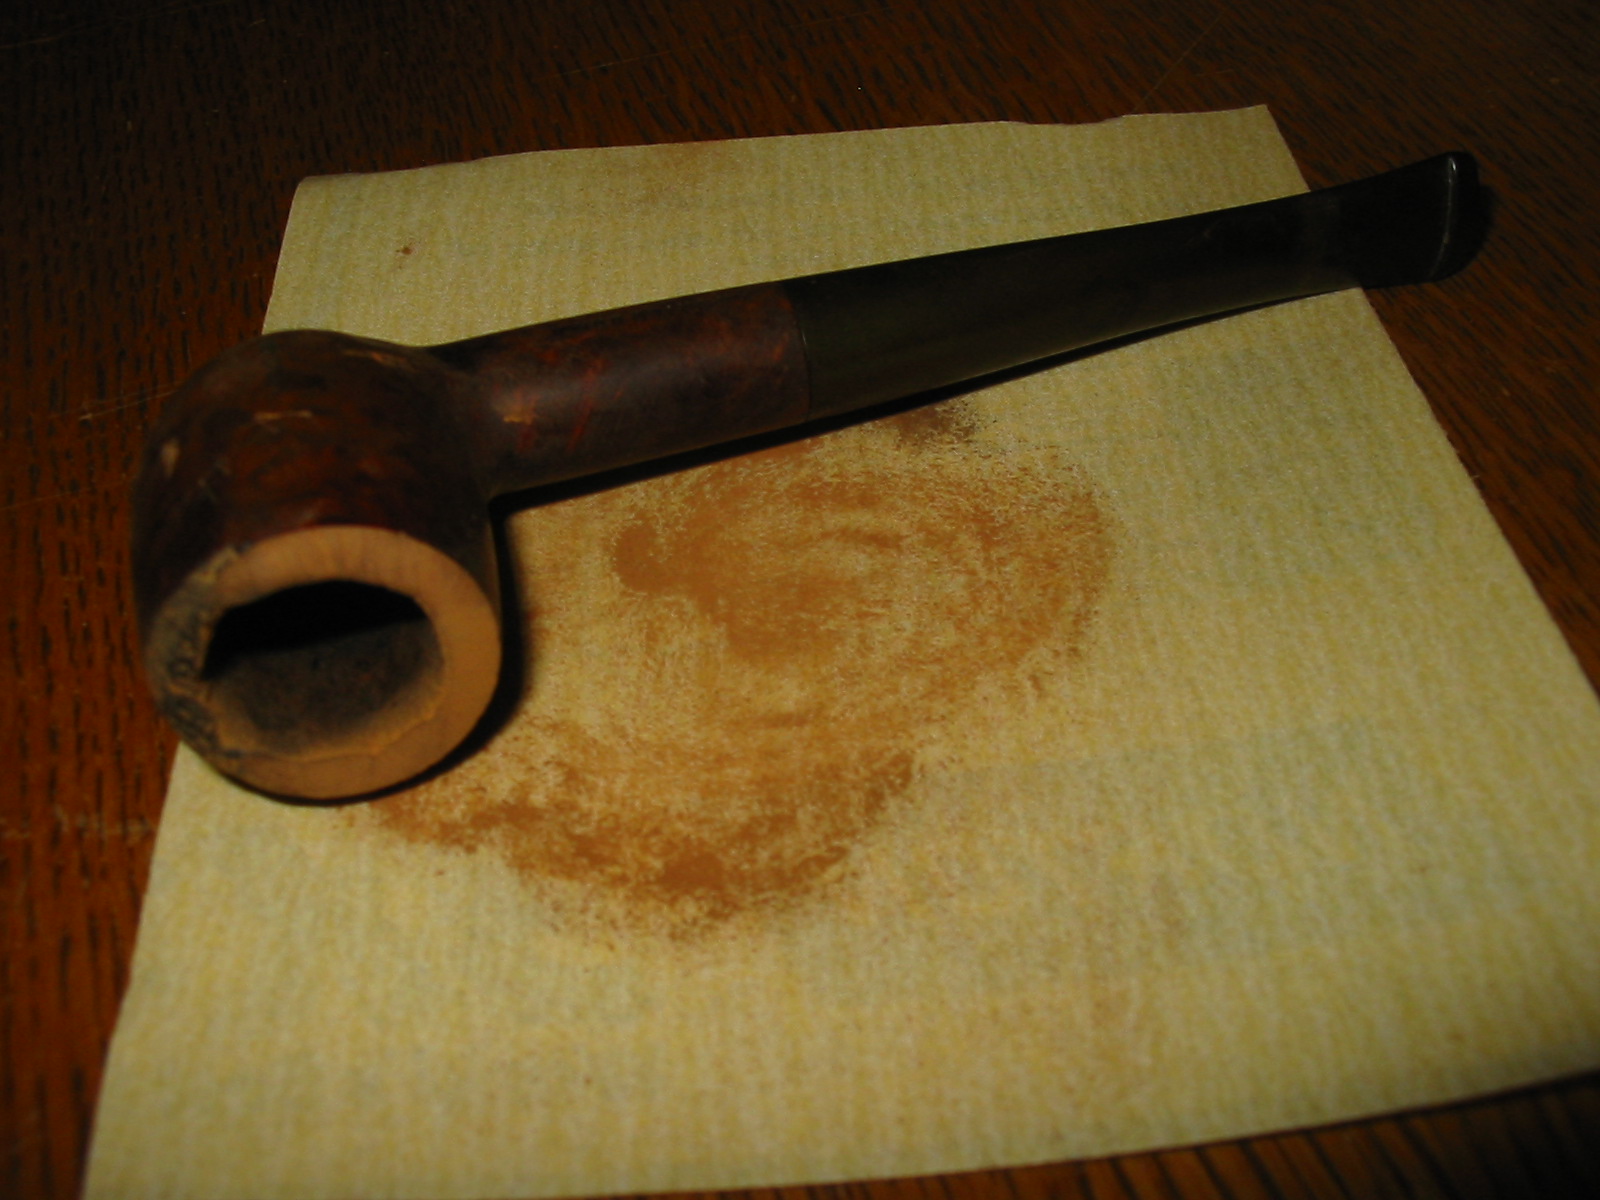
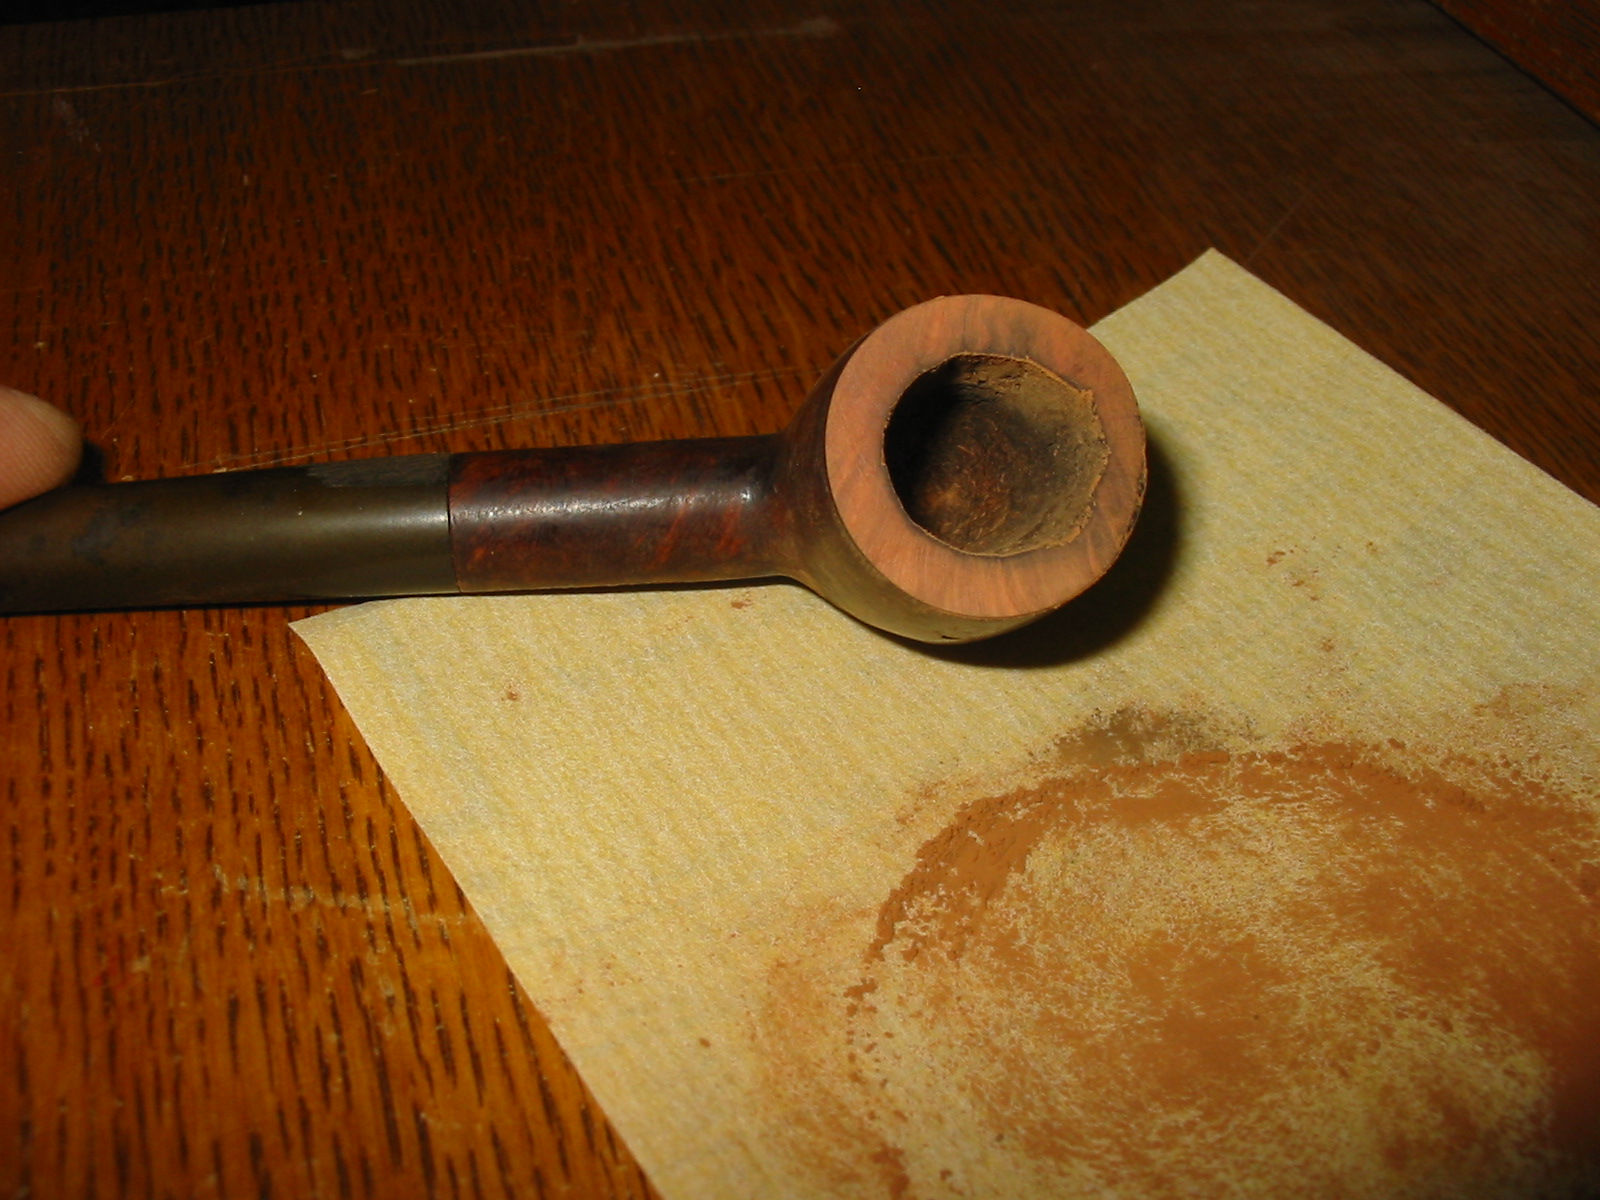
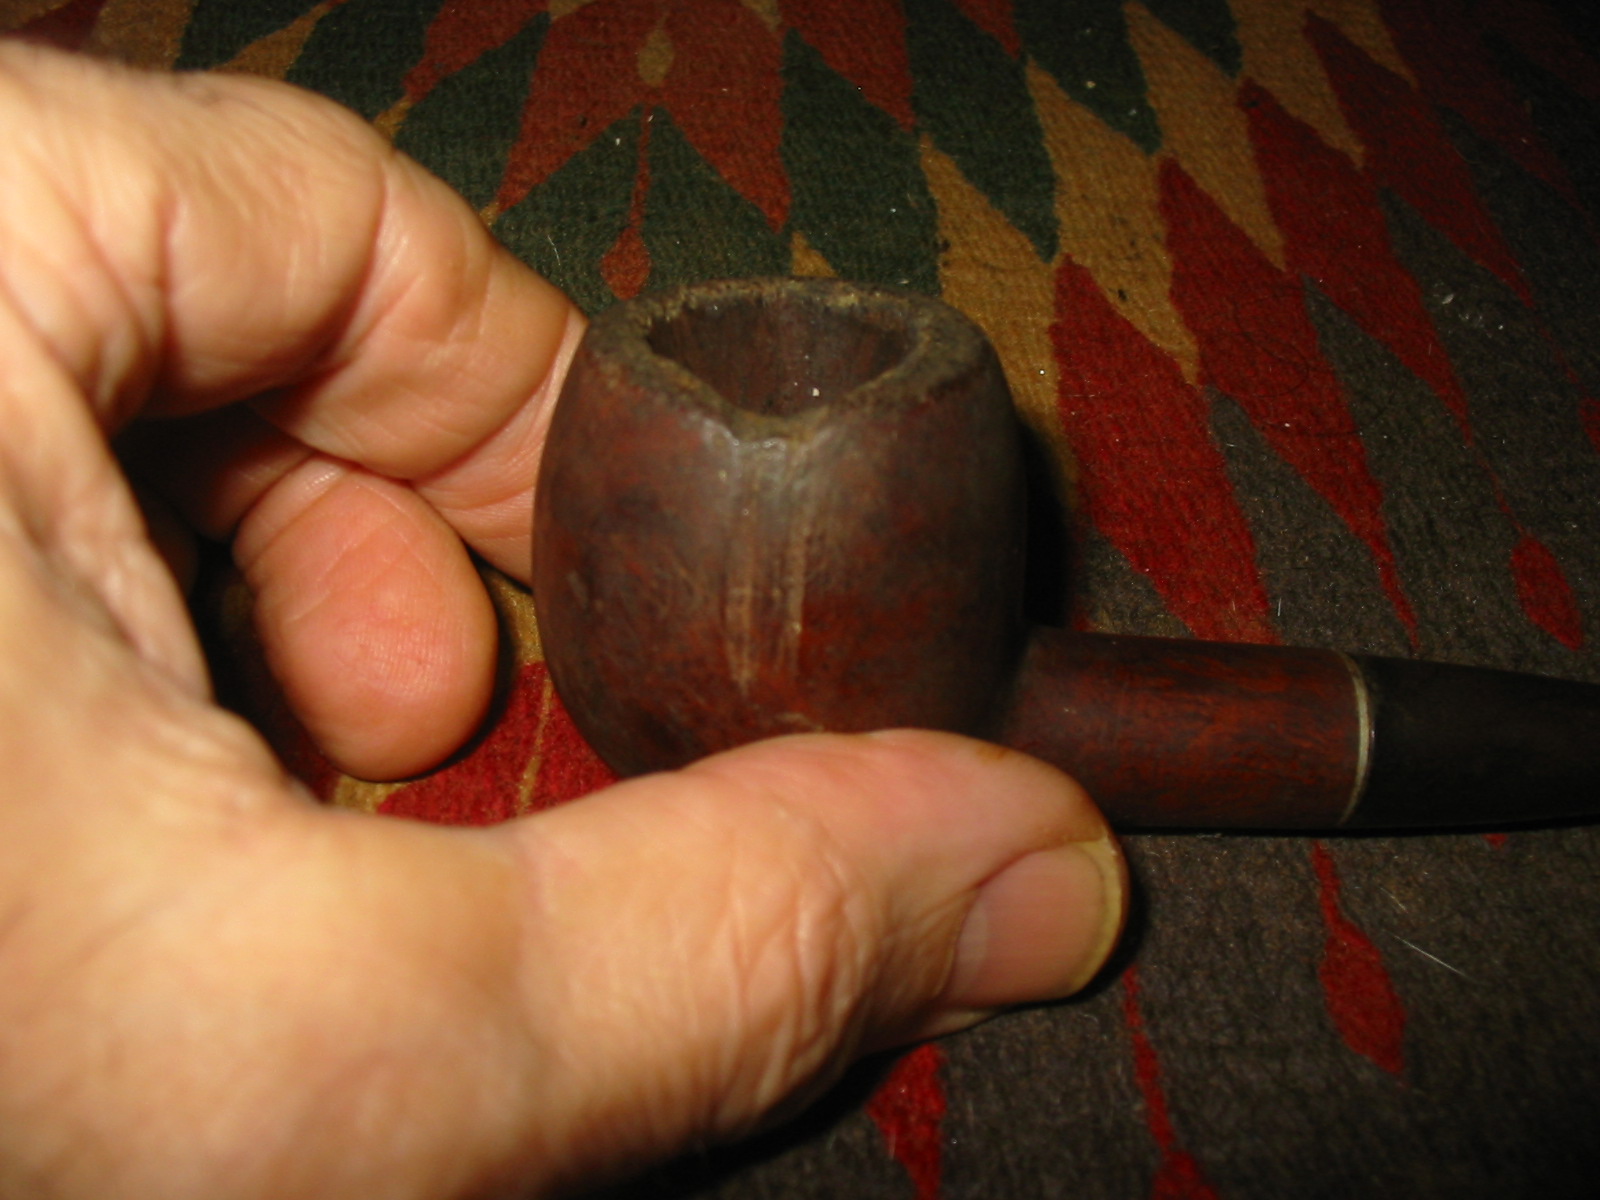
Because of the extent of damage to this pipe it was unlikely that it would ever be truly collectible again. Though to some my next decisions will appear to have desecrated an older Kaywoodie I decided to use this pipe to experiment with a few repair ideas. I topped the bowl with my usual method to remove the rim damage. I removed the damaged portion of the bowl and flattened the rim against the sandpaper. When I was finished topping the bowl the rim was flat again however the inner edge of the rim needed to be repaired. It was missing a large chunk of briar.
IMG_3051

IMG_3052

IMG_3053

IMG_3054

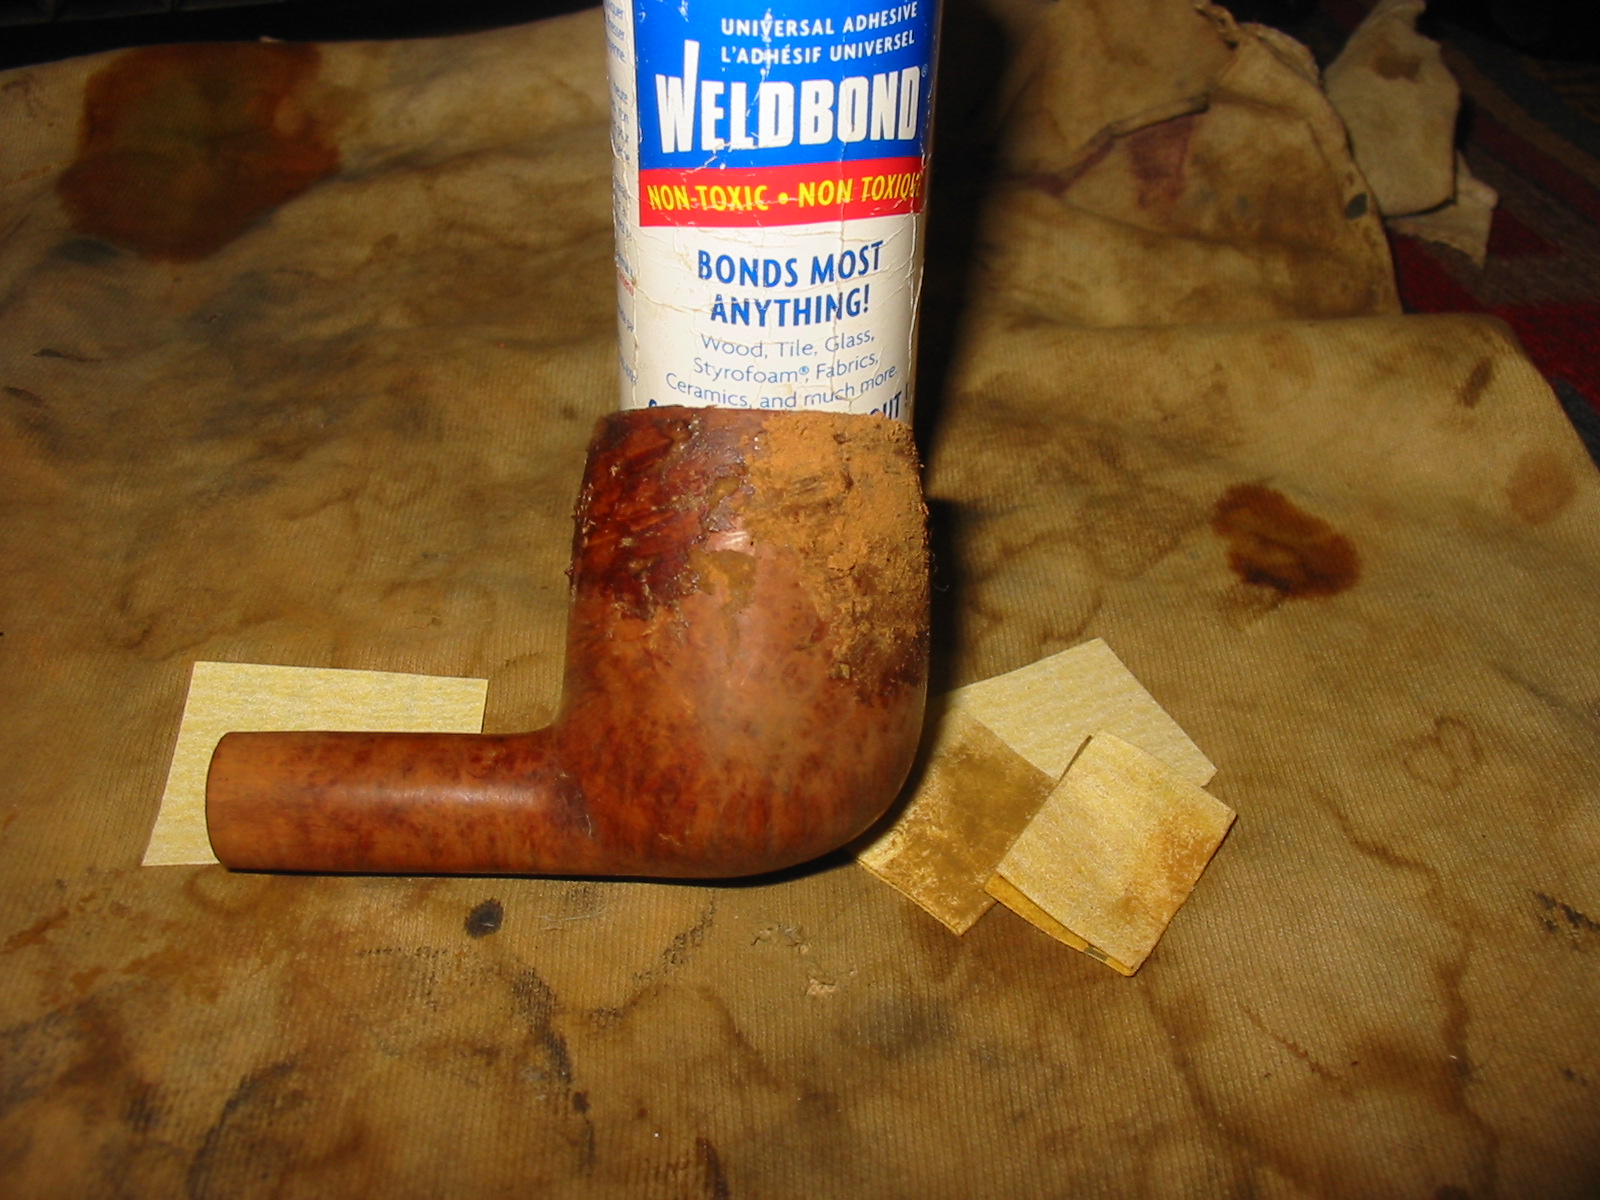
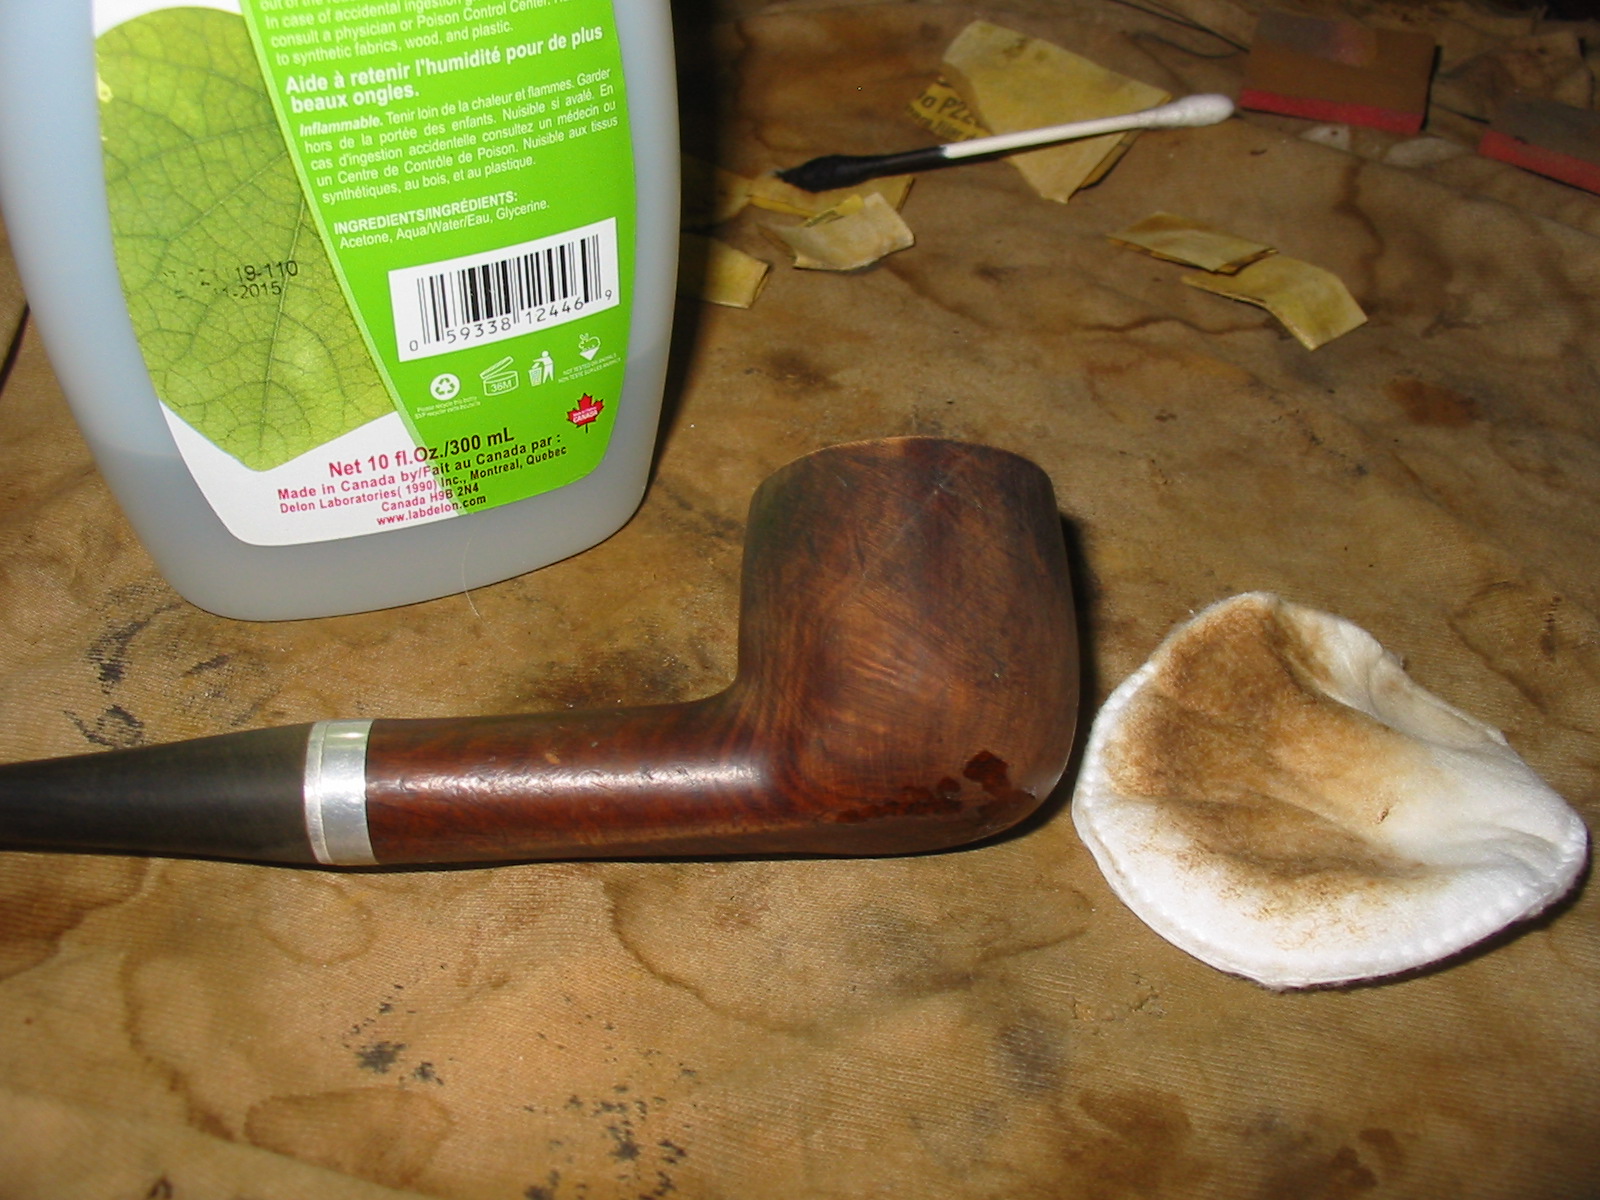
The missing chunk matched the twin scoring marks on the outside of the bowl and made me wonder how the previous pipeman had caused that kind of damage to the bowl. The divot on the rim was not a burn mark but a divot that had been caused in the same moment the scoring occurred on the outside of the bowl. I sanded down the scored areas and cleaned the bowl with acetone. I then patched the score marks with superglue and briar dust. I also built up the top of the rim in the divot area with the same mixture. I kept the mix on the top of the rim as much as possible with very little of it on the inside edge. I did not want to use it inside the bowl.
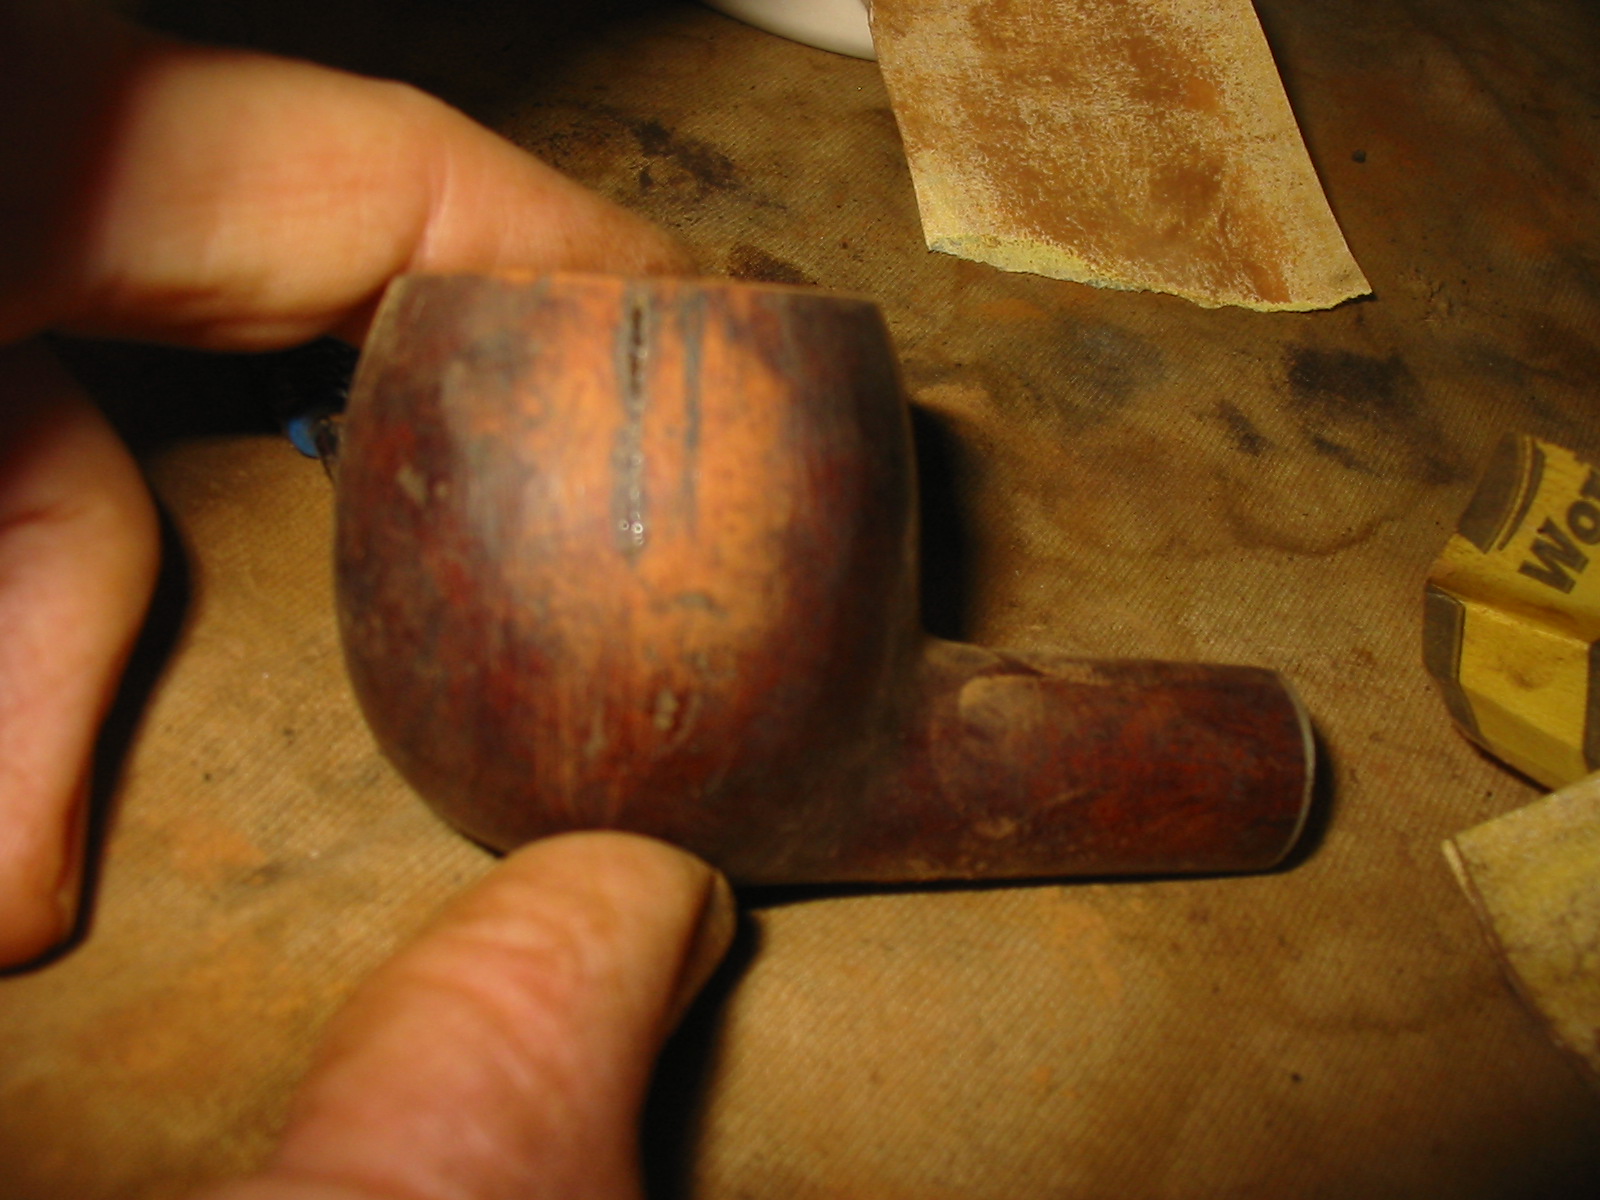
IMG_3055

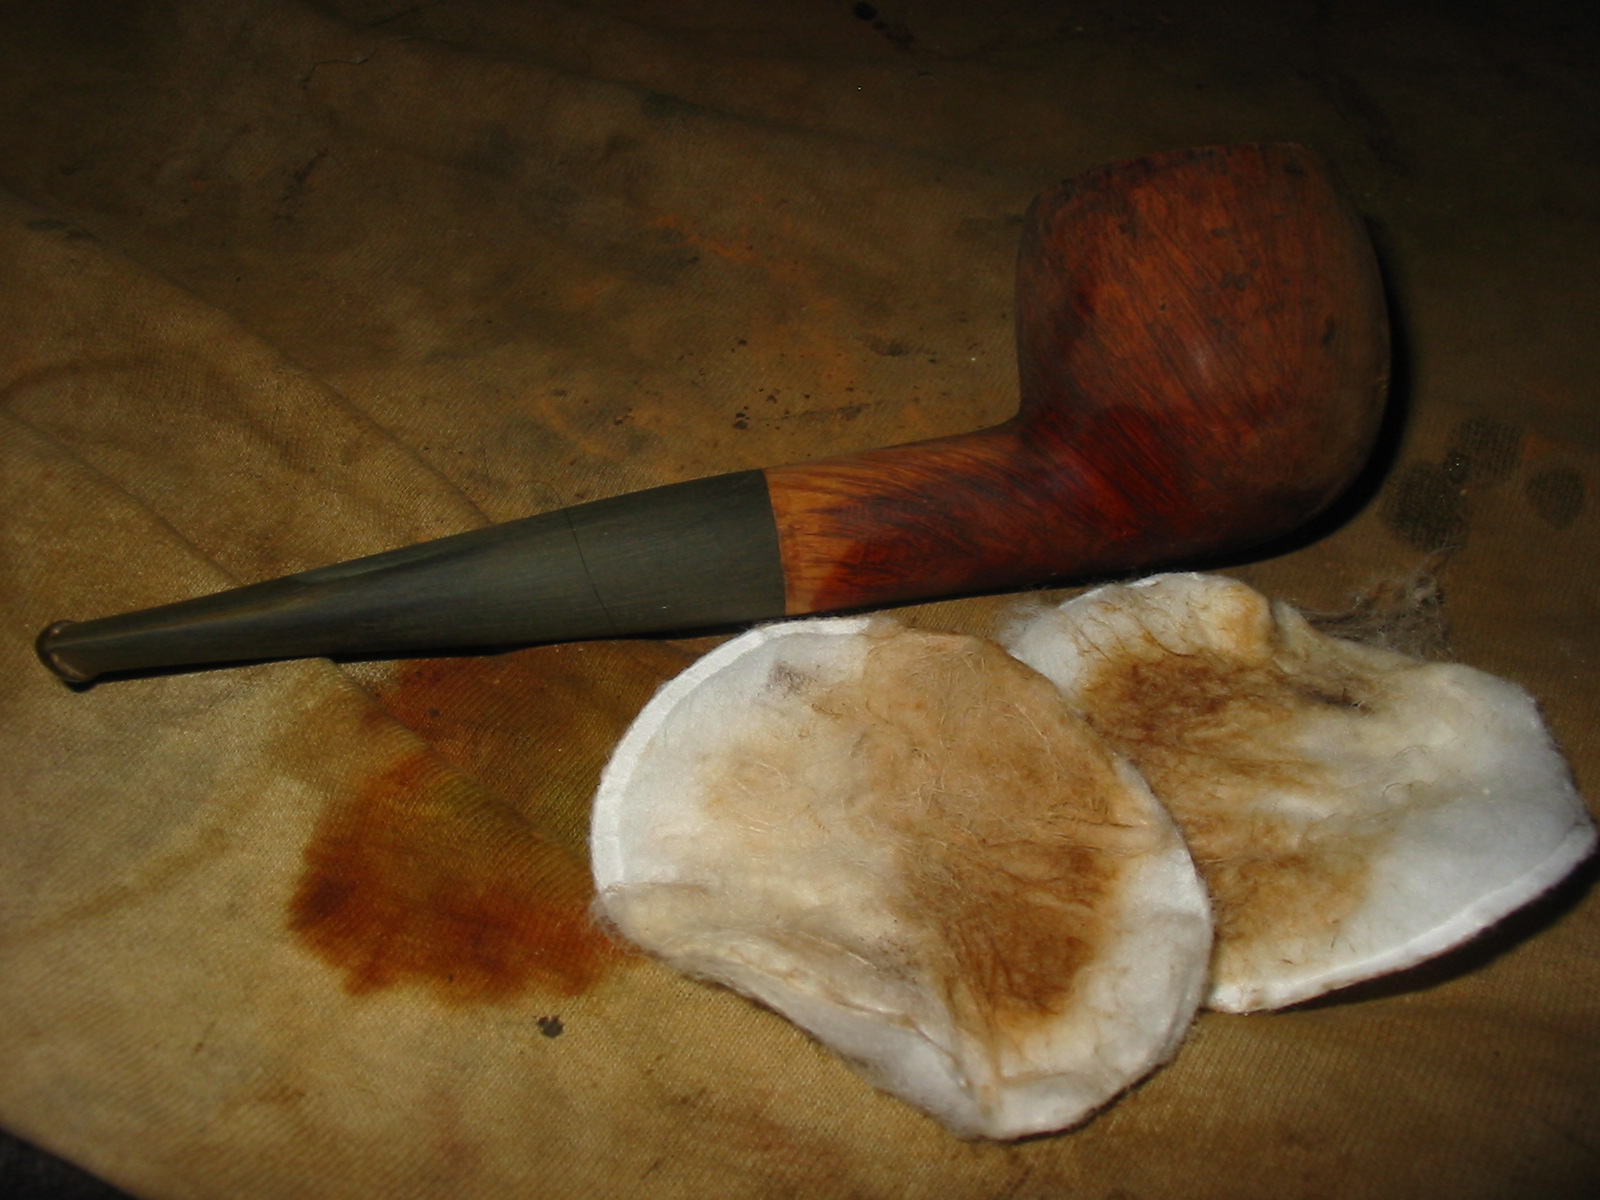
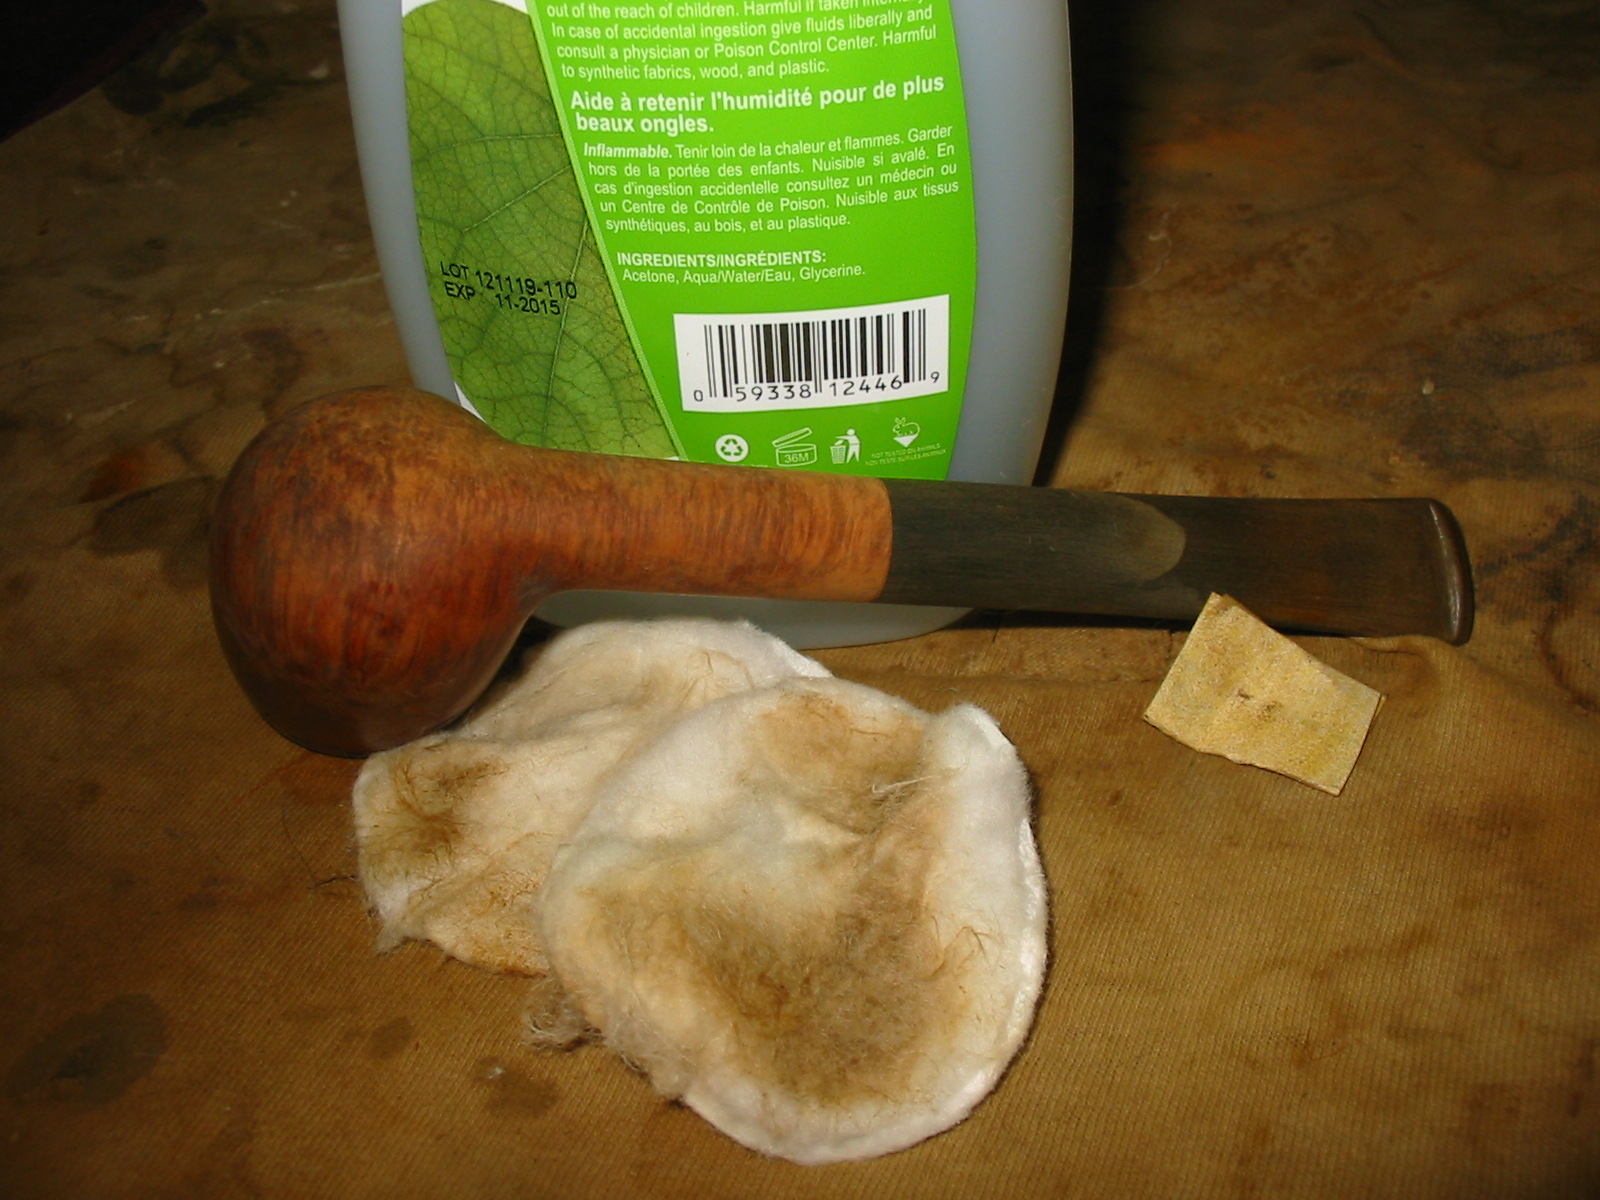
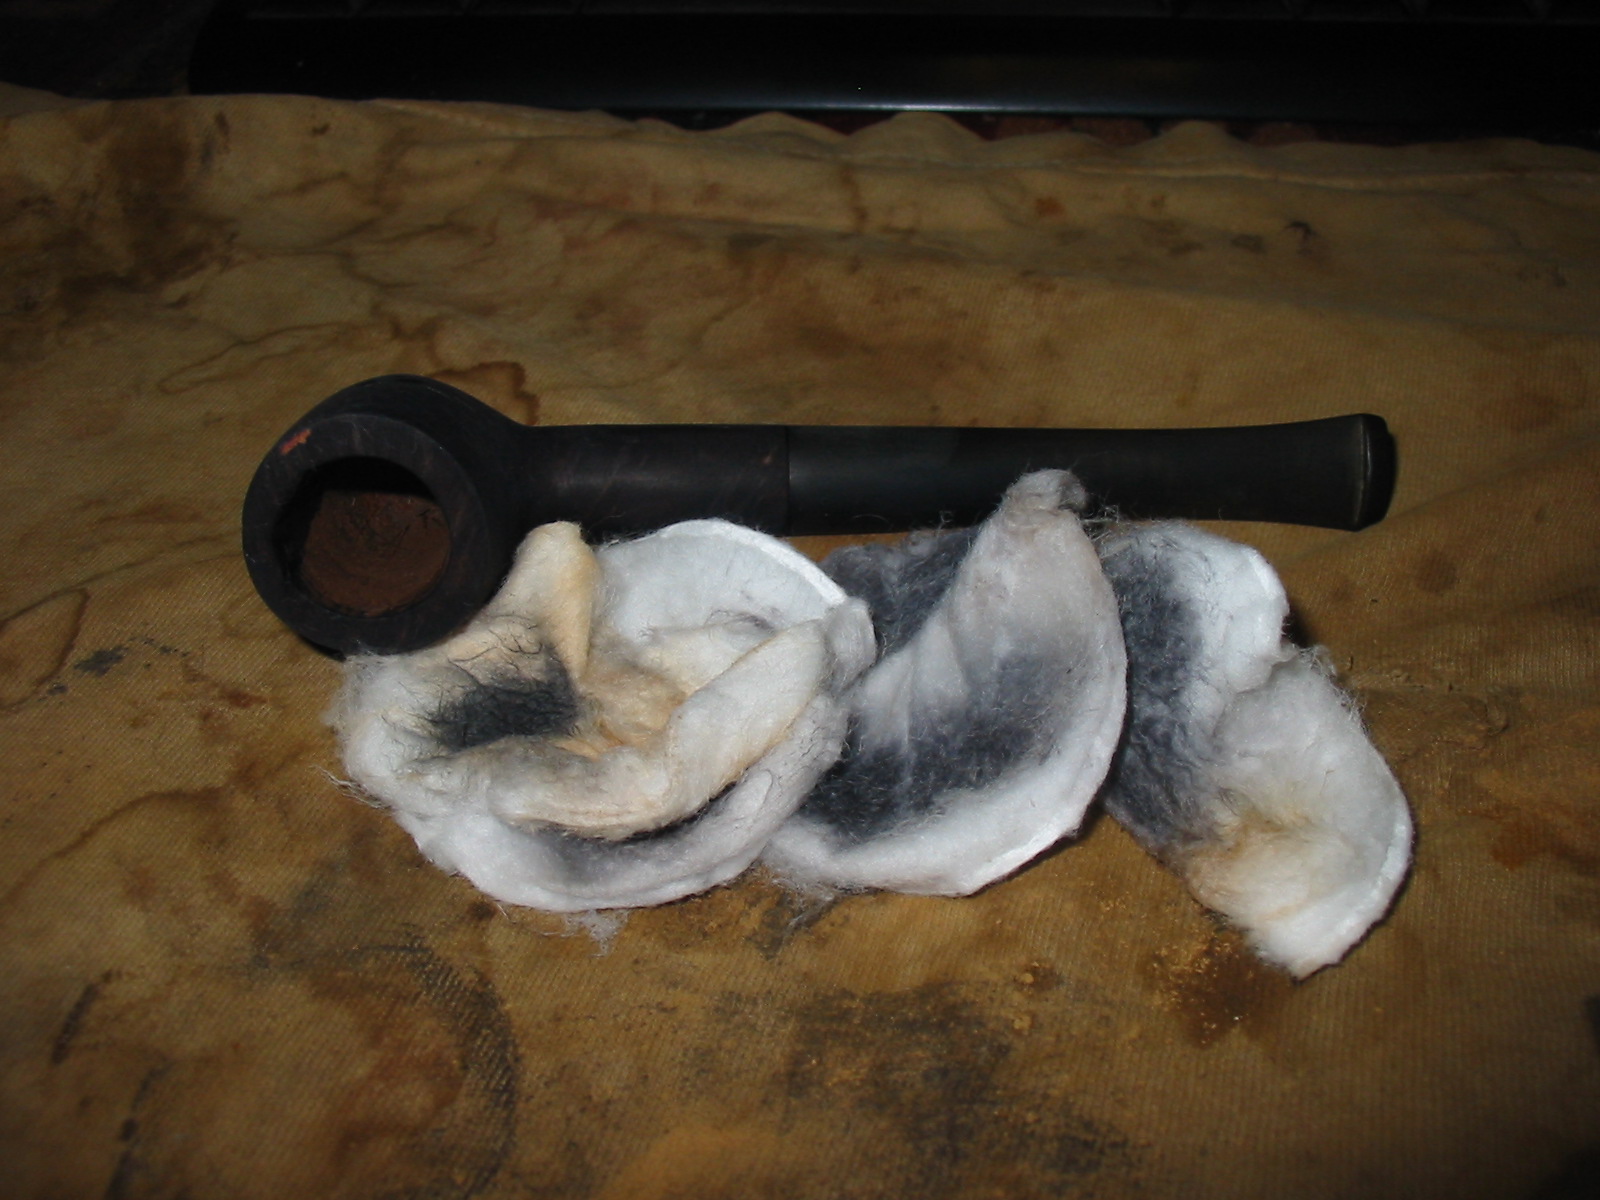
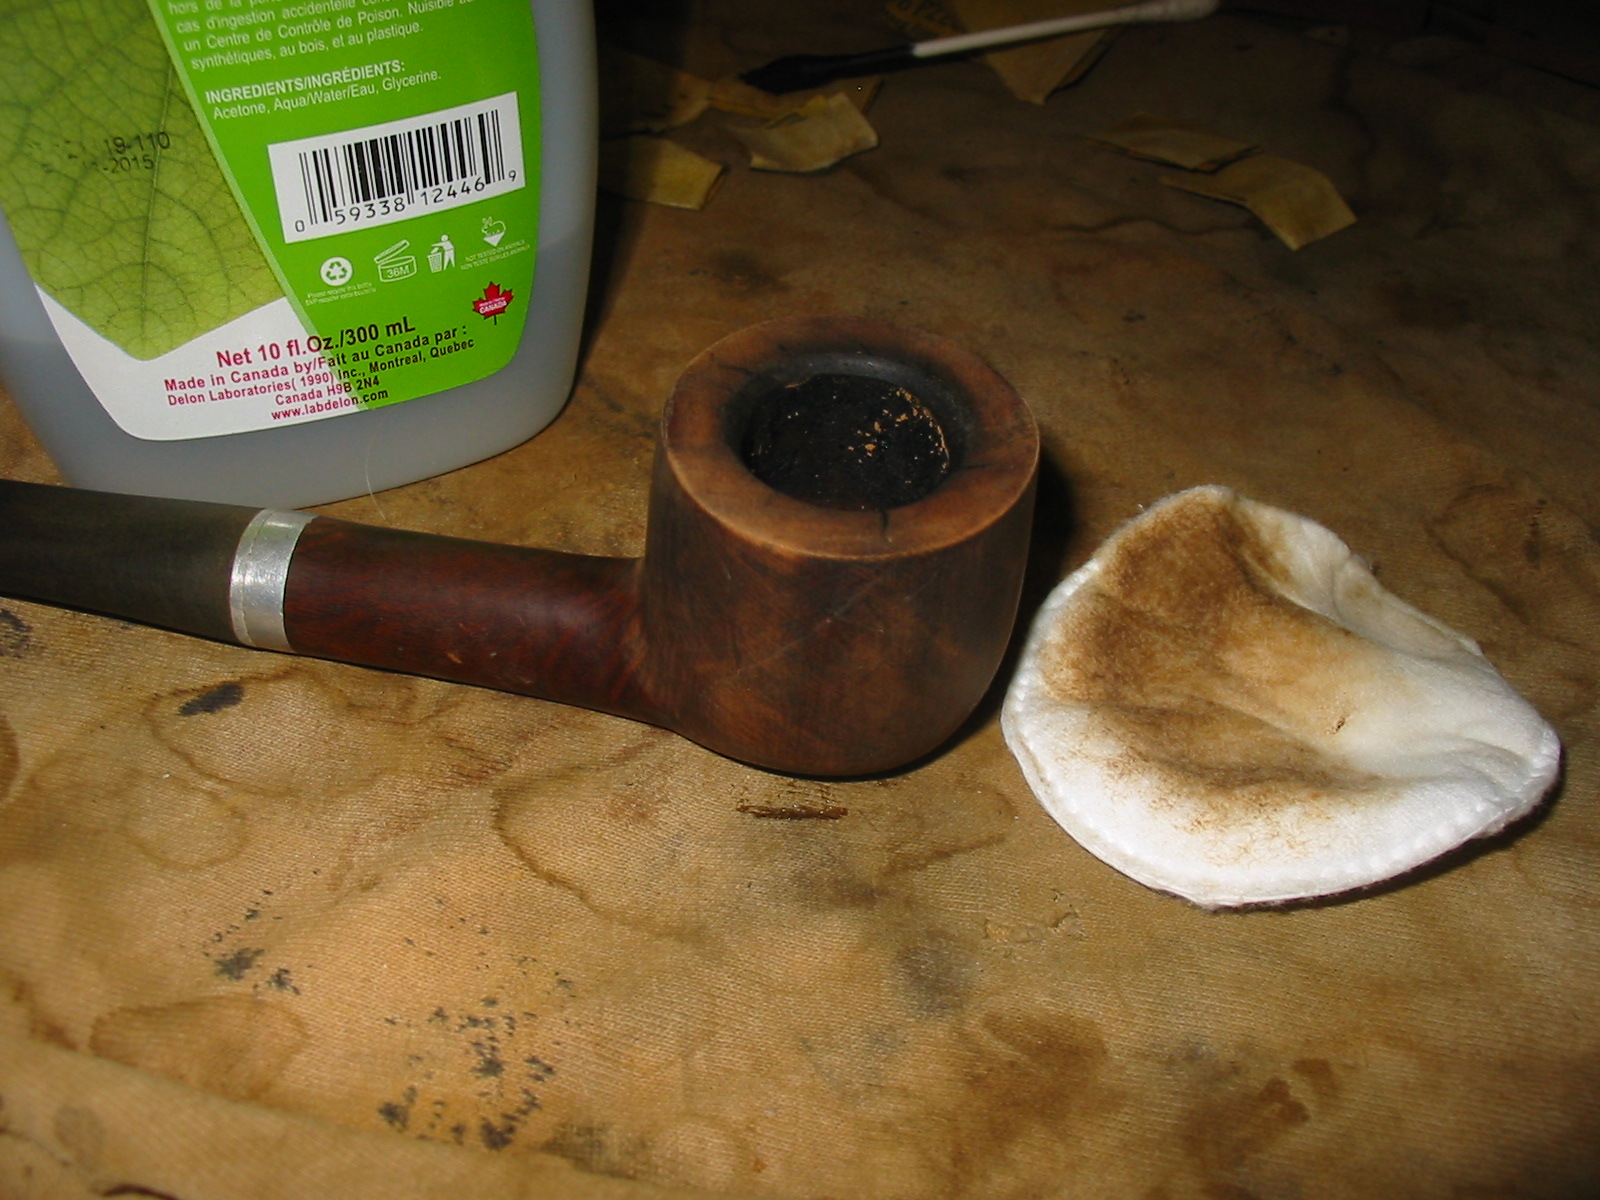
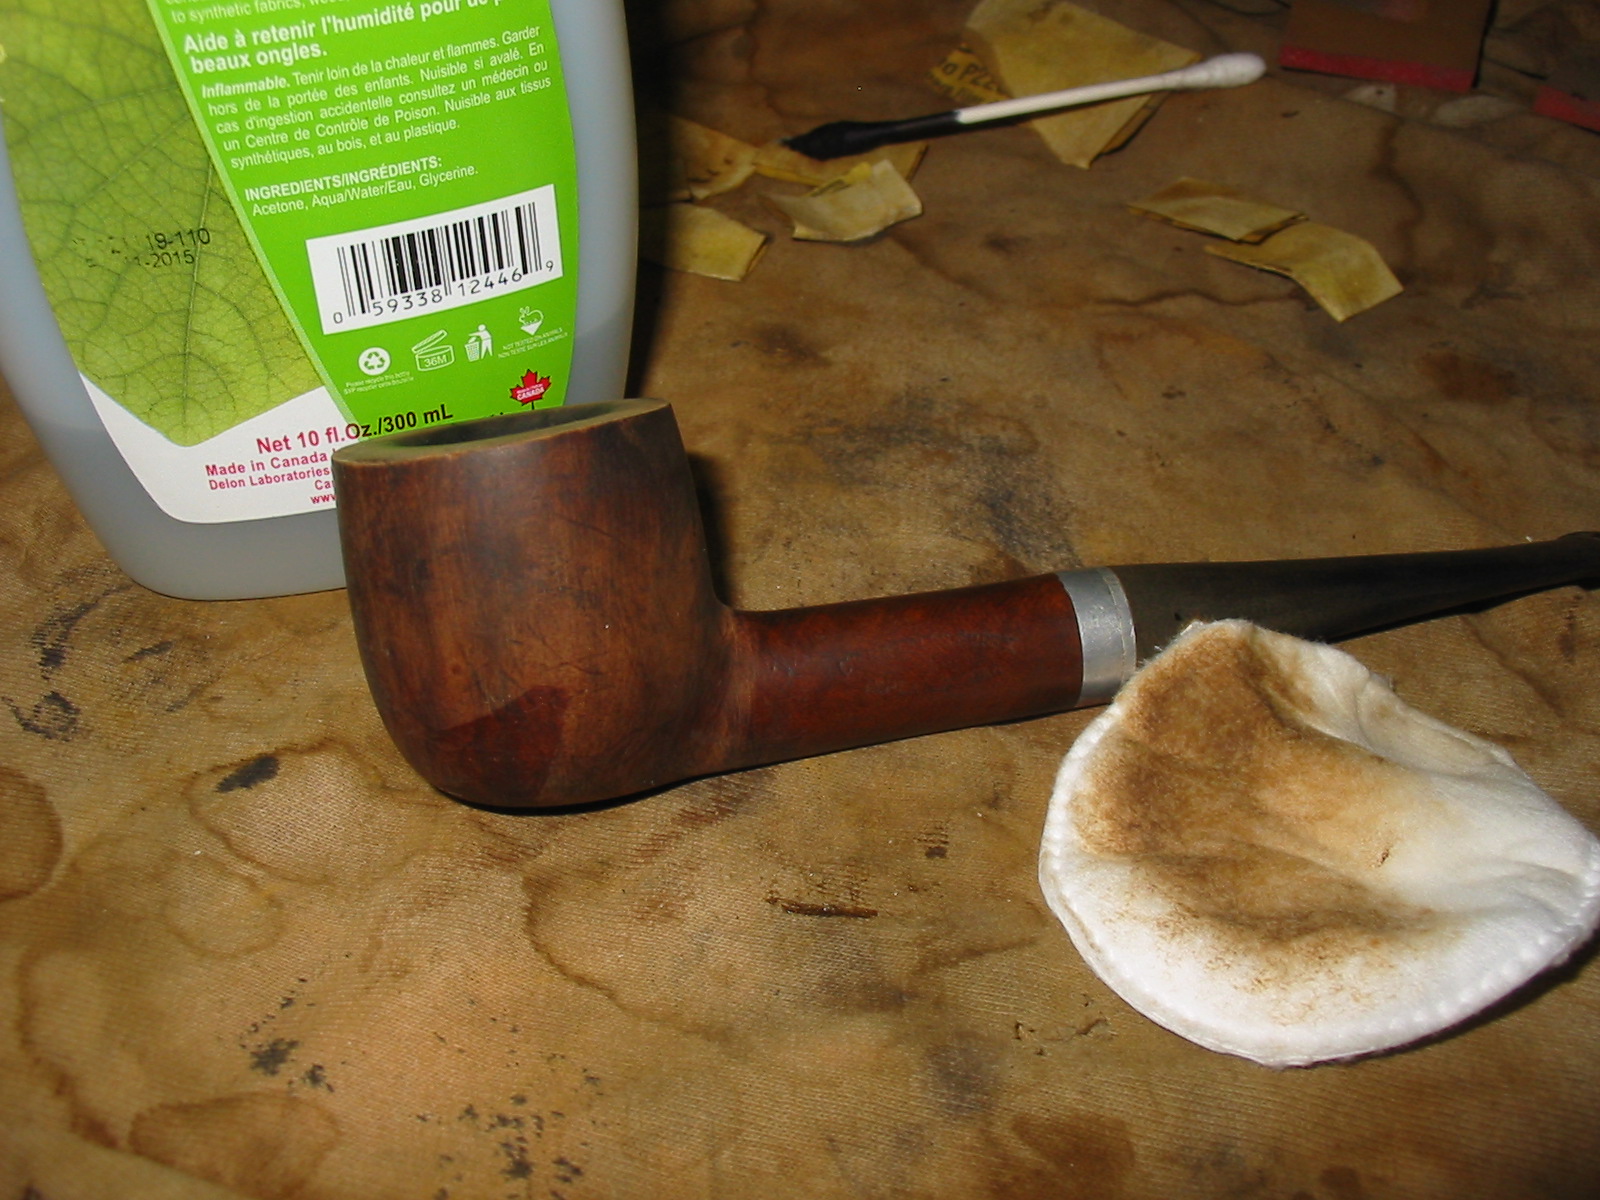
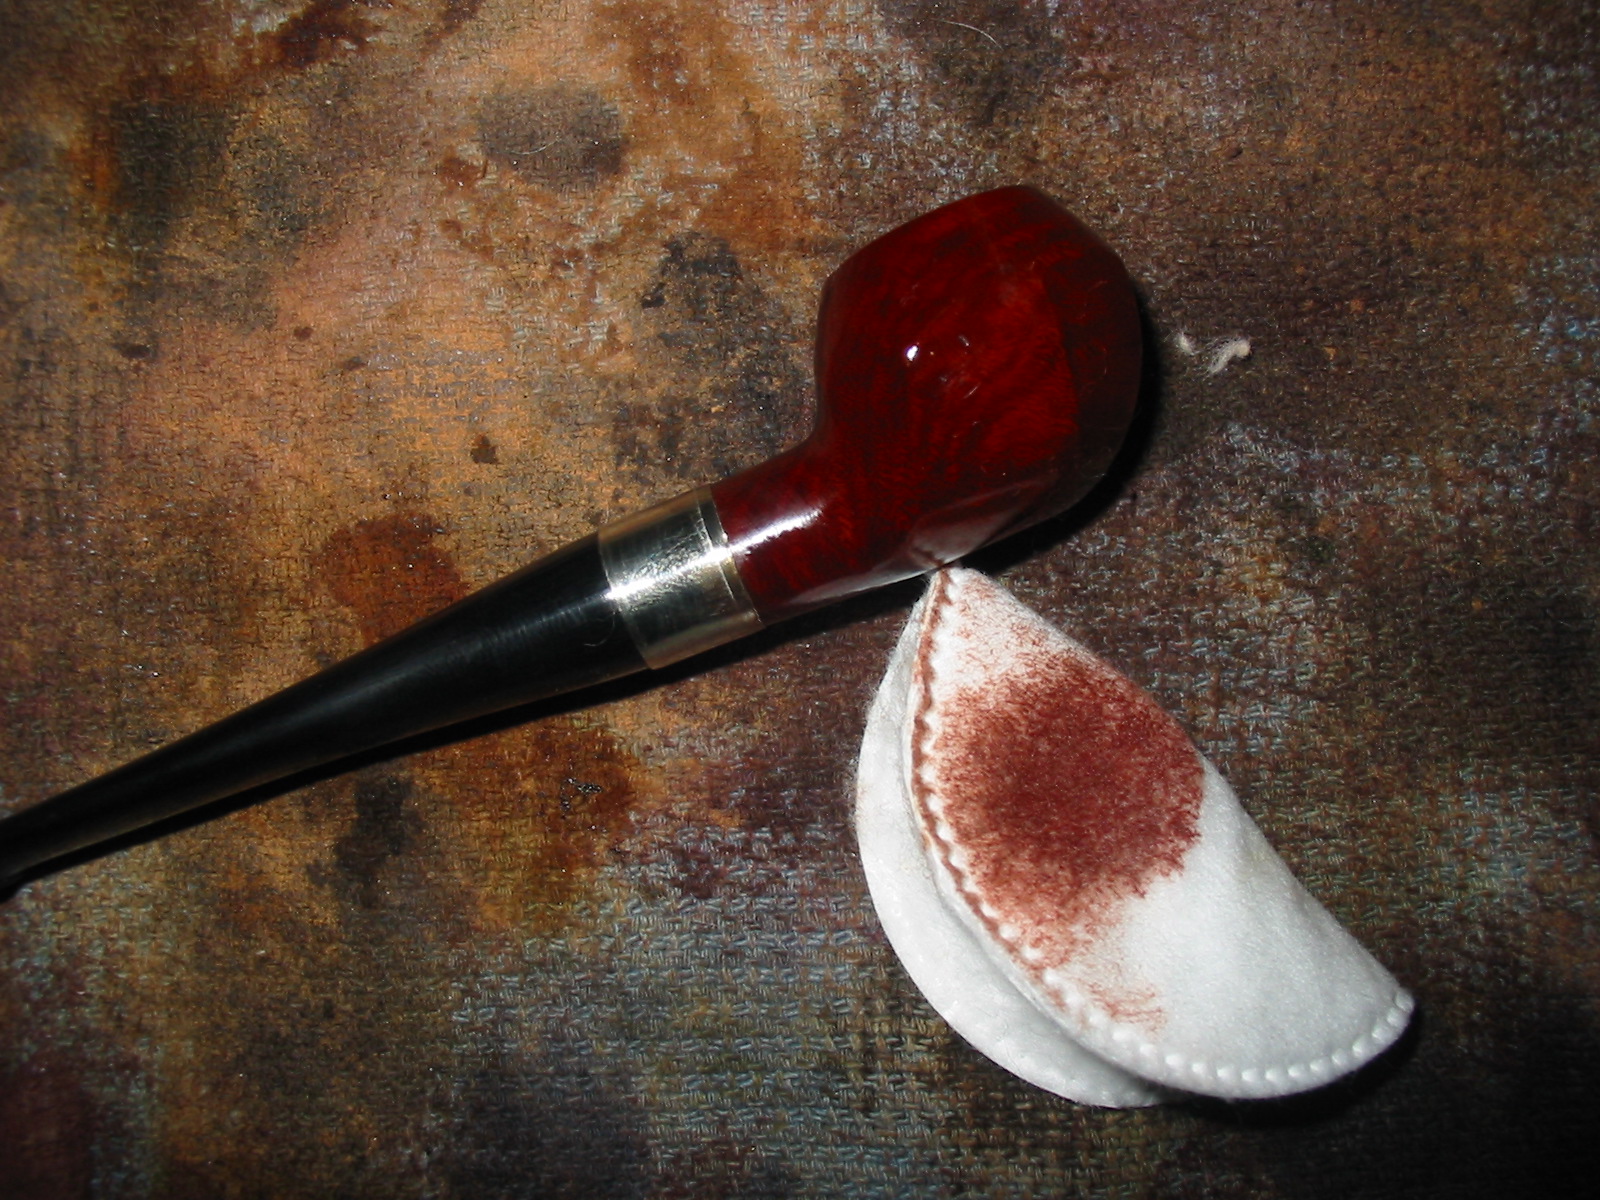
I sanded the bowl to remove the excess of the glue and briar dust mix and then wiped the entire bowl down with acetone on cotton pads. The three photos below show the state of the bowl and the repairs down with the briar dust and superglue. The third photo shows the top patch.
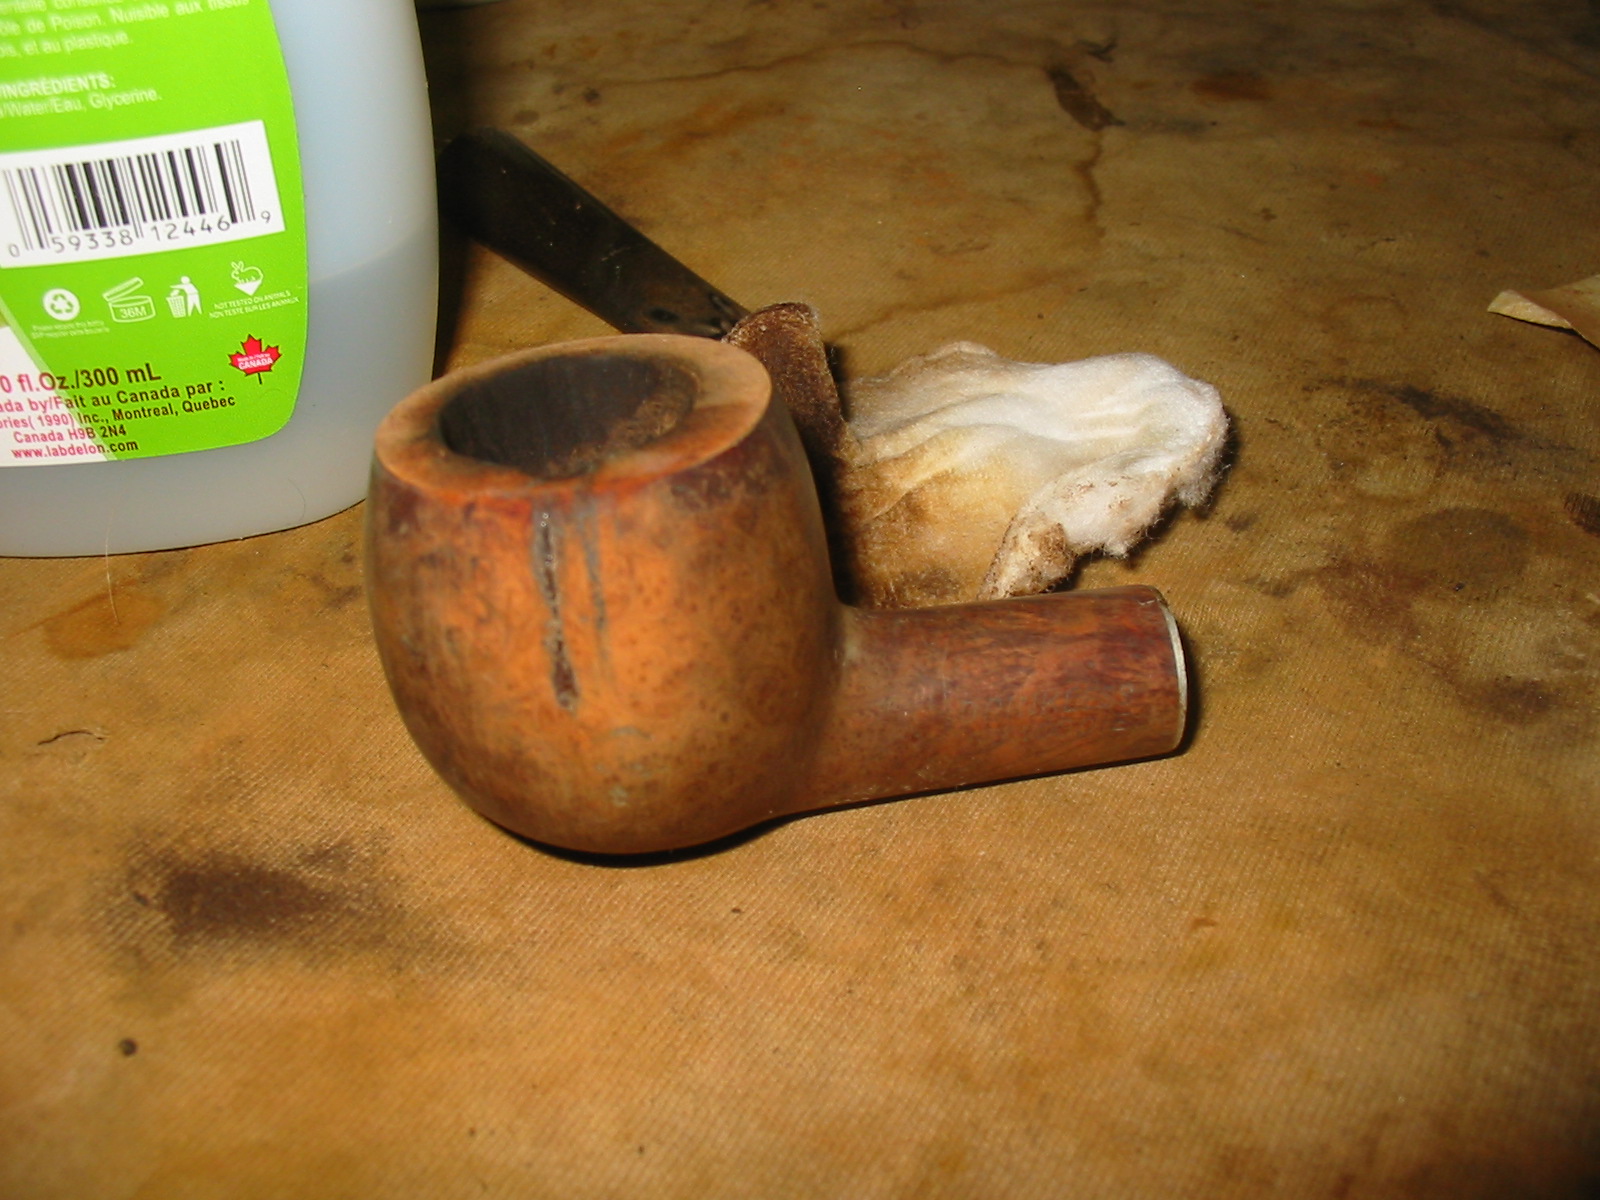
IMG_3056

IMG_3057

IMG_3058

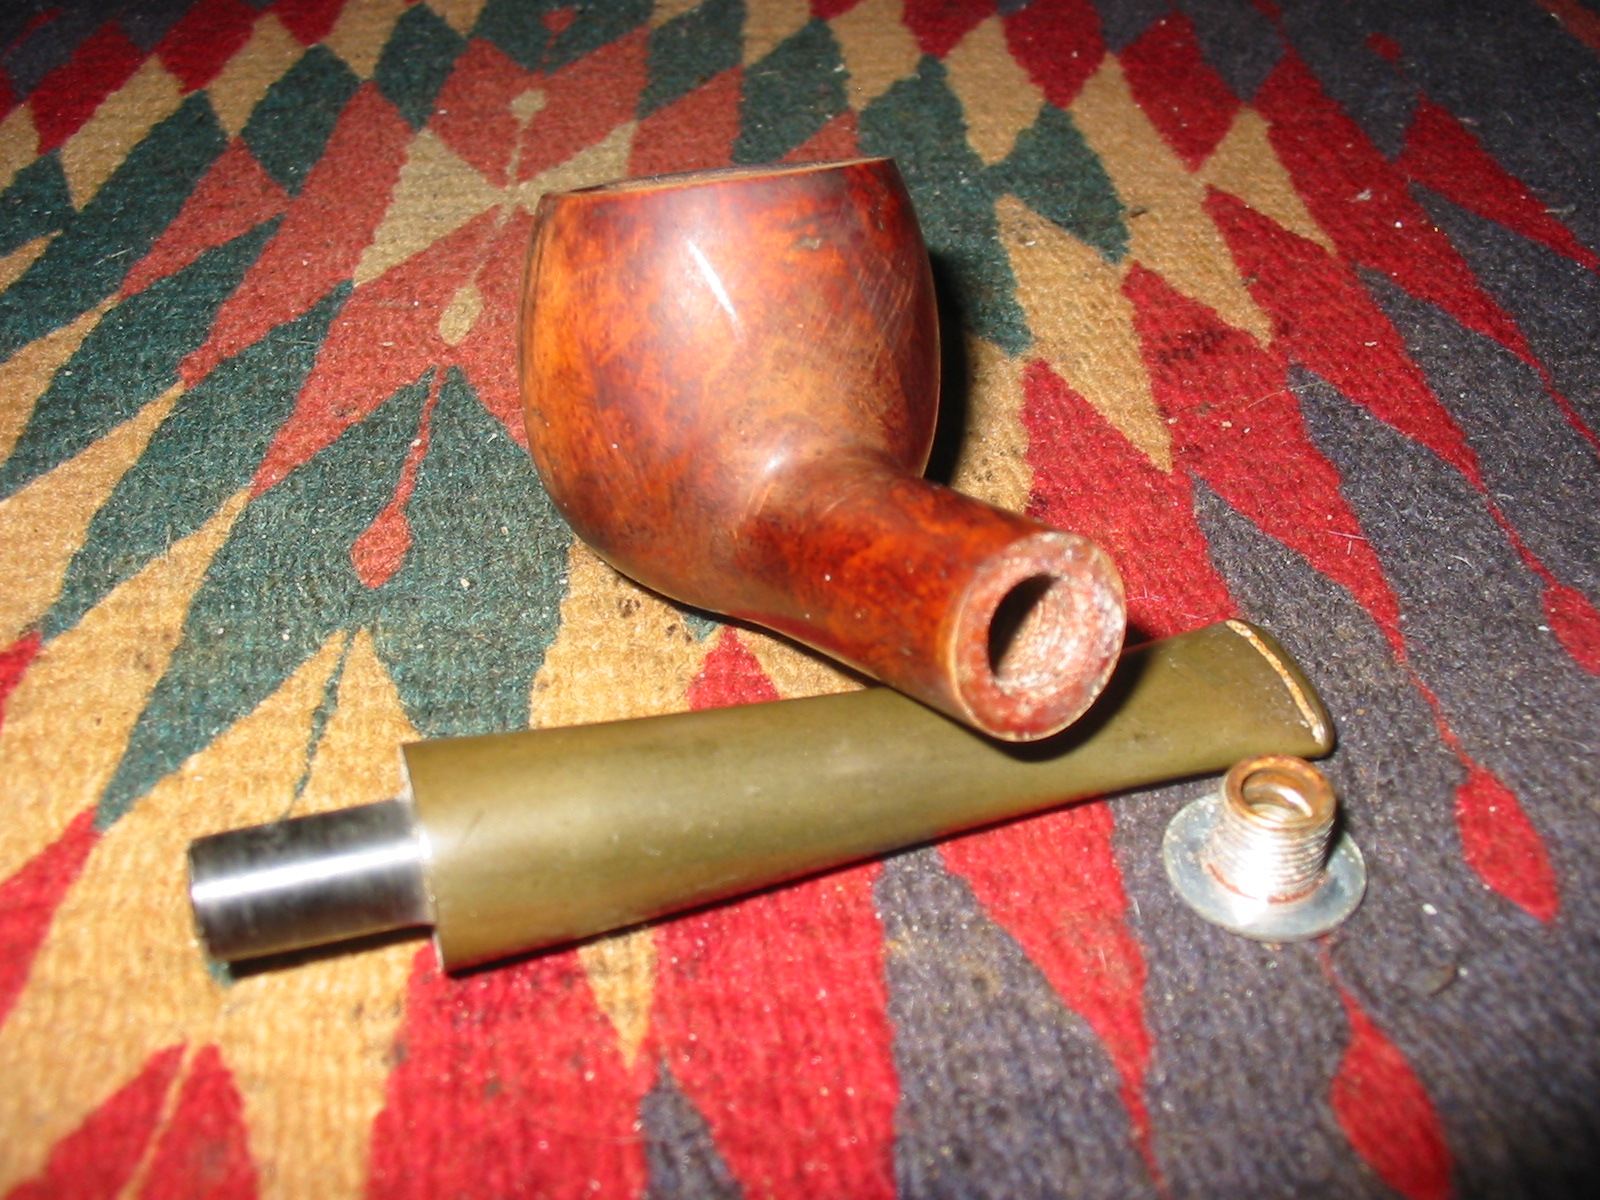
Because the stem was not functional I had a decision to make. I could drill out the disintegrated end of the stinger and put a new replacement tenon in place or I could remove the metal shank insert and make a new push stem for the pipe. The faintness of the stamping on the shank and the extent of damage that I had repaired on the bowl made me take the second choice. I removed the metal shank insert from the shank. This is not as hard as it sounds. I have heard of others drilling it out and leaving it in place. I have opted to remove it. It is threaded and can be unscrewed from the shank with a small pair of needle nose pliers. The next two photos show the process. I sorted through my stem can and found a stem that could be repurposed to fit this shank and then be adapted to fit the diameter of the shank.
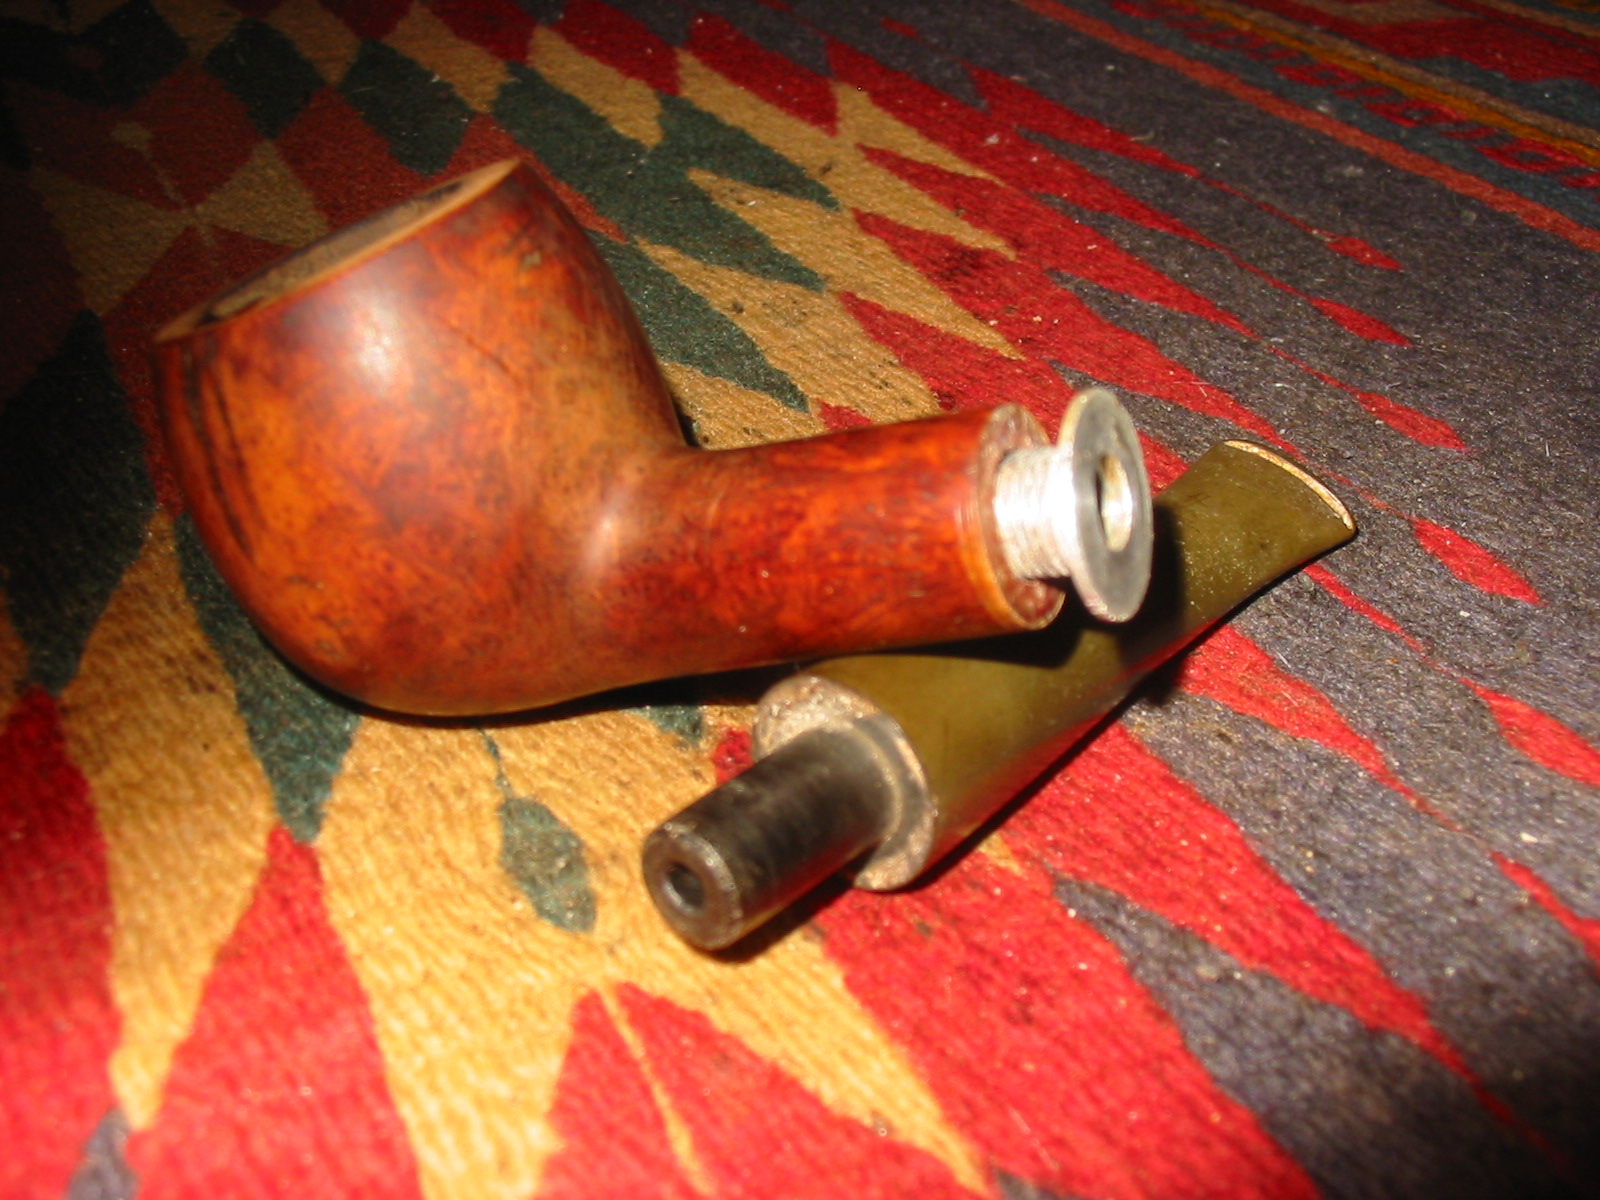
IMG_3355

IMG_3354

Before I could properly fit the tenon in the shank I needed to drill the mortise deeper. The current depth of the mortise was the same length as the threaded portion of the metal shank attachment in the photo. I wanted the tenon to be longer so I drilled out the mortise to double the length of the current depth. I would need to remove some of the tenon length on the stem to make a good fit but that is a simple task.
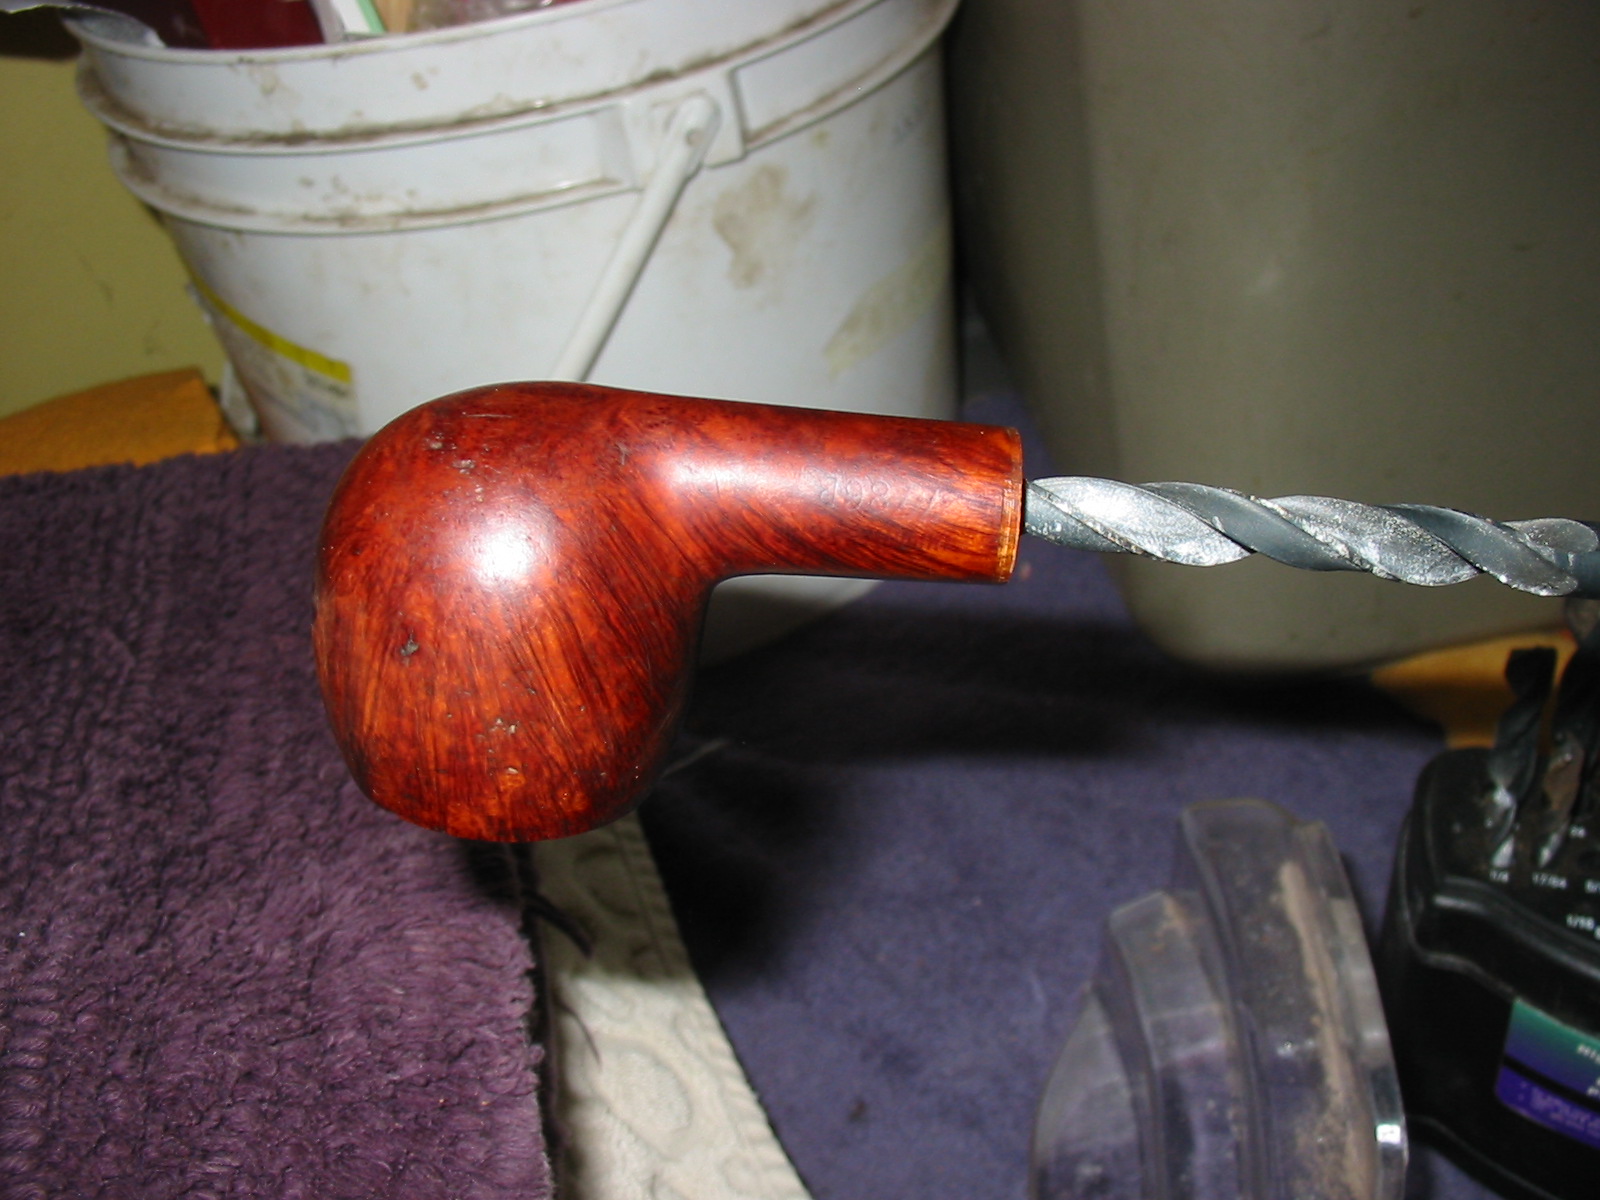
IMG_3356

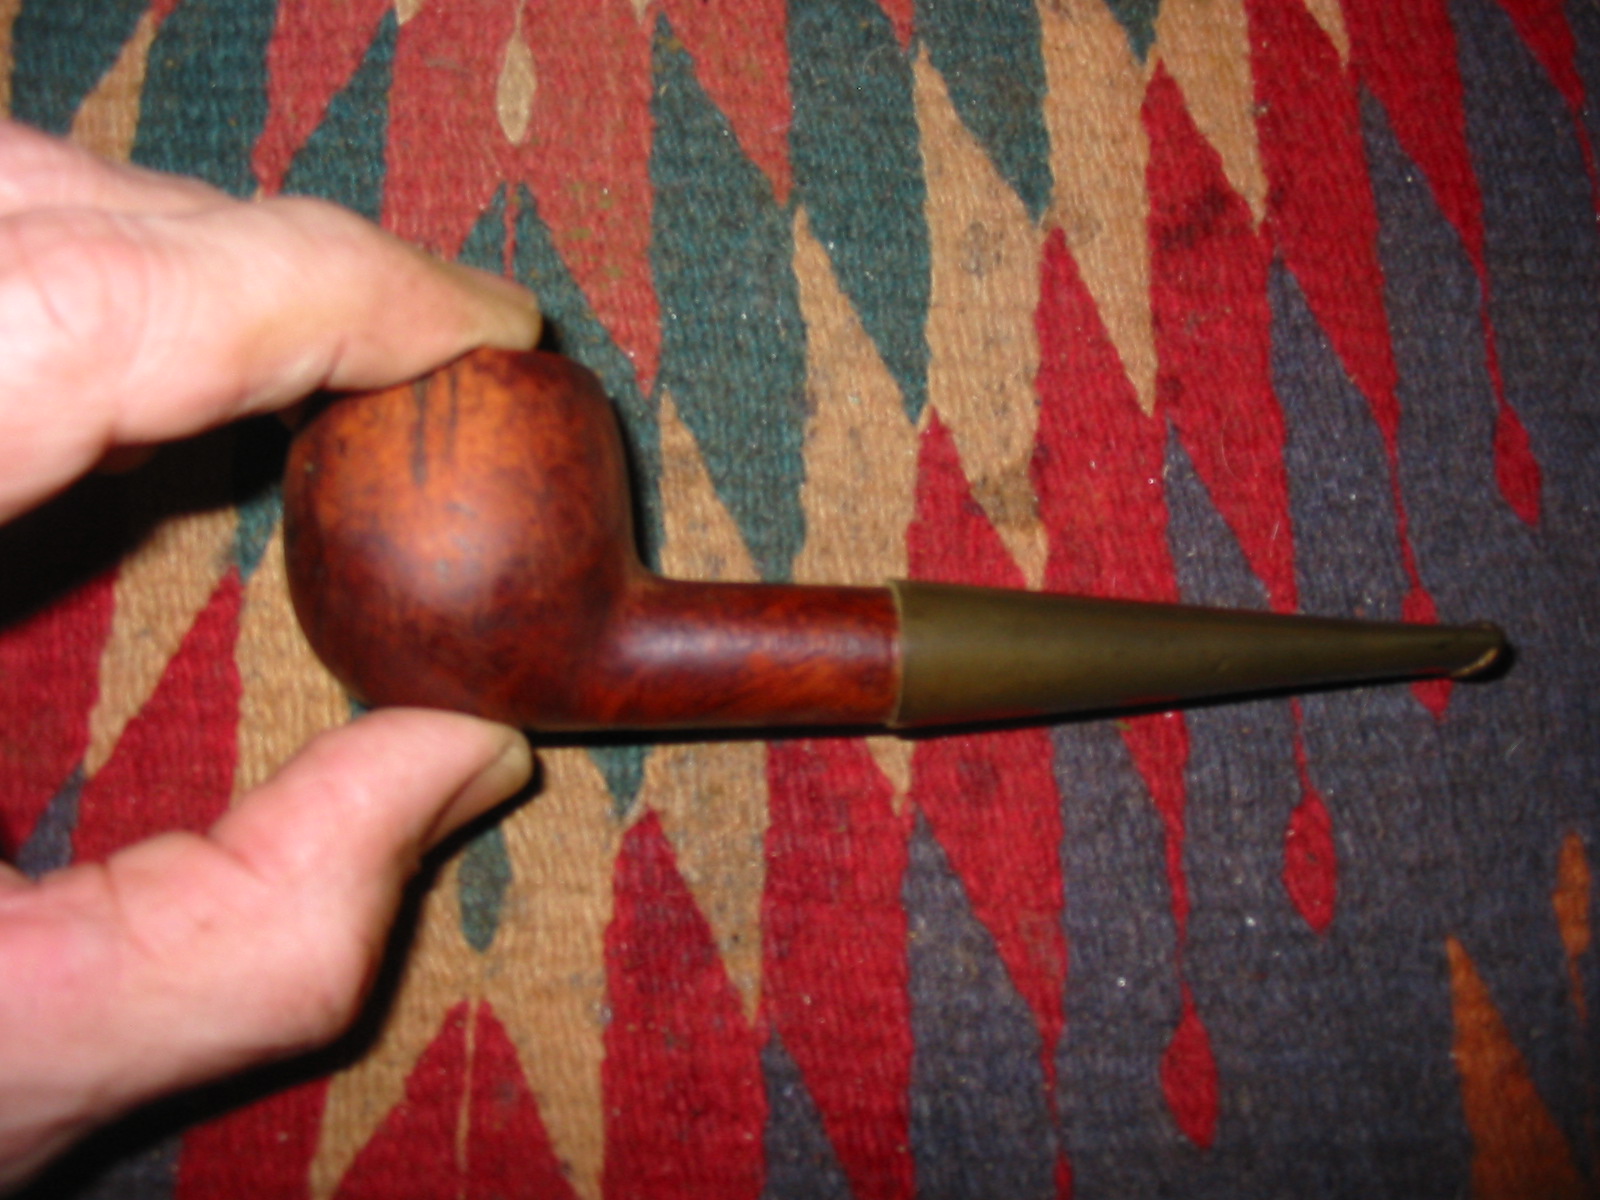
With the drilling done, I used the PIMO Tenon Turning Tool to remove some of the excess diameter of the tenon and also shortened the tenon slightly to get a good tight fit in the shank and clean joint at the tenon shank union. The larger diameter of the stem is visible in the photo below.
IMG_3357

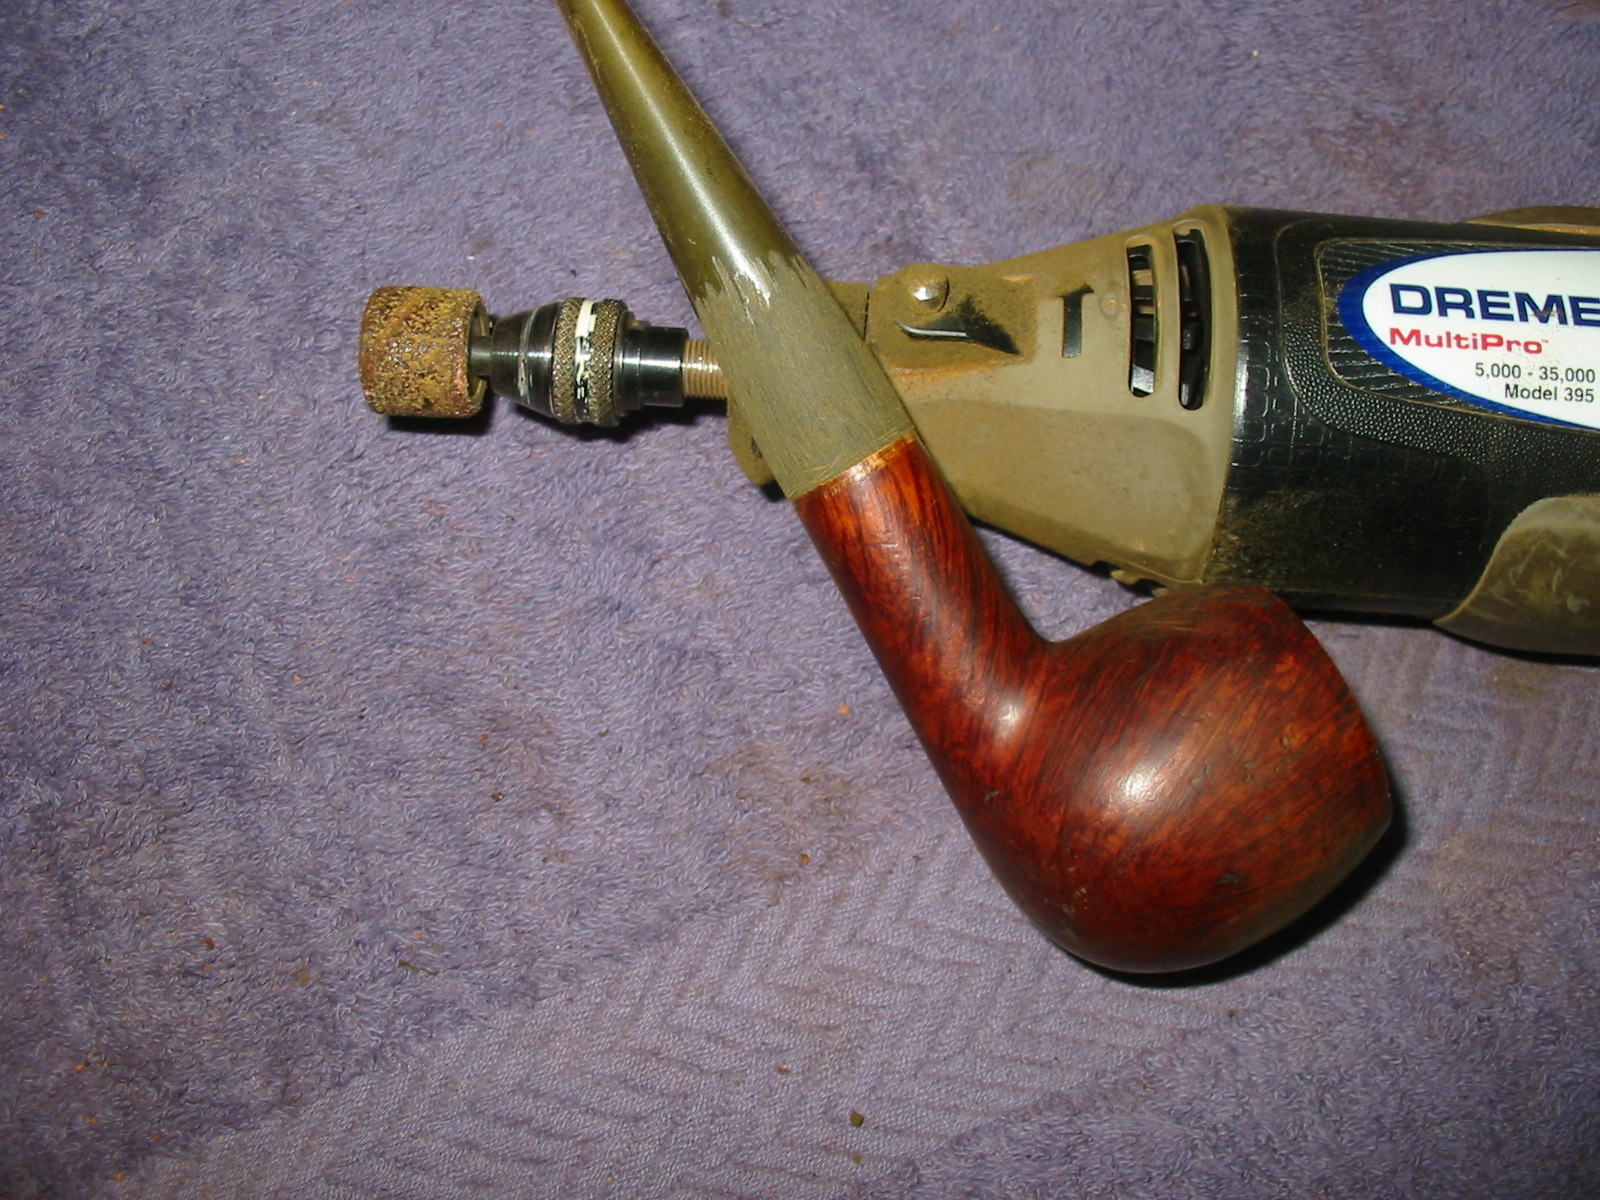
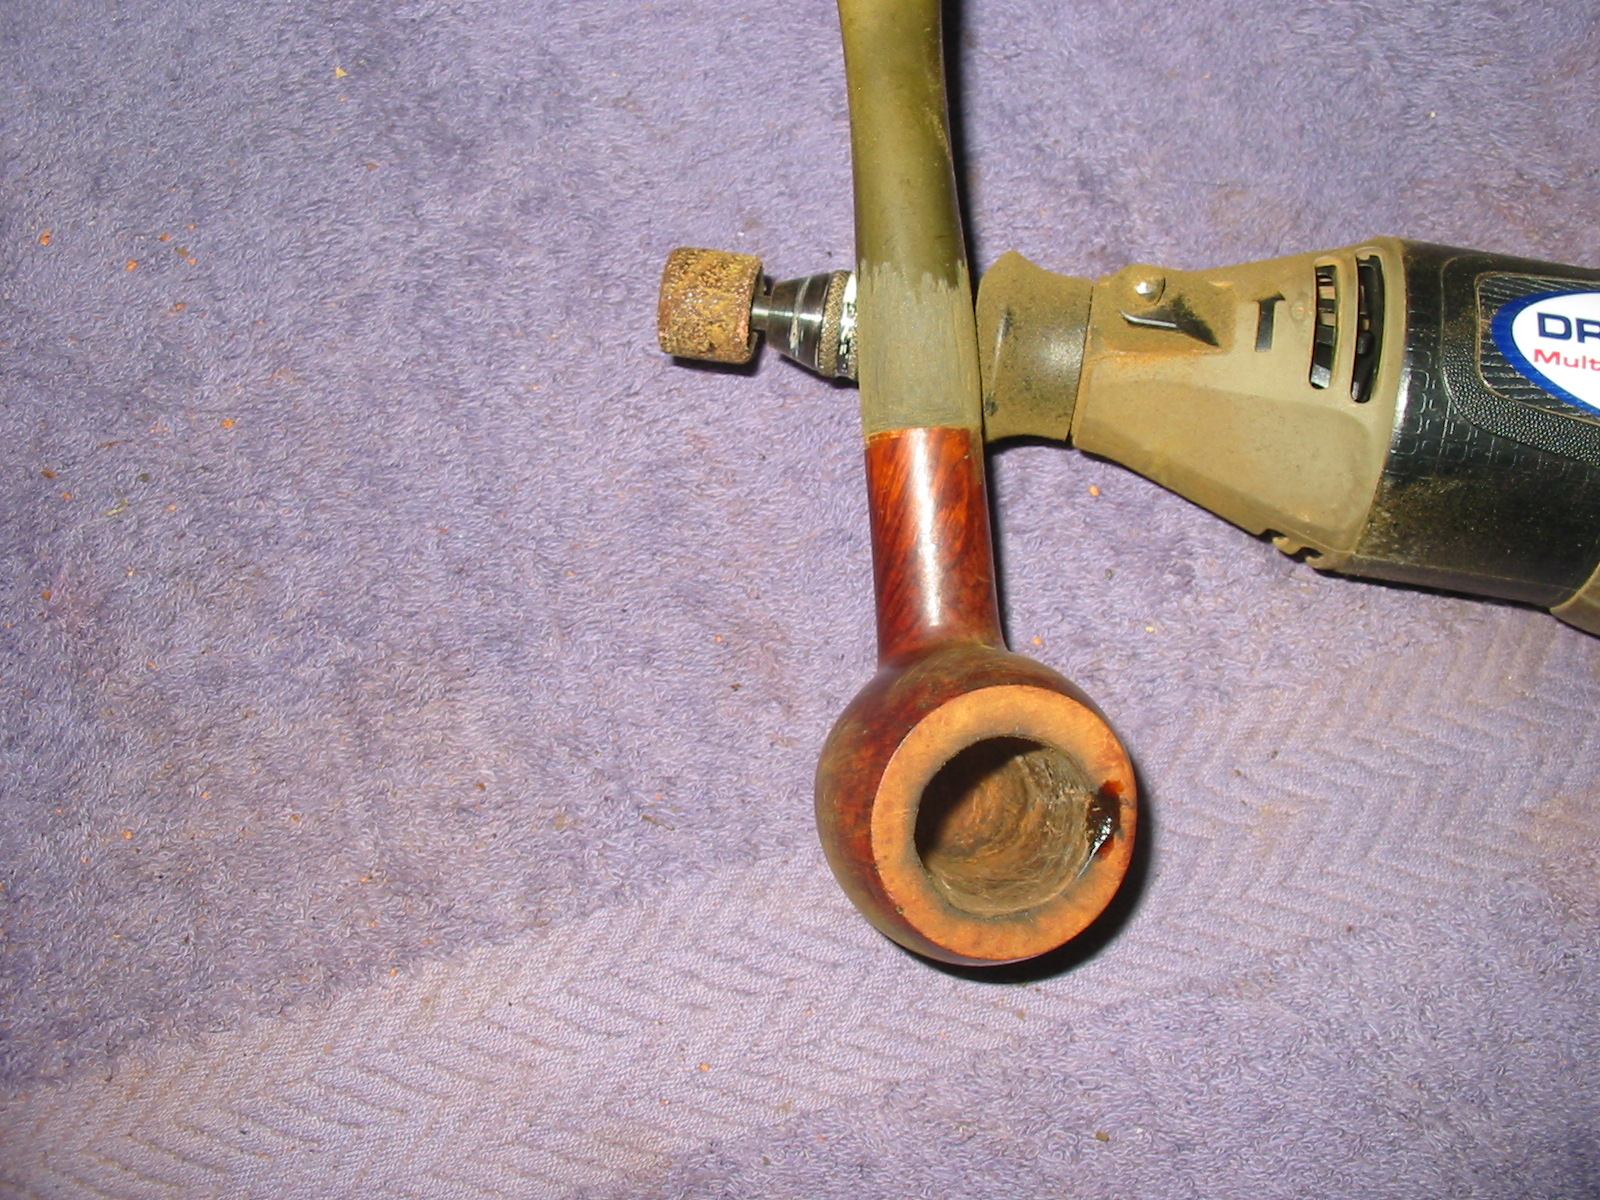
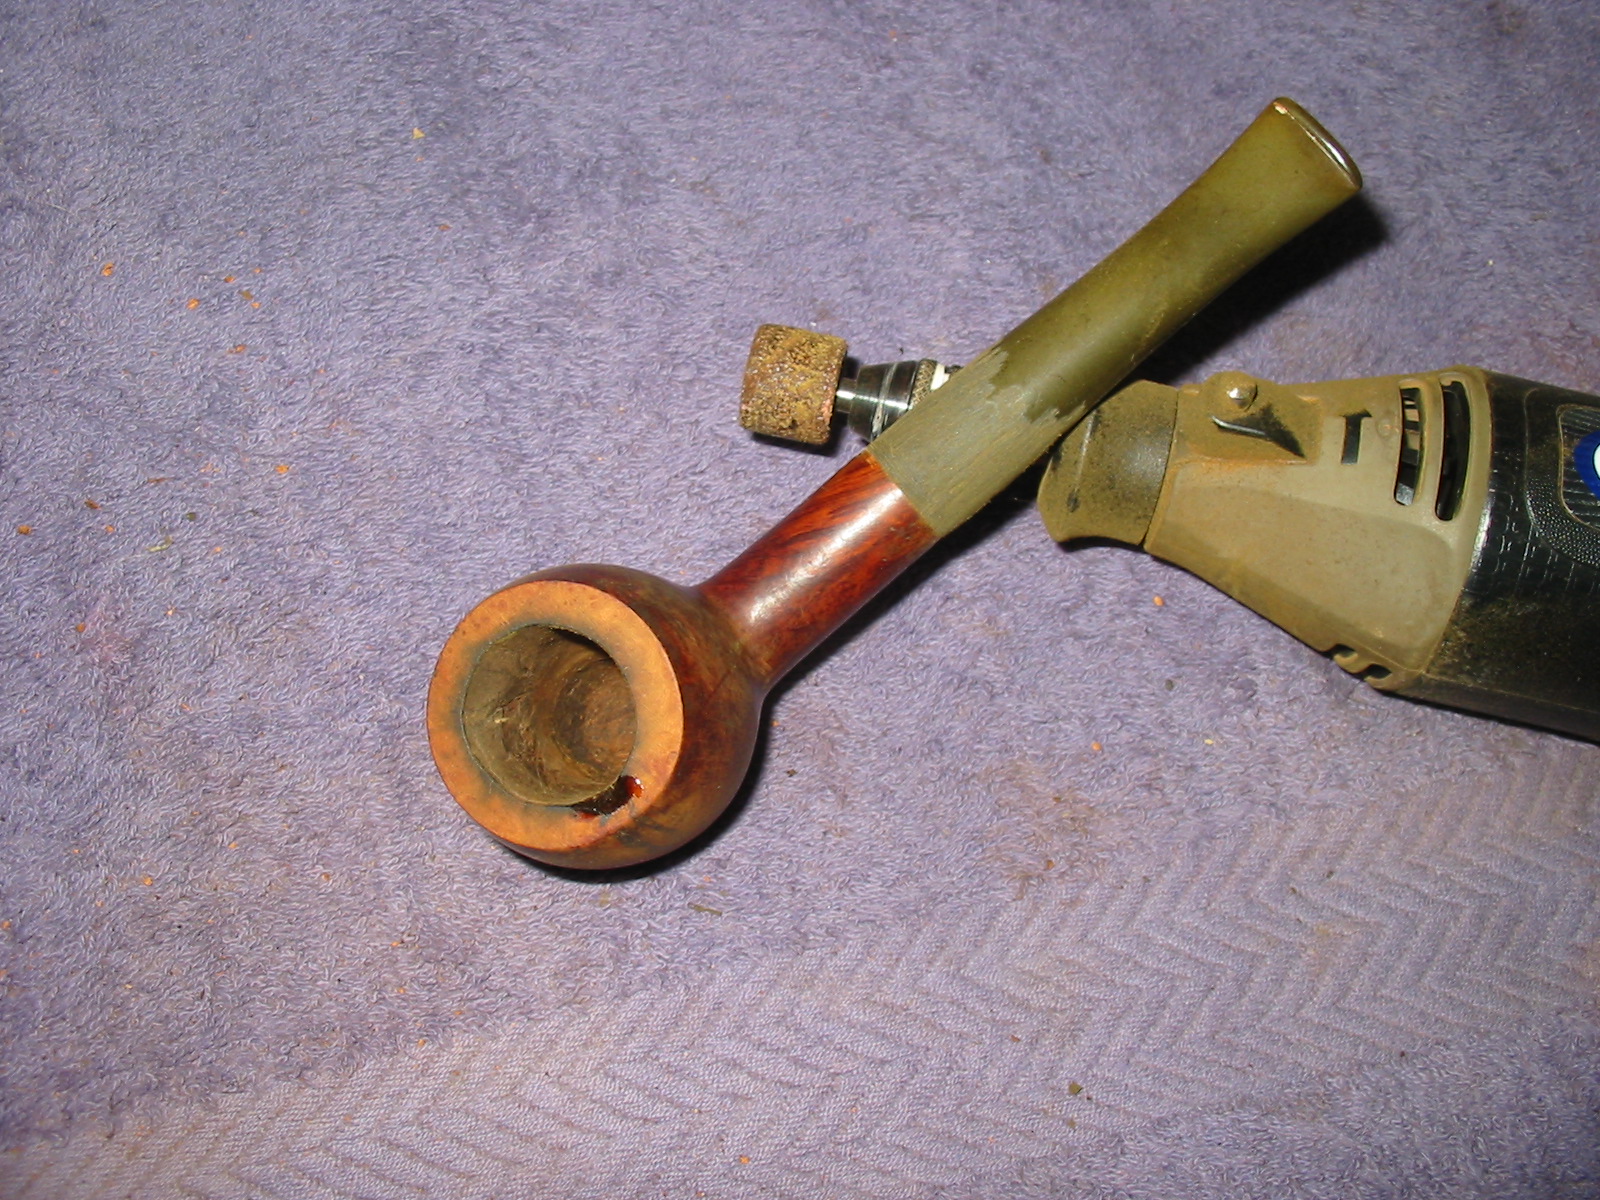
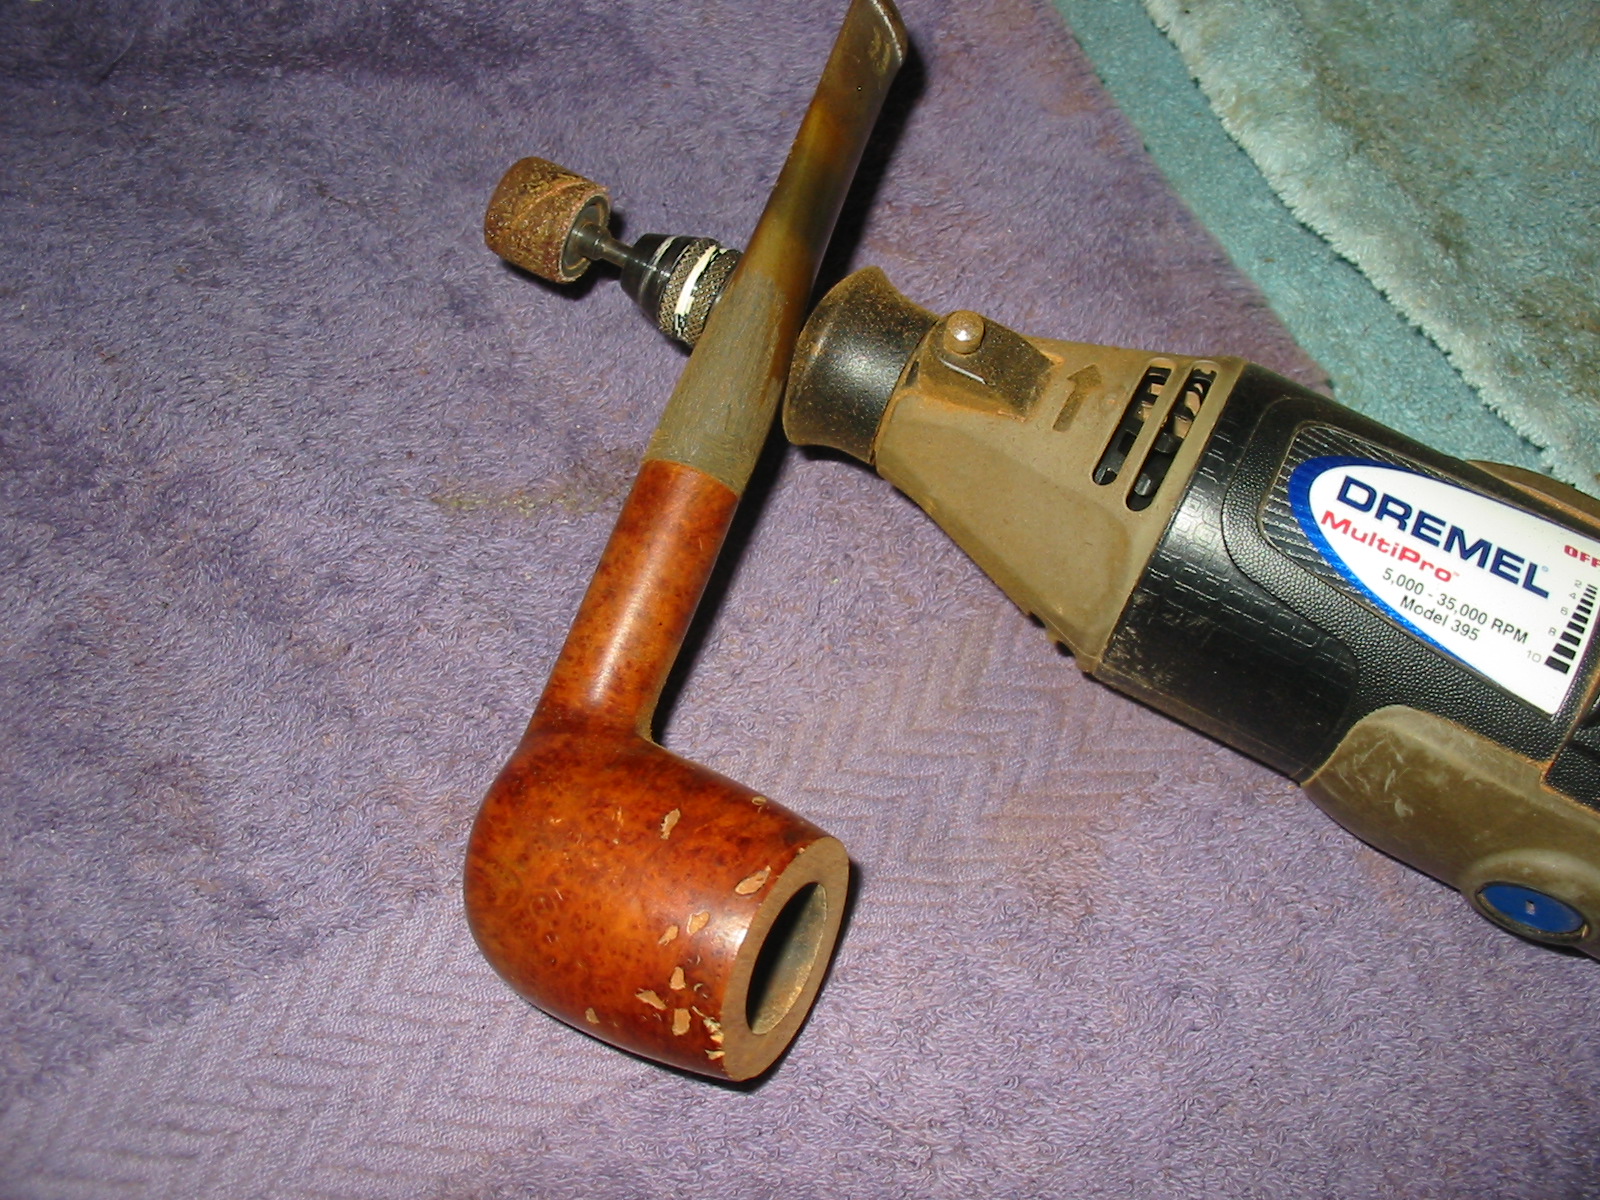
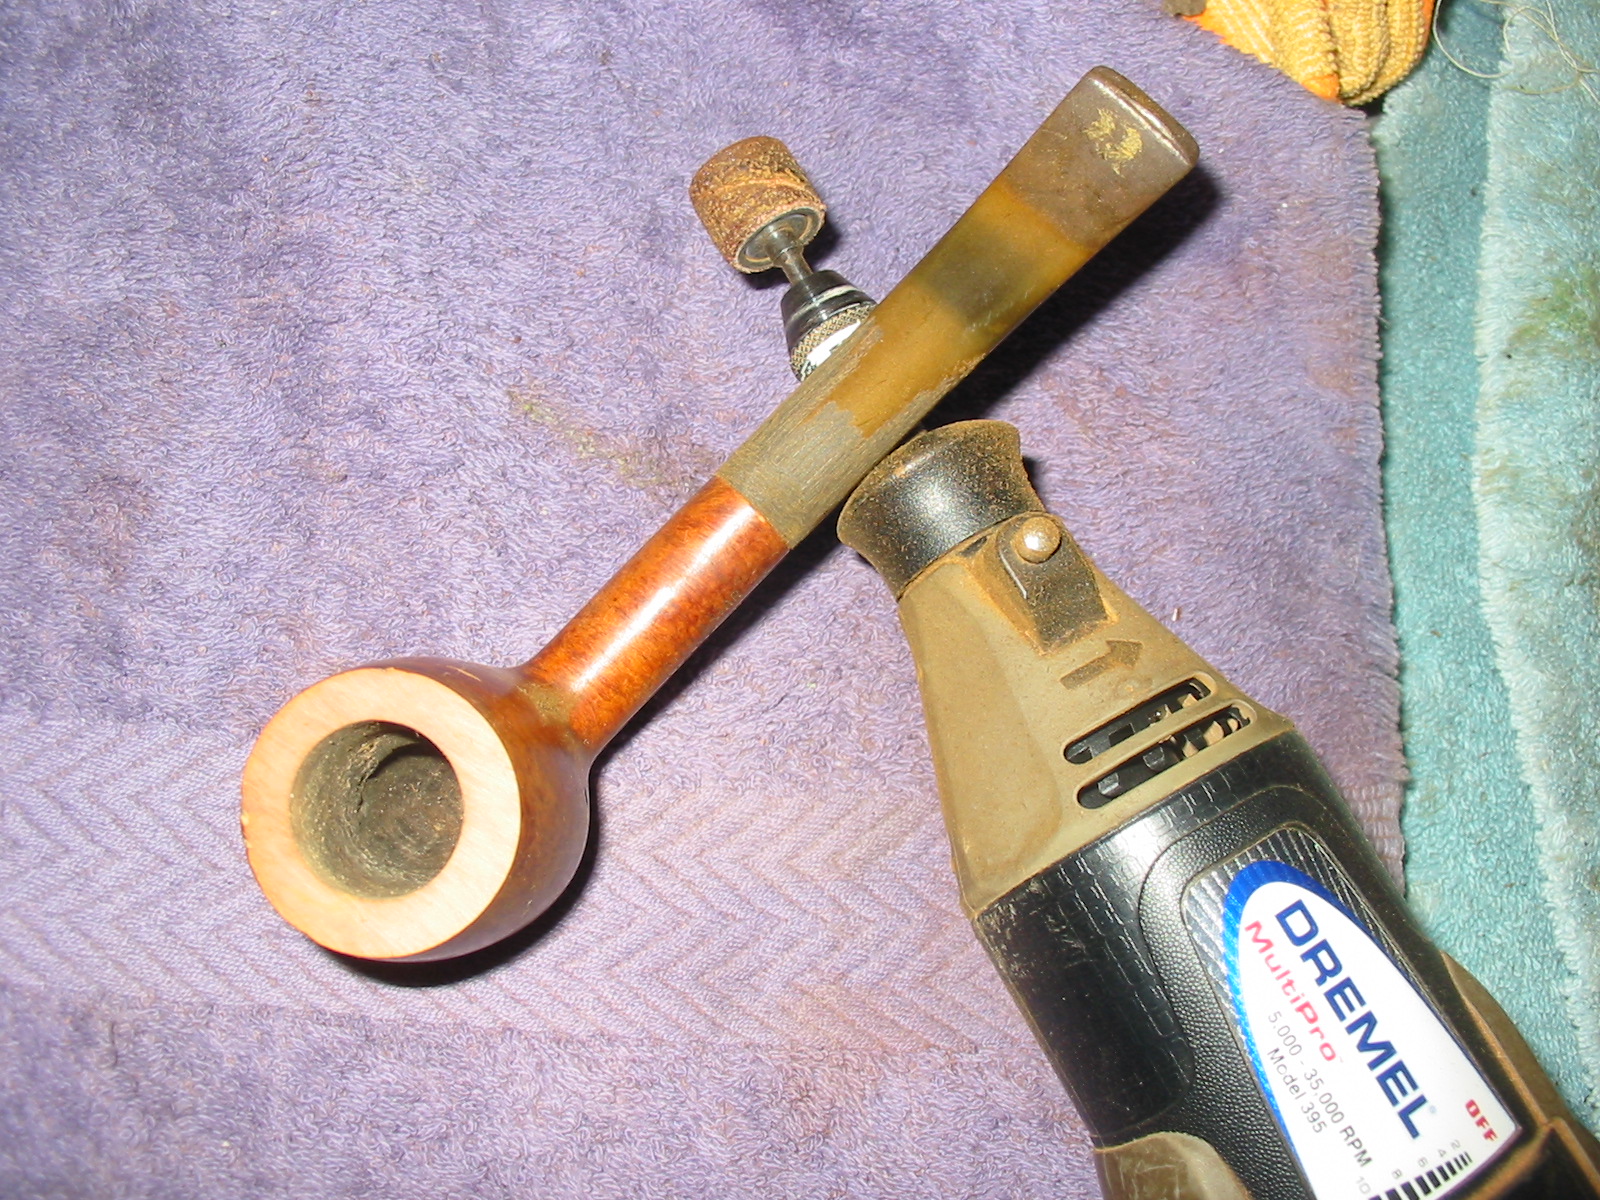
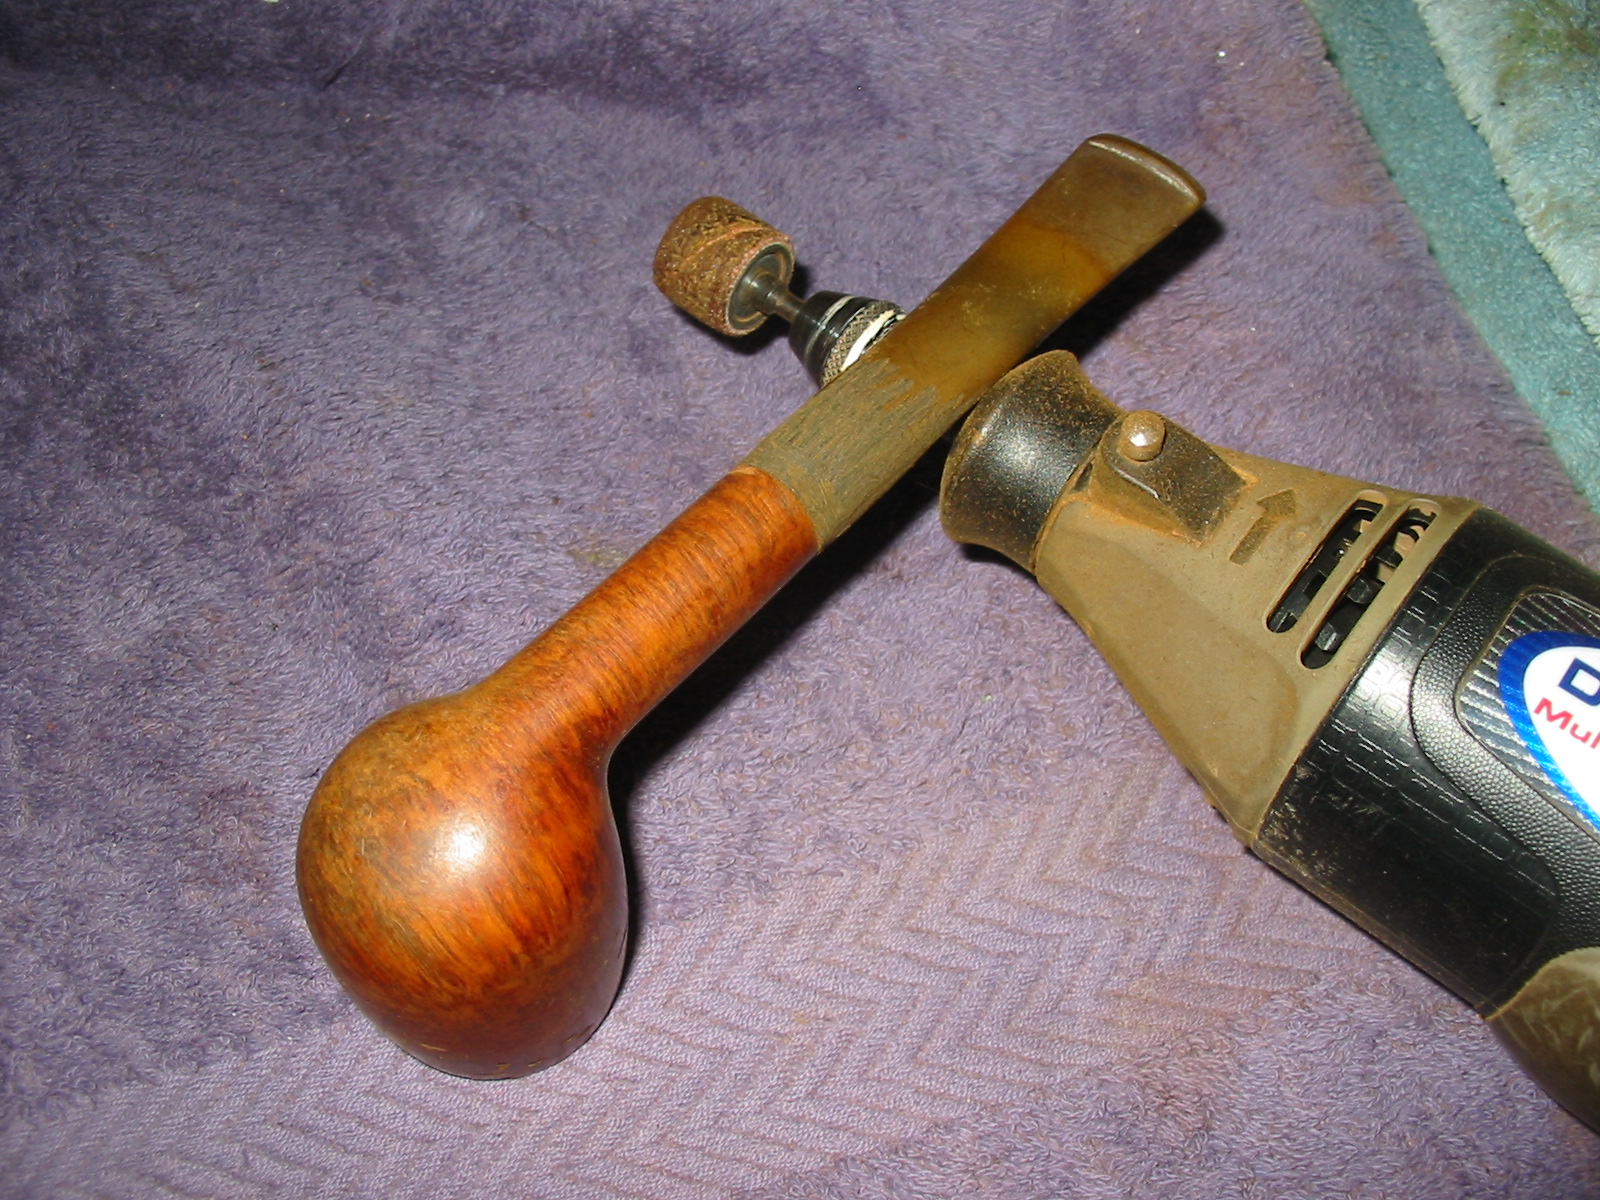
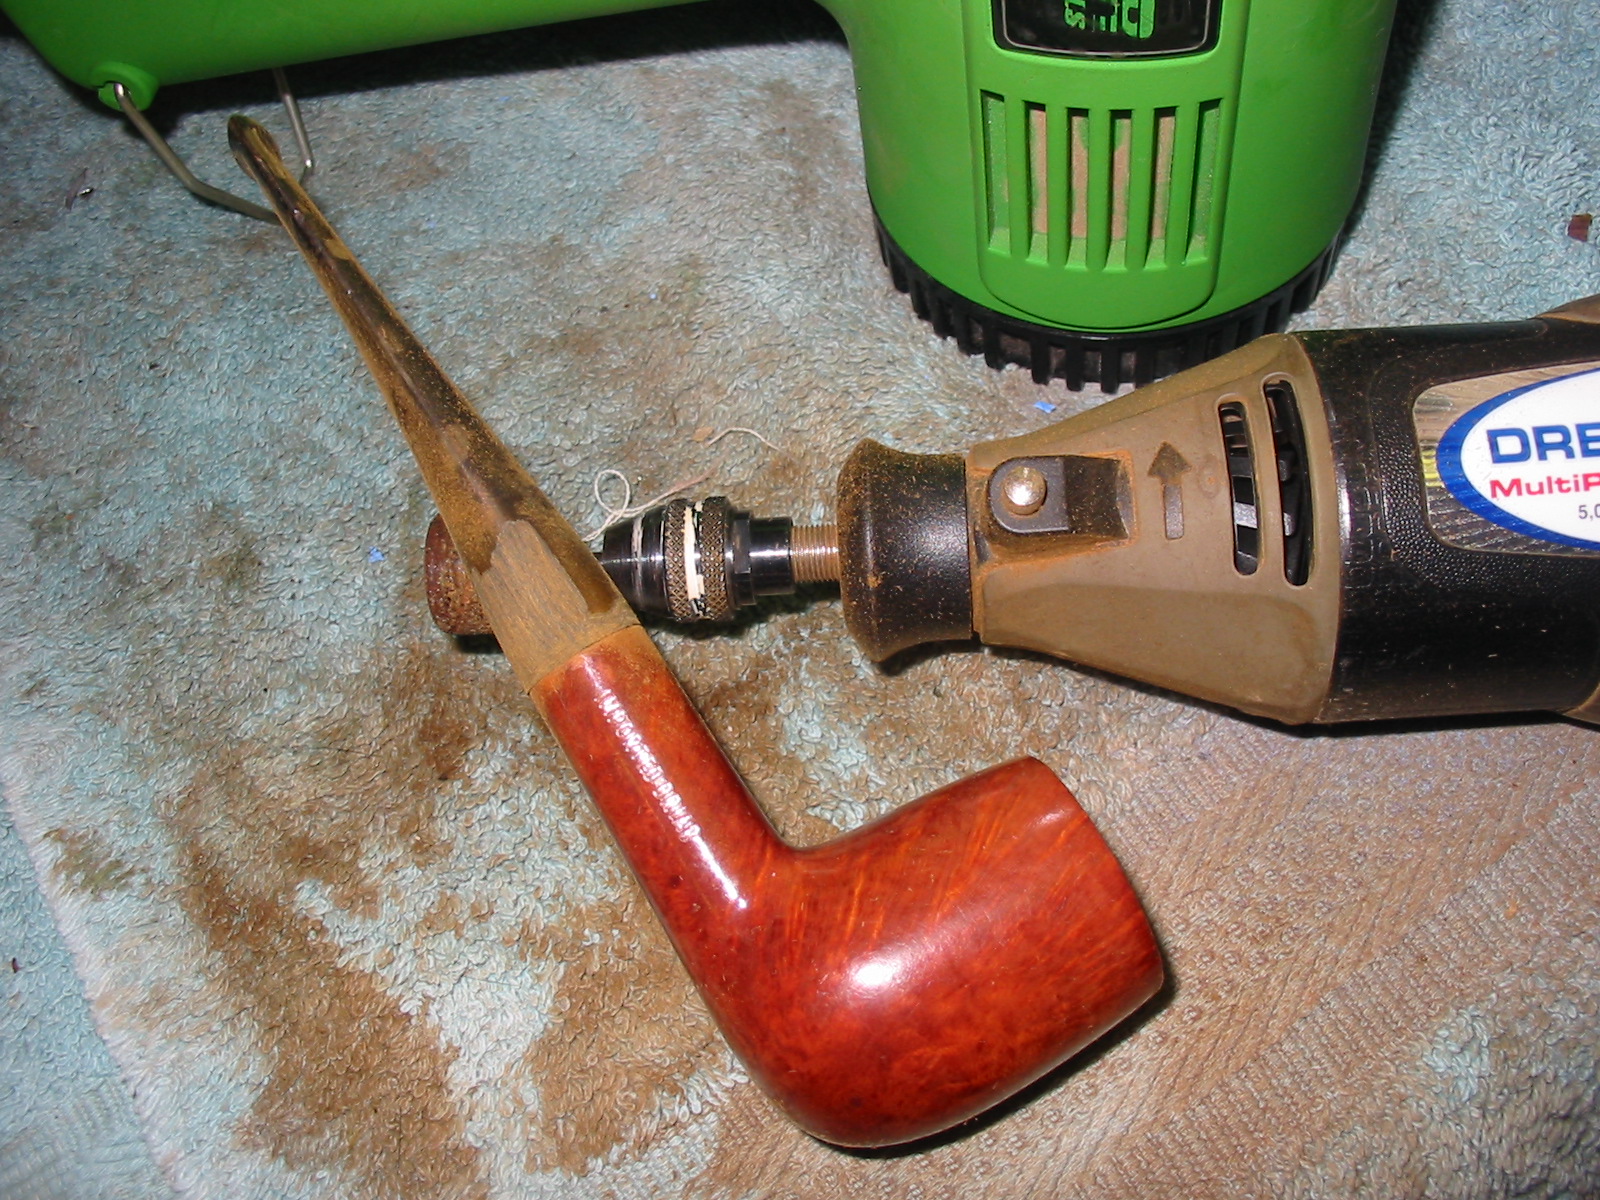
I used the Dremel with the sanding drum and carefully reduced the diameter of the stem while it was in place on the shank. I run the Dremel at a speed that allows me to carefully and steadily control it as I work close to the shank of the pipe.
IMG_3359

IMG_3360

IMG_3361

IMG_3362

IMG_3363

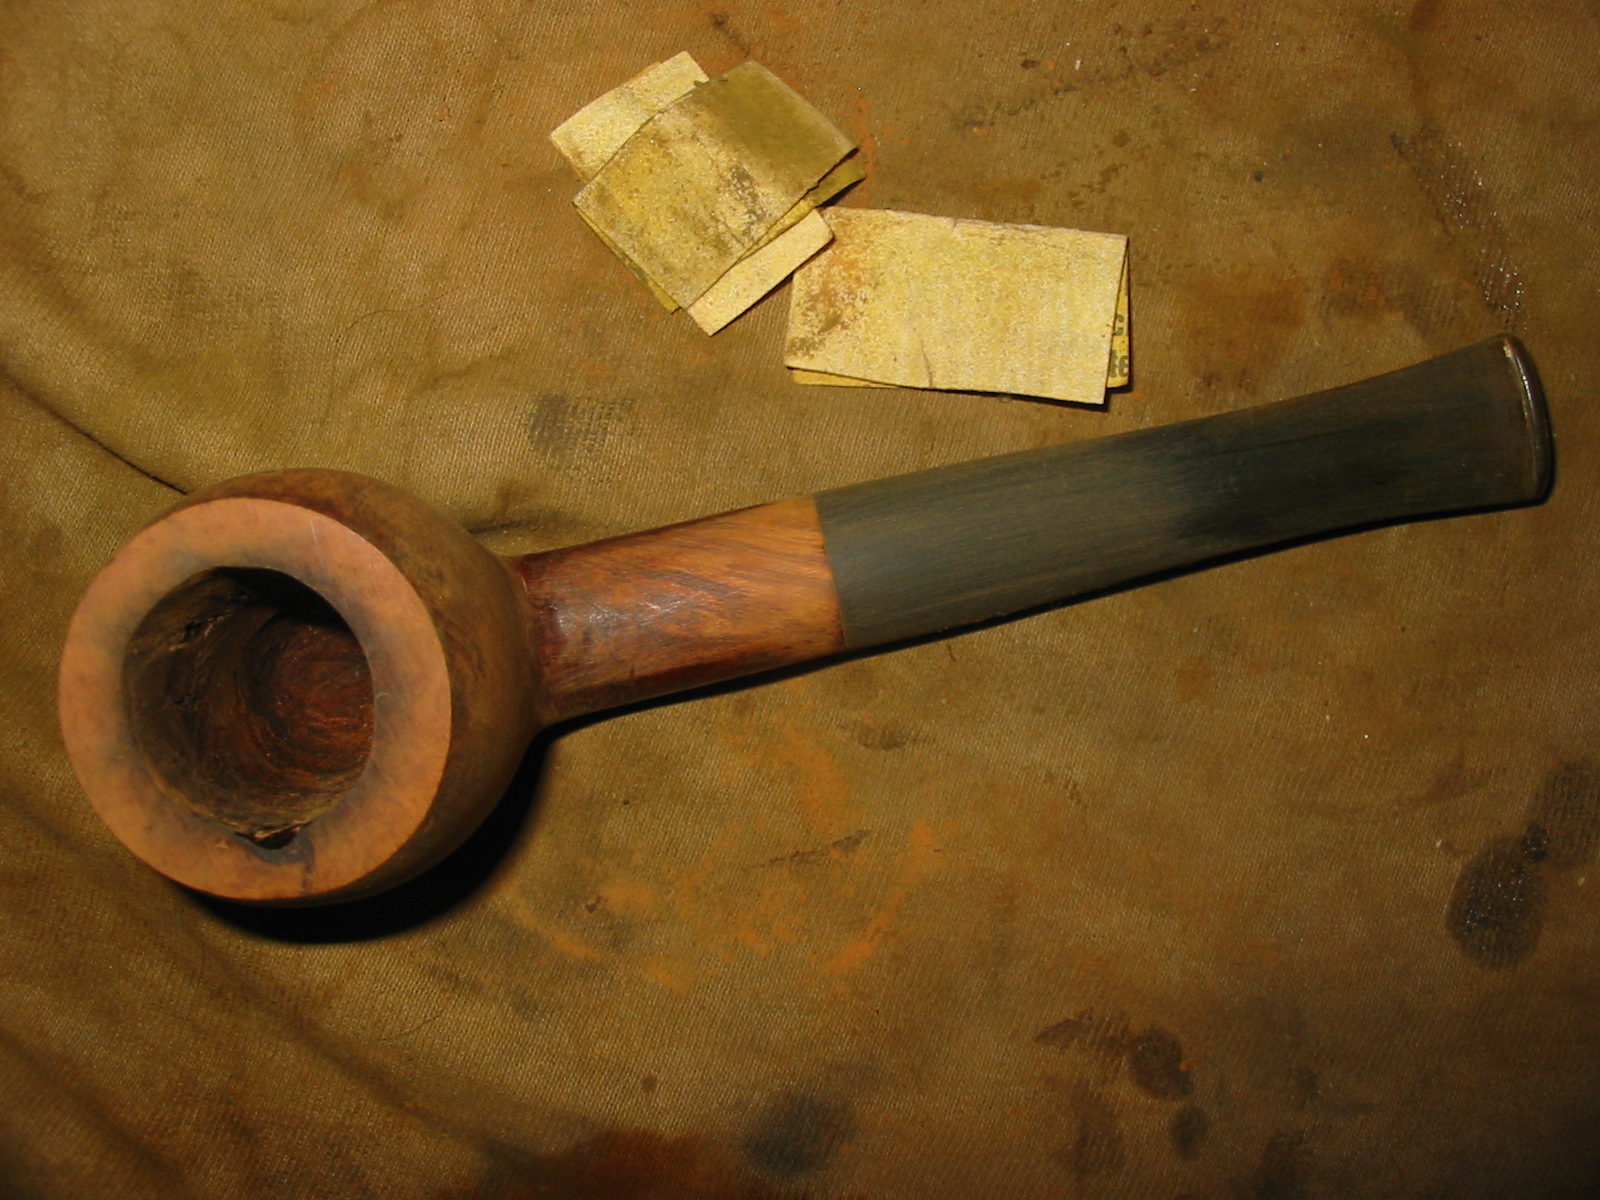
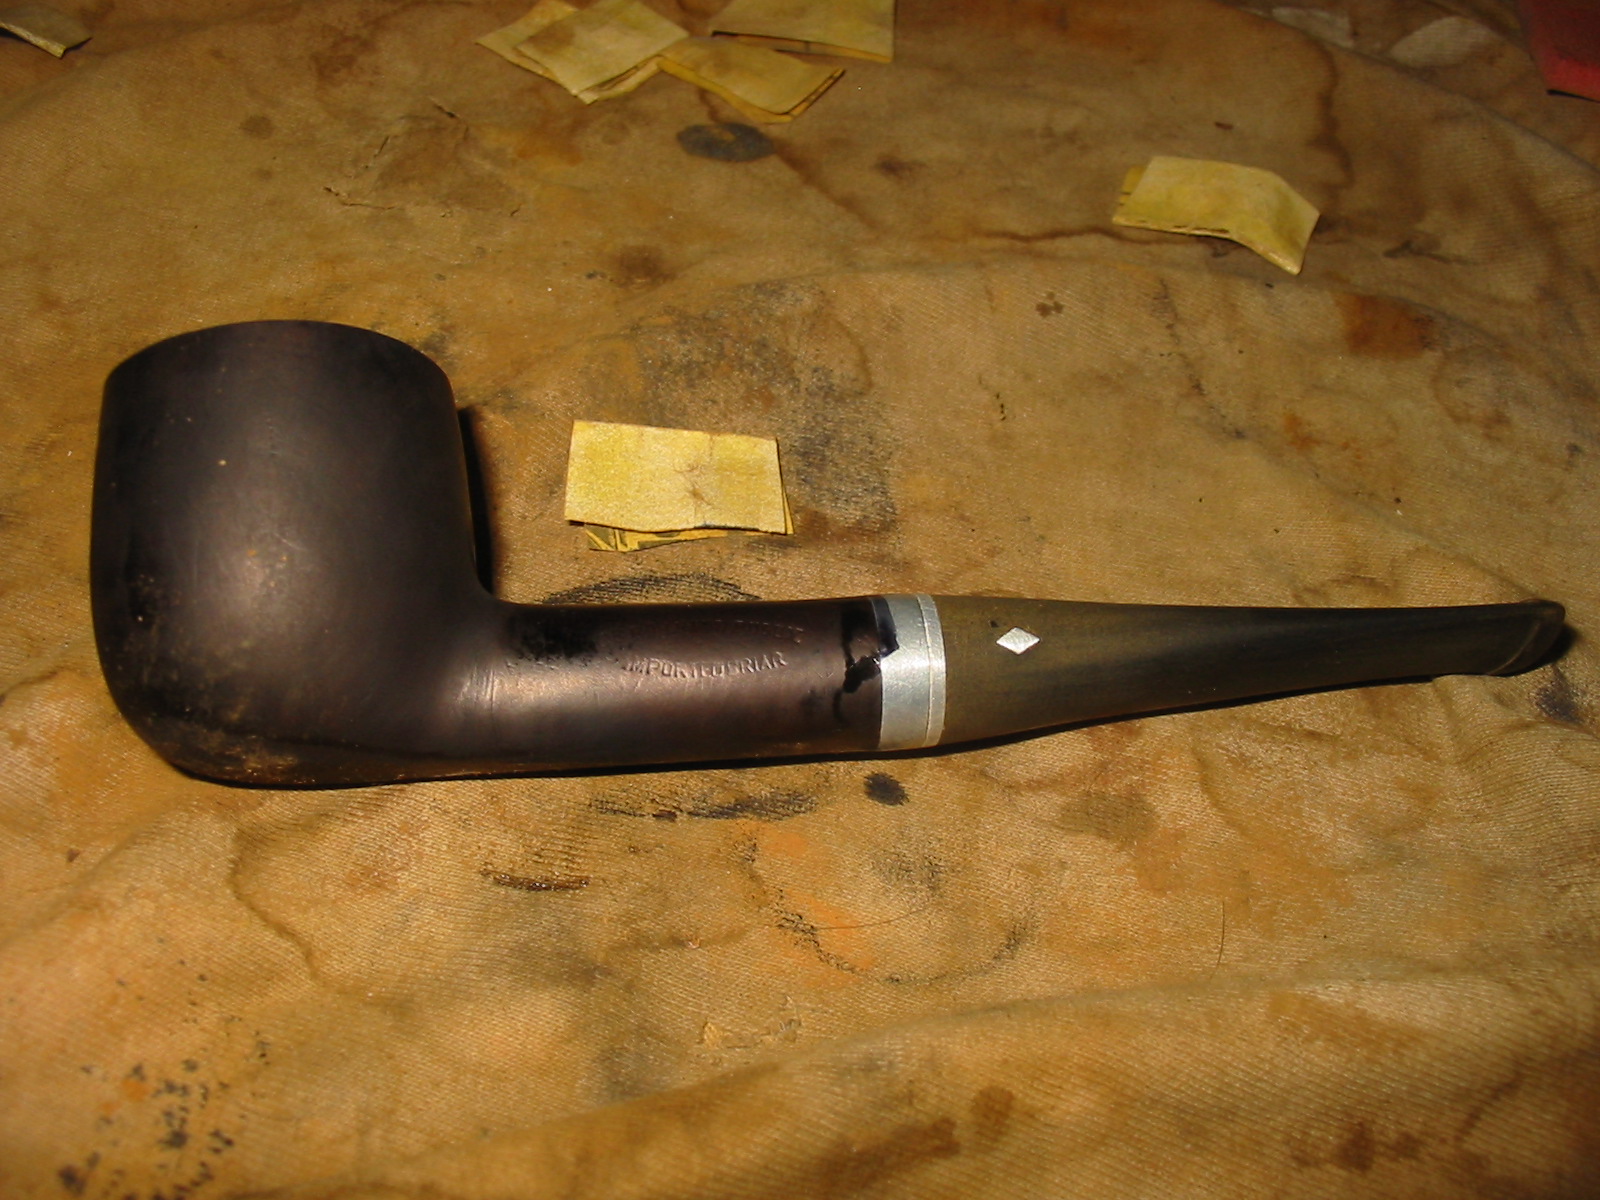
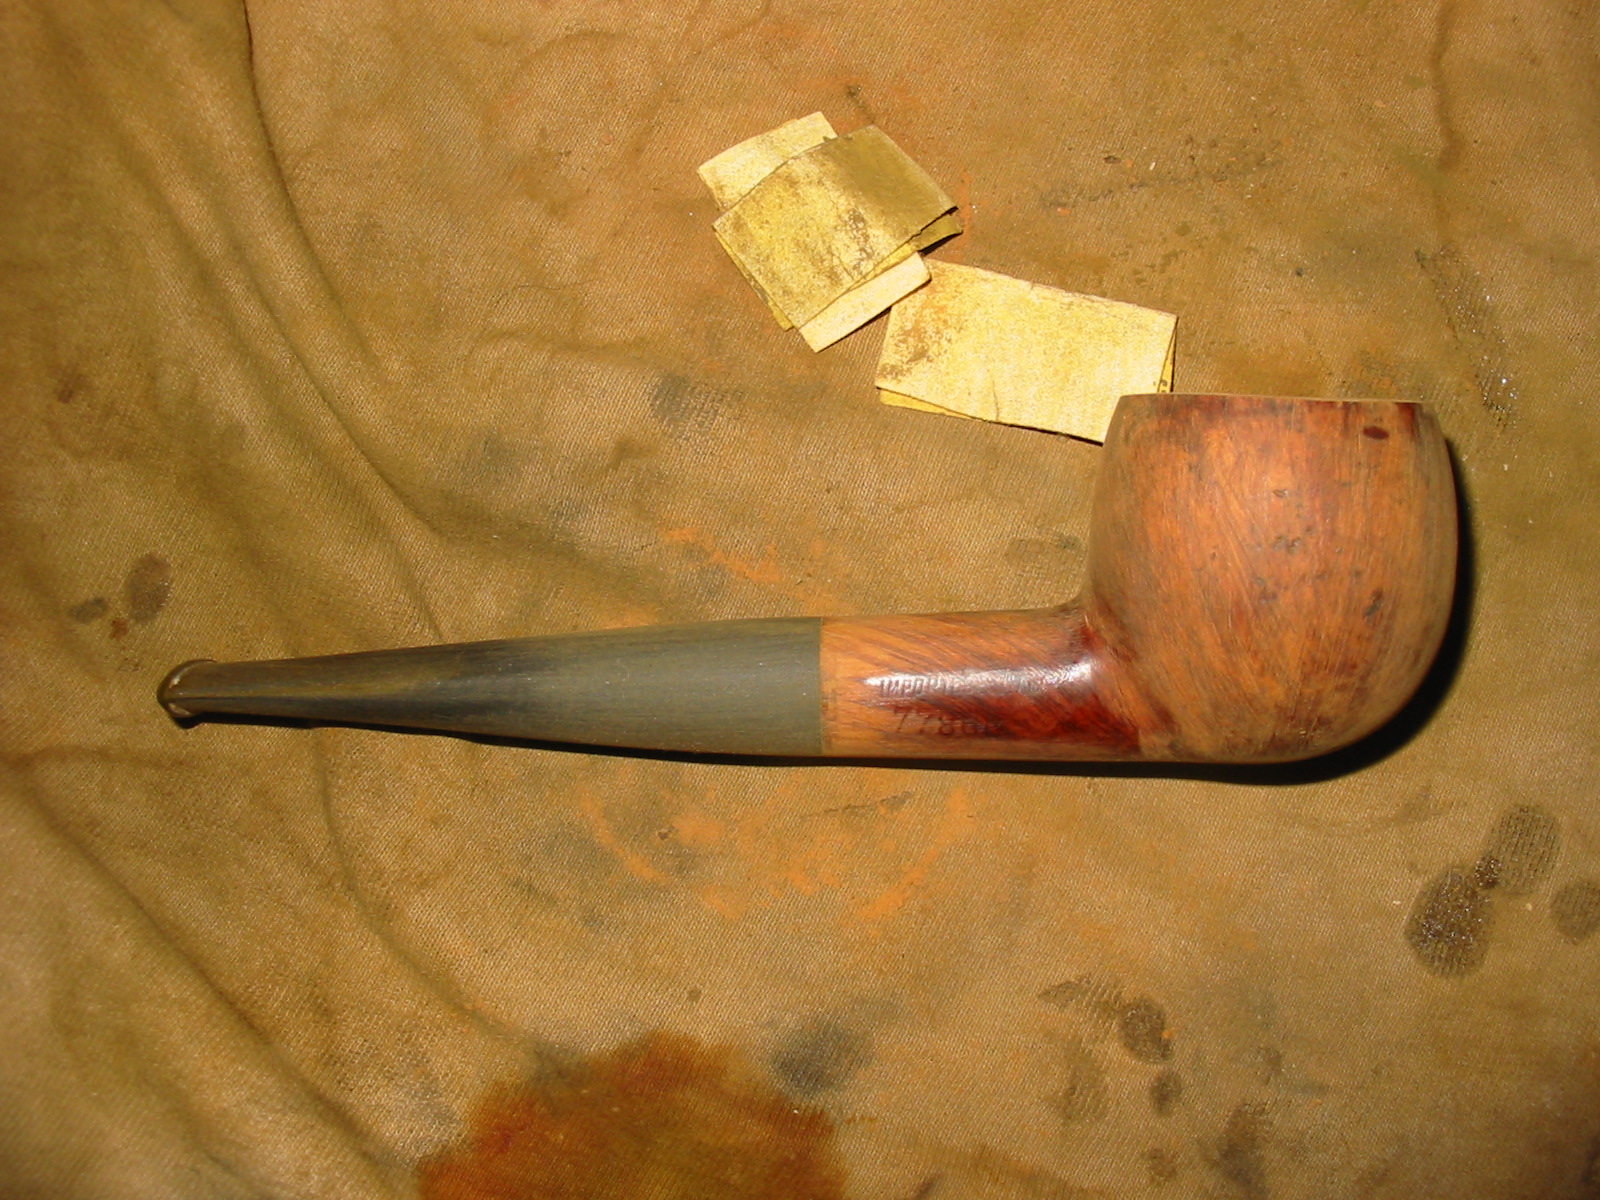
Once I had it roughed in to fit with the Dremel it was time to take it back to the work table and do the hand work with sandpaper to make the fit seamless. Since I was going to restain the pipe anyway I sanded the shank as I sanded the stem to make the transition smooth. In the first two photos the stamping is visible in the light of the flash. In real life it is quite a bit fainter and shallow. I also use some superglue and briar dust to repair some of the deeper dings and marks on the bowl to ready it for staining. I sanded it with 220 grit sandpaper and then with a medium grit sanding sponge to smooth out the surface and remove the scratches left behind by the sandpaper.
IMG_3364

IMG_3365

IMG_3366

IMG_3367

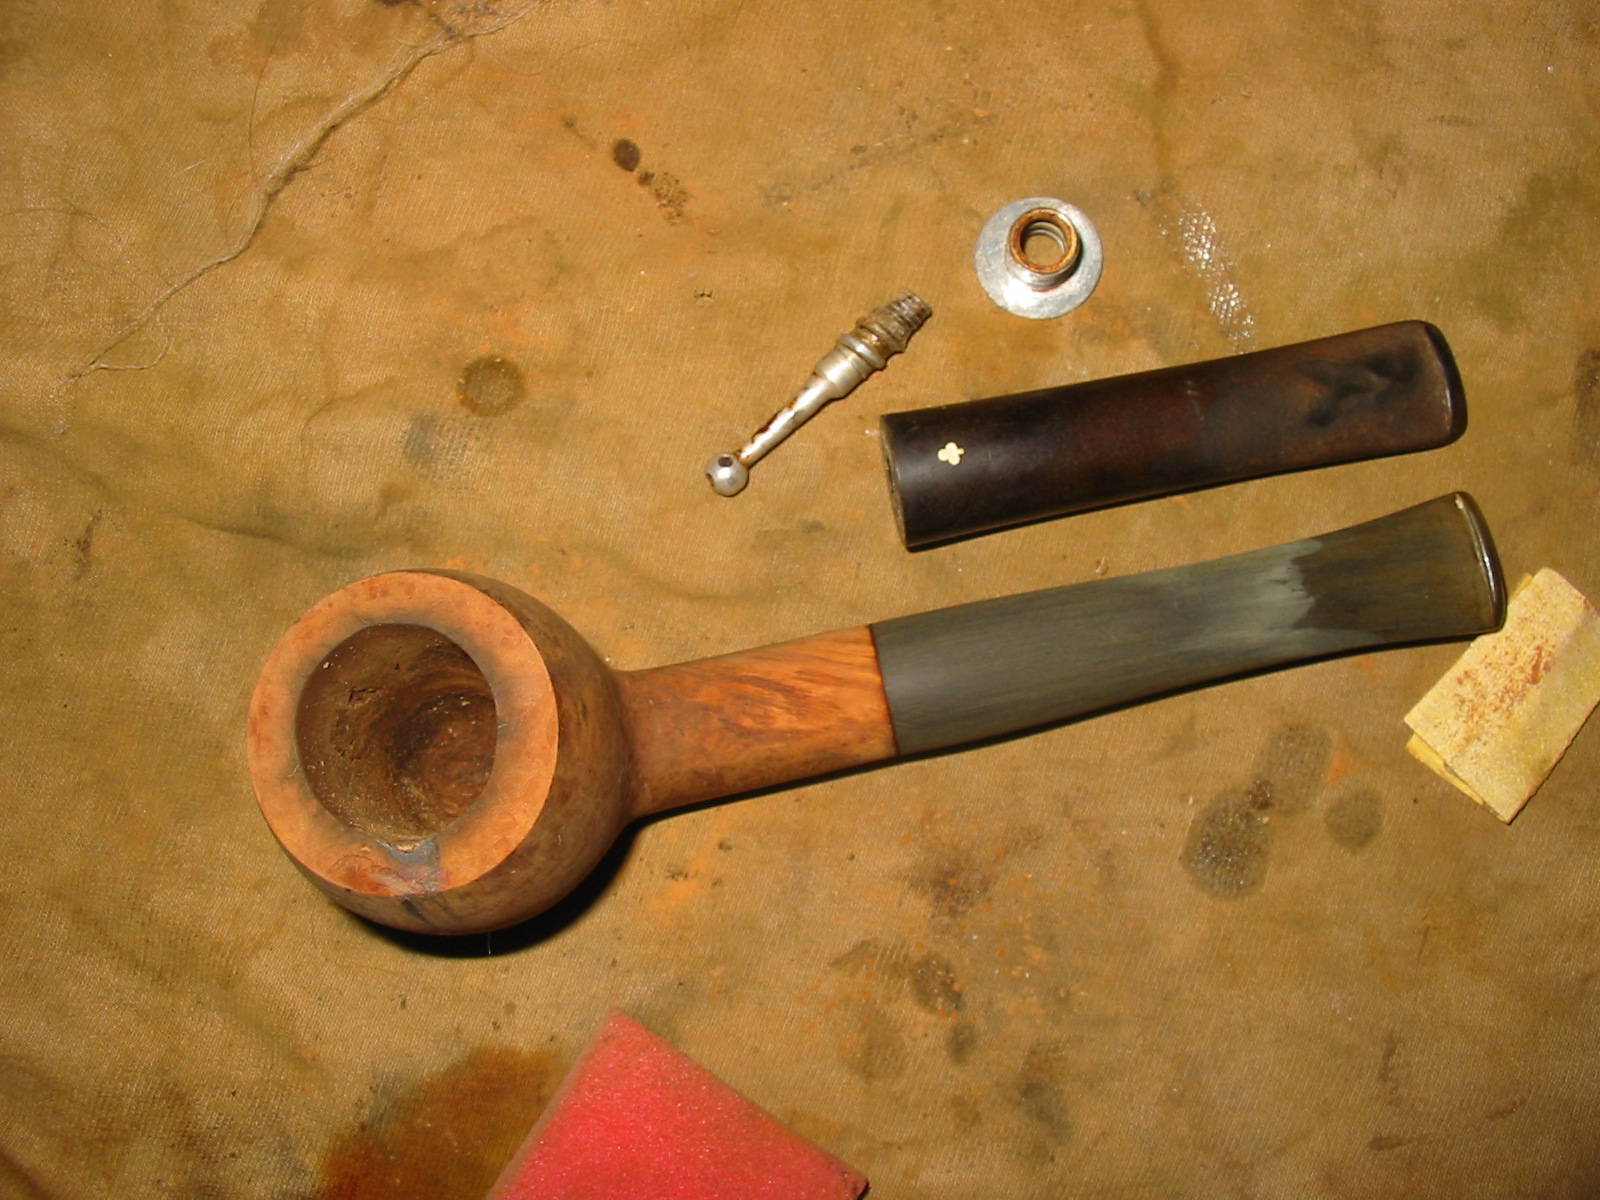
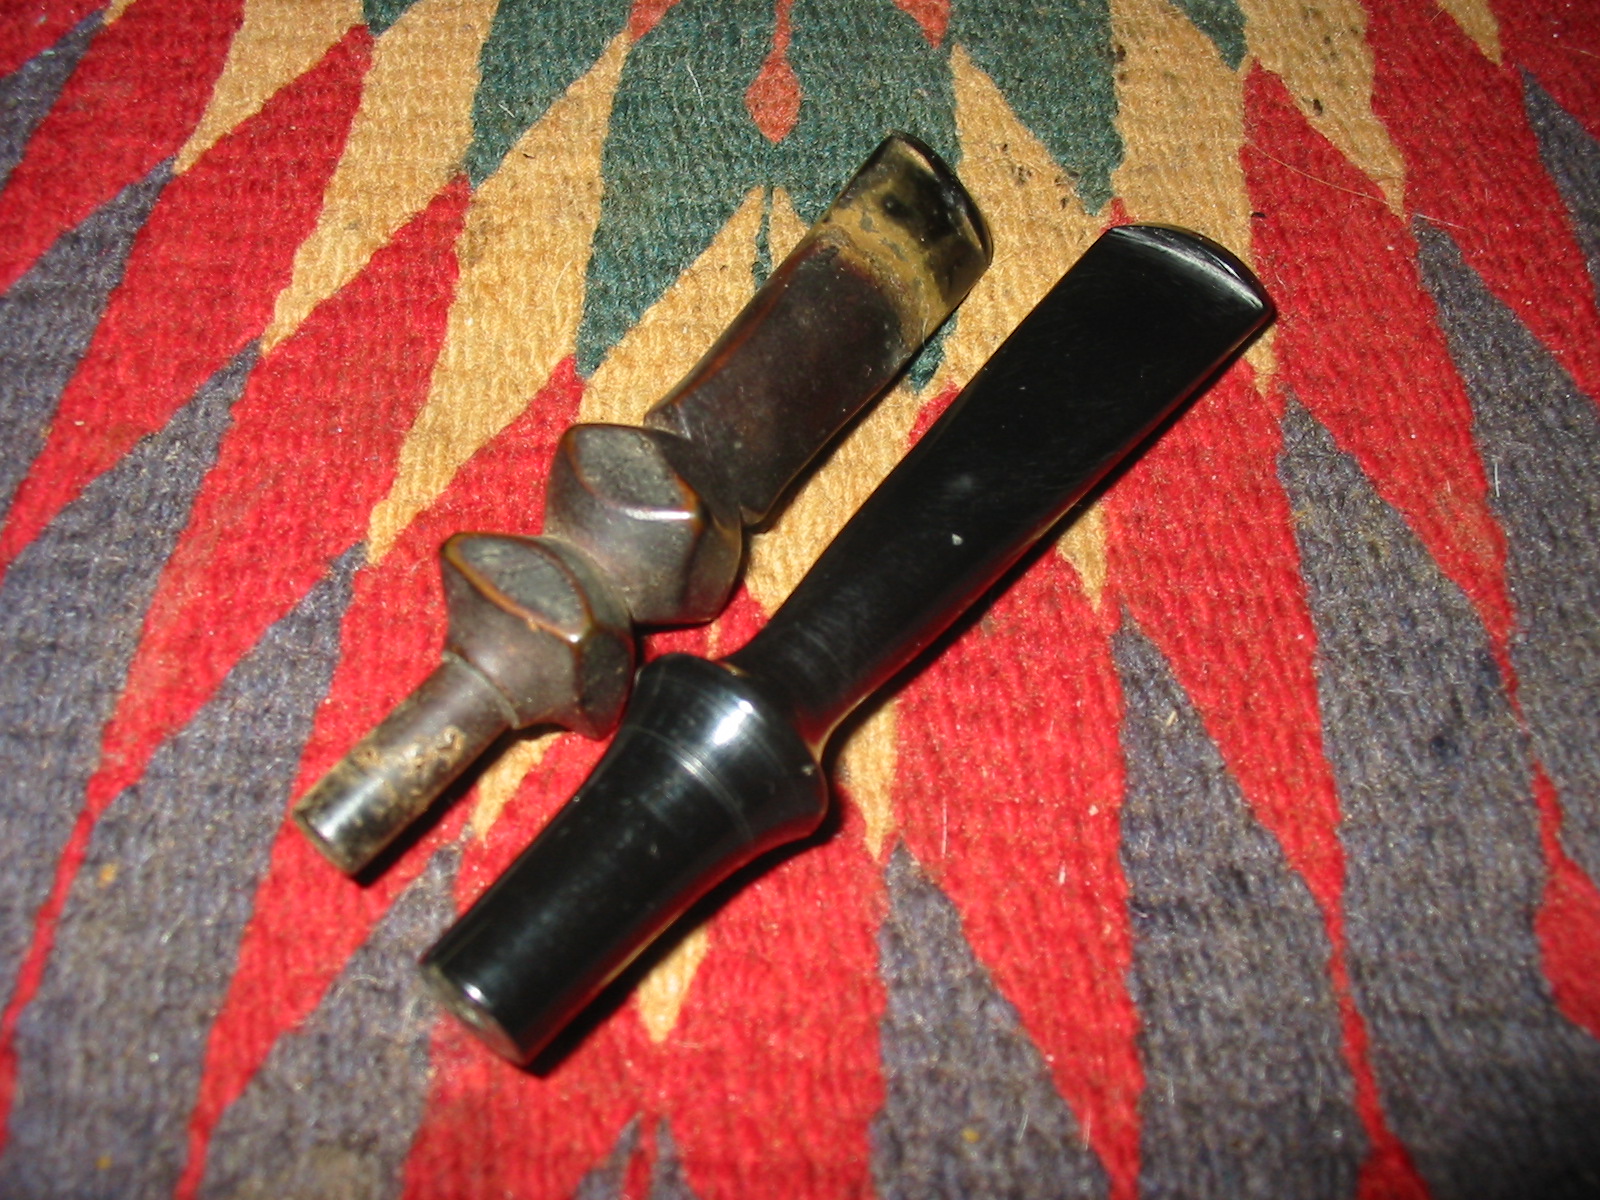
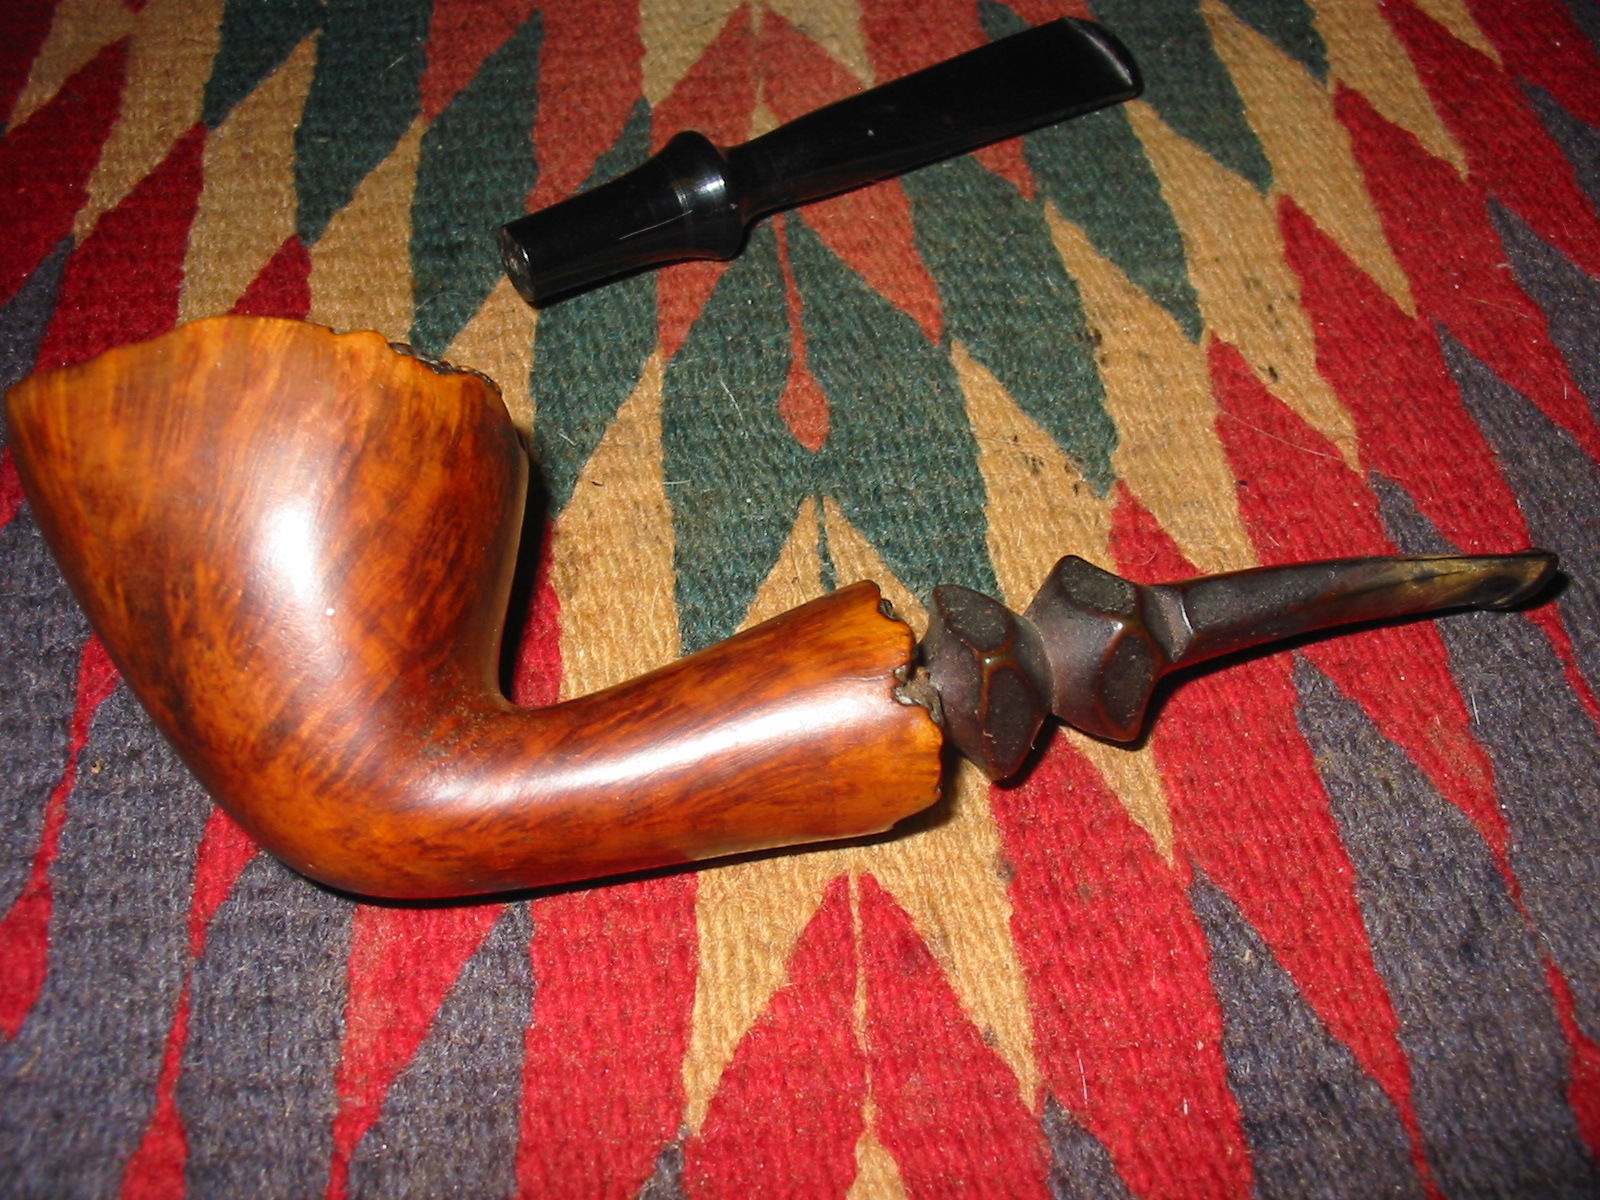
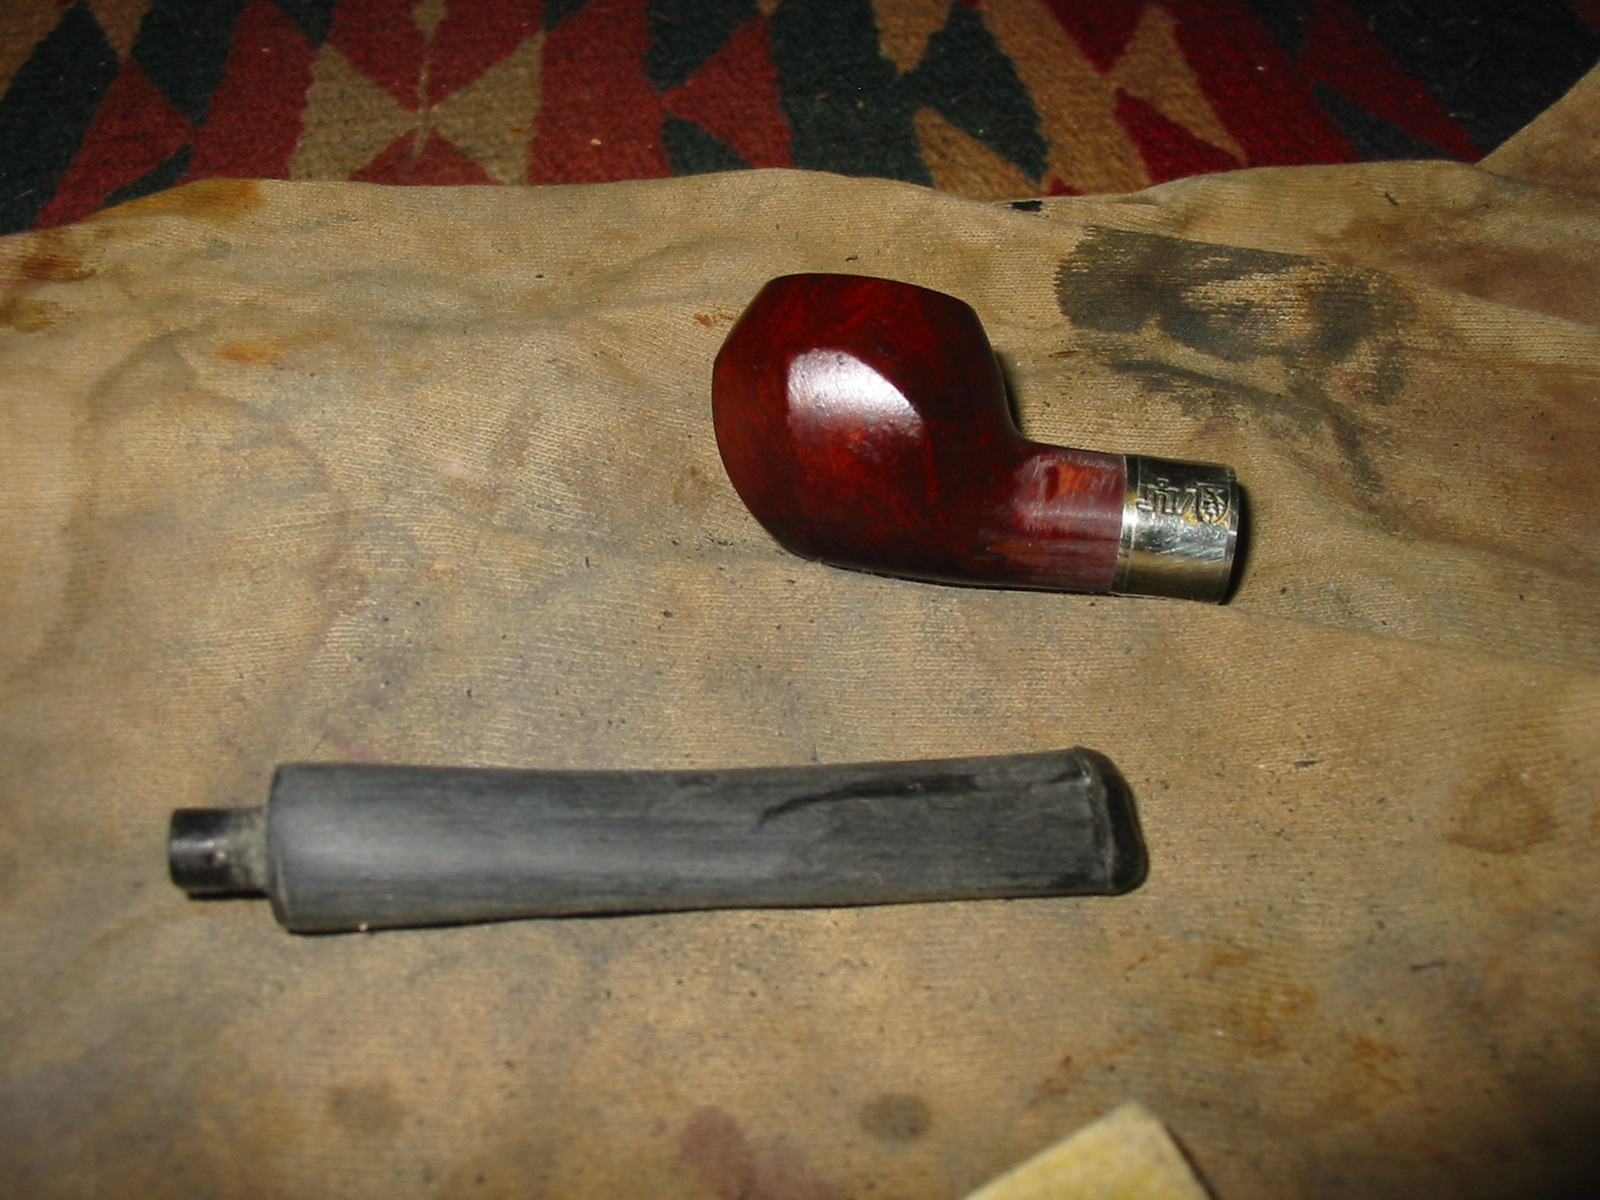
I wiped the bowl down with Everclear to remove the sanding dust and give it a last cleaning before I started giving it a new stain coat. I have also included two photos of the new stem with the older KW stem and broken parts for comparison sake. I really like the way the new stem fit the shank and the look of the pipe after the repairs.
IMG_3368

IMG_3369

IMG_3370

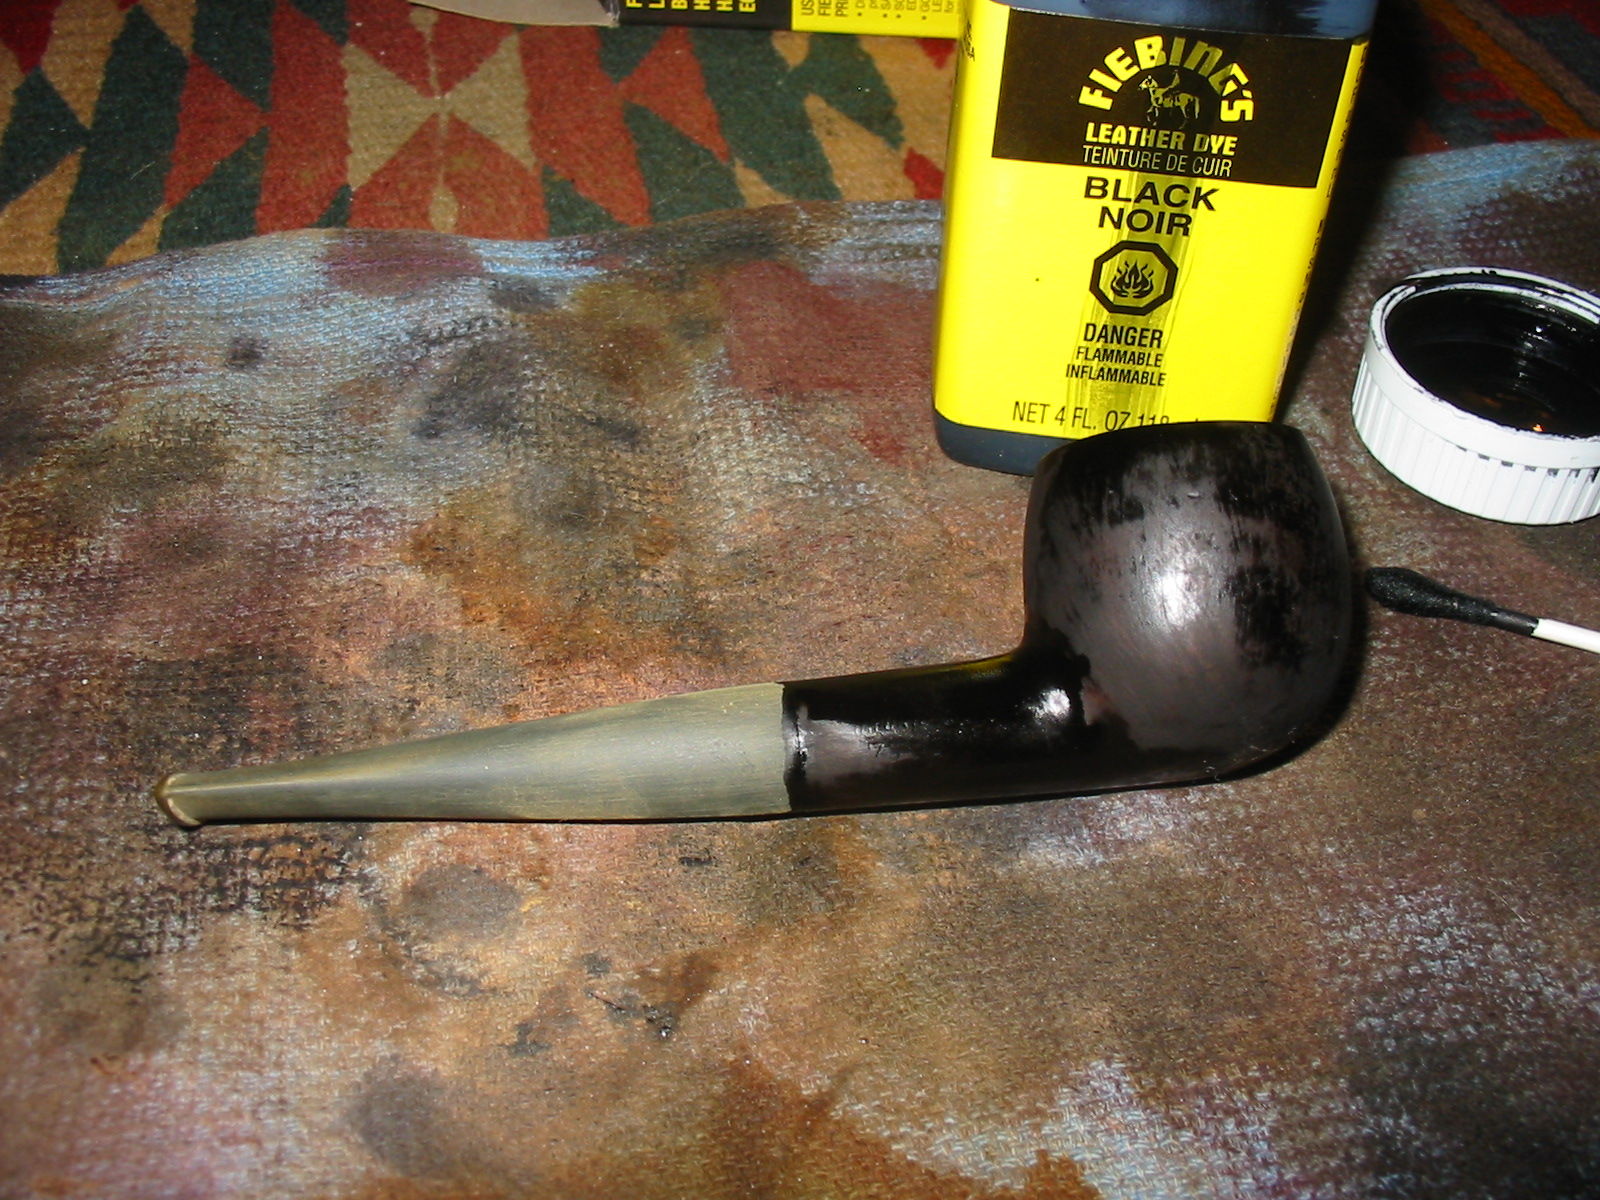
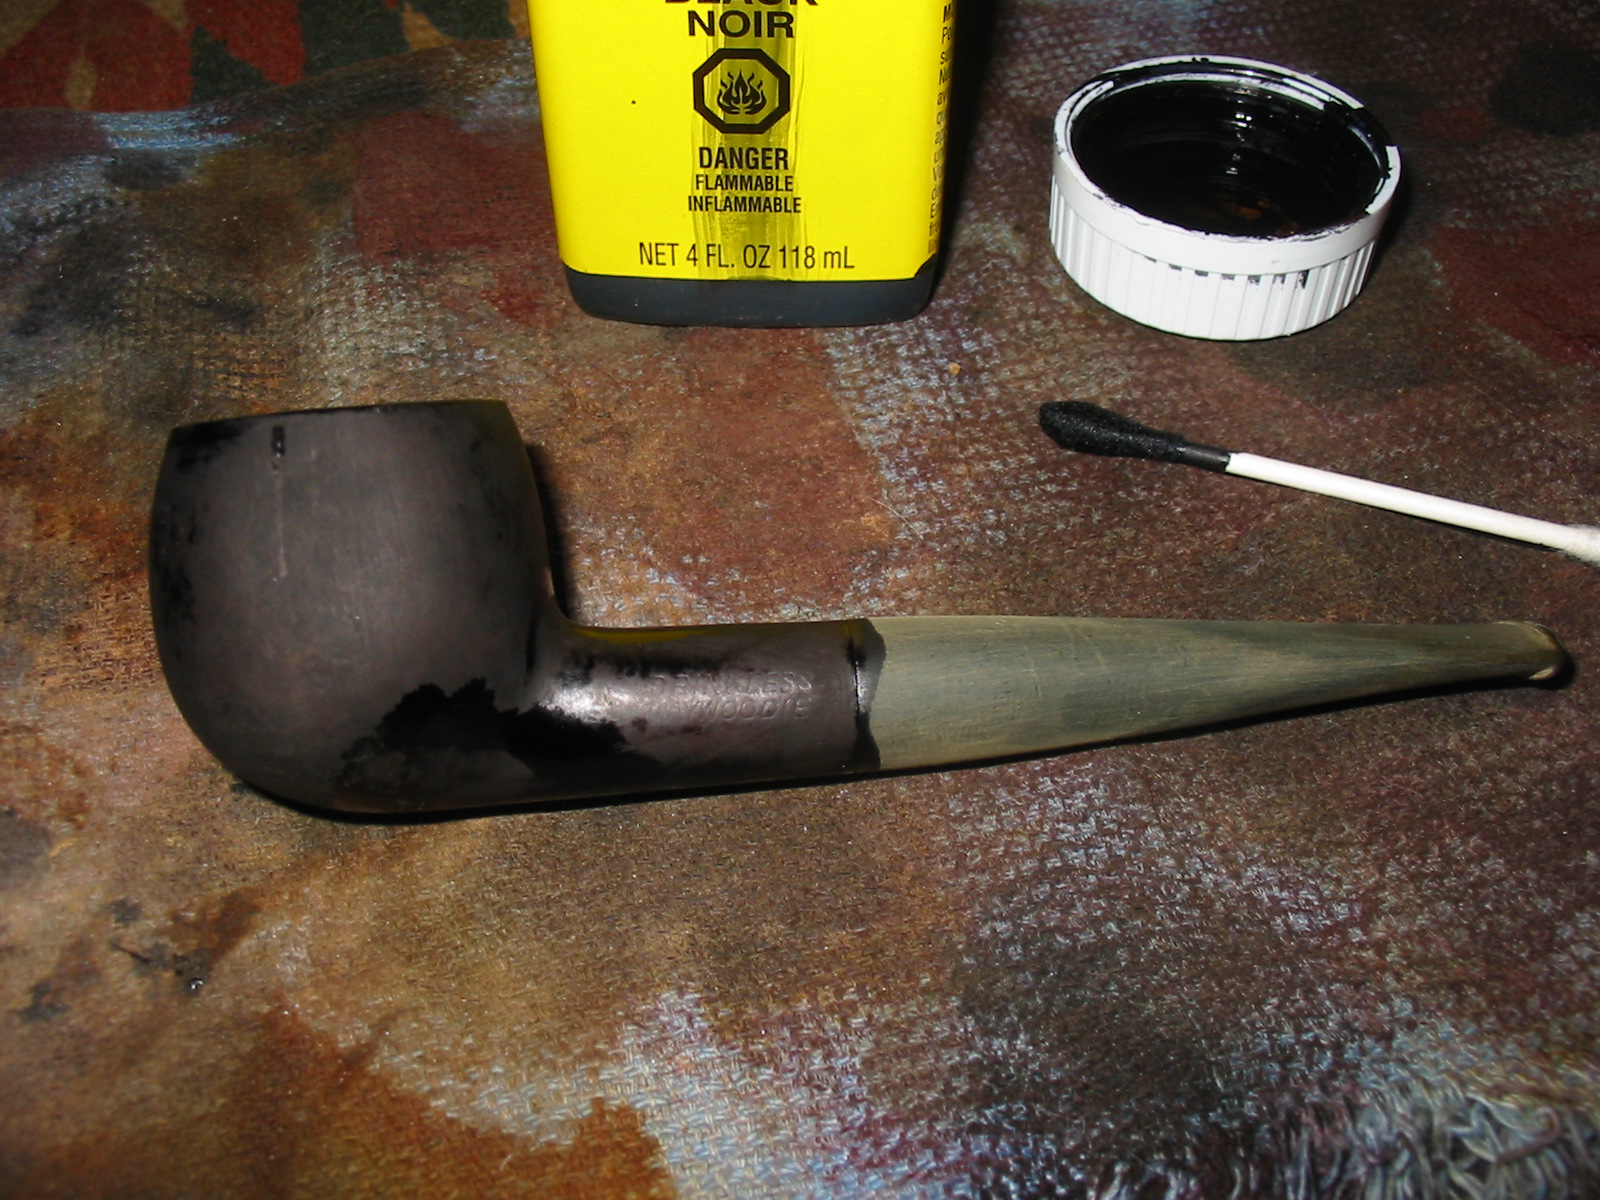
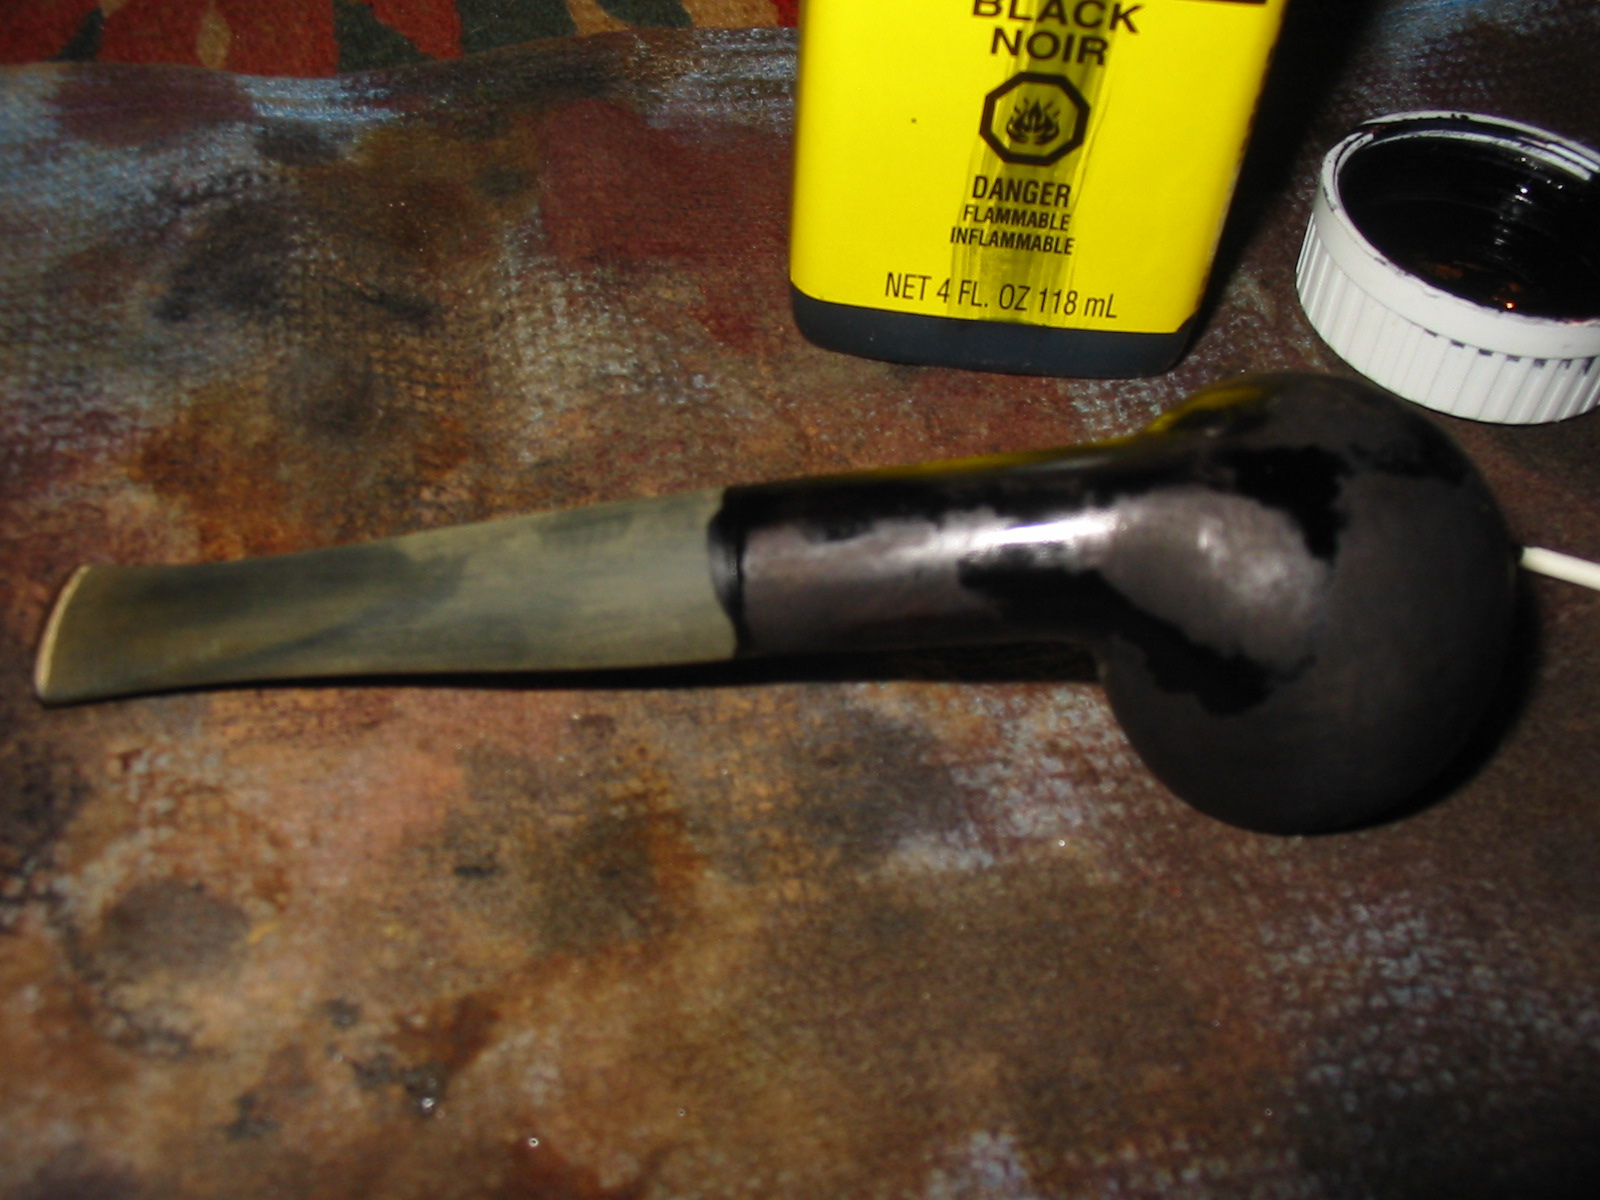
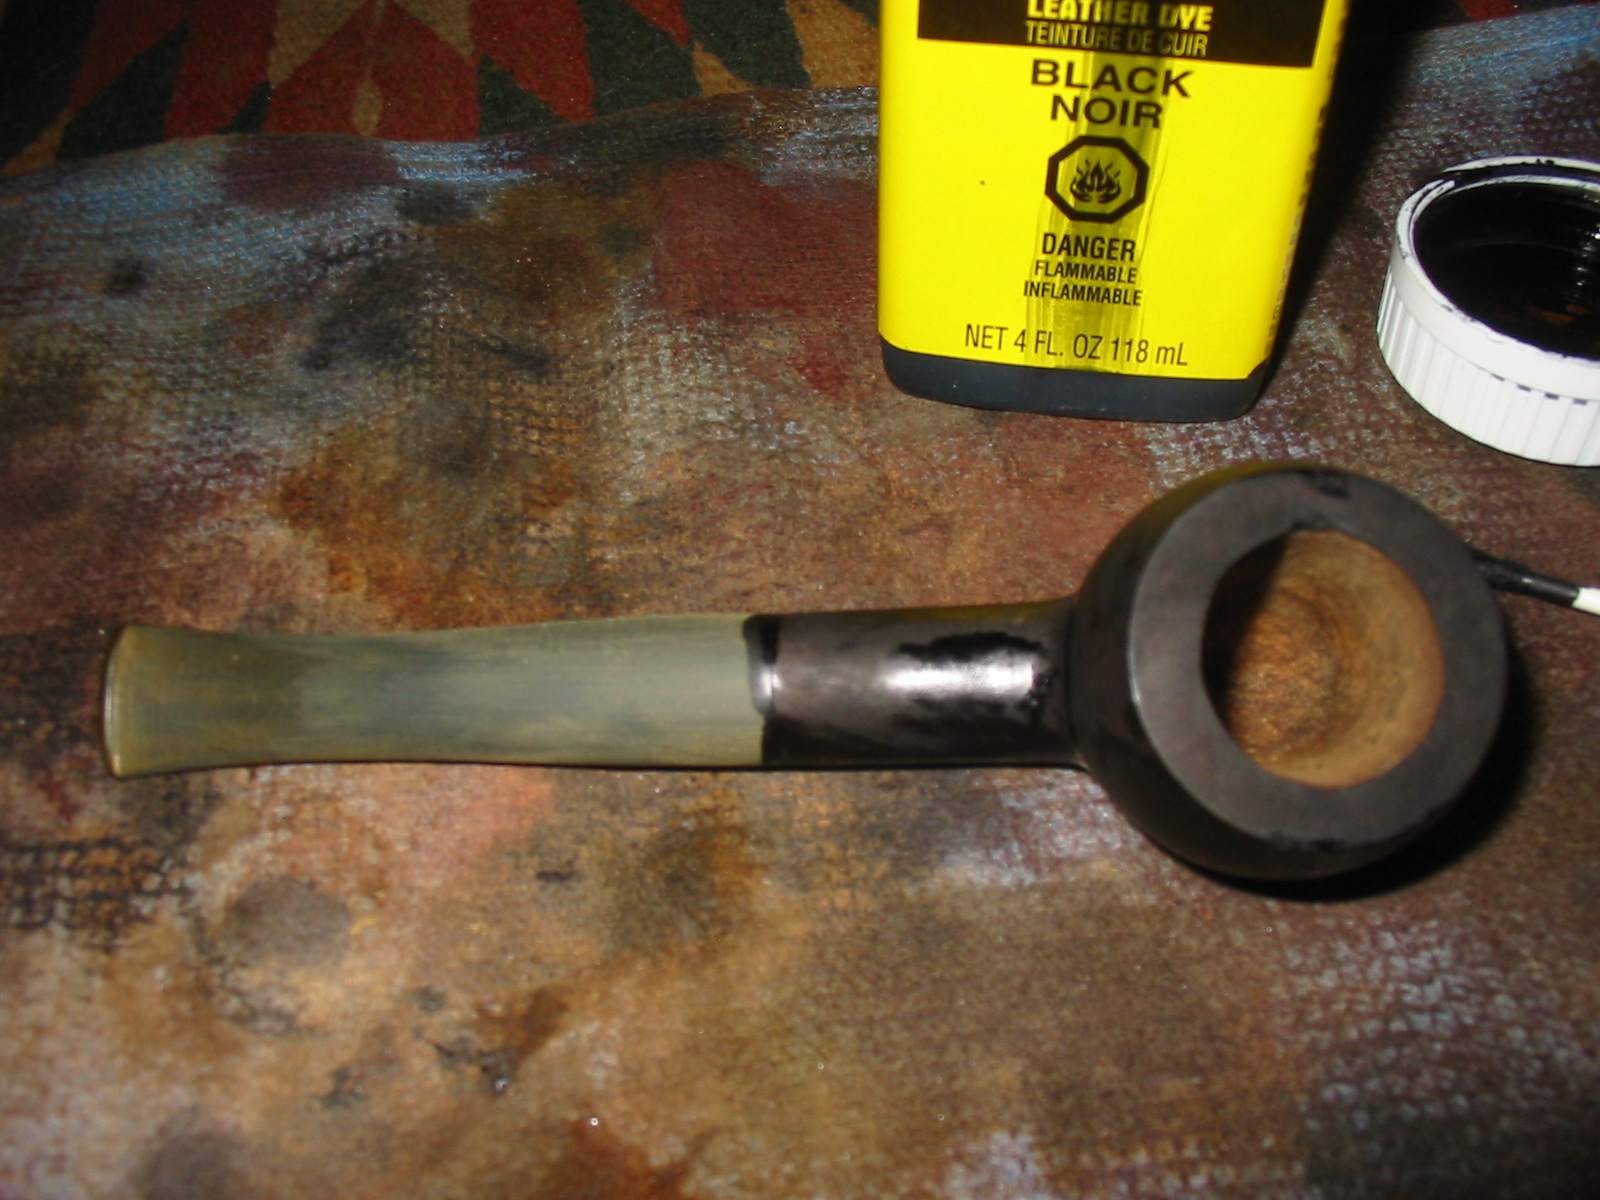
I wanted to continue to experiment with contrast staining so I gave the pipe a first coat of stain with black aniline stain. I applied the stain and flamed it and repeated the process until the coverage was even. I then heated the entire bowl by passing over it with the flame of a Bic lighter to warm the briar and set the stain.
IMG_3371

IMG_3372

IMG_3373

IMG_3374

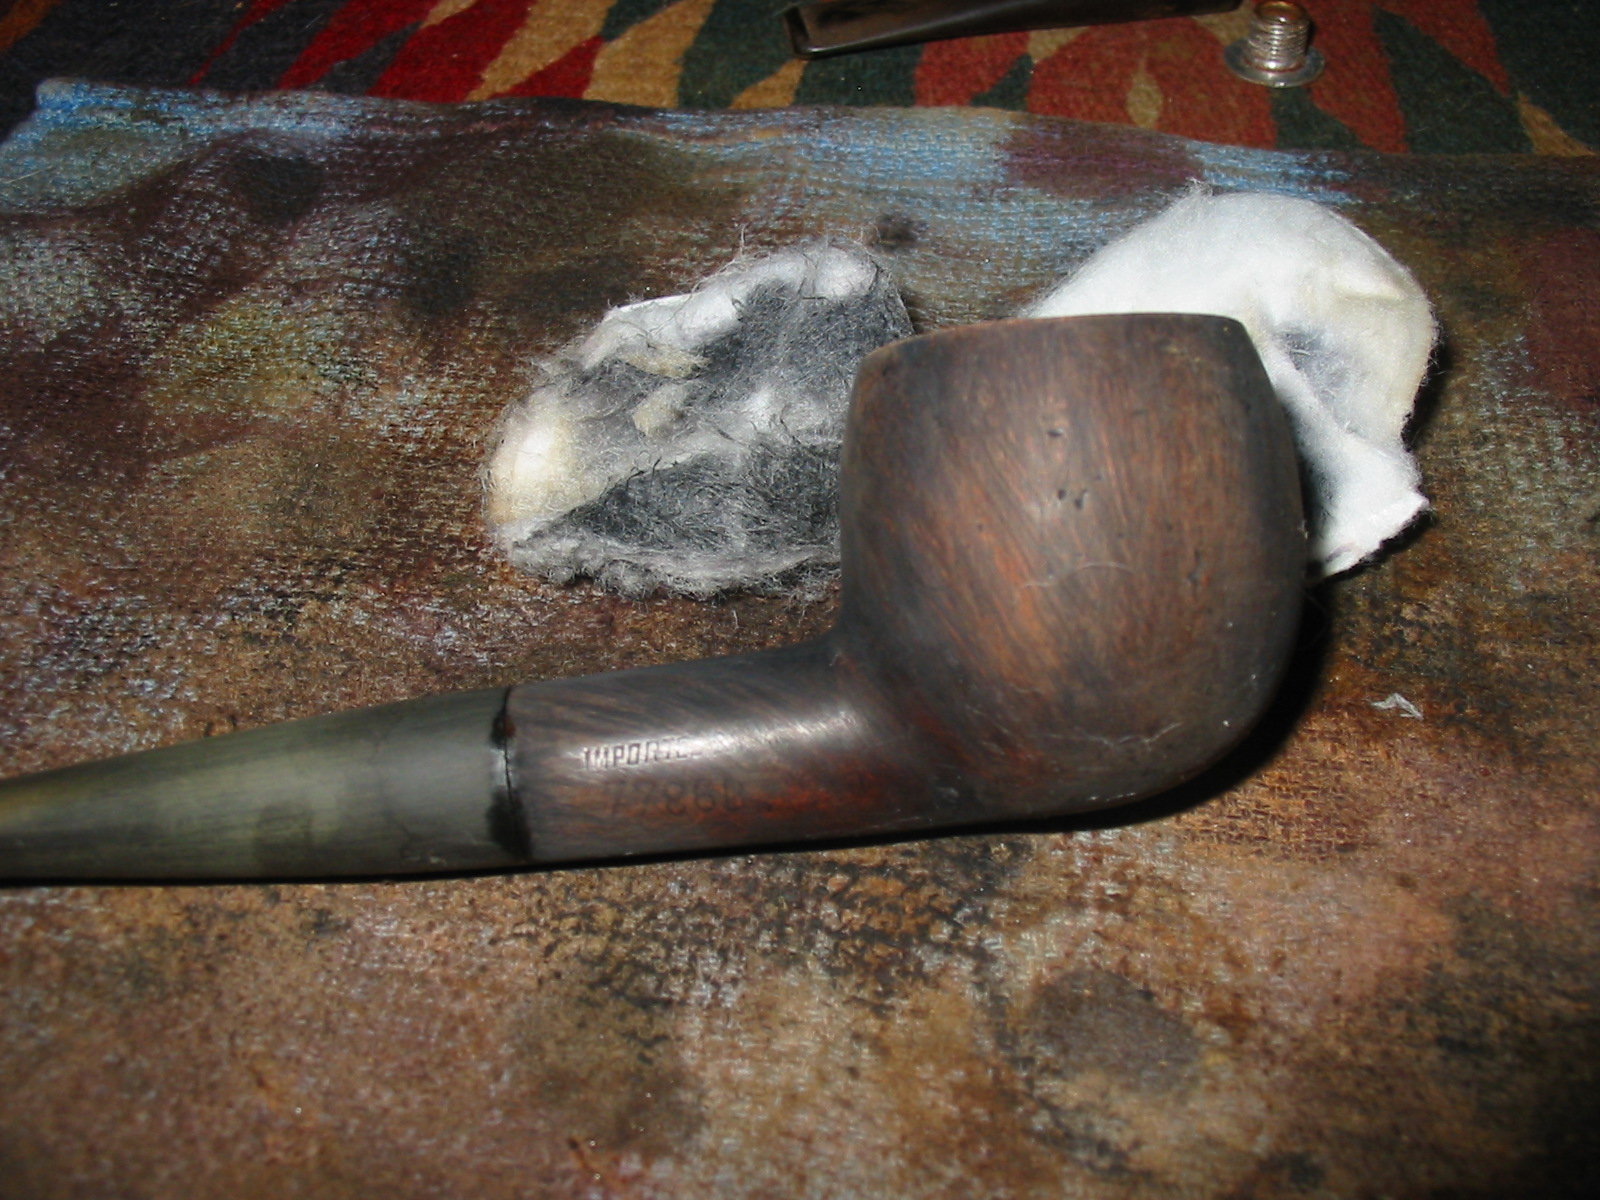
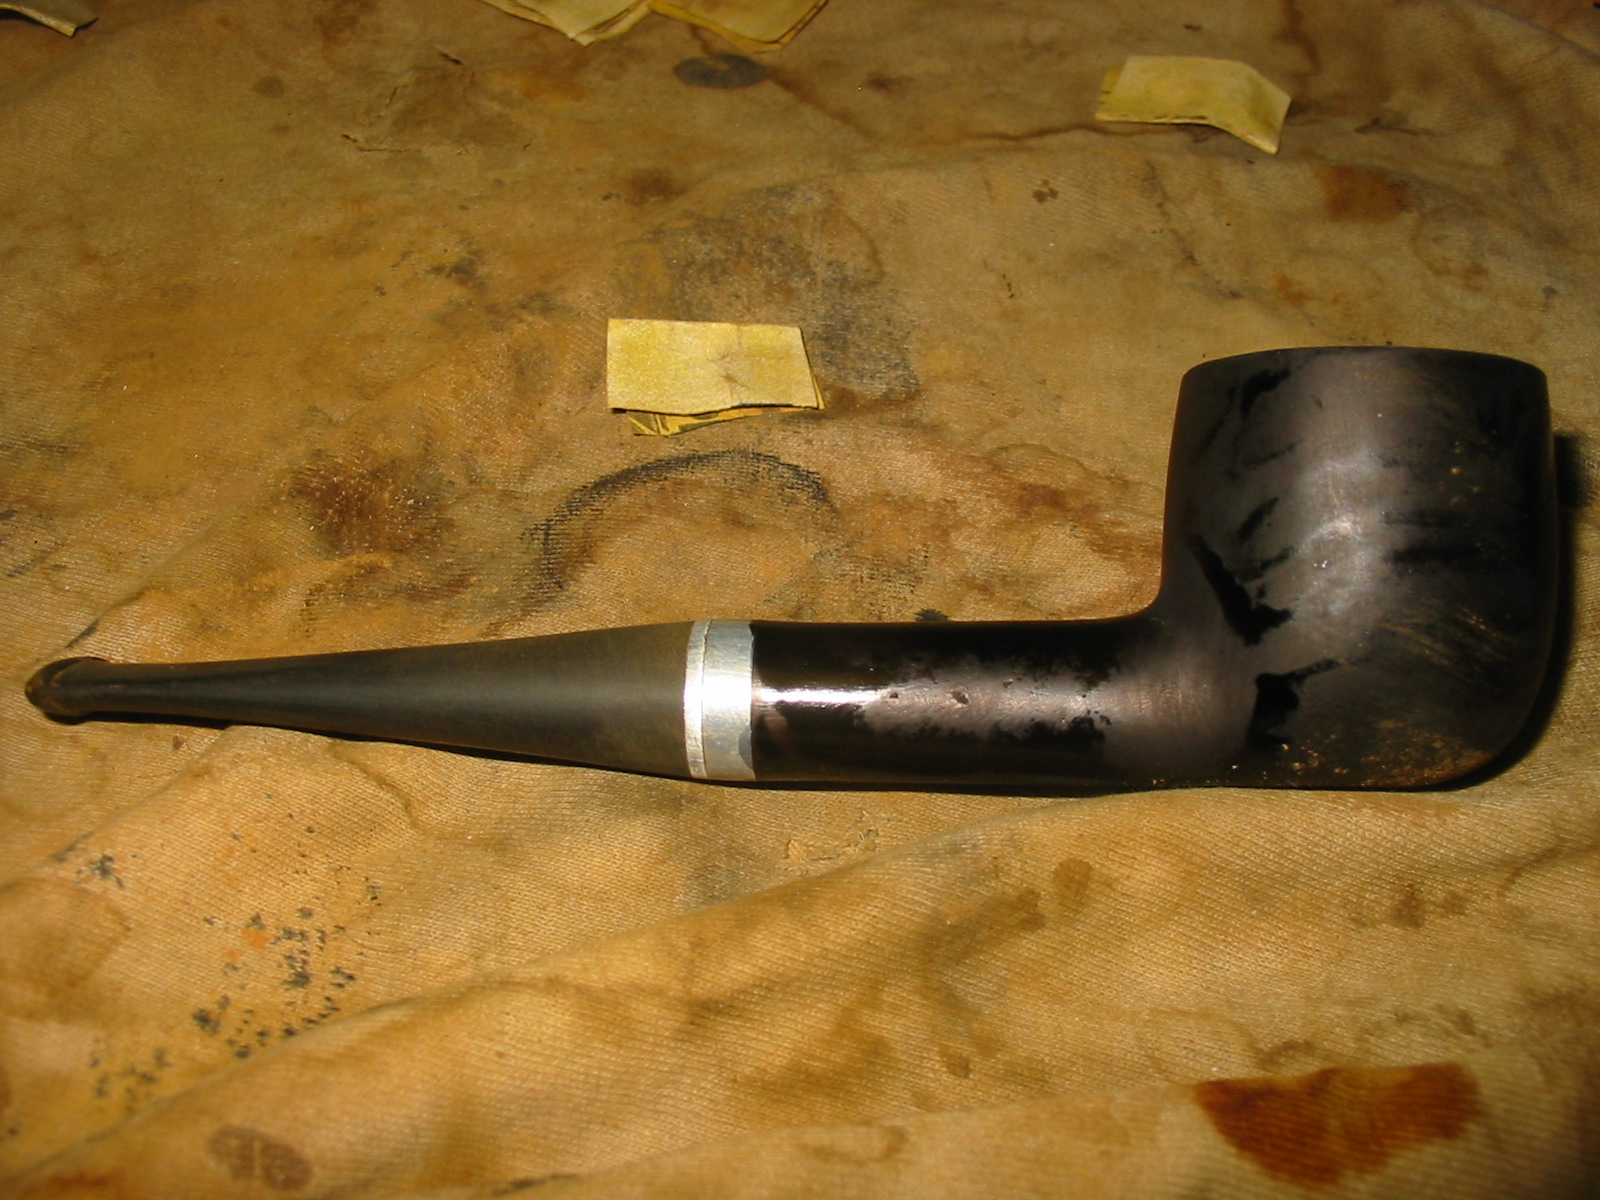
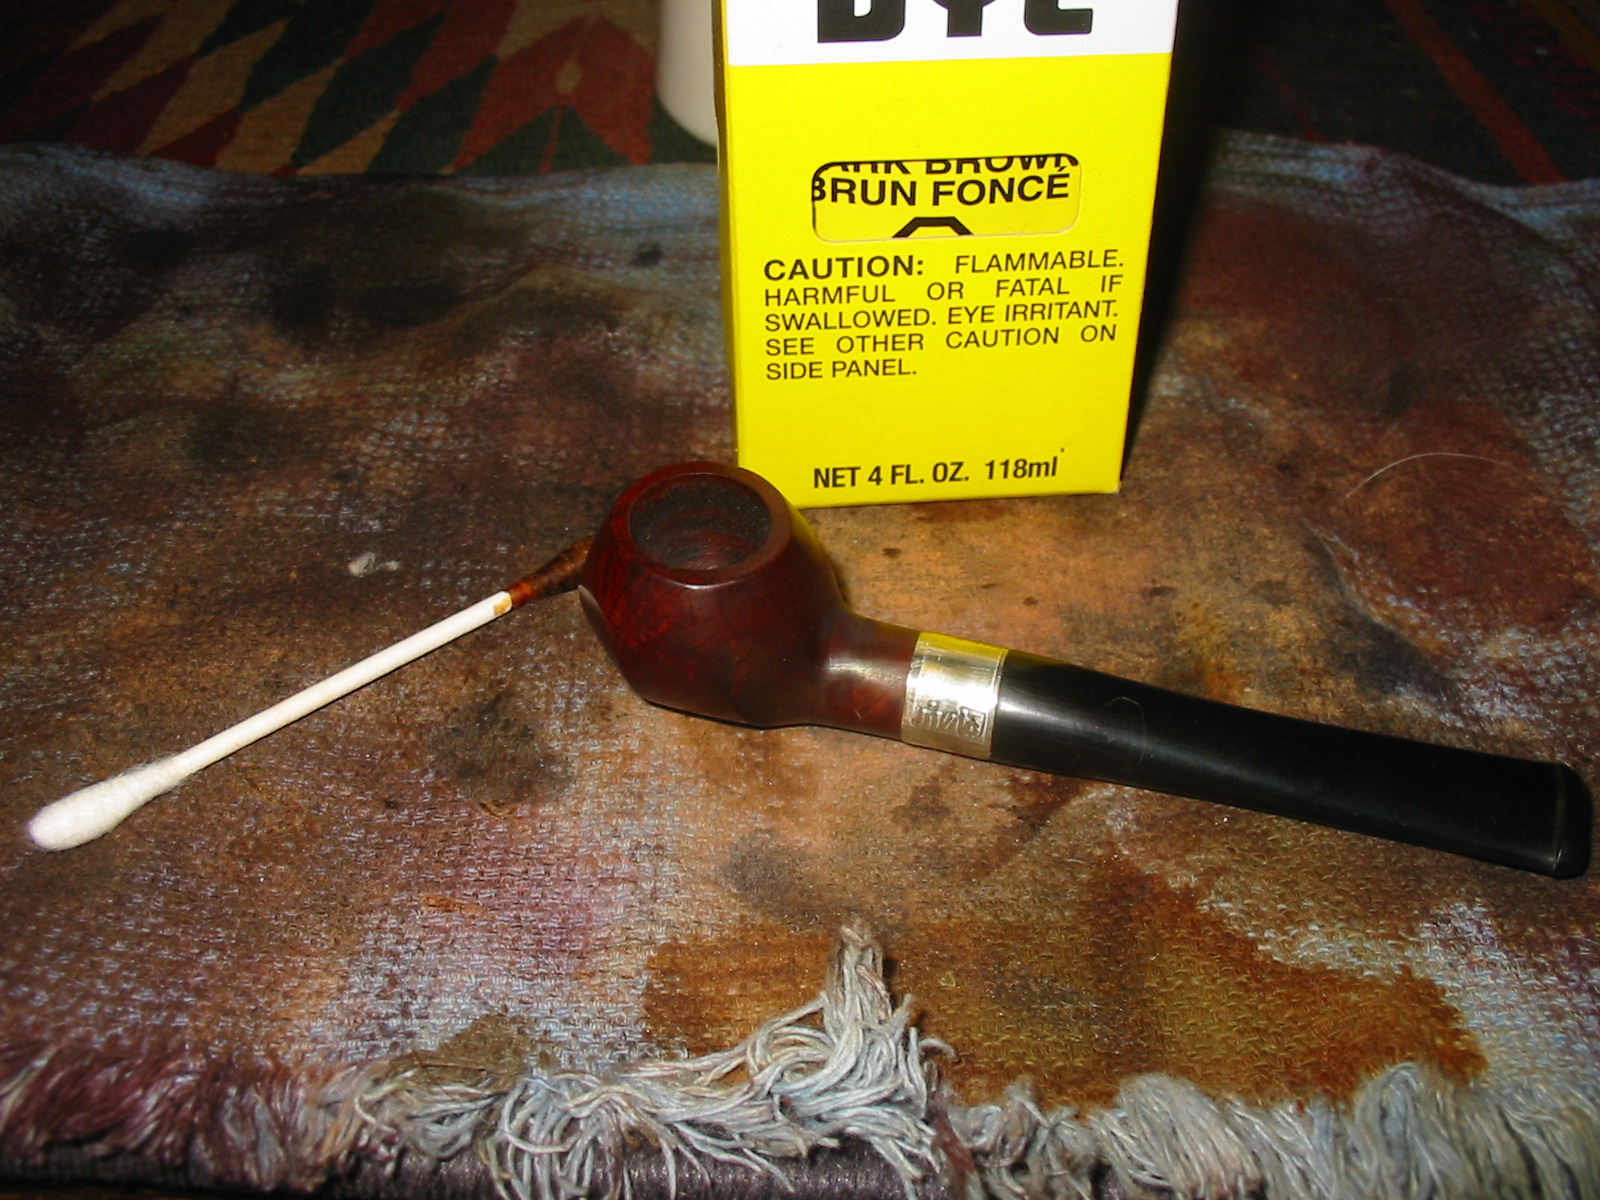
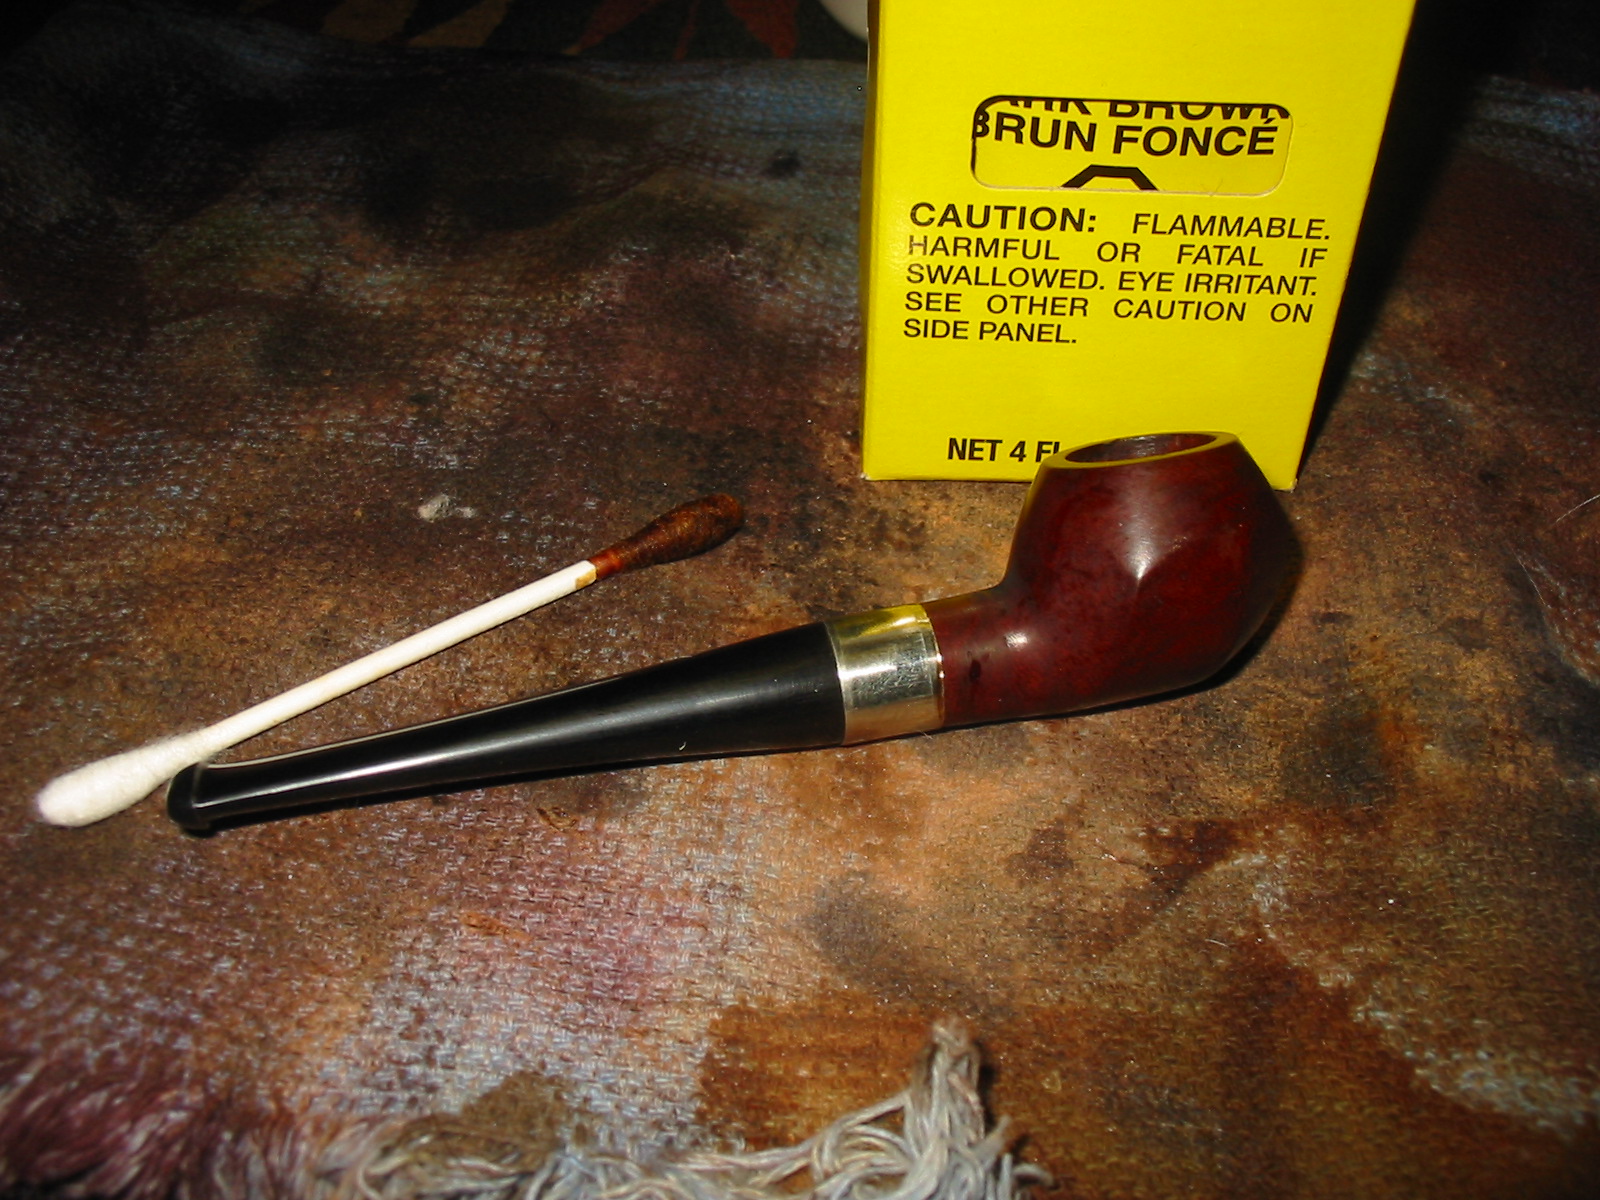
The black aniline stain is transparent enough that the brown of the briar actually makes the stain appear to be a dark brown. It also covers the repairs on the bowl and blends them into the grain in way that makes them less visible. This was especially important with the repair I had made to the two deep scoring marks on the left side of the bowl. Once the stain dried I wiped it down with acetone to remove the top coat and leave only the grain darkened with the black. After doing that the bowl was still do dark for my liking. Though the grain patterns are very visible I wanted it to be lighter so that when I put the contrast stain coat on it would really pop to the surface.
IMG_3375

IMG_3376

IMG_3377

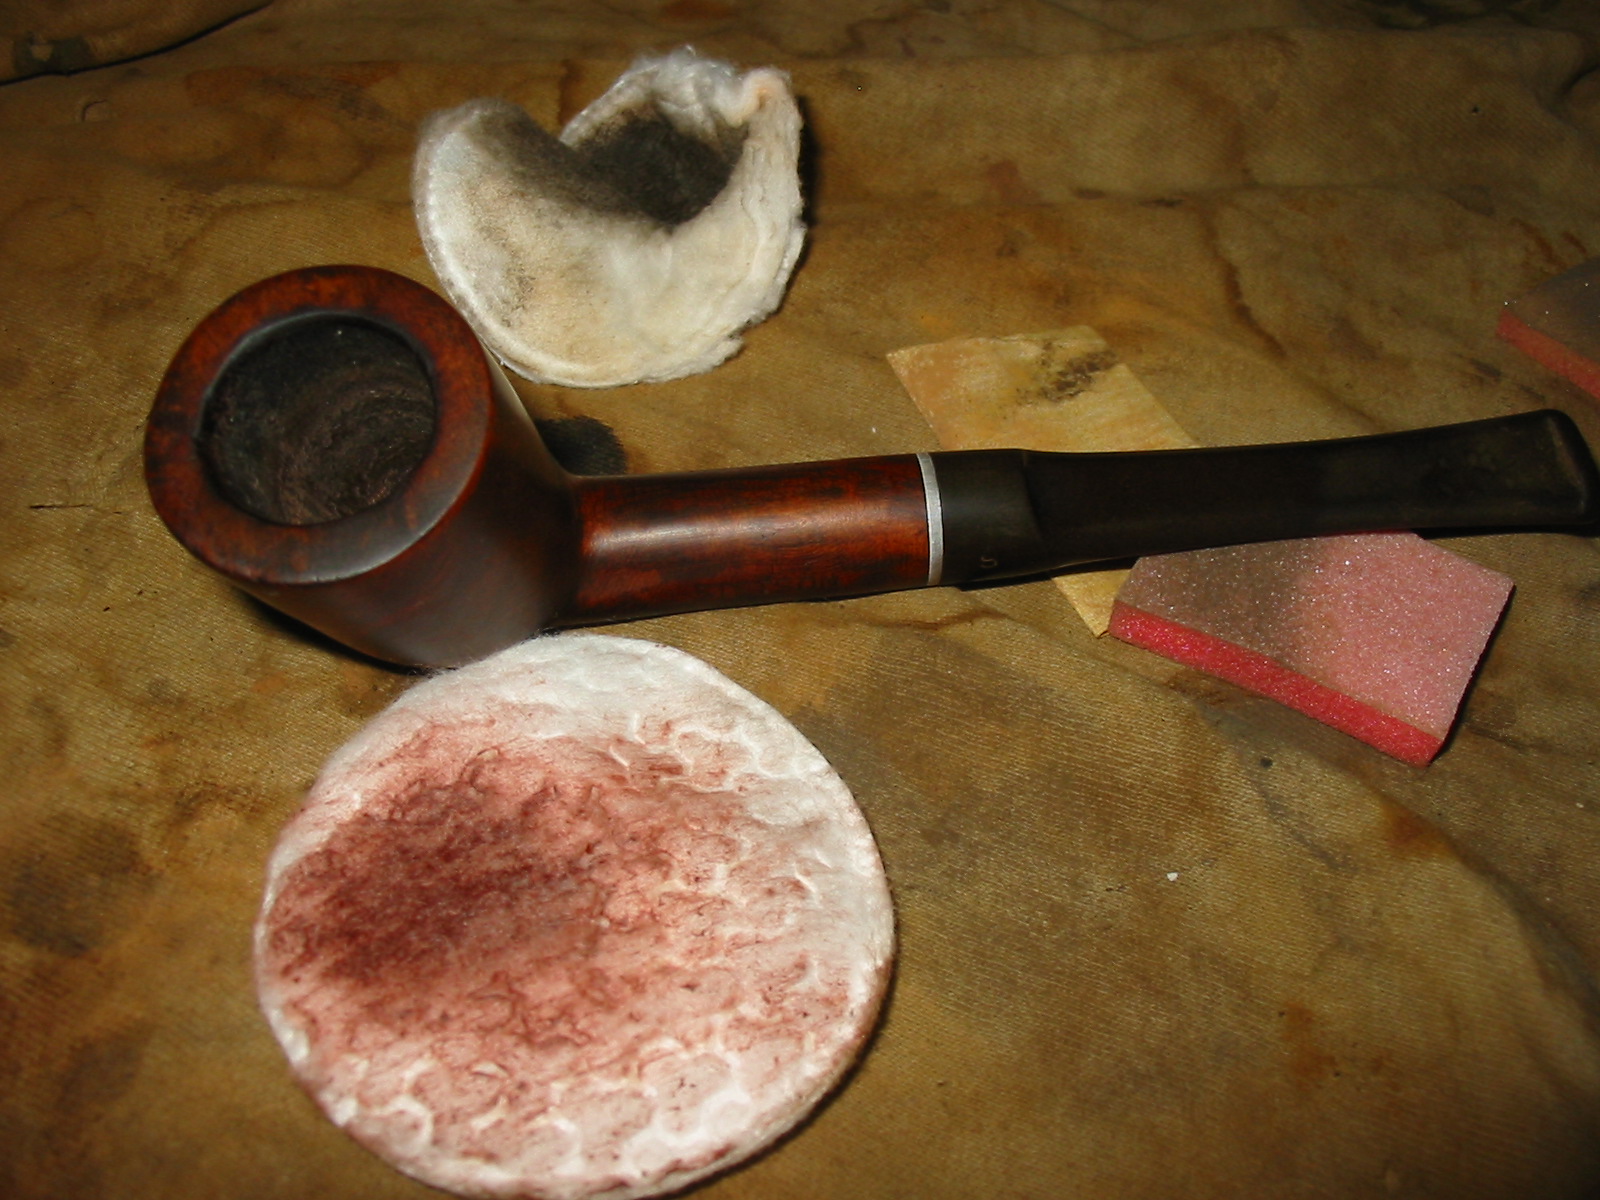
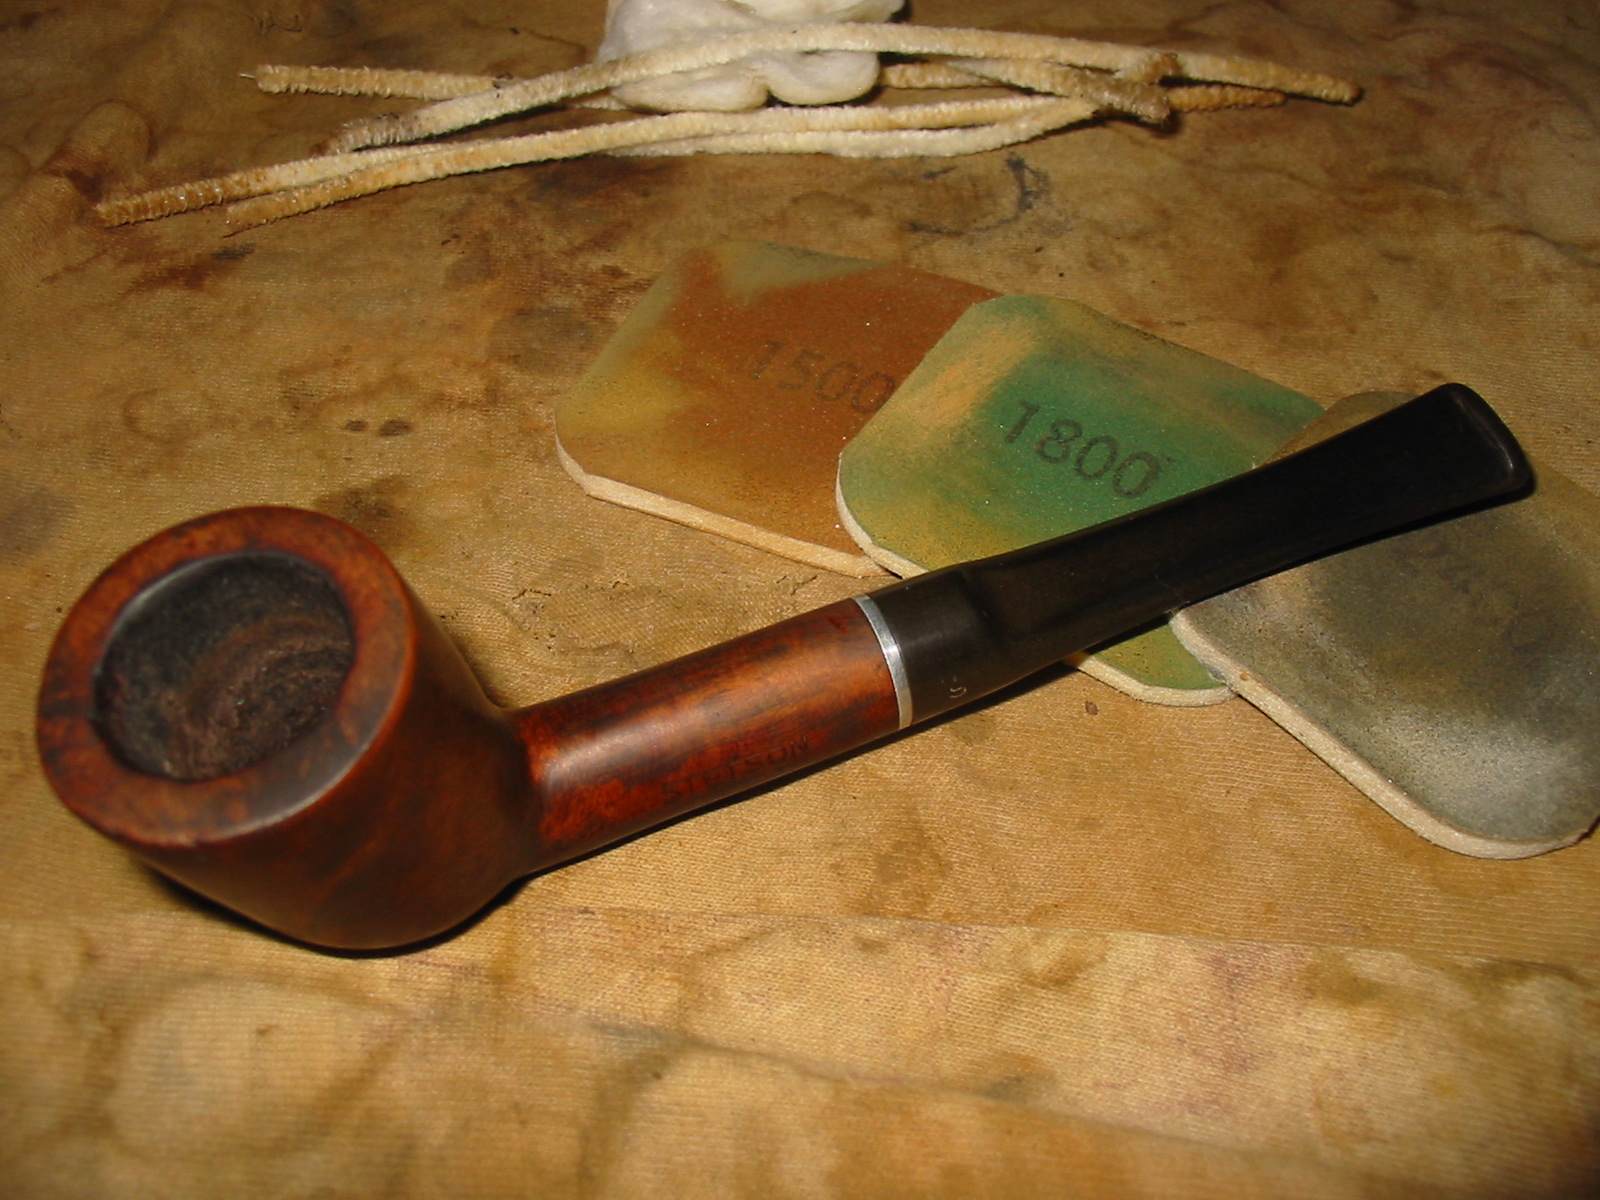
I sanded the bowl with 220 grit sandpaper and then with a medium grit sanding sponge to further remove the black stain. I finished the sanding by wet sanding the bowl with 1500-2400 grit micromesh sanding pads. Sanding with the micromesh pads removed the scratching left behind by the other sandpapers and prepared it for the next coat of stain that I wanted to give it. I stained the bowl a second time with a coat of Minwax Water based stain. I chose a red mahogany stain for this coat. I like the contrast the reddish colour of the mahogany with the black undercoat. I applied the stain and then wiped it off with a soft cotton cloth.
IMG_3378

IMG_3379

IMG_3380

IMG_3381

I finished the contrast staining with a third colour – a Minwax medium walnut stain for the finish coat. I applied the stain and wiped it down using a soft cotton cloth and then hand buffed it with a shoe shine brush. The next series of four photos show the finish after the application of the three stains and a hand buffing. I really like the contrast finish that the three stains gave the pipe.
IMG_3382

IMG_3383

IMG_3384

IMG_3385

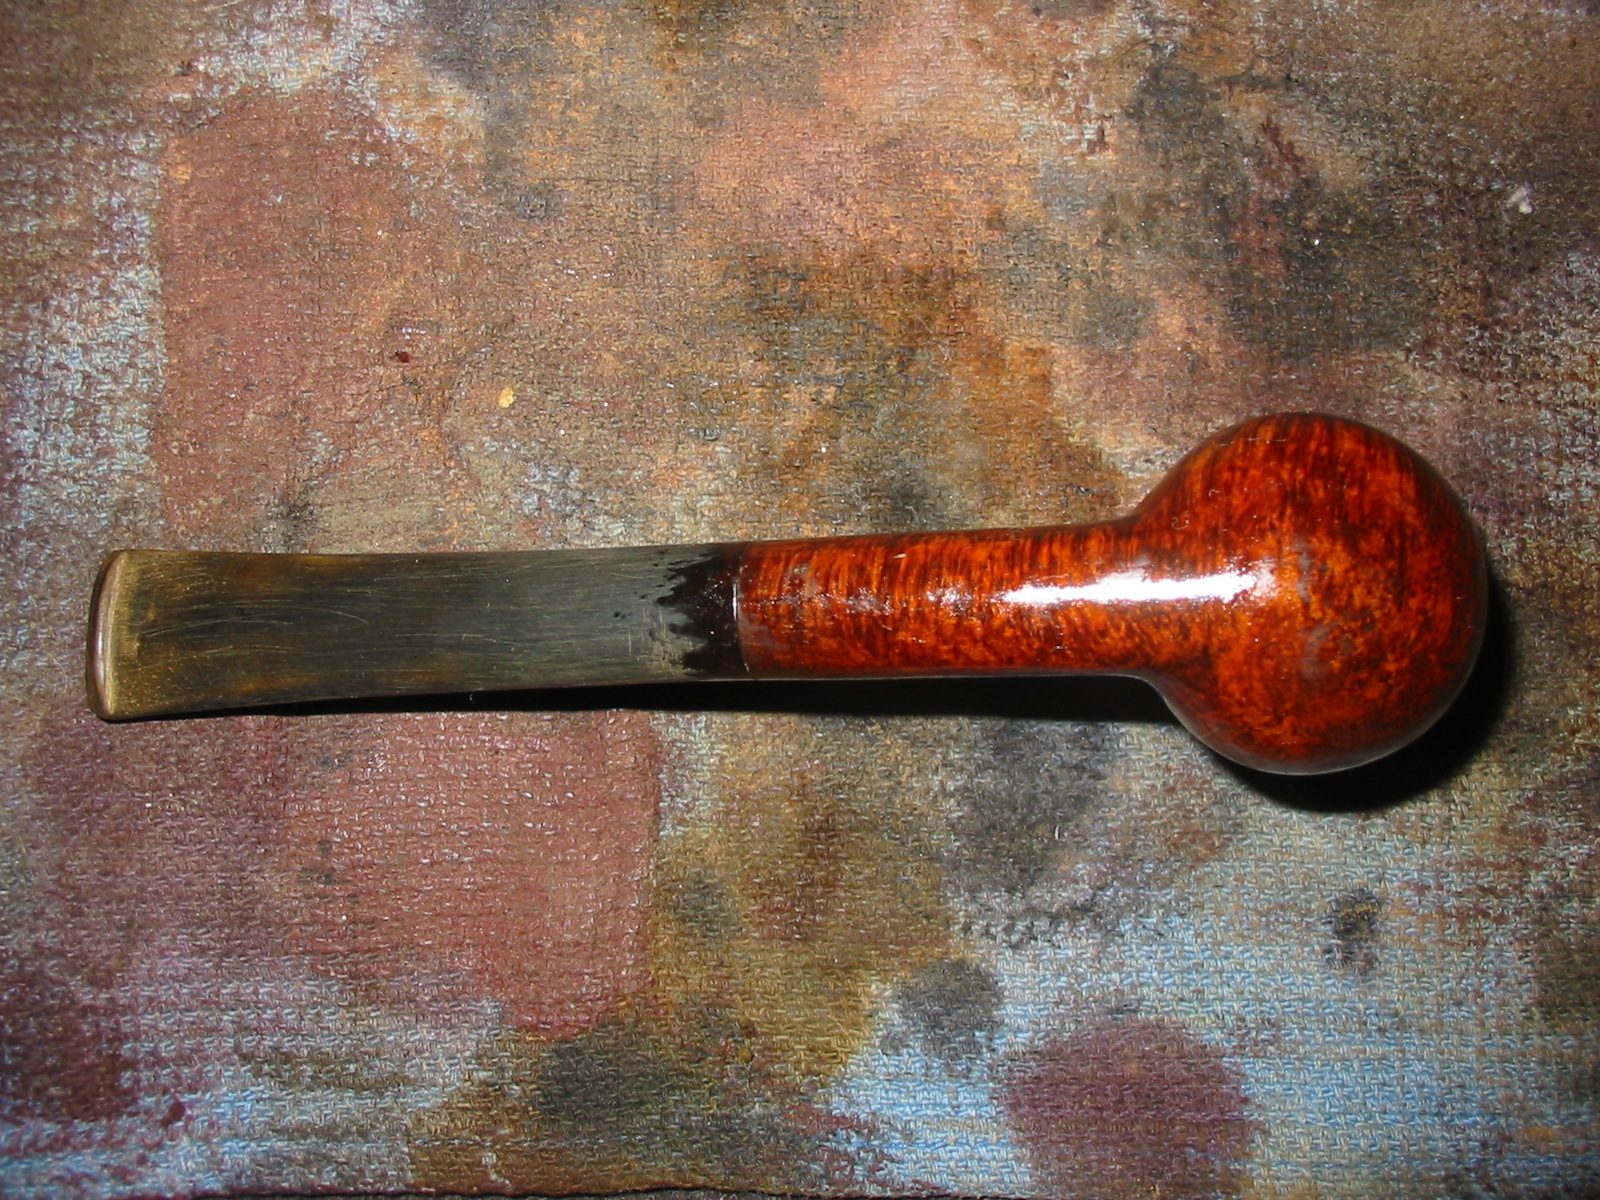
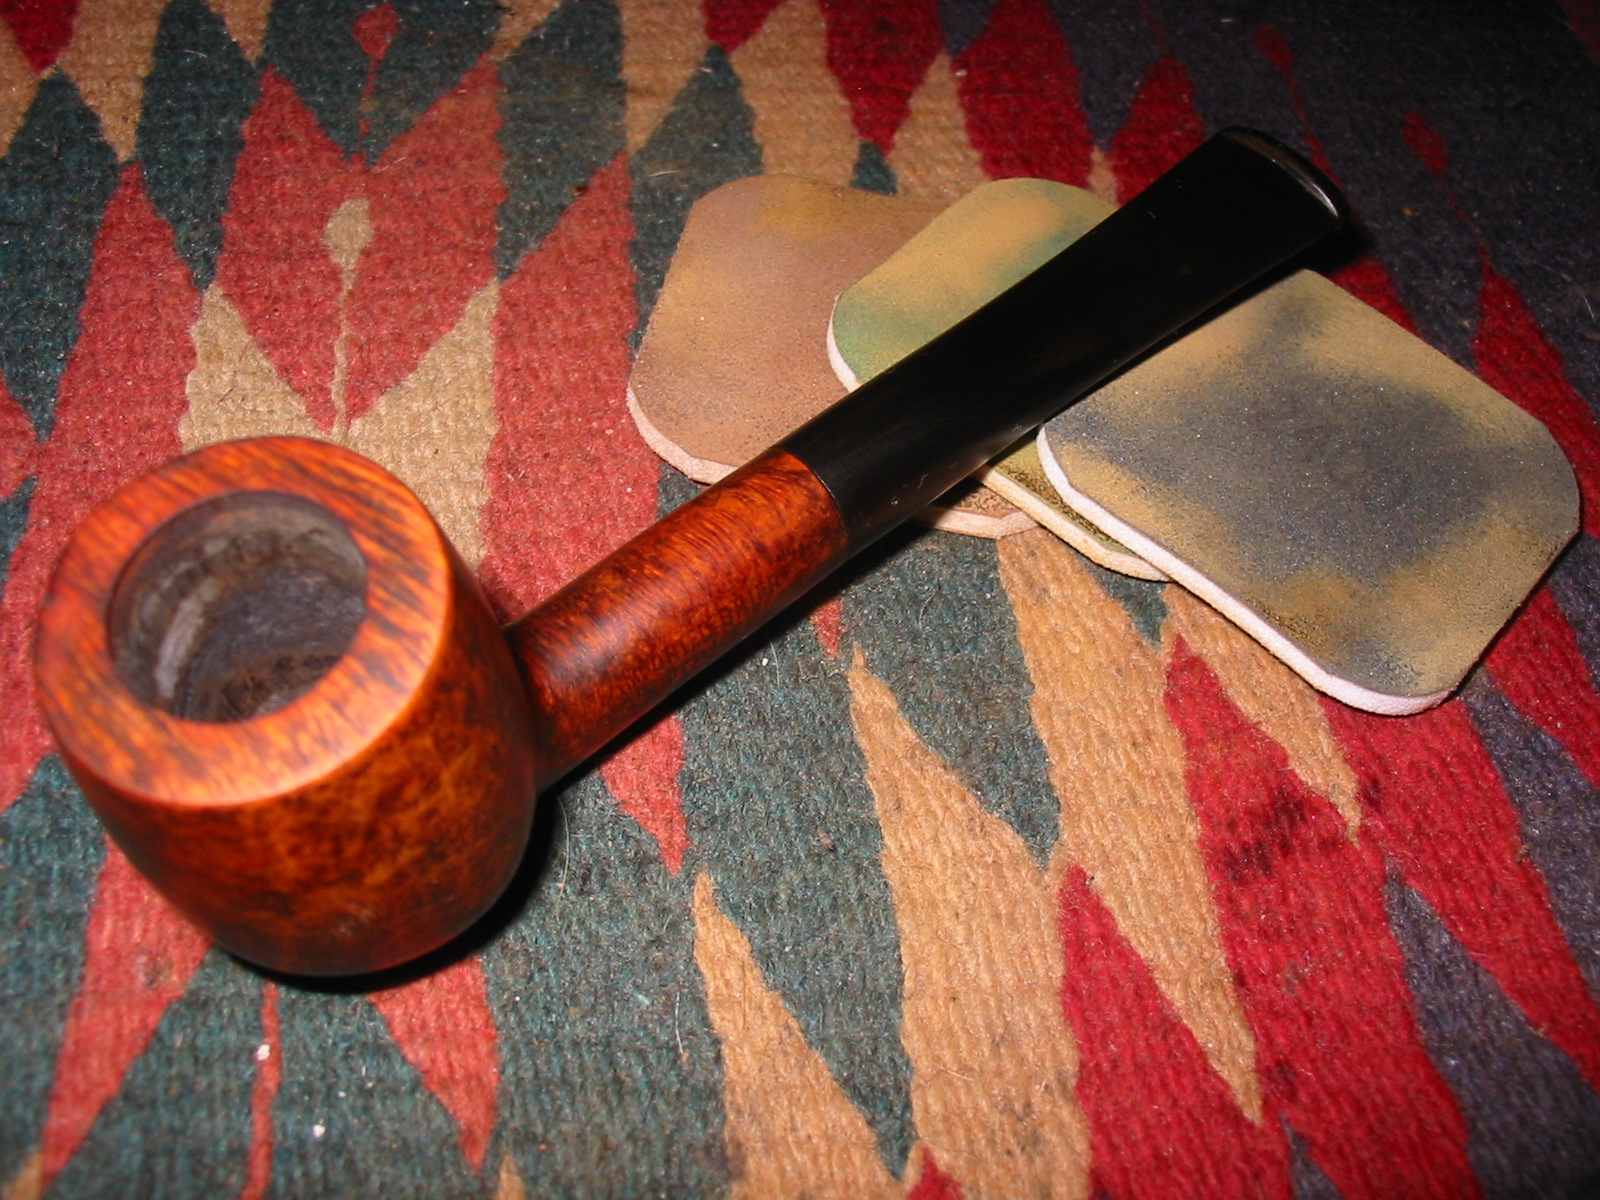
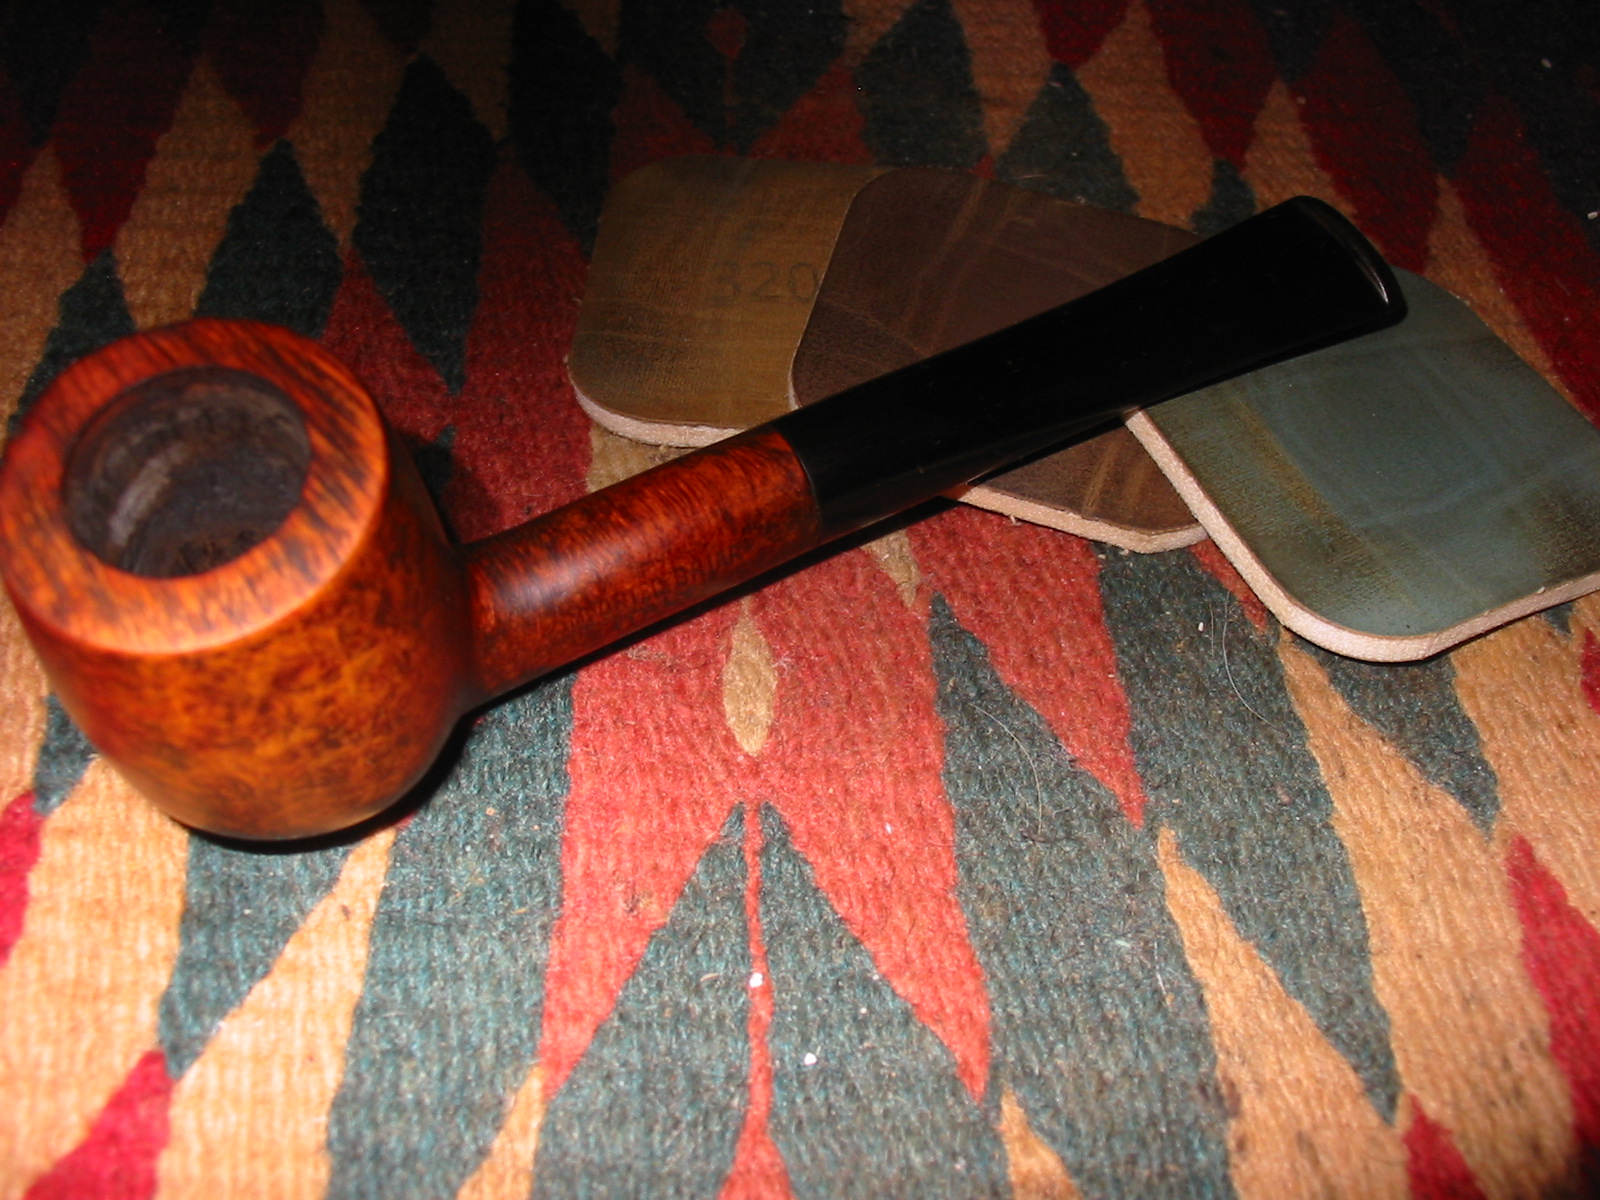
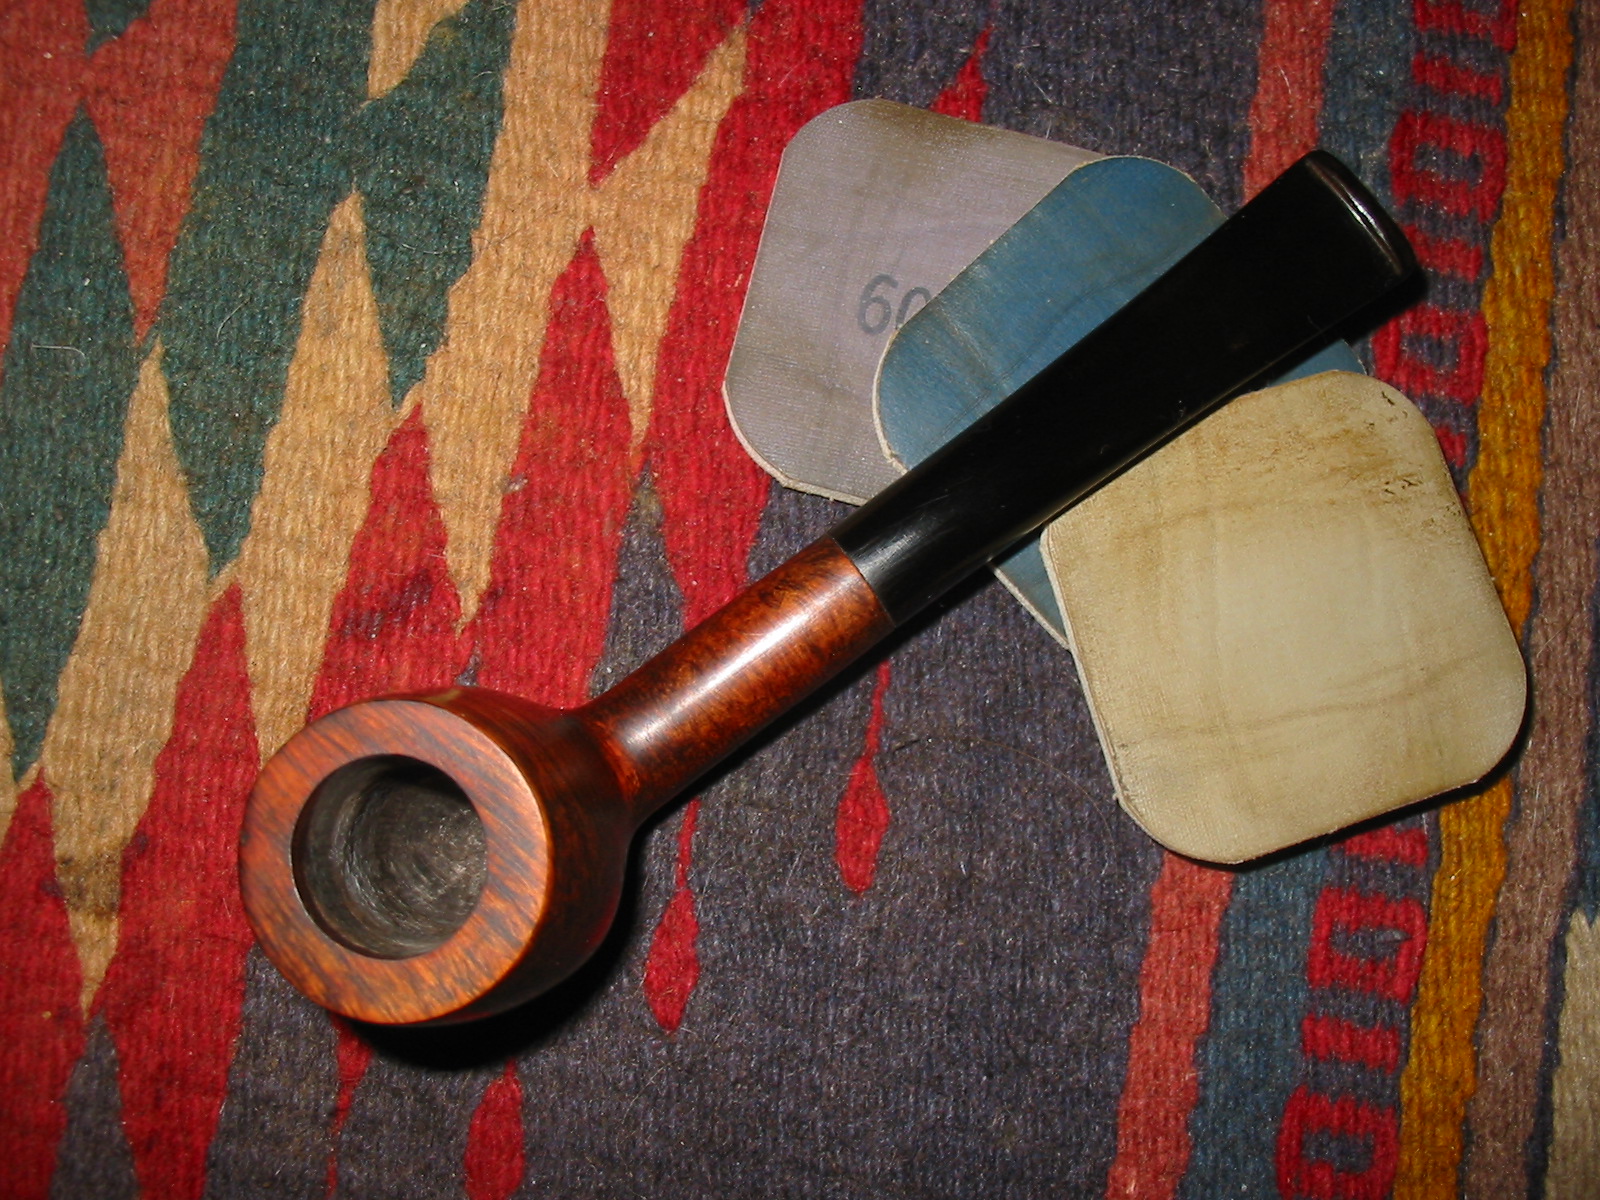
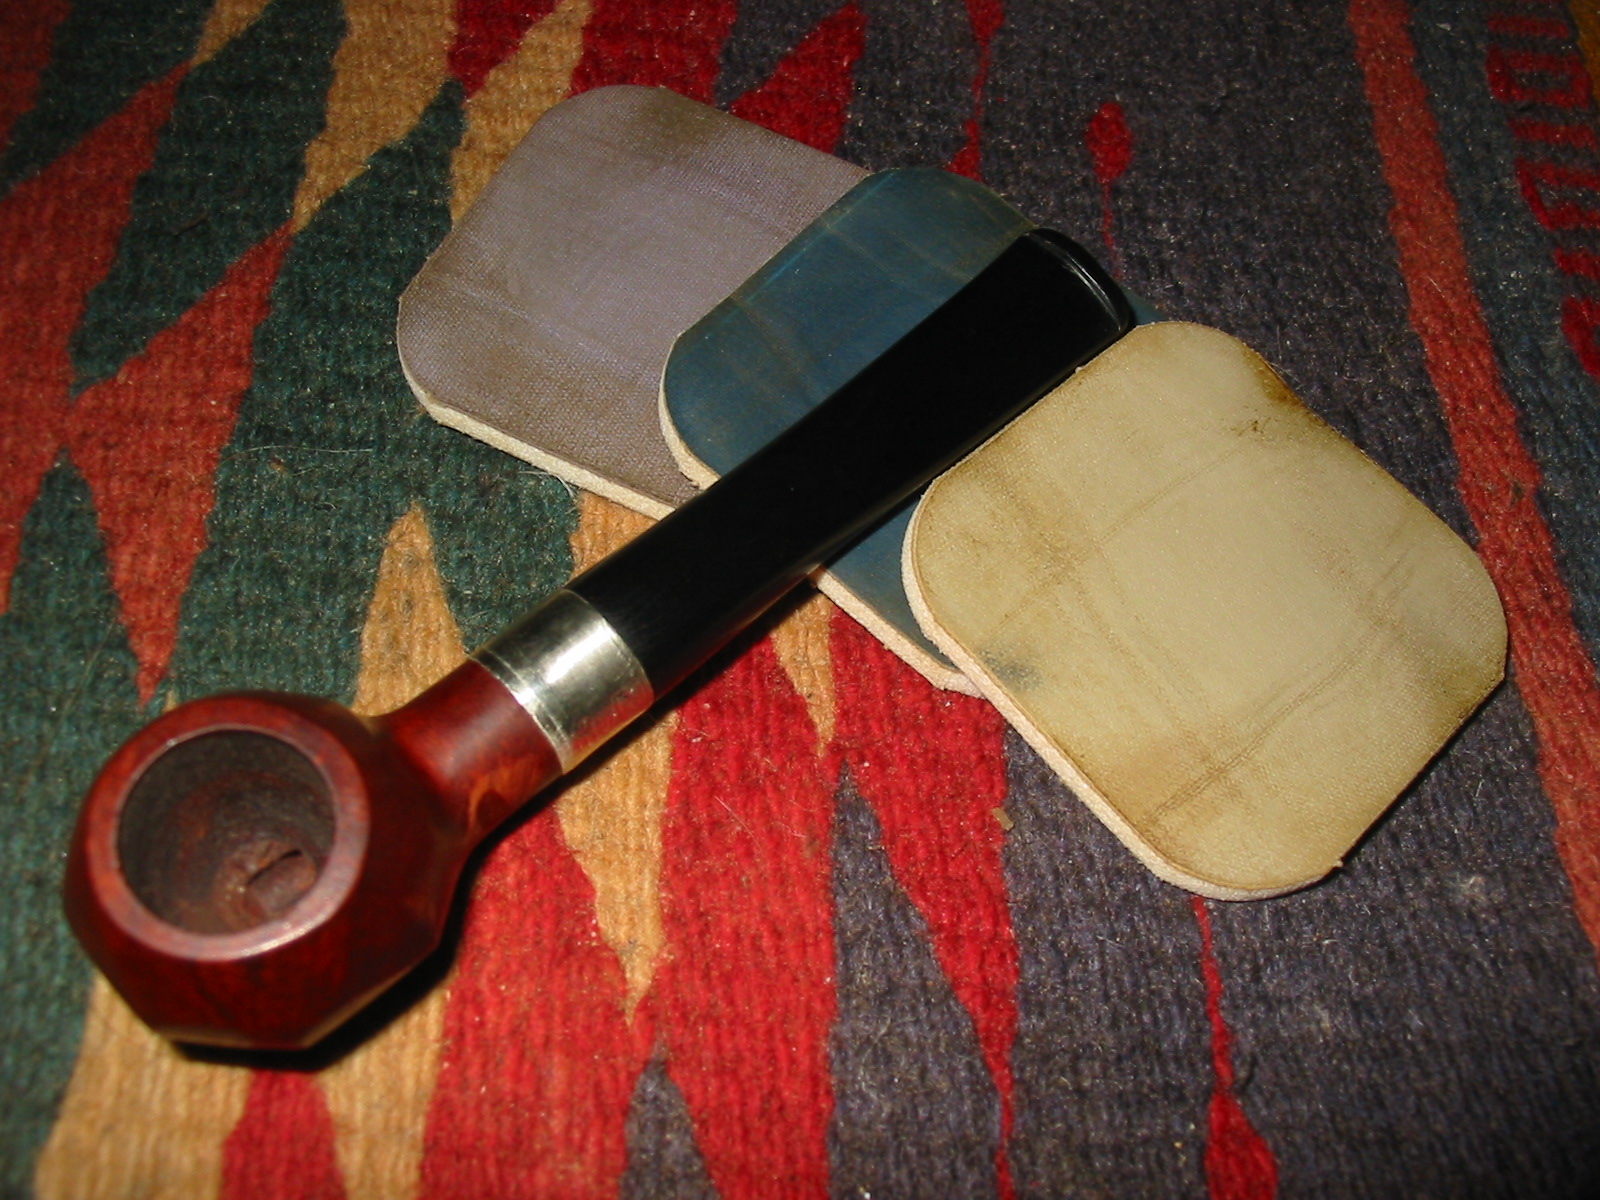
I sanded the bowl and stem with micromesh sanding pads to bring out the shine. I wet sanded the stem with 1500-2400 grit pads and then dry sanded the bowl and stem with 3200- 4,000 grit pads. At that point I made a decision that some will like and others will hate.
IMG_3387

IMG_3388

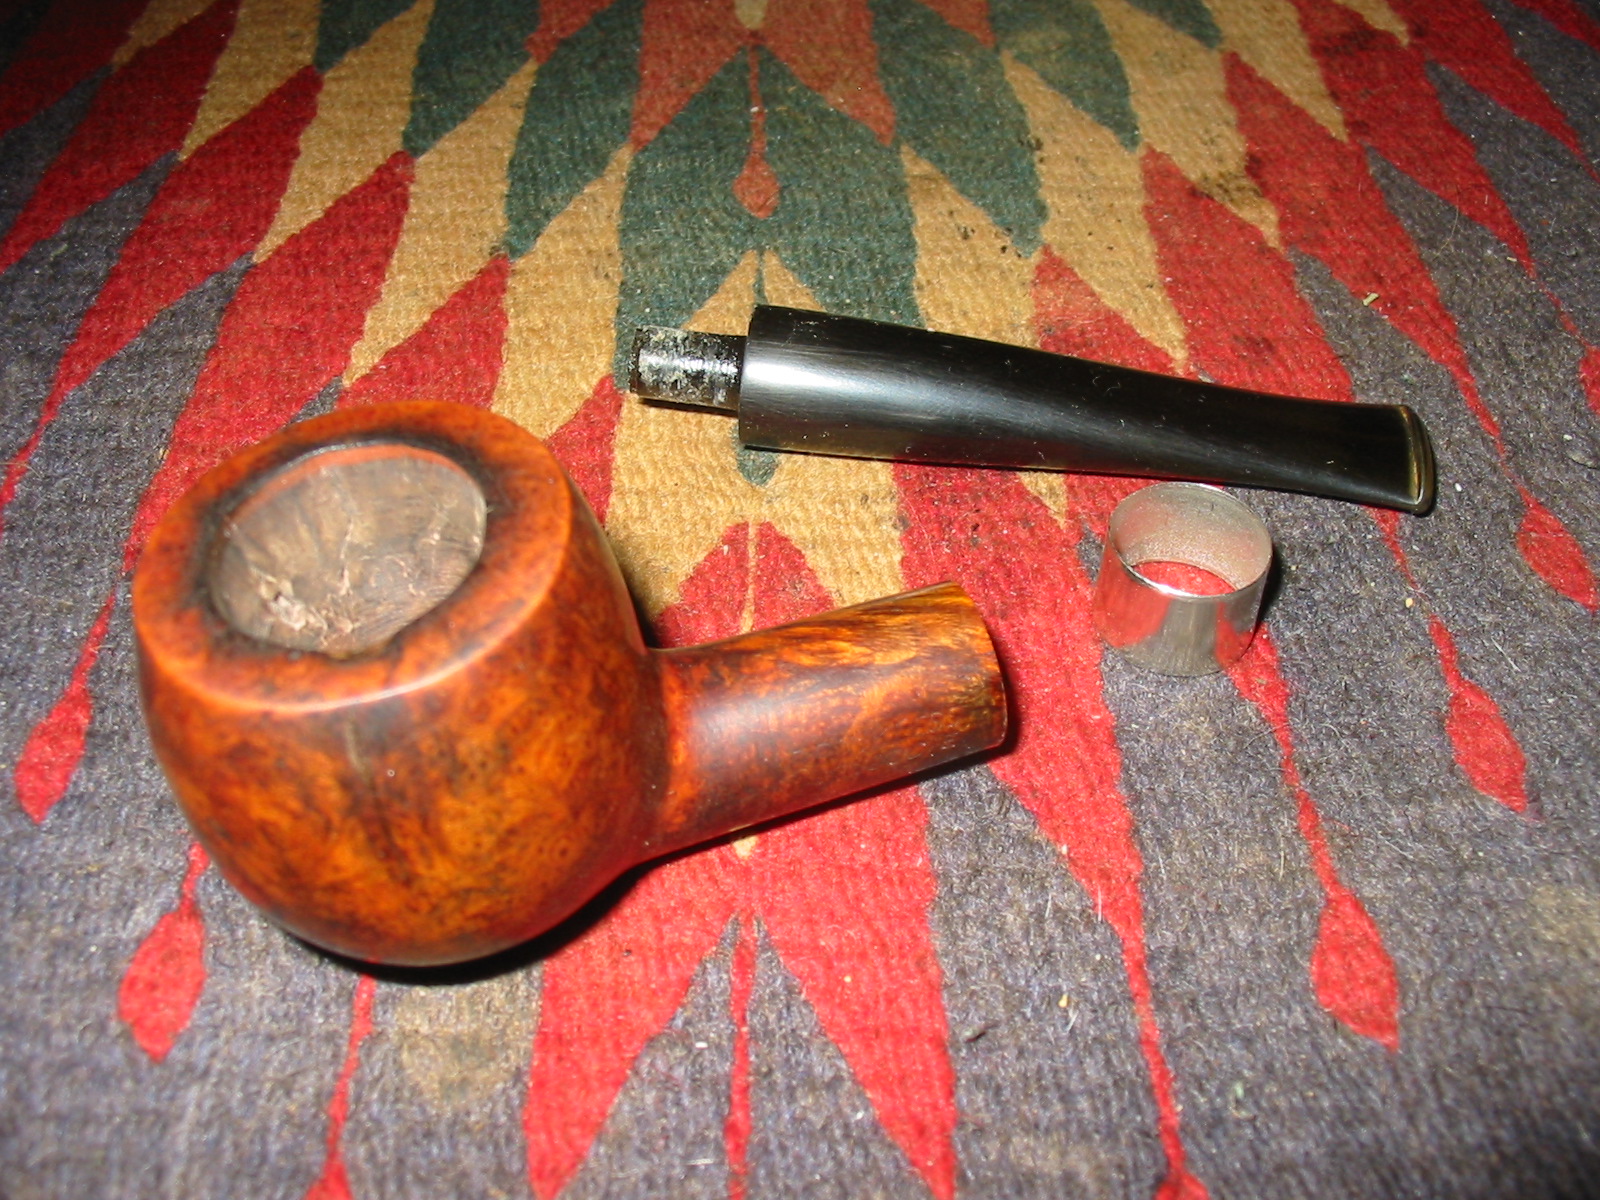
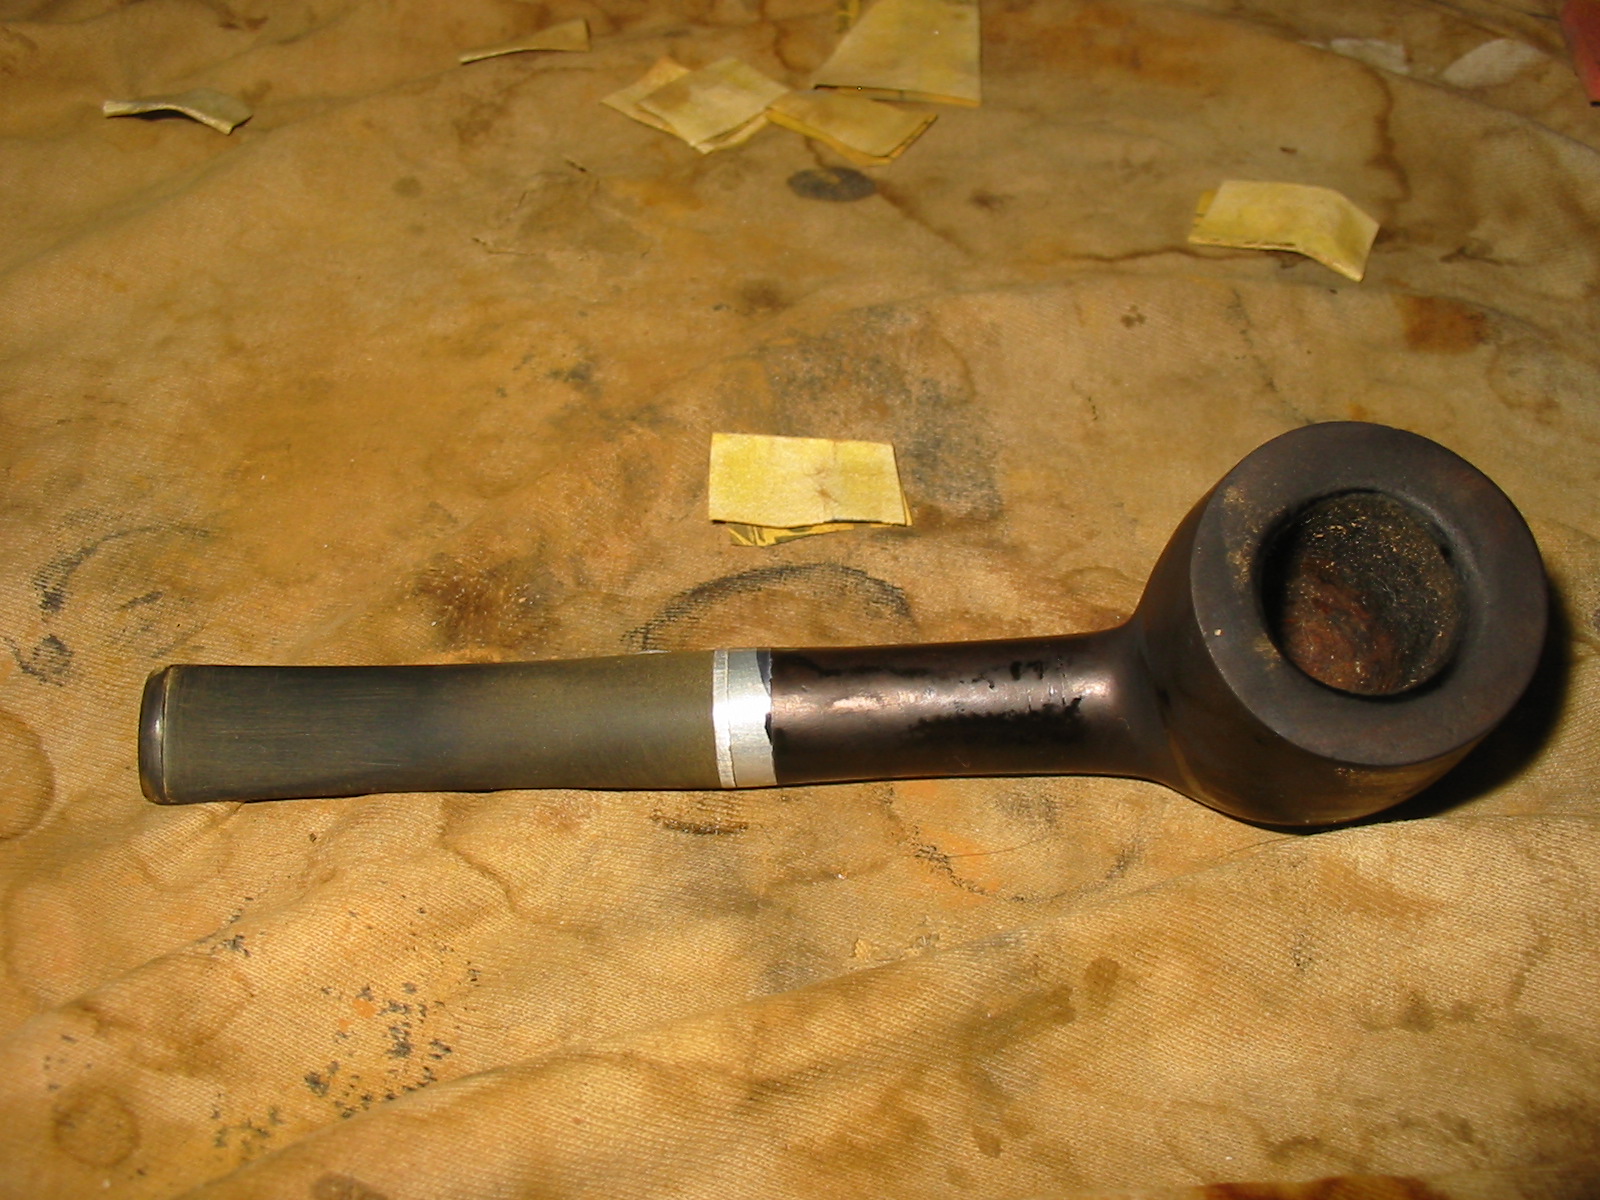
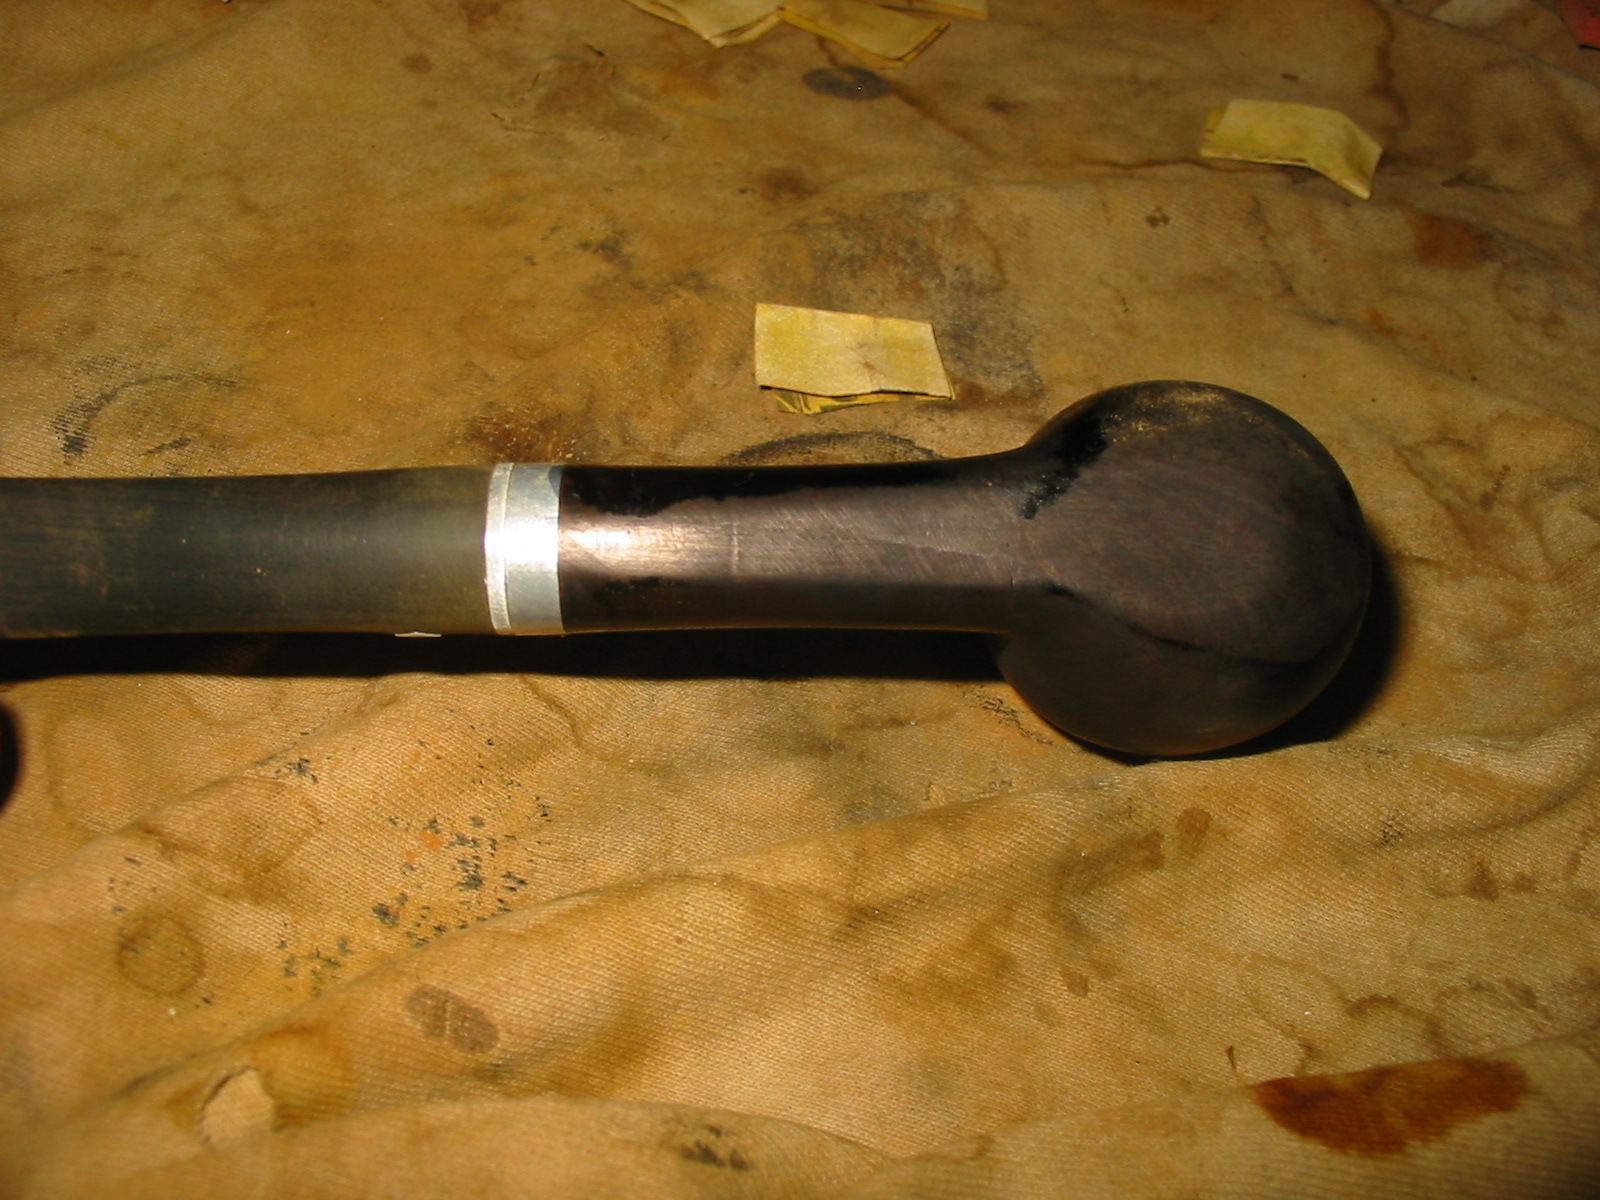
I took out my box of nickel bands and found one that would fit the shank. I took the photo below with the band next to the pipe to symbolize the thinking process that went into this decision. I put the band against the shank and the stem next to it to see how it looked. I looked at the faint stamping and the fact that is was a non-collectible pipe anyway due to my stem modifications and decided to give it a go.
IMG_3389

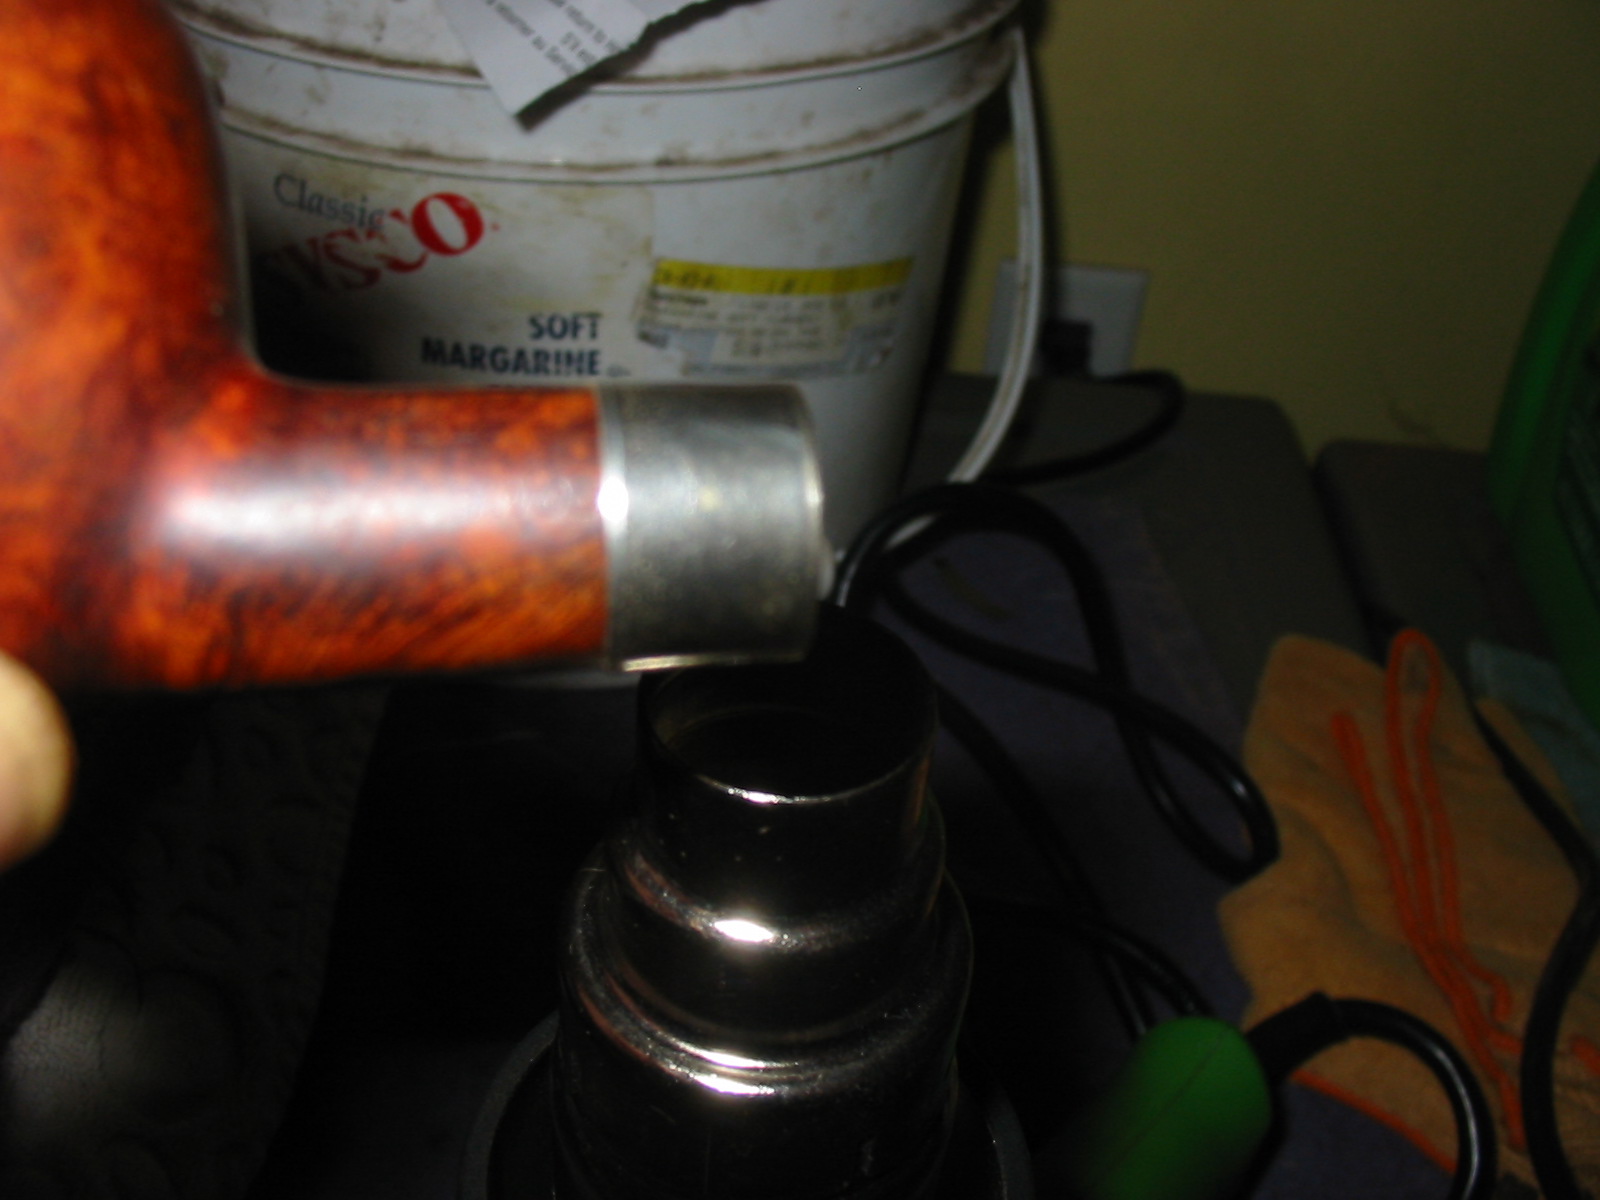
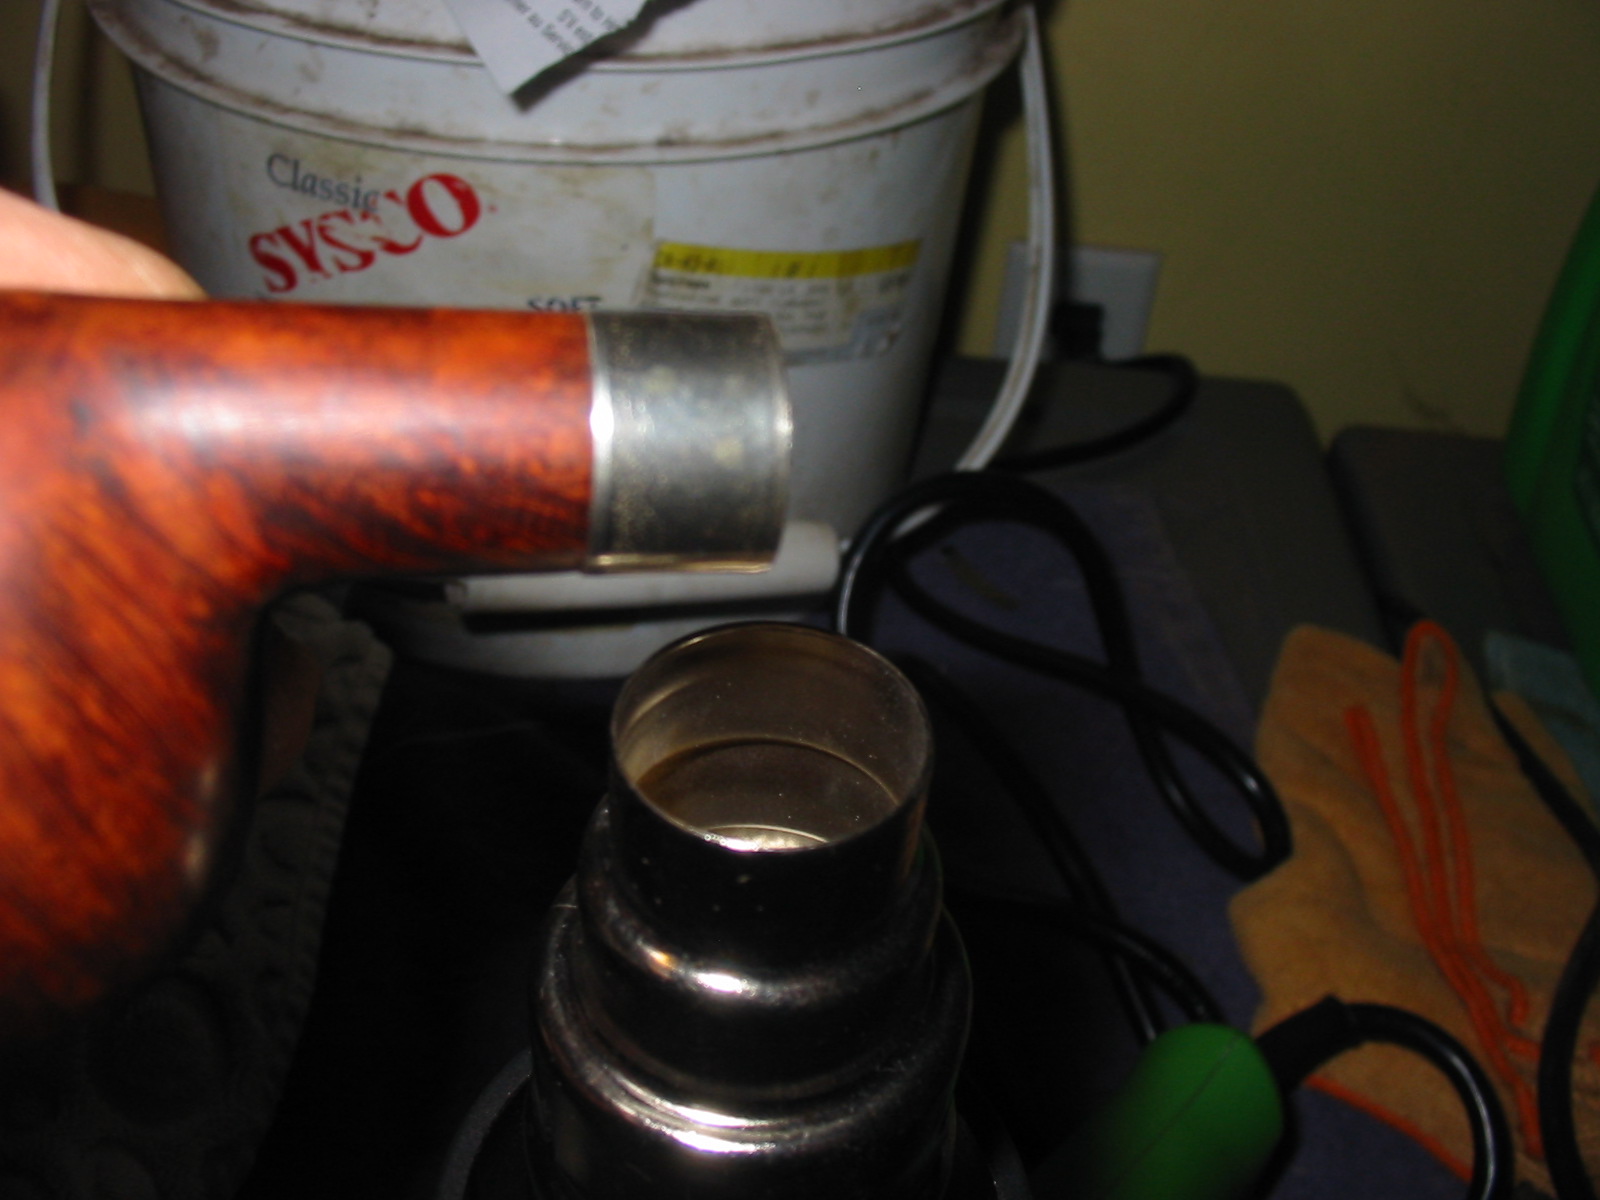
I put the band on the end of the shank. For those banding a pipe shank pay attention to the diameter of the band – the end that goes on the shank is slightly larger than the end the faces the stem. I took the pipe and heated the band with a heat gun and then pressed it into place on the shank.
IMG_3390

IMG_3391

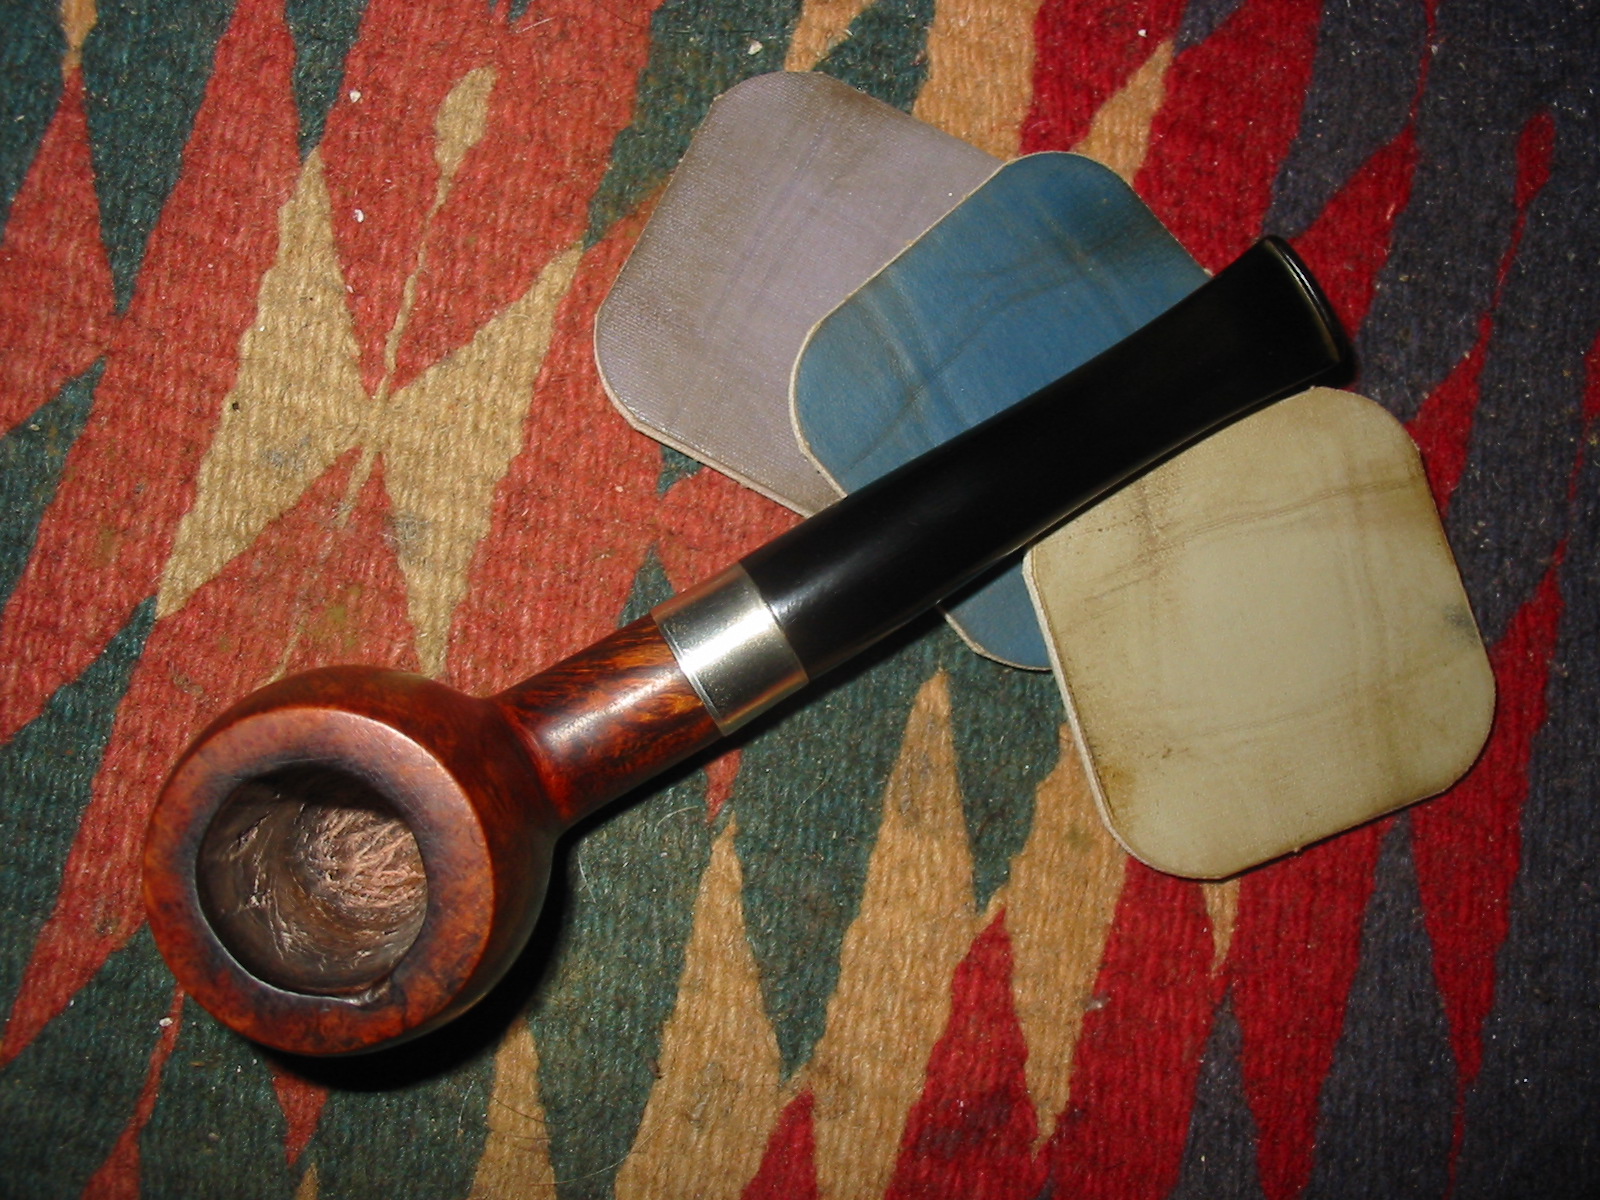
I took it back to the work table and finished sanding the stem and bowl with 6,000, 8,000 and 12,000 grit micromesh sanding pads. In the photo below the newly banded shank is visible. The band is solely cosmetic as the shank was not cracked and the fit of the stem was perfect. I liked the added bling on this pipe quite a bit.
IMG_3393

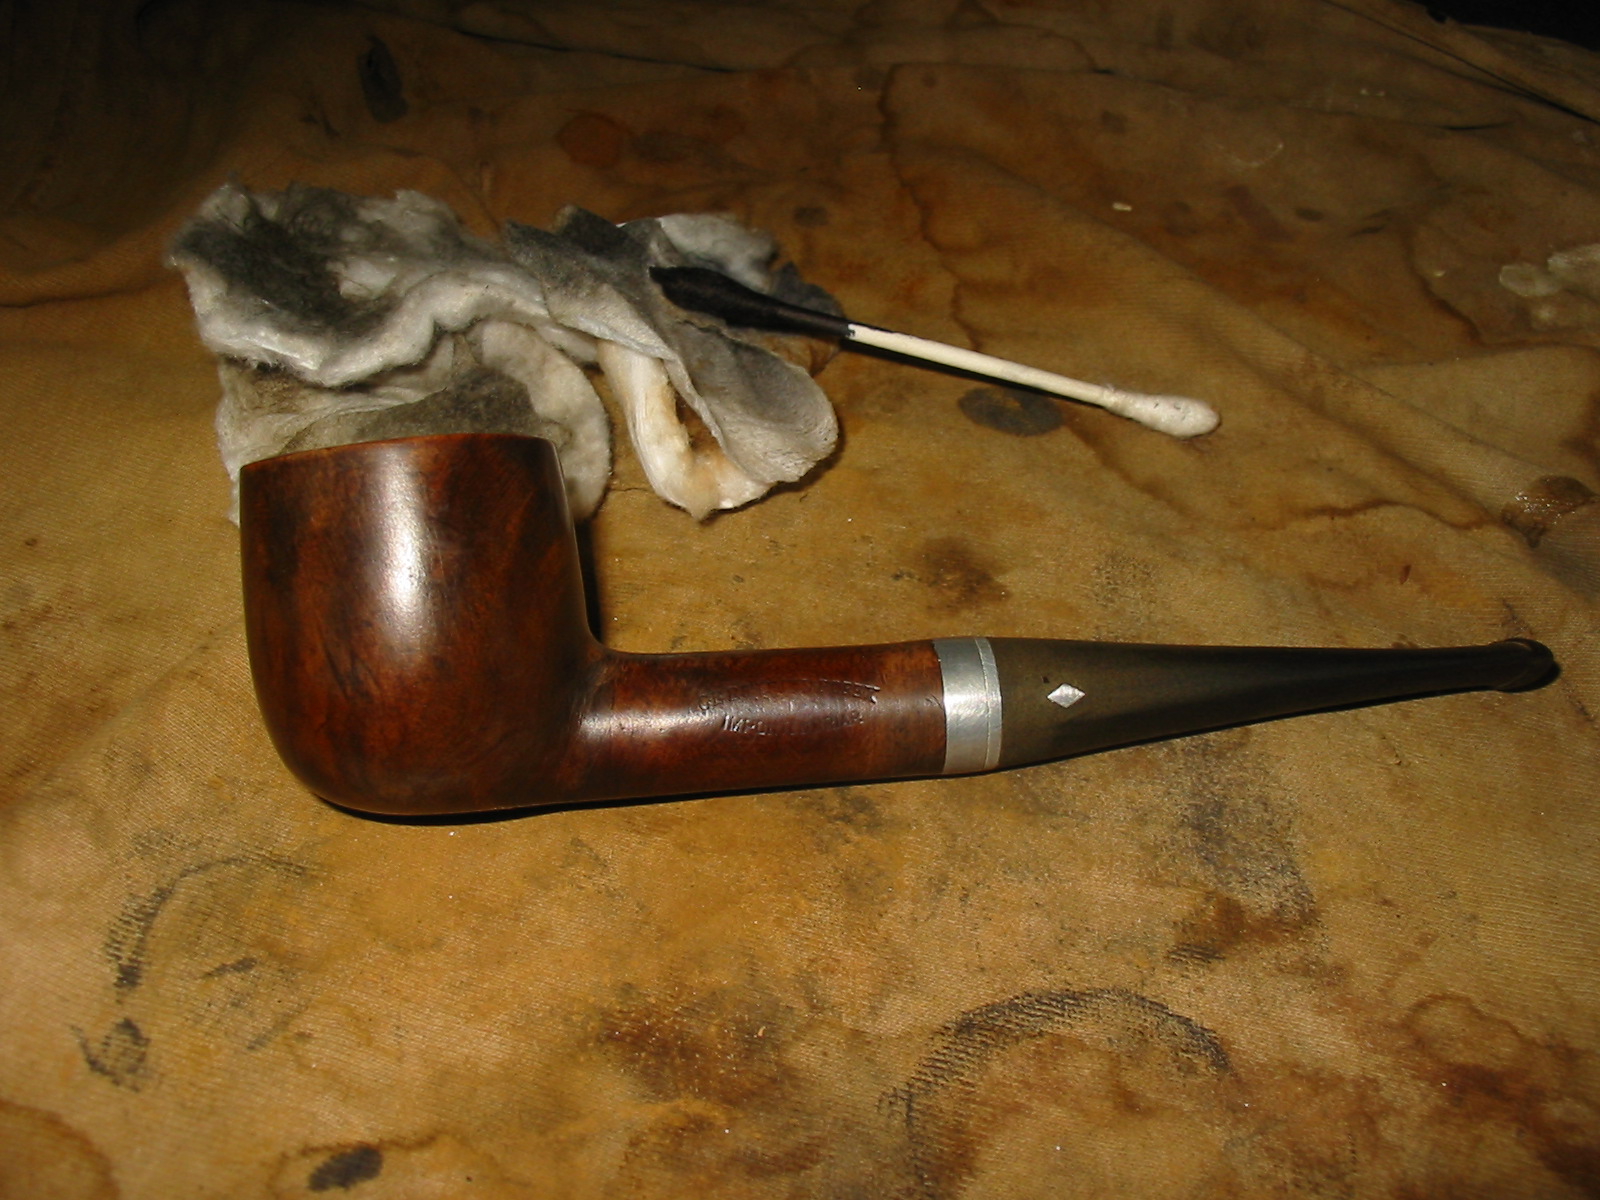
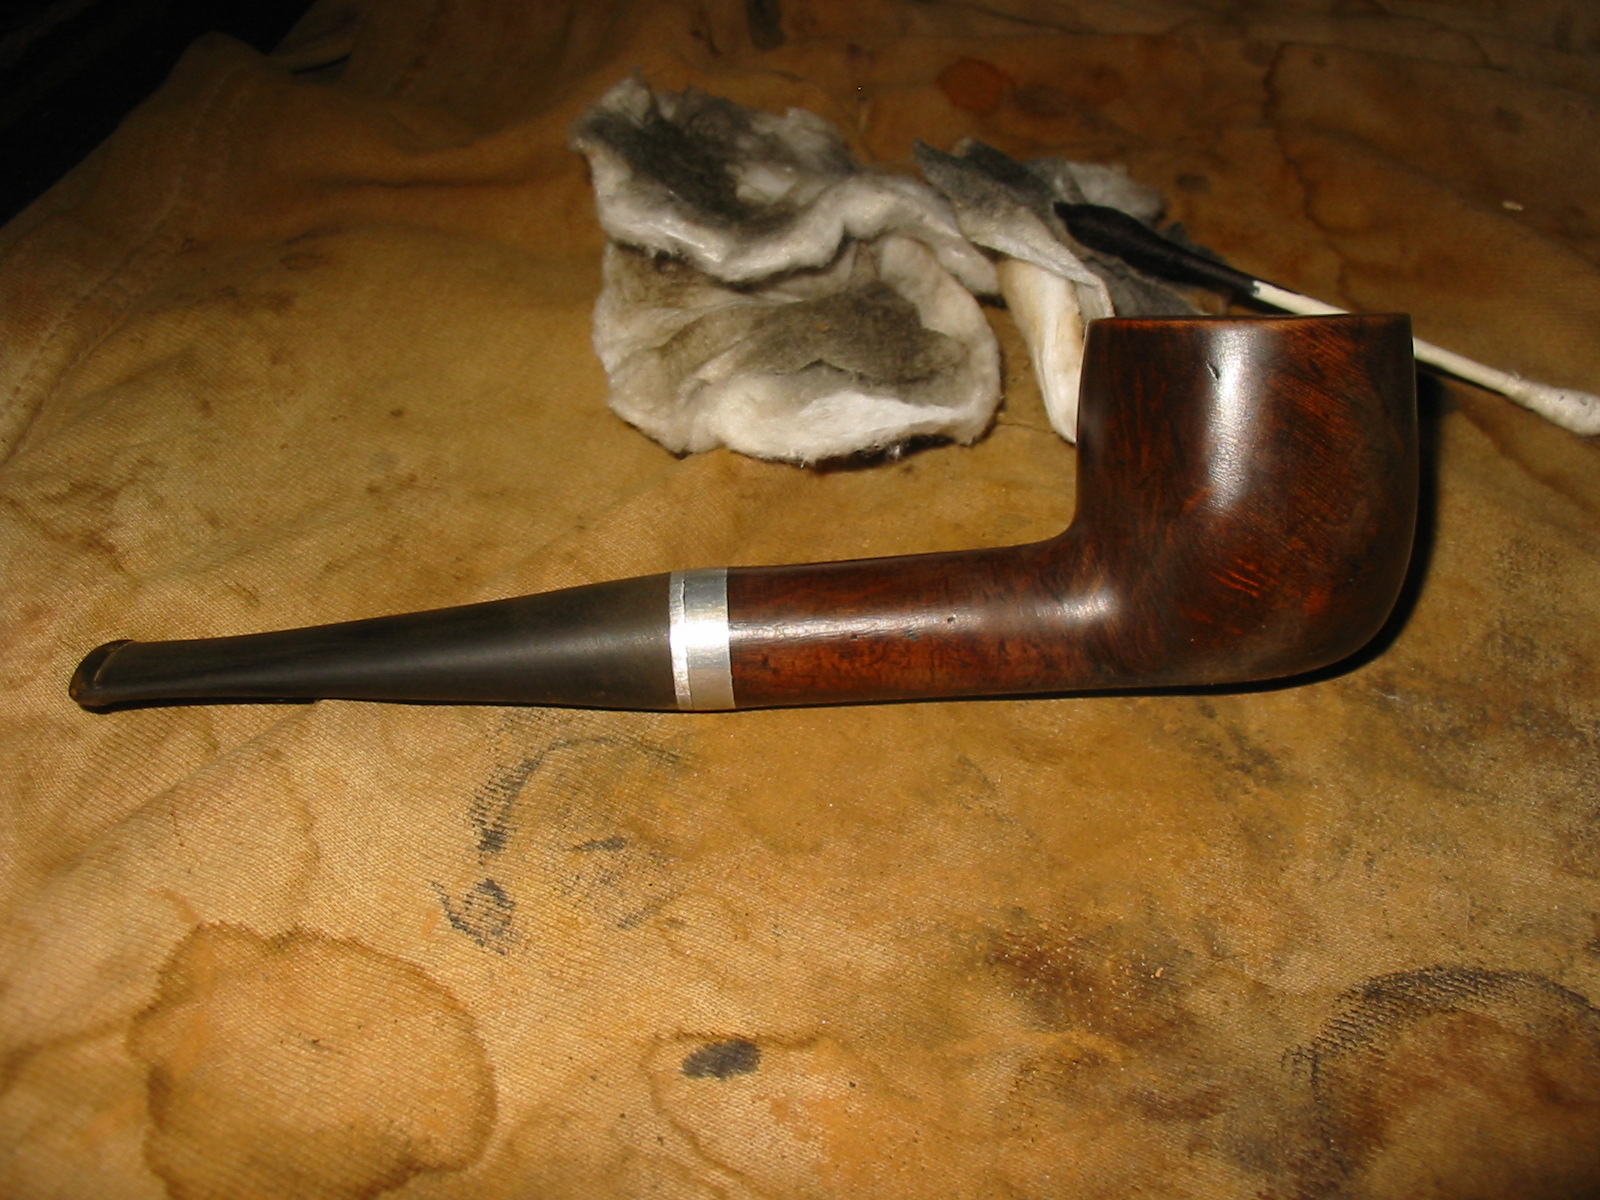
I wiped the stem down with Obsidian Oil and rubbed it into the surface of the vulcanite and then buffed the pipe with White Diamond. I avoid buffing the band as much as possible because it discolors the stem and the shank with the black residue caused by buffing the nickel. I then buffed the pipe with multiple coats of carnauba wax to protect and give a rich finish to the pipe. The finished pipe is shown below in the last four photos. The contrast stain worked well on this pipe. The flaws are there and visible but do not detract from the finish. The stem has a good glow with the lines of the pipe and the nickel band gives a nice polished look to the old pipe. Overall this experiment in repairs ended well. I like the finished look of the pipe and I learned a few new tricks along the way.
IMG_3398

IMG_3399

IMG_3400

IMG_3401

Reworking a No Name Brand Italian Billiard


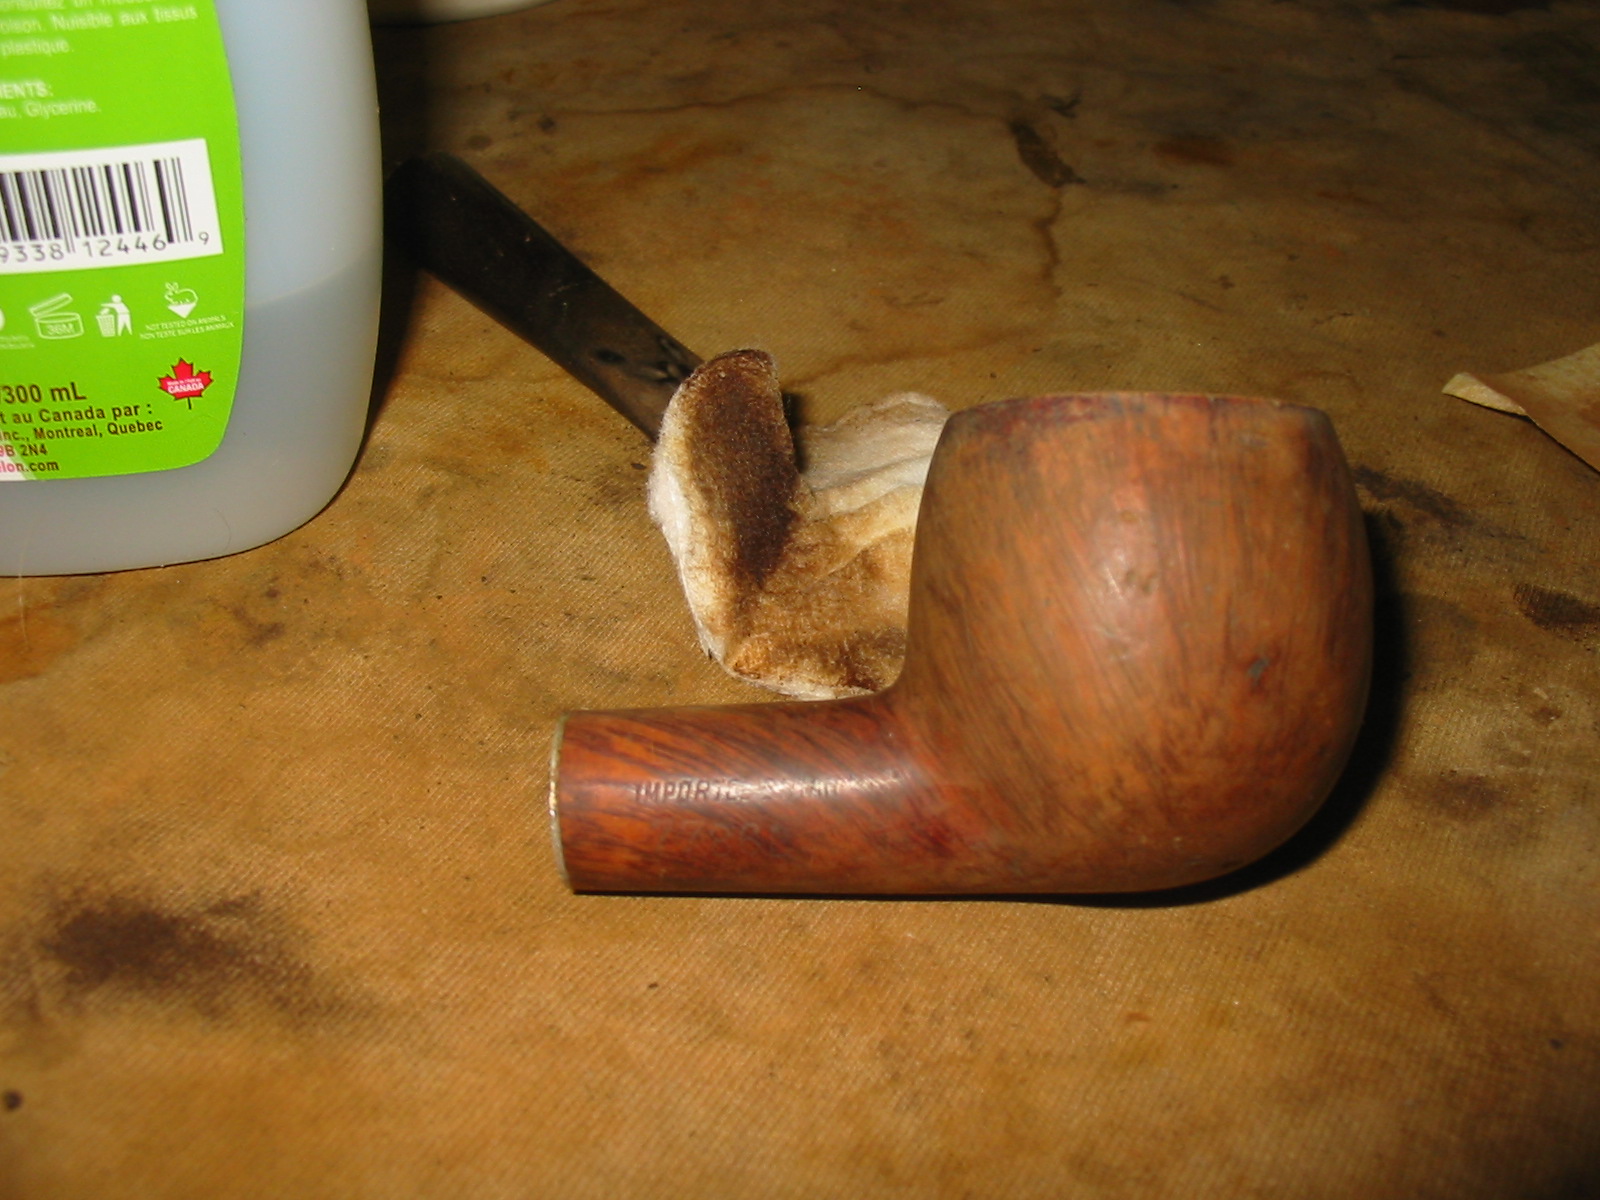
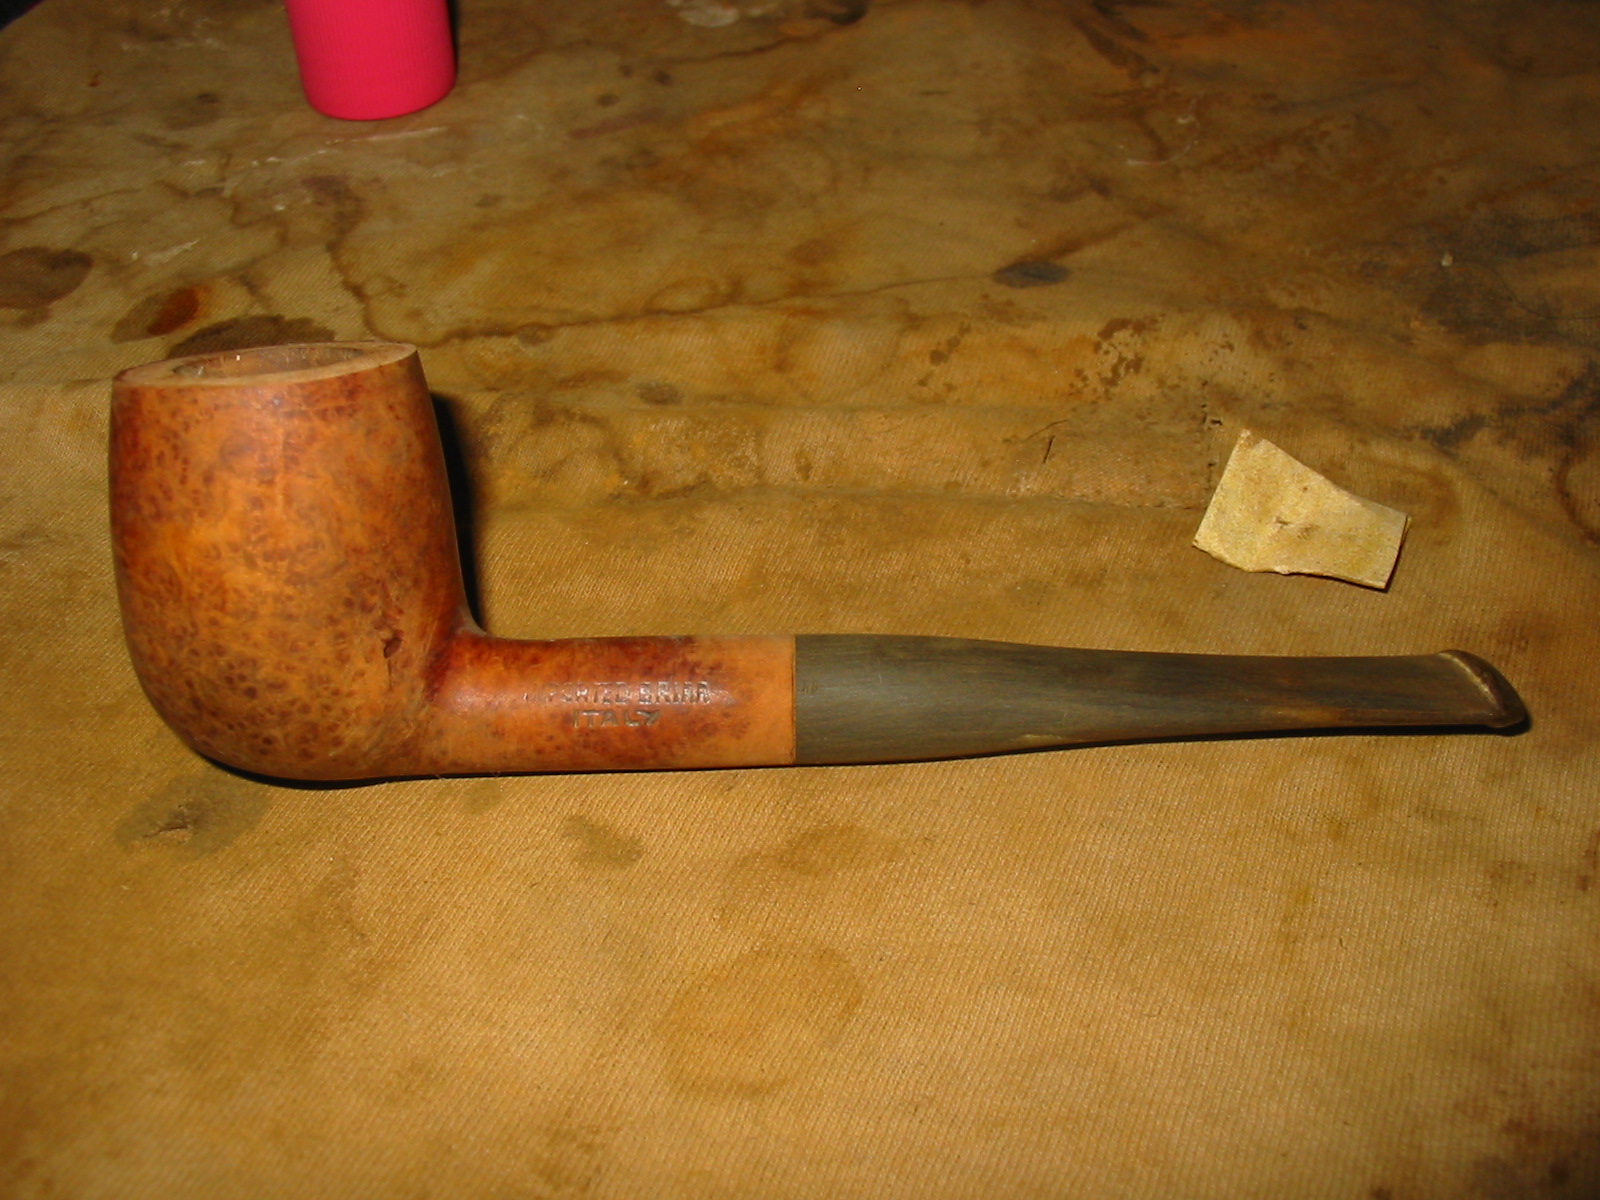
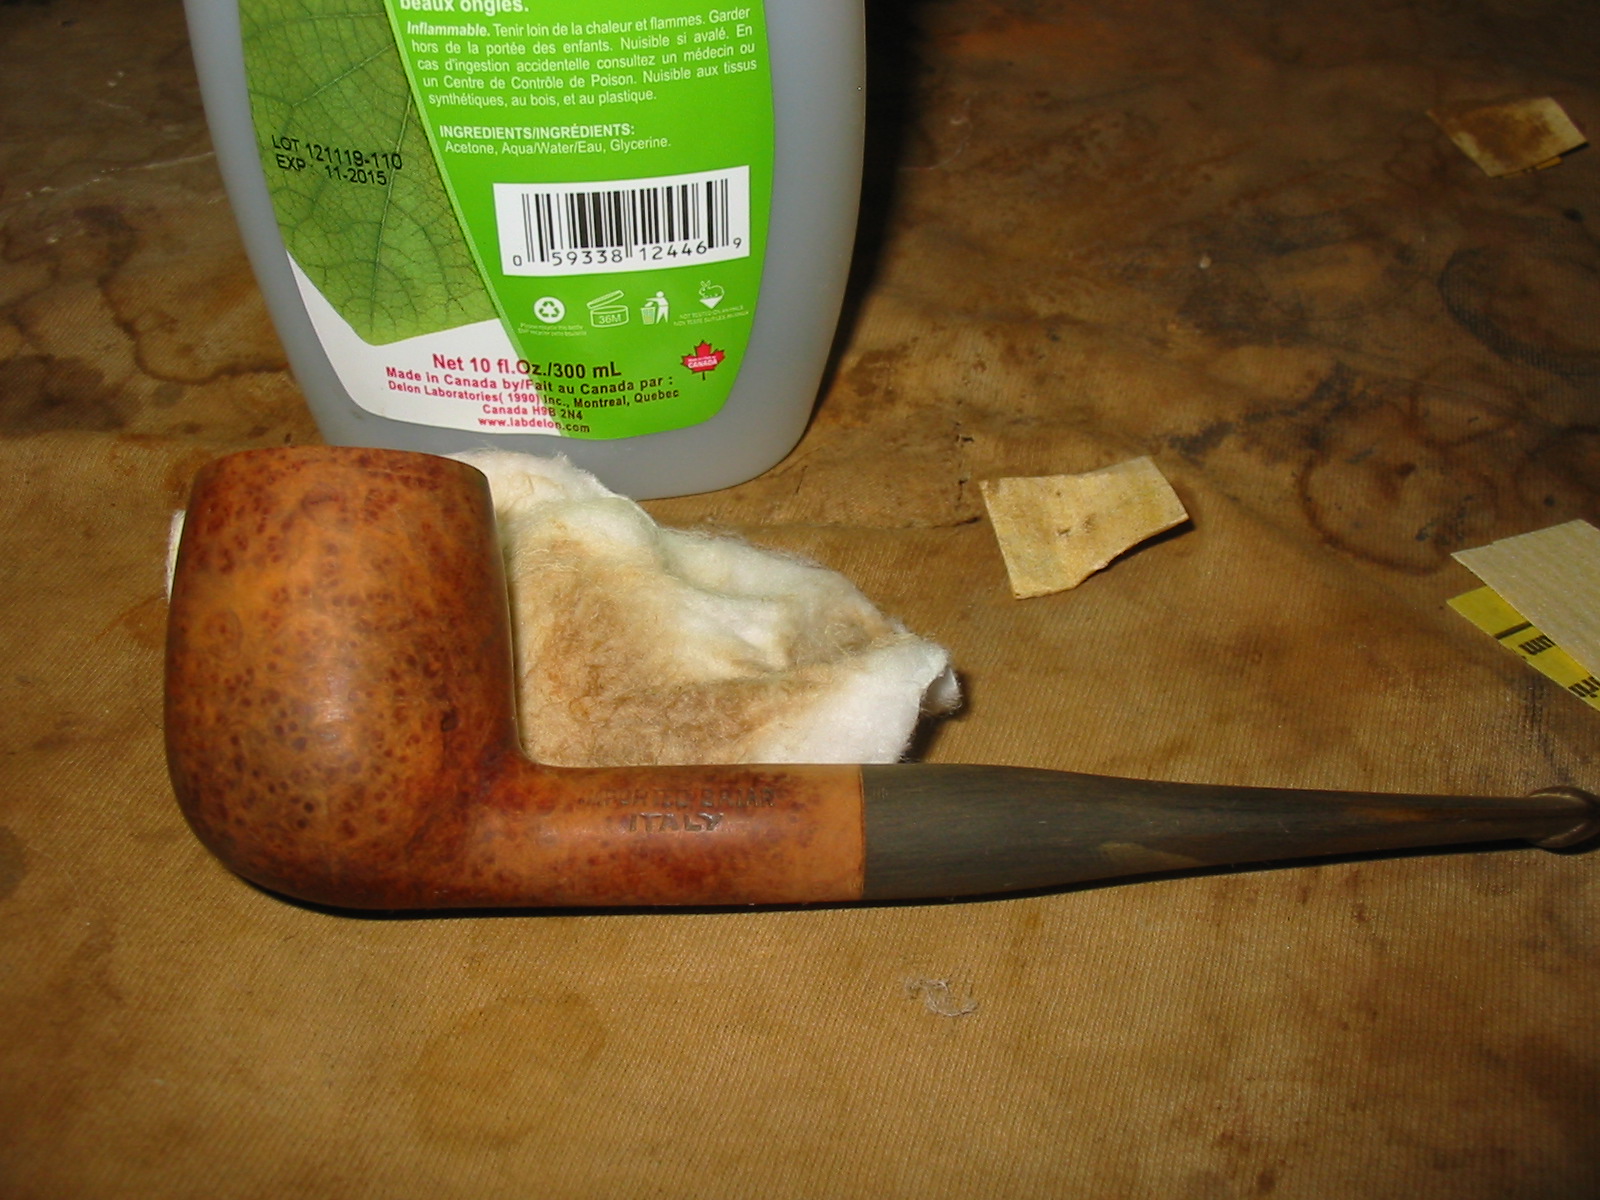
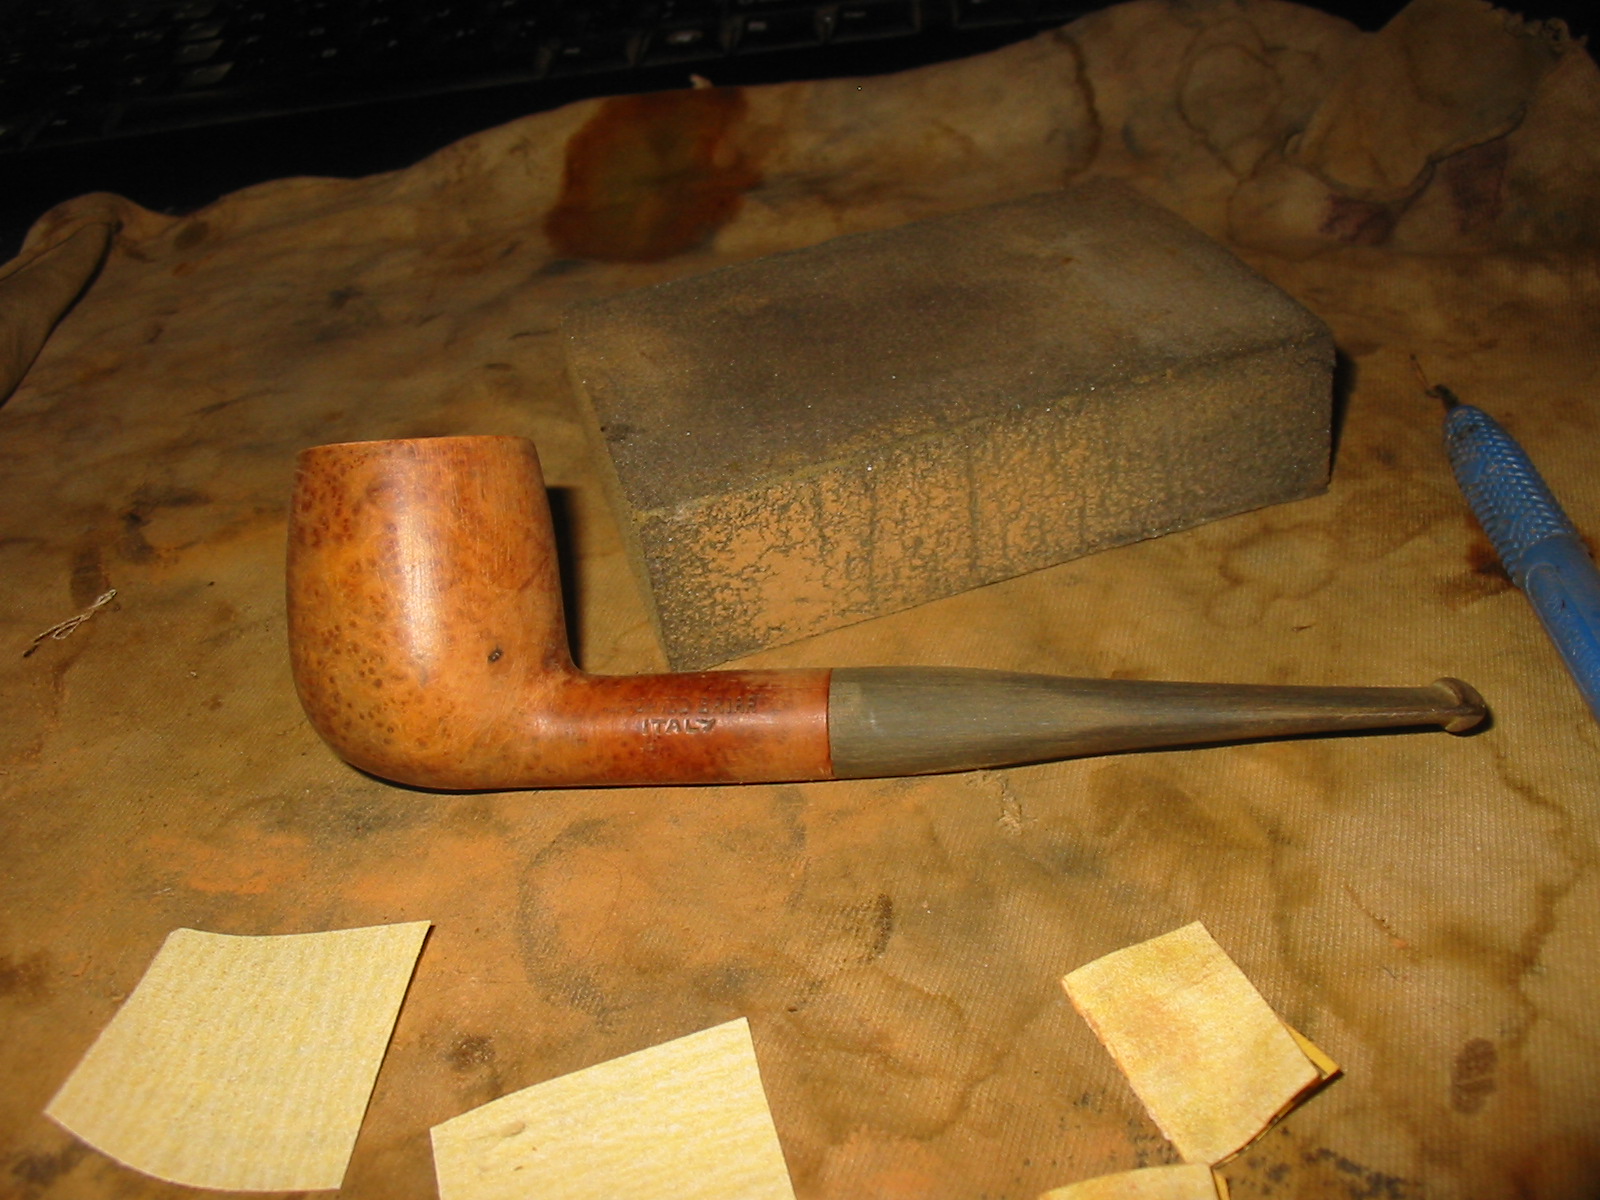
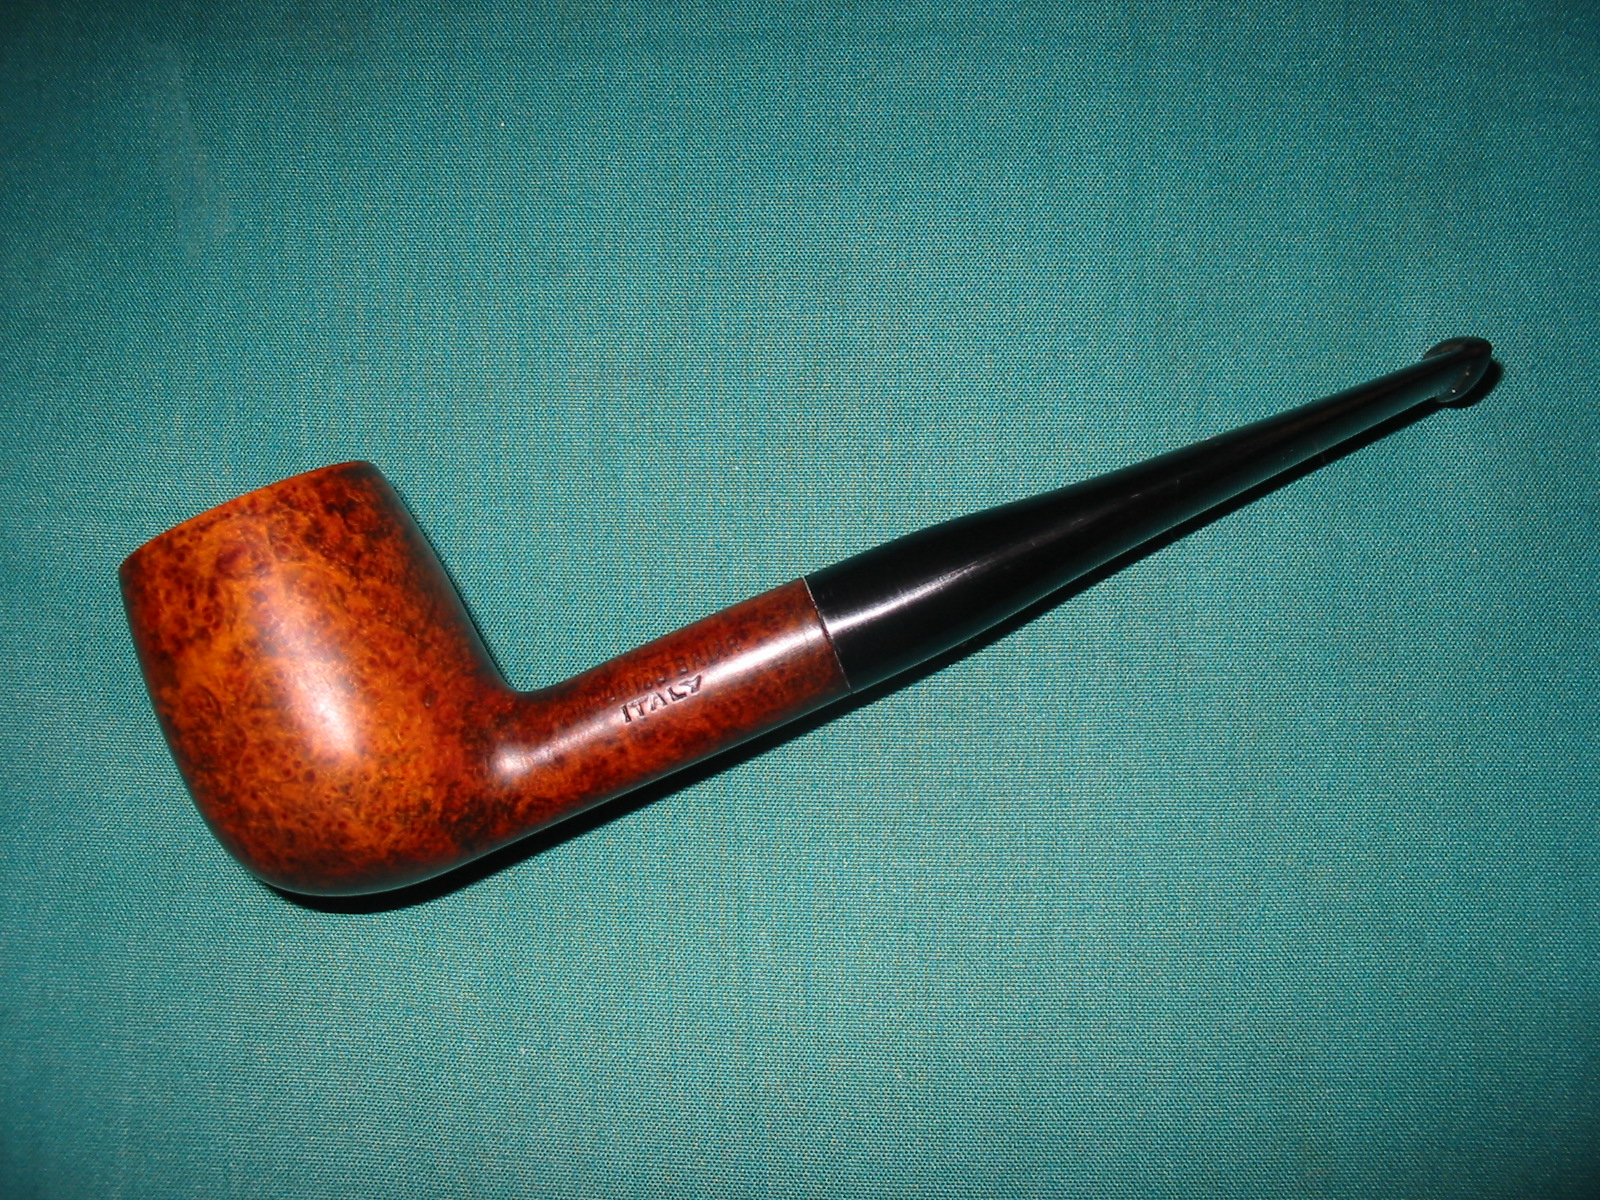
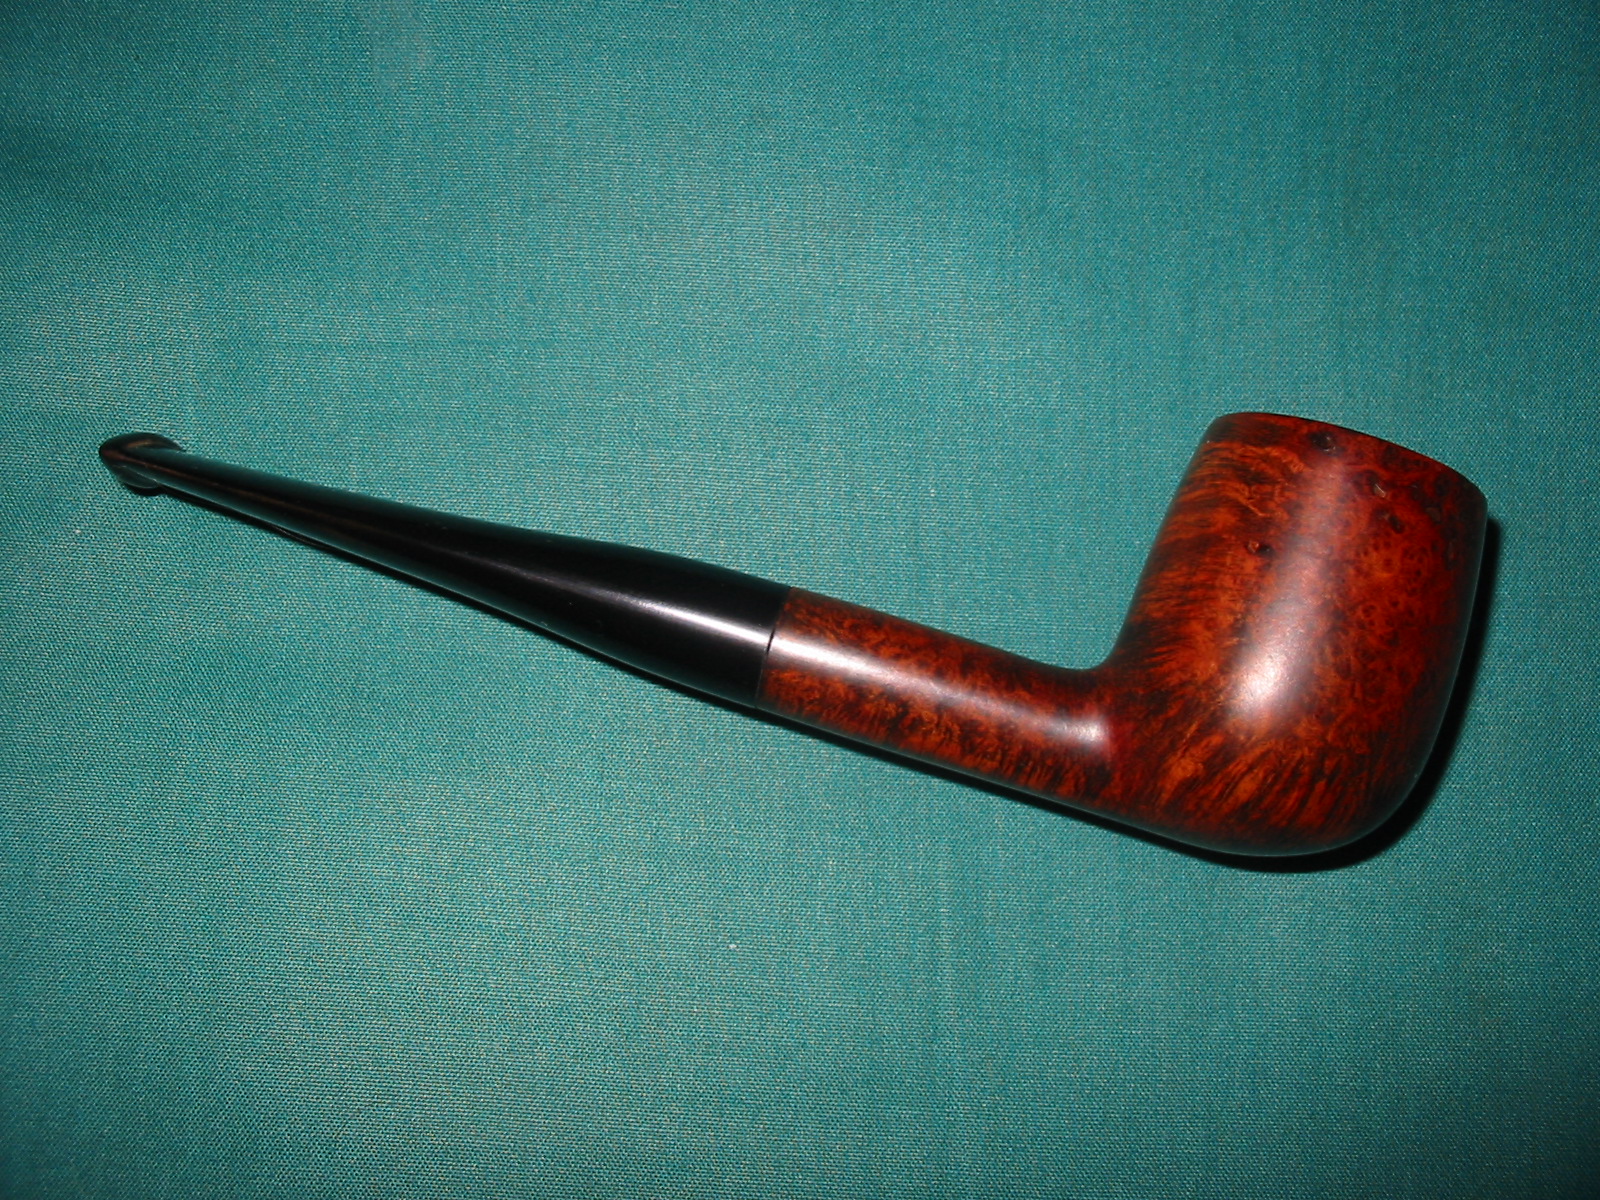
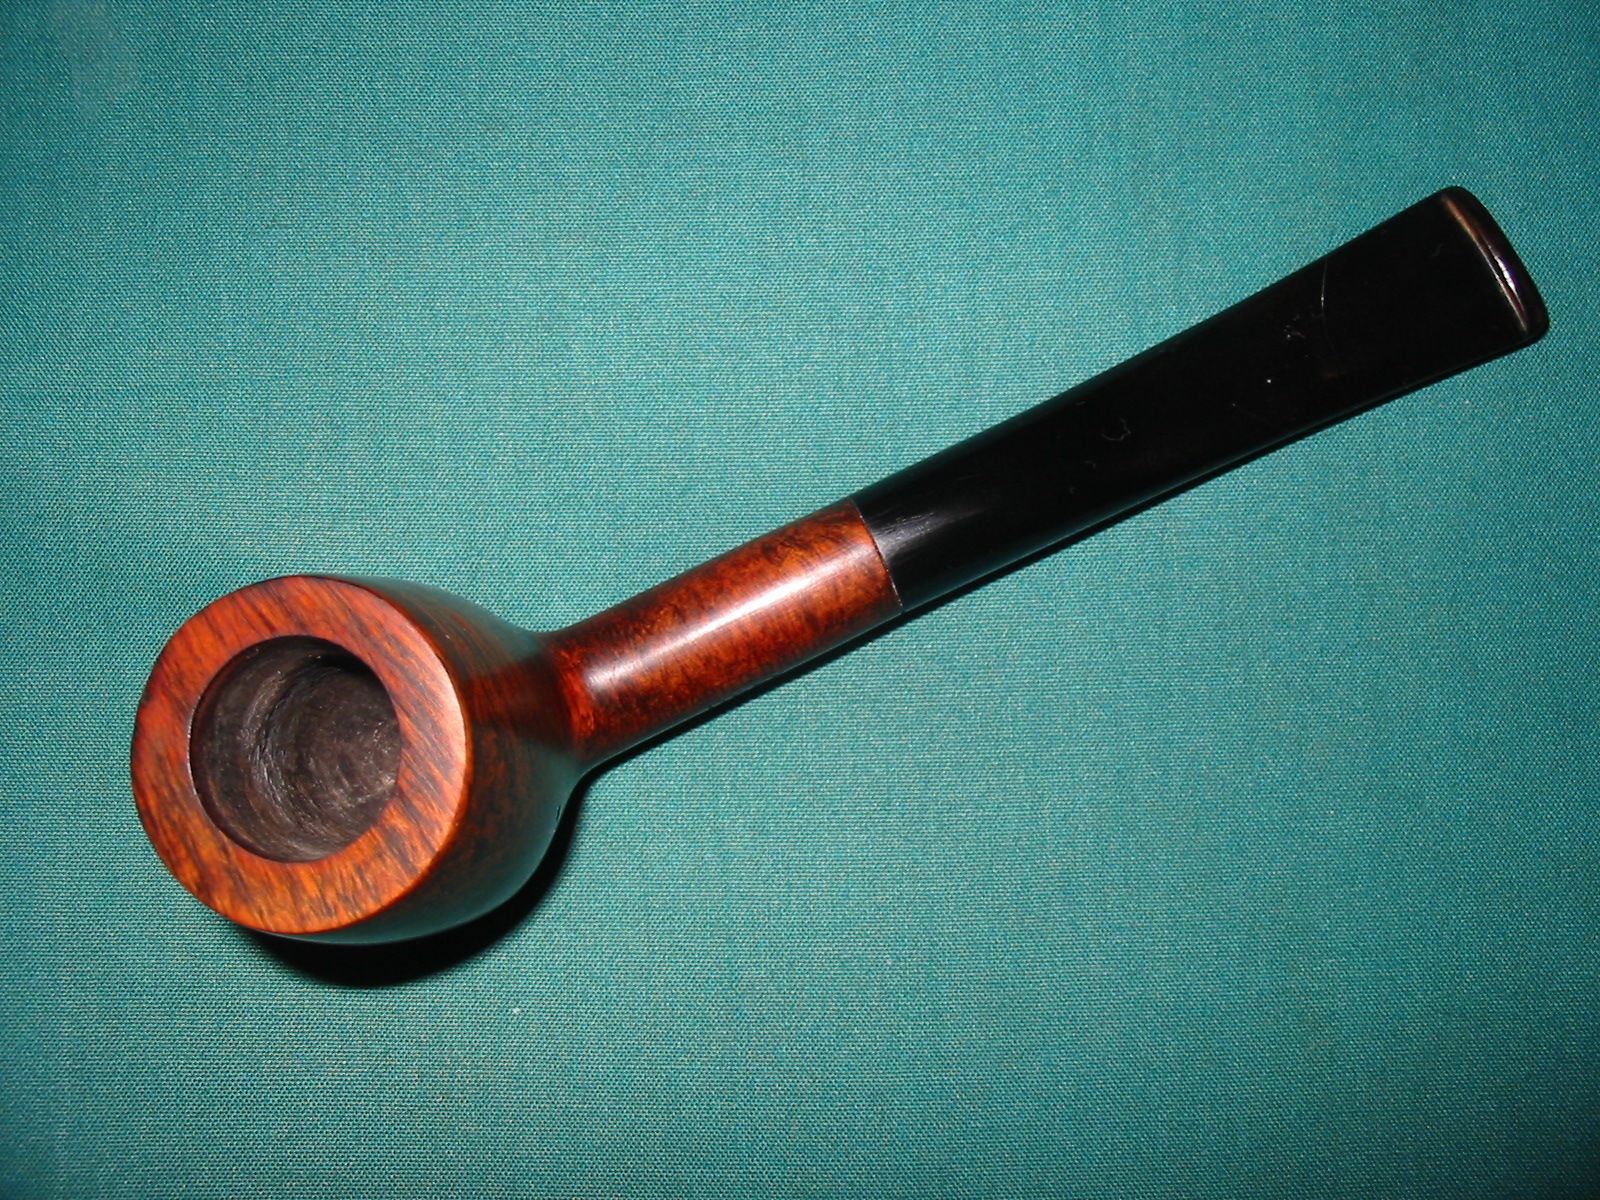
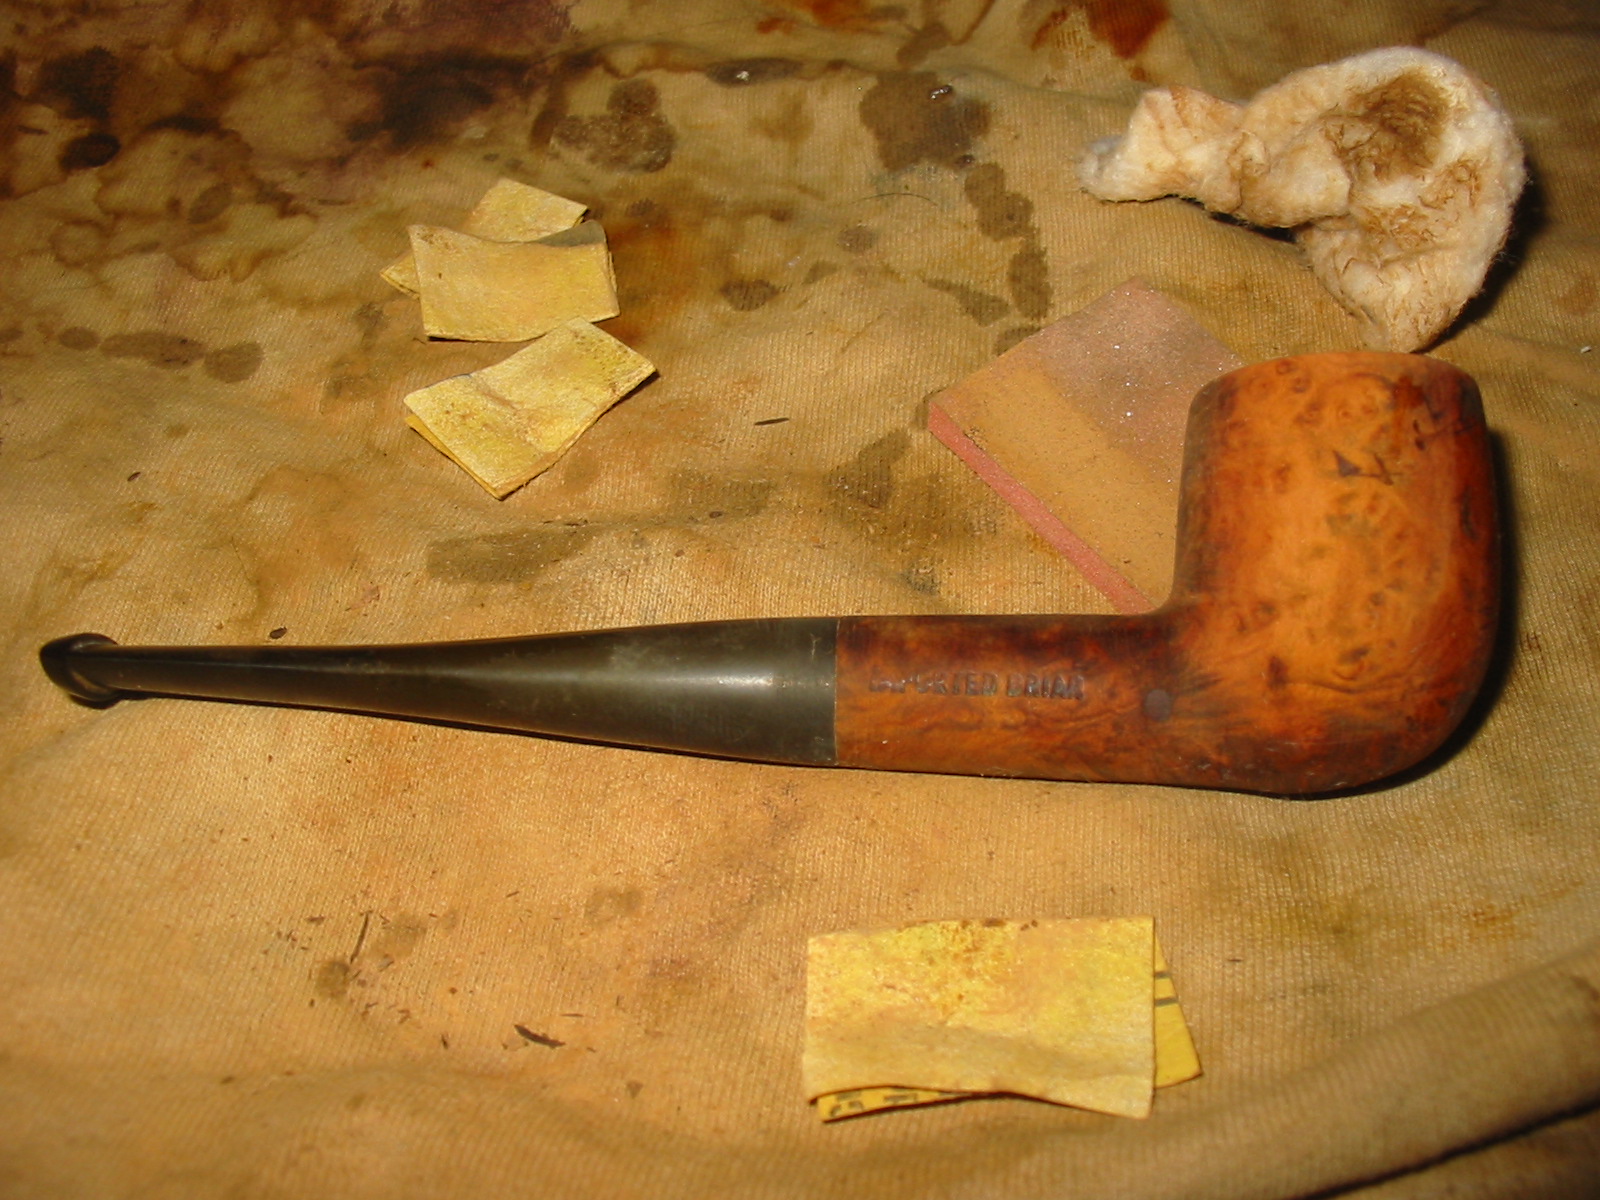
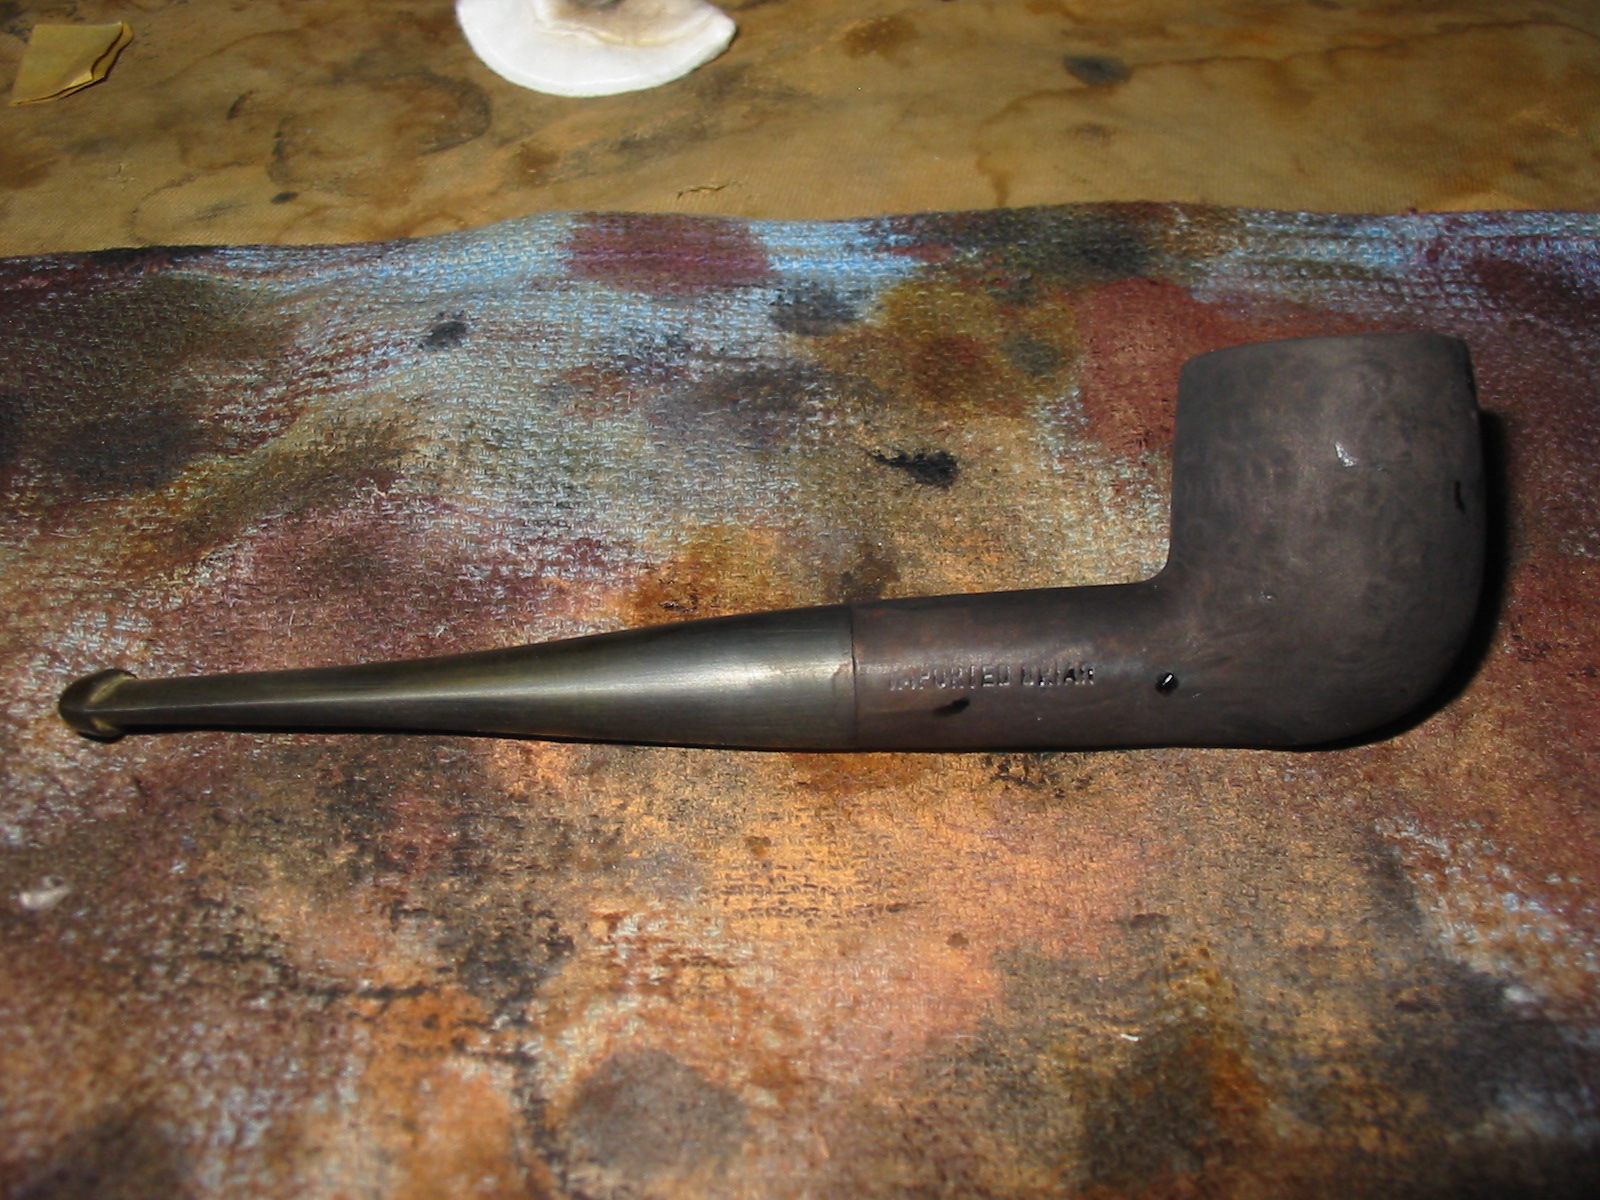
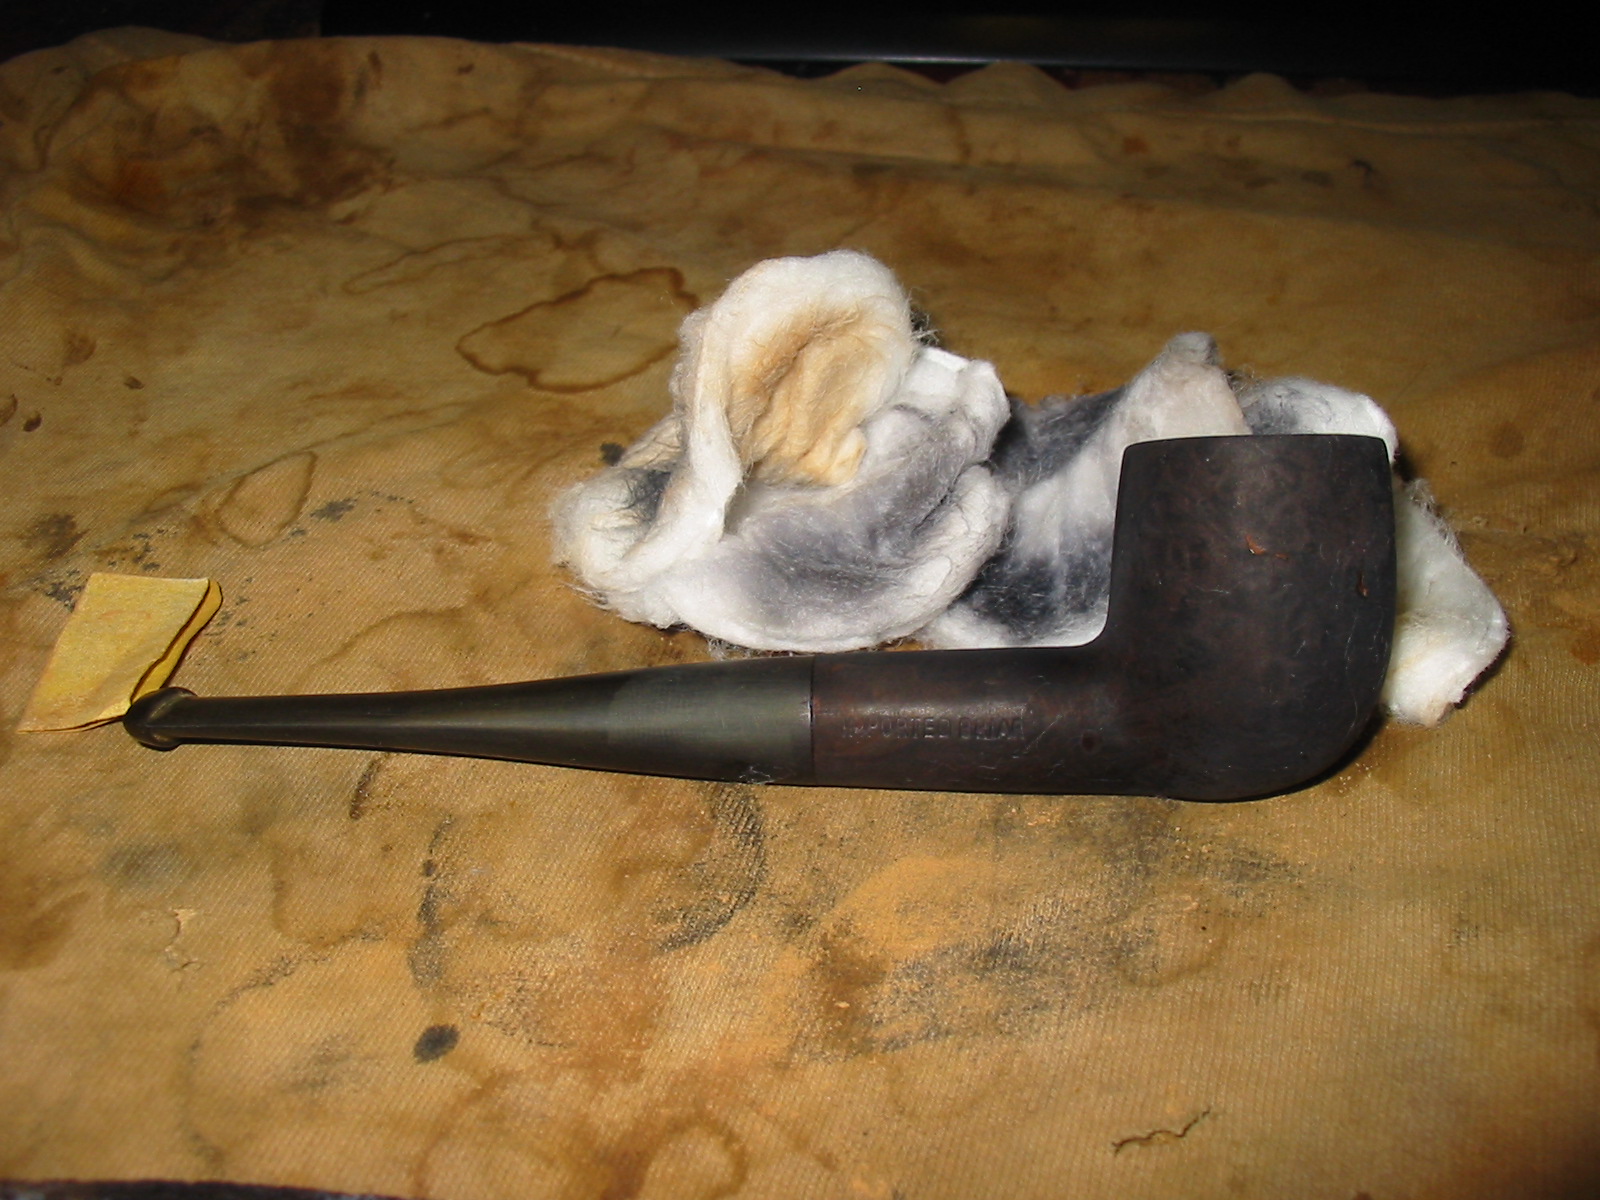
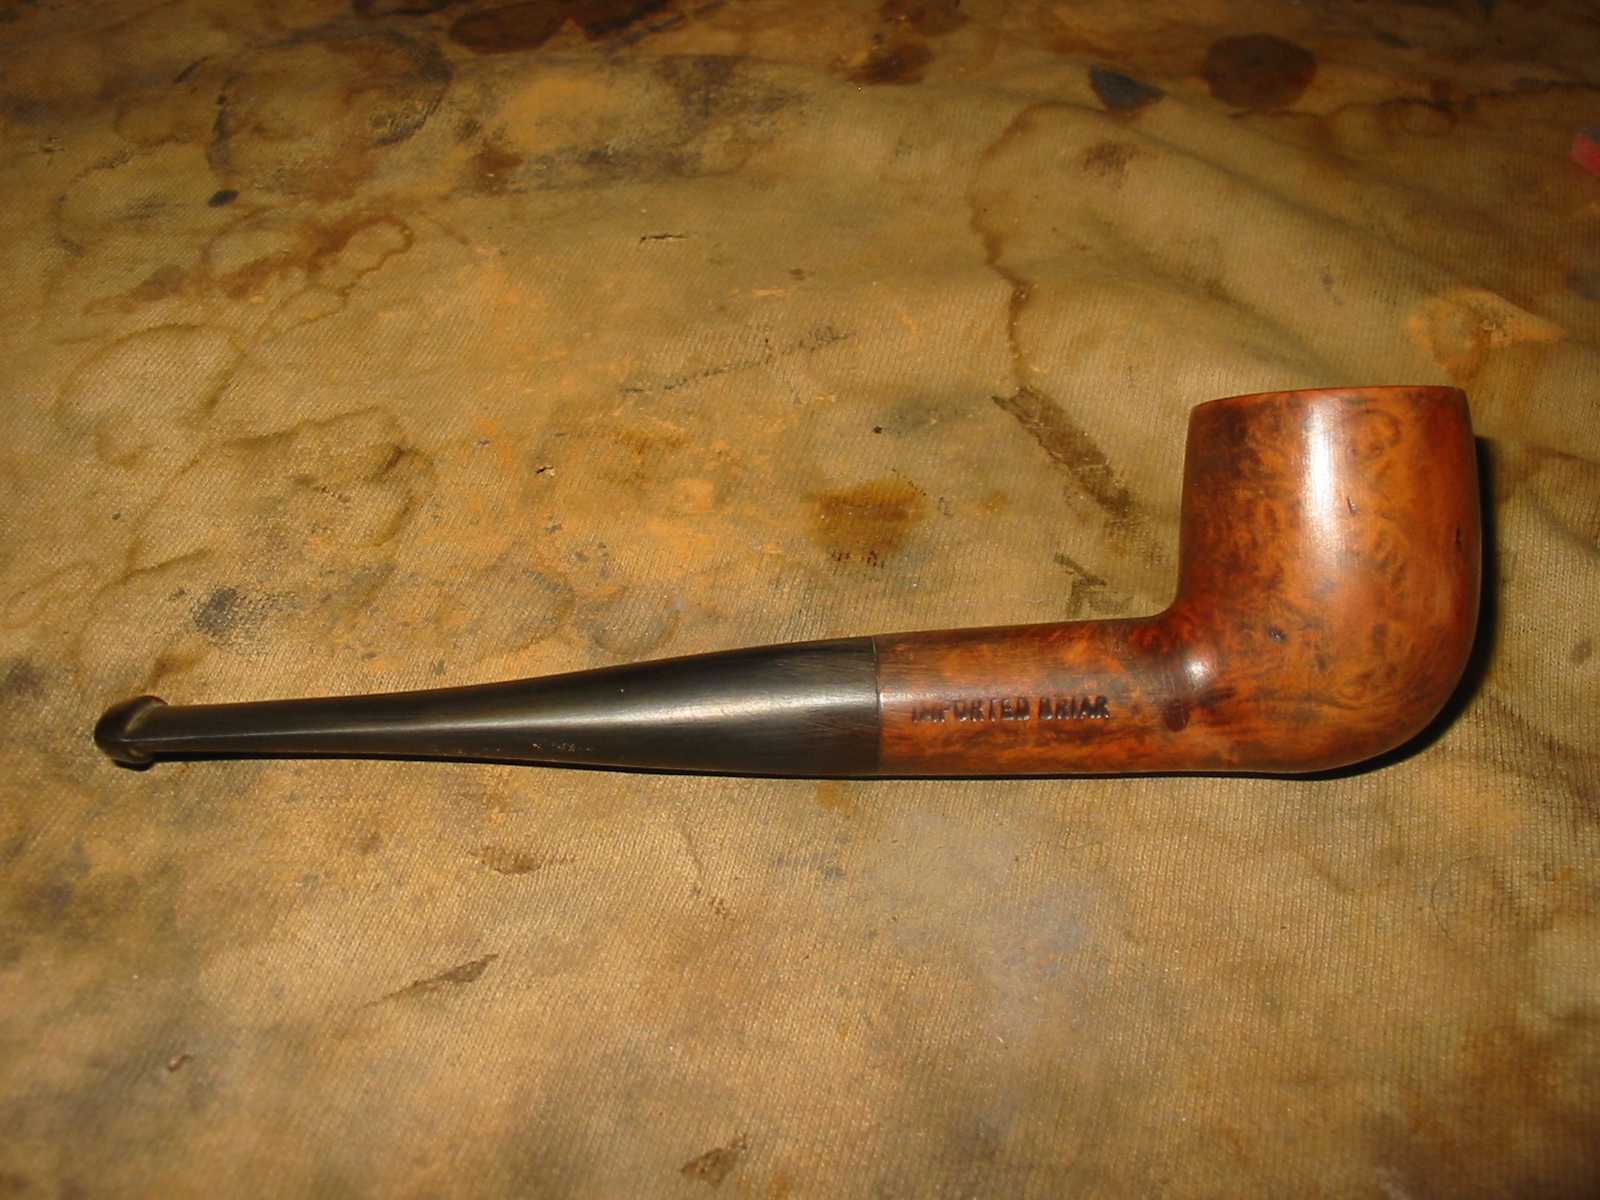
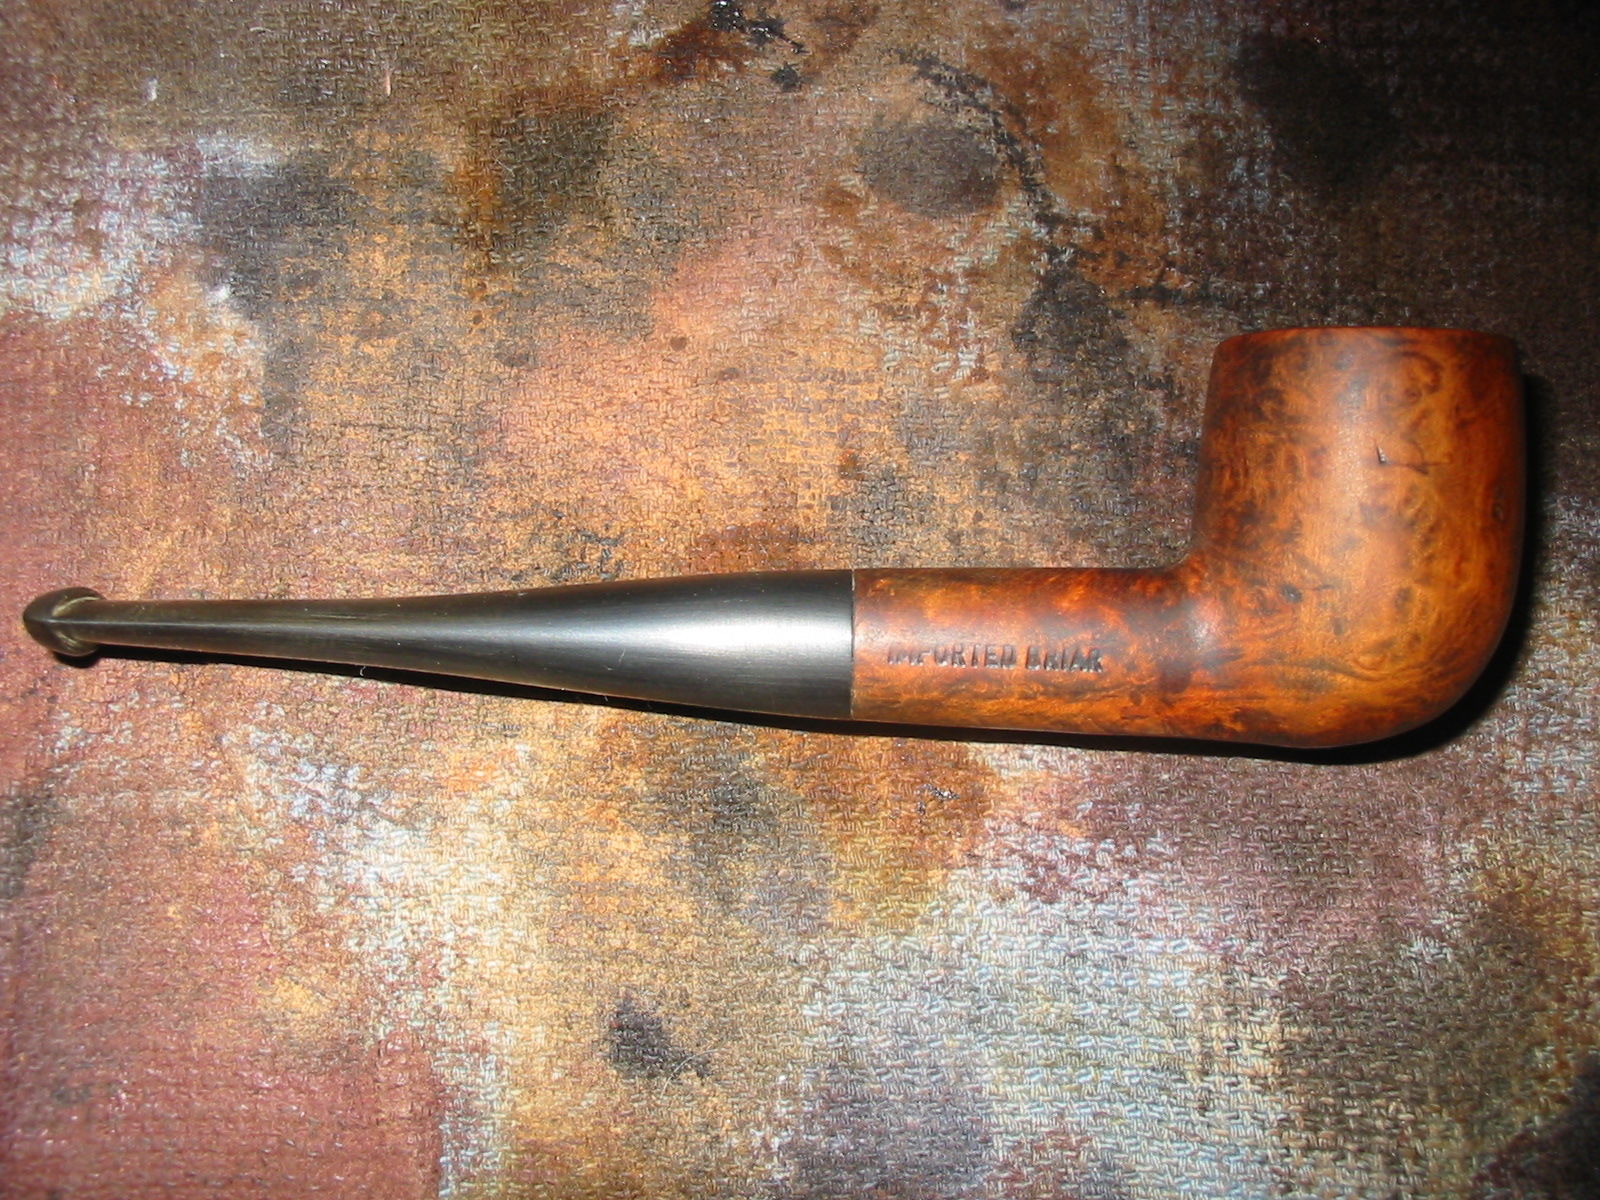
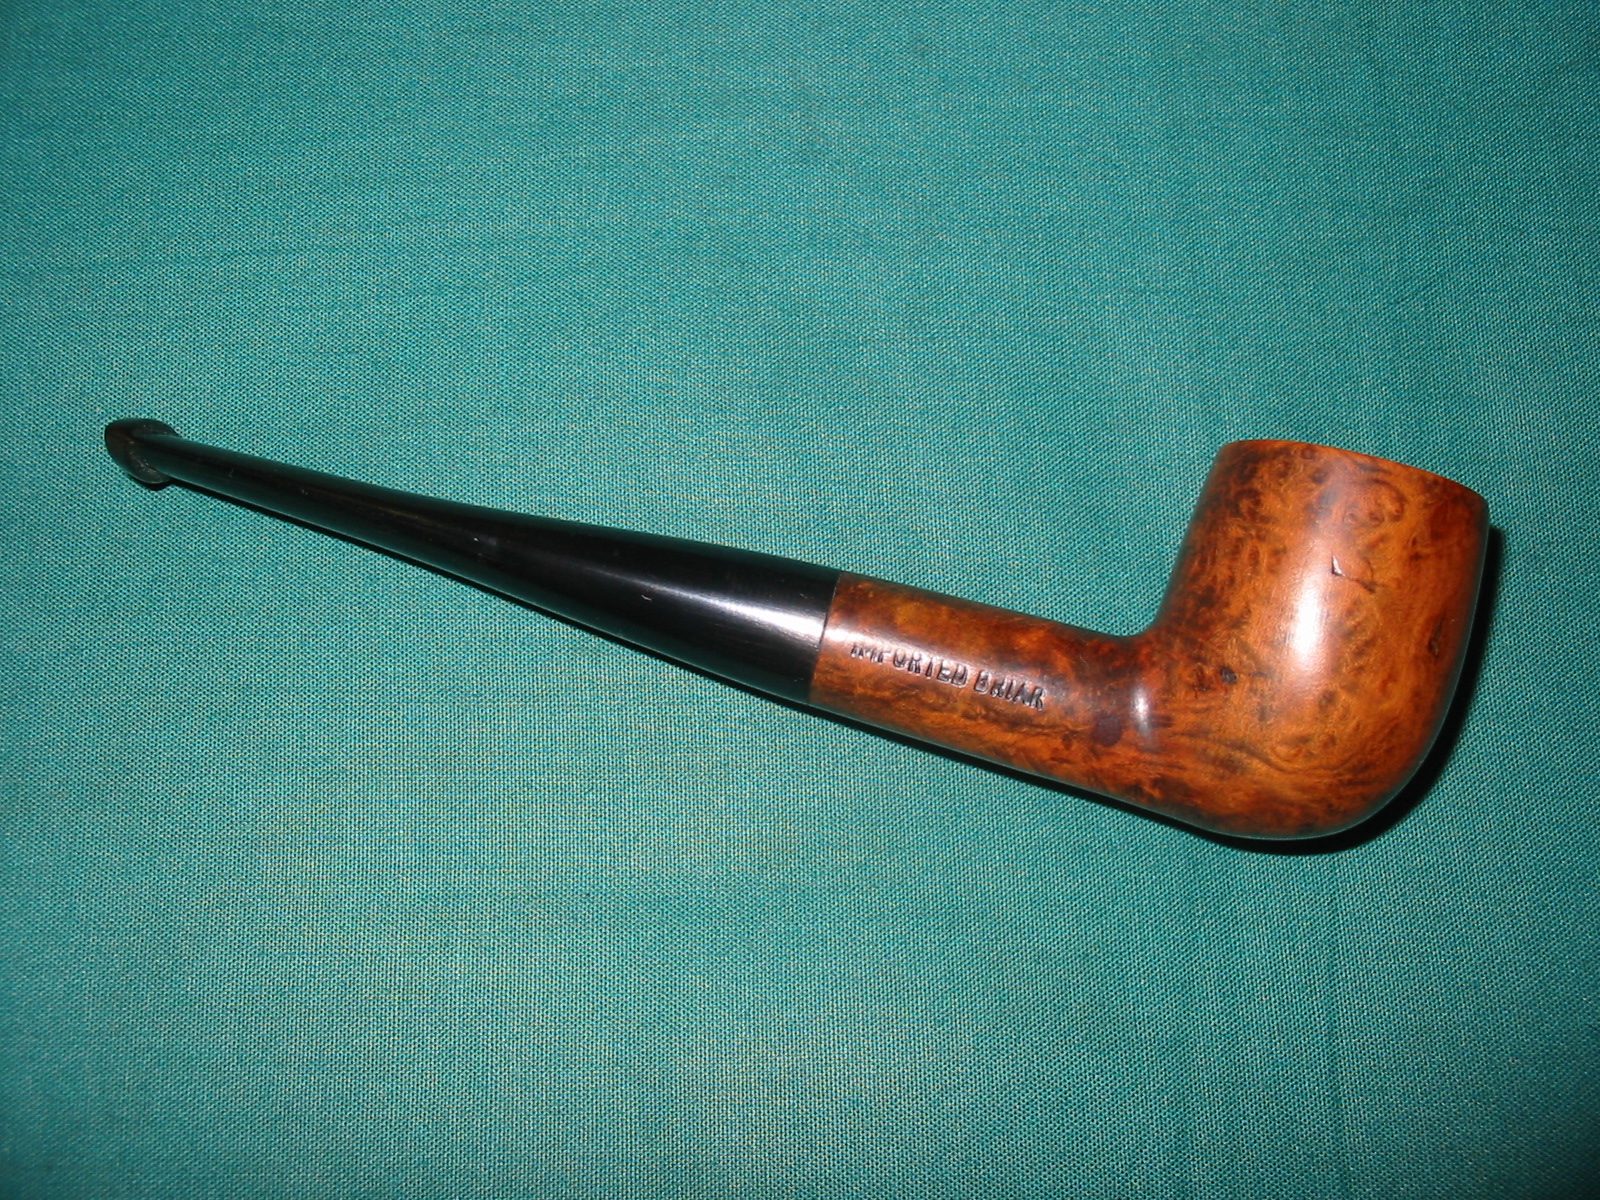
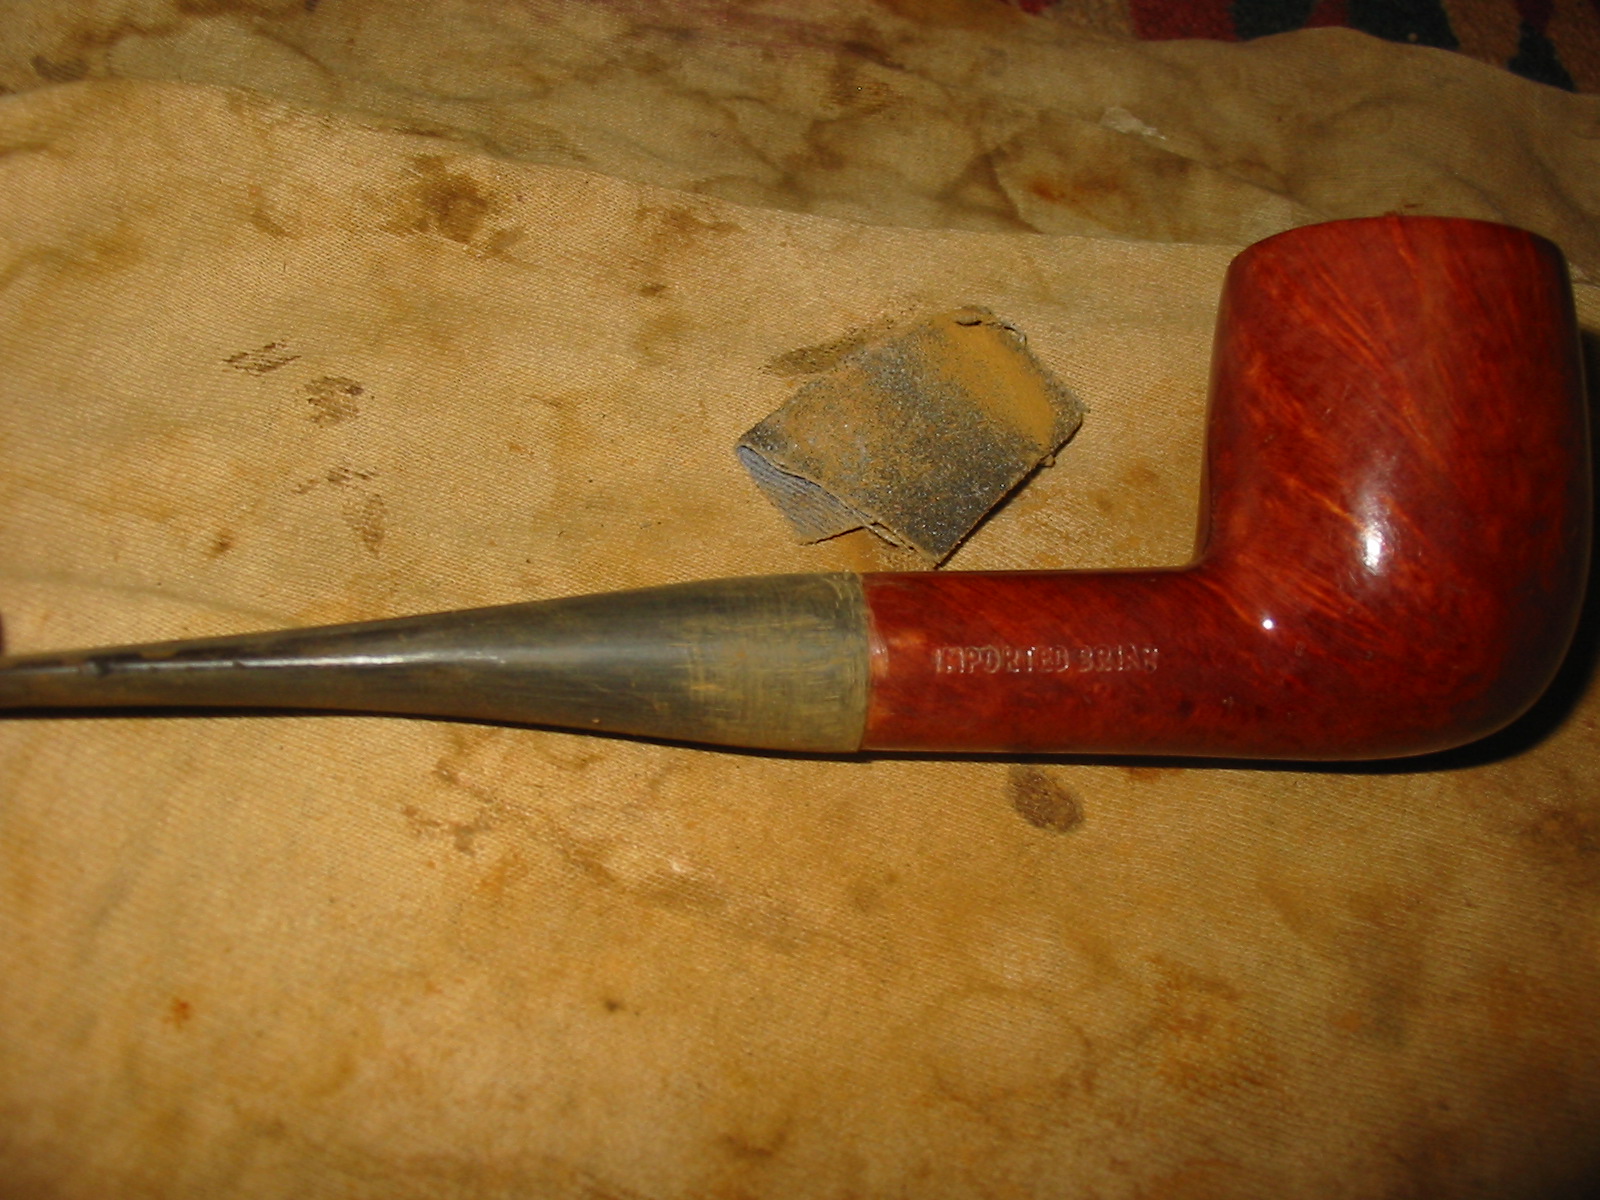
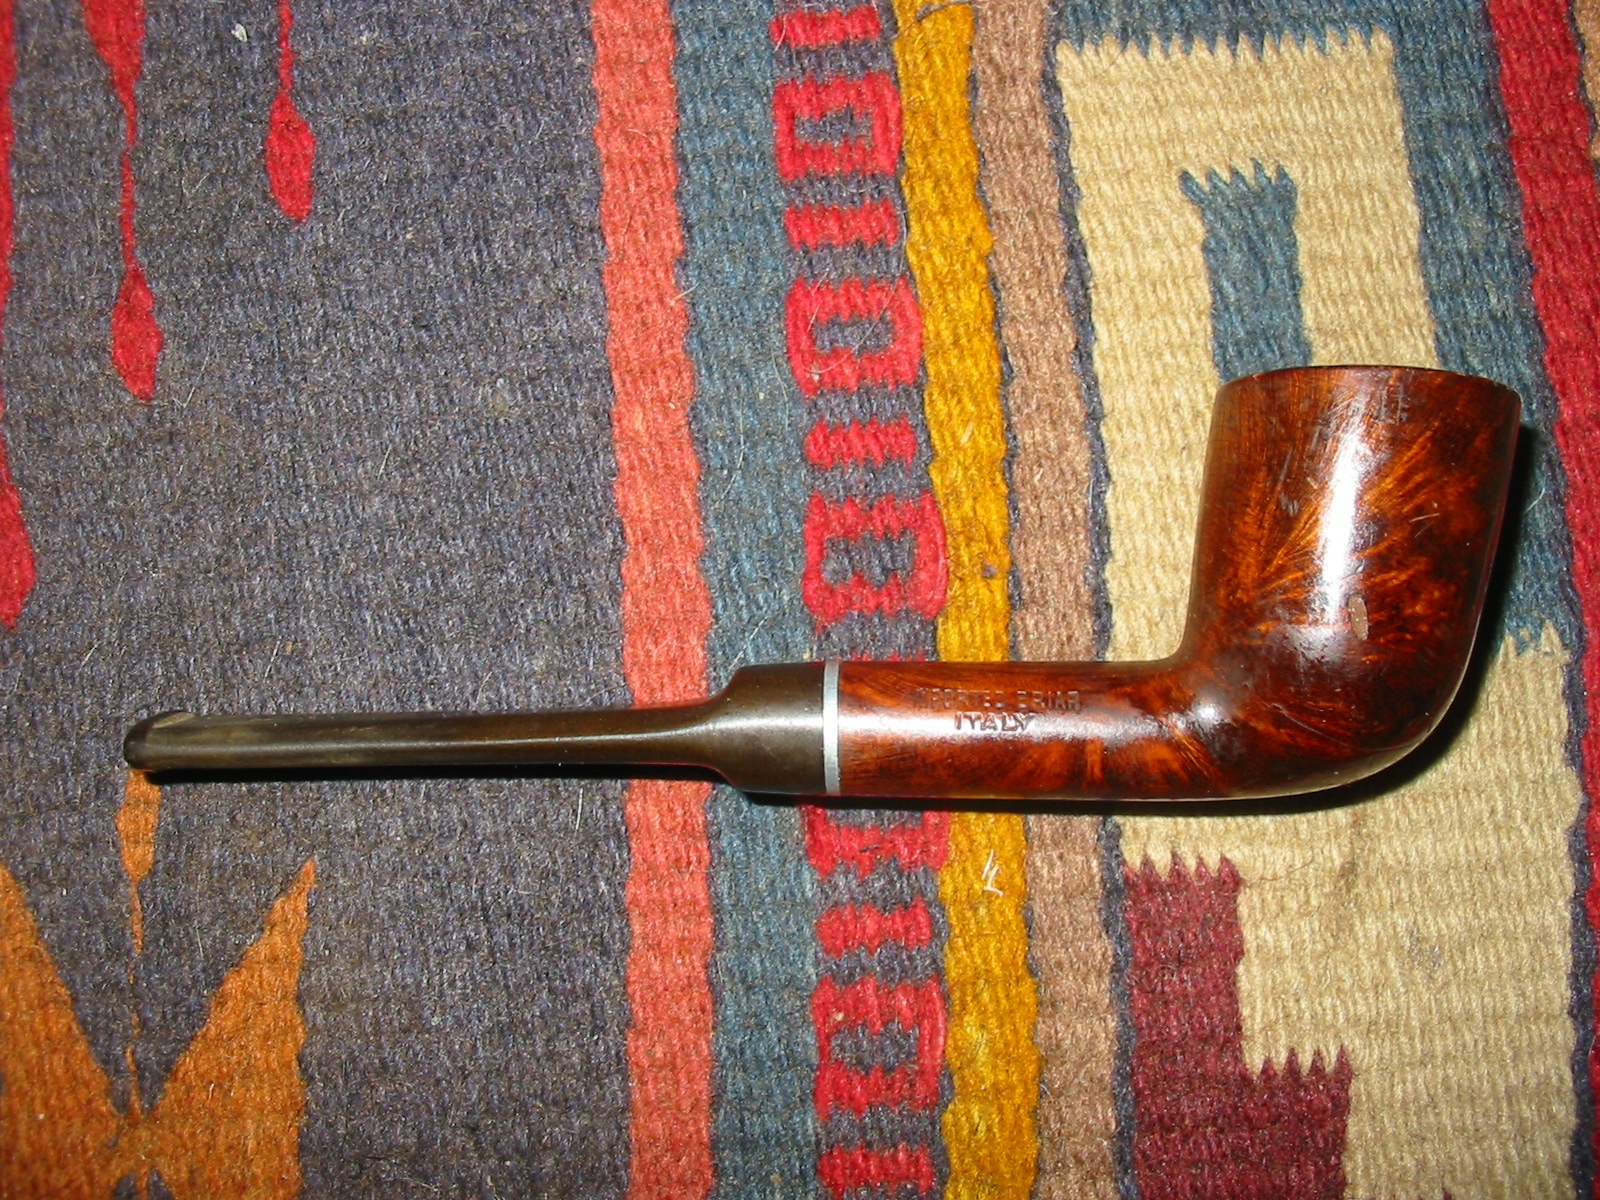
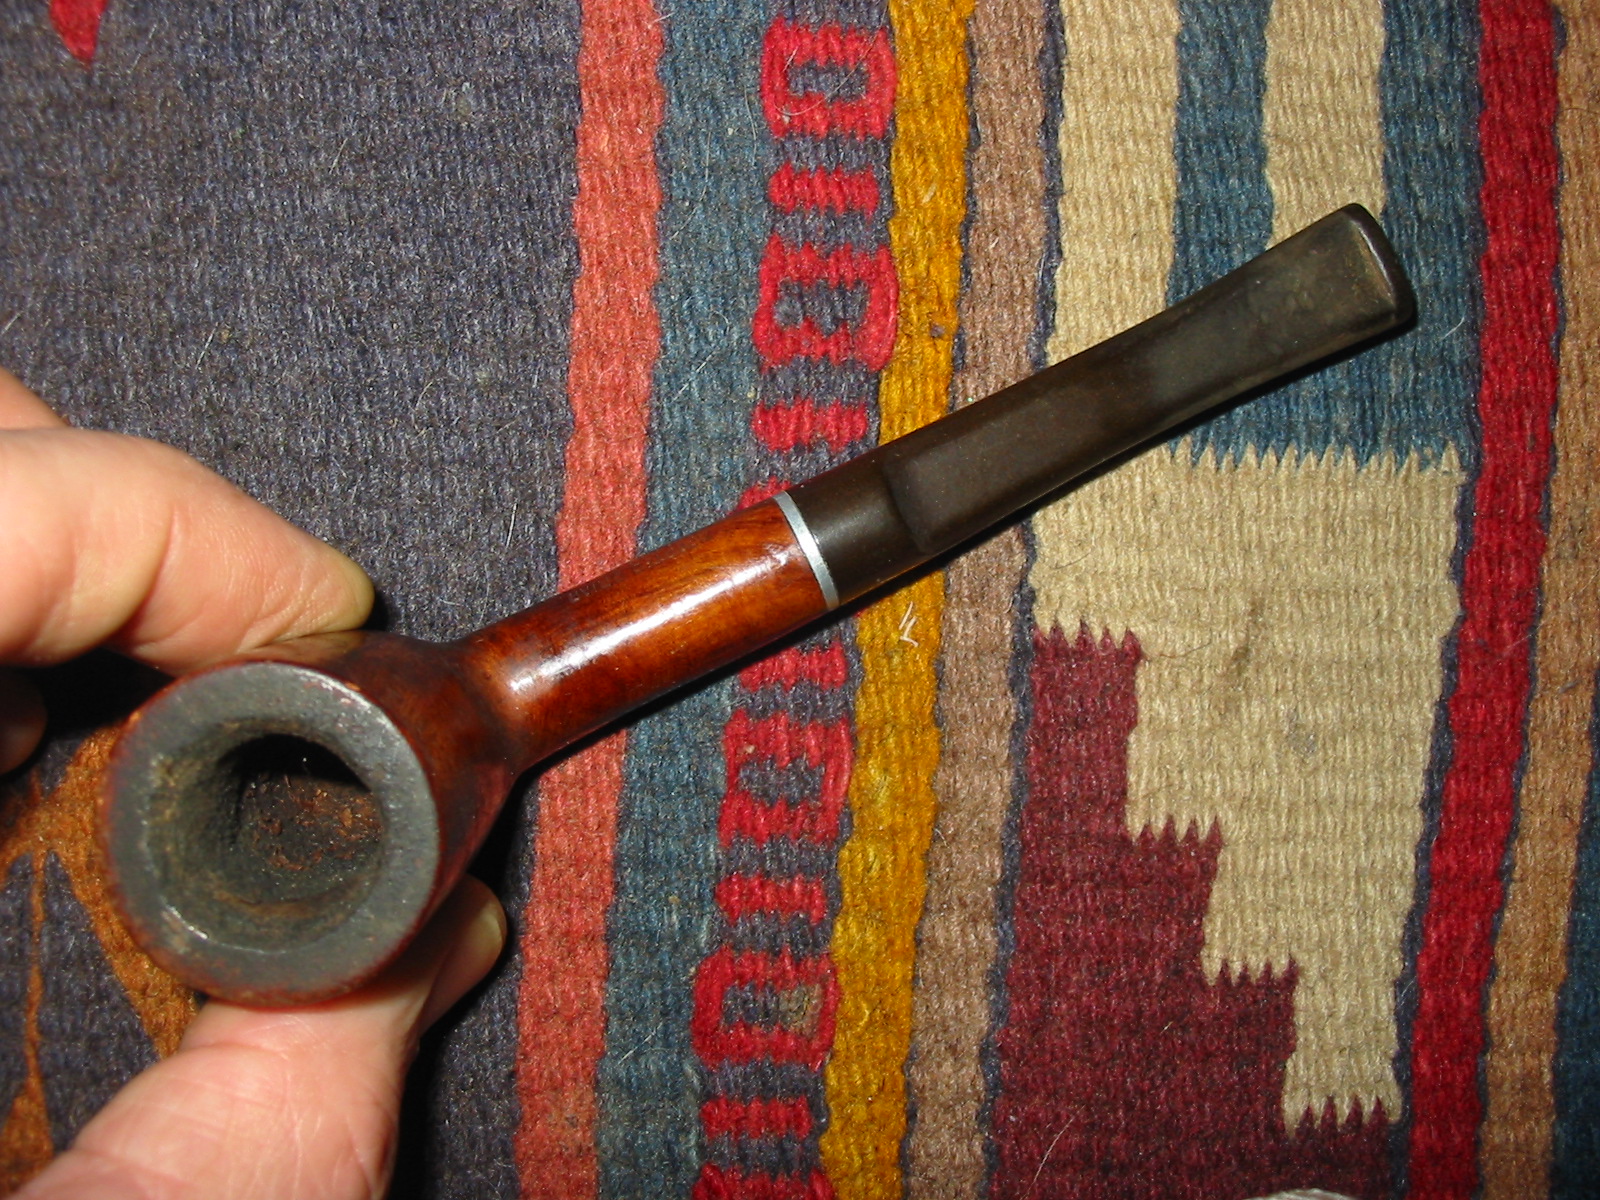
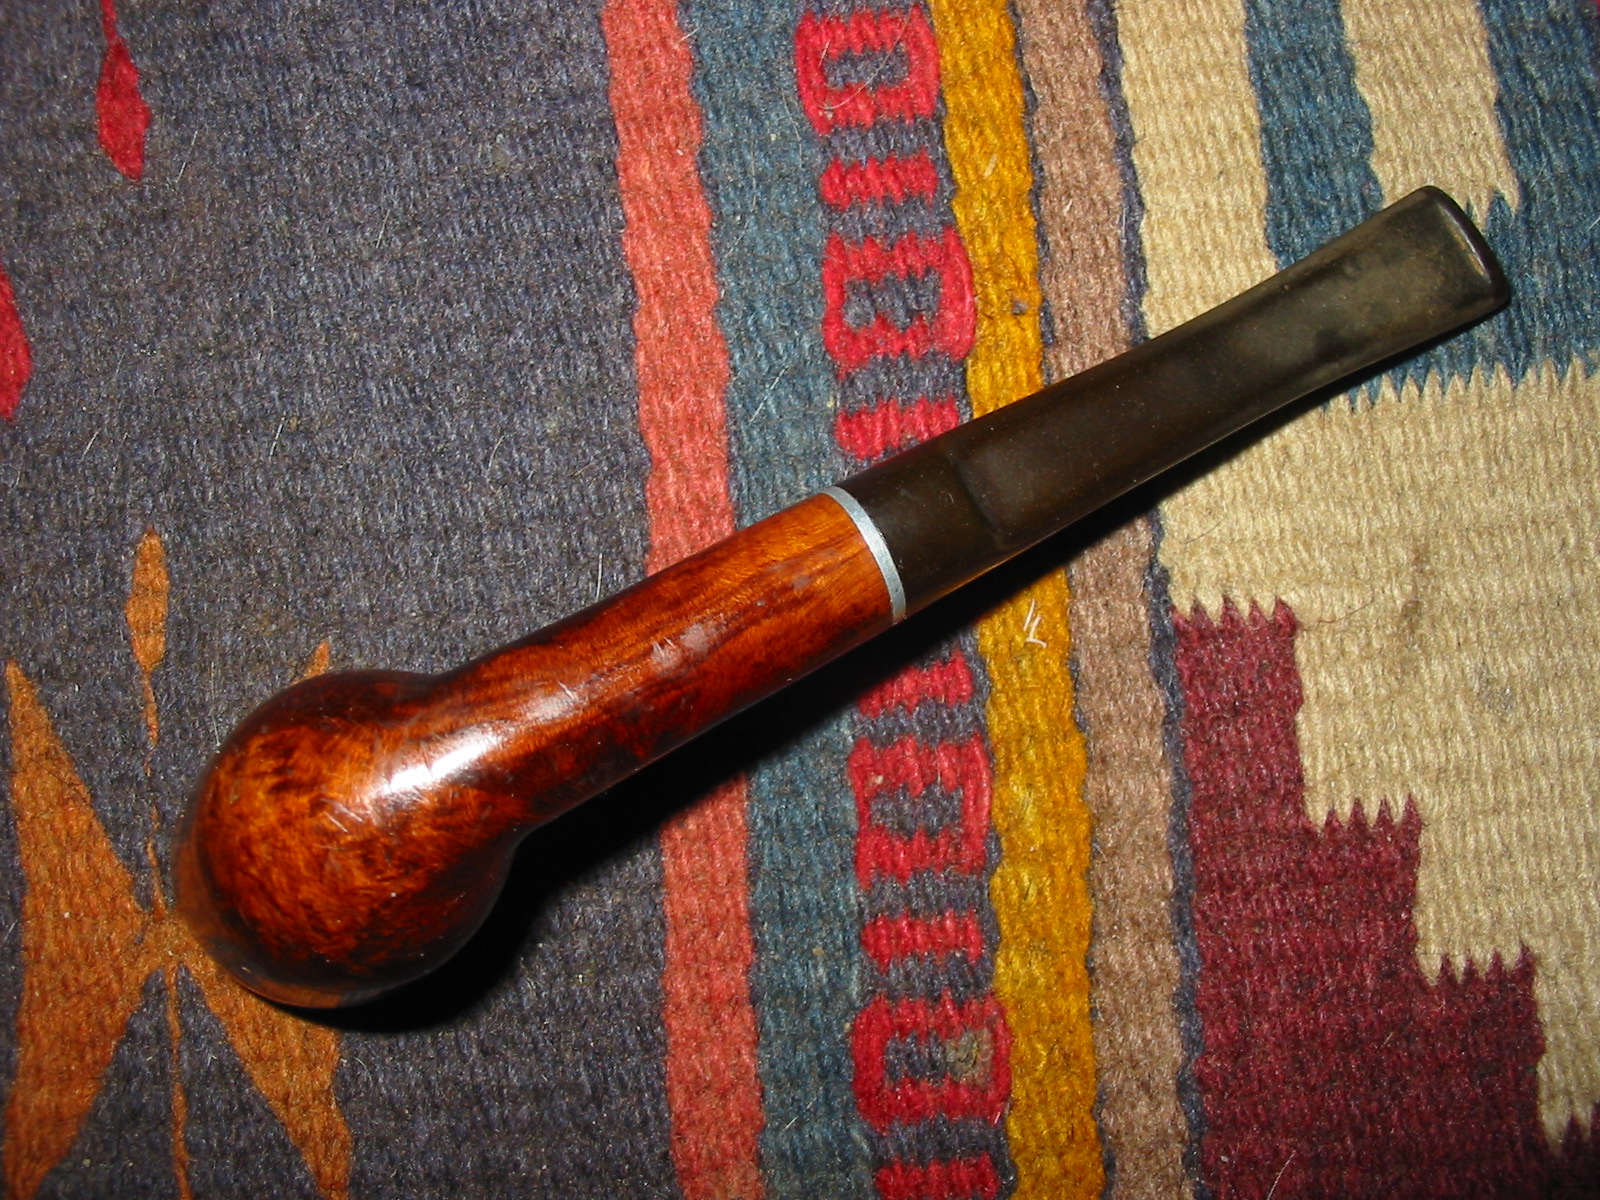
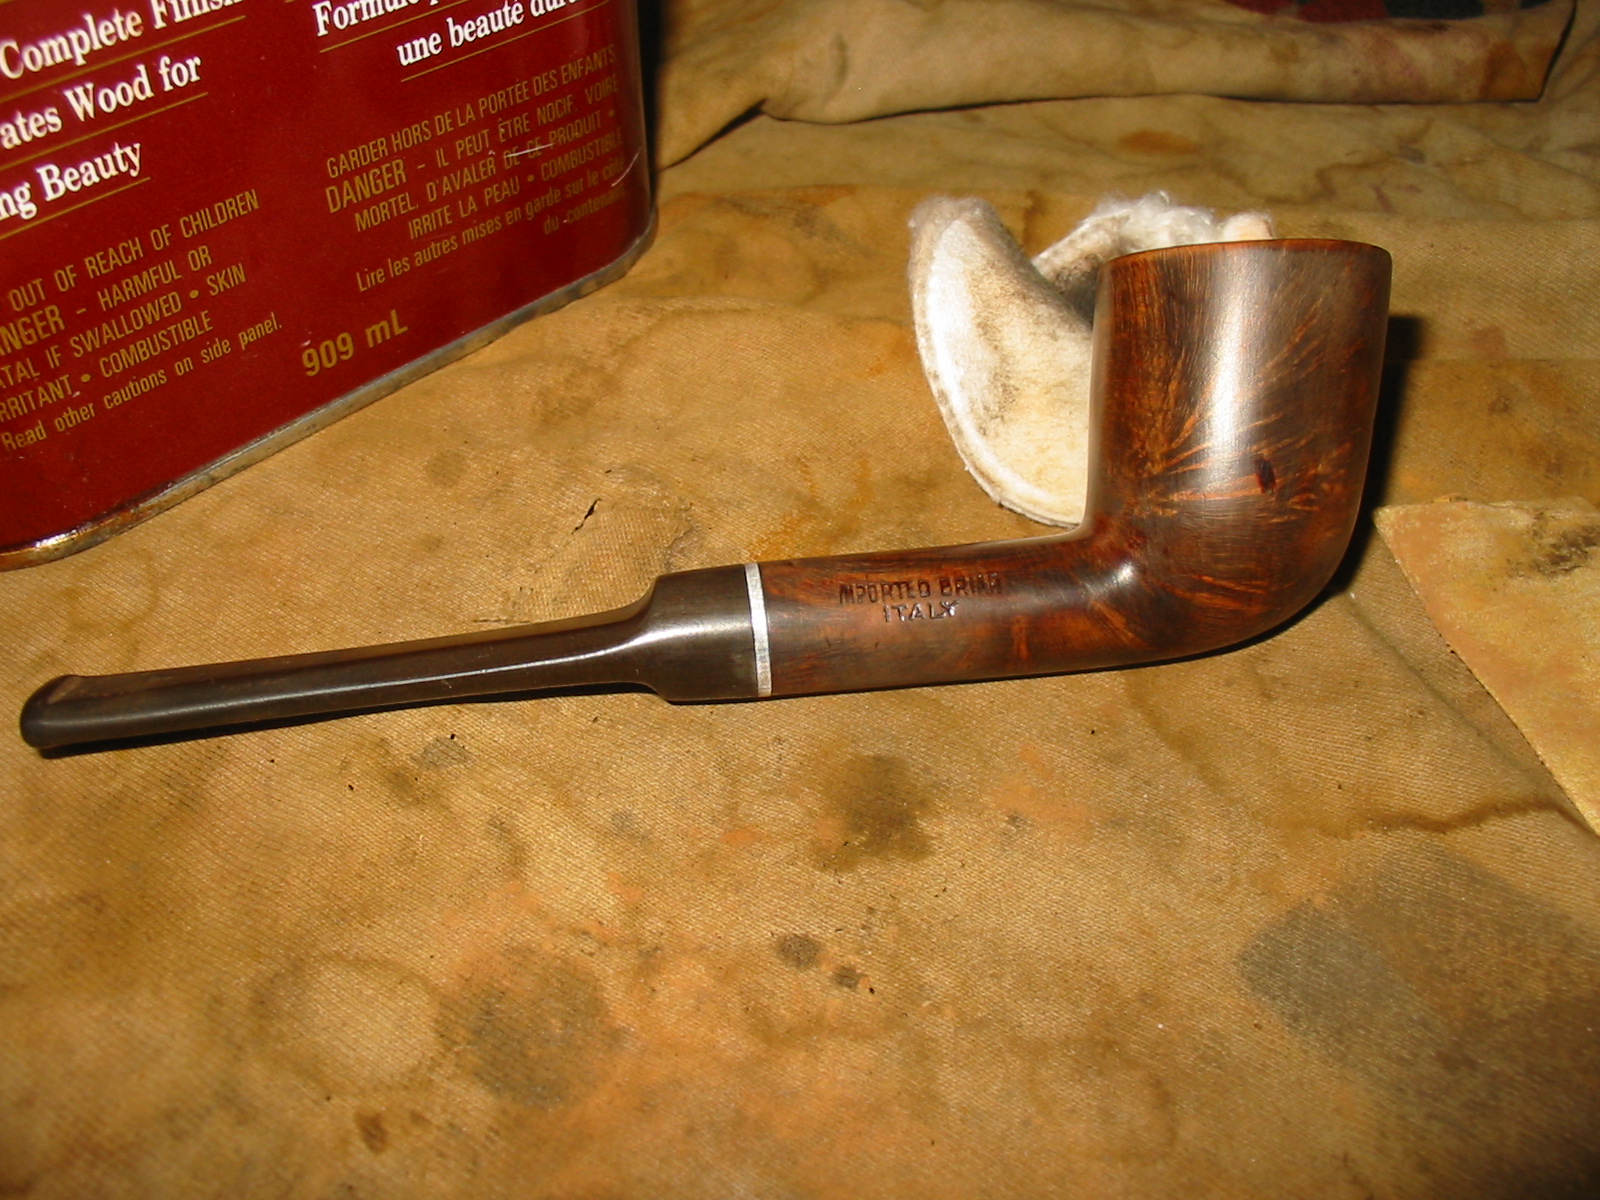
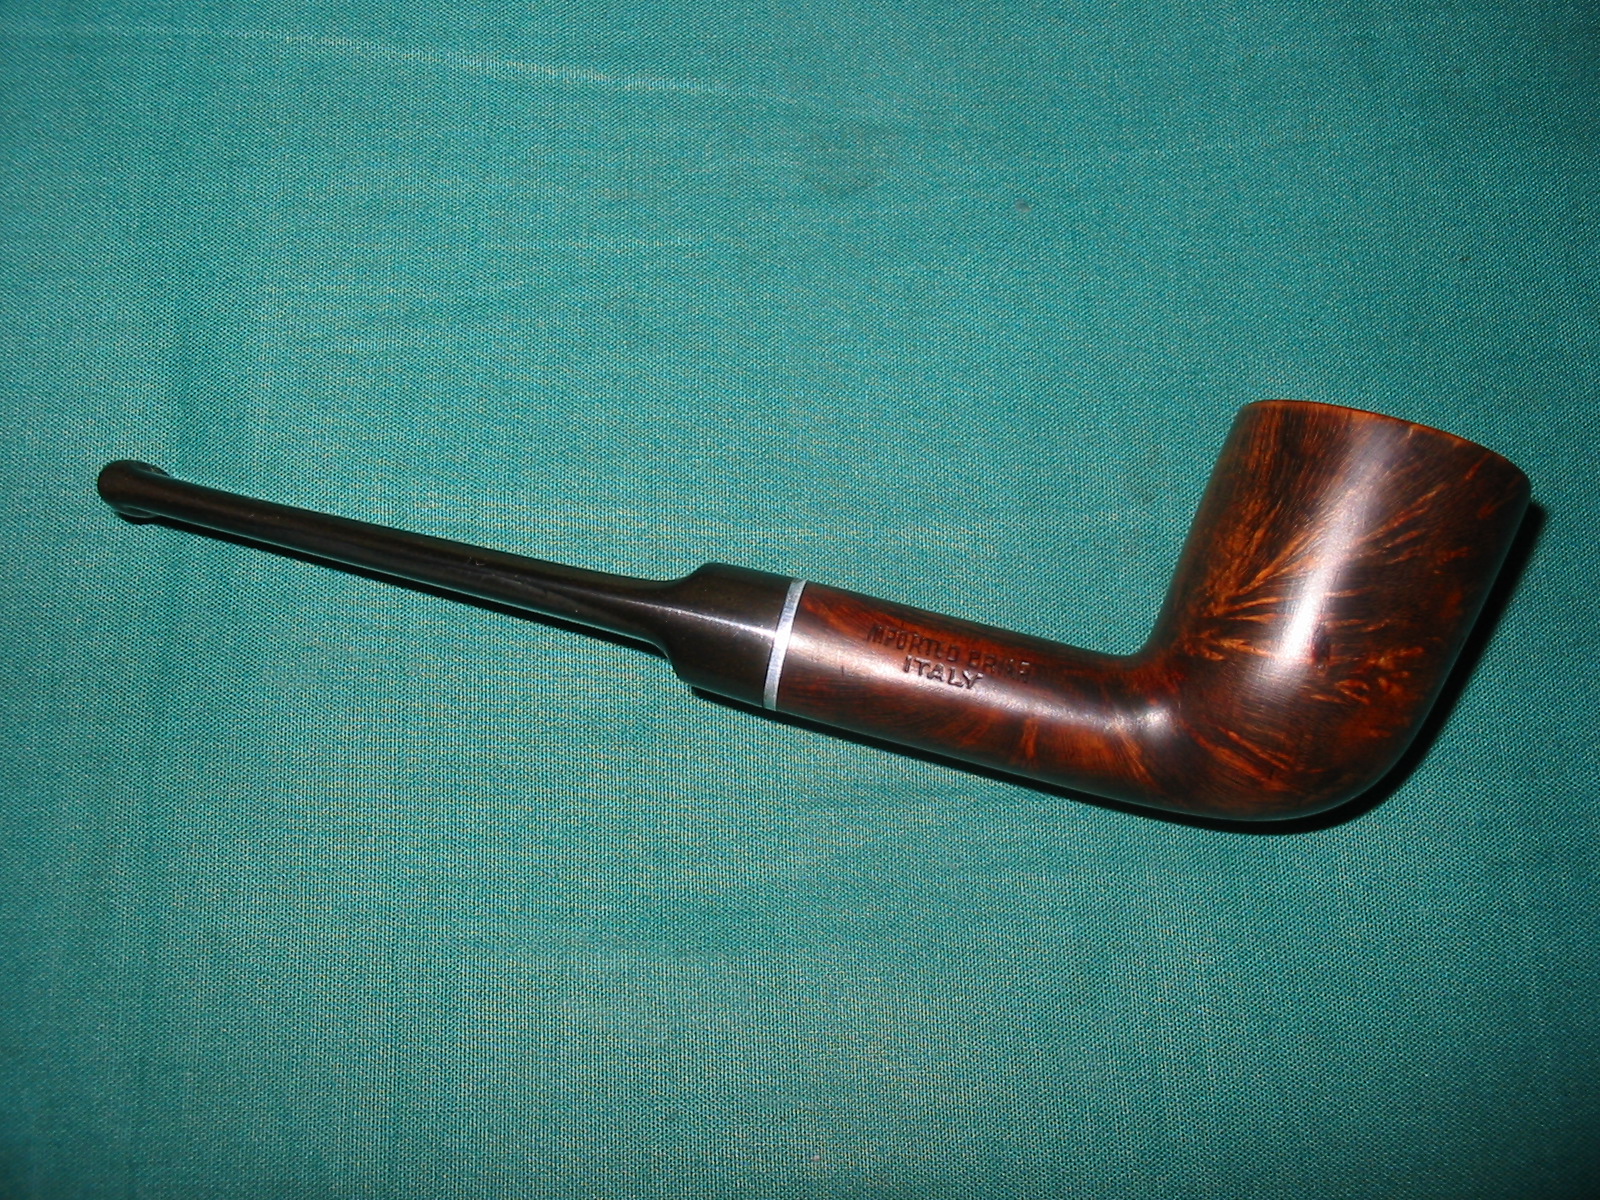
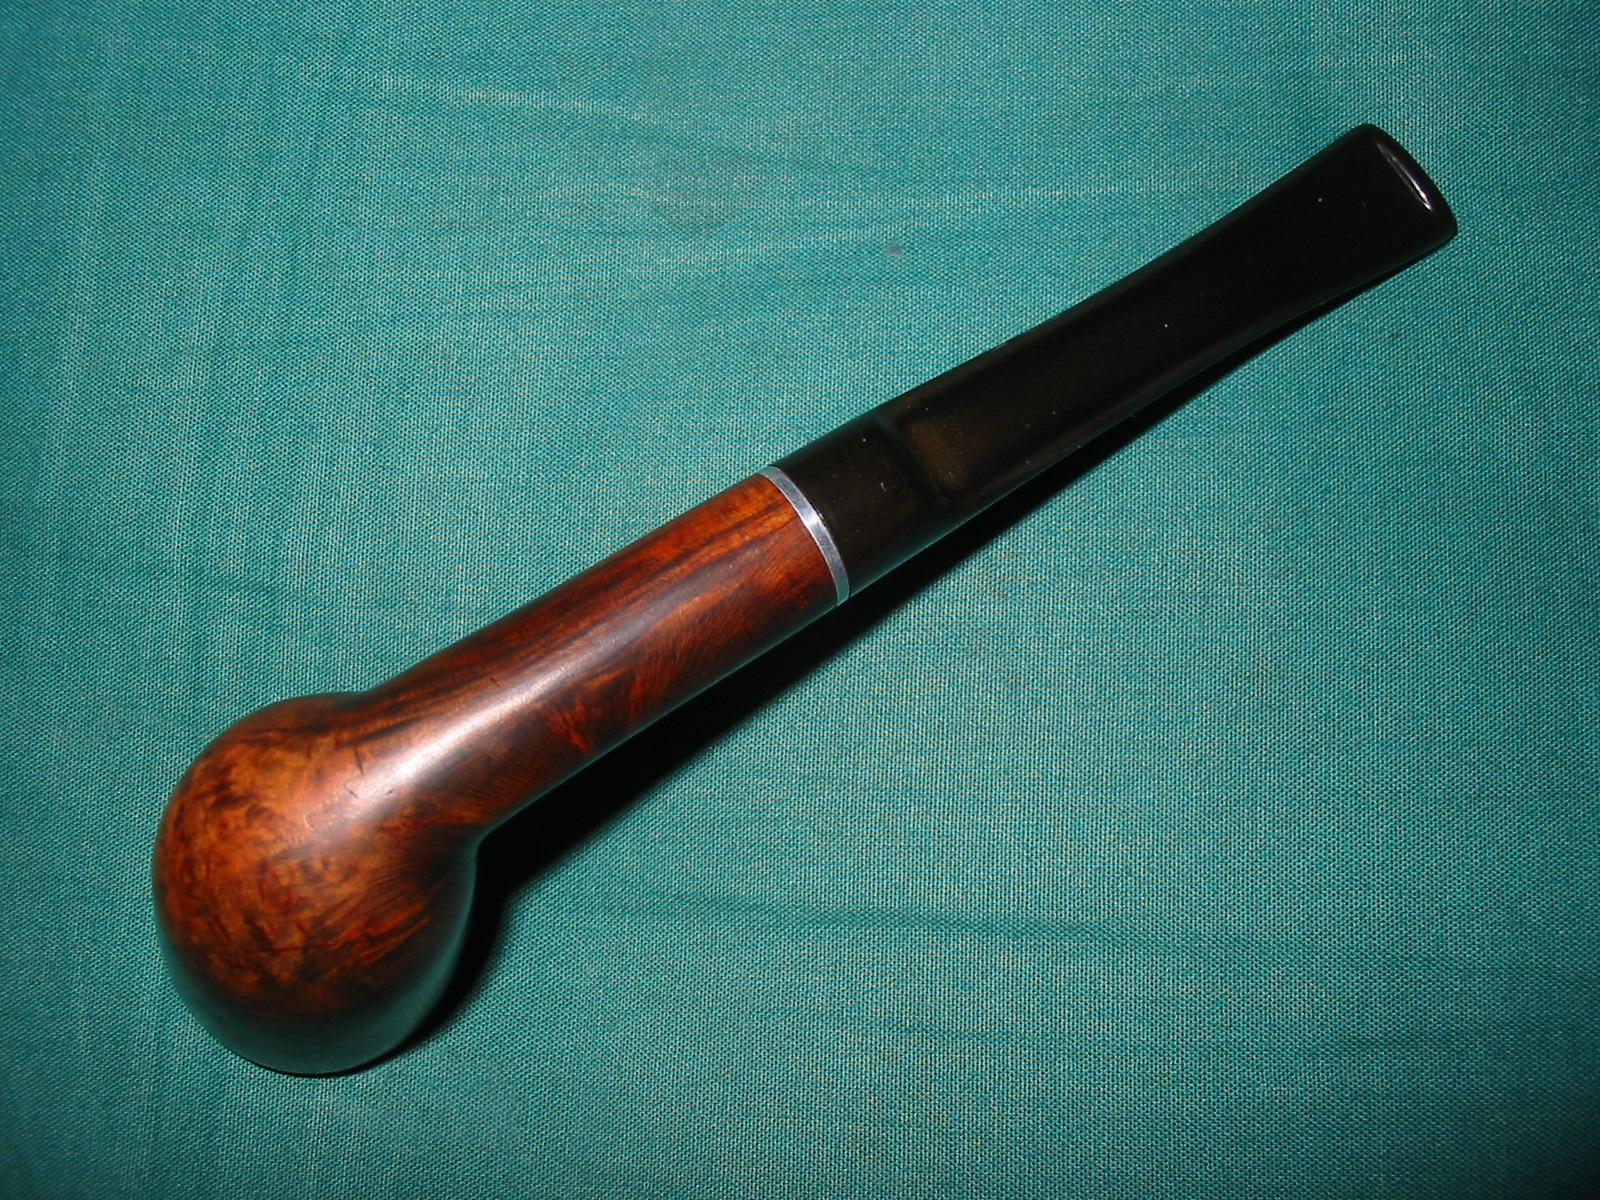
I am definitely getting to the bottom of the refurbishing box – this pipe and one other left before it is empty and I need to start hunting again for more. This old-timer is only stamped on the left side of the shank with IMPORTED BRIAR over ITALY. There is no other stamping on the right side of the shank. The bowl was in pretty decent shape – no real dents or scratches other than around the rim. The edges of the rim were rounded over. The left side showed some nice birdseye grain and the front and the back of the bowl were cross grain. The right side of the bowl was a mess. There were at least a dozen putty fills in various states of coming out of the briar. There were two on the rim that took a bite out of the outer edge of the rim. The finish was gone and the stain had faded. The bowl did not come with a stem so I hunted through my can of stems and found one that would do the trick. It took very little work to get the tenon to fit into the shank. It was a wide blade stem that previously had been on a George Jensen pipe at sometime in its life but that pipe bowl had long since disappeared. With some minor adjustments to the diameter of the stem it would make a great stem for the Italian billiard.
IMG_3288

IMG_3289

IMG_3290

IMG_3291

IMG_3292

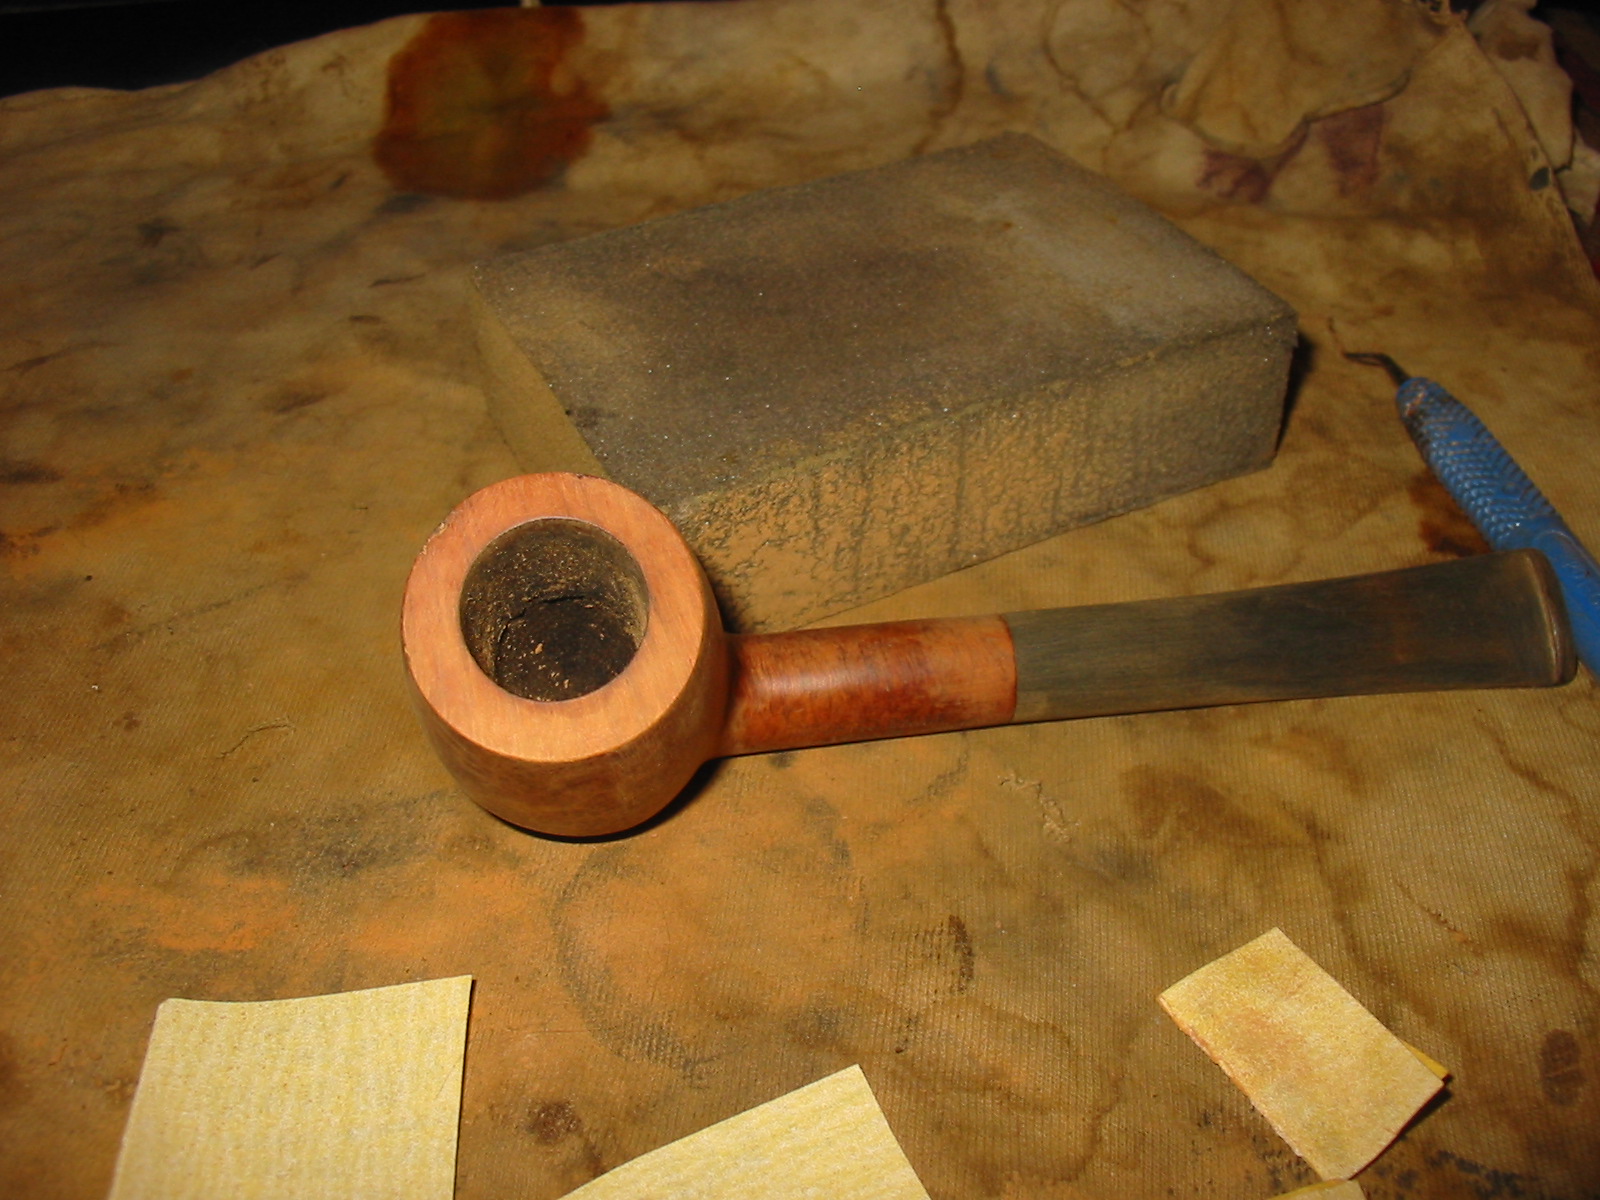
I decided to top the bowl to clean up the rounded edges on the outer rim and to minimize the damage from the two fills on the right edge. I set up my sandpaper on the flat board and turned the bowl top into the sandpaper. I work at this slowly and turn and sand and then tip the briar dust into a container that I have saved for repairs to fills. The first photo below shows the set up as well as the condition of the rim before I worked on it.
IMG_3302

IMG_3303

IMG_3304

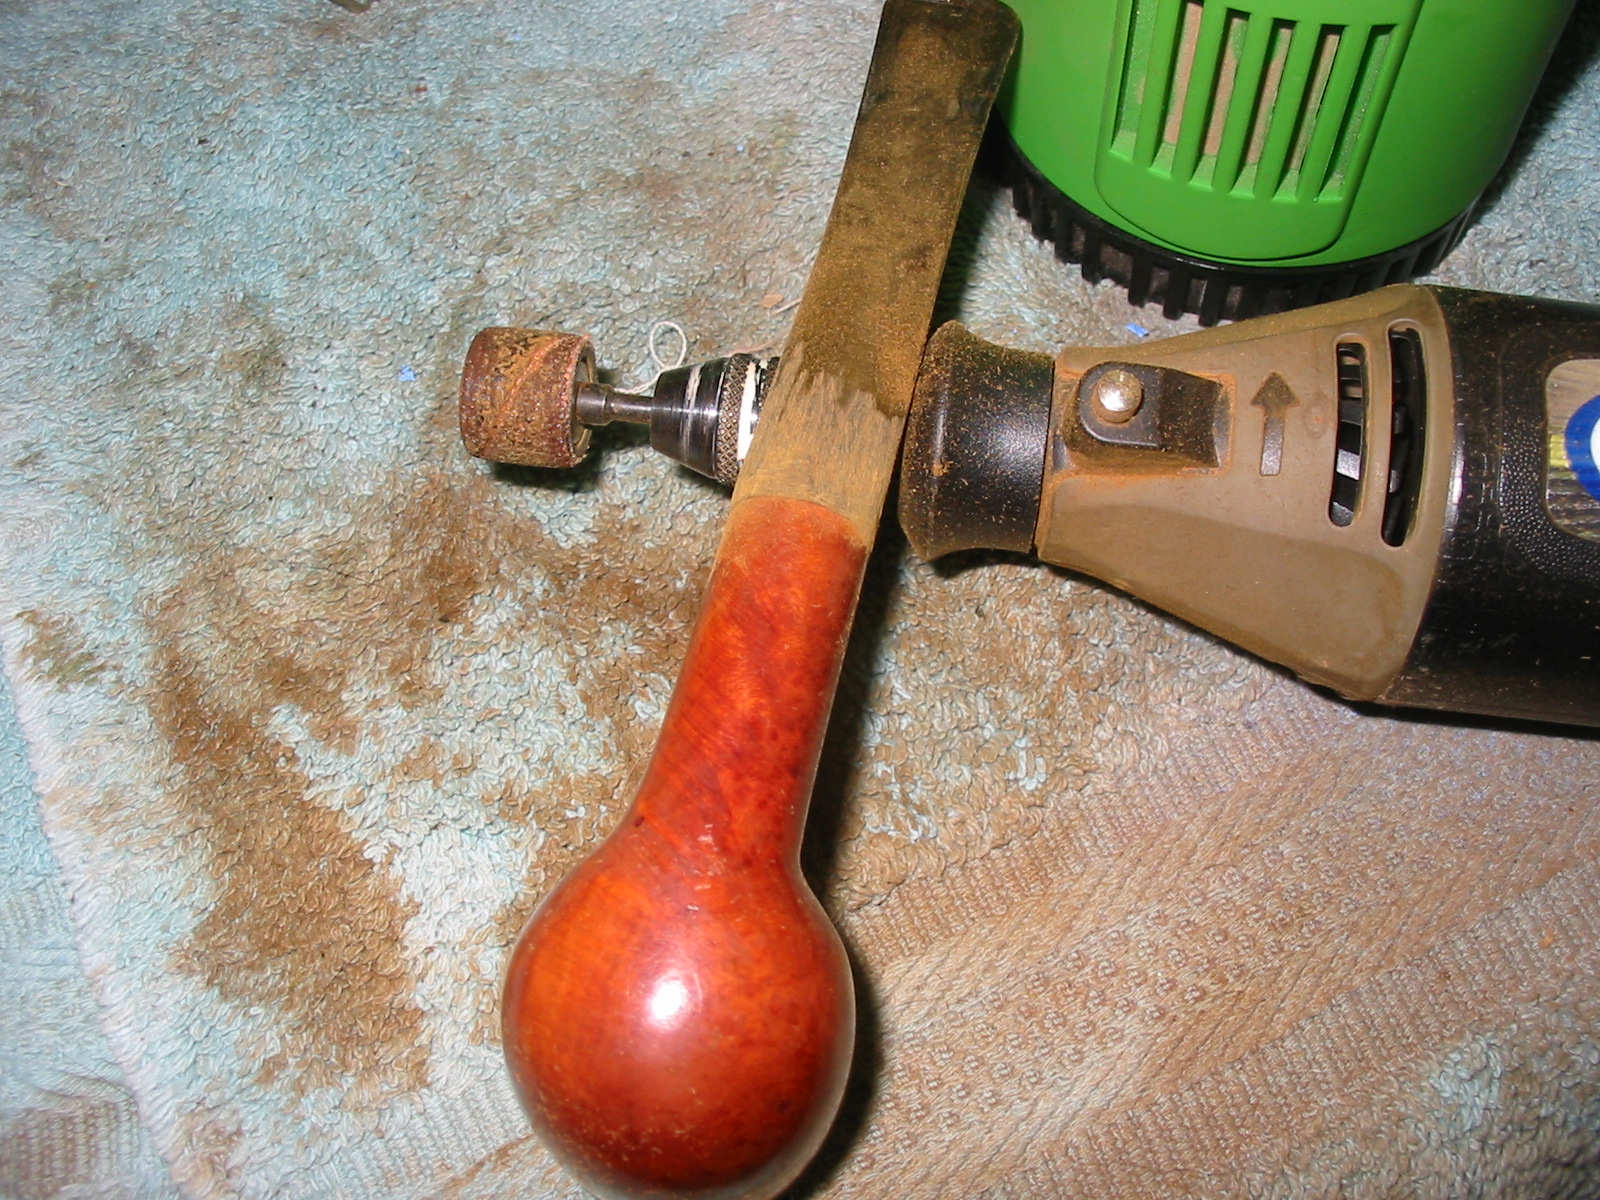
I took the top down until the outer edges of the rim were sharp and clean. The damage from the fills is still visible but I stopped before I changed the overall shape of the bowl. I used a Dremel with a sanding drum to reduce the diameter of the stem to match the shank. I take it down as far as possible with the Dremel and then do the finish shaping by hand with sandpaper.
IMG_3305

IMG_3306

IMG_3307

IMG_3308

I sanded the stem with 220 grit sandpaper to remove the oxidation and to finish shaping the area around the shank and stem junction.
IMG_3309

IMG_3310

IMG_3311

IMG_3312

I wiped down the bowl with acetone on a cotton pad to remove the remaining finish.
IMG_3313

IMG_3314

IMG_3315

IMG_3316

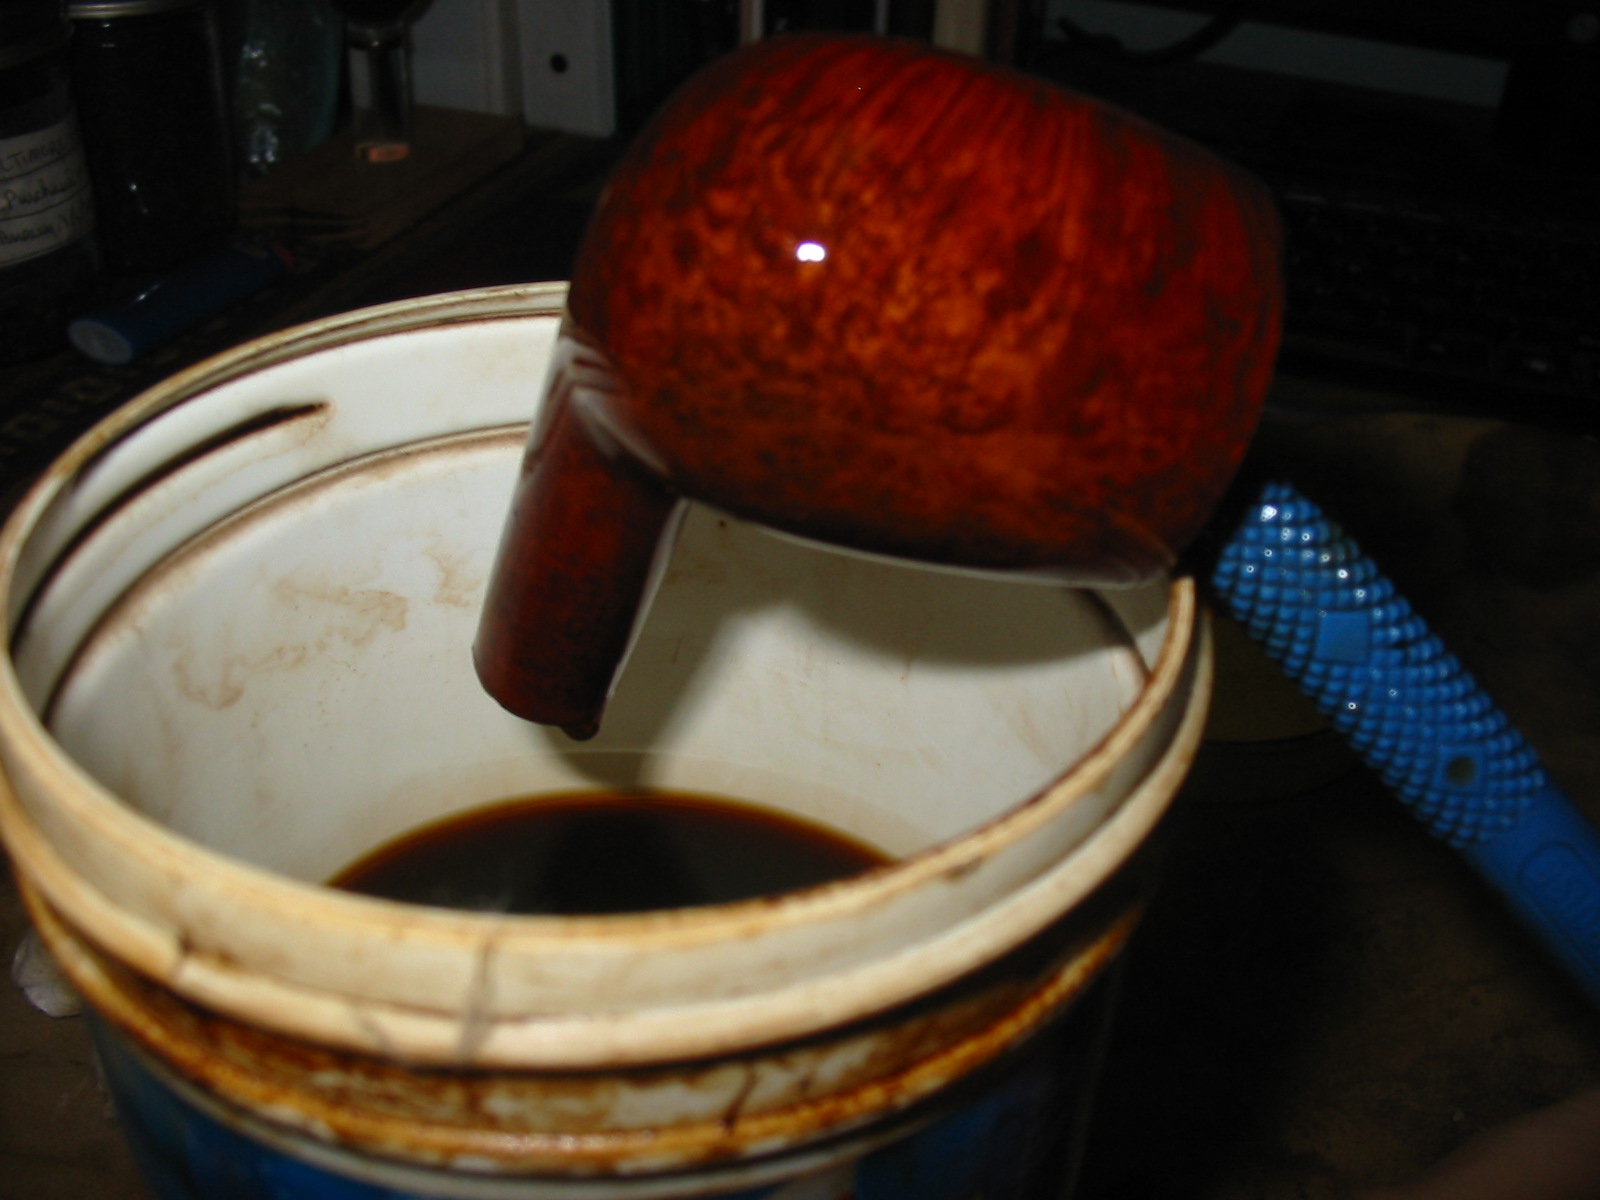
I dropped the bowl in an alcohol bath to soften the putty fills to make them easier to remove. It also removed the remaining finish to the bowl. The dark colour of the alcohol bath adds a patina to the bowl that is something that I appreciate. (I continue to use the bath and filter out the grit and grime from the alcohol every other month. The filtering removes the impurities but leaves the alcohol the colour of the stain that has been removed from the bowl. It is a uniform dark brown colour. I rarely change the bath, just refill it as the alcohol evaporates over time.)
IMG_3317

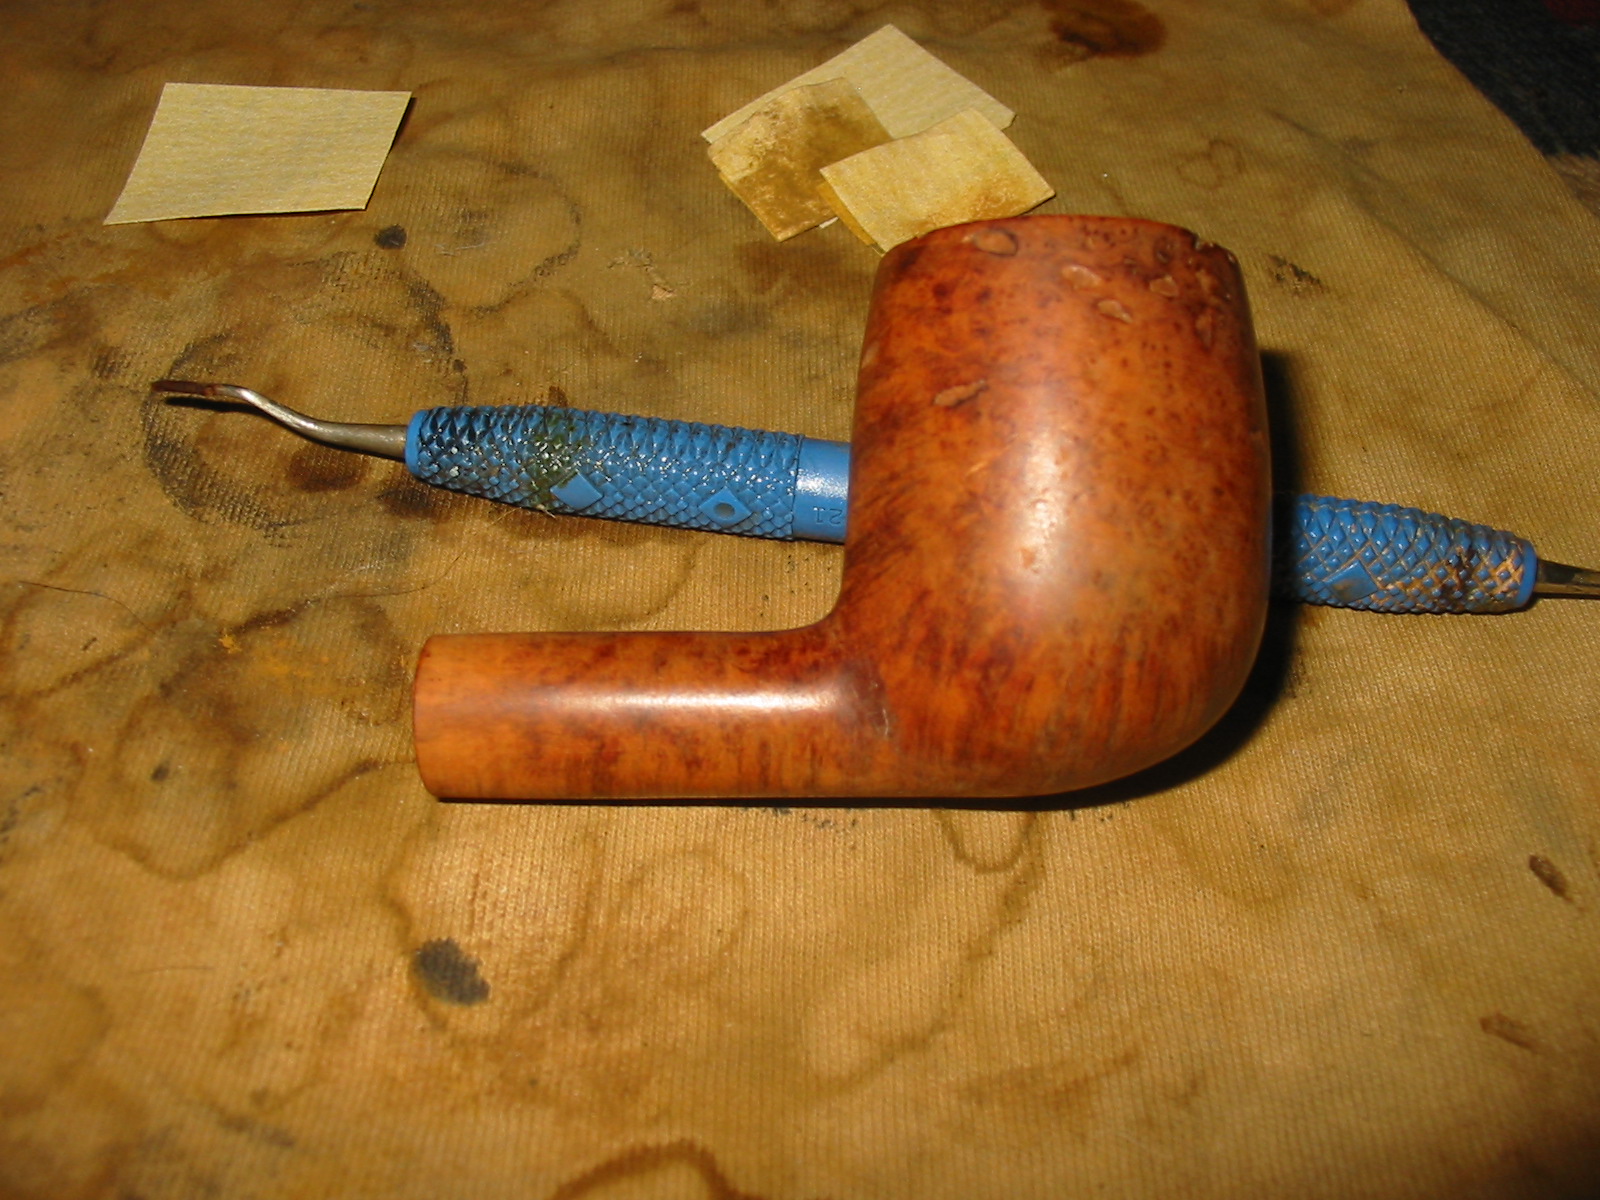
When I removed it from the bath I picked out the softened putty fills with a dental pick and lightly sanded the bowl and shank with a fine grit sanding sponge.
IMG_3318

IMG_3319

IMG_3320

IMG_3321

I am continuing to experiment with wood glue and briar dust combined to replace the fills. I am finding that the mixture gives virtually the same darkening of the fill as the mixture of briar dust and superglue so I am not convinced. The drawback to using the wood glue is the slow drying time. That probably is not an issue for some of you but if the result is the same I will opt for the quick results of the superglue. I packed in the briar dust, dribbled the glue into the fills and then added more dust to the mixture. When it dried I sanded it with 220 grit sandpaper to remove the buildup and smooth out the surface of the bowl. I then sanded the bowl with a fine grit sanding block to remove the scratches.
IMG_3322

IMG_3323

IMG_3324

IMG_3325

IMG_3326

IMG_3327

IMG_3328

IMG_3329

I am also continuing to experiment with the contrast staining process so I used it again on this bowl. I wanted to highlight the beautiful birdseye grain and cross grain on the bowl and hide the repaired fills as much as possible. I used a black aniline stain for the first coat of stain. I applied it and flamed it and repeated the process until I had good coverage on the bowl.
IMG_3330

IMG_3331

IMG_3332

I wiped down the bowl with Everclear on a cotton pad to remove the heavy black stain from the surface of the bowl while leaving it deep in the grain. I notice in the process that the stain did not soak into the areas around the fills where there was remnant of wood glue on the surface of the briar. It left a shiny spot of unstained briar. To remedy that I would need to sand those areas of the bowl before applying the second coat of stain.
IMG_3333

IMG_3334

IMG_3335

IMG_3336

I sanded the bowl with a fine grit sanding sponge and also with micromesh sanding pads from 1500-2400 grit. I wet sanded with these grits as they work well to remove scratches in the surface and also to remove the remaining glue on the surface. Once I had the bowl sanded smooth I wiped it down with a damp alcohol pad to remove surface dust and then restained the bowl with an oxblood aniline stain. The next series of photos show the freshly stained bowl before I flamed it. The undercoat of black comes through and highlights the grain very nicely. Once the bowl was dry I buffed it lightly with White Diamond.
IMG_3337

IMG_3338

IMG_3339

IMG_3340

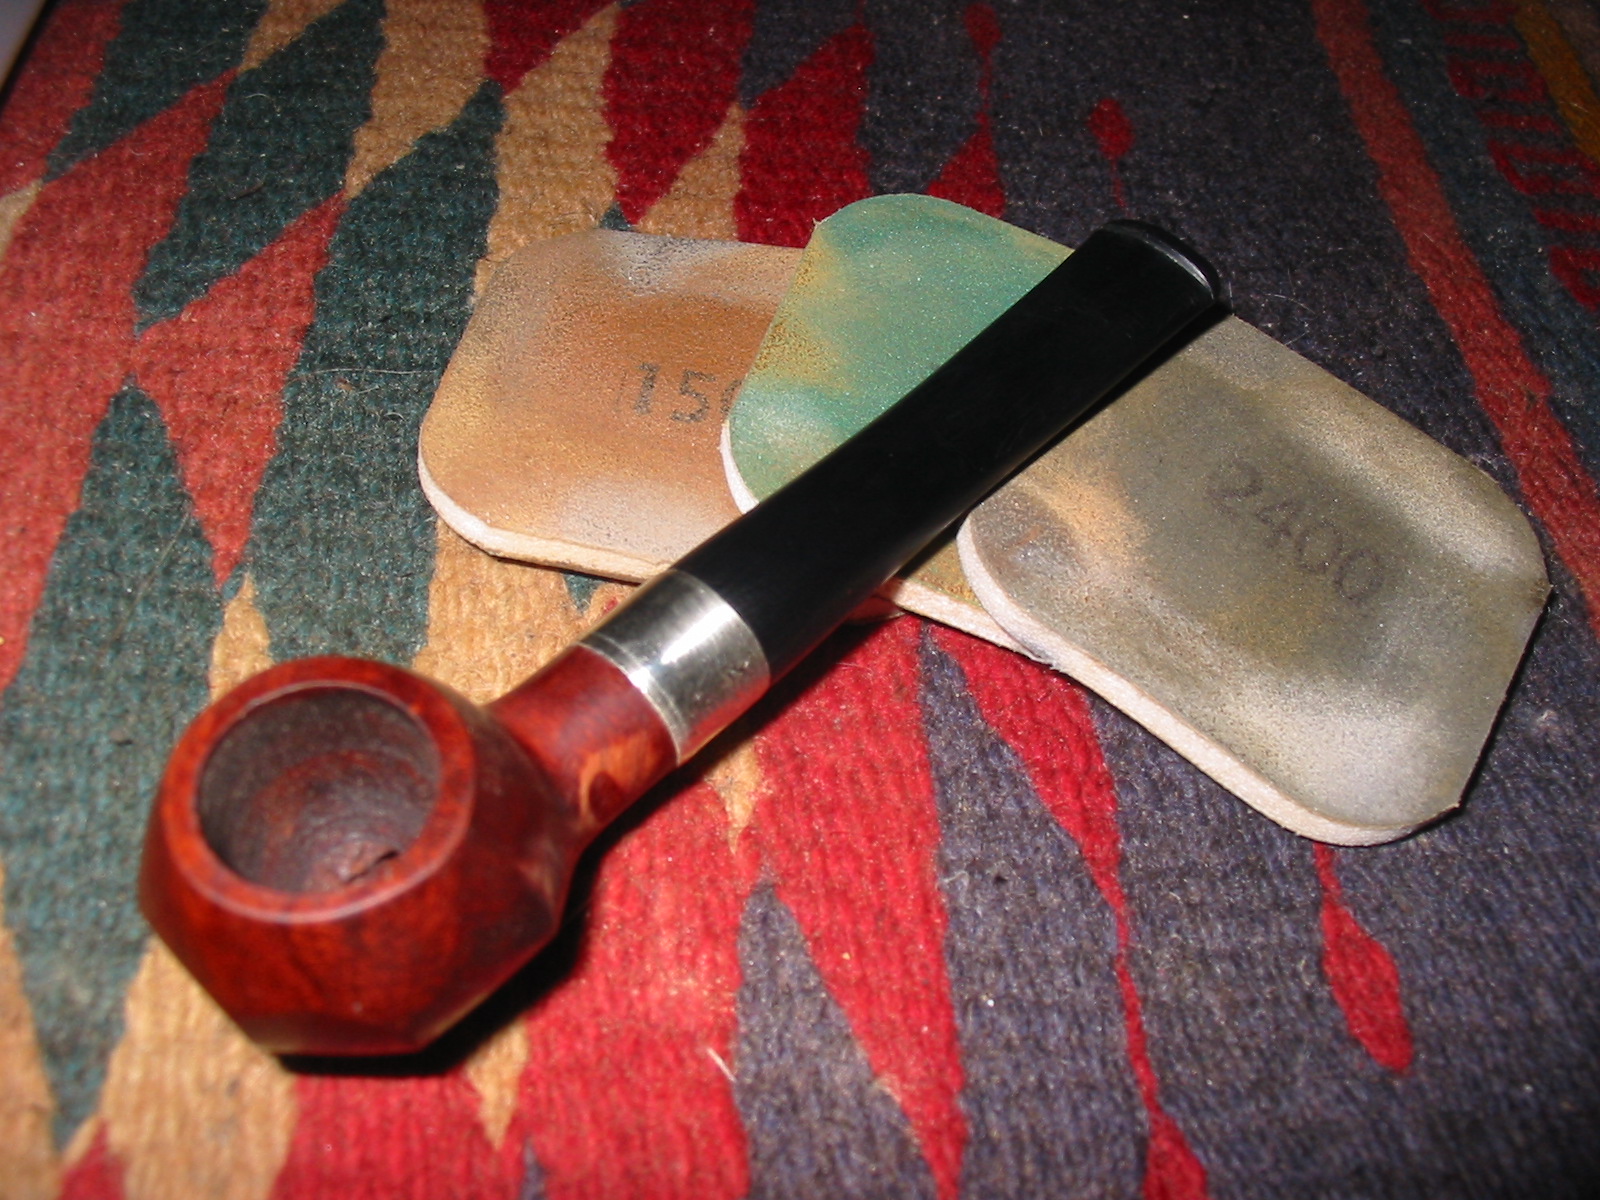
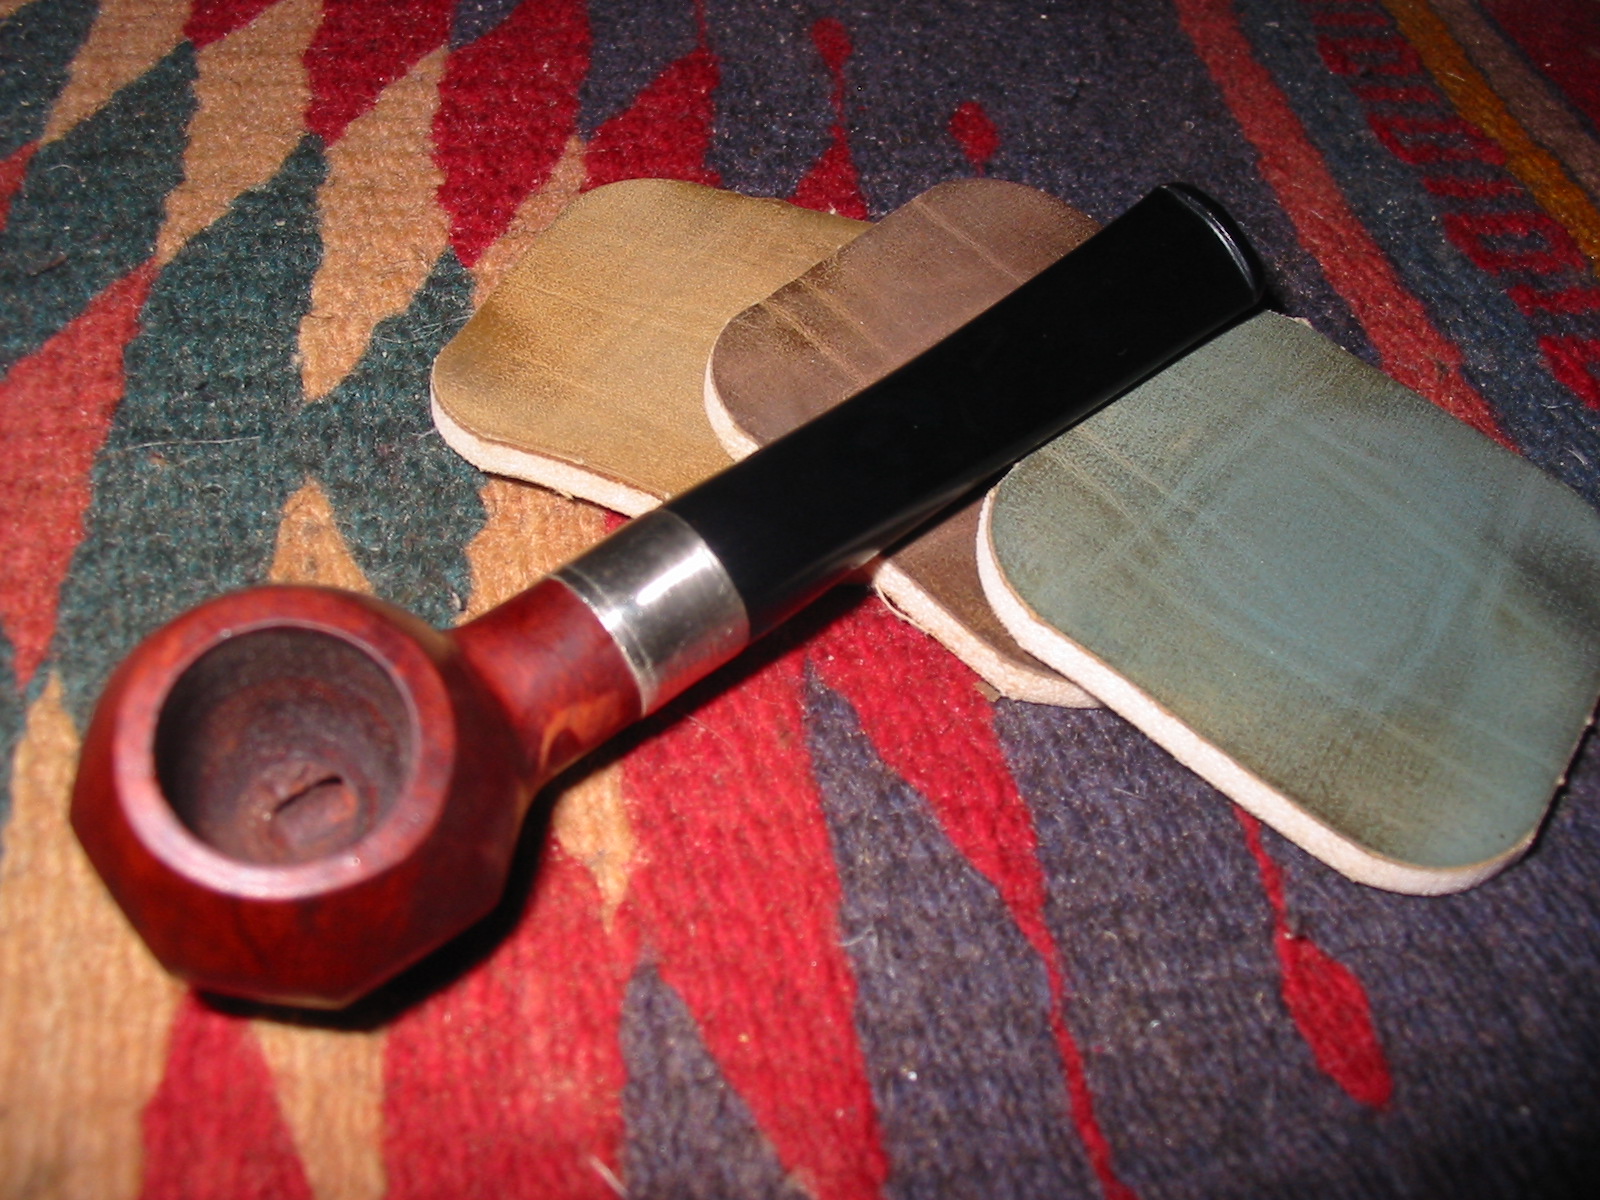
I sanded the bowl and stem with micromesh sanding pads to polish it further. I wet sanded with 1500-2400 grit and then dry sanded with 3200-12,000 grit pads. I find that the higher grit pads add a deeper level of shine with each successive grit. The next three photos show the stem and bowl after polishing with three grits of micromesh. The first photo shows 1500, 1800 and 2400 grit pads. The second photo shows 3200, 3600 and 4000 grit pads. The third photo shows 6000, 8000 and 12,000 grit pads.
IMG_3341

IMG_3342

IMG_3343

I rubbed the stem down with Obsidian Oil and when it was dry I buffed the stem and bowl with White Diamond. I gave the pipe multiple coats of carnauba wax to protect the finish and give it a shine. The contrast stain worked well with this pipe. The birdseye grain really pops and the cross grain is also highlighted. The black undercoat also minimizes the eyesore of the fills on the right side of the bowl and the small one on the left side has virtually disappeared. The final four photos below show the finished pipe. I am happy with the way it turned out – far better than I expected when I took it out of the box to refurbish.
IMG_3348

IMG_3349

IMG_3350

IMG_3351

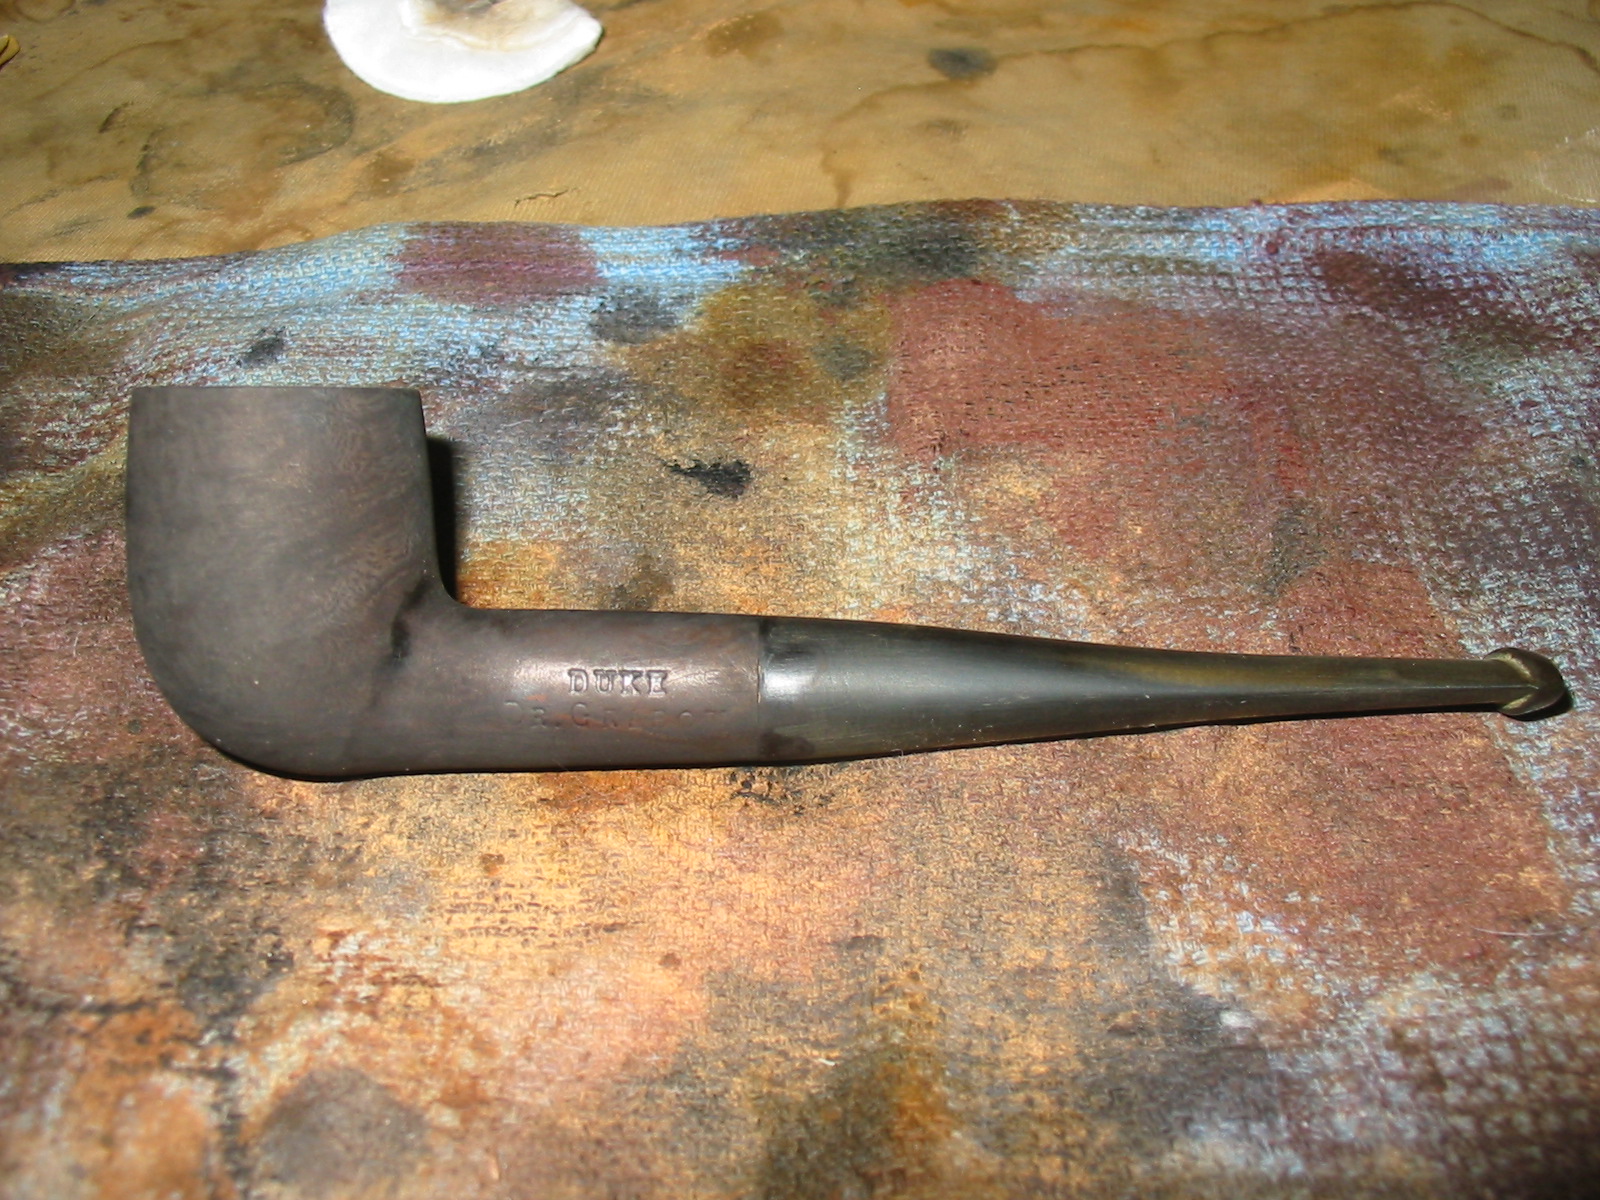
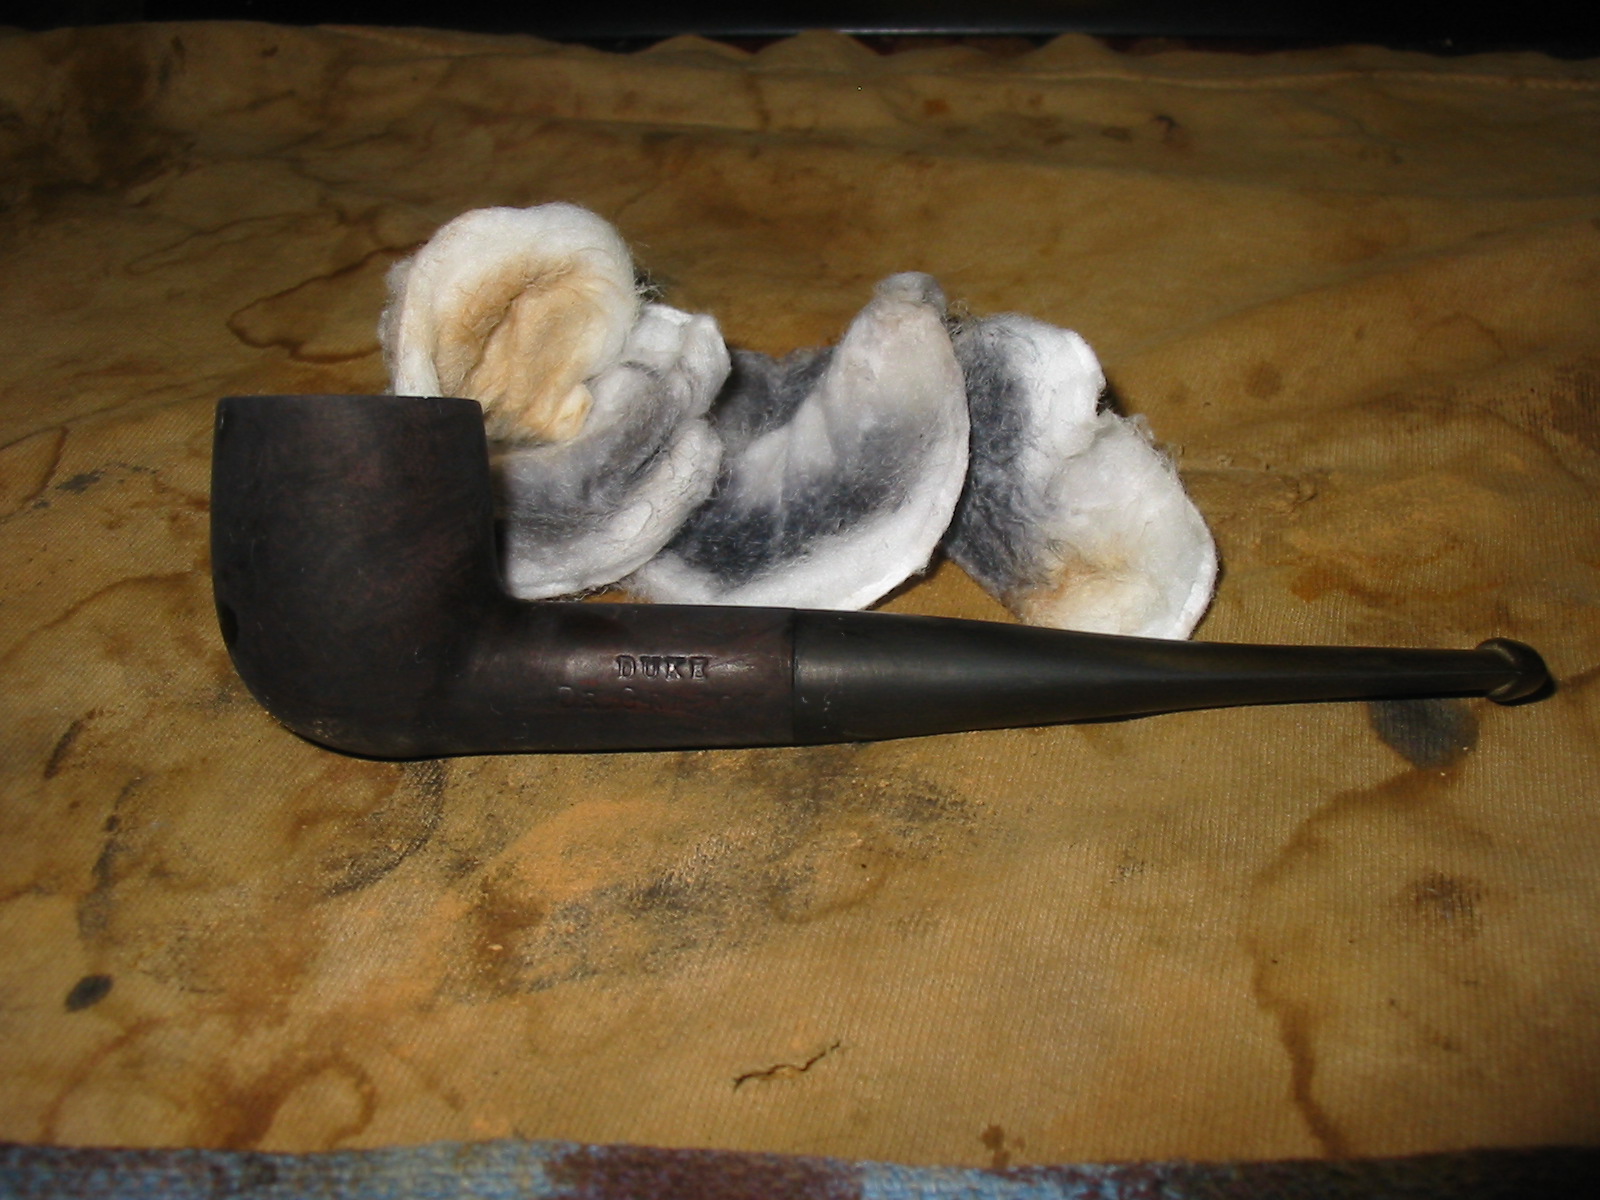
A Dr. Grabow Duke Billiard Reborn


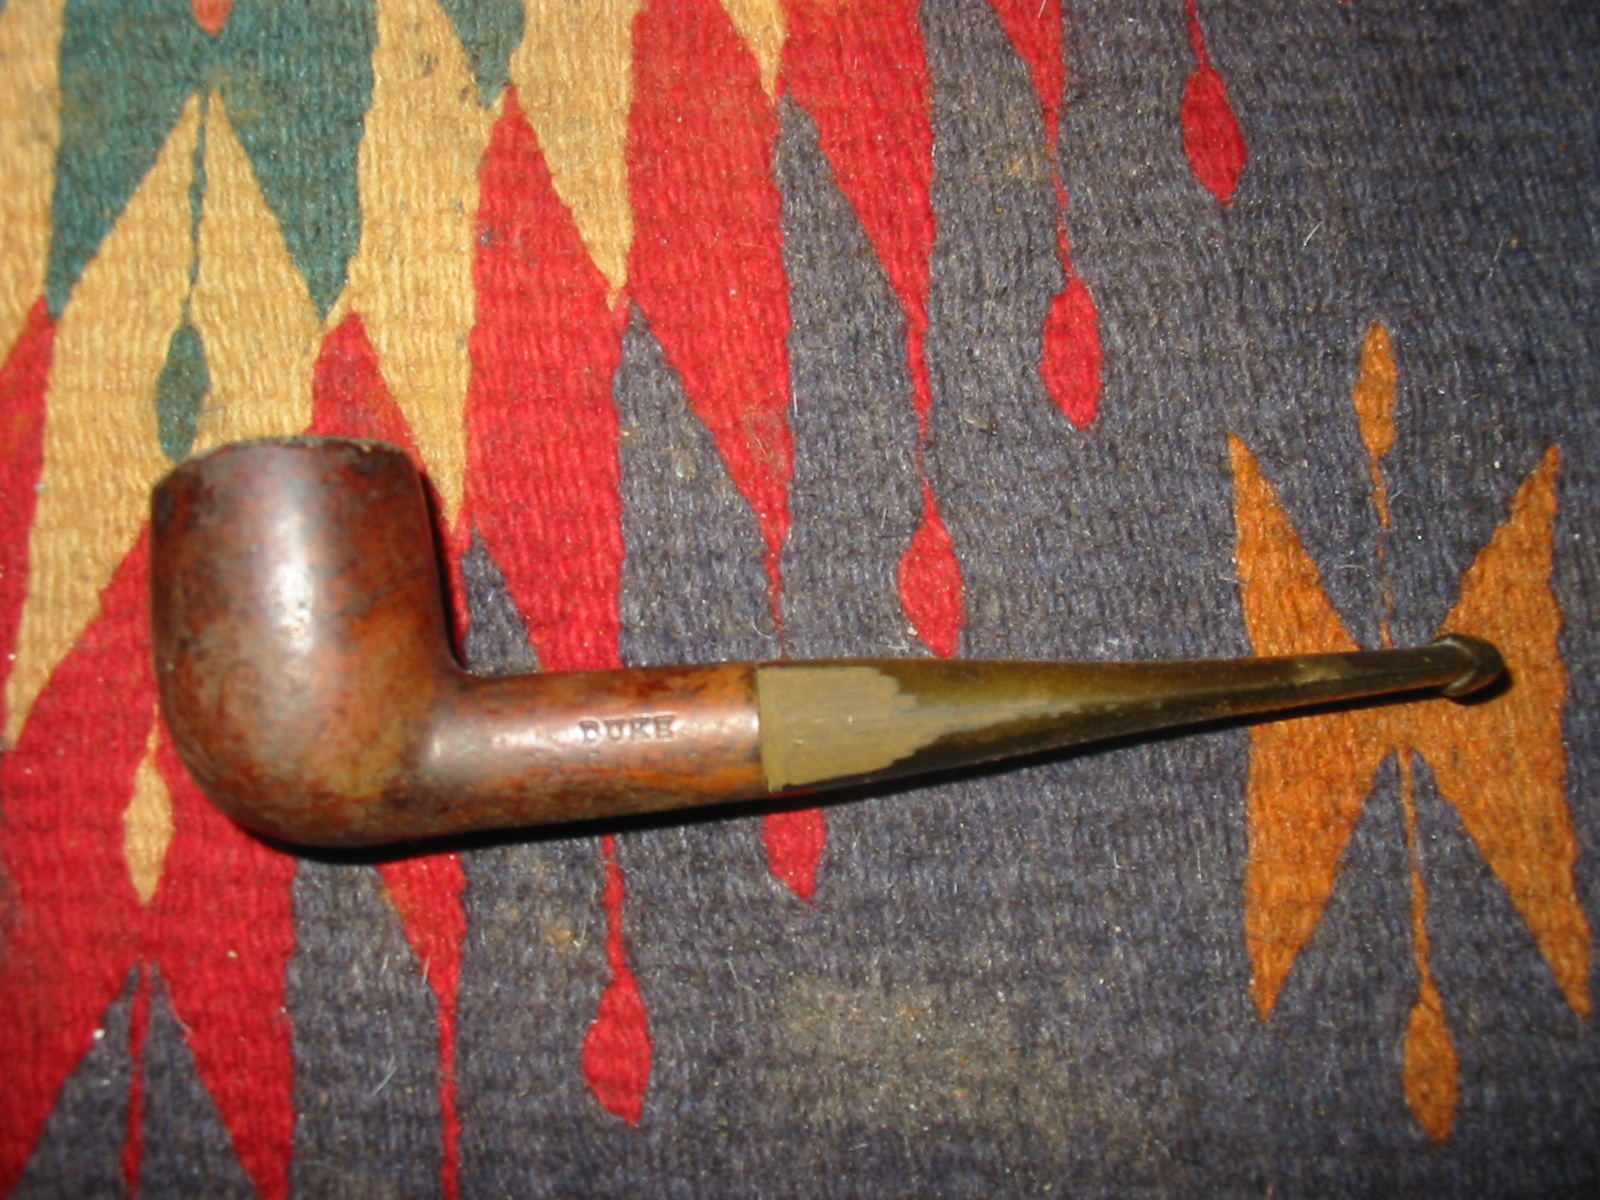
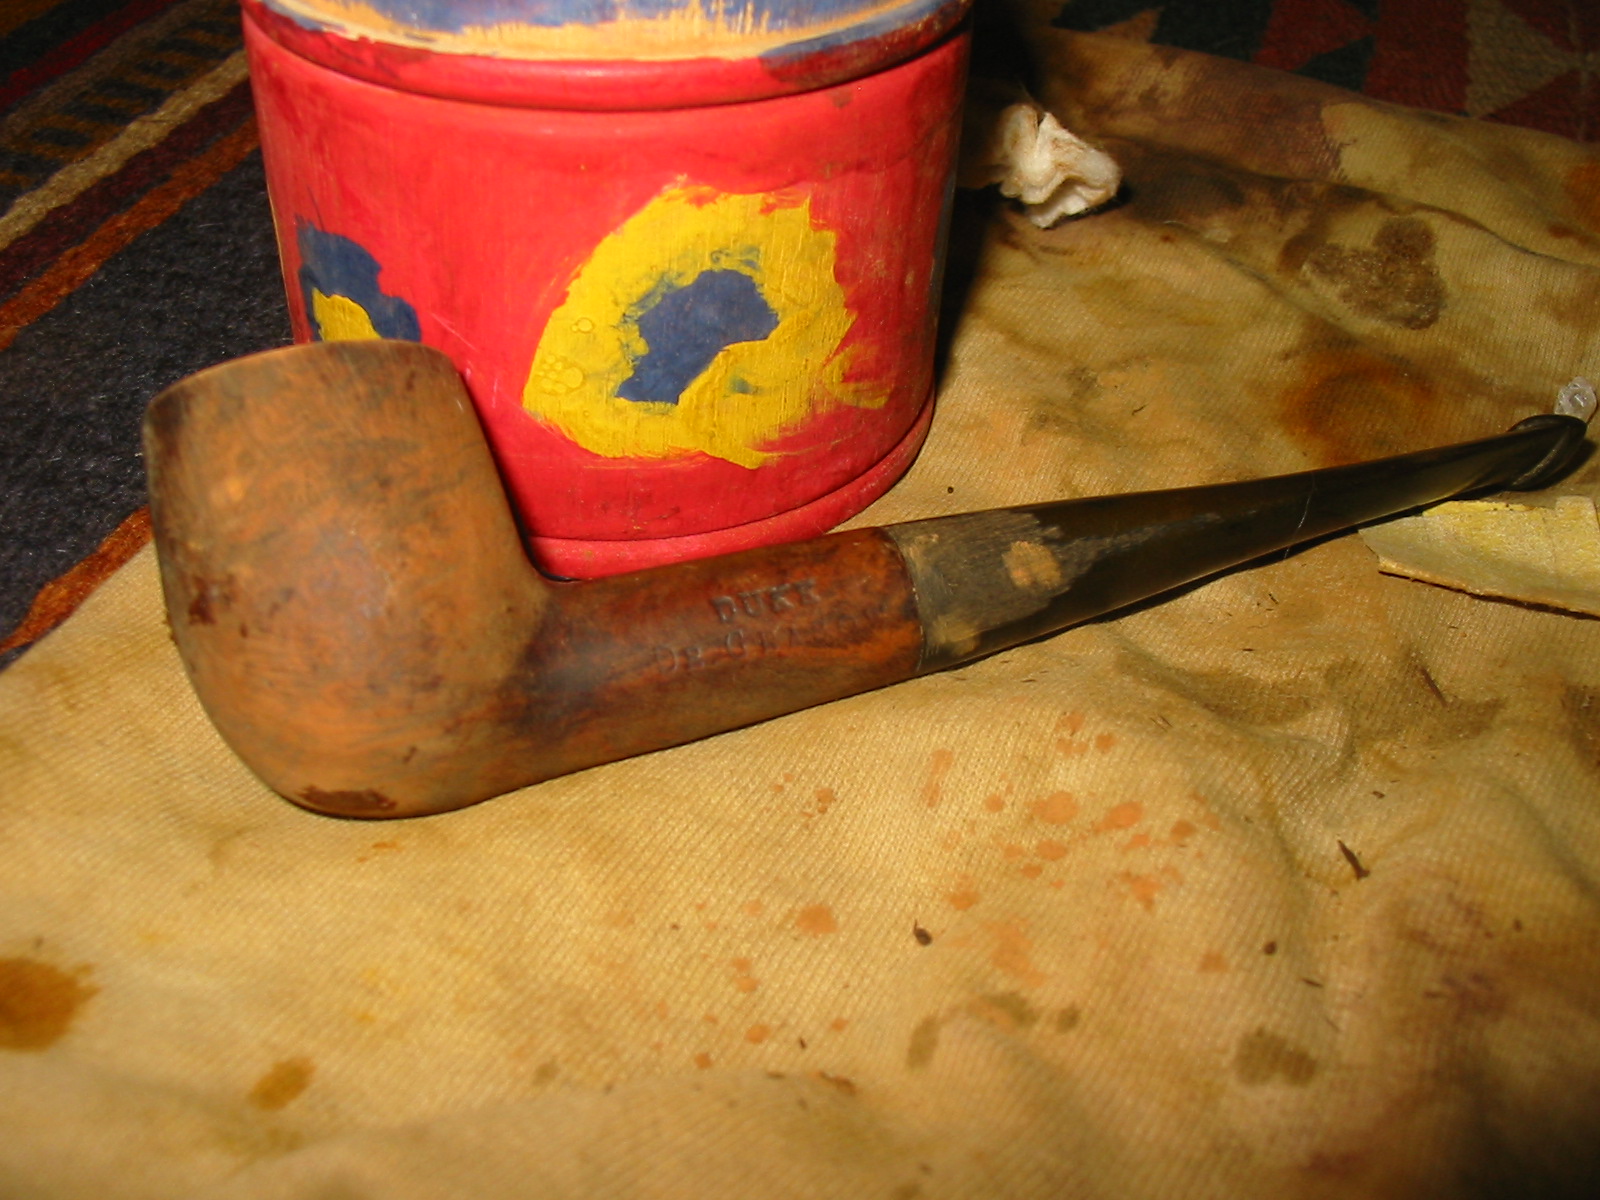
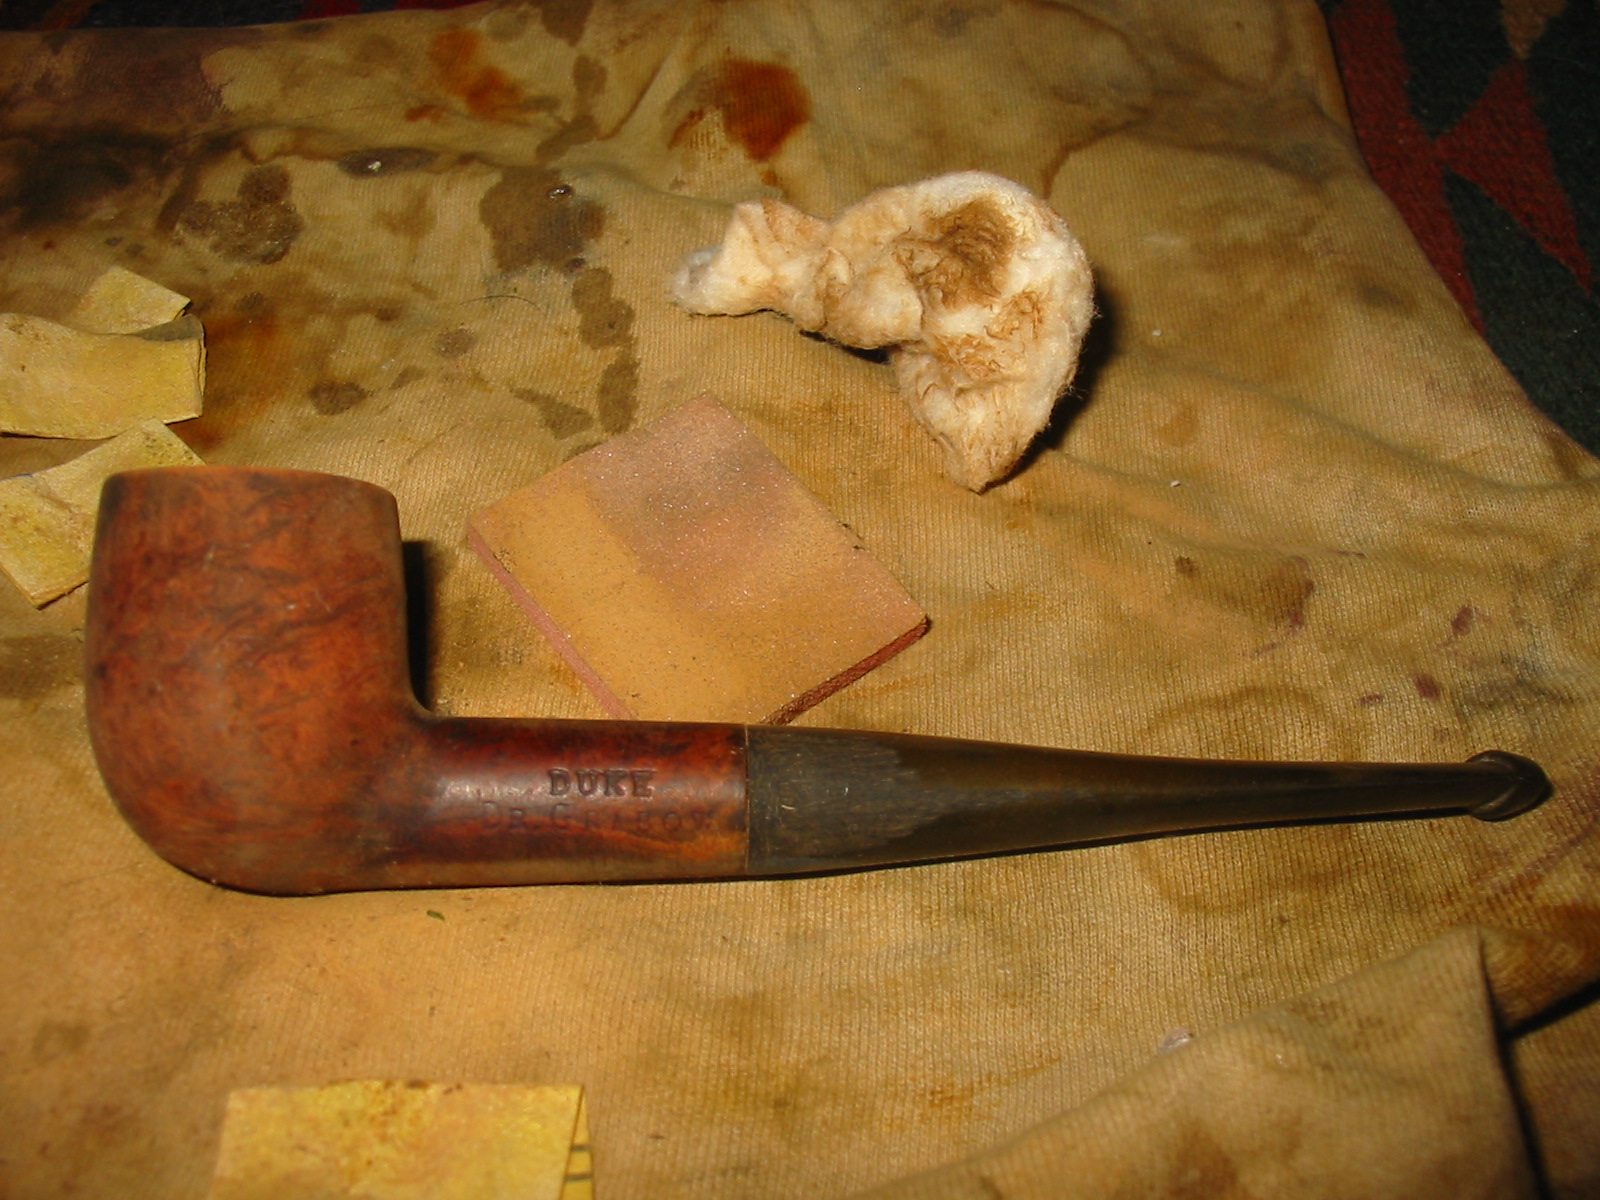
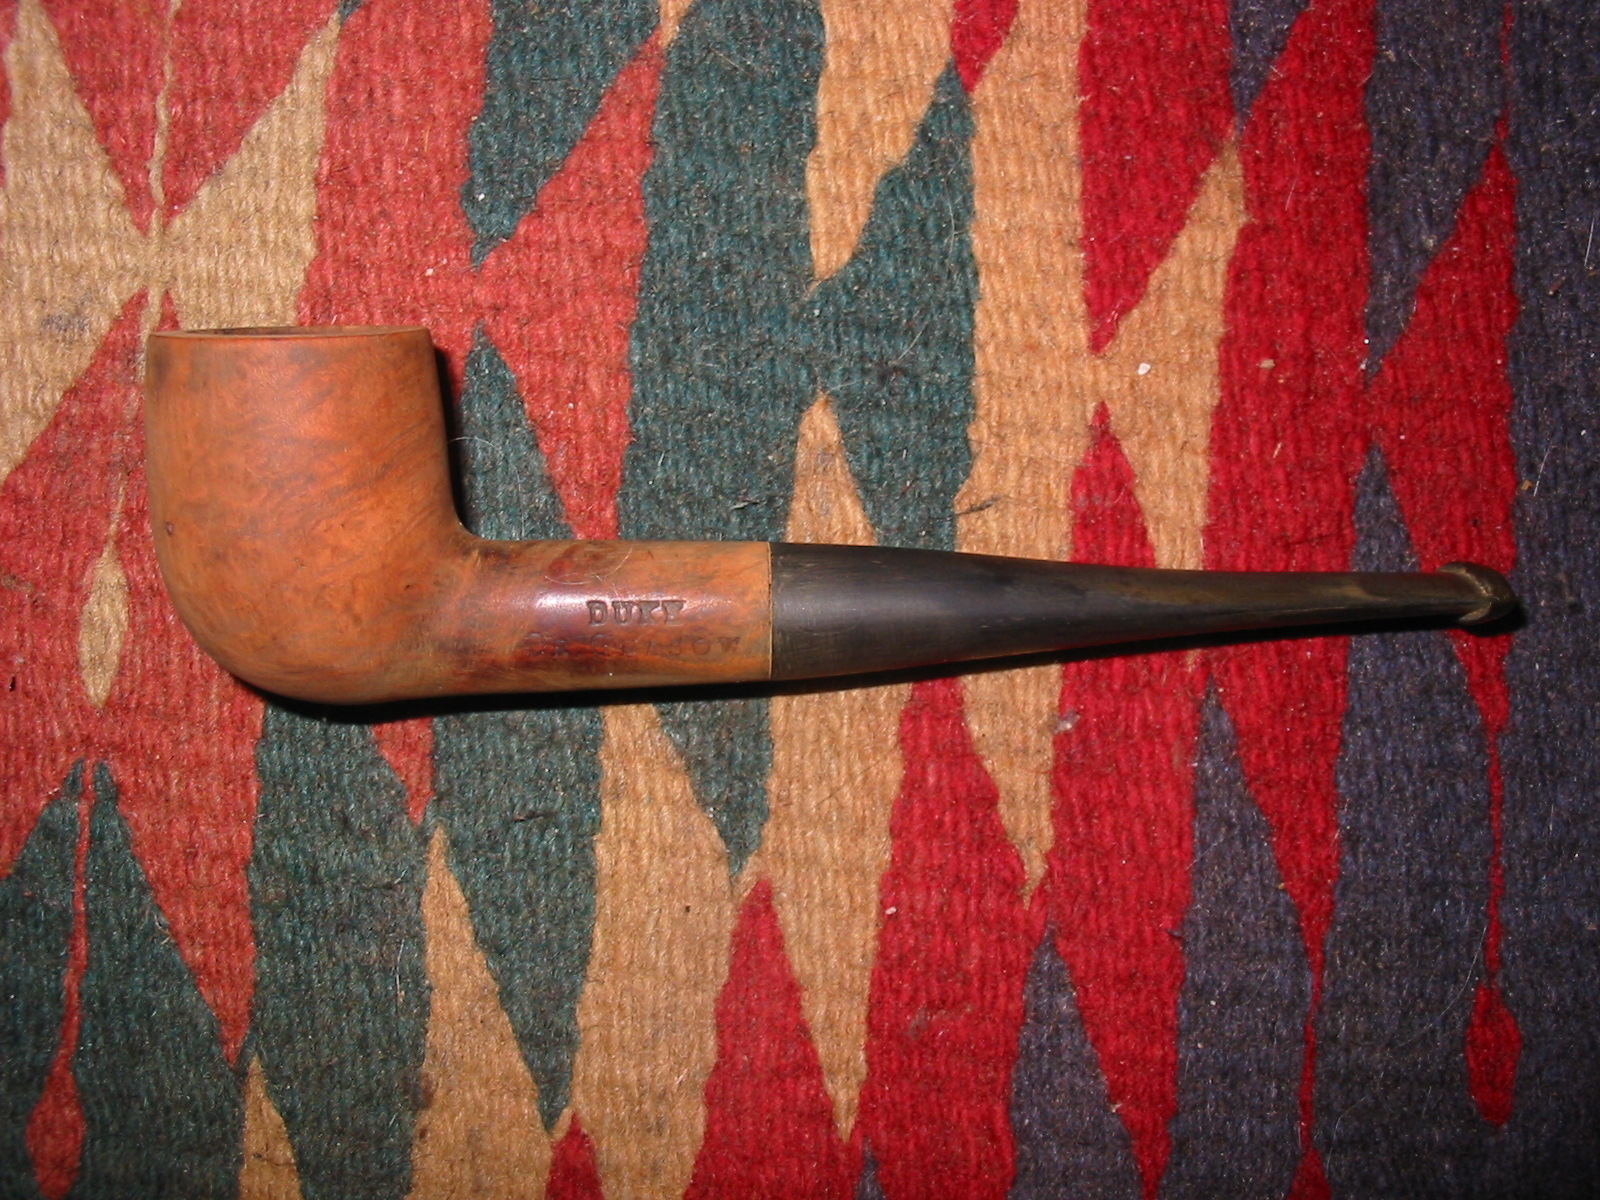
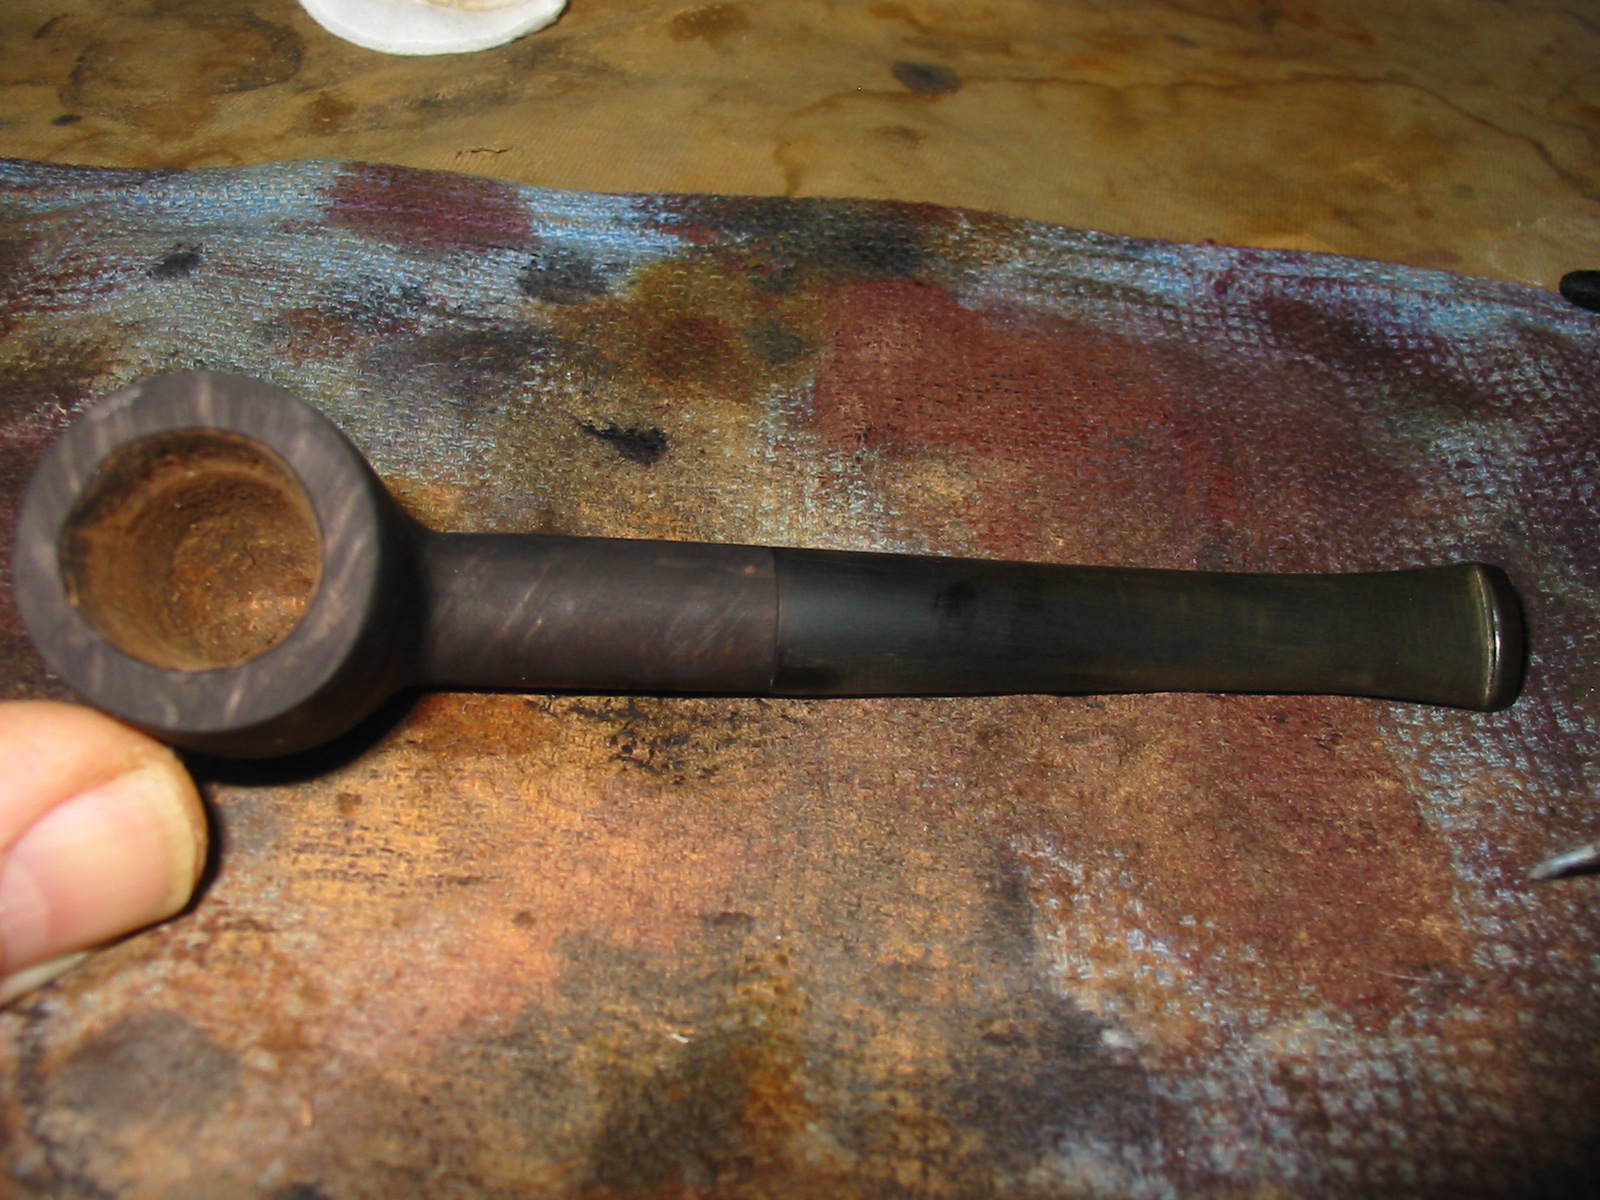
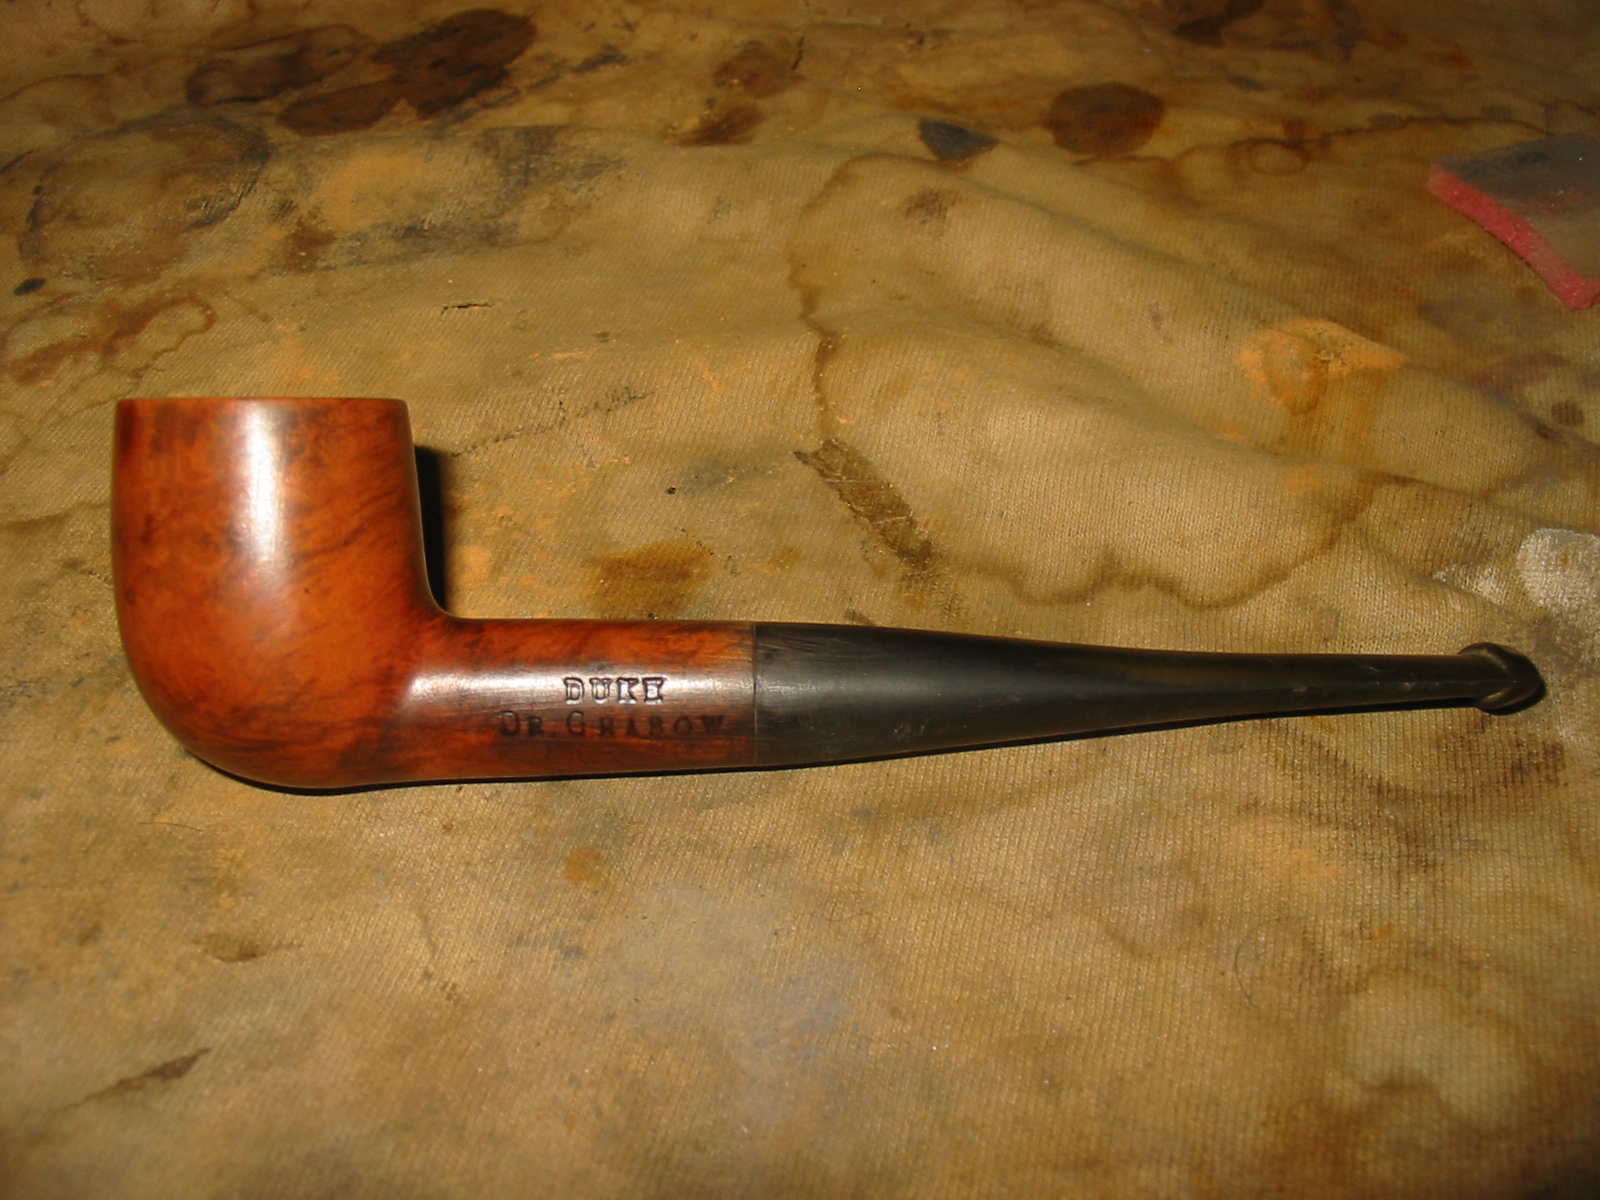
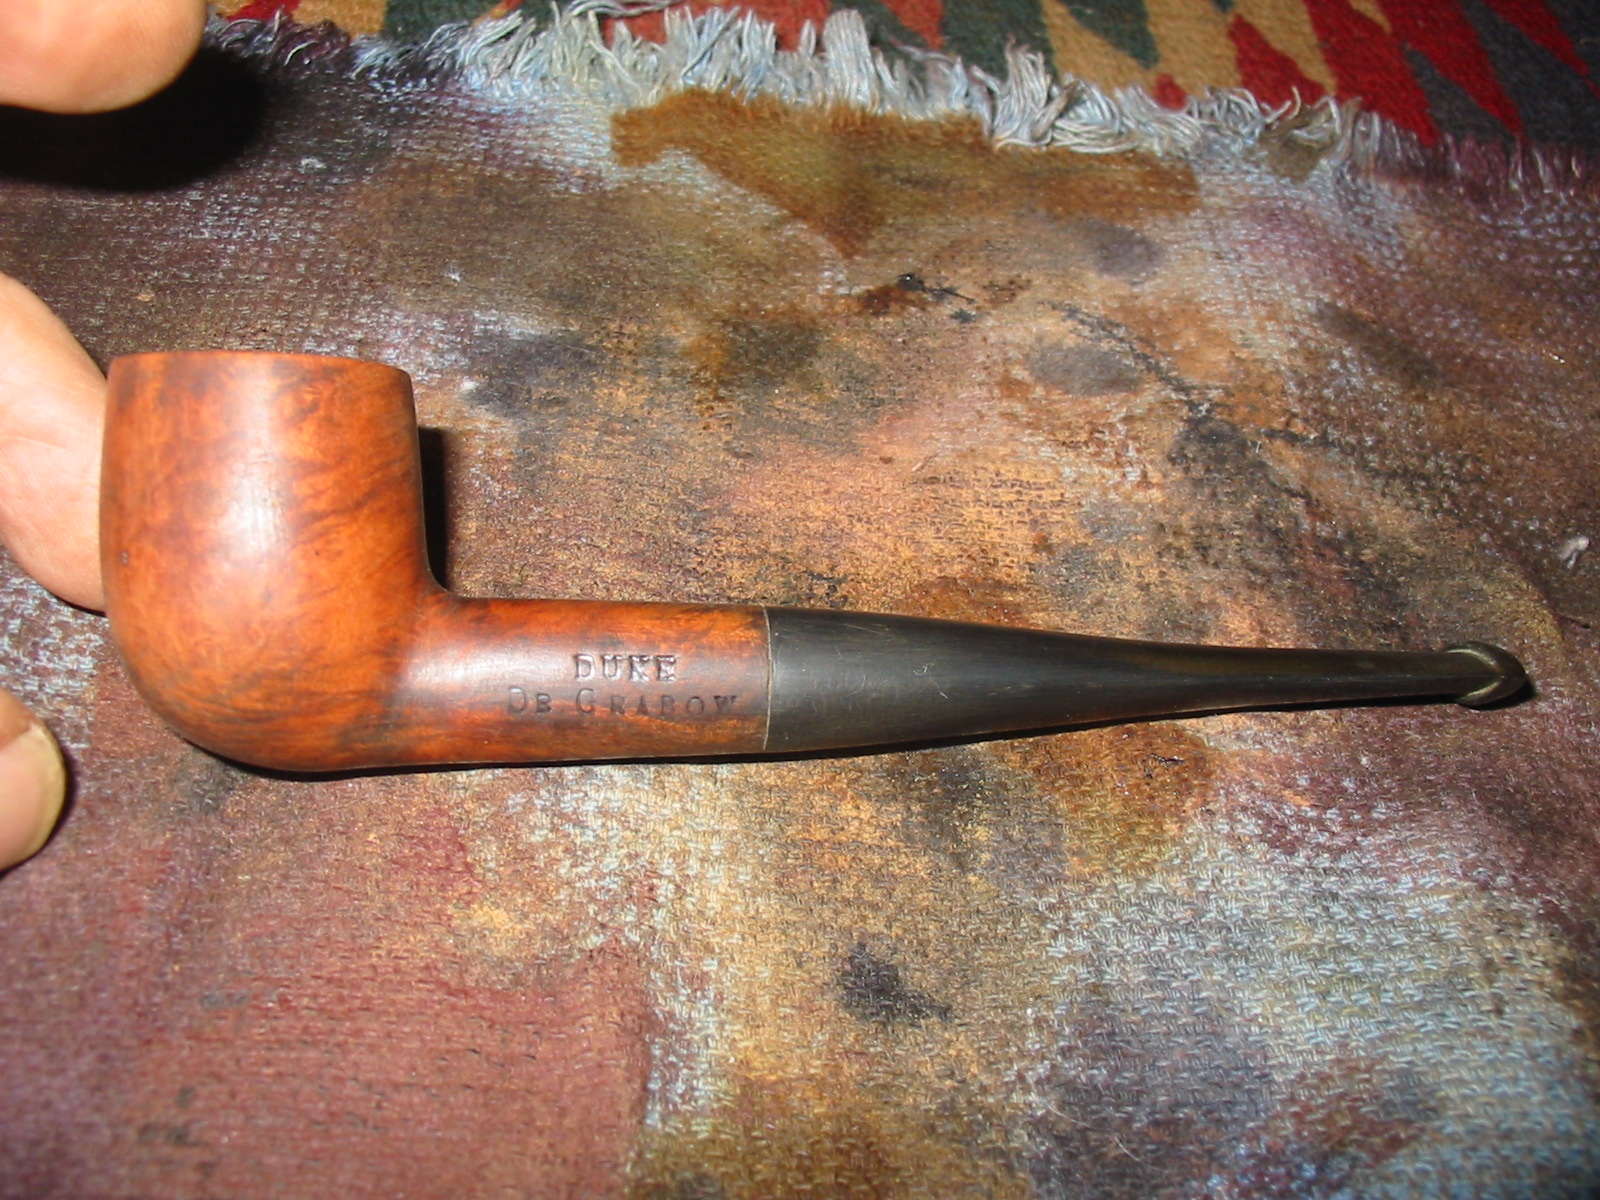
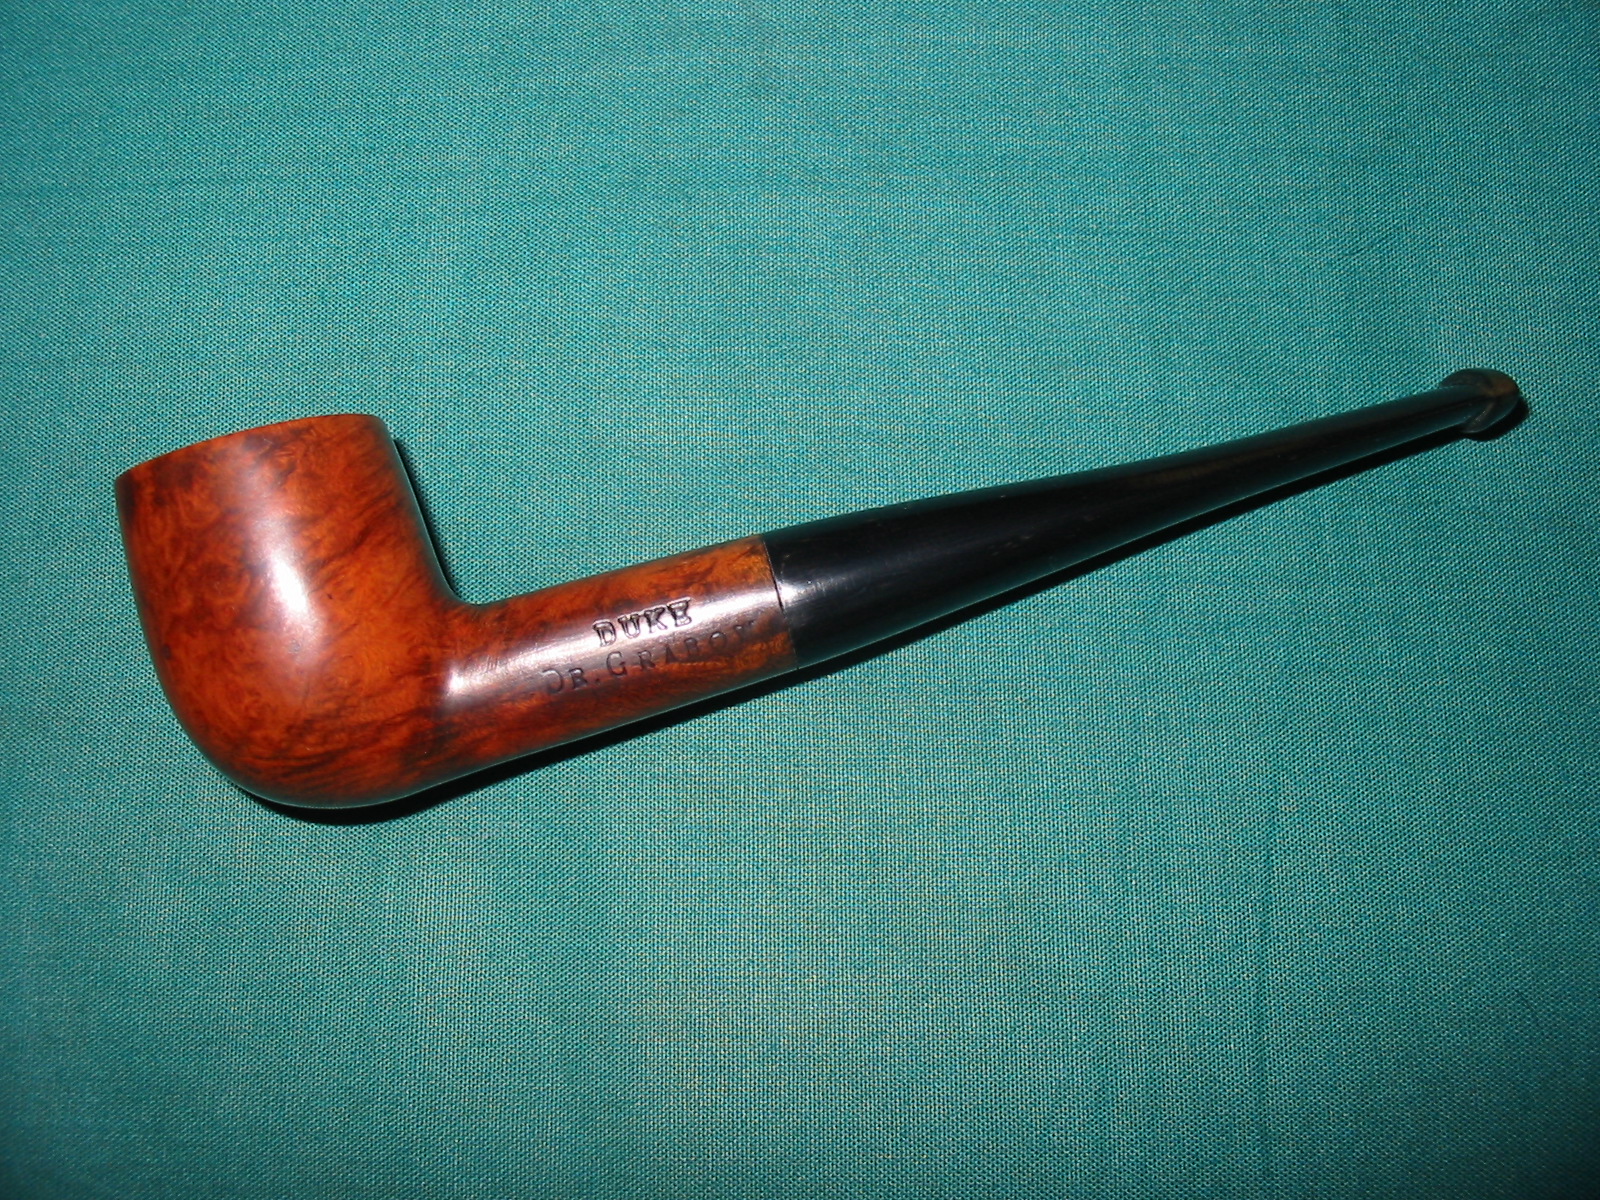
Two more pipes left in the box of pipes needing to be refurbished. The first is a Gr. Grabow billiard. It is stamped on the left side of the shank DUKE over Dr. Grabow and on the right side Imported Briar. It was a bowl without a stem. The bowl was in very rough shape. The top was no longer flat and had a large dip in the front where the bowl rim was burned down by a torch lighter or something like that. The finish was ruined and the fills on the left and right had fallen out of the briar. The bowl itself was caked heavily and appeared to be out of round. I sorted through my can of stems and found one that was close to the shank diameter. The oddity of this pipe was that the original shank was more oval than round so whatever stem I fit would have to be adjusted to fit the shape of the shank. I turned the tenon on this old stem and it fit quite well in the shank. I would need to adjust the diameter of the stem to the oval shape of the shank eventually.
IMG_3220

IMG_3221

IMG_3222

IMG_3223

IMG_3224

I adjusted the diameter of the stem to fit the shank with a Dremel and sanding drum. I was able to bring it very close to the shank size and then did the rest of the work in fitting the stem by hand sanding.
IMG_3225

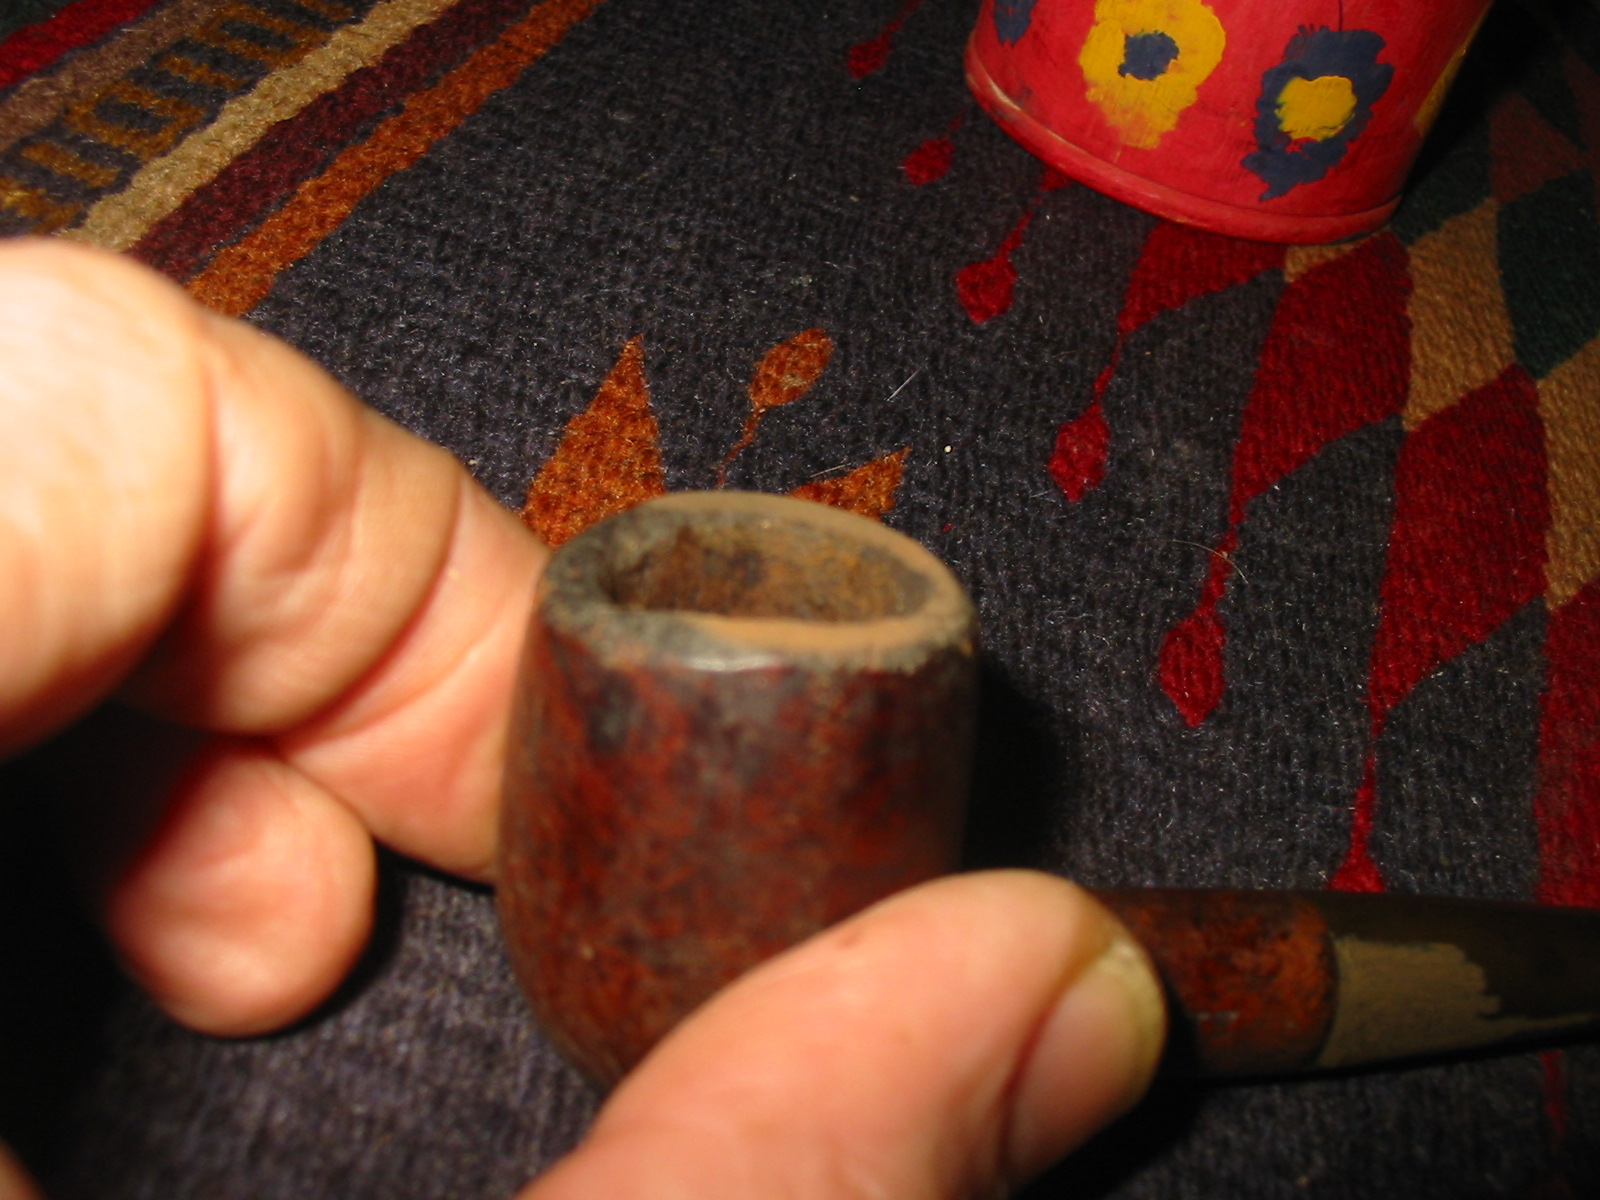
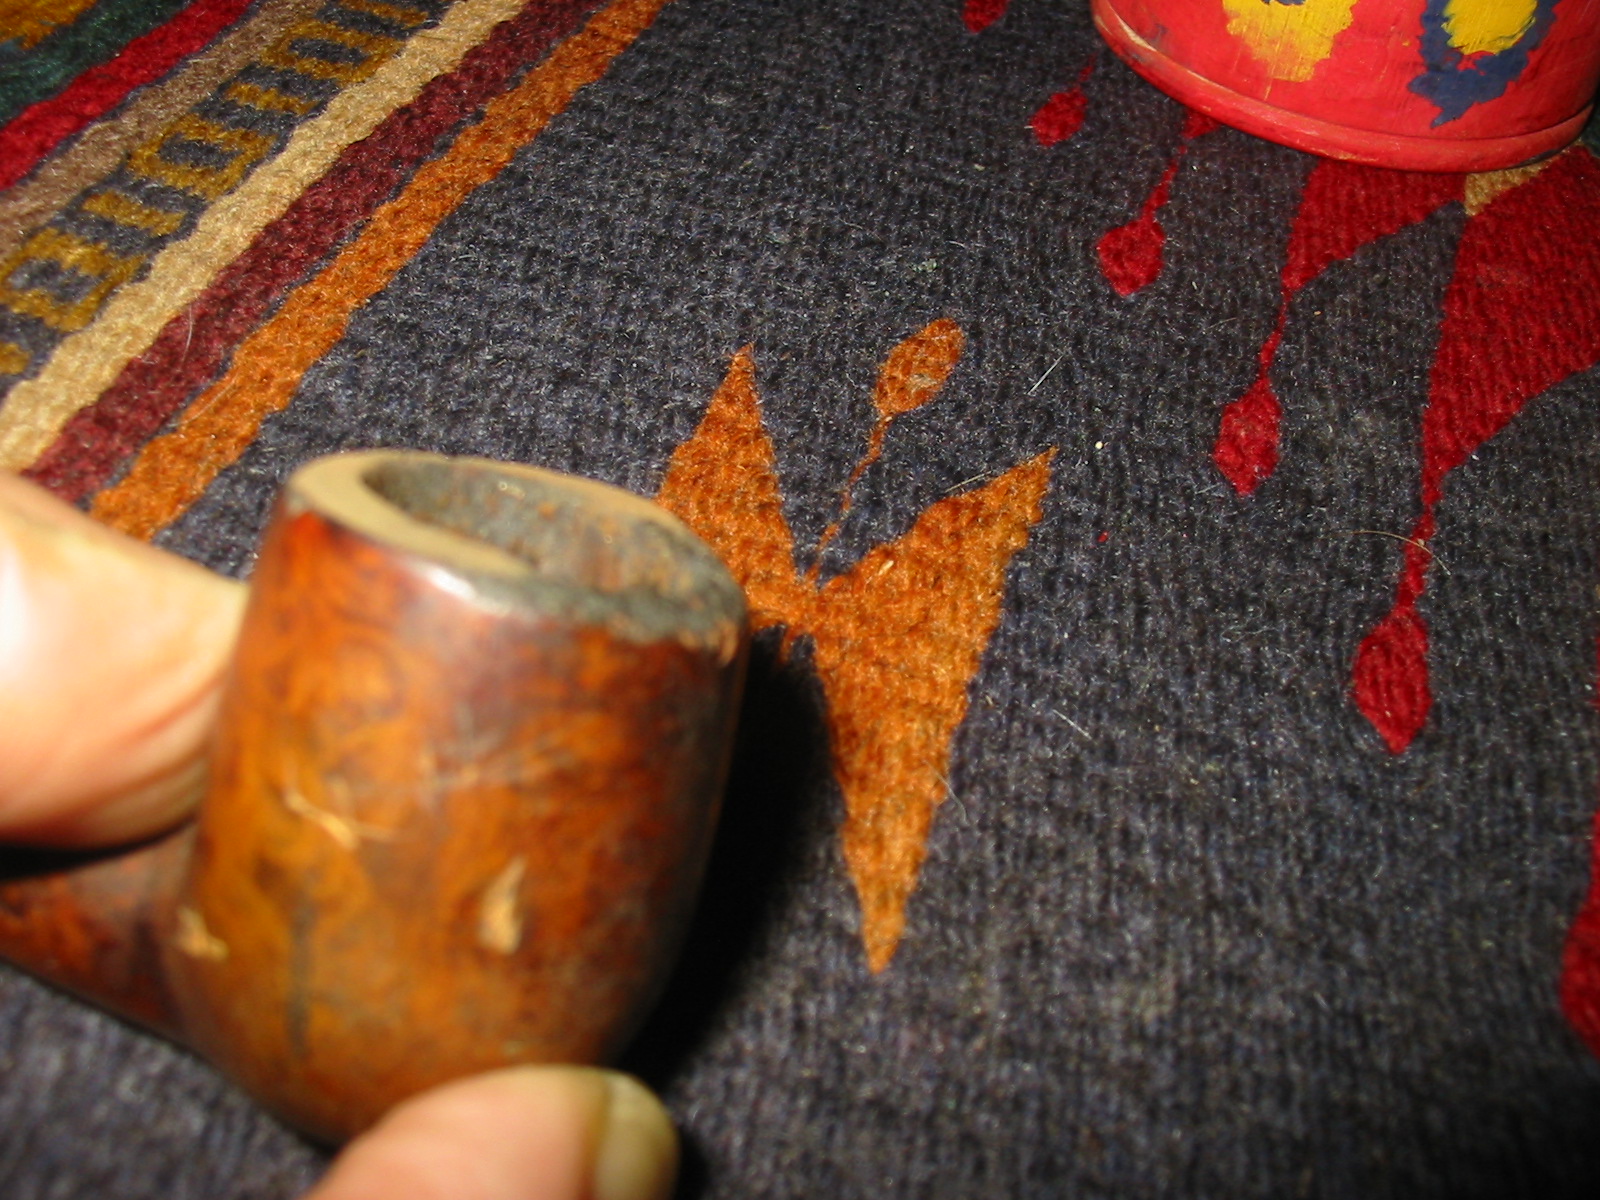
The bowl rim was in rough shape. I debated whether to refurbish this pipe since I received it from a friend. I would take it out and look it over and then put it back in the box undecided. However, with the box almost empty I decided to give a go. The biggest area of damage was the front edge of the rim. The extent of damage to the rim is visible in the next two photos.
IMG_3226

IMG_3227

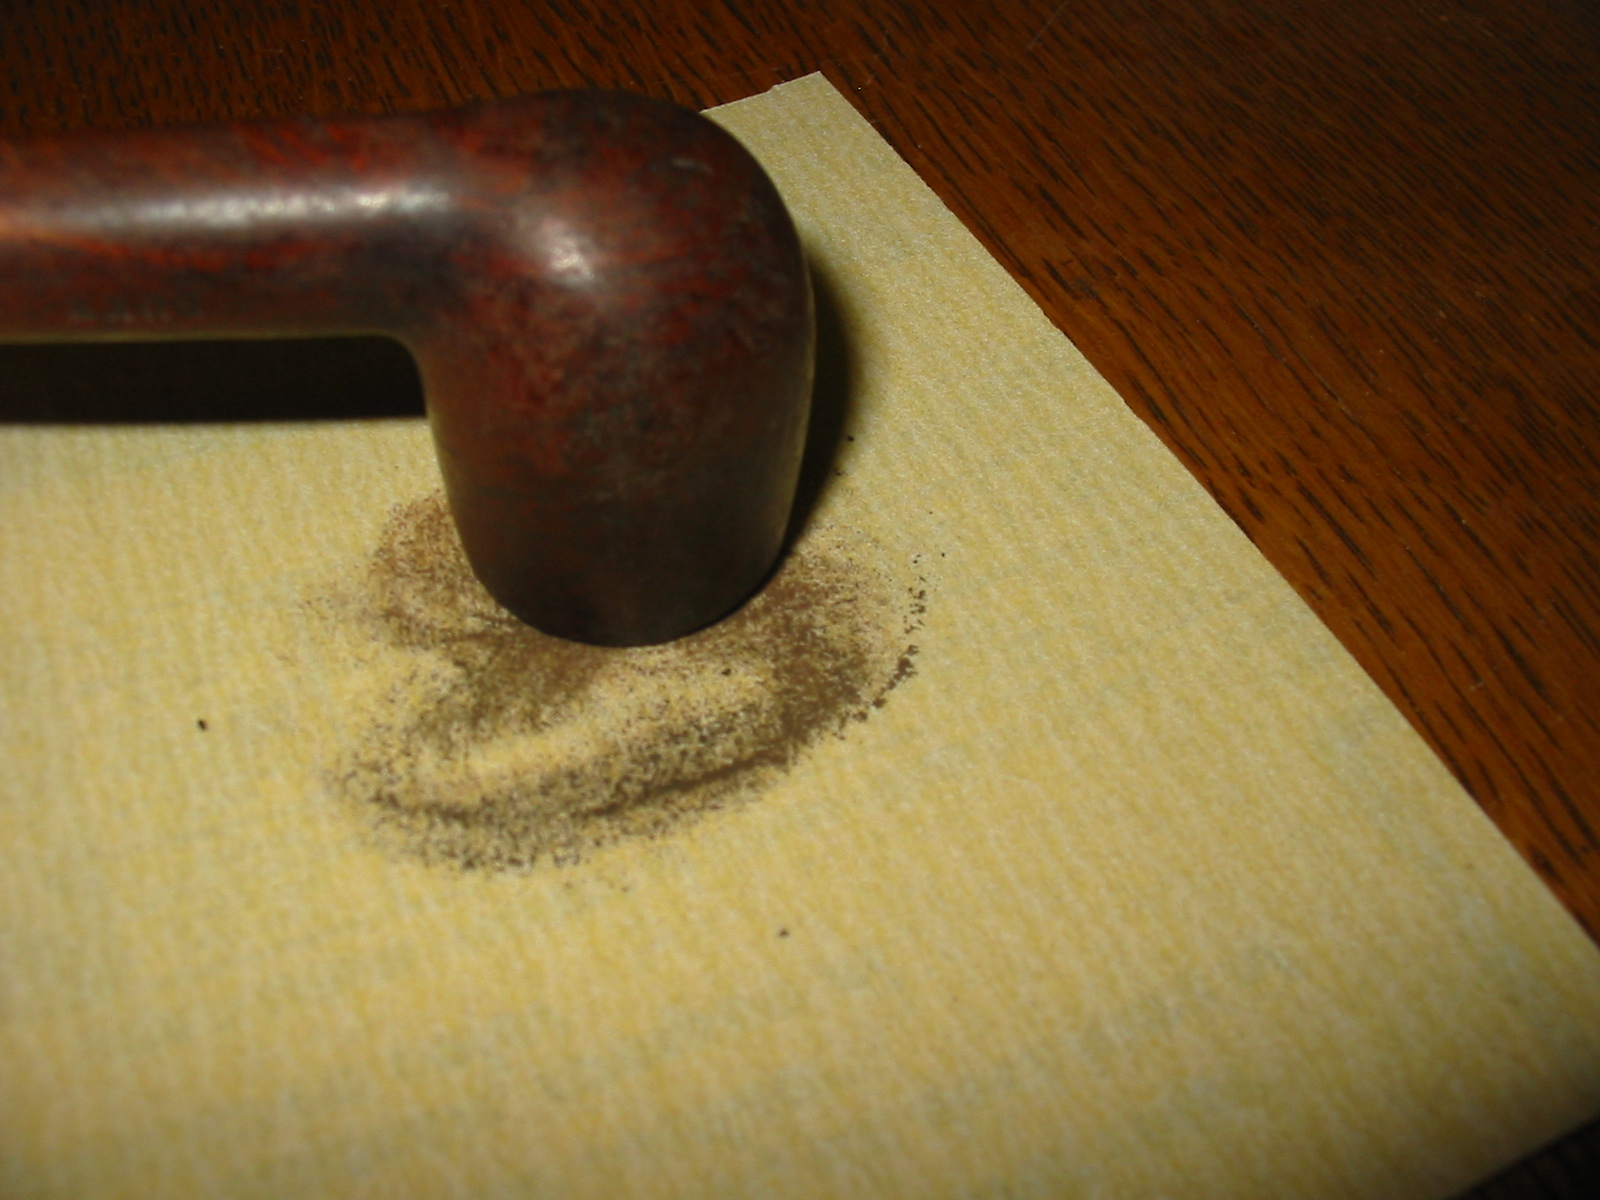
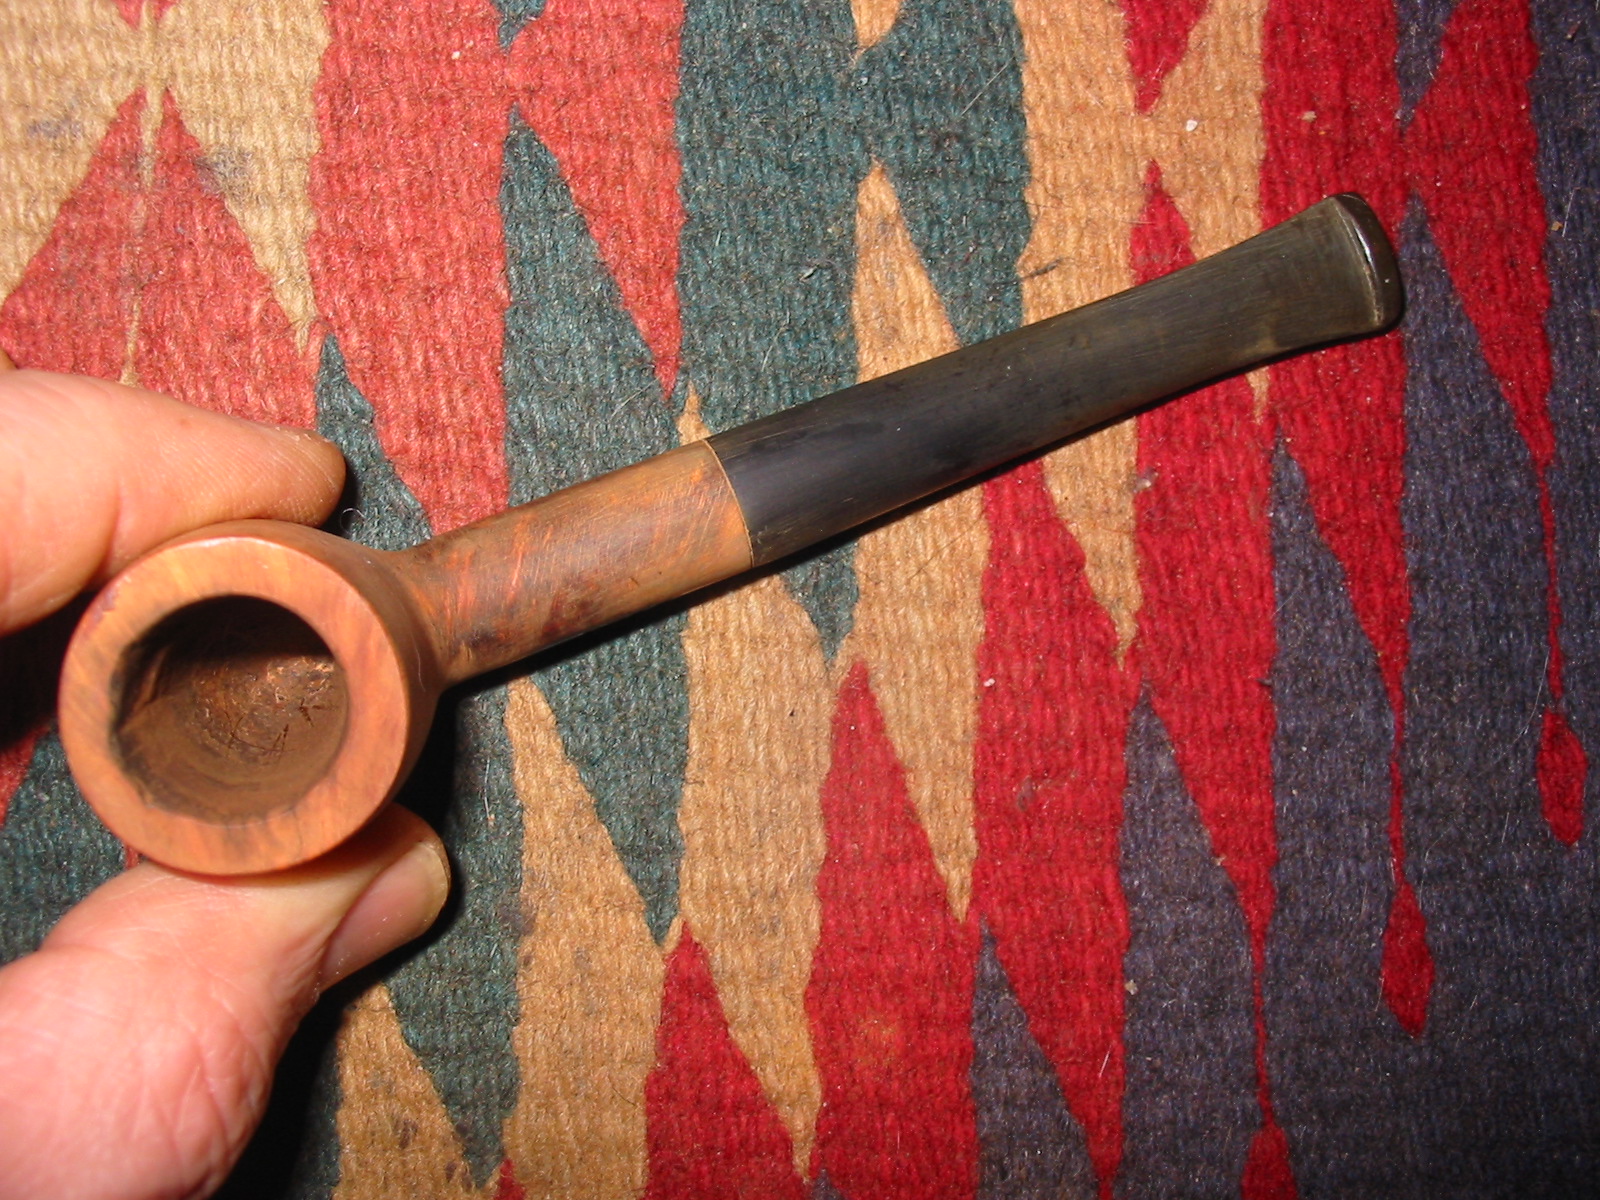
I reamed the bowl with a PipNet reamer to clean up the inside of the bowl and assess the damage to the inner rim on the front. The front edge of the rim had the most damage. I topped the bowl using my usual method of sandpaper on a flat surface. The sandpaper was 220 grit. I placed the bowl top flat against the sandpaper and turned it into the sandpaper to remove the damaged material. I worked the rim down until it was once again flat. I worked on the inner edge of the rim with a piece of sandpaper to smooth out the surface and restore as much of the roundness of the bowl as possible.
IMG_3228

IMG_3230

IMG_3231

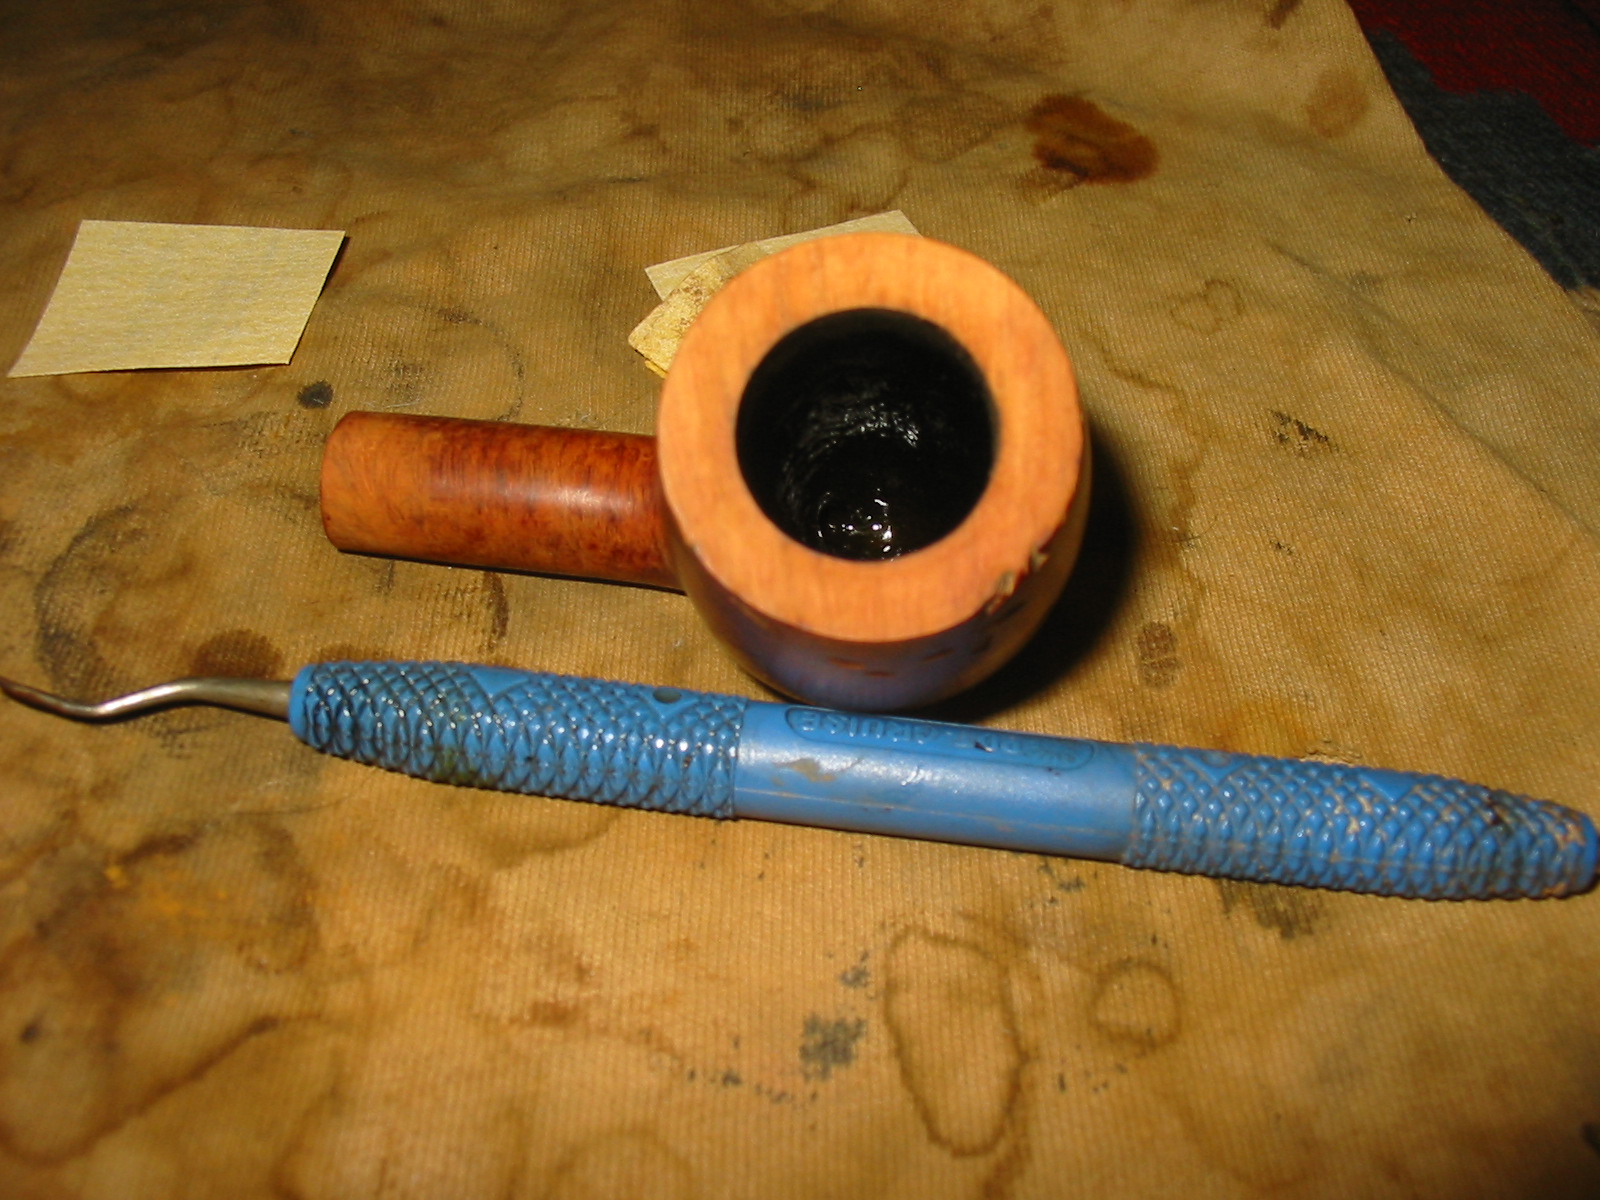
I repaired the fills that had fallen out next. First I cleaned them with a dental pick to remove loose debris and the wipe them down with alcohol. I packed briar dust into the holes and mixed it with wood glue. I wanted to experiment with the wood glue to see if it would take stain better than the superglue patches that I have been using. Once the glue was dry I sanded the bowl smooth again with 220 grit sandpaper and also a medium grit sanding sponge.
IMG_3232

IMG_3235

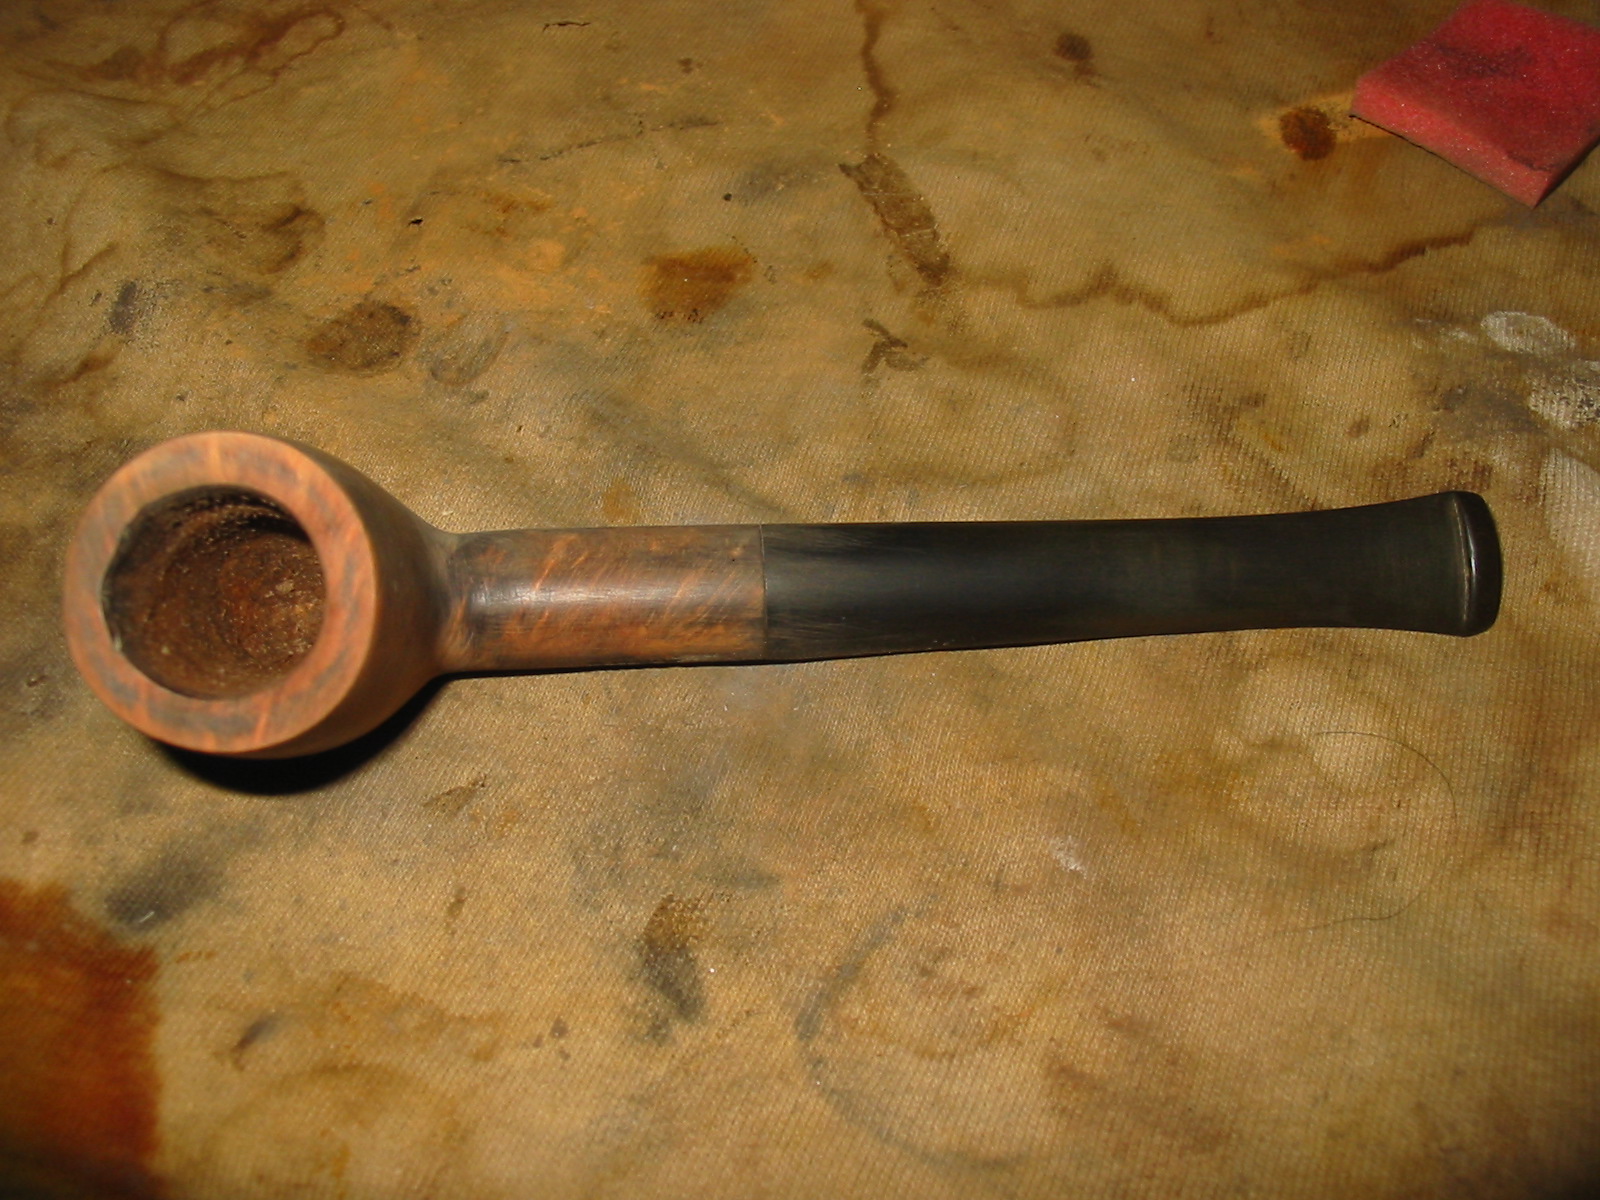
I sanded the bowl smooth and then wiped it down with acetone on a cotton pad to remove the stain and the remaining finish.
IMG_3236

IMG_3237

After wiping it down with the acetone I sanded it with a fine grit sanding sponge to smooth out the remaining surface and prepare it for staining. (In the third photo below the reworked inner edge of the bowl is visible.)
IMG_3238

IMG_3239

IMG_3240

IMG_3241

I decided to use a two part staining process once again to give good coverage to the bowl and to bring out some of the grain on the pipe. I applied the first coat of stain – a black aniline stain – with a cotton swab, flamed it and reapplied and reflamed it until the coverage was good. I warmed the briar with the flame of the lighter to set the stain deep in the grain of the briar.
IMG_3249

IMG_3250

IMG_3251

IMG_3252

I wiped the bowl down with acetone again to remove the top coat of the black stain and bring the grain highlights to the surface. I continued to wipe it down until I removed as much as possible with the acetone.
IMG_3253

IMG_3254

IMG_3255

I sanded the bowl with the medium grit sanding sponge and then wiped it between sandings with cotton pads and Everclear. When I had the finish looking the way I was hoping it would I gave it a final wash with Everclear.
IMG_3256

IMG_3257

IMG_3258

I buffed the pipe and stem with red Tripoli to remove more of the stain and to see what the finish would look like with a buff. I knew that I would need to do more sanding to the bowl and shank to remove the scratches that remained before I gave it the second stain colour coat.
IMG_3259

IMG_3260

IMG_3261

IMG_3262

I sanded the bowl with 1500-2400 grit micromesh sanding pads and then stained it with a top stain of walnut brown aniline. I applied it, flamed it and repeated the process until I had a good even coat of stain.
IMG_3263

IMG_3264

IMG_3265

IMG_3266

I sanded the bowl again and the stem as well with the micromesh sanding pads. I wet sanded with 1500-2400 grit and then dry sanded with the remaining grits from 3200-12,000. When I had finished sanding the stem I gave it a coat of Obsidian Oil and rubbed it into the stem.
IMG_3267

IMG_3268

IMG_3269

When it was dry I buffed the bowl and stem with White Diamond and then gave the entirety several coats of carnauba wax to protect and seal the stem against oxidation and to give some shine to the bowl of the pipe. The finished pipe is shown below. The finished look is far better than I expected when I started with the pipe. The rim looks better and the stain colour highlights the grain nicely. It should provide someone with a good smoking pipe for use in the yard or shop.
IMG_3270

IMG_3271

IMG_3272

IMG_3273

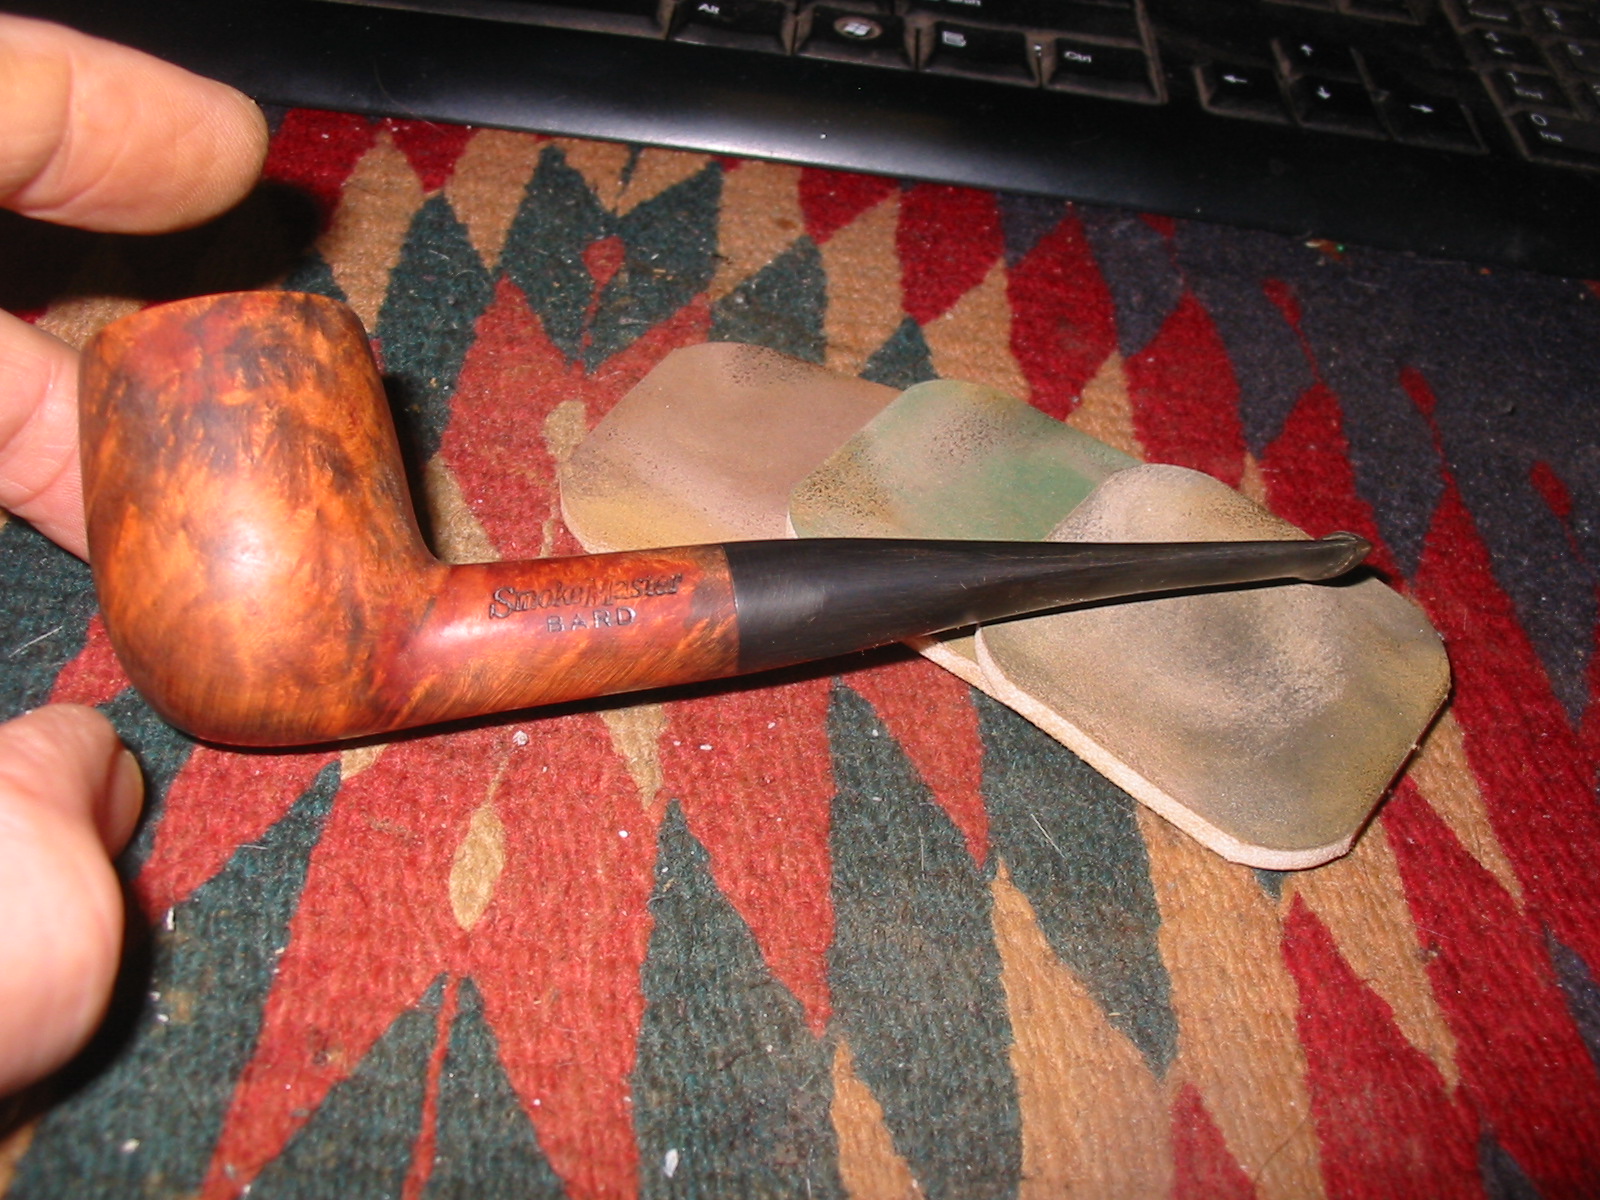
Giving a Smokemaster Bard Billiard a Facelift


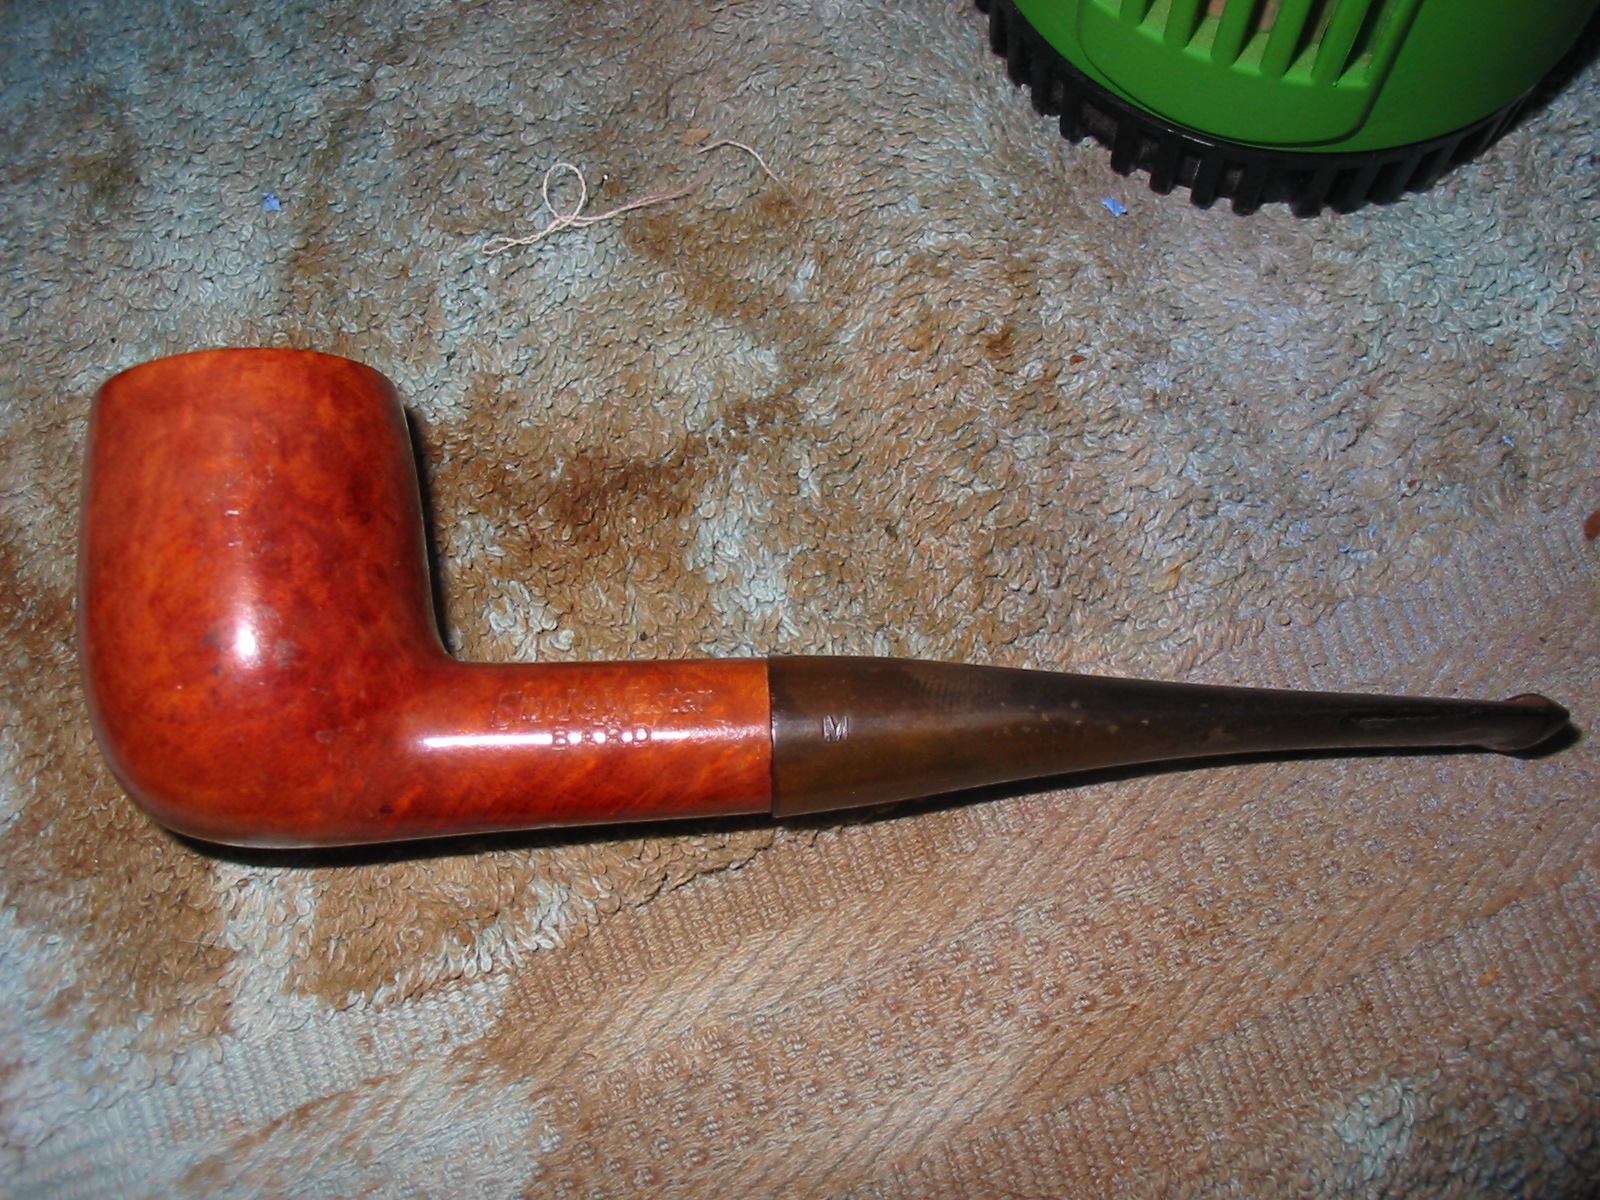
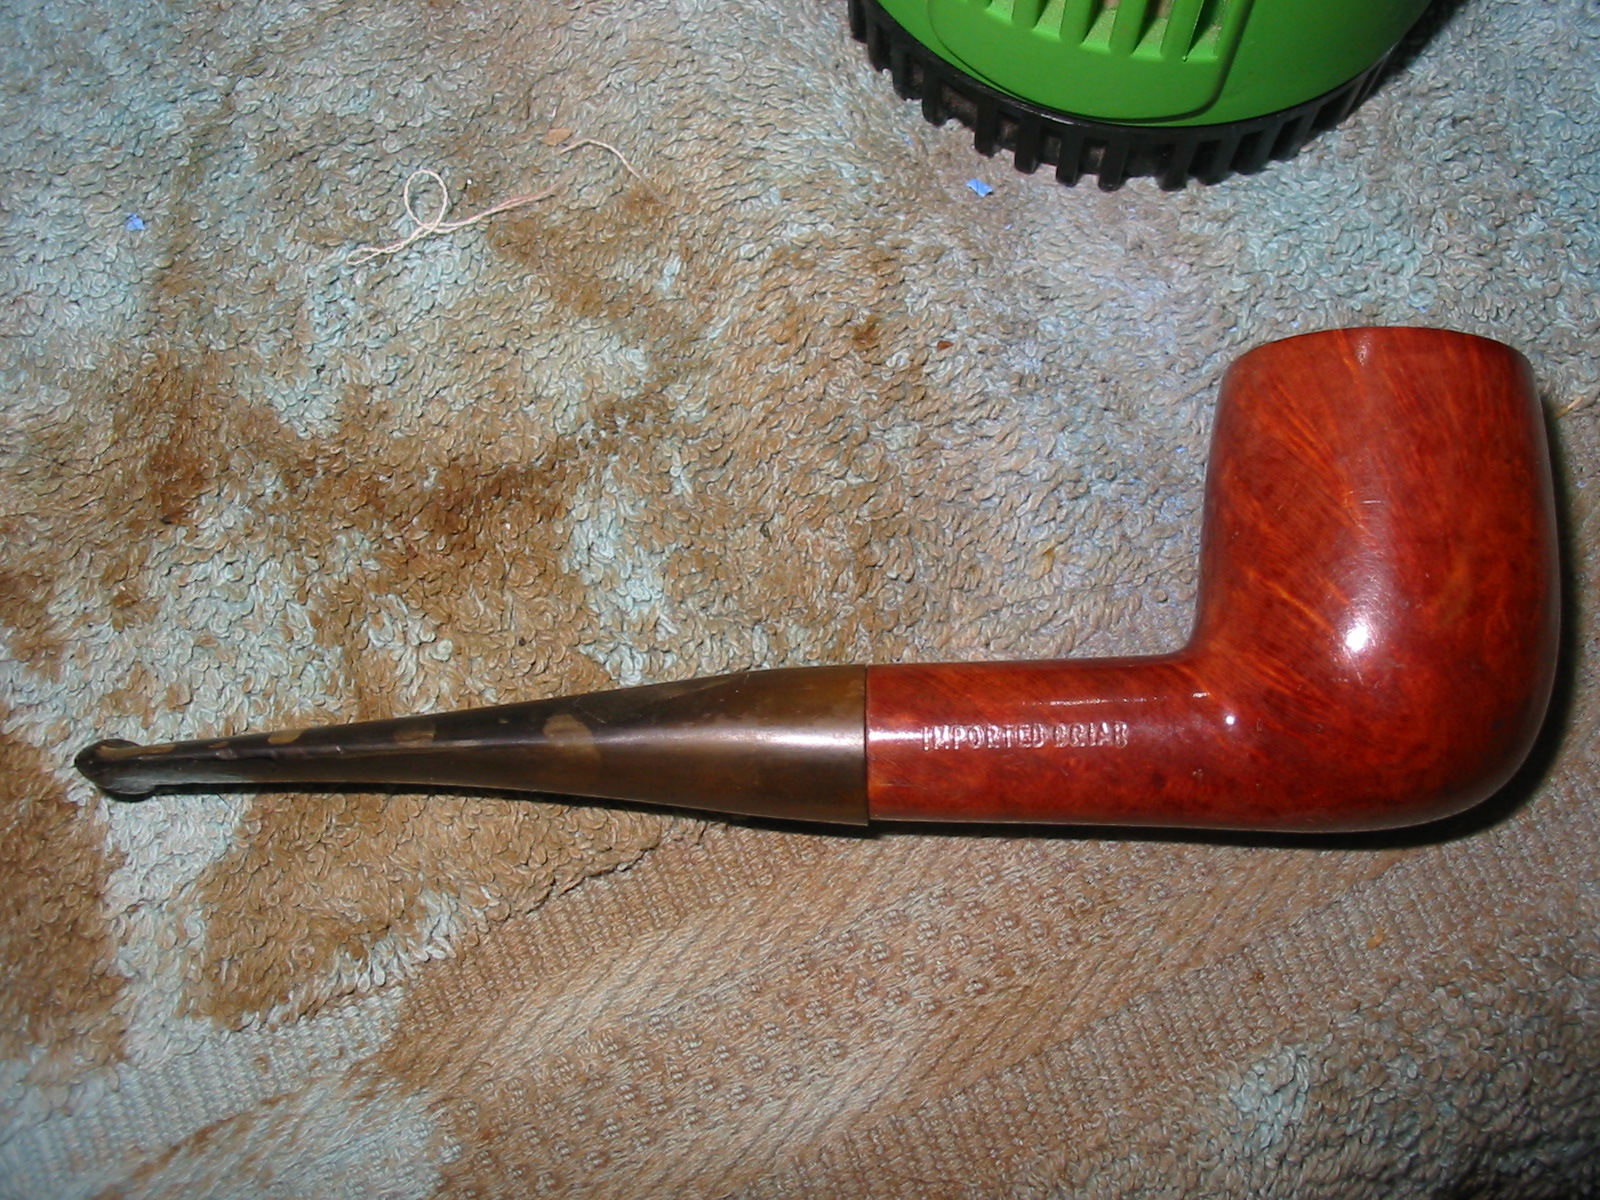
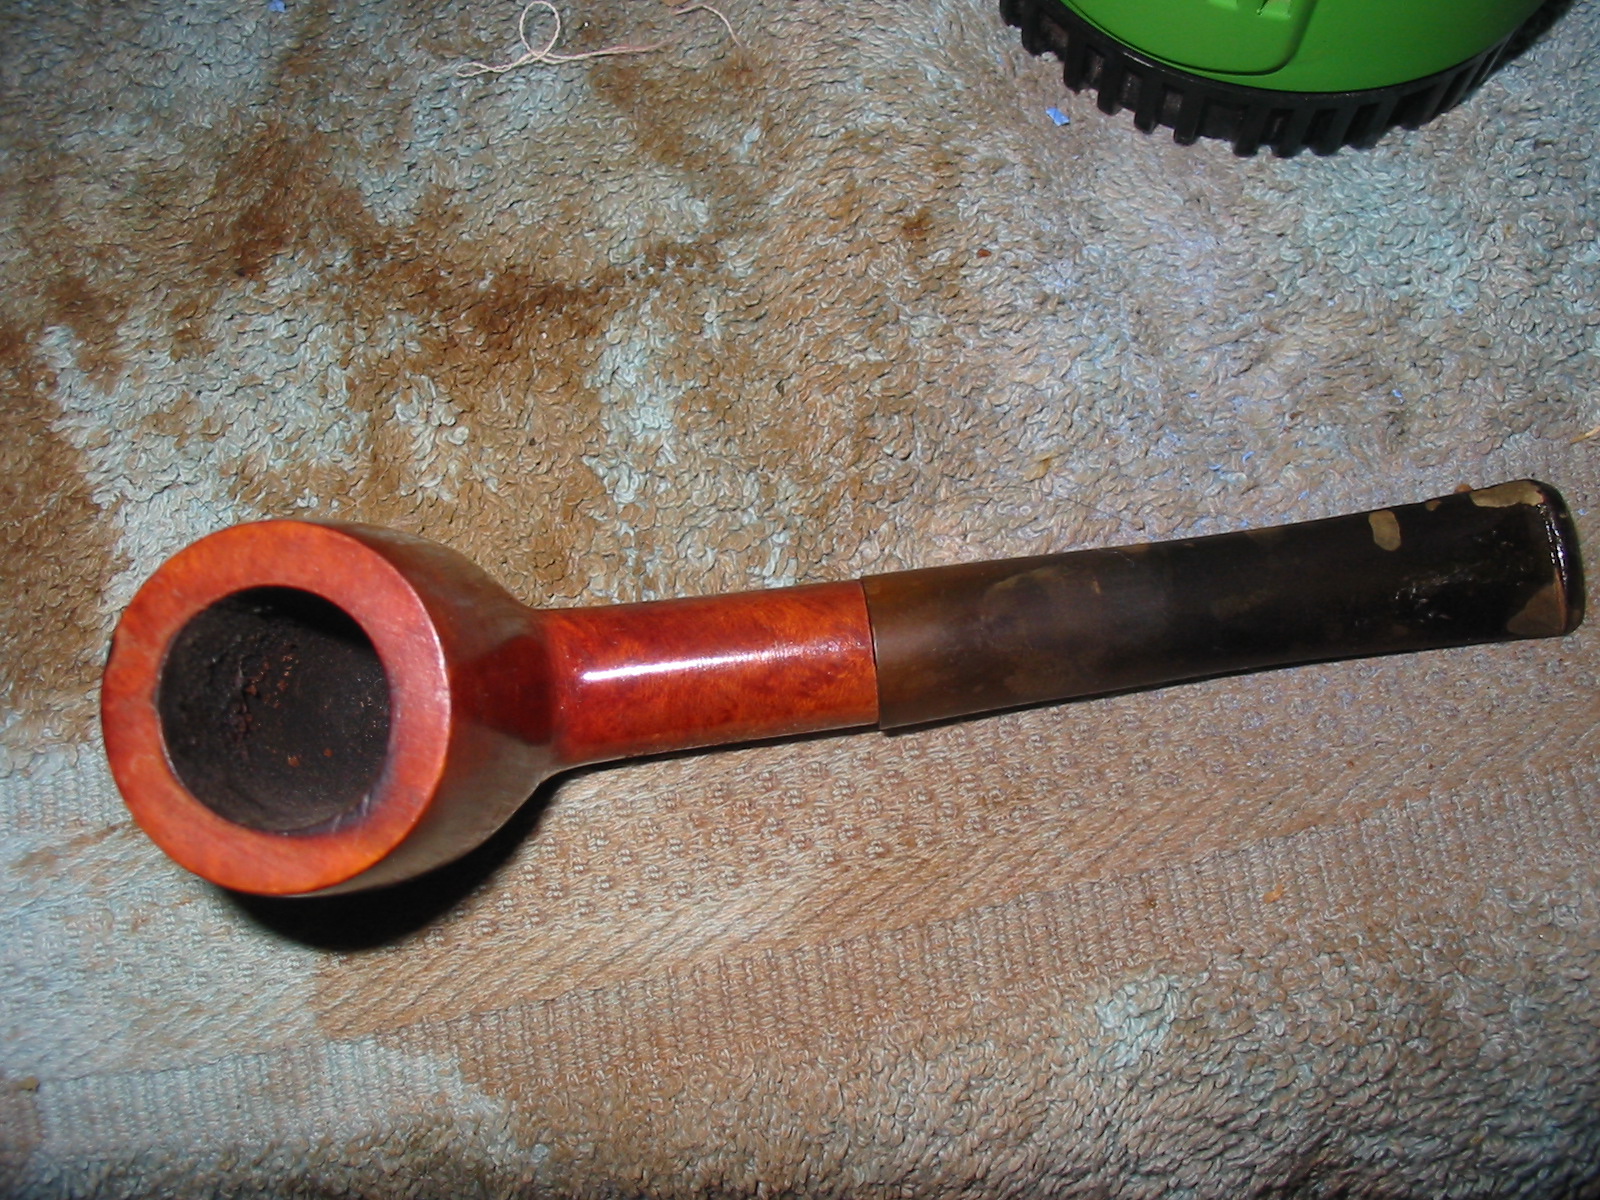
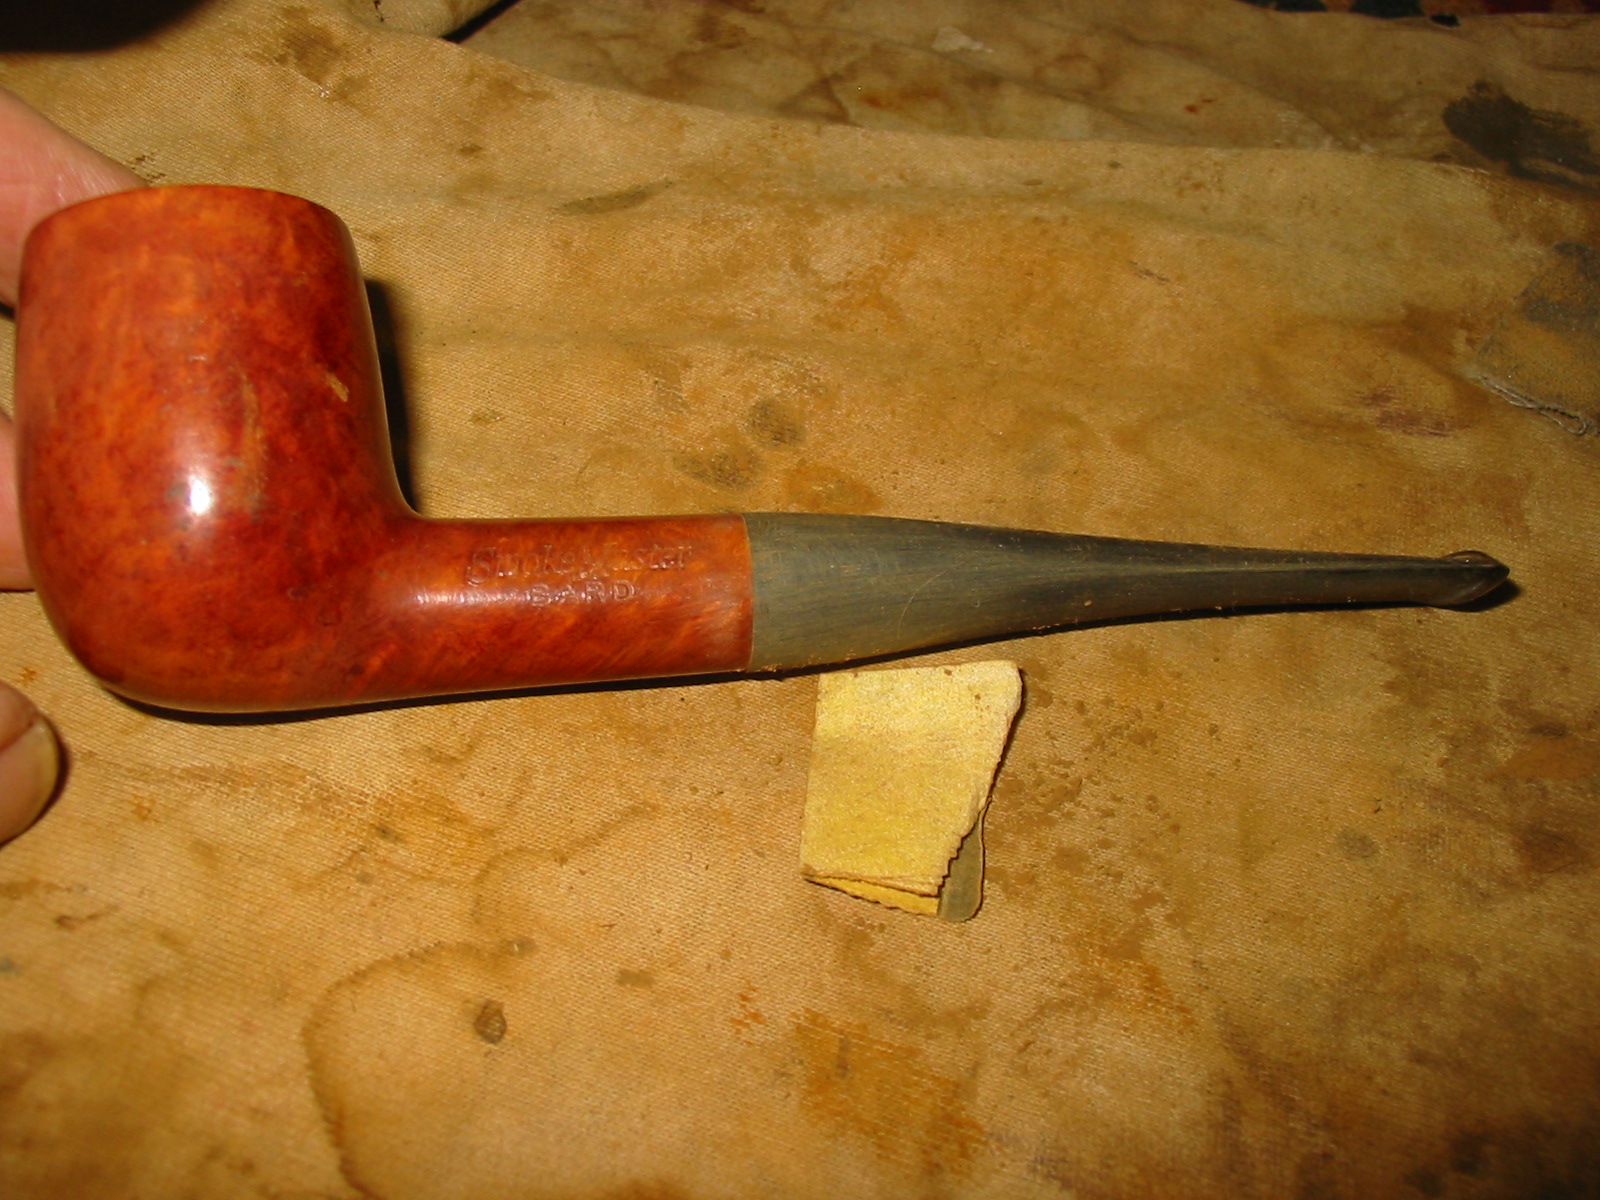
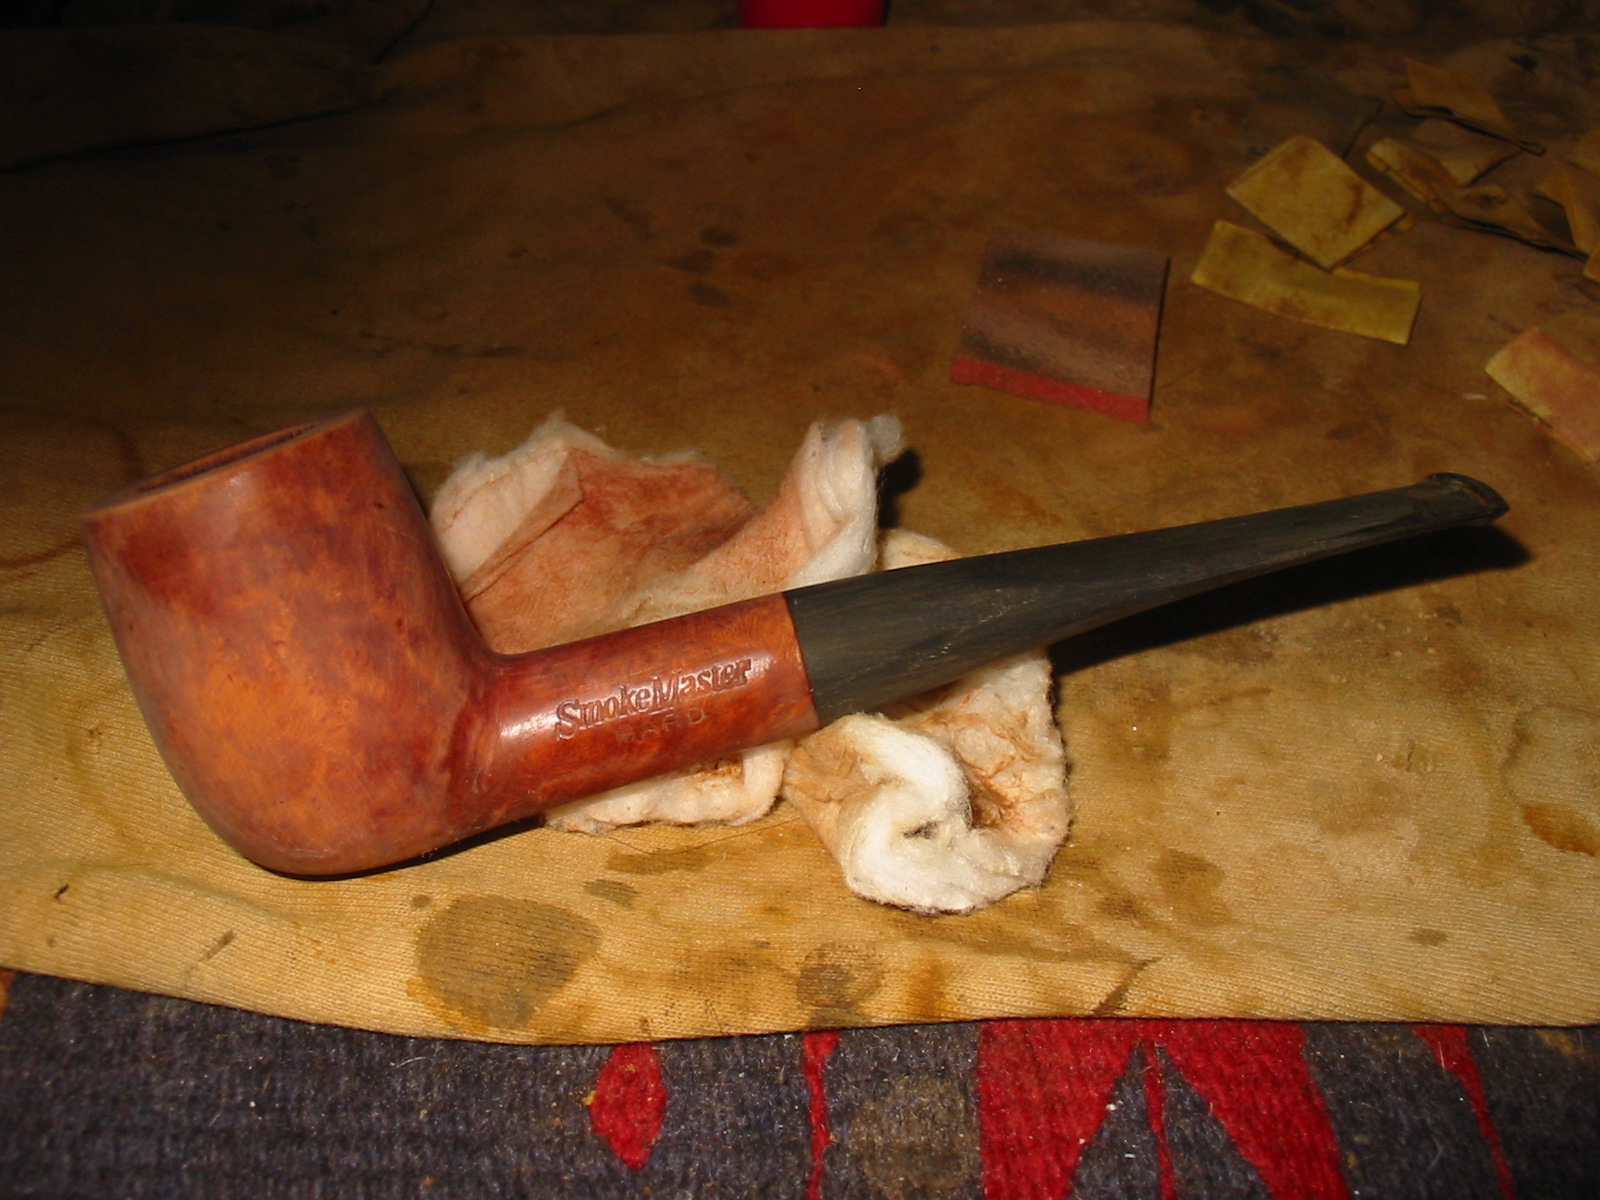
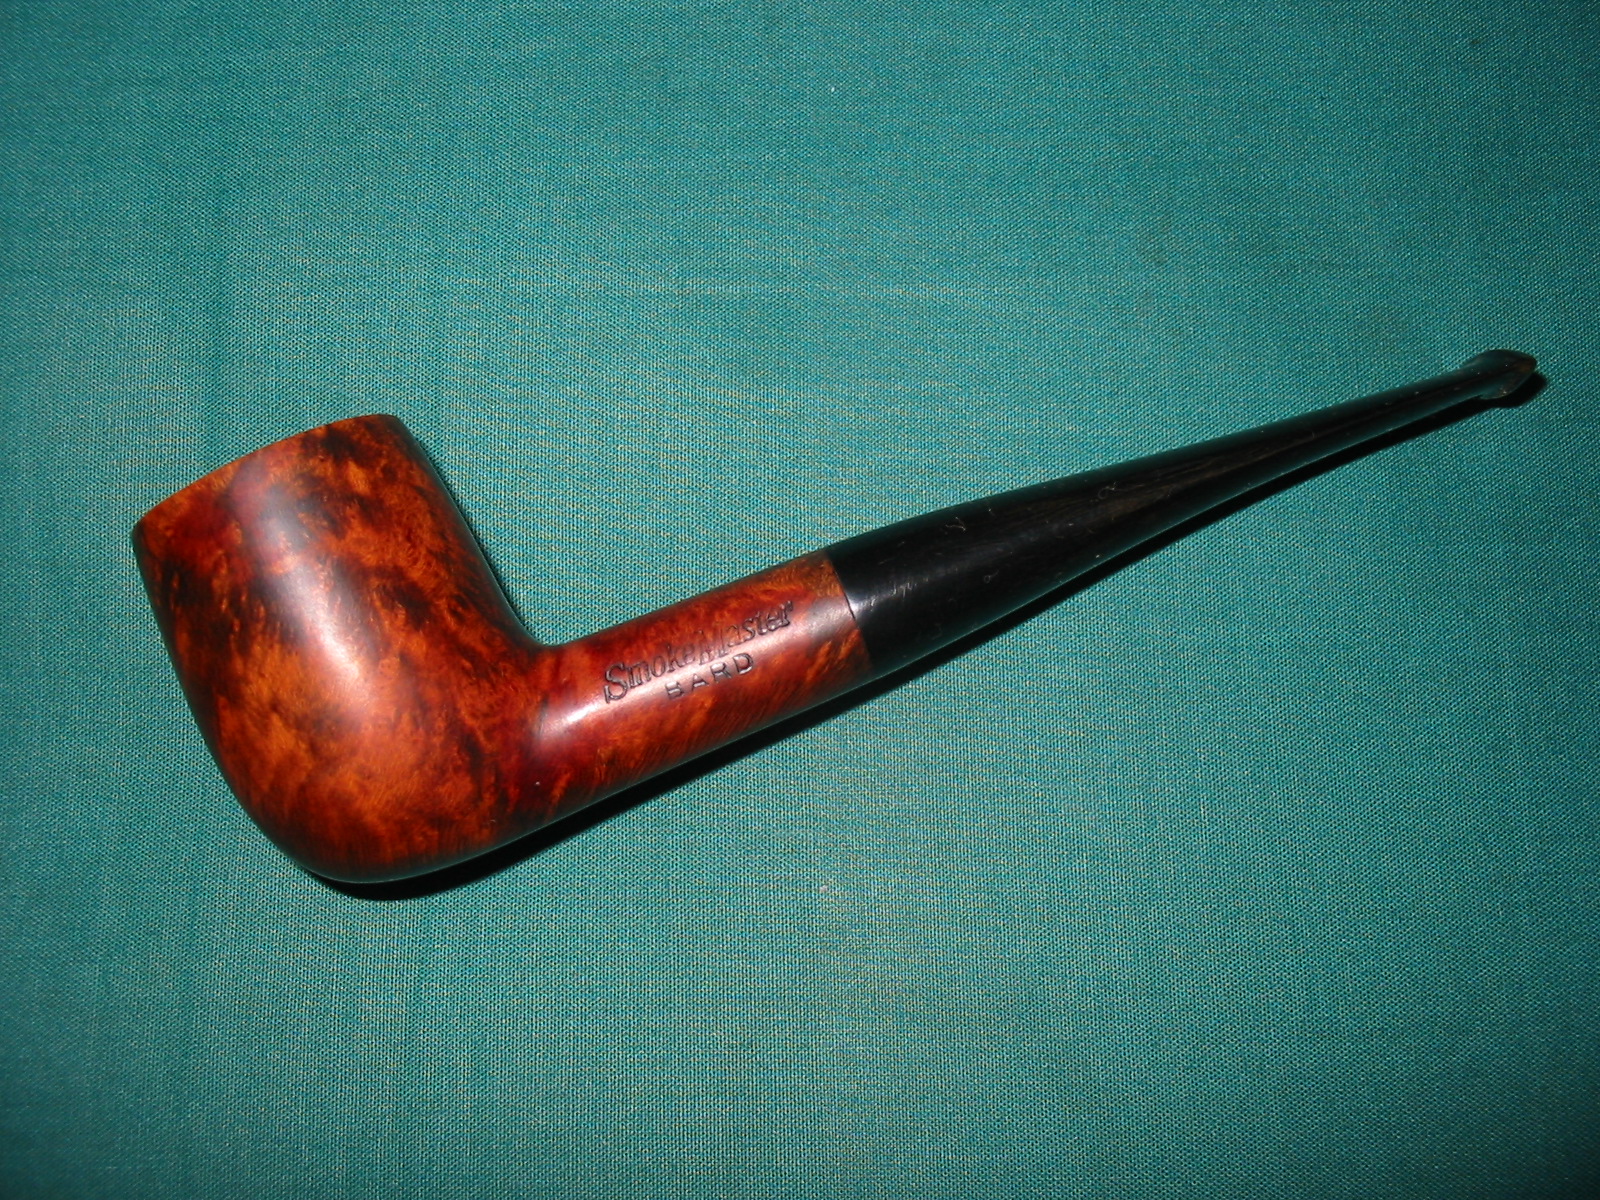
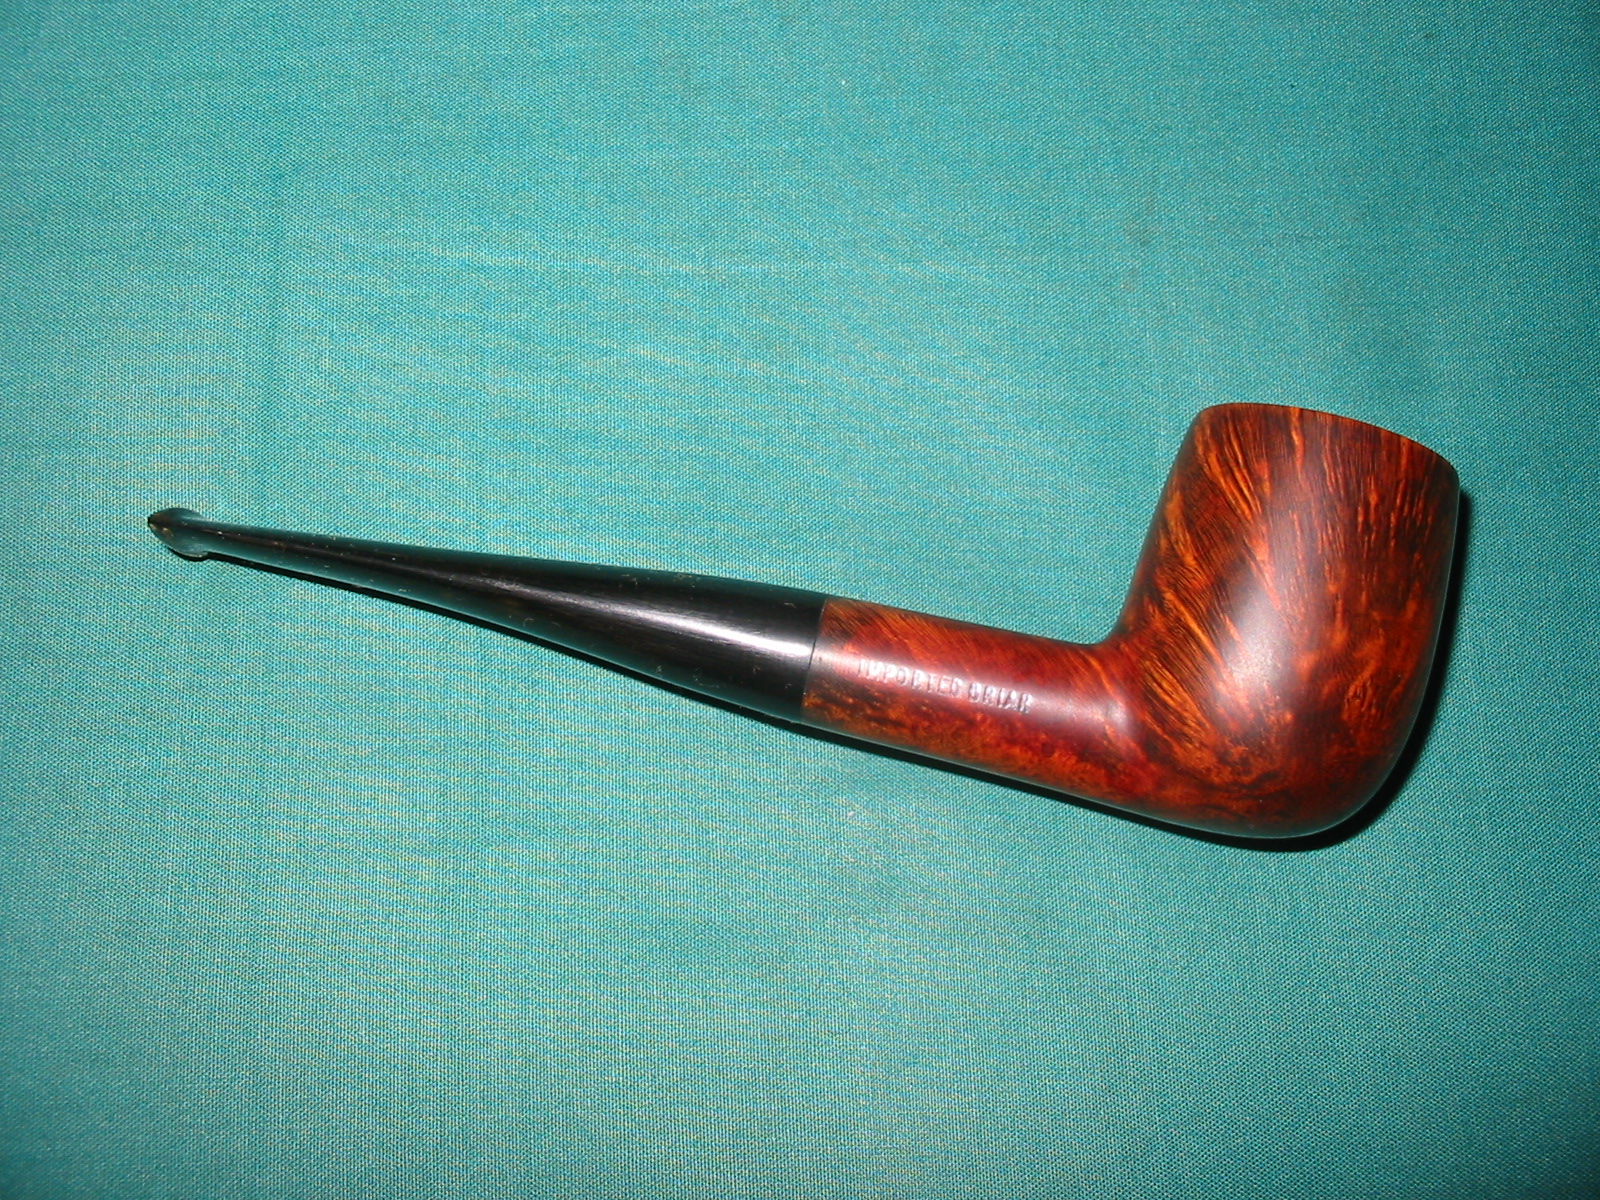
I am down to the bottom of my box of pipes to be refurbished. I have three left. In the bottom of my box was a pipe bowl stamped Smokemaster Bard on the left side of the shank and on the right side of the shank stamped Imported Briar. I found a stem in my can of stems that fit the shank after I adjusted the tenon. The diameter of the stem was slightly larger than the shank but that would be an easy adjustment. The bend would need to be straightened but that would be a simple process. The bowl was lightly smoked and the finish was a very shiny Varathane coating that made the bowl look like plastic. The shank was clean and took very little work to remove the dust that had built up in it.
IMG_3191

I knew nothing about Smokemaster pipes and had no idea who made them. The finish and shape reminded me a lot of Dr. Grabow pipes that I have reworked but that was not enough for me. As has become my habit with pipes I don’t know about, I did a bit of research on the web and found out that the pipe was made by the Briarcraft Pipe Company. The Company was very prosperous between 1920 and 1940. They produced both Briarcraft pipes and a line of seconds under the following names: Airo, Arcadian, Briarmeer, Smokemaster, Cavalcade, Hallmark, Sterling Hall, Filter Kleen and Wimbledon. They closed their doors in 1950. The pipe that I had was definitely not made pre-1950 and the stamping was wrong for it to be made by them. The original Briarcraft stamping was more stylized and had a Germanic script for the stamp. This one was italicized.

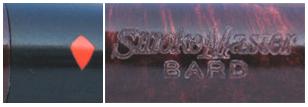
Further digging uncovered the fact that around 1967 Dr. Grabow acquired the name and system rights to the Smokemaster line, and was produced until the mid 1990’s. Thus my initial thought of it being a Grabow was correct. It turned out that Dr. Grabow made three series of Smokemaster pipes – the 100, 200, and 300. I have restored and restemmed several of these over the years but never found one that had the original stem intact. Dr. Grabow also made a line of Smokemaster pipes for L.L. Bean. Below are two photos – one of the stem logo which is a shield and the other is the stamping that is on the pipe that I refurbished.
smokemaster

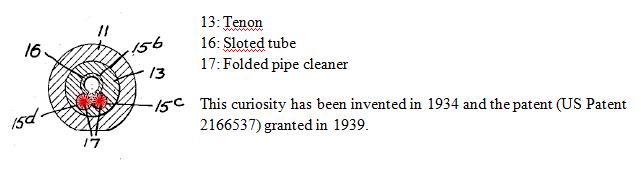
I found out that the Smokemaster had a very unique filter system and was distinct from other filter systems in that it did not include a stinger apparatus. Rather it used a slotted tube that had two special holes in it. A folded pipe cleaner was inserted into the two holes and extended the length of the shank. It collected the tars and moisture of the smoke and could be easily changed and replaced by the pipe smoker. The diagram below shows the design from the end of the tenon.
smokemaster1
I did a patent search and it gave me the following information. This includes both the original description by the inventor and also a diagram submitted at the time of the patent application. I found it at this site: https://www.google.com/patents/US2166537?dq=2166537&hl=en&sa=X&ei=r2u4UtPOHI_ZoAT9moHYCg&ved=0CEAQ6AEwAQ

Description
1939 – B. M. SHOEMAKER 2,166,537
TOBACCO PIPE Filed Oct. 12, 1934 crnar B.M. Shoemaker INVENTOR v ATTORNEY Patented July 18, 1939 UNITED STATES PATENT OFFICE 1 Claim.
My invention relates to tobacco pipes and more particularly to the type in which the bit and bowl portions are separately united to each other.
The principal object of my invention is to maintain the smoke passage in the pipe substantially free of solid deposits, making for general cleanliness in the interior of the pipe and sweet, cool smoking qualities.
I accomplish this object by arranging within the pipe a readily replaceable absorptive member which is designed to receive condensate and solid matter from the smoke as it passes through the pipe. The preferred form of such absorptive member is an ordinary pipe cleaner which, as is well known in the art, comprises a highly flexible metallic core portion carrying a large number of bristles extending there from.
One embodiment of the invention is illustratively exemplified in the accompanying drawing in which Fig. 1 is a longitudinal sectional view of a pipe; Fig. 2 is a transverse sectional view on the line 22 of Fig. 1; Fig. 3 is a transverse sectional view on the line 3-3 of Fig. 1; Fig. 4 is a broken elevation view of a metallic tube or liner constituting one of the pipe elements; Fig. 5 is an elevation view broken intermediate its ends, of the form of absorptive member used in the present construction.
Referring to the drawing, and more specifically to Figs. 1 to 3, denotes the pipe bowl, 1 the bowl stem, 2 the bit and 3 the tenon by which the bit and bowl stem are separately united. The bowl stem has the usual well l4 and the bit the usual smoke or draft passage 15. The bit 12 is further provided with three bores, 15b, c, d, and forming a continuation of the smoke passage 16. A metal tube 16 is provided which is longitudinally slotted at its lower portion and through the slot l8 the products of well be omitted. The tube l6 lies in the bore 15b. The pipe cleaner is doubled upon itself and the two legs or branches of the pipe cleaner enter the bores 15c and l5d and rest there during use of the pipe. The bores 15c and l5d parallel the bore 15b at opposite sides of its longitudinal centre. The embodiment of the invention described is a very desirable construction inasmuch as it receives a standard length pipe cleaner, which in its folded position in the passage 14 is offset from the axis thereof, and which when rotated or twisted with the tenon to seat the same the folded strands of the cleaner engage and brush or clean the wall of the bore.
The operation of the device is very simple. The pipe is sold complete with the pipe cleaner in position. After the pipe has been used for a length of time it will be found that the pipe cleaner is practically saturated with deposited matter. Thereupon the pipe cleaner is simply removed from the pipe and a new one inserted in its place. If desired, the cleaner may also be used in the ordinary manner, naturally before it has become fouled, by moving it back and forth once or twice through the draft passage l5 and/or tube.
What I claim is: In a tobacco pipe, a bowl portion having a stem provided with a central bore, and a bit portion for said stem, the bit having a centrally disposed smoke passage and grooves arranged in the bottom of said passage, a tubular liner mounted in the smoke passage and adapted to project into the bore of the stem, said liner having its underside provided with a longitudinal slot opening into the grooves and bottom of the central bore of the stem beyond the bit, and an absorptive member mounted in said grooves and arranged under the liner throughout its length to receive condensate from the liner and to wipe the wall of said bore when the bit is turned.
BERNARD M. SHOEMAKER.
Classifications

U.S. Classification 131/184.1, 131/203

International Classification A24F1/00

Cooperative Classification A24F1/00, A24F2700/03

European Classification A24F1/00

US2166537-0

I find that kind of information fascinating and am always intrigued by the designers urge to provide a cooler and cleaner smoke for the pipeman who uses his invention. I was not able to find out if Dr. Grabow continued to use the patented design when it took over the line from Briarcraft but I am assuming so until it is shown otherwise by information from those who read this or by a pristine stem that still has the apparatus intact on one of the Grabow Smokemaster pipes.

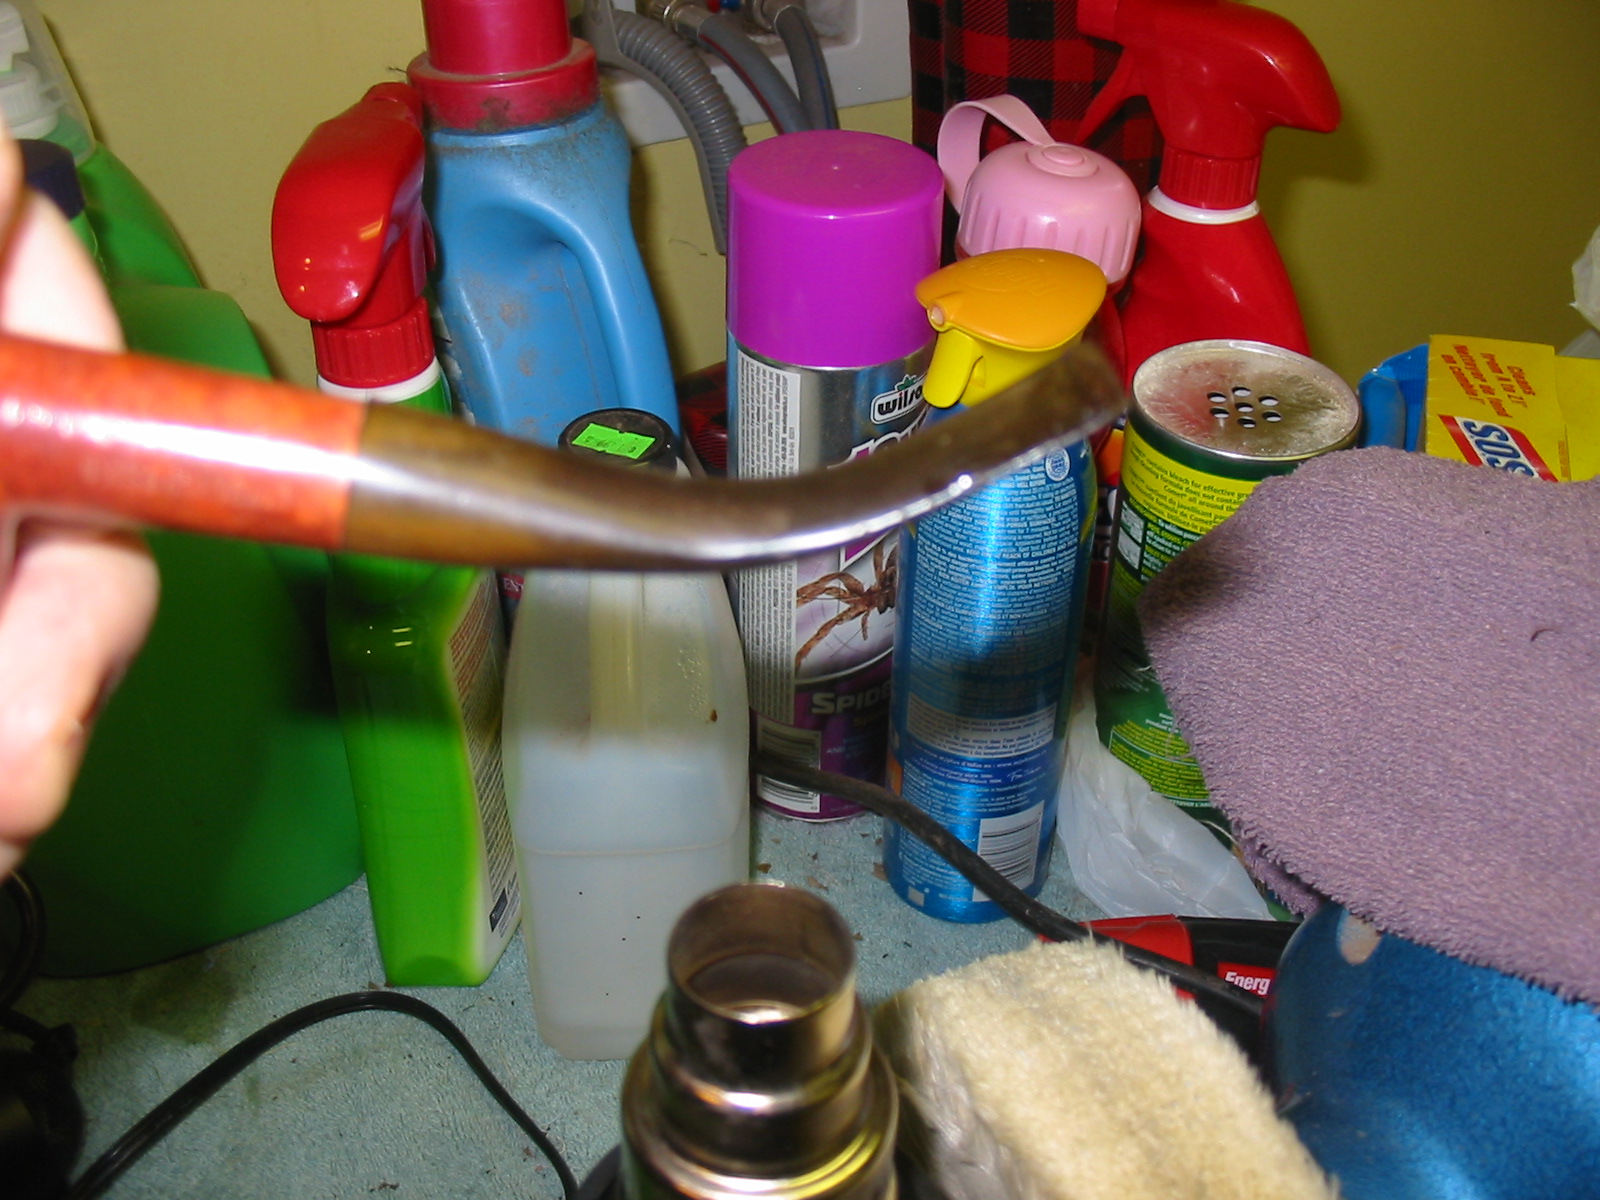
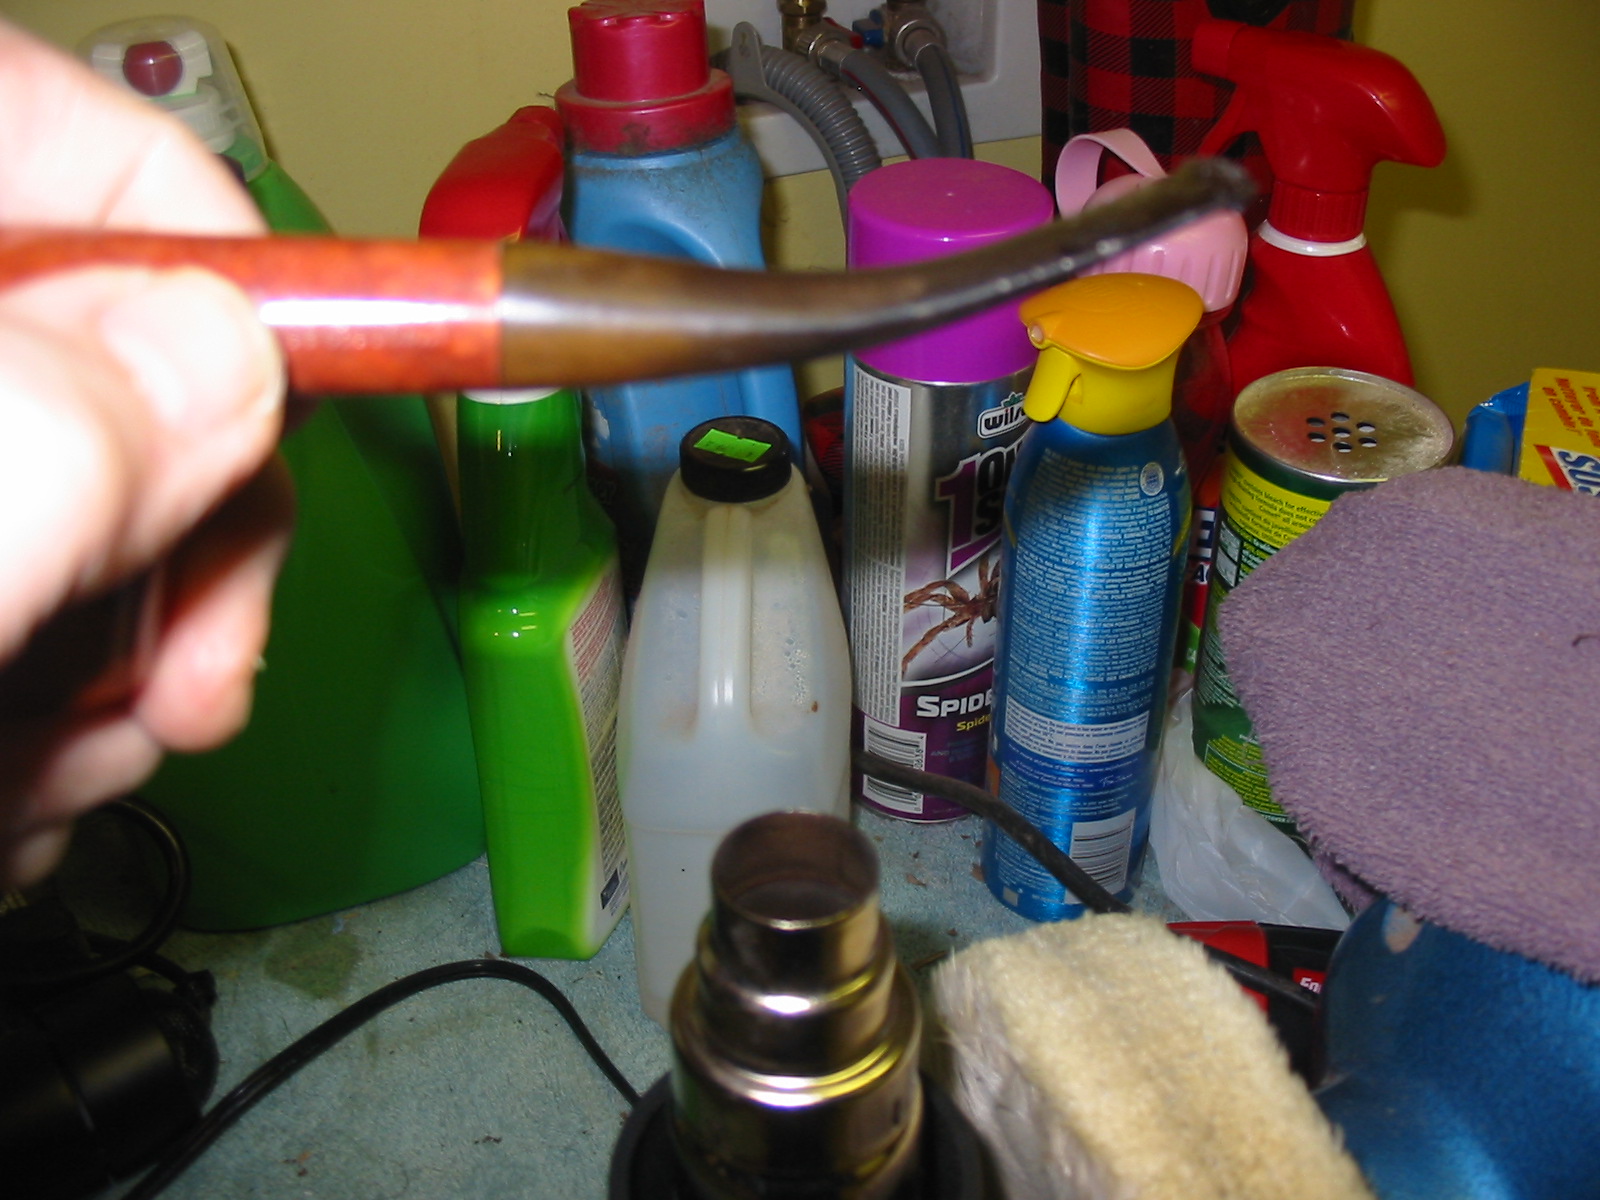
So armed with that information I went to work on the pipe. I began with the newly fitted stem and heated it with a heat gun to straighten the bend. Vulcanite has memory so with heat the stem returns to its original shape. I held the stem about 6 inches above the heat source, ran the gun on high and watched as the stem began to return to normal. It is important not to hold the vulcanite too close to the heat as it burns and to not rush the bend by helping it as it can snap if not properly heated.
IMG_3192

IMG_3193

The straightened stem is pictured below. It can also be seen in the next three photos that the diameter of the stem is slightly larger than the diameter of the shank. I also left a slight bend to the stem as I liked the look of it on this pipe.
IMG_3194

IMG_3195

IMG_3196

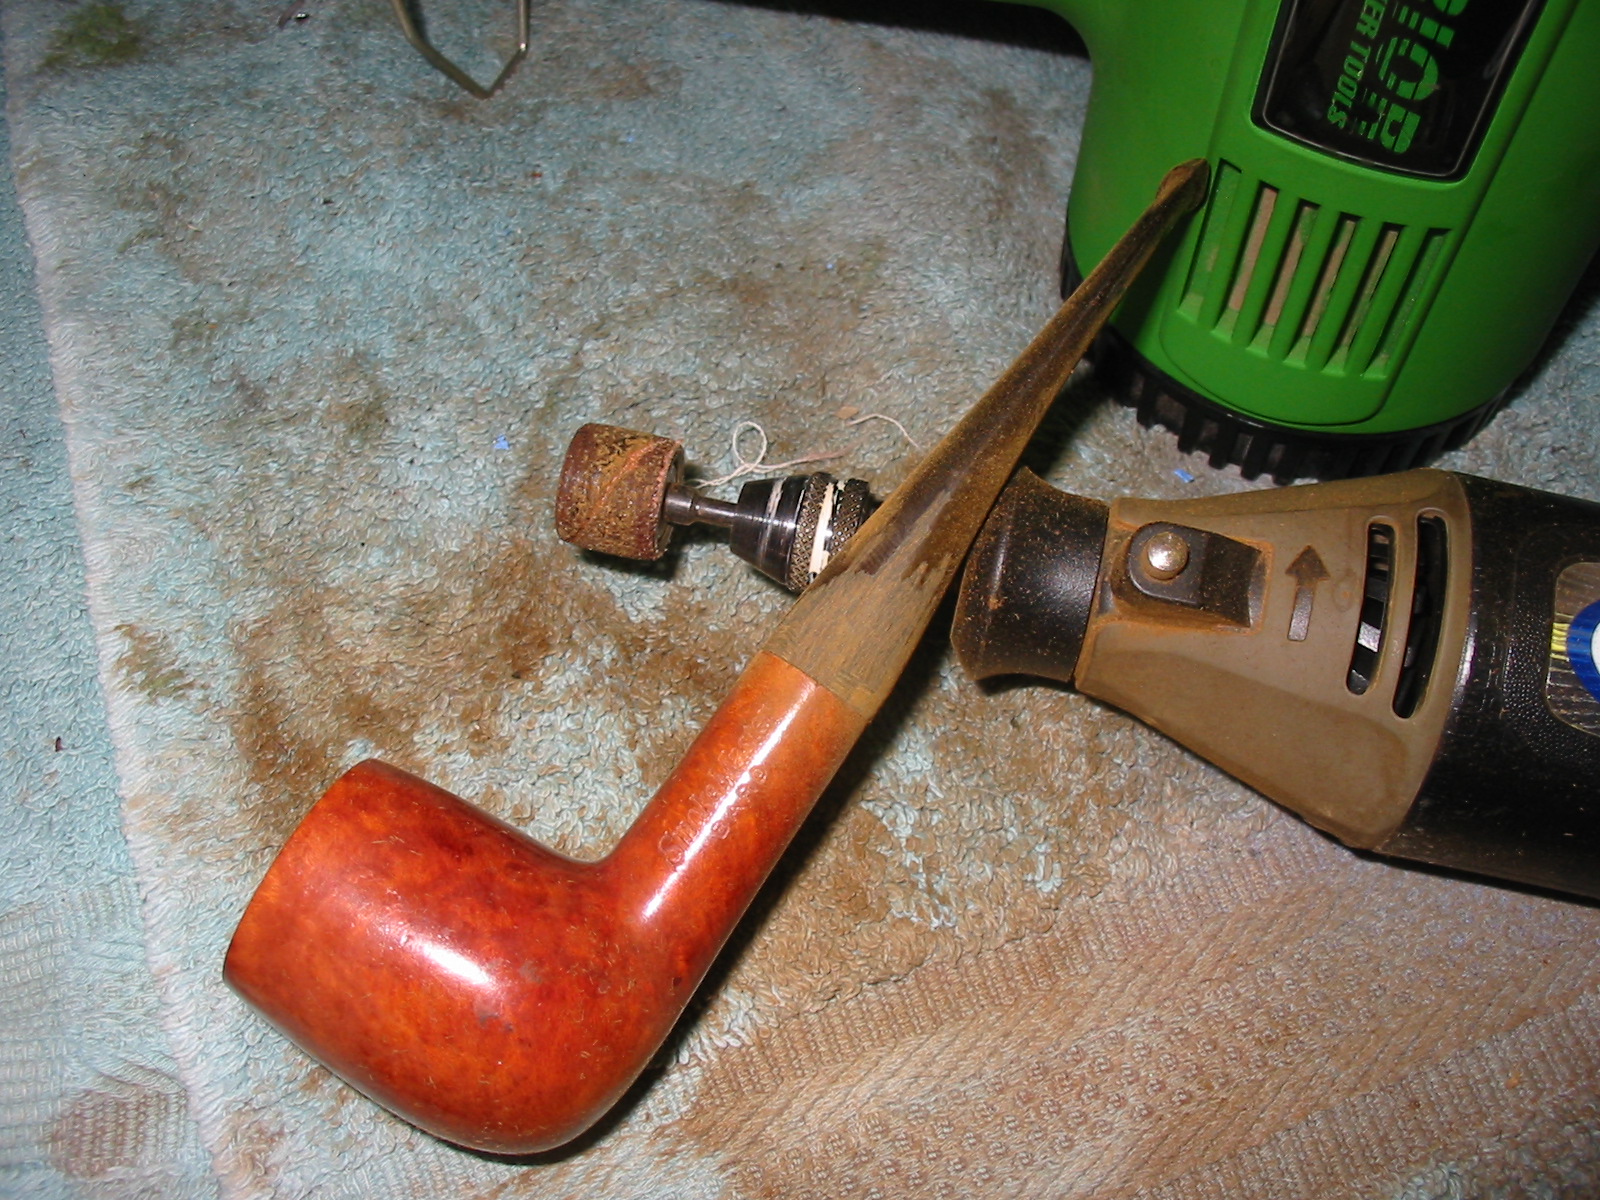
I used a Dremel with a sanding drum to reduce the diameter of the stem to match the shank. This has to be done slowly and with a steady hand so as not to nick the shank of the pipe. I move the Dremel slowly along the diameter of the stem and also backward toward the button to keep the lines accurate and not bulge after the sanded area. I sand it as close as possible to the correct diameter and then hand sand it to fit.
IMG_3197

IMG_3198

IMG_3199

I took it back to the work table and sanded the stem with medium grit emery cloth to smooth out the finish and fit of the stem. I then used 220 grit sandpaper and continued to sand until the stem fit was smooth. At this point I also began to use a sanding block to make the transition between the new stem and the shank smooth. I did not worry about sanding the stem as I intended to remove the plastic finish and rework the entire pipe with a new finish. I also sanded the top of the bowl to remove the two burn marks that were present on the inner edge of the rim. This is visible in the last of the series of photos below.
IMG_3200

IMG_3201

IMG_3202

IMG_3203

IMG_3204

I wiped down the bowl with acetone on a cotton pad to try to remove the plastic like finish that was on the pipe. The acetone succeeded in dulling the finish but not in removing it from the briar. I continued to wipe it down until I was through the finish coat. I sanded the bowl with a medium grit sanding sponge between the acetone washes. (I had previously tried the alcohol bath on pipes with this type of finish and found that they did not penetrate the finish.)
IMG_3205

IMG_3206

IMG_3207

Once the finish was removed I sanded the pipe with a fine grit sanding sponge to remove the scratches as much as possible. I was not overly worried at this point in removing them all as I intended to do a two part stain and sand between the stain coats. I stained the pipe with a black aniline stain, flamed and stained and flamed again. I also heated the bowl to drive the black stain deep into the grain of the pipe so that when I sanded it the grain would show well.
IMG_3208

IMG_3209

IMG_3210

I wiped the bowl down with Everclear on a cotton pad to remove the topcoat of the stain. I knew that the stain would have penetrated deep enough into the grain to leave the parts present that I wanted highlighted.
IMG_3211

IMG_3212

I buffed the pipe with red Tripoli to further remove the black stain. The next four photos show the bowl after buffing. I still wanted to remove more of the stain from the pipe to get the desired effect and differentiate the grain for the finished look of the pipe.
IMG_3213

IMG_3214

IMG_3215

IMG_3216

I wet sanded the bowl and the stem with 1500-2400 grit micromesh sanding pads to further remove the black stain from the surface of the bowl. The sanding also served to remove the scratches left behind by the fine grit sanding sponge before staining. The first four photos below show the finish after I had sanded the bowl with these grits of micromesh. I then dry sanded the bowl and stem with the remaining grits of micromesh pads from 3200-12,000. The state of the bowl and stem can be seen in the last two photos below.
IMG_3217

IMG_3218

IMG_3219

IMG_3242

IMG_3243

IMG_3244

Once I had removed as much of the black as I wanted I stained the pipe with the second stain – an oxblood aniline stain. I heated the bowl, applied the stain, flamed it and reapplied and reflamed it until the coverage was even around the bowl. Once it was dry I buffed the bowl and stem with White Diamond to polish the finish and the stem. I rubbed the stem down with Obsidian Oil to protect the vulcanite and when dry gave the bowl and the stem multiple coats of carnauba wax to polish and protect the pipe. The finished pipe is pictured below. I really like the contrast stain and the matte like finish on the pipe. The two step stain process highlighted the grain on the pipe and gives it a far more polished and finished look than the previous plastic coat had down. This piece of briar, though not stellar, did not have fills or flaws that are visible. It should make someone a great addition for their pipe rack.
IMG_3245

IMG_3246

IMG_3247

IMG_3248

NOTE: I was just reading on PSU and saw a post there that had this photo of the filtration system on these pipes. http://pipesmokerunlimited.com/showthread.php?4015-Smokemaster-Filter-Pipe Thanks to the poster, Hammerhead (Terry Swope???maybe) for posting the photo for us to see.
Smokemaster_zps5e85a518

A Piece of Tobacciana – Restoring an Old Nylon Cigarette Filter/Holder


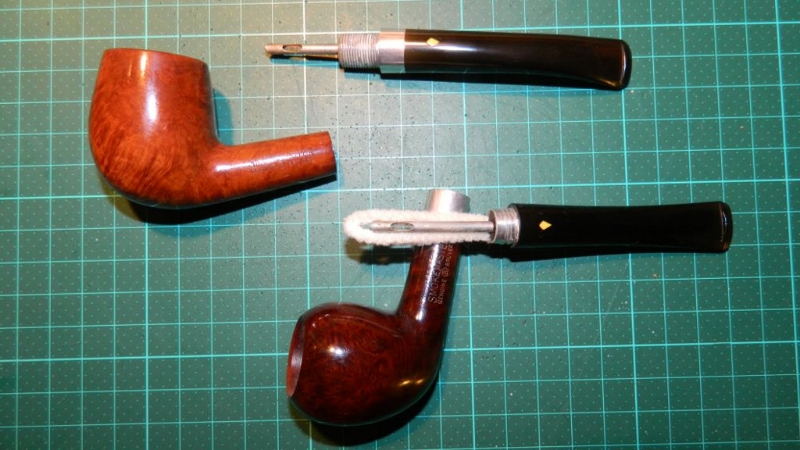
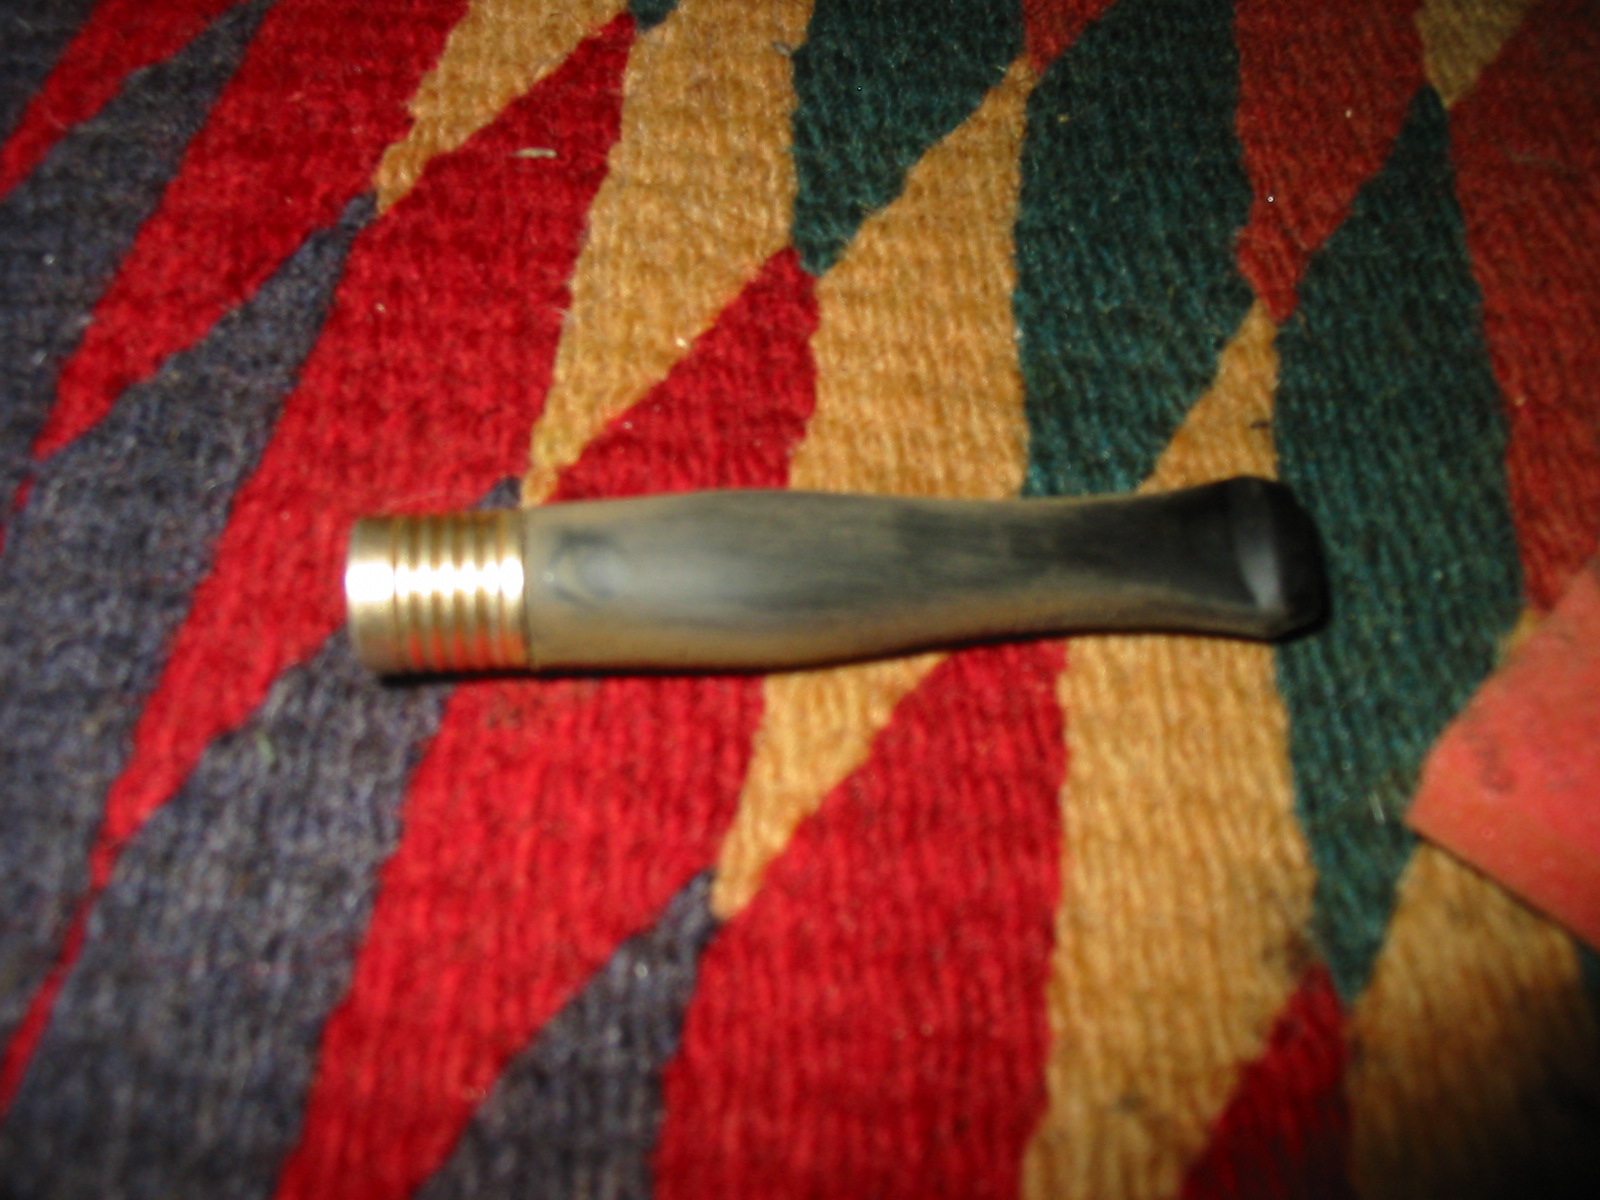
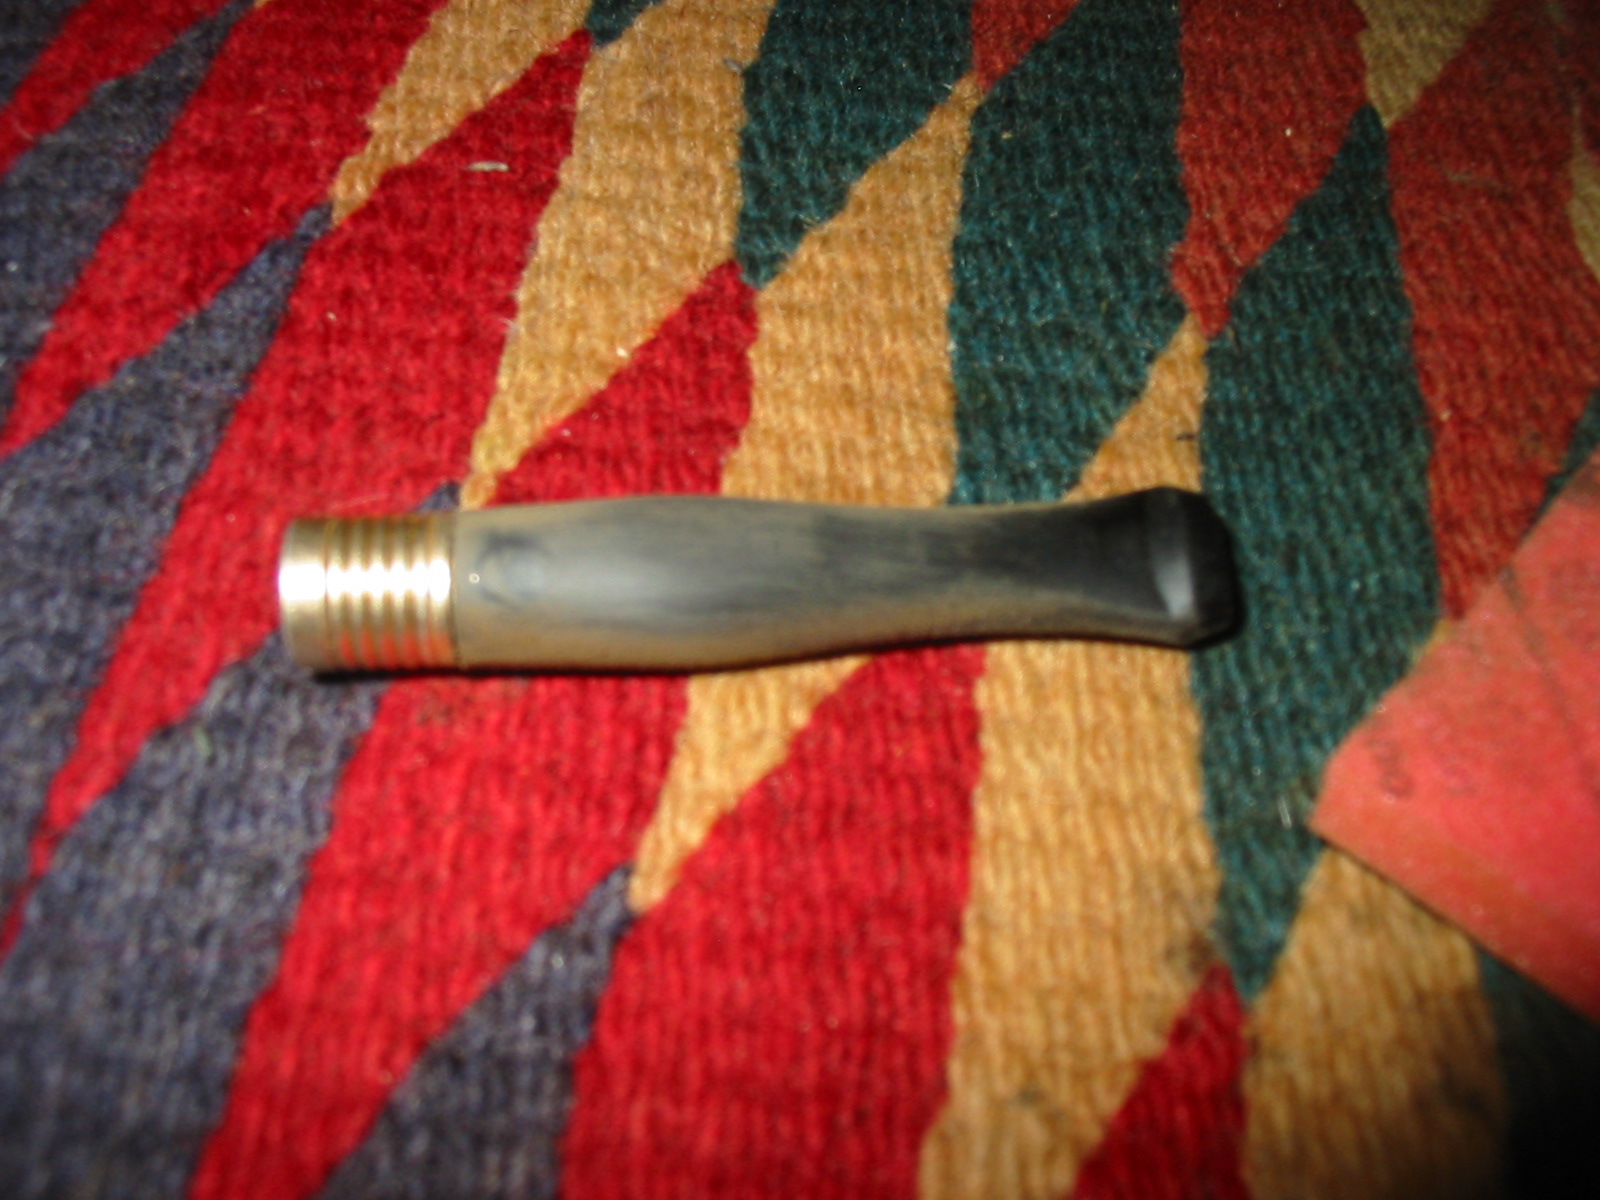
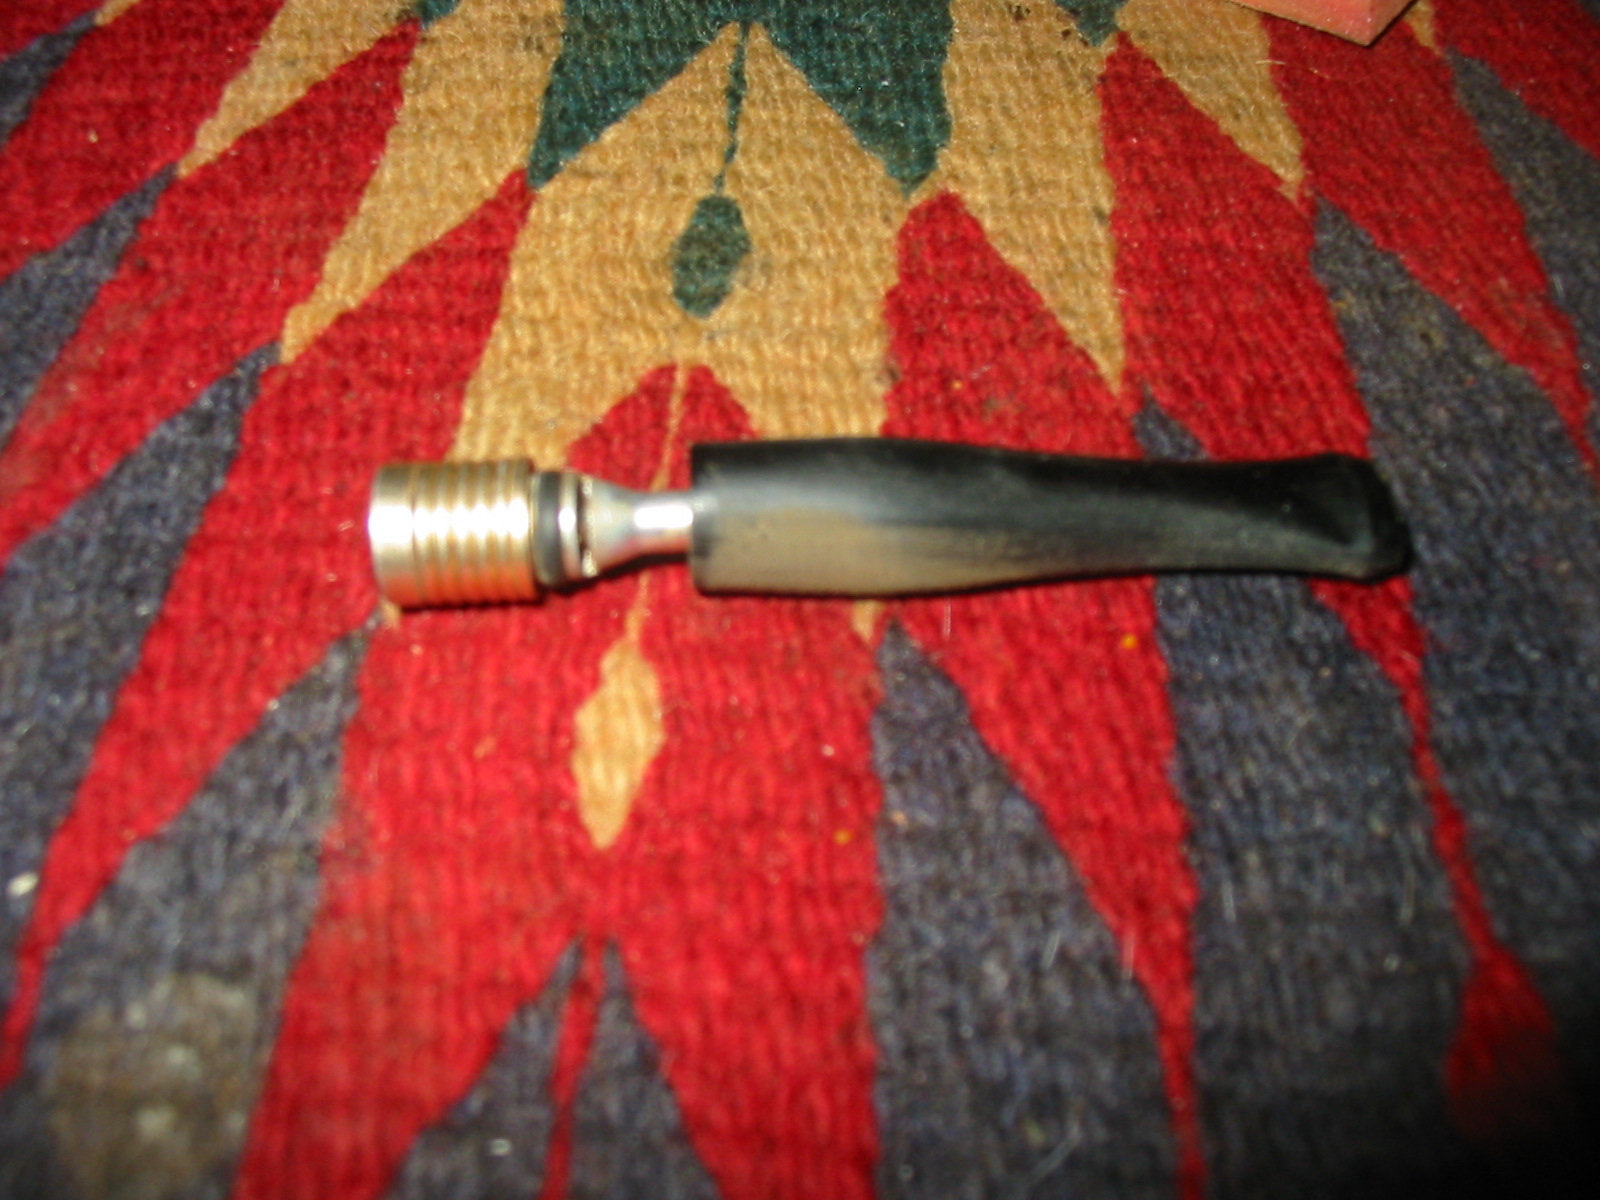
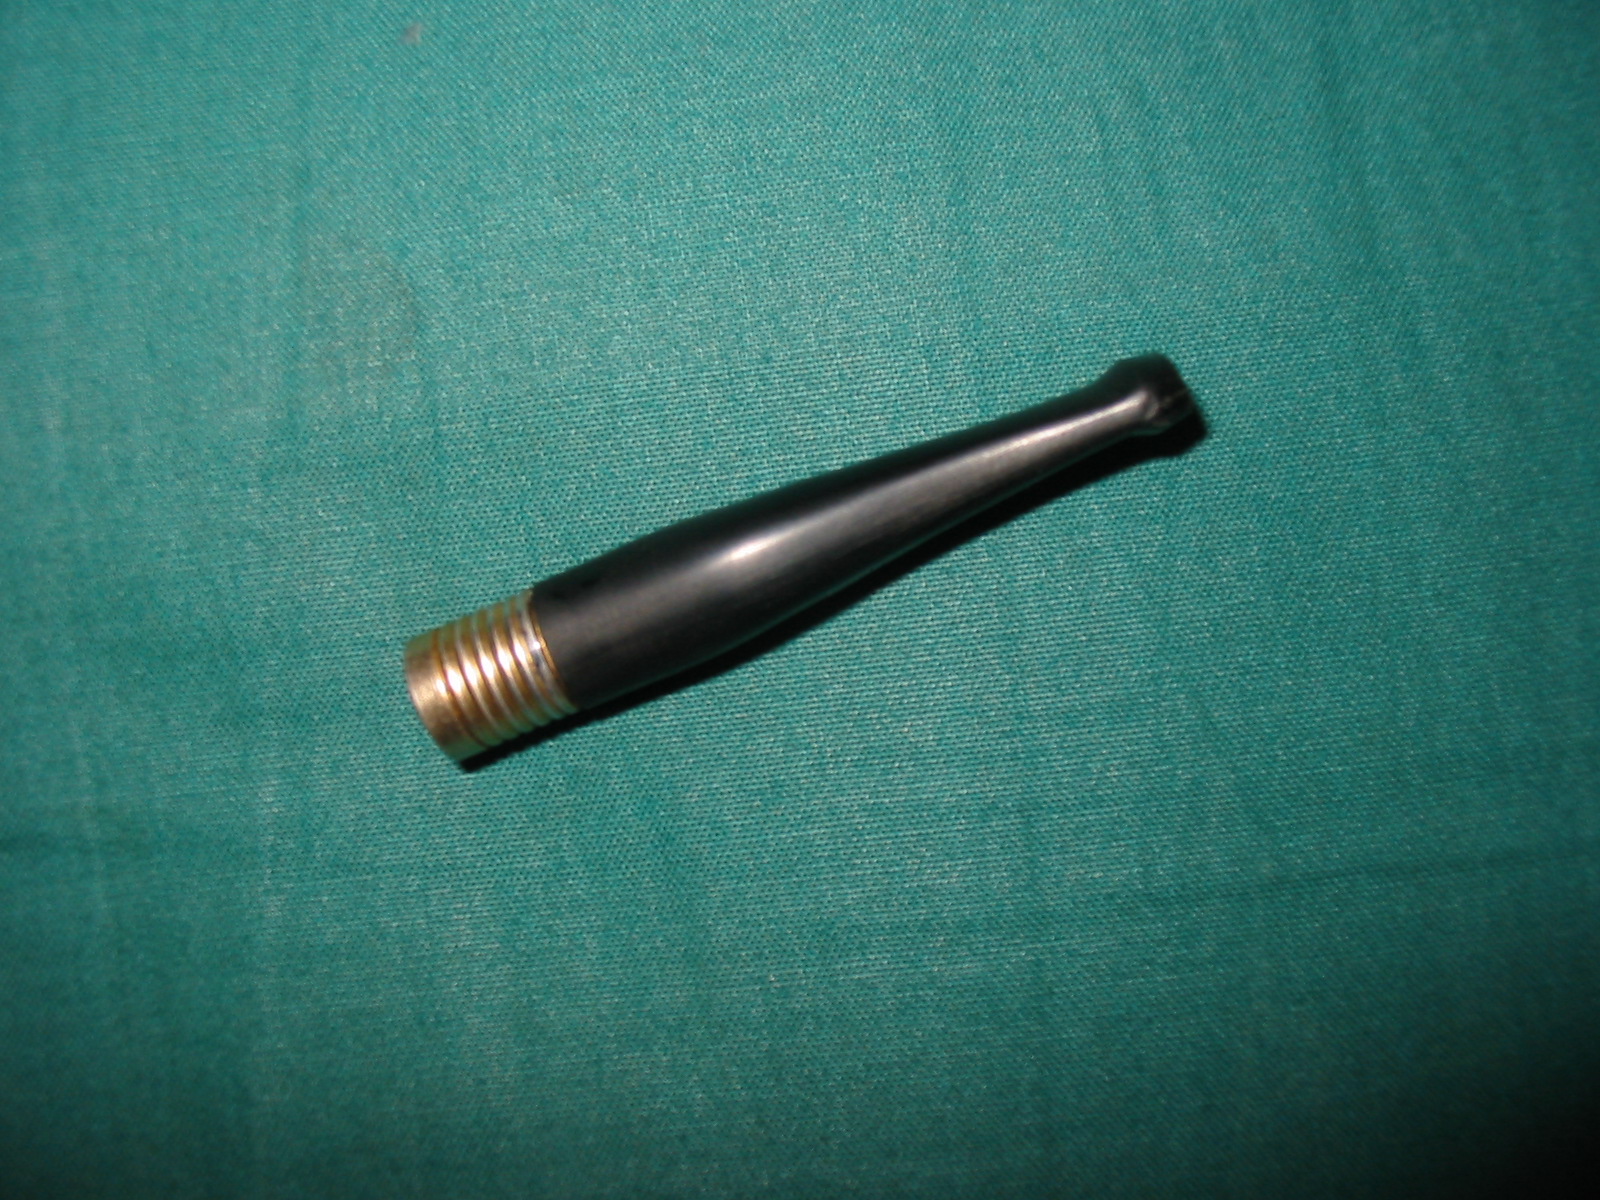
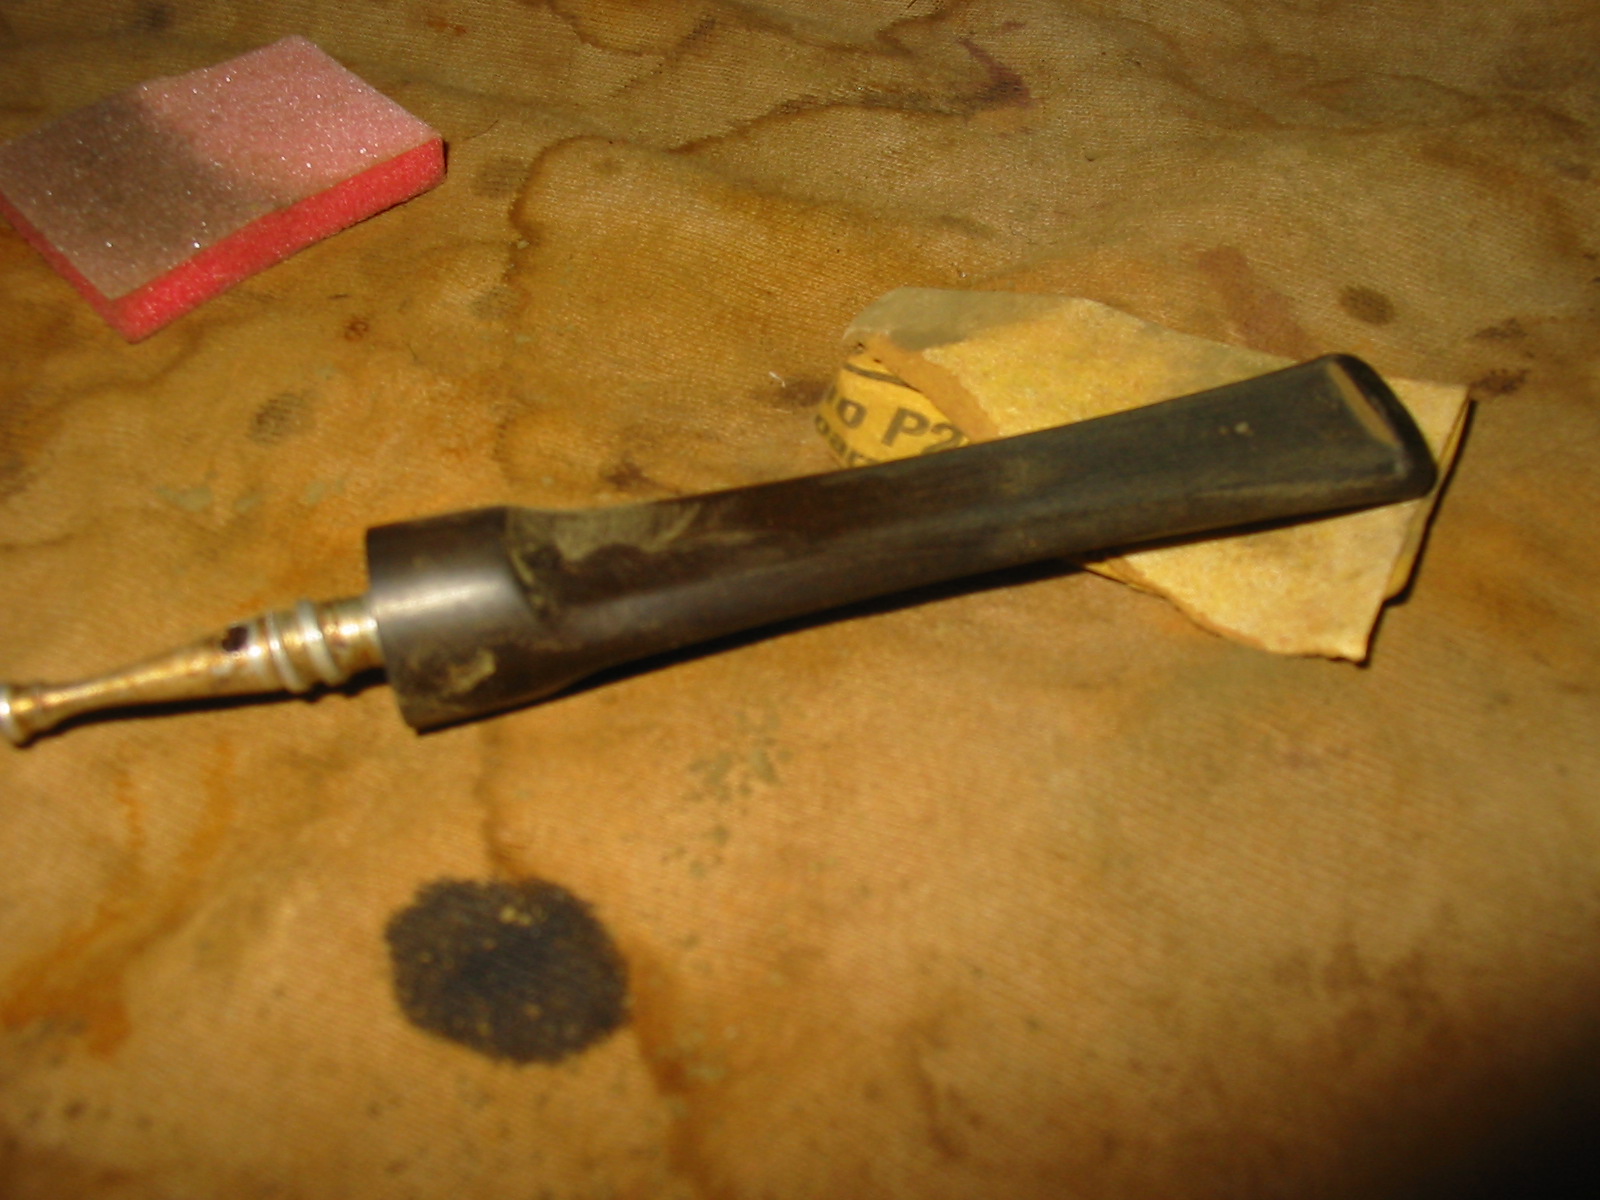
Somewhere along the way in one of the pipe lots I bought off EBay this old cigarette holder was included as a pipe stem. I put it in a drawer and forgot about it for several years at least. The other evening I was cleaning out a drawer of pipes that I had already refurbished getting them ready for my daughter to catalogue and came across the old holder. At first glance it appeared to be a cigarette holder. There was no filter apparatus present and the mouthpiece was short and condensed so I did not think there would be one inside the stem itself. I sanded down the casting marks on the side of the stem and also cleaned the stem of debris. There was one burn spot on the underside of the stem near the metal holder end. The metal holder was brass and quite clean with a slight nicotine and tar build up on the inside. The airway on the stem was plugged and no air could pass through it.
IMG_3182

IMG_3183

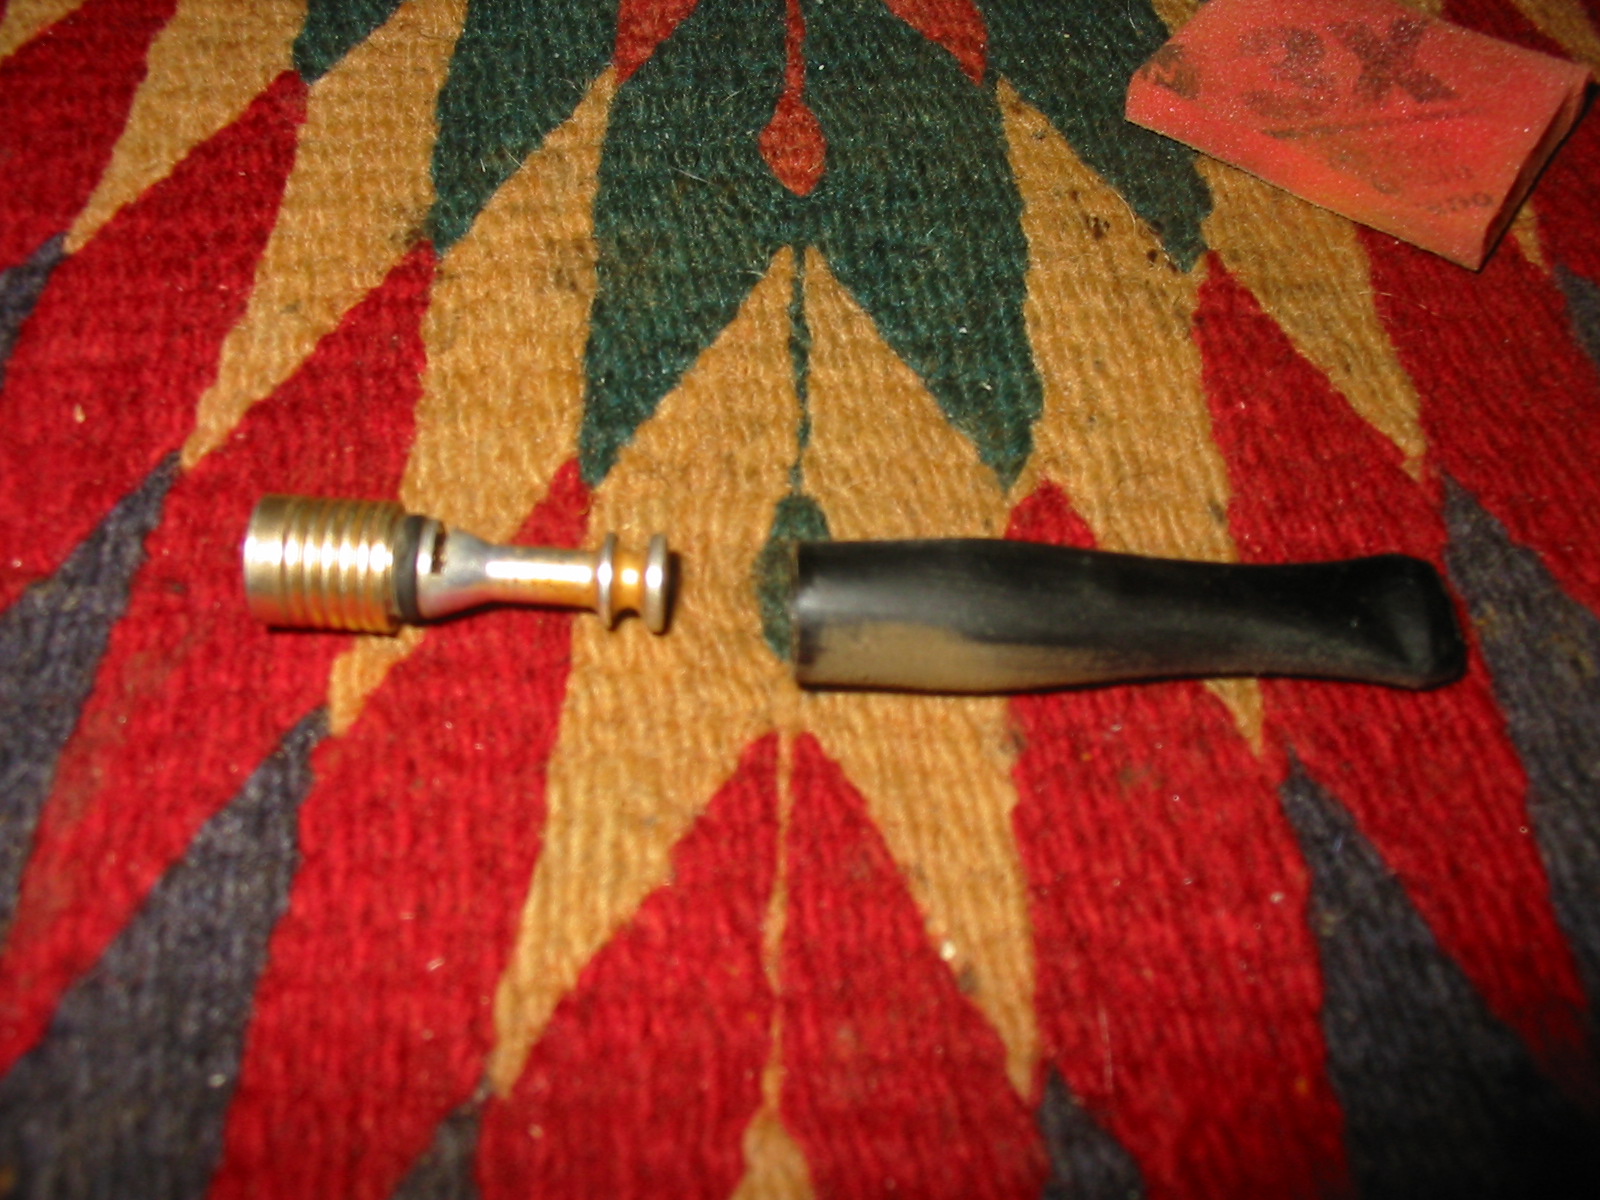
I twisted the end cap and it came free from the stem itself. Inside was a filter apparatus similar to the different stingers that one finds in American made pipes of days gone by. This apparatus was a single unit. There was a rubber o-ring around the top just below the holder top. This held the cap unit snugly in place in the stem.
IMG_3181

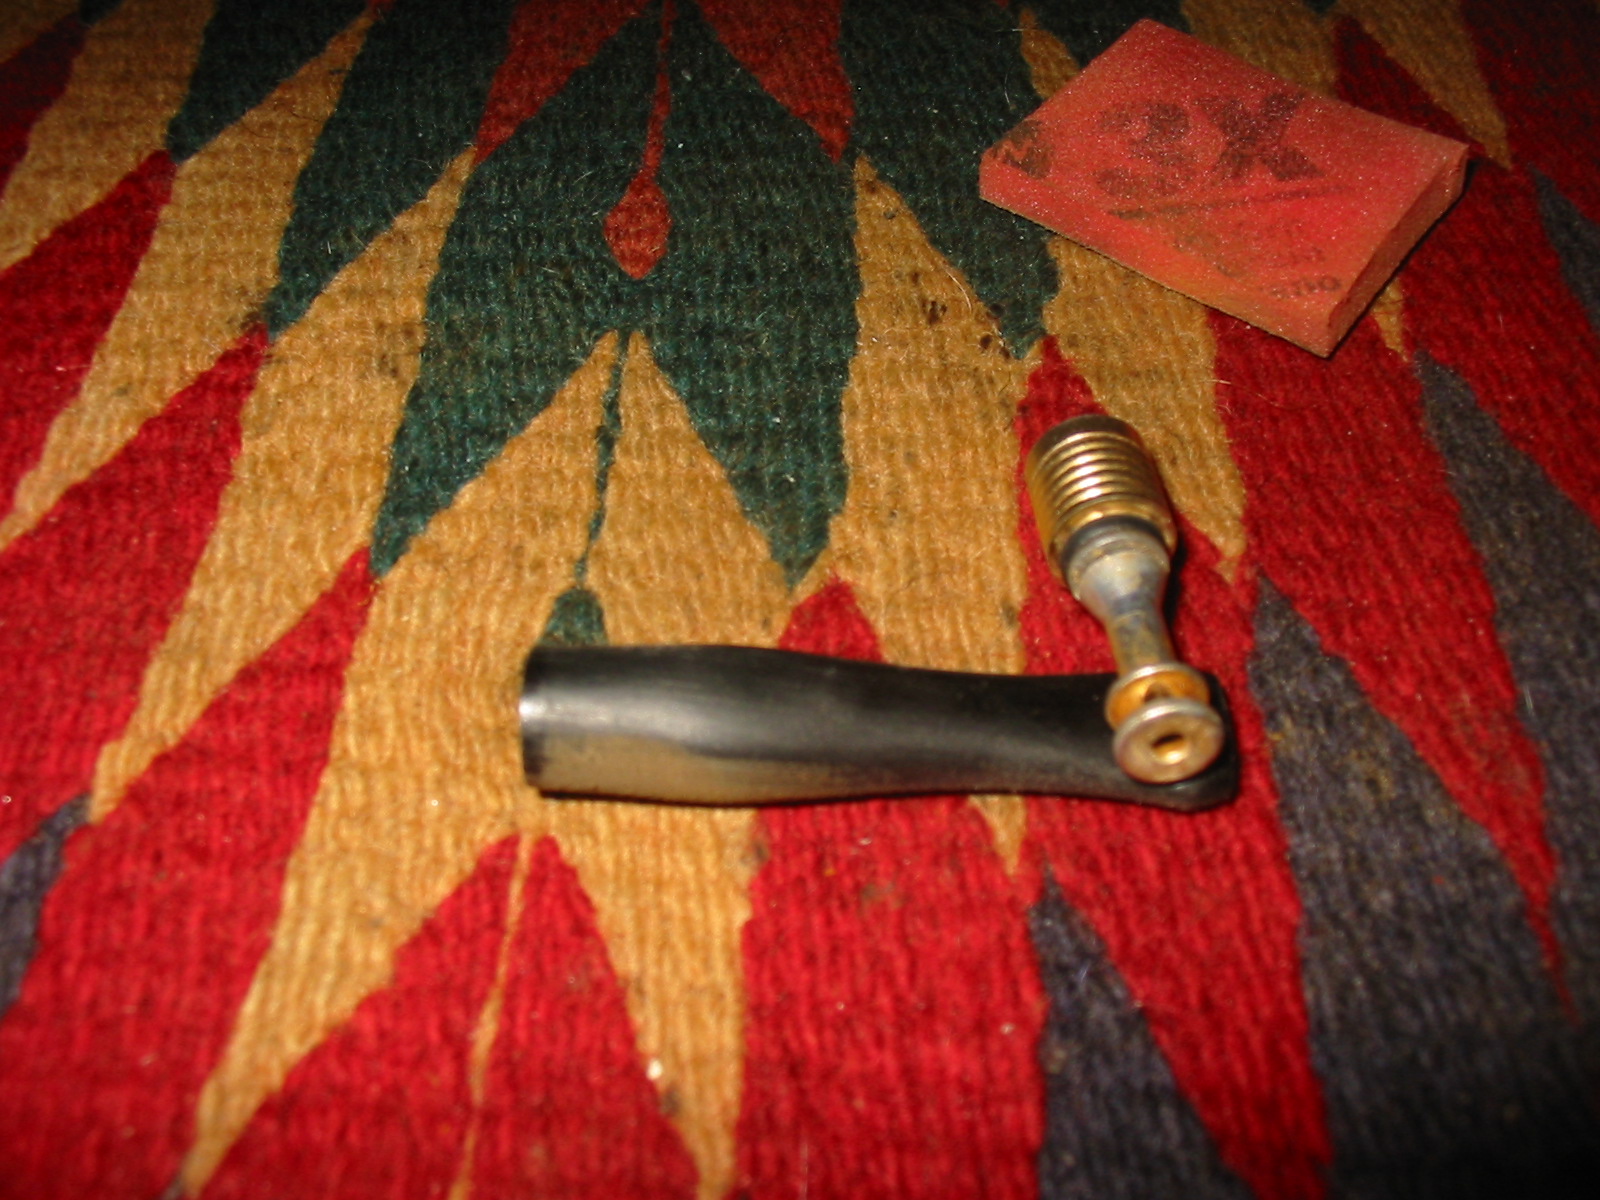
Once I had removed the apparatus from the stem the stinger design was visible. It extended half way down the shank of the stem. Behind the o-ring was a cut/slit half way through the aluminum of the stinger. It was clogged with tars and oils. In the middle of the slit was an opening. One on the o-ring side and one on the stem side of the slit. The aluminum then funneled down to tube that at first glance appeared to be solid. At the end of the tube were two solid rings around the tube. Between the rings there were holes on two sides in the groove. When it was inserted and clear the air would be pulled through the holder and into the stinger slit. It would circulate in the stem to cool and then move through the slit and down the tube and out the two holes. These would then disperse the smoke through the remainder of the stem and out the slot in the button. In many ways it was like an inverted stinger in shape and function to those found on pipes.
IMG_3177

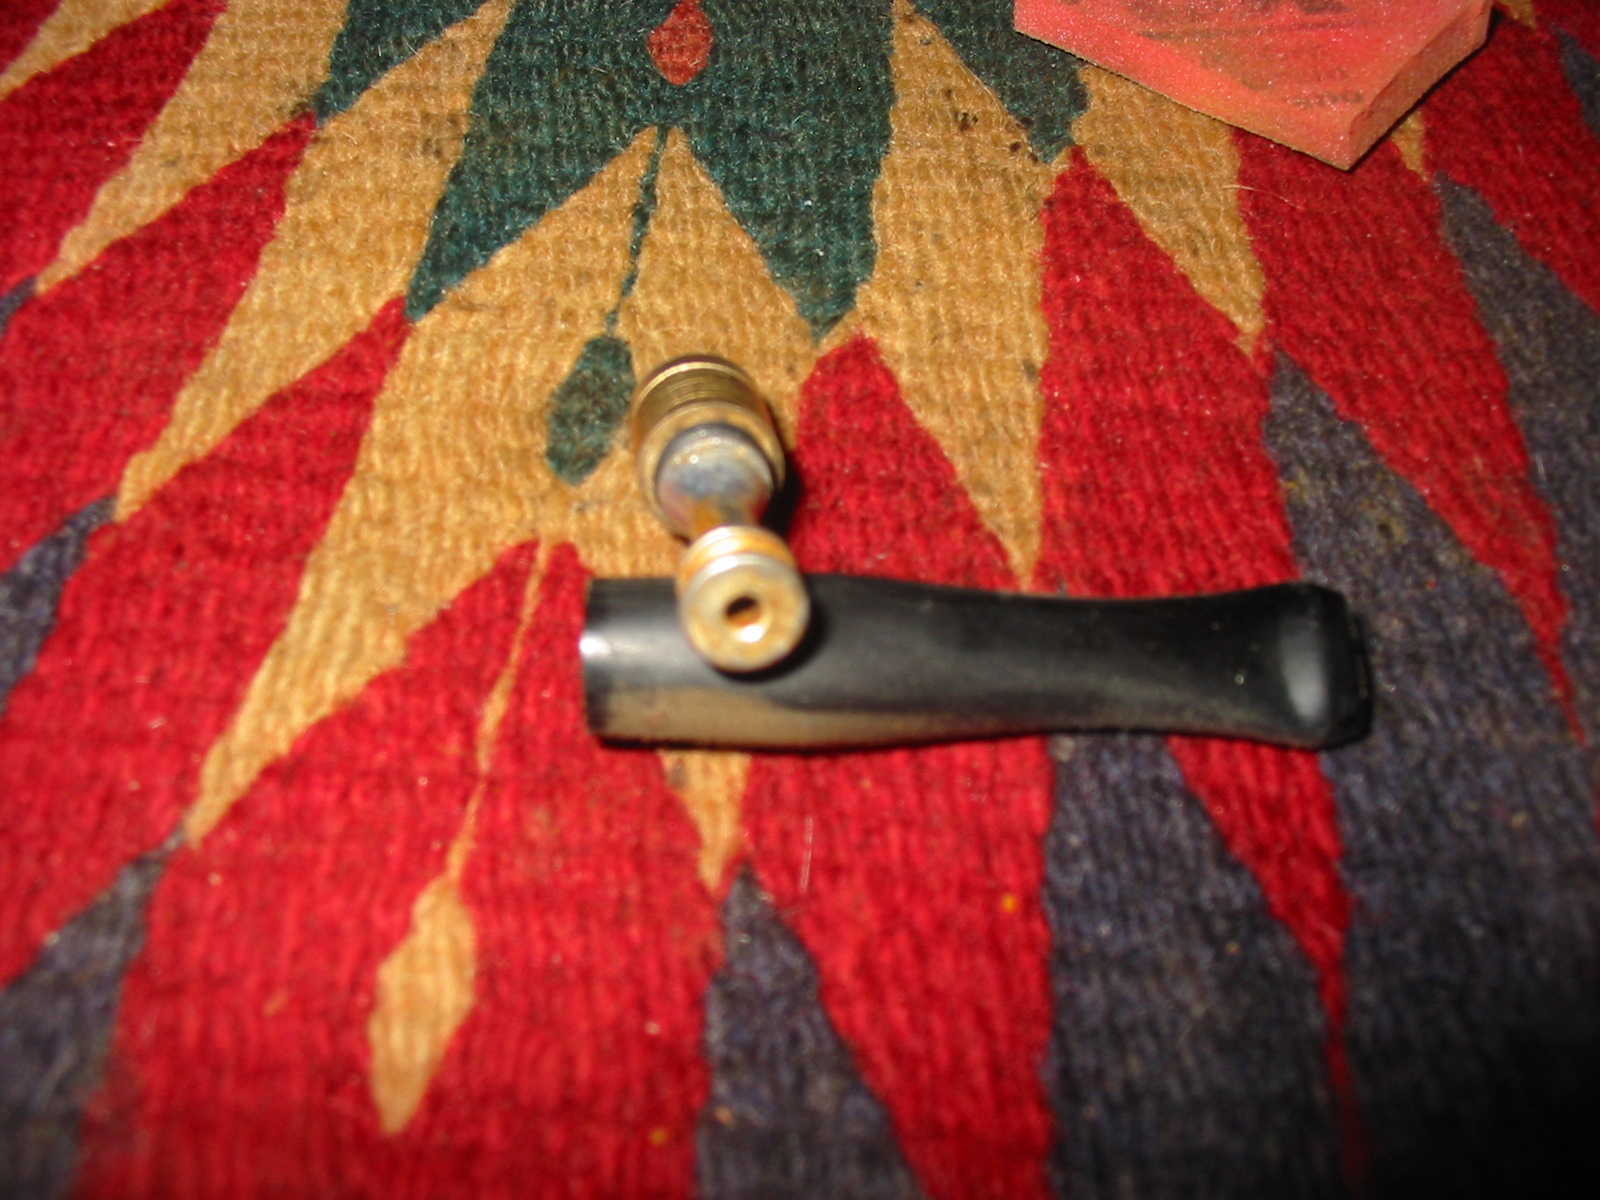
The hole in the end of the stinger does not go through the stinger but rather is like a small cup on the end. It was for collecting moisture and tars if the grime buildup was any indication.
IMG_3178

IMG_3180

The holder cap pictured in the photo below is the depth of the filter on a modern cigarette and also the dame diameter as the end of the cigarette. I cleaned the entire apparatus and soaked it in a bath of Everclear to try to open the airway. I was able to clean out the cut in the aluminum, the holes in the end and in the cut itself using a dental pick. I scrubbed down the apparatus with a tooth brush and Everclear. I was unable to get air to pass through due to a clog in the end of the holder. In the photo below it is visible as a small hole in the bottom of the cup. It was plugged and the dental pick was too thick to go through it. I tried a thin paper clip and a needle with no success. I finally was able to open it with a tiny micro drill bit on the Dremel and pushed it through at a very slow speed. The bit came with a plastic guide that fit inside the cup perfectly and kept the drill straight as it opened the airway. Once it pushed the clog through I cleaned the inside of the airway with Everclear and was able to push air through with no effort.
IMG_3179

I repaired the burned spot on the stem with superglue and sanded the stem until the patch blended with the rest of the stem surface. I sanded the stem with 220 grit sandpaper and then with a medium grit sanding sponge to smooth out the scratches in the surface of the nylon stem.
IMG_3135

IMG_3136

I wet sanded the stem with micromesh sanding pads from 1500-2400 grit and then dry sanded with 3200 – 12,000 grit sanding pads. I used a plastic polish to further shine the stem once I was finished with the micromesh pads.
IMG_3184

IMG_3185

IMG_3187

I rubbed down the stem with Obsidian Oil and gave it a very light buff with White Diamond. You have to exercise a very light touch when buffing nylon as it melts with the heat of the buffing wheel. I finished by giving the stem multiple coats of carnauba wax to give it a shine. I hand buffed the shine with a soft cotton cloth. The finish filter is pictured below in the final three photos. It is not something I will ever use but it is an interesting piece of tobacciana for the collection. I have no idea of the maker of the piece or of the age but I am fascinated by the ingenuity of the product.
IMG_3188

IMG_3189

IMG_3190

Restoring an LHS Certified Purex Pot


Blog by Steve Laug

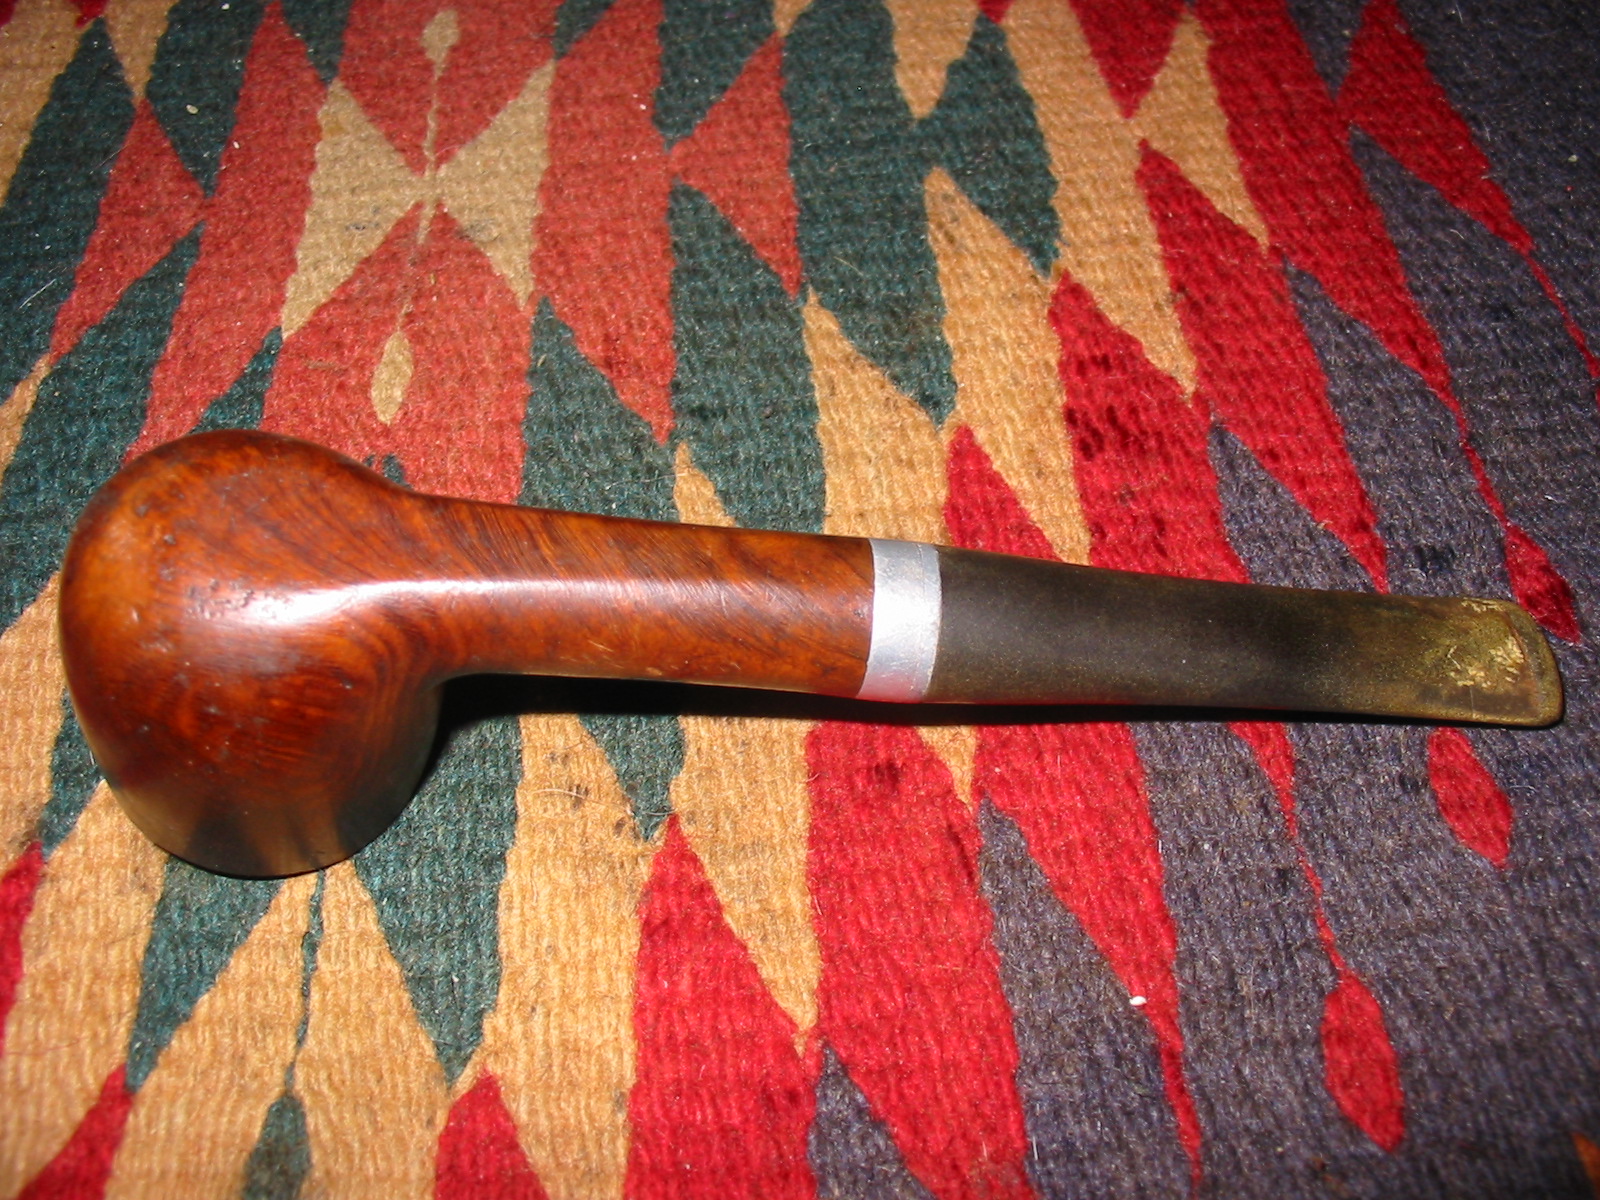
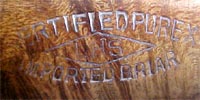
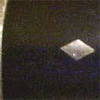
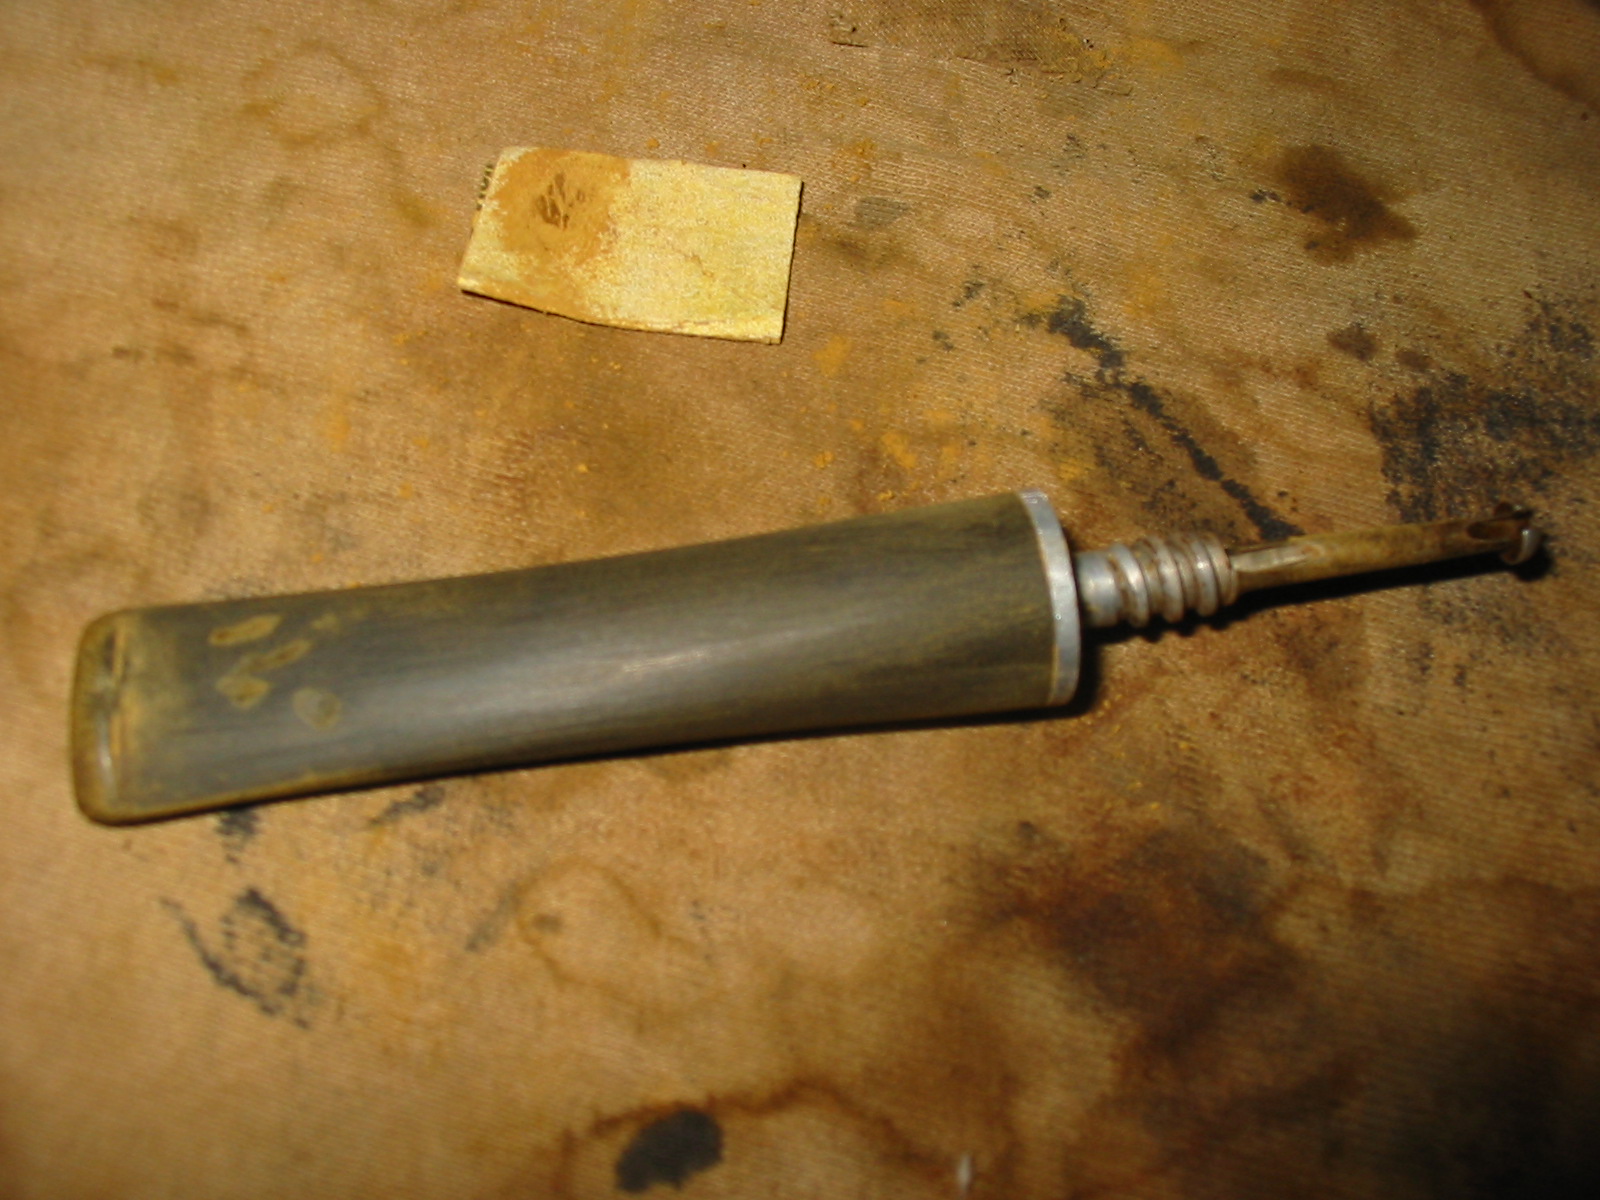
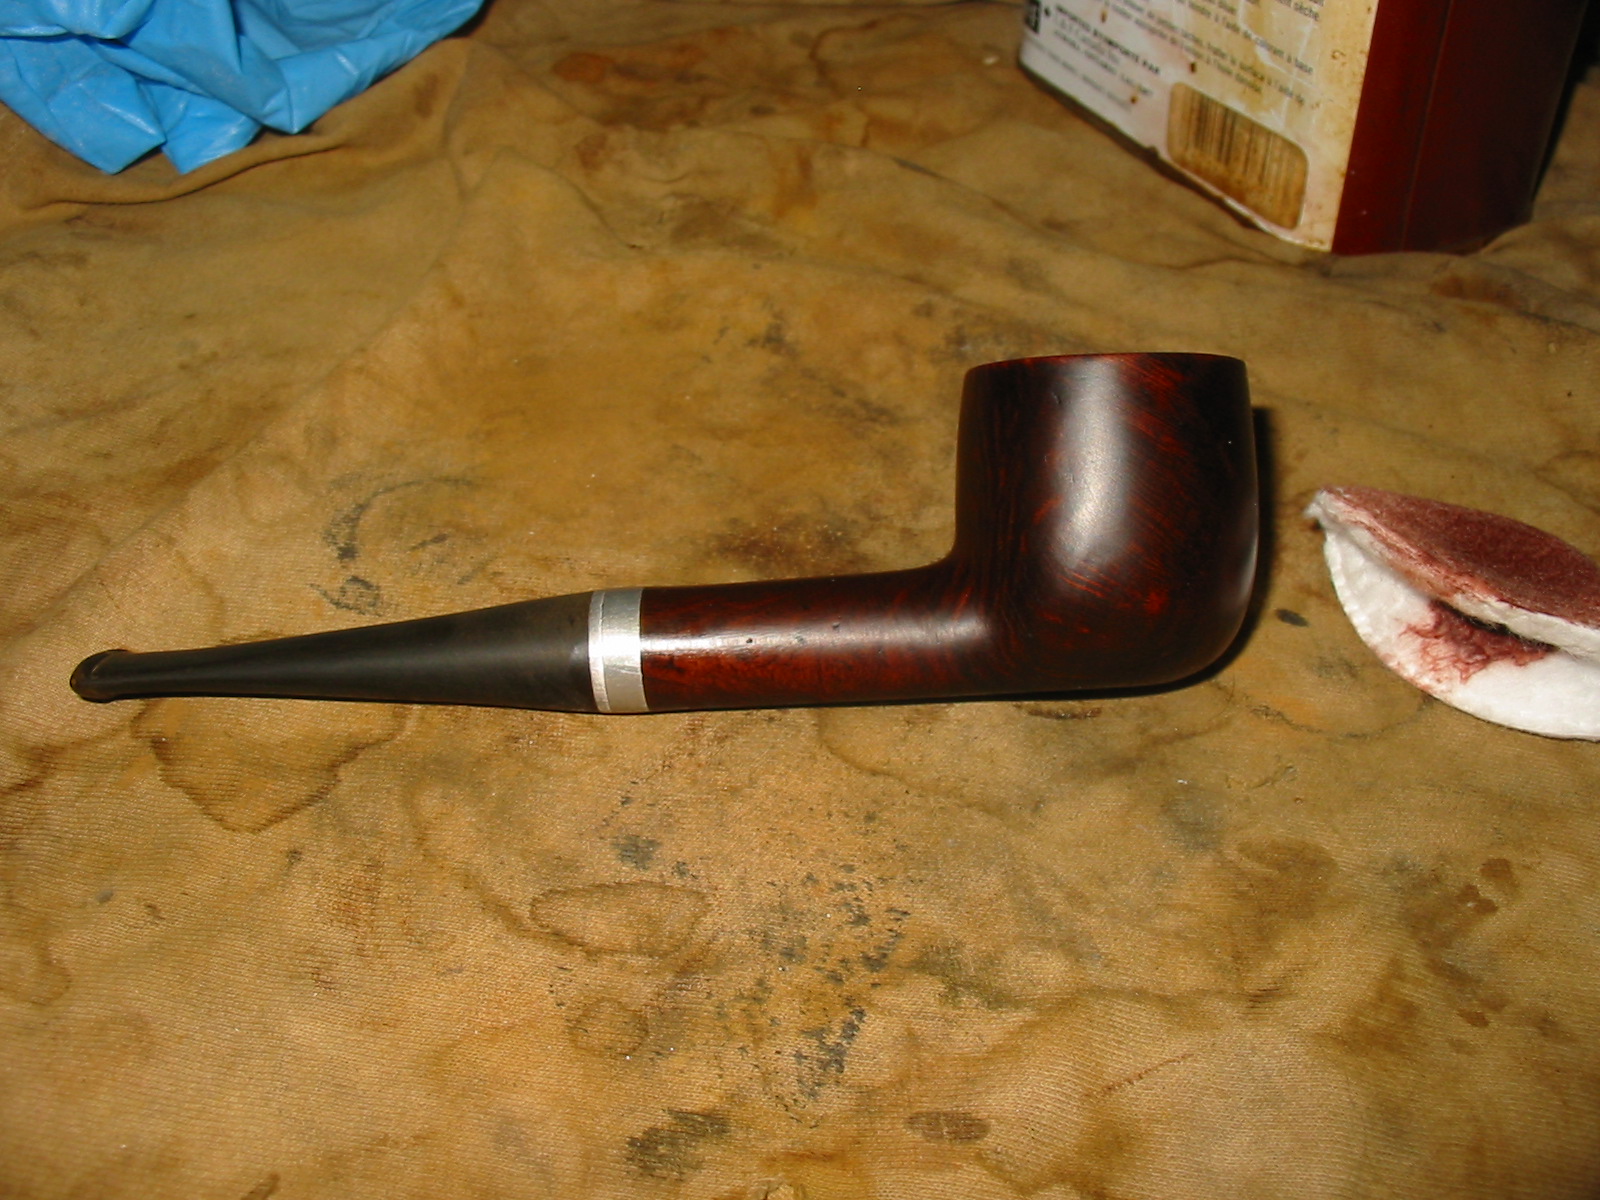
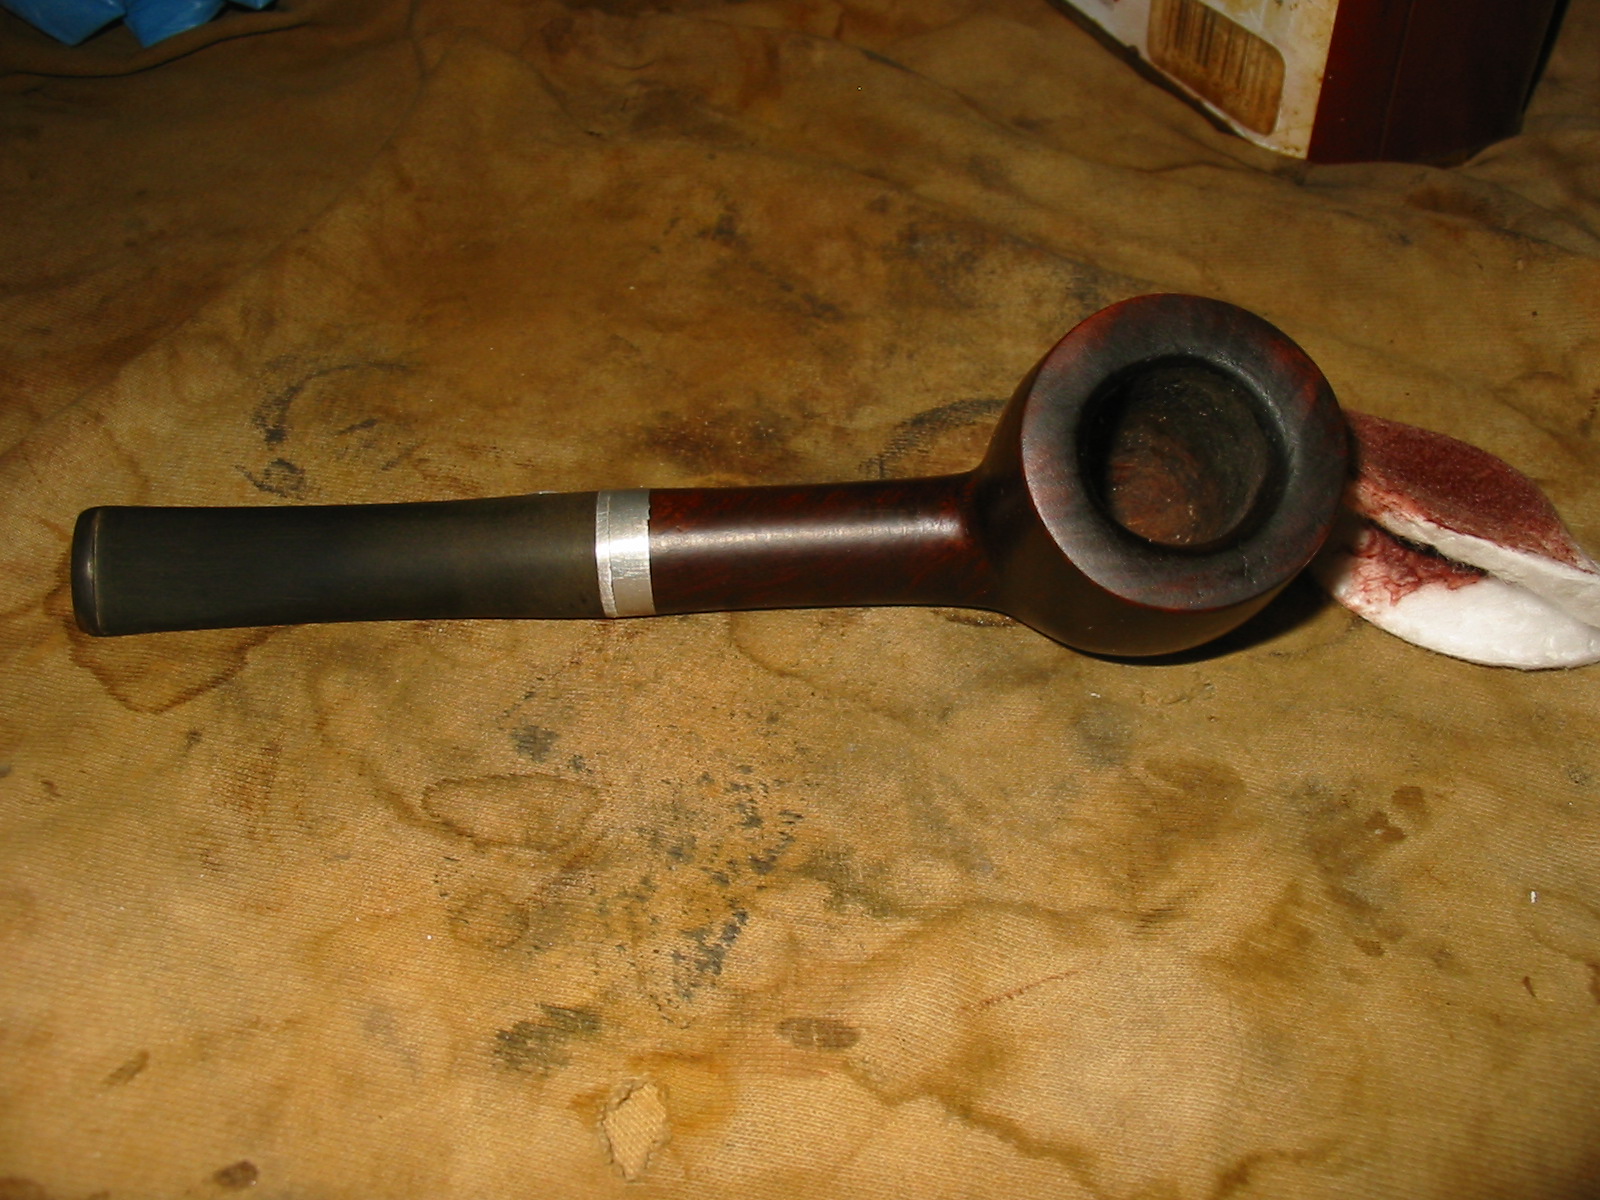
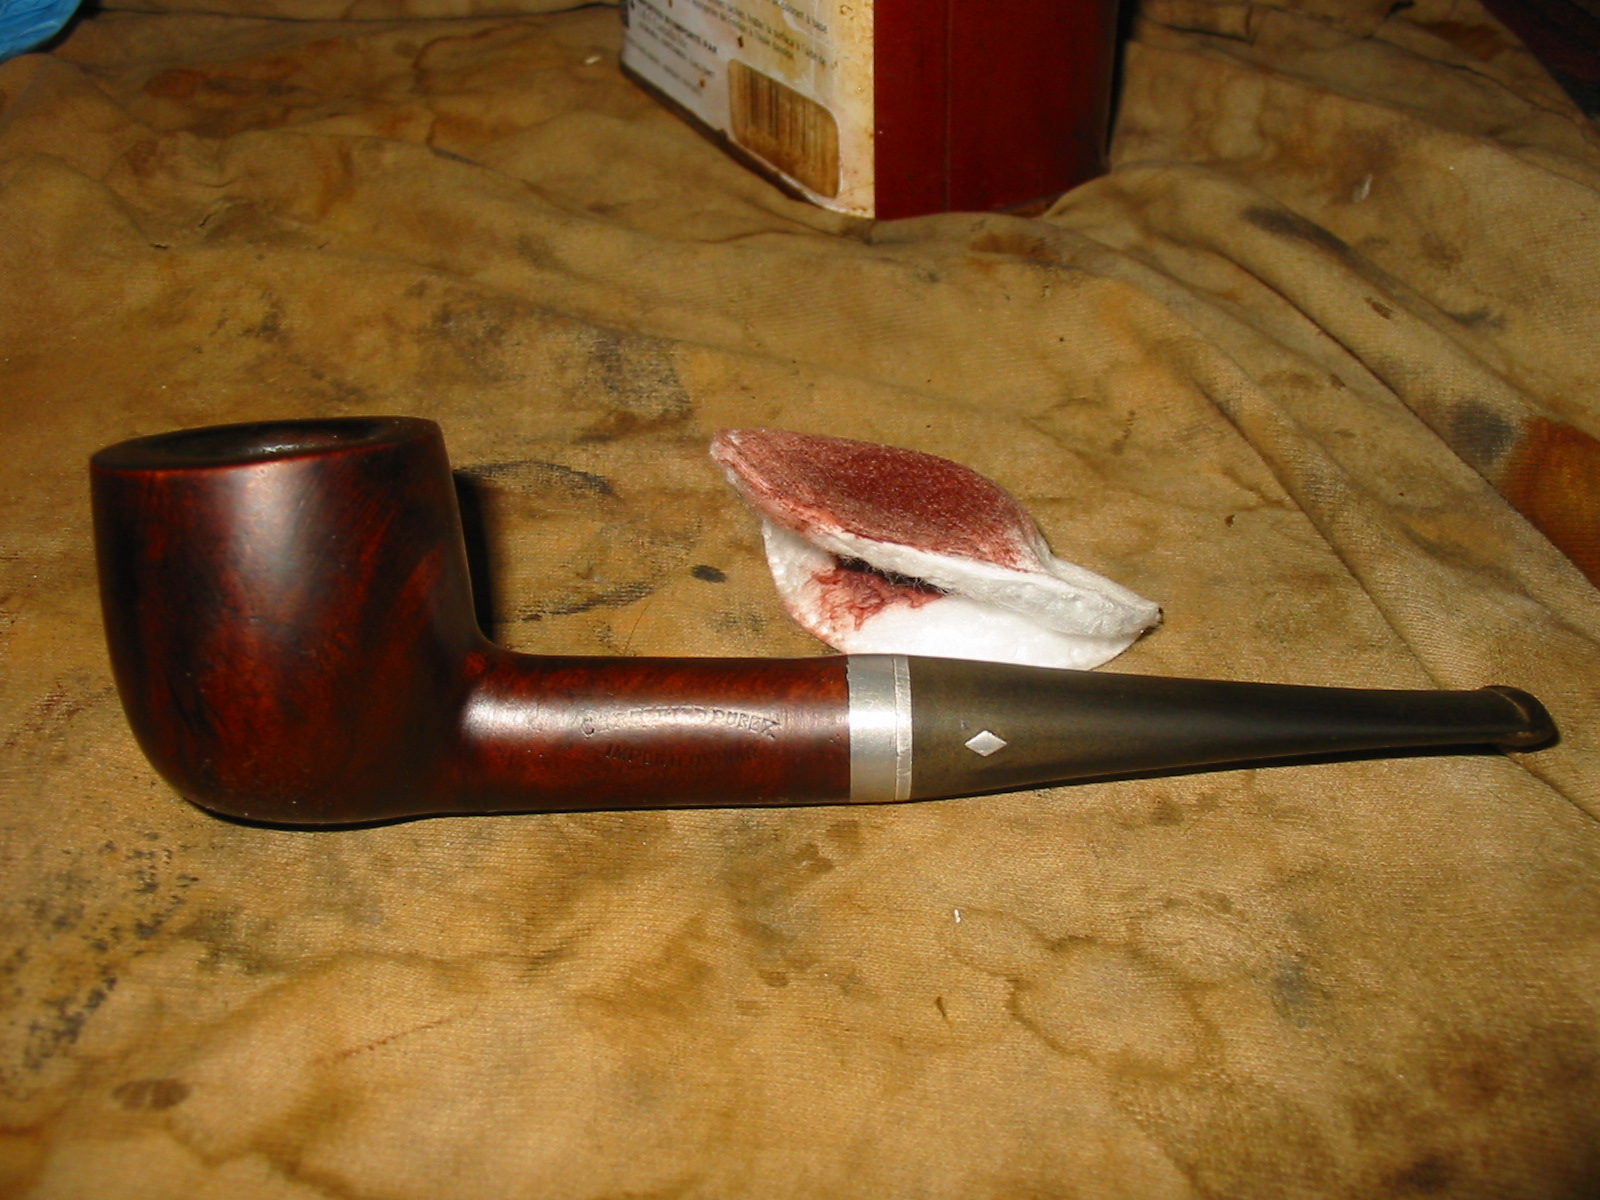
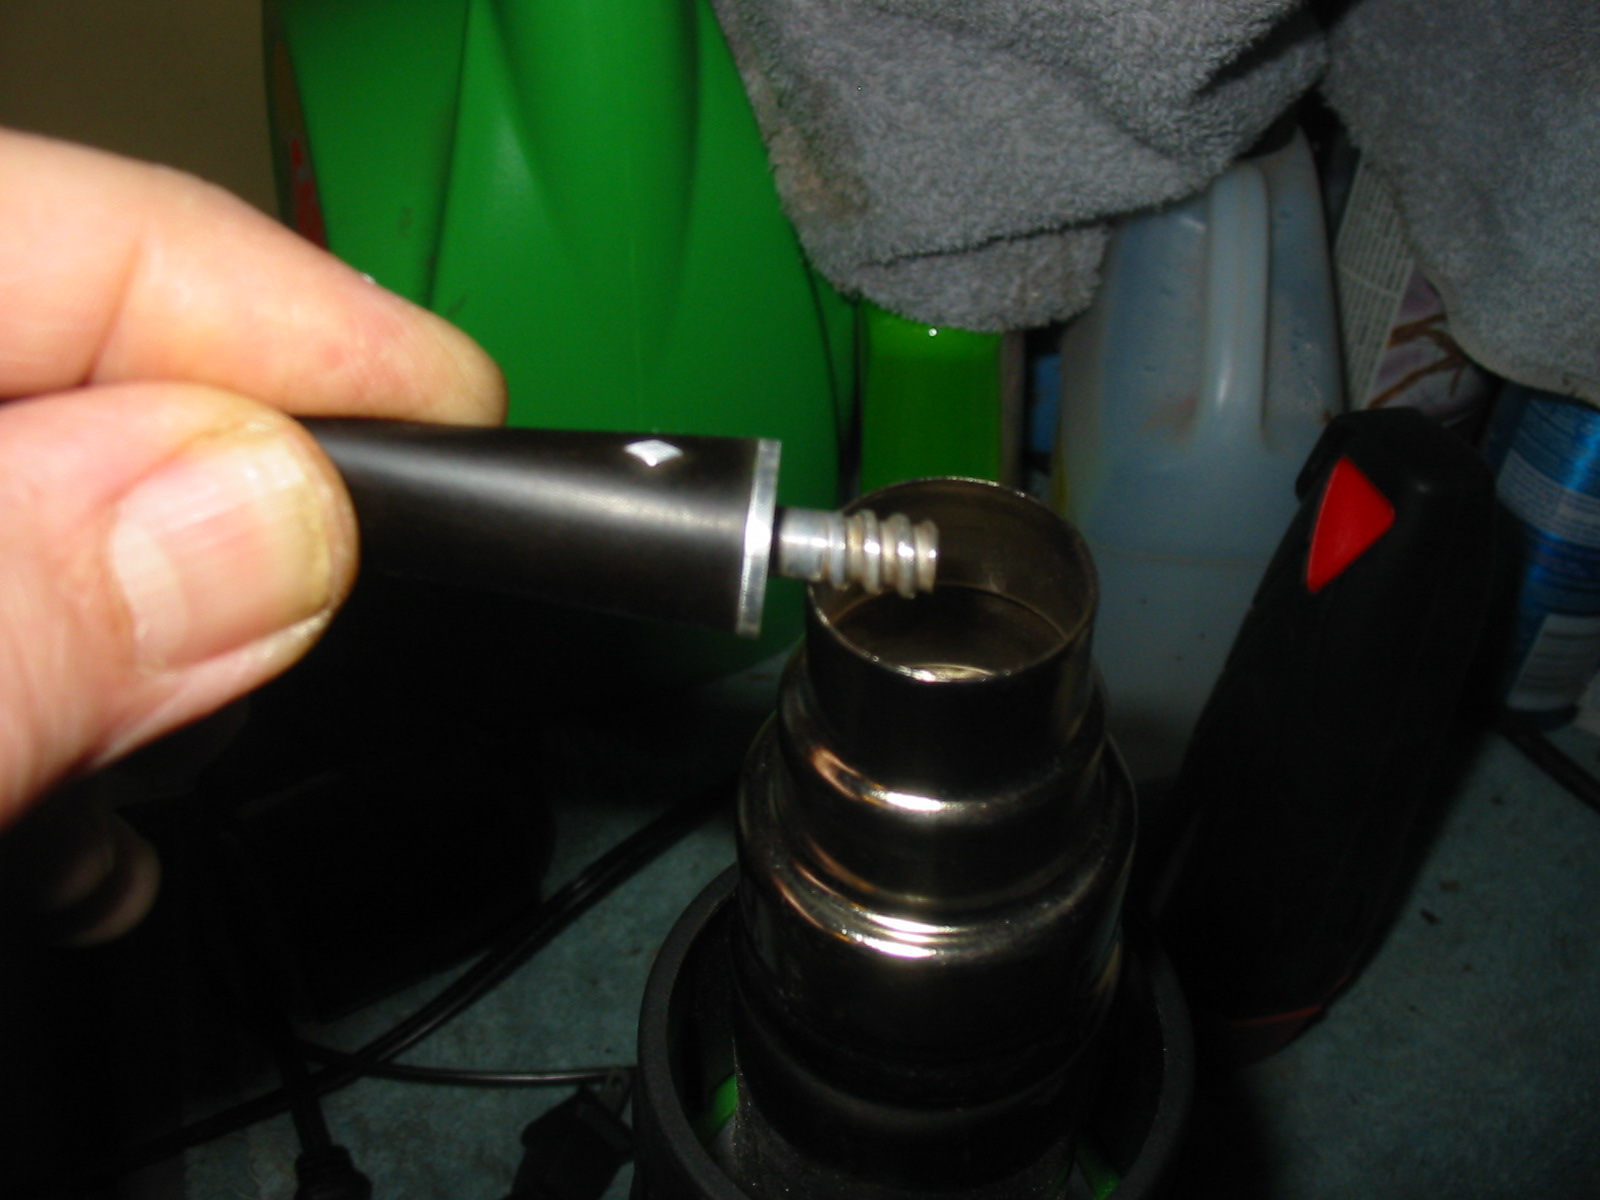
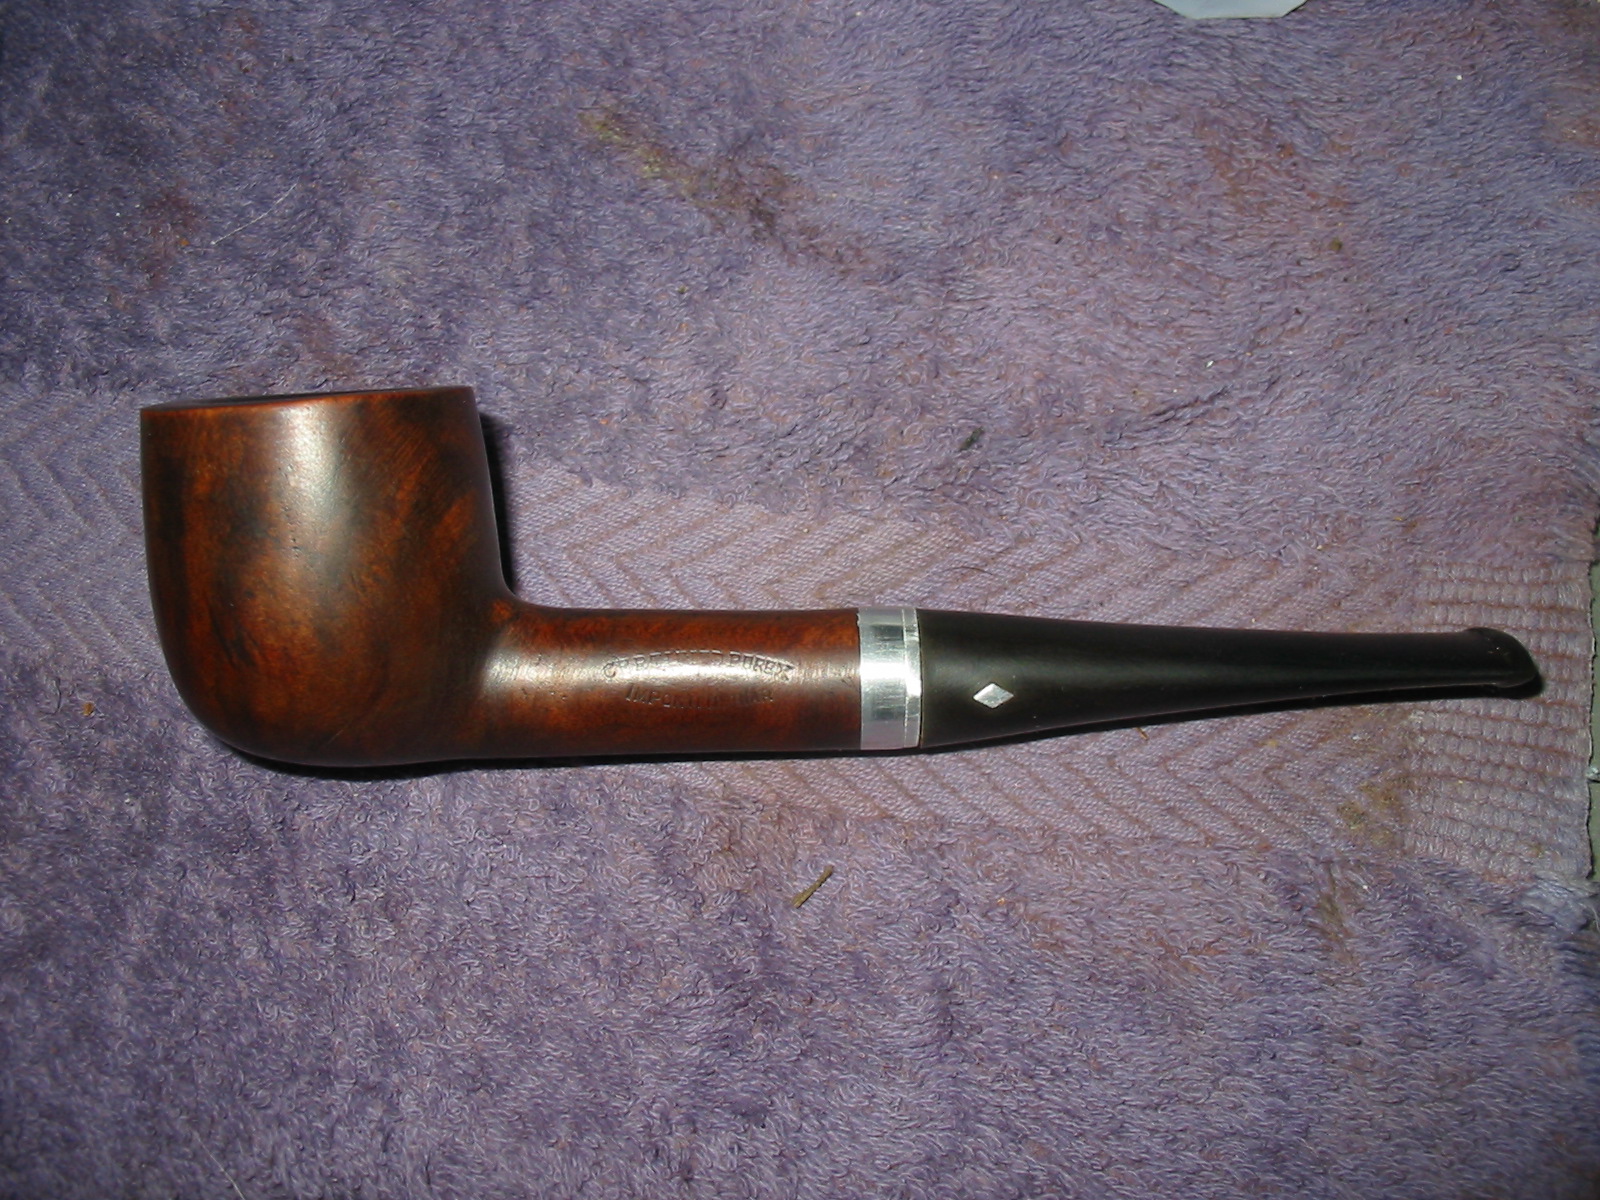
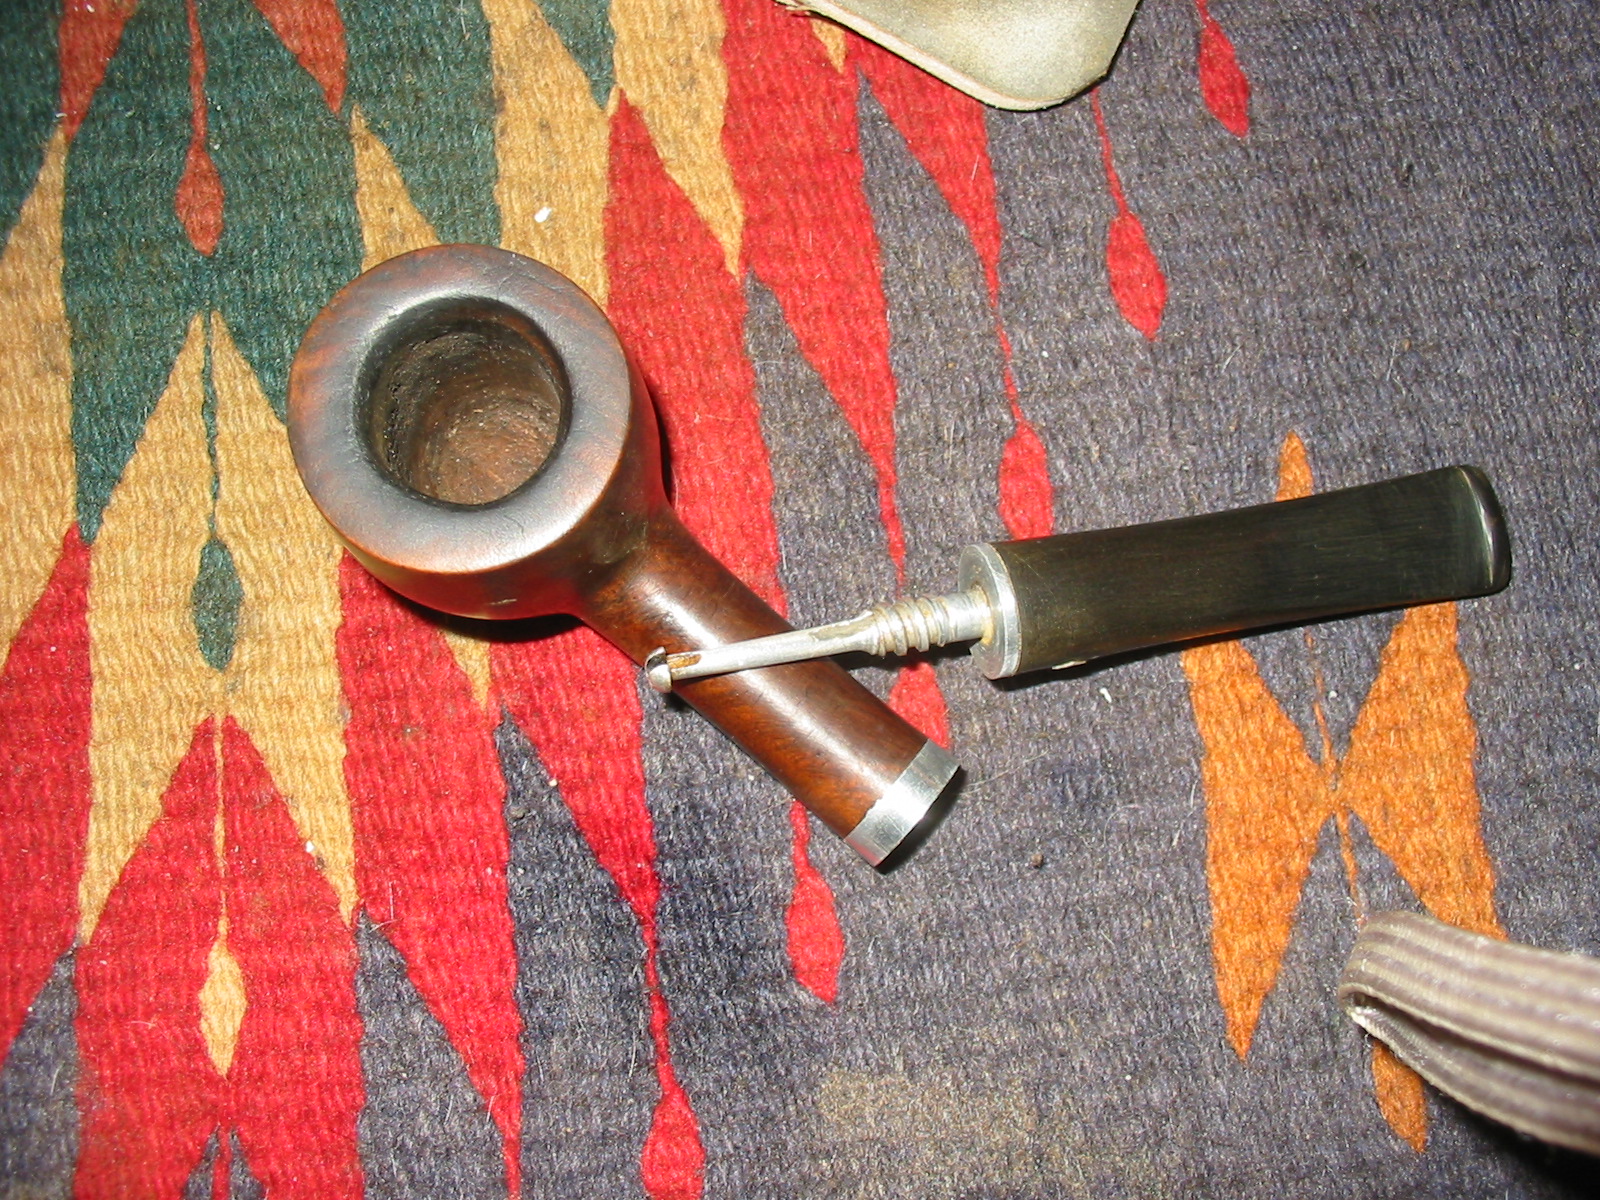
This LHS pot was another gift from a friend in exchange for restemming his pipe. It is stamped on the left side of the shank Certified Purex in a convex arc and underneath is a concave arc stamped Imported Briar. In the middle the stamping is very faint but using a magnifying lens the remnants of a diamond with the letters LHS are barely visible. The finish was very dirty and the rim was blackened but not burned. The bottom of the bowl near the front was covered with dents and pin pricks like the pipe had been tapped or dropped on concrete. There was very little cake in the bowl. The stem had a screw mount tenon with an aluminum receptor on the end of the shank. The stem itself had an aluminum end on it with a push in stinger apparatus. The stem had deep tooth marks on the top and the bottom sides and was oxidized. On the left side of the stem was an aluminum diamond that was inserted in the stem.
IMG_3137

IMG_3138

IMG_3139

IMG_3140

I looked up LHS Certified Purex pipes on Google and found the following information. The first comes from http://www.pipephil.eu/logos/en/logo-lhs.html#certifiedpurex . Phil has a page on the LHS pipes. The L&H Stern Inc. was established by Ludwig Stern (1877-1942) in 1911. His brother Hugo (1872-?) acted as vice-president & secretary. The firm moved to 56 Pearl St. Brooklyn in 1920. It closed down in the 1960s. LHS was one of the main pipe suppliers for US soldiers during WWII. LHS had several seconds lines, two of which are the London Royal and the Stanhope. Phil included the two photos below. The first is of the diamond insert on the stem. The one I am refurbishing has the same diamond. The second is of the stamping on the pipe. The top photo which is a picture of the stamping reads Certified Purex over Imported Briar with the LHS in a Diamond inside the two arcs. This stamping matches the pipe I worked on.
lhs5blhs3a Pipedia also had information on the pipes from which I summarize some additions that were not included above. L & H Stern (LHS) of Brooklyn, New York. The company’s famous logo is in a diamond. These pipes are high quality production pipes. A popular and moderately priced pipe made from 1896 through the 1960’s by the L&H Stern Company of Brooklyn, New York. Many of their later Sterncrest pipes featured silver bands and some were made with 14kt. gold bands as well. The “Diamond” series appears to be their high-end line. They had a different logo which was 3 diamonds in a row, larger in the middle. They also had Allbriar models (stem and bowl both made of briar) in the Diamond line, and these tended to have a screw type fitment with stinger, like Kaywoodie or Dr. Grabows.

With this information I took the Purex pot to my work table. I took off the stem and dropped the bowl into an alcohol bath to soak while I worked on the stem. It sat in the bath for about an hour while I addressed the issues on the stem.
IMG_3141

I sanded the stem with 220 grit sandpaper to remove the calcification around the button and up the stem for about ½ inch. I also wanted to clean up around the tooth dents to see what I would have to do to fix them. In the next two photos below the dents in the stem are clearly visible on the top and the underside of the stem. Removing the calcification made the dents very clear.
IMG_3142

IMG_3143

After examining them with a magnifying glass I could see that they were dents. I was able to heat them and lift them to some degree and then sanded what remained after heating. The next three photos show the removal of the dents and remaining marks with the sandpaper.
IMG_3144

IMG_3145

IMG_3147

I sanded the stem with a medium grit “pink” sanding sponge that is visible in the photos below. This removed the scratches left behind by the 220 grit sandpaper. In these photos the dents are no longer visible. The sanding also removed the majority of the oxidation on the stem.
IMG_3148

IMG_3150

IMG_3151

I wiped the bowl down with acetone on a cotton pad to remove the finish before I worked on the pitting and marks on the bottom of the bowl. I steamed the dents and then filled the remaining marks with superglue to smooth them out. I sanded the superglue with 220 grit sandpaper to remove the slight bubble on the super glue and also followed up that with a medium grit sanding sponge. I wet sanded the bowl with 1500-2400 grit micromesh sanding pads.
IMG_3152

IMG_3153

IMG_3154

I stained the bowl with black aniline stain and flamed it to set it deep in the grain. I repeated the staining and flaming to make sure I got a smooth and even coverage on the undercoat of stain. The black understain does a great job in hiding the small fills that were in the bottom of the bowl.
IMG_3155

IMG_3156

IMG_3157

IMG_3158

I wiped down the stain with acetone to remove the topcoat and to highlight the dark grain pattern that remained. The dents on the bottom of the bowl are not visible in the fourth photo below. The grain shows through nicely. I sanded the bowl with 1800-2400 micromesh sanding pads to remove the scratches that were still visible in the finish.
IMG_3159

IMG_3160

IMG_3161

IMG_3162

I then stained the pipe with a oxblood stain for a finish coat. I applied the stain, flamed it and reapplied it and flamed it repeatedly until I had the coverage I wanted on the pipe. The next three photos show the rich overstain. The repairs to the pits on the bottom of the bowl are no longer visible.
IMG_3163

IMG_3164

IMG_3165

The stem had been slightly overturned so I needed to heat the tenon and turn it clockwise on the shank until it lined up again. I removed the stinger and then heated the tenon over a heat gun to loosen the glue in the stem. Once it was heated I screwed it into the shank of the pipe until it was aligned again.
IMG_3166

IMG_3167

I put the stinger back in place and wet sanded the stem with 1500-2400 grit micromesh pads and then dry sanded with 3200-12,000 grit pads.
IMG_3169

IMG_3170

IMG_3171

Once I finished sanding the stem I wiped it down with Obsidian Oil and rubbed it into the vulcanite. I polished the aluminum on the shank and the stem with the higher grits of micromesh and then with silver polish. I then took the pipe to the buffer and buffed the pipe and stem with White Diamond and then with multiple coats of carnauba wax to polish and protect it. The finished pipe is pictured below.
IMG_3173

IMG_3174

IMG_3175

IMG_3176

Reworking a Stetson Sport Zulu


This pipe was gifted to me in exchange for a bit of stem work that I did recently for a friend of mine. It came in a box with the pipe to be repaired and two others. It was a brand that I knew absolutely nothing about. The pipe was obviously American made and had a coat of thick varnish on the bowl that was beginning to flake and peal. I decided to do a bit of research on the brand to see if I could find any information on it.
IMG_3100

I found a document online for the John B. Stetson Company. Stetson is the manufacturer of Western hats but I was not aware that they also made pipes. One source seemed to point to the fact that the pipes were made by Marxman Pipe Company and branded with the Stetson name.

The document was written as a brand page for the company in application for a trademark. I have included that document below as I find the historical detail quite interesting. The source of the information is this website: http://www.legalforce.com/stetson-78583631.html I quote the following information in part from that site.

“John B. Stetson Company

Absorbent paper for tobacco pipes, ashtrays not of precious metal, chewing tobacco, cigar bands, cigar cutters, cigar humidifiers, cigar tubes, cigarette cases not of precious metal, cigarette lighters not of precious metal, cigars, cigarillos, hand-rolling tobacco, humidors, match boxes not of precious metal, match holders, matches, non-electric cigar lighters not of precious metal, pipe pouches, pipe tampers, pipe tobacco, tobacco, rolling papers…

This is a brand page for the STETSON trademark by John B. Stetson Company in Mt. Kisco, NY, 10549. Write a review about a product or service associated with this STETSON trademark. Or, contact the owner John B. Stetson Company of the STETSON trademark by filing a request to communicate with the Legal Correspondent for licensing, use, and/or questions related to the STETSON trademark.

On Wednesday, March 09, 2005, a U.S. federal trademark registration was filed for STETSON by John B. Stetson Company, Mt. Kisco, NY 10549. The USPTO has given the STETSON trademark serial number of 78583631. The current federal status of this trademark filing is ABANDONED – NO STATEMENT OF USE FILED. The correspondent listed for STETSON is BARRY A. COOPER of GOTTLIEB, RACKMAN & REISMAN, P.C., 270 MADISON AVE FL 8, NEW YORK, NY 10016-0601. The STETSON trademark is filed in the category of Smoker’s Products . The description provided to the USPTO for STETSON is Absorbent paper for tobacco pipes, ashtrays not of precious metal, chewing tobacco, cigar bands, cigar cutters, cigar humidifiers, cigar tubes, cigarette cases not of precious metal, cigarette lighters not of precious metal, cigars, cigarillos, hand-rolling tobacco, humidors, match boxes not of precious metal, match holders, matches, non-electric cigar lighters not of precious metal, pipe pouches, pipe tampers, pipe tobacco, tobacco, rolling tobacco, smokeless tobacco, smoking pipe cleaners, sm.”

I also found the following stamping photos on Pipephil’s Stamping and Logos site: http://www.pipephil.eu/logos/en/logo-s12.html
Stetson

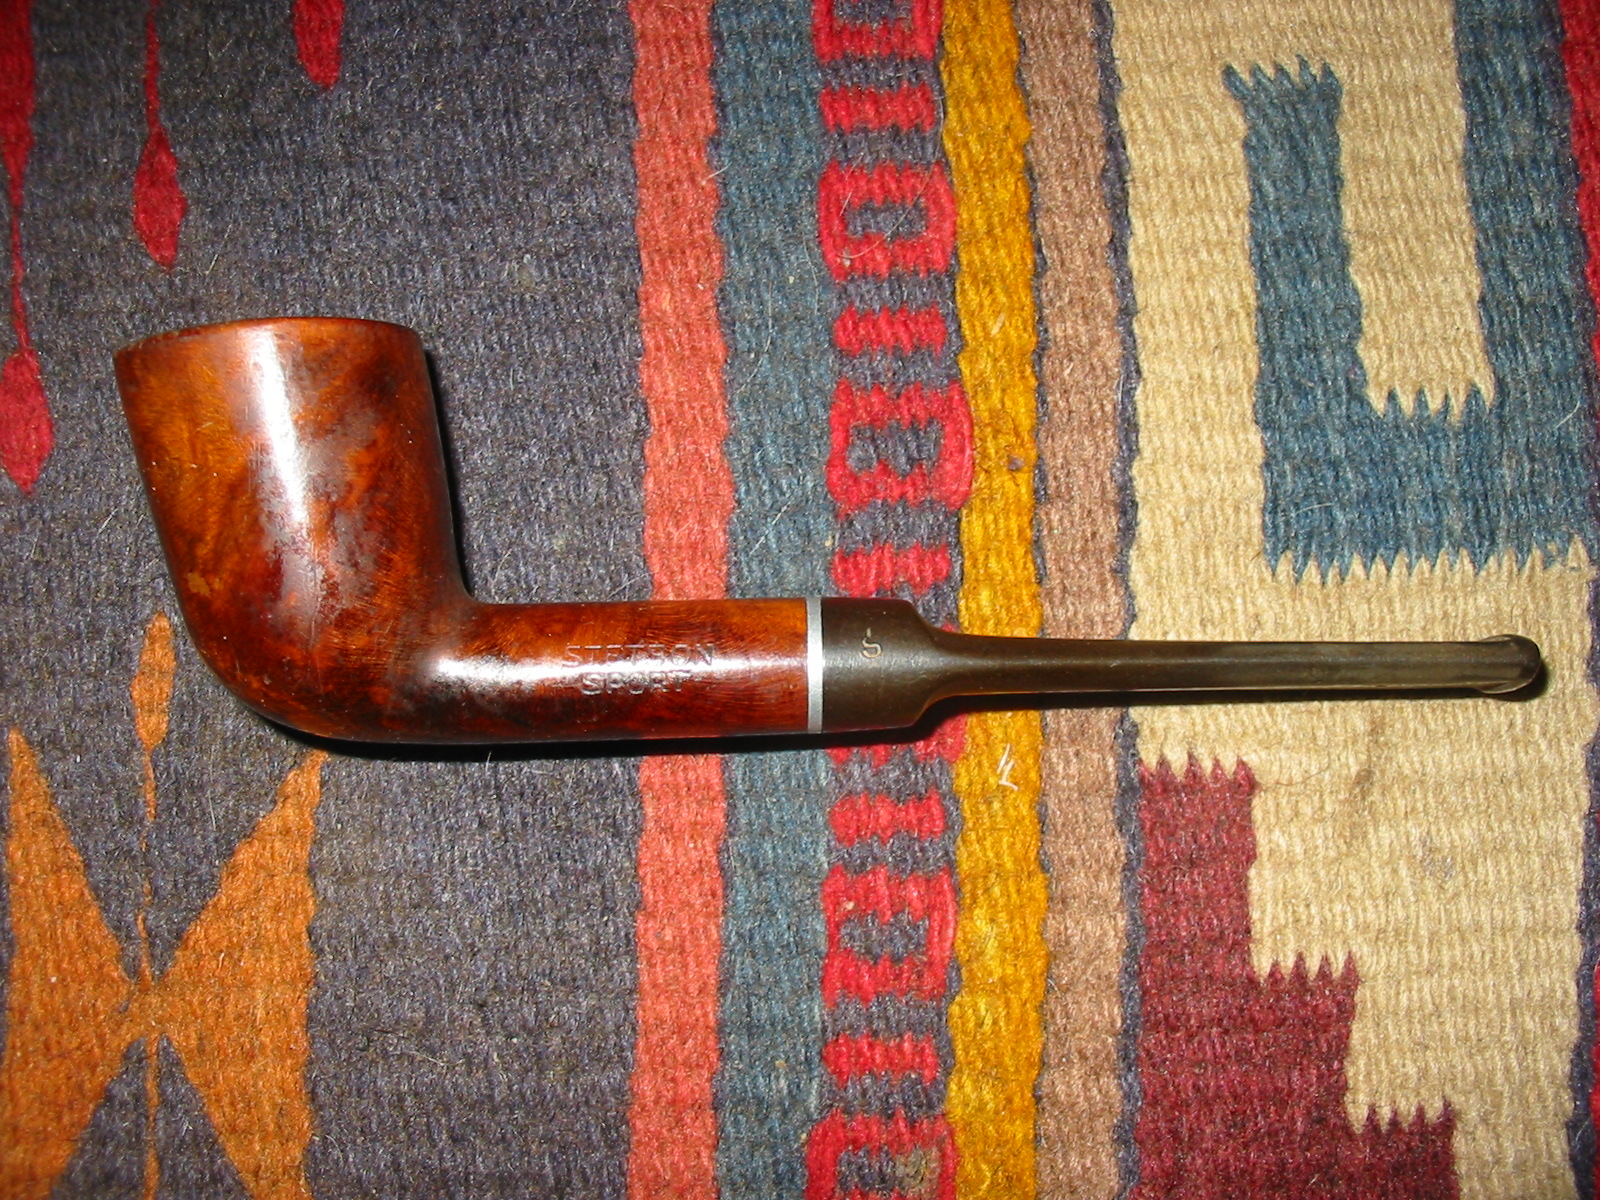
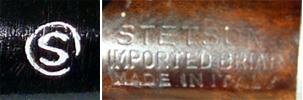
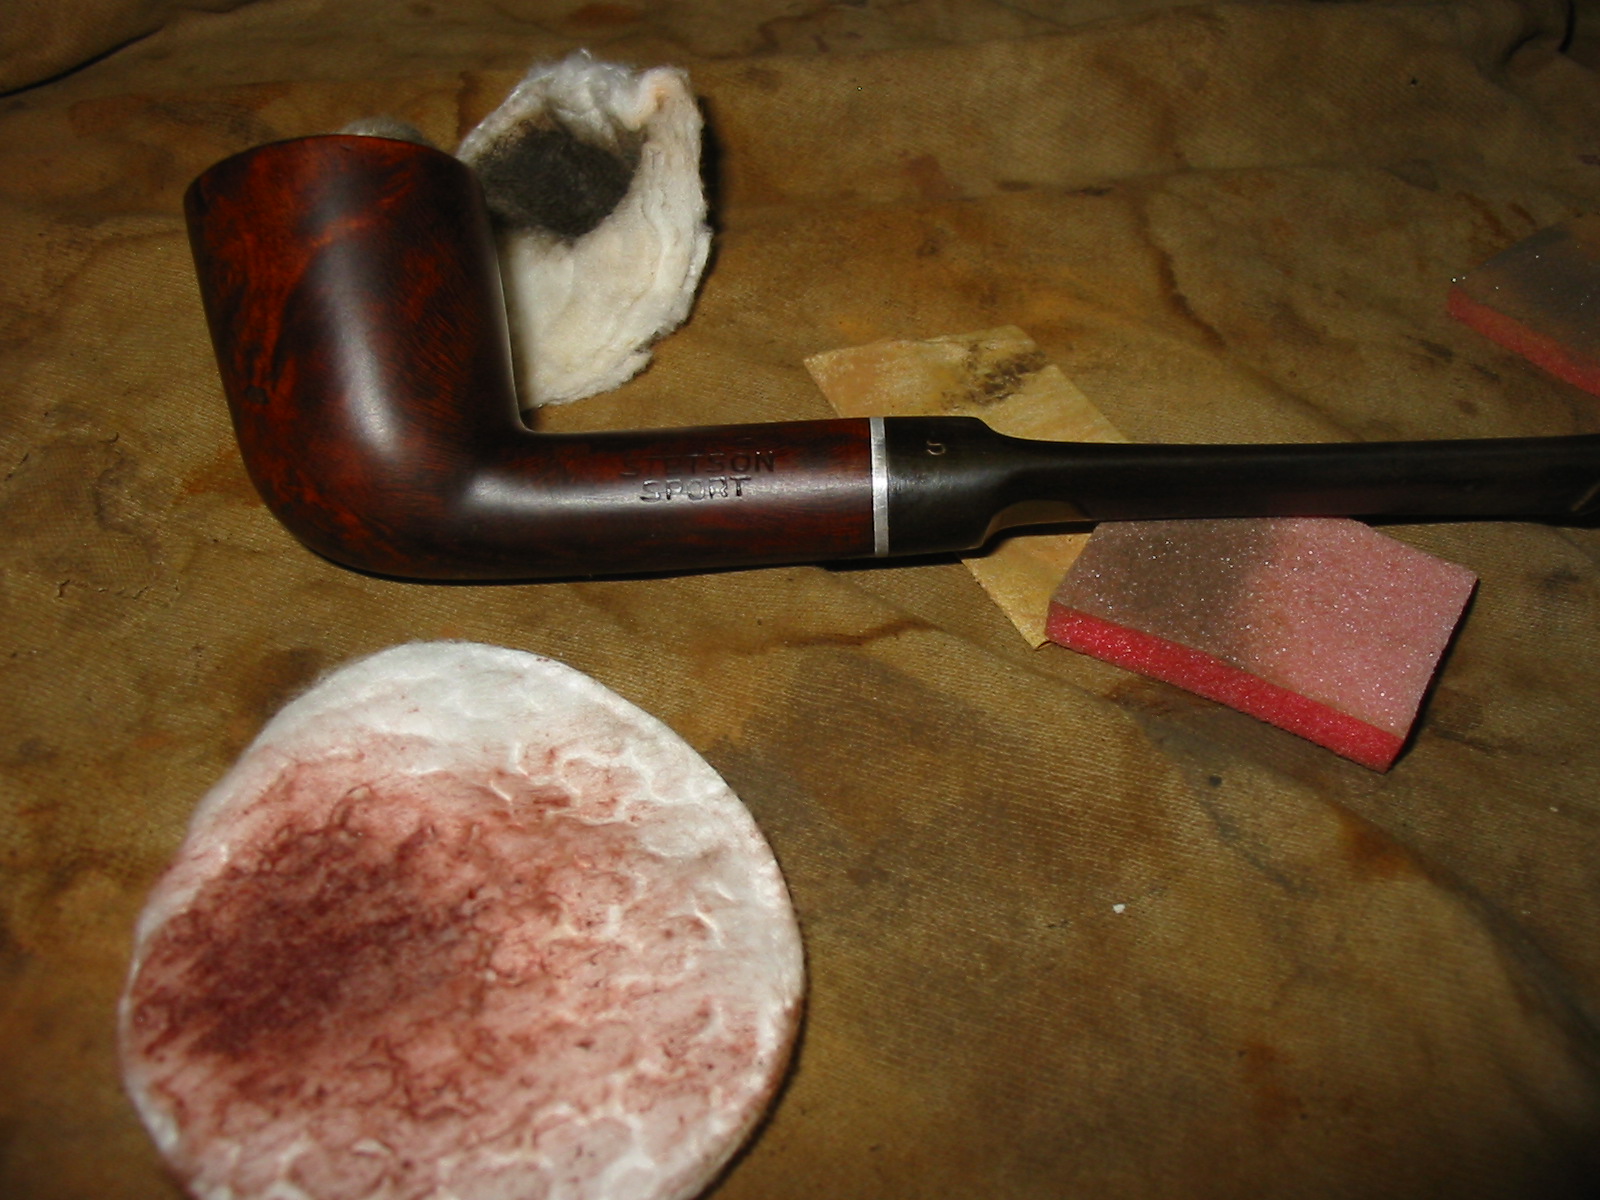
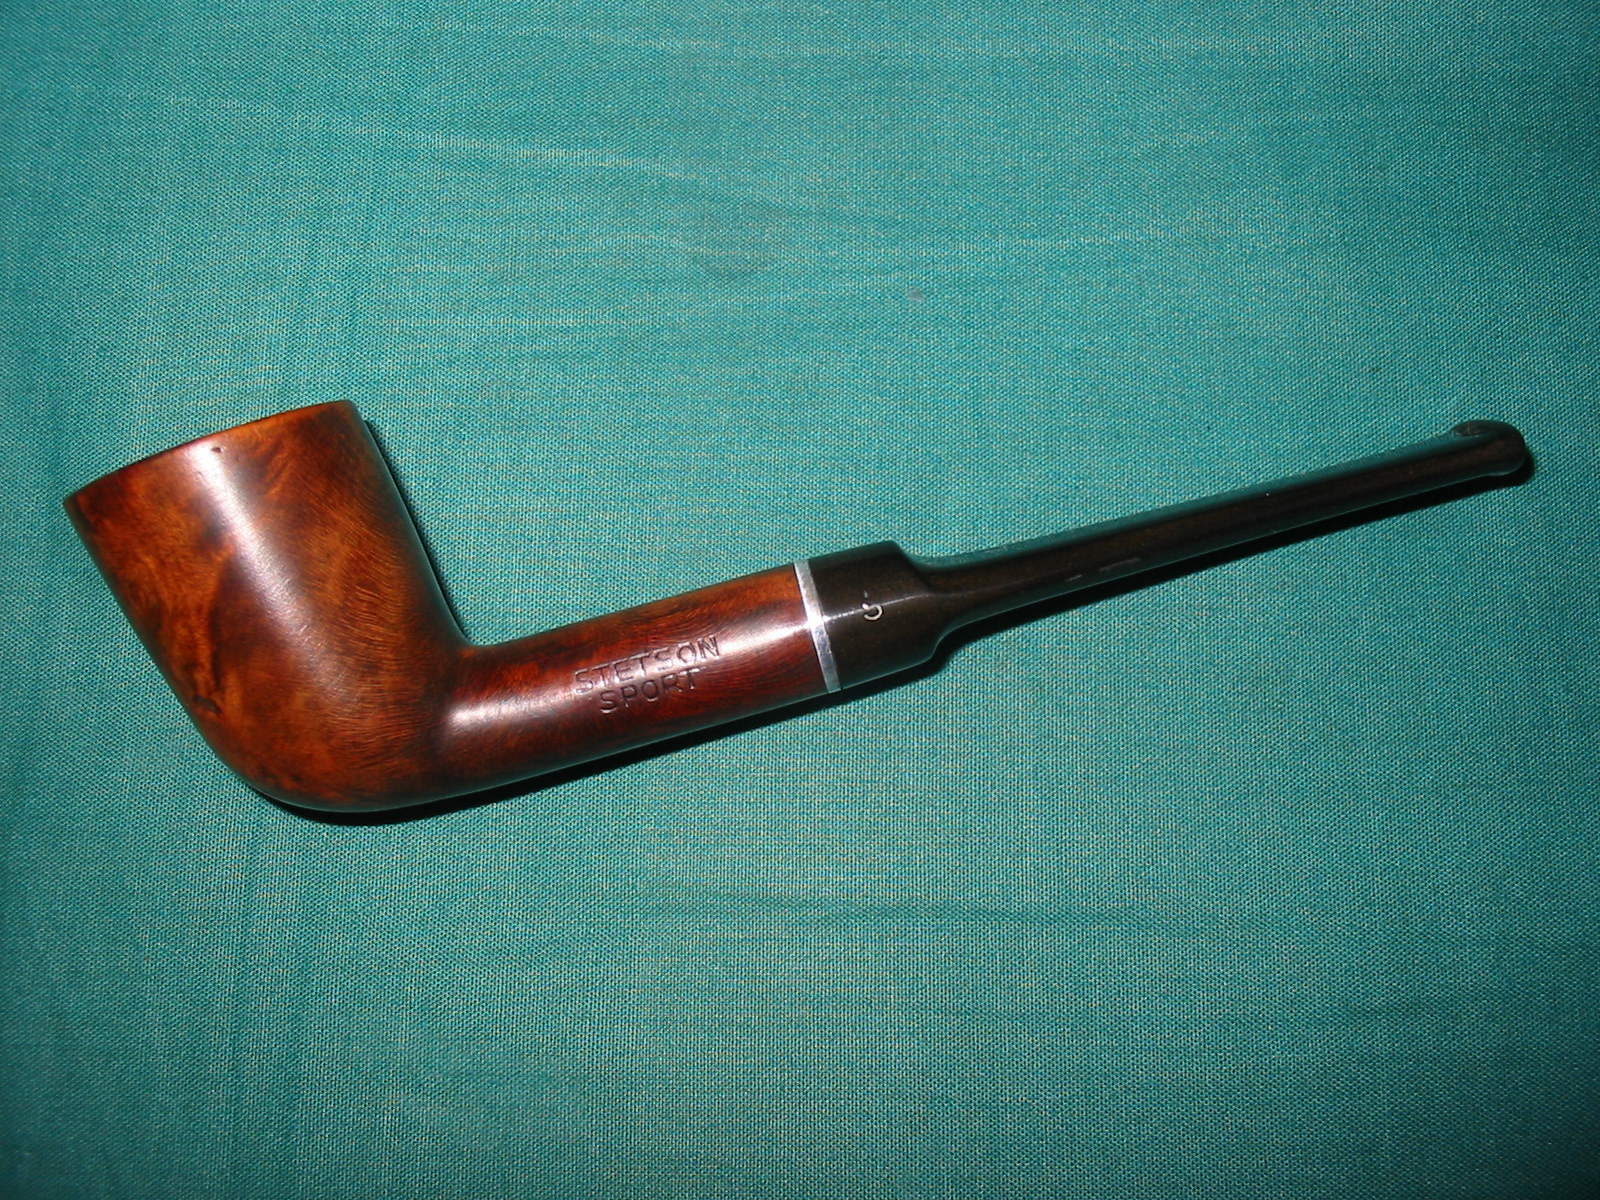
Armed with the information I found I tackled the cleanup and restoration of this American Pipe from John B. Stetson! The pipe is stamped Stetson over Sport on the left side of the shank and Imported Briar over Italy on the right side of the shank. The finish was very rough and peeling off the surface of the briar on the bowl where the hands held it. The rim had a thick cake of tars and oils. The inner edge of the rim was nicked and burned and was slightly out of round. The bowl was heavily caked with a soft carbon cake that was crumbling in places. The stem had screw on tenon and was over turned to the right. It had tooth marks on the top and the bottom side of the stem and oxidation on the entirety. There was an S logo stamped in the left side of the saddle. The stinger apparatus in the stem was tarred and dirty and the inside of the stem was slightly clogged with tars.
IMG_3099

IMG_3101

IMG_3102

I reamed the bowl with a PipNet reamer to take the cake back to bare wood. The crumbling cake toward the bottom of the bowl made this necessary so that the next owner can build up their own hard cake.
IMG_3103

I topped the bowl with 220 grit sandpaper on a board and took off the damaged surface of the rim. I also cleaned up the inner edge of the rim with a folded piece of sandpaper. I wanted to smooth out the damage to the inner edge and repair the out of round shape of the bowl.
IMG_3104

IMG_3105

I wiped the bowl down with acetone on a cotton pad. The thick coat of varnish was hard to break down with the acetone. I wiped it until I had softened the varnish and then sanded the bowl and shank with the 220 grit sandpaper and then a sanding sponge. The putty fills were shrunken and formed small divots in the bowl. I filled these with superglue and briar dust and then sanded them down when I sanded the bowl. After sanding the bowl down I wiped it again with acetone to remove the sanding dust.
IMG_3106

IMG_3107

IMG_3108

IMG_3109

I sanded the bowl with a fine grit sanding sponge and then wet sanded it with 1500 and 1800 grit micromesh sanding pads. Once I had a smooth surface to work with I stained the bowl with a black aniline stain and then flamed it with a lighter. I wanted to set the stain deep in the grain.
IMG_3110

IMG_3111

IMG_3112

When the stain was dry I wiped the bowl down with acetone on a cotton pad to remove the excess stain. I wanted the black to remain in the grain and highlight that while masking the fills.
IMG_3113

IMG_3115

I sanded the stained bowl with a medium grit sanding sponge to remove the excess. The next two photos show the bowl after sanding and then buffing with red Tripoli and White Diamond. The grain is standing out nicely from the black stain.
IMG_3116

IMG_3117

I restained the bowl with an oxblood coloured aniline stain and flamed it. I repeated the process until I had an even coverage on the bowl and shank. The next three photos show the bowl after staining with the oxblood.
IMG_3118

IMG_3119

IMG_3120

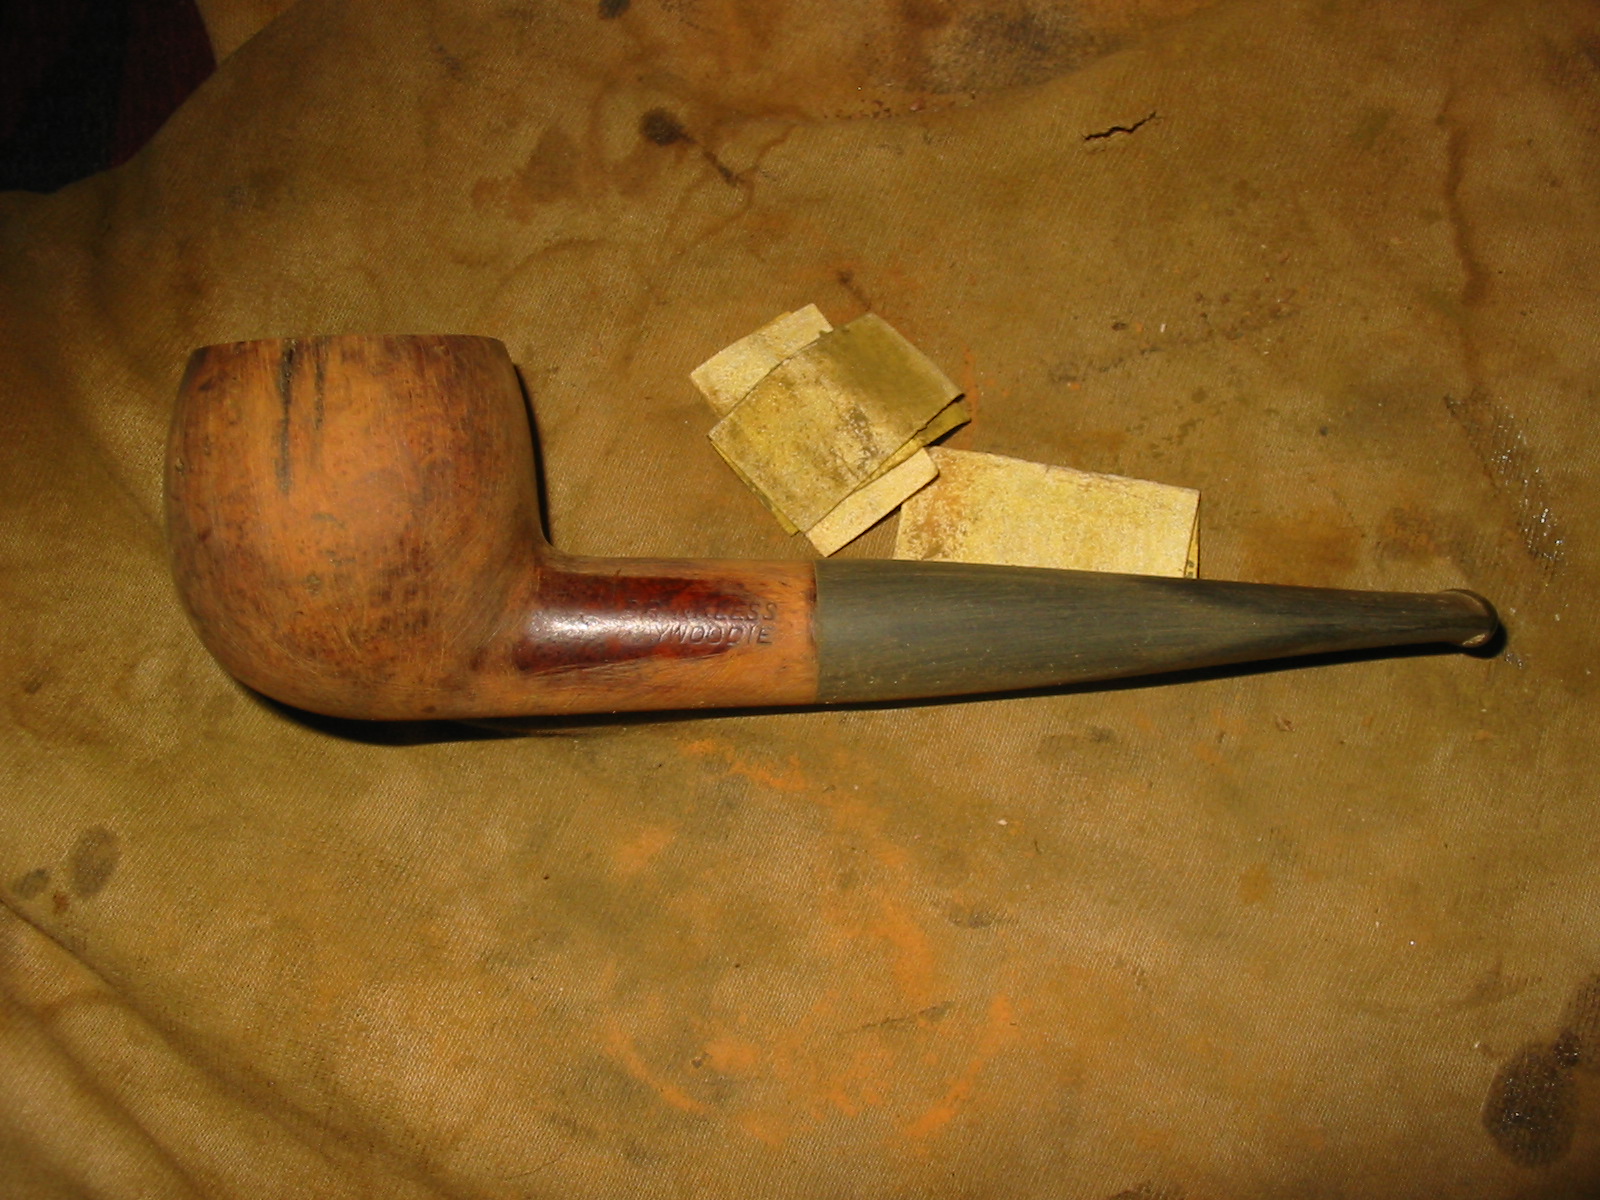
I sanded the stem with 220 grit sandpaper to remove the tooth marks on the top and bottom side of the stem. I followed that by sanding with a medium grit sanding sponge to remove the scratches left behind by the sandpaper.
IMG_3121

IMG_3122

IMG_3123

I put the stem back on the pipe and took it to the buffer and buffed it with Tripoli. I buffed the bowl and stem with White Diamond. The next photos show the pipe after the initial buffing.
IMG_3125

IMG_3126

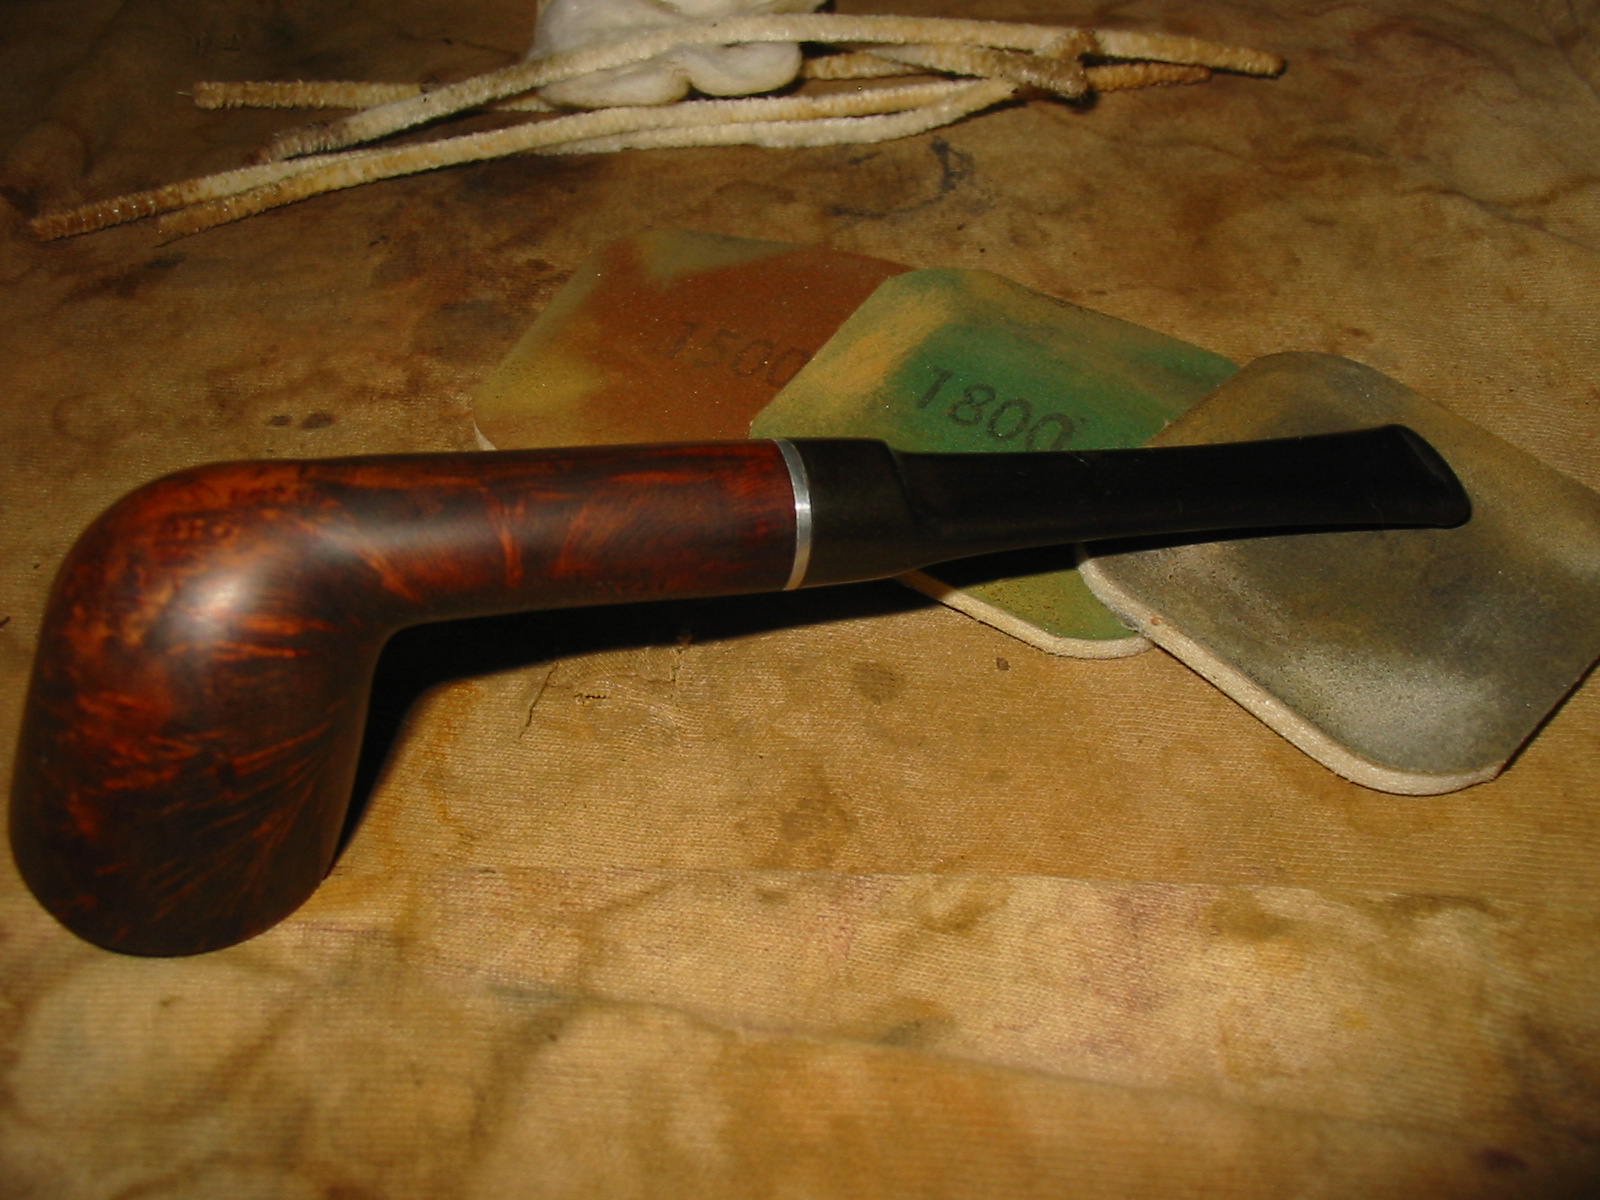
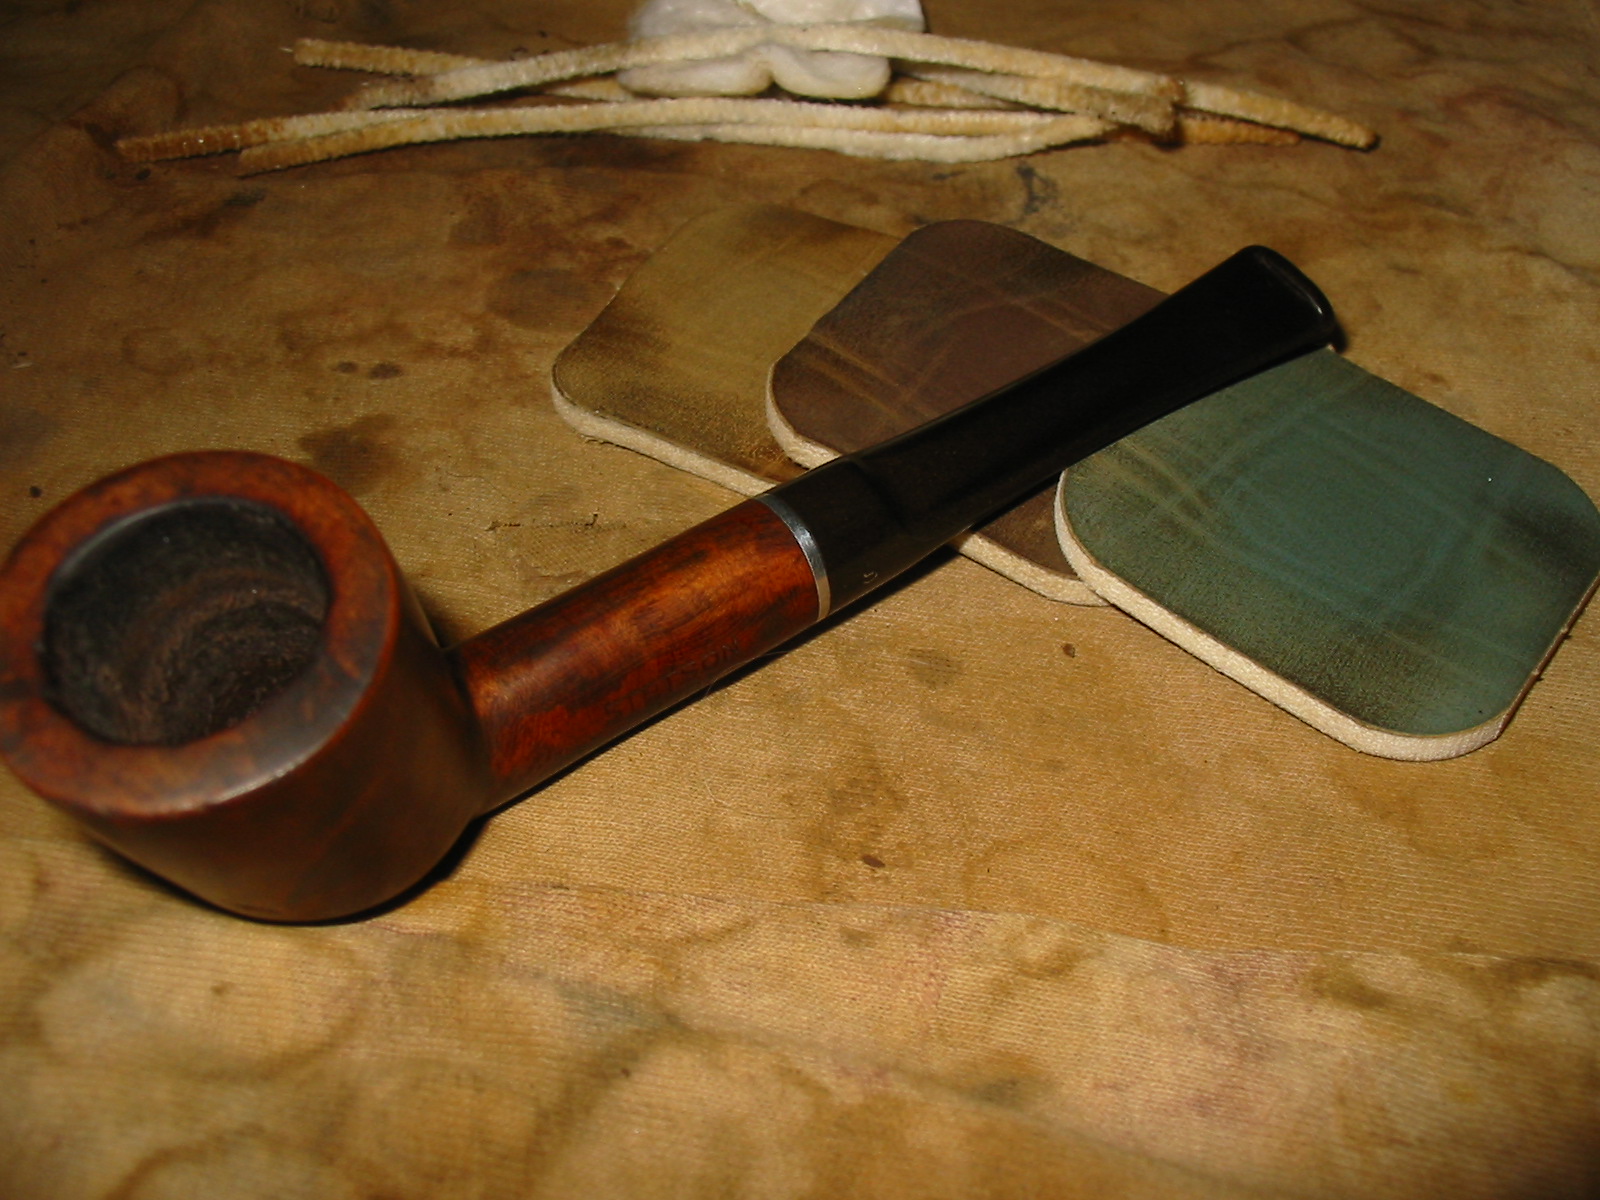
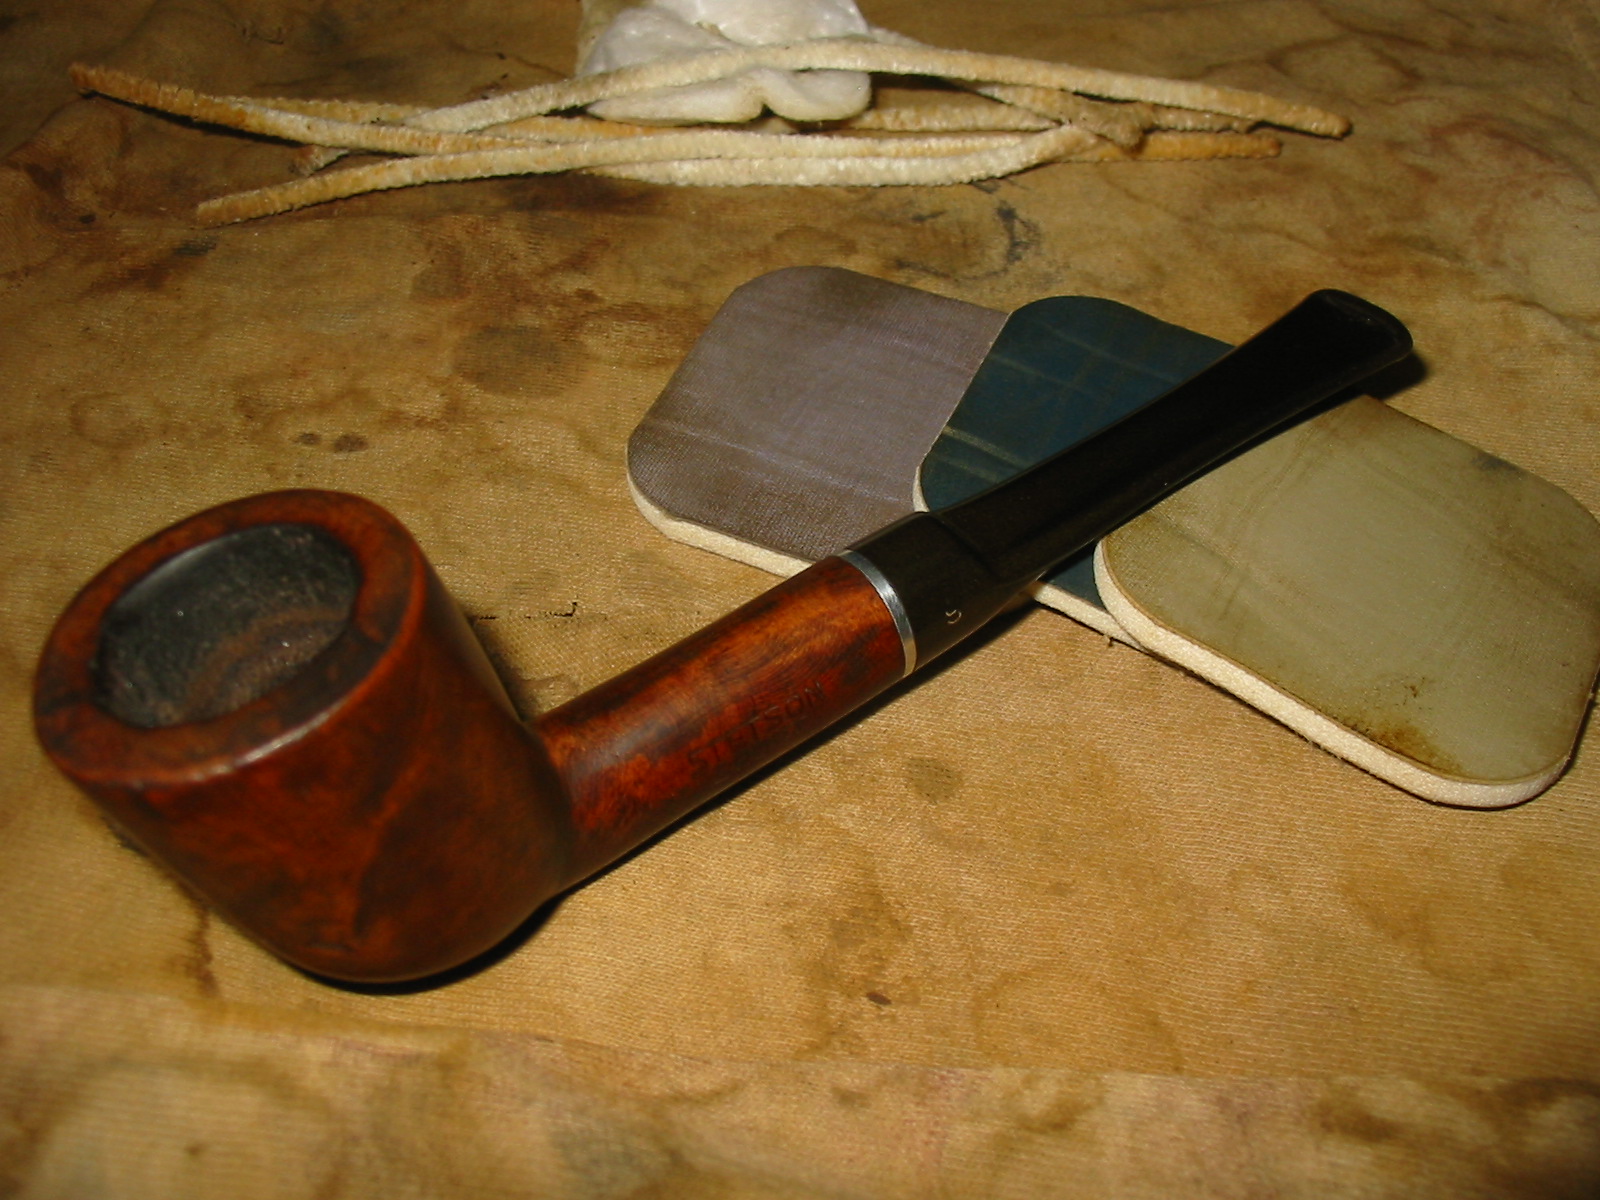
I wet sanded the stem with 1500, 1800 and 2400 grit micromesh sanding pads and then dry sanded with the remaining grits from 3200-12,000. I rubbed the stem down with Obsidian Oil and the waited for it to soak in. Afterwards I hand buffed with carnauba wax.
IMG_3127

IMG_3128

IMG_3129

IMG_3130

The next series of four photos show the finished pipe. The interior is shiny and new looking and the pipe bowl has a good contrast stain. The stem is shinier and the oxidation is pretty well gone. The photo of the stem looking down on the top shows a little oxidation around the saddle area. That area has been problematic on this pipe. In the daylight the stem looks better than this night photo with lights. My guess is that the oxidation is still there and in the glare of the flash it is very visible. This pipe will make a nice addition to someone’s rotation.
IMG_3131

IMG_3132

IMG_3133

IMG_3134

The Peculiar Particulars of the Pre-formed Pipe, and the Pleasures It Provides – Robert Boughton


Thanks to Robert Boughton for his newest contribution to rebornpipes. It is always a pleasure to read about Robert’s work. He not only reworks old pipes but also does research to provide the historical background of the pipes – something I always have found fascinating.

This subject, that of the little-known unfinished, or pre-formed, pipe having nagged at me for some time to approach but for thinking I lacked suitable samples of previous completed efforts of the same type, which proved erroneous, and for assorted other excuses, all of these being of the good type (as if there were such an animal), at last I find the time to take a holiday, it seems, from my mounting responsibilities, to write it all out.

Guest Blog by Robert M. Boughton
Photos © by the Author

“Who be ye smokers?”
A bewildered crew member in Melville’s Moby Dick (1851), upon
going above-deck to find Ismael and Queequig smoking a peace
pipe (quoted with a nod to our good host, Steve)


Introduction

Let there be no misconception, from the commencement of this essay, as to the precise meaning of the modifier unfinished as I apply it to pipe. To be sure, I do not refer to the stylish, branded varieties sometimes called unfinished pipes in reference to certain fine lines – Savinelli and Baronet, to name a couple – whose pipes of that description are more akin to natural versions of pipe craft, and hence the term natural often applied to them. No, the unfinished, or natural, pipe by any brand name lacks only the final glaze and buffing with waxes with which to complete the process, and also sell for much more than that which I shall discuss with as much brevity as possible. Also, the variation of unfinished pipe of which I will soon find my way to addressing should by no means whatsoever be confused with pipe kits, those more typical introductions to the art of pipe making that involves chunks of briar, in general, with pre-drilled stems that the novice pipe maker then saws, chisels, sands, micro-meshes, buffs, stains, waxes and otherwise lovingly transforms from a veritable lump of wood to a finished mode of partaking of all the world’s smoking tobaccos, the degree of excellence depending on the innate talent of the individual woodworker and maybe some amount of luck.

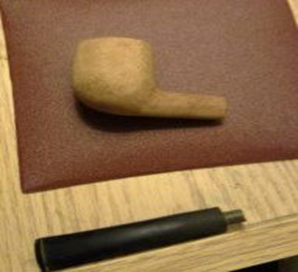
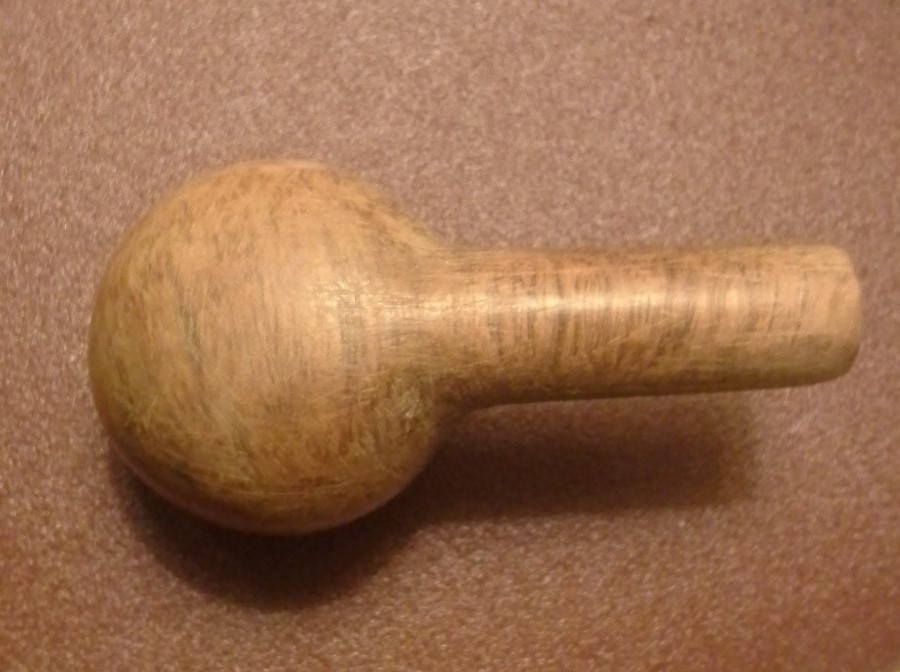
Therefore, having discussed what I do not mean by unfinished pipe, I will re-name the oddity a pre-formed pipe. In this context, the difference between anything finished by minimum standards and the opposite, the mere basic elements to build one’s own pipe all but from scratch, is easier to comprehend. Thus, my meaning of pre-formed pipe is simply a pre-shaped piece of briar, un-sanded, un-glazed, un-waxed or polished or even showing the grain, in many instances – but with a stem, which may or may not fit as attached. Therein resides the fun and challenge for someone a step or two shy of ready to tackle the difficult enough task presented by even a pipe kit, but prepared to refinish, with considerable detail and elbow work, a pre-formed pipe in the rough.

The owner of my local tobacconist of most frequent choice is good enough to offer a small but ever changing selection of these pre-formed pipes for $12.50 each, with a nice variety of shapes from which to choose, even if those available often defy identification on any official chart of pipe shapes. To me, at least, that is just another part of the charm of these raw pipes in transition from mere rough wood and dull stems to greater things of beauty, regardless of how much or little work is invested by the restorer on the sample. The owner, by the way, tells me her supplier (whom she somewhat enigmatically declines to identify) calls these rough-hewn pipes “stubs,” which in an online search for “smoking pipe stubs” brings up such disparate references as the habit of some pipe smokers to stick a cigar stub in the bowl and puff on it, the usually distasteful dottle of wet, unsmoked tobacco remaining at the bottoms of wet smokers’ bowls, and, yes, Melville’s likeable character in the above quoted novel – which is as massive as the Great White Whale itself – Stubbs (whose greatest sign of character is his large collection of pipes). Again, thanks are due to Steve for pointing this out in an emailed attempt by me to determine the origin of the term stubs in relation to pipes, for upon further thought I recalled the other pipe-smoking characters in Moby Dick adopting the habit of shortening the lengths of their stems, as much as possible in order to tolerate the horrendous stench of rotted fish, through the closer proximity of the pipe smoke to their noses. Perhaps by coincidence, most of the samples of the pre-formed pipes I have seen are indeed on the short side.
broughton1

broughton2

And so, before our weekly meeting Friday night, I once again plumbed the dædal depths of Chuck Richard’s knowledge of pipe lore, and in so doing learned far more than I had anticipated – indeed, everything but a tag better than unfinished or pre-formed, although those adjectives turn out, in a vaguely sad way, to be far too apt: the unfortunate truth of the matter is that the German factory of their origin had never intended to leave these pipe shapes in any condition but complete to a degree noted to that European country. The factory, it seems, simply went belly-up in the 1970s with thousands of the pre-formed specimens sitting there, where most of them were at some point picked up by a U.S. distributor who continues to market them as-is, but not to individuals. (Aha! Thus, the tobacconist owner’s reluctance to disclose the name of her supplier thickens.) Later, a few German pipe interests procured the remainder of the lot and ever since have been selling them to anyone, for the most part in the European Community, who will bite. All of these unfinished pipes, therefore, were cut from decent briar that has aged in the 40-some years since the end of their official production – and are now perfectly suited for the consummation of the process. Perhaps these pre-formed pipes can, as a result, be compared to a fine wine that is left open to breathe. Based on the four or five of these finish-yourself pipes that I have now practiced the art of restoration, this example being the only one I can now document in full (although I am attempting to leave this latest restore pristine), they smoke wonderfully no doubt with or without any further work. But that would not only take away from the ultimate enjoyment of this likely unique and limited edition of unfinished pre-forms, barring the unlikely enthusiasm of a reader to strike out upon the task of building a finish-yourself pipe business; it would also deprive me of the opportunity to get on with the remainder of my tale.
And Now, for Page Two…
As anyone who has ever restored a pipe knows, there are restores, and then there are restores. In any case involving one of these unusual pre-forms, the only real tasks are choosing one with signs of good grain and lack of flaws such as cracks or fillings. In other words, to re-state a theme common to me, somewhat after the old man in Mrs. Robinson advised a memorably disinterested Dustin Hoffman, I have one word for you: sanding!

Here was my little pre-formed pot as I first saw it.
broughton3 broughton4 broughton5

Unfortunately, I was forced to use my cell phone camera to snap these shots and the others that will follow, and so the clarity of the roughness of the plain briar, with bumps and pits and discolorations a-plenty, is somewhat wanting. But I hope you can see enough to get the general condition of my little pot. Again, I chose it over the assortment of others in more exciting shapes for the beauty of the grain I could hardly make out, and the lack of real blemishes.

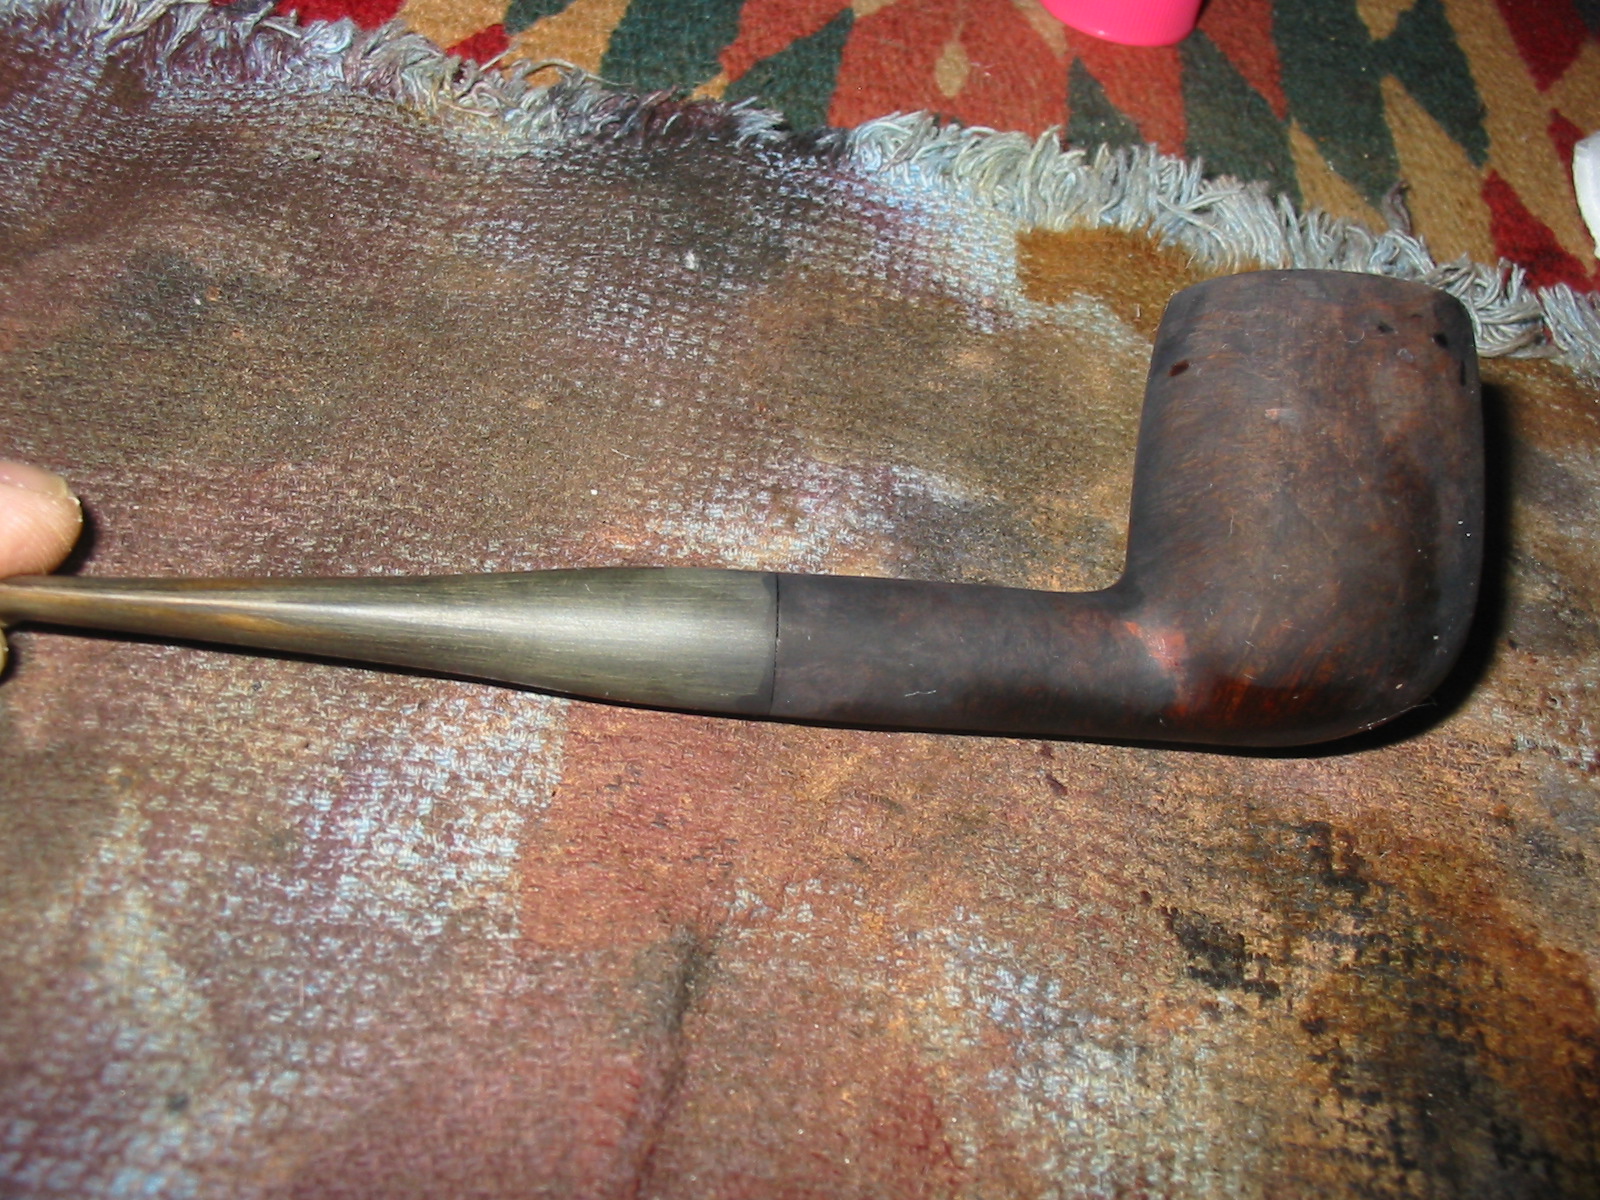
Of course, after rigorous sanding – with 80-grit paper followed by 150 – I saw the beautiful grain for which I had purchased this particular pipe, in some places elegantly lined and others more spotted, but overall a clear potential for finishing. Then I used some micro-meshes, starting with 1500, then 2400 and at last 12000.

At that point, I was at a quandary. Should I use a stain, or skip it? The natural beauty of the pale briar attracted me very much. Still, I opted to use an alcohol-based shoe stain of a light brown color, which, as it was almost dry, I held a gentle match flame under the bowl and was gratified with the brief poof of blue as the alcohol in the stain ignited and dissipated.
The next step was an easy buff of Tripoli White Wax. Wow! was my initial thought after my first experience applying Tripoli. The immediate soft luster the preliminary wax bestowed upon the previously smooth but somehow flat bowl and shank gave the wood real dimension.

Again, I pondered long and hard on the idea of adding a coat of Tripoli Red, and during that pause remembered more of Chuck’s words to me before our Friday meeting: “Sometimes a little Red Tripoli on the wood is just what you need, especially to give it deeper color.” Still with more than a little flip-flopping in my stomach, I went for it:
broughton8

broughton7

broughton6

Wow! was my initial thought after my first experience applying Tripoli Wax. The immediate soft luster the preliminary wax of Tripoli White bestowed upon the previously smooth but flat bowl and shank gave the wood real dimension. But my gentle blessing of the Tripoli Red gave the old briar absolute radiance.

Suddenly, all that remained were a buff with my new stick of carnauba and – come to think of it – quite a bit of work yet to go before the stem would be in order. I don’t know about the rest of you (and I know this places me with the troops in the rear as far as experience goes), but I have developed an undeniable case of what might only be apt to call stem loathing, if I may possibly coin a phrase. I just hate the buggers, as my British friend and fellow pipe smoker Leigh might say, if he didn’t have the habit of speaking the Queen’s English, and even in the tone and style of William, or His Royal Highness the Duke of Cambridge KG KT.

At any rate, with no way around the dirty deed, I went all-in, setting about the task of reducing a downright humongous overhang of the stem where it must, I repeat, must at all costs end up smooth and flush with the shank opening. I tried to be patient with the wretched thing, you see, I really did. Nevertheless, after a day of patiently trying the coarsest micromesh in my trusty box, getting nowhere with that approach and wearing my entire left arm, hand, four fingers and thumb into spasms of pain, there began to creep into my mind more direct and effective means of accomplishing the necessary duty. With far more grace and good sense than I in fact felt, I returned to the 80-grit sandpaper for a quick adjustment of the problem…and the approach actually worked!

That was about the time I realized I had another, nice and shiny, short straight stem I had stashed away with my spare pipe parts, assorted bowls needing serious work and assorted detritus. At the same time, I flashed on a diminutive Chinese pipe given to me by a friend as a joke owing to my known appreciation of certain specimens of that origin. That pipe, which had been covered in gaudy varnish and appeared at first touch to be made of balsa, would be a perfect match for the longer, curved stem I had adjusted as already described. Still, I finished repairing the original stem, micro-meshing away the rough surface where I had brutishly employed the bully force of abrasions, and then applying a good buff with Tripoli Red. But there I go again, off on a tangent, and when this initially homely Chinese pipe might be the subject of a forthcoming blog.

Without further delay, therefore, here are the final results:
image002

image003

image004

image005

image006

Conclusions
The more I practice restoration as a fledgling, or novice, the higher level of understanding I acquire as to the years required to achieve anything close to master level. At least I am getting quicker on the uptake of that which I now comprehend is limitless information.

What more can I add, except the usual well-deserved thanks to my mentor, Chuck, and my sometime adviser and friend in pipe appreciation, Steve… and everyone else who holds any stock in my ability to learn.

A Complete Reworking of a Zettervig Freehand


Blog by Steve Laug

I was chatting with a friend on one of the pipe forums that I frequent and he asked me about restemming an older 60’s vintage Zettervig freehand for him. I had a couple of stem possibilities sitting here so I figured why not. He sent the following pictures to show how the previous owner had pressed a Dr. Grabow metal mortise into the mortise of the Zettervig and then cut back a Grabow screw on tenon and added a metal washer as a spacer and screwed in the Grabow stem. He had reamed the pipe and done an internal cleaning before he sent it to me. But the externals looked pretty much the same as it does in the photos below. The plateau on the shank end was dirty and faded and the plateau on the rim was the same with a buildup tars that made the crevices and grooves in the plateau almost non-existent. It too was faded and worn looking.
Zettervig1 (1)

Zettervig1 (2)

Zettervig1 (3)

Zettervig1 (4)

I had no idea about the brand and not read anything about it. I did a bit of digging to see what I could learn about it. I am always curious about learning about brands that are unfamiliar to me. The following comes from Pipedia
“In the 1960’s and into the early 1970’s Ole Zettervig had a shop in Copenhagen, Denmark where he was carving high quality pipes equal to Stanwell, Larsen, Anne Julie, Thurmann, Bang and others. These early pipes were marked “Copenhagen” and are very collectible. He sold his shop at some point in the 70’s and moved to Kolding and continued to produce pipes as a hobby, but the quality of briar and workmanship is said to not equal the early production. The later pipes he now marked as Kobenhaven rather than Copenhagen, and these were sold by Ole at flea markets throughout Europe.” http://www.pipedia.org/wiki/Zettervig
When it arrived I drilled out the metal insert in the shank and cleaned up the shank with pipe cleaners and cotton swabs. I then sorted through my stems and found several possibilities. I sent him the following two photos of the stem options and he chose the one that is inserted in the pipe. It actually came from a Danish Freehand that I had here and restored. I like less chunky stems so this one went to the parts bin. He liked it so it was the stem that I would work on for this pipe.
IMG_2923

IMG_2924

IMG_2925

I gave the pipe a cleanup reaming with the PipNet reamer and cleaned out the shank one last time. I scrubbed the bowl and the plateau on the shank and rim with Murphy’s Oil Soap and a brass tire brush to break away the tarry buildup. I rinsed it under running water to remove the soap. I wiped the bowl down with acetone on a cotton pad to remove the remaining finish and then sanded the bowl and the shank with micromesh sanding pads 1500-2400 grit to polish the minute scratches that were present. I stained the plateau portions of the pipe with a black aniline stain and then wiped them down with a cotton pad wetted with Everclear to give the black a little transparency. I gave the rim and shank end a light buff with White Diamond. The newly stained plateau is visible in the photos below.
IMG_2927

IMG_2928

I also stained the bowl with an oxblood aniline stain. I applied and flamed it and reapplied and reflamed until I had the coverage that I wanted on this pipe. The photo below gives a side view of the pipe.
IMG_2926

I buffed the bowl and stem with White Diamond. I then took it back to the work bench and sanded the stem and the bowl with micromesh sanding pads from 1500-12,000 grit to give the finish on the stem and bowl a deep shine. Once I had finished that I took to the buffer and gave it multiple coats of carnauba wax to protect and shine it even more. The finished pipe is in the photos below. It is now on its way back to its owner.
IMG_2980

IMG_2981

IMG_2982

IMG_2983

A Tiny Rhodesian Restored and Restemmed


Here is another pipe from the bottom of the refurbishment box. It is a little Rhodesian that I had ignored for a while. It measures 4 3/8 inches long stem included. The bowl is 1 ¾ inches long and 1 inch tall. The inner diameter of the bowl is ½ inch and the bowl depth is ¾ inch. The bowl was in pretty decent shape and was unsmoked. There was a fill on the left side of the bowl and a slight divot on the shank next to the bowl. The end of the shank had some pretty deep nicks in it and would make a tight fit between stem and shank impossible. Half the battle in restemming these small pipes is finding a stem that will work and then turning the tenon to fit the small mortise. This one was no exception. I had a stem that would work it was 2 5/8 inches long and was made out of nylon. It was an old WDC pipe stem. The shoulders were well rounded and the tenon was short.
IMG_2894

IMG_2895

I reduced the diameter of the tenon with a sanding drum on a Dremel. I laid the sanding drum against the surface of the tenon and let it ride around the tenon until the diameter was close. Then I sanded it until the fit was snug. The mortise was not that deep due to the size of the pipe so I needed to shorten the tenon to the same depth as the mortise. I used the Dremel and sanding drum to achieve that as well.
IMG_2896

Once I had a good tight fit on the stem I sanded down the bowl and wiped it down with acetone on a cotton pad to remove the finish. I pressure fit a small nickel band on the shank to provide a smooth transition between the bowl and stem and to cover the deep nicks or gouges on the end of the shank. I sanded the stem with 220 grit sandpaper to remove the excess material on the diameter and make a good fit against the end of the tenon.
IMG_2897

IMG_2898

IMG_2899

IMG_2900

IMG_2901

I sanded the area around the divot in the shank and cleaned it with acetone. I then filled the divot with clear superglue and sanded it again once the glue had dried. I wanted to have a smooth transition between the bowl and shank without the divot showing. I sanded it with 220 grit sandpaper and then with a medium grit sanding sponge. I also sanded the stem at the same time and then wiped the entirety down with acetone.
IMG_2902

IMG_2903

I sanded the bowl and the stem with micromesh sanding pads. I wet sanded with 1500-2400 grit pads and dry sanded with the 3200-12,000 grit pads. When finished I rubbed it down with Obsidian Oil and then took it to the buffer and lightly buffed the stem with White Diamond. I say lightly because I have learned that a heavy hand on the buffer will make a mess out of a nylon stem and you will have to start over with the sanding process.
IMG_2904

IMG_2905

IMG_2906

I took the pipe back to the worktable and stained it with a dark brown aniline stain. I applied the stain and flamed the pipe several times until I had an even coverage on the sanded areas and they blended in well with the rest of the pipe.
IMG_2907

IMG_2908

I buffed it with White Diamond and then gave it a top coat of oxblood stain. I have found that the combination of the two stains helps hide the fills that were present as well as the repairs that had been done with superglue.
IMG_2909

IMG_2910

IMG_2911

IMG_2912

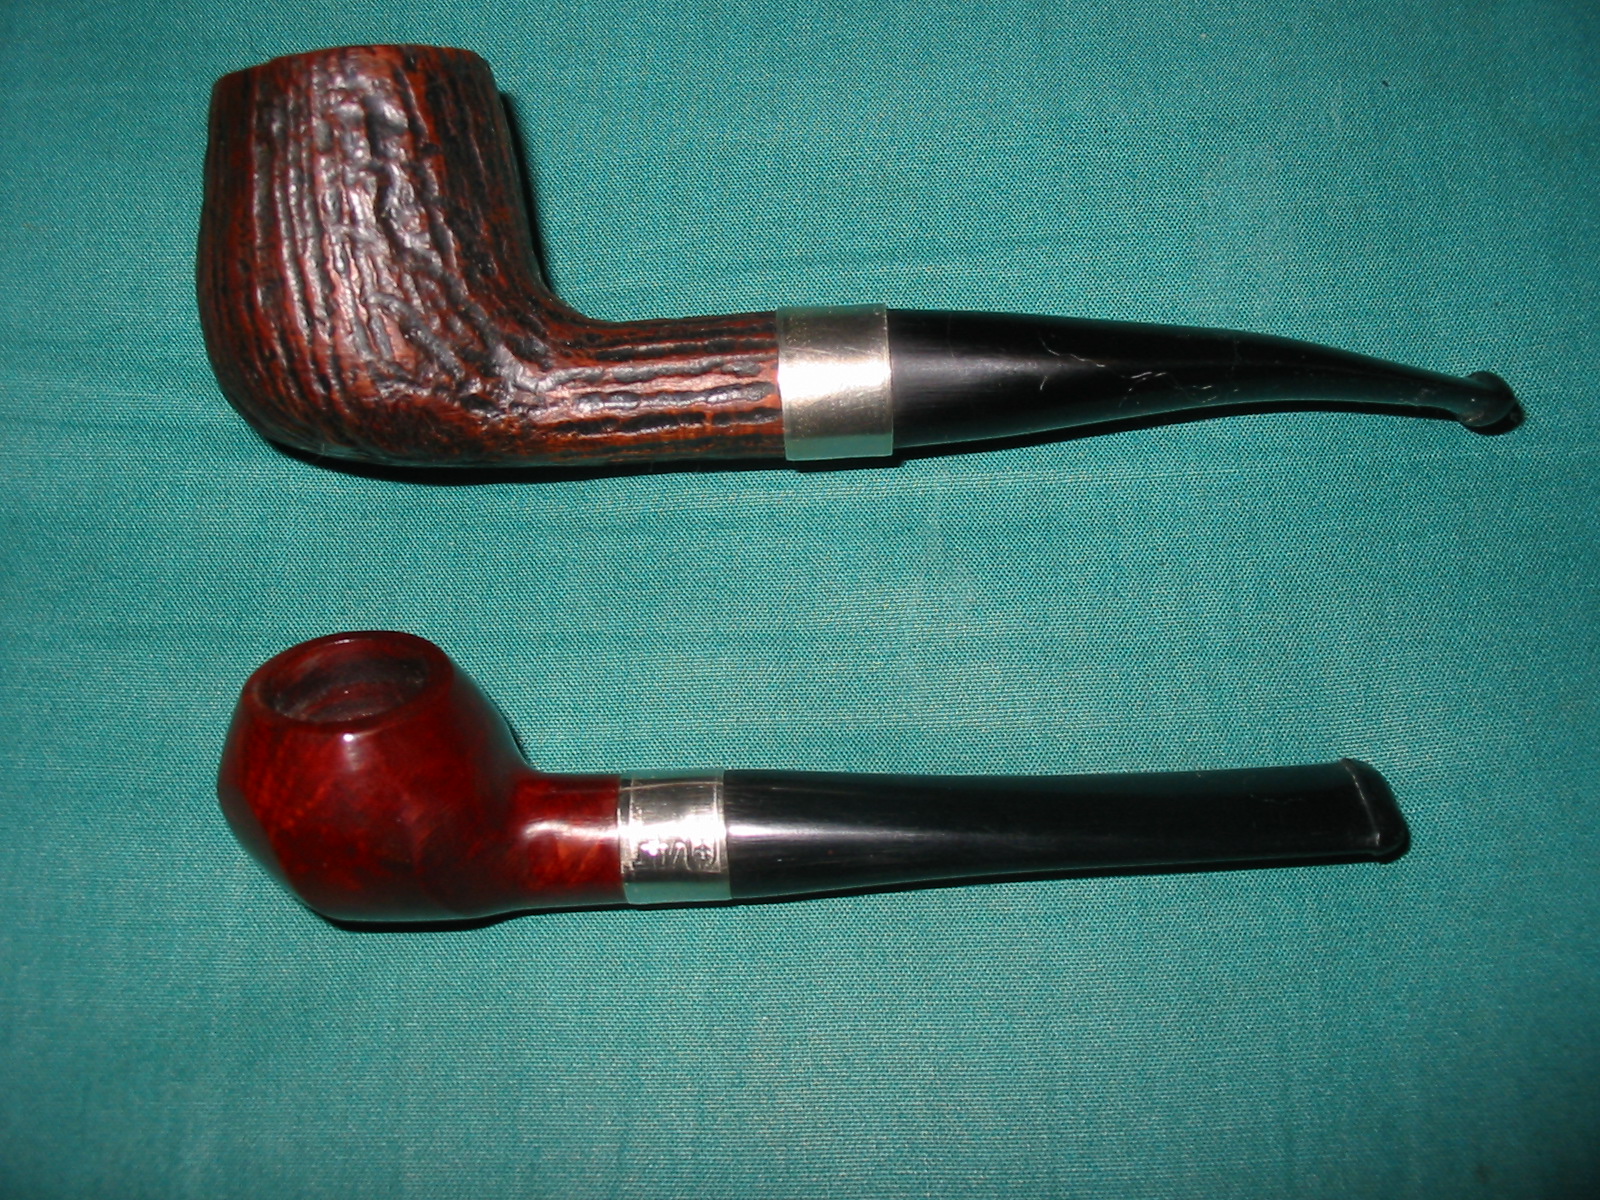
I buffed the entire pipe again with White Diamond and then gave it multiple coats of carnauba wax to bring the shine out on the pipe. In order to help you appreciate the small size of the pipe I have included the next two photos. The top pipe in the photos is group 4 sized. In contrast, the tiny Rhodesian is a group 1.
IMG_2921

IMG_2922

The finished pipe is pictured below and I think it will be a nice little flake pipe for the Virginia smokers in the lot.
IMG_2913

IMG_2914

IMG_2915

IMG_2916

I received two comments below about giving the stem a slight bend so this morning I did just that. Below is a photo of the new look! Thanks Greg and Chiz.
IMG_2930