
blog by Steve Laug
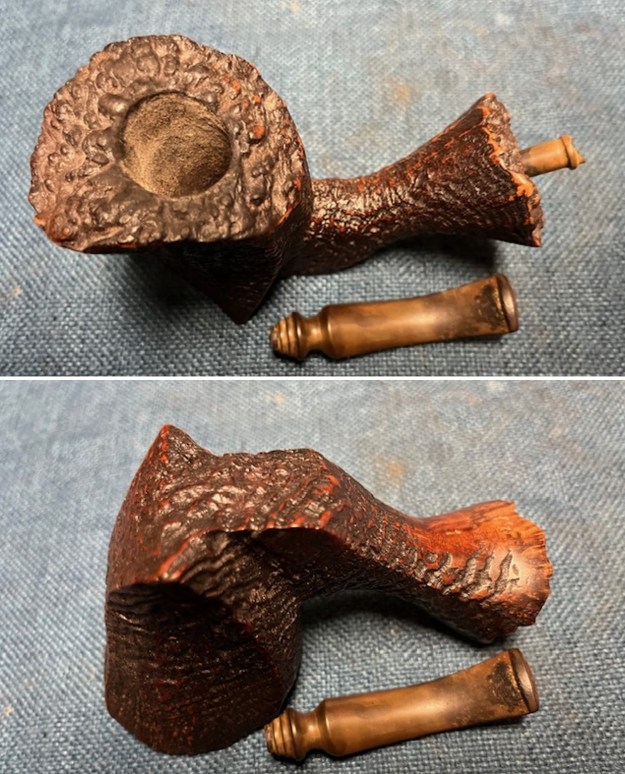
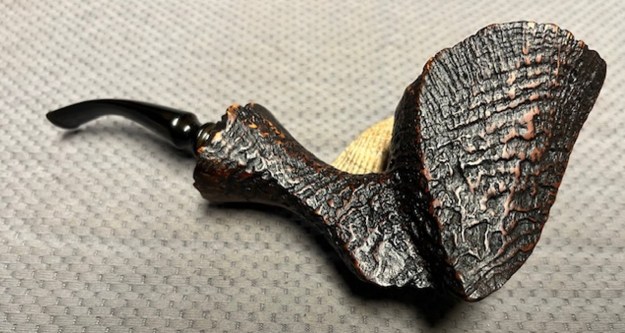
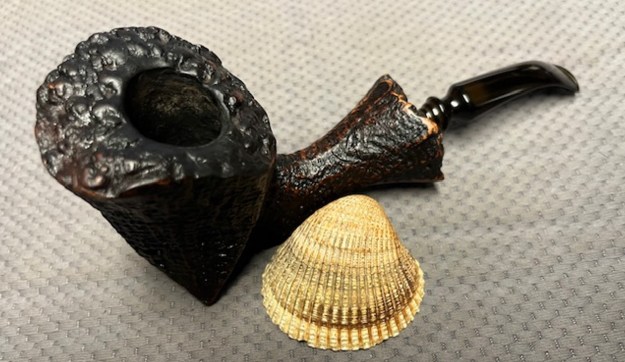
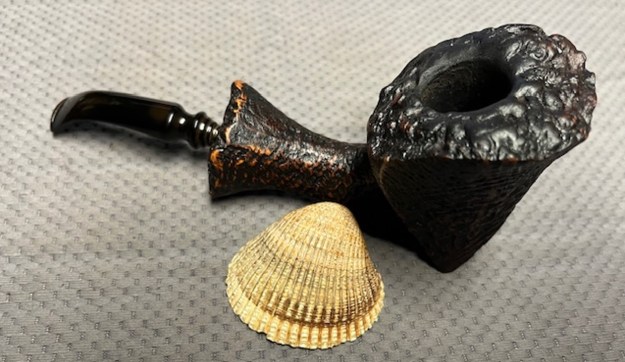
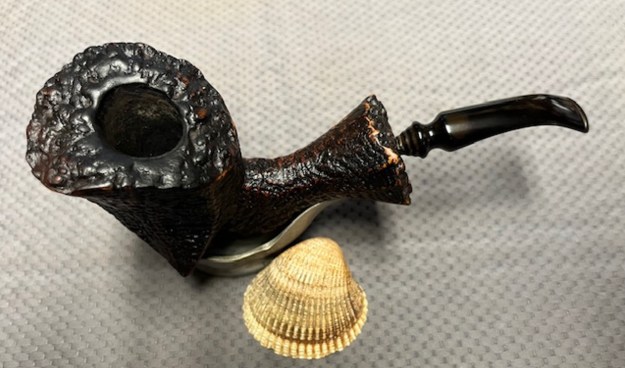
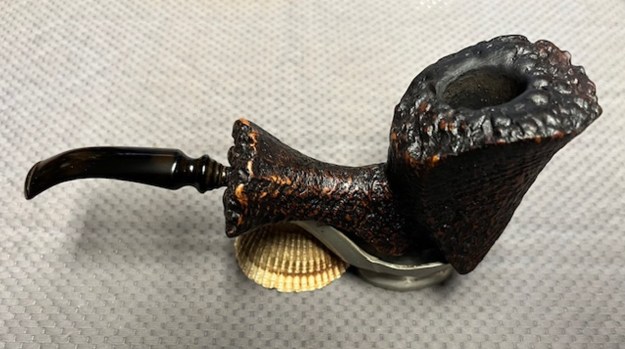
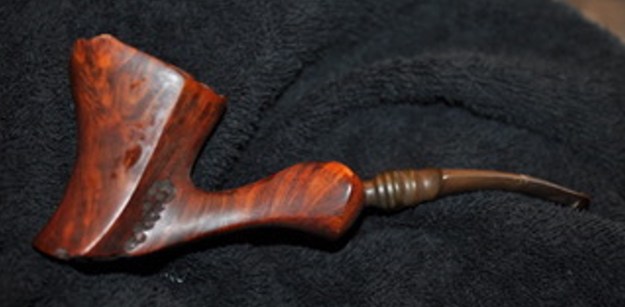
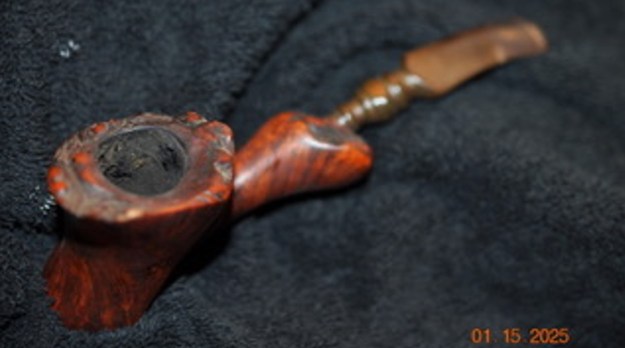
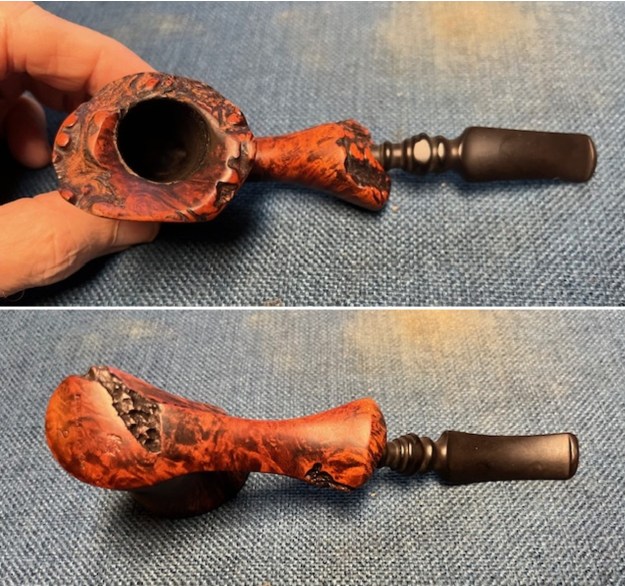
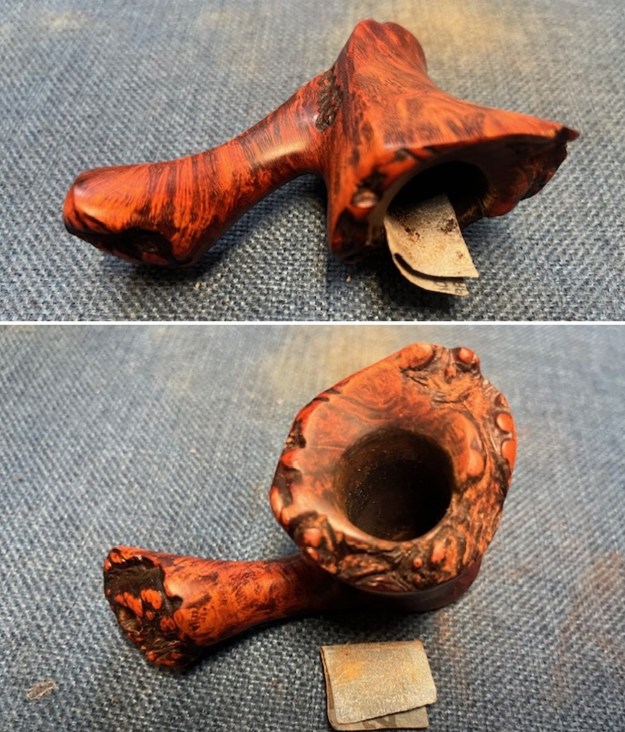
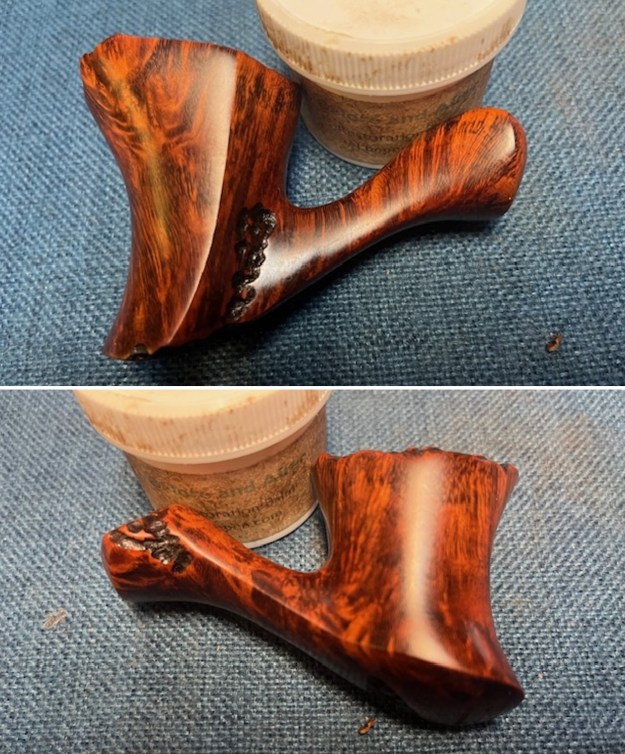
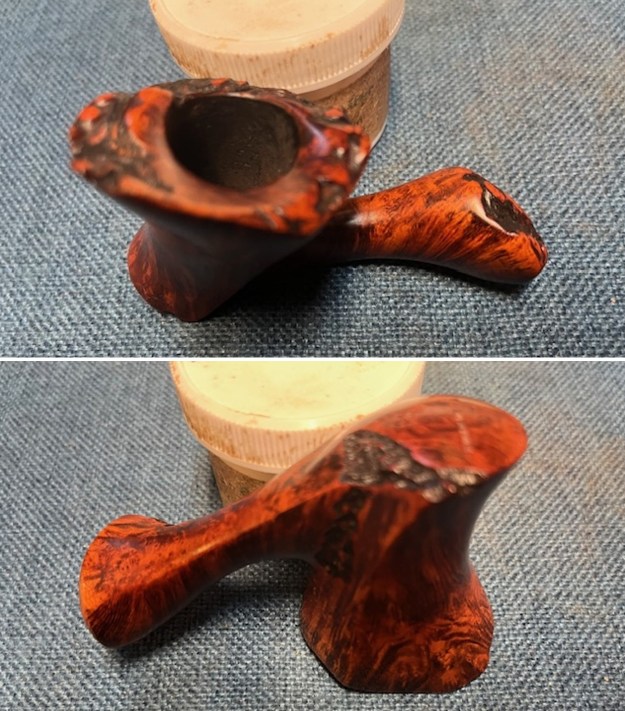
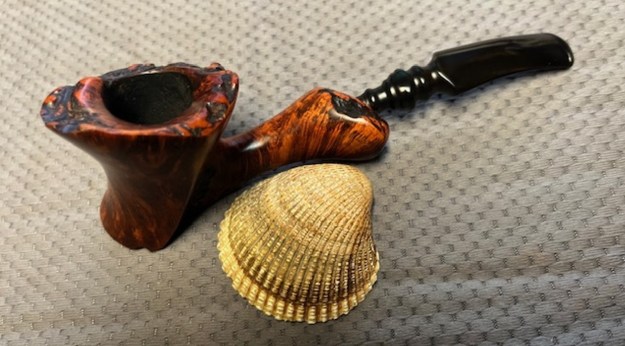
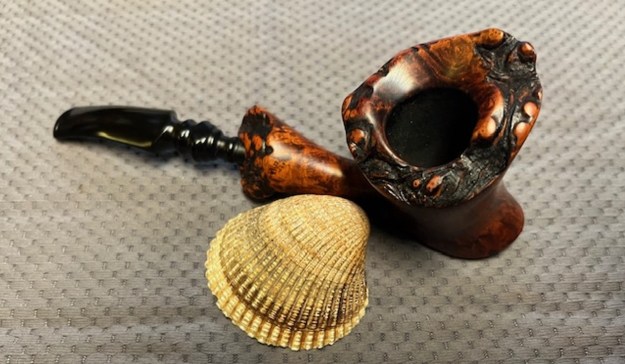
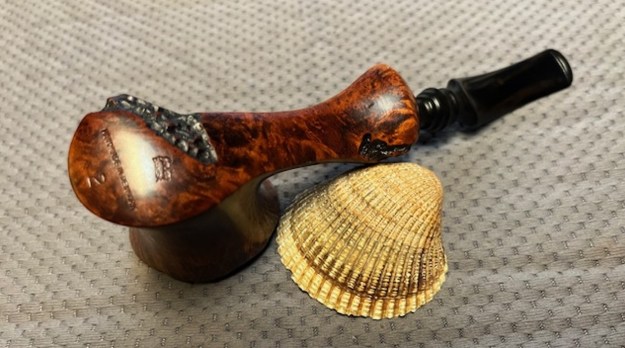
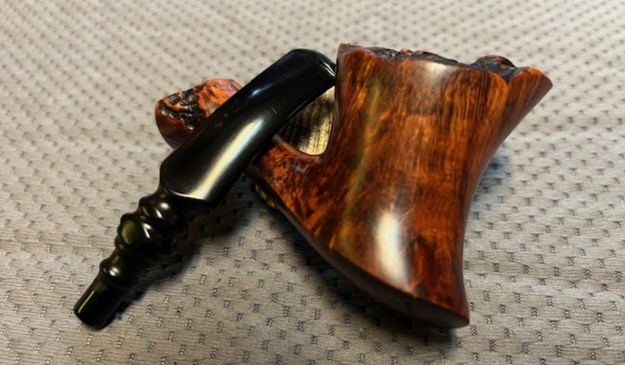
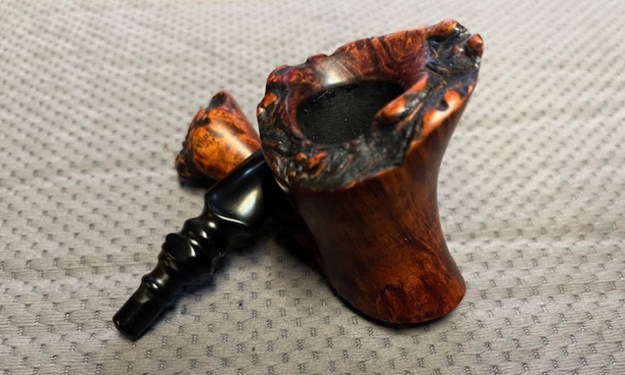
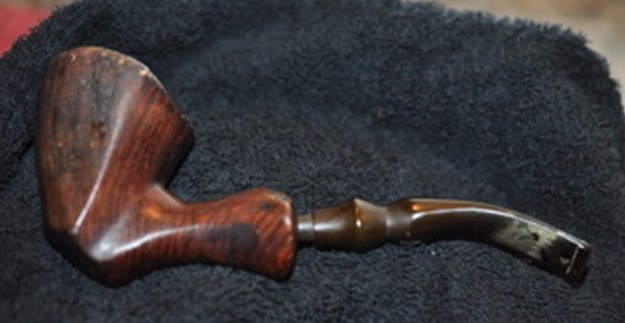
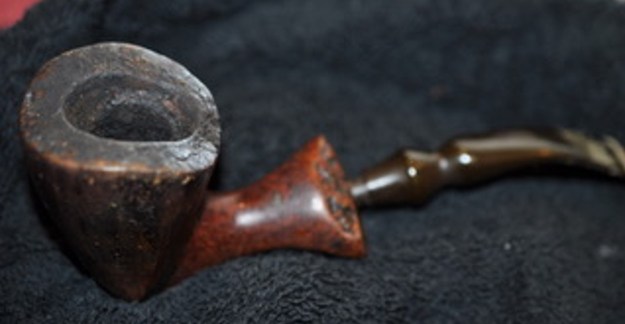
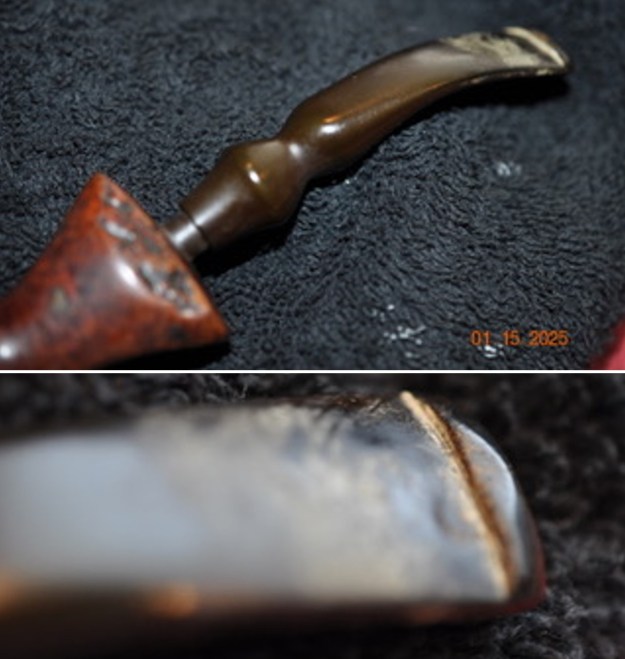
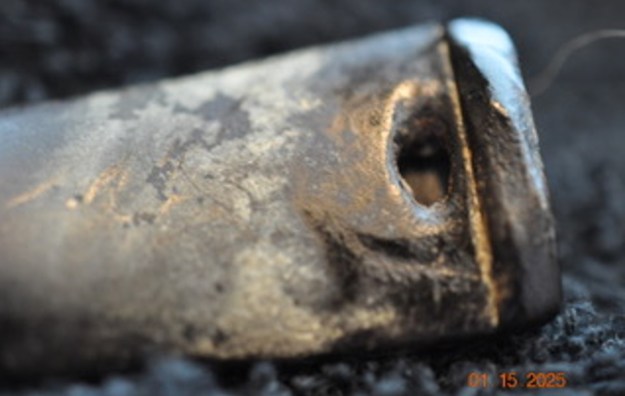
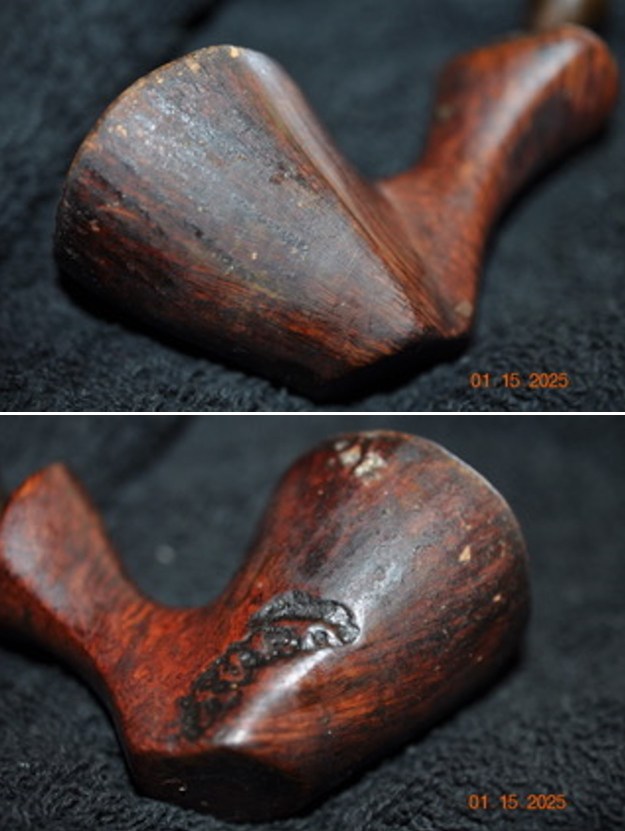
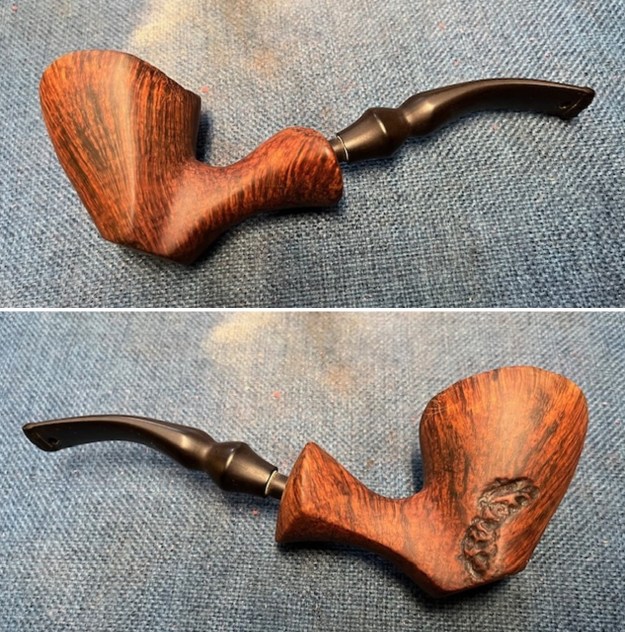
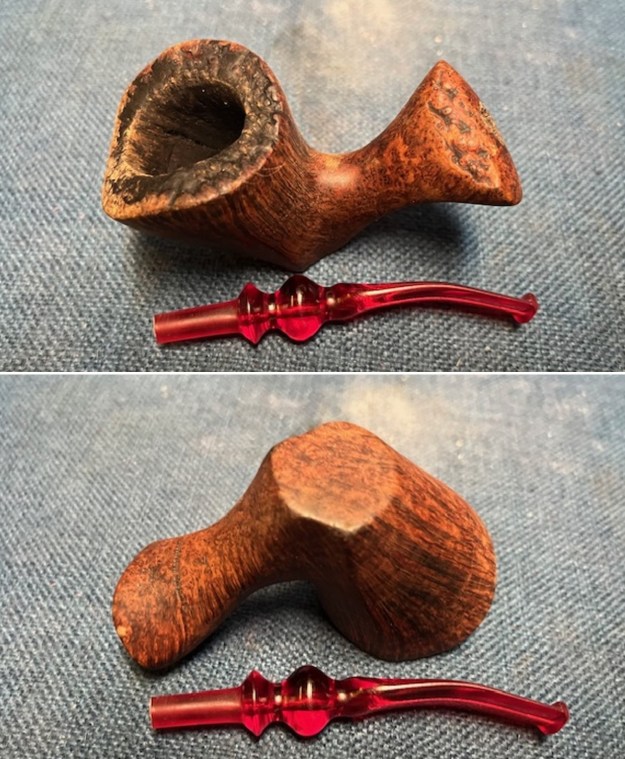
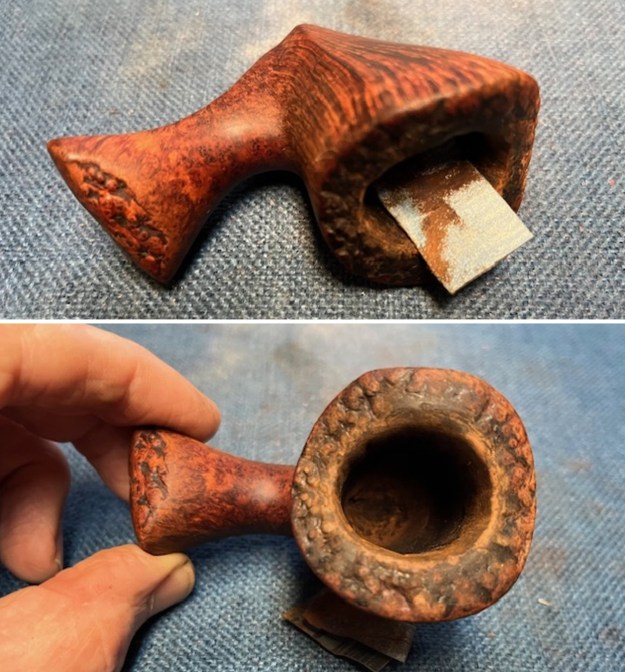
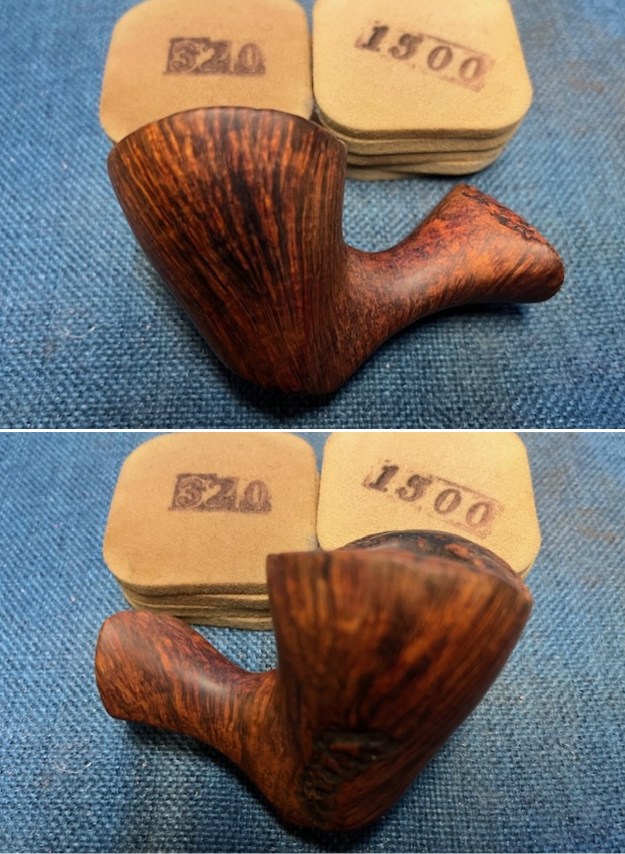
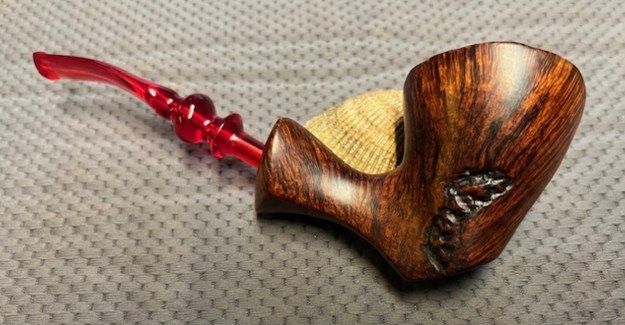
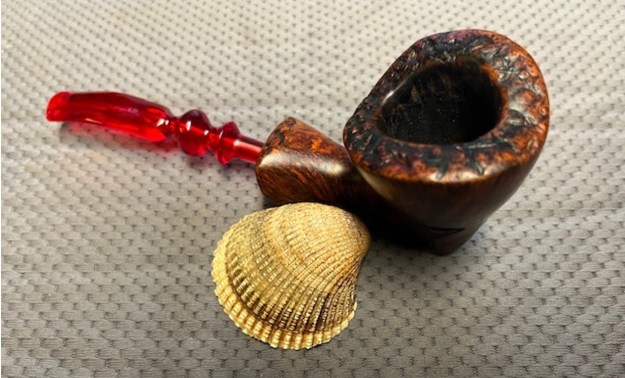
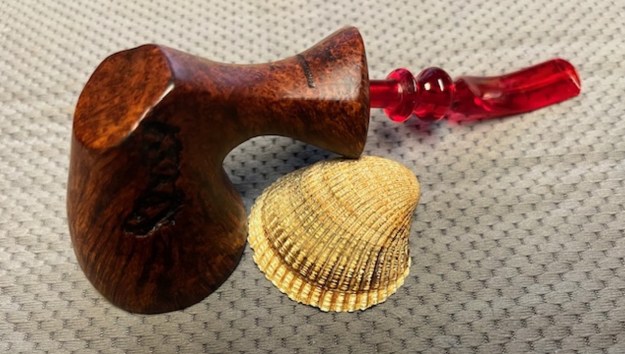
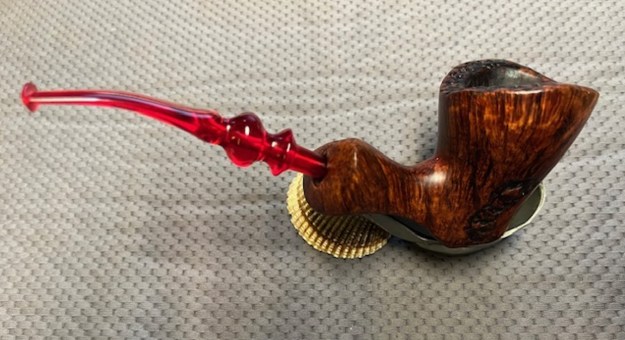
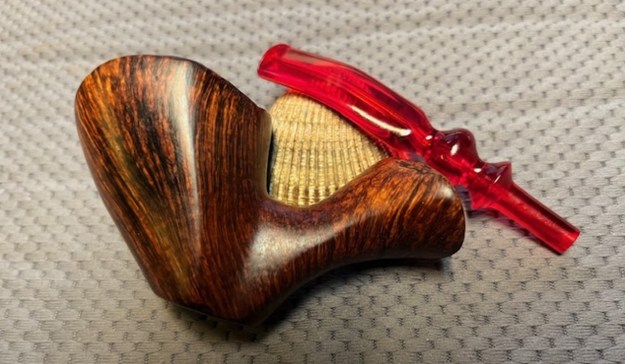
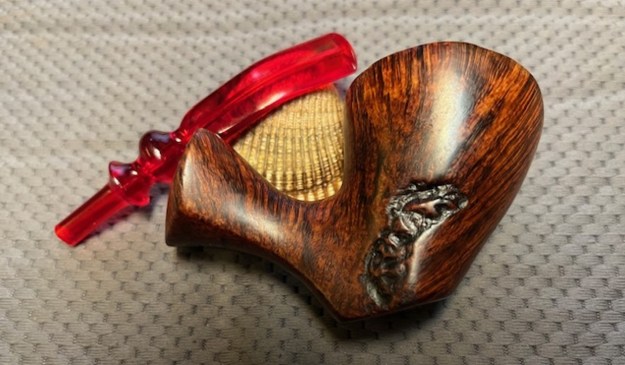
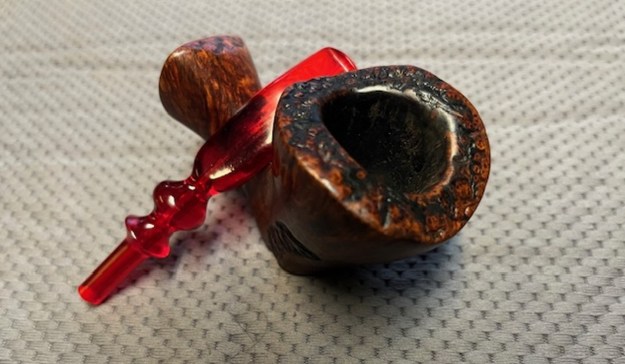
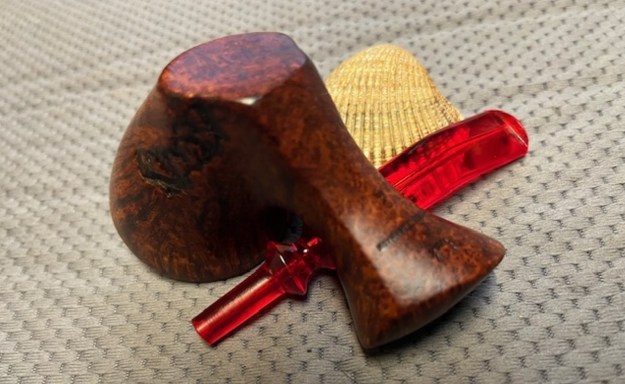
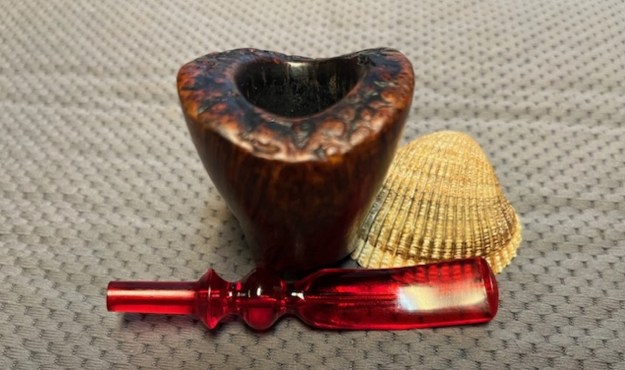
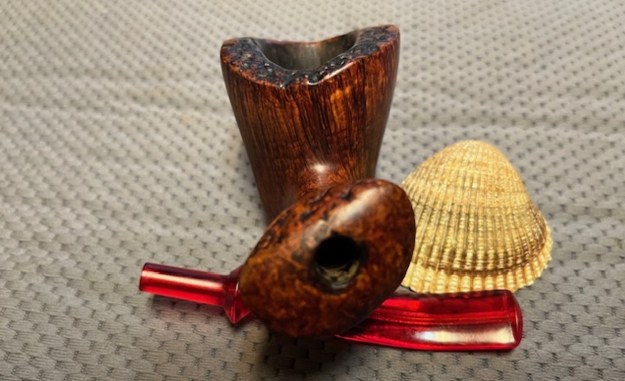
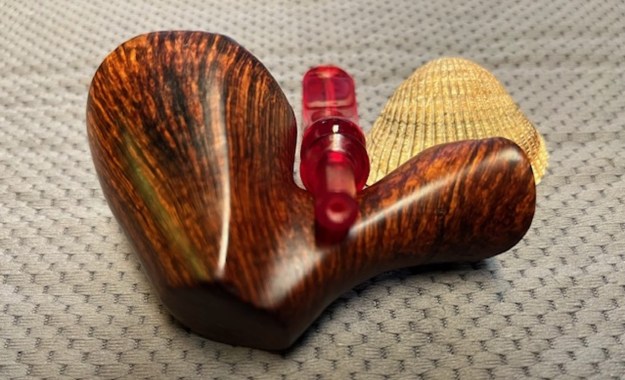
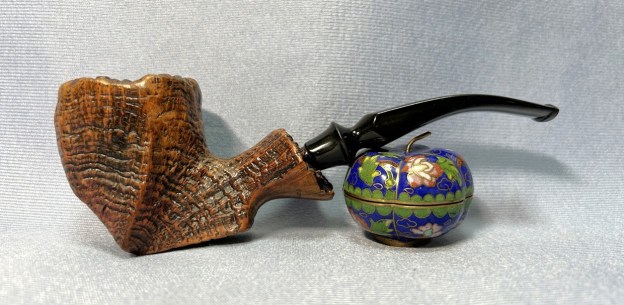
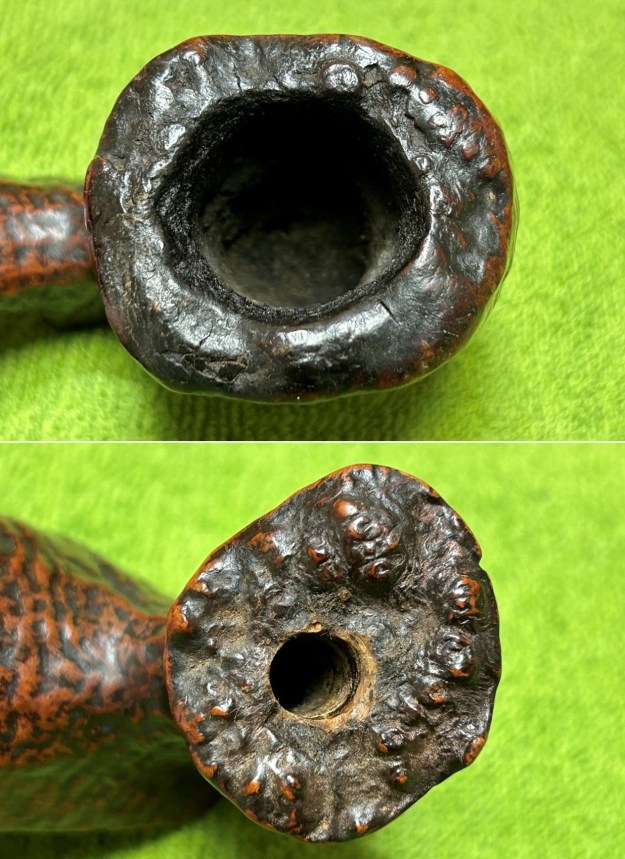
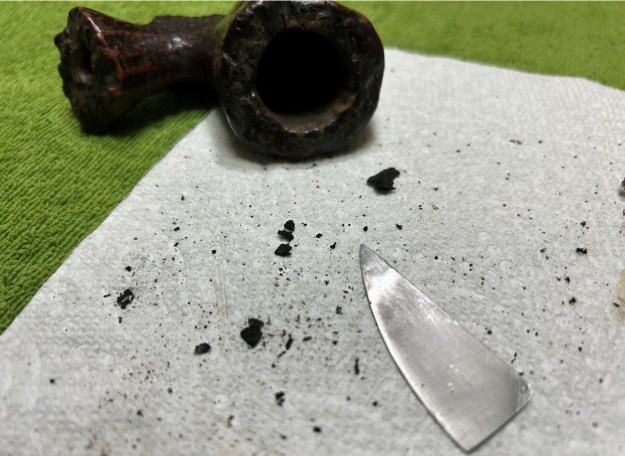
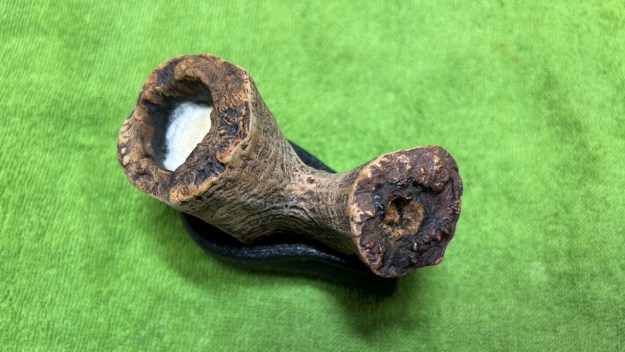
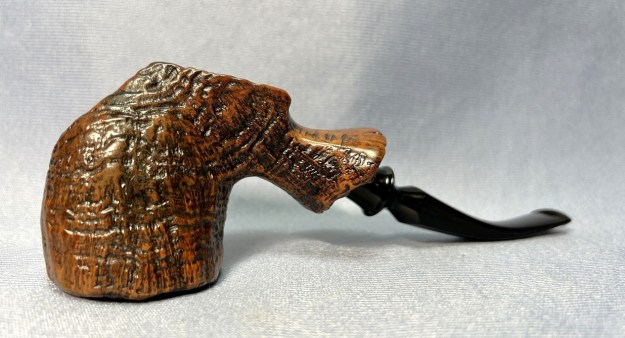
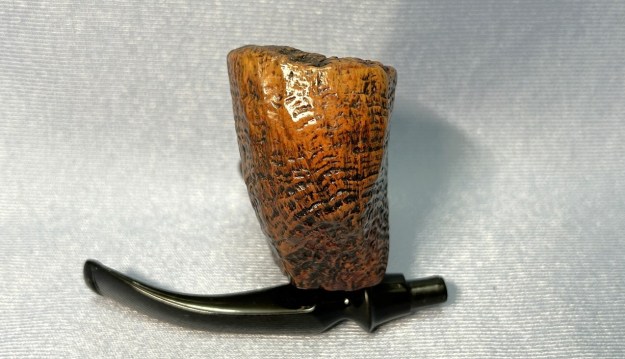
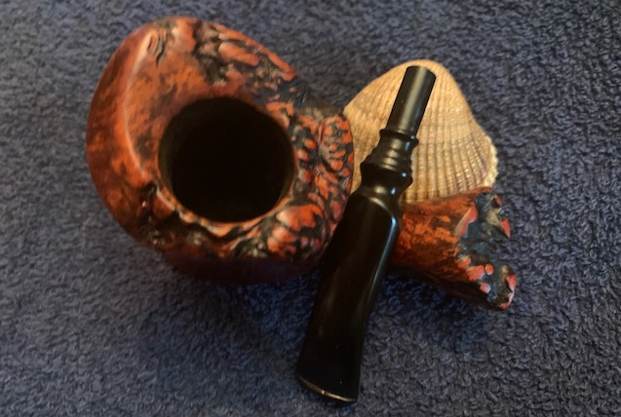
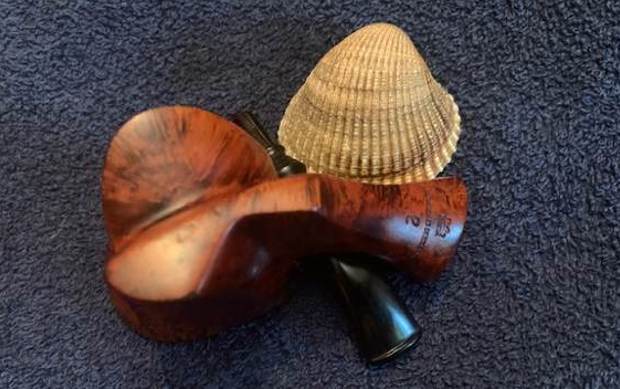
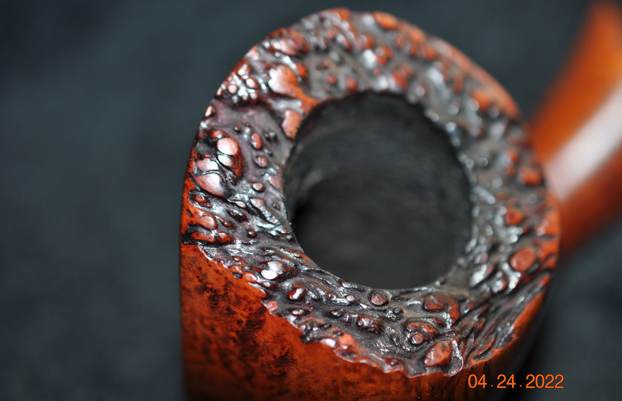
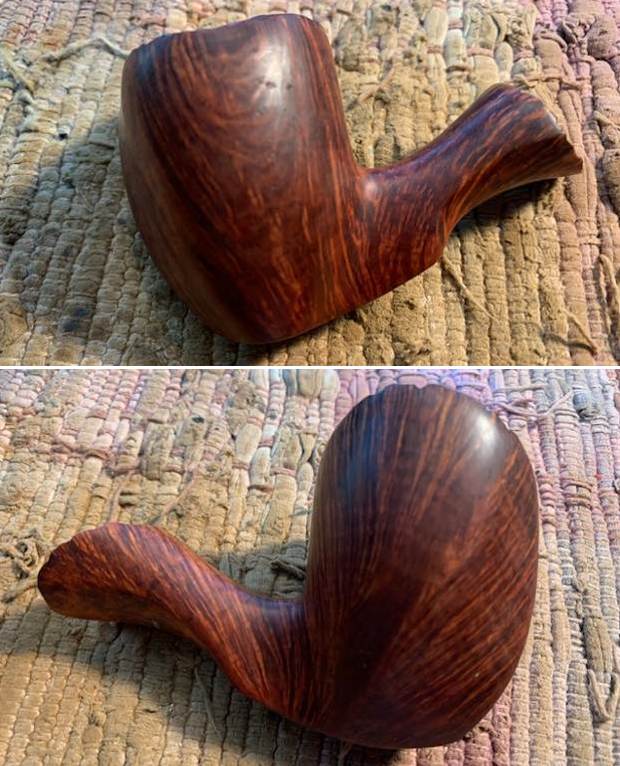
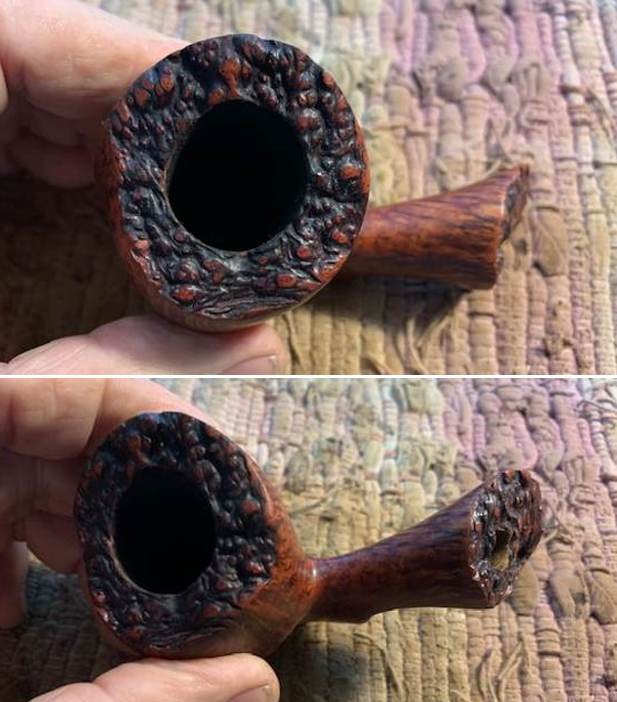
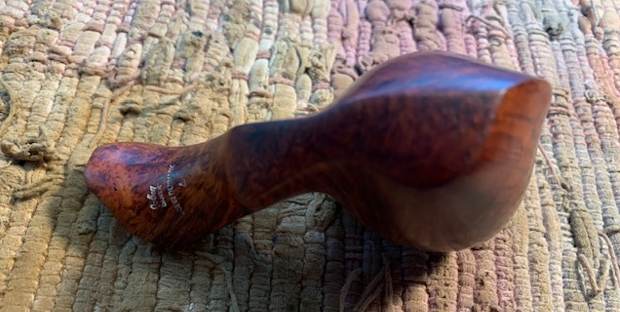
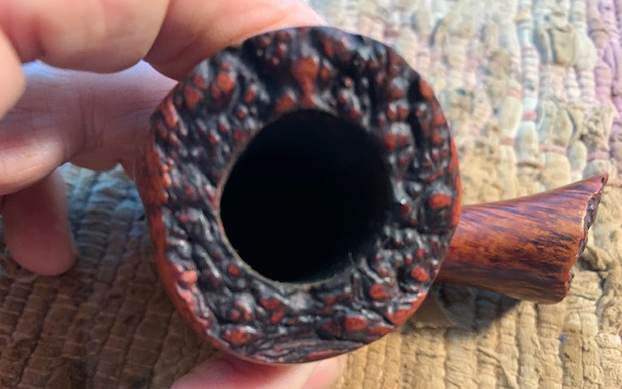
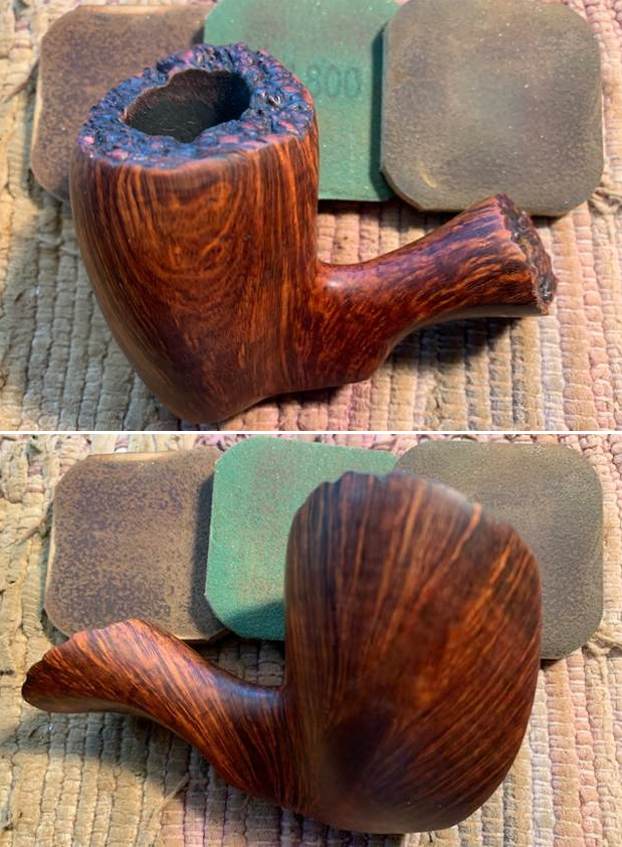
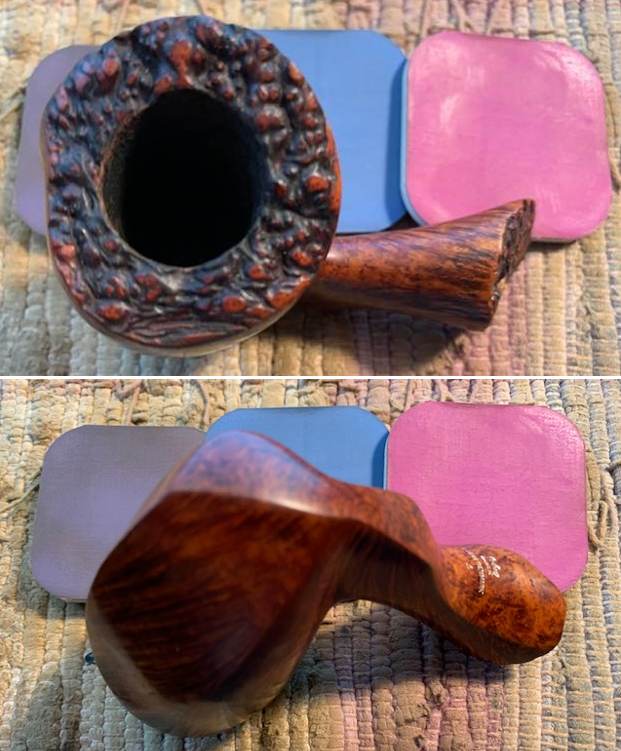
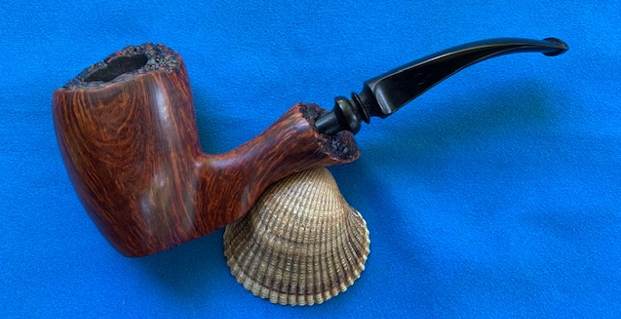
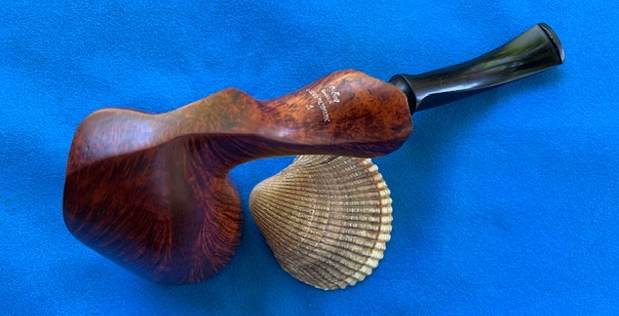
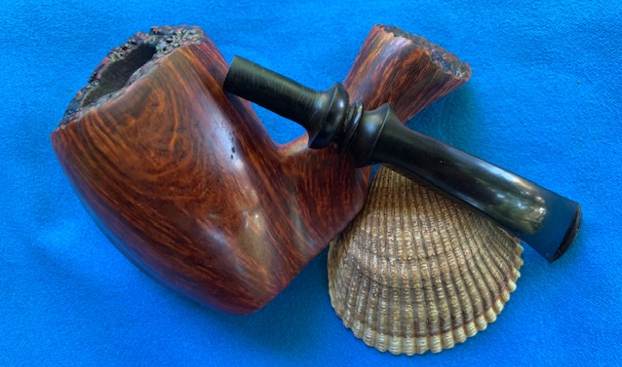
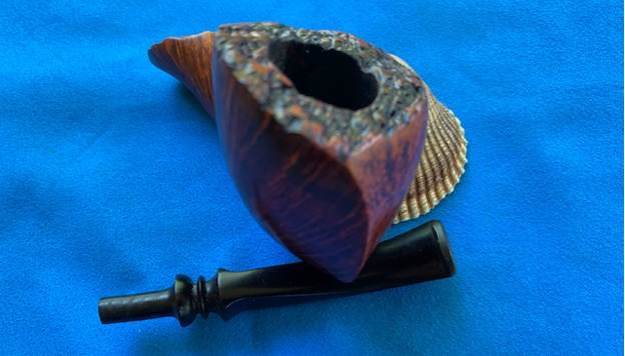
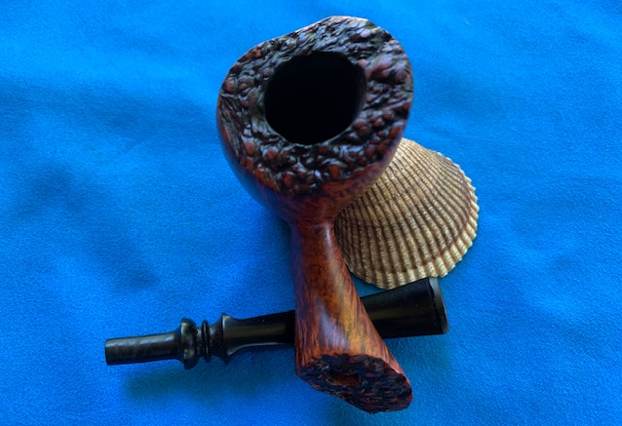
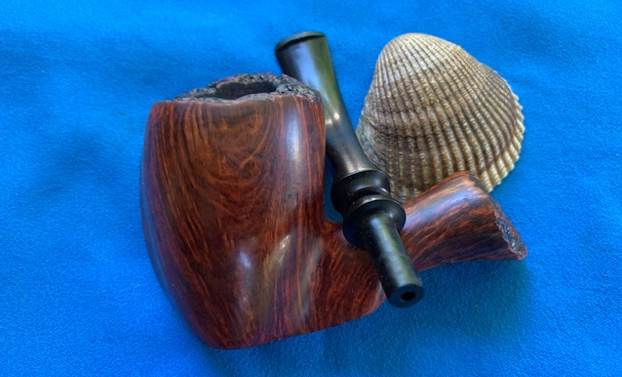
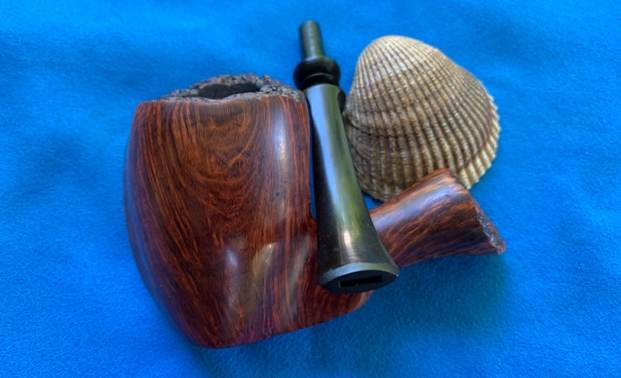
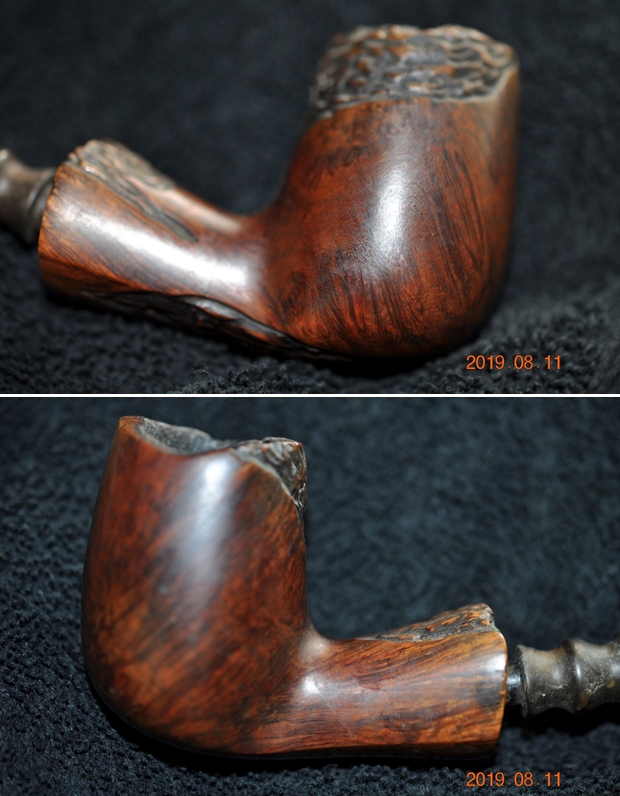
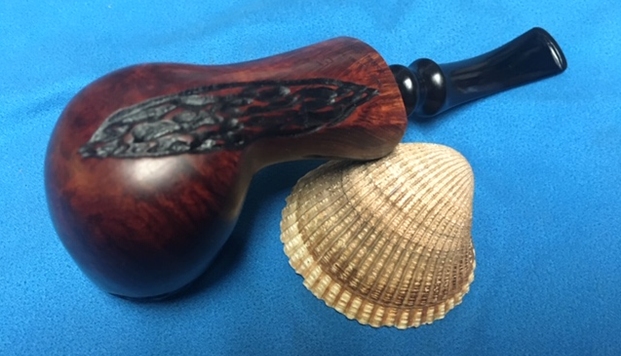
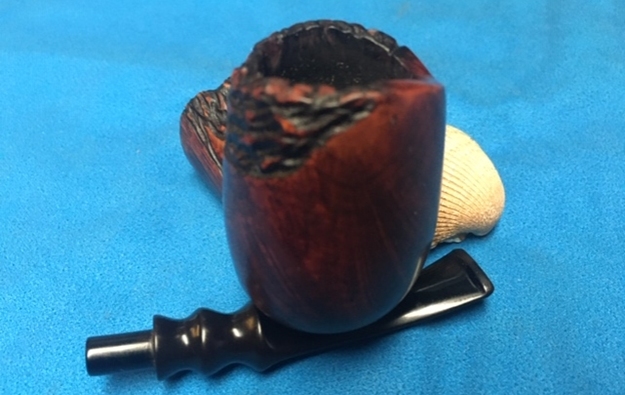
Late in September I received an email from Al about a broken stem on his Jobey Dansk 1 Handmade Freehand. I asked him to send me a photo of the pipe showing its condition and what it needed. We emailed back and forth and I told him I could replace the tenon and use the existing stem. He sent the pipe and parts just before Canada Post went on strike so it took forever to get here. This weekend the pipe arrived and I was excited to work on it. It had really nice sandblast finish on the bowl and shank and plateau on the top of the rim and on the end of the shank. It was stamped on the underside of the shank and read Jobey in script [over] Dansk. Underneath it read Handmade in Denmark [over] 1. The carving followed the flow of the sandblast grain very well and really served to showcase it. There was something familiar about the style of carving that reminded me of other Danish Freehand pipes I have worked on. I remembered that Jobey Dansk pipes were carved by Karl Erik. There was some dust in the valleys of the plateau and the sandblast. The bowl was lined with a thin cake. The stem snapped off and the tenon was stuck in the shank end. The break was not quite square but it was clean with no cracks in the stem portion. I have included a photo of the pipe that Al sent me to show the overall condition of the bowl and stem.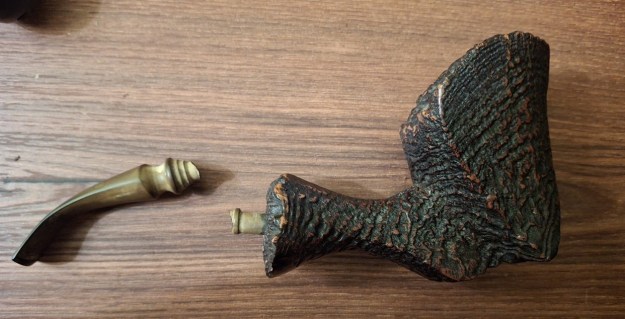 I unpacked the pipe from the carefully packed box that had been opened by Canadian Customs and had its customs tape on the bottom of the box. I unwrapped it and laid it on the work table so show its condition. You can see the snapped tenon in the shank and the stem showing the break. I took photos of the pipe as it looked before I started.
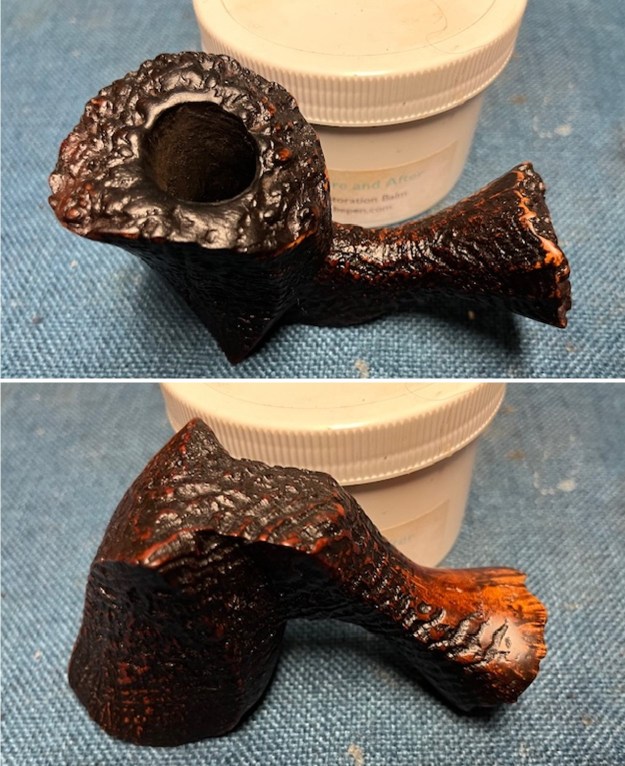
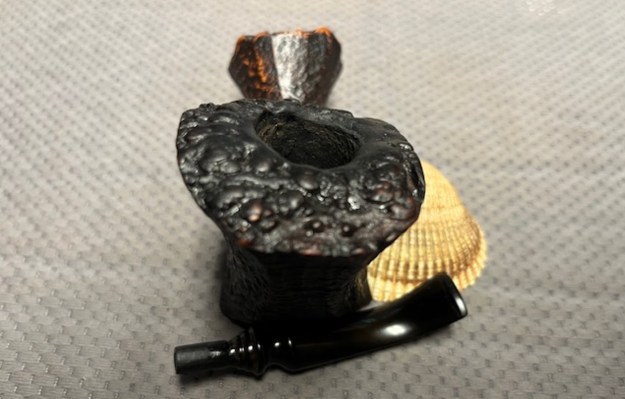
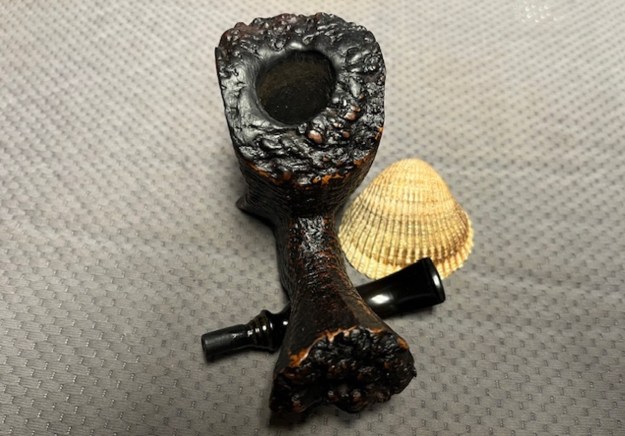
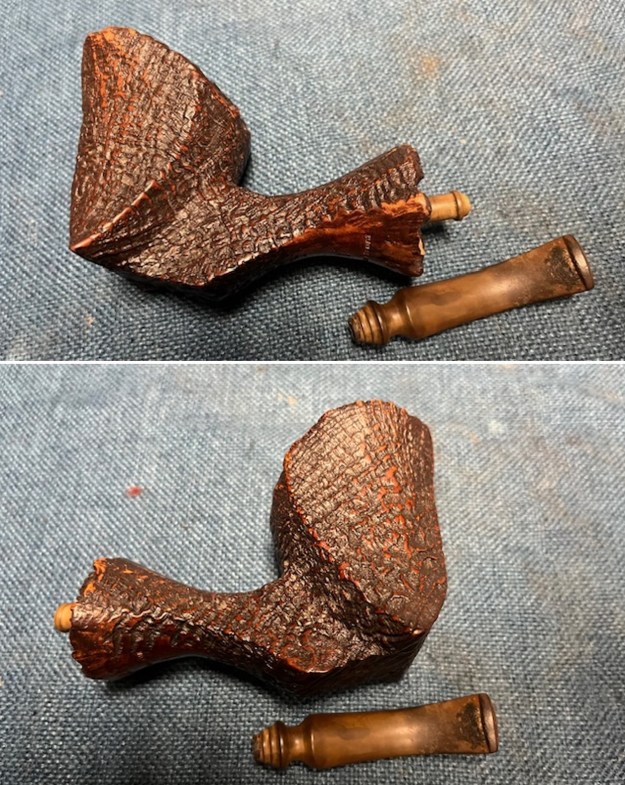
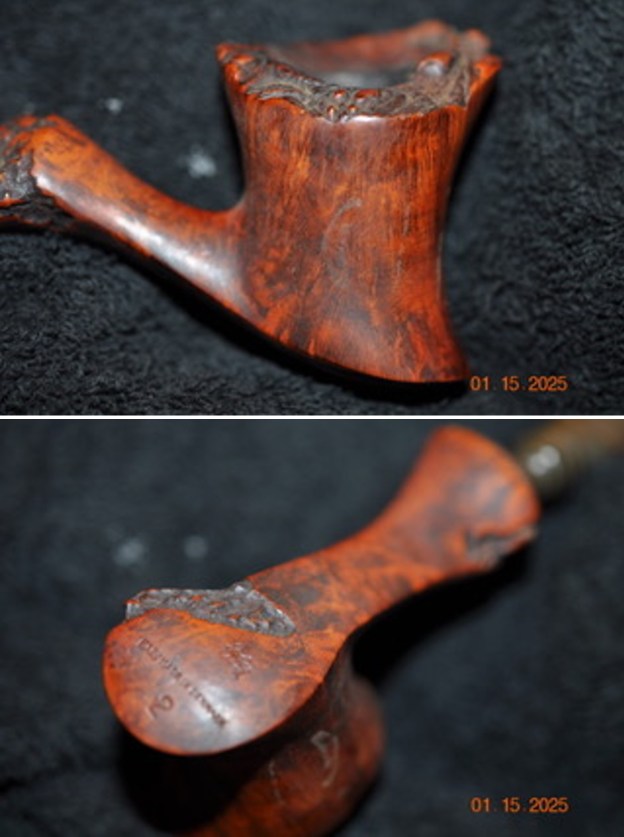
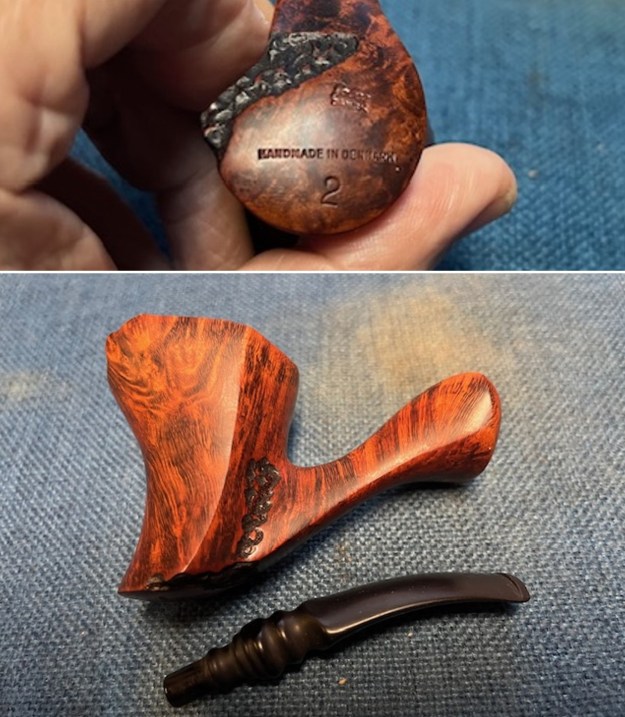
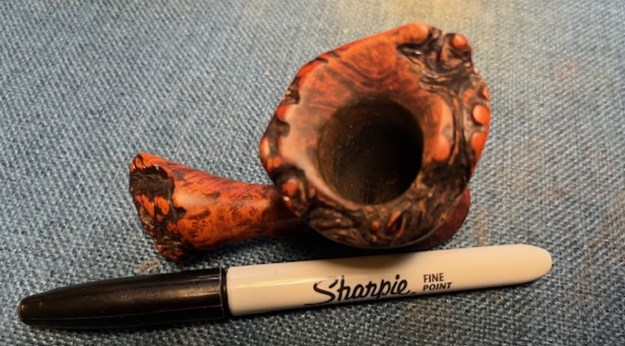
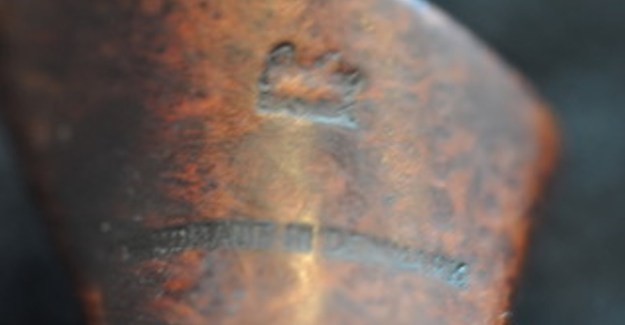
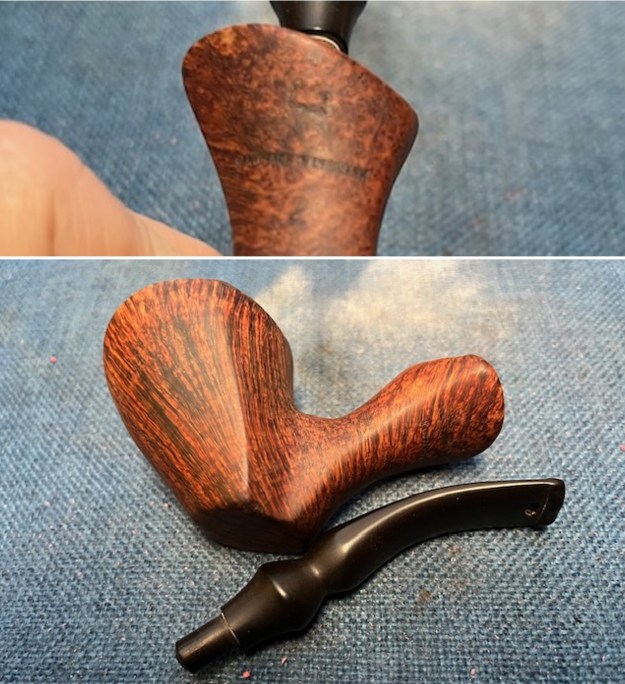
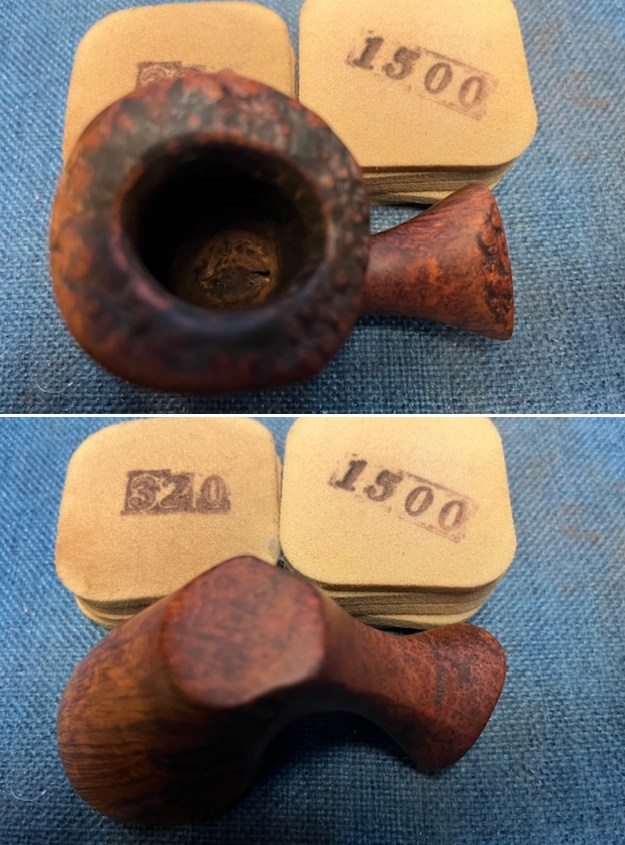
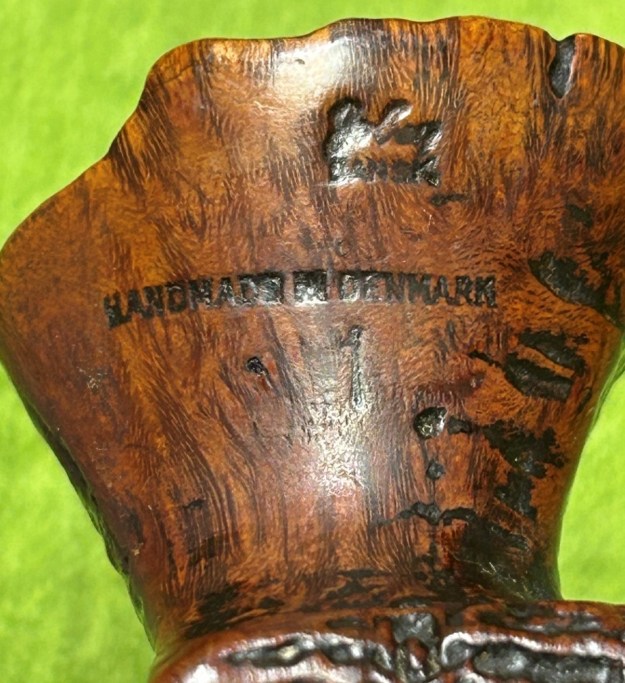
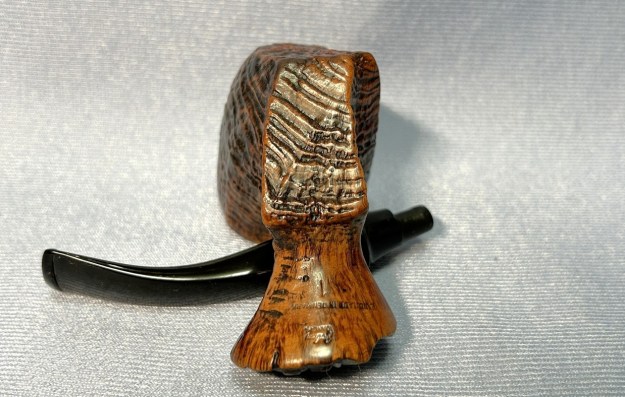
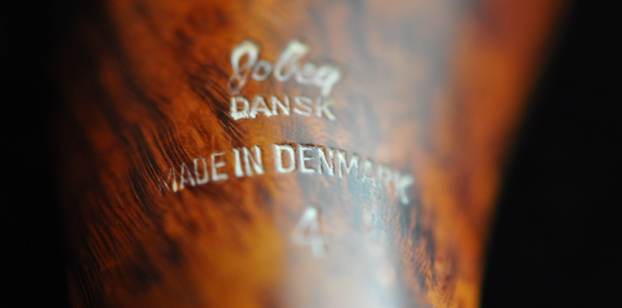
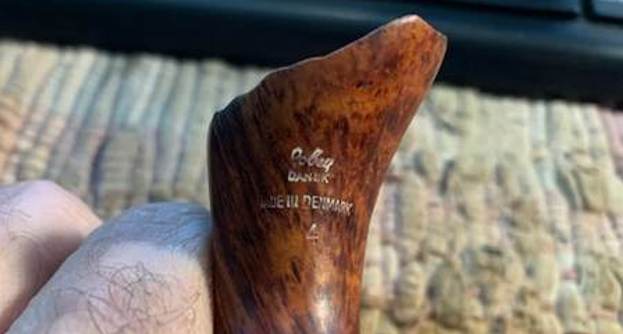
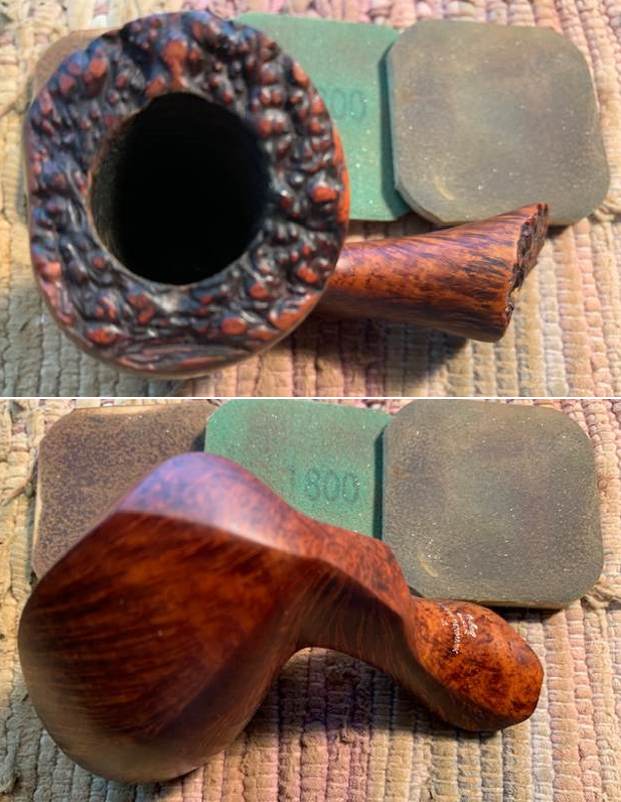
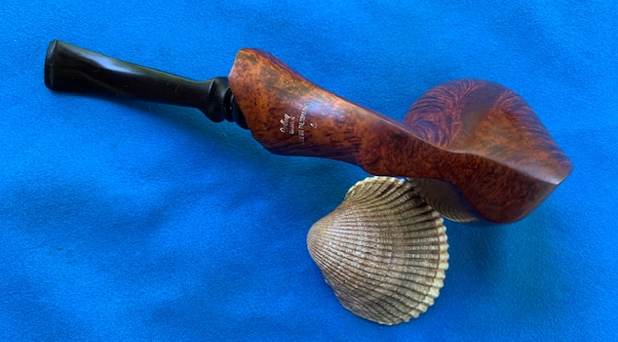
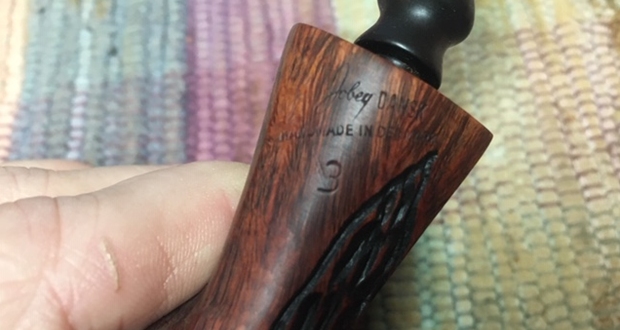
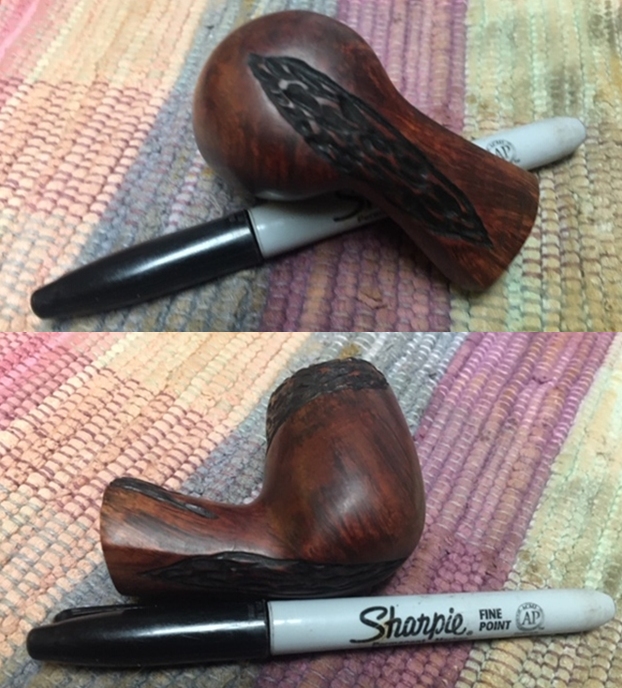
 I took a photo of the stamping on a smooth panel on the underside of the shank to show the clarity and readability of the words. It read as noted above and is very clear.
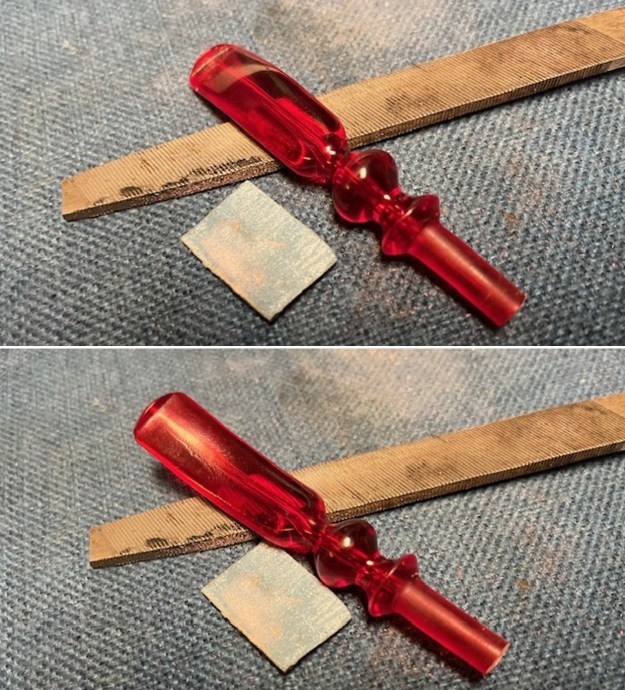
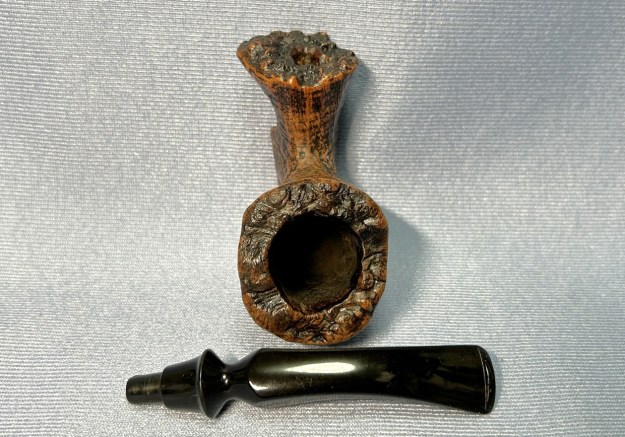
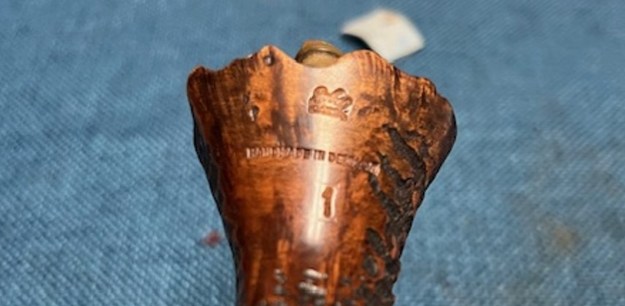 I used a pair of pliers to pull the broken tenon out of the shank. I flattened the end of the stem so that it was flat and then used a series of drill bits to open the end of the stem to receive the new tenon. I began with a bit slightly larger than the airway and ended with one that was the size of the threaded tenon that would go in the airway.
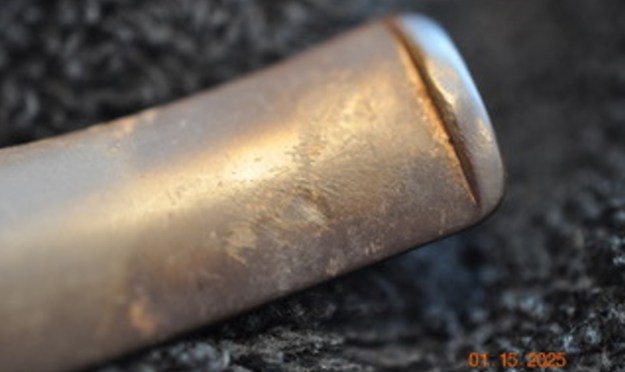
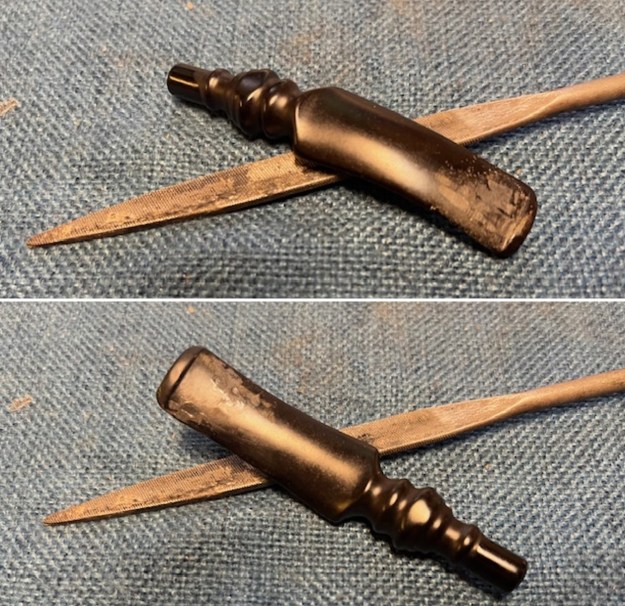
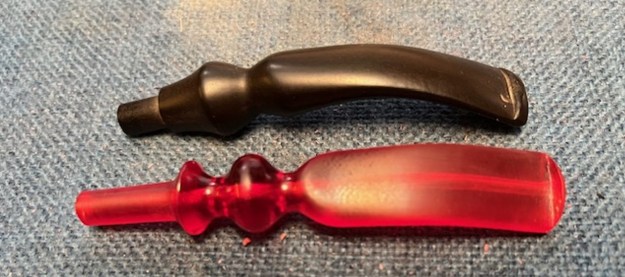
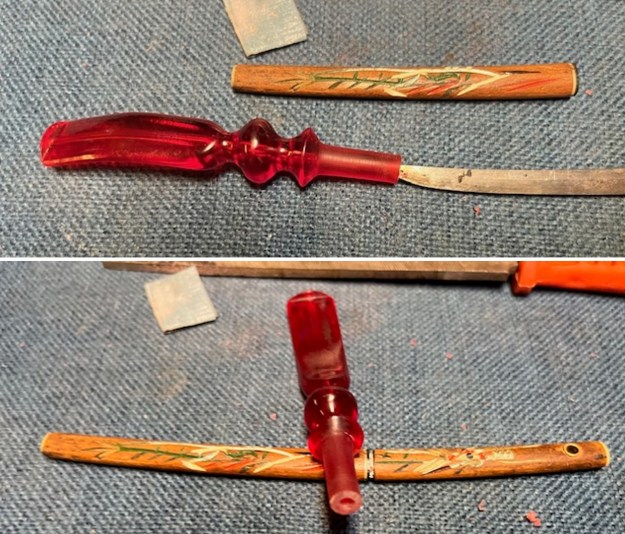
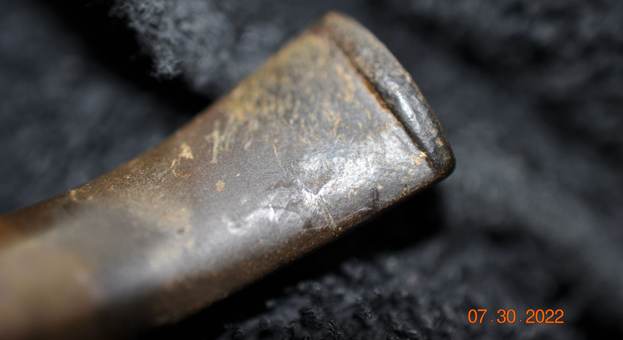
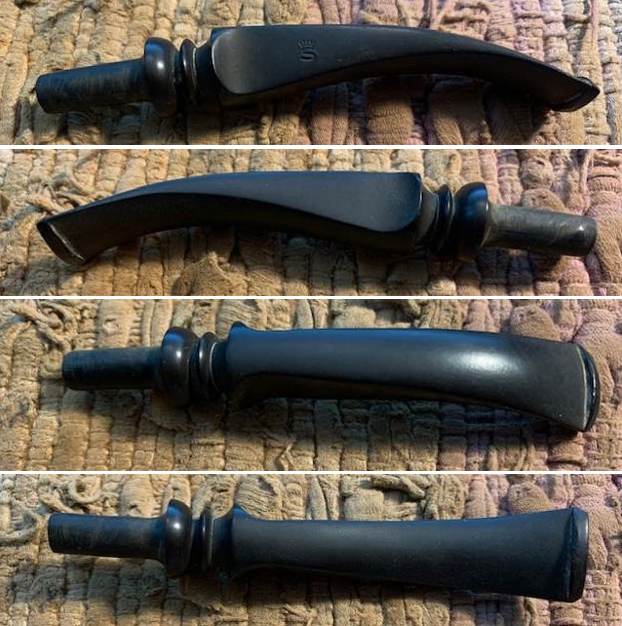
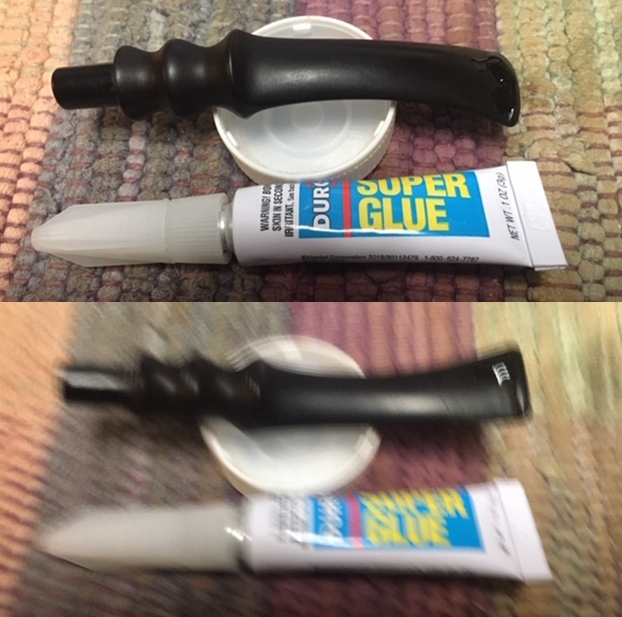
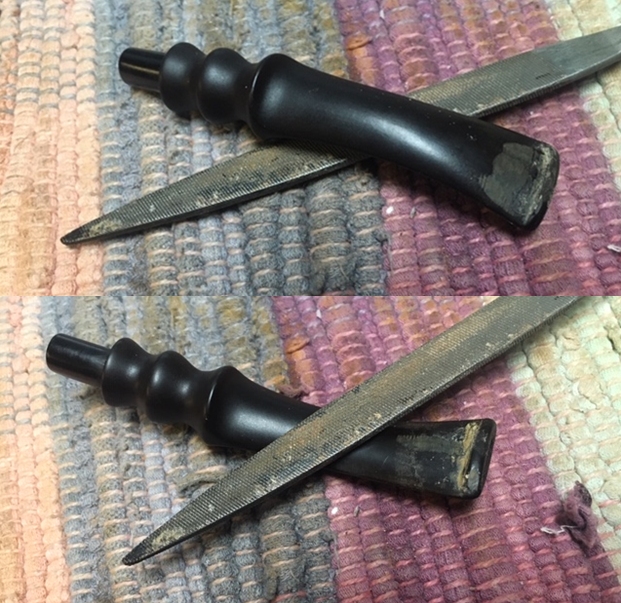
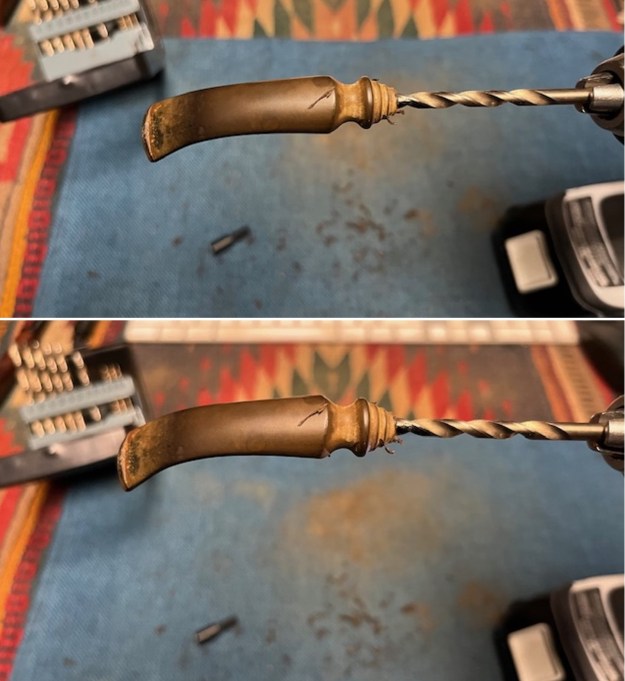 I used a Dremel and sanding drum to reduce the diameter of the threaded portion of the insert end and also the diameter of the tenon. I took photos of the parts before I put them together.
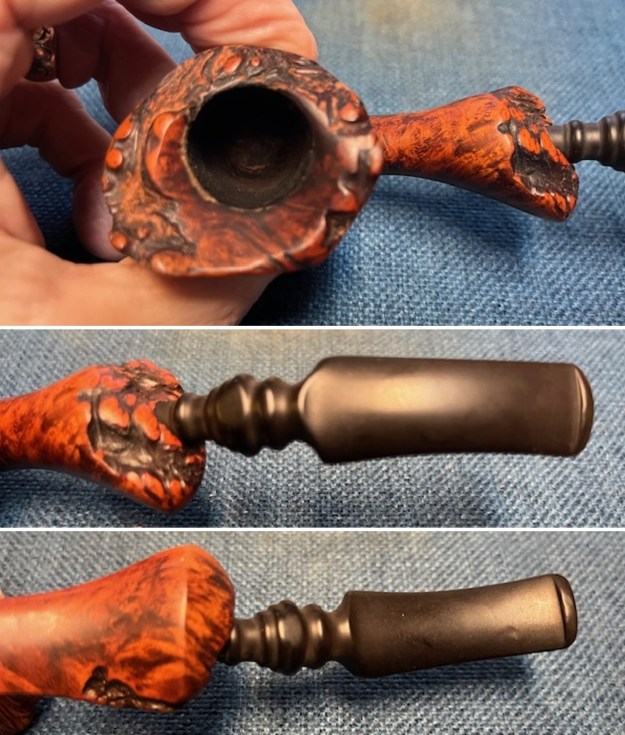
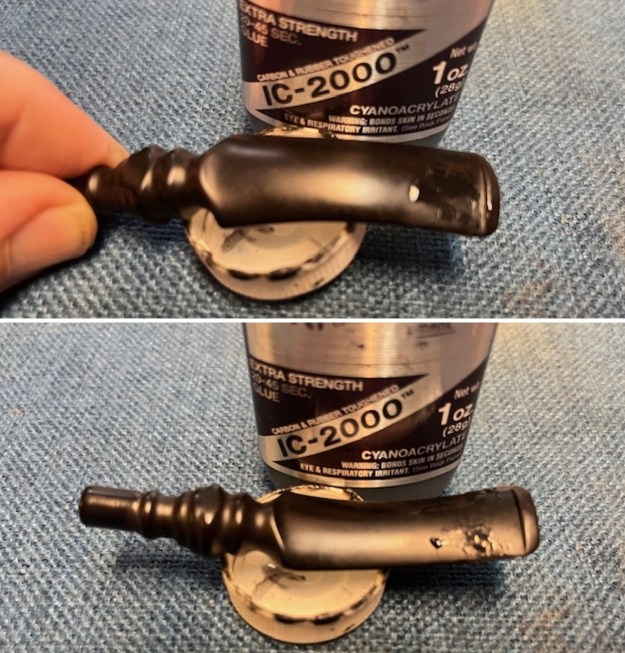
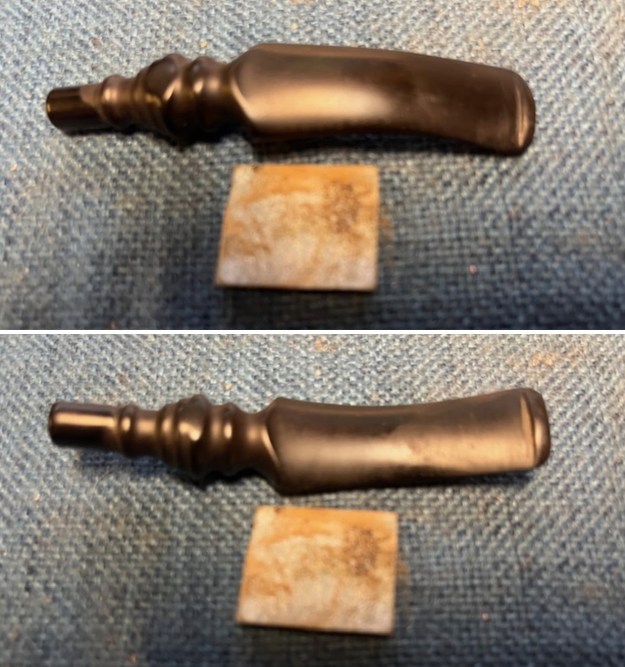
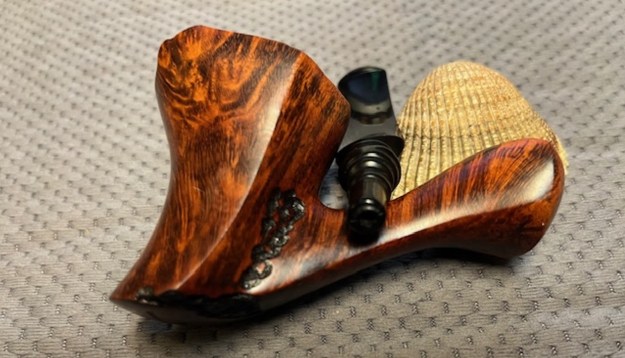
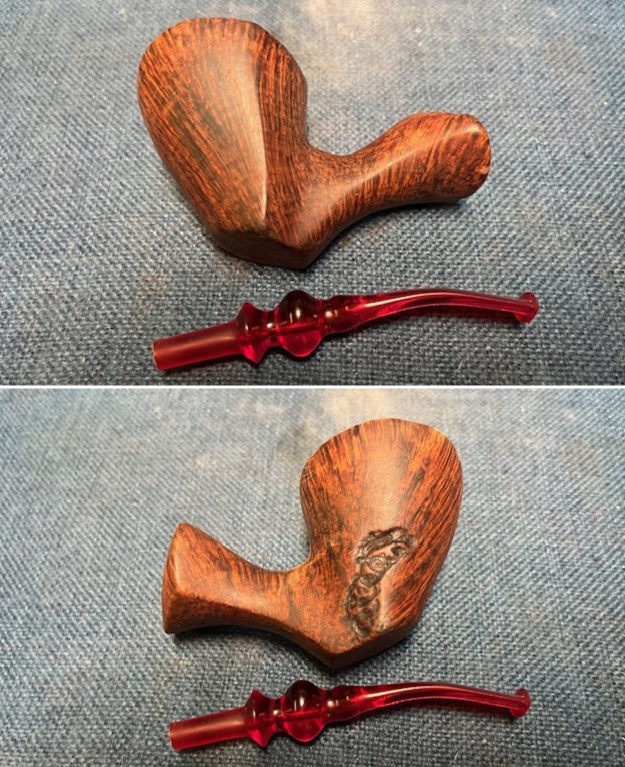
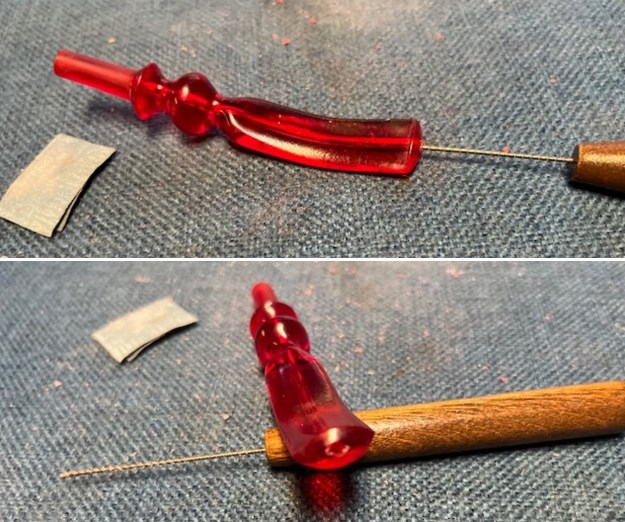
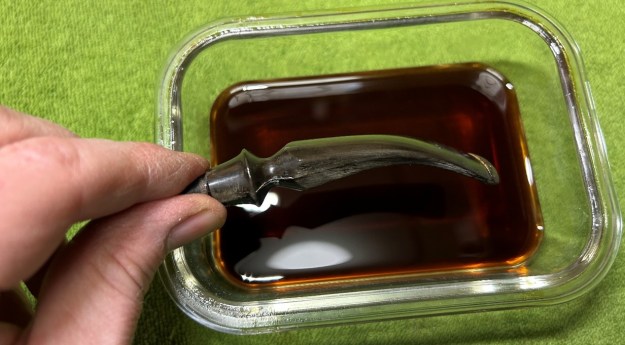
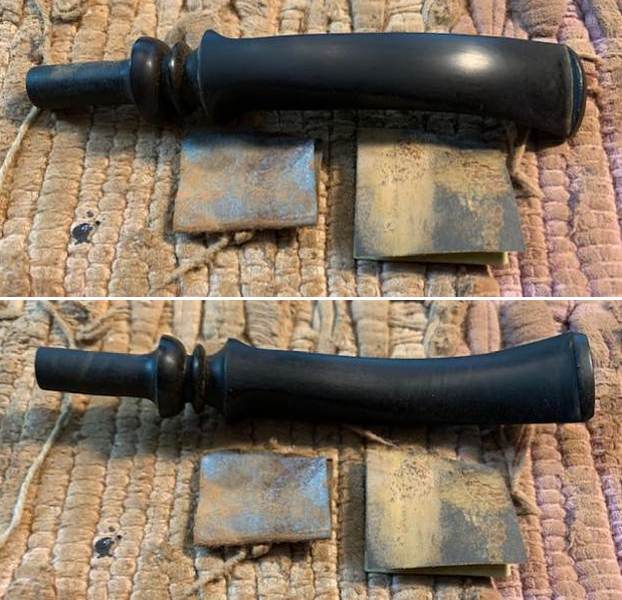
 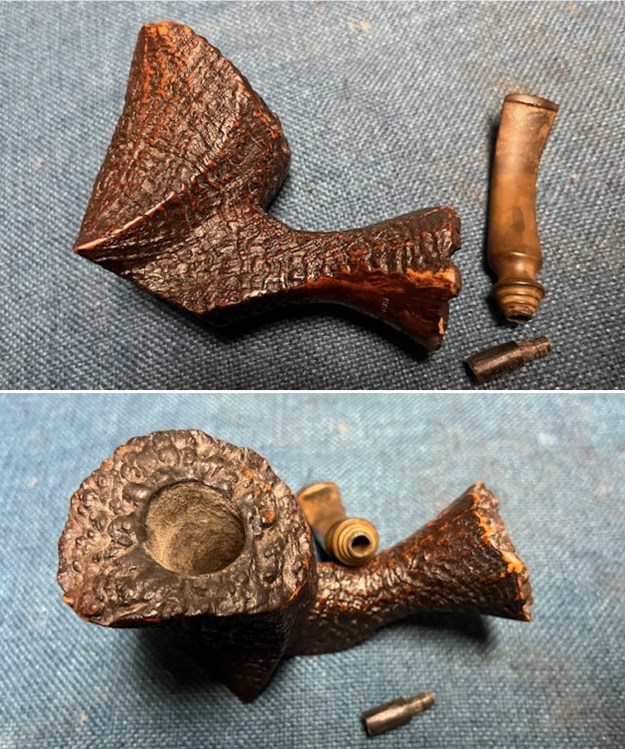 I took a photo of the tenon inserted in the stem. I coated the threaded end of the new tenon with black rubberized CA glue and then pressed it into the open airway in the stem. I adjusted it so the tenon was straight and then set it aside to let the glue harden.
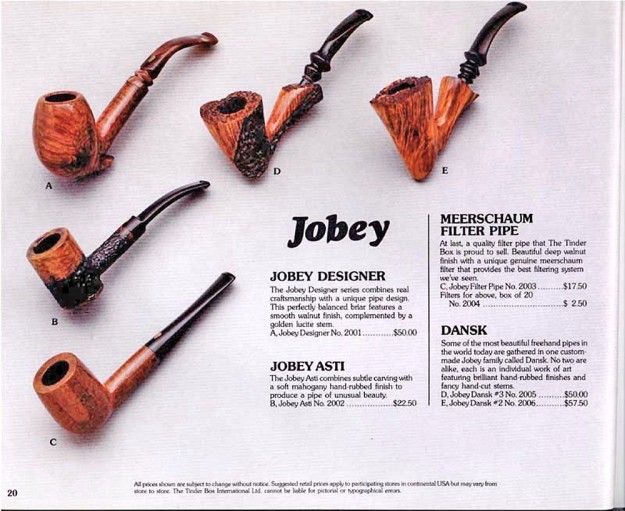
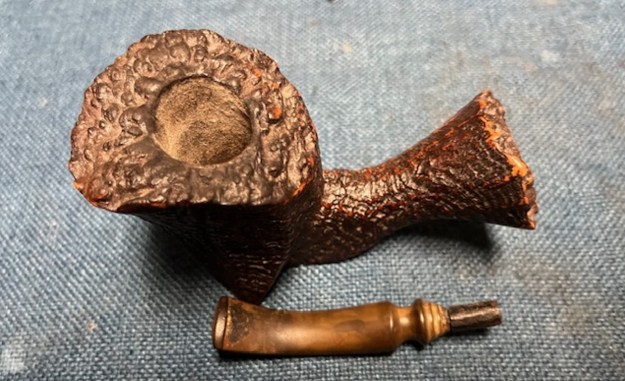 I wanted to look at who had carved the Jobey Dansk line to confirm my suspicions I had about it. I had a feeling that the pipes were carved by a Danish carver known as Karl Erik. I looked up the Jobey listing on Pipedia (https://pipedia.org/wiki/Jobey) and found the following information. I quote a portion of the article that is pertinent as follows.
 English – American – Danish – French… Information about the brand Jobey are only to be found in form of smithereens… Probably established in England around 1920(?) the brand hiked into the USA later. In the course of time owner, distributor and manufacturer changed repeatedly. As far as known:
George Yale Pipes & Tobacco, New York (1942)
Norwalk Pipe Co., New York (1949)
Arlington Briar Pipes Corp., Brooklyn (when?)
Hollco International, New York (1969).
Weber Pipe Co., Jersey City, NJ (1970’s)
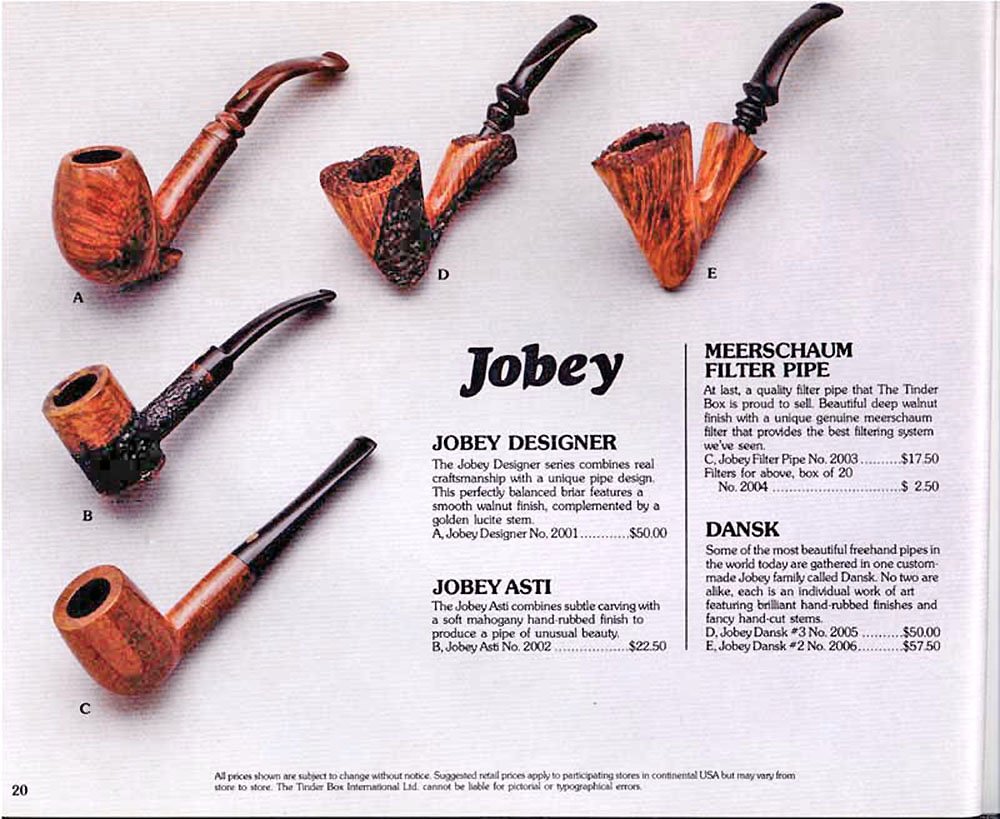
The Tinder Box, (1970’s – 80’s).
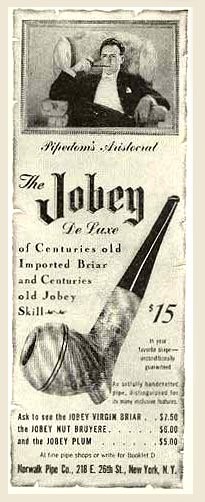
Throughout decades Jobey pipes were mainly sold in the USA, Canada and England but remained almost unknown in continental Europe. The bulk of Jobeys was predominantly made according to classical patterns and mainly in the lower to middle price range. The predominant judgment of the pipe smokers reads: “A well-made pipe for the price.” So, there is hardly anything very special or exciting about Jobey pipes although a flyer from ca. 1970 assures: “The briar root Jobey insists upon for its peer of pipes is left untouched to grow, harden and sweeten for 100 years. […]Jobey uses only the heart of this century old briar and only one out of 500 bowls turned measures up to the rigid Jobey specifications.” 99.80% of cull… that makes the layman marveling!
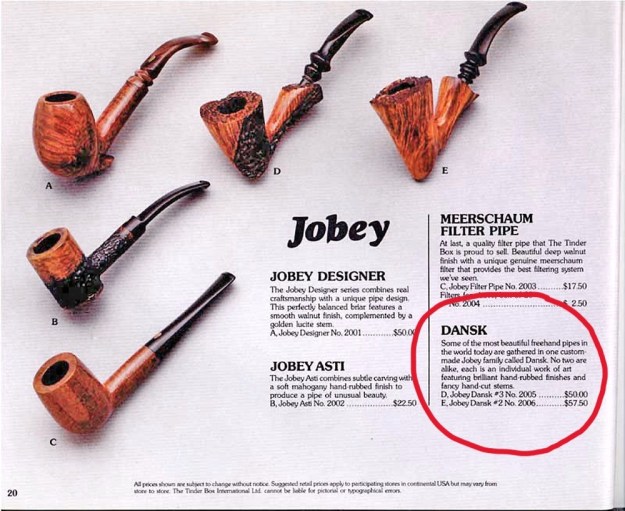
Yet then there are partially really exciting Freehands mainly in the seventies, that Jobey – Weber owned back then – bought from Danish pipe genius Karl Erik Ottendahl. These pipes were offered as Jobey Dansk – ’70’s pure! (BTW waning sales caused Ottendahl to discontinue exports to the United States in 1987.)
From that information, my suspicions were confirmed. The pipe that I was working on was carved by Karl Erik Ottendahl. There were some similarities to the Karl Erik pipes that I have worked on in the past. The dating of the pipe line in the 70s fits well with the pipe I have in hand.
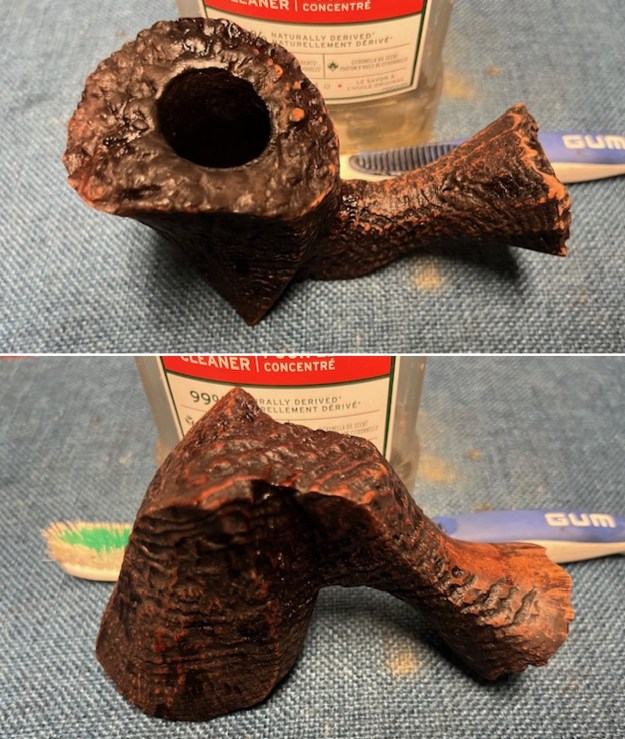
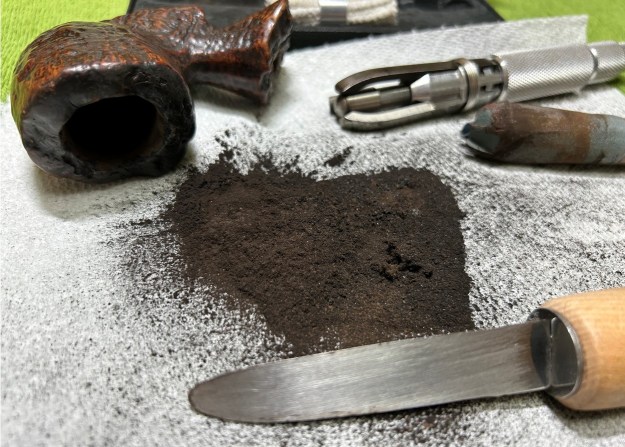
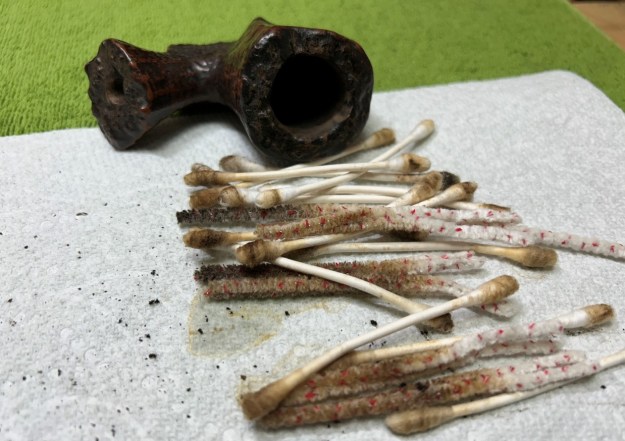
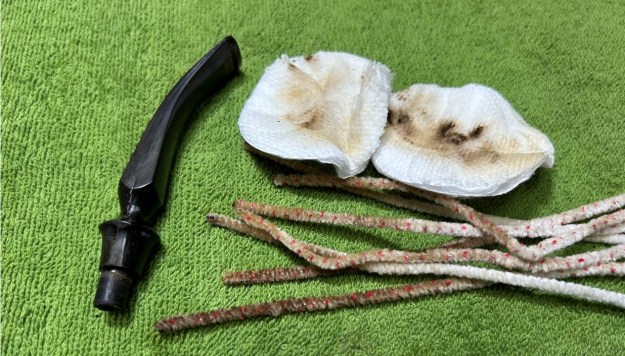
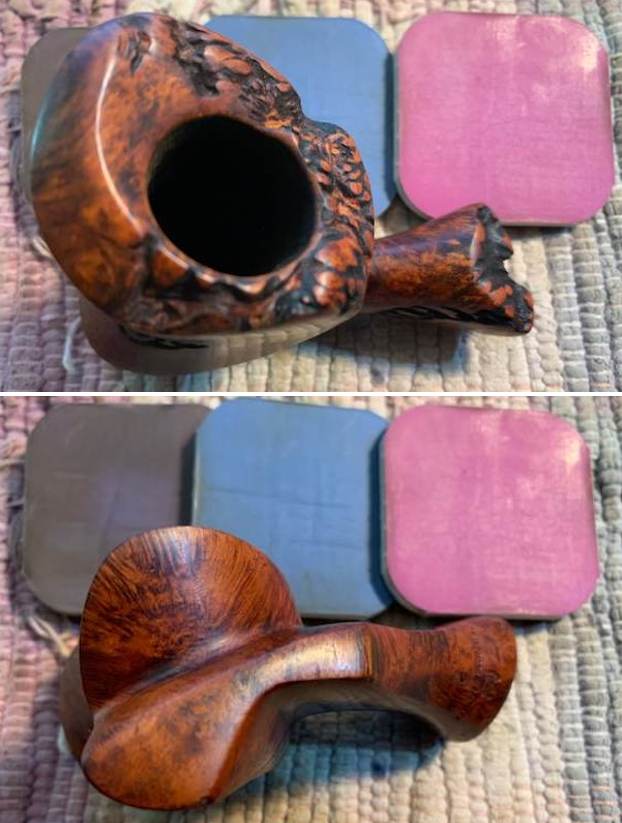
I cleaned out the airway in the shank and stem with alcohol, cotton swabs and pipe cleaners. I wiped out the inside of the bowl with a damp cloth.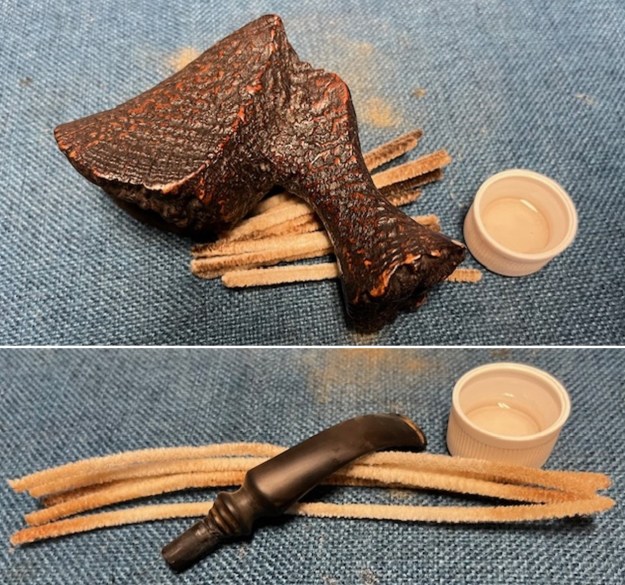 I scrubbed the externals of the bowl with undiluted Murphy’s Oil Soap and a tooth brush. I rinsed it off with running water and dried the bowl with a soft cloth.
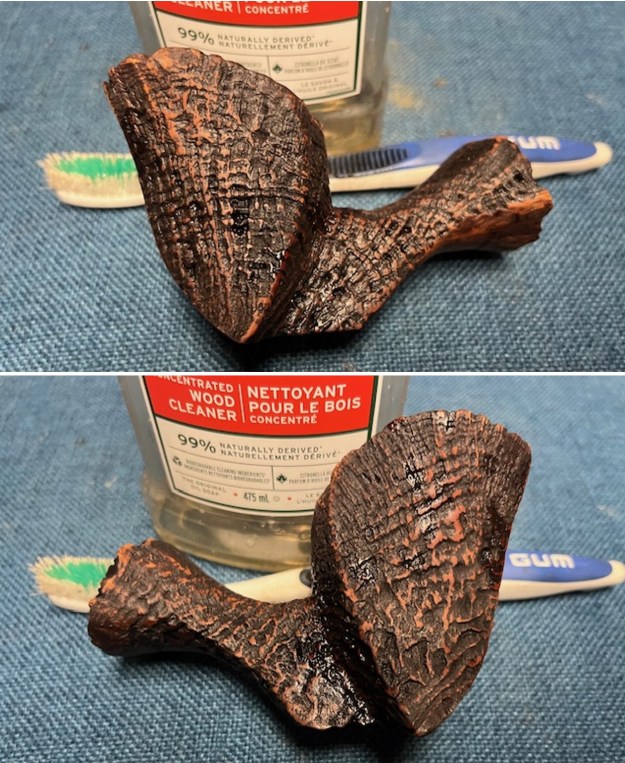
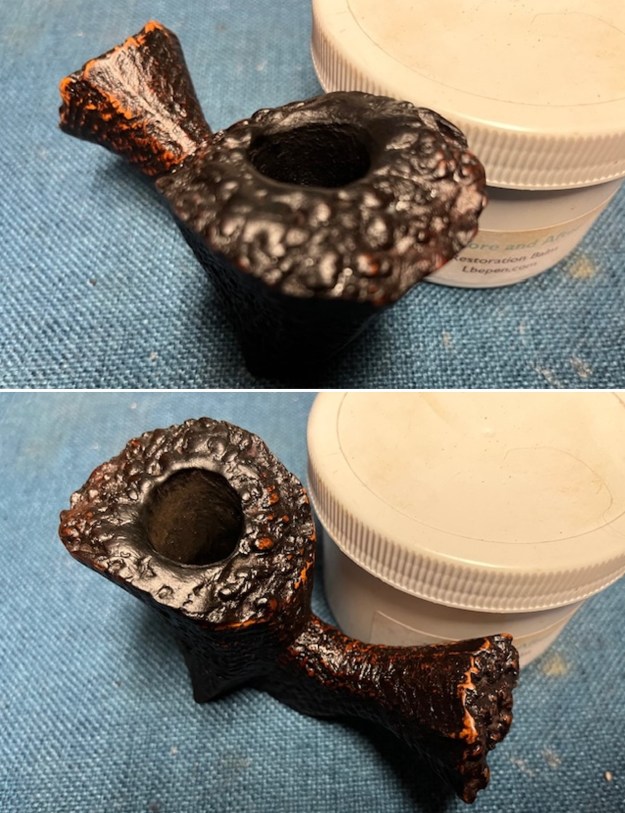
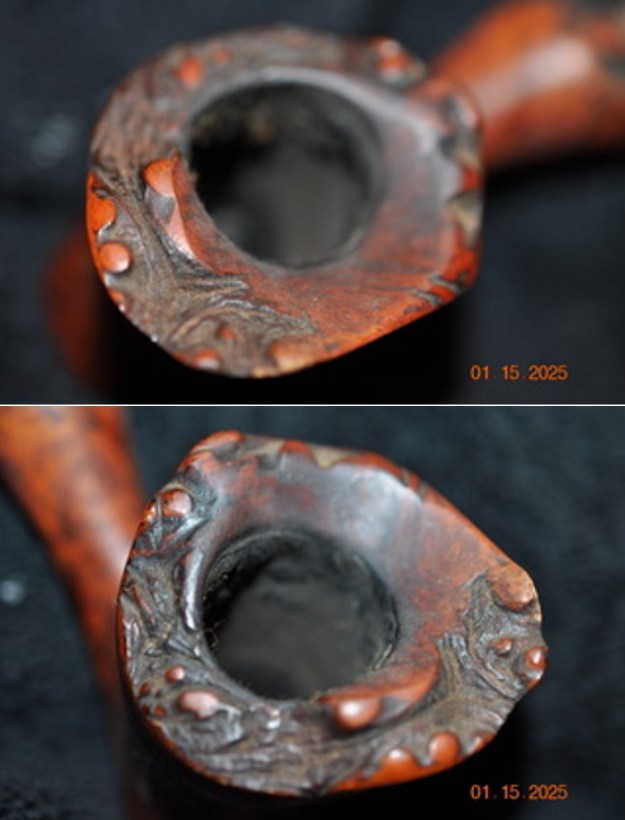
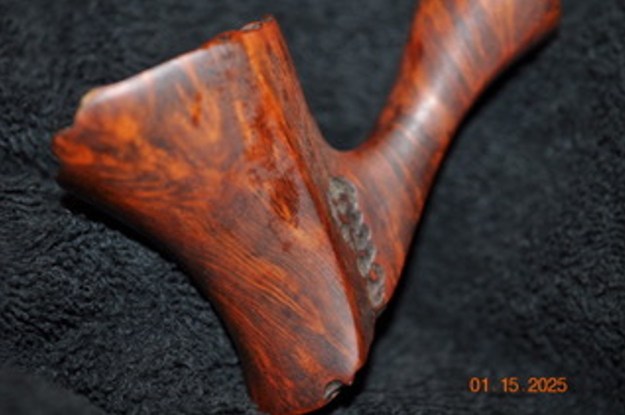
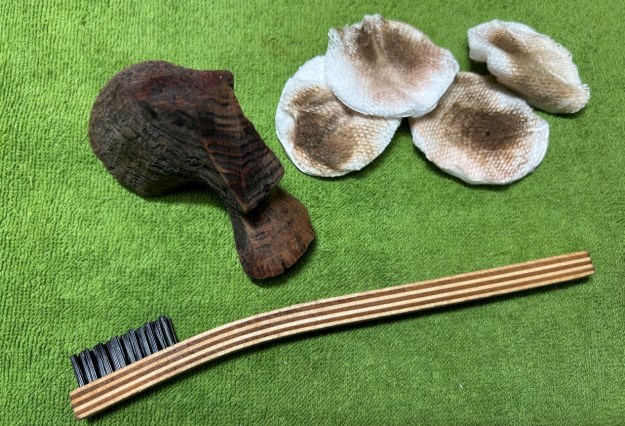
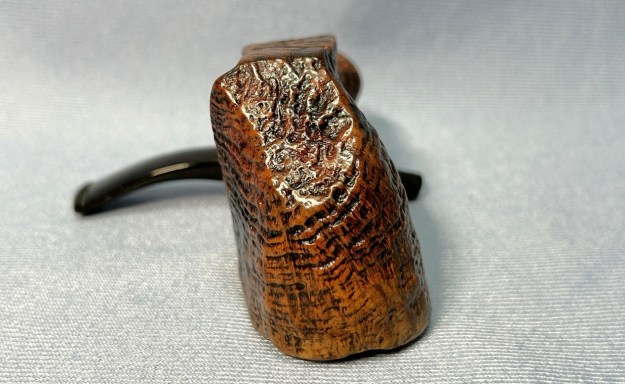
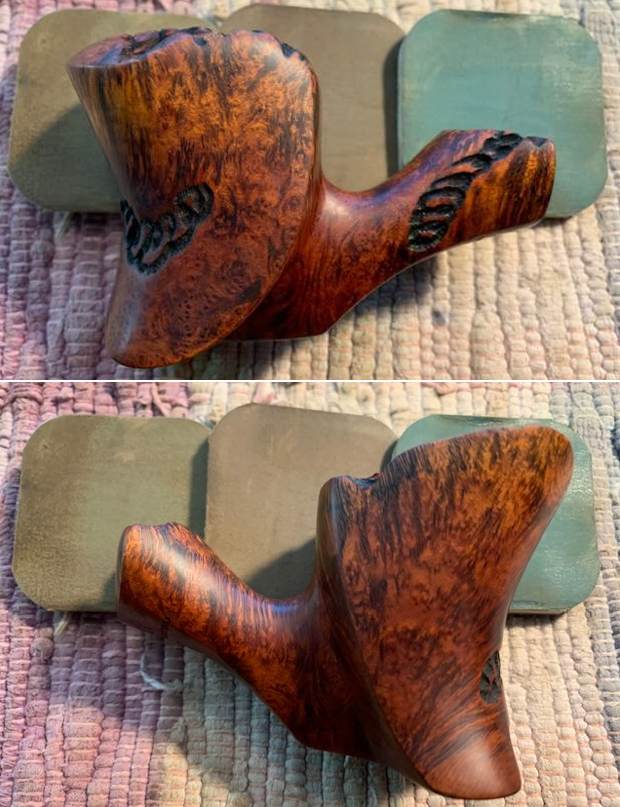
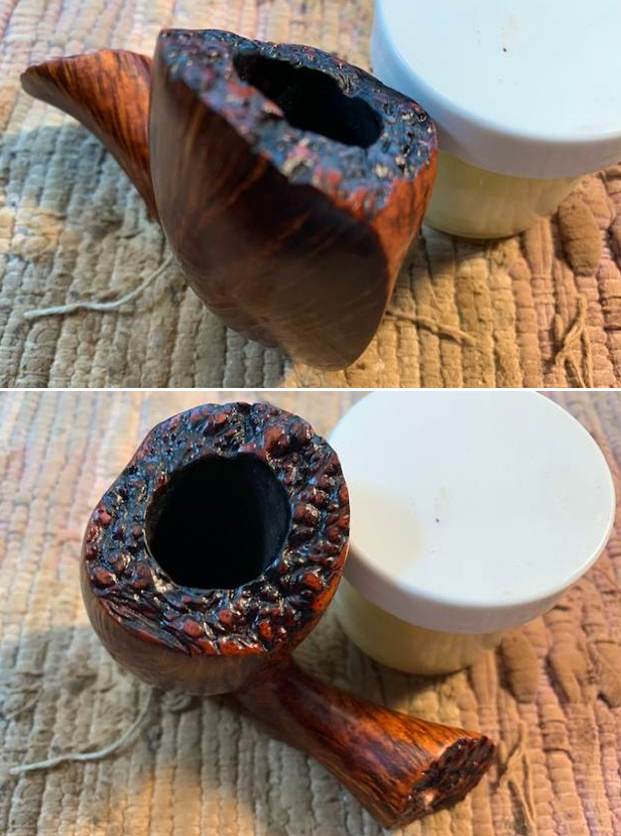
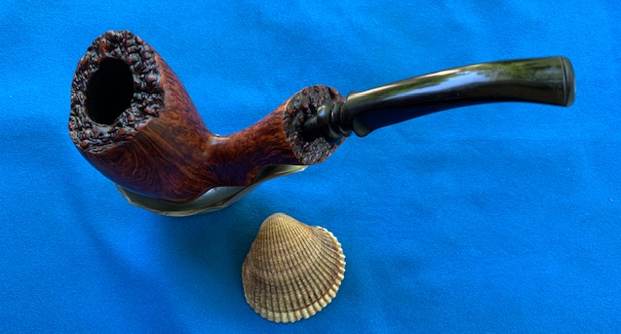
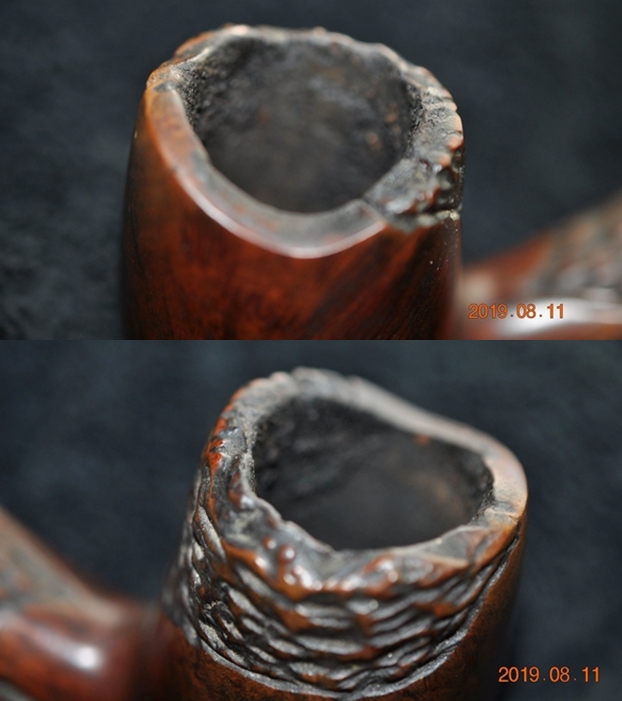
 I worked over the plateau on the rim top and shank end with a brass bristle wire brush to clean out the hard lava that seems have filled in some of the crevices. It came out looking much better at this point in the process.
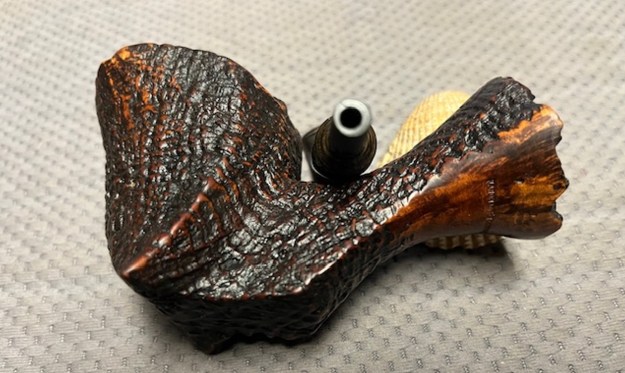
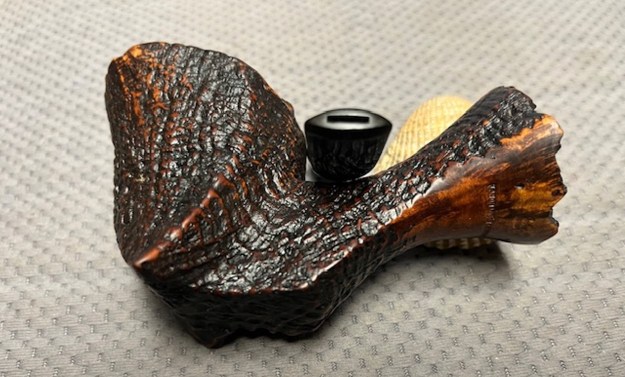
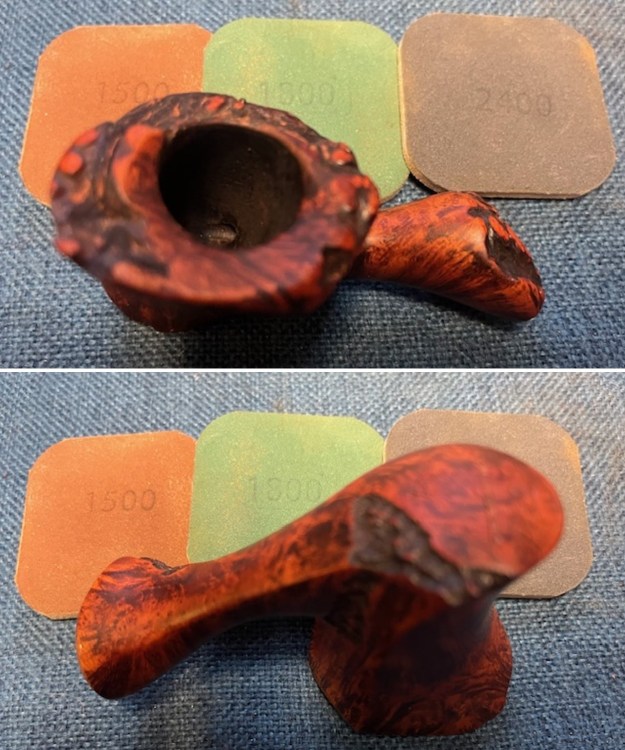
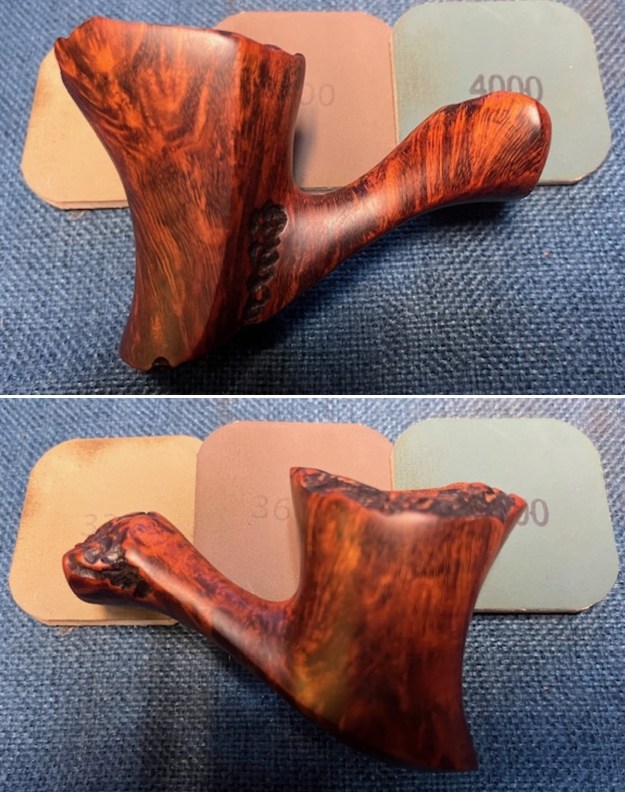
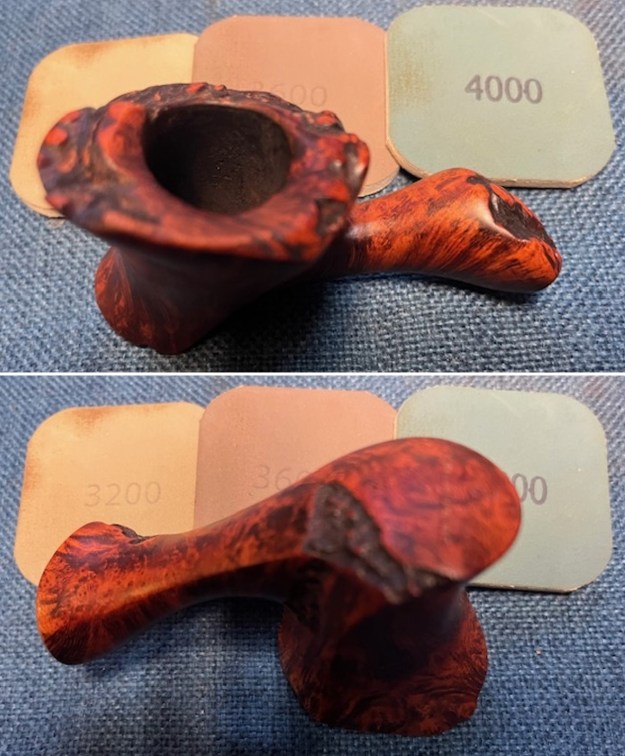
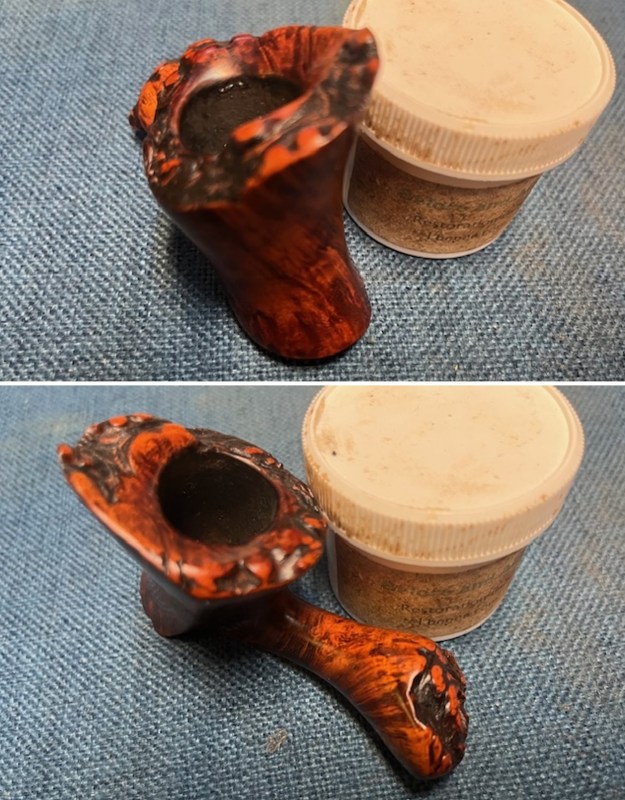
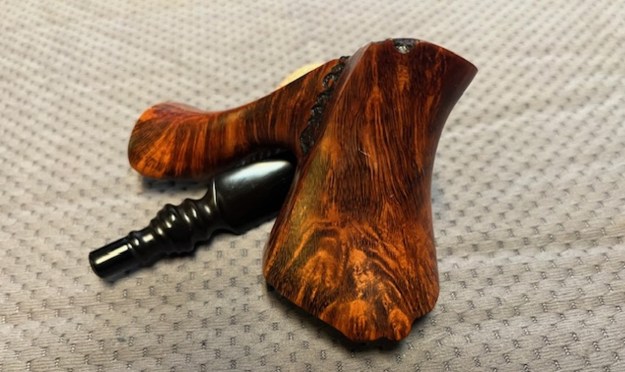
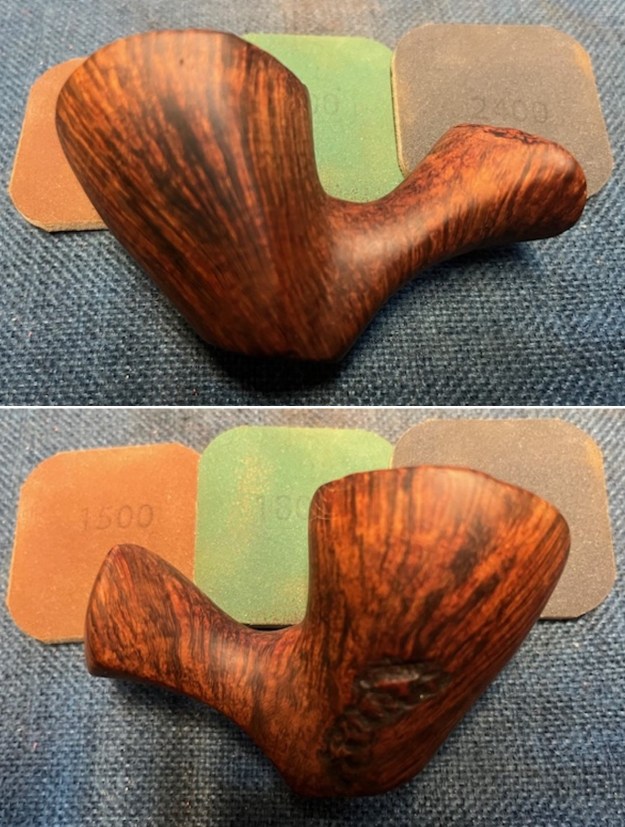
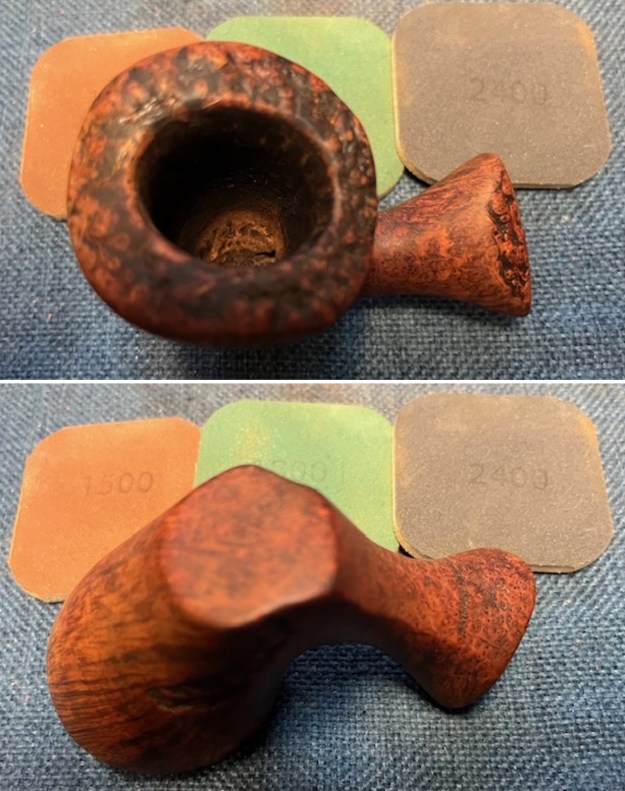
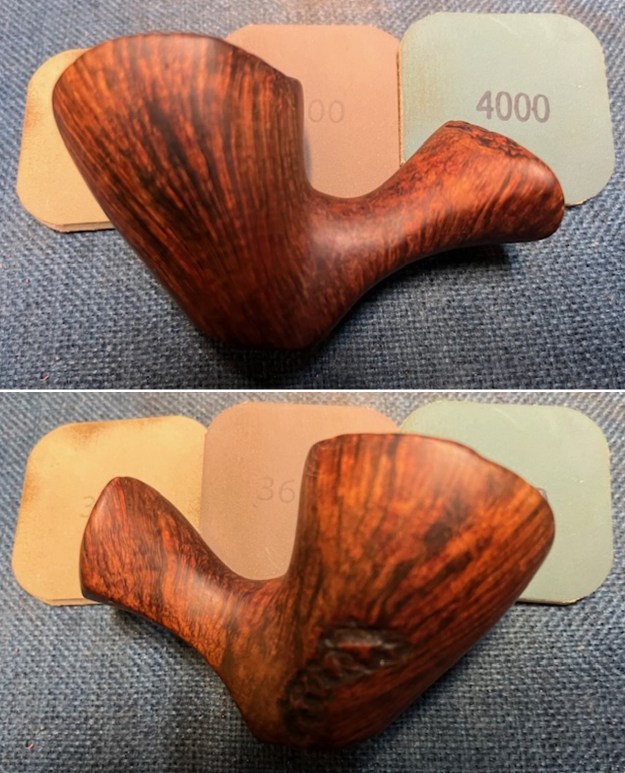
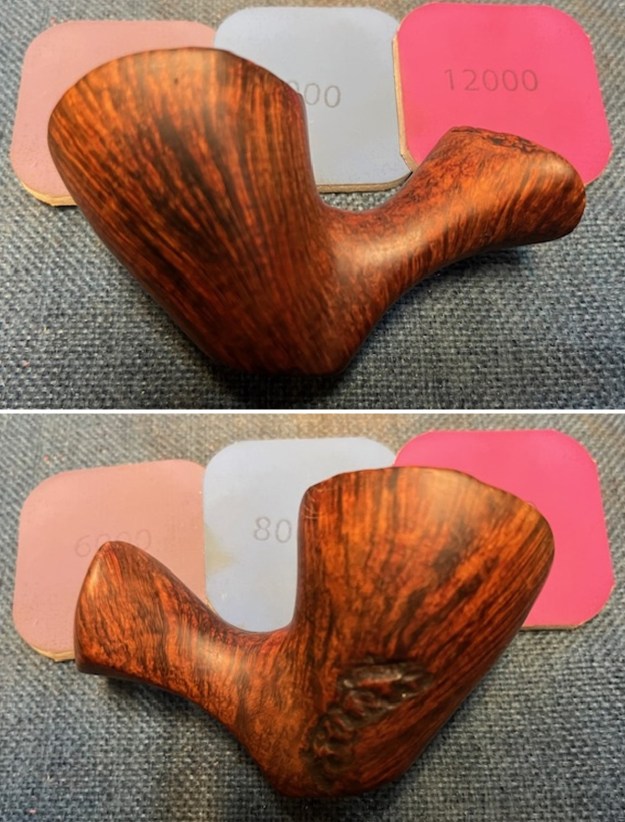
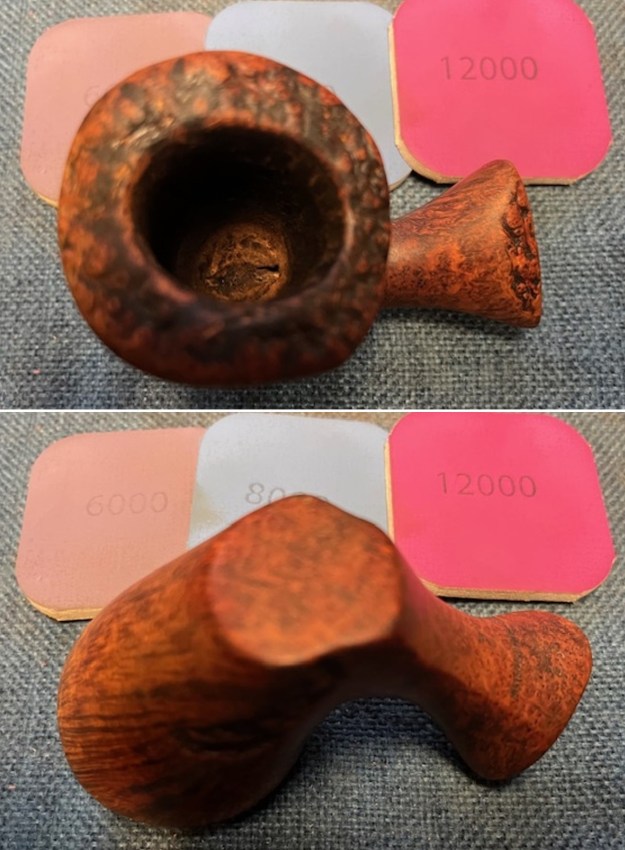
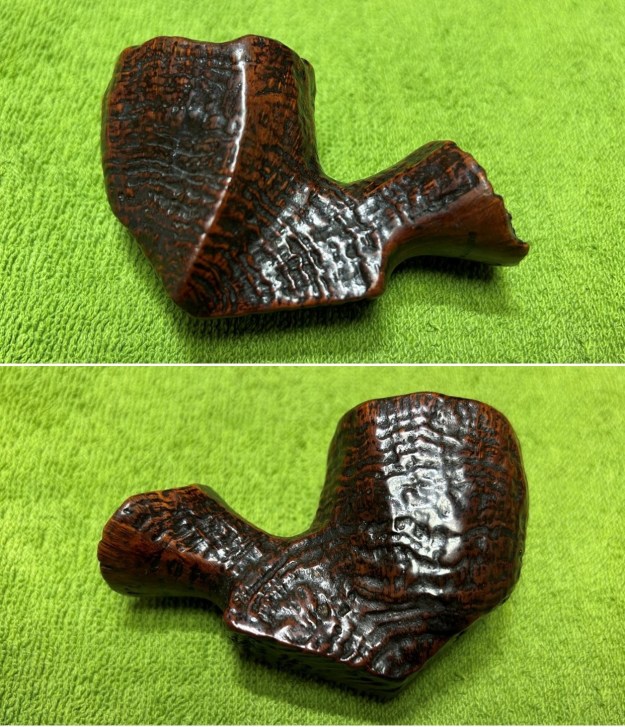
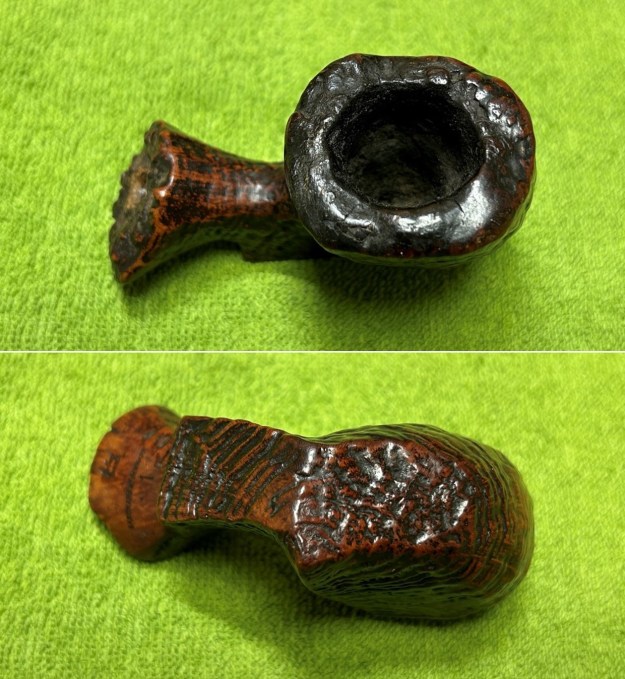
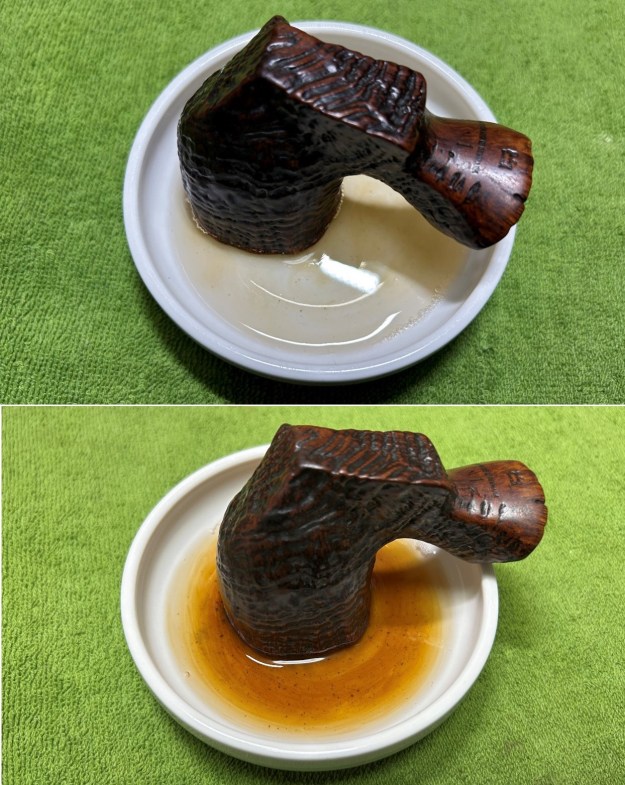
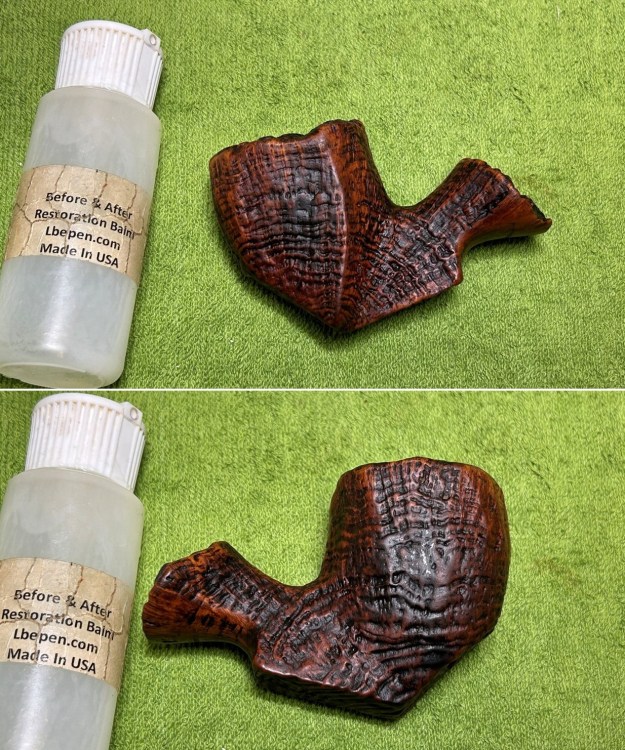
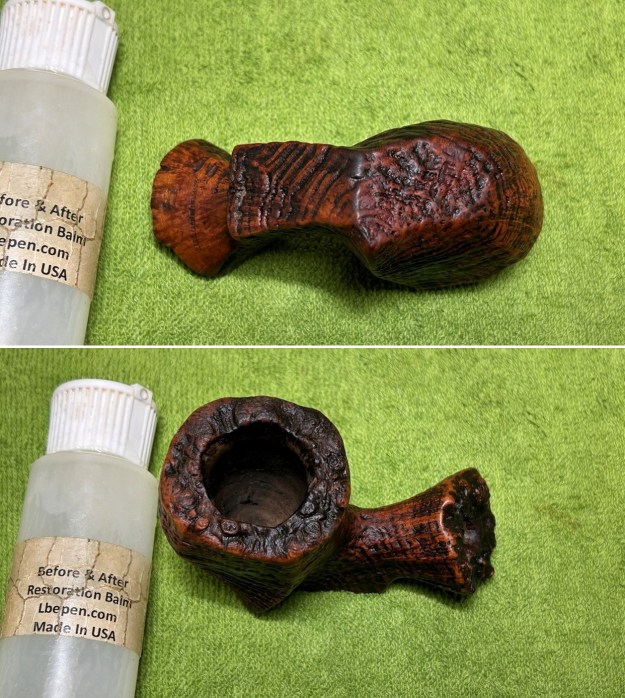
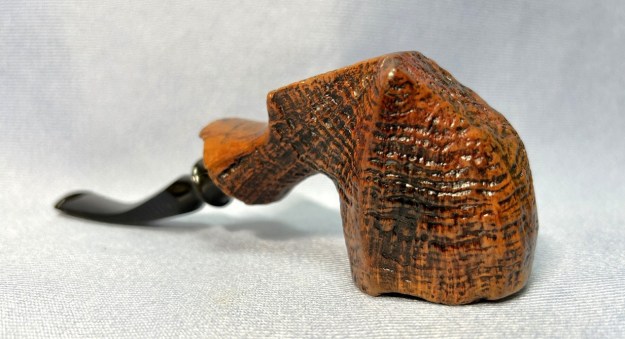
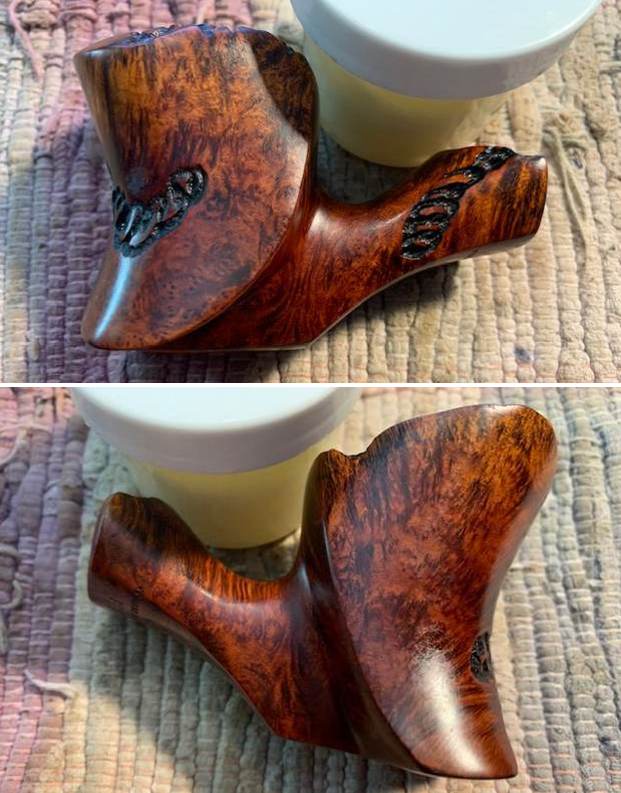
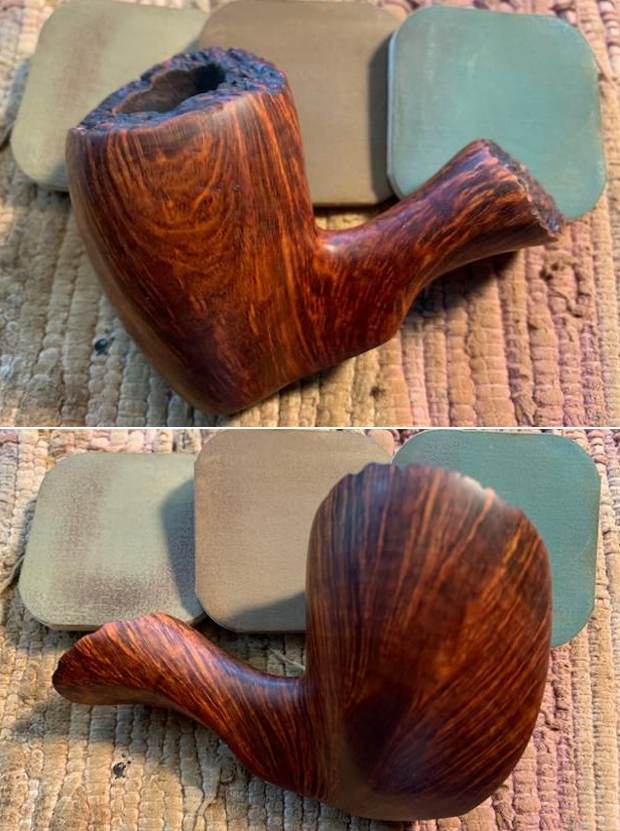
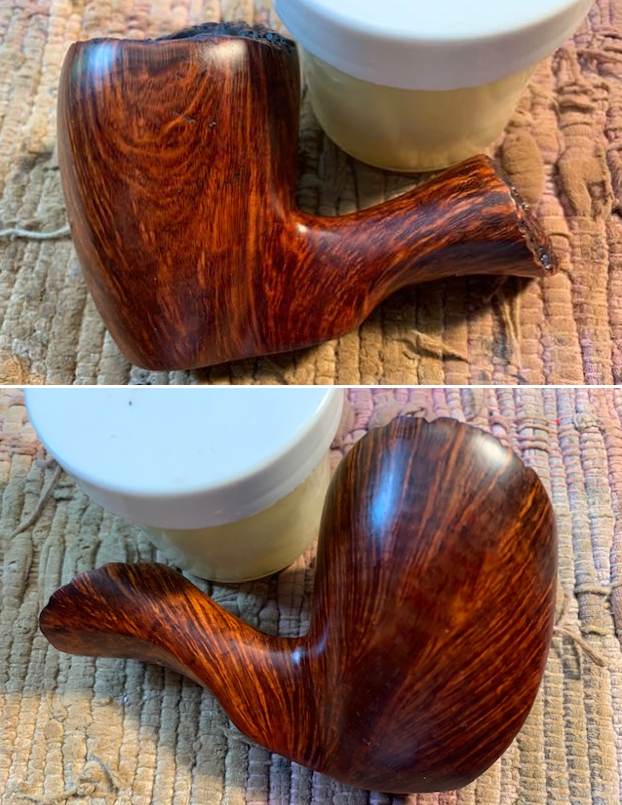
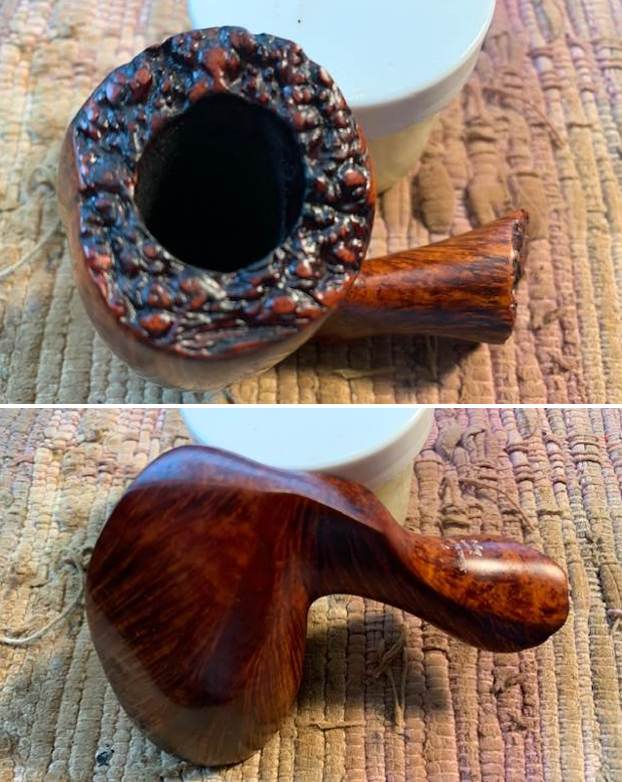
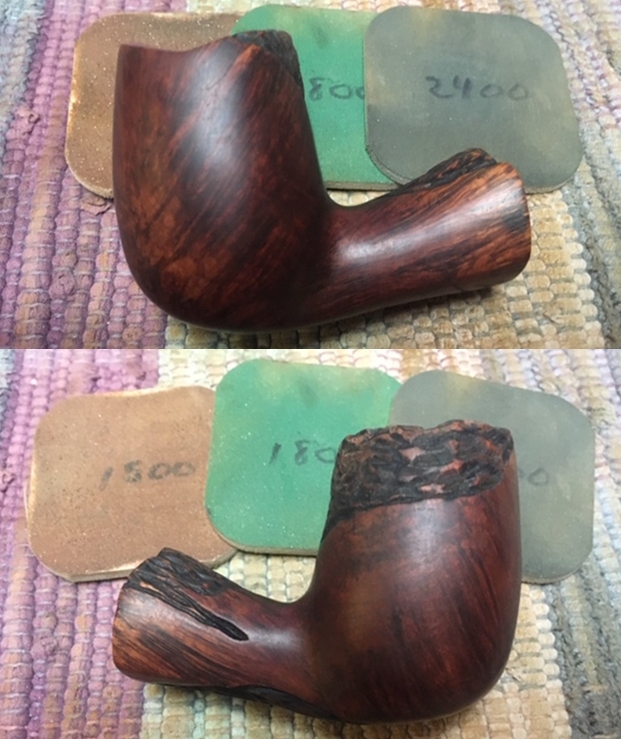
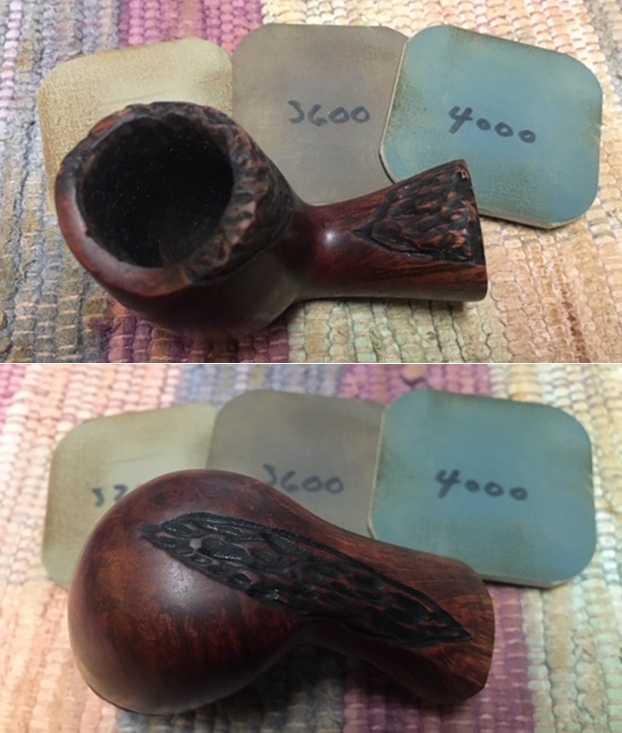
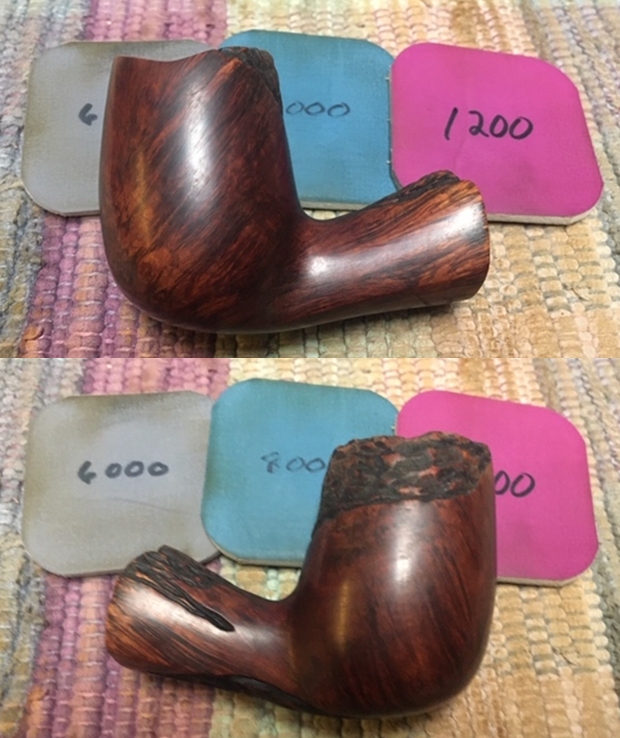
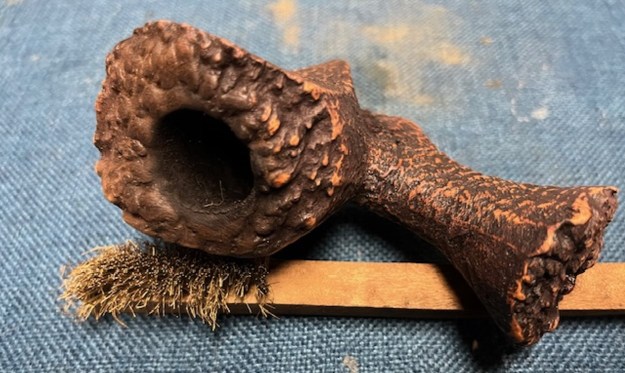 I worked some Before & After Restoration Balm into the surface of the sandblast and plateau surface of the briar with my fingertips and with a horsehair shoe brush to clean, enliven and protect it. I let the balm sit for a little while and then buffed with a cotton cloth to raise the shine. The photos show the bowl at this point in the restoration process.
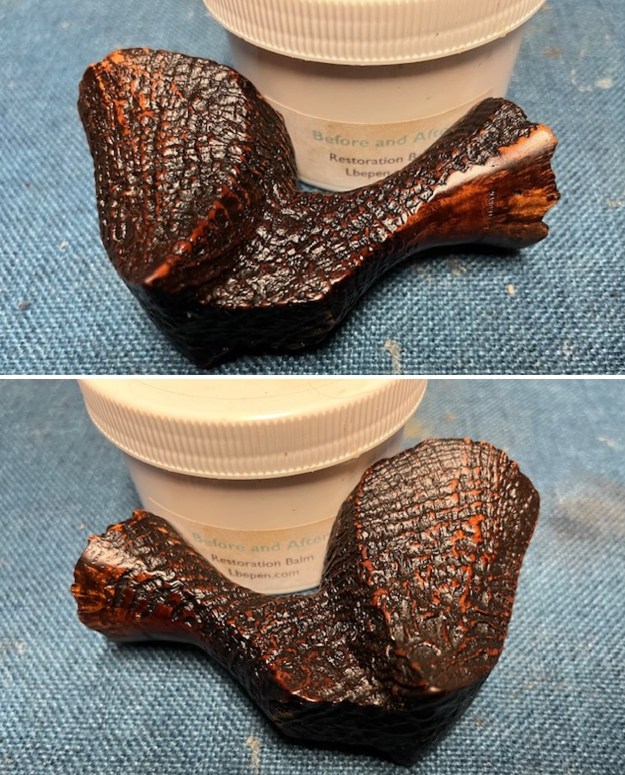
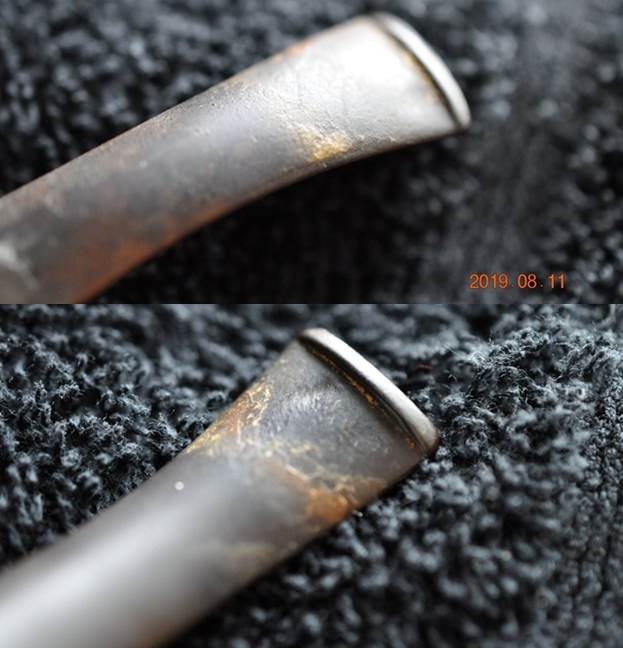
 I set the bowl aside and turned my attention to the stem that I had repaired. I sanded out the tooth chatter and light marks ahead of the button on both sides with 220 grit sandpaper.
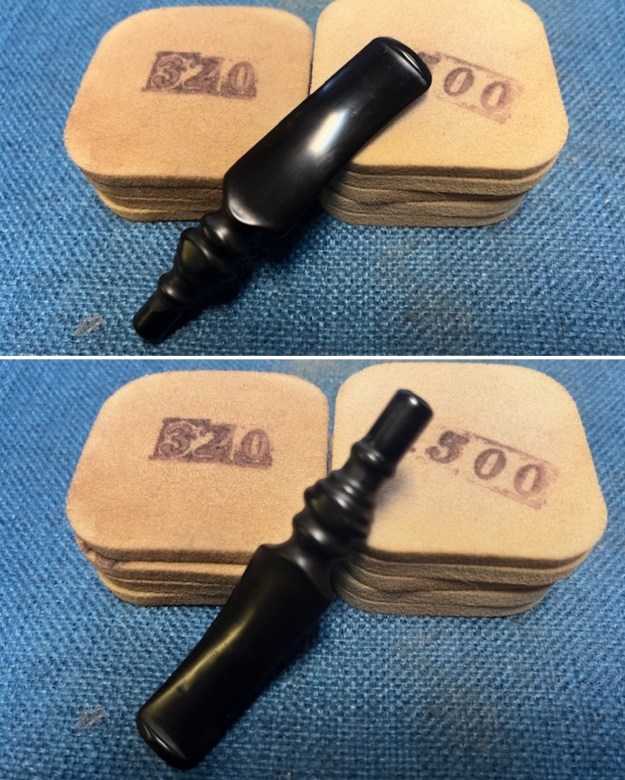
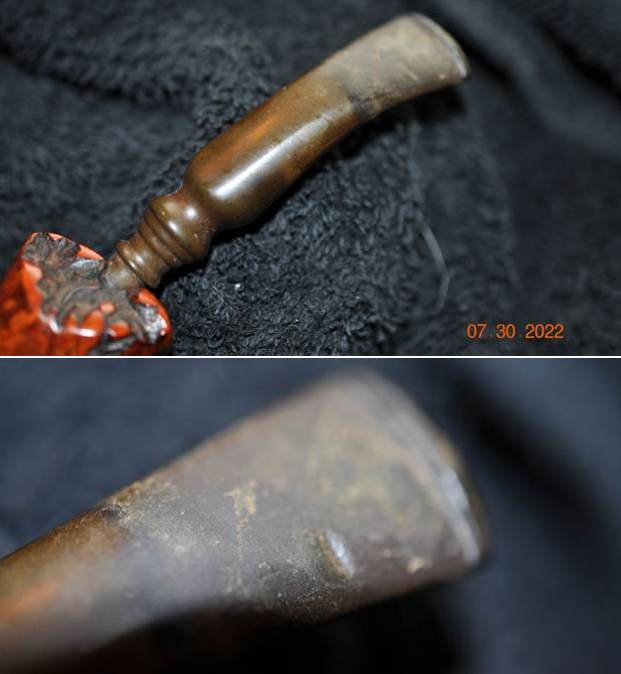
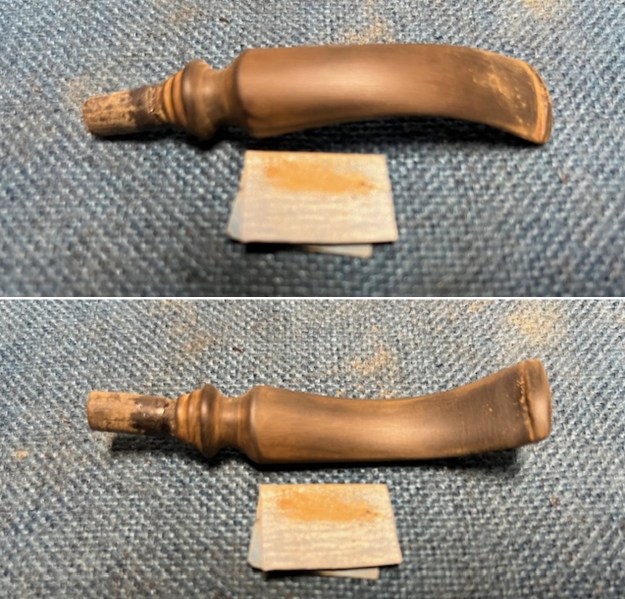 I scrubbed the stem and the new tenon with Soft Scrub Cleanser and cotton pads to remove the oxidation in the grooves of the turned saddle stem. It looked much better at this point in the process.
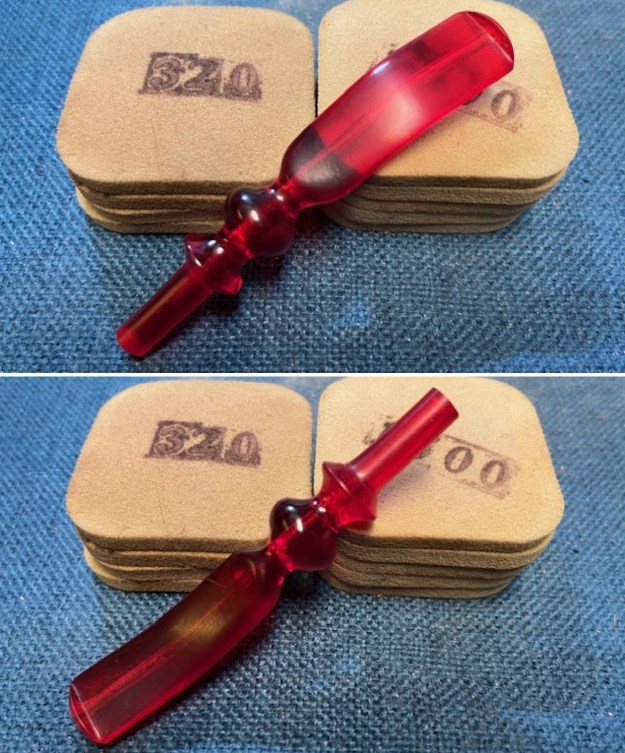
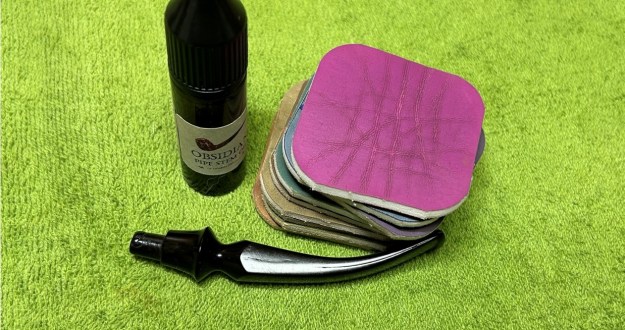
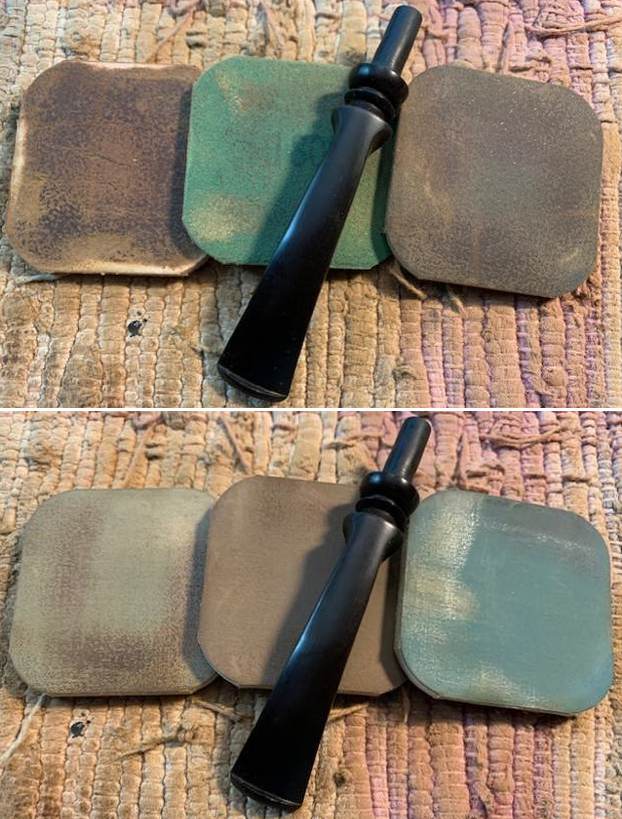
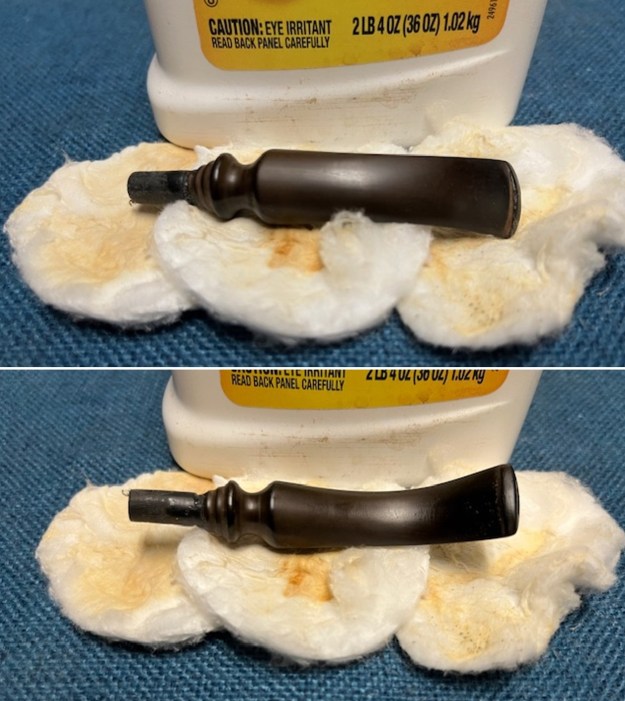 I sanded the stem with 320-3500 grit 2×2 inch sanding pads. I wiped it down after each sanding pad with an Obsidian Oil cloth to remove the dust and debris.
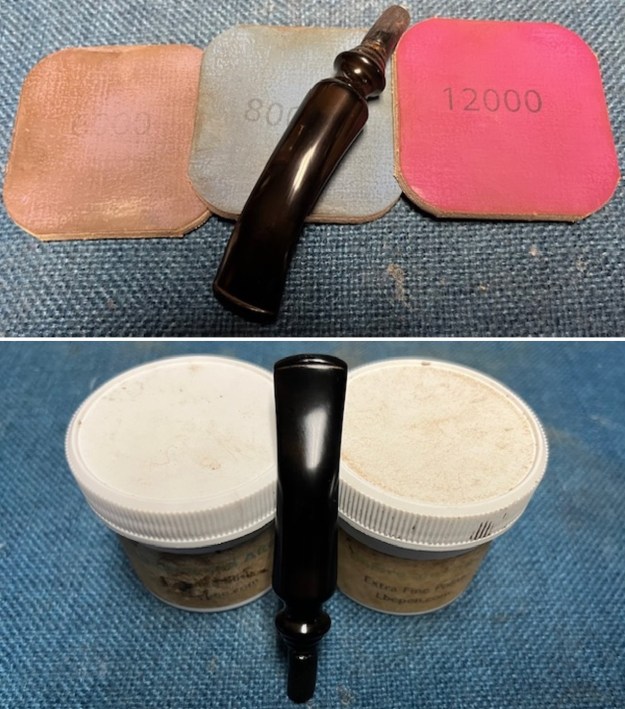
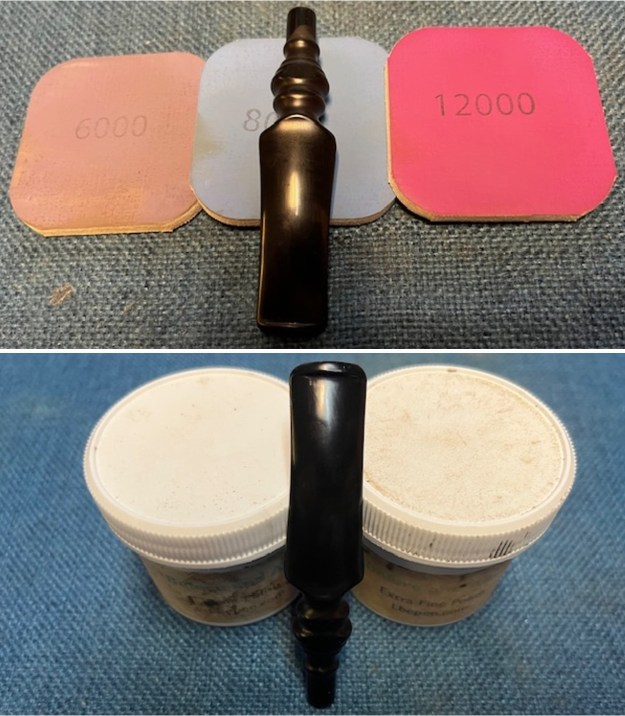
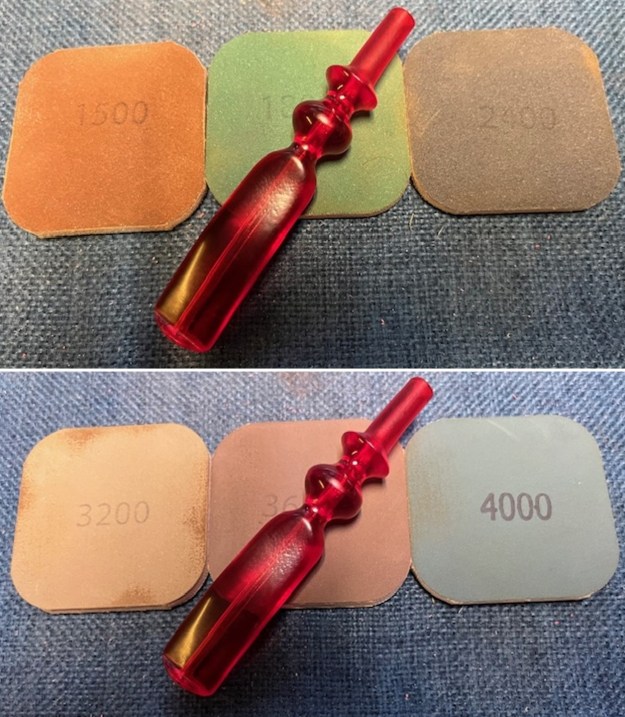
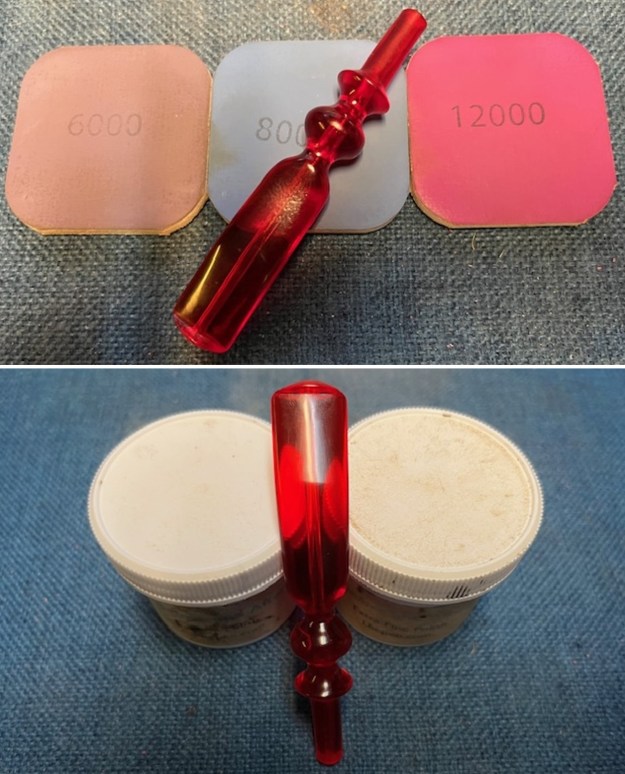
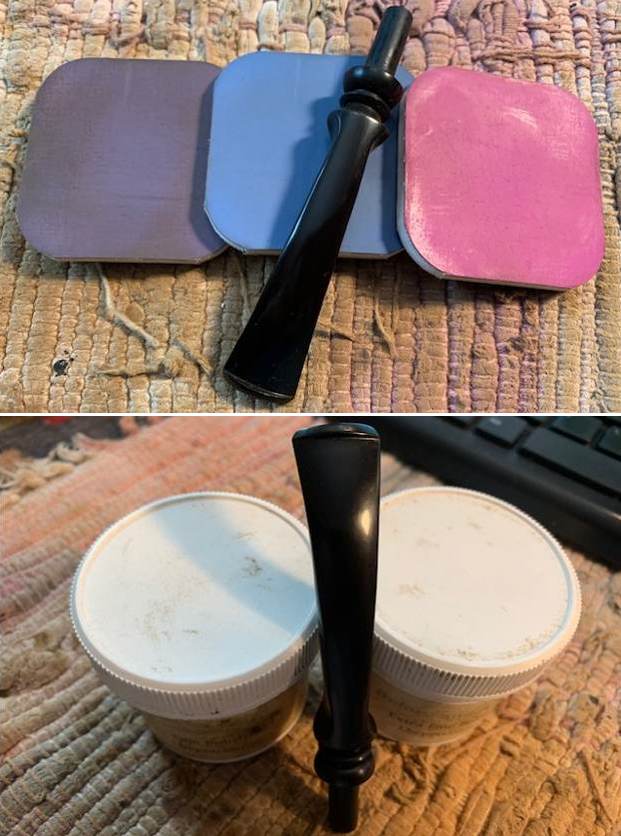
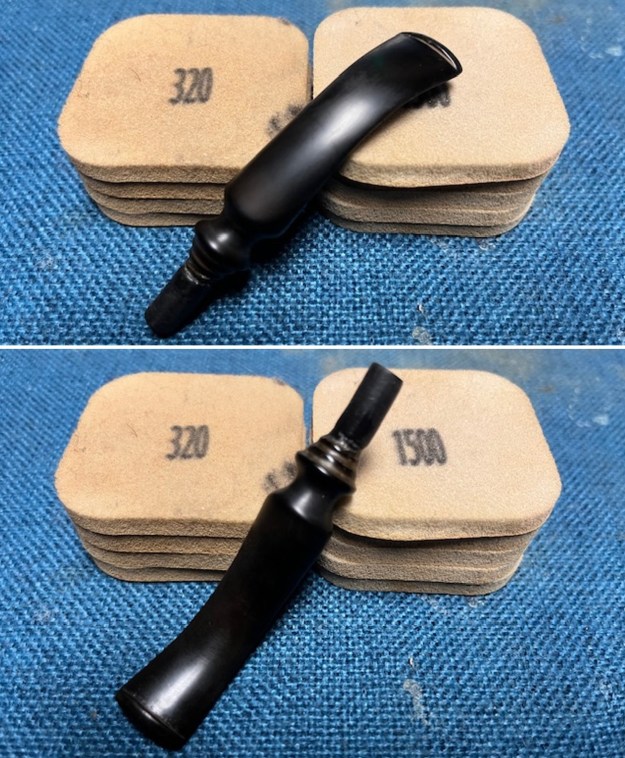 I polished the stem with micromesh sanding pads – wet sanding with 1500-12000 grit sanding pads. I wiped it down after each sanding pad with some Obsidian Oil. I finished polishing it with Before & After Pipe Stem Polish – both Fine and Extra Fine and buffed it off with a cotton cloth.
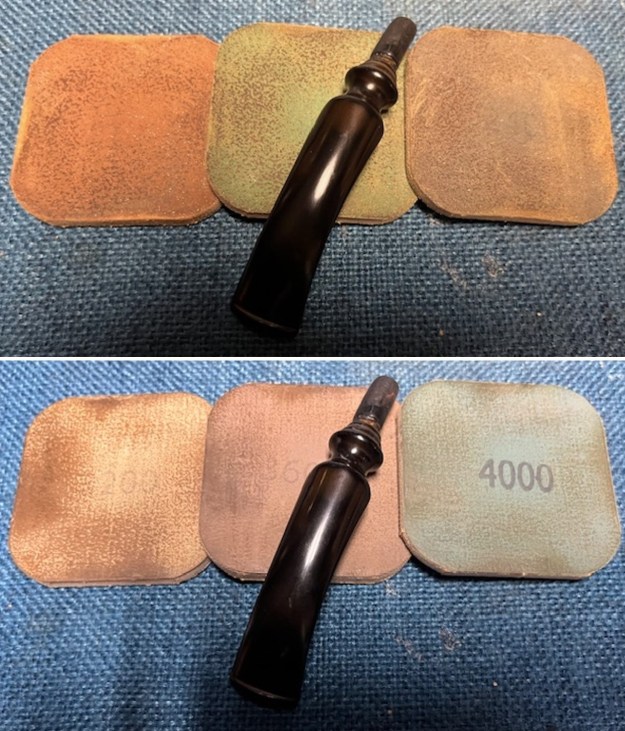
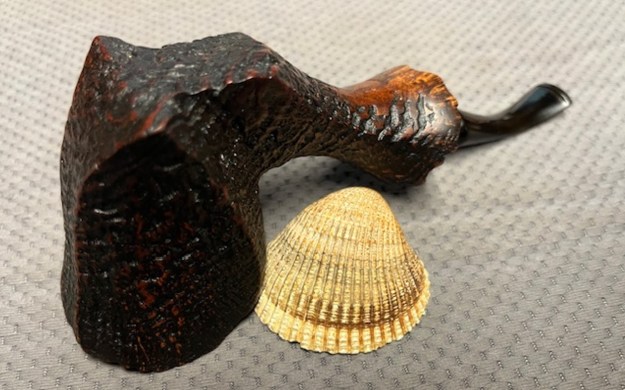
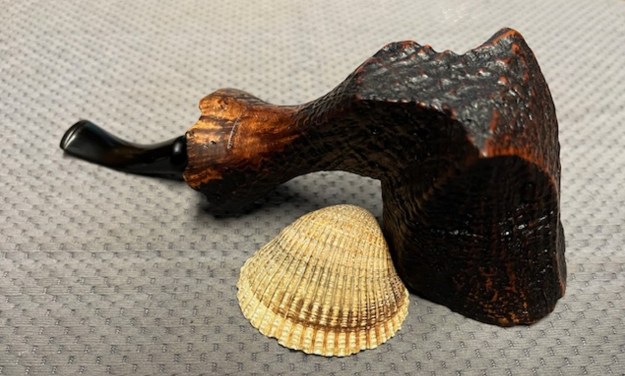
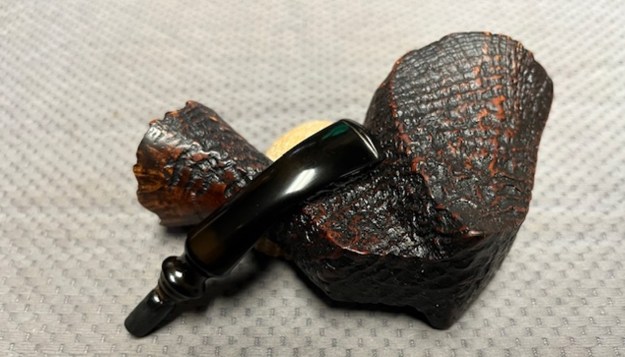
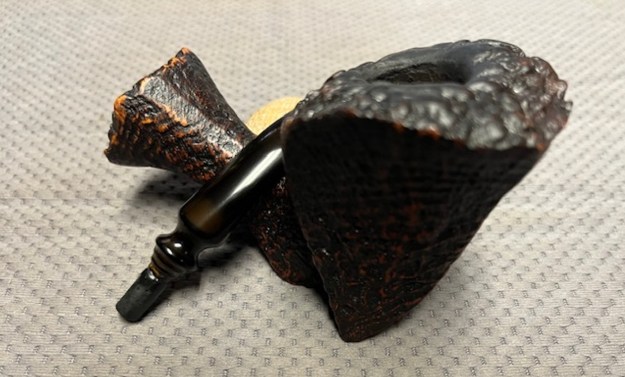
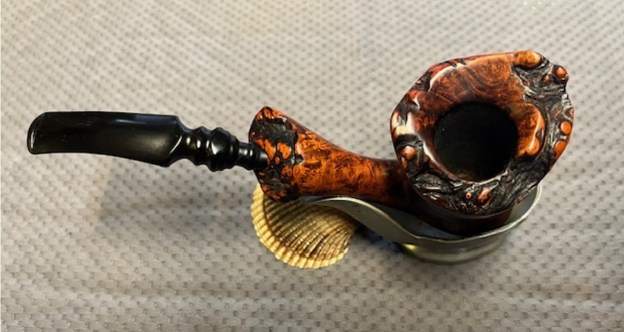
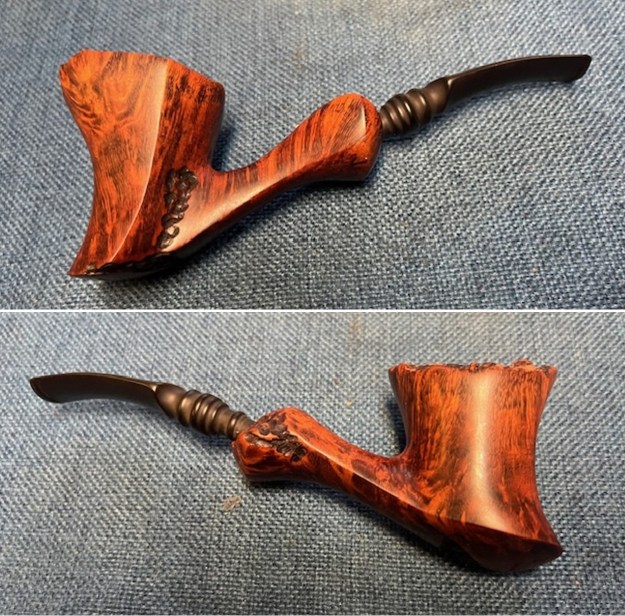
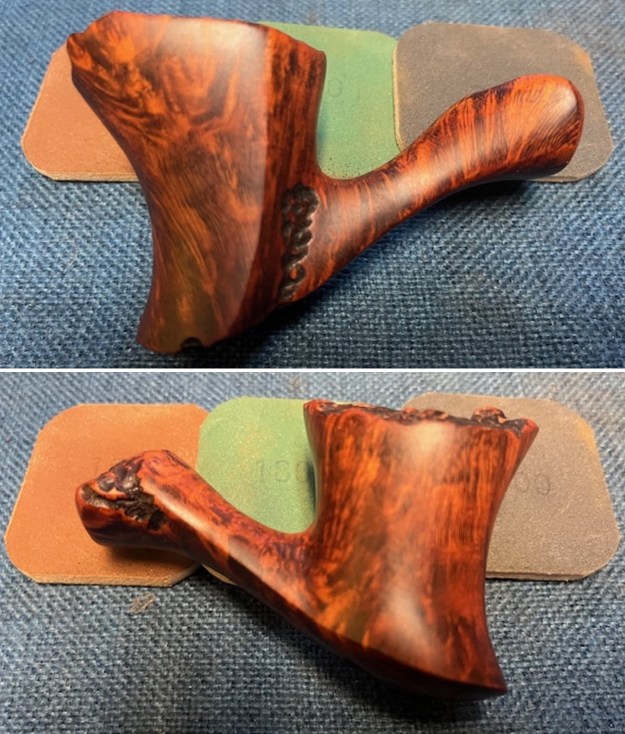
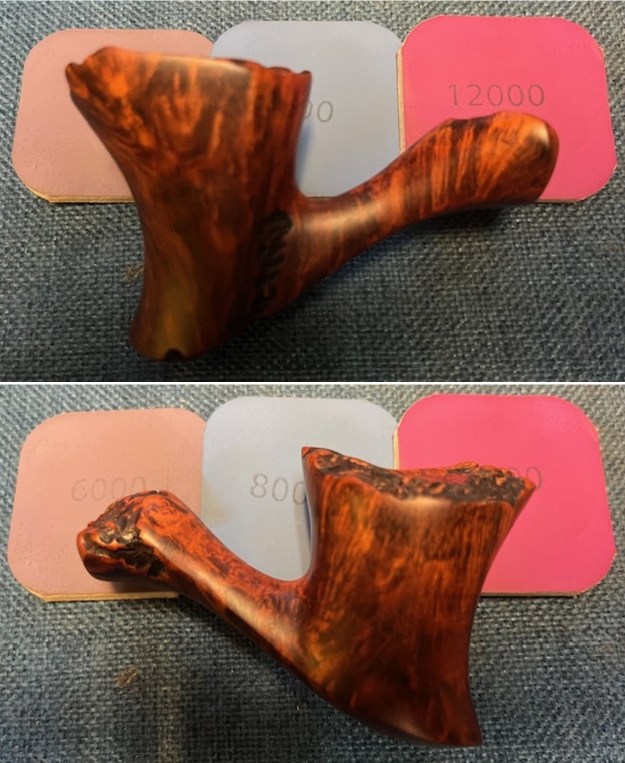
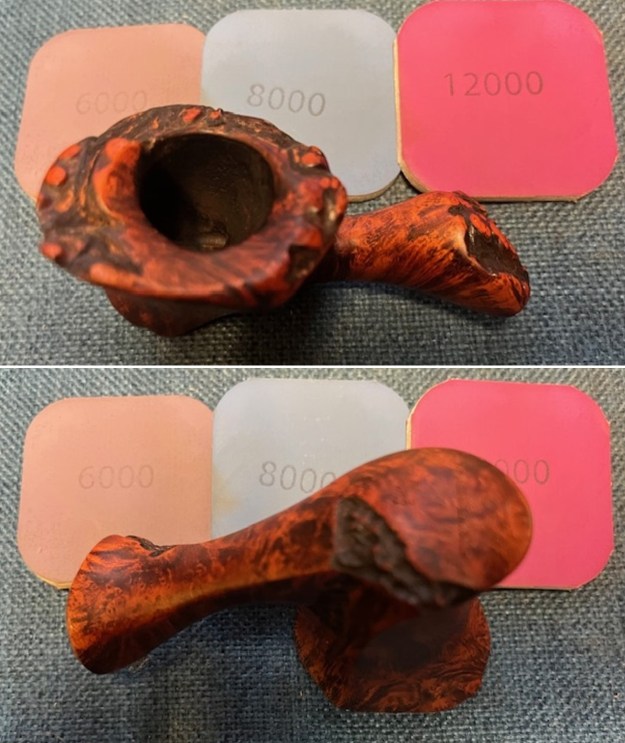
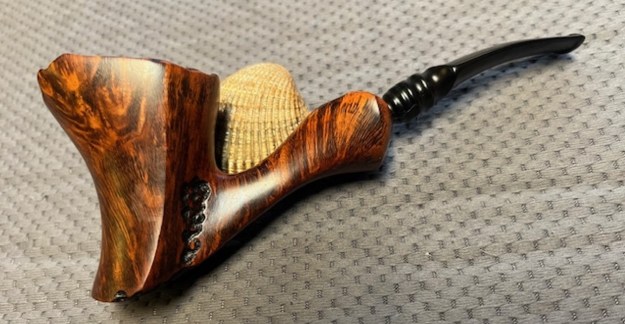
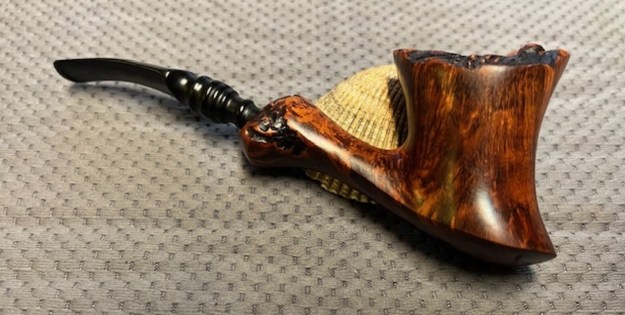
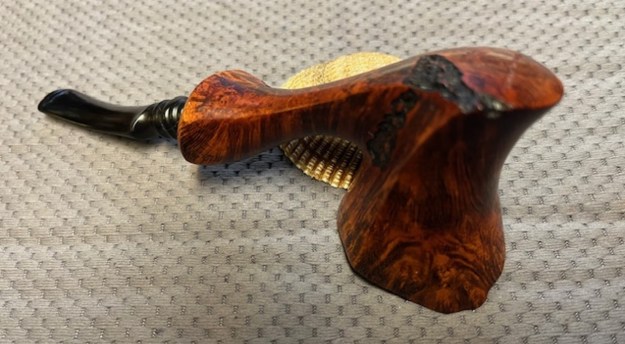
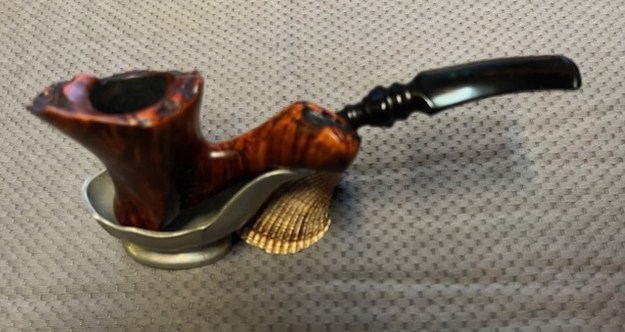
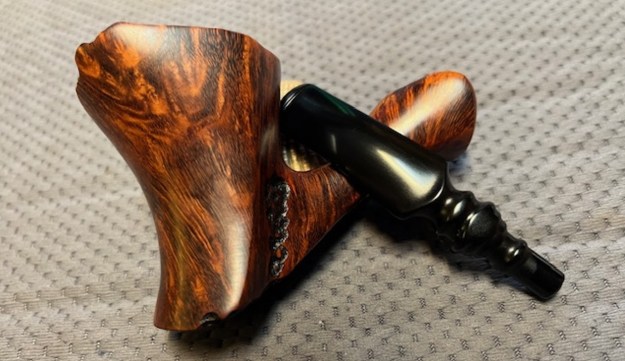
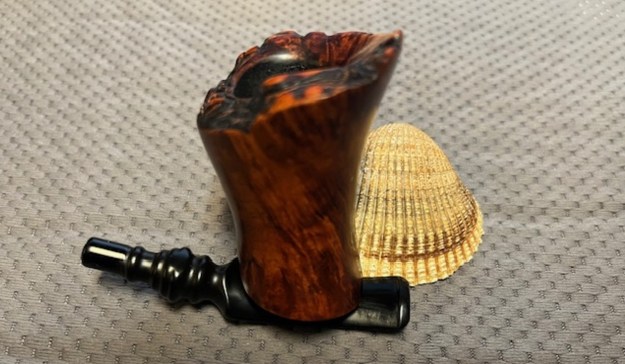
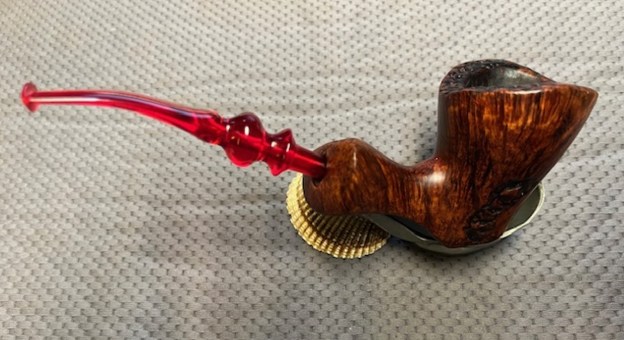
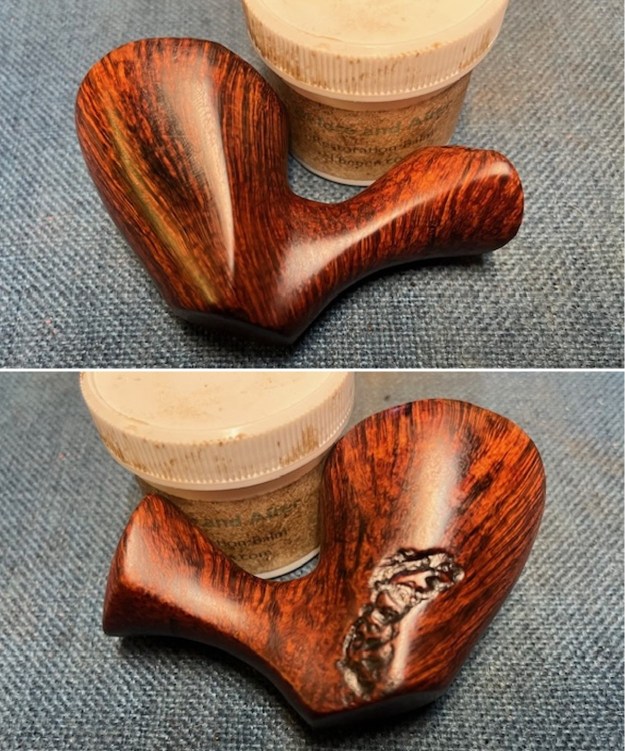
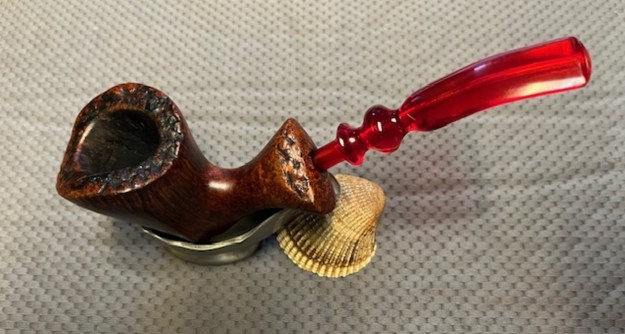
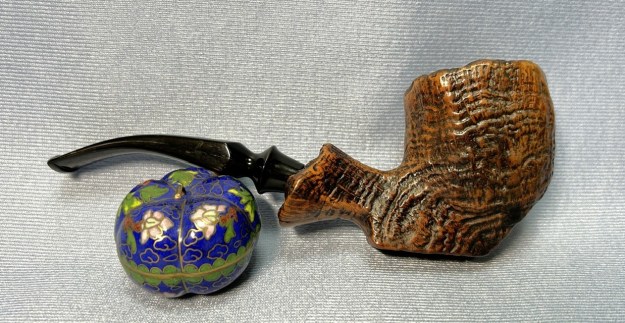
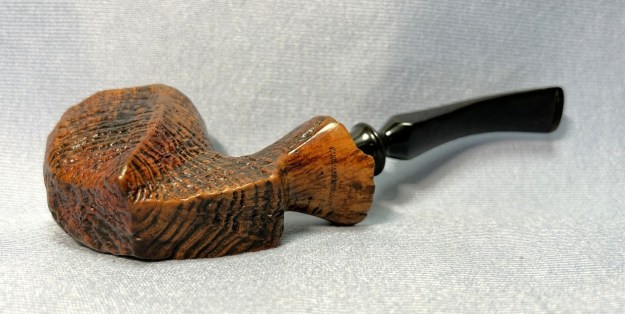
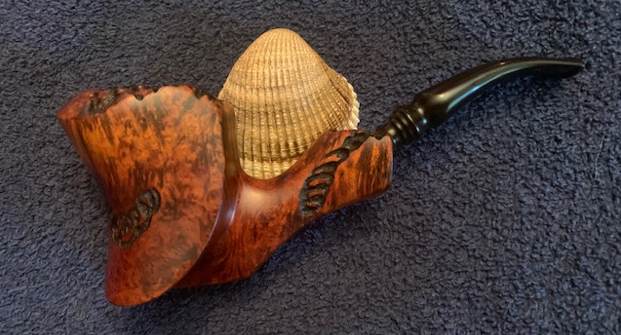
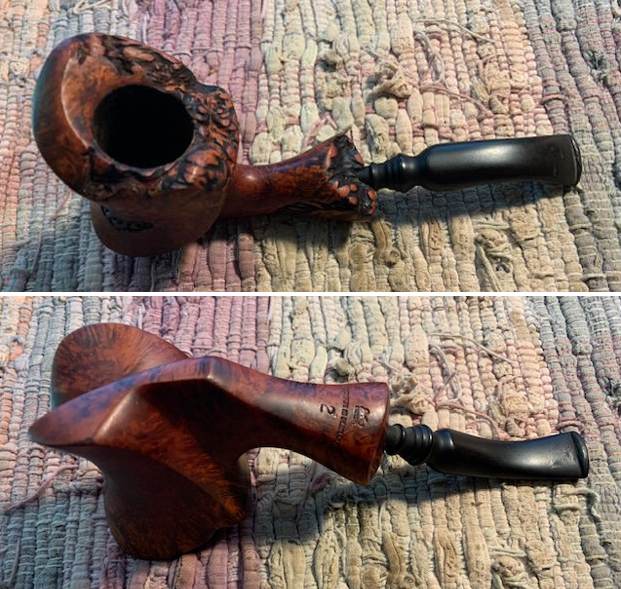
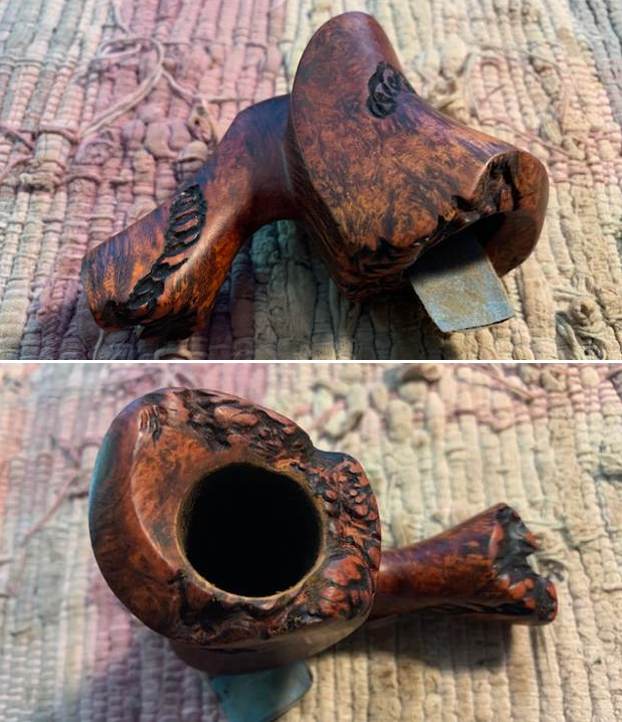
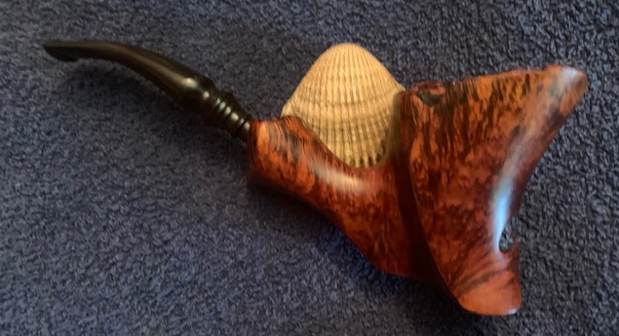
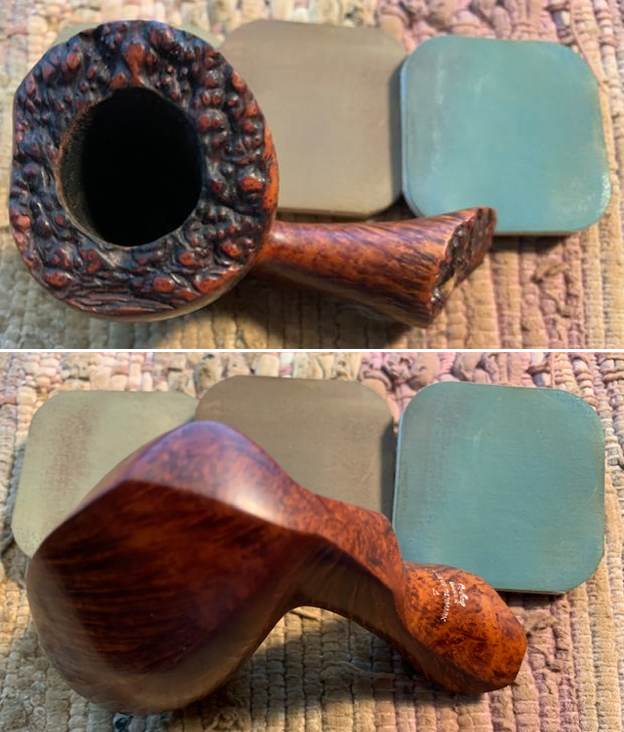
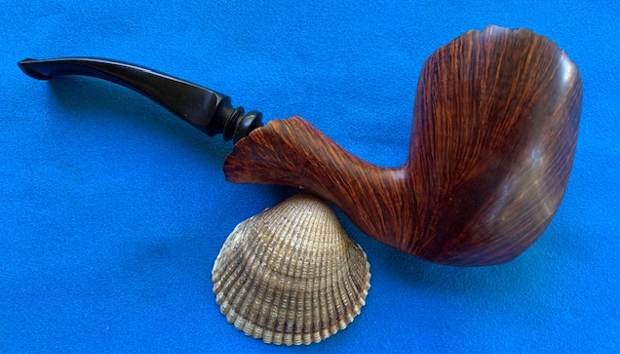
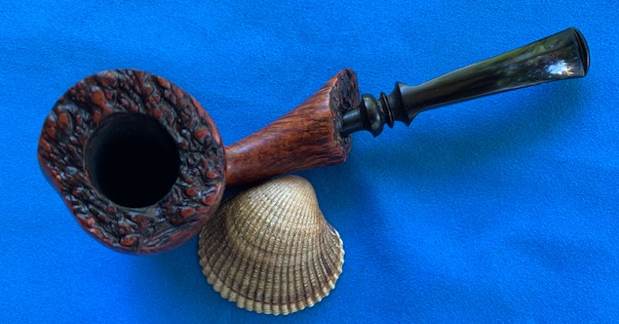
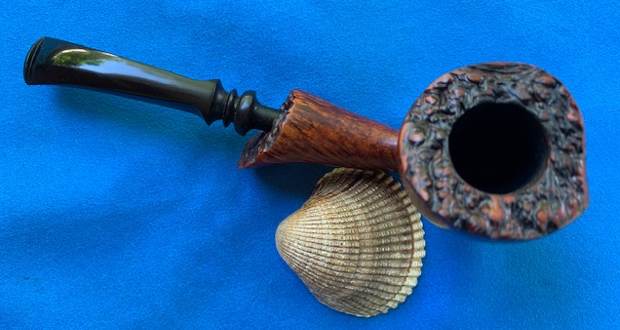
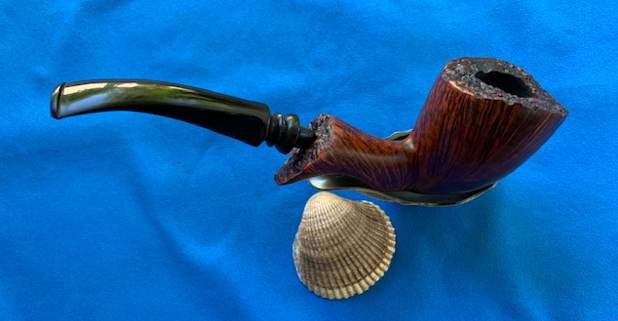
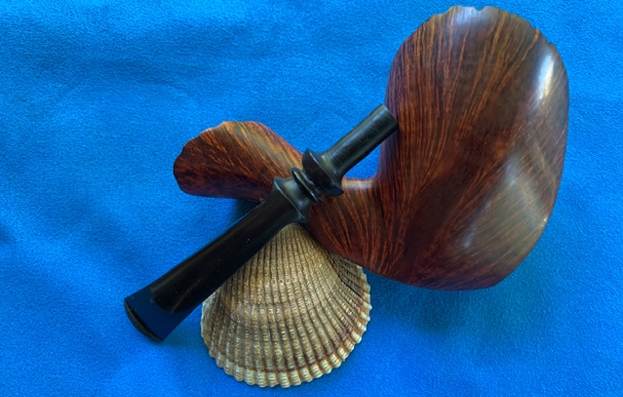
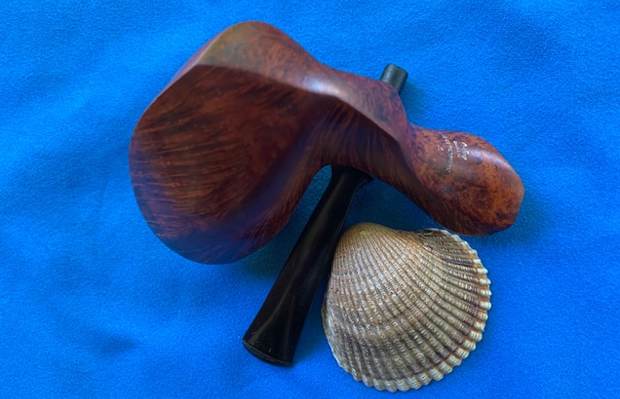
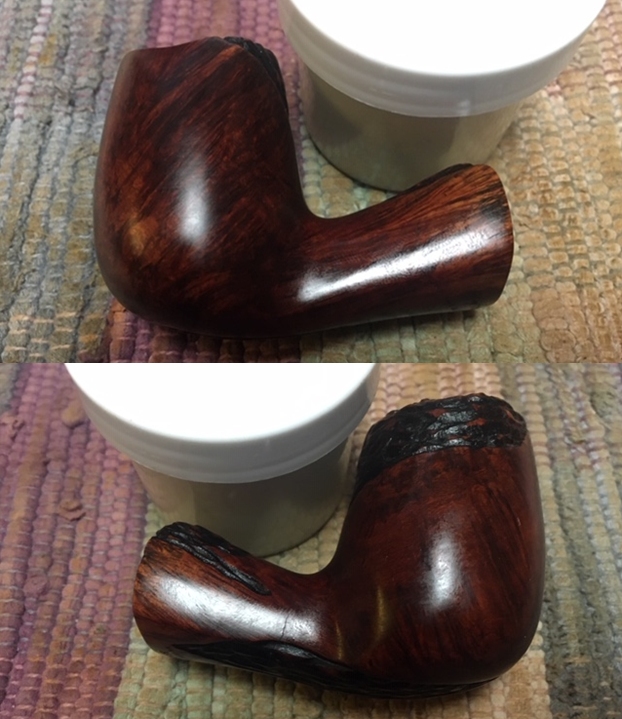
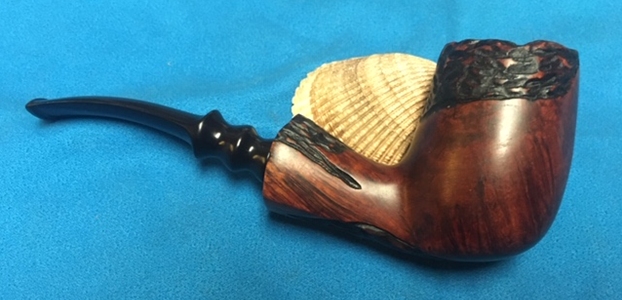
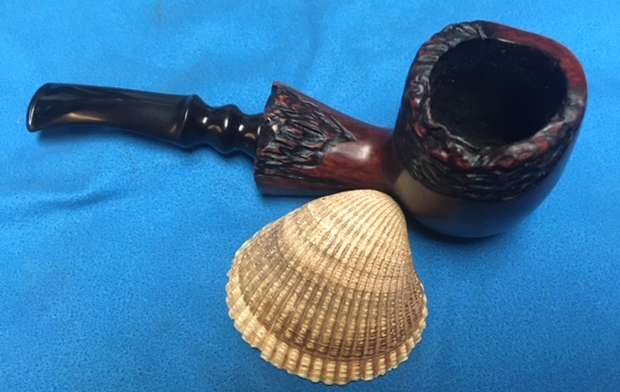
 This is a beautiful Sandblast Jobey Dansk 1 Handmade by Karl Erik with a fancy, turned, black vulcanite stem. It has a great look and feel. The shape fits well in the hand with the curve of the bowl and shank junction a perfect fit for the thumb around the bowl when held. I polished stem and the bowl with Blue Diamond polish on the buffing wheel. I gave the sandblast bowl and the plateau on the rim top and shank end multiple coats of Conservator’s Wax. I gave the stem multiple coats of carnauba wax. I buffed the pipe with a clean buffing pad to raise the shine. I hand buffed it with a microfiber cloth to deepen the shine. The pipe polished up pretty nicely. The rich combination of browns and black in the smooth finishes and the plateau areas took on life with the buffing. The rich colour of the briar works well with the polished vulcanite stem. I like the grain and finished look of this Jobey Dansk 1 Sandblast Freehand pipe. Have a look at it with the photos below. The shape, finish and flow of the pipe and stem are very well done. The dimensions are Length: 7 inches, Height: 2 ¾ inches, Outside diameter of the bowl: 2 inches wide x 2 ¾ inches long, Chamber diameter: ¾ of an inch. The weight of the pipe is 3.17 ounces /91 grams. This Danish Freehand is a real beauty. Thanks for walking through the restoration with me as I worked over another beautiful pipe. This one will be going back to Al shortly. I look forward to hearing what he thinks. Thanks for your time.


