Blog by Mike Belarde
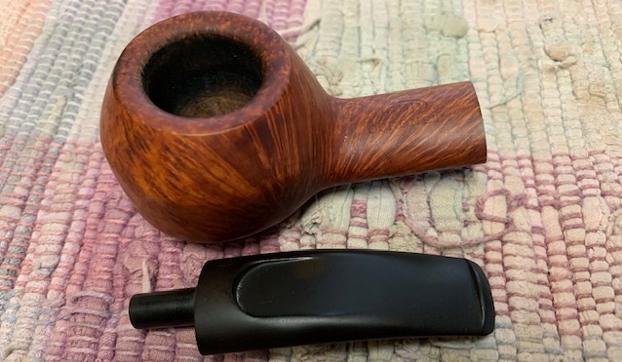
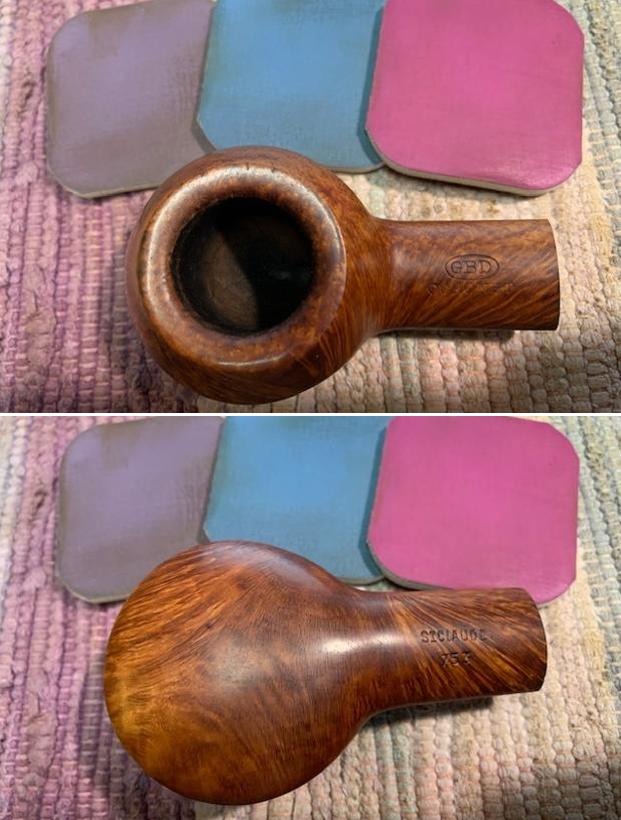
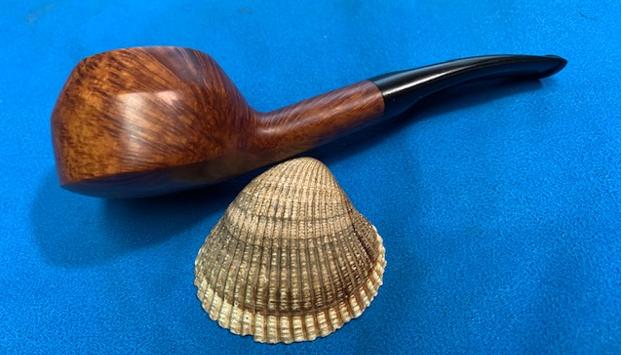
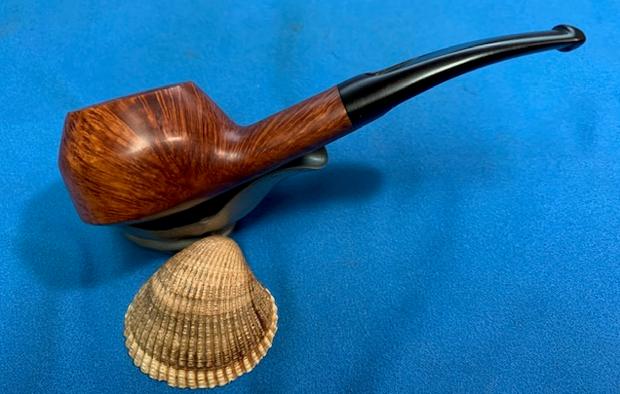
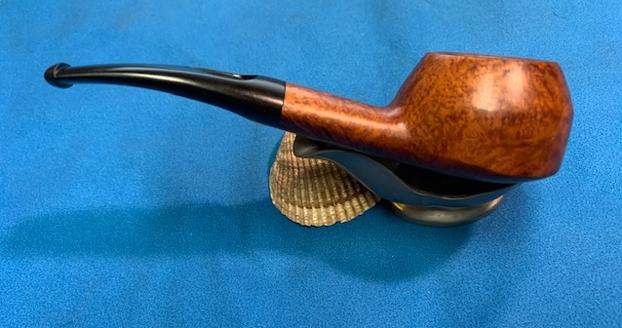
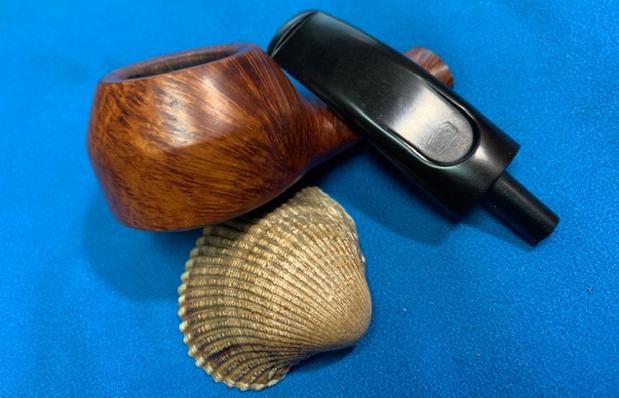
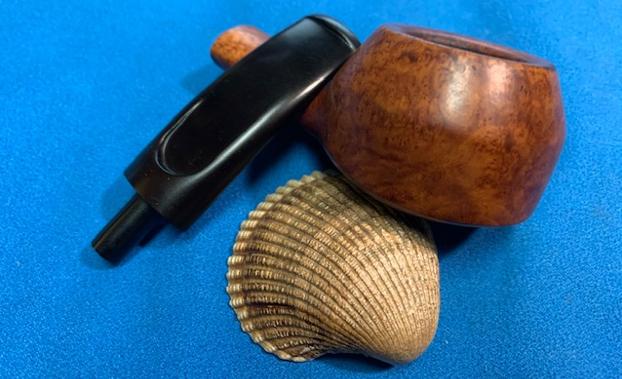
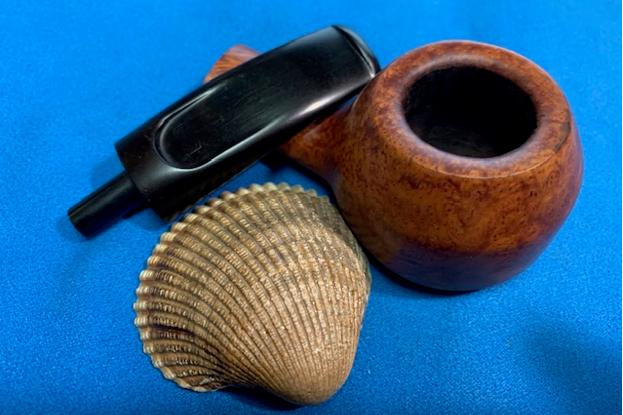
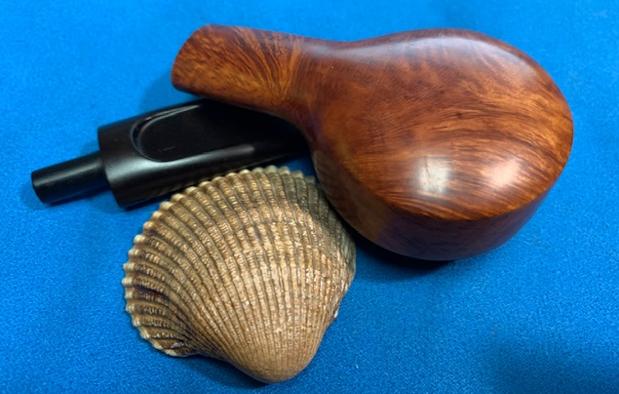
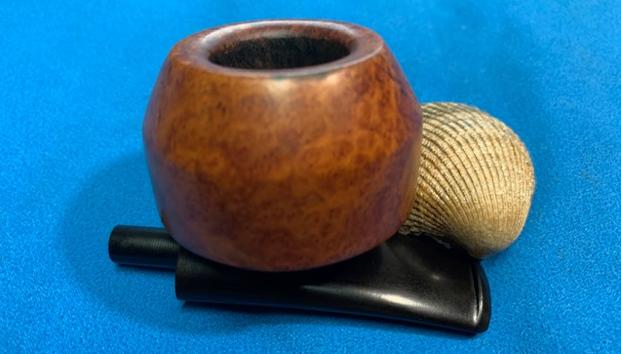
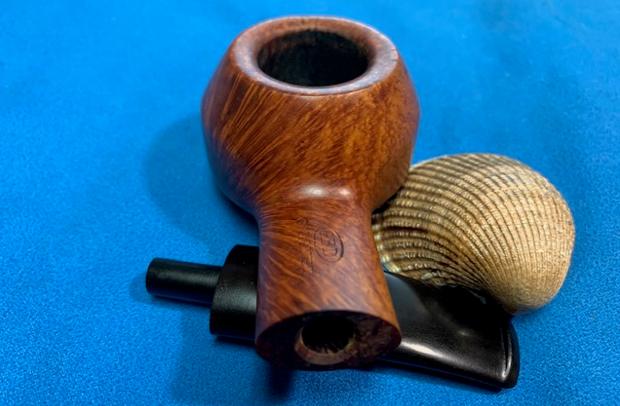
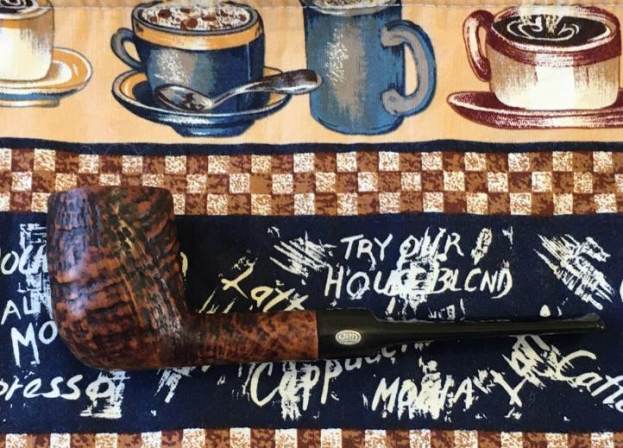
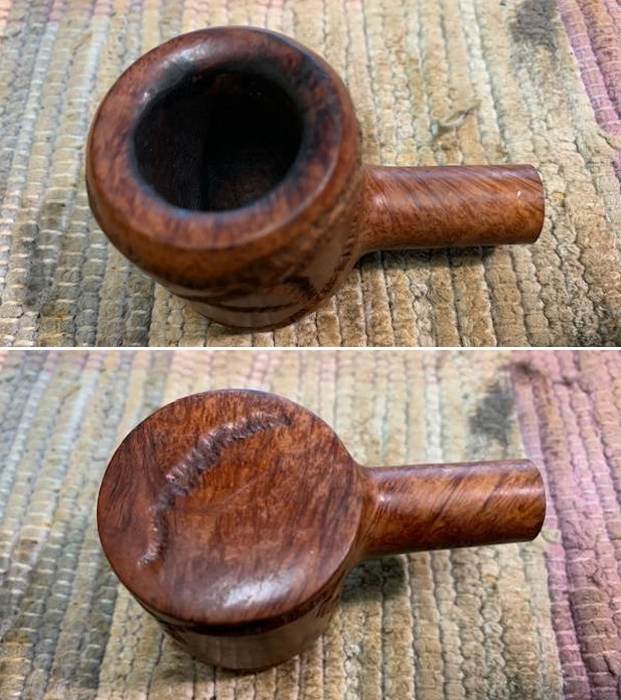
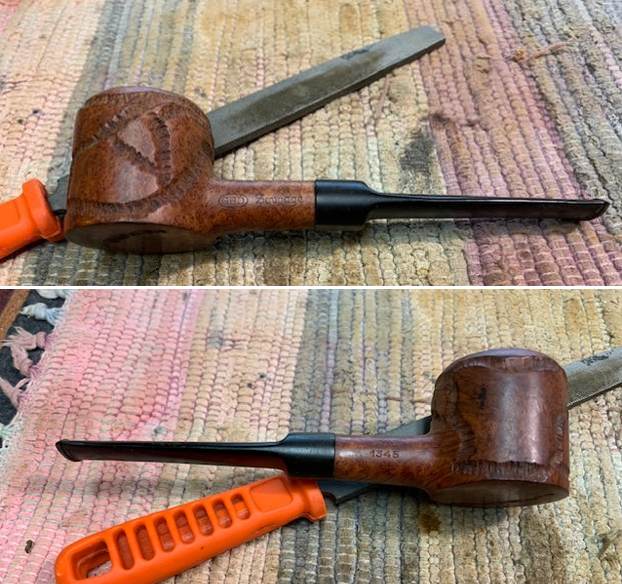
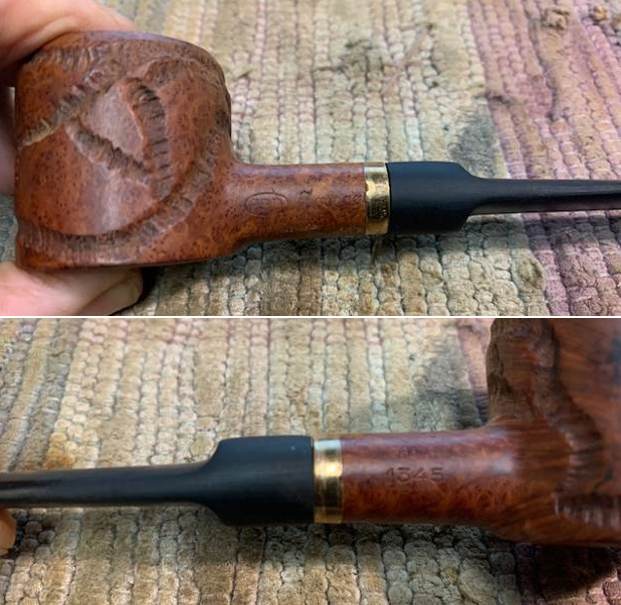
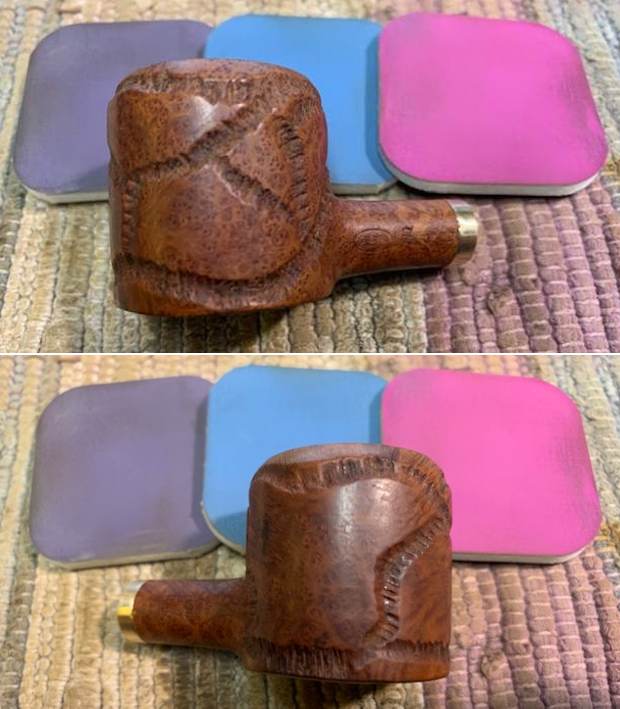
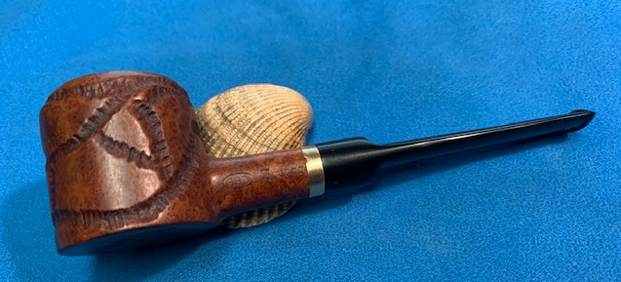
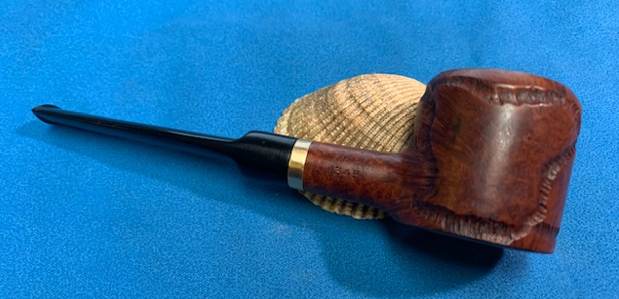
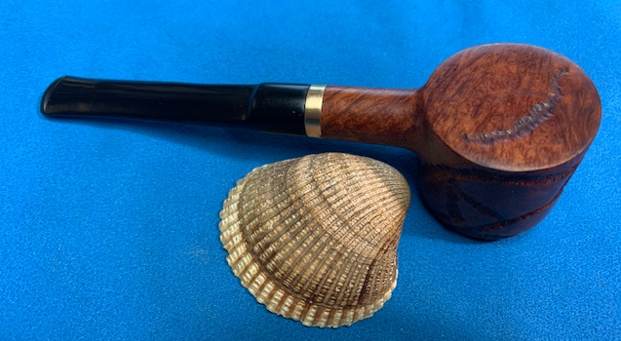
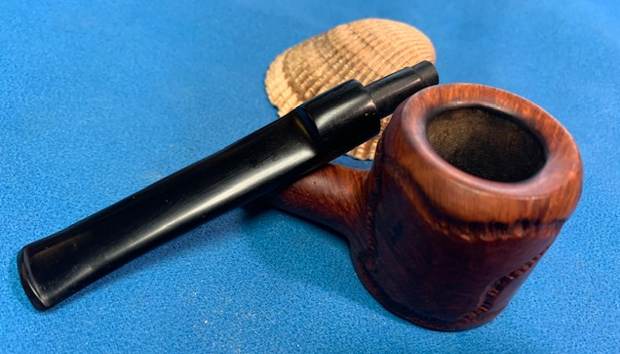
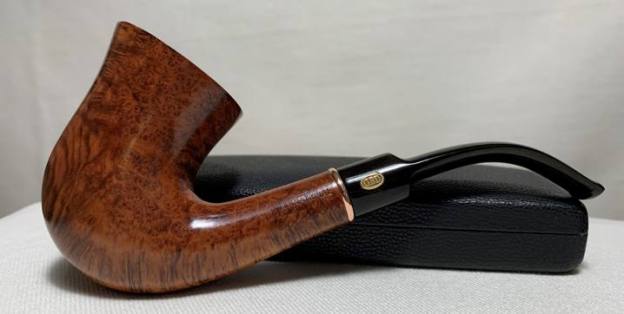
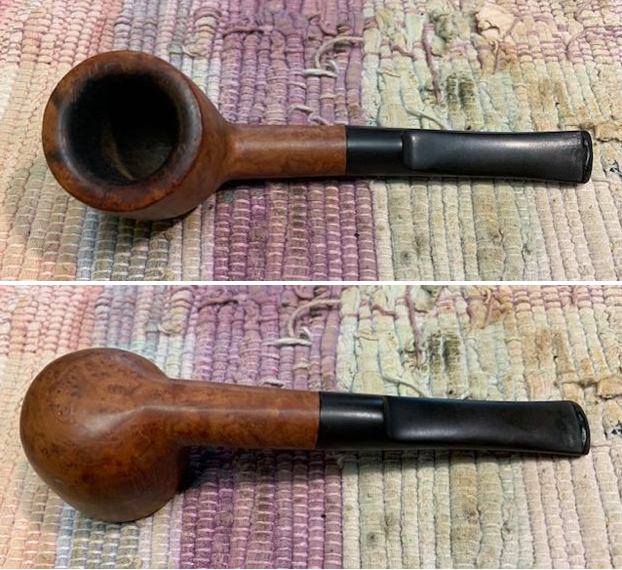
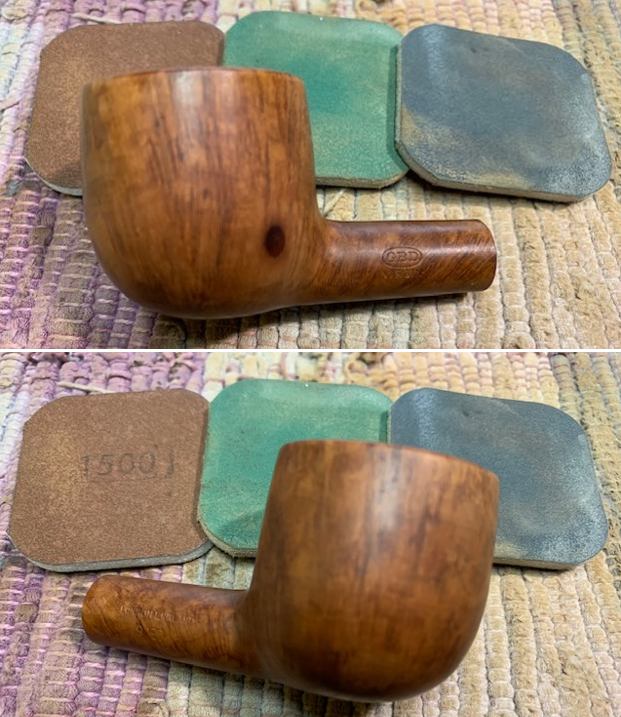
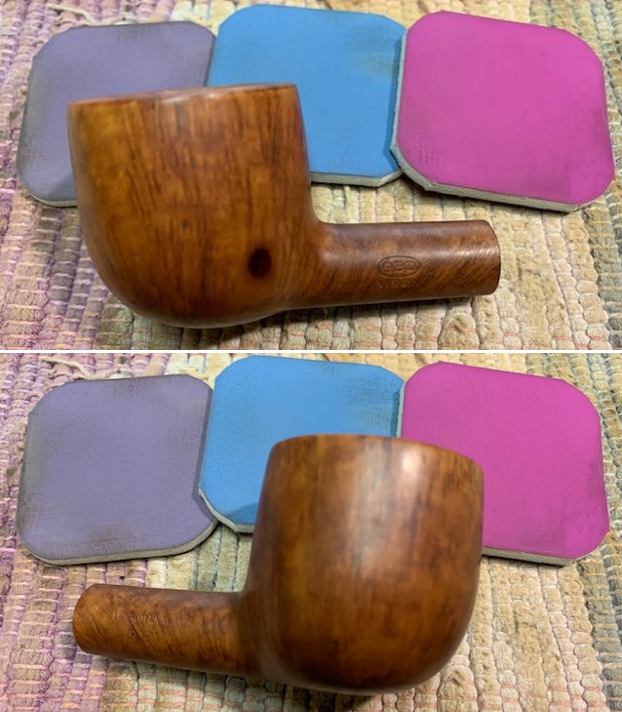
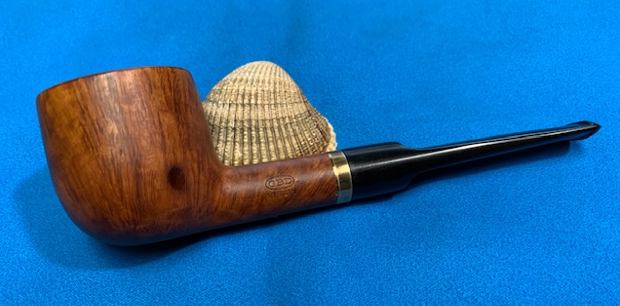
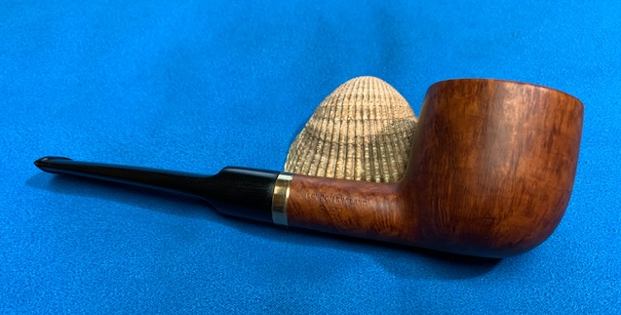
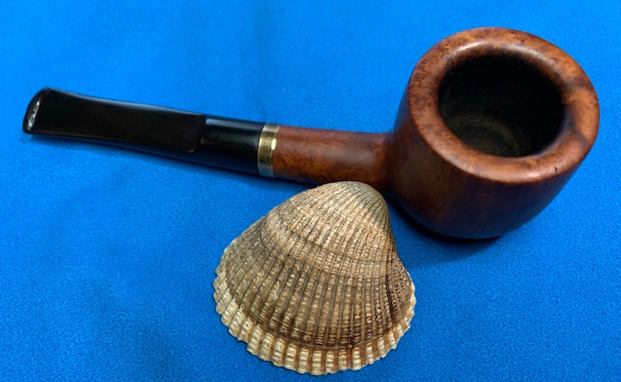
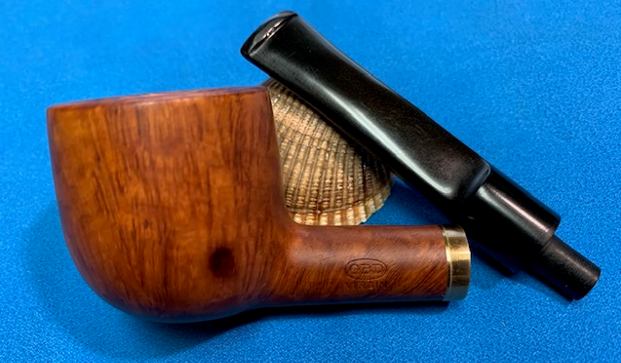
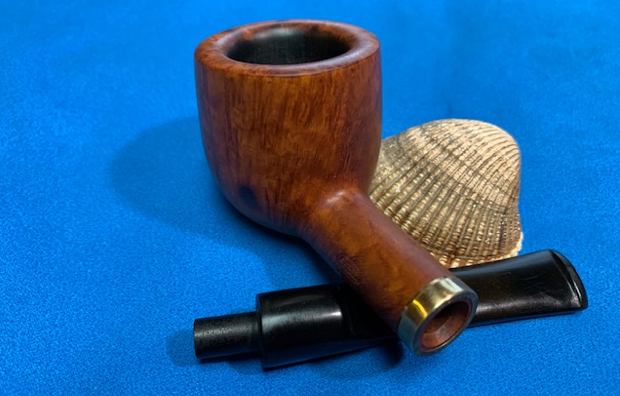
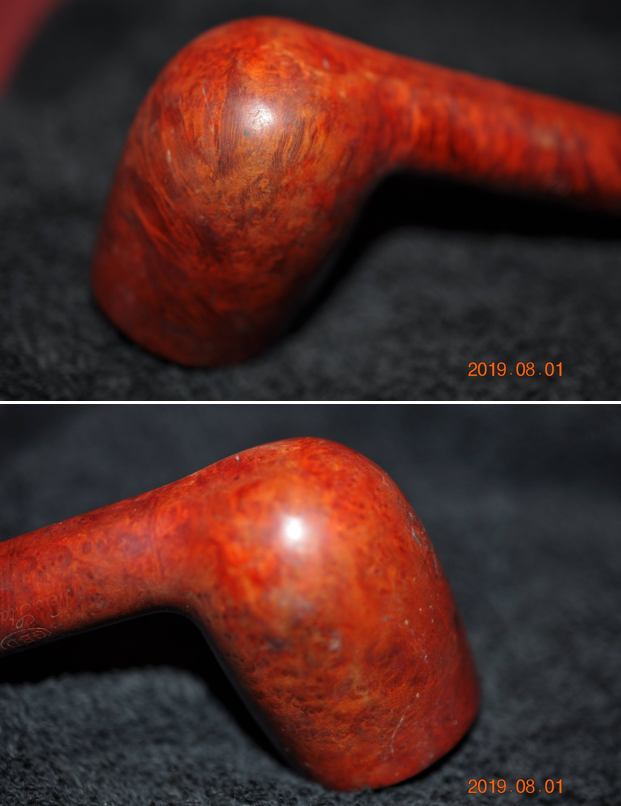
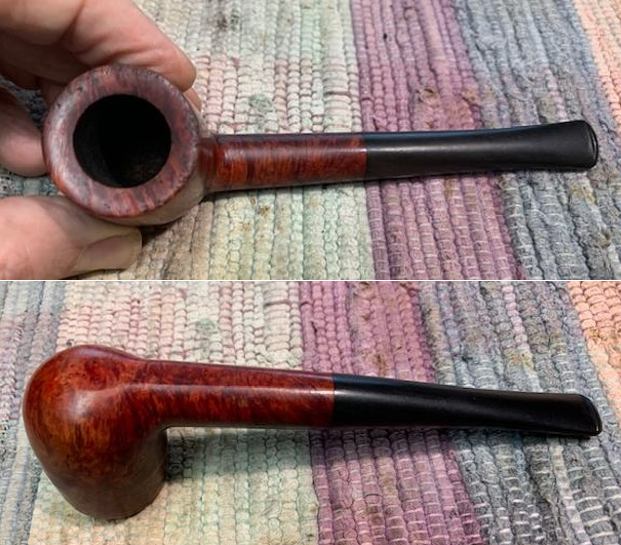
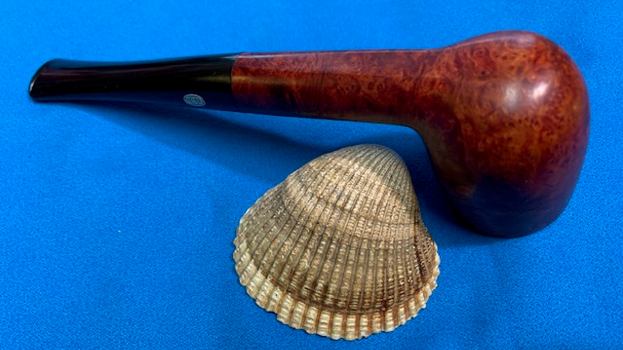
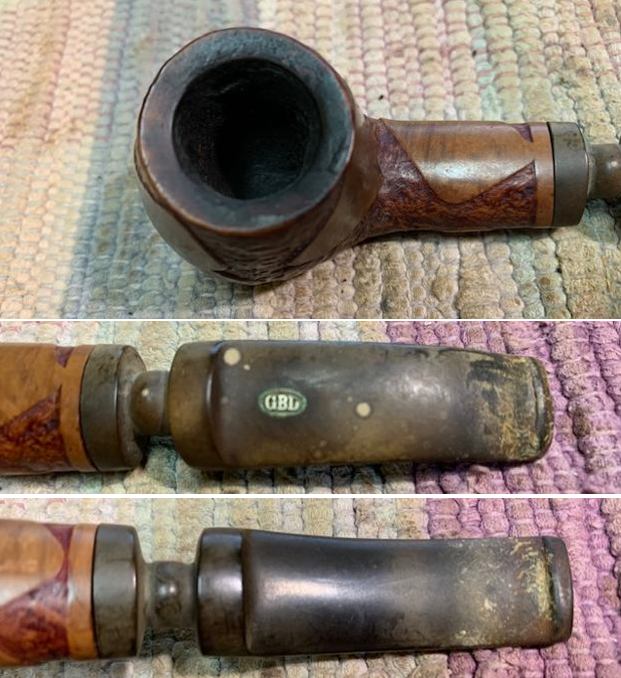
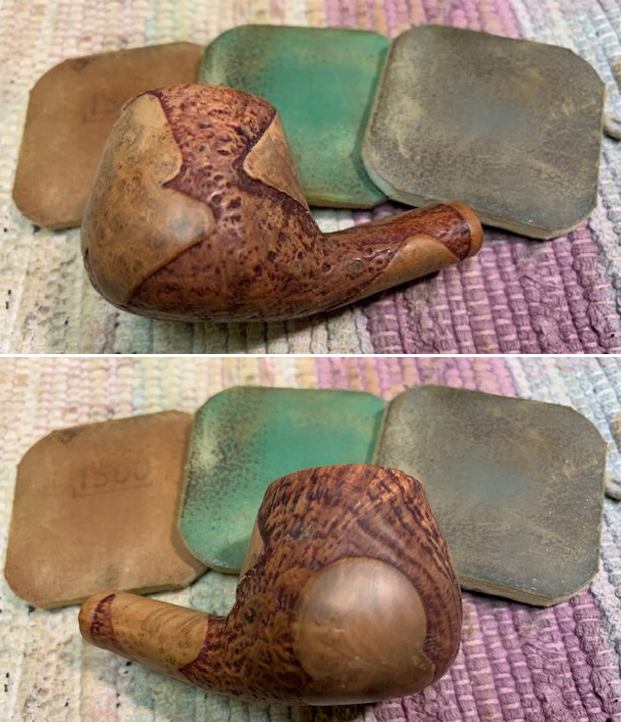
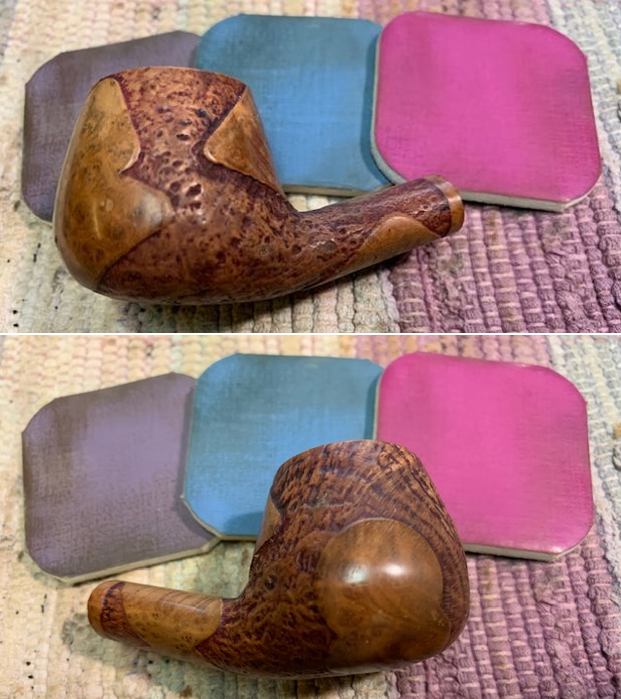
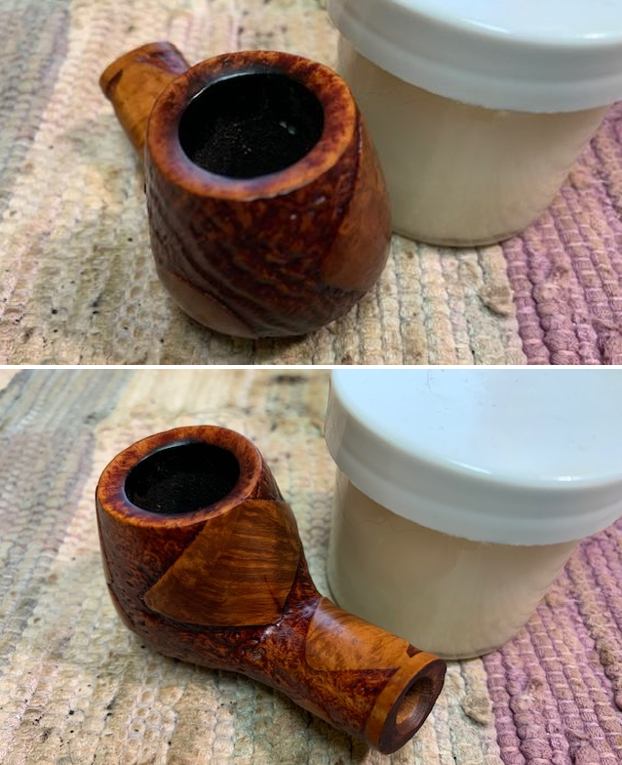
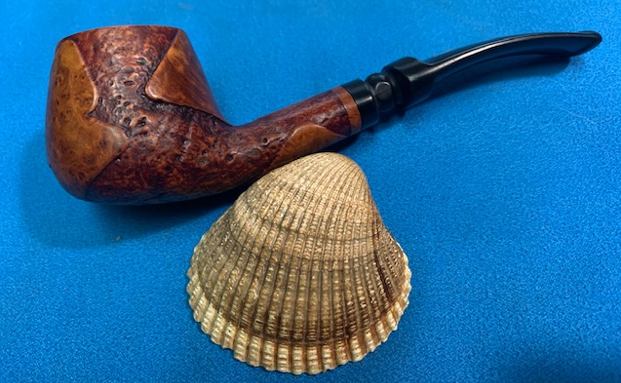
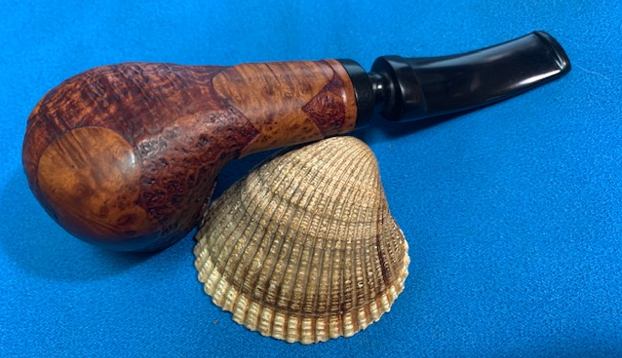
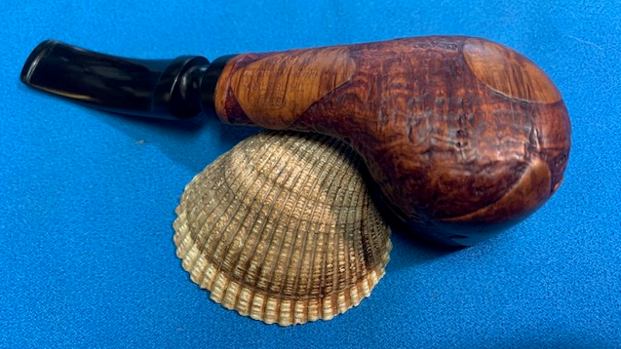
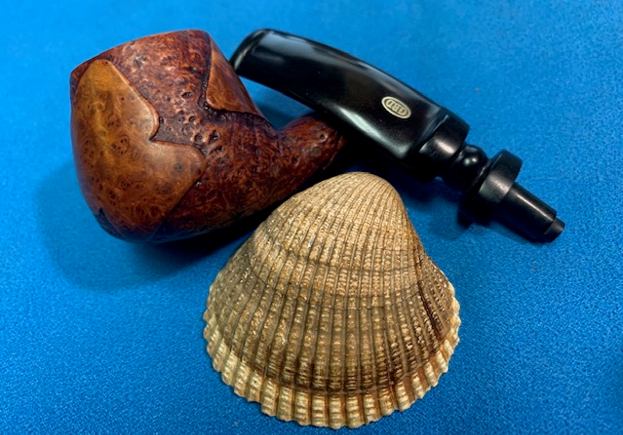
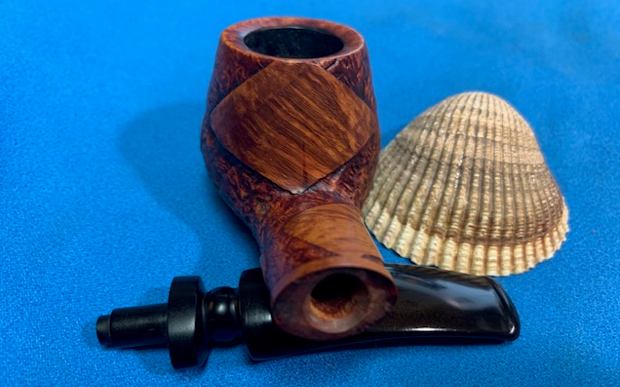
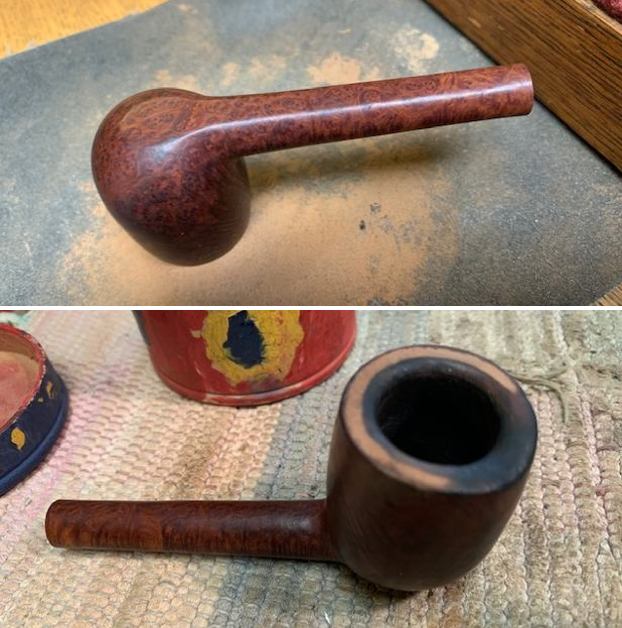
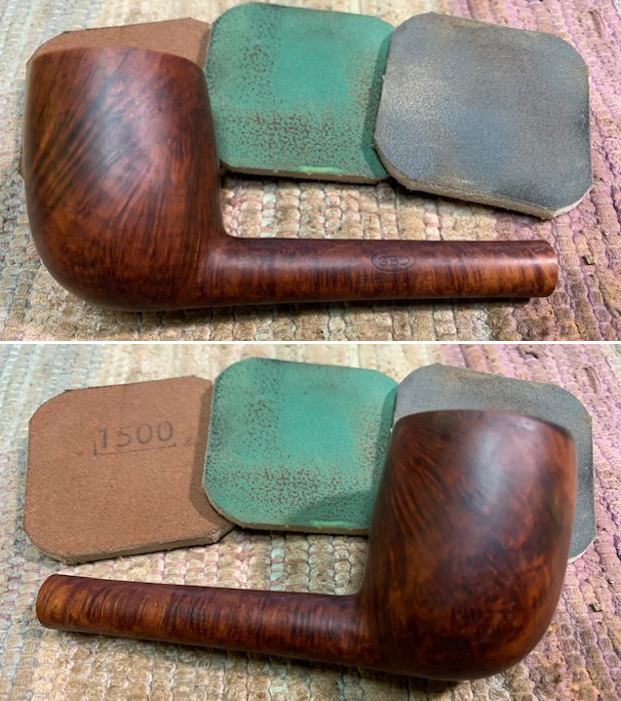
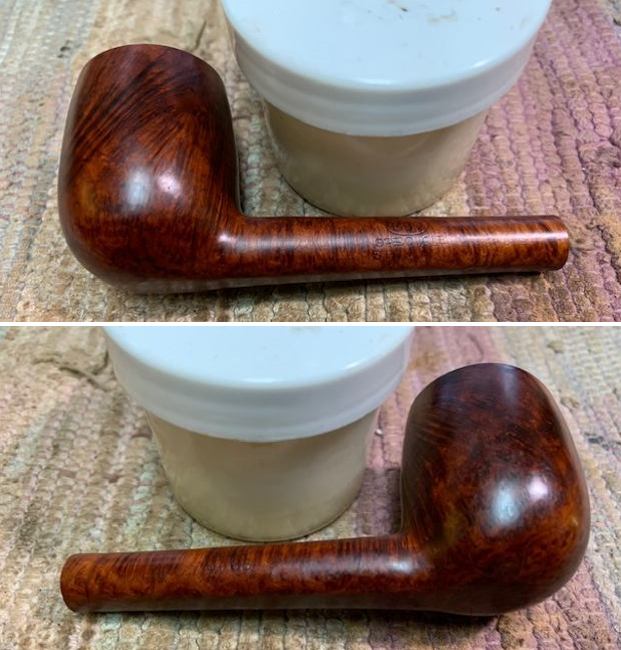
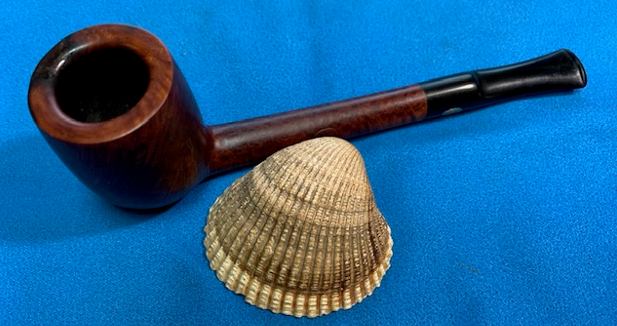
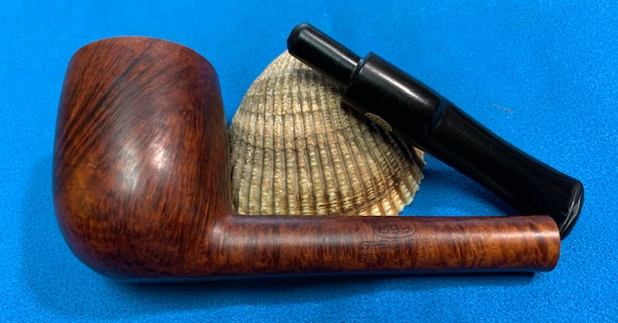
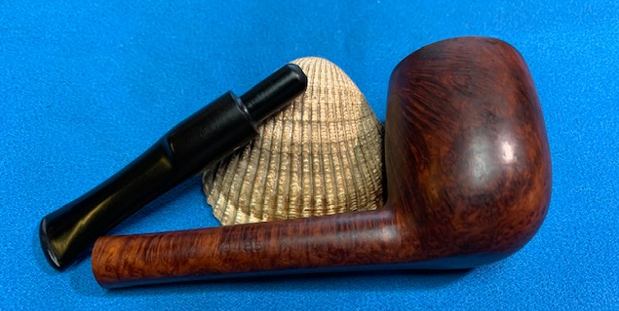
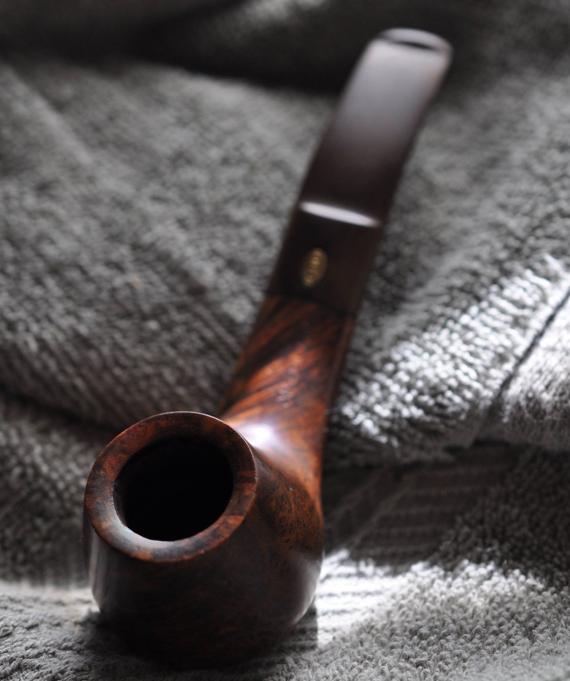
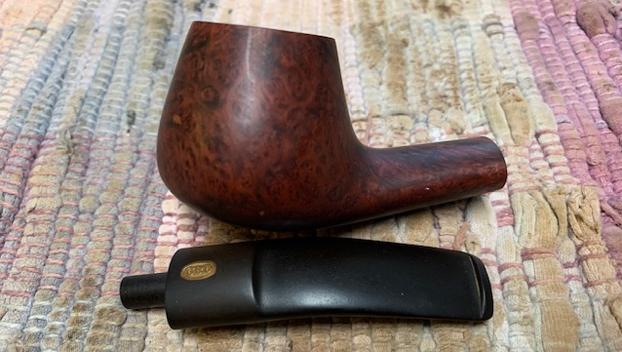
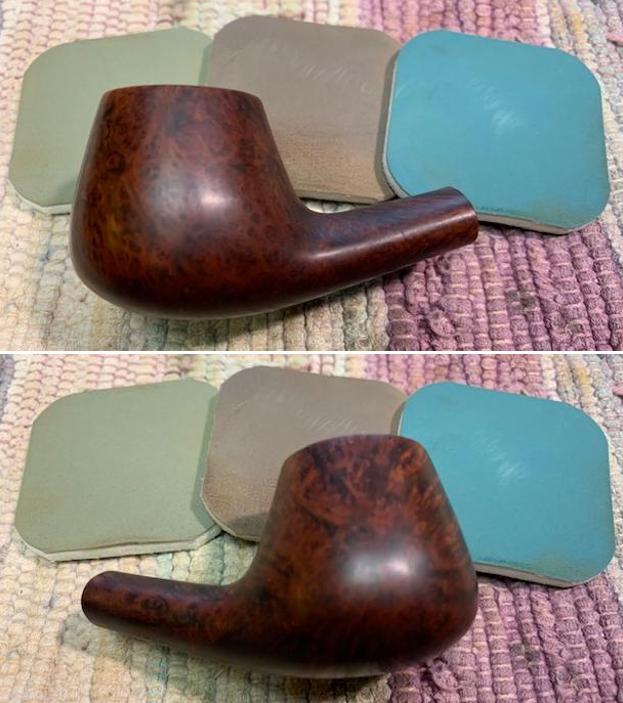
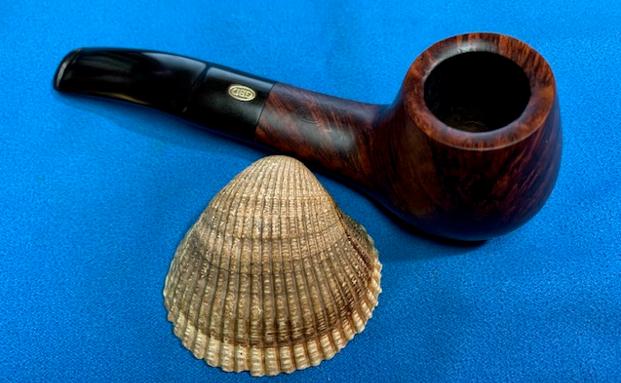
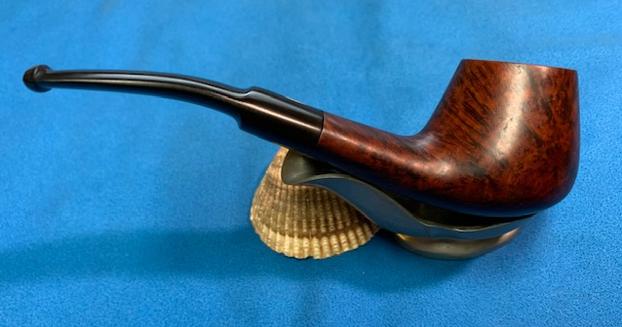
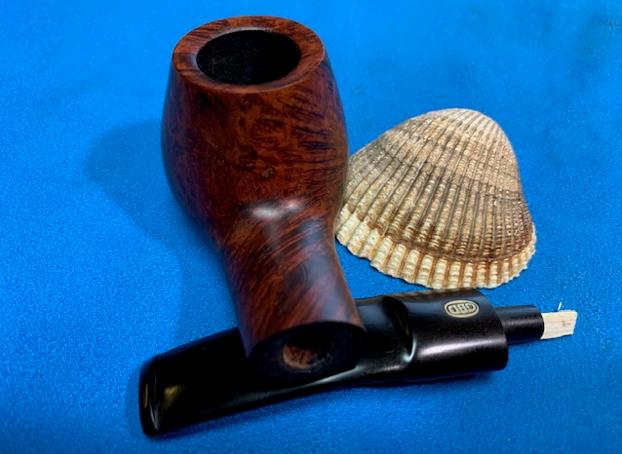
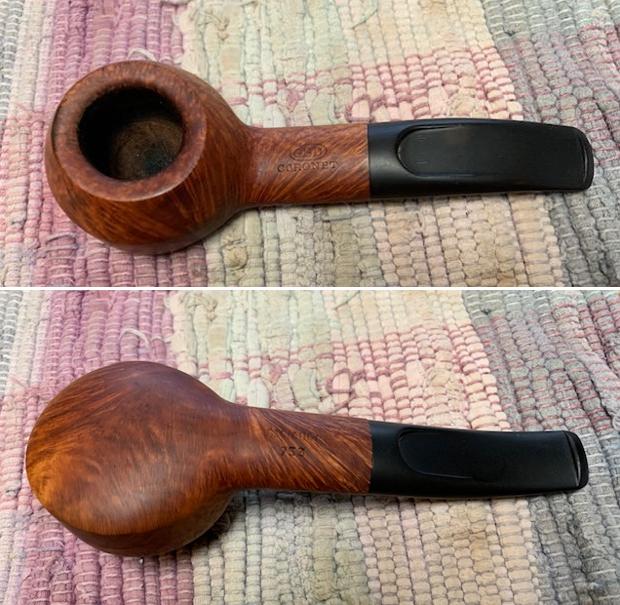
Hello, I hope everyone is doing well. I finally had a nice low-key weekend and was able to work on another pipe. I have had this GBD Prehistoric Billiard for a while and have been looking for a chance to work on it. The pipe itself is a nice jaunty saddle stemmed Billiard with GBDs Prehistoric sandblast finish.
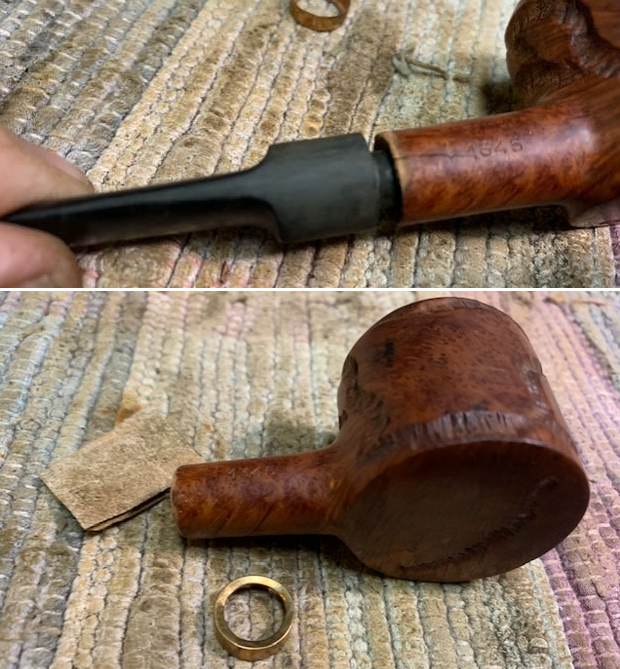
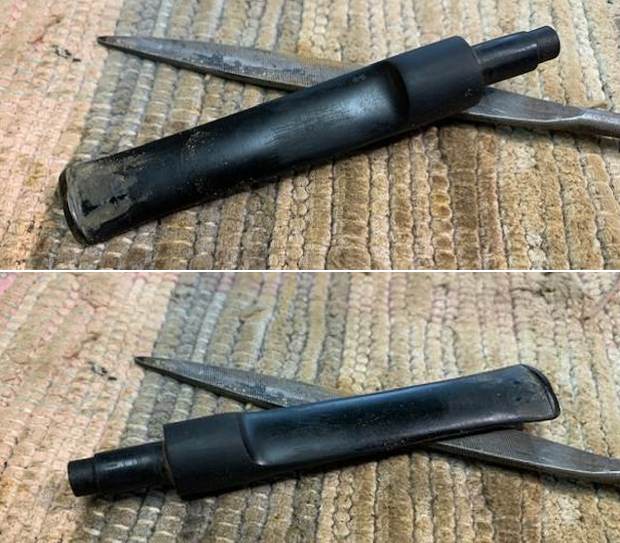
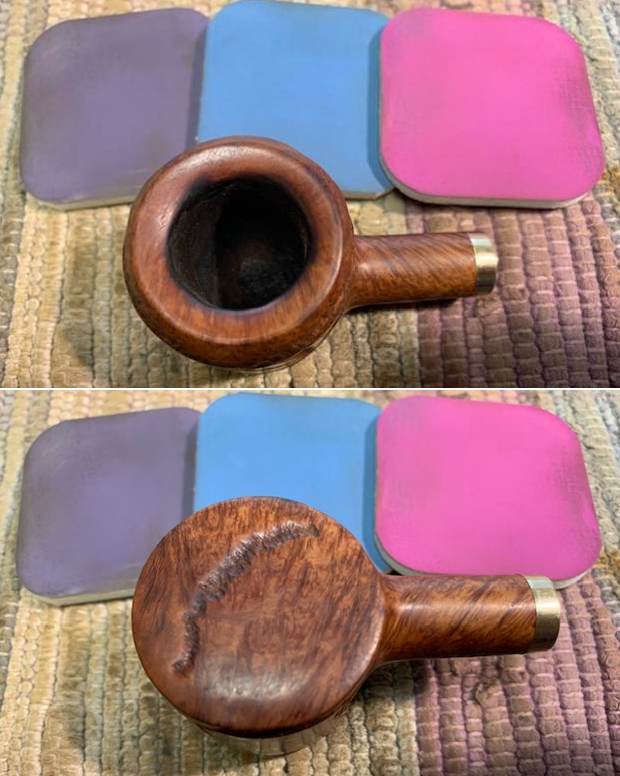
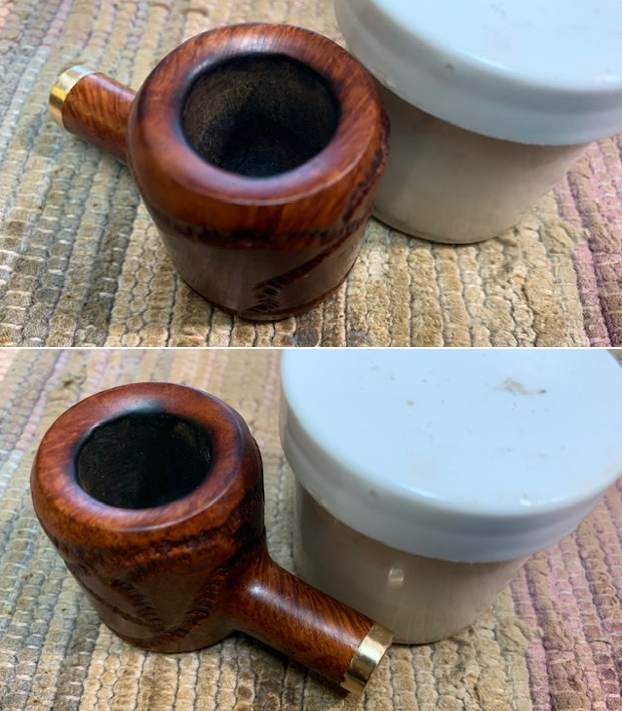
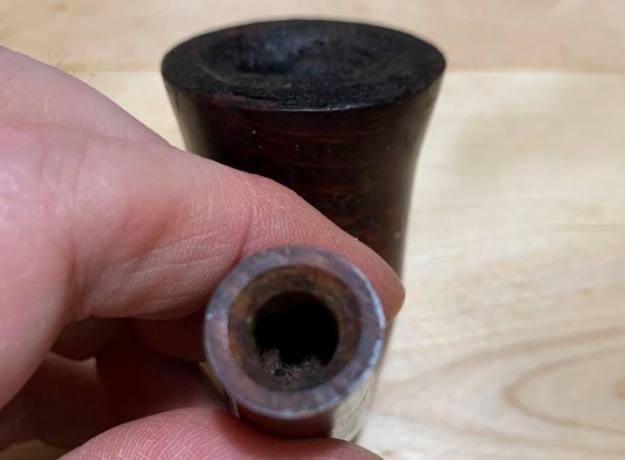
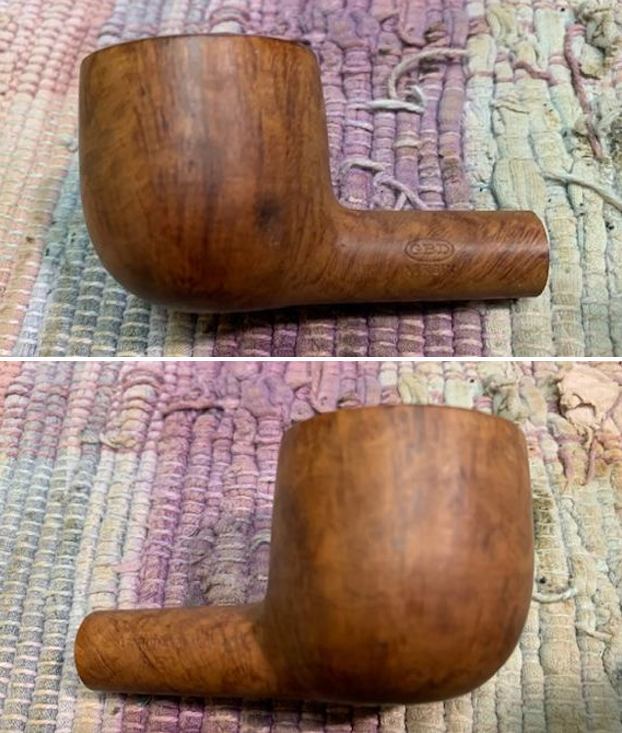
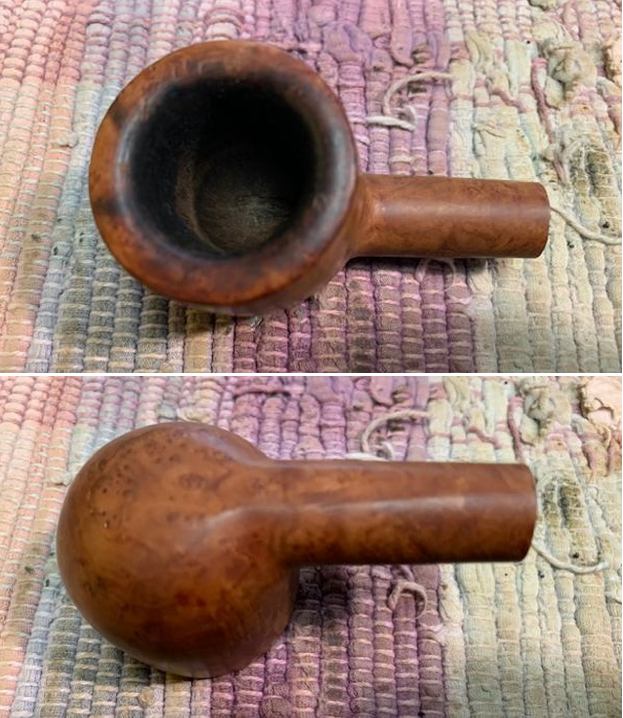
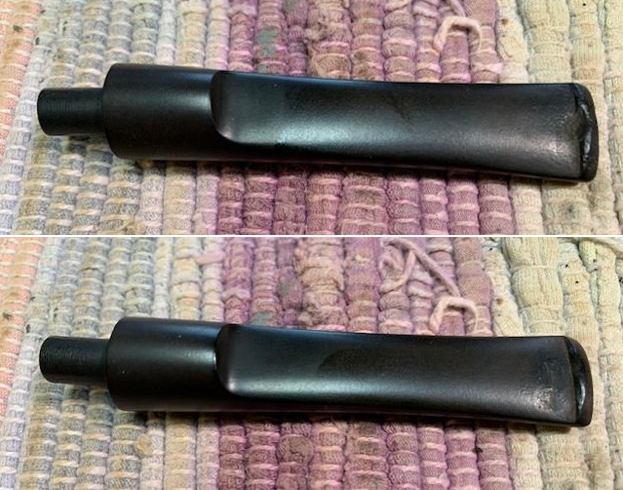
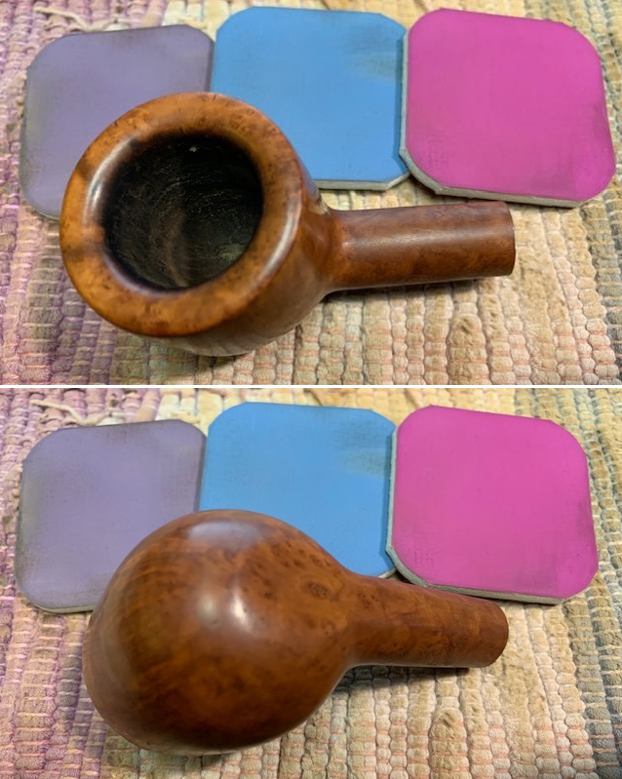
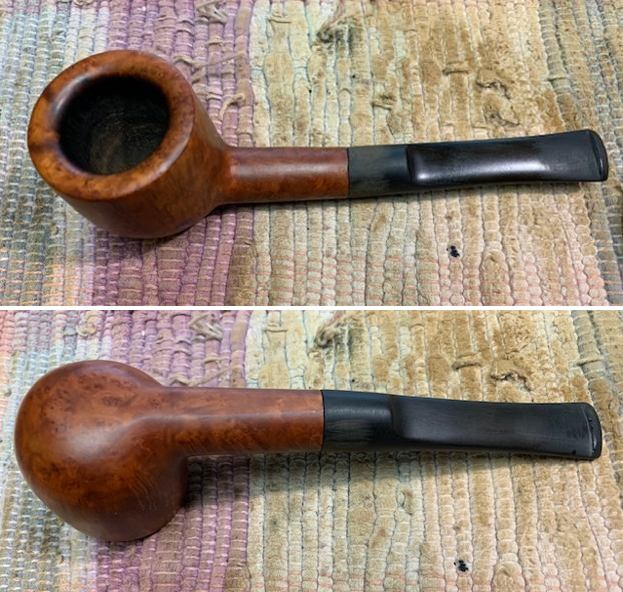
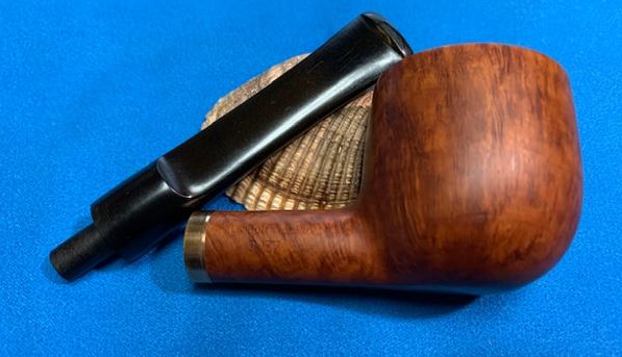
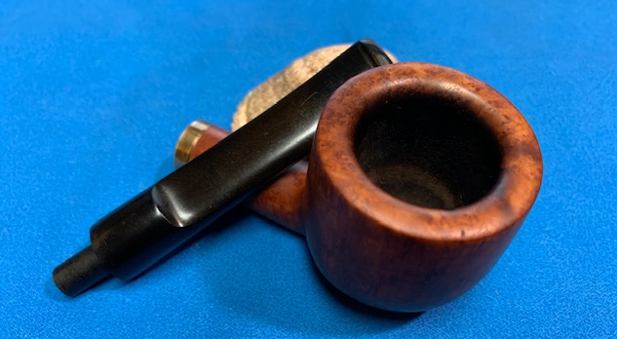
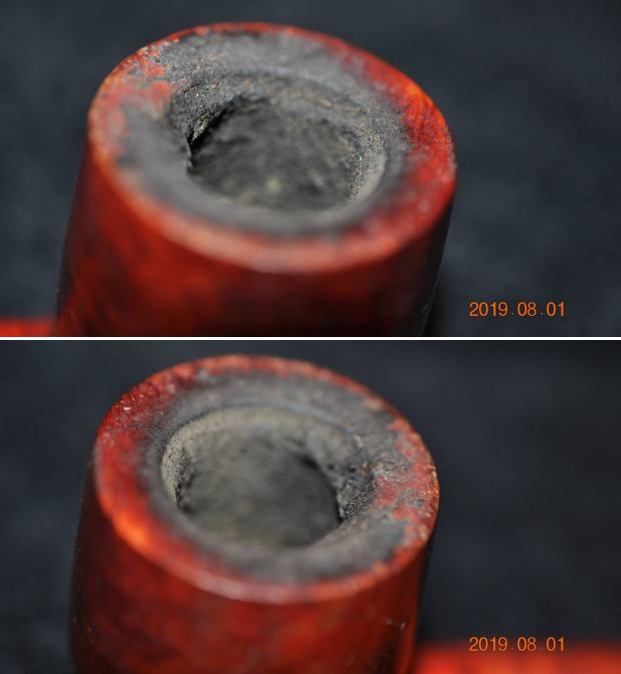
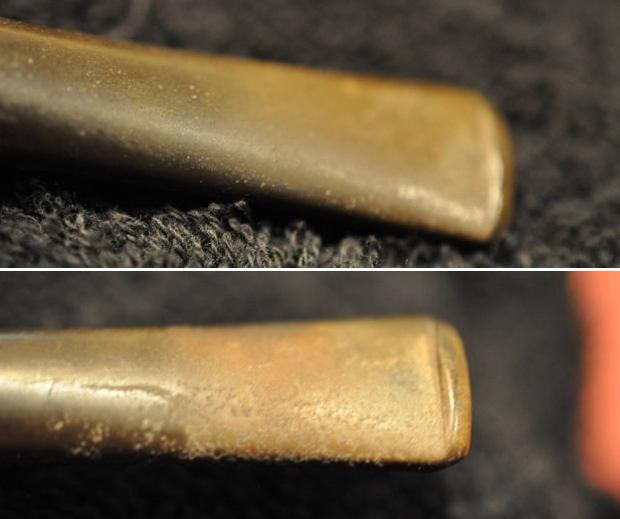
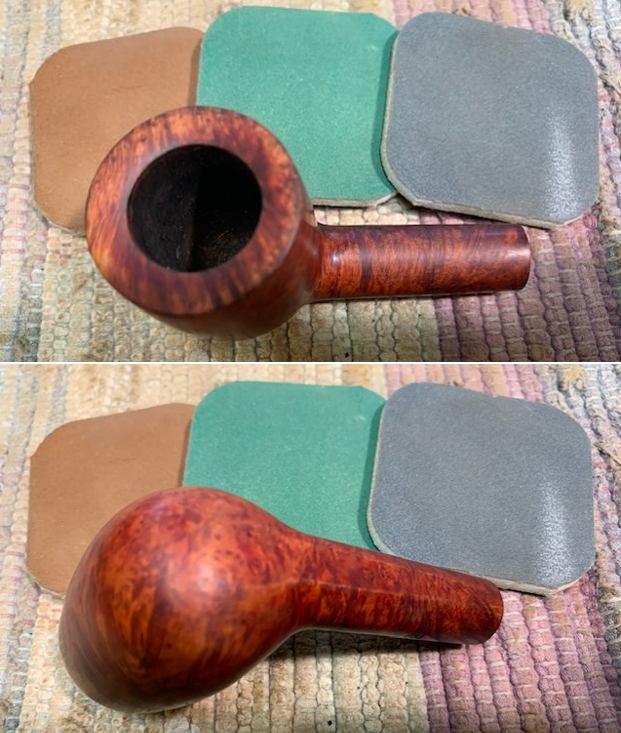
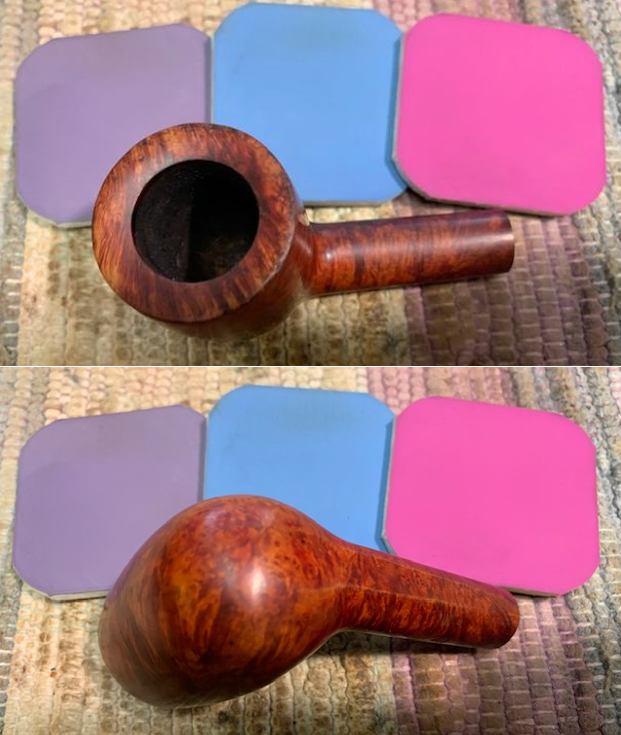
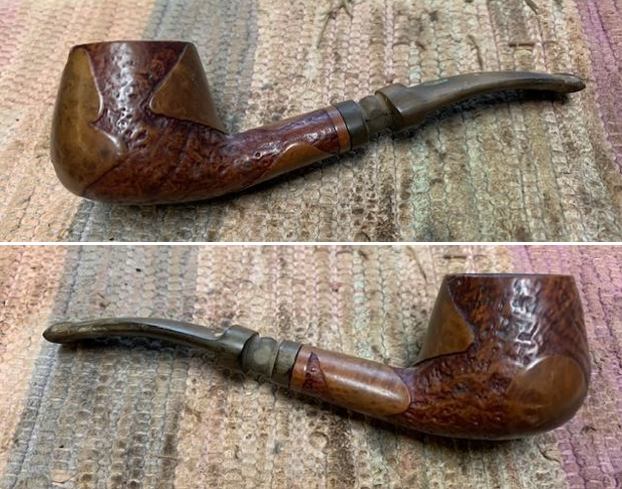
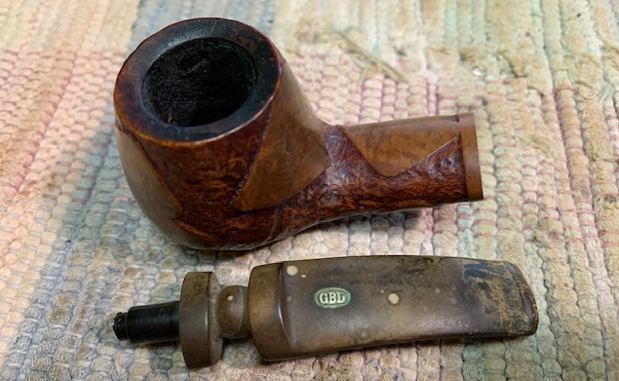
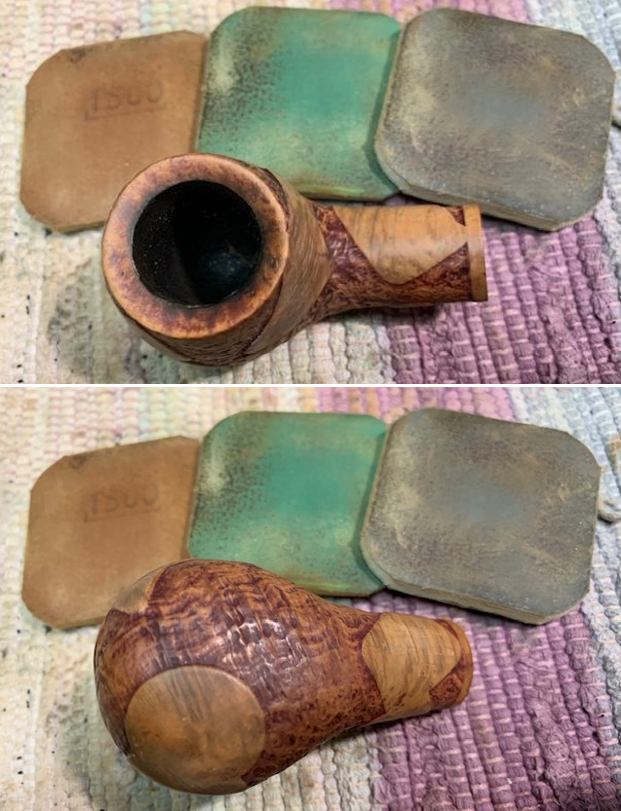
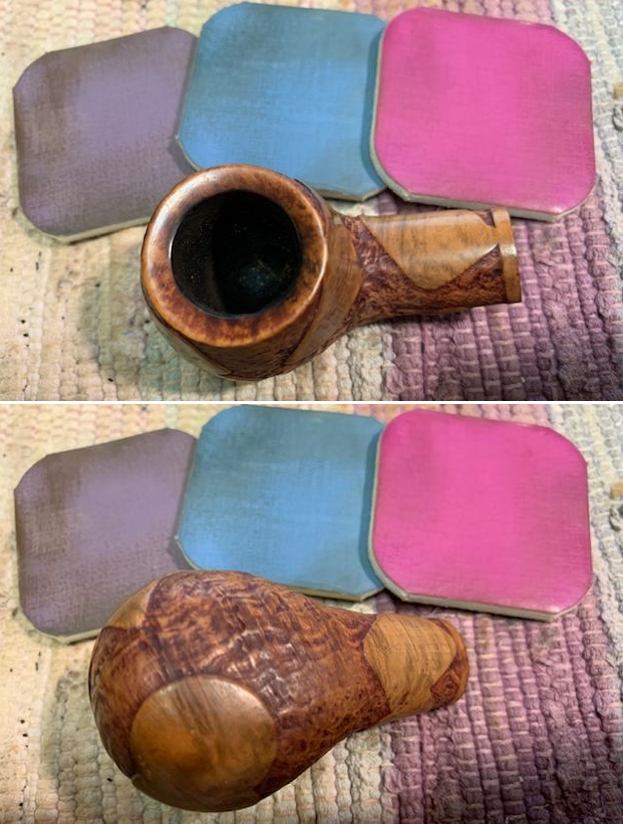
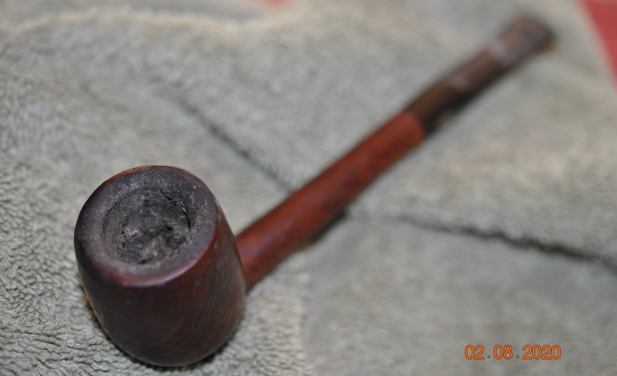
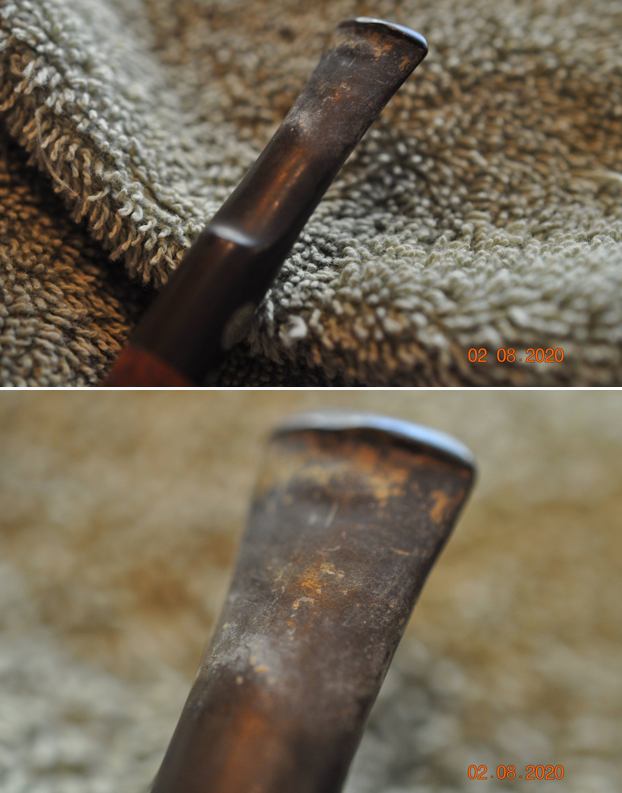
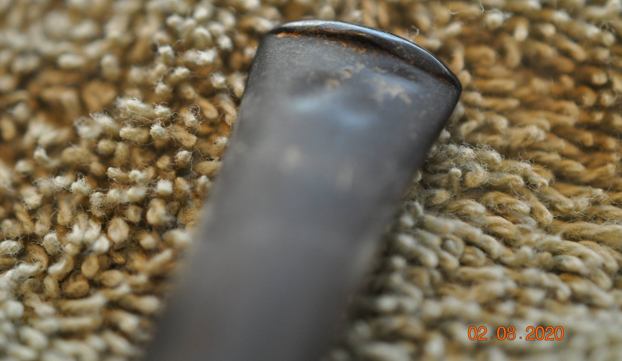
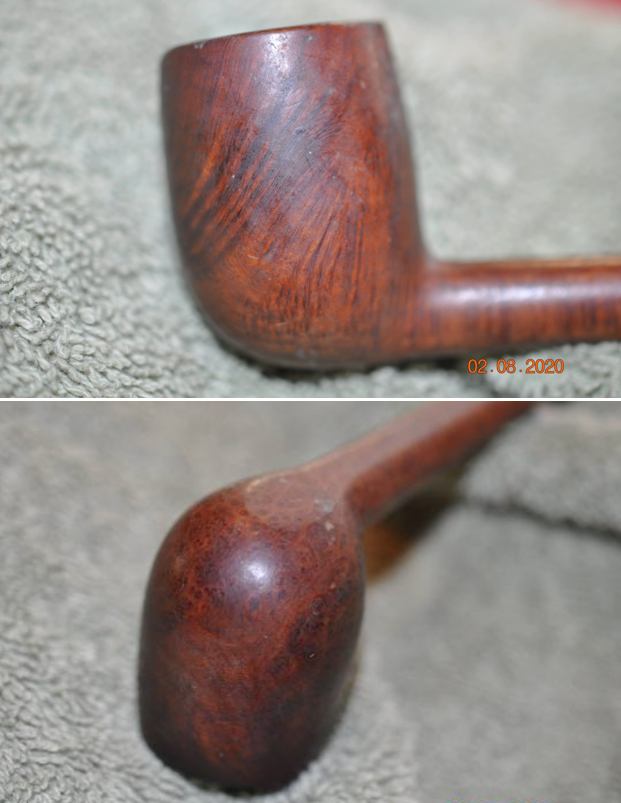
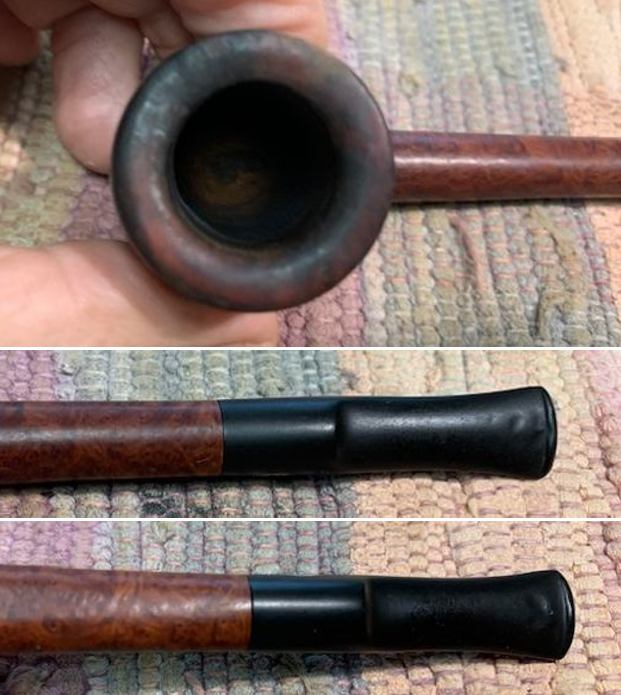
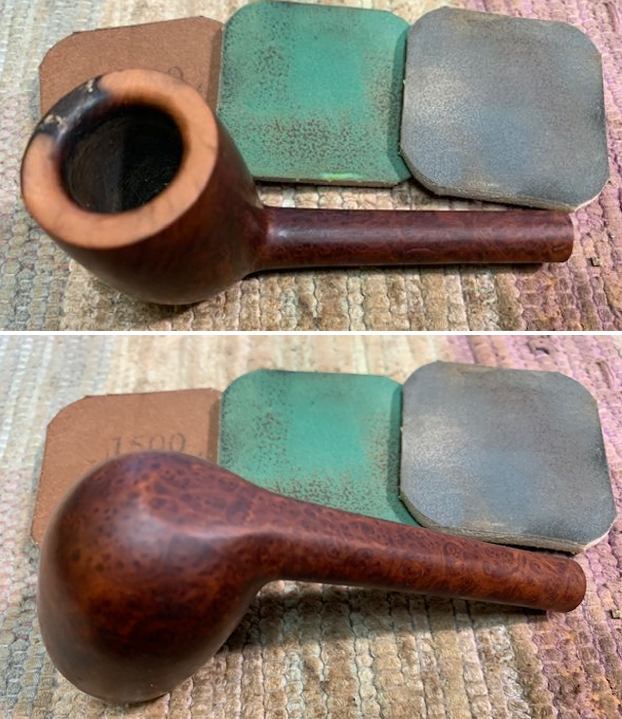
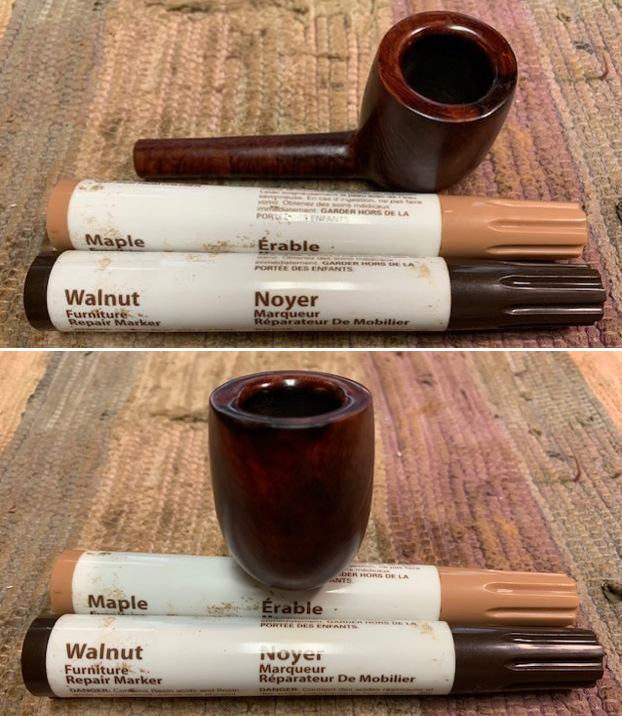
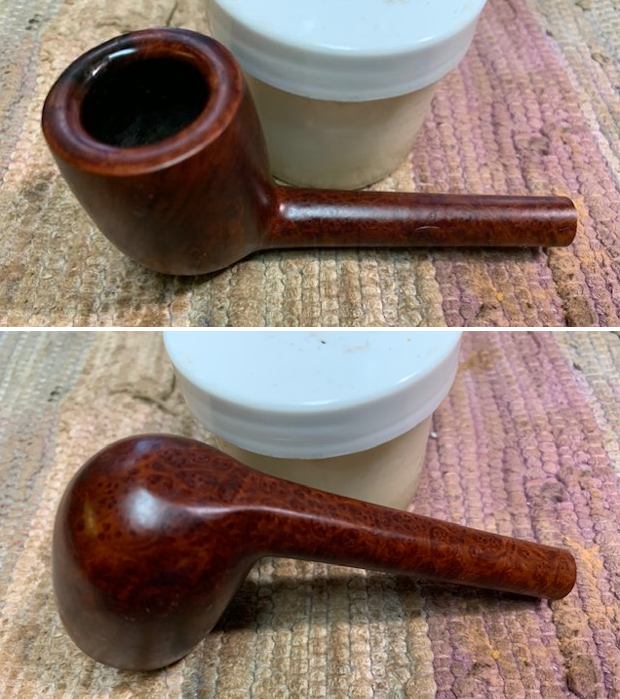
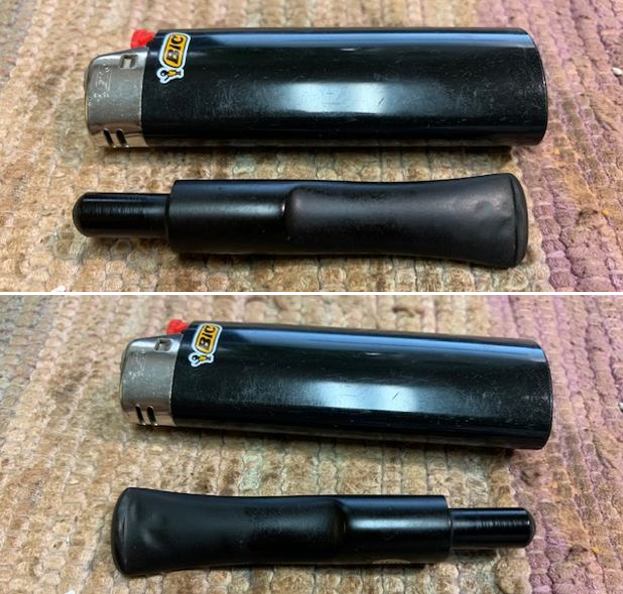
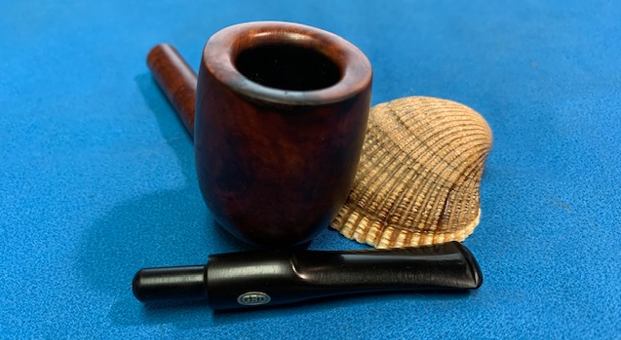
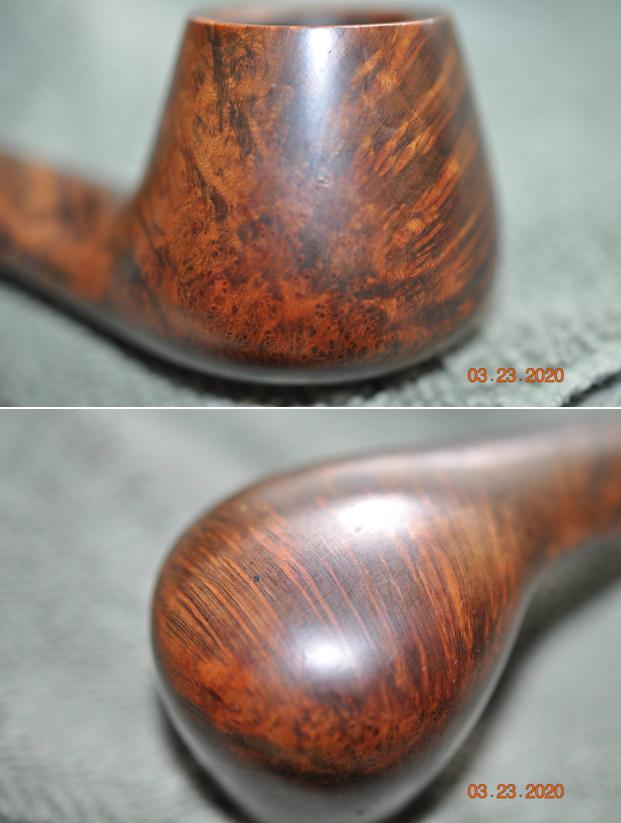
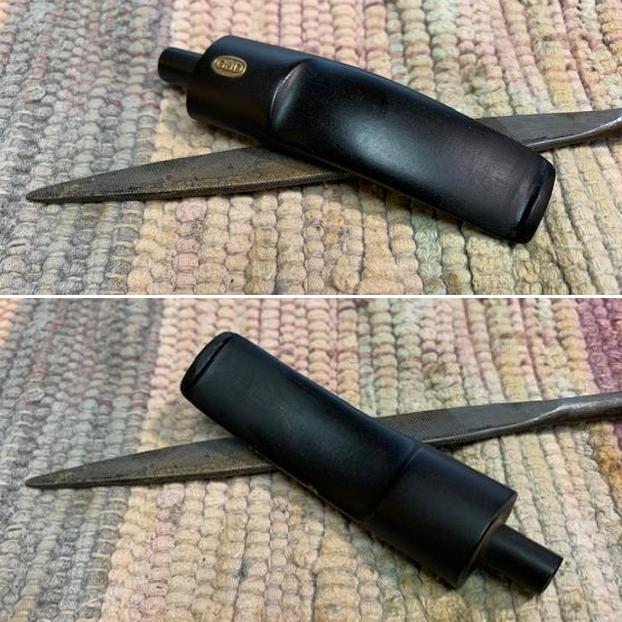
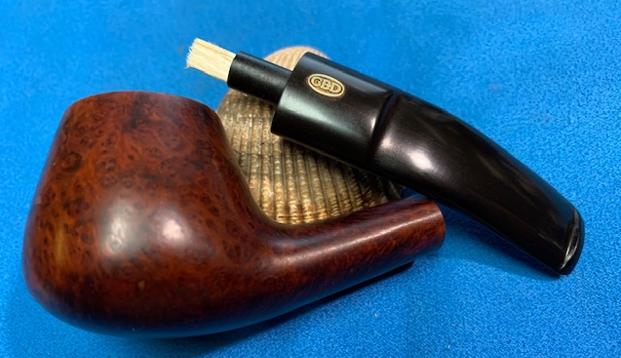
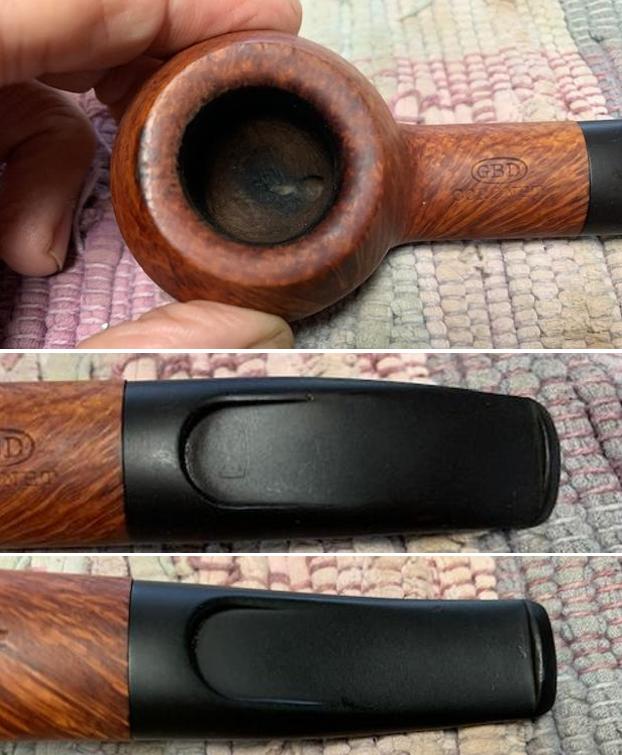
When I received the pipe, it was in a very dirty condition. The surface of the stummel was caked with grime. The rim of the bowl had a good amount of carbon overflow, and the chamber was heavily caked. The stem was in pretty fair condition. It had light oxidation and took chatter, but the button was buffed down from years of use.
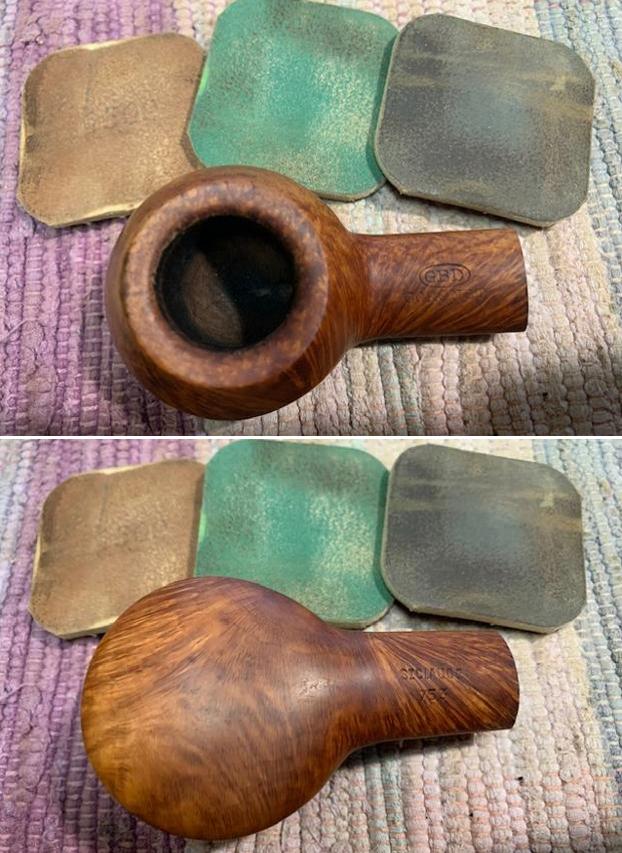
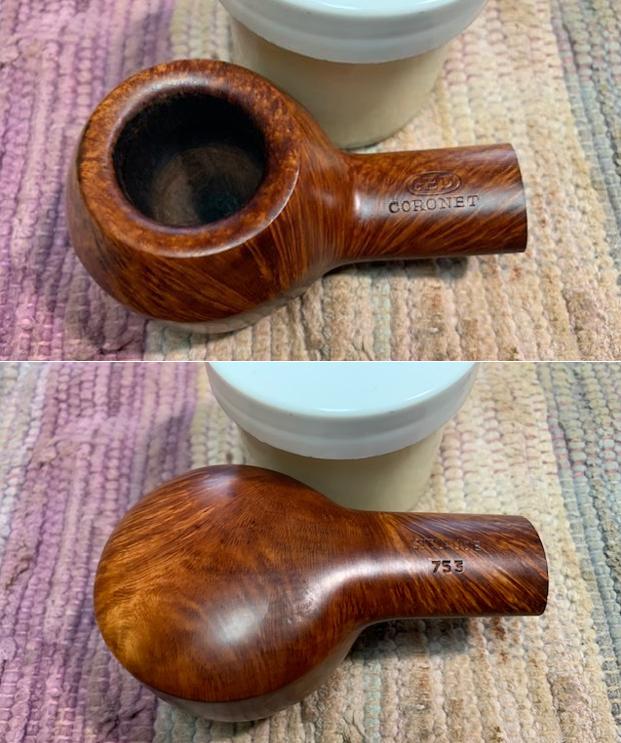
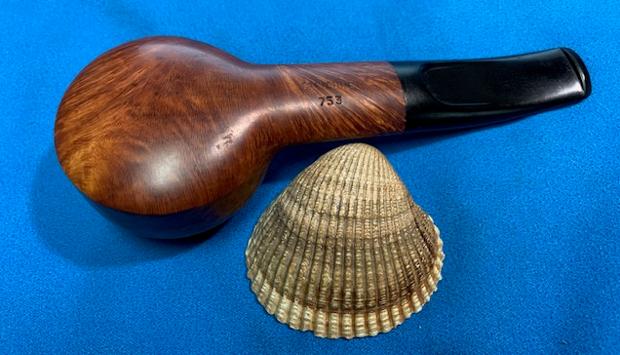
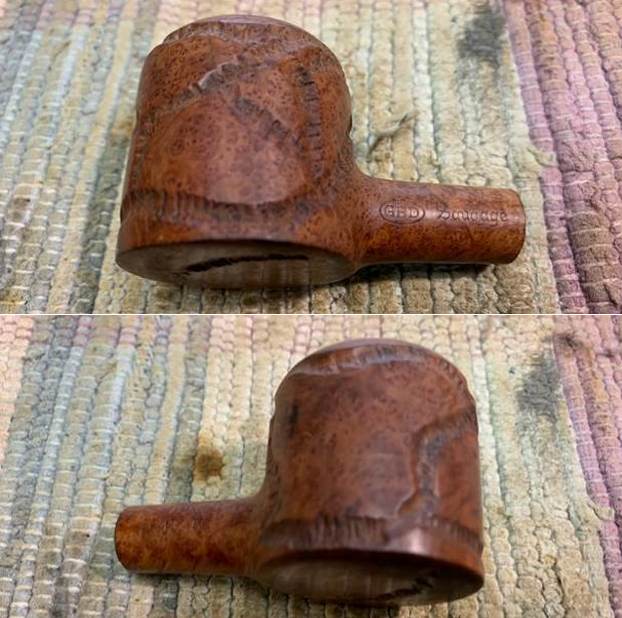
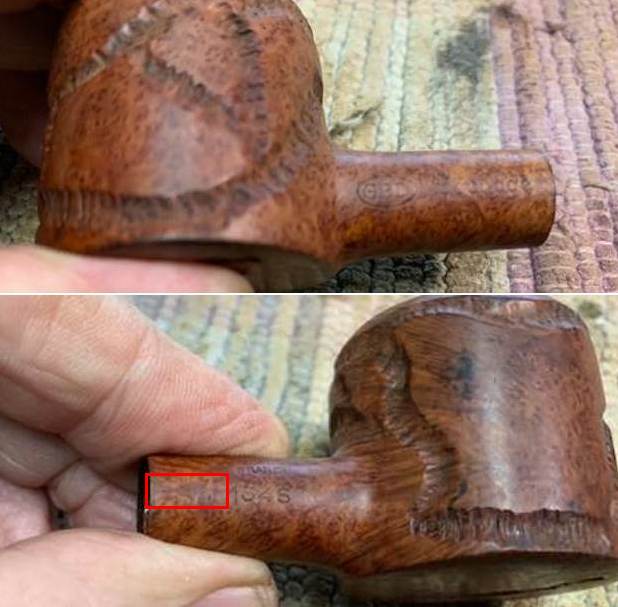
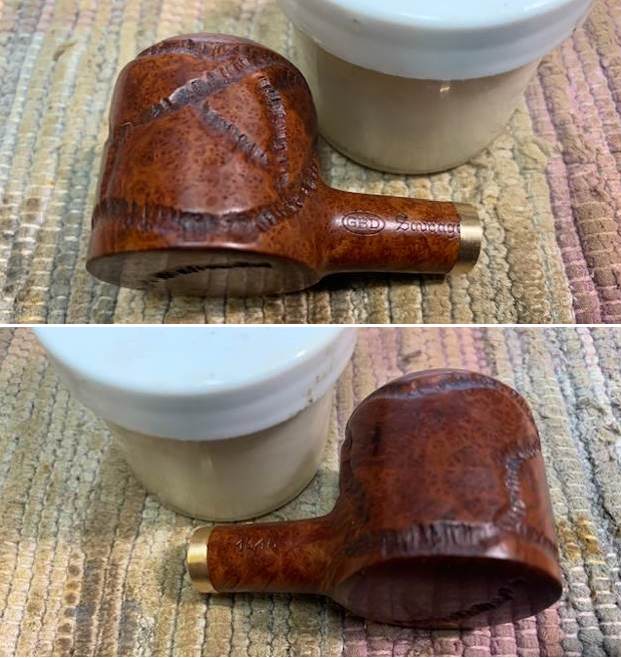
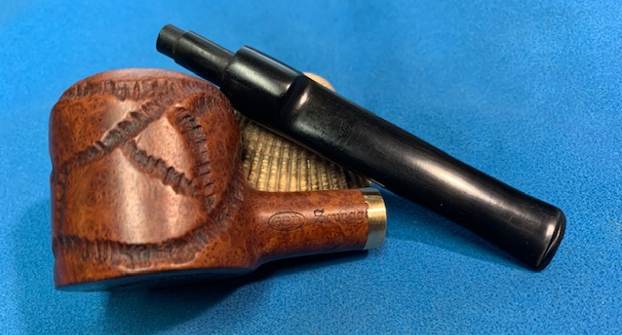
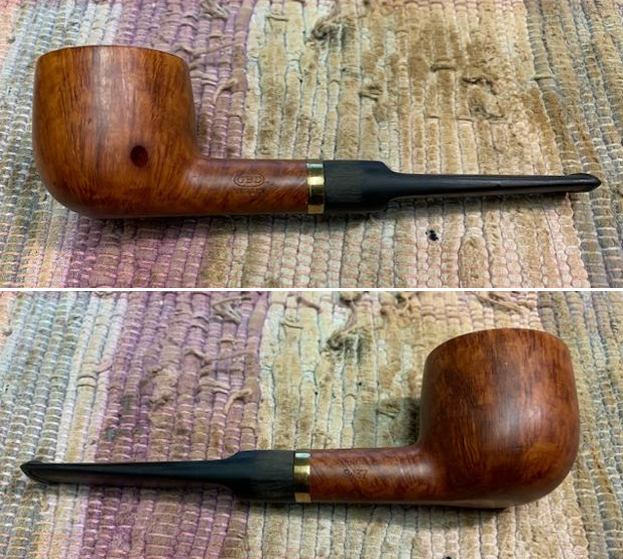
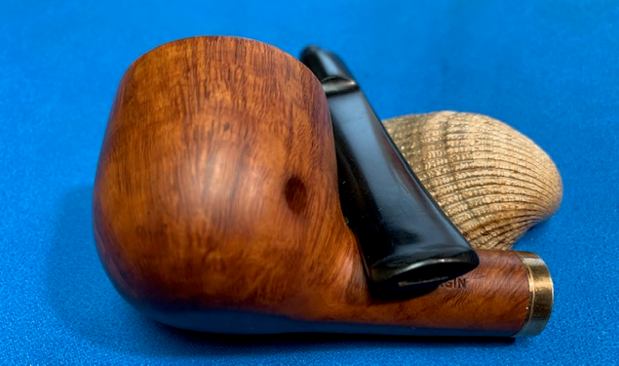
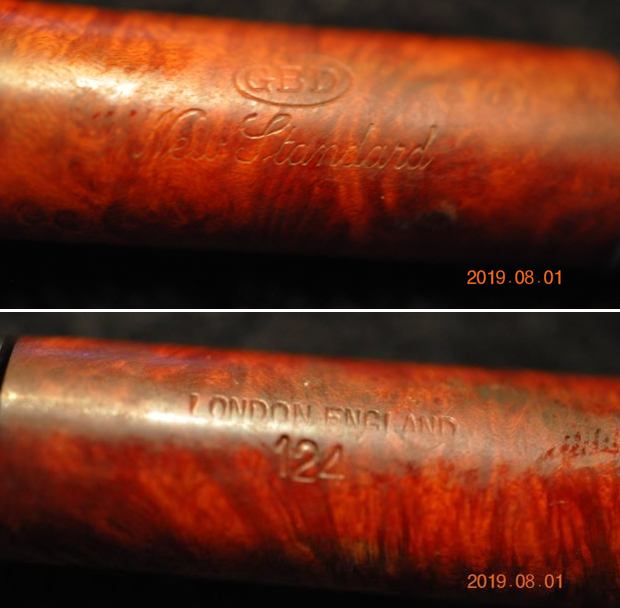
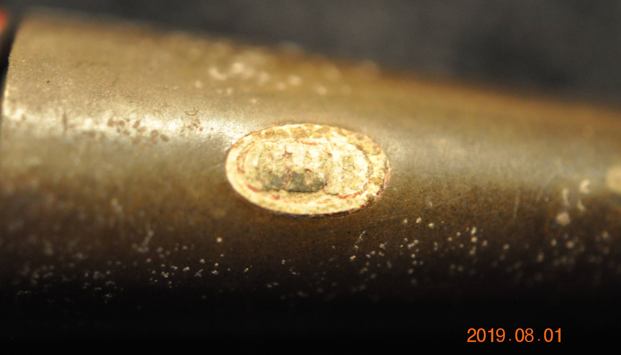
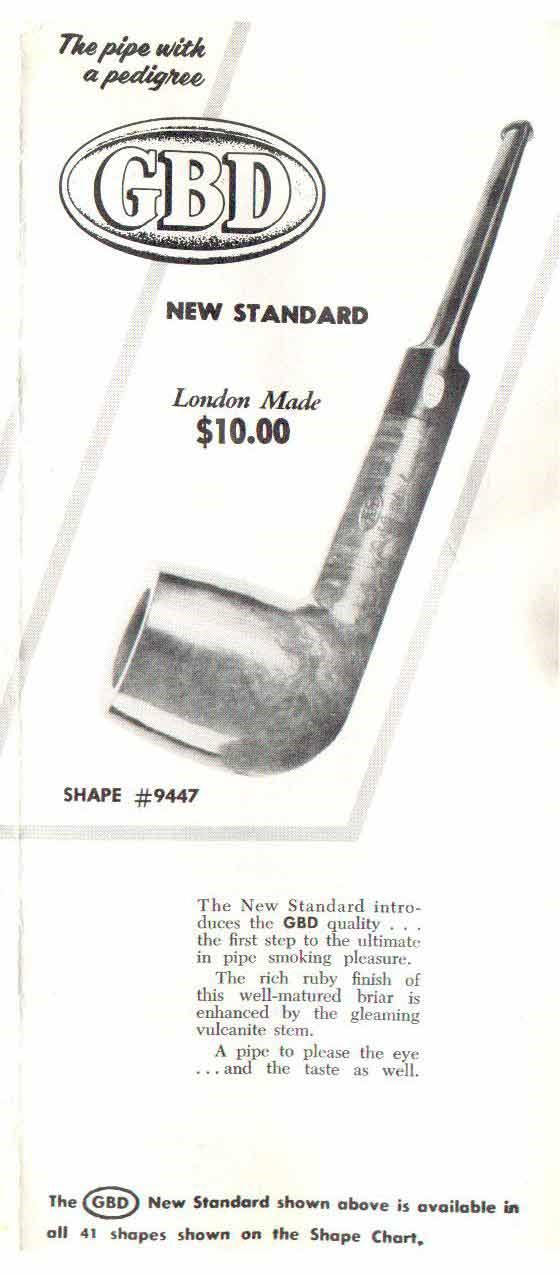
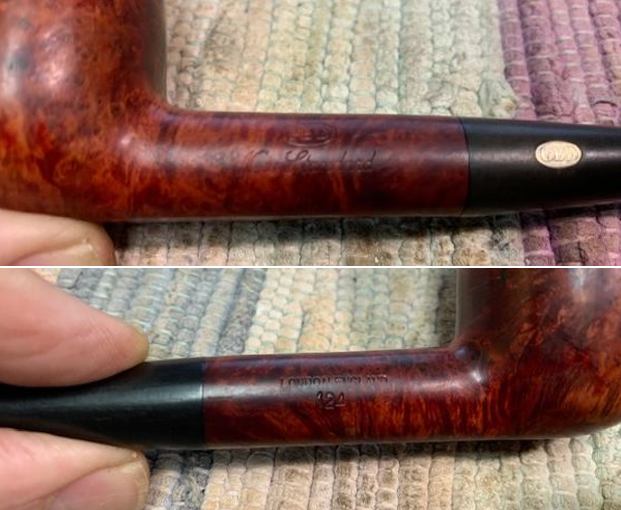
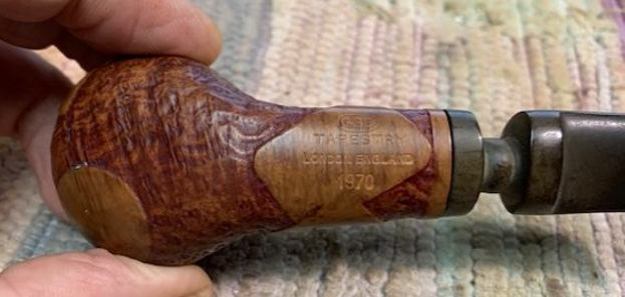
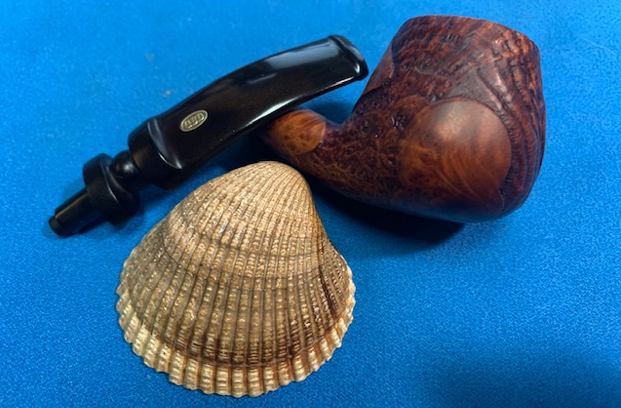
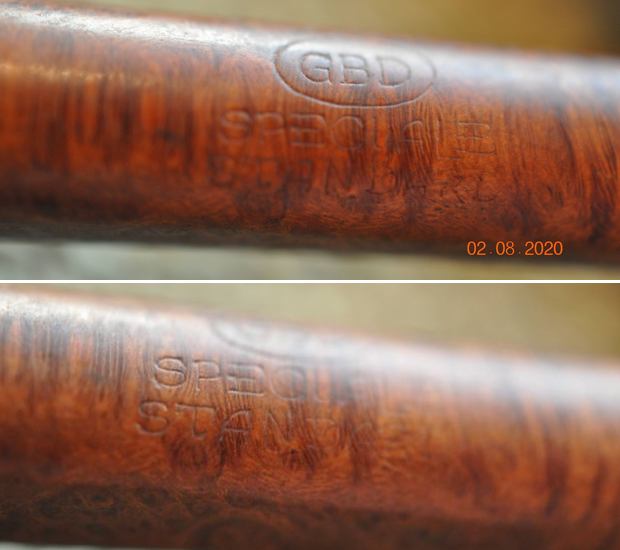
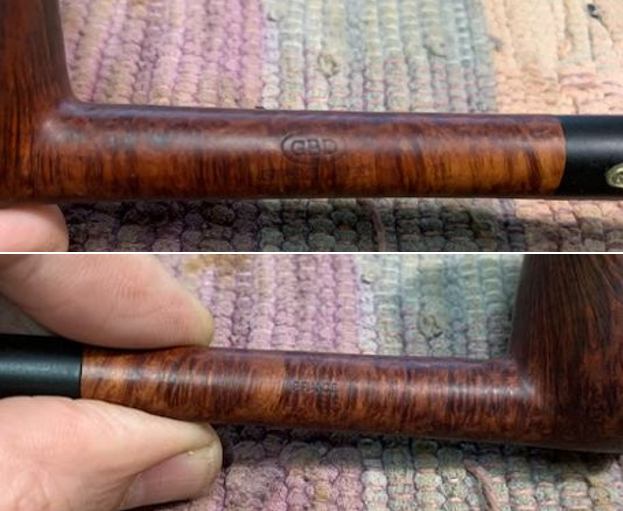
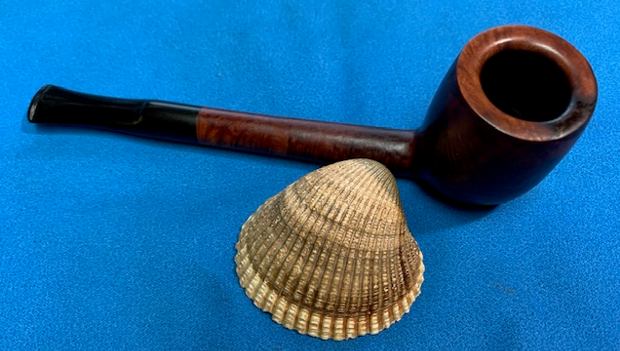
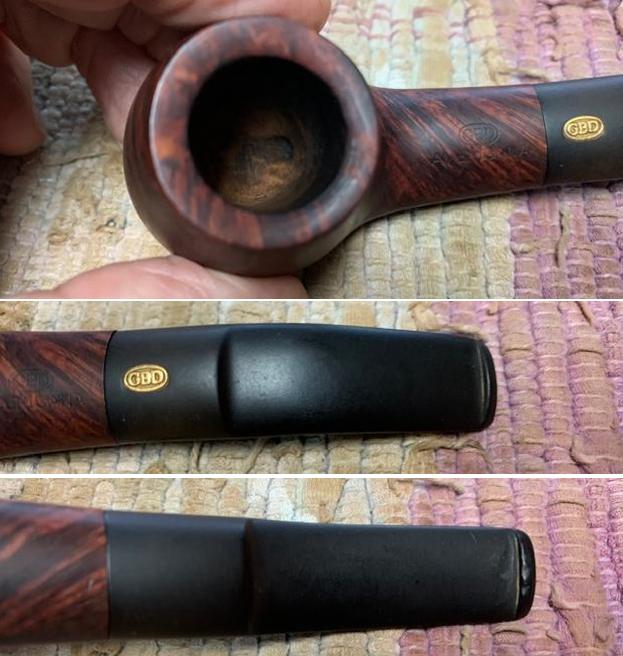
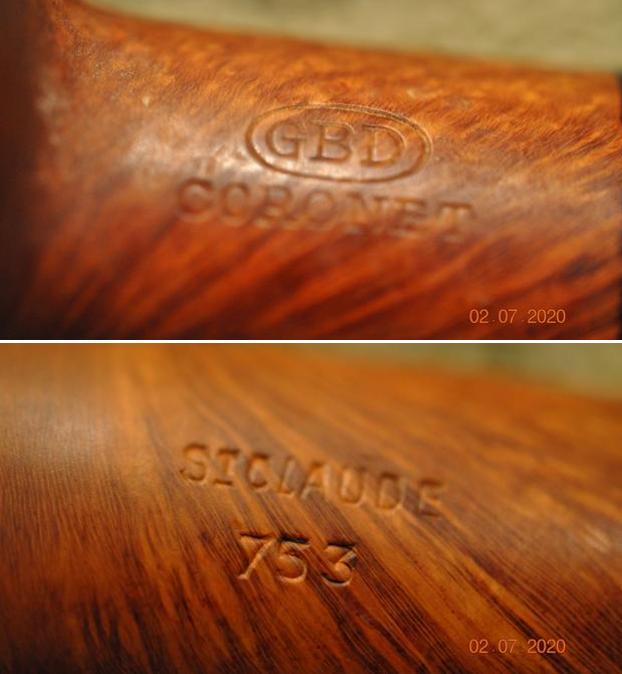
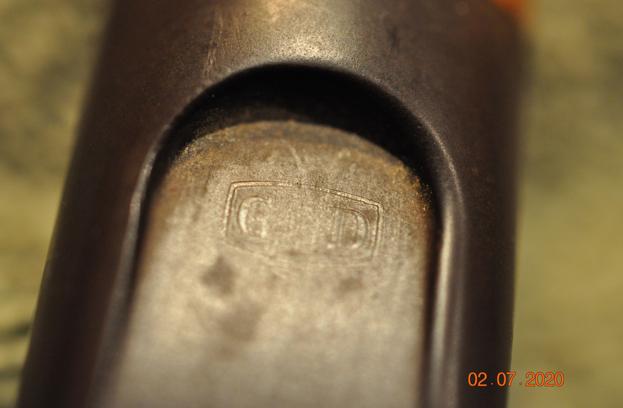
 The stamping was still legible on this pipe, and read GBD in an oval with the Prehistoric stamp and a 133-shape number. Below is an advertisement found on Pipedia describing the Prehistoric line. Even in its grimy condition, the pipe had an attractive rugged look, and I hoped that it turned out to be a fun workhorse pipe that I could take with me on a fishing trip or some other outdoor adventure. A link to the Pipedia web page has been provided below. Now to work on the pipe. https://pipedia.org/wiki/GBD_Model_Information
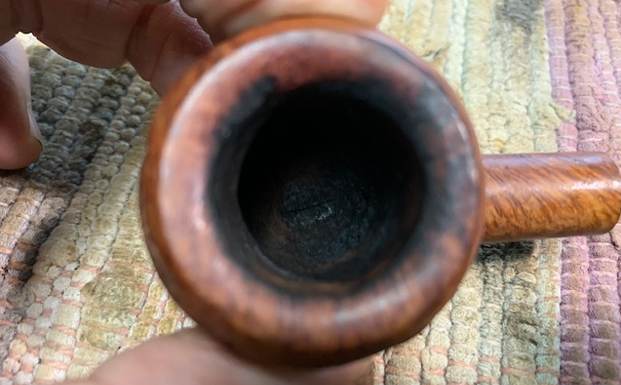
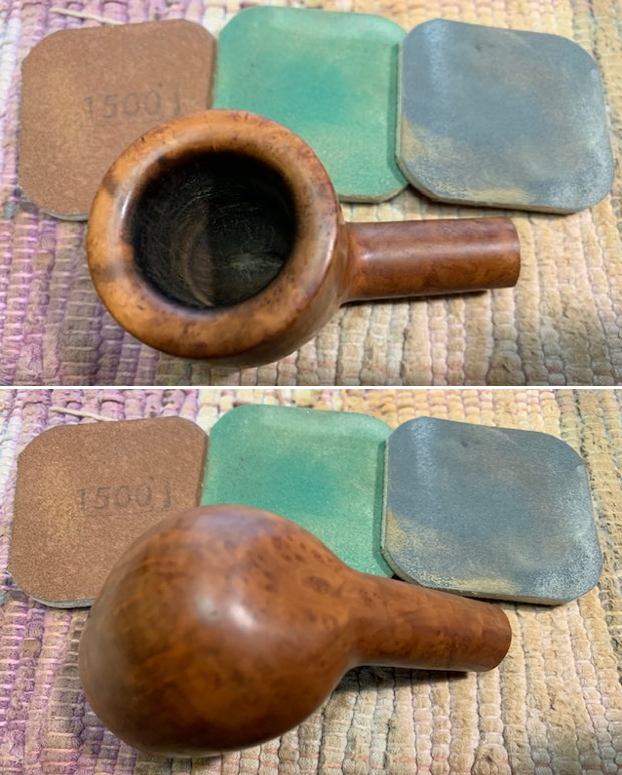
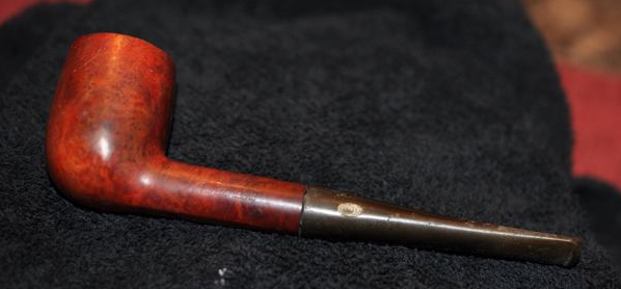
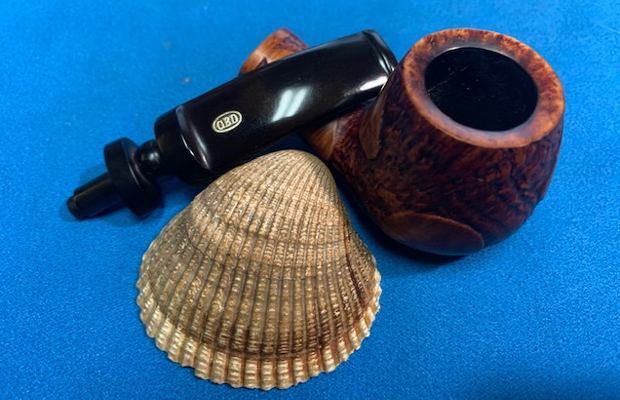
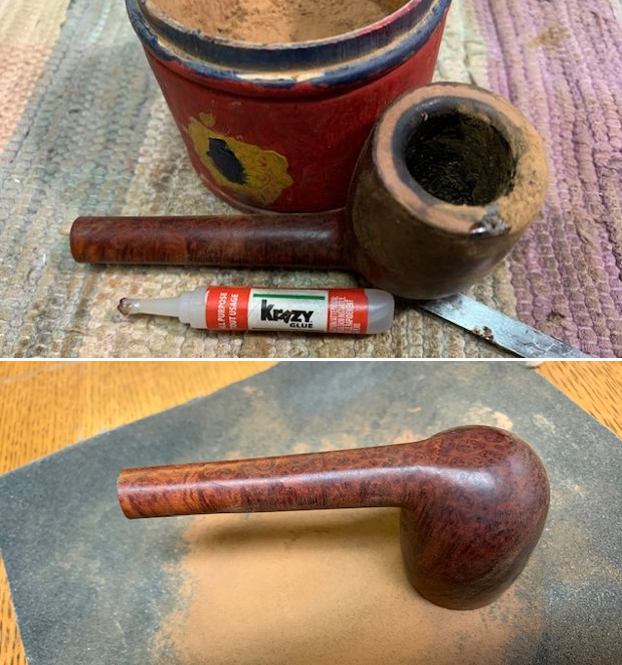
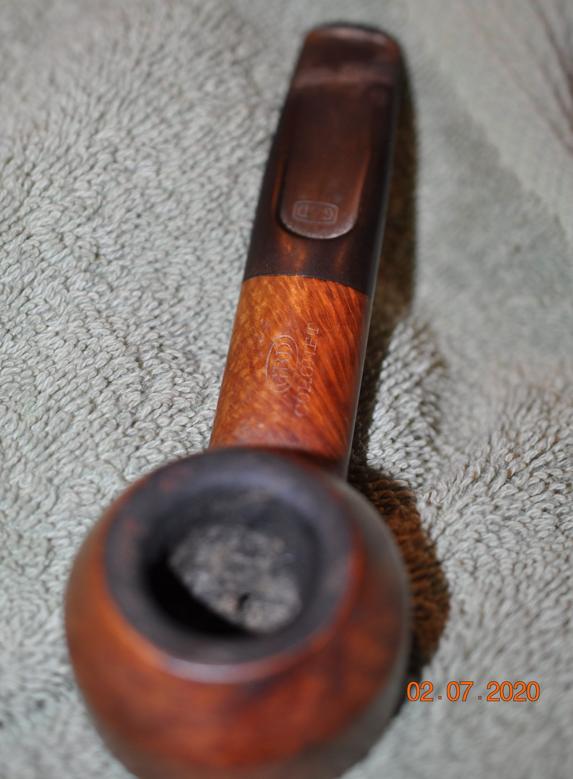
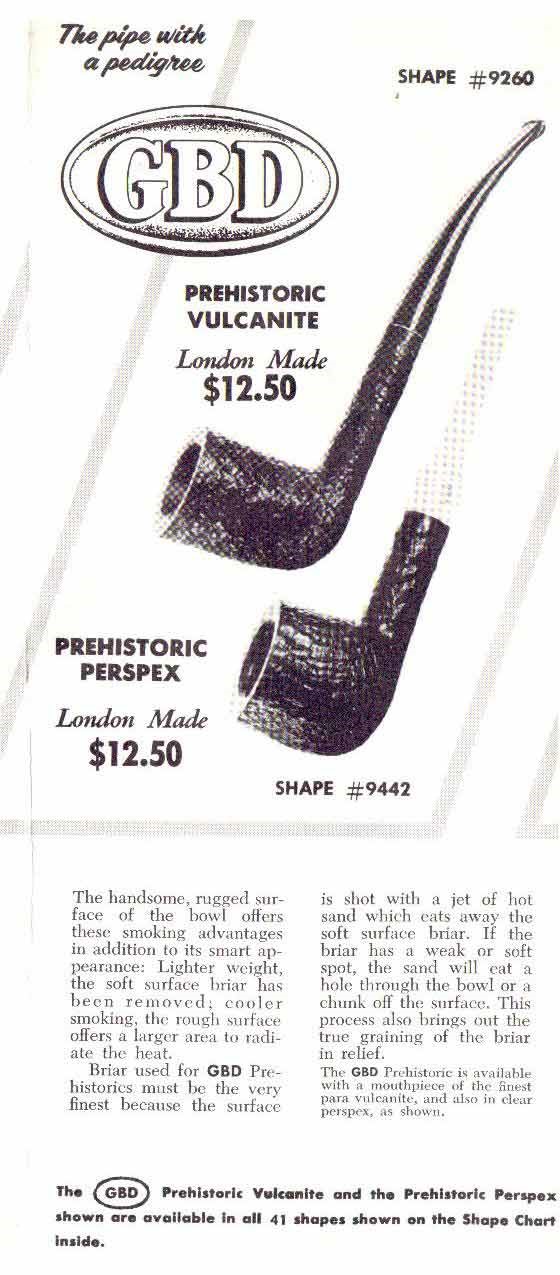 The first step in the process is to address the internals of both the briar and stem, and then clean up the grime on the stummel, and the carbon build up on the rim. I started by reaming the chamber and then lightly sanding it with a piece of 220 grit sandpaper. I took bristled pipe cleaners dipped in alcohol to clean the shank. As you can see from the pictures this pipe was loved and used often.
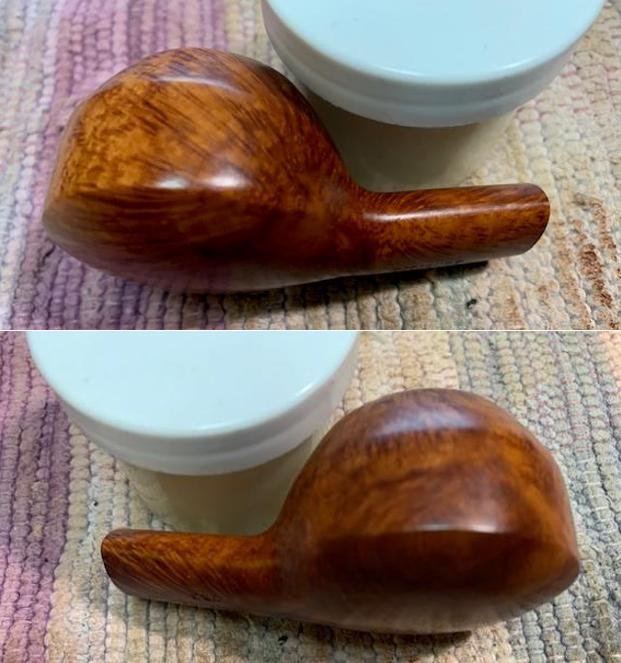
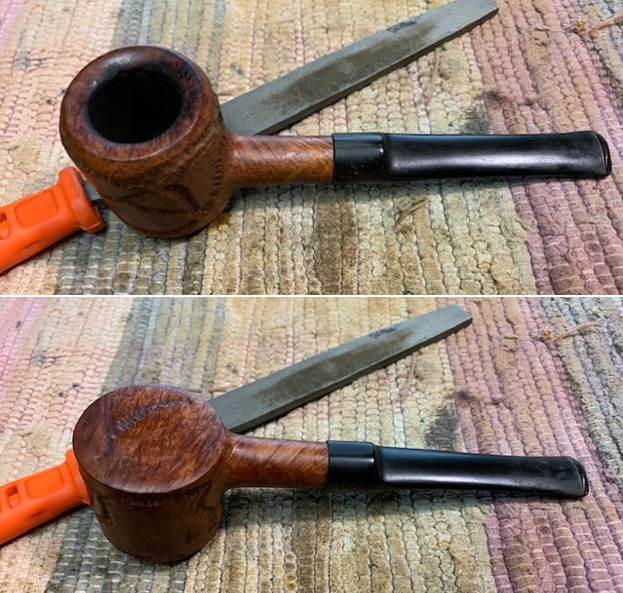
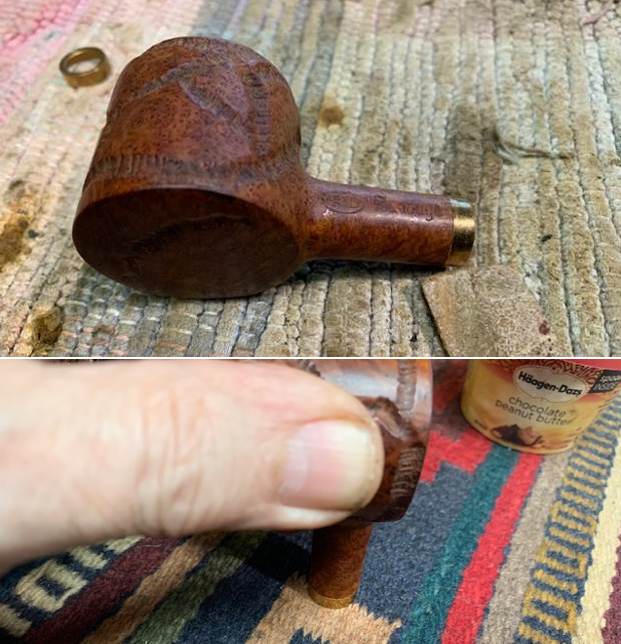
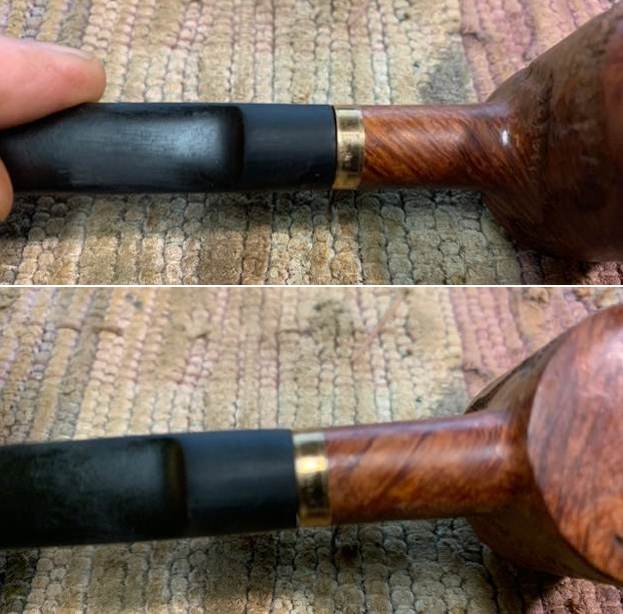
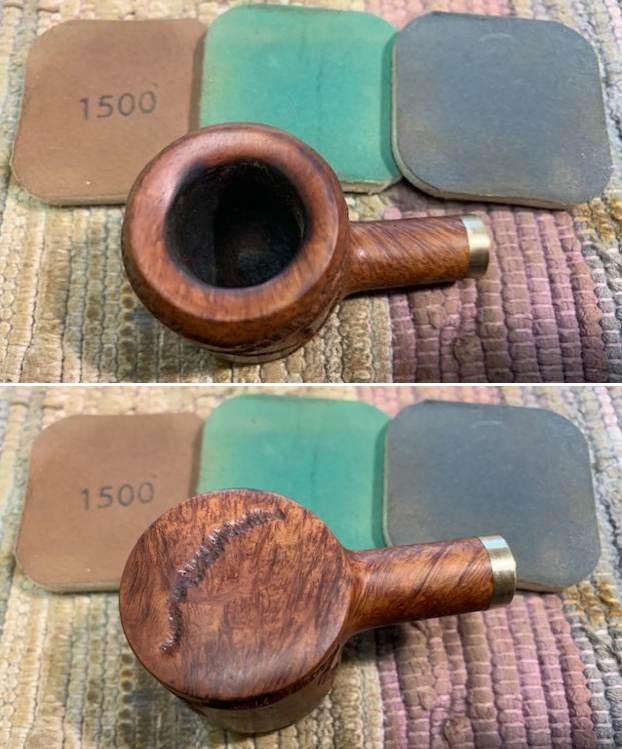
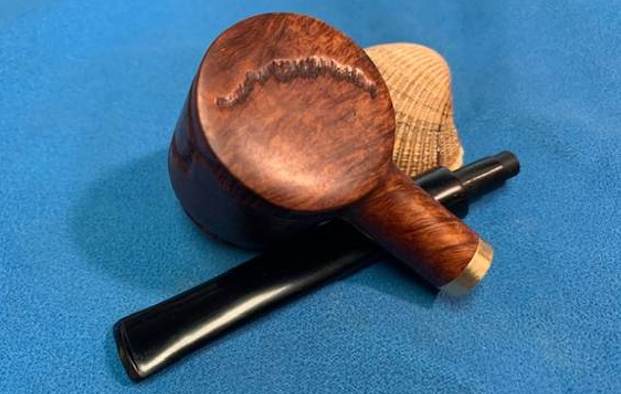
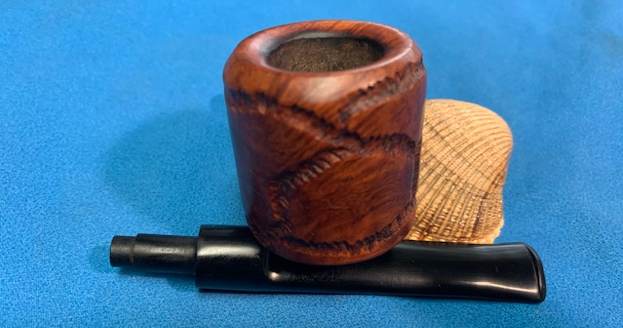
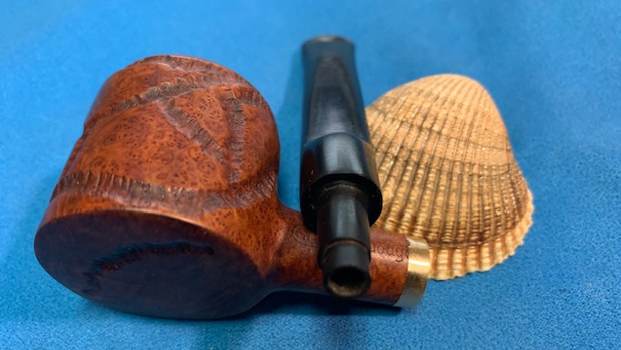
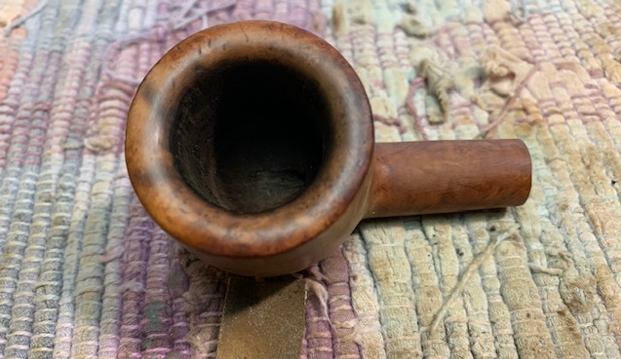
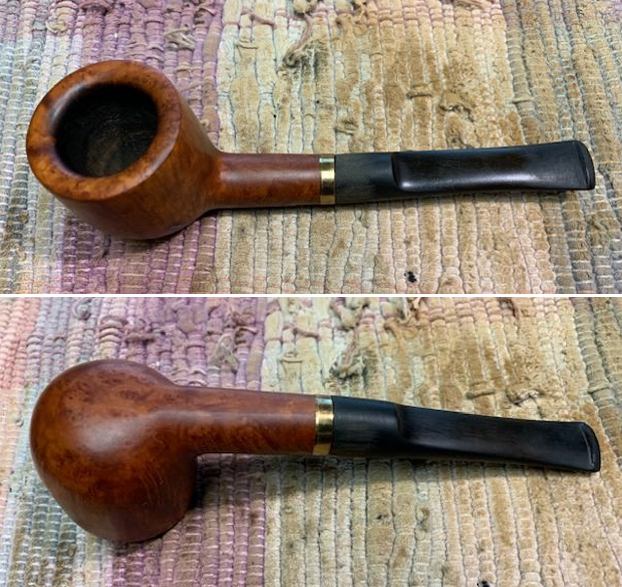
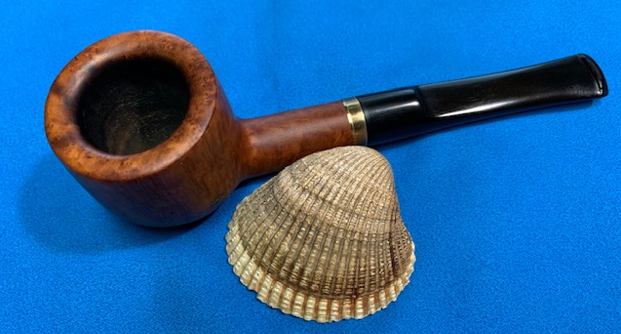
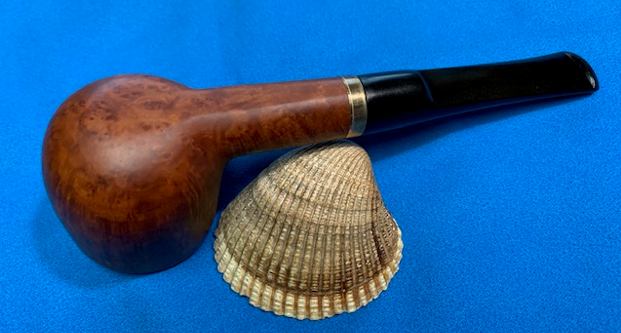
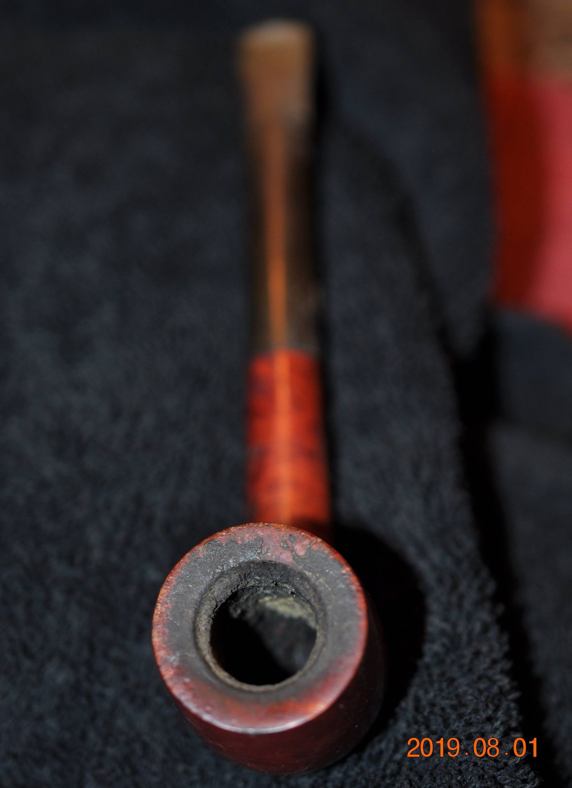
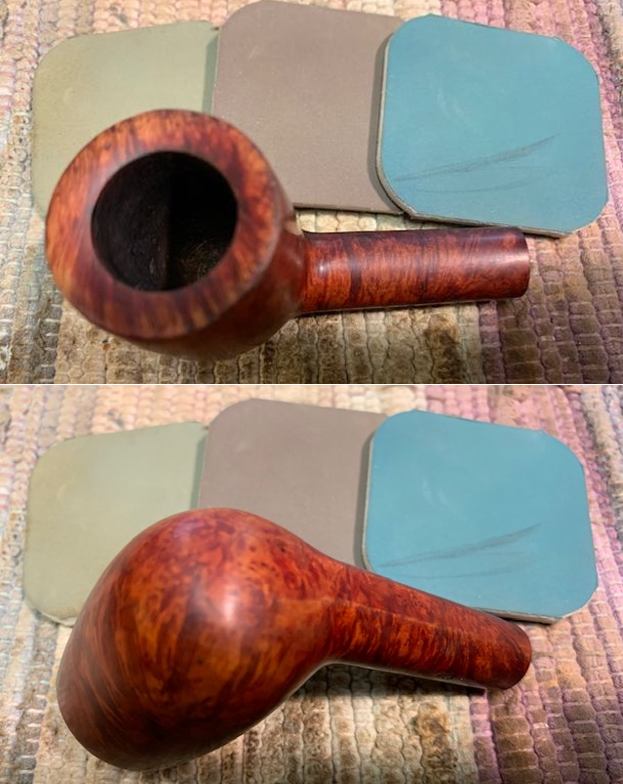
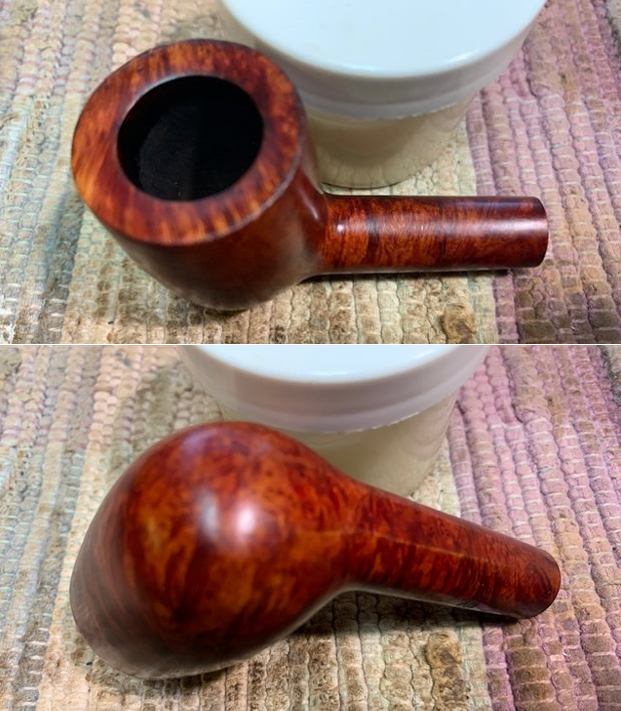
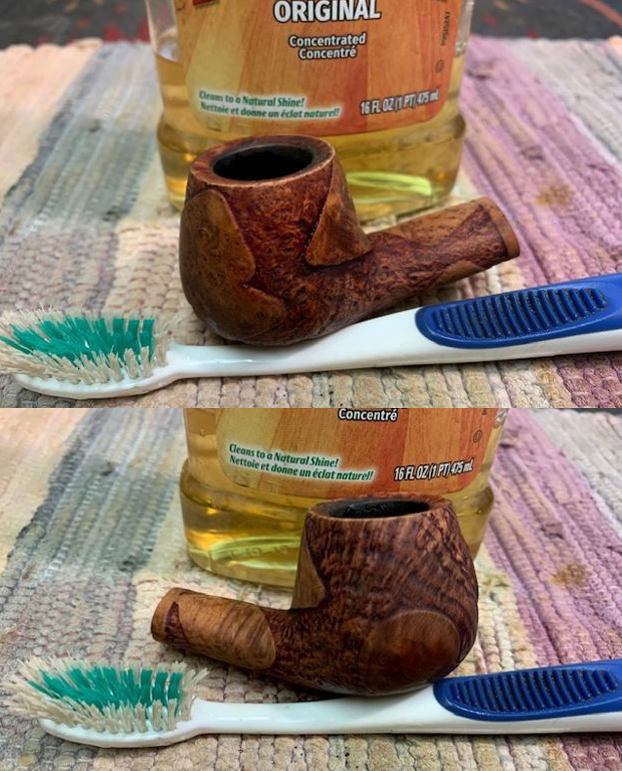
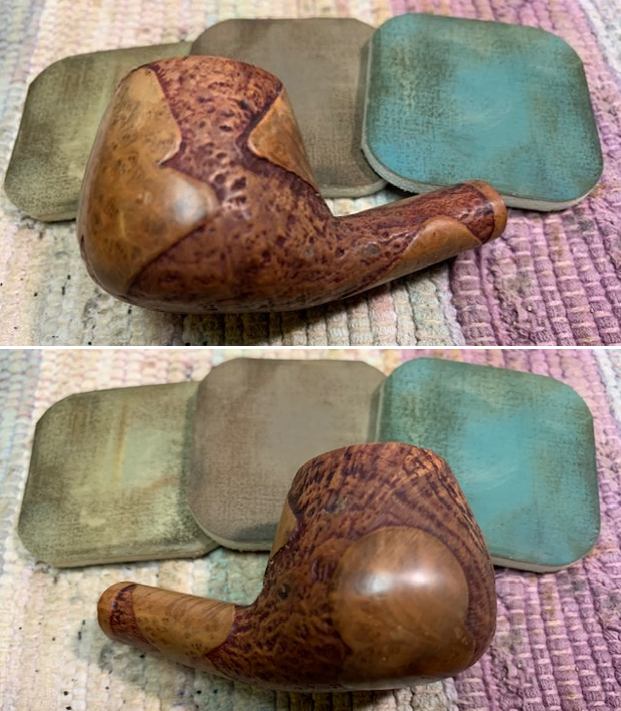
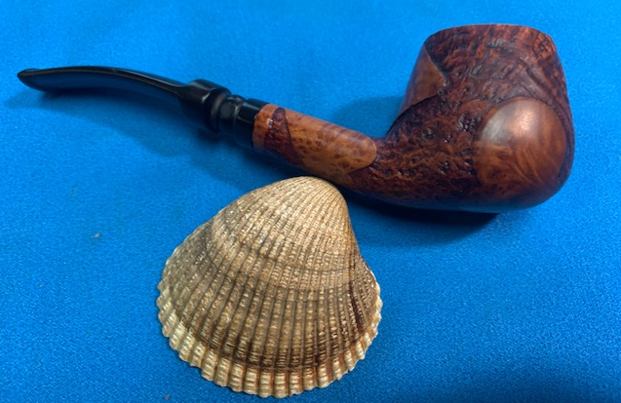
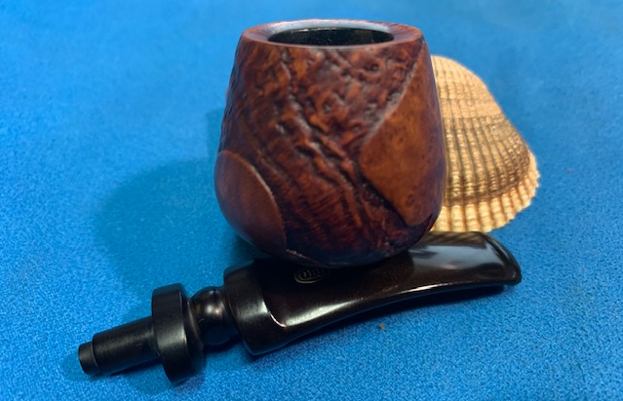
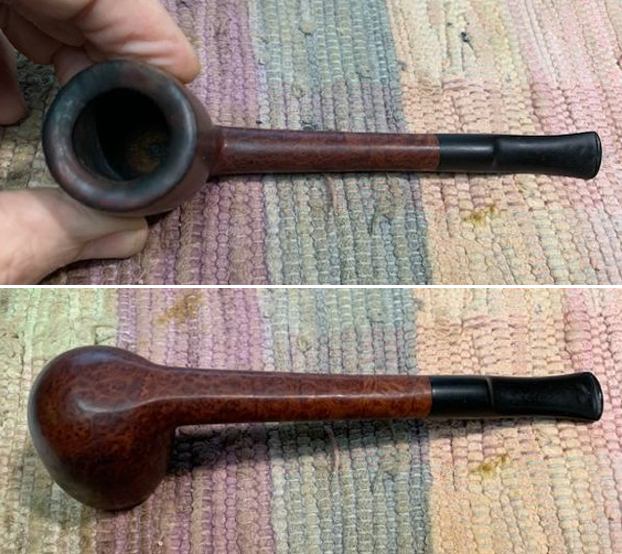
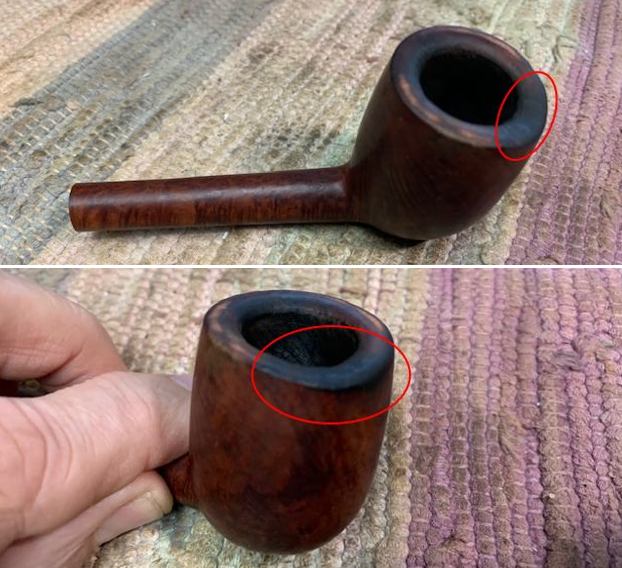
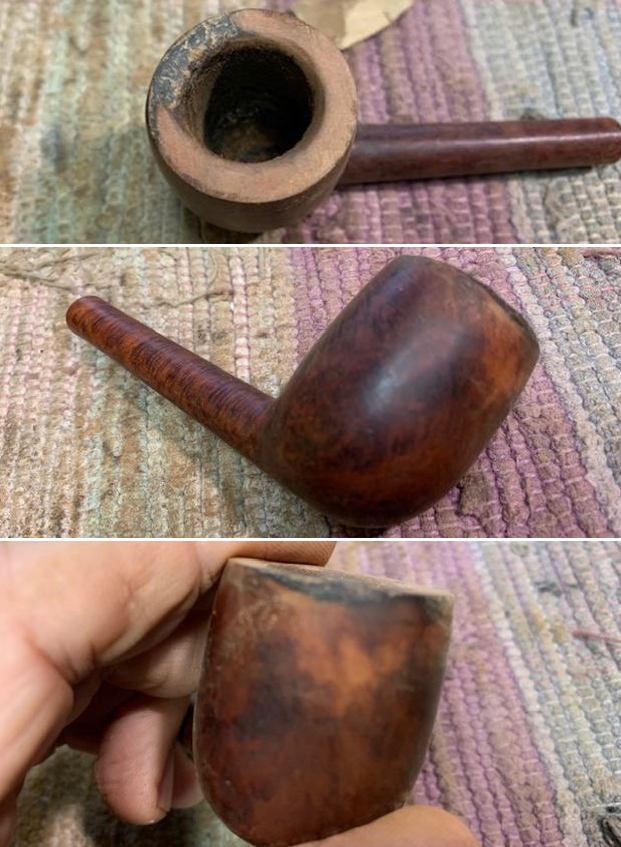
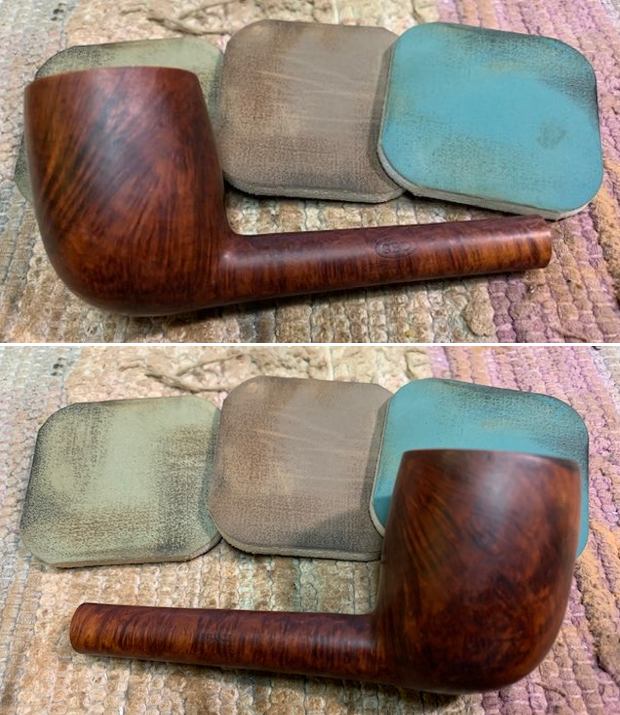
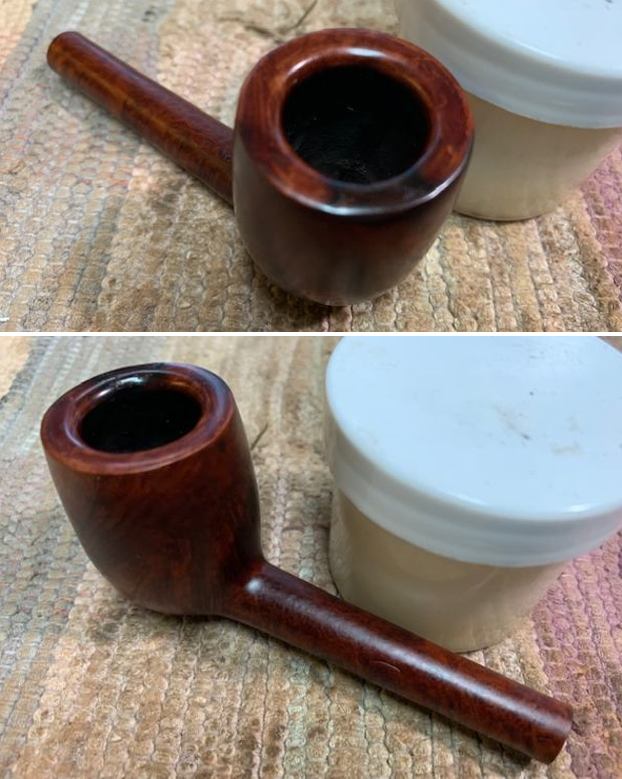
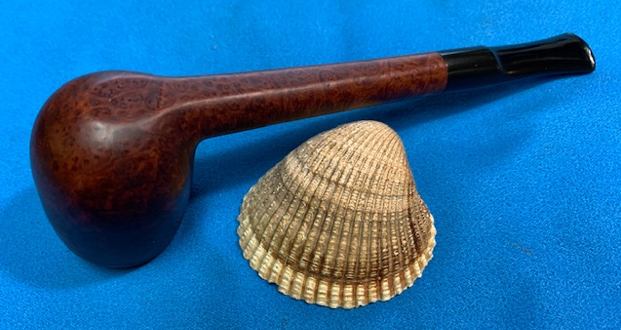
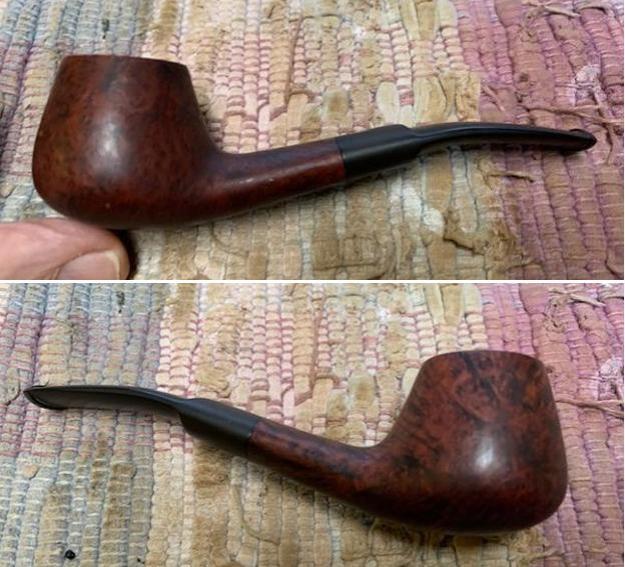
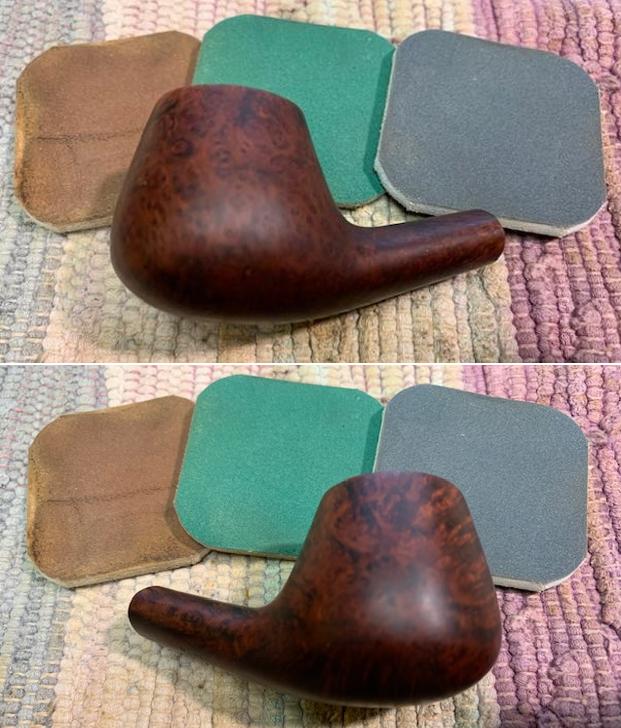
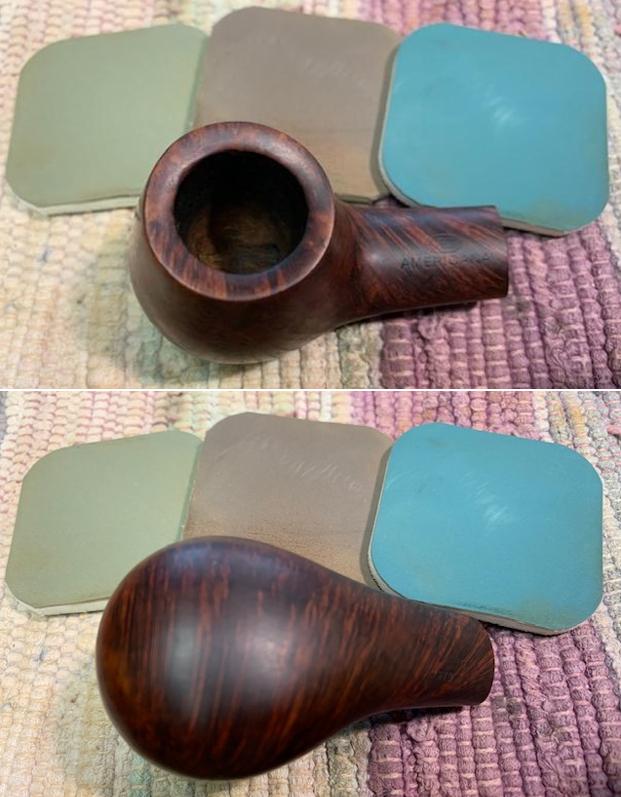
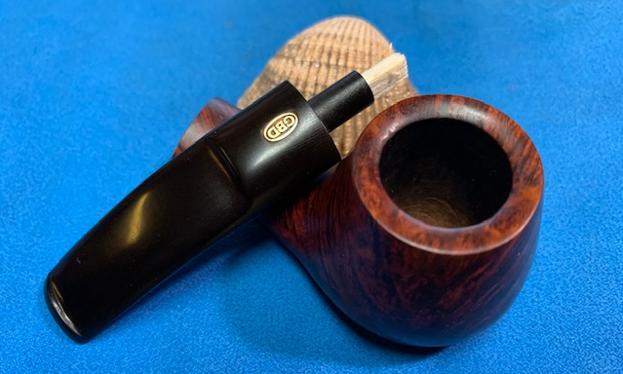
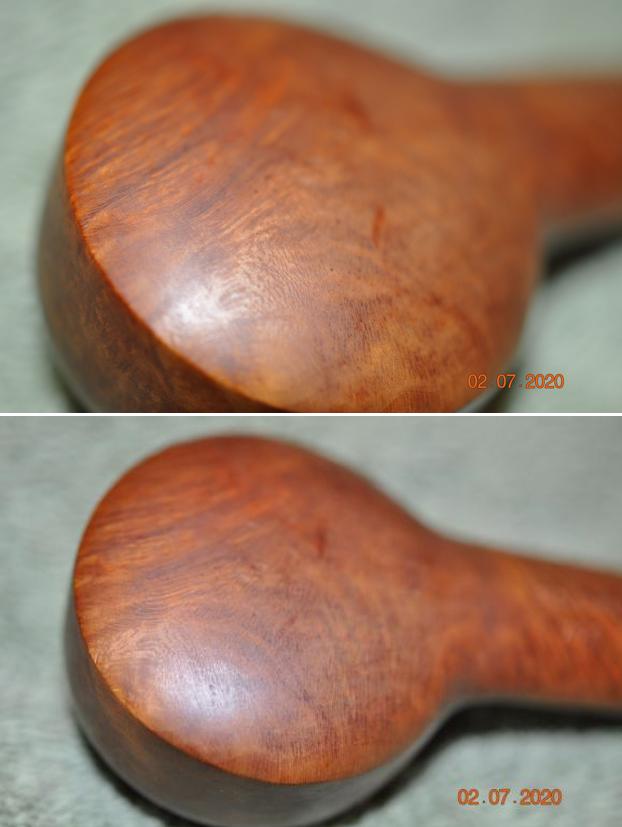
 Cleaning the internals of this pipe took a long time. Once I had that completed, I moved on to addressing the dirt and grime on the exterior of the stummel. I scrubbed the stummel with Murphy’s Oil Soap and an old toothbrush, rinsed it under warm water. I then scrubbed the rim with an old green scouring pad and some more Murphy’s Oil Soap. During this process a large amount of dirt lifted from the surface of the pipe and exposed some really great surface texture.
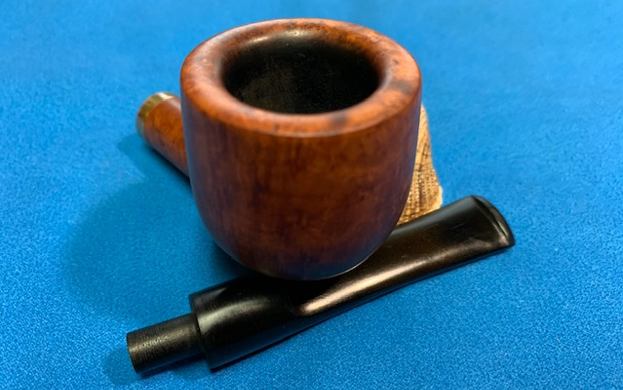
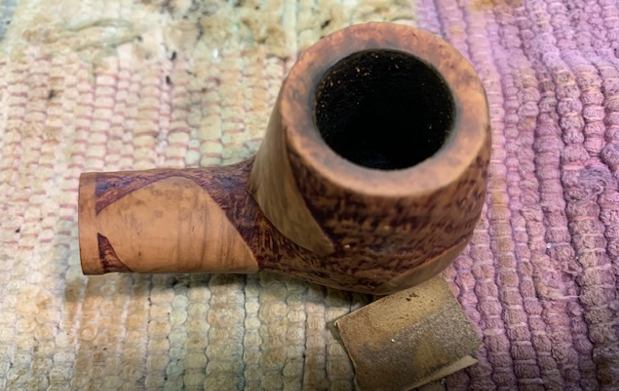
  The rim and the chamber cleaned up well and appeared to be in good condition. I took the rest of the charring or darkening on the rim and inner rim with a folded piece of 320 grit sandpaper.
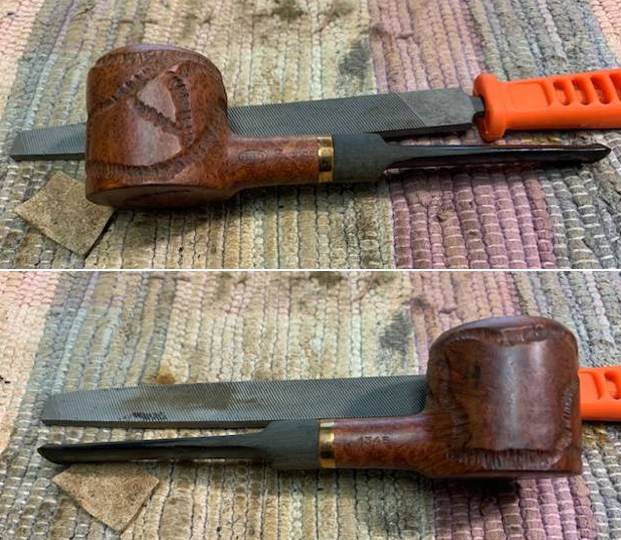
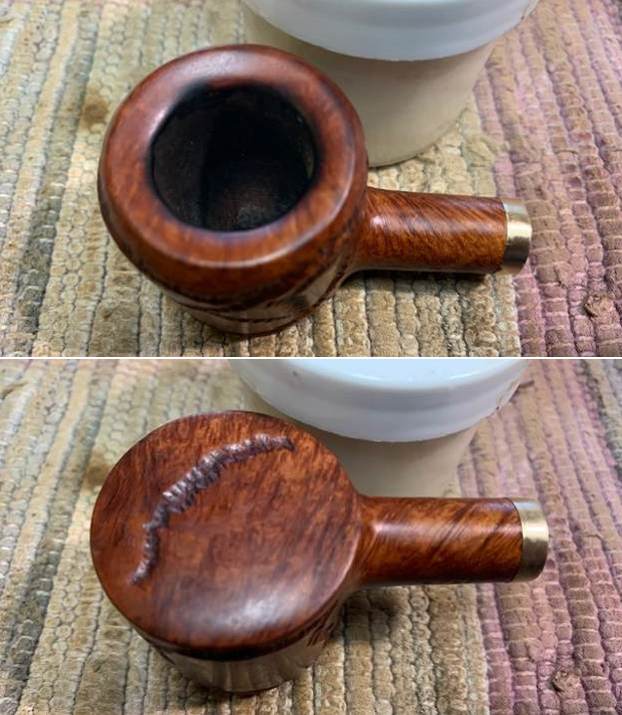
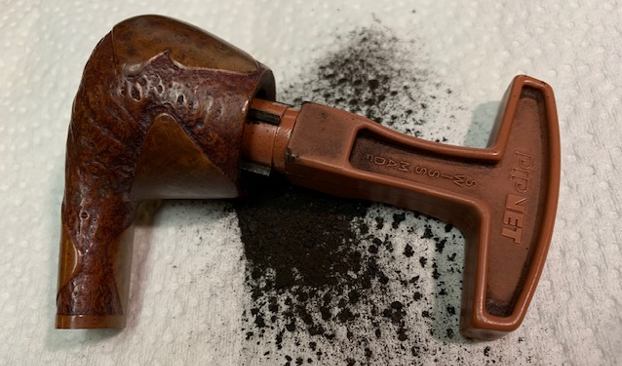
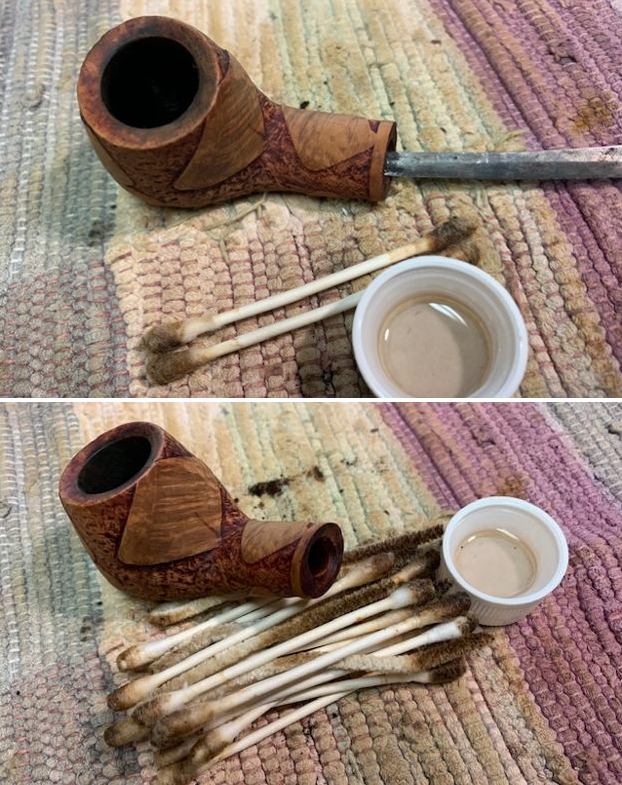
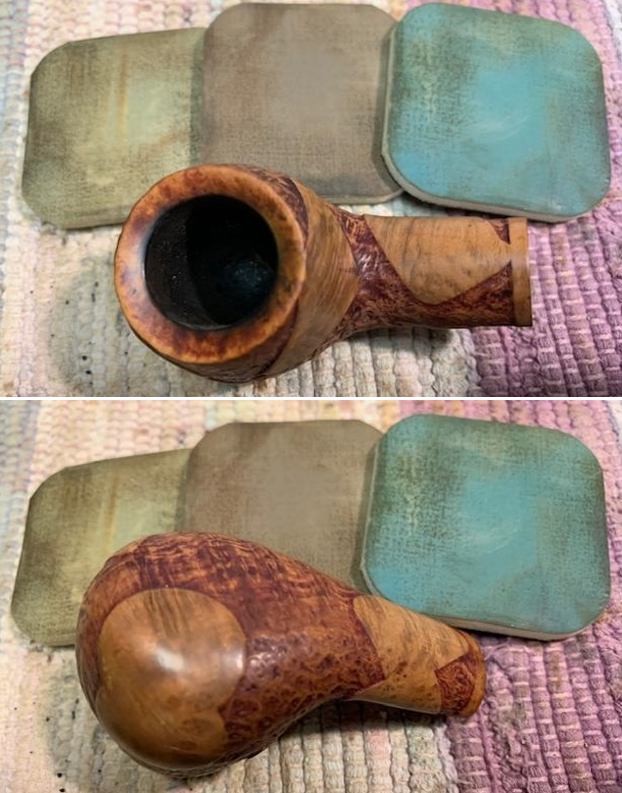
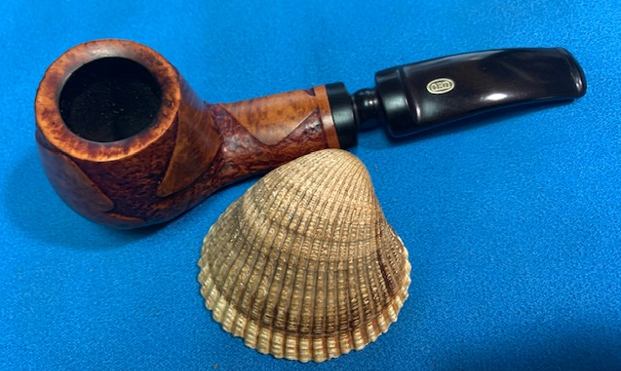
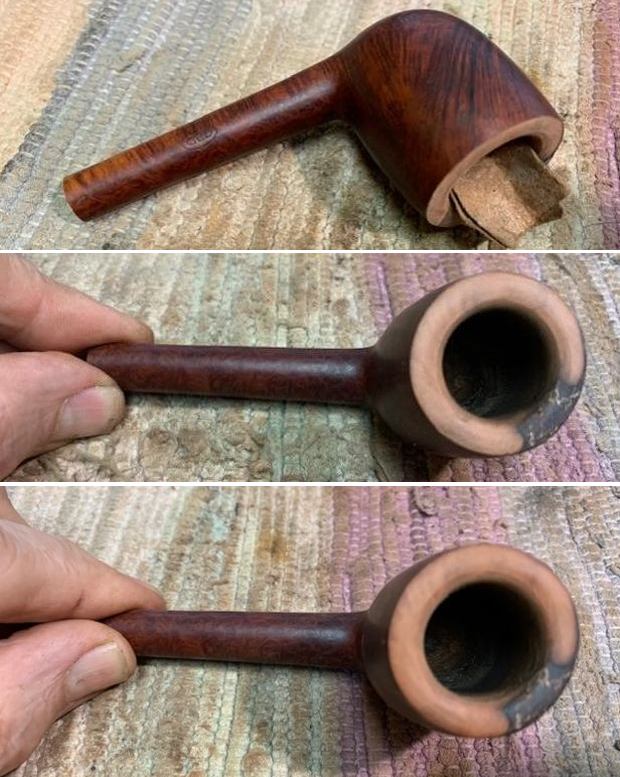
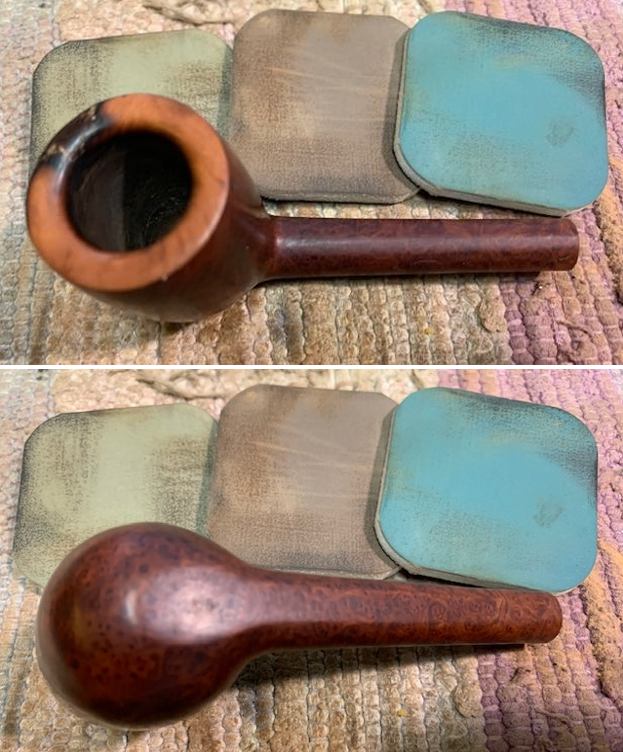
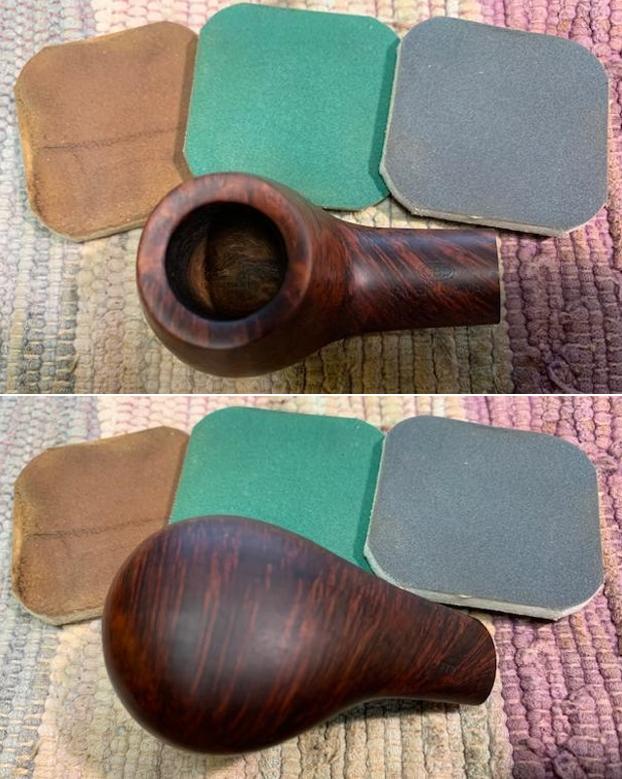
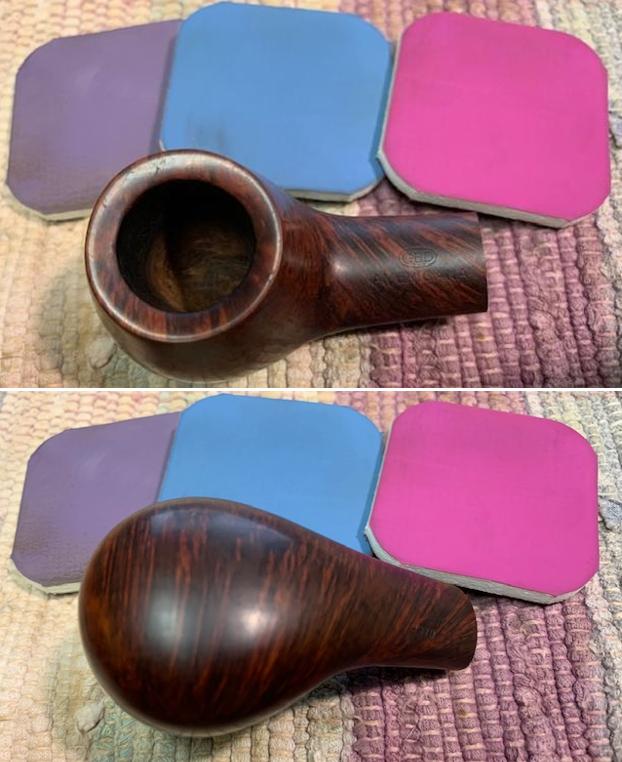
  The stummel seemed to be fairly clean but I decided to de-ghost the piped further. I inserted two folded fluffy pipe cleaners through the shank and down into the chamber to act as a wick. I have found that using fluffy pipe cleaners is easier for me than trying to fish an elongated cotton ball down the shank. I then placed a cotton ball in the chamber and saturated it with isopropyl alcohol.
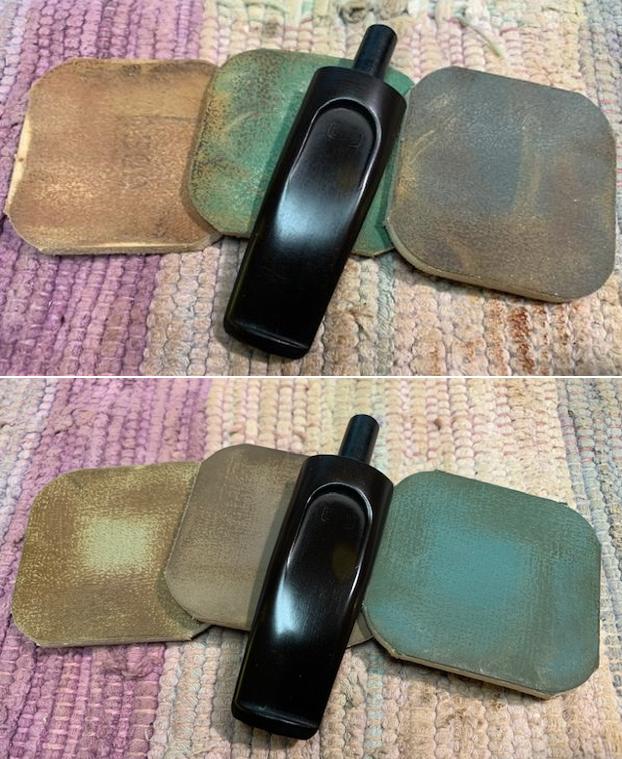
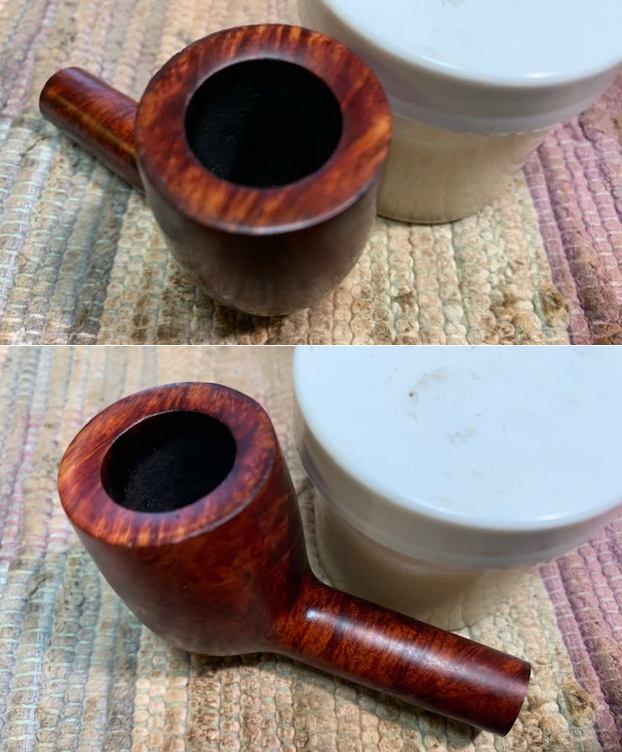
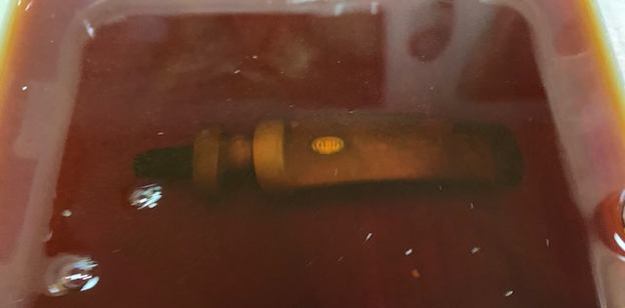
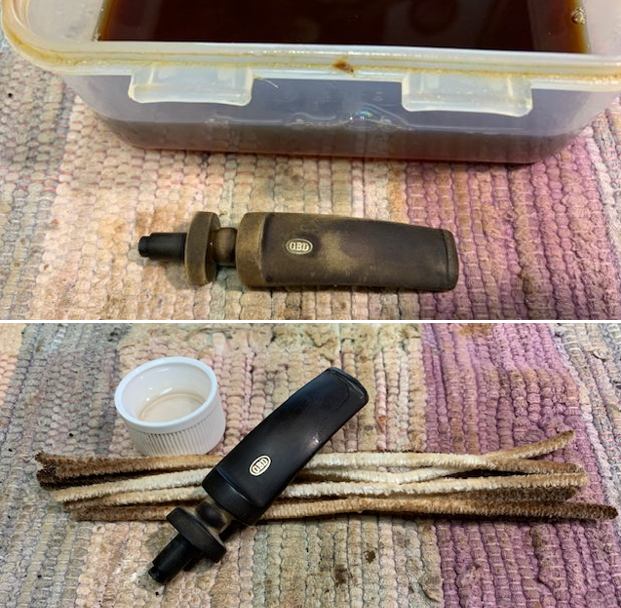
 While the stummel was de-ghosting. I placed the stem in a small Tupperware container to soak in Briarville’s Oxidation Remover solution. I left both the stummel and stem to soak overnight.
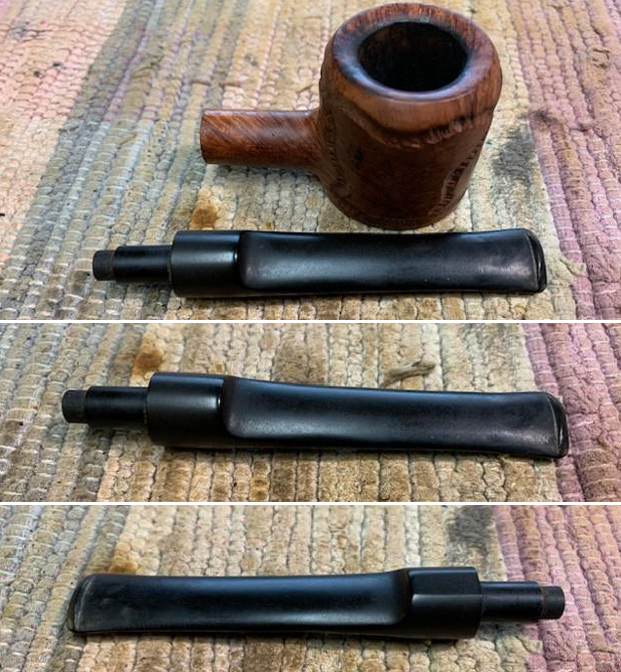
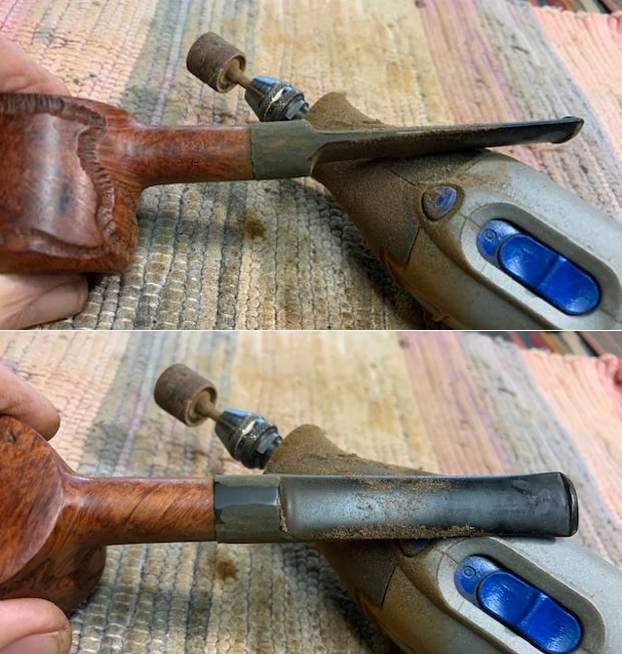
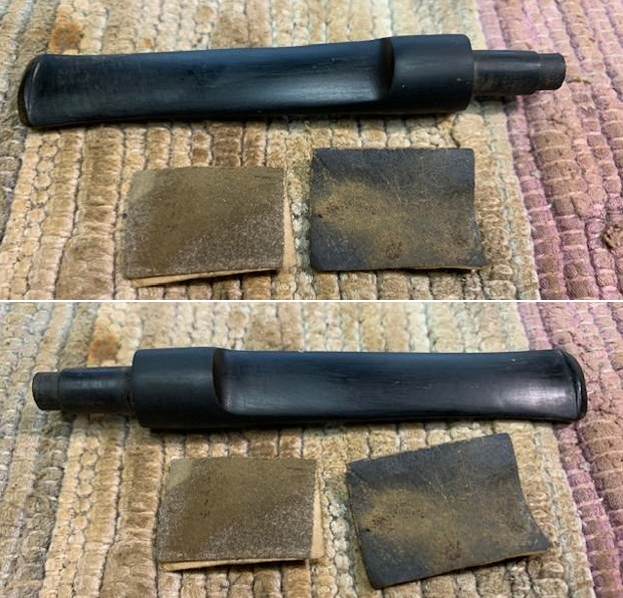
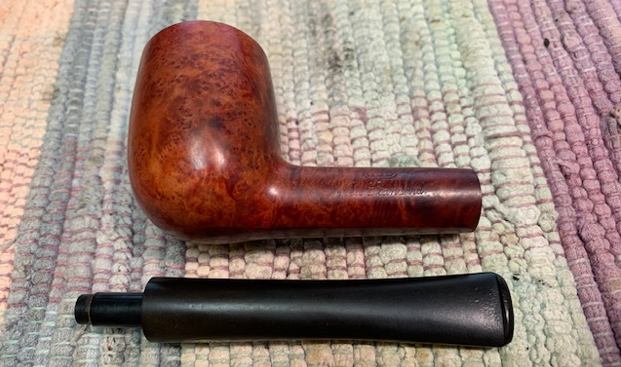
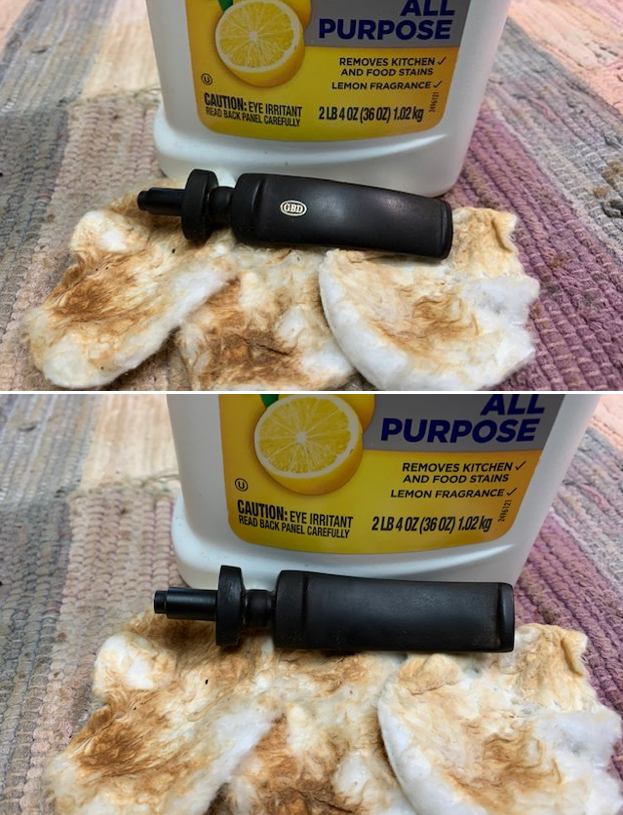
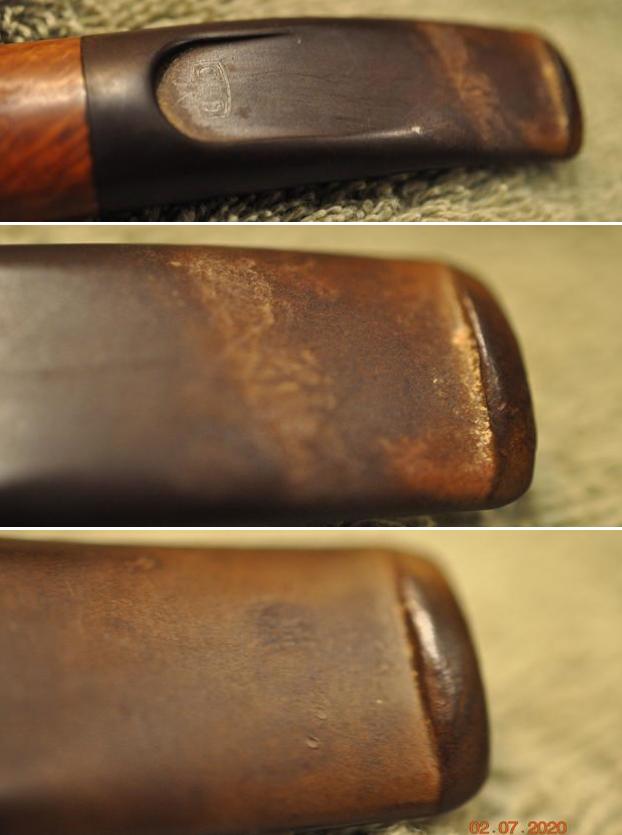
Both the alcohol and the Briarville solution further cleaned the pipe. I took the stem out of the solution and rinsed it and then ran some alcohol dipped pipe cleaners through it. I then scrubbed the stem with Soft Scrub and the scouring pad to clean it up further.
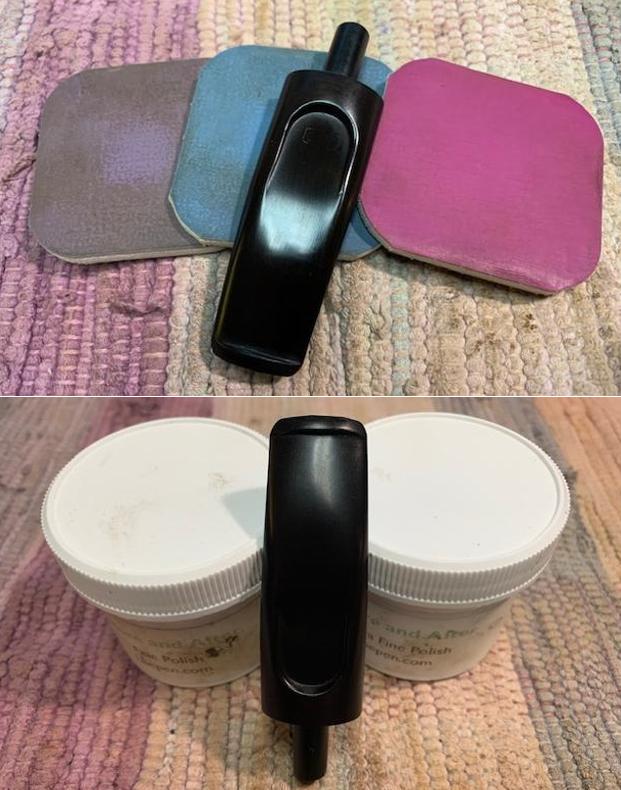
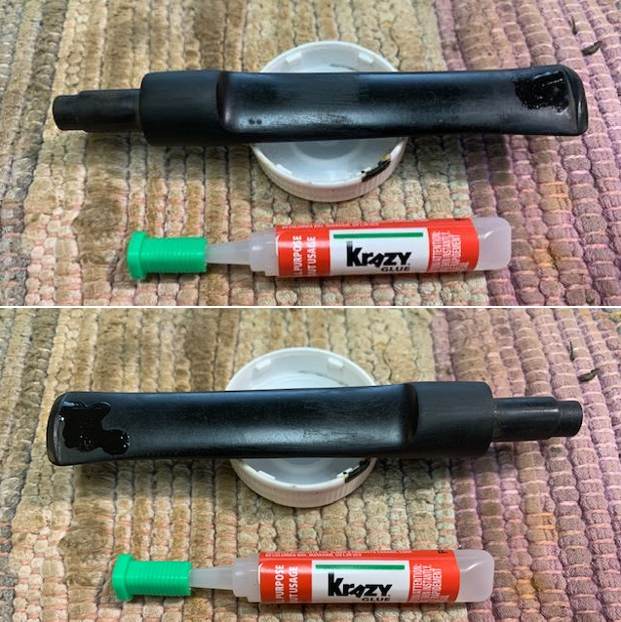
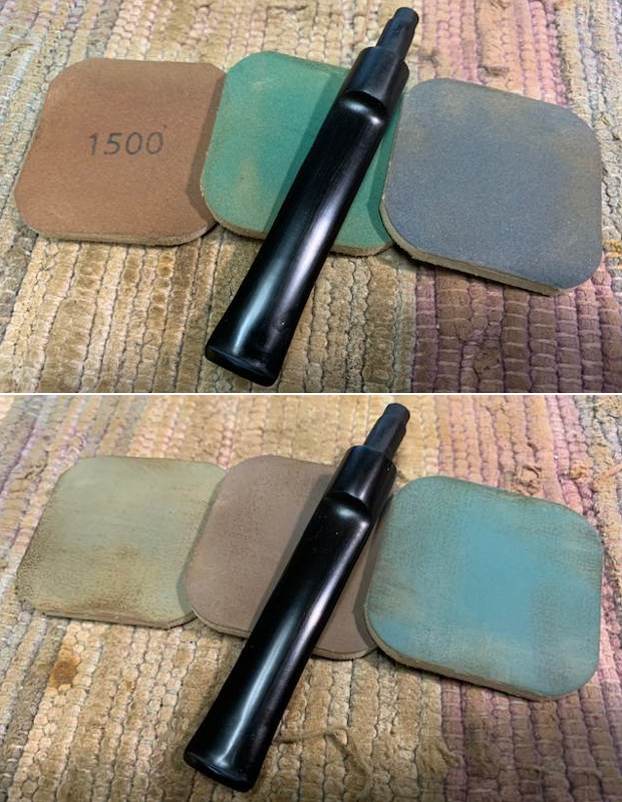
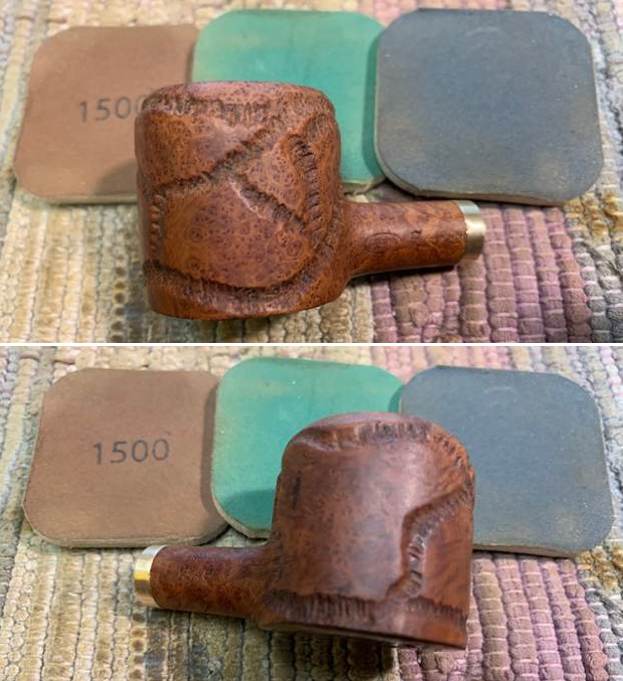
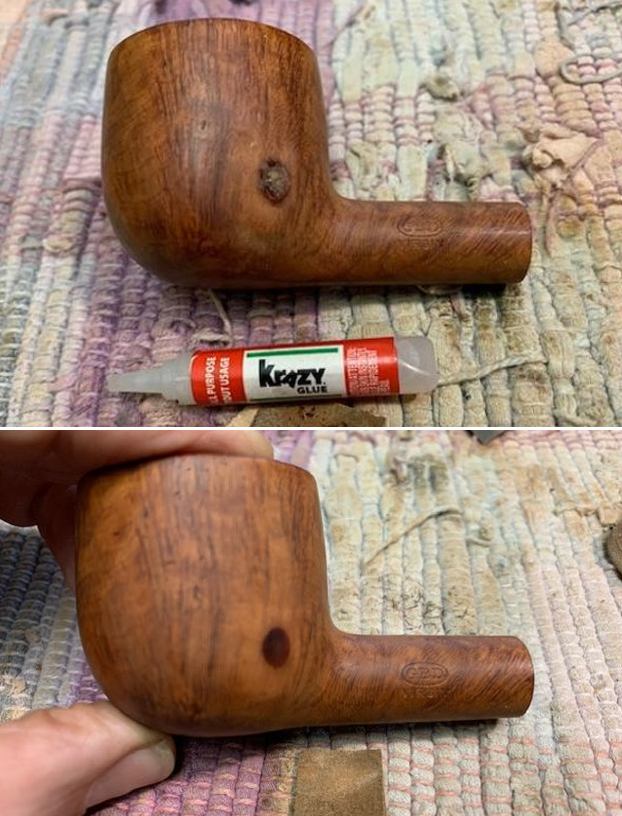
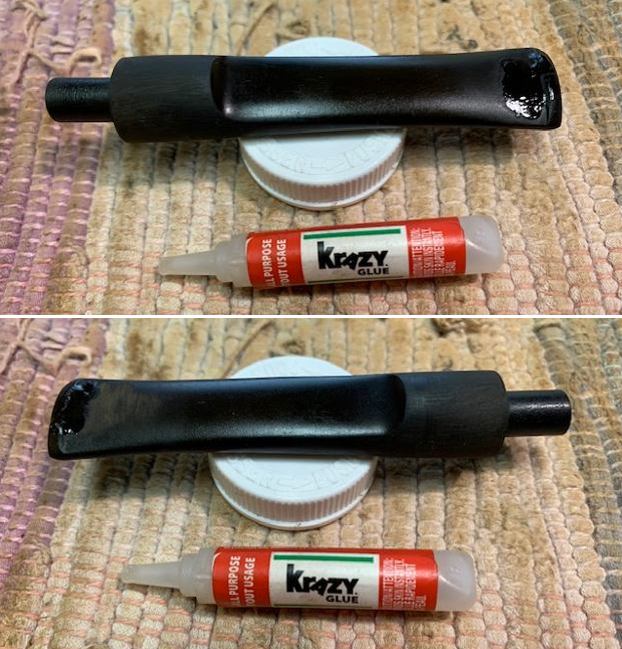
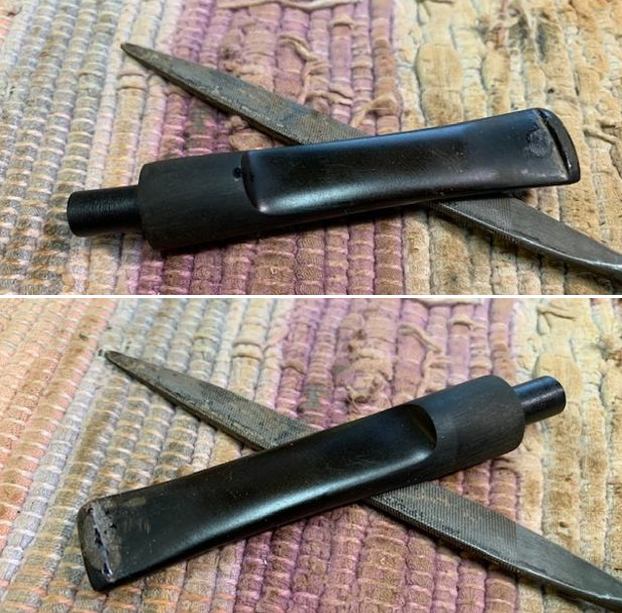
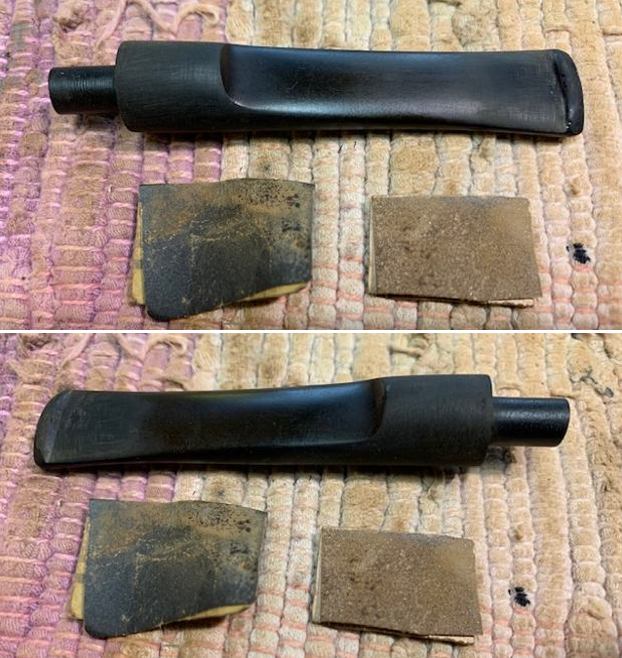
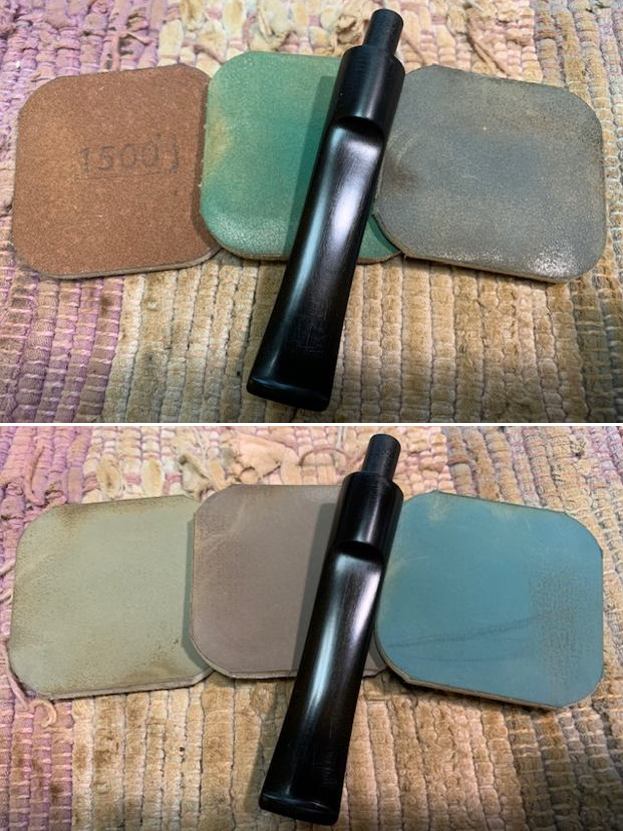
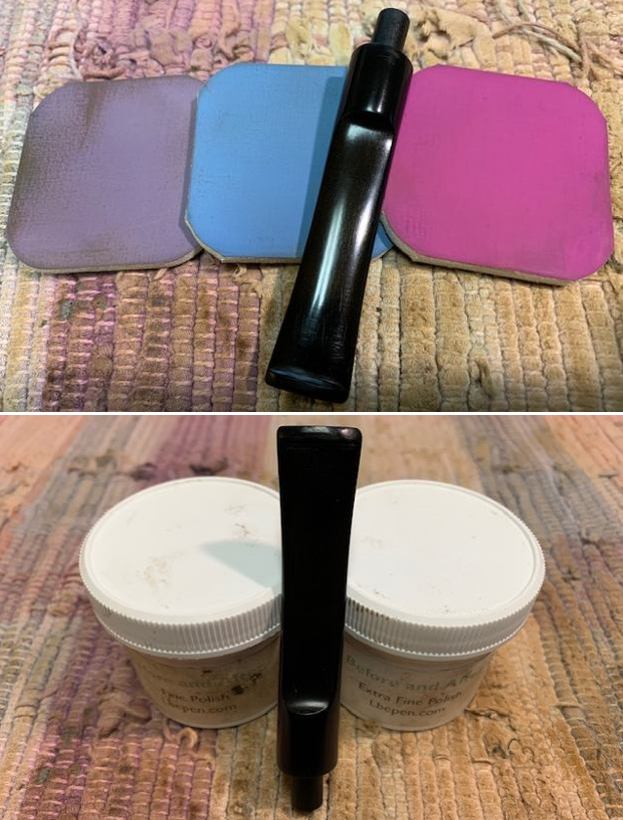
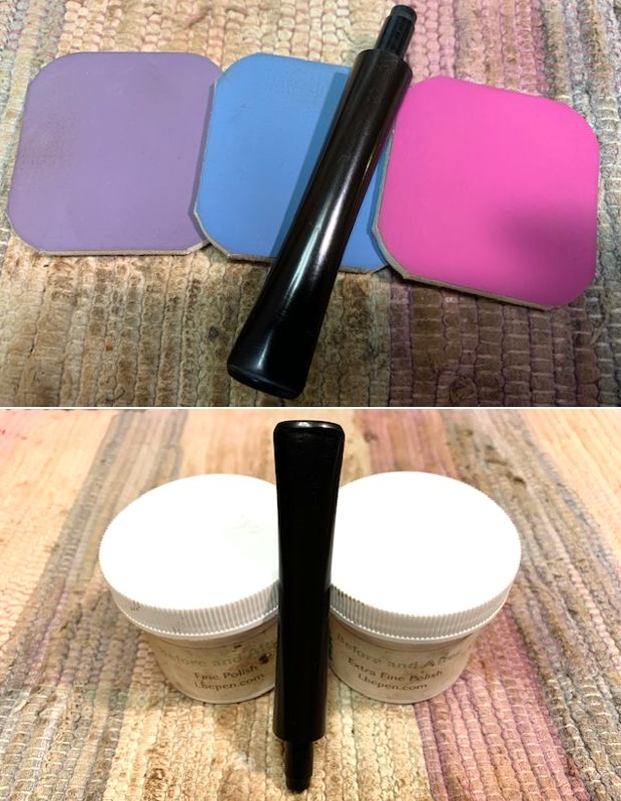
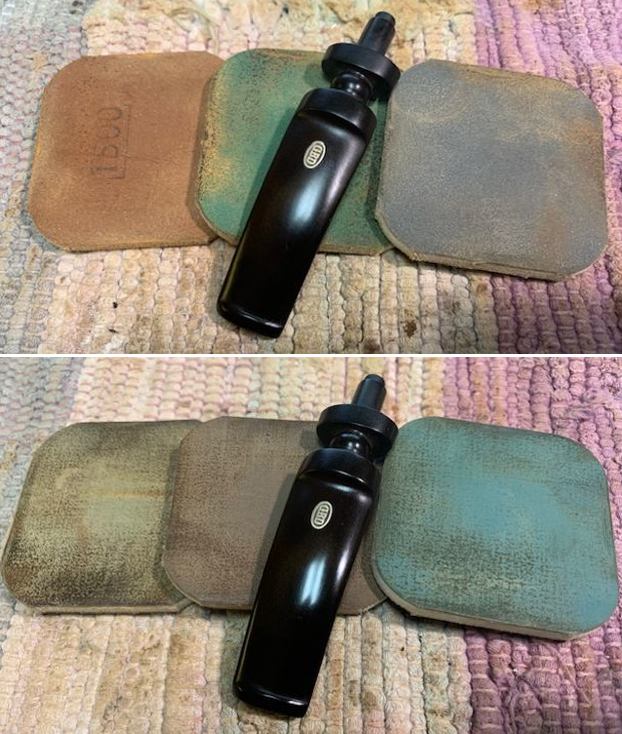
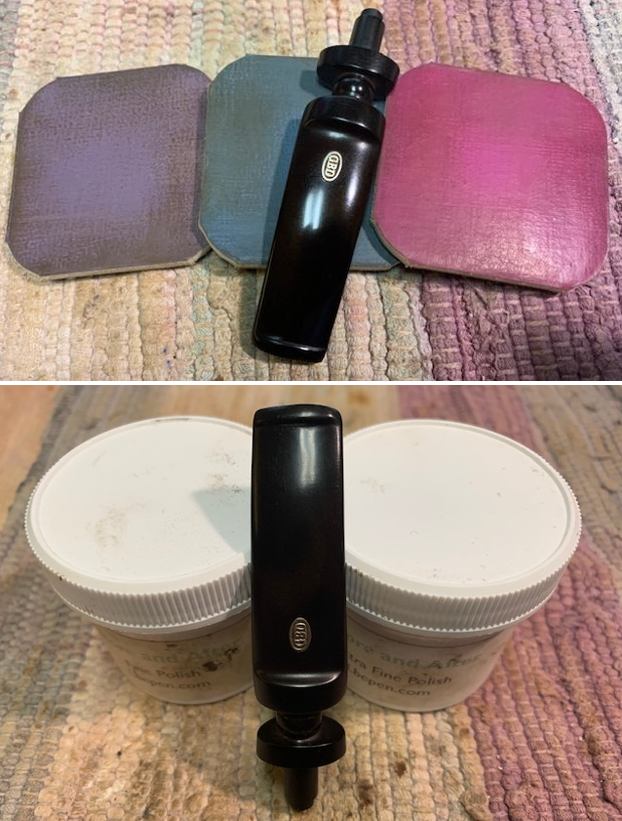
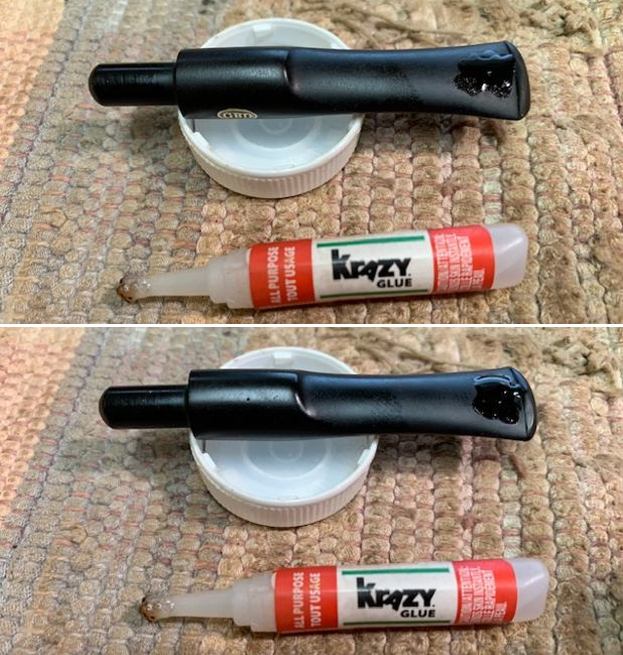
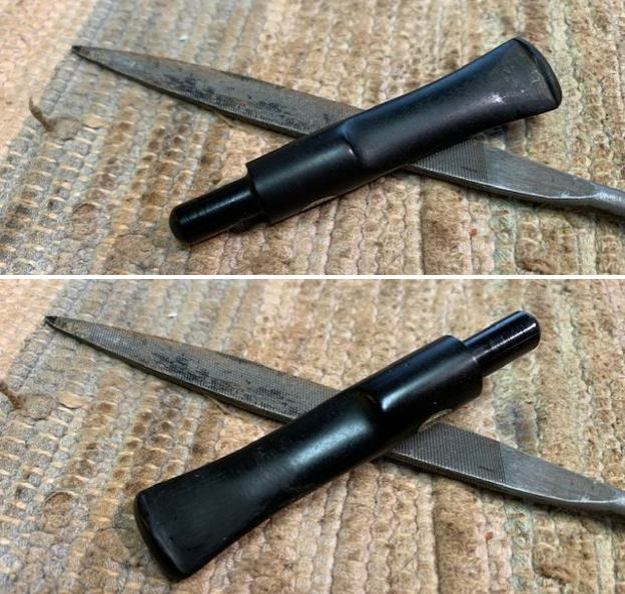
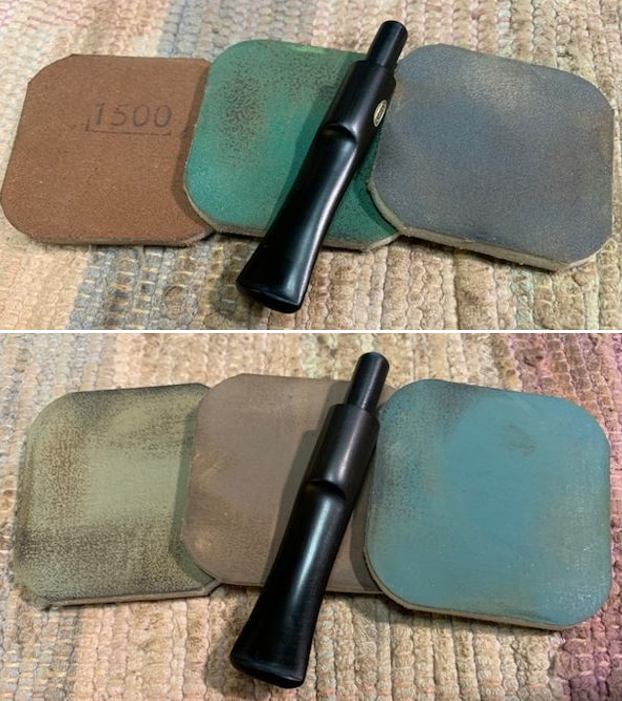
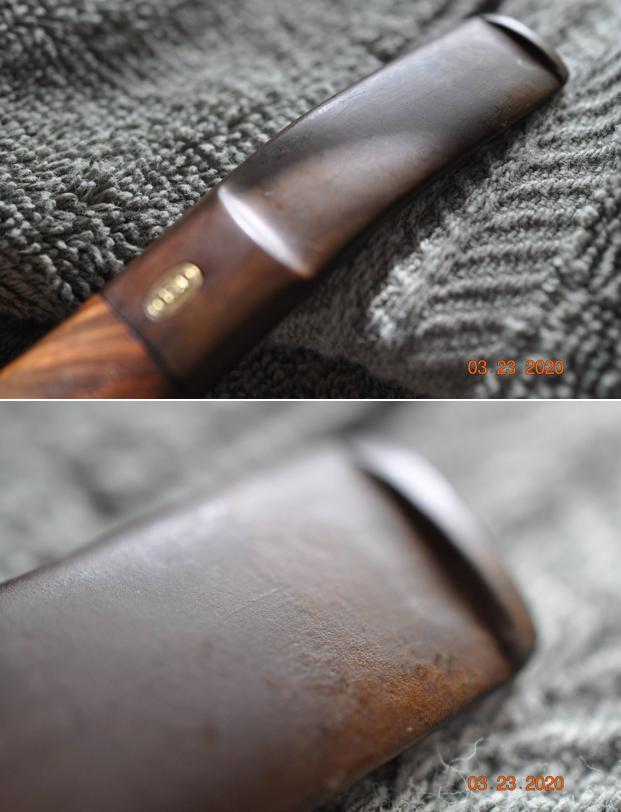
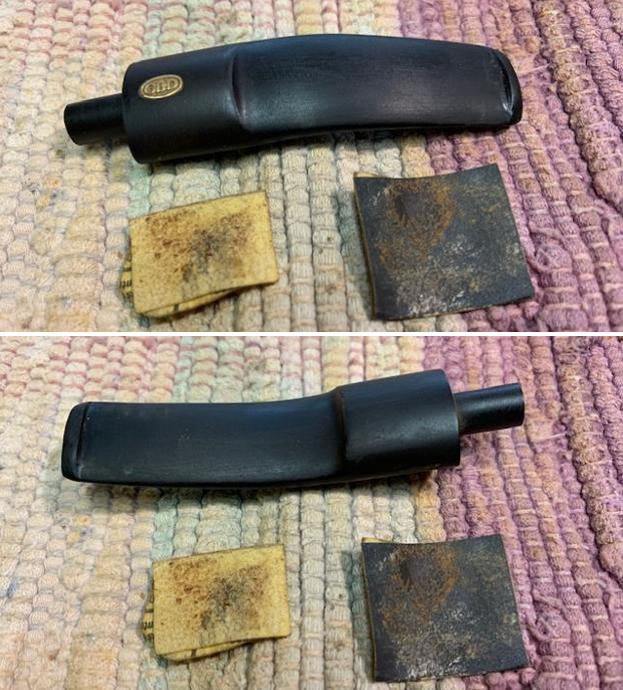
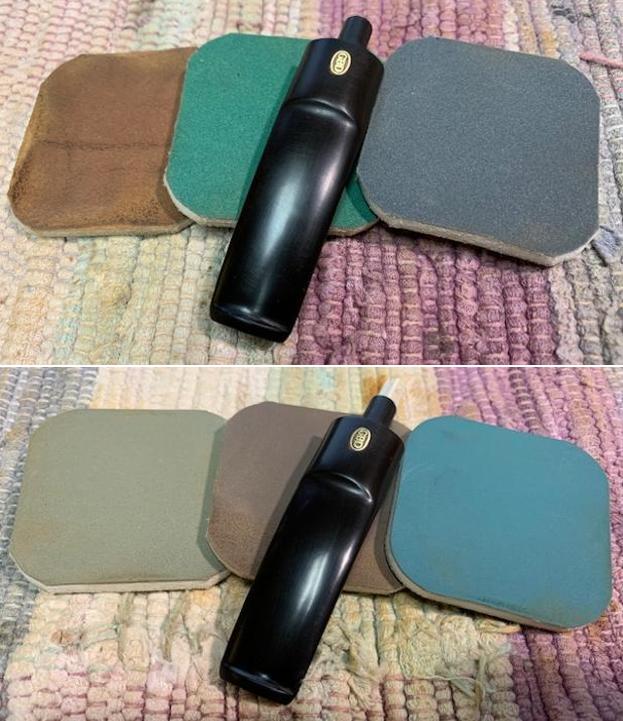
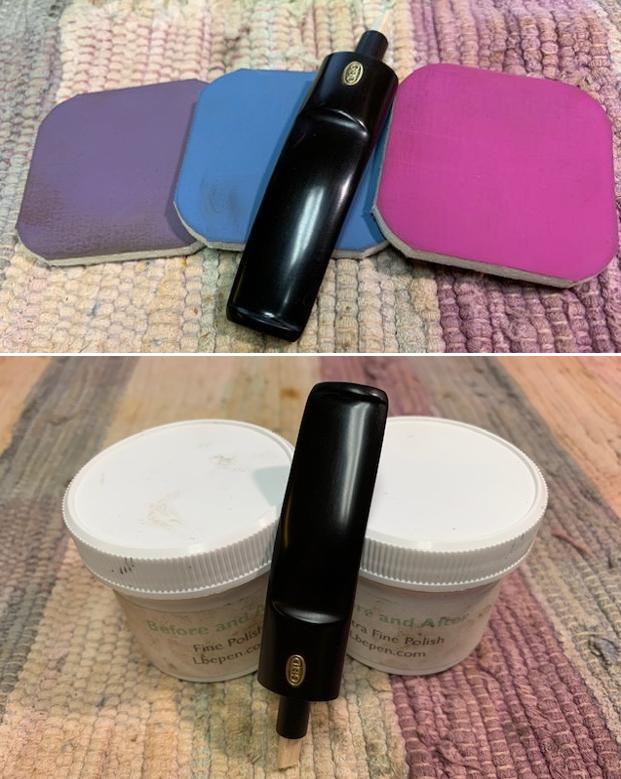
After this was done I filled the tooth chatter in with super glue. Once the clue was dry I sanded down the patch with a piece of folded 220 grit sandpaper. Once I had the patch sanded down flush to the surface of the stem, I turned to the micromesh pads. I took the stem through the progression of micromesh pads (1500-12000). I polished the stem with each pad and wiped the stem down with a cotton pad soaked in Obsidian Oil in between the use of each pad. In the last step, I polished the stem with Before and After’s Extra Fine Polish.
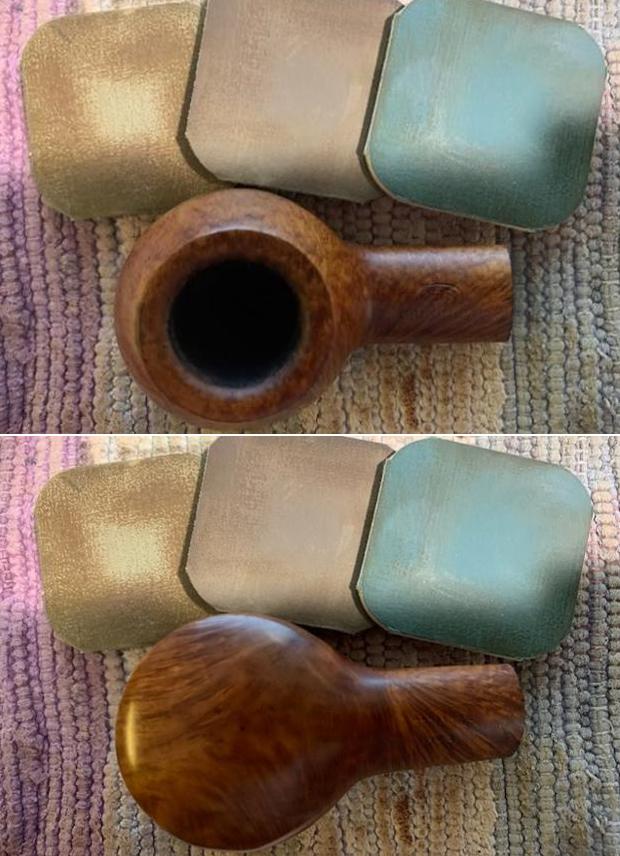
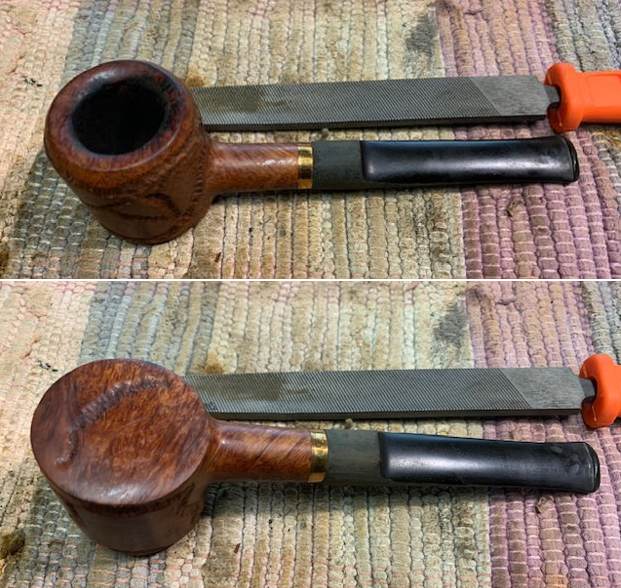
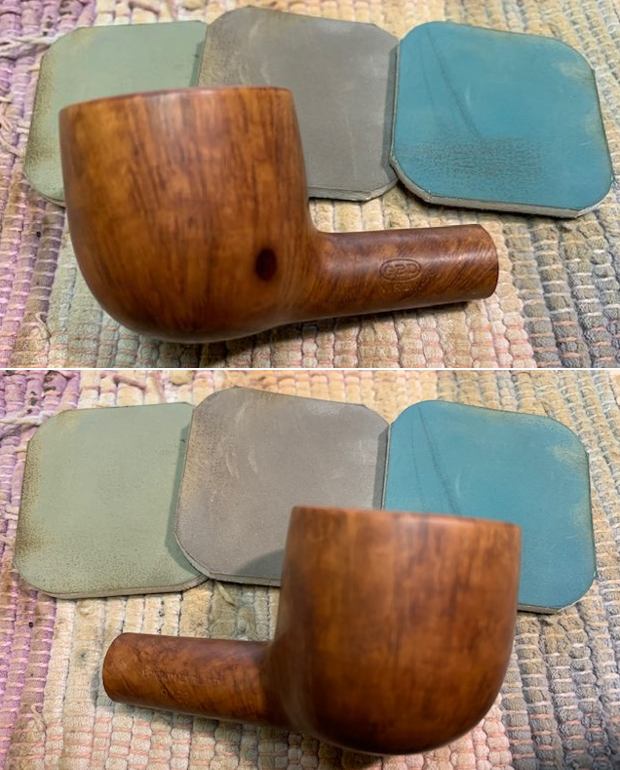
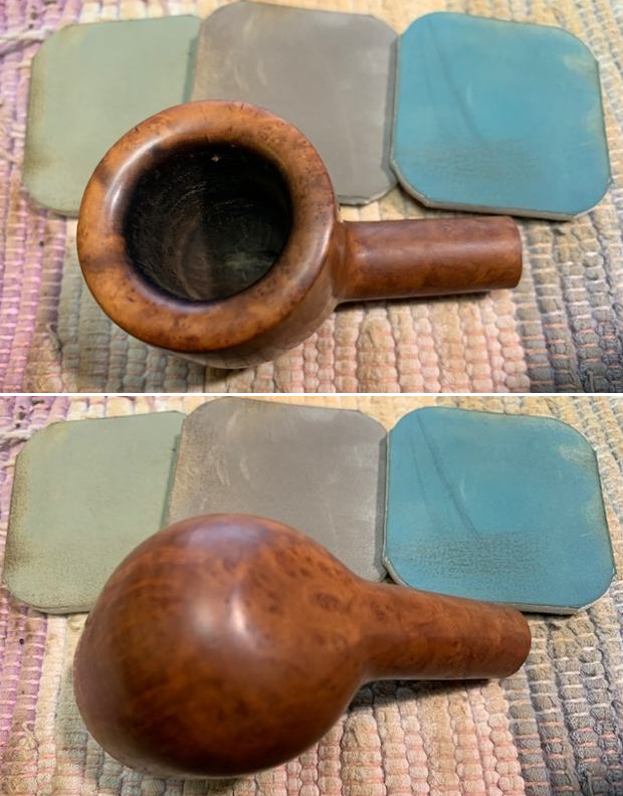
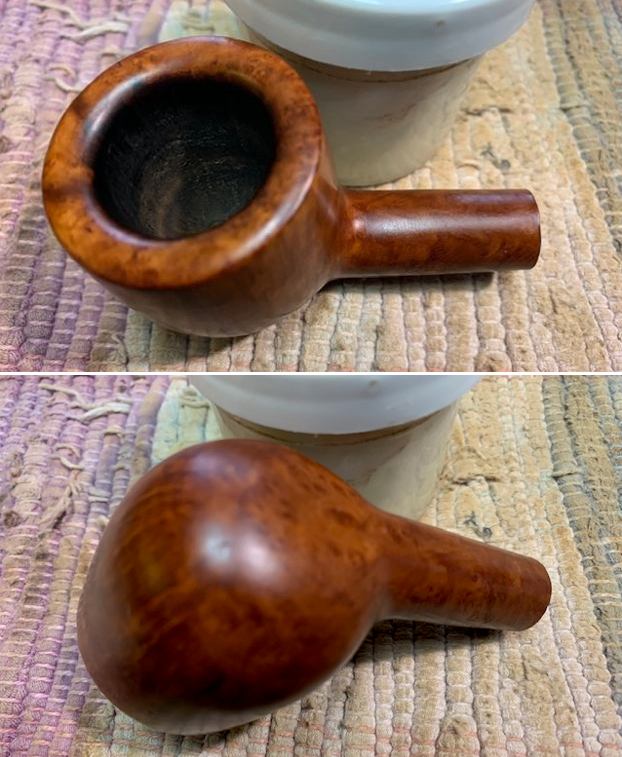
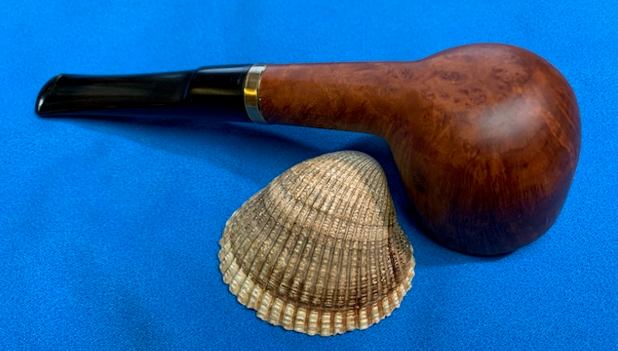
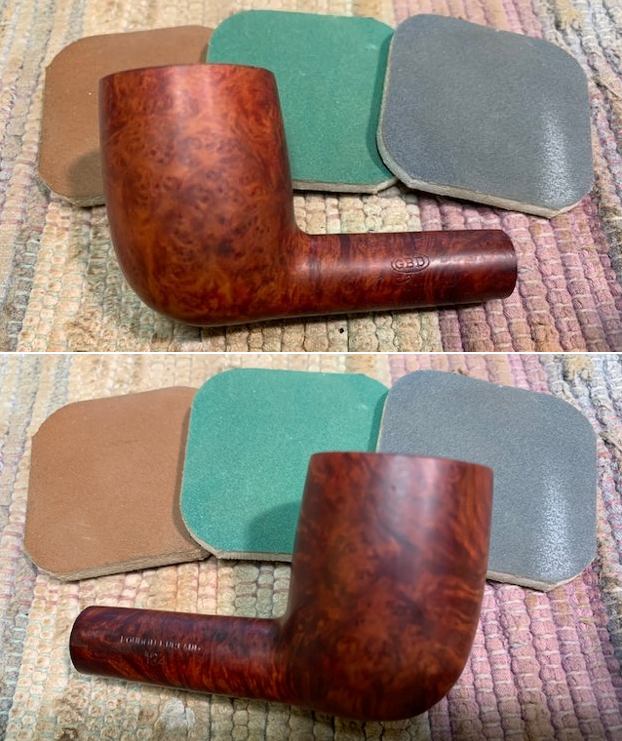
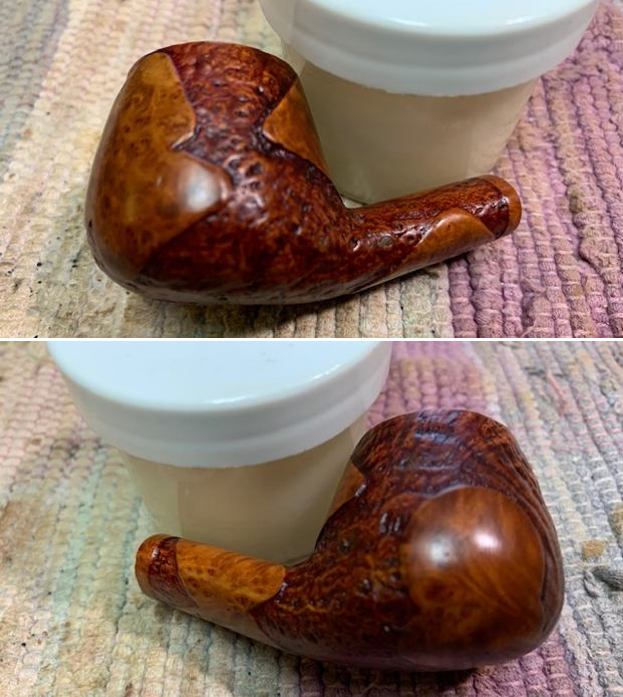
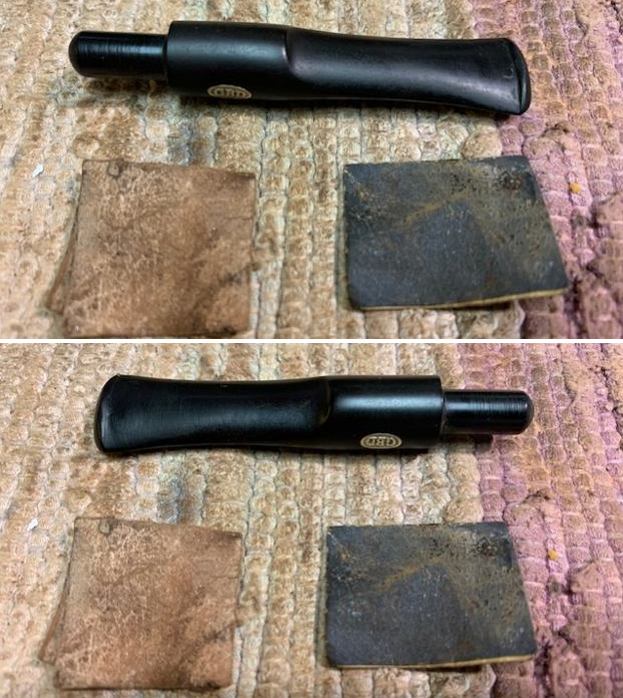
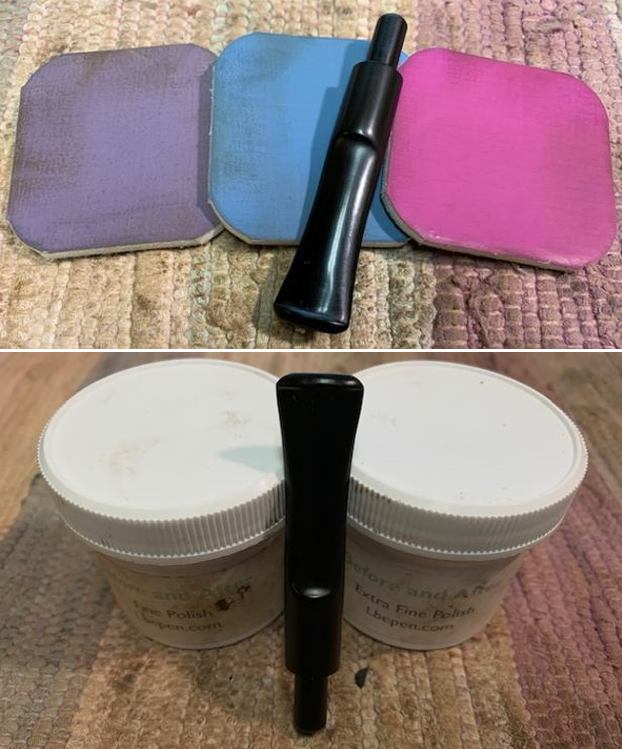
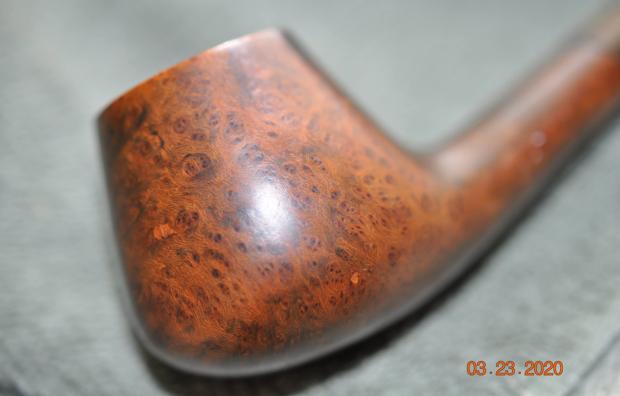
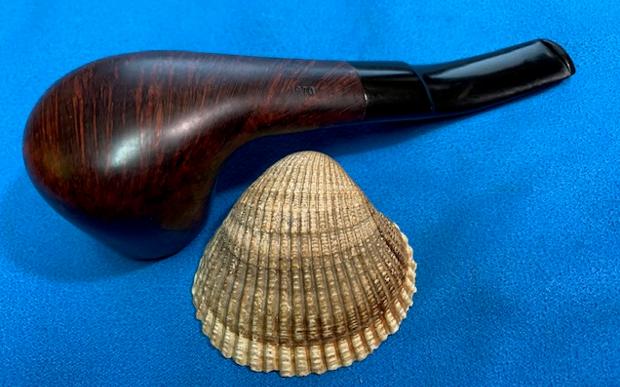
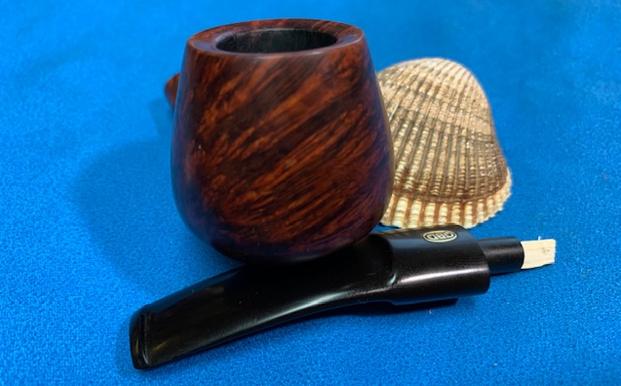
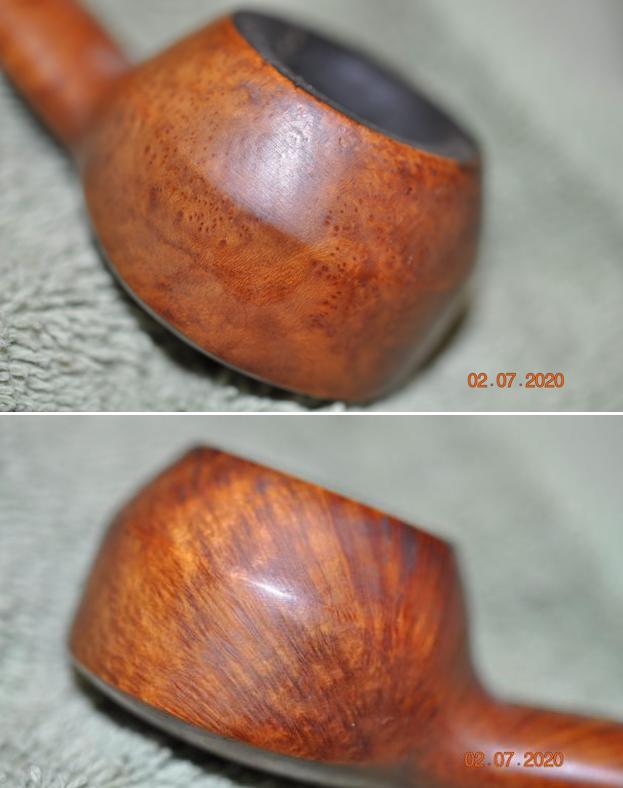
  Satisfied with the progress on the stem, I turned my attention to the stummel. I polished the briar with the progression of micromesh pads (1500-12000) wiping it i with a damp paper towel. Once this step was done, I mixed some dye up to touch up the stain. I’m not sure if the cleaning process removed some of the old stain, but I liked the highlights that had been exposed on the ridges of the sandblast. I decided to heighten this effect.
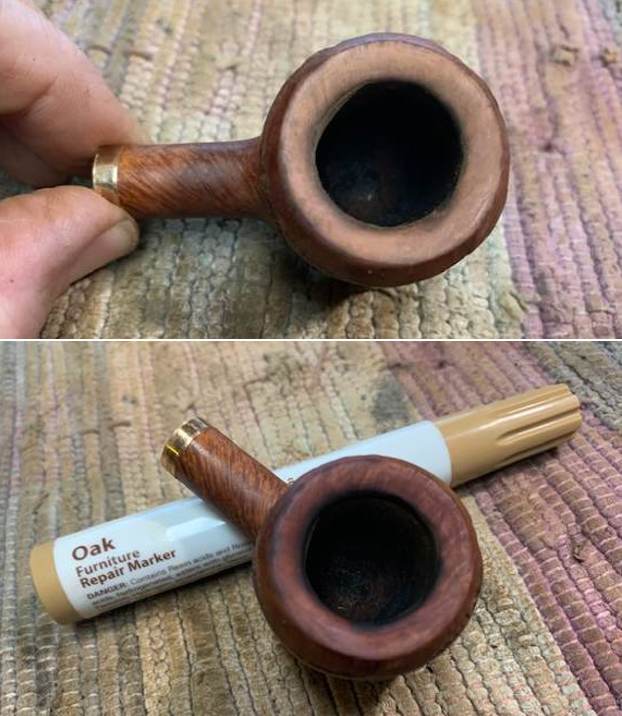
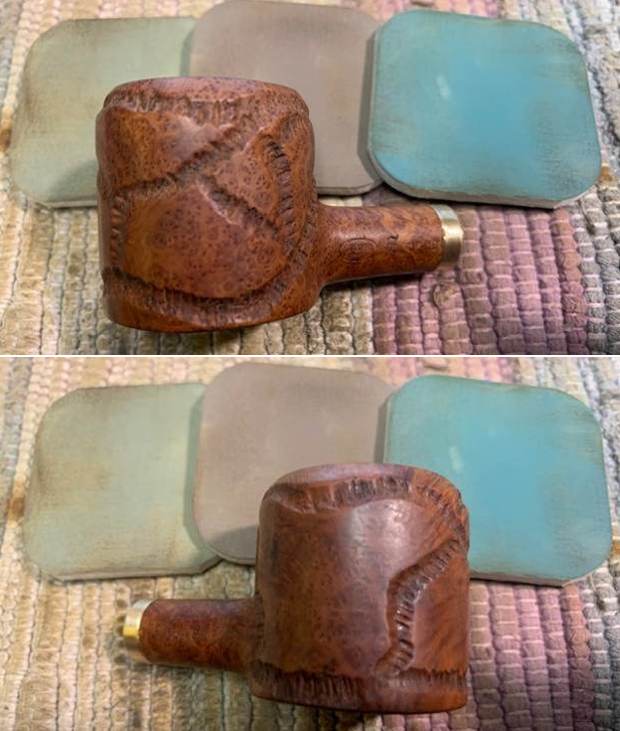
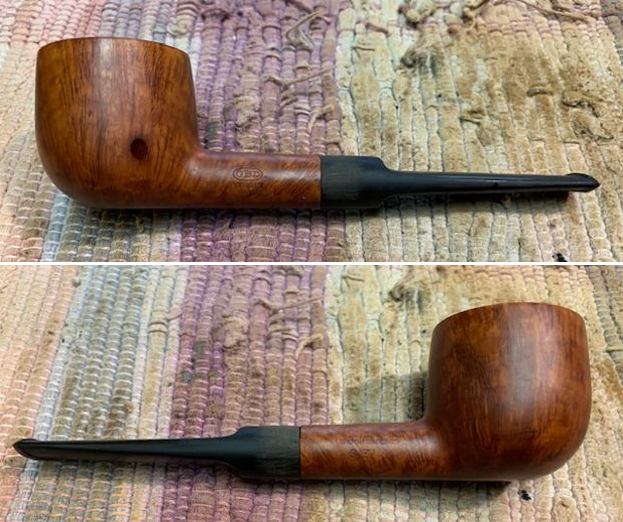
I mixed a one-to-3 ratio of Light Brown and Russet leather dye with alcohol to thin the dye down. I like to apply the stain with a small hobby brush. I find that the brush helps me to coat the stummel evenly. Once the stain was applied, I used a small tea candle to fire the briar and set the dye. I let the stummel sit for a couple of hours and then removed some of the excess stain with a cotton pad soaked in acetone. 
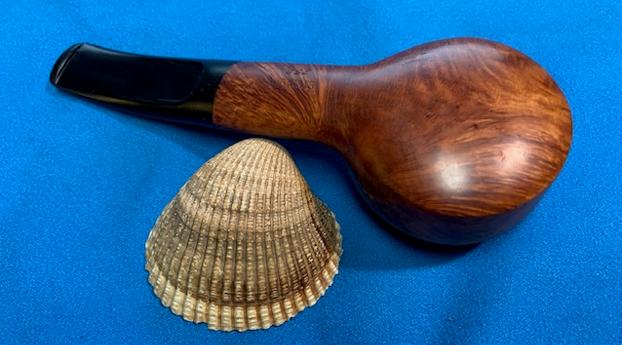
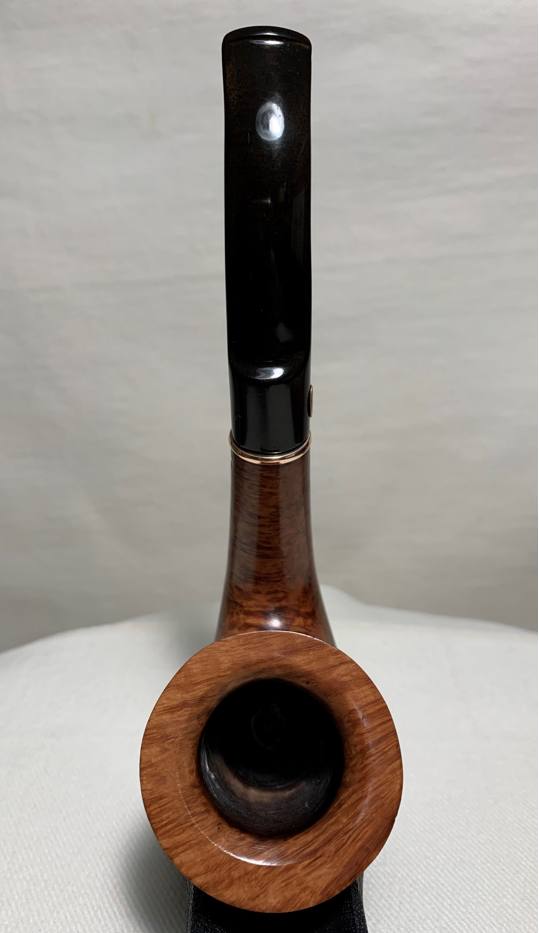
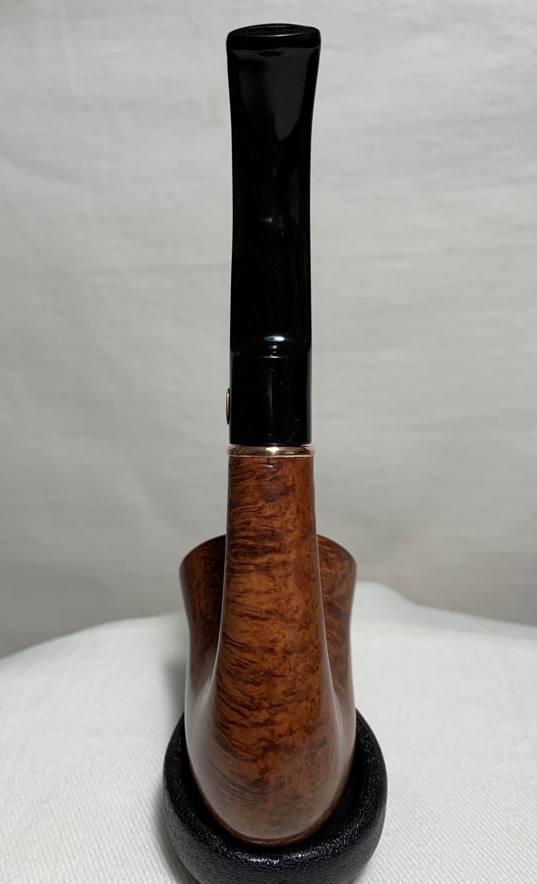
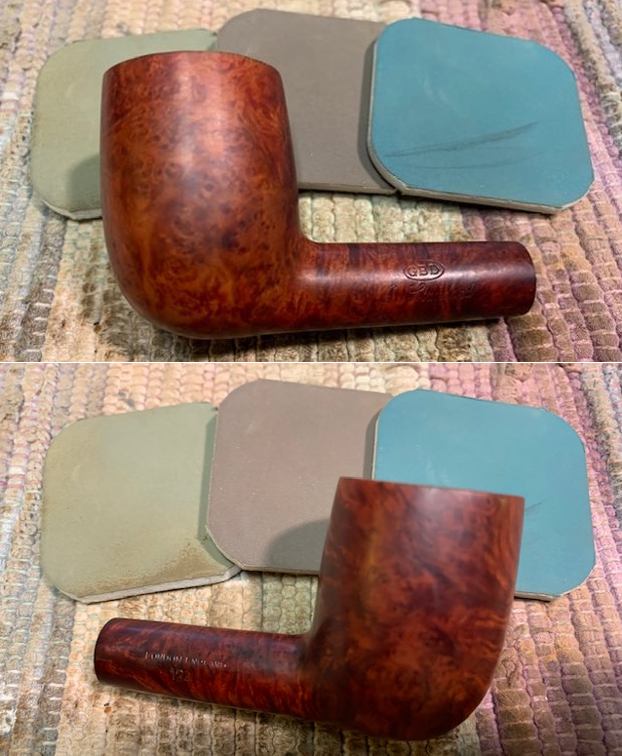
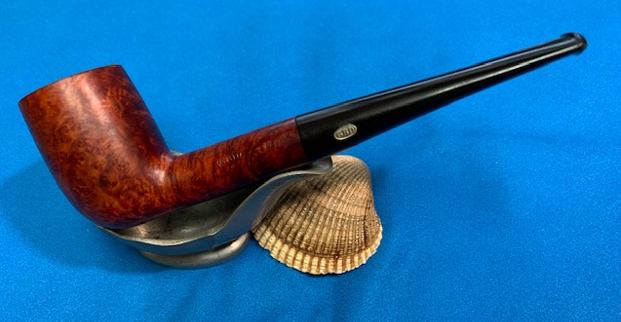
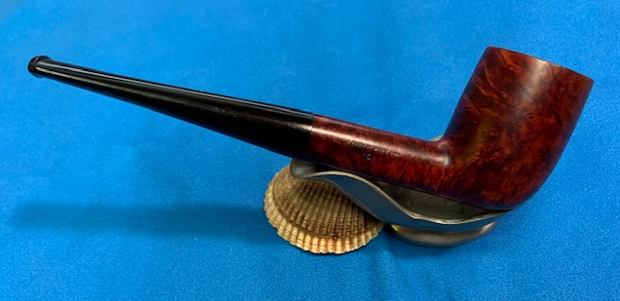
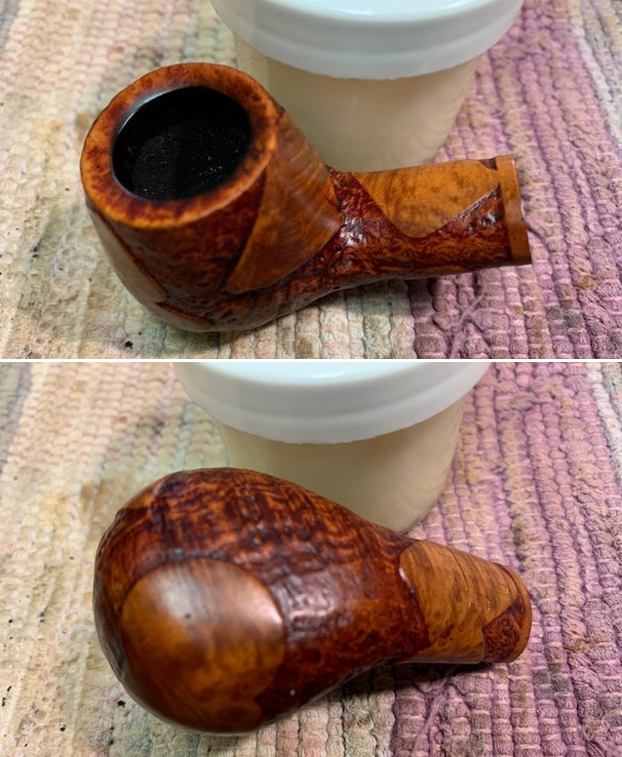
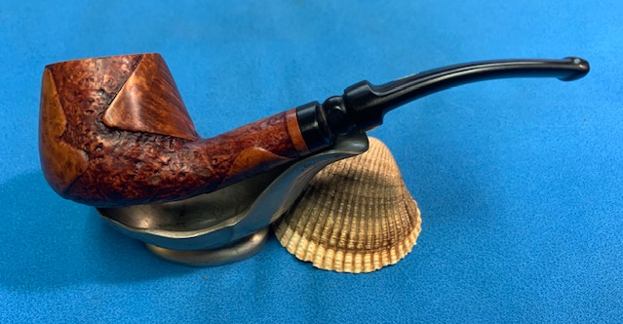
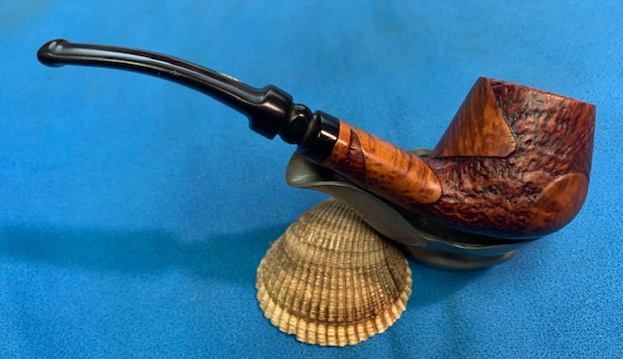
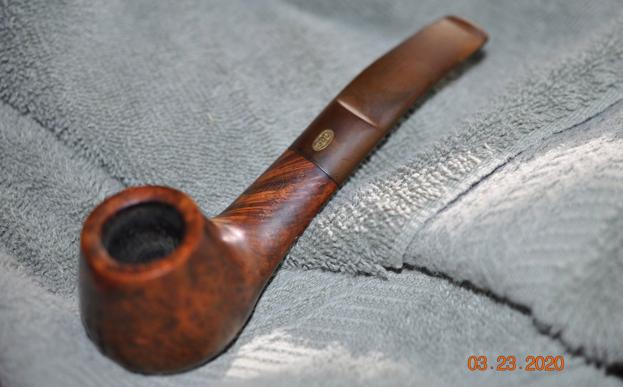
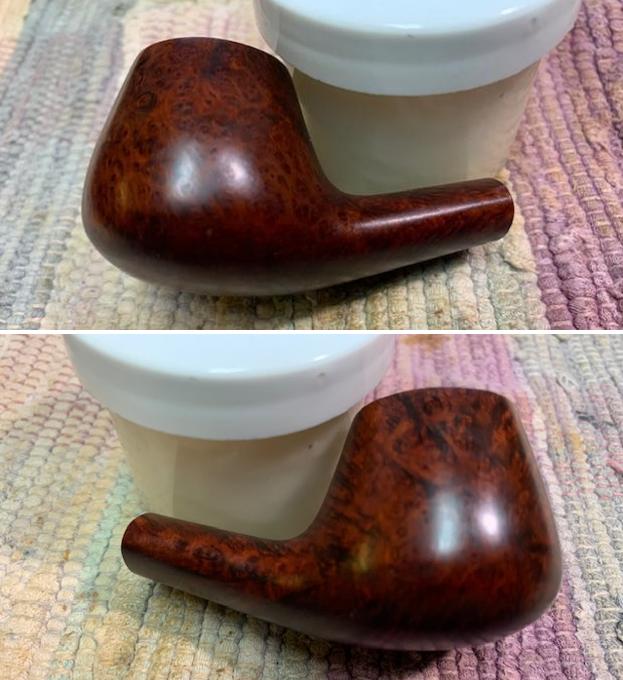
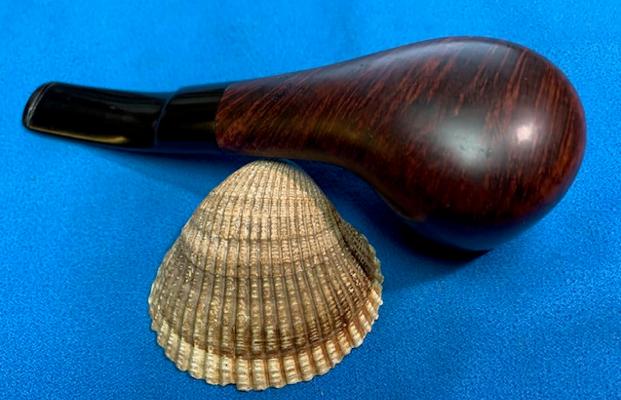
 After removing some of the excess stain with acetone I began to polish the stummel with the micromesh pad series (1500-12000). I wiped the briar down with a damp paper towel between each pad. Once I was finished with the micro pads, I worked some Before and After Restoration Balm into the stummel. The pipe was really looking nice at this point! I let the balm sit for about 10 minutes and then buffed the stummel with a cotton cloth.

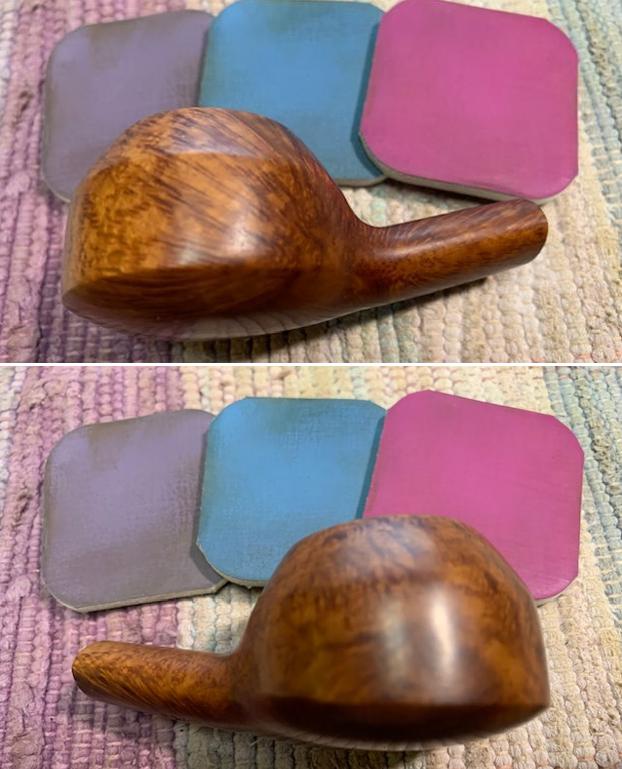
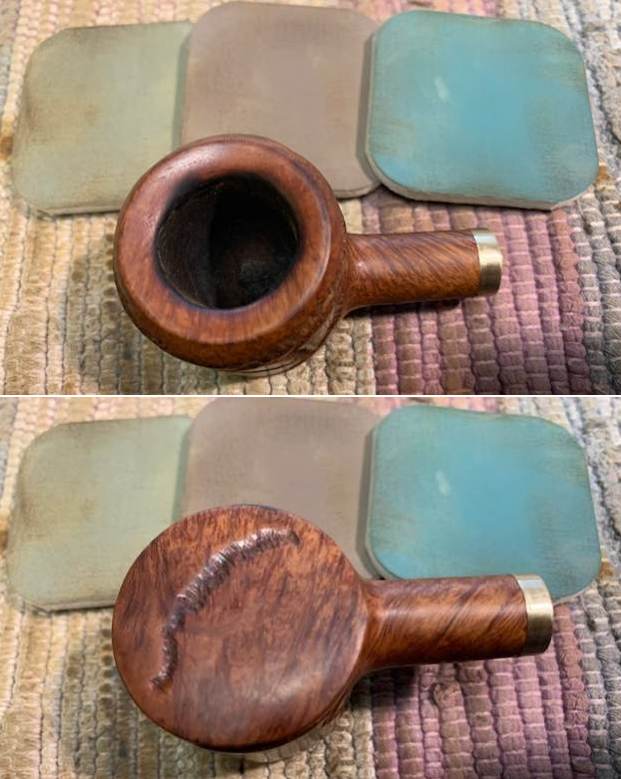
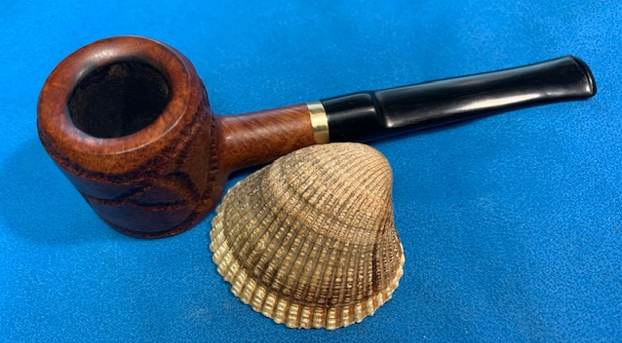
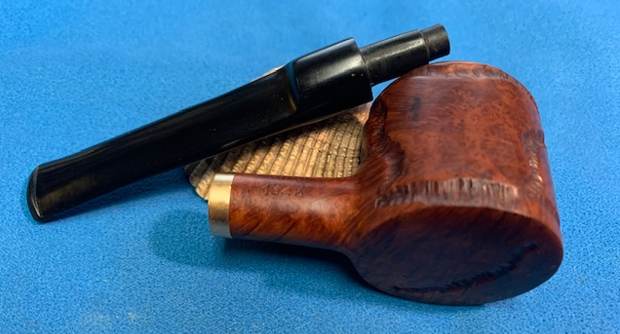
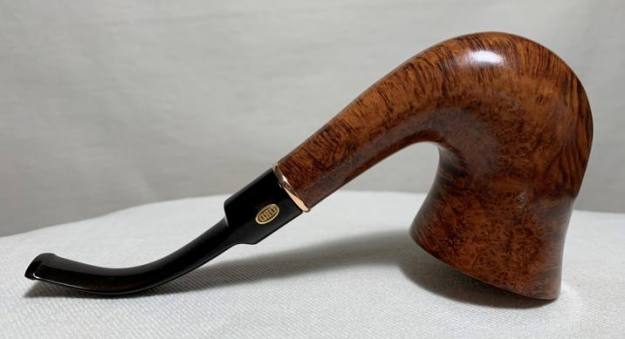
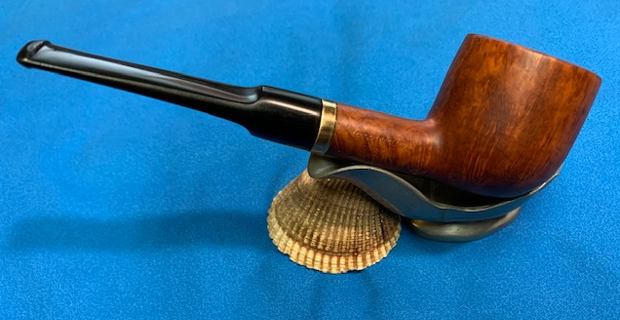
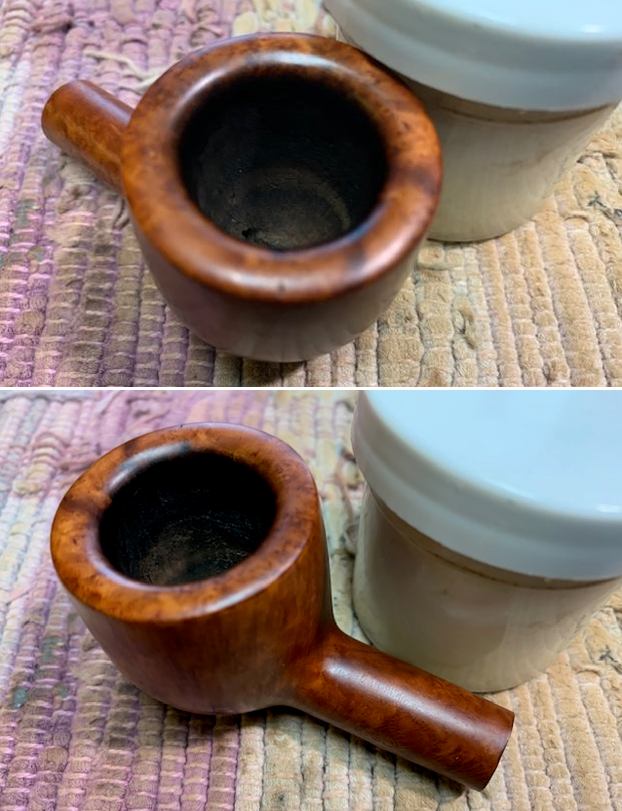
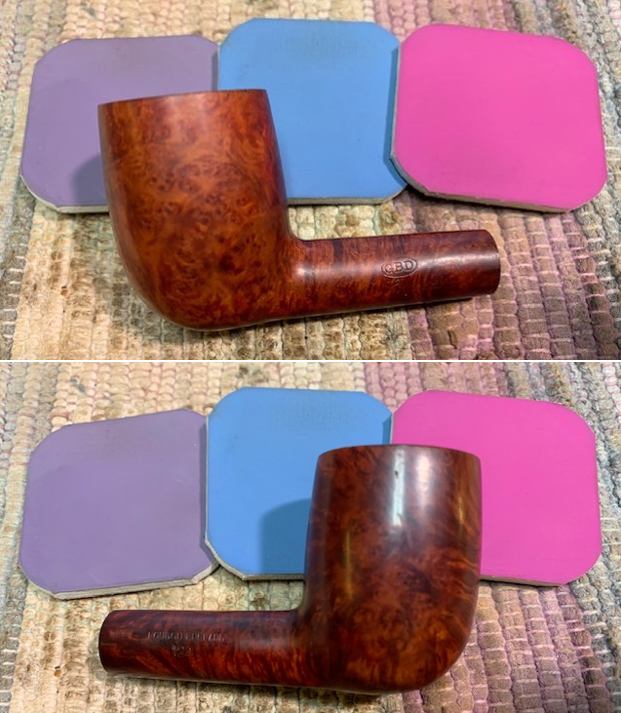
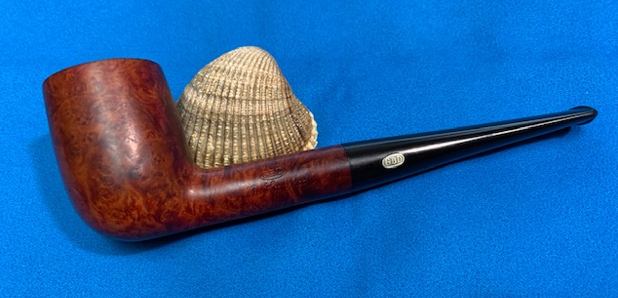
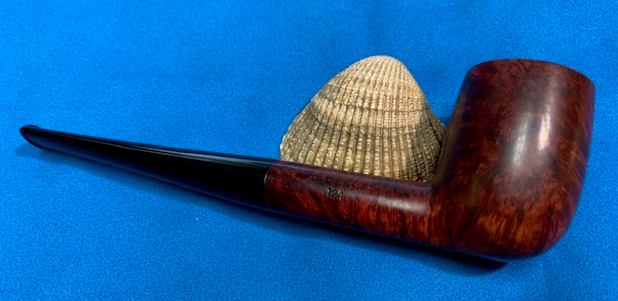
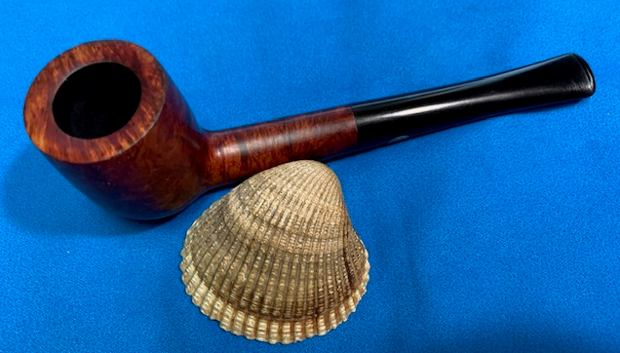
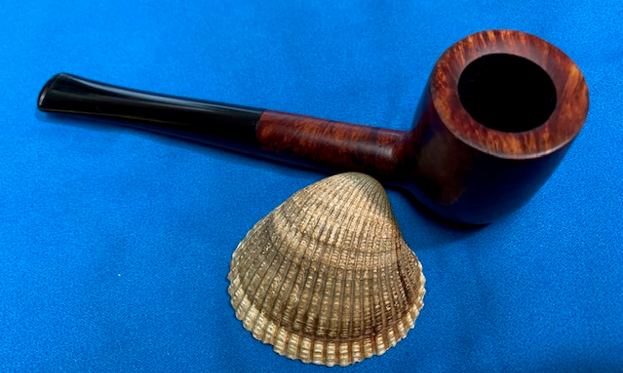
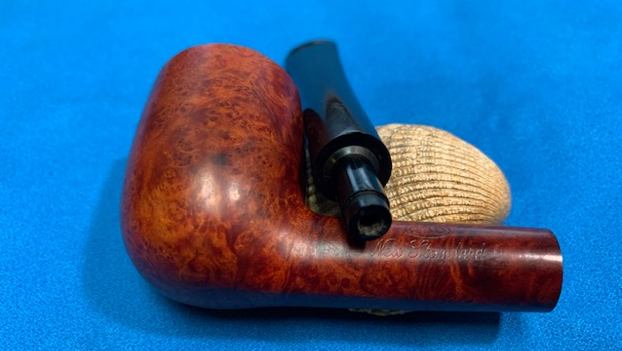
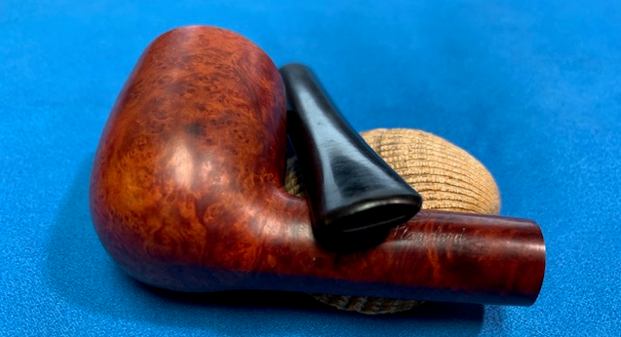
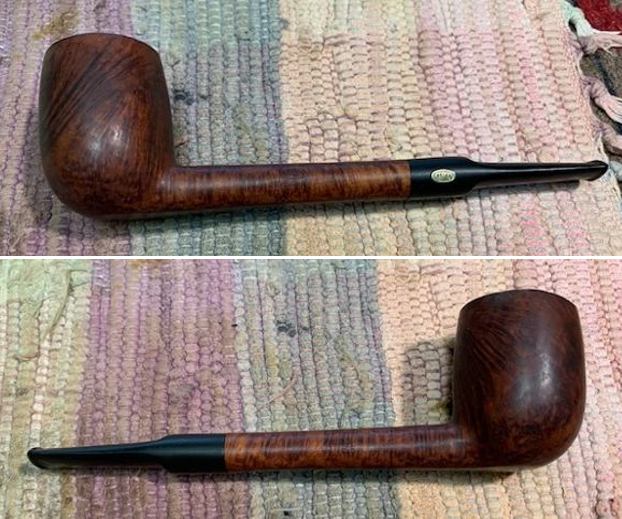
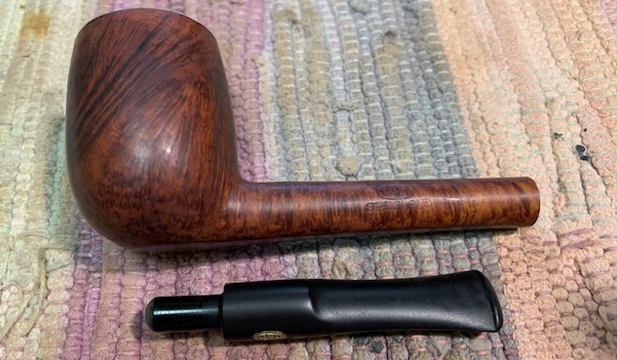
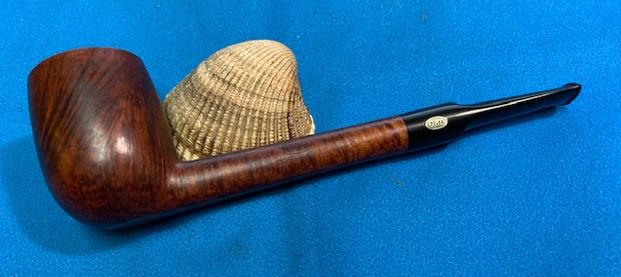
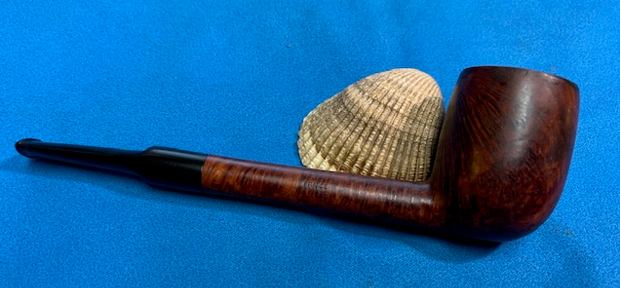
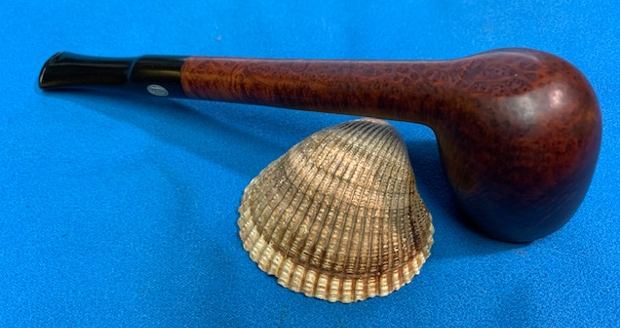
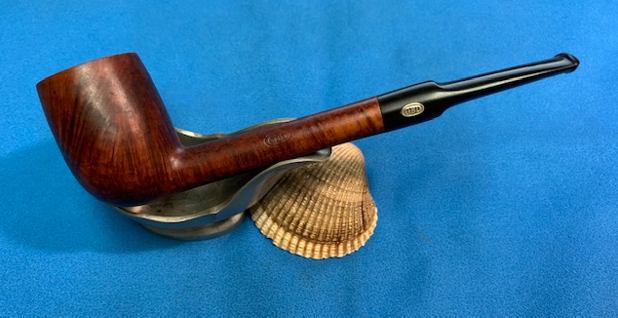
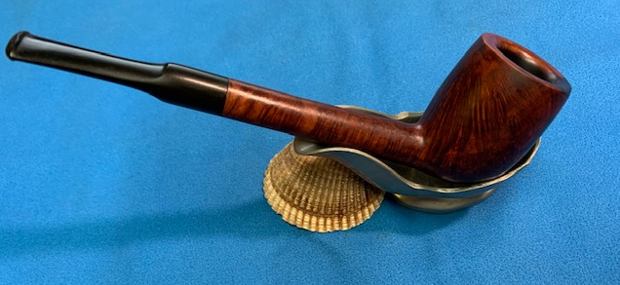
 In the last step of the process, I buffed both the stummel and stem with Red Tripoli and Blue Diamond. I then gave both several coats of Carnauba wax and buffed them with a cotton cloth.
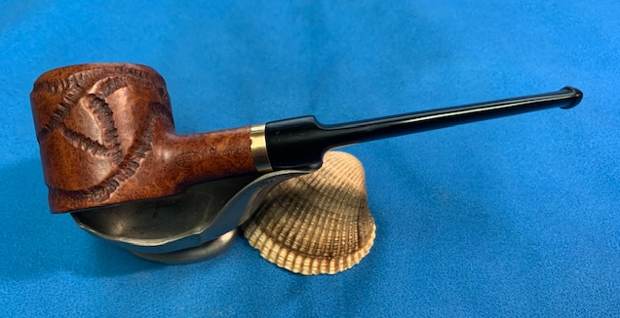
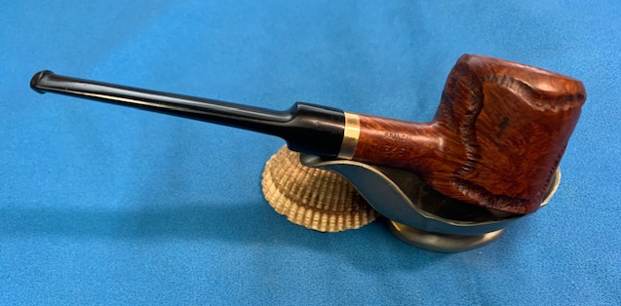
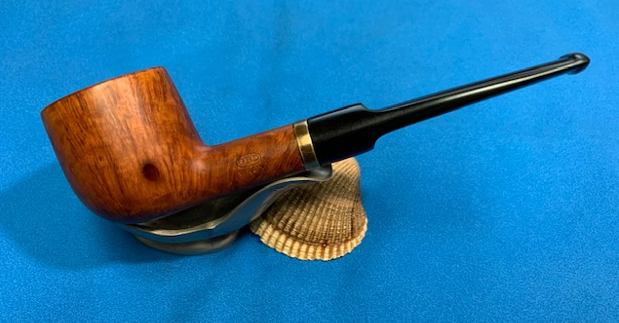
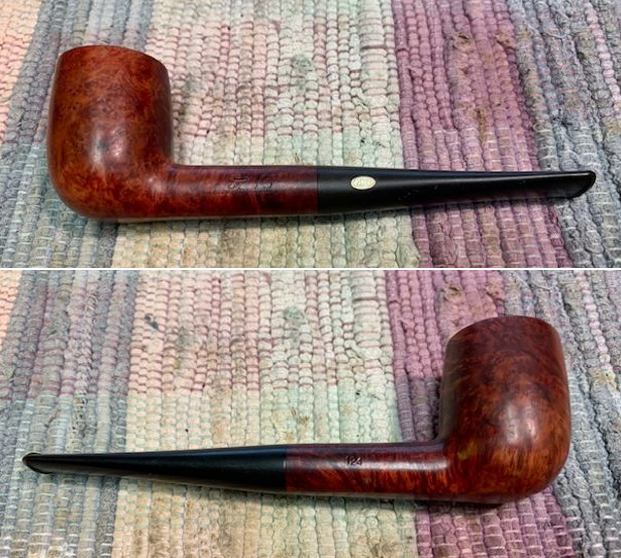
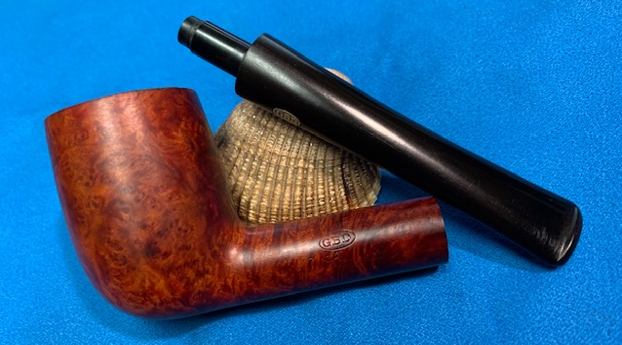
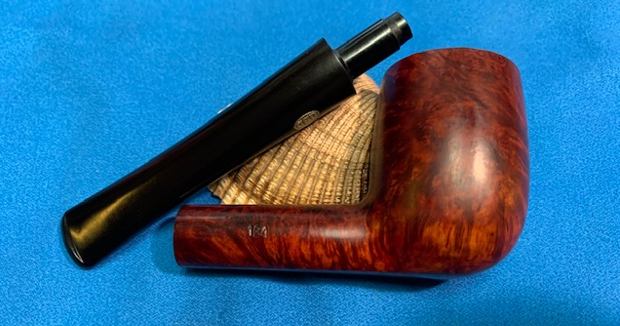
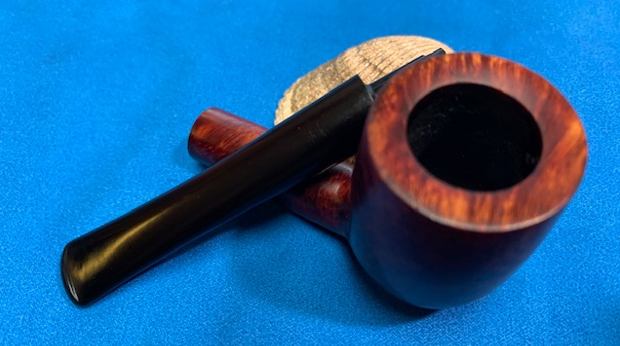
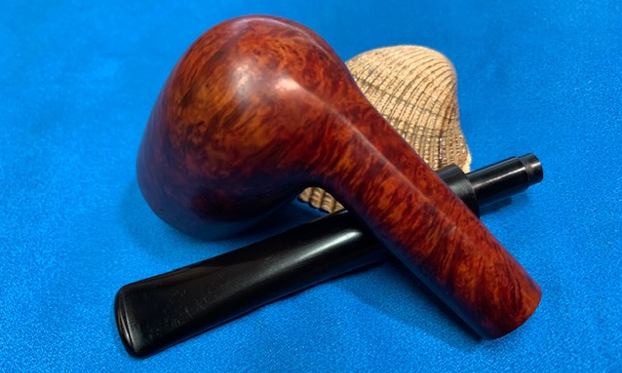
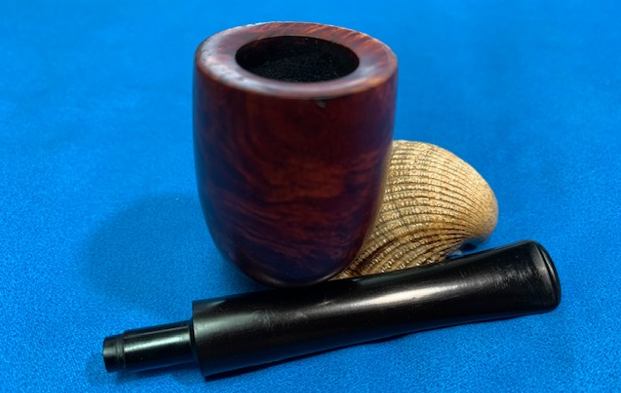
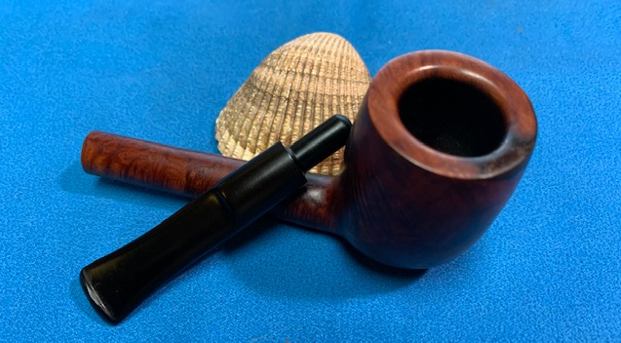
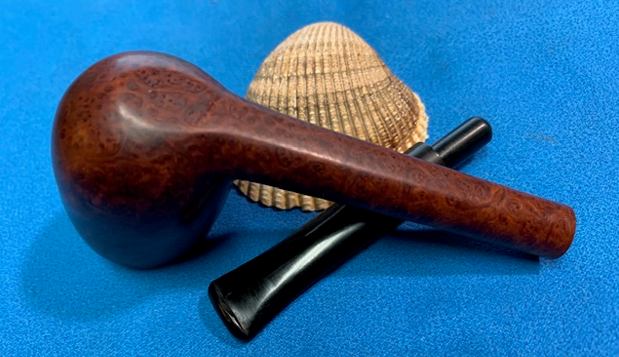
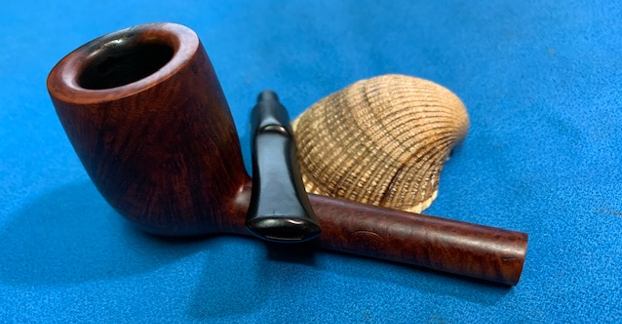
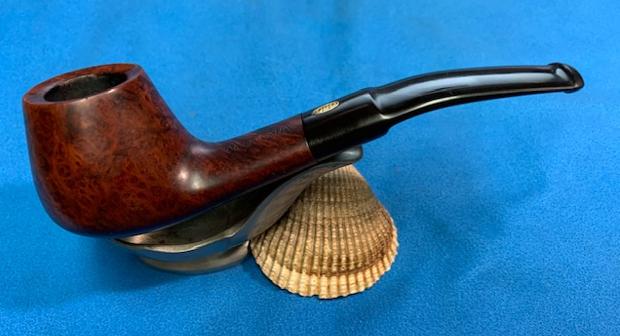
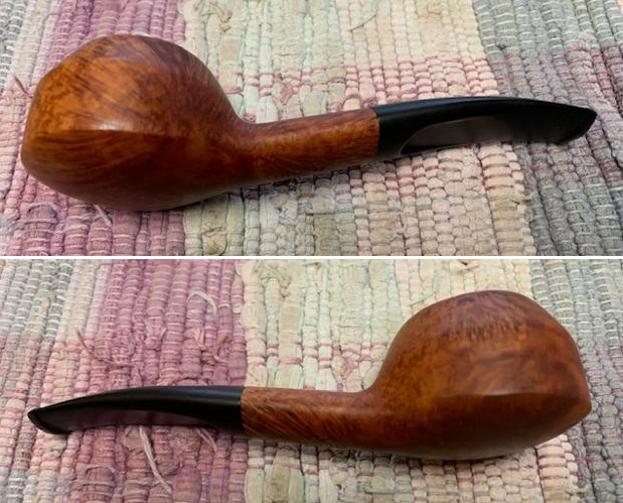
I’m really happy how this pipe turned out, and am looking forward to loading it up and relaxing with it in the backyard. Thanks for taking the time to read this post!


 I
I