Blog by Steve Laug
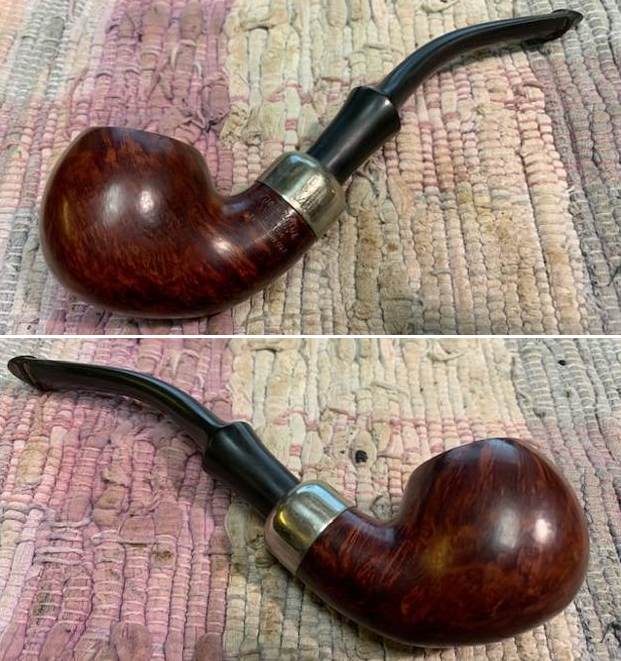
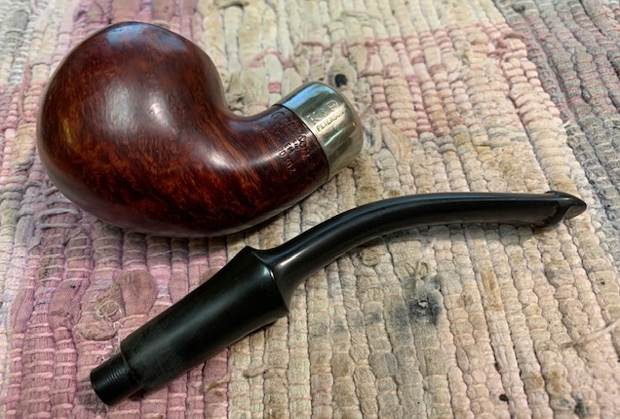
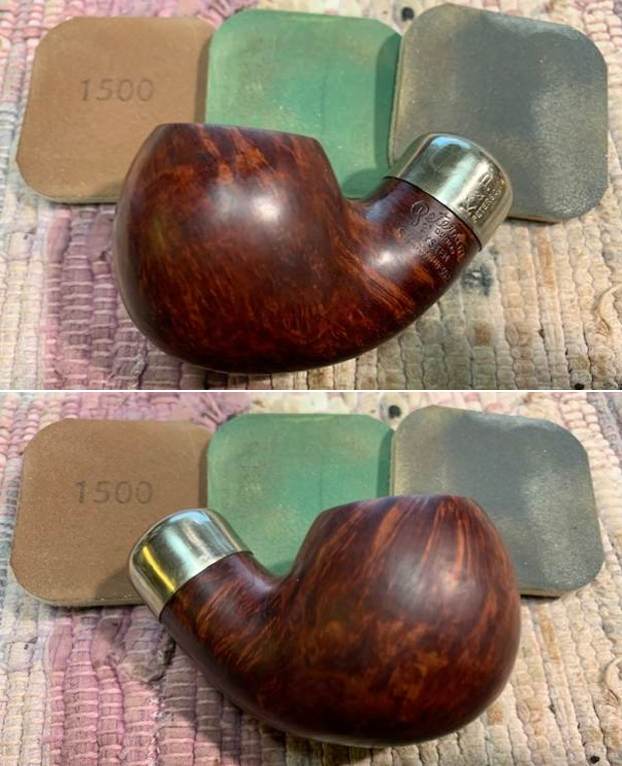
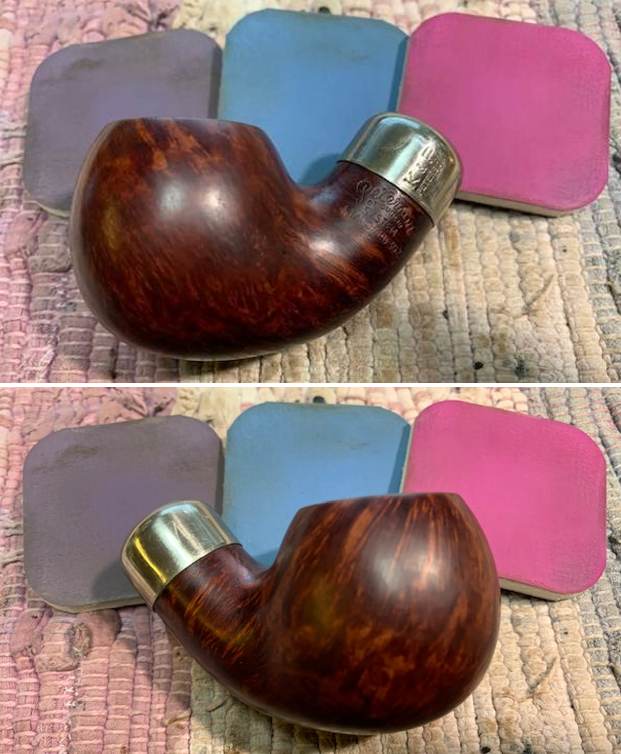
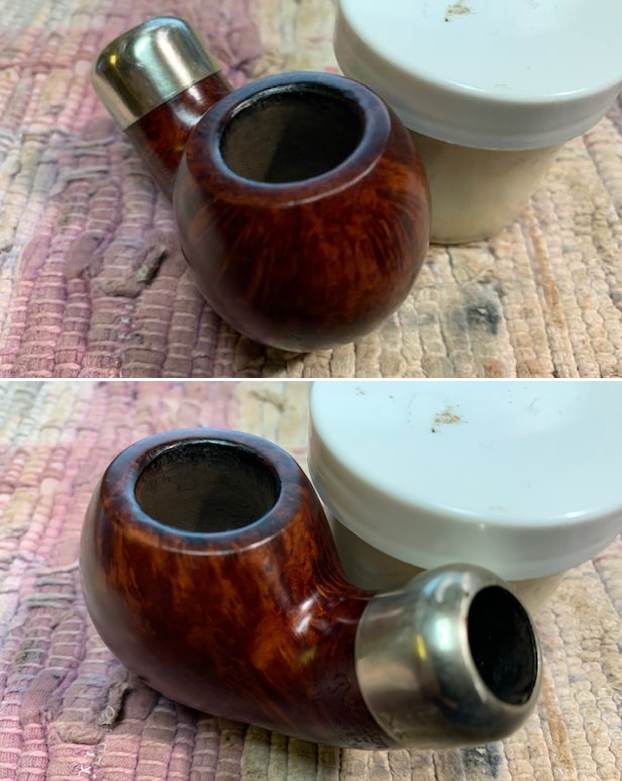
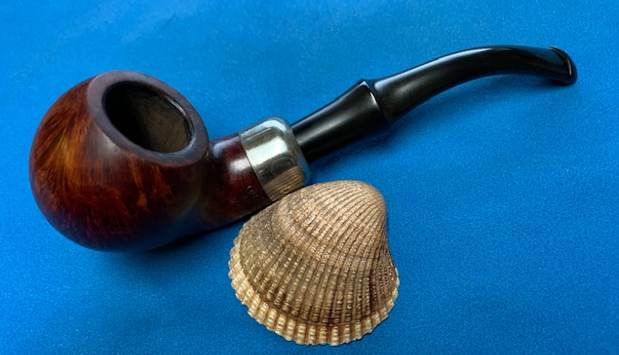
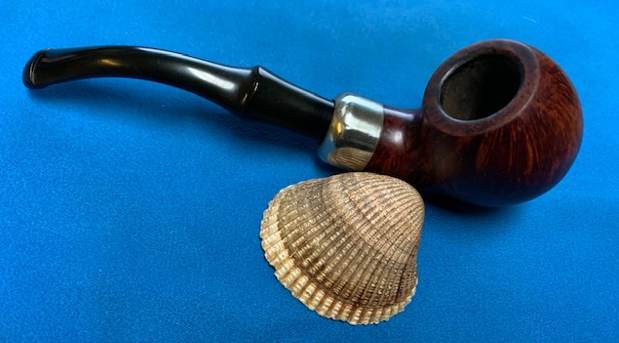
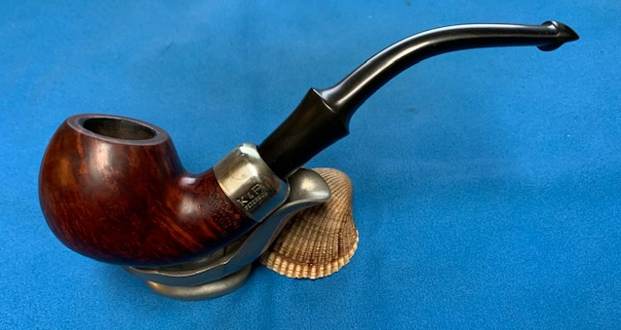
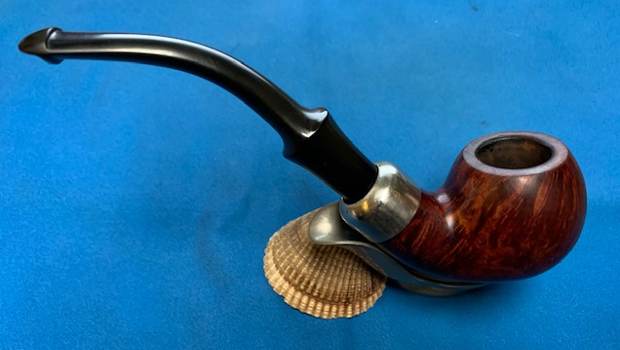
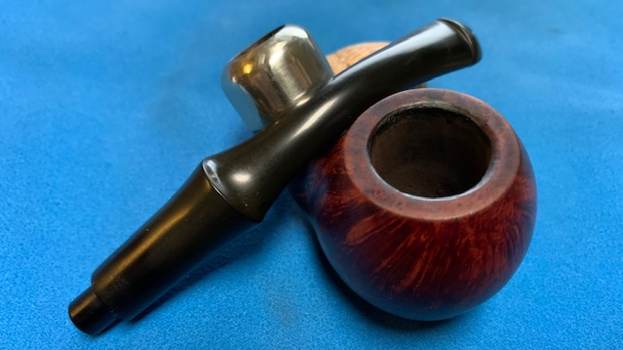
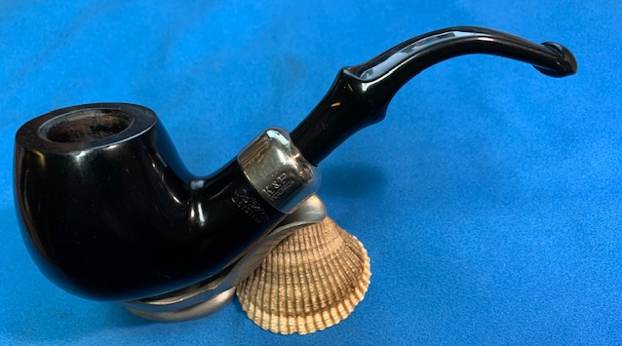
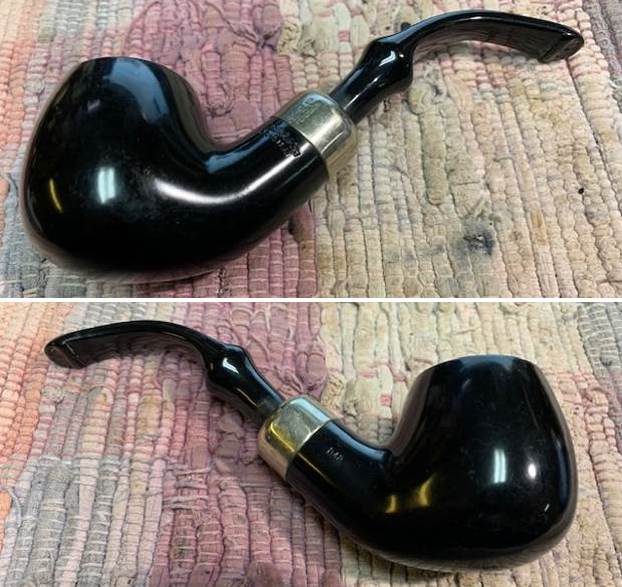
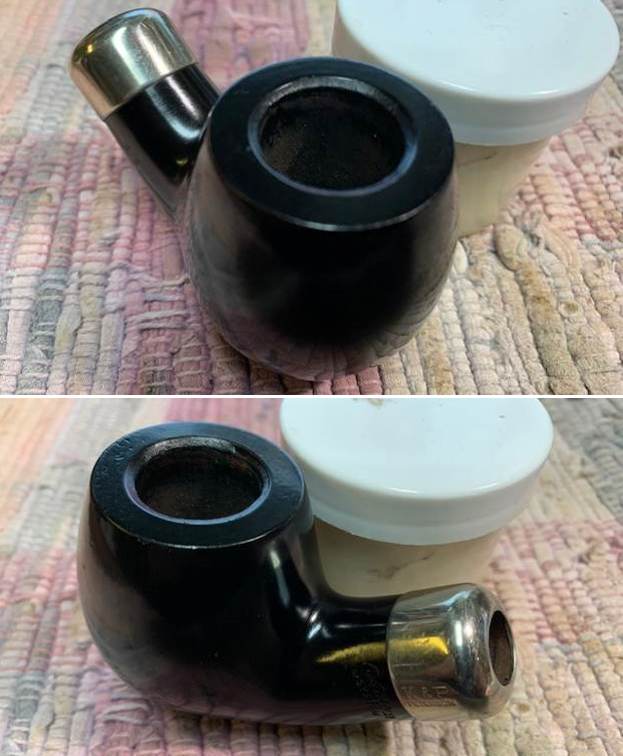
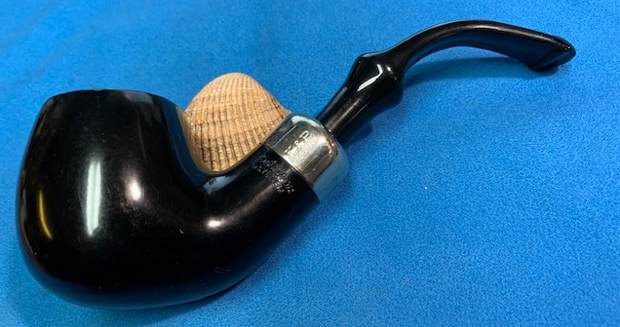
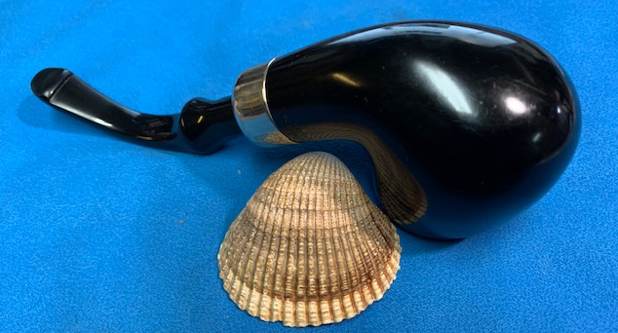
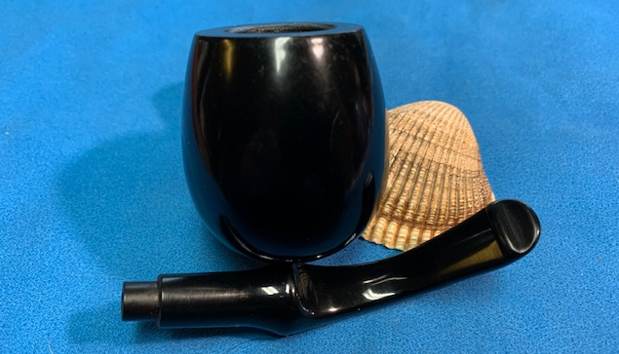
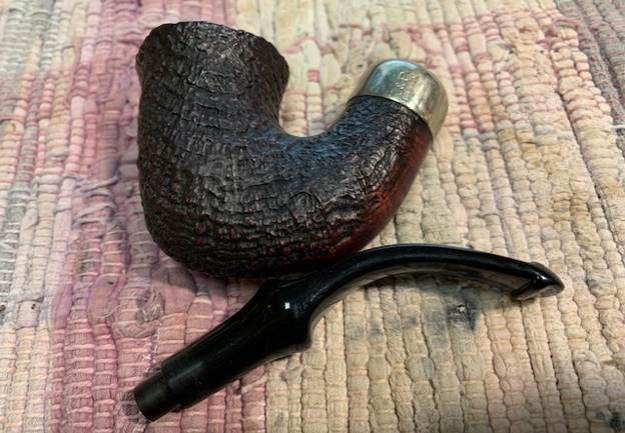
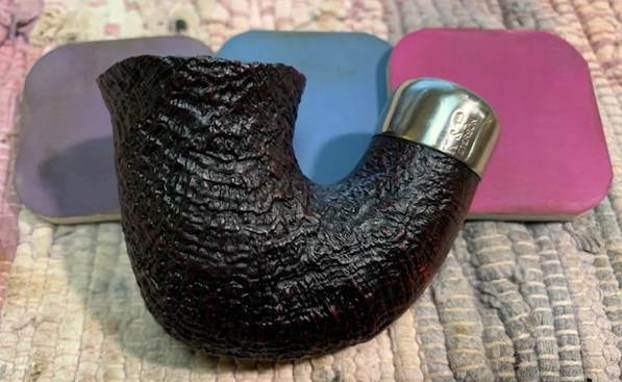
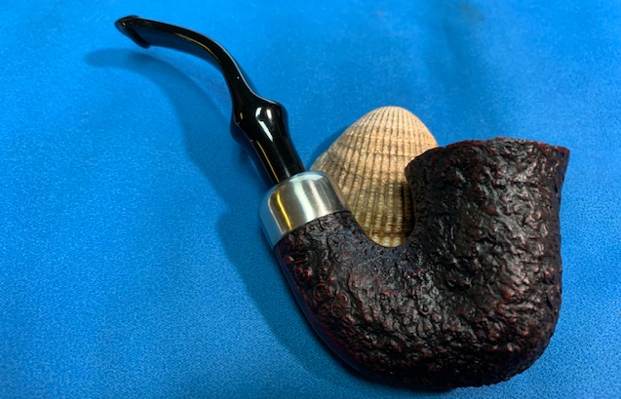
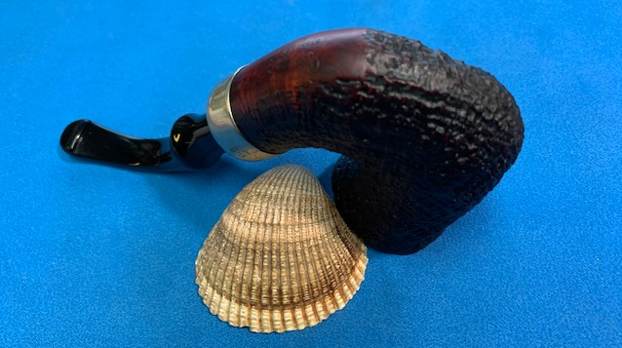
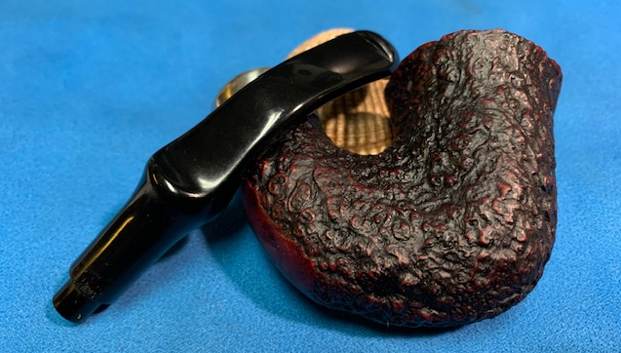
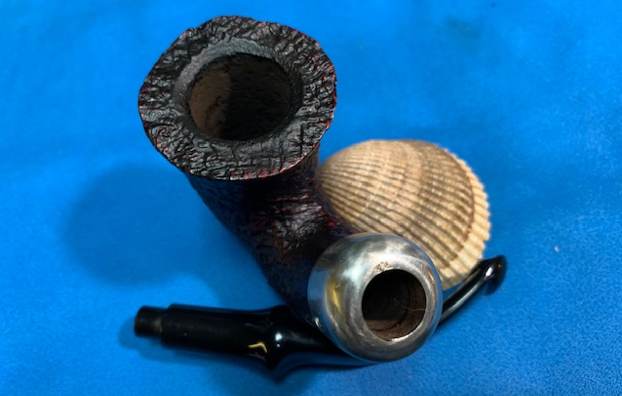
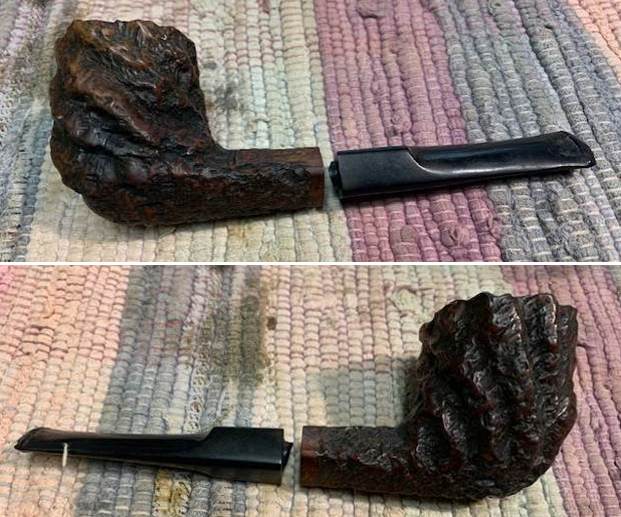
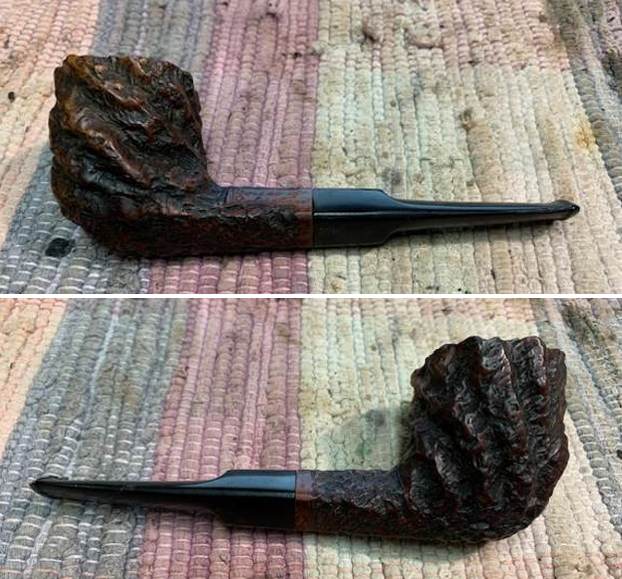
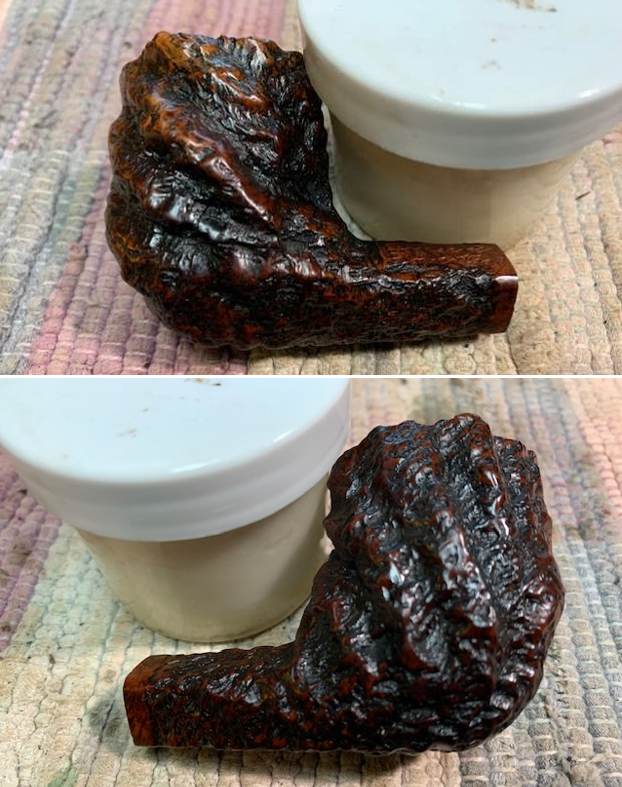
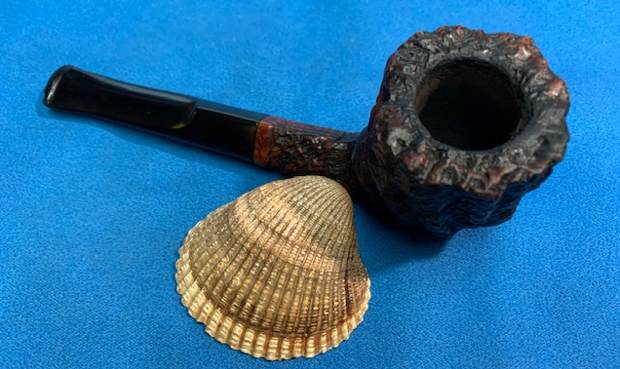
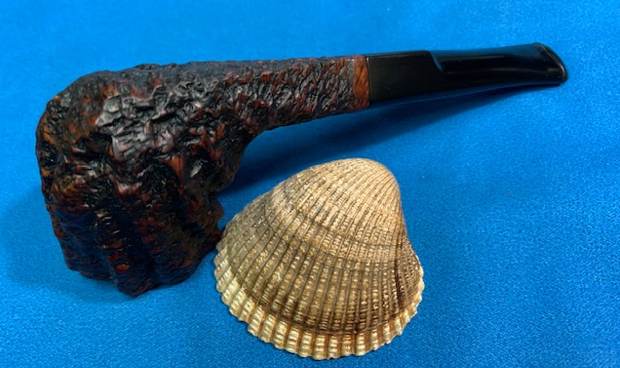
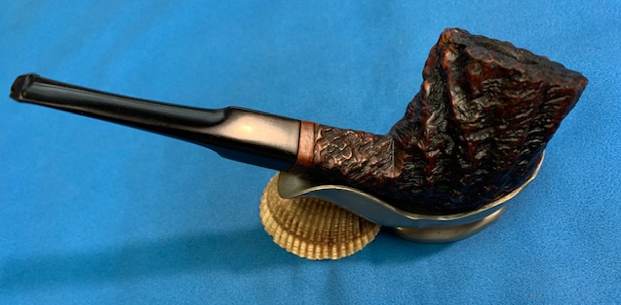
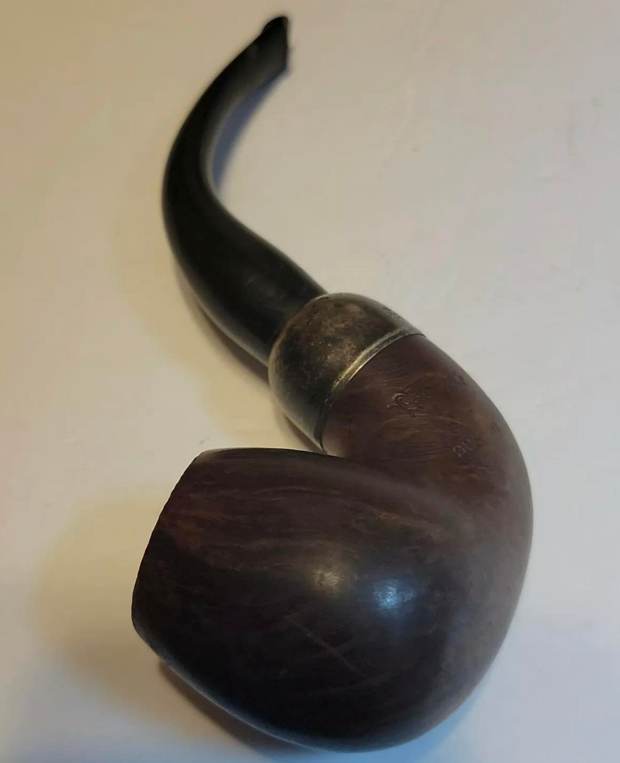
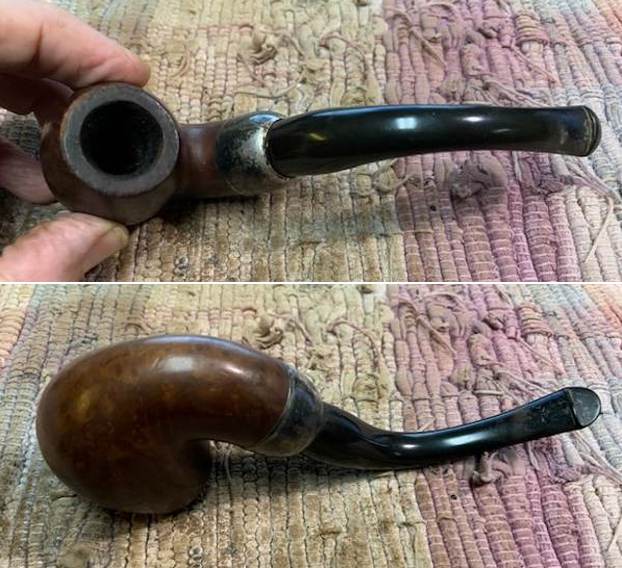
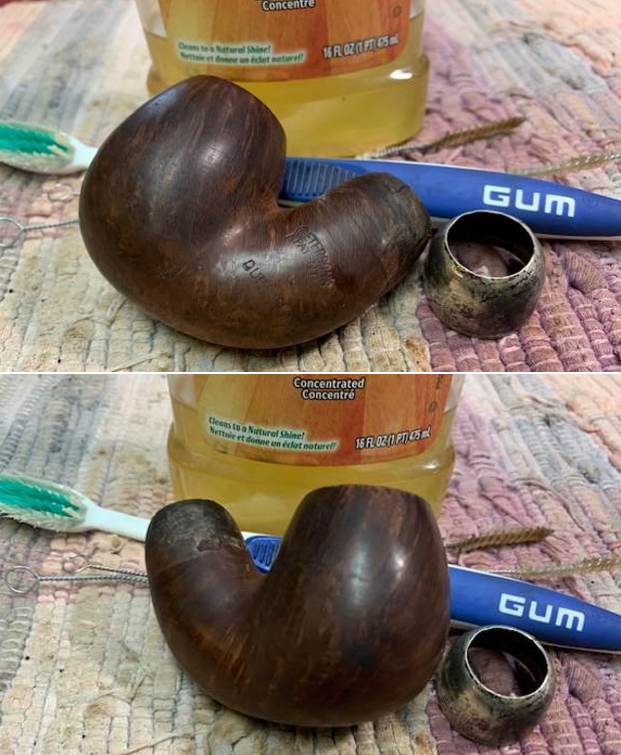
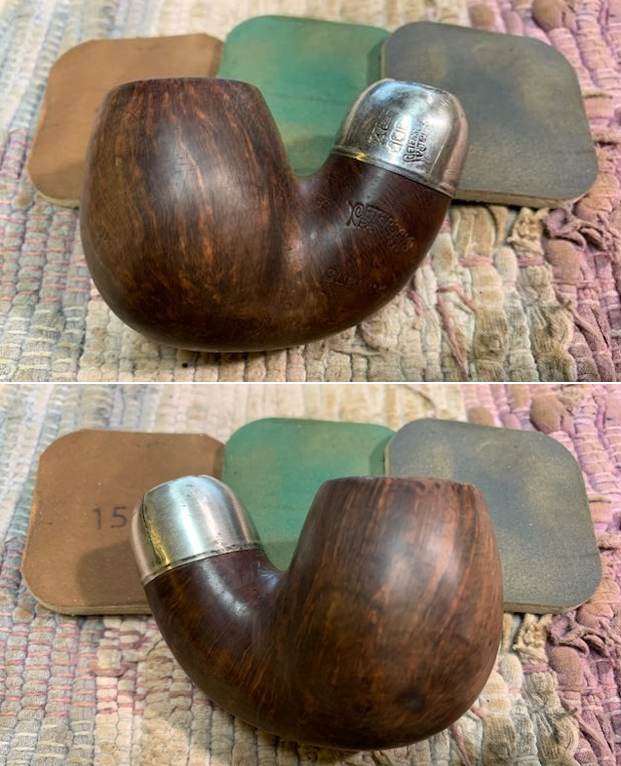
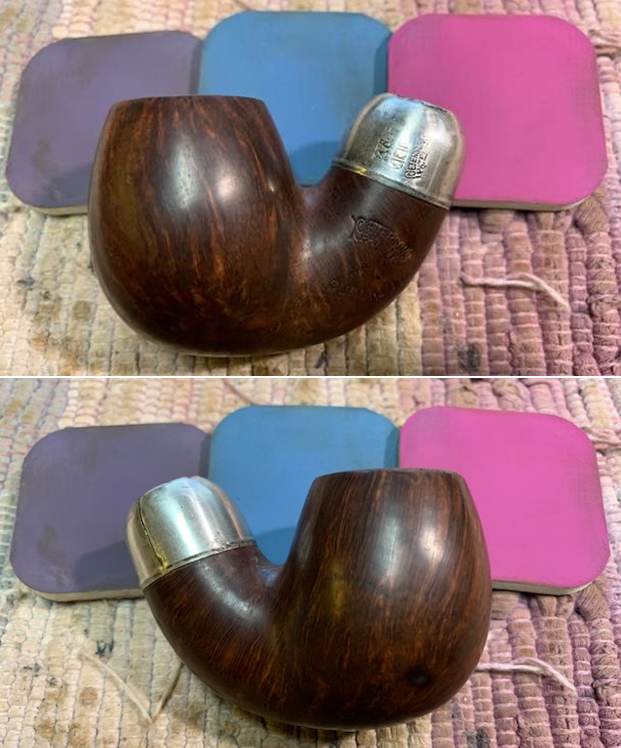
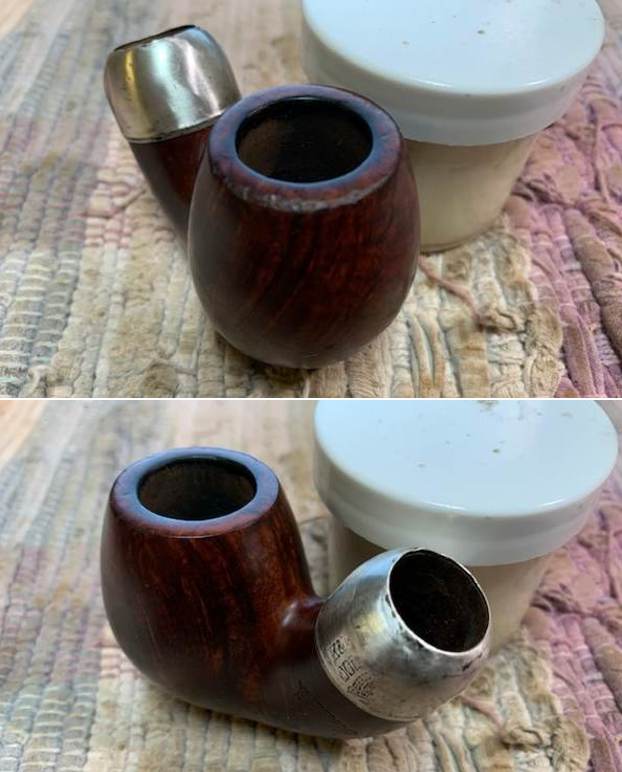
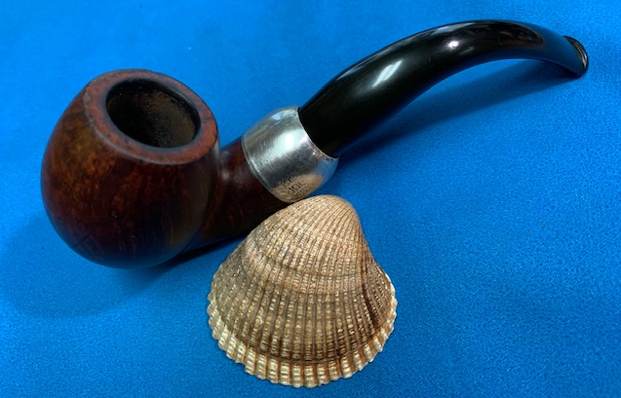
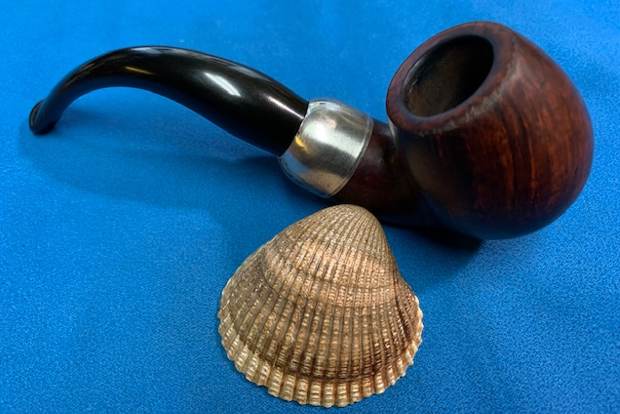
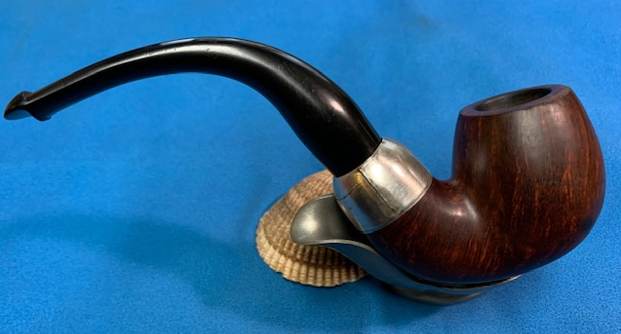
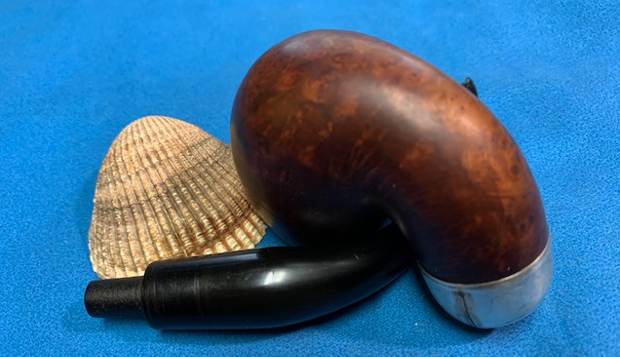
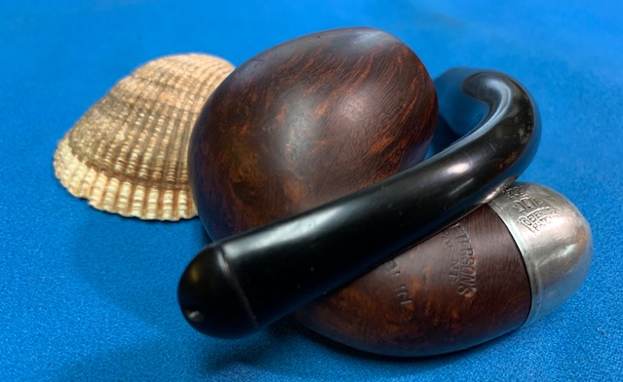
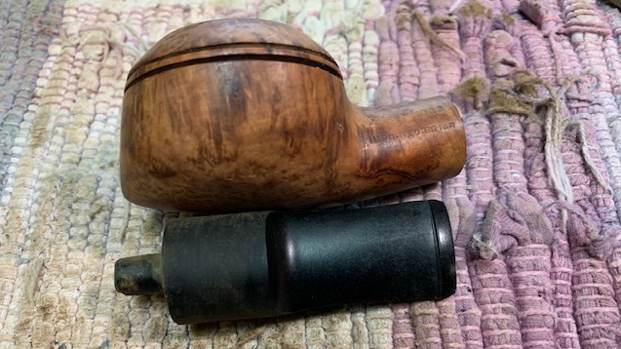
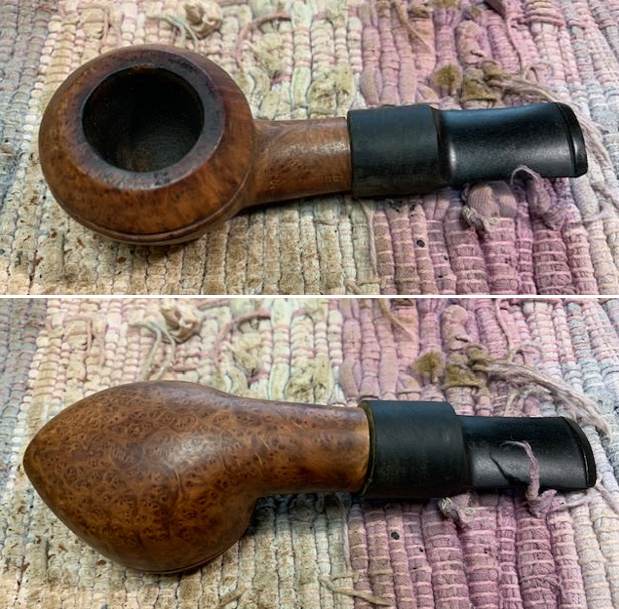
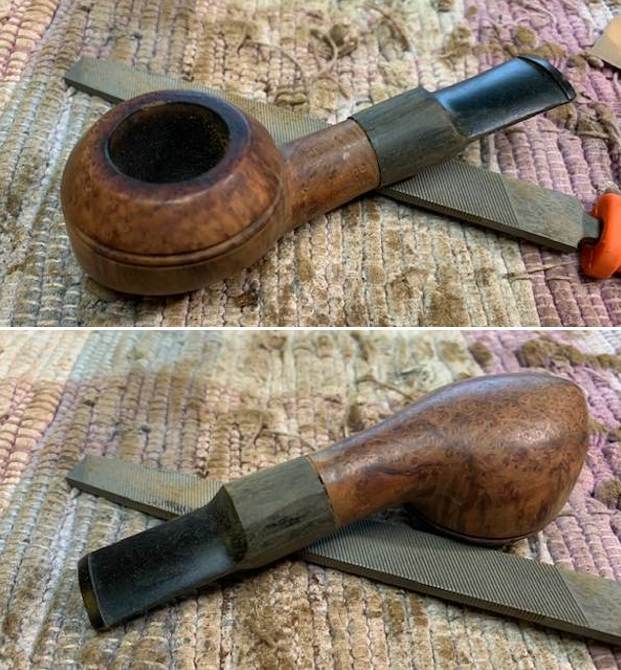
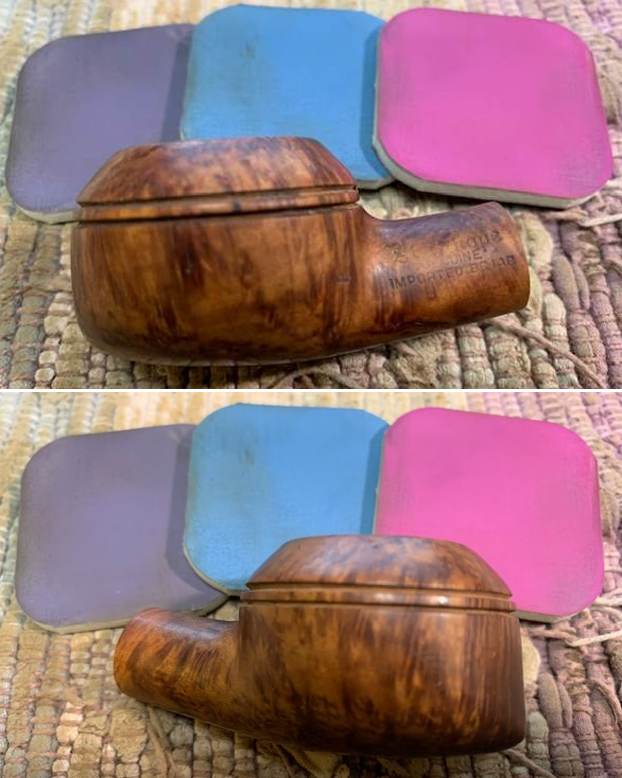
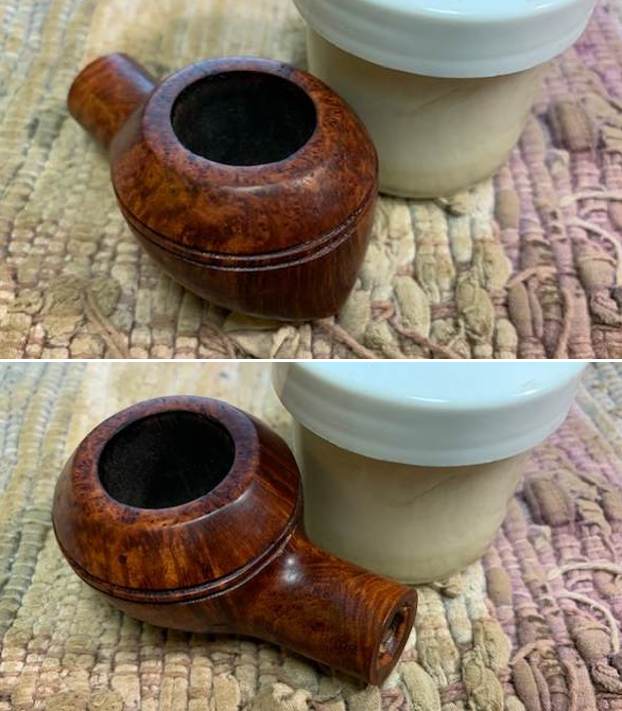
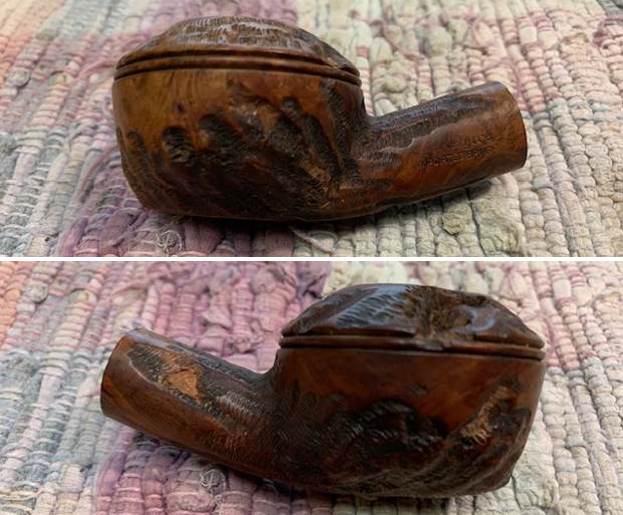
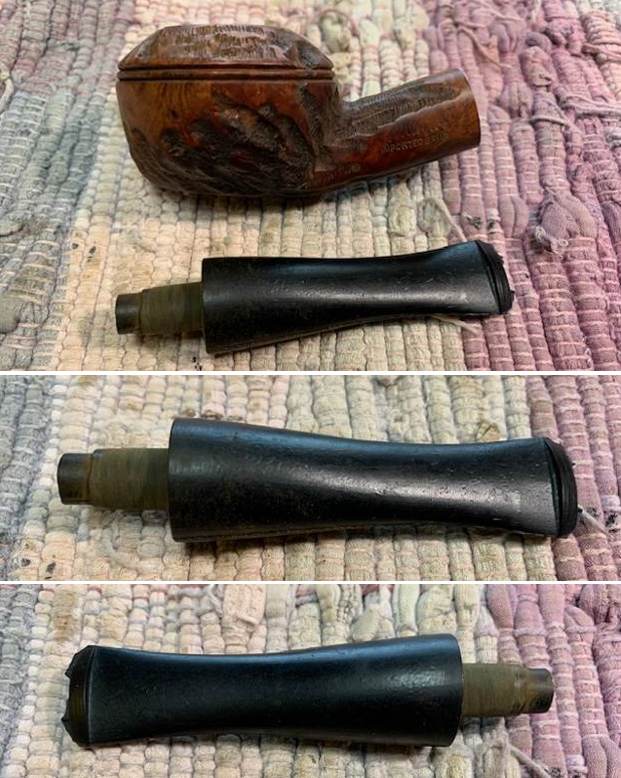
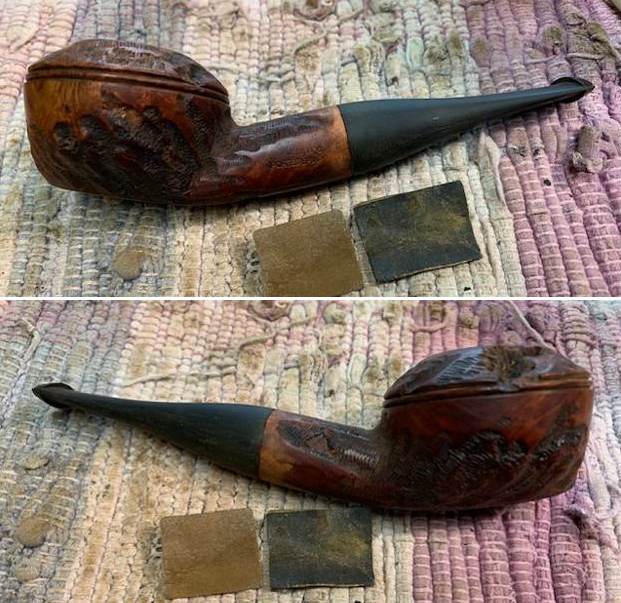
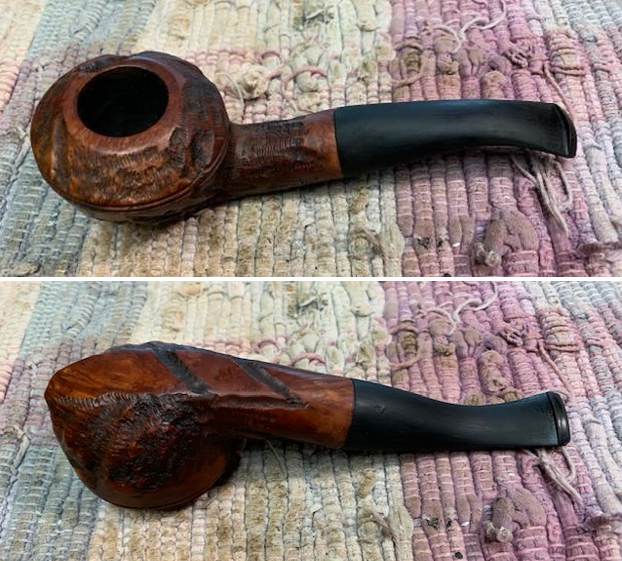
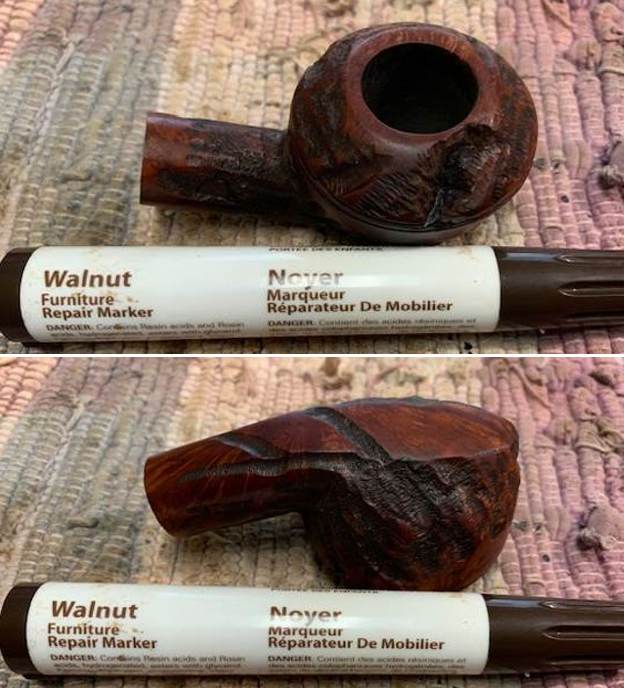
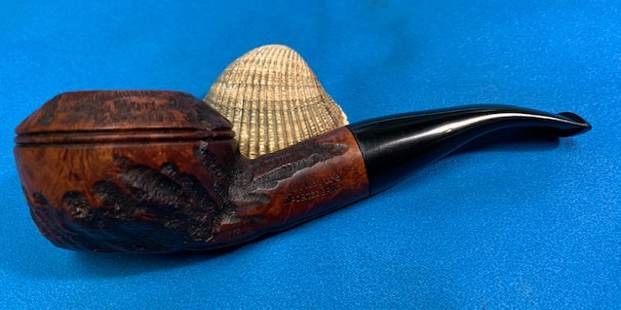
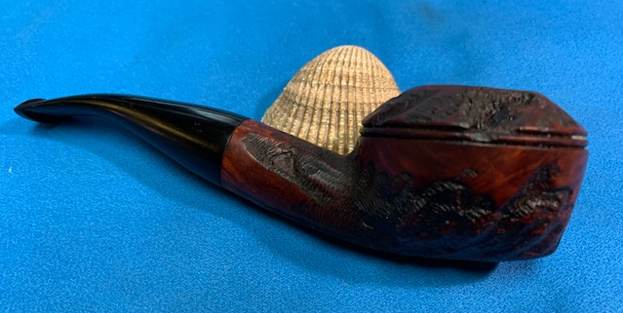
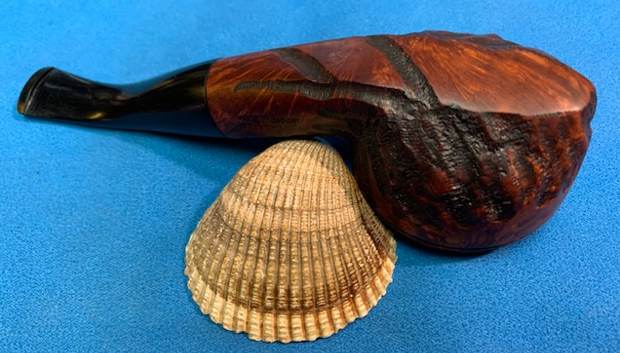
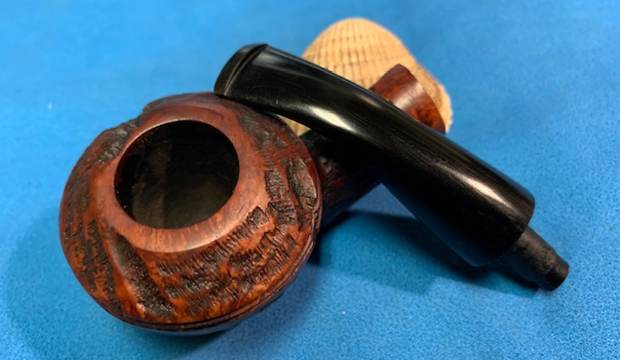
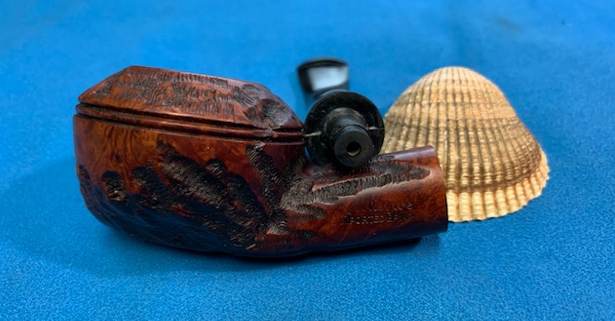
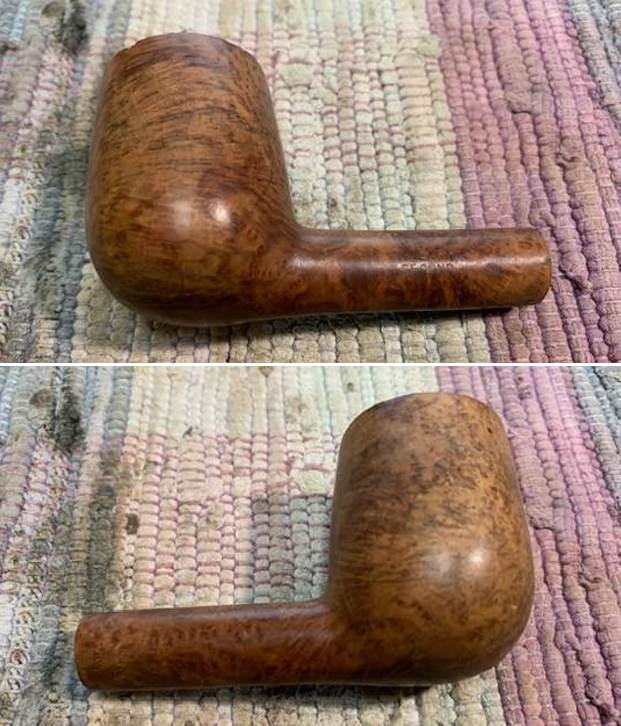
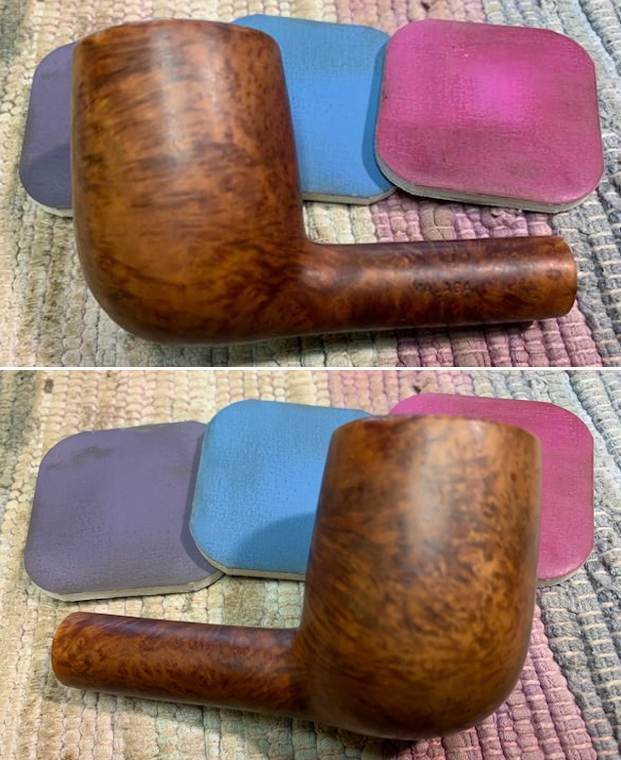
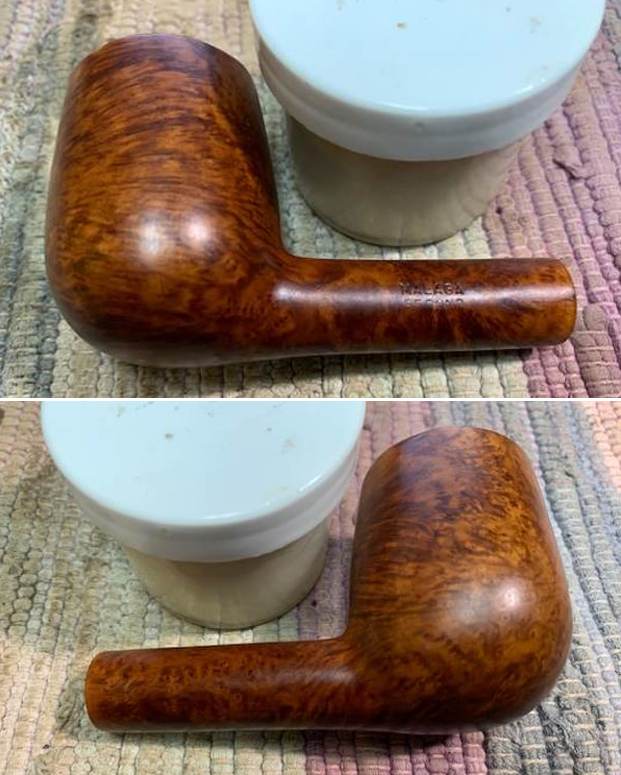
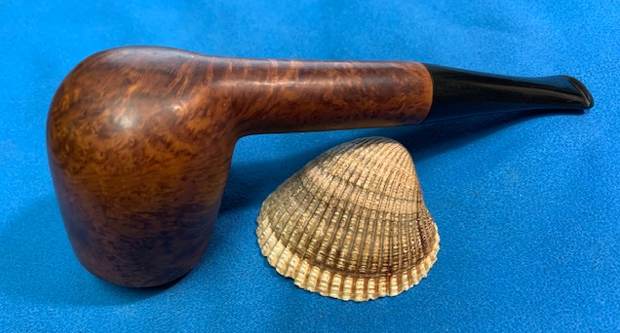
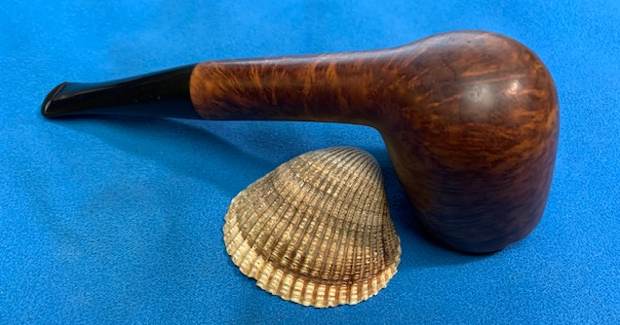
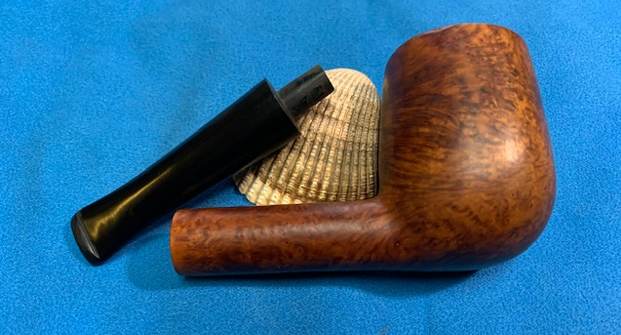
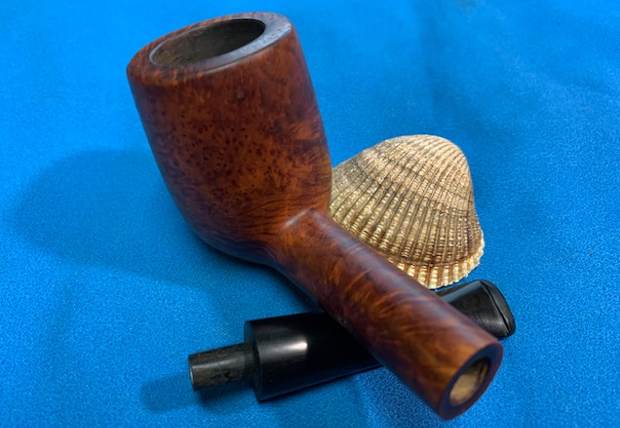
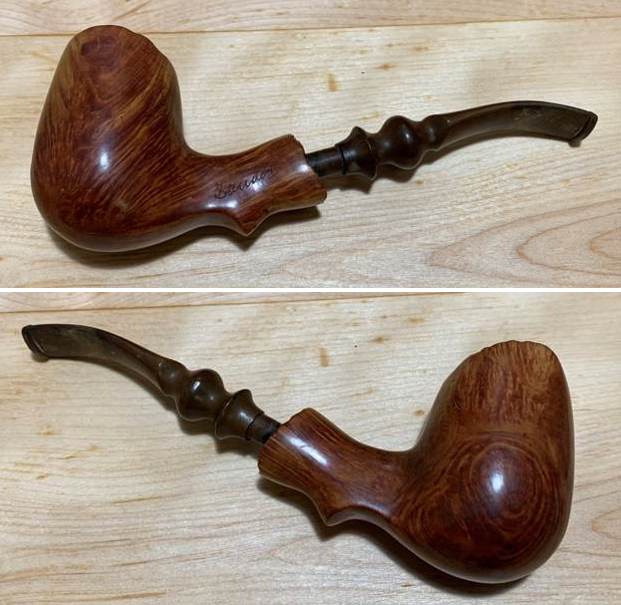
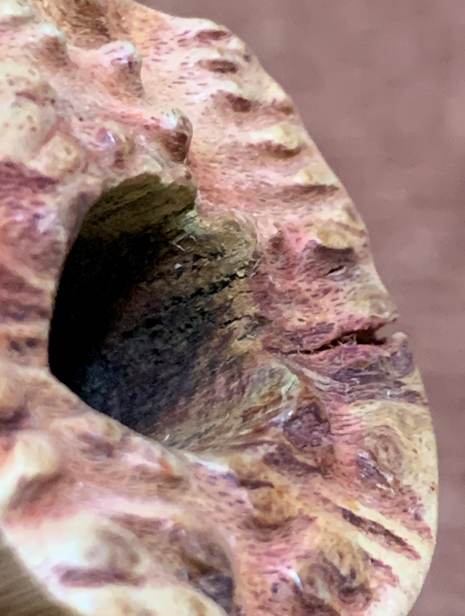
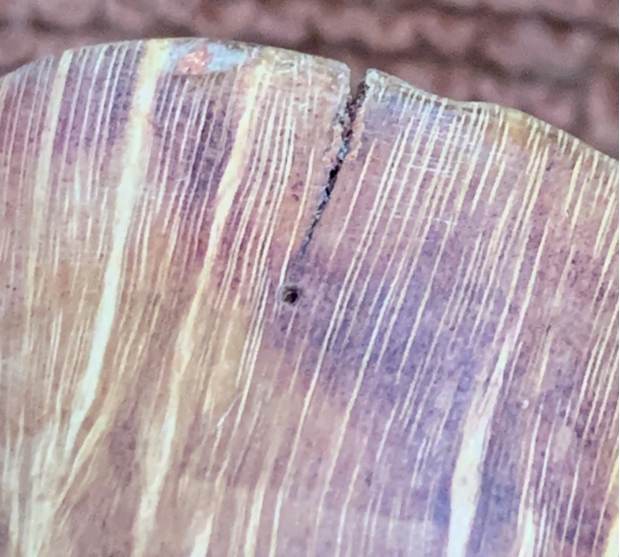
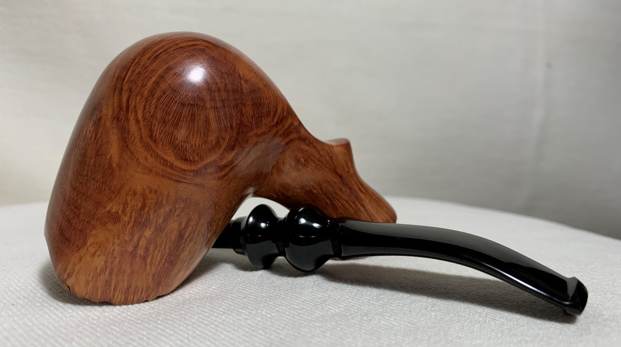
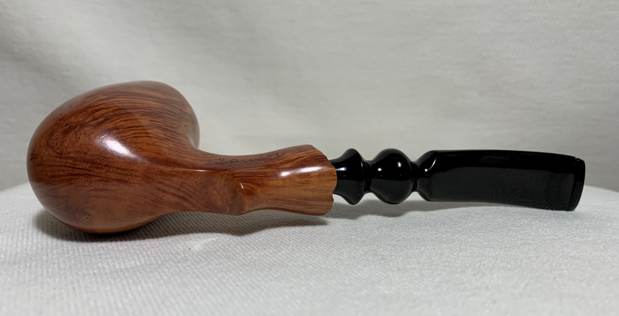
The next pipe I have chosen is another smooth finished Peterson’s System – this time a System Standard shape 307. It was the fourth of four pipes that came to me from a friend for work. This one also had very loose stem that did not seem to hold on in the shank that he wanted me to have a look at as well as cleaning and freshening it up. The stem had also straightened out a bit over time and needed to be rebent. The finish was smooth with some nice grain around the sides and shank. There was one noticeable fill on the left side near the rim top. The pipe was stamped on the left side of the shank and read Peterson’s [arched over] System [over] Standard. On the right side it was stamped Made in the Republic of Ireland in three lines over the shape number 307. It was in good condition when I brought it to the table. There was a heavy cake in the bowl and some light lava and darkening on the rim top. The nickel ferrule was in good shape but had some scratches that would need to be polished. It is stamped as well and reads K & P [over] Peterson on the left. The vulcanite stem was unstamped and in good condition. There was some oxidation, calcification and light chatter near the button that would polish out. It also was in need of being bent again. I took photos of the pipe before I started my work. 
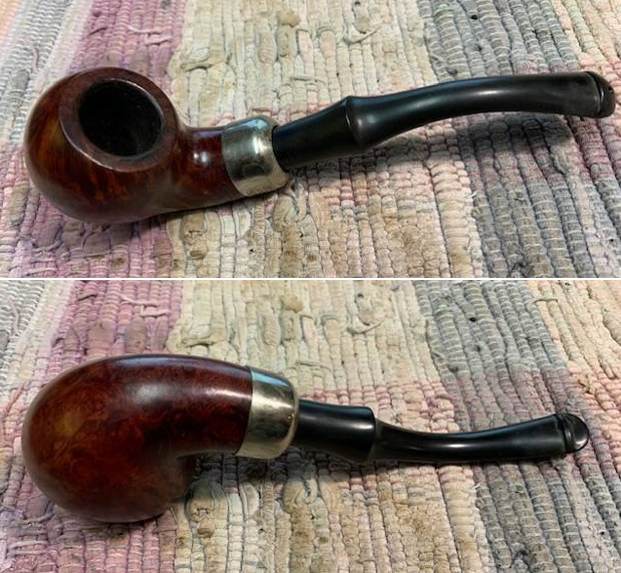
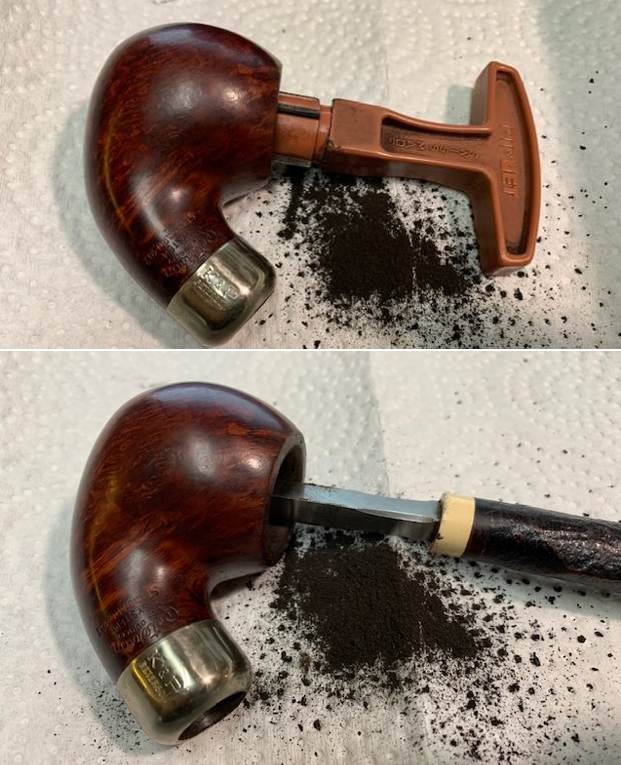
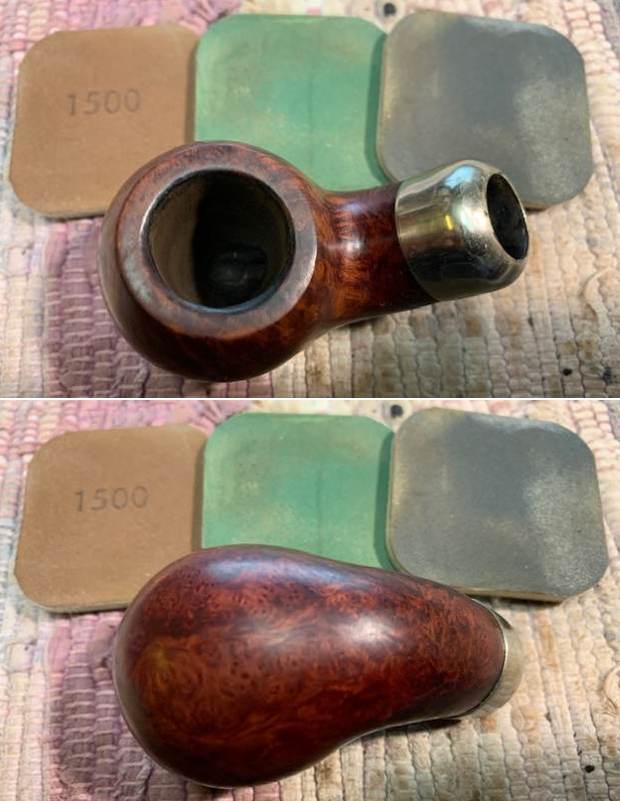
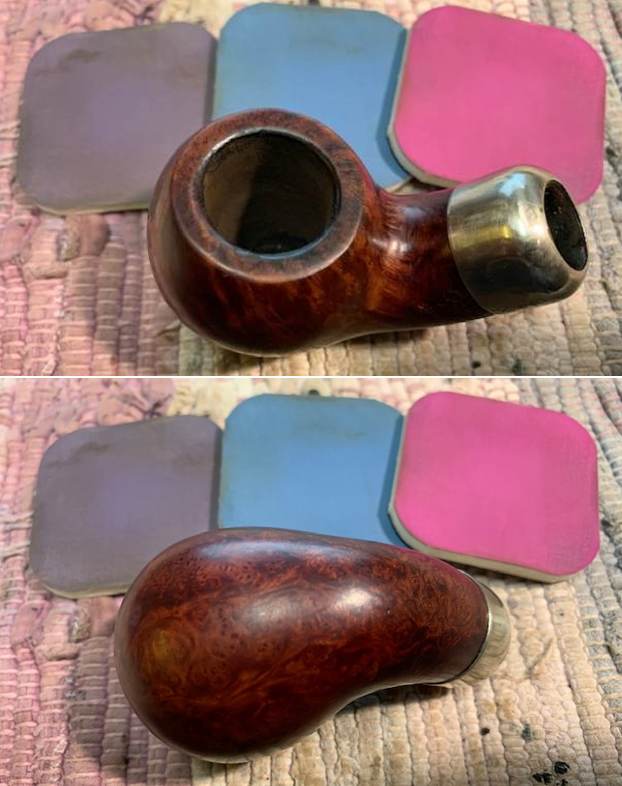
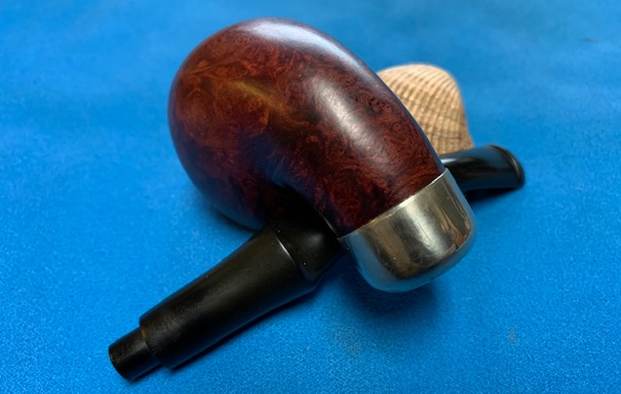
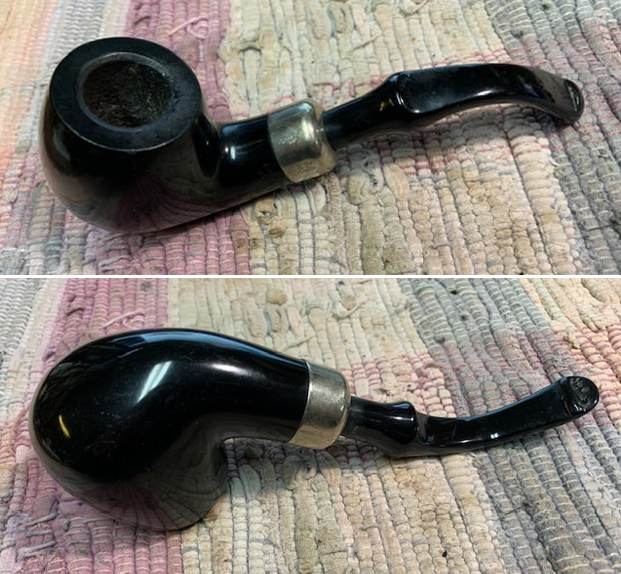
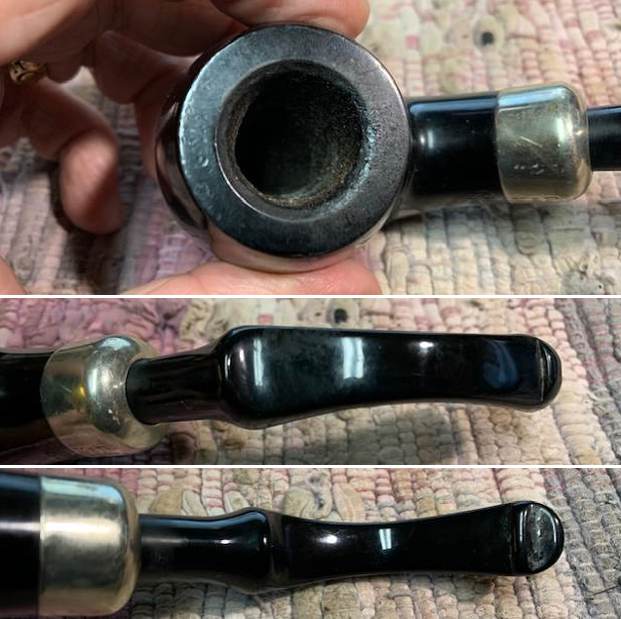
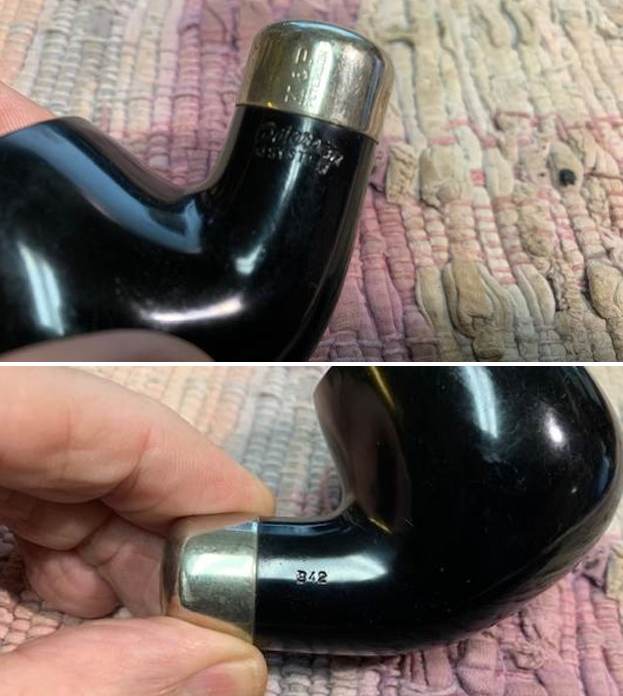
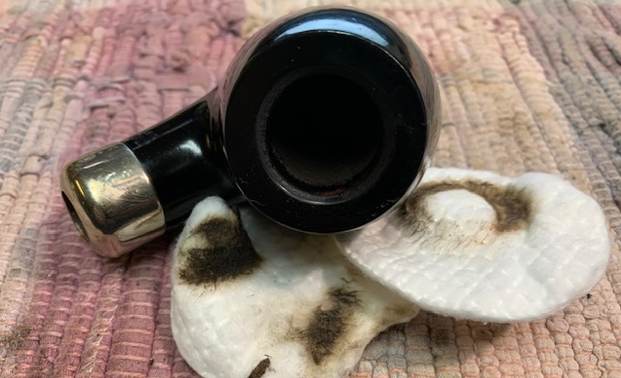
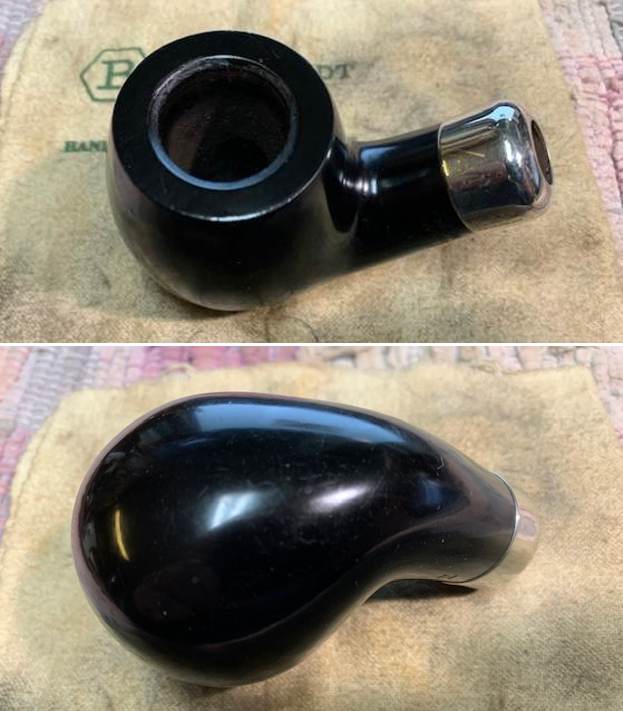
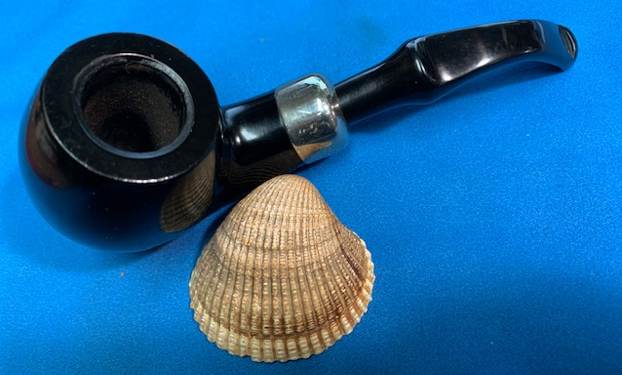
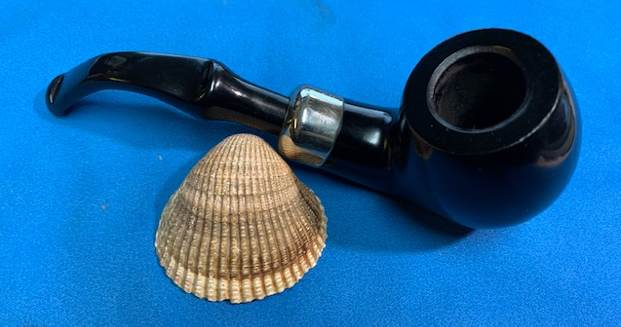
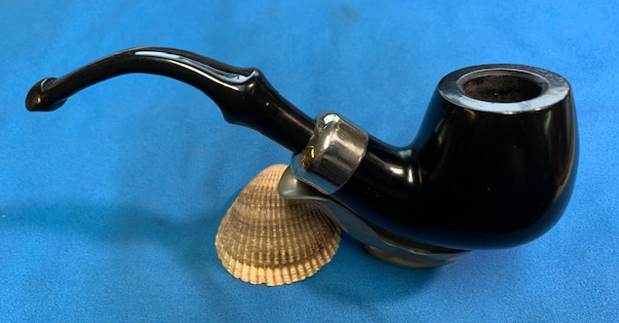
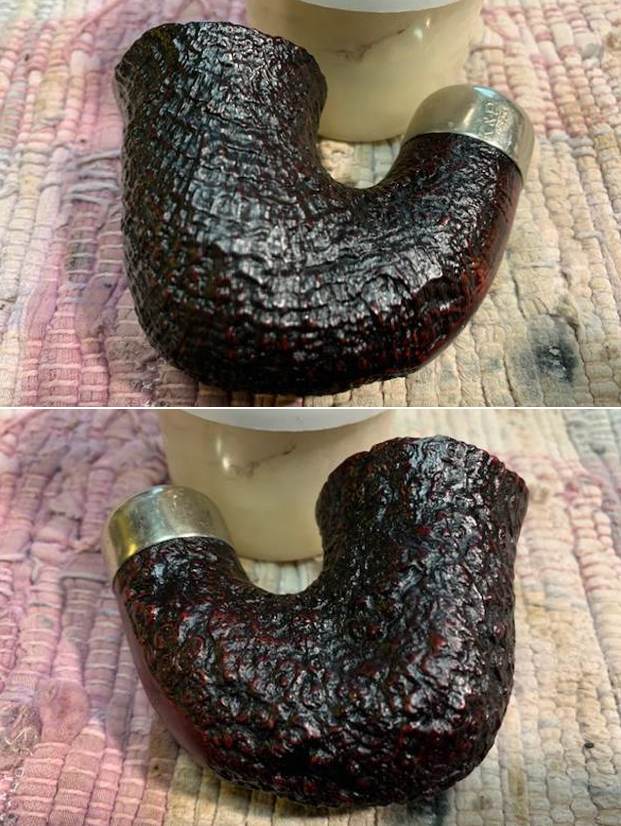
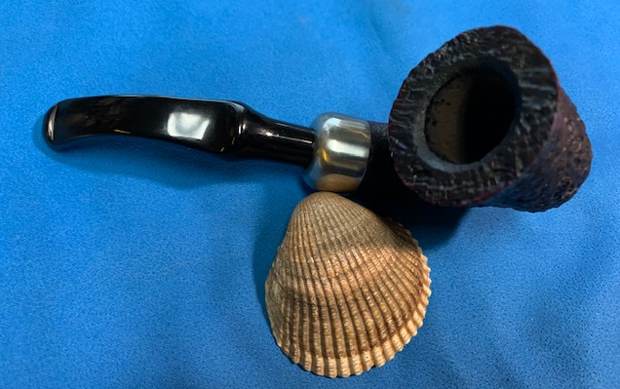
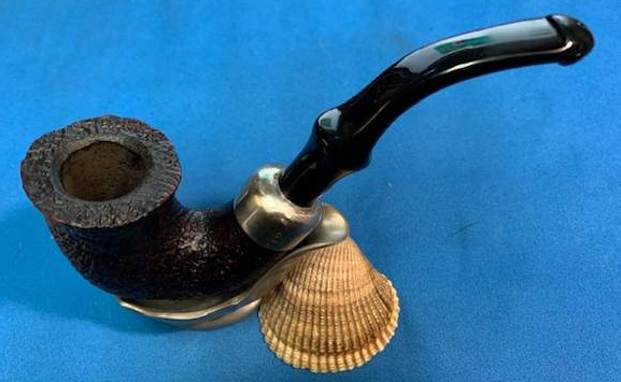
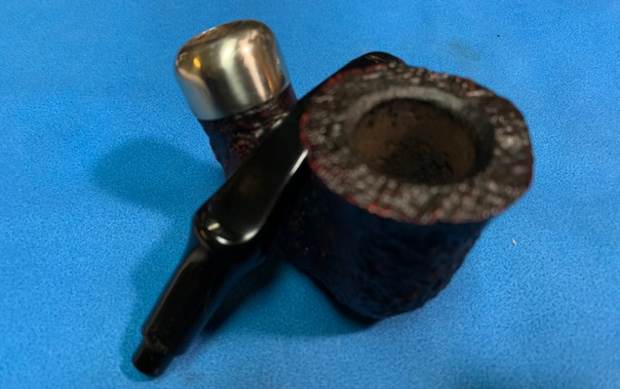
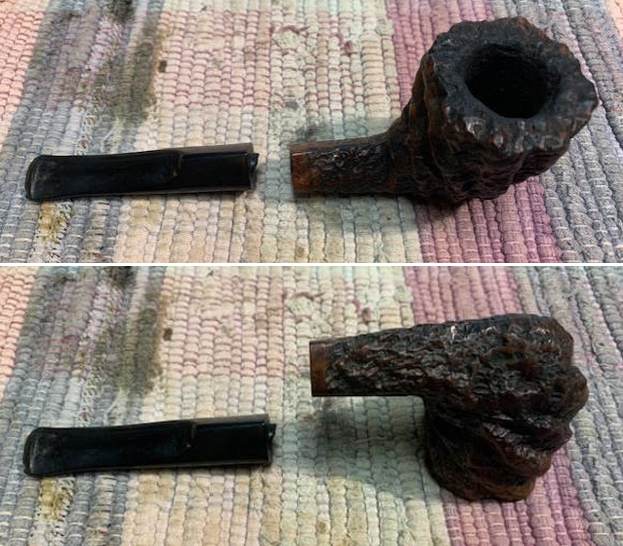
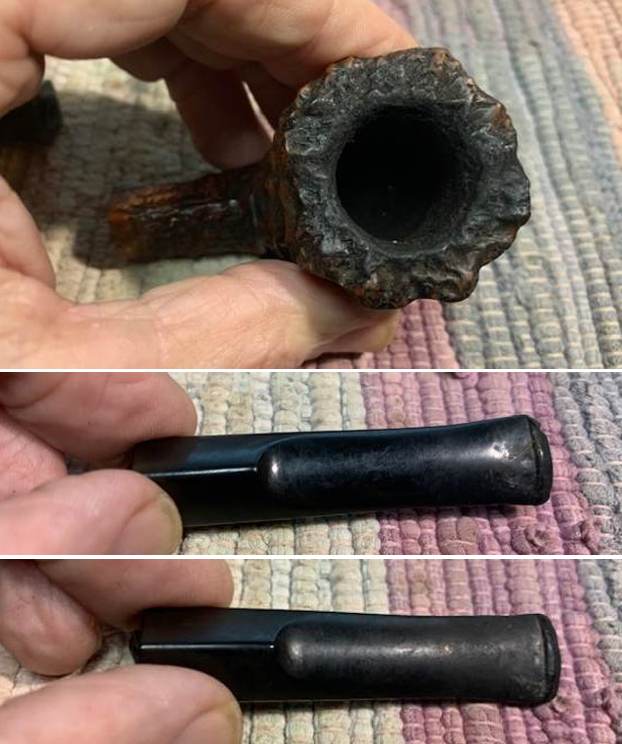
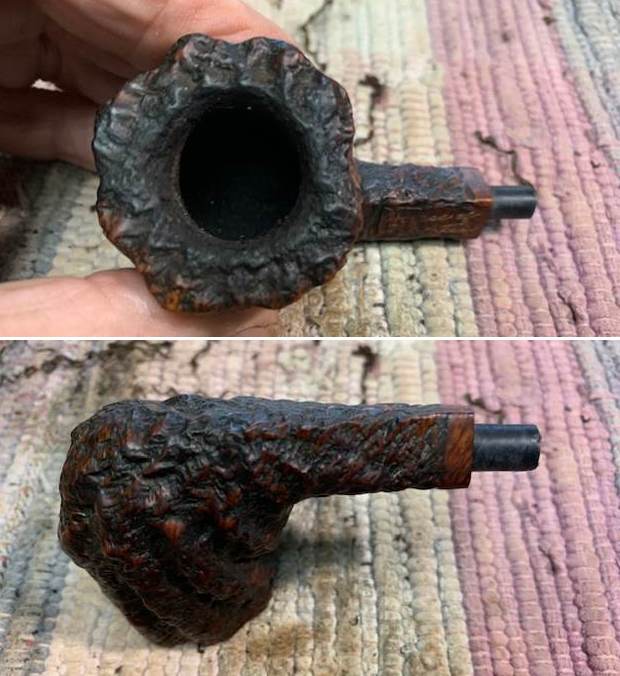
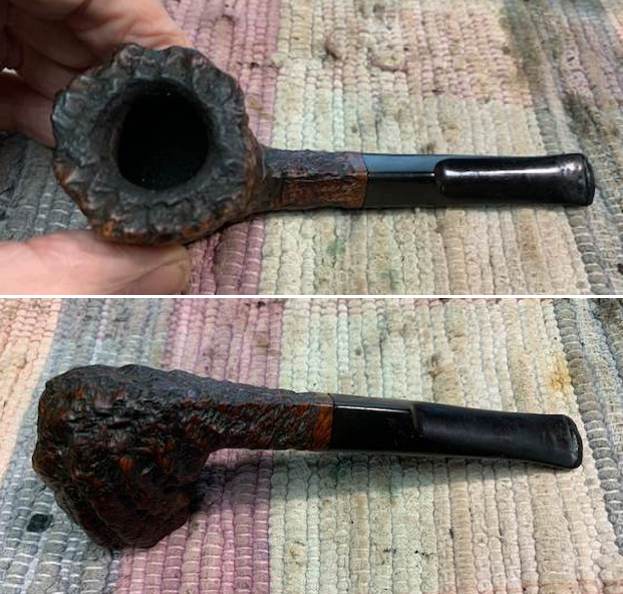
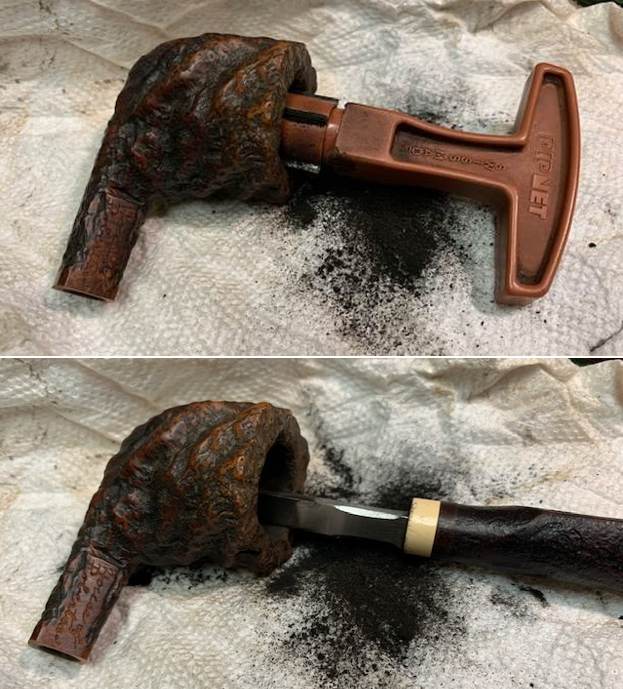
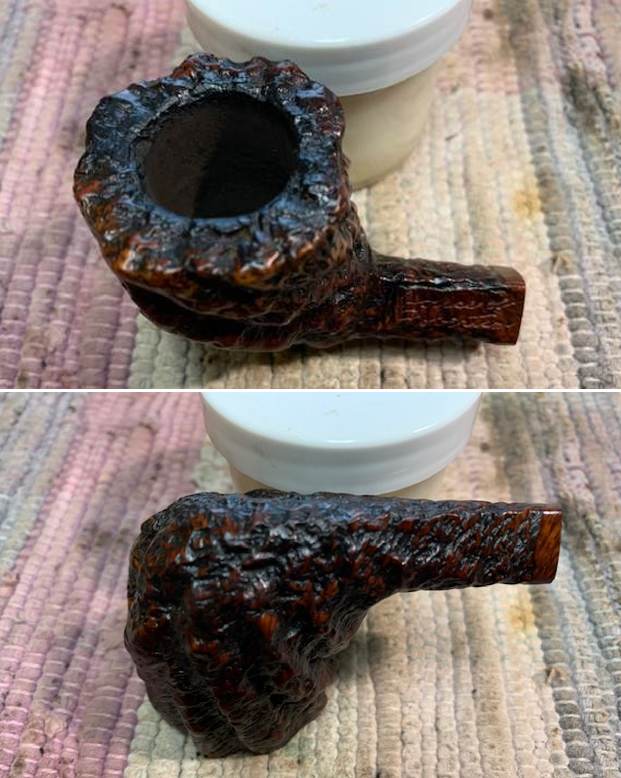
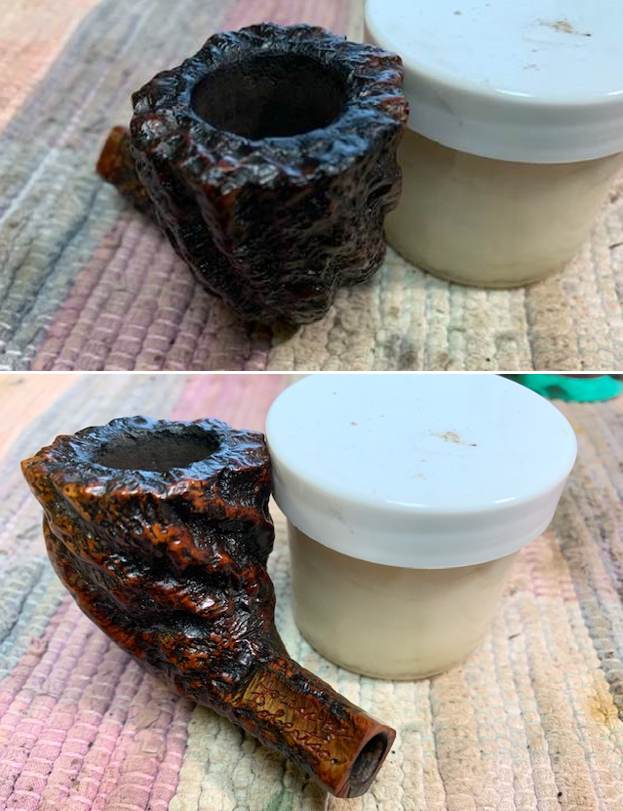
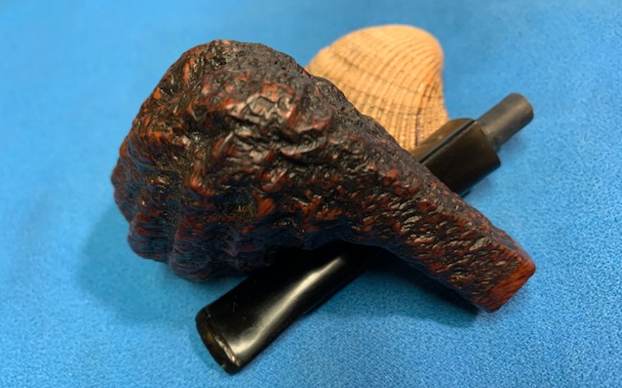
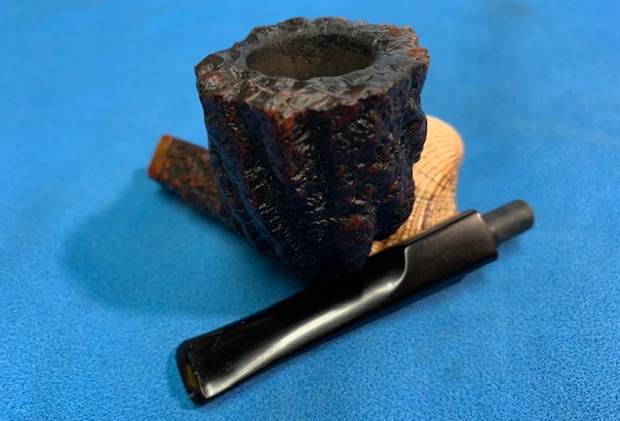
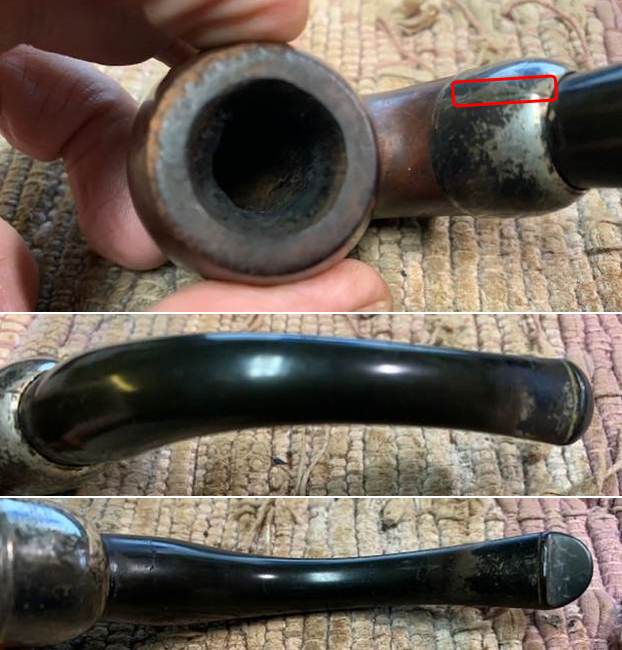
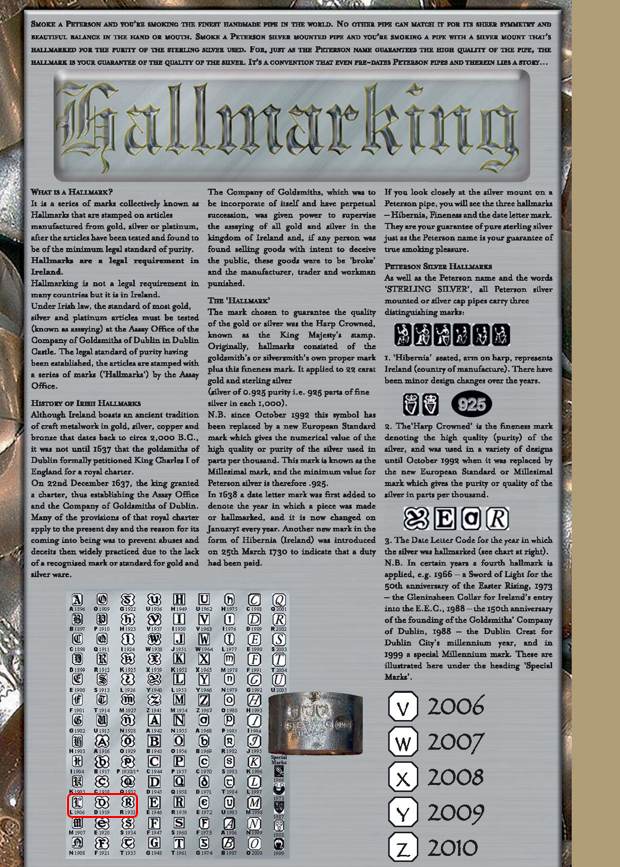
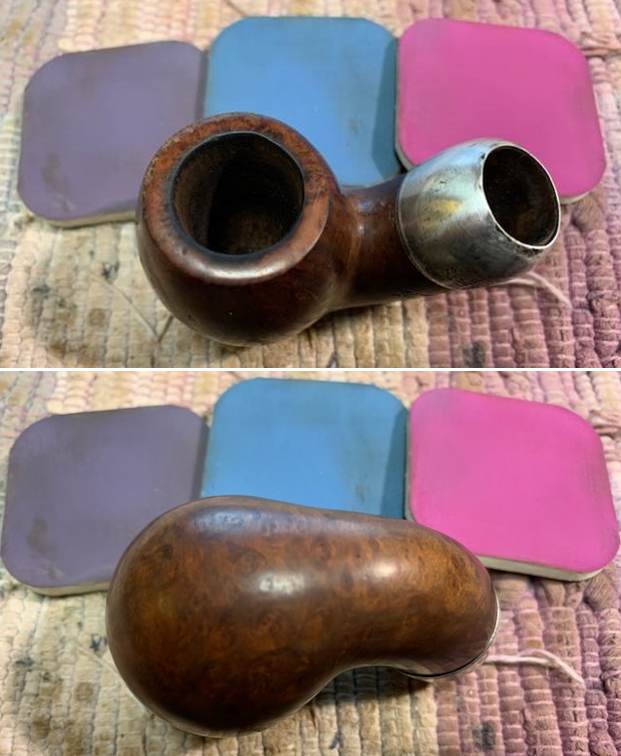
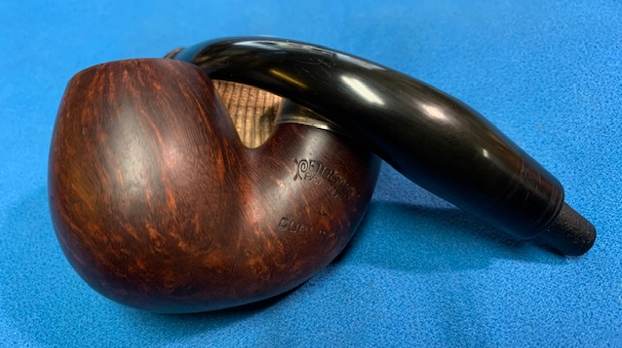
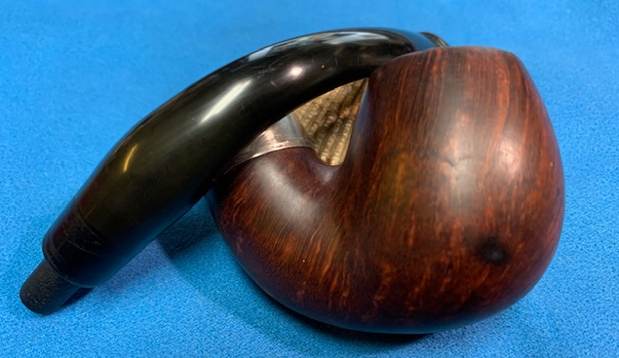
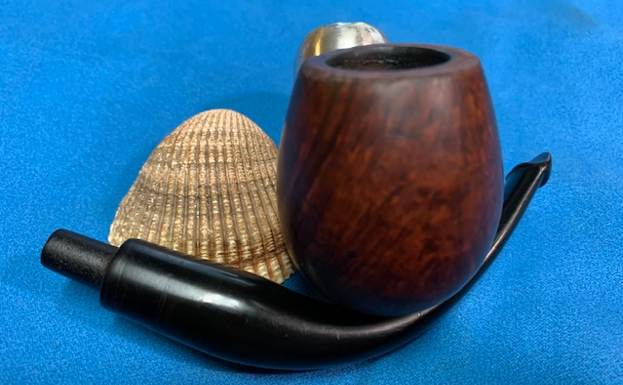
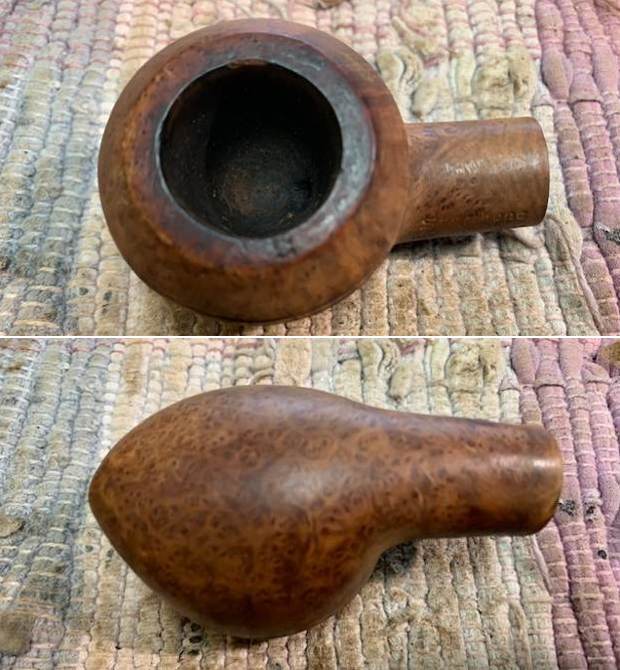
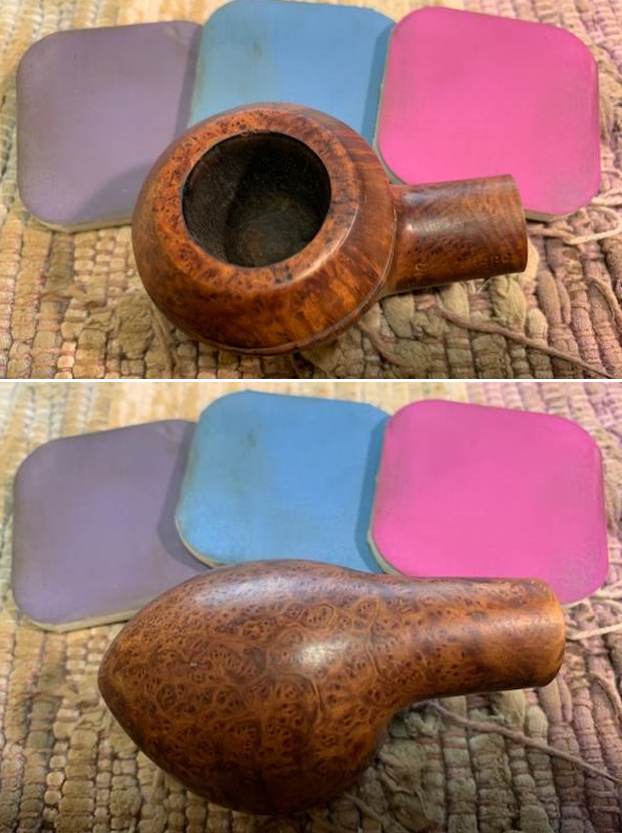
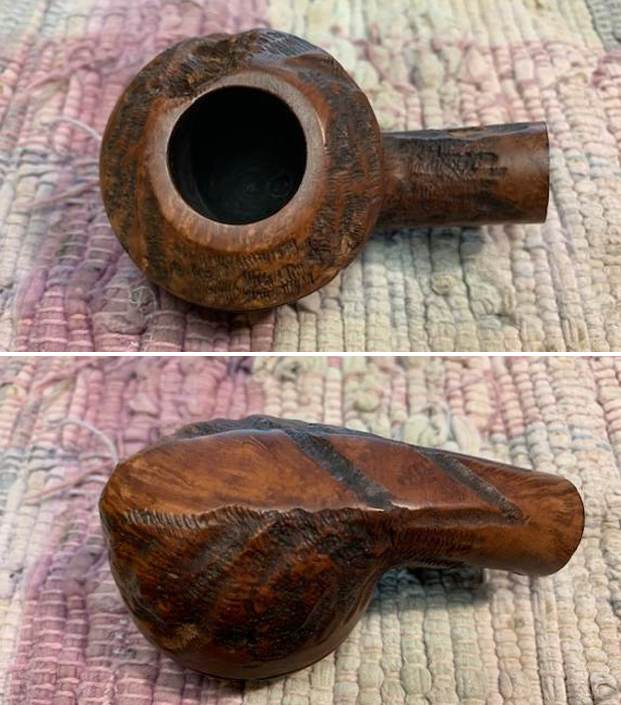
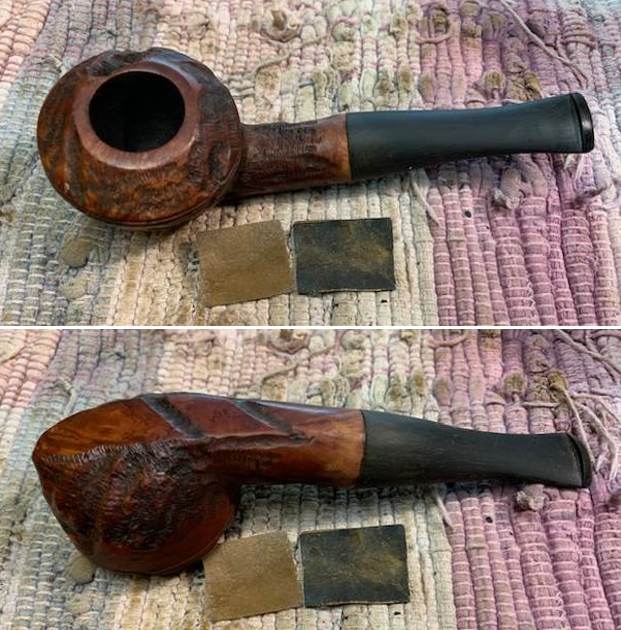
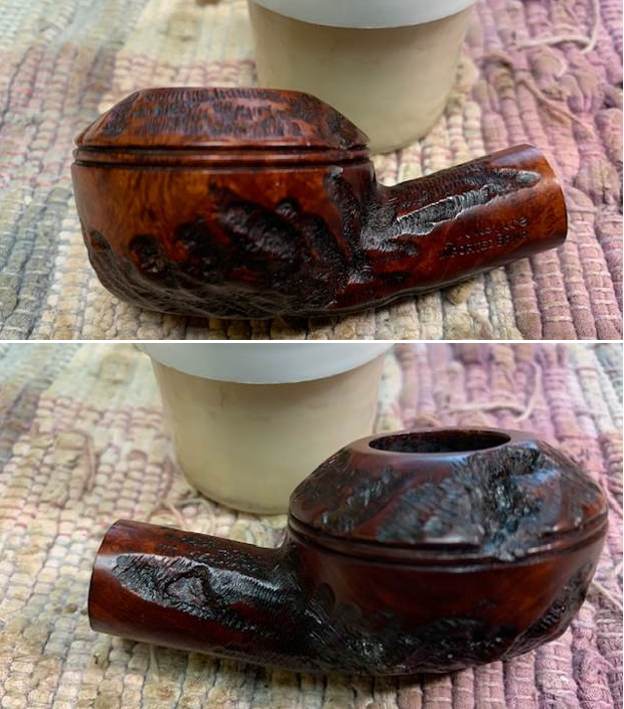
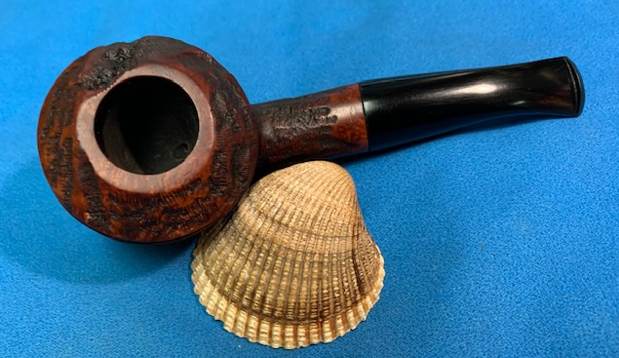
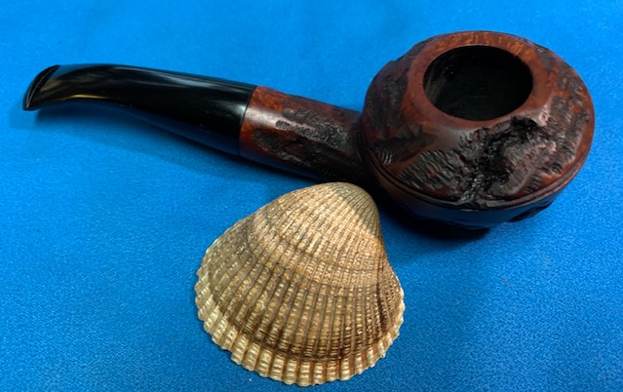
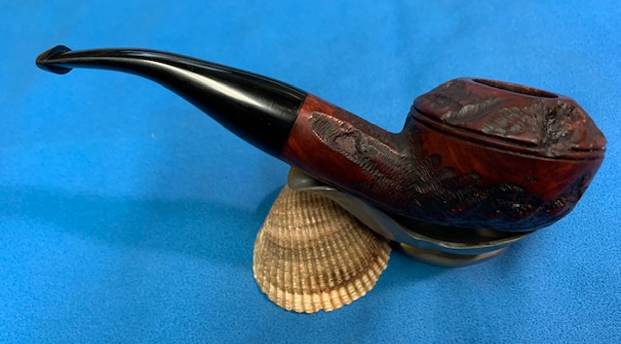
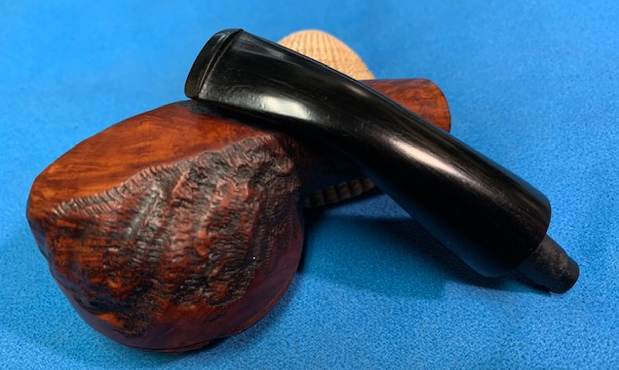
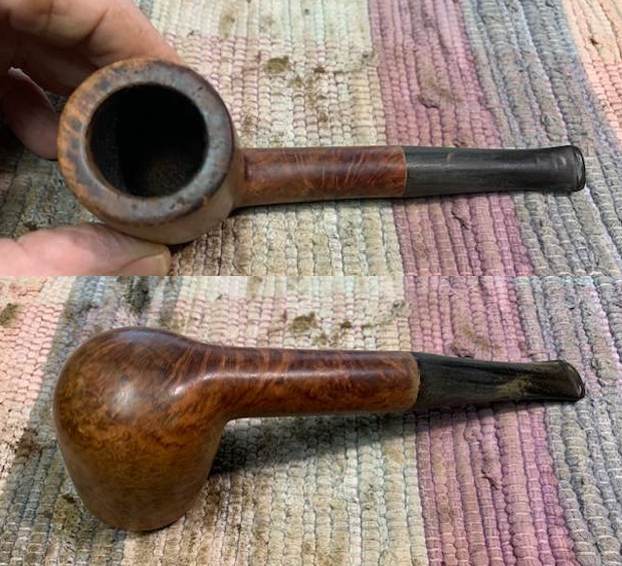
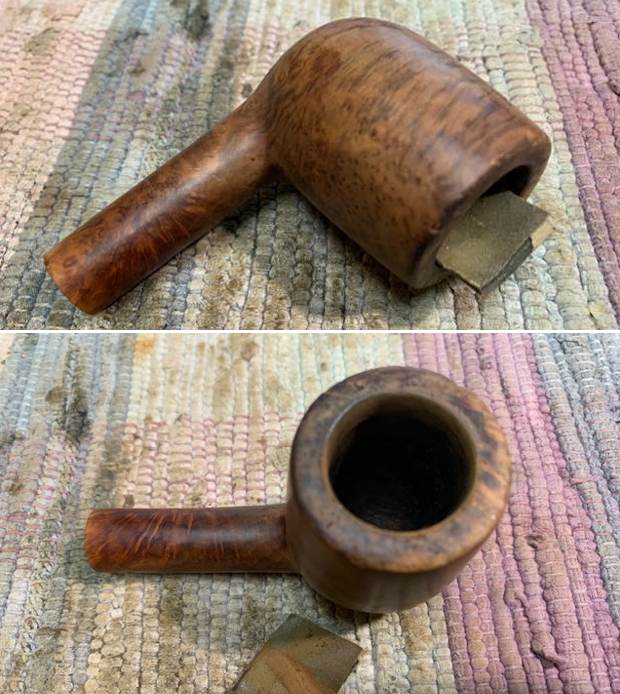
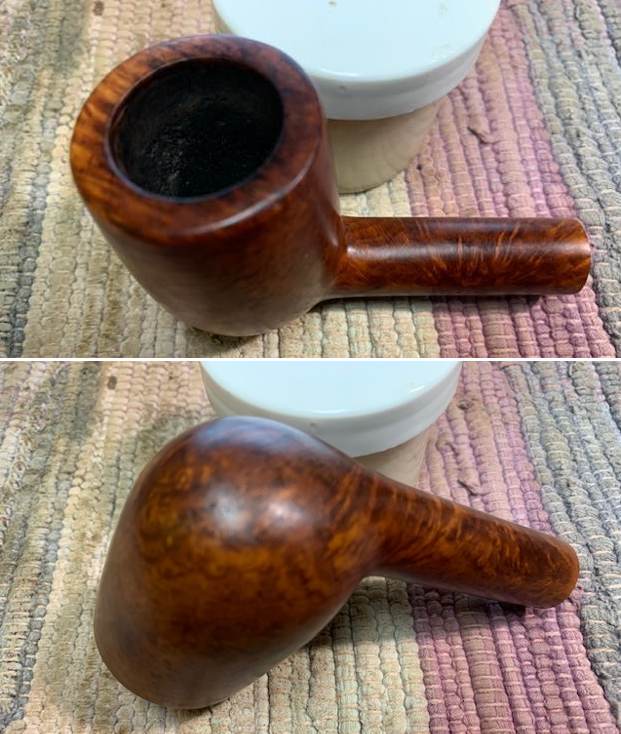
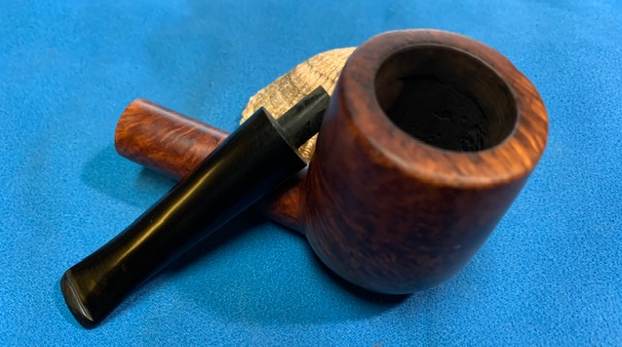
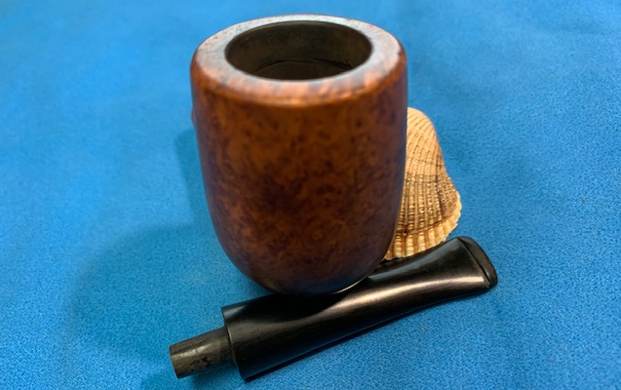
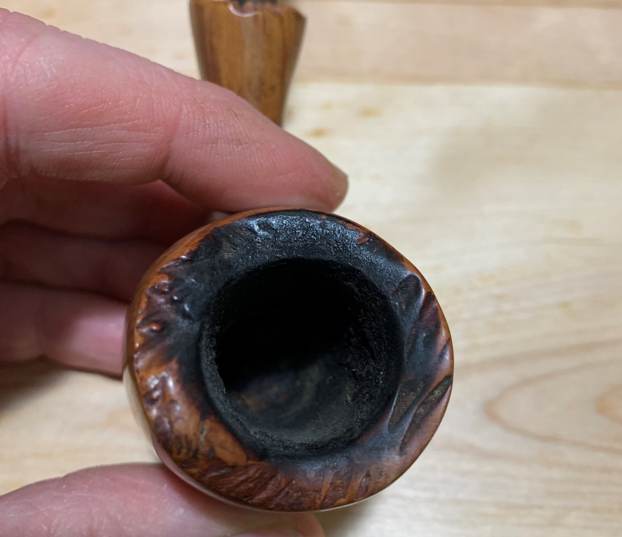
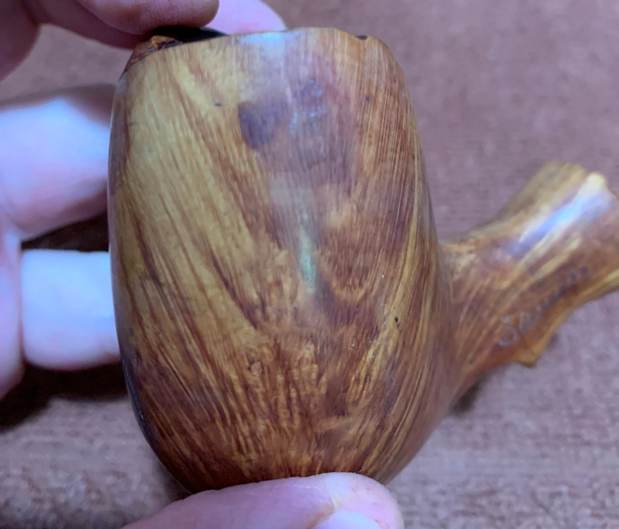
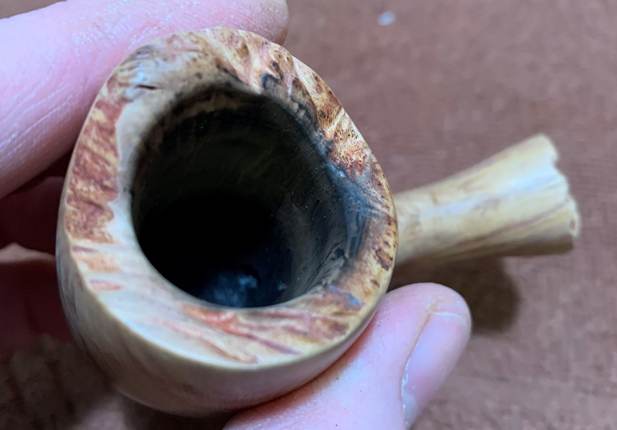
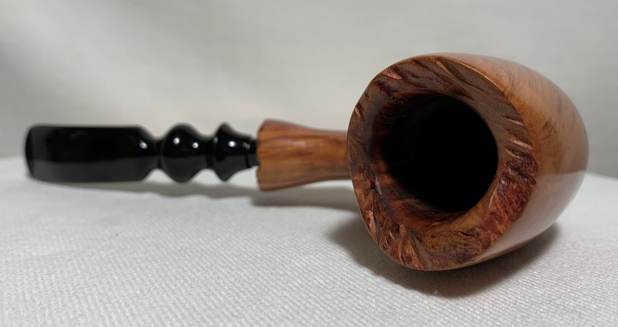
 I took photos of the rim top and stem to show the general condition of the pipe. The bowl is heavily caked and the rim top and edges have a thick lava overflow. The stem looks good but it has tooth marks on the top and underside near the button.
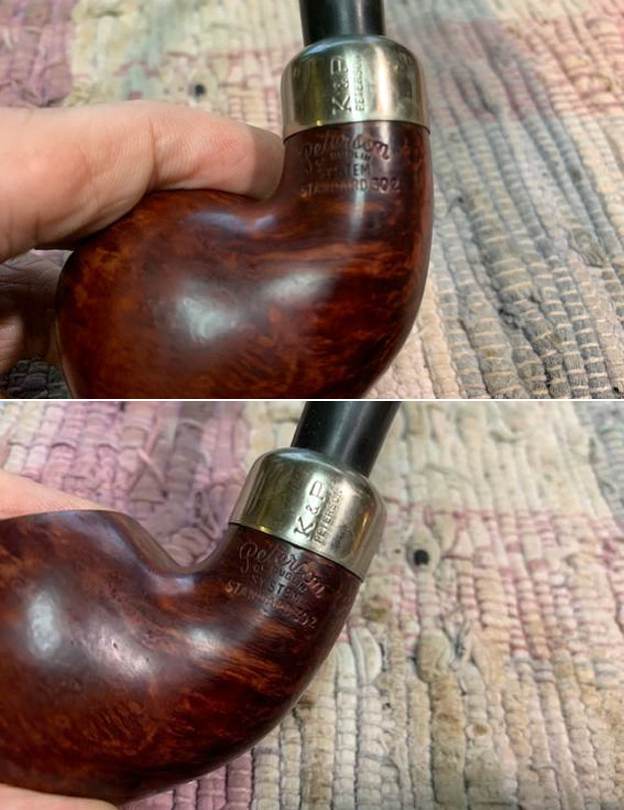
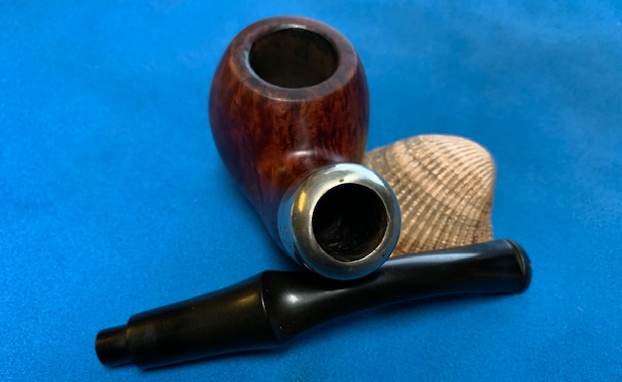
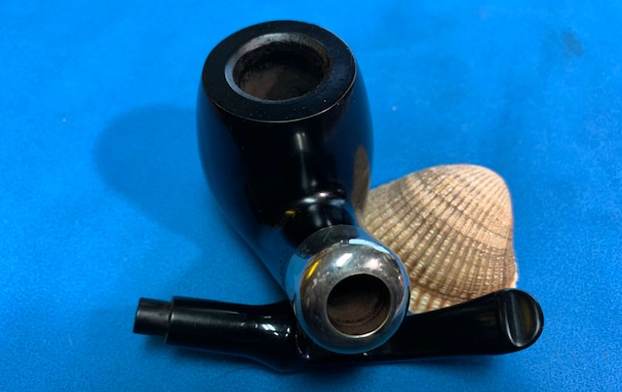
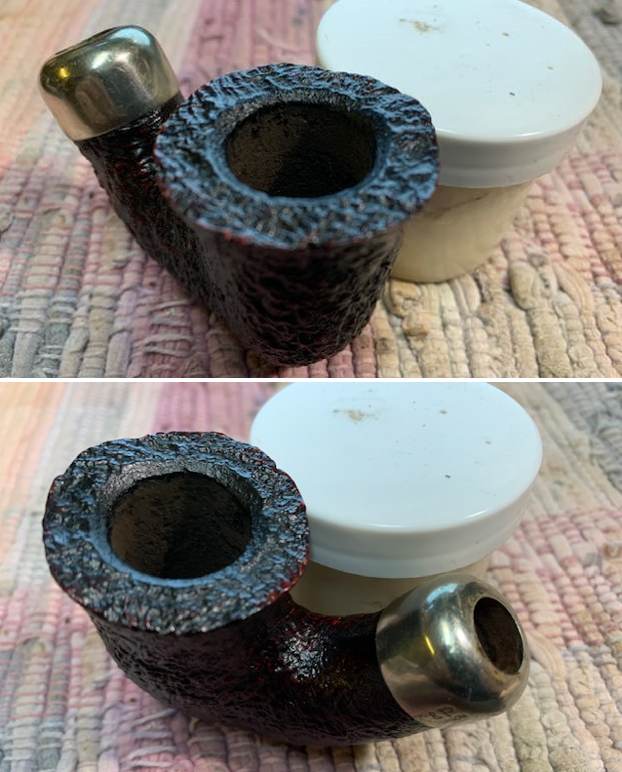
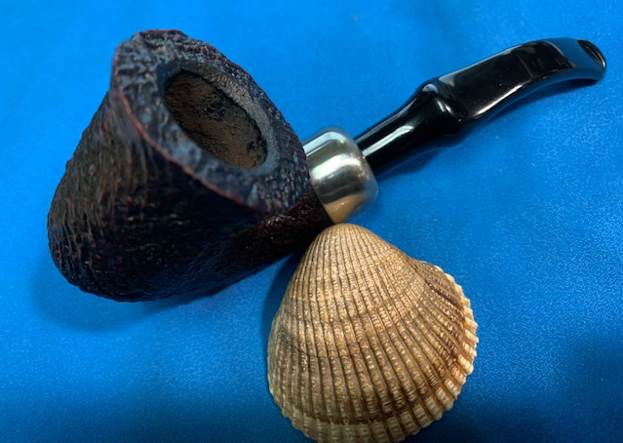
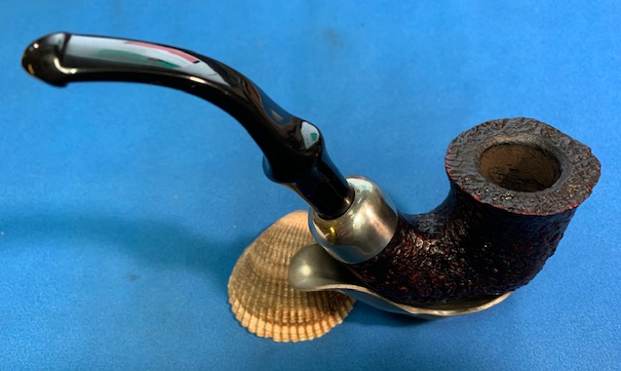
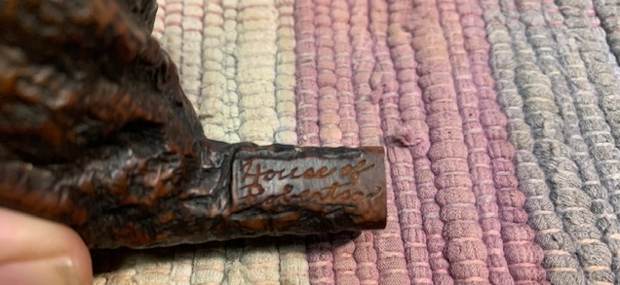
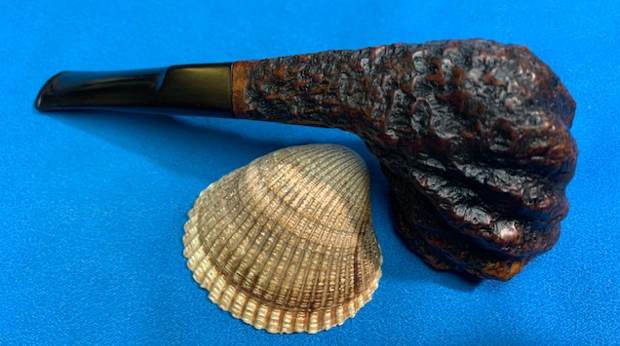
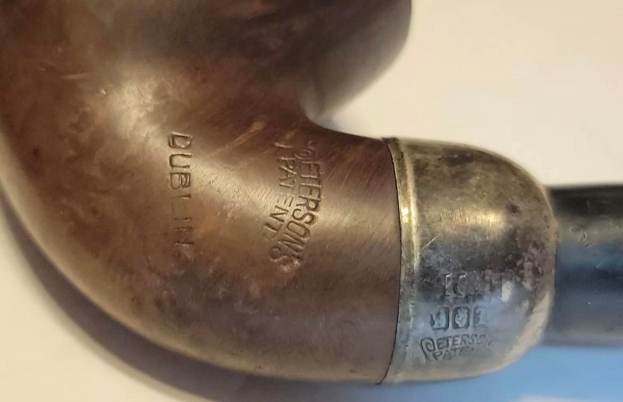
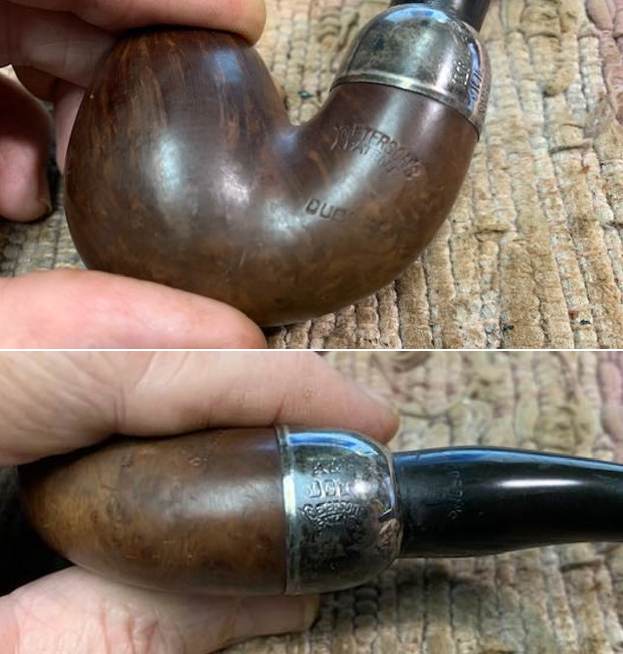
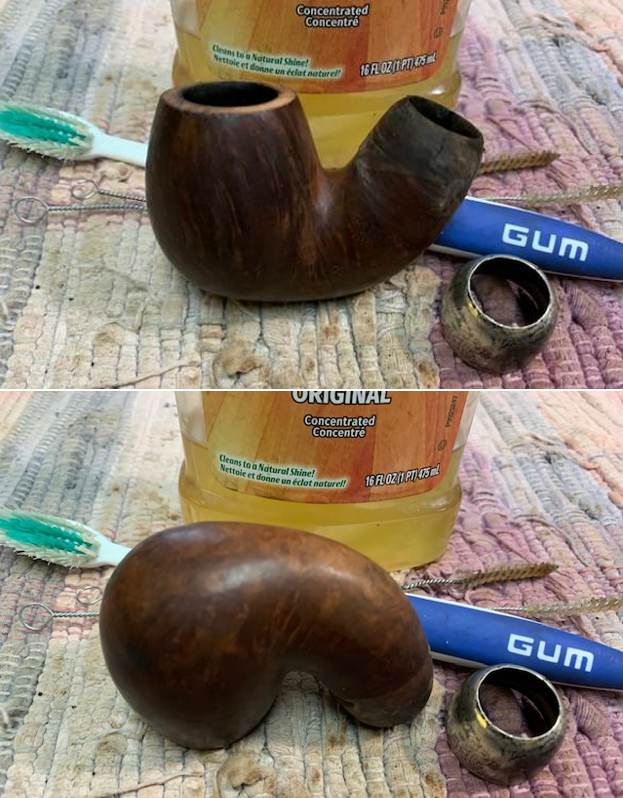
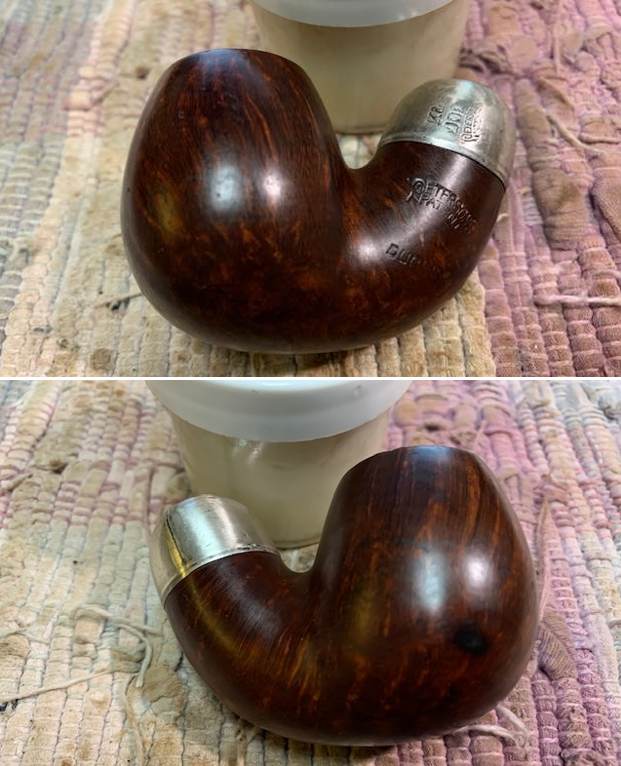
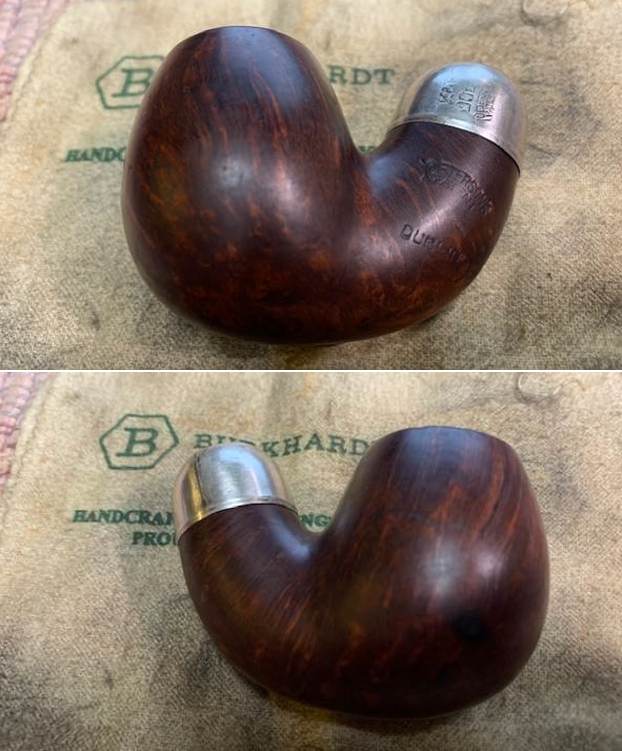
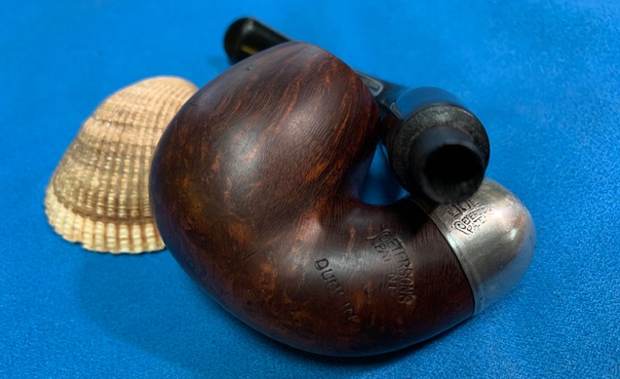
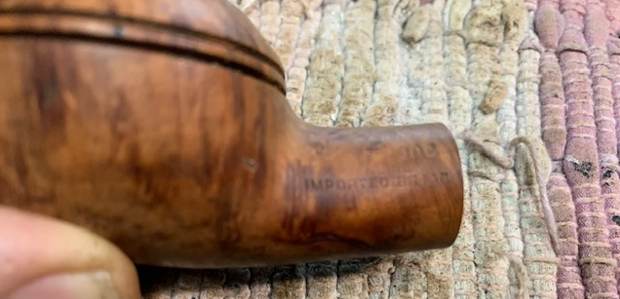
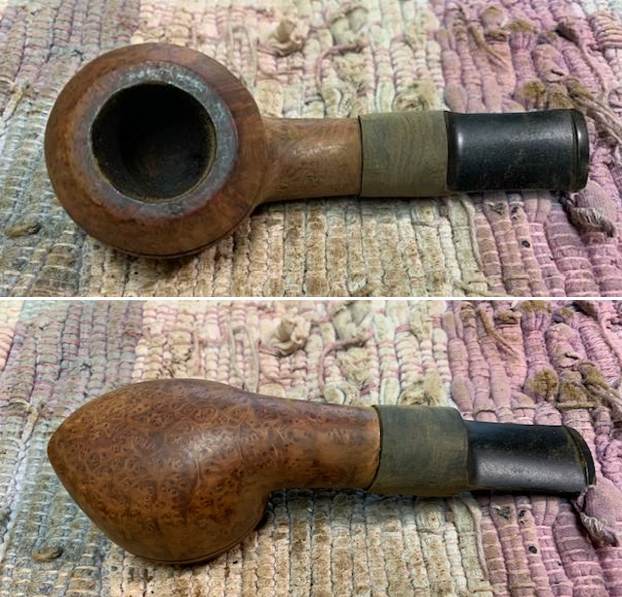
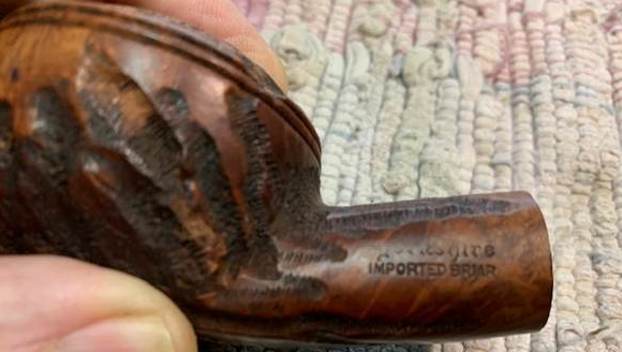
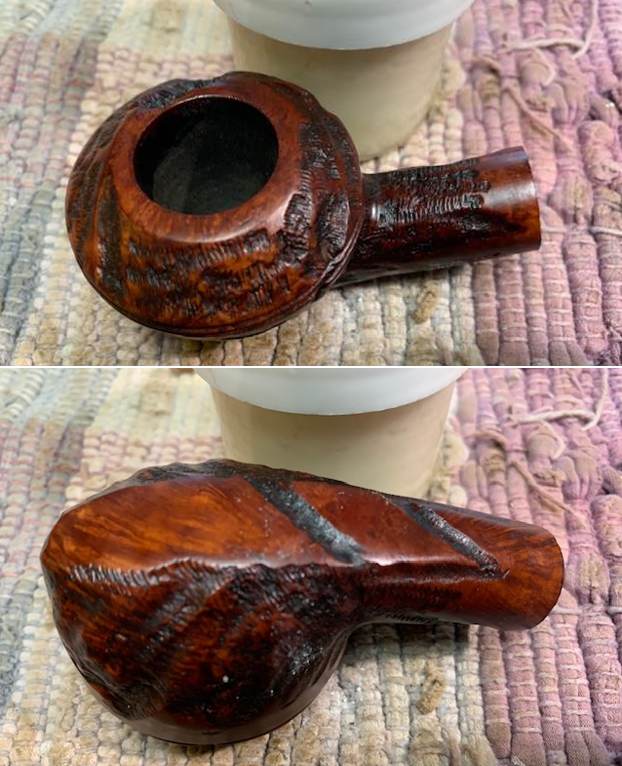
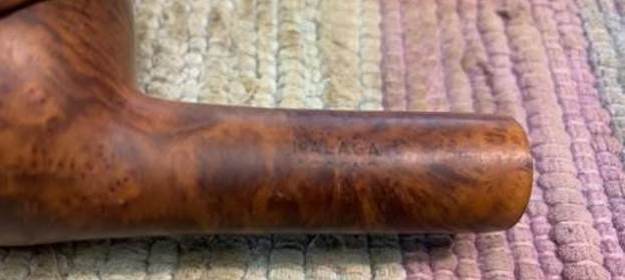
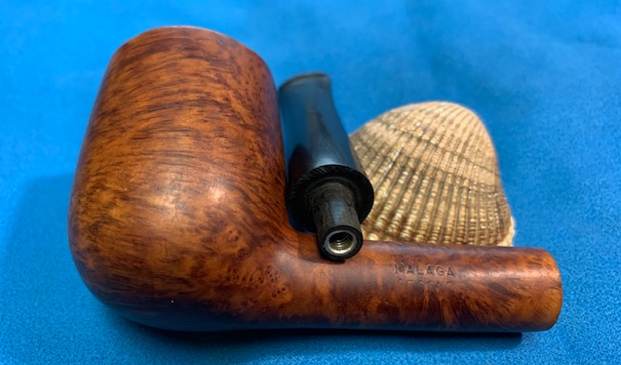
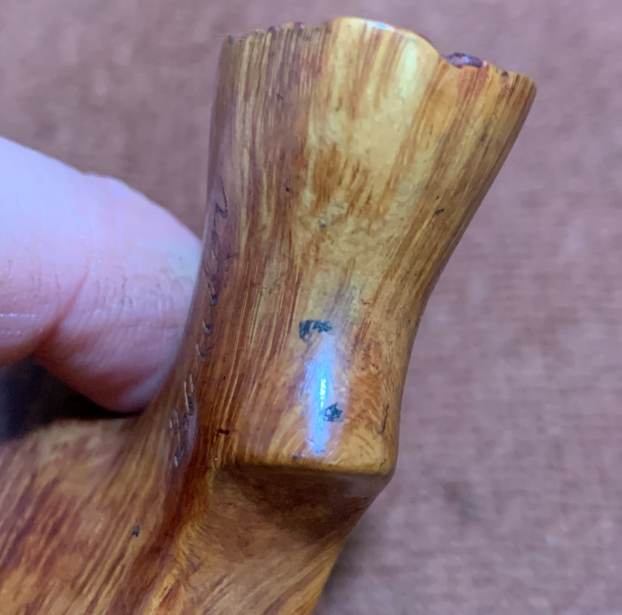
  I took photos of the stamping on the left shank side. It reads as noted above. I also tried to capture the stamping on the ferrule and it is clear and readable.
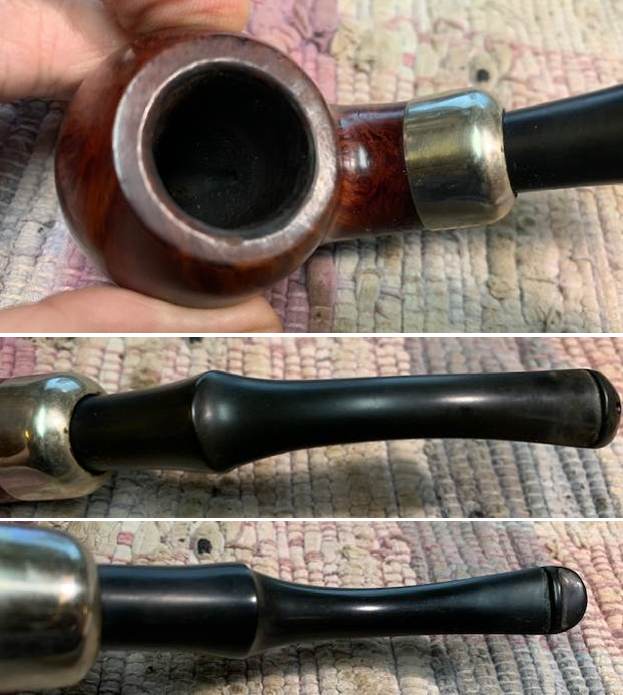
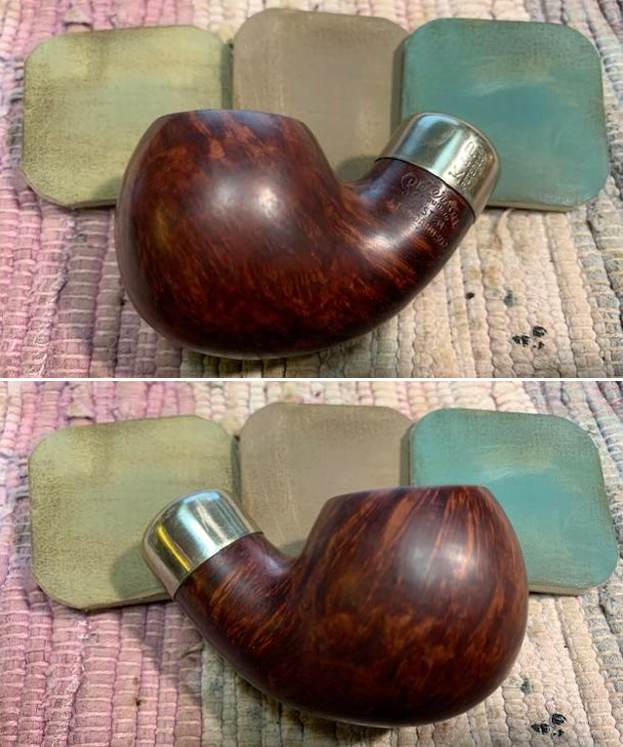
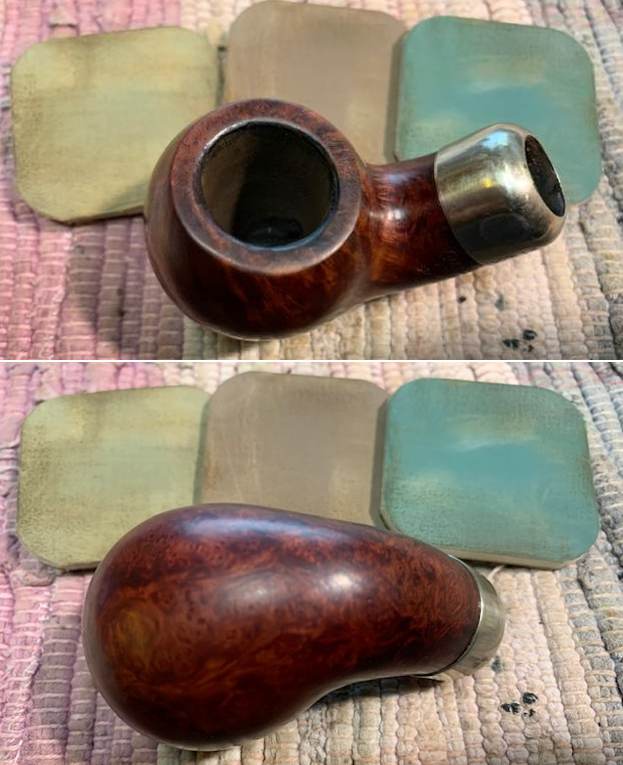
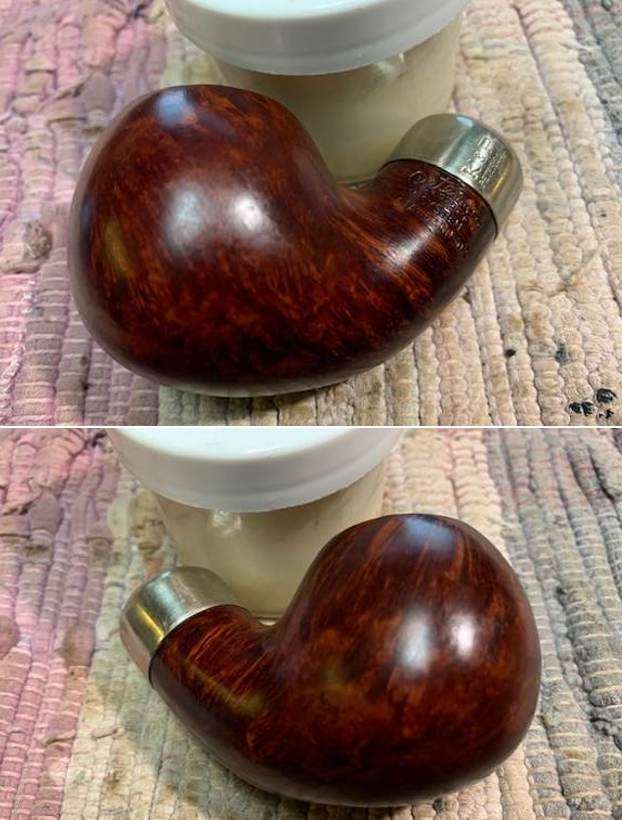
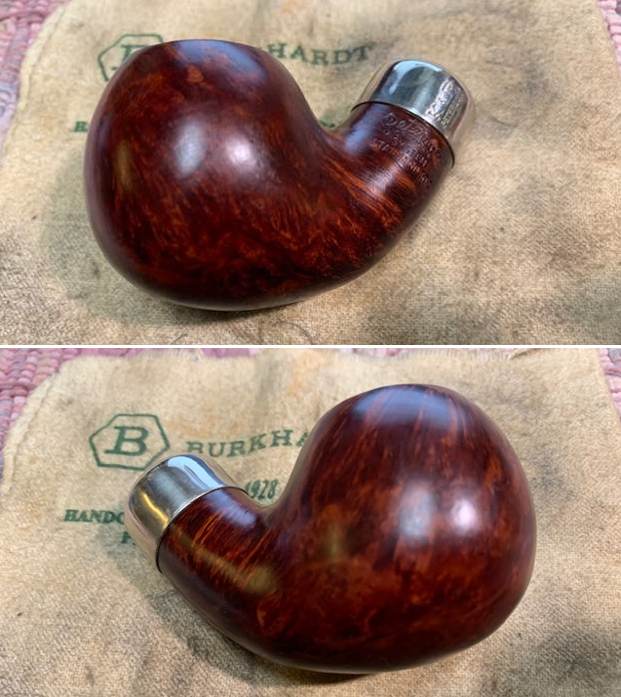
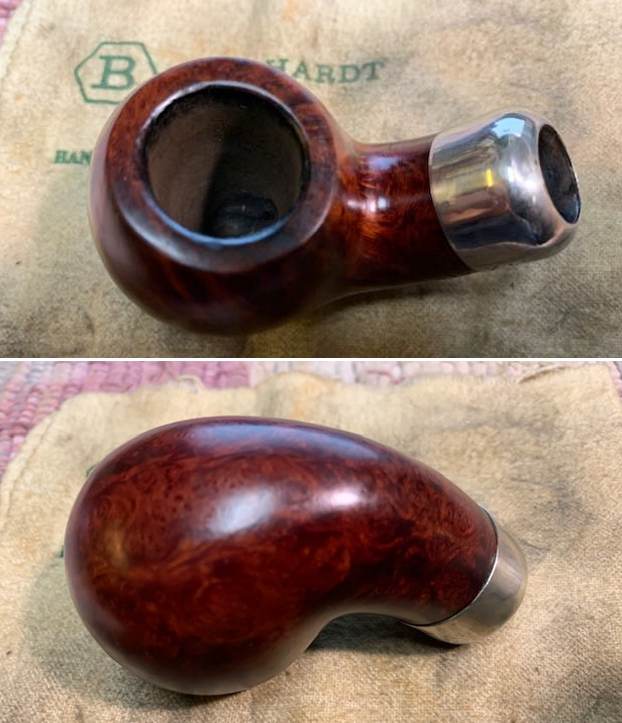
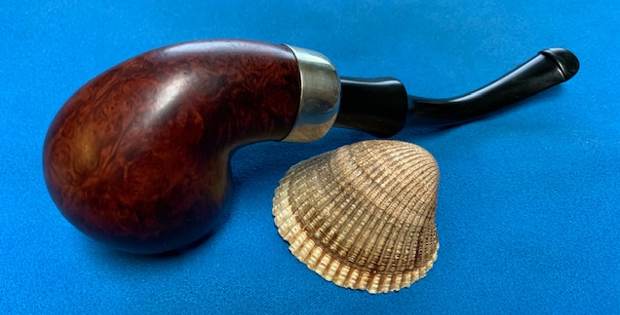
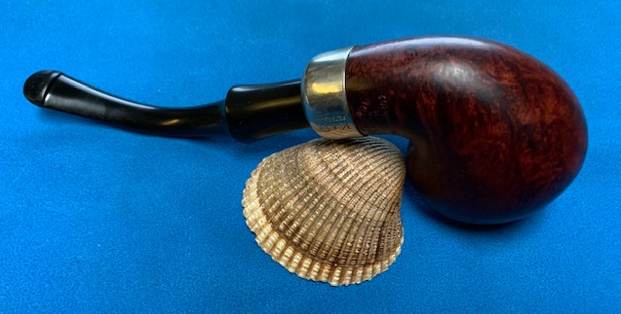
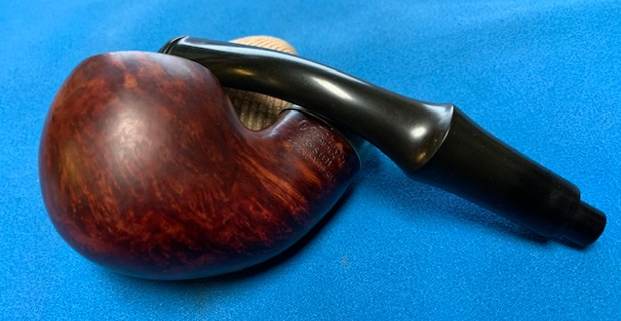
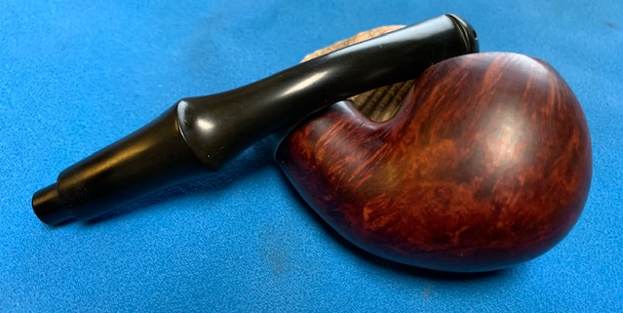
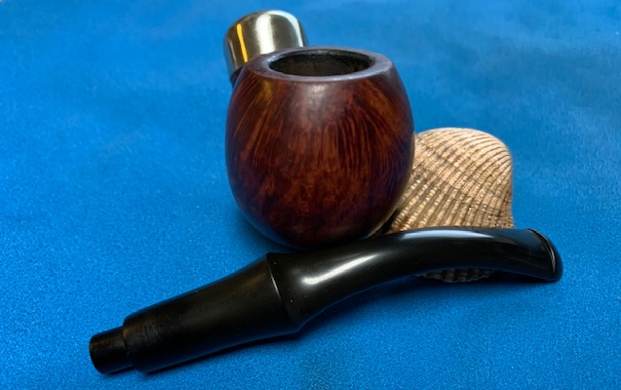
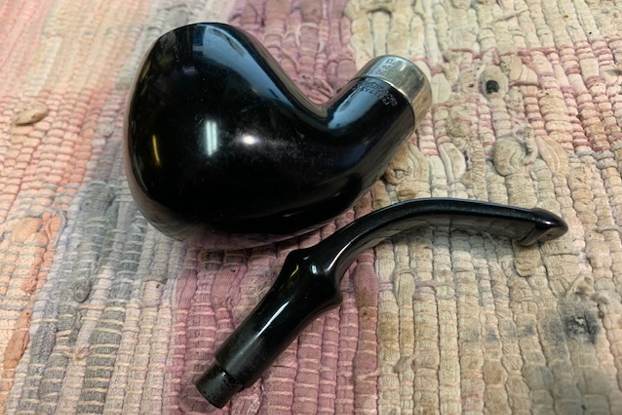
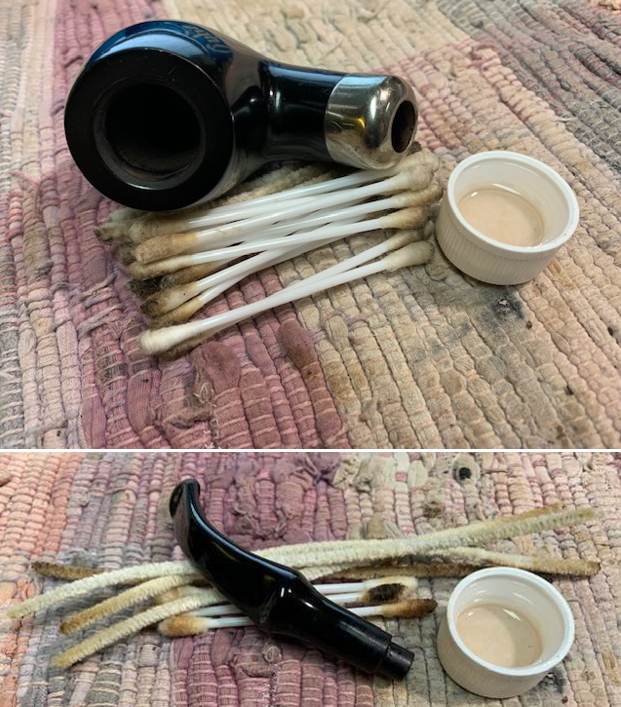
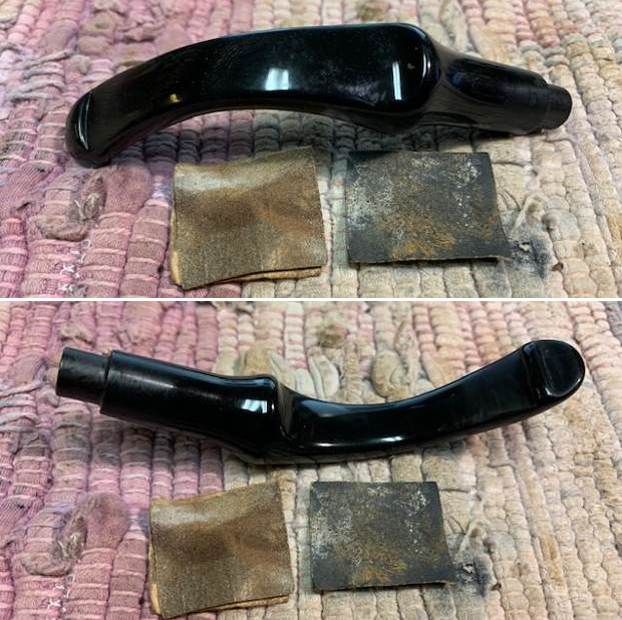
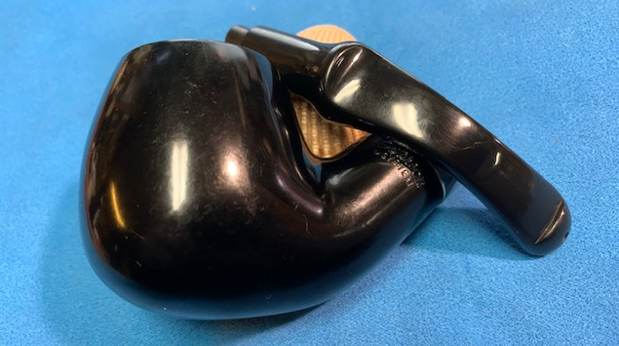
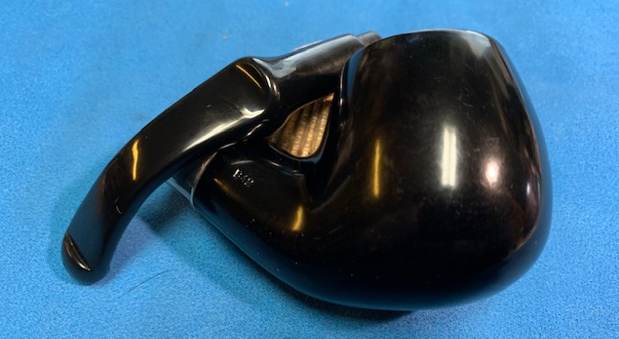
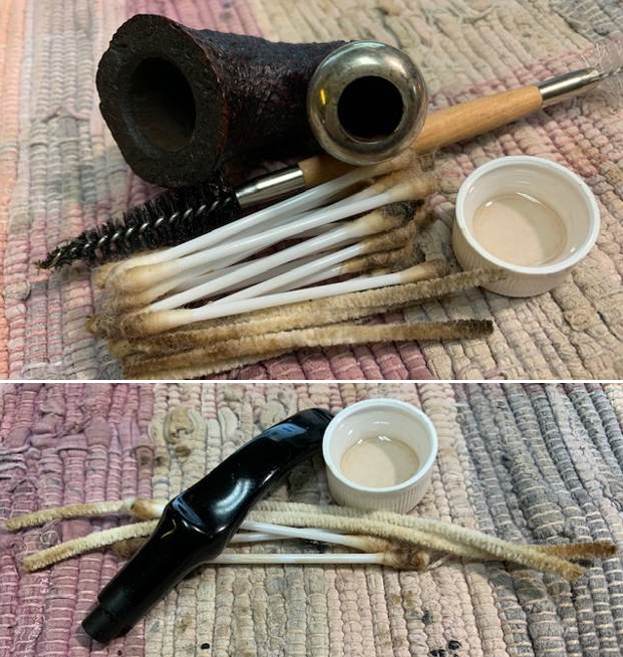
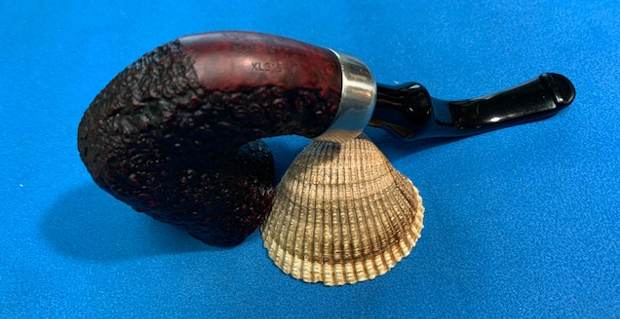
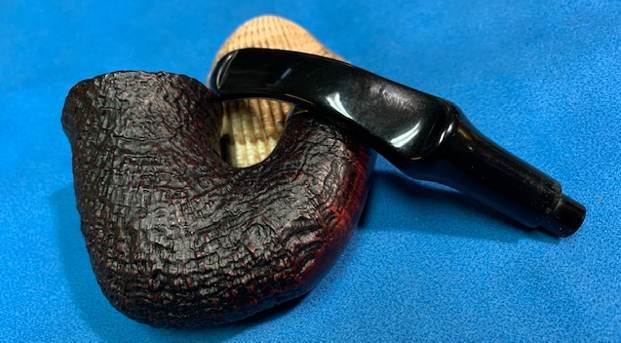
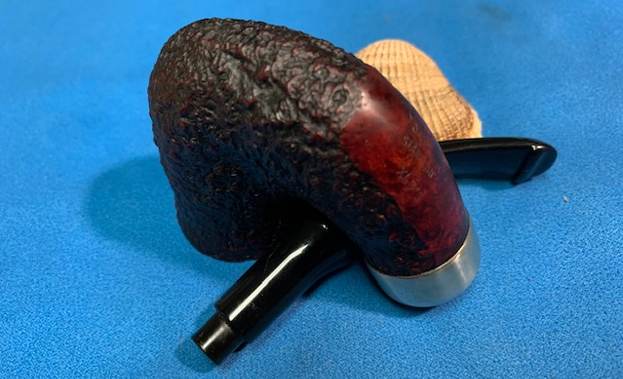
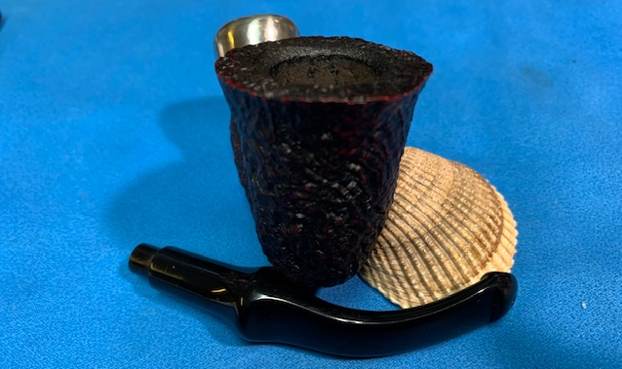
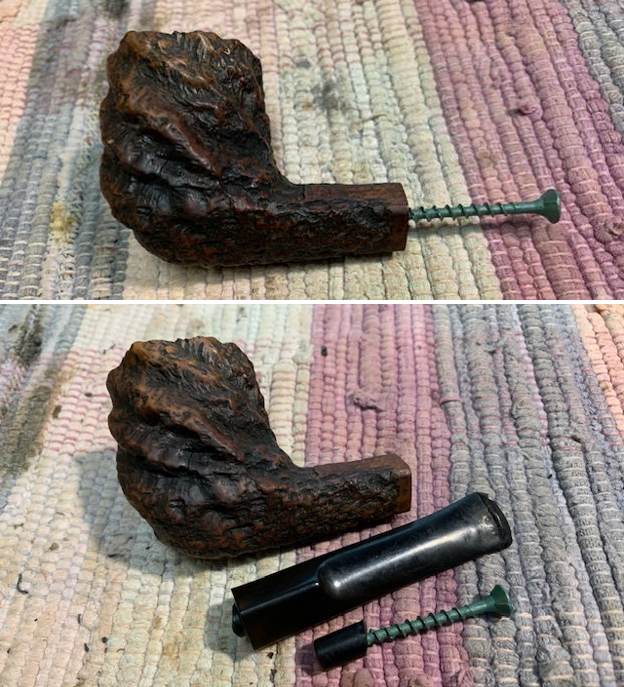
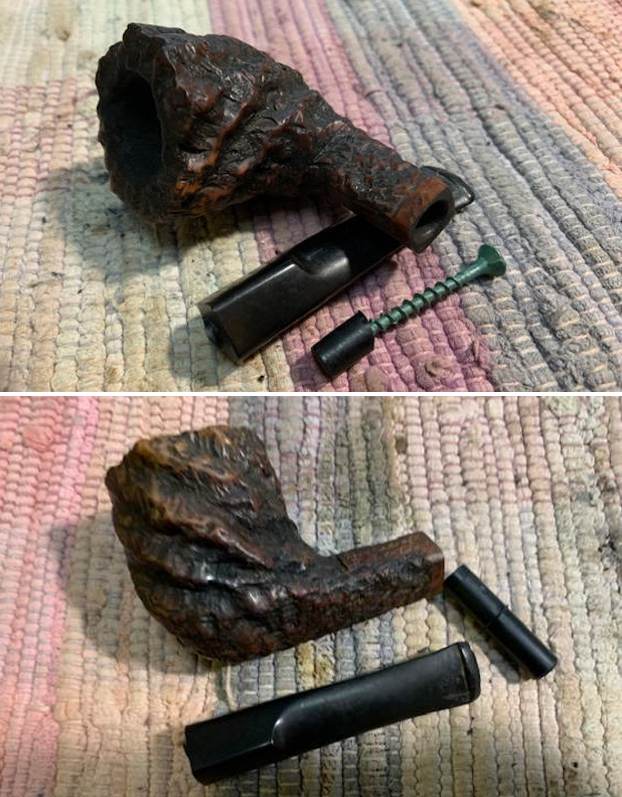
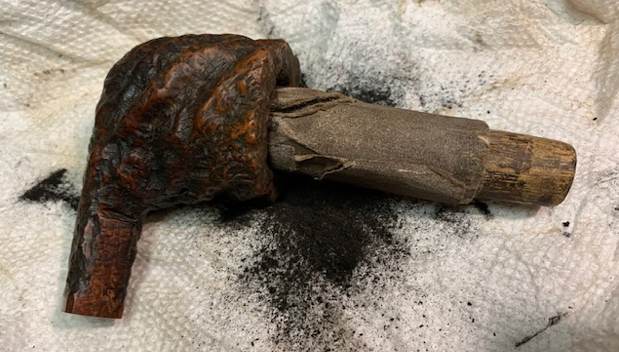
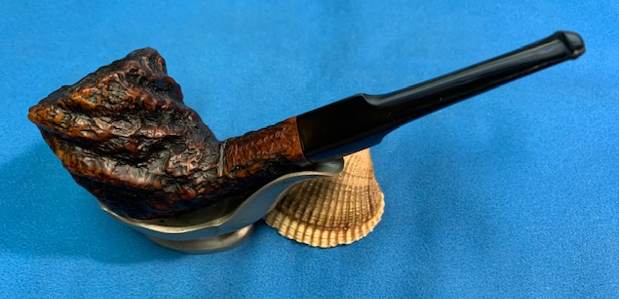
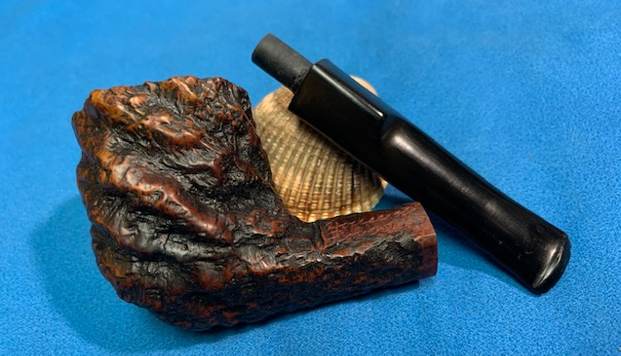
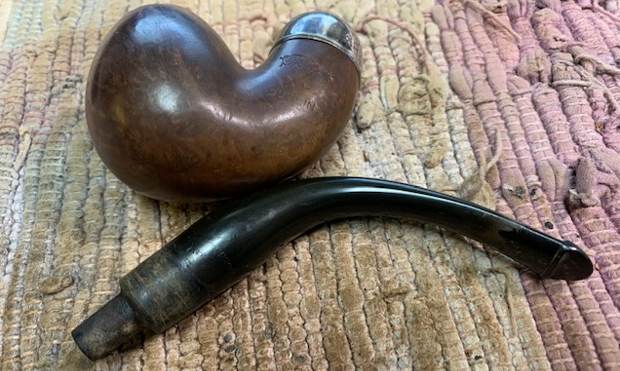
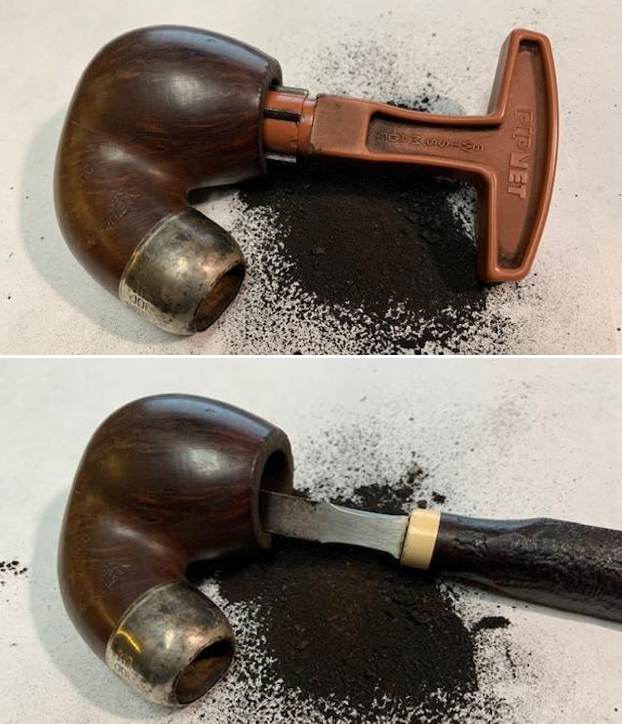
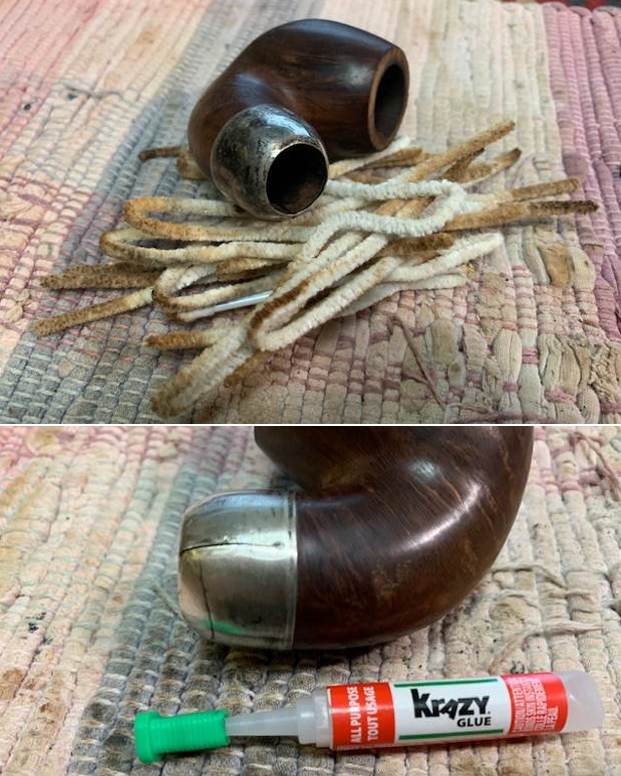
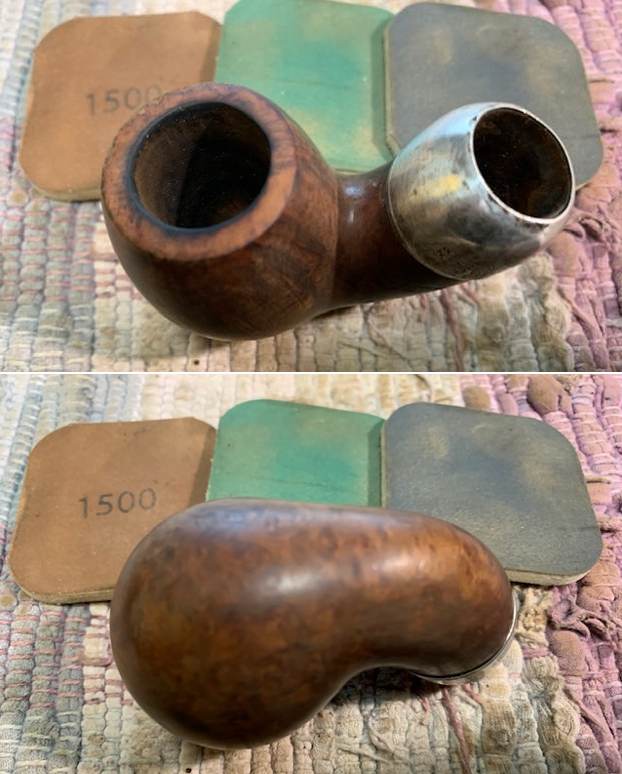
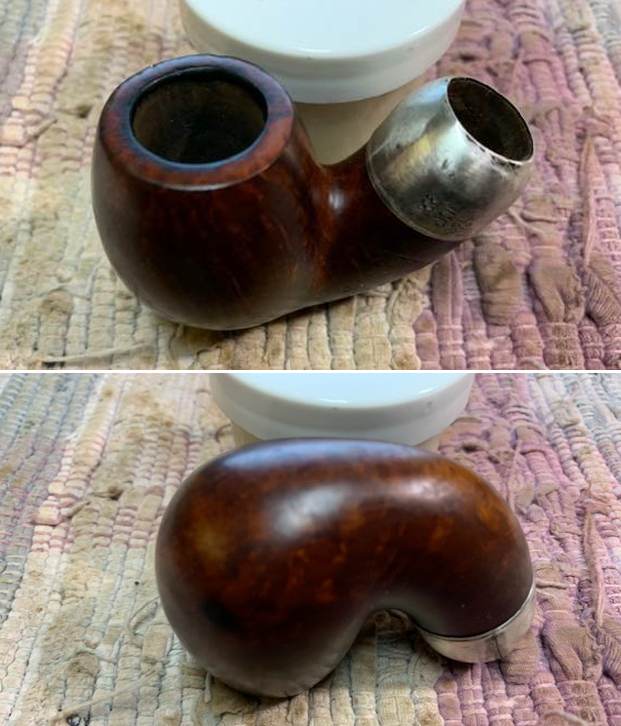
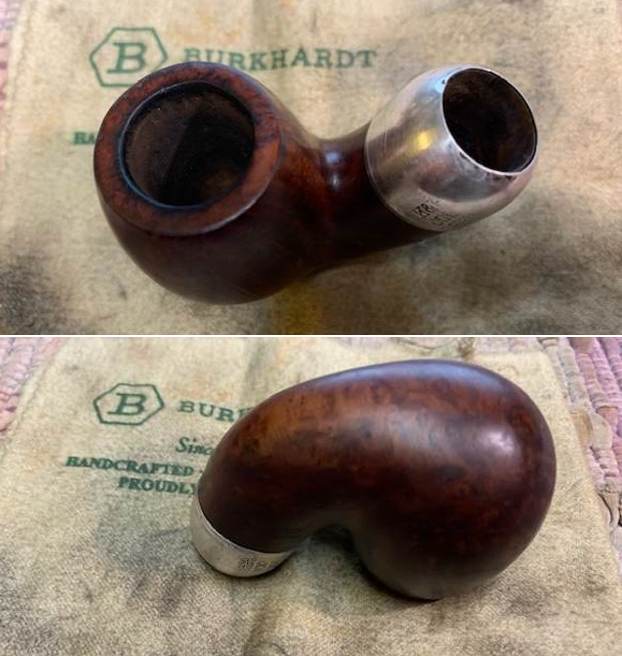
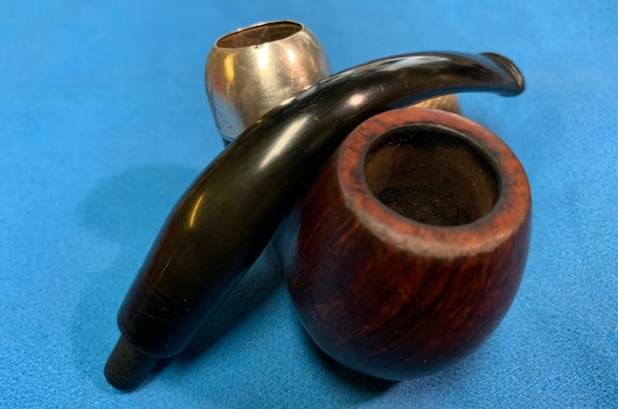
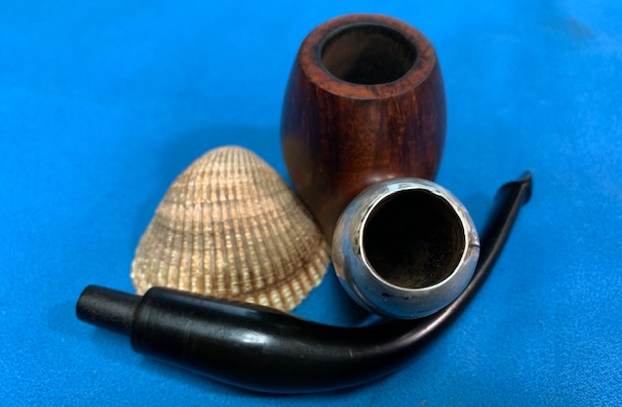
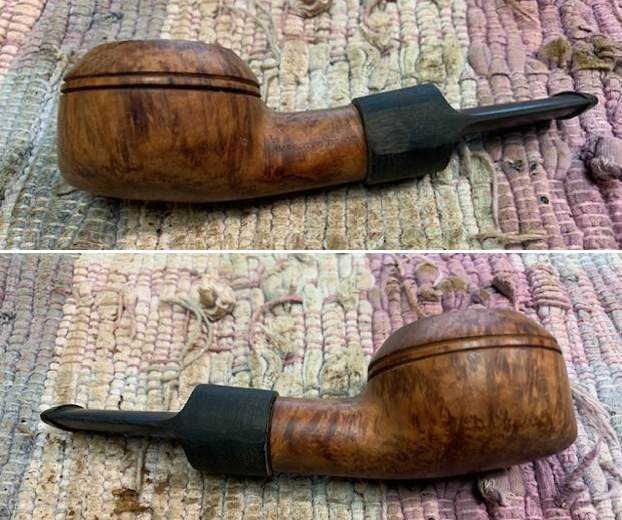
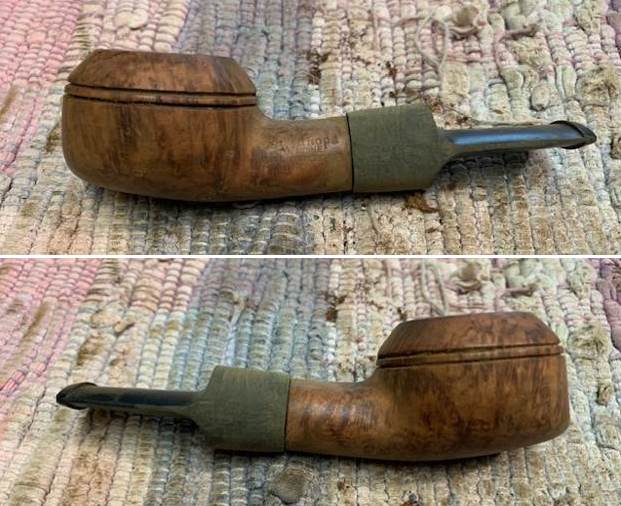
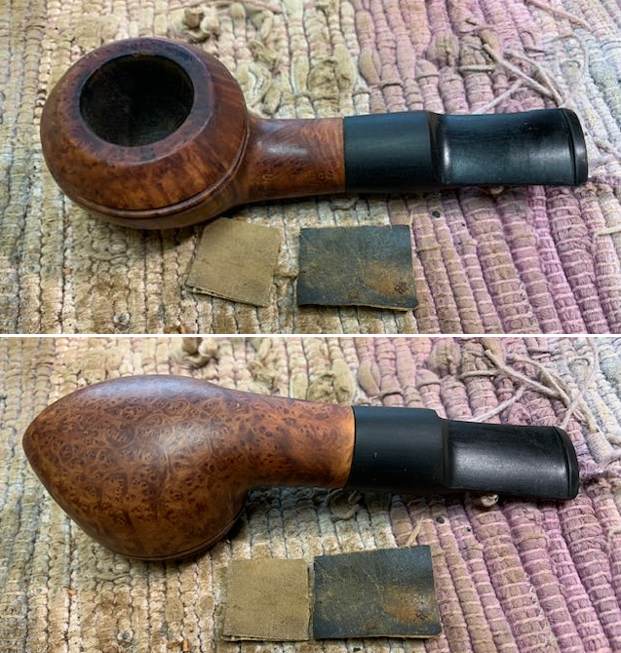
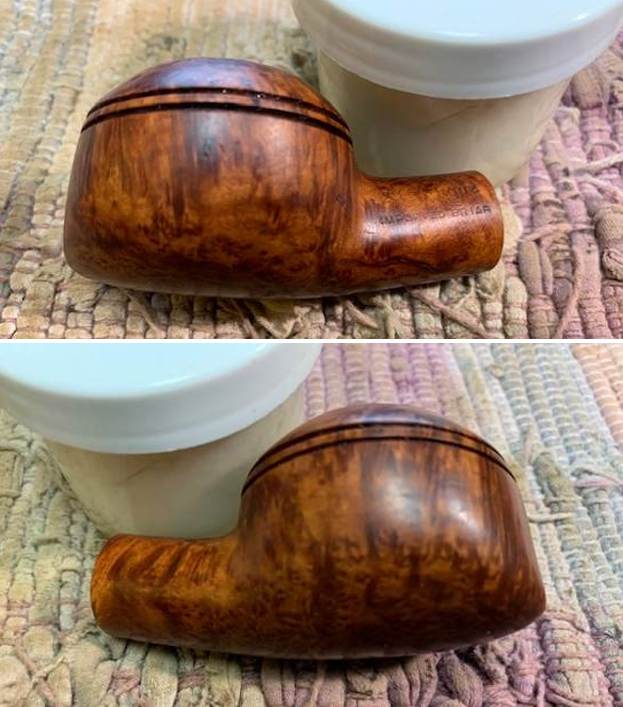
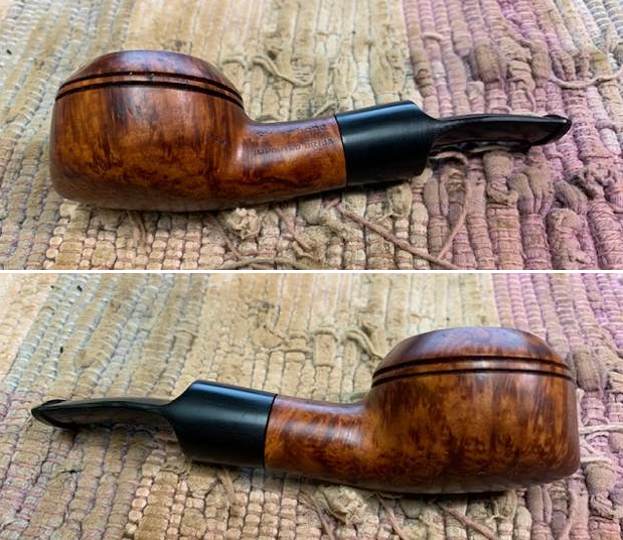
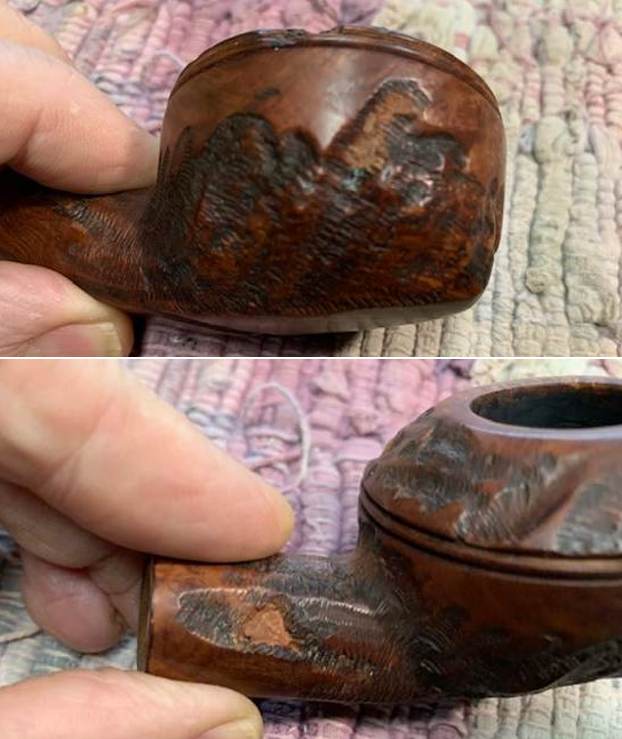
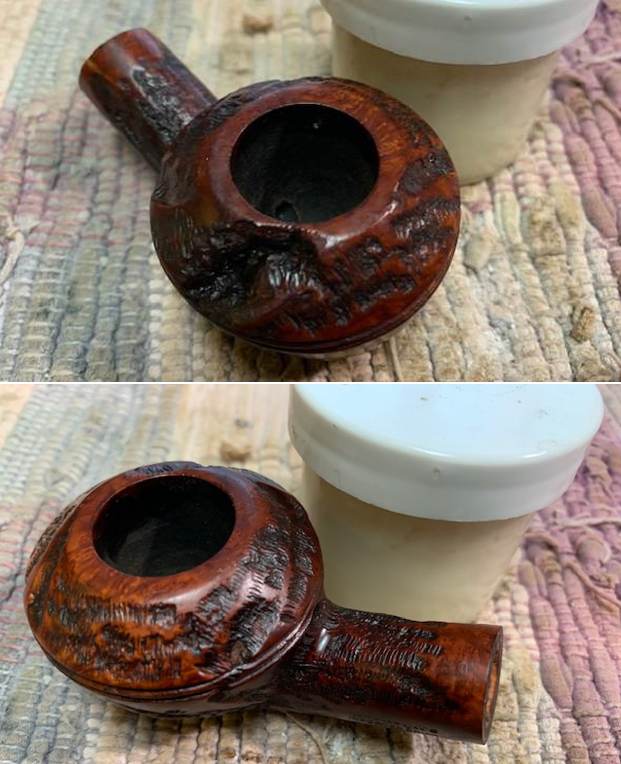
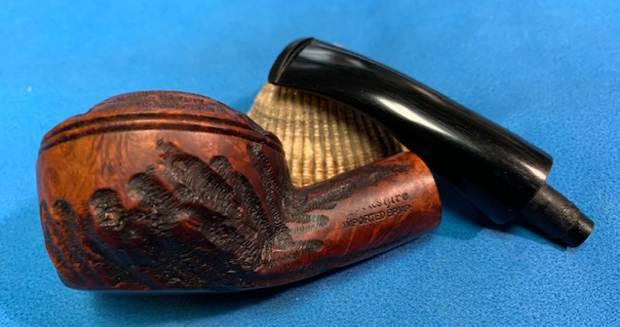
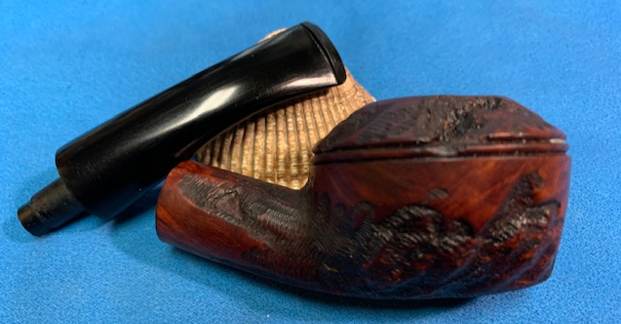
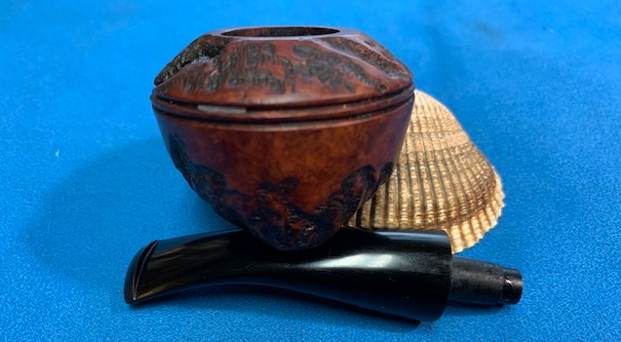
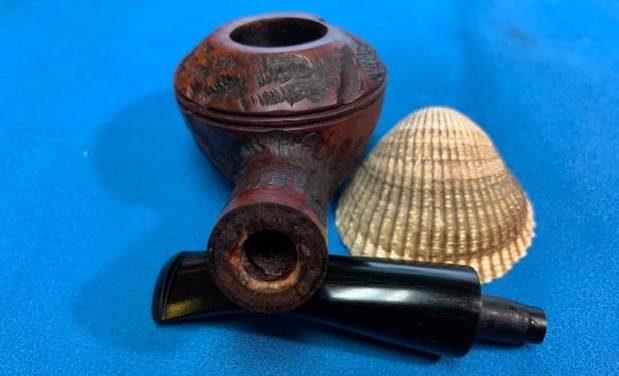
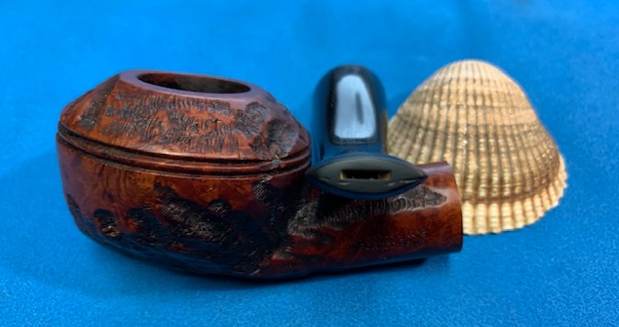
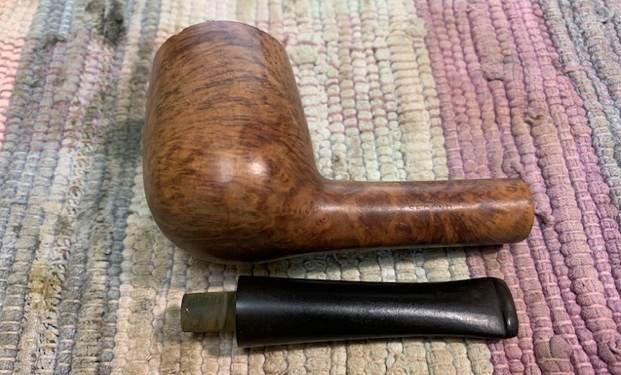
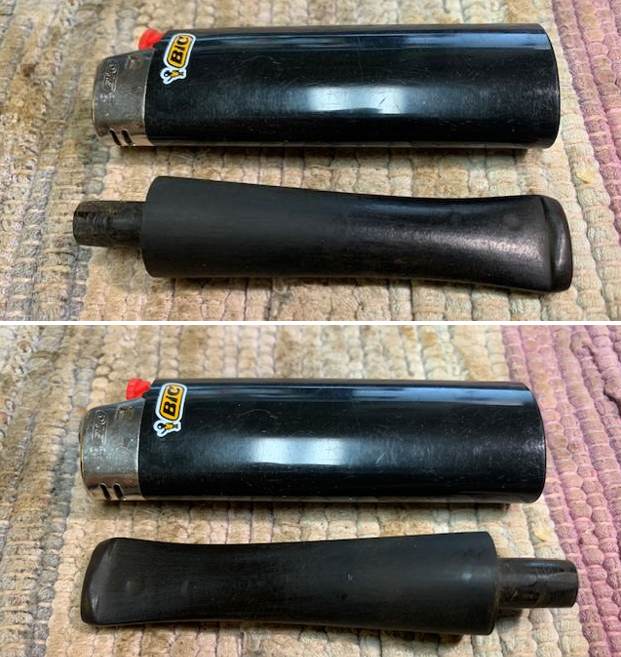
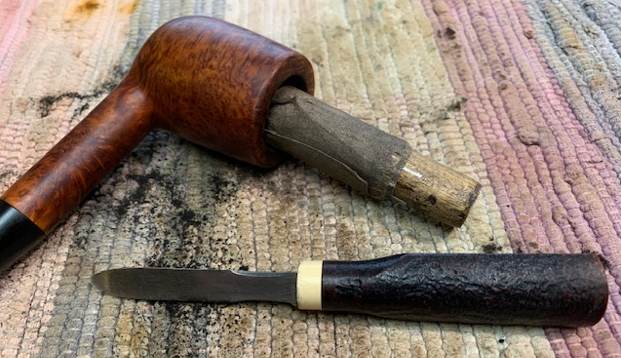
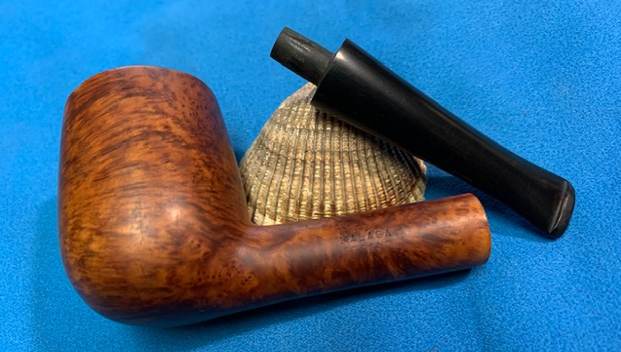
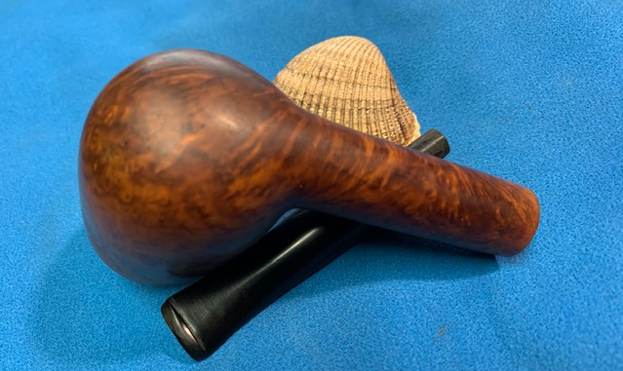
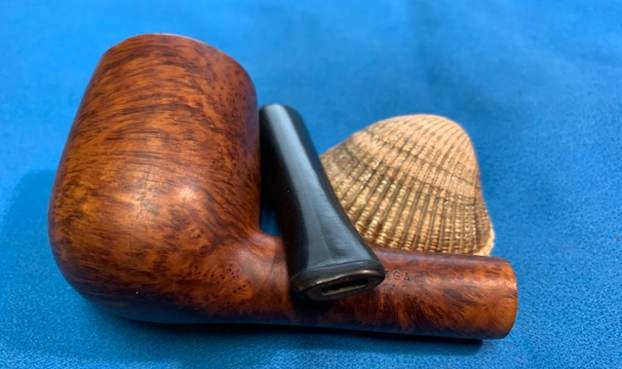
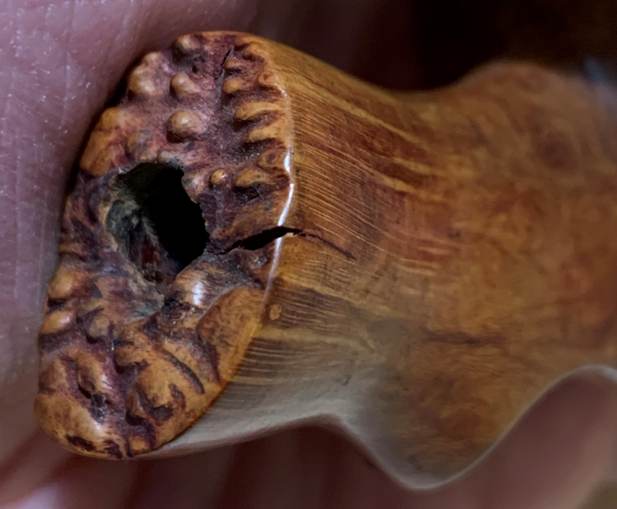
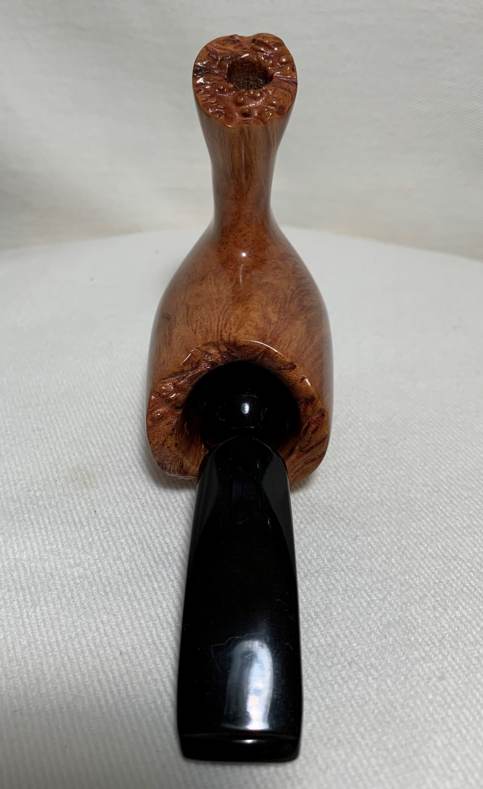
  I removed the stem and took a photo of the pipe to have a look at the parts and overall look.
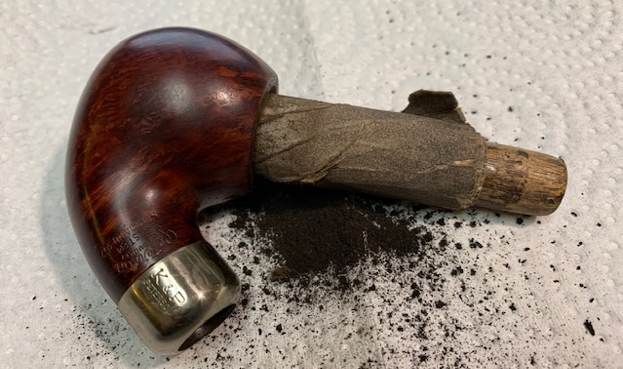
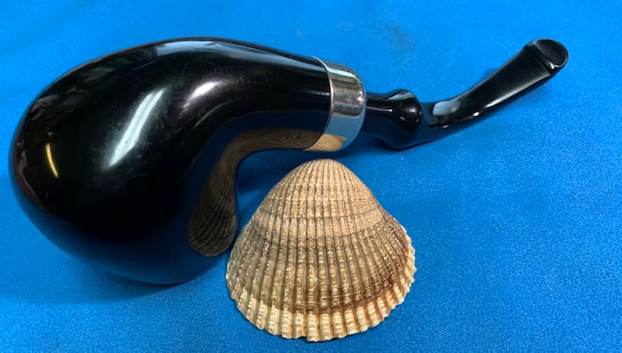
 I am including the link to the Pipedia’s article on Peterson pipes. It is a great read in terms of the history of the brand (https://pipedia.org/wiki/Peterson).
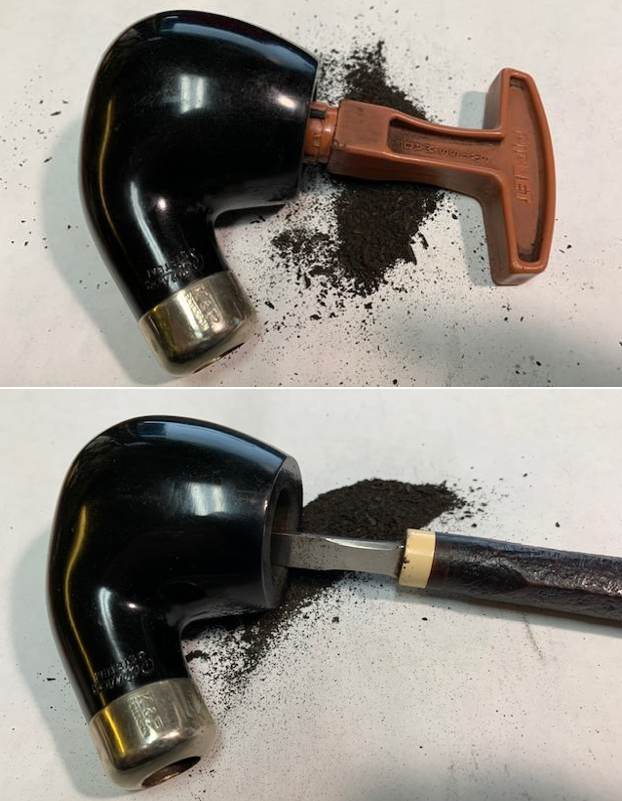
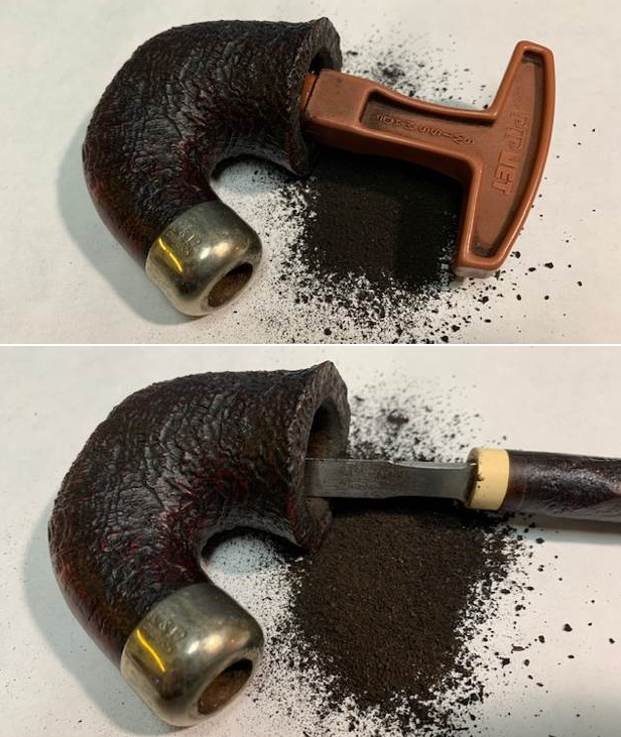
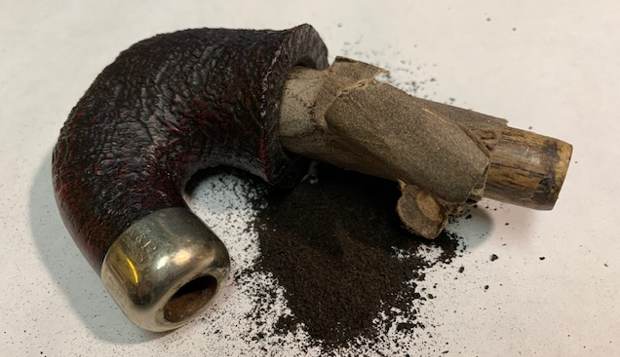
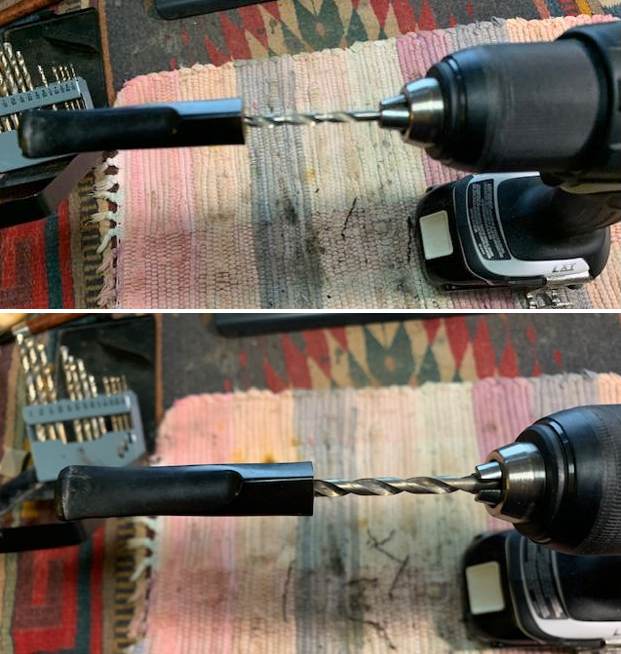
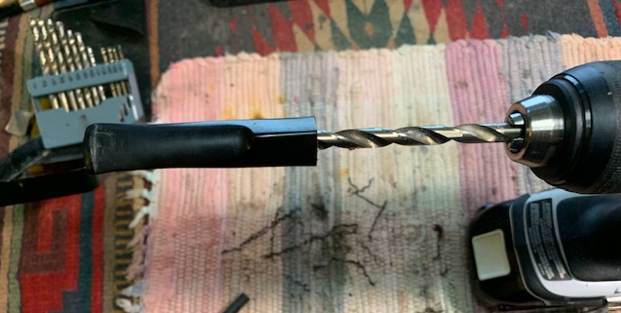
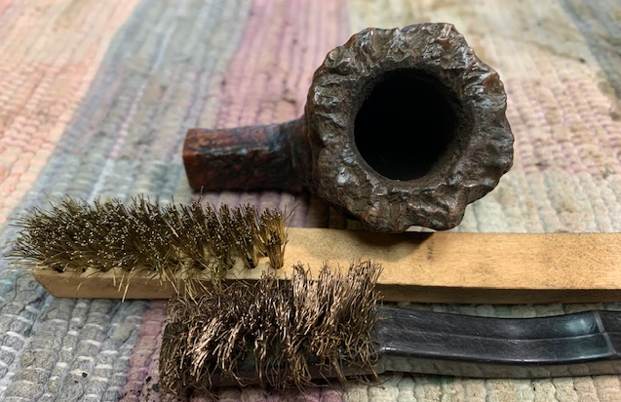
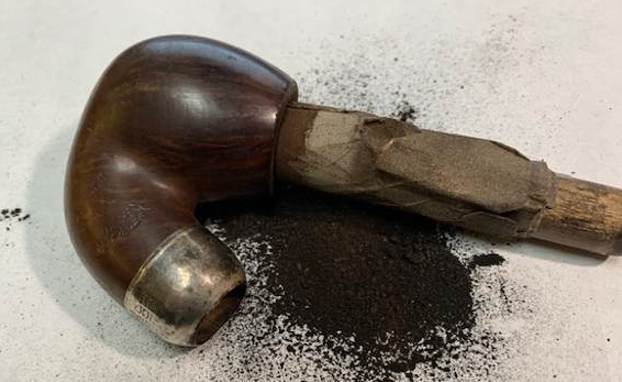
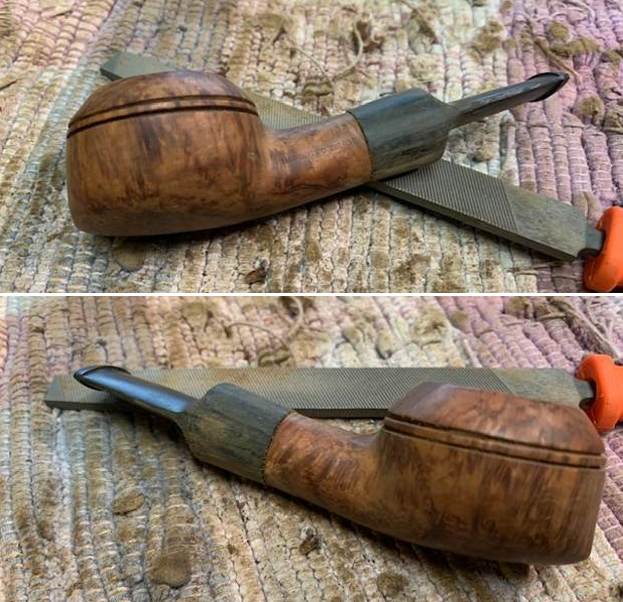
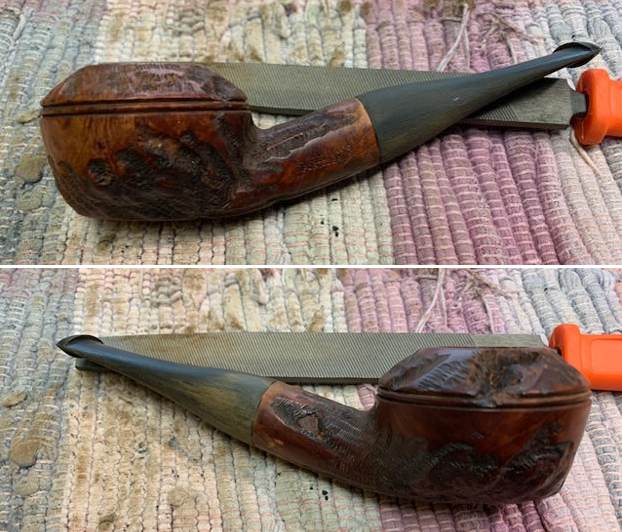
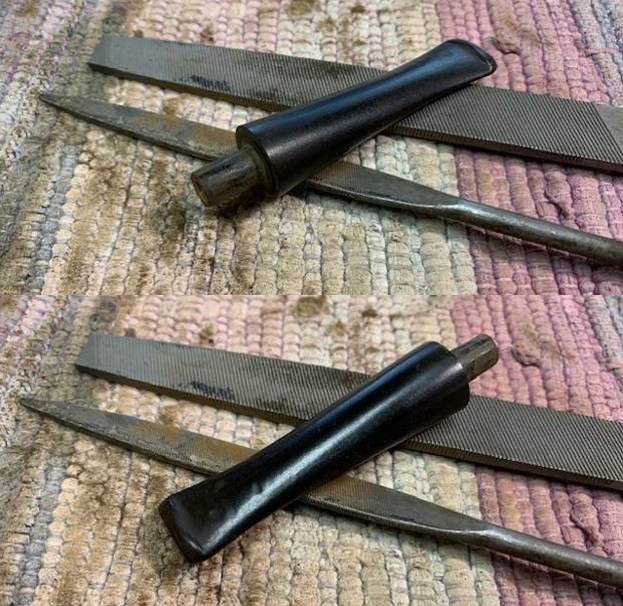
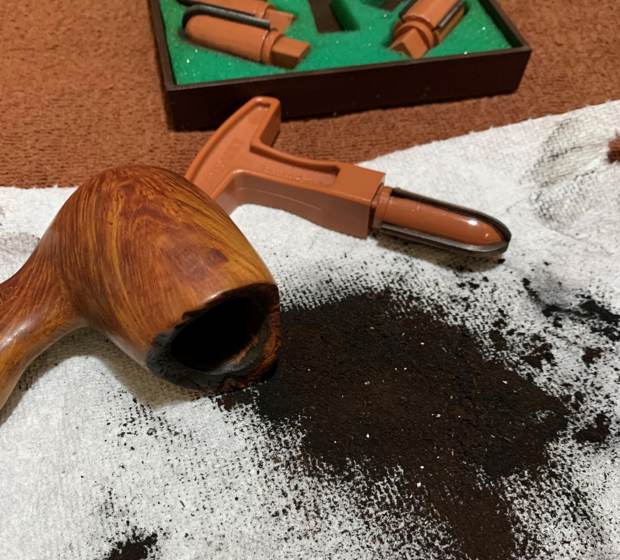
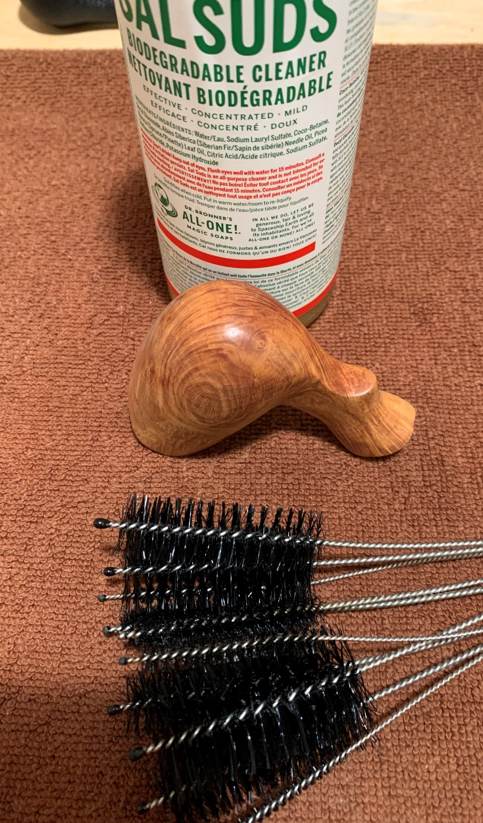
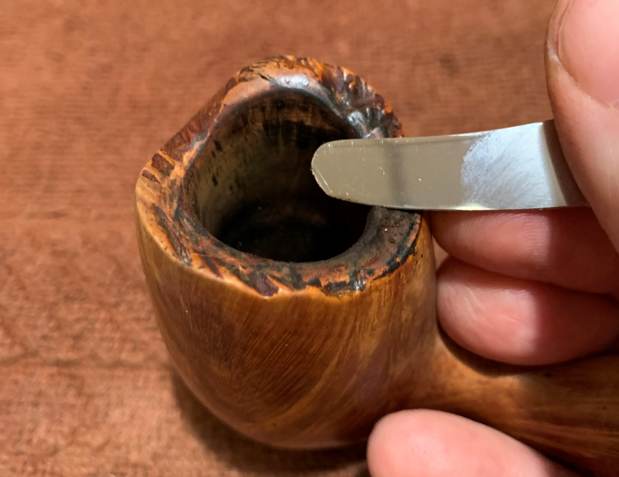
I turned to work on the pipe itself. I started my clean up by reaming the bowl with a PipNet reamer and cut back the cake back to the bare briar. I cleaned up the walls with a Savinelli Fitsall Pipe Knife. I finished the cleaning of the bowl with a piece of dowel wrapped in 220 grit sandpaper. I smoothed out the bowl walls and checked for cracks and flaws. All looked very good. 
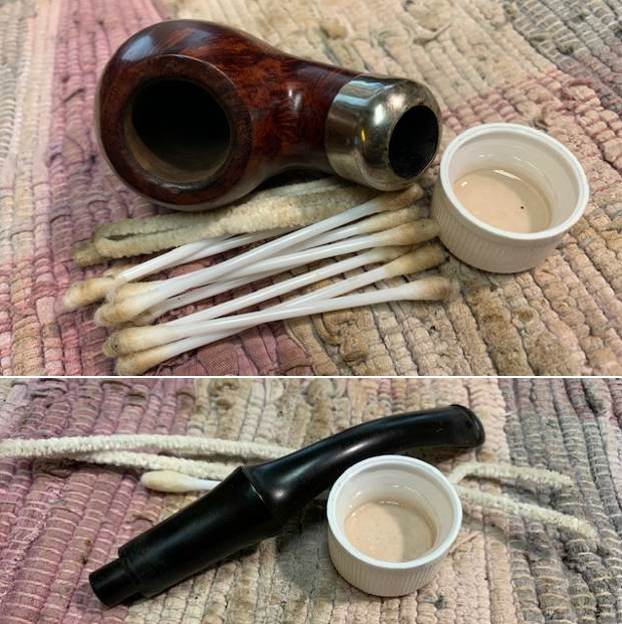
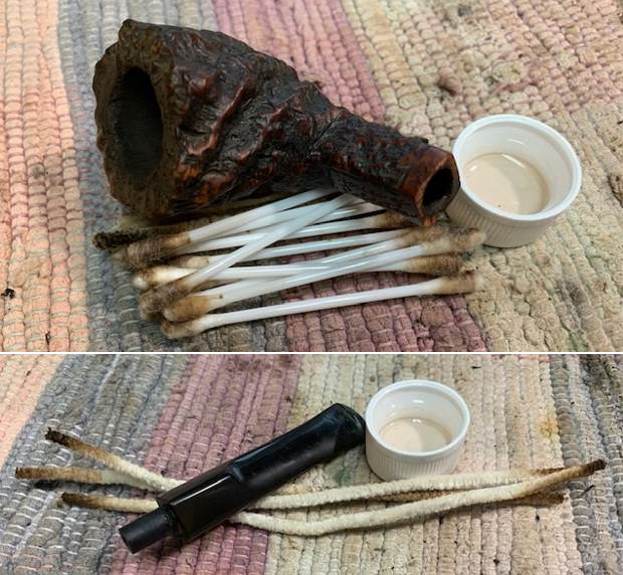
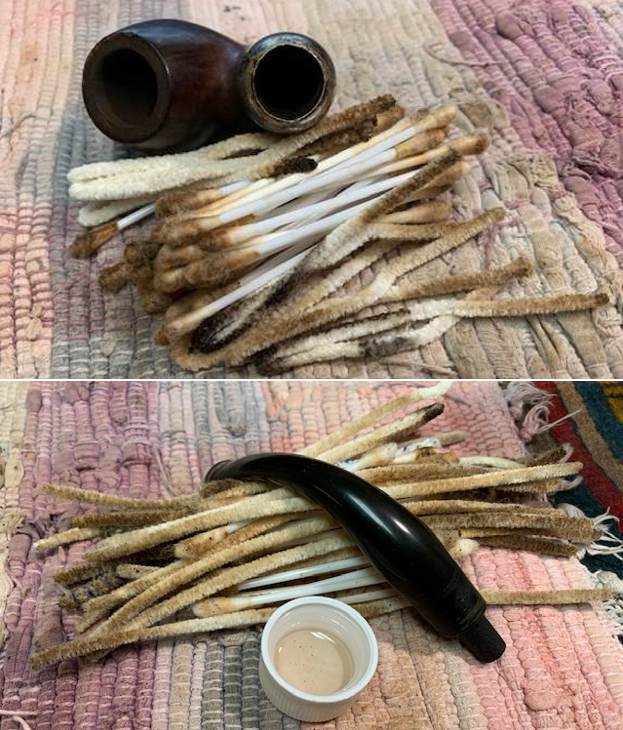
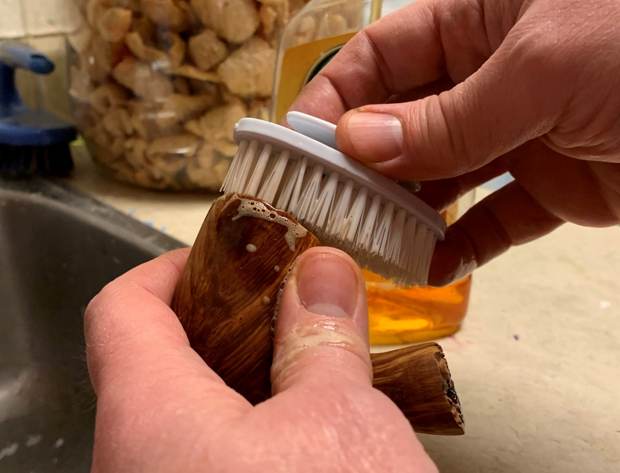
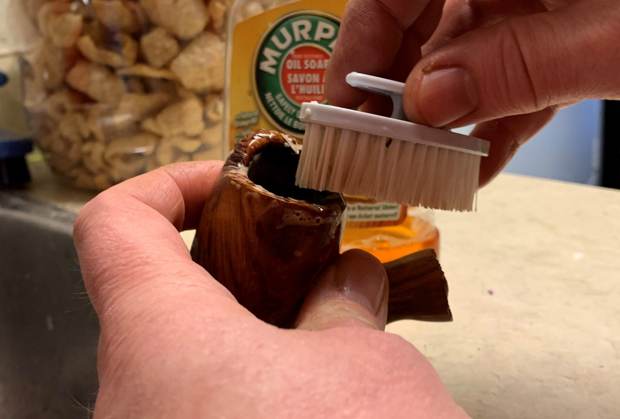
 I scrubbed the interior of the bowl, shank and stem with pipe cleaners, cotton swabs and alcohol to remove the tars and oils. It was full of tars and oils that with a bit of work came clean.
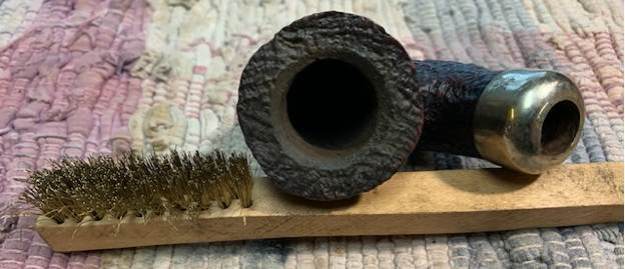
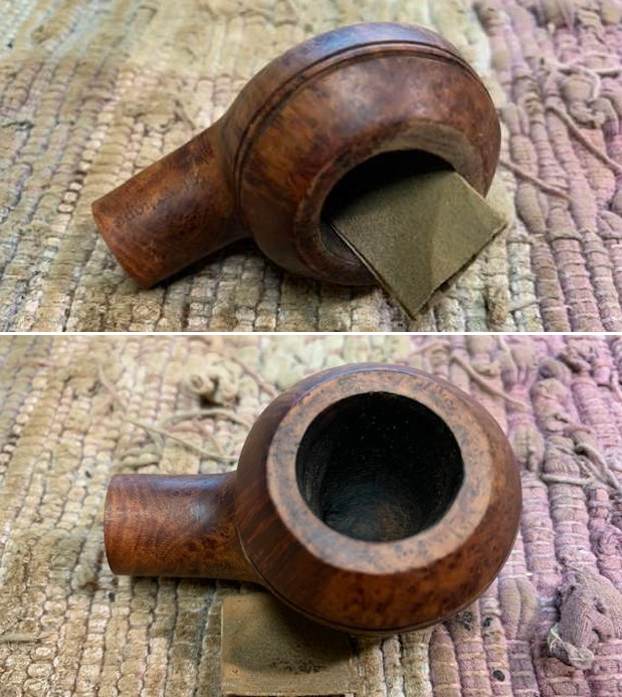
  I cleaned up the rim top and the beveled inner edge with a piece of 220 grit sandpaper. I removed the burn damage and darkening on both and it looked better.
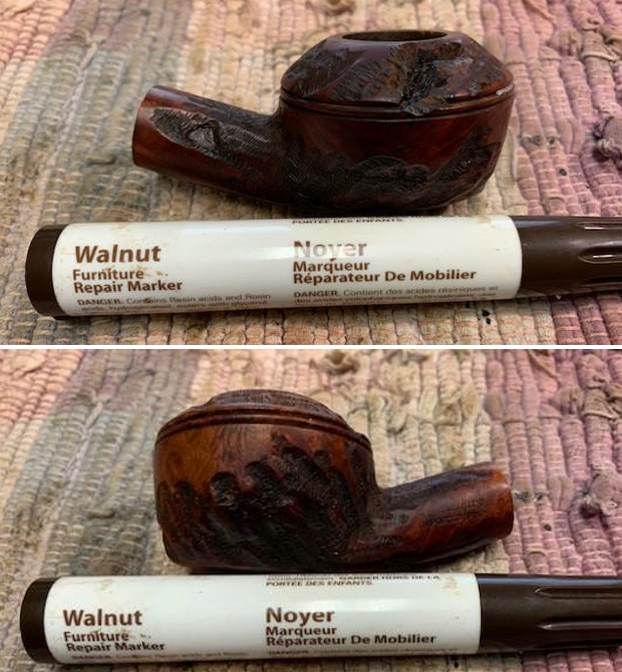
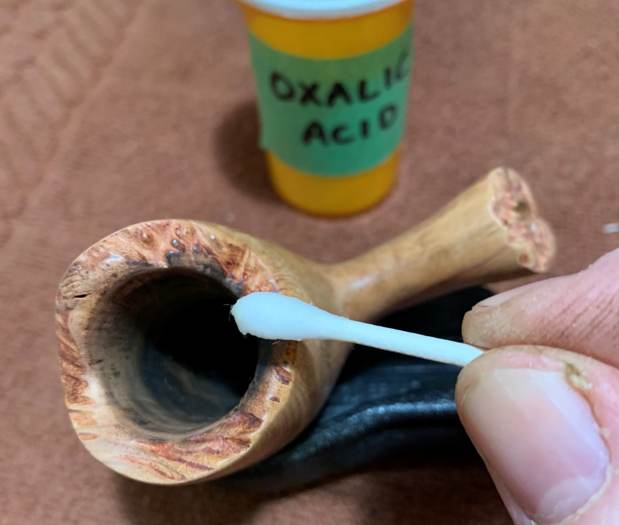
  I stained the pink putty fill with a Brown and Black Sharpie Pen. It blended in much better than the pink had before.
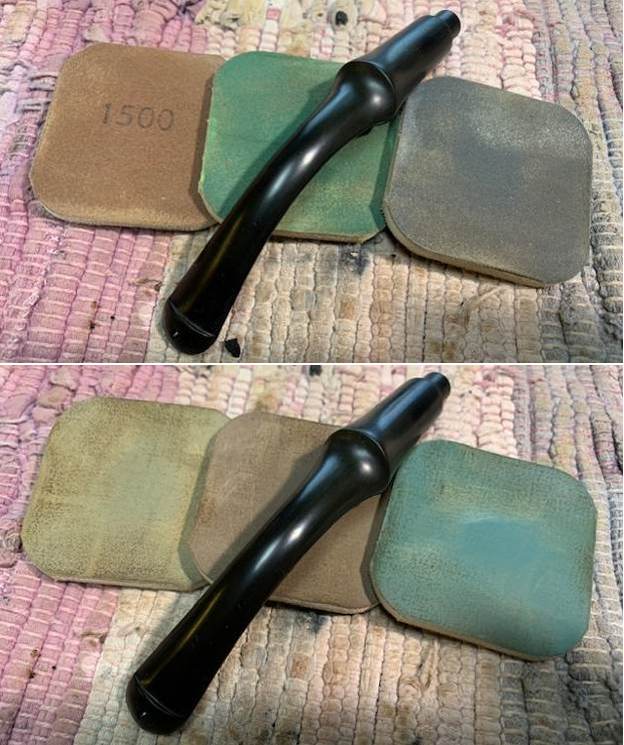
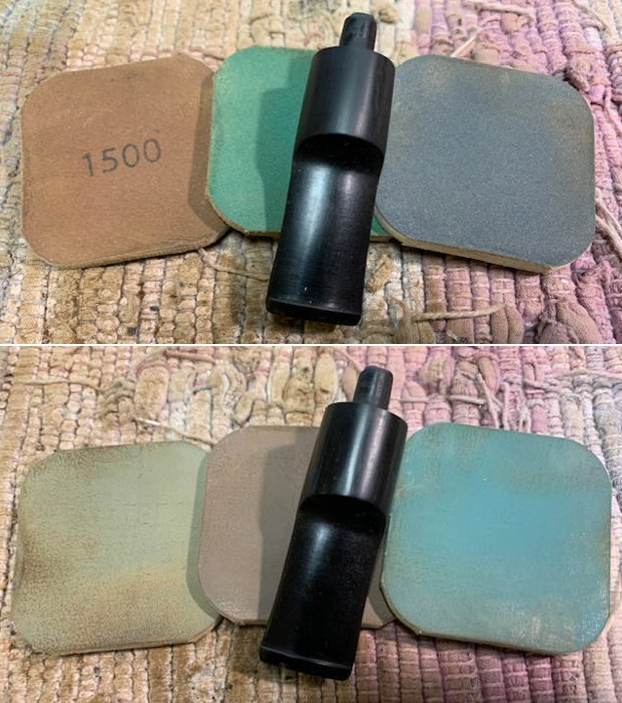
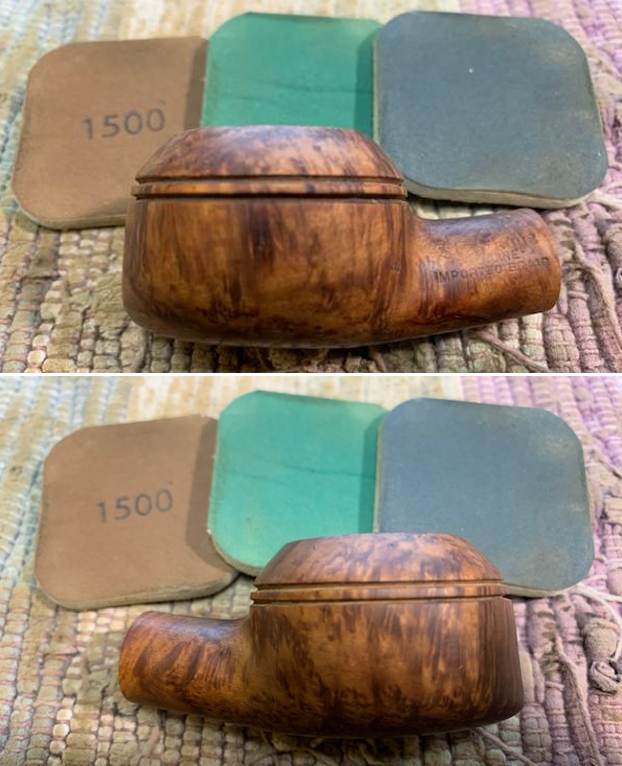
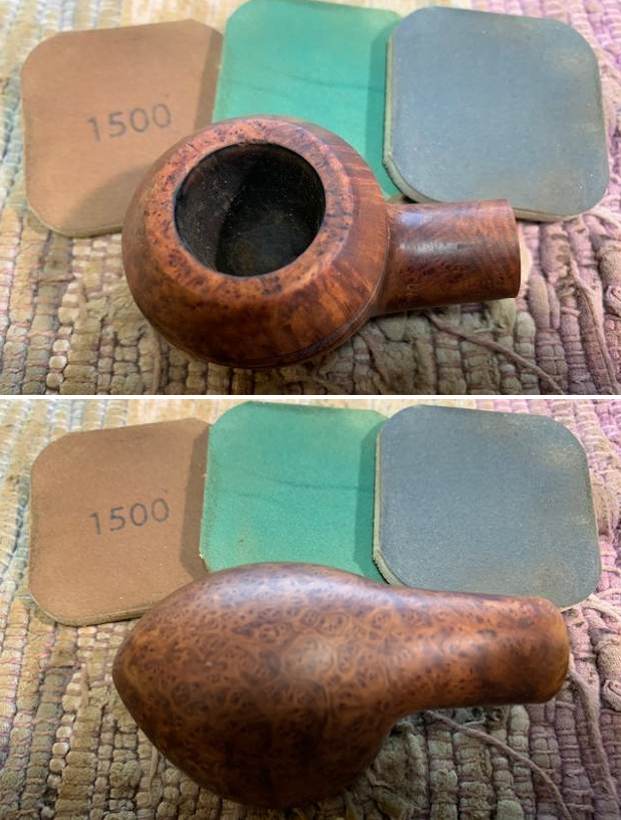
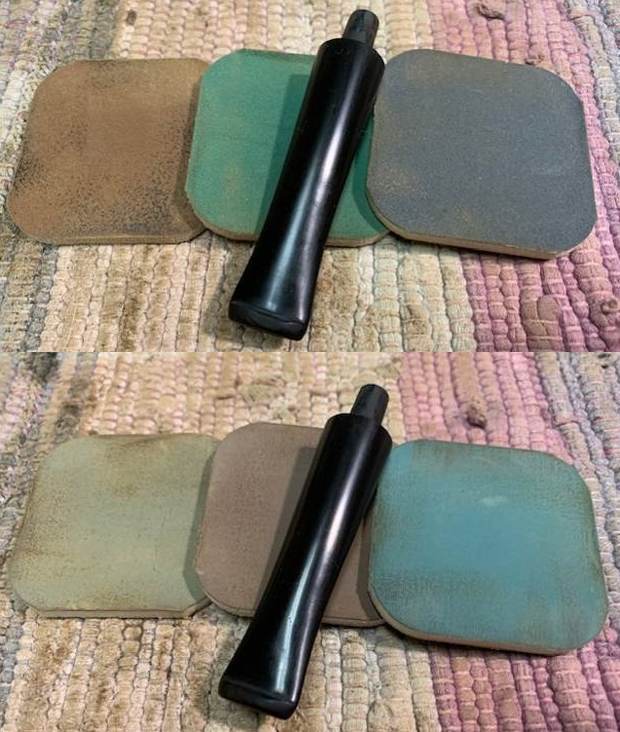
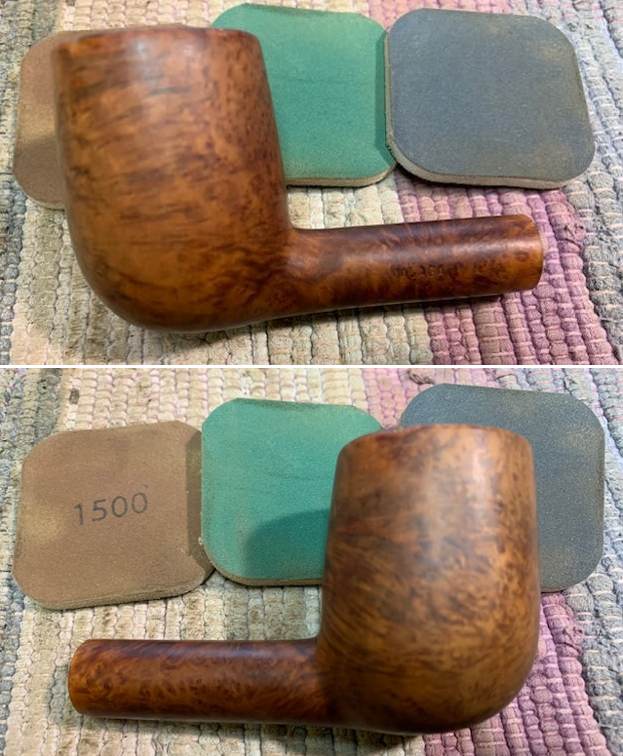
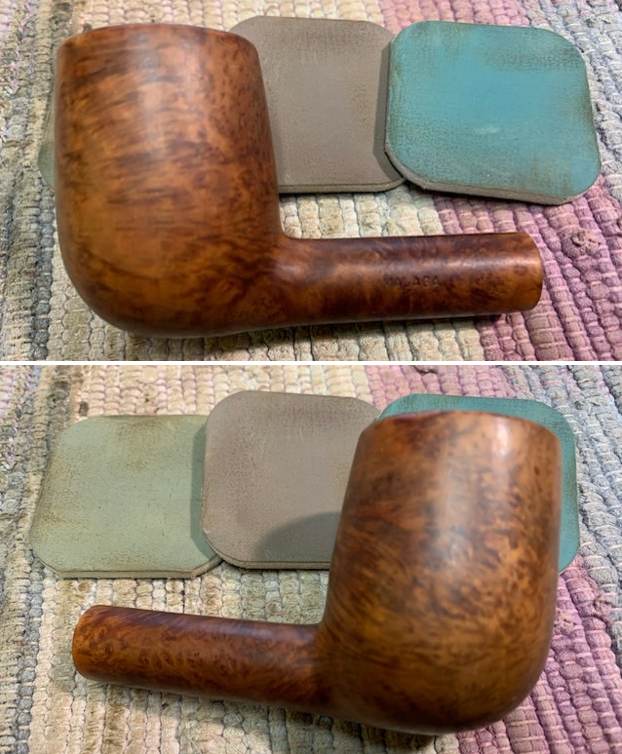
 I polished the briar with micromesh sanding pads – dry sanding with 1500-12000 grit pads. I wiped it down with a damp cloth after each pad. I used it to clean off the rim top at the same time.


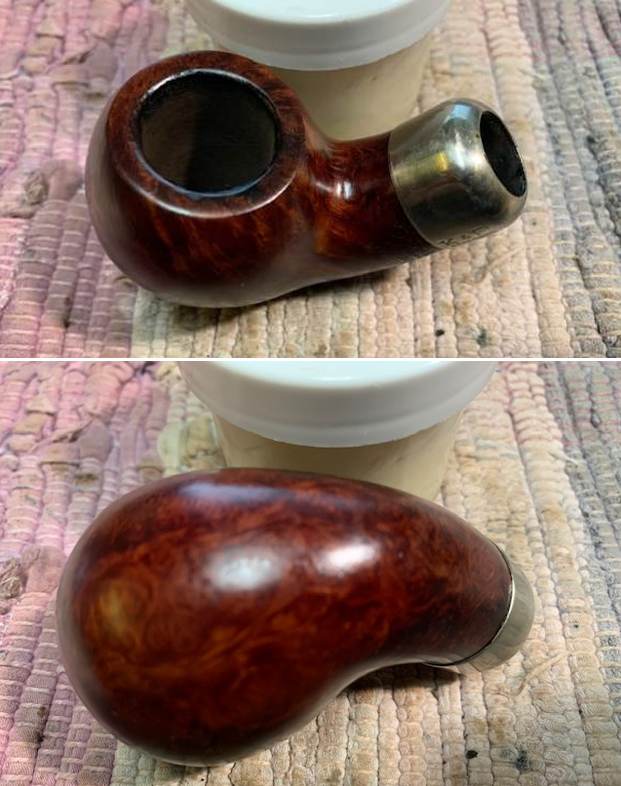
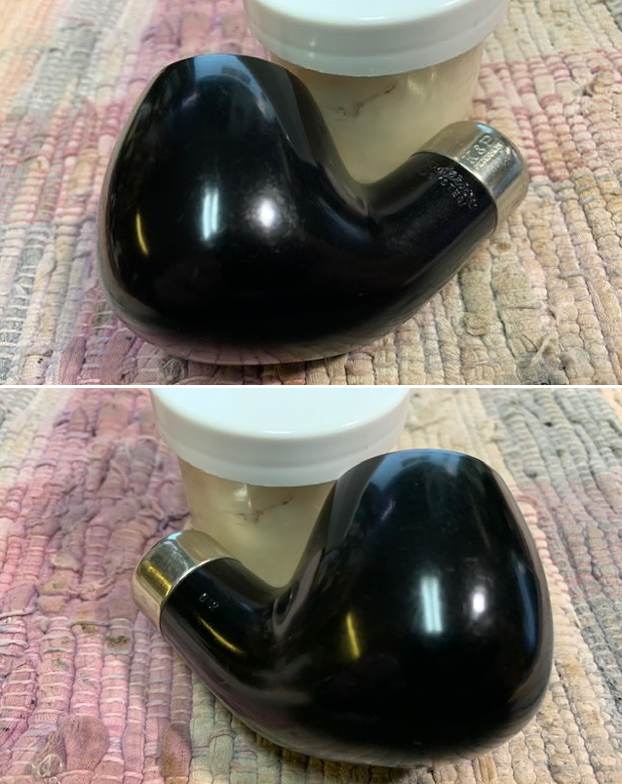
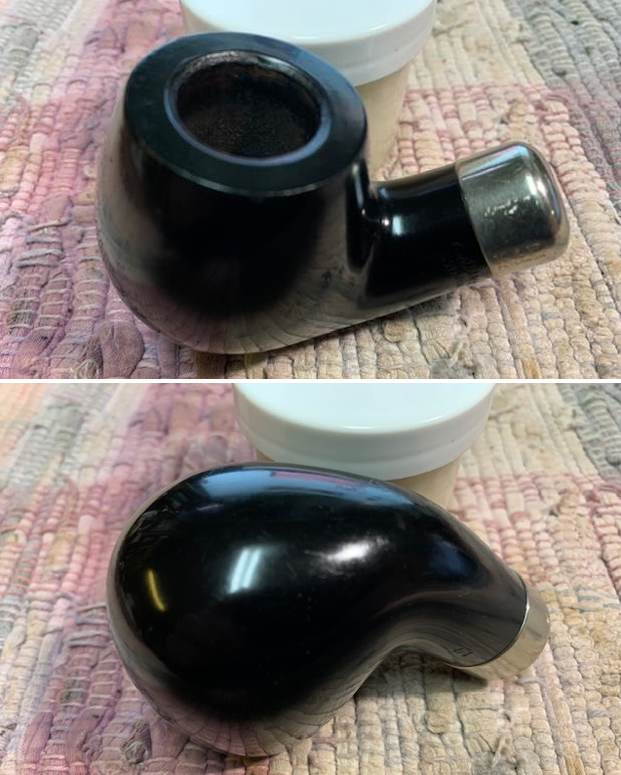
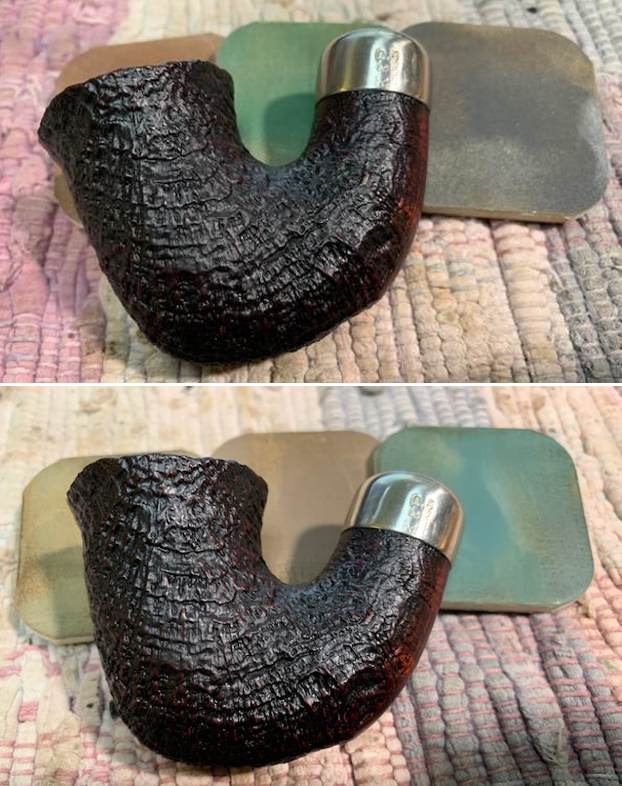
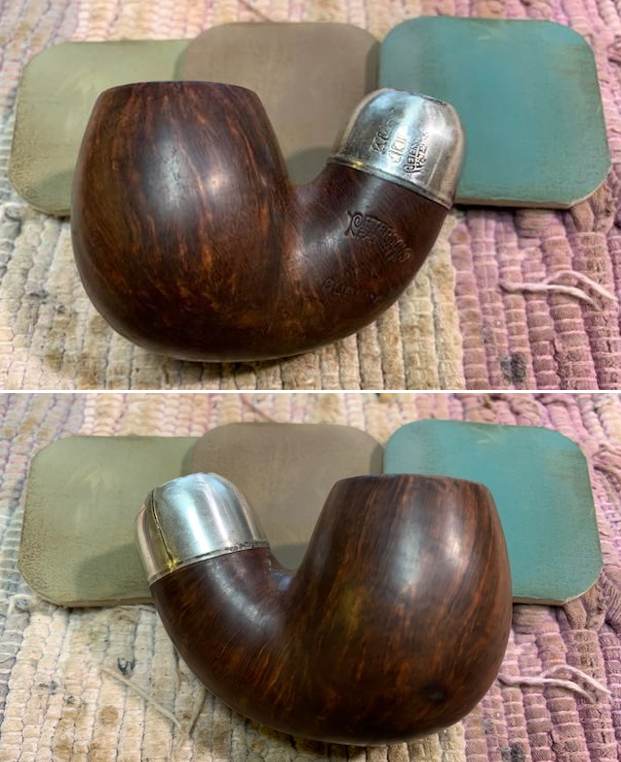
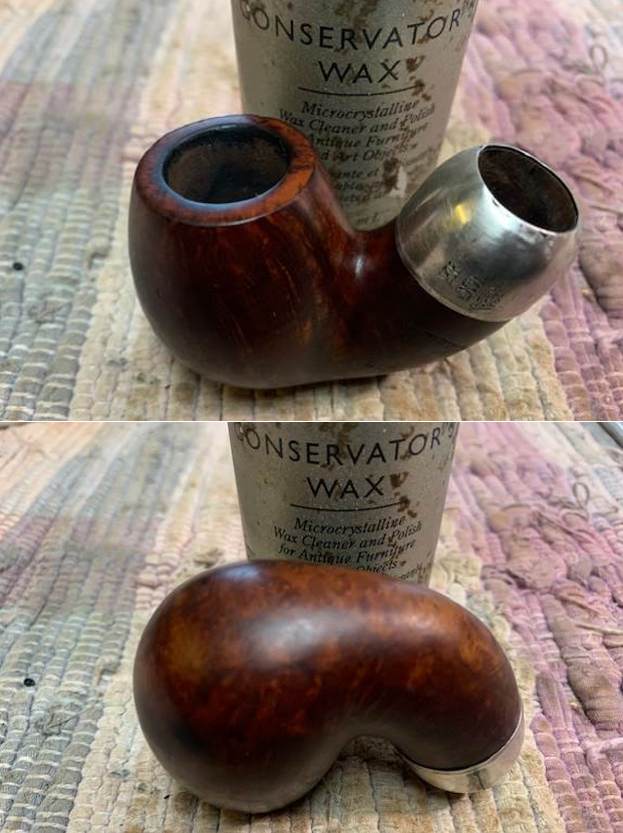
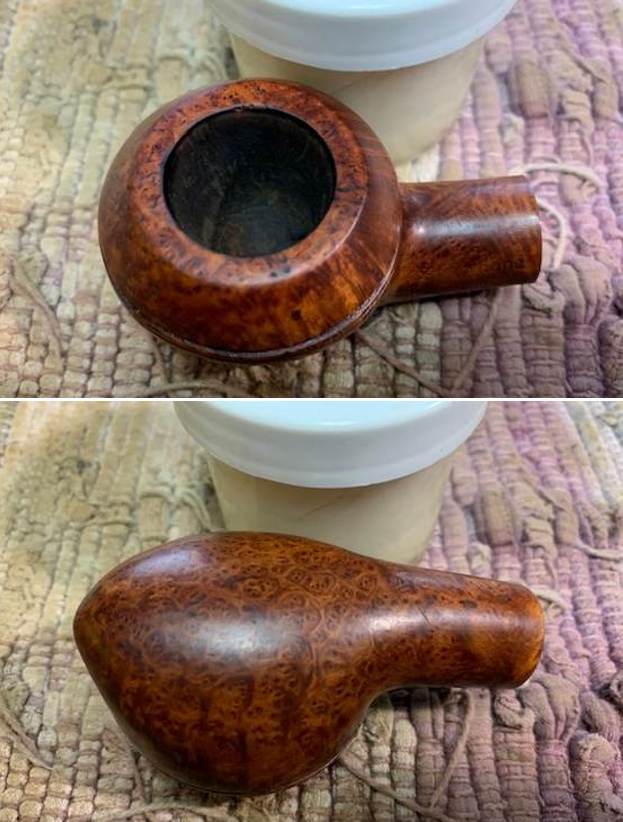
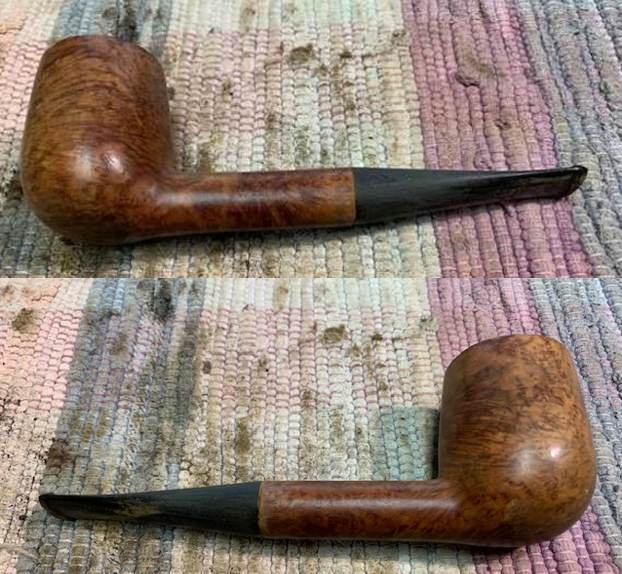
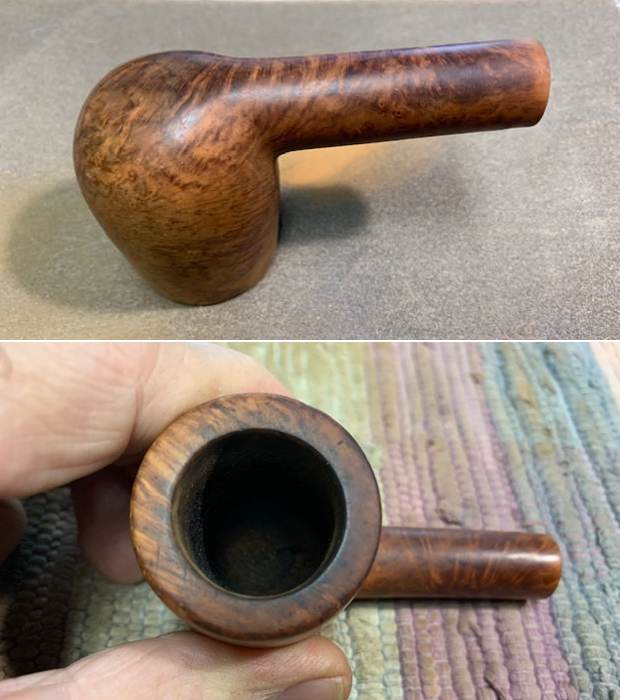
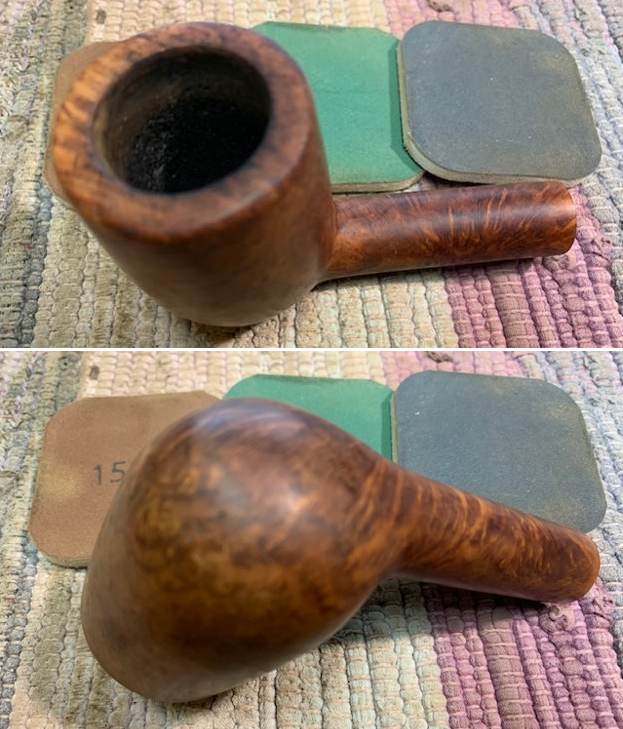
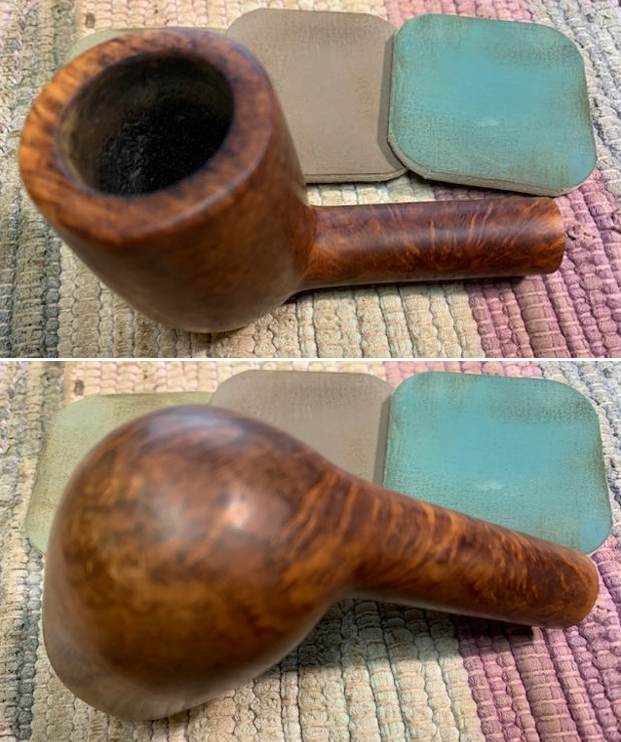
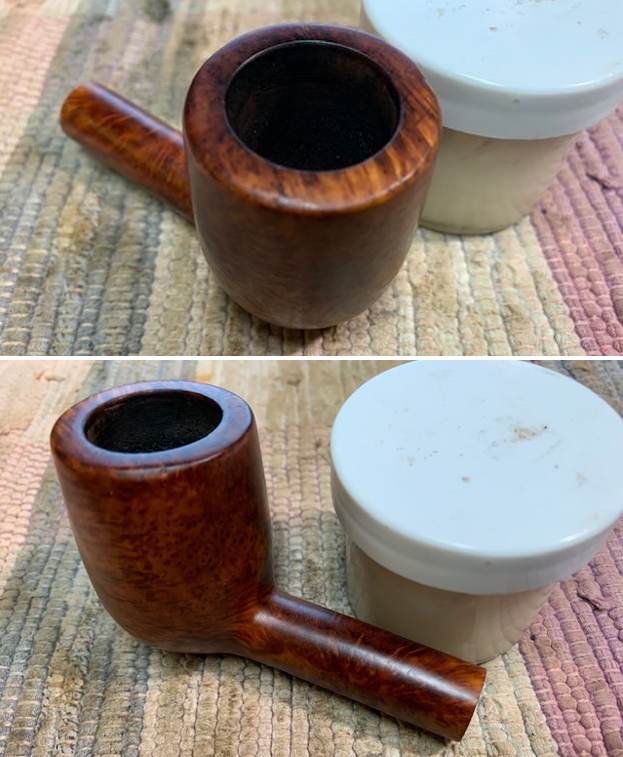
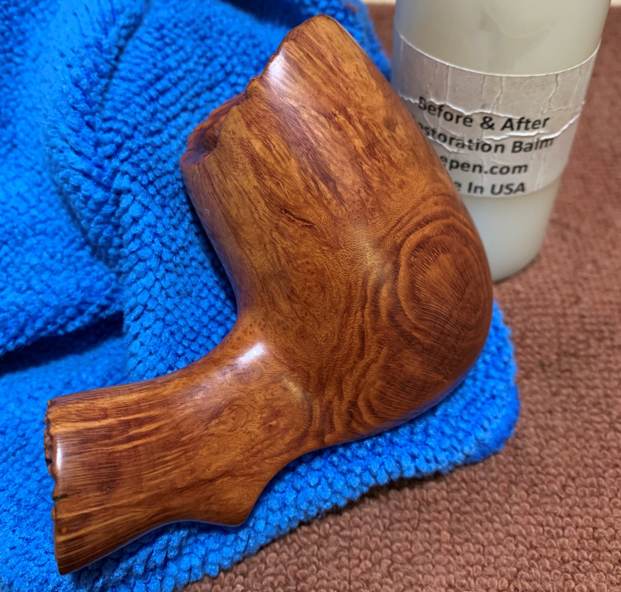
 I worked some Before & After Restoration Balm into the surface of the briar with my fingertips to clean, enliven and protect the briar. I let the balm sit for 15 minutes and then buffed with a cotton cloth to raise the shine. The photos show the bowl at this point in the restoration process.

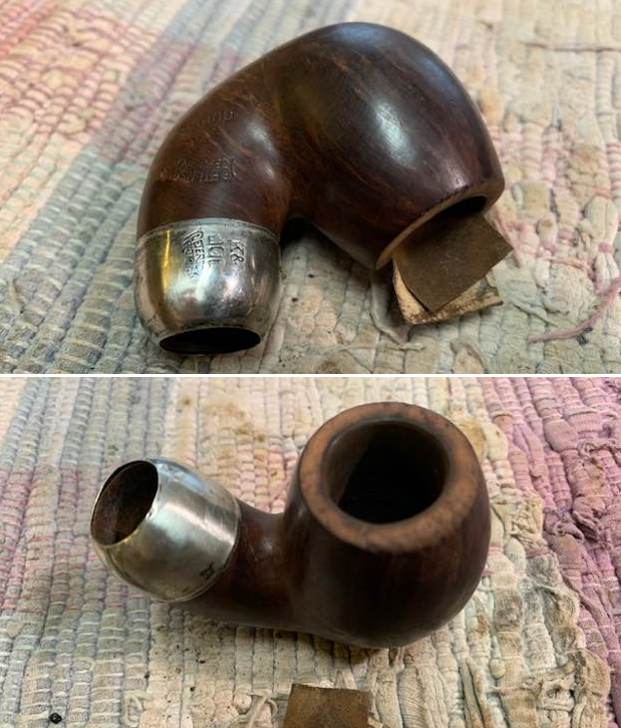
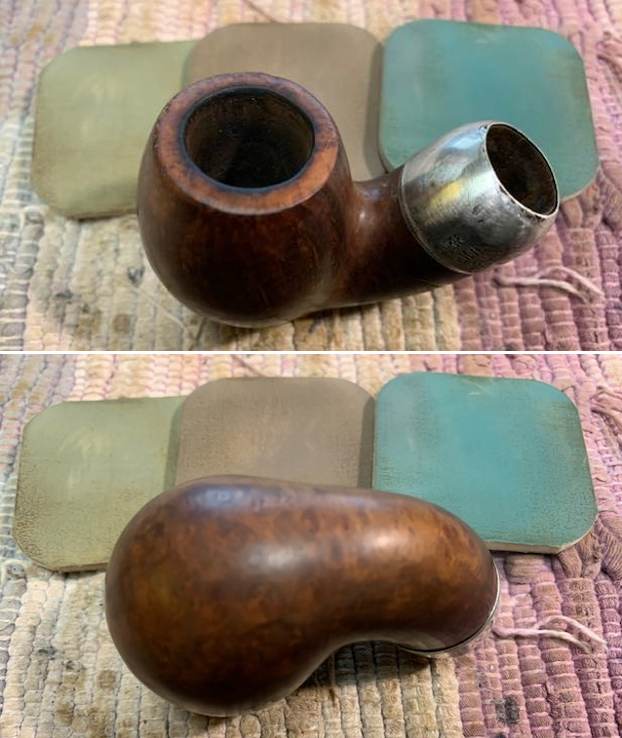
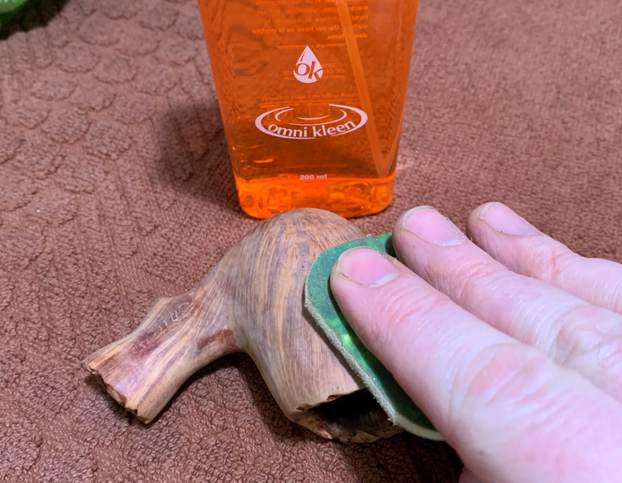
 I polished the nickel ferrule with a jewelers cloth give it a shine and to remove the oxidation.
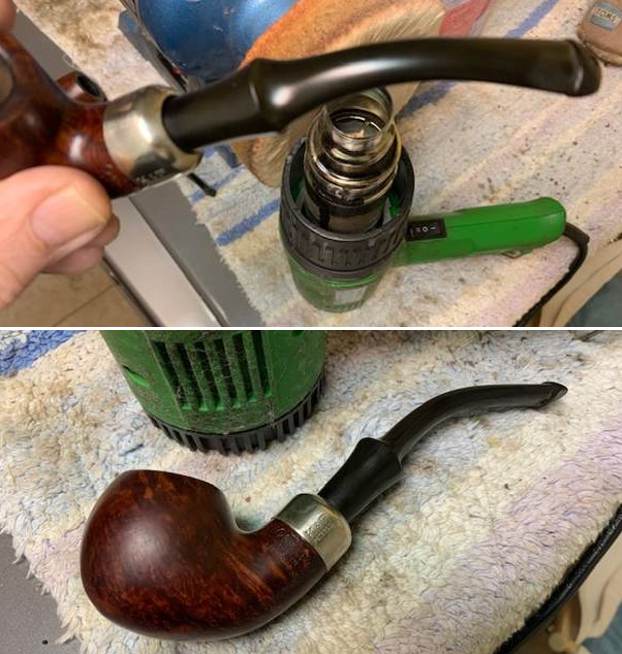
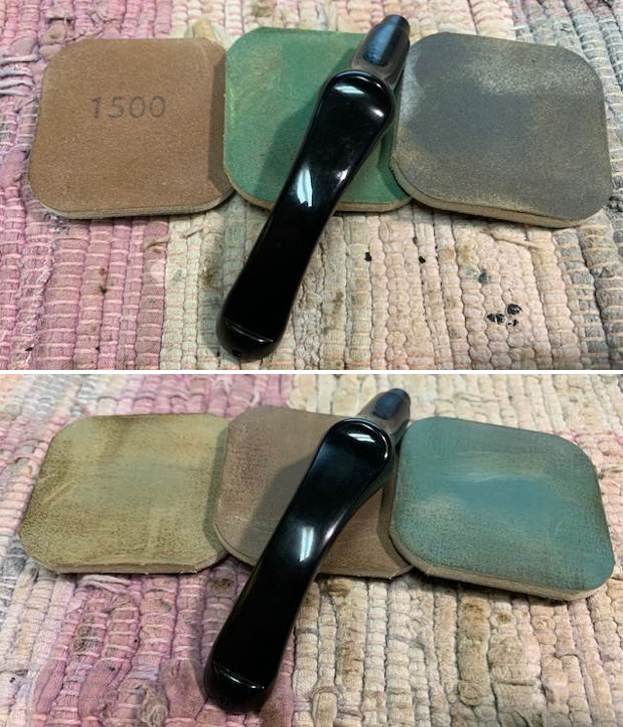
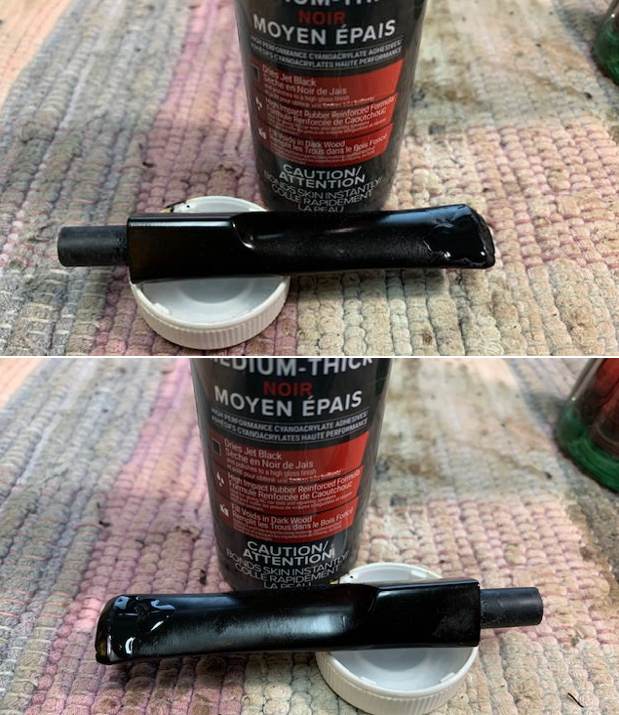
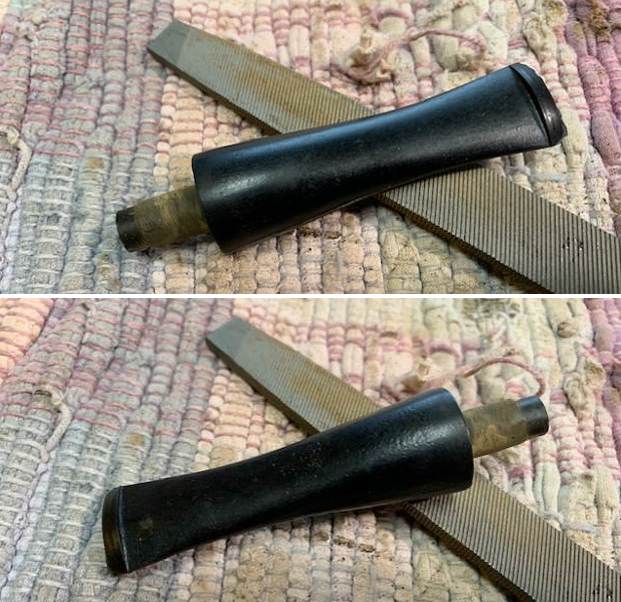
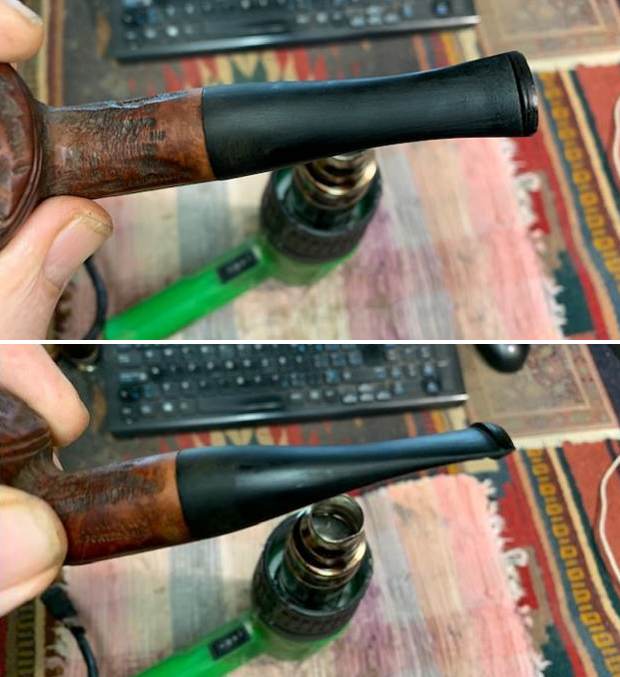
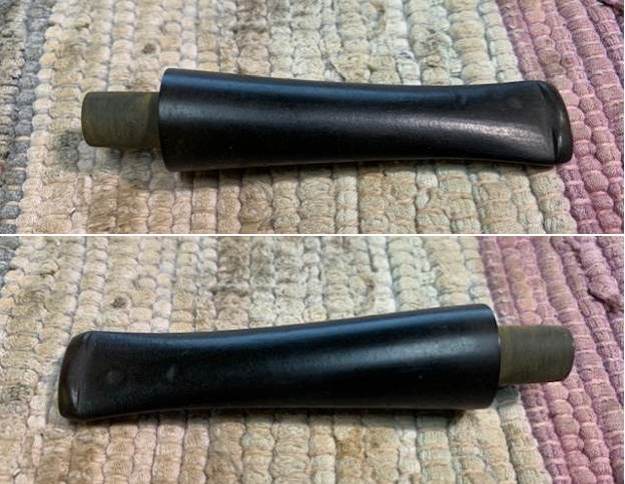
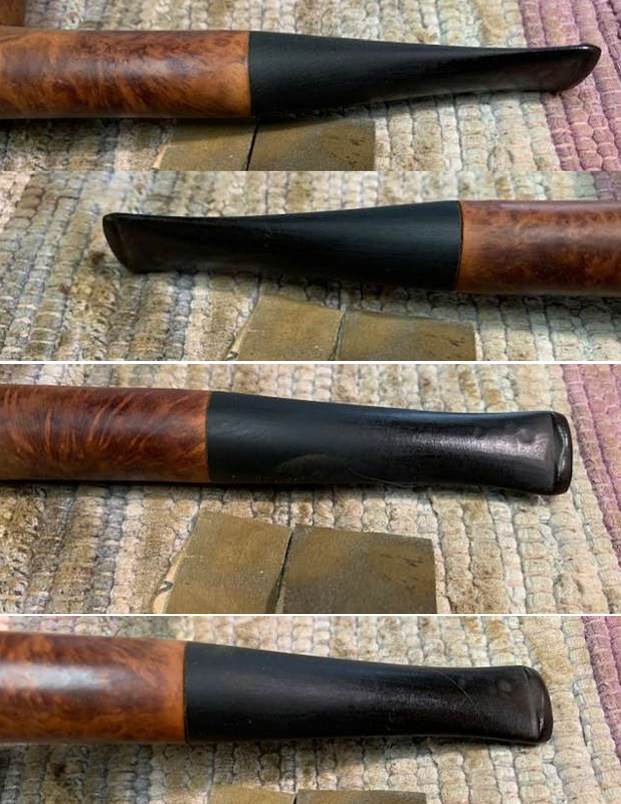
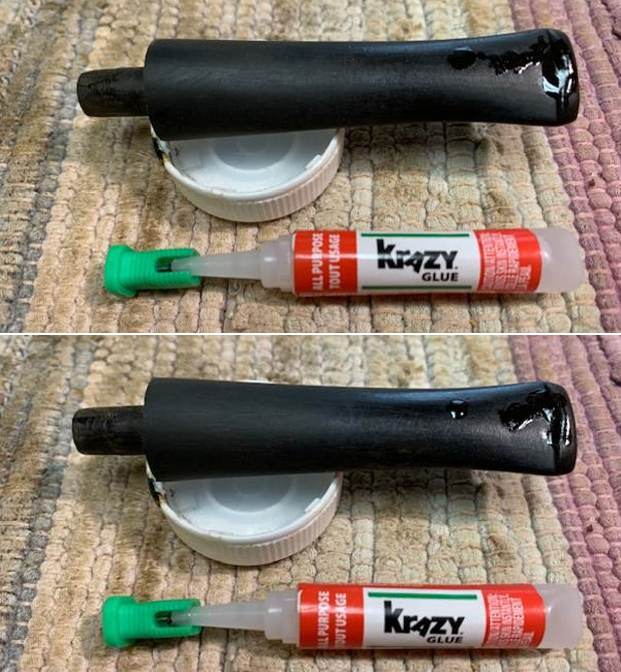
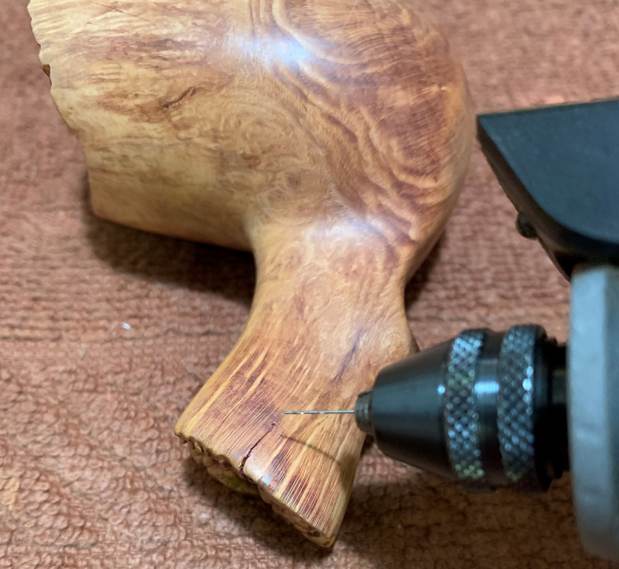
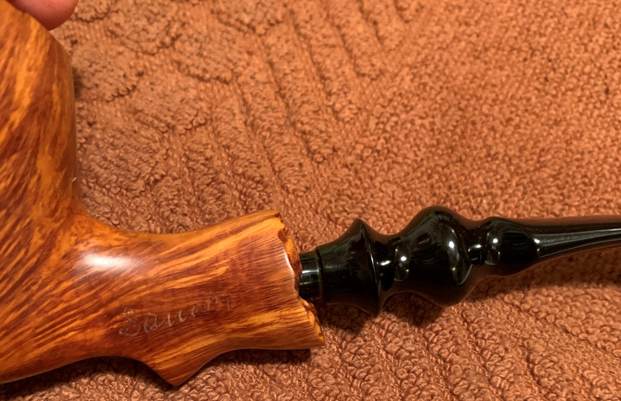
 I set the bowl aside and turned my attention to the stem. I decided to bend it to the correct angle so I heated it with a heat gun to soften it and then bent it so that it sit correctly in the shank. It looked much better.
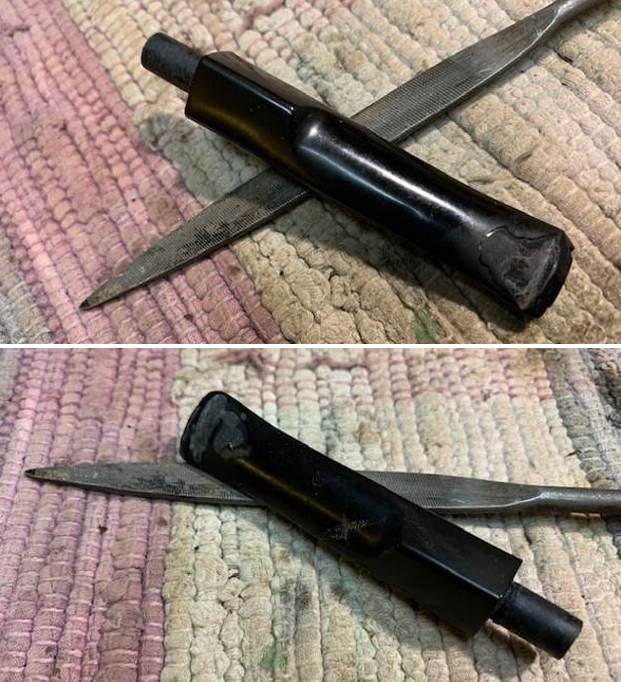
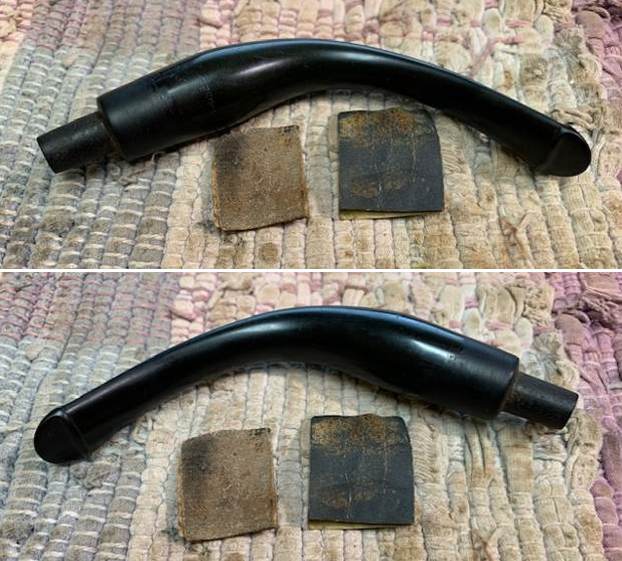
  I sanded out the tooth marks on the button and ahead of the button with 220 grit sandpaper and adjusted the fit of the tenon end to the taper of the shank. I started the polishing with 400 grit wet dry sandpaper.
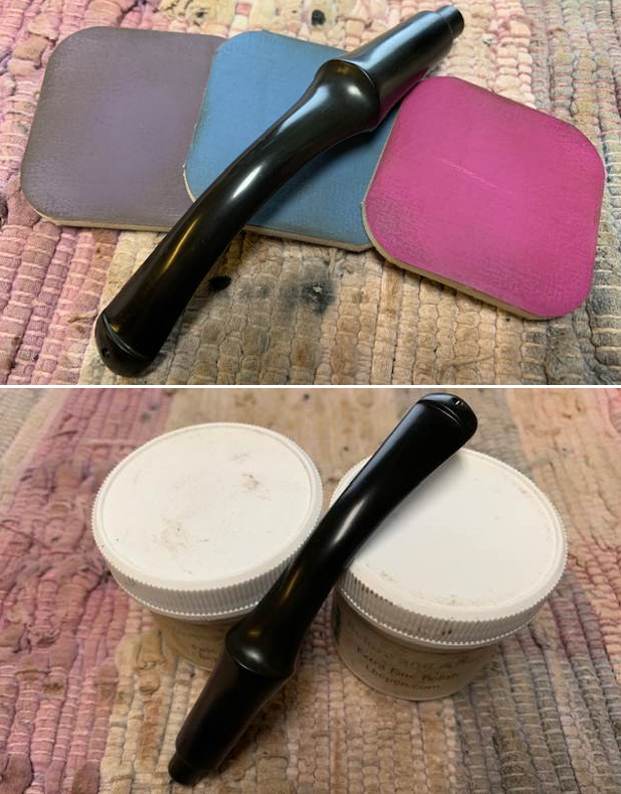
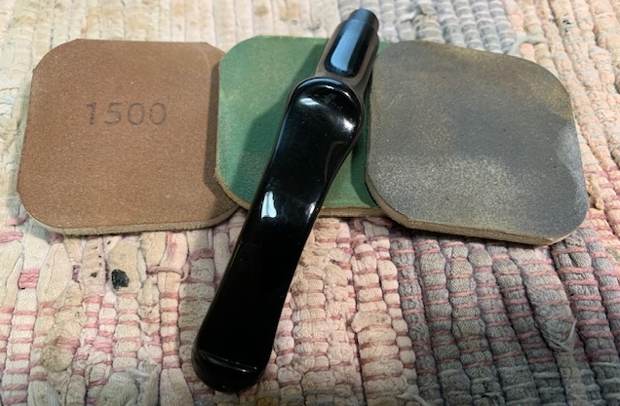
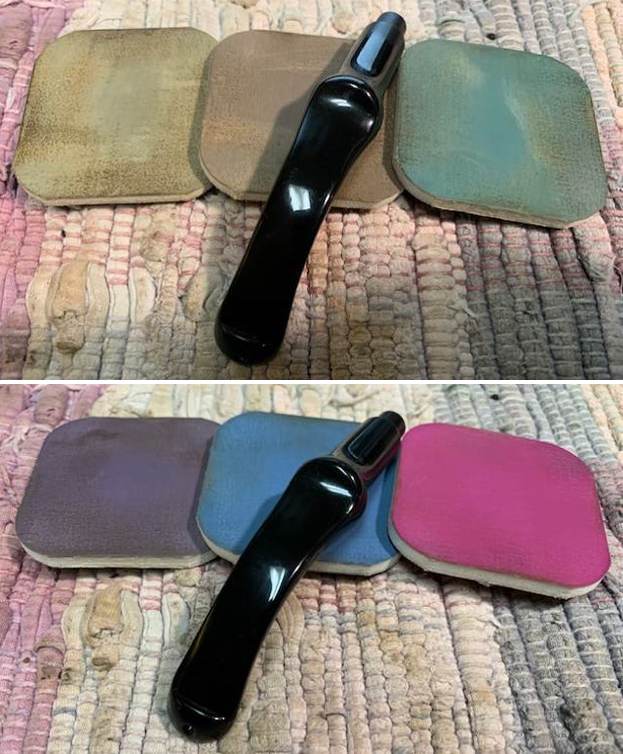
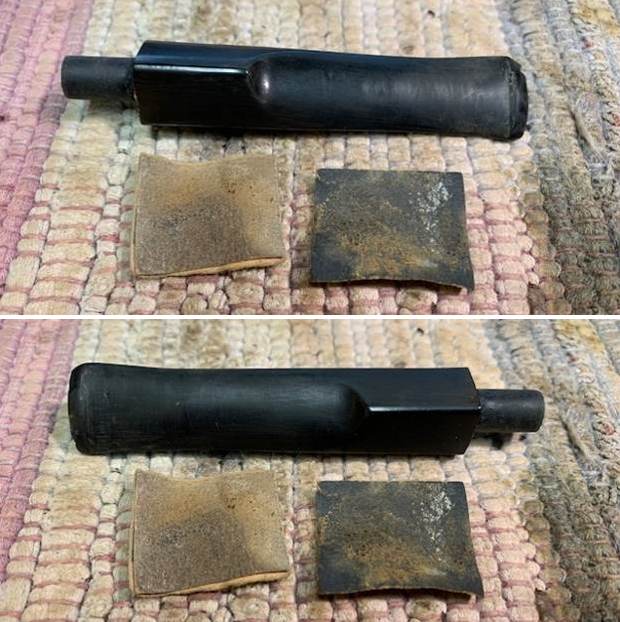
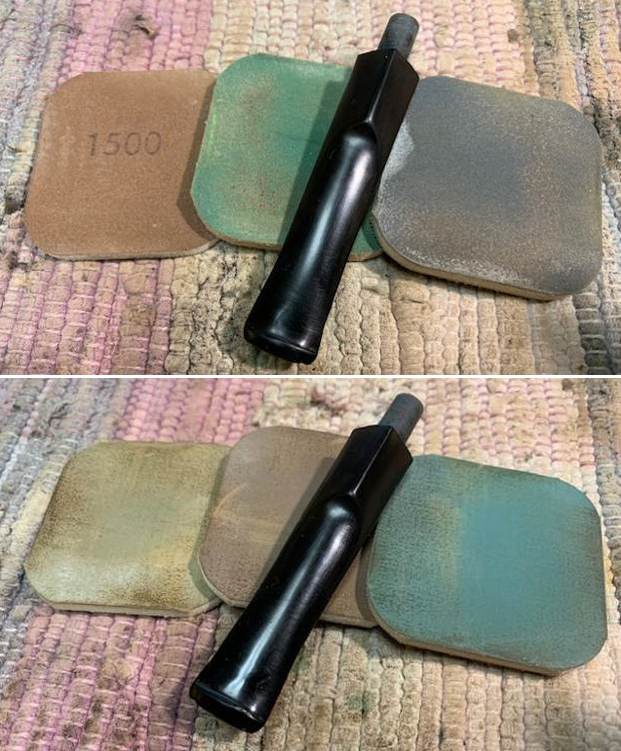
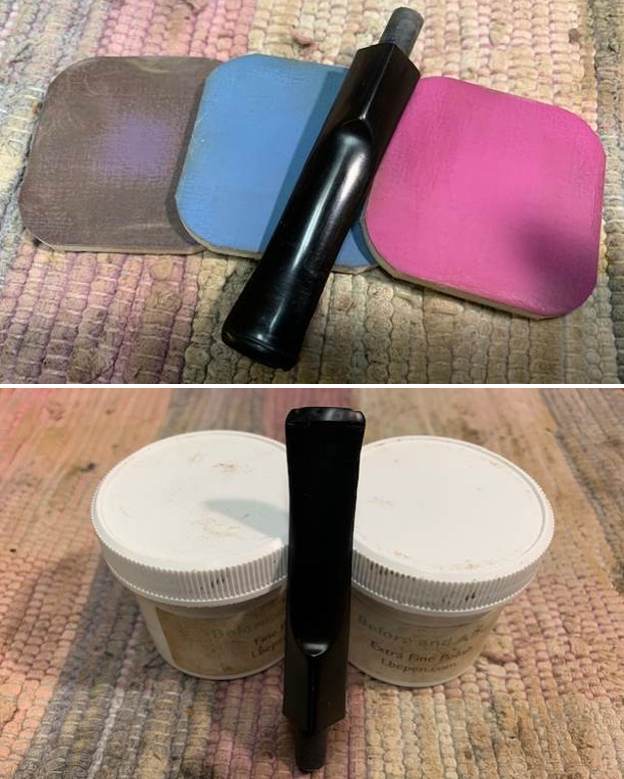
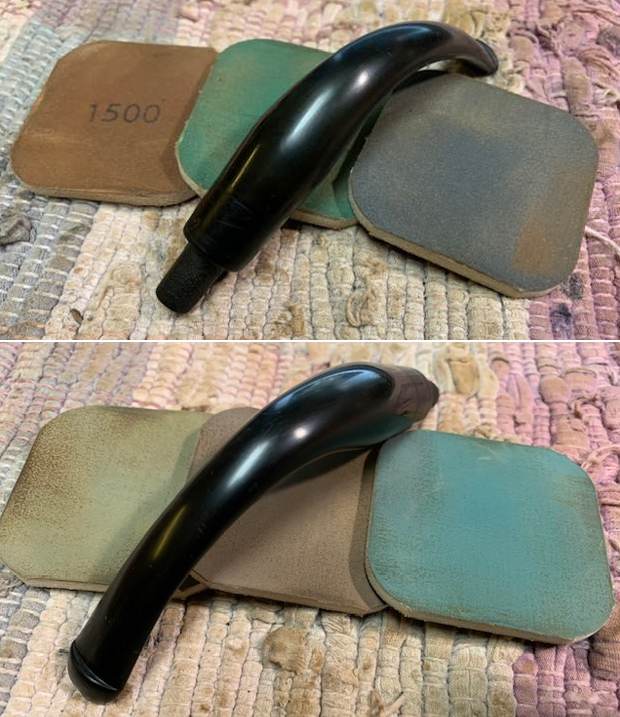
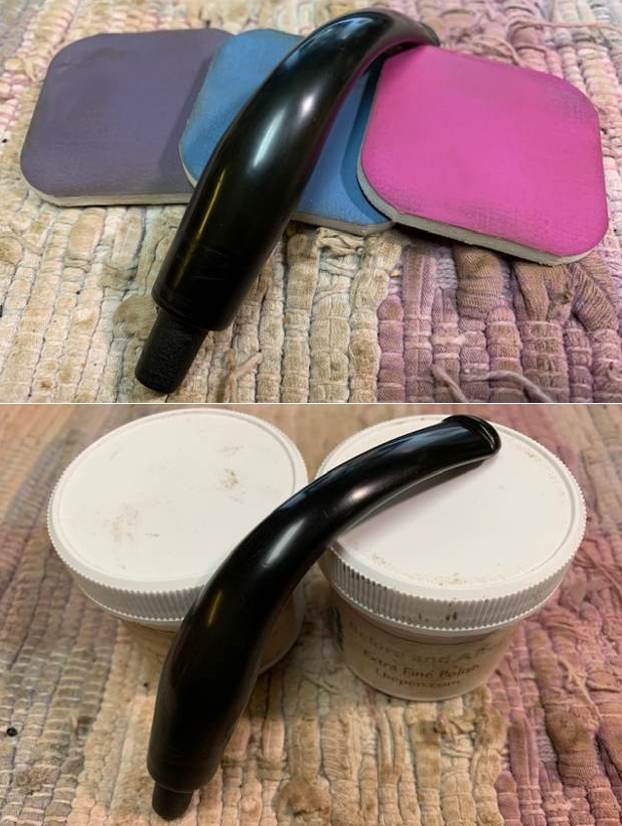
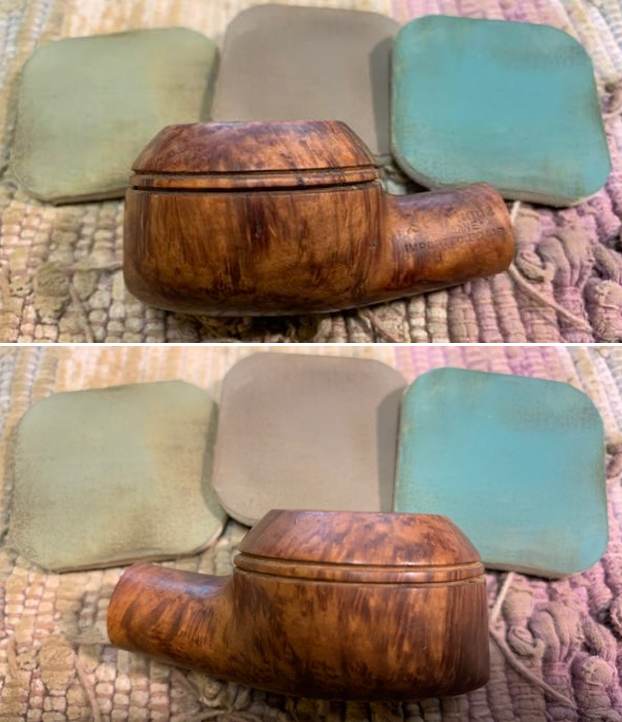
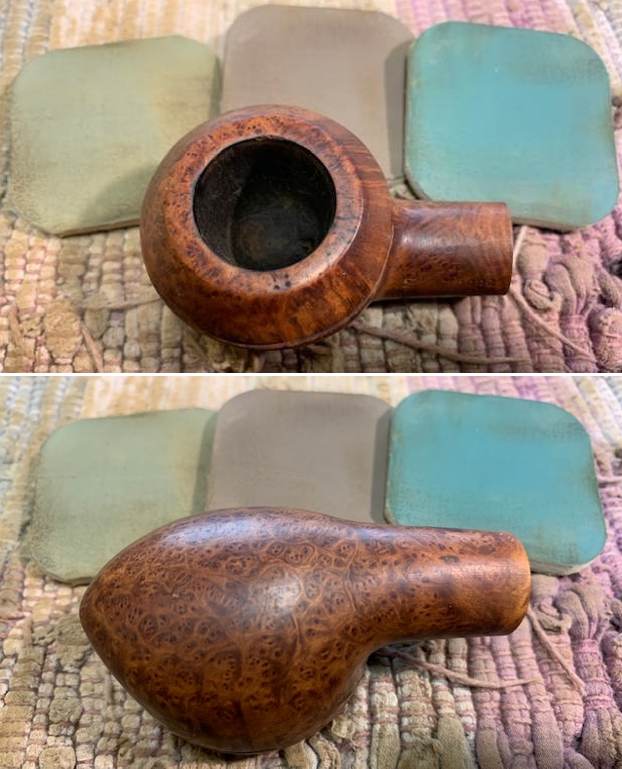
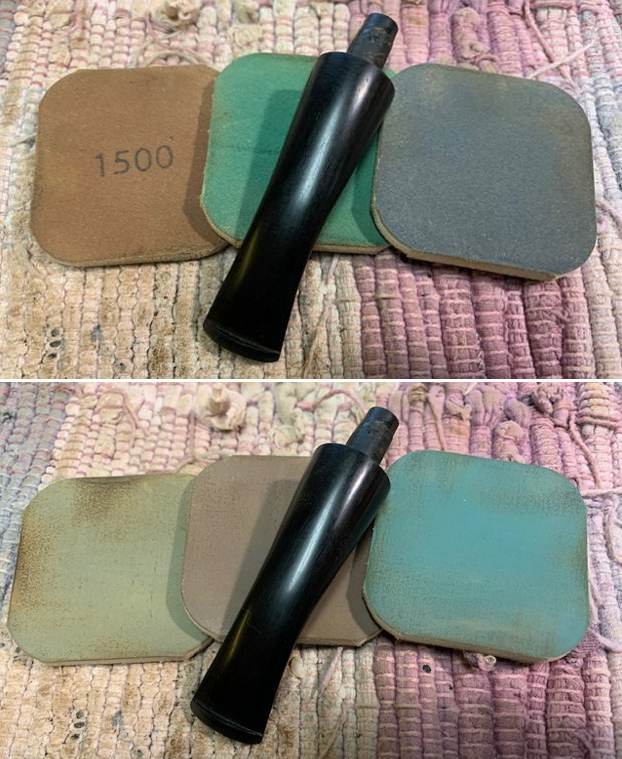
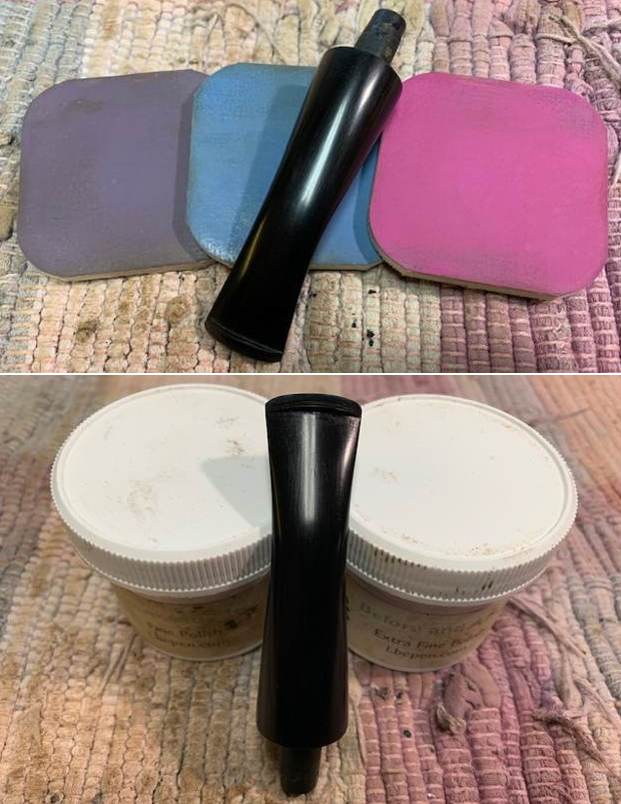
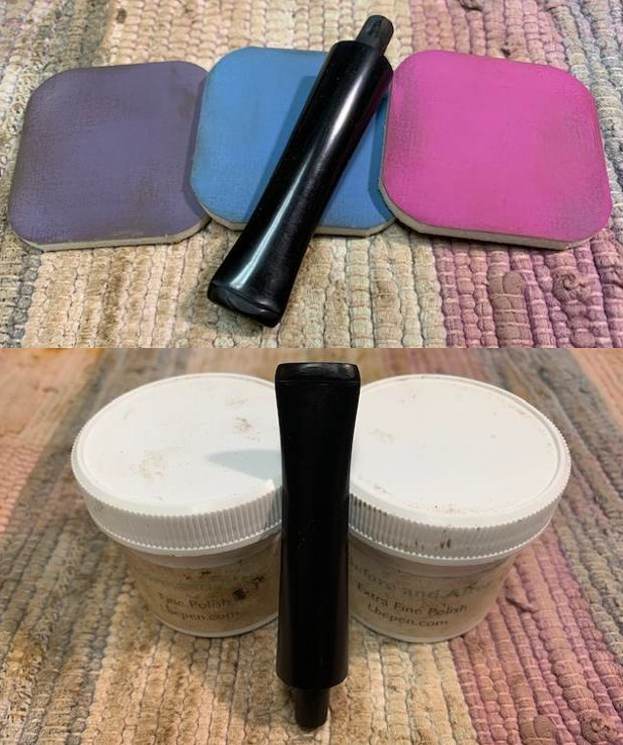
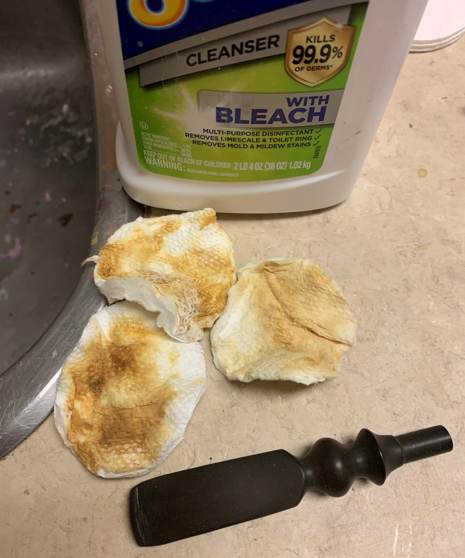
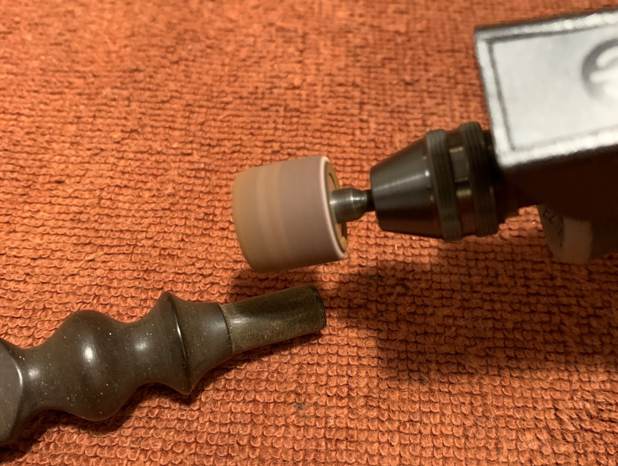
  I polished the stem with micromesh sanding pads – wet sanding with 1500-12000 grit sanding pads. I wiped it down after each sanding pad with Obsidian Oil. I finished polishing it with Before & After Pipe Stem Polish – both Fine and Extra Fine. I gave it a final coat of Obsidian Oil and let it dry before buffing.
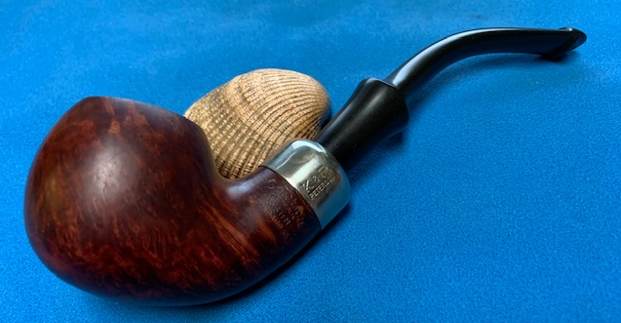
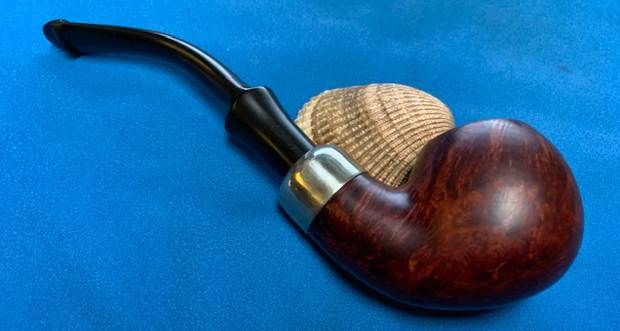
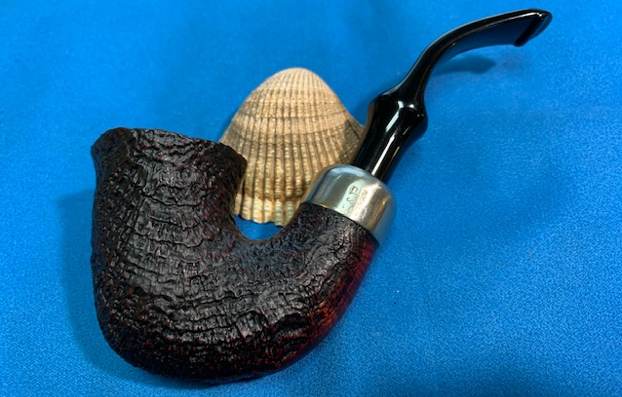
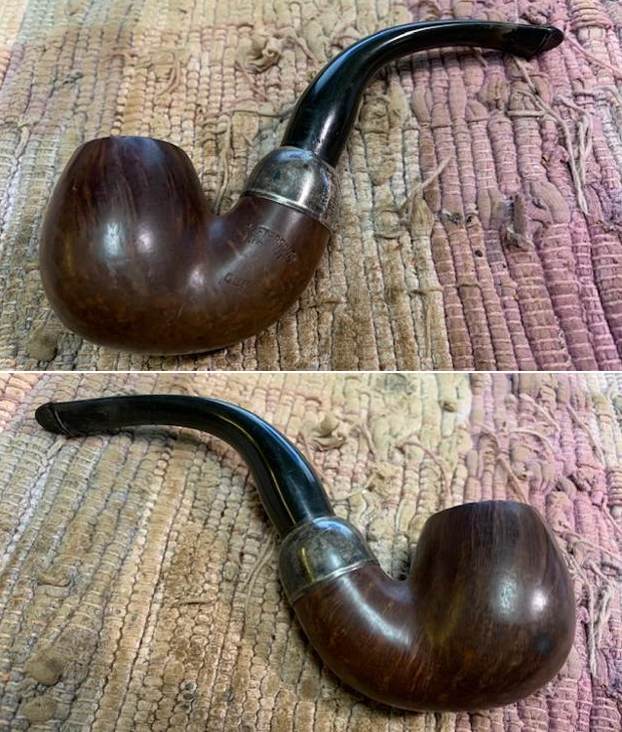
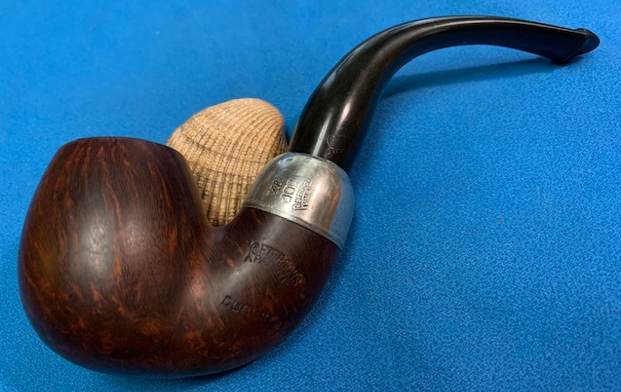
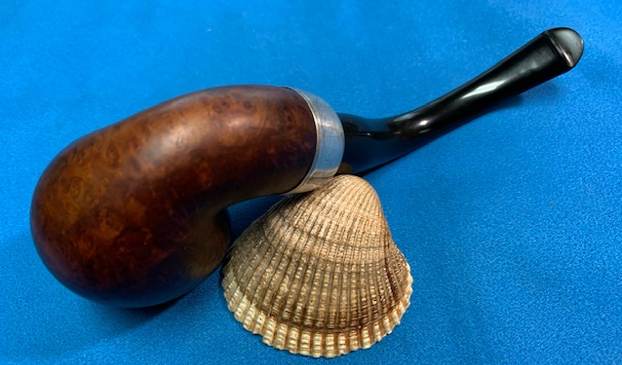
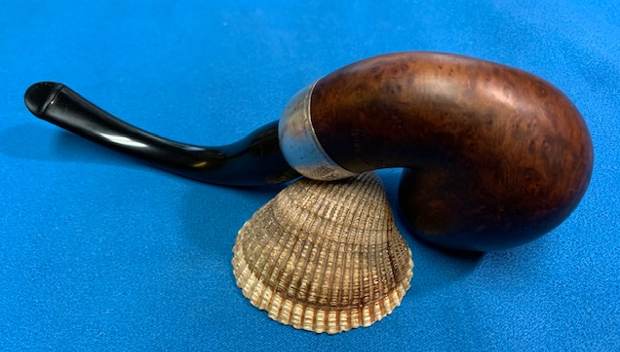
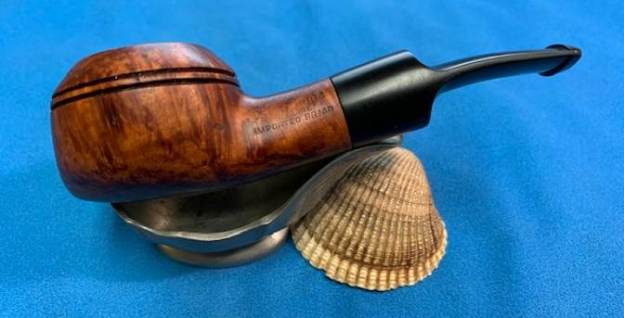
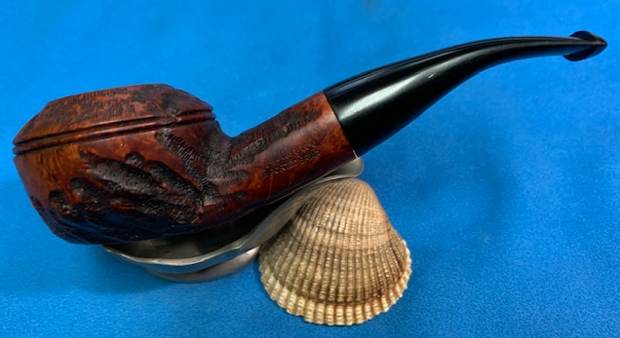
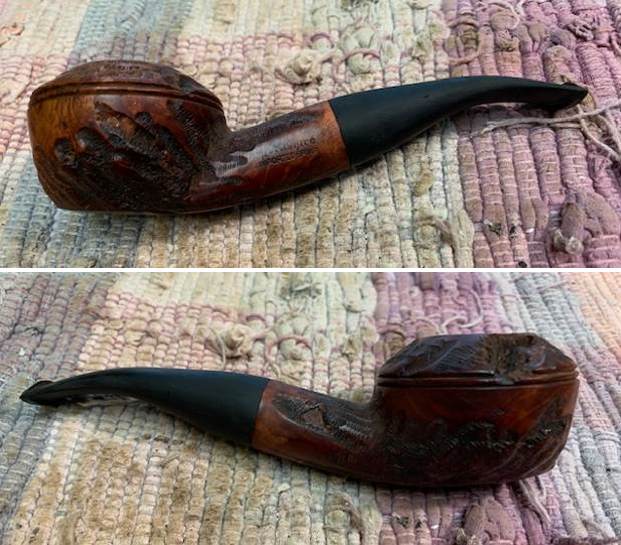
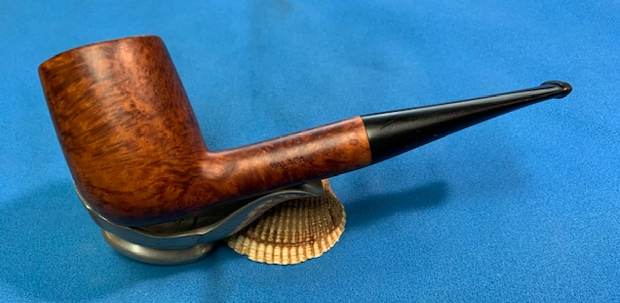
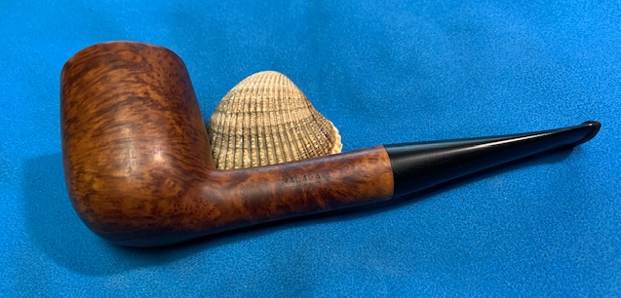
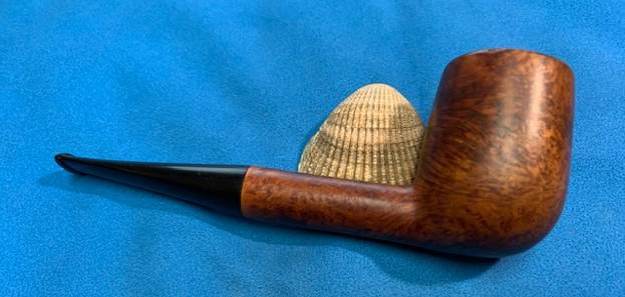
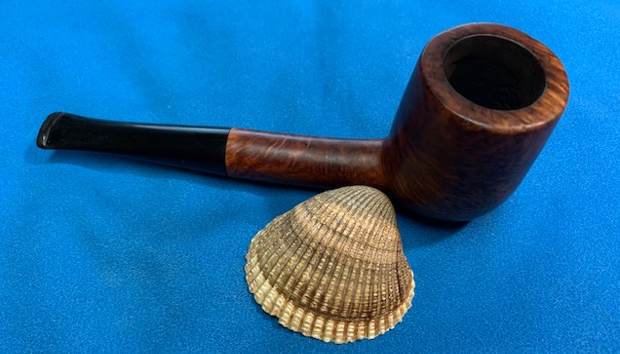
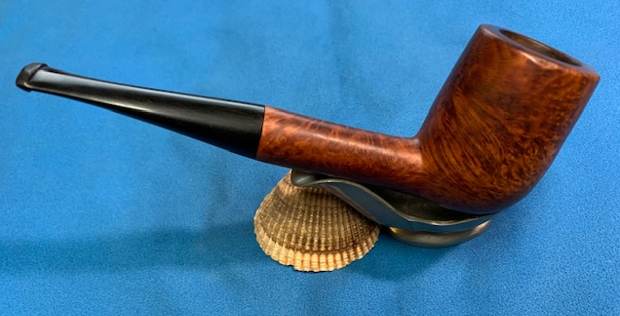
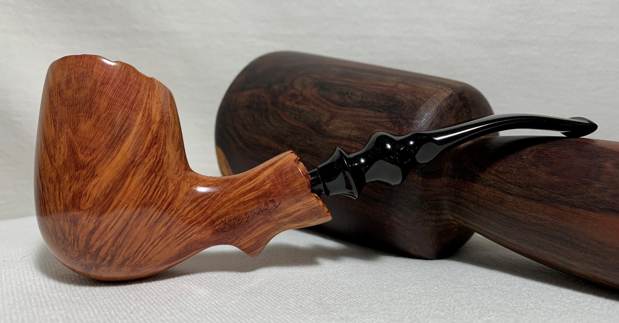
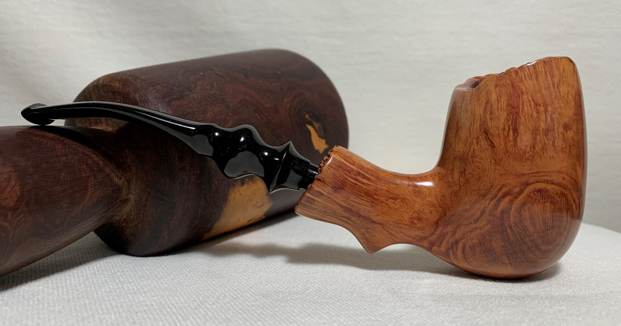
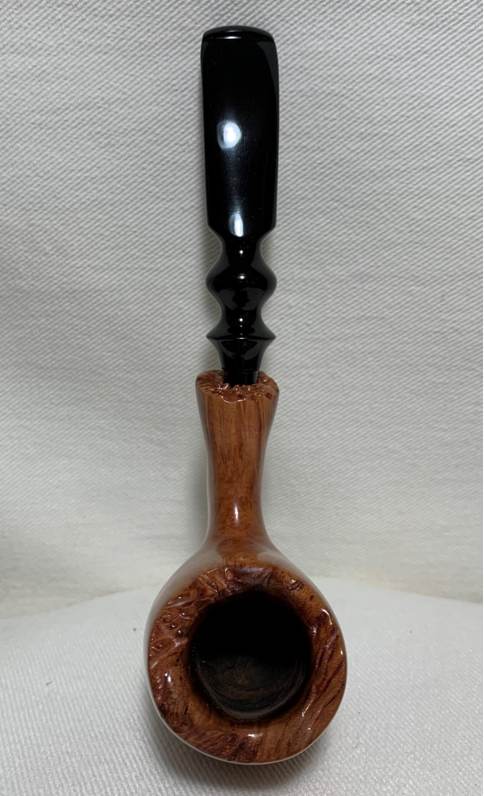
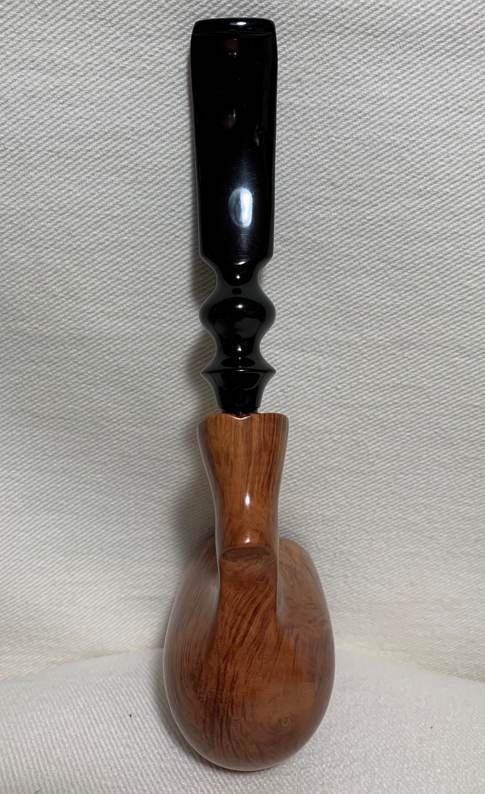
 I am excited to finish this Peterson’s System Standard 302 Bent Apple. I put the pipe back together and buffed it lightly with Blue Diamond on the buffing wheel. I gave the bowl and the stem multiple coats of carnauba wax. I buffed the pipe with a clean buffing pad to deepen the shine. I hand buffed the pipe with a microfiber cloth to further raise the shine. It is fun to see what the polished bowl looks like with deep sandblast all around it. Added to that the polished black acrylic stem was beautiful. This System Standard 302 Bent Apple is great looking and the pipe feels great in my hand. It is light and well balanced. Have a look at it with the photos below. The dimensions are Length: 6 inches, Height: 2 inches, Outside diameter of the bowl: 1 ½ inches, Chamber diameter: ¾ of an inch. The weight of the pipe is 63 grams/2.26 oz. It is a beautiful pipe and the fourth of the four I am working on for my friend. Now that they are all finished they will be sent back to him. Thanks for walking through the restoration with me as I worked over this pipe. Thanks to each of you who are reading this blog.