Blog by Steve Laug
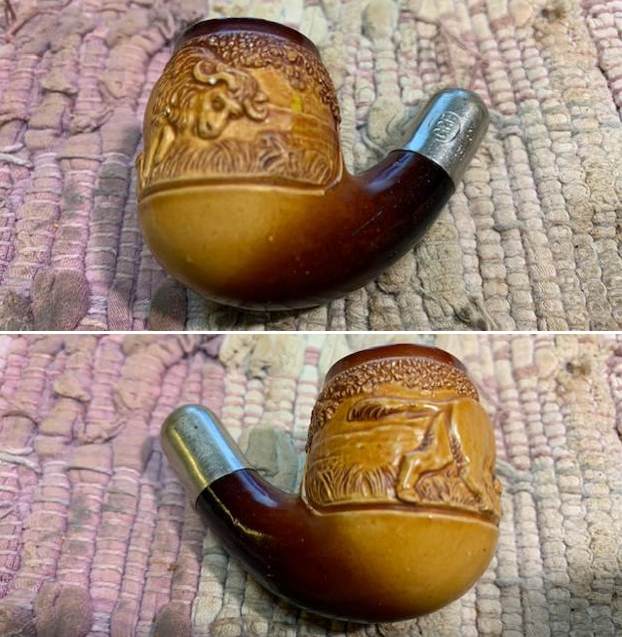
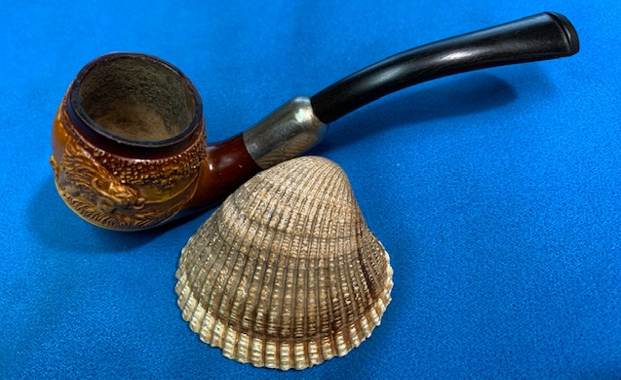
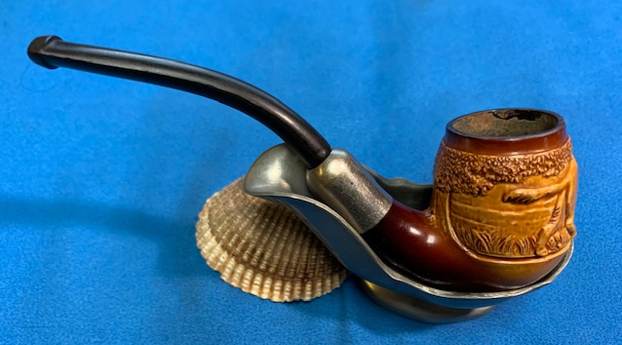
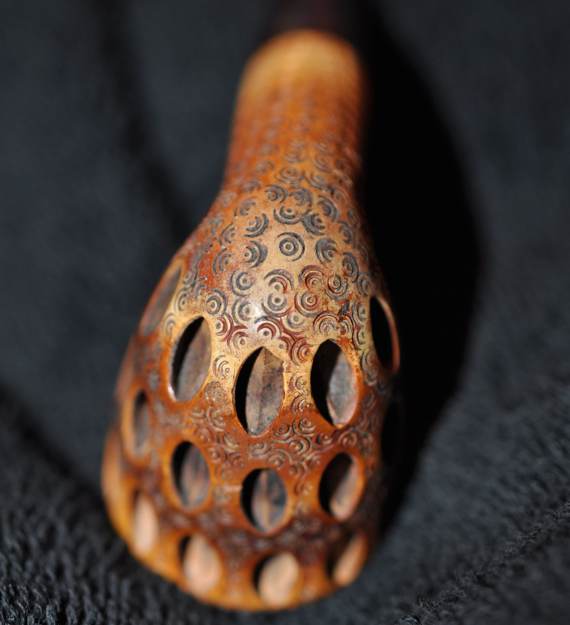
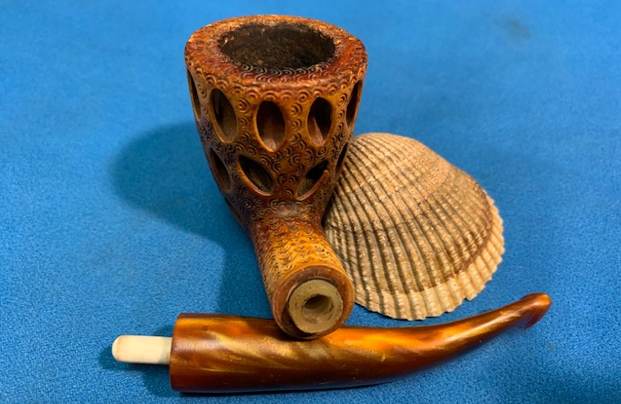
 The next pipe I chose to work on from my box of pipes to be restored is a lovely “Malaga” Cutty with a poorly fit stem. We bought the pipe off eBay back in January, 2017 from Gilroy, California, USA. The stamping on the pipe was clear and readable. On the left side it read “MALAGA” and on the right side it read IMPORTED BRIAR. On the heel of the bowl it was stamped with the number 3. It was an interesting looking Cutty shaped pipe. The grain around the sides was quite nice and a mix of cross grain and birdseye grain. There was a thick cake in the bowl and a thick lava coat on the rim top. The inner edge of the bowl was so caked it was hard to know what the edge looked like underneath. The stem was oxidized, calcified and had a lot of deep tooth mark and chatter on both sides ahead of the button. It was a bit of a mess. Jeff took some photos of the bowl before he started to work on it.
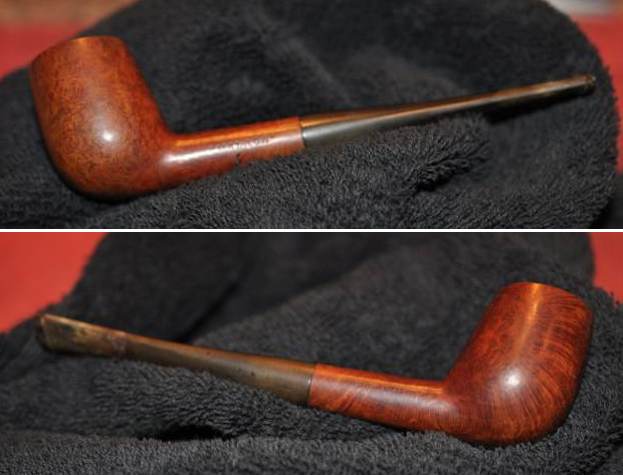
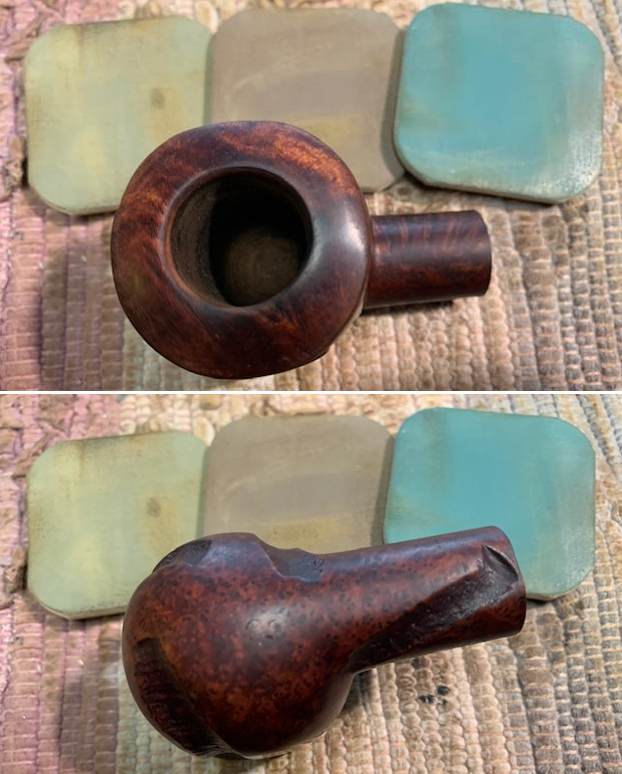
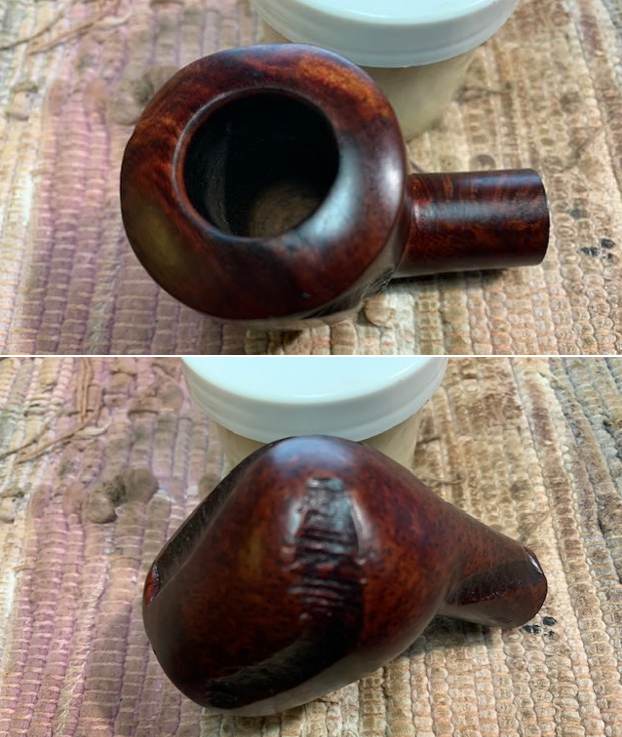
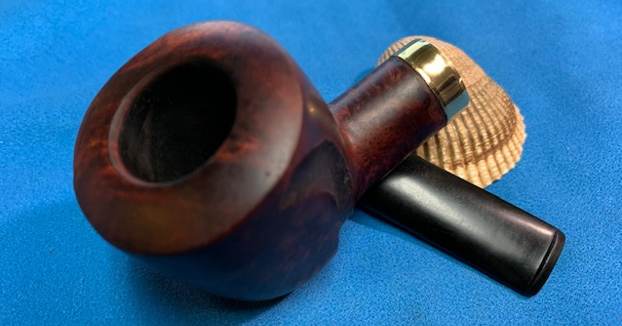
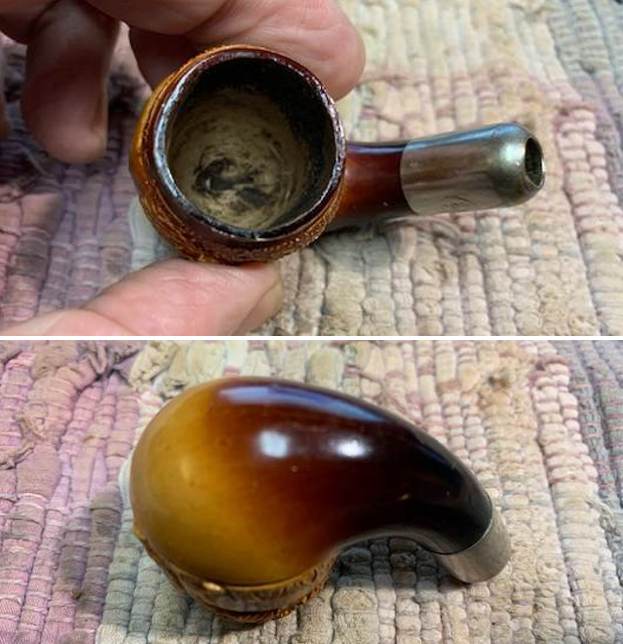
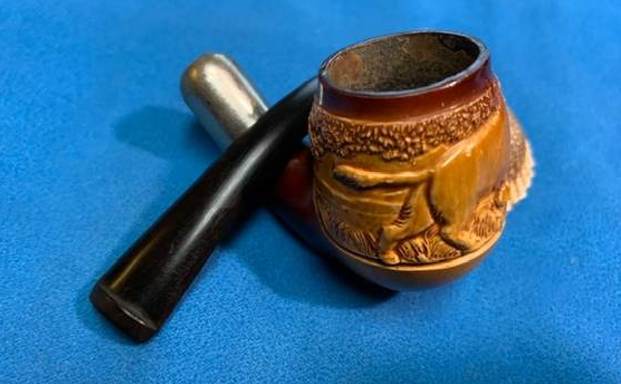
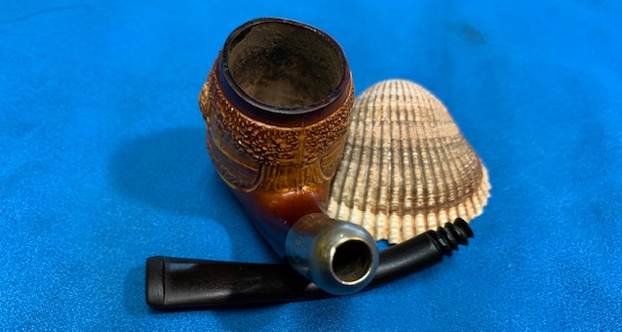
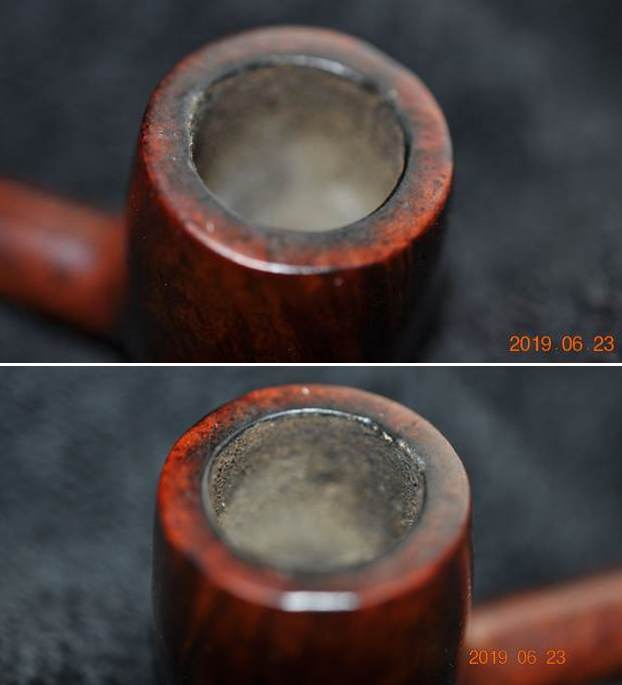
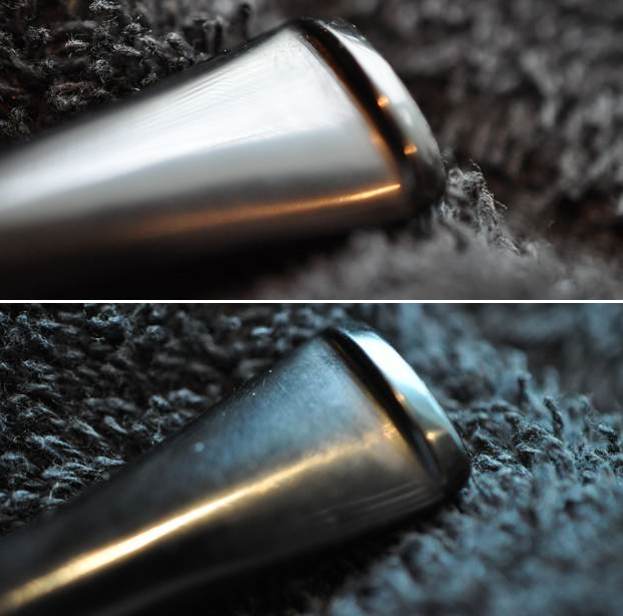
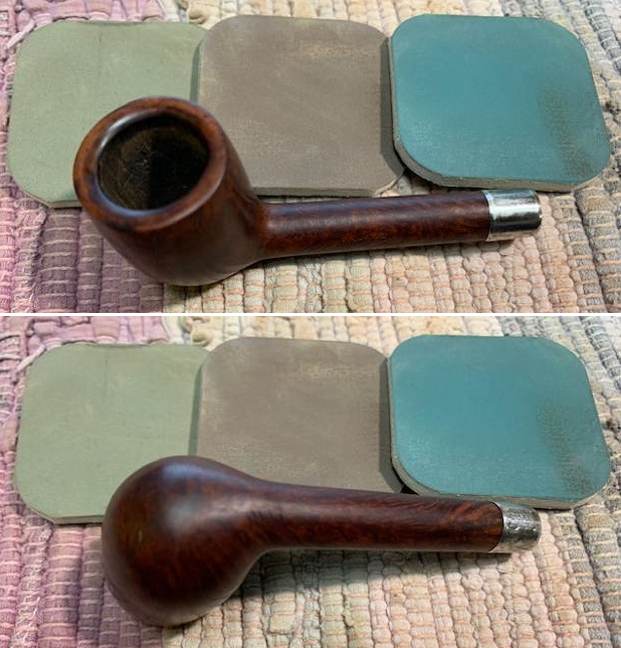
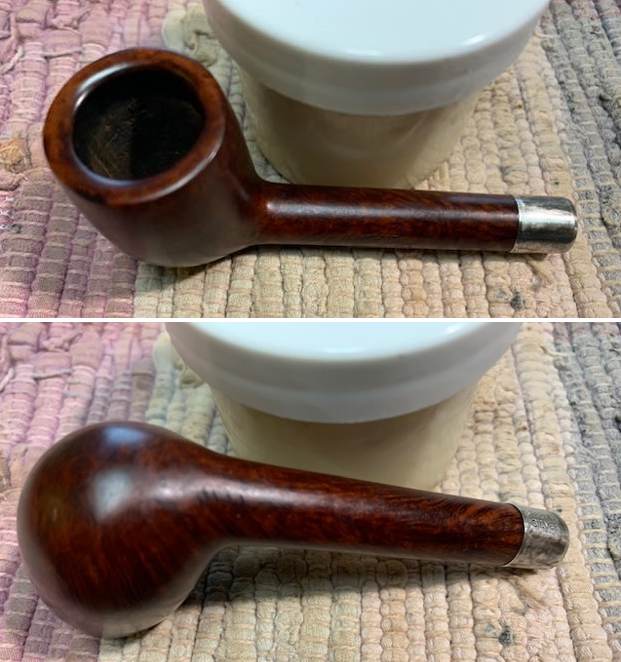
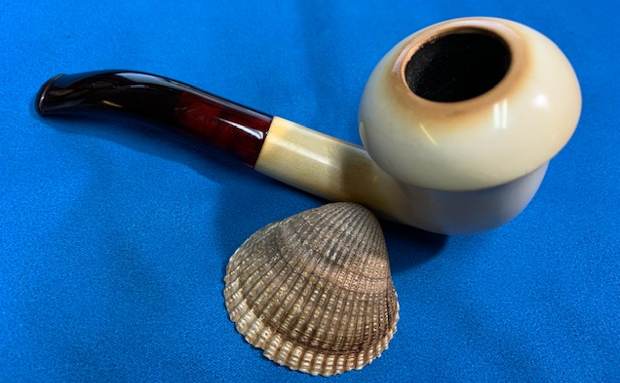
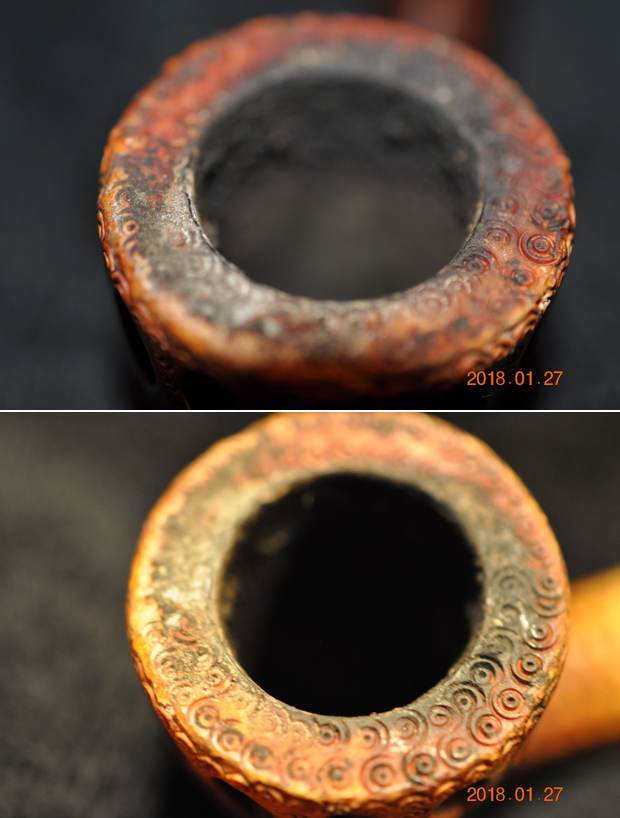
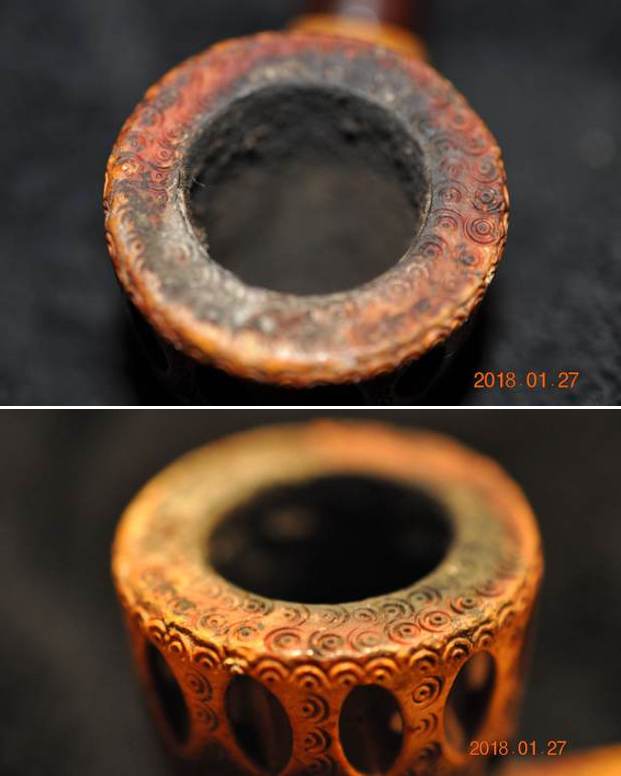
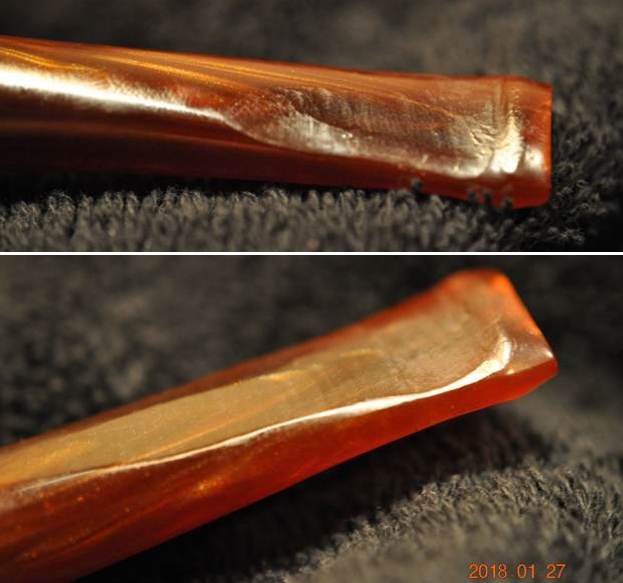
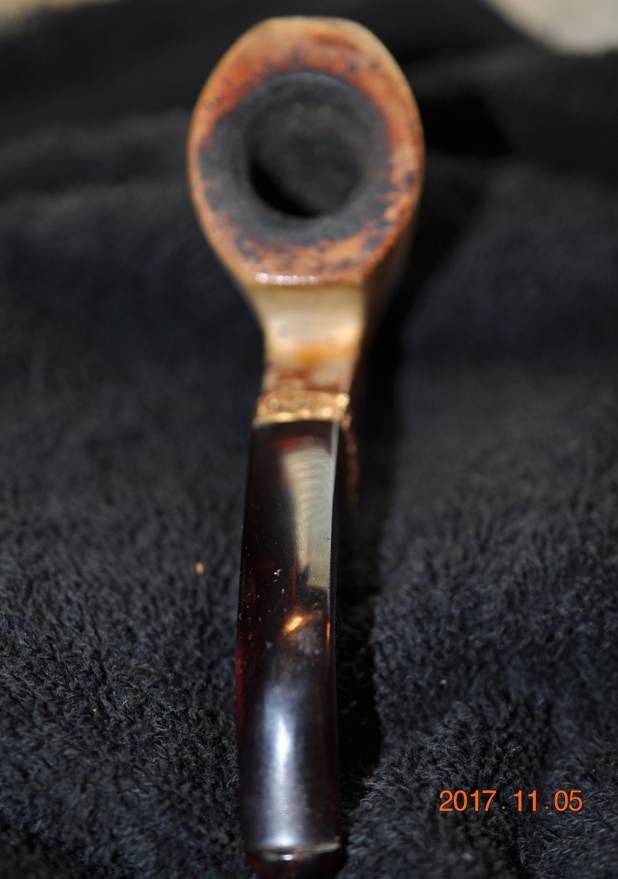
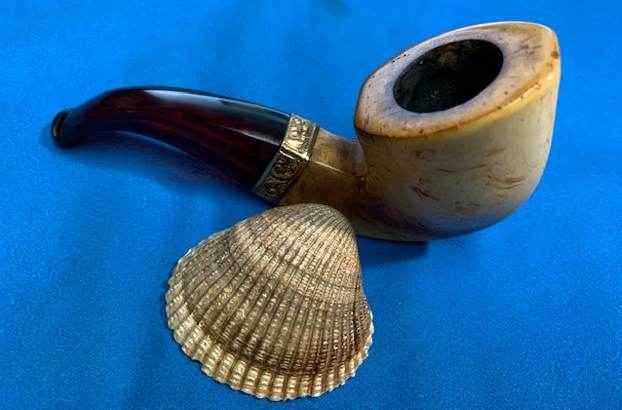
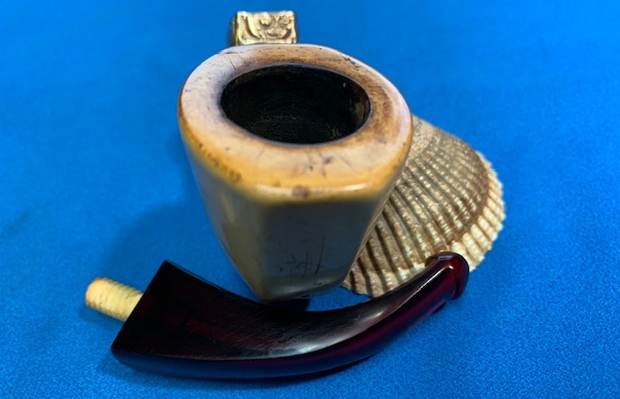
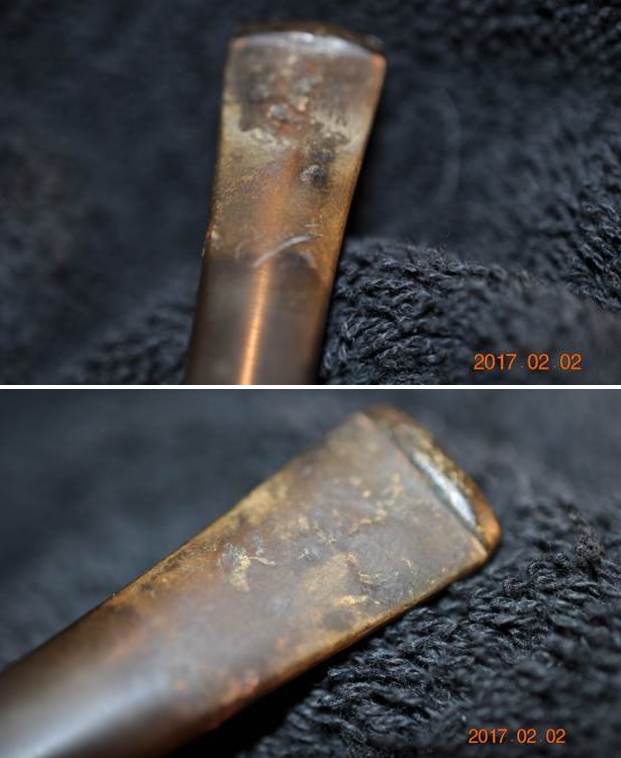
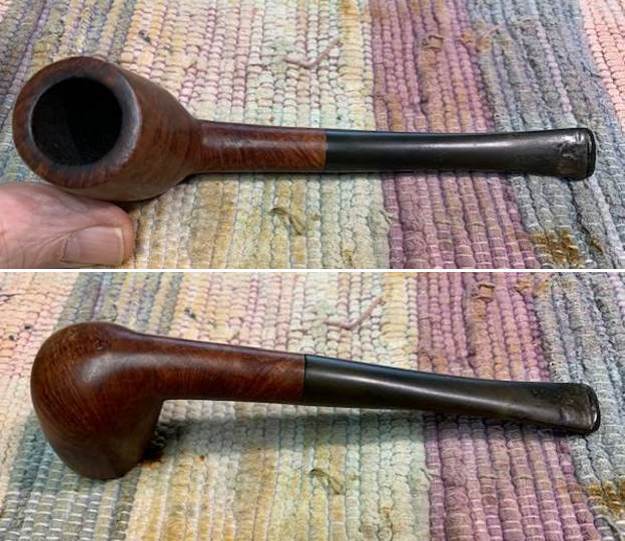
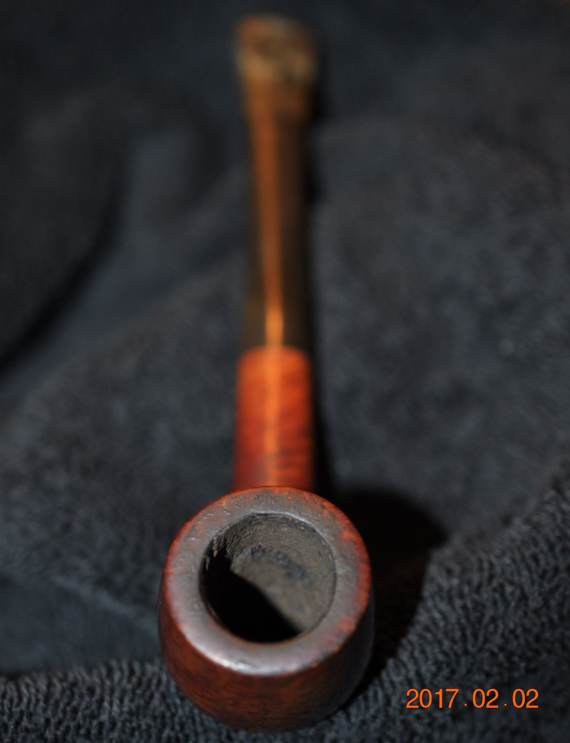 Jeff took photos of the bowl and rim top to show the cake in the bowl and the lava coat on the top and on the inner beveled edge of the bowl. I am hoping that it protected the edge from damage. He also took photos of the stem to show the deep tooth marks and chatter on the oxidized stem.
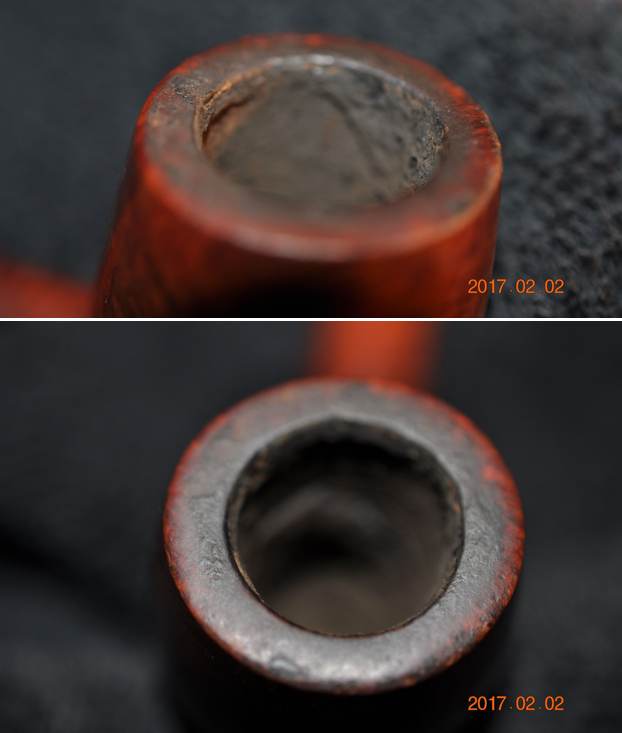
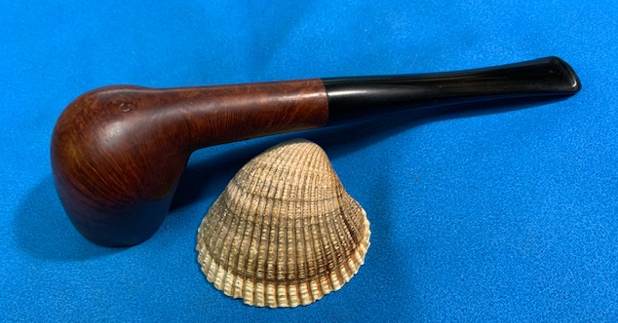
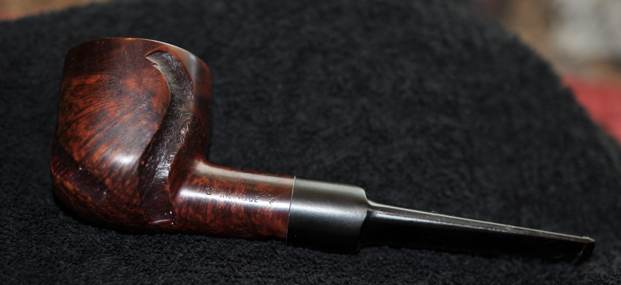
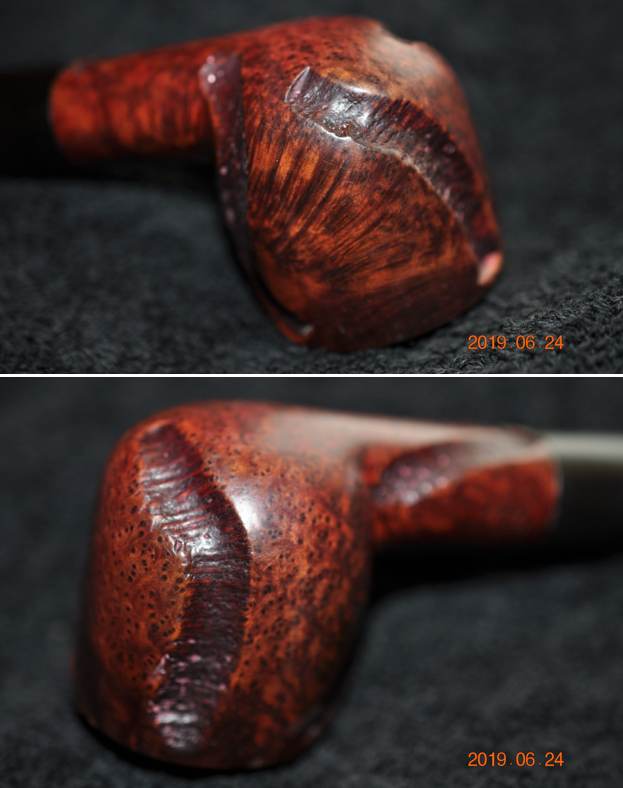
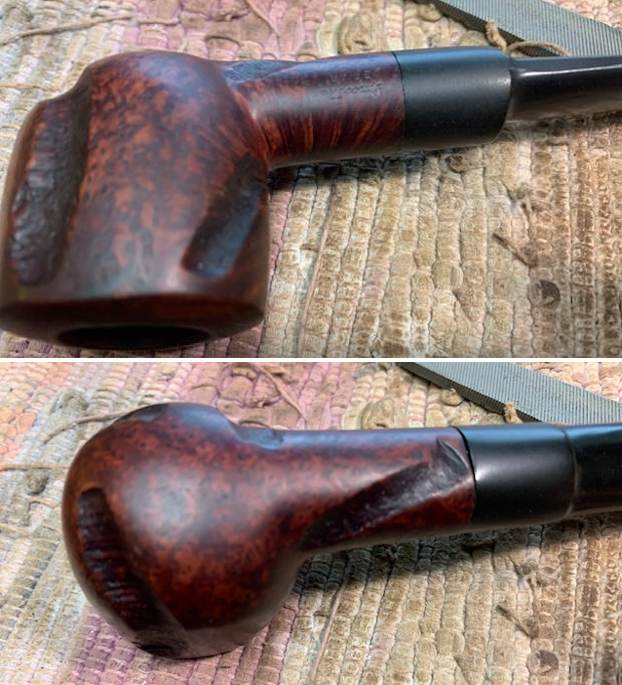
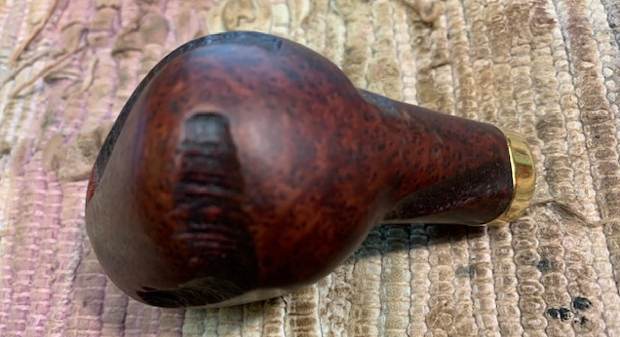
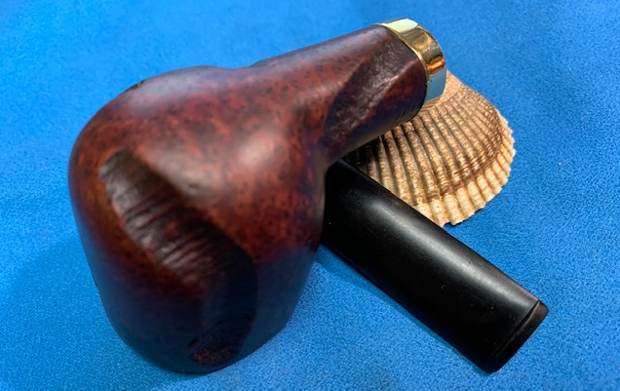
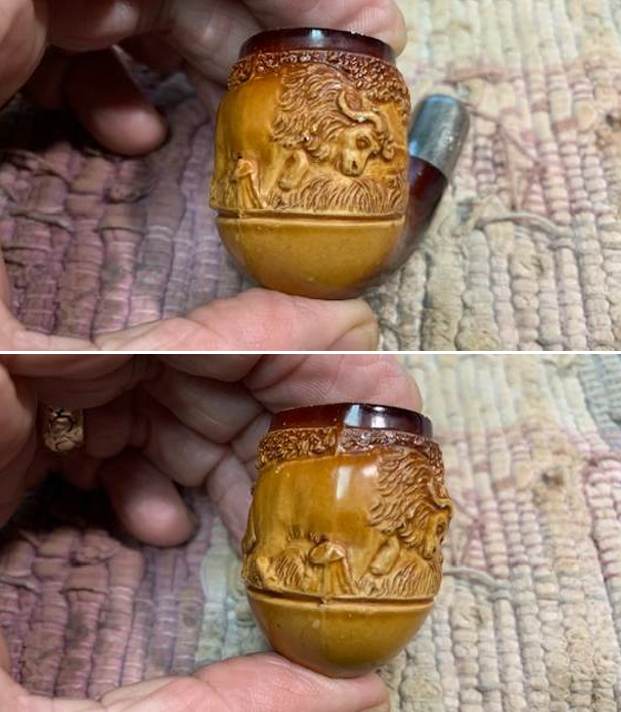
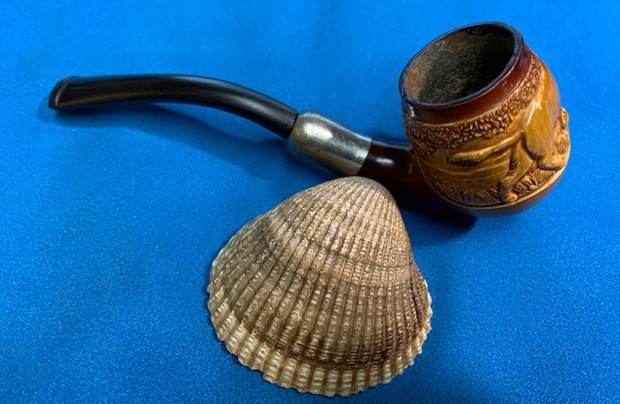
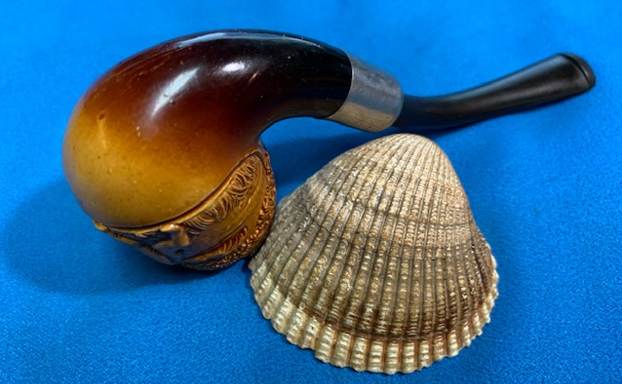
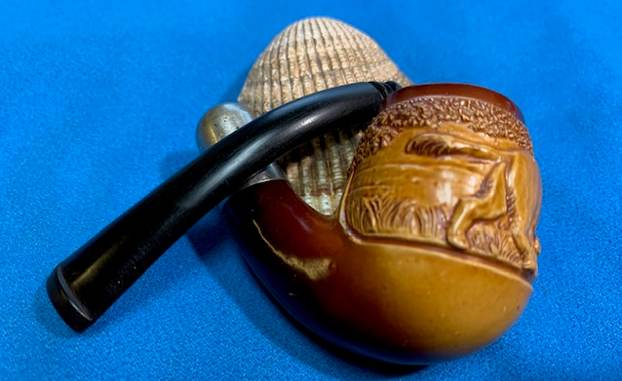
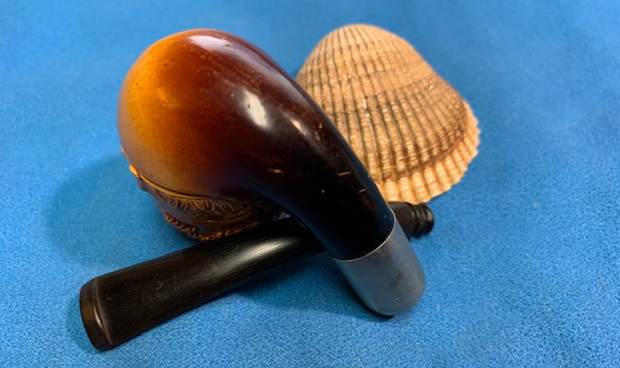
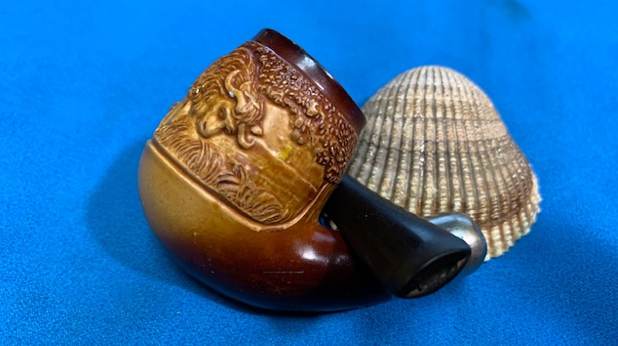
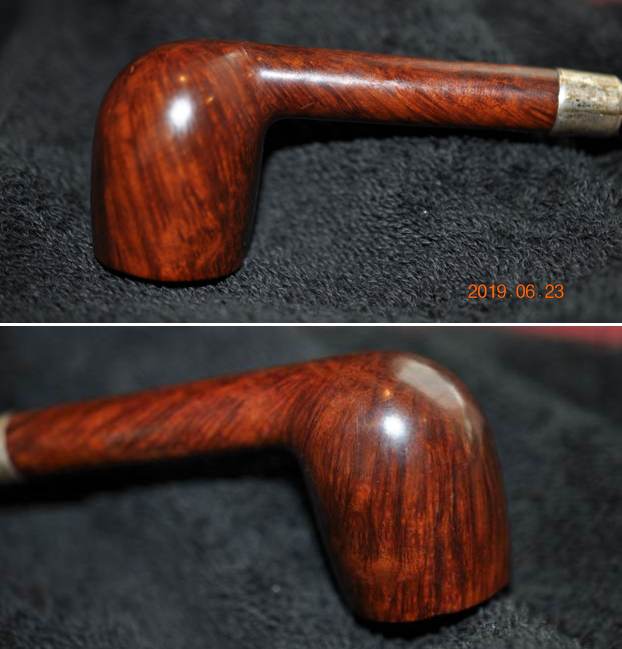
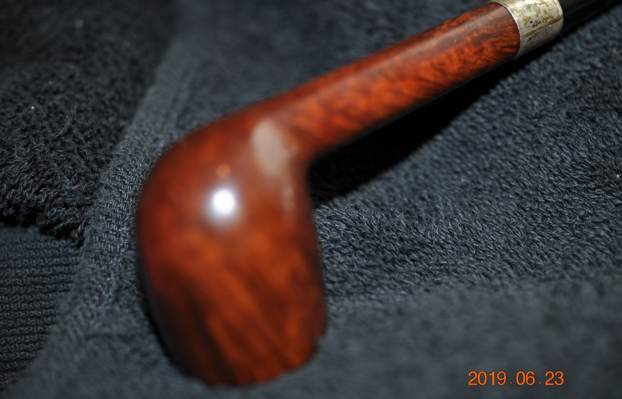
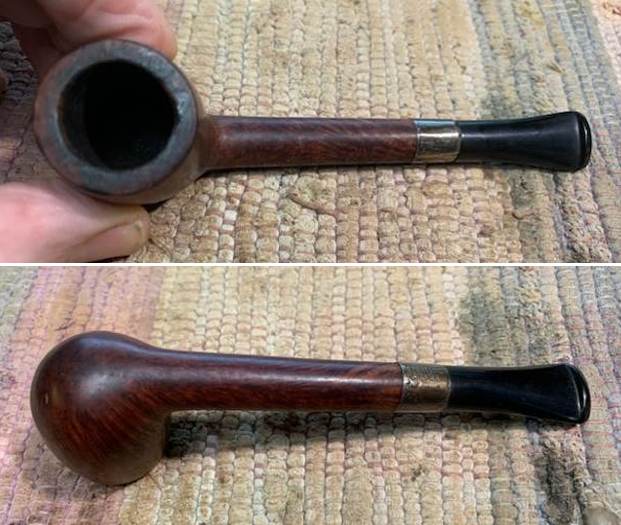
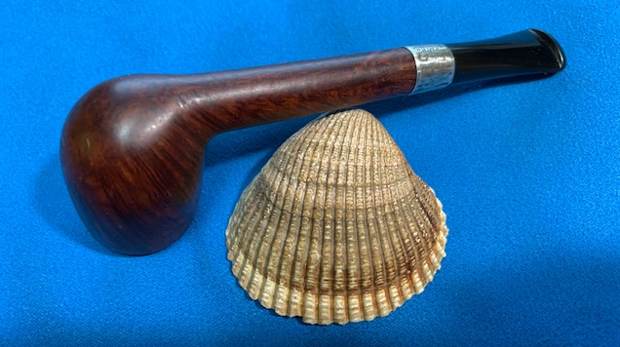
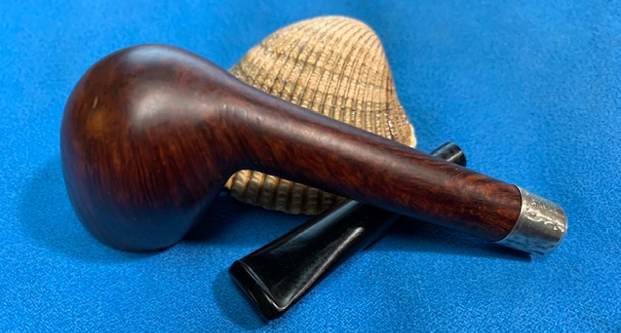
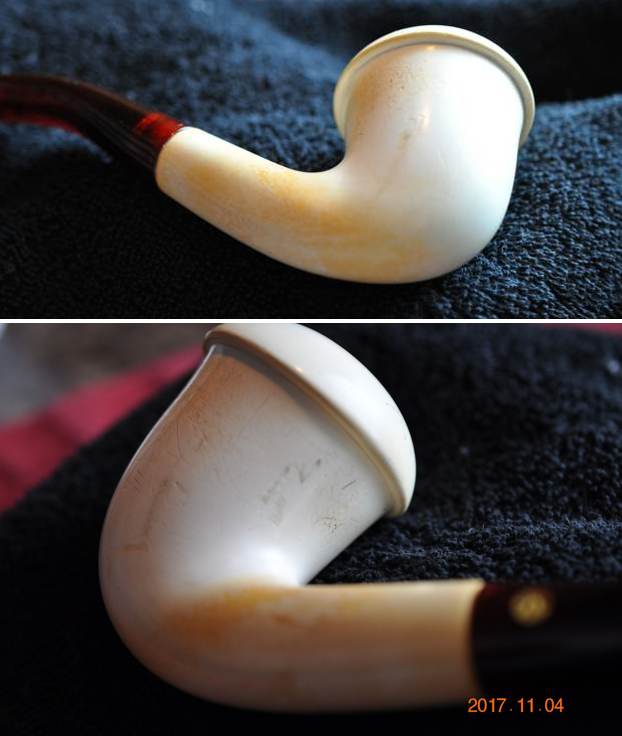
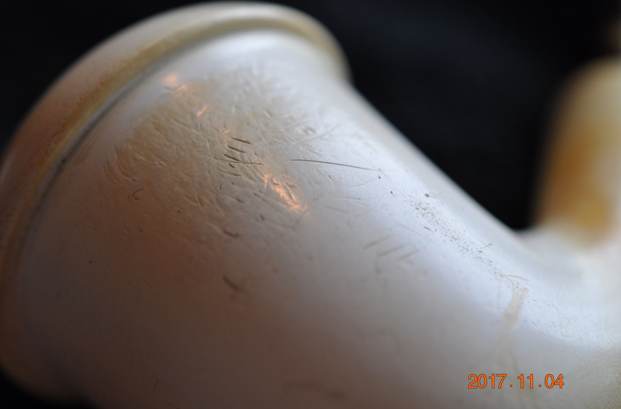
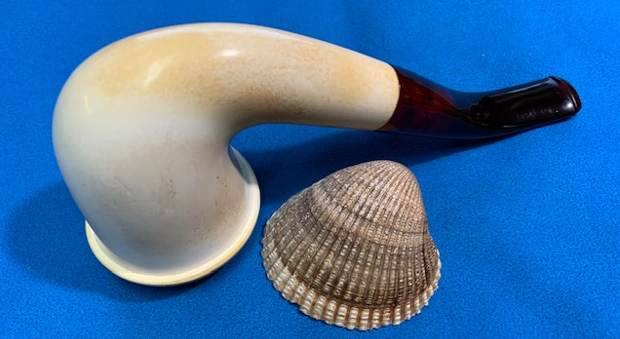
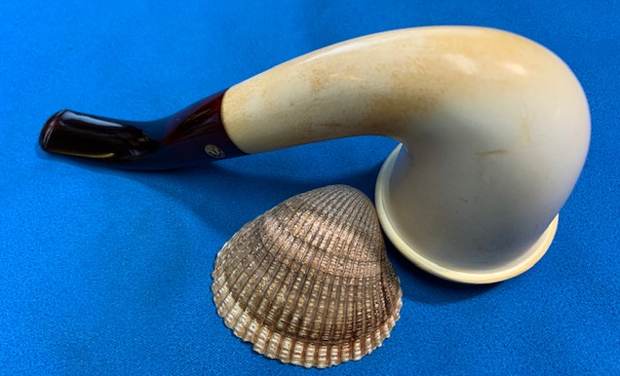
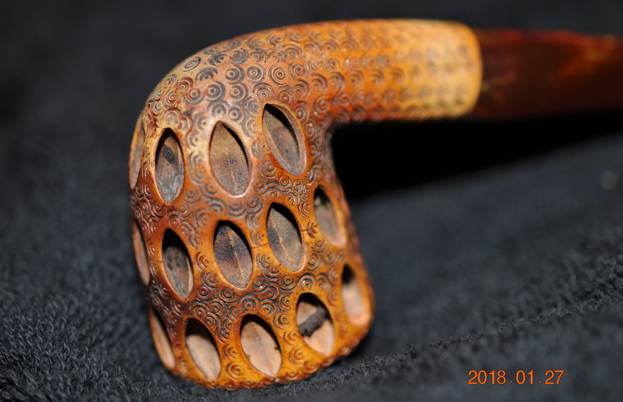
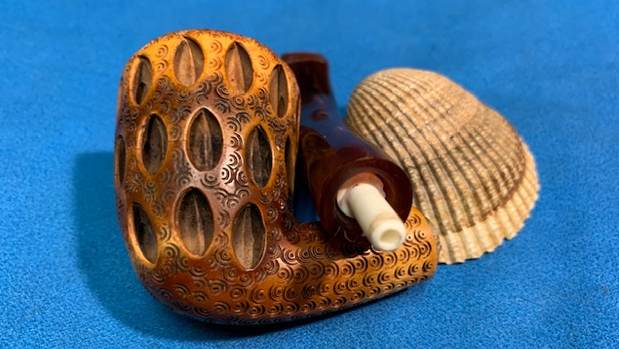
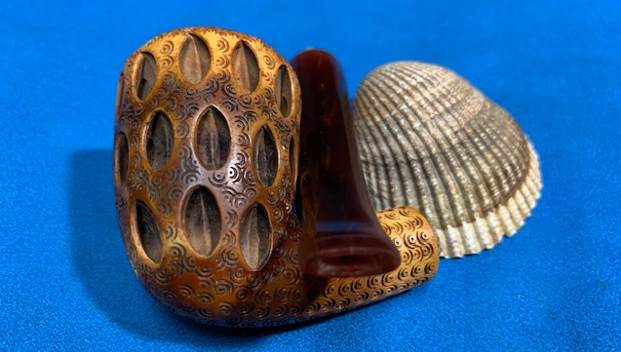
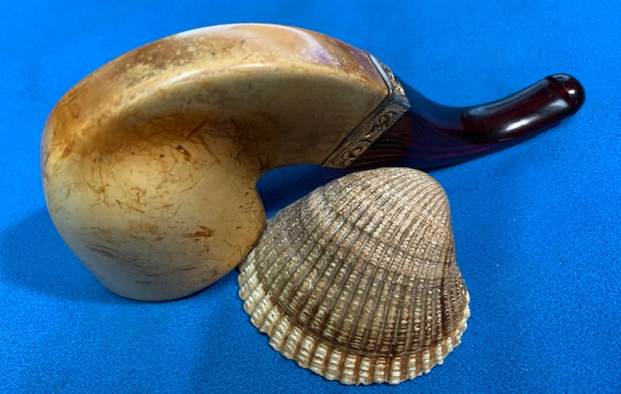
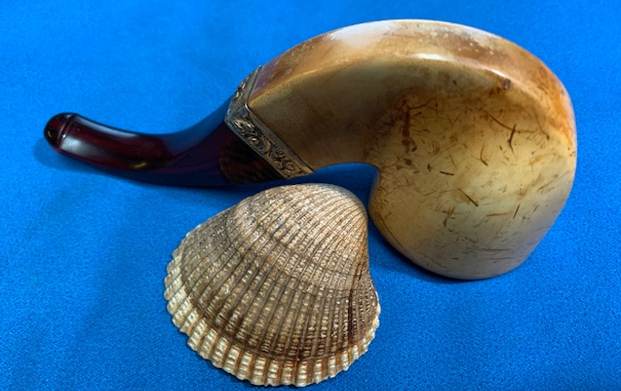
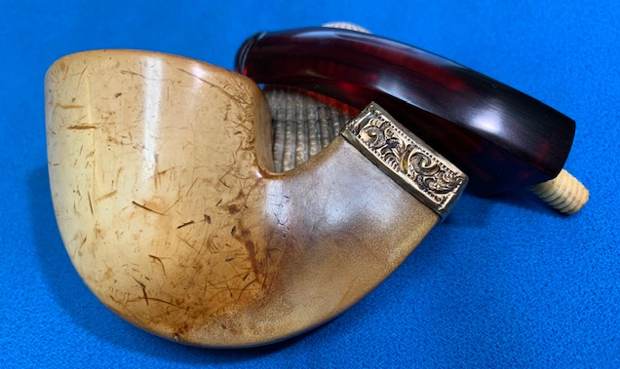
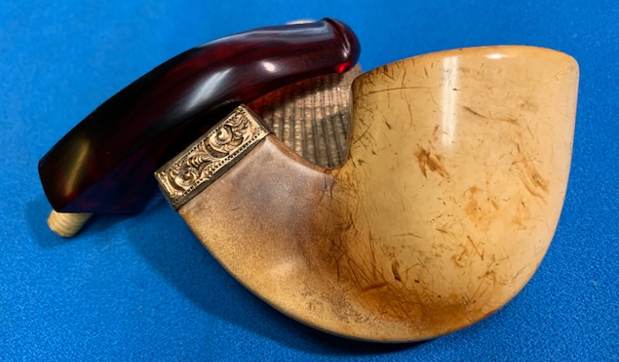
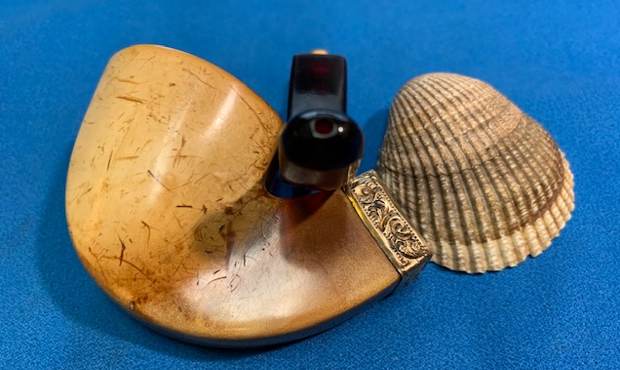
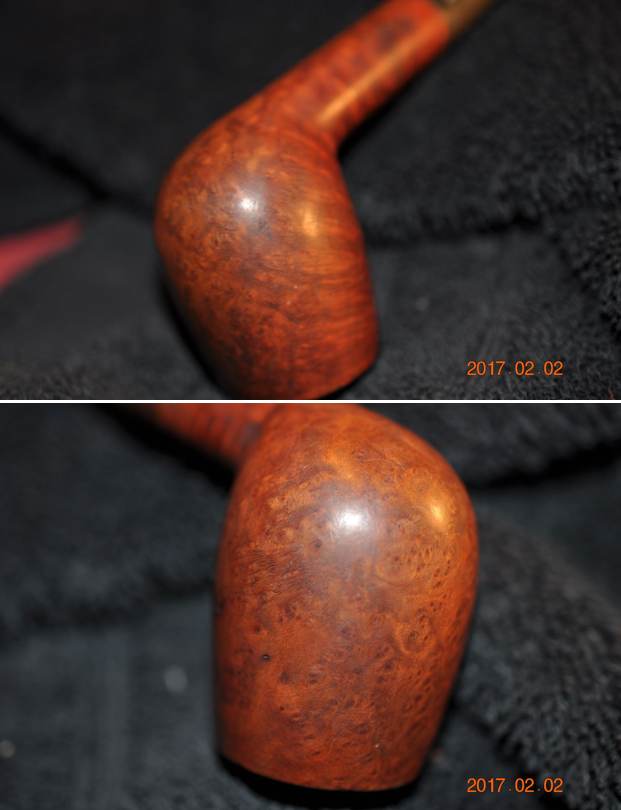
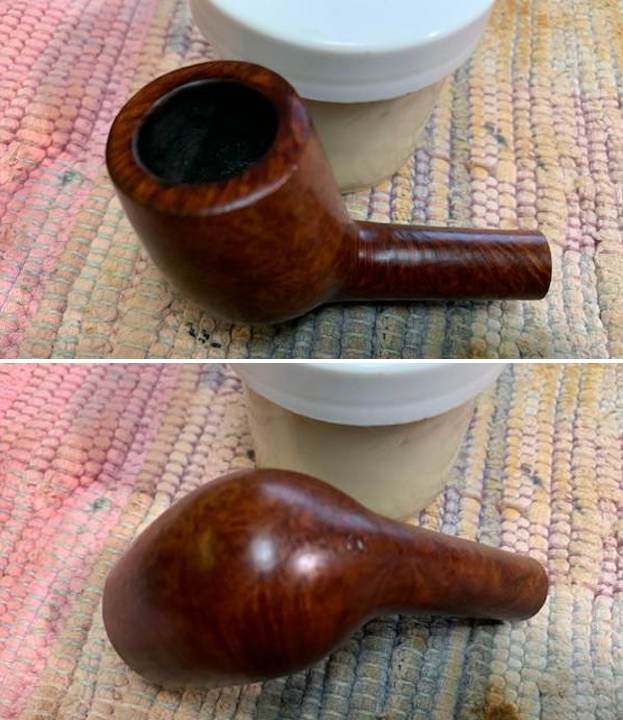
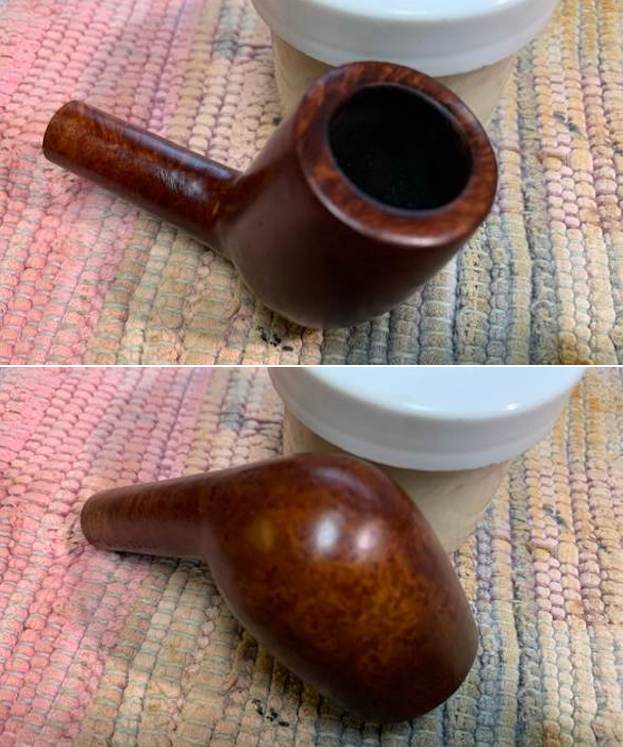
 He took photos of the bowl and heel to show the condition of the finish. Though the finish is dirty and grimy you can see some nice grain showing on the bowl sides.
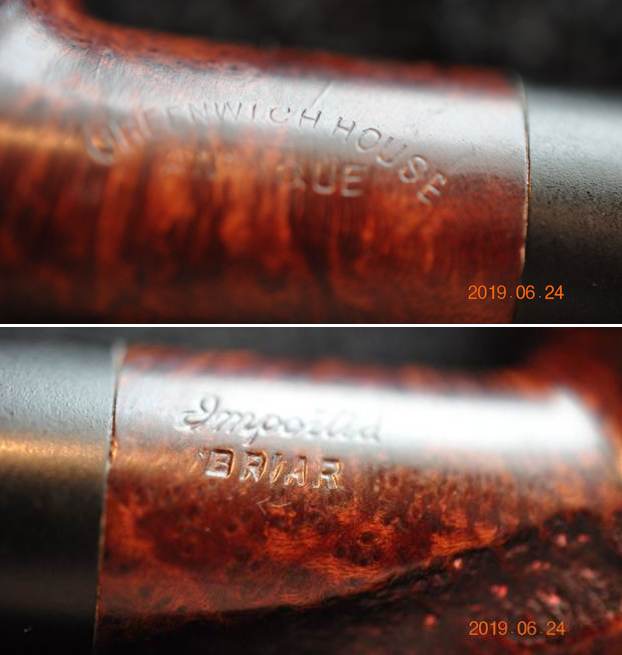
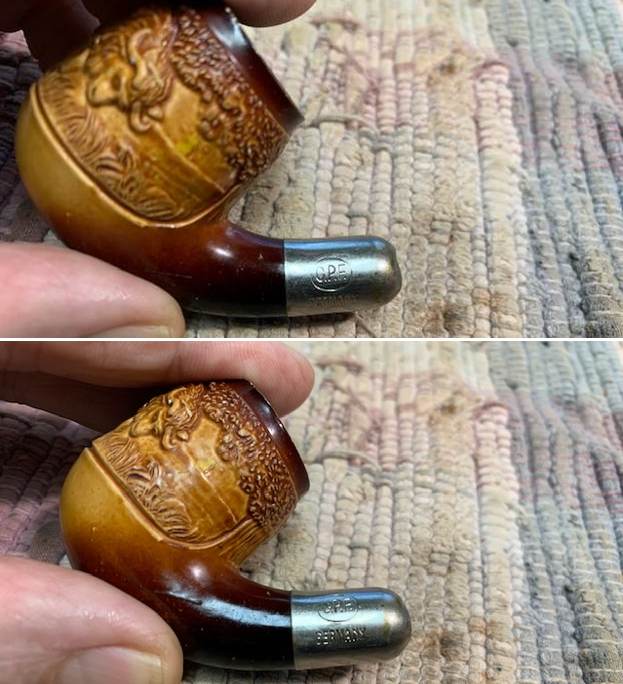
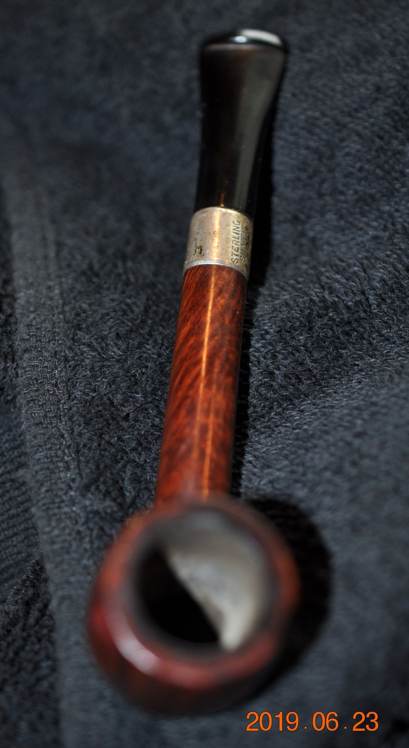
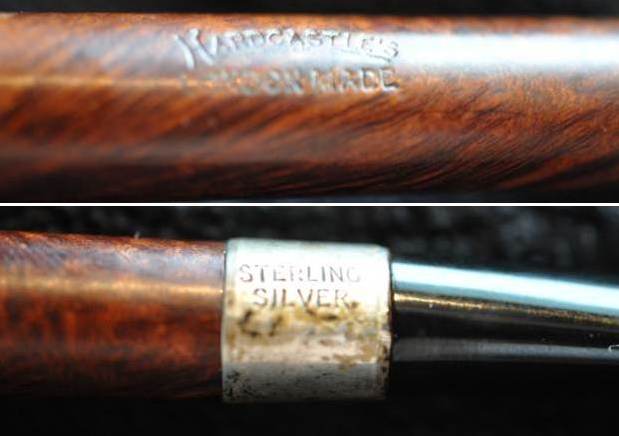
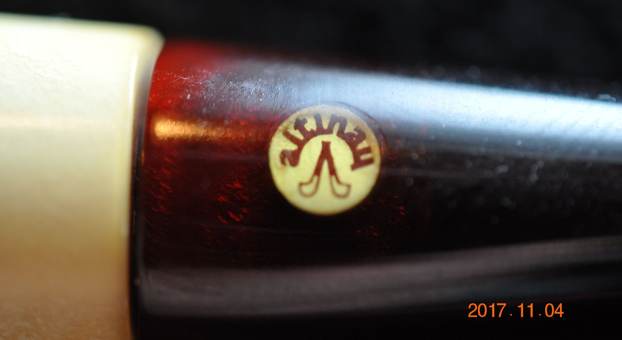
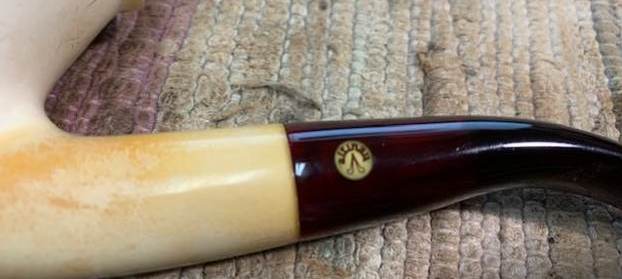
 Jeff took photos of the stamping on the sides of the shank and the heel of the bowl. It read as noted above and was readable.
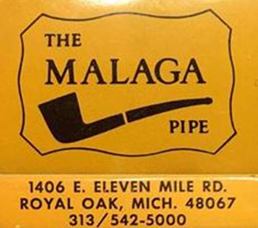
 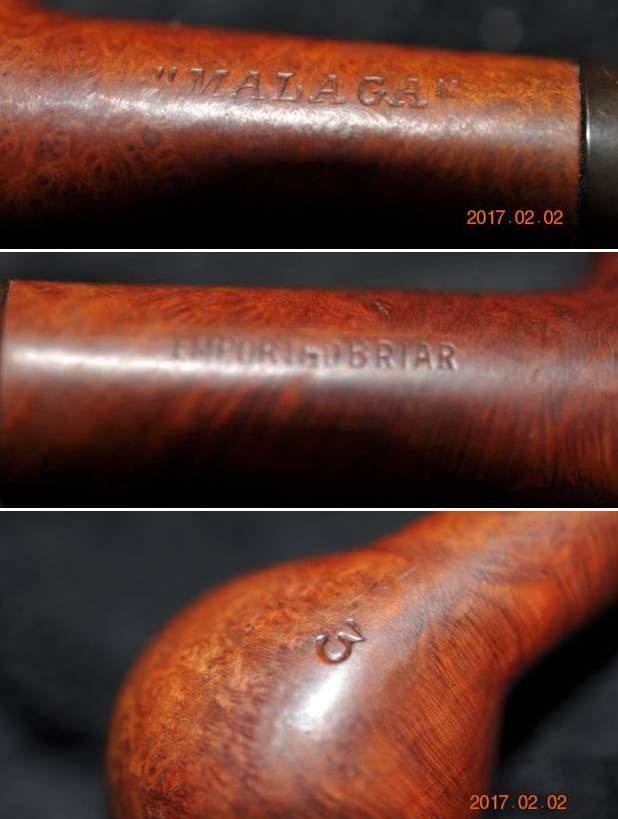 I have worked on a lot of Malaga pipes in the past so I am not a stranger to the brand. I have blogged their restorations, so rather than repeat previous blogs, I am including the link to one that gives some of the history of the Malaga brand and the Malaga Pipe Shop in Royal Oak, Michigan in the USA from a catalogue. It gives a sense of the brand and the history in their own words. Follow the link to get a feel for the brand and the pipemaker – https://rebornpipes.com/2013/02/09/george-khoubesser-and-malaga-pipes/.
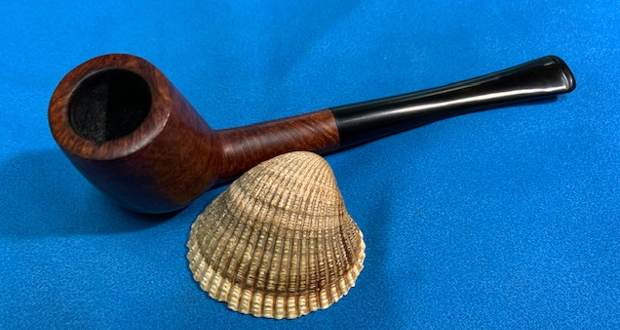
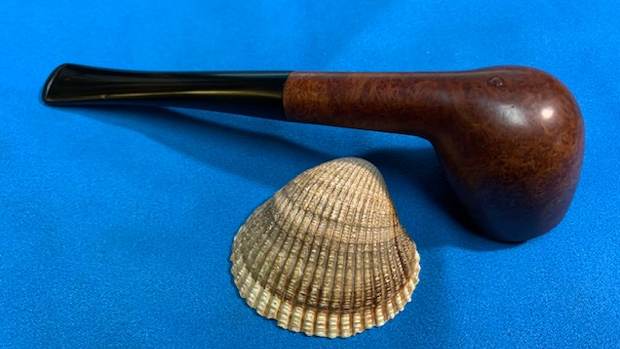
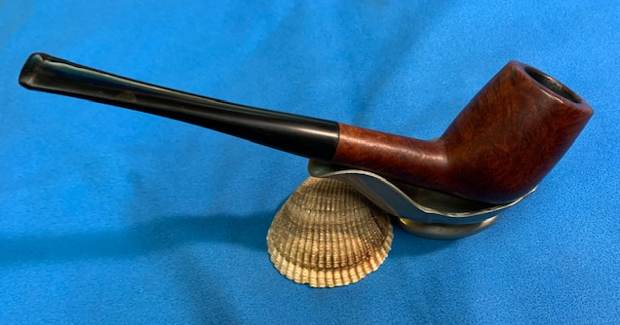
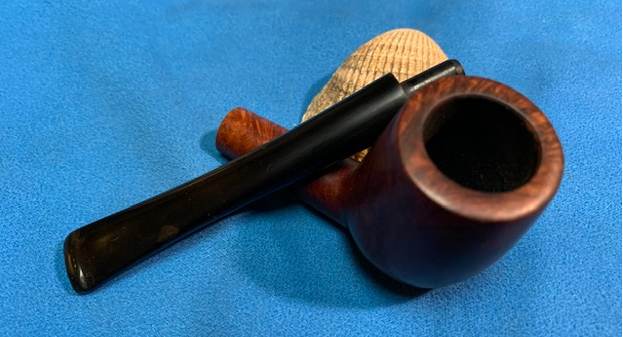
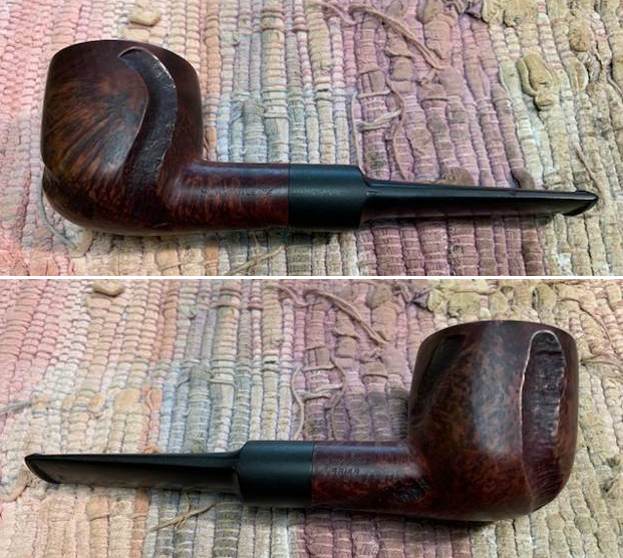
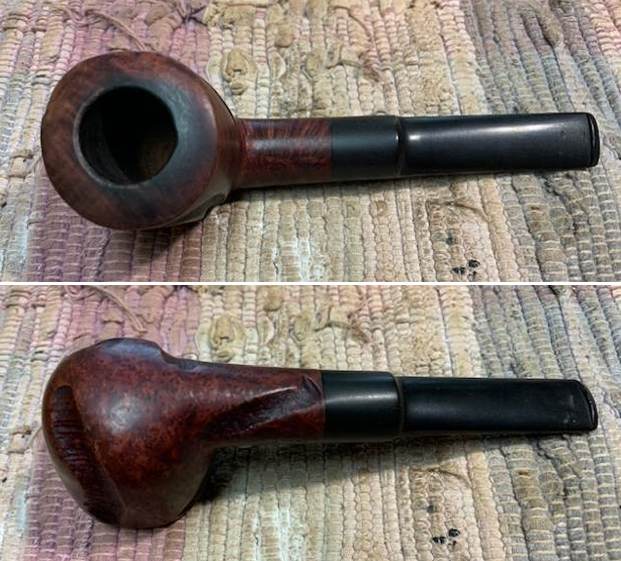
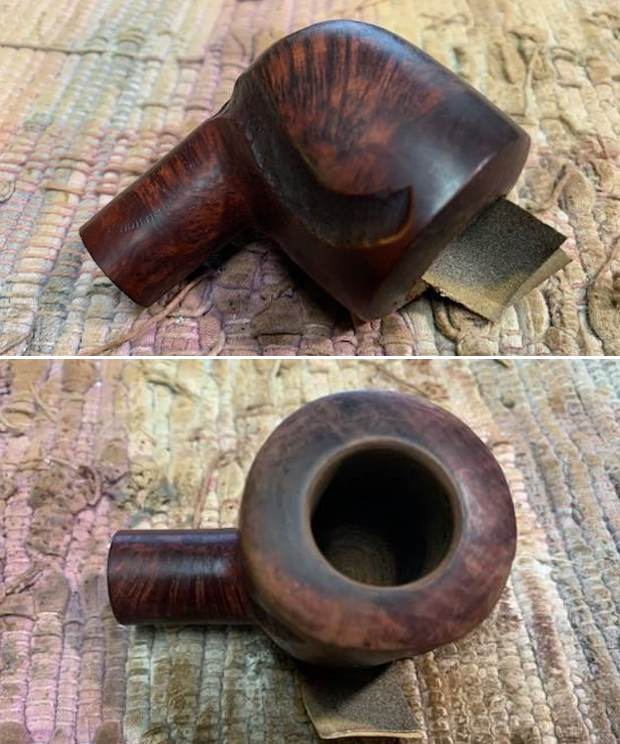
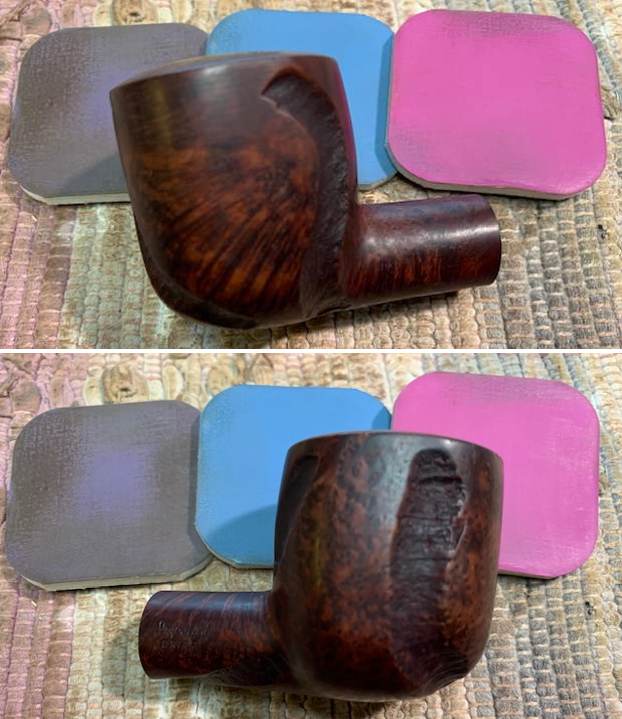
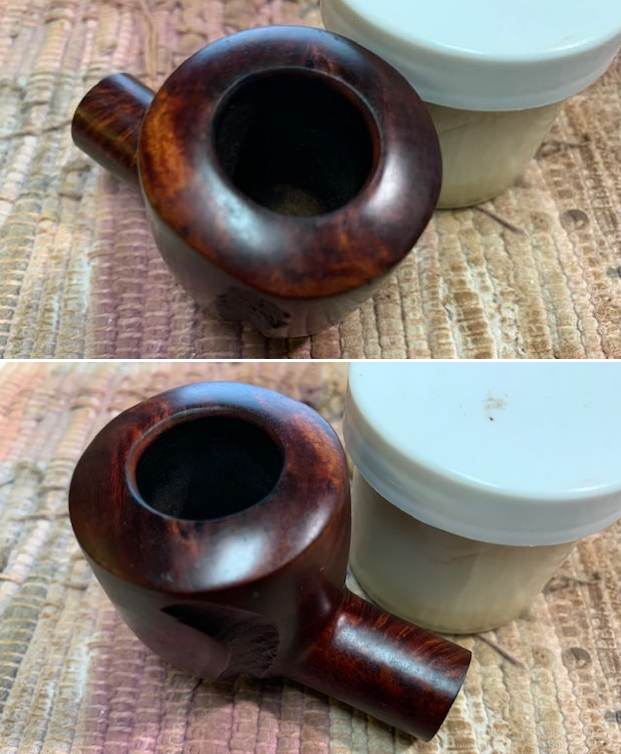
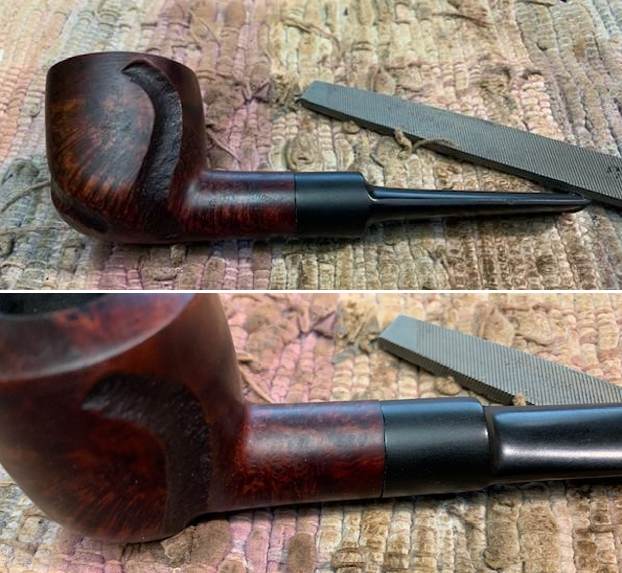
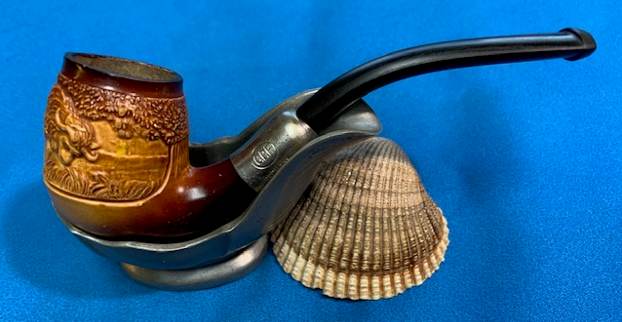
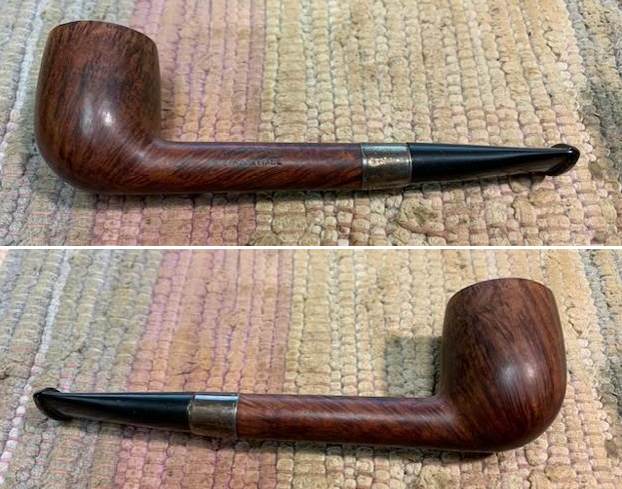
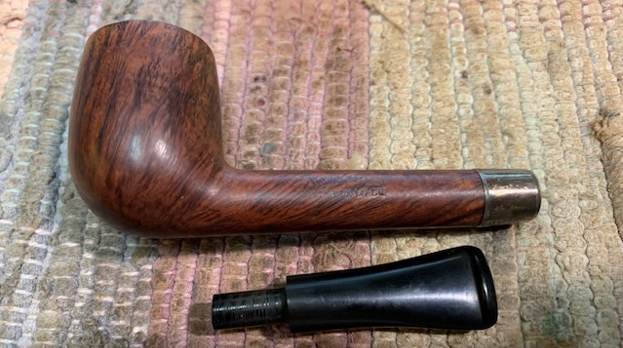
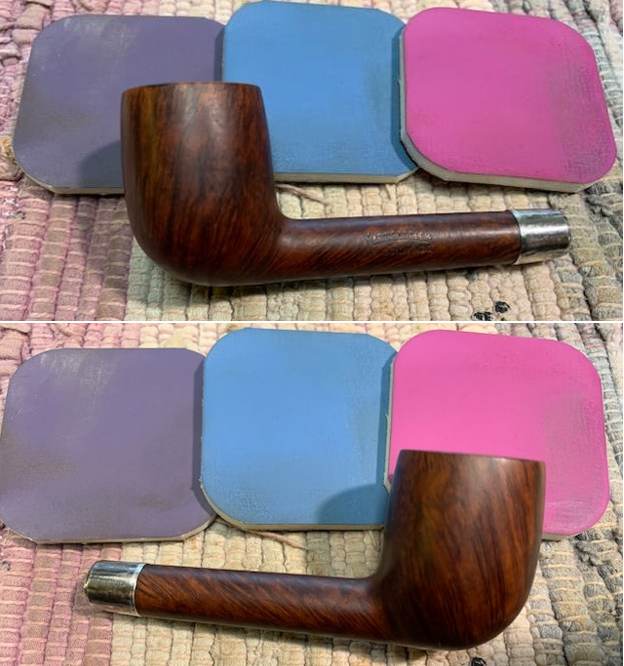
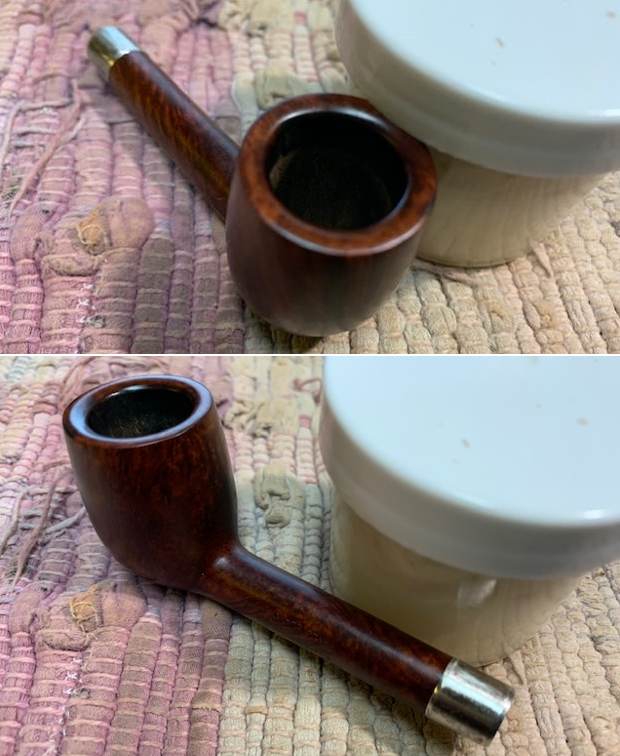
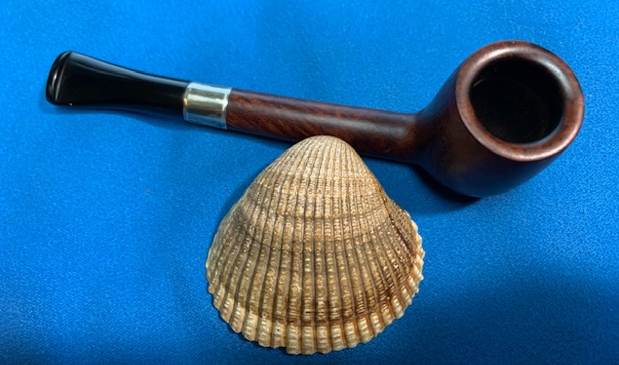
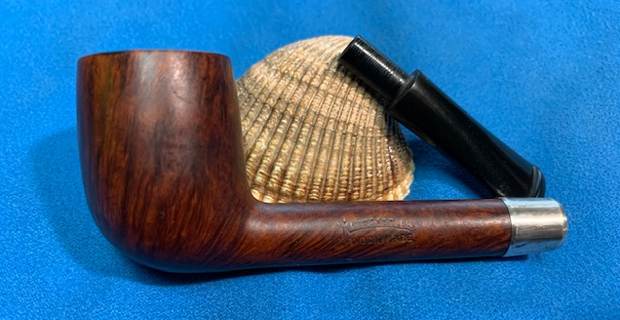
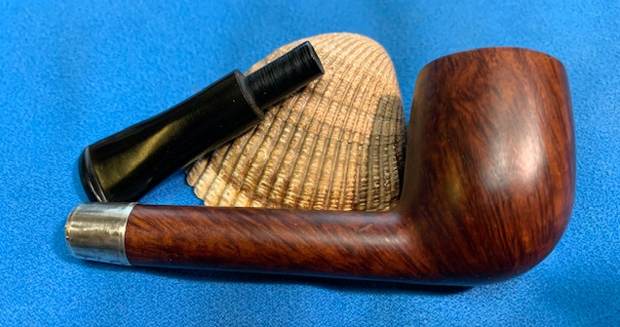
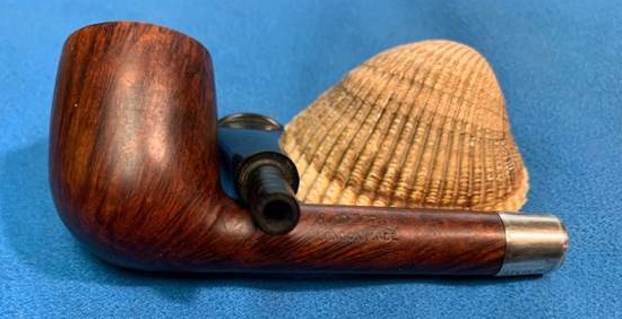
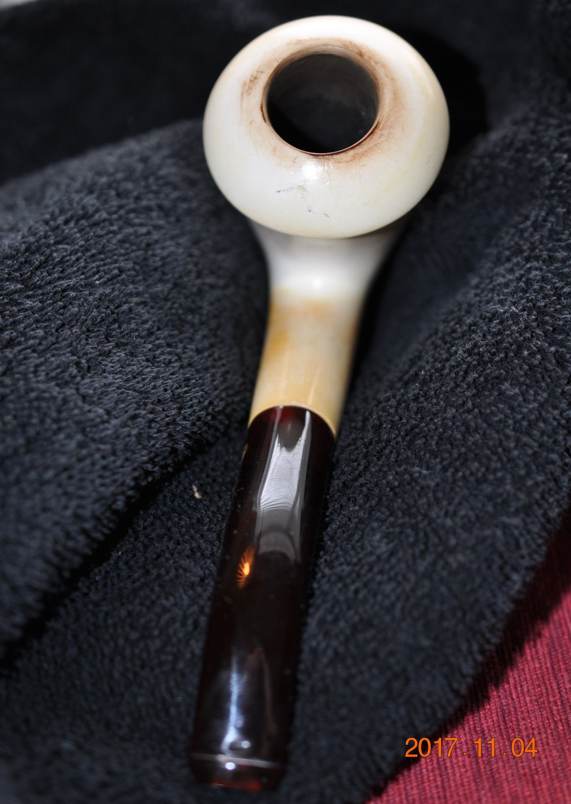
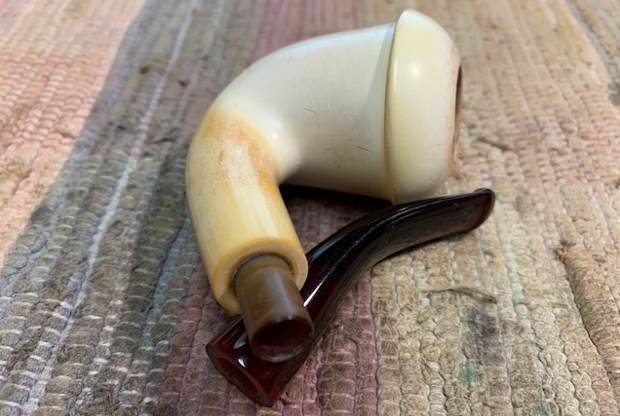
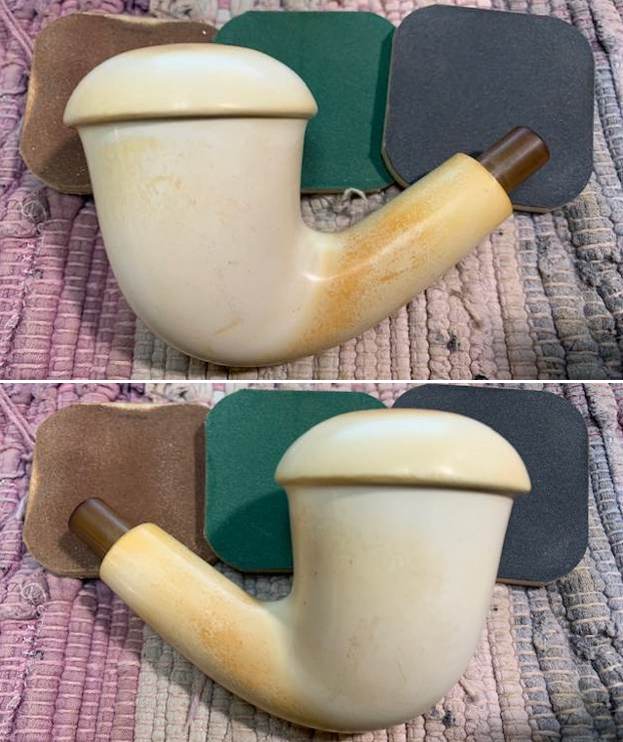
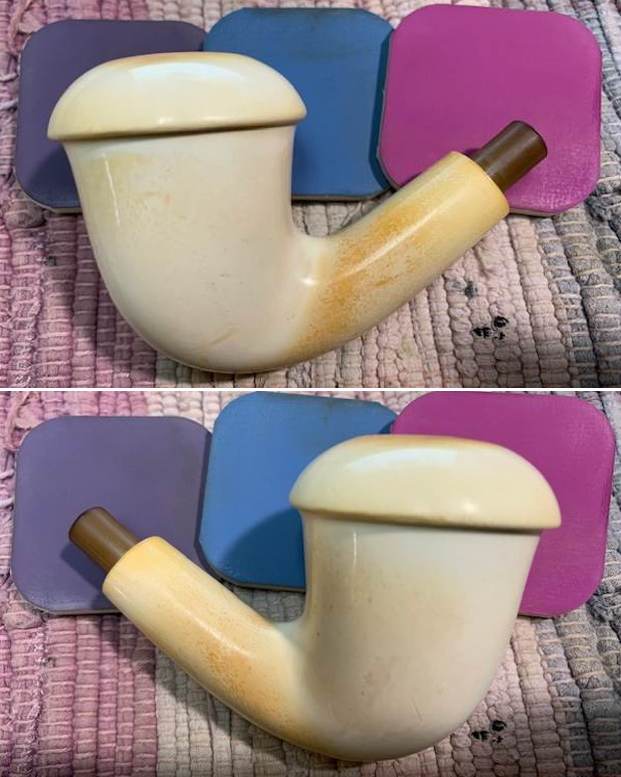
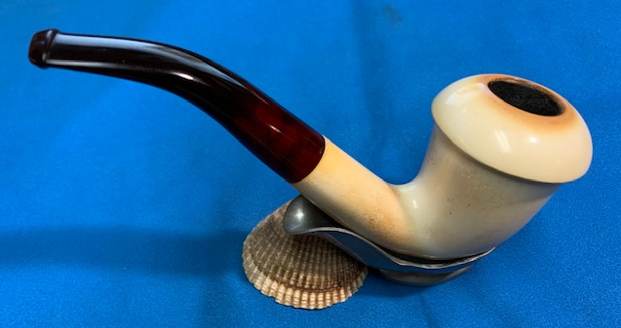
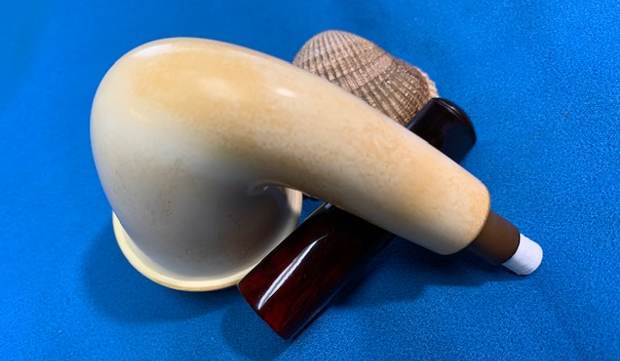
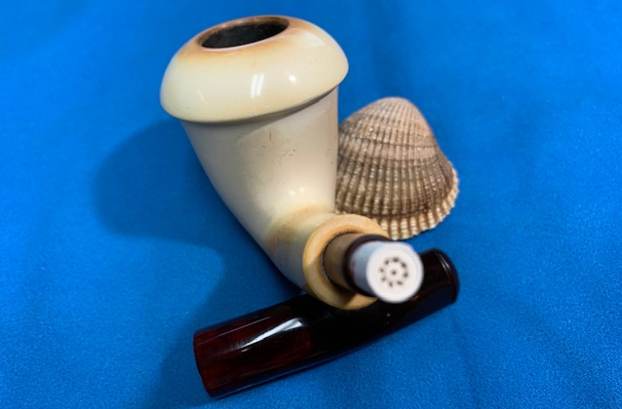
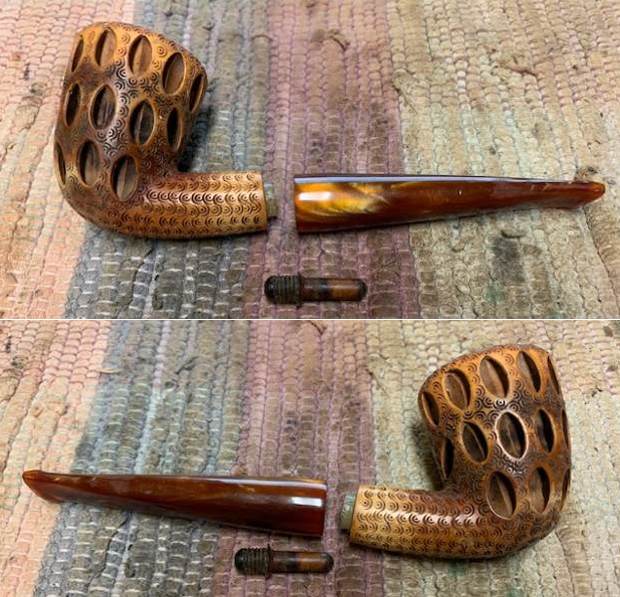
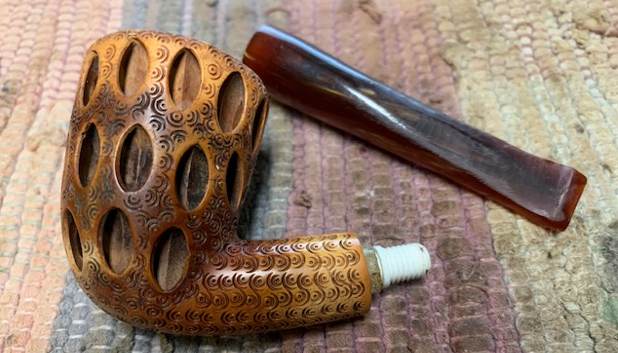
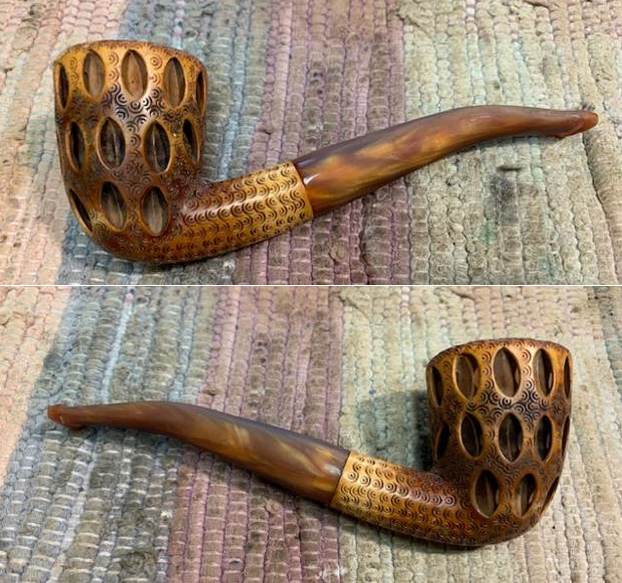
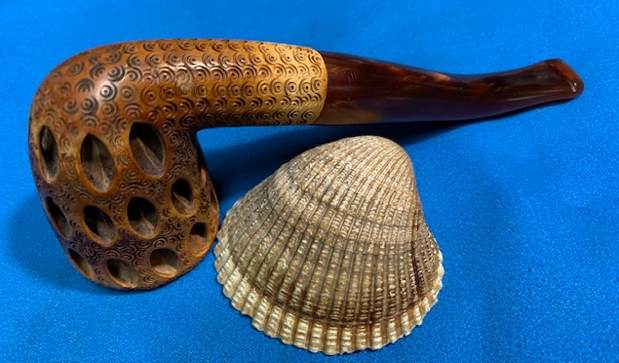
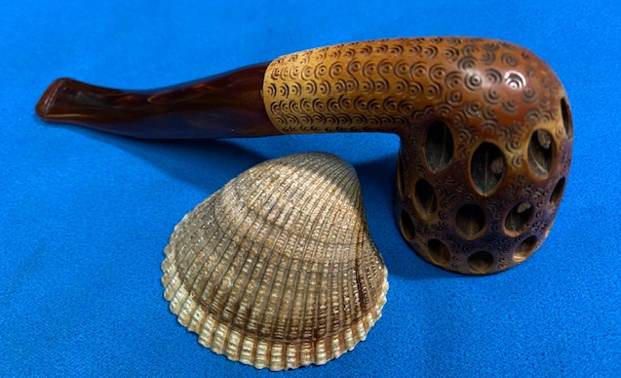
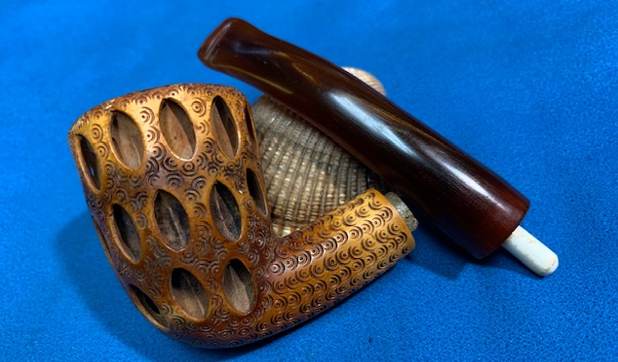
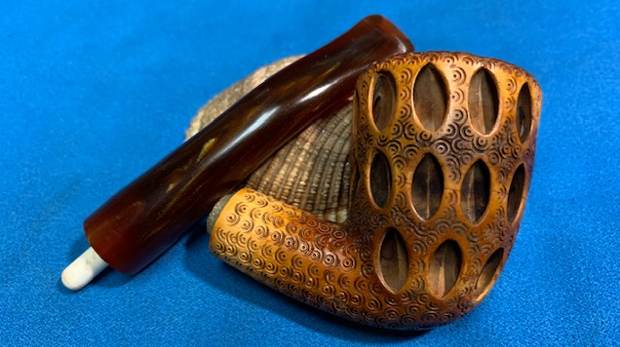
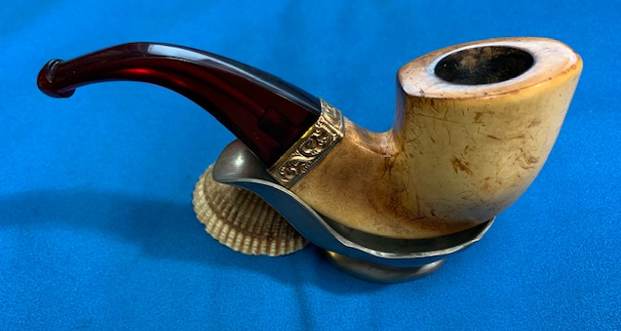
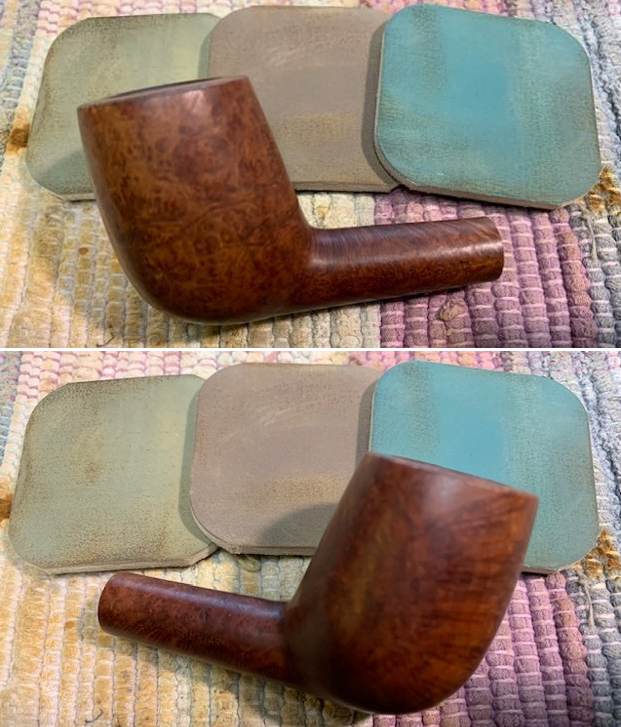
I took some photos of the pipe as I took it out of the box. Here is what I saw. I could see that Jeff had cleaned it well. The bowl had been reamed with a PipNet reamer and Savinelli Fitsall Pipe Knife. He had scrubbed the exterior with undiluted Murphy’s Oil Soap. He rinsed it with warm water. He cleaned out the internals with alcohol, cotton swabs and pipe cleaners. The stem was twisted and tweaked to the right as can be seen in the photos of the top and underside of the pipe. The grain on the bowl is quite nice with just a few small fills that are solid and well blended in with the surrounding briar. I took photos of the pipe before I started my work on it.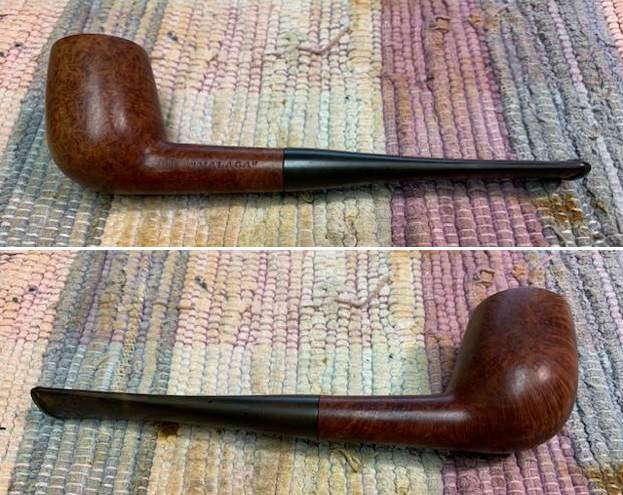
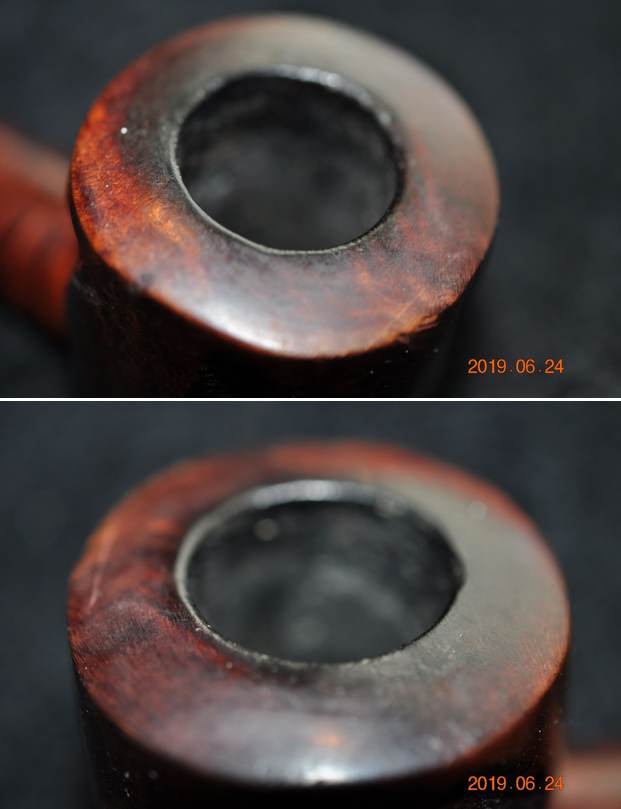
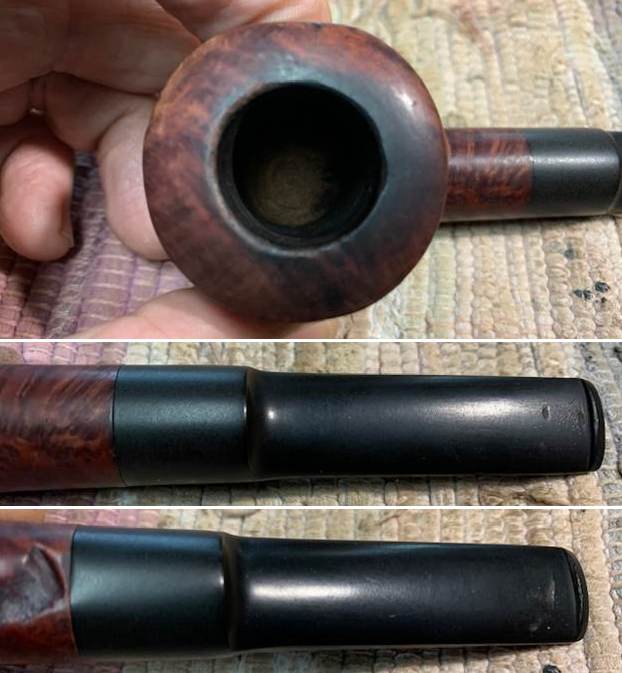
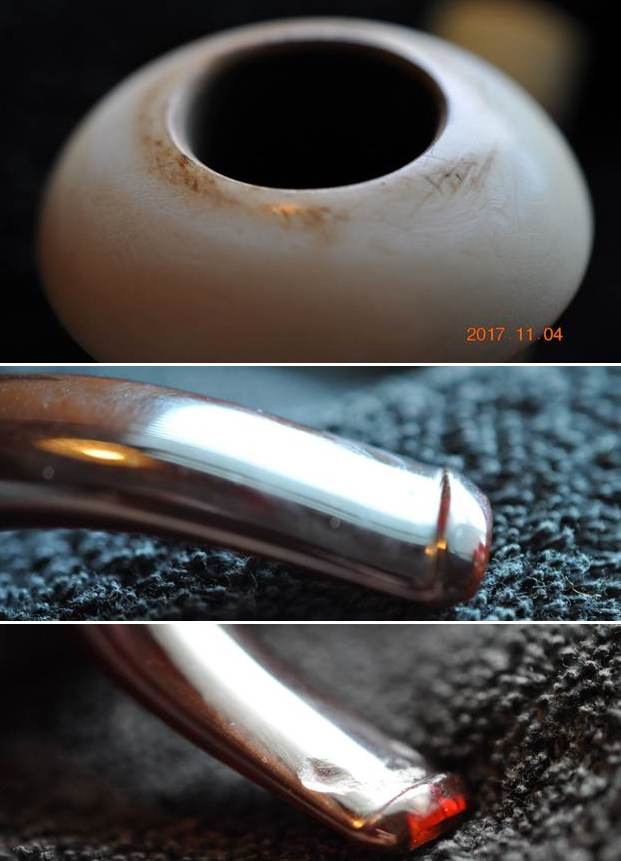
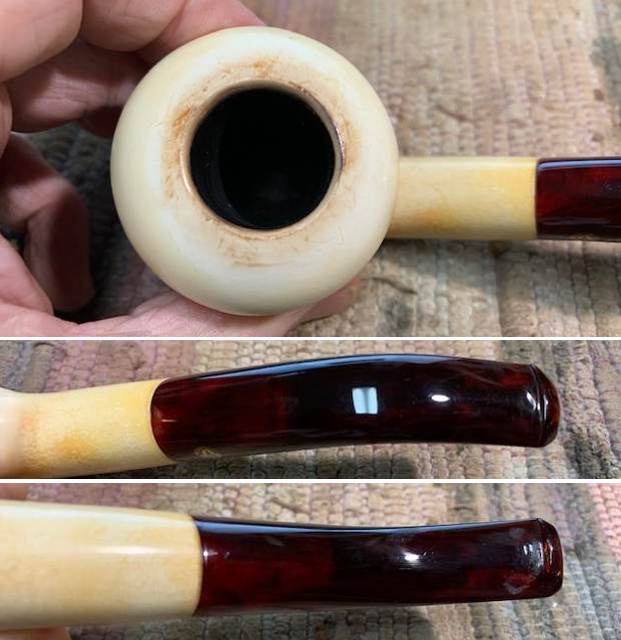
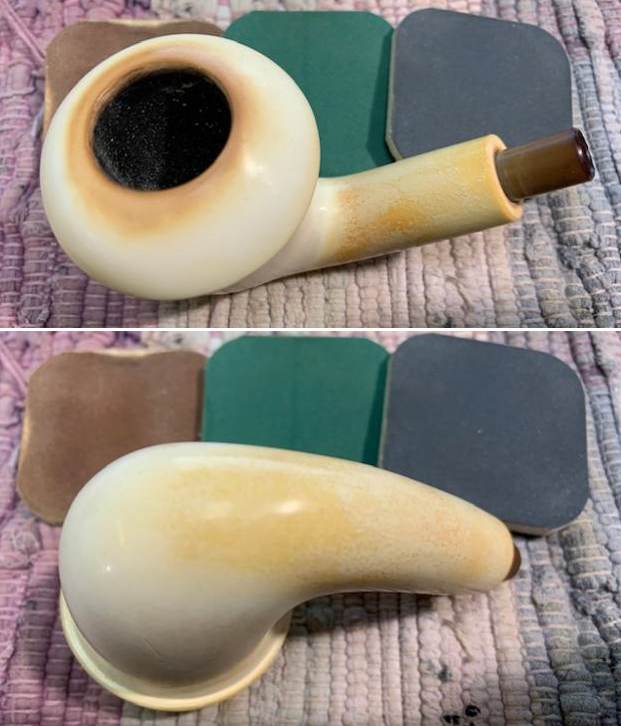
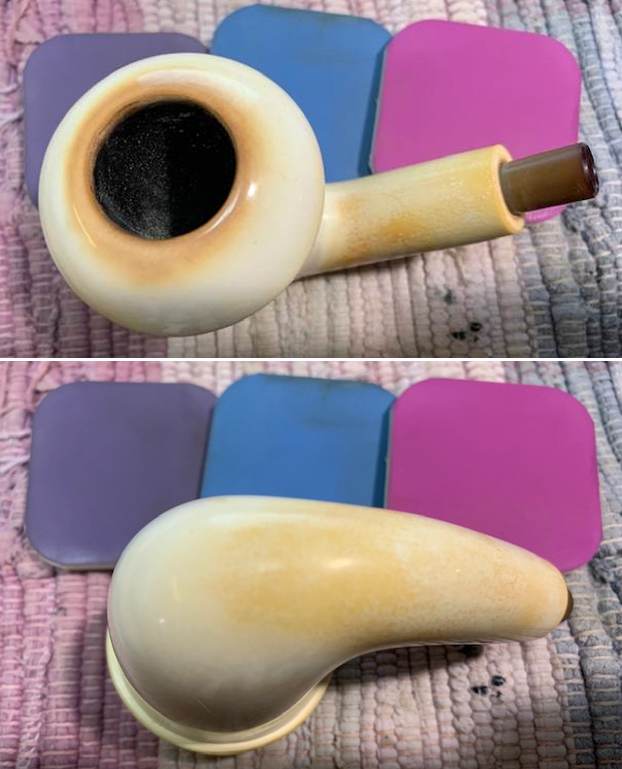
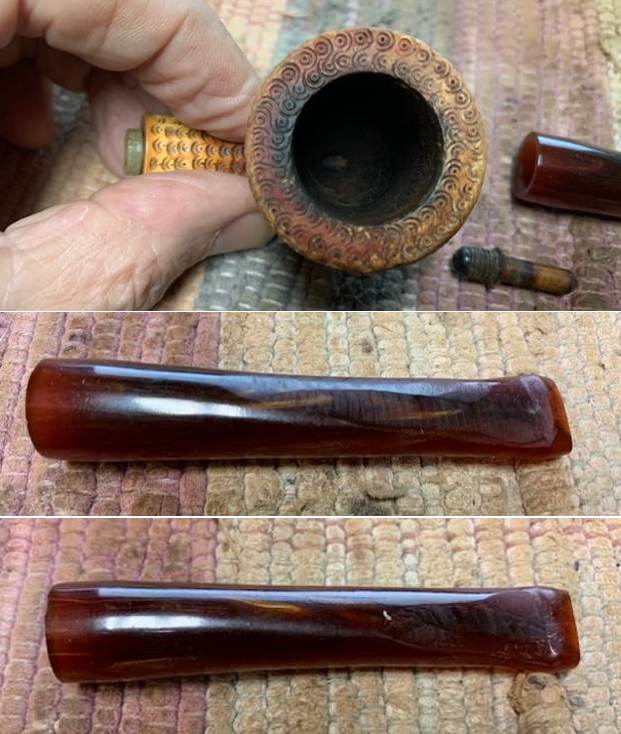
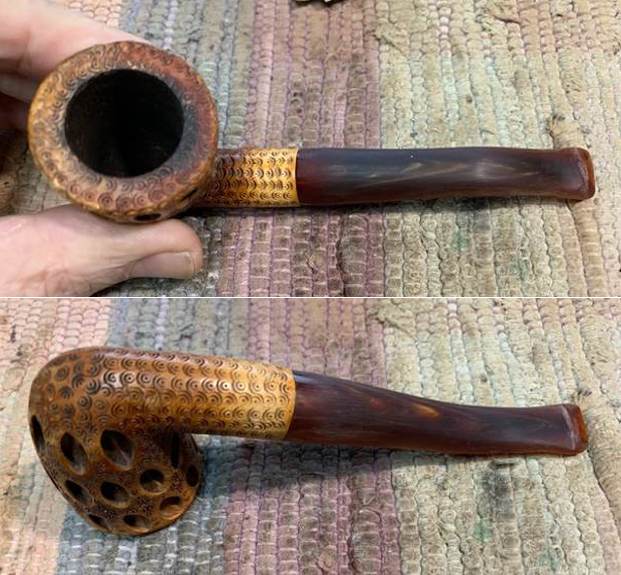
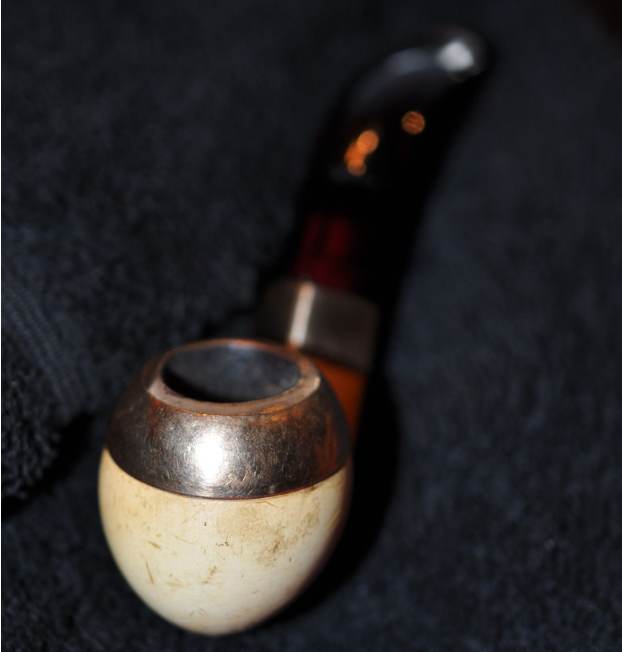
 The rim top had cleaned up very well and you can see the damage to the inner edge of the bowl at the back as well as some darkening on the rim top and outer edges. The stem cleaned up well but the tooth damage is quite deep and messy.
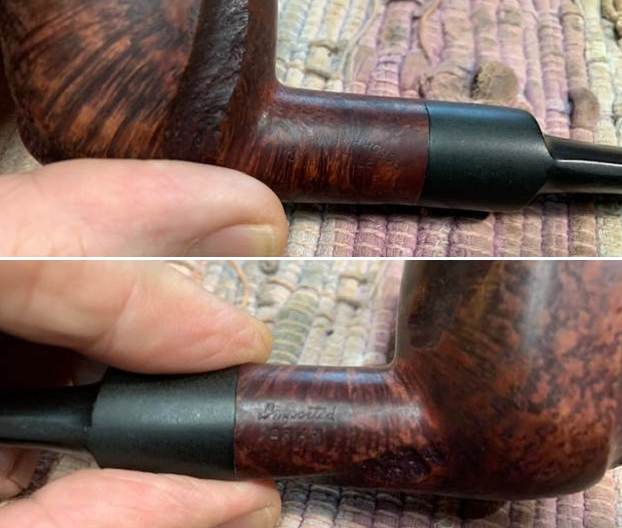
 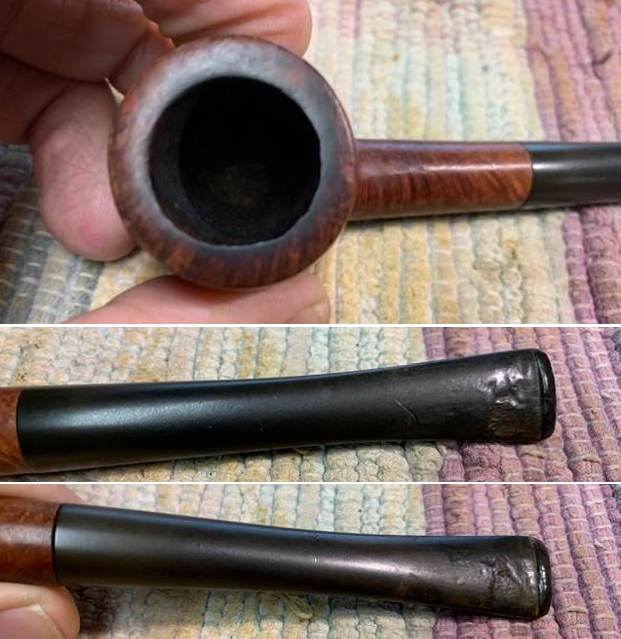 I took photos of the stamping on the sides of the shank and heel of the bowl. The stamping is clear and readable as noted above.
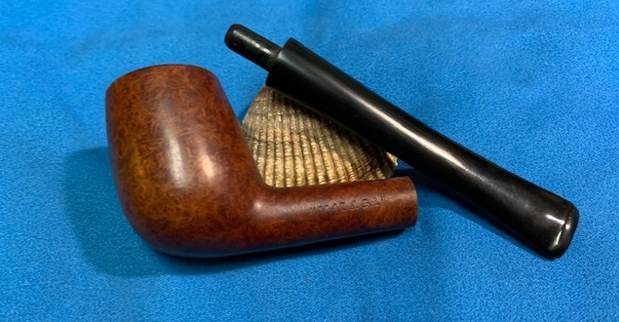
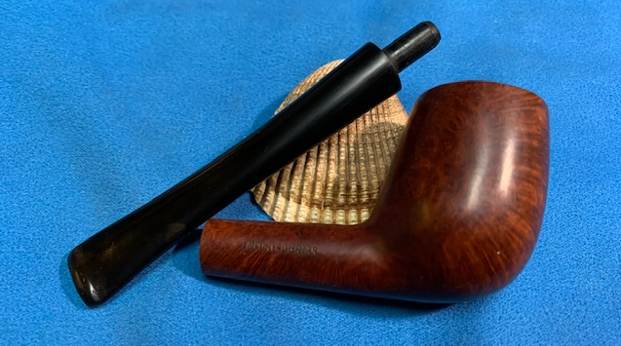
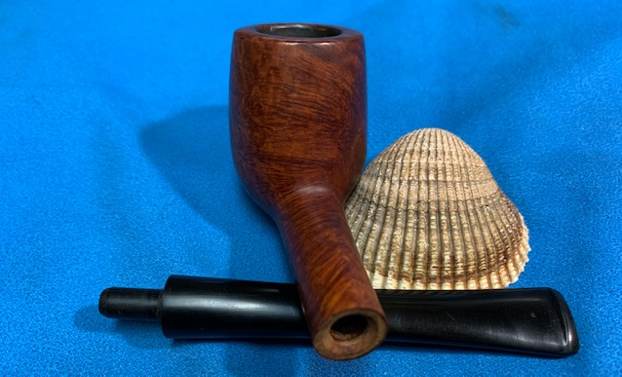
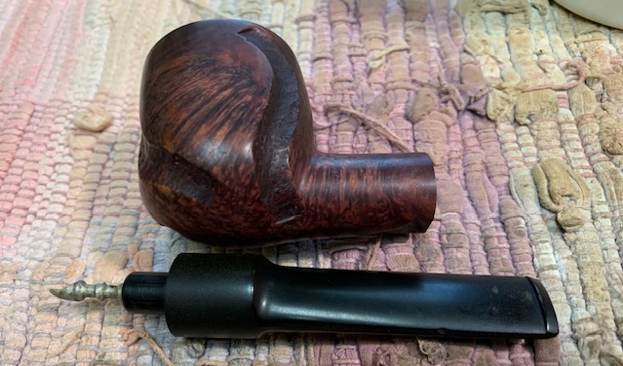
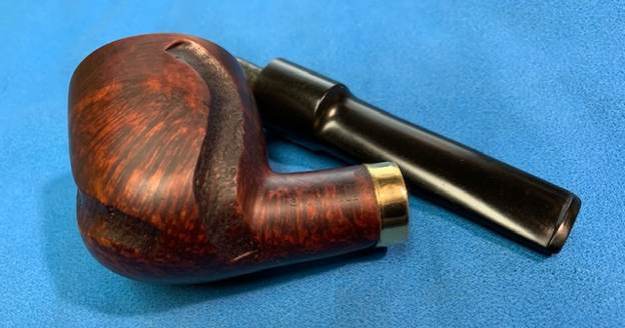
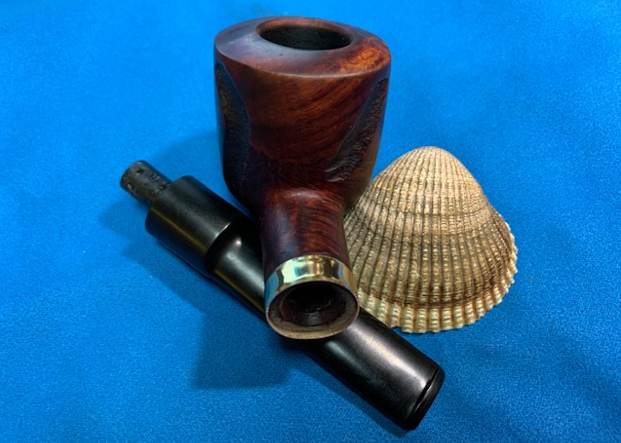
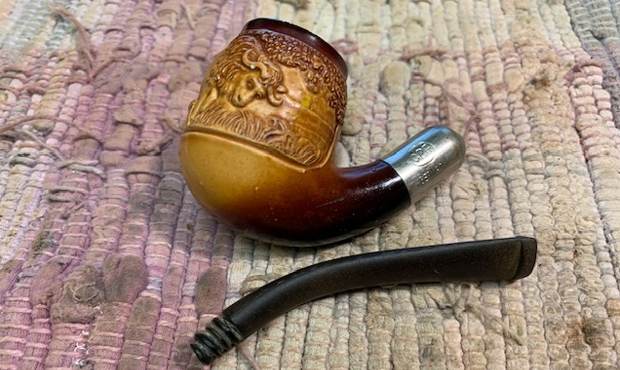
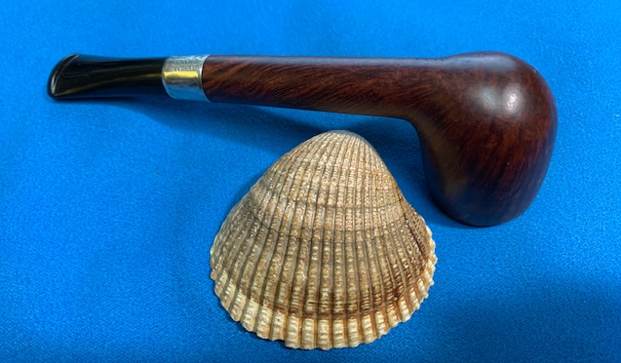
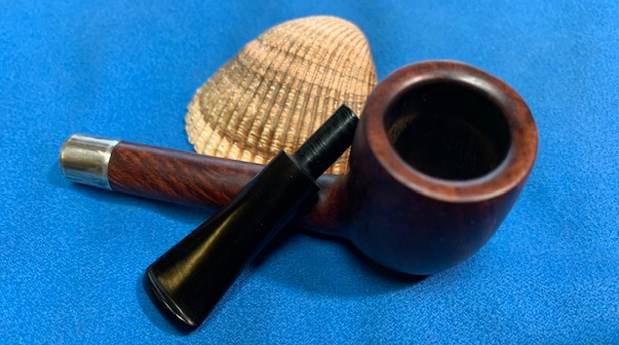
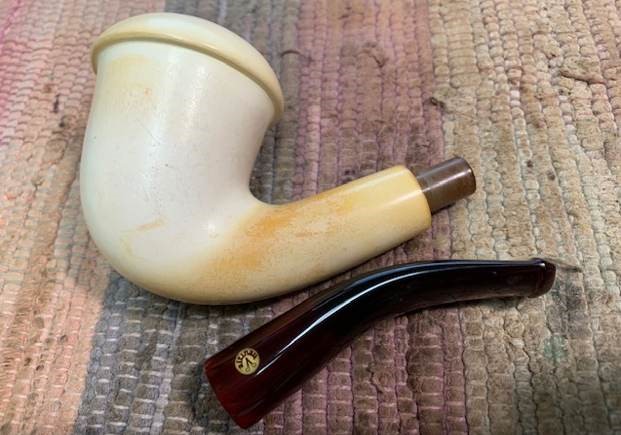
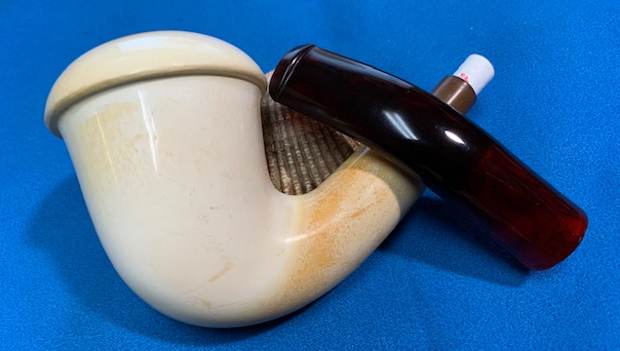
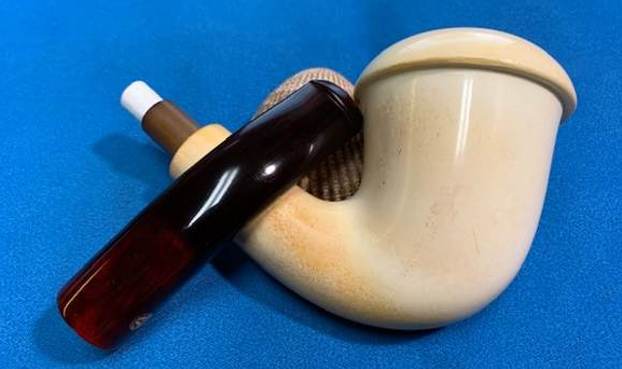
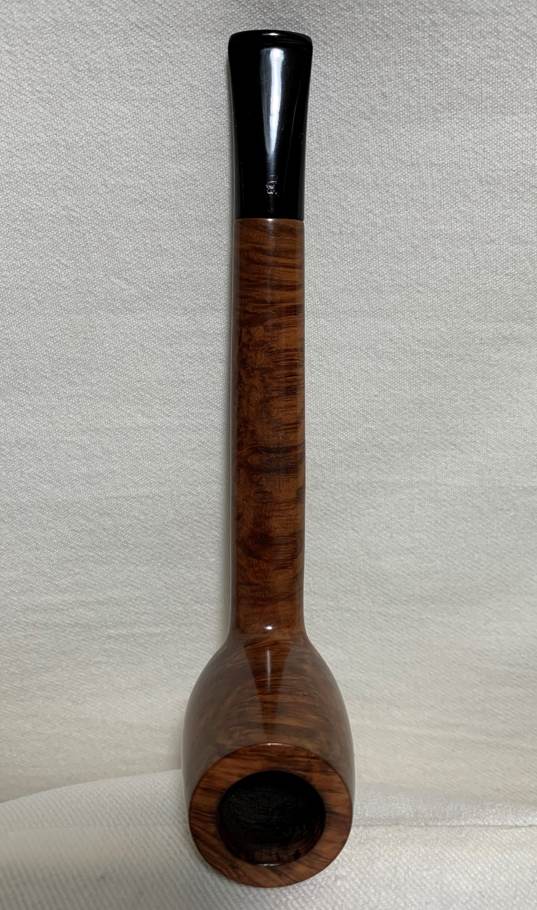
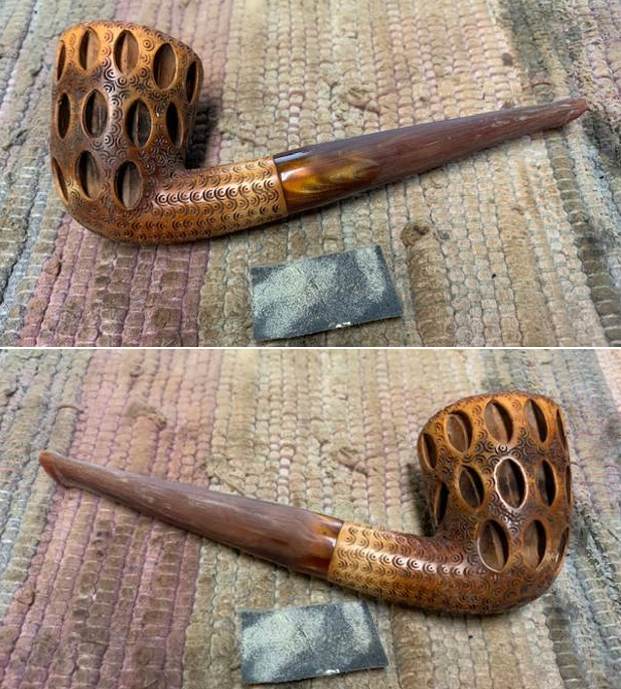
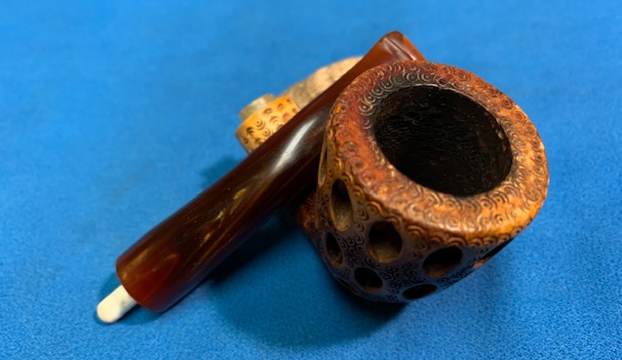
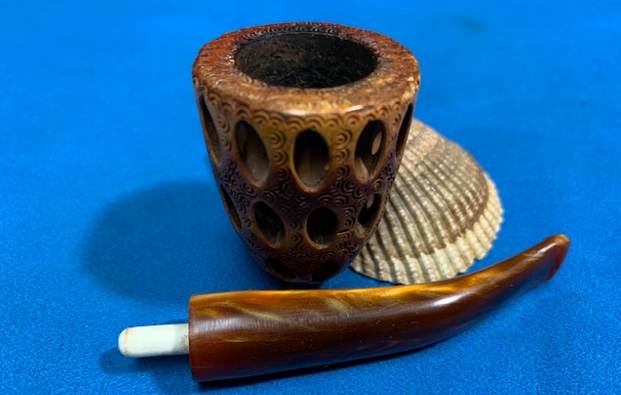
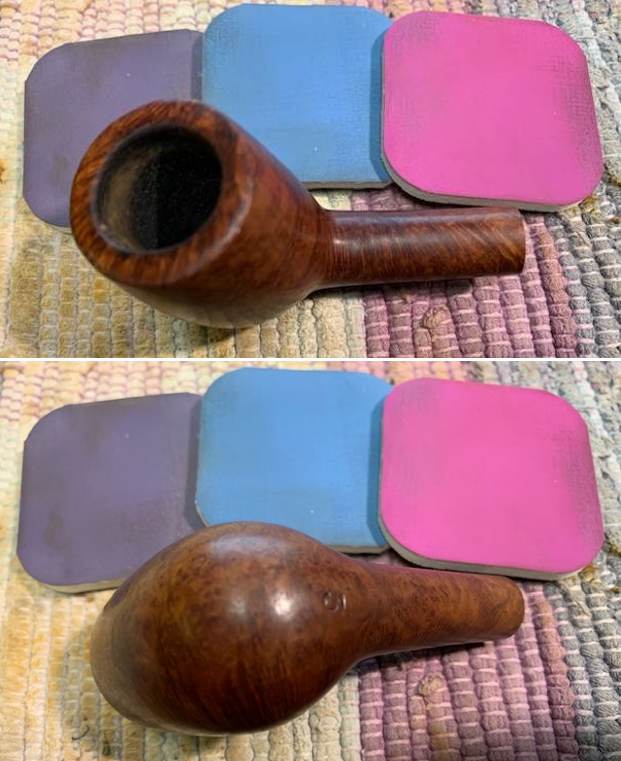
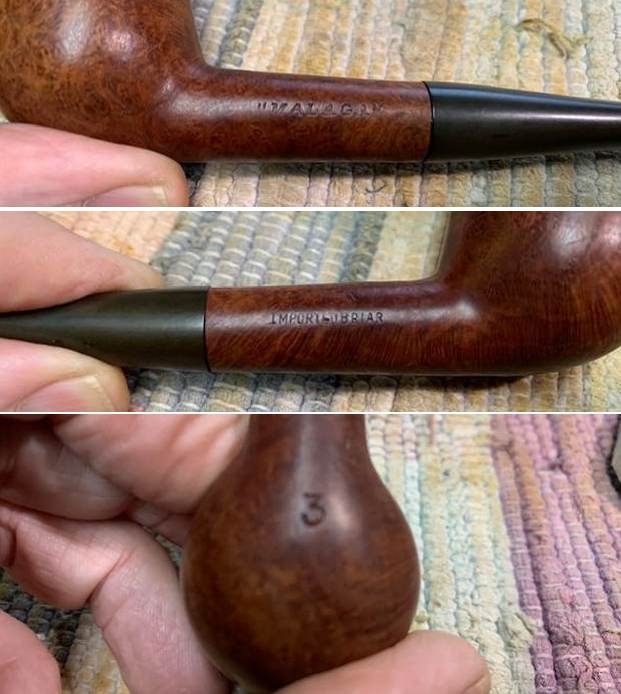 I took the stem off the shank and took a photo of the pipe. I really like the look of the Cutty shape and the grain on the bowl. It is a beauty. The stem will look good once it has gone through some surgery on the diameter and the shank and the chomping on the button end.
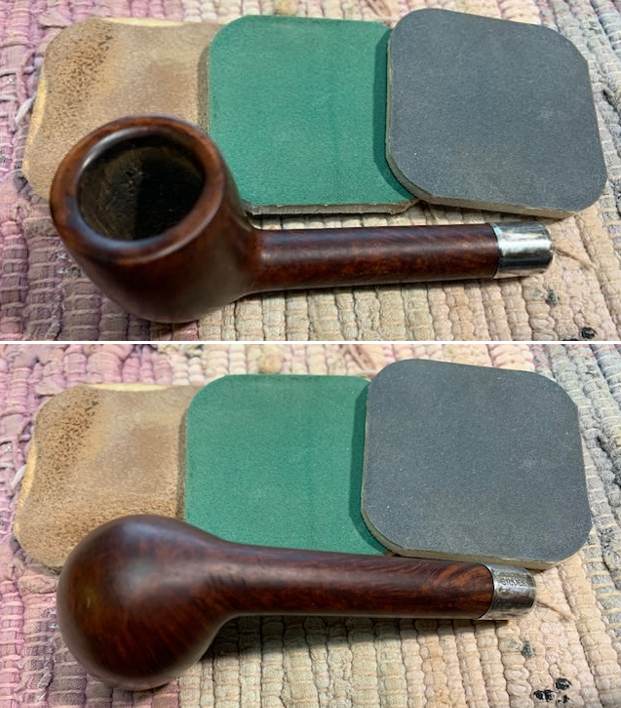
 I started my work on the pipe by cleaning up the damaged inner edge and top of the rim with a folded piece of 220 sandpaper. Once it was finished it definitely is an improvement.
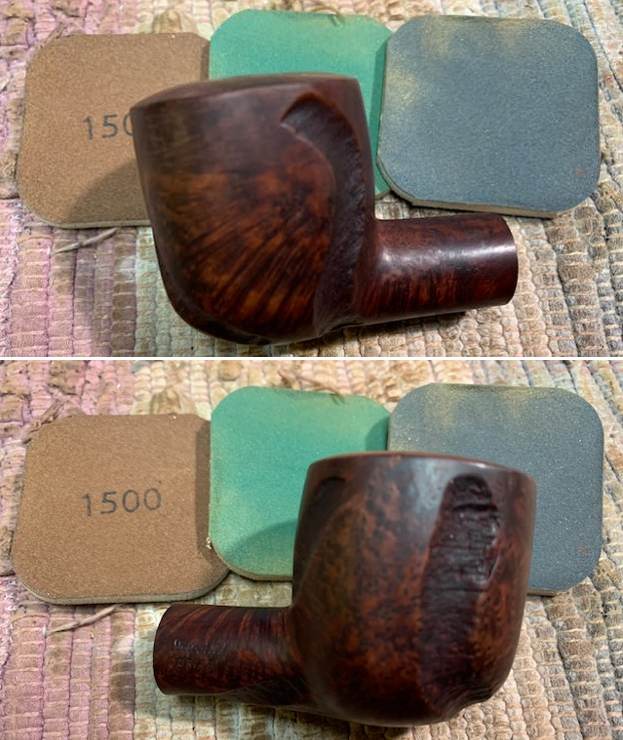
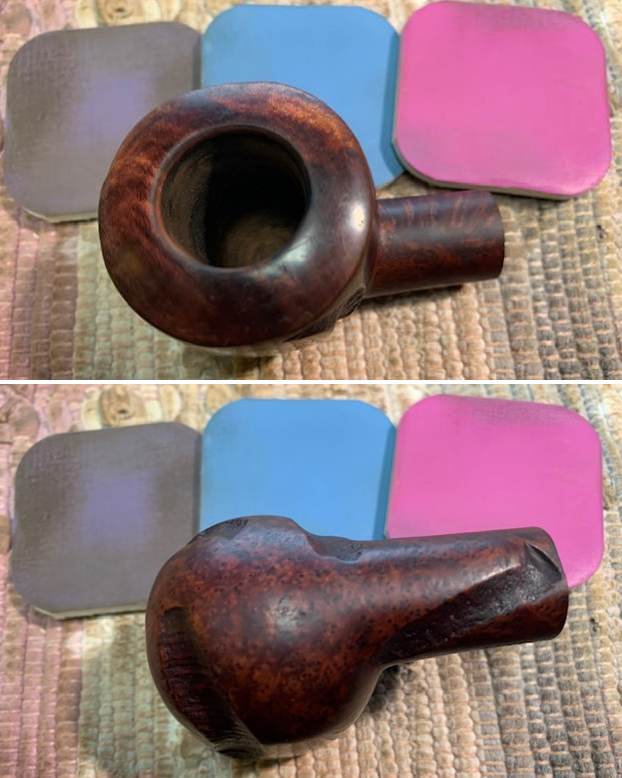
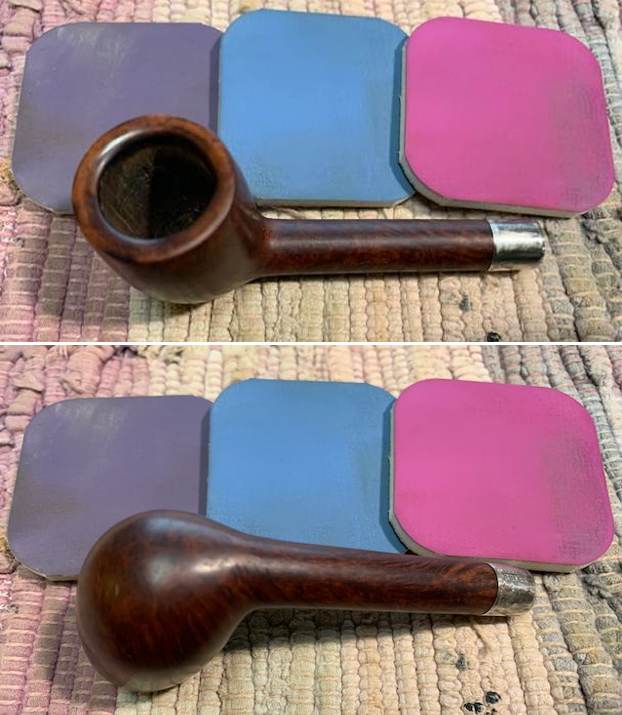
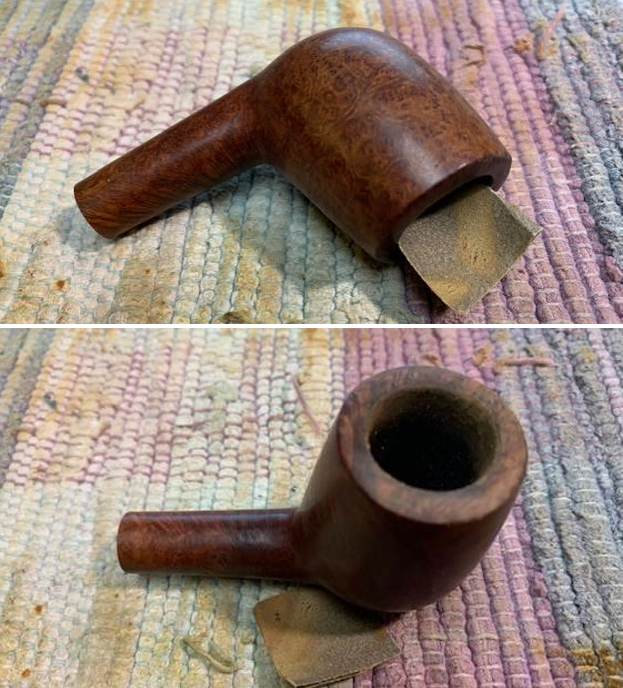 I polished the bowl and rim top with micromesh sanding pads – dry sanding with 1500-12000 grit pads and wiped down the bowl after each sanding pad.


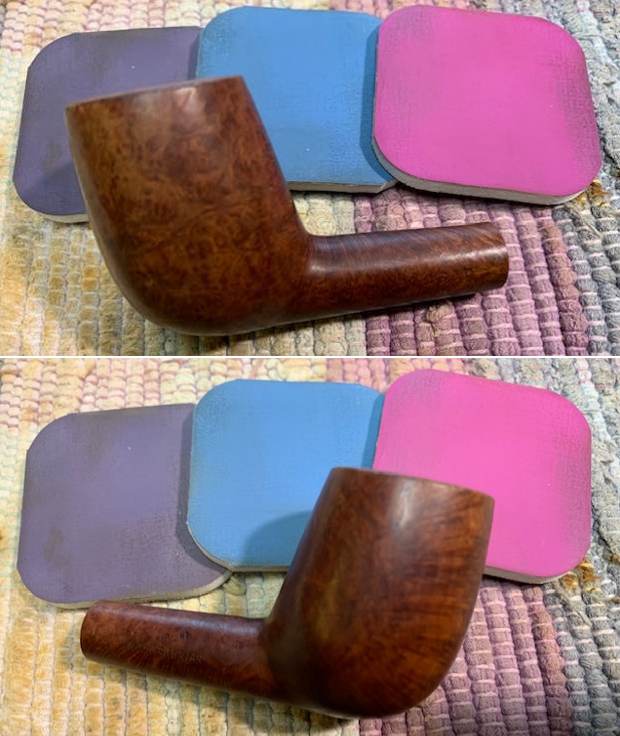
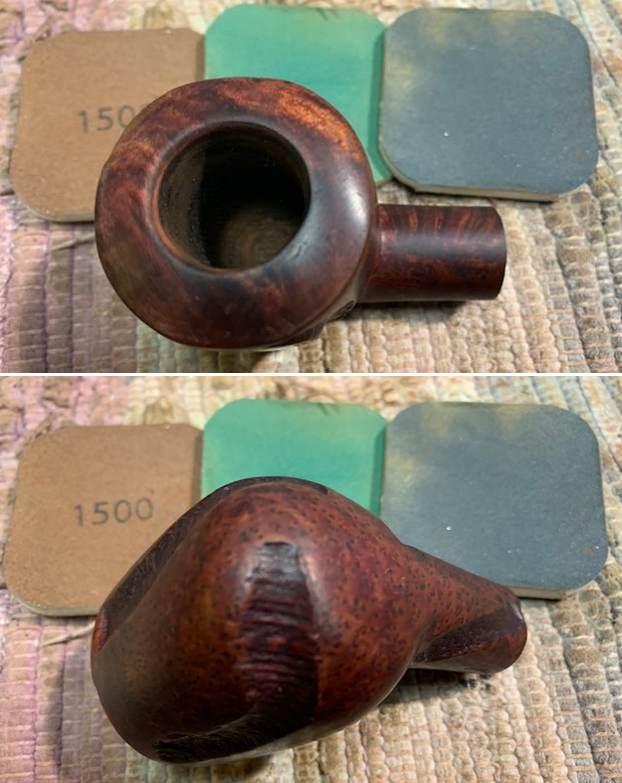
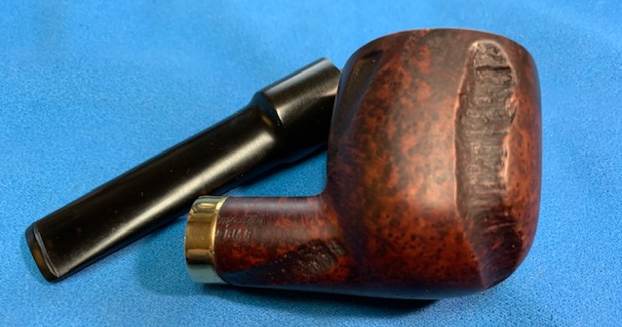
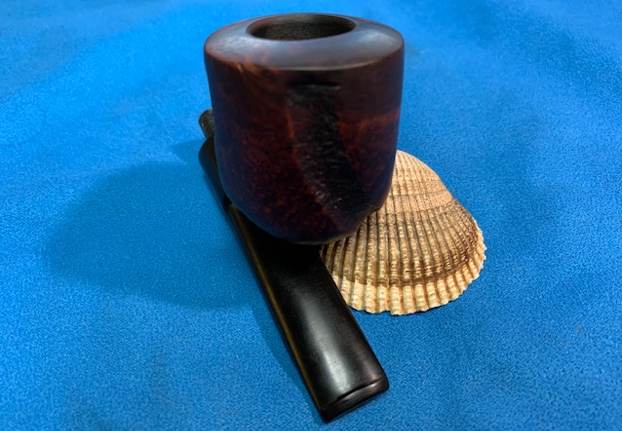
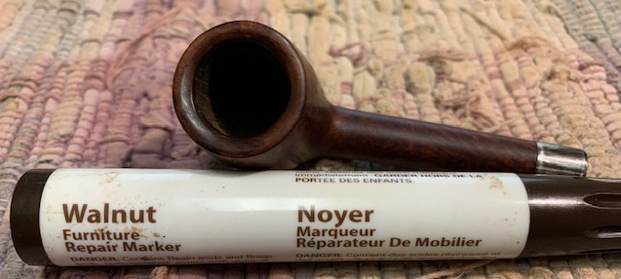
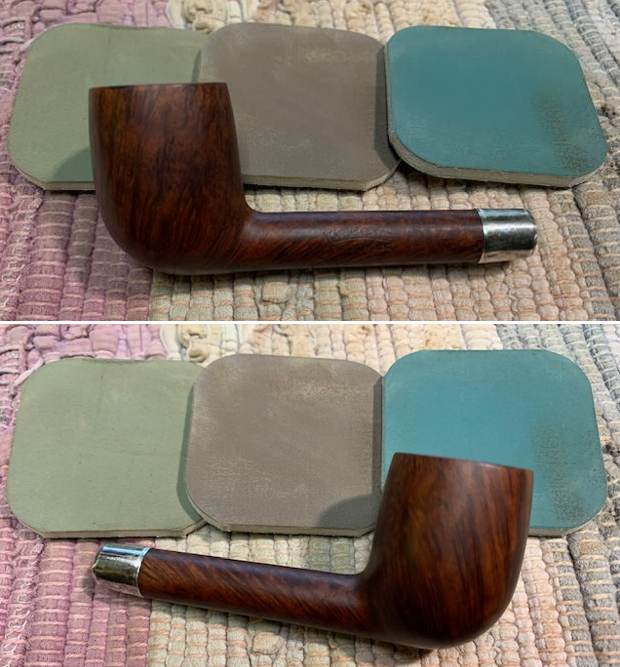
 I rubbed the bowl and shank down with Before & After Restoration Balm. I worked it into the surface of the bowl sides and shank with my fingertips to clean, enliven and protect the briar. I let the balm sit for a little while and then buffed with a cotton cloth to raise the shine. The Balm did its magic and the grain stood out.
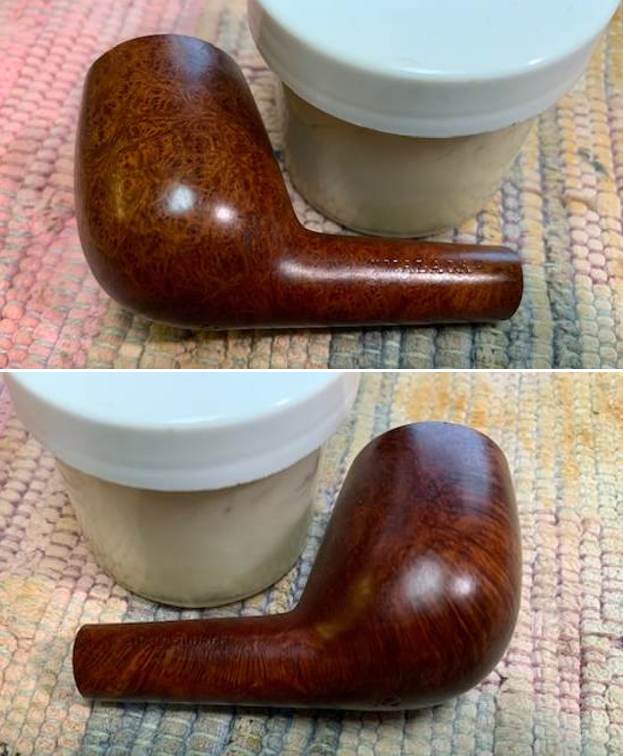
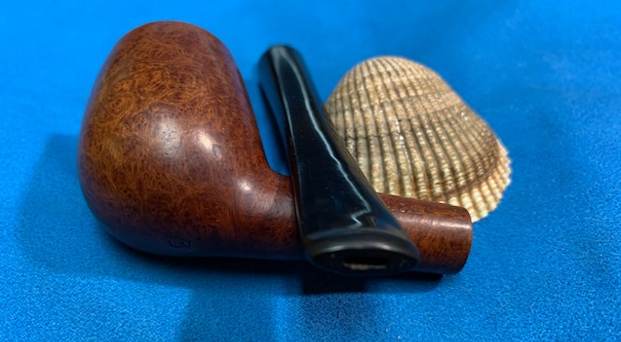
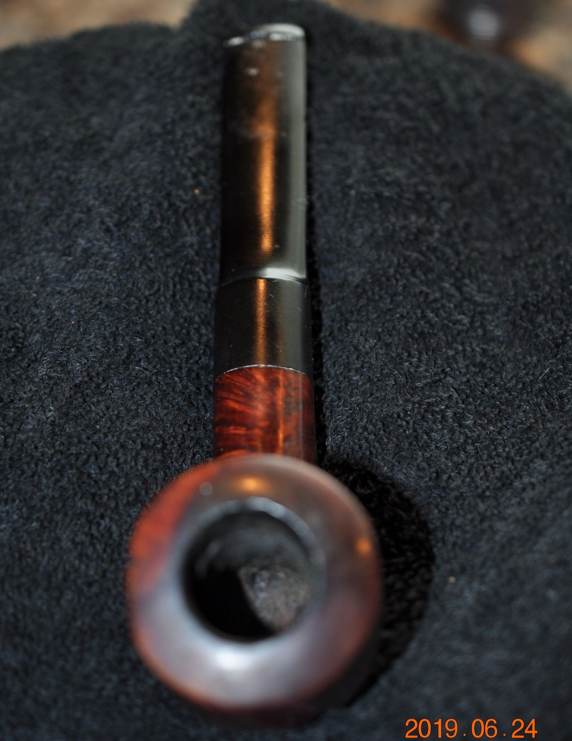
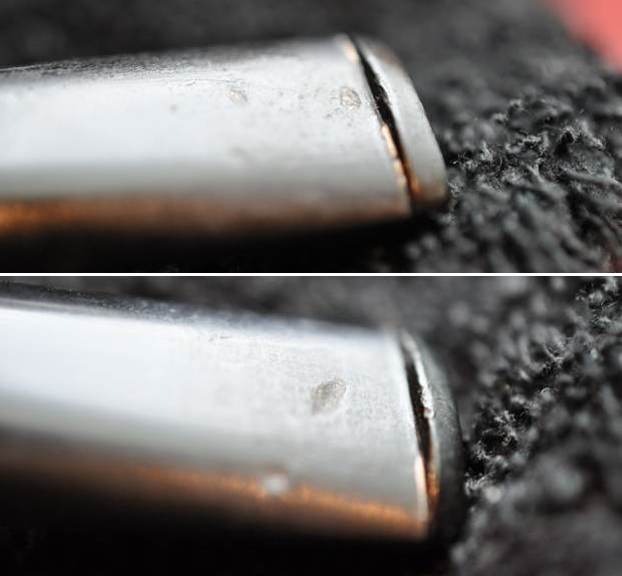
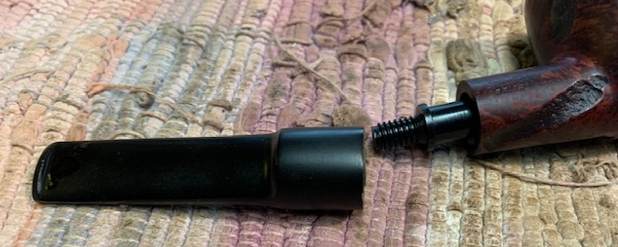
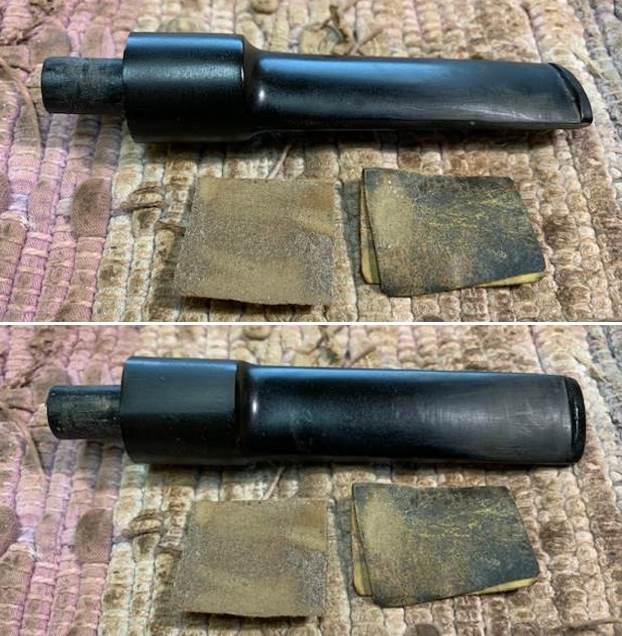
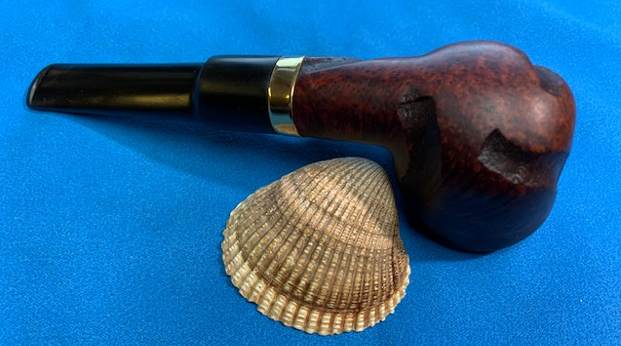
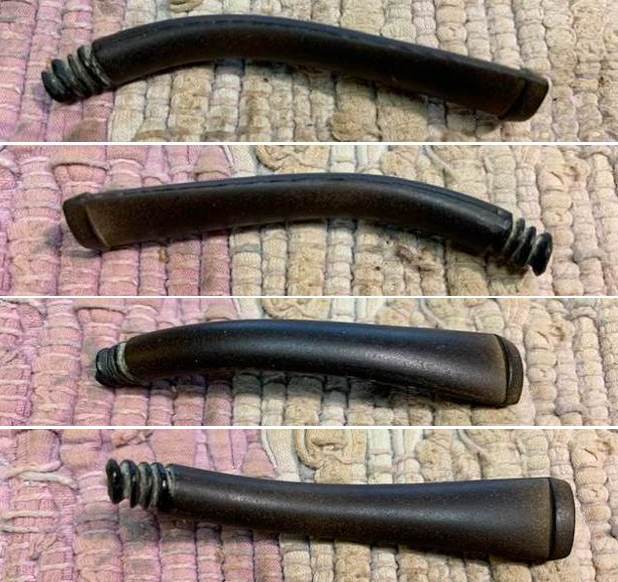
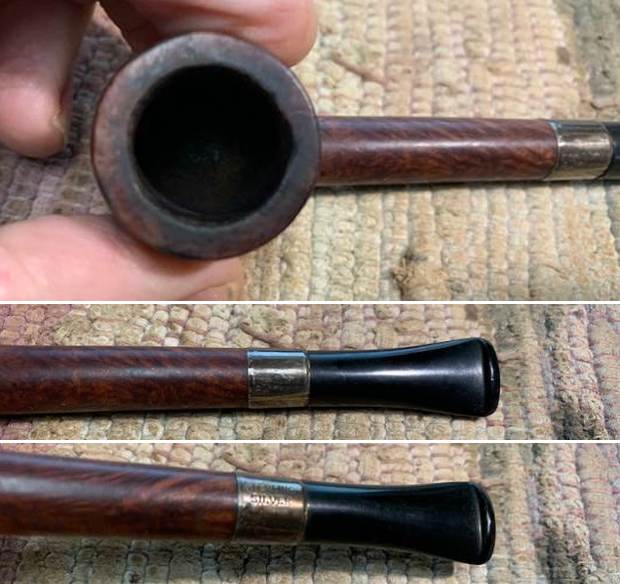
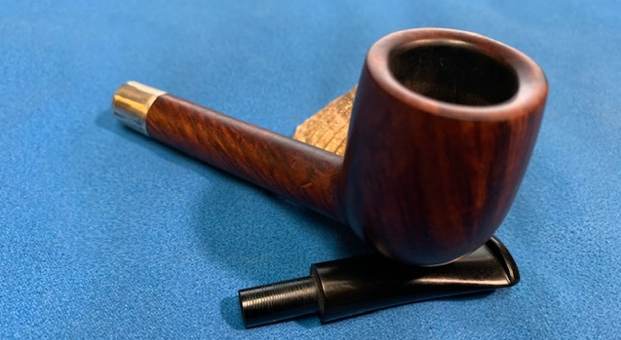
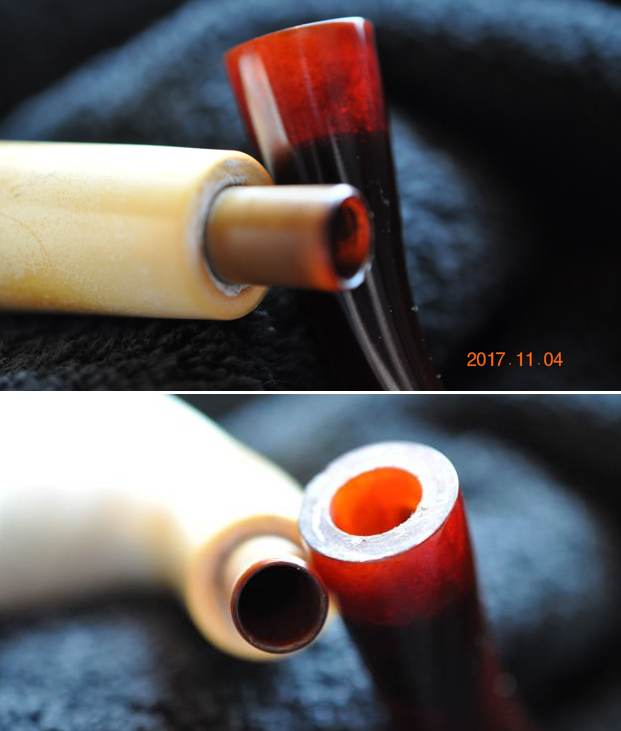
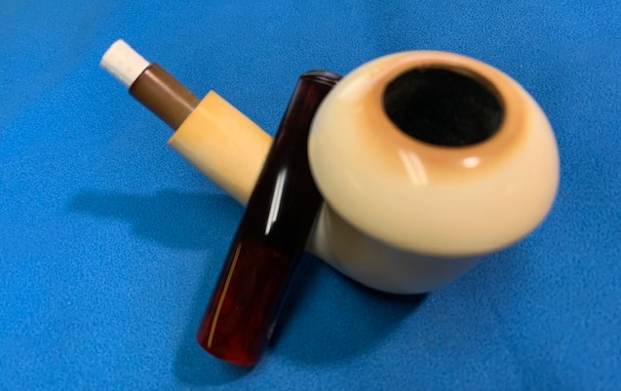
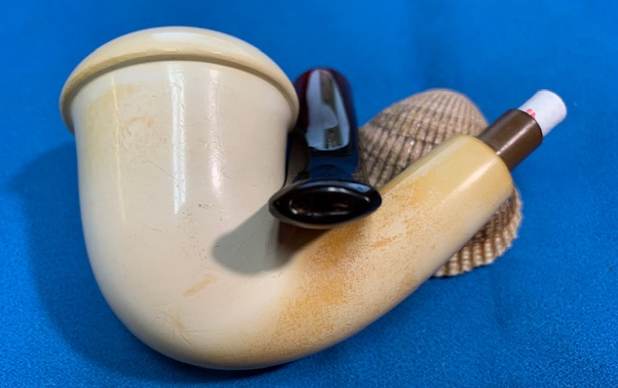
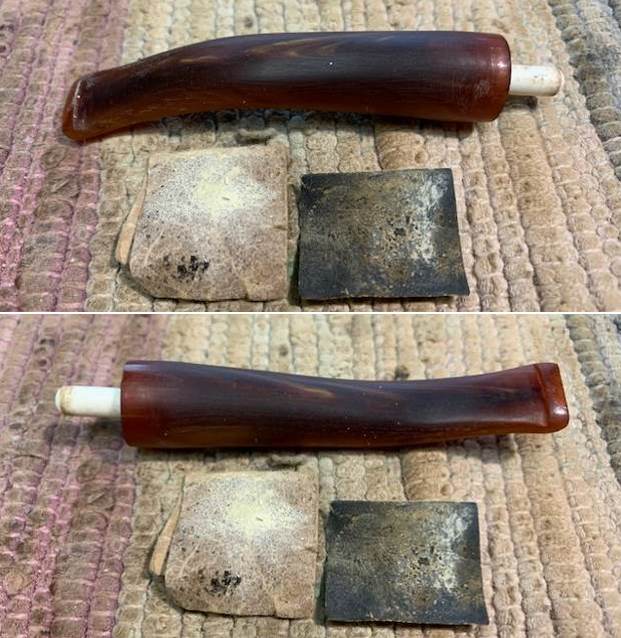
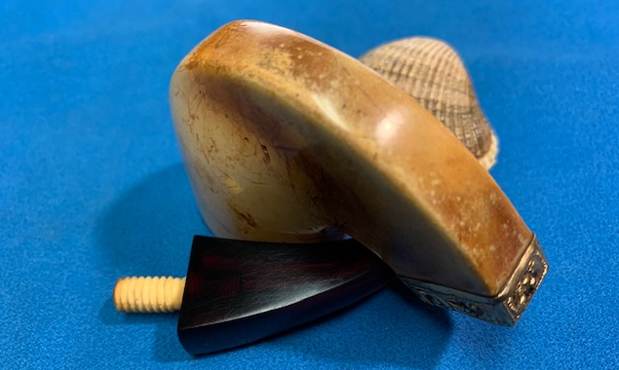
 I set the bowl aside and turned my attention to the stem. I decided to address the fit of the stem to the shank. They were significantly different in diameter. I wanted to address that first while at the same time dealing with the deep tooth marks. I took photos of the fit of the stem to the shank. I think you can see the variation in diameter in the photos. The stem is bigger on the top an don the right side. If I turn it over it is the reverse but the fit is better against the shank face in the way it is in the photos below.
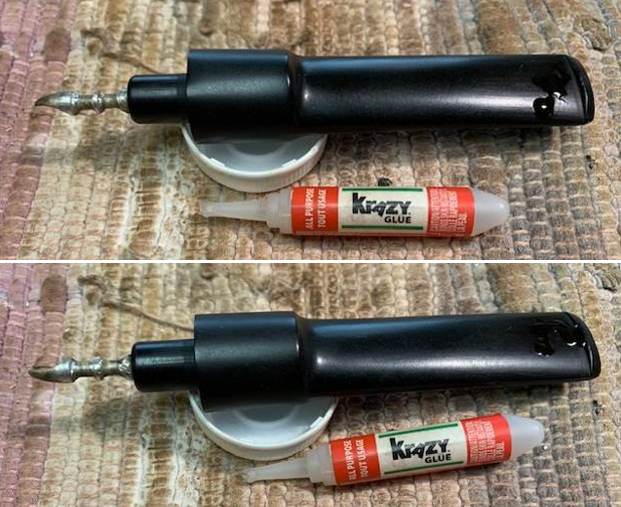
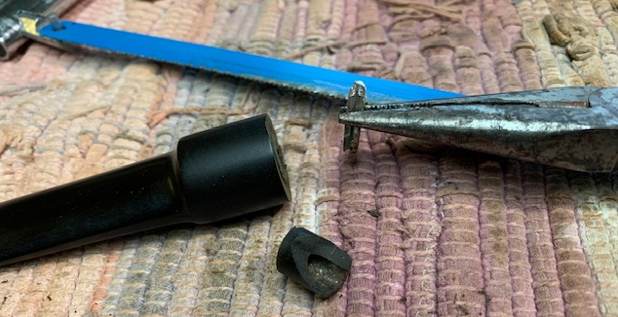
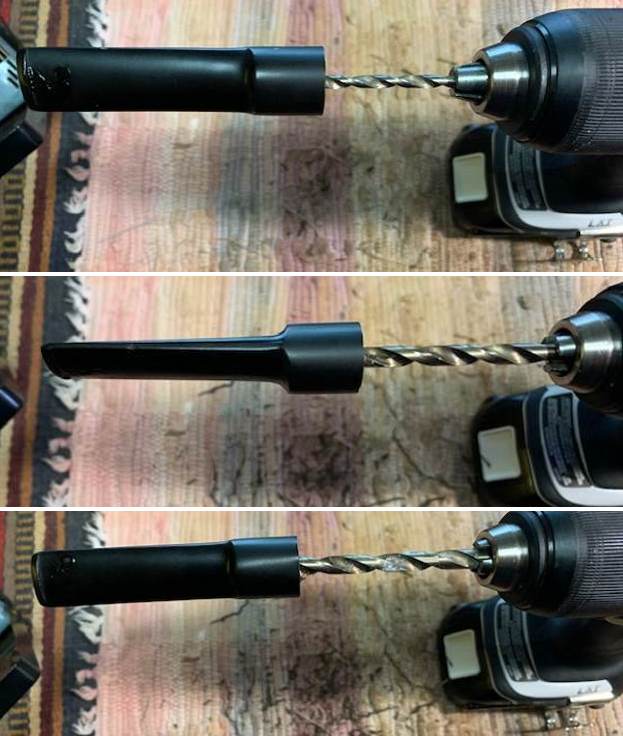
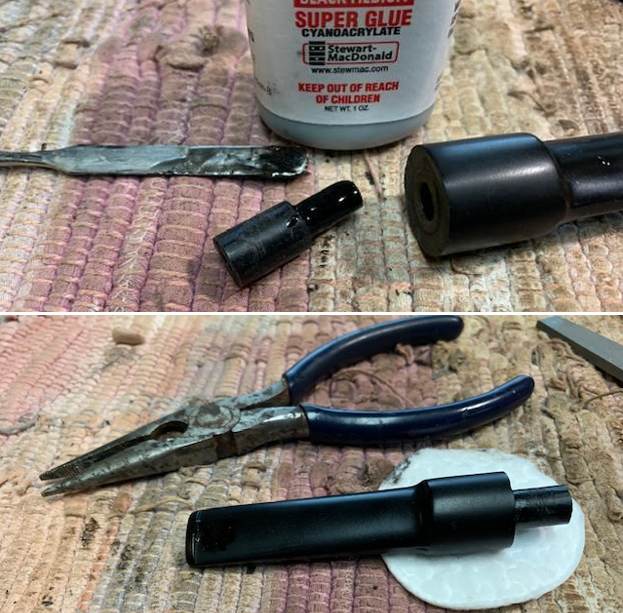
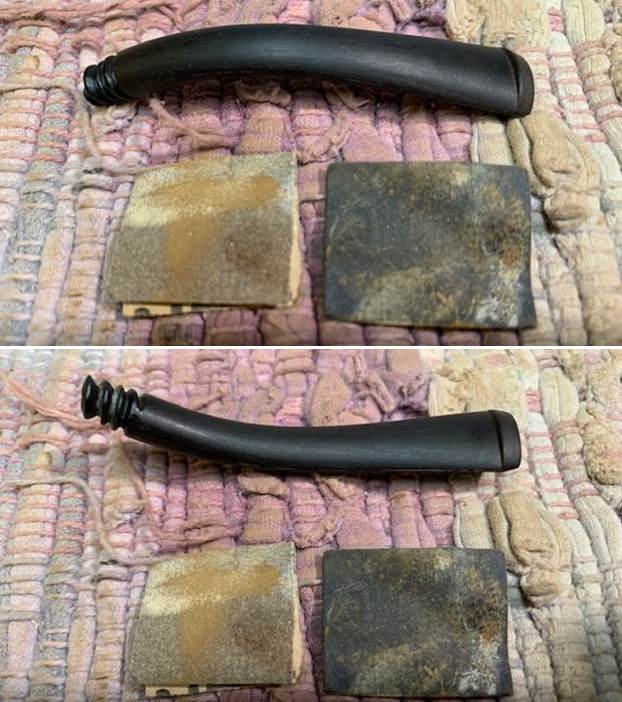
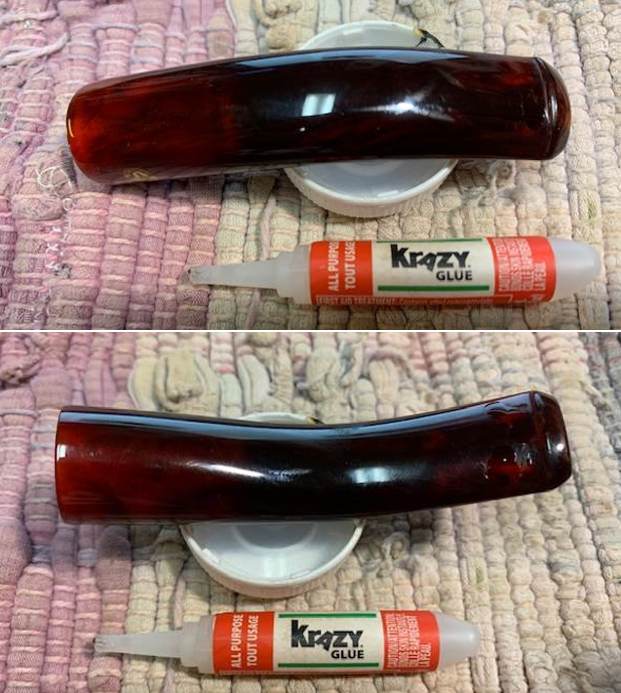
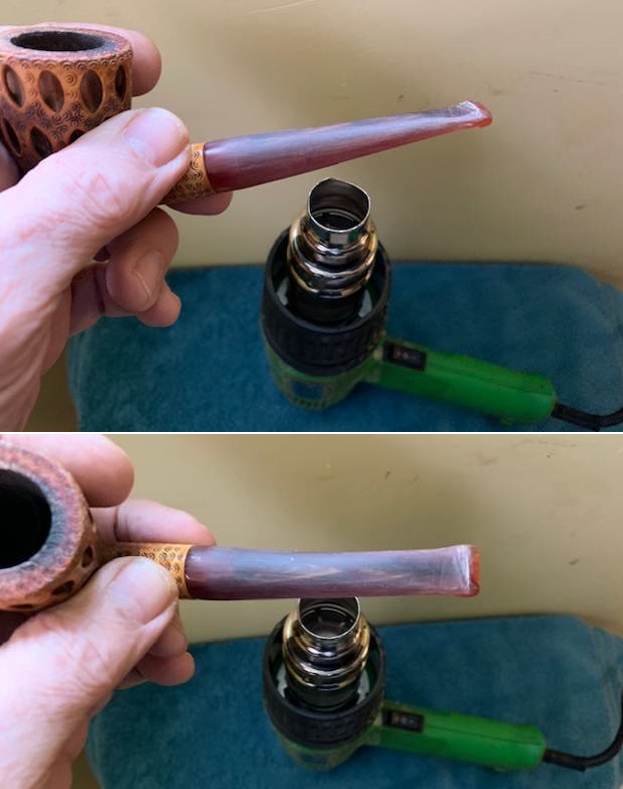
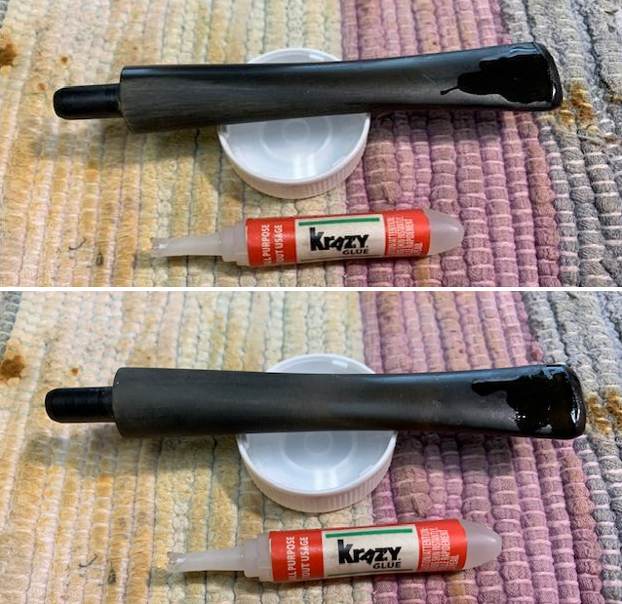
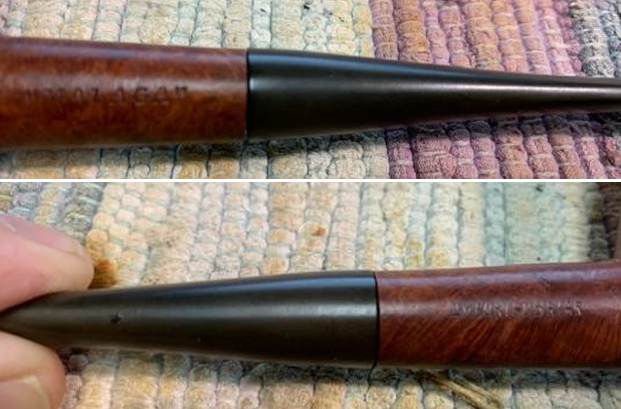 I sanded the shank end of the stem with 220 grit sandpaper to reduce diameter to a close fit. I got I close then decided to deal with the tooth marks on the stem surface so that I could sand the entire stem to shape and it to the shank. I “painted” the tooth marked area with the flame of a lighter and was able to lift many of them significantly. Those that remained I filled in with clear CA glue and set aside to cure.
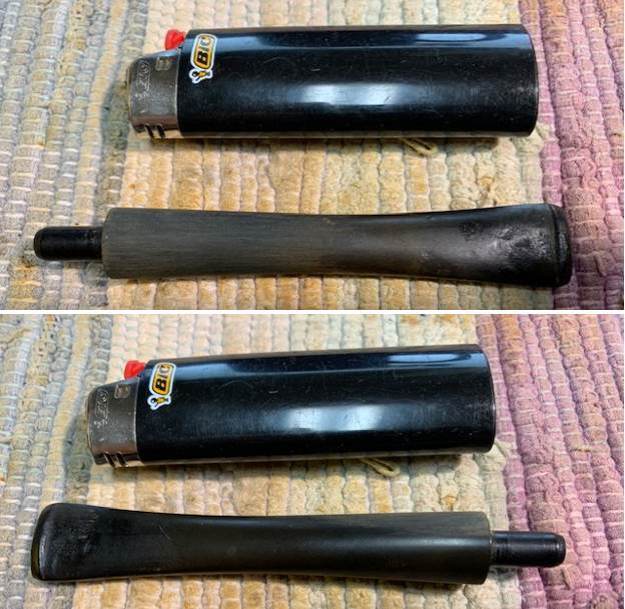
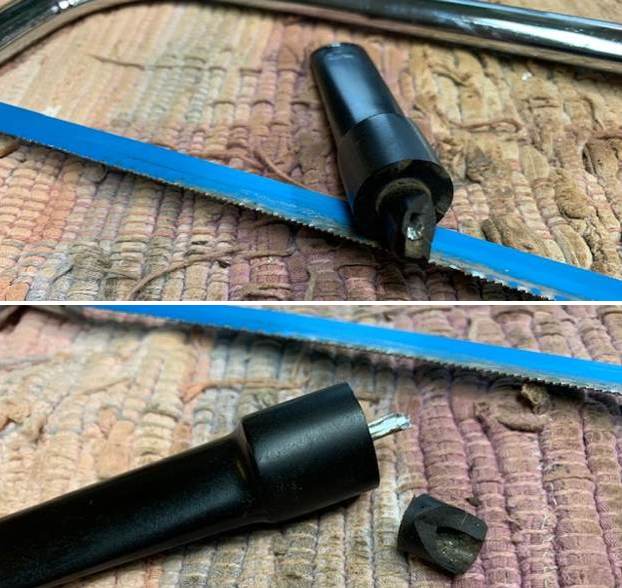
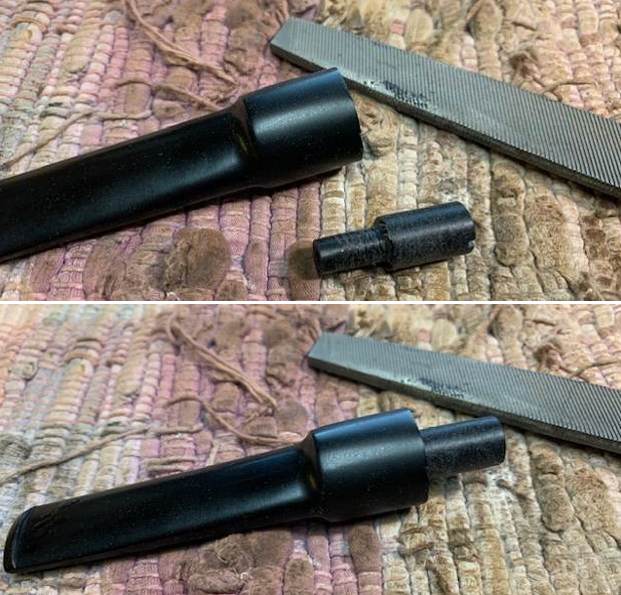
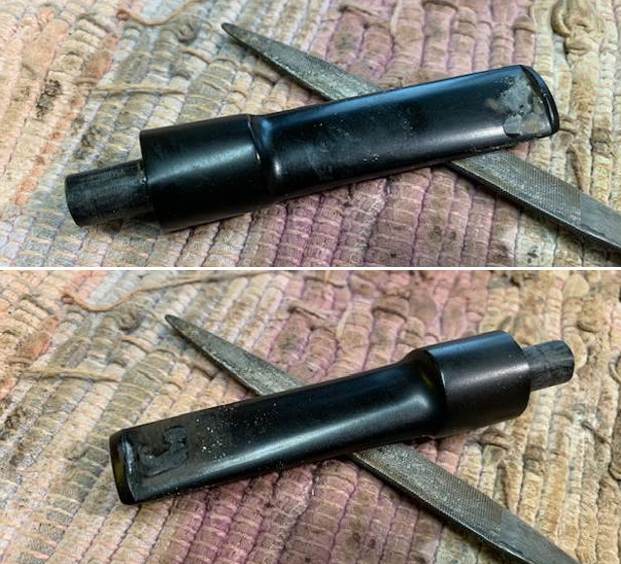
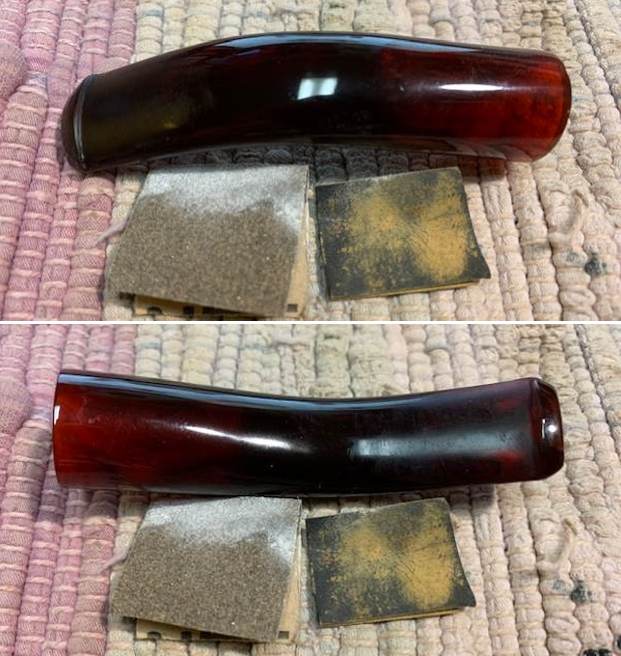
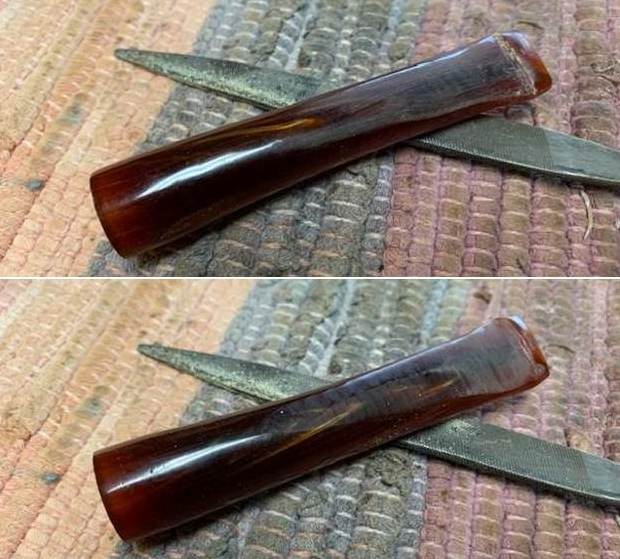
 Once the repair had cured I used a small file to flatten it out and to redefine the button area and edges. It looked much better. I followed that by sanding the repaired area with 220 grit sandpaper to further blend in the repairs to the surrounding vulcanite. I started polishing the stem with 400 grit wet dry sandpaper. With that work down on the button end I could go back to fine tuning the stem to shank fit.
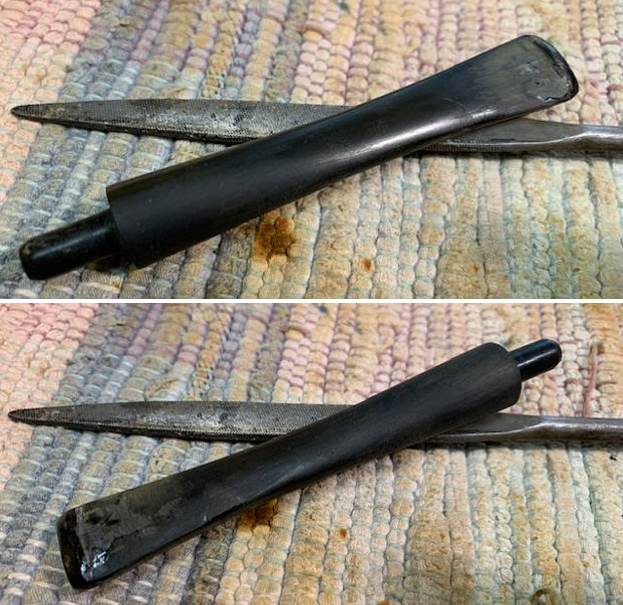
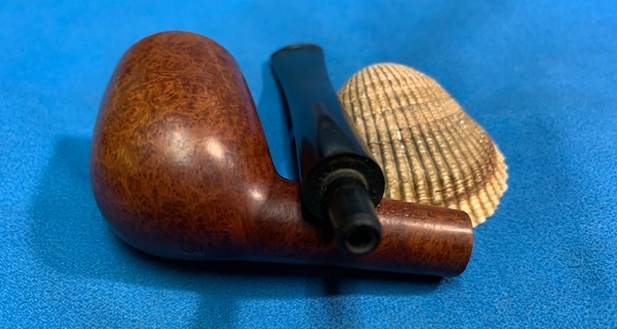
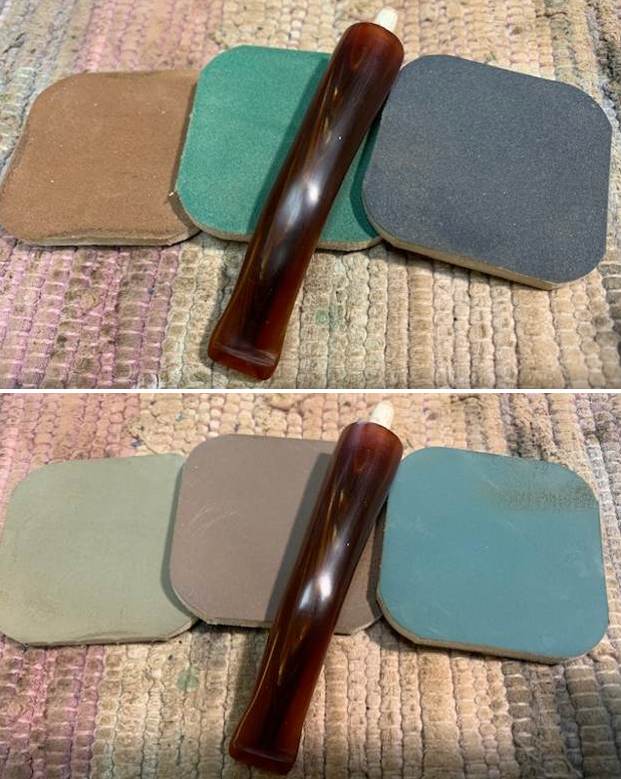
 I went back to fitting the stem to the shank with 220 grit sandpaper and after some more adjustments the fit works well with the shank and I am pleased with the smooth transition to the shank.
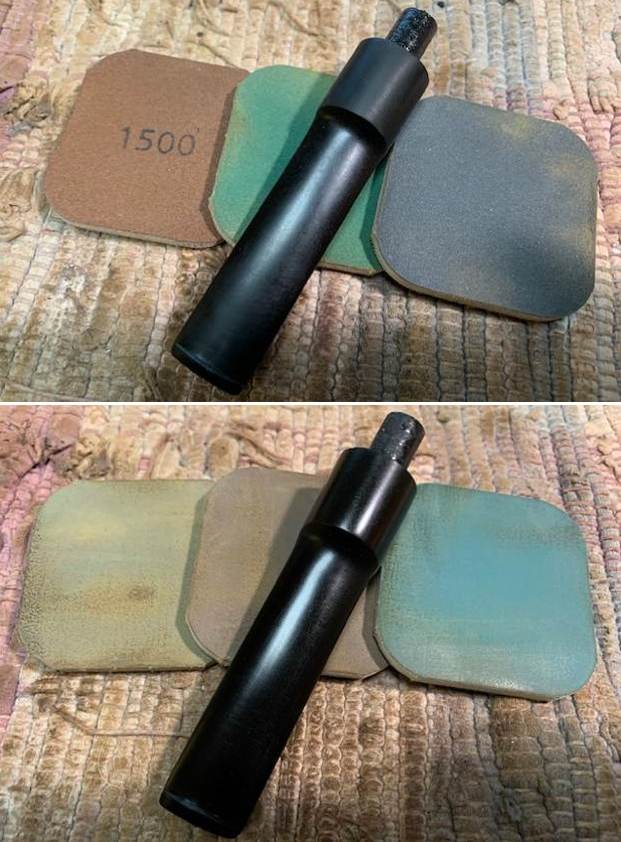
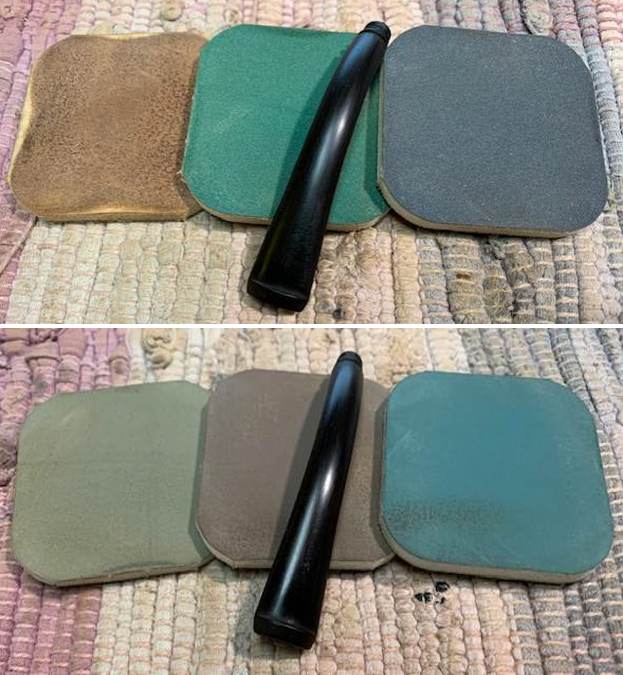
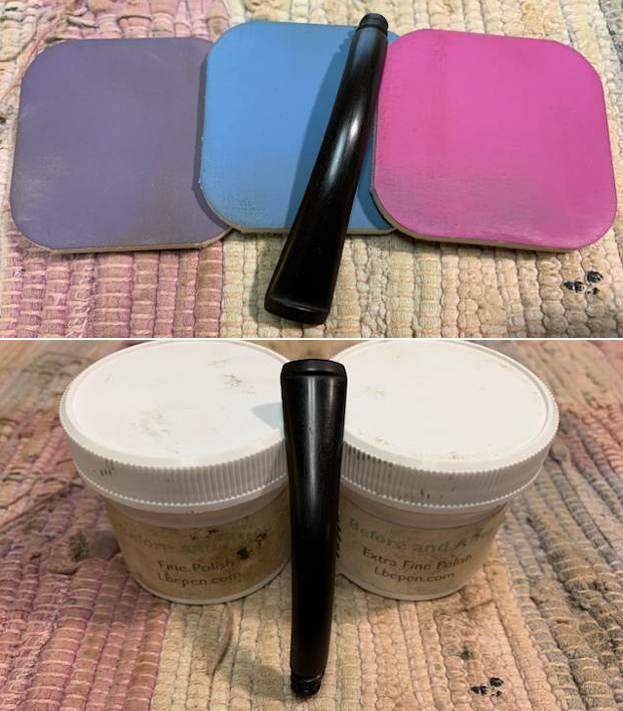
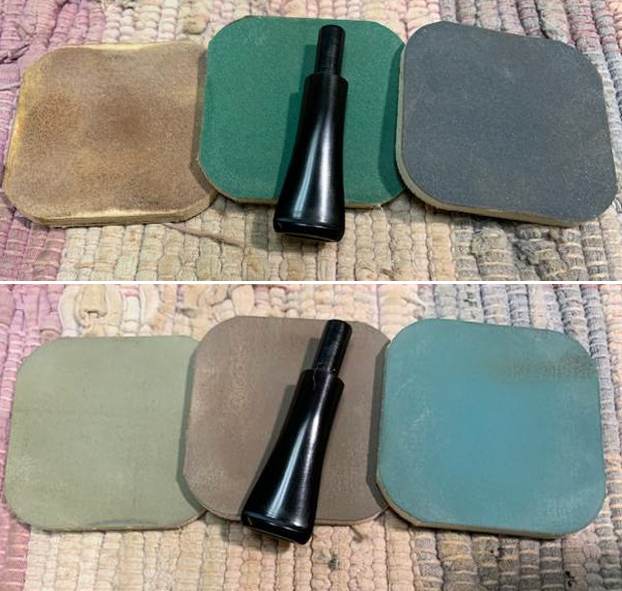
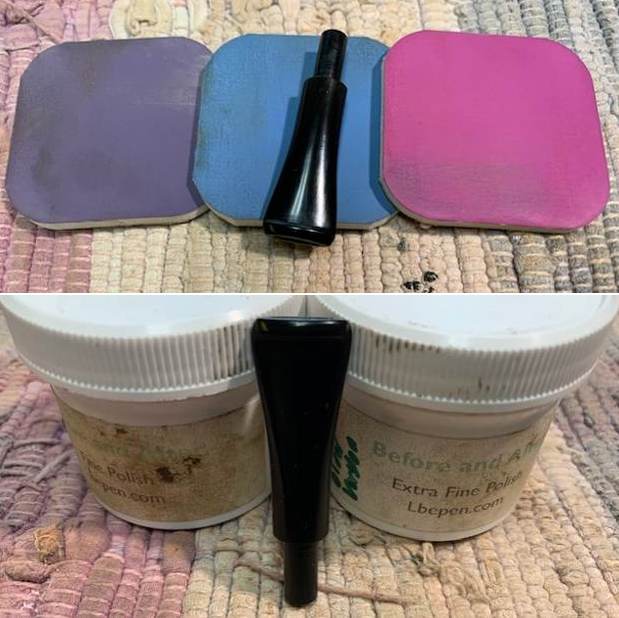
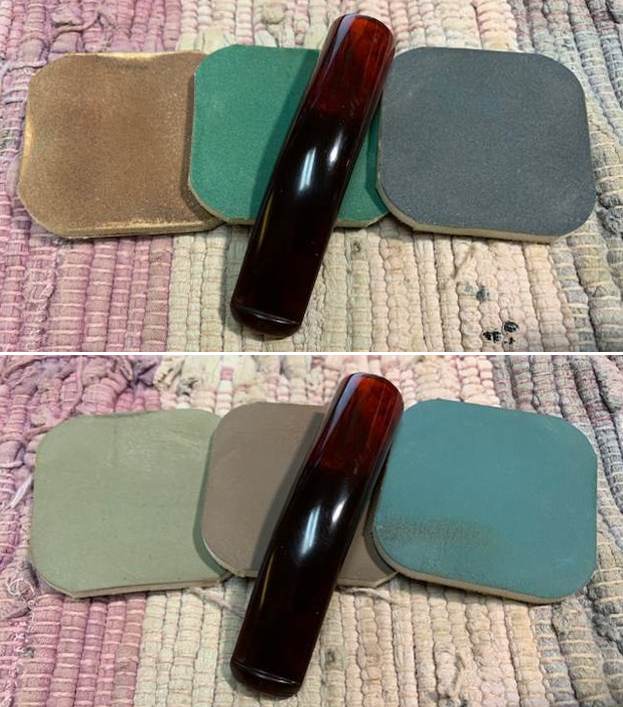
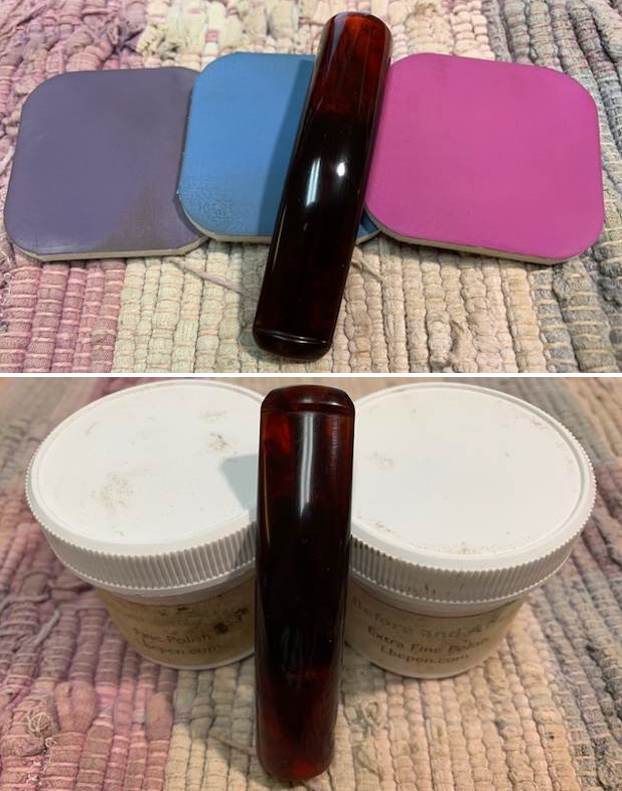
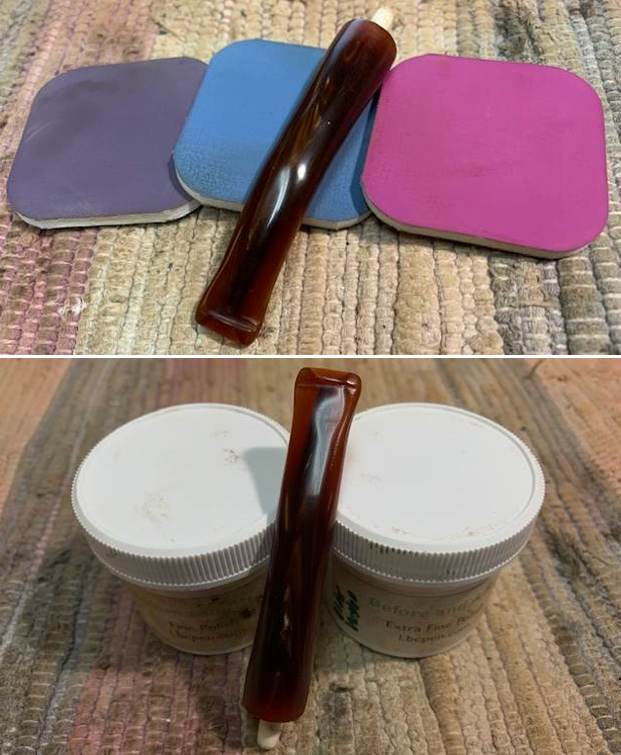
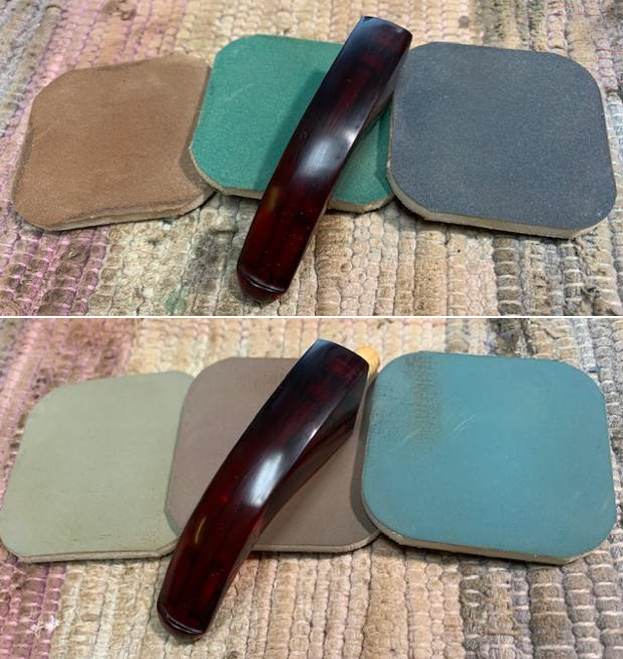
 I polished it with micromesh sanding pads – 1500-12000 grit pads (somehow the photo of the 1500-2400 grit pads was inadvertently lost). I wiped it down with Obsidian Oil after each sanding pad. I used Before & After Pipe Polish – both Fine and Extra Fine to further polish the stem. I gave it a final coat of Obsidian Oil and set it aside to dry.
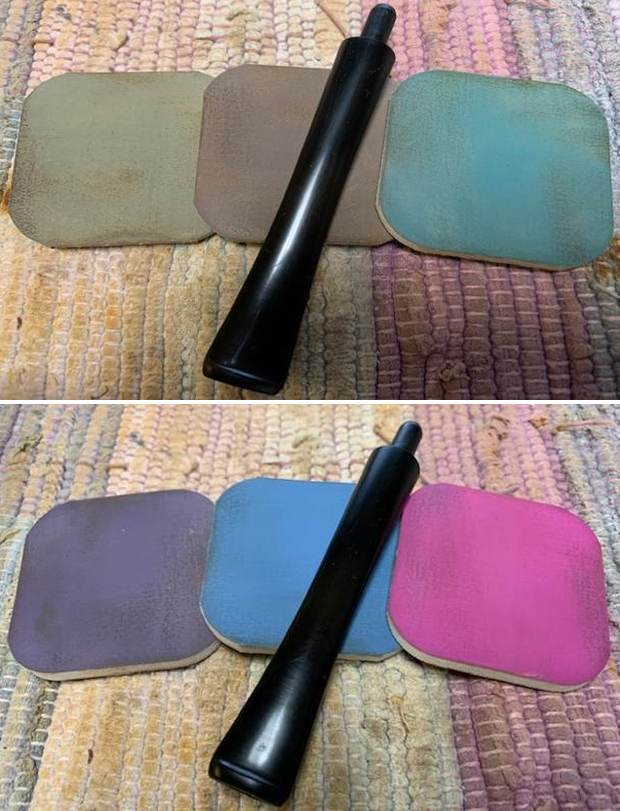
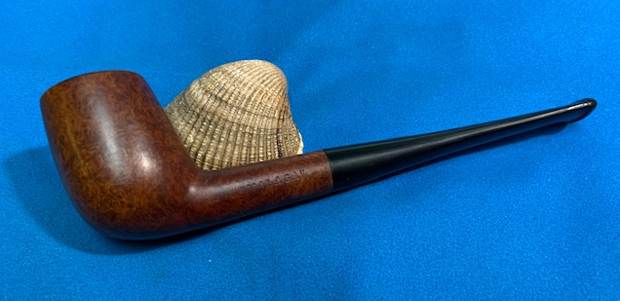
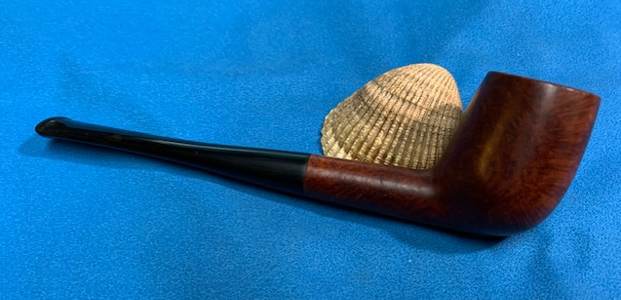
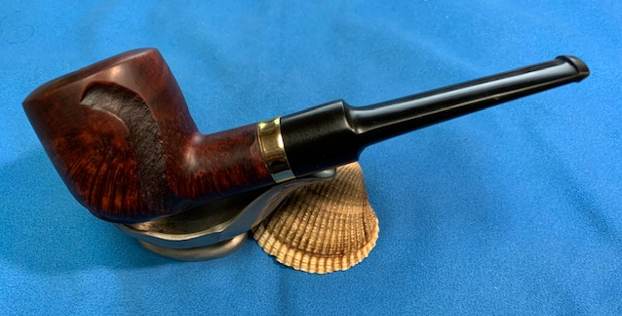
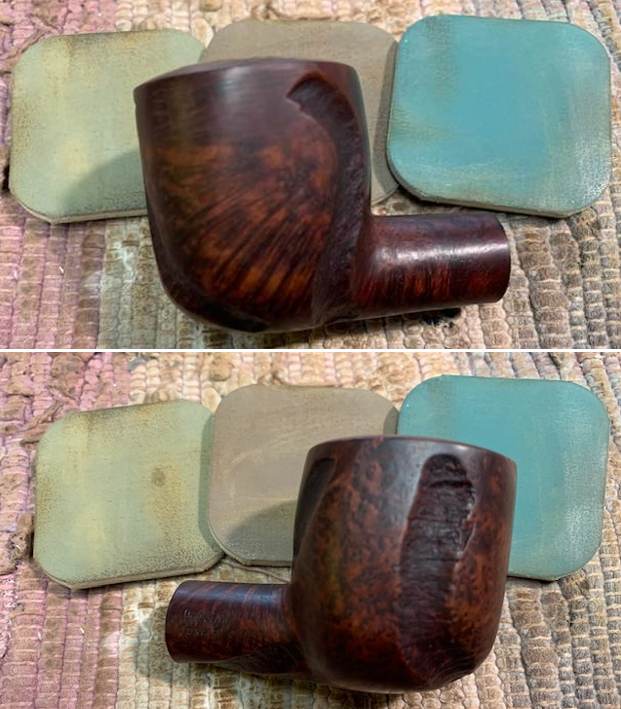
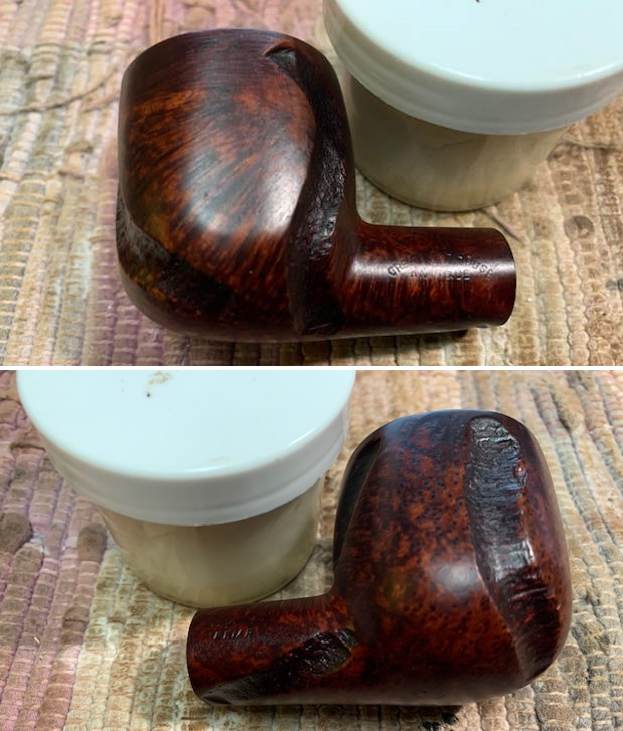
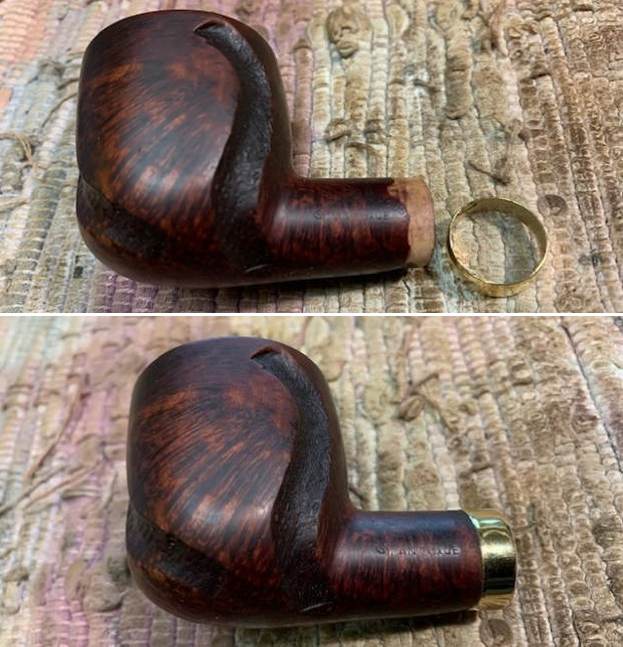
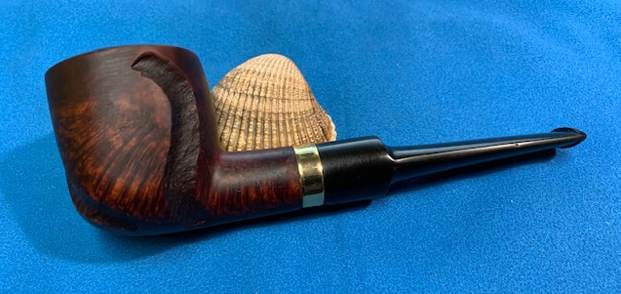
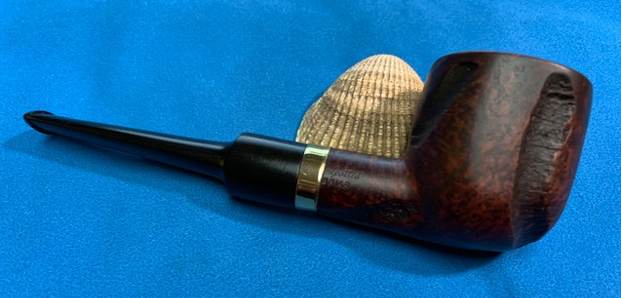
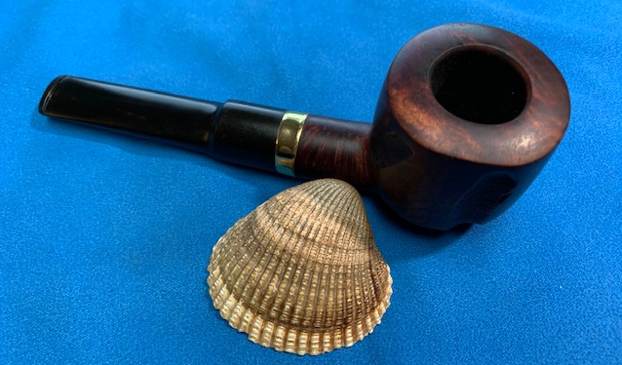
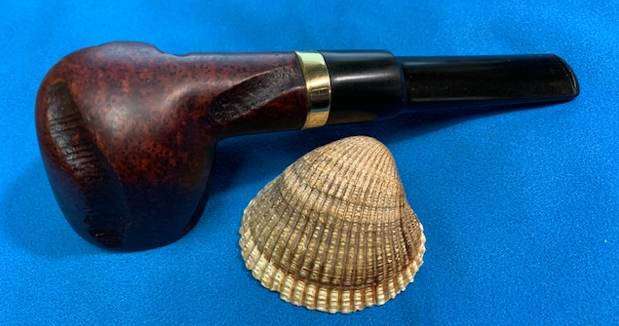
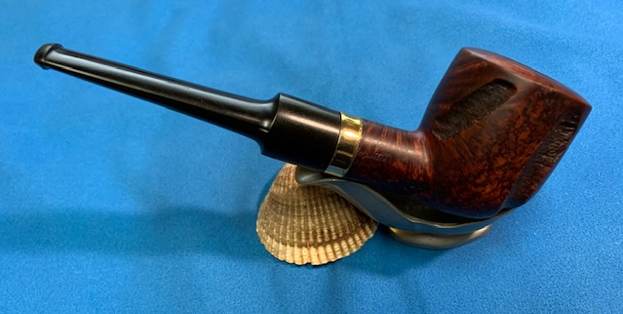
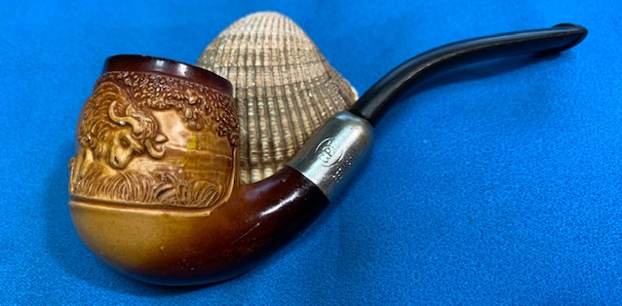
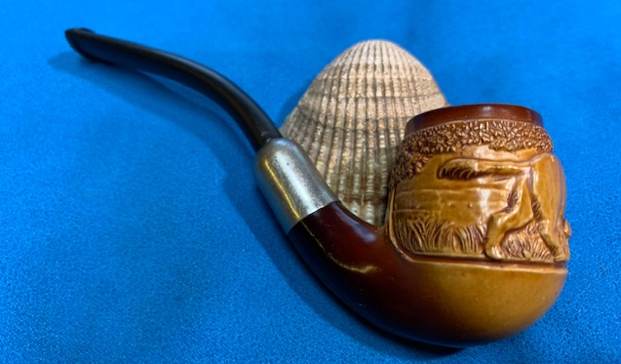
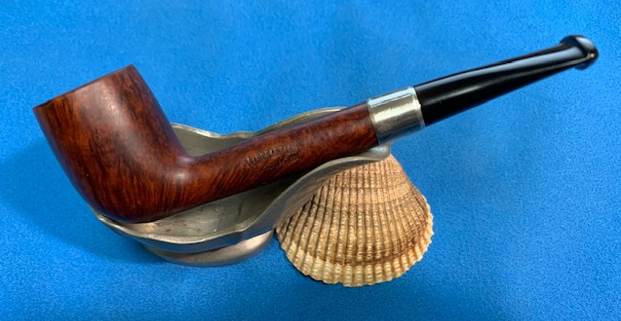
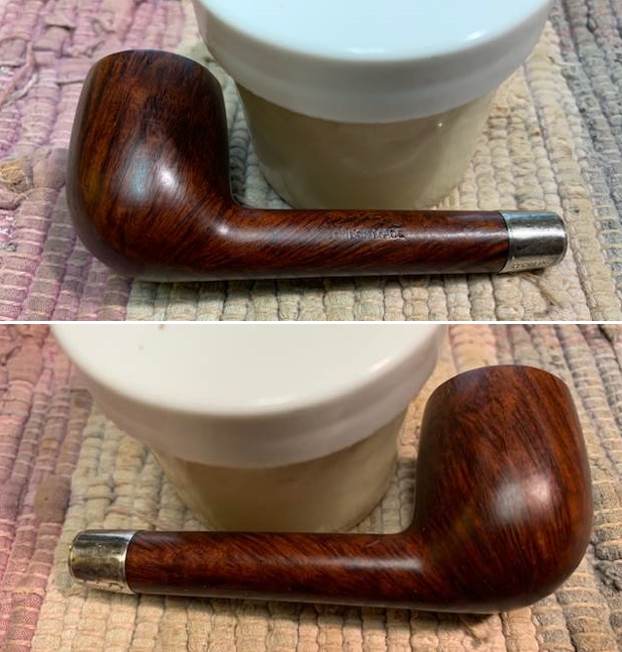
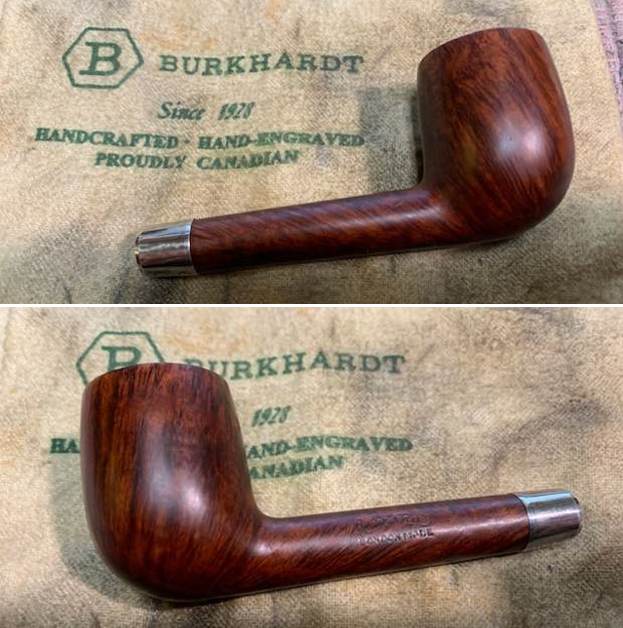
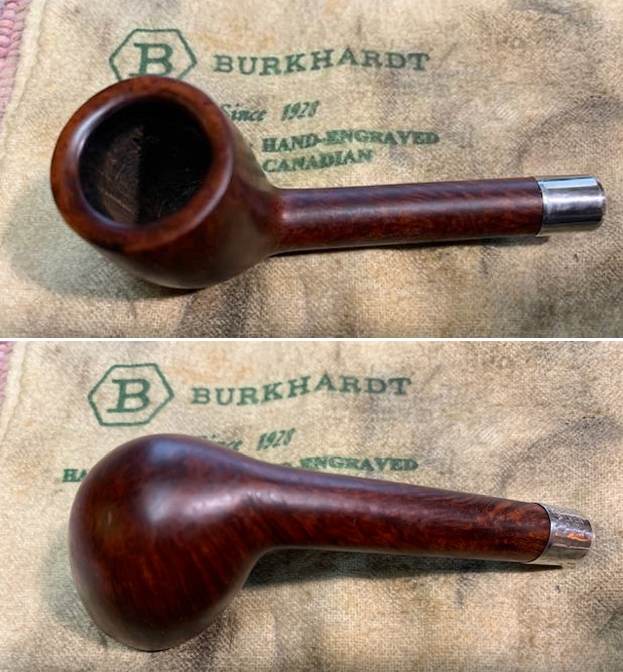
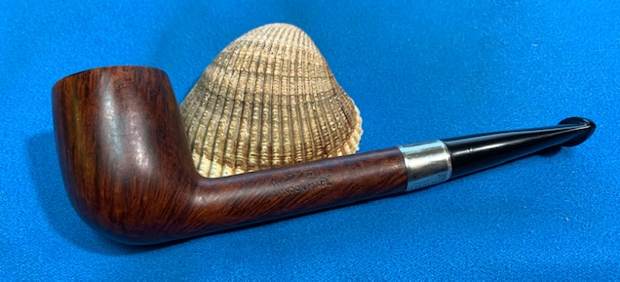
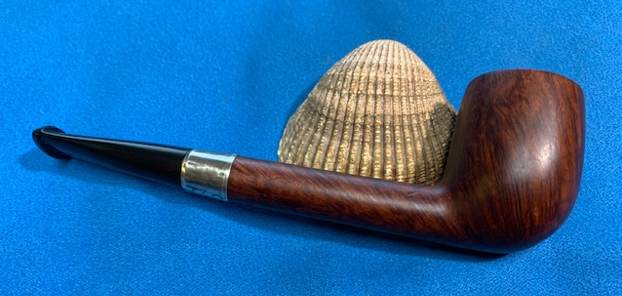
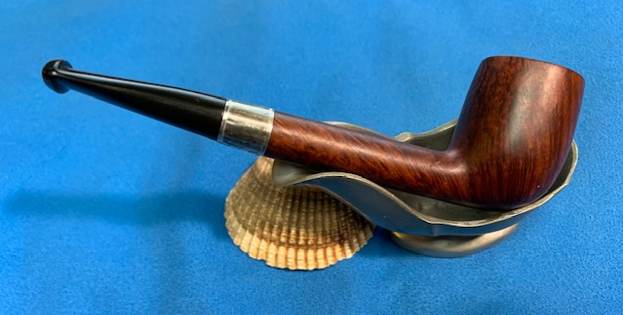
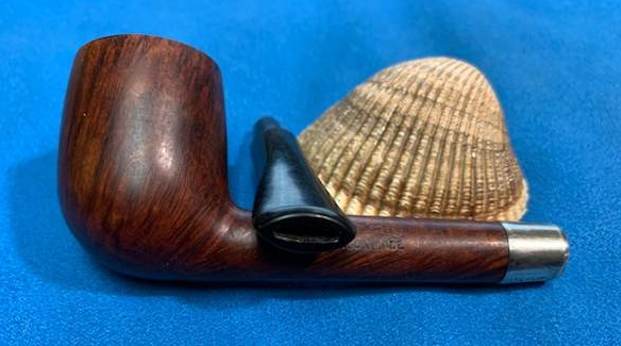
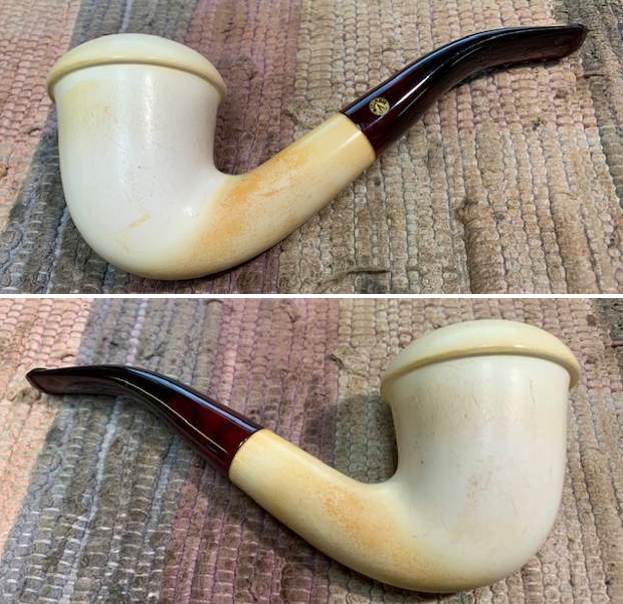
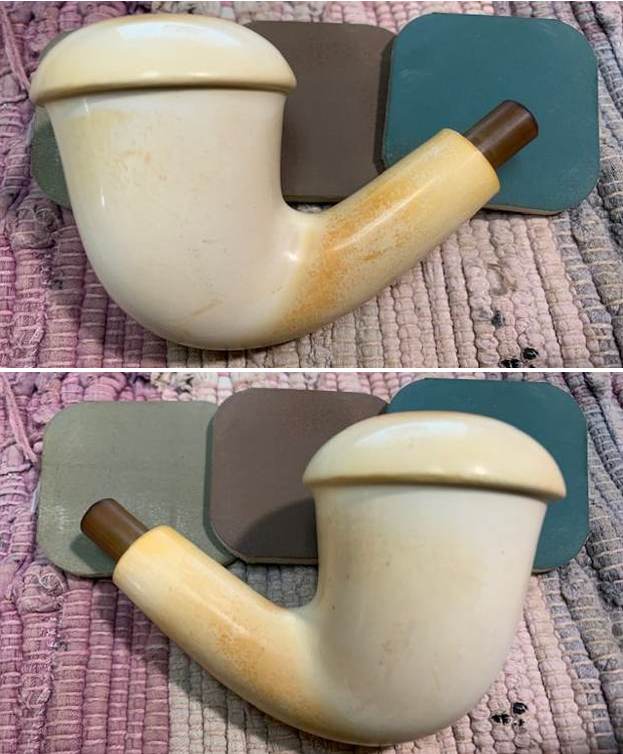
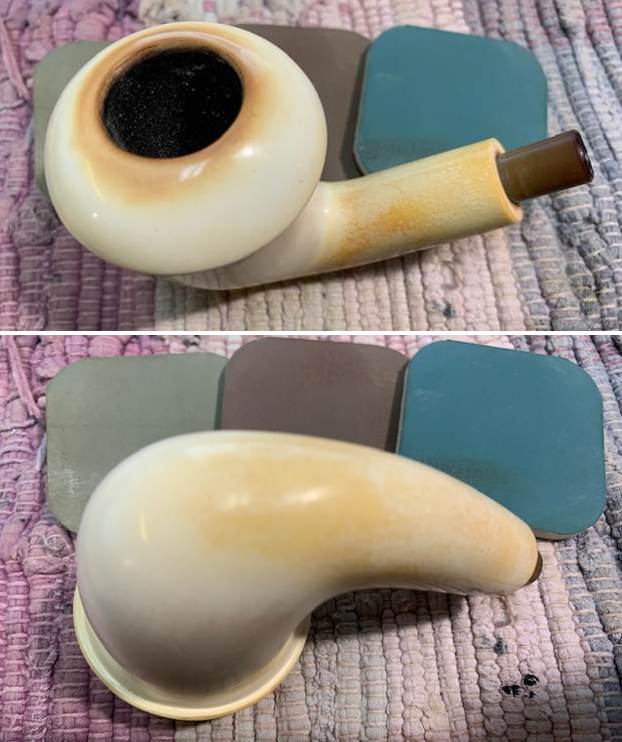
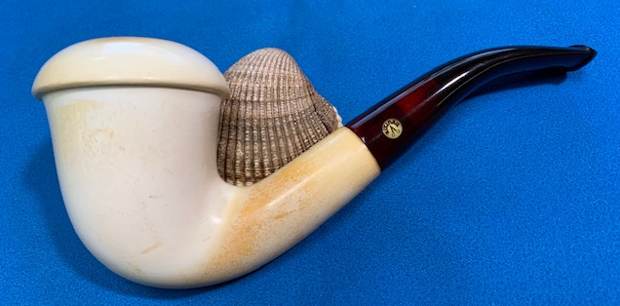
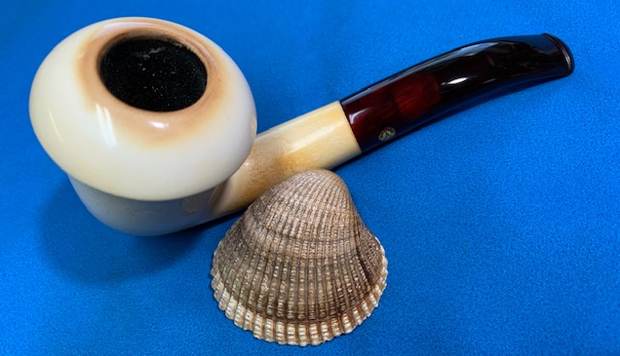
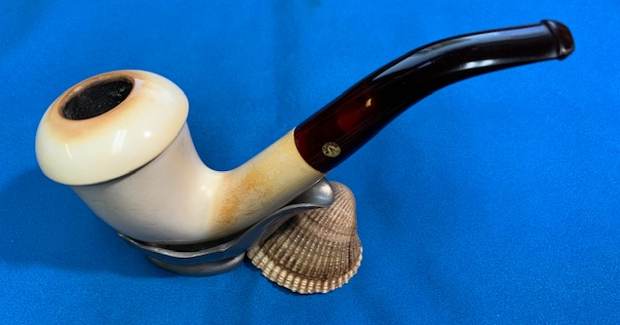
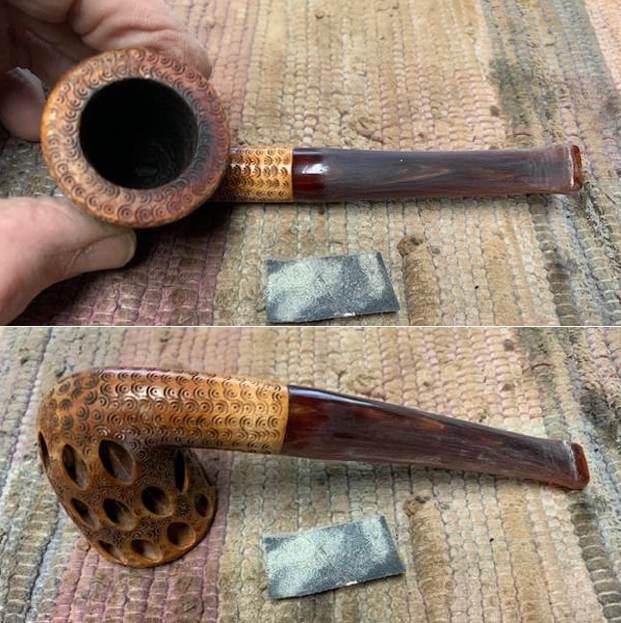
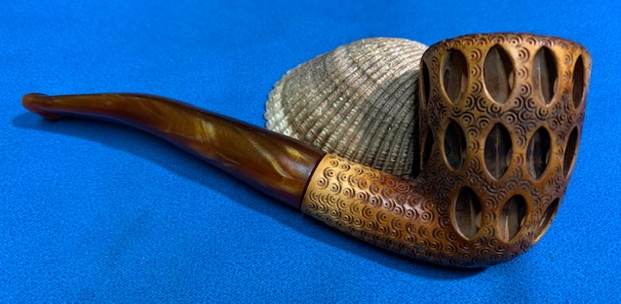
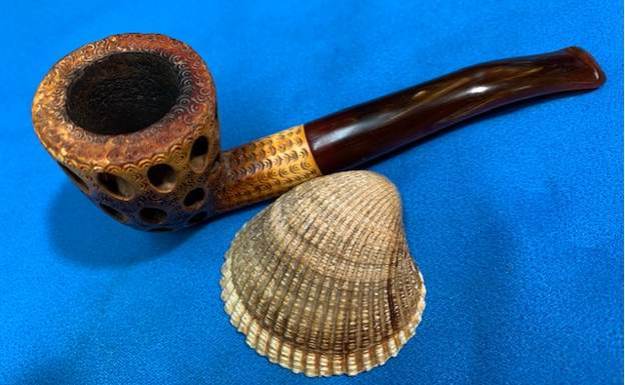
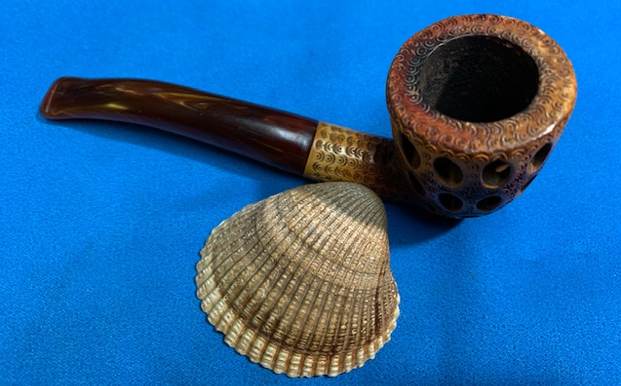
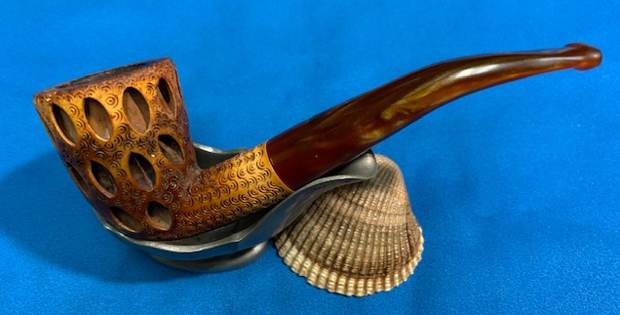
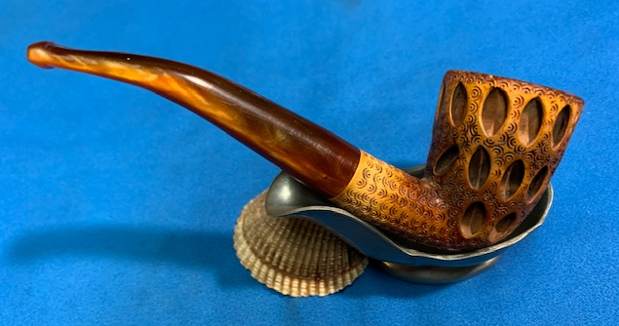
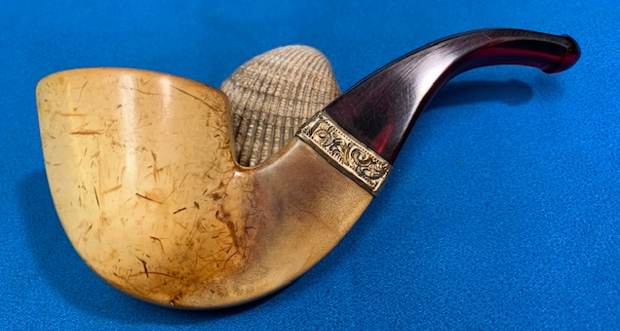
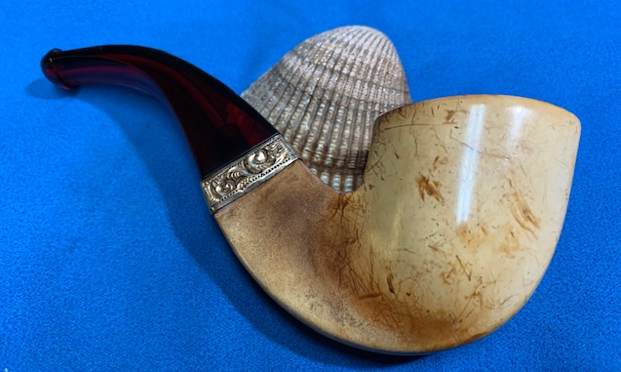
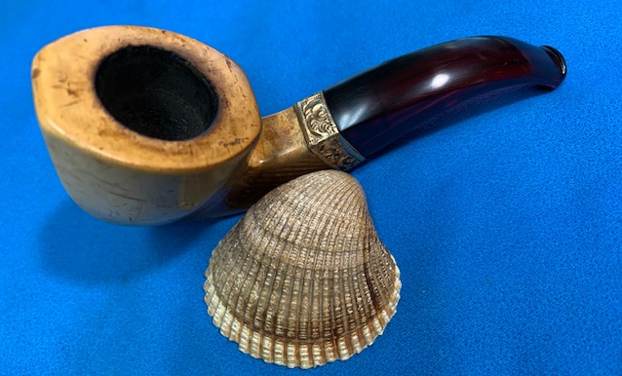
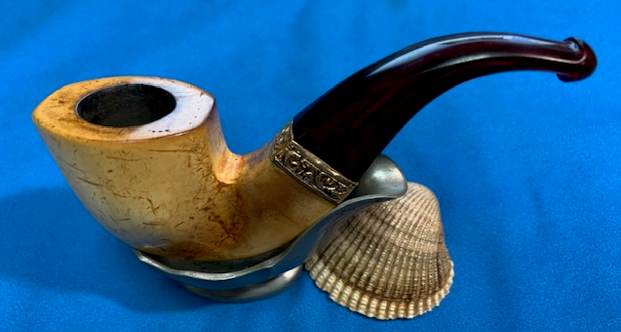
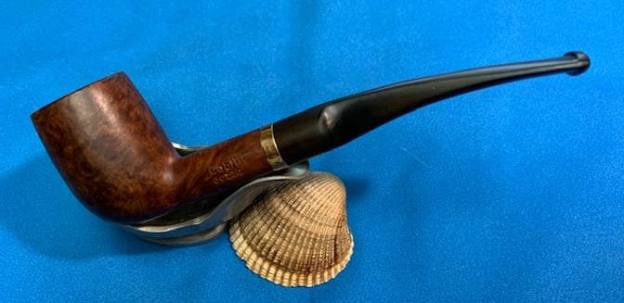
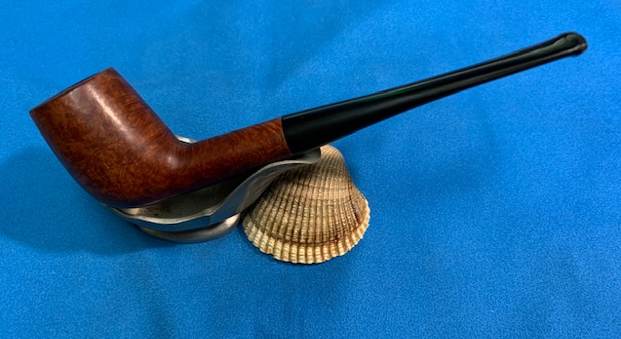
 Once I finished refitting and repairing the stem, this “Malaga” Imported Briar 3 Cutty was another beautiful pipe. The briar around the bowl is clean and really came alive. The rim top looks much better than when I began. The rich brown stains gave the grain a sense of depth with the polishing and waxing. The grain really popped. I put the vulcanite stem back on the bowl and carefully buffed the pipe with Blue Diamond on the buffing wheel. I gave the bowl and the stem multiple coats of carnauba wax on the buffing wheel. I buffed the pipe with a clean buffing pad to raise the shine. I hand buffed the pipe with a microfiber cloth to deepen the shine. The finished “Malaga” Cutty is a beauty and feels great in the hand and looks very good. Give the finished pipe a look in the photos below. The dimensions of the pipe are Length: 6 inches, Height: 1 ¾ inches, Outside diameter of the bowl: 1 ¼ inches, Chamber diameter: ¾ of an inch. The weight of pipe is 1.34 ounces /38 grams. I will be putting it on the rebornpipes store soon. Look for it in the American Pipe Makers section. If you would like to add it to your collection let me know. This is another pipe that has the possibility of transporting the pipe man or woman back to a slower paced time in history where you can enjoy a respite. Thanks for walking through the restoration with me.