by Steve Laug
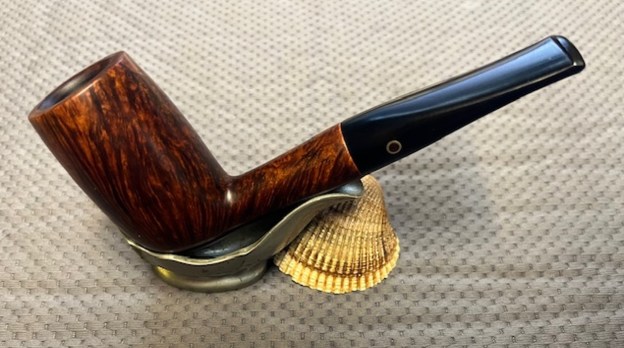
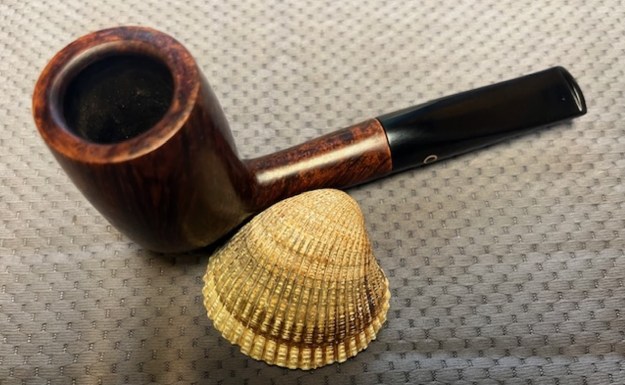
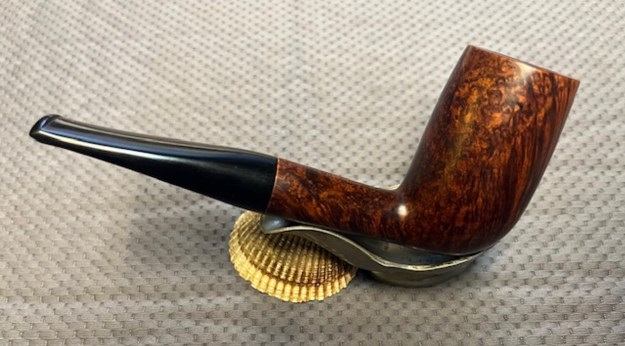
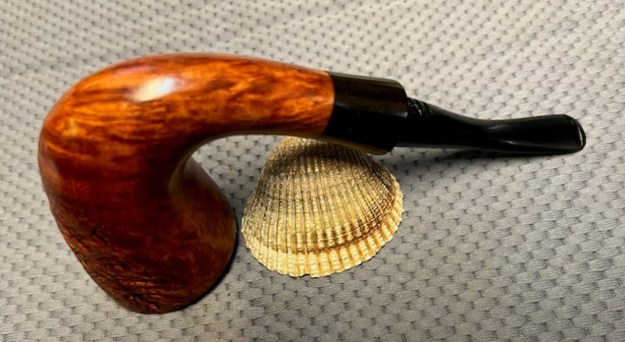
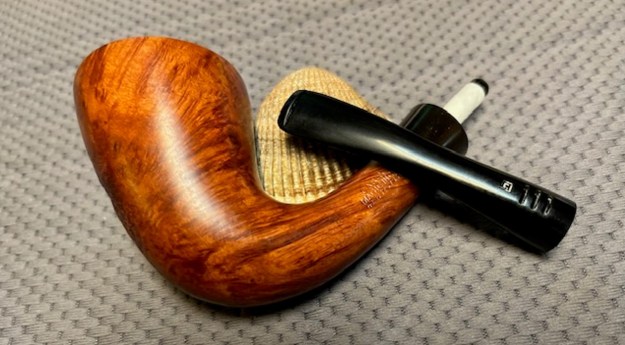
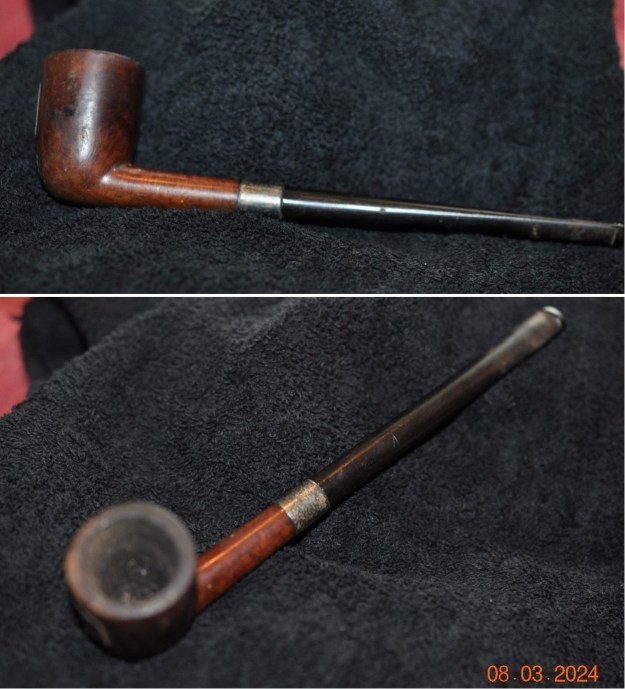
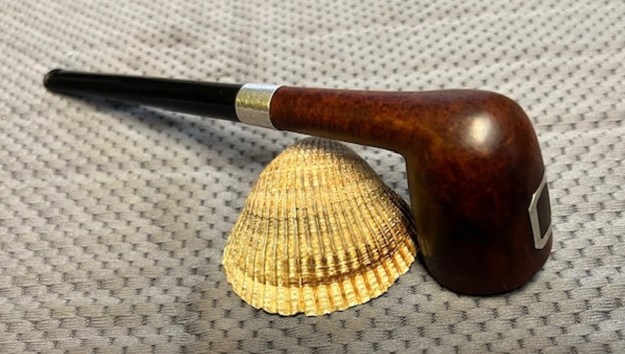
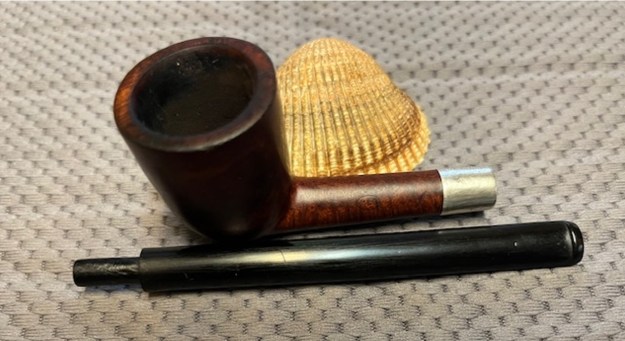
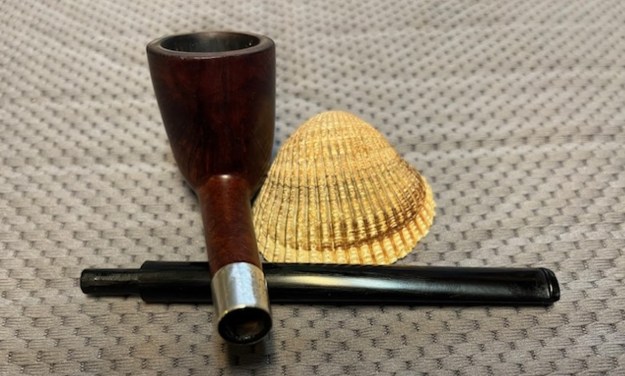
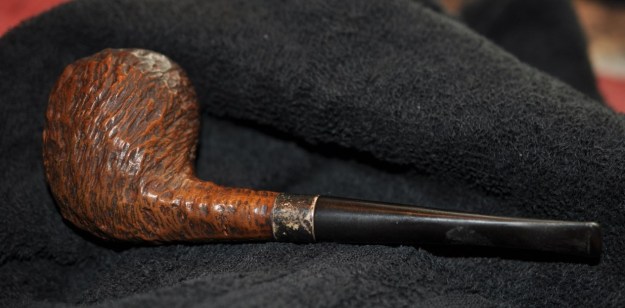
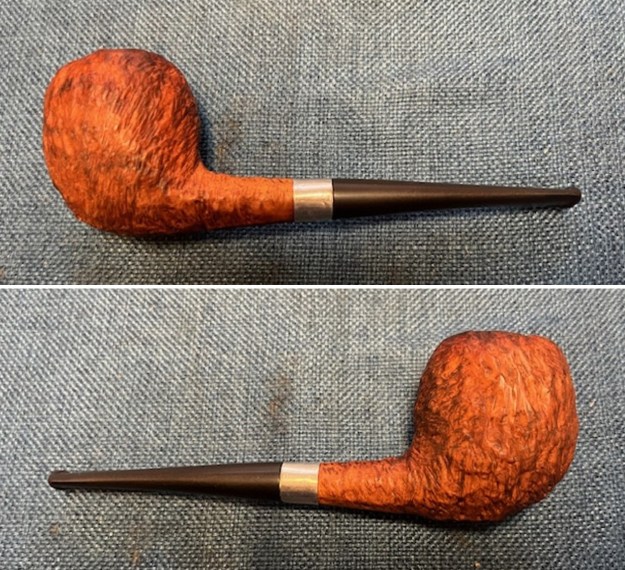
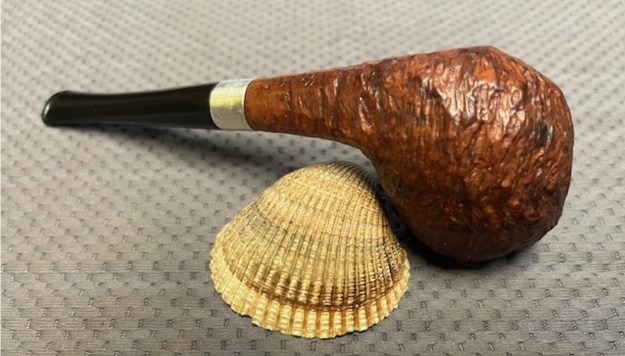
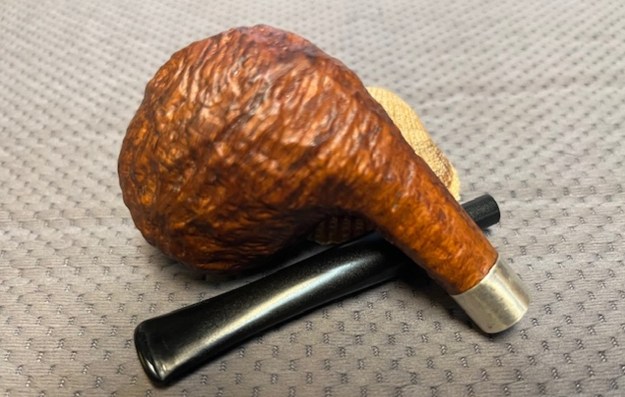
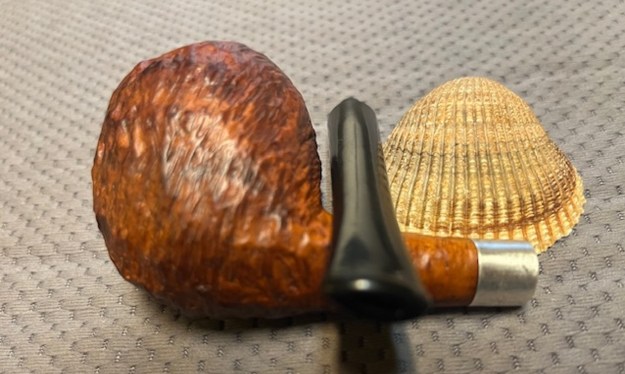
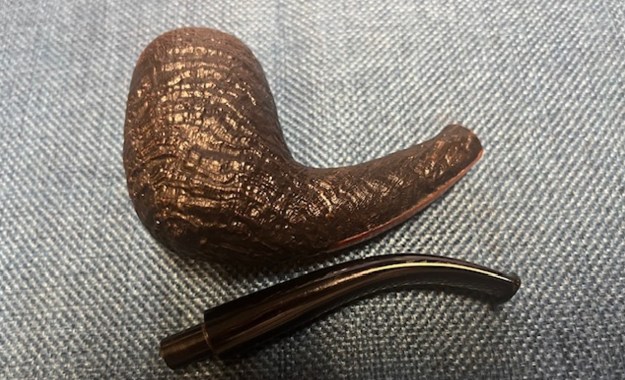
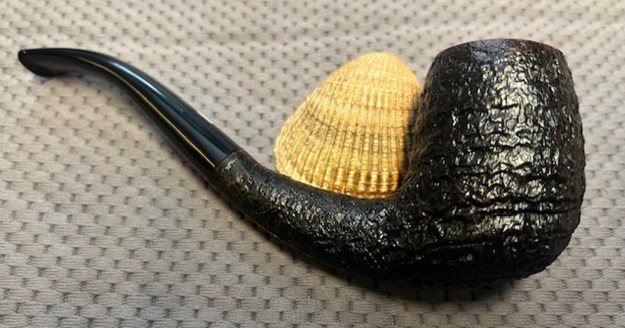
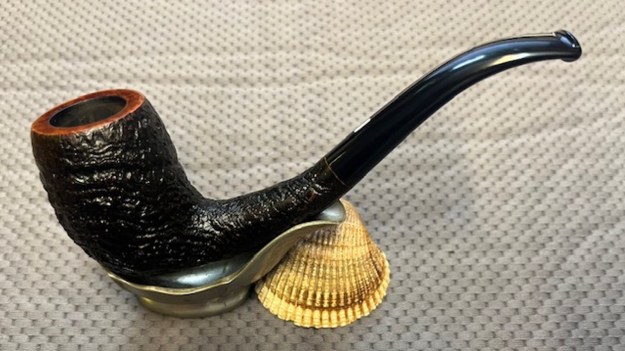
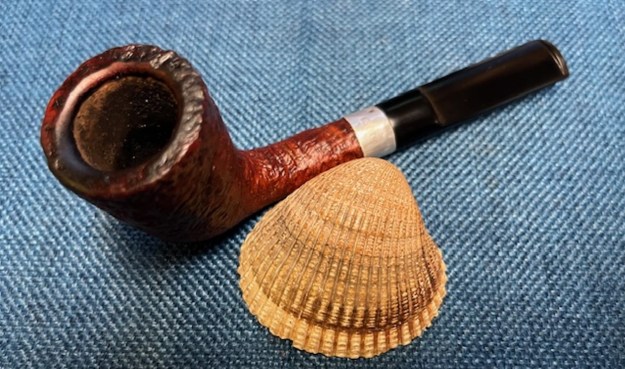
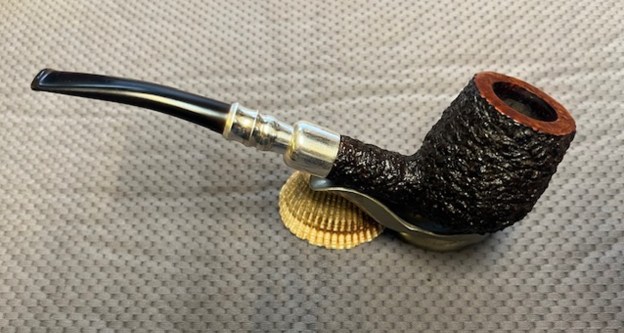
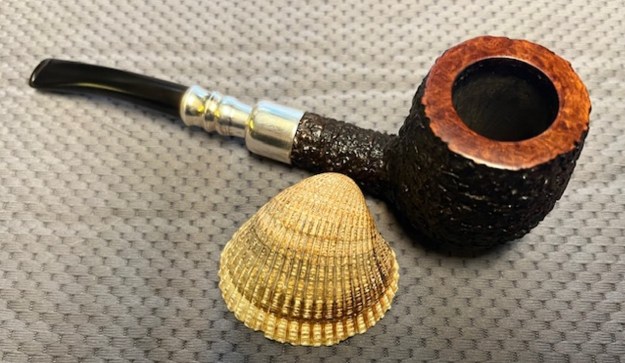
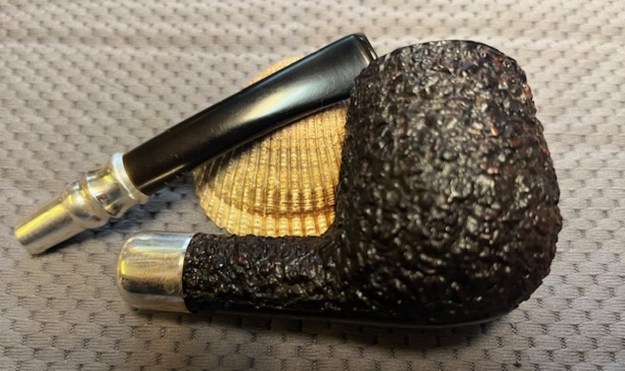
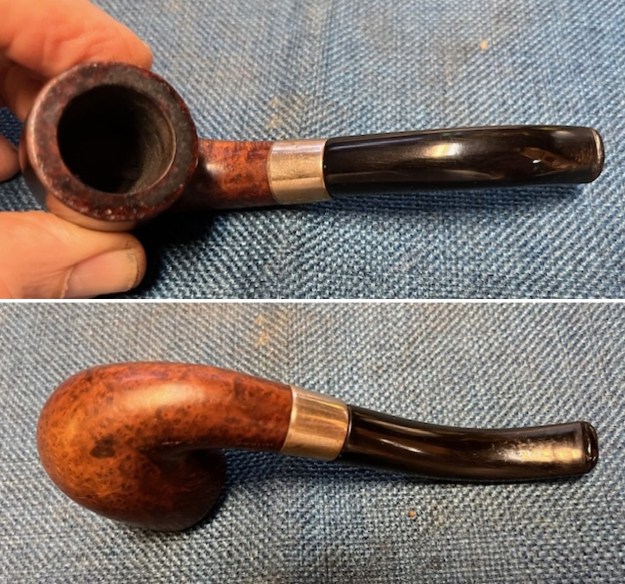
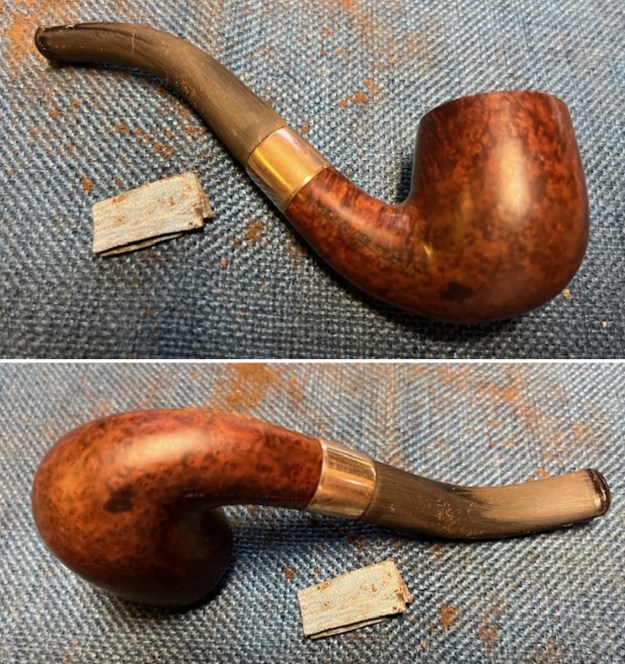
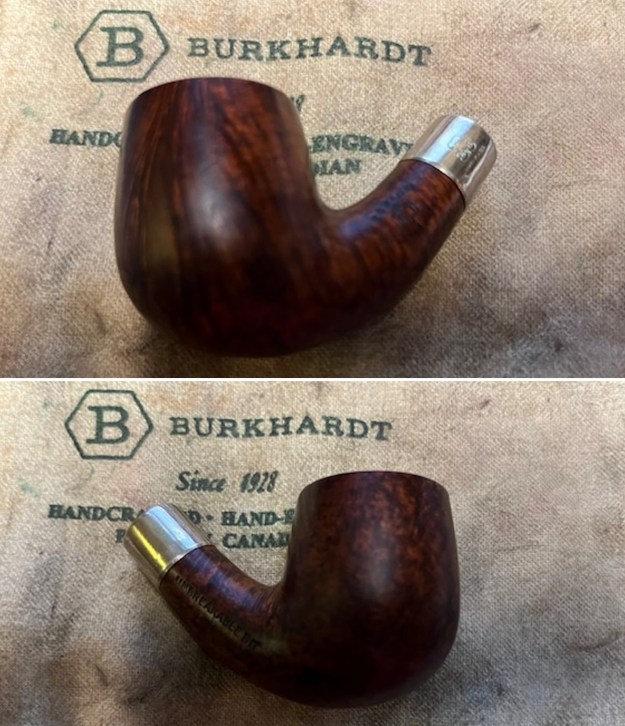
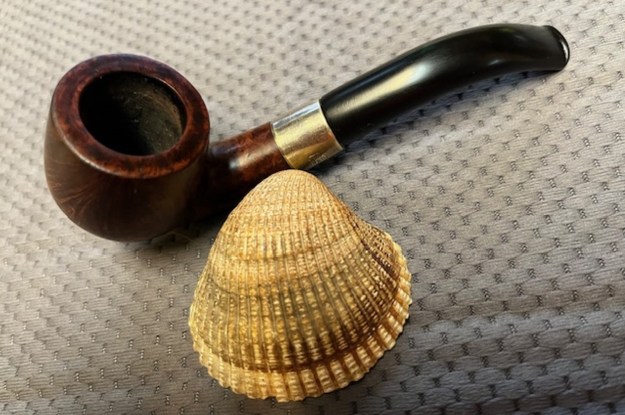
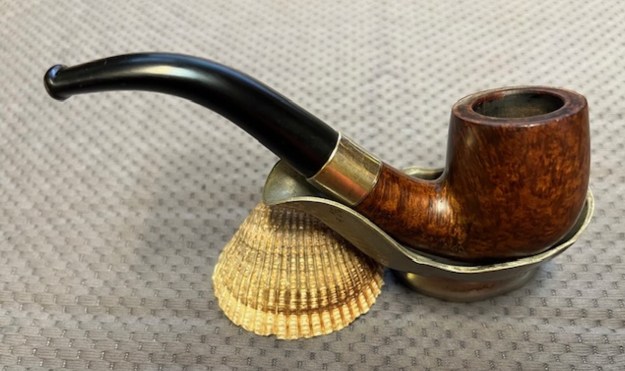
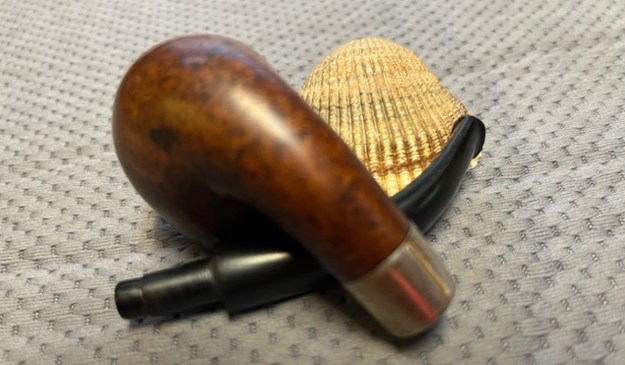
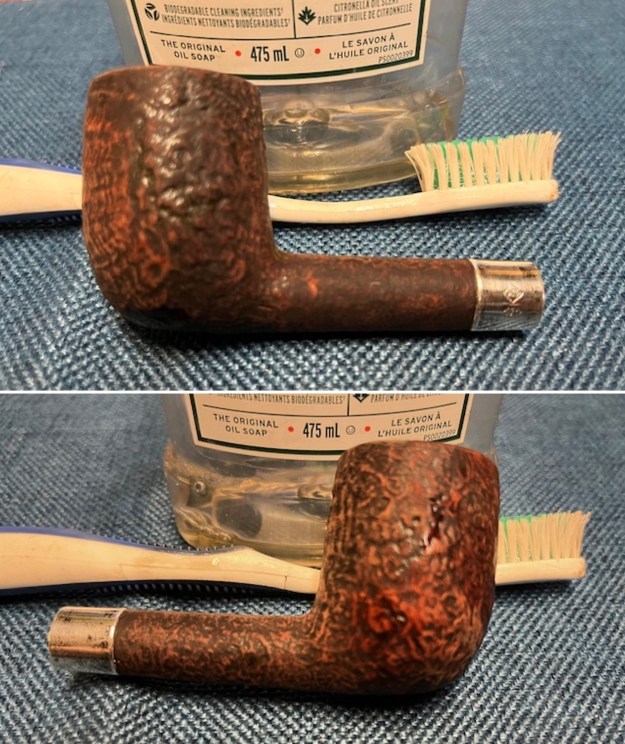
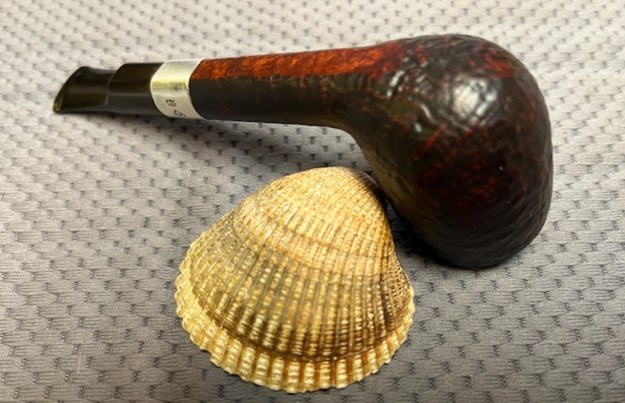
The next pipe on the table was one that we purchased from our contact in Denmark who has provided us with some great pipes. We bought it on 02/16/2023. It caught my eye because of the brass “O” on the stem which I have come to associate with Julius Vesz Hand Made pipes. The stamping on the shank is a bit odd, but uses some of the words that I have come to associate with Vesz pipes. On the underside of the shank it reads hand cut (lower case script) with B on top of the “cut” portion of the stamp making it unclear. Below that the stamp reads Olive and I don’t think it refers to the wood but perhaps the finish on the pipe. I have never seen a Vesz stamped with that nomenclature. The wood is definitely briar and not Olive wood. I really like the fact that the pipe is the top of the line of Vesz Hand Cut pipes. The bowl had a thick cake with an overflow of lava on the top and the inner edge of the bowl. There were also some burn marks and darkening on the inner edge of the rim. These would need to be dealt with in the clean up and restoration. The finish was dirty with grime and grit ground into the briar. The Ebionite stem was oxidized and had some tooth marks on both sides ahead of the button. Jeff took some photos of the pipe before he started his clean up work.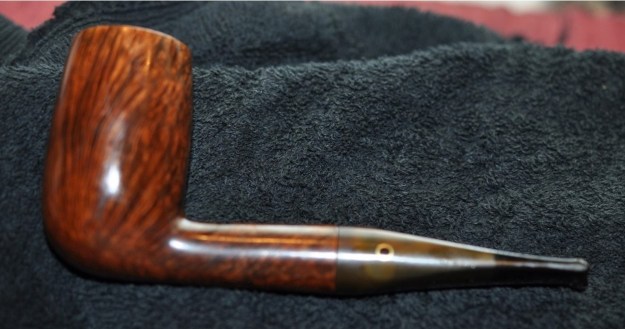
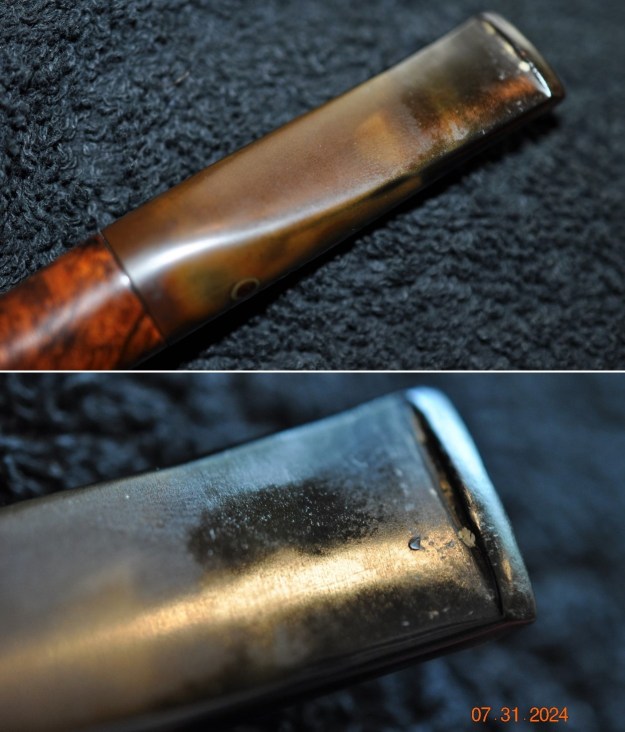
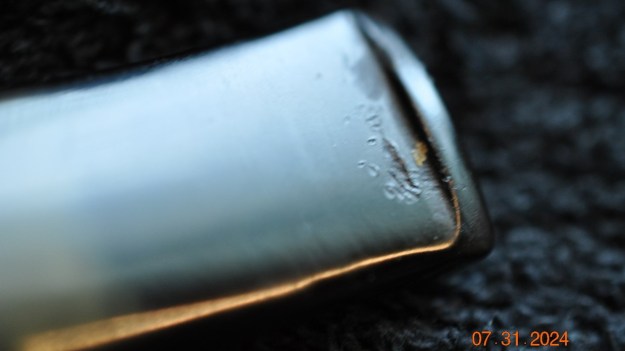
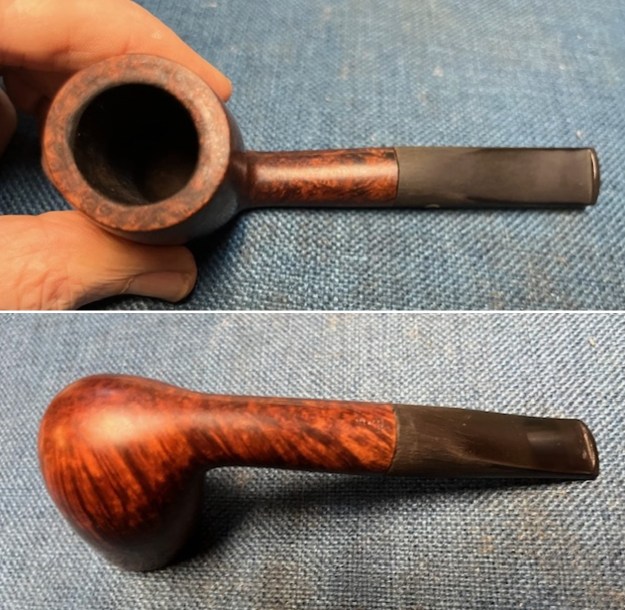
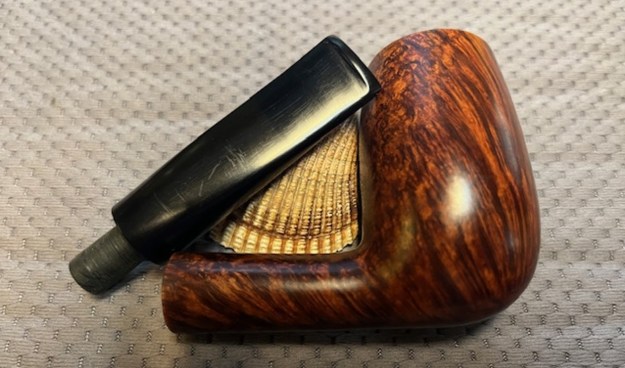
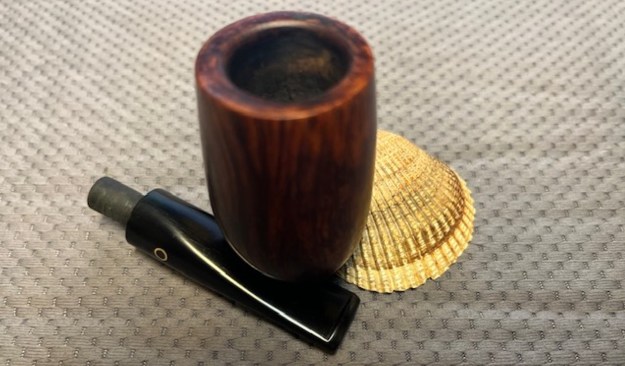
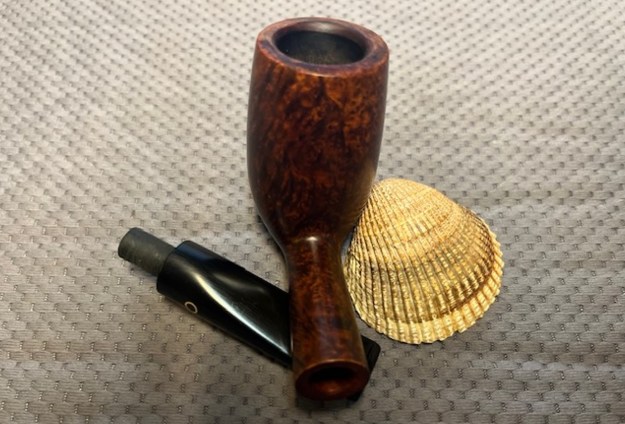
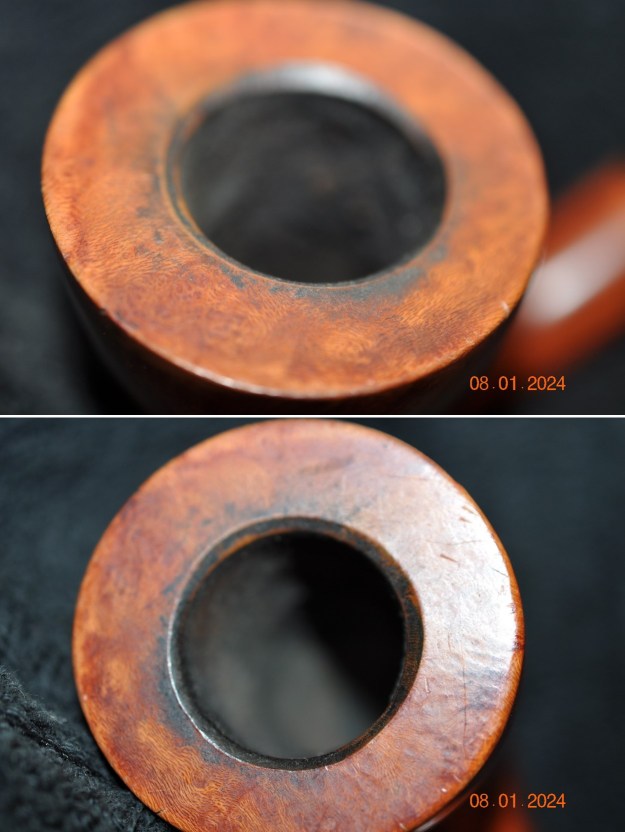
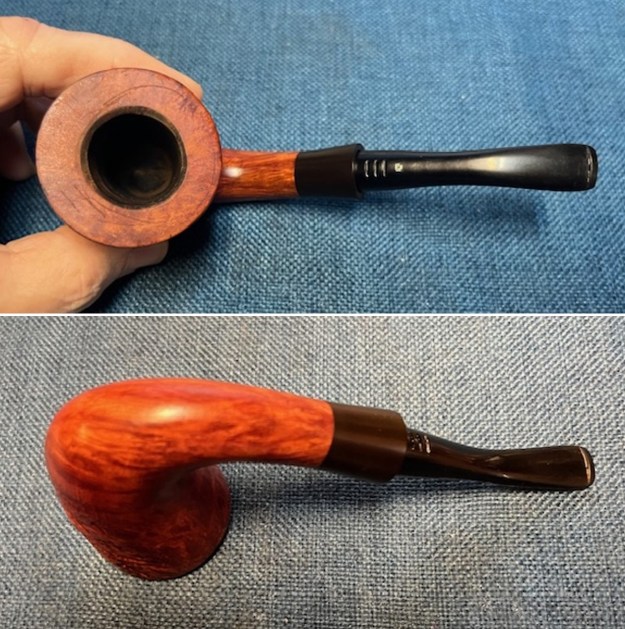
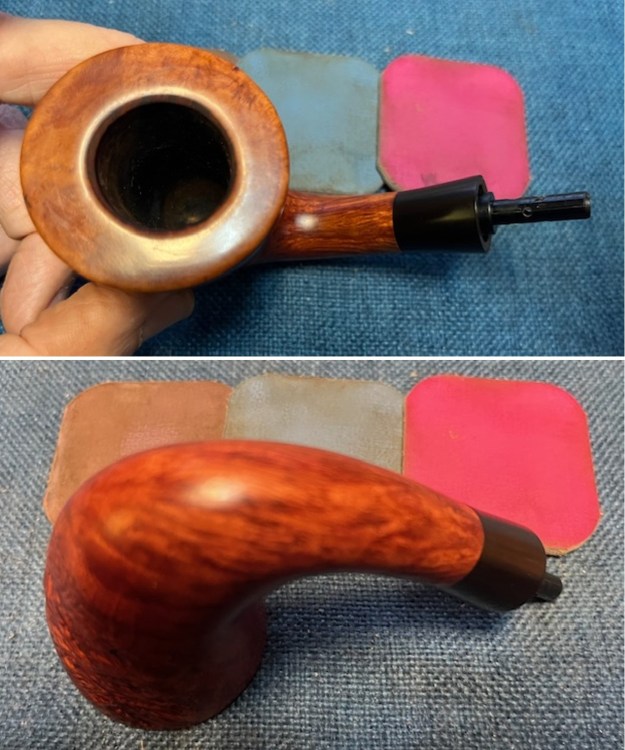
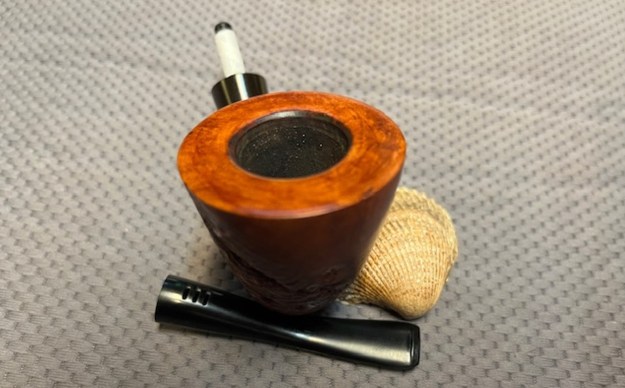
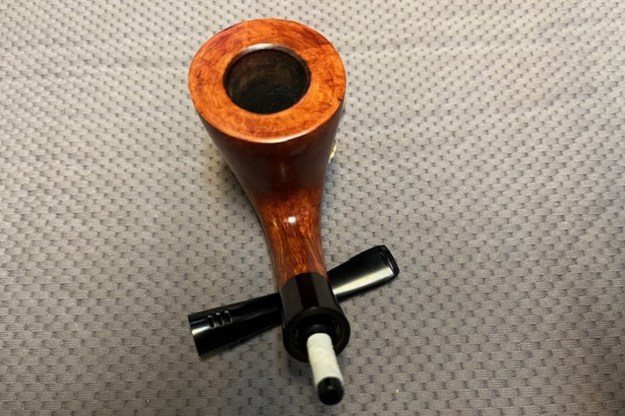
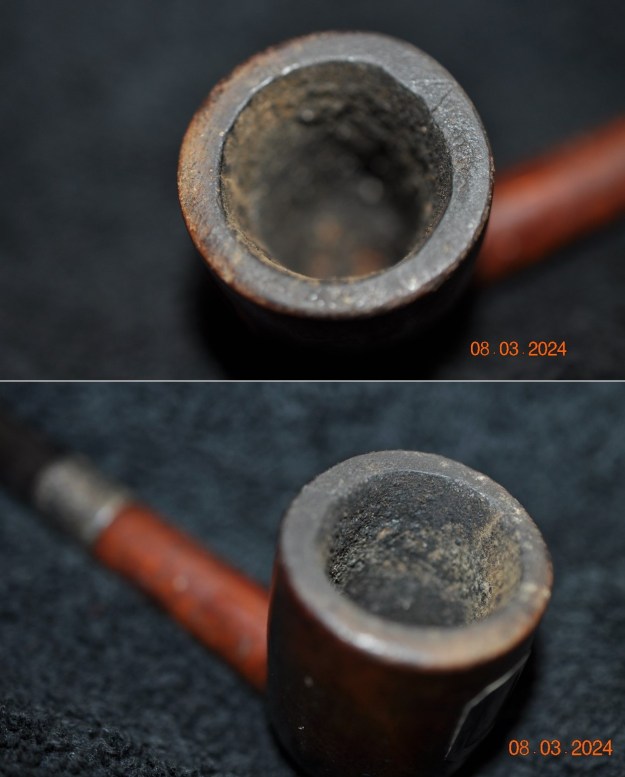
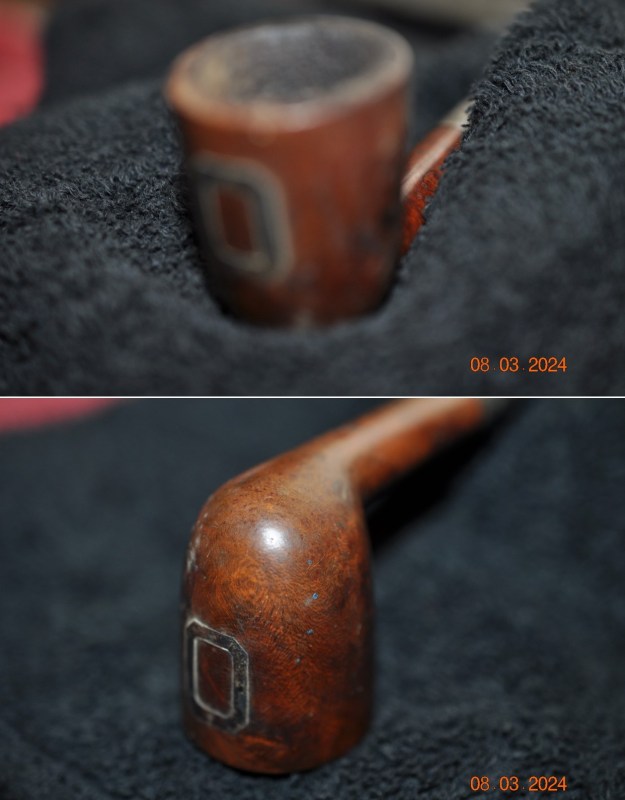
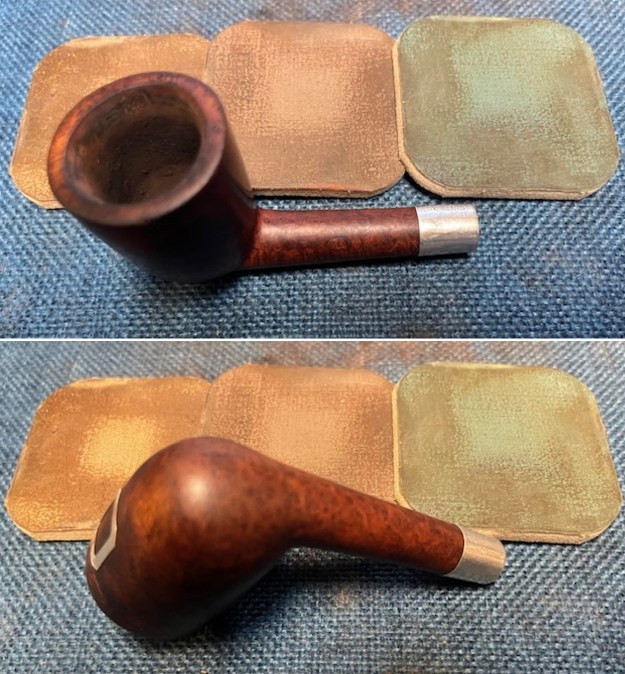
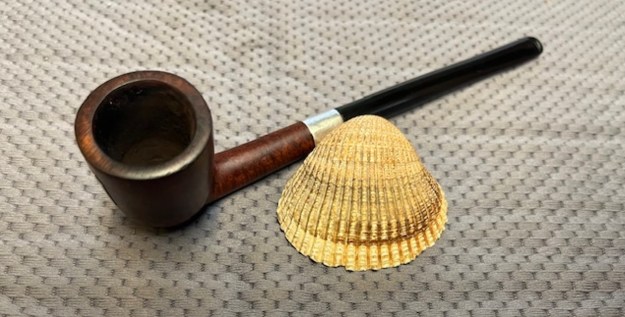
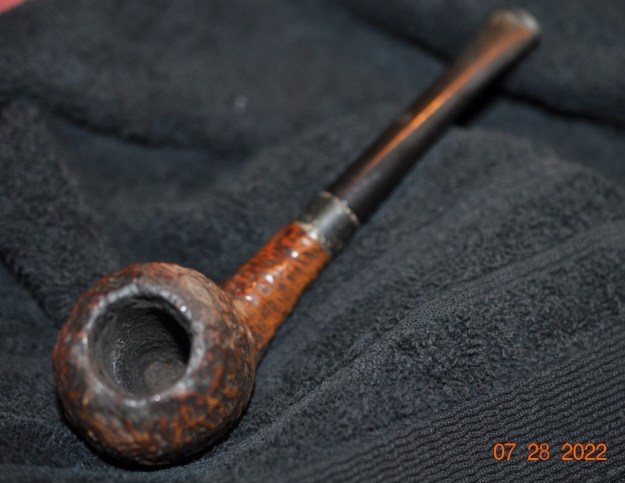
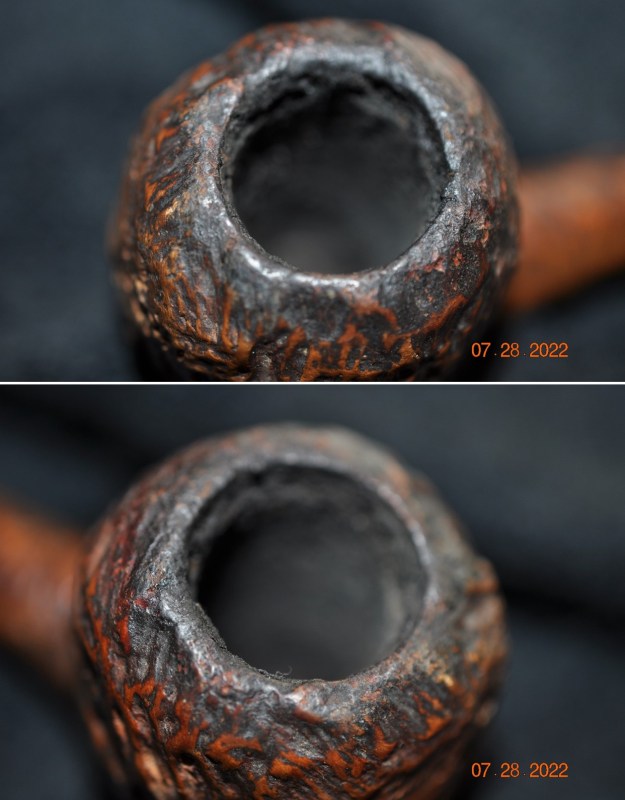
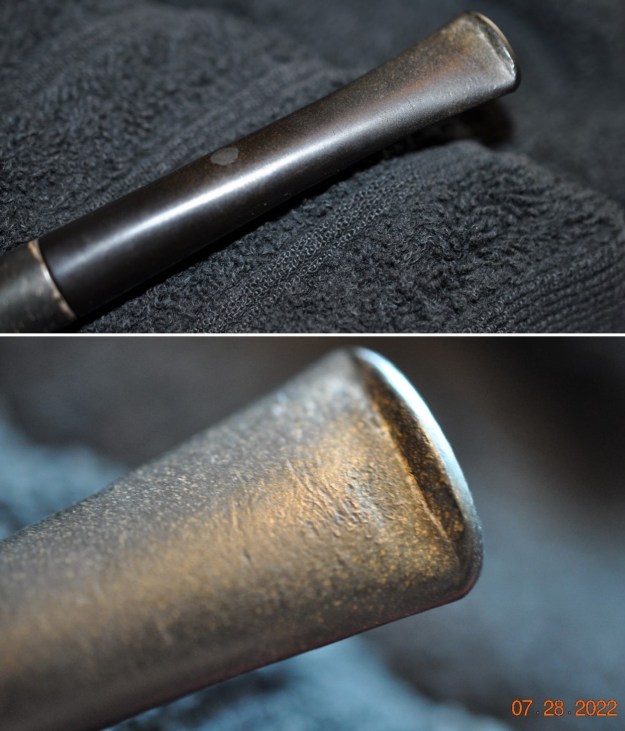
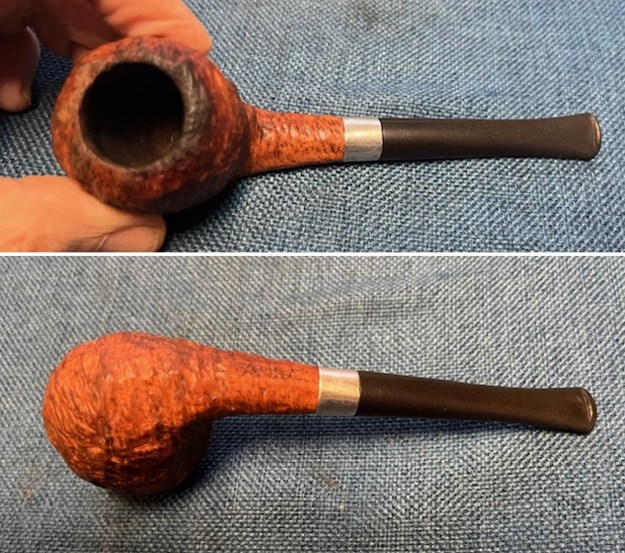
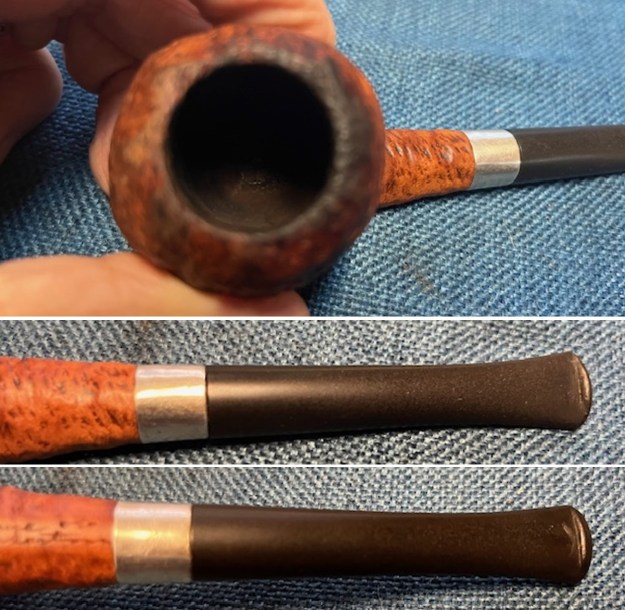
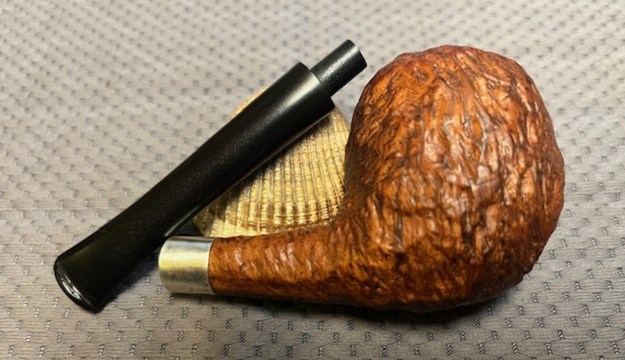
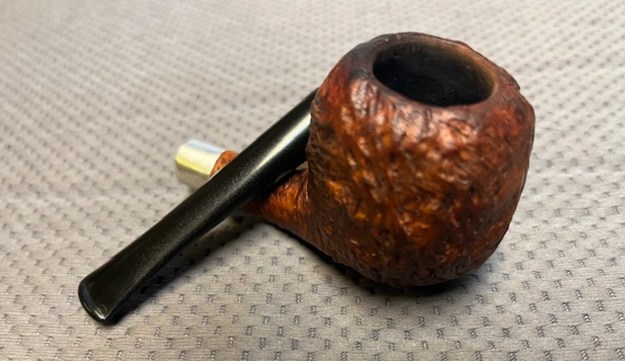
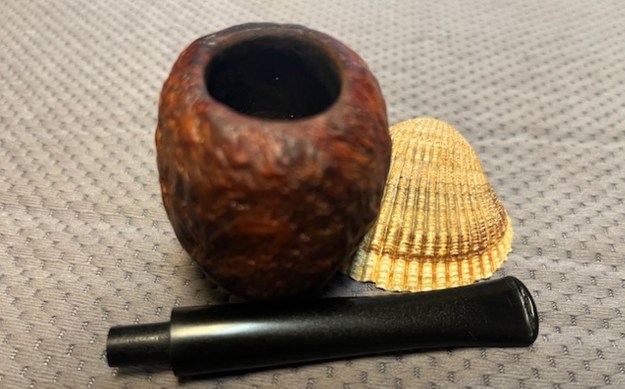
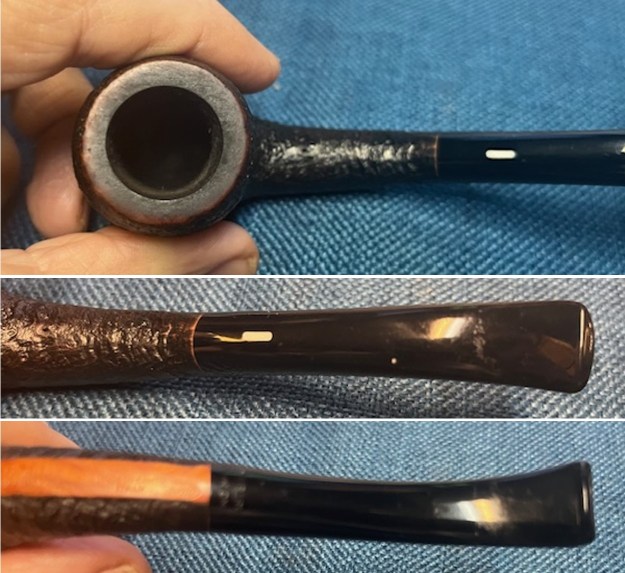
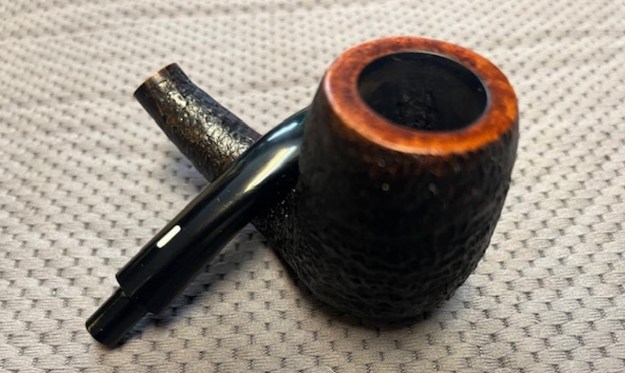
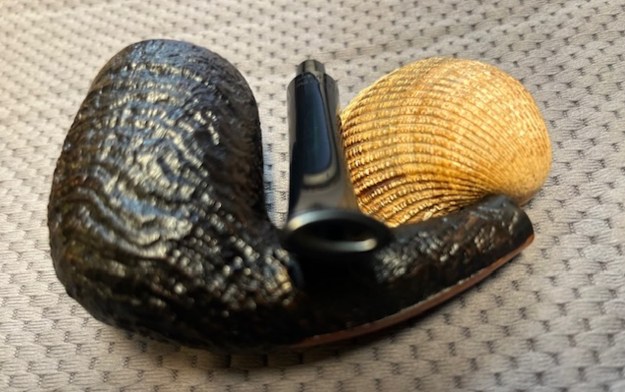
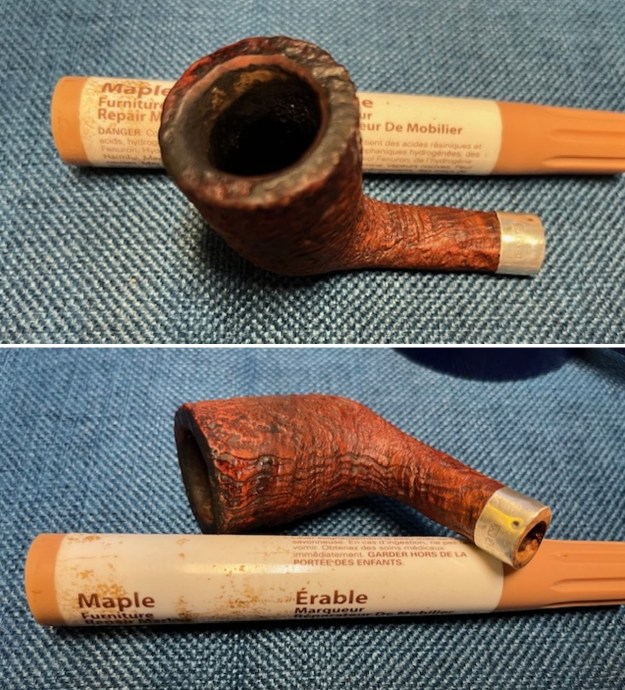
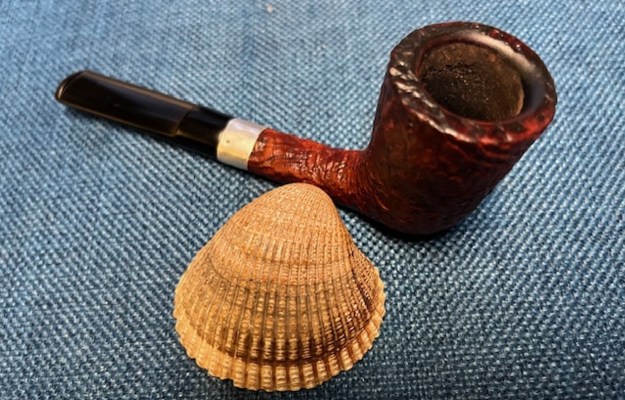
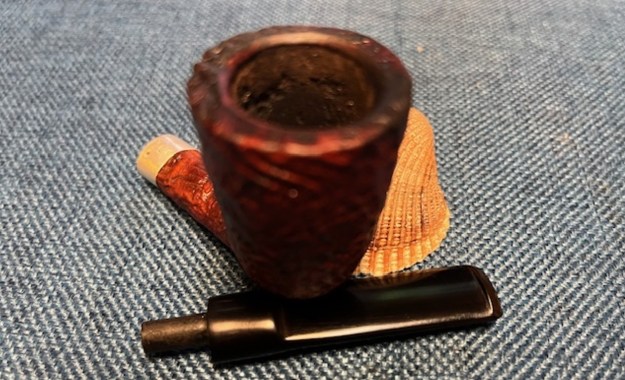
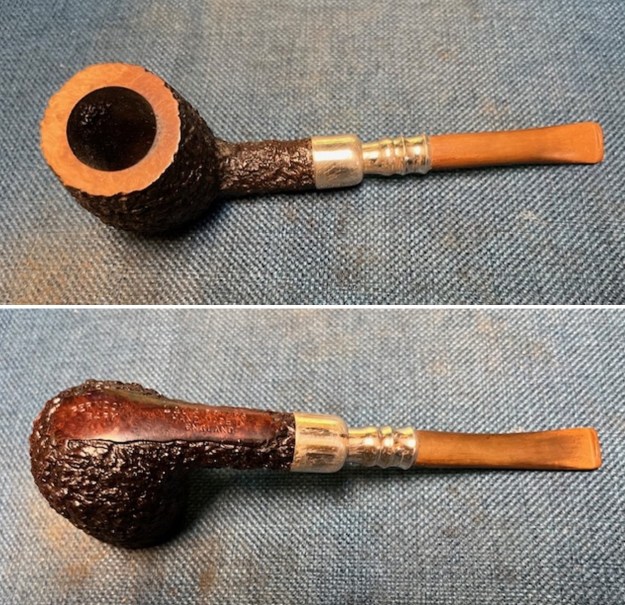
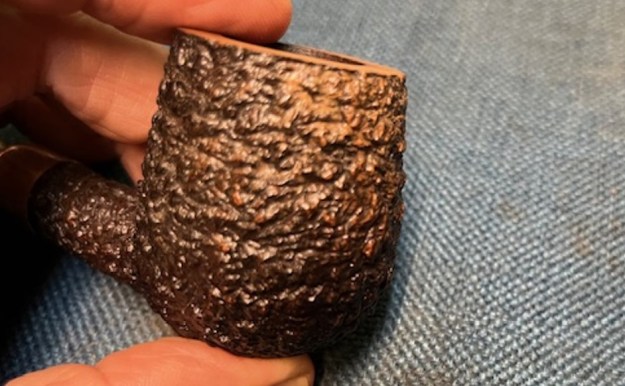
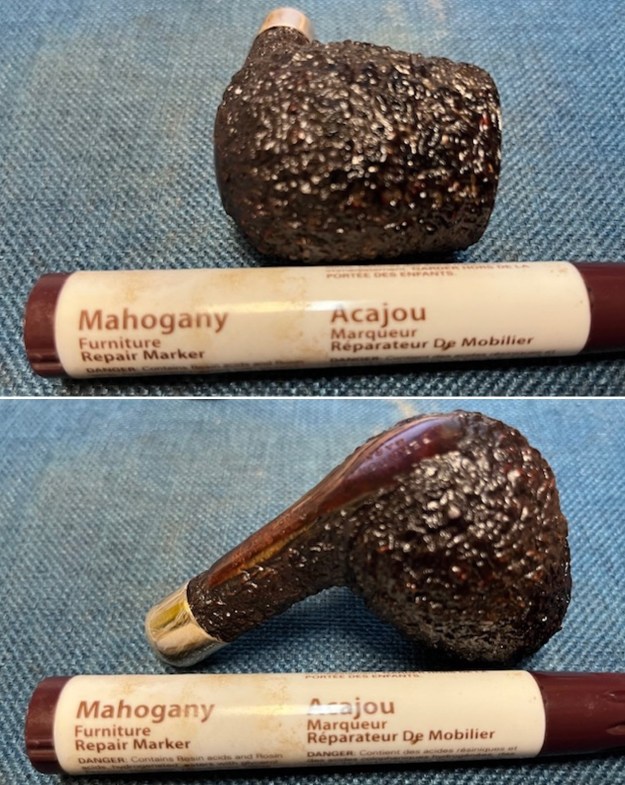
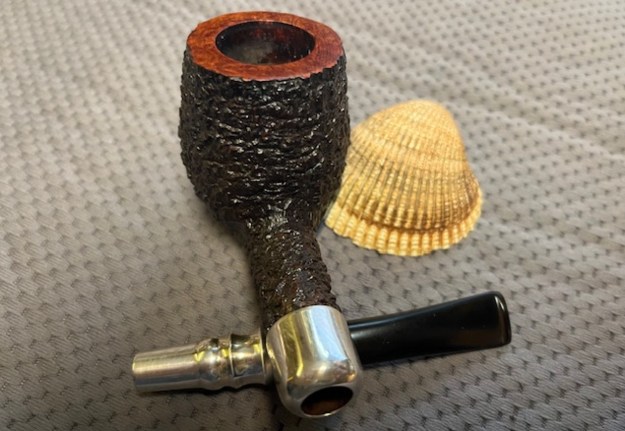
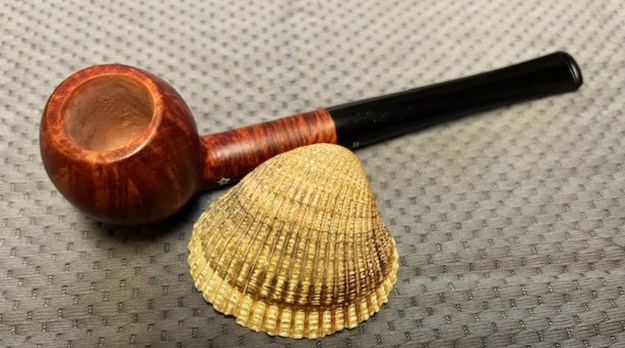
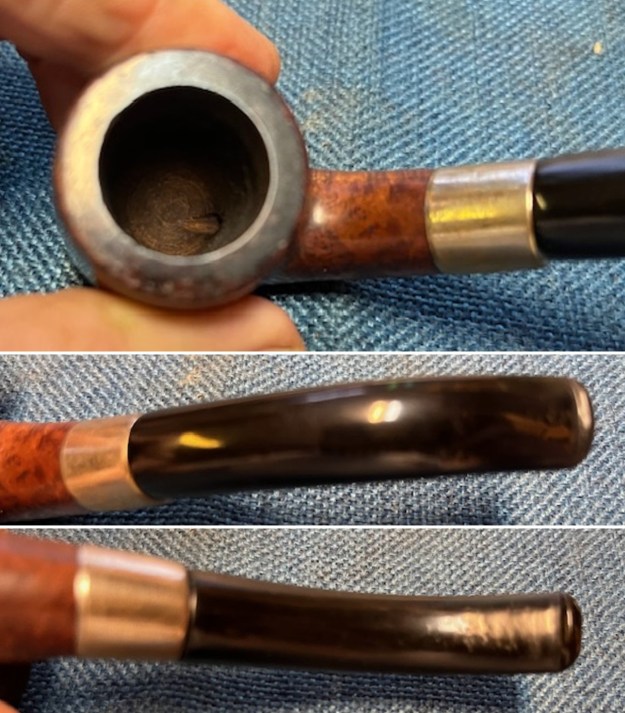
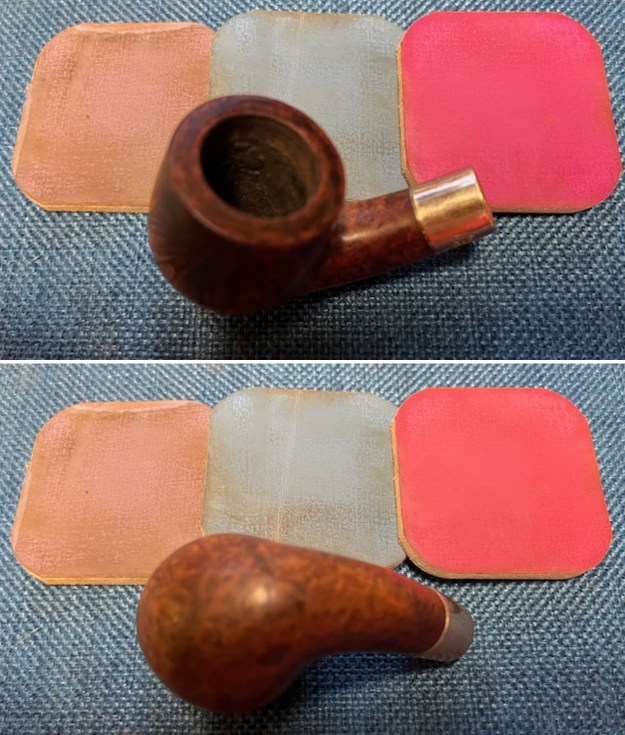
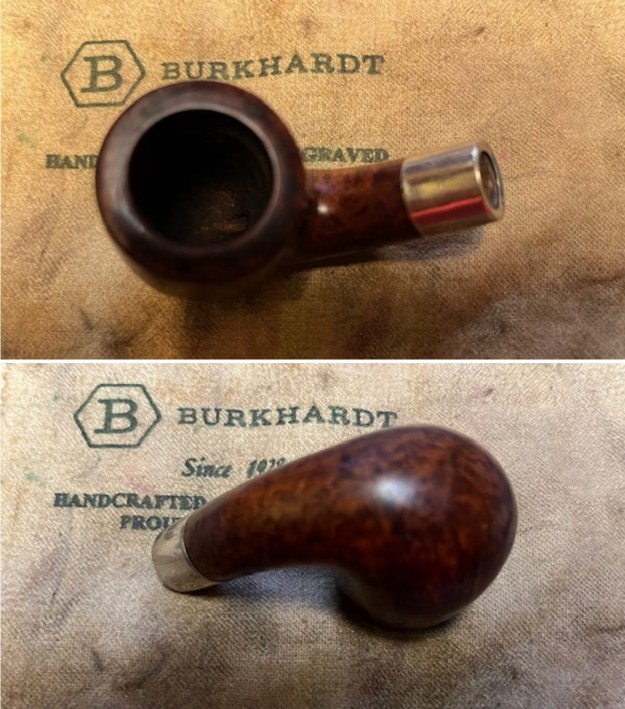
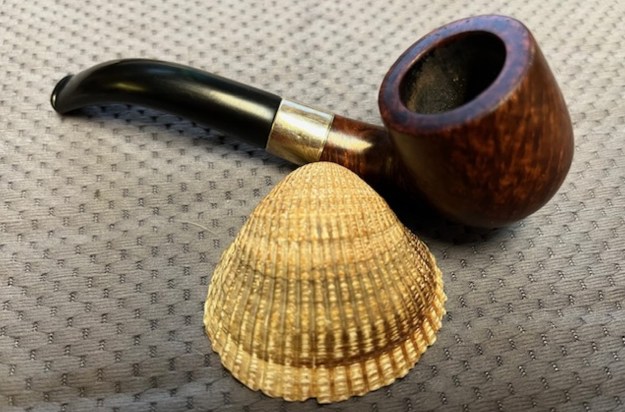
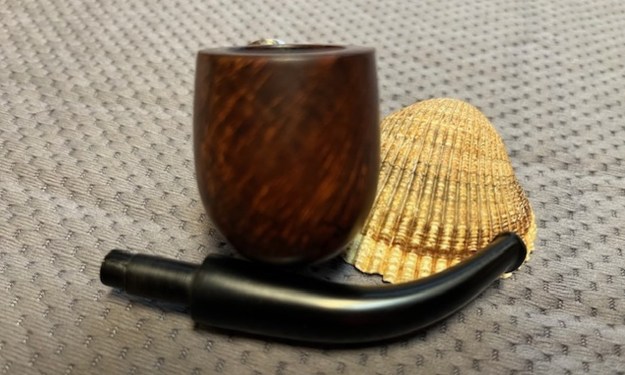
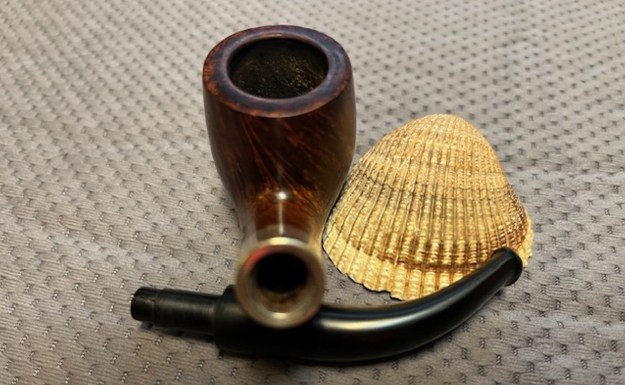
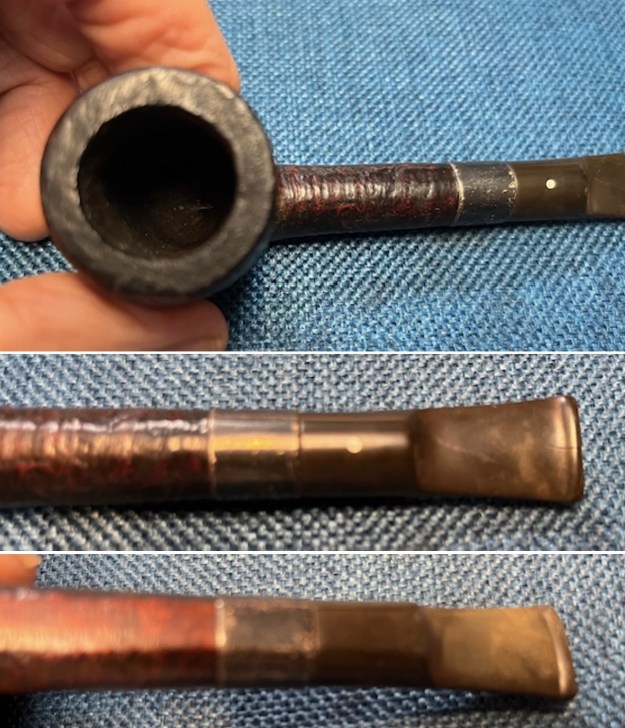
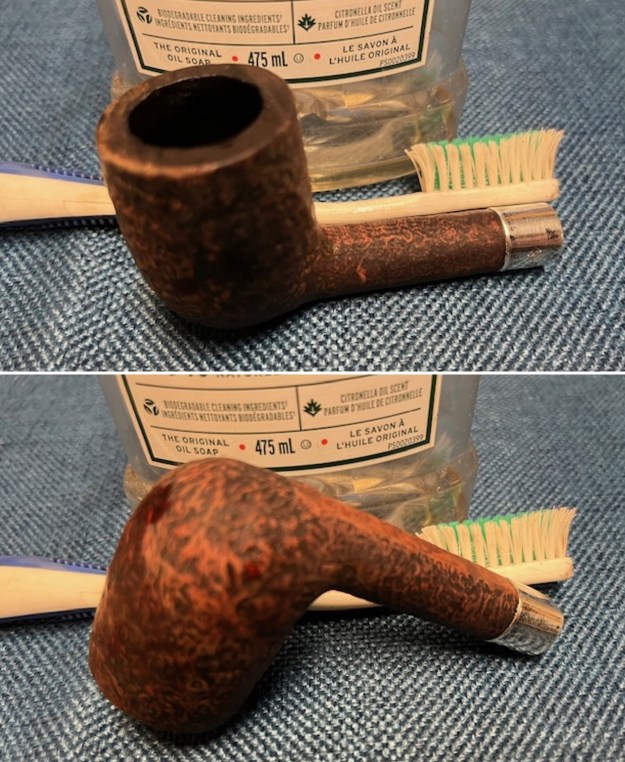
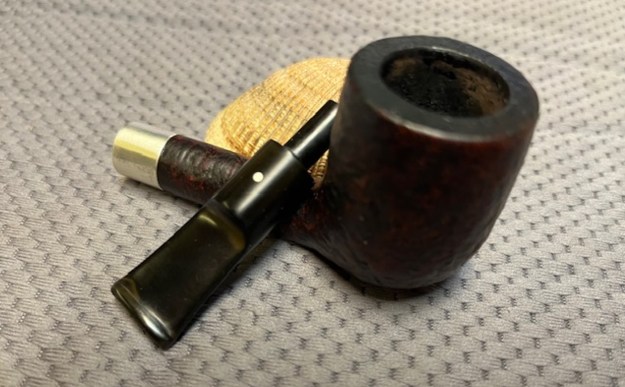
 Jeff took some great photos of the rim top that show the thick cake in the bowl and the lava on the rim top. There was also some burn damage on the front inner edge of the bowl and some darkening around the edges. He also captured the condition of the stem showing the oxidation and the tooth damage on both sides.
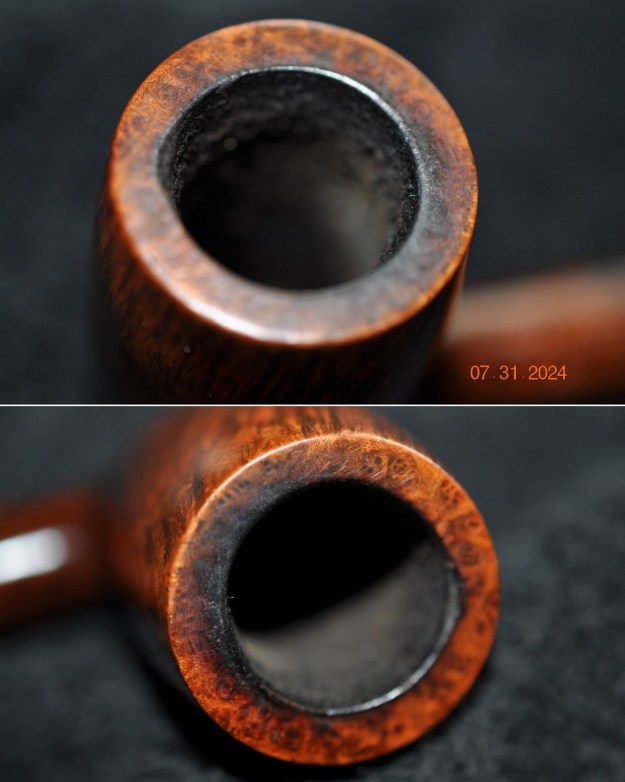
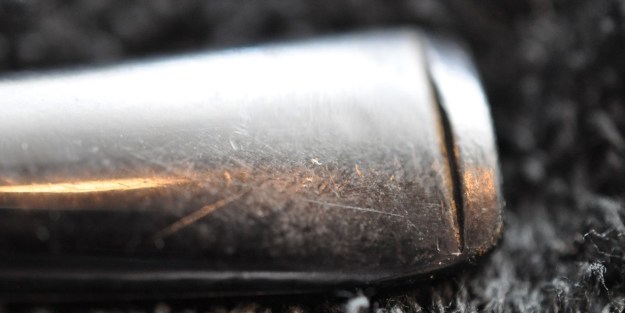
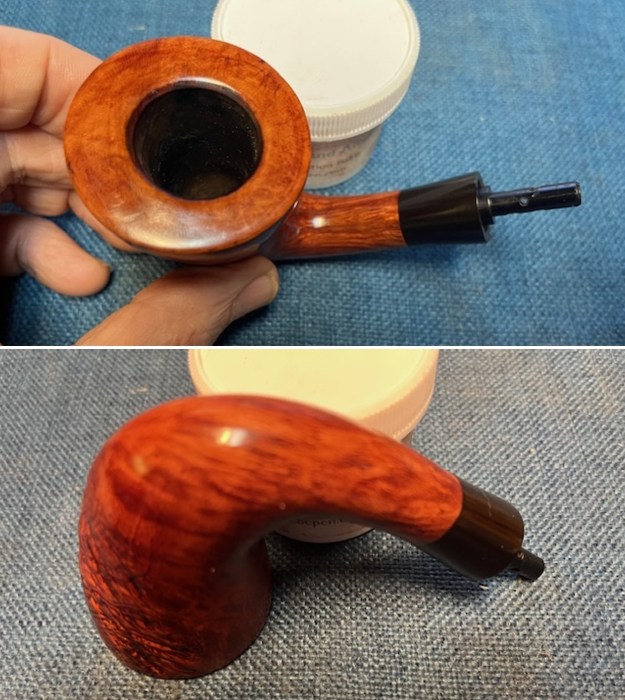
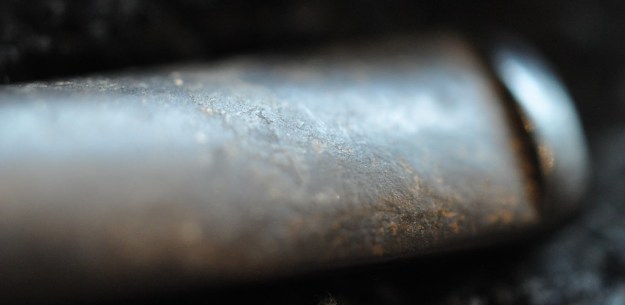
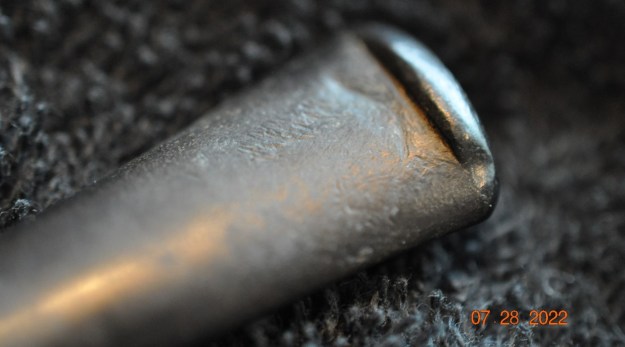
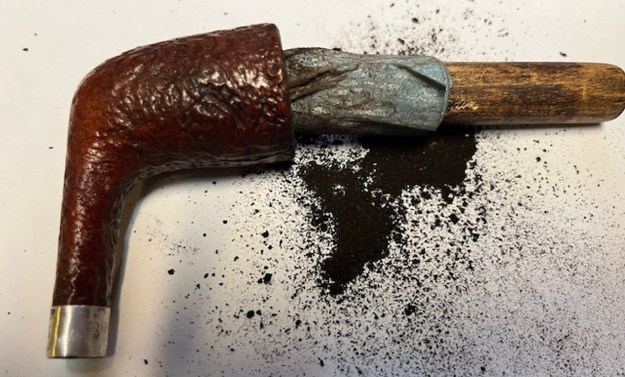
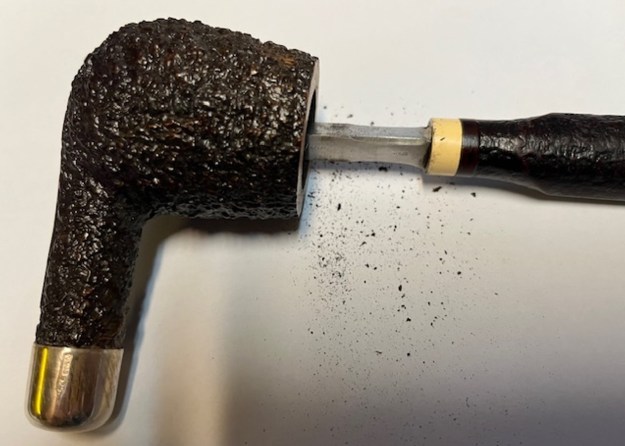
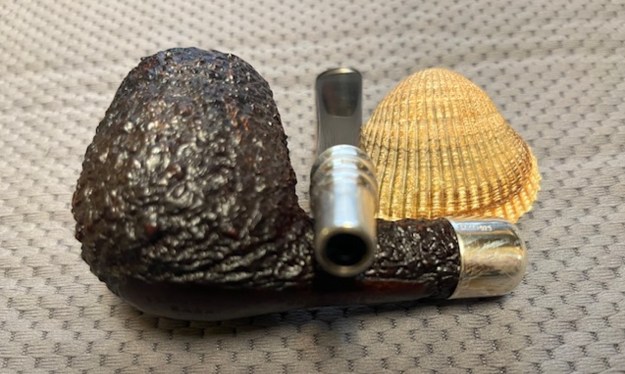
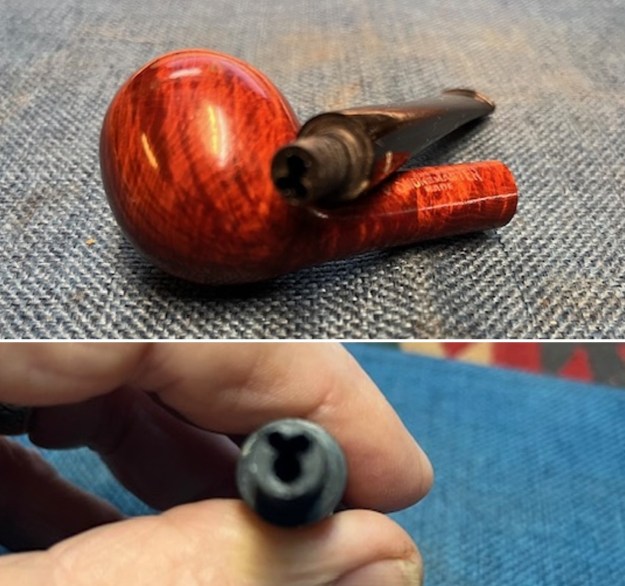
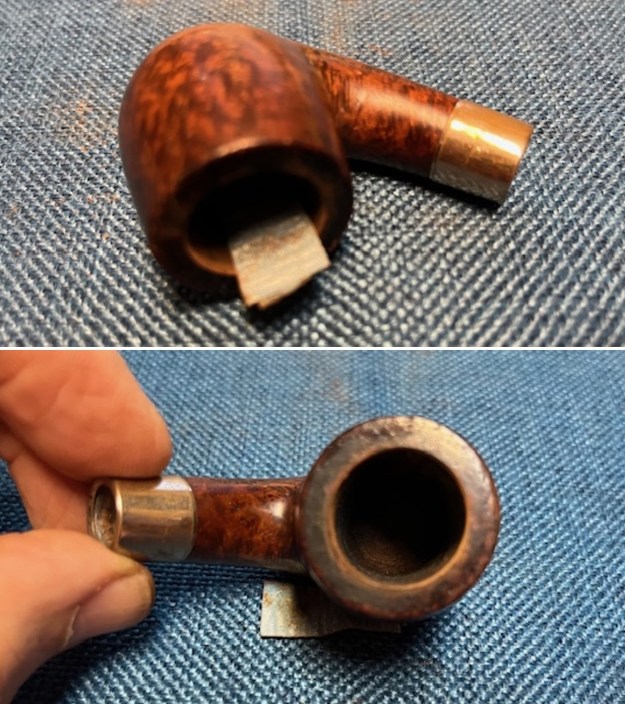
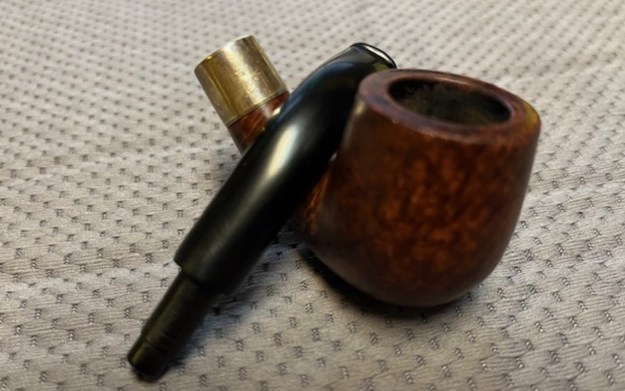
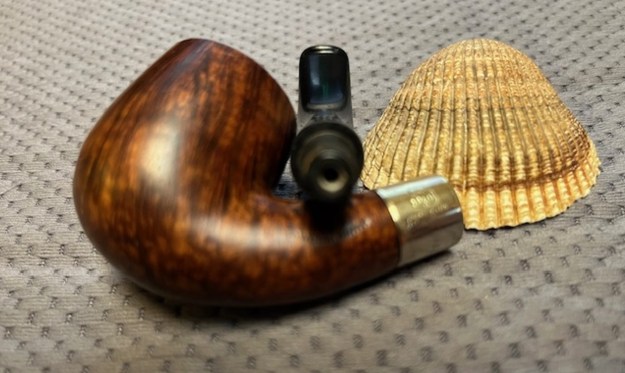
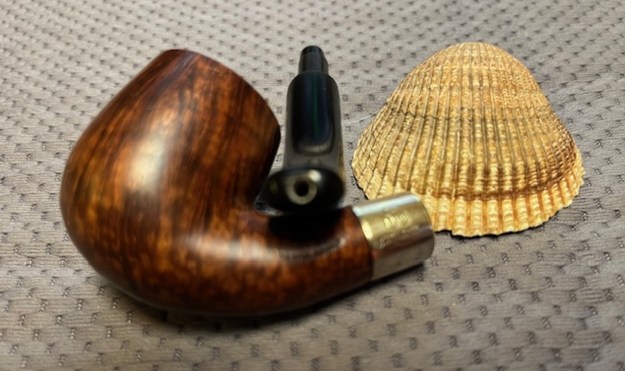
 Jeff took a photo of the damage to the filter tenon. It had a major crack on the top half. I expected it to break free during the cleanup process.
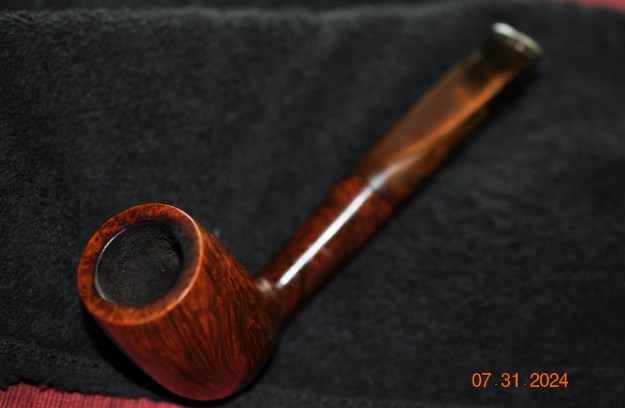
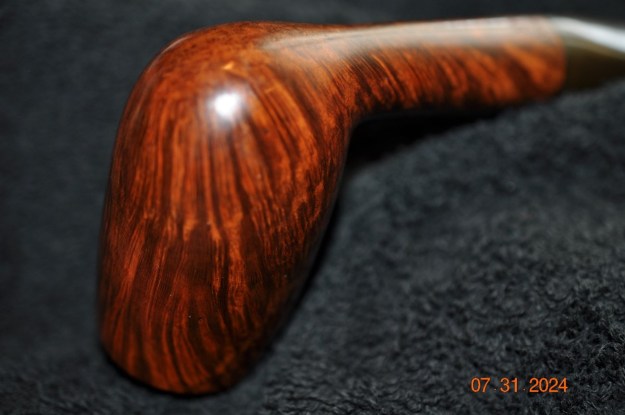
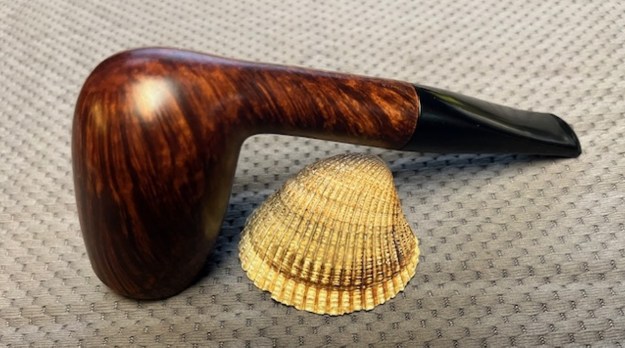
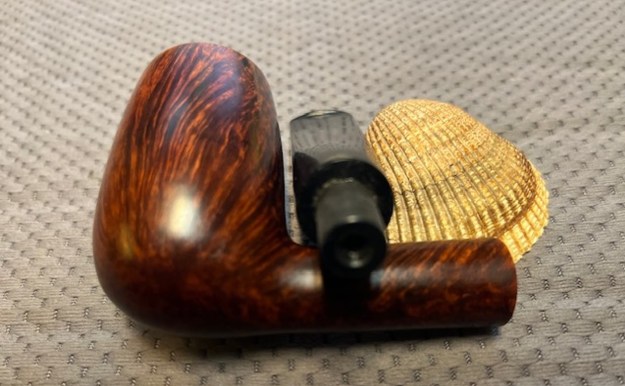
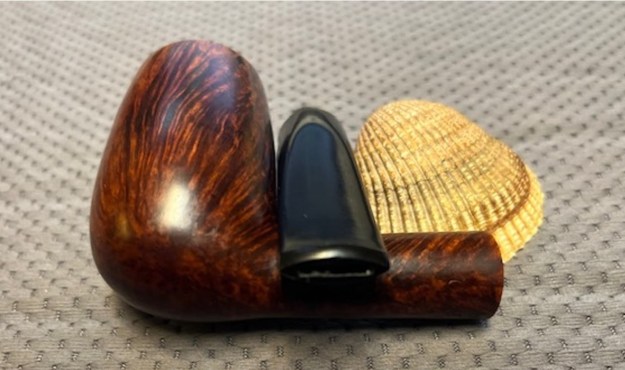
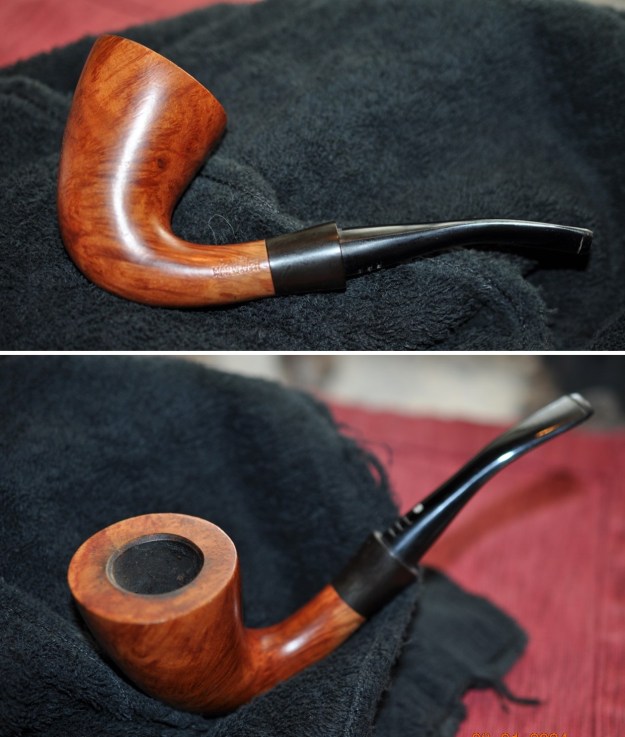
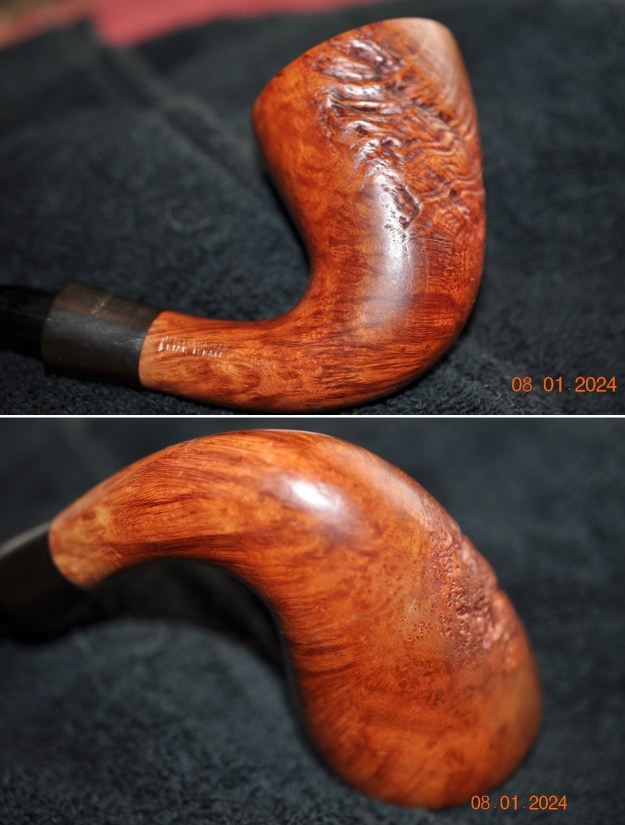
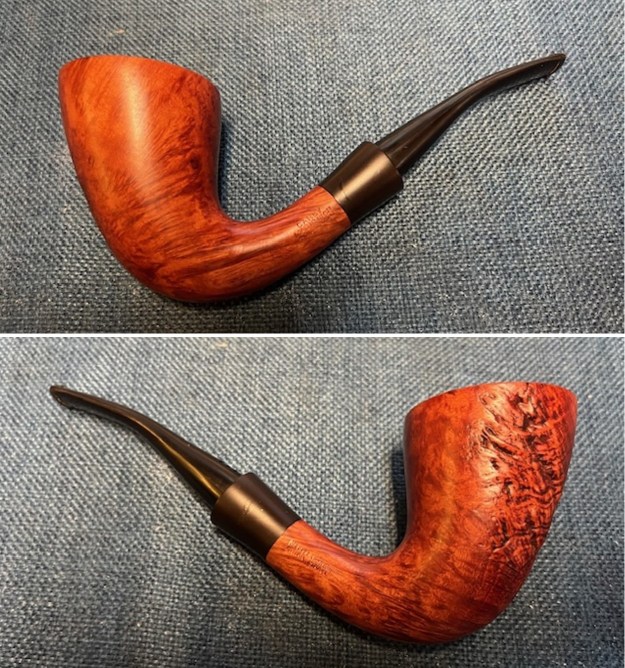
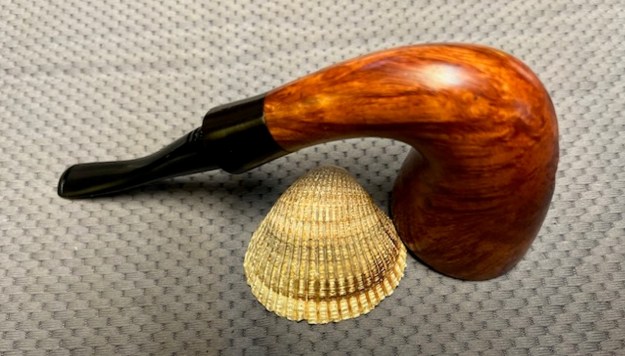
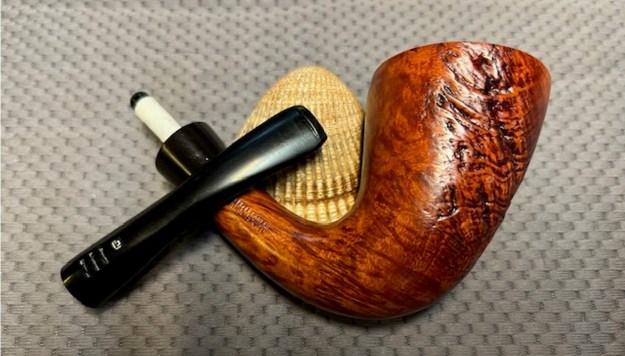
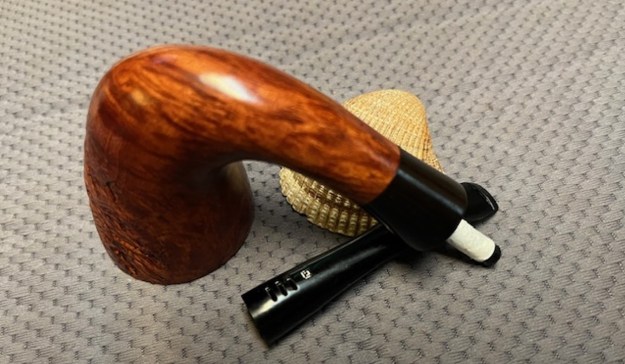
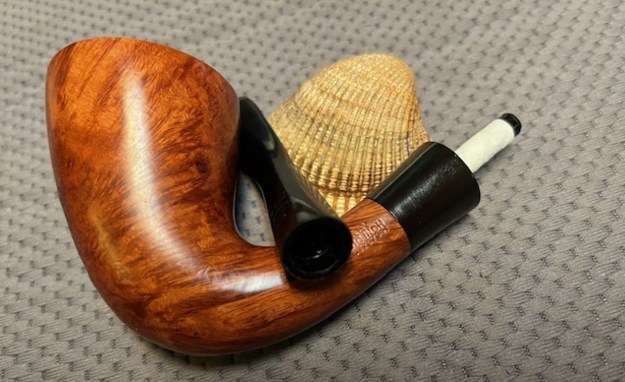
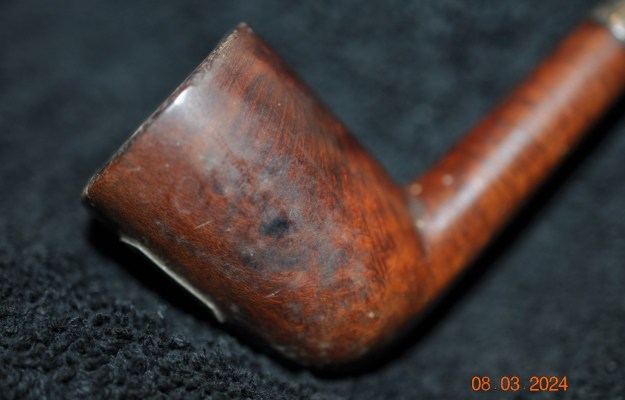
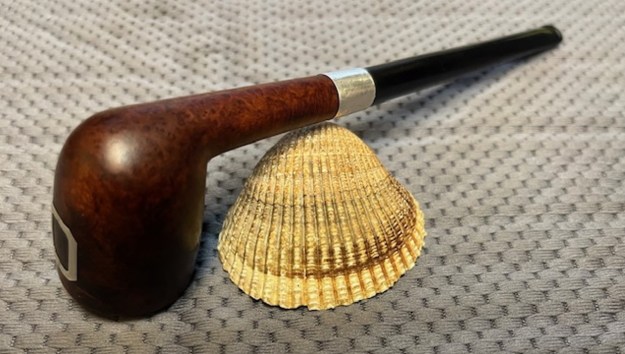
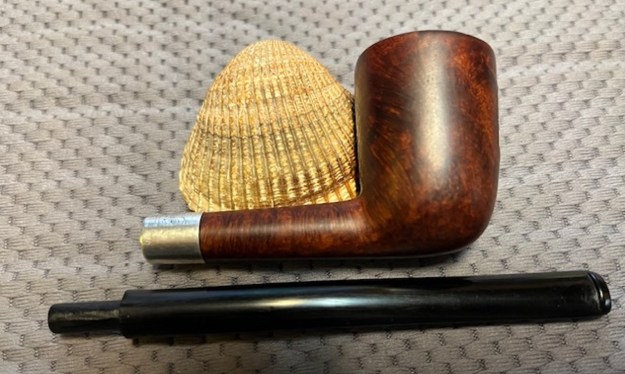
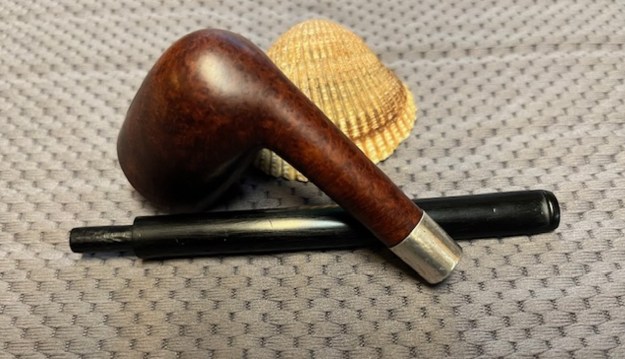
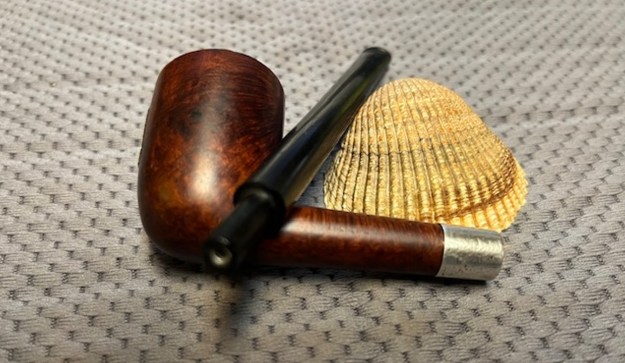
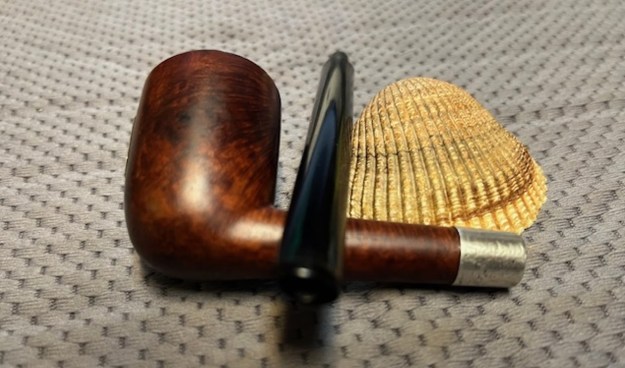
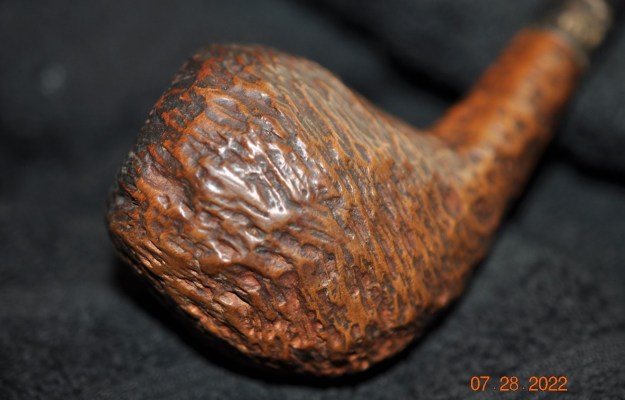
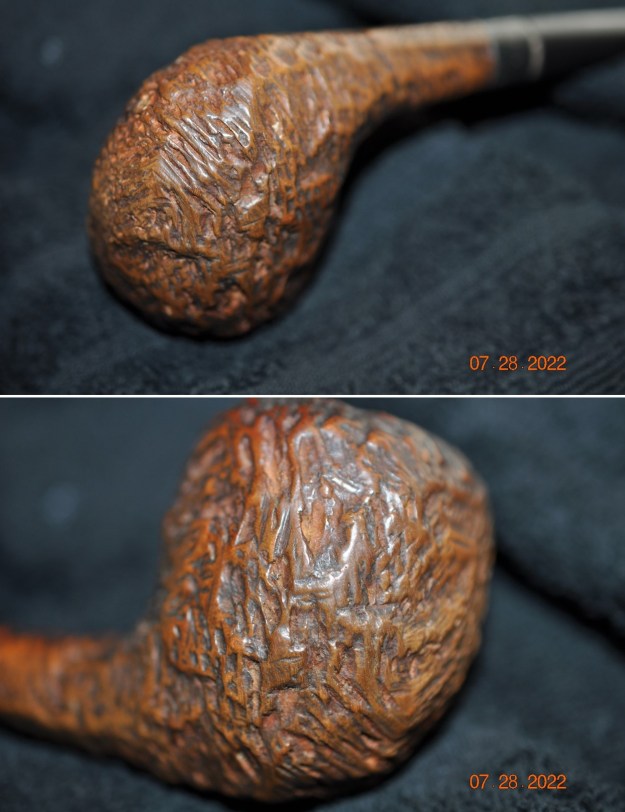
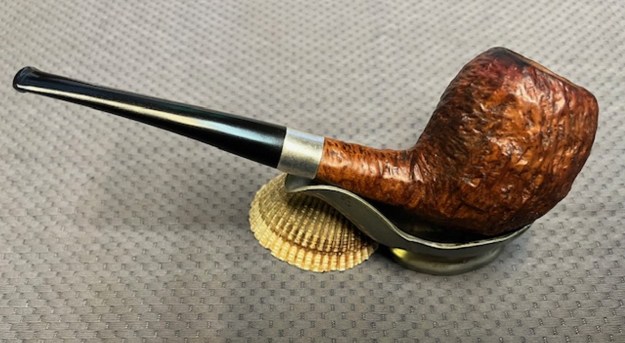
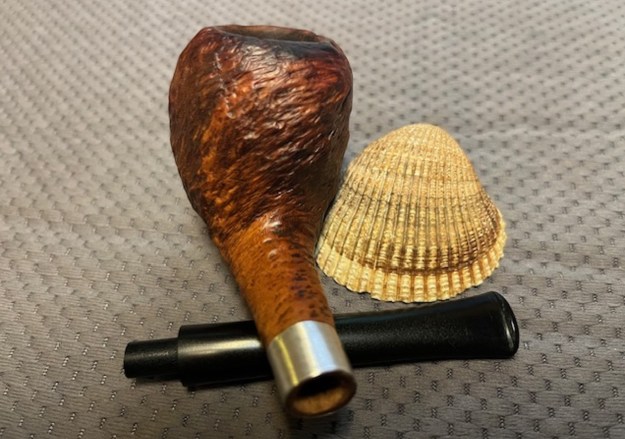
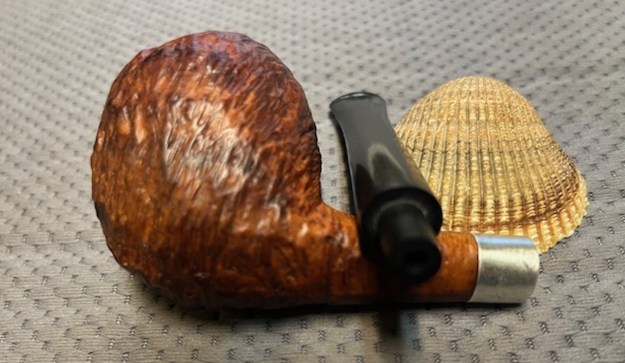
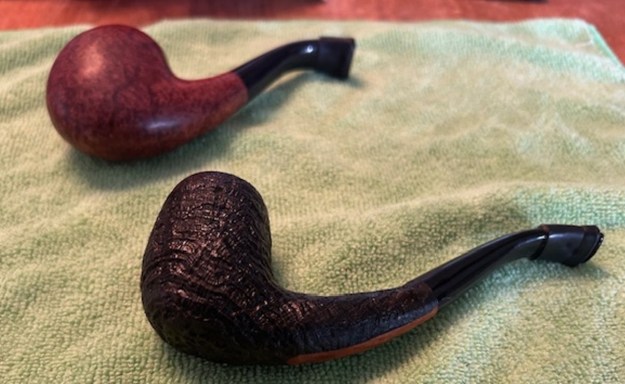
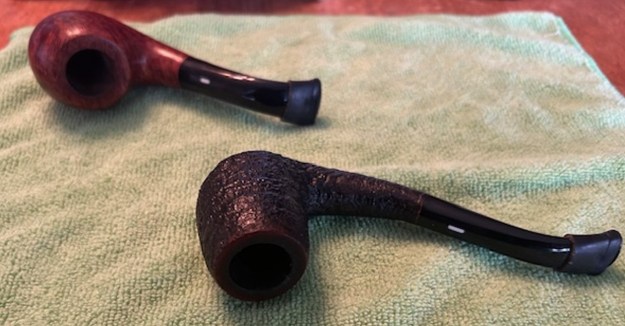
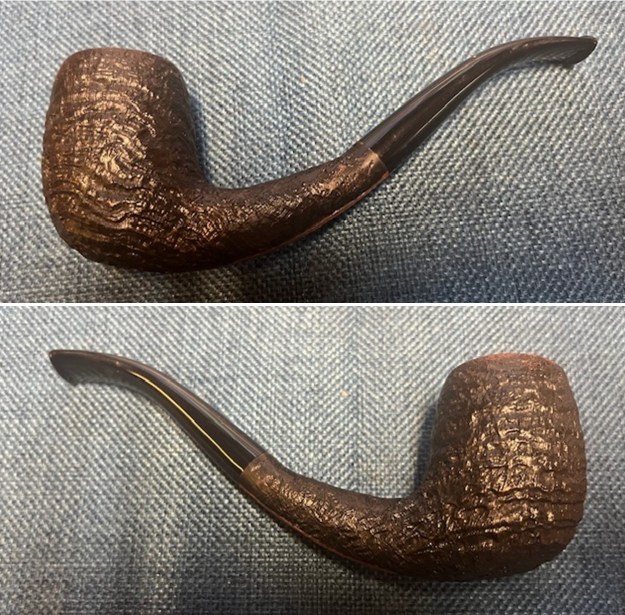
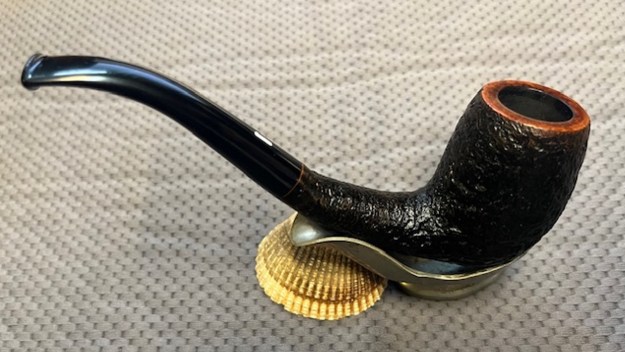
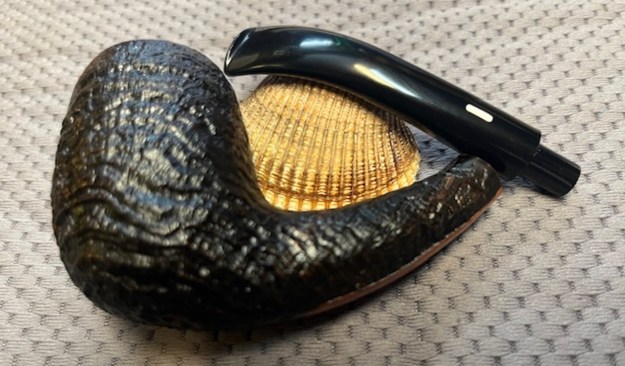
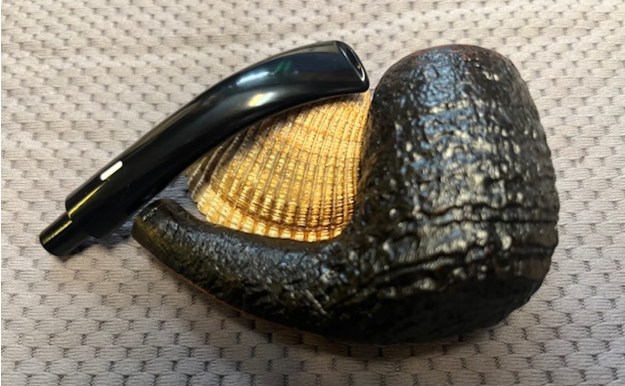
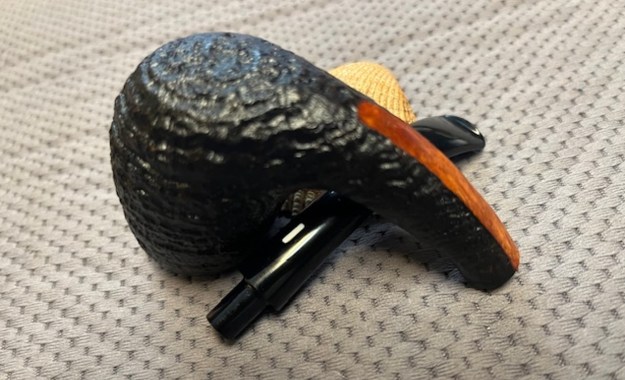
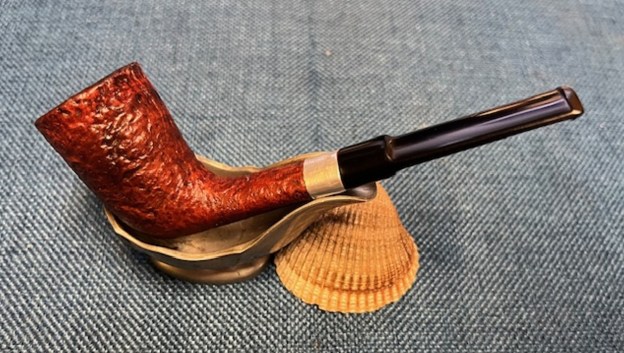
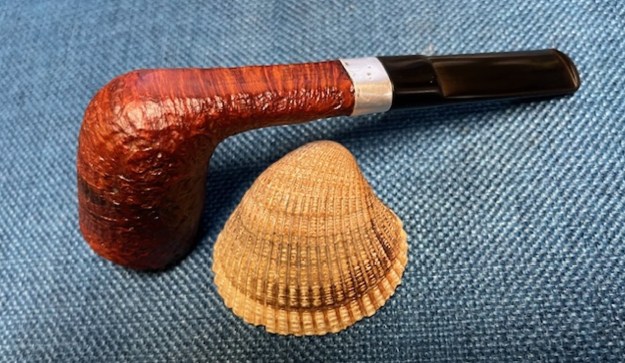
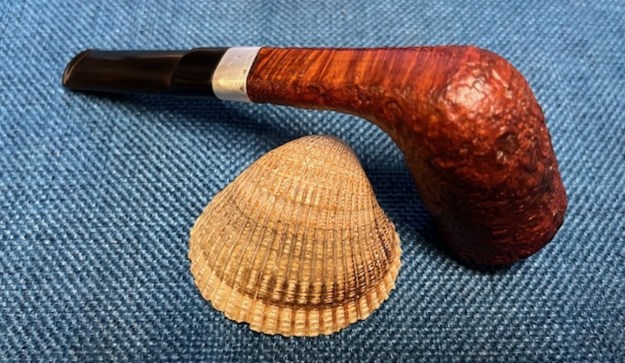
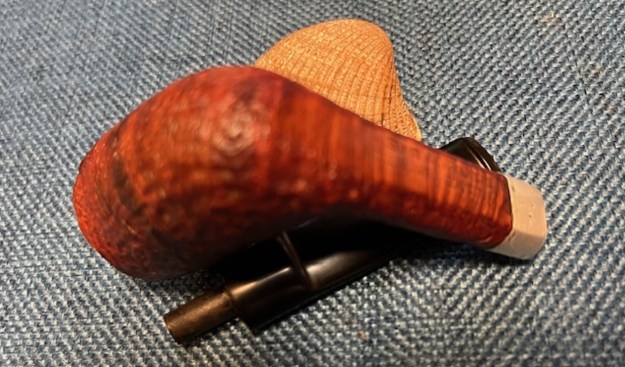
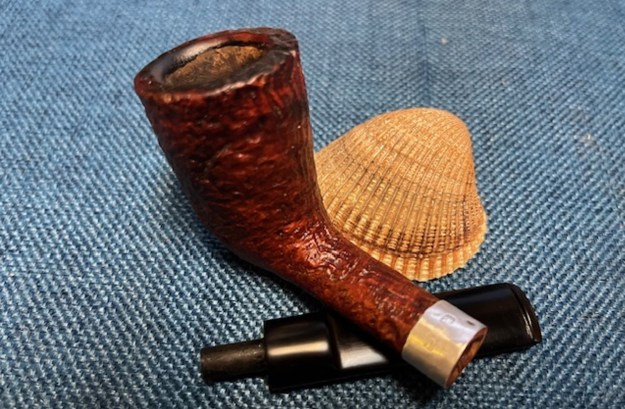
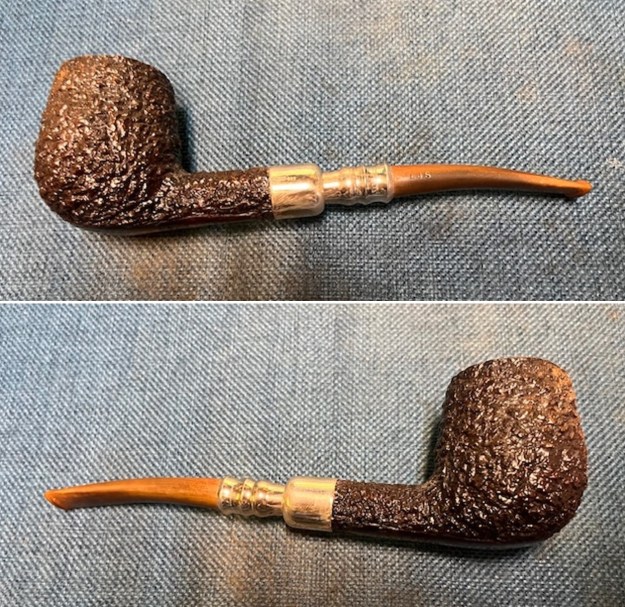
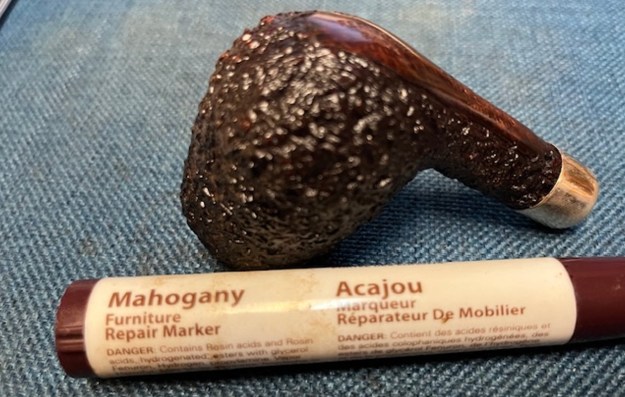
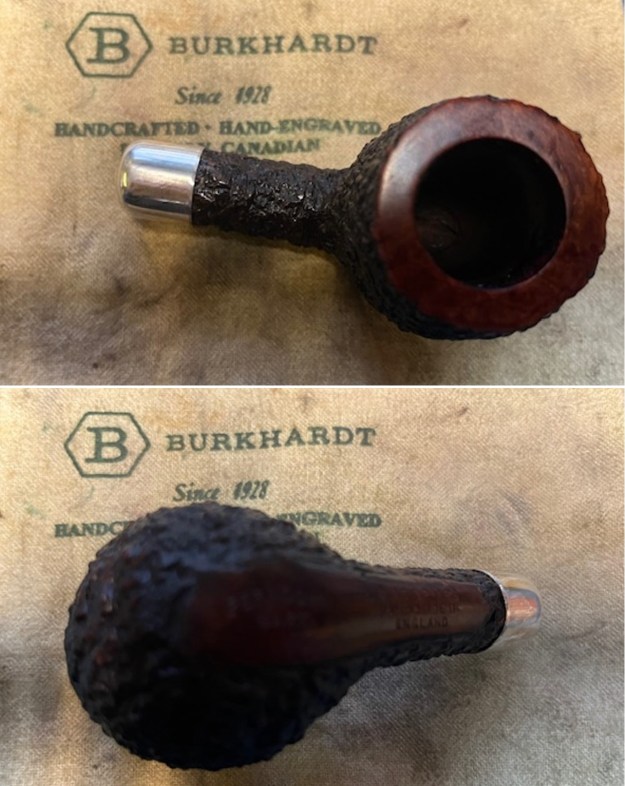
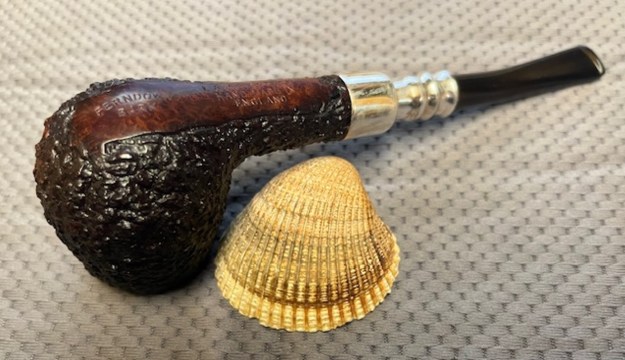
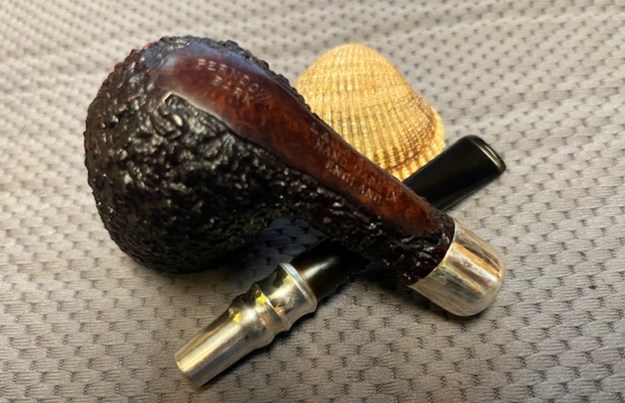
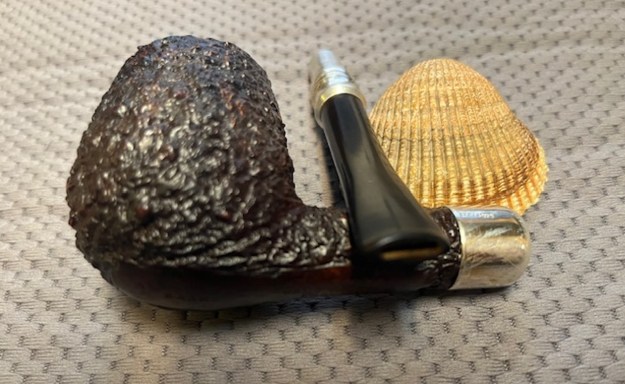
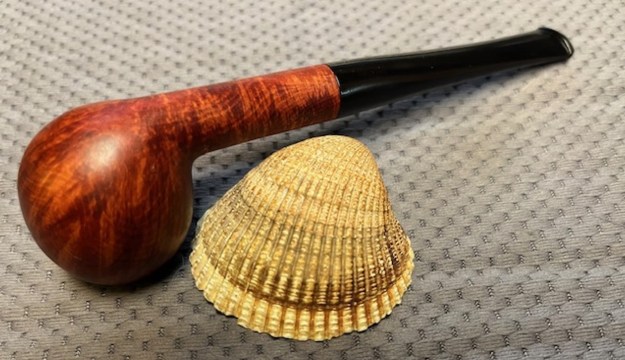
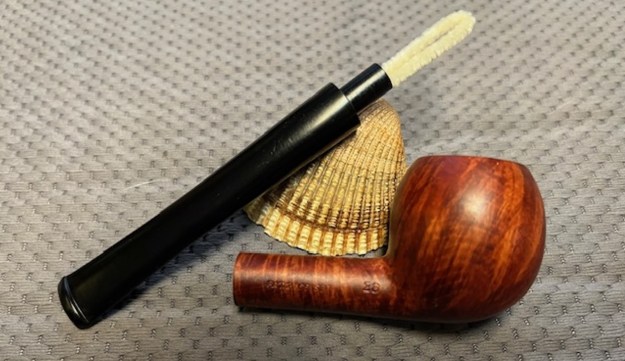
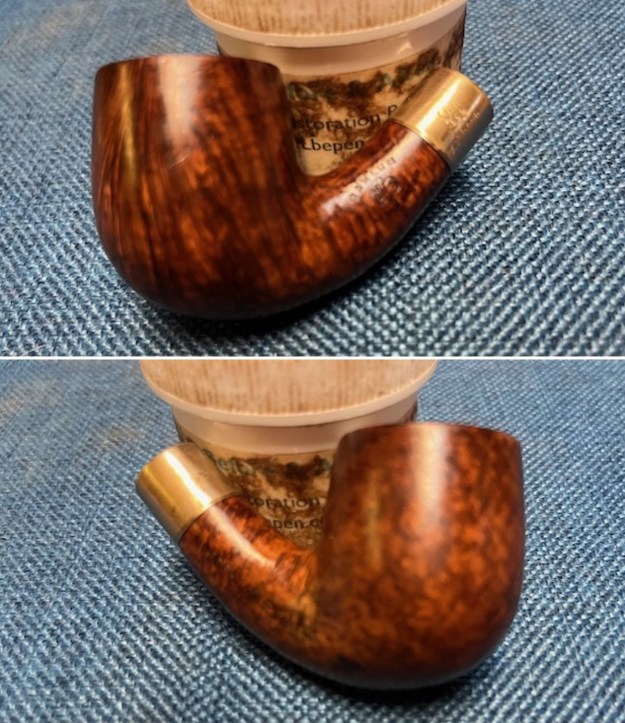
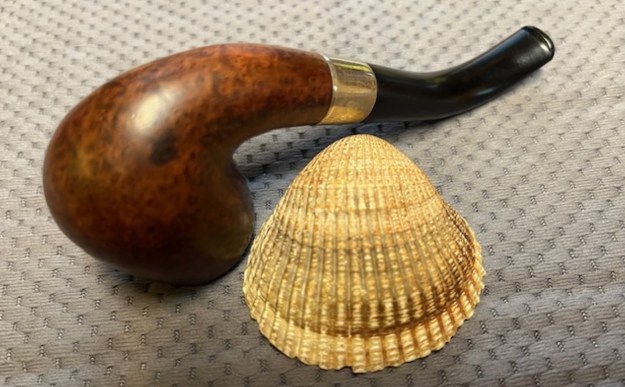
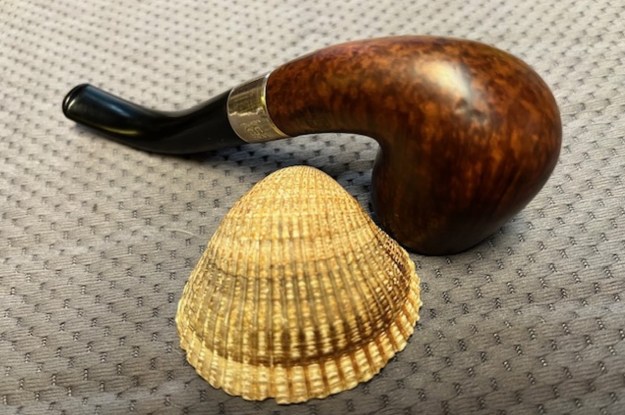
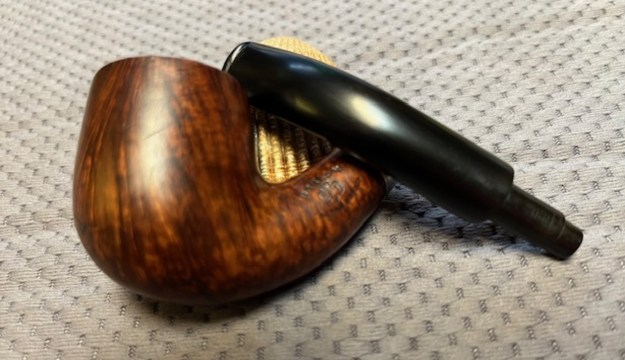
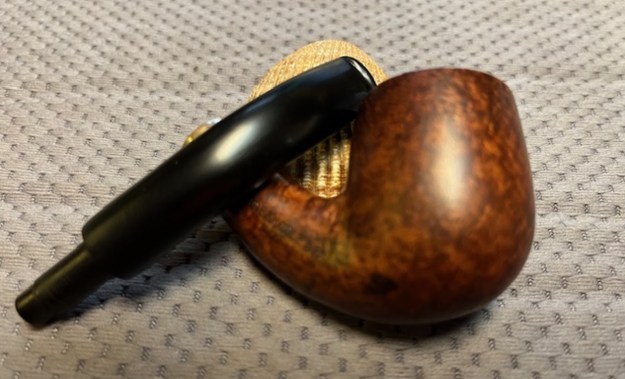
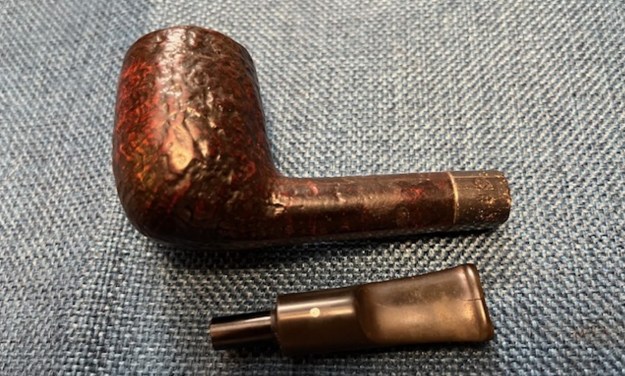
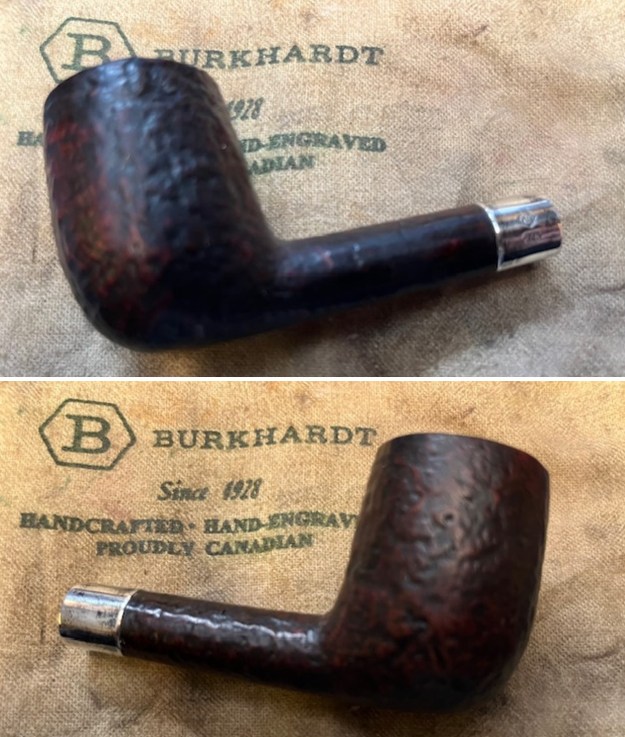
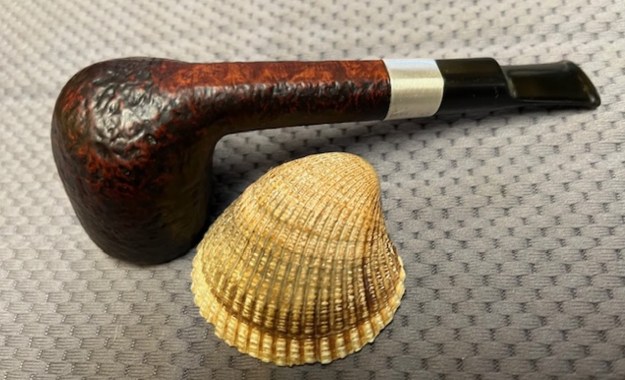
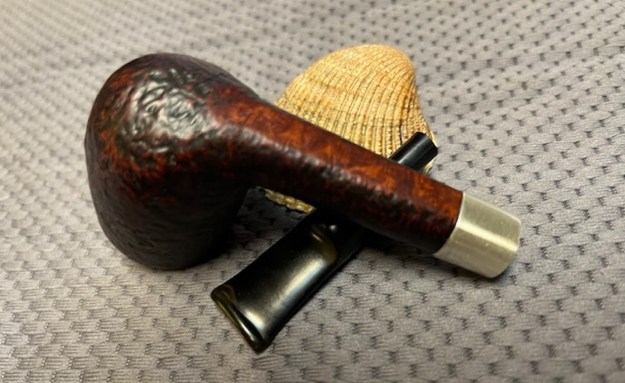
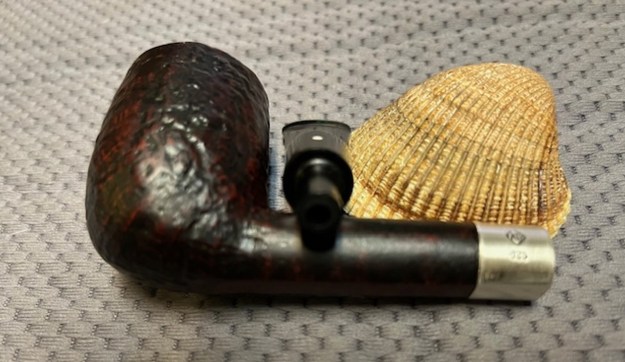
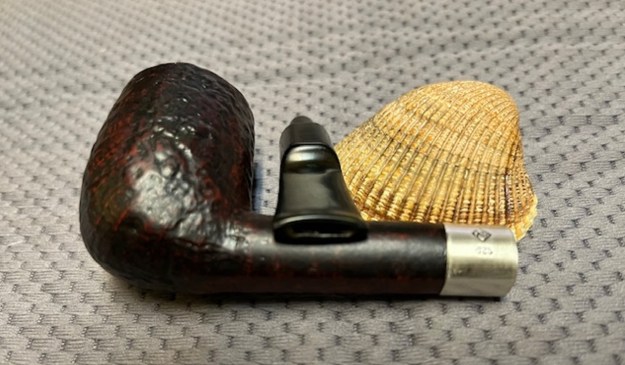
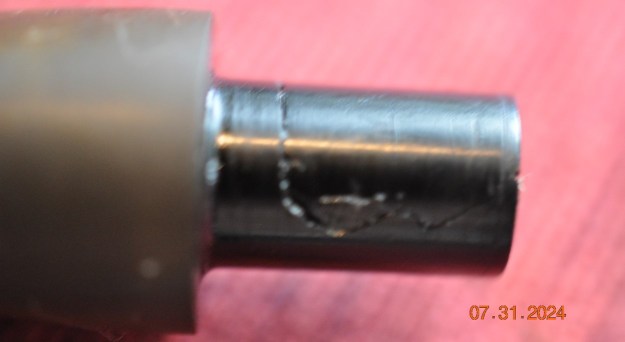 He captured the grain around the sides and heel of the bowl well in these photos. It was amazing grain and the stain was a rich walnut that made the grain really pop around the bowl and shank.
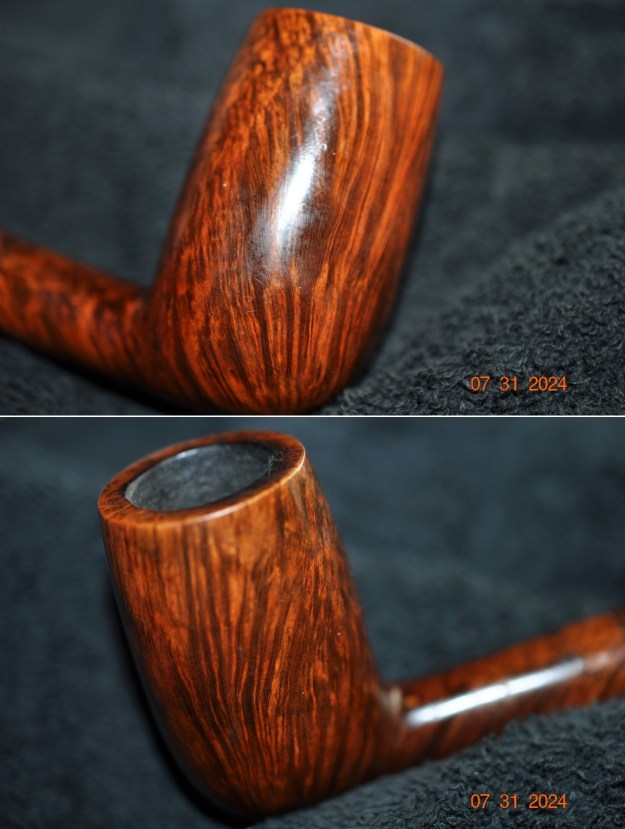
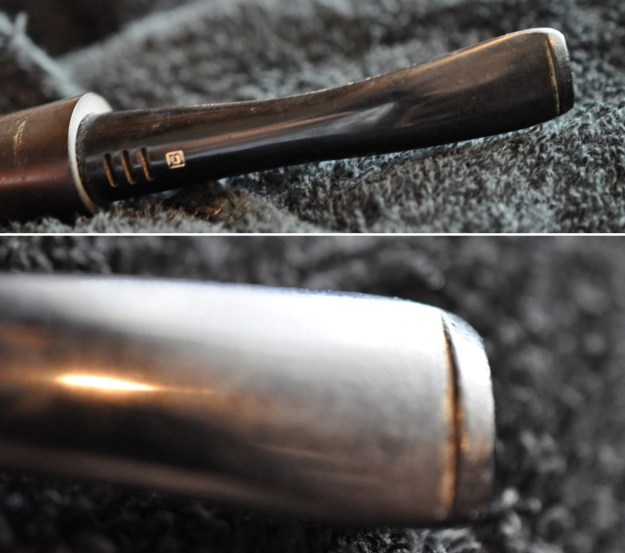
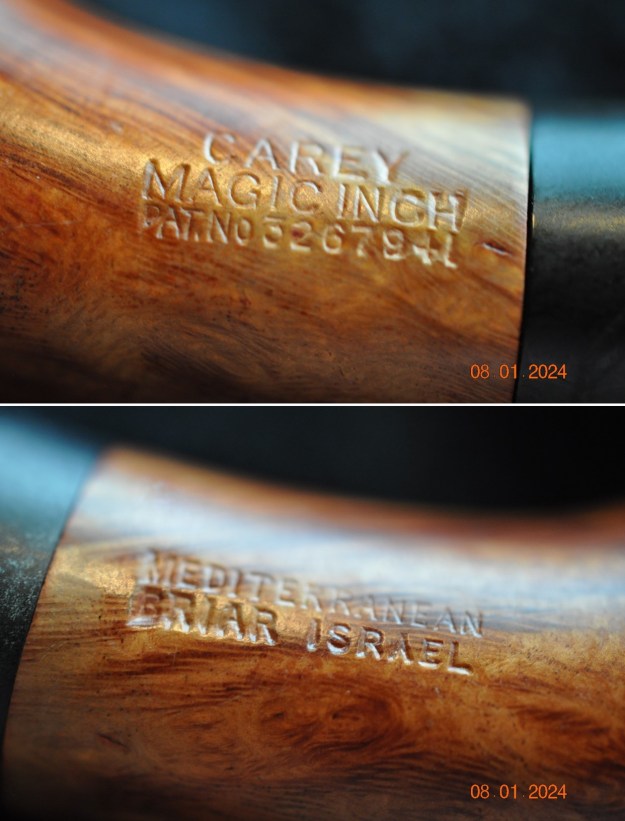
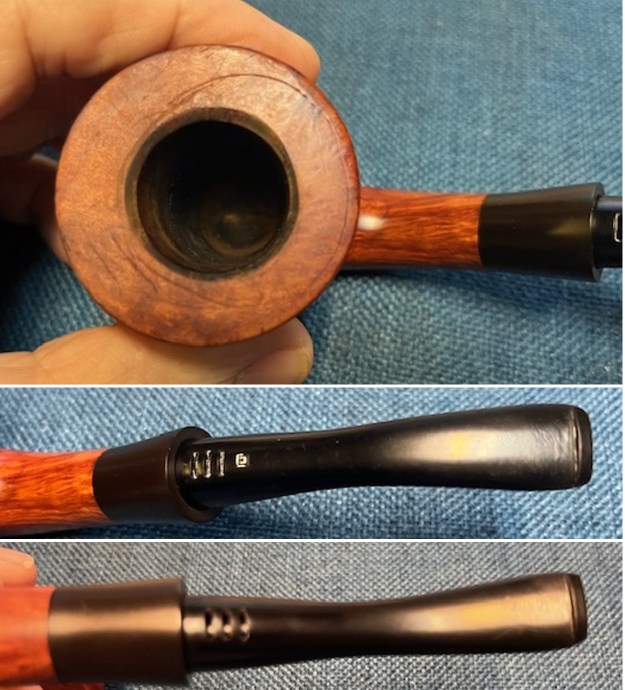
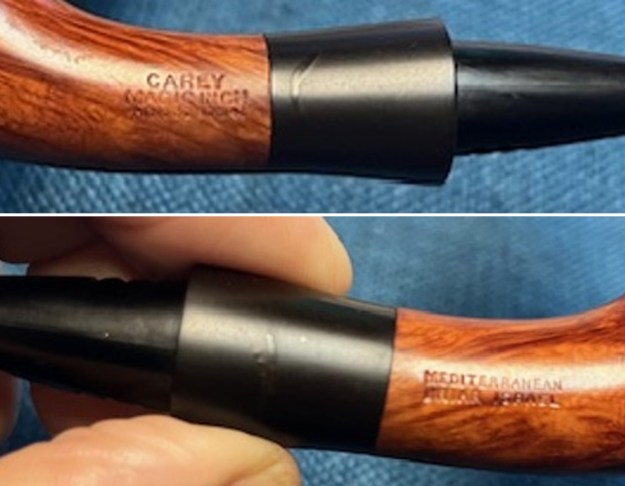
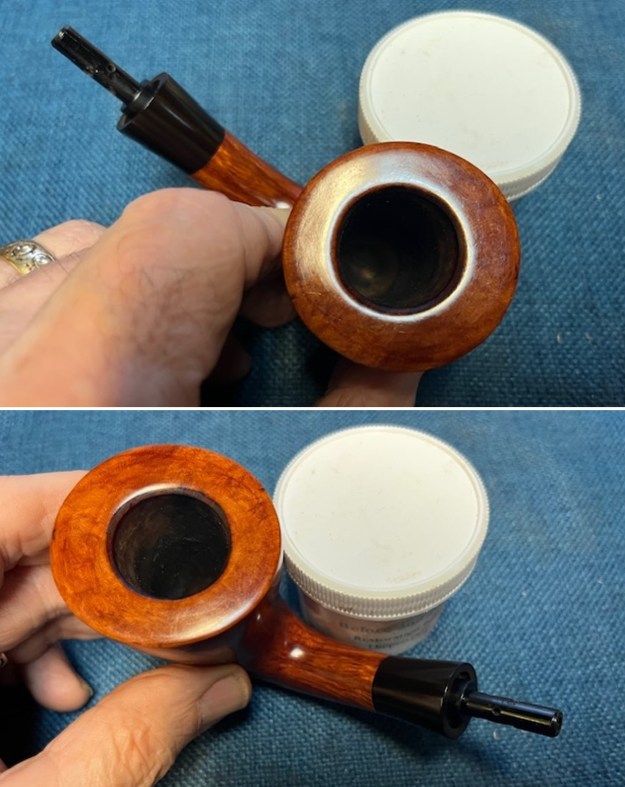
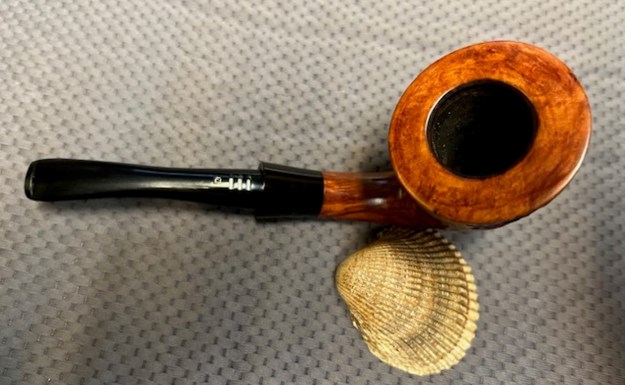
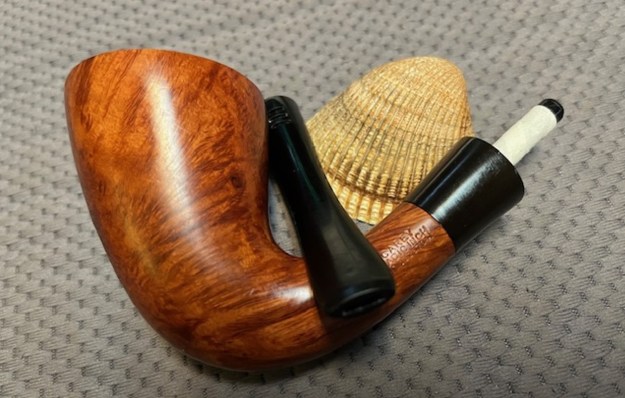
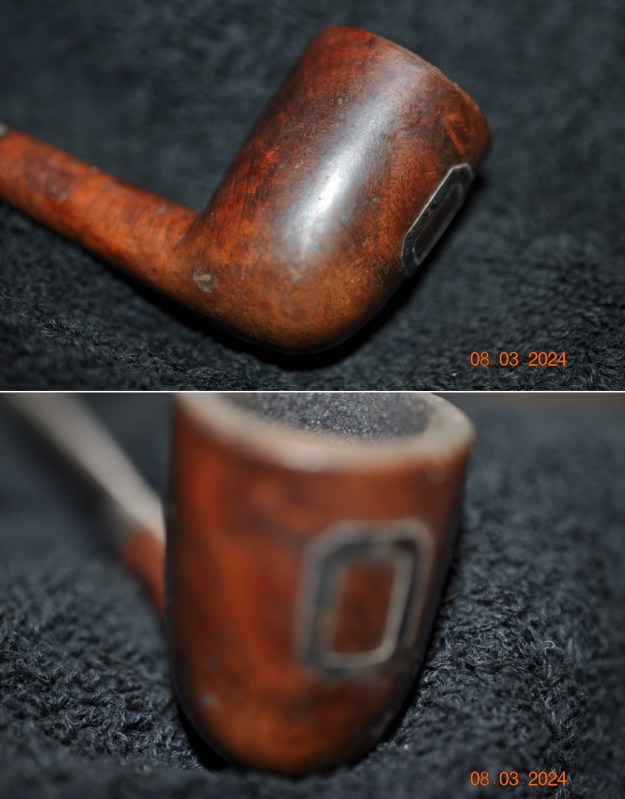
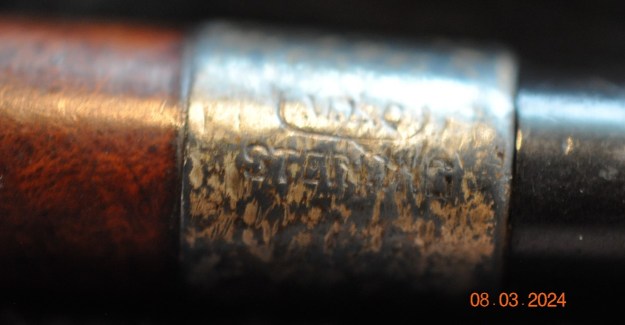
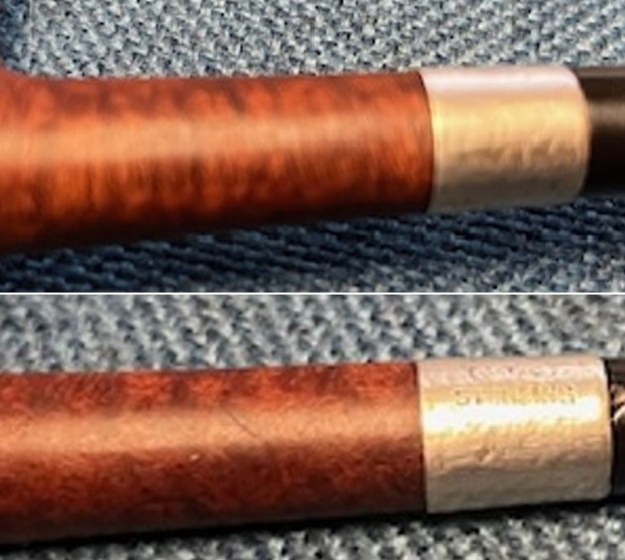
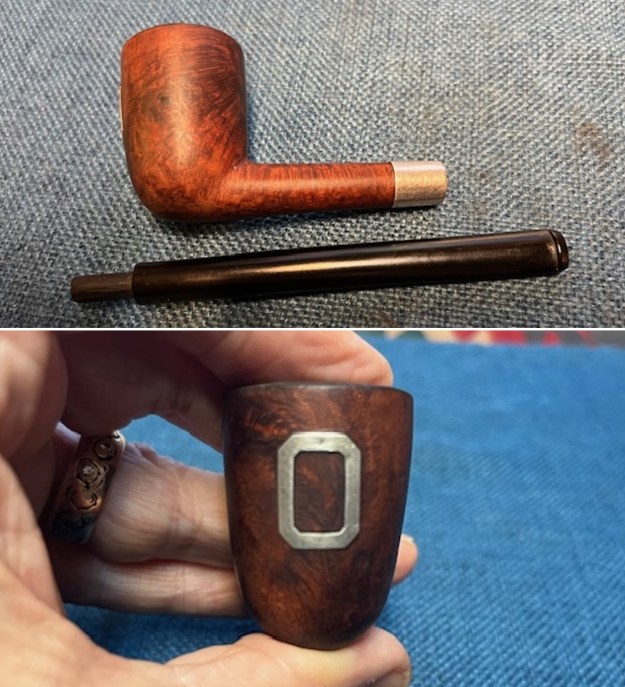
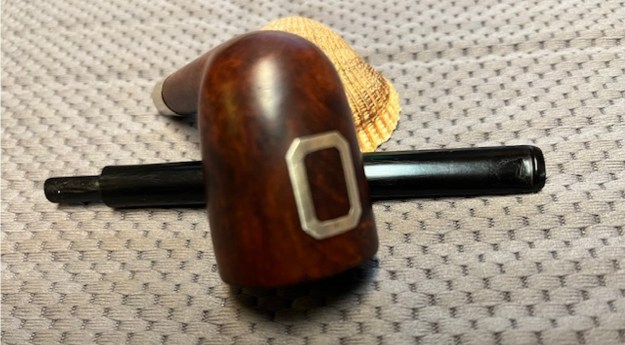
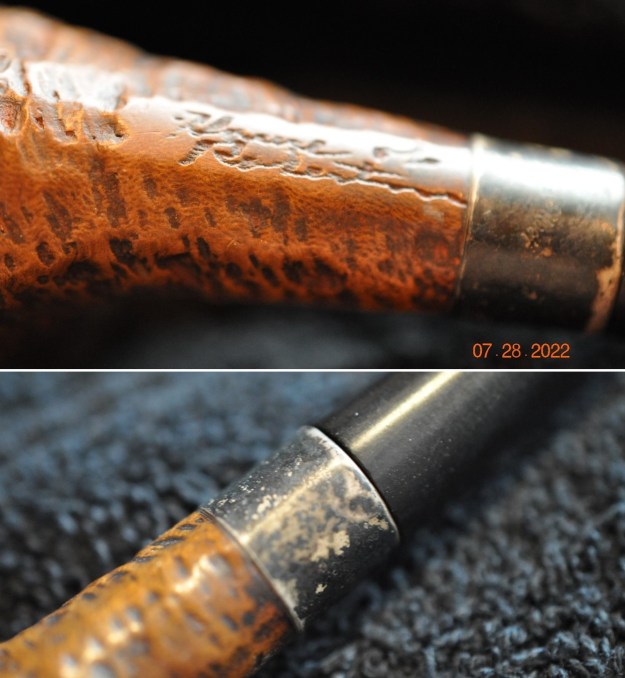
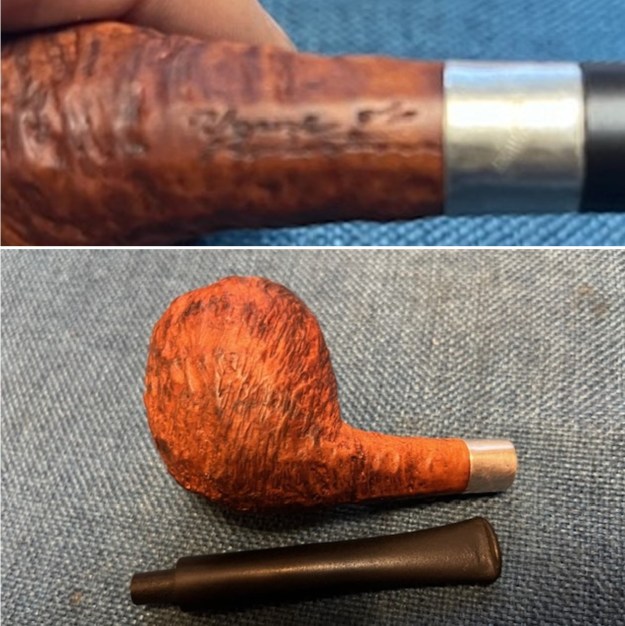
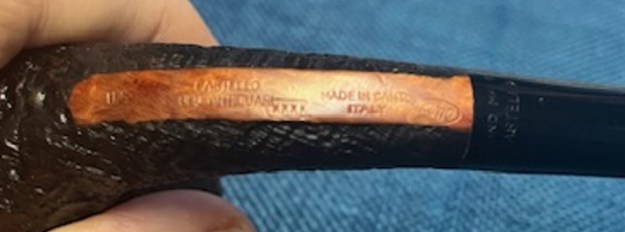
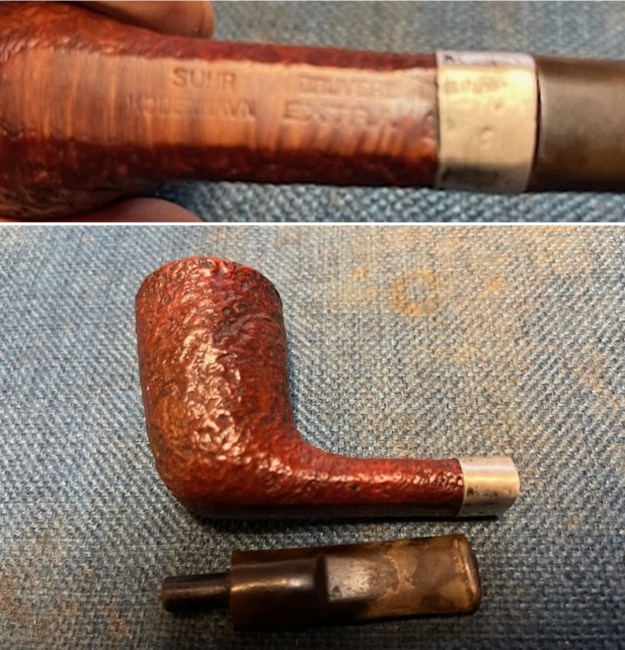
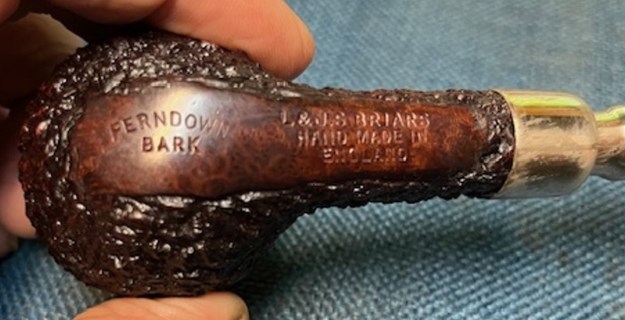
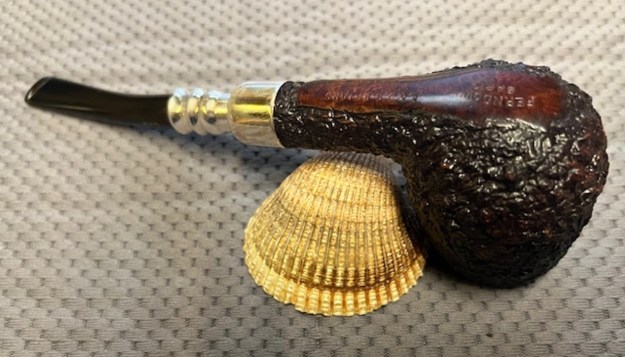
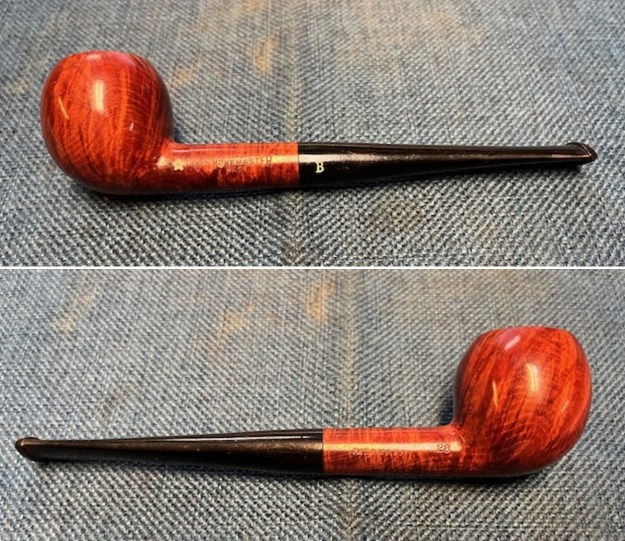
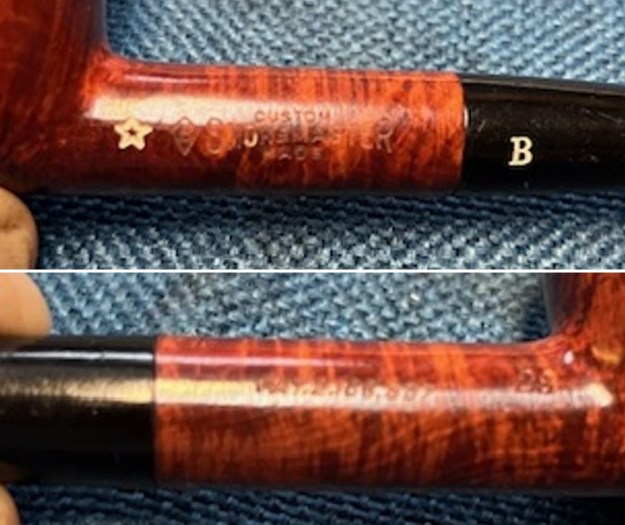
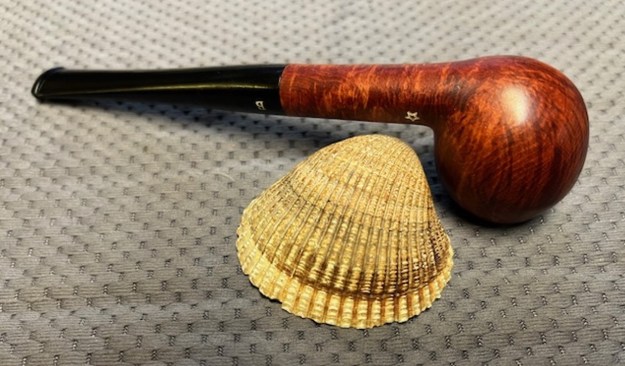
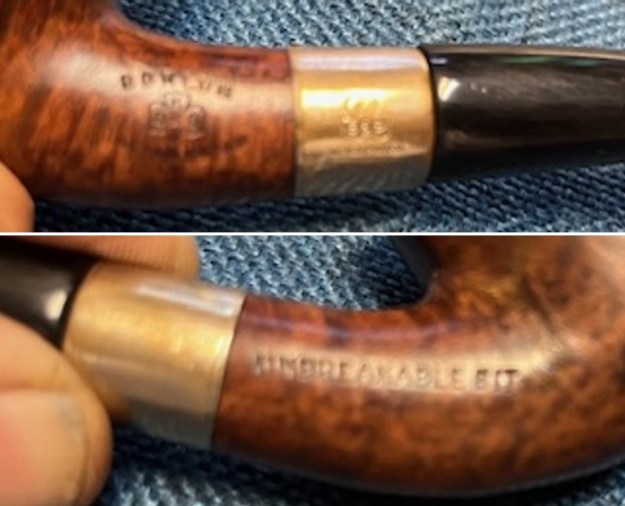
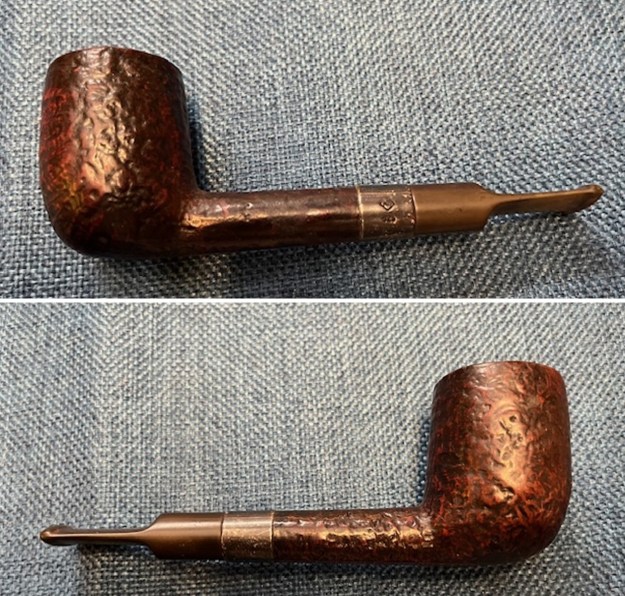
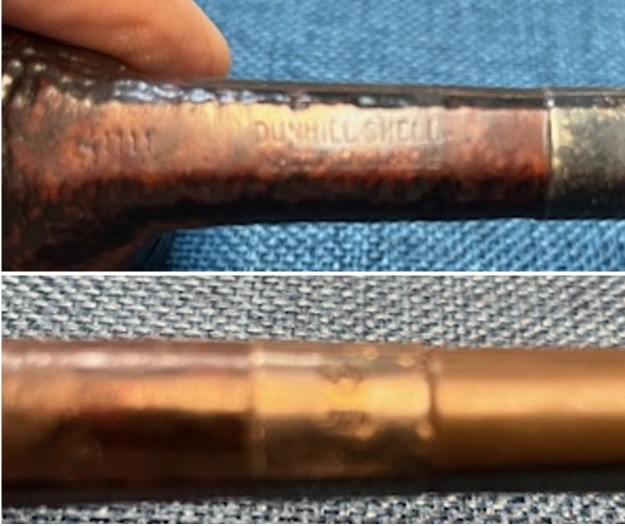
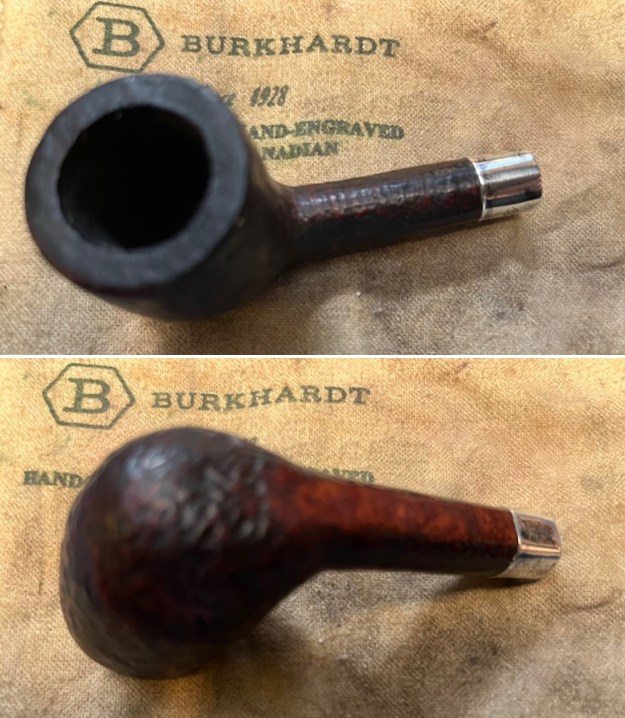
 Jeff took a photo of the stamping on the underside of the shank. It was clear and readable as noted above. You can see the “B” stamped on top of the Hand Cut stamp. The second photo shows the brass “O” on the left side of the taper stem and the oxidation around it on the side of the taper stem.
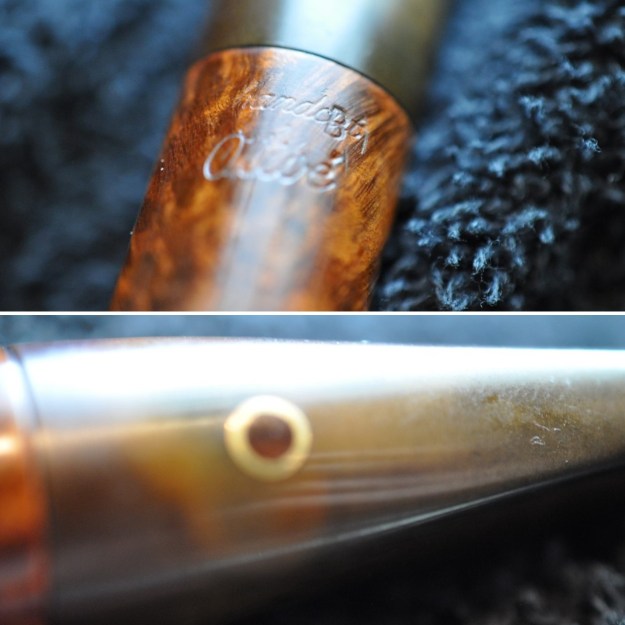 Before I started working my part of the restoration I spent some time trying to place the hand cut line in the Vesz hierarchy. I turned to rebornpipes to have a look at some of the pieces I had written previously on the brand. The first was a catalogue I had picked up on Vesz pipes from a friend. It was an older catalogue from the time period that the brand was called Craft Pipes (https://rebornpipes.com/2016/09/13/an-older-julius-vesz-catalogue/). In going through the catalogue there was nothing that referred to the newer lines of the Vesz pipes that showed up in other places.
A piece I wrote on a Vesz Zulu gave a lot of historical backgroundon the brand so I reread that (https://rebornpipes.com/2014/10/04/a-review-a-julius-vesz-shape-76-zulu/). I quoted from Pipedia in the piece and have included that and the link below.
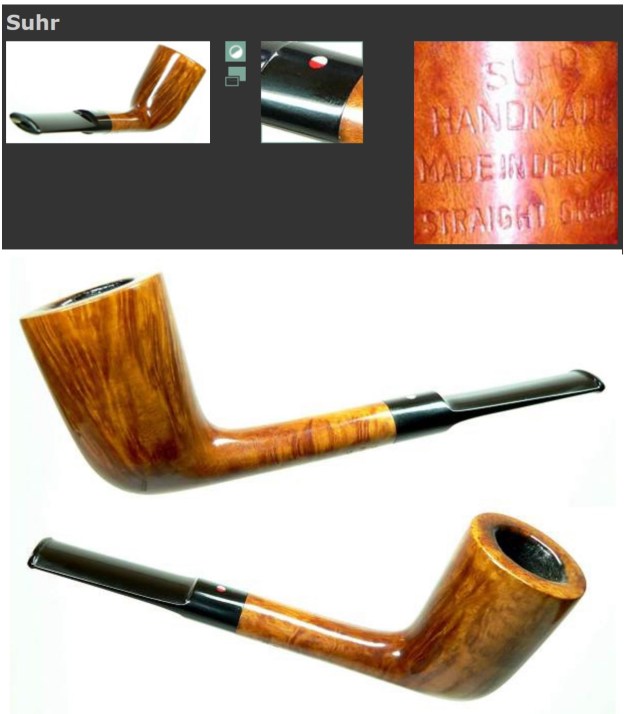
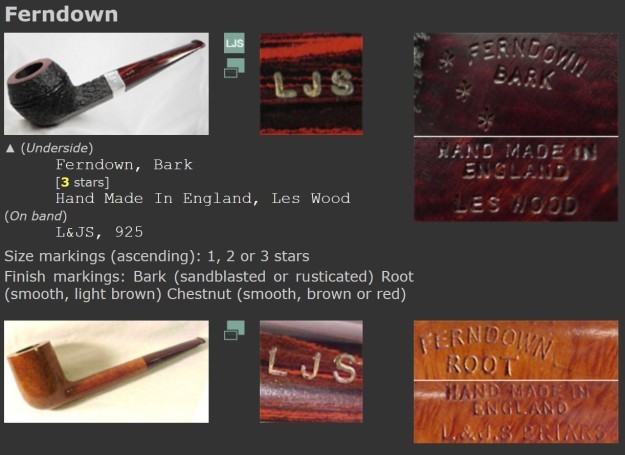
 Pipedia gives good background information on Vesz. The picture and the material is taken from this link http://pipedia.org/wiki/Vesz_Pipes
“Born and raised in Hungary, Julius Vesz was first exposed to pipe making through his grandfather. Although his grandfather died when Julius was only 9 years old, he can still picture his grandfather making pipes. It made a lasting impression that matured years later.
After immigrating to Canada at age 23, Vesz worked as a mechanical draftsman, but ever since a child had wanted to do something on his own. Remembering his grandfather’s pipe making and repairing, he thought perhaps he should try his hand at that also. He sought out Charlie Dollack, who had a repair shop in downtown Toronto, but while Charlie encouraged the young Vesz, he did not offer any help or instruction.
Julius continued on his own, setting up a modest shop in his own home, and was soon fixing and making pipes for several department stores, as well as United Cigar, which later turned into his main source of work. He discovered he had a unique skill, which he practiced and nurtured on his own. Like his grandfather, Vesz is motivated by a desire to create pipes that approach perfection.”
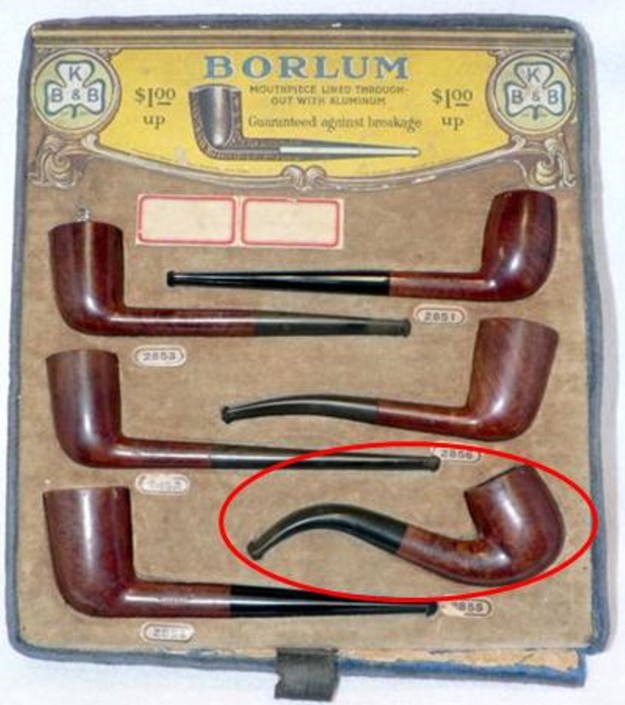
Over the years I have followed Julius Vesz’ pipes and kept an eye out for one that caught my eye. Julius Vesz is a Canadian pipe maker who has been controversial in his claim to use dead root briar. Many have argued about his choice of terms regarding the briar that he uses. But regardless of your take on that issue he makes beautiful pipes that smoke exceptionally well. His unique raindrop shaped pipes may be how many people know him. He has a shop in the Royal York Hotel, 100 Front Street West in Toronto.
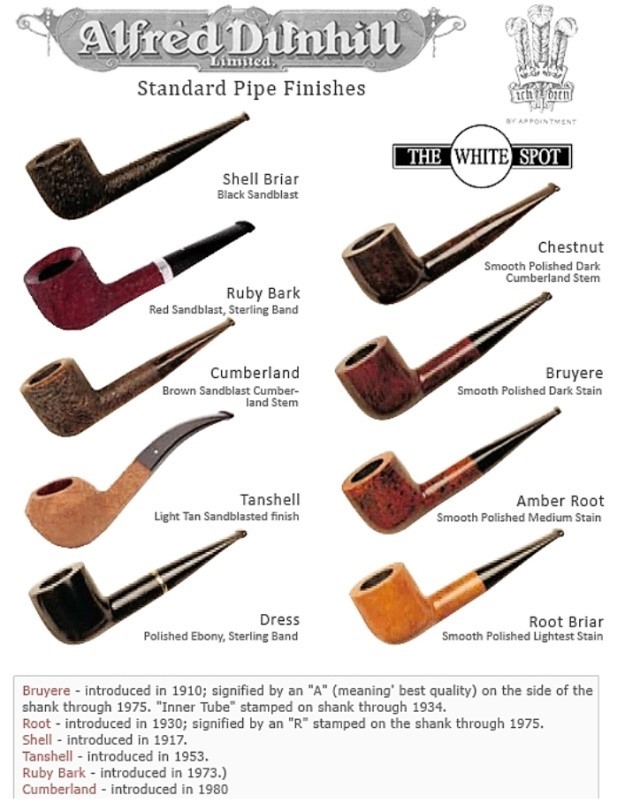
His Hand Cut pipes are crafted from his oldest and finest blocks of aged briar. They come in a variety of shapes and styles and no two are the same. The grading of the Hand Cut is ascending from 3 – 9, then switches to A – D. The pipe I am working on is a B grade so it is getting close to the top of the grading scale which I would expect from the grain on the briar. The Hand Cut pipes were often personalized with bone, silver and gold ornamentation.
His early pipes bore the Craft Briar stamp, and though his company still is registered as Craft Briar his pipes are now stamped Julius Vesz. He carved every pipe that bears his name and though they may bear similarities to others that he has carved each one is one of a kind. His site says that “Every pipe is meticulously crafted from his personal supply of aged briar that he has been accumulating since the 1960s. The extremely old briar gives each pipe the exceptional smoking characteristics found only in a world famous Julius Vesz pipe.”
Now I knew that the Hand Cut pipe I had was the top line of Vesz Pipes and that it was Graded a B which is close to the top of the line which tops out at Grade D. It is a beauty and it is now time to work on it!
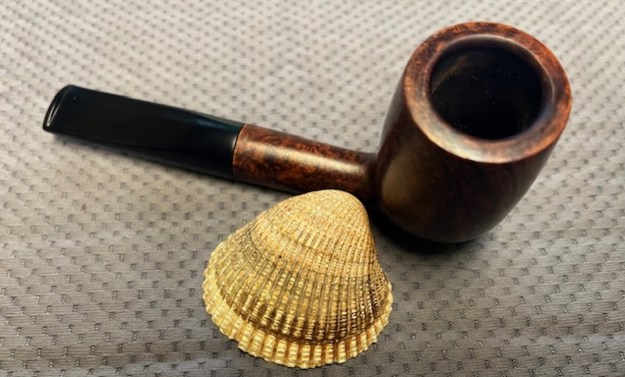
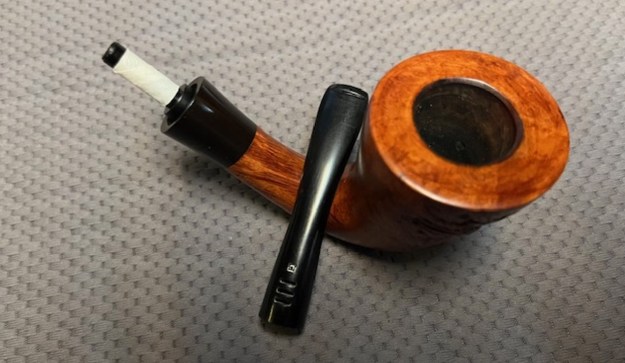
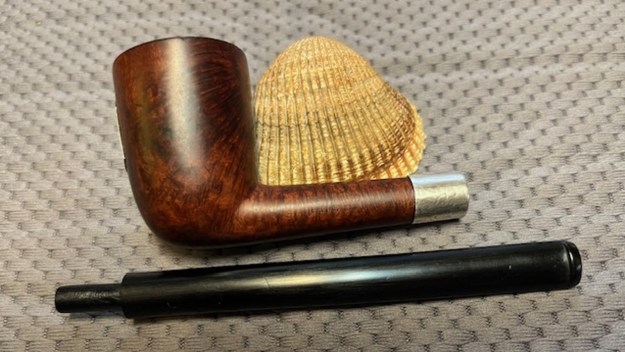
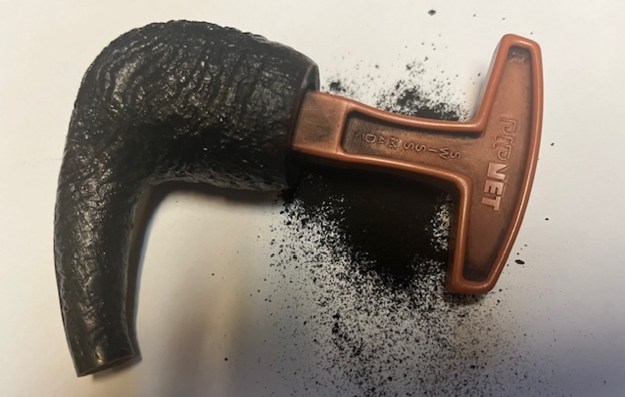
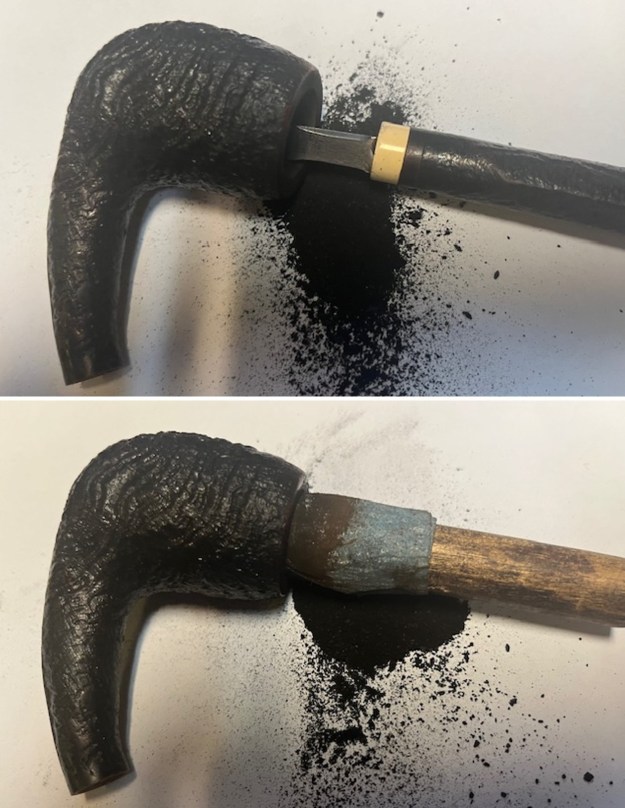
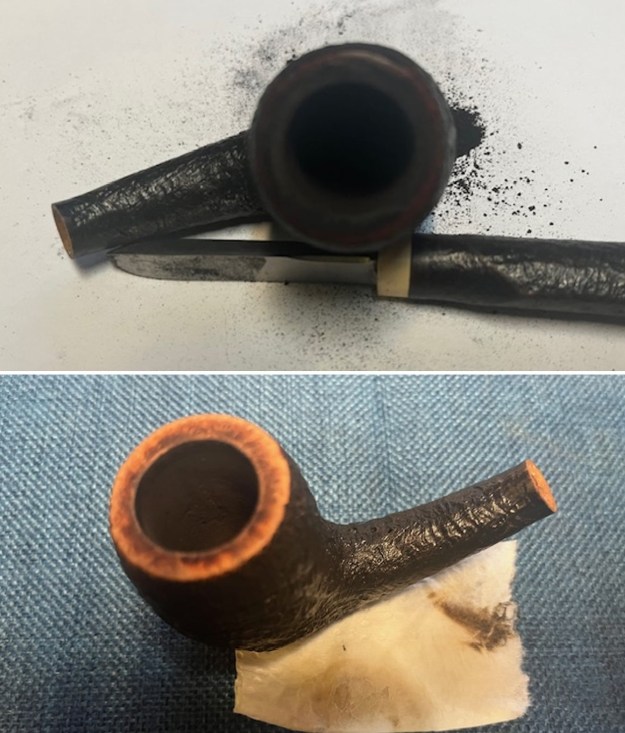
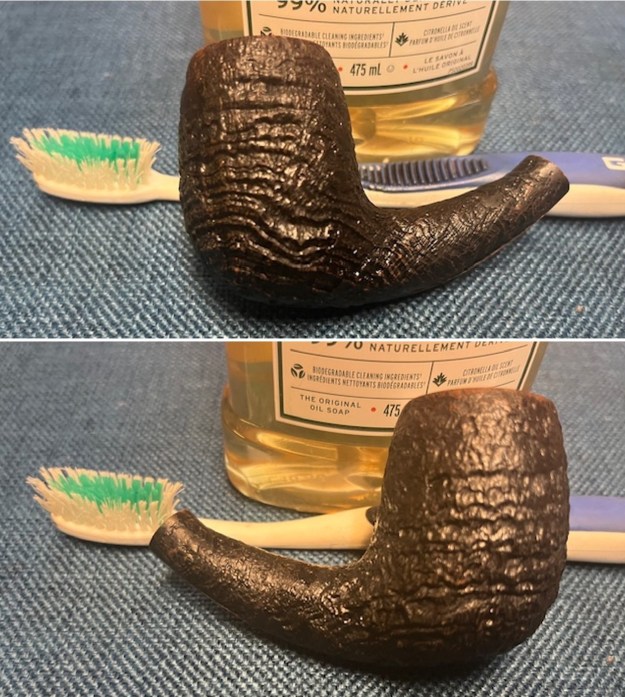
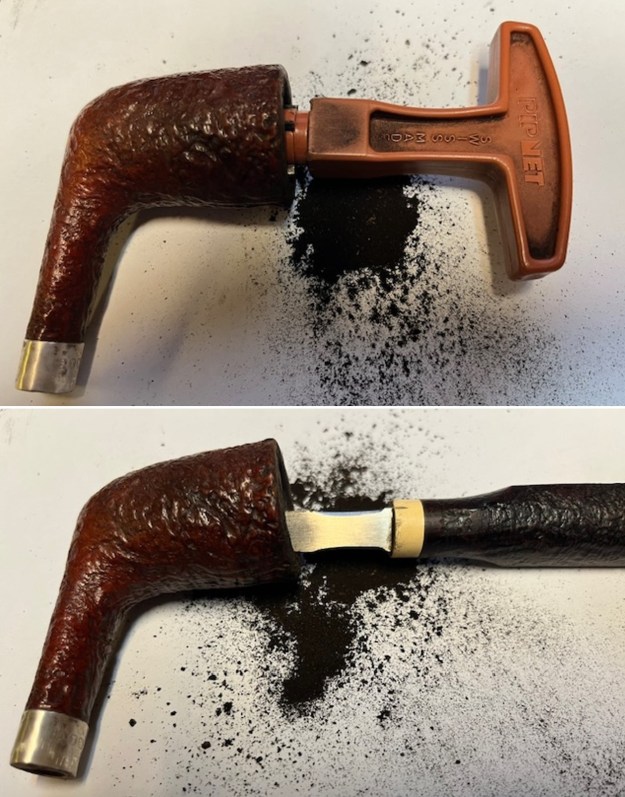
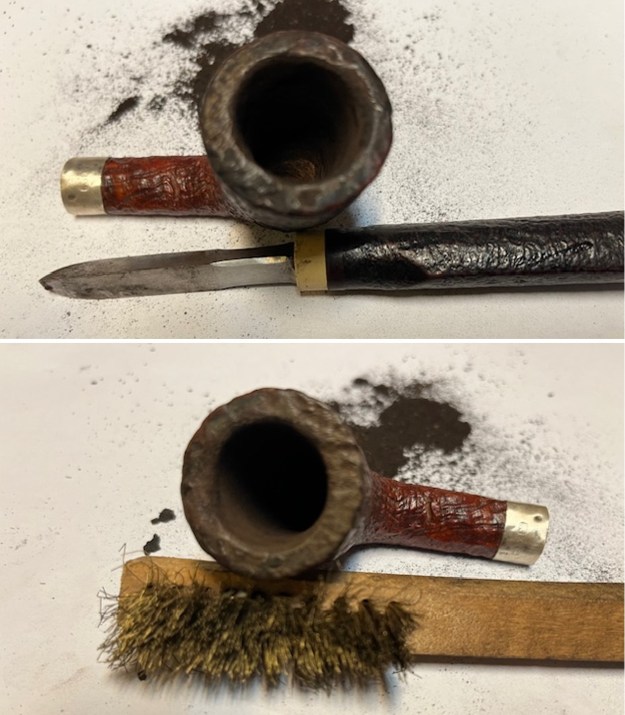
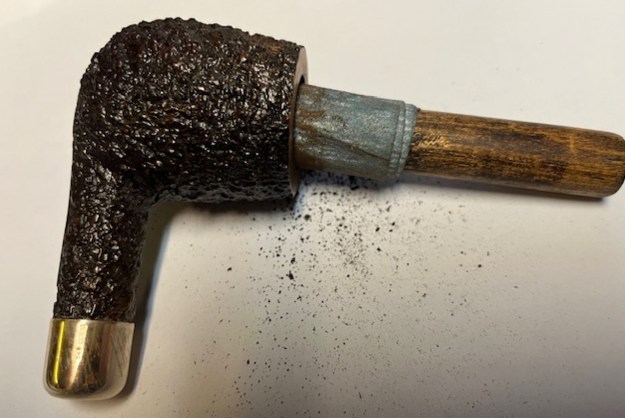
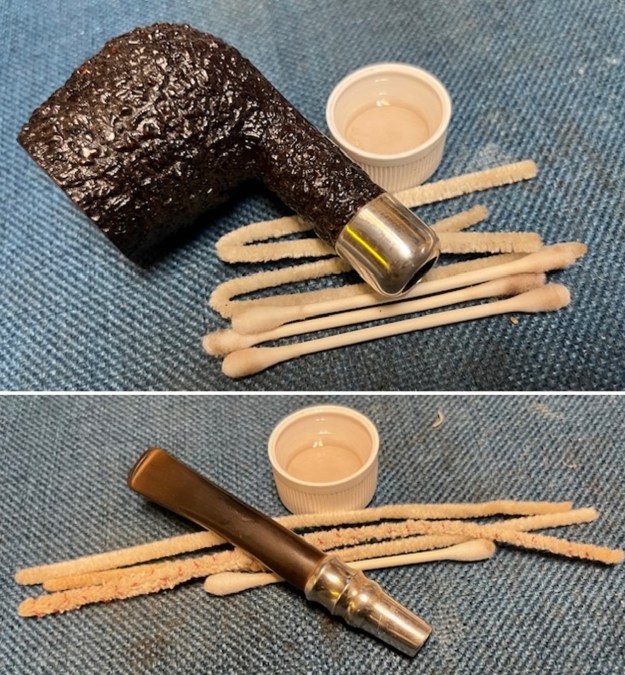
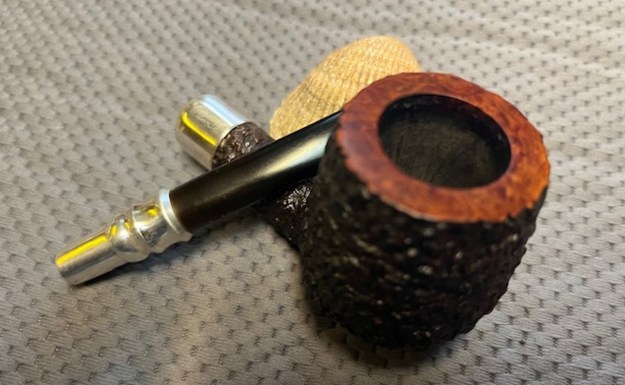
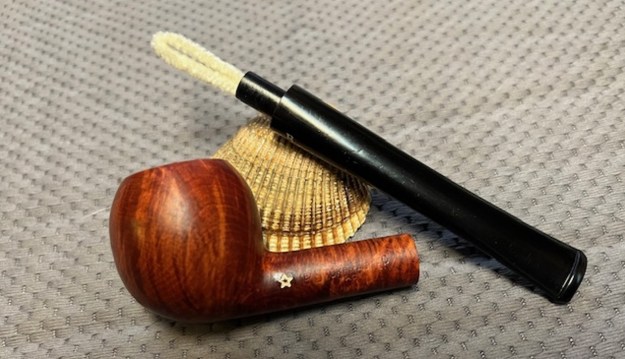
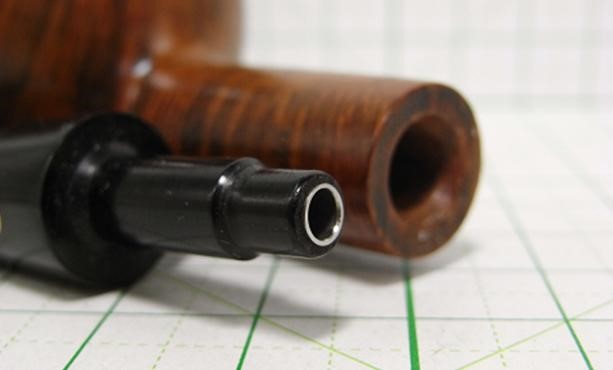
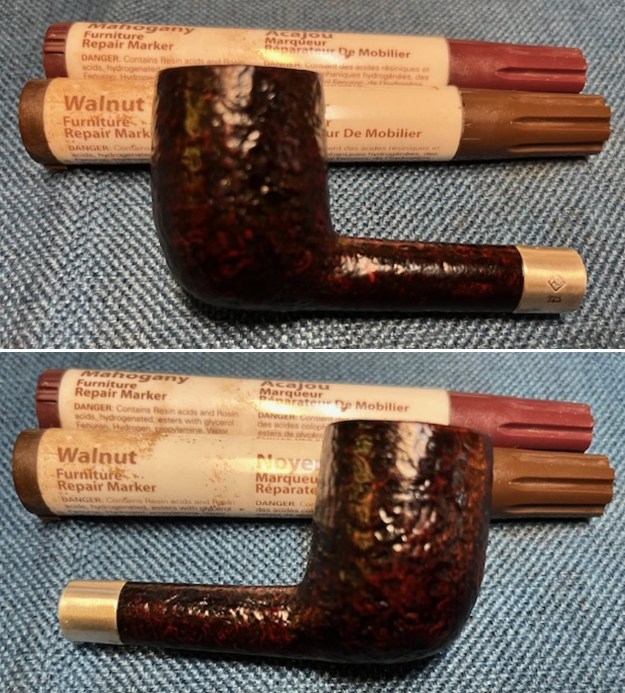
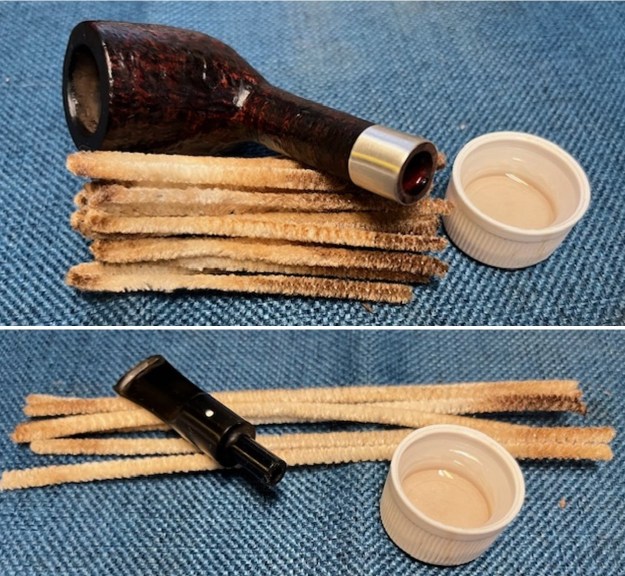
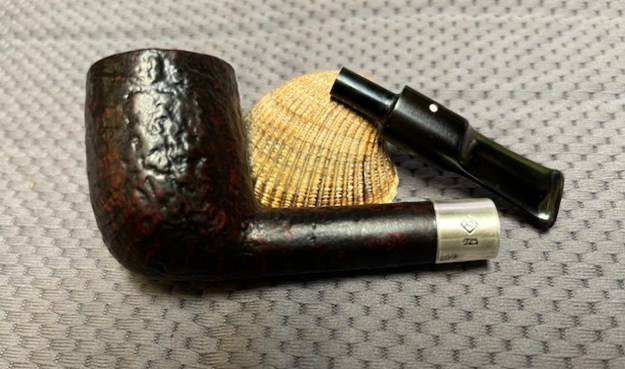
Jeff had thoroughly cleaned up the pipe. He had reamed the pipe with a PipNet pipe reamer back to bare briar and removed the remnants of the cake with a Savinelli Fitsall Pipe Knife. He scrubbed the bowl with undiluted Murphy’s Oil Soap and a tooth brush. He rinsed it under running warm water to remove the soap and grime. He cleaned out the inside of the shank and the airway in the stem with alcohol, cotton swabs, pipe cleaners and shank brushes. He soaked the stem in Briarville’s Pipe Stem Deoxidizer and rinsed it off with warm water. The filter tenon, shown cracked above, fell apart in the clean up. You can see pieces of the broken tenon below. I took photos of the pipe before I started my part of the restoration work.
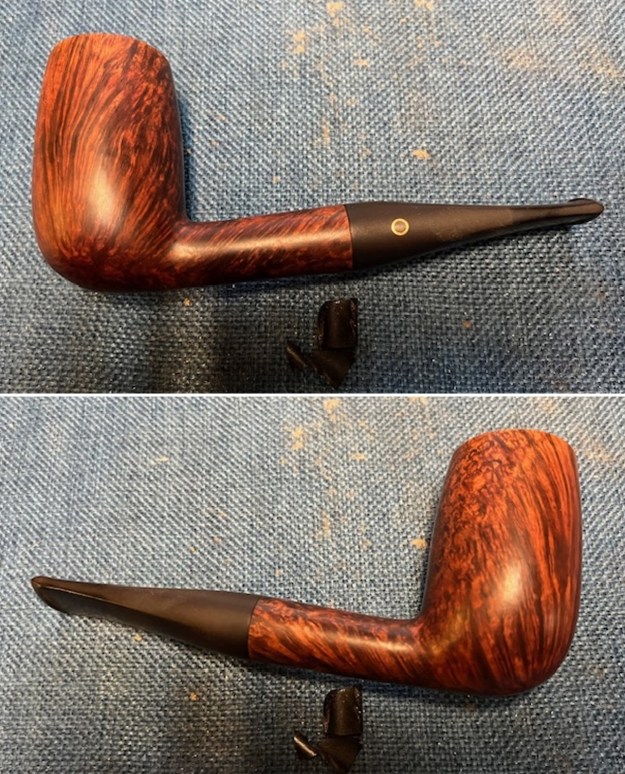
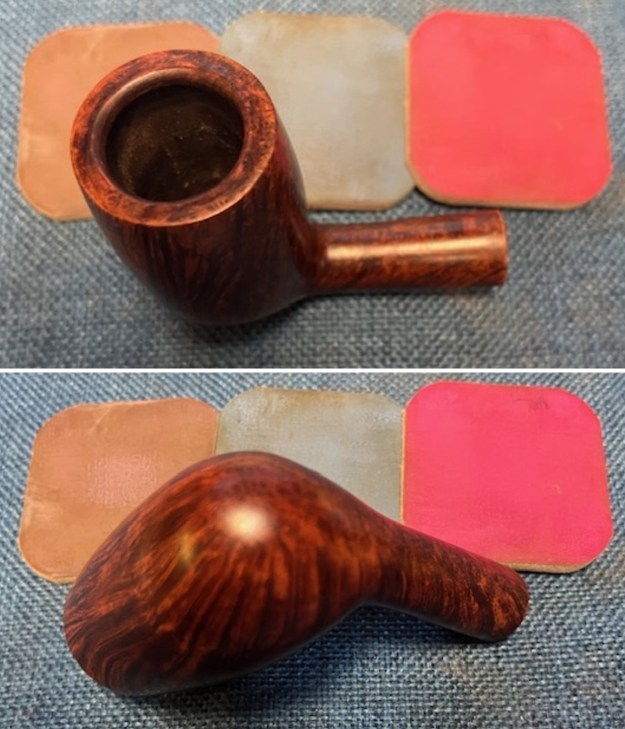
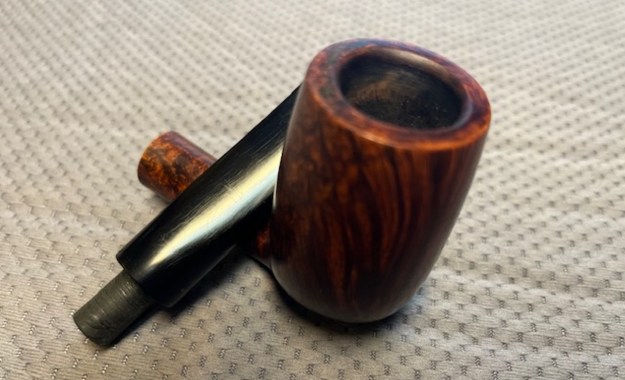
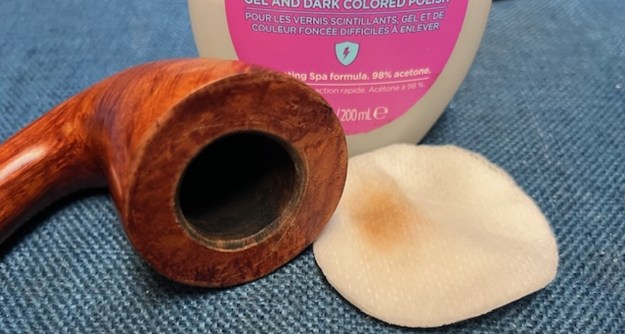
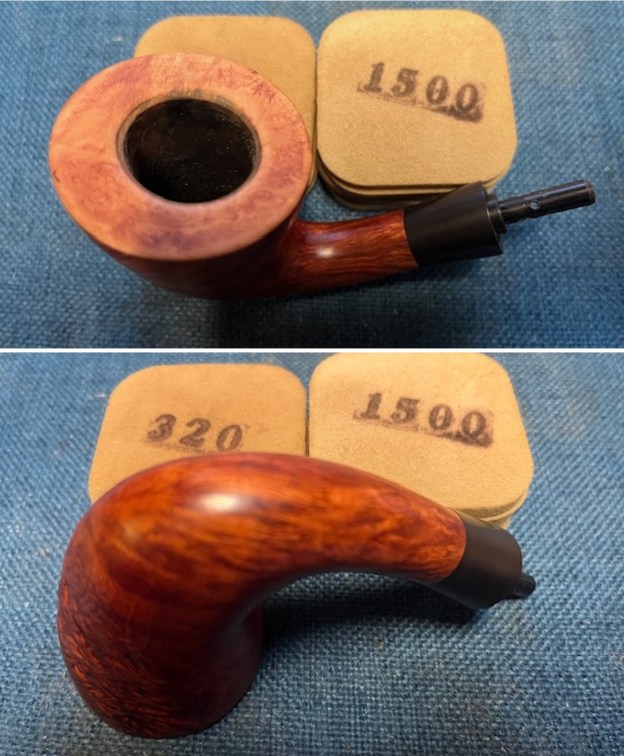
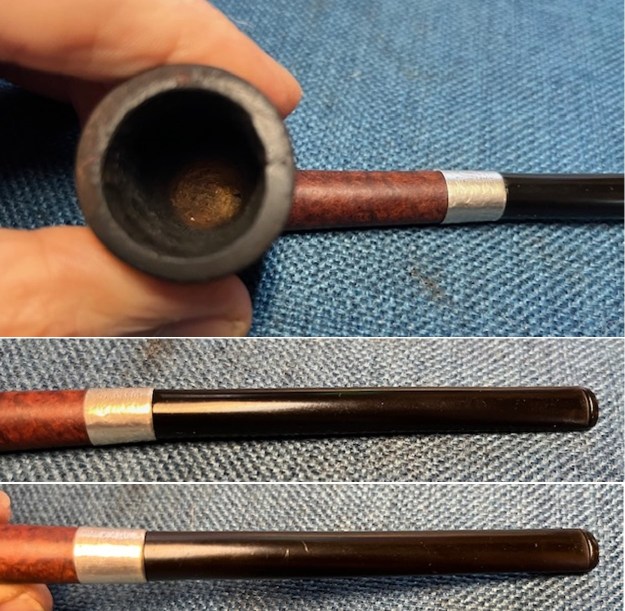
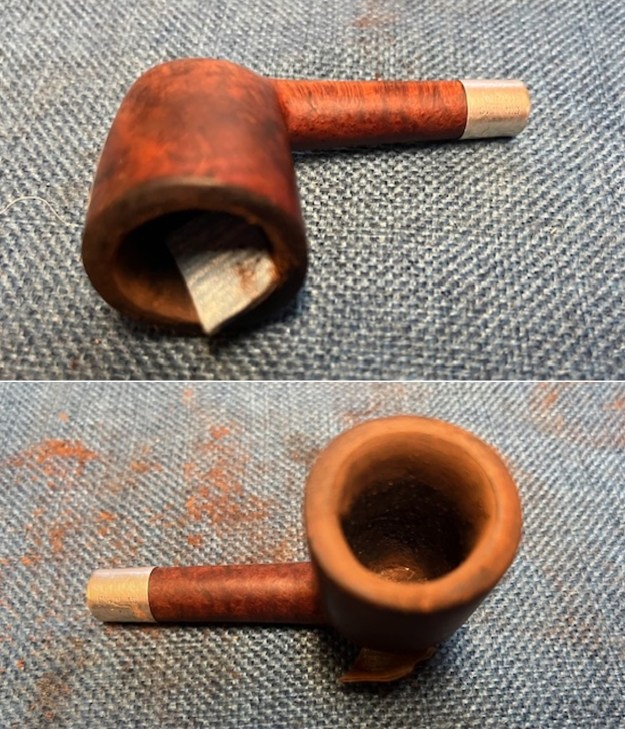
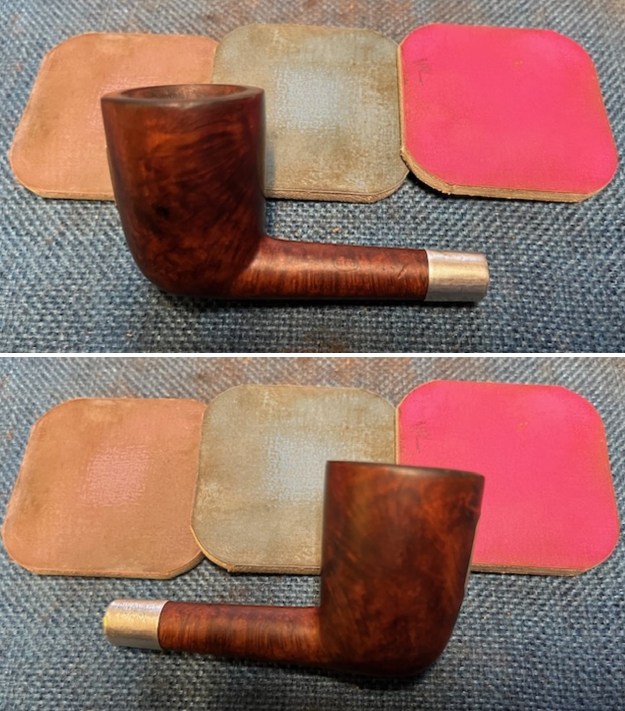
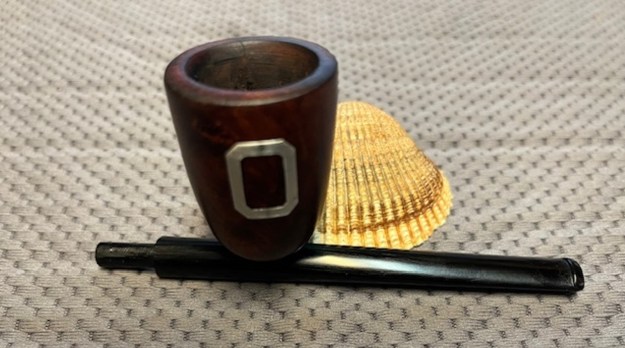
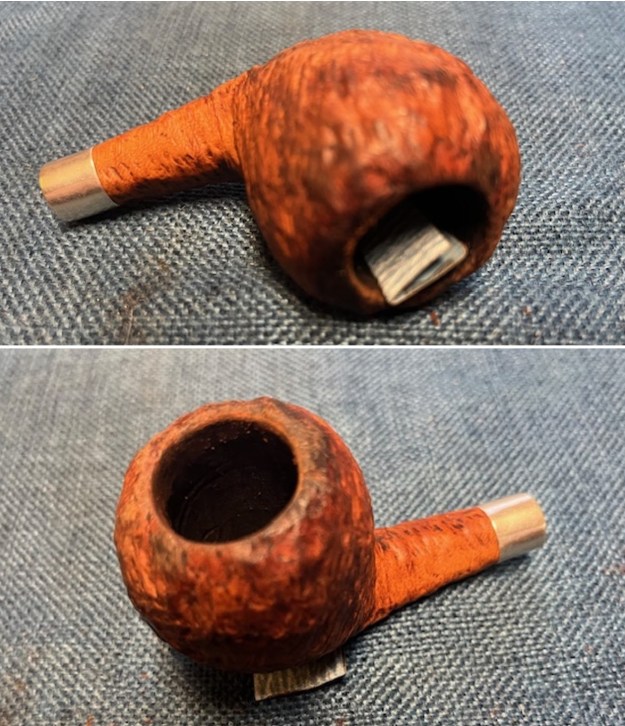
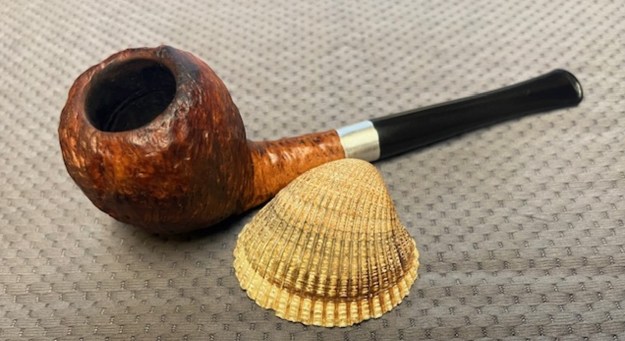
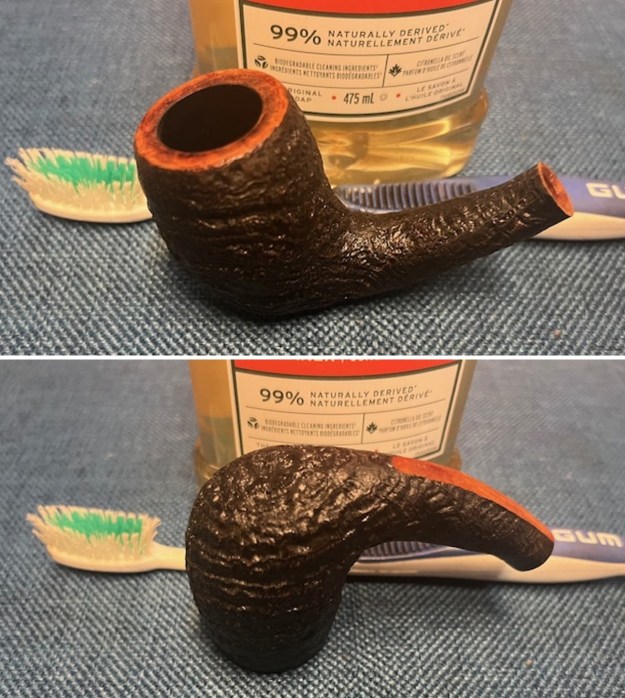
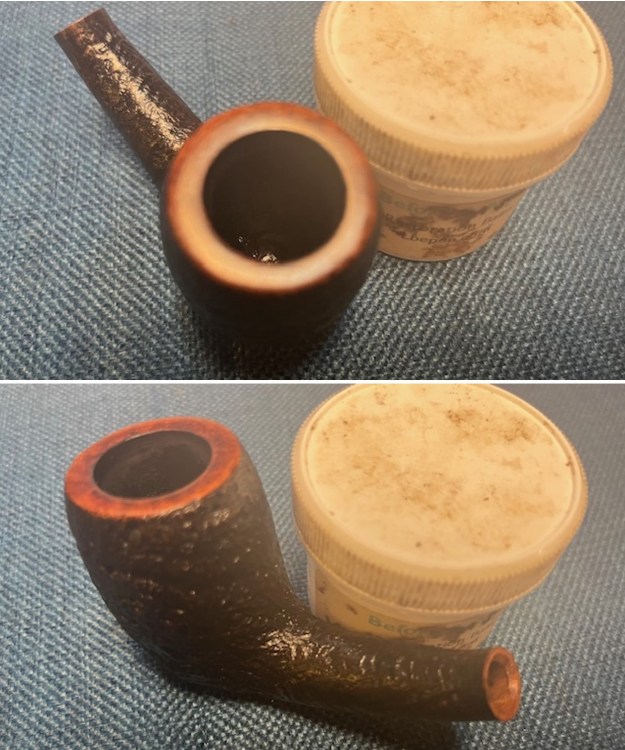
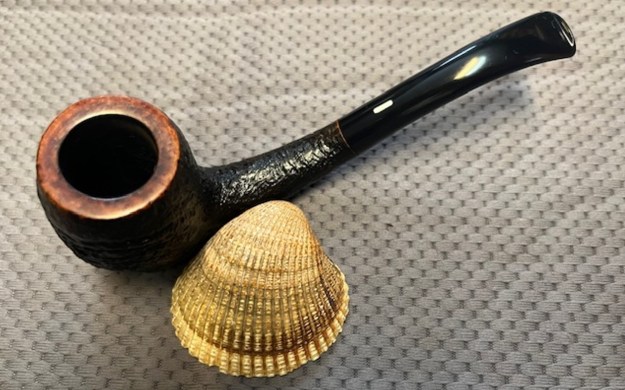
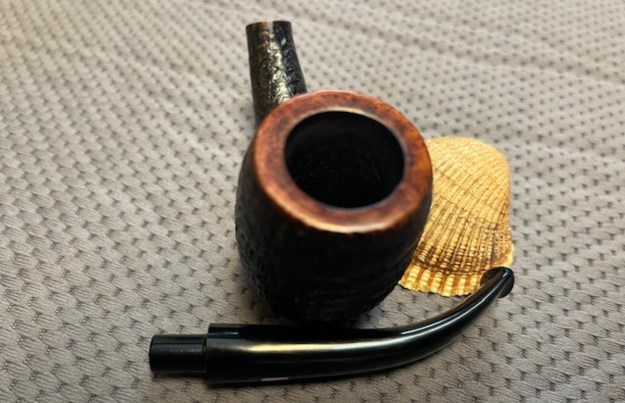
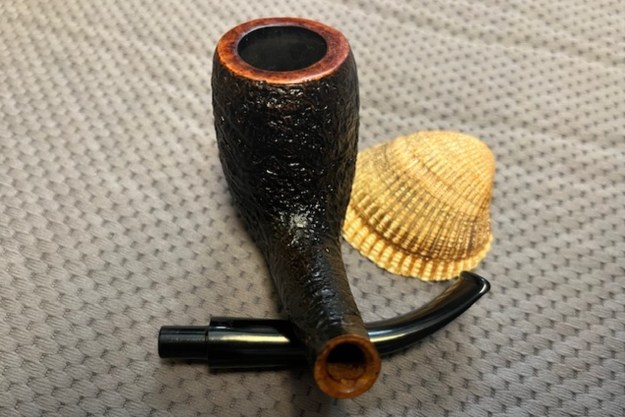
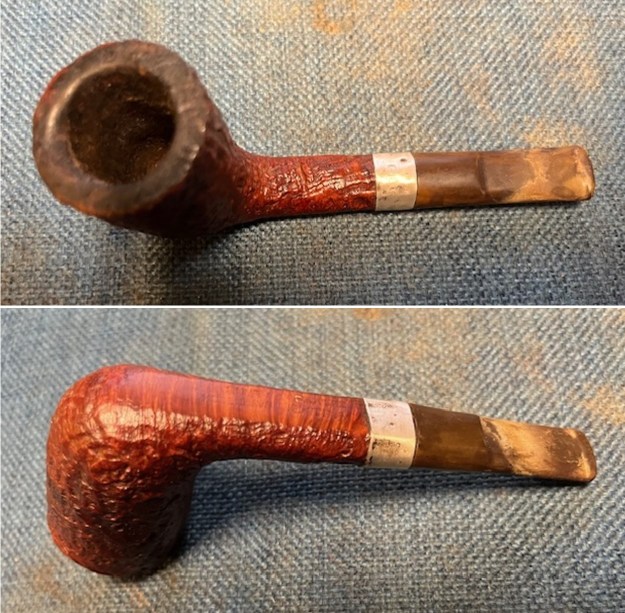
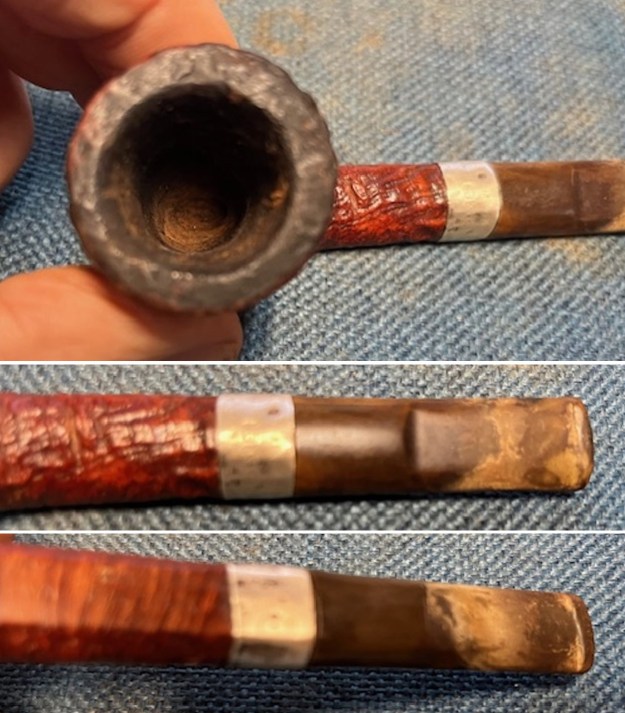
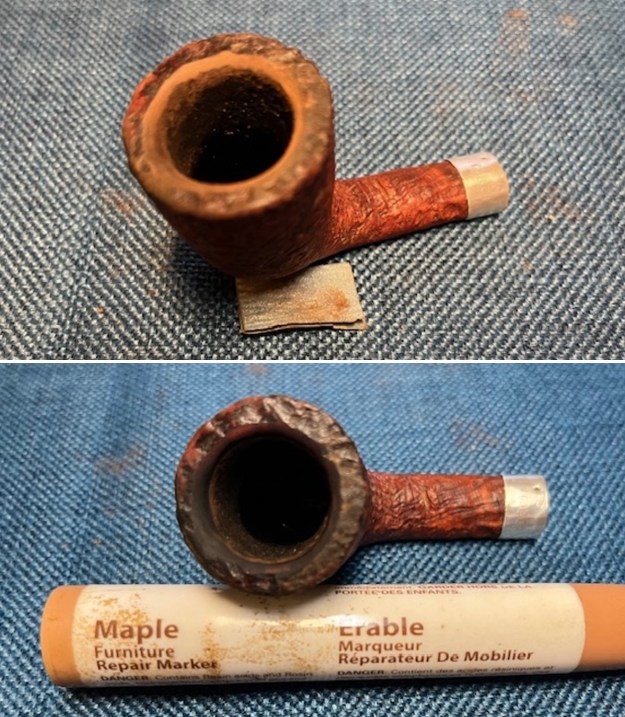
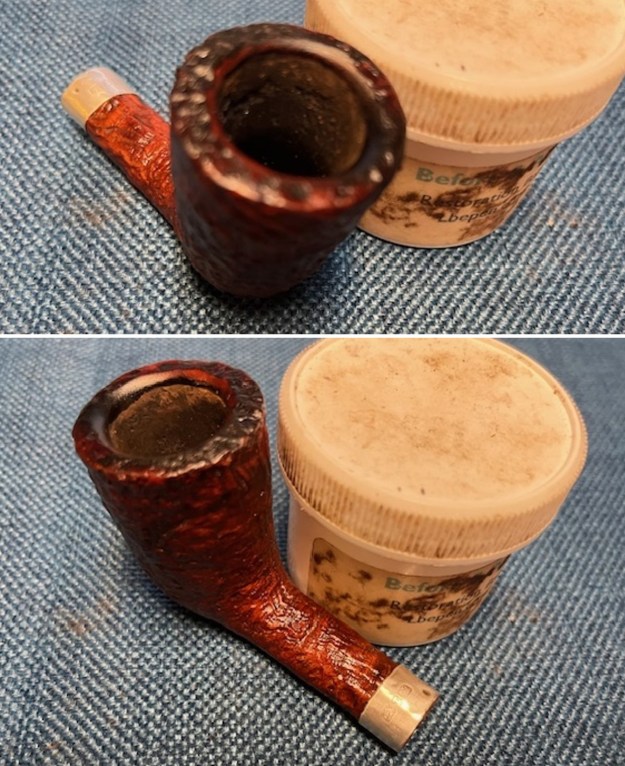
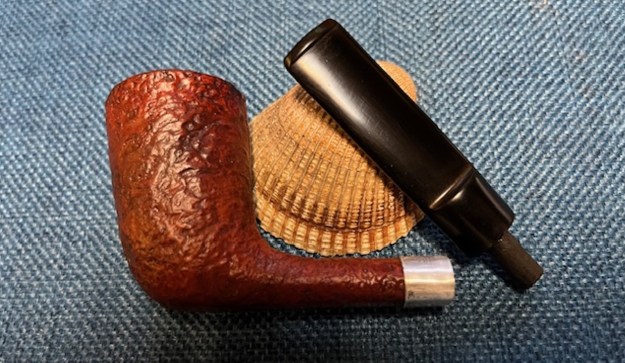
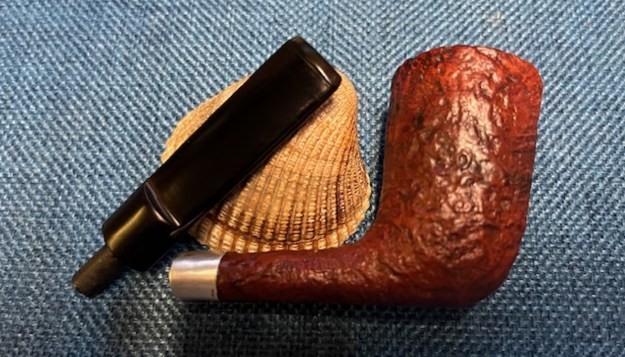
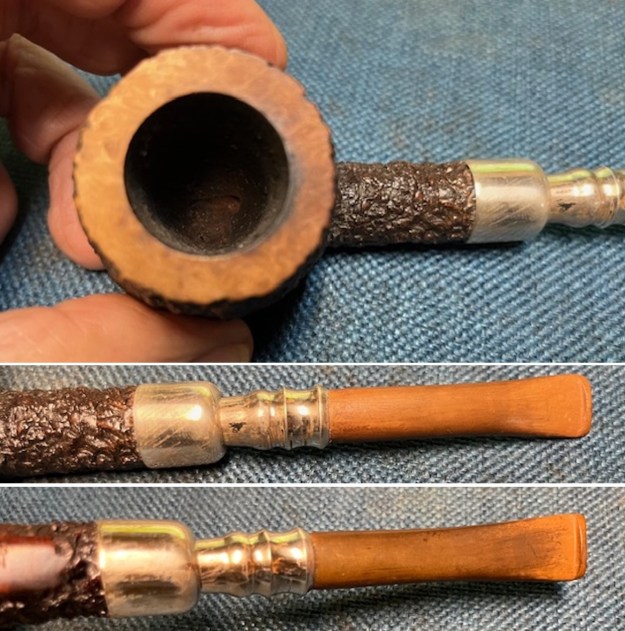
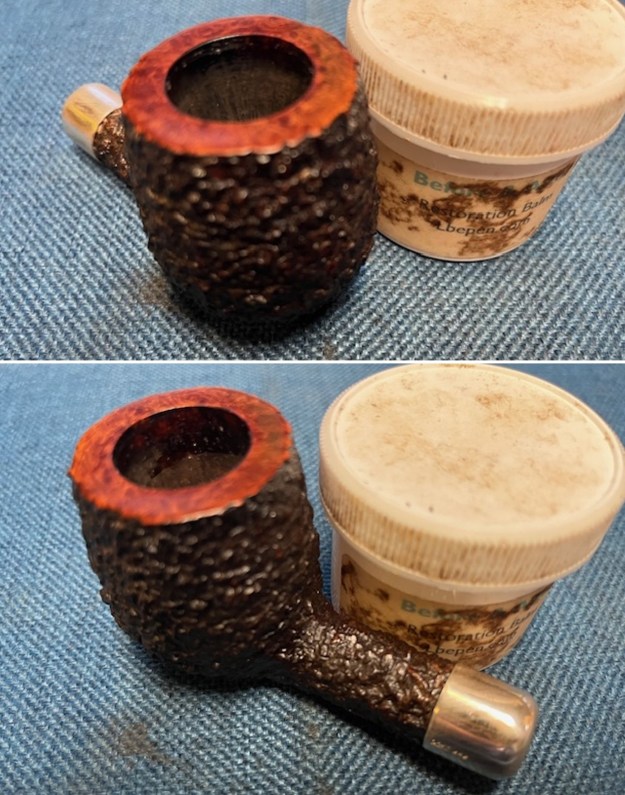
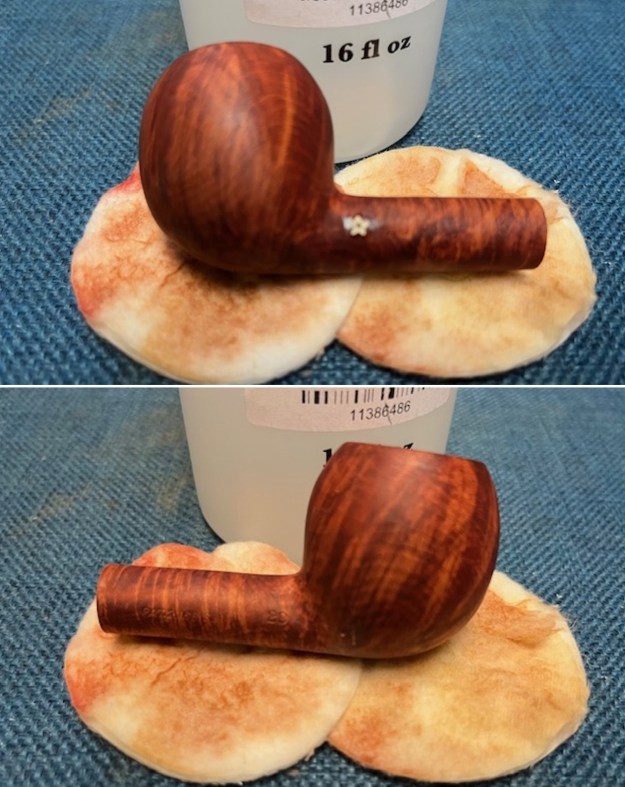
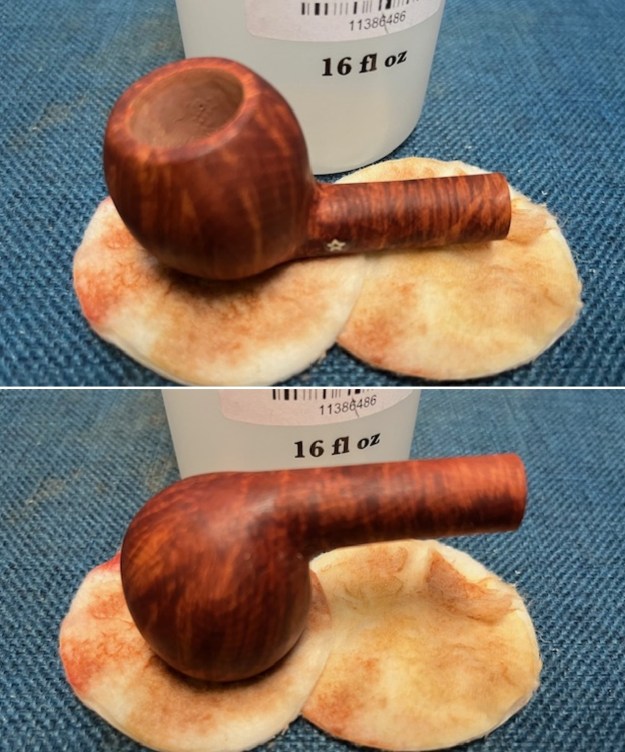
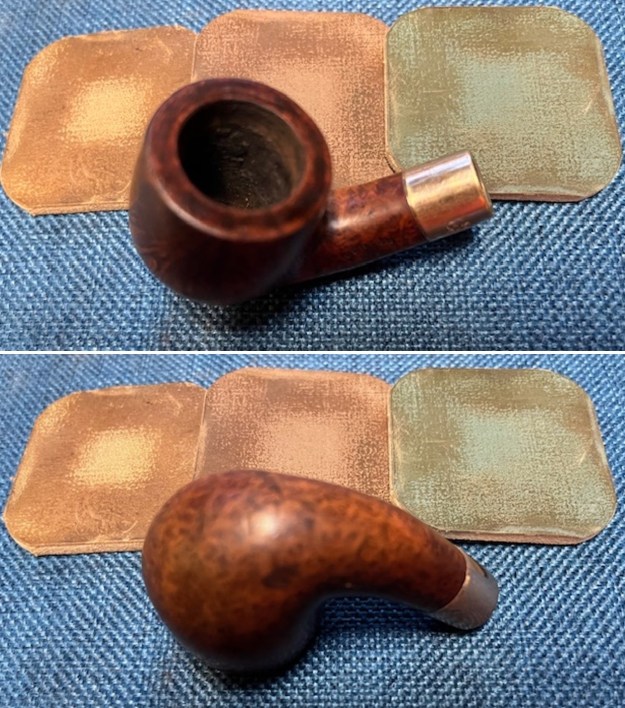
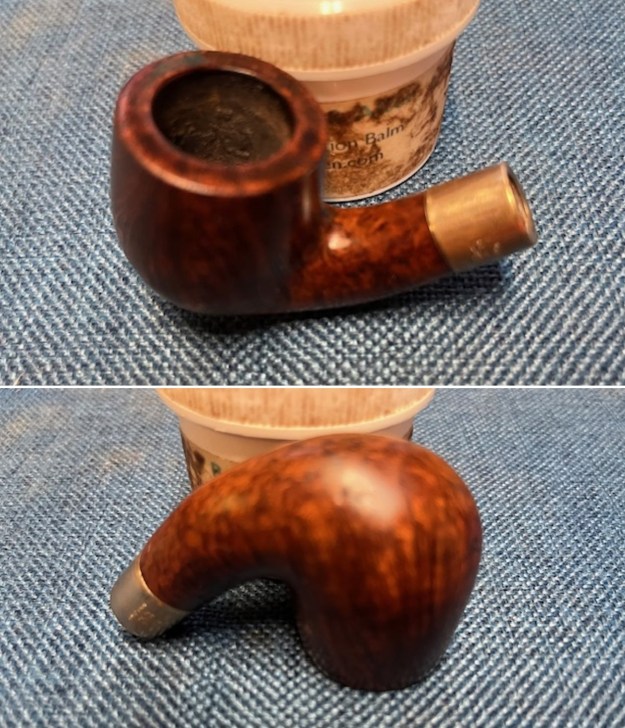
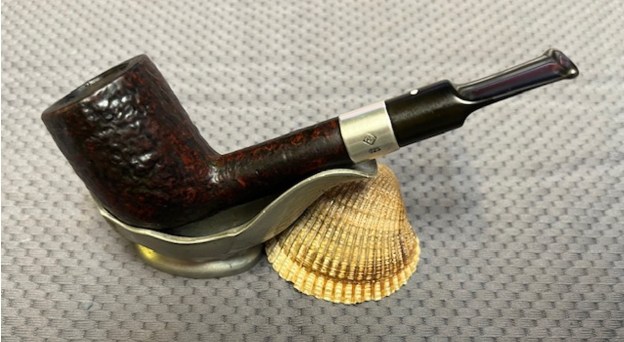
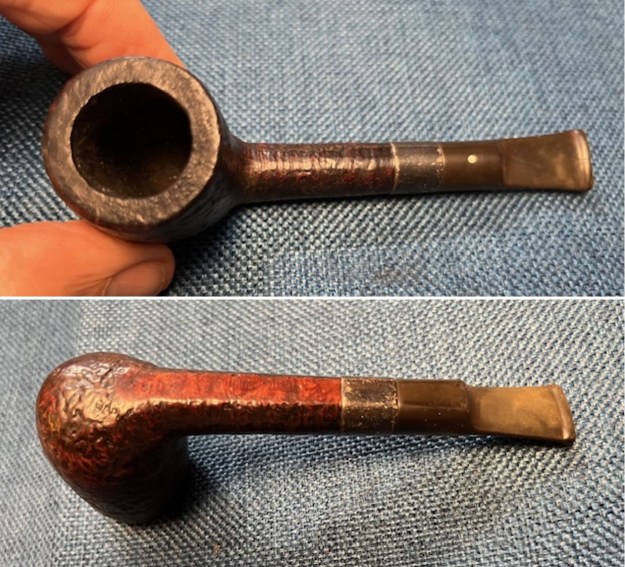
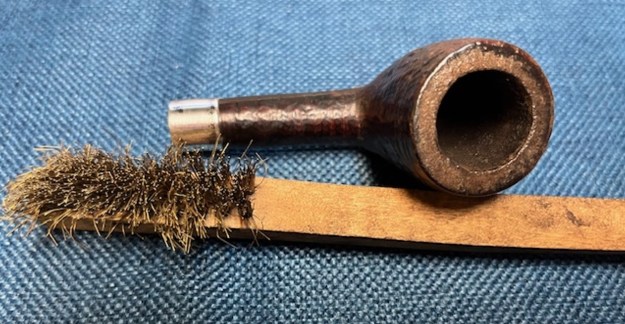
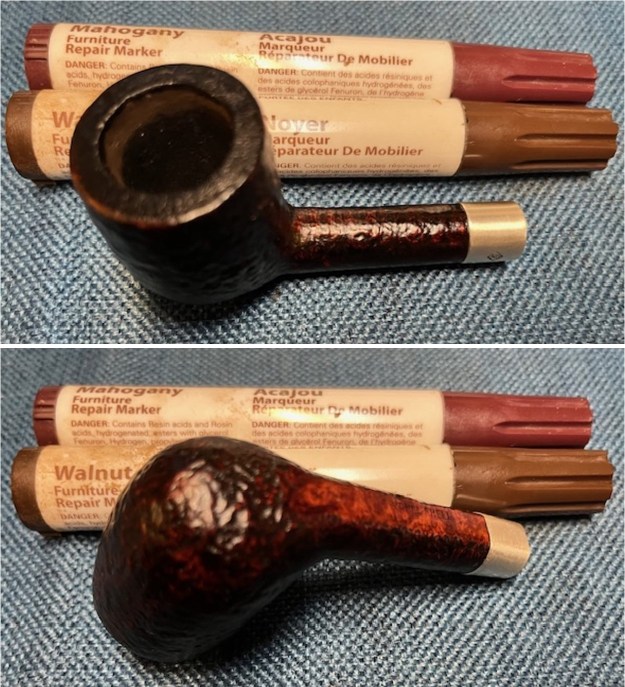
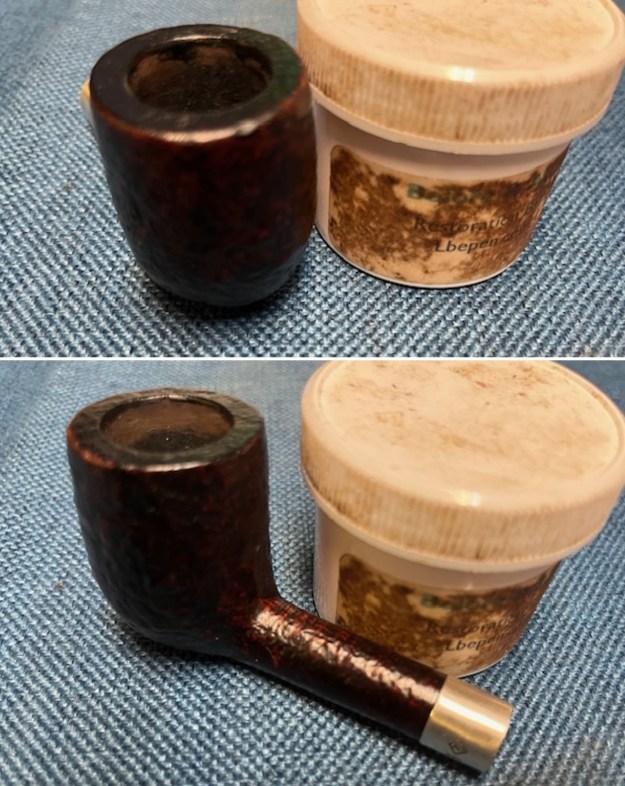
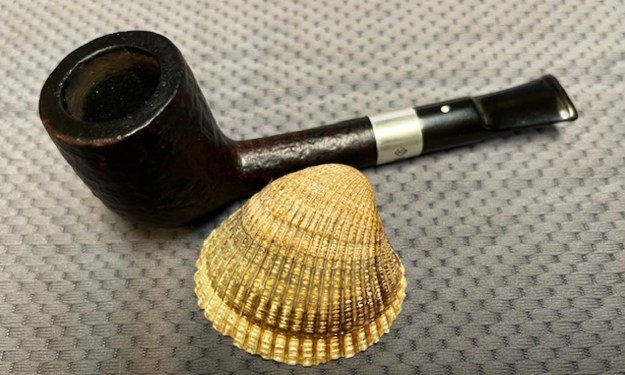
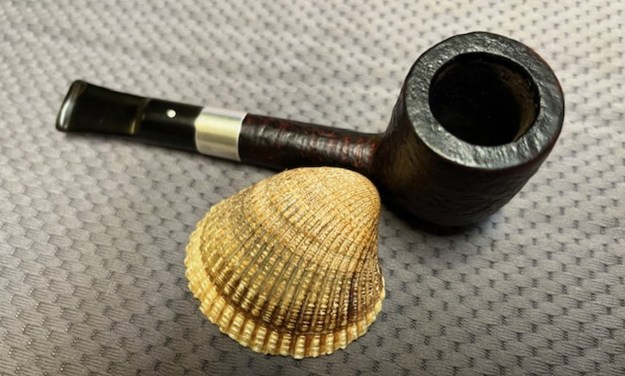
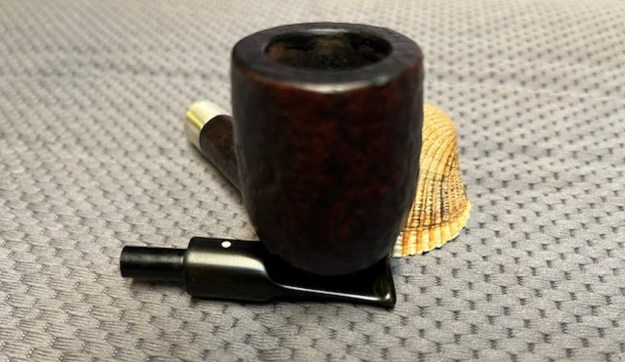
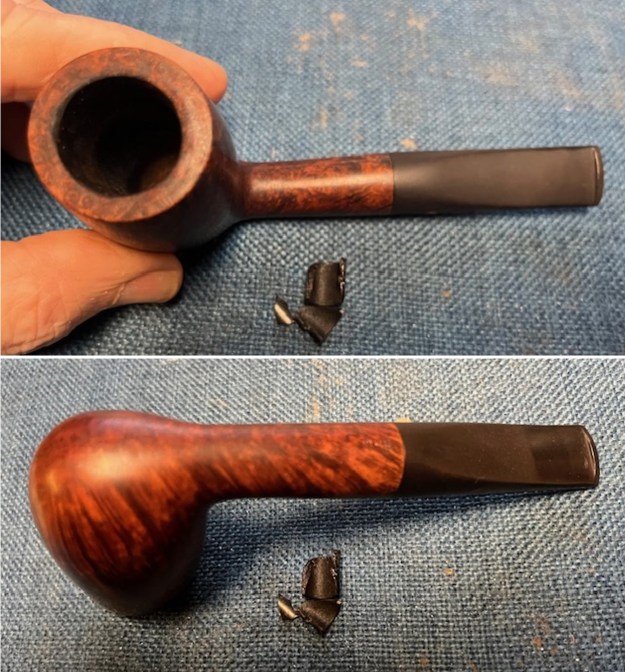 I took photos of the bowl and rim top to show the clean condition. The burn damage on the inner edge of the bowl is clear on the front of the bowl. The rim top has some scratches and marks as well. The bowl walls look very good. The thick vulcanite stem looks very clean and the tooth marks are evident next to the button on both sides.
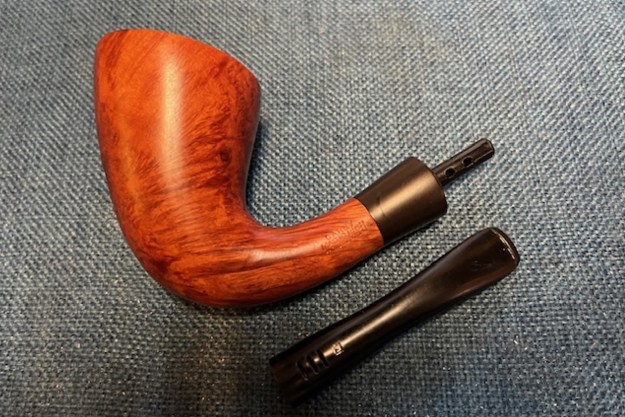
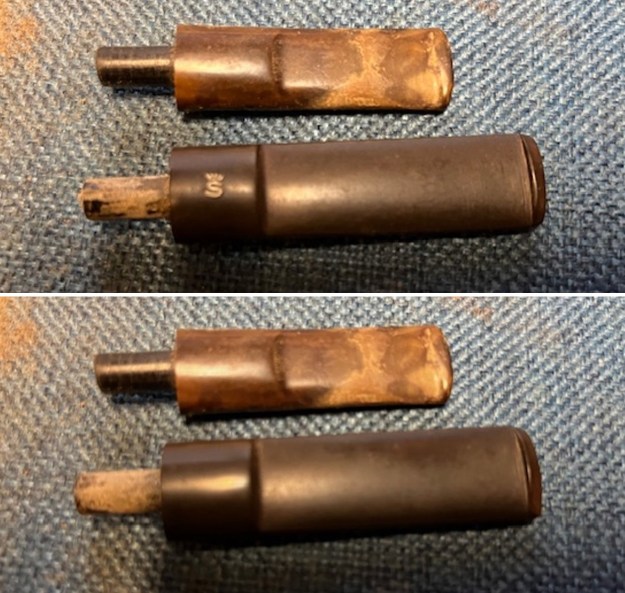
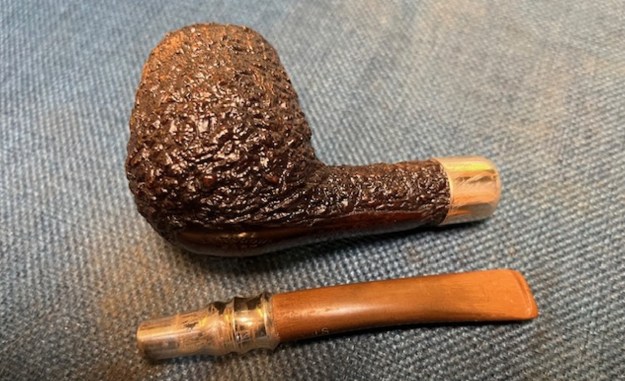
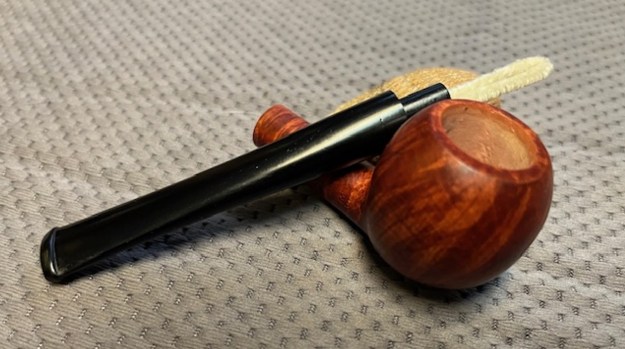
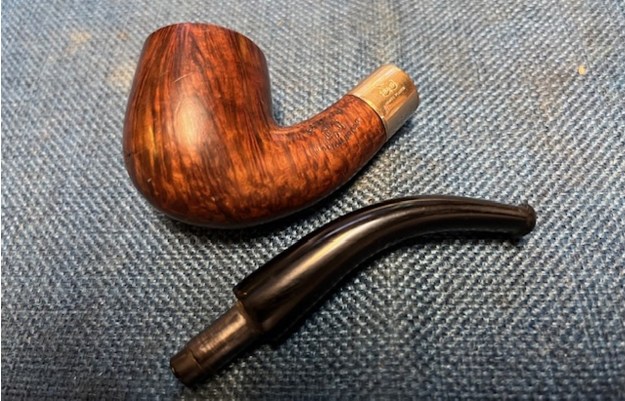
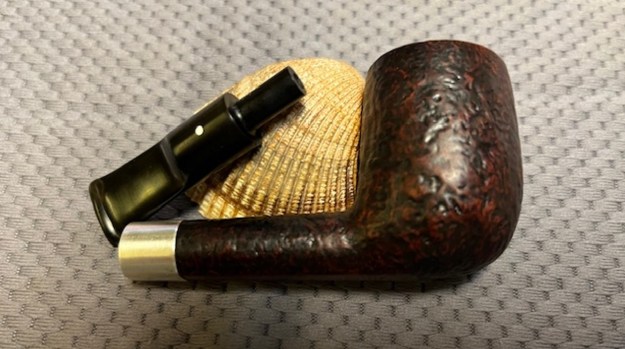
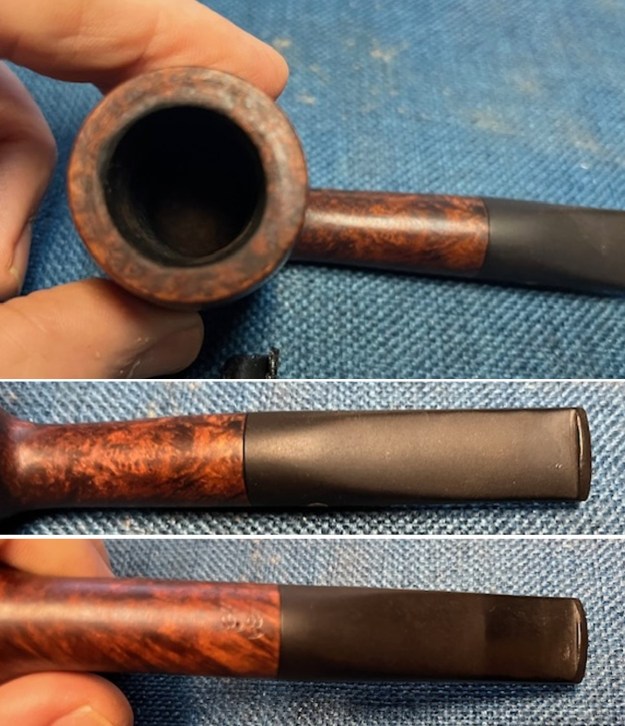 I took the stem off the bowl and took photos of the broken tenon and parts. It will definitely need to be replaced. The beauty of this is that I can replace it with a regular tenon instead of the filter tenon. To me that is good news.
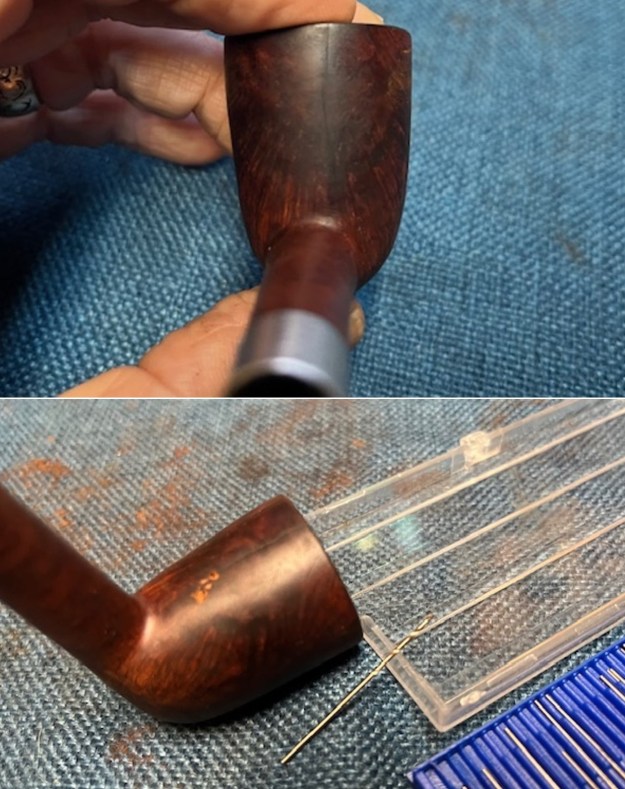
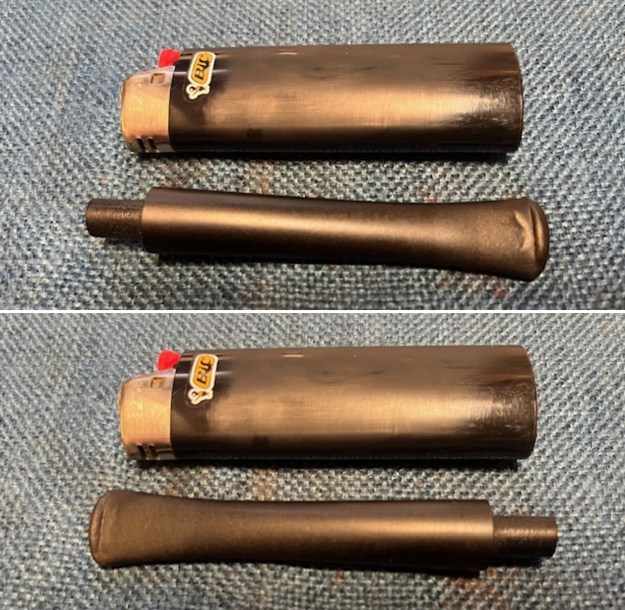
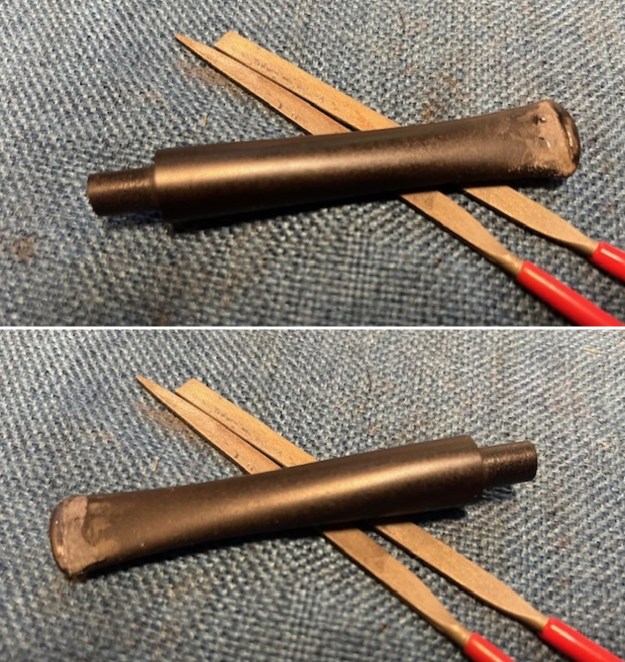
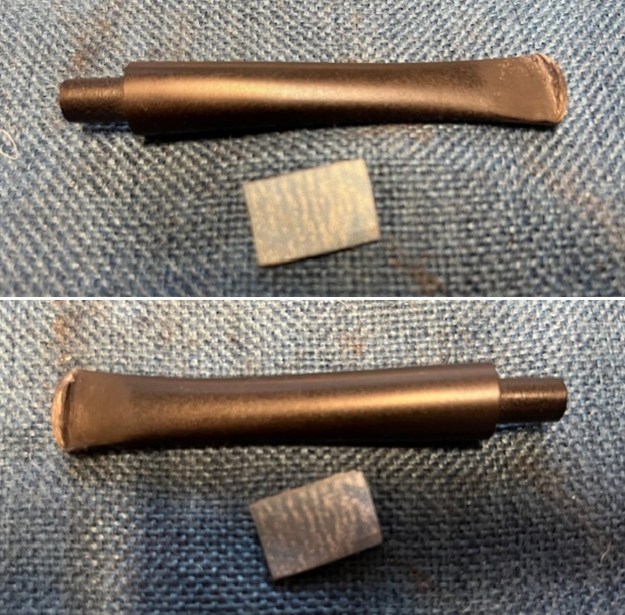
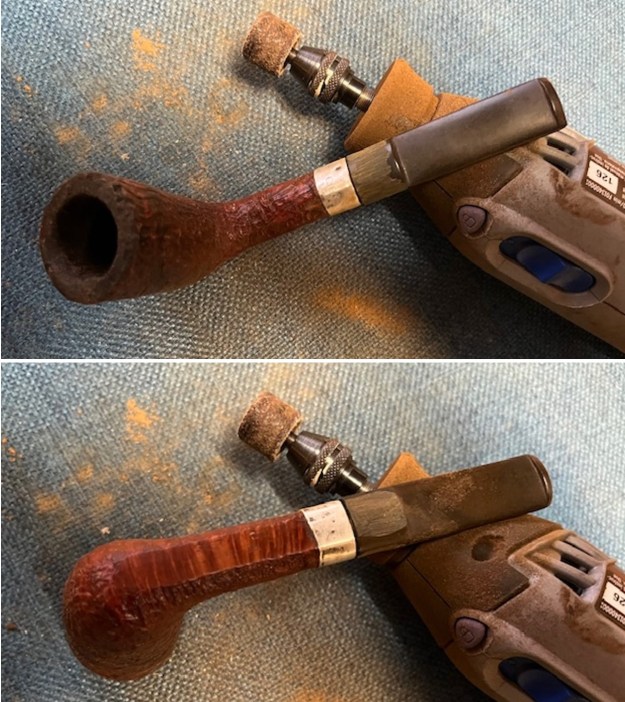
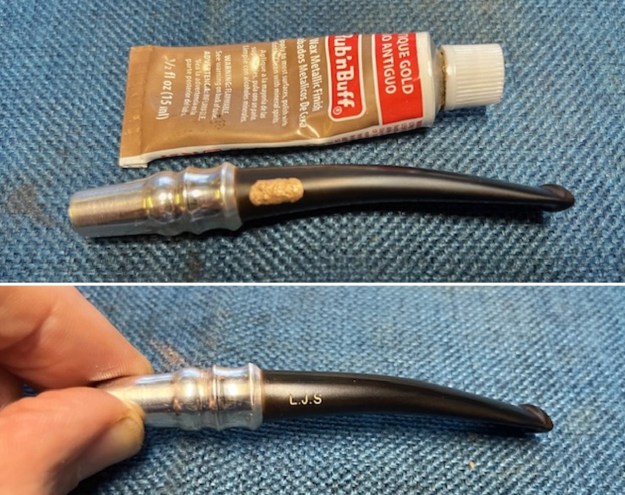
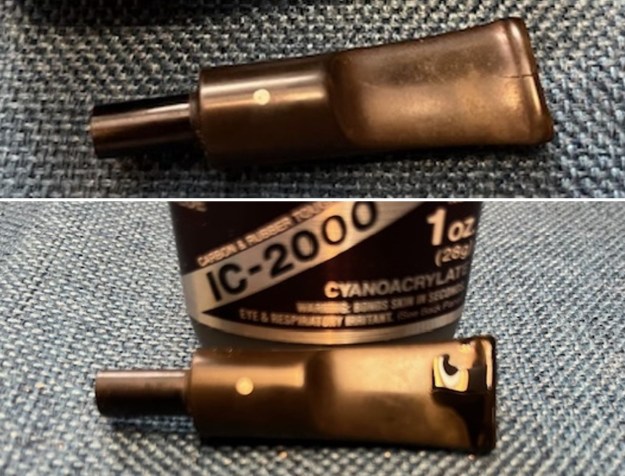
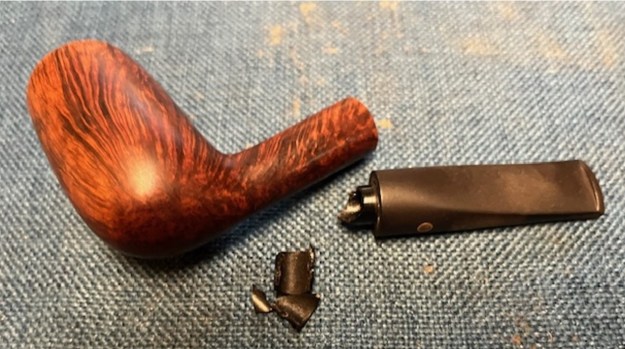 I decided to replace the tenon first. I knew that fitting it would require adjustments to the stem and shank so I wanted to do that before I put a lot of work into polishing the bowl. I used a Dremel to flatten out the broken tenon end. The photo below shows it in process to the flattening out. Once it is flat and the face of the stem is smooth then it will be time to put a new tenon in place. With flattened I used a Delrin tenon – the largest that I had to fit into the airway in the stem. I coated the threaded end of the tenon with clear CA glue and inserted it in the end of the stem.
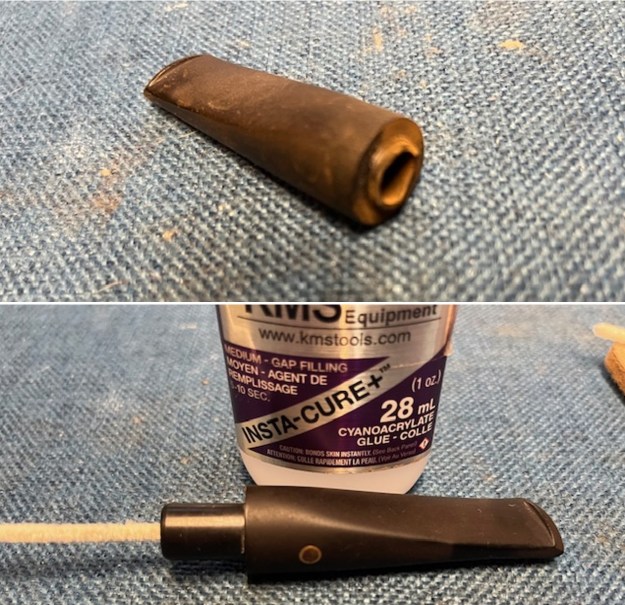 I set the stem aside to let the glue cure on the new tenon. Once it had hardened it was time to reduce the diameter of the new tenon to properly fit in shank. I used a file and a Dremel with a sanding drum to bring it to the right diameter.
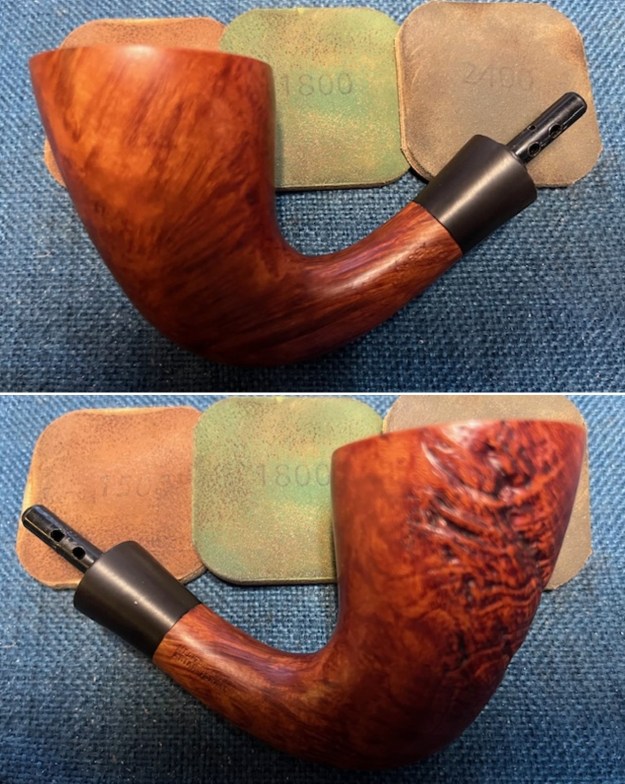
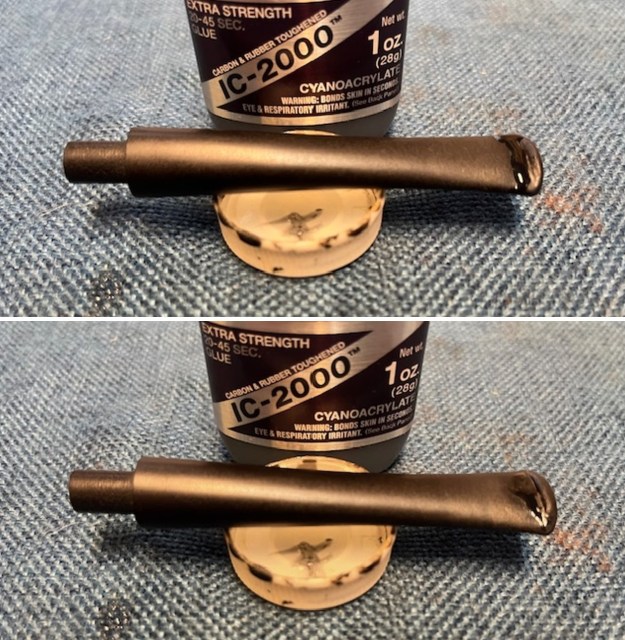
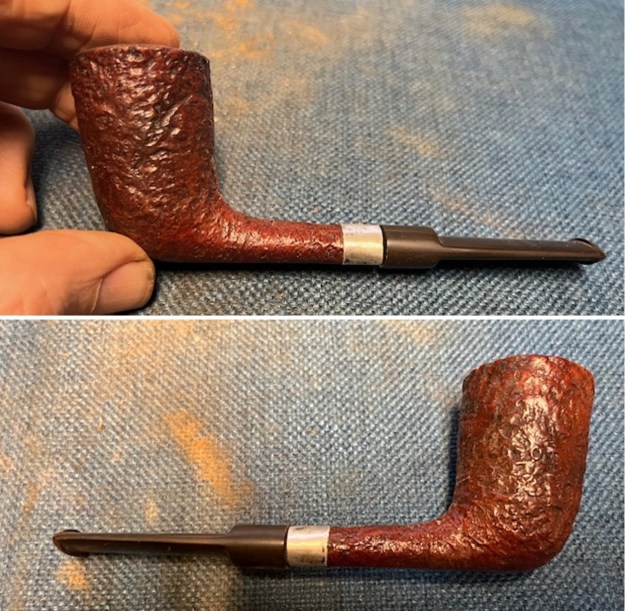
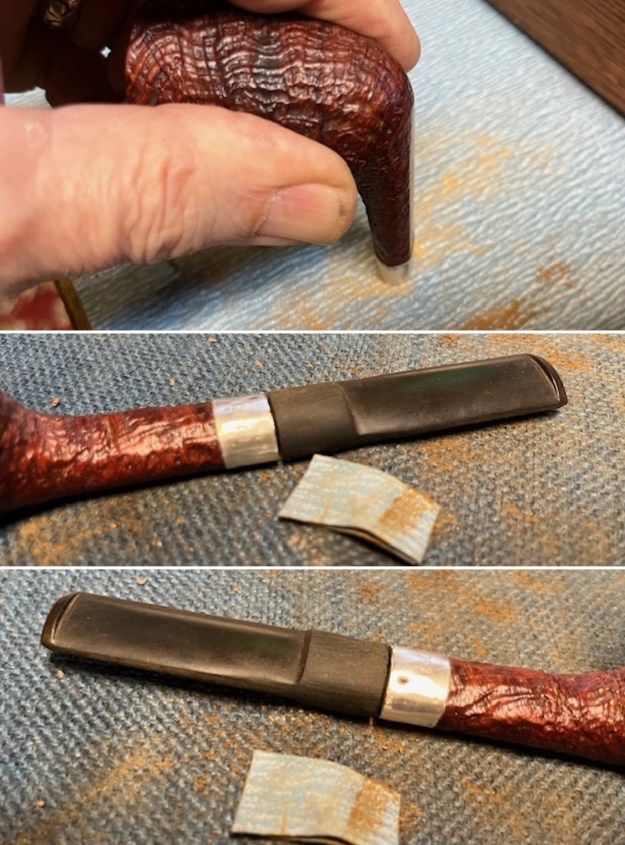
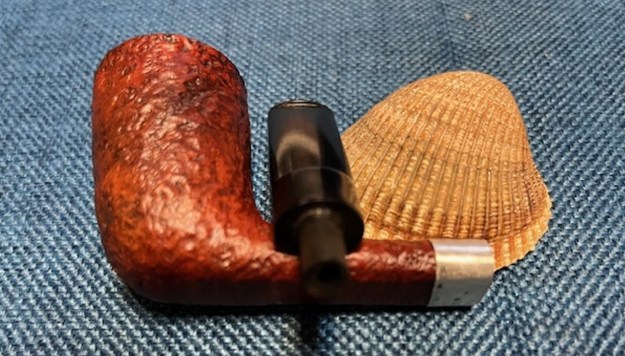
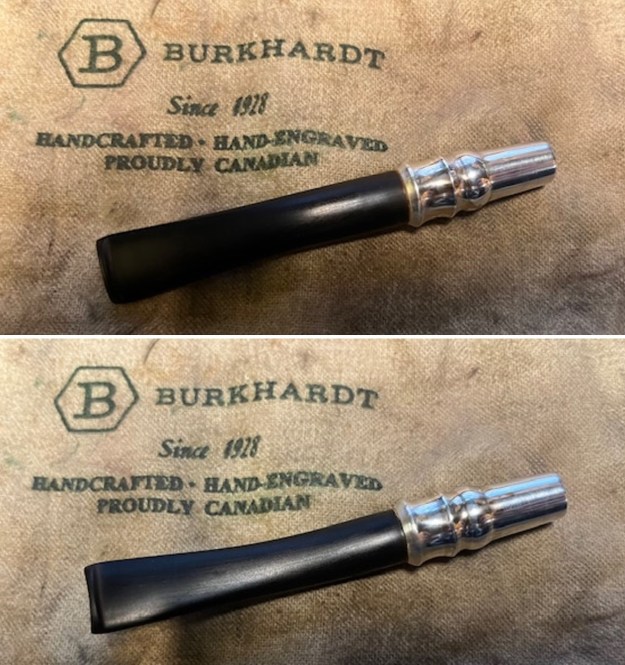
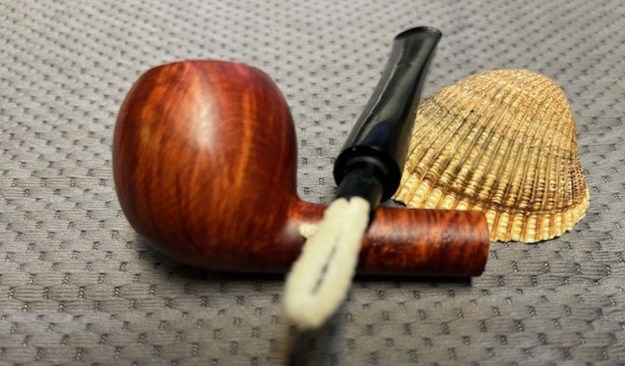
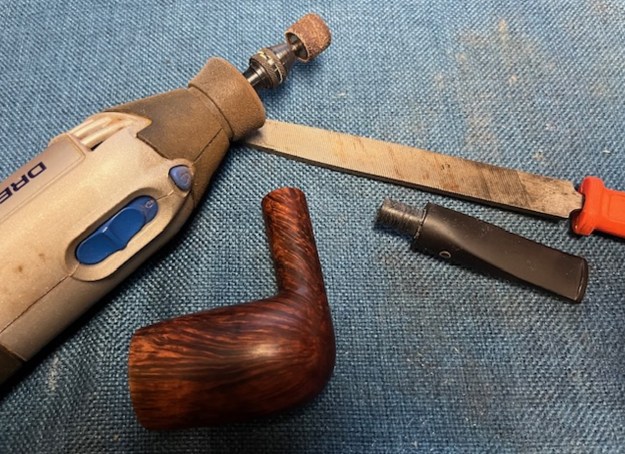 When I had the tenon shaped correctly, diameter and fit correct I put the stem in the shank and took the following photos. You can see that the fit is very good. It is snug and looks good against the shank end. The alignment to the shank end is quite good but I will need to sand the right side of the stem a little to make the transition smooth. I will need to do the same on the right, top and bottom sides – adjusting either the stem or the shank for smooth transition between the stem and shank. I have to say it is a really beautiful pipe!
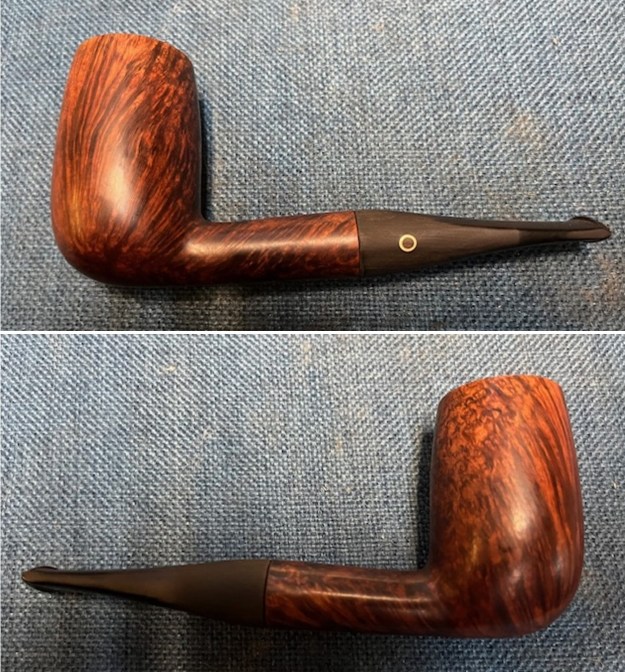
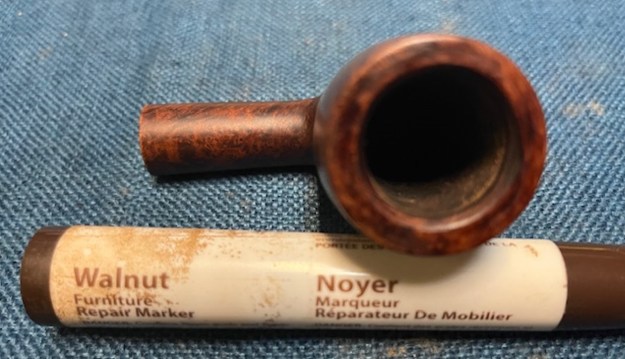
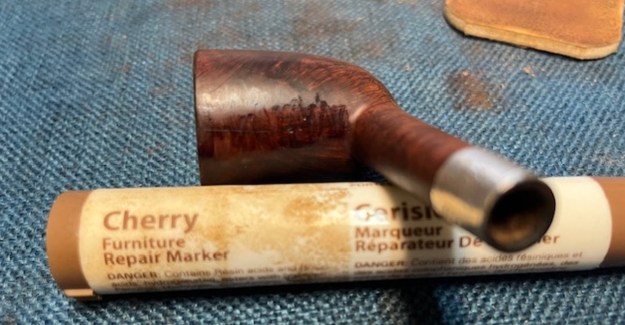
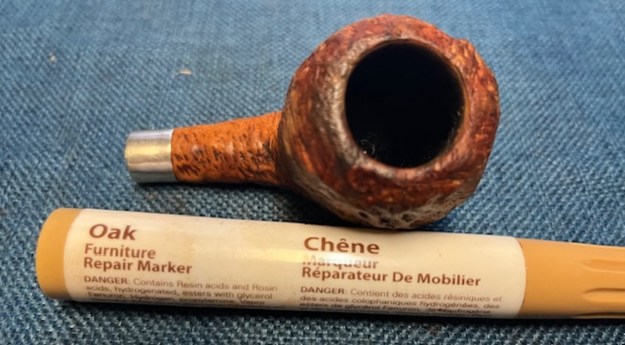
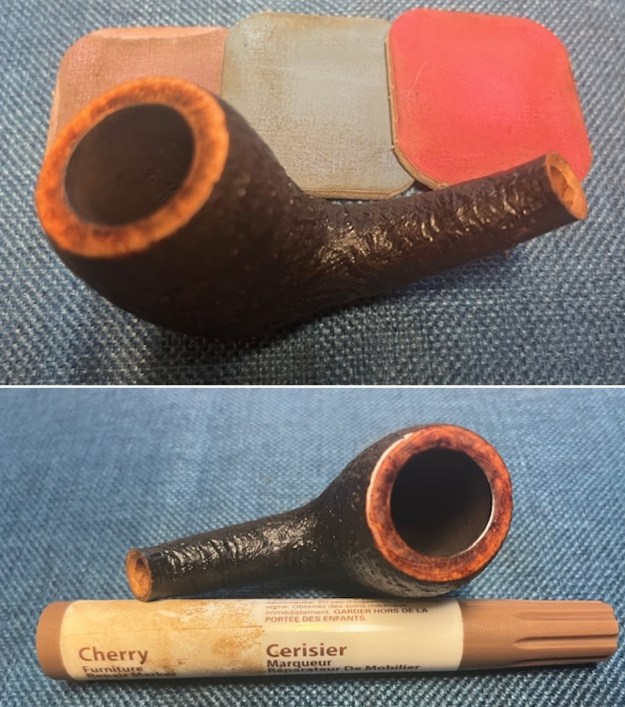
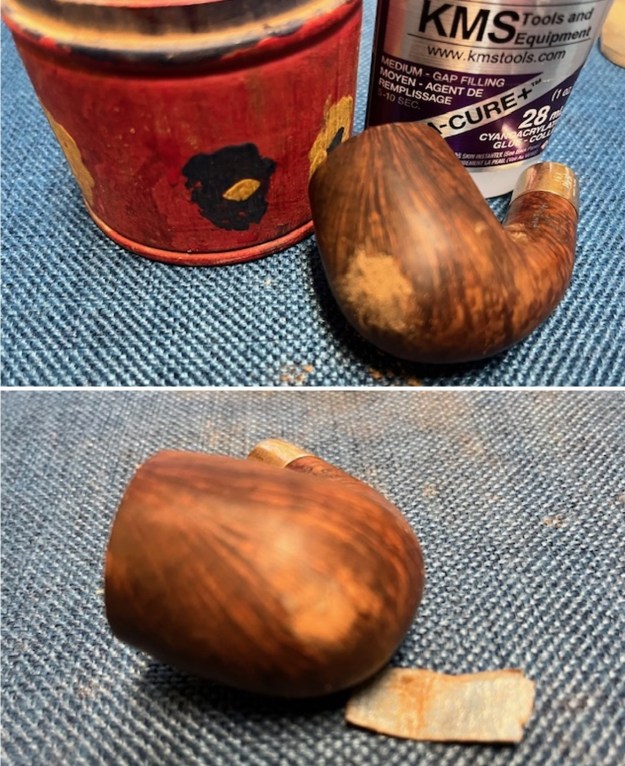
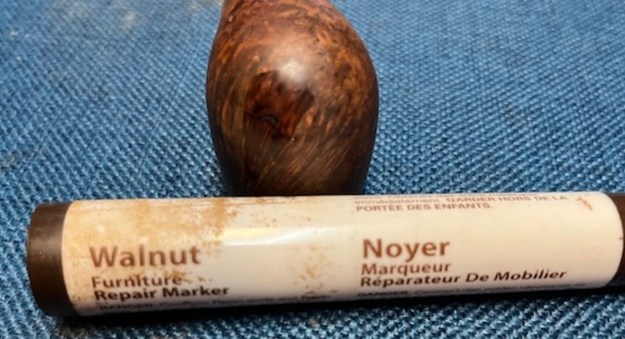
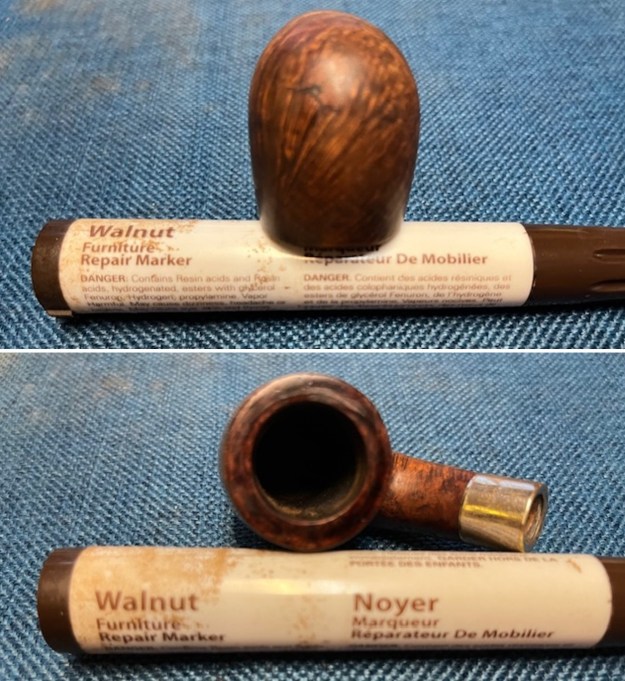
 I sanded the transition smooth all the way around the shank and stem joint. I was careful on the underside to not damage the stamping. Once it was smooth I polished the sanded areas with 1200-3200 grit micromesh pads. I used a Walnut stain pen to blend in the adjusted areas to the rest of the briar. That transition looked and felt very good.
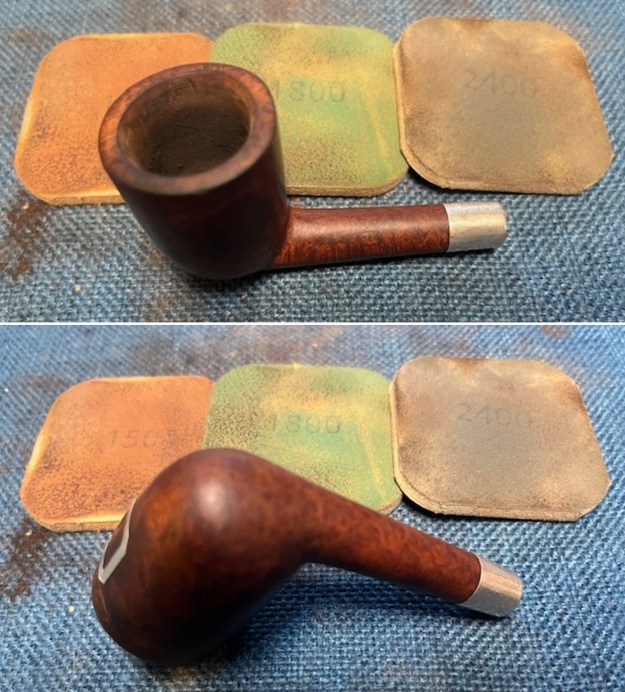
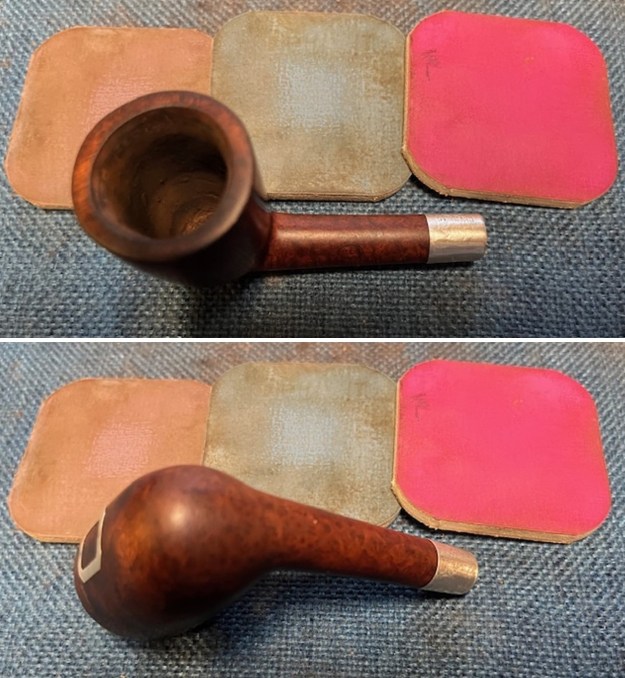
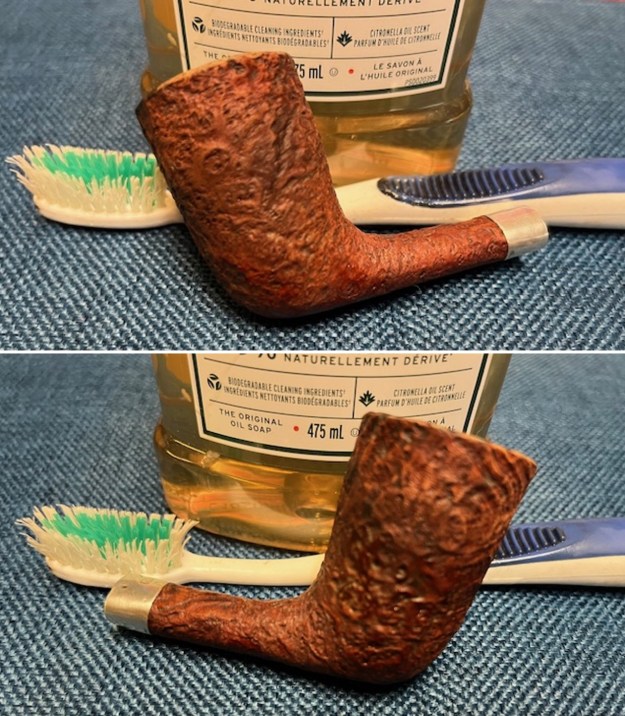
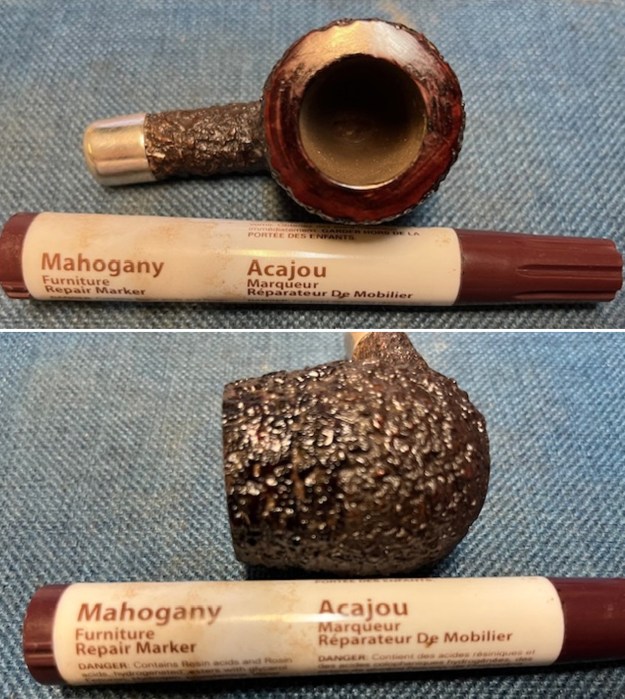
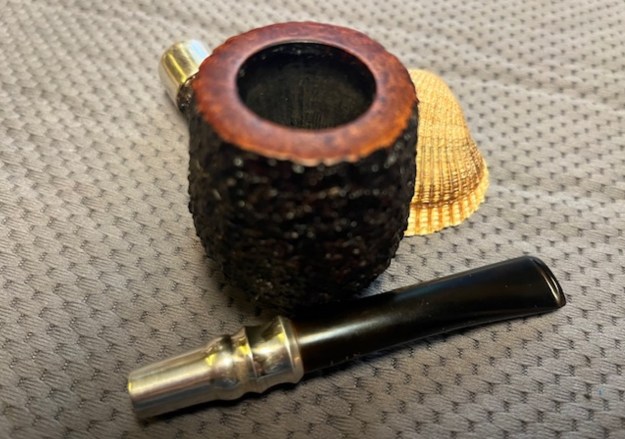
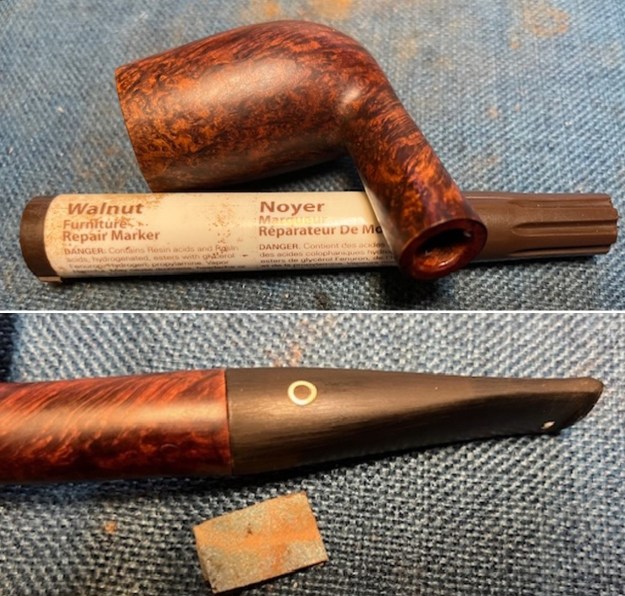 I set the stem aside for now and turned to the bowl. I used a folded piece of 220 grit sandpaper to smooth out the damage on the front inner edge and to give it a slight bevel to bring it back to round and deal with the darkening in that area of the rim edge. It definitely looks better. I smoothed it out with micromesh sanding pads. There were some gouges in the rim top on the front and I did not want to top the bowl. I used a tooth pick and clear CA glue to fill in the gouges. Once it cured I smoothed them out with 220 grit sandpaper and smoothed it with some 1500 grit micromesh. I restained the top and the inner edge with a Walnut stain pen.
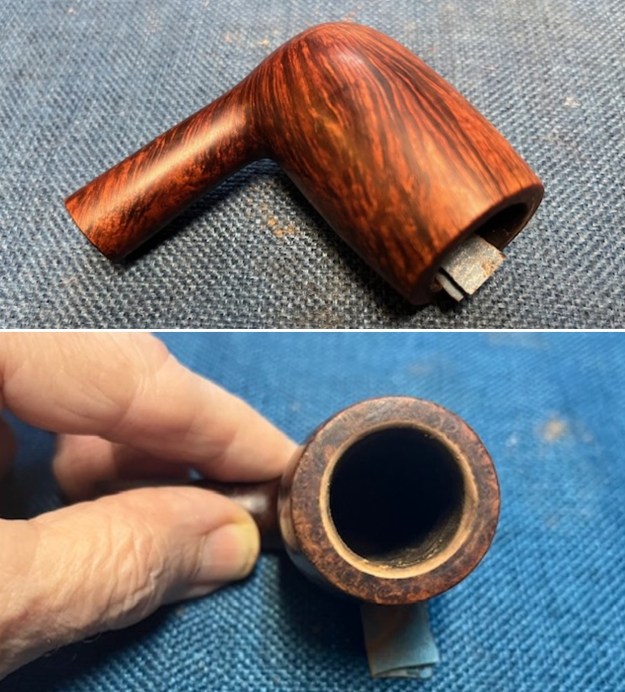

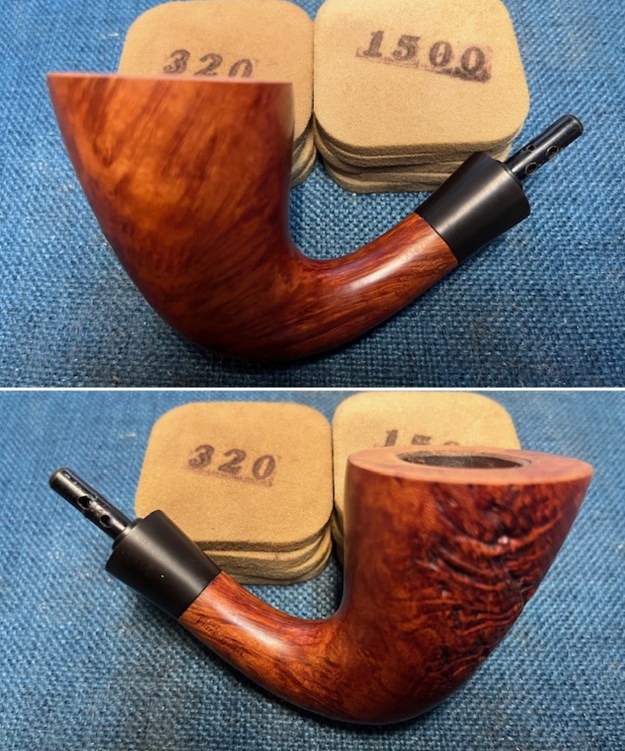
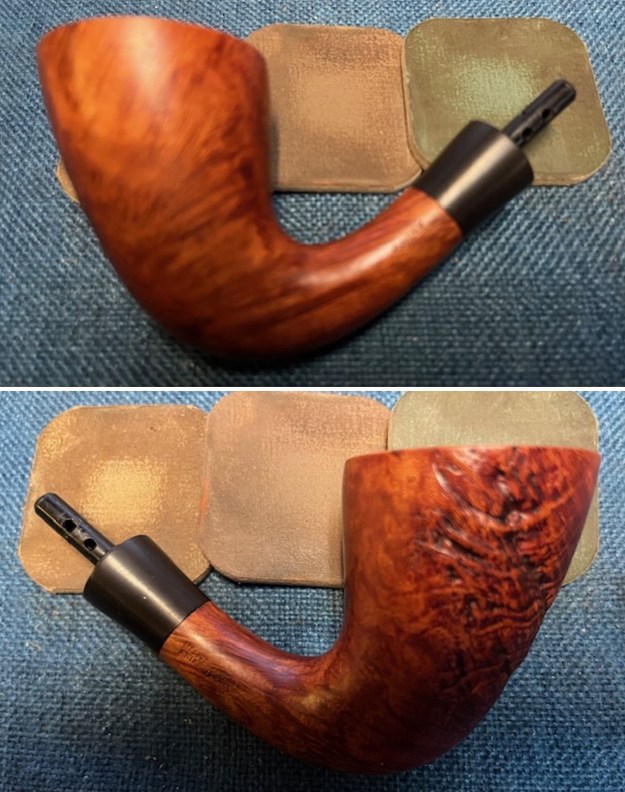
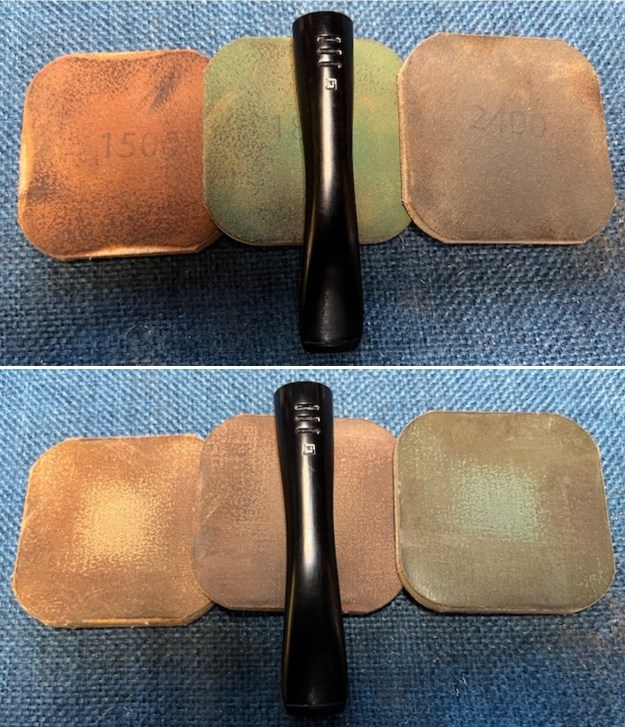
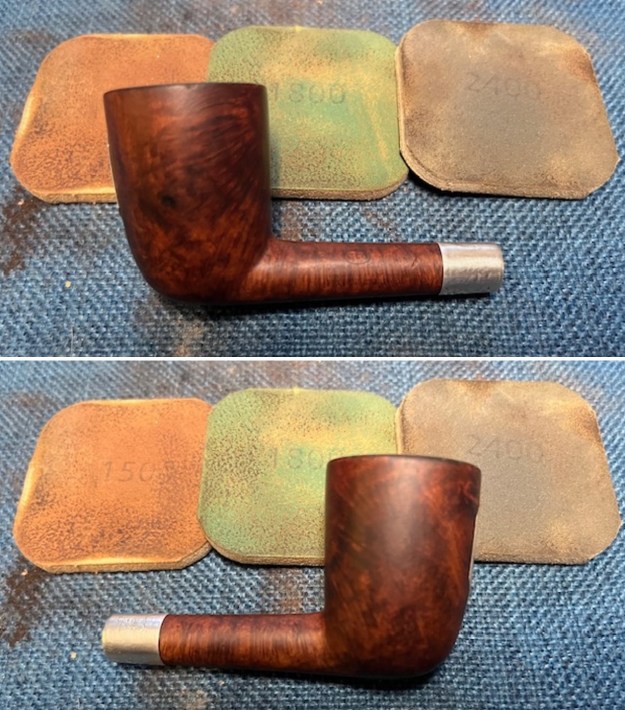
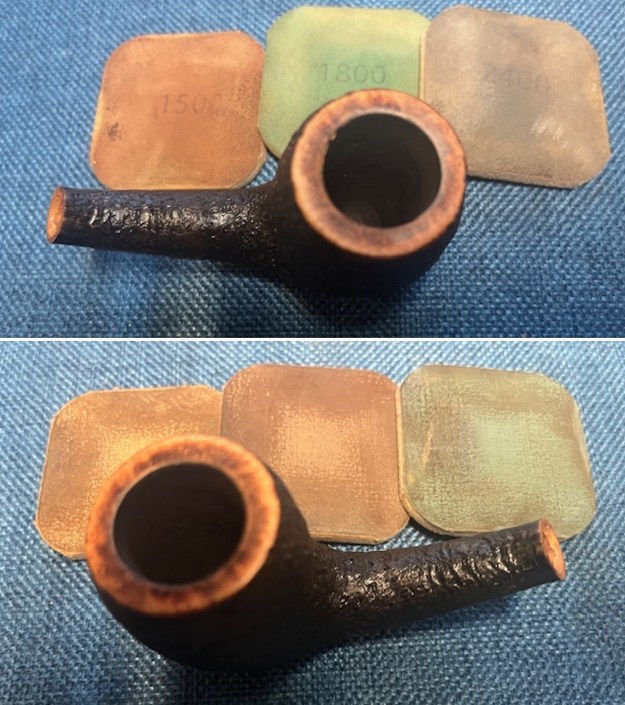
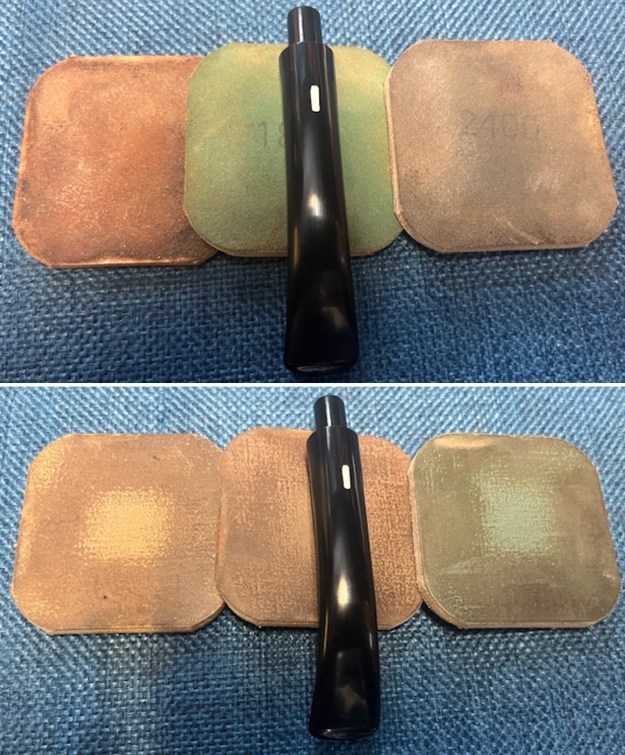
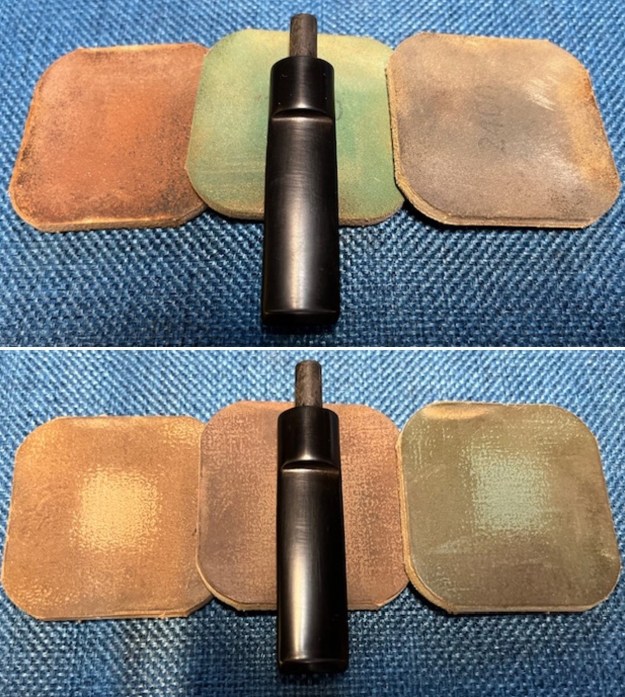
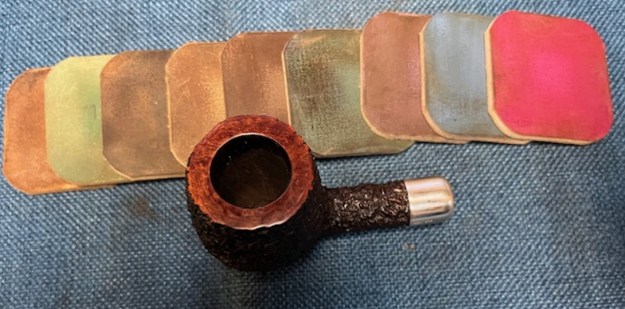
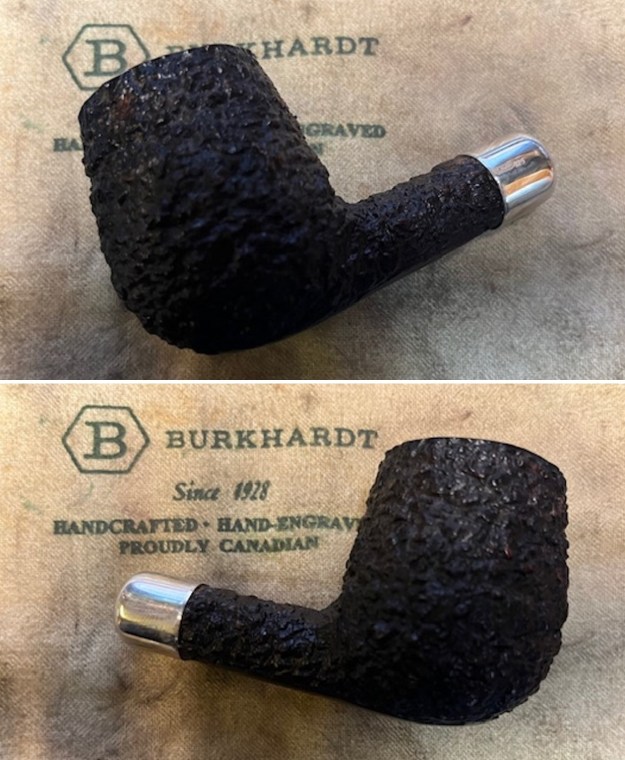
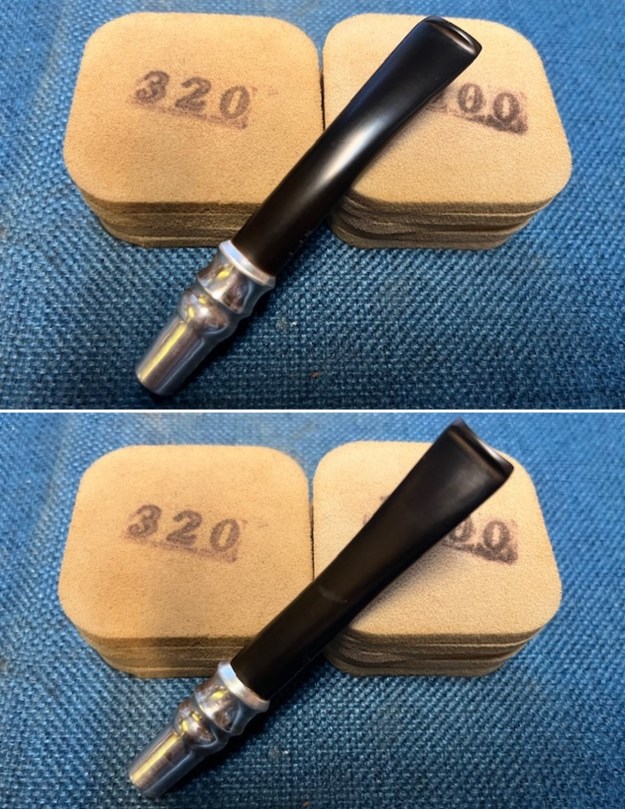
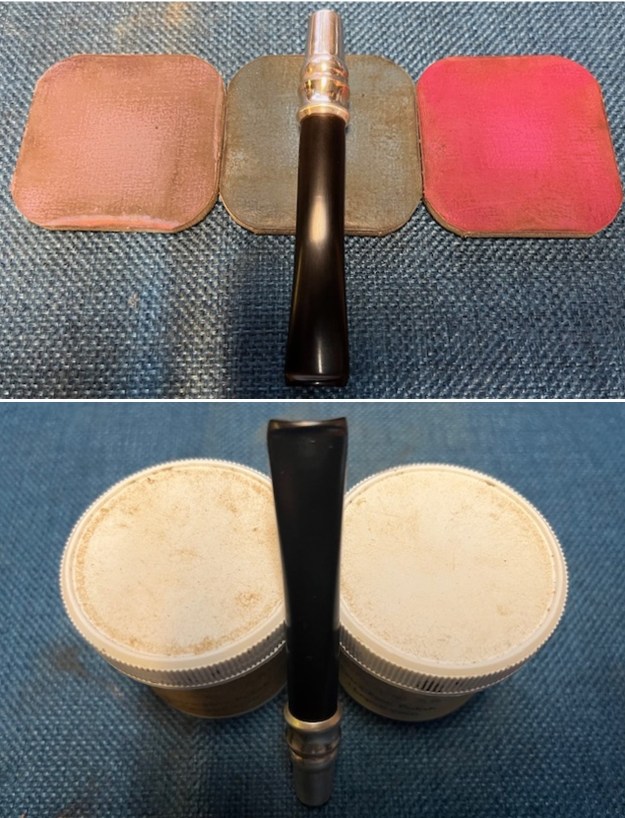
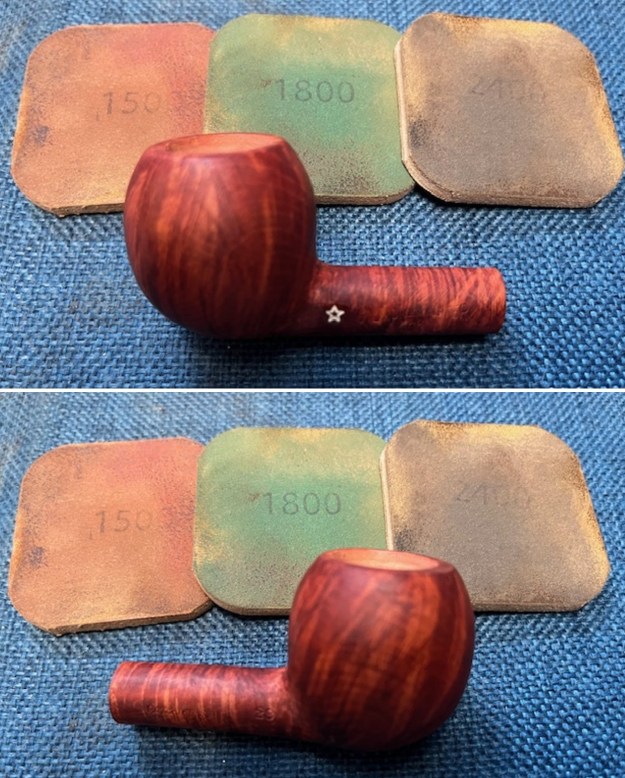
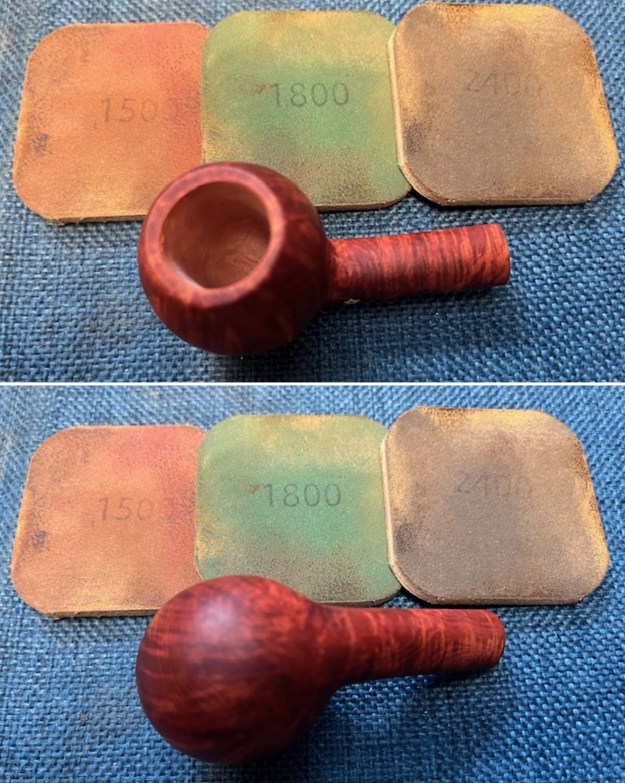
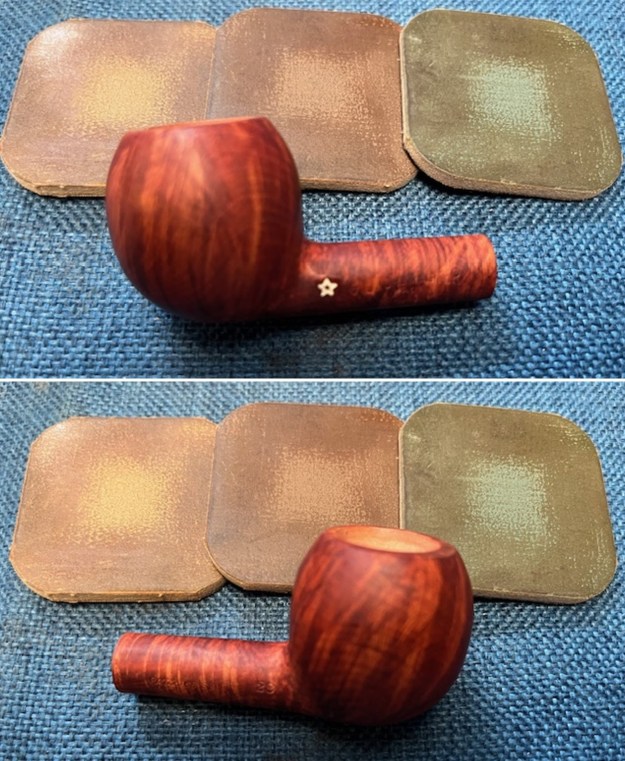
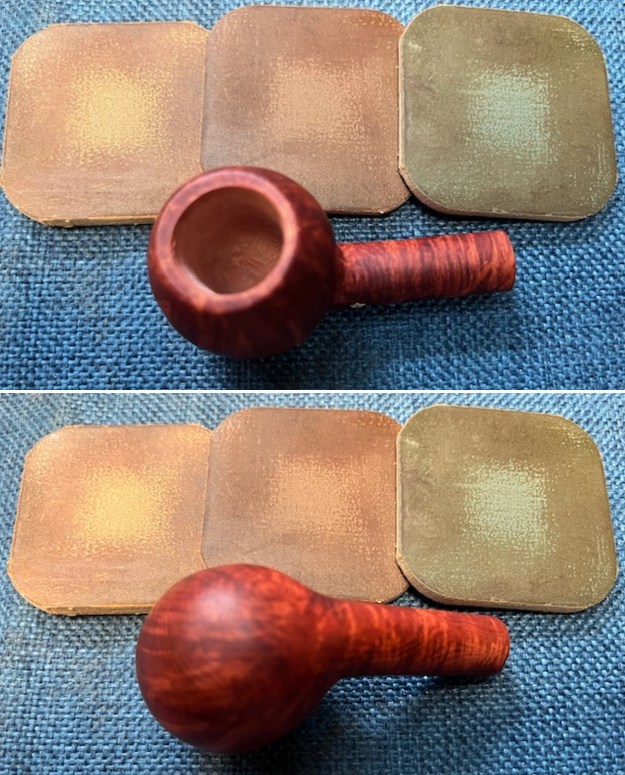
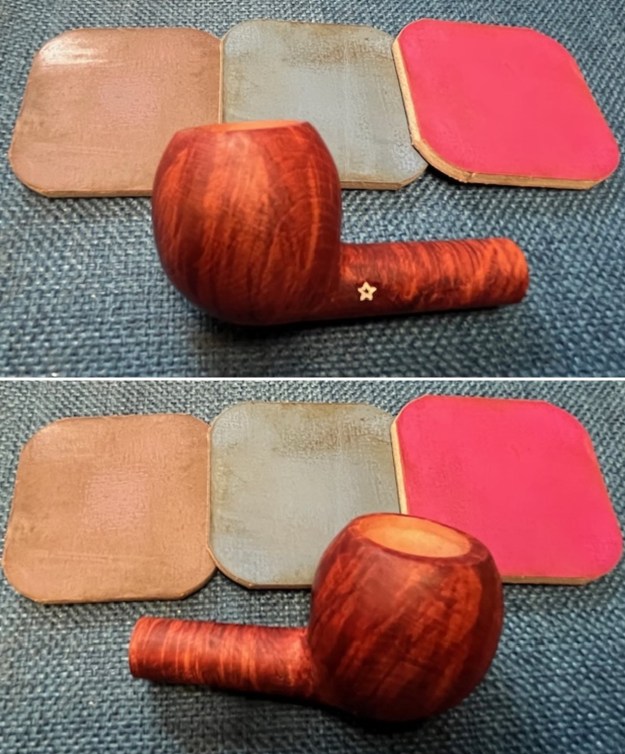
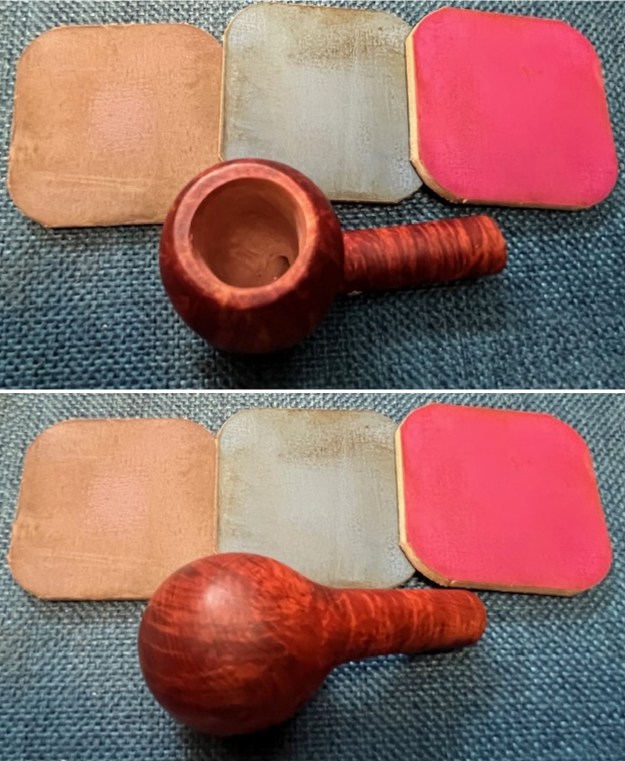
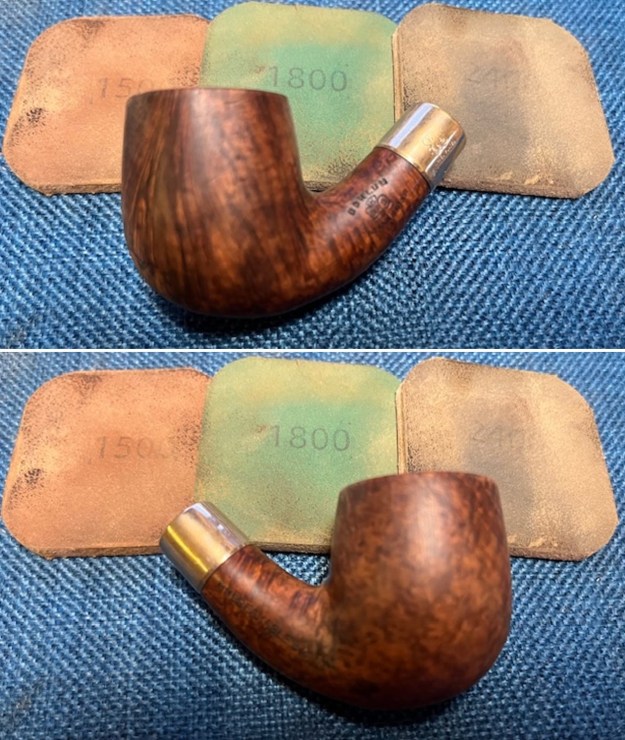
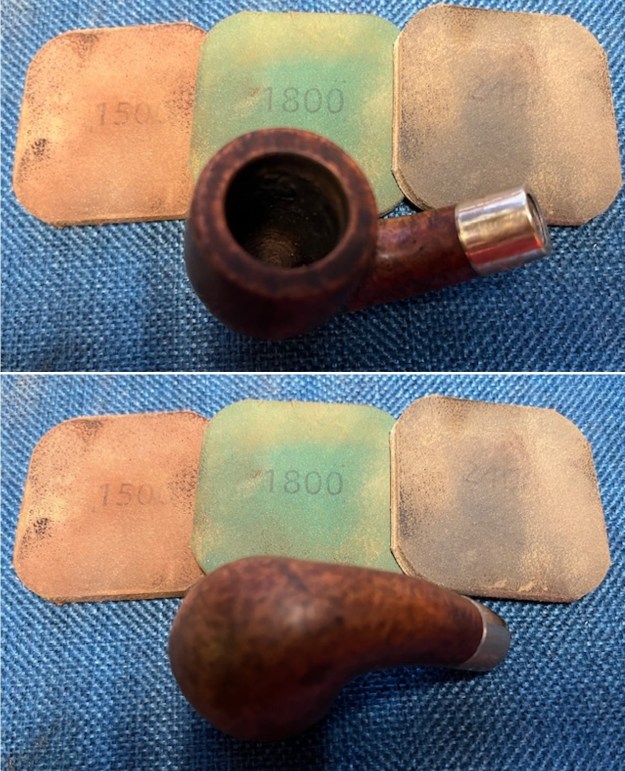
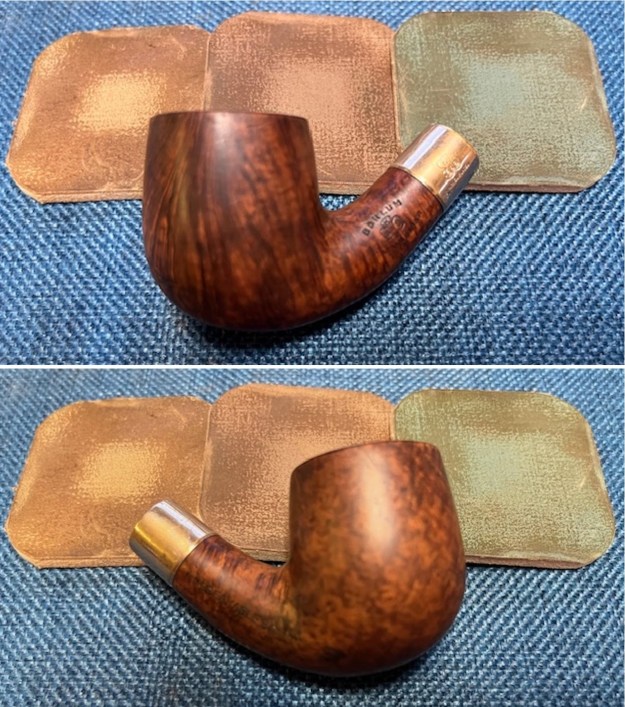
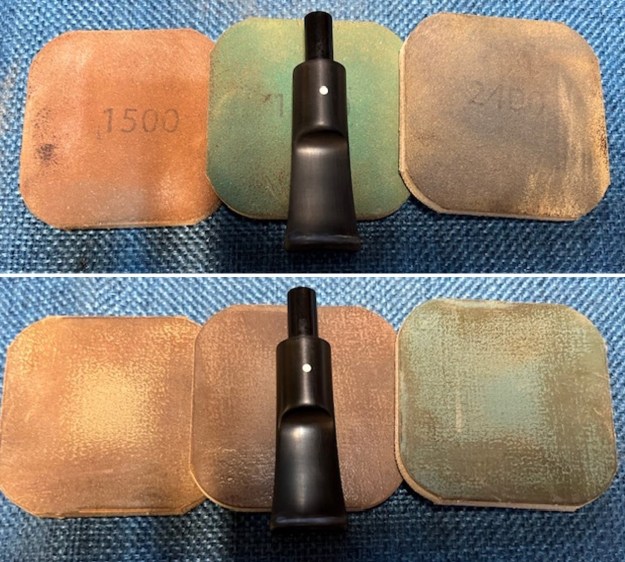
 I polished the briar with micromesh sanding pads – dry sanding with 1500-12000 grit sanding pads. I wiped the bowl down with a damp cloth after each pad. I take photos of the three groups of pads for my own viewing primarily as I am looking for progress in polishing. Once again, by the end of the process it looked quite good.
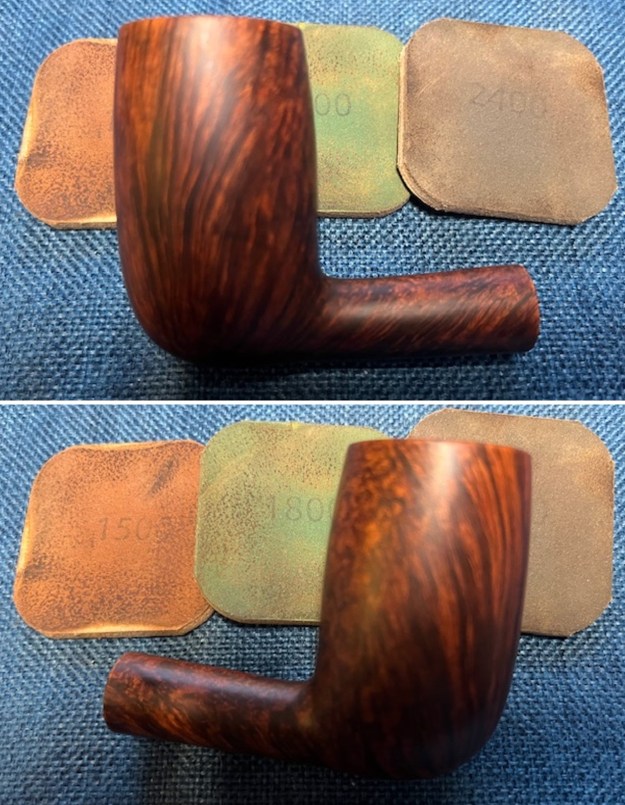
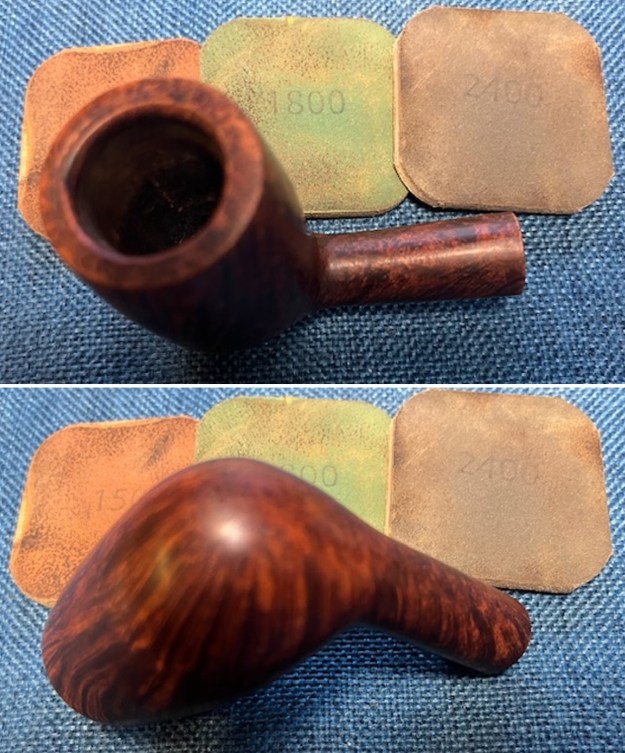

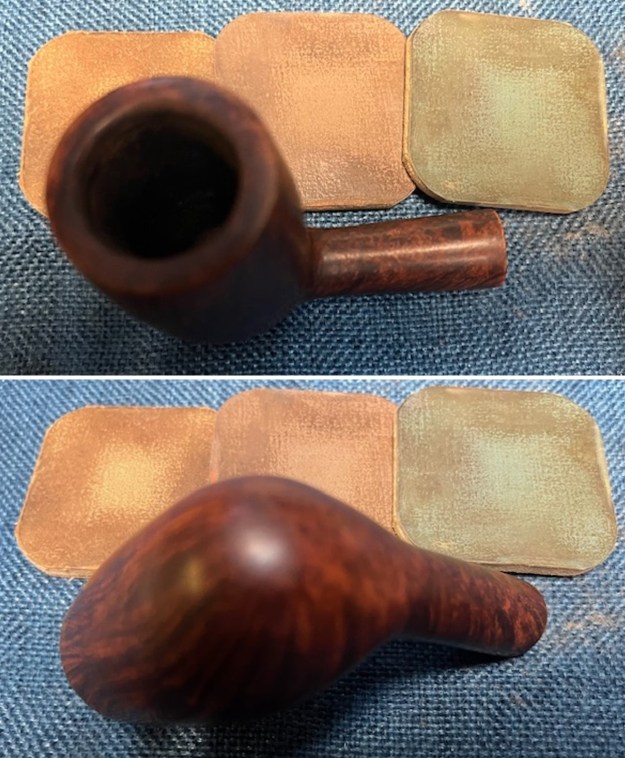

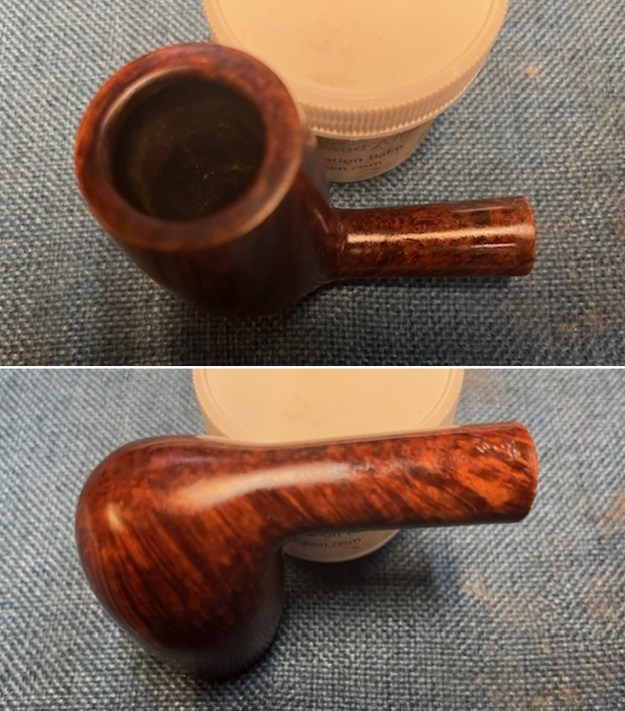
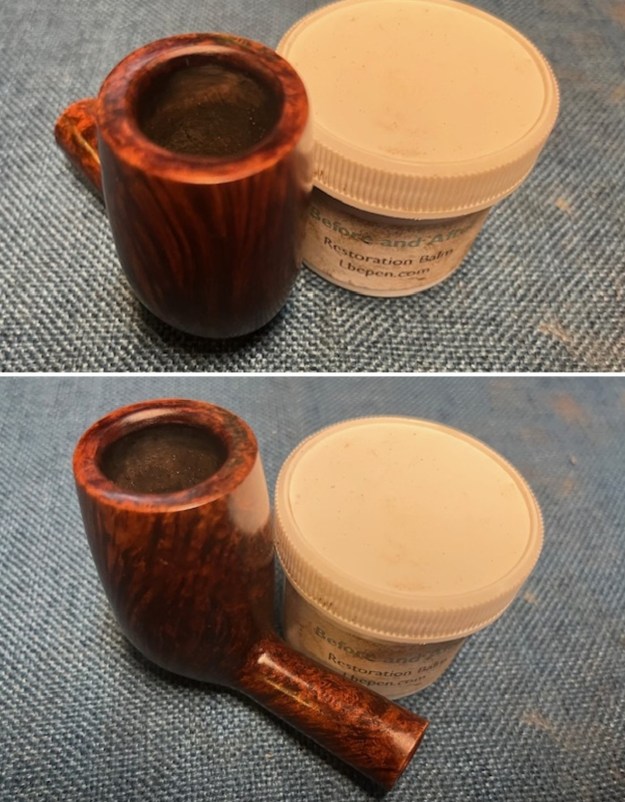
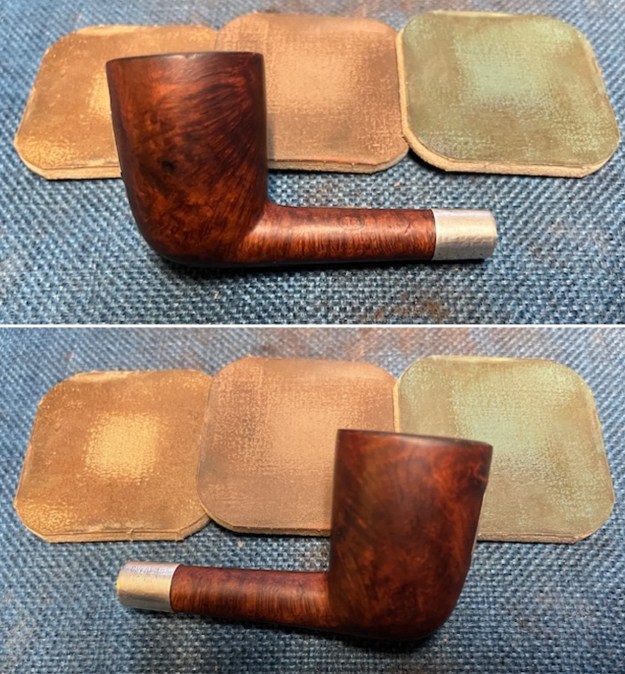
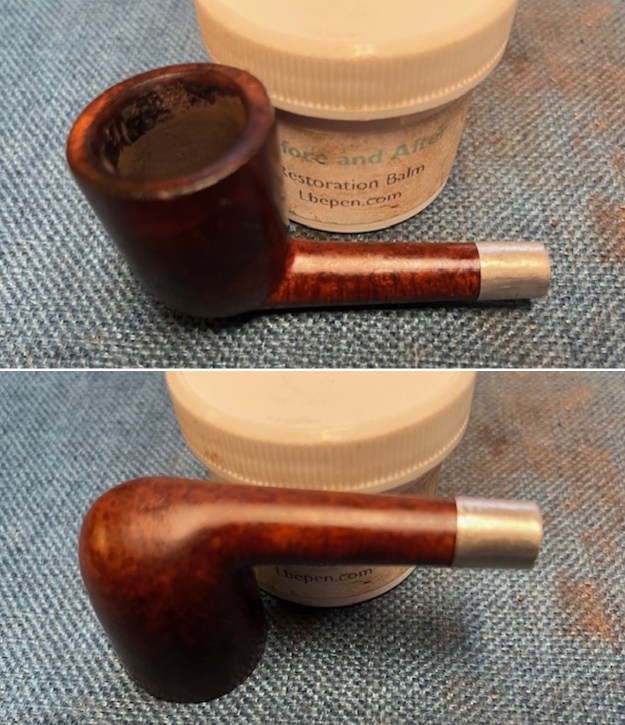
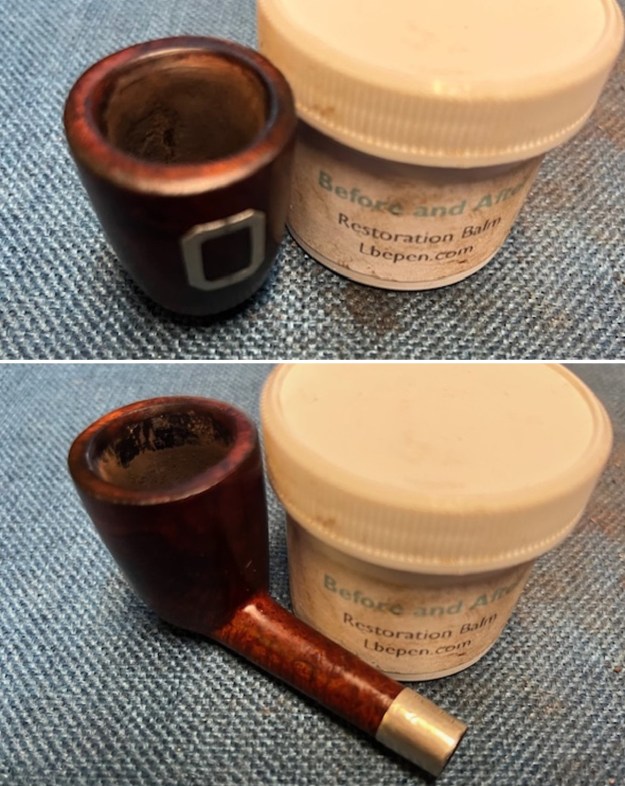
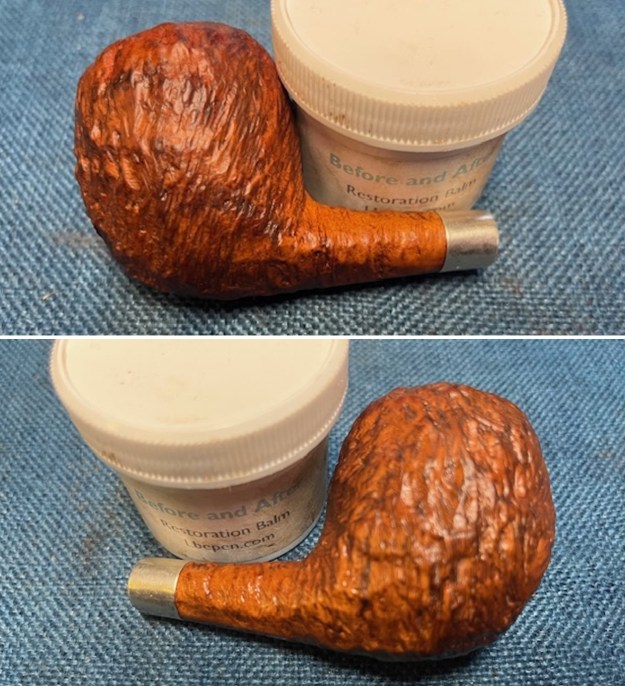
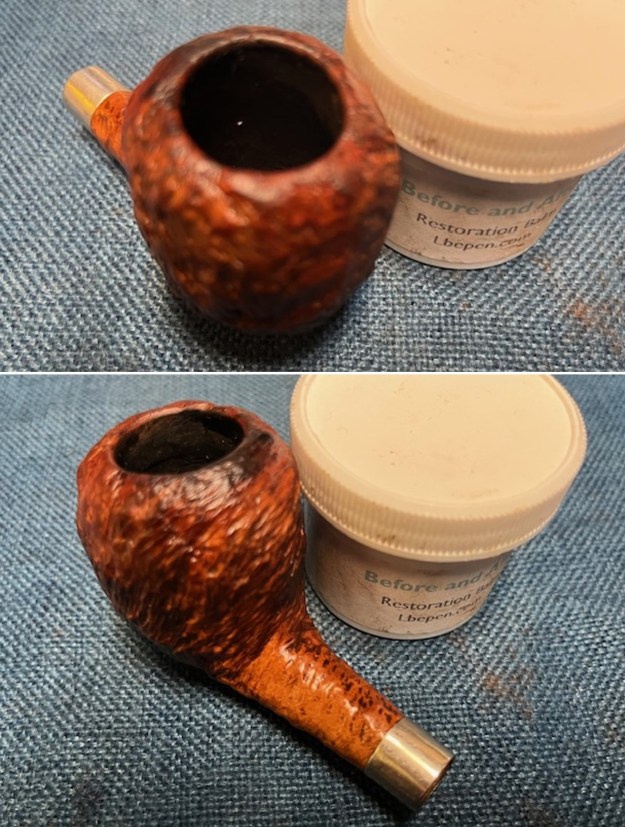
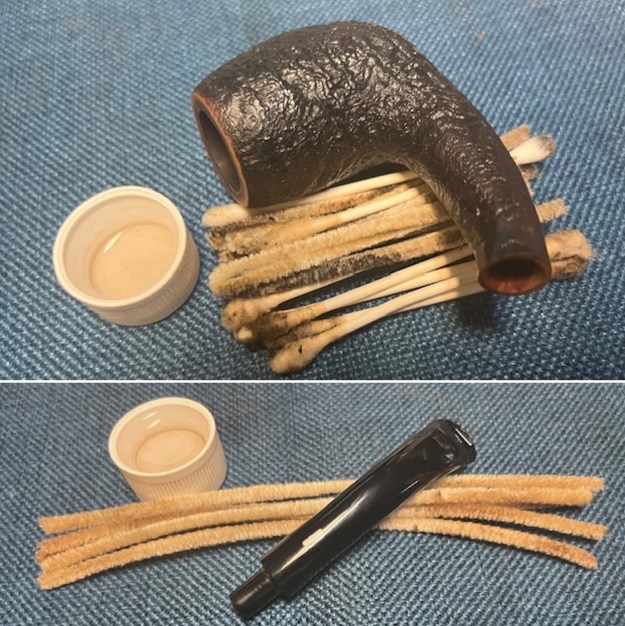
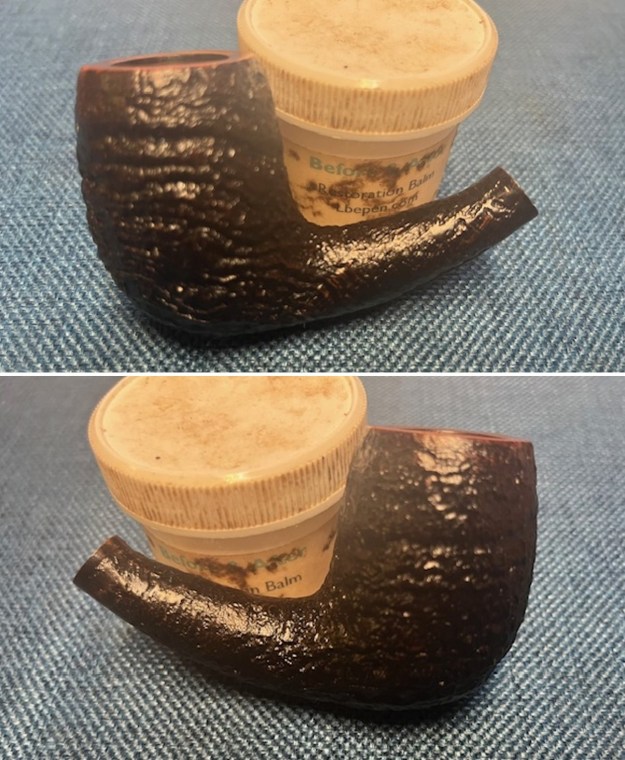
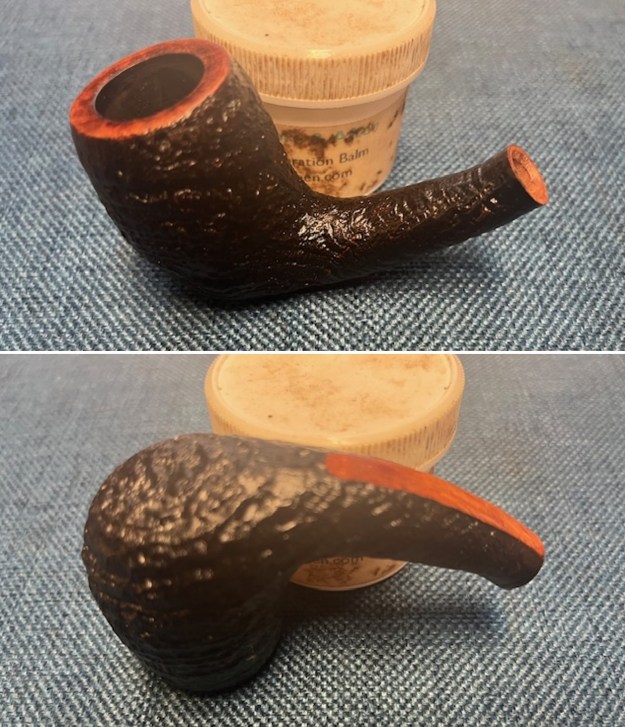
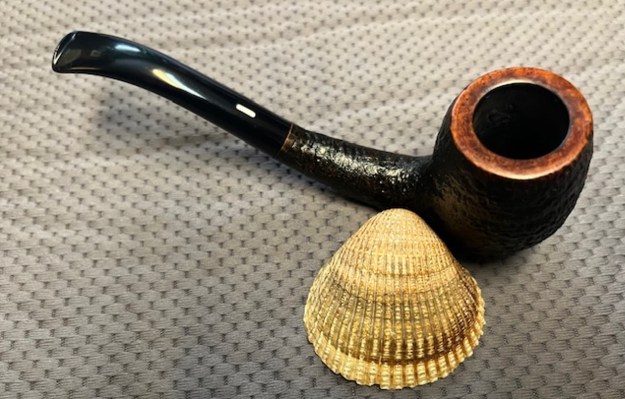
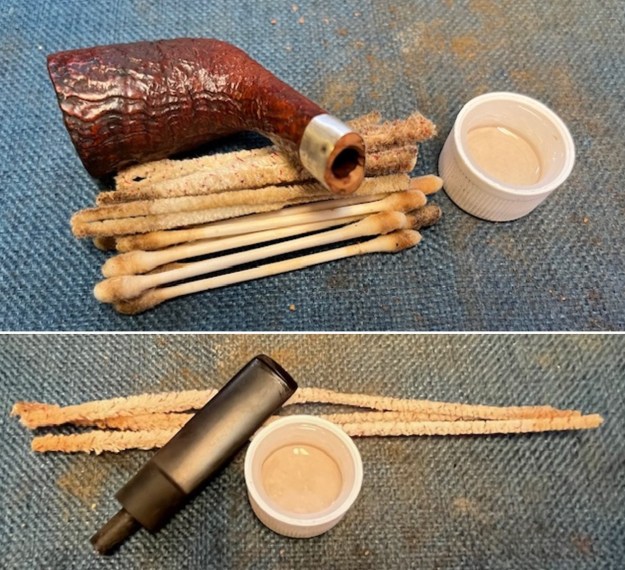
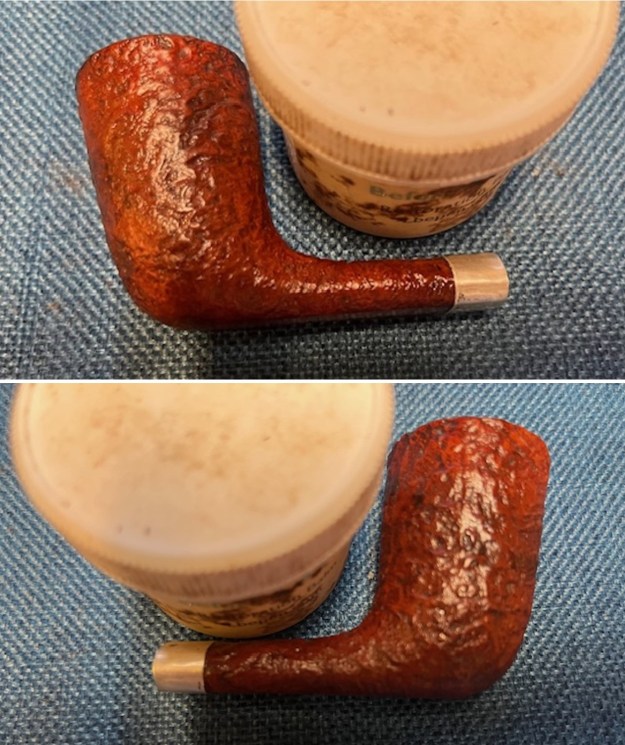
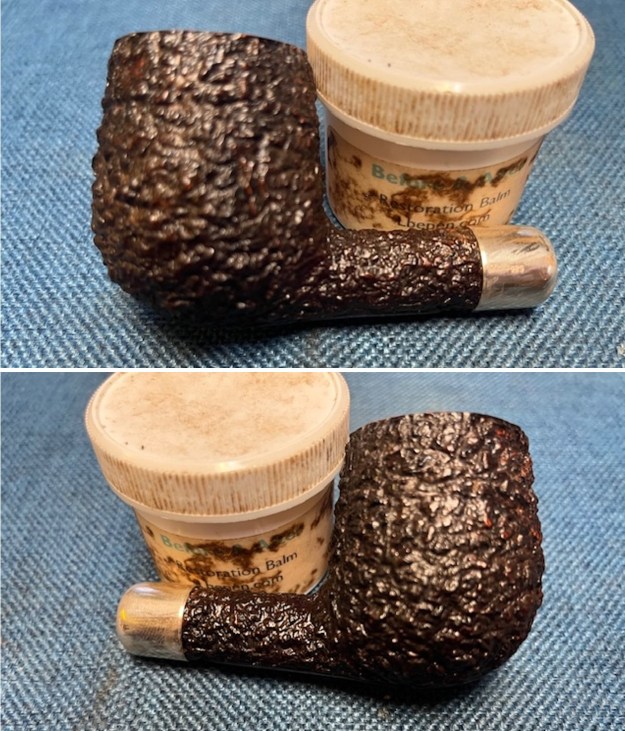
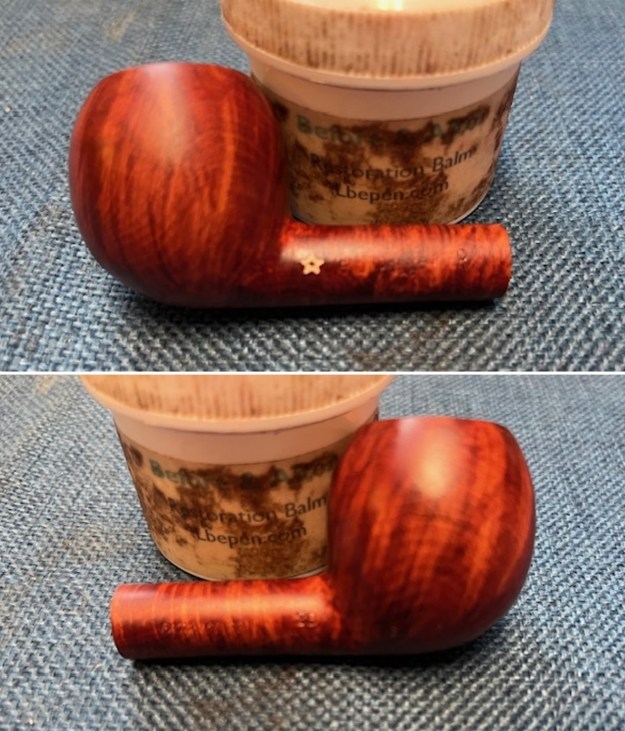
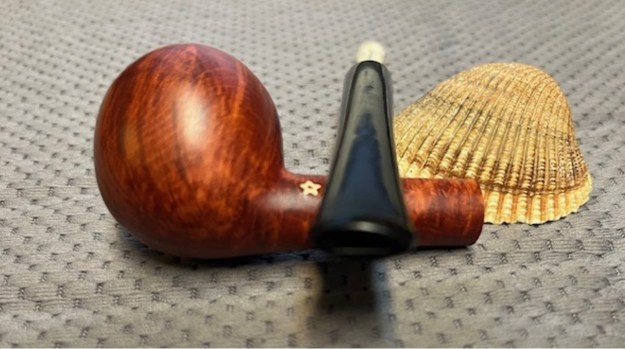
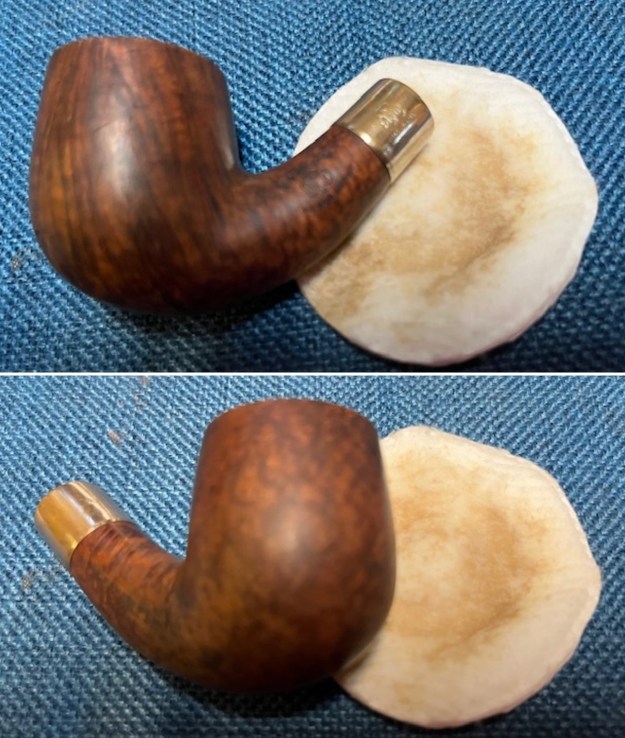
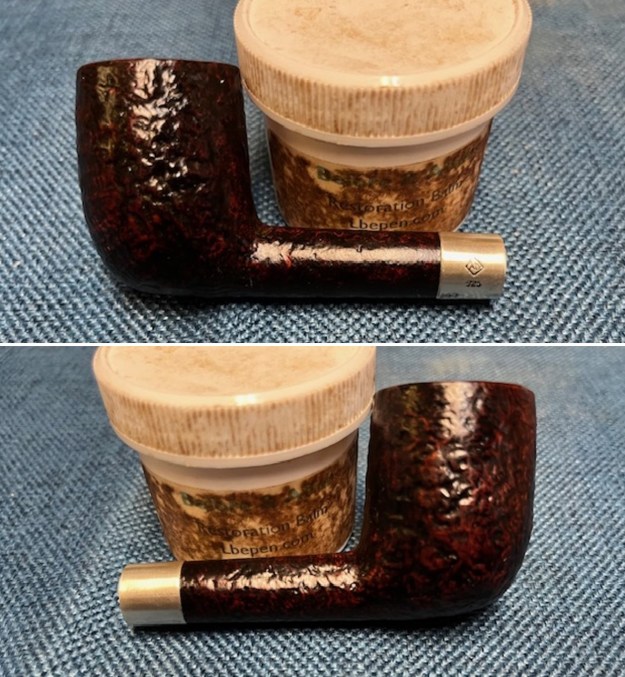
 I rubbed the bowl and shank down with Before & After Restoration Balm. I worked it into the surface of the bowl sides and shank with my fingertips. It works to clean, enliven and protect the briar. I let the balm sit for 15 minutes and buffed with a cotton cloth to raise the shine. The grain came alive.
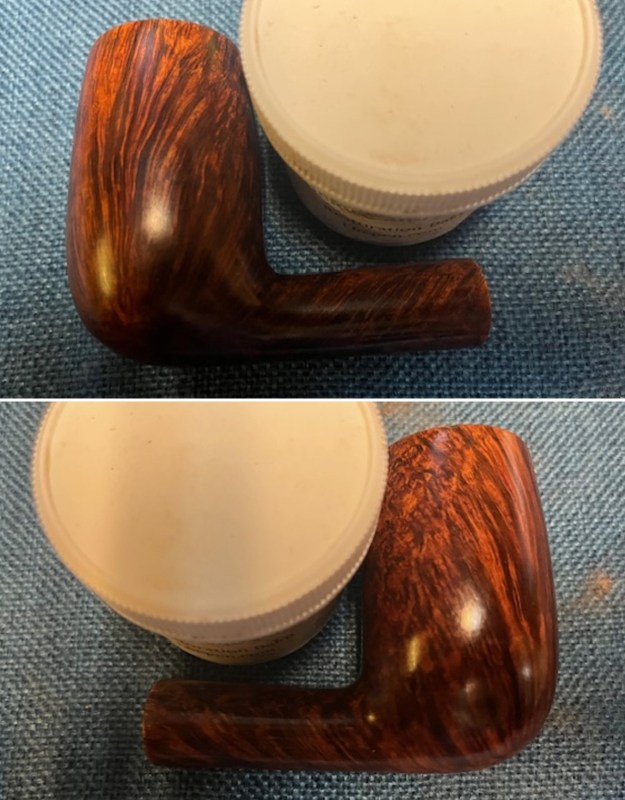
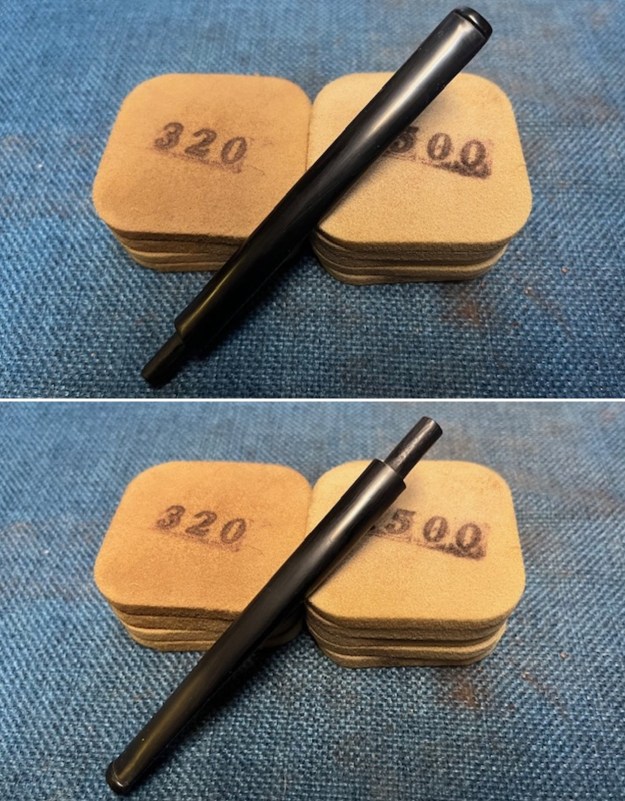
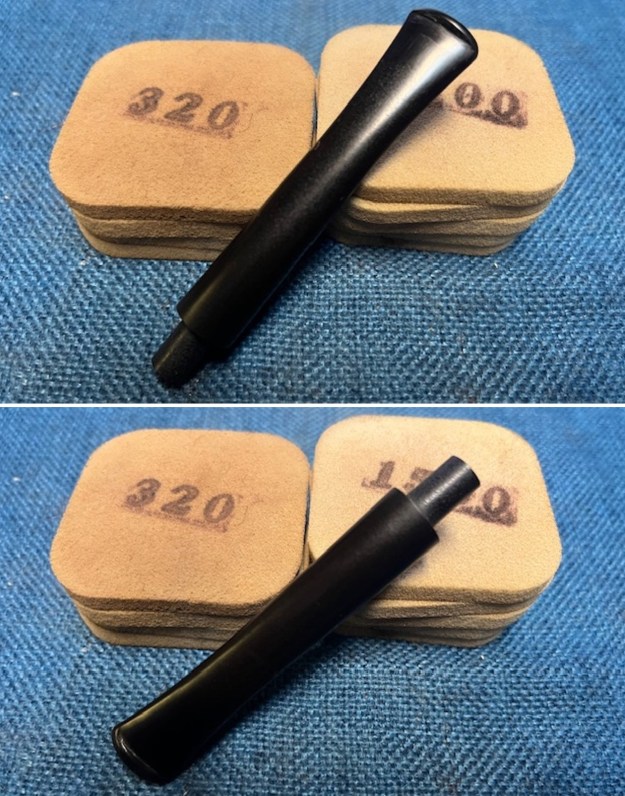
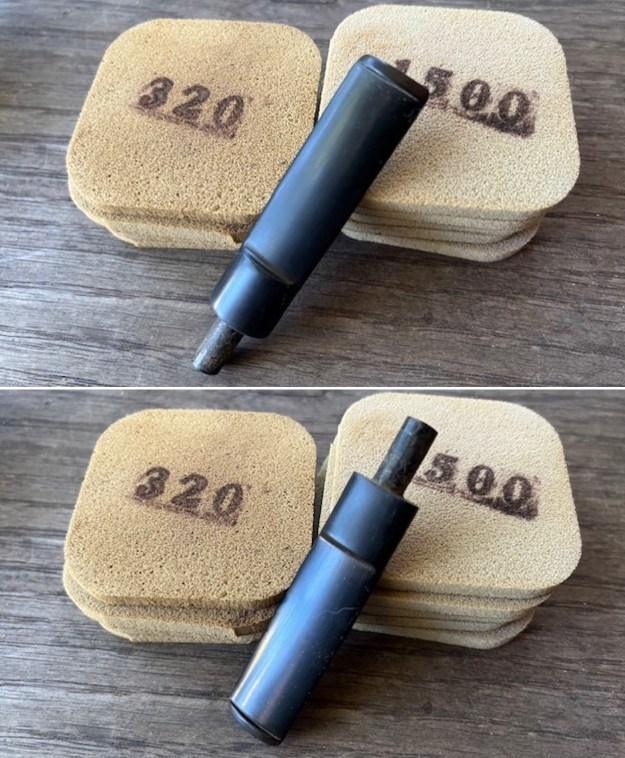
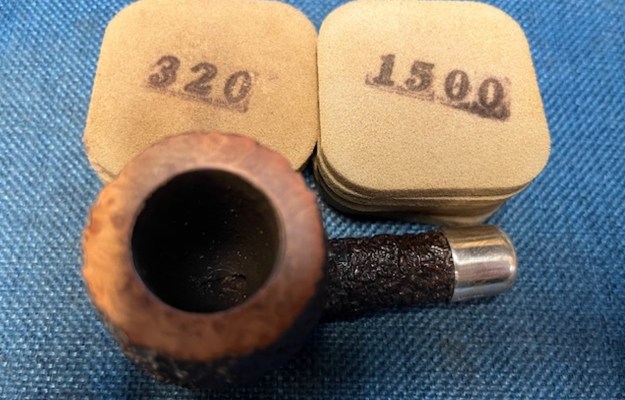
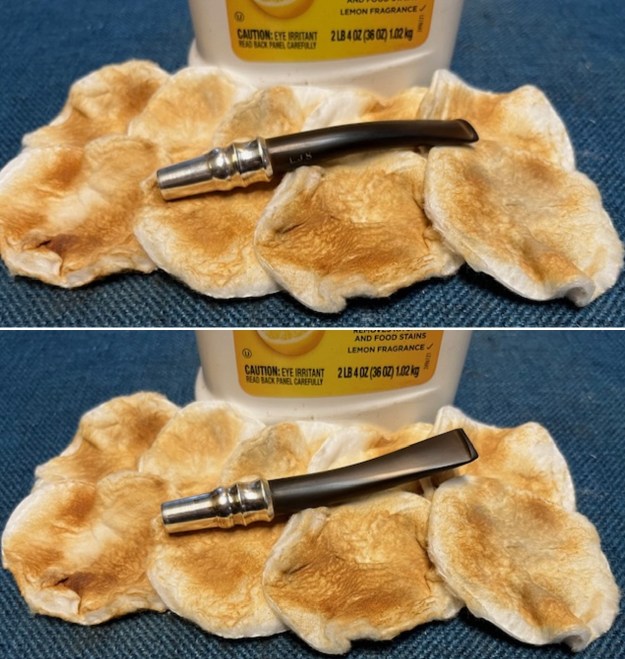
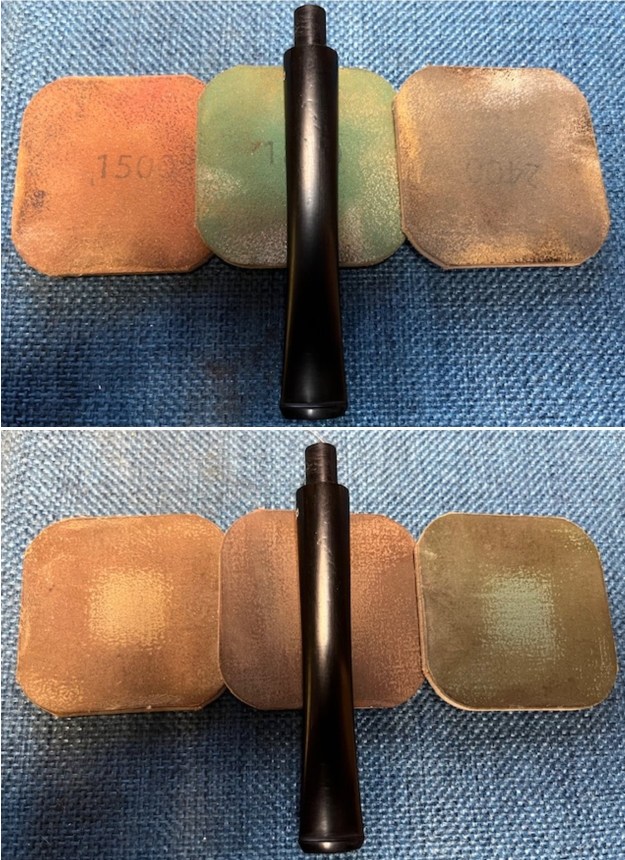
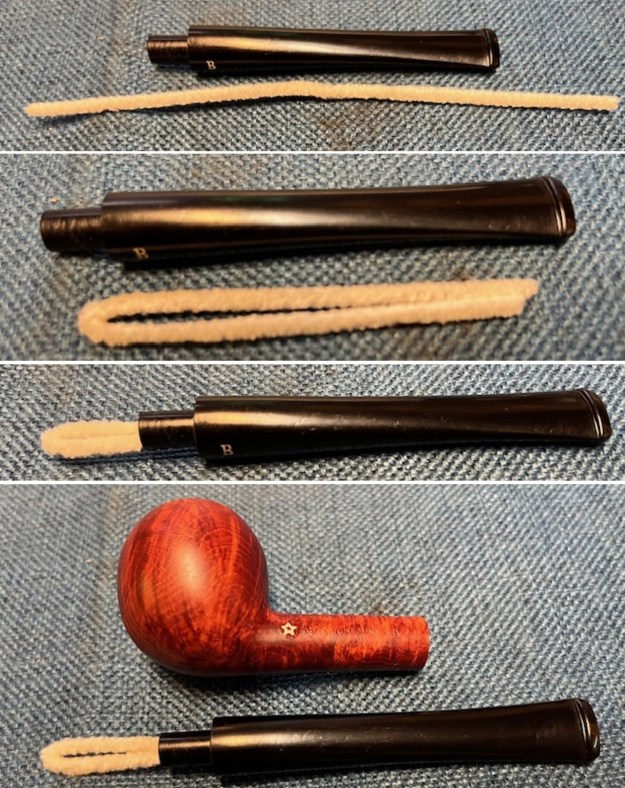
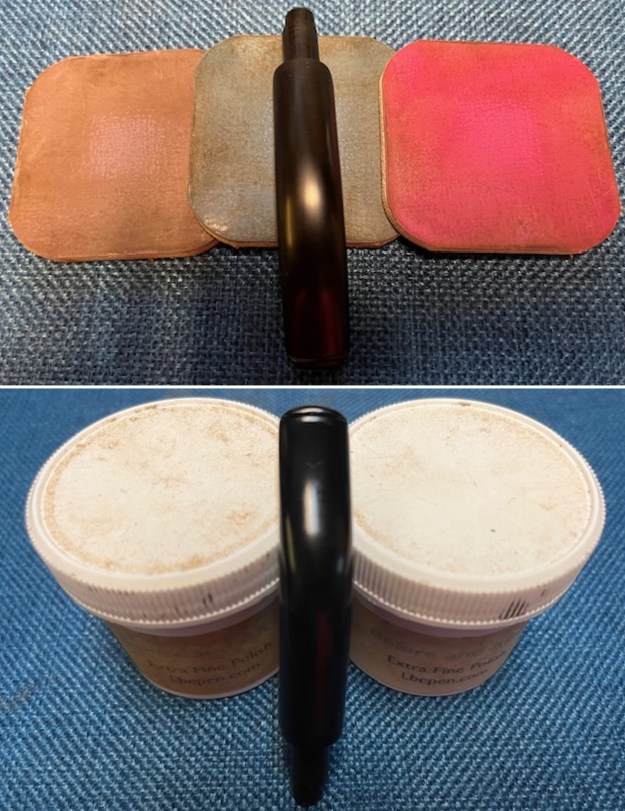
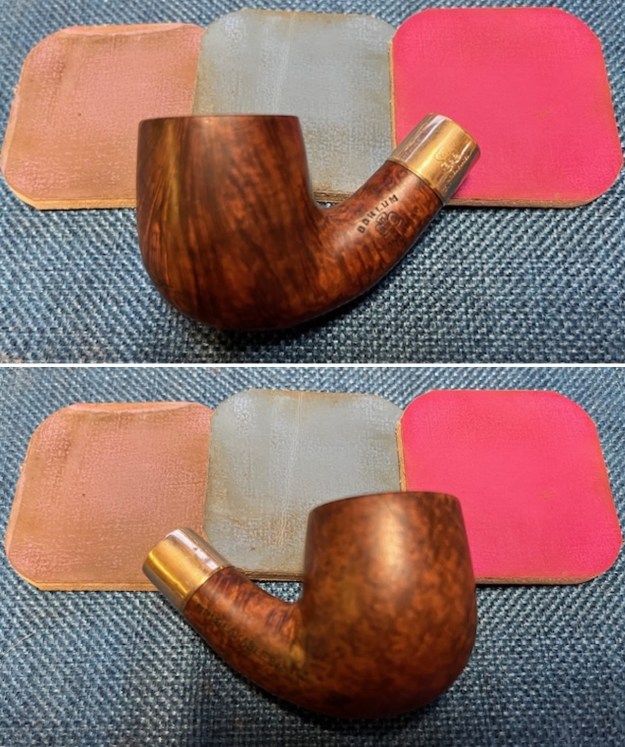
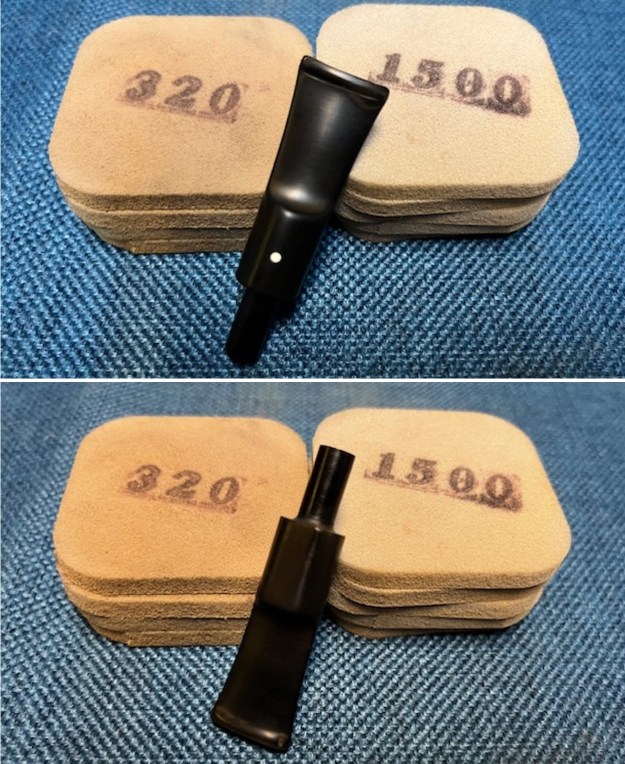
 I set the bowl aside and turned my attention to the stem. The scratches, tooth chatter and marks easily were addressed by dry sanding the stem with 320-3500 grit sanding pads. I wiped it down after each pad with Obsidian Oil. It looked very good at this point in the process.
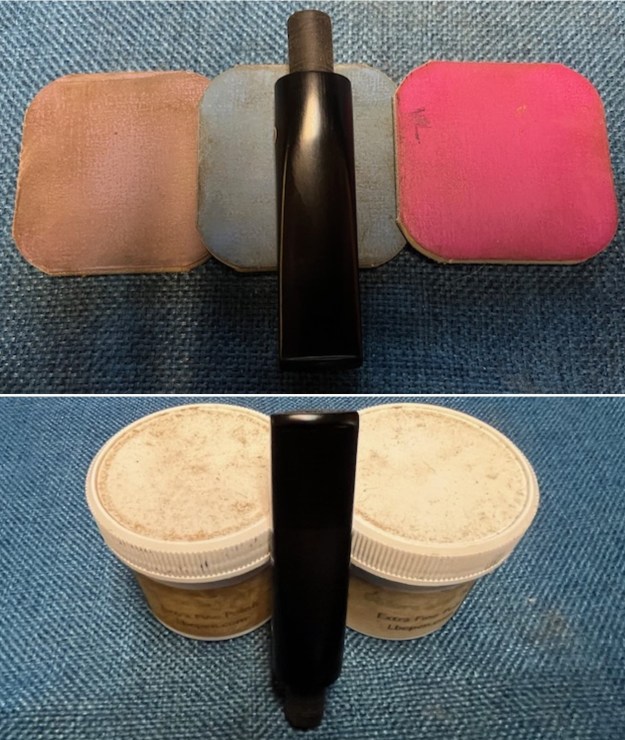
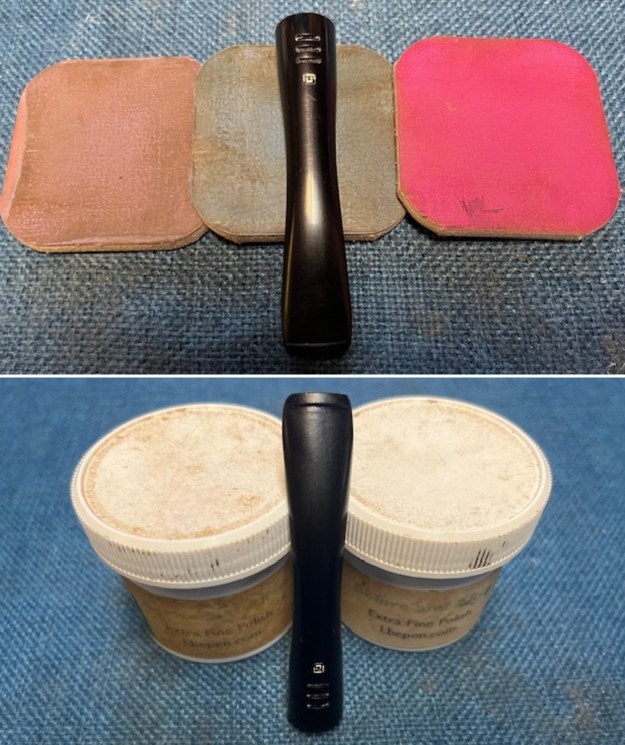
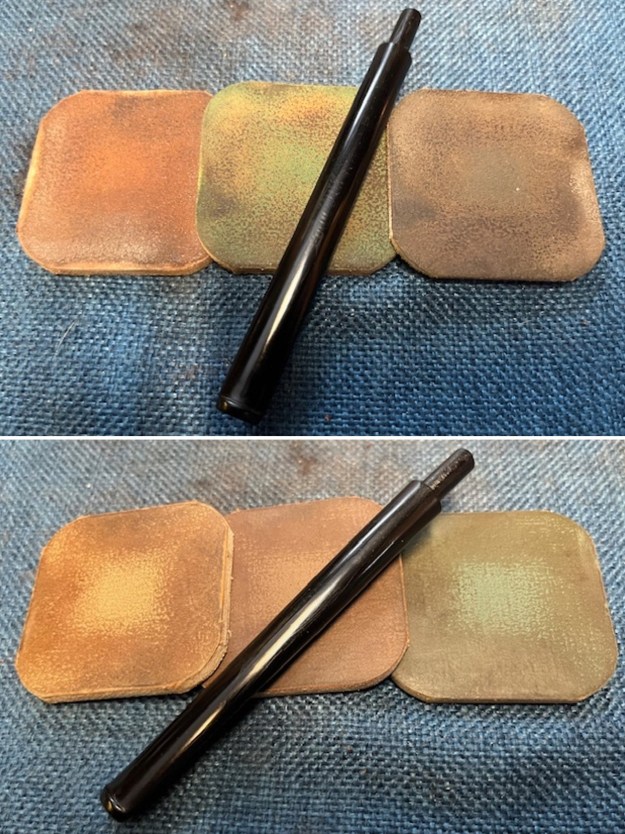
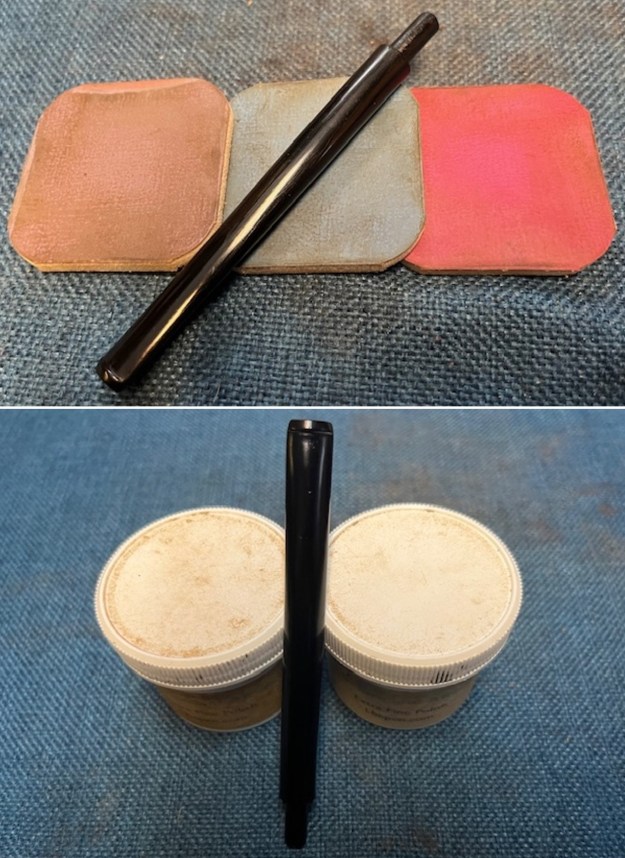
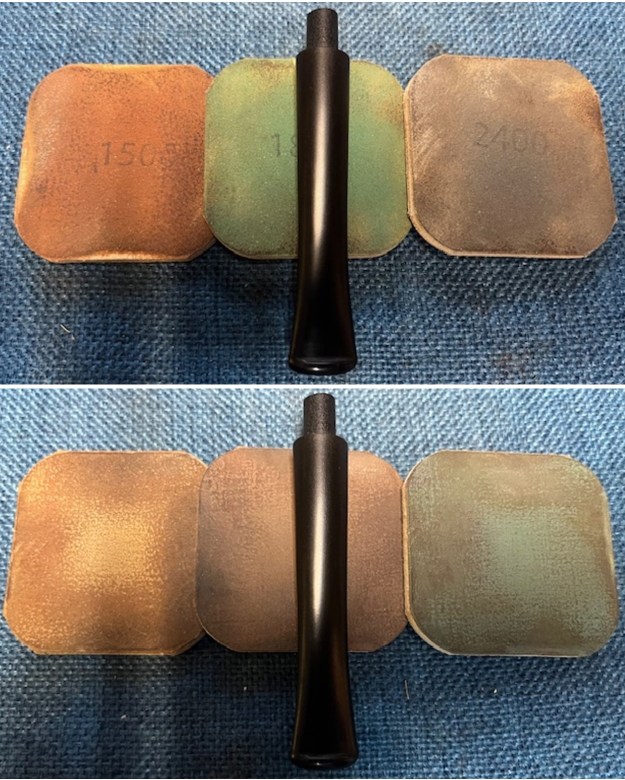
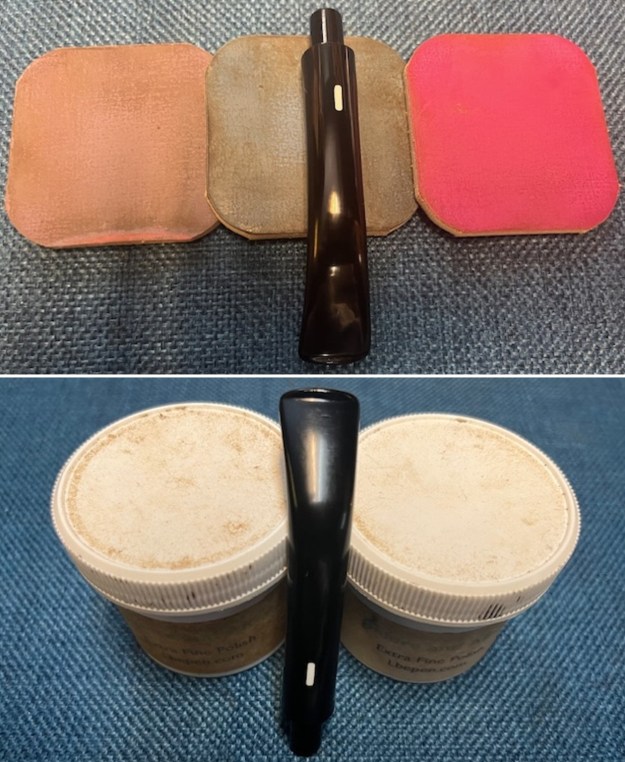
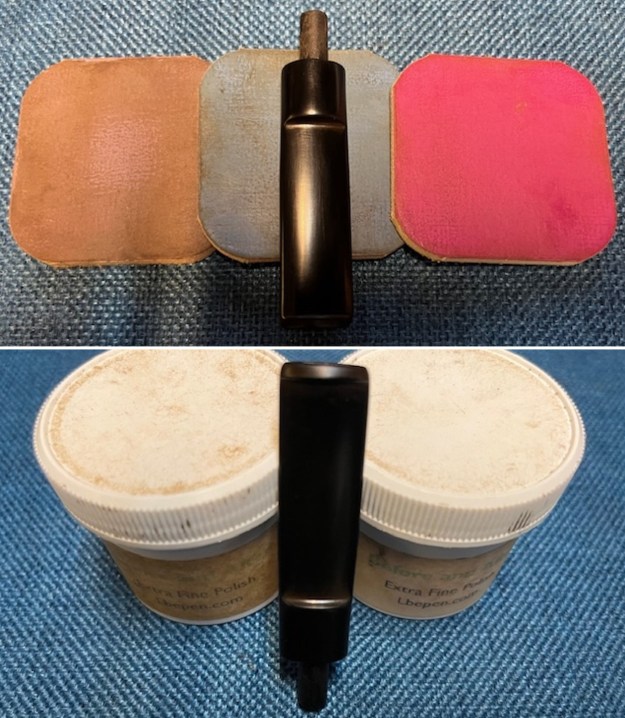
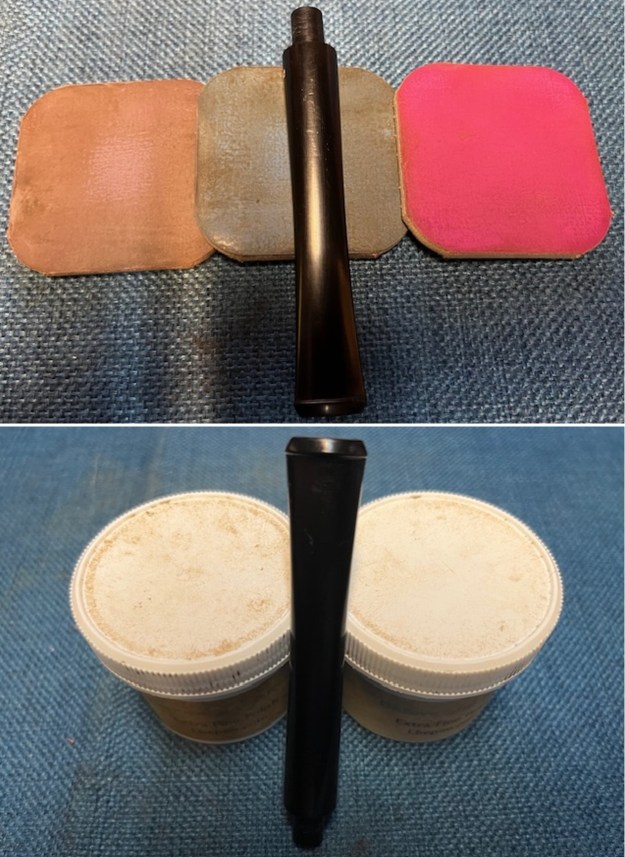
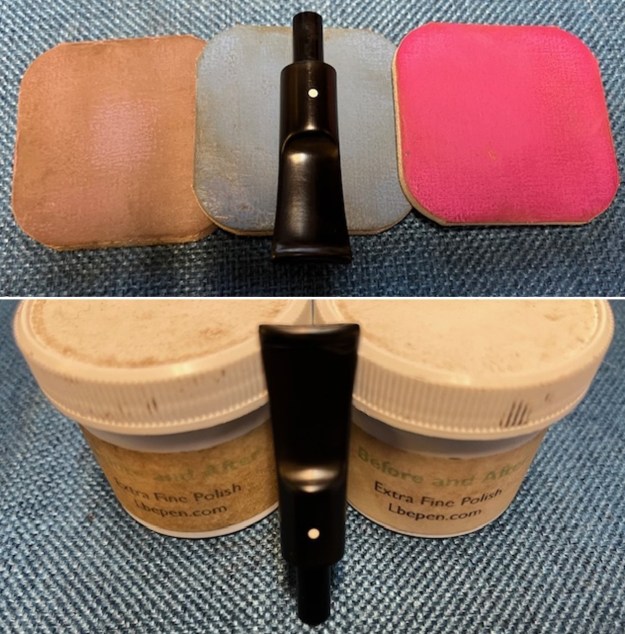
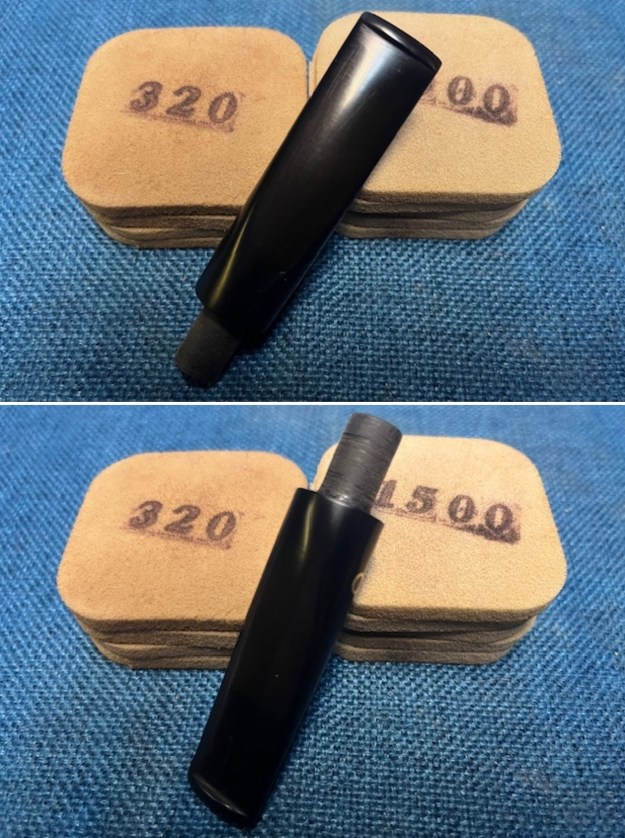 I polished the vulcanite stem with micromesh sanding pads – 1500-12000 grit pads to further remove the remaining scratches. I wiped the stem down with Obsidian Oil after each sanding pad. I used Before & After Pipe Polish – both Fine and Extra Fine to further polish the stem. I rubbed it down with a final coat of Obsidian Oil and let it dry.
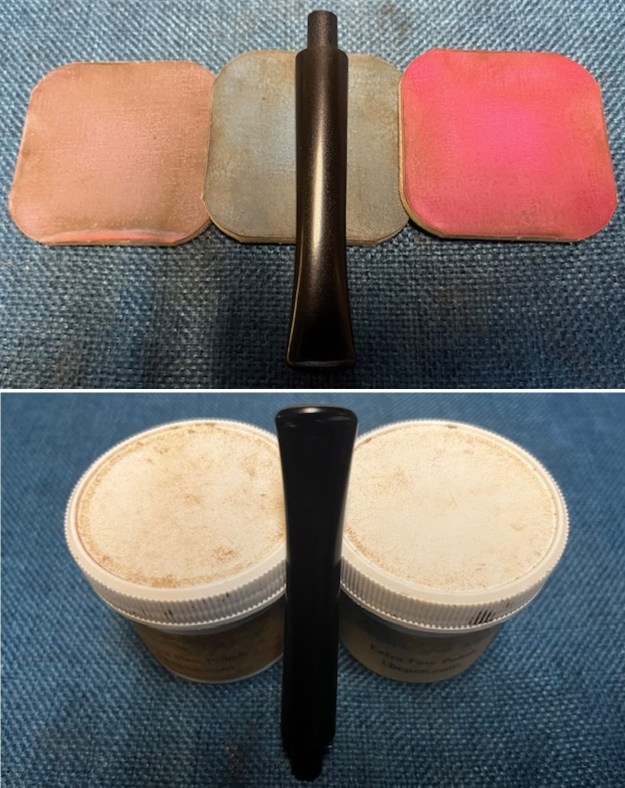
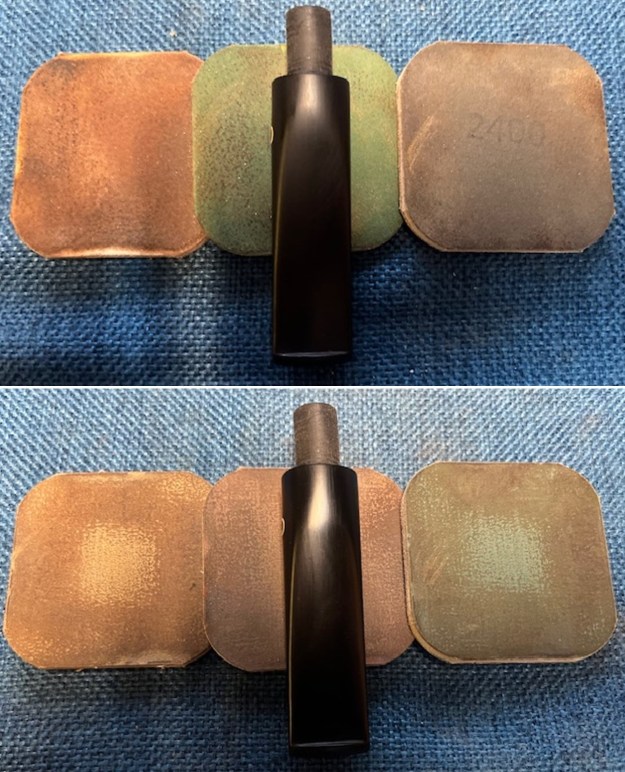
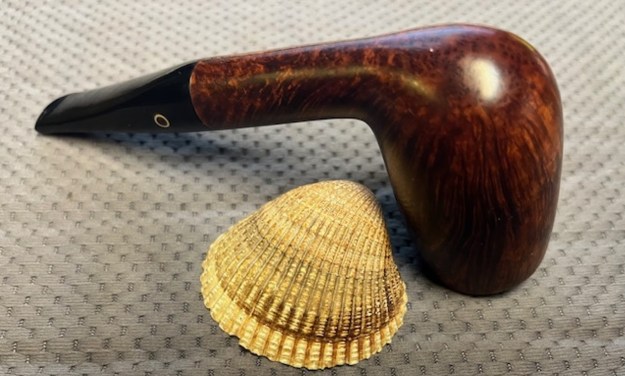
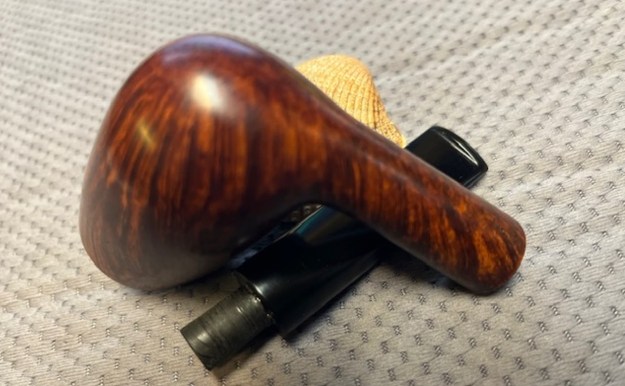
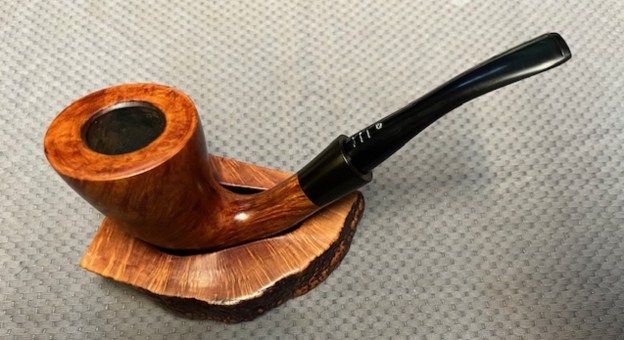
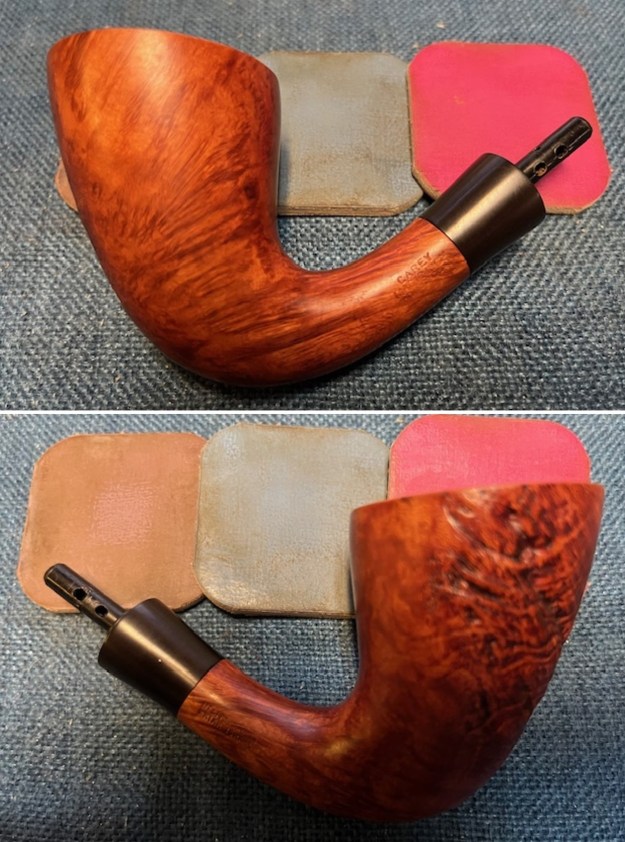
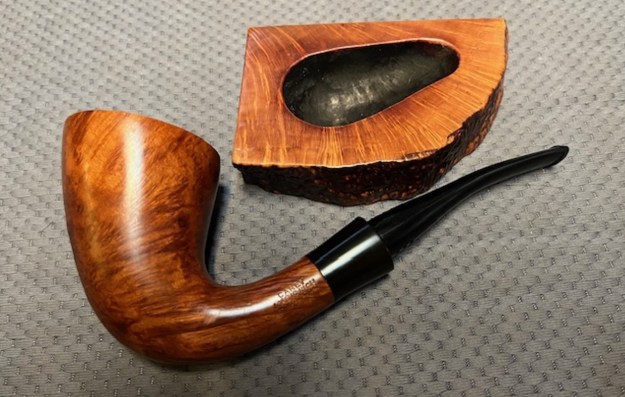
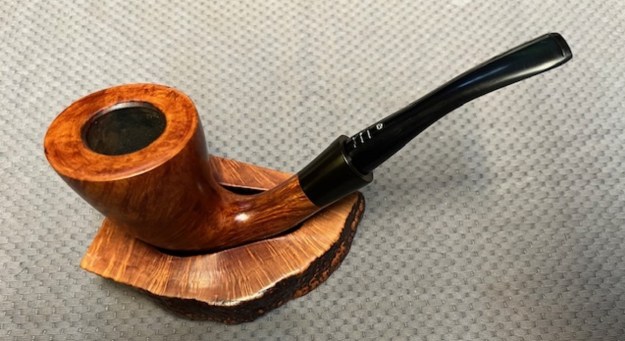
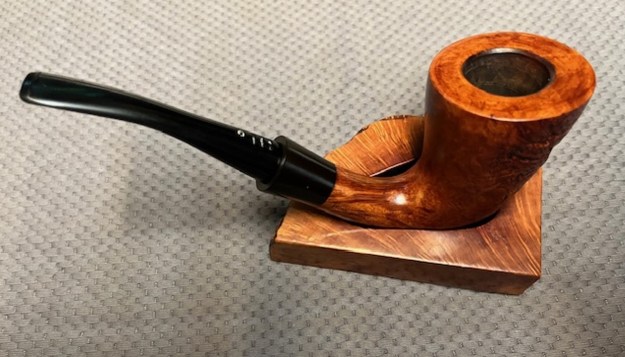
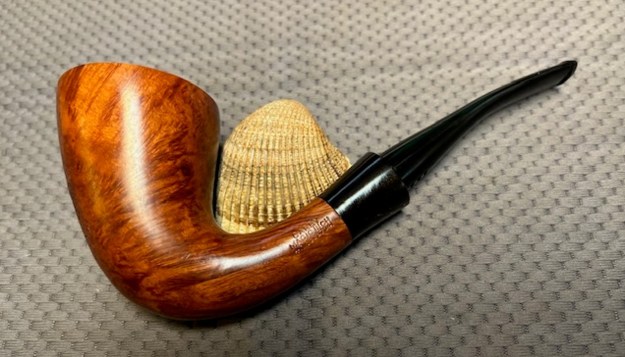
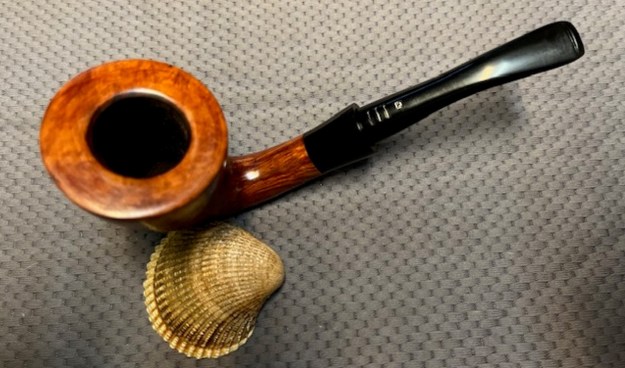
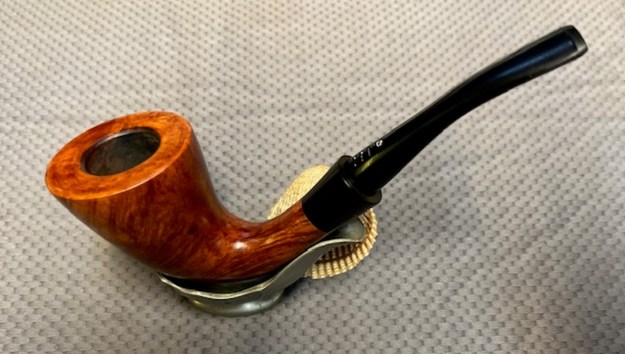
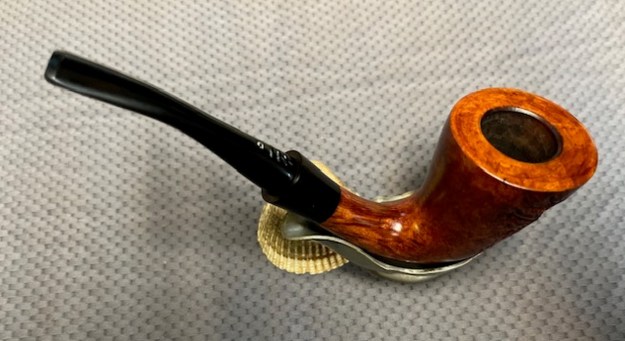
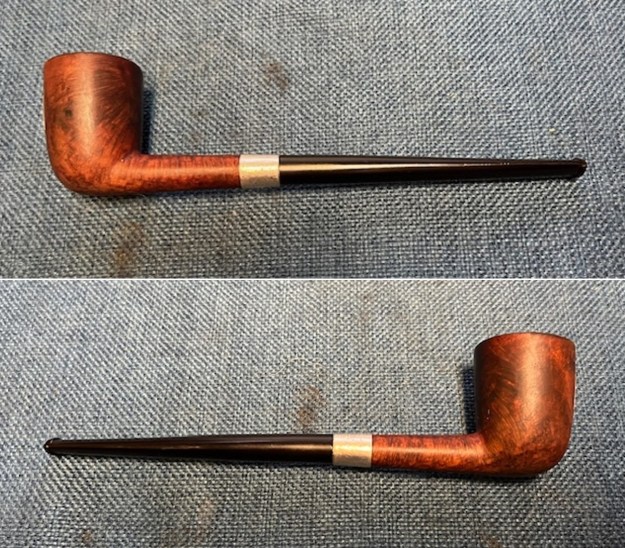
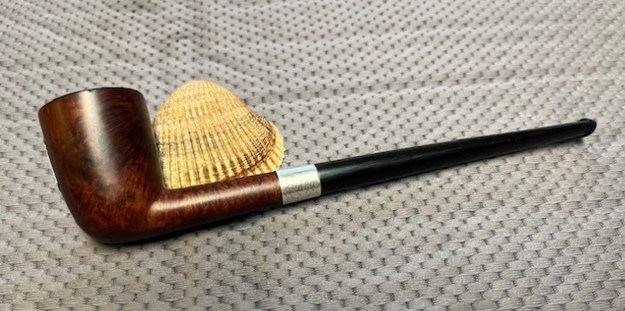
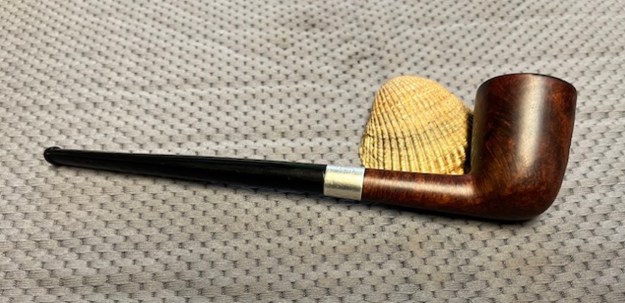
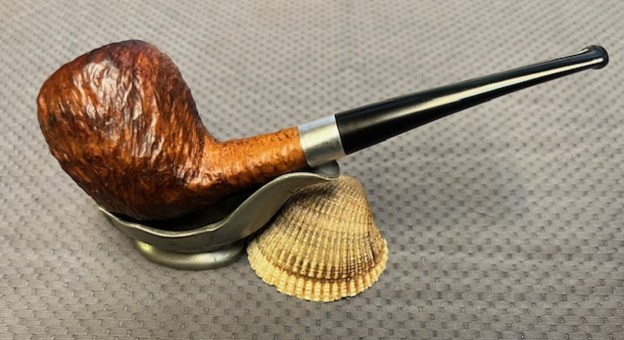
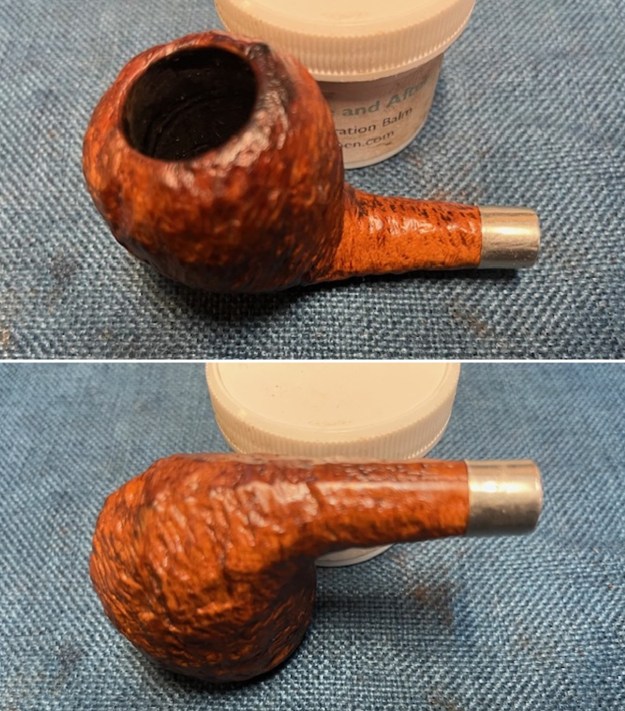
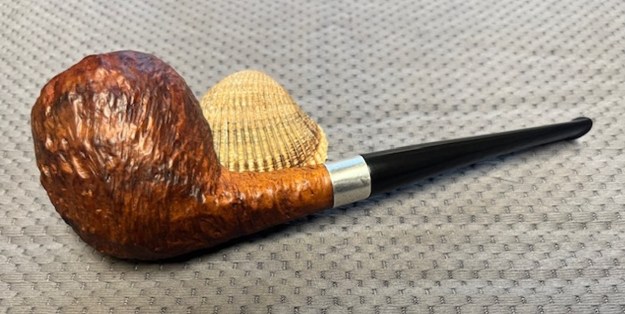
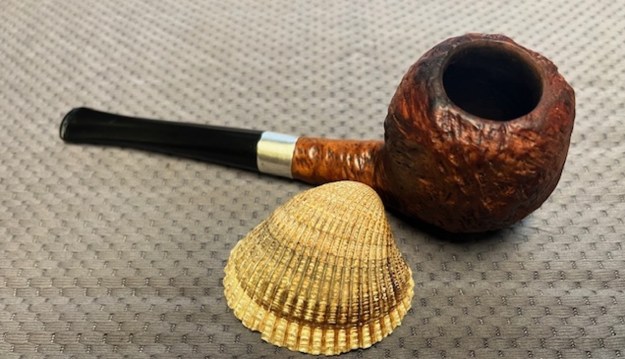
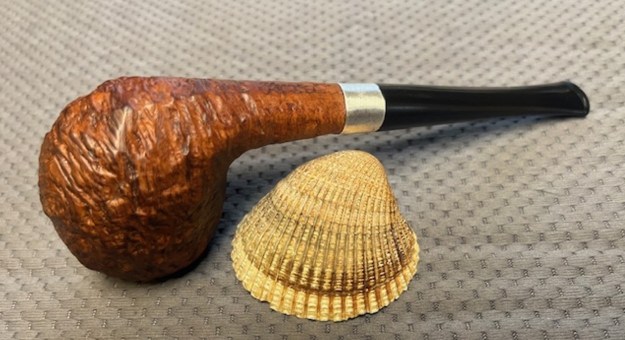
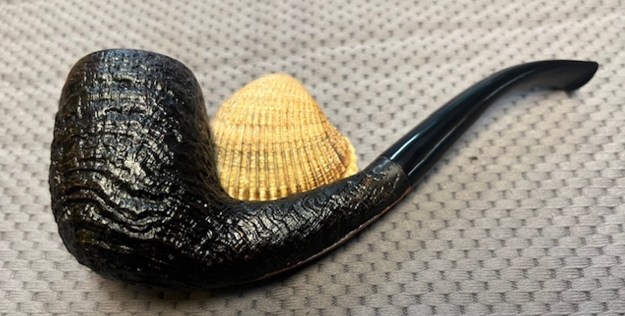
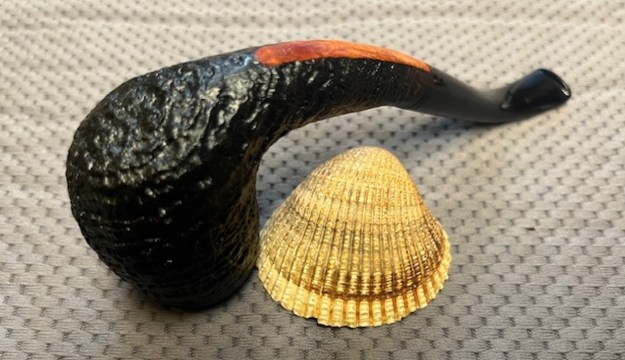
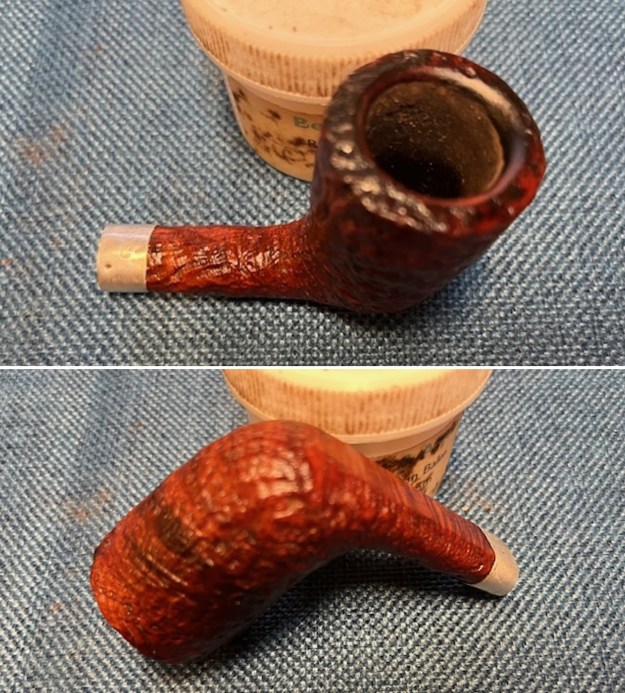
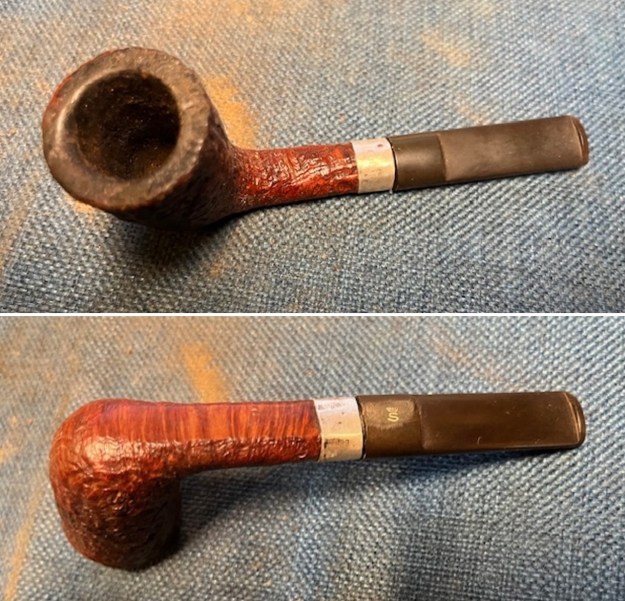
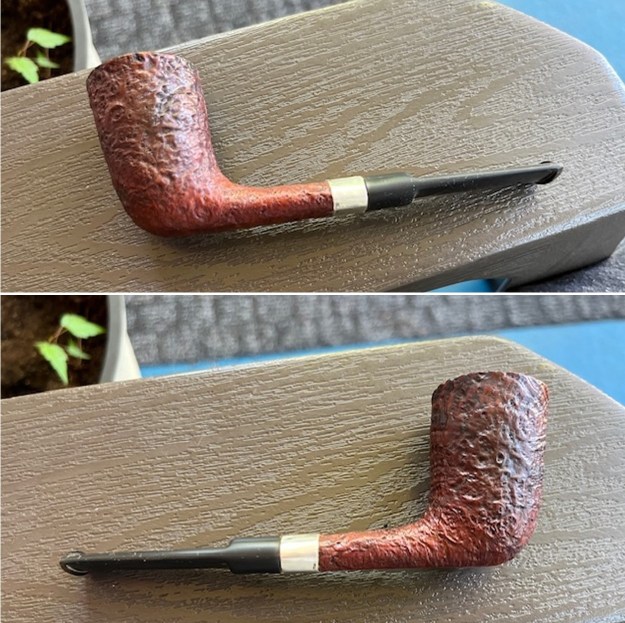
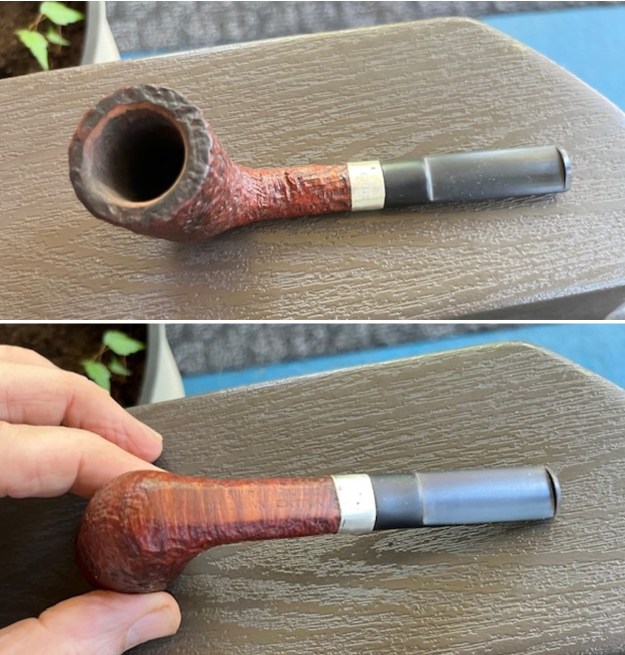
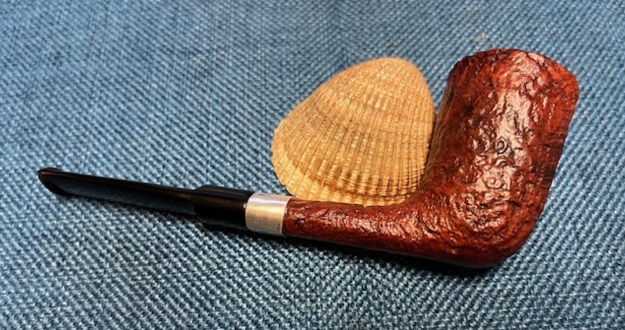
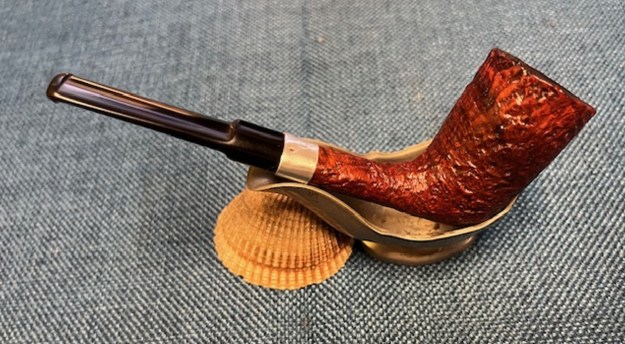
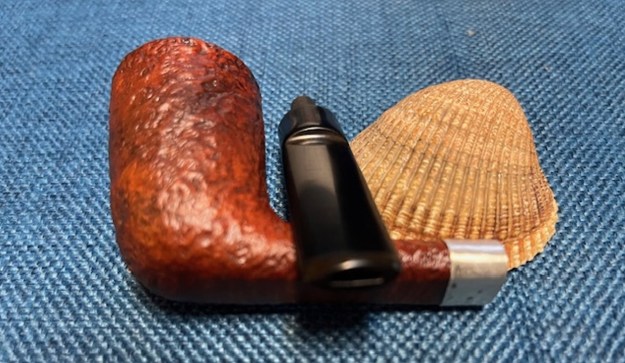
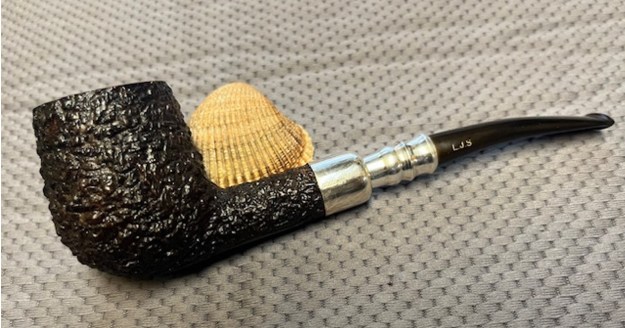
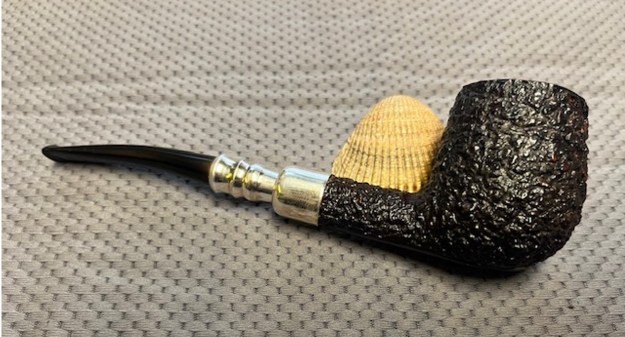
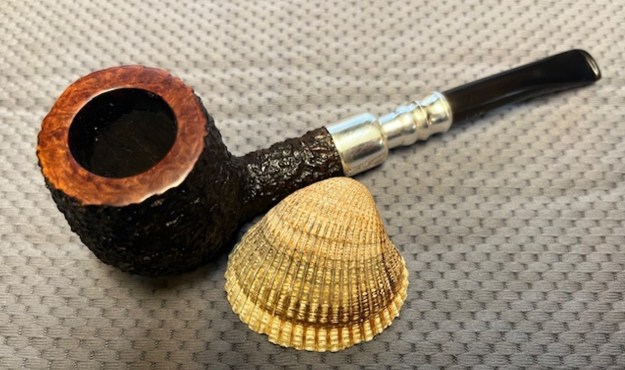
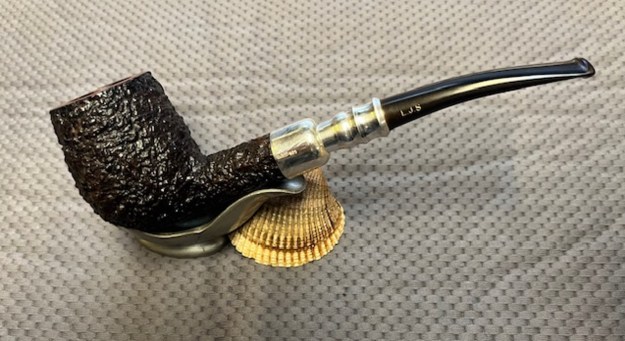
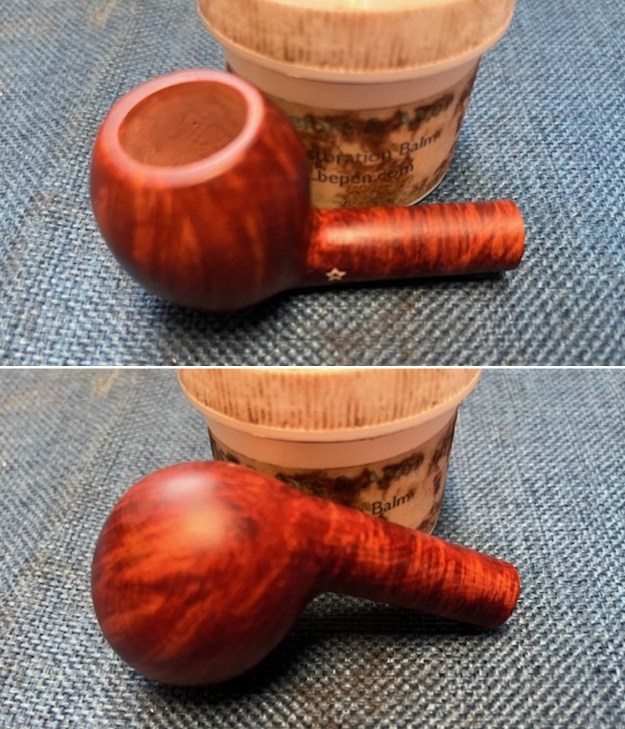
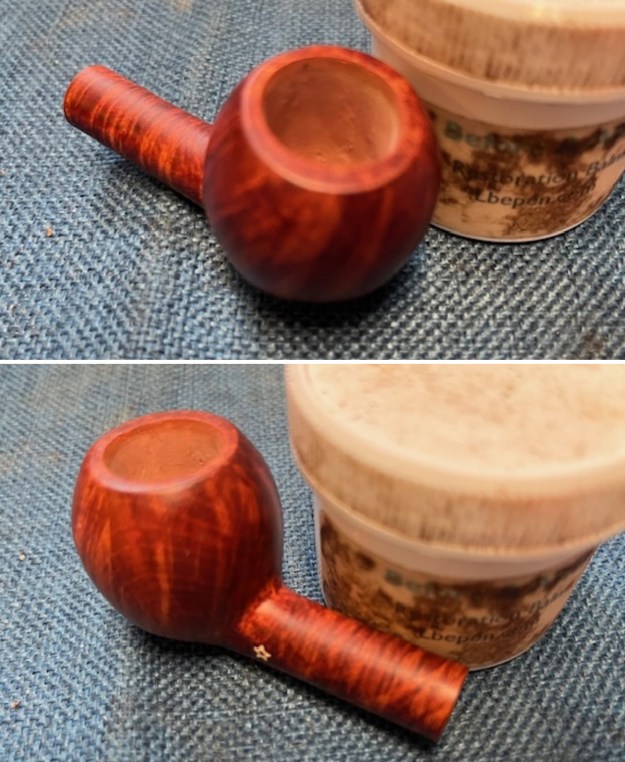
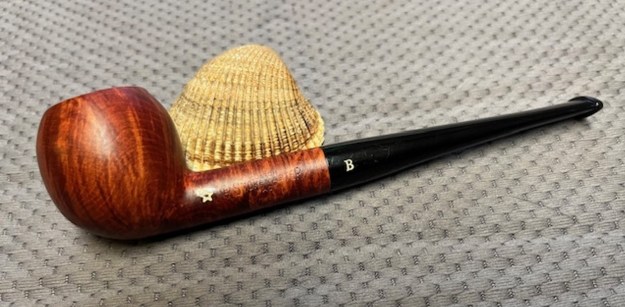
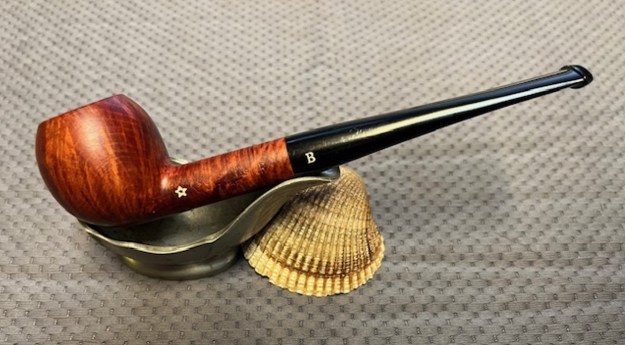
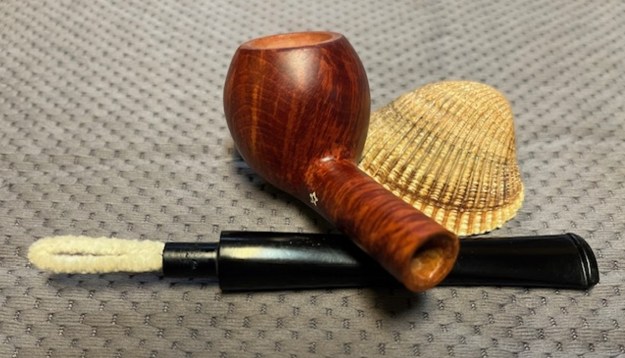
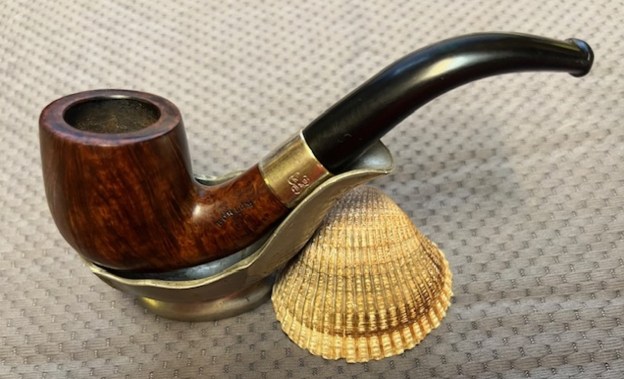
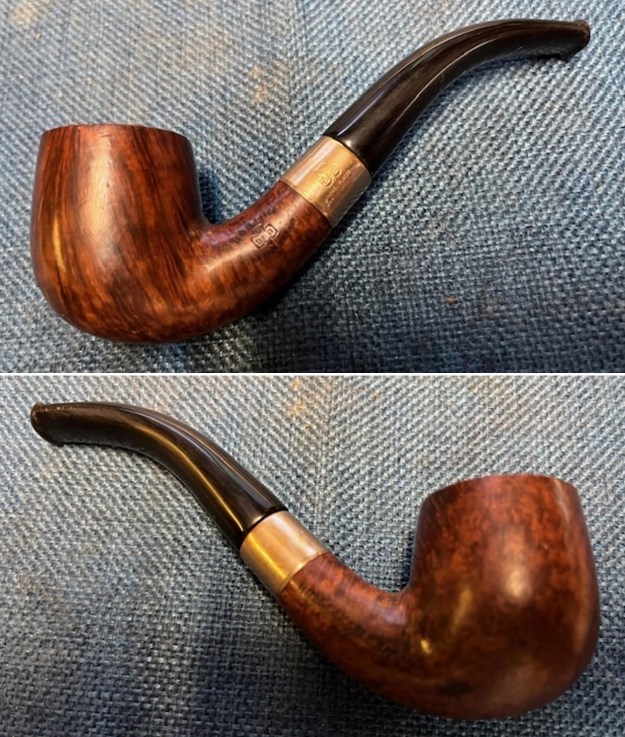
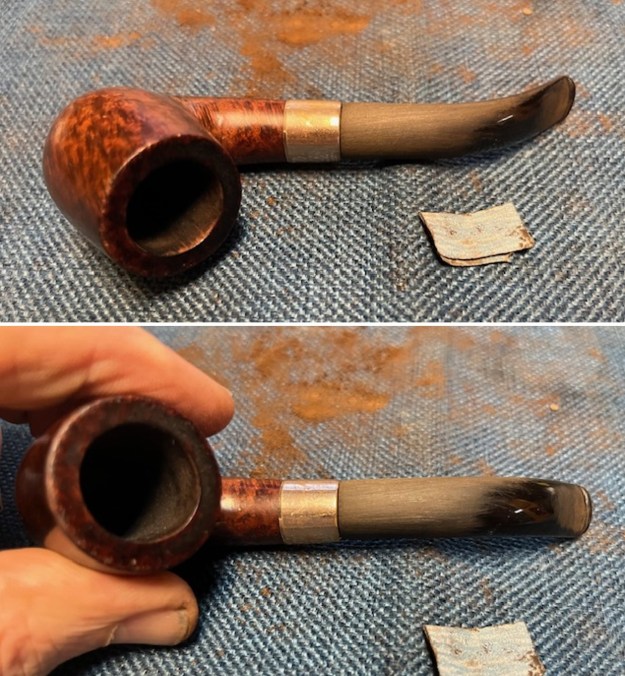
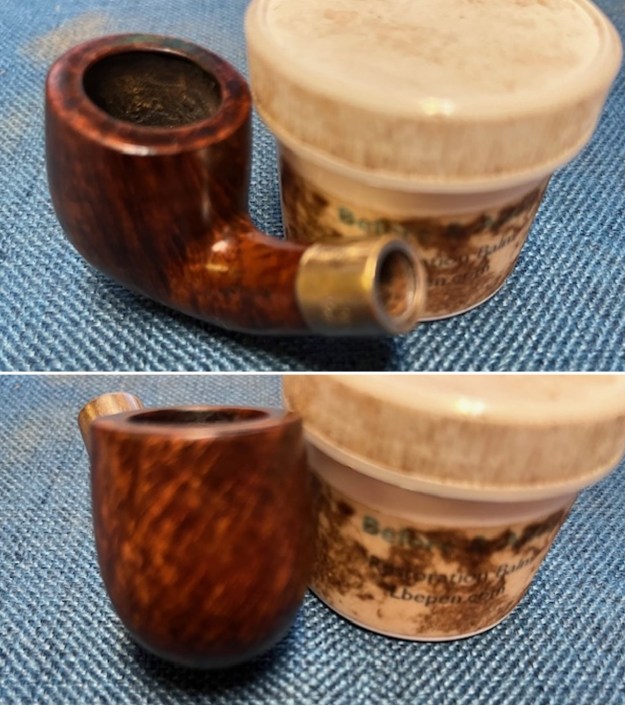
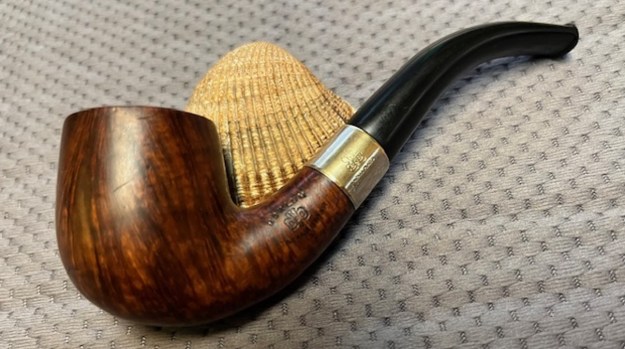
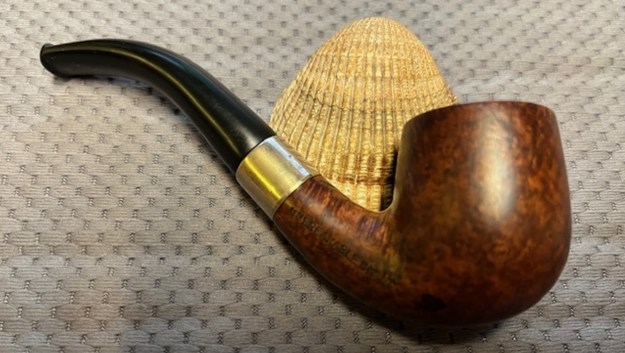
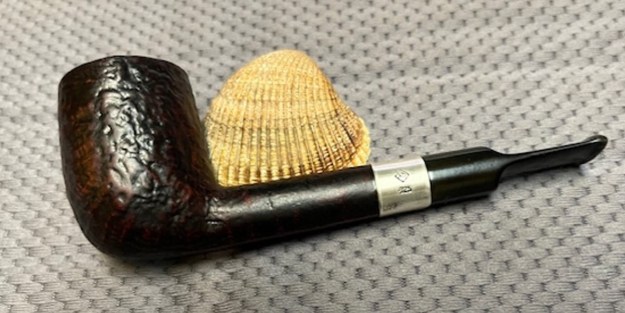
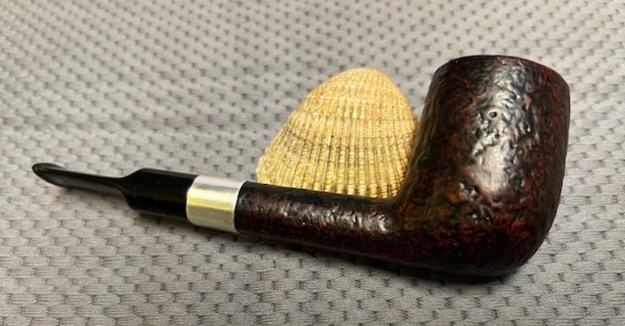
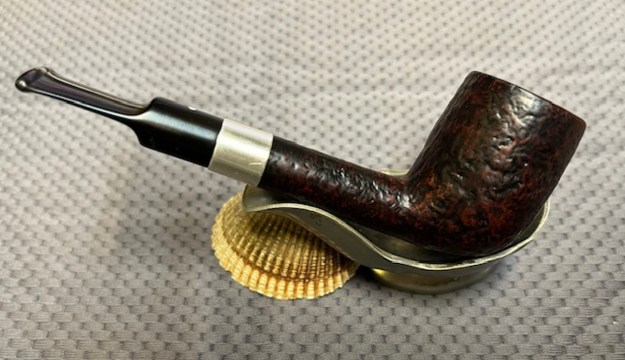
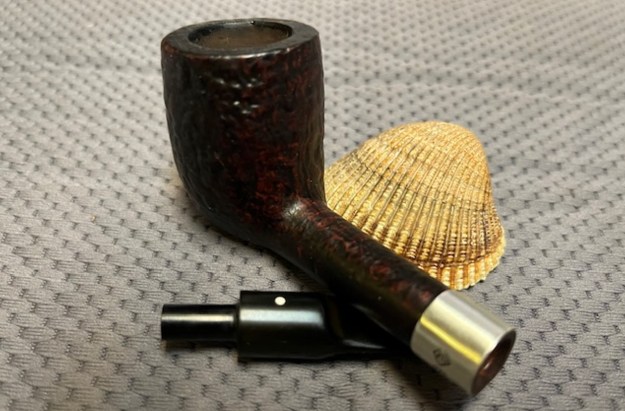
 This Julius Vesz Hand Cut Grade B Olive Stack is a great looking pipe with great grain around the sides of the bowl. The replaced broken filter tenon with a Delrin one worked very well and now it is a nonfilter pipe. I put the stem back on the bowl and carefully buffed the pipe with Blue Diamond on the buffing wheel using a light touch on the briar. I gave the bowl and the stem multiple coats of carnauba wax on the wheel and followed by buffing the pipe with a clean buffing pad. I hand buffed the pipe with a microfiber cloth to deepen the shine. The finished Vesz Hand Cut B Grade Olive fits nicely in the hand and feels great. Give the finished pipe a look in the photos below. The dimensions of the pipe are Length: 5 ½ inches, Height: 2 ½ inches, Outside diameter of the bowl: 1 ¼ inches, Chamber diameter: 7/8 of an inch. The weight of the pipe is 52 grams/1.80 ounces. This one will be with me for awhile so I can enjoy the beauty of this high grade Julius Vesz Hand Cut Stack. I think I will enjoy it for a while before I make up my mind once and for all… at least for now. Thanks for reading this blog and my reflections on the pipe while I worked on it. As always, I appreciate your comments and questions. Thanks for your support and time!
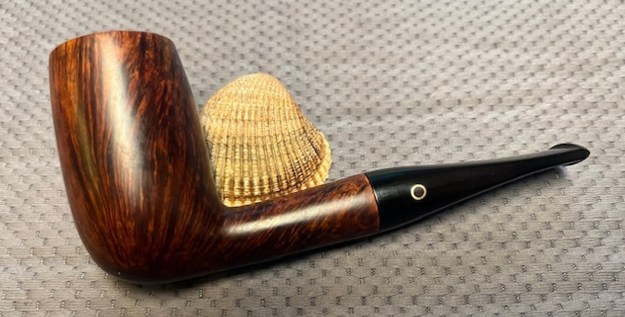


