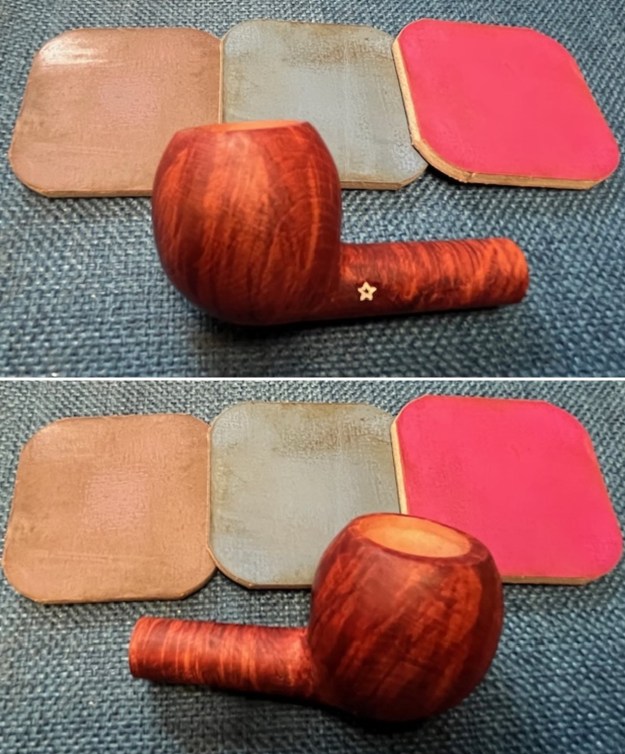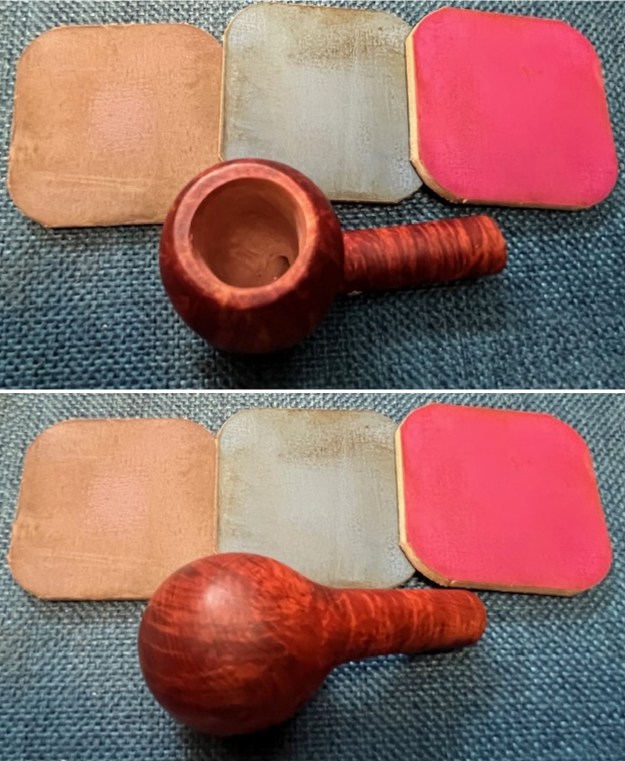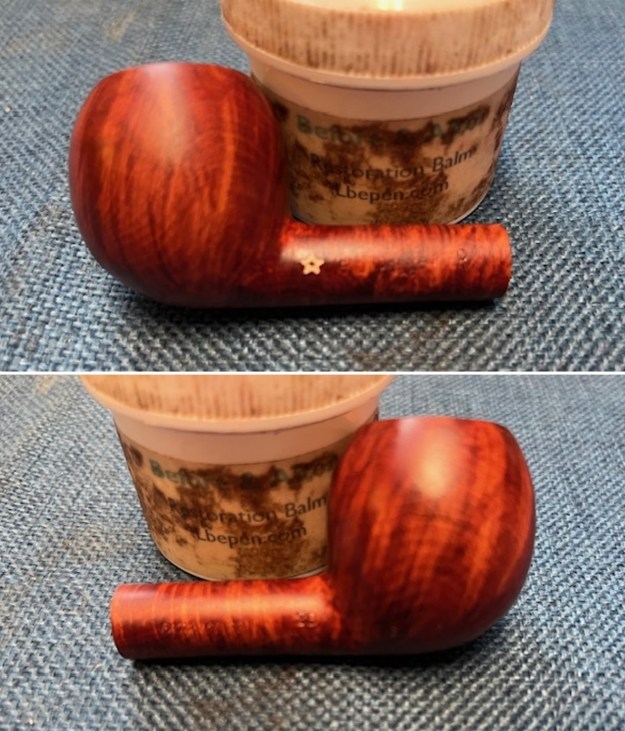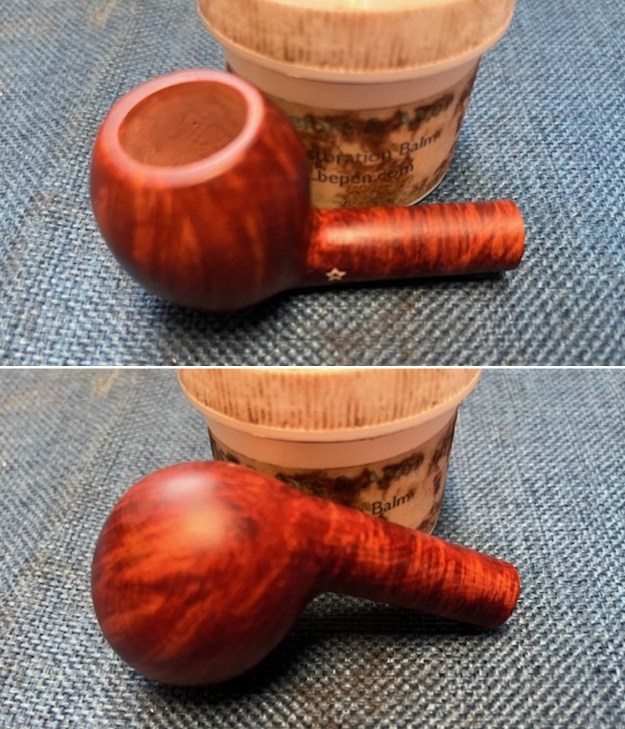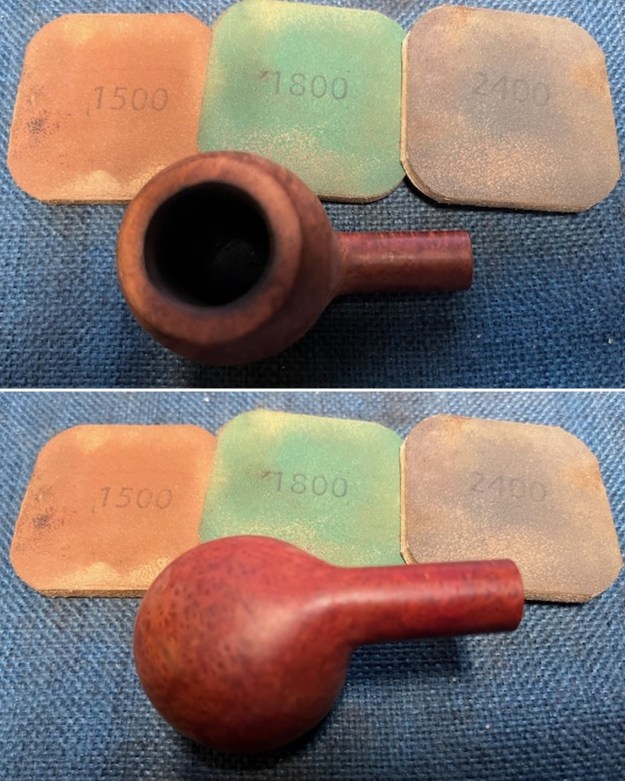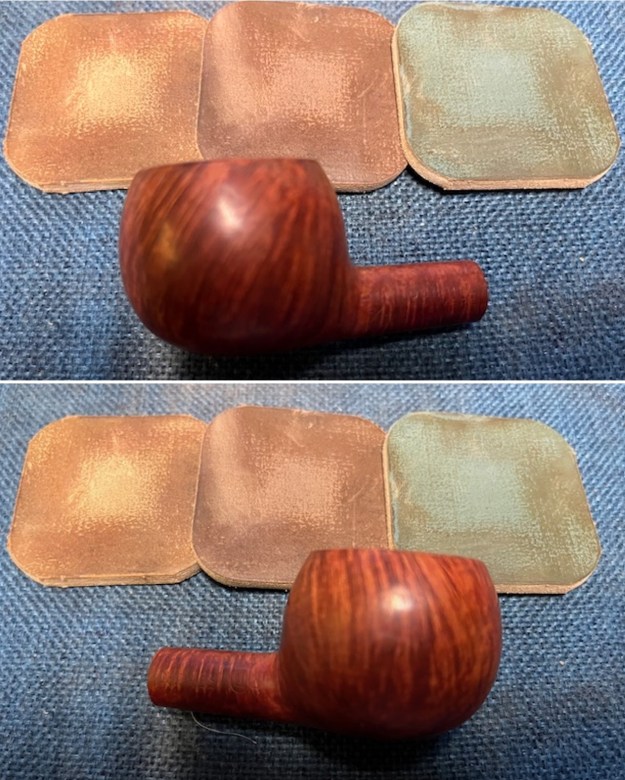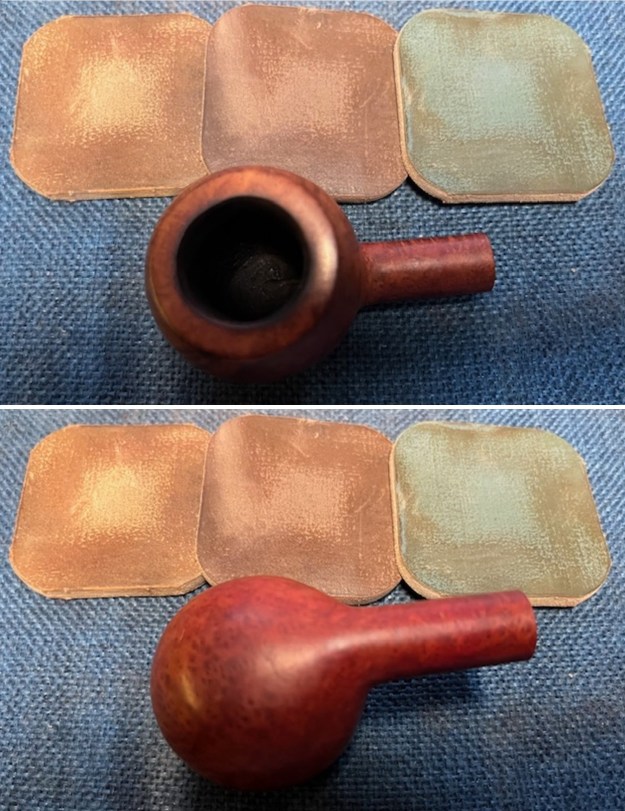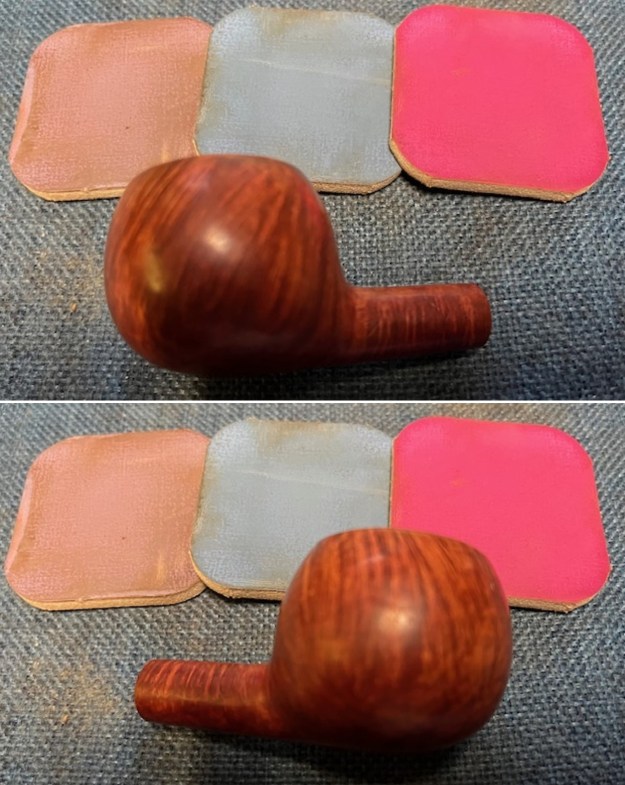
Tag Archives: contrast staining

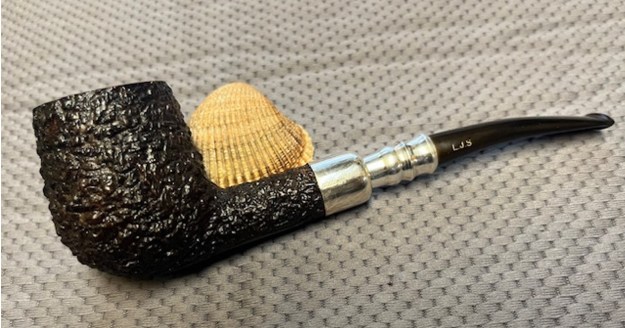
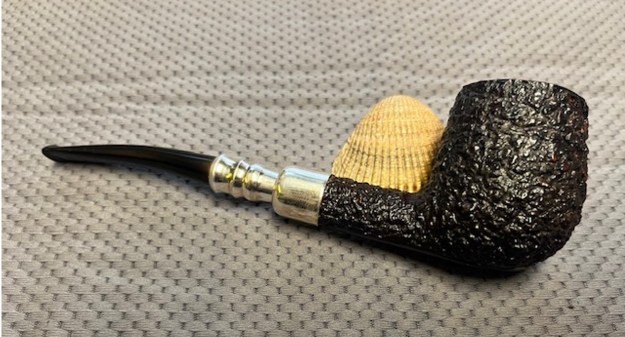
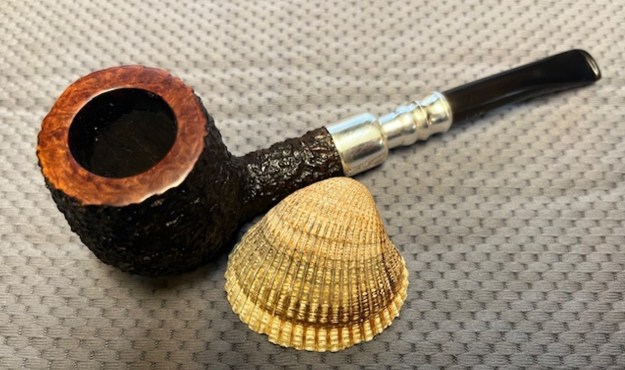
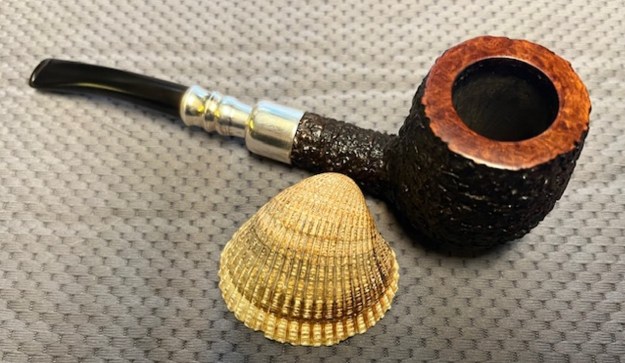
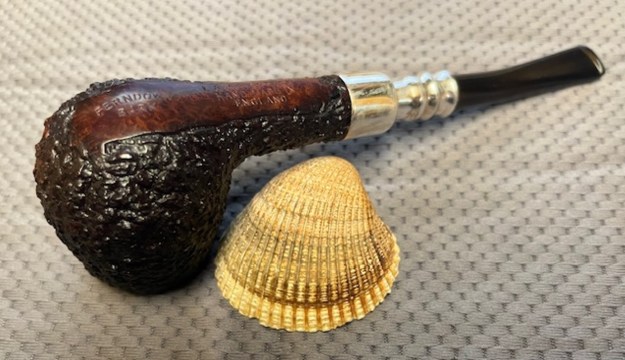
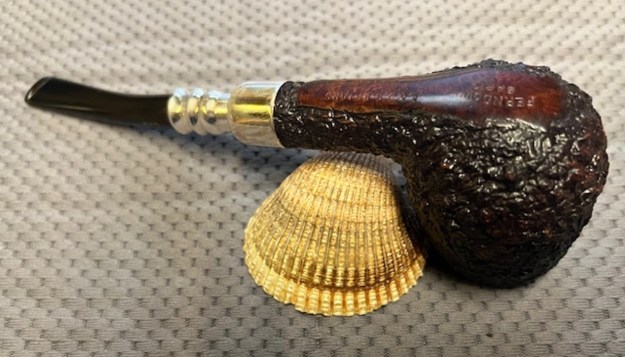
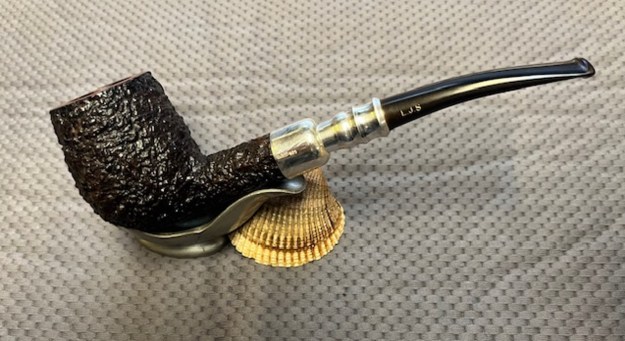
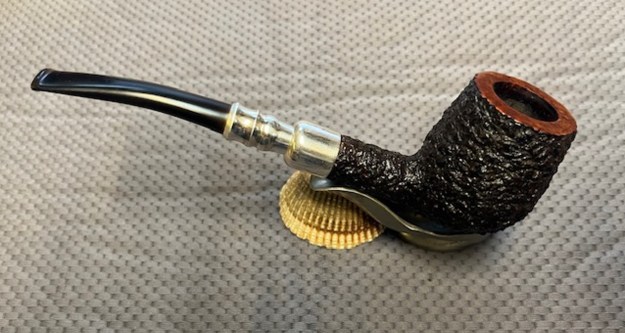
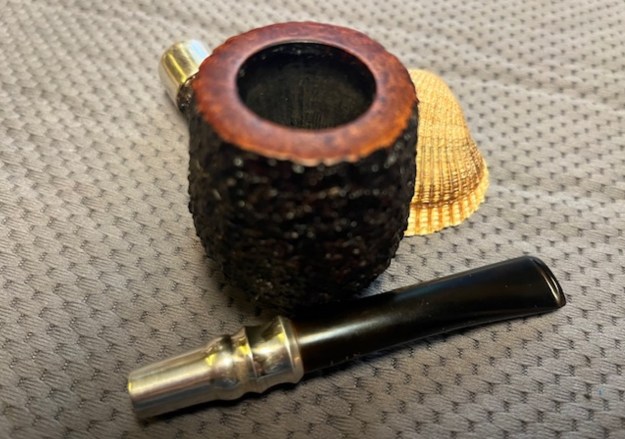
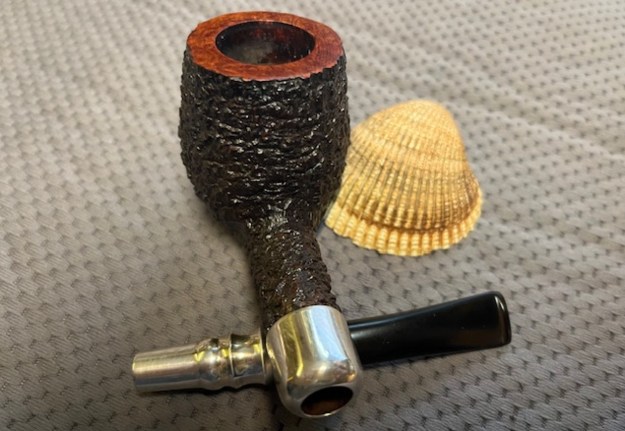
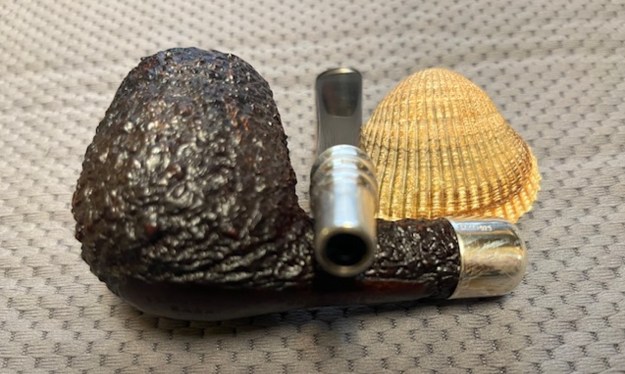
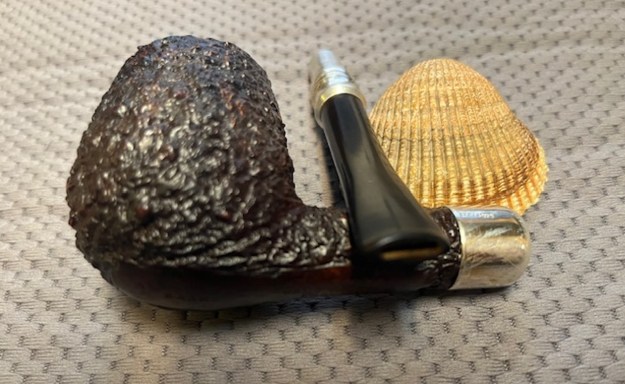
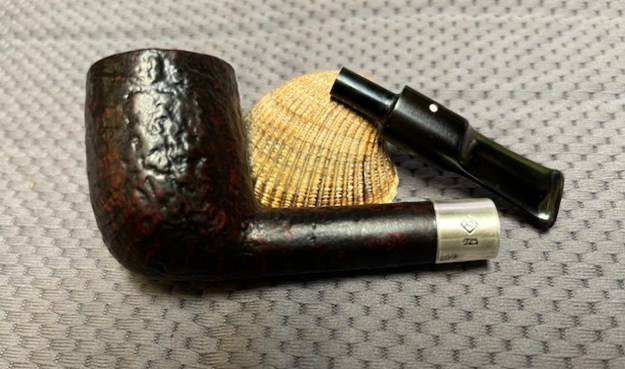
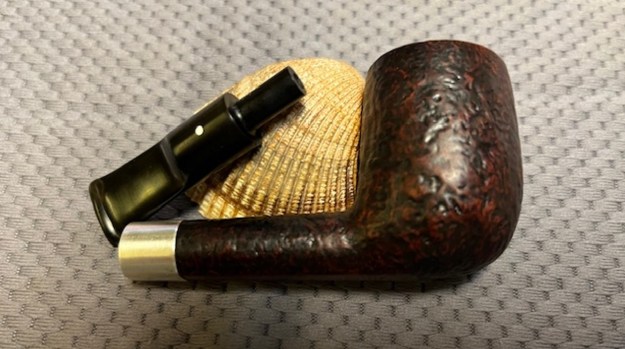
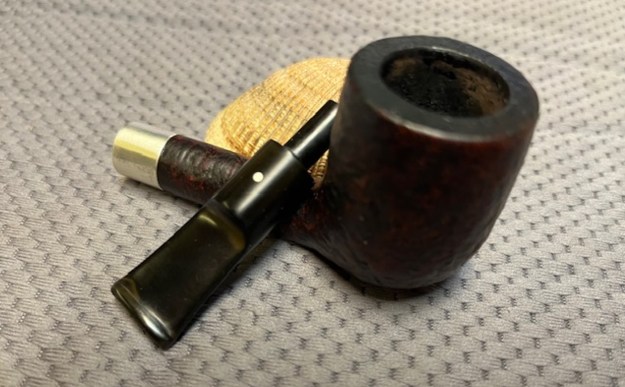
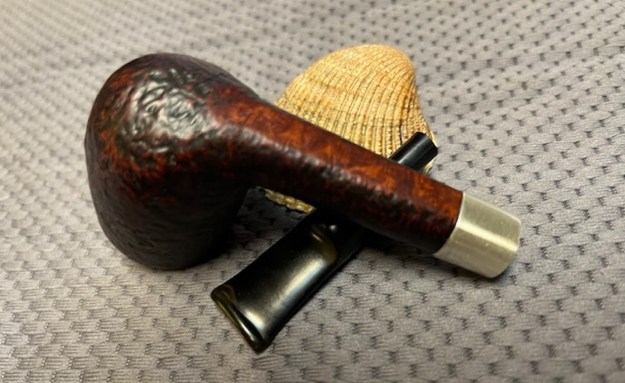
Restoring a Ferndown Bark L&JS Briars Silver Spigot Billiard


By Steve Laug

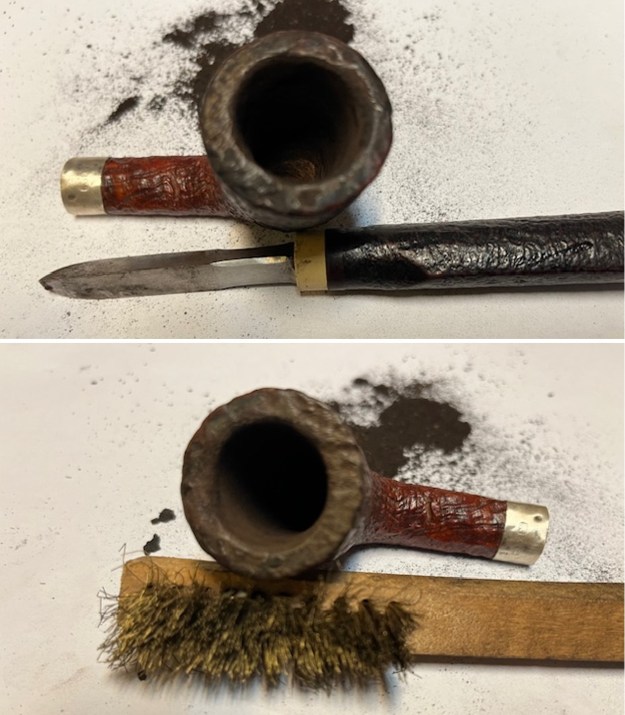
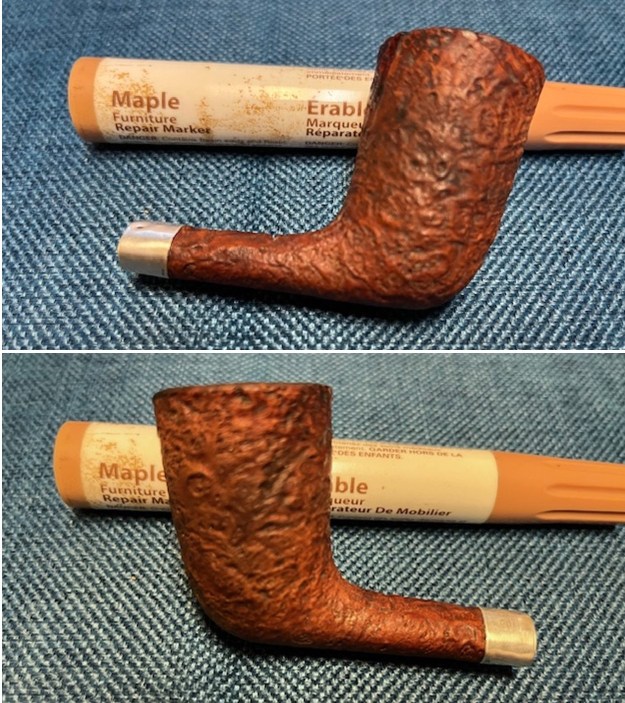
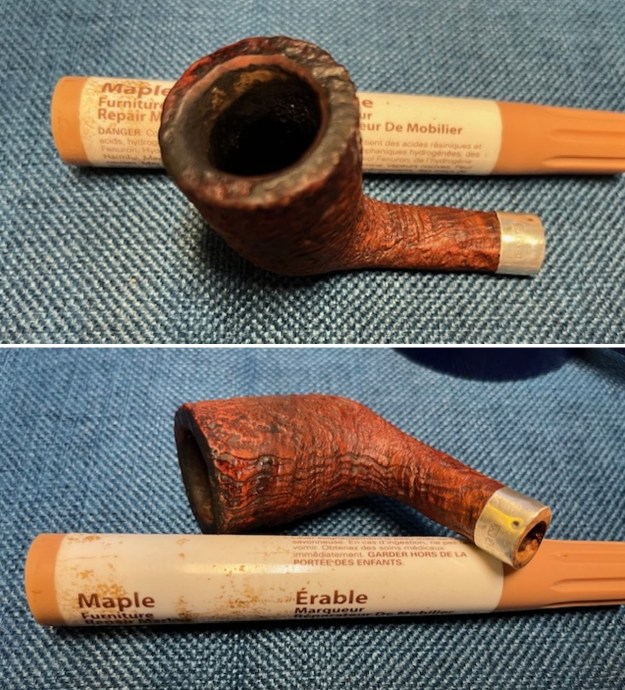
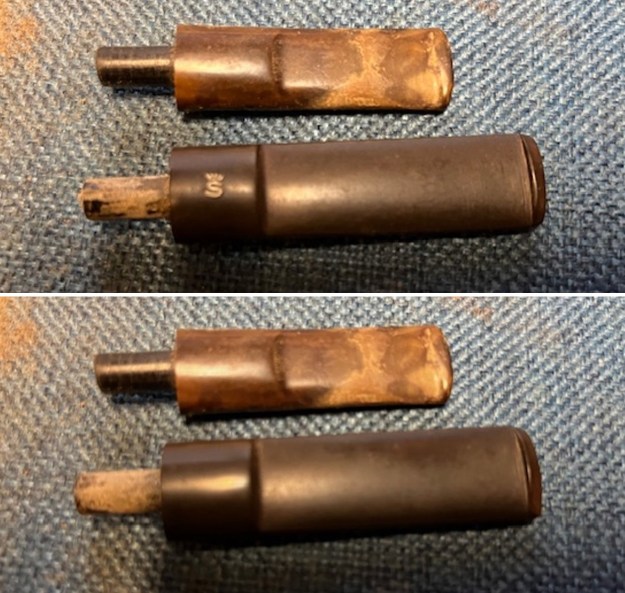
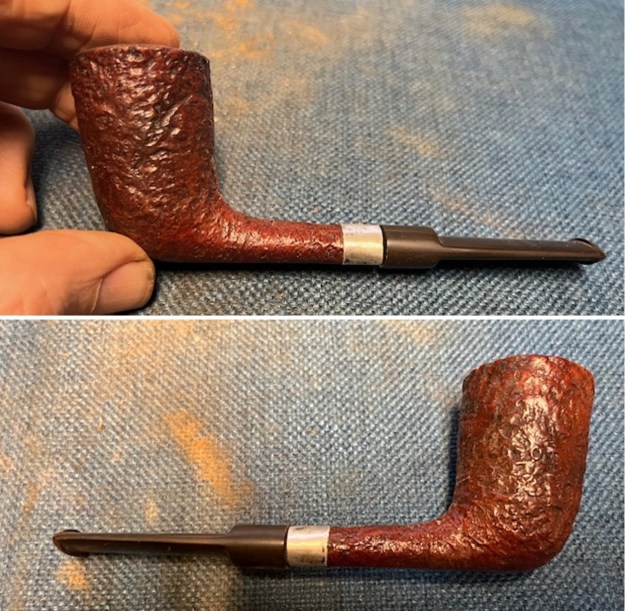
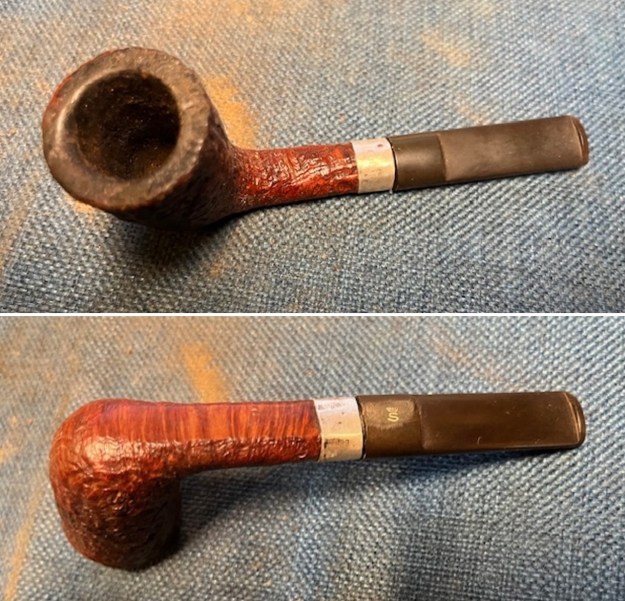
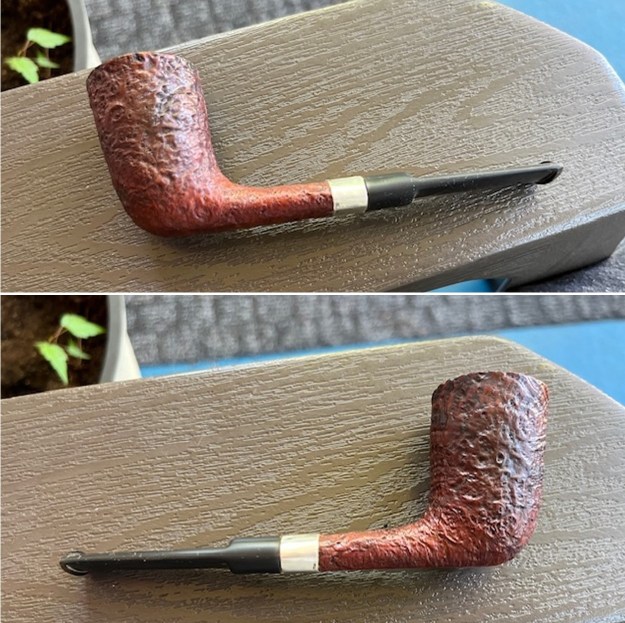
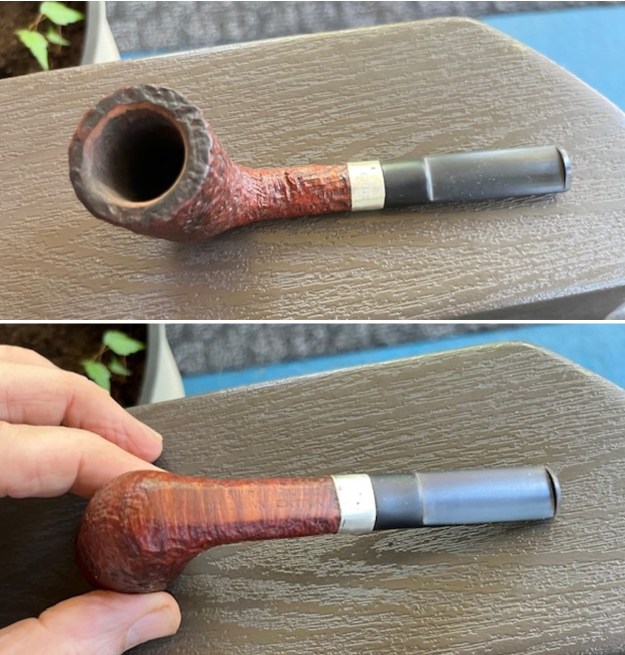
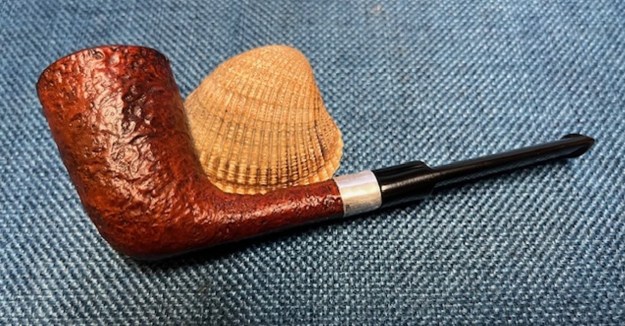
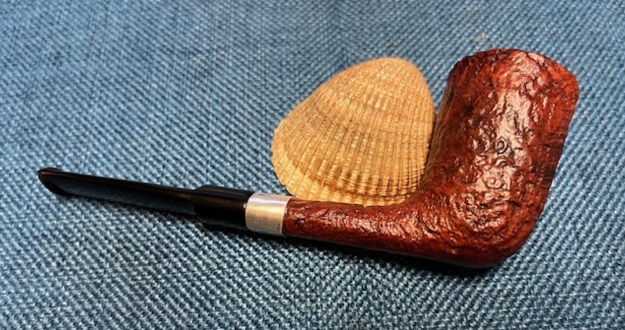
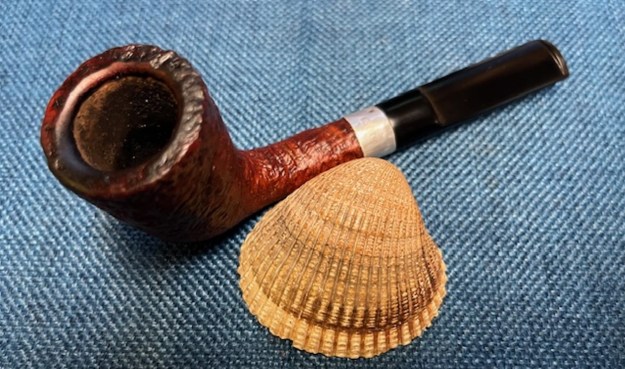
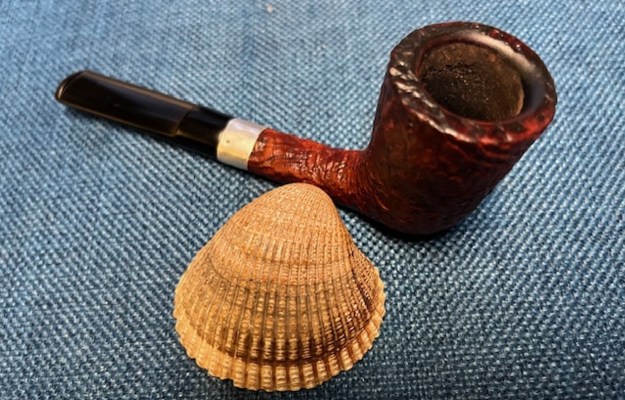
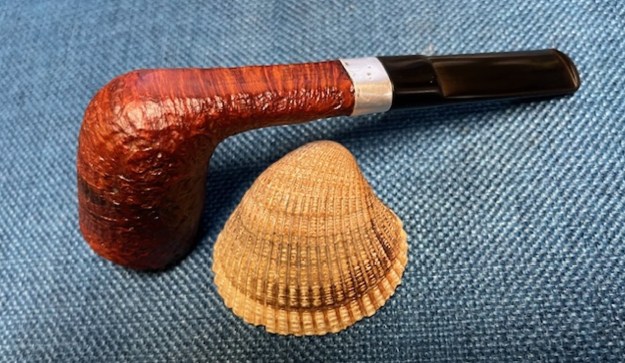
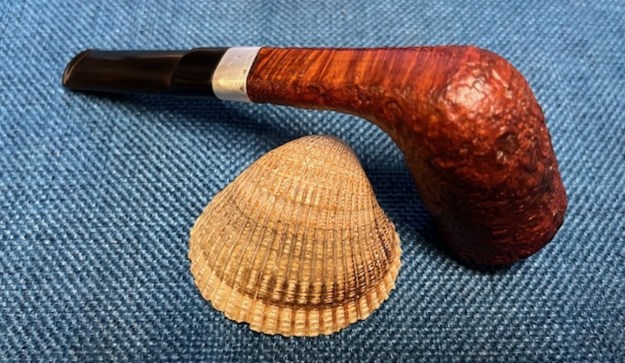
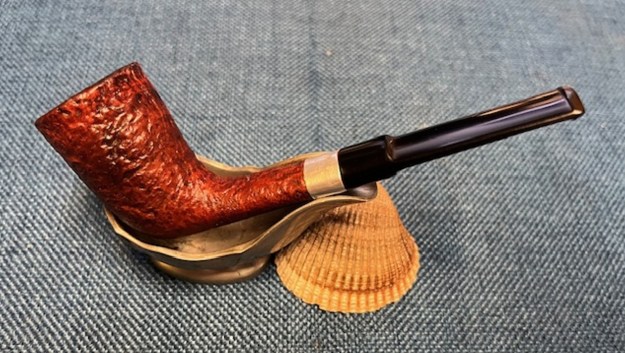
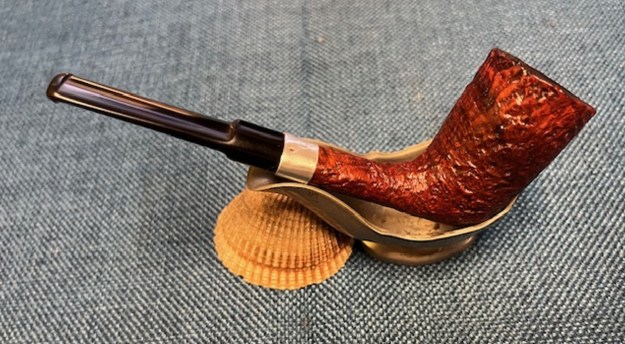
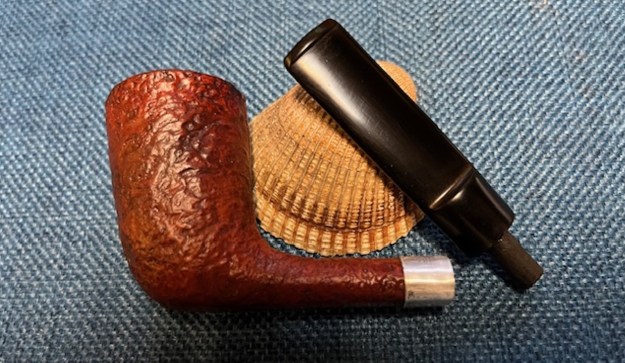
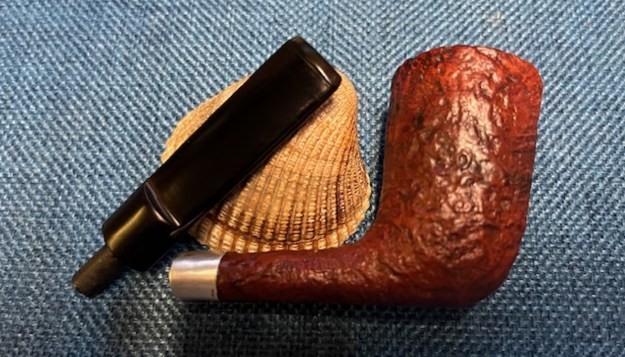
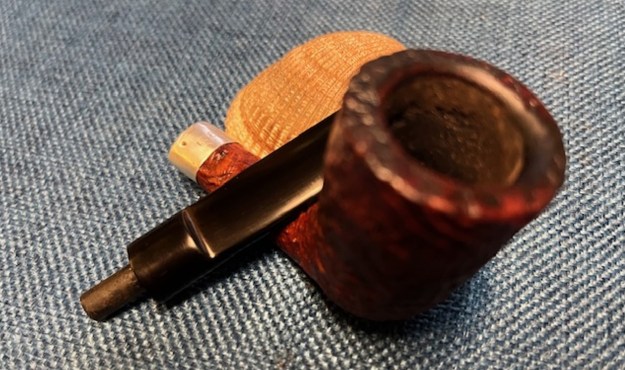
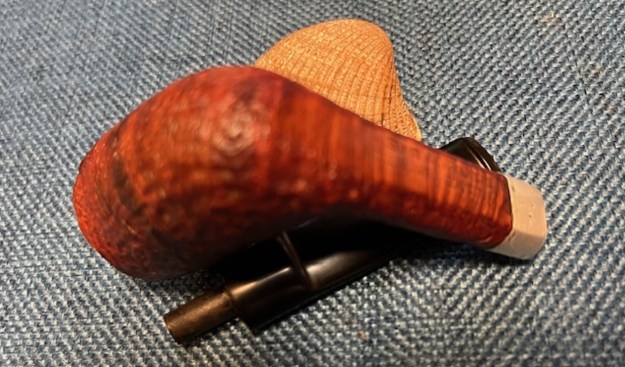
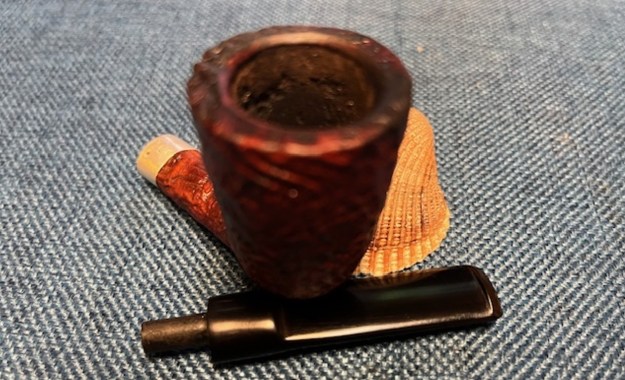
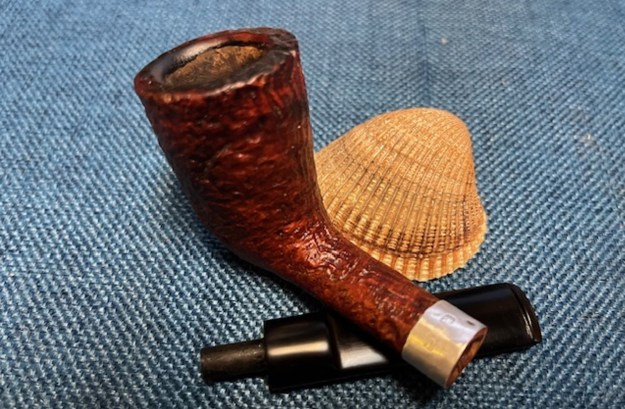
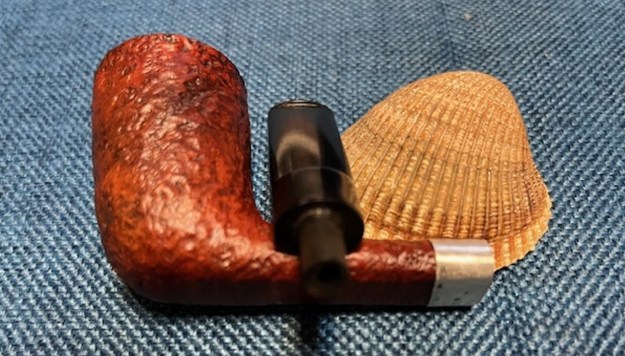
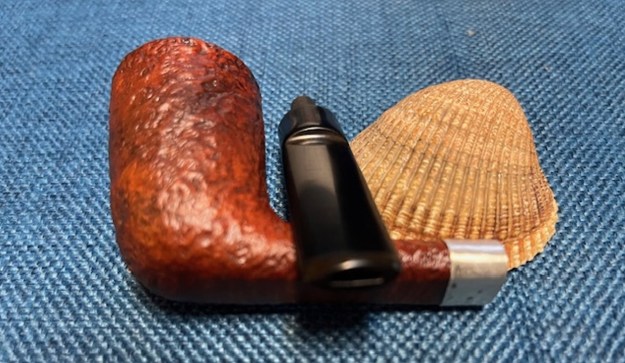
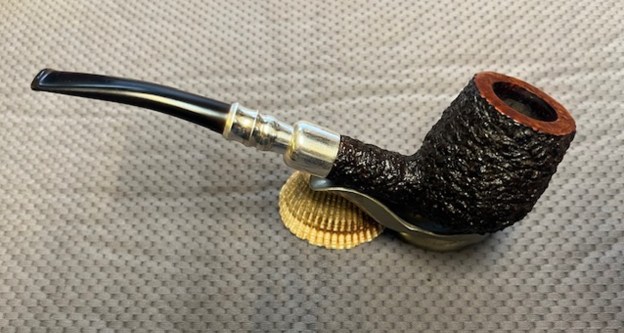
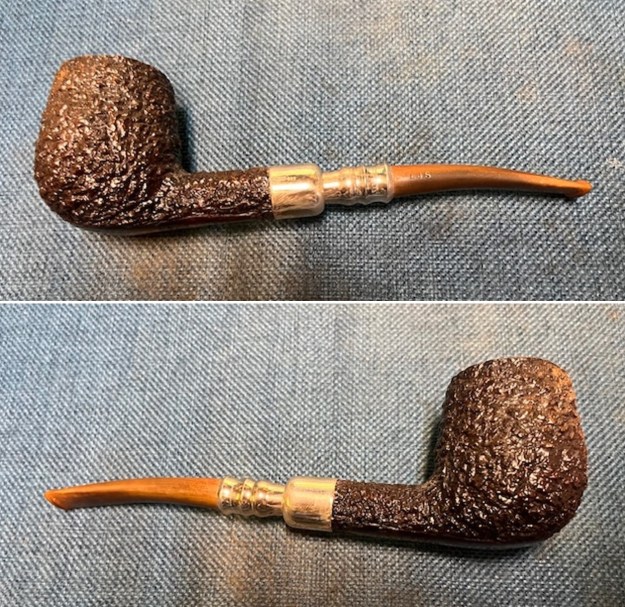
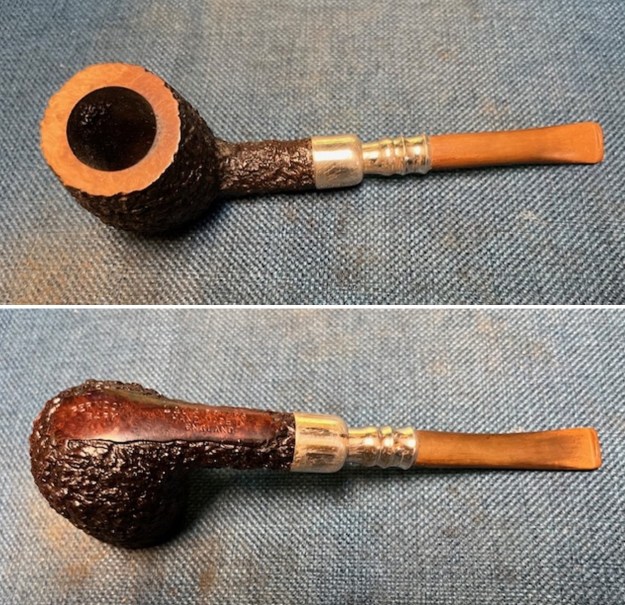
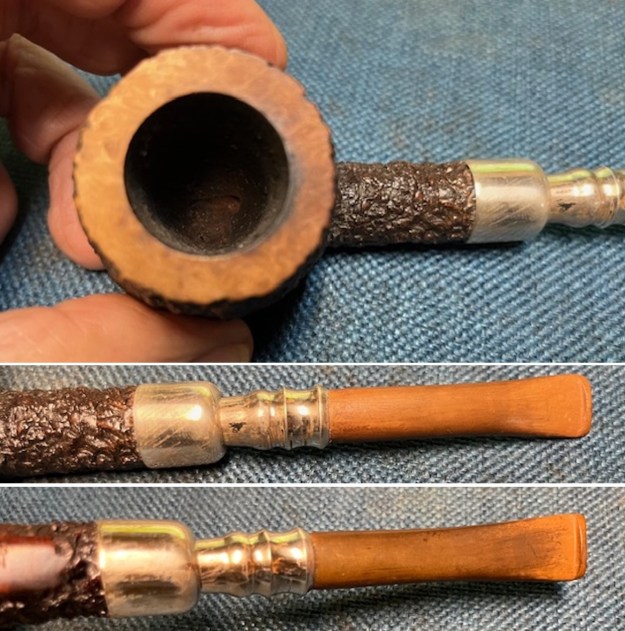
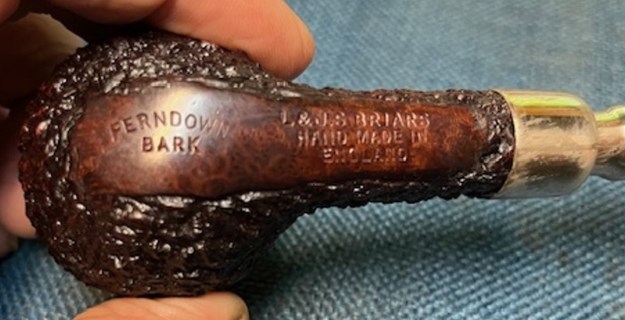
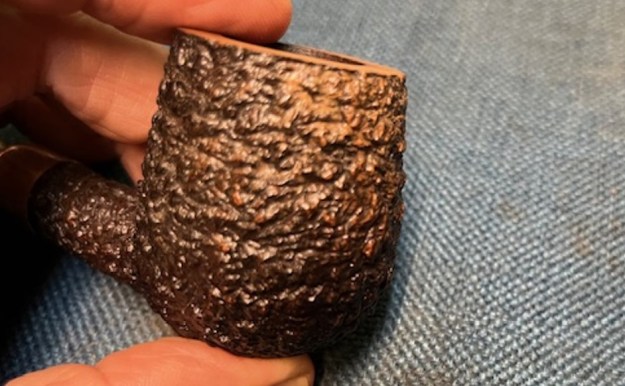
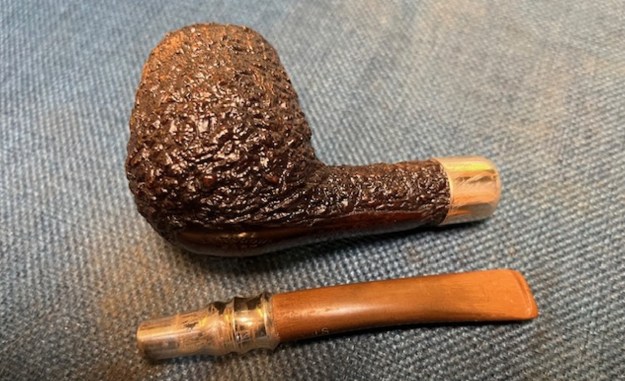
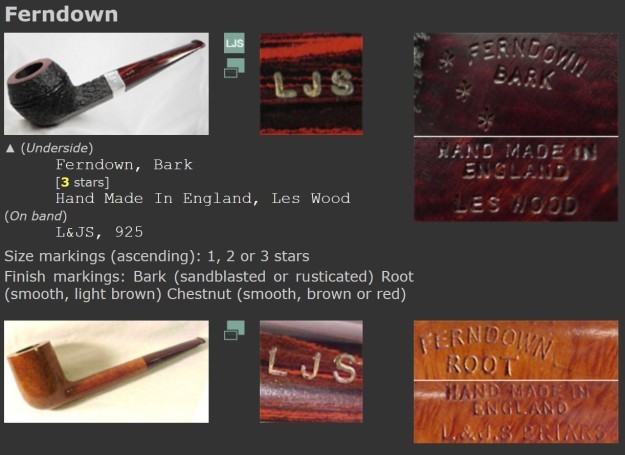
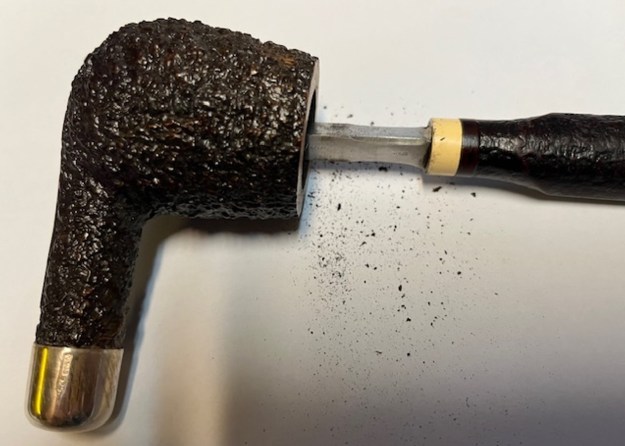
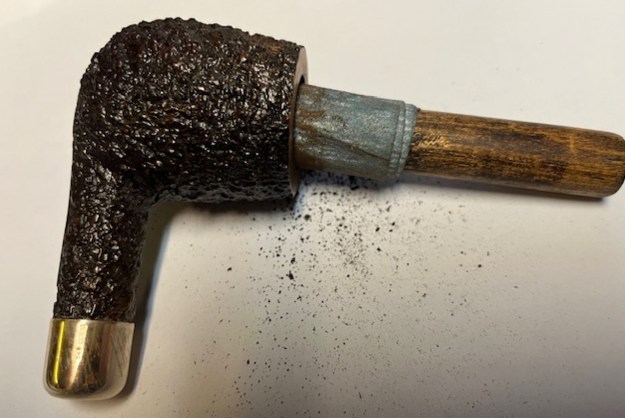
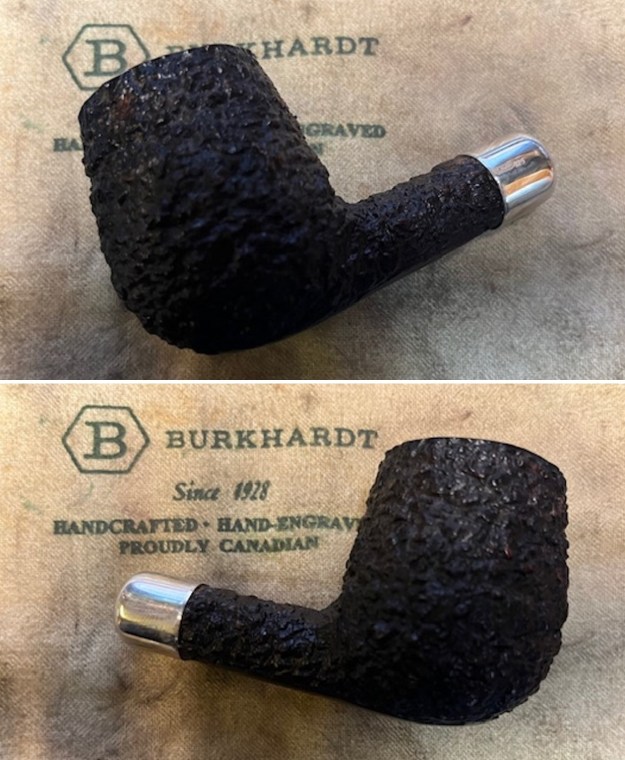
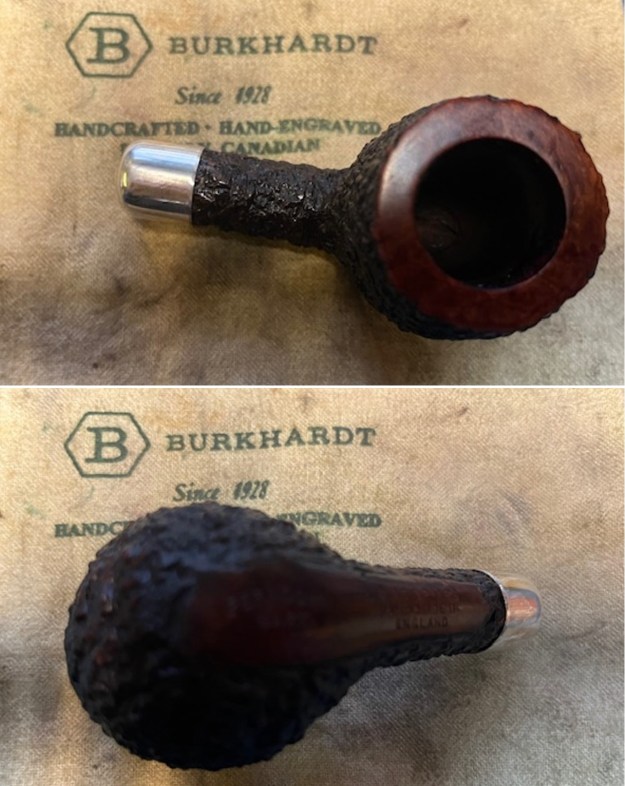
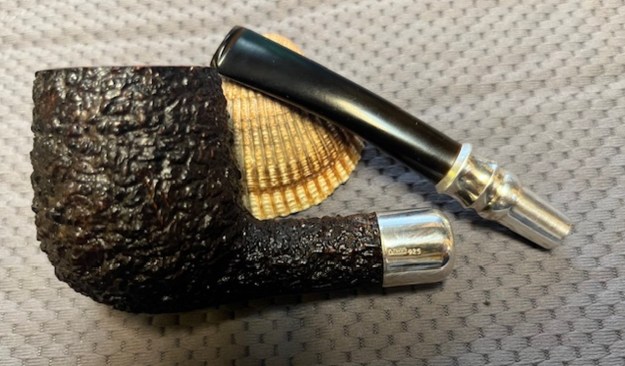
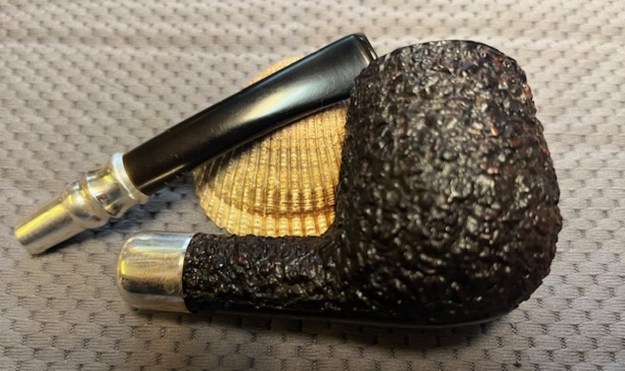
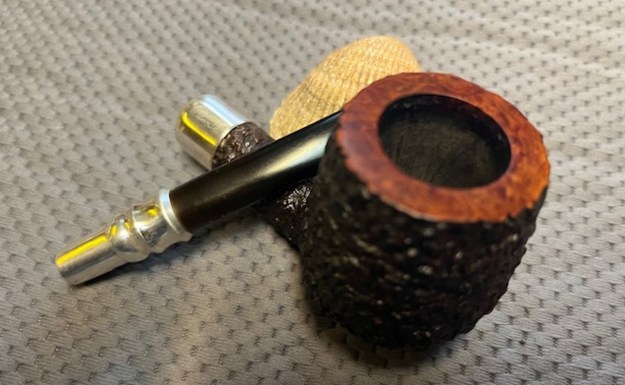
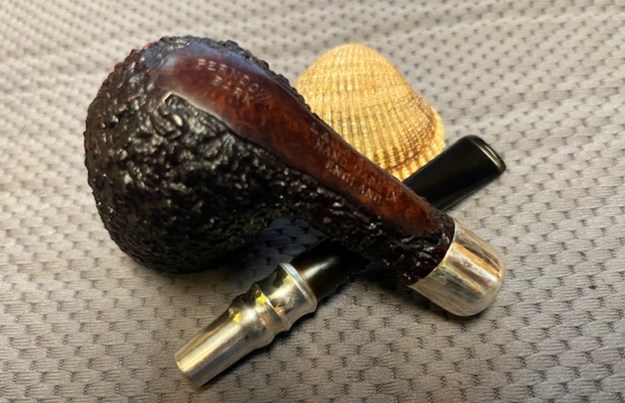
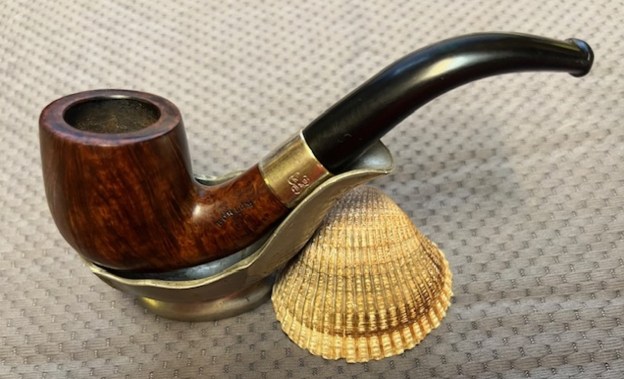
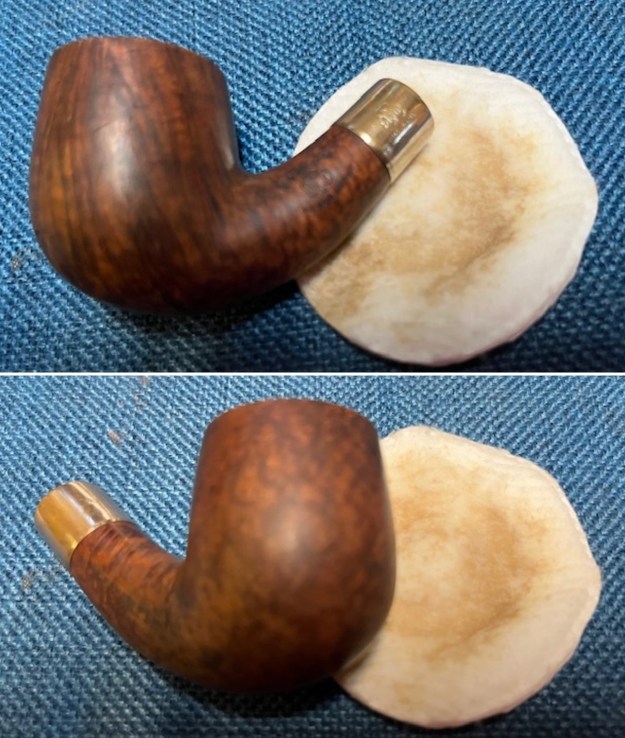
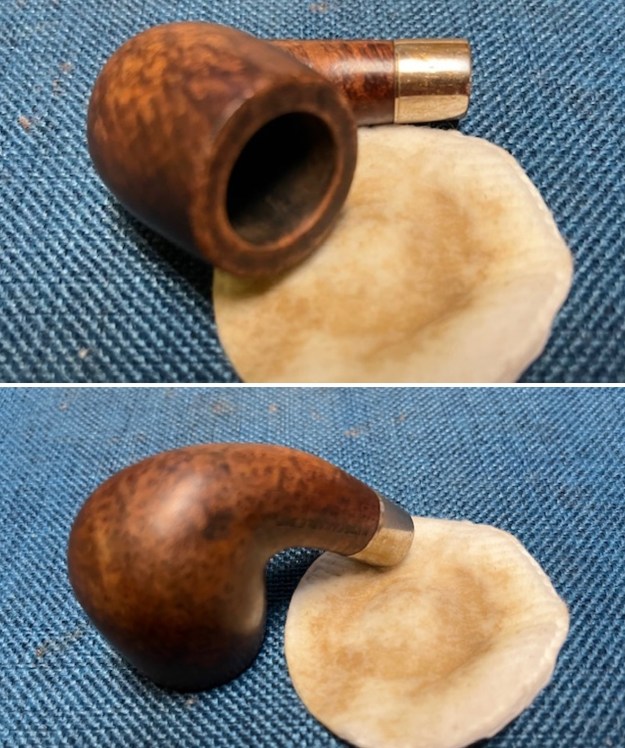
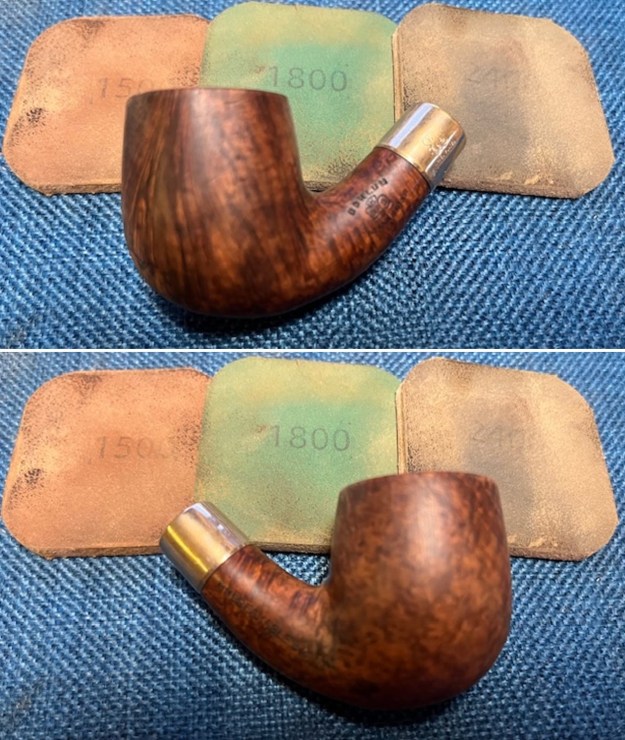
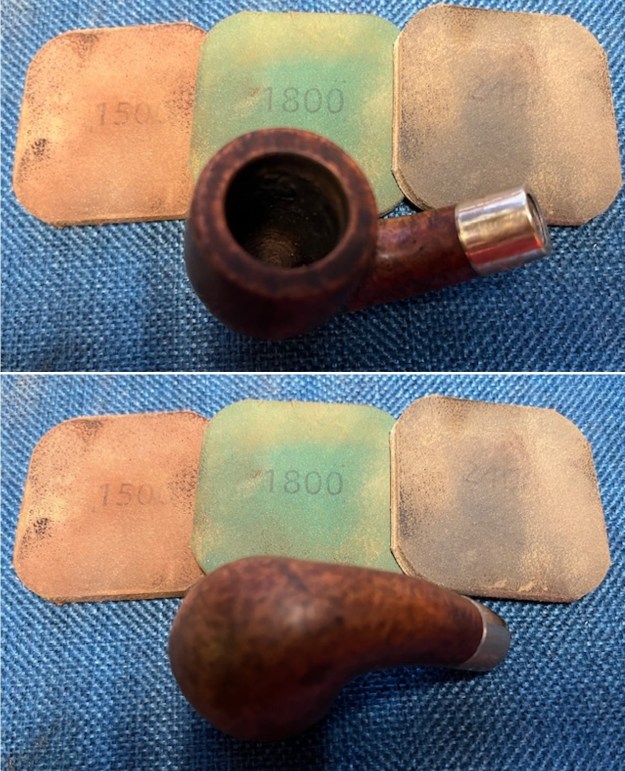
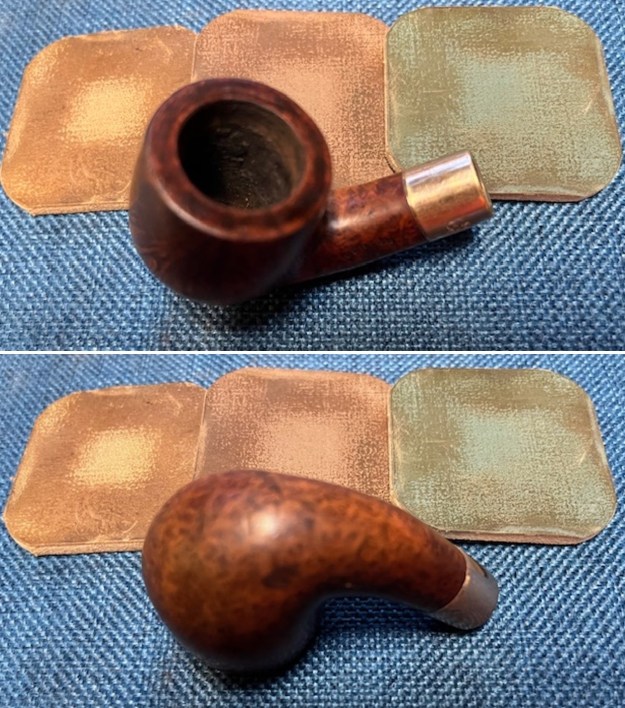
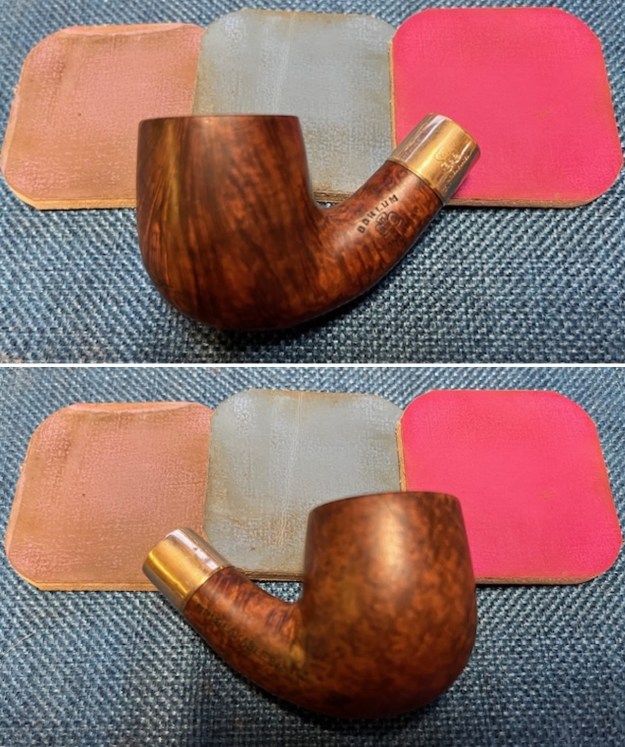
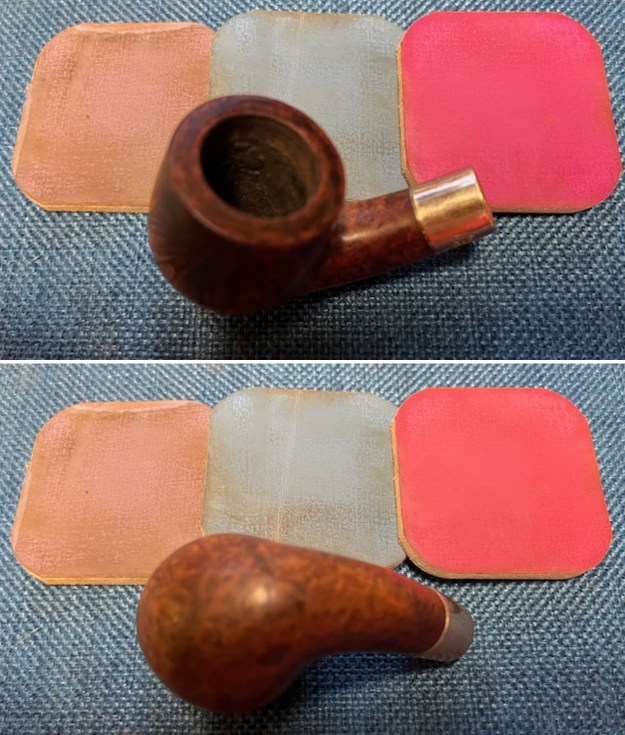
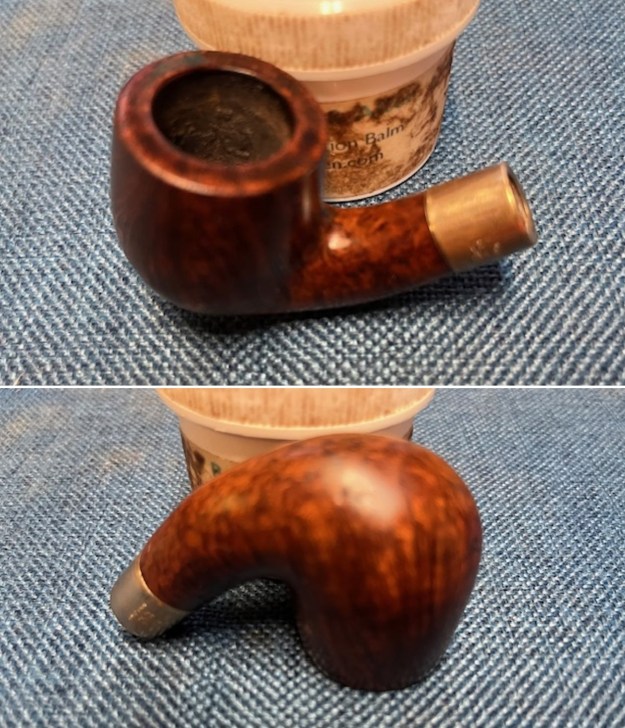
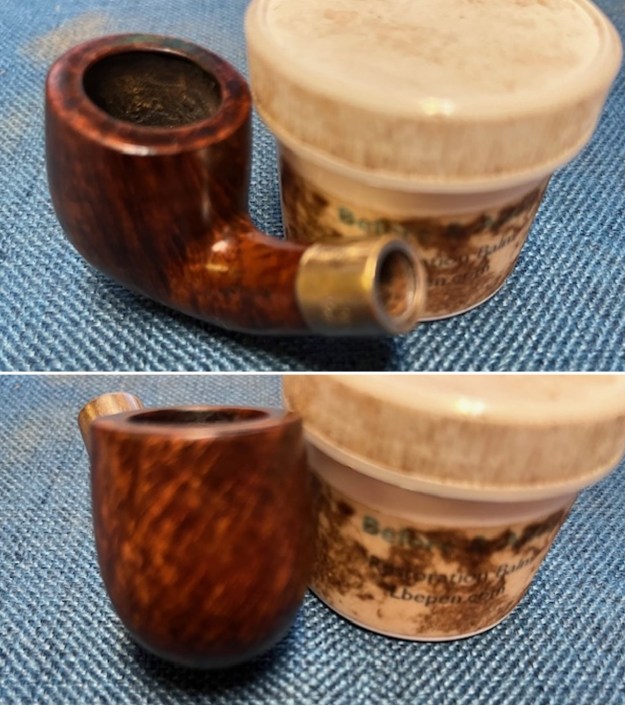
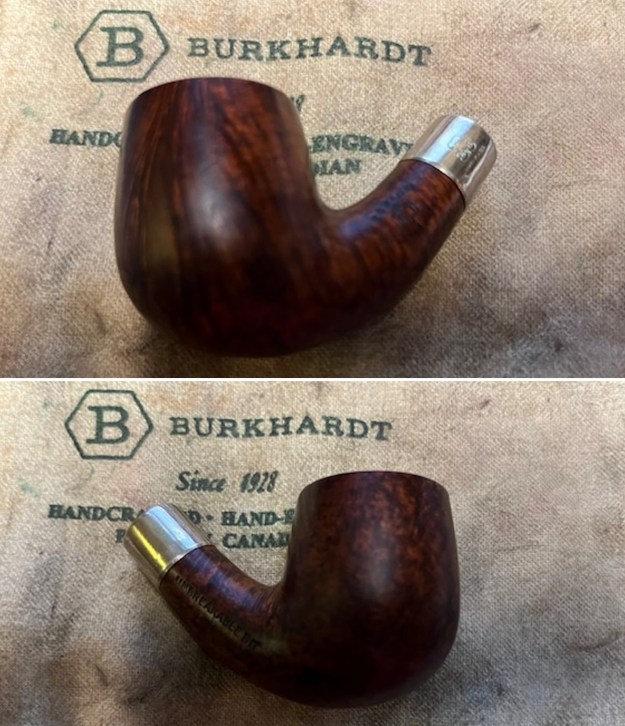
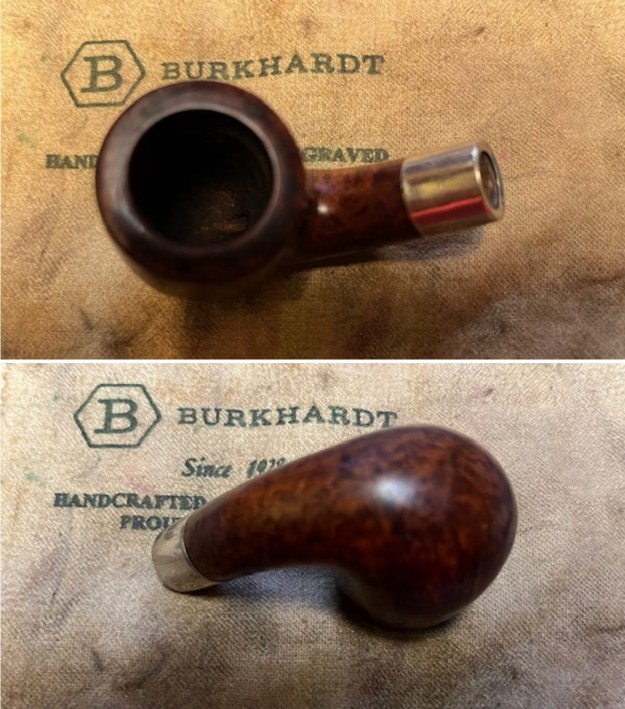
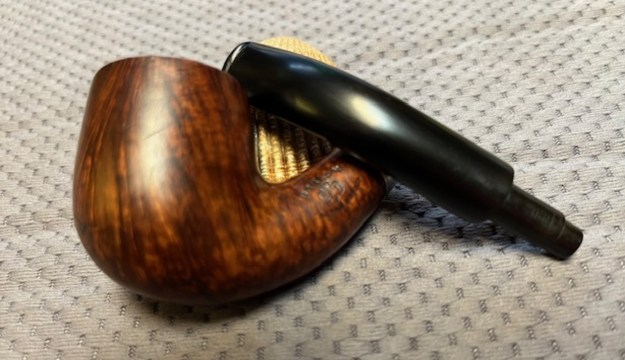
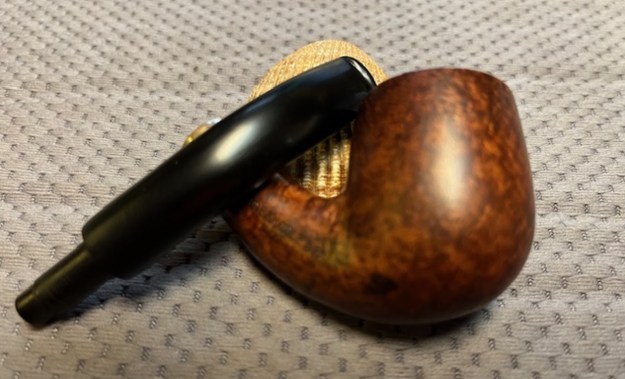
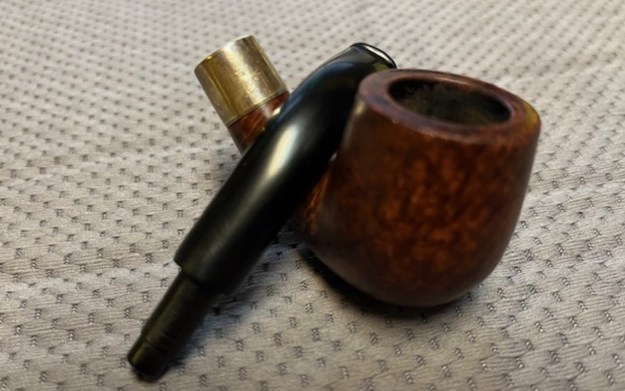
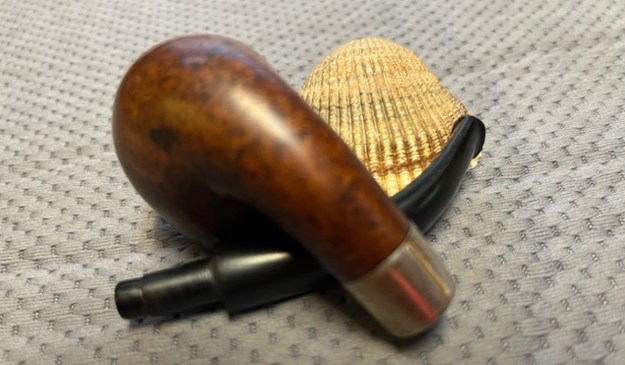
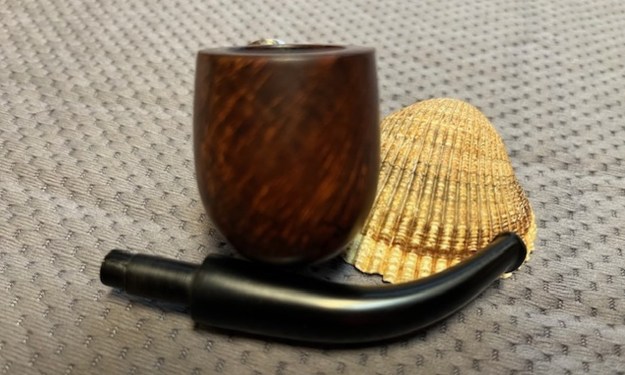
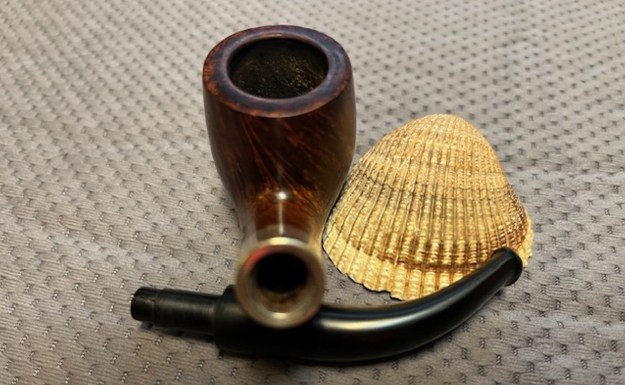
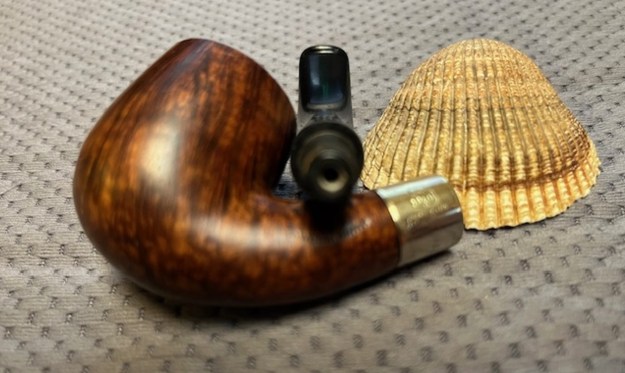
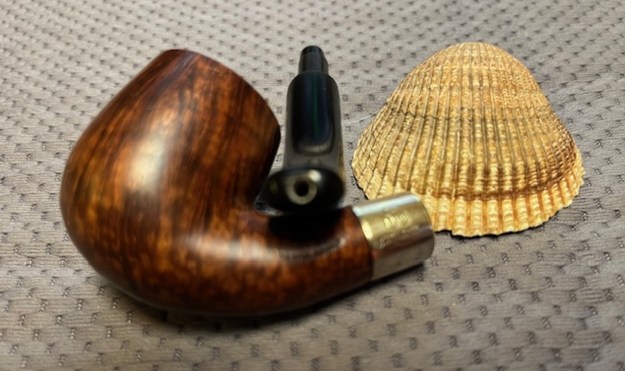
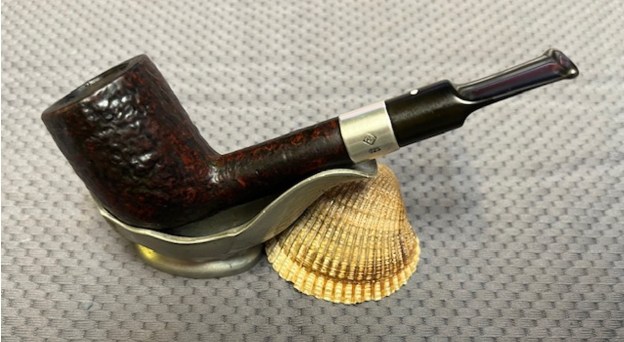
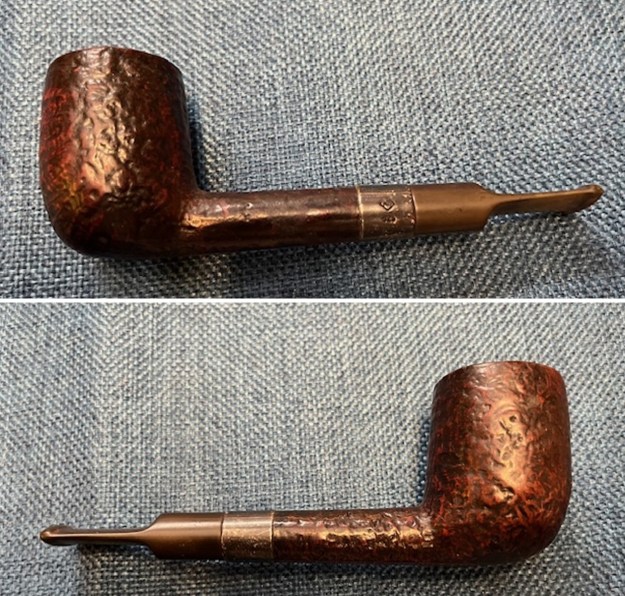
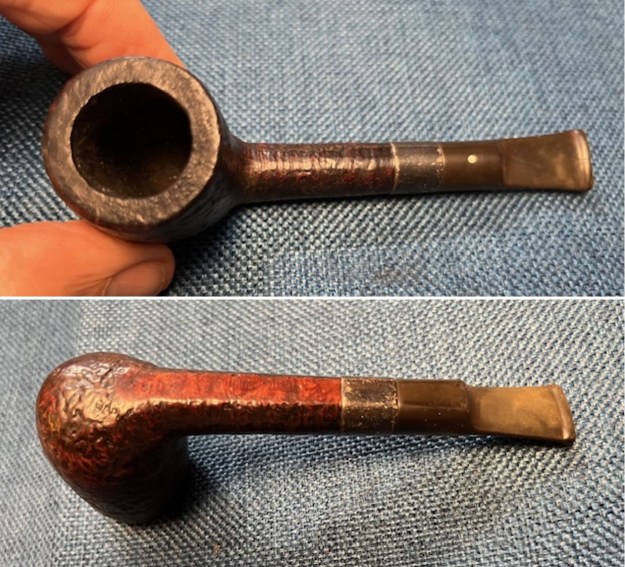
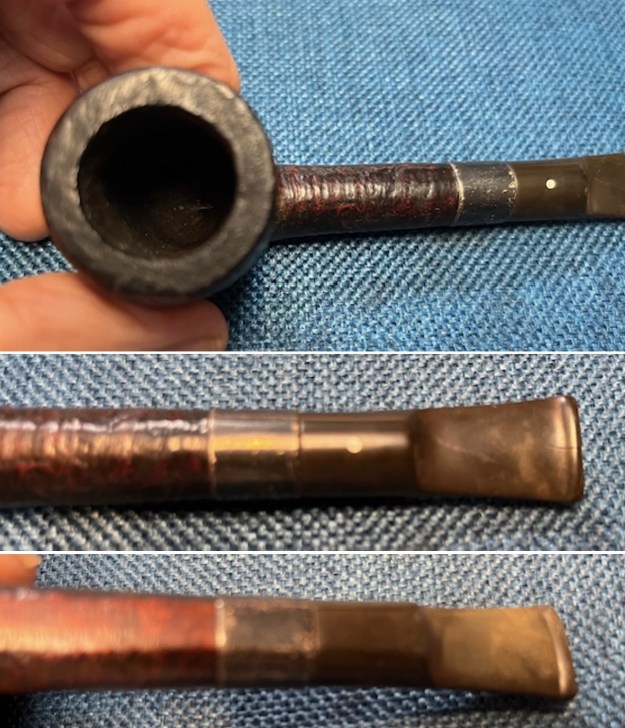
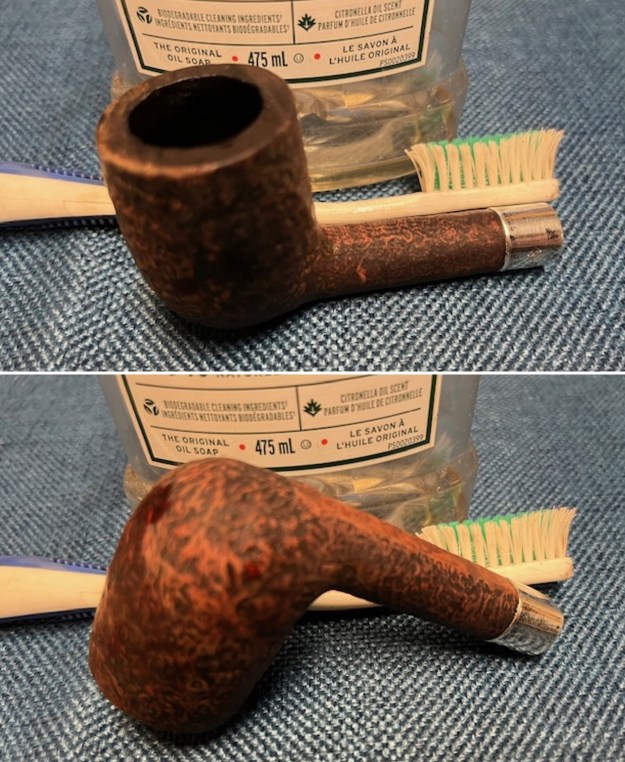
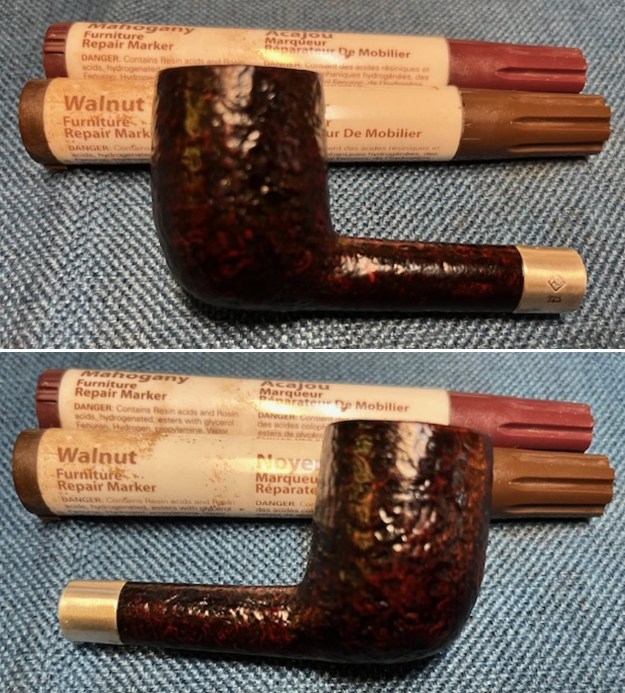
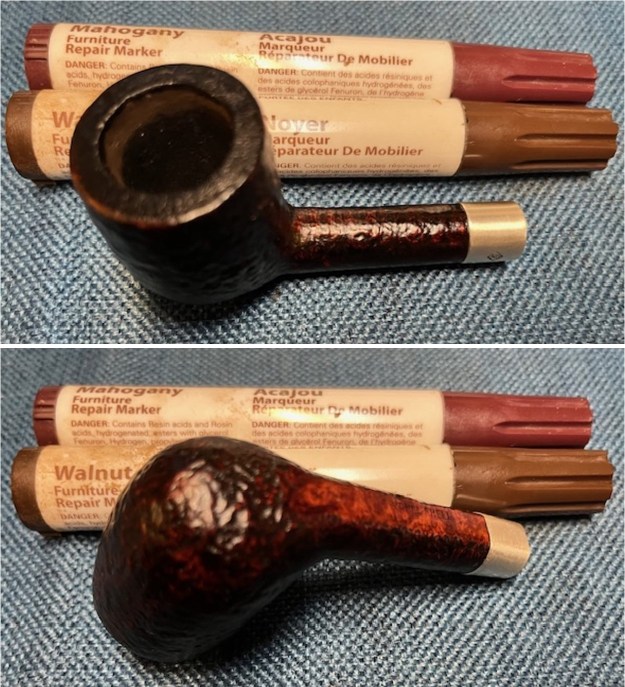
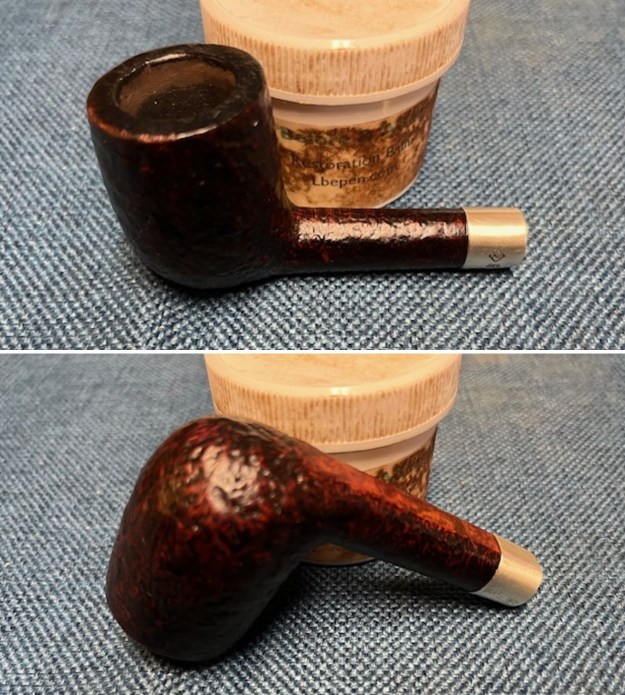
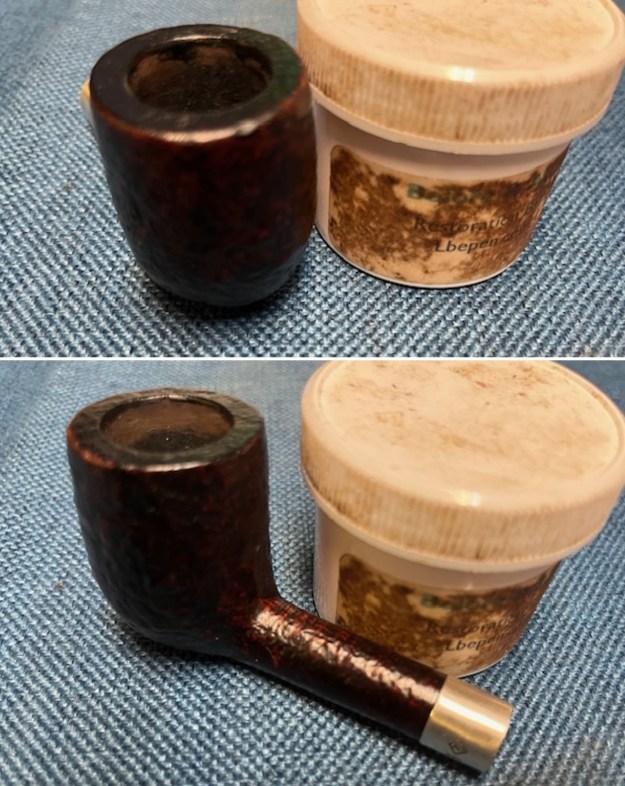
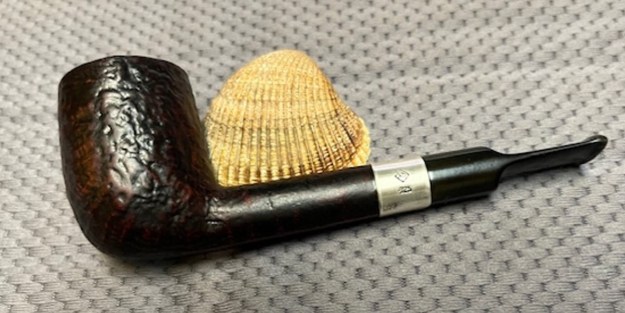
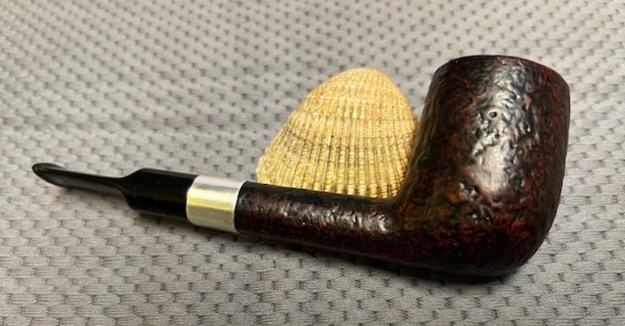
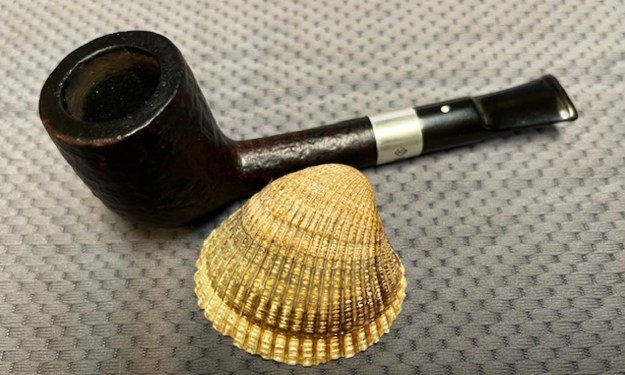
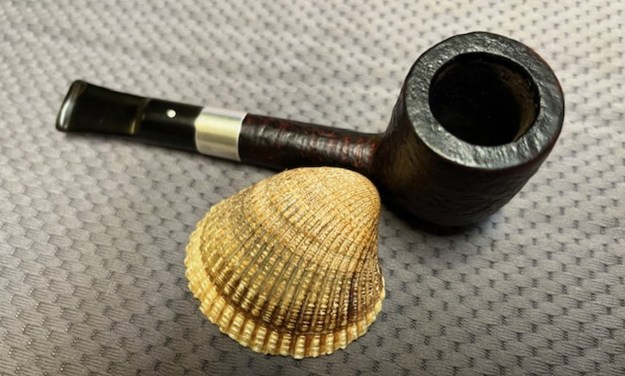
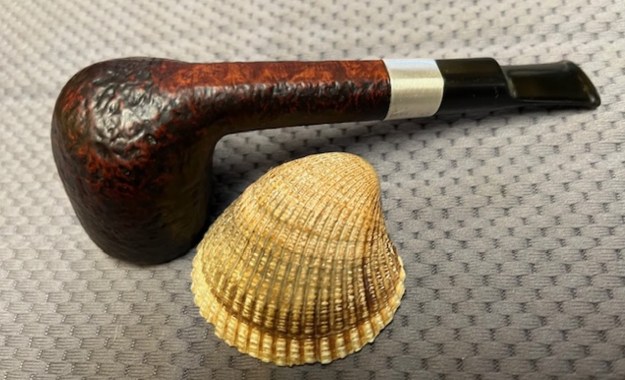
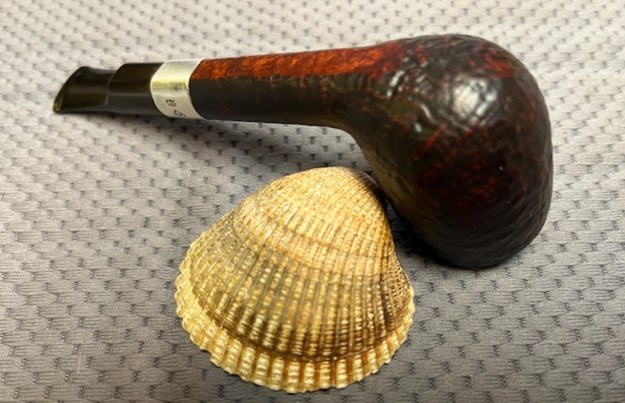
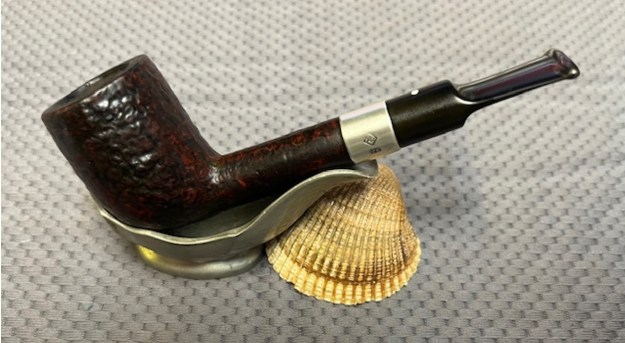
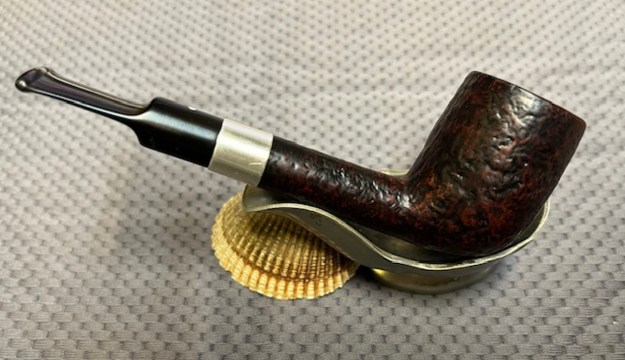
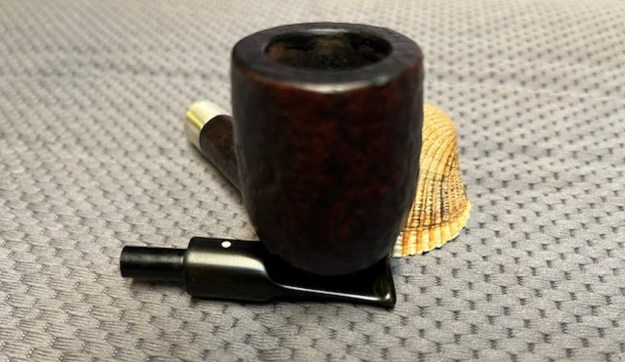
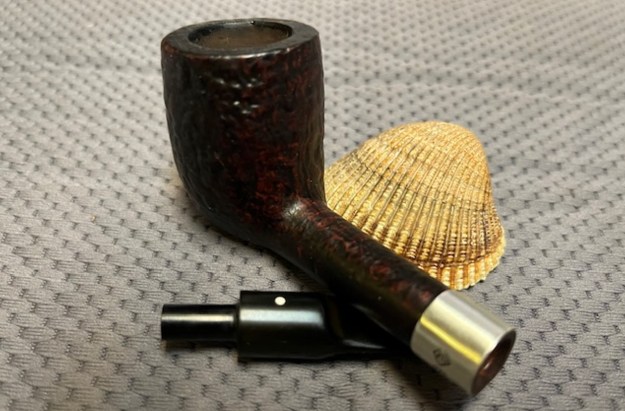
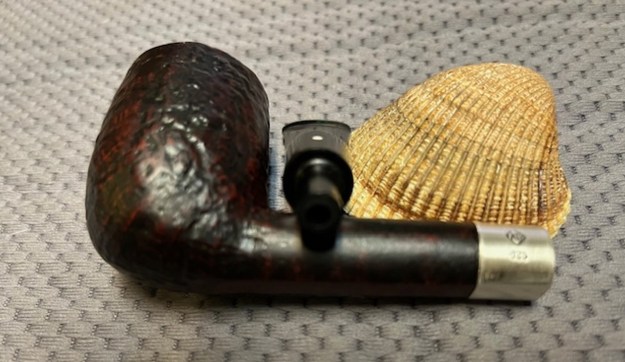
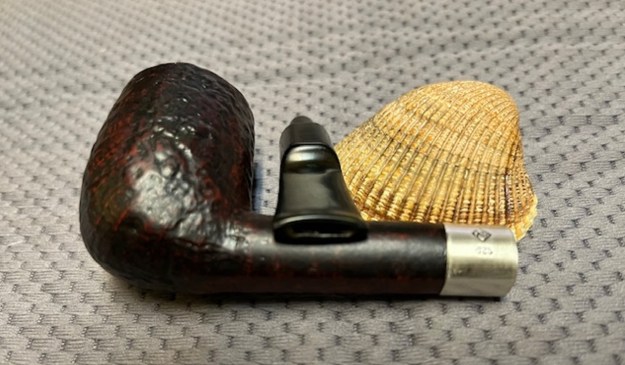
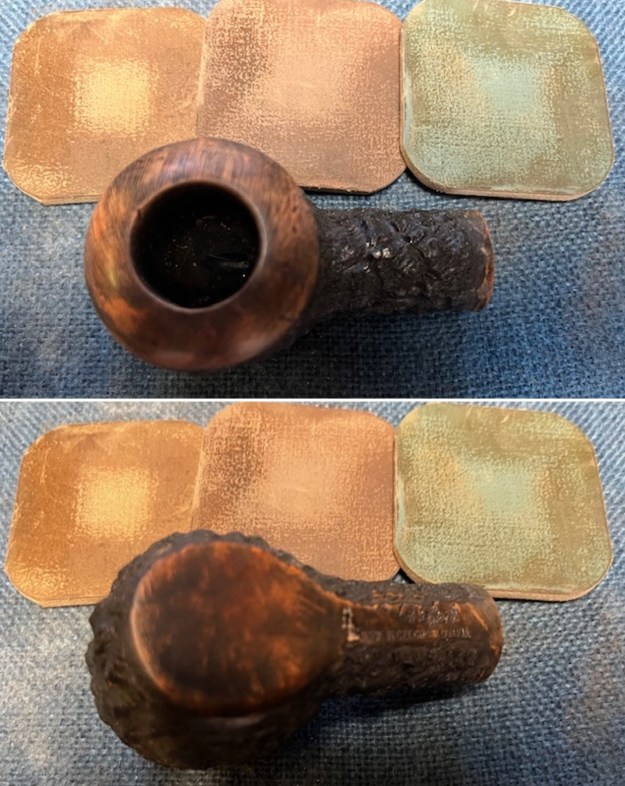
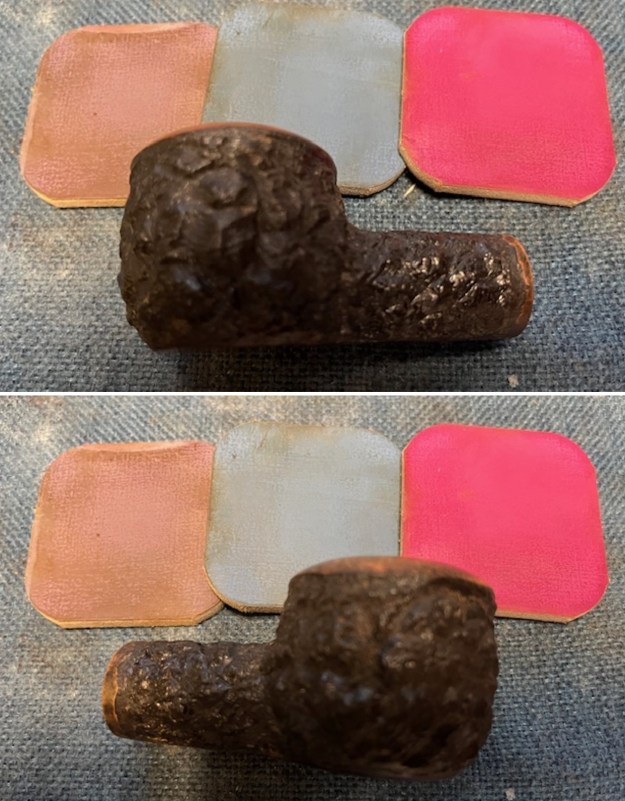
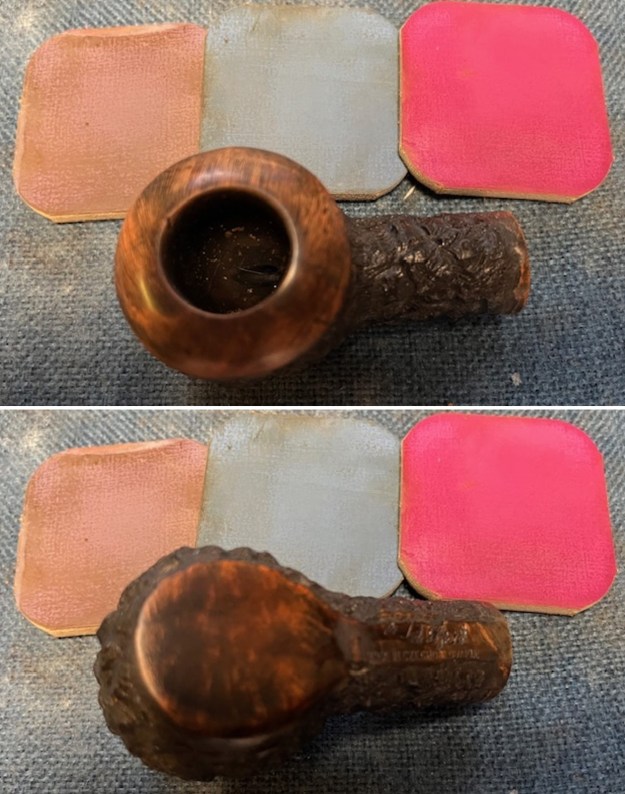
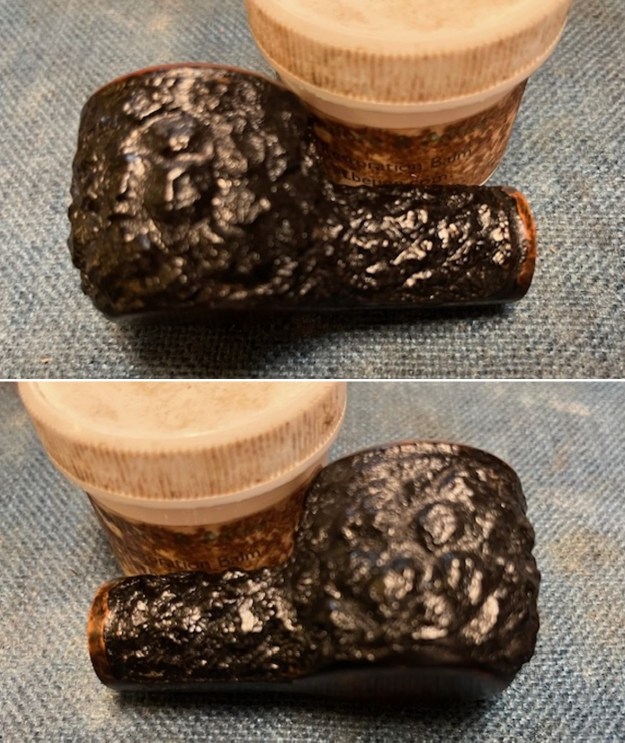
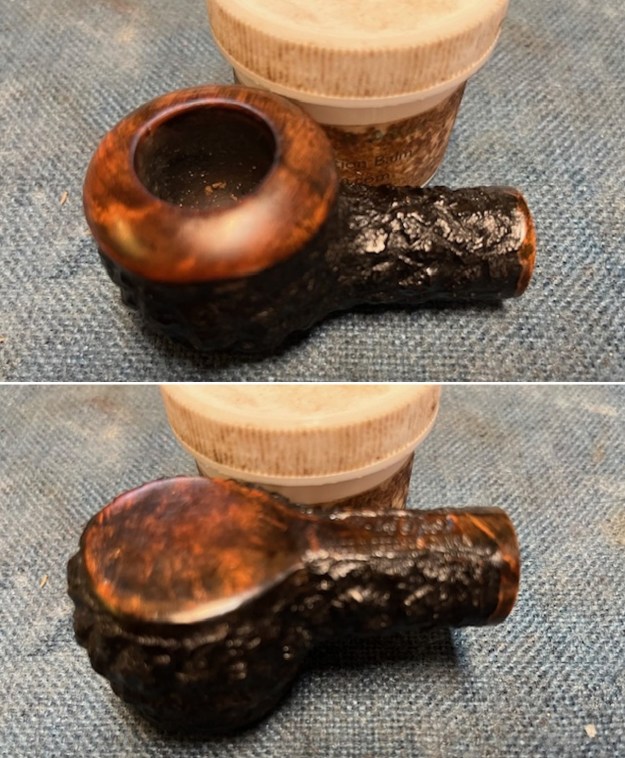
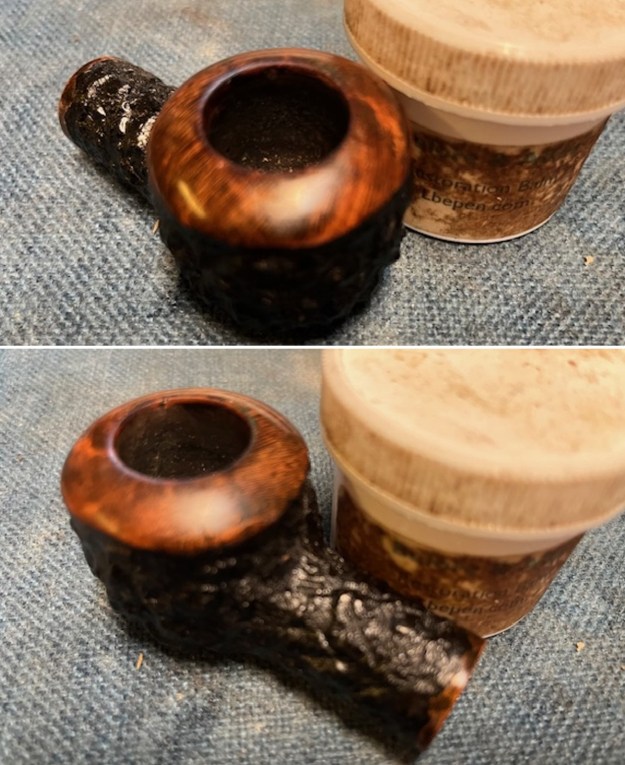
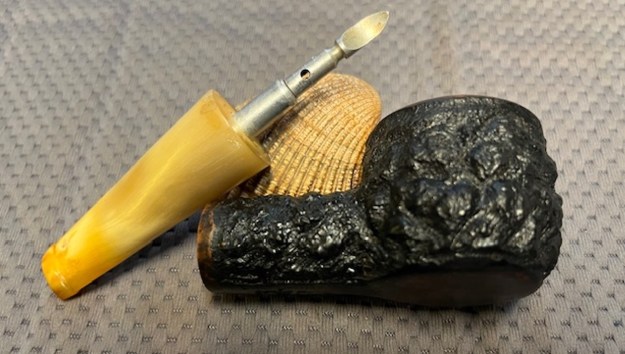
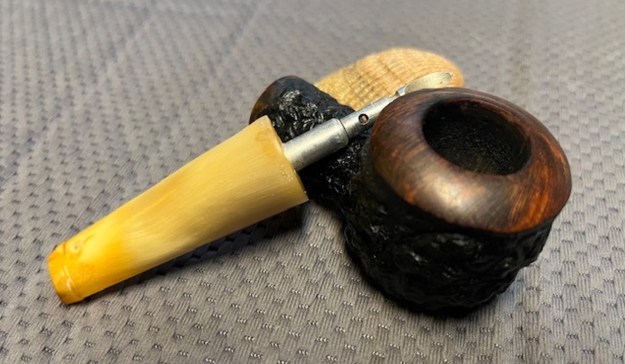
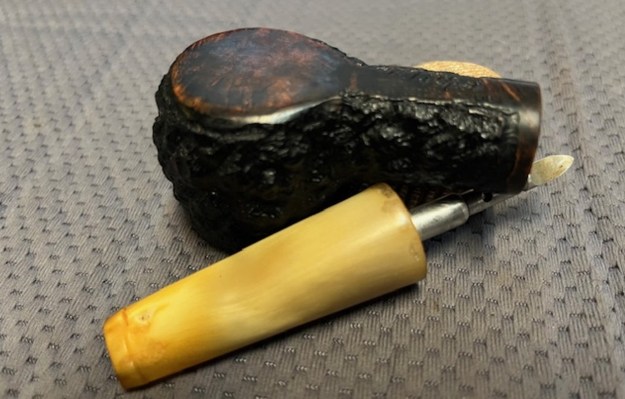
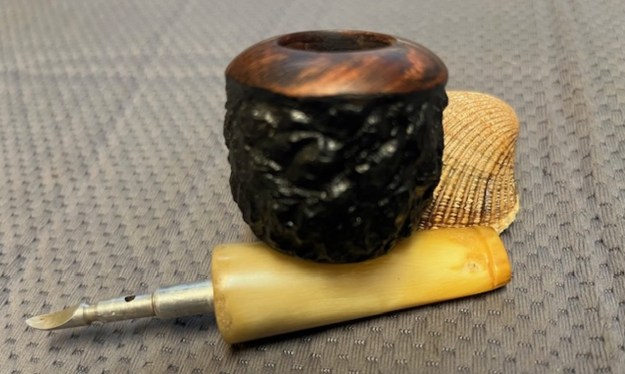
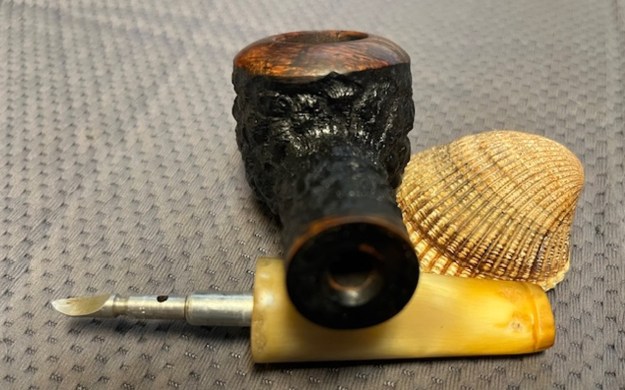
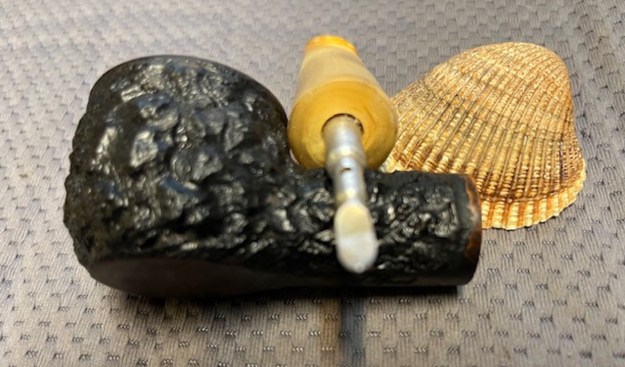
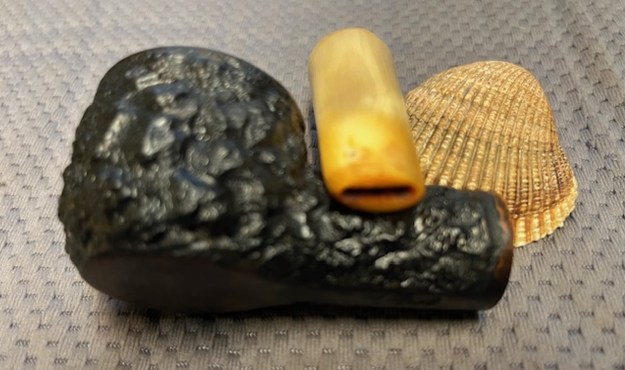
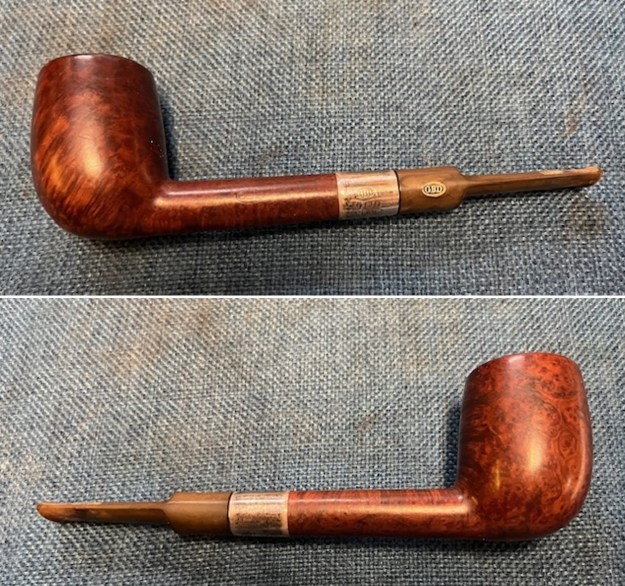
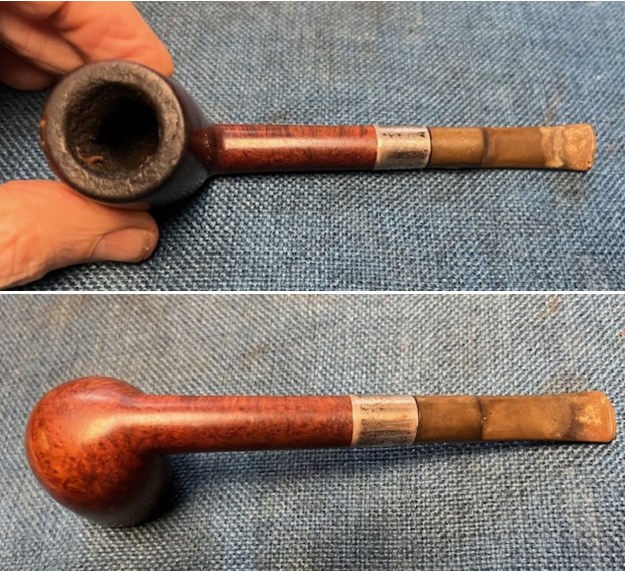
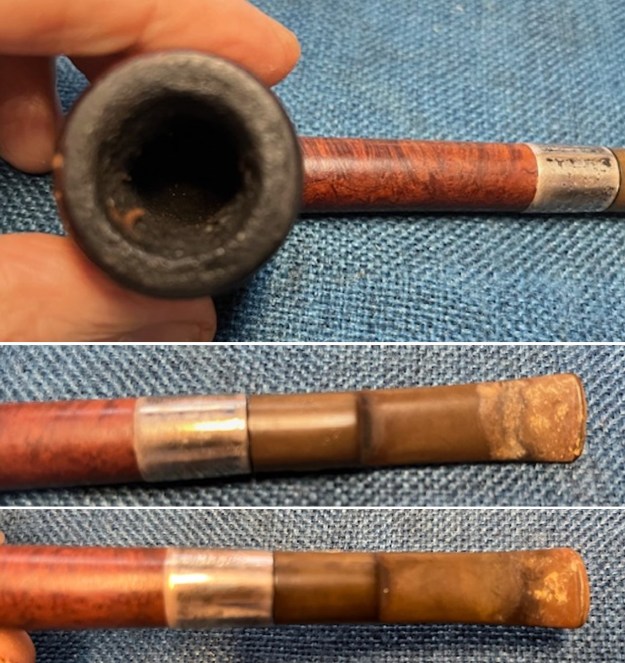
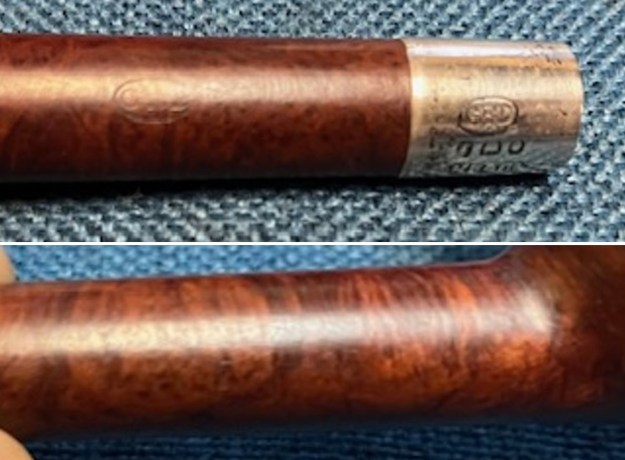
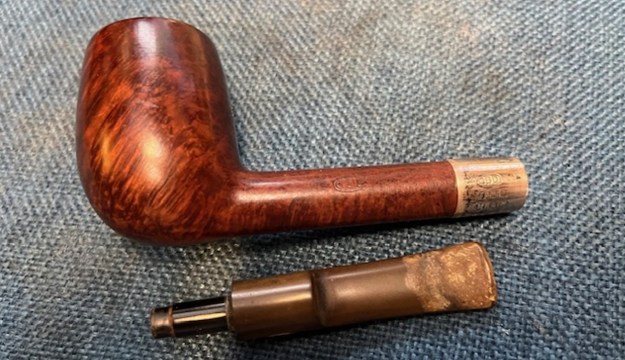
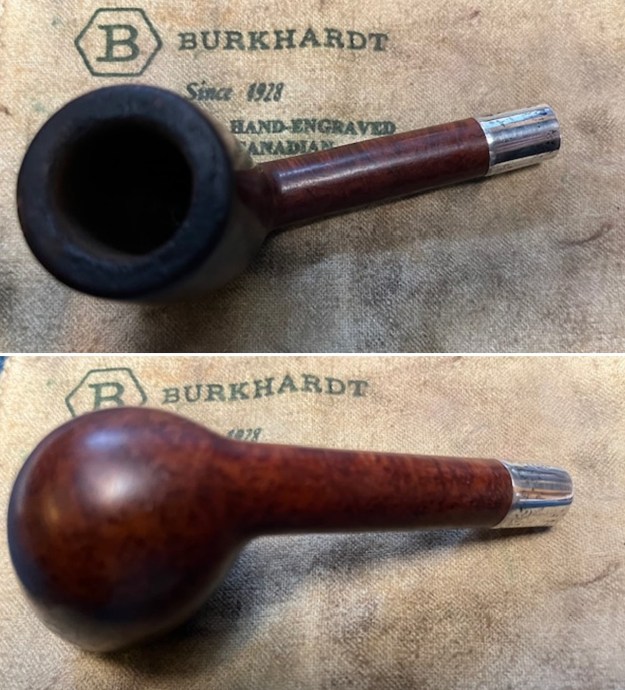
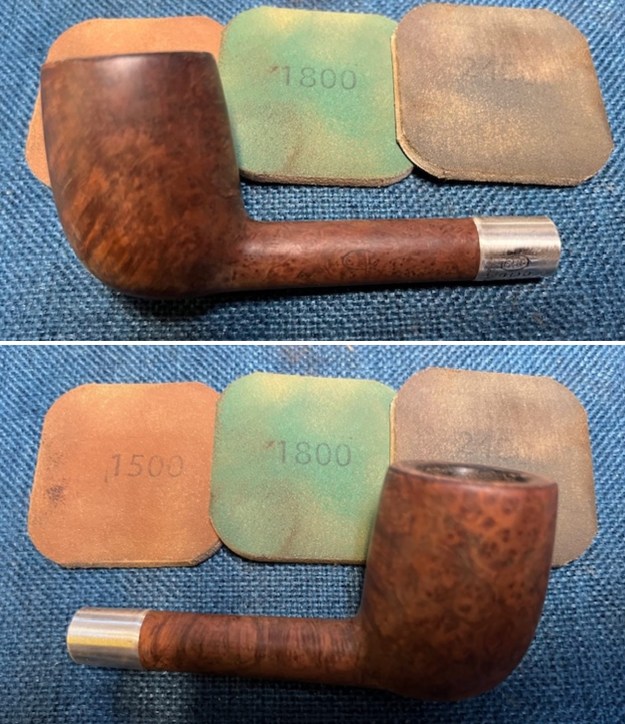
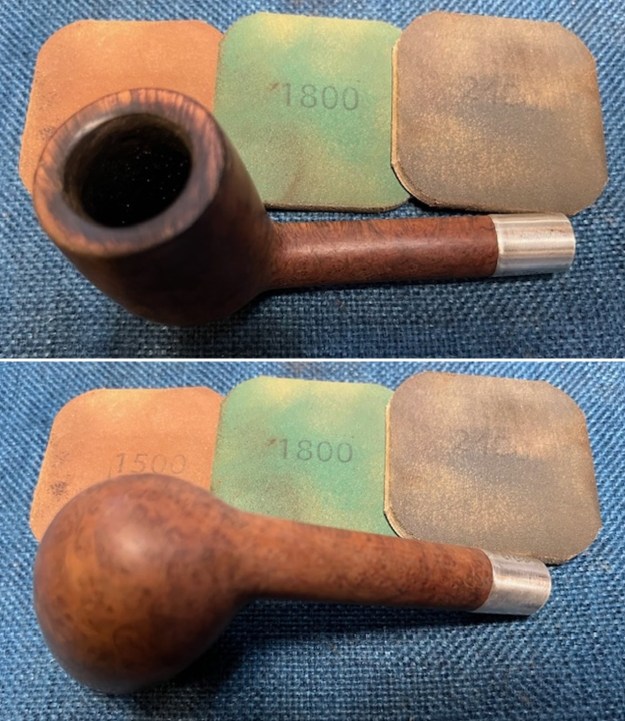
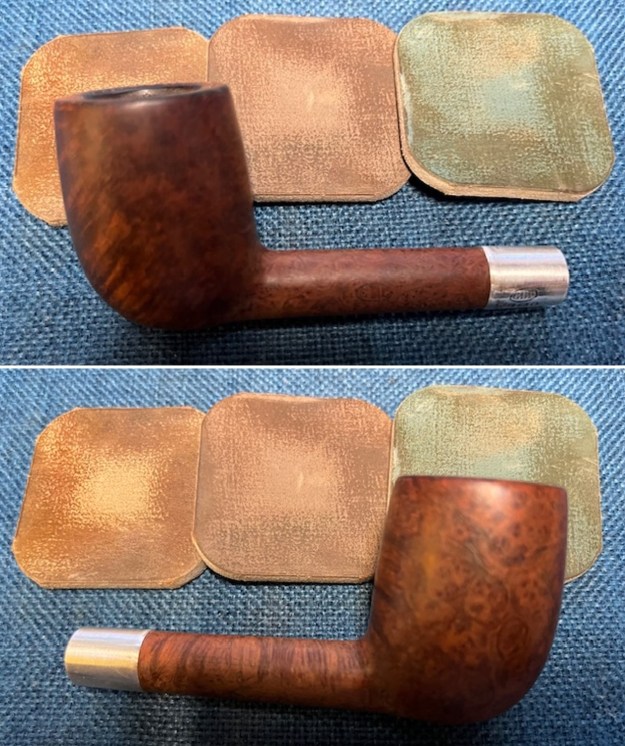
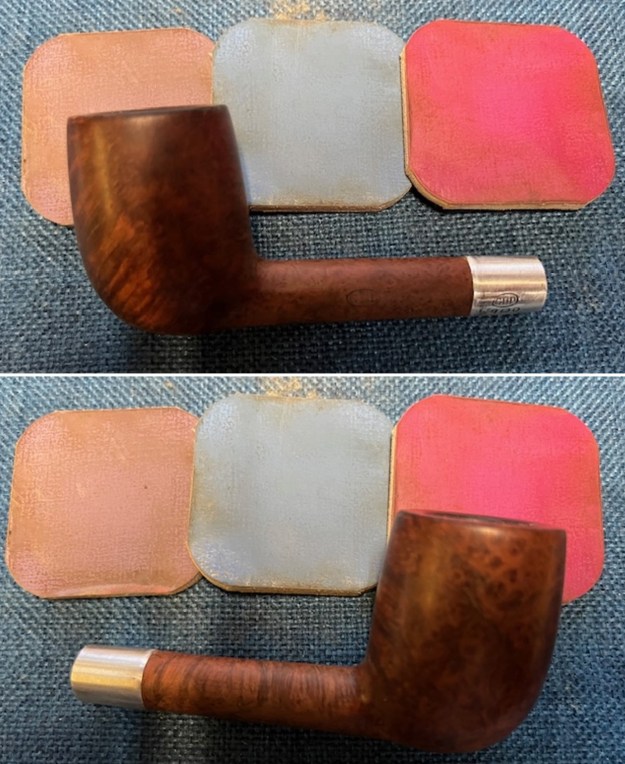
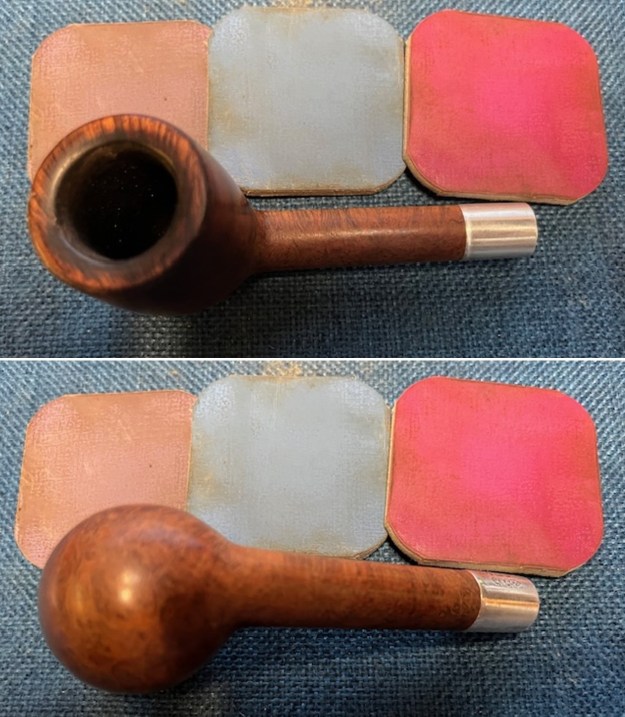
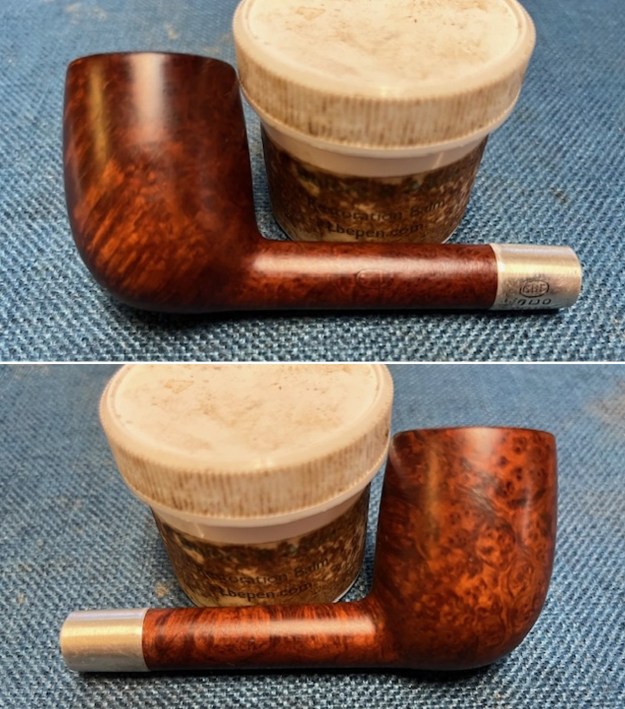
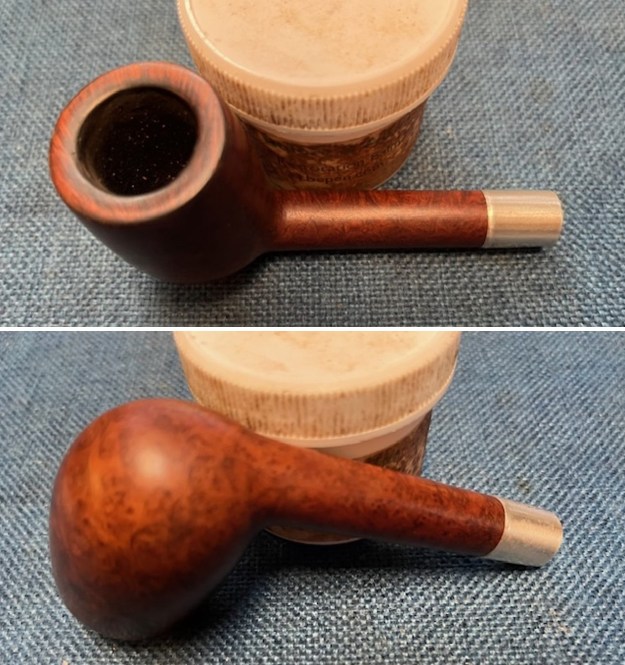
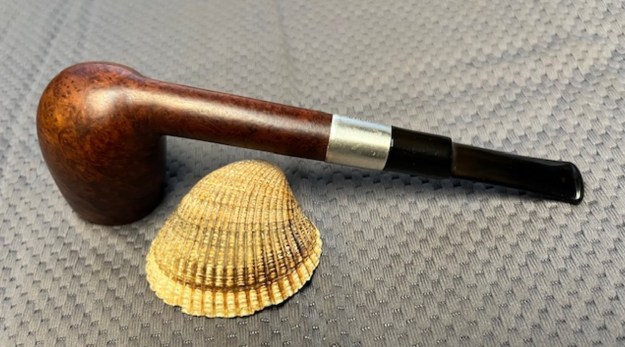
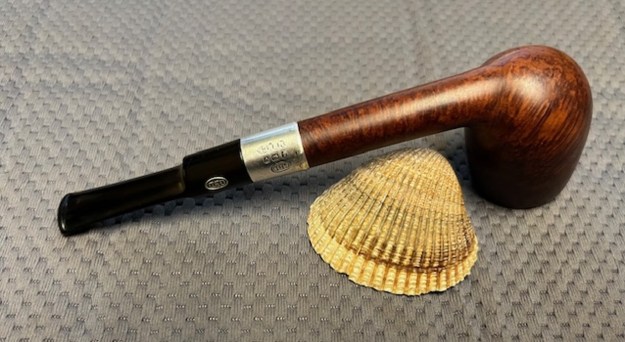
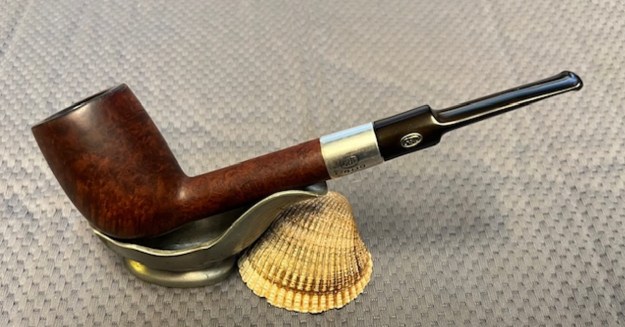
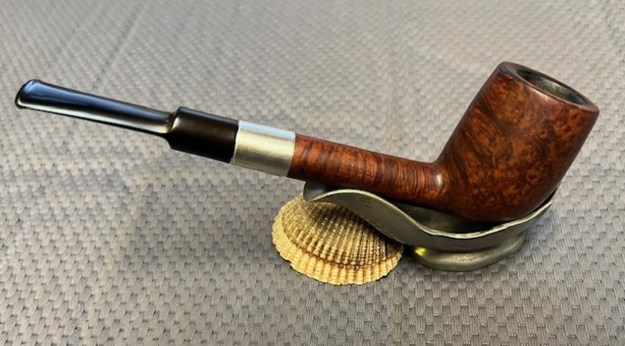
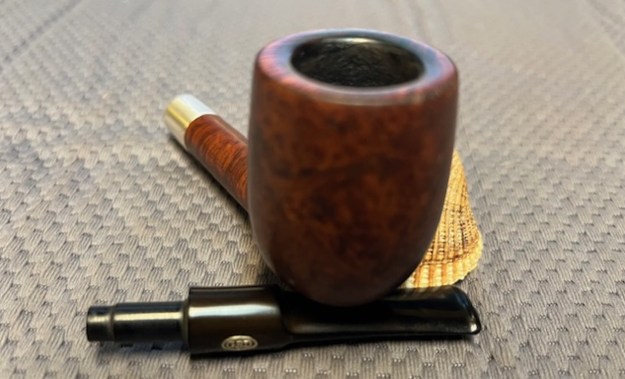
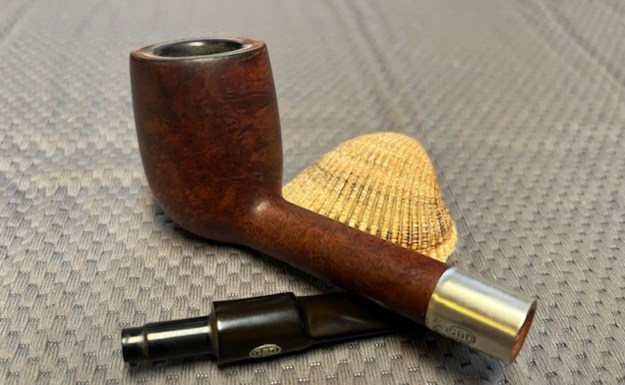
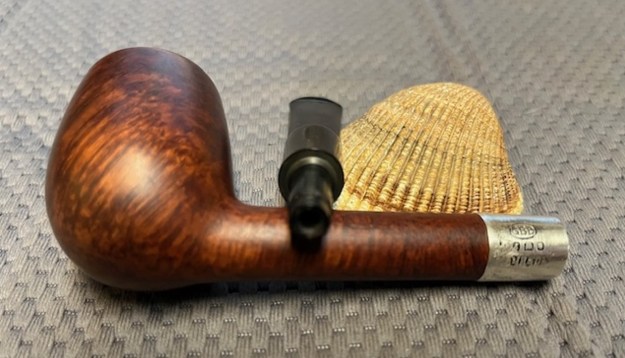
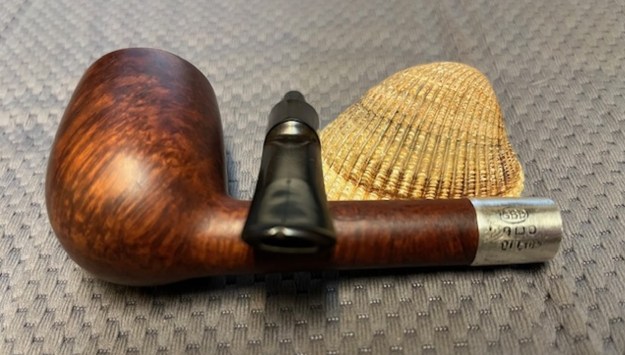
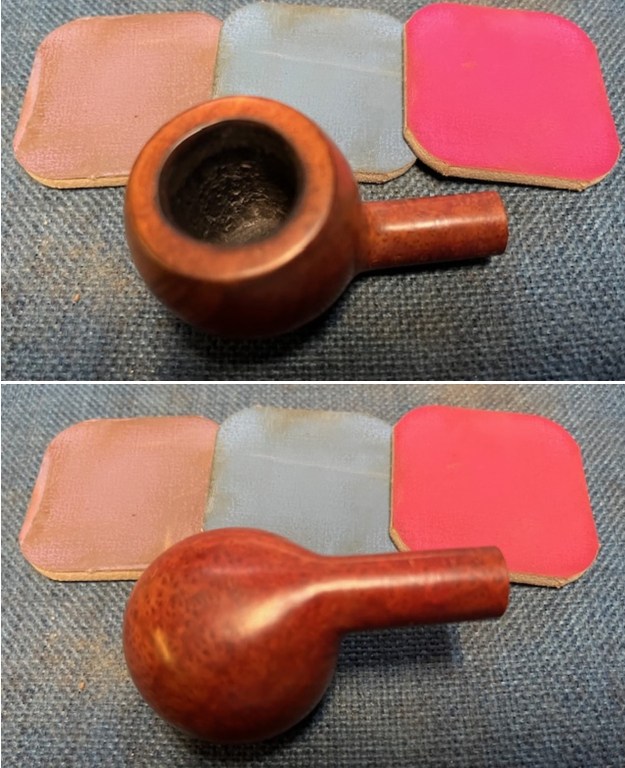
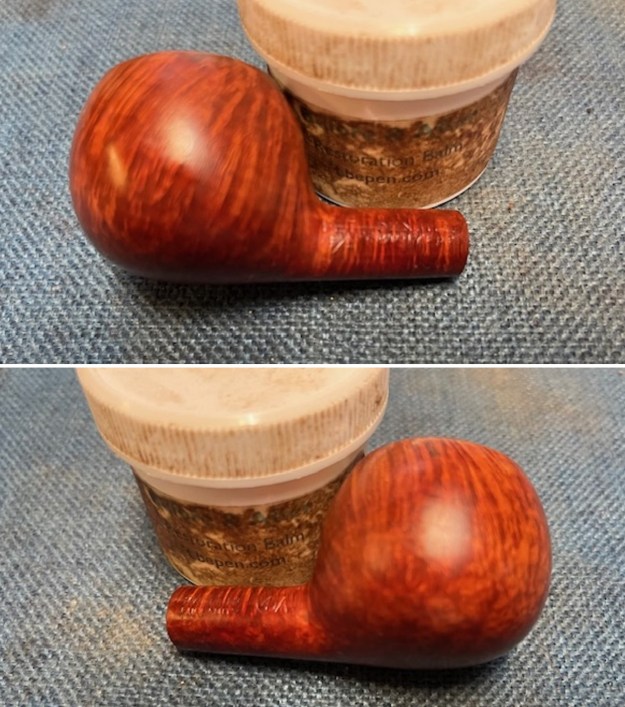
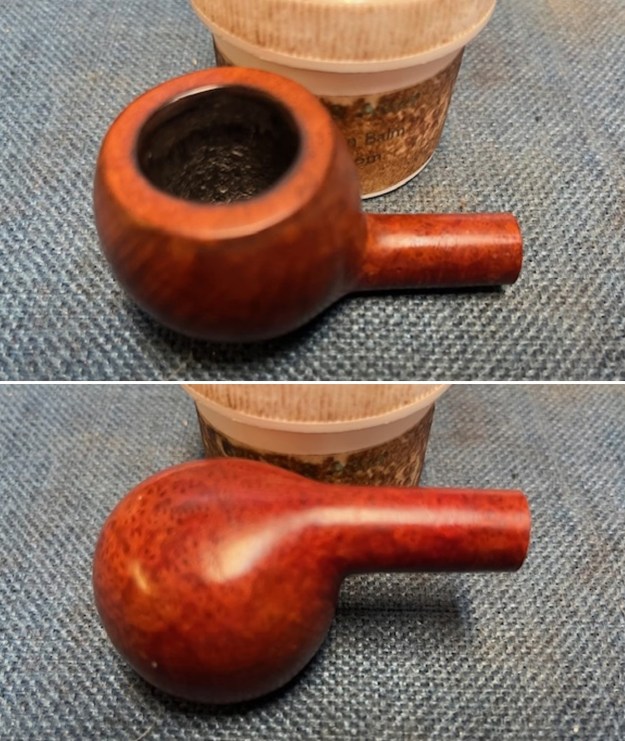
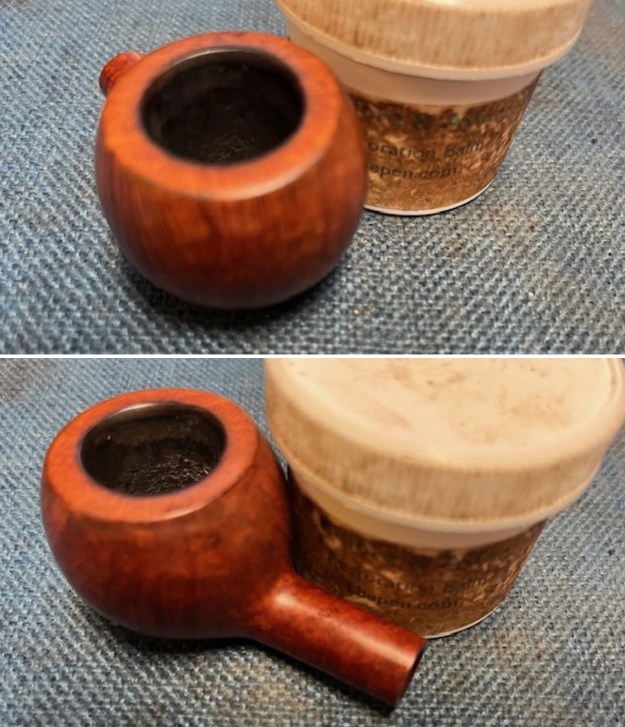
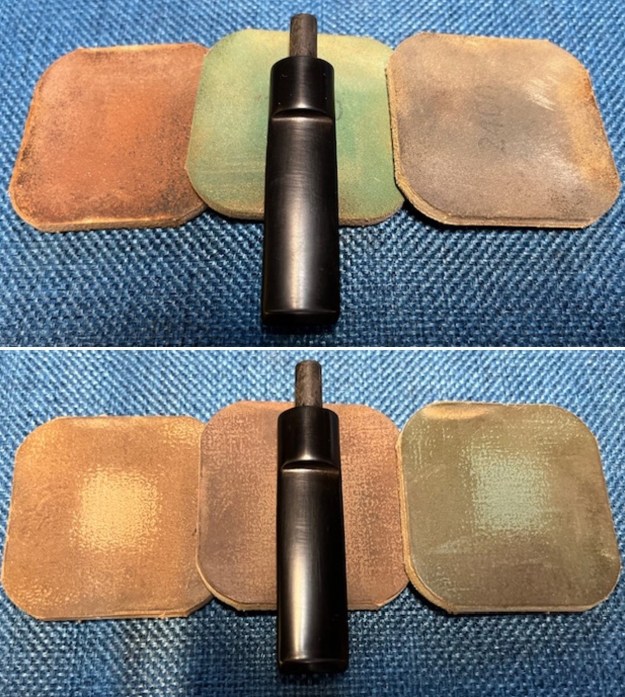
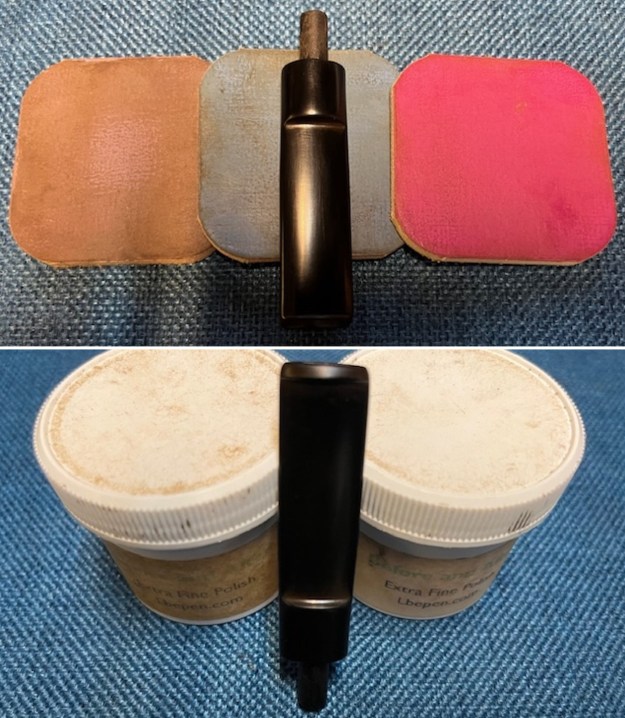
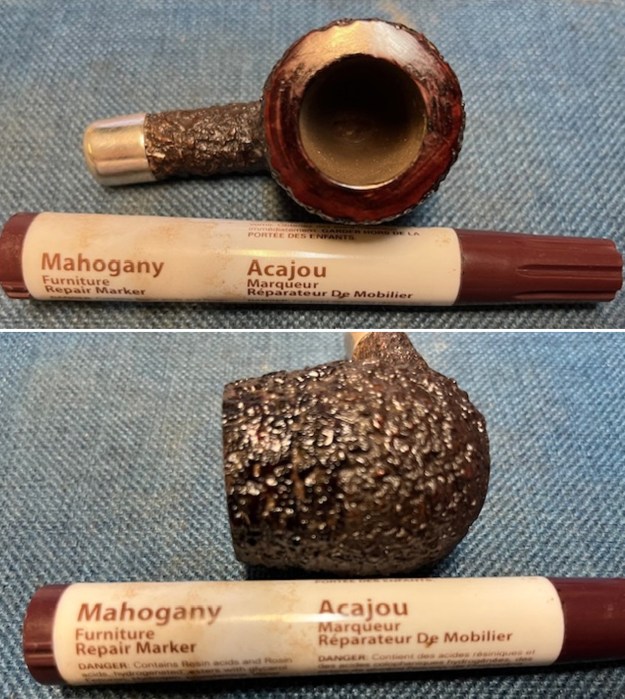
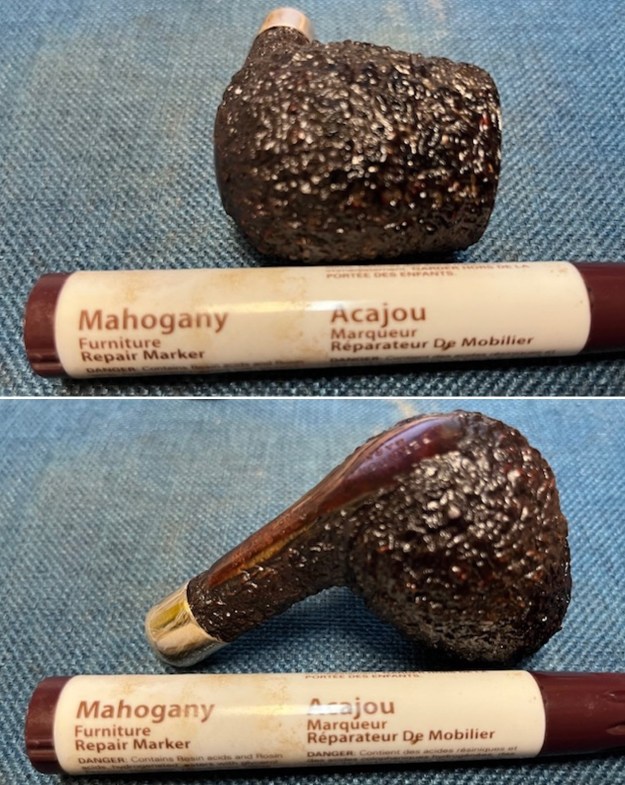
The next pipe on the table is a beautiful rusticated Billiard with a silver ferrule and silver spigot stem. We purchased it from an Antique Mall in Lincoln City, Oregon, USA on 08/24/2024. The pipe is stamped on a smooth panel on the underside of the shank and reads Ferndown [arched over] Bark followed by L&JS Briars [over] Hand Made In [over] England. There was a thin cake in the bowl and the rim top and inner edge had been scraped and was faded. There was grime ground into the rusticated finish around the bowl and shank. There was also some fading on the right side of the bowl toward the front running down from the rim edge to about midbowl. It was faded as if by sun or perhaps whatever had stripped the rim top. The pipe was someone’s obvious favourite and was well care. The inner edge looked to be in good condition. The oxidized ferrule and spigot end on the stem are both Sterling Silver. The ferrule bears the stamp L&JS followed by 925 on the left side. There is an LJS logo stamped in gold on the left side of the taper stem. The stem is heavily oxidized and calcified. There appears to be some light tooth chatter on the top and underside of the stem ahead of the button. I took photos of the pipe earlier this morning before I started my clean up work. I have included them below. I took a photo of the rim top, bowl and the surfaces of the stem to give a sense of the condition of the pipe. The walls of the bowl had a thin cake with no lava on the rim edges or top. The stem is heavily oxidized, calcified and dirty. There are light tooth marks on both sides ahead of the button.I took a photo of the stamping on the smooth panel on the underside the heel and the shank. It is clear and readable and read as noted above. The silver ferrule and the left side of the taper both have clear stamping under the oxidation that reads as noted above.I took some photos of the fading on the front and the right side of the bowl extending half way down the rusticated surface. It is wash out and matches the washed out rim top on the bowl. I took a photo of the pipe with the stem removed. It is definitely dirty and the silver and the stem both are oxidized. To gather backgound on the brand I turned to Pipephil’s site to see what was included in the listing there (http://www.pipephil.eu/logos/en/logo-f1.html). I have included both the screen capture and also the side bar below the photo I have included.Artisan: Leslie (Les) Wood. He was the master silver smith at Alfred Dunhill Ltd. before starting L. & J.S. Briars. Pipes for the European market are stamped “L. Wood” while those for US are stamped “Ferndown”. Production: ~ 2000 pipes/year (Ferndown + L.Wood) See also Elwood
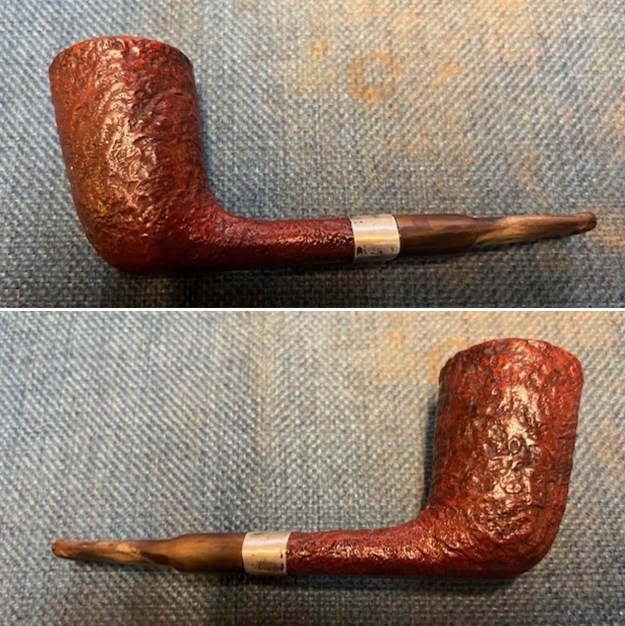
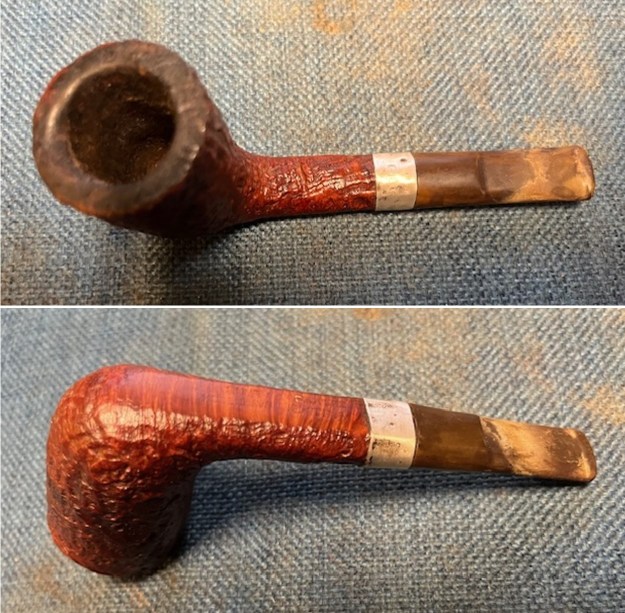
The first pipe pictured in the screen capture above is stamped similarly to mine. The pipe I had in hand did not have the stars on the heel so there was no size designation on the pipe. This is a large pipe. The Bark finish is a designation used for both sandblasted and rusticated. The stem on the pipe I am working on is also not Cumberland but rather black vulcanite with a silver spigot ending.

I turned to Pipedia next (https://pipedia.org/wiki/Ferndown). There is a great article there on the carver, the pipes and the workshop. It is worth the time to give it a read. I am quoting the section on the pipes below for the information included.

Due to the vagaries of international trademark law, he sold his earlier pipes as ”L.&J.S Briars”, “Ellwood”, “Les Wood” or “L. Wood”. Until recently, an average of 1500 – 2000 pipes a year were sold as “Ferndown” — named for the mansion he lives in — in the UK and US, but as “L. Wood” pipes in Germany

…To many pipe smokers, Les Wood’s pipes embody the revival of great English pipe making initiated by Ashton in the early 1980s. The high-grade Italian and Spanish plateau he prefers is oil-cured in the tradition of both Dunhill and Ashton. The pipes are renowned for their pleasant, slightly nutty flavor and remarkable smoking characteristics. They feature impeccable craftsmanship extending to very good stem/bit work, though many pipes are often a bit heavier. The hallmark of his work, of course, is the excellent silver work. Almost all of his pipes feature rings or ferules for spigot stems. Grading is by finish: “Bark” (ca. 90%, rusticated, dark brown and black), “Antique Bark” (tan rusticated), “Reo” (brown and red, smooth), “Root” (orange, smooth), and “Tudor Root” (orange and brown smooth) and by size (one to four stars). He also designates straight grains with SG.

The pipe I am working on is as noted above a Ferndown which identifies it as a pipe named after his mansion and as a pipe made for the UK and the US. It is also as noted in red above stamped Bark which identifies it as a dark brown and black rusticated pipe.

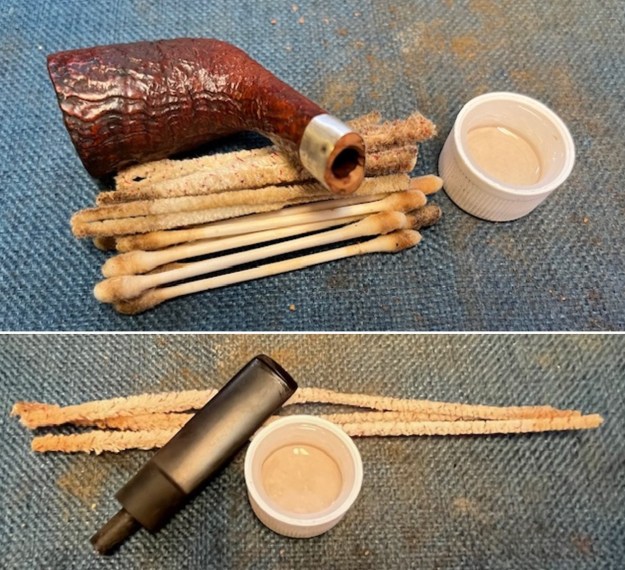
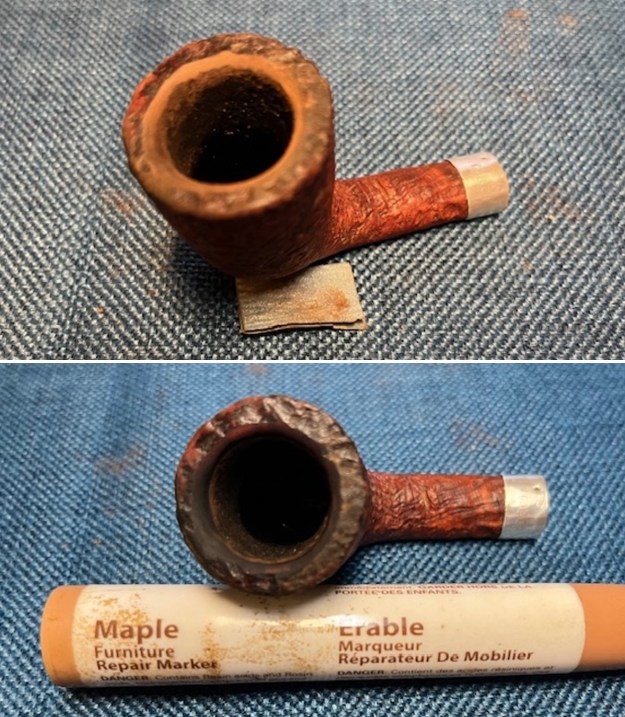
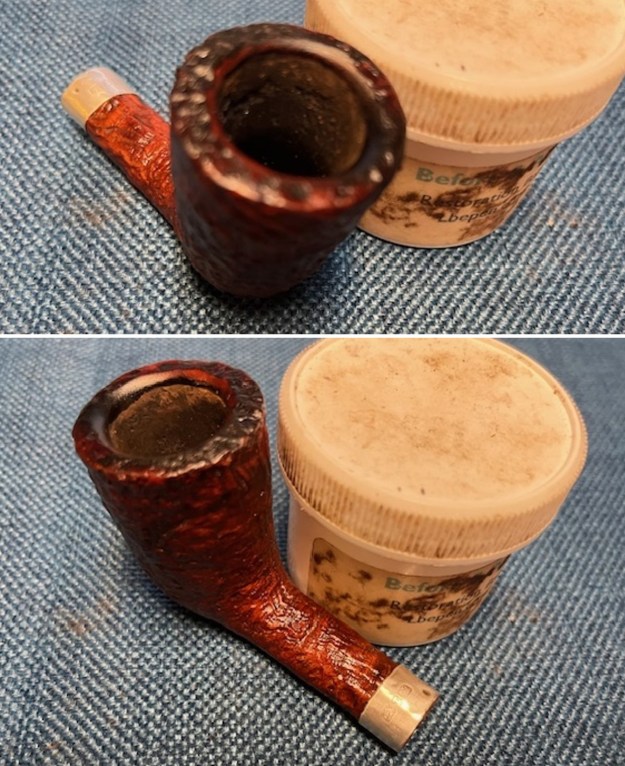
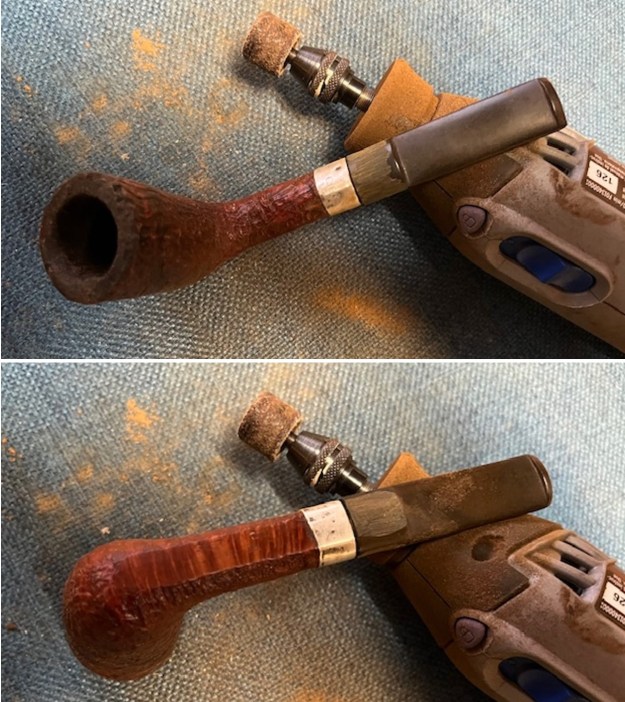
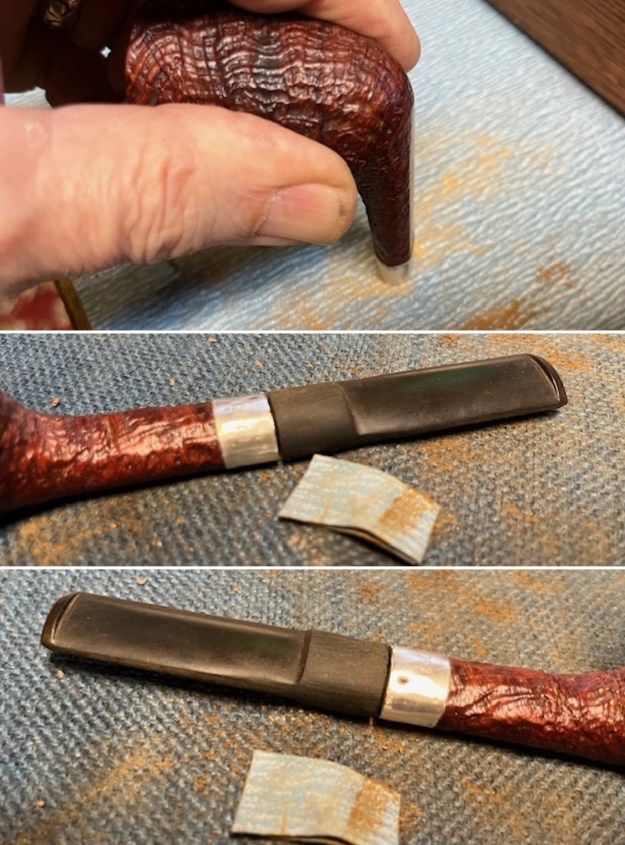
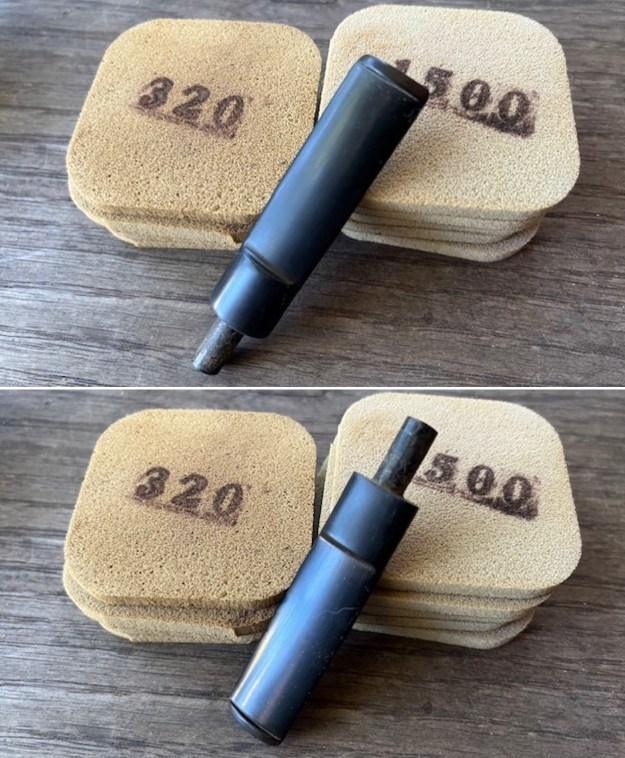
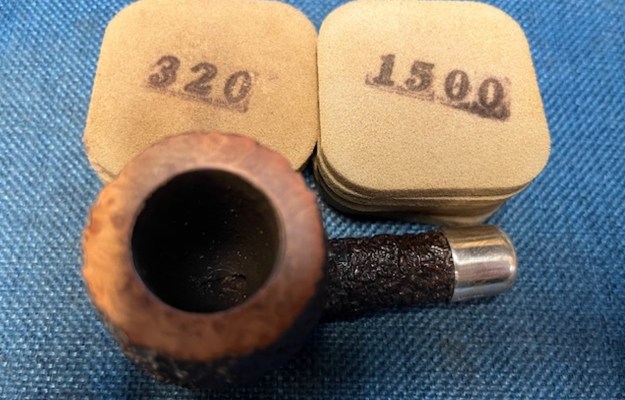
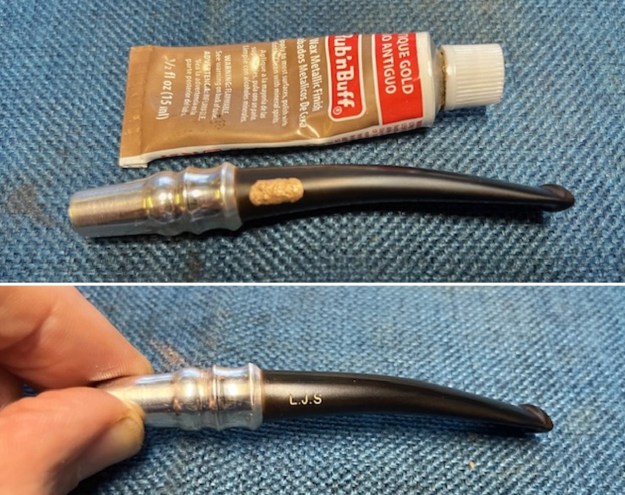
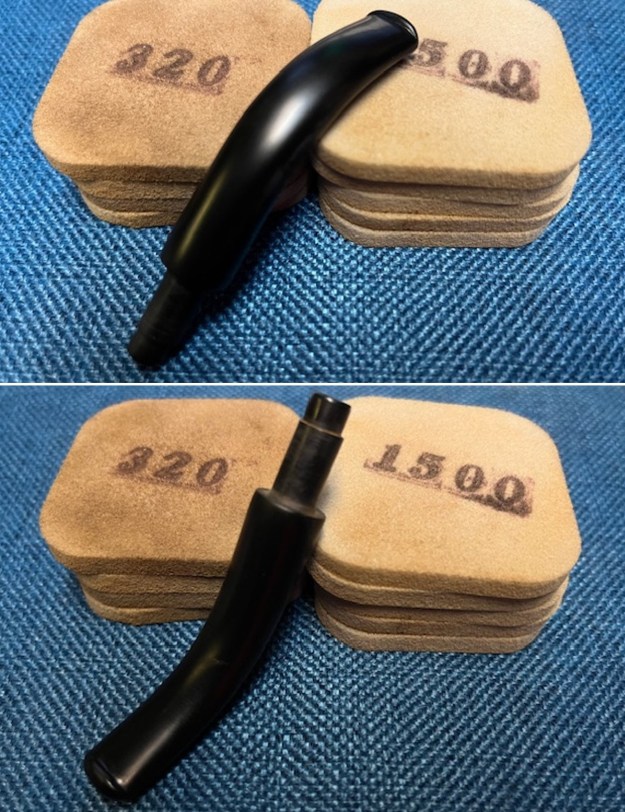
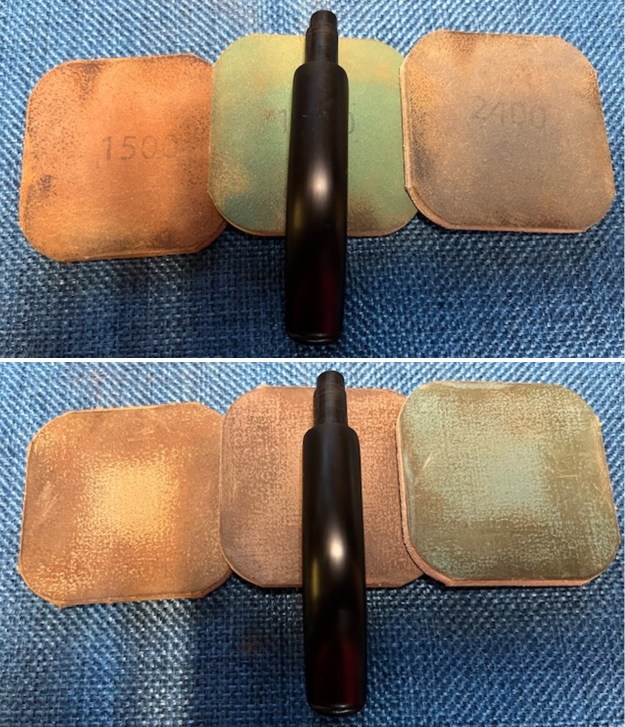
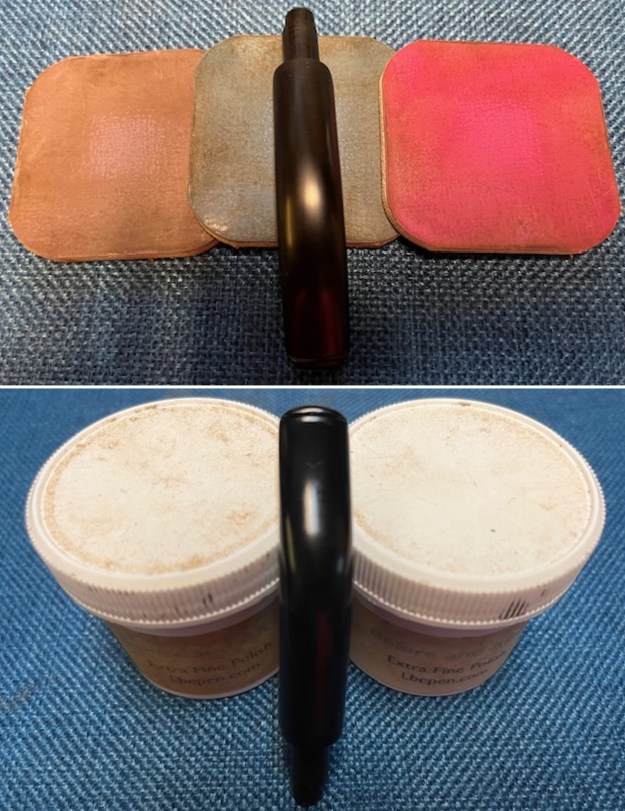
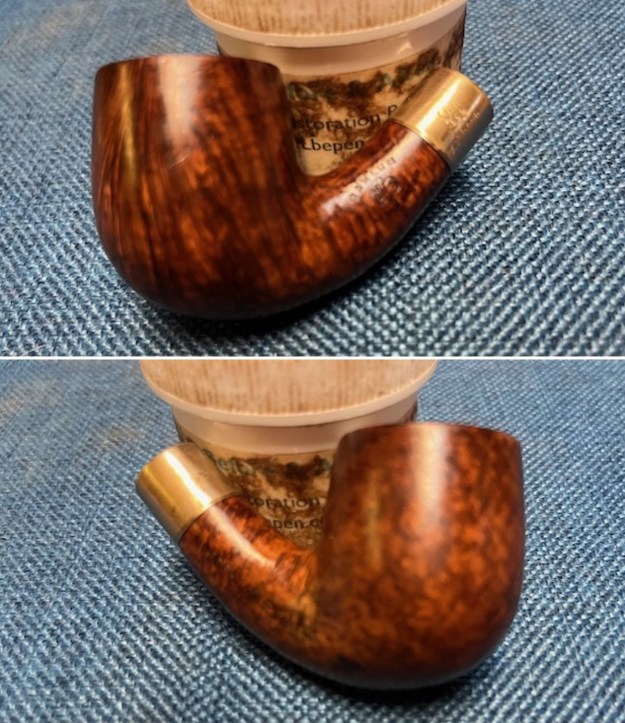
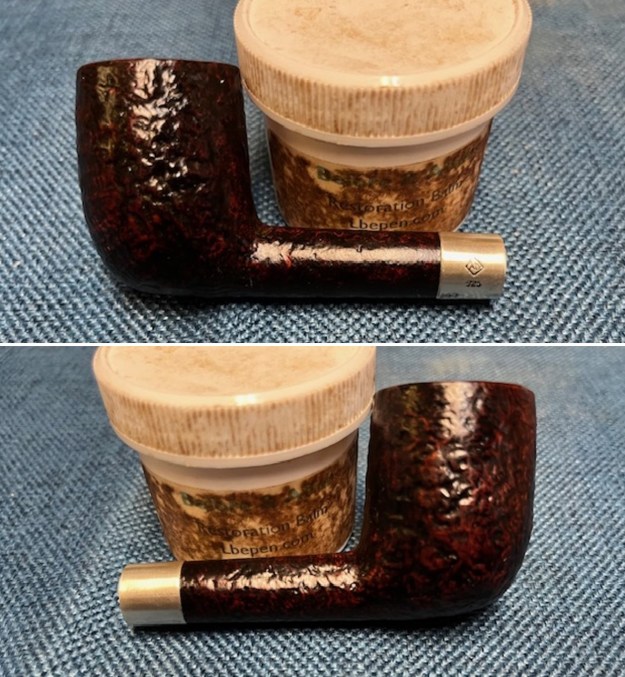
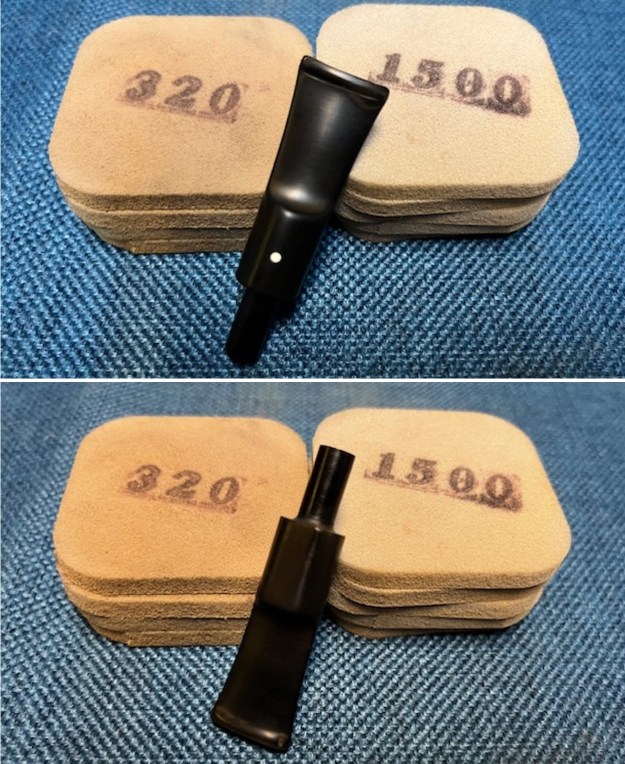
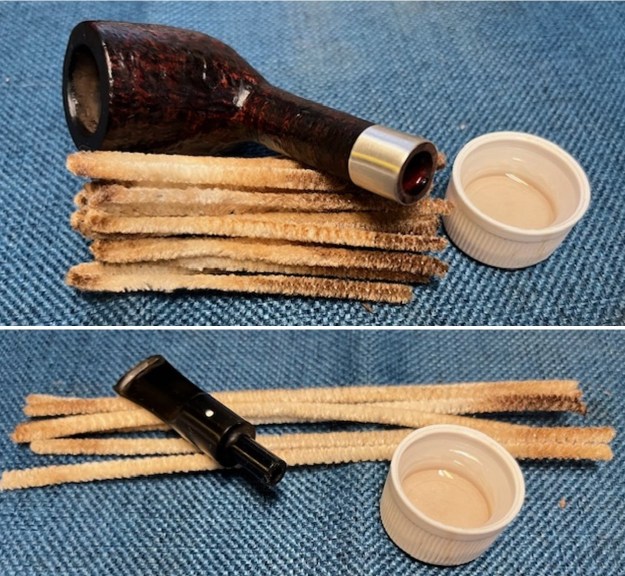
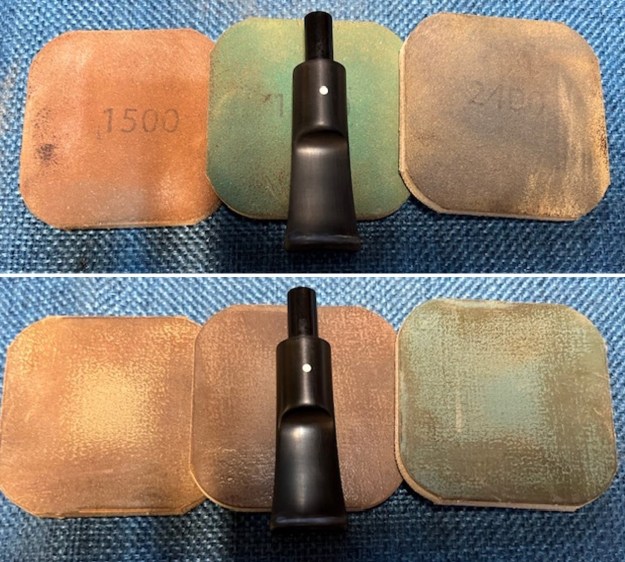
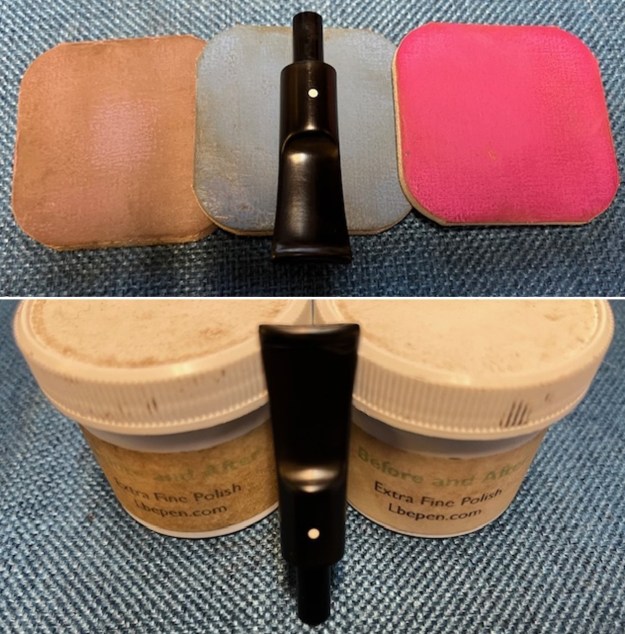
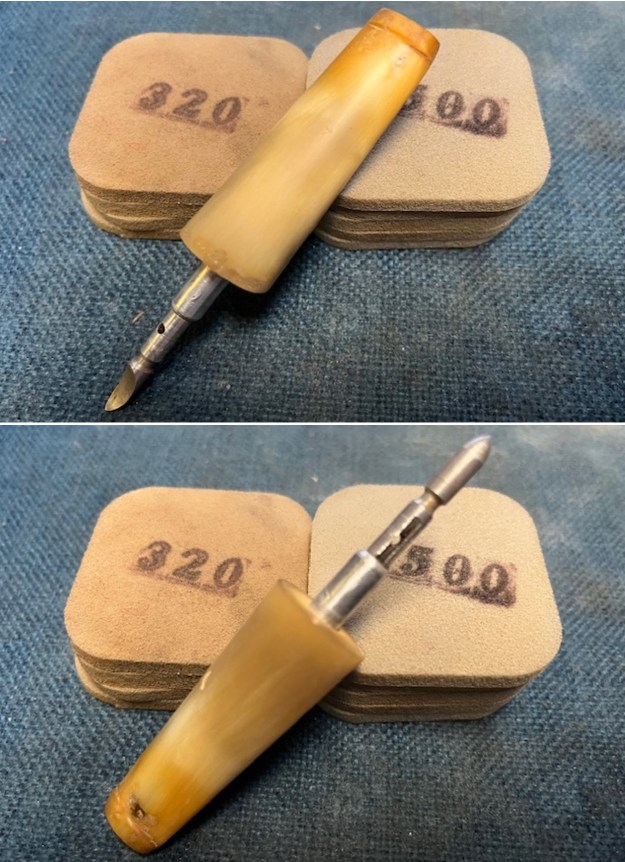
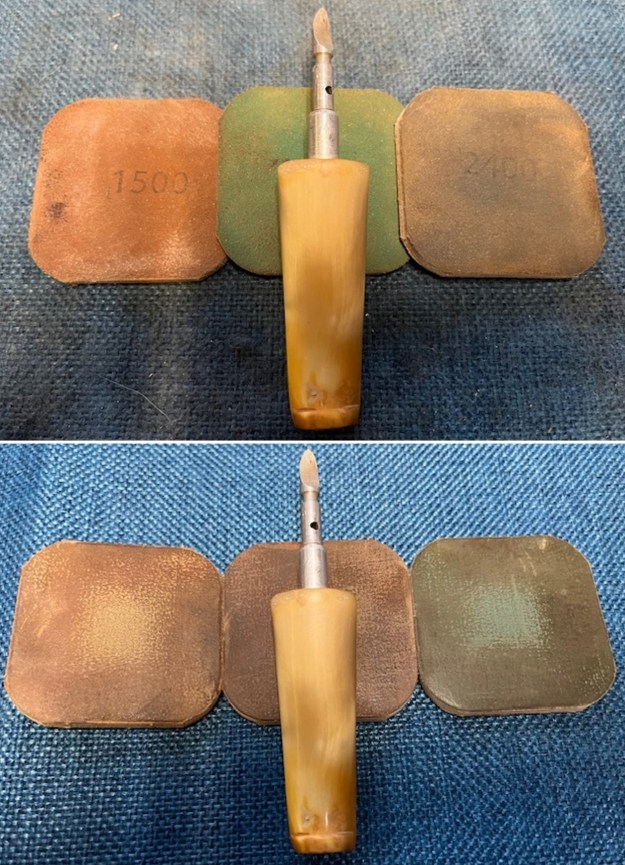
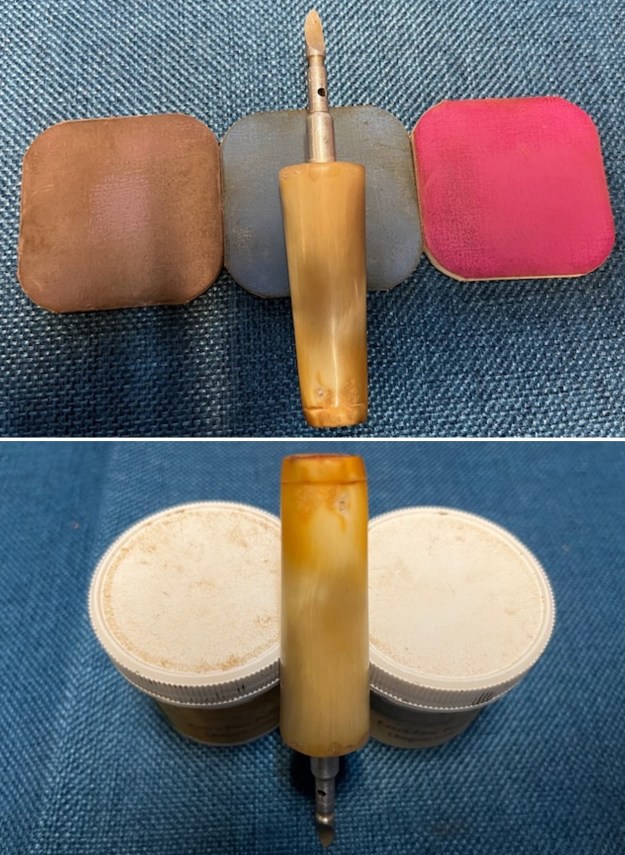
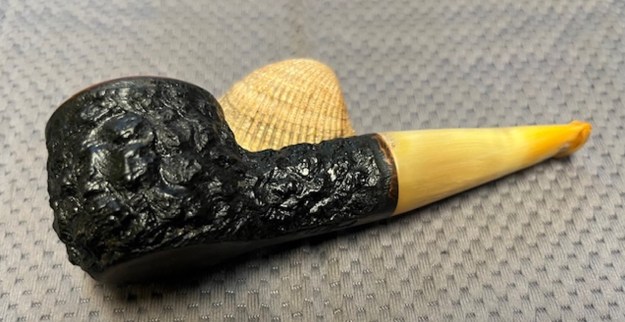
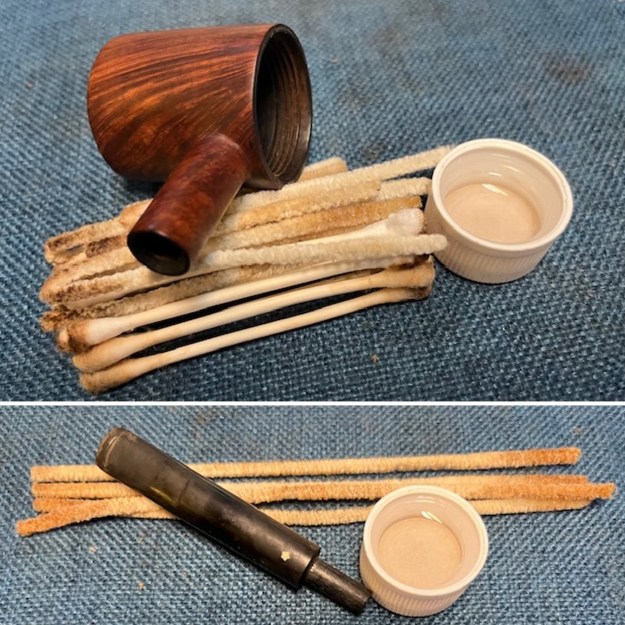
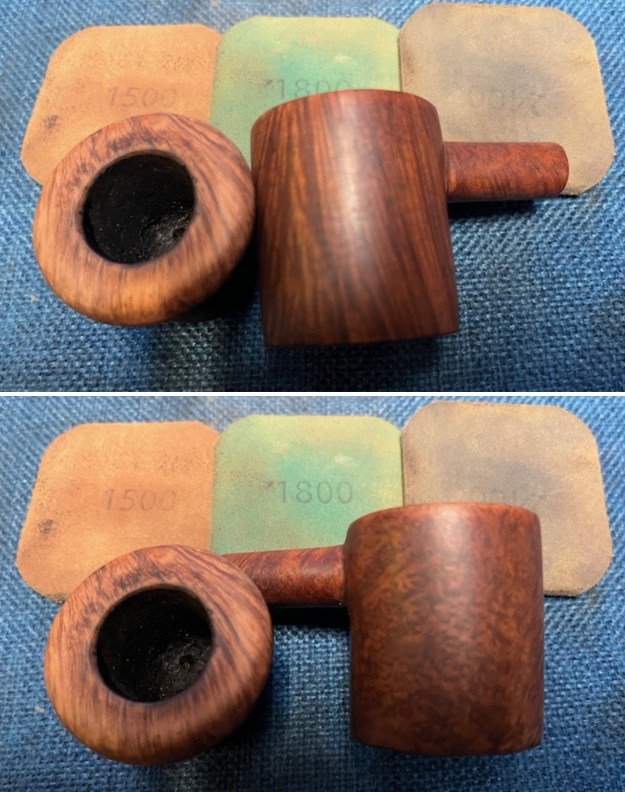
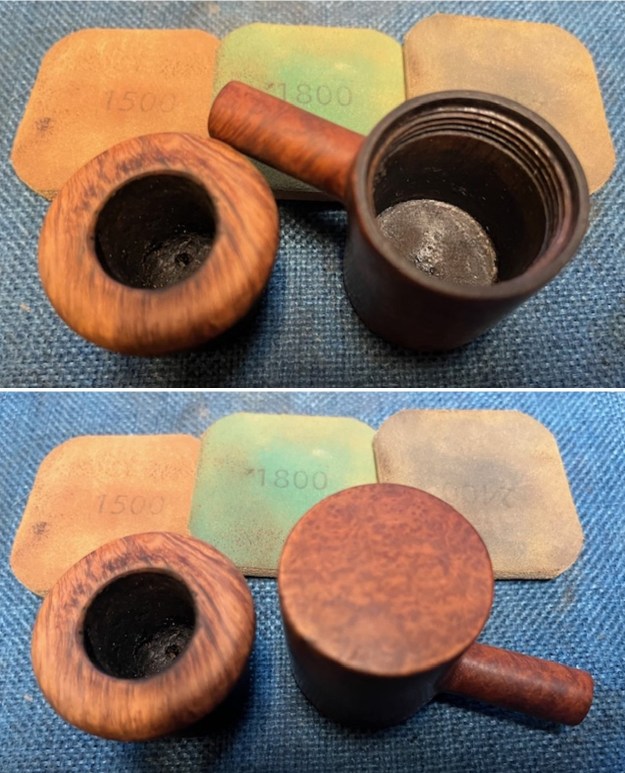
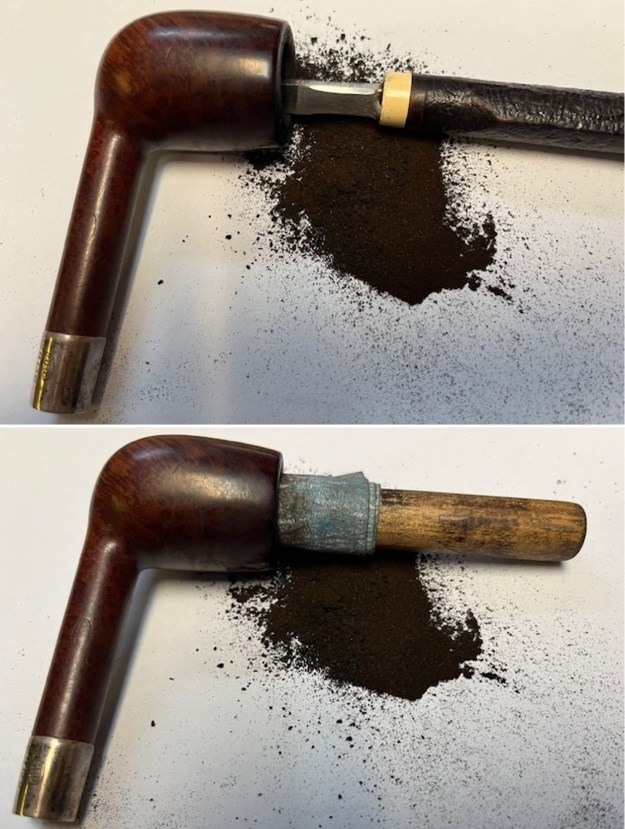
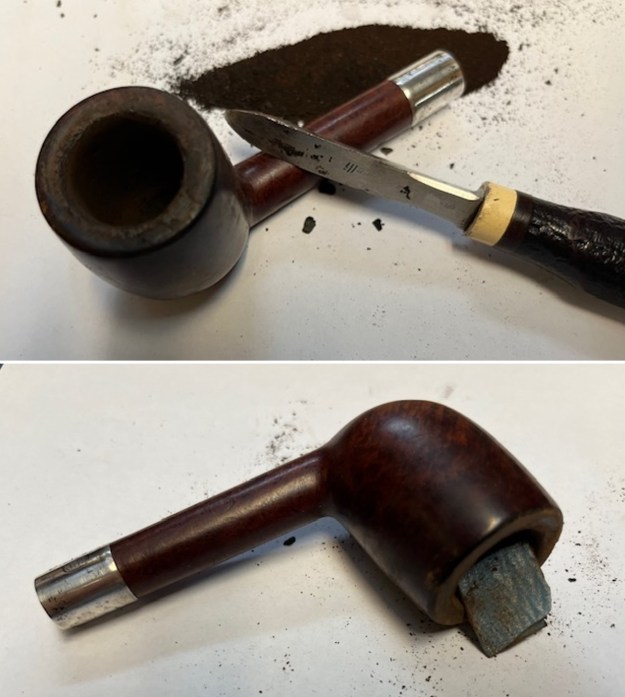
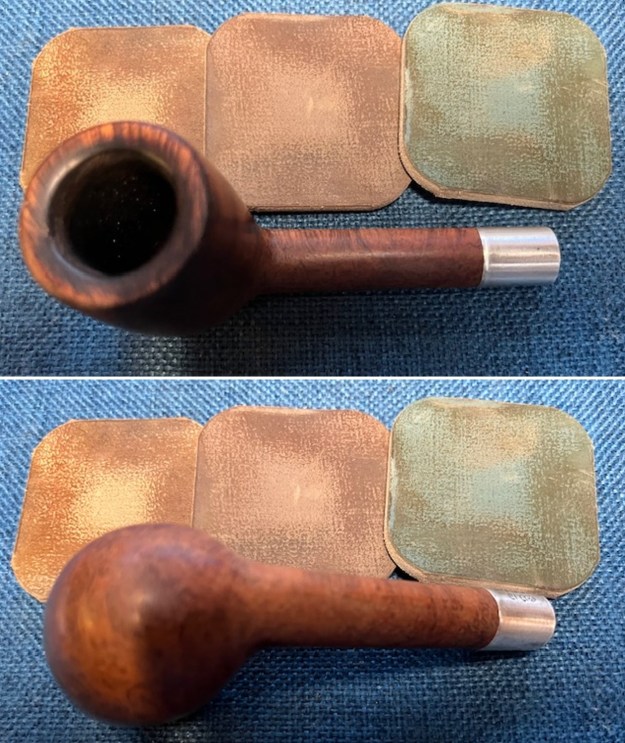
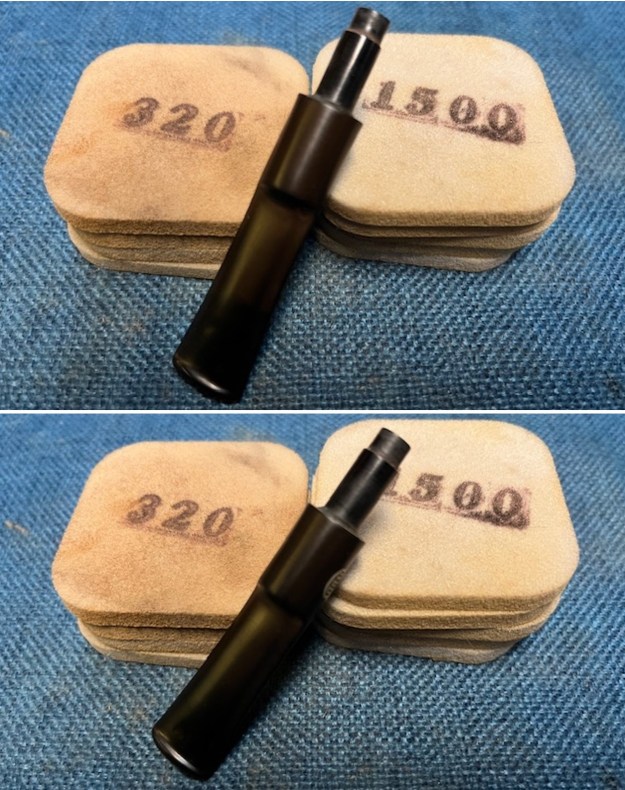
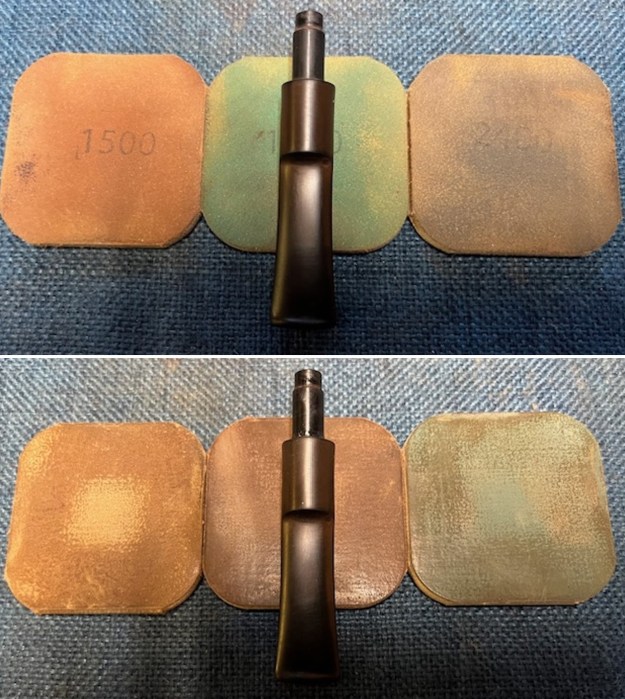
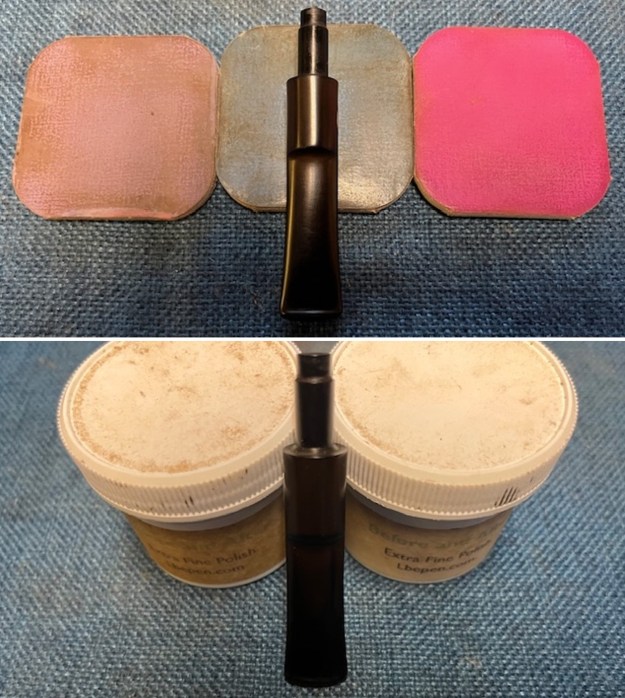
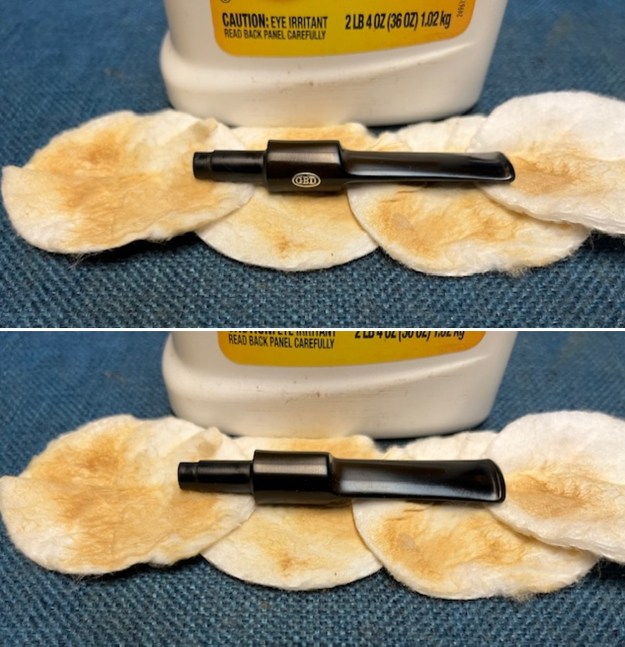
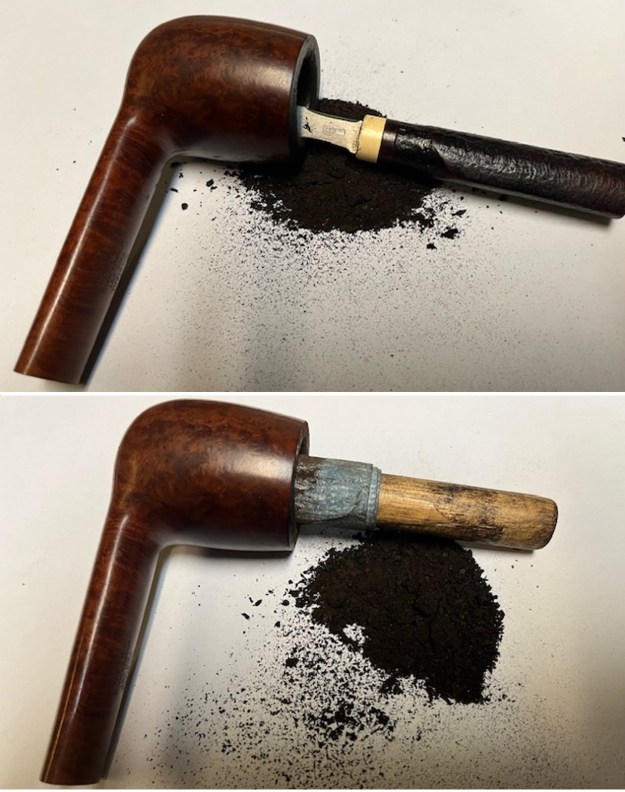
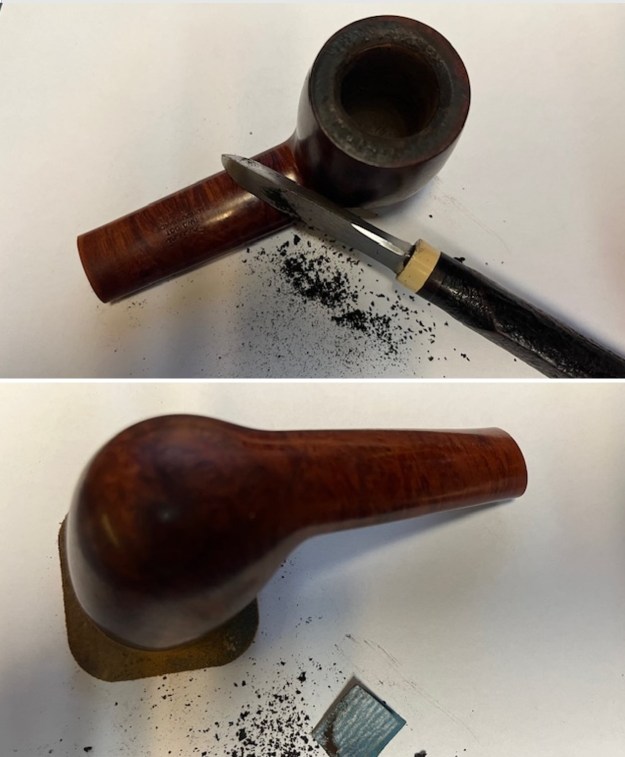
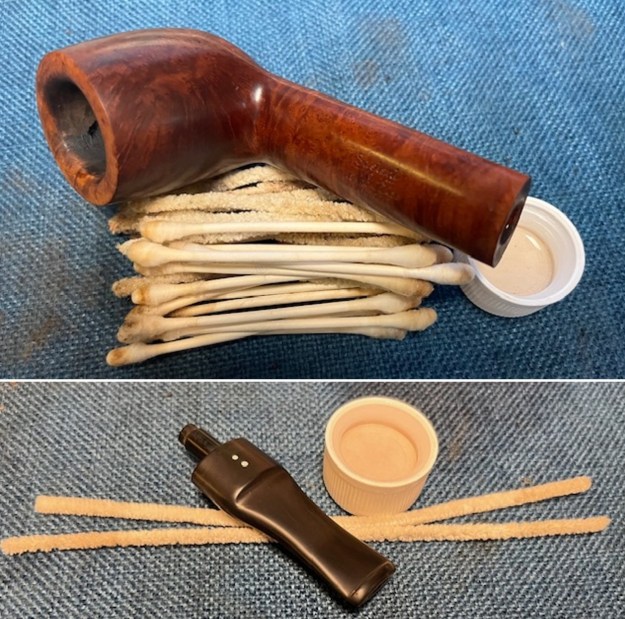
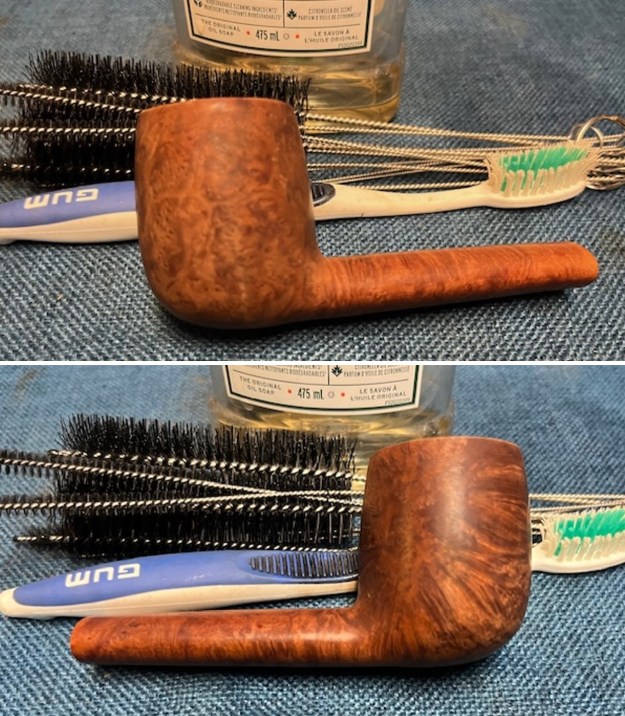
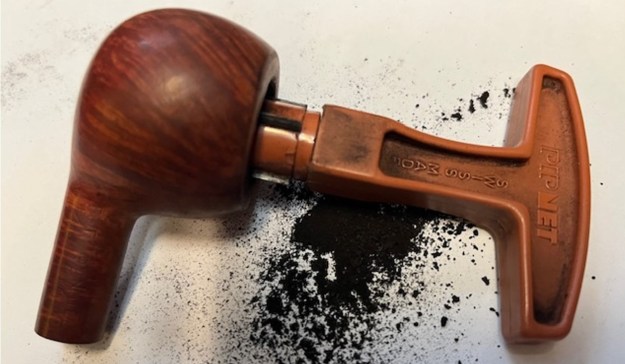
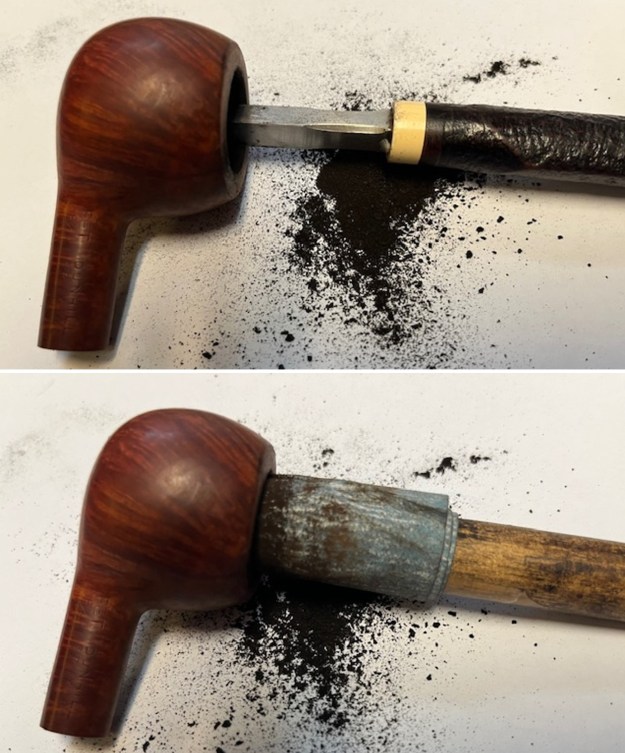
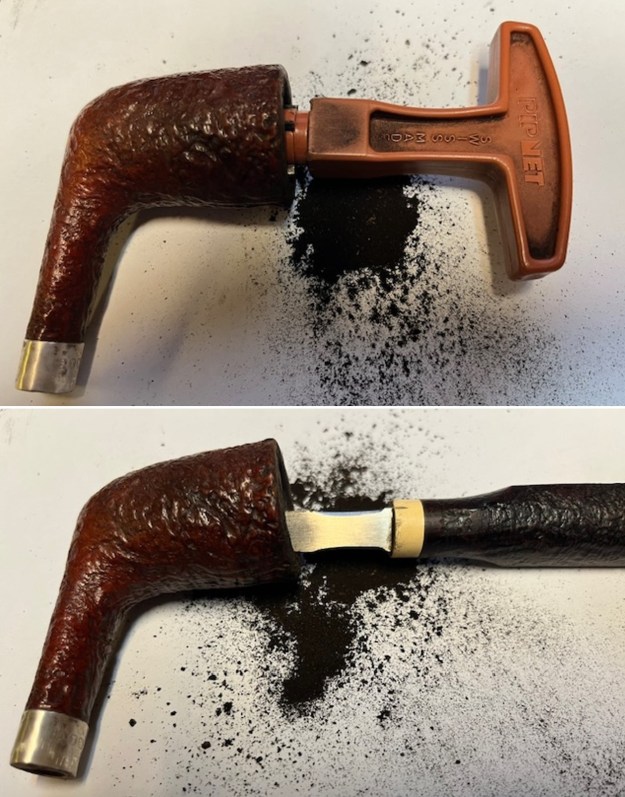
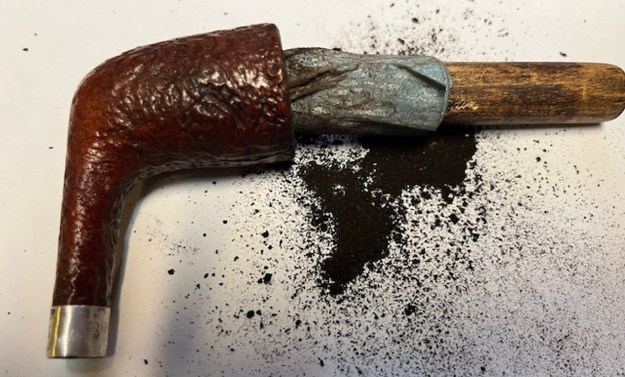
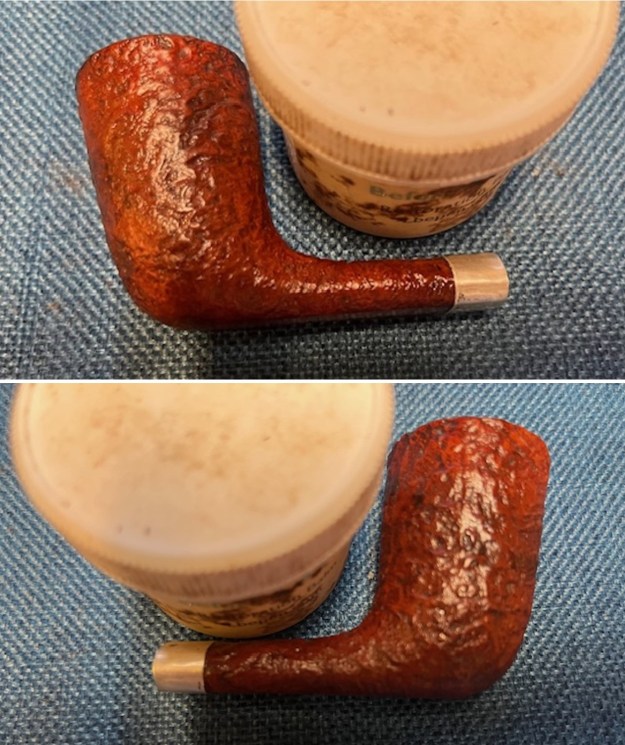
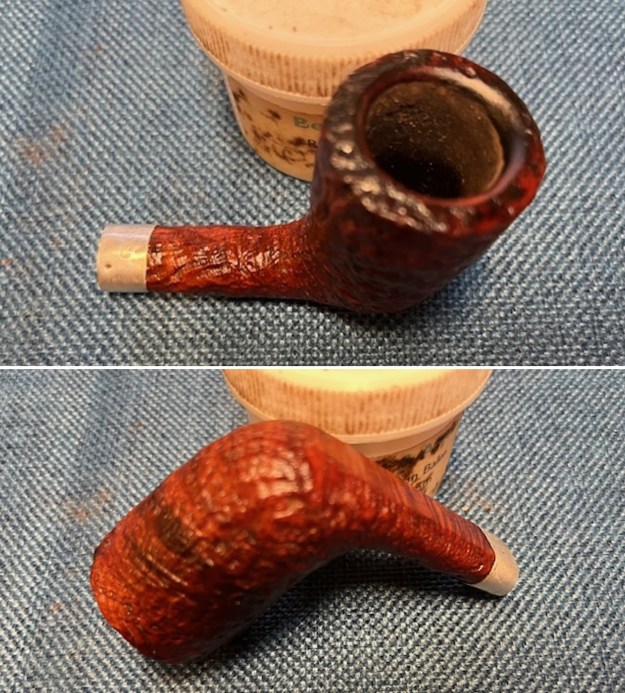
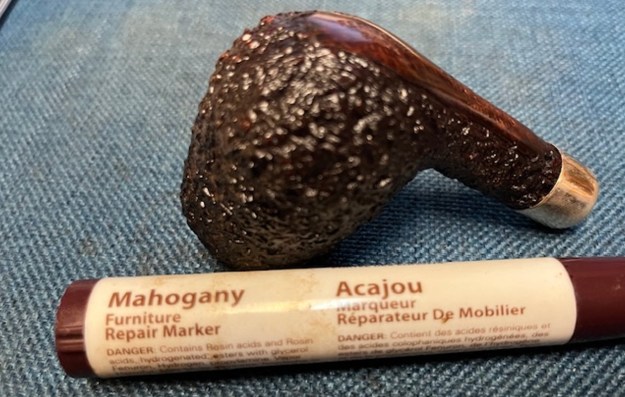
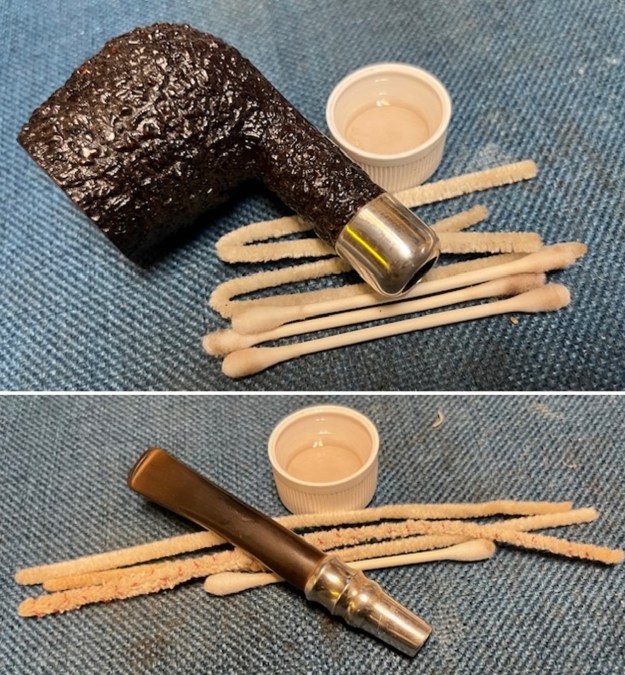
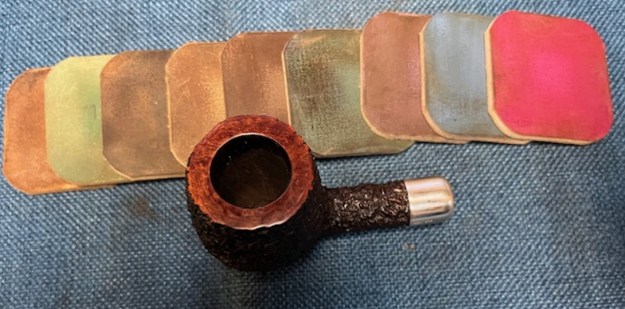
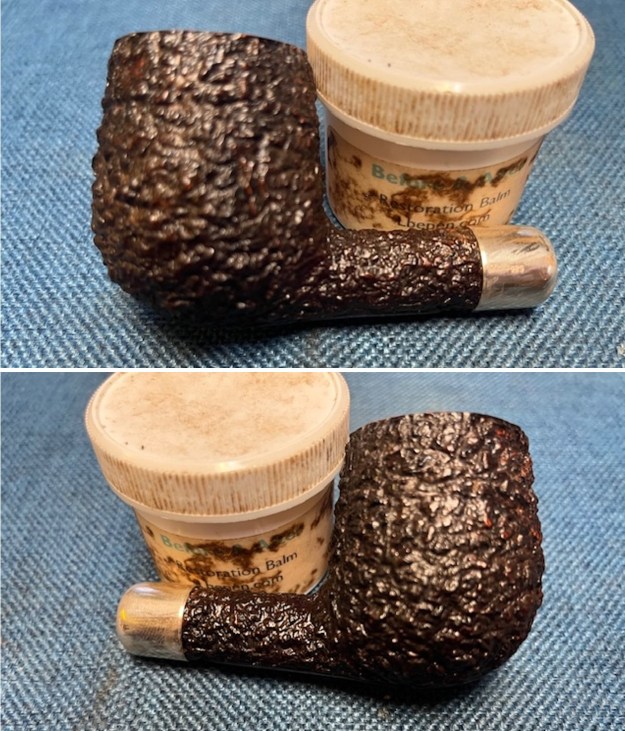
Now it was time to work on the pipe. I started my work by reaming the pipe. I scraped out the light cake with a Savinelli Fitsall Pipe Knife. I took the cake back to bare briar. I sanded the walls smooth with 220 grit sandpaper wrapped around a piece of dowel. The bowl walls looked very good with no burn damage or checking on the walls. I worked on the fading and damage to the rim top with 320-3500 grit sanding pads. It looked much better when I had finished with the last of the pads.At this point I stained the rim top and the faded areas around the bowl with a Mahogany stain pen. It blended well with the surrounding briar on the bowl sides. The rim top looked better but I would need to polish it and clean up the finished look of the rim top. I cleaned out he internals of the shank, mortise and airway in the shank and the stem with alcohol, cotton swabs and pipe cleaners.I polished the smooth rim top with micromesh sanding pads. I dry sanded it with 1500-12000 grit sanding pads and wiped the bowl down after each pad with a damp cloth. By the final pads the briar really had a shine. I rubbed the briar down with Before & After Restoration Balm. I worked it into the smooth rim top surface with my fingertips and into the heavy rustication with a shoebrush. The product works to clean, enliven and preserve the briar. I let it sit for 10 minutes then I buffed it with a cotton cloth to deepen the shine. The briar really comes alive with the balm. I polished the silver ferrule and the spigot end on the stem with a jeweller’s cloth to clean up and prevent further oxidation in the future. The contrast between the silver and the heavy rustication is very nice. I set the bowl aside and turned my attention to the stem. I scrubbed the oxidation on the stem surface with Soft Scrub and cotton pads until it was much cleaner.I sanded the surface with 320-3500 grit sanding pads. I wiped the stem down after each pad with Obsidian Oil. I was able to remove the remnants of oxidation and the stem looked better.I touched up the LJS stamp on the left side of the taper stem with Rub’n Buff Antique Gold. I rubbed it on and worked it into the stamp with a tooth pick. I buffed it off with an Obsidian Oil cloth. It looks very good.I polished the vulcanite stem with micromesh sanding pads – 1500-12000 grit pads. I wiped it down with Obsidian Oil after each sanding pad. I used Before & After Pipe Stem Polish – both Fine and Extra Fine to further polish the stem. This beautiful Ferndown Bark Rusticated L&JS Briars Silver Spigot Billiard with a taper vulcanite stem looks amazing after the work on it. The briar is clean and the grain really came alive. The rich brown stains gave the finish a sense of depth with the polishing and waxing. The grain really popped. I put the stem back on the bowl and buffed the pipe with Blue Diamond on the buffing wheel using a light touch on the briar. I gave the bowl multiple coats of Conservator’s Wax and the stem multiple coats of carnauba wax on the buffing wheel. I buffed the pipe with a clean buffing pad to raise the shine. I hand buffed the pipe with a microfiber cloth to deepen the shine. The finished Ferndown Bark Silver Spigot Billiard really is a beauty and feels great in the hand and looks very good. Give the finished pipe a look in the photos below. The dimensions of the pipe are Length: 6 ¾ inches, Height: 2 inches, Outside diameter of the bowl: 1 ½ inches, Chamber diameter: 7/8 of an inch. The weight of the pipe is 66 grams/2.33 ounces. This beautiful rusticated pipe will soon be on the rebornpipes store in the British Pipemakers Secton. It should make a great smoker for the next trustee. Thanks for reading this blog and my reflections on the pipe while I worked on it. It was a fun one to work on.
Renewing an UNSMOKED Briarcraft Smokemaster Custom Made Patent Apple


By Steve Laug

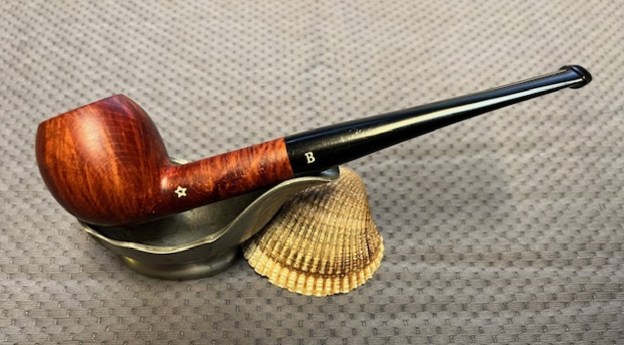
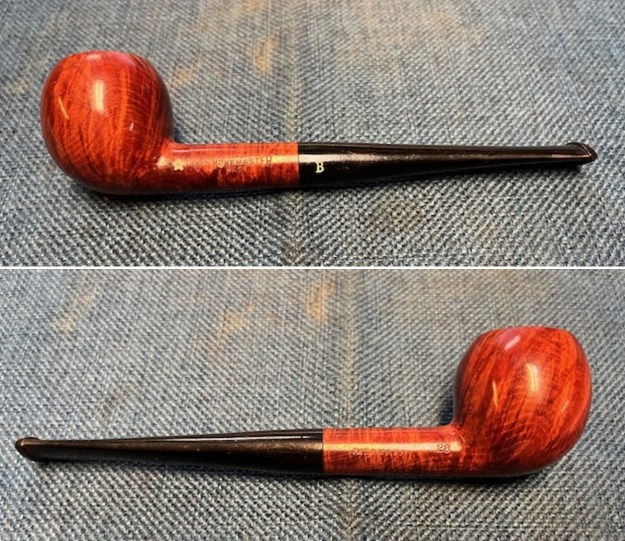
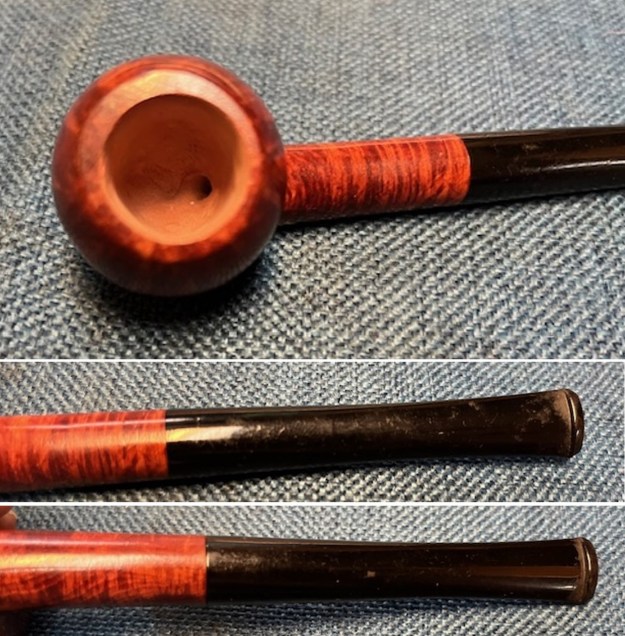
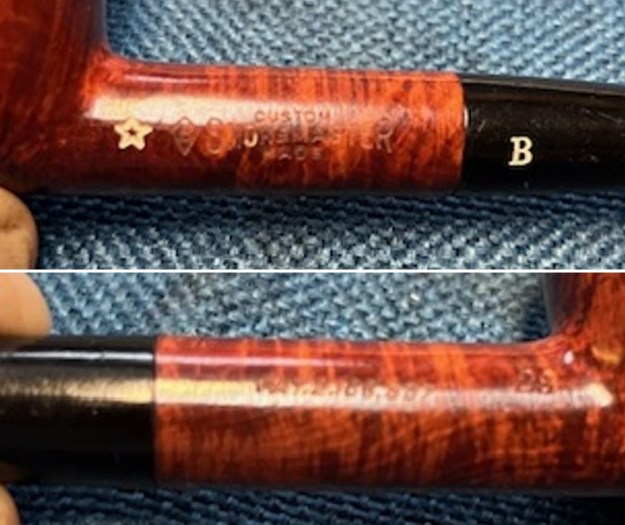
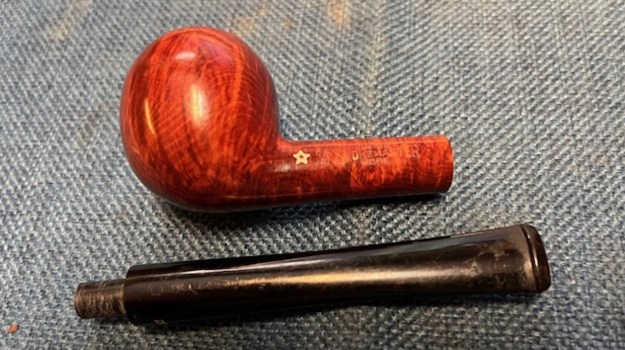
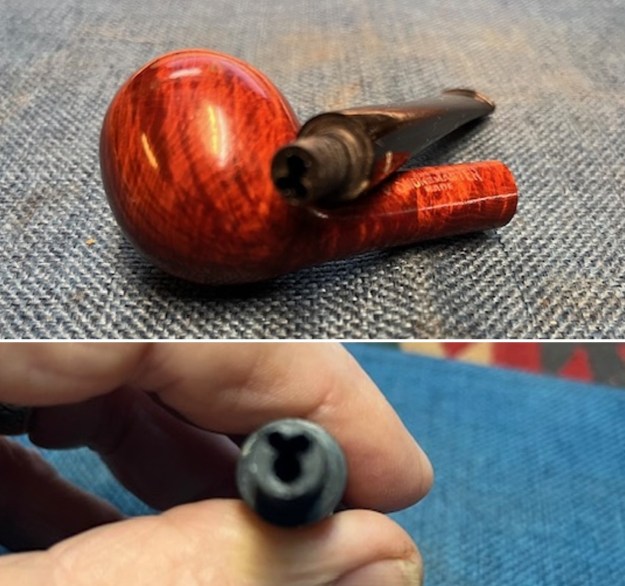
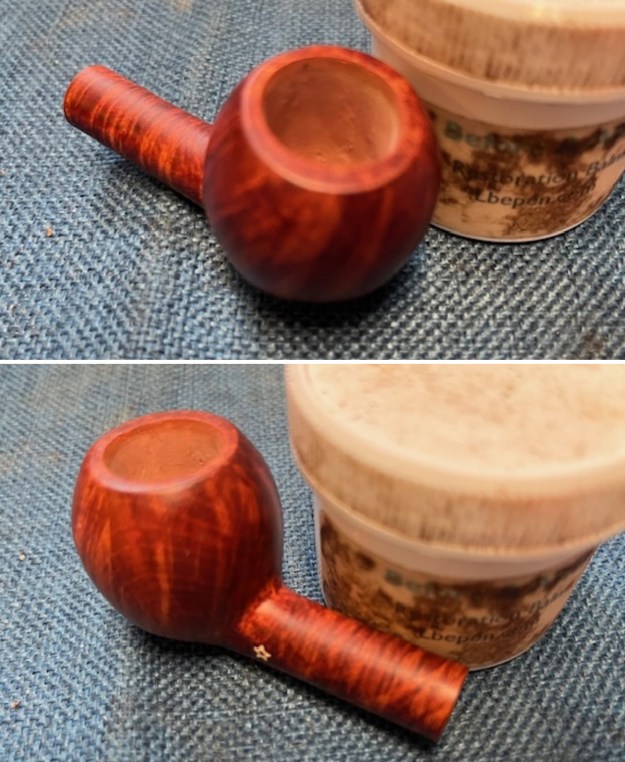
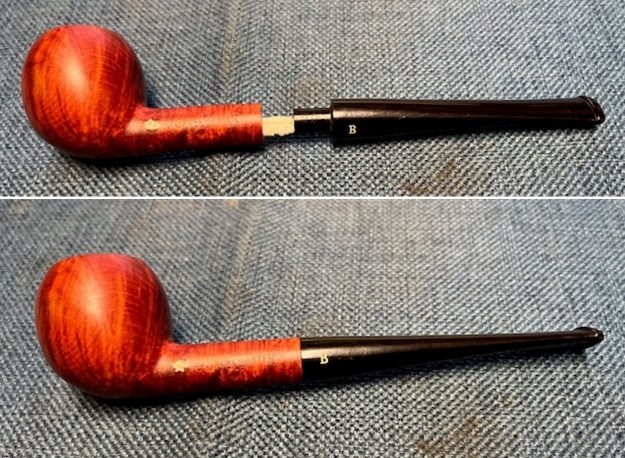
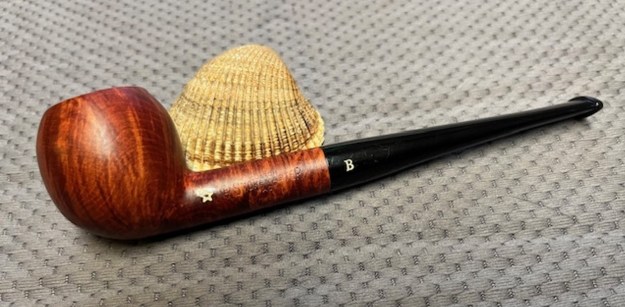
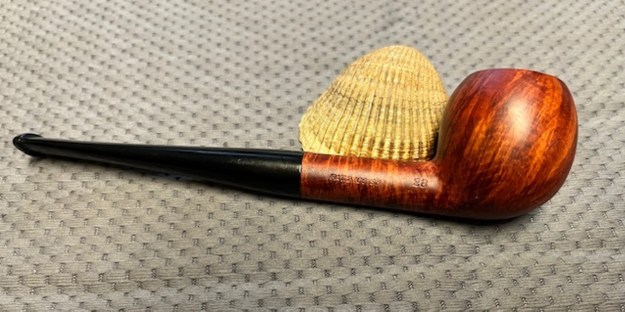
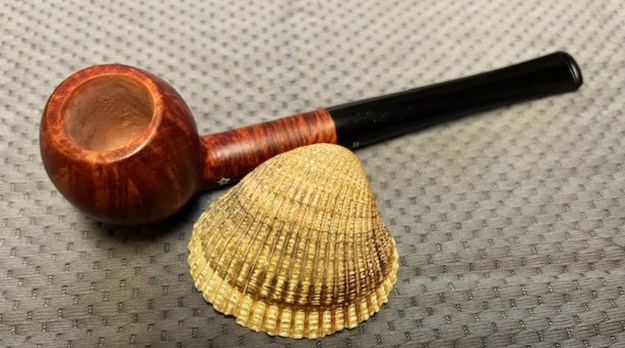
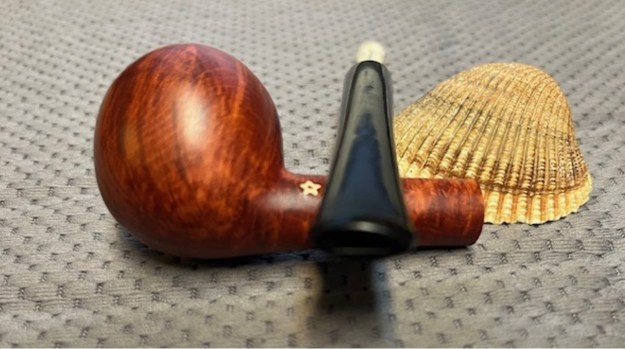
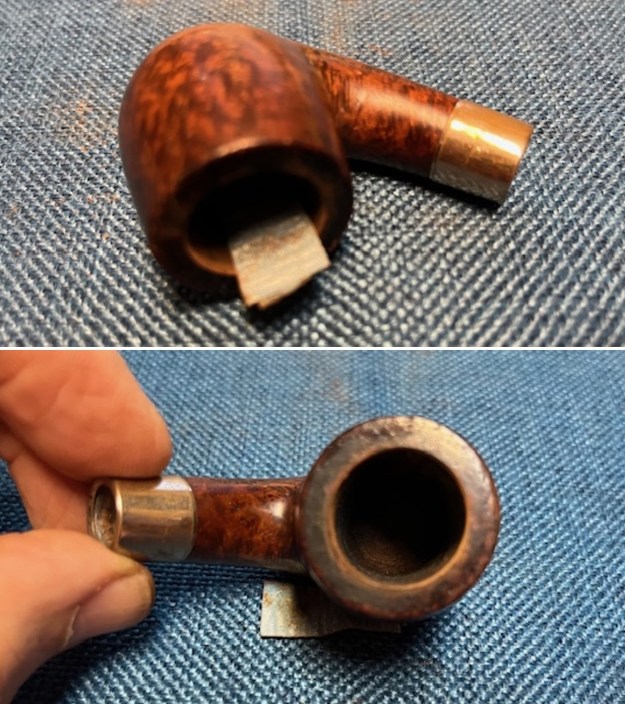
The next pipe is one that has been sitting here for quite awhile in a box of unsmoked/new old stock pipes that I have here. I went through them yesterday and sorted the out. I put all of them on the rebornpipes store but this one. There was just something about it that grabbed my eye. It is a classic apple shaped pipe that is stamped on the left side of the shank and has a white hollow star next to the shank followed by the Briarcraft logo – a B in a diamond. Next to that it is stamped Custom [over] SMOKEMASTER [over] Made. On the right side of the shank it was stamped Pat. 2.166.537. The was a white letter B on the left side of the shank – the Briarcraft logo. We picked up the pipe on 11/09/2023 from a seller in Nampa, Idaho, USA. The pipe is unsmoked and the bowl is fresh. The finish on the bowl and shank is very shiny with varnish or possibly shellac but it is peeling and cracking in places. The grain on the pipe was quite stunning and would really shine through once the finish was gone. It was an incredibly lightweight pipe to hold. The stem is dirty with some sticky stuff from possibly a price tag and some nicks and scratches from laying around a long time somewhere. I took photos of the pipe to show its condition before I started working on it. It was going to be a pretty simple cleanup. I took closeup photos of the unsmoked, new briar bowl and rim top to clearly show the condition of both. The condition matches what I described above. I also took photos of the stem to show the sticky spots and scratches on the stem surface ahead of the button on each side. I took photos of the stamping on the sides of the shank. It is clear and readable as noted above. The varnish around the stamping and the white star is peeling and crackled. The B logo on the left side of the stem is clear and in good condition. I removed the stem and took a photo of the pipe to give a sense of the proportions of the pipe. I tried to capture the three holes in the end of the tenon. I laid the stem on the shank to try to capture it and I held it and took a photo of the tenon end. It is an interesting drilling that almost looks like a mouse head with the two ears.I had cleaned up a Smokemaster Bard Billiard in the past but it did no have the original stem like this one. I went back and reread the blog to remind myself of what I had learned in the process of working on that pipe (https://rebornpipes.com/2013/12/23/giving-a-smokemaster-bard-billiard-a-facelift/). I have included a bit of the information that I had included on that blog below:

I knew nothing about Smokemaster pipes and had no idea who made them. The finish and shape reminded me a lot of Dr. Grabow pipes that I have reworked but that was not enough for me. As has become my habit with pipes I don’t know about, I did a bit of research on the web and found out that the pipe was made by the Briarcraft Pipe Company. The Company was very prosperous between 1920 and 1940. They produced both Briarcraft pipes and a line of seconds under the following names: Airo, Arcadian, Briarmeer, Smokemaster, Cavalcade, Hallmark, Sterling Hall, Filter Kleen and Wimbledon. They closed their doors in 1950.

The pipe that I was working on currently was definitely made pre-1950 and the stamping was clearly made by Briarcraft. The beauty of that is that the pipe was clearly made between between 1920-1950 when they closed their doors. Perhaps when I check the patent information I will learn more and be able to pin down the date a bit more.

I turned to the article on Pipedia (https://pipedia.org/wiki/Smokemaster) to see what I could learn there. I was expecting a bit of info on both Briarcraft and Dr.Grabow. So it would take a bit of filtering.

Smokemaster pipes are unusual in that they had two different makers in different time periods, and in the style of their tenon.

The tenon had a single aluminum inner tube and two holes which were meant to hold a pipe cleaner folded in half, one end in each hole. The pipes were first made by Briarcraft, in lines including the Custom-made, Standard, and Bard. That company went out of business in the 1950s. In 1967 Dr. Grabow bought the rights to the name and the system, and began producing Smokemasters in three lines, stamped 100, 200 and 300. These pipes had a red diamond logo on the stem.

In addition, both Briarcraft and Dr. Grabow made Smokecraft pipes which were not stamped with that name, but with L. L. Bean. The pipes continued to be produced into the 1990s in Sparta, North Carolina, and were offered as a mail order pipe on packets of Dill Pipe Cleaners at one point. They are no longer produced.

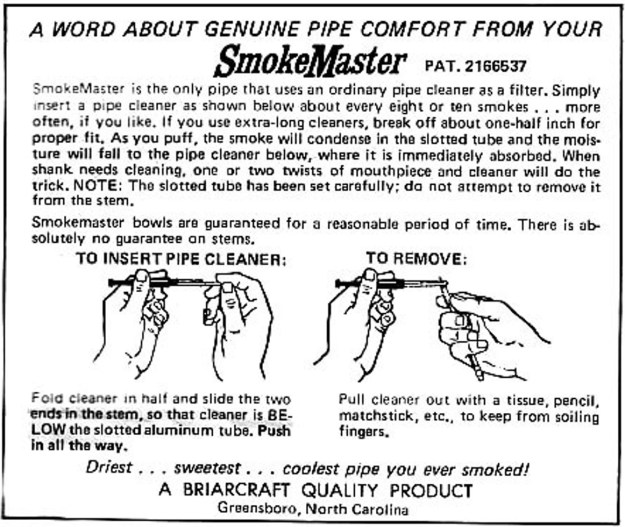
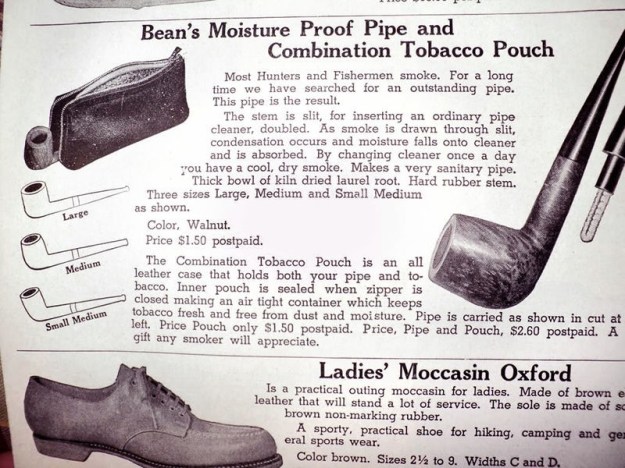
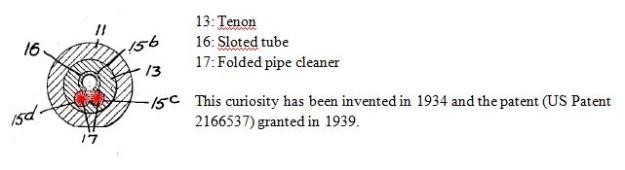
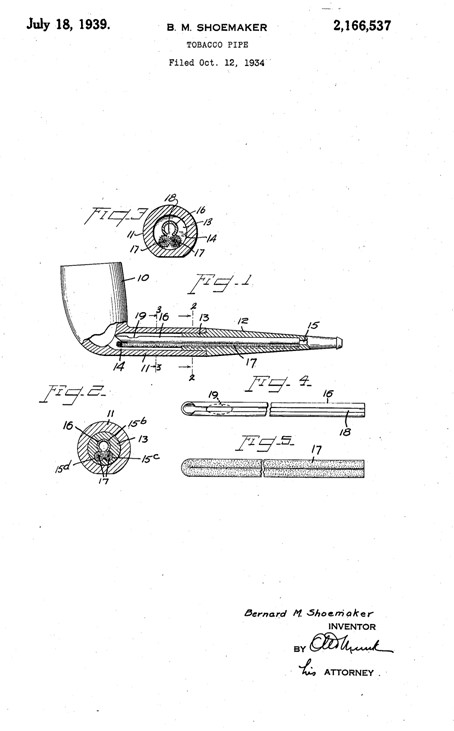
I have included two advertisements from the site that had helpful information on the special filter system using pipe cleaners. Read over the first advertisement below. It has the same patent number as the pipe I am working on. It also has a clear explanation of the unique pipe cleaner filter system in the stem. The second advertisement show the same pipe with the specifics of an L.L. Bean pipe that has the same pipe cleaner filtration system. I then turned to Pipephil’s site (http://pipephil.eu/logos/en/logo-s9.html) to have a look at the information included there. I have included a screen shot of the information there. The logo on the stem of the shank of the pipe I am working on is identical to the one shown in the first photos below. I have included only the section on the Briarcraft version of the pipe made prior to the buyout by Dr. Grabow.I found out that the Smokemaster had a very unique filter system and was distinct from other filter systems in that it did not include a stinger apparatus. Rather it used a slotted tenon/tube that had two special holes in it (shown in red in the drawing below of the tenon end). A folded pipe cleaner was inserted into the two holes and extended the length of the shank. It collected the tars and moisture of the smoke and could be easily changed and replaced by the pipe smoker. The diagram below shows the design from the end of the tenon.I did a patent search and it gave me the following information. This includes both the original description by the inventor and also a diagram submitted at the time of the patent application. I found it at this site:

https://www.google.com/patents/US2166537?dq=2166537&hl=en&sa=X&ei=r2u4UtPOHI_ZoAT9moHYCg&ved=0CEAQ6AEwAQ

I have included that information below on the same patent number:

Description
1939 – B. M. SHOEMAKER 2,166,537
TOBACCO PIPE Filed Oct. 12, 1934 crnar B.M. Shoemaker INVENTOR v ATTORNEY Patented July 18, 1939 UNITED STATES PATENT OFFICE

1 Claim.

My invention relates to tobacco pipes and more particularly to the type in which the bit and bowl portions are separately united to each other.

The principal object of my invention is to maintain the smoke passage in the pipe substantially free of solid deposits, making for general cleanliness in the interior of the pipe and sweet, cool smoking qualities.

I accomplish this object by arranging within the pipe a readily replaceable absorptive member which is designed to receive condensate and solid matter from the smoke as it passes through the pipe. The preferred form of such absorptive member is an ordinary pipe cleaner which, as is well known in the art, comprises a highly flexible metallic core portion carrying a large number of bristles extending there from.

One embodiment of the invention is illustratively exemplified in the accompanying drawing in which Fig. 1 is a longitudinal sectional view of a pipe; Fig. 2 is a transverse sectional view on the line 22 of Fig. 1; Fig. 3 is a transverse sectional view on the line 3-3 of Fig. 1; Fig. 4 is a broken elevation view of a metallic tube or liner constituting one of the pipe elements; Fig. 5 is an elevation view broken intermediate its ends, of the form of absorptive member used in the present construction.

Referring to the drawing, and more specifically to Figs. 1 to 3, denotes the pipe bowl, 1 the bowl stem, 2 the bit and 3 the tenon by which the bit and bowl stem are separately united. The bowl stem has the usual well l4 and the bit the usual smoke or draft passage 15. The bit 12 is further provided with three bores, 15b, c, d, and forming a continuation of the smoke passage 16. A metal tube 16 is provided which is longitudinally slotted at its lower portion and through the slot l8 the products of well be omitted. The tube l6 lies in the bore 15b. The pipe cleaner is doubled upon itself and the two legs or branches of the pipe cleaner enter the bores 15c and l5d and rest there during use of the pipe. The bores 15c and l5d parallel the bore 15b at opposite sides of its longitudinal centre. The embodiment of the invention described is a very desirable construction inasmuch as it receives a standard length pipe cleaner, which in its folded position in the passage 14 is offset from the axis thereof, and which when rotated or twisted with the tenon to seat the same the folded strands of the cleaner engage and brush or clean the wall of the bore.
The operation of the device is very simple. The pipe is sold complete with the pipe cleaner in position. After the pipe has been used for a length of time it will be found that the pipe cleaner is practically saturated with deposited matter. Thereupon the pipe cleaner is simply removed from the pipe and a new one inserted in its place. If desired, the cleaner may also be used in the ordinary manner, naturally before it has become fouled, by moving it back and forth once or twice through the draft passage l5 and/or tube.

What I claim is: In a tobacco pipe, a bowl portion having a stem provided with a central bore, and a bit portion for said stem, the bit having a centrally disposed smoke passage and grooves arranged in the bottom of said passage, a tubular liner mounted in the smoke passage and adapted to project into the bore of the stem, said liner having its underside provided with a longitudinal slot opening into the grooves and bottom of the central bore of the stem beyond the bit, and an absorptive member mounted in said grooves and arranged under the liner throughout its length to receive condensate from the liner and to wipe the wall of said bore when the bit is turned.

BERNARD M. SHOEMAKER.
Classifications

U.S. Classification 131/184.1, 131/203

International Classification A24F1/00

Cooperative Classification A24F1/00, A24F2700/03

European Classification A24F1/00
I find that kind of information fascinating and am always intrigued by the ongoing urge of pipe designers to provide a cooler and cleaner smoke for the pipeman who uses their inventions. The patent information helped me to also pin down the date of manufacture. In this case I now knew that the pipe I had in hand was made between 1939 and 1950, a nice 11 year window. It was a real beauty and with the clean up it would only look better. Now it was time to work on the pipe itself.

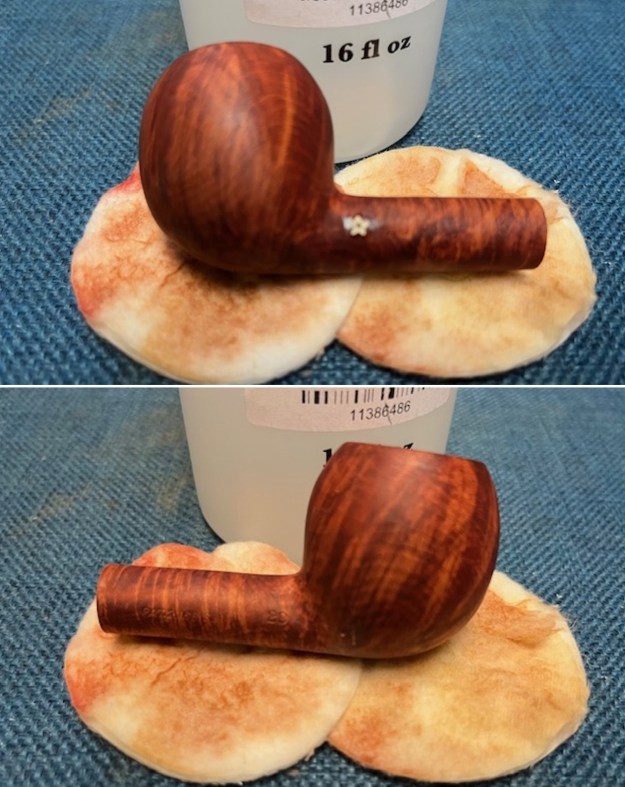
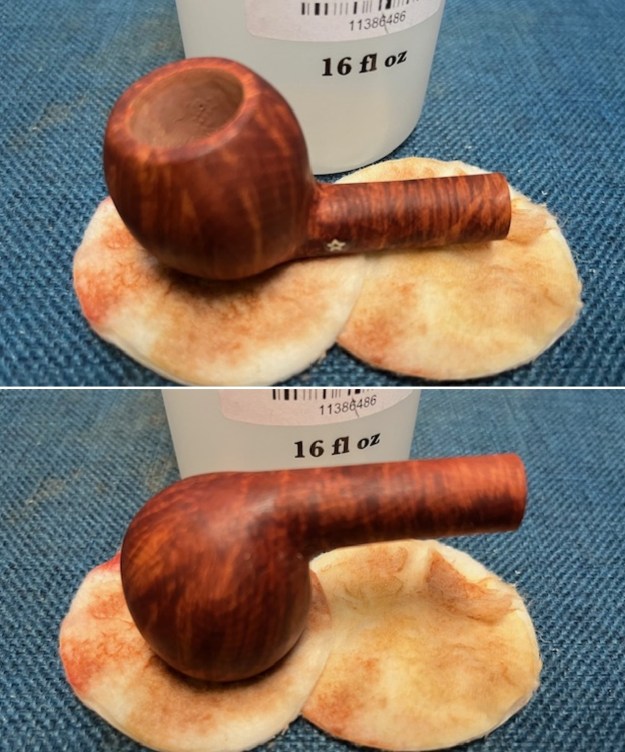
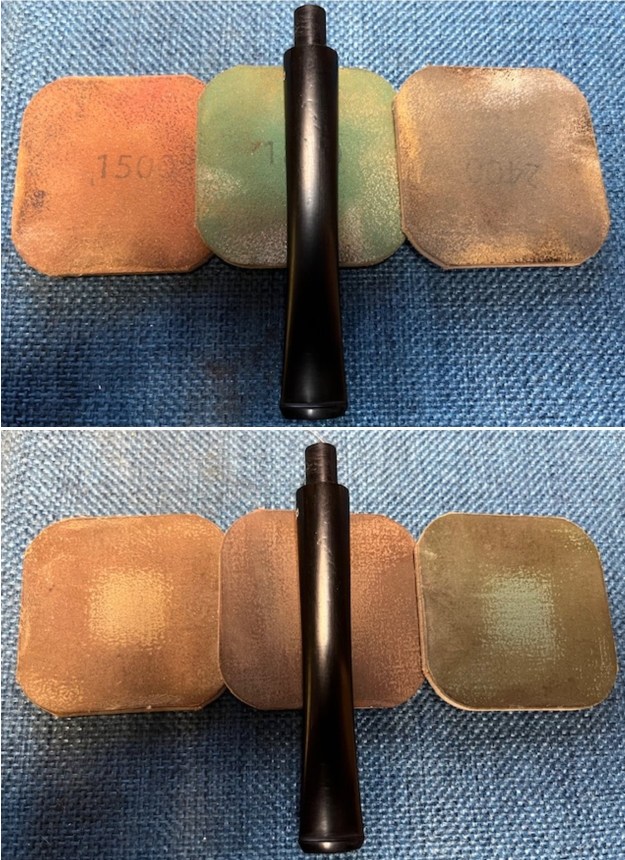
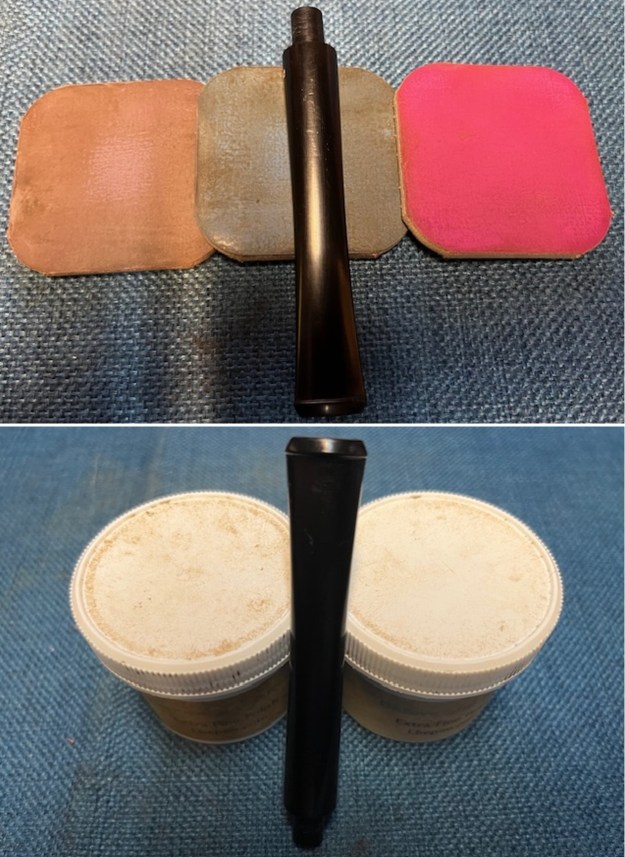
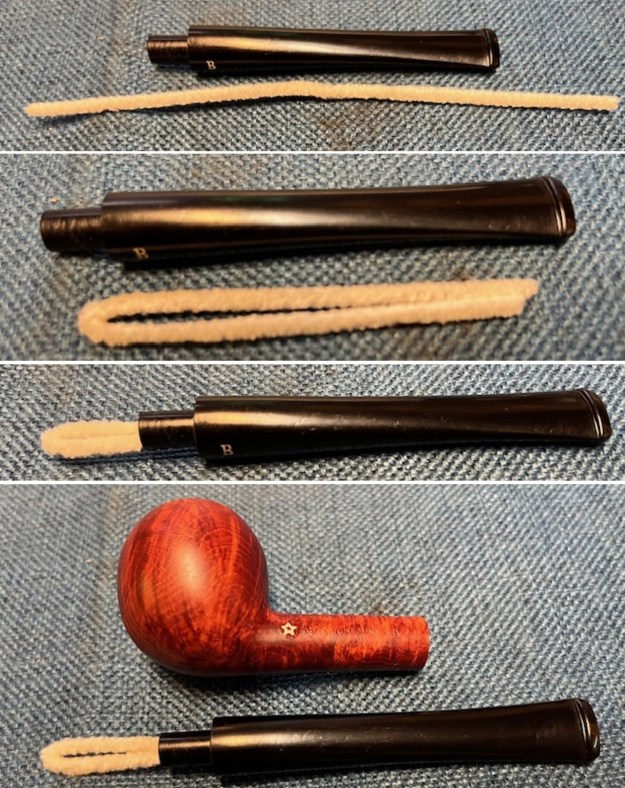
I began by removing the peeling and spotty varnish coat with acetone on a cotton pad. What made this a bit tricky was the white stamped star outline on the left side of the briar next to the bowl. It had been painted and I did not want to damage that colour. Once the varnish coat was removed I polished the briar with micromesh sanding pads – dry sanding with 1500-12000 grit sanding pads. I wiped the bowl down with a damp cloth after each pad. By the end of the process it looked quite good. I rubbed the bowl and shank down with Before & After Restoration Balm. I worked it into the surface of the bowl sides and shank with my fingertips. It works to clean, enliven and protect the briar. I let the balm sit for 15 minutes and buffed with a cotton cloth to raise the shine. The grain came alive. I polished the vulcanite stem with micromesh sanding pads – 1500-12000 grit pads. I wiped it down with Obsidian Oil after each sanding pad. I used Before & After Pipe Polish – both Fine and Extra Fine to further polish the stem. I rubbed it down with a final coat of Obsidian Oil and let it dry. With the stem cleaned up it was time to fit the tenon with the folded pipe cleaner filter as shown in the photos of the advertisements and also patent information. I took photos of the process. This Unsmoked Briarcraft Smokemaster Custom Made Pat. 2.166.537 is quite a stunning pipe now that it has been stripped and restored. The beautiful grain around the bowl works well with both the shape and the polished vulcanite taper stem. I put the stem back on the bowl and carefully buffed the pipe with Blue Diamond on the buffing wheel using a light touch on the briar. I gave the bowl and the stem multiple coats of carnauba wax on the wheel and followed by buffing the pipe with a clean buffing pad. I hand buffed the pipe with a microfiber cloth to deepen the shine. The finished Briarcraft Smokemaster Custom Made Apple fits nicely in the hand and feels great. Give the finished pipe a look in the photos below. The dimensions of the pipe are Length: 6 inches, Height: 1 ½ inches, Outside diameter of the bowl: 1 inch, Chamber diameter: ¾ of an inch. The weight of the pipe is 22 grams/.78 ounces. I will be putting this interesting old timer in my own collection of unique pipes. Thanks for reading this blog and my reflections on the pipe while I worked on it. I appreciate your support and time!
Reworking another trade, a Borlum KB&B Italian Briar Unbreakable Stem Bent Billiard


by Steve Laug

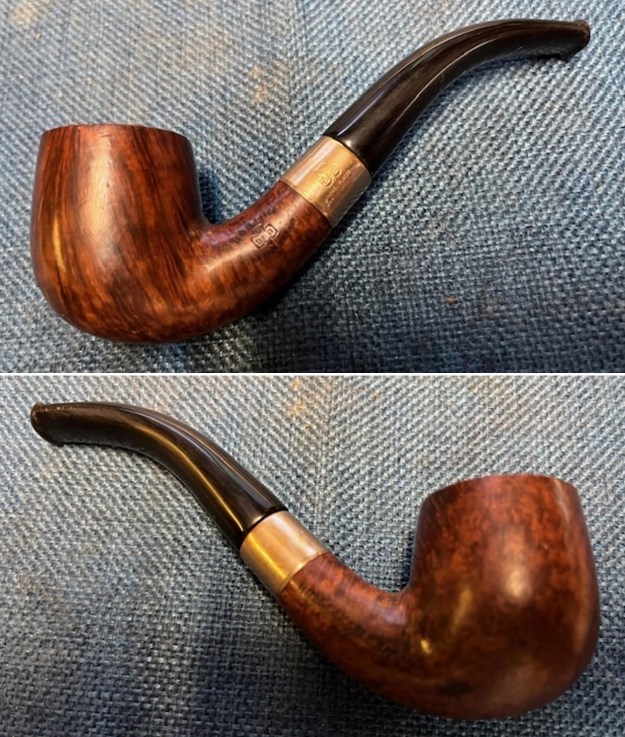
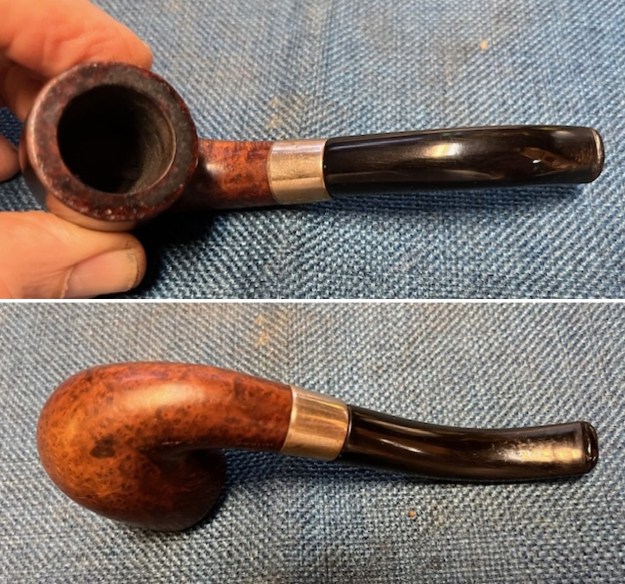
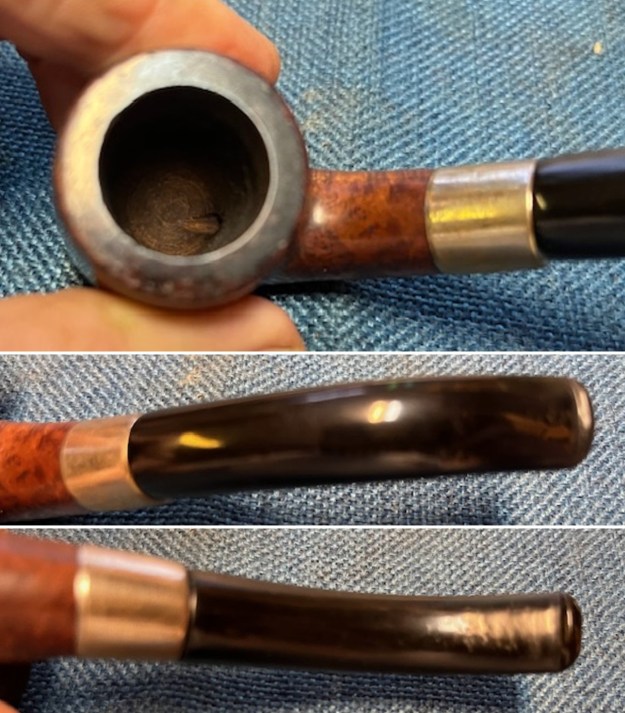
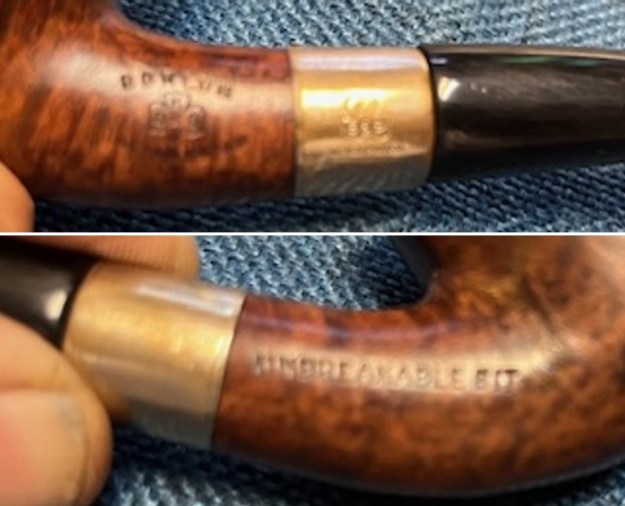
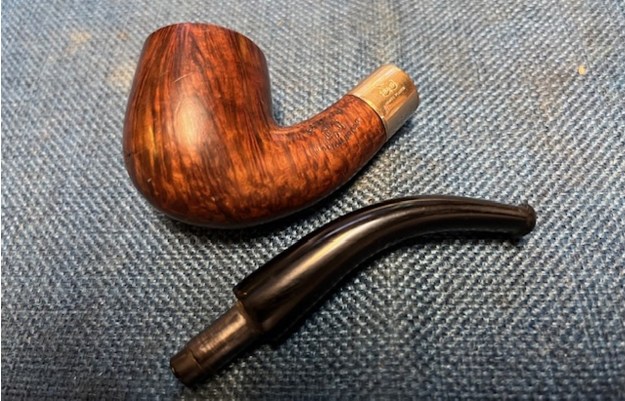
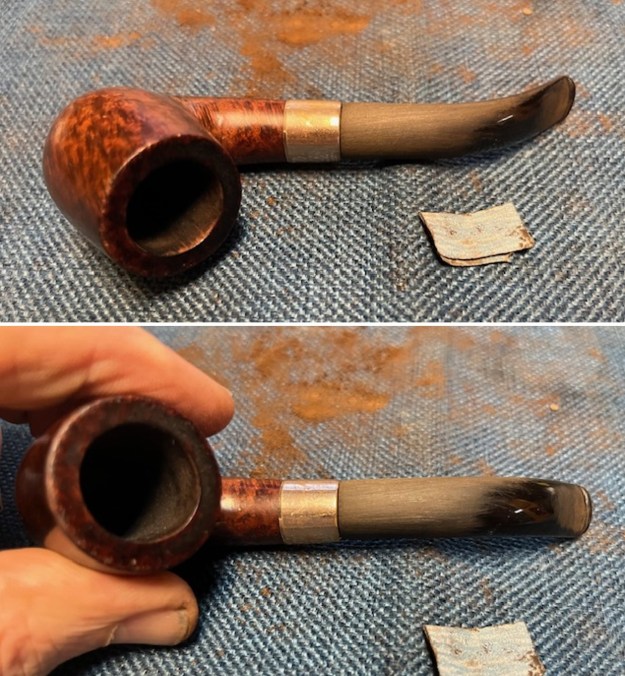
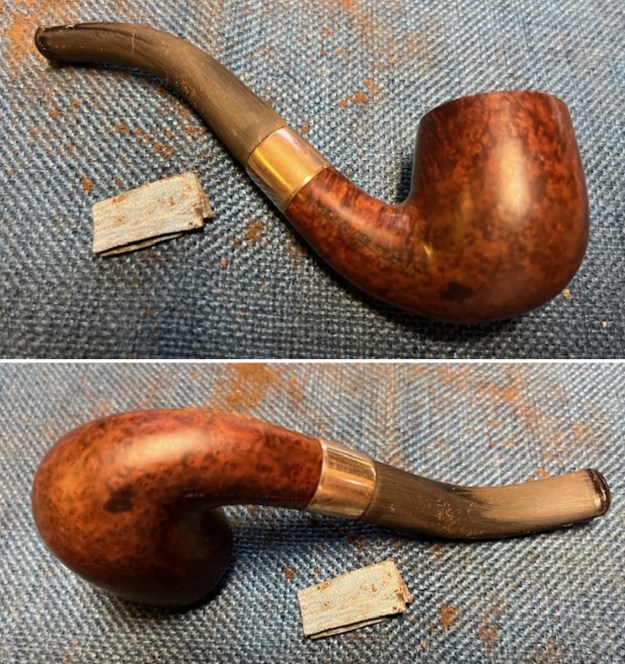
A month or so ago I received an email from a fellow in Japan who had some pipes he wanted to sell. We came to an agreement and he sent me a few. One of them was this interesting smooth finish Bent Billiard. This pipe is stamped on the left side of the shank with the words BORLUM in an arc over KB&B in a cloverleaf. Underneath that it is stamped ITALIAN BRIAR in a reverse arc. On the right side of the shank it is stamped UNBREAKABLE BIT. The stamping was clear and readable. The band on the shank is cosmetic and original and reads KB&B in a cloverleaf [over] Nickel Plated. The bowl had been reamed and the pipe cleaned. The shank is very clean inside and the pipe smelled very clean. It was so clean that I don’t think the pipe had been smoked since the fellow in Japan picked it up. The rim top was clean though there were some scratches and darkening and the inside edge of the rim showed some nicks. There was no damage to the outer edges. The finish around the bowl was in decent condition with great grain under some of the grime and scratching. The stem looked good, though it was not centred on the shank. The diameter of the stem extended beyond the band on the right side and a little above the top and underside. I would need to reduce the stem diameter to fit the shank band. There were some light tooth marks and chatter on the top and underside ahead of the button. Overall, I am happy with it but I will need to rework the stem fit to the shank and clean up the rim top and edges. I took photos of the pipe before I started my work on it.  I took a photo of the rim top to show the condition of the bowl and the top. You can see clean bowl and marks on the rim top. The inner edge is slightly out of round. The stem looks good with light tooth damage and no oxidation on the surface of the hard rubber. It will look much better once I trim down the top, underside and the right side of the stem.I took photos to show the stamping on the sides of the shank and the nickel band. It is clear and readable as noted above. You can also see the fit of the stem to the shank on the top and the right side. I took the stem off and took a photo of the pipe to show its condition.

From an earlier Borlum pipe that I had refurbished back in 2014, I had learned a lot about the background of the manufacturer of the brand. I quote from that blog to summarize the historical background of the pipe (https://rebornpipes.com/tag/kbb-borlum-pipes/). The italicized portions of the text come from the blog with minor edits.

I already knew that Kaufmann Brothers and Bondy was the oldest pipe company in the USA, established in 1851. The Club Logo predated Kaywoodie with the “KB&B” lettering stamped within the Club, and a multitude of KB&B lines were in production long before “Kaywoodie” first appeared in 1919. Therefore, I knew that the pipe I had was a pre-1919, pre-Kaywoodie KB&B Made BORLUM.

As noted above, this particular pipe is stamped on the left side of the shank with the words BORLUM in an arc over KB&B in a cloverleaf. Underneath that it is stamped ITALIAN BRIAR in a reverse arc. On the right side of the shank it is stamped UNBREAKABLE BIT. As stated above it was made before Kaywoodie became the flagship name for pipes from Kaufman Brothers & Bondy (KB&B). It was made before the Kaywoodie invention of the “Stinger” was added, and even before shank logos, model stamps and other features invented by Kaywoodie came to be standards of the pipe making industry. It comes from a time when names like Ambassador, Heatherby, Melrose, Suez, Rivoli, Cadillac and Kamello dominated the pre-Kaywoodie scene. Borlum is one of those names.

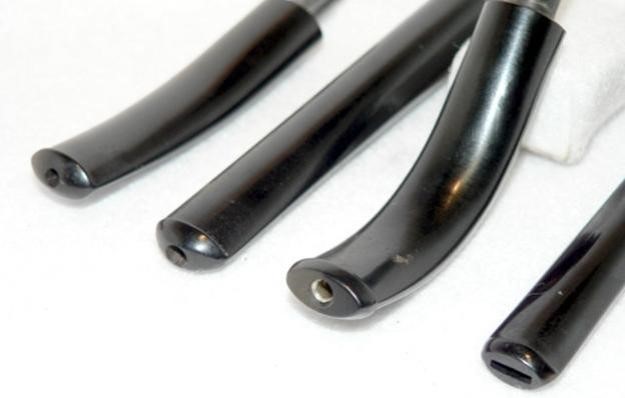
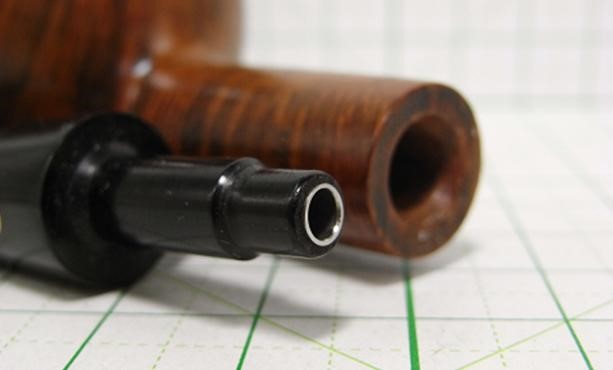
I learned while researching for that blog and rediscovered while working on this one that the Borlum pipe featured some innovations that were new for the time but commonplace to us. These included (1) a solid rubber bit (vulcanite, ebonite), (2) an aluminum inner-tube construction in the stem that stabilized and strengthened the stem explaining the stamping of “Unbreakable Bit” on the right side of the shank, (3) a standard nickel-plated band (marked KB&B) to strengthen the shank connection for the stem. The stem features the older style more rounded bit tip/orific button, and you can see the aluminum inner-tube fitting just inside the tip.

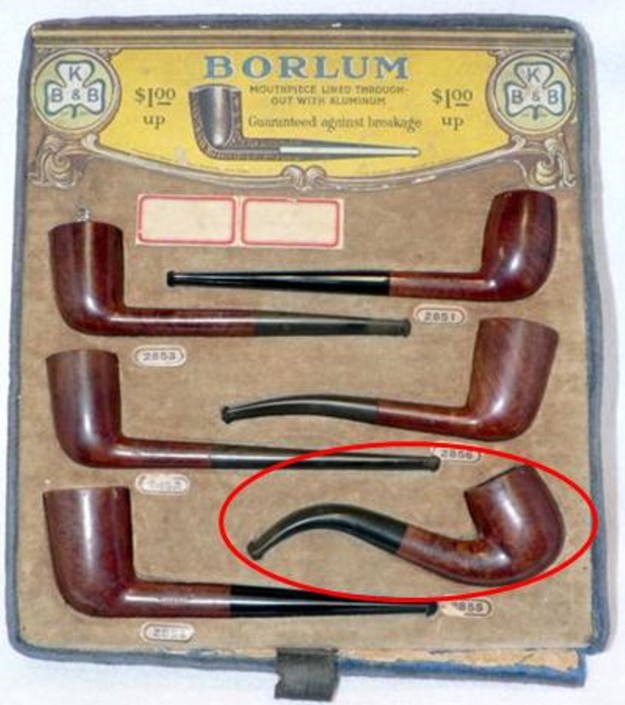
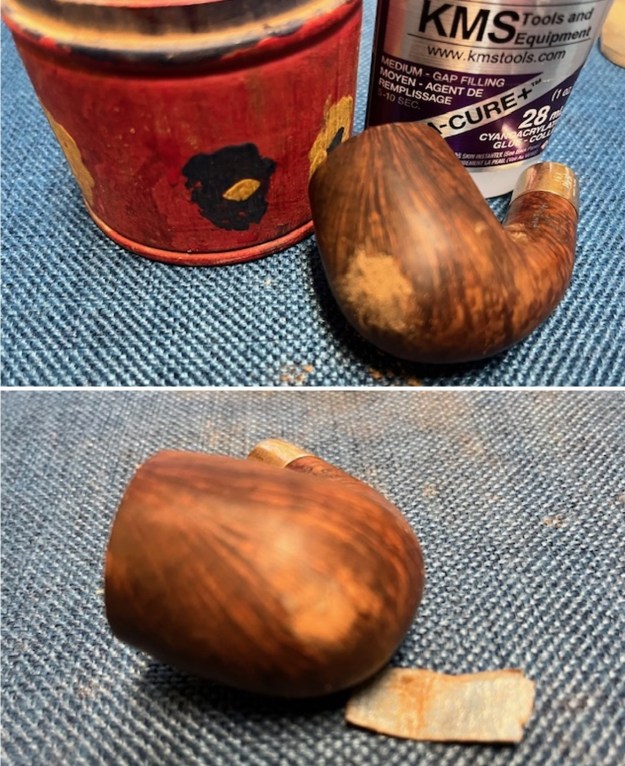
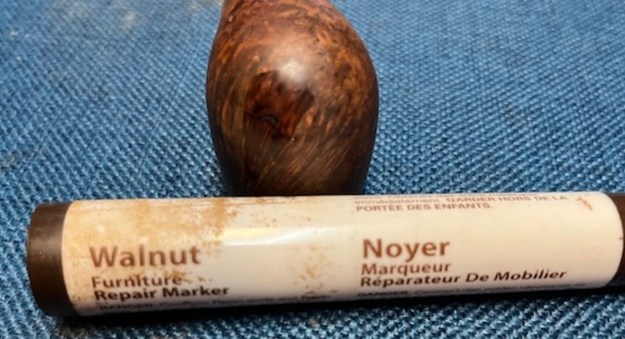
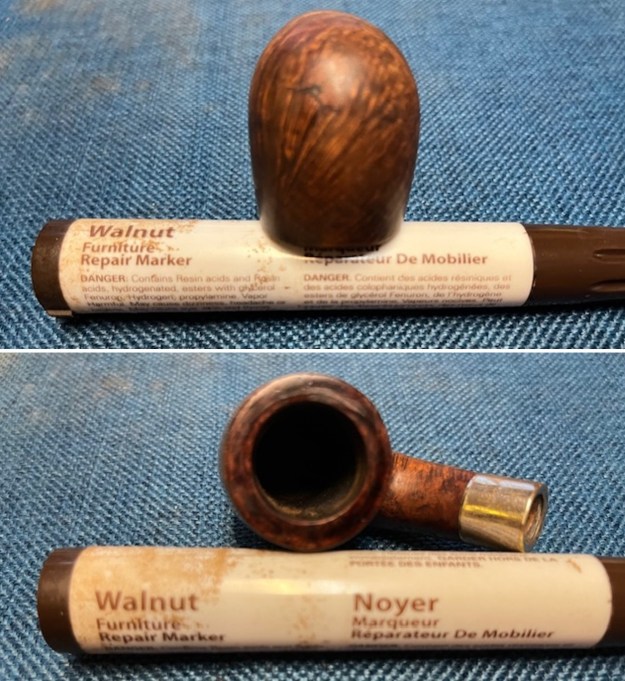
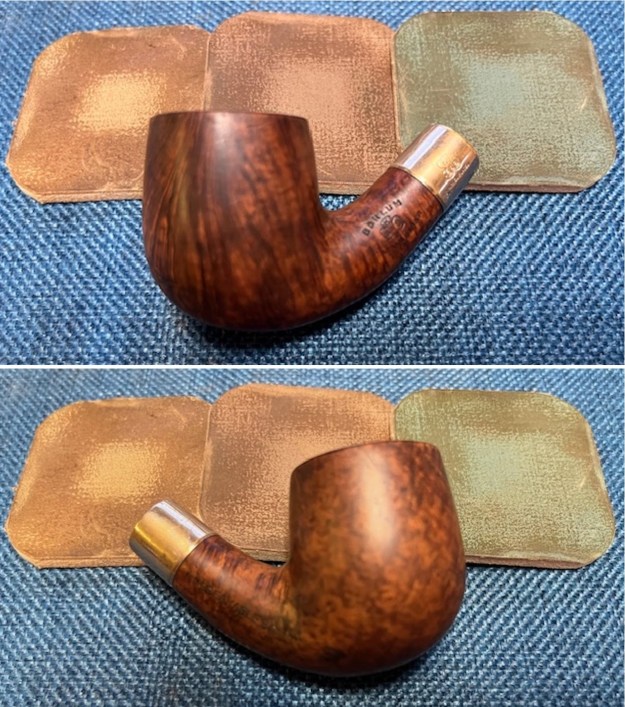
I have included several pictures that I found on the internet that show the unique stem tube in the Borlum that gives rise to the claim that it has an Unbreakable Bit. The first photo shows the bent stem, third from the left with the same metal tube showing at the button. The second photo shows the other end of the tube in the tenon in the Borlum stem. That told me that the pipe I had was made after 1851 and before 1919. I am guessing that because of the other pipes in this lot dating in the late 1890s to about 1905 this one is probably from that same era. Not too bad for a 100+ year old pipe. During the hunt for information, I also found the next photo of a Borlum display and sales card. What is particularly interesting to me is the diagram at the top of the card showing the interior of the stem in place in the shank. It also includes the claim, “Guaranteed against Breakage”. I love the advertisements and sales brochures of these old pipes. The descriptive language that promises so much and the prices the pipes sold for are a nostalgic journey to the past. Note the $1 and up price tag on the sales card. The pipe that I am working on presently is identical to the bottom pipe on the right side of the photo. I have circled it in red. It has the identical shape, curved shank but has a nickel-plated band like mine. It has the hard rubber stem with an orific button. It is more rounded than the modern flat stem but it is still a comfortable feeling stem in the mouth.Now it was time to work on the pipe. I decided to deal with the diameter of the stem against the shank first. I used a folded piece of 220 grit sandpaper to take off the extra diameter of the stem on the right side and the top and bottom. I also sanded the tooth marks and chatter on the stem surface. It was a lot of handwork and fussing to get the fit correct. Once finished it looked much better. I worked over the stem with 320-3500 grit sanding pads to smooth out the scratches left in the hard rubber surface of the stem. Once finished the stem had a deep shine and really looked much better.I polished the stem surface with micromesh sanding pads. I dry sanded it with 1500-12000 grit pads. I wiped it down between pads with an Obsidian Oil impregnated cloth. I finished polishing it with Before & After Pipe Stem Polish – both Fine and Extra Fine. It looked much better. I set the stem aside and turned my attention to the bowl. I smoothed out the damaged inner edge of the bowl with a folded piece of 220 grit sandpaper. It looked much better. I started polishing out the damage on the rim top with the 220 grit sandpaper. It looked much better.I wiped the bowl down with isopropyl alcohol on a cotton pad to remove the shiny wax or shellac coat on the bowl surface. It cleaned up very well. There was a deep sandpit/flaw on the lower front left side of the bowl. I filled it in with a combination of CA glue and briar dust. I sanded the repair with 220 grit sandpaper and smoothed it out into the surrounding briar. I touched up the sanded spot on the bowl front with a Walnut stain pen. It matched the rest of the bowl surface. Once I polished it some it would blend in very well.I polished the bowl and the shank with 1500-12000 grit micromesh sanding pads. I dry sanded with each pad and wiped the briar down with a damp cloth after each pad. I paused the polishing and touched up the stain on the bowl front and the rim top. It really was looking much better at this point. Once it cured I went back to polishing with the micromesh. I worked some Before & After Restoration Balm into the finish of the bowl, rim top and shank with my fingertips and a shoe brush to get it in to the crevices and valleys. The product works to clean, enliven and protect the briar. I find that the balm really makes the briar come alive again. I let the balm sit for 15 minutes and then buffed with a cotton cloth to raise the shine. The bowl really looks good at this point. I polished the nickel ferrule on the shank end with a jeweller’s cloth. It works to polish and protect the metal from further oxidation. It is a great looking addition to the pipe. With the bowl and the stem finished I put the Borlum KB&B Italian Briar Bent Billiard with an unbreakable stem back together and buffed it on the wheel using Blue Diamond to give it a shine. I gave the bowl and the stem multiple coats of carnauba wax on the wheel. I buffed it with a clean buffing pad to raise the shine. I hand buffed it with a microfiber cloth to deepen the shine. It really is a great looking pipe. The dimensions of the pipe are – Length: 4 ½ inches, Height: 1 ½ inches, Outside diameter of the bowl: 1 1/8 inches, Chamber diameter: ¾ of an inch. The weight of this large pipe is 1.20 ounces /33 grams. This Borlum KB&B Italian Briar Bent Billiard is another great looking pipe. It is much more beautiful in person than these photos can capture. I will be putting it in my older American Pipe Collection to enjoy in the future.  This is another pipe that has the possibility of transporting the pipe man or woman back to a slower paced time in history where you can enjoy a respite. Thanks for walking through the restoration with me.

Restoring a tired and worn Dunhill Shell 41111 Lovat


Blog by Steve Laug

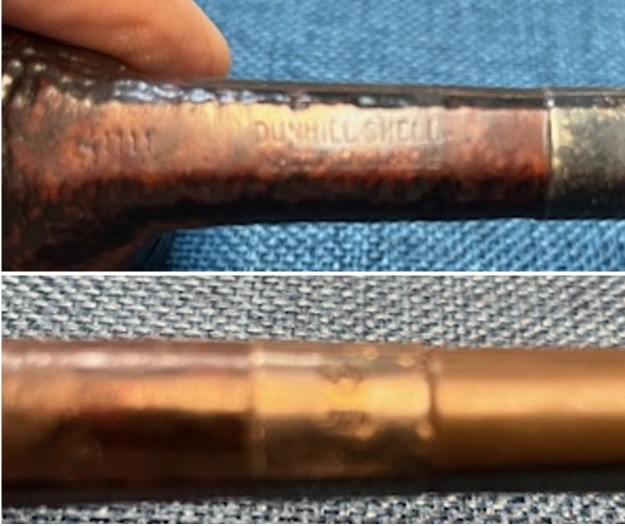
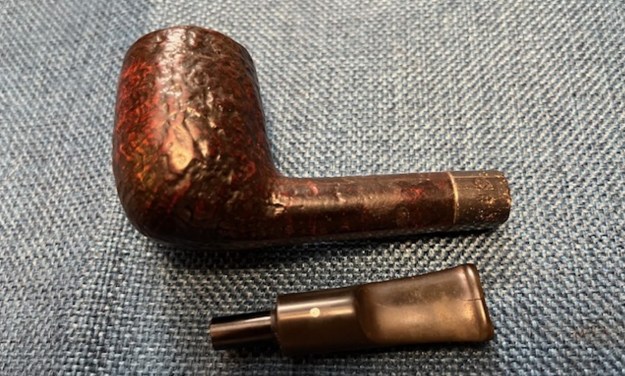
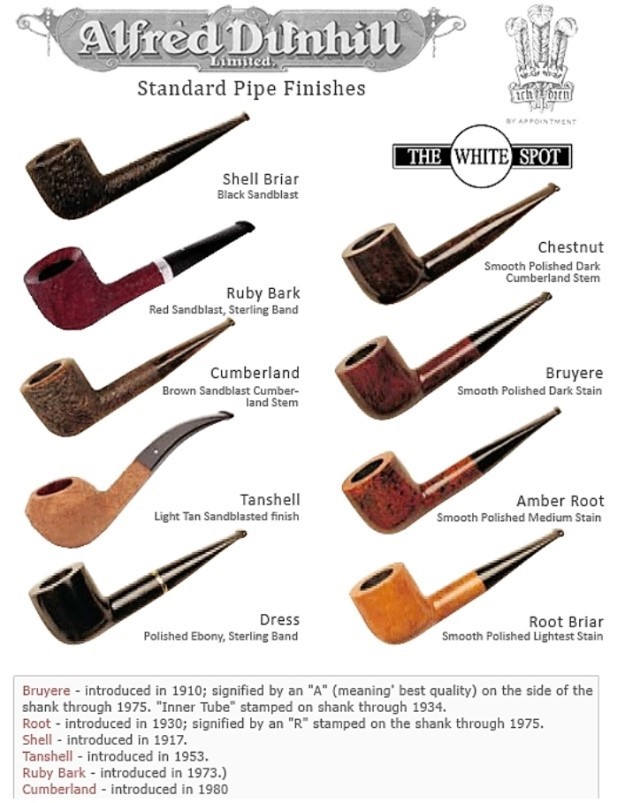
I took a second Dunhill to the work table. It was I picked up while I was in Idaho. It was one that we had purchased from a friend in Denmark on May 22, 2024. It is a petite and worn Dunhill Shell Lovat. The stamping on the underside of the shank read 41111 on the heel of the bowl. That is followed by Dunhill Shell [over] Made in England followed by a number 18 to the right of the D in England that will help me date the pipe. The bowl had been reamed not long ago. There was some dust and debris in the light sandblast on the rim and the inner edge had some darkening. The outer edge looked very good. The sandblast finish was worn and dirty but it could not hide the lovely blast around the bowl and shank. There were some very worn areas on the left side of the shank. The oxidized and tarnished silver band on the shank appears to be cosmetic as there are no visible cracks in the shank. The band is stamped with AD in a diamond which is the Alfred Dunhill stamp. It also reads .925 which is the quality of sterling silver. The stem was clean and there were light tooth marks on the top and underside ahead of the button. There also appeared to be a hairline crack in the middle of the button on the topside. The classic Dunhill White Spot was on top of the saddle stem. I took a few photos of the pipe before I started my work on it. I sent the photos to Paul and he is excited about it. I took a photo of the rim top and bowl to show the condition of both of them. The bowl itself had been recently reamed. The rim top showed a coat of lava and some darkening around the edge. The inner edge looked rough but a cleaning would make that clear. The outer edge looked very good. The photos of the stem show light oxidation and tooth marks/chatter on both sides ahead of the button. The first photo shows a tiny hairline crack mid button and just over the edge.I took a photo of the stamping on the underside of the shank. The photos are blurry but you can see the shadow of the stamping. In person it is very readable. The stamp on the silver band is also very readable once the oxidation has been removed. I removed the stem from the shank and took a photo to show the proportions of the pipe. As is my regular practice, before I started my work on the pipe, I turned to Pipedia’s section on Dunhill Shell Pipes to get a bit of background on the Dunhill finishes (https://pipedia.org/wiki/Dunhill#Root_Briar). I quote:

Shell

A deep craggy sandblast with a black stain finish (usually made using Algerian briar) – the color of the stain used has varied over the years. Although there is some doubt as to them being the first to sandblast pipes, Dunhill’s Shell pipes, and the sandblasting techniques developed to create them are considered one of Dunhill’s greatest and most lasting contributions to the art of pipe making.

The documented history of Dunhill’s inception of the Shell is largely limited to patent applications — there are no catalog pages or advertisements promoting blasted pipes at the time. The preliminary work on the English patent (No. 1484/17) was submitted on October 13, 1917. The patent submission was completed half a year later, on April 12, 1918, followed by the granting of the English patent on October 14, 1918. This was less than a month before the end of The Great War on November 11th.

In 1986 Dunhill released a line of premium Shell finish pipes – “RING GRAIN”. These are high-quality straight grain pipes which are sandblasted. Initially only Ring Grain, but now in two different finishes. In 1995 the “Shilling” was introduced with Cumberland finish – it is an extremely rare series. These pipes exhibit a deeper blast characteristic of that of the 1930’s – mid-1960’s (and the limited ‘deep blast’ pipes of the early 1980s) and show a fine graining pattern. These are considered the best new Dunhills by many enthusiasts today and are very rare. The finish is sometimes described as tasting like vanilla at first, with the taste becoming more normal or good as the pipe breaks in.

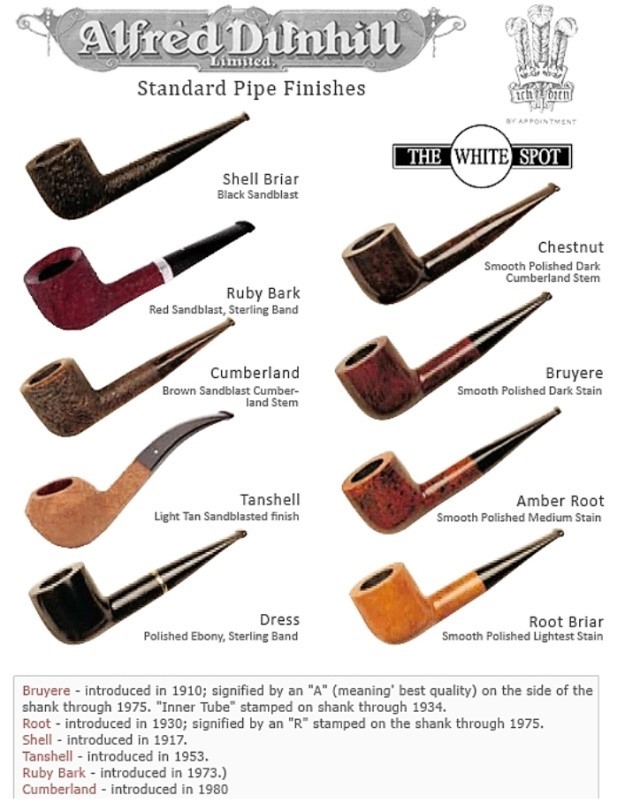
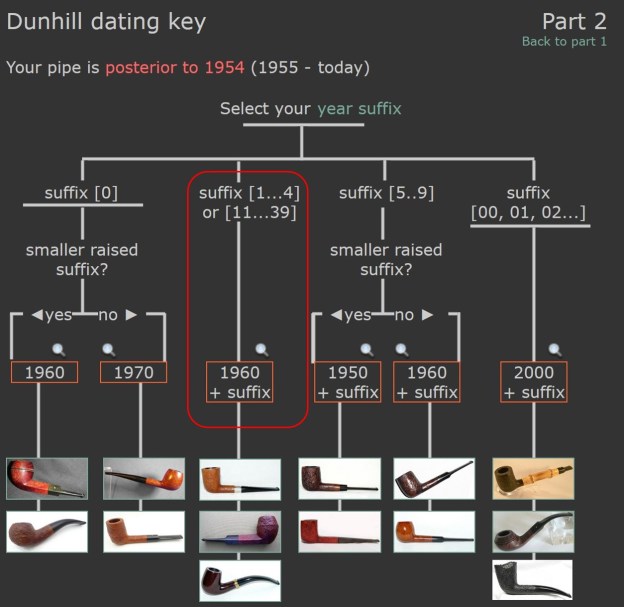
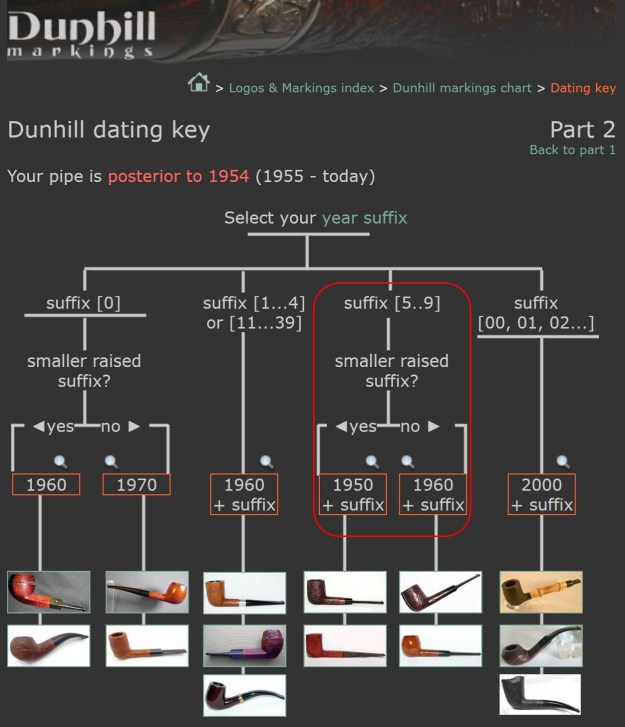
There was also a link to a catalogue page that gave examples and dates that the various finishes were introduced (https://pipedia.org/wiki/File:Dunnypipescatalog-1.png).I turned to Pipephil’s dating guide to show how I arrived at the date of manufacture for this pipe (http://www.pipephil.eu/logos/en/dunhill/cledat-en1a.html). I am including the chart that is provided there for the dating a pipe. I have drawn a red box around the section. Since the pipe I am working on has a superscript suffix 18 after the D in England it points to the 1960 line on the chart below. To date it just add 1960 +18 for a date of 1978. I have drawn a red box around the pertinent section in the chart.I now knew that I was working on a Shell that came out in 1978 as far as I could tell by the date stamp. The shape of the pipe is 41111. From the shape chart on the site I could know that I was dealing with a Lovat (http://www.pipephil.eu/logos/en/dunhill/shapes.html). I quote below for the interpretation

Dunhill pipes are stamped with a four digit code.
Digit 1: (from 1 to 6) denotes the size of the pipe (the group).
Digit 2: denotes the style of the mouthpiece (0,1=tapered, 2=saddle)
Digit 3 and 4: denote the generic pipe shape (in yellow in the chart on top) 

Example: 5102
(5 = size | 1 = tapered stem | 02 = Bent)

When 5 digits occur, the meaning of the 4 first remain the same

The pipe in hand is stamped 41111 which is a size/group 4 pipe, the 1 is for taper but on a Lovat it is a saddle as noted in the chart on the link above, the 111 is the shape of a Lovat.

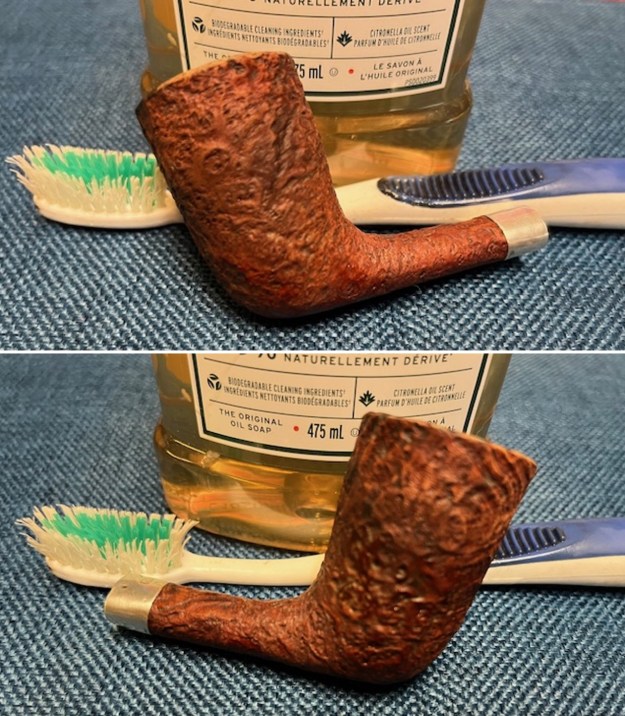
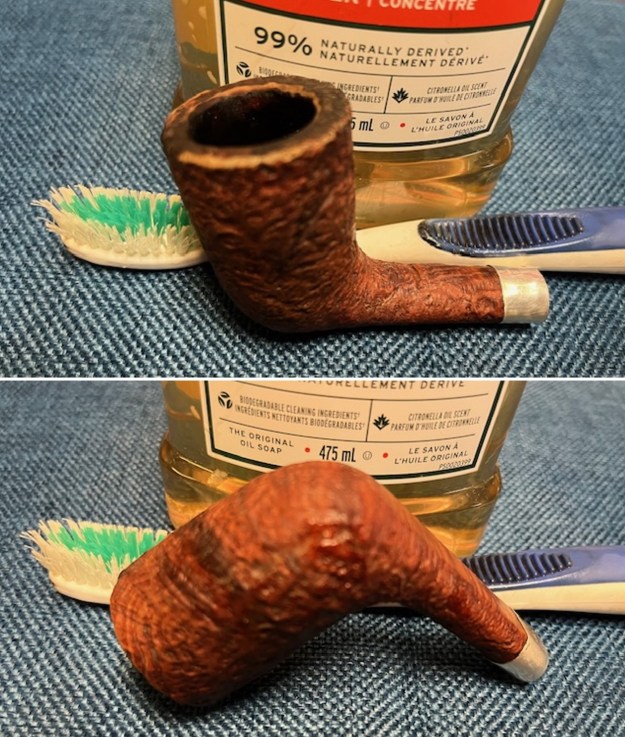
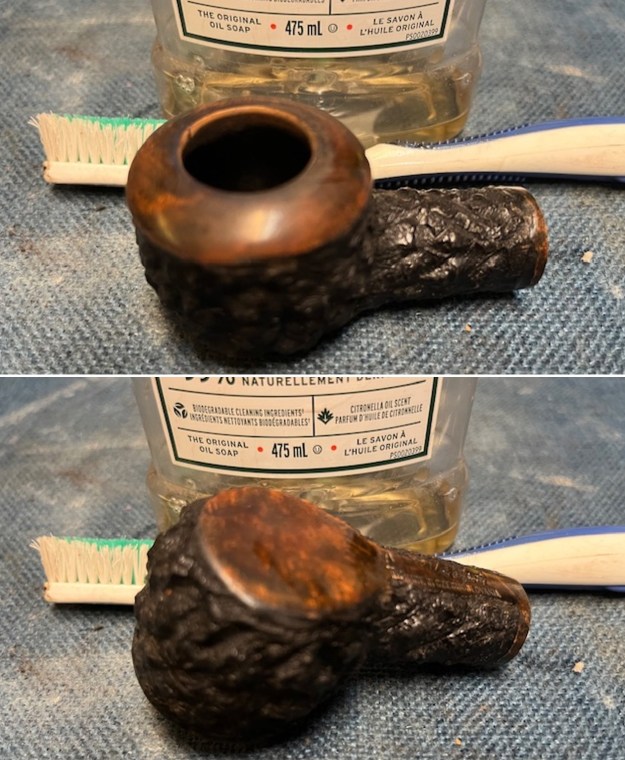
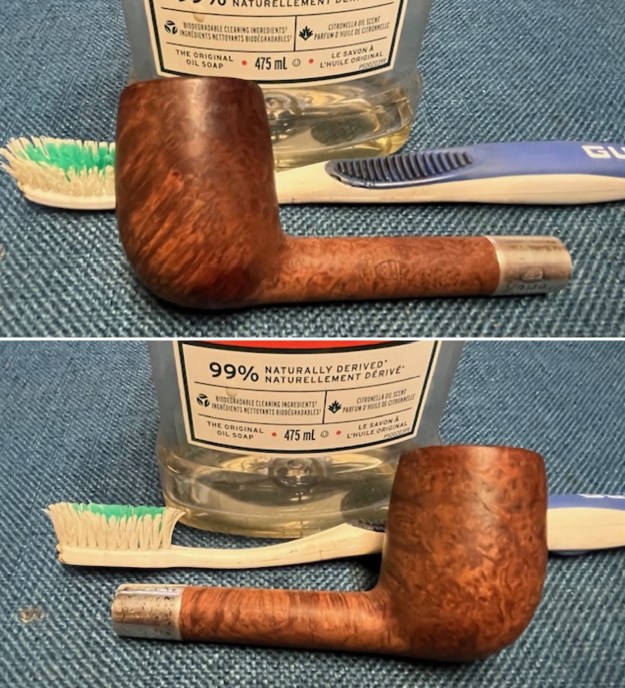
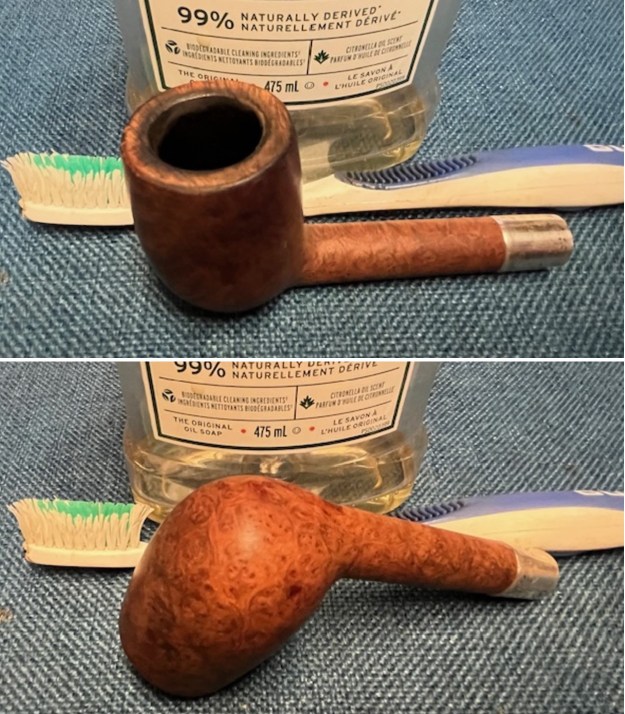
Now it was time to work on the pipe. I cleaned up the oxidized silver band with a jeweller’s cloth to remove the tarnish and protect it from further tarnish. There was more work to do but at least at this point I could read the stamping on it clearly. I used a brass bristle wire brush to knock off some of the debris and lava on the rim top. I did this in preparation for scrubbing it with Murphy’s Oil Soap.I scrubbed the exterior of the bowl with a tooth brush and undiluted Murphy’s Oil Soap to remove the grime and debris in the finish. I scrubbed out the mortise and tenon with small tube brushes and soap to remove the oils and tars in the shank area. I rinsed it with warm water to remove the grime and oils in the finish and shank. I dried it off with a soft cotton cloth. One of the benefits of doing this is that the briar in the nicks and dents on the bowl sides swell and virtually disappear. The pipe has a fresh look that really highlights the depths of the sandblast on the briar. I used a Walnut and a Mahogany stain pen to touch up the fading on the bowl sides. There were spots where the stain had faded and it added to the worn look. I restained it with these two stain pens and then used a black stain pen to touch up the spaces. The combination of the stains is very close to the colour on the Shell Briar. I let it dry and once it did it looked much better. I rubbed the bowl down with Before & After Restoration Balm. It is a paste/balm that works to deep clean the finish, enliven and protect the briar. I worked it into the briar with my finger tips to make sure that it covered every square inch of the pipe. I set it aside for 10 minutes to let it do its work. I buffed it with a cotton cloth. The briar really began to have a deep shine. The photos I took of the bowl at this point mark the progress in the restoration. I set the bowl aside and turned my attention to the stem. The first photo shows the hairline crack on the top side of the button forward about 1/8 of an inch. I filled in the cracked area on the stem with rubberized black CA glue. I set the stem aside to let the repair cure.Once the repair had cured I sanded it smooth with a folded piece of 220 grit sandpaper. I was able to blend in the repair on the top of the stem. It looked much better and the repair was solid.I sanded the stem with 320-3500 grit sanding pads to break up the remaining oxidation. I wiped it down after each sanding pad with an Obsidian Oil impregnated cloth. It began to look good.When I finished polishing the stem with the sanding pads it dawned on me that I had not cleaned the internals of the shank and stem. My routine had been broken as this restoration was spread over the better part of a week. No excuse but that is what happened. So I paused the polishing and scrubbed out the inside of the shank, mortise and the airway in both the stem and the shank. I used pipe cleaners, cotton swabs and isopropyl alcohol. It cleaned up very well.I polished the stem with micromesh sanding pads – dry sanding with 1500-12000 grit pads. I wiped the stem down after each sanding pad with Obsidian Oil. I polished it with Before & After Pipe Stem Polish – both Fine and Extra Fine. Once I had finished the polishing I gave it final coat of Obsidian Oil and set it aside to dry.  I put the 1978 Dunhill Shell 41111 Lovat bowl and stem back together. I polished the bowl and stem with Blue Diamond to polish the briar and the vulcanite. I gave the bowl multiple coats of Conservator’s Wax and the stem multiple coats of carnauba wax. I buffed the pipe with a clean buffing pad to raise the shine. I hand buffed it with a microfiber cloth to deepen the shine. The pipe polished up pretty nicely. The Shell Briar stains worked amazingly well with the polished vulcanite saddle stem. The grain around the bowl and shank and looks quite remarkable. This is truly a beautiful Dunhill Shell 41111 Lovat. The finished pipe is shown in the photos below. The dimensions of the pipe are Length: 5 inches, Height: 1 ¾ inches, Outside diameter of the bowl: 1 ¼ inches, Chamber diameter: ¾ of an inch. The weight of the pipe is 1.16 ounces/33 grams. I will be adding this to the rebornpipes store in the British Pipemakers Section soon. It will be a definite good deal is you have been looking for a Dunhill. Let me know if you wish to add it to your rack. Thanks for walking through the restoration with me. Cheers.

As always, I encourage your questions and comments as you read the blog. Thanks to each of you who are reading this blog. Remember we are not pipe owners; we are pipe men and women who hold our pipes in trust until they pass on into the trust of those who follow us.

New Life for a Czechoslovakian Gold Spot Rusticated Pot Sitter with a Horn Stem


By Steve Laug

A few weeks ago, I visited my Dad and family in Idaho Falls, Idaho. I stayed with Jeff and we went through pipes he had in boxes that needed clean up. I pulled a few of them out that caught my eye and brought them home with me. The next pipe on the table is one of those. We purchased it on 05/20/24 from an estate in Long Island, New York, USA. It is a rusticated pot with a smooth crowned rim cap. It is stamped on a smooth panel on the underside of the shank and read Gold Spot [over] Made in Czechoslovakia. The stamping of the Gold Spot brand had been done multiple times and was a bit hard to read. The finish was heavily rusticated with a finish even rougher than the Sea Rock finish. It was very dirty with a lot of grime built up in the valleys and ridges of the rustication. The bowl had a moderate cake in it and the rim top had a thick coat of lava built up. The inner edge of the bowl had lava on it and it appeared to have some damage. The horn stem had a push tenon. The tenon was metal/aluminum and had a stinger apparatus in the end. The stem was in rough condition with a lot of worm holes around the left side where it met the shank. There were also a lot of worm holes on both sides of the stem ahead of the button. There was also a worm hole on the underside of the stem mid stem. I took a few photos of the pipe in the car on the way home and have included them below. I took a photo of the rim top and bowl to show the condition of both of them. The bowl had a thick cake and lava build up on the rim top. The inner edge was coated in lava but also appeared to be rough from previous reaming. The photos of the horn stem show the worm holes on the top at the stem/shank junction and on the underside mid stem. There were deep worm holes and tooth damage on both sides just ahead of the button.I took a photo of the stamping on the underside of the shank. The stamping, though double stamped was readable as noted above. I removed the stem from the shank and took a photo to show the proportions of the pipe.I decided to do a bit of digging on the brand of the pipe. The rustication on the bowl and the stamping Made in Czechoslovakia is the same style as a pipe I did back in April of 2016. That one was an Old River is a stylized signature and this one is a Gold Spot in the same style of signature. I am including the information I gather on the blog I wrote on the Old River pipe. I had asked for information on the brand and was able to gather a lot of help. Here is the link to the blog (https://rebornpipes.com/2016/04/28/restoring-an-old-sea-slug-or-an-old-river-chubby-bent-apple/).

I received some responses on the blog. One of the most helpful ones was from a fellow named Tomas. Here is what he wrote to me:

Hello Rebornpipes, I am your big fan from Czech Republic in Europe. Old River pipes comes from Czechoslovakia, made in factory in “Prosec u Skutce”. This factory still works under name BPK.

Having that information was a great boost on identifying this pipe maker. I checked on Pipedia and found a link to BPK (https://pipedia.org/wiki/BPK). I quote:

A long tradition of producing pipes. BPK company exports pipes to more than 40 countries. The production of pipes has been traditionally connected with small town Prosec u Skutce since 1842. Prosec is situated in the heart of Czech Republic, approximately 150 km (93 miles) far from Prague. Since the change of political situation in 1989 the company BPK, Ltd has been continuing in the traditional production.

I Googled BPK pipes and found this link (https://www.pipeshop-saintclaude.com/bpk-343). I quote what it told me about the brand below:

Located in the town of Proseč, Czech Republic, the BPK workshop makes pipes since 1842. The firm succeeded at a time when pipe market was growing. At first, BPK pipes were actually not made with briar, but with other types of wood: alder, maple or pear tree. M. Zabor Bernard Kopperle (officer of the company) will only begin to use briar in 1910 for his pipes. The result is stunning because of the briar properties, particularly for tobaccos combustion: more heatproof and better for smokers when it comes to the tasteThe BPK pipes success was immediate, and pipes were therefore exported in numerous neighbor countries. In the late 30s, more than 600 craftspeople worked for the production of BPK pipes! Nowadays, these pipes are still liked by smokers thanks to their classical designTheir silhouettes are simple and without any flourishes. Last criterion, and an important one: BPK pipes are proposed at an affordable price!

That gave me history on the brand and some connection to present pipes that are made by BPK but I still wanted to find a connection to the older company before the 1992 separation of Czechoslovakia into the Czech Republic and Slovakia. That gave me a possible end date for the pipe. Though I cannot definitively prove it I am fairly certain that the pipe was made by BPK. I cannot find any listings for Gold Spot Made in Czechoslovakia pipes. The similarities to the finish on this one and the rustication on the various Old River pipes made by BPK lead to make the connection.

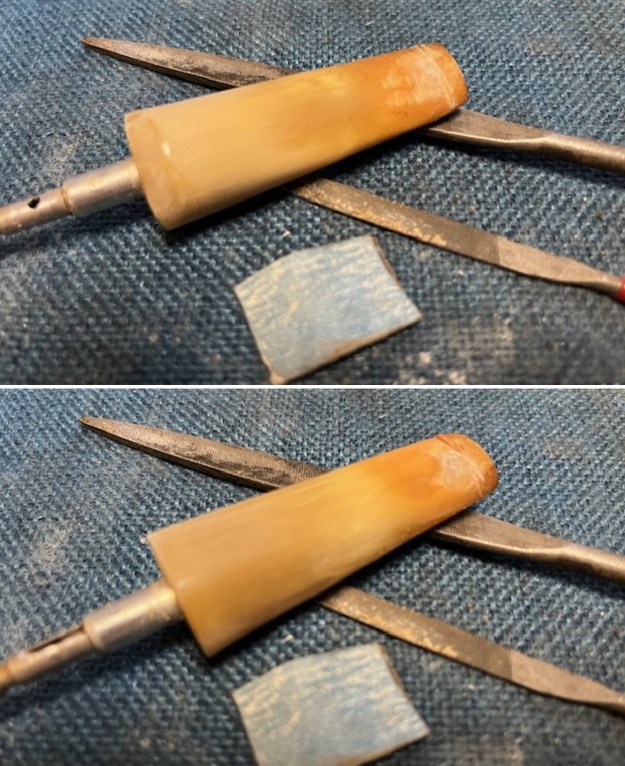
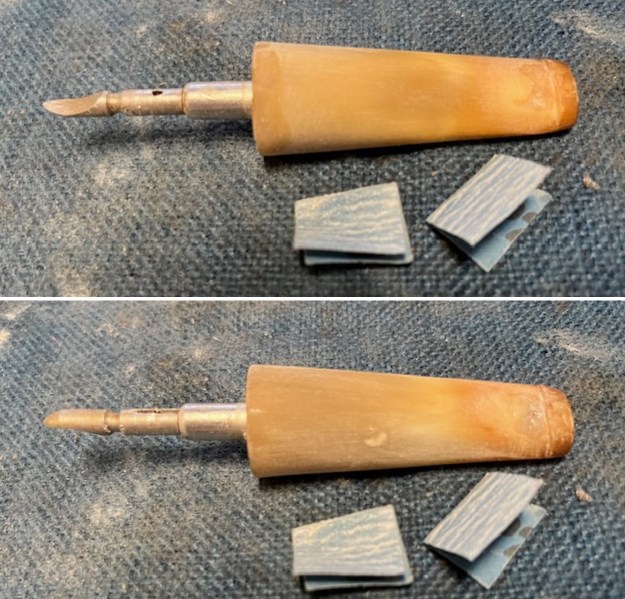
Now it was time to work on the pipe itself. I decided to do some work on the stem first. There were a significant number of worm holes in the material as visible in the pictures below. There were also some worm holes and tooth marks on the top and the underside of the stem ahead of the button. I wiped down the stem surface with alcohol on a cotton swab to remove any oils or debris from the worm holes or tooth damage areas. Once they were clean I filled them in with several layers of clear CA glue and set the stem aside to let the repairs cure.While the stem repairs cured I turned my attention to the bowl. I used a PipNet Pipe reamer first to take out the majority of the cake. It was a deep bowl so I used a Savinelli Fitsall Pipe Knife to clean up the remaining cake in the bowl and to scrape off the lava on the rim top. I used a dowel wrapped with 220 grit sandpaper to smooth out the walls of the bowl. I checked for damage on the bowl walls and it was in good condition. I scraped the rim top with a Savinelli Fitsall Pipe Knife. I cleaned up the inner edge of the bowl with a folded piece of 220 sandpaper. I scrubbed out the inside of the shank, mortise and the airway in both the stem and the bowl. I used pipe cleaners, cotton swabs and isopropyl alcohol. It cleaned up very well.I scrubbed the exterior of the briar with a tooth brush and undiluted Murphy’s Oil Soap to remove the build up on the surface of the briar and clean off the lava on the rim top. I scrubbed it and then carefully rinsed the bowl with warm water. I dried it with a soft cotton cloth. It certainly looked significantly better and the patina remained in the wood. I polished the smooth briar with micromesh sanding pads to minimize the scratches in the briar. I dry sanded with 1500-12000 grit pads and wiped the bowl down after each pad with a damp cloth to remove the sanding debris. By the end of the nine pads the briar took on a rich shine and the rim top looked very good. I rubbed the bowl down with Before & After Restoration Balm. It is a paste/balm that works to deep clean the finish, enliven and protect the briar. I worked it into the briar with my finger tips o make sure that it covered every square inch of the pipe. I set it aside for 10 minutes to let it do its work. I buffed it with a cotton cloth. The briar really began to have a deep shine. The photos I took of the bowl at this point mark the progress in the restoration. I set the bowl aside and turned my attention to the stem. The repairs to the stem surface had cured. I used several files to flatten the repaired areas ahead of the mouthpiece and around the shank end. I cleaned up the file areas with a folded piece of 220 grit sandpaper to blend them into the stem surface. I sanded the stem with 320-3500 grit sanding pads to break up the remaining oxidation. I wiped it down after each sanding pad with an Obsidian Oil impregnated cloth. It began to look good.I polished the stem with micromesh sanding pads – dry sanding with 1500-12000 grit pads. I wiped the stem down after each sanding pad with Obsidian Oil. I polished it with Before & After Pipe Stem Polish – both Fine and Extra Fine. Once I had finished the polishing I gave it final coat of Obsidian Oil and set it aside to dry.  I put the Gold Spot Made in Czechoslovakia Rusticated Pot bowl and stem back together. I polished the bowl and stem with Blue Diamond to polish out the scratches in the briar and the repaired horn stem. I gave the bowl multiple coats of Conservator’s Wax and the stem multiple coats of carnauba wax. I buffed the pipe with a clean buffing pad to raise the shine. I hand buffed it with a microfiber cloth to deepen the shine. The pipe polished up pretty nicely. The reddish/brown stains worked amazingly well with the polished horn taper stem. The grain around the bowl and shank and looks quite remarkable. This is truly a beautiful BPK Gold Spot Rusticated Pot. The finished pipe is shown in the photos below. The dimensions of the pipe are Length: 5 inches, Height: 1 ½ inches, Outside diameter of the bowl: 1 ½ inches, Chamber diameter: ¾ of an inch. The weight of the pipe is 1.98 ounces/55 grams. For now, this one will join the Old River Pipe in my collection and be enjoyed with some good Virginia very soon. Thanks for walking through the restoration with me. Cheers.

As always, I encourage your questions and comments as you read the blog. Thanks to each of you who are reading this blog. Remember we are not pipe owners; we are pipe men and women who hold our pipes in trust until they pass on into the trust of those who follow us.

Restoring a Mystery Campaign Calabash Pipe with a White Star Logo


by Steve Laug

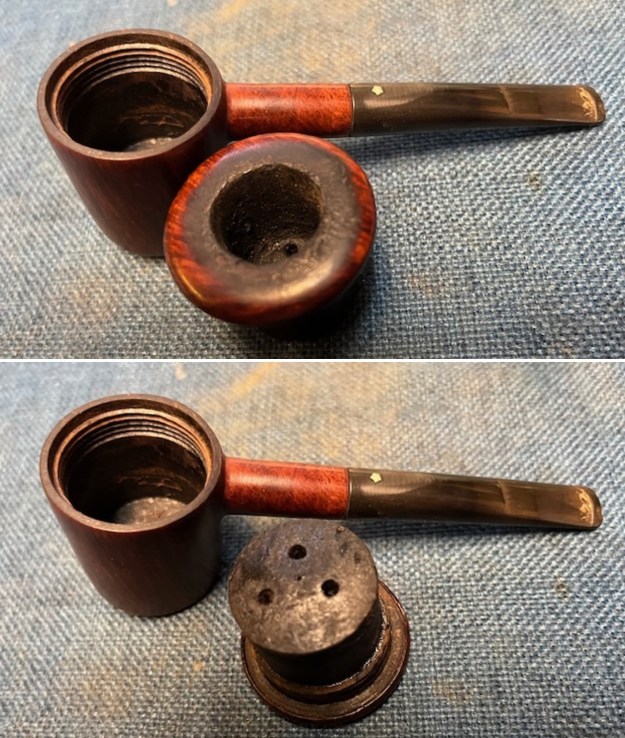
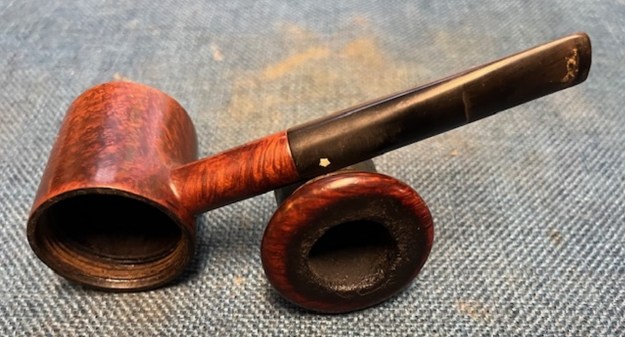
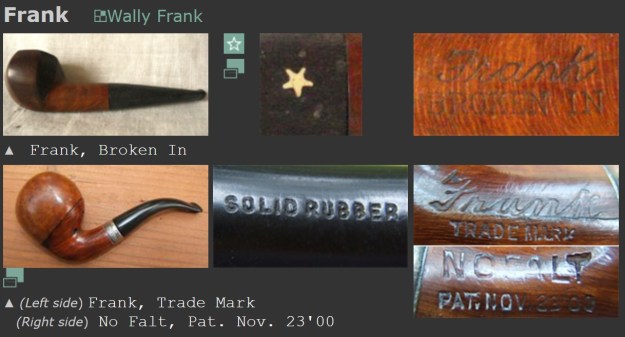
Last week I received a package of pipes to work on for a friend, Scott. I had no idea what was coming but when it arrived I was surprised with the interesting and amazing pieces he included for me to work on. These included a nice looking large Dunhill 841 ODA Lovat, a Campaign pipe with a Calabash style bowl and a start on the stem, a Sasieni 2 Dot London Made Canadian with a Lovat style saddle stem, and finally an older GBD MR&Co silver banded 5 Lovat. All of them are quite lovely and also interesting for me to be able to work on. I took a photo of the box when I unpacked the pipes.The final pipe I chose to work on from this lot was the Campaign style pipe with buffed out logos and stamping on the shank sides. The pipe has a smooth, rich brown finish. The stamping has been either buffed out or was absent. The bowl had a moderate cake in it and the rim top and inner edges had a heavy lava built up. When the bowl is unscrewed from the base the inside of the calabash is dirty and has a thick tar coat in it. The finish on the bowl and shank were worn and dirty with grime and darkening ground into the surface all around the bowl and shank. Under the tars the rim top and inner and outer edges of the bowl appeared to be in ok condition but cleaning would tell the story. The saddle stem was calcified and oxidized and there were tooth marks on the top and underside ahead of the button. There was also a bite through on the underside of the stem against the button. There is a inlaid white star on the topside of the saddle portion of the stem. I took a few photos of the pipe before I started working on the pipe and have included them below. I took a photo of the rim top and bowl to show the condition of both of them. The briar calabash bowl itself had a thick cake on the walls and bowl bottom. The rim top showed a heavy coat of lava and the inner edge was heavily caked and its condition would be revealed with cleaning. The outer edge looks good. The photos of the stem show the oxidation, calcification and tooth marks/chatter on both sides ahead of the button. There is a large bite through on the underside of the stem ahead of the button.I unscrewed the calabash bowl from the base and took photos of the parts. You can see from the photos that the inside of the base is very dirty with tars and oils. There is a lot of debris in the bottom of the base as well. I checked on Pipephil (http://www.pipephil.eu/logos/en/logo-f4.html) to see if I could find something with a similar star on the stem. I found a pipe made by Frank that had the same five-point white star as the stem I am working on. It could very well have been made for Frank.I went back and read over the blogs I have written on previous Campaign pipes that I restored. I am attaching the link to one of the blogs and some of the information that I found in researching the brand at that time. (https://rebornpipes.com/tag/wdc-campaign-calabash-pipe/). The information is all on the WDC made Campaign pipe but the information is helpful.
In my online research I found a brief interchange on a Google group. I include the link if you would like to read it in context and its entirety. It gives some helpful information regarding this particular pipe. https://groups.google.com/forum/#!topic/alt.smokers.pipes/kpkpd3zXoiwExcerpt from pipedia.org

To a request for information regarding the WDC Campaign pipe on the Google Group there was quite a long string of answers. I am quoting two of those in full…

Respondent 1: While I can’t say anything about this pipe specifically, I have a hazy memory of that shape listed in a book about pipes; (I may be totally misremembering this, but here goes) the shape being called the “Dawes”, named after Harding’s Vice President?  Anyone else remember this? Sounds like an interesting pipe, whatever it’s called…

Respondent 2: From Weber’s Guide to Pipes: “The Dawes Pipe (more correctly named the Lyons, after its inventor, Charles Herbert Lyons) happened to be the favorite pipe of General Charles G. Dawes, Vice-President of the USA from 1925 to 1929. General Dawes smoked the curious pipe incessantly and it became popularly known as the Dawes Underslung, because the shank joined the bowl near its rim.”

I looked on Pipedia, (https://pipedia.org/wiki/William_Demuth_Company) and I quote in part from the article on the William Demuth Company.

The Demuth Company is probably well known for the famous trademark, WDC in an inverted equilateral triangle. William commissioned the figurative meerschaum Presidential series, 29 precision-carved likenesses of John Adams, the second president of the United States (1797-1801) to Herbert Hoover, the 30th president (1929-1933), and “Columbus Landing in America,” a 32-inch-long centennial meerschaum masterpiece that took two years to complete and was exhibited at the World’s Columbian Exposition in Chicago in 1893.

The Presidential series was the result of Demuth’s friendship with President James A. Garfield, a connoisseur of meerschaum pipes. Demuth presented two pipes to Garfield at his inauguration in 1881, one in his likeness, the other in the likeness of the President’s wife. Later, Demuth arranged for another figurative matching the others to be added to the collection as each new president acceded to the White House, terminating with President Hoover.

From the above information I learned some significant details about the Campaign pipe. It was invented by Charles Herbert Lyons and was the favourite pipe of General Charles G. Dawes who was the Vice President of the USA under President Harding from 1925-1929. It fits nicely into that period when WDC was having Presidential Pipes commissioned ending in 1933. That places this old pipe in the time period between the late 1920s and early 1930s.

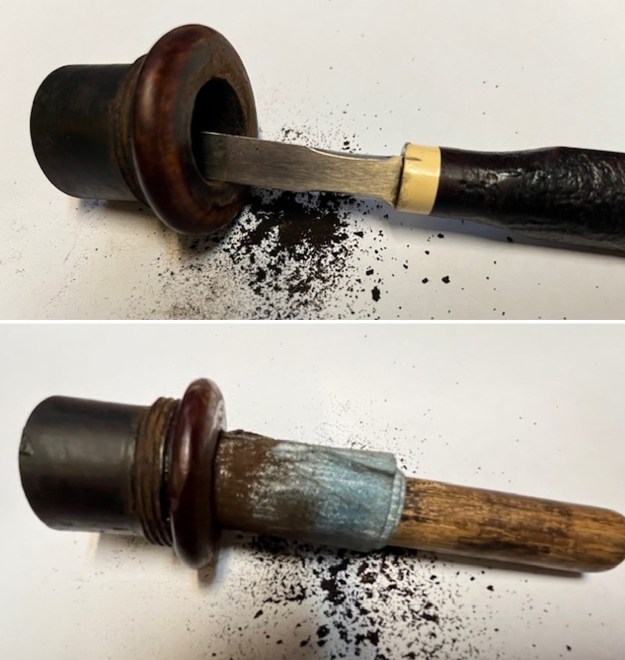
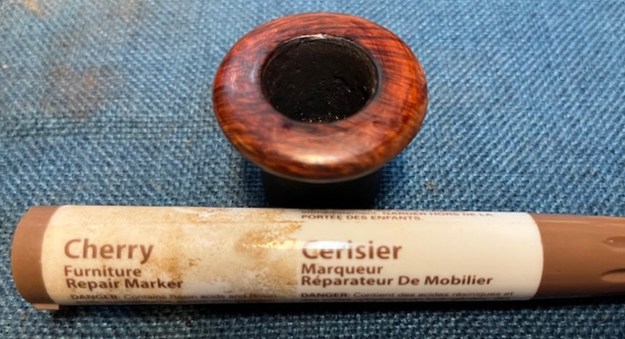
Now it was time to work on the pipe. I used a Savinelli Fitsall Pipe Knife to clean up the cake in the bowl. I used a dowel wrapped with 220 grit sandpaper to smooth out the walls of the bowl. I checked for damage on the bowl walls and it was in good condition. I also sanded the inside of the base with the dowel and sandpaper. I scraped the rim top with a Savinelli Fitsall Pipe Knife. I cleaned up the inner edge of the bowl with a folded piece of 220 sandpaper. I scrubbed the exterior of the briar with a tooth brush and undiluted Murphy’s Oil Soap to remove the build up on the surface of the briar and clean off the lava on the rim top. I scrubbed it and then carefully rinsed the bowl with warm water. I dried it with a soft cotton cloth. It certainly looked significantly better and the patina remained in the wood. I scrubbed out the inside of the shank, mortise and the airway in both the stem and the bowl. I used pipe cleaners, cotton swabs and isopropyl alcohol. It cleaned up very well. I also wiped down the inside of the base with alcohol and paper towels.I polished the briar with micromesh sanding pads to minimise the scratches in the briar. I dry sanded with 1500-12000 grit pads and wiped the bowl down after each pad with a damp cloth to remove the sanding debris. By the end of the nine pads the briar took on a rich shine and the rim top looked very good. I paused the polishing to stain the rim top with a Cherry stain pen to match the rest of the bowl and shank. The stain is a bit spotty in the photo but once it is buffed out and further polished the blend is perfect. I went back to polishing the stem with the remaining sanding pads. I wiped it down with a damp cloth after each pad to remove the sanding debris and dust. I rubbed the bowl down with Before & After Restoration Balm. It is a paste/balm that works to deep clean the finish, enliven and protect the briar. I worked it into the briar with my finger tips to make sure that it covered every square inch of the pipe. I set it aside for 10 minutes to let it do its work. I buffed it with a cotton cloth. The briar really began to have a deep shine. The photos I took of the bowl at this point mark the progress in the restoration. I set the bowl aside and turned my attention to the stem. The stem had a metal tube in the tenon to strengthen the connection. I needed to deal with was the bite through on the underside just ahead of the button before I did much else with the stem. I rubbed some Vaseline onto a folded pipe cleaner and pushed it into the airway underneath the hole. The Vaseline would keep the CA glue repair from sticking to the pipe cleaner. I filled in the hole with Black CA glue that was extra strength and had rubber in the mix. I sprayed it with an accelerator to harden the glue so I could pull the pipe cleaner out. Once the surface hardened I was able to remove the pipe cleaner. I set the stem aside for the repair to cure overnight. This morning I used a small file to flatten the repair and to remove the tooth marks on the topside of the stem.I sanded the stem with 320-3500 grit sanding pads to break up the remaining oxidation and smooth out the repair to the stem surface. I wiped it down after each sanding pad with an Obsidian Oil impregnated cloth. It began to look good.I polished the stem with micromesh sanding pads – dry sanding with 1500-12000 grit pads. I wiped the stem down after each sanding pad with Obsidian Oil. I polished it with Before & After Pipe Stem Polish – both Fine and Extra Fine. Once I had finished the polishing I gave it final coat of Obsidian Oil and set it aside to dry.  I put the Bowl and the Base of the Campaign Pipe bowl and stem back together. I polished the bowl and stem with Blue Diamond to polish out the scratches in the briar and the vulcanite. I gave the bowl and the stem multiple coats of carnauba wax. I buffed the pipe with a clean buffing pad to raise the shine. I hand buffed it with a microfiber cloth to deepen the shine. The pipe polished up pretty nicely. The reddish/brown stains worked amazingly well with the polished vulcanite taper stem. The grain around the bowl and shank and looks quite remarkable. This is truly a beautiful Campaign Underslung Calabash Style Pipe. The finished pipe is shown in the photos below. The dimensions of the pipe are Length: 5 inches, Height: 1 ¾ inches, Outside diameter of the bowl: 1 ½ inches, Chamber diameter: ¾ of an inch. The weight of the pipe is 1.45 ounces/41 grams. With this one finished I can pack up Scott’s pipes and send them back to him in the week ahead. I am sure he will soon add them into his rotation and enjoy some great smokes. Thanks for walking through the restoration with me. Cheers.

As always, I encourage your questions and comments as you read the blog. Thanks to each of you who are reading this blog. Remember we are not pipe owners; we are pipe men and women who hold our pipes in trust until they pass on into the trust of those who follow us.

Restoring a MR&Co GBD London England 6 Silver Banded Lovat


Blog by Steve Laug

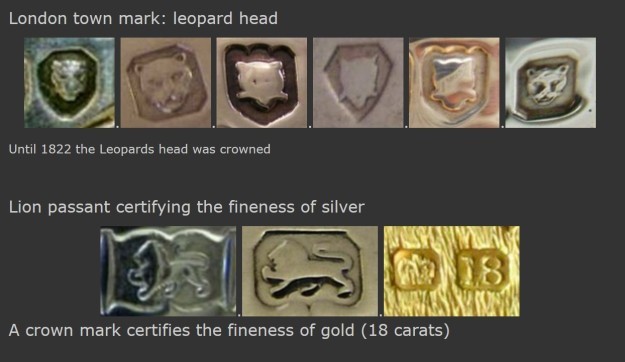
Last week I received a package of pipes to work on for a friend, Scott. I had no idea what was coming but when it arrived I was surprised with the interesting and amazing pieces he included for me to work on. These included a nice looking large Dunhill 841 ODA Lovat, a Campaign pipe with a Calabash style bowl and a start on the stem, a Sasieni 2 Dot London Made Canadian with a Lovat style saddle stem, and finally an older GBD MR&Co silver banded 5 Lovat. All of them are quite lovely and also interesting for me to be able to work on. I took a photo of the box when I unpacked the pipes.The third pipe I chose to work on from this lot was the MR&Co GBD Made in London 6 Lovat. The pipe has a smooth, rich brown finish. The stamping on the left side of the shank read GBD in an oval (GBD Logo). On the right side it was stamped London England [over] the shape number 6. The Sterling Silver band on the shank bore the GBD logo [over] three silver hallmarks – the letter T which is a date stamp, a rampant lion which is a silver quality stamp and a Leopard head which links it to the City of London all in square cartouches with rounded corners. Under that there was a lozenge with pointed ends stamped with the letters MR&Co. The bowl had a heavy cake in it and the rim top and inner edges had a heavy lava built up. There were some nicks on the outer edge of the bowl on the front and back of the bowl. The finish on the bowl and shank were worn and dirty with grime and darkening ground into the surface all around the bowl and shank. Under the tars the rim top and inner and outer edges of the bowl appeared to be in ok condition but cleaning would tell the story. The Sterling Silver band was tarnished and the stamping faint though readable. The stem was calcified and oxidized and there were tooth marks on the top and underside ahead of the button. The GBD silver oval logo was inlaid on the left side of the saddle portion of the stem. I took a few photos of the pipe before I started working on the pipe and have included them below. I took a photo of the rim top and bowl to show the condition of both of them. The bowl itself had a thick cake on the walls and bowl bottom. The rim top showed a heavy coat of lava and the inner edge was heavily caked and its condition would be revealed with cleaning. The outer edge looks good. The photos of the stem show the oxidation, calcification and tooth marks/chatter on both sides ahead of the button.I took photos of the stamping on the sides of the shank. The stamping was faint but still readable as noted above. You can also see the stamping on the silver band. It is much clearer in person. I removed the stem from the shank and took a photo to show the proportions of the pipe. I turned to Pipephil to renew my memory of the brand (http://www.pipephil.eu/logos/en/logo-gbd.html). It gave a brief history of the brand and the changes of owners. I was looking for the MR&Co stamp and found mention of Marechal & Ruchon Cie. The name of the French owners of the GBD lines after the original founders in 1850 sold it. I have included comments below.
Brand created in 1850 in Paris by Ganneval, Bondier and Donninger.

Marechal & Ruchon Cie first, then C.J. Verguet Frères (closed in 1970) owned GBD from 1903 to 1970 and manufactured these pipes in the St Claude (Fr) plant.

Sometime in the 1970s Cadogan company (Oppenheimer group) took over GBD. Prior to this time, the pipes were stamped “London England” in a straight line, even if they were sometimes crafted in France.

I also reread the history of the brand on Pipedia (https://pipedia.org/wiki/GBD). It gave more detail than Pipedia but nothing stunningly helpful.

I went back to Pipephil and did a quick look at some of the additional links that are present on hallmarks (http://www.pipephil.eu/logos/en/infos/hallmark-london.html). I found a great reference tool for London Hallmarks that applied to the pipe in hand. I have included a screen capture of that below.You can see from the information above that the Leopard’s head in a square was the mark for the City of London. That gave me information that the band (the pipe?) was made in London. Secondly the Rampant Lion shown in the second photo above is the same as the mark on this band which certifies the quality of the Sterling Silver in the band. That gave me the information on the two marks on the band. It was thus the London town Mark and the .925 Sterling silver mark. Now I need to look at the date stamp “T” that was on the band.

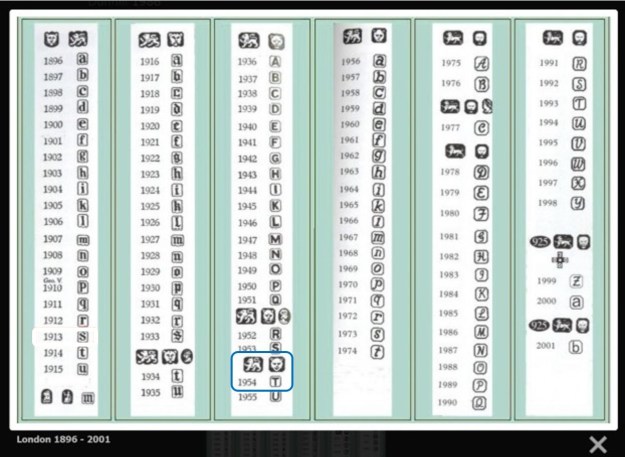
The page contained a dating chart as well as the above information. It stated that the “Twenty letters of the alphabet of different shape identify the year in which the piece was verified by the assay office.” It included a chart for the years 1896 – 2001. I did a screen capture of that below. To me the “T” stamp matches the one under 1954 in the chart below. It is shown underneath the same two marks that are on this pipe. I have drawn a blue box around it for ease of reference.Given those facts the Hallmarks can be interpreted. The pipe is a GBD London England Made pipe (GBD Logo and stamp on the briar and band). It has a London town mark (Leopard head without the crown), a .925 Sterling Silver certification (the Rampant Lion) and a 1954 date stamp (“T”). The MR&Co stamp identifies it as being made during the time Marechal & Ruchon Cie (1903-1970). That fit well with the 1954 date stamp. Now it was time to work on this old timer.

Now it was time to work on the pipe. I used a PipNet Pipe reamer first to take out the majority of the cake. It was a deep bowl so I used a Savinelli Fitsall Pipe Knife to clean up the remaining cake in the bowl and to scrape off the lava on the rim top. I used a dowel wrapped with 220 grit sandpaper to smooth out the walls of the bowl. I checked for damage on the bowl walls and it was in good condition. I scraped the rim top with a Savinelli Fitsall Pipe Knife. I cleaned up the inner edge of the bowl with a folded piece of 220 sandpaper. I wiped the rim top down with a damp cotton pad and the rim top began to really look much better. I polished the silver band with a jeweller’s cloth to remove the tarnish and protect the silver from further tarnishing. I scrubbed out the inside of the shank, mortise and the airway in both the stem and the bowl. I used pipe cleaners, cotton swabs and isopropyl alcohol. It cleaned up very well.I scrubbed the exterior of the briar with a tooth brush and undiluted Murphy’s Oil Soap to remove the build up on the surface of the briar and clean off the lava on the rim top. I scrubbed it and then carefully rinsed the bowl with warm water. I dried it with a soft cotton cloth. It certainly looked significantly better and the patina remained in the wood. I polished the briar with micromesh sanding pads to minimise the scratches in the briar. I dry sanded with 1500-12000 grit pads and wiped the bowl down after each pad with a damp cloth to remove the sanding debris. By the end of the nine pads the briar took on a rich shine and the rim top looked very good. I rubbed the bowl down with Before & After Restoration Balm. It is a paste/balm that works to deep clean the finish, enliven and protect the briar. I worked it into the briar with my finger tips to make sure that it covered every square inch of the pipe. I set it aside for 10 minutes to let it do its work. I buffed it with a cotton cloth. The briar really began to have a deep shine. The photos I took of the bowl at this point mark the progress in the restoration. I set the bowl aside and turned my attention to the stem. First, I wanted to address the tooth marks in the surface on both sides. I “painted” the surface of the vulcanite with the flame of a Bic lighter and was able to significantly lift the tooth marks. I filled in the deeper marks with black rubberized CA glue. Once it cured I sanded the repairs with 220 grit sandpaper to smooth them out. I sanded the stem with 320-3500 grit sanding pads to break up the remaining oxidation. I wiped it down after each sanding pad with an Obsidian Oil impregnated cloth. It began to look good.I polished the stem with micromesh sanding pads – dry sanding with 1500-12000 grit pads. I wiped the stem down after each sanding pad with Obsidian Oil. I polished it with Before & After Pipe Stem Polish – both Fine and Extra Fine. Once I had finished the polishing I gave it final coat of Obsidian Oil and set it aside to dry. You can see from the photos that under the light of the flash the oxidation was still present. This was one stubborn pipe. I scrubbed it down with Soft Scrub and cotton pads until the oxidation was no longer present. It looked better. I wiped the stem down with Obsidian Oil to protect it further.I put the 1954 MR&Co GBD London England 6 Lovat bowl and stem back together. I polished the bowl and stem with Blue Diamond to polish out the scratches in the briar and the vulcanite. I gave the bowl and the stem multiple coats of carnauba wax. I buffed the pipe with a clean buffing pad to raise the shine. I hand buffed it with a microfiber cloth to deepen the shine. The pipe polished up pretty nicely. The reddish/brown stains worked amazingly well with the polished vulcanite taper stem. The grain around the bowl and shank and looks quite remarkable. This is truly a beautiful 1954 MR&Co GBD 6 Lovat. The finished pipe is shown in the photos below. The dimensions of the pipe are Length: 6 inches, Height: 1 ¾ inches, Outside diameter of the bowl: 1 ¼ inches, Chamber diameter: ¾ of an inch. The weight of the pipe is 1.41 ounces/38 grams. I have one more of Scott’s pipes to work on and then I will be sending them back to him. I am sure he will soon add them into his rotation and enjoy some great smokes. Thanks for walking through the restoration with me. Cheers.

As always, I encourage your questions and comments as you read the blog. Thanks to each of you who are reading this blog. Remember we are not pipe owners; we are pipe men and women who hold our pipes in trust until they pass on into the trust of those who follow us.

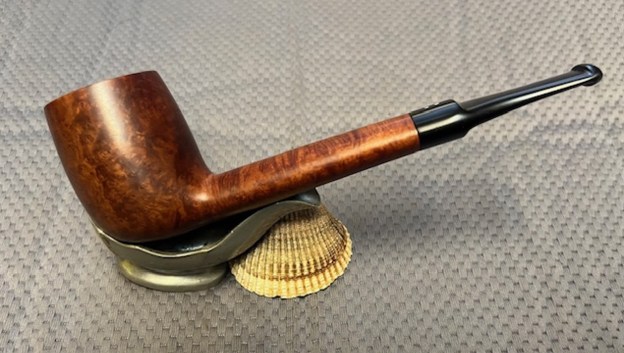
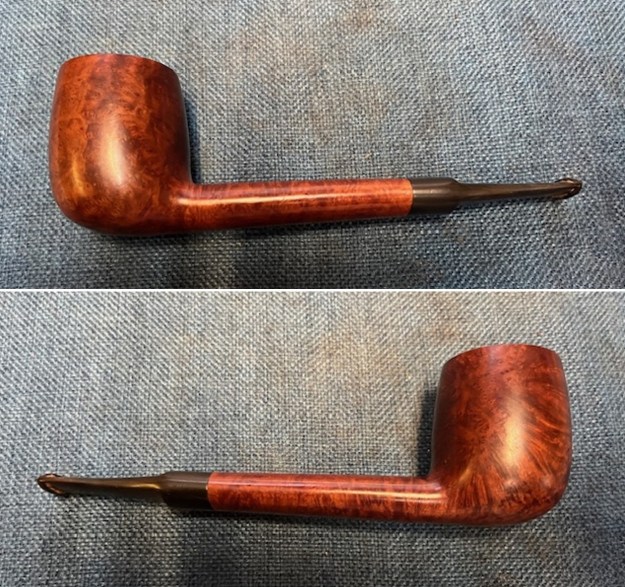
Restoring a Sasieni Two Dot London Made King Size 44G Oval Shank Lovat


Blog by Steve Laug

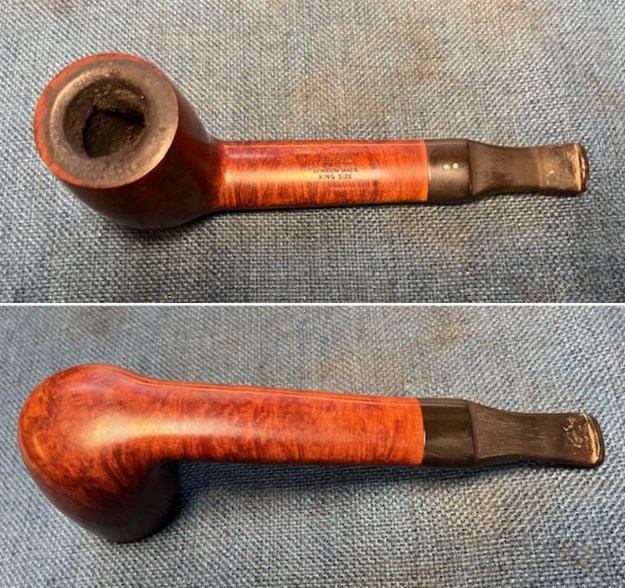
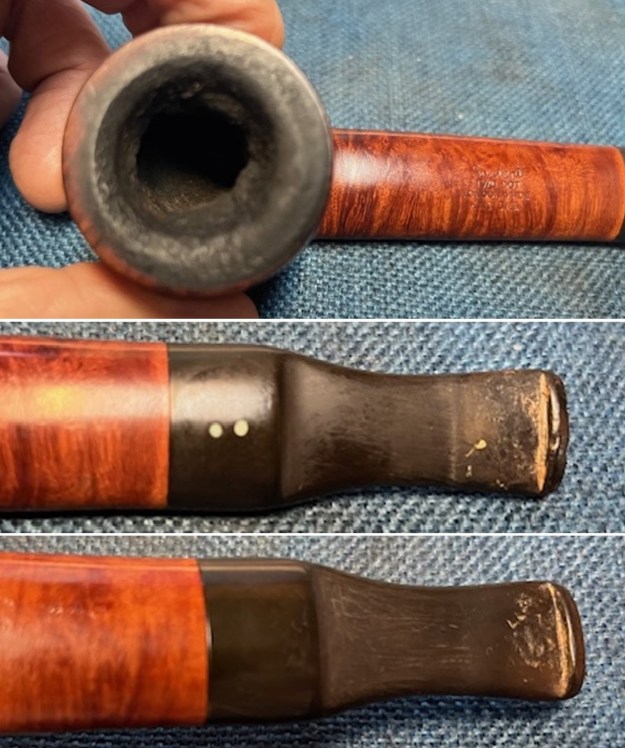
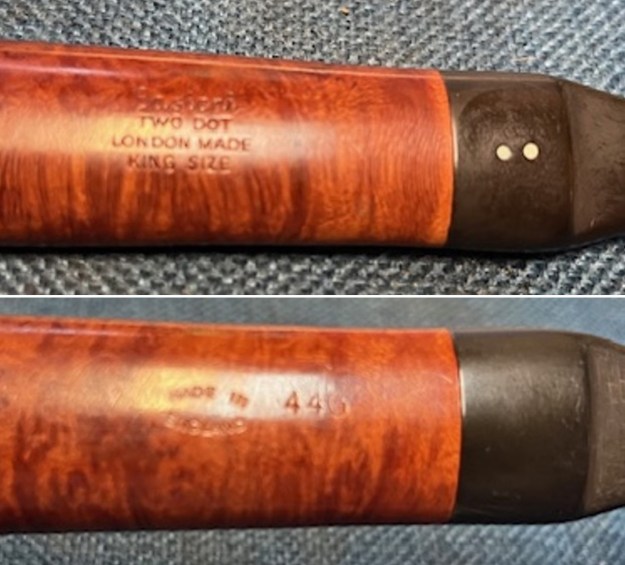
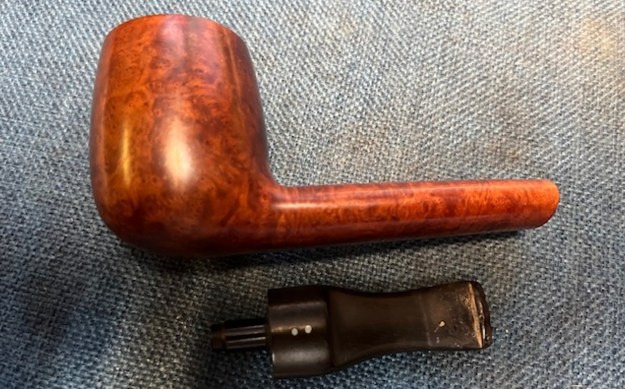
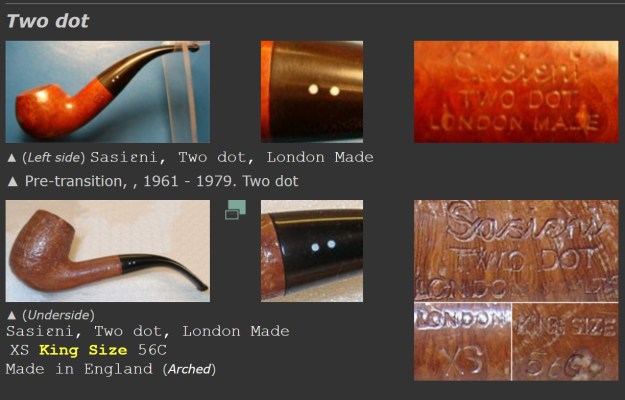
Last week I received a package of pipes to work on for a friend, Scott. I had no idea what was coming but when it arrived I was surprised with the interesting and amazing pieces he included for me to work on. These included a nice looking large Dunhill 841 ODA Lovat, a Campaign pipe with a Calabash style bowl and a start on the stem, a Sasieni 2 Dot London Made Canadian with a Lovat style saddle stem, and finally an older GBD MR&Co silver banded 5 Lovat. All of them are quite lovely and also interesting for me to be able to work on. I took a photo of the box when I unpacked the pipes.The second pipe I chose to work on from this lot was the large Sasieni Two Dot Large oval shank Lovat. The pipe has a smooth, rich brown finish. The stamping on the topside of the shank read Sasieni [over] Two Dot [over] London Made [over] King Size. On the underside the COM Stamp was shaped like football and read Made in [arched over] England. That is followed by a shape number 44G. The bowl had a heavy cake in it and the rim top and inner edges had a heavy lava built up. The cake was thicker on the back half of the bowl. The outer edge of the bowl looked very good. The finish was very dirty with grime ground into the bowl sides and shank. The stem was calcified and oxidized and there were tooth marks on the top and underside ahead of the button. The Sasieni two blue dots were on top of the saddle portion of the stem. I took a few photos of the pipe before I started working on the pipe and have included them below. I took a photo of the rim top and bowl to show the condition of both of them. The bowl itself had a thick cake on the walls and bowl bottom. The rim top showed a heavy coat of lava and the inner edge was heavily caked and its condition would be revealed with cleaning. The outer edge looks good. The photos of the stem show the oxidation, calcification and tooth marks/chatter on both sides ahead of the button.I took photos of the stamping on the sides of the shank. The stamping was clear and readable as noted above. I removed the stem from the shank and took a photo to show the proportions of the pipe. Before I started my work pipe, I turned to Pipephil’s site (http://www.pipephil.eu/logos/en/logo-sasieni.html) to get a feel for the Two Dot pipes. As usual there is some helpful information in short form on the site. I have included a screen capture of the pertinent section below.On the side bar it also included this information on the King Size stamping:
“King Size” marking in any Sasieni grade or finish were the largest pipes Sasieni regularly marketed.

“Two dot” pipes are not to be confused with the Duplicated One dot.

On the side bar there was also a link to move information in French regarding the Two Dot pipes (http://www.pipephil.eu/oddpipes/dots/sasieni-2dots.html). I ran it through Google Translate and picked up the following information that was quite helpful. (I know Google translate is greatly lacking but it at least gives a sense of the meaning of the words.) I am including the link and the translation should you want to check it out.

Two-Dot Sasieni

If you are intending to acquire your first Sasieni pipe, and your budget does not allow you to splurge these days, I cannot recommend enough that you take a closer look at the colonized pipes at this London pipe maker.

What differentiates the Sasieni two-point pipes from those with four? Very few two things, judge:

Alfred Sasieni wanted the pipes marked with the diamond to be absolutely perfect. Those which had even a surface irregularity (sandpit) the size of a tenth of a pinhead, were to be considered second choice.

At the beginning of the sixties (see diagram here http://www.pipephil.eu/logos/fr/infos/sasieni-timechart.html), while the house was already marketing second-choice pipes through sub-brands [1], it was finally decided to sell the “almost perfect” under the prestigious Sasieni brand, but by reducing the points to two.

These two-point pipes were marketed from 1961 until the early 1980s. On the second-hand pipe market these models are generally sold at very fair prices [2]…

[1] Illustrated list of Sasieni’s sub-brands or second brands.

[2] Do not confuse Sasieni pipes marked with a double point, with those that have a point on either side of the pipe.

From that information I knew that I was dealing with an “almost perfect” piece of briar and that explained the two small pinprick holes on the right side of the bowl. I also knew that the Two Dots were marketed for a short period from 1961 to the early 1980s which gave a time frame for this pipe. With the King Size stamp I also knew that I was dealing with one of the largest pipes that Sasieni marketed.

By the way, Pipedia gives a great history of the brand (https://pipedia.org/wiki/Sasieni) that is well worth reading.

Now it was time to work on the pipe. I used a PipNet Pipe reamer first to take out the majority of the cake. It was a deep bowl so I used a Savinelli Fitsall Pipe Knife to clean up the remaining cake in the bowl and to scrape off the lava on the rim top. I used a dowel wrapped with 220 grit sandpaper to smooth out the walls of the bowl. I checked for damage on the bowl walls and it was in good condition. I sanded the bevel on the inner edge of the rim with 220 grit sandpaper and the thick lava coat on the rim top with a 320 grit sanding pad. I scrubbed out the inside of the shank, mortise and the airway in both the stem and the bowl. I used pipe cleaners, cotton swabs and isopropyl alcohol. It cleaned up very well.I scrubbed the exterior of the bowl with a tooth brush and undiluted Murphy’s Oil Soap to remove the grime and debris in the finish. I scrubbed out the mortise and tenon with small tube brushes and soap to remove the oils and tars in the shank area. I rinsed it with warm water to remove the grime and oils in the finish and shank. It has a fresh look that really highlights the grain in the briar. I polished the briar with micromesh sanding pads to minimise the scratches in the briar. I dry sanded with 1500-12000 grit pads and wiped the bowl down after each pad with a damp cloth to remove the sanding debris. By the end of the nine pads the briar took on a rich shine and the rim top looked very good. I paused the polishing process long enough to give the rim top a light stain with a Maple stain pen to add some colour back to the light areas on the rim top. It matched the colour of the rest of the bowl and would do so even more once polished. Once finished I continued the polishing process with micromesh sanding pads. I rubbed the bowl down with Before & After Restoration Balm. It is a paste/balm that works to deep clean the finish, enliven and protect the briar. I worked it into the briar with my finger tips o make sure that it covered every square inch of the pipe. I set it aside for 10 minutes to let it do its work. I buffed it with a cotton cloth. The briar really began to have a deep shine. The photos I took of the bowl at this point mark the progress in the restoration. I set the bowl aside and turned my attention to the stem. First, I wanted to address the tooth marks in the surface on both sides. I “painted” the surface of the vulcanite with the flame of a Bic lighter and was able to significantly lift the tooth marks. I sanded the remaining marks and chatter with 220 grit sandpaper to smooth them out. I sanded the stem with 320-3500 grit sanding pads to break up the remaining oxidation. I wiped it down after each sanding pad with an Obsidian Oil impregnated cloth. It began to look good.I polished the stem with micromesh sanding pads – dry sanding with 1500-12000 grit pads. I wiped the stem down after each sanding pad with Obsidian Oil. I polished it with Before & After Pipe Stem Polish – both Fine and Extra Fine. Once I had finished the polishing I gave it final coat of Obsidian Oil and set it aside to dry. I put the Sasieni Two Dot London Made King Size 44G oval shank Lovat bowl and stem back together. I polished the bowl and stem with Blue Diamond to polish out the scratches in the briar and the vulcanite. I gave the bowl and the stem multiple coats of carnauba wax. I buffed the pipe with a clean buffing pad to raise the shine. I hand buffed it with a microfiber cloth to deepen the shine. The pipe polished up pretty nicely. The reddish/brown stains worked amazingly well with the polished vulcanite taper stem. The grain around the bowl and shank and looks quite remarkable. This is truly a beautiful Sasieni Two Dot King Size 44G Lovat. The finished pipe is shown in the photos below. The dimensions of the pipe are Length: 6 ½ inches, Height: 2 inches, Outside diameter of the bowl: 1 ½ inches, Chamber diameter: 7/8 of an inch. The weight of the pipe is 2.22 ounces/64 grams. I have two more of Scott’s pipes to work on and then I will be sending them back to him. I am sure he will soon add them into his rotation and enjoy some great smokes. Thanks for walking through the restoration with me. Cheers.

As always, I encourage your questions and comments as you read the blog. Thanks to each of you who are reading this blog. Remember we are not pipe owners; we are pipe men and women who hold our pipes in trust until they pass on into the trust of those who follow us.

Restoring a Classic Dunhill Bruyere Prince


By Steve Laug

I took a break from the queue of pipes I have to work on to work on a pipe in my own box. Paul in Illinois who loves Dunhill Prince shapes and he regularly texts and asks if I have any. When I was in Idaho I picked up one that we had purchased from a friend in Denmark on May 22, 2024. It is a lovely Dunhill Bruyere Prince. The stamping on the left side of the shank read FET (the designation for a prince) [over] F/T next to the bowl. That is followed by Dunhill [over] Bruyere. On the right side it read Made in [over] England followed by a number 7 to the right of the D in England that will help me date the pipe. The bowl had been reamed not long ago. There was some lava on the rim top on the back of the rim and the inner edge had darkening and was rough to the touch. The outer edge looked very good. The finish was dirty but it could not hide the lovely grain around the bowl and shank. The stem was clean though a bit pitted. The bend in the stem common on Prince pipes had straightened over time. There were tooth marks on the top and underside ahead of the button. The classic Dunhill White Spot was missing on top of the stem but a clean small hole remained where it had been. I took a few photos of the pipe before I started my work on it. I sent the photos to Paul and he is excited about it. I took a photo of the rim top and bowl to show the condition of both of them. The bowl itself had been recently reamed. The rim top showed a coat of lava and some darkening around the edge. The inner edge looked rough but a cleaning would make that clear. The outer edge looked very good. The photos of the stem show light oxidation, the missing white spot on the top and tooth marks/chatter on both sides ahead of the button. I took photos of the stamping on the sides of the shank. The photos are blurry but you can see the shadow of the stamping. The stamping was faint but readable as noted above. I removed the stem from the shank and took a photo to show the proportions of the pipe. As is my regular practice, before I started my work on the pipe, I turned to Pipedia’s section on Dunhill Bruyere Pipes to get a bit of background on the Dunhill finishes (https://pipedia.org/wiki/Dunhill#Root_Briar). I quote:

Bruyere

The original finish produced (usually made using Calabrian briar), and a big part of developing and marketing the brand. It was the only finish from 1910 until 1917. A dark reddish-brown stain. Before the 1950s, there were three possible finishes for Dunhill pipes. The Bruyere was a smooth finish with a deep red stain, obtained through two coats, a brown understain followed by a deep red.

There was a link on the above site to a section specifically written regarding the Bruyere finish (https://pipedia.org/wiki/Dunhill_Bruyere). I turned there and have included the information from that short article below.

Initially, made from over century-old briar burls, classified by a “B” (denoted highest quality pipe); “DR” (denoted straight-grained) and an “A” (denoted first quality), until early 1915. After that, they became a high-end subset to the Dunhill ‘Bruyere’. The DR and B pipes, a limited production, they should be distinguished as hand-cut in London from burls as opposed to the Bruyere line which was generally finished from French turned bowls until 1917, when the Calabrian briar started to be used, but not completely. Only in 1920 Dunhill took the final step in its pipe making operation and began sourcing and cutting all of its own bowls, proudly announcing thereafter that “no French briar was employed”.

Bruyere pipes were usually made using Calabrian briar, a very dense and hardy briar that has a modest grain but does very well with the deep red stain.

“Before the 1950s, there were three possible finishes for Dunhill pipes. The Bruyere was a smooth finish with a deep red stain, obtained through two coats, a brown understain followed by a deep red. The Shell finish was the original sandblast with a near-black stain (though the degree to which it is truly black has varied over the years). Lastly, the Root finish was smooth also but with a light brown finish. Early Dunhill used different briars with different stains, resulting in more distinct and identifiable creations… Over the years, to these traditional styles were added four new finishes: Cumberland, Dress, Chestnut and Amber Root, plus some now-defunct finishes, such as County, Russet and Red Bark.”

There was also a link to a catalogue page that gave examples and dates that the various finishes were introduced (https://pipedia.org/wiki/File:Dunnypipescatalog-1.png).I turned to Pipephil’s dating guide to show how I arrived at the date of manufacture for this pipe (http://www.pipephil.eu/logos/en/dunhill/cledat-en1a.html). I am including the chart that is provided there for the dating a pipe. I have drawn a red box around the section. Since the pipe I am working on has a suffix 7 and is the same size as the D in England. It points to the 1960 line on the chart below. To date it just add 1960 +7 for a date of 1967. I have drawn a red box around the pertinent section in the chart.I now knew that I was working on a Bruyere that came out in 1967 as far as I could tell by the date stamp. The shape of the pipe is an FET (Prince) with a F/T or fishtail stem.

Now it was time to work on the pipe. I used a PipNet Pipe reamer first to take out the majority of the thin cake. I used a Savinelli Fitsall Pipe Knife to clean up the remaining cake in the bowl and to scrape off the lava on the rim top. I used a dowel wrapped with 220 grit sandpaper to smooth out the walls of the bowl. I checked for damage on the bowl walls and it was in good condition. I used a folded piece of 220 grit sandpaper to clean up the damage around the bowl edge and the lava build up on the rim top. It is looking much better at this point in the process. I scrubbed out the inside of the shank, mortise and the airway in both the stem and the shank. I started the process by scraping the inside of the mortis with a pen knife. There was a small ridge of build up mid mortise making the seating of the stem incorrect. Once I had scraped it clean I used pipe cleaners, cotton swabs and isopropyl alcohol on the shank and on the airway in the stem. It cleaned up very well. I scrubbed the exterior of the bowl with a tooth brush and undiluted Murphy’s Oil Soap to remove the grime and debris in the finish. I scrubbed out the mortise and tenon with small tube brushes and soap to remove the oils and tars in the shank area. I rinsed it with warm water to remove the grime and oils in the finish and shank. I dried it off with a soft cotton cloth. One of the benefits of doing this is that the briar in the nicks and dents on the bowl sides swell and virtually disappear. The pipe has a fresh look that really highlights the grain on the briar. I polished the briar with micromesh sanding pads to minimise the scratches in the briar. I dry sanded with 1500-12000 grit pads and wiped the bowl down after each pad with a damp cloth to remove the sanding debris. By the end of the nine pads the briar took on a rich shine and the rim top looked very good. Even the damage on the outer edge, while still present looked much better and the roughness was gone. I rubbed the bowl down with Before & After Restoration Balm. It is a paste/balm that works to deep clean the finish, enliven and protect the briar. I worked it into the briar with my finger tips to make sure that it covered every square inch of the pipe. I set it aside for 10 minutes to let it do its work. I buffed it with a cotton cloth. The briar really began to have a deep shine. The photos I took of the bowl at this point mark the progress in the restoration. I set the bowl aside and turned my attention to the stem. First, I wanted to address the tooth marks in the surface on both sides. I “painted” the surface of the vulcanite with the flame of a Bic lighter and was able to significantly lift the tooth marks. I also heated the stem so I could put a slight bend in it to capture the Prince shape. I sanded out the remaining tooth marks that were present with a folded piece of 220 grit sandpaper. It looked very good at this point. I paused in the sanding process to address the missing white dot on the stem surface. I have some white spot material that I received from Mark Hoover. It is a small envelope of white spots. I put one spot in the lid of a jar I have here and mixed it with some 100% acetone. I stirred it with a dental pick to mix the acetone with the spot material. It softens and becomes malleable. I pressed the softened material into the hole on the top of the stem with the dental pick. Once it set I sanded off the excess material on the stem surface with a folded piece of 220 grit sandpaper. I sanded the stem with 320-3500 grit sanding pads to smooth out the newly filled white spot and to break up the remaining oxidation. I wiped it down after each sanding pad with an Obsidian Oil impregnated cloth. It began to look good.I polished the stem with micromesh sanding pads – dry sanding with 1500-12000 grit pads. I wiped the stem down after each sanding pad with Obsidian Oil. I polished it with Before & After Pipe Stem Polish – both Fine and Extra Fine. Once I had finished the polishing I gave it final coat of Obsidian Oil and set it aside to dry.   The diameter of the tenon made it clear that the pipe had originally had an inner tube. Somewhere along the journey the tube had disappeared. I went through my can of tubes and stingers and found an inner tube that was the right length. I inserted it in the tenon and took photos of the fit.I put the 1967 Dunhill Bruyere FET F/T Prince bowl and stem back together. I polished the bowl and stem with Blue Diamond to polish out the scratches in the briar and the vulcanite. I gave the bowl and the stem multiple coats of carnauba wax. I buffed the pipe with a clean buffing pad to raise the shine. I hand buffed it with a microfiber cloth to deepen the shine. The pipe polished up pretty nicely. The reddish/brown stains worked amazingly well with the polished vulcanite taper stem. The grain around the bowl and shank and looks quite remarkable. This is truly a beautiful Dunhill Bruyere FET F/T Prince. The finished pipe is shown in the photos below. The dimensions of the pipe are Length: 6 inches, Height: 1 ¼ inches, Outside diameter of the bowl: 1 ¼ inches, Chamber diameter: 7/8 of an inch. The weight of the pipe is 1.23 ounces/36 grams. I have another pipe set aside for Paul in Illinois that I will pack together and send to him. I am sure he will soon add them into his rotation and enjoy some great smokes. Thanks for walking through the restoration with me. Cheers.

As always, I encourage your questions and comments as you read the blog. Thanks to each of you who are reading this blog. Remember we are not pipe owners; we are pipe men and women who hold our pipes in trust until they pass on into the trust of those who follow us.

Restoring a 1961 Dunhill Bruyere Made in London 1 ODA 841 Lovat


by Steve Laug

Last week I received a package of pipes to work on for a friend, Scott. I had no idea what was coming but when it arrived I was surprised with the interesting and amazing pieces he included for me to work on. These included a nice looking large Dunhill 841 ODA Lovat, a Campaign pipe with a Calabash style bowl and a start on the stem, a Sasieni 2 Dot London Made Canadian with a Lovat style saddle stem, and finally an older GBD MR&Co silver banded 5 Lovat. All of them are quite lovely and also interesting for me to be able to work on. I took a photo of the box when I unpacked the pipes.The first pipe I chose to work on from this lot was the large Dunhill ODA 841 Lovat. The pipe has a smooth Bruyere finish. The stamping on the left side of the shank read ODA [over] 841 next to the bowl. That is followed by Dunhill [over] Bruyere. On the right side it read Made in [over] England followed by a number 1 to the right of the D in England that will help me date the pipe. The bowl had a heavy cake in it and the rim top and inner edges had a heavy lava built up. The outer edge of the bowl had knocked hard against a surface and damaged all the way around. The finish was very dirty with grime ground into the bowl sides and shank. The stem was calcified and oxidized and there were tooth marks on the top and underside ahead of the button. The classic Dunhill White Spot was on top of the saddle portion of the stem. I took a few photos of the pipe before I started my work on it and have included them below. I took a photo of the rim top and bowl to show the condition of both of them. The bowl itself had a thick cake on the walls and bowl bottom. The rim top showed a heavy coat of lava and the inner edge looked rough from being reamed with a knife but a cleaning would make that clear. The outer edge on the front of the bowl and the back have knocking damage and the side edges have some as well. The photos of the stem show the oxidation, calcification and tooth marks/chatter on both sides ahead of the button.I took photos of the stamping on the sides of the shank. The stamping was clear and readable as noted above. I removed the stem from the shank and took a photo to show the proportions of the pipe. Before I started my work on the pipe, I turned to Pipedia’s section on Dunhill Bruyere Pipes to get a bit of background on the Dunhill finishes (https://pipedia.org/wiki/Dunhill#Root_Briar). I quote:
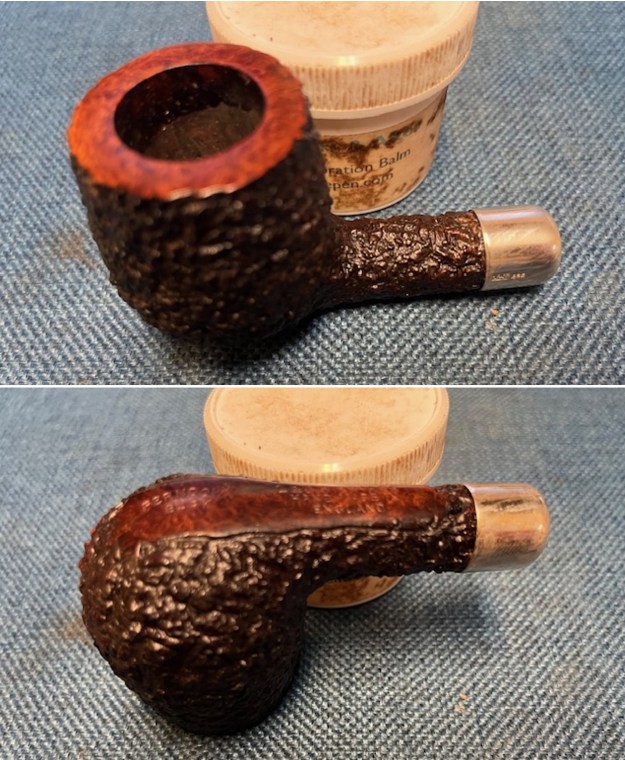
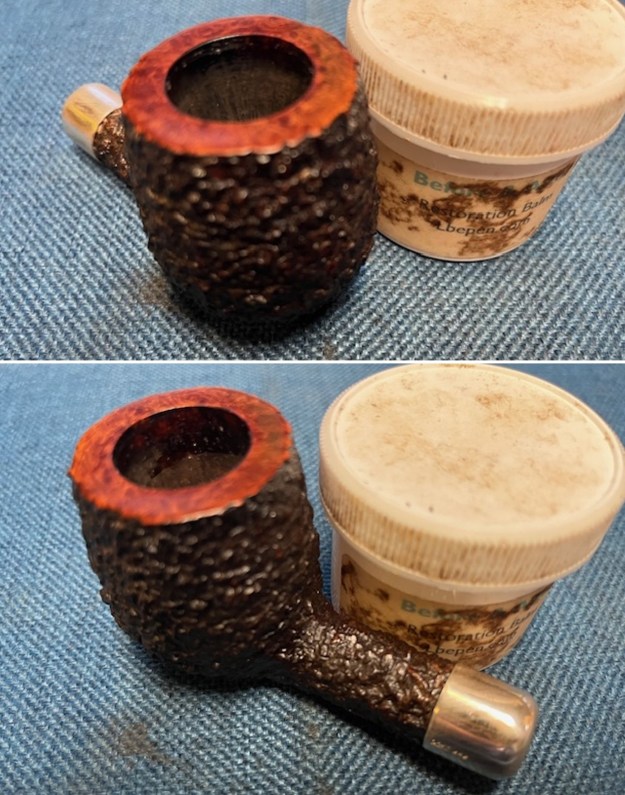
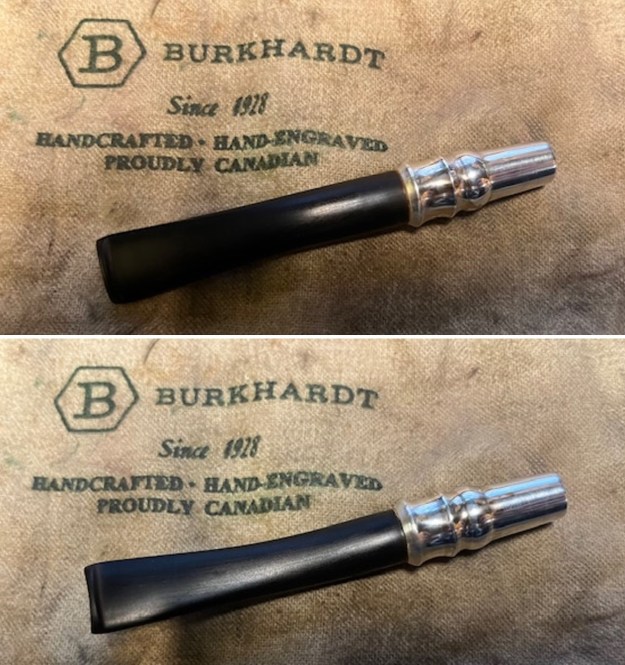
Bruyere

The original finish produced (usually made using Calabrian briar), and a big part of developing and marketing the brand. It was the only finish from 1910 until 1917. A dark reddish-brown stain. Before the 1950s, there were three possible finishes for Dunhill pipes. The Bruyere was a smooth finish with a deep red stain, obtained through two coats, a brown understain followed by a deep red.
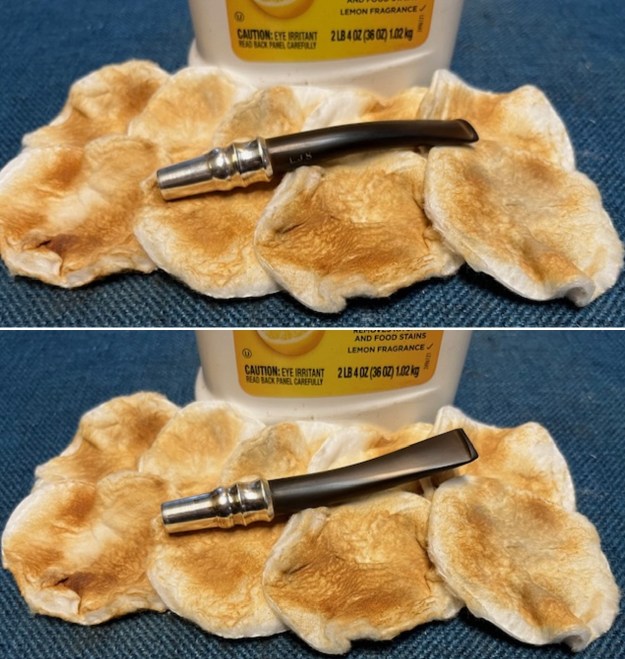
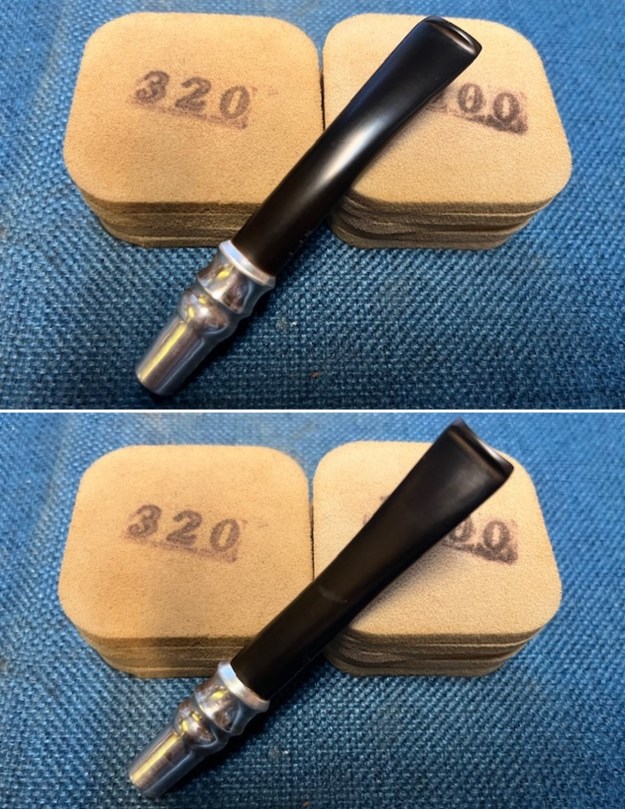
There was a link on the above site to a section specifically written regarding the Bruyere finish (https://pipedia.org/wiki/Dunhill_Bruyere). I turned there and have included the information from that short article below.

Initially, made from over century-old briar burls, classified by a “B” (denoted highest quality pipe); “DR” (denoted straight-grained) and an “A” (denoted first quality), until early 1915. After that, they became a high-end subset to the Dunhill ‘Bruyere’. The DR and B pipes, a limited production, they should be distinguished as hand-cut in London from burls as opposed to the Bruyere line which was generally finished from French turned bowls until 1917, when the Calabrian briar started to be used, but not completely. Only in 1920 Dunhill took the final step in its pipe making operation and began sourcing and cutting all of its own bowls, proudly announcing thereafter that “no French briar was employed”.

Bruyere pipes were usually made using Calabrian briar, a very dense and hardy briar that has a modest grain but does very well with the deep red stain.

“Before the 1950s, there were three possible finishes for Dunhill pipes. The Bruyere was a smooth finish with a deep red stain, obtained through two coats, a brown understain followed by a deep red. The Shell finish was the original sandblast with a near-black stain (though the degree to which it is truly black has varied over the years). Lastly, the Root finish was smooth also but with a light brown finish. Early Dunhill used different briars with different stains, resulting in more distinct and identifiable creations… Over the years, to these traditional styles were added four new finishes: Cumberland, Dress, Chestnut and Amber Root, plus some now-defunct finishes, such as County, Russet and Red Bark.”

There was also a link to a catalogue page that gave examples and dates that the various finishes were introduced (https://pipedia.org/wiki/File:Dunnypipescatalog-1.png). I turned to Pipephil’s dating guide to show how I arrived at the date of manufacture for this pipe (http://www.pipephil.eu/logos/en/dunhill/cledat-en1a.html). I am including the chart that is provided there for the dating a pipe. I have drawn a red box around the section. Since the pipe I am working on has a suffix 1 it points to the 1960 line on the chart below. I have drawn a red box around the pertinent section in the chart.On Pipedia they also have an ODA shape chart that was helpful. I have included that below (https://pipedia.org/wiki/A_DUNHILL_ODA_SHAPE_CHART).I turned further to a listing on Pipephil (http://pipephil.eu/logos/en/infos/dunhill-oda-en.html)with regard to the ODA 800 Series pipes. It is a helpful document and I have included a screen capture of it below. The chart has a paragraph at the top that reads as follows:
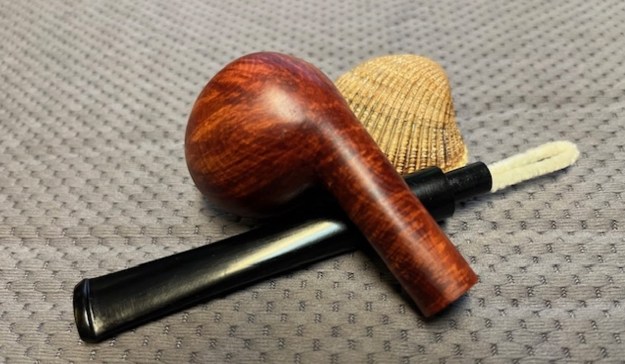
The following chart (1) lists larger Dunhill shapes introduced in 1950. They were stamped “ODA” with a number ranging from 806 to 857 (but not all number in between….

After the chart were the following paragraphs that I am also including.

Pipes from the ODA 800 series must be distinguished from the pre-WWII “OD” (Own Design) pipes. The later were carved to order and graded from A to J.

 The ODA 800 series were discontinued in the mid 1990s.

 (1) According to John Loring (op. cit.) I now knew that I was working on a Bruyere that came out in 1961 as far as I could tell by the date stamp. The shape of the pipe is Dunhill ODA 841 which were made from 1950 until 1990 when the 800 series was discontinued. So this pipe fits the date line perfectly. The ODA 841 was the designation for Lovat shape with a saddle stem.

Now it was time to work on the pipe. I used a PipNet Pipe reamer first to take out the majority of the cake. It was a deep bowl so I used a Savinelli Fitsall Pipe Knife to clean up the remaining cake in the bowl and to scrape off the lava on the rim top. I used a dowel wrapped with 220 grit sandpaper to smooth out the walls of the bowl. I checked for damage on the bowl walls and it was in good condition. I scrubbed out the inside of the shank, mortise and the airway in both the stem and the shank. I used pipe cleaners, cotton swabs and isopropyl alcohol. It cleaned up very well.I scrubbed the exterior of the bowl with a tooth brush and undiluted Murphy’s Oil Soap to remove the grime and debris in the finish. I scrubbed out the mortise and tenon with small tube brushes and soap to remove the oils and tars in the shank area. I rinsed it with warm water to remove the grime and oils in the finish and shank. It has a fresh look that really highlights the briar. I used a folded piece of 220 grit sandpaper to clean up the damage around the bowl edge and the lava build up on the rim top. I also carefully knocked off the rough edges on the outer edge of the bowl without significantly changing the damage. It is looking much better at this point in the process.I polished the briar with micromesh sanding pads to minimise the scratches in the briar. I dry sanded with 1500-12000 grit pads and wiped the bowl down after each pad with a damp cloth to remove the sanding debris. By the end of the nine pads the briar took on a rich shine and the rim top looked very good. Even the damage on the outer edge, while still present looked much better and the roughness was gone. I paused in the polishing to touch up the light spots on the bowl top and edges with a Cherry stain pen. The colour is a perfect match and with the ongoing polishing and final buffing of the bowl it will blend in perfectly.Once the stain cured I went back to the polishing routine. The stain coat blended in quite well and was looking like it should by the time I finished the final pad. I rubbed the bowl down with Before & After Restoration Balm. It is a paste/balm that works to deep clean the finish, enliven and protect the briar. I worked it into the briar with my finger tips o make sure that it covered every square inch of the pipe. I set it aside for 10 minutes to let it do its work. I buffed it with a cotton cloth. The briar really began to have a deep shine. The photos I took of the bowl at this point mark the progress in the restoration. I set the bowl aside and turned my attention to the stem. First I wanted to address the tooth marks in the surface on both sides. I “painted” the surface of the vulcanite and was able to significantly lift the tooth marks. I sanded the remaining marks and chatter with 220 grit sandpaper to smooth them out. I sanded the stem with 320-3500 grit sanding pads to break up the remaining oxidation. I wiped it down after each sanding pad with an Obsidian Oil impregnated cloth. It began to look good.I polished the stem with micromesh sanding pads – dry sanding with 1500-12000 grit pads. I wiped the stem down after each sanding pad with Obsidian Oil. I polished it with Before & After Pipe Stem Polish – both Fine and Extra Fine. Once I had finished the polishing I gave it final coat of Obsidian Oil and set it aside to dry.  I put the 1961 Dunhill Bruyere ODA 841 Lovat bowl and stem back together. I polished the bowl and stem with Blue Diamond to polish out the scratches in the briar and the vulcanite. I gave the bowl and the stem multiple coats of carnauba wax. I buffed the pipe with a clean buffing pad to raise the shine. I hand buffed it with a microfiber cloth to deepen the shine. The pipe polished up pretty nicely. The reddish/brown stains worked amazingly well with the polished vulcanite taper stem. The grain around the bowl and shank and looks quite remarkable. This is truly a beautiful Dunhill Bruyere ODA 841 Lovat. The finished pipe is shown in the photos below. The dimensions of the pipe are Length: 6 ¾ inches, Height: 2 inches, Outside diameter of the bowl: 1 ½ inches, Chamber diameter: 7/8 of an inch. The weight of the pipe is 1.98 ounces/56 grams. I have three more of Scott’s pipes to work on and then I will be sending them back to him. I am sure he will soon add them into his rotation and enjoy some great smokes. Thanks for walking through the restoration with me. Cheers.
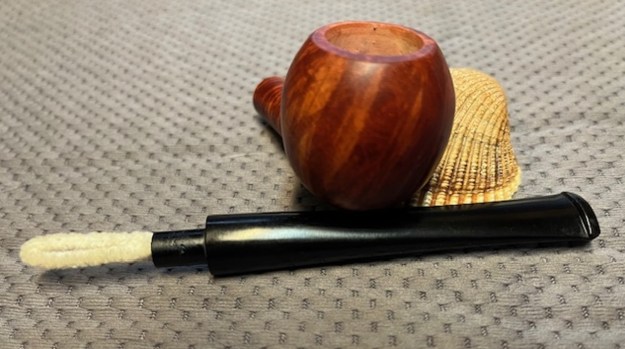
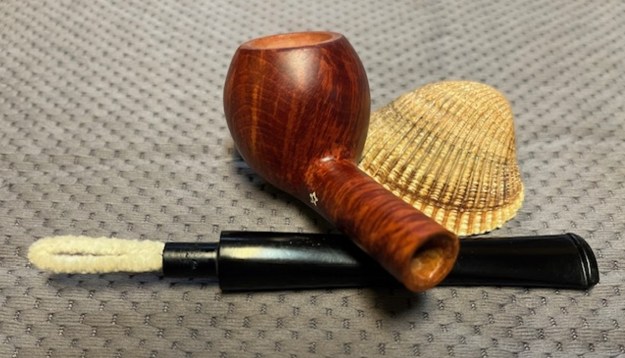
As always, I encourage your questions and comments as you read the blog. Thanks to each of you who are reading this blog. Remember we are not pipe owners; we are pipe men and women who hold our pipes in trust until they pass on into the trust of those who follow us.