Blog by Steve Laug
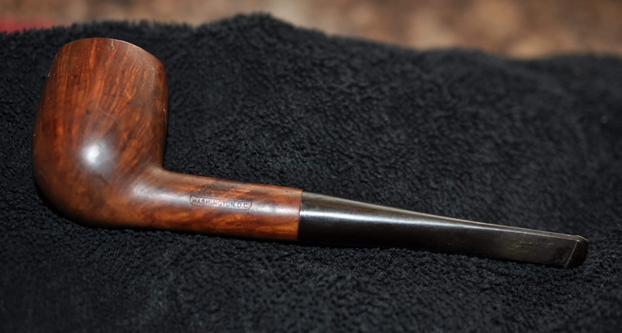
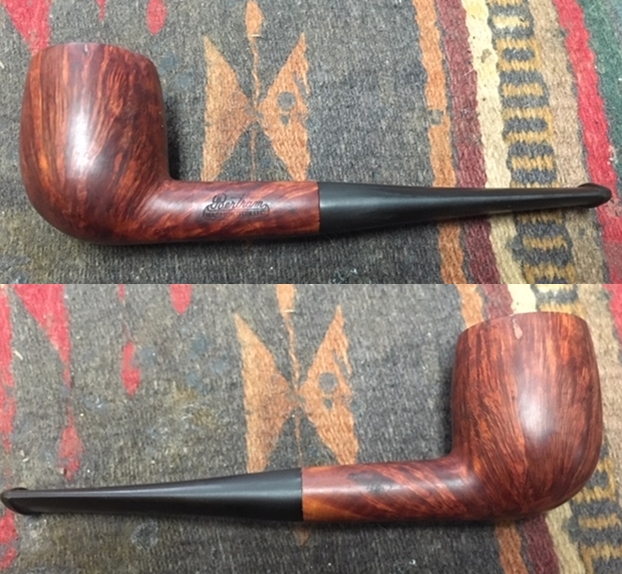
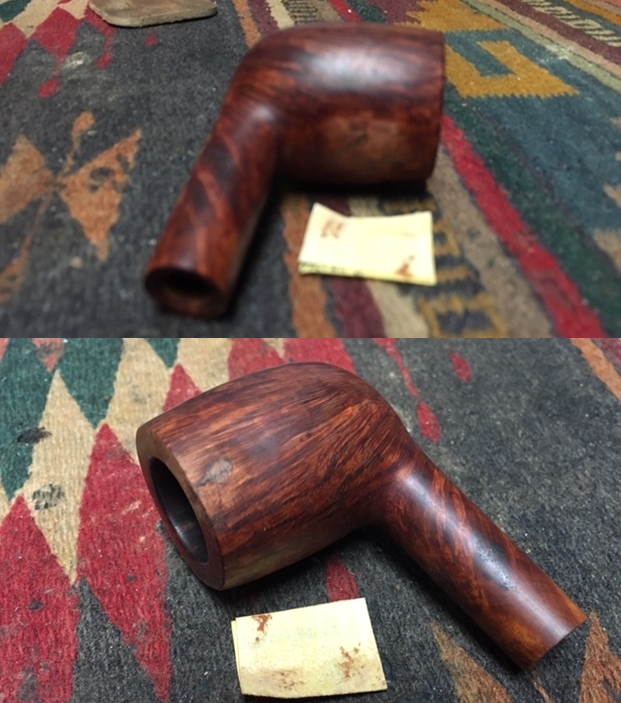
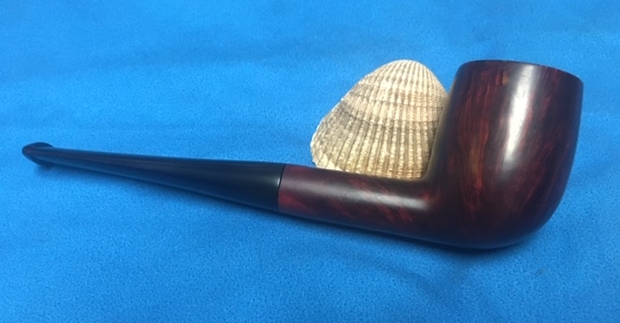
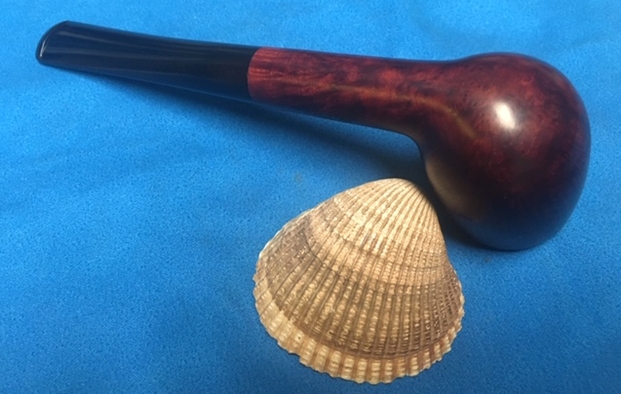
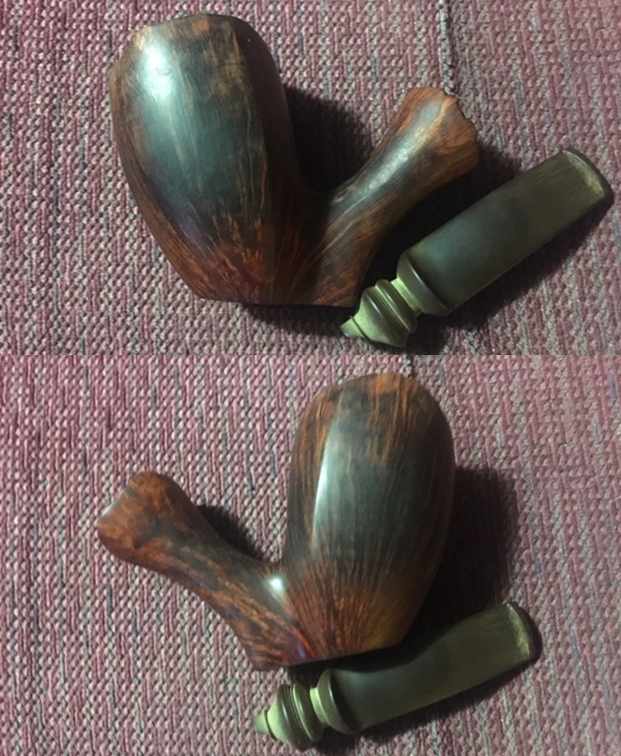
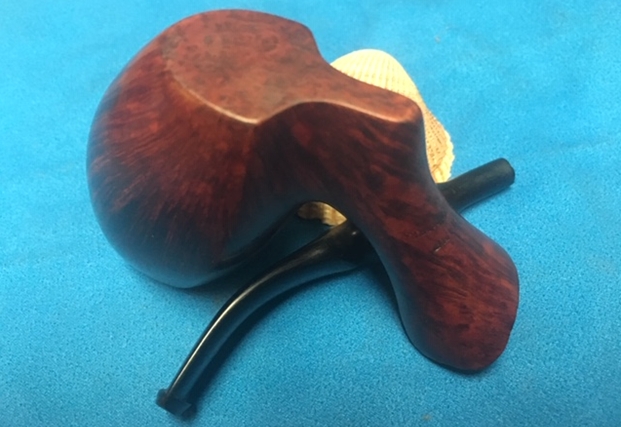
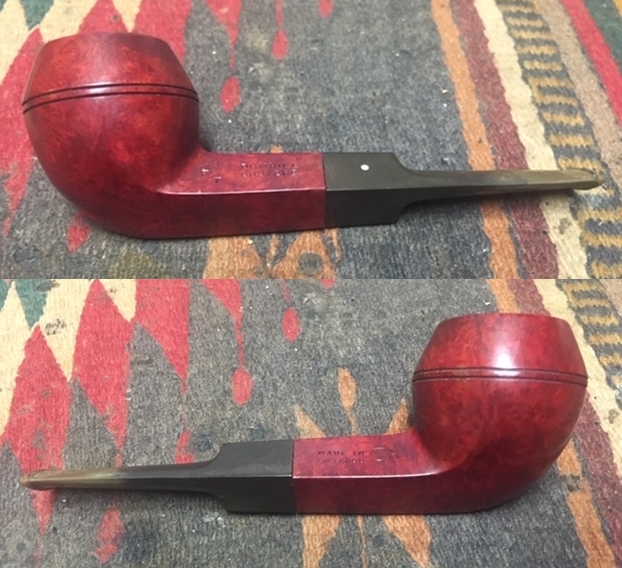
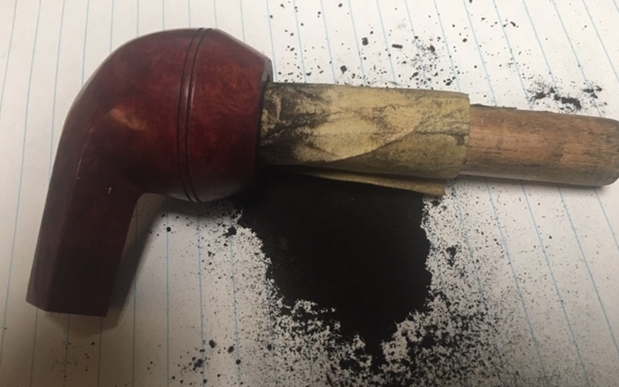
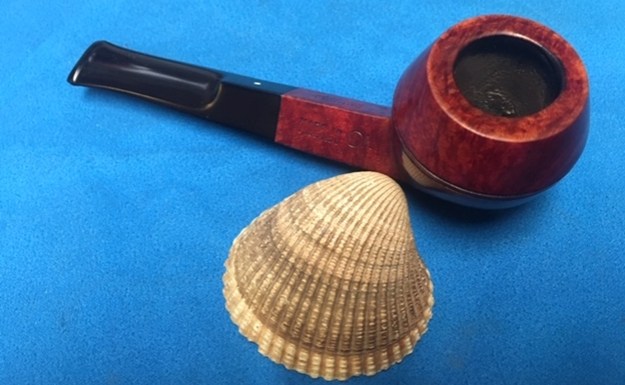
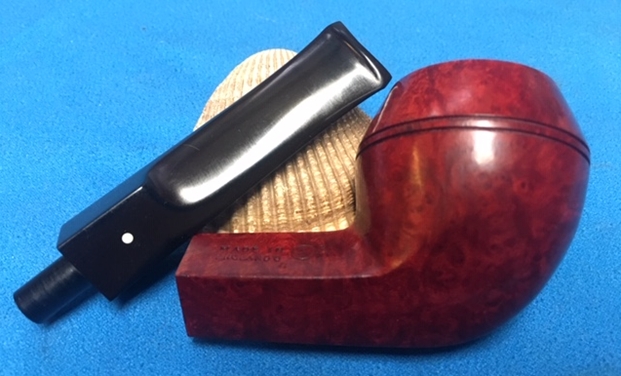
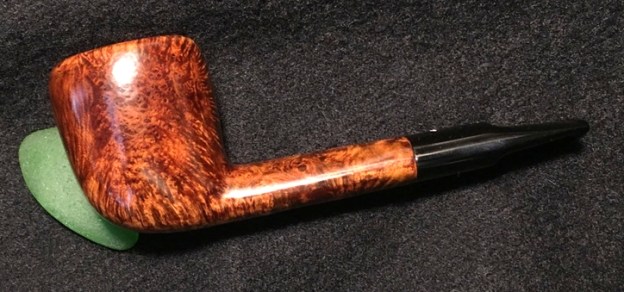
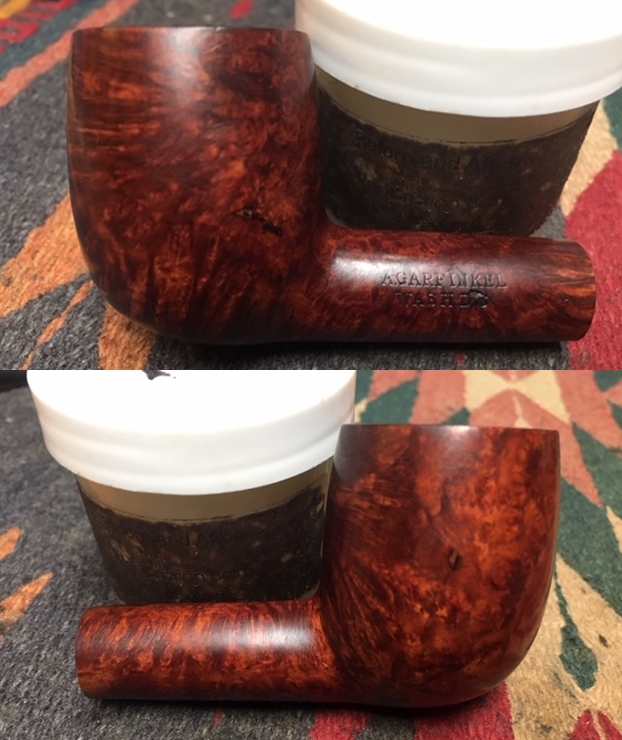
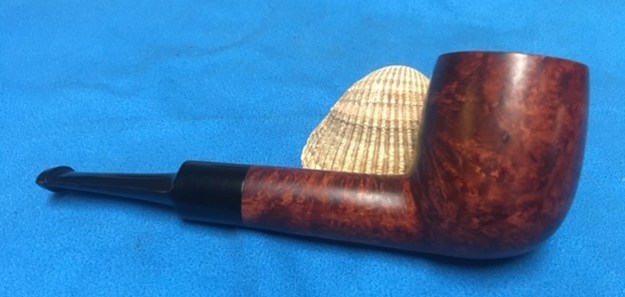
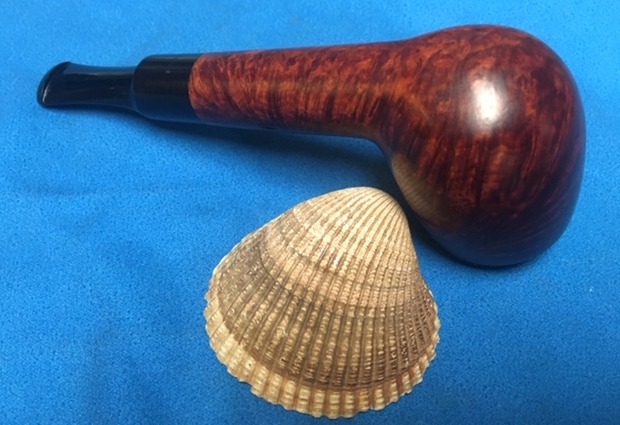
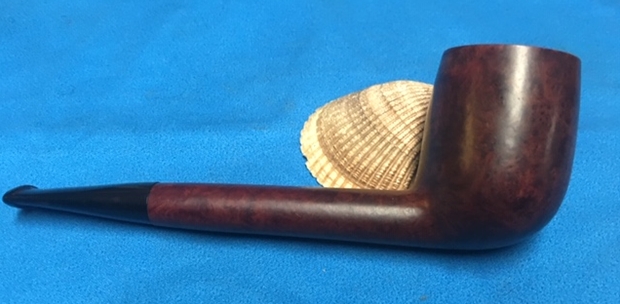
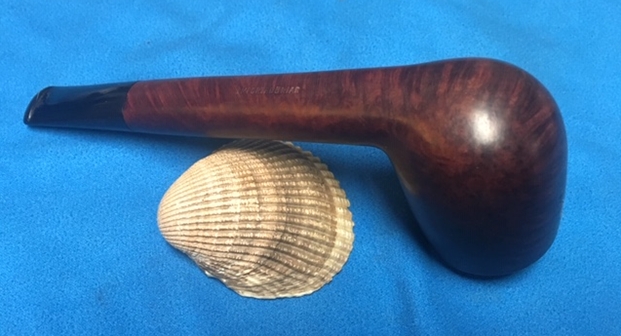
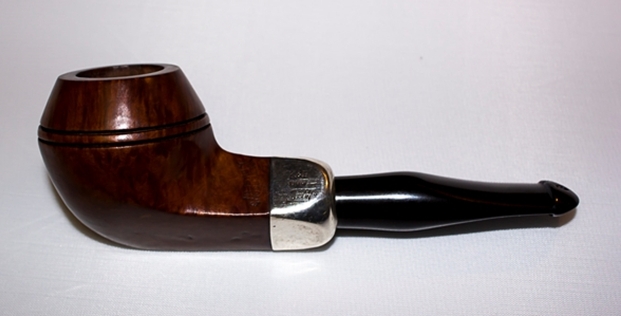
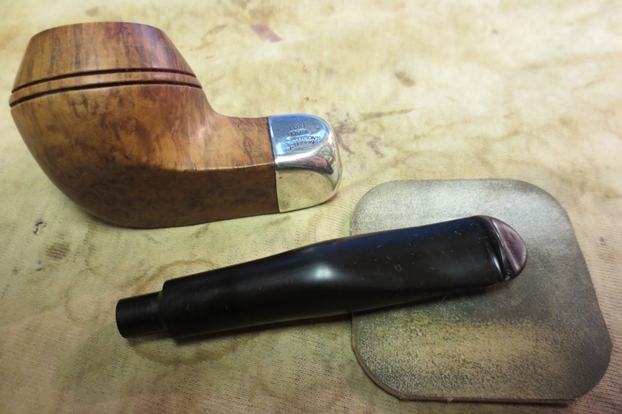
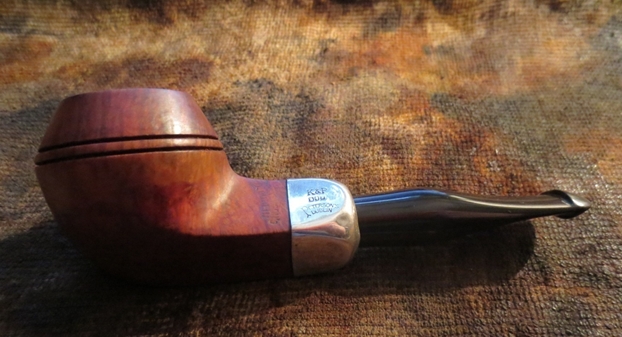
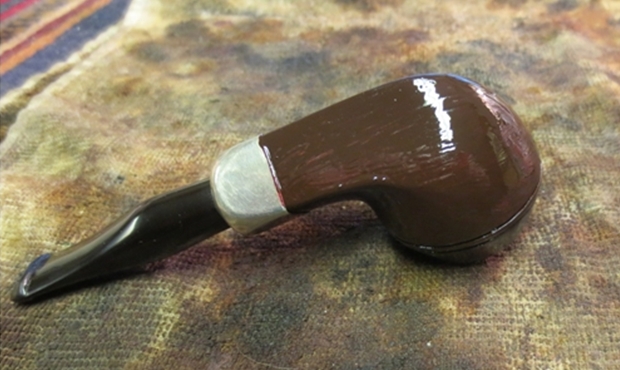
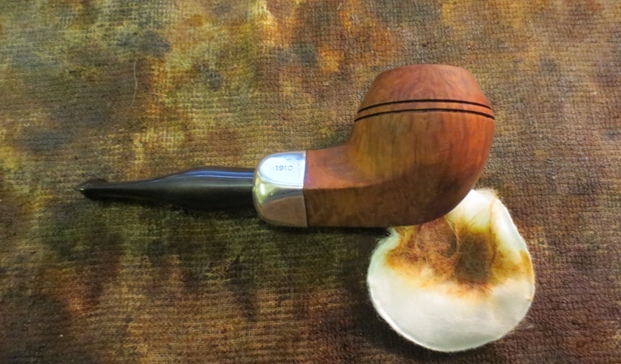
One of the great packages I brought back from my trip to Idaho was a small bag of C.P.F. pipes smoked and unsmoked. Some have horn stems; some have Gutta-percha bases and stems. I went through the bag and chose the next pipe I wanted to work on. It was an unsmoked Gutta-percha pistol pipe with a wooden bowl. I say wooden as it did not appear to be briar. There is no stamping on the barrel (shank) or on the body of the pistol. The maker is thus unknown. The shank had been snapped off and repaired – sloppily with what appears to be epoxy. There was a lot of residue left all over the barrel. The joint seemed solid and was pretty well aligned but would need to be sanded smooth and polished. The bowl was unsmoked but had a lot of dust and debris inside. It had a large flaw in the rim top extending down into the bowl from the rim to the bottom edge. There was a crack on the outside of the bowl at that point as well. A large flaw in the wood was in wood opposite the crack. The finish was a poorly varnished red over the flaws. The finished needed to go to make the repairs. I took photos of the pipe before I began my work.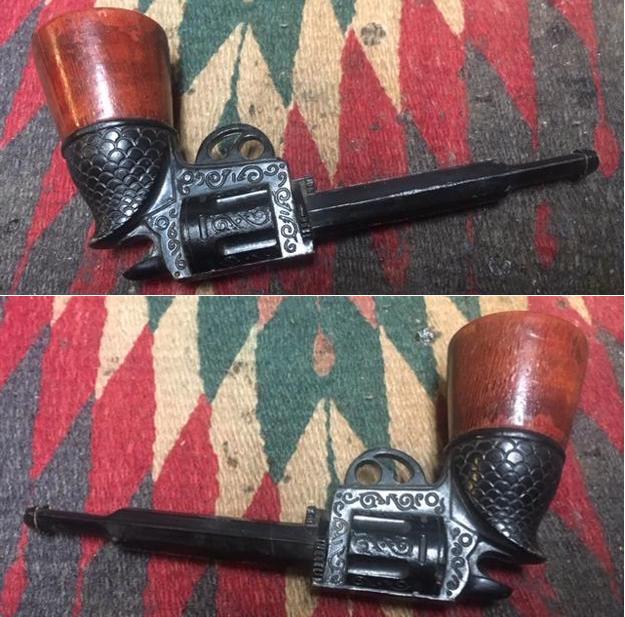
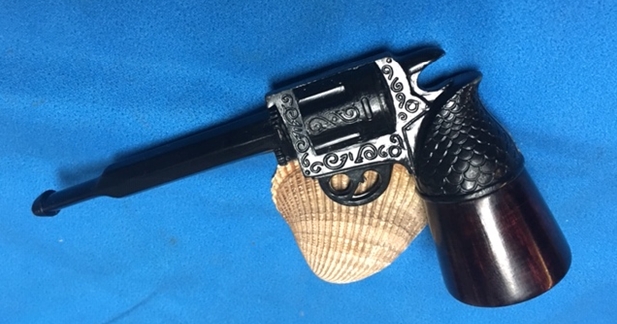
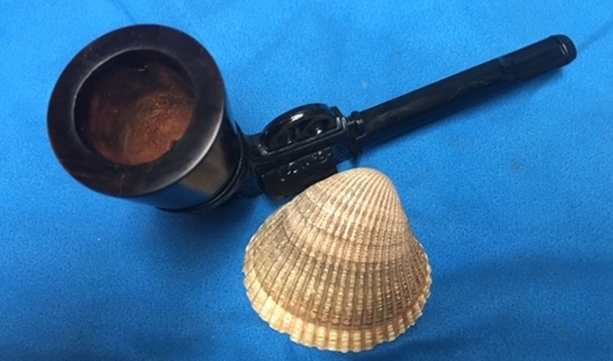
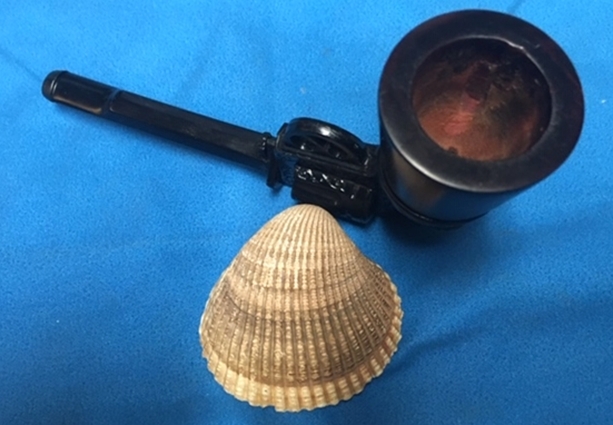
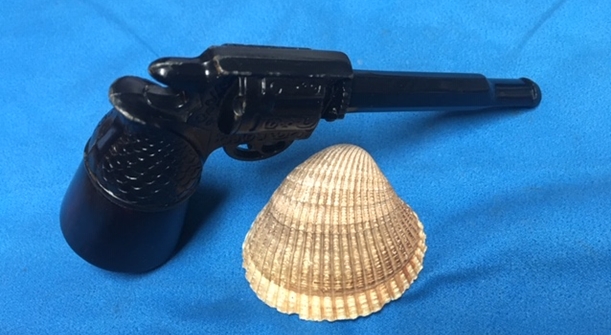
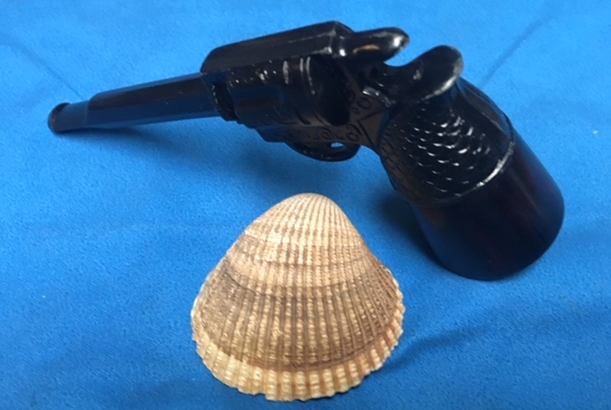
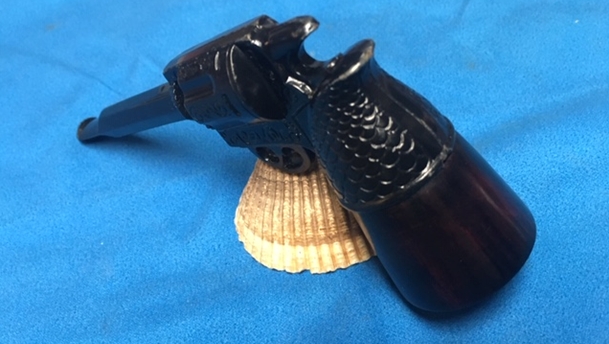
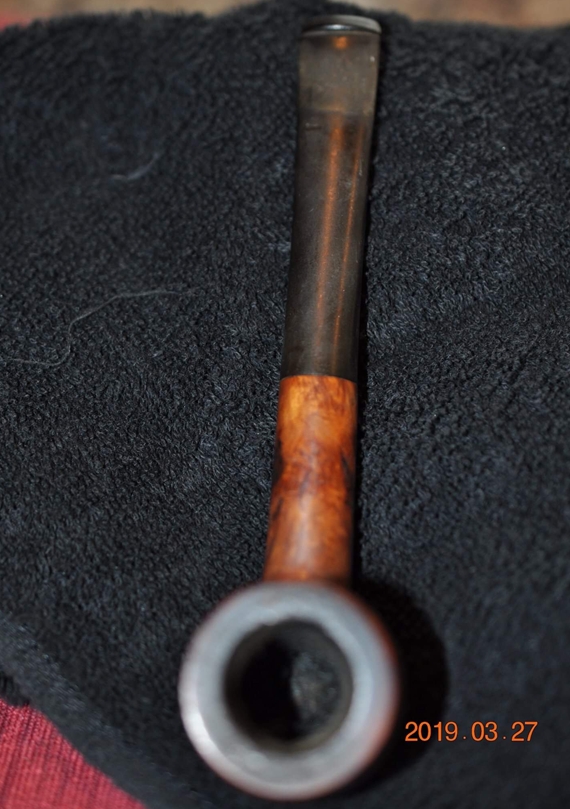
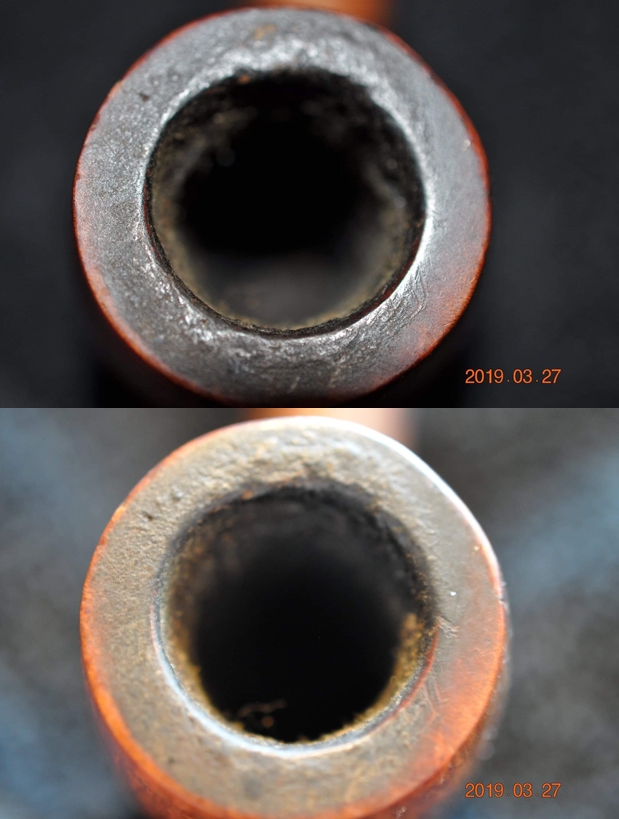
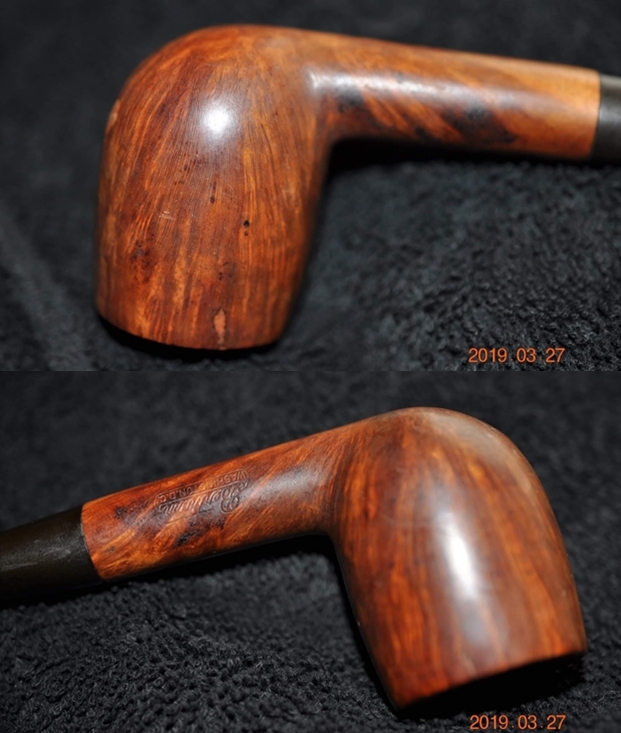
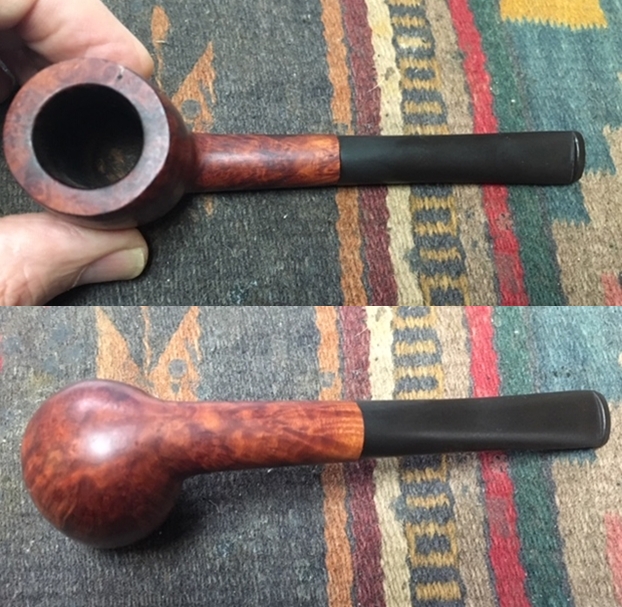
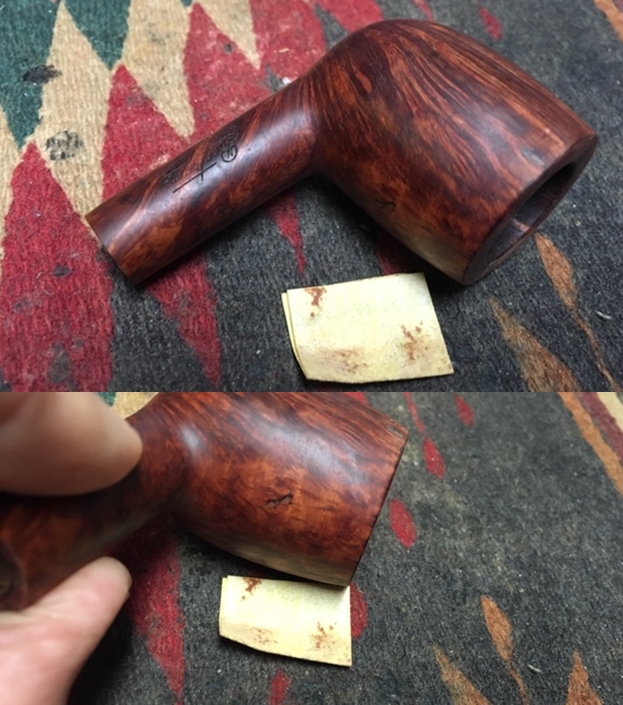
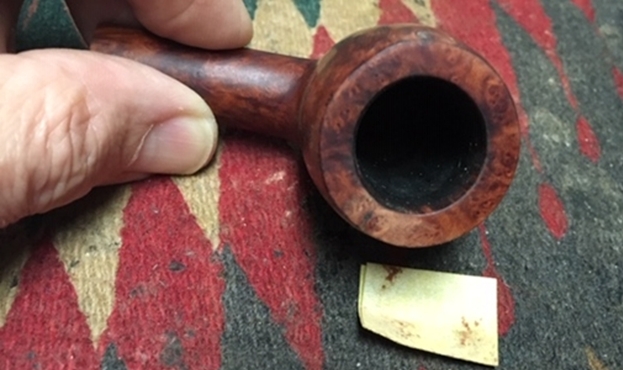
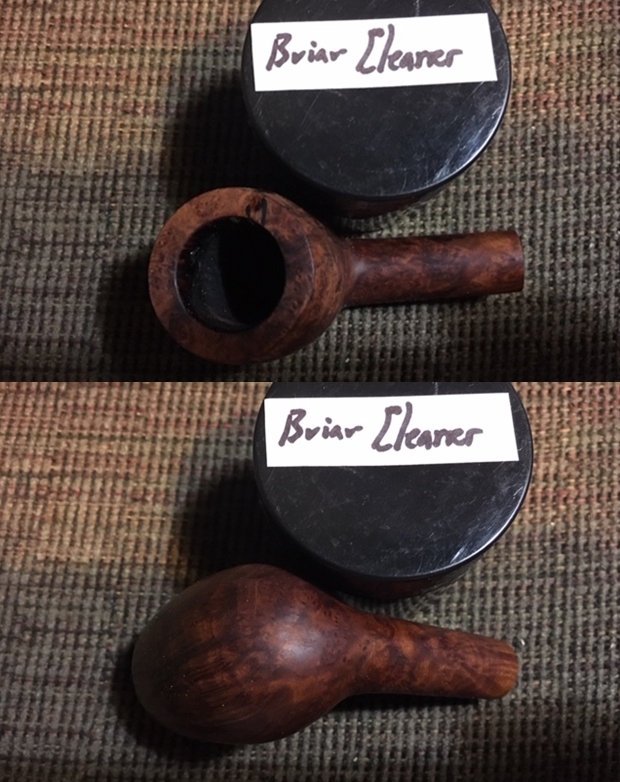
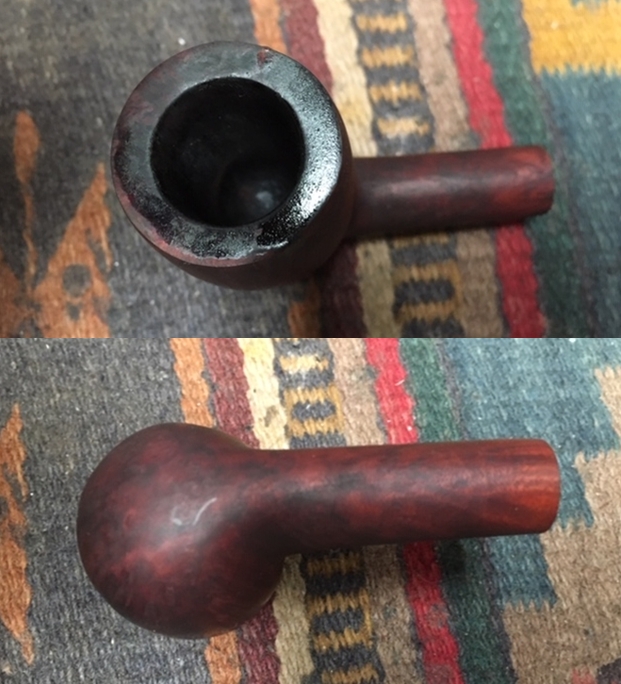
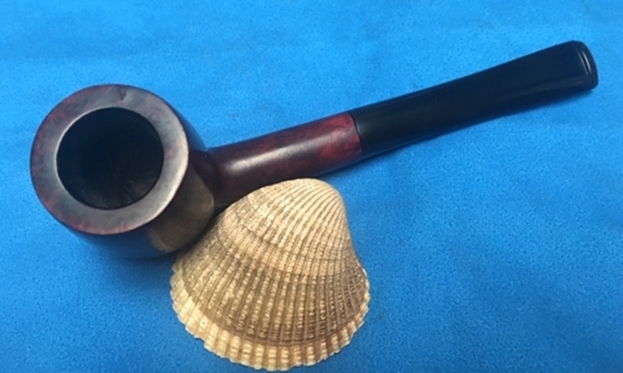
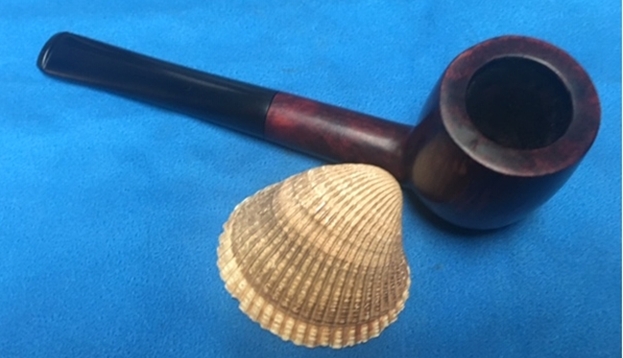
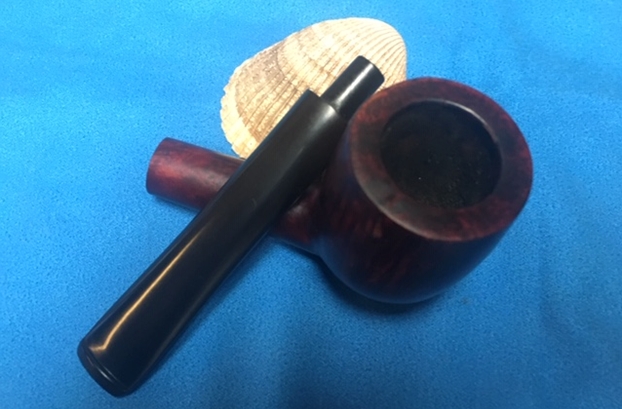
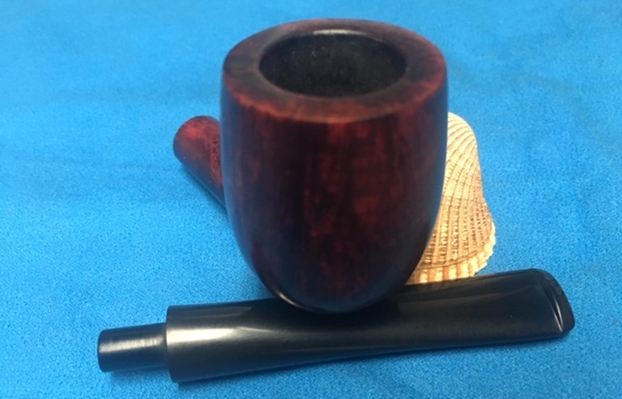
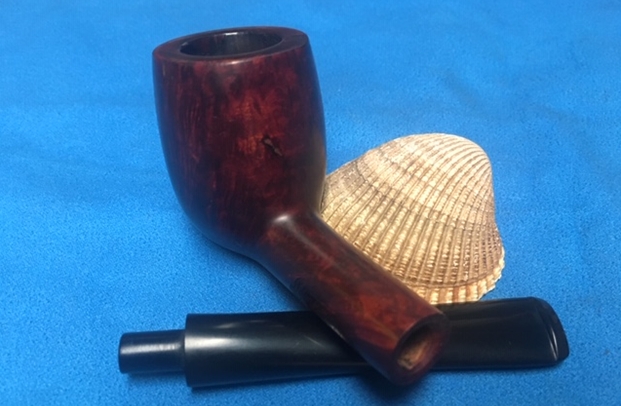
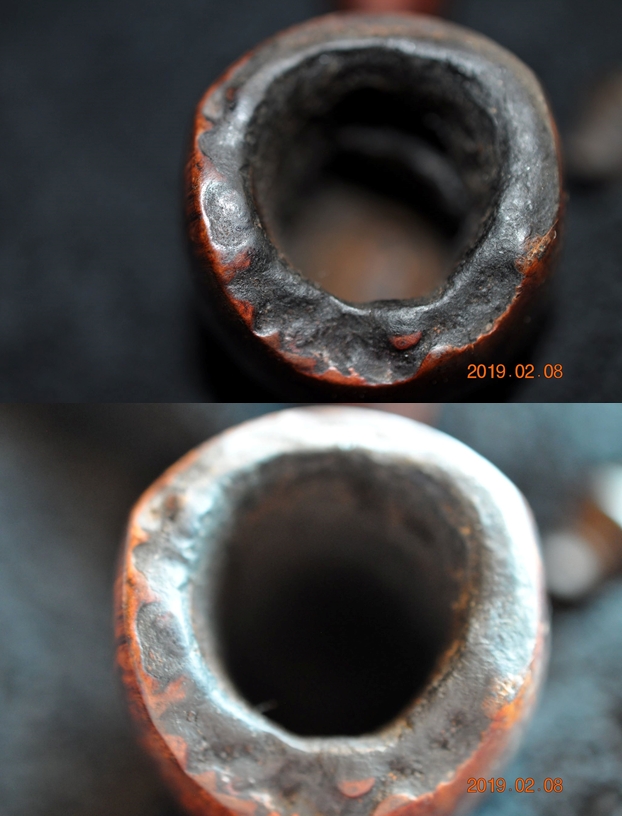
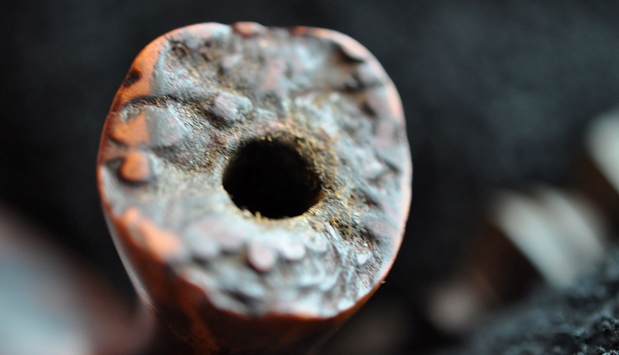
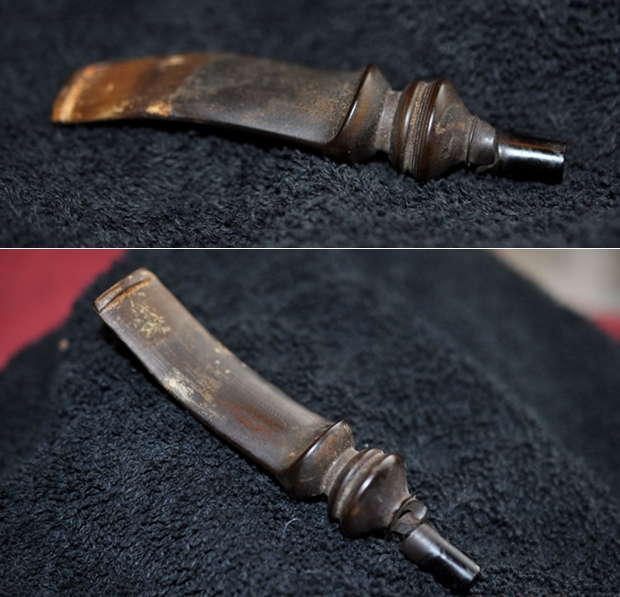
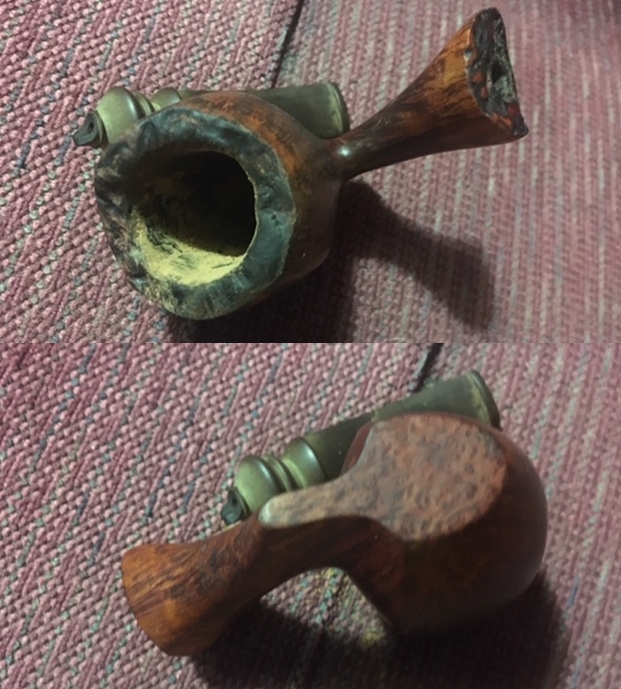
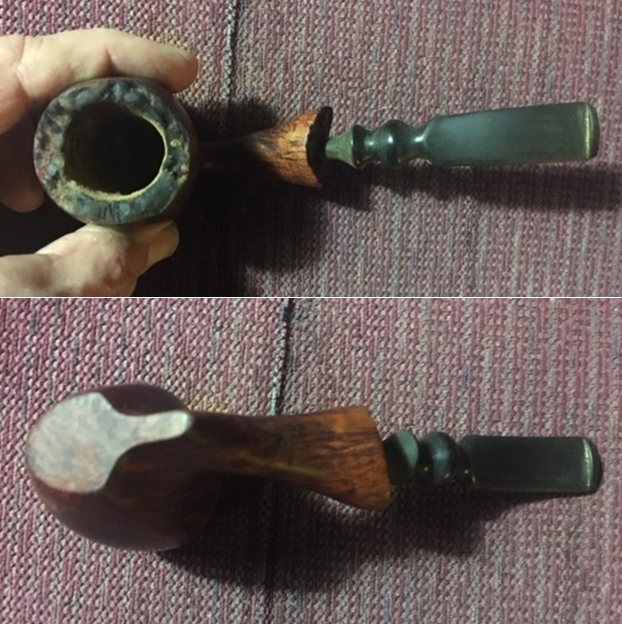
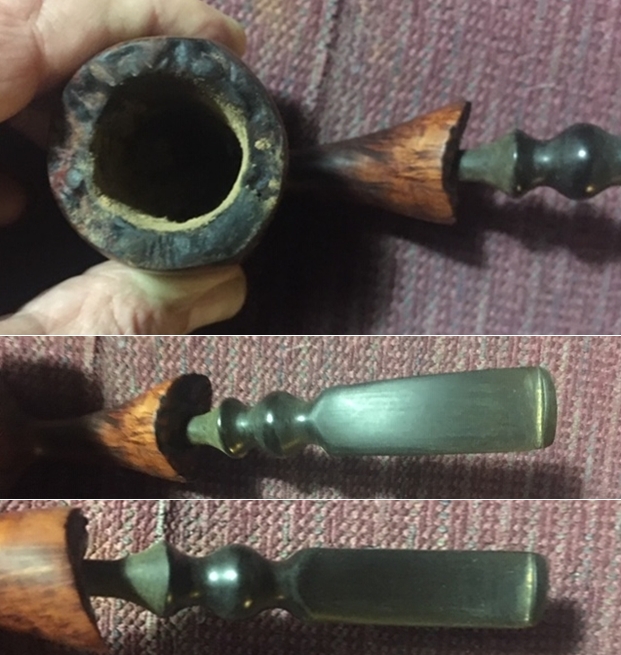
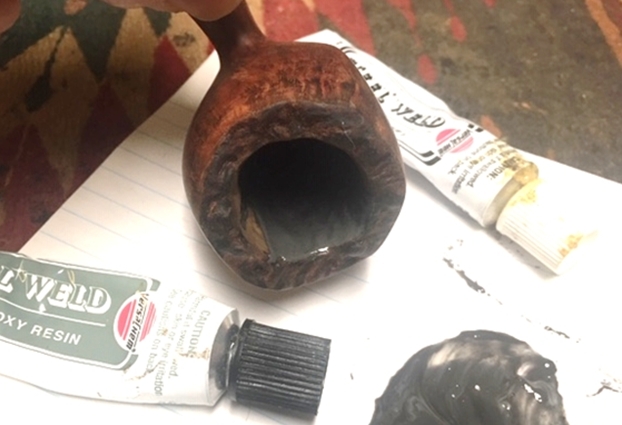
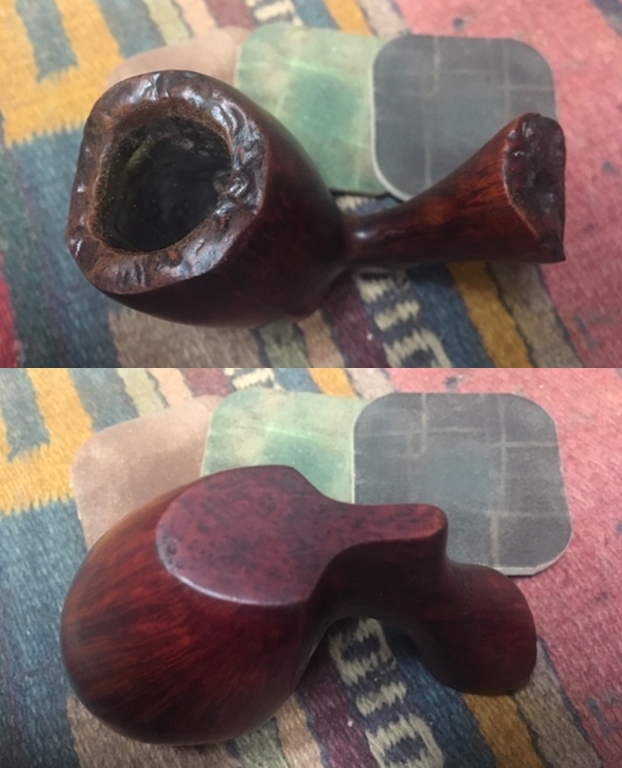
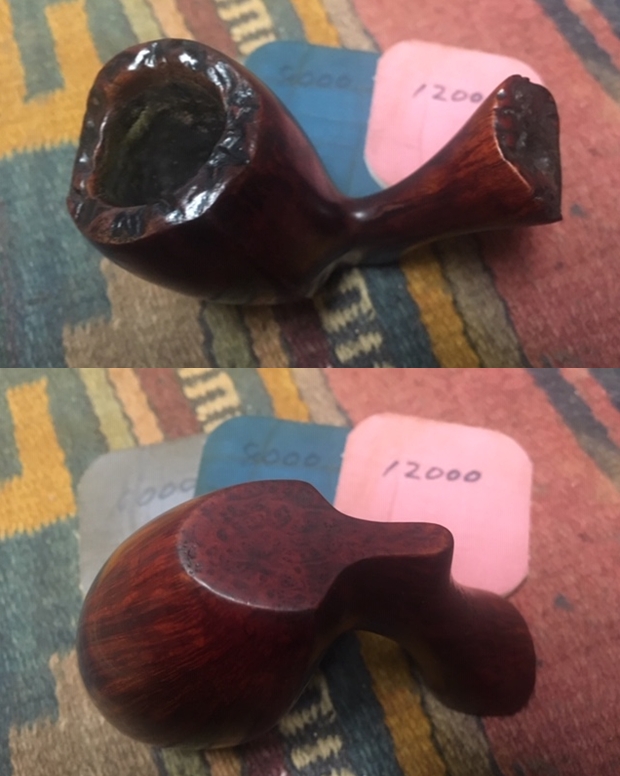
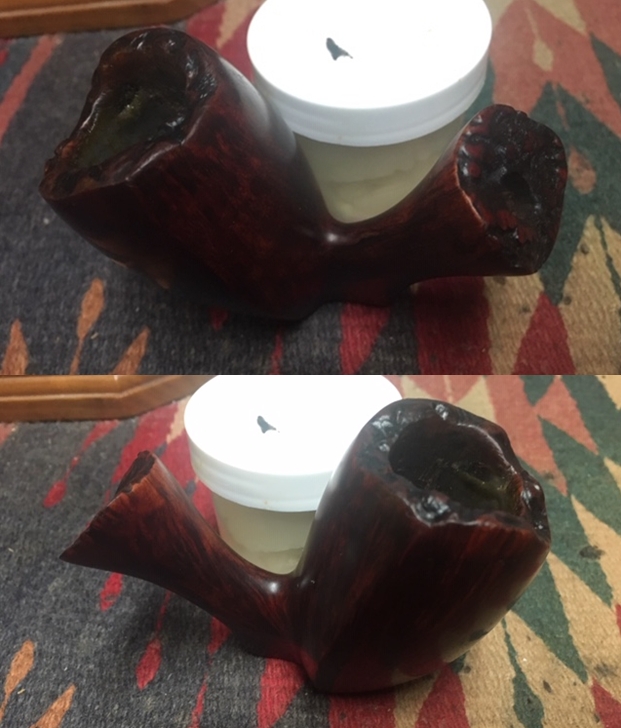
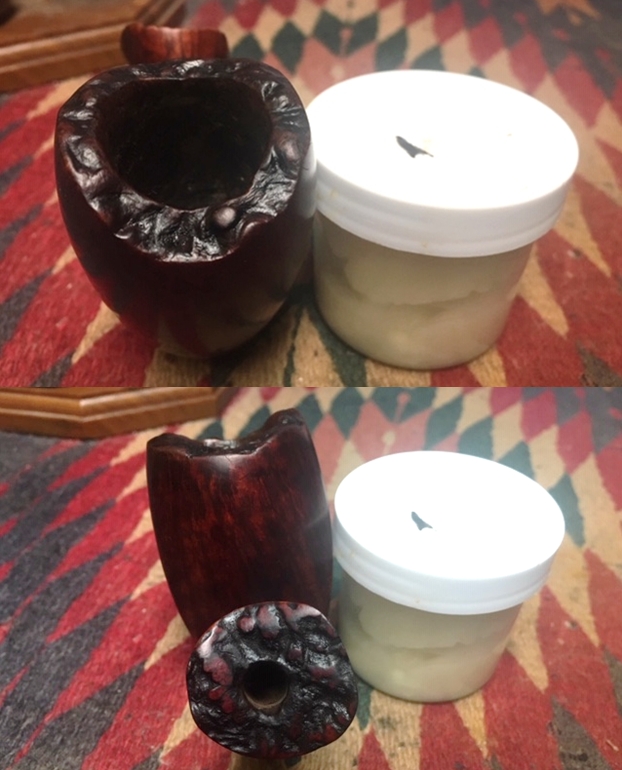
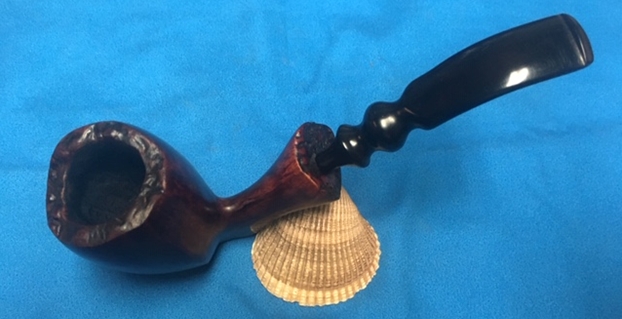
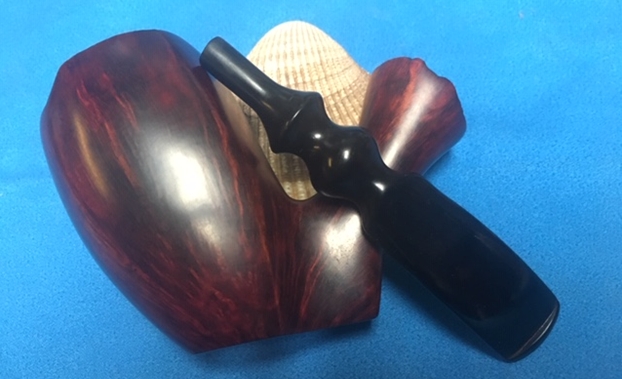
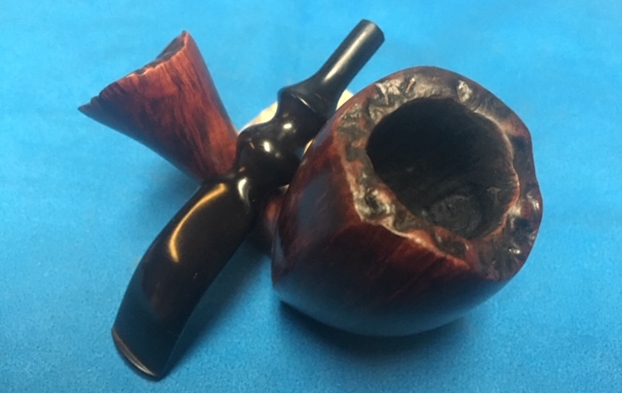
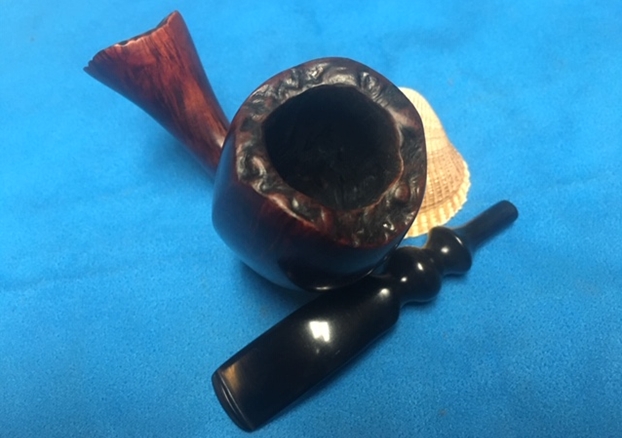
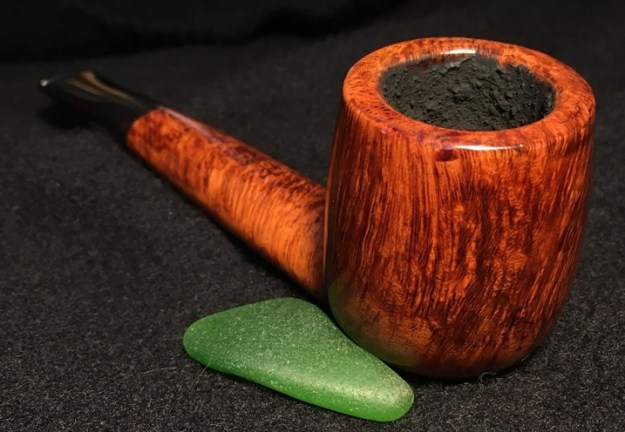
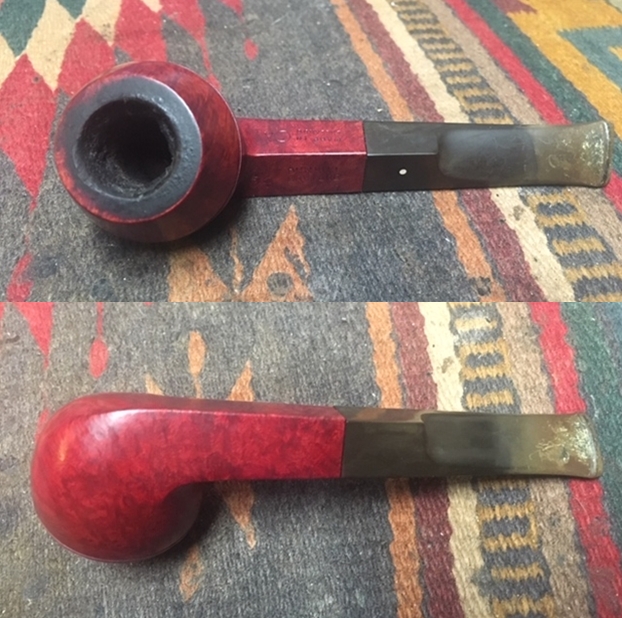
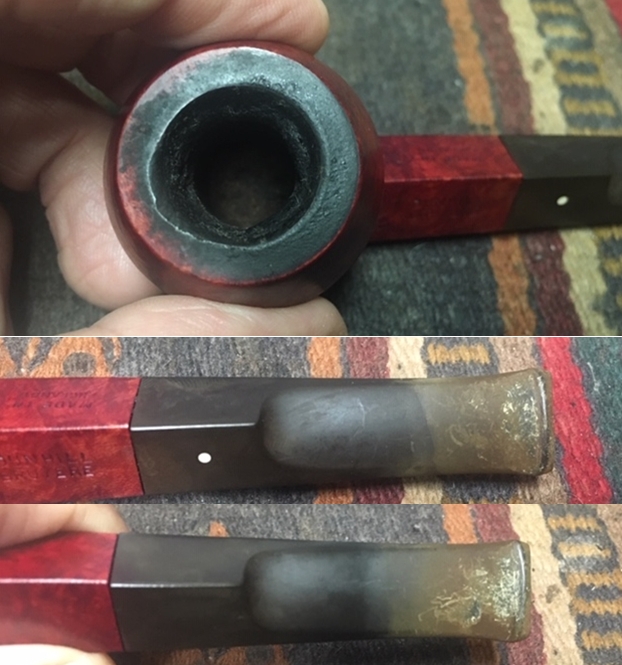
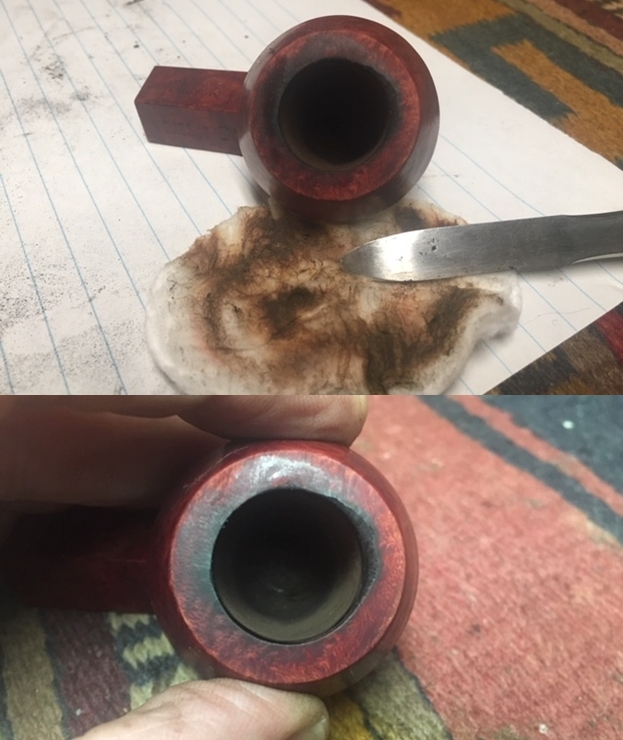
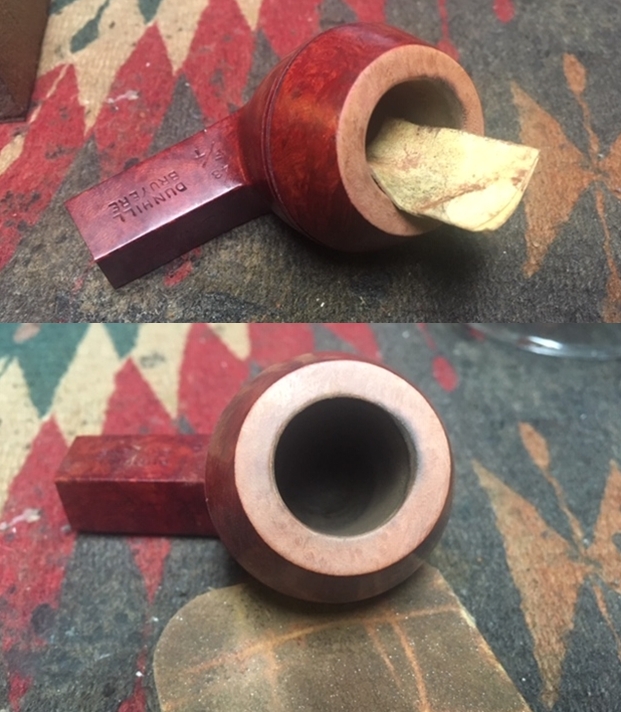
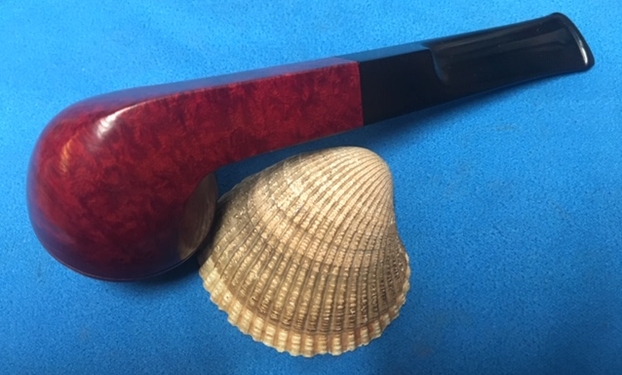
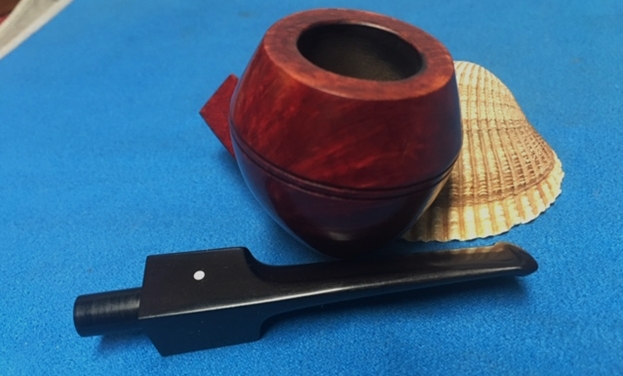
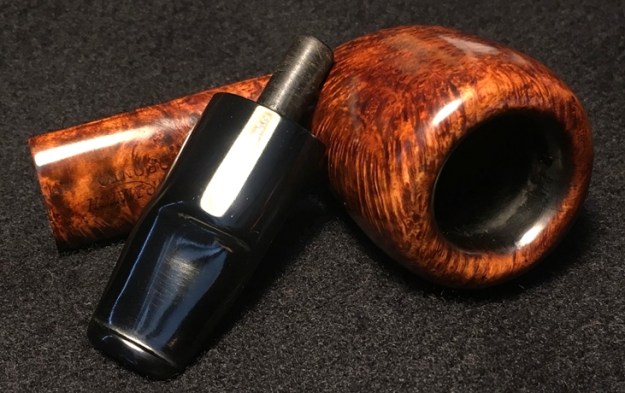
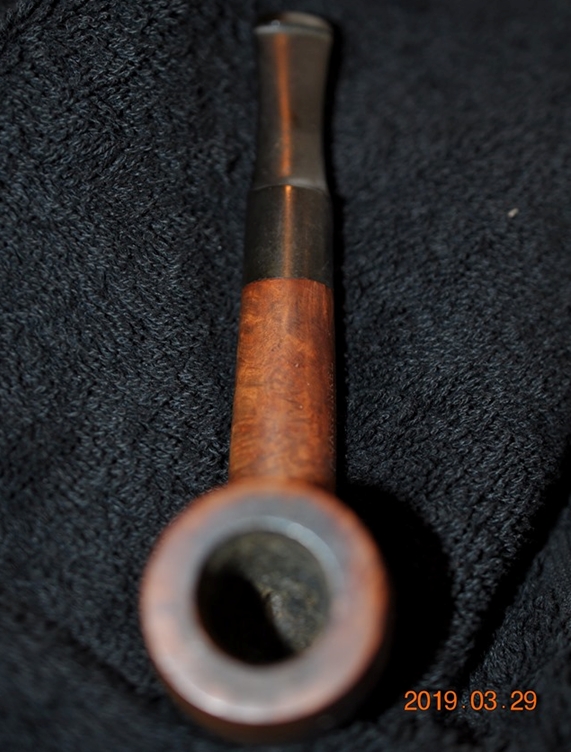
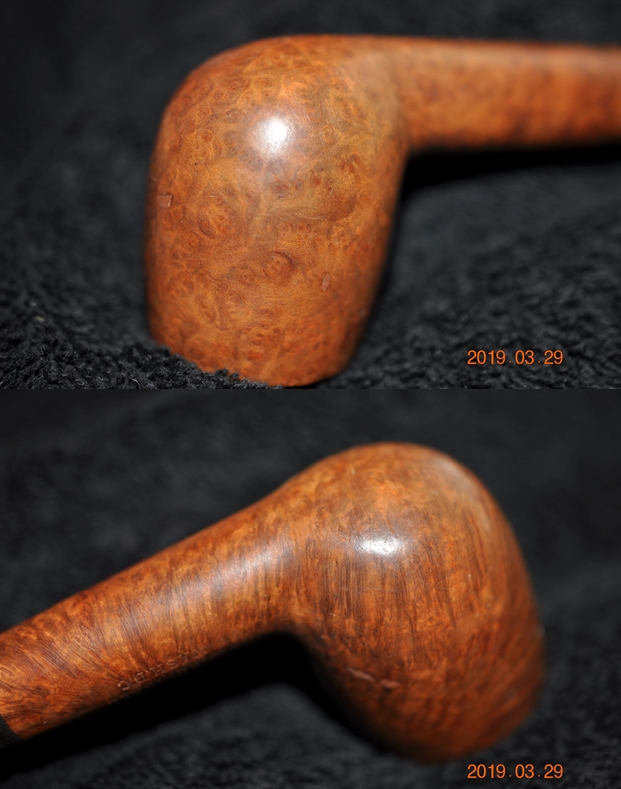
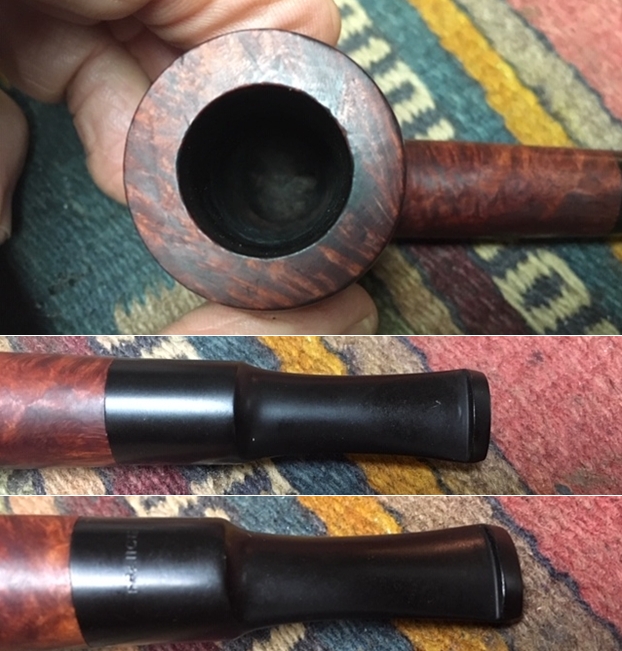
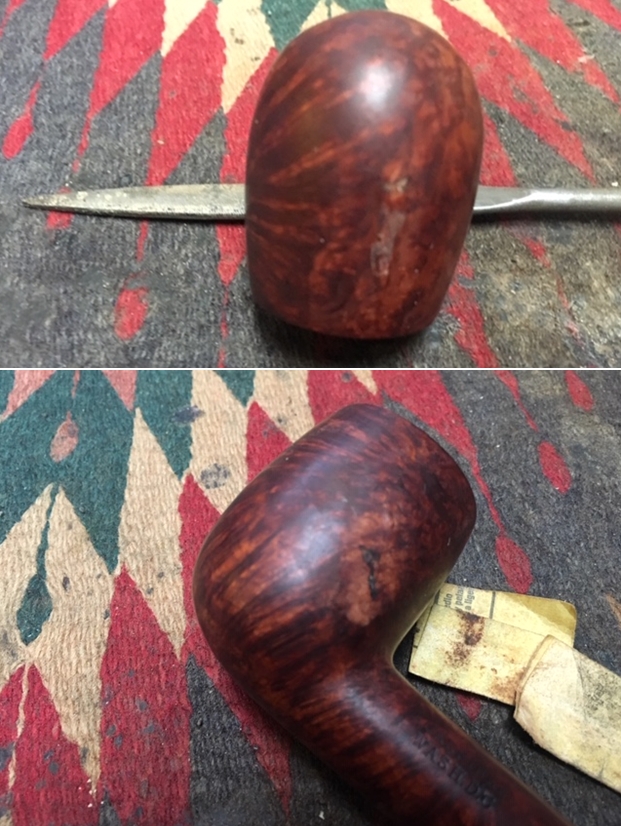
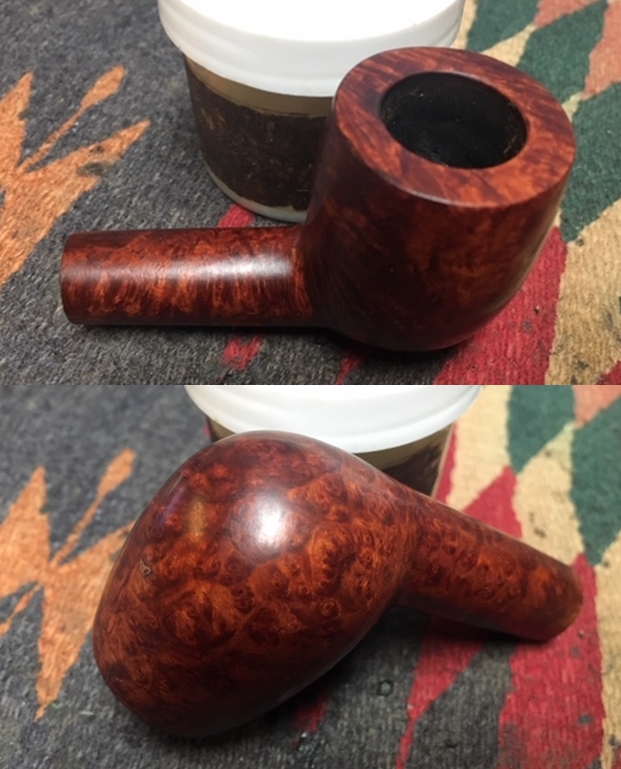
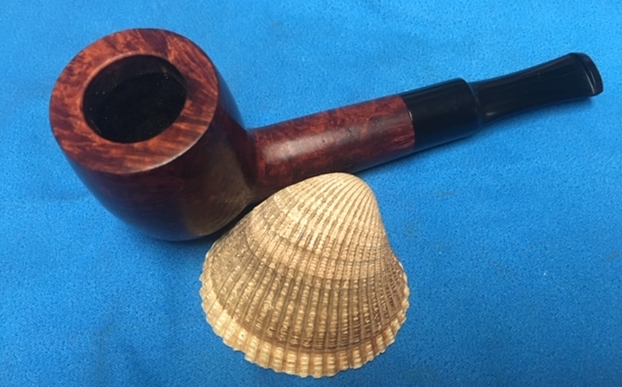
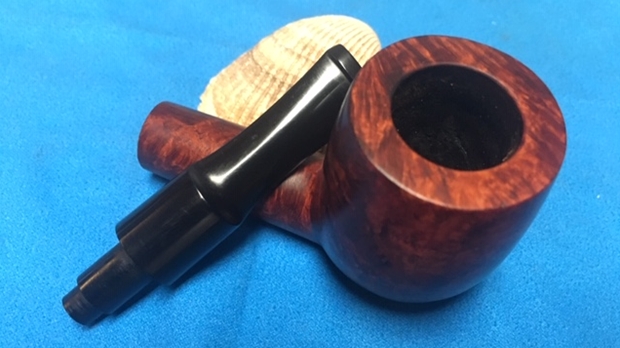
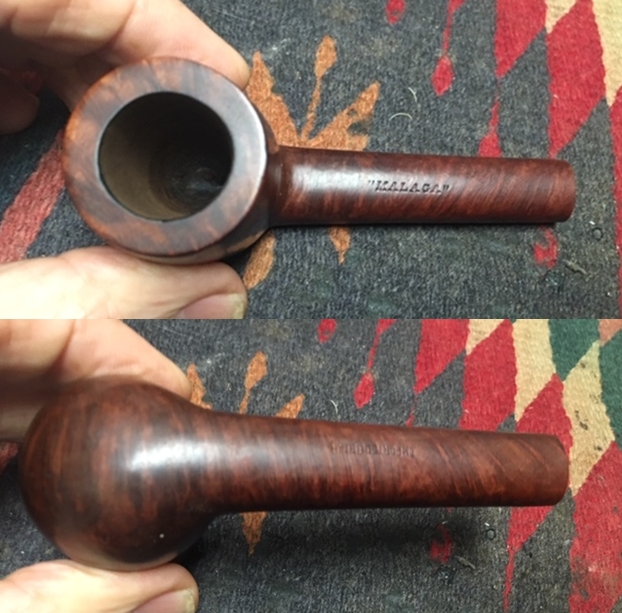
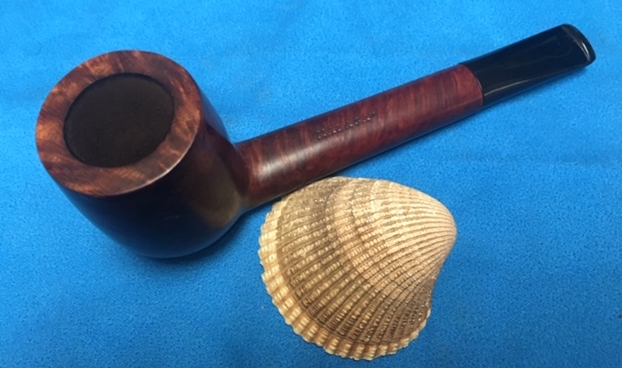
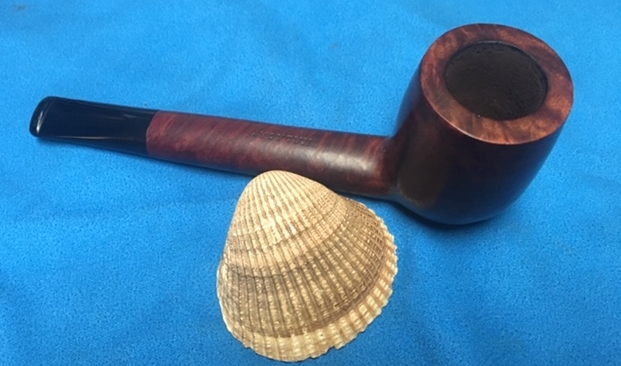
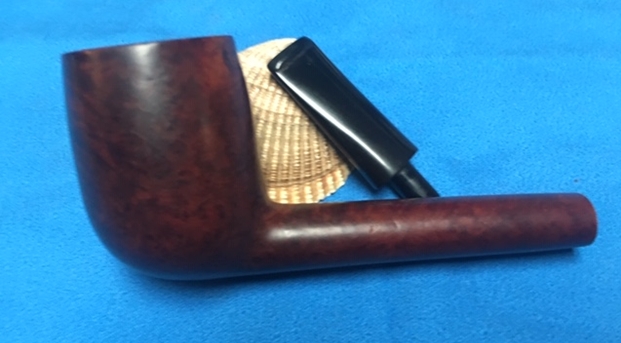
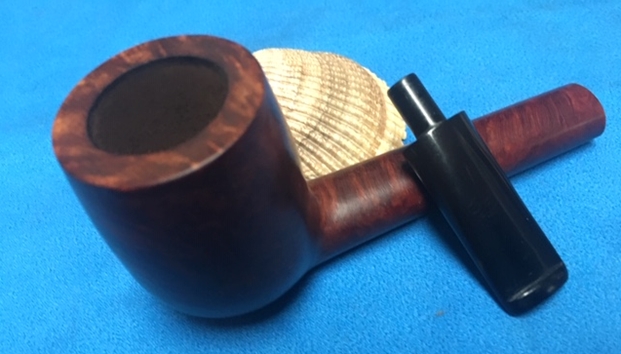
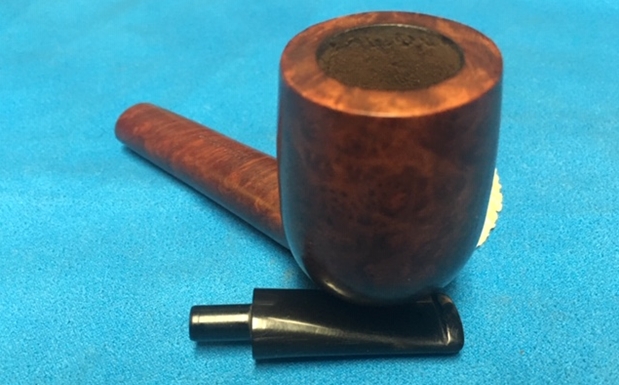
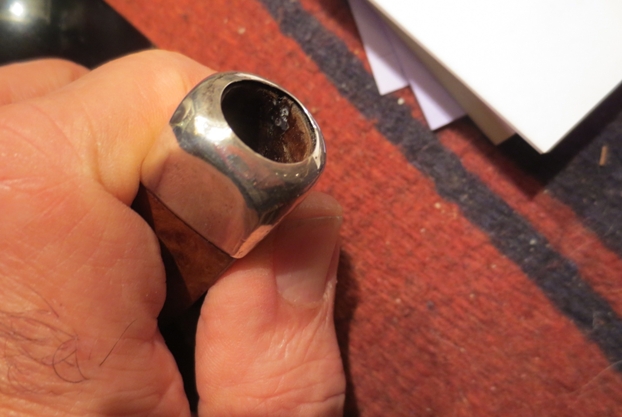
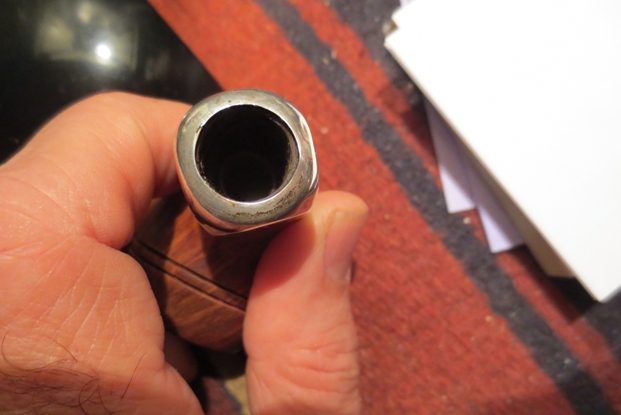
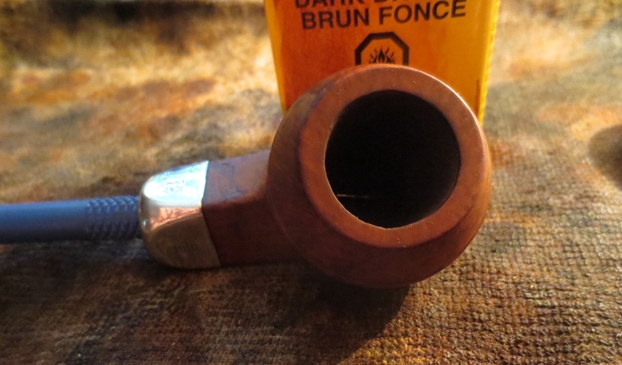
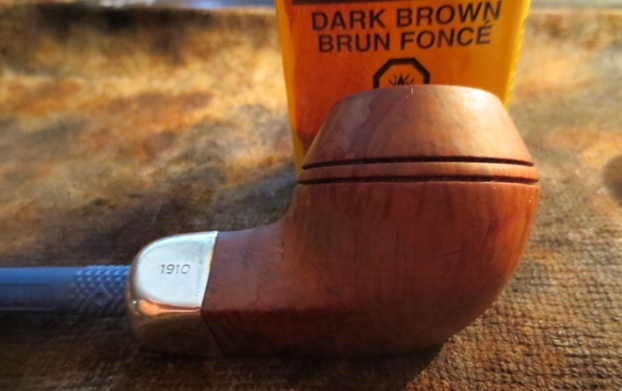
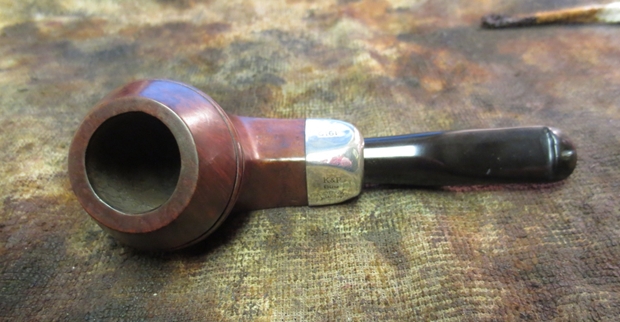
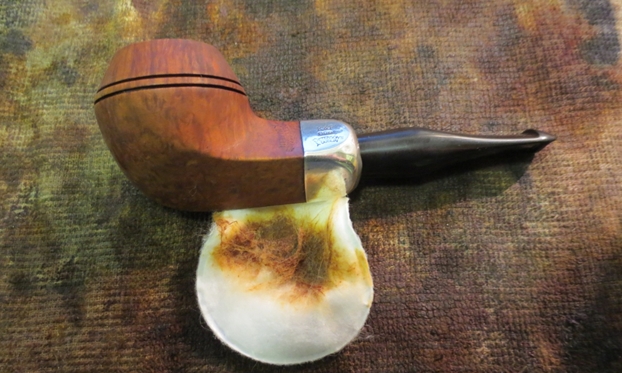
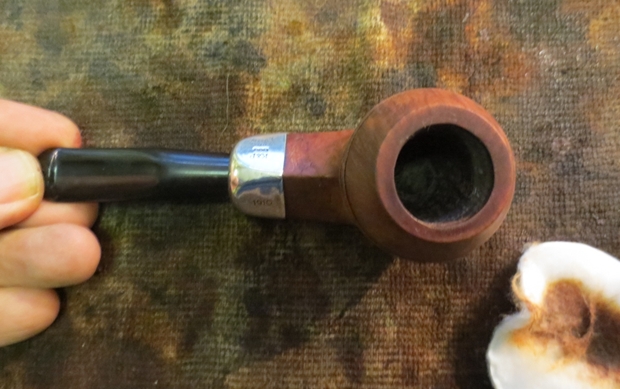
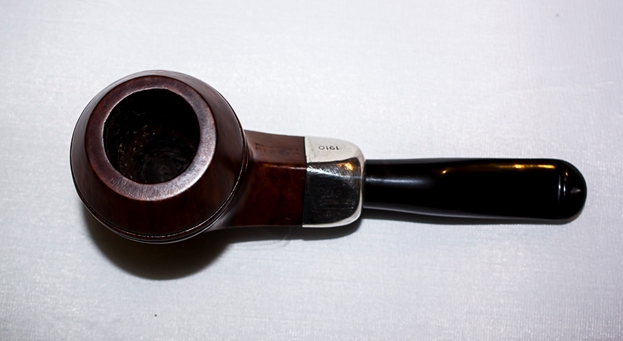
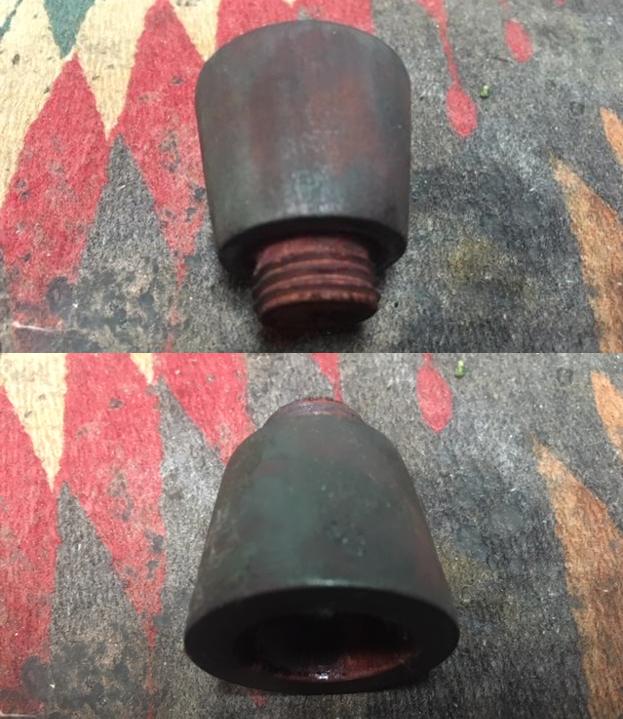
 I took a close up photo of the rim top and bowl to show the condition of the unsmoked bowl as well as the flaw on the top. The flaw is very visible at the bottom of the photo and on the left side of the bowl. It was clean but dusty and grimy. The photos of the pistol shaped base show its general condition and the poor repair to the broken off barrel. There was a lot of dust and grime in the small casting features on the base. It still should clean up well.
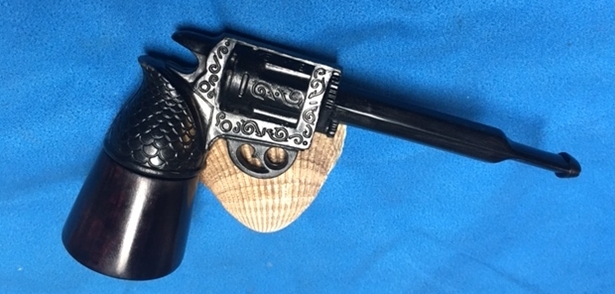
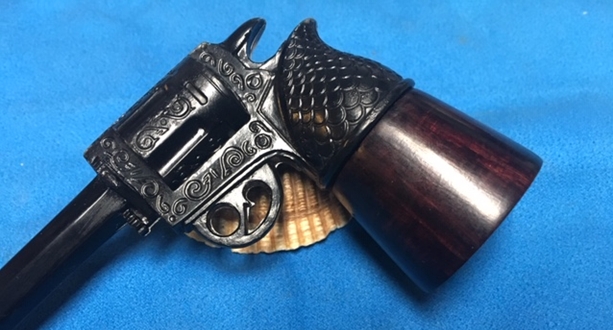
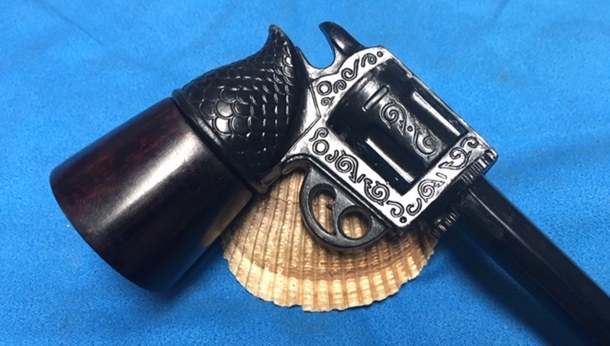
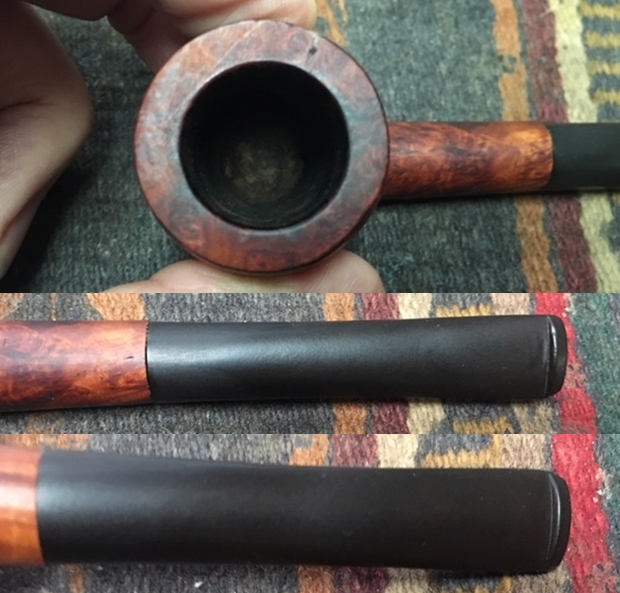
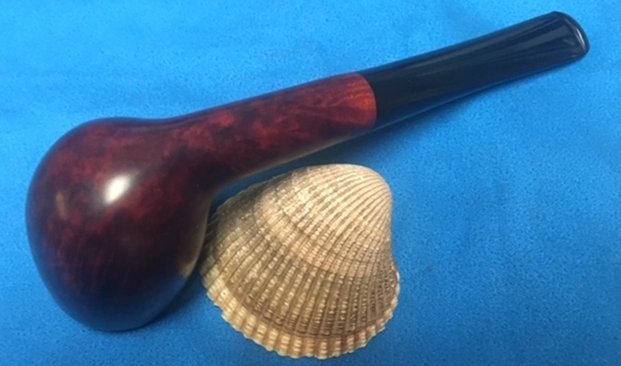
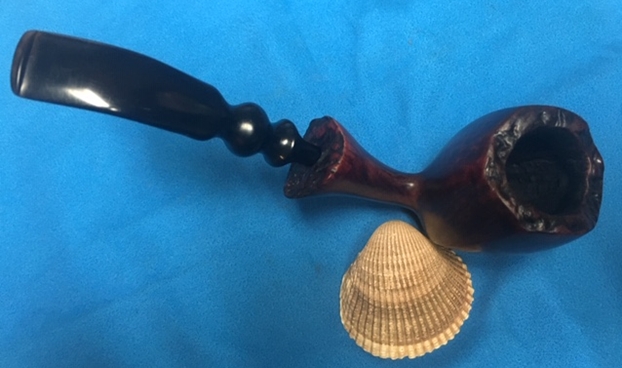
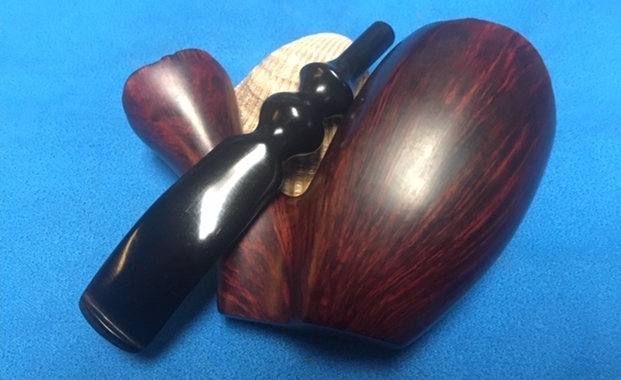
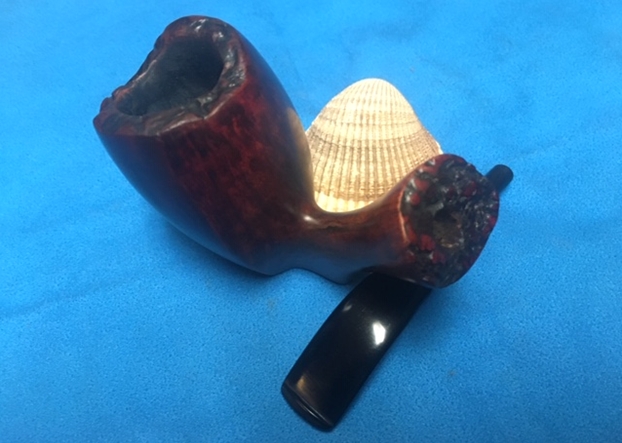
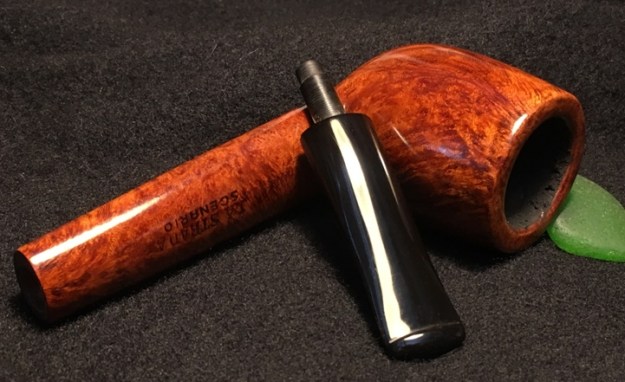
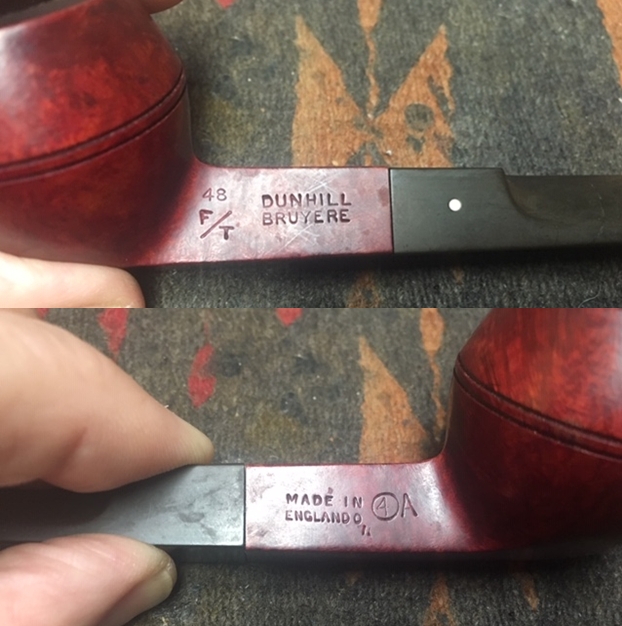
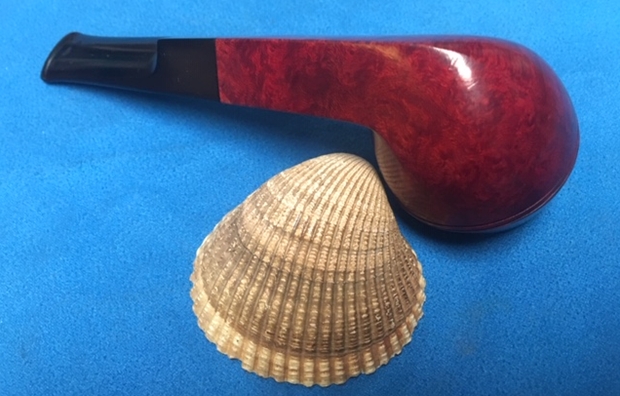
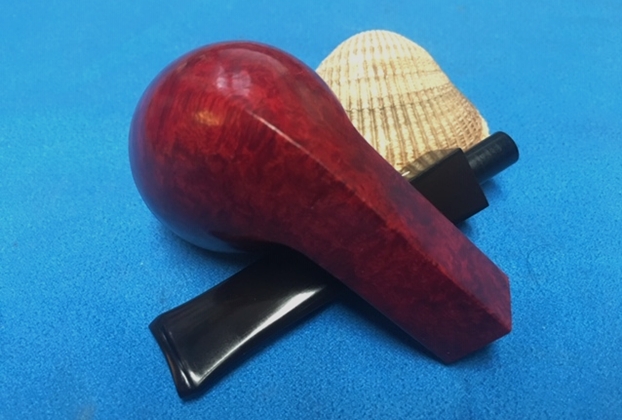
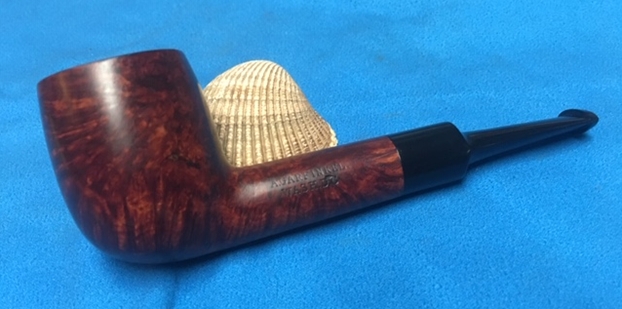
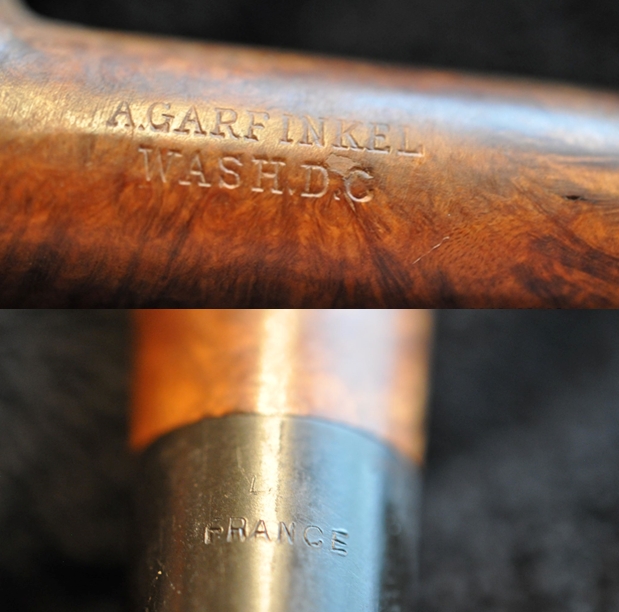
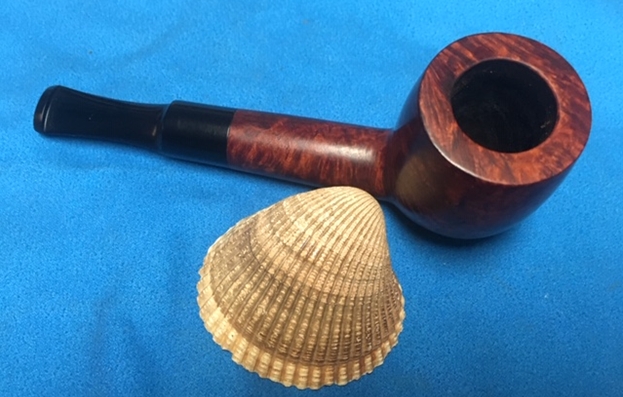
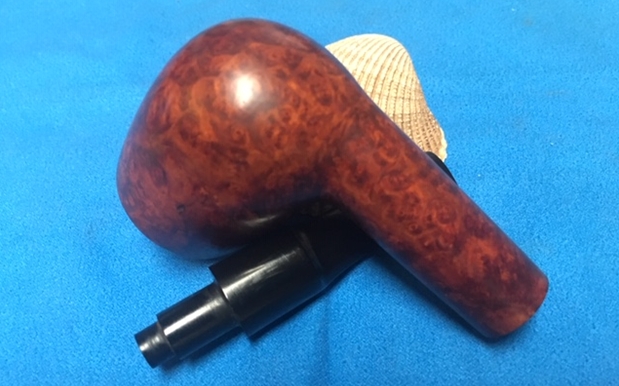
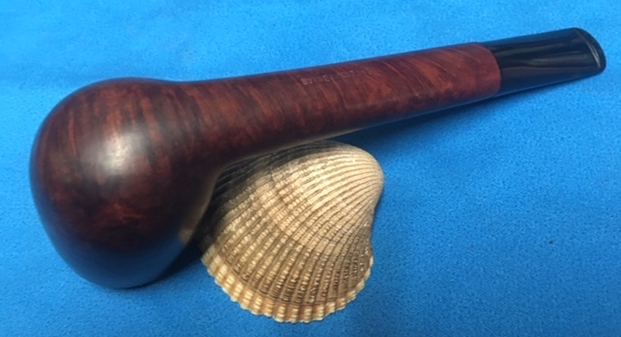
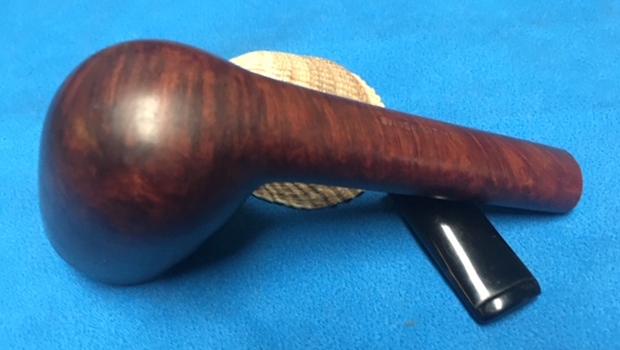
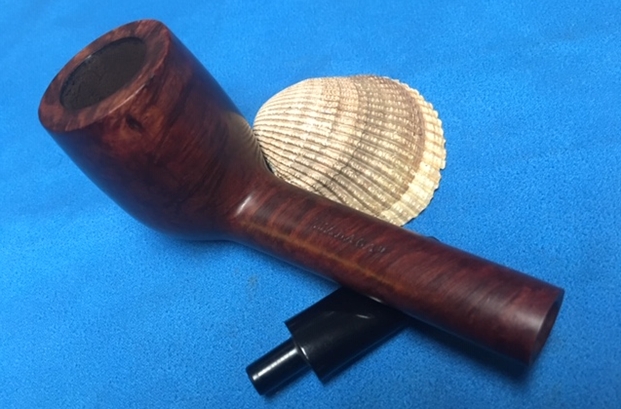
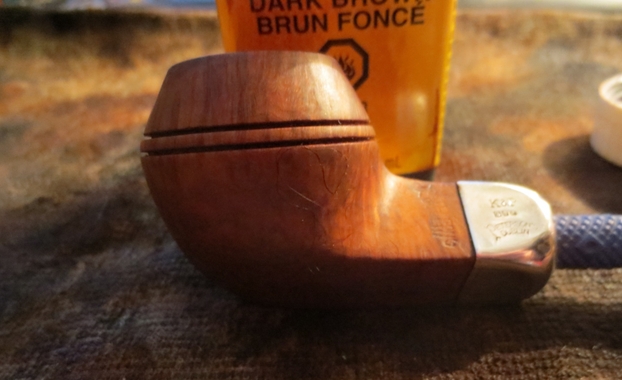
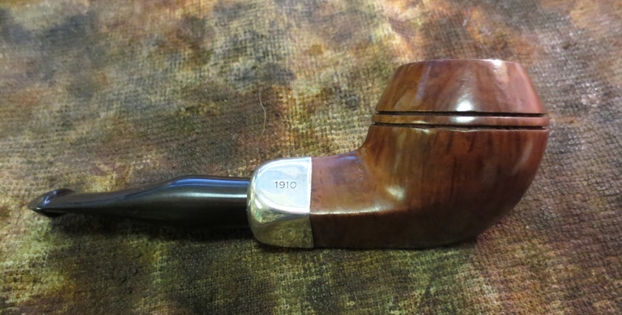
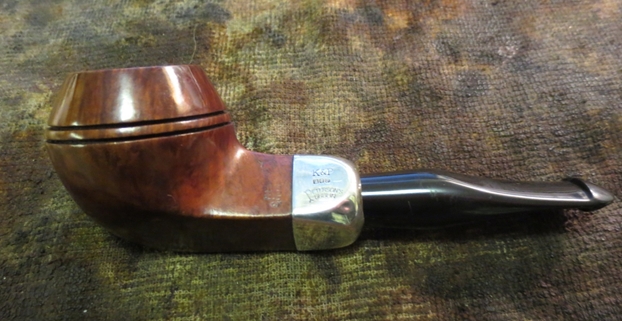
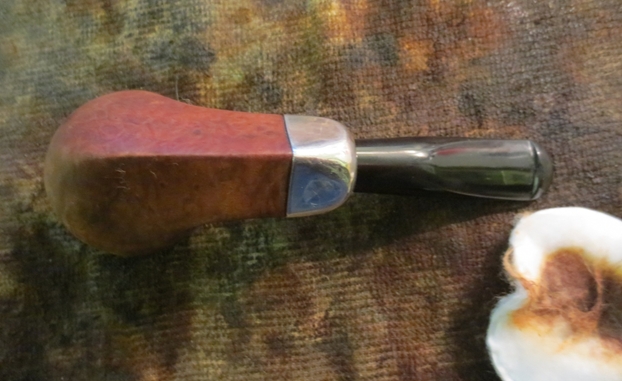
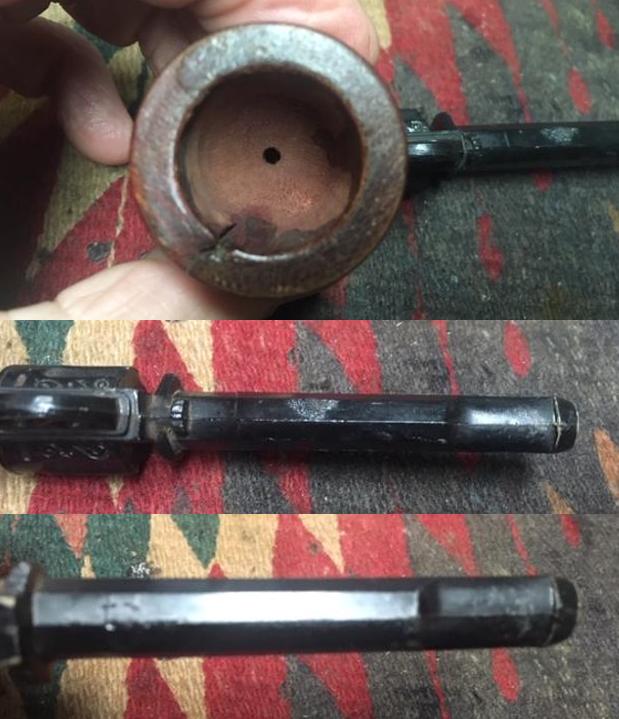 The next photo shows the details of the casting of the pistol. It is a well cast model that has great detail in the parts of the pistol. The grips and barrel as well as the cylinder in the middle are well cast (incidentally you can also see the repaired crack in the barrel).
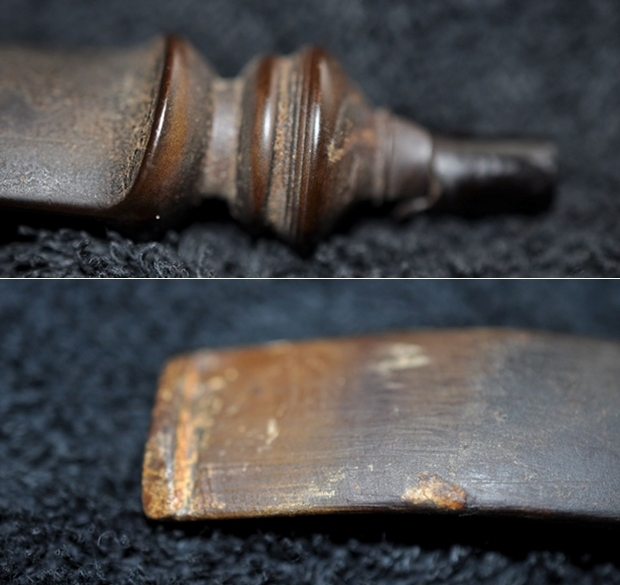
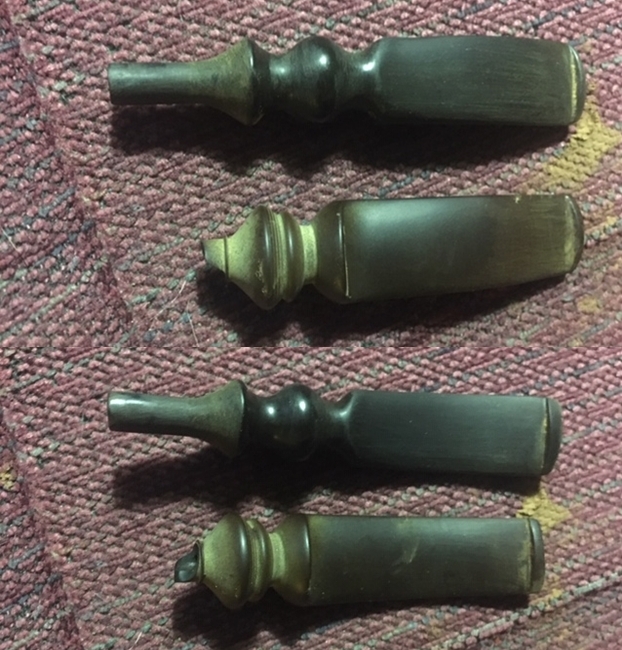
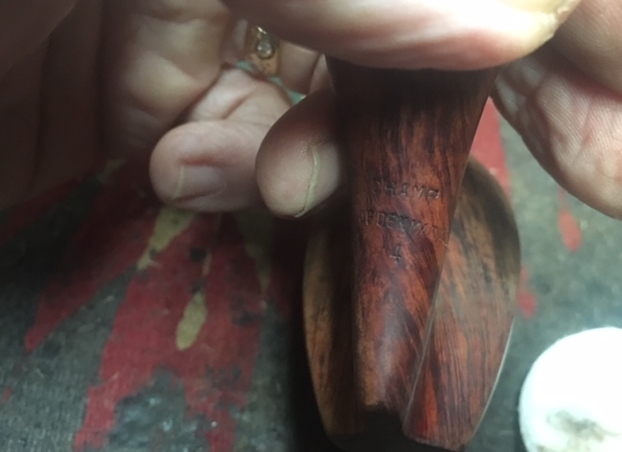
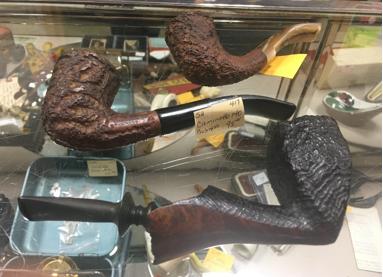
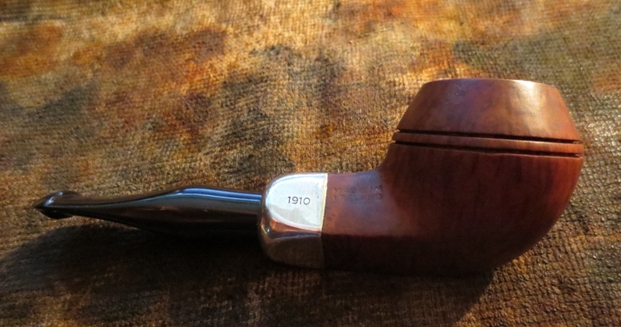
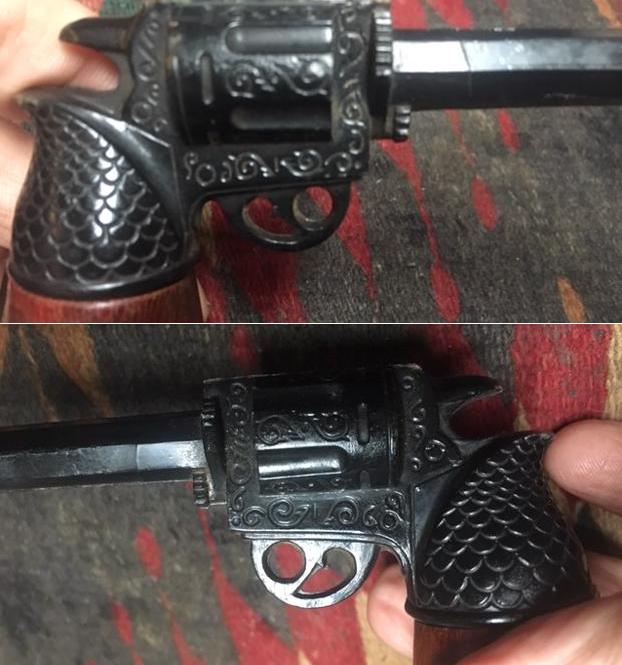 Because I was once again working with a Gutta-percha cast pipe I went back and read a previous blog that I had written to reacquaint myself with the material and the variety of cast products that were sold. I remembered that I had included a photo in the blog of a trio of pistols that this one reminded me of. Here is the link to the blog (https://rebornpipes.com/2017/12/08/59256/). I quote a pertinent part of the blog below:
That led me to do some research on the web to see what I could find out about the material. (Honestly, I don’t know what I would do without Google. I don’t know how I survived college and graduate school without it.) The first link I found and turned to was on Wikipedia (https://en.wikipedia.org/wiki/Gutta-percha). I quote large portions of that article below to set the base for understanding the material’s composition and origin.
Scientifically classified in 1843, it was found to be a useful natural thermoplastic. In 1851, 30,000 long cwt (1,500,000 kg) of Gutta-percha was imported into Britain. During the second half of the 19th century, Gutta-percha was used for myriad domestic and industrial purposes, and it became a household word. In particular, it was needed as insulation for underwater telegraph cables, which, according to author John Tully, led to unsustainable harvesting and a collapse of the supply.
According to Harvey Wickes Felter and John Uri Lloyd’s Endodontology: “Even long before Gutta-percha was introduced into the western world, it was used in a less processed form by the natives of the Malaysian archipelago for making knife handles, walking sticks and other purposes. The first European to discover this material was John Tradescant, who collected it in the Far East in 1656. He named this material “Mazer wood”. Dr. William Montgomerie, a medical officer in Indian service, introduced Gutta-percha into practical use in the West. He was the first to appreciate the potential of this material in medicine, and he was awarded the gold medal by the Royal Society of Arts, London in 1843.”
…In the mid-19th century, Gutta-percha was also used to make furniture, notably by the Gutta-Percha Company (established in 1847). Several of these ornate, revival-style pieces were shown at the 1851 Great Exhibition in Hyde Park, London. When hot it could be molded into furniture, decorations or utensils.
It was also used to make “mourning” jewelry, because it was dark in color and could be easily molded into beads or other shapes. Pistol hand grips and rifle shoulder pads were also made from Gutta-percha, since it was hard and durable, though it fell into disuse when plastics such as Bakelite became available. The material was adopted for other applications. The “guttie” golf ball (which had a solid Gutta-percha core) revolutionized the game. Gutta-percha remained an industrial staple well into the 20th Century, when it was gradually replaced with superior (generally synthetic) materials, though a similar and cheaper natural material called balatá is often used in Gutta-percha’s place. The two materials are almost identical, and balatá is often called Gutta-balatá.
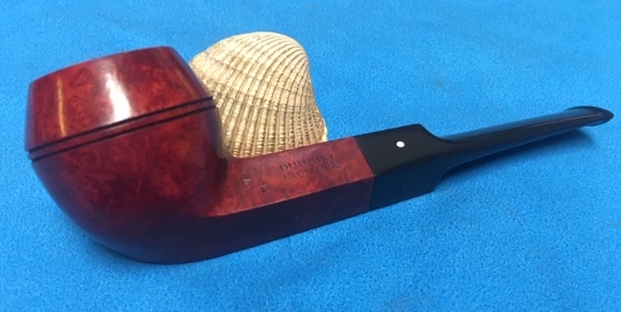
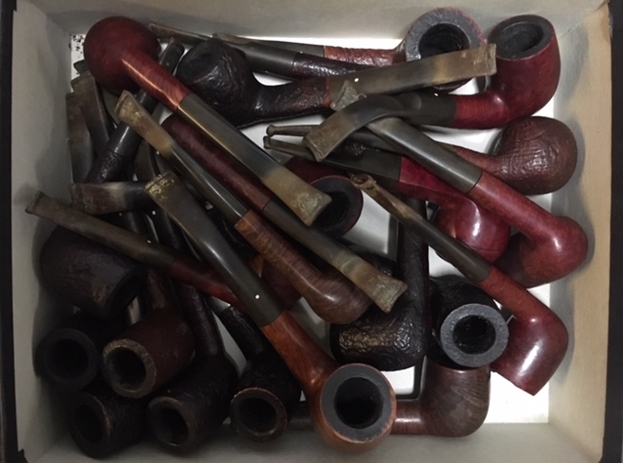
When I reread the blog I found the photo that I had remembered with three pistol pipes with wooden bowls and Gutta-percha bases. I include copy of that photo below. The one that I have is very similar to these with the expected variations.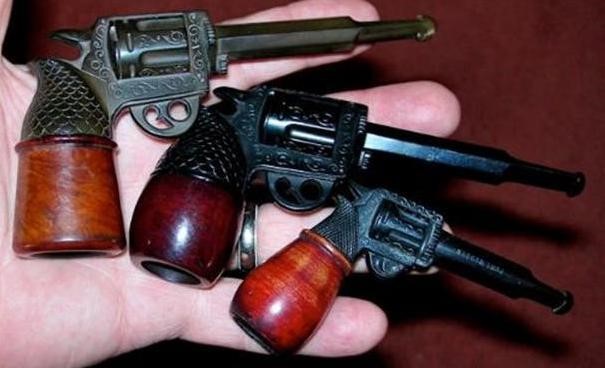 From that information I can give a potential date for the pipe as having been made in the late 19th to early 20th century – the period when Gutta-percha was in vogue. During that period many items were cast of the material because it could easily be cast with detail and because of its durability. For me the interesting fact is the old pipe remained unsmoked for this long. That may well be the result of the flaw in the bowl and the desire to not make it worse. The story of its journey to Jeff and me this long after the date it was made is another mystery. This is one of those times that I wish an old pipe could speak and share the story of its journey. What a well-traveled pipe and one that I will never really know the story about the nature of the journey. Armed with that information it was now time to work on the pipe.
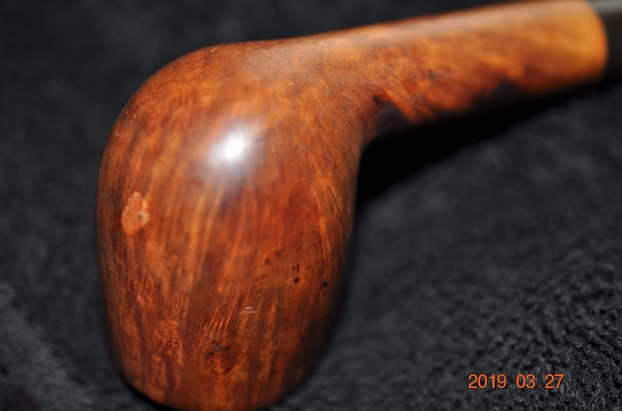
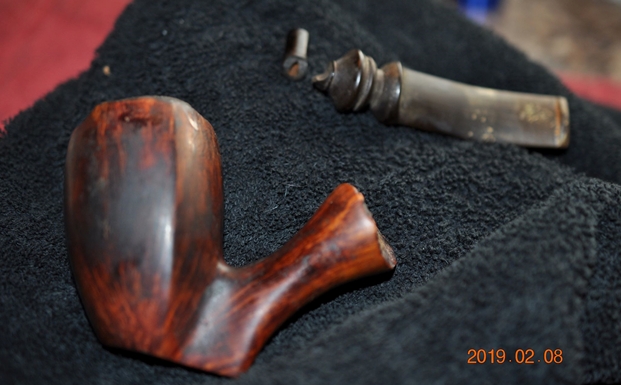
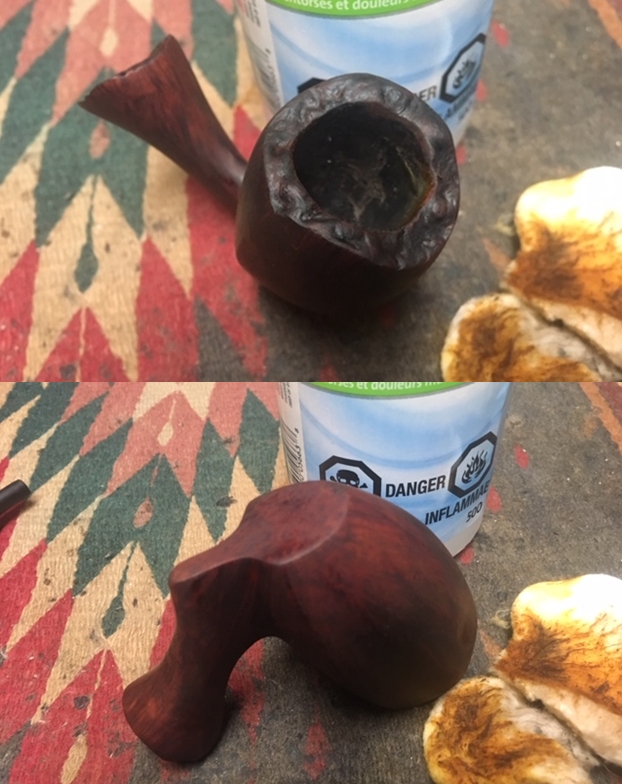
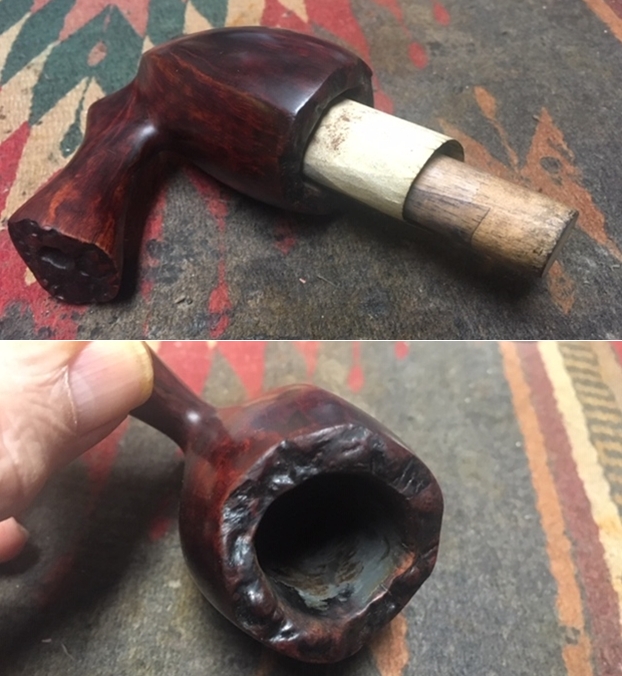
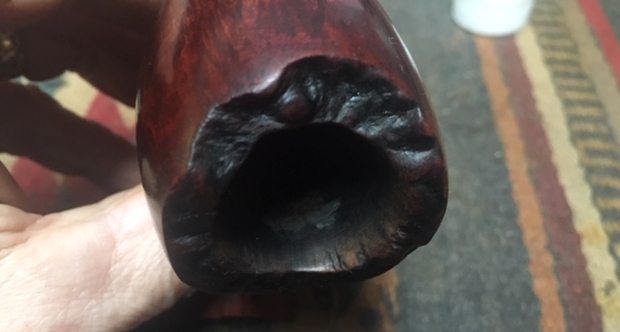
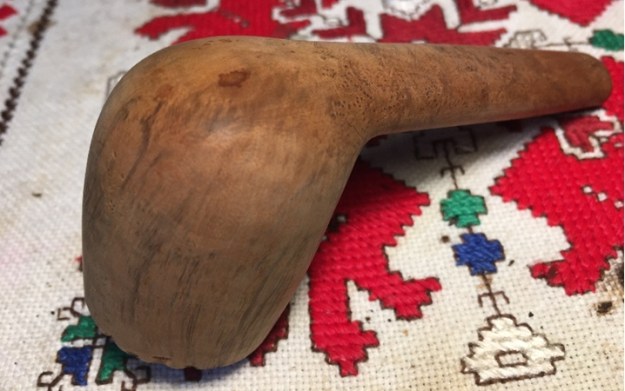
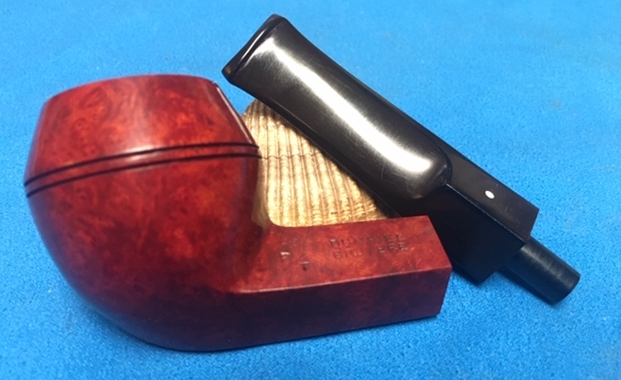
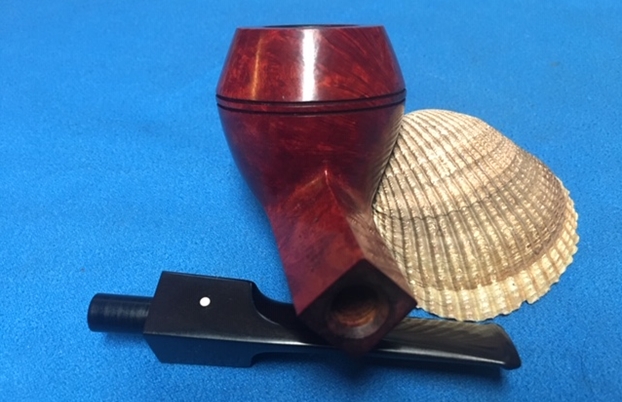
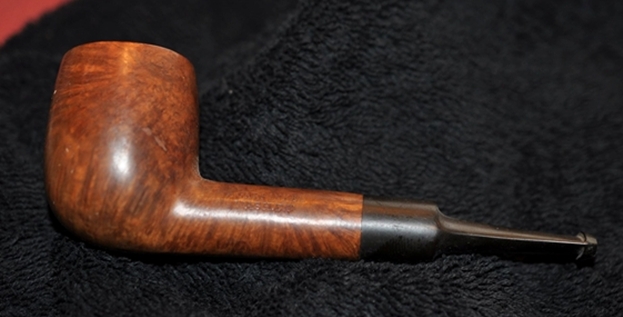
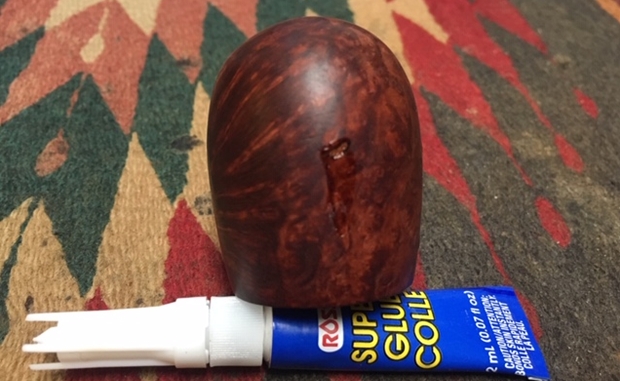
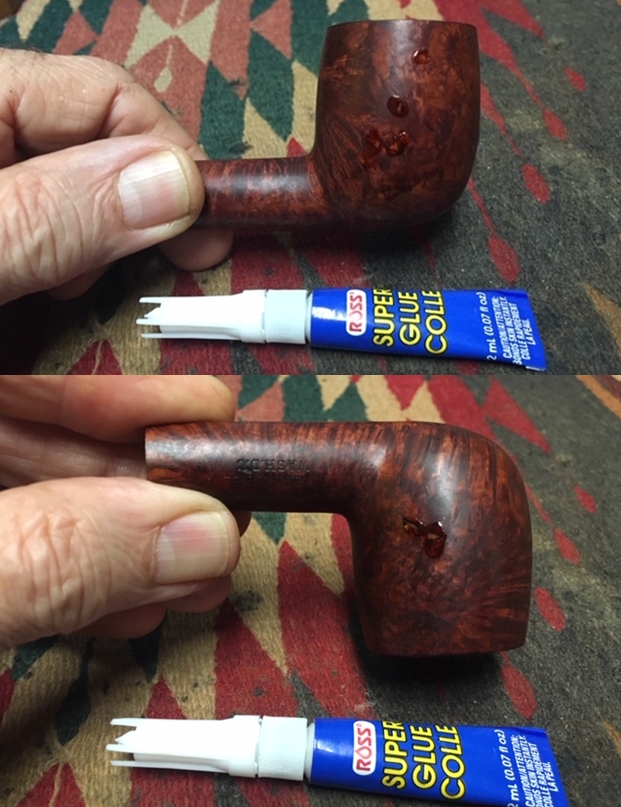
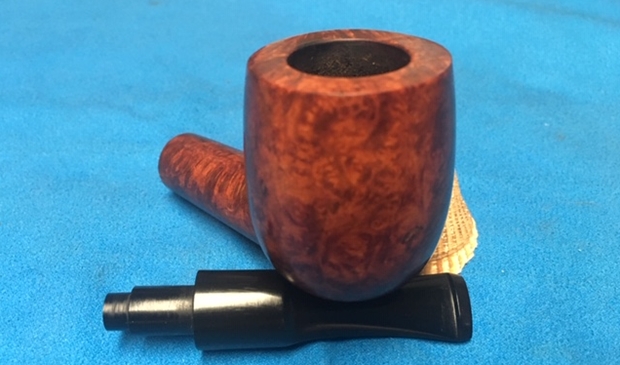
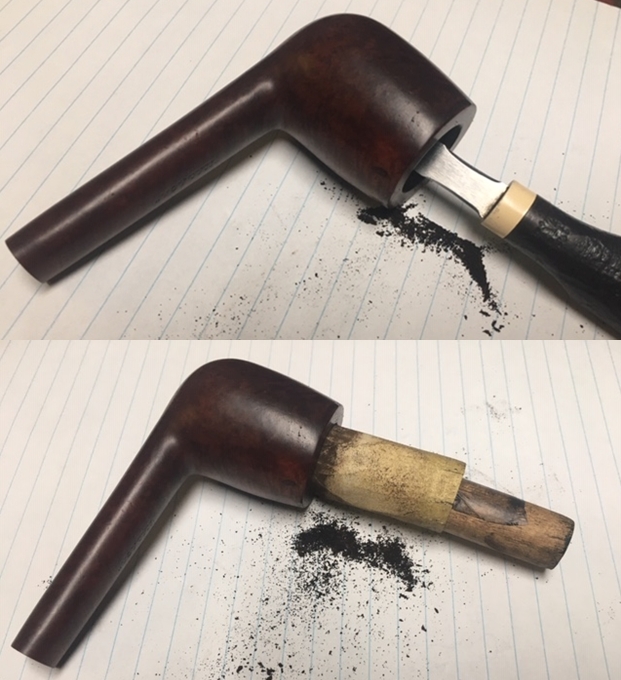
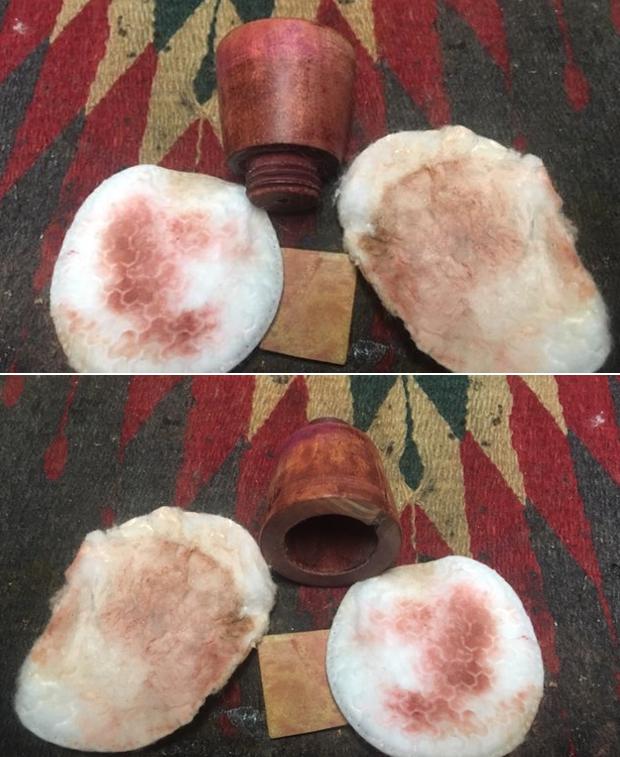
I decided to begin with the bowl. I took it off the base so that I could address the horrible finish and then work on the flaws in the wood. I took a photo of the crack on the outside of the bowl and the flaw on the top and inside. I also took a photo of the pipe taken apart before beginning my restoration.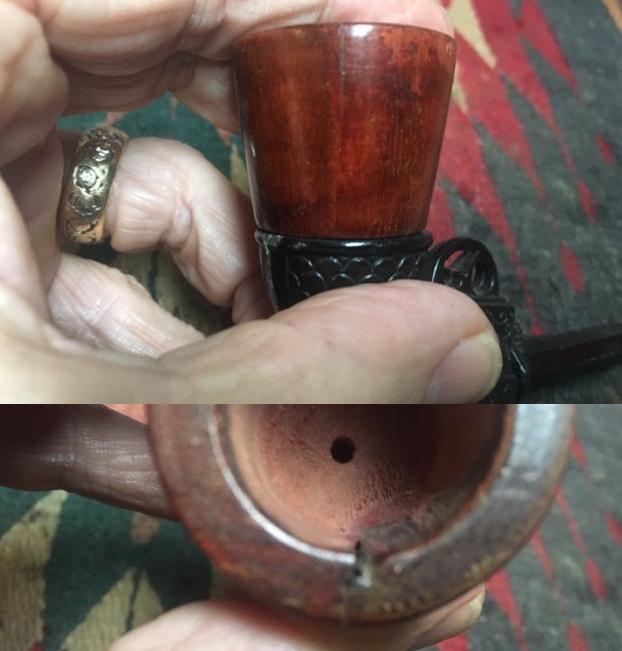
 I started the clean up on bowl with working to remove the varnish or shellac coat. I wiped it down with acetone on a cotton pad to break down the shiny top coat and had very minimal success. I would need to resort to more intrusive measure to truly remove the finish. I topped the bowl on a topping board with 220 grit sand paper to break through the thick shiny coat on the rim top. I sanded the bowl with 220 grit sandpaper to remove the thick shiny coat and get down to the wood. I repeatedly washed the bowl down with acetone on a cotton pad during the sanding process to see how it was progressing. It was clearly not a piece of briar that I was working on so I wanted to be sure to clean it off before restaining.
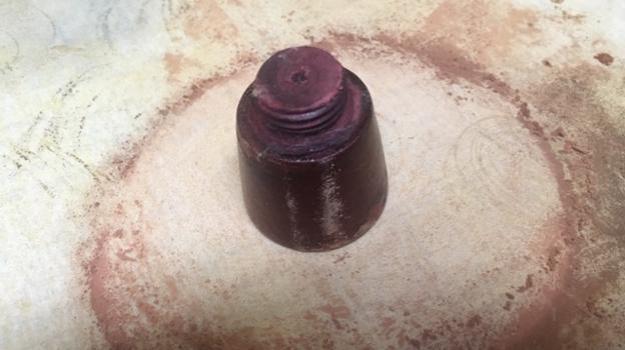
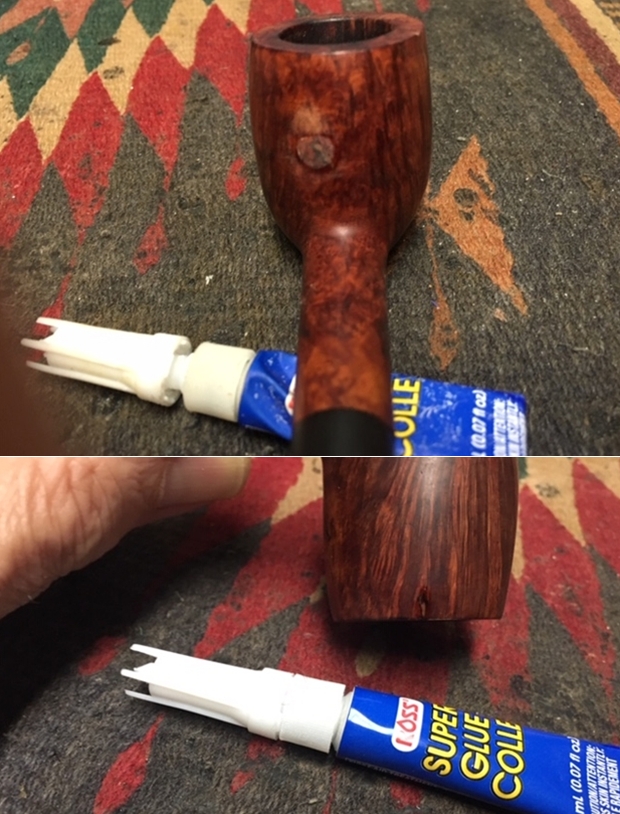
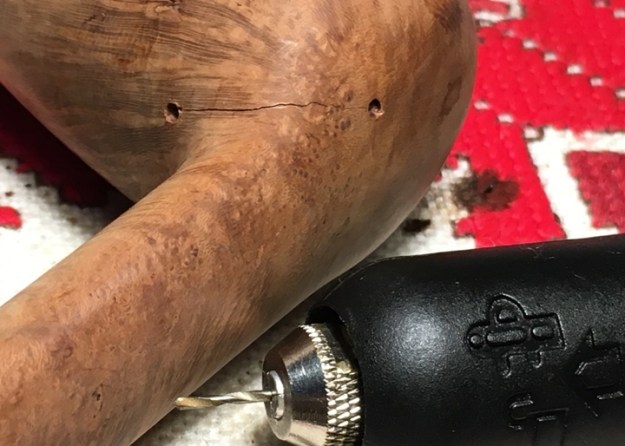
 I examined the crack on the outside of the bowl and it appeared to actually be a grain line. I examined it with a lens to double check. There was a small hairline crack for the first ¼ inch from the rim top. I ran a bead of clear super glue down the line and let it seep into the crack. I held it tight until the glue set. For the flaw on the inside of the bowl I filled it in with clear super glue and briar dust to rebuild the damaged area of the wall.
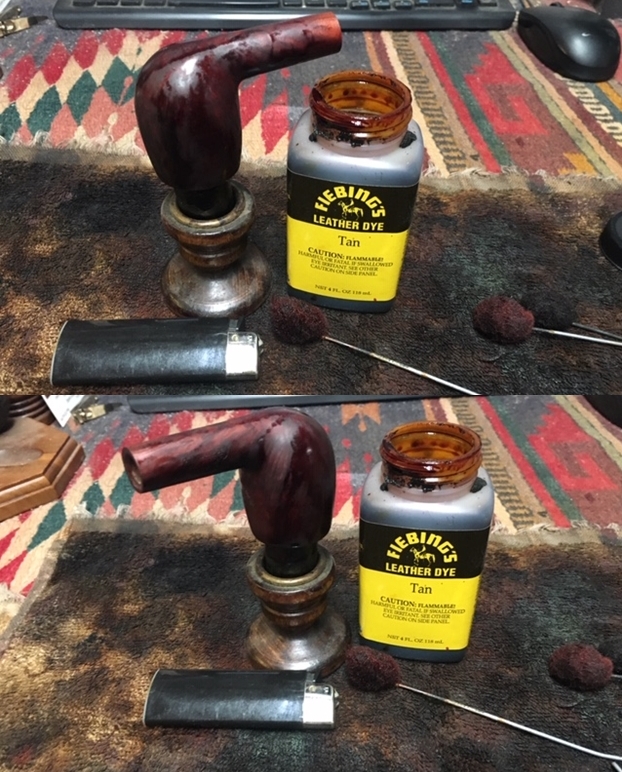
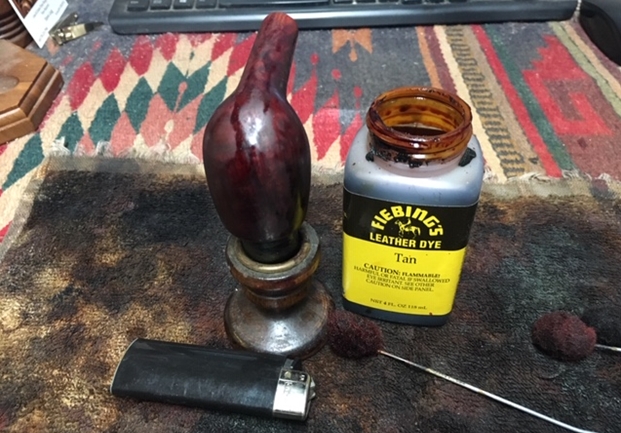
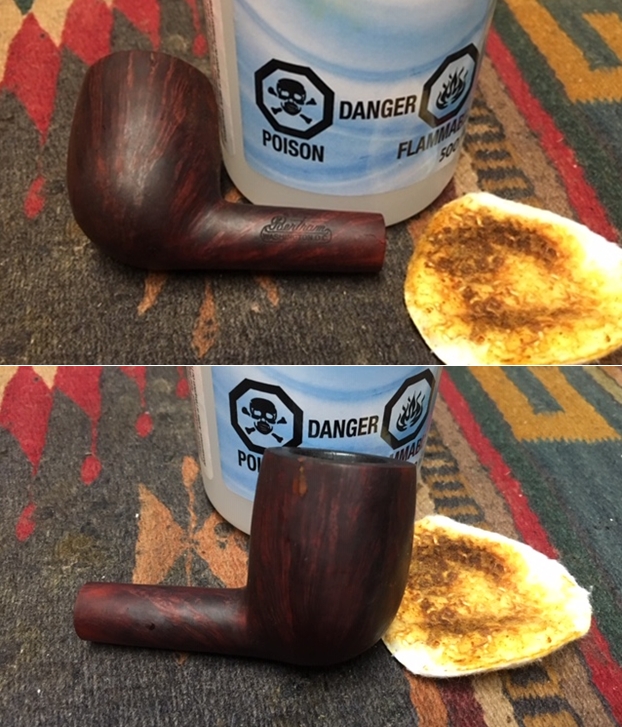
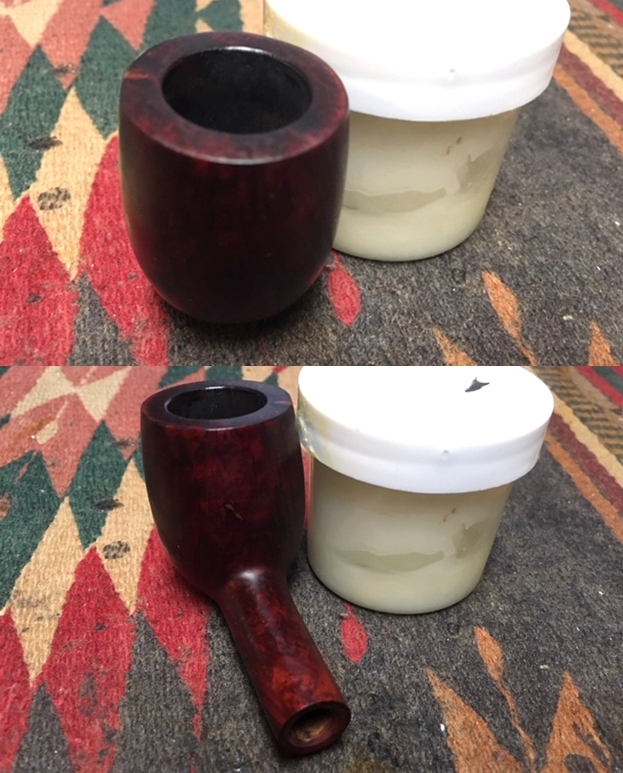
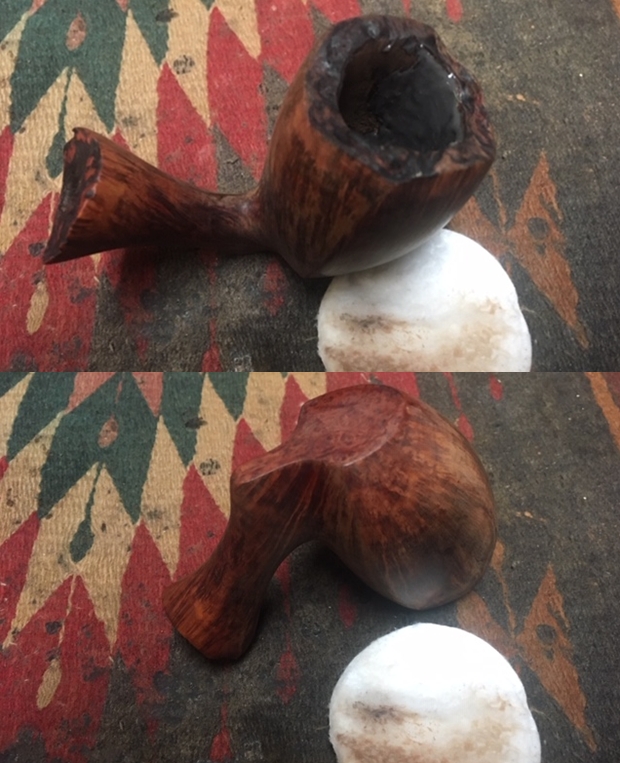
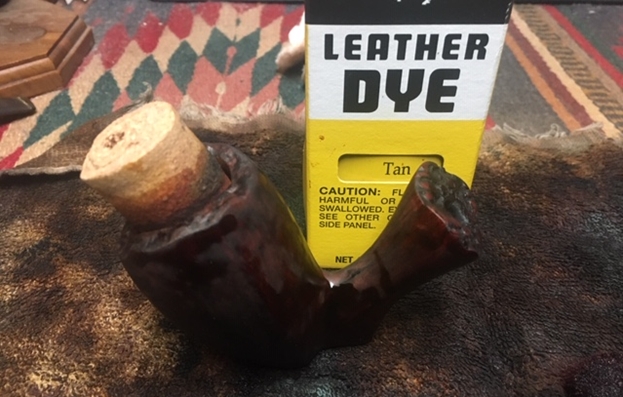
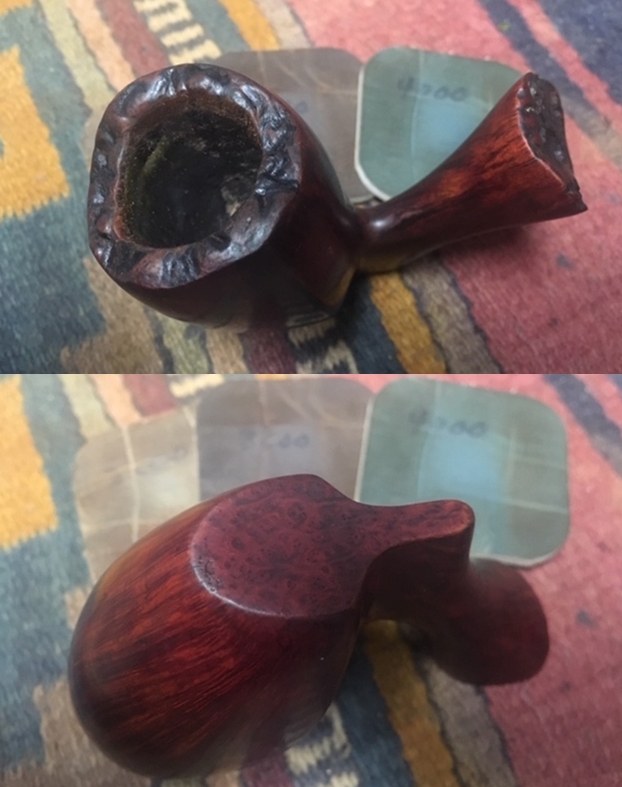
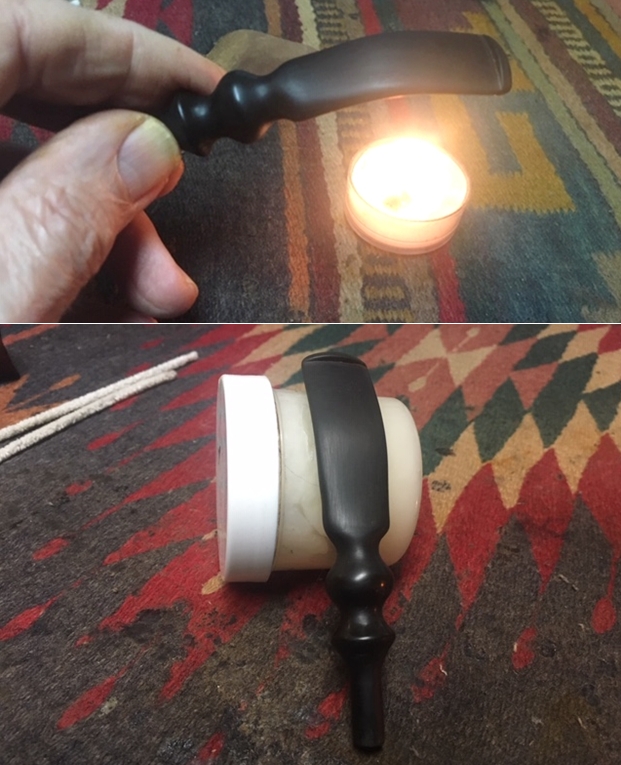
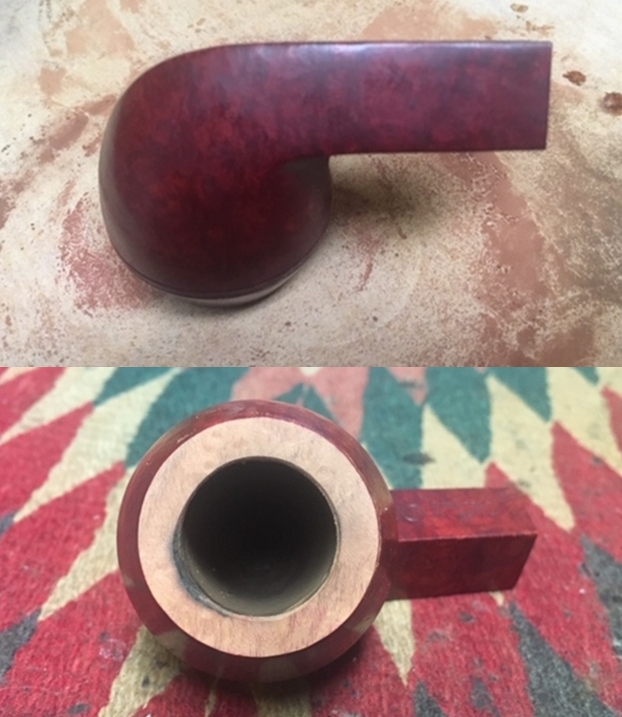
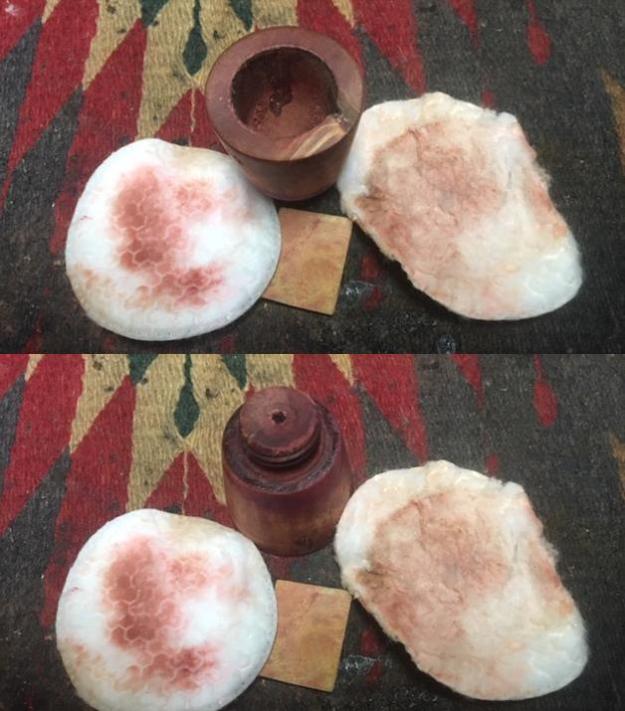
 Once the repair had cured I sanded the inside and outside of the bowl smooth again with 220 grit sandpaper and polished it with 400 grit wet dry sandpaper. I polished it with 1500-4000 grit micromesh sanding pads to remove the scratches. All of this was done in preparation for the first coat of stain. I had decided to stain it with a base coat of Fiebing’s Tan stain as it has a red tint to it. I applied the stain, flamed it and repeated the process until I was happy with the coverage. I generally put a cork in the bowl which allows me to manipulate the bowl and a candle stand to let the stain cure. I took pictures of the bowl after the stain had cured overnight.
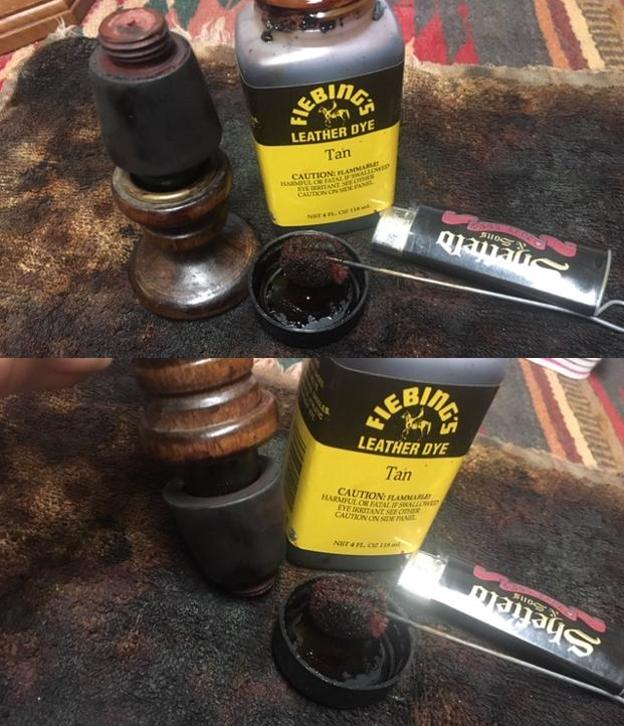
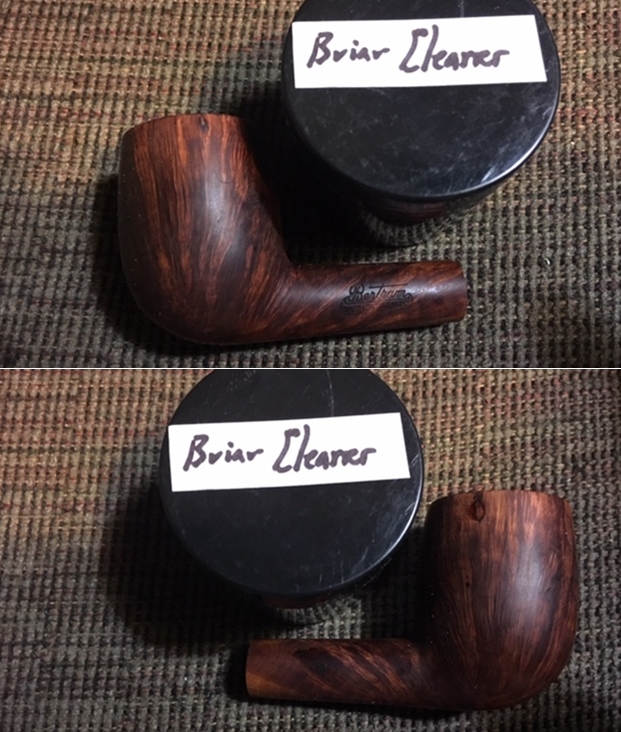
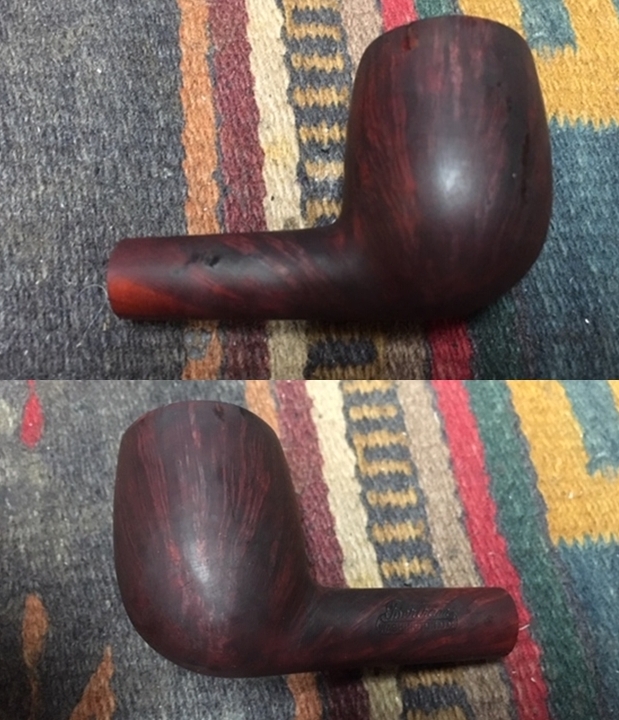
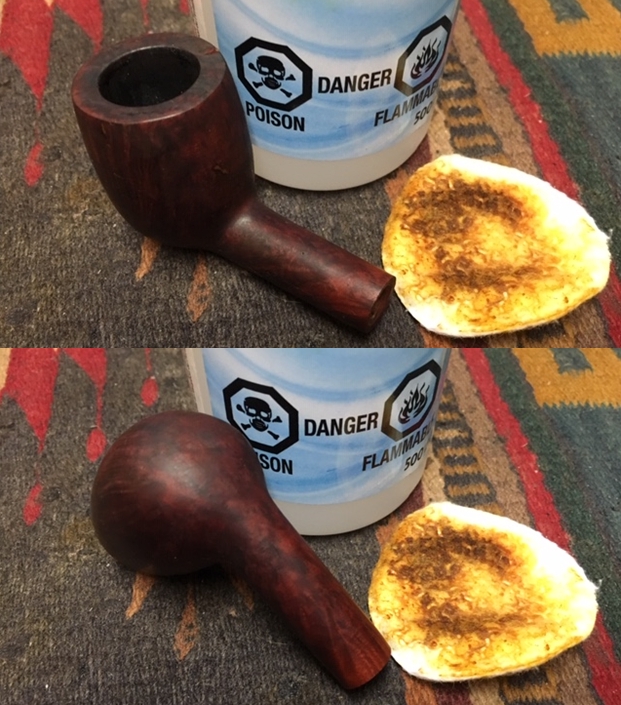
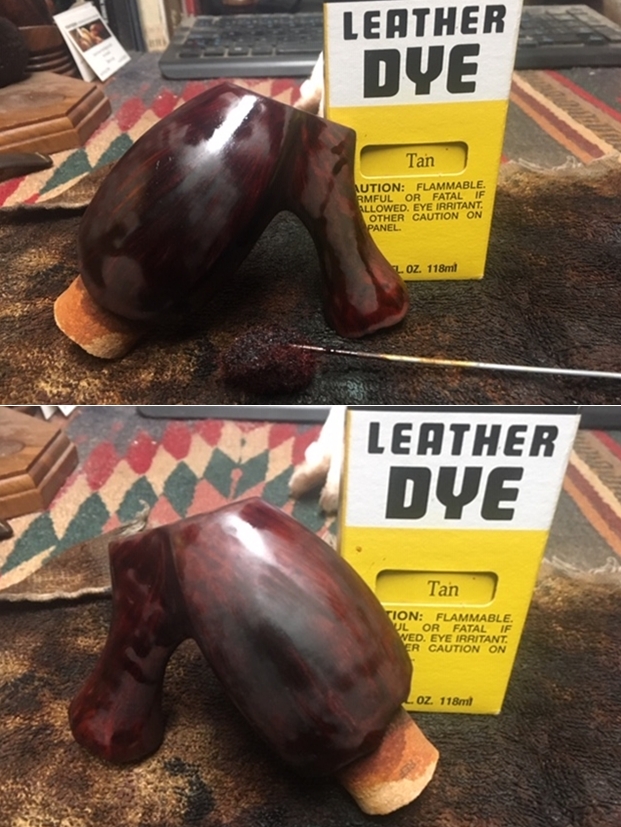
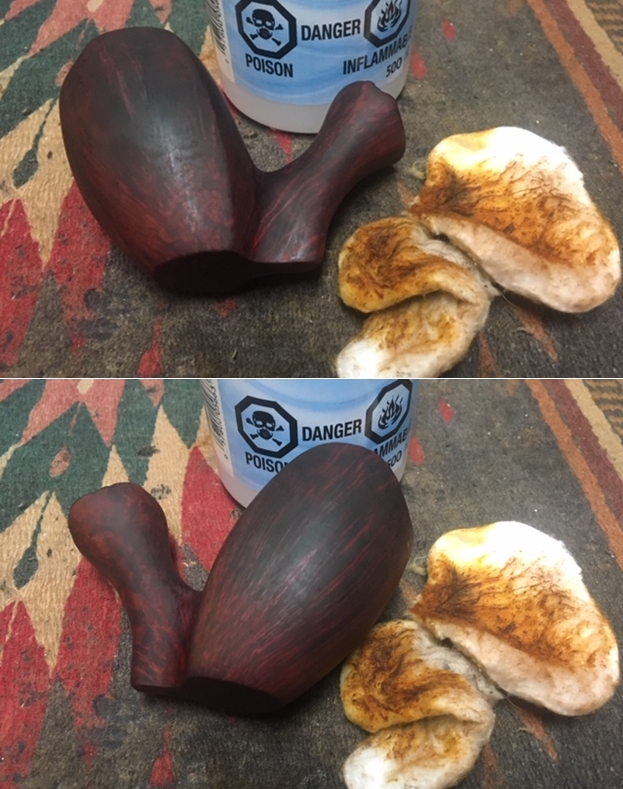
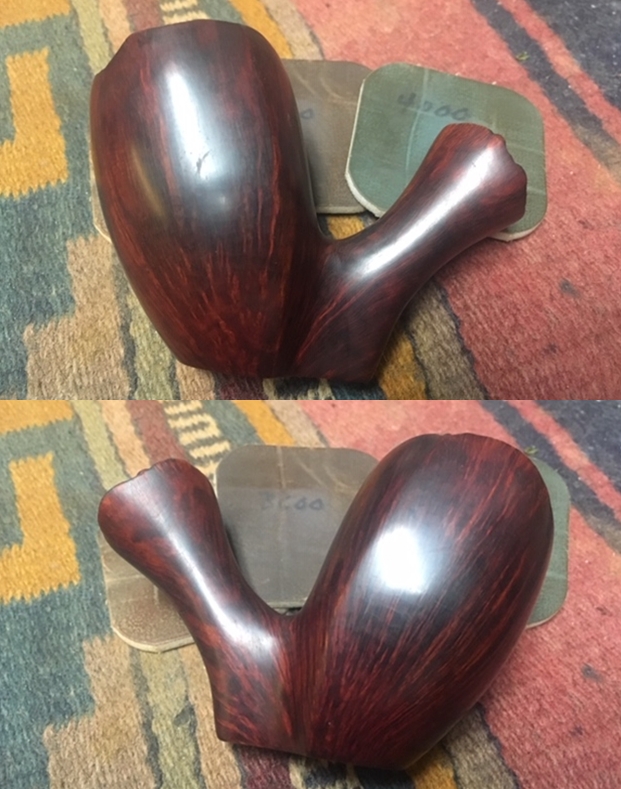
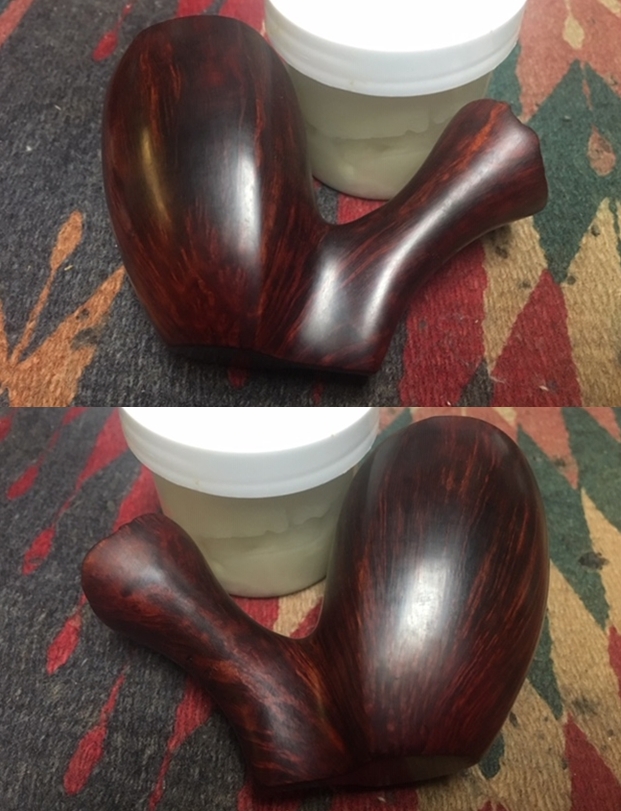
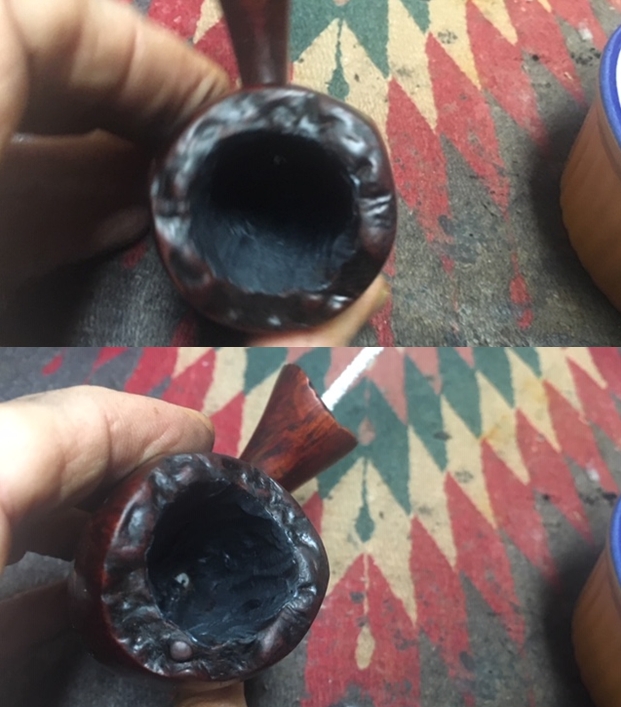
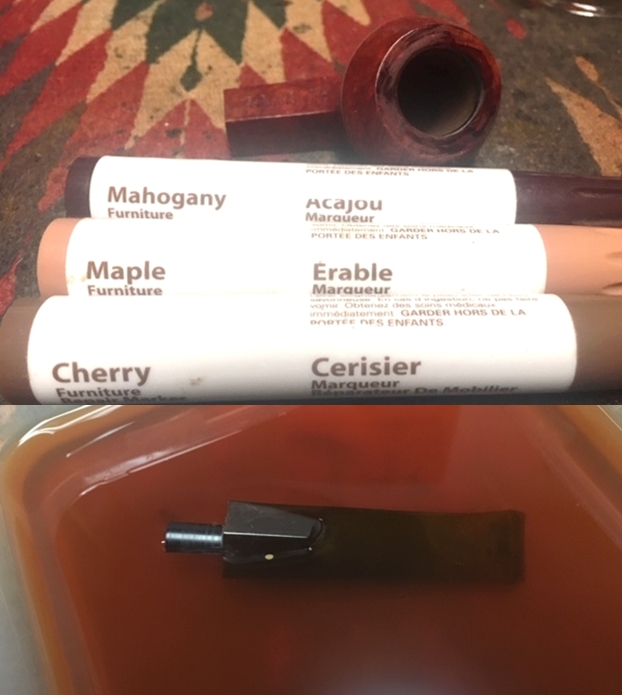
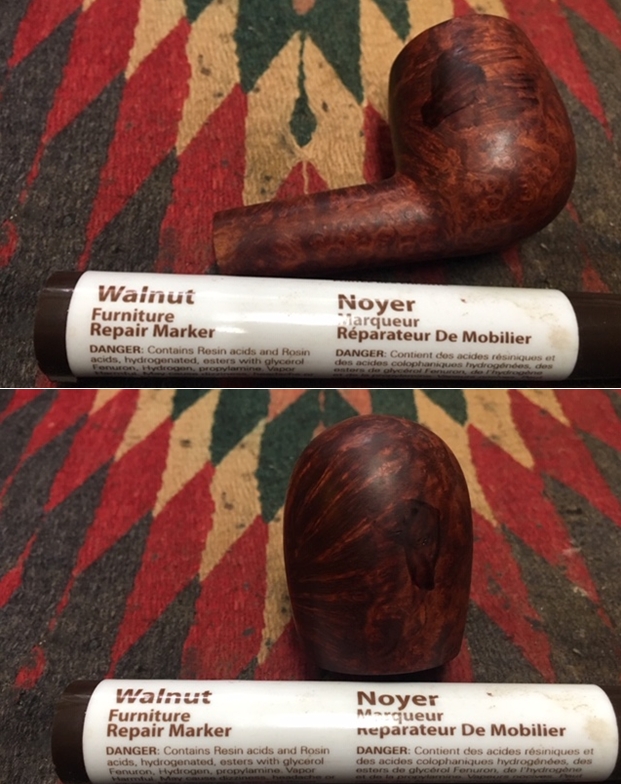
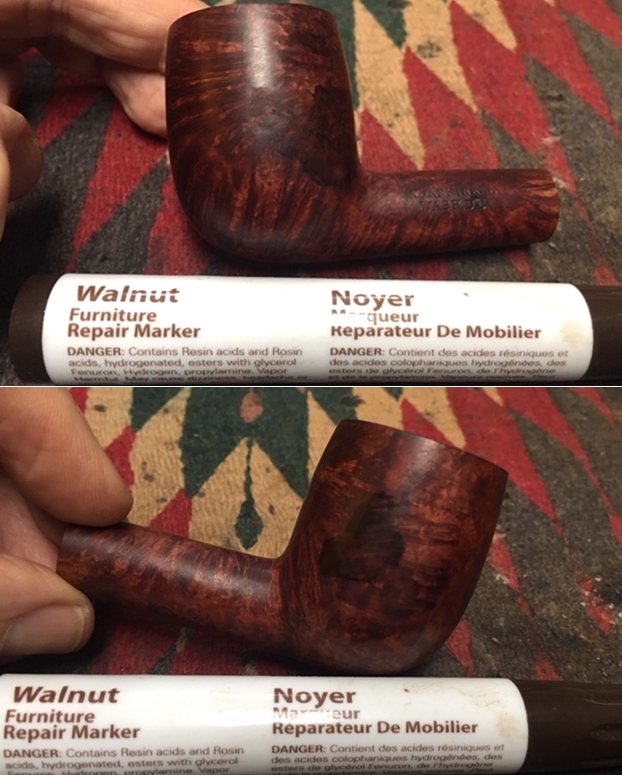
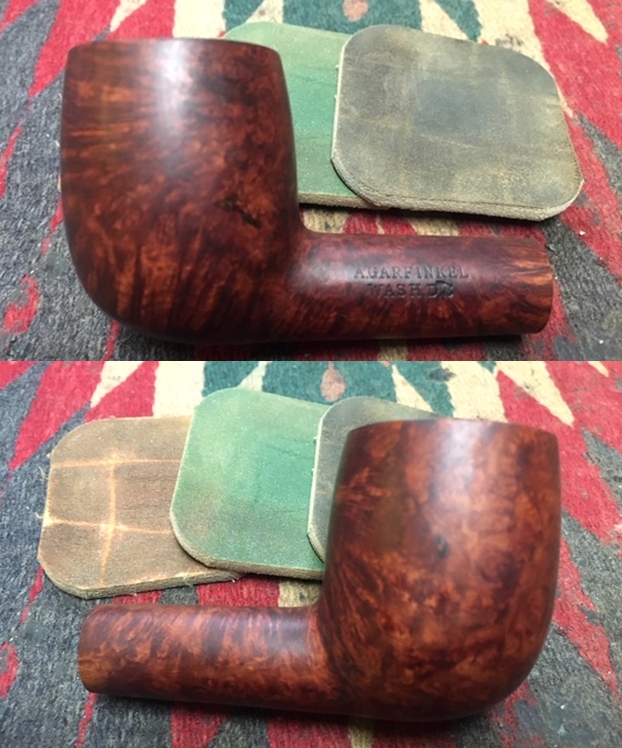
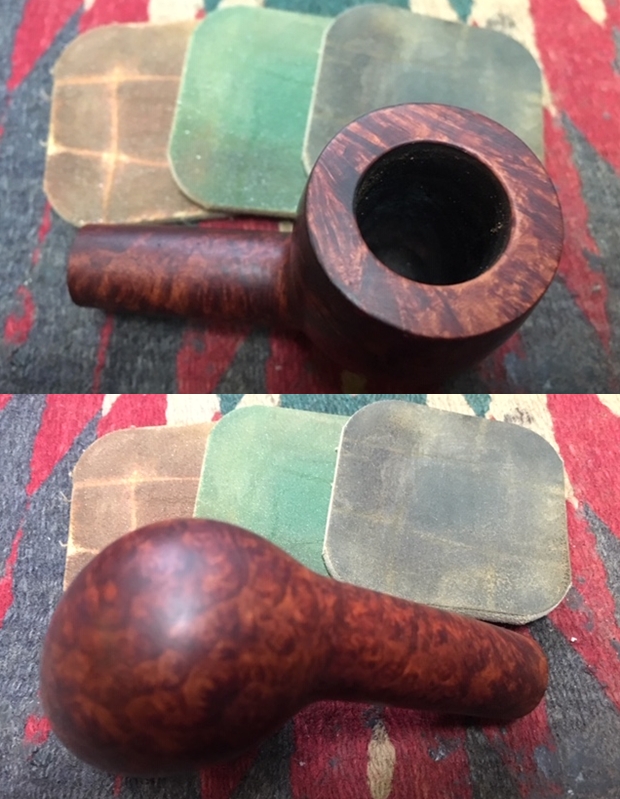
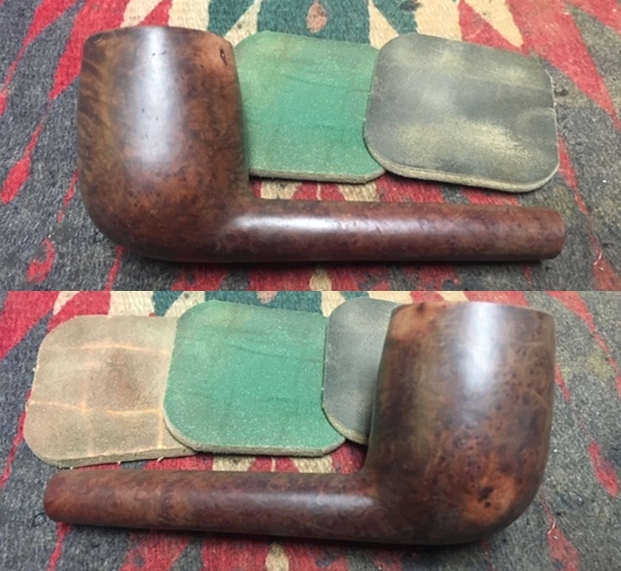
 I noted that the inner edge of the rim needed a bit more work before the next stain coat that I had chosen. I filled it in with more super glue and briar dust until the edge was filled in. I sanded it and the spot on the rim top smooth. I decided to use a Mahogany stain pen for the next coat. Because the grain was vertical I stain the bowl vertically with the pen. The next photos show the bowl after the stain coat has been applied.
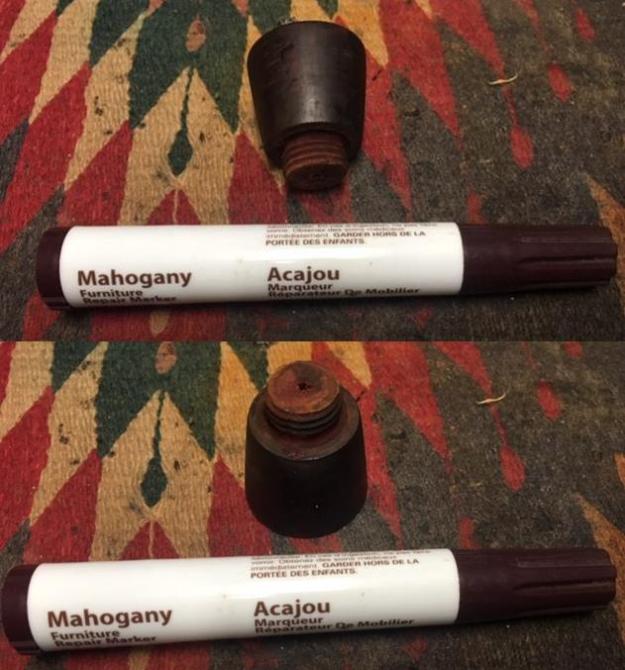
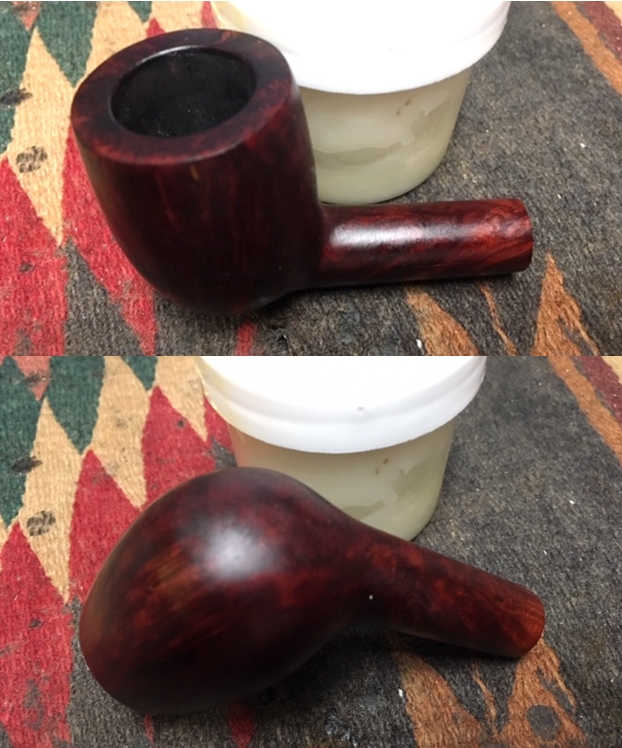
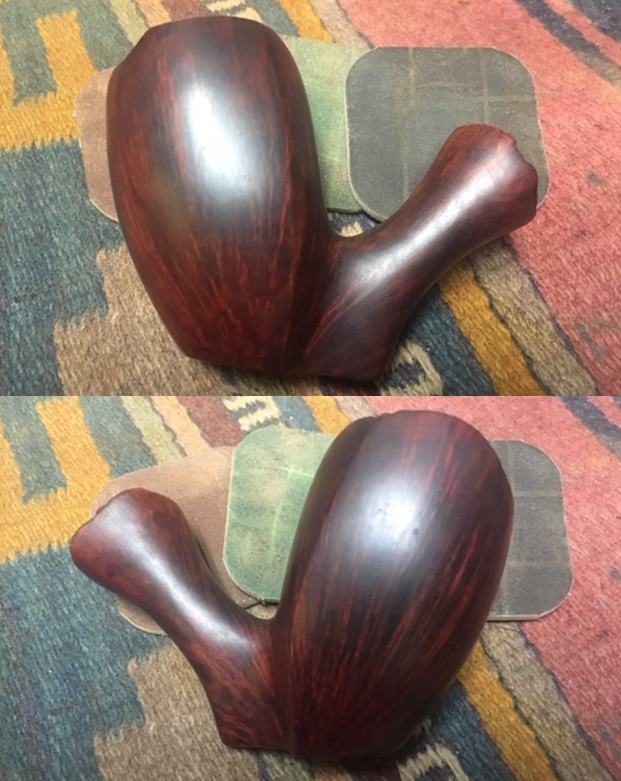
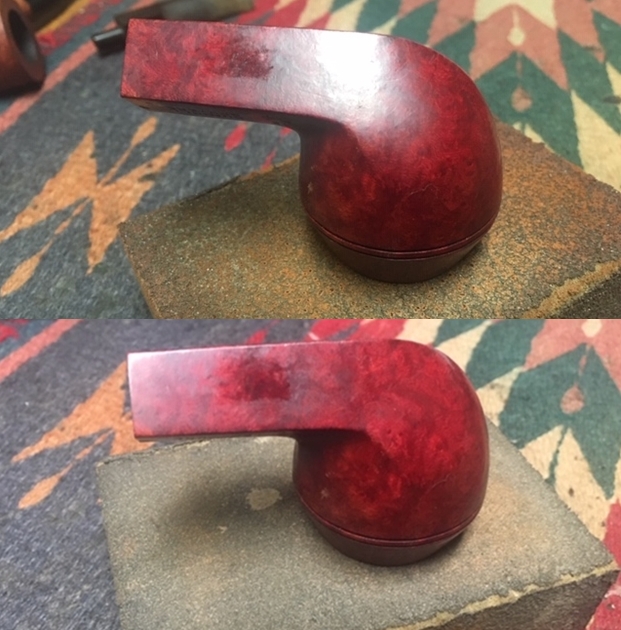
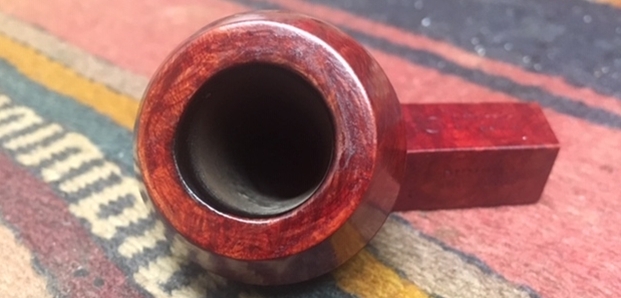
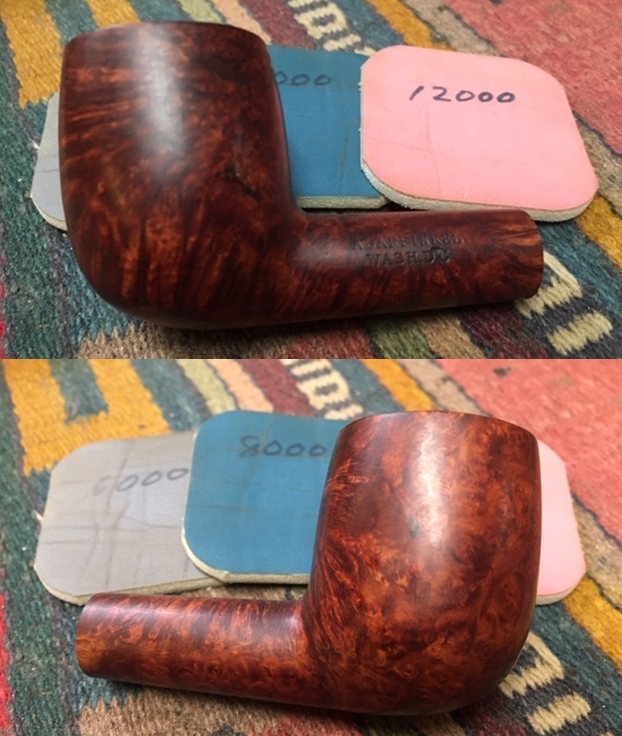
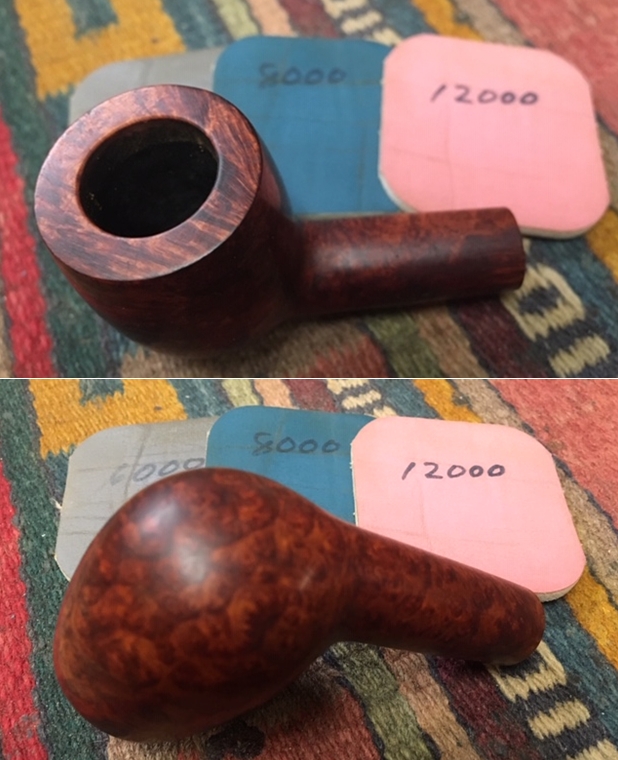
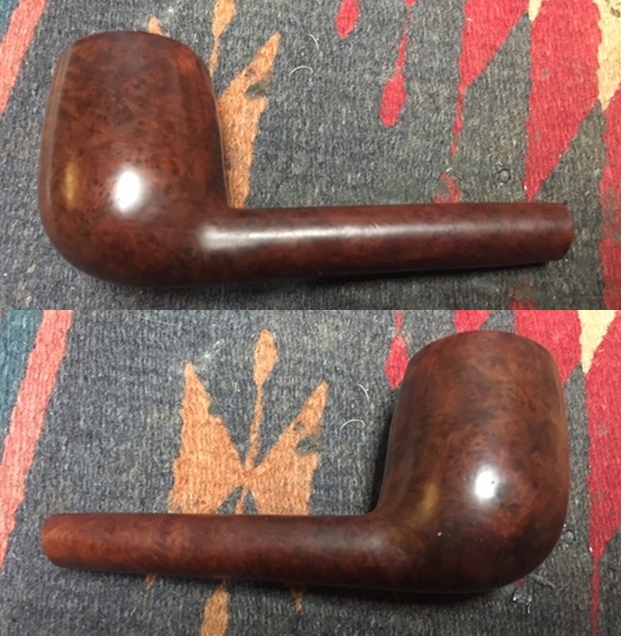
 I lightly, cautiously buffed the bowl with Blue Diamond polish on the buffing wheel. I gave it a coat of carnauba wax and buffed it with a clean buffing pad to raise the shine. I took the following photos after that. There is a bit more polishing to go but you can see where I am heading with the stain coat.
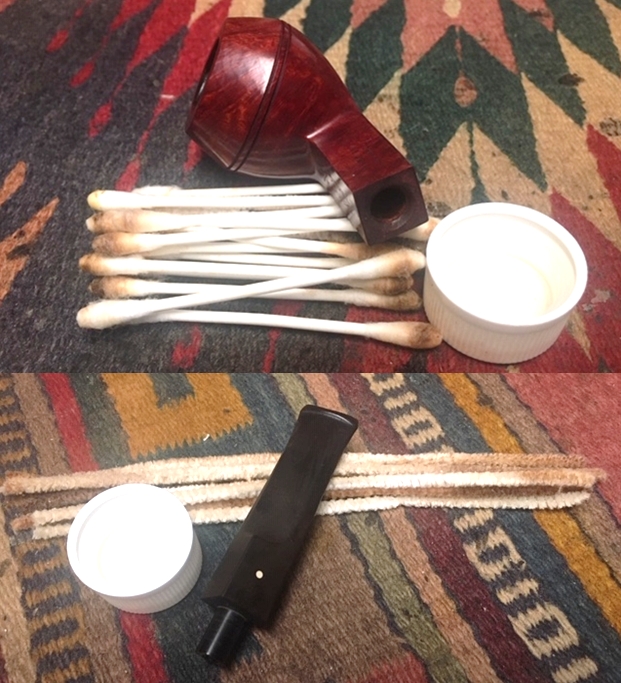
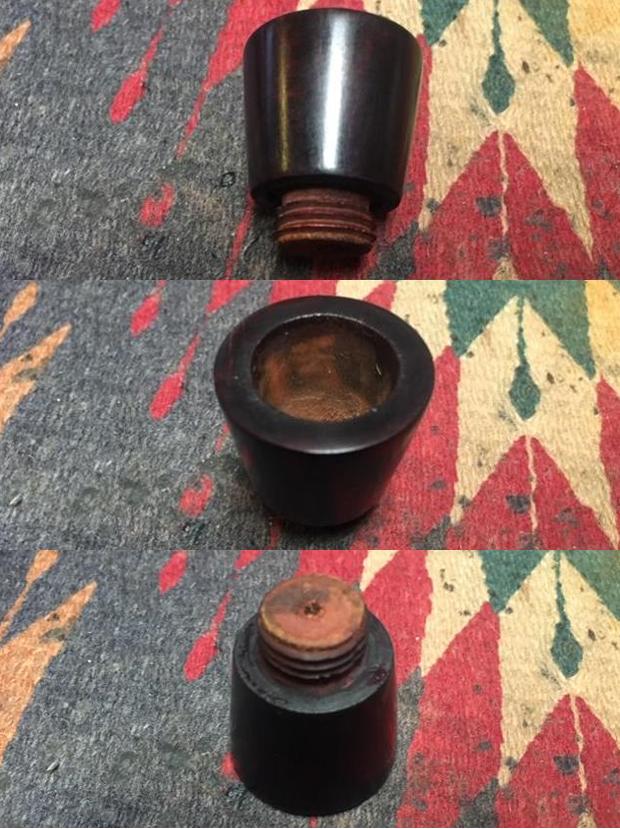 I set the bowl aside at this point and went to work on the base and “barrel”. Because of all the nooks and crannies in the casting it was very dusty and dirty. I scrubbed the base with Murphy’s Oil Soap and a tooth brush to get the debris and dust out of the crevices and valleys. I rinsed it under warm water and ran a pipe cleaner through the airway. The pipe looked really god at this point and it was ready from the next step of sanding the “barrel”.
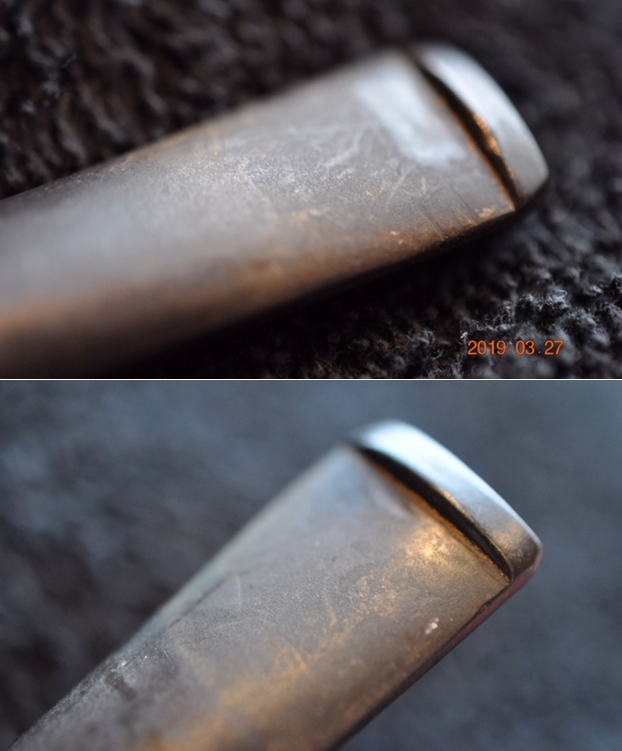
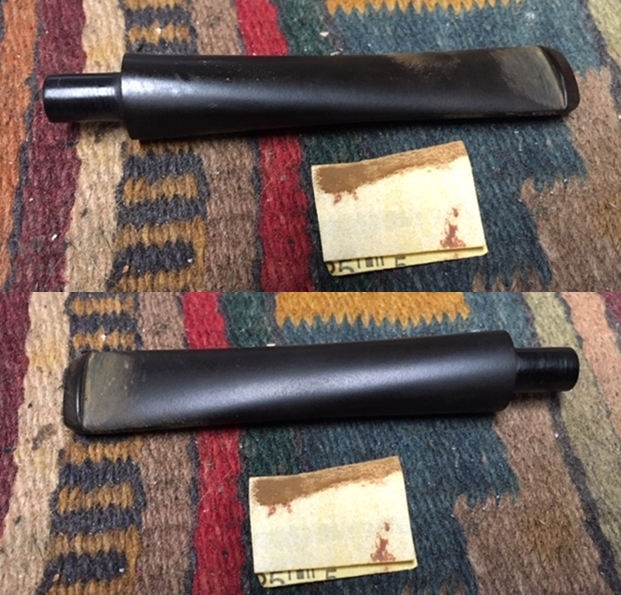
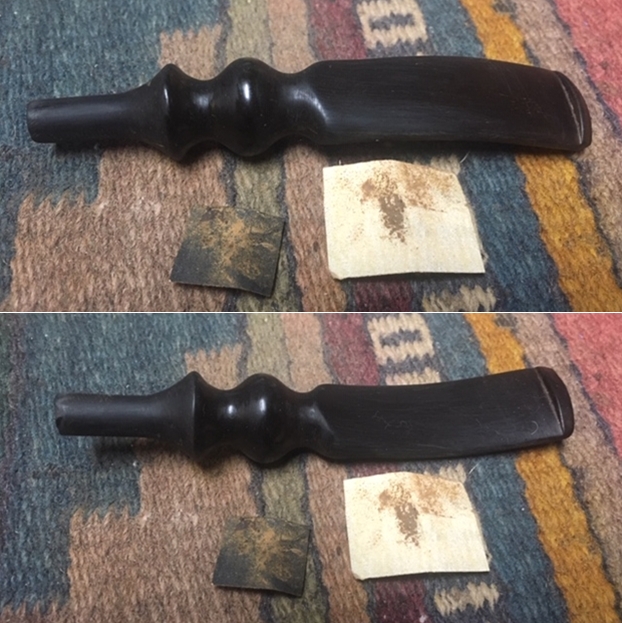
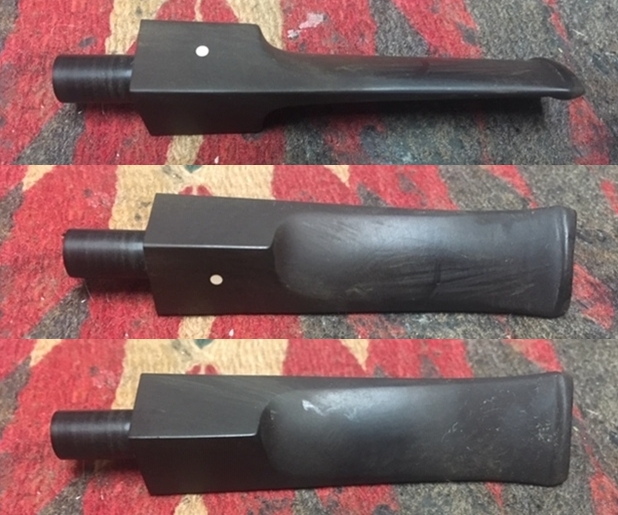
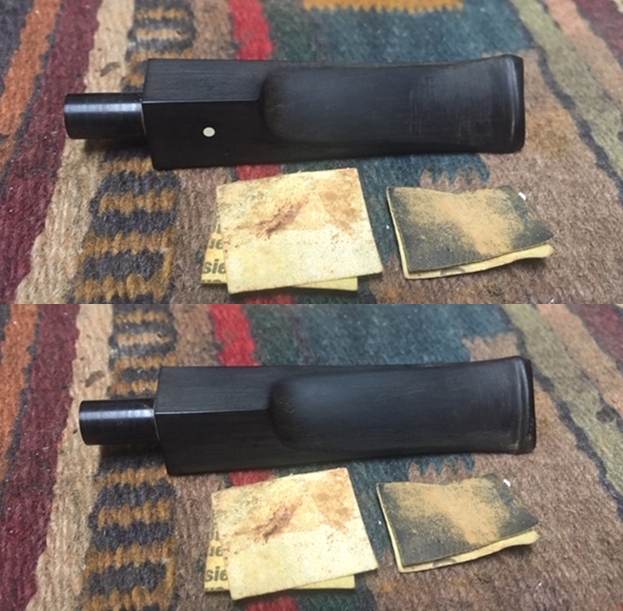
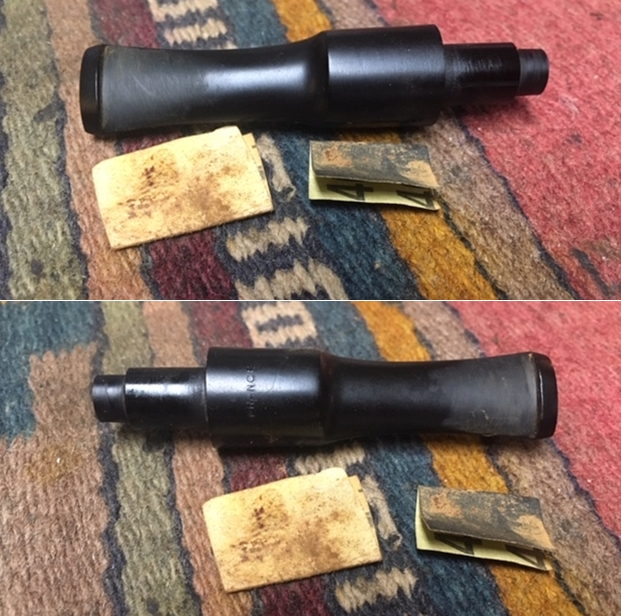
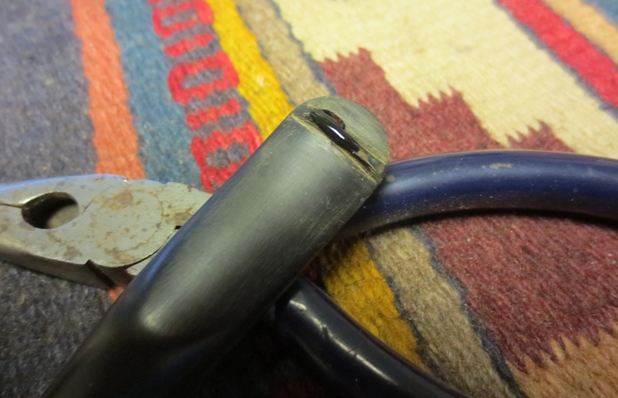
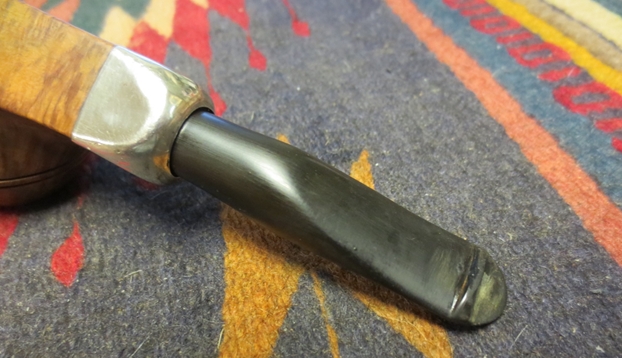
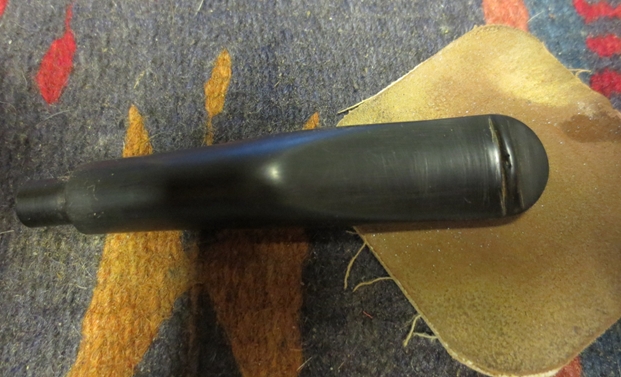
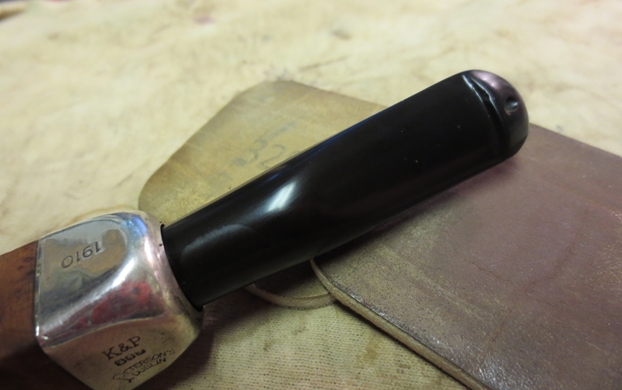
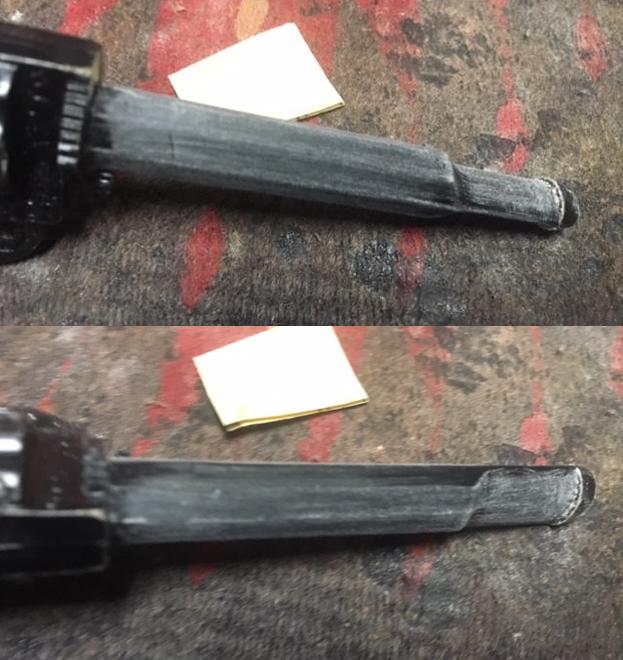
 Now that the grime was cleaned off it was time to address the sloppy repair on the cracked “barrel” and clean up the excess glue around the repair. I sanded the “barrel” with 220 grit sandpaper to remove the excess glue that was around the repaired area of the broken shank. I sanded the “barrel” and the mouthpiece end to remove not only the glue but also the casting marks that were left behind from when the pipe was made.
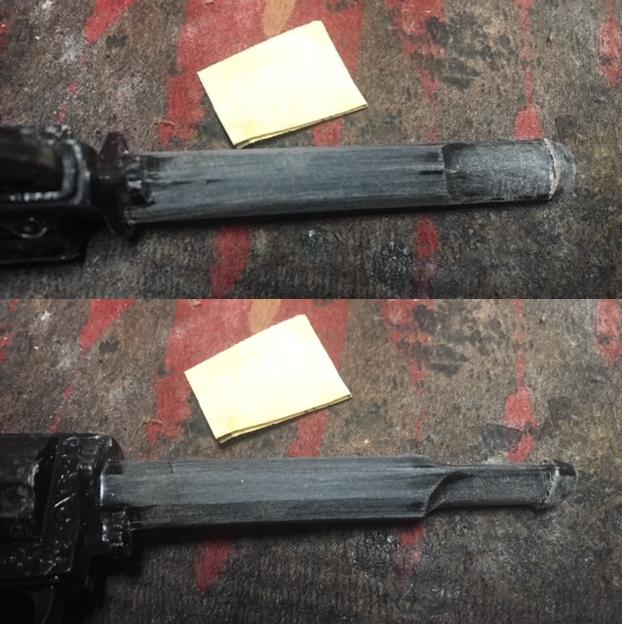
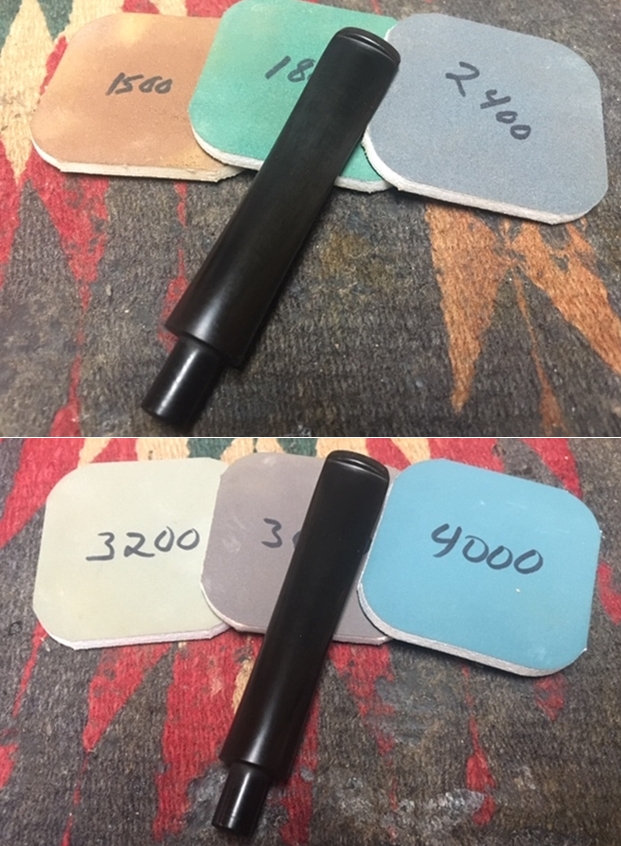
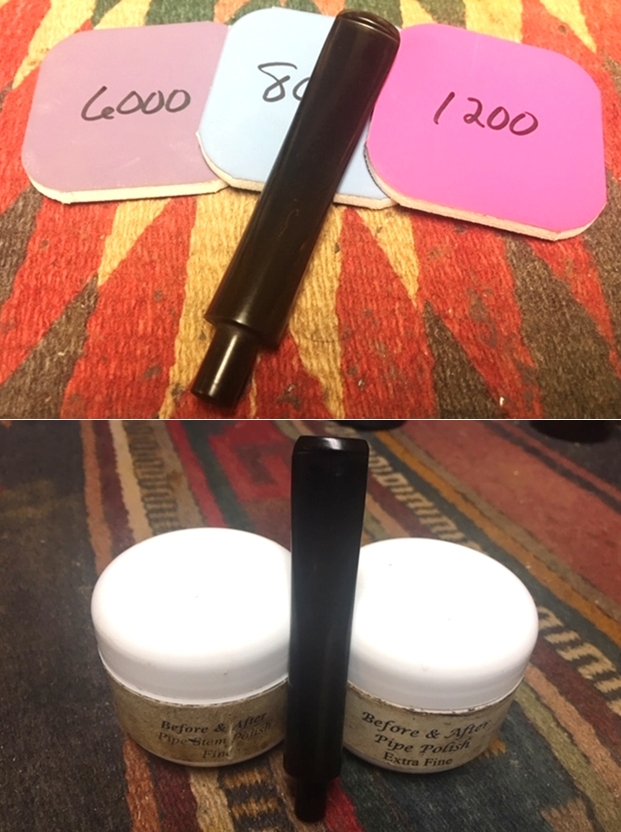
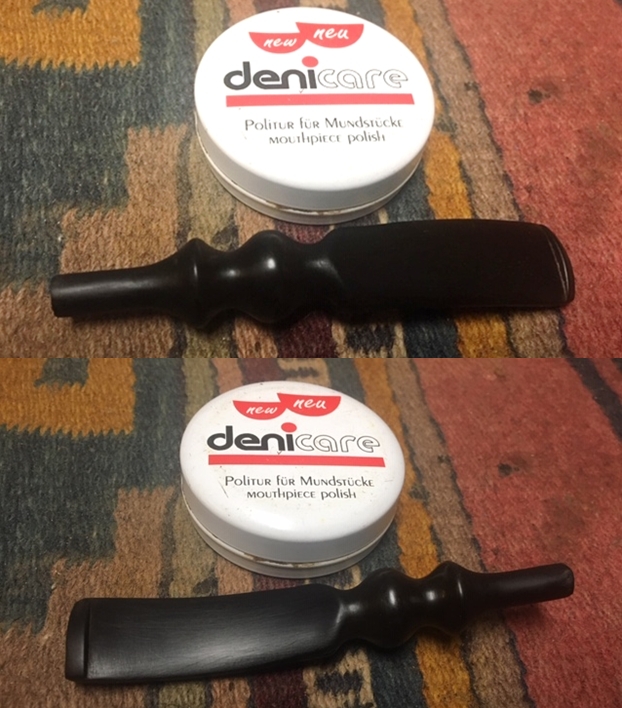
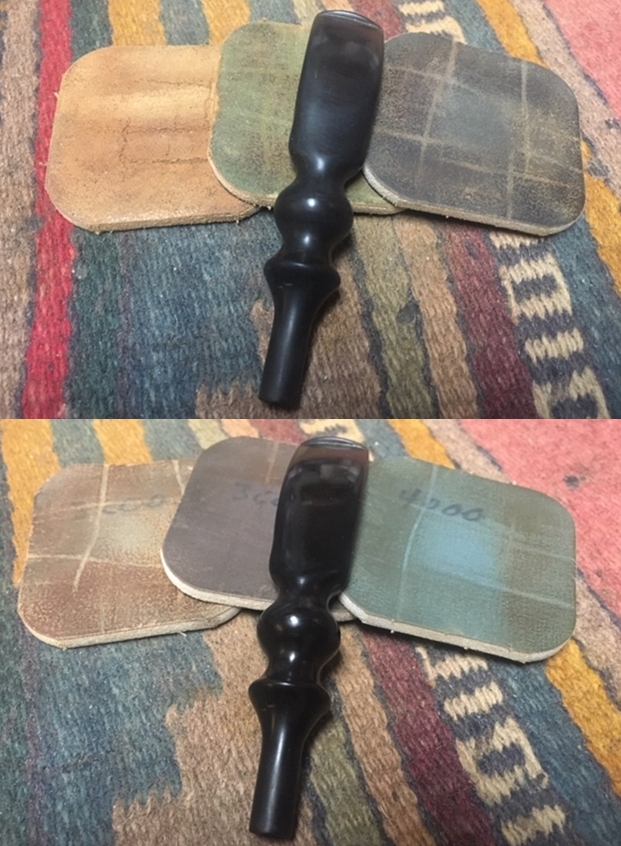
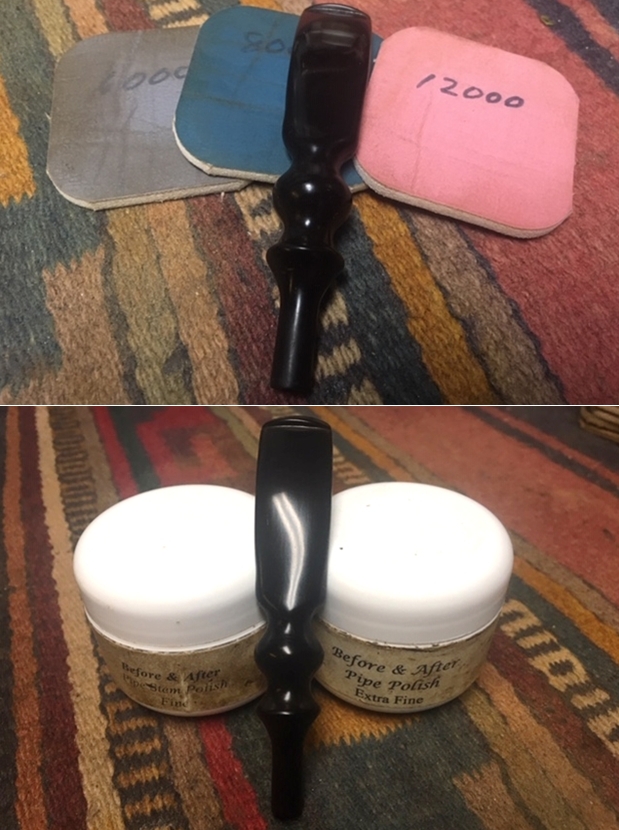
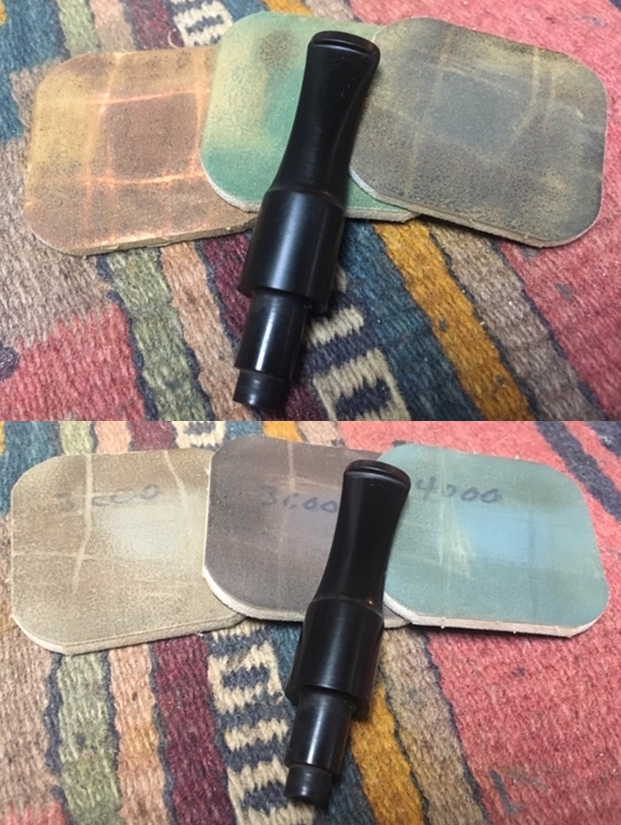
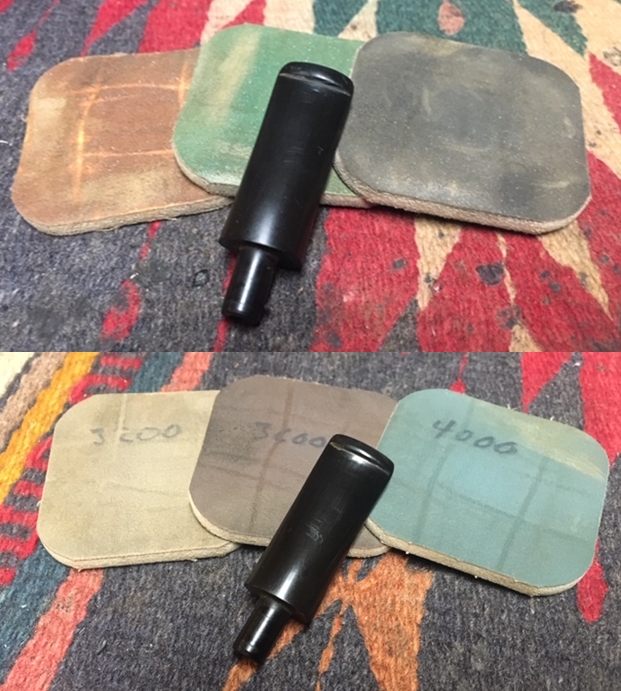
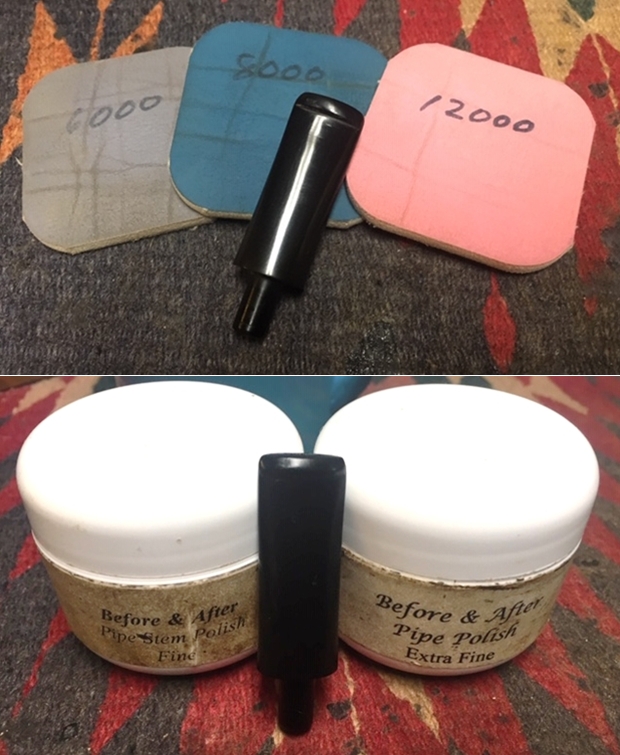
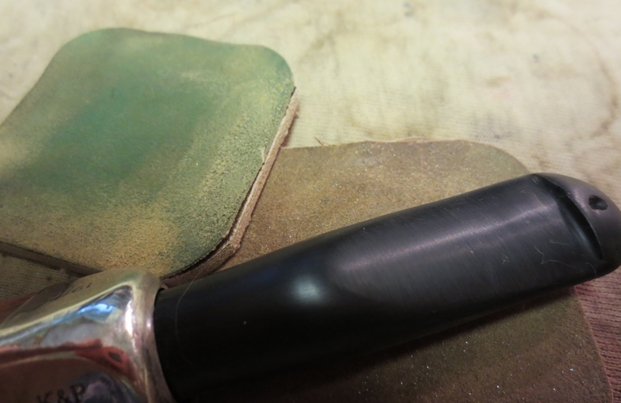
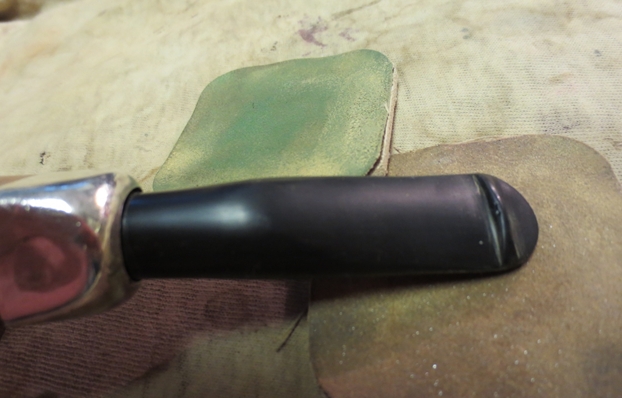
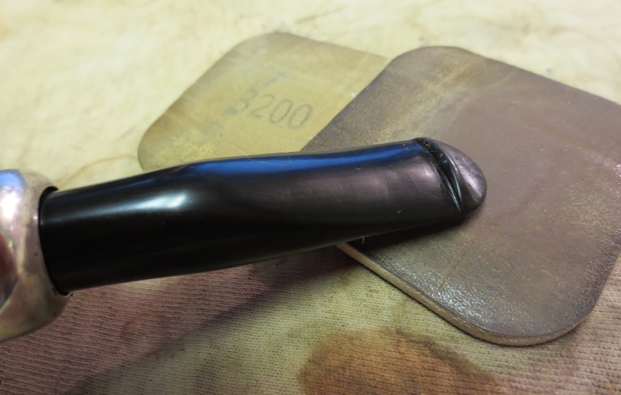
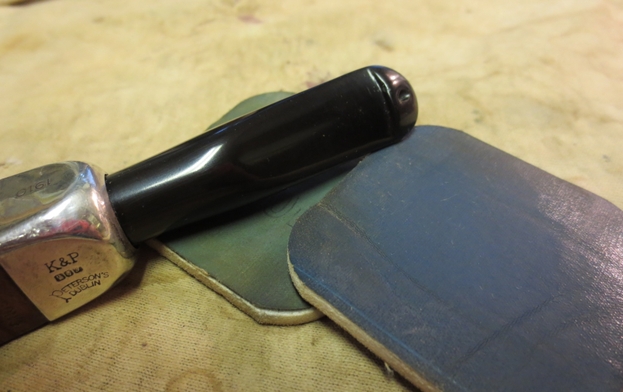
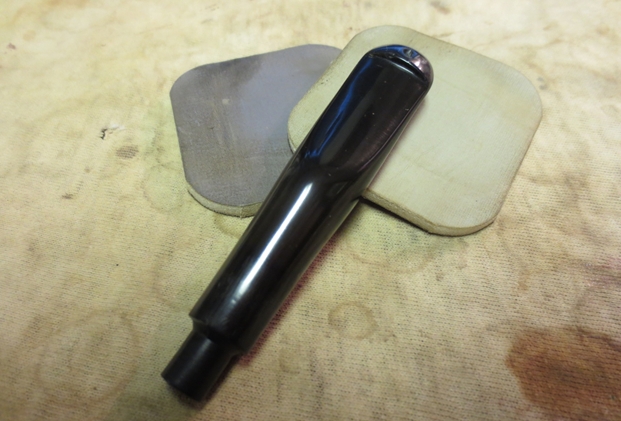
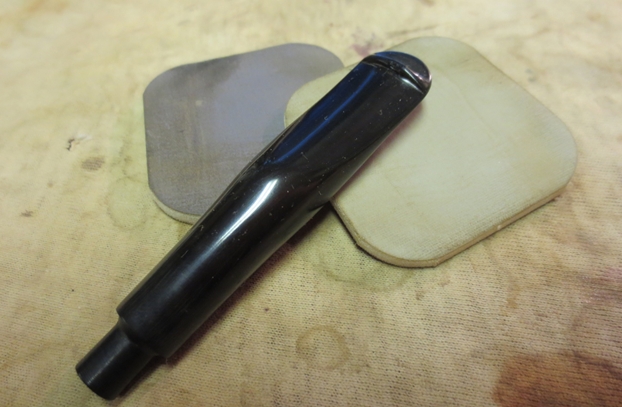
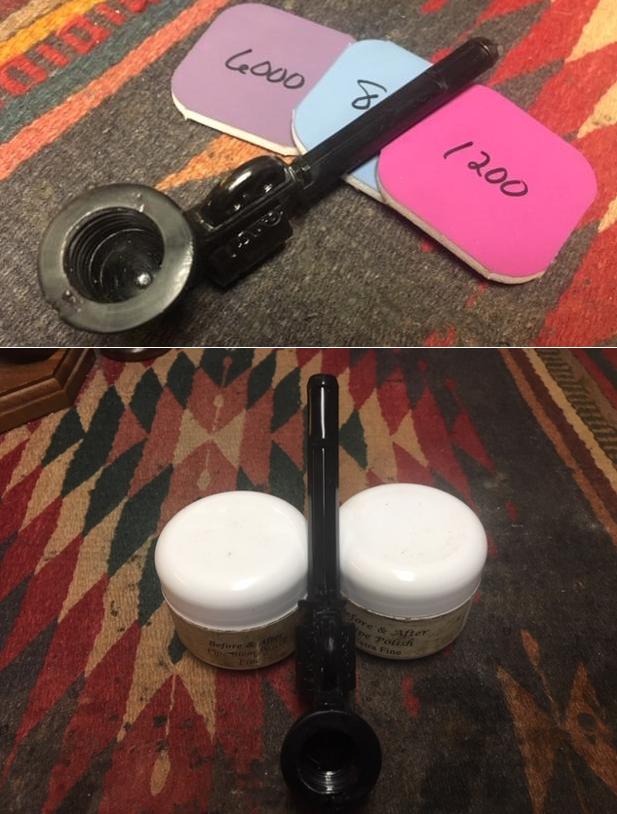
 I polished the stem with micromesh sanding pads – wet sanding it with 1500-12000 grit pads. I wiped it down with Obsidian Oil after each sanding pad. I finished the polishing with Before & After Pipe Polish – both Fine and Extra Fine. I gave it a final coat of Obsidian Oil and set it aside to dry.
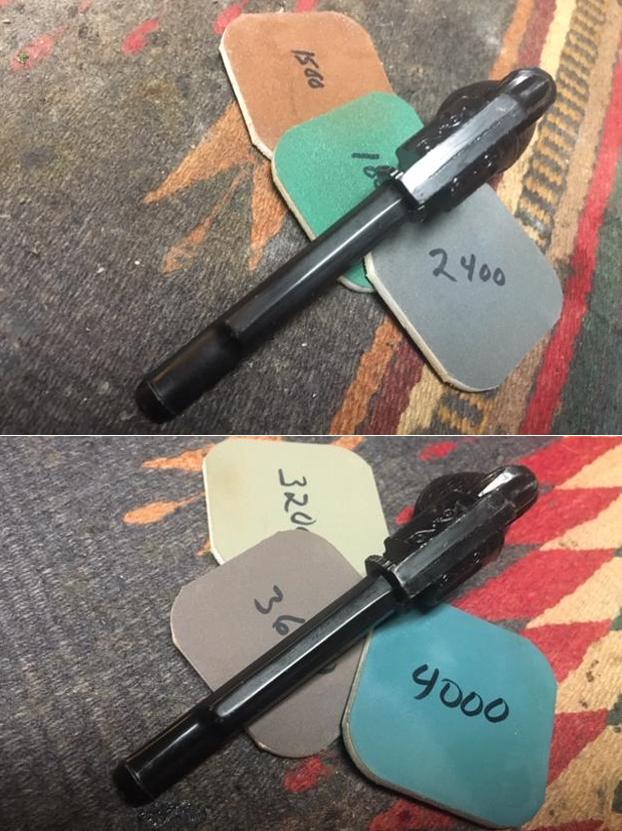
 Over the last few years I have come to appreciate the workmanship that went into creating the molds for these Gutta-percha pipe bases. The combination of design and skill that went into the molds is reflected in the cast Gutta-percha pipe bases. The creativity exceeds even the most ornately carved clay in terms of the minute detail that can be cast into the Gutta-percha material. I have yet to find as much care going into the pipe bowls as I have seen them made from a variety of woods and showing less craftsmanship in shaping or finishing them. Almost all of the ones I have worked on used a dark stain that hides the grain and a heavy varnish coat that covers a multitude of flaws. Nevertheless, these pipes have endured for over 125 years and look much like they did when they were made – at least underneath the grime and grit of use and time. This little revolver really captures the look and feel of a pistol in the details of the casting. Though this one was unsmoked (in part due to the flaws in the bowl) even the smoked ones that I have seen have lasted a long time.
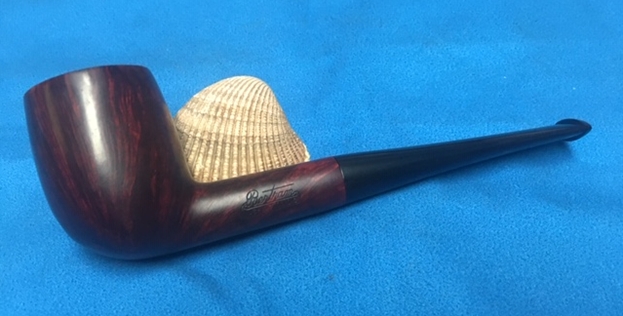
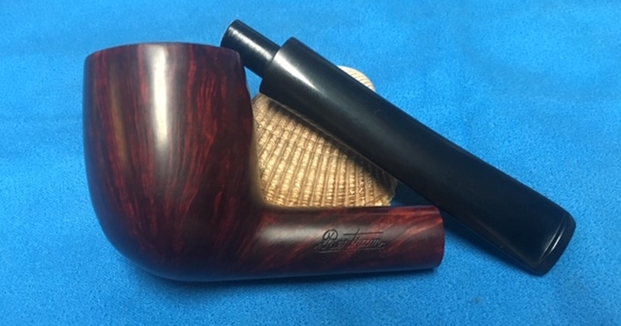
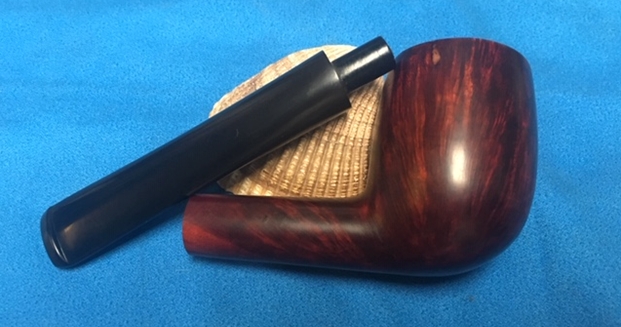
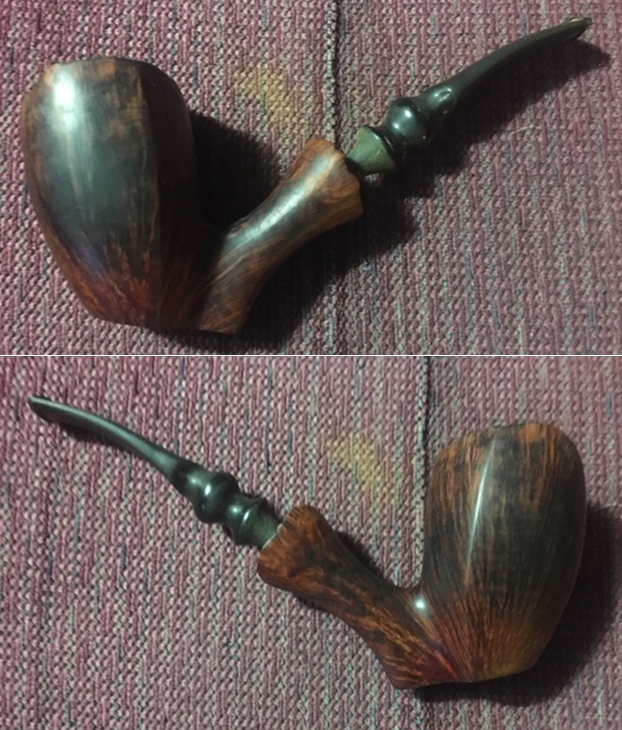
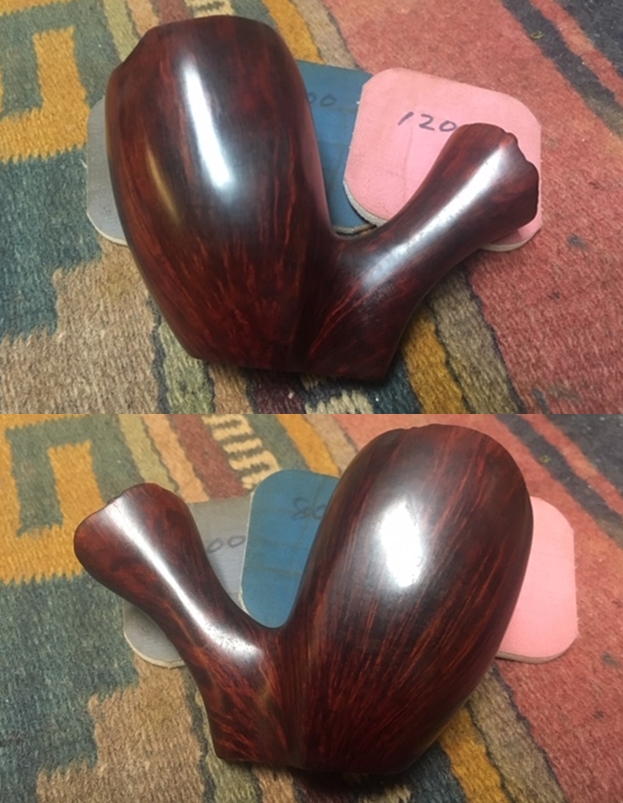
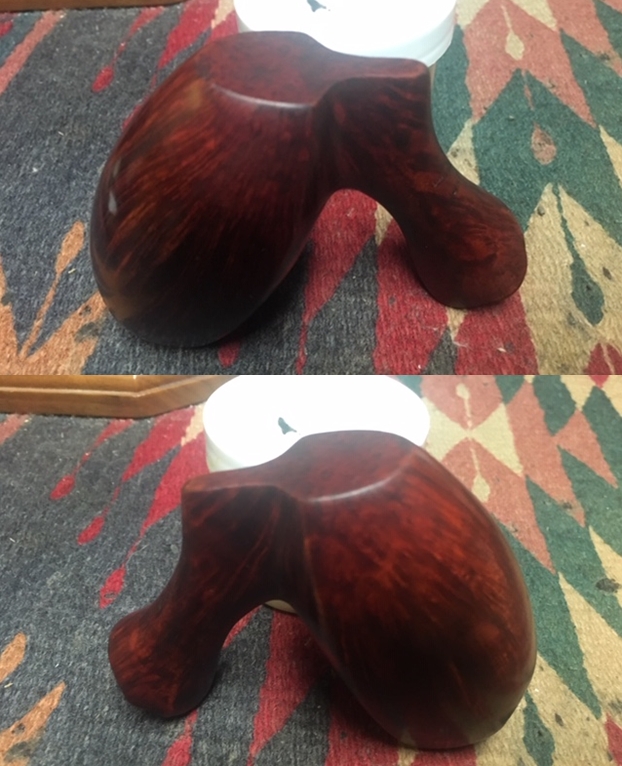
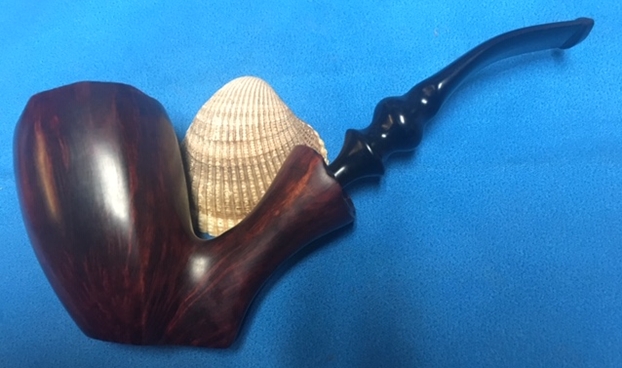
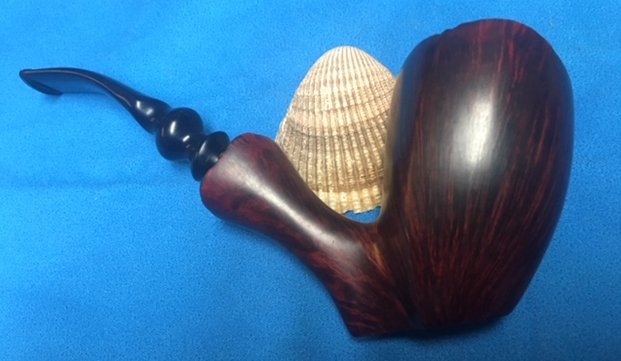
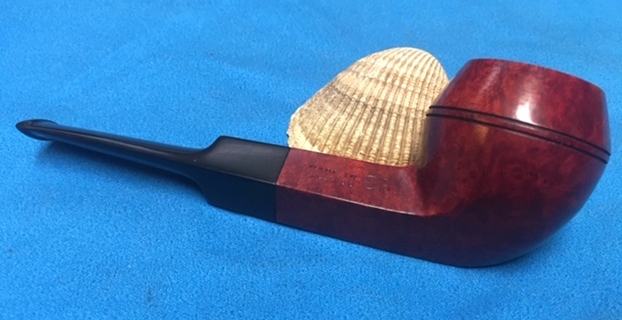
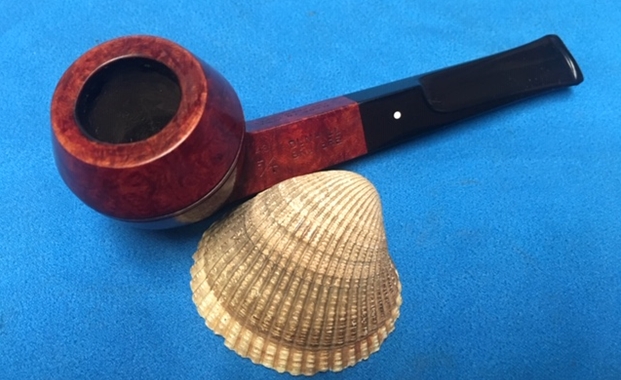
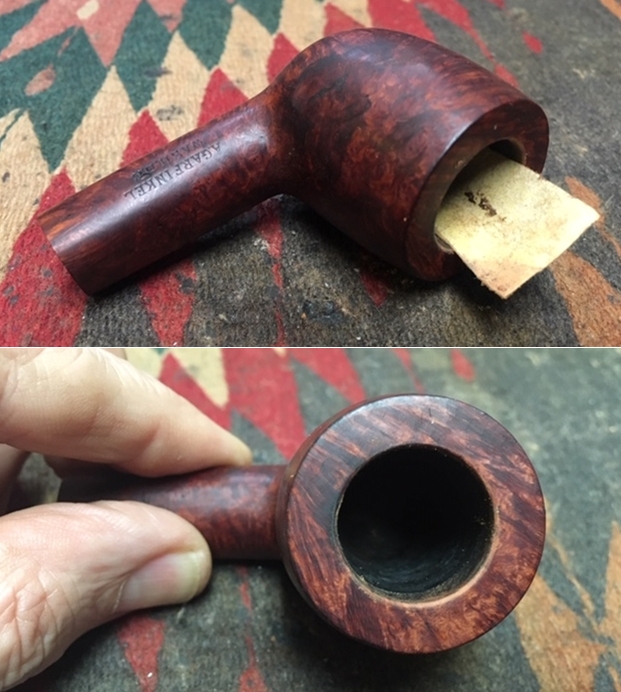
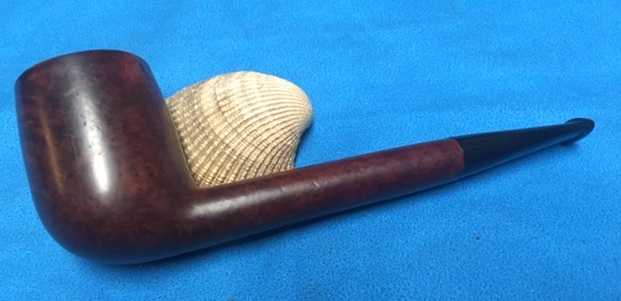
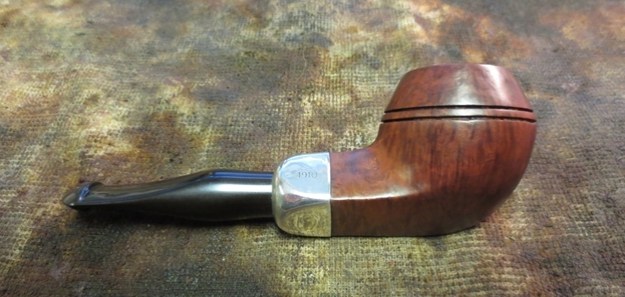
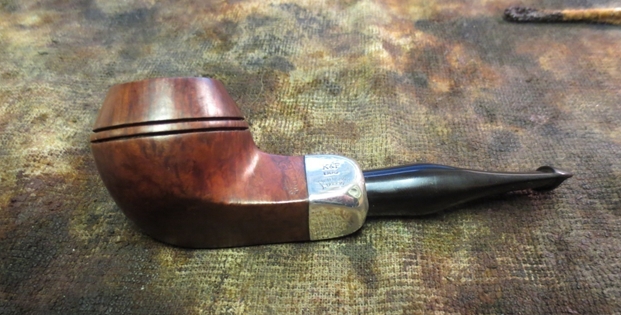
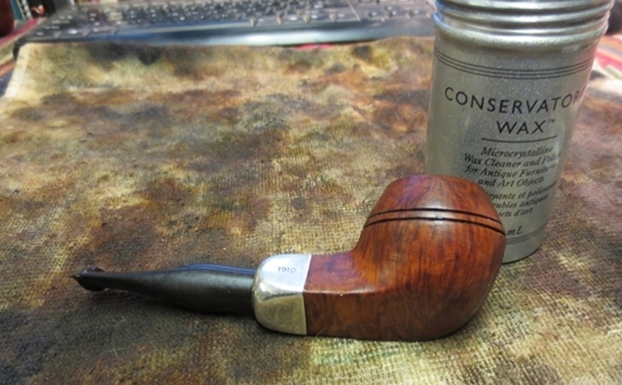
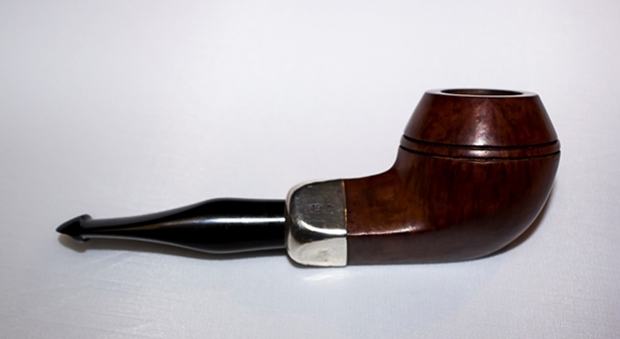
I finished my restoration and put the base and bowl back together and gently polished with Blue Diamond polish on the buffing wheel. I gave the bowl and the stem multiple coats of Conservator’s Wax and hand buffed it with a microfiber cloth to raise the shine. The pipe polished up pretty nicely. The contrast between the newly stained wooden bowl and the dark Gutta-percha base looks really good. The finished pipe has a rich look that is quite catching. Have a look at it with the photos below. The shape, finish and flow of the pipe and stem are very well done. The dimensions are Length: 5 1/2 inches, Height: 2 3/4 inches, Outside diameter of the bowl: 1 1/4 inches, Chamber diameter: 3/4 of an inch. This one will be joining my collection as it fits in the American Made Pipe niche group that I have been building. The shape and feel in the hand is perfect. Now I have to make a hard decision – do I leave it unsmoked or do I load it up with some aged Virginia and break it in. Thanks for walking through the restoration with me as I restored and reworked this old Gutta-percha Pistol Pipe from late 19th Century. It is always a treat for me to work on a piece of pipe history especially when I have learned a bit of the story behind it.