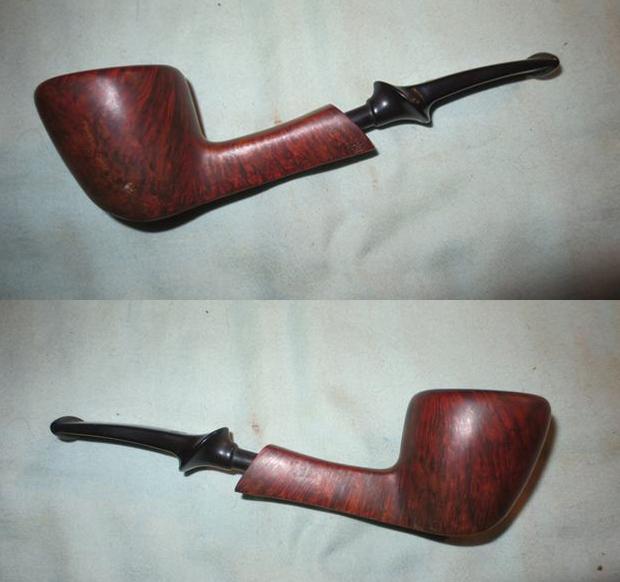
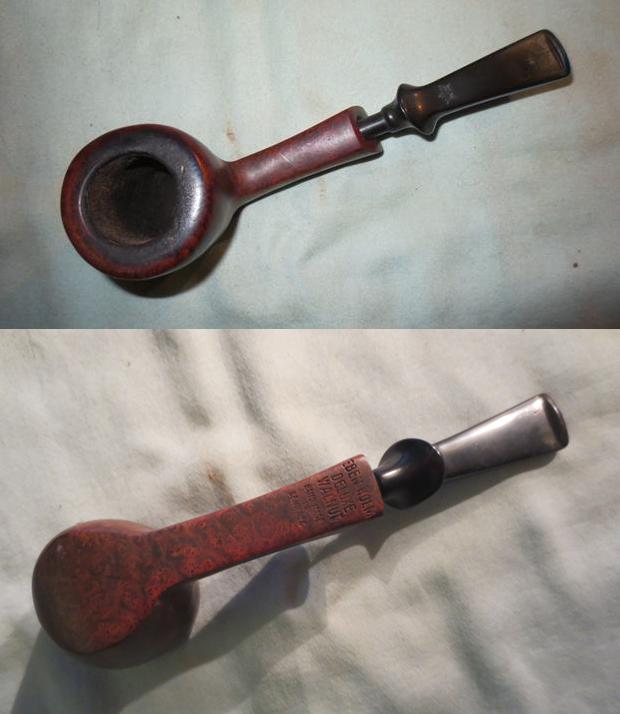
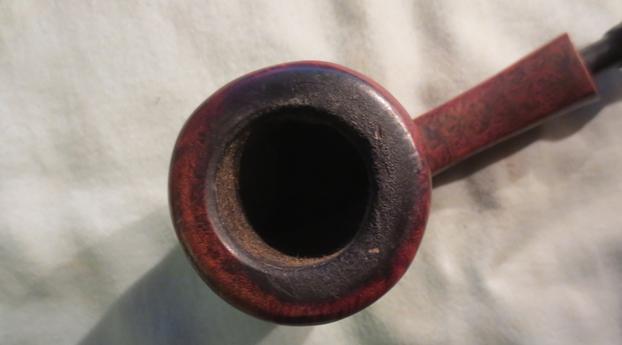
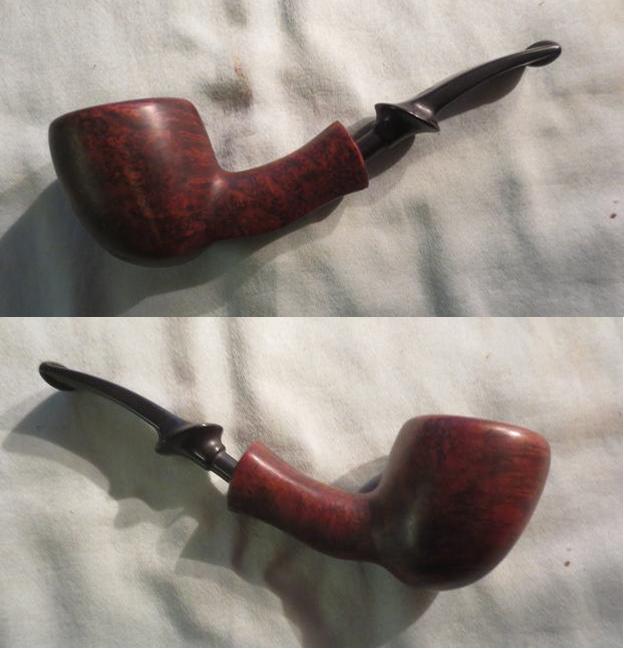
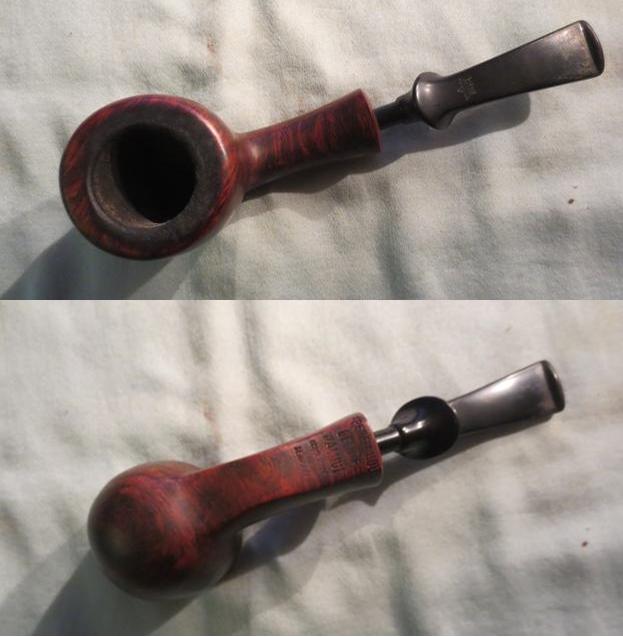
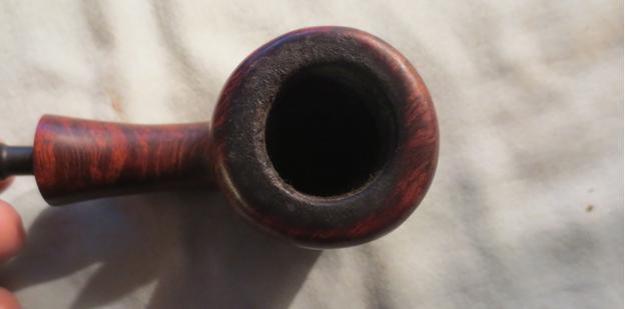
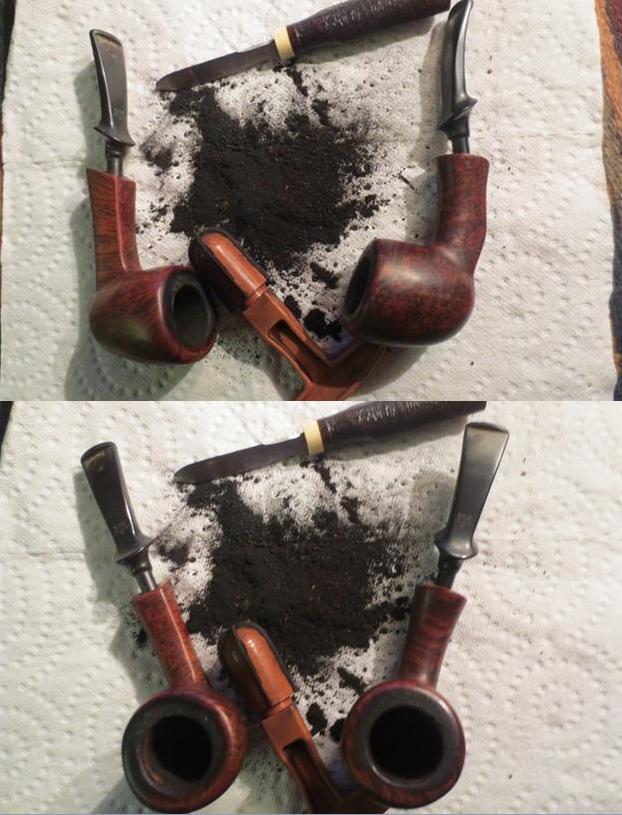
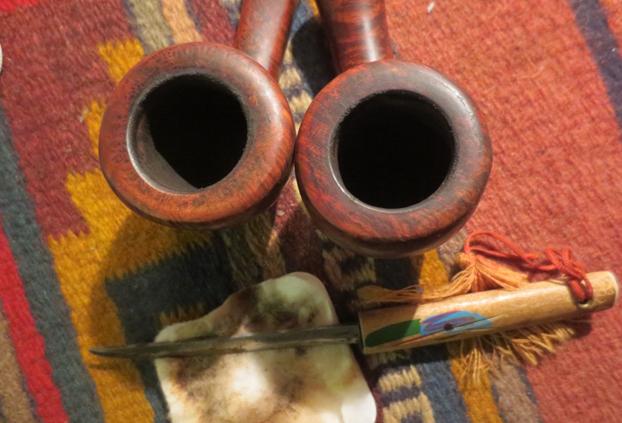
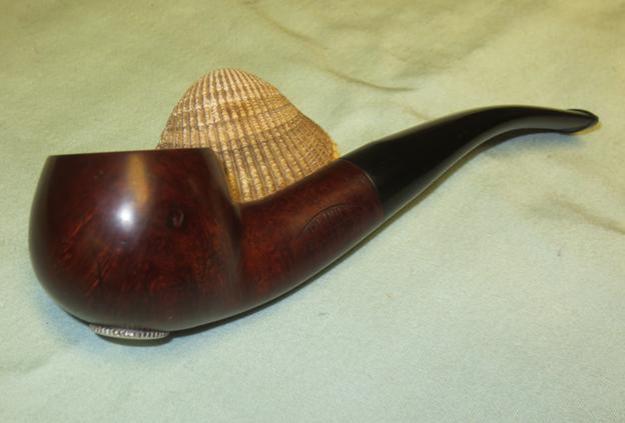
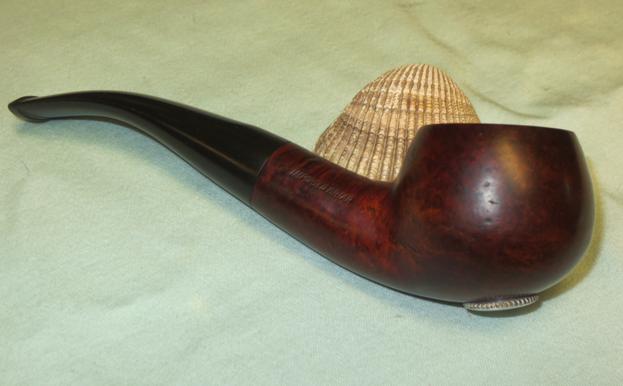
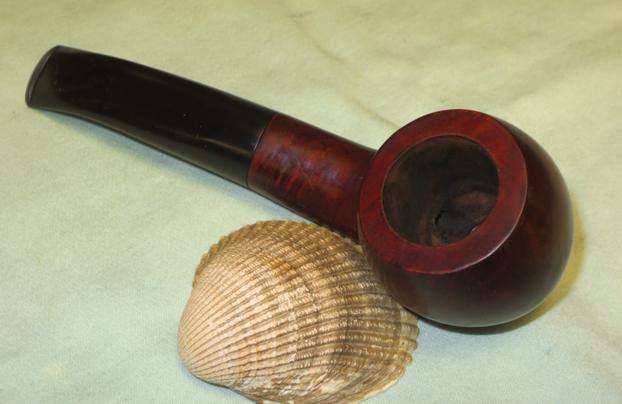
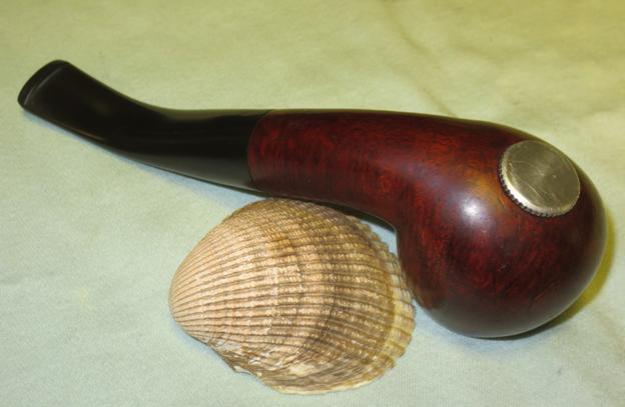
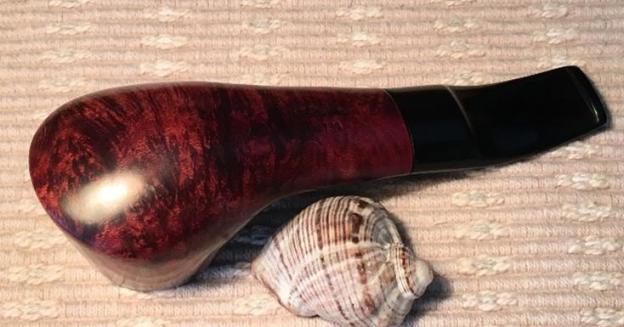
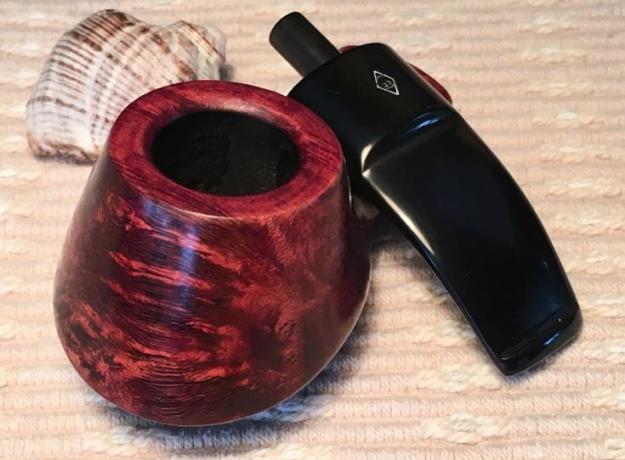
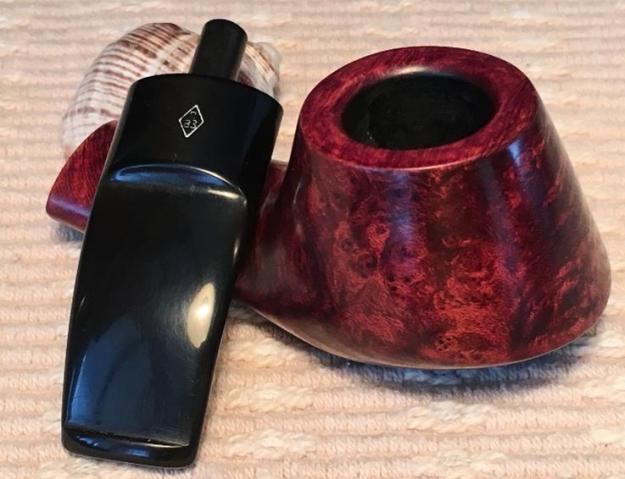
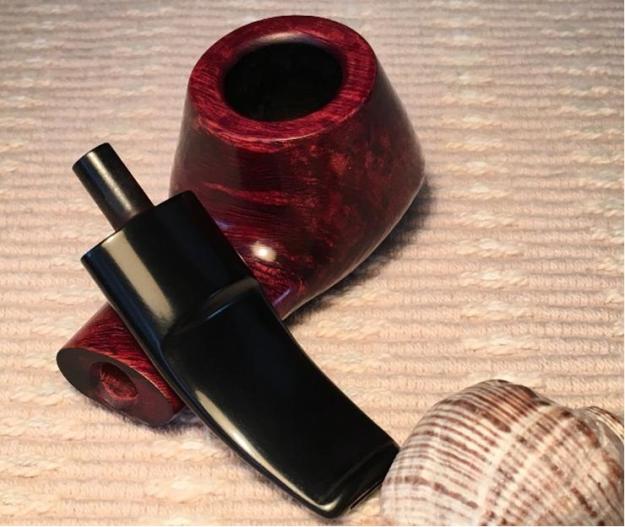
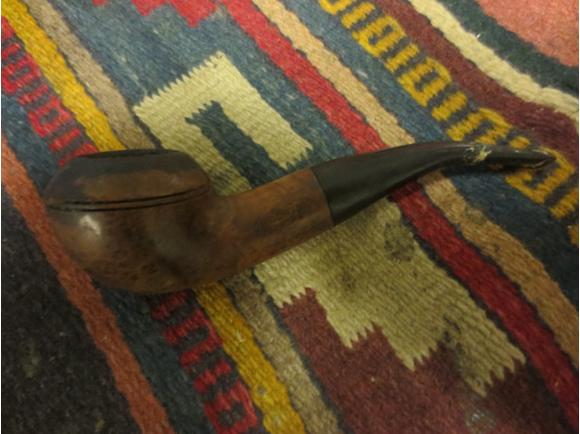
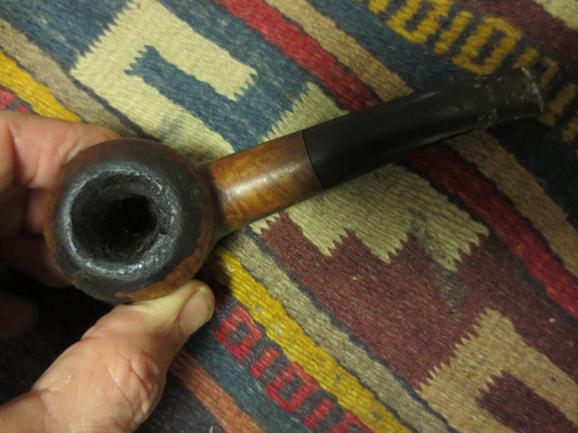
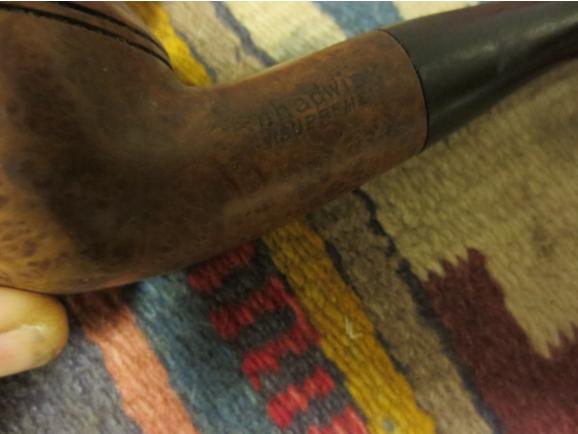
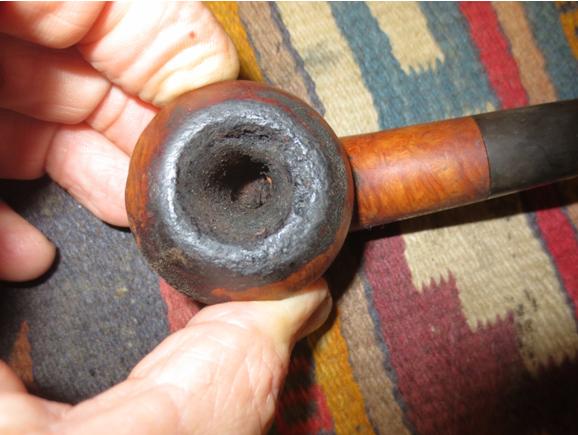
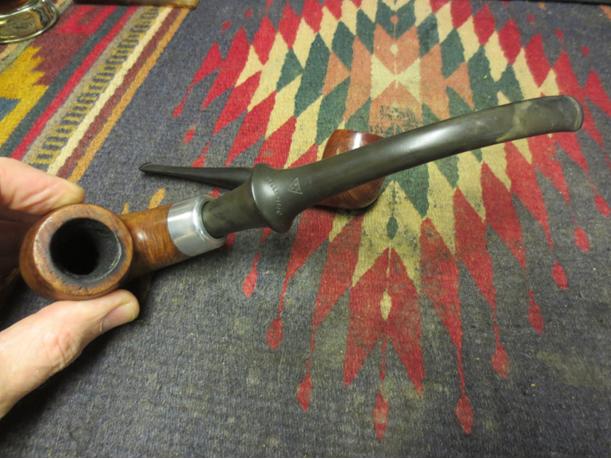
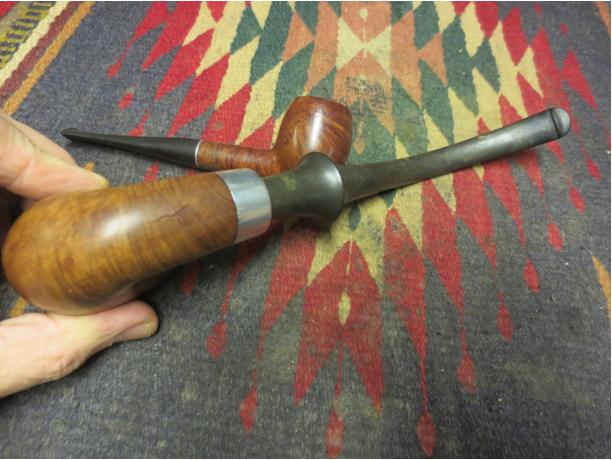
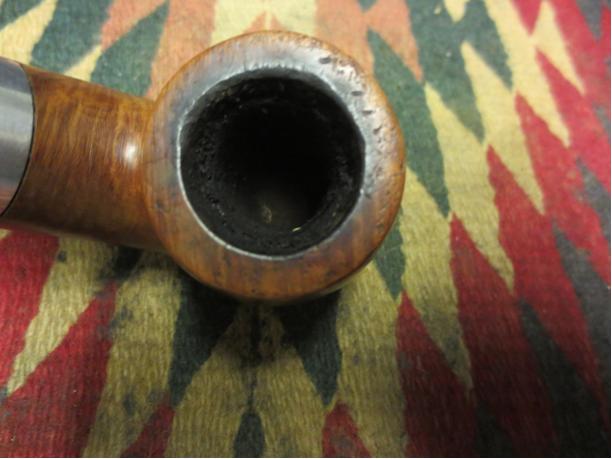
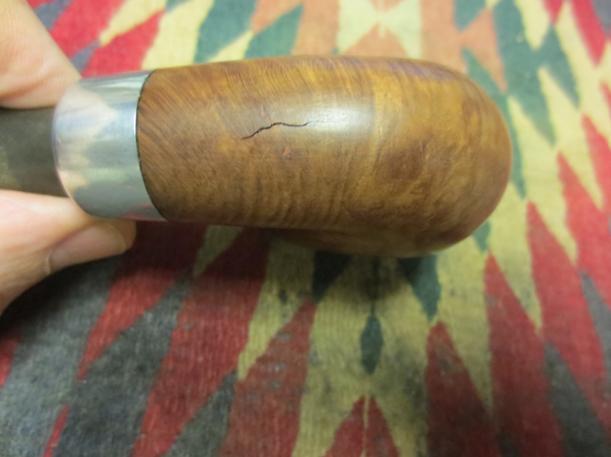
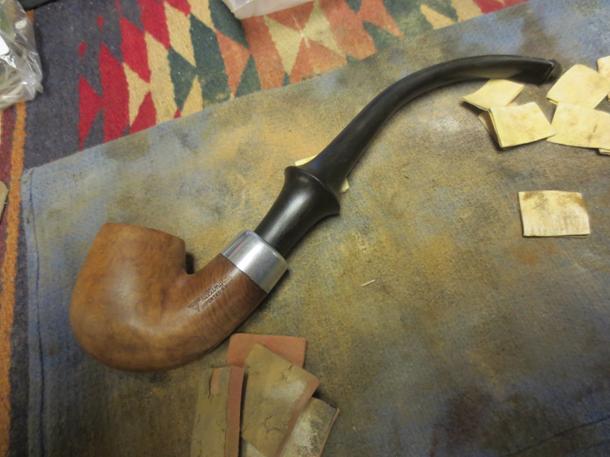
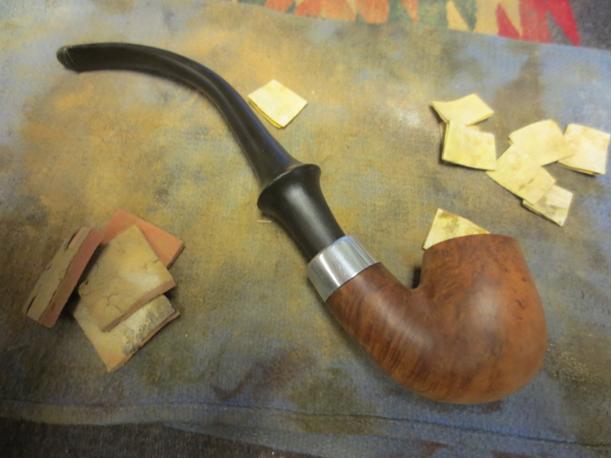
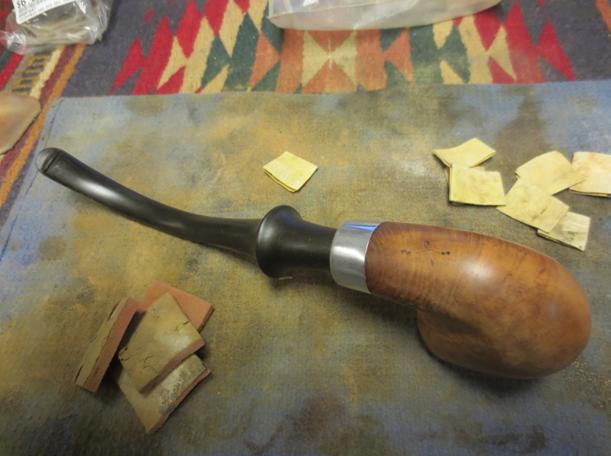
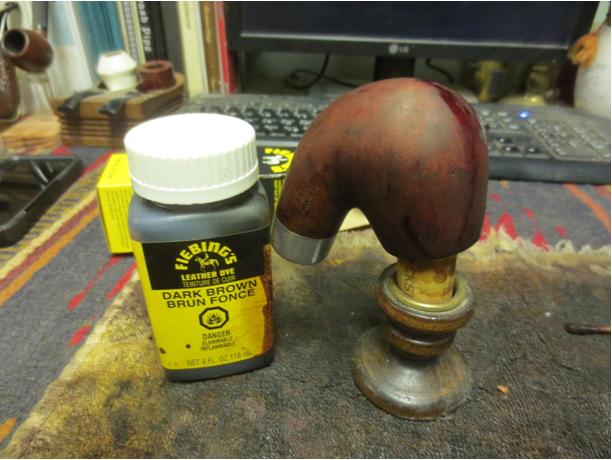
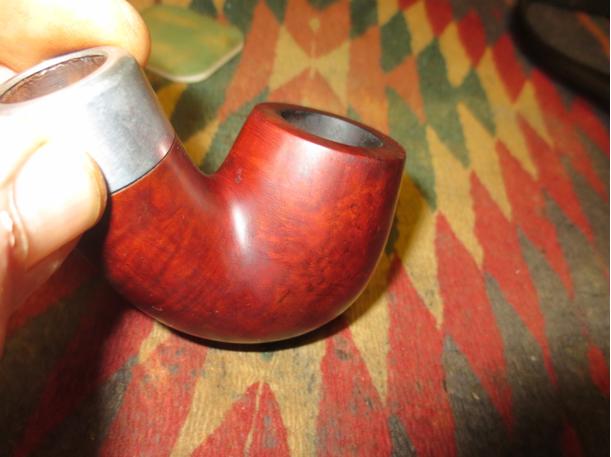
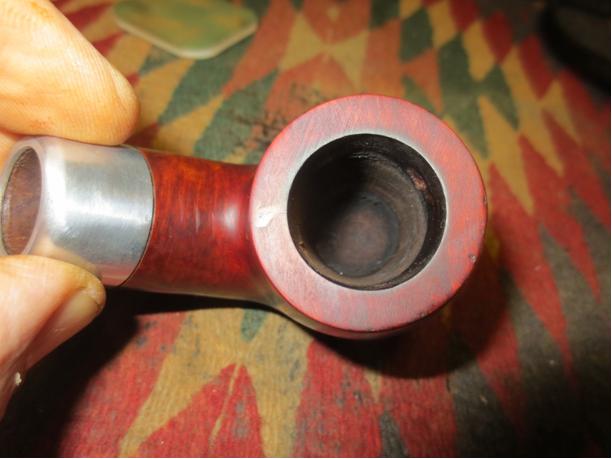
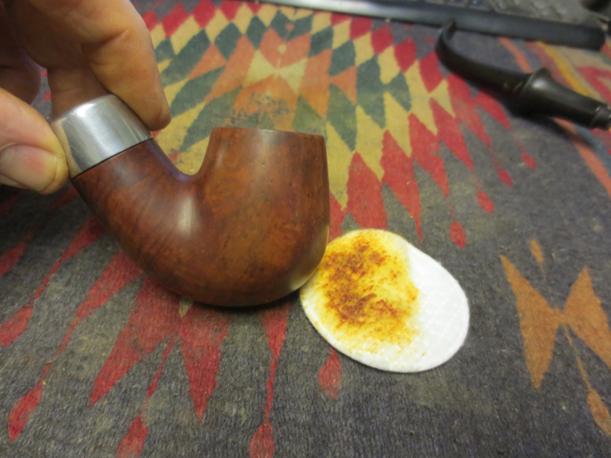
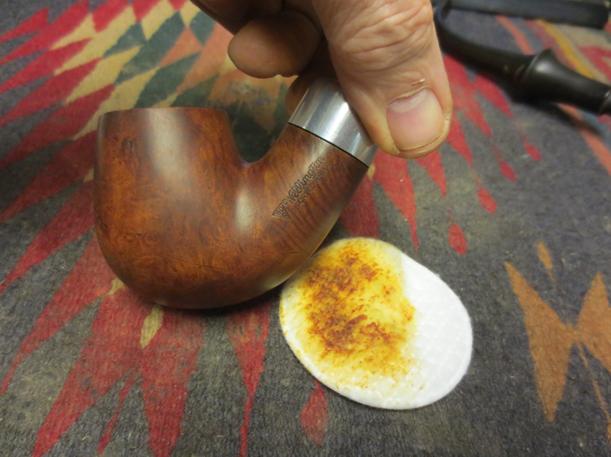
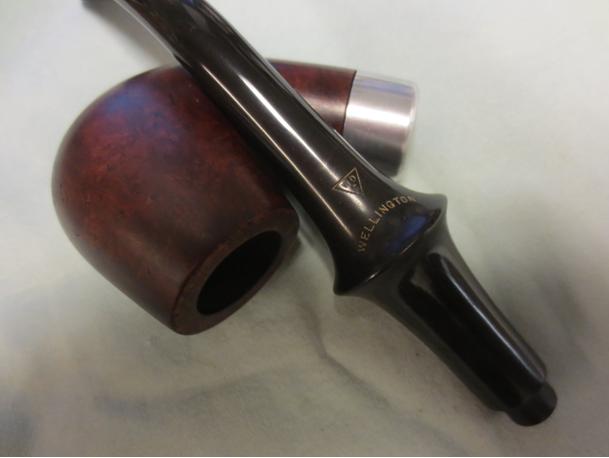
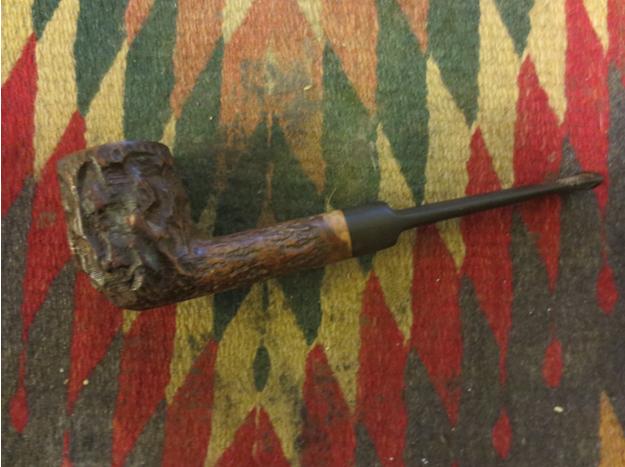
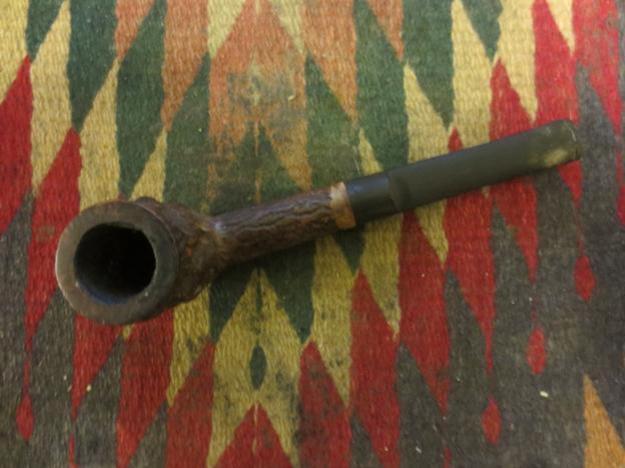
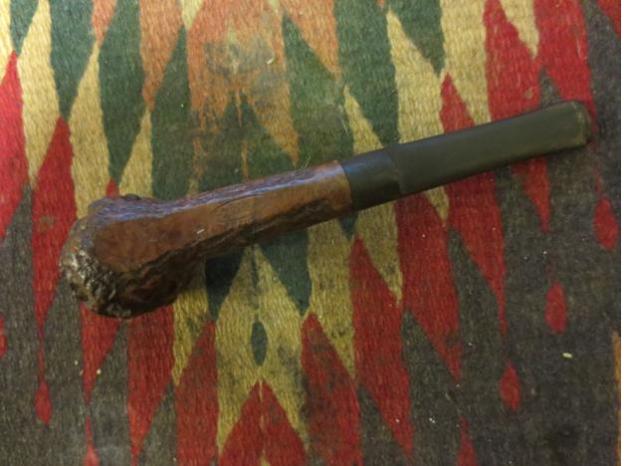
Tag Archives: buffing

Carey Magic Inch Freehand Briar Pipe


Blog by Steve Laug

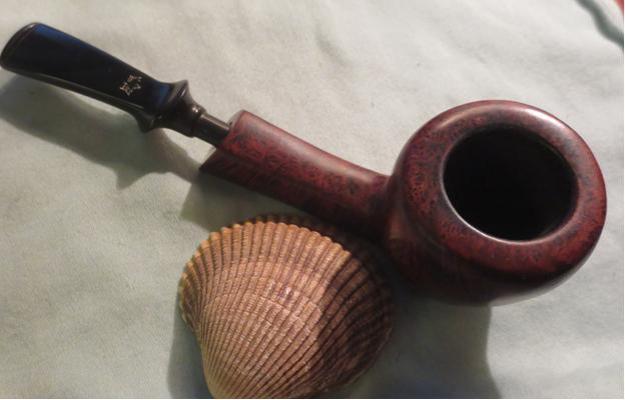
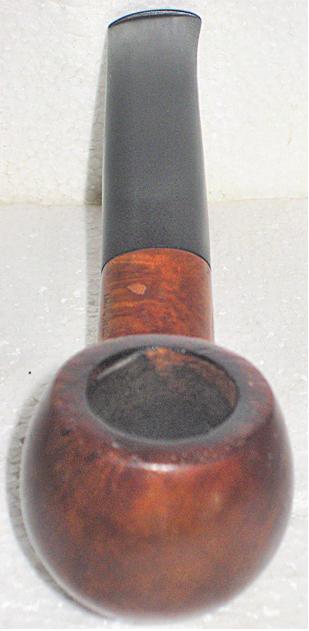
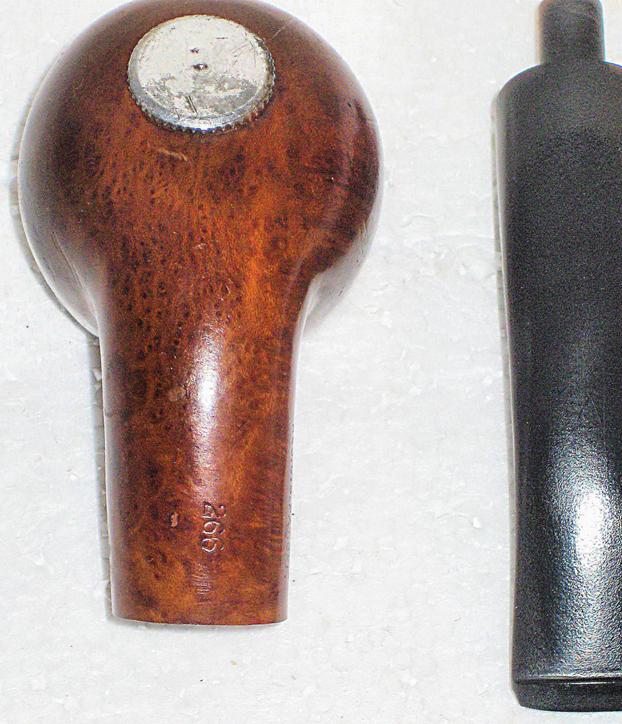
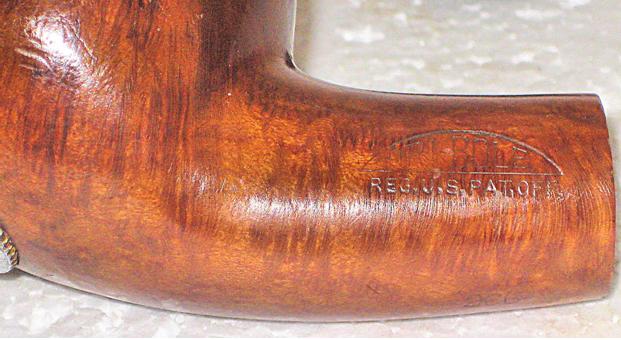
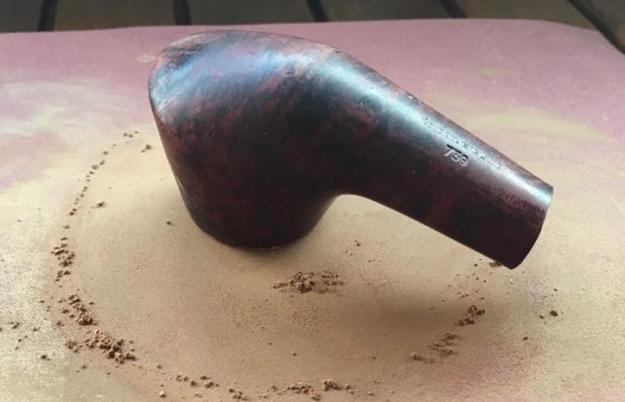
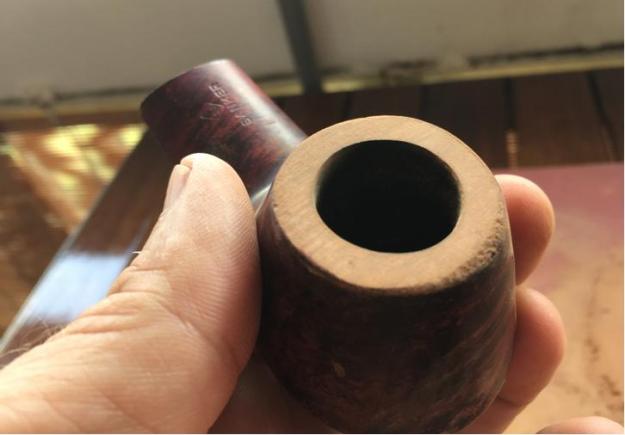
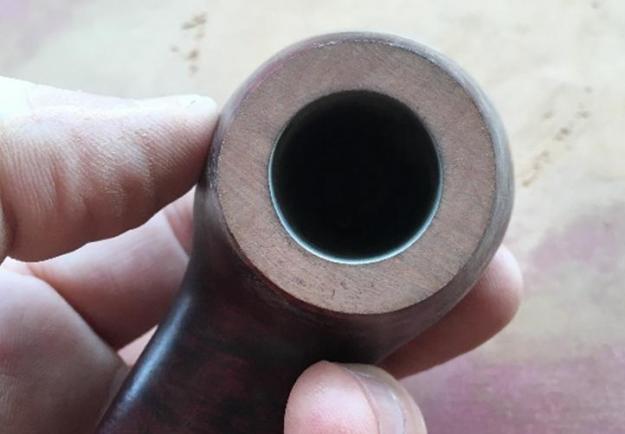
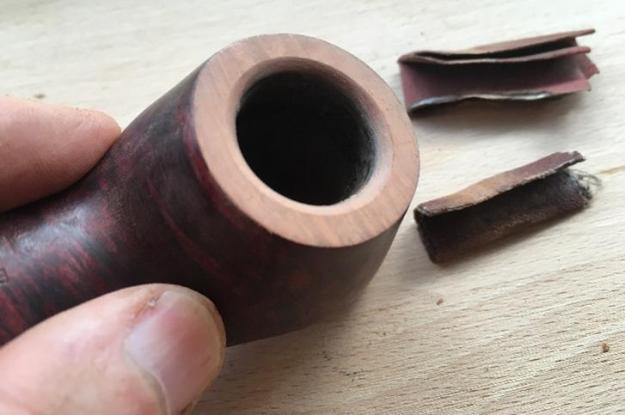
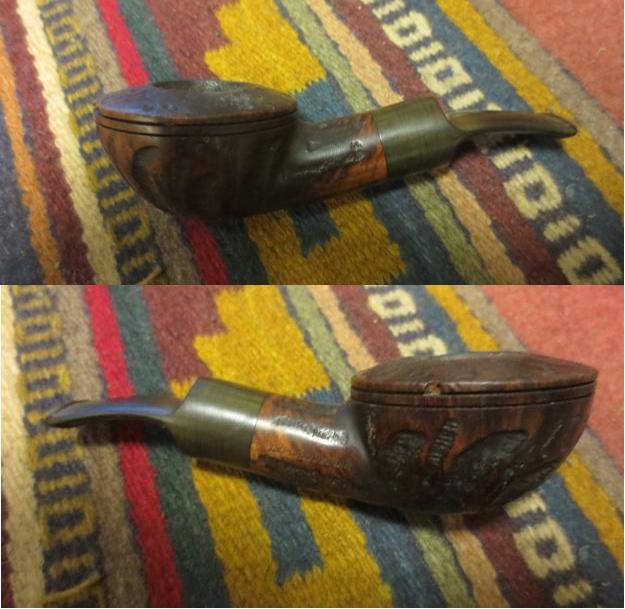
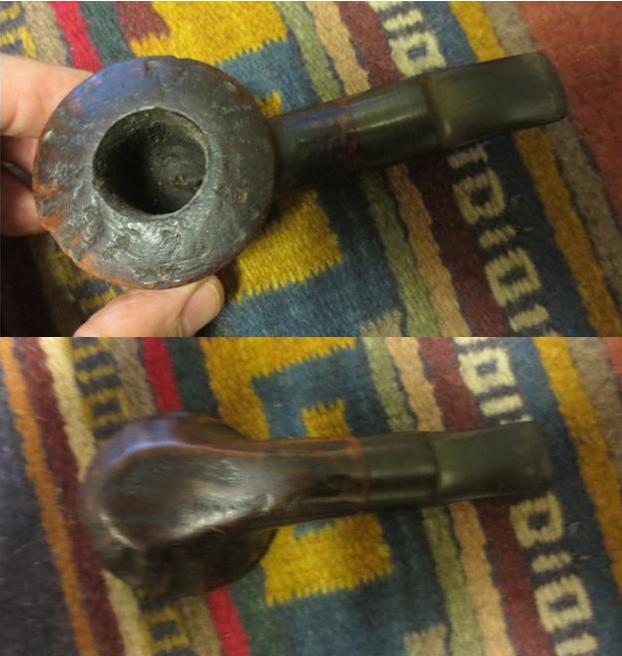
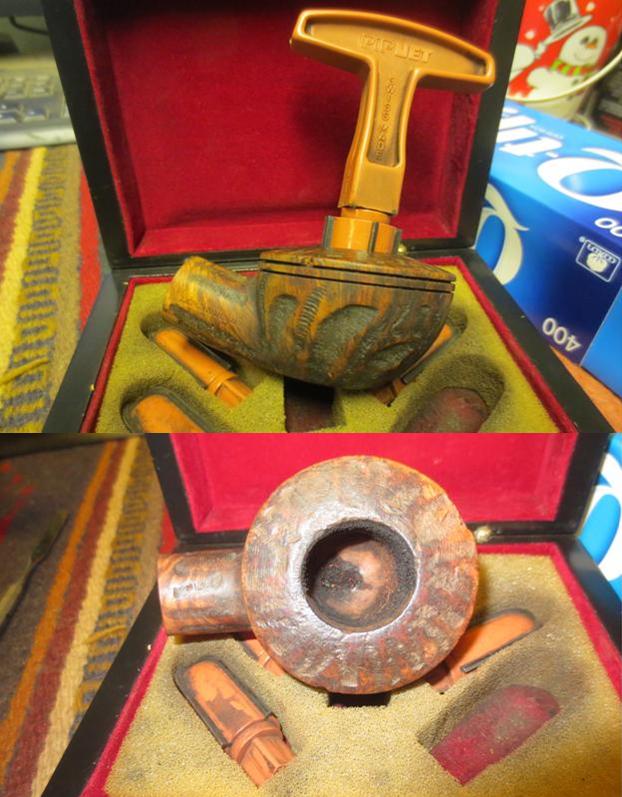
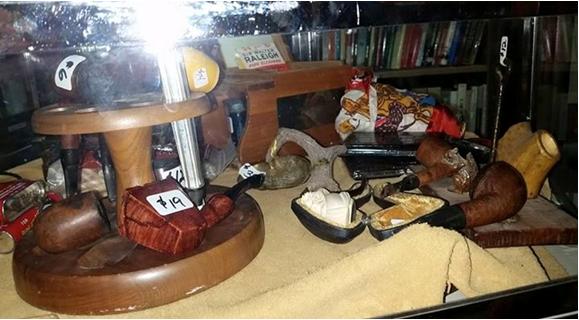
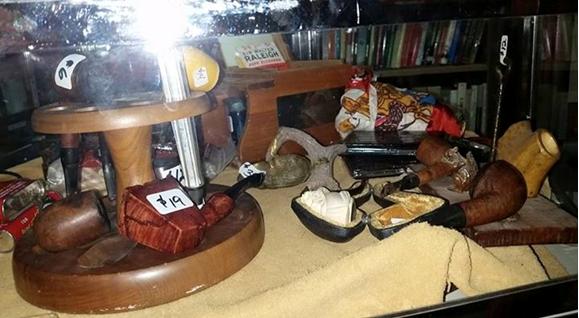
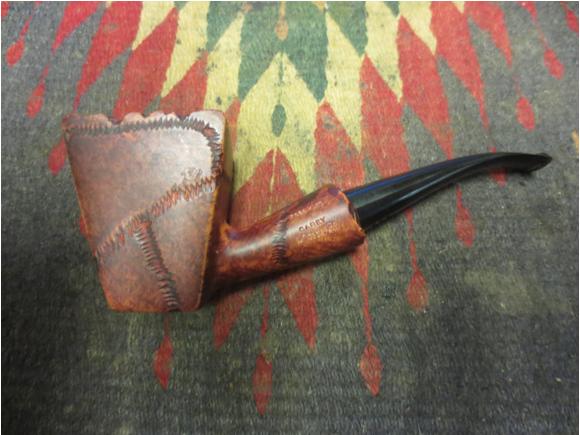
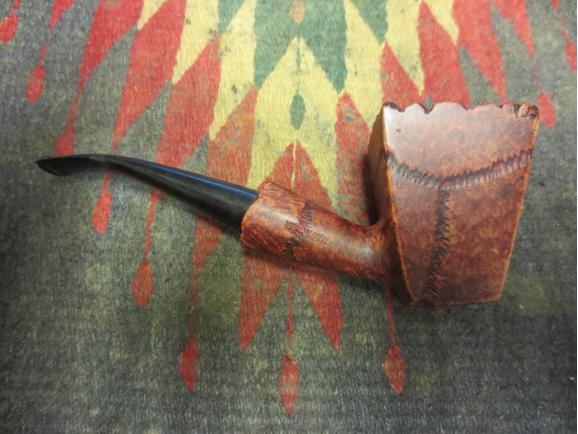
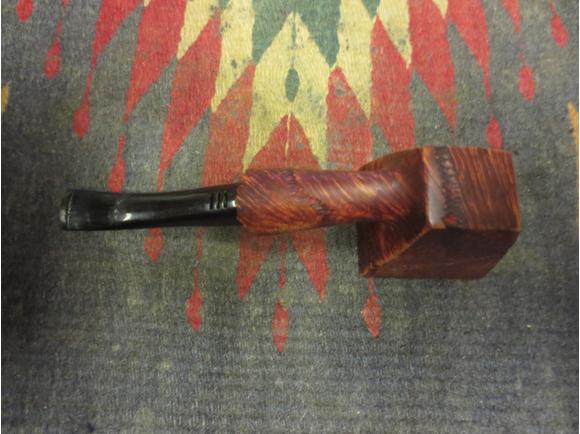
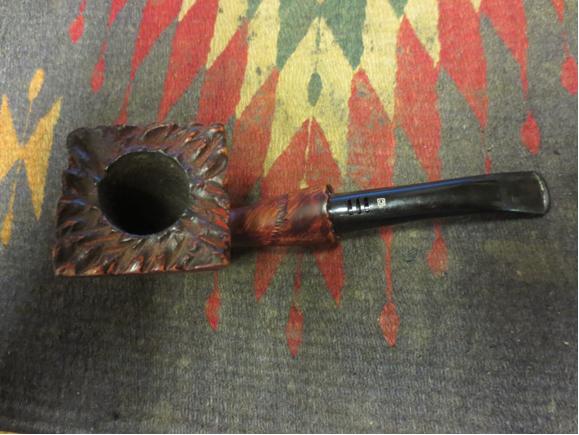
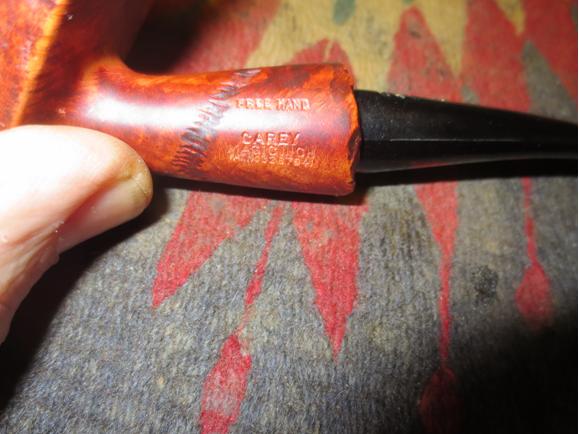
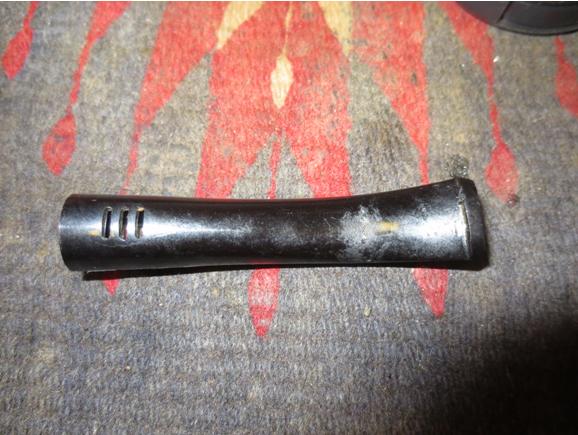
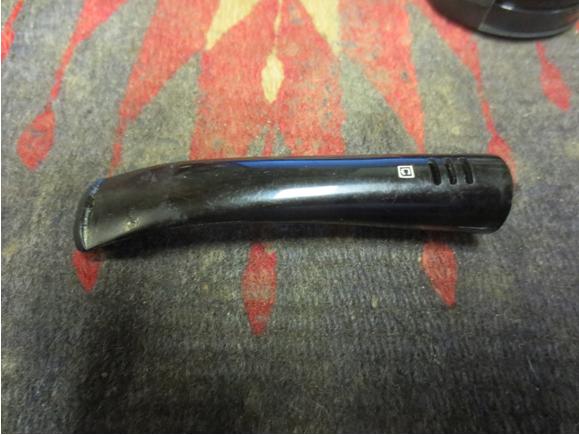
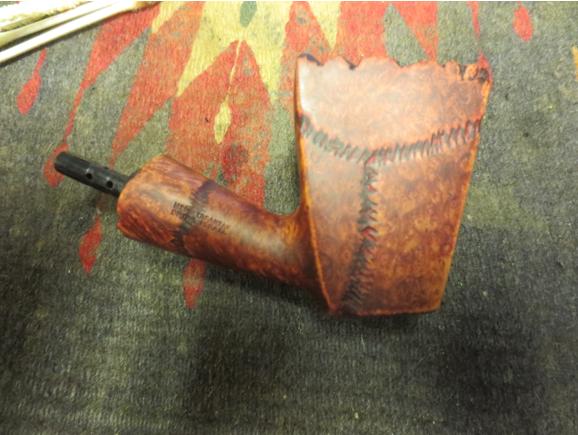
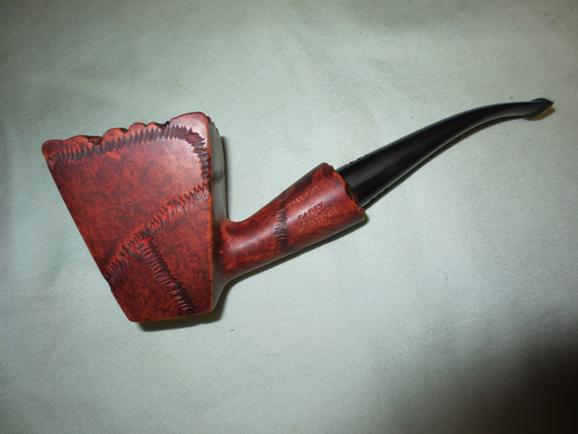
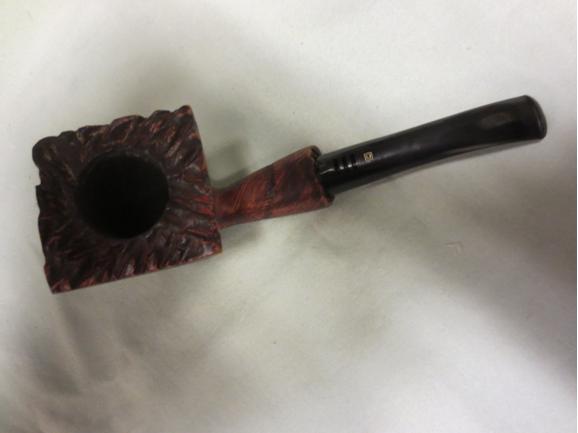
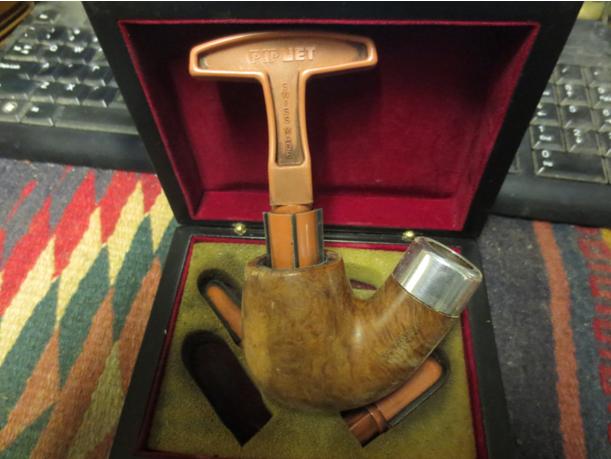
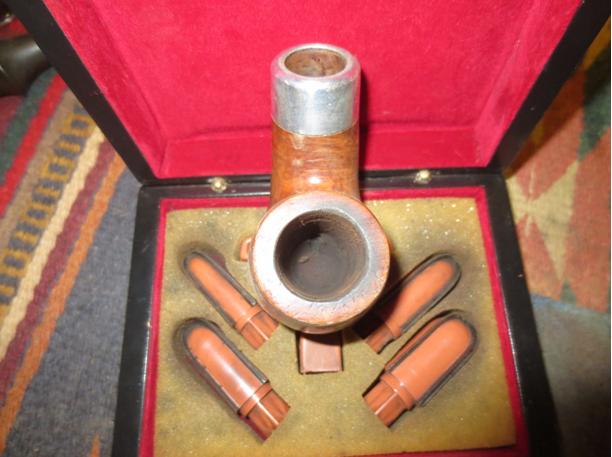
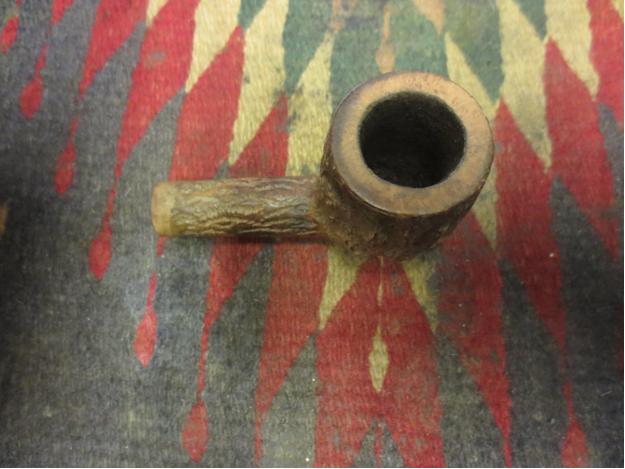
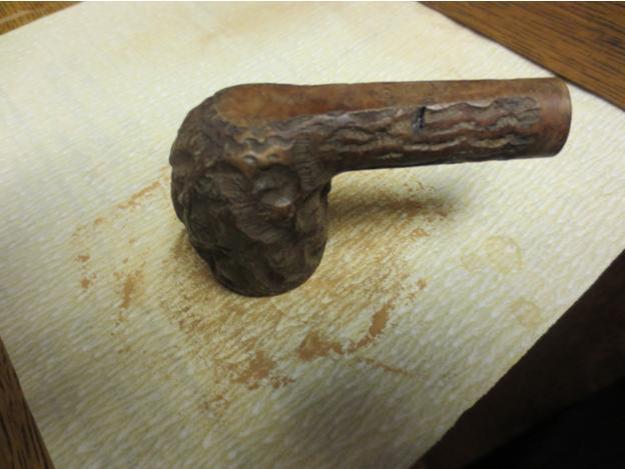
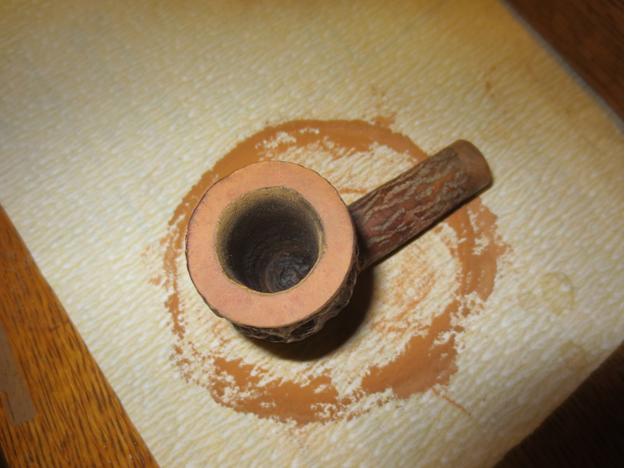
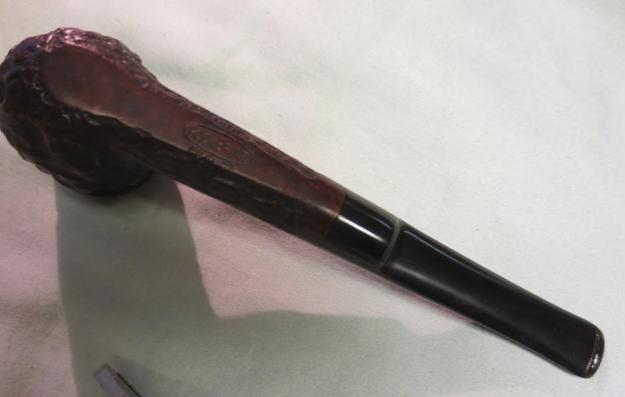
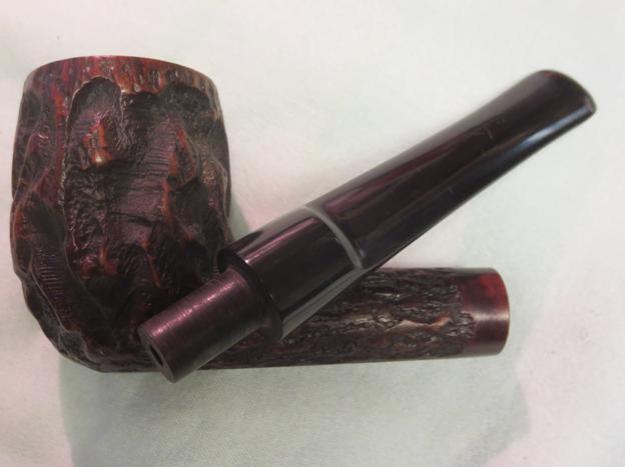
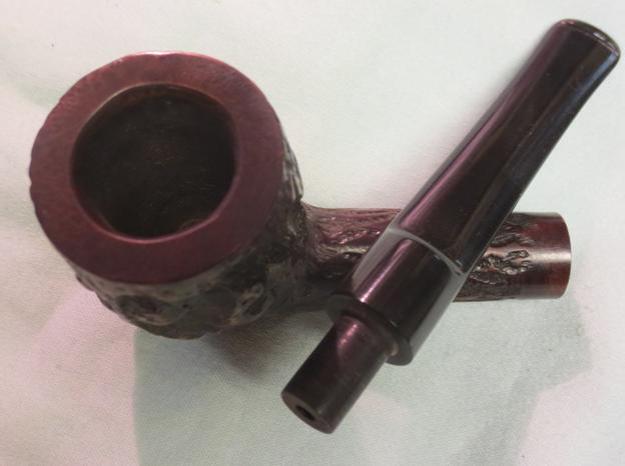
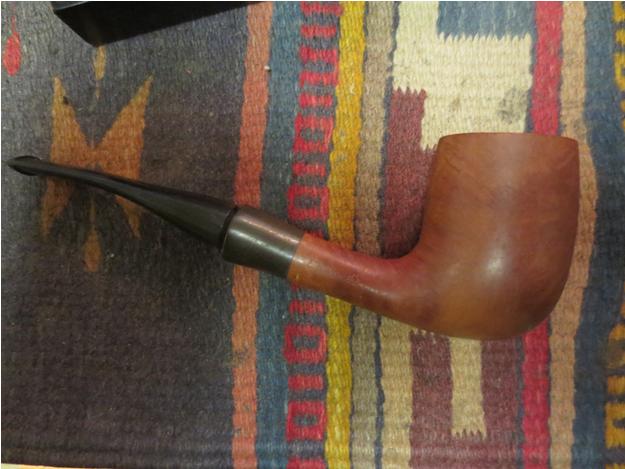
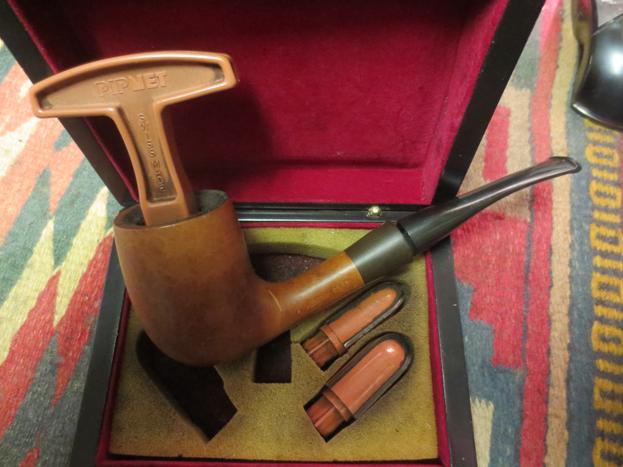
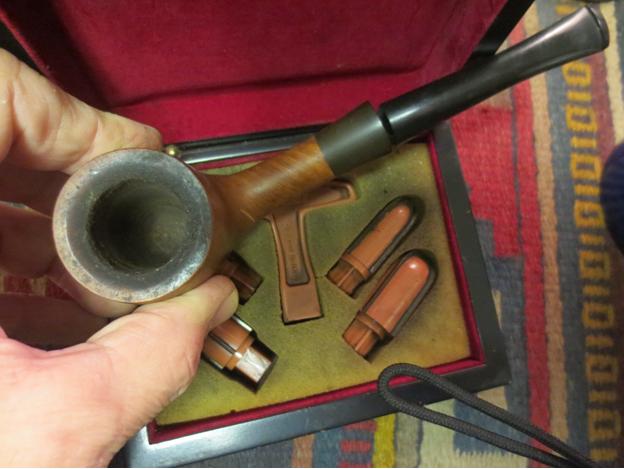
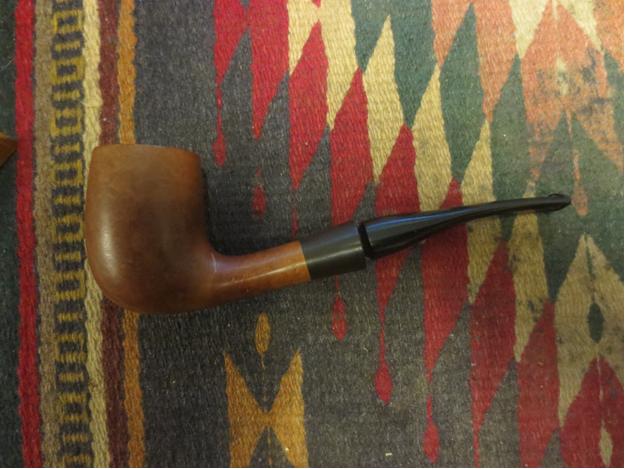
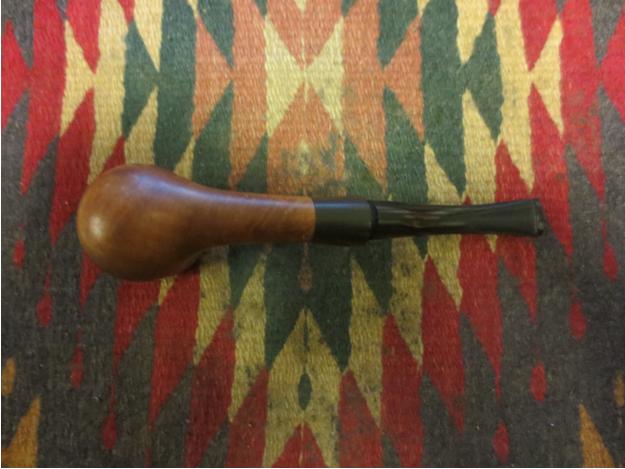
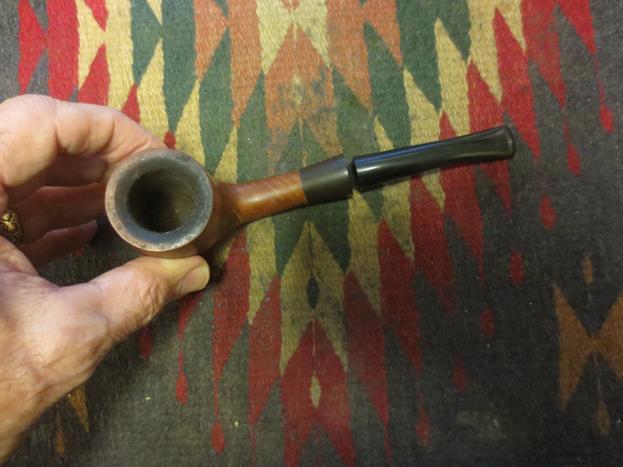
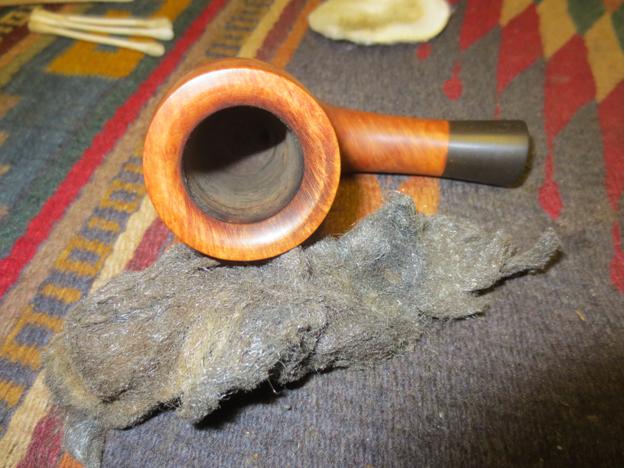
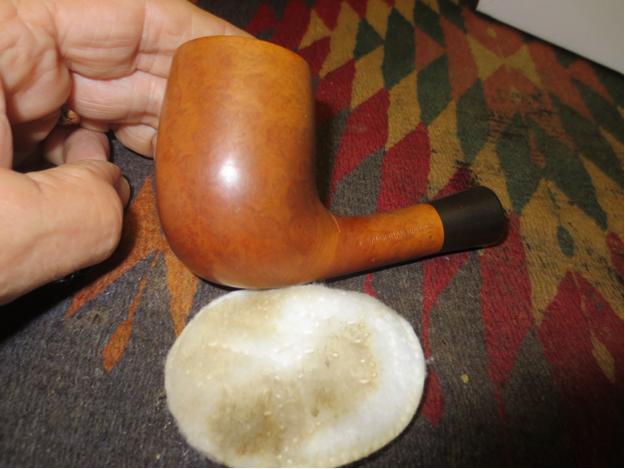
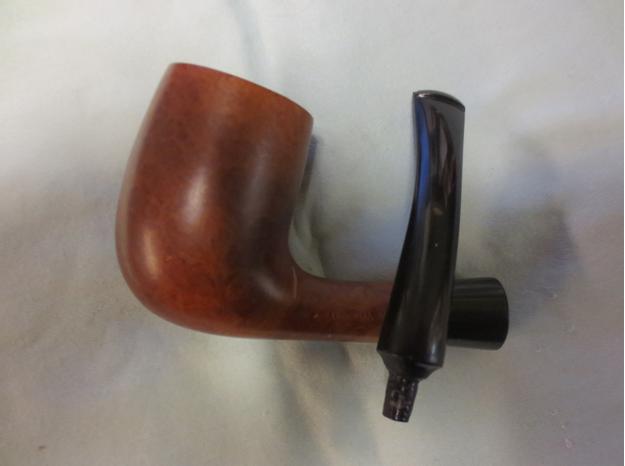
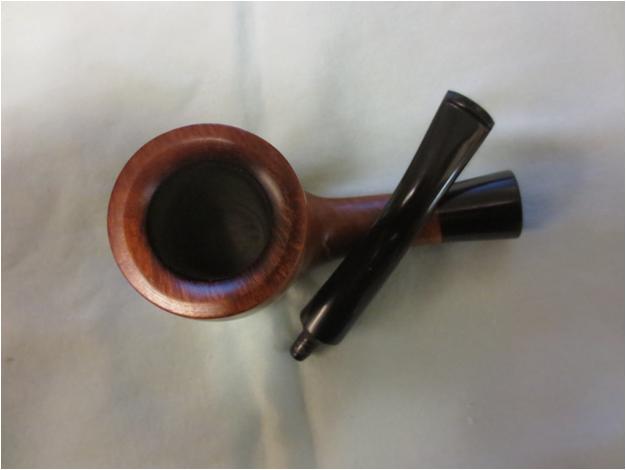
In the batch of pipes my brother purchased from an antique shop in Montana for me to clean up was the pipe pictured in the photo below – on its side on the pipe rack on the left of the photo bearing a $19 price tag. Turns out it is a Carey Magic Inch Freehand Pipe. It is stamped on the left side of the shank: Free Hand over Carey over Magic Inch. Underneath that is stamped a PAT. No. 3267941. On the right side it is stamped: Mediterranean over Briar Israel. The stem has three horizontal vents on the top and on the underside of the stem. There is a logo – a C in a box on the top of the stem behind the vents.Carey1 I did some research on the “Magic Inch” System and found out that it has been a Carey’s tradition for over 50 years. On their website they say that they have sold over 1,000,000 pipes. They describe the “Magic Inch” as: “an air chamber inserted between the imported briar bowl and the vented mouthpiece which allows cool outside air to enter and mix with the warm tobacco smoke inside the “Magic Inch” chamber. Tobacco tars, oils and moisture, are squeezed out of the smoke. The residue drops to the bottom of the chamber and is absorbed by the Papyrate sleeve.” http://www.eacarey.com/magicinchinfo.html

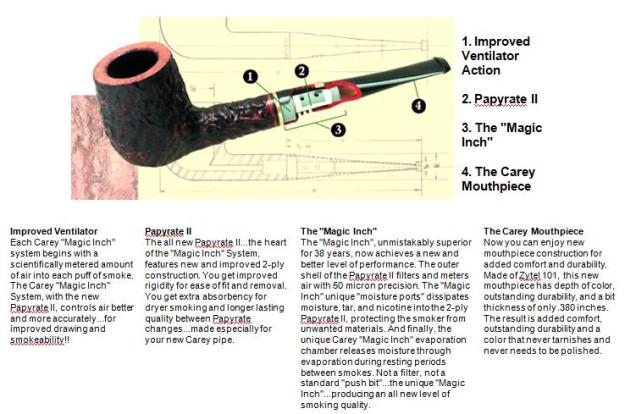
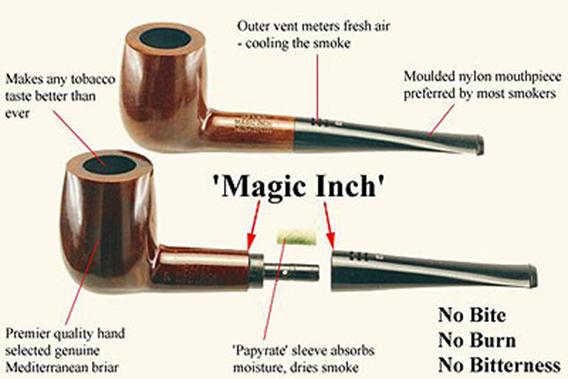
They provide the following diagram on their website and I have included it here to show the unique system.Carey2 I found a second diagram on the English Carey website. http://www.eacarey.co.uk/2010/10/the-carey-magic-inch/

I quote from their site as it gives some interesting history on the system: “A Carey pipe looks better and feels better than any ordinary pipe. It also smokes like no other pipe you’ve ever known, and that’s mostly thanks to the patented ‘Magic Inch’, an invention that revolutionised pipe smoking. Designed and patented by EA Carey in 1948 it was the result of a dedicated pipe smoker seeking a cooler, drier smoke whilst not detracting from the fulsome flavour of choice tobaccos. After years of research and the discarding of many ‘good ideas’ Carey settled on the basic design of the system and set about refining that design into the simple but highly effective device that is the basis of Carey Magic Inch pipes over 60 years later. Even today, more than 30 years after it was first introduced into Europe and particularly the UK, we have many seasoned pipesmokers who are still discovering the amazing difference and improvement in smoking pleasure they obtain from the Magic Inch system. It is not a trap or filter or other such sludge forming gadget. In fact, like all great discoveries and inventions, the secret is simple. By cooling, condensing and evaporating moisture with every puff, it prevents the tar, sludge, bite and bitterness that you may find in other pipes, ever reaching your mouth.”

They go on to describe the system in a classically English way: “The system has been designed to allow a precise amount of outside air into each puff of smoke. Unique moisture ports then dissipate wetness, tar and nicotine into the 2 ply Papyrate sleeve, protecting the smoker from unwanted materials. The Papyrate itself provides excellent absorbency for dryer smoking and increased durability. Subsequently the Magic Inch chamber releases moisture through evaporation during resting periods between smokes. Neither a filter nor a standard ‘push bit’, a true innovation.”Carey3 All Carey Magic Inch pipes are made from top quality Mediterranean briar designed, crafted and inspected by experts who take pride in their craft.

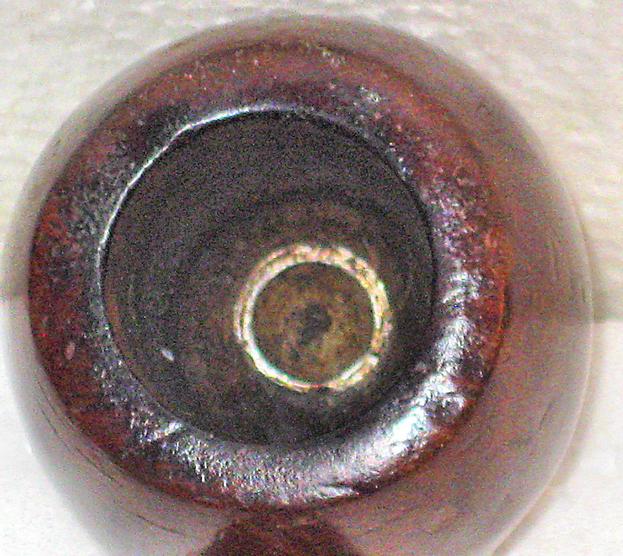
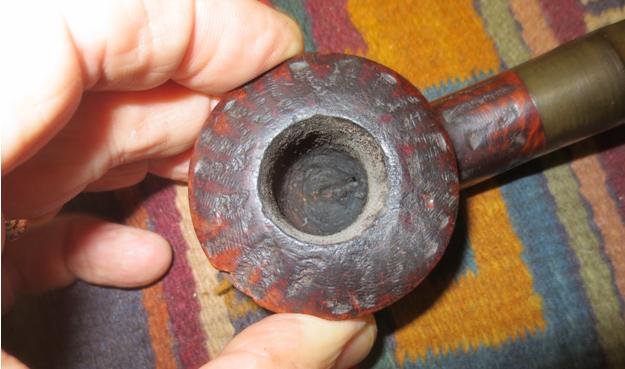
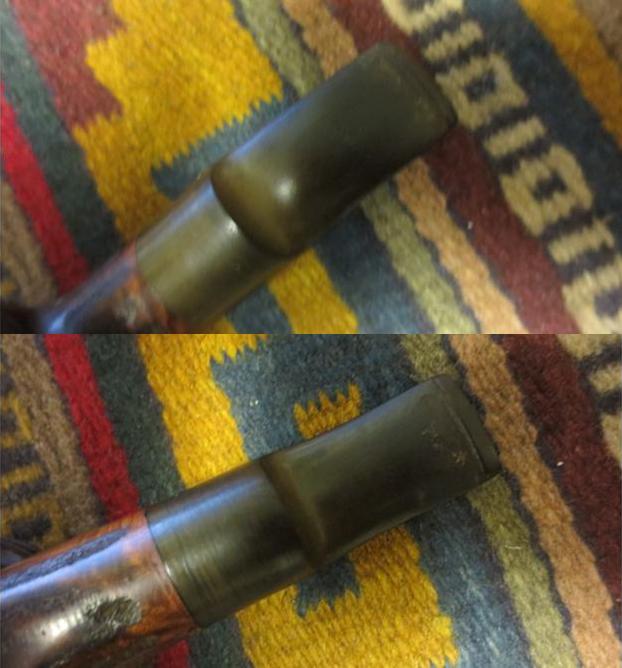
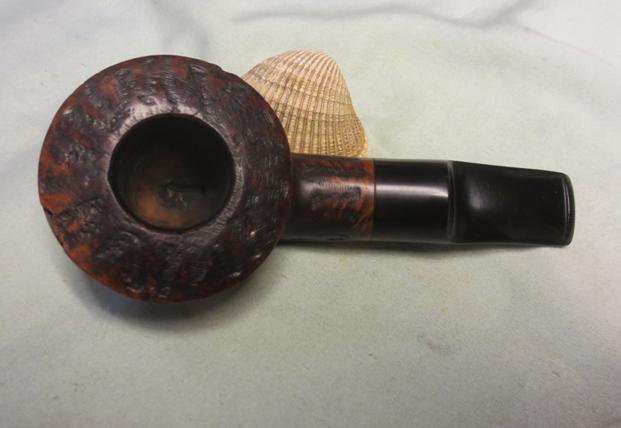
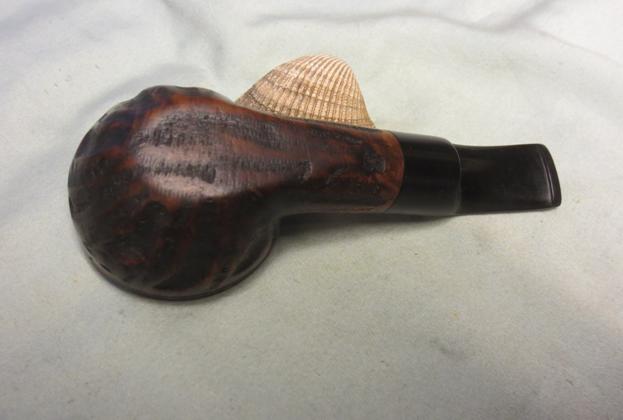
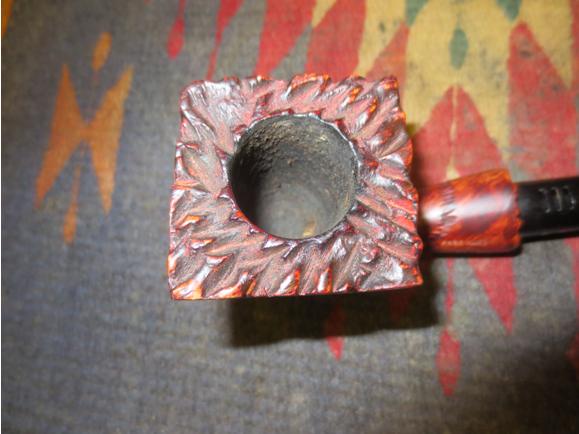
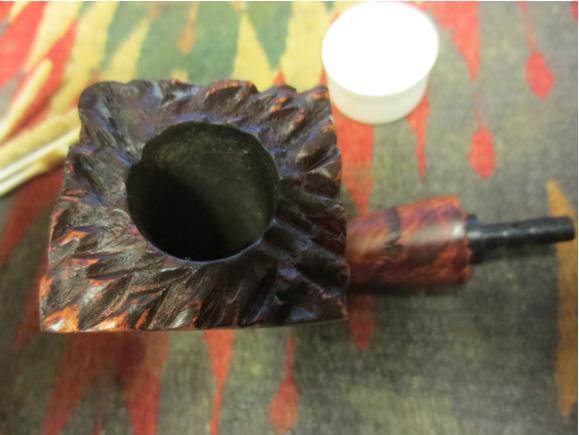
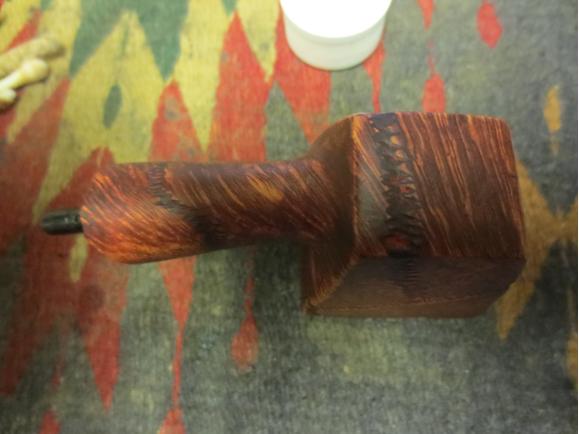
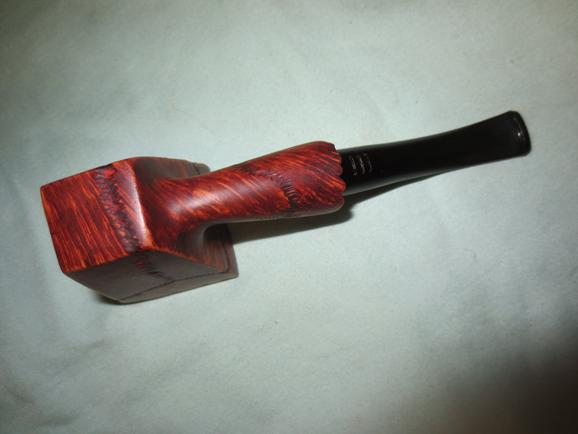
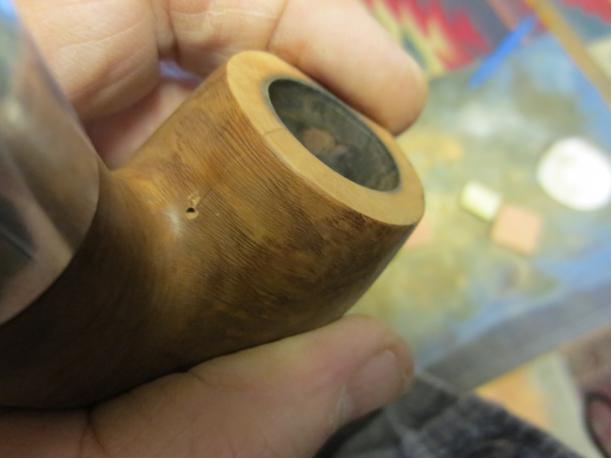
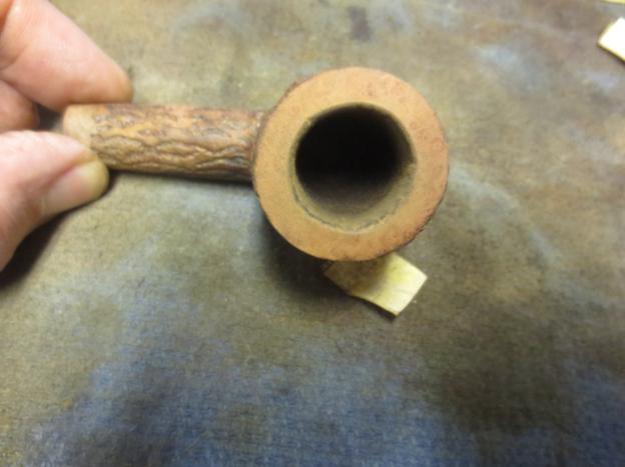
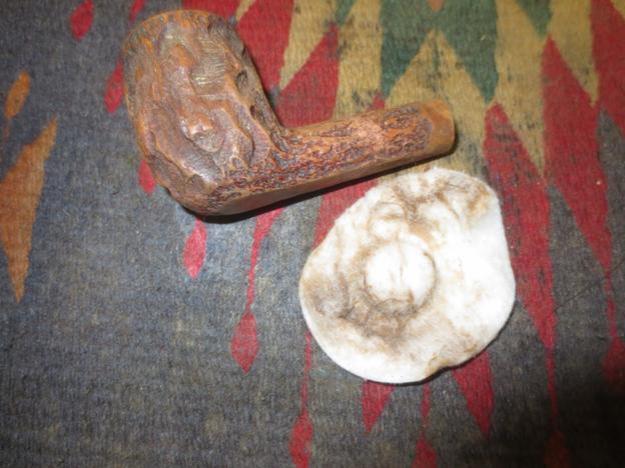
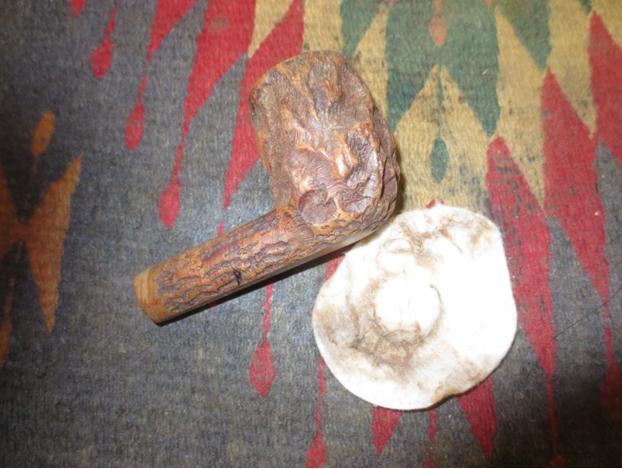
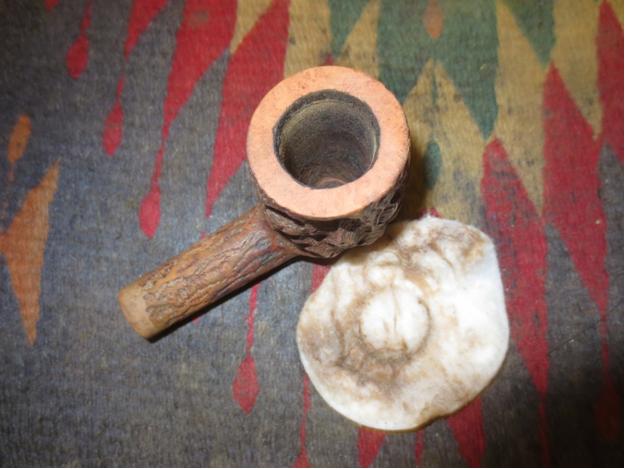
With this background information I started to work Carey Magic Inch Freehand that my brother had picked up for me. The bowl was quite clean on the inside – a light cake had formed. The rim had some darkening but was also very clean. The carved patterns on the pipe were very similar to some of the Alpha pipes that also had similar Frankenstein-like stitches on the worm trails carved into the sides and bottom of the bowl and shank. I would not be surprised if it was actually carved in the old Alpha Pipe Factory in Israel. The finish on the pipe was in very good shape and did not need to have anything done to it but clean it. The shank bears the stamping of Israel on the right side. The shape is a block/poker shape that never really was my cup of tea. I always look at them and feel like the carver stopped somewhere along the way and never finished carving the pipe. The rustication on the rim matched that on the shank end. The stem was typical Carey plastic and would be hard to work on. It had tooth chatter on the top and the bottom sides of the stem and some tooth marks that also went onto the button itself.Carey4

Carey5

Carey6

Carey7 The next close up photos show the rim and the cake in the bowl as well as the stamping on the sides of the shank.Carey8

Carey9

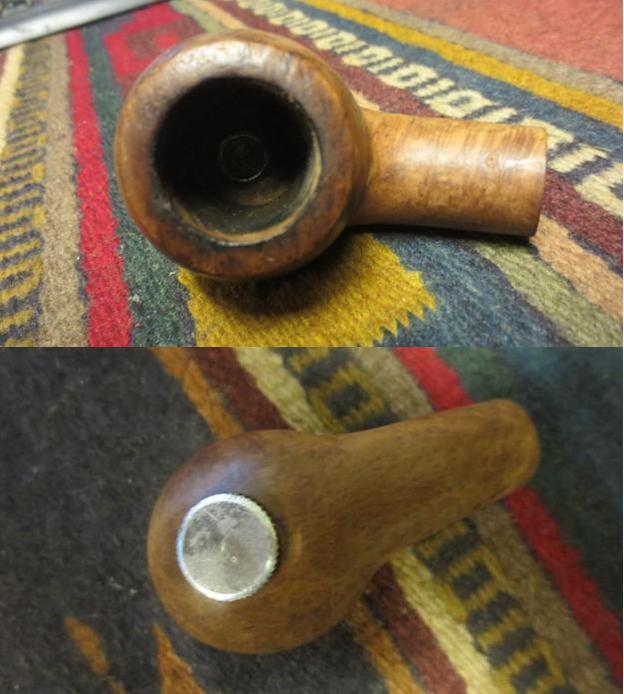
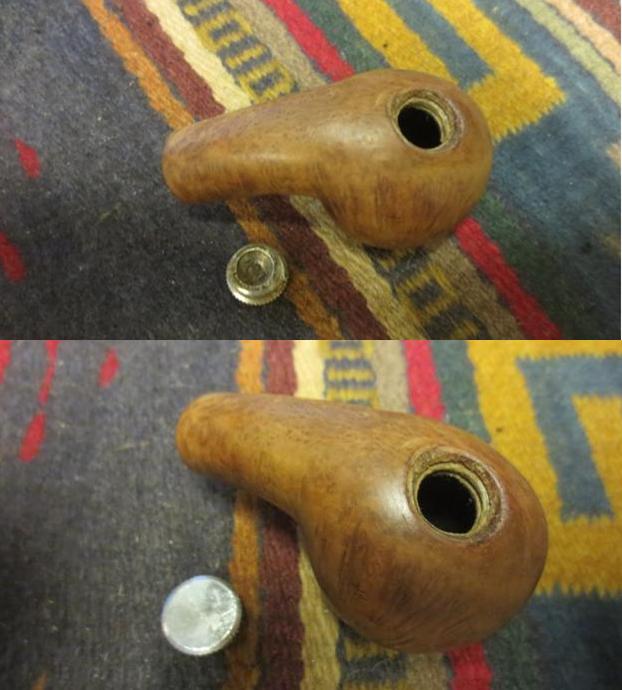
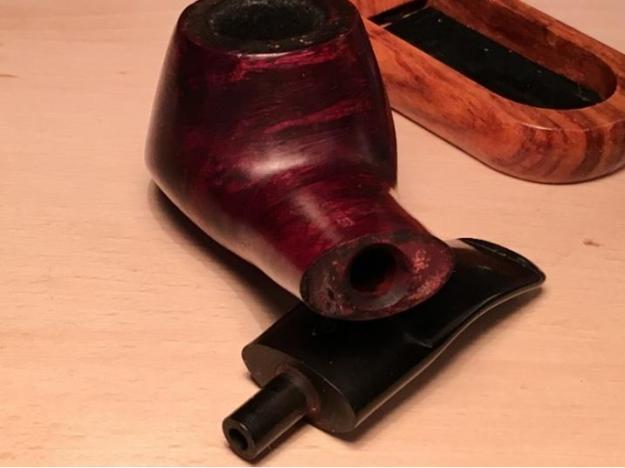
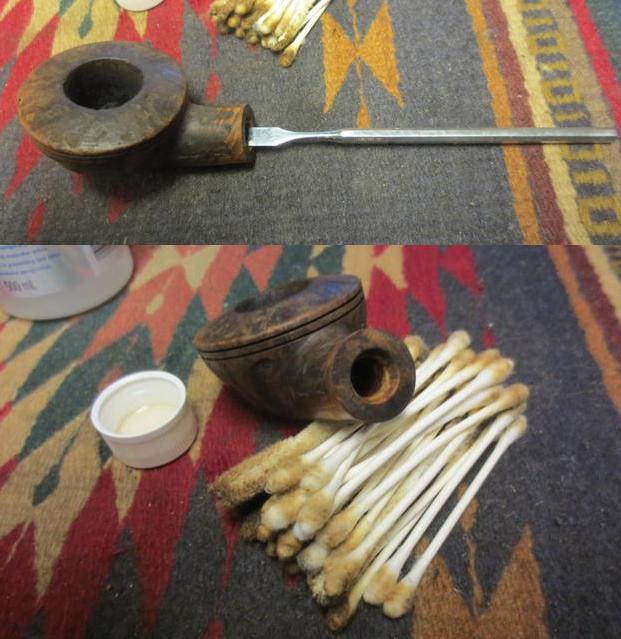
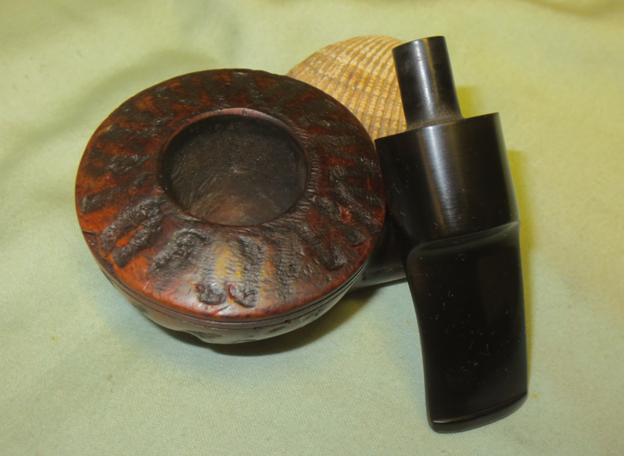
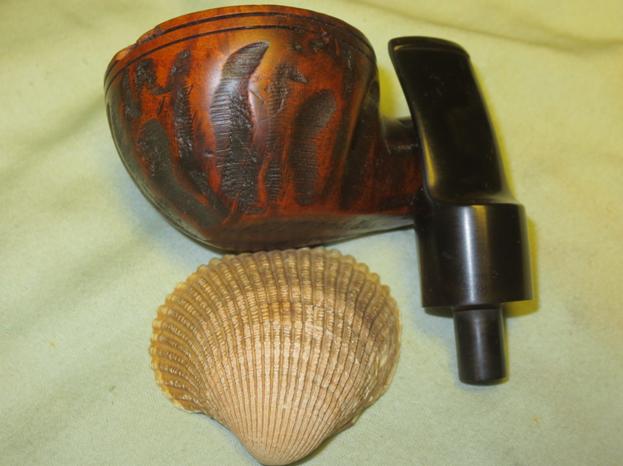
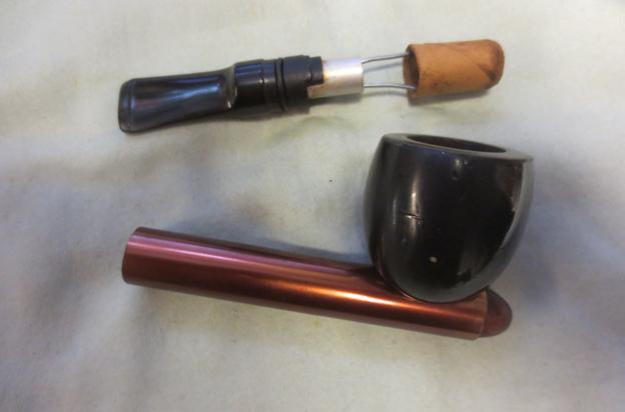
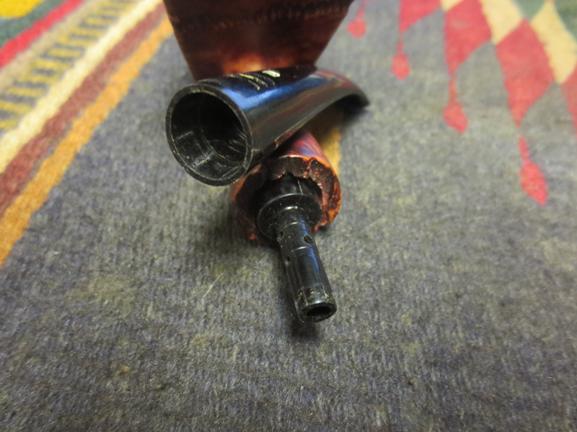
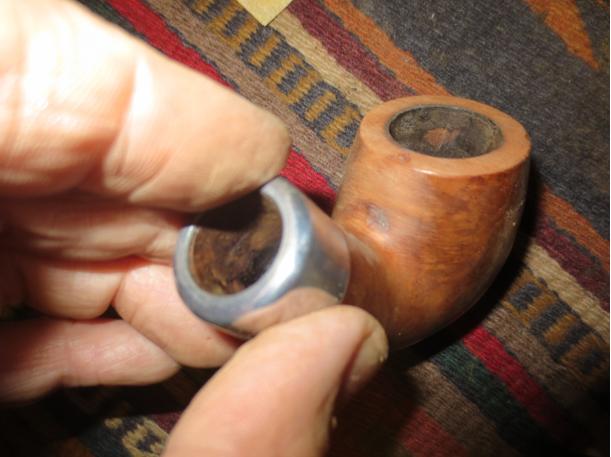
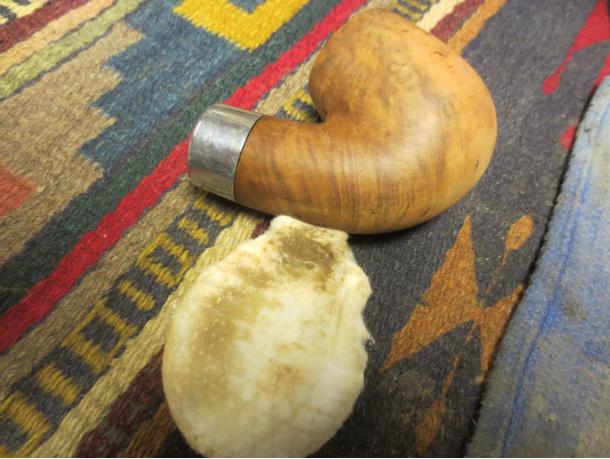
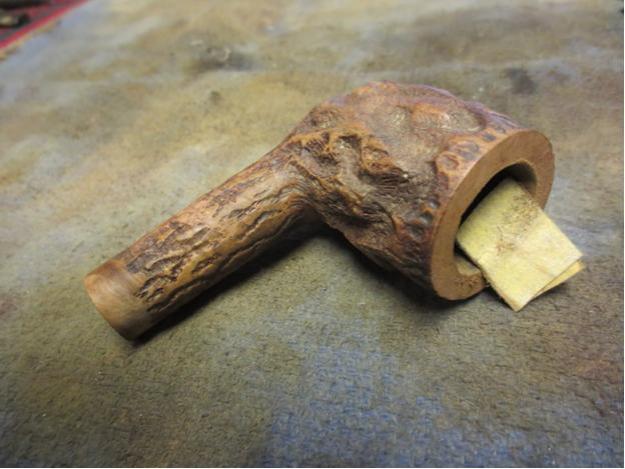
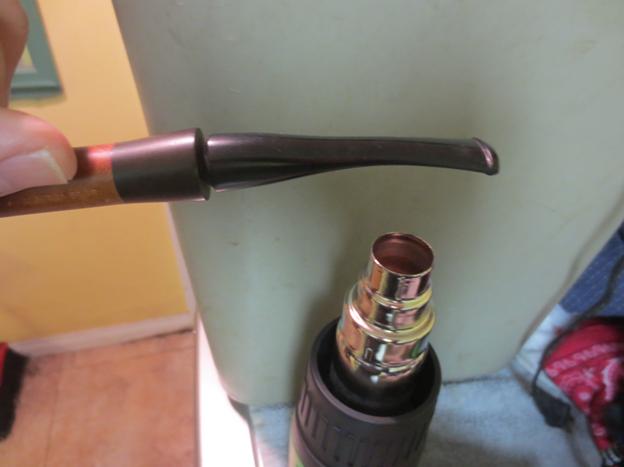
Carey10 I took the stem off the pipe to get a picture of the Carey Magic Inch system. The stem sits over a mortise insert with a one inch long perforated tube that extends into the stem when it is in place on the shank.Carey11 The stem was dirty on the inside and the tooth chatter and dents marred the top and bottom sides near the button.Carey13

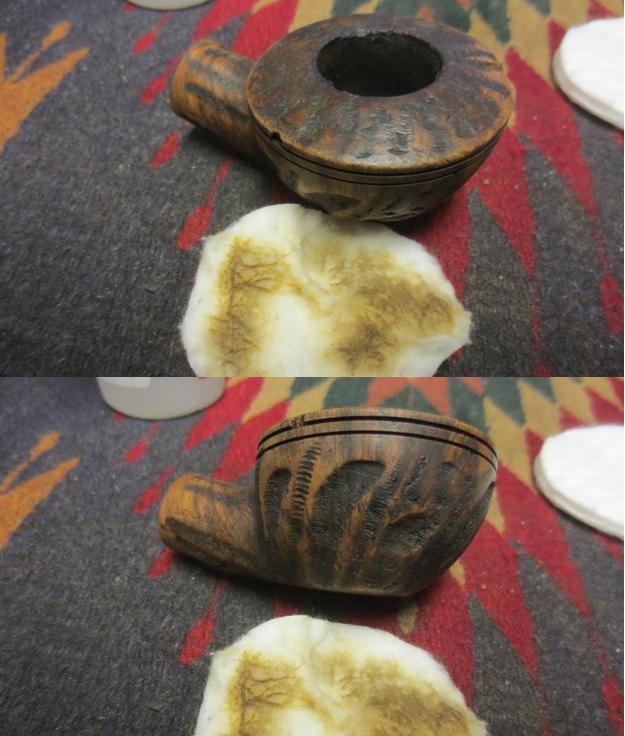
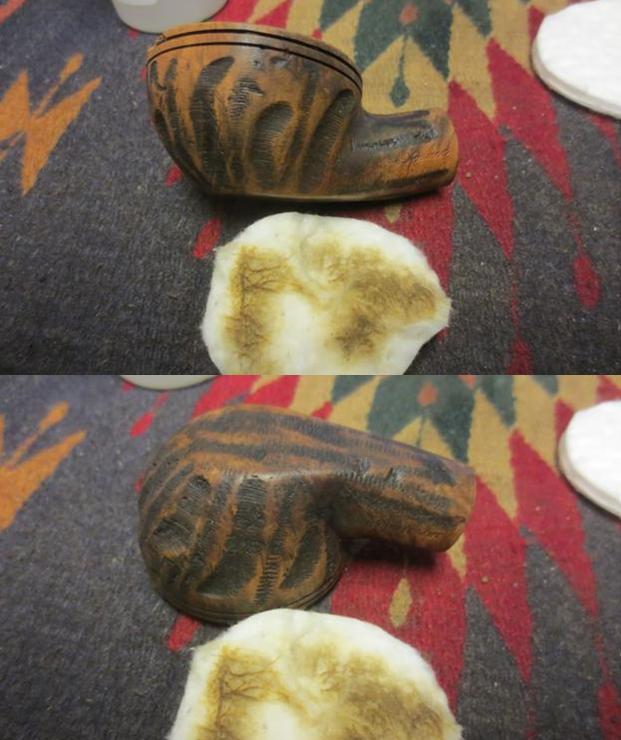
Carey12 I scrubbed down the exterior of the bowl with a tooth brush and Murphy’s Oil Soap and rinsed it with lukewarm water. I dried off the bowl exterior with a soft cloth.Carey14

Carey15

Carey16

Carey17

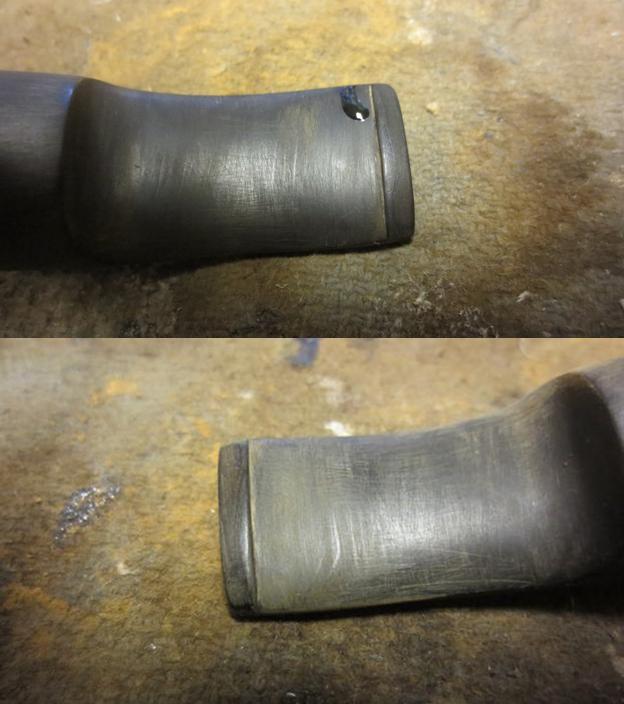
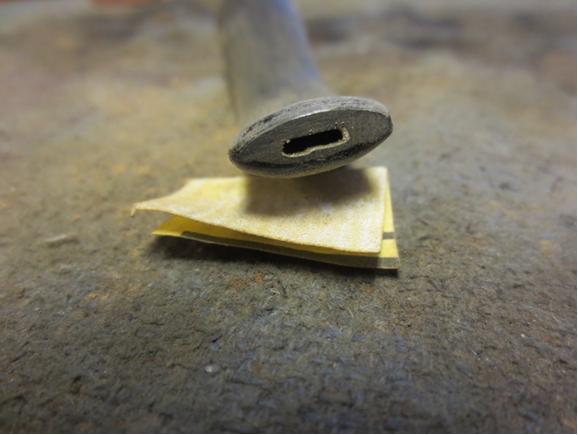
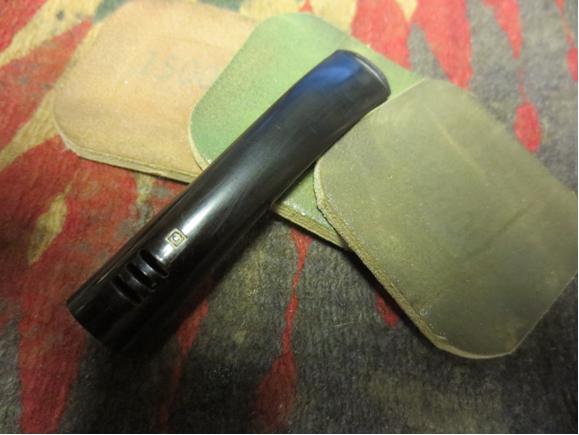
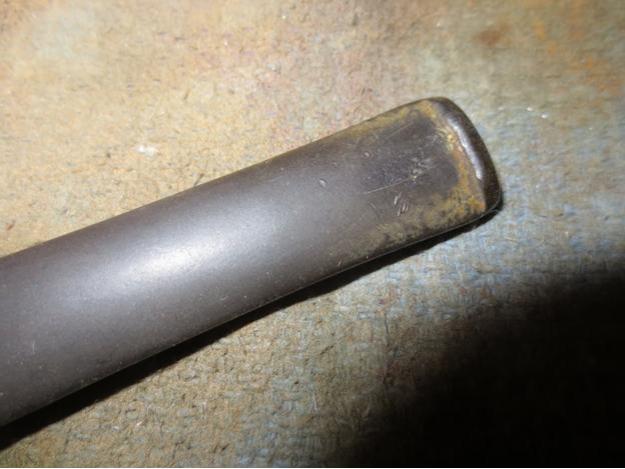
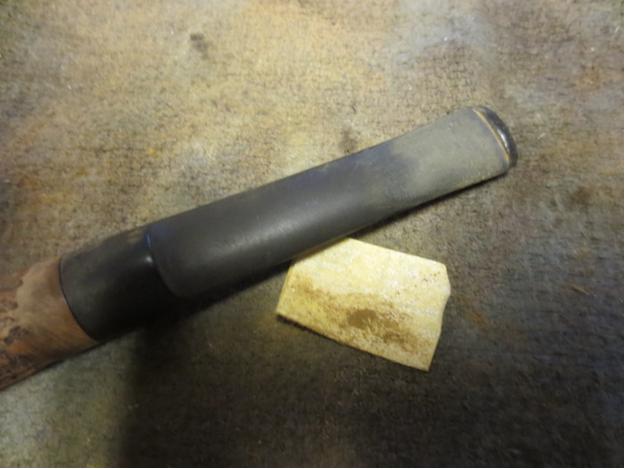
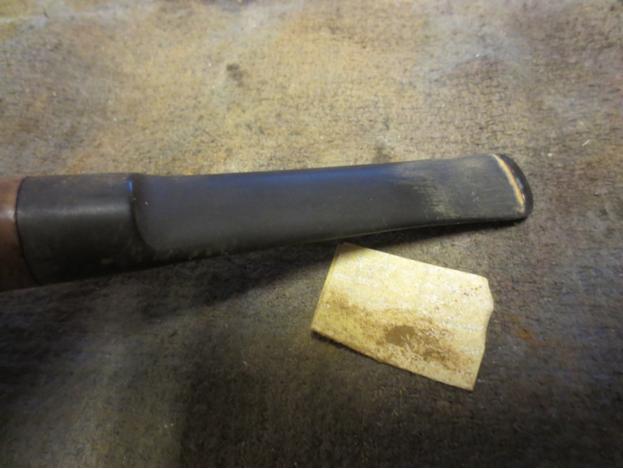
Carey18 I scrubbed out the stem and the shank with cotton swabs, pipe cleaners and alcohol until the pipe cleaners and swabs came out clean.Carey19 I find the plastic material used on these stems to be a challenge to clean up and remove the damaged areas. Once it is sanded all of the polishing has to be done by hand. The heat of the buffer pads can seriously damage the stem by melting it. I sanded the tooth marks and chatter with 220 grit sandpaper to remove the damage. There was one spot on the top of the stem near the button that needed to be patched with clear super glue. It was a deep tooth mark that no amount of sanding would remove.Carey20

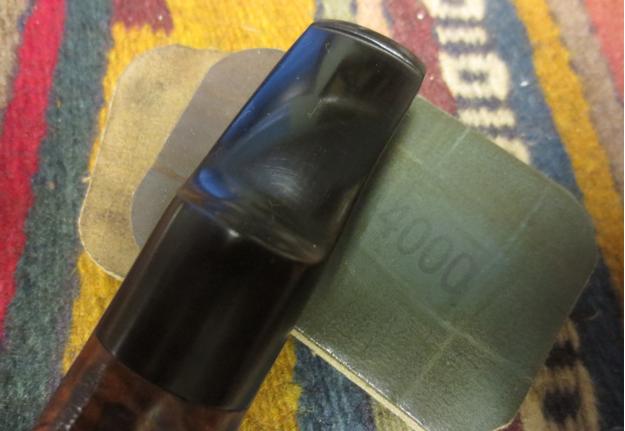
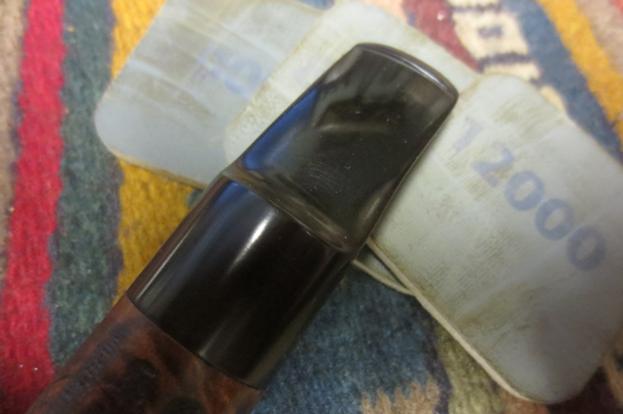
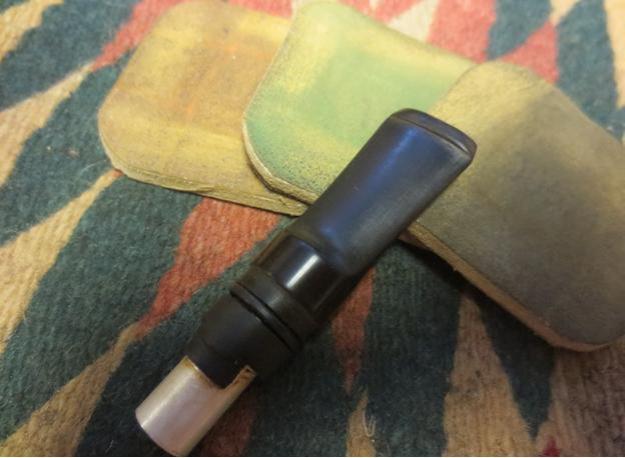
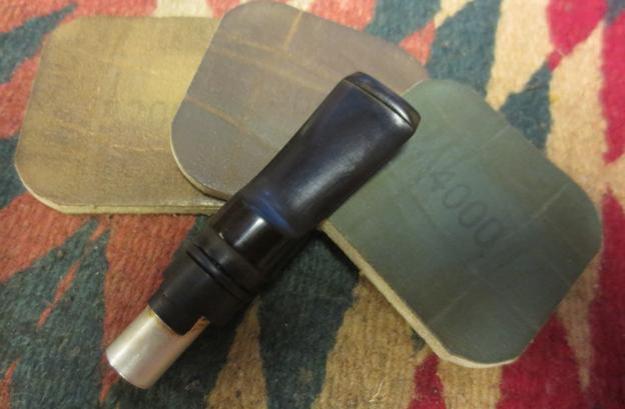
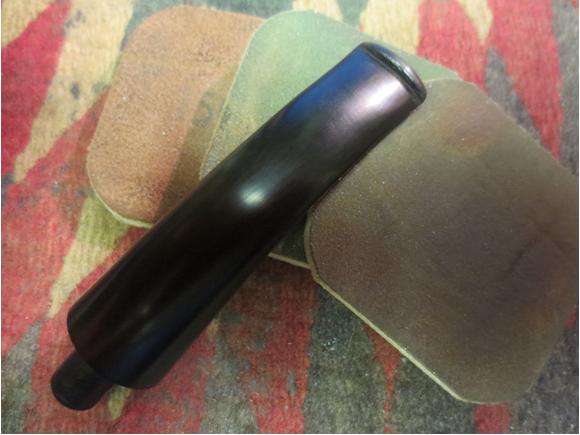
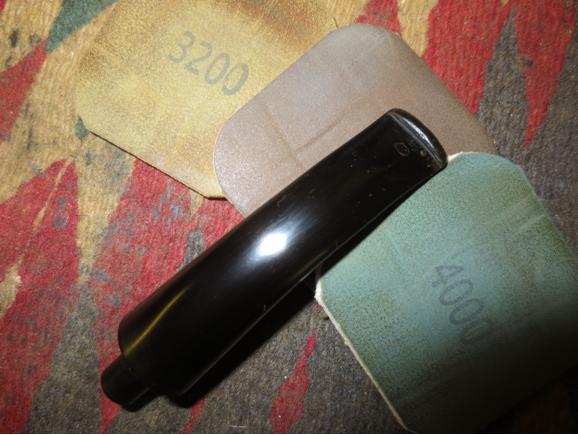
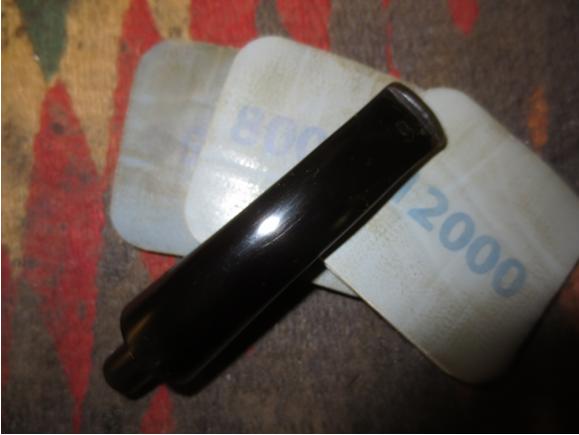
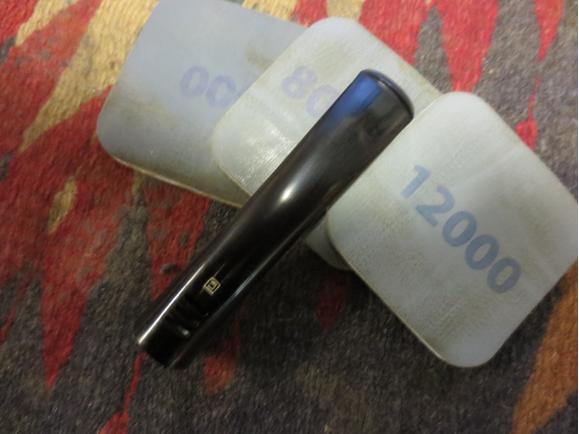
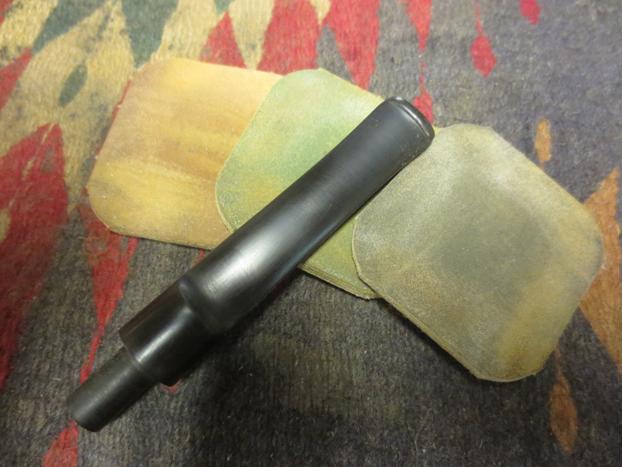
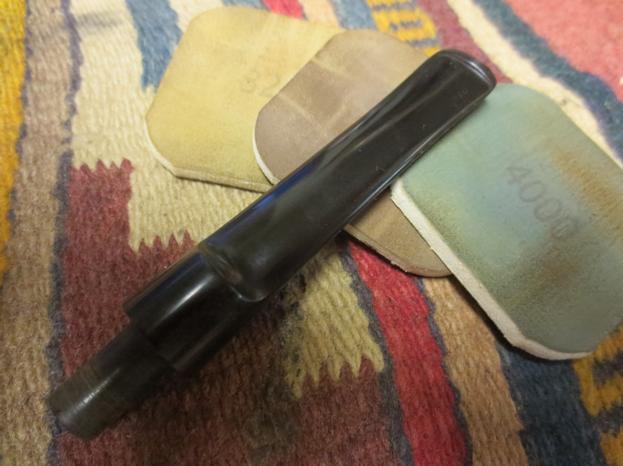
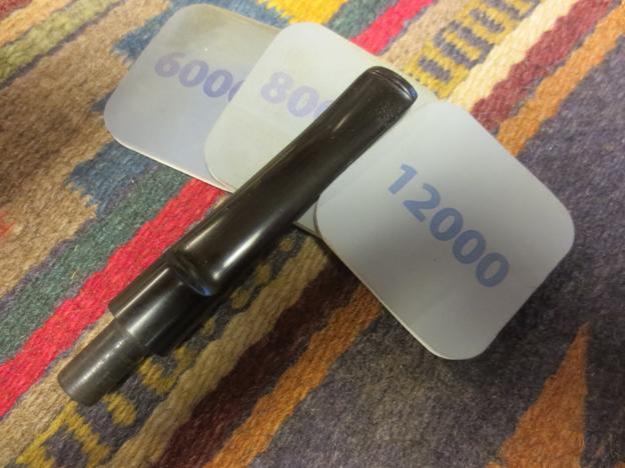
Carey21 When the patch cured I sanded it with the 220 grit sandpaper to smooth it out with the surface of the stem. I sanded it with a medium and a fine grit sanding sponge to remove the scratches.Carey22 Normally I wet sand the stem with 1500-2400 grit micromesh sanding pads but with this material it only gets muddy and makes a mess. I used some Obsidian Oil to rub down the stem between each pad and sanded it until the scratches began to disappear. I continue the process with 3200-4000 grit pads with the oil between each pad giving me some bite on the plastic stem. I forgot to take a picture of this step (I had already spent over 1 ½ hours on the stem at this point). I finished sanding it with 6000-12000 grit pads and the oil. When I had finished I rubbed it down with a final coat of Obsidian Oil and let it dry.Carey23

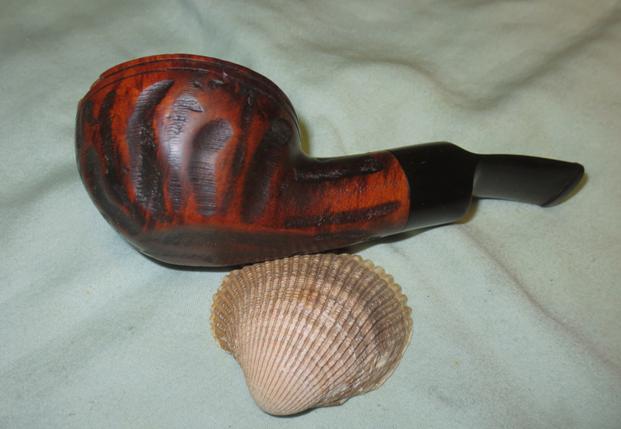
Carey24 I hand waxed the bowl and the stem with Conservators wax and buffed it with a shoe brush. I finished by buffing it with a microfibre cloth. The finished pipe is shown in the photos below. It is cleaned, restored and ready for whoever wishes to purchase it from me. It is not my style of pipe but I am sure it will make some pipe man very happy. Just email me if you are interested and make me an offer at slaug@uniserve.com Thanks for looking.Carey25

Carey26

Carey27

Carey28

Repairing Cracks in a Large WDC Wellington Bent


Blog by Steve Laug

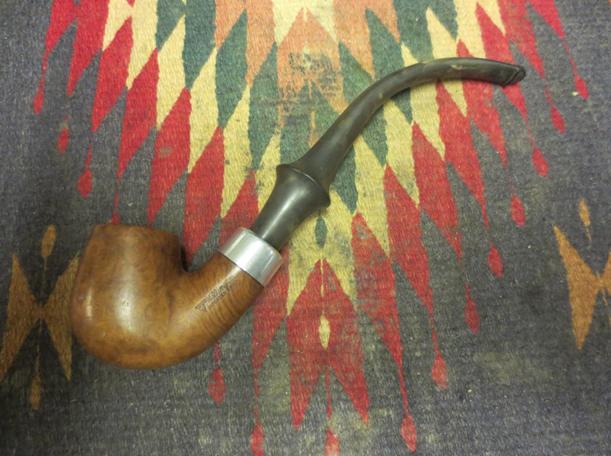
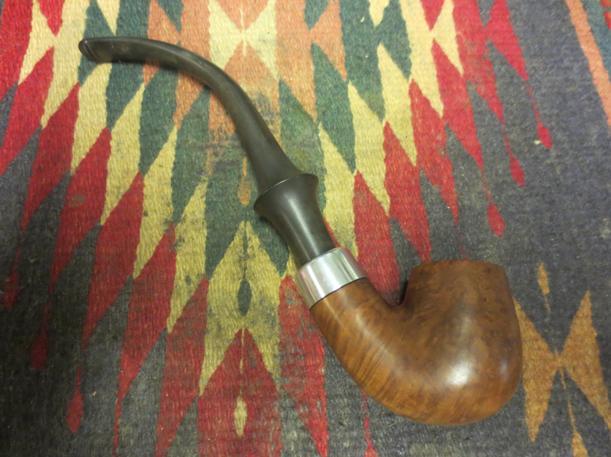
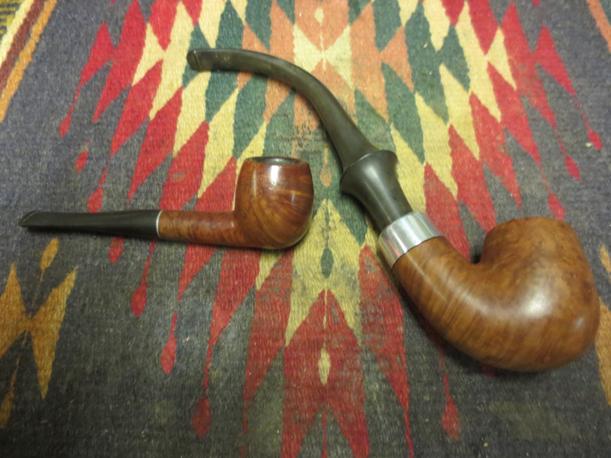
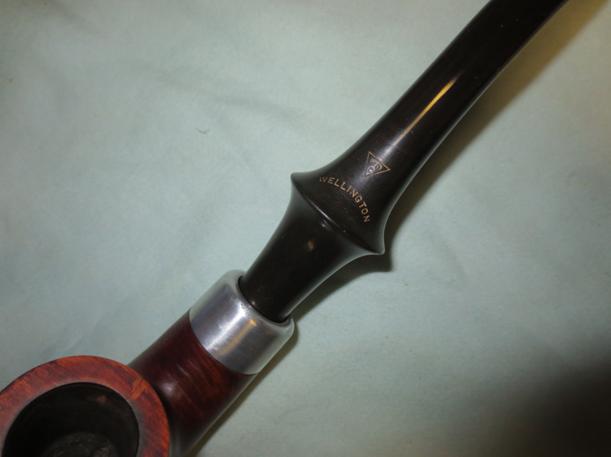
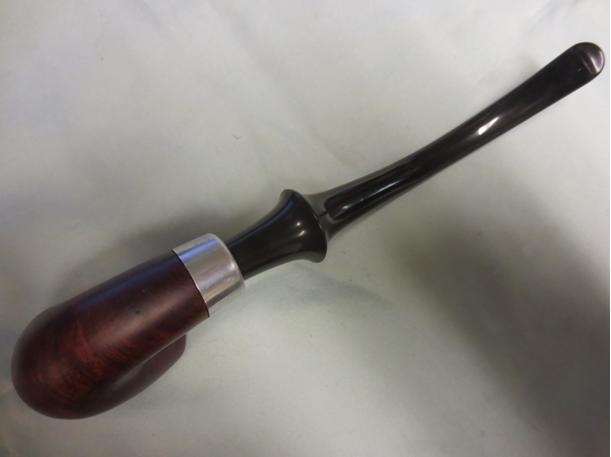
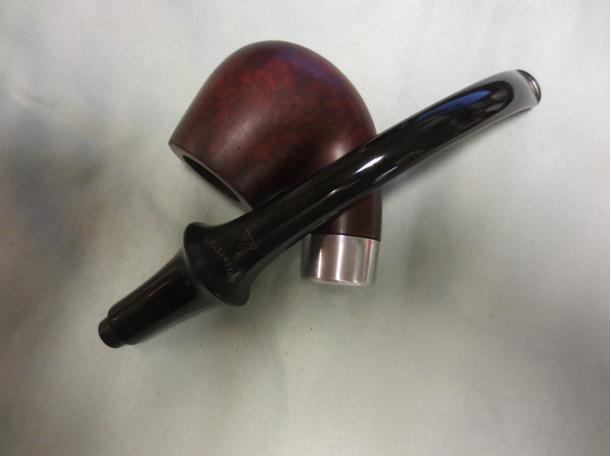
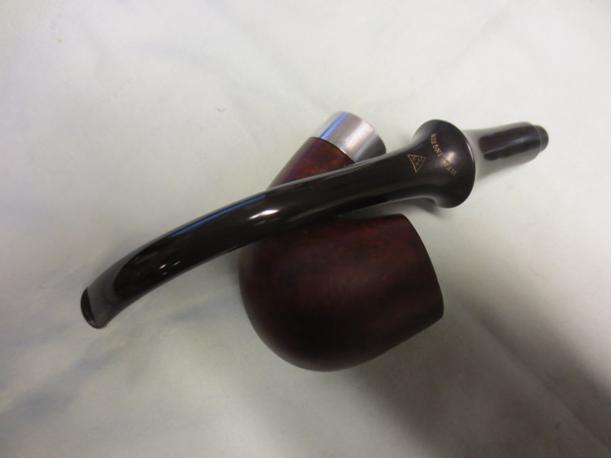
Through Facebook I connected with a new friend Warren. He wrote me about how to repair a crack in a pipe that he was reworking for a friend of his. As I described the process he asked if he could send it to me to work on. At that point my refurbishing box was getting low as I had repaired and moved out a lot of the pipes that had been there. So I agreed. Last week it arrived here. A funny side note is that I have a stem for the same pipe and have been looking for a bowl for the stem for a while now. Now I get the opportunity to work on a pipe with the same stem. It is stamped WDC in a triangle on the stem with Wellington arced below the triangle. It is also stamped on the left side of the shank with the WDC triangle and Wellington in script to the right of the triangle. Underneath the script it reads Imported Briar. There is no other stamping on the pipe. It is a large pipe with a length of over 10 inches and a bowl height of 2 inches. The diameter of the bowl is 7/8 inches. The third picture below shows a comparison of a 5 ½ inch long pipe and average bowl so you can see how big this pipe truly is.Wellington1

Wellington2

Wellington3 The briar had some attractive grain in it but there were some issues as well. It had a lot of fills on the front left, front right and bowl front. There was some damage to the surface of the rim that looked as if the pipe had been dropped on concrete. The outer edge of the rim on the front had some damage and was rounded over and the inner back edge of the rim had burn damage that made that portion out of round. Fortunately it was not a deep burn and would be relatively easy to address. There was also a ¾ inch crack on the underside of the shank that had one ¼ inch branch going toward the left side of the shank.Wellington4

Wellington5 I took a series of close up photos to show the damaged areas of the pipe. The first shows the damage to the rim surface and edges. The second shows the crack in the shank. The third photo shows the missing fills and divots in the bowl sides.Wellington6

Wellington7

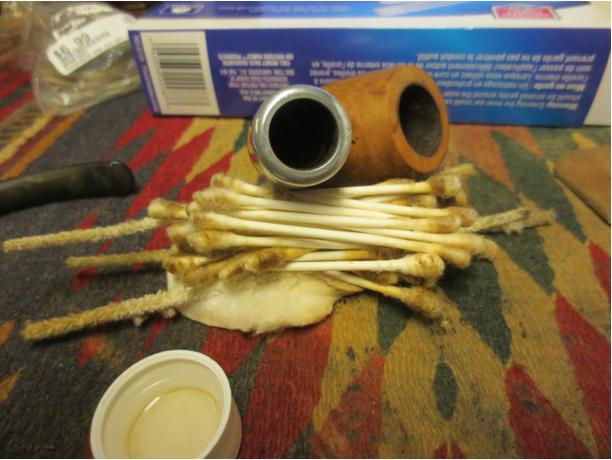
Wellington8 I decided to address the crack in the bottom of the shank first. I used a micro drill bit on my Dremel to drill some small holes at the end of the crack and the branches of the crack to stop the damage from spreading further. The bit is very tiny as can be seen from the holes that are left behind after drilling. I drill two holes on each end because after the first hole I examined it with a lens and could see that extended slightly beyond my first hole. I picked out the damaged putty fills with a dental pick and wiped the bowl down so that I could repair the crack and the fills. I used a clear super glue and fine briar dust to replace the fills and to fill in the drill holes on the shank bottom. In each case I over filled the holes so that as the glue and dust were sanded I would not need to repeat the process due to shrinkage.Wellington9

Wellington10

Wellington11

Wellington12 My intention was to restain the entire bowl so I sanded the bowl and the repairs with 220 grit sandpaper to smooth out the repairs. I followed that by sanding the bowl and repairs with a medium and a fine grit sanding sponge.Wellington13

Wellington14

Wellington15 I reamed the bowl with a PipNet reamer starting with the head that would fit and working up a head that took the cake back to bare briar. In looking at the back side of the bowl I could see a small hairline crack and I wanted to know if it went all the way through.wellington16

Wellington17 I topped the bowl with the topping board and took off all of the damage to the inside and outside rim as well as the rim surface. I sanded it with the medium and fine grit sanding sponge as well to smooth out the scratches.Wellington18

Wellington19 After sanding and topping the bowl I could see that indeed there was a hairline crack that went across the rim at 5 o’clock and went down the back side of the bowl about ¾ of an inch. It was small and did not separate. It looked like it went all the way through to the inside of the bowl but upon examination appeared to only extend about 1/16th of an inch into the bowl. I topped it a little bit more to take care of the internal crack. I drilled the back side of the bowl at the bottom of the crack to stop it from going further down the bowl.Wellington20 I wiped down the bowl side and then picked out the crack with a dental pick. I filled it with super glue and briar dust and sanded it down with 220 grit sandpaper and the medium and fine grit sanding sponges until it blended into the surface of the bowl. I picked out the rim crack as well and filled it with the same mix. I sanded it with the topping board once again and then with the medium and fine grit sanding sponge.Wellington21

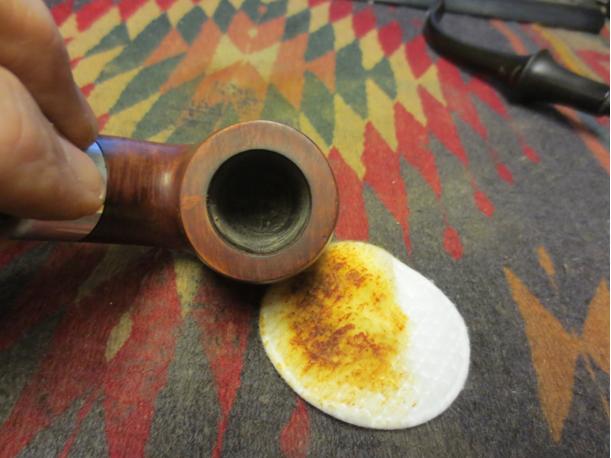
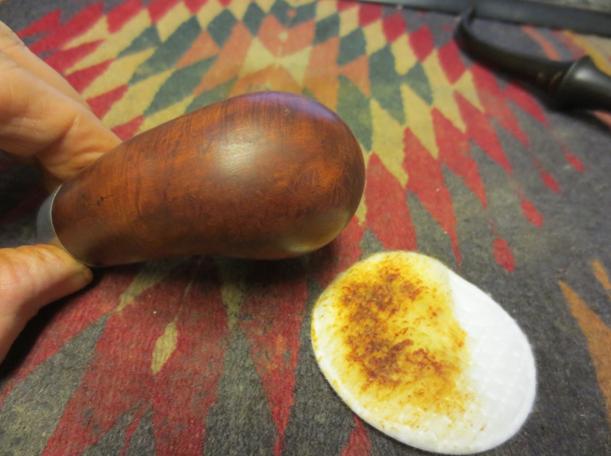
Wellington22 I scrubbed the bowl with acetone on cotton pads to remove the remaining finish on the briar and to clean up the dust from all of the sanding of the fills. There was some beautiful grain that was showing through. The patches and fills actually looked much better.Wellington23

Wellington24

Wellington25

Wellington26

Wellington27 I cleaned out the shank, bowl and airway in the shank and stem with alcohol, cotton swabs and pipe cleaners.Wellington28
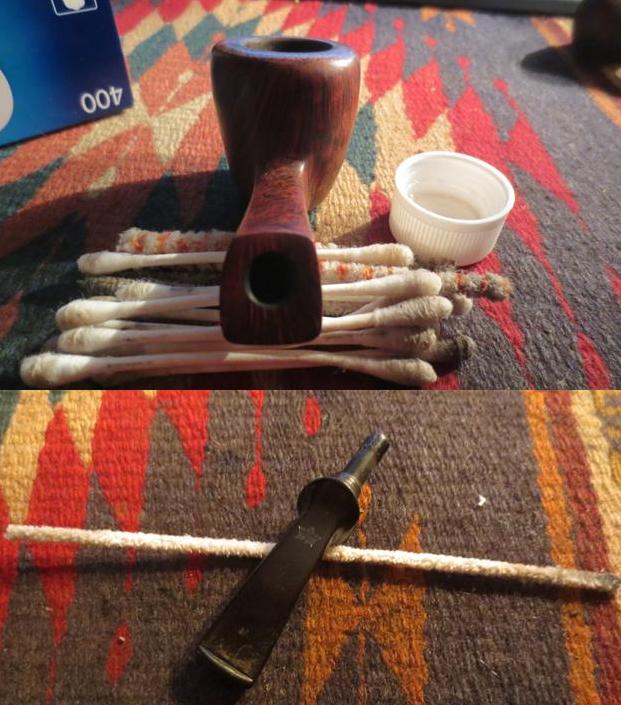
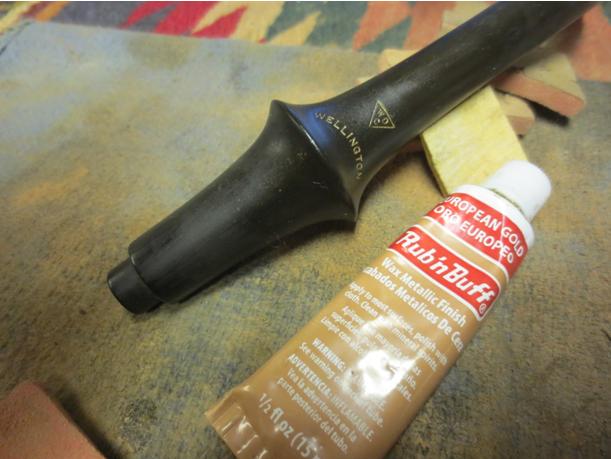
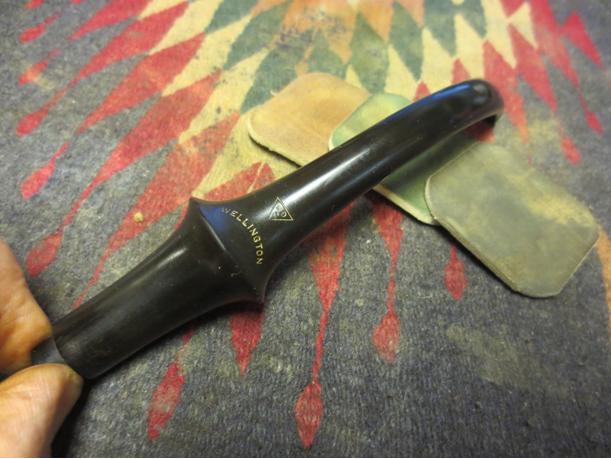
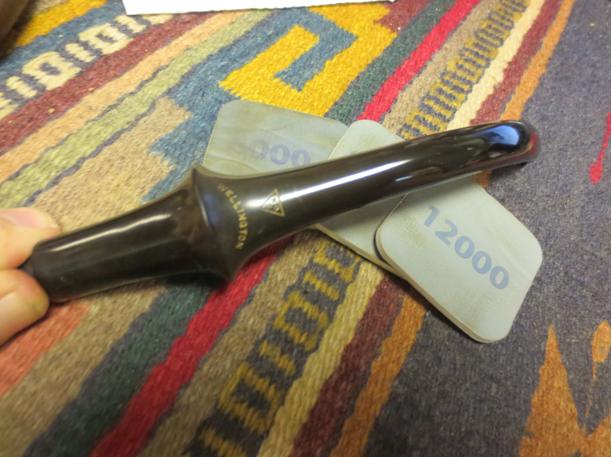
Wellington29 I sanded the stem with 220 grit sandpaper and a medium and fine grit sanding sponge being careful not to damage the stamping. I went over that area with a 1500 grit micromesh pad. I then use an antique gold oil based product called Rub and Buff to fill in the stamping. The next photo shows the finished rework of the gold in the stem stamp.Wellington30 I put the stem in place on the bowl to get an idea of the improvement that the repairs, fills and stem work had done. I wanted to see what the pipe would look like as I finished.Wellington31

Wellington32

Wellington33

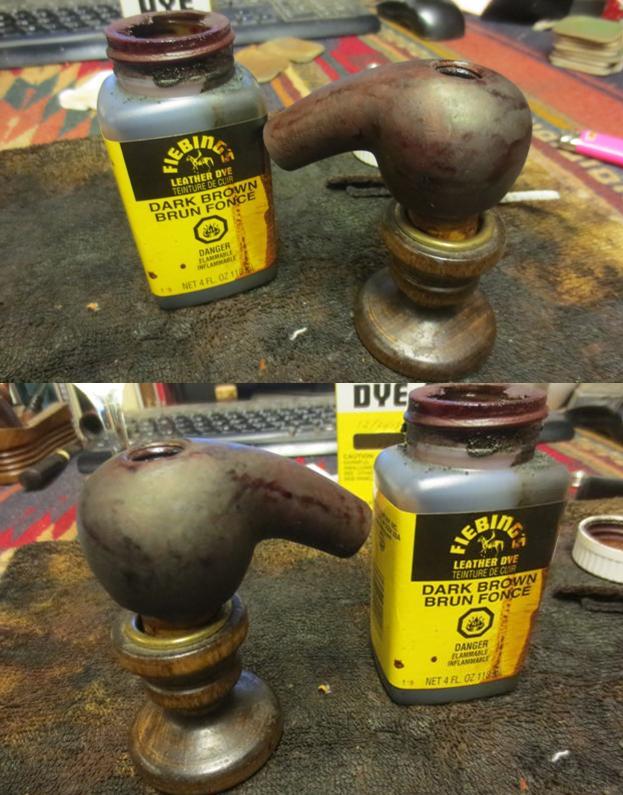
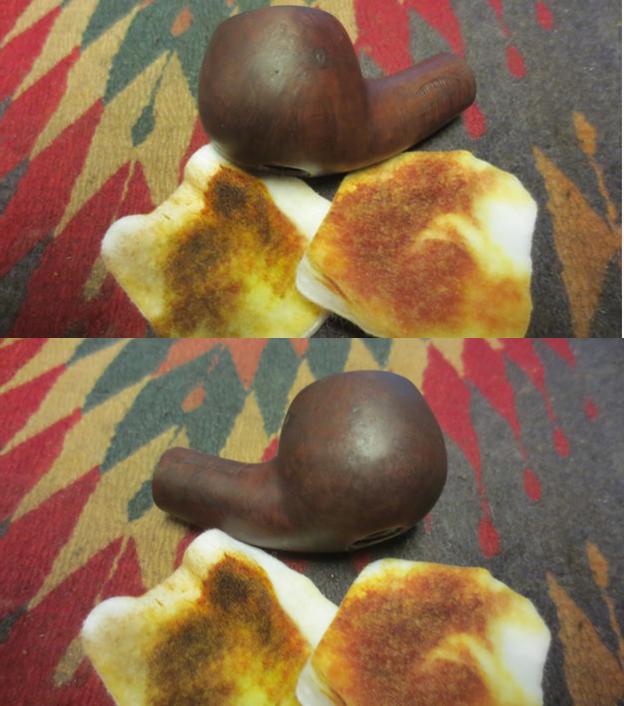
Wellington34 I wiped the bowl down with a final wash of isopropyl alcohol and then heated it so that I could give it a stain coat. I stained it with a dark brown aniline stain thinned by 50% with isopropyl alcohol. I applied it and flamed it. I reapplied the stain and flamed it again and then set it aside to dry.Wellington35

Wellington36 When it had dried I gave it a light buff with a microfibre cloth to see what the colour looked like. It was still a bit dark to my liking but the coverage was good. The repairs and fills while visible looked far better than when I started.Wellington37

Wellington38

Wellington39

Wellington40

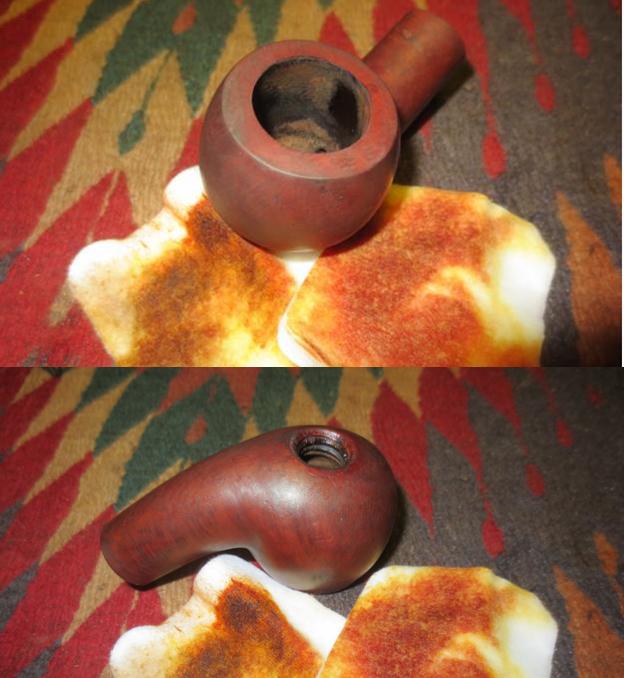
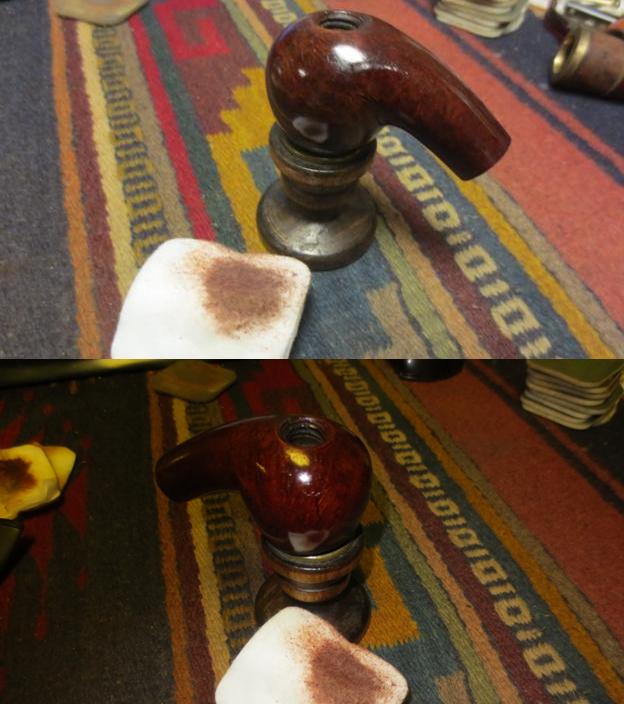
Wellington41 I wiped the bowl down with alcohol on a cotton pad to make it a bit more transparent and make the grain shine through. It did not take much to coax the grain to the surface and highlight the beauty of the pipe.Wellington42

Wellington43

Wellington44

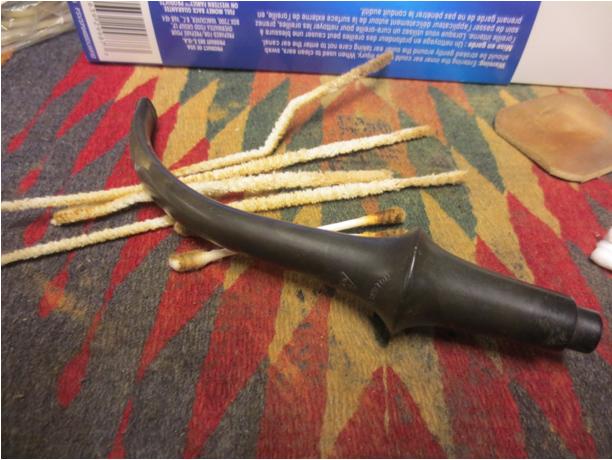
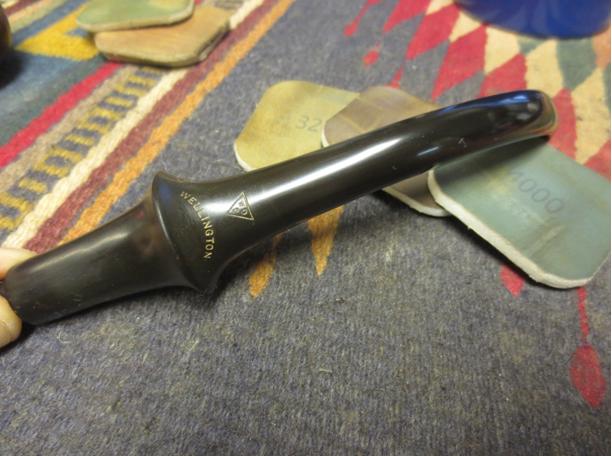
Wellington45 I worked on the long stem. To clean it thoroughly I had to wrap pipe cleaners together to extend the length of the stem. I wet sanded it with 1500-2400 grit micromesh sanding pads to clean up the oxidation and scratches in the stem. I rubbed it down with Obsidian Oil afterwards and then dry sanded with 3200-4000 grit micromesh pads. I gave it another coat of oil and then finished sanding it with 6000-12000 grit pads. I gave it a final coat of the wax and set aside to dry.Wellington46

Wellington47

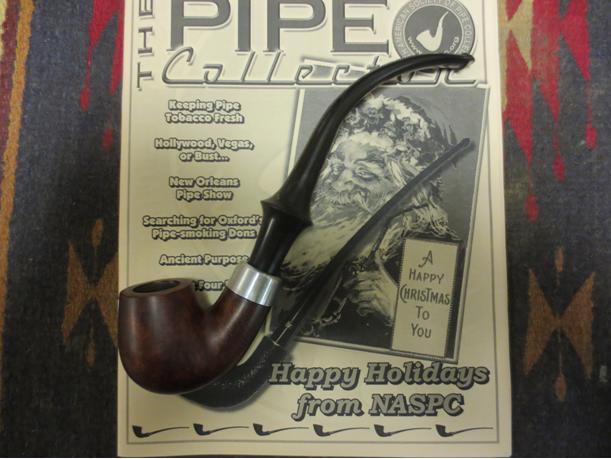
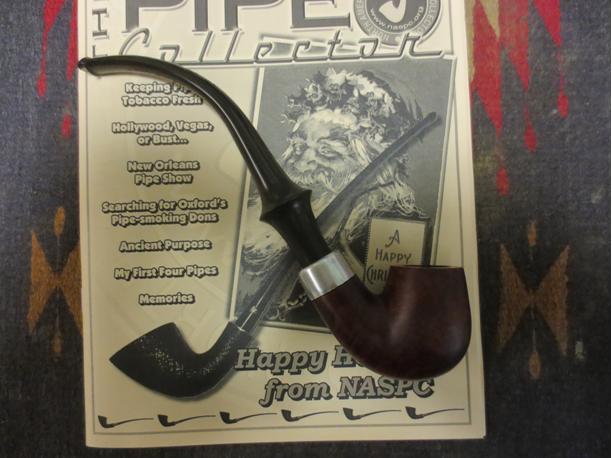
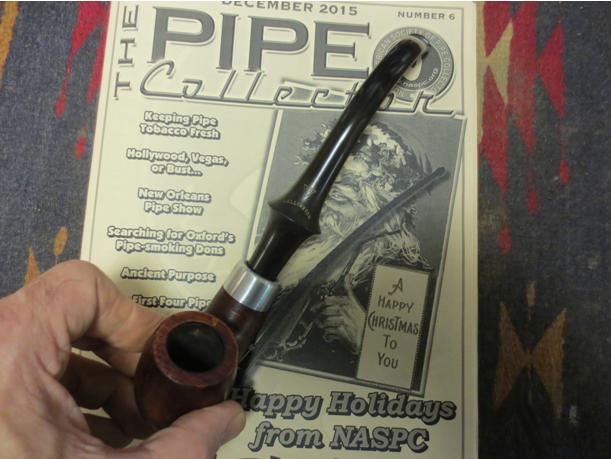
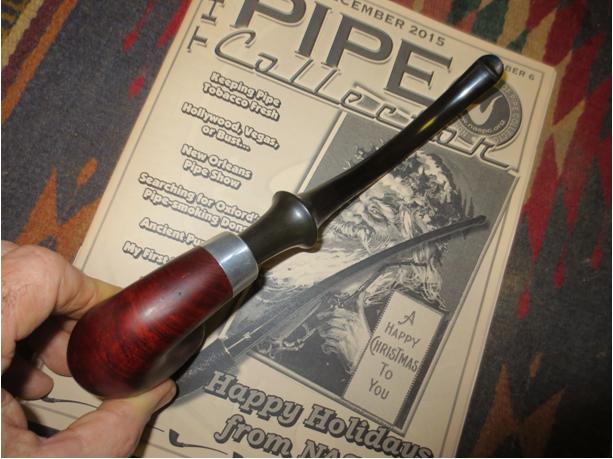
Wellington48 At this point I laid the pipe on top of the current issue of the Pipe Collector and took a series of photos to show it before I buffed it.Wellington49

Wellington50

Wellington51

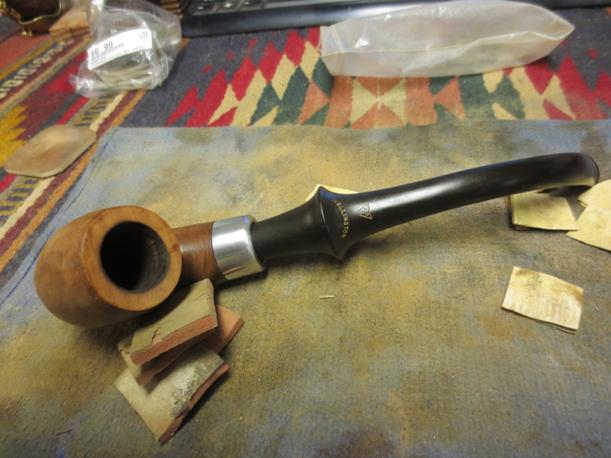
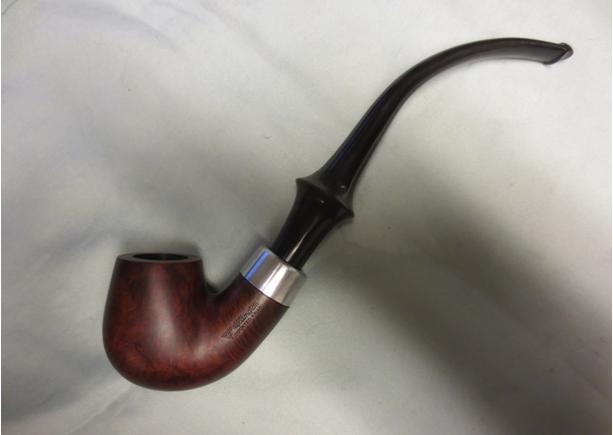
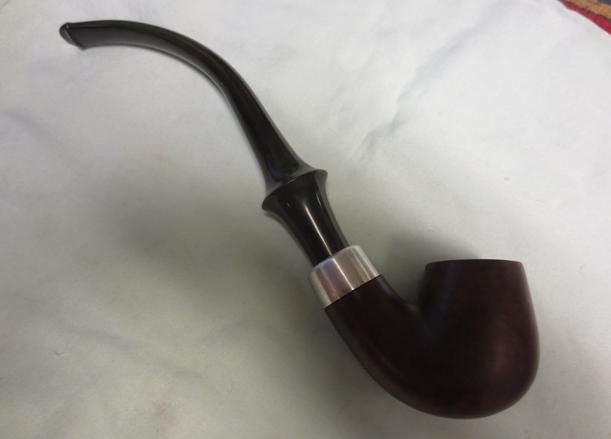
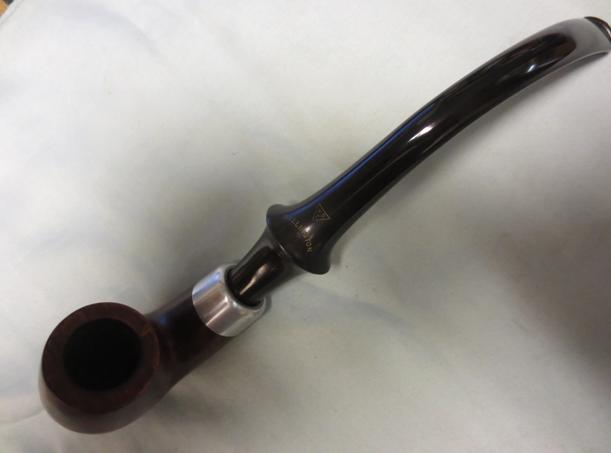
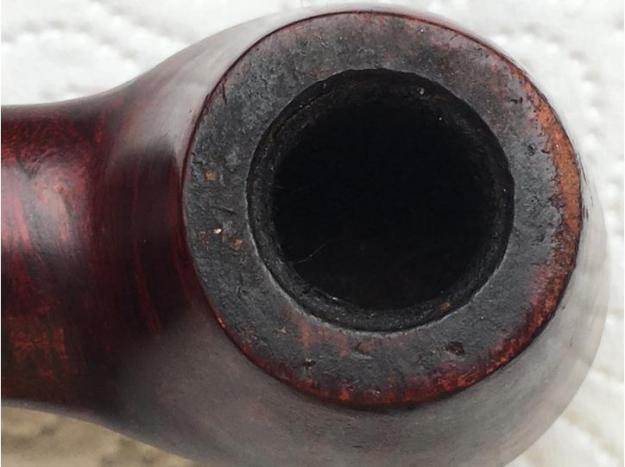
Wellington52 I polished the nickel ferrule with a silver polishing cloth and gave it and the bowl several coats of carnauba wax. A light touch is imperative on the nickel as it will darken the buffing pad and then transfer to the bowl. I hand buffed the bowl and ferrule with a microfibre cloth. I buffed the stem with Blue Diamond polish on the wheel and then gave it several coats of carnauba as well. I buffed the stem with a clean flannel buff and then with the cloth as well. The finished pipe is shown below. It is repaired and serviceable for many years to come. Thanks for looking. Thanks for the challenge Warren.Wellington53
Wellington54

Wellington55

Wellington56

Wellington57

Wellington58

Wellington59

Wellington60

Bringing a Mastercraft Rock Briar Billiard back to life


Blog by Steve Laug

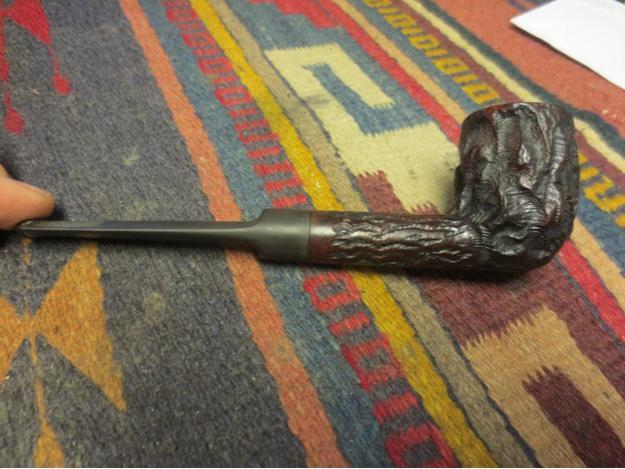
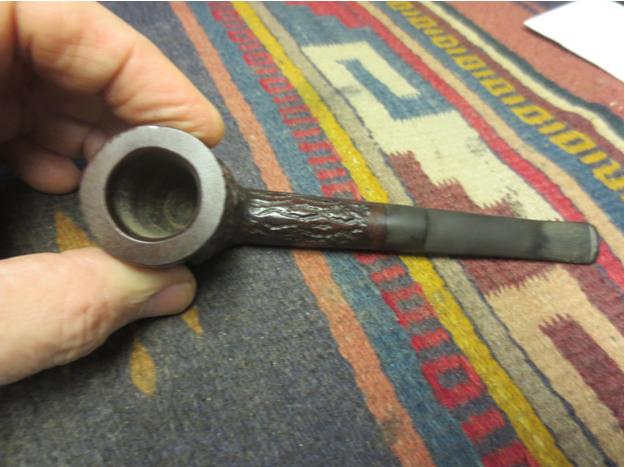
I found this old billiard for sale in an antique mall in Idaho Falls, Idaho. It was there when I visited in July and I bypassed it. It was still there this time so I made a deal with the seller and it came home with me. The bowl was dirty and had a cake and a bunch of tobacco debris and dust in the bottom. The rim had a buildup of tars and lava on the surface. The inner edge had some light damage and was slightly out of round. The finish was a rough rocklike rustication that was worn and dirty. There were white flecks and flecks of what looked like putty fills on the side of the bowl. There were several small sandpits in the bowl sides and on the bottom right side of the shank.RB1

RB2

RB3

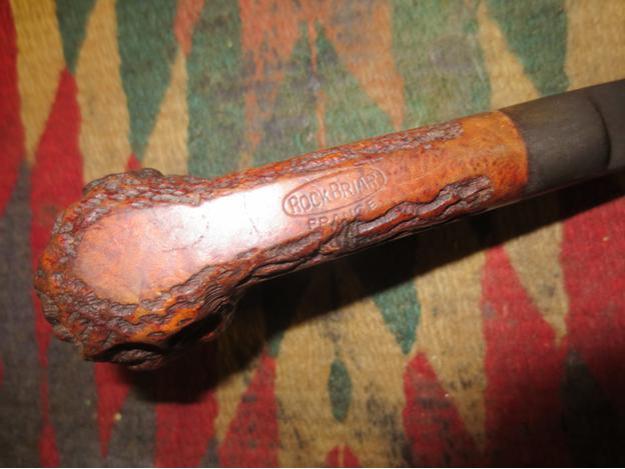
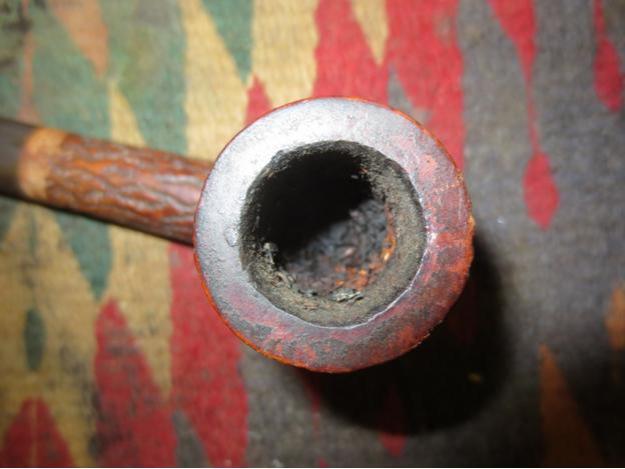
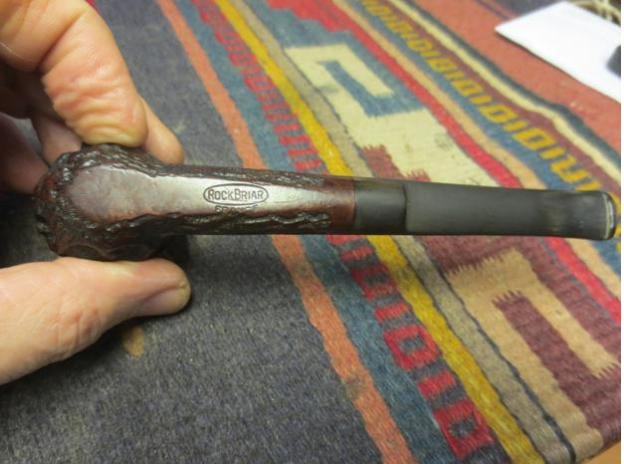
RB4 The stamping on the bowl was on a smooth flattened panel on the bottom of the bowl and shank. It bore the stamping Rock Briar in an oval and underneath France. I found out from Who Made That Pipe that the pipe was made for Mastercraft in France. From my research it doesn’t appear that Mastercraft ever manufactured pipes but rather bought them from multiple factories — mostly French and English. It survived briefly the post war recovery and then was acquired by Grabow.RB5 The next photo is a close-up picture of the rim and the debris in the bowl. The rim and bowl would take some work to clean out.RB6 I reamed the bowl with a PipNet pipe reamer and starting with the smallest cutting head worked my way up to one the same diameter as the bowl. I removed the cake and the clutter in the bottom of the bowl. I also used a pen knife to scrape out the small remnant of cake that the reamer did not take out.RB7

RB8 I scrubbed the bowl with a brass bristle whitewall tire brush to remove the buildup of grime and dust in the grooves of the rustication. Once the grime was loosened I put the bowl in an alcohol bath to soak while I went to work for the day.RB9

RB10 When I got home from work I took the bowl out of the bath and used the brass bristle brush on it once again. When I had finished brushing it I dried it off with a cotton cloth. The following photos show the bowl after the half day soak.RB11

RB12

RB13 I decided to lightly top the bowl to clean up the rim surface. I used a 220 grit topping board followed by a medium and a fine grit sanding sponge.RB14

RB15 I used a folded piece of 220 grit sandpaper to sand and bevel the inner rim. I wanted to minimize the inner edge damage.RB16

RB17 I scrubbed the bowl down with acetone on a cotton pad to remove the dust and remnants of the finish on the bowl and shank. I scrubbed out the shank, mortise and the bowl with alcohol, cotton swabs and pipe cleaners to remove the debris and dust.RB18

RB19

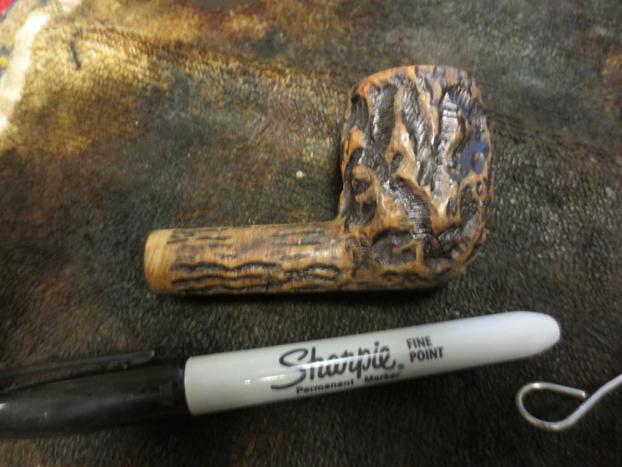
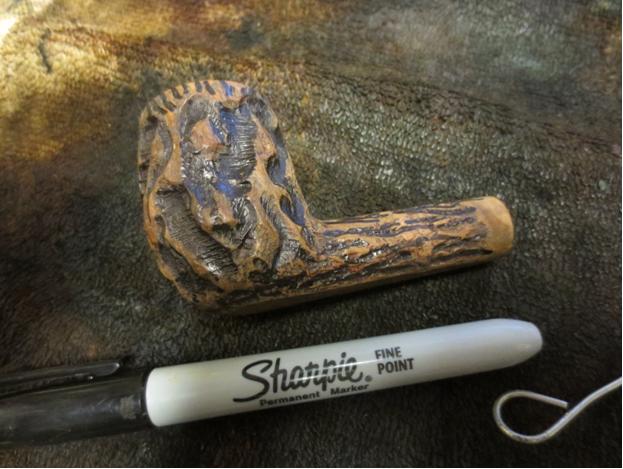
RB20 I decided to do a bit of contrast on the stain. I used a black Sharpie pen to colour in the grooves and rusticated patterns on the bowl and shank. Once I finished that they would add some depth to the colour that I stained the pipe.RB21

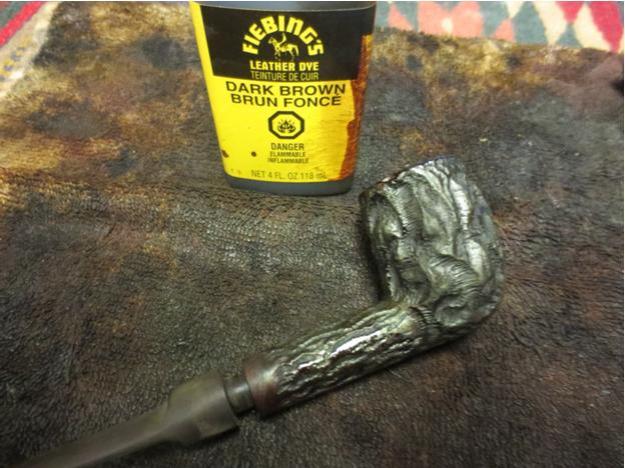
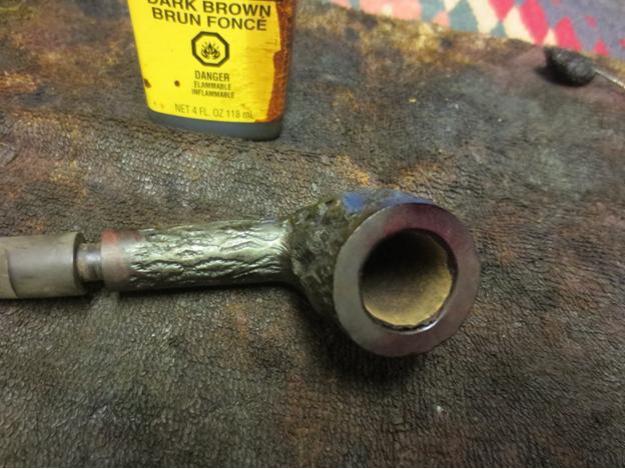
RB22 I stained the bowl with a dark brown aniline stain that I had thinned by half to give a bit of translucence to the colour on the bowl. I applied the stain and flamed the bowl to set the stain in the grain.RB23

RB24

RB25

RB26 I wiped the bowl down with isopropyl alcohol on a cotton pad to remove the stain from the high spots on the briar. I wanted a distinct contrast in colour between those and the grooves which I had coloured black.RB27

RB28 I buffed the bowl with red Tripoli and with White Diamond to remove some more of the colour from the high spots and polish them while leaving the grooves dark and unpolished.RB29

RB30

RB31

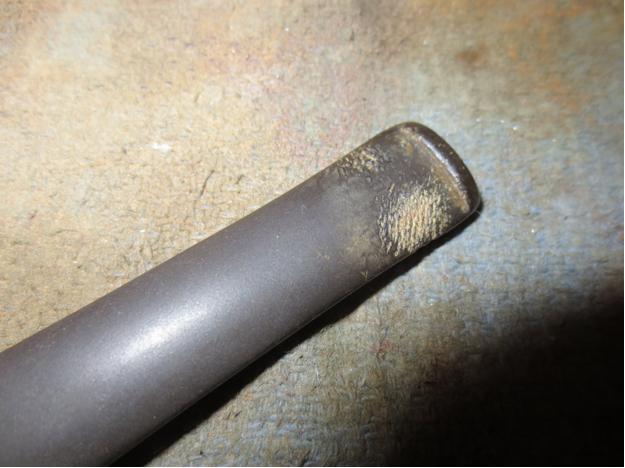
RB32 The stem was in decent shape with some tooth chatter and minor oxidation. I like the overall look and the rustication on the bowl. The stem and shank are long and straight and work well with this pipe.RB33

RB34 I sanded the stem with 220 grit sandpaper on both sides next to the button to remove the tooth chatter. I followed that by sanding it with a medium and fine grit sanding sponge.RB35

RB36 I worked on the stem with the micromesh sanding pads. I wet sanded with 1500-2400 grit pads and then rubbed the stem down with Obsidian Oil. I dry sanded with 3200-4000 grit pads, gave it another coat of oil and finished with the 6000-12000 grit pads. I gave it a final coat of Obsidian Oil and let it dry.RB37

RB38

RB39 I buffed the pipe with White Diamond and Blue Diamond and then gave it multiple coats of carnauba wax. I buffed it with a clean flannel buff and then hand buffed it with a microfibre cloth. The finished pipe is shown below. The unique finish intrigues me and the rustication feels great in the hand. Thanks for looking.RB40

RB41

RB42

RB43

RB44

RB45

Restoring and Restemming a Large Edward’s Bent Billiard with a Vulcanite Ferrule


Blog by Steve Laug

Label Logo_medium The last of the foursome of Edward’s pipes that I cleaned up for the fund raiser on Smoker’s Forums is a large Billiard with a vulcanite ferrule. It came to me without a stem so I would need to go through my stem can and see if I had any stem that would work with this bowl. The pipe is stamped Edward’s in script on the right side of the shank. On the left side it is stamped Algerian Briar in block letters. On the underside of the stem there is a large + sign and the shape number 42 near the ferrule. The bowl was in rough shape. The finish was dirty and there are some large and small fills along the shank from the bowl shank union to the ferrule. The ferrule was oxidized. The internals of the bowl and shank were dirty. The bowl was caked with the same heavy soft cake as the other Edward’s pipes. The tars had flowed over the beveled inner rim of the pipe and hardened into a dark hard cake. The briar itself was quite beautiful under the grime so a good cleaning would reveal some excellent grain as it had in the other three pipes.

I found a stem in my stem can that fit the shank well and looked pretty decent. It would need to be bent slightly and the roughness of the stem would need to be sanded down to make the fit right but I took photos of the pipe with this stem to get an idea of how it would look. At this point the pipe has not been cleaned up or reamed.Free1

Free2

Free3

Free4 I took one close-up photo of the bowl to show the state of the rim and the cake in the bowl. It would take some work to clean off the lava and bring the finish back to pristine.Free5 I reamed the bowl with the PipNet reamer and took it back to bare wood to remove the crumbling, soft cake in the bowl.Free6

Free7 Once I had the bowl reamed I took a photo of the stem and then took it to the heat gun to soften and rebend it to fit the bend of the pipe. There was a slight wave in the top of the stem that needed to be straightened as a part of the new bend.Free8

Free9 I heated it until the vulcanite was pliable and then straightened it before rebending it to match the curve of the bowl and when held in the mouth was horizontal with the top of the bowl.Free10

Free11

Free12

Free13 I liked the look of the stem with the new bend so I set it aside and went to work on the bowl. I used 0000 steel wool on the rim to remove the lava overflow and repolish the rim. I am finding that this works really well as Troy shared in various blog posts he has done here and on his own site. There is always something new to learn and add to the refurbishing skill set.Free14 With the rim cleaned up I wiped down the bowl with acetone on a cotton pad to remove the grime in the finish and refresh the briar.Free15

Free16

Free17

Free18 I cleaned out the bowl, shank and the airway in the stem with pipe cleaners, cotton swabs and alcohol. It was pretty clean which is amazing when you consider the condition of the rim and the cake.Free19

Free20 I sanded the stem with 220 grit sandpaper to clean up the shape and smooth out the angles and make the sides proportionally the same when the stem was in the mortise. I finished by sanding it with a medium and fine grit sanding sponge to smooth out the scratch marks left behind by the sandpaper.Free21

Free22 I lightly sanded the bowl and the rim with micromesh sanding pads – wet sanding with 1500-2400 and dry sanding with 3200-4000. I also sanded the vulcanite ferrule at the same time to remove the oxidation.Free23 I sanded the stem with the micromesh sanding pads as well – wet sanding with 1500-2400 grit pads and then rubbing it down with Obsidian Oil. I also used the oil on the ferrule. I dry sanded with 3200-4000 grit pads and rubbed it down again with the oil.Free24

Free25 I buffed the stem with Tripoli and White Diamond before sanding it with the final grits of micromesh pads. I finished with 6000-12000 grit pads and then gave the stem and ferrule a final rub down with the Obsidian Oil. I let it soak in and dry before taking it to the buffer.Free26 I gave the bowl a light coat of olive oil to bring life back into the briar and then gave it a buff with Blue Diamond on the buffing wheel. I gave the bowl and stem multiple coats of carnauba wax and then buffed it with a clean flannel buff. I finished by hand buffing it with a microfibre cloth to bring depth to the shine. The finished pipe is shown below. The first photo is of the pipe with the Edward’s large apple to give a sense of the size of the pipe. It is a large piece of briar.Free27

Free28

Free29

Free30

Free31

Free32

Free33

Dave’s Four Dot Sasieni


Blog by Andrew Selking

I’ve been out of touch for the past few months, between moving, home renovation, and finding a new job my free time has been limited. Dave is sneaky though, he sent a picture of a pipe he bought and asked me if I thought I could fix it. Of course I said yes. Here is the pipe as it looked upon arrival. There is an obvious chunk missing from the button, but there is also a small crack on the other side of the stem. That was uglier than it looks.Dave1

Dave2

Dave3

Dave4

Dave5

Dave6

Dave7

Dave8

Dave9 I did my normal procedure of cleaning the inside of the pipe first. Dave was kind of worried about how the alcohol might affect the finish, so I used new alcohol and only left the bowl in for about 45 minutes. I soaked the stem in an Oxyclean bath.Dave10

Dave11

Dave12 The tar on the rim came right off after removal from the alcohol bath. Next I reamed the pipe using my Castleford reamer, used a brush on the inside of the shank, followed by a retort of the bowl. As I suspected the pipe was pretty clean.Dave13

Dave14

Dave15

Dave16

Dave17 Before dumping out the Oxyclean, I ran a pipe cleaner through the stem. It was not too dirty. I followed that by a retort and more pipe cleaners. That was the easy part, the fun was about to begin.Dave18

Dave19

Dave20

Dave21 As you can see the missing chunk is a problem. The crack on the other side looked like it could keep going, so I drilled a hole to stop it. You might notice a slight micro crack to left of the main crack. Turns out there was a chunk of vulcanite hanging on like a loose tooth. Of course it came out very easily, leaving a stem that was missing most of the button on both sides.Dave22

Dave23

Dave24

Dave25

Dave26

Dave27

Dave28 The first thing I do when building a new stem is fit some rolled up wax paper inside the stem. I’ve found that the CA glue does not stick to it and it helps give shape to the inside of the stem. I use ground charcoal (which I purchased at the pet store and ran through a coffee grinder and sifter) and CA glue. I started by filling in the hole that I drilled to stop the crack. Once I had that filled in and sanded smooth, I started building up the stem below the button. I forgot to mention that I use CA accelerator throughout the process. I find that you can work the glue within 2 to 3 minutes instead of having to wait overnight.Dave35

Dave36

Dave37

Dave38

Dave39

Dave40

Dave41

Dave42

Dave43

Dave44

Dave45 Once the stem was repaired, I put layers of clear tape on the stem under the button to serve as a form for the glue. Once the tape was even with the button, I started adding CA glue and charcoal. I put a small amount of charcoal on the bottom of a plastic cup, add a drop or two of CA glue and mix it with a push pin. I use the push pin to add the material to the stem, followed by a few drops of accelerator. Once the material is built up, I start to sand and file it into shape. I use needle files and 400 grit sand paper. This gets me to the final step, which is addressing the micro pits.Dave46

Dave47

Dave48

Dave49

Dave50

Dave51

Dave52

Dave53

Dave54

Dave55

Dave56

Dave57

Dave58 I filled the micro pits with a mixture of CA and charcoal, but used much less charcoal than before. I used 400 grit sandpaper and needle files to get the final shape. I then used 1500-2400 grit micro mesh with water to smooth it all out. Since the bowl was in nice condition and I wanted to preserve the finish, I started polishing with 3200 grit micro mesh. I used a progression of 3200-12,000 grit micro mesh on both the bowl and the stem. Here is what it looked like once it was ready for the buffer.Dave59

Dave60

Dave61

Dave62 I polished the stem using my rotary tool with a felt pad and white diamond, followed by carnauba wax. My rotary tool has variable speed and I use the lowest setting. I used white diamond and carnauba wax on the bowl with the buffing wheel. Here is what the pipe looked like when I finished. This is my second repair of this type. My ultimate goal is to do repairs that look like the original. Thanks for looking.Dave63
Dave64

Dave65

Dave66

Dave67

Dave68

Revamping a Bavarian Folk Wine Pipe Made in Italy


Guest Blog by Robert M. Boughton
Member, North American Society of Pipe Collectors
http://www.naspc.org
http://www.roadrunnerpipes.com
http://about.me/boughtonrobert
Photos © the Author

“Voters in the southern German state of Bavaria [April 7, 2010] voted for Germany’s strongest smoking ban, meaning lighting up in bars, restaurants and beer tents at Munich’s famous Oktoberfest will be ‘verboten.’”
― David Levitz, journalist, Agence France-Presse

INTRODUCTION
Who would have dreamed that those crazy, fun-loving Bavarians who have been hosting the annual Oktoberfest since October 12, 1810, the day Crown Prince Ludwig (later King Ludwig I) married Princess Therese von Sachsen-Hildburghausen; the culinary health scoffers who gave to the world such artery-hardening treats as Weisswurst, Schweinshaxe, schnitzel and spaetzle, and for snacks and dessert, laugen pretzels, apfelstrudel, Baverische crème and zvetchgenkuchen – would ban smoking in all public buildings just months before the bicentennial of the world’s biggest excuse to get betrunken?

Bavarians are even so fond of beer and schnapps that they have a great little saying: Saufen bis zum Verlust der Muttersprache, or drink until you forget your mother tongue. And if you’ve ever seen many German tourists, how many of them didn’t look like triple bypass candidates? Of course, everyone knows smoking kills more people than drinking and/or diet-related maladies…right?

One 31-year-old Garden Grove, California woman who lost her job and started a blog, and has written a book but is still searching for a publisher, has a particularly active gift of gab. She blogged, “Bavaria’s cuisine is a monster truck. It crumples the delicate-by-comparison culinary offerings of Spain, Italy, and France like tiny little Fiats and Peugots in its path… It is rich and doughy and filling and is the only thing on the planet that can soak up German beer. Every other fare will simply hide in the corner of your stomach, petrified at the sheer awesomeness of the brew that resides in there with it, and it will never get digested.” Perhaps the most succinct line from this particular blog is, “Germans do it with bigger sausages.” [http://www.everywhereist.com/7-badass-bavarian-foods-you-must-try/] I, for one, can’t wait until the book comes out.

If the world is going mad as far as singling out tobacco as the great evil, then Bavaria may now be the capitol for the insanity. Maybe all that ice bockbier and apfelstrudel have saturated their bodies and have nowhere left to go but the brains.

At any rate, there remains for those of us who still appreciate the virtues of pipes and their tobaccos the glorious contributions of German craftsmanship in general and Bavarian in particular.Rob1 And more along the lines of the subject of this blog:Rob2

Rob3 When I emailed Steve a few photos of my new acquisition from eBay, for less than $11, I was happy as usual to receive a response but, I must admit, a little disheartened to hear of the 20 hours he spent restoring the 1810 Meerschaum Bowl masterpiece above. Then I considered the facts that his folk pipe was part meerschaum, and of course suspected he had, as his masterful skills and (if I may be so bold) somewhat obsessive creative bent allow, more than just restored it. He had in fact, of course, re-worked parts of it, as I learned when I read with pleasure his July 7 account. I mentioned the conjecture that Steve is a born pipe maker to my mentor, Chuck Richards, who with not an inkling of surprise to me that Steve has made a few pipes in his time. I therefore hereby suggest a blog by our host on these endeavors, which I am certain I am not alone in my curiosity to hear about and see.

Alas, as shall be seen, my Bavarian Three-Piece Folk Wine Pipe – not counting the screw-in bit – pales in comparison, although it did present problems I had not before encountered. Starting with the bit, the eBay photos revealed one gash that appeared to be so deep that it must have pierced the air hole. As Lady Luck provided, however, such was not the case. On the other hand, there turned out to be three bad divots in the bit, not counting the severe wounds just below the lip, top and bottom, from grinding teeth. Then there were the countless scratches on every piece; the well-caked chamber; scorching of what I believe is the ornate but aluminum wind cap; a serious cleft in the alternative wood shank, the variety of which I have not yet determined, and a hole in the bottom piece, where the wine is placed, too deep for any fix other than wood putty.

All of these complications, I knew, would be nothing compared to the task of cleaning and sanitizing a pipe with a form that defied retorting. Noting this anticipated cleaning conundrum with a quip, “That’s entirely rhetorical,” in fact, was the reason for Steve’s second reply to my email where he mentioned the time he spent on his folk pipe.
By the way, I owe a final nod to Steve, as well as the owner of my local tobacconist who confirmed his assessment, for identifying my Bavarian folk pipe (which turns out to be a no-name Italian version) as being designed to add wine.

RESTORATION Rob4 This, as it happens, is how I decided to approach the restoration: piece by piece.Rob5

Rob6

Rob7

Rob8

Rob9

Rob10 Without thinking – you might say a bit compulsively on my own part – I already cleaned and polished the wind cap before snapping the last shot above.Rob11

Rob12

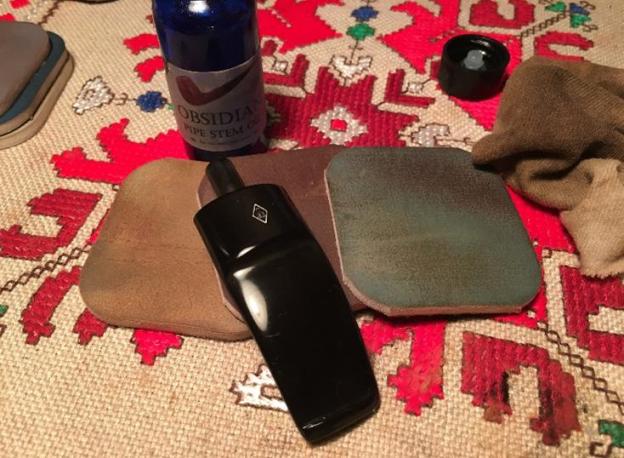
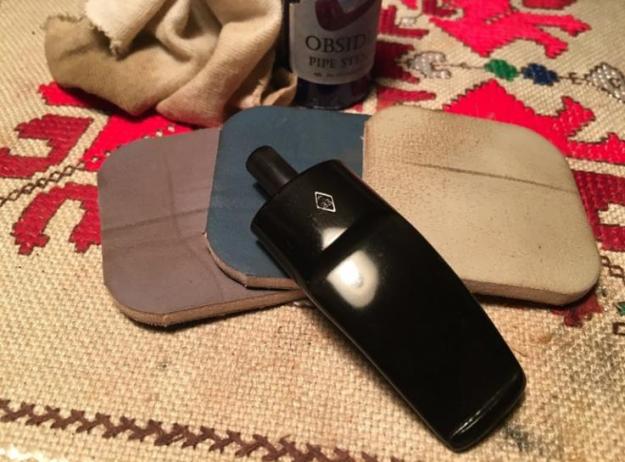
Rob13 Other than the almost unconscious cleaning and shining of the wind cap, inside and out, with Everclear-soaked cotton cloths, super fine steel wool and mostly 500-grit paper except for a few tough spots requiring 320, I saw no reason not to dive in with the bit. After all, filling the crevasses – and I can only imagine the drunken stumbling about that caused them – would take several days of layering with black Super Glue and drying time in between. The remainder of the restore was finished in a day and a half of intense work. I gave the bit a good soak in an OxiClean solution to start and cleaned out the mess inside with about six bristly cleaners dipped in Everclear before they came out clean.Rob14

Rob15

Rob16 With that process begun and the pipe disassembled, I returned to the main tobacco chamber (remember, this three-parter has a second chamber at the bottom for wine) and used my Senior Reamer to take out most of the fairly even though excess cake. After that I swabbed it out with some alcohol-soaked cotton gun cleaner squares and finished the removal of char and smoothing with 200-, 320- and 500-grit paper.Rob17 The yellowing of the cap’s inside area is the fault of my photography, not lack of attention. I know nothing of body work on cars, which is the kind of detail work the metal rim requires, and despite my restoration of this pipe for my own enjoyment, any tips on eliminating dings in metal, preferably without removing the entire rim piece, will be appreciated. Since the pipe is staying in my own collection, after all, I have a long time to work out that part.

I turned my attention to the outer bowl, first scrubbing out the draught hole with bristly cleaners soaked in alcohol – quite a few, in fact. Then I used 320-grit paper to remove both the old finish and the scratches, starting with the rough, un-sanded opening of the draught hole showing before and after below.Rob18

Rob19

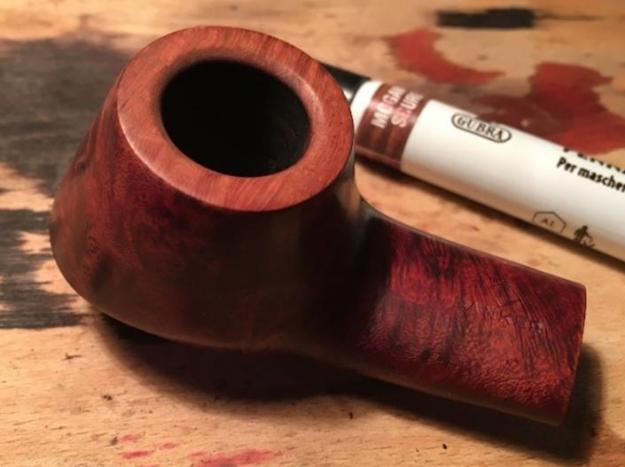
Rob20 From 1500-4000 micromesh, I prepped the bowl for buffing. I liked the natural, lighter shade of the briar and chose not to re-stain it, proceeding straight to the buffer wheels. I used white Tripoli, White Diamond and carnauba.Rob21
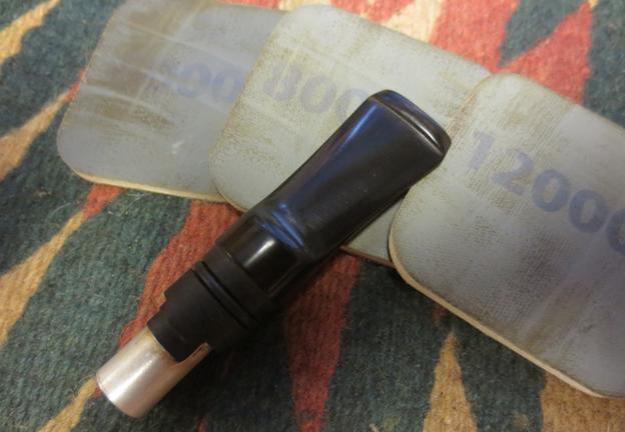
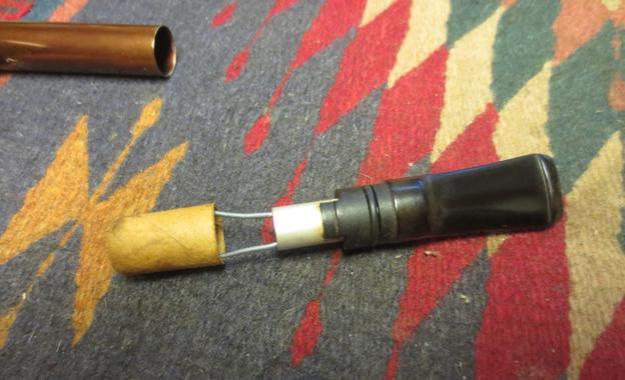
Rob22 The shank was what I expected would take most of the work, and I was right. I sanded the wood with 200 and 320 paper, deciding the cleft in the unknown wood gave it a certain character. Besides, it wasn’t going anywhere without the kind of serious reshaping Steve is into.Rob23 I sanded it again with 500-grit paper and micro-meshed all the way.Rob24 The ferrule was dull and scratched.Rob25 I used micromesh on it and then Lincoln black boot stain, which I flamed, let cool and wiped clean with 4000 micromesh.Rob26 Finally, I used Lincoln brown stain on the shank’s wood and used 4000 micromesh to take off the ash.Rob27 I buffed it with white Tripoli, White Diamond and carnauba, and used red and white Tripoli on the ferrule.Rob28 Onto the final stage – the bottom chamber where the wine is added. Here it is after sanding with 320-grit paper.Rob29

Rob30

Rob31

Rob32 By the time I cleaned it out with bristly cleaners and Everclear, when added to those used for the other parts, I had a pile about as high as Steve’s from his meerschaum bowl folk pipe, only much grimier except for the last that came out clean.

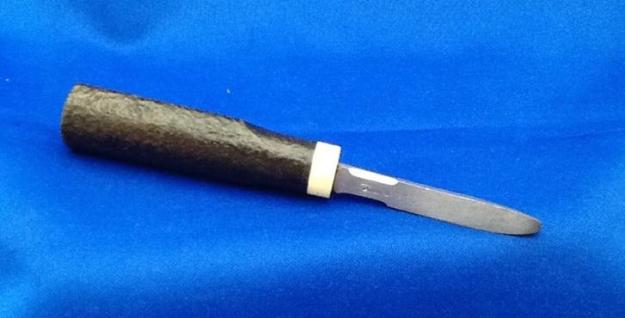
Now take a closer look at the right side, first with the small hole that could neither be sanded away nor ignored, then filled with a dab of wood putty. I let it sit and harden until the next day, when I colored the putty with an indelible brown marker and squeezed a drop of Super Glue over the mark.Rob33

Rob34 Late that night, I sanded off the roughness of the dried Super Glue and smoothed the whole piece with micromesh. And here is the finished, waxed result, without re-staining.Rob35 At last, I was ready to assemble the separately restored parts and wipe it all down with a soft cotton rag.Rob36

Rob37

Rob38

Rob39

Rob40

Rob41

Rob42 The only nomenclature, just under the bottom ring in the last photo, reads Imported Briar over Made in Italy.

CONCLUSION
This restoration involved two firsts for me: filling a hole with wood putty, as basic as that is, and more significantly, the importance of considering each independent part of the whole. Never before had I encountered a pipe with more than a bit connected to a shank that in turn attached to the bowl. The simple addition of a second chamber for wine with two openings – one for the shank and the other for the regular tobacco chamber – forced me to approach the project from an angle that was novel to me. The ultimate restoration was a unique pleasure for me, and I am happy to report that the finished folk pipe smokes quite well, even without wine. I look forward to seeing how it works with Martinelli’s Sparkling Cider.

Now I have just a few final words on the Bavarian tobacco ban. It seems they tried the same thing in 2008, but the result was a scoff law that the authorities didn’t even try to enforce. Let’s hope that all of the pipe smokers in the southern German state of Bavaria unite to overcome the 61% of voters who decided to deny them the right to run their own lives.

Rejuvenating and Repairing a Whitehall Dublin


Blog by Steve Laug

This old Whitehall pipe came to me from the antique shop in Victor, Idaho, a small town on the way to Jackson Hole, Wyoming. On a recent trip to Idaho my brother and his family and my daughters and I visited Jackson Hole. On the way home, we stopped in Victor to stretch our legs and wander a bit. I went into the antique shop and struck up a conversation with the owner. Eventually a tin of five pipes and some parts came out from under the counter. I bought all of them. They traveled back to Vancouver with me and will one day all be refurbished.
This Dublin shaped pipe is stamped Whitehall on the left side of the shank – though the stamping is faint. On the right side it is stamped Imported Briar (also faint). It has a flat bottom and sits well on that. The finish was very worn but was a rich oxblood colour under the grime. The bowl sides have some great cross grain. There were some small fills near the top of the bowl on the left side. The rim was damaged on the outer edge and very caked from the bowl over the rim top. The inner edge of the rim was still round and did not show signs of damage under the thick cake. The stem appeared to be a poor fit but as I looked at it I realized that it was upside down. The flattened bottom of the bowl had not been continued on the stem so it sat wrong.Dublin1

Dublin2

Dublin3

Dublin4 I took some close-up photos of the rim and sides of the bowl. The rim photo shows the tarry buildup and the side photos show the stamping.Dublin5

Dublin6

Dublin7 I generally ream the bowl when I start a clean up to remove the cake so I can examine the pipe thoroughly to check for inside wall damage and potential issues. I reamed it with a PipNet reamer and took the cake back to bare briar.Dublin8 While I was at it I scrubbed the rim with alcohol and cotton pads to remove some of the tars. I had to use a sharp blade to gently scrape away the thick coat of tars while I was scrubbing. The photo below shows the initial cleanup of the rim and newly reamed bowl.Dublin9 I sanded the rim with 220 grit sandpaper to further remove the tars and to minimize the outer edge damage. There was a burn mark on the front left of the rim that I was able to reduce but not remove altogether.Dublin10 I scrubbed out the shank and the bowl with alcohol, cotton swabs and pipe cleaners.Dublin11 I wiped down the exterior with alcohol and cotton pads to remove the finish and to clean it up. In doing so I found that there was a small shallow crack/flaw toward the bottom of the bowl on the left side. In the photo below the dental pick is at the close end of the crack and the dark spot is the far end.Dublin12 I picked out the crack with the dental pick, drilled two small holes – one on each end of the crack to stop it from going further. Interestingly this crack followed the pattern of the grain on the side of the bowl. Once I had it cleaned out I wiped it down with alcohol a final time. I pressed briar dust into the crack, dripped super glue into it and then pressed more briar dust on top of the glue. The photo below shows the repaired crack. Fortunately the crack was not deep and did not affect the interior of the bowl. It did not go all the way through and appeared to be more of a flaw in the briar than damage.Dublin13 I sanded the repair with 220 grit sandpaper to remove the excess patch and blend it into the surface of the briar. I sanded it with a medium and a fine grit sanding sponge to remove the scratches in the briar and feather out the surface. I sanded the entire bowl and rim with the same sanding sponges and sandpapers.Dublin14 I aligned the stem and sanded it with 220 grit sandpaper to smooth out the rough surface and then flatten the bottom to match the bottom of the shank.Dublin15
Dublin16

Dublin17

Dublin18 I wiped down the bowl with alcohol and then stained it with an oxblood alcohol based stain. I put the stain on heavy around the sanded areas on the shank and the bowl repair. I also darkened those areas with a dark brown stain pen following the pattern of the grain. I lightly buffed the pipe by hand and took the pictures below to show how the newly stained pipe looked at this point.Dublin19

Dublin20

Dublin21

Dublin22 I darkened the rim with the stain pen and gave it another top coat of the oxblood stain. I flamed it and buffed it lightly.Dublin23 With the bowl finished I worked on the stem. I wet sanded it 1500-2400 grit micromesh sanding pads. I rubbed it down with Obsidian Oil. I continued by dry sanding it with 3200-4000 grit pads, rubbed it down again with oil and then finished by dry sanding with 6000-12000 grit pads. I gave it a final coat of Obsidian Oil and let it dry.Dublin24

Dublin25

Dublin26 I buffed the bowl and stem with Blue Diamond on the buffing wheel, gave it multiple coats of carnauba wax and then buffed it with a clean flannel buff. I brought it back to the work table and then hand buffed it with a microfibre cloth. The finished pipe is shown below. It looks better than it did when I started, in my opinion. The rich oxblood colour helps to hide the repair and the burn mark on the rim. It should be a great smoking pipe if the amount of cake buildup that was there when I started is any indication. It should continue to provide great service to whoever ends up with it in their pipe rotation. Thanks for looking.Dublin27

Dublin28

Dublin29

Dublin30

Dublin31

Dublin32

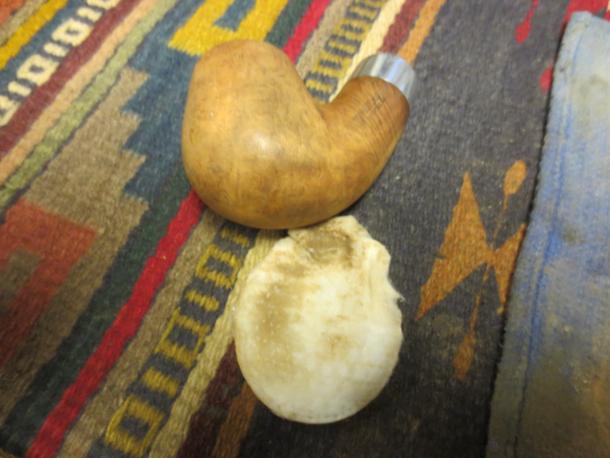
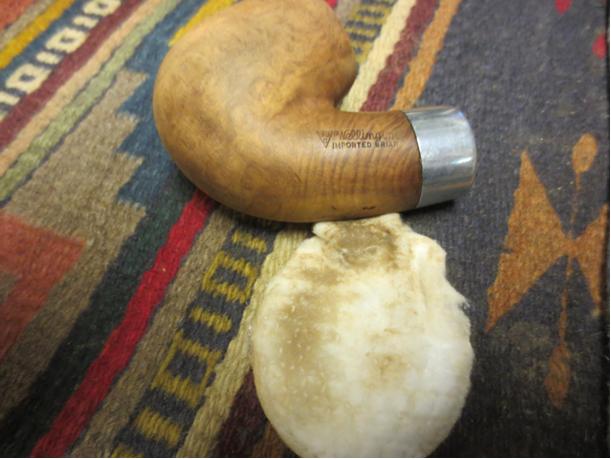
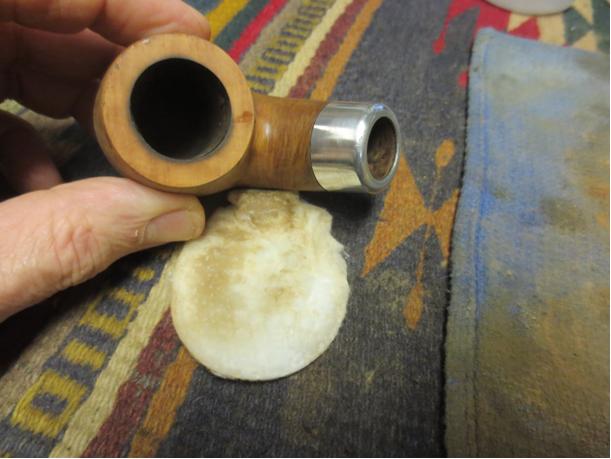
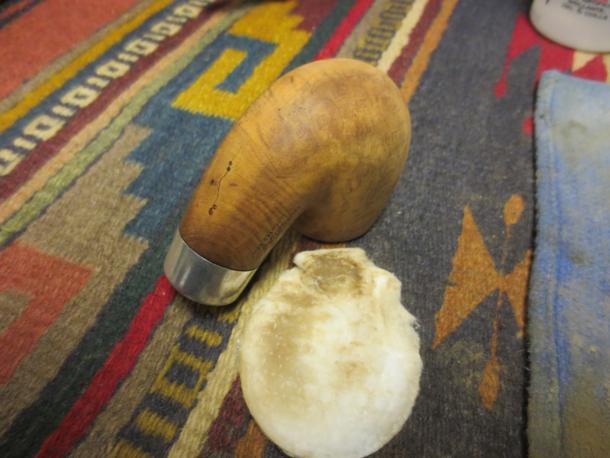
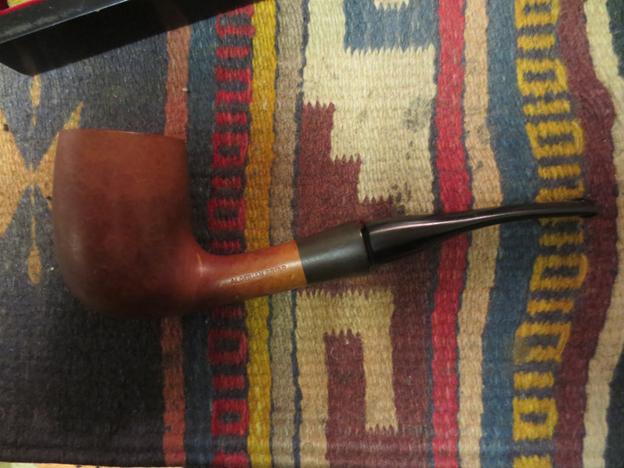
A Dr. Grabow Sportsman #72


Blog by Troy Wilburn

This is a pipe I got from Joe’s lot. From looking at Grabow charts I believe this is a shape # 72 Sportsman. Joe mudded and coated inside bowl for me before he mailed it off ……Thanks Joe :).

Here is what it looked like when I received it.G1

G2

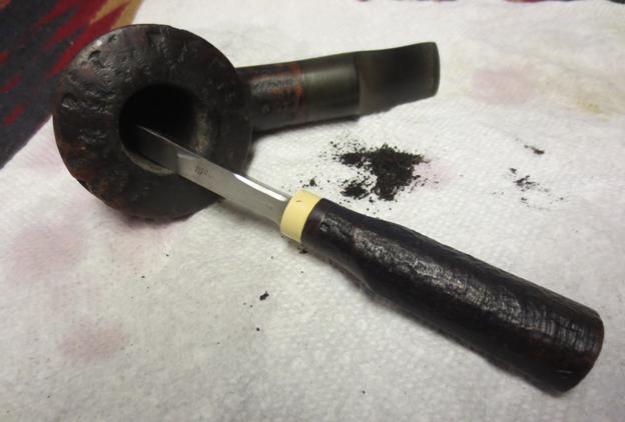
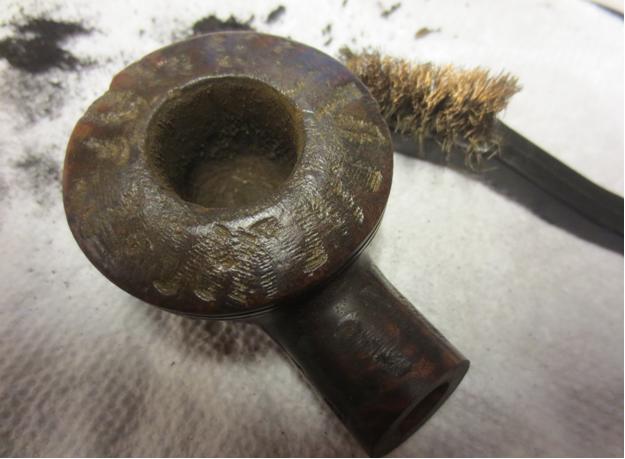
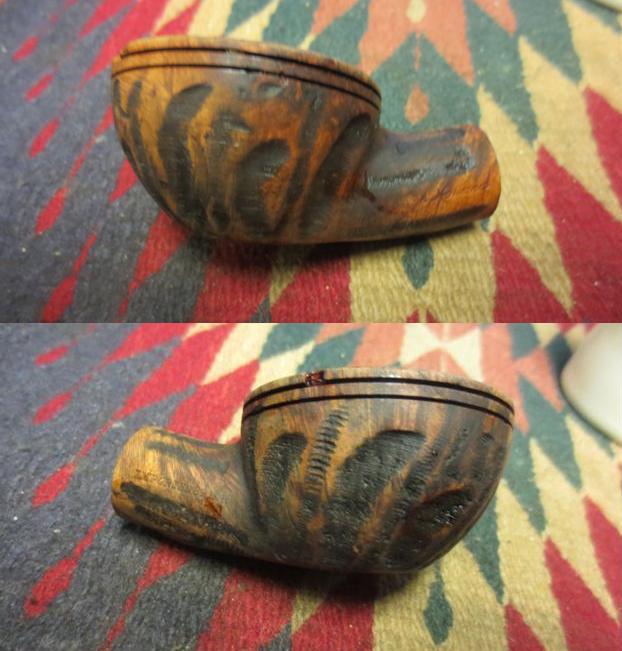
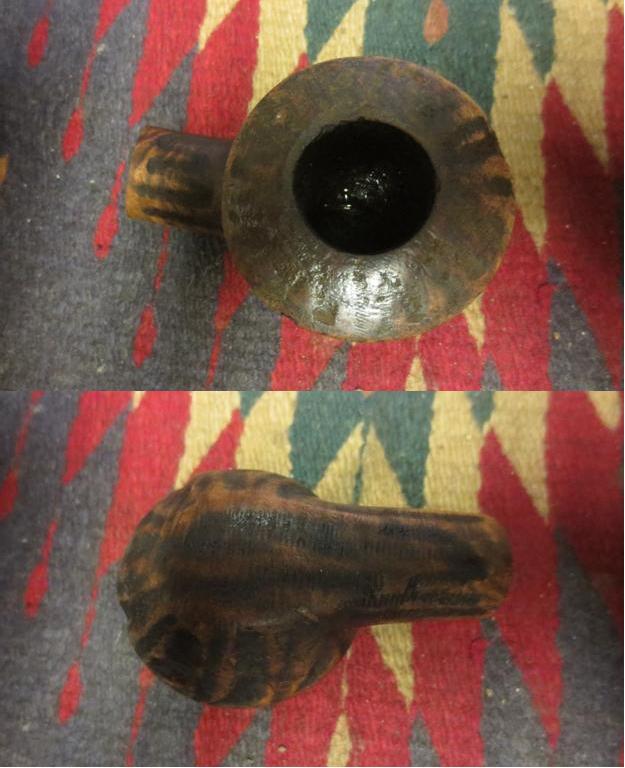
G3

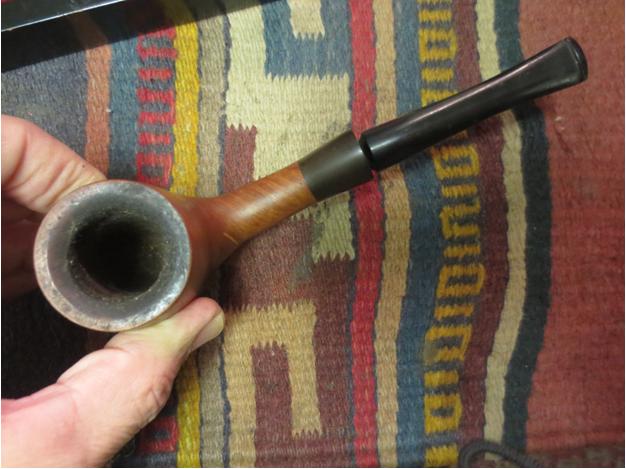
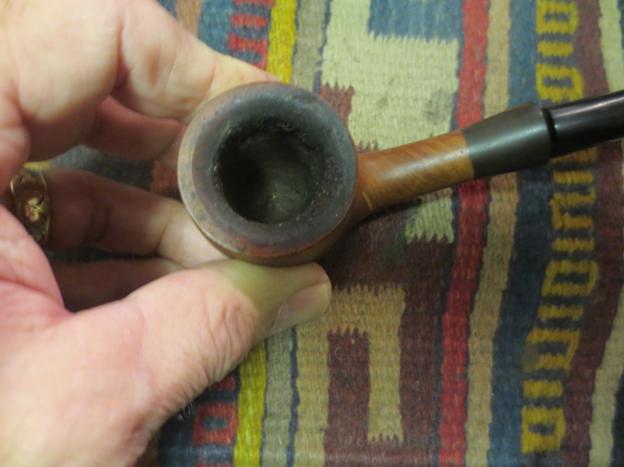
G4 I had to top the bowl and I found a nick or inclusion that was pretty deep I took it down as far as I thought I should go. You can still see it in rim but I got it pretty small and will let it be. Unfortunately the rim lacked much if any grain at all. I canted bowl slightly to give it a “Devil Anse” type of look. Then just basically sanitized, sanded, oiled, waxed and buffed.

Rough sanding done on topping of bowl.G5 Sanded, cleaned ready for oil wax and buff.G6 Very cloudy here today so pics not the greatest, but a lovely little pipe I think and will be in my collection a very long time.

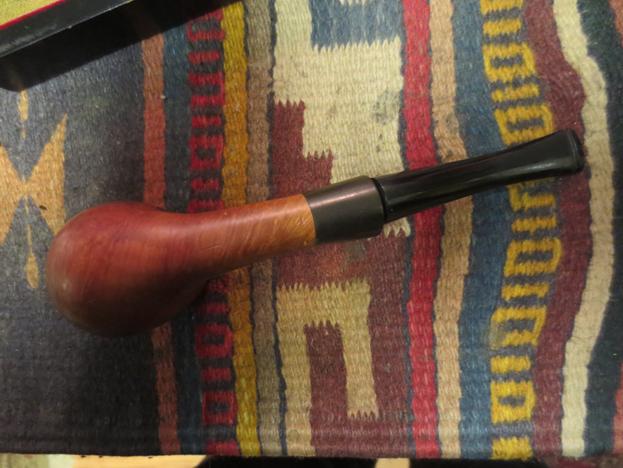
Here are some photos of the finished pipe.G7

G8

G9

G10

G11

G12

G13

G14

Breathing new life into a White Flame Saddle Billiard 353


Blog by Steve Laug

This was another of the pipes I picked up on a recent trip to Idaho Falls. I found it and several nice older pipes in a local antique mall. This one is stamped White Flame over Natural Briar on the left side of the shank and 353 on the right side. On the underside of the stem there was a lightly stamped FRANCE on the saddle. I had never seen a pipe with the White Flame stamping. I looked on the pipephil site and there was nothing there either. I did find a reference to the brand in Who Made That Pipe. There it was listed as a brand made by both Imperial and Civic. The book said the make was English and American. From my experience though, both the Imperial brand and the Civic brand were English made pipes. I know that Yello Bole made an Imperial and I am wondering if that is not what WMTP is referring to. This one however, just says British Briar in the shape, the stamping and everything else. I searched on the web to find a shape chart for either Imperial or Civic and so far have found nothing that lists the shapes of the two brands.Flame1
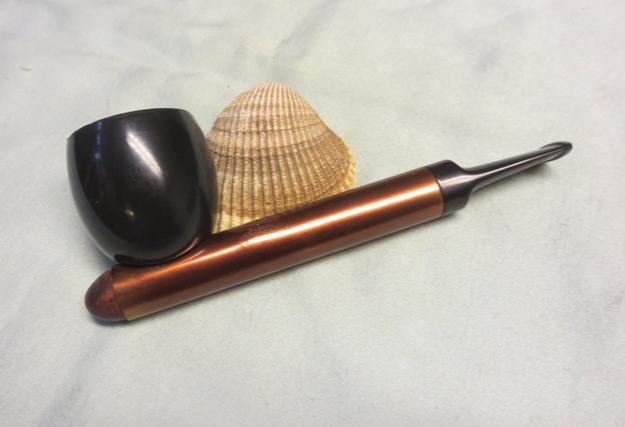
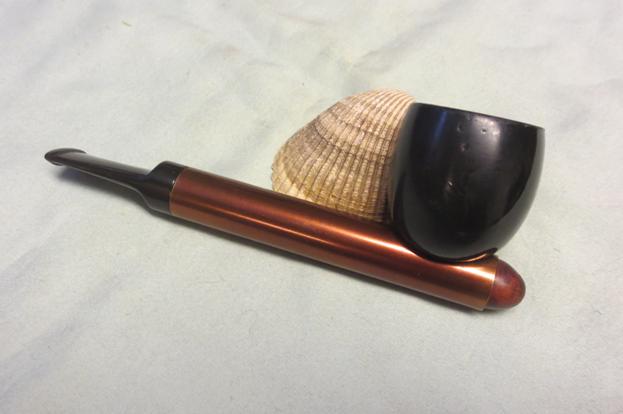
Flame2 The pipe had a natural, virgin finish that had picked up a slight patina over the years. There was a hint of red in the briar under the grime. The stem was badly oxidized. The bowl had a thick cake and the rim was nicked on the back right side outer edge and the top was blackened with a coat of tars and carbon that had run over from the bowl. Other than that the pipe was in decent shape. The bowl was still round. There were a few slight nicks and dings in the sides but it still was decent enough that a restoration would not be too difficult.Flame3 I have included a close-up of the rim to show the thickness of the cake in the bowl and the damage to the outer edge of the rim. The tarry lava overflow on the top of the rim is also very visible.Flame4

Flame5 I have also included some photos of the stamping to see if any of you reading this have any ideas of the maker.Flame6

Flame7 I reamed the bowl with a PipNet reamer starting with the smallest head on the T handle and working up to the third head. I took the cake back to the briar walls of the pipe.Flame8

Flame9 Because of the rim damage and the thick build-up I decided to top the bowl and remove the damage. I would not be able to remove all of it without changing the profile of the bowl but I could minimize its visibility. I topped it on the topping board with 220 grit sandpaper.Flame10 I finished topping it by sanding it with a medium and a fine grit sanding block to smooth out the scratches left from the sandpaper. The topped bowl is shown below.Flame11 The oxidation was bad enough that I decided to drop it in a mixture of Oxyclean and let it soak for an hour to let the Oxy do its magic. As soon as it hit the warm mixture the water turned amber as the oxidation bubbled away.Flame12 While it soaked I scrubbed the bowl with acetone on cotton pads to remove the grime and the wax from the briar.Flame13

Flame14 I cleaned out the shank and mortise with alcohol, cotton swabs and pipe cleaners.Flame15 The patina of the bowl was darker than the newly topped rim so I used a light coloured stain pen to match the colour of the briar. It would need some more work to blend it but the colour was very close.Flame16 I gave the bowl and rim a light coat of olive oil to give back some life to the grain and work to match the bowl and rim even more. After oiling it I hand buffed it with a microfibre cloth to remove the excess and to get a clear picture of the match of the rim to the bowl. The match was perfect as can be seen from the photos below.Flame17

Flame18

Flame19

Flame20 After the stem had soaked for an hour I took it out of the bath and dried it off with a coarse cotton cloth. I was able to rub off the majority of the remaining oxidation. The stem is shown in the photo below after the rub down.Flame21 I sanded the stem with a medium and a fine grit sanding sponge to remove the remaining oxidation. I then worked on the stem with micromesh sanding pads. I wet sanded the stem with 1500-2400 grit pads and then rubbed it down with Obsidian Oil. I dry sanded with 3200-4000 grit pads, rubbed it down with oil again and then finished by dry sanding with 6000-12000 grit pads. I gave it a final coat of Obsidian Oil and then buffed it with Blue Diamond on the wheel.Flame22

Flame23

Flame24 I finished the restoration by buffing the pipe with Blue Diamond and then I gave the stem and bowl multiple coats of carnauba wax. I buffed it with a clean flannel buff and then took it back to the work table and hand buffed it with the microfibre cloth. The finished pipe is shown in the photos below. We are in the midst of a much needed rain storm but I love the look of the pipes in the fronds of the palm tree in my back yard. On these photos you will see some raindrops on the stem and bowl in several of the photos. I am pleased with the finished look of the pipe. The natural light brings out the reds in the briar. It is a beautiful pipe. Thanks for looking.Flame25

Flame26

Flame27

Flame28

Flame29

Cleaning up an LHS Sterncrest Lovat with a Bakelite Stem


Blog by Steve Laug

The next pipe on my work table is a little 4 ¾ inch Lovat with a rusticated finish and a two tone stain. The rustication looks like craters and swirls. Even the top of the bowl is rusticated.LHS14 The stem looked to be oxidized but once I worked on it I was in for a surprise. The band was stamped Sterling Silver arched over the LHS in a Diamond logo and under that was stamped Rhodium. The underside of the shank was flat and smooth and was stamped with the LHS in a Diamond logo with the word Sterncrest arched under the diamond. Toward the stem end of the shank it was stamped Imported Briar.LHS13

LHS9

LHS10 As I looked at the stem more closely I could see swirls of red running through it and the material was a reddish brown colour. It had a similar appearance to Cumberland but was harder and heavier. The patterns in the swirls was not uniform at all and made me think of other things that I have around made of a similar looking material. This would become more clear when I cleaned up the stem.LHS11

LHS12 I took two close-up photos of the stem and the extension that was in the end of the tenon and extended into the bowl. It was an integral part of the stem and I was not able to remove it.LHS15

LHS16 Once I got this far in the process I wanted to know a bit more of the history of the brand. I was trying to find out when the pipe potentially was made. The stem had me fascinated. The extension tube in the tenon was different from any other LHS Sterncrest pipe that I had seen. All of the patent information I could find from the early 1900s through 1936 showed a more typical ball and point stinger apparatus. There was nothing to date this in the patent information. That combined with the unique stem material seen clearly in the photo above made me very curious about the pipe.

I looked on the PipePhil site which is a go to site for me when digging out information and I found some helpful material. Here is the link – http://www.pipephil.eu/logos/en/logo-lhs.html. The first item below is a copy of the photo from his site which gives some simple information. The Strencrest stem that I had did not have the inset silver diamond in the side on the top of the saddle. The stamping on the pipe was different as well. Mine was stamped LHS in a Diamond (like the one on the briar inset below) but STERNCREST was underneath the Diamond. Imported Briar was on the opposite end of the shank. The inset of the band is identical in terms of what is shown. The band on mine has one additional feature below the LHS diamond and that is the word RHODIUM.LHS1 I followed the links on the site and found the following grading guide from 1944 there as well. It lists the Sterncrest Sterling as the third highest grade of pipe. The issue for me is whether the pipe I have is a Sterling. It only bears the Sterncrest stamp and that does not appear on the chart below.LHS2 I read some more on the site and found that the L&H Stern Inc. was established by Ludwig Stern (1877-1942) in 1911. His brother Hugo (1872-?) acted as vice-president & secretary. The firm moved to 56 Pearl St. Brooklyn in 1920. It closed down in the 1960s. LHS was one of the main pipe suppliers for US soldiers during WWII. That was the short version of the information. With that I knew that my pipe was made between 1911 when the company opened and before the 1960’s when it closed.

I googled for more information to see if I could find company advertising that showed the pipe I was working on and gave more definitive information on the brand. I found the following quote that helped to fit the Sterncrest into the scheme of things. “LHS is L & H Stern Pipe Making Co. that was based out of Brooklyn N.Y. Their most common lines seem to have been their Sterncrest pipe models. The company made pipes from 1900-the 1950’s.”

I also found some advertising which I have posted copies of here. Three of the magazine advertisements are shown below. All three show a similar pipe to the one that I have in hand. The rustication on mine is more crater like than tree bark like but the patterns are similar.LHS7 I have also included a page from a Sterncrest Catalogue from 1946 that shows the line and the second pipe from the right, the lovat is identical in shape to the one that I have. The rustication pattern in the picture is similar but also more tree bark like and the stamping is on the side of the shank rather than the underside.LHS8 Now I knew that the pipe I was working on came from a more narrow time period – 1910 to sometime in the 1940s. That was all the information I could readily find on the pipe. I was still left with a bit of a mystery that would become somewhat clearer as I cleaned up the pipe and stem.

The pipe was lightly smoked and I was able to wipe out the dust and debris from the bowl quickly. The shank was dirty but what came out of the shank was not tobacco debris or tars but rather a red stain. The inside of the shank had some stain left in it. The bowl must have been dip stained when in the factory and the pipe had not been smoked enough to burn off the stain that was there. Obviously the previous owner never ran a pipe cleaner into the shank to find what I found in my clean up with alcohol, cotton swabs and pipe cleaners.LHS16a I also cleaned out the airway in the stem and tenon extension. I was careful as I did not want to chip or damage the extension. The more I worked with the stem the more I was beginning to get an idea of what the stem material was.LHS17 I worked on the stem with micromesh sanding pads. I wet sanded it with 1500-2400 grit pads and then rubbed it down with Obsidian Oil. I was uncertain whether the oil would be absorbed or not but either way it would give some teeth to the micromesh pads as I worked with them. I took photos of both sides of the stem to show the pattern that started to show up as I polished it.LHS19

LHS20 I dry sanded with 3200-4000 grit micromesh sanding pads to further polish the stem. I rubbed it down with Obsidian Oil once again.LHS22

LHS23 The more I polished the stem the more clear it became what the material I was working with was. I dry sanded with the final three grits of micromesh and then buffed the stem with Blue Diamond polish before giving it a final coat of oil. Once the oil dried I buffed it with some carnauba wax and then with a clean flannel buff before giving it a final hand buff with a microfibre cloth.LHS24 Once I finished polishing the stem I knew without a shadow of a doubt that the stem was made of Bakelite. It was exactly like several of the Bakelite tobacciana items that I have collected. The mottled brown and red look of the polished stem proved it to me.

I decided to do a bit of research on Bakelite to both make certain I was working with that and to see if I could narrow the date for this pipe down even further. I am including some of the information that I found in my search.

From the New World Encyclopedia online I got some basic information on the material. Here is the link if you want to see the original source. http://www.newworldencyclopedia.org/entry/Bakelite

I found that Bakelite is a material based on a thermosetting phenol formaldehyde resin developed in 1907–1909, by the Belgian-American chemist Leo Baekeland. It was the first plastic made from synthetic components. It was used for its electrically nonconductive and heat-resistant properties in radio and telephone casings and electrical insulators, and was also used in such diverse products as kitchenware, jewelry, pipe stems, and children’s toys…

Bakelite is a phenol formaldehyde resin with the chemical name polyoxybenzyl methylene glycol anhydride. It was formed by the reaction under heat and pressure of phenol, a toxic, colorless crystalline solid, and formaldehyde, a simple organic compound, generally with wood flour filler. The combination of the mixture with the wood flour makes the material hard and dense.

The company, The Bakelite Corporations was formed, in 1922, from the consolidation of three companies: the General Bakelite Co., the Condensite Corp. and the Redmanol Chemical Products Company, an early plastics manufacturer formed in 1913, by chemist L.H. Baekeland. The American Catalin Corporation acquired the Bakelite formulas, in 1927, and currently manufactures Bakelite cast resins.

Bakelite Limited was formed, in 1926, from the amalgamation of three suppliers of phenol formaldehyde materials: The Damard Lacquer Company Limited of Birmingham, Mouldensite Limited of Darley Dale, and Redmanol Chemical Products Company of London. Around 1928, a new factory opened in Tyseley, Birmingham, England. (The building was demolished in 1998.) The company was acquired by the Union Carbide and Carbon Corporation in 1939.

From the Wikipedia I found out more information. Here is the link for the source should you want to read more. I have included a few clips from that source. https://en.wikipedia.org/wiki/Bakelite

Bakelite is not extensively used for general consumer products any more, due to the cost and complexity of production and its brittle nature. However, it was used in the past in myriad applications, such as saxophone mouthpieces, cameras, solid-body electric guitars, rotary-dial telephones, early machine guns, and appliance casings. It was at one point considered for the manufacture of coins, due to a shortage of traditional manufacturing material.

An exception to the overall decline is the use in small, precision-shaped components where their specific properties are required, such as molded disc brake cylinders, saucepan handles, electrical plugs and switches, and electrical iron parts. Today, Bakelite-type materials are manufactured and produced in the form of sheets, rods and tubes for many industrial applications in the electronics, power generation, and aerospace industries, and under a variety of commercial brand names.

Many companies stopped using Bakelite in the early 1940s as the need for World War II related products took hold. By the end of the War, new technologies in the world of plastics had made Bakelite obsolete.

A final source of information I found was on jewelry specifically but the dates coincide with the information above and help narrow the dates for my pipe stem.

The source is as follows: http://www.teeda.com/history-of-bakelite-jewelry.html

The height of Bakelite jewelry was the late 1930s, up until the end of the Art Deco period. The designs were quite popular in mass merchandise stores such as Sears and Roebuck. However there were also some famous names working with the material and creating Bakelite jewelry including Chanel and Van Cleef and Arpel. Oddly enough Bakeland allowed the patent to expire and the Catalin Corporation bought it. They began creating their own Bakelite jewelry marketed as Bakelite-Catalin. The pieces were sold in both expensive stores like Saks Fifth Avenue and smaller stores such as Woolworth’s.

Bakelite jewelry was available in a variety of colors, but brown, green, red, and white were the most popular color choices. Over time though, exposure to the light and particles in the air have caused many of these colors to change. A good example is a bracelet that was once white, but now looks pale brown in color.

Given the information on Bakelite I think I can safely narrow down the date on the stem to between 1930-1949 when the war ended. That may be as close as I can get to pinning down a date on the pipe unless someone who knows a bit more of the history of LH Stern can be more specific regarding the apparatus at the end of the tenon.

I returned to finishing up my work on the pipe. With the stem completed, I polished the stem with a silver polishing cloth and was able to remove all of the oxidation and give the silver band a sheen that looked like new.LHS18 I rubbed down the bowl and shank with Halcyon II wax and then buffed it with a shoe brush and then with the microfibre cloth to raise the shine. The finished pipe is shown in the photos below. It is ready to load up and smoke a bowl. It will probably be the first bowl that has been run through the pipe since the end of the war. I am looking forward to reintroducing the pipe to a nice bowl of Virginia or Virginia Perique. It is so light weight that it should be a great smoking pipe.LHS25

LHS26

LHS27

LHS28

LHS29

LHS30 Thanks for looking.