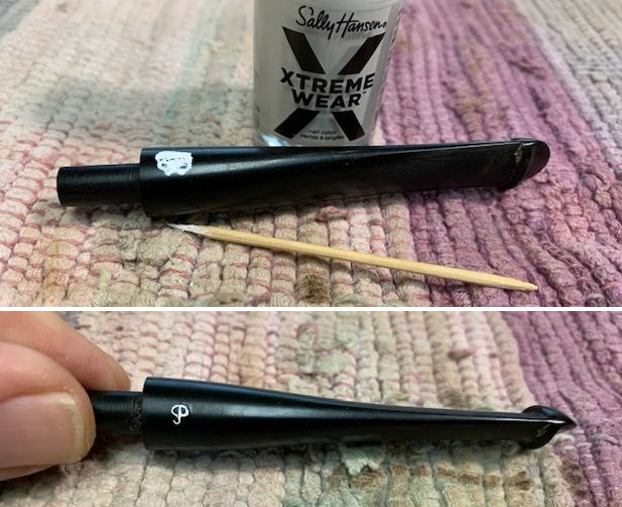
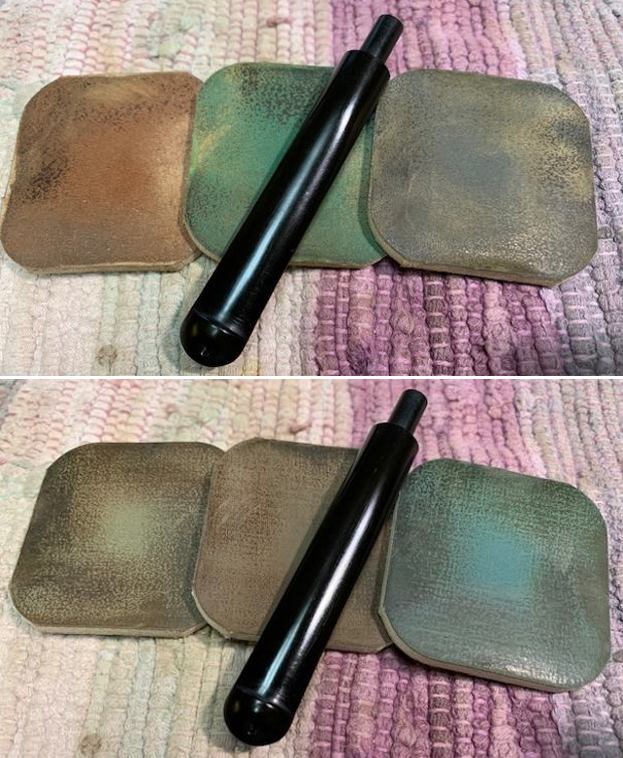
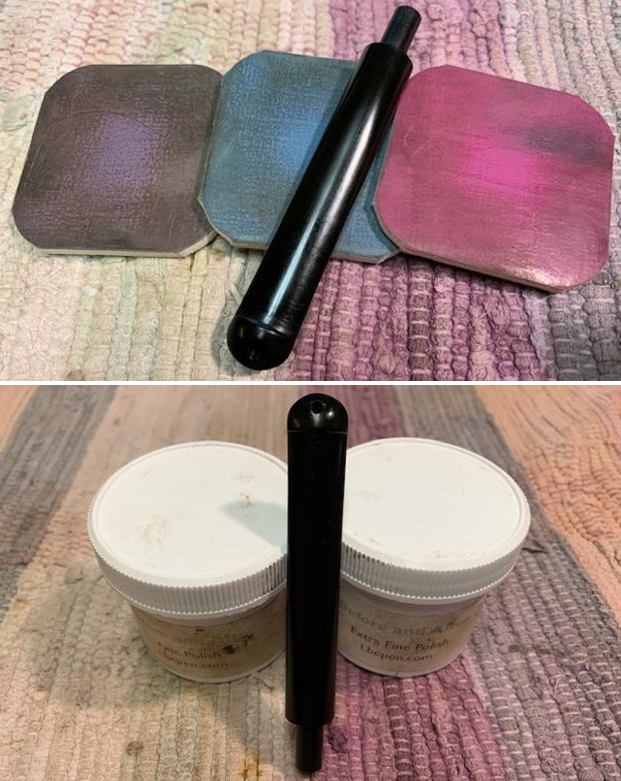
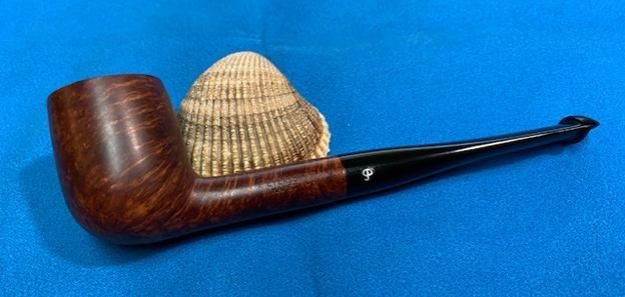
Tag Archives: Bowls – refinishing

A Bit of a Mystery Pipe – a Gebi Fatta A Mano Freehand Pot


Blog by Steve Laug

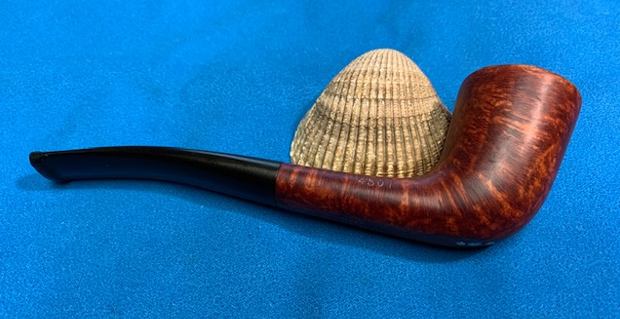
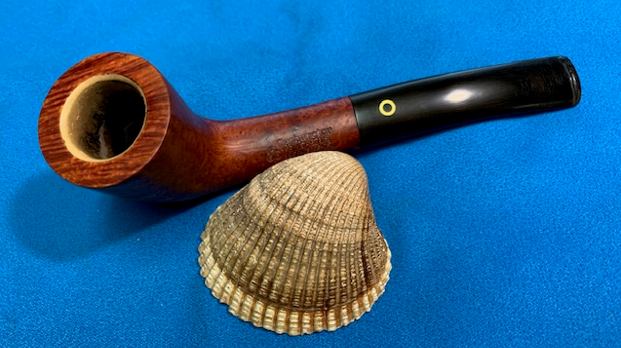
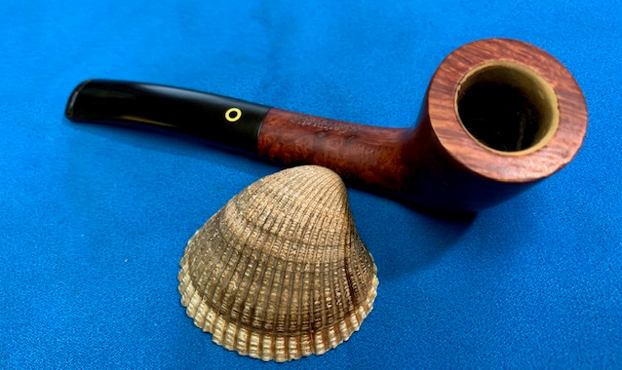
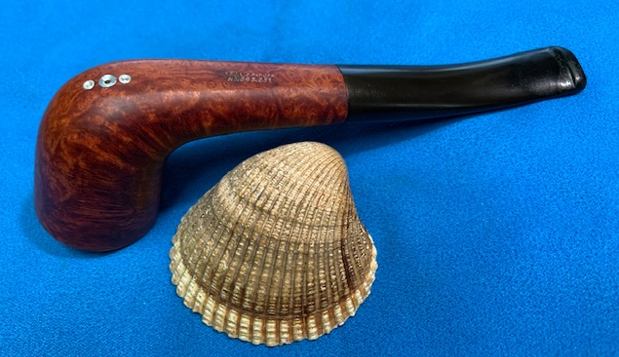
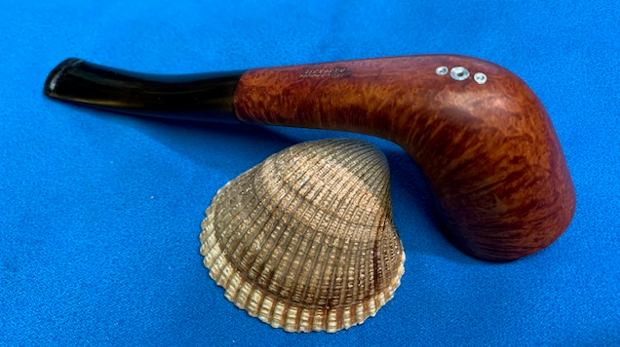
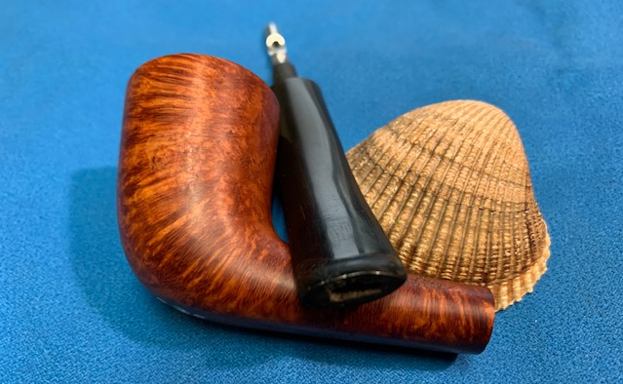
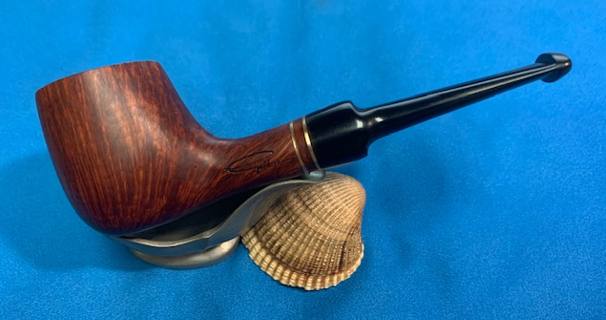
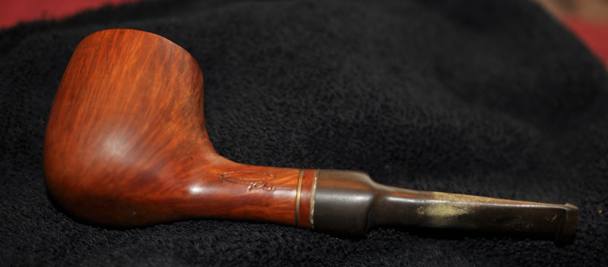
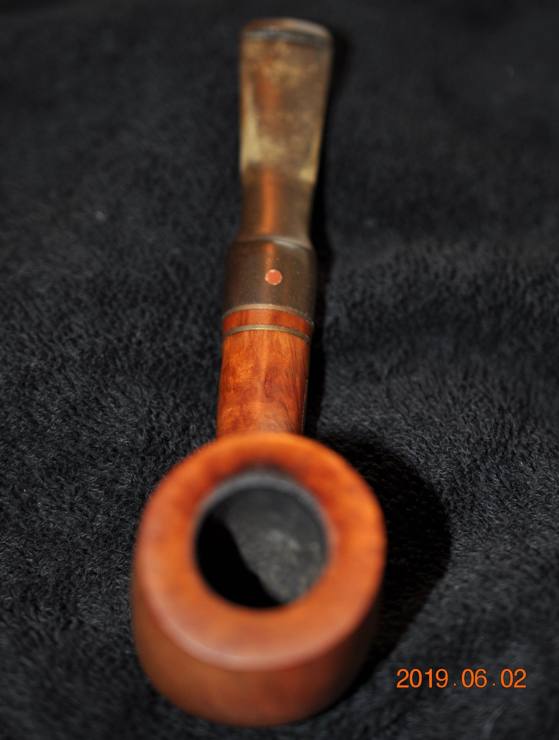
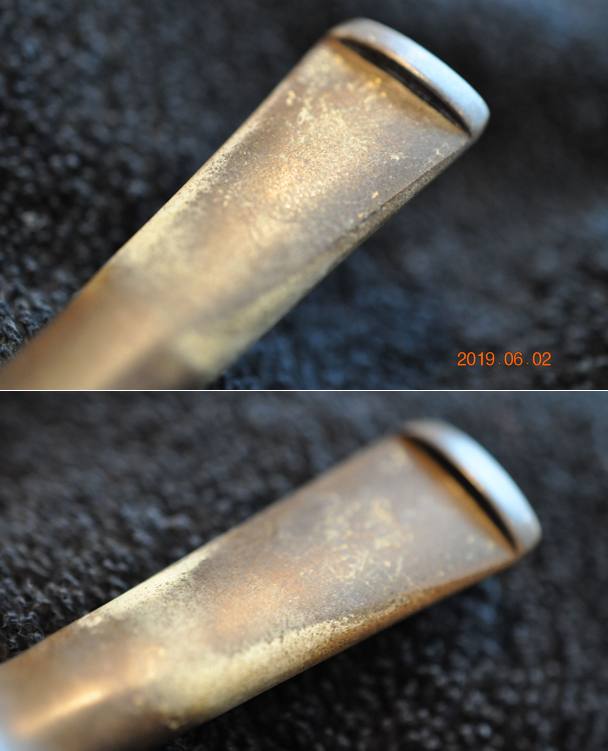
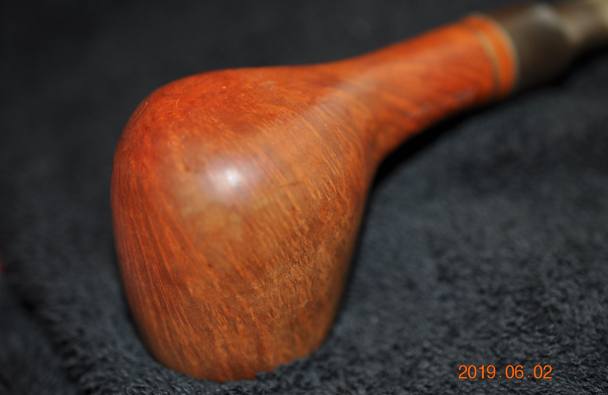
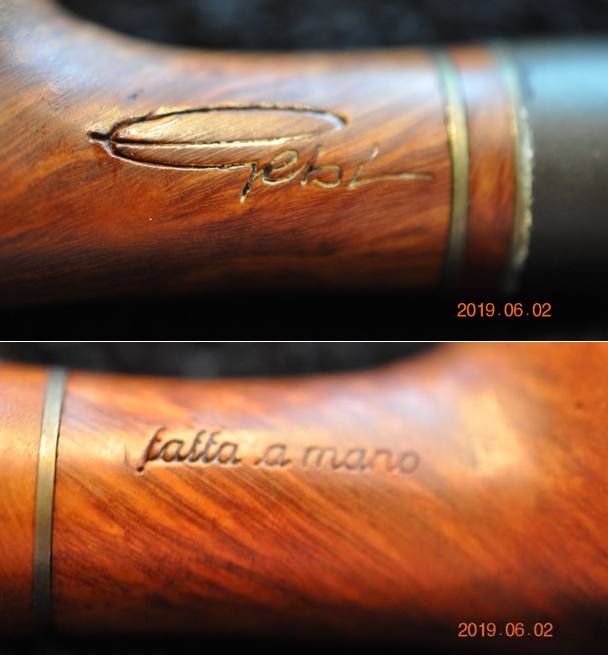
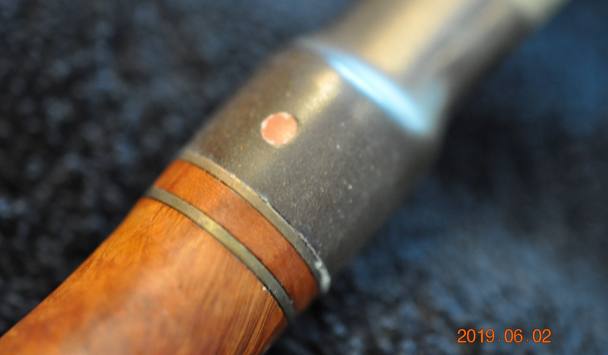
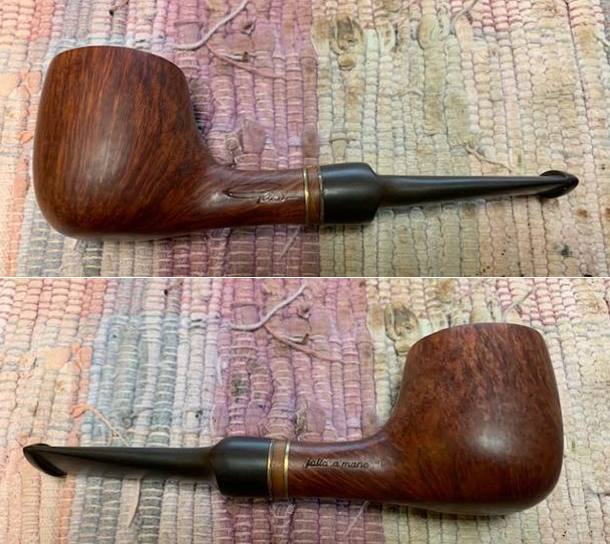
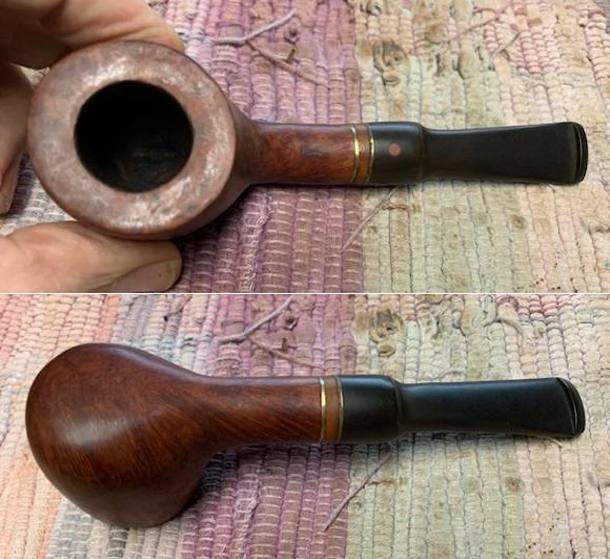
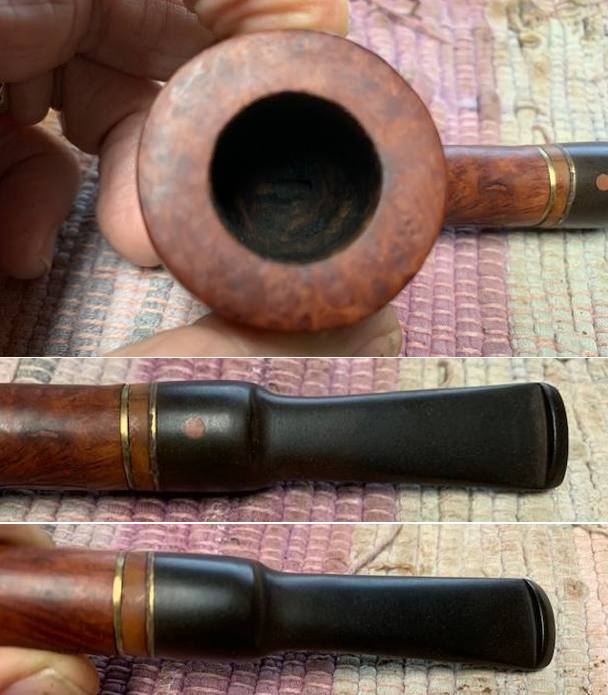
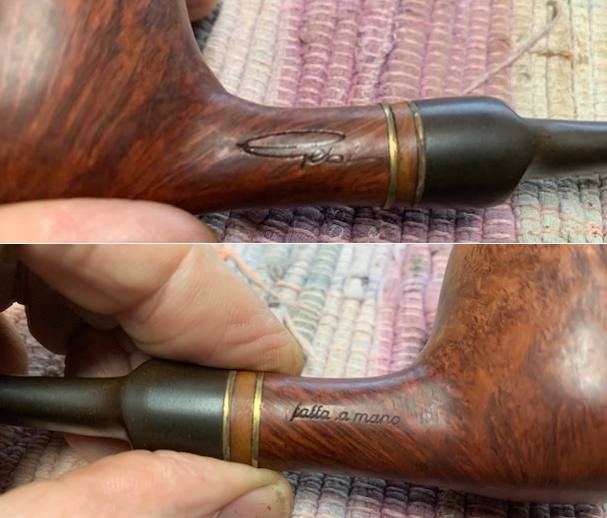
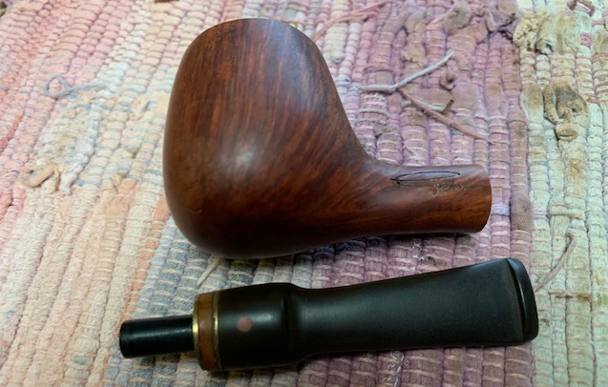
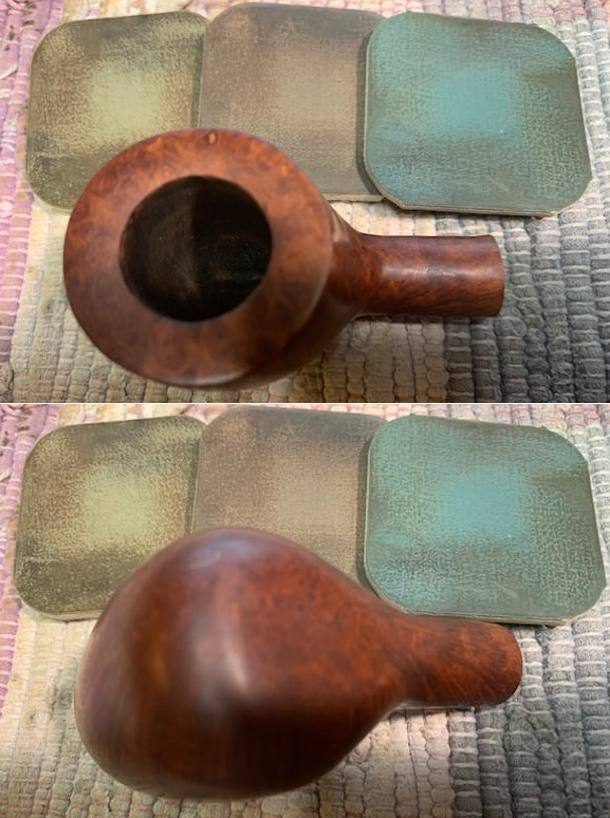
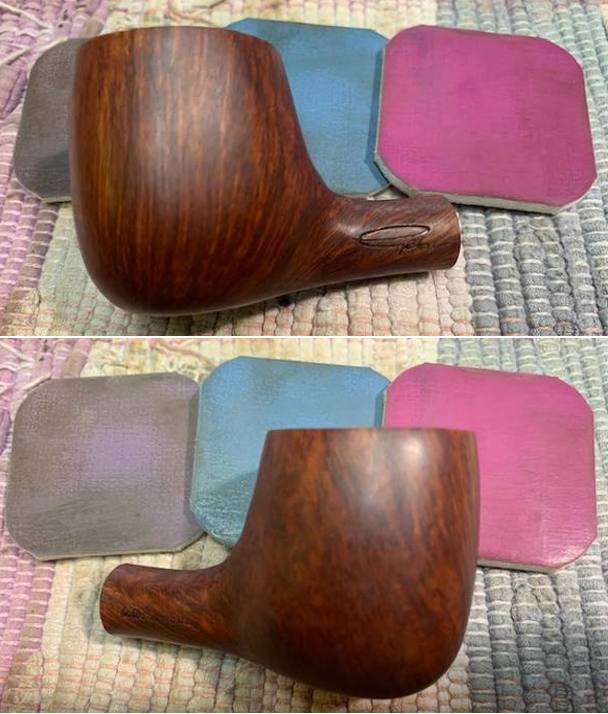
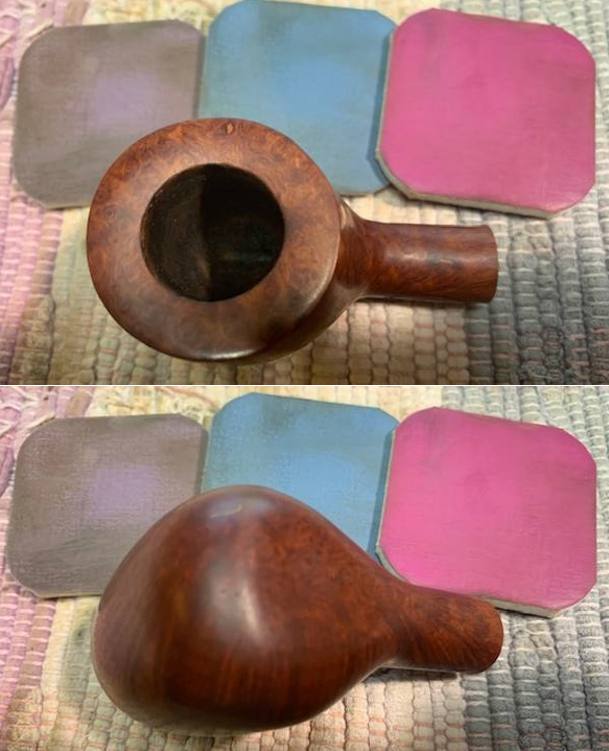
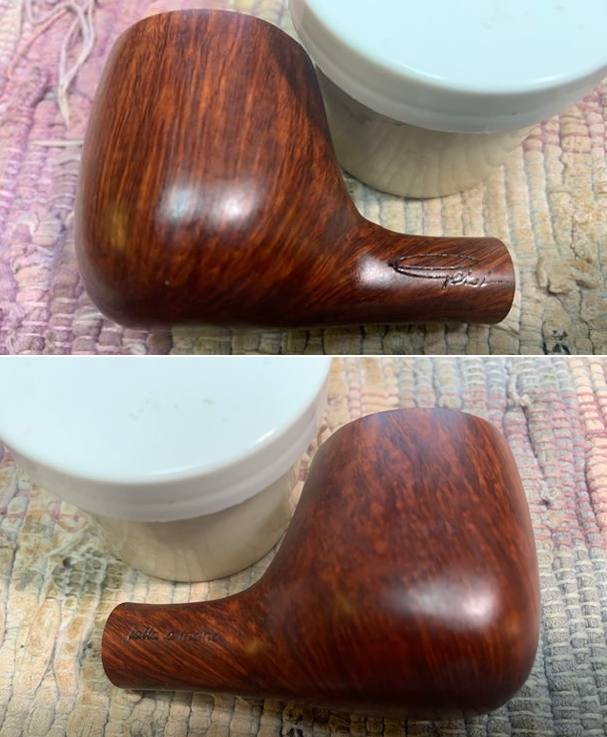
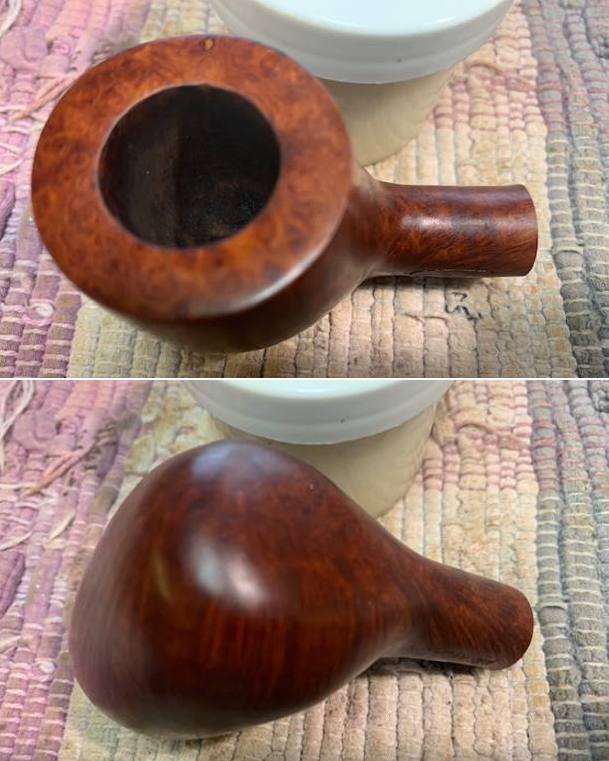
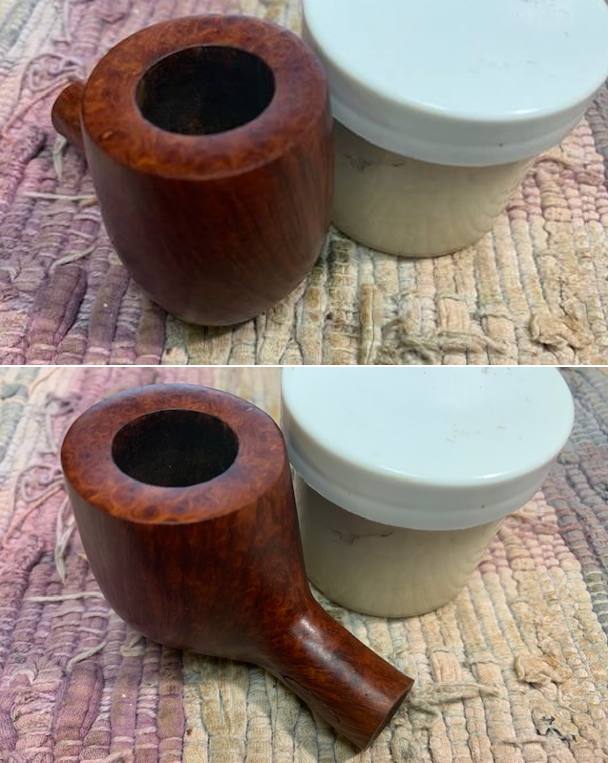
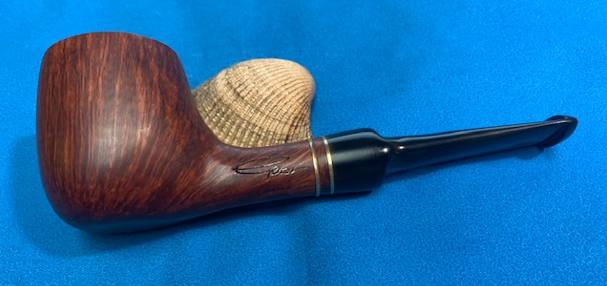
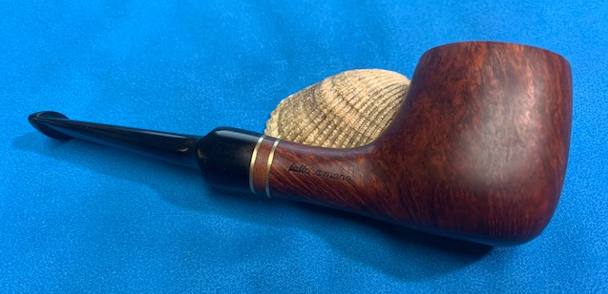
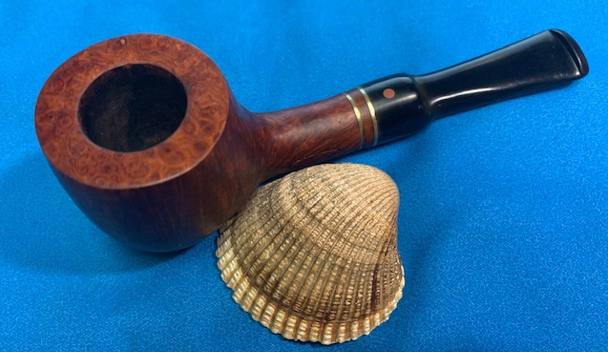
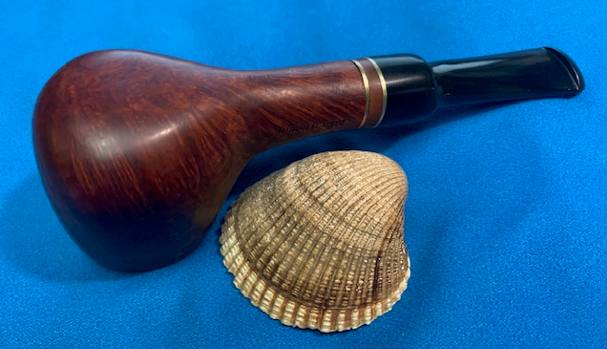
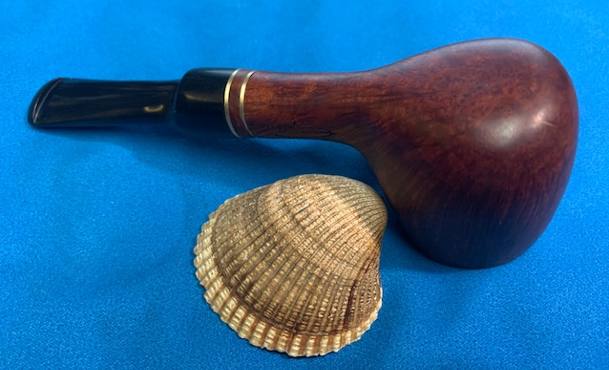
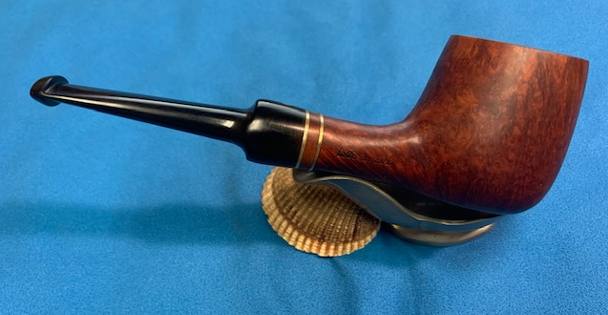
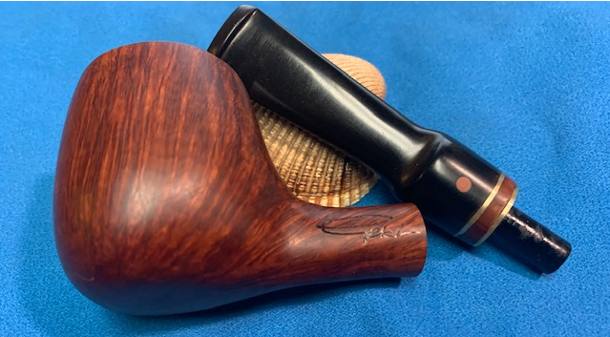
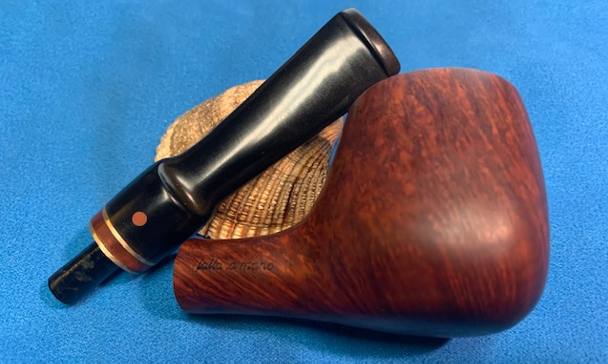
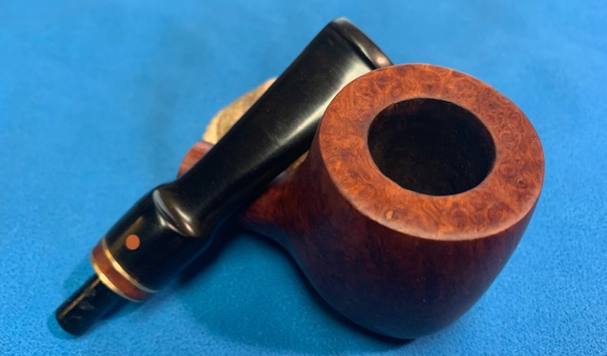
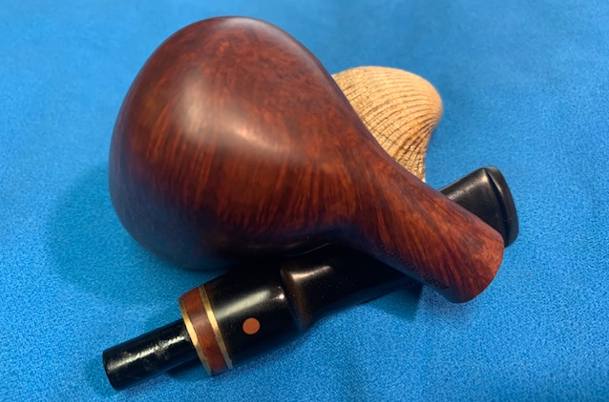
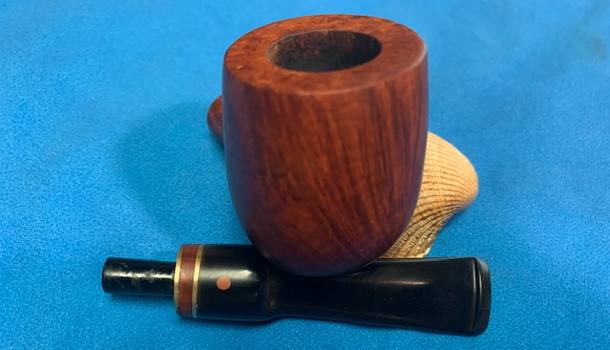
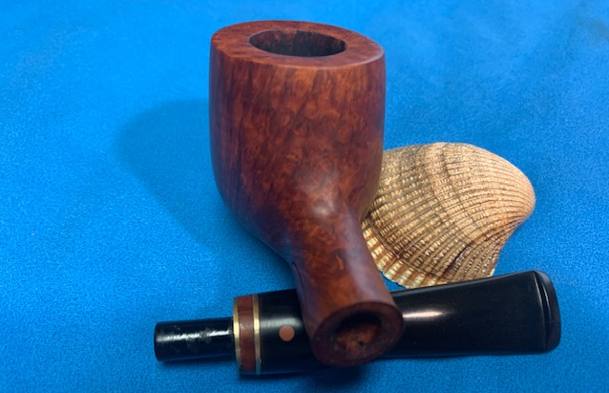
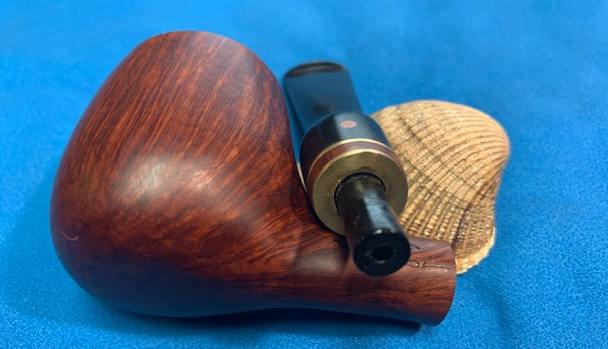
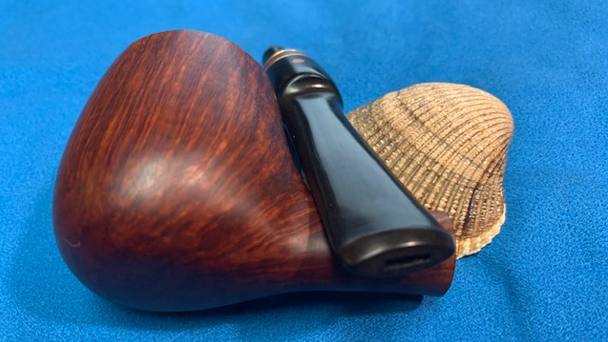
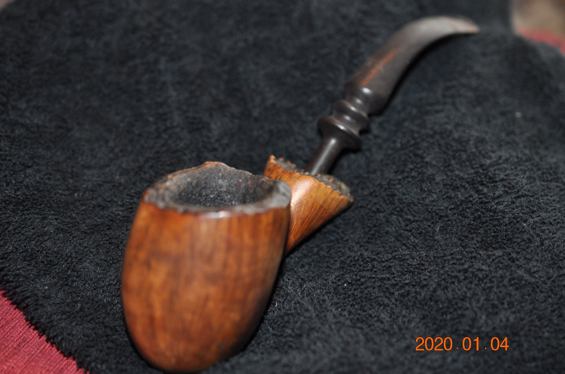
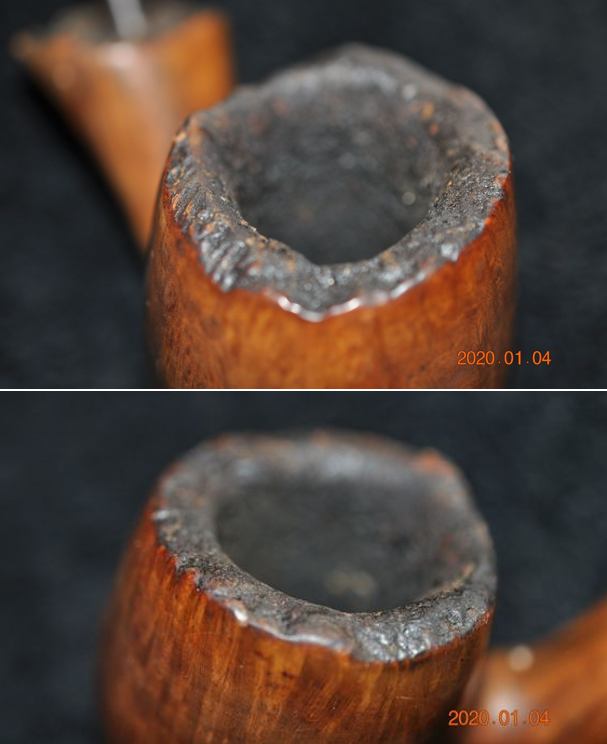
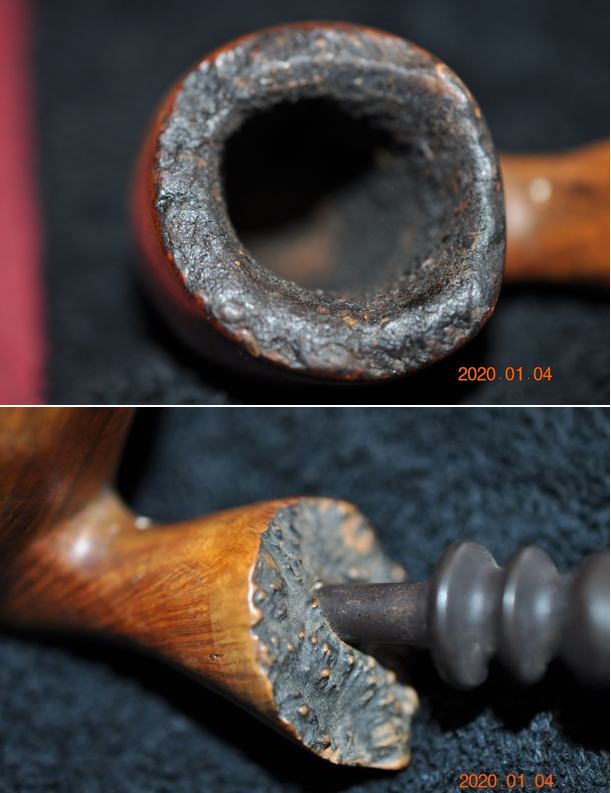
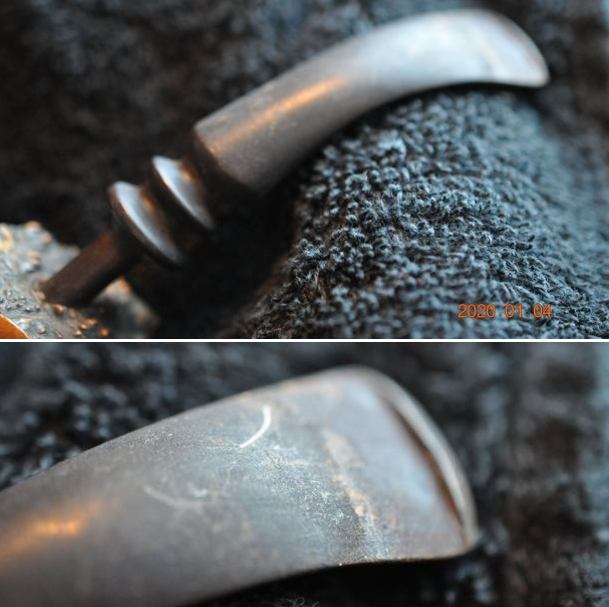
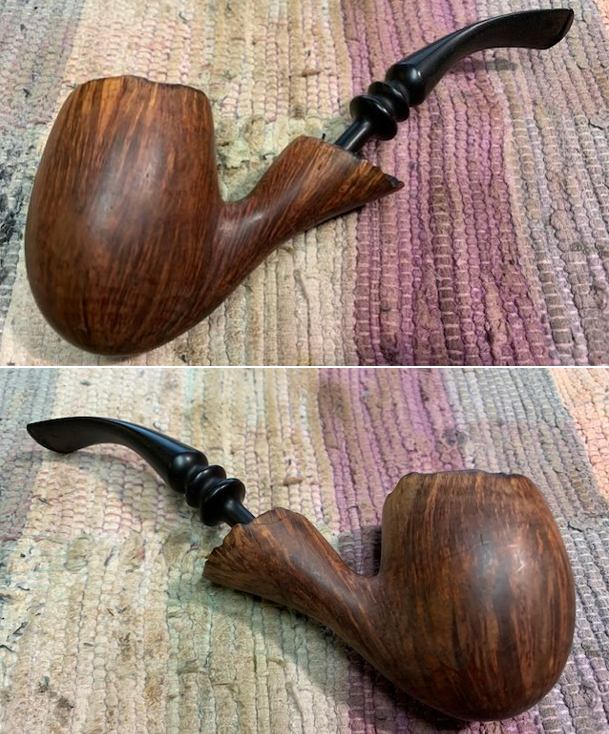
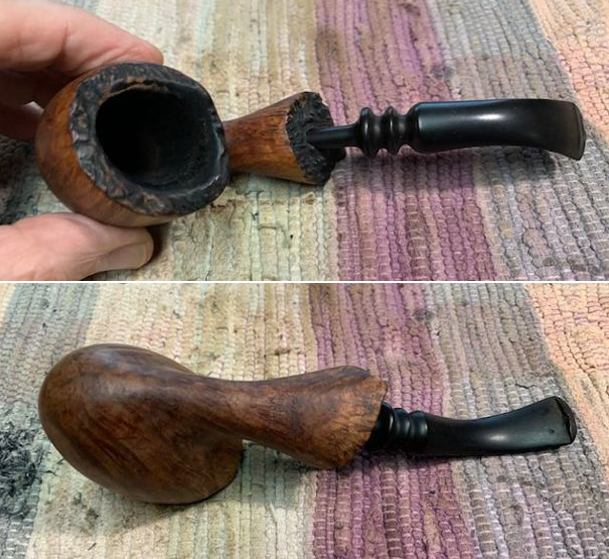
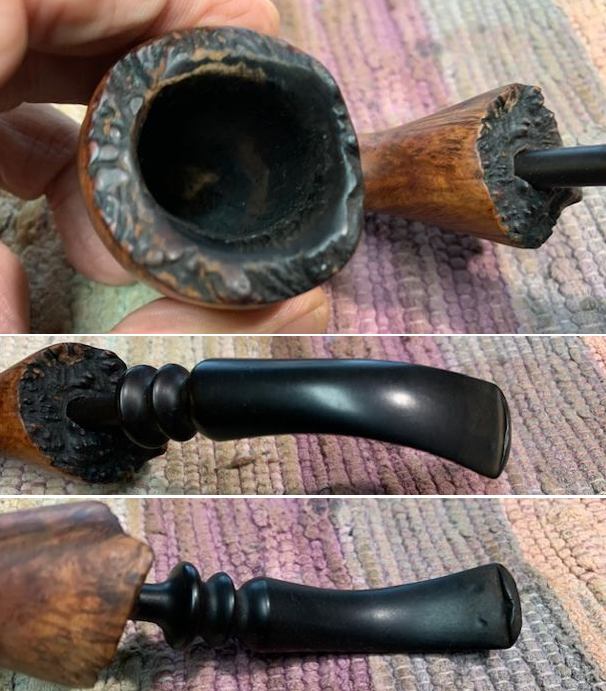
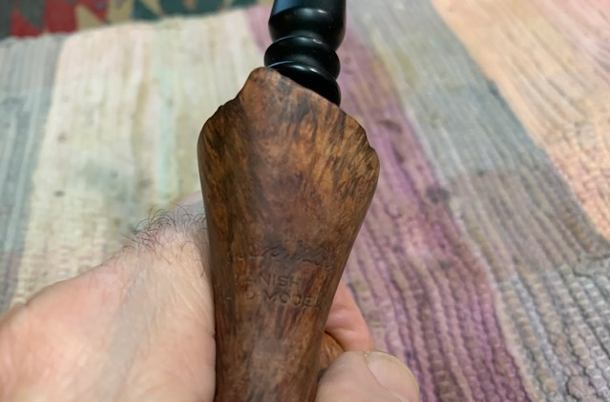
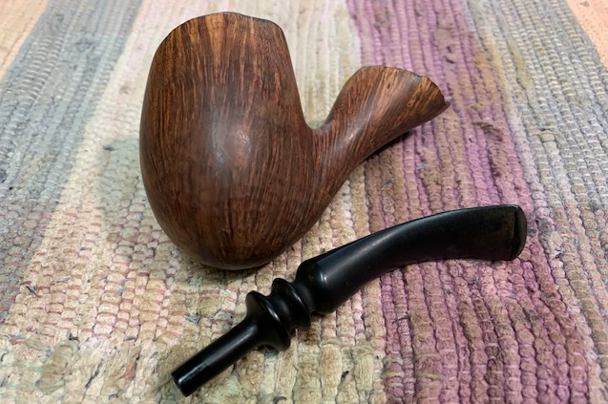
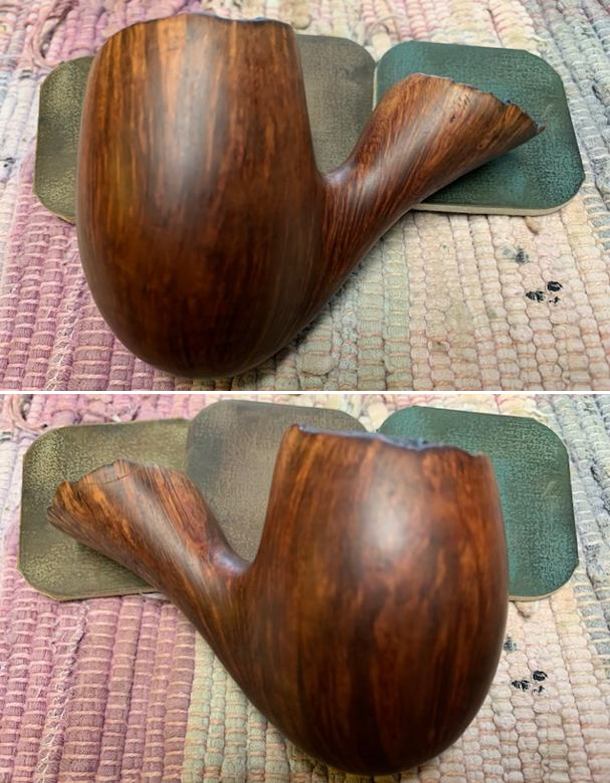
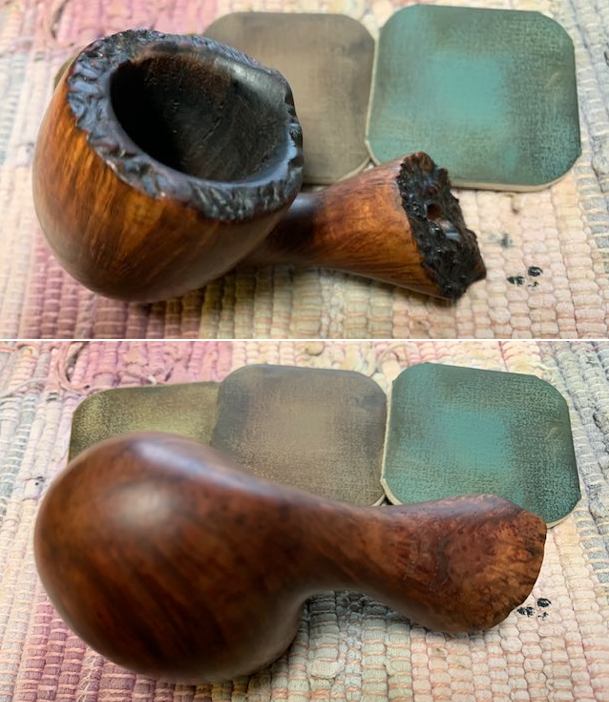
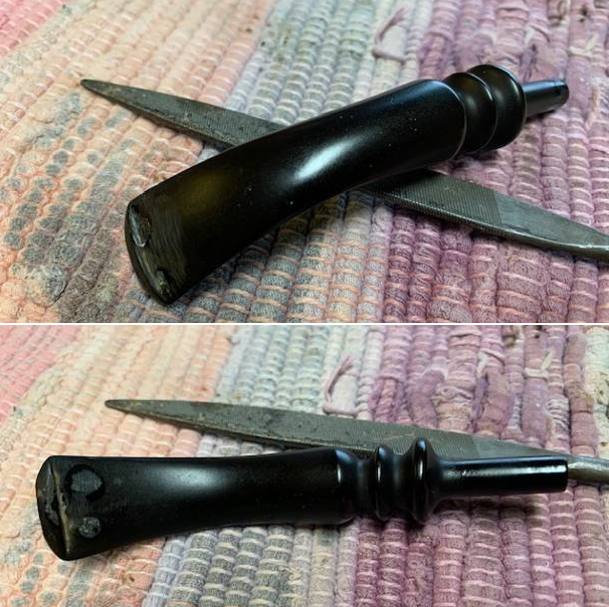
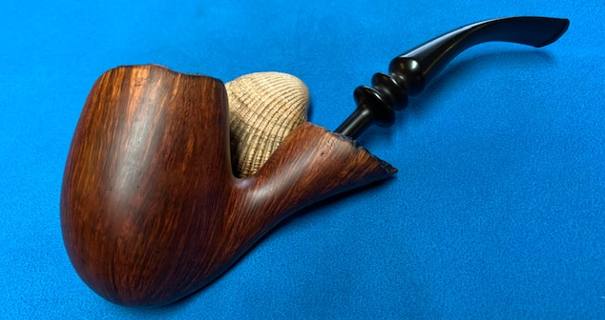
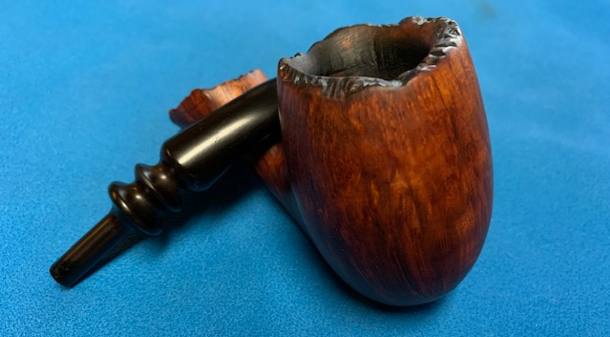
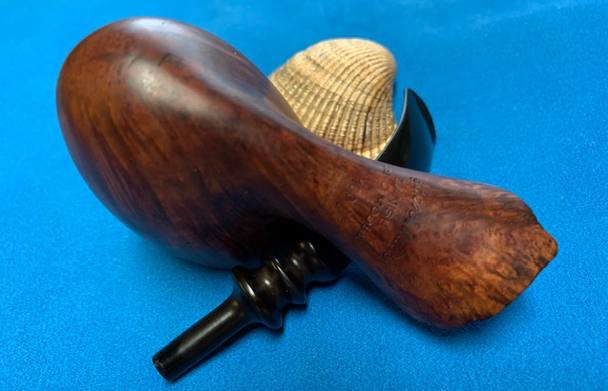
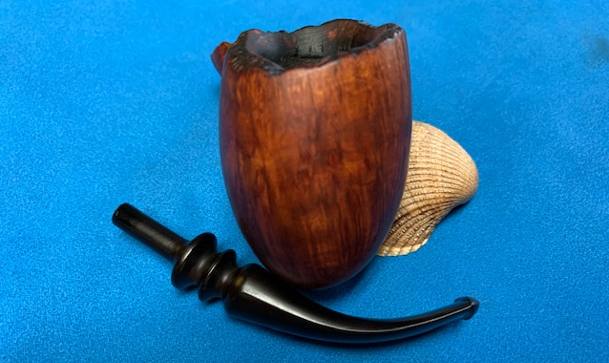
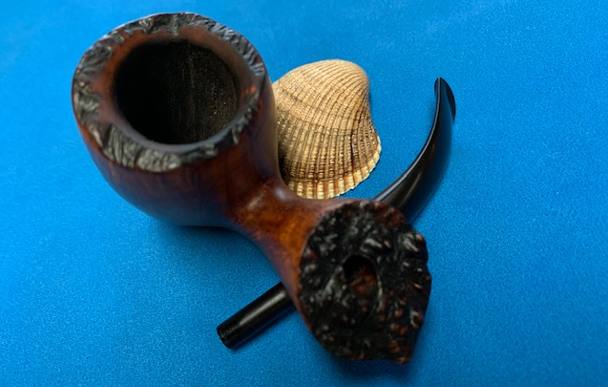
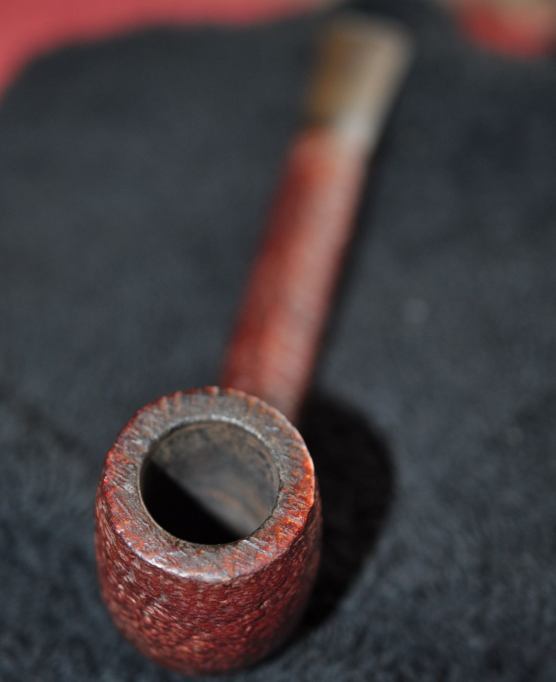
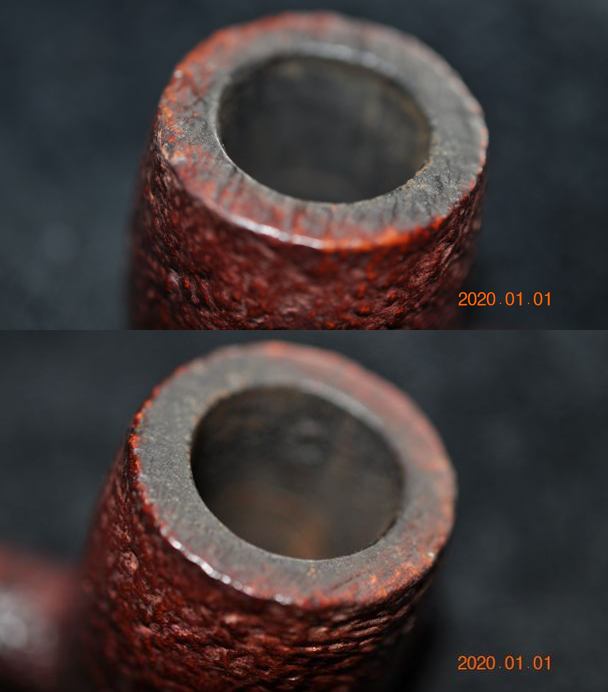
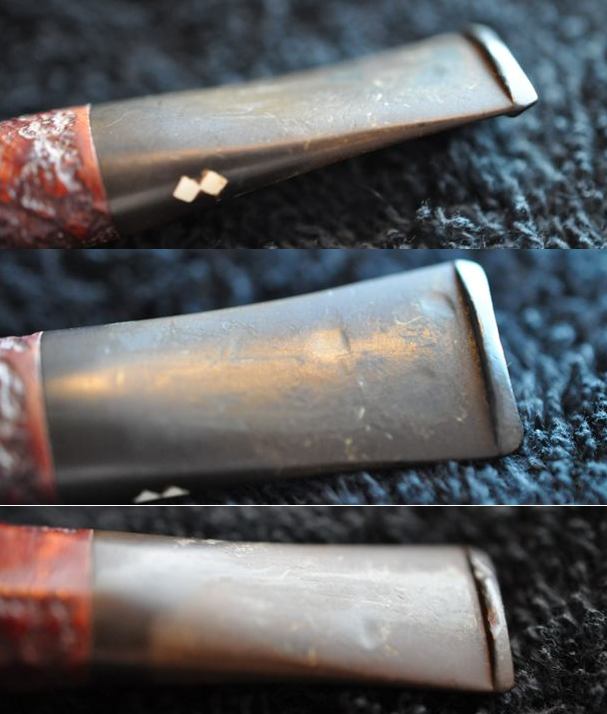
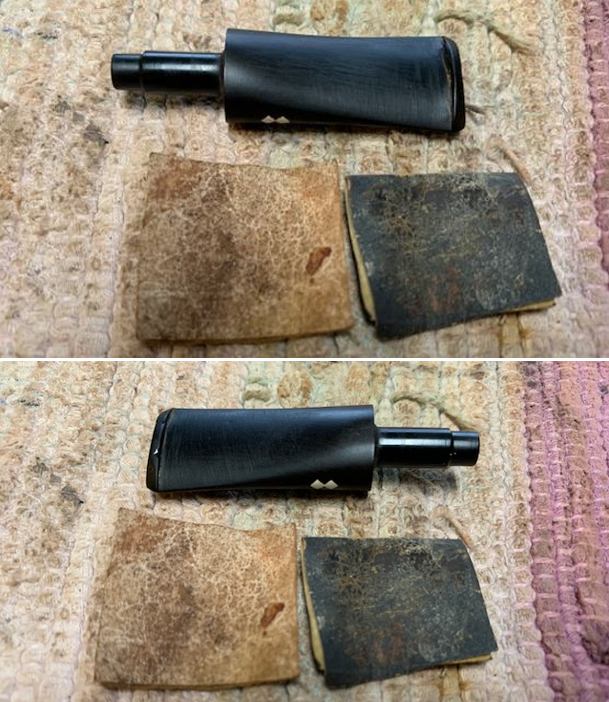
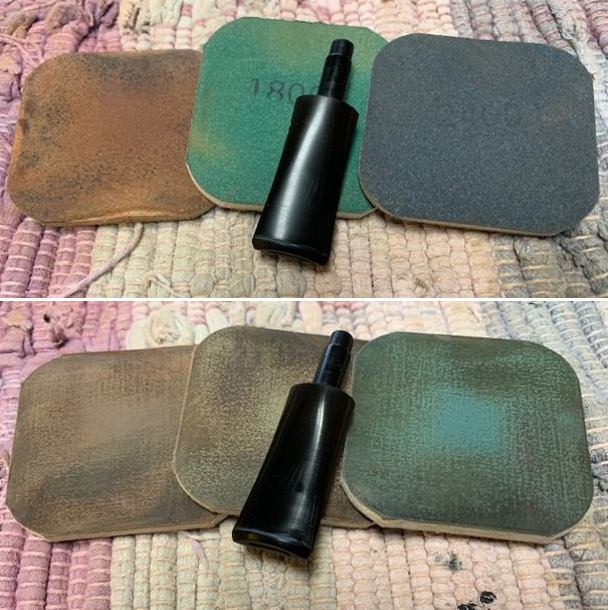
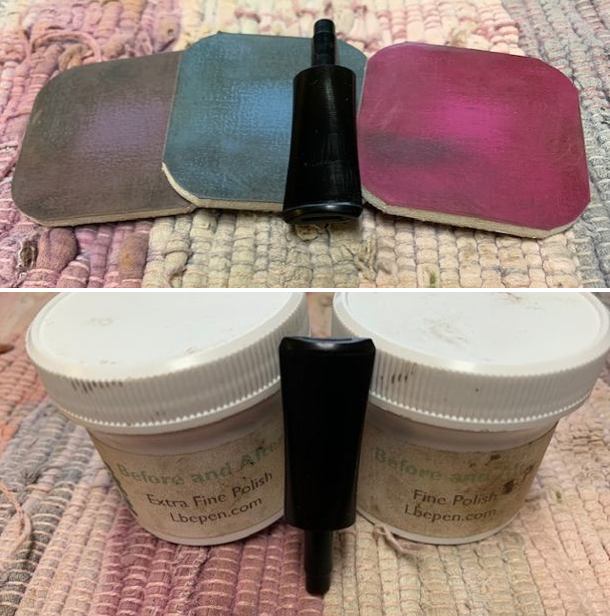
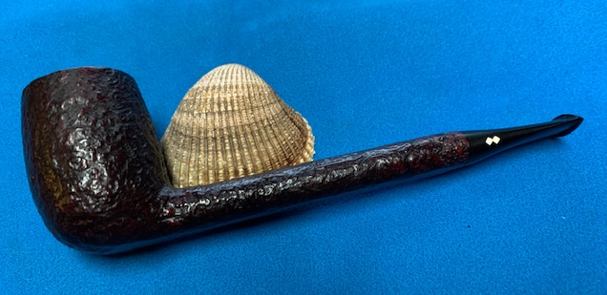
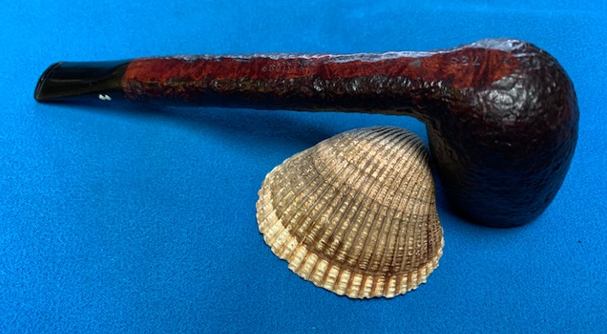
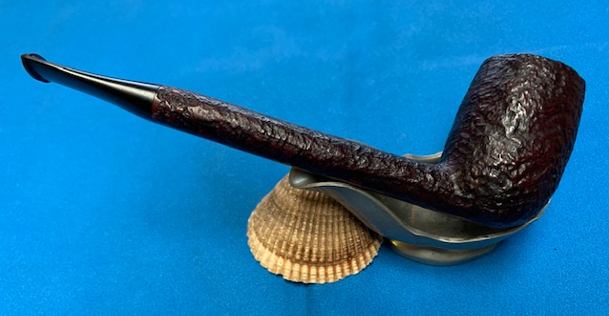
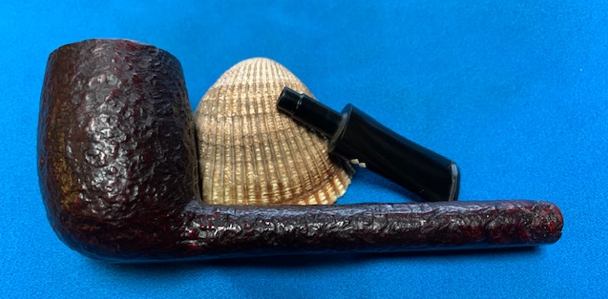
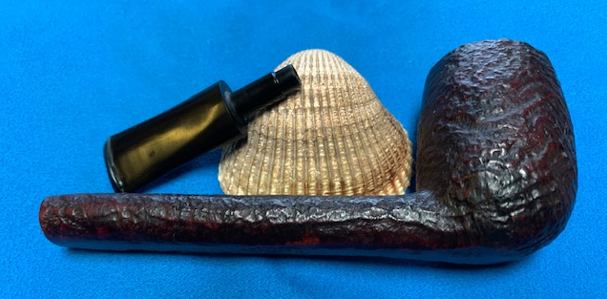
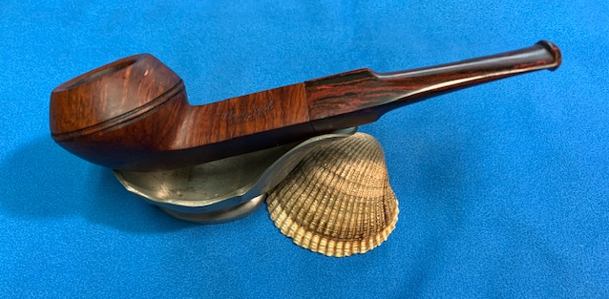
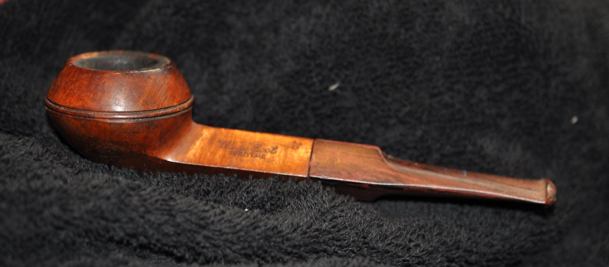
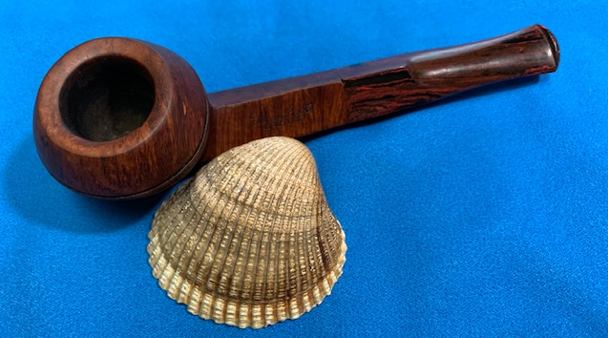
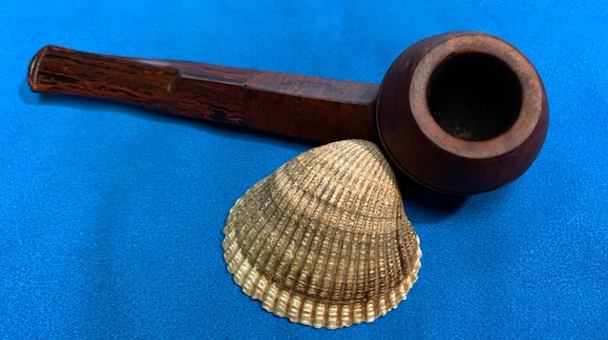
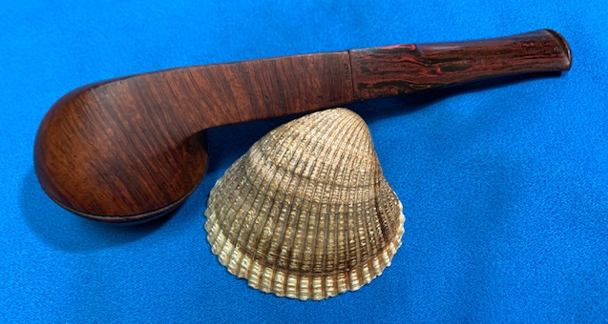
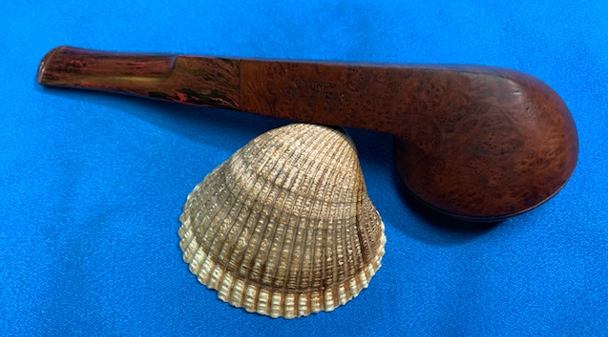
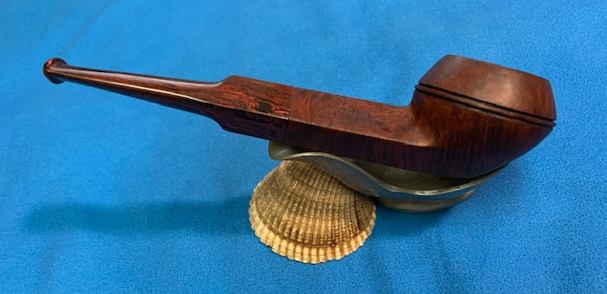
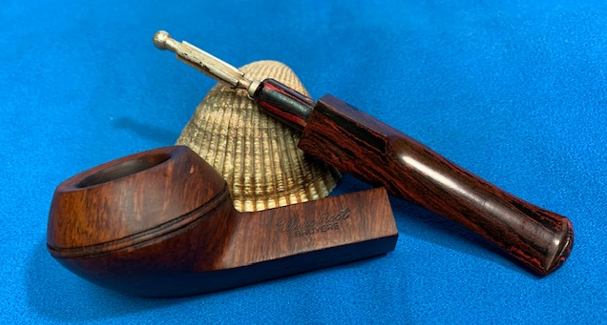
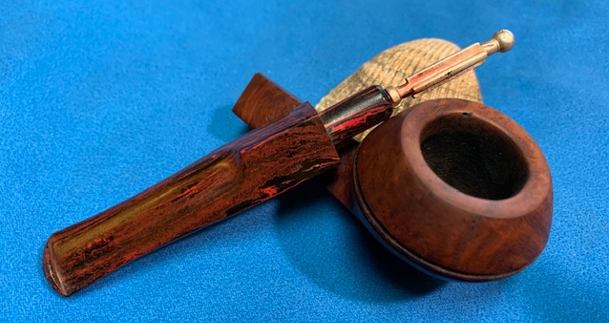
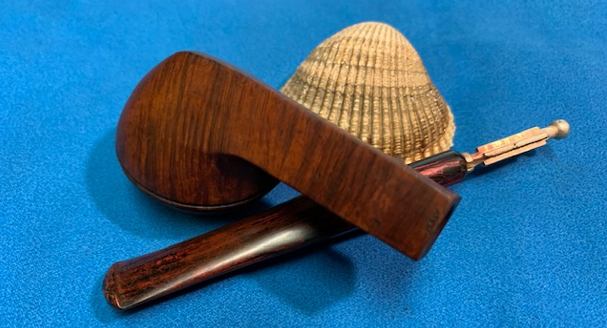
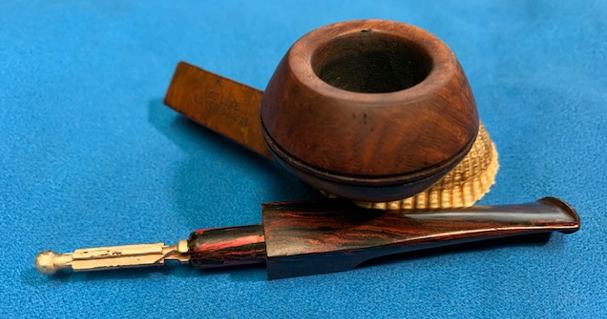
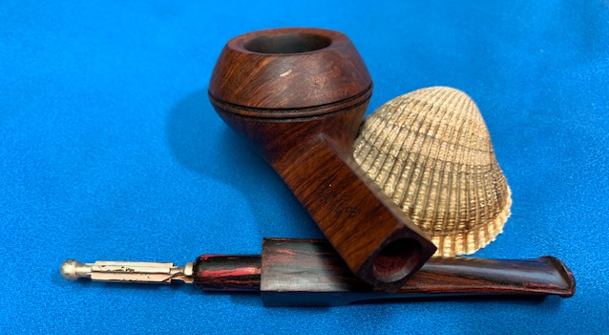
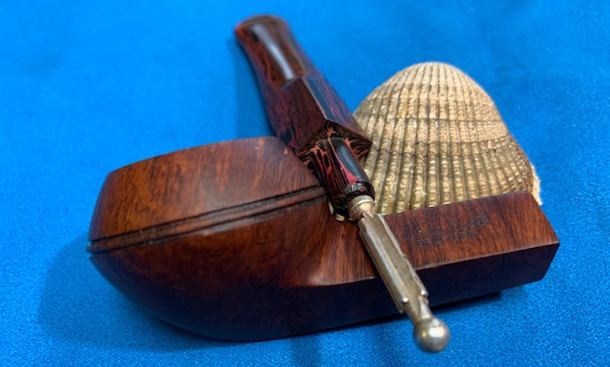
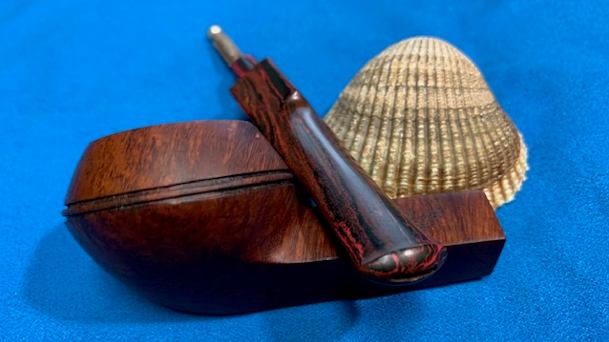
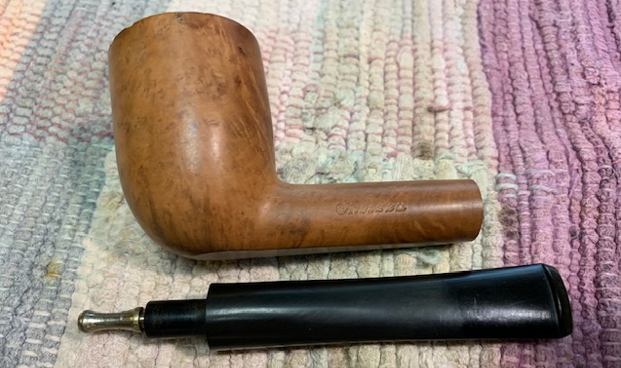
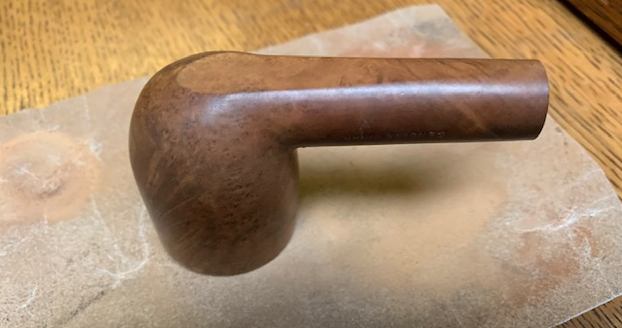
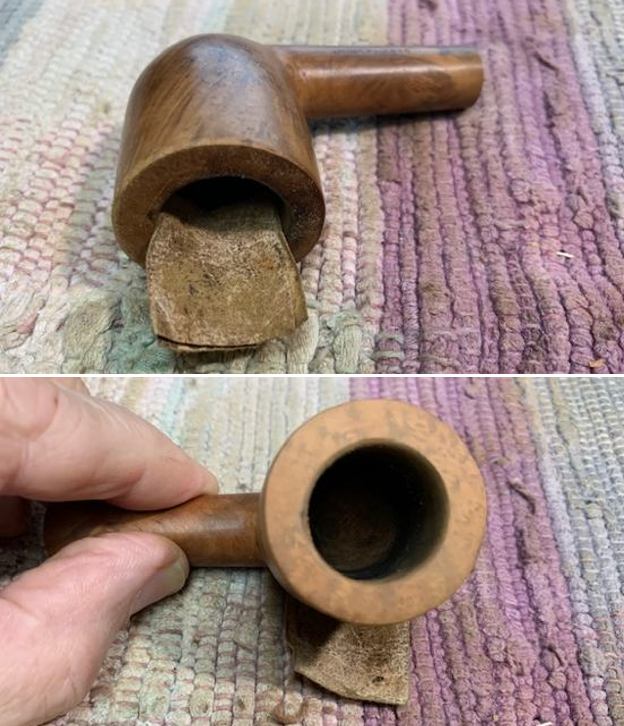
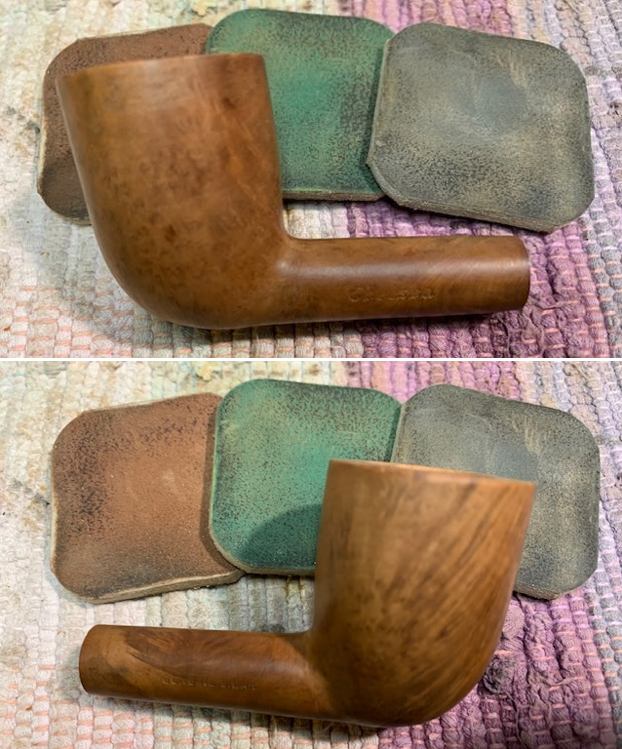
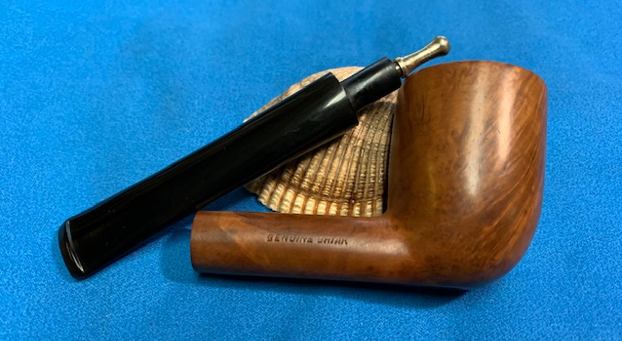
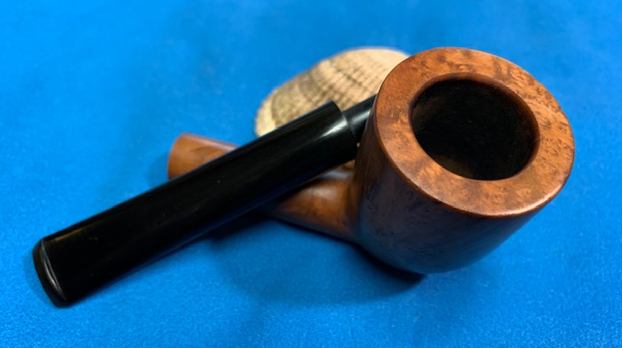
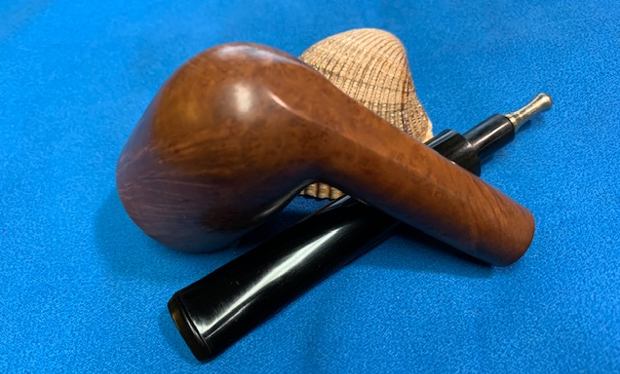
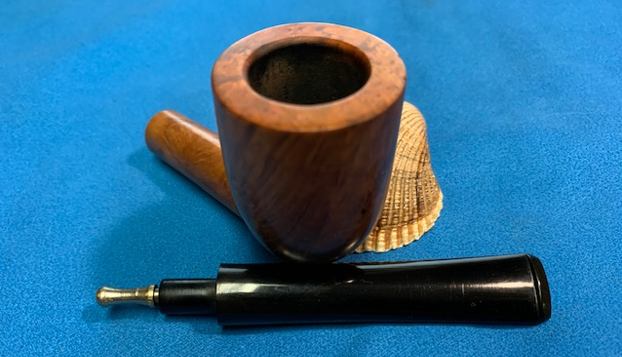
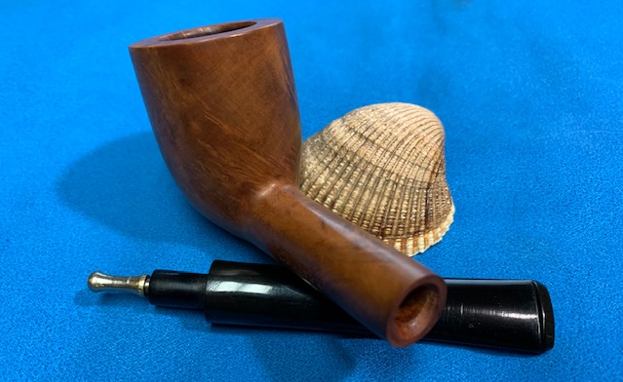
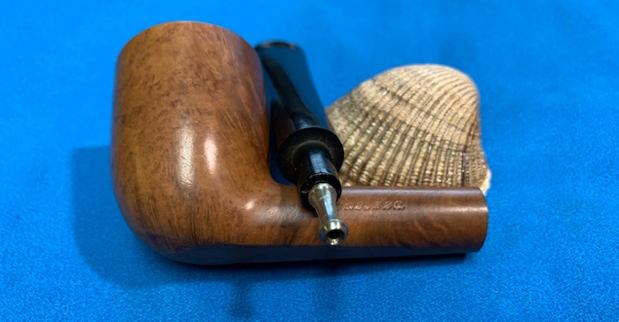
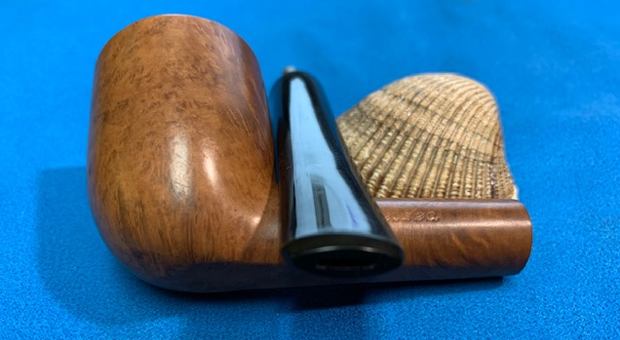
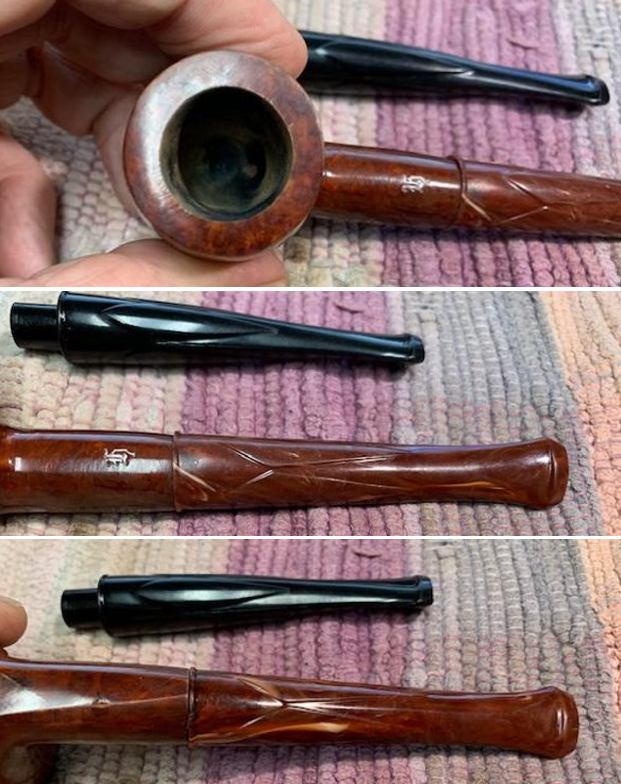
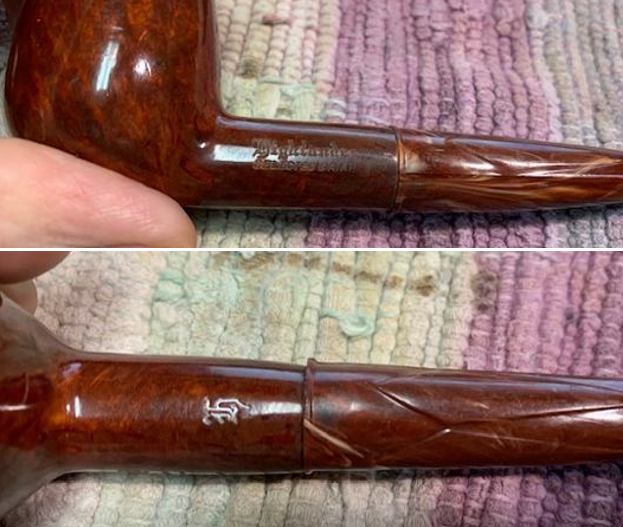
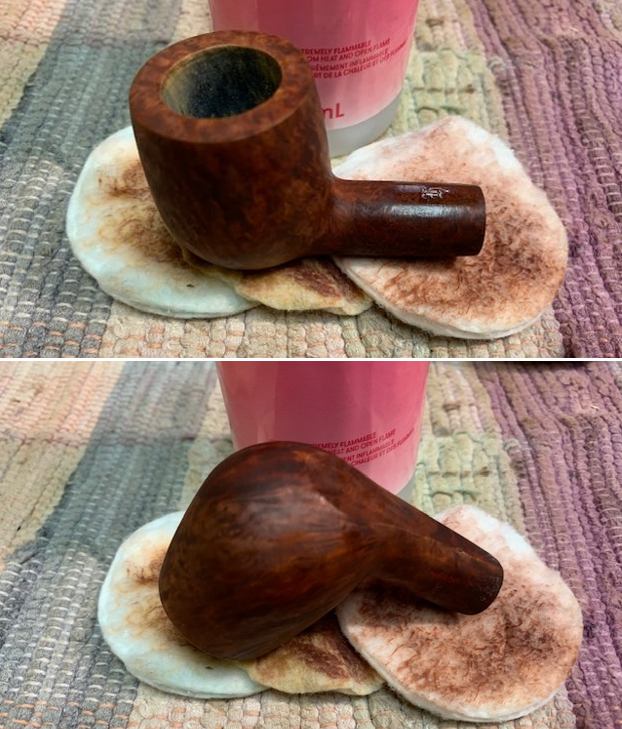
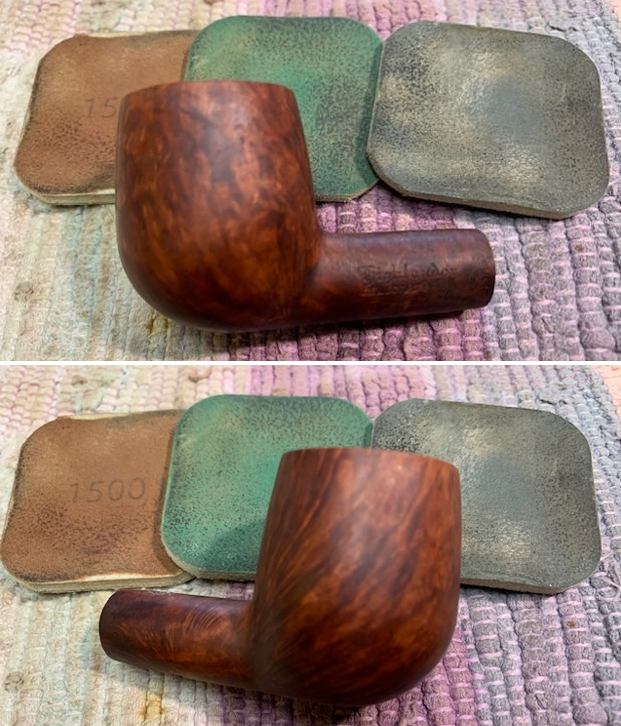
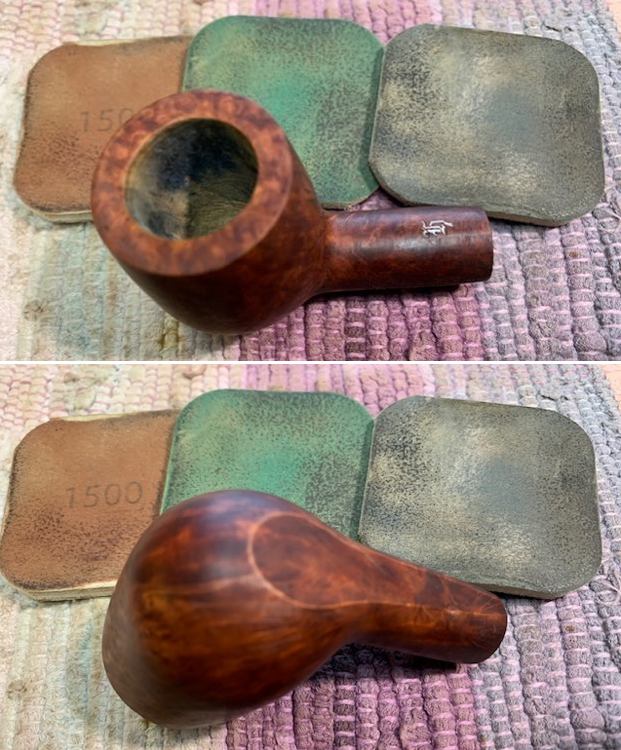
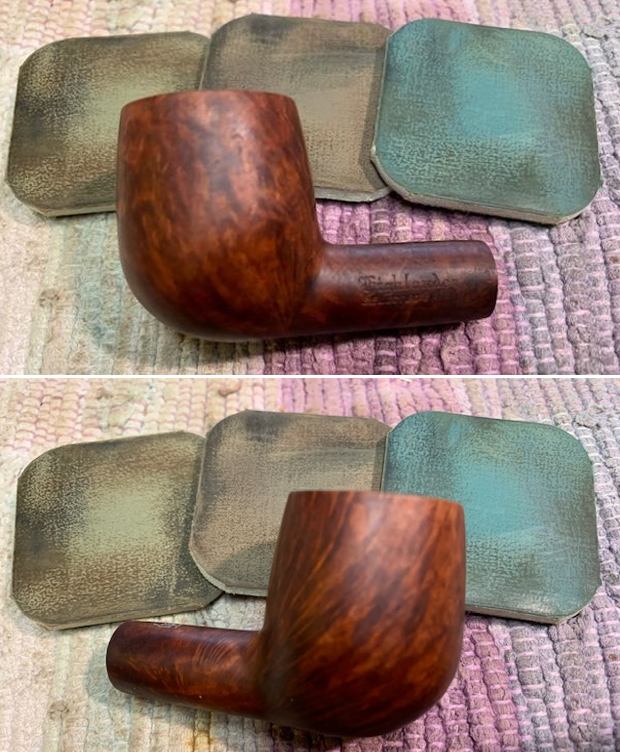
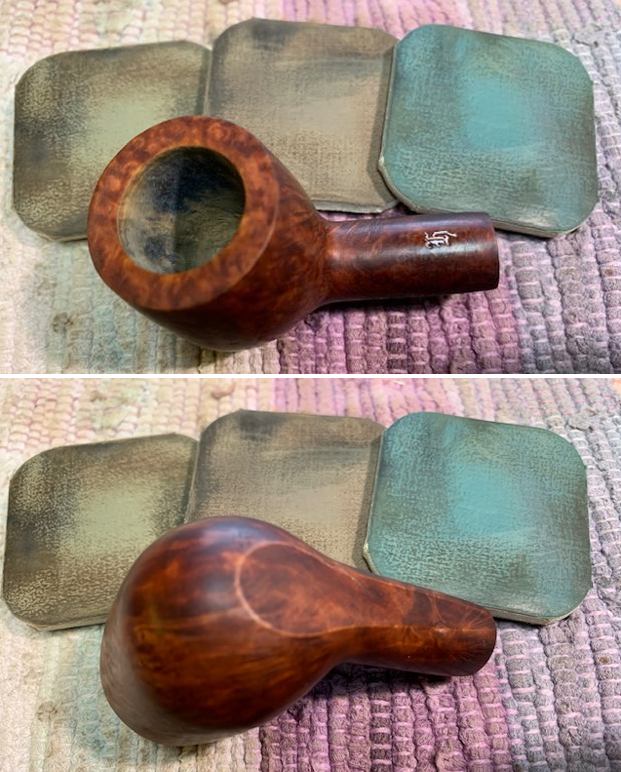
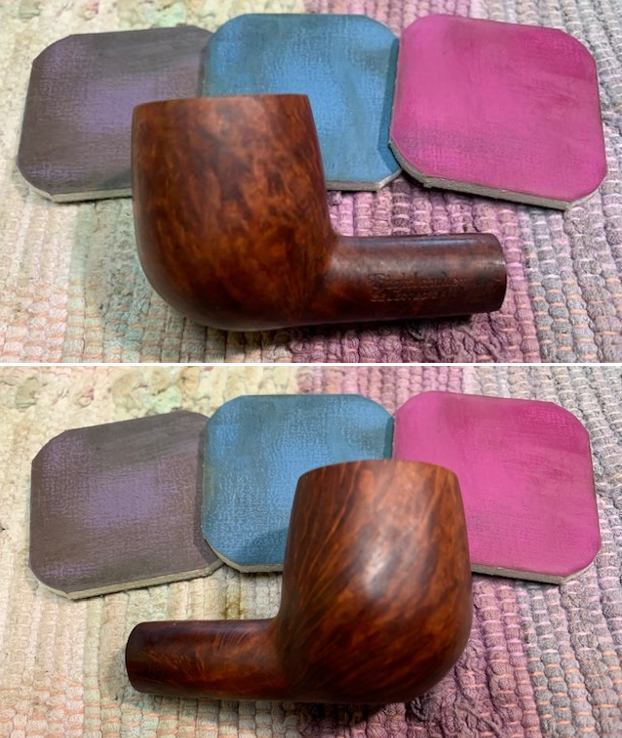
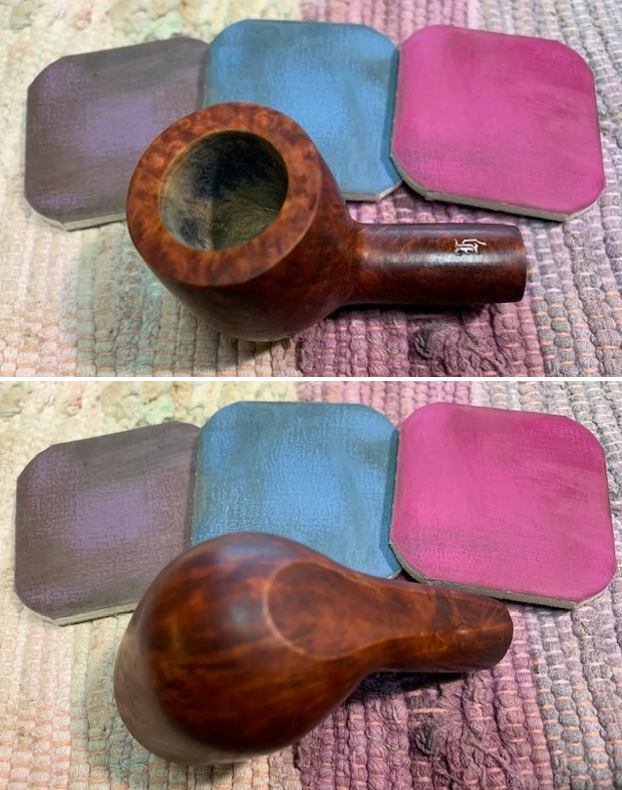
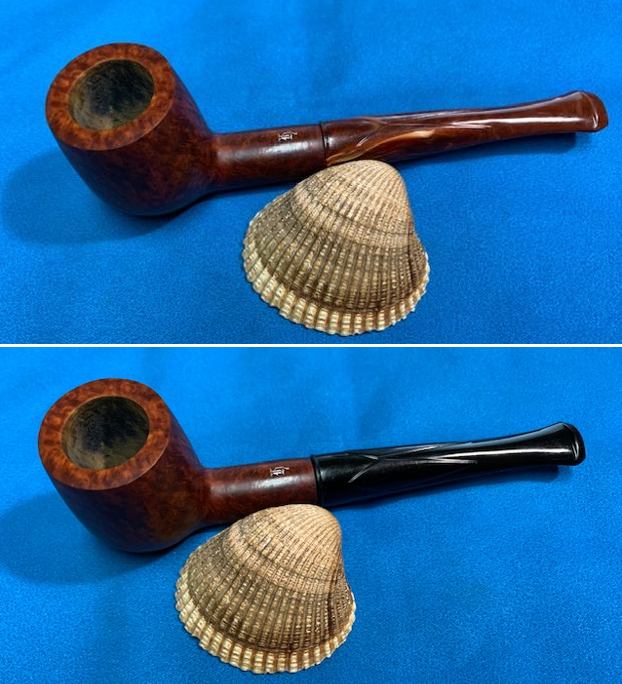
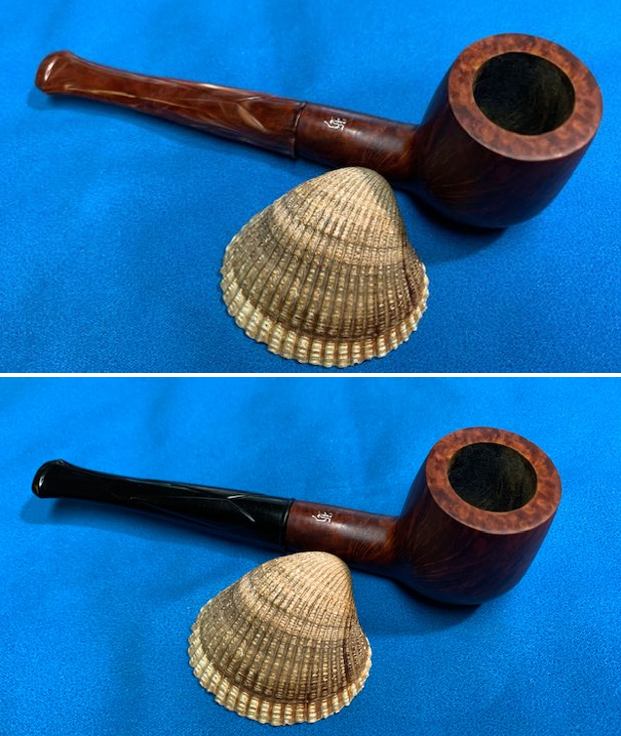
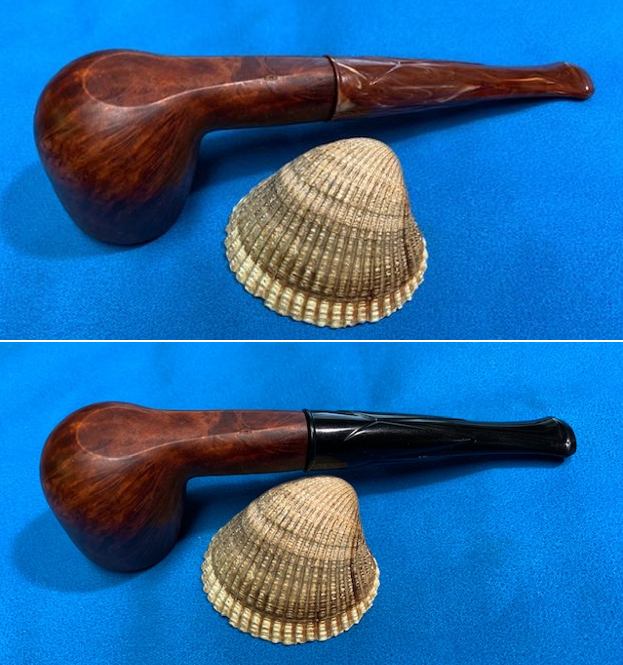
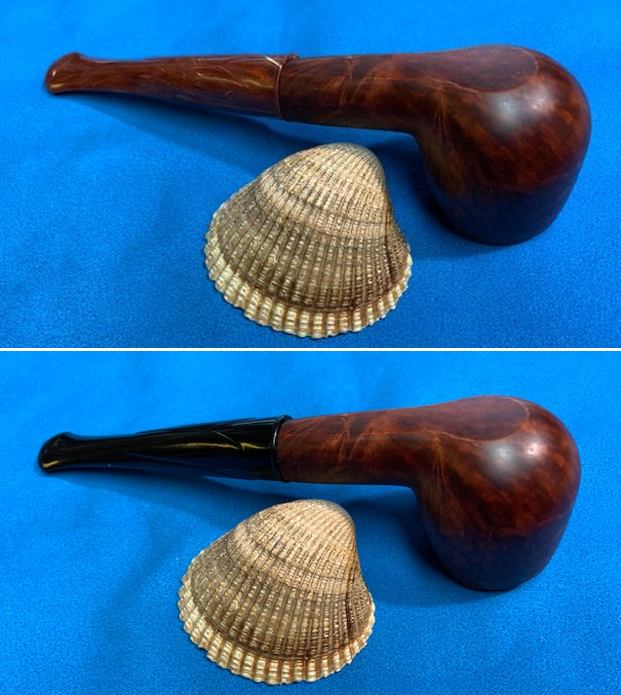
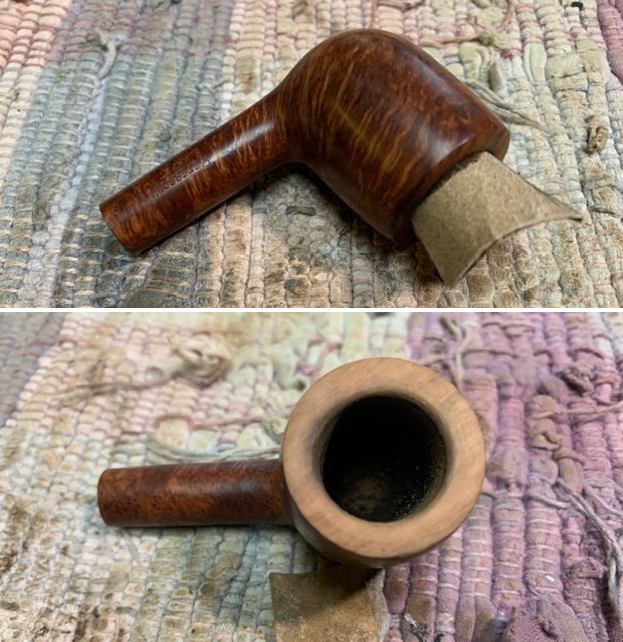
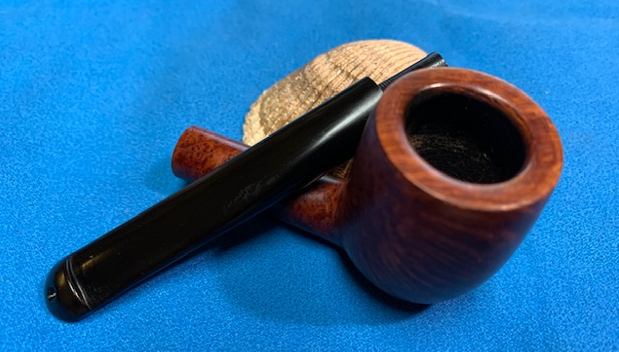
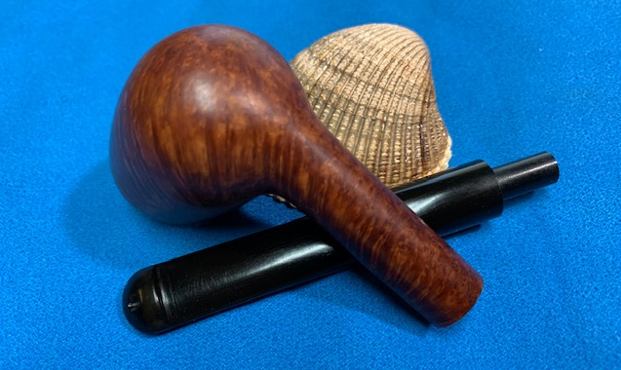
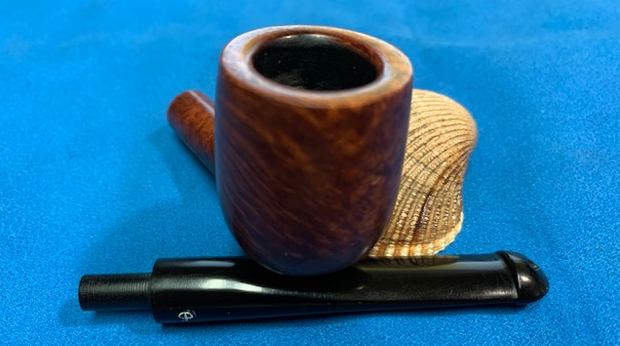
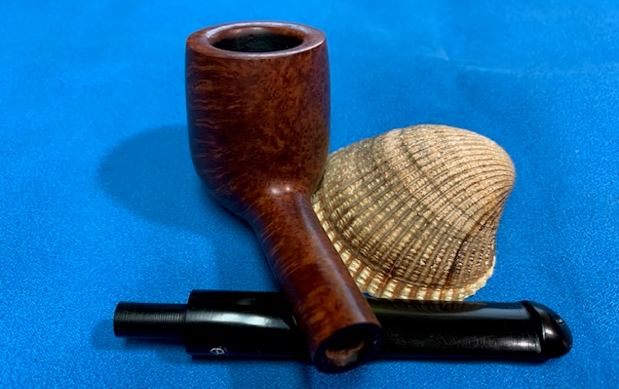
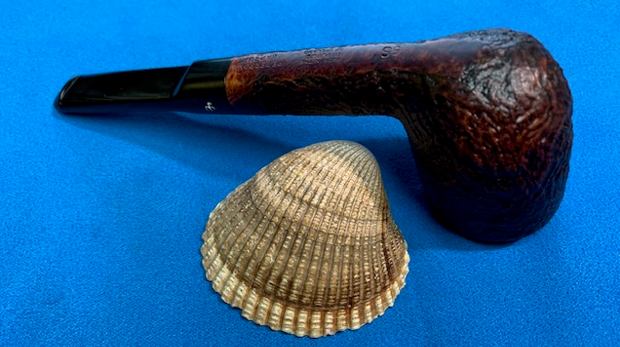
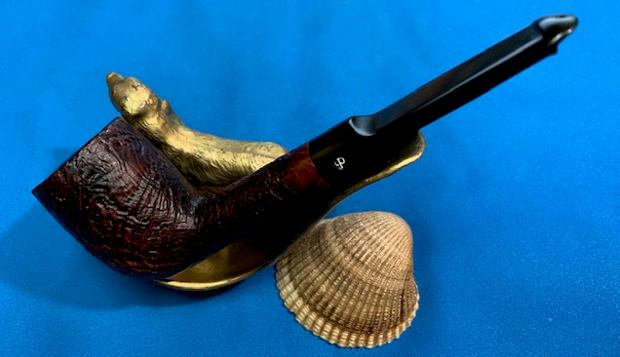
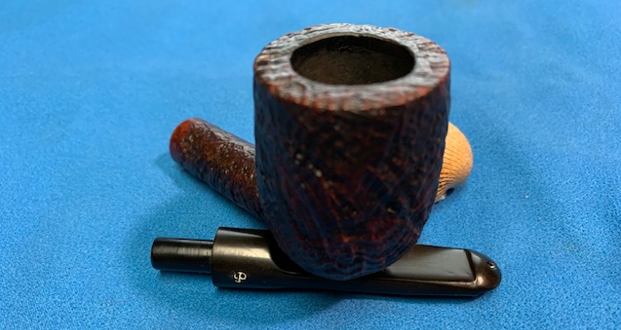
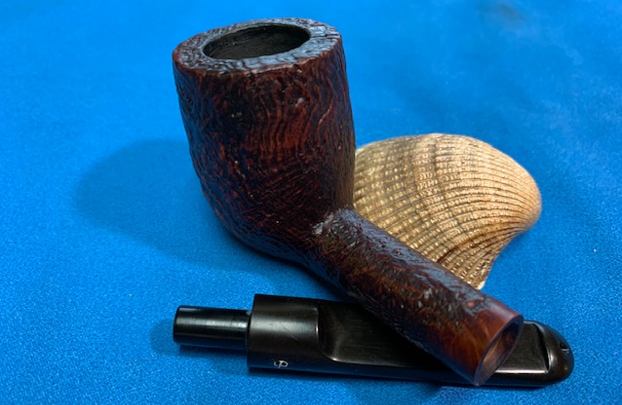
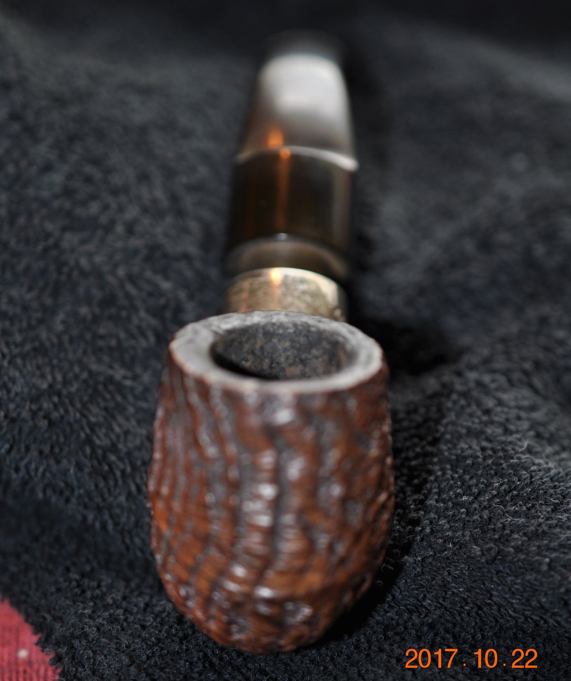
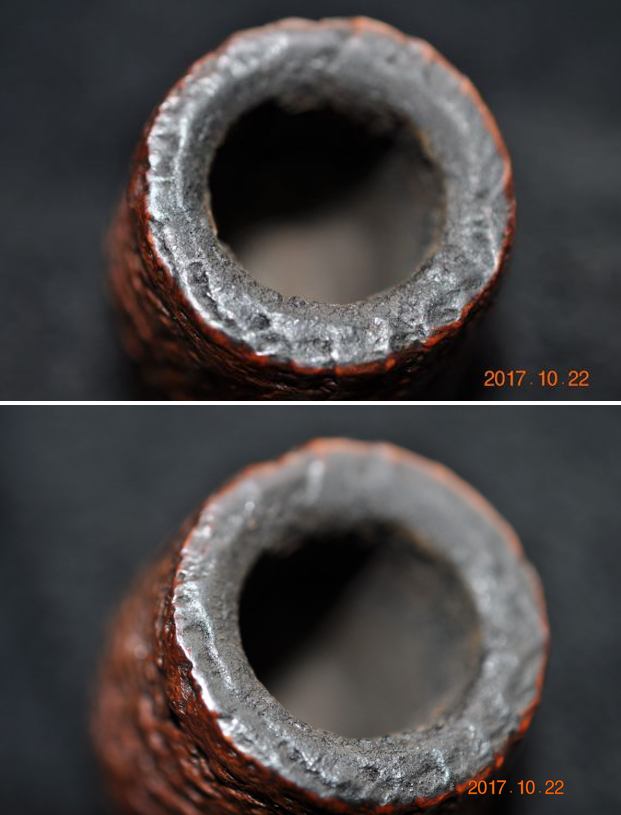
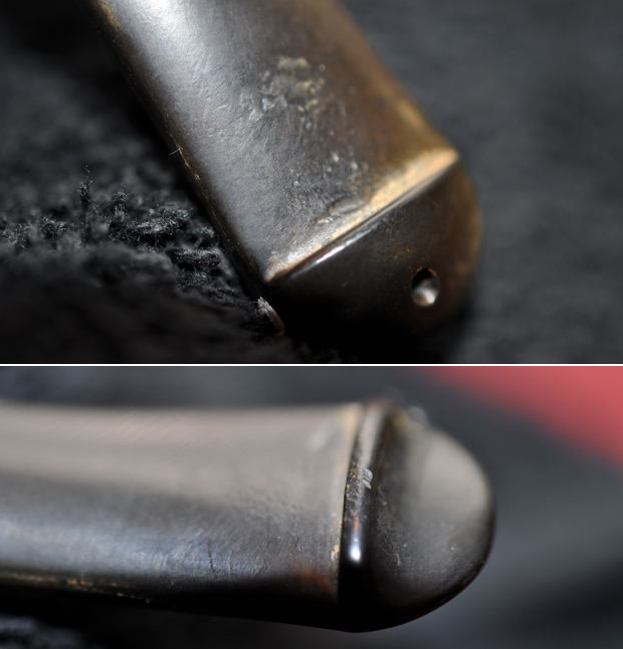
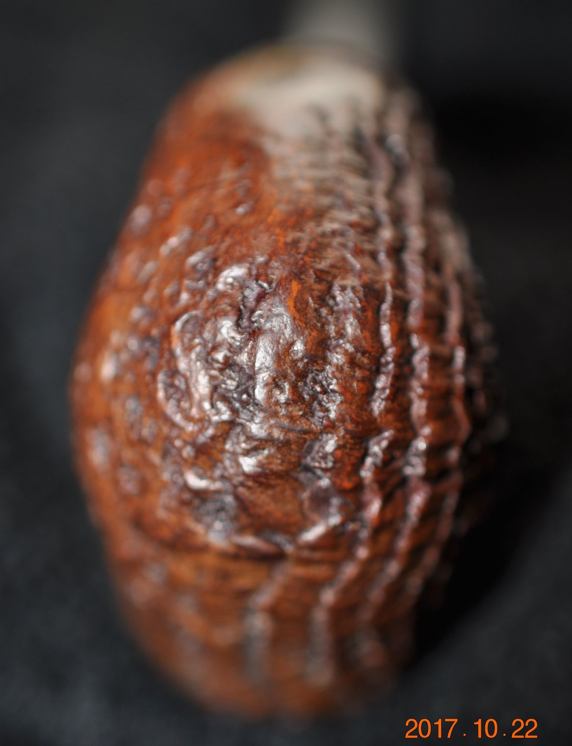
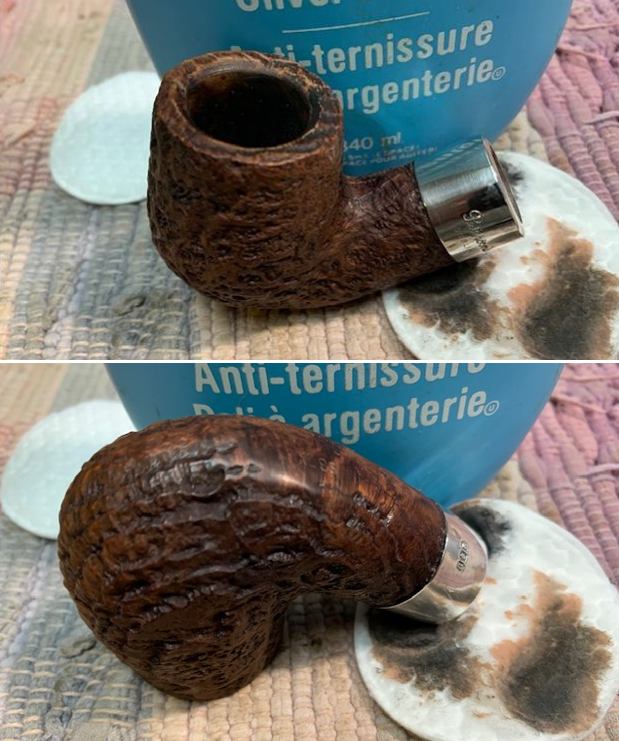
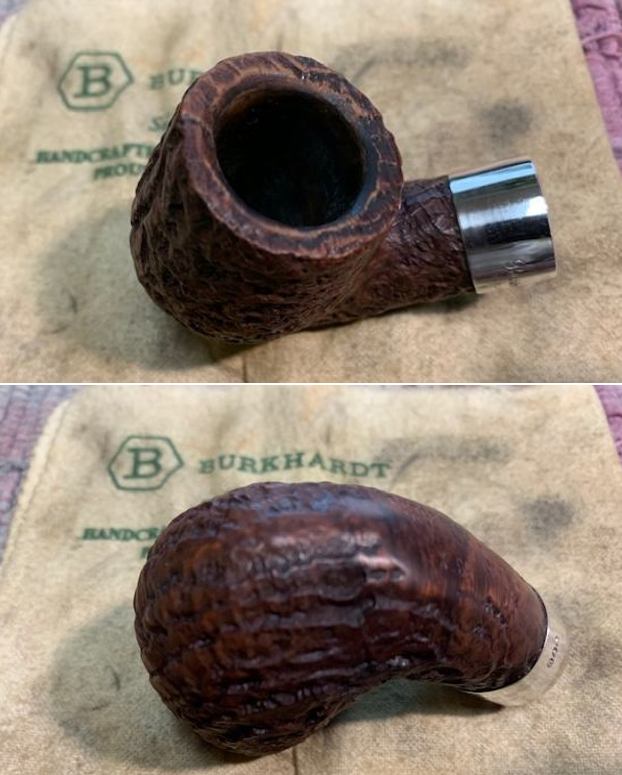
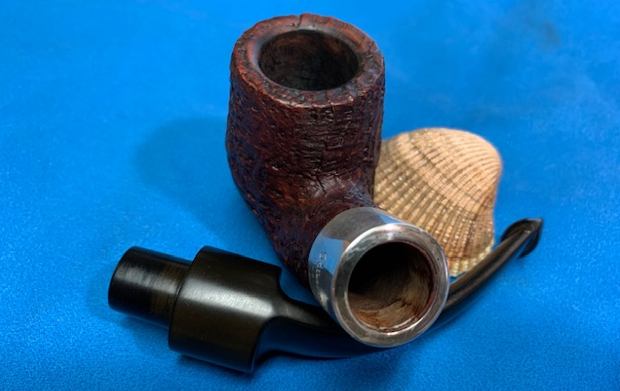
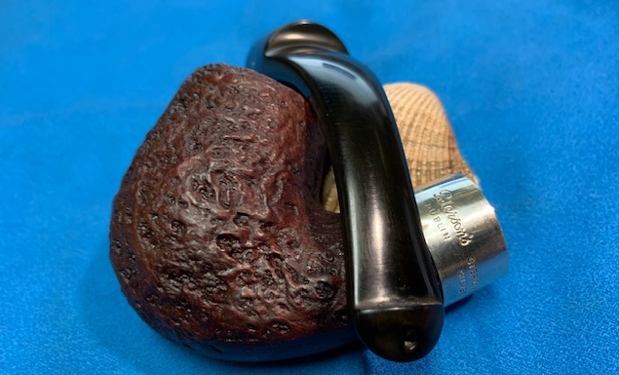
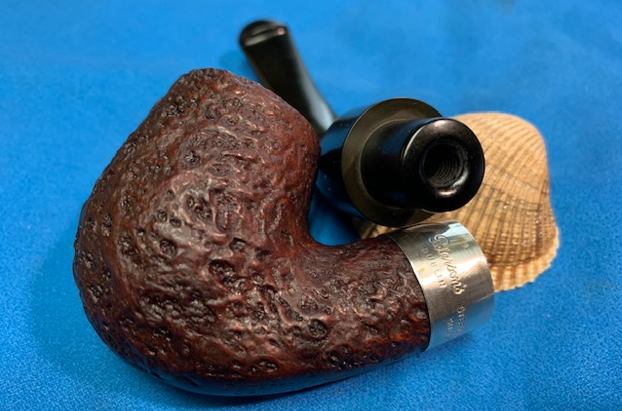
The next pipe I chose to work on is one that we purchased on 05/21/19 from a fellow in Iowa City, Iowa, USA. It is an interesting pipe and a bit of mystery to us as we cannot find out who the maker was. The pipe is a freehand take on a classic Pot. It is stamped on the left side of the shank and reads Gebi and on the right side it reads “fatta a mano” which means made by hand. We assume it is Italian but cannot find any information on the Gebi logo or the briar dot on the stem top. There was a moderately thick cake in the bowl and some lava overflow and darkening on the back of the rim top and edges. The briar was dirty and dull looking from wear and usage. The stem was oxidized and calcified but there were not any tooth marks or chatter on the stem. Jeff took photos of the pipe before his clean up work. He took some close up photos of the rim top and stem to give a sense of the condition of the pipe when we received it. You can see the cake in the bowl and the lava and darkening on the back of the inner edge and rim top. The stem is oxidized and calcified but there are surprisingly no tooth marks and little chatter on the stem surfaces. The stummel had some beautiful grain around the side and heel of the bowl. Jeff captured that in the photo below.He took photos of the stamping on the shank sides and it was clear and readable as noted above in the first paragraph. Anyone familiar with the brand? The stem has twin brass rings with a piece of briar between them. There is also a coral colour dot on the stem top. It may also be briar but it is hard to tell at this point. I looked in the usual places for information on the brand – Who Made That Pipe, Pipephil.eu and Pipedia with no luck on finding the maker. I did multiple Google searches for the name and variations on it and still found nothing. I wrote a note to Gasparini’s as some suggested it might be one of their pipes. I am still waiting for a reply. If anyone reading this has any ideas leave a comment below.

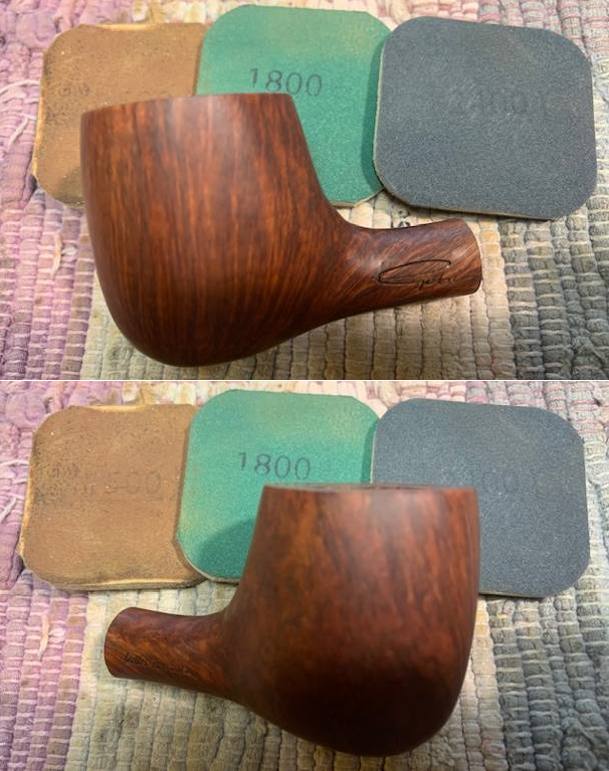
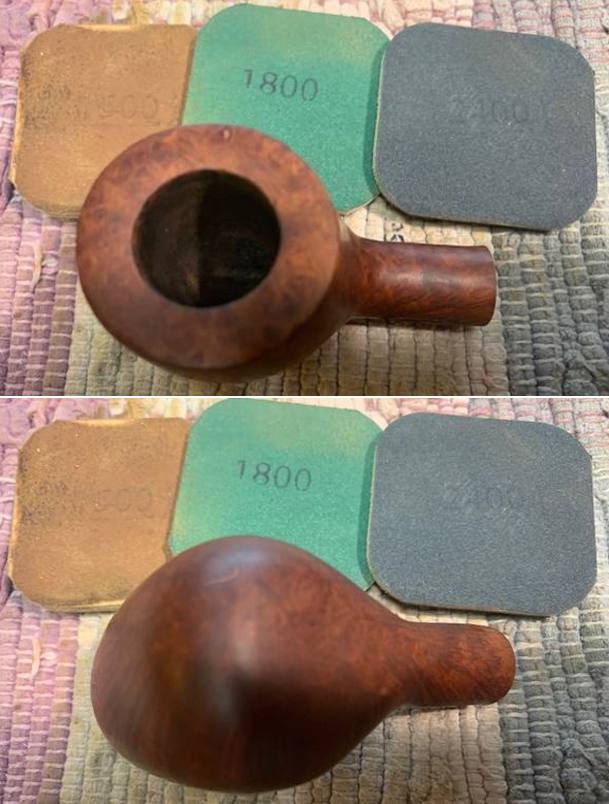
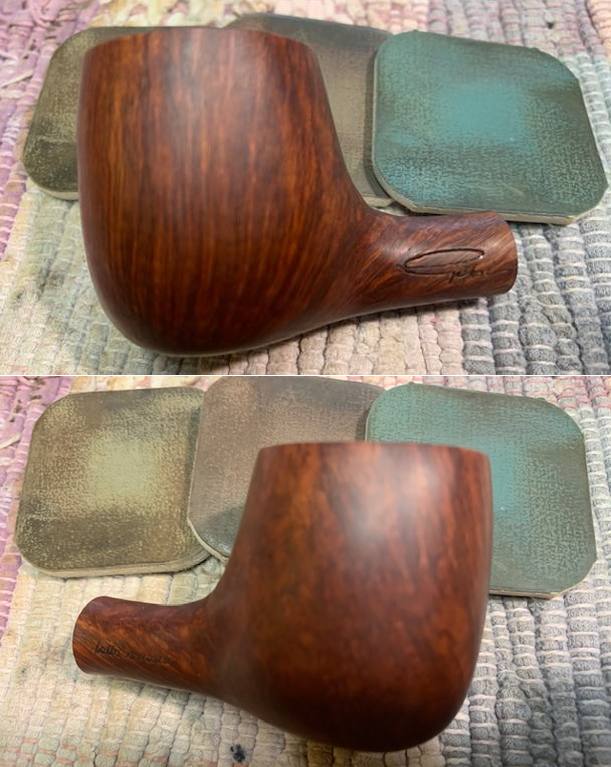
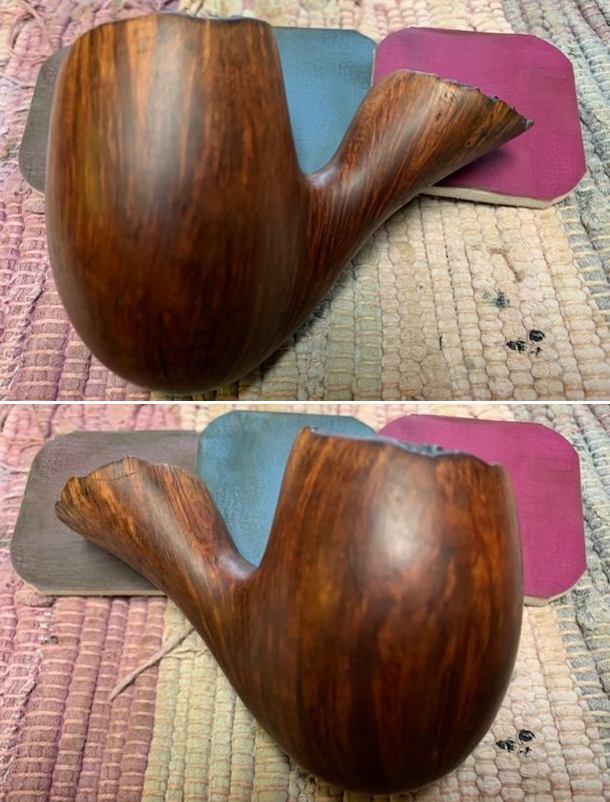
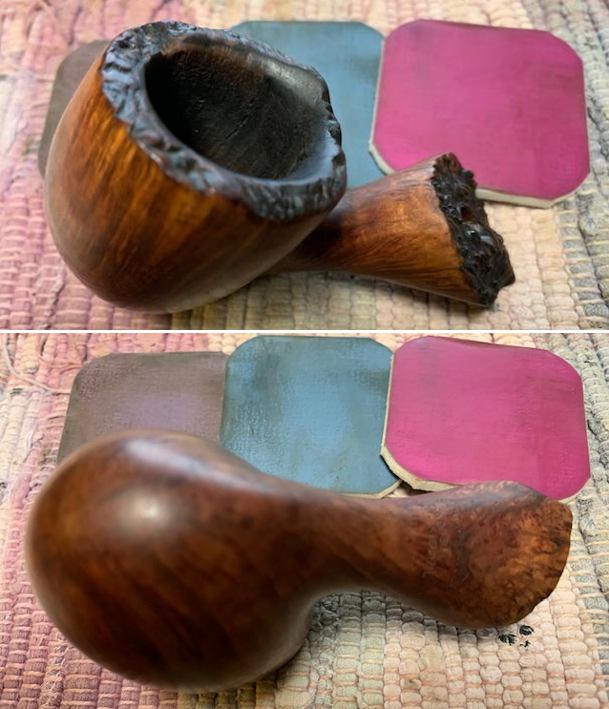
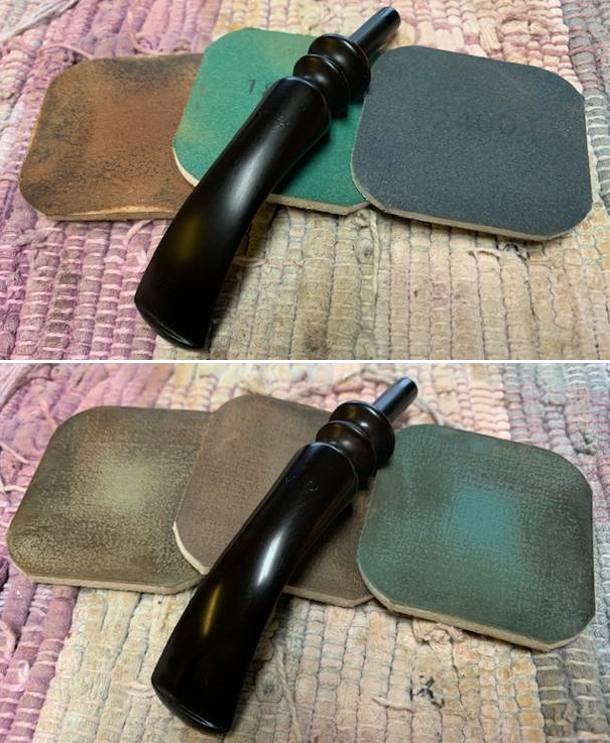
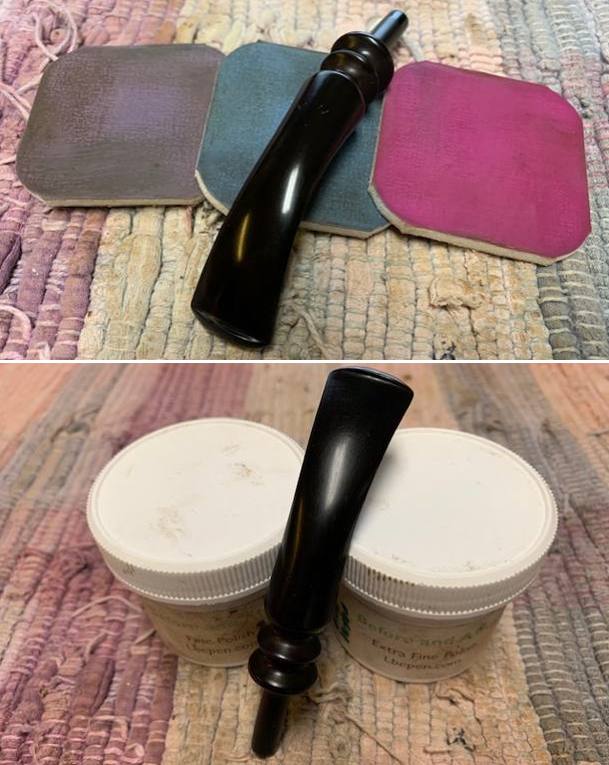
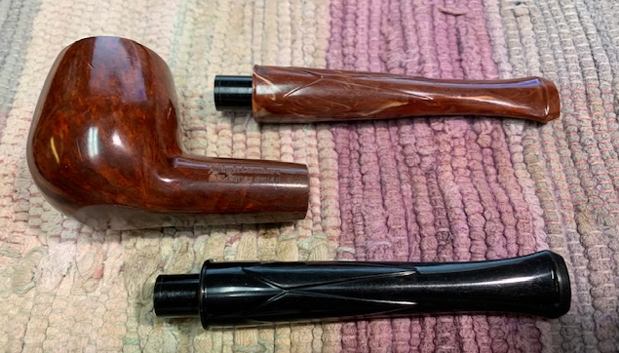
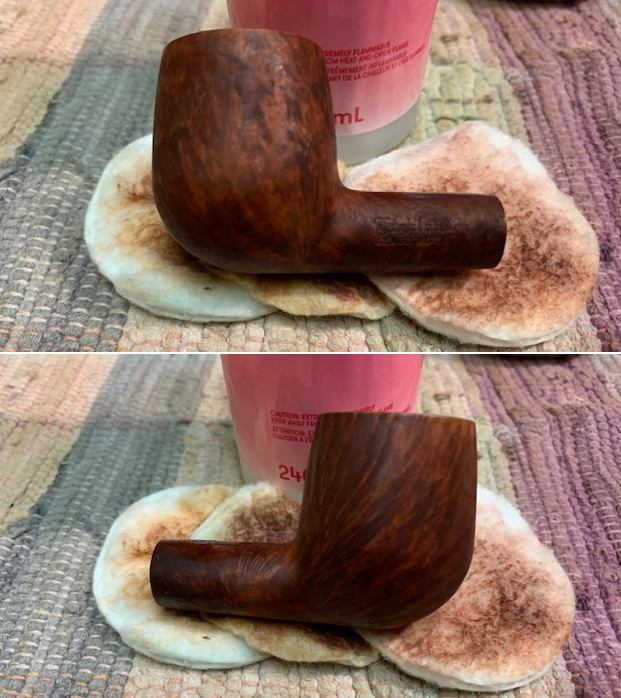
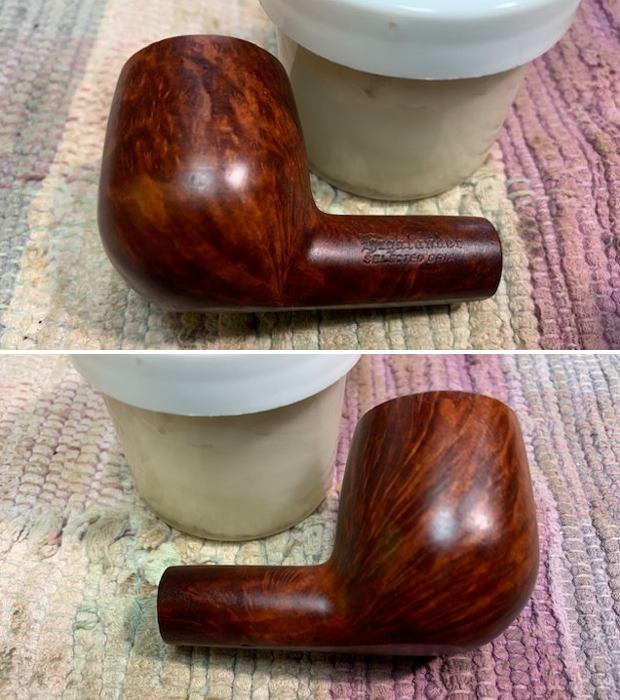
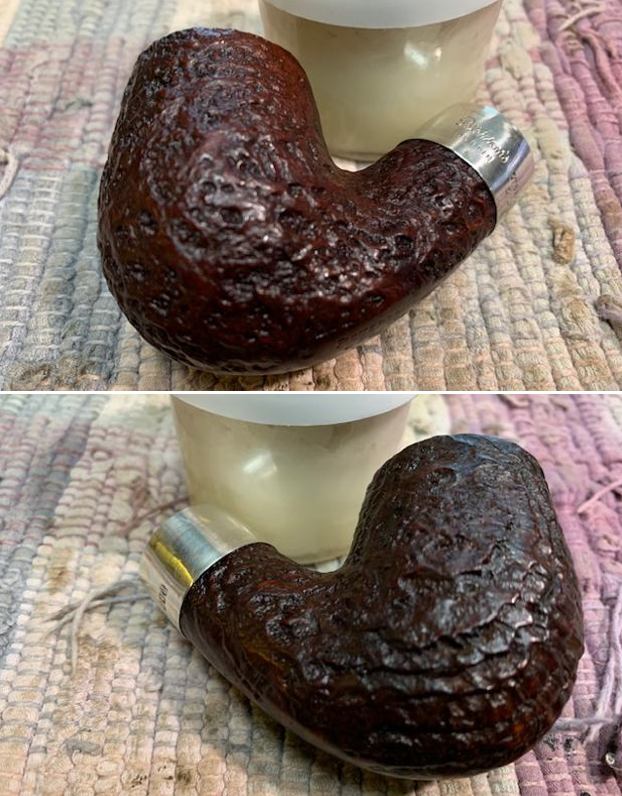
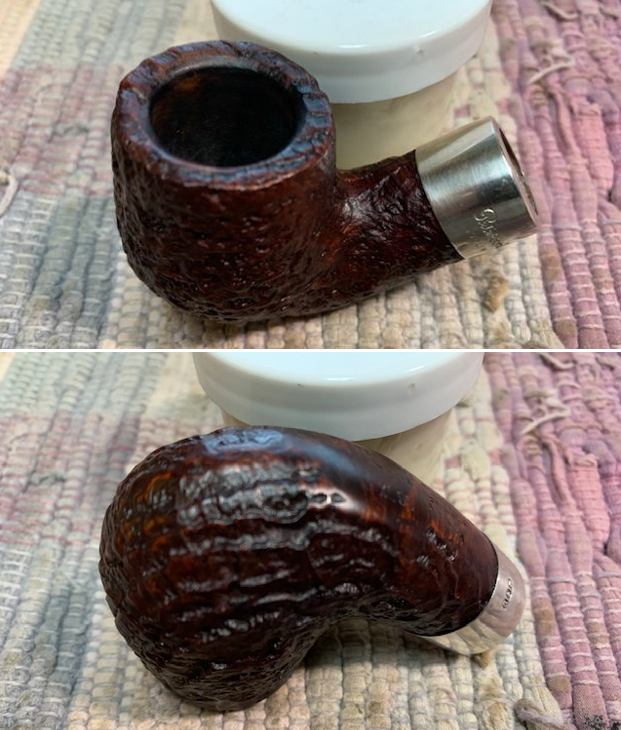
I turned now to work on the pipe. As usual Jeff had done a great job cleaning this one. It looked amazingly good. The grain really stood out and was very clean. He had reamed the bowl with a PipNet reamer and cleaned up the remnants with a Savinelli Fitsall Pipe Knife. He scrubbed the airway in the shank and stem with alcohol, cotton swabs and pipe cleaners. He scrubbed the exterior with undiluted Murphy’s Oil Soap and rinsed it with warm running water. He dried it off with a cotton towel. He scrubbed the stem with Soft Scrub and then soaked it in a bath of Before & After Deoxidizer to remove the oxidation on the stem. He rinsed it and dried it off. He gave it a light coat of olive oil to preserve it. I took photos of the pipe when I finally got around to working on it. The rim top had cleaned up very well with the lava and darkening removed. The stem surface looked very good with no tooth marks or chatter. There was some light oxidation that remained on the top side of the stem. The brass bands and briar insert on the stem end were tarnished and worn looking but should clean up very well. I took photos of the stamping on the sides of the shank. It is clear and readable as noted above.I removed the stem and took a photo of the pipe to give a sense of the whole. The stem is vulcanite with an extension of brass and briar on the tenon.I started my work on the pipe by polishing the bowl sides and shank with micromesh sanding pads – dry sanding with 1500-12000 grit pads and wiping it down after each pad with Obsidian Oil. I polished it with Before & After Pipe Stem Polish – Fine and Extra Fine. I gave it another coat of Obsidian Oil and set it aside.    I rubbed the bowl and shank down with Before & After Restoration Balm. I worked it into the surface of the bowl sides and shank with my fingertips. The product works to clean, enliven and protect the briar. I let the balm sit for 10 minutes and then buffed with a cotton cloth to raise the shine. I polished the vulcanite stem with micromesh sanding pads – 1500-12000 grit pads. I wiped it down with Obsidian Oil after each sanding pad. I used Before & After Pipe Polish – both Fine and Extra Fine to further polish the stem. I gave it a final rubdown with Obsidian Oil to further protect it and let it dry.      This Gebi fatta a mano (Hand Made) Freehand Pot with a saddle vulcanite stem has brass bands sandwiching a briar band on the saddle portion. It is a great looking pipe now that it has been restored. I put the stem back on the bowl and carefully buffed the pipe with Blue Diamond on the buffing wheel using a light touch on the briar. I gave the bowl and the stem multiple coats of carnauba wax on the buffing wheel and followed that by buffing the entire pipe with a clean buffing pad. I hand buffed the pipe with a microfiber cloth to deepen the shine. The finished Gebi Freehand Pot fits nicely in the hand and feels great. Give the finished pipe a look in the photos below. The dimensions of the pipe are Length: 5 ¾ inches, Height: 1 ¾ inches, Outside diameter of the bowl: 1 ½ inches, Chamber diameter: ¾ of an inch. The weight of the pipe is 2.19 ounces/62 grams. I will be adding this pipe to the rebornpipes store shortly in the Italian Pipe Makers section. If you are interested in adding this pipe to your collection send me a message or an email. Thanks for reading this blog and my reflections on the pipe while I worked on it. There are many more to come!

Restoring a Large Ben Wade Danish Hand Model 100 Freehand


Blog by Steve Laug

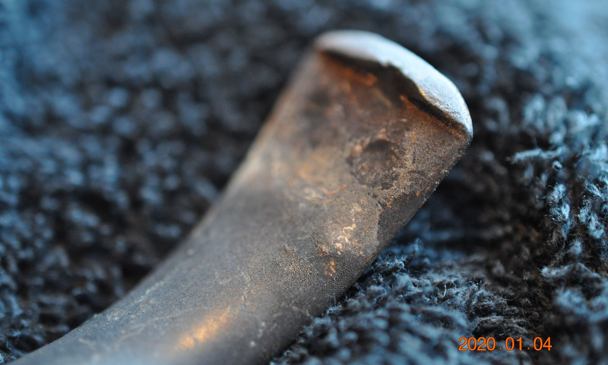
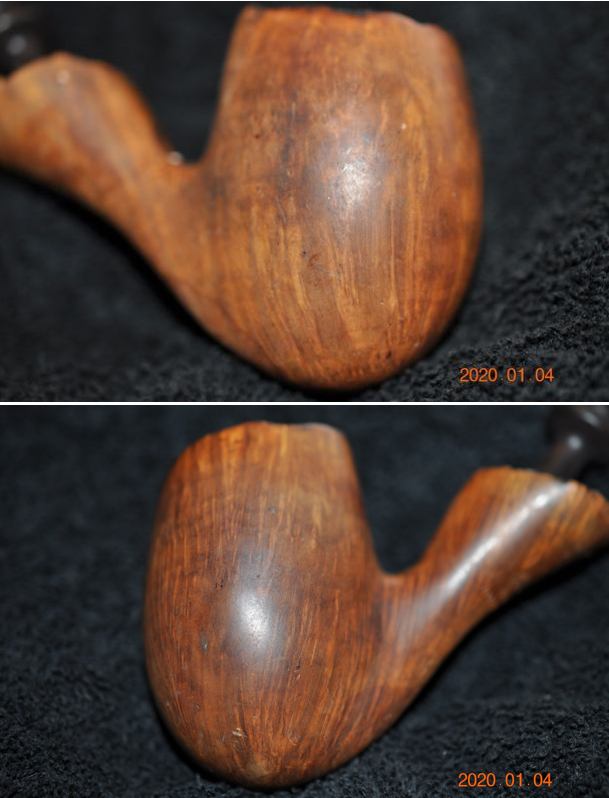
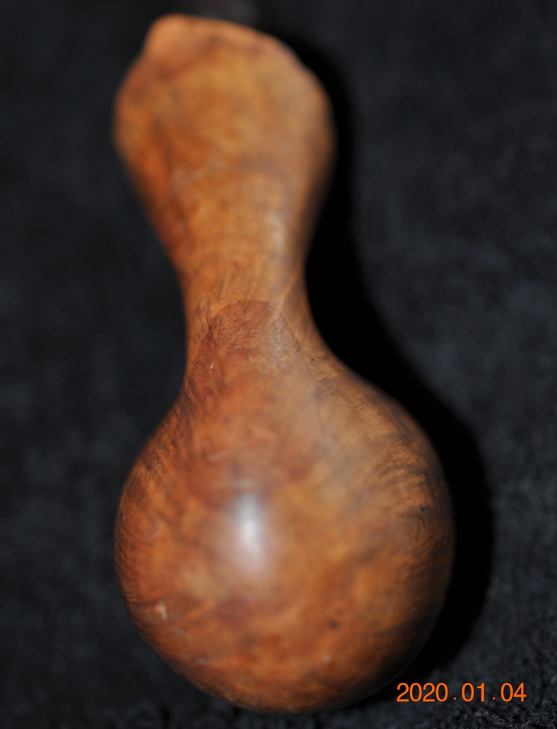
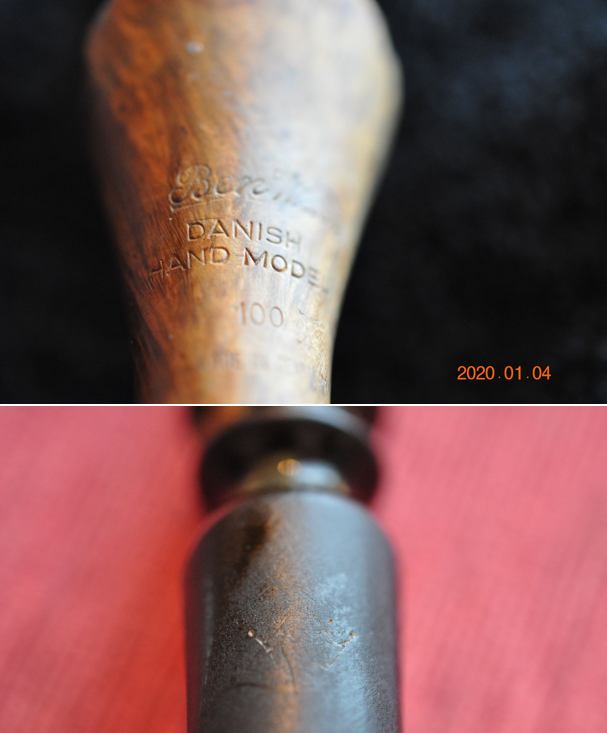
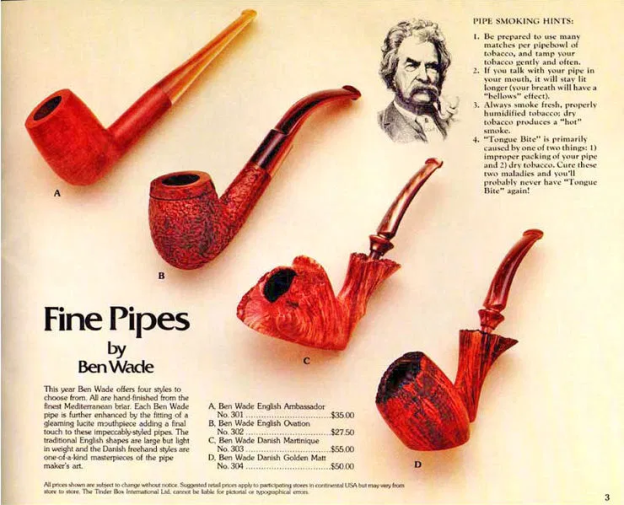
The next pipe on the table came to us late in 2019 from a fellow in Los Angeles, California, USA. We have purchased quite a few pipe from him over the years and several Ben Wade Pipe. This is another one of those. Even though the finish was dull and lifeless it showed promise under the grit and grime of the years. On the underside of the shank it was clearly stamped Ben Wade in script [over] Danish[over] Hand Model[over] 100 [over] Made In Denmark. The finish is filthy with grime and oils ground into the smooth briar of the bowl and shank sides. The bowl had a thick cake that overflowed in heavy lava onto the plateau rim top filling in the grooves and valleys of the finish. The plateau shank end was also dirty with dust and debris in the grooves and valleys of the shank. The vulcanite stem was oxidized, calcified, dirty and had some tooth marks and chatter on both sides ahead of the button. Jeff took some photos of the pipe to show its overall condition before he started his cleanup work. He took photos of the rim top and bowl to give a clear picture of the thickness of the cake and the lava on the plateau finish of the rim top. There is dust and debris stuck to the walls of the bowl clearly visible in the photos. He also took photos of the top and underside of the stem to show the chatter and tooth marks. Jeff took photos of the sides and heel of the bowl to give a picture of what the briar around the pipe looked like. There is some stunning grain under the grime.  He took photos of the stamping on the shank. It reads as noted above and is clear and readable. There is the faint remnant of the crown stamp on the top of the stem.   I remembered a bit of history on the brand that thought that the Preben Holm pipes were marketed under the Ben Wade label in the US and imported through Lane Ltd. I turned to Pipedia and read the listing on the brand to refresh my memory and flesh out the knowledge of the brand (https://pipedia.org/wiki/Ben_Wade). I have included a photo from that site that was taken from a Tinderbox advertisement.I quote the portion of the article that summarizes the Danish period of the history of the brand:

Young Copenhagen master pipemaker Preben Holm had made a meteoric career heading a pipe manufacture employing 45 people at the age of 22! But around the turn of 1970/71 he was in major financial difficulties. His US distributor, Snug Harbour Ltd. in New York City, left him in the lurch. Holm had three unpaid invoices on his desk and another large shipment was ready for the USA, when Snug Harbour’s manager told him on the phone that there was no money at all on the account to pay him.

So the Dane went to New York for an almost desperate search for a new distribution partner. He made contacts with Lane Ltd. and met Herman G. Lane in February 1971. Lane Ltd. had no interest in Holm’s serial pipes produced at that time but so much the more in the hand-carved freehands because the hype for Danish freehands and fancies in the States was still on its way to the climax then. The meeting resulted in an agreement to start a cooperation. Lane insisted to improve the quality considerably and in return he assured to be able to sell essentially larger quantities.

Holm went back home to work on new samples with all-new designs and altered finishes for Lane. Both, Lane and Holm, agreed that it would be unwise to sell the pipes under Preben Holm’s name as long as Snug Harbour had a considerable stock of Preben Holm pipes and might sell them pipes at very low prices just to bring in some money.

So on Mr. Lane’s proposal it was determined to use the name Ben Wade belonging to Lane Ltd. Lane spent considerable amounts of money for advertising the new brand in the big magazines– the centerpiece being whole-page ads showing a very exclusive Seven Day’s Set.

The cooperation with Lane Ltd. proved to be an eminent business success for both partners. Within a very short time Ben Wade Handmade Denmark sold in much larger quantities and at higher prices than they had ever dreamed of. And the hype these freehands and fancy pipes caused went on unbroken long after Herman G. Lane deceased. Preben Holm – obviously much more brilliant in pipe making than in pipe business – was in major troubles again in 1986 and had to sack most of his staff. The Ben Wade production was significantly lowered but continued until his untimely death in June of 1989.

Up to now Preben Holm made Ben Wade pipes are cult and highly sought for on the estate markets.

With that information my initial thoughts were confirmed. This pipe was a Preben Holm made Freehand distributed in the US by Lane Ltd under the name Ben Wade. The freehand rage occurred in the late 70s and the pipes were made until Preben’s death in 1989. My guess would be that this pipe was made sometime during that time period and potentially in the late 70s.

Jeff had cleaned up the pipe until it almost did not look like the same pipe. He reamed the pipe with a PipNet Pipe Reamer and cleaned up the remnants with a Savinelli Fitsall Pipe Knife. He scrubbed the exterior of the bowl with undiluted Murphy’s Oil Soap with a tooth brush. He was able to get all of the lava and grime off the rim top and shank end. He rinsed it under running warm water to remove the soap and debris. He cleaned out the inside of the shank and the airway in the stem with alcohol, cotton swabs and pipe cleaners. He scrubbed the stem with Soft Scrub and cotton pads to remove the debris and oils on the stem. He soaked it in Before & After Pipe Stem Deoxidizer. He rinsed it with warm water and dried it off. I took photos of the pipe once I received it.   The rim top had some darkening on the back of the bowl. The beveled inner edge of the rim looked good with some darkening. The rim thinned toward the back of the bowl but was still quite thick. The stem surface looked very good with a few small tooth marks and chatter on both sides near the button. I took a photo of the stamping on the underside of the shank. It is clearer than it appears in the photo and is readable as noted above.I removed the stem and took a photo of the pipe to give a sense of the whole. The stem is turned fancy vulcanite. I started my work on the pipe by polishing the bowl sides and shank with micromesh sanding pads – dry sanding with 1500-12000 grit pads and wiping it down after each pad with a damp cloth. I paused in the polishing to clean up the darkening on the inner bevel of the plateau rim top with a folded piece of 220 grit sandpaper. I was able to minimize the darkening and I like the looks of the rim top.     I rubbed the bowl and shank down with Before & After Restoration Balm. I worked it into the surface of the bowl sides and shank with my fingertips and into the plateau rim top with a horsehair shoe brush. The product works to clean, enliven and protect the briar. I let the balm sit for 10 minutes and then buffed with a cotton cloth to raise the shine.   While I polished the shank I saw a small hairline crack on the right side of the shank at the plateau end. I have circled it in red in the photo below. I decided to pause in the work on the stem and address this issue first. I filled in the crack with a drizzle of CA glue. I let hardened then sanded the area with 220 grit sandpaper to smooth it out and then polished it with micromesh sanding pads. I stained it with an oak stain pen and then gave it a rub of Before & After Restoration Balm. I buffed it with a cotton cloth. I set the bowl aside and turned to work on the stem. I painted the surface of the rim with the flame of  Bic lighter to raise the tooth marks. I was able to raise them quite significantly but there were deeper ones that needed further work. I filled in what remained with clear CA glue and set the stem aside to cure.    Once the glue cure I flattened out the repairs with a small flat file. I sanded them with 220 grit sandpaper to blend them into the stem surface. I started the polishing of the stem with 400 grit wet dry sandpaper. (I failed to take a photo of the sanding process but you can see the result in the polishing photos.)  I polished the vulcanite stem with micromesh sanding pads – 1500-12000 grit pads. I wiped it down with Obsidian Oil after each sanding pad. I used Before & After Pipe Polish – both Fine and Extra Fine to further polish the stem. I gave it a final rubdown with Obsidian Oil to further protect it and let it dry.      This Ben Wade Danish Hand Model 100 Freehand with a fancy, turned vulcanite stem is a great looking pipe now that it has been restored. I put the stem back on the bowl and carefully buffed the pipe with Blue Diamond on the buffing wheel using a light touch on the briar. I gave the bowl and the stem multiple coats of carnauba wax on the buffing wheel and followed that by buffing the entire pipe with a clean buffing pad. I hand buffed the pipe with a microfiber cloth to deepen the shine. The finished Ben Wade 100 Freehand fits nicely in the hand though it is quite large and feels great. Give the finished pipe a look in the photos below. The dimensions of the pipe are Length: 6 inches, Height: 2 ½ inches, Outside diameter of the bowl: 1 ½ inches, Chamber diameter: 1 inch. The weight of the pipe is 2.29 ounces/65 grams. I will be adding this pipe to the rebornpipes store shortly in the Danish Pipe Makers section. If you are interested in adding this pipe to your collection send me a message or an email. Thanks for reading this blog and my reflections on the pipe while I worked on it. There are many more to come! rac

Repairing An Interesting Surprise on a Beautiful Heritage Antique 73S Canadian


Blog by Steve Laug

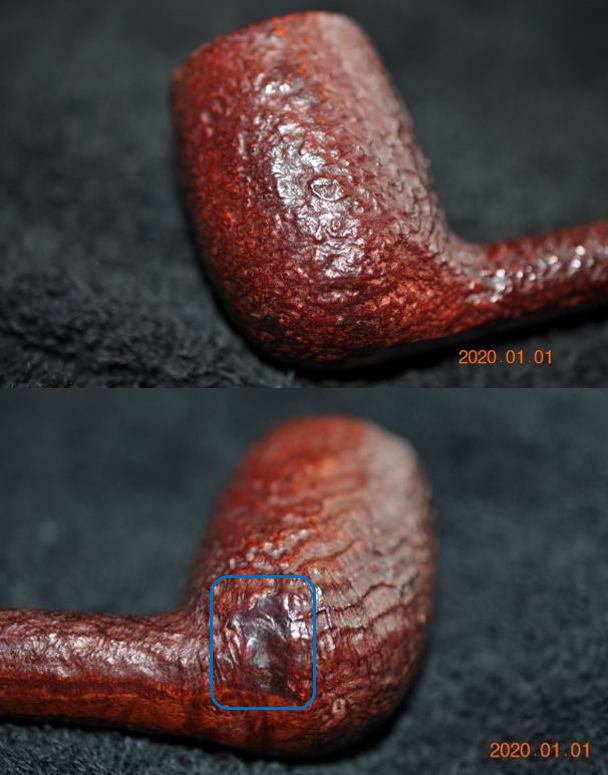
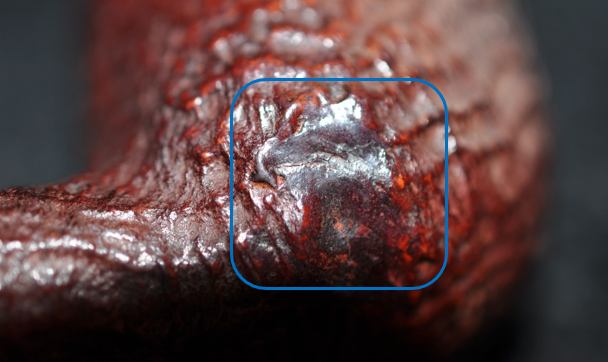
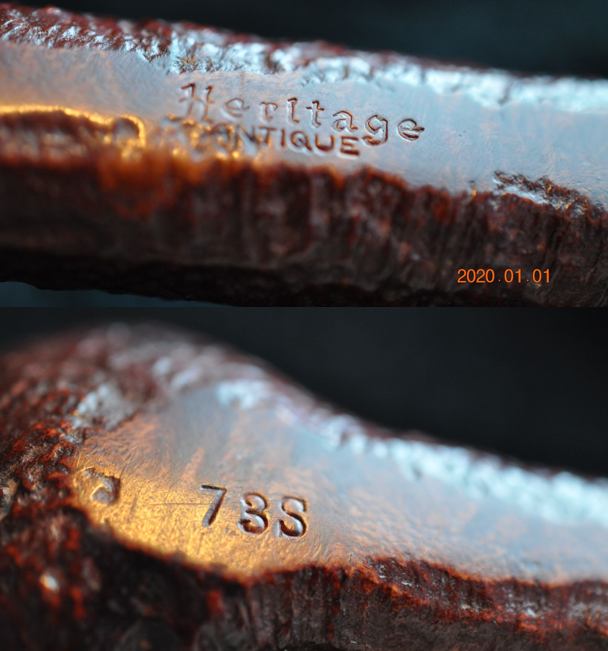
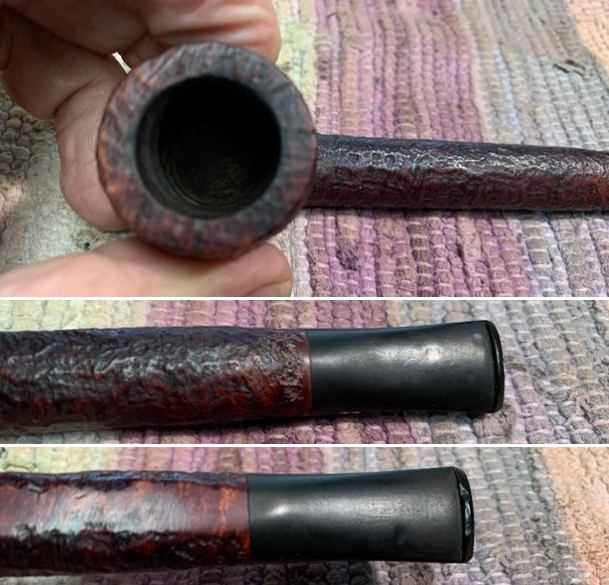
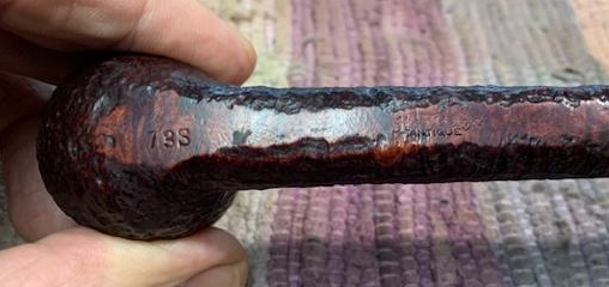
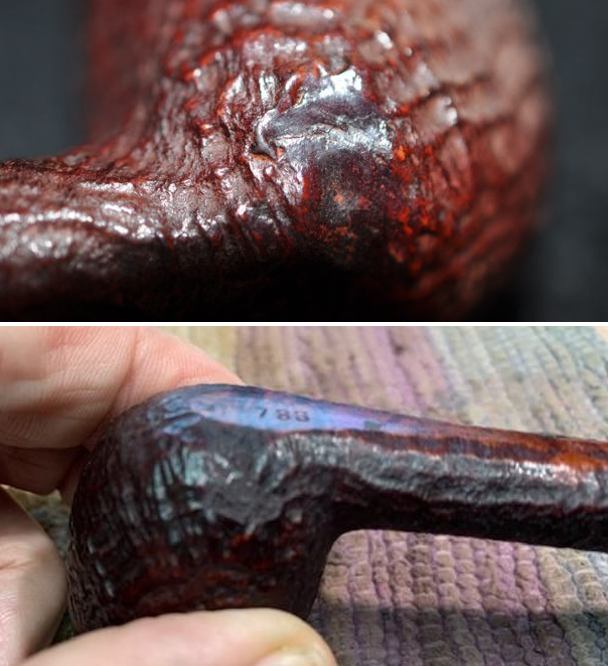
I have always had an interest in the Kaywoodie Made Heritage Pipe line. I really like the way they are made – both in terms of workmanship and style. They really made some amazing looking pipes and I always try to pick them up when I can. Jeff has also found this to be true so he is on the lookout for this brand in all of his pipe hunts and auction haunts. When this pipe became available to us late in 2019 from a fellow in Los Angeles, California, USA we bought it. It is stamped 73S on the heel of the bowl and Heritage [over] Antique on a smooth panel on the underside of the shank. The pictures of the sandblast showed it was well done. The finish was dirty and there was a thick cake in the bowl. It appeared that the bowl had been lightly reamed before it came to us. There was a lava overflow in the sandblast finish on the rim top that would need to go. There was the Heritage double diamond logo on the left side of the stem. The stem was oxidized and had deep tooth marks on both sides ahead of the button. All totaled it was still a beautiful pipe. We were hooked. Jeff took these photos before he started his clean up work. Jeff took photos of the bowl and rim top to show the condition that I noted in the description above. Even though it is very dirty you can see that the rim top and edges all look very good. The stem photos clearly show the oxidation and tooth marks on both sides. It would need some work. Jeff took photos of the sides of the bowl and heel to show the sandblast finish on the bowl. He also took photos of a strange looking area on the lower right side of the bowl. It appeared that there was a large flaw that had been filled in that area. It was obviously a dark putty and there were some small cracks in the middle area of the fill material. I drew a box around it in the second photo. I have worked on quite a few Heritage pipes and have never seen this before.Jeff took a close up photo of that area to show more clearly what we are speaking of. You can see the tiny cracks in the fill area toward the top of the repair. The patch material is dark and very hard so it should be repairable.The next photos show the stamping that I described in the opening paragraph. It is clear and readable.In other blogs on the brand I have given a bit of history on the Heritage Brand. I have included that here as well for ease of reference. Andrew Selkirk did a great job in researching a link to his work on the blog. Here is the link: https://rebornpipes.com/2014/12/23/refurbishing-a-heritage-heirloom/. I am including a brief summary of what he found in the next two short paragraphs to set the stage for the pipe on my work table.

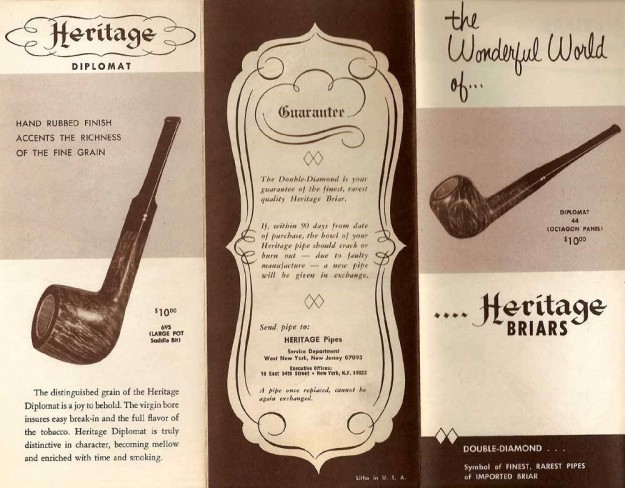
Heritage pipes were Kaywoodie’s answer to Dunhill. According to one of their brochures, Heritage pipes were made from “briar burls seasoned and cured for up to 8 months,” with only “one briar bowl in over 300 selected to bear the Heritage name.” “Heritage stems are custom fitted with the finest hand finished Para Rubber stems. Mouthpieces are wafer thin and concave.”

The Heritage line began in the early 1960’s, with the trademark issued in 1964. The line was started at the request of Stephen Ogdon, (who worked for Kaywoodie in 1962). Mr. Ogdon had previous experience working for Dunhill, either running the New York store or working for Dunhill North America. Mr. Ogden was made President of Heritage Pipes, Inc., Kaywoodie Tobacco Co.,Inc. and Kaywoodie Products Inc. as well as a Vice President of S.M. Frank & Co. Heritage Pipes were produced from 1964 until 1970 (Source kaywoodie.myfreeforum.org).

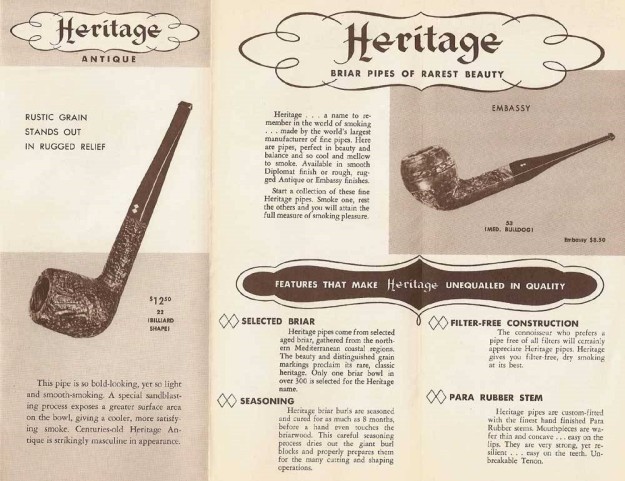
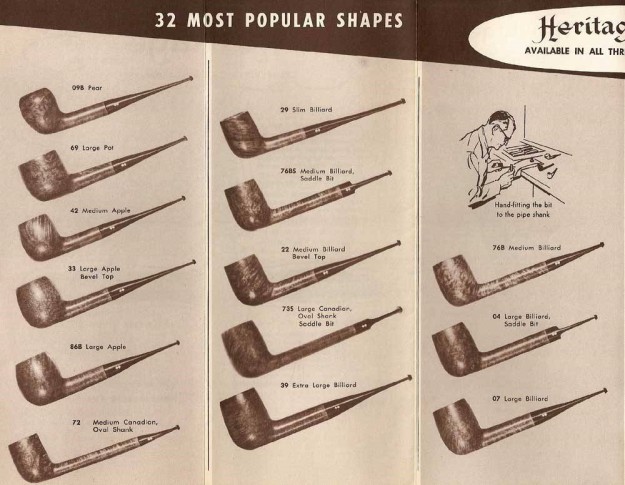
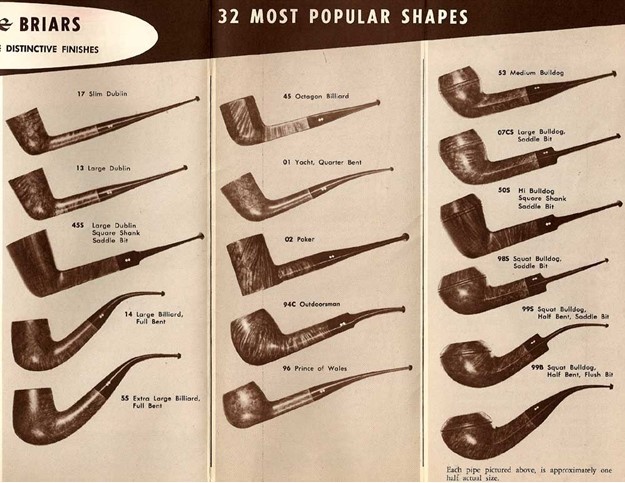
Andrew also included a copy of the Heritage brochure that I am also including below (Courtesy kaywoodiemyfreeforum). In going through the models displayed on the page there is not one for the 73S. The closest is the shape 72 Canadian. The brochure has a great write up on the Heritage Antique Line. It reads Rustic Grain Stands out in Rugged Relief. It describes the line as follows:

This pipe is so bold looking, yet so light and smooth smoking. A special sandblasting process exposes a greater surface area on the bowl, giving a cooler, more satisfying smoke. Centuries-old Heritage Antique is strikingly masculine in appearance.

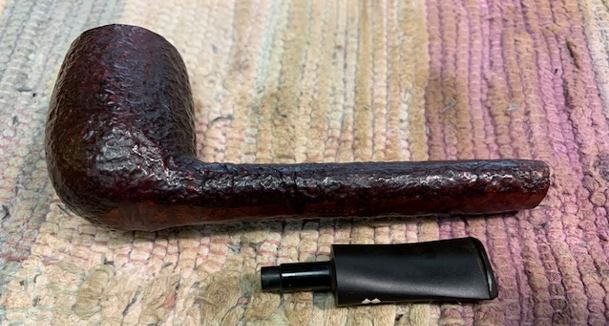
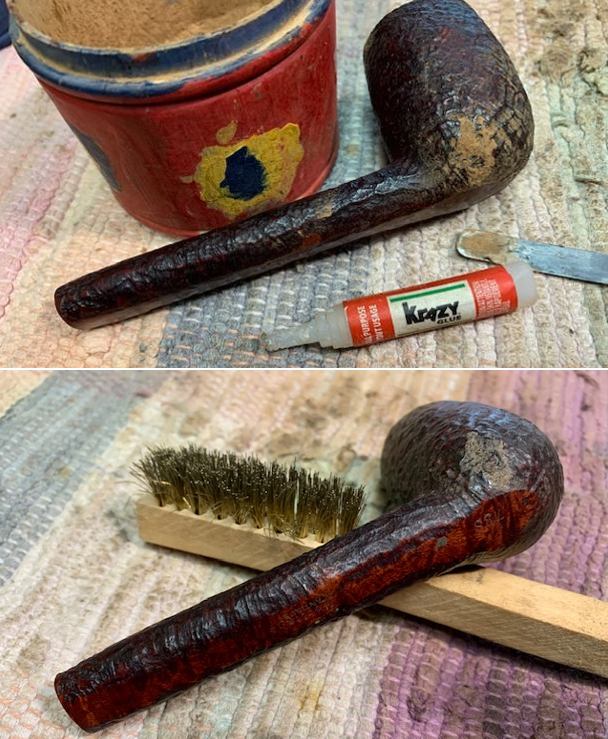
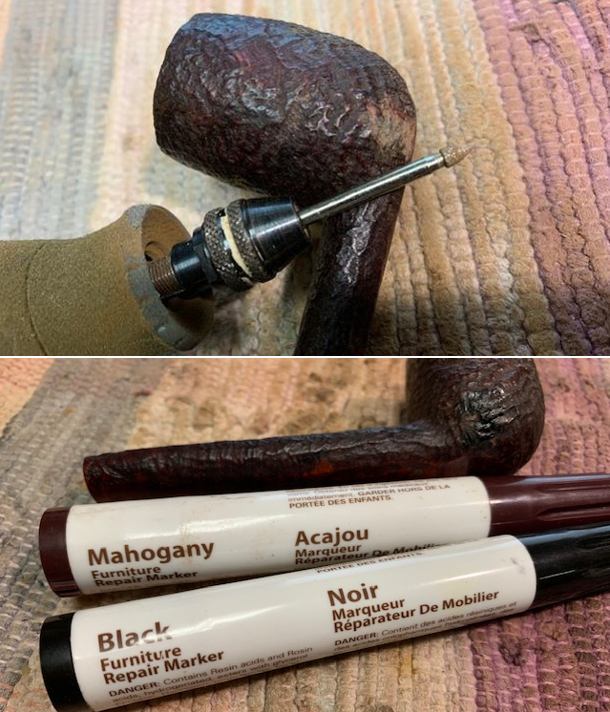
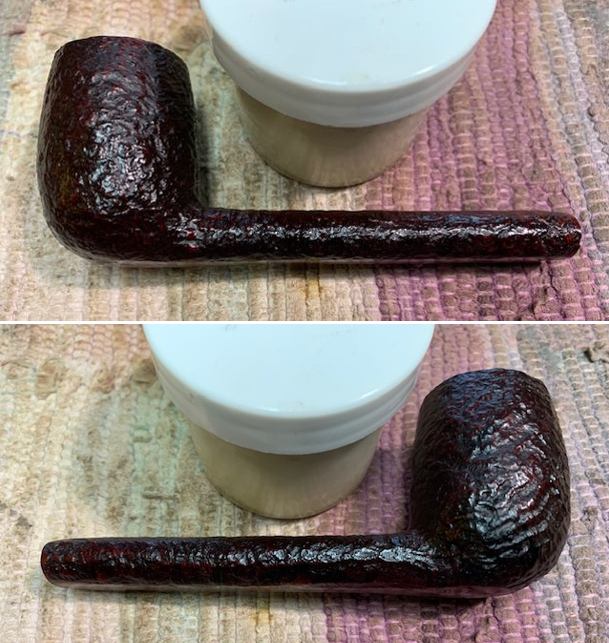
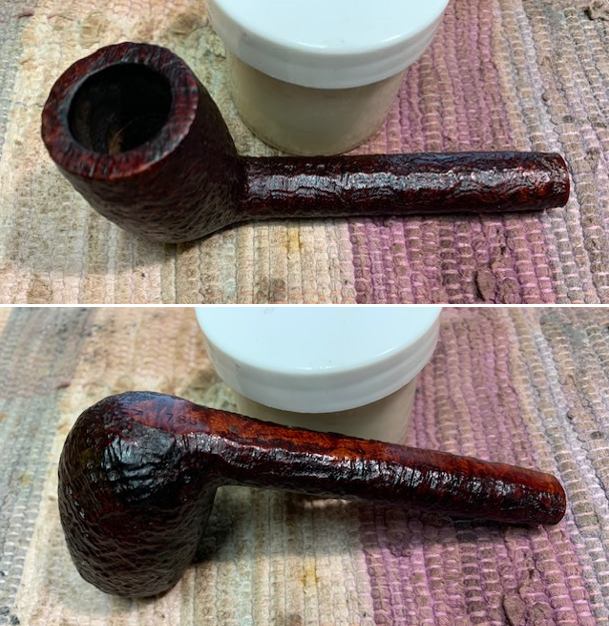
Jeff had cleaned up the pipe with his usual precise work. He reamed the pipe with a PipNet Pipe Reamer and cleaned up the remnants with a Savinelli Fitsall Pipe Knife.  He scrubbed the bowl with undiluted Murphy’s Oil Soap with a tooth brush. He rinsed it under running warm water to remove the soap and grime. The fill on the lower right side of the bowl did not loosen, crack more or fall out. It was solid. The rim top cleaned up very well. He cleaned out the inside of the shank and the airway in the stem with alcohol, cotton swabs and pipe cleaners. He soaked the stem in Before & After Deoxidizer and rinsed it off with warm water. I took photos of the pipe once I received it. Now it was time to work on the pipe itself. The bowl and the rim top looked very good. The inner and outer edges of the rim also looked very good. There was no damage to the edges. The stem surface showed deep tooth marks and chatter on both sides near the button. I took photos of the stamping on the underside shank. The stamping was clear and readable as noted above. I took the stem off the shank and took a photo of the parts of the pipe to show the overall look of the pipe. To me it is a vary British looking sandblast Canadian.I decided to deal with the large filled area on the lower right side of the bowl. It was hard and solid but had some small cracks toward the top of the fill. The first two photos show the filled area before and after cleaning. I roughed it up a little bit with a brush then filled in the cracks and sunken portions of the fill with clear CA glue and briar dust. Once the repair hardened I used a brass bristle wire brush to knock off the loose briar dust and give a bit of texture to the fill. I used the Dremel and a pointed burr to carve grain patterns to match the surrounding areas of the briar. I liked the way it was looking. I mixed a black and a mahogany stain pen into the rusticated surface to match the surrounding colour of the bowl. I was happy with how the repair had blended into the rest of the surrounding briar. I worked some Before & After Restoration Balm into the surface of the briar with my fingertips and a horsehair shoe brush to clean, enliven and protect it. I let the balm sit for a little while and then buffed with a cotton cloth to raise the shine. The following photos show the bowl at this point in the restoration process. I am very happy with the results. I set the bowl aside and turned my attention to the stem. I “painted” the stem with the flame of a Bic lighter to lift the tooth marks. I was able to lift them out significantly. I filled in the remaining dents in the stem surface with clear CA glue and set it aside to cure. I flattened out the repairs with a small file to start the process of blending them into the surface of the vulcanite. I then sanded them smooth with 220 grit sandpaper to further blend them in and started polishing the stem with 400 grit wet dry sandpaper. I polished the vulcanite stem with micromesh sanding pads – 1500-12000 grit pads. I wiped it down with a damp cloth after each sanding pad. I used Before & After Pipe Polish – both Fine and Extra Fine to further polish the stem. I wiped it down with a final coat of Obsidian Oil and set it aside.     The repair on the lower right side of the sandblast Heritage Antique 73S Canadian came out very well and really is unnoticeable. The pipe is a real beauty and the finish and shape are well done and have a classic English look even though this is an American Made pipe. The thin taper vulcanite stem polished up on the buffing wheel with Blue Diamond and had a rich glue. I gave the bowl multiple coats of Conservator’s Wax and the stem multiple coats of carnauba wax on the buffing wheel and followed that by buffing the entire pipe with a clean buffing pad. I hand buffed the pipe with a microfiber cloth to deepen the shine. The finished Heritage Antique Canadian fits nicely in the hand and feels great. Give the finished pipe a look in the photos below. The dimensions of the pipe are Length: 6 inches, Height: 1 ¾ inches, Outside diameter of the bowl: 1 ¼ inches, Chamber diameter: ¾ of an inch. The weight of the pipe is 1.27 ounces/36 grams. I will soon be adding it to the rebornpipes store in the American Pipe Maker section. If you are interested in adding this pipe to your collection send me a message or an email. Thanks for reading this blog and my reflections on the pipe while I worked on it. There are many more to come!

Breathing New Life into a Wally Frank Wine Root Bruyere De Luxe Selected Grain Squat Bulldog


Blog by Steve Laug

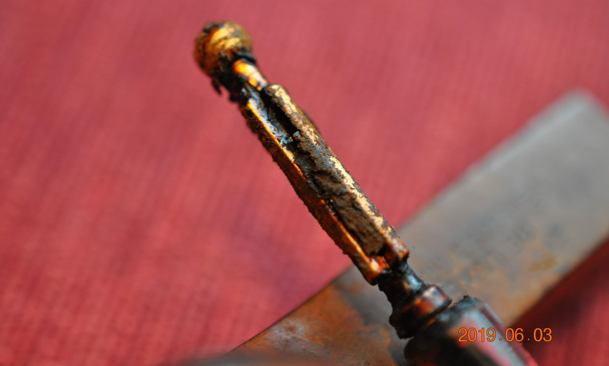
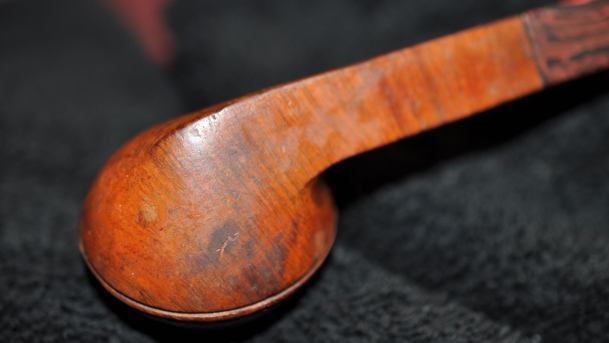
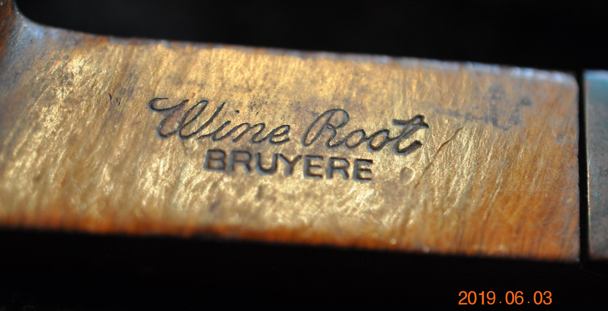
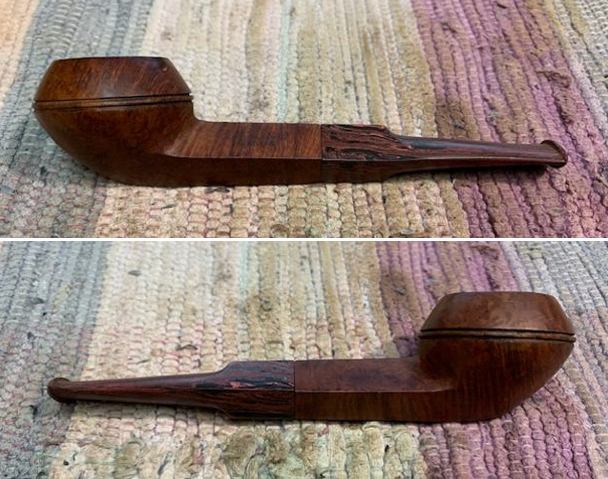
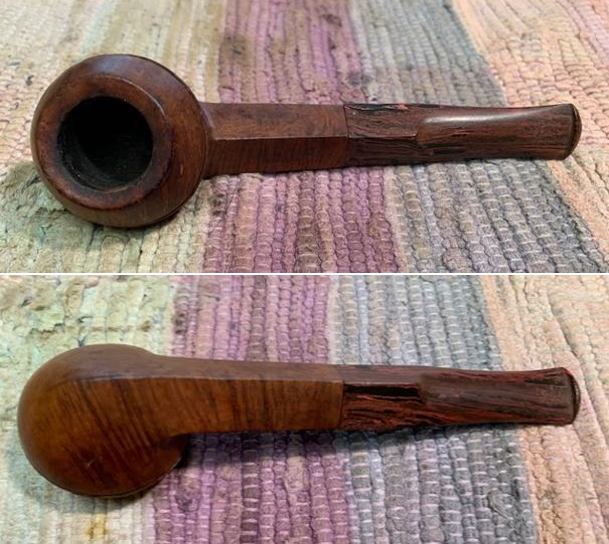
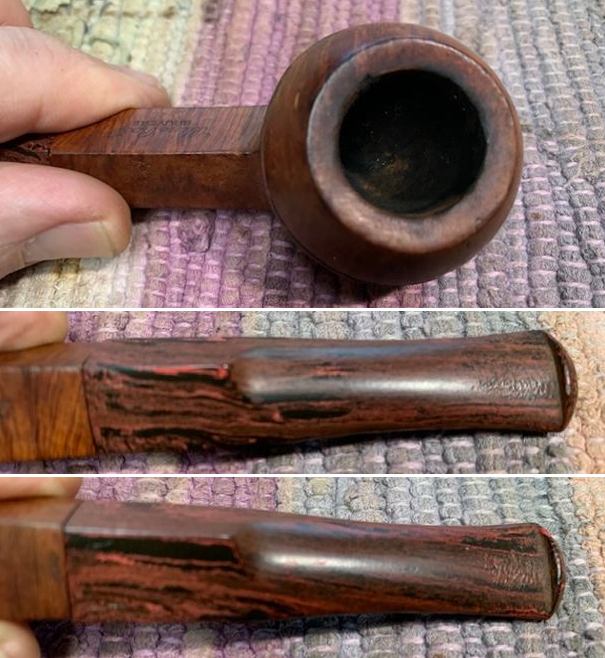
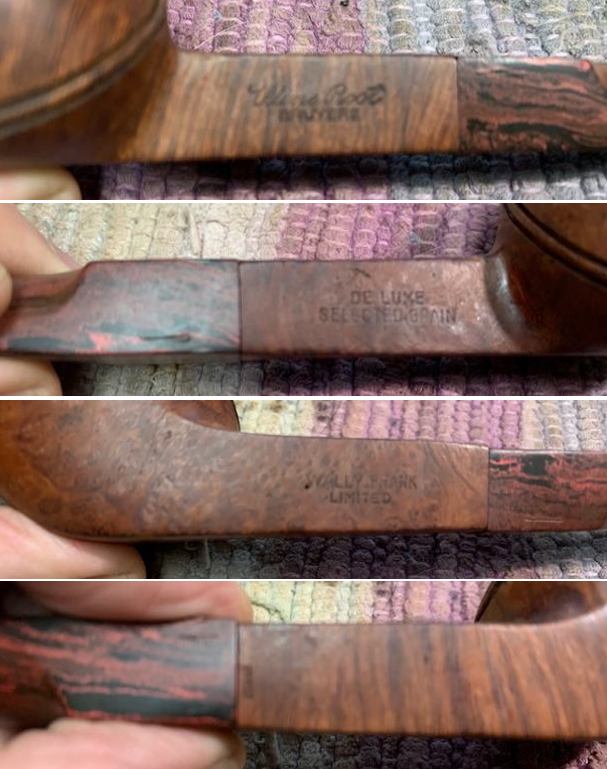
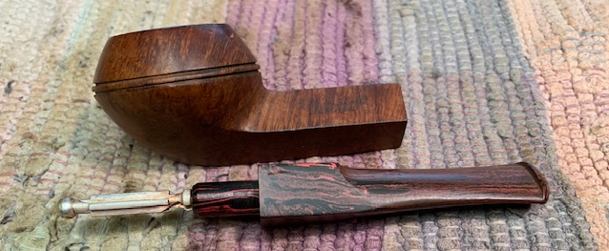
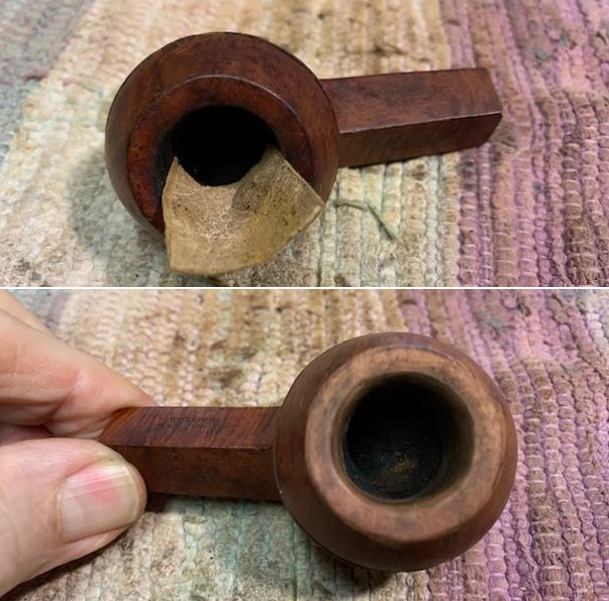
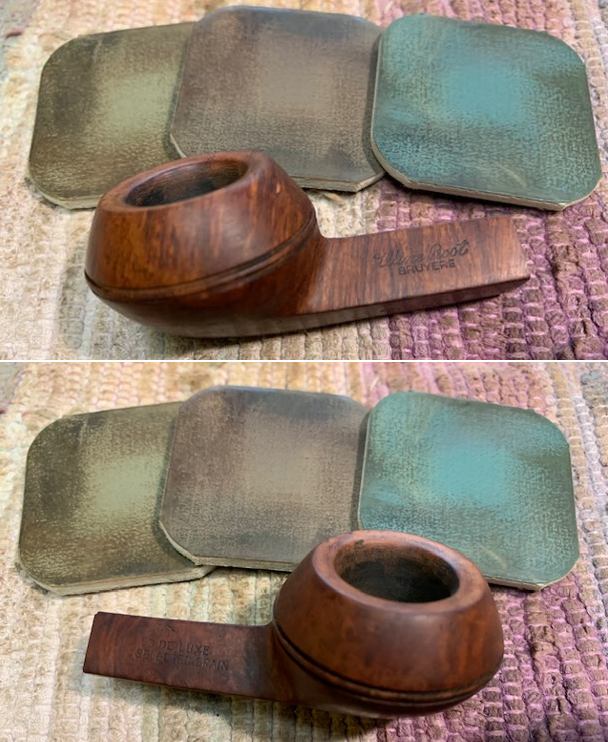
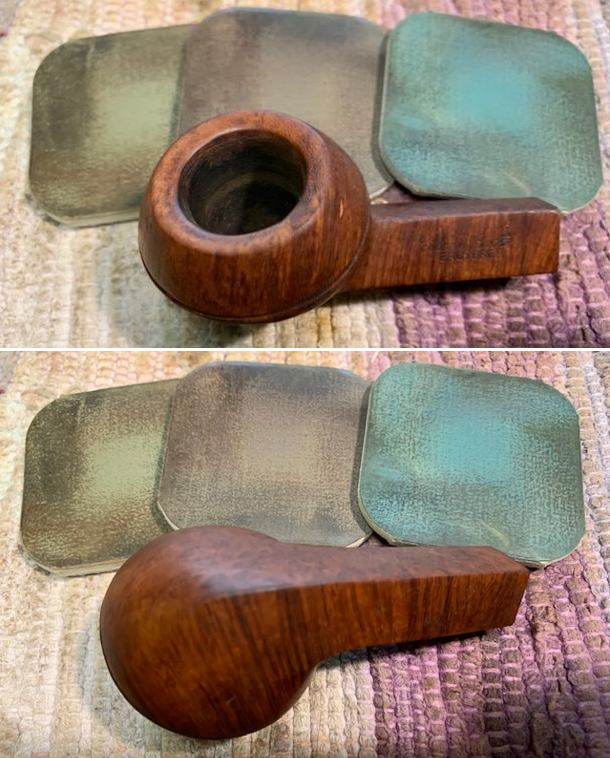
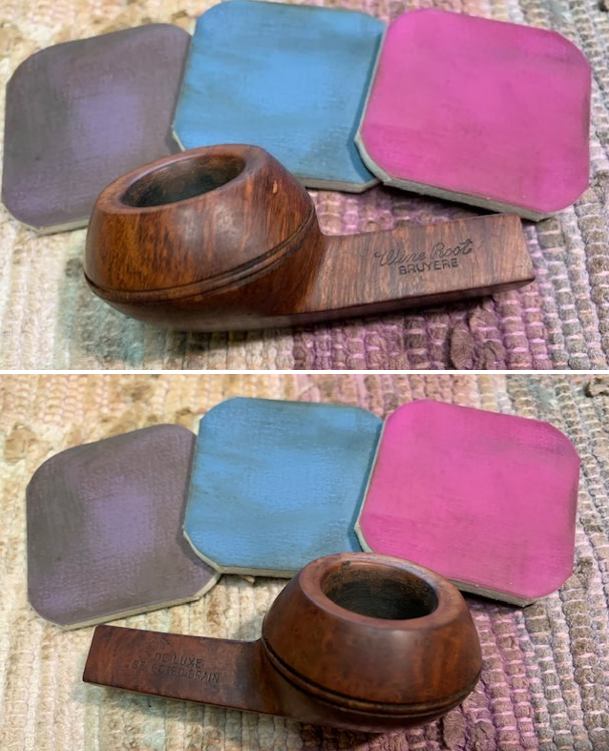
The next pipe on the table was purchased on 05/08/19 from an online auction in Cedar Springs, Michigan, USA. Jeff picked it up because we both like Cumberland stems and this little Bulldog had that and some great grain. The pipe is stamped Wine Root [over] Bruyere on the top left side of the shank and  Wally Frank  [over] Limited on the bottom left side. On the top right side it read De Luxe [over] Selected Grain and on the bottom right side it was stamped ITALY. The bowl was heavily caked with a heavy overflow of lava on the beveled rim top. There was some darkening on the outer edge of the rim down the side of the cap toward the back of the bowl. The finish was dirty and oily from the heavy use it had seen. It had a Cumberland push stem and an interesting/odd stinger apparatus in the tenon. The stem was oxidized to the point that the Cumberland was almost hidden. There were tooth marks and chatter on both sides ahead of the button. Jeff took some photos of the pipe before he started his clean up work. The a photo of the rim top show the thick lava coat that flows out of the bowl and over the edge of the bowl. It is hard to know what the edges of the bowl – inner and outer – look like because of the lava and cake. The photos of the stem show the heavy oxidation and tooth marks and chatter on both sides. Jeff took a photo of the stinger apparatus that shows how packed full of debris and tars that the fins around the stinger really are.The next three photos show the grain around the sides of the bowl and heel as well as the placement of the fills on the sides of the bowl. It is a pretty neat looking pipe. The next photo shows the stamping on the top left side of the shank. It was clear and readable. Jeff did not take photos of the other sides of the shank.I turned to Pipedia (https://pipedia.org/wiki/Wally_Frank) to refresh my sense of the history of the brand. I quote below the history that is noted there.

Wally Frank, Ltd. was one of America’s oldest and most respected names in pipes and tobaccos, beginning in the early 1930’s. Wally Frank operated a chain of tobacco stores in New York City (the flagship store was in Lexington Avenue) and had a vast catalog business for pipes and pipe tobaccos. Their numerous private-label pipes were made by many makers, including Charatan, Sasieni, Weber, and many others. Wally Frank, Ltd. also owned the Pioneer brand of meerschaum pipes, made from both Turkish and African meerschaum. In addition to importing pipes, he had many pipes made in his own name and also employed pipemakers like Peter Stokkebye, Svend Bang, and Ed Burak (who later became the owner of Connoisseur). As a result, each Wally Frank pipe must be individually evaluated on its own merit.

Members of Wally Frank’s “The Pipe of the Month Club” received a new pipe in the mail once a month.

In 1952, Wally Frank was on a buying trip in Italy and “discovered” pipe maker Carlo Scotti. Frank liked Scotti’s pipes, but there was the small problem of Scotti’s pipes bearing the same trademark or logo as one of Wally Frank’s pipe lines, the White Bar. The two men decided on creating a new logo for pipes sold in the U.S.: a hole drilled in the stem and with a piece of silver foil inserted in the hole and covered with clear Lucite.

There was no specific information on the line I was working on but the history of the brand was good to be reminded of. Now it was time to work on the pipe.

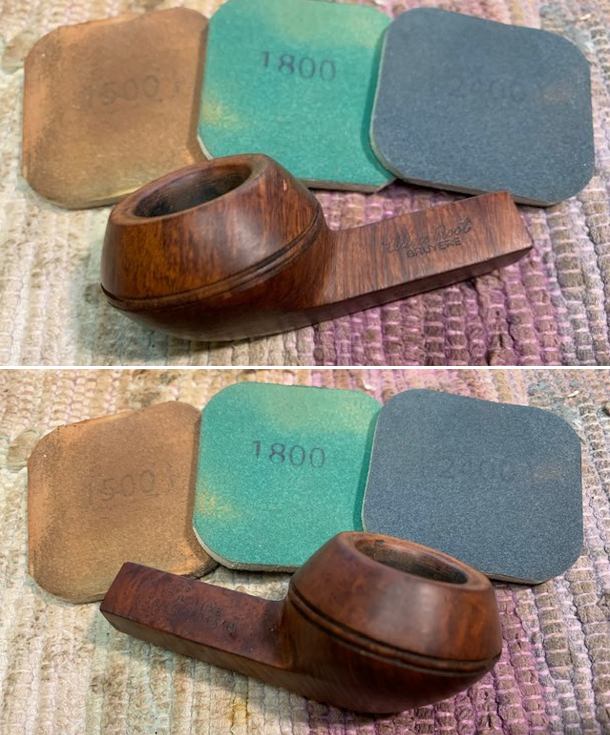
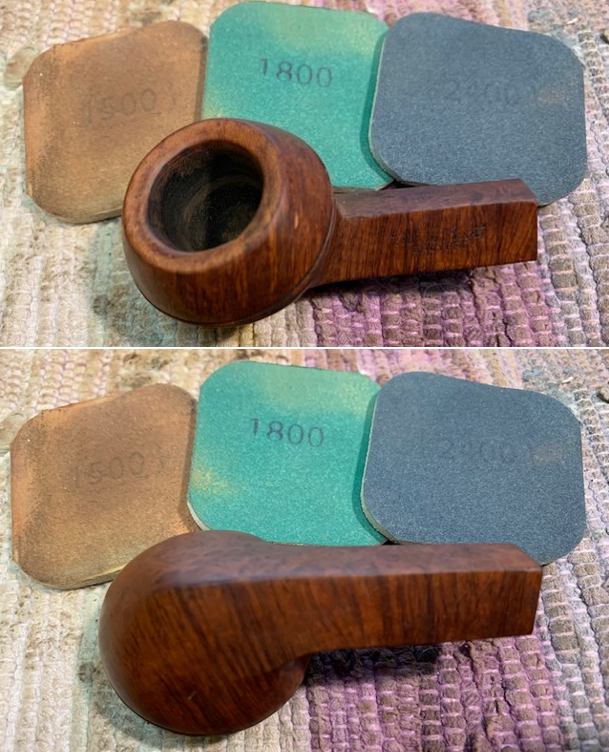
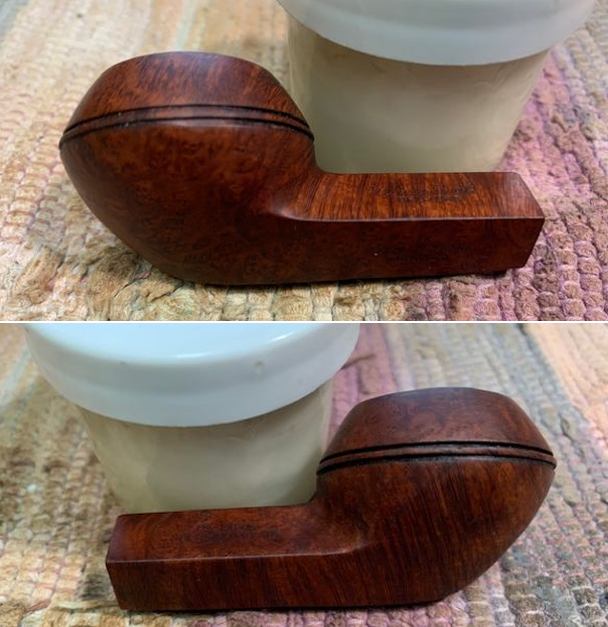
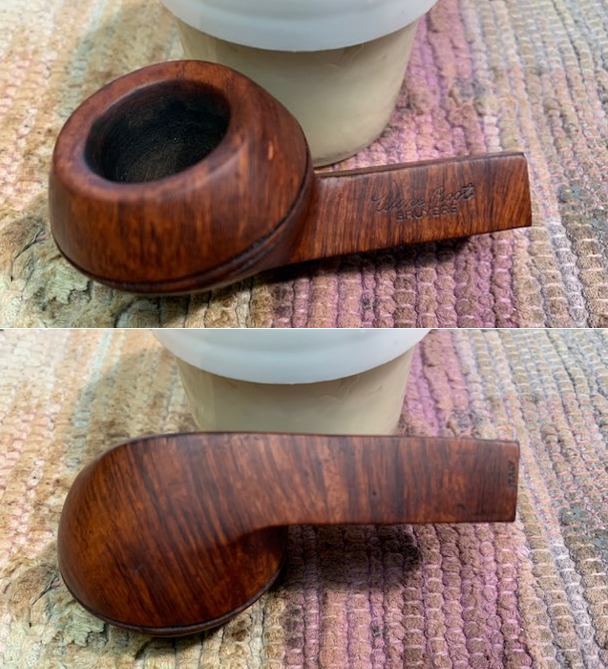
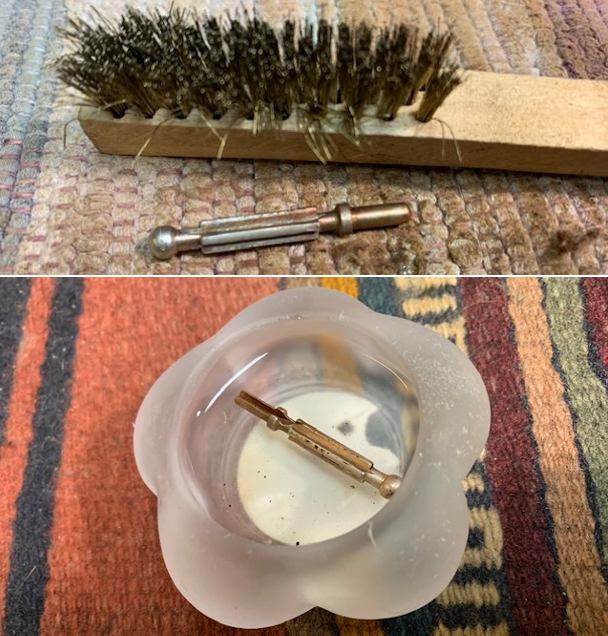
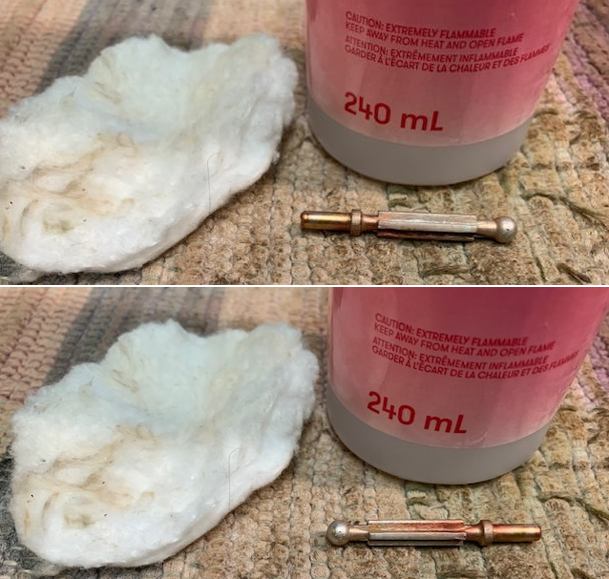
It may seem that I praise Jeff’s work in cleaning up the pipes I work on a lot! I know I do but he is an indispensable part of the restoration work for me. He has developed a system of cleaning that is quite remarkable and leaves the pipes very clean. It saves me a lot of time so I have no issues saying that! Jeff did a great job cleaning up the pipe as usual. He reamed the pipe with a PipNet reamer and cut back the cake back to the bare briar. He cleaned up the walls with a Savinelli Fitsall Pipe Knife. He scrubbed the interior of the bowl and shank with pipe cleaners, cotton swabs and alcohol to remove the tars and oils. He scrubbed the exterior of the pipe with Murphy’s Oil Soap and a tooth brush to remove the grime from the finish. He worked on the rim top lava and darkening with the soap and tooth brush. He scrubbed the inside of the stem with alcohol and pipe cleaners. He scrubbed the exterior with Soft Scrub and then soaked it in Before & After Deoxidizer. He washed it off with warm water to remove the Deoxidizer. The pipe looked far better when it arrived.    I took some close up photos of the rim top and also of the stem surface. I wanted to show how well it had cleaned up but also to show the damage. The rim top photo looks good but there are some nicks and damage on the top and the beveled inner rim edge. The outer edge is also nicked. I also took close up photos of the stem to show the light tooth marks and chatter on the surface near the button on both sides. The next series of photos show the stamping on the shank sides. The stamping is clear and readable as noted above.I took the pipe apart and took a photo of the pipe. It is a good looking pipe and has some great grain on the side of the bowl. The stinger is very unique and is stained red from the stain on the bowl that has permeated the aluminum.I decided to address the rim top damage first. I used a folded piece of 220 grit sandpaper to the beveled inner edge to minimize the damage to the rim. I think that it is definitely better once I finished. I would polish the flat top of the rim with micromesh and try to minimize the scratching there. The angle of the stem makes topping the bowl seem impractical.   I polished the briar rim top and edges along with the rest of the briar with micromesh sanding pads –dry sanding with 1500-12000 grit pads and using a damp cloth after each pad. I worked some Before & After Restoration Balm into the surface of the briar with my fingertips to clean, enliven and protect the briar. I let the balm sit for 15 minutes and then buffed with a cotton cloth to raise the shine. The photos show the bowl at this point in the restoration process. I set the bowl aside and turned my attention to the stem. I sanded out the tooth marks and chatter with 220 grit sandpaper and was able to remove them from the surface. I started the polishing with 400 grit wet dry sandpaper. I wiped it down with some Obsidian Oil.I decided to try and clean up the stinger next. I used a brass bristle brush to try to clean off the stain on the aluminum. It did very little so I put it in a small alcohol bath for about an hour to see if it works. I worked on it with a cotton pads and alcohol to remove more of the stain. It did not do too much. I then scrubbed the stinger with acetone and removed some more. It did not remove any more so there is a pink tinge that remove. I polished the stem with micromesh sanding pads – wet sanding with 1500-12000 grit sanding pads. I wiped it down after each sanding pad with Obsidian Oil. I polished it with Before & After Pipe Stem Polish – both Fine and Extra Fine. Afterwards I rubbed it down with another coat of Obsidian Oil and let it dry. I am excited to finish restoration of this Wally Frank Wine Root Bruyere De Luxe Selected Grain Squat Bulldog. I put the pipe back together and buffed it with Blue Diamond on the buffing wheel. I gave the bowl and stem multiple coats of carnauba wax. I buffed the pipe with a clean buffing pad to raise the shine and hand buffed it with a microfibre cloth to deepen the shine. It is fun to see what the polished bowl looks like with the polished Cumberland saddle stem. This squat Wally Frank Wine Root Bruyere Bulldog feels great in my hand. It is light and well balanced. Have a look at it with the photos below. The dimensions are Length: 5 ½ inches, Height: 1 ¼ inches, Outside diameter of the bowl: 1 ¼ inches, Chamber diameter: ¾ of an inch. The weight of the pipe is 31 grams/ 1.09 oz. It is a beautiful pipe and one that will be on the American Pipe Makers section of the rebornpipes store soon. If you are interested in adding it to your collection let me know. Thanks for walking through the restoration with me as I worked over this pipe. Thanks to each of you who are reading this blog.

A Very Oddly Modified Chelsea Selected Briar Natural Billiard


Blog by Steve Laug

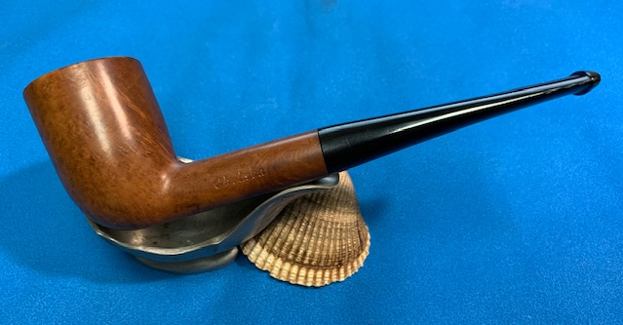
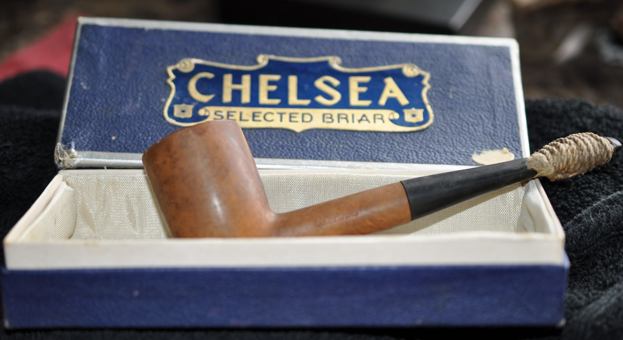
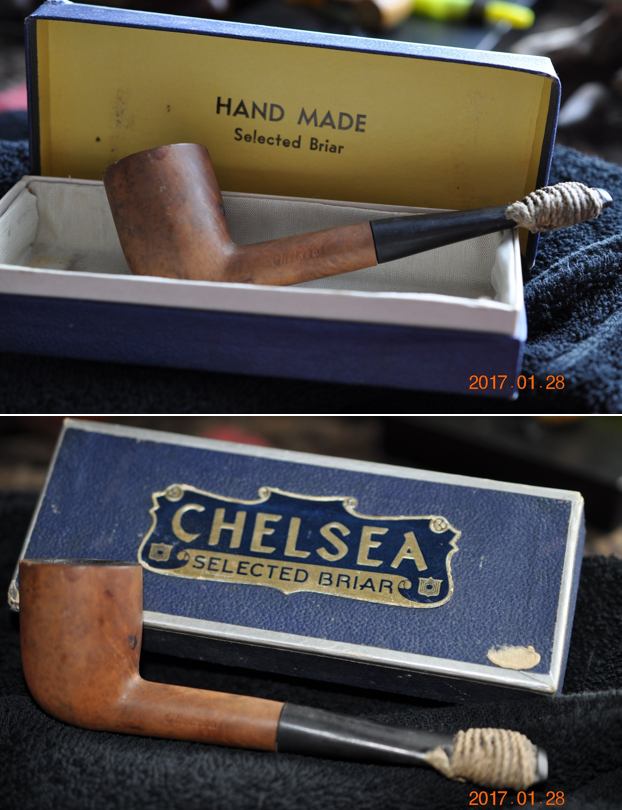
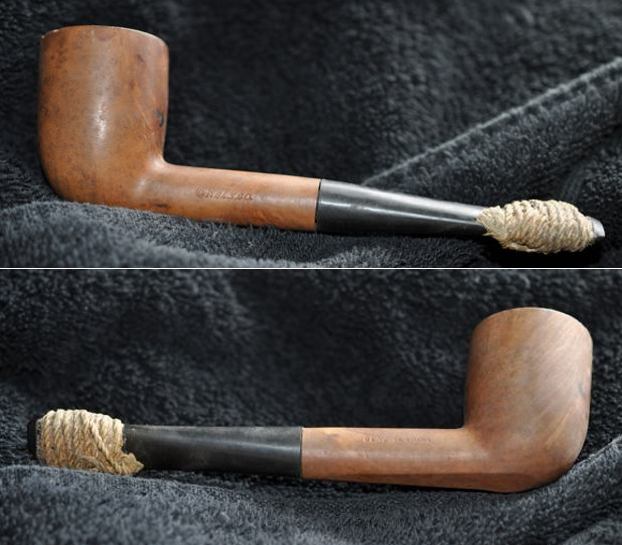
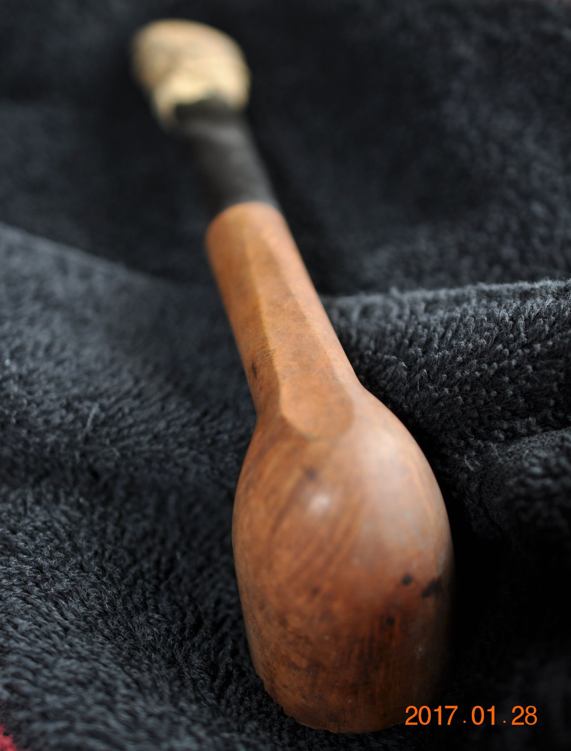
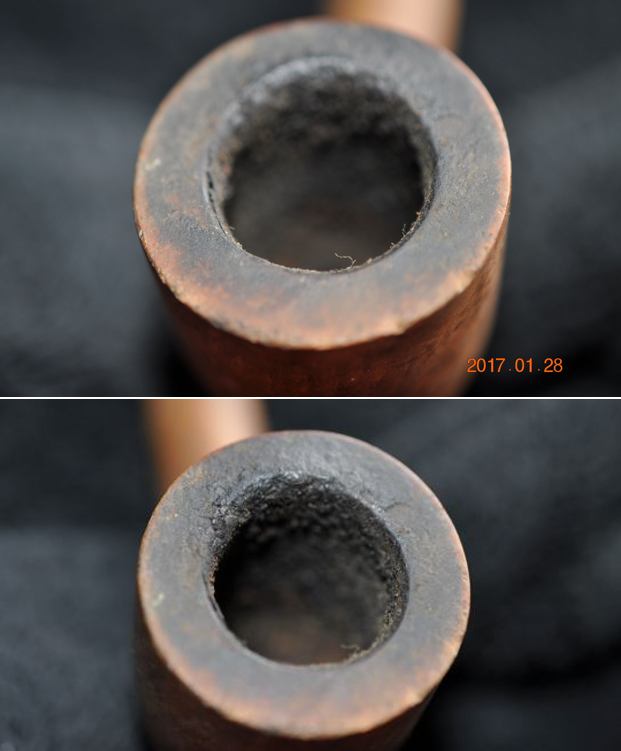
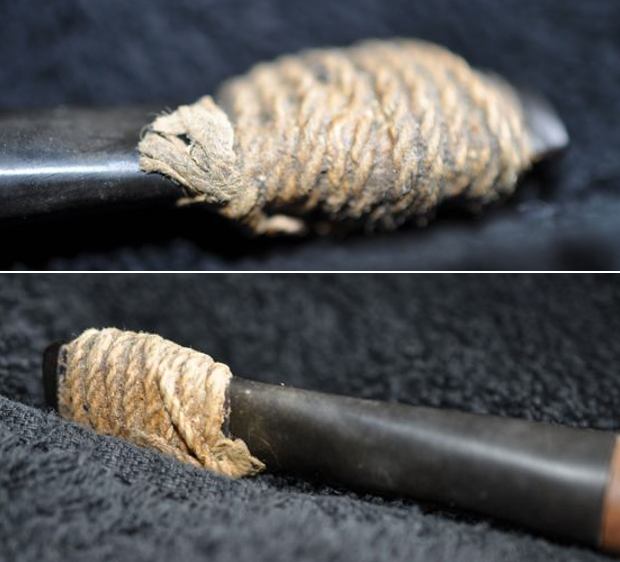
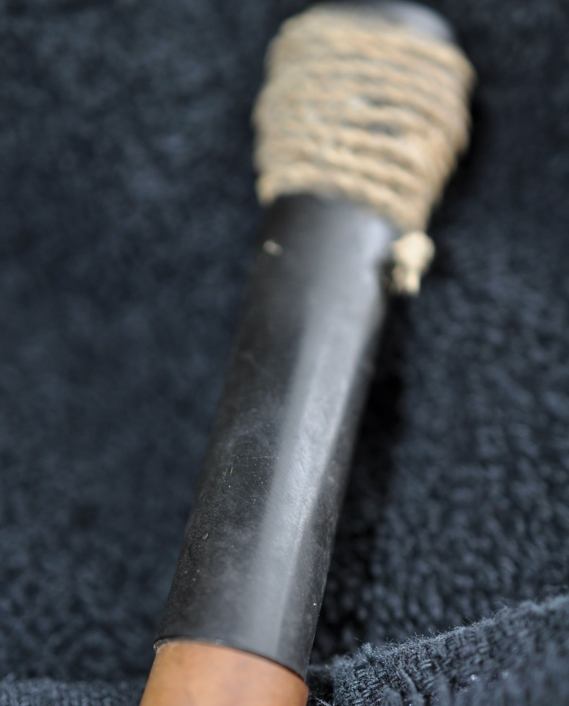
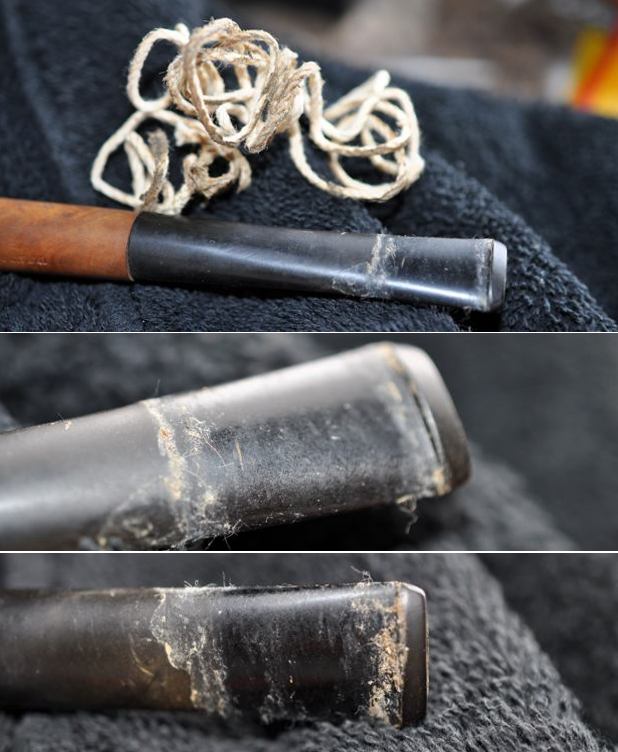
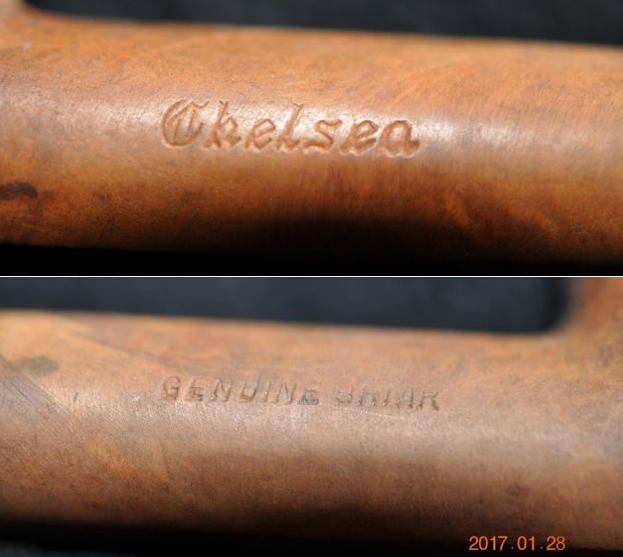
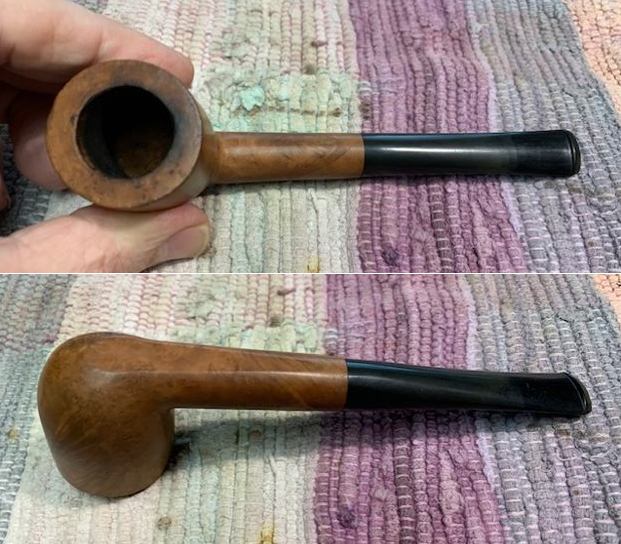
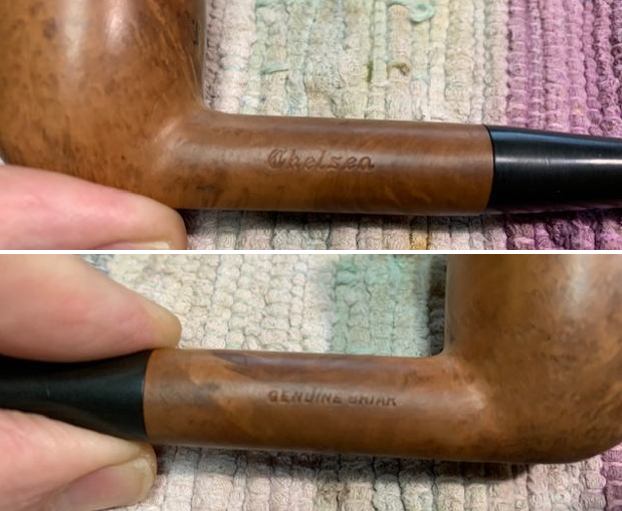
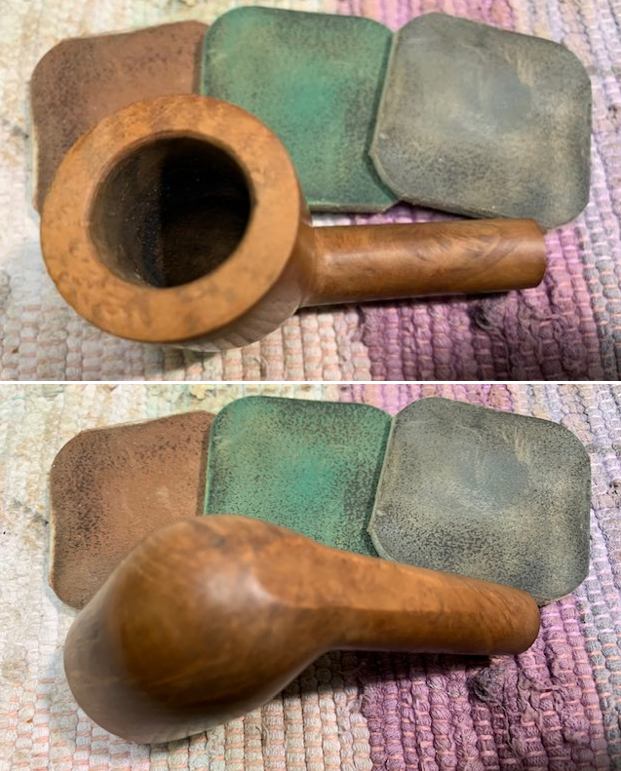
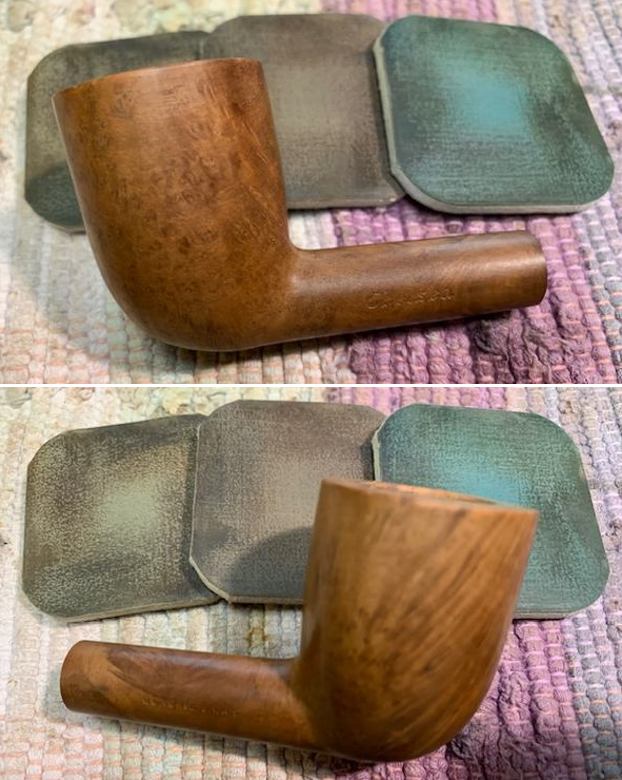
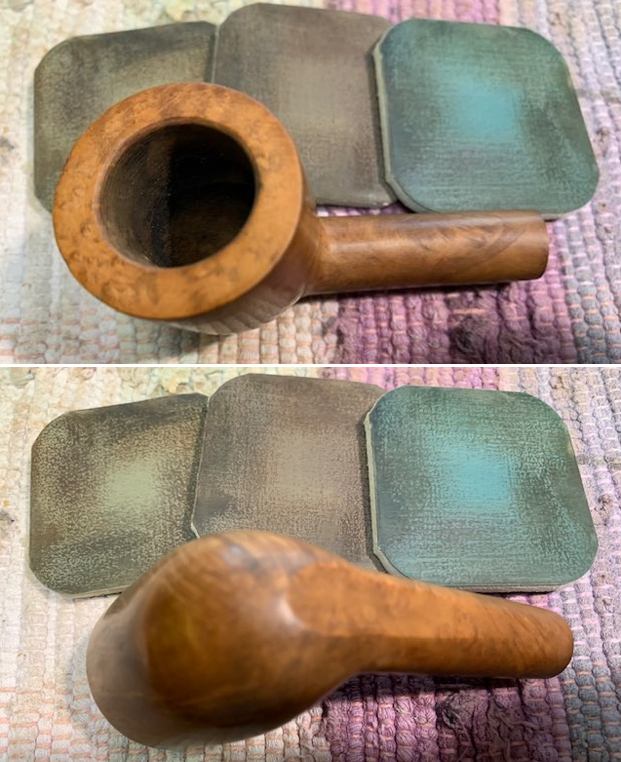
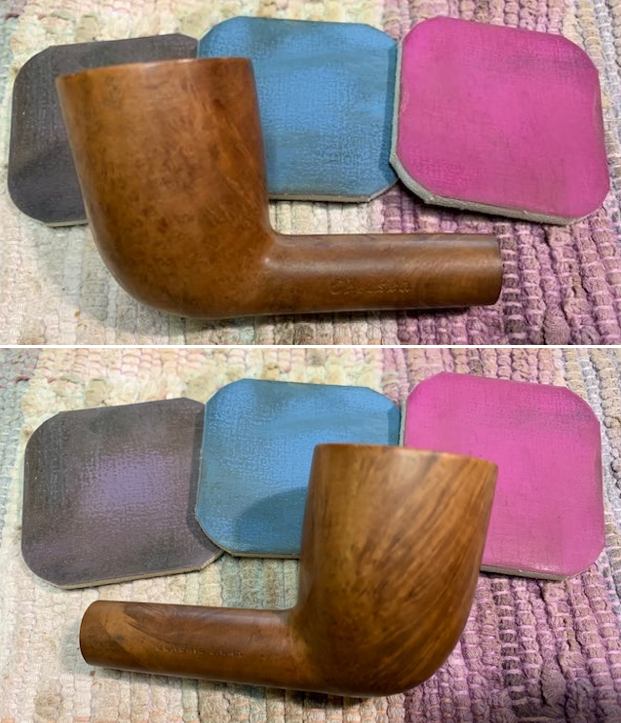
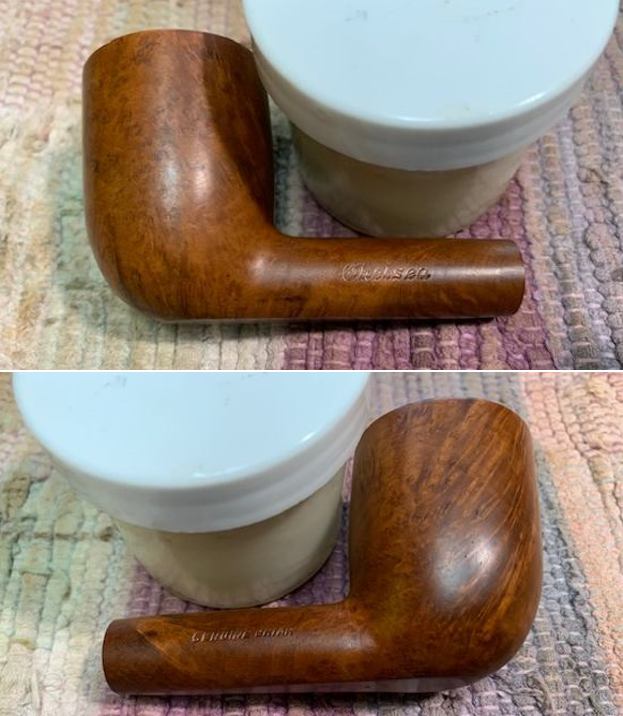
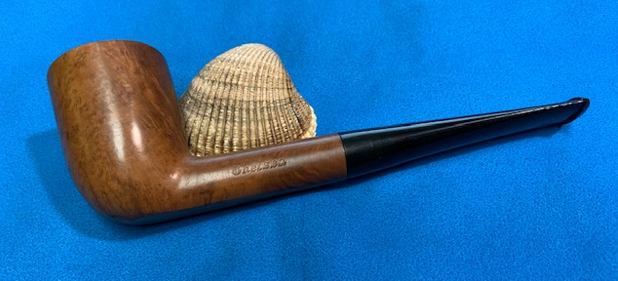
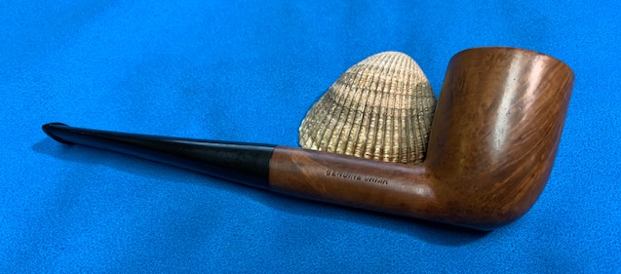
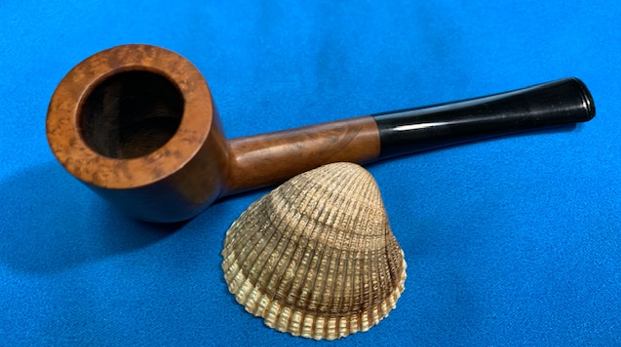
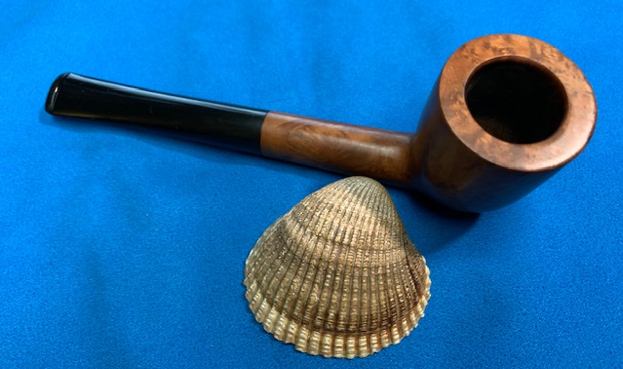
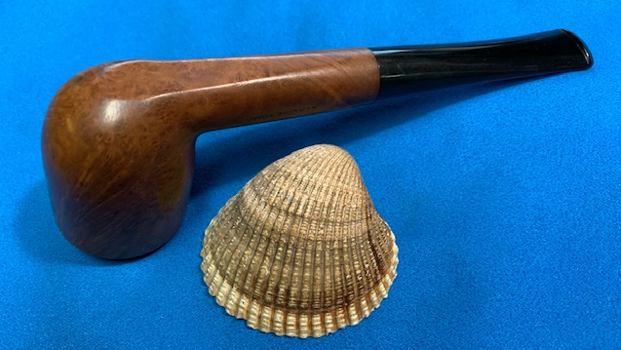
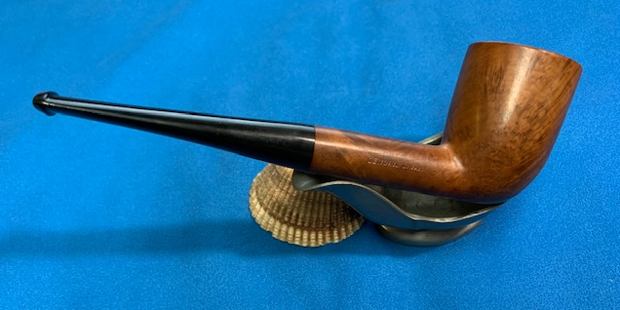
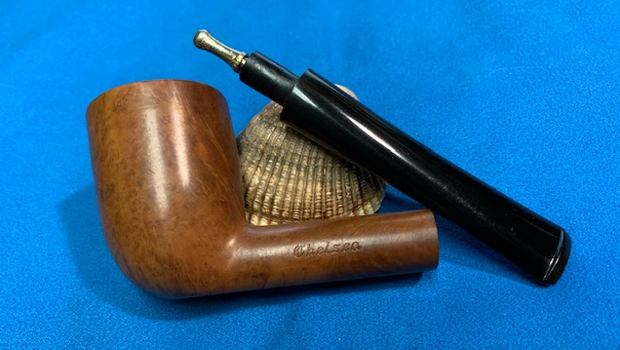
To be honest I think the only reason we picked up this pipe is because the way it was when saw it on Ebay back in 2017. It came from a seller who was in La Mesa, California, USA. It came in a nice blue box with a linen coloured satiny lining. The box was in okay condition and read Chelsea Selected Briar on the cover. The pipe itself was the oddity. The previous owner had wrapped the stem end with string and built his/her own bit protector. The wrapping was quite thick so it looked utterly uncomfortable. It made me wonder if he/she did not have teeth and this was the way the made the pipe a dental bit. LOL! I suppose that we will never know for sure but it is certainly one of the strangest looking ones that we have picked up.Jeff took quite a few pictures of the pipe in the box to give an idea of what the box looked like inside and out. Each of the photos showed the odd string wrapping around the stem. It really made us wonder what was hidden under the string.He took the pipe out of the box to take photos of it to show the condition of the bowl and stem. The briar has natural finish and was stained and very dirty. There were dark spots on the sides of the bowl. The pipe was stamped on the left side of shank and read CHELSEA in an italic script. On right side it read Genuine Briar. It had a great shape to it. The stem did not fit against the shank very well probably because it was dirty inside as well. The bowl was thickly caked and there was a thick lava coat on the rim top. It looked like there was some burn damage on the inner back edge of the bowl but it would become clear once it was cleaned. The stem is dirty and you can see the thickness of the string wrap on the end. I am amazed at how thick it is and to me how uncomfortable! Jeff took some close up photos of the bowl and rim to give a clear picture of the thickness of the cake and the lava overflow on the rim top. You can also see the nicks in the outer edge of the bowl in the photos below. He also took photos of the string wrap to show how rough and thick it really is. I really want to know what is underneath it! The time for the unwrapping was at hand. Jeff cut the string and untwisted it. To our surprise the stem was in perfect condition. There were no tooth marks and no chatter. The only thing on it was debris and a bit of calcification . It would clean up well. It was also obvious that the stem was on the shank upside down. He took some photos of the sides and heel of the bowl. While dirty and nicked the pipe has some great grain. The stamping on the sides of the shank were clear and readable as noted above.The stamping on the pipe pointed me to either an American Made pipe of one Made for Import into the American market. I did a Google search and found other pipes with the same Chelsea stamp and several were made in Italy. Several others said Imported Briar and had what appeared to be Comoy’s shape numbers. I remembered that late in Comoy’s history there had been a link between Lorenzo pipes and them so it could be true that the pipes were made for or by Comoy’s.

I turned to Pipedia and came up empty handed. There was nothing on the brand nor was there anything linking them to Comoy’s. I turned then to Pipephil (http://pipephil.eu/logos/en/logo-c4.html) and the site made a link to Comoy’s on a pipe made for the 1933 Chicago World’s Fair. While it is not definitive, there is a tie it seems. However, there is still a part of me after working on this pipe that will always think that it is American made. The look and feel of it reminds of Bertrams pipes from Washington DC.

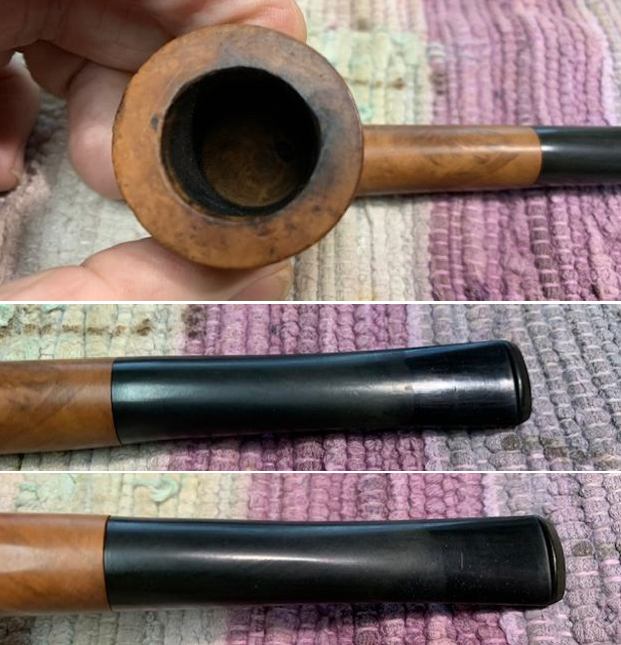
Jeff had done a great job cleaning up the pipe as usual. He reamed the pipe with a PipNet reamer and cut back the cake back to the bare briar. He cleaned up the walls with a Savinelli Fitsall Pipe Knife. He scrubbed the interior of the bowl and shank with pipe cleaners, cotton swabs and alcohol to remove the tars and oils. He scrubbed the exterior of the pipe with Murphy’s Oil Soap and a tooth brush to remove the grime from the finish. He worked on the rim top lava and darkening with the soap and tooth brush. He scrubbed the inside of the stem with alcohol and pipe cleaners. He scrubbed the exterior with Soft Scrub and then soaked it in Before & After Deoxidizer. He washed it off with warm water to remove the Deoxidizer. When I finally took it out of the box four years later I was surprised at how good the pipe looked. It was a nice looking pipe now.  I took some close up photos of the rim top and also of the stem surface. I wanted to show how well it had cleaned up. The rim top photo looks good but there is some burn damage on the inner edge at the back of the bowl and all around the inner edge there is darkening. There are some rough areas on the outer edge of the rim all the way around the bowl. I also took close up photos of the stem to show how almost pristine it was thanks to the string wrap it had worn. There were some scratches but they would clean up quite easily.I took photos of the stamping on the sides of the shank. You can see that it is stamped as noted above. It is clear and readable.    I took the pipe apart and took a photo of the parts. It is a good looking pipe and has some great mixed grain on the sides of the bowl. I decided to address the rim top damage first. I lightly topped the bowl on a topping board with 220 grit sandpaper to minimize the damage to the top and inner edge of the bowl. I then used a folded piece of 220 grit sandpaper to give the edge a slight bevel to further minimize the damage to the rim. I think that it is definitely better once I finished. I polished the briar rim top and edges along with the rest of the briar with micromesh sanding pads –dry sanding with 1500-12000 grit pads and using a damp cloth after each pad. I worked some Before & After Restoration Balm into the surface of the briar with my fingertips to clean, enliven and protect the briar. I let the balm sit for 15 minutes and then buffed with a cotton cloth to raise the shine. The photos show the bowl at this point in the restoration process. I set the bowl aside and turned my attention to the stem. It was in such great condition that I polished it with micromesh sanding pads – wet sanding with 1500-12000 grit sanding pads. I wiped it down after each sanding pad with Obsidian Oil. I polished it with Before & After Pipe Stem Polish – both Fine and Extra Fine. This Chelsea Selected Briar Natural Billiard turned out to be a more beautiful pipe than I had expected. The natural finish on the briar is beautiful and the grain pops. I put the pipe back together and buffed it with Blue Diamond on the buffing wheel. I gave the bowl and stem multiple coats of carnauba wax. I hand buffed the pipe with a clean buffing pad to raise the shine and hand buffed it with a microfibre cloth to deepen the shine. It is fun to see what the polished bowl looks like with the polished black vulcanite stem. This classic looking Chelsea Billiard feels great in my hand. It is light and well balanced. Have a look at it with the photos below. The dimensions are Length: 6 inches, Height: 1 ¾ inches, Outside diameter of the bowl: 1 ¼ inches, Chamber diameter: ¾ of an inch. The weight of the pipe is 33 grams/1.16 oz. It is a beautiful pipe and one that will be on the American Pipe Makers section of the rebornpipes store soon. If you are interested in adding it to your collection let me know. Thanks for walking through the restoration with me as I worked over this pipe. Thanks to each of you who are reading this blog.

Another one from the ongoing “Hunt for a Cooler, Dry Smoke” – a Highlander System Pipe


Blog by Steve Laug

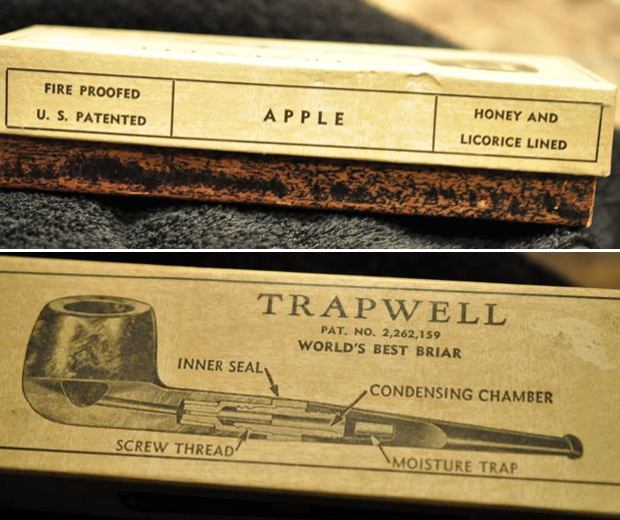
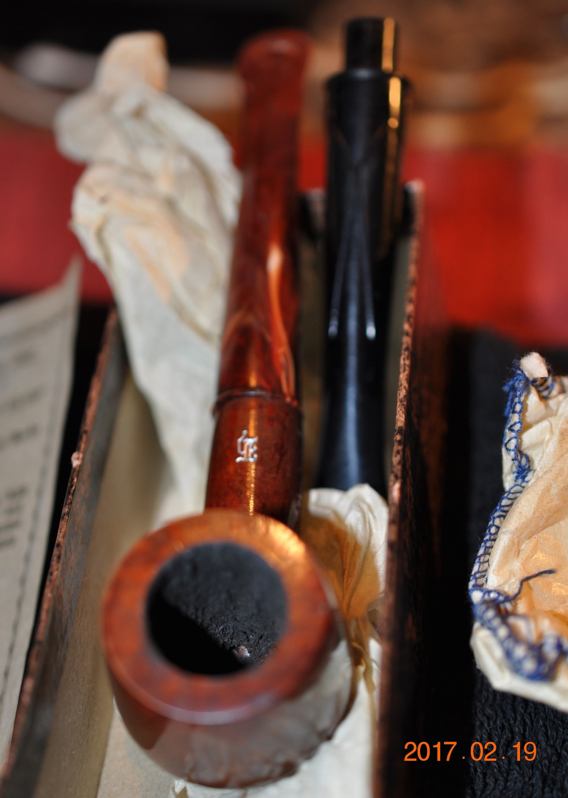
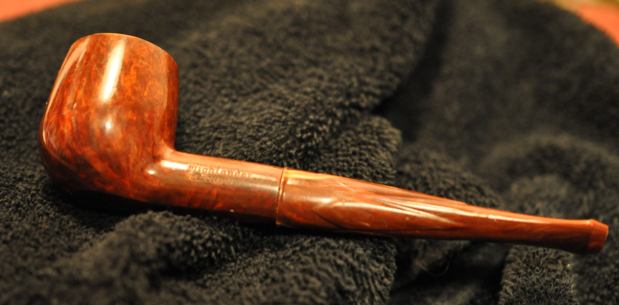
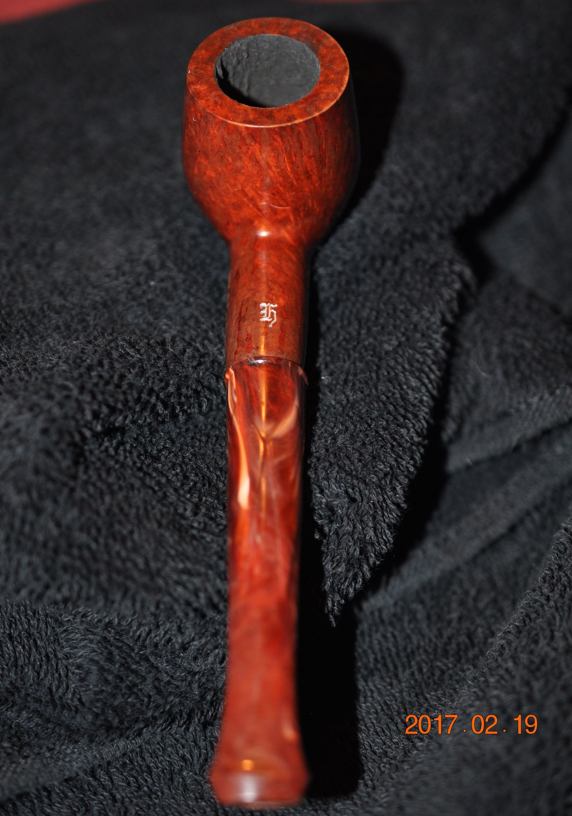
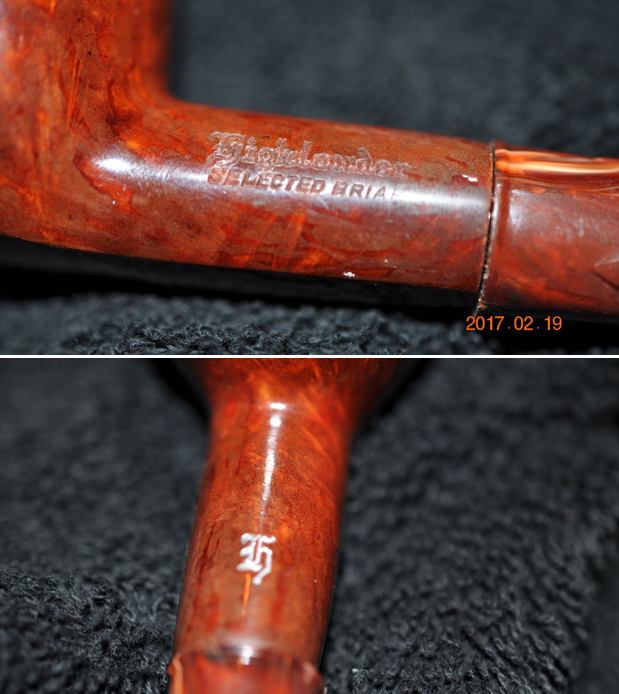
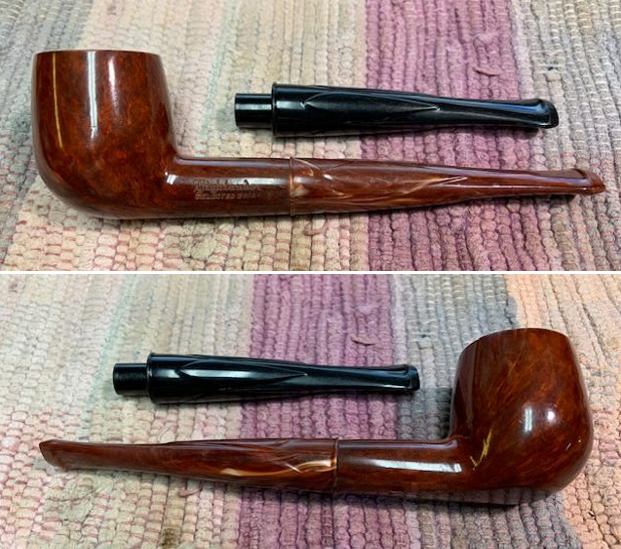
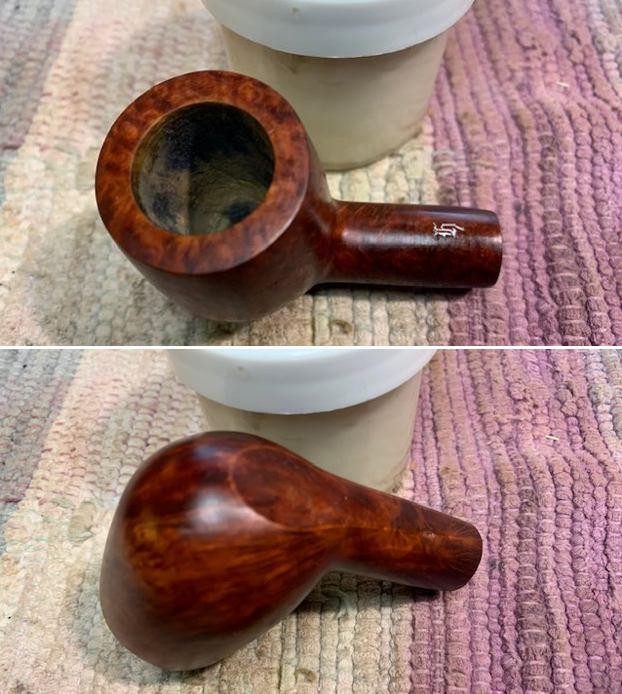
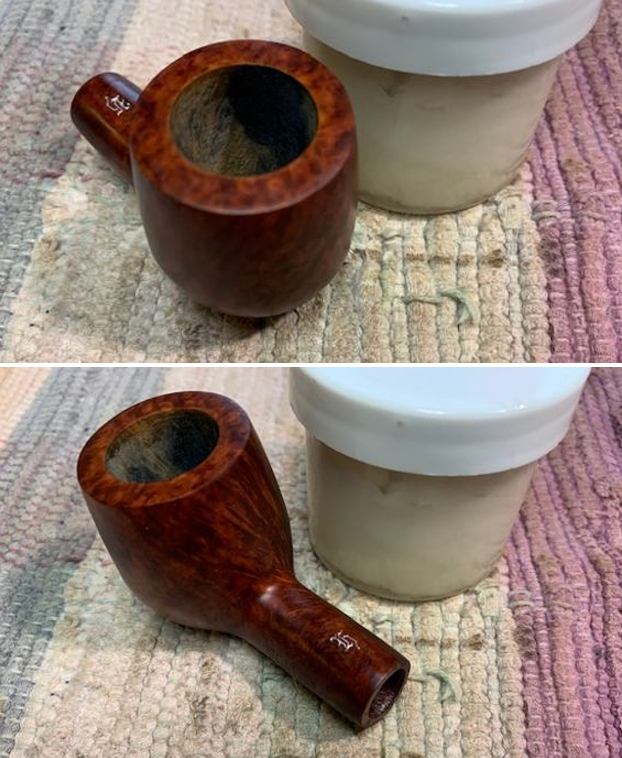
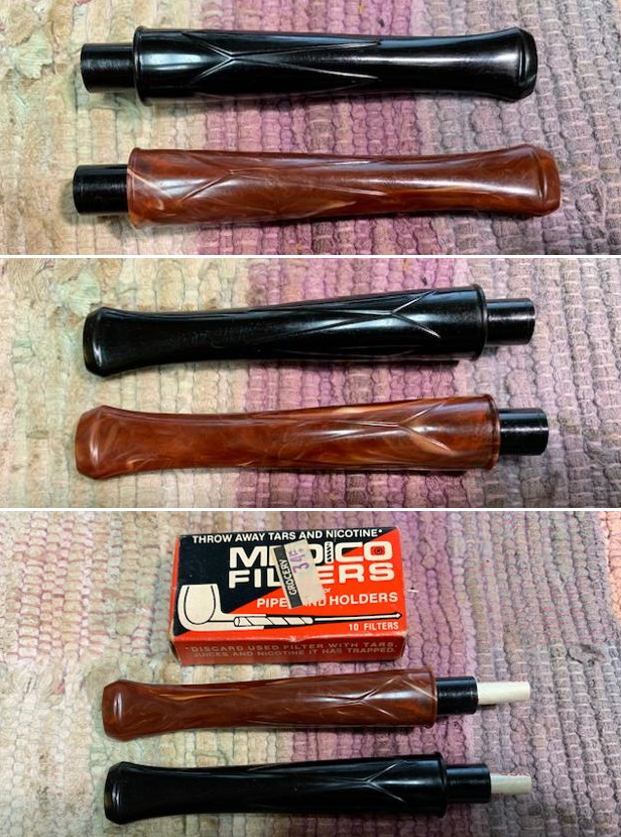
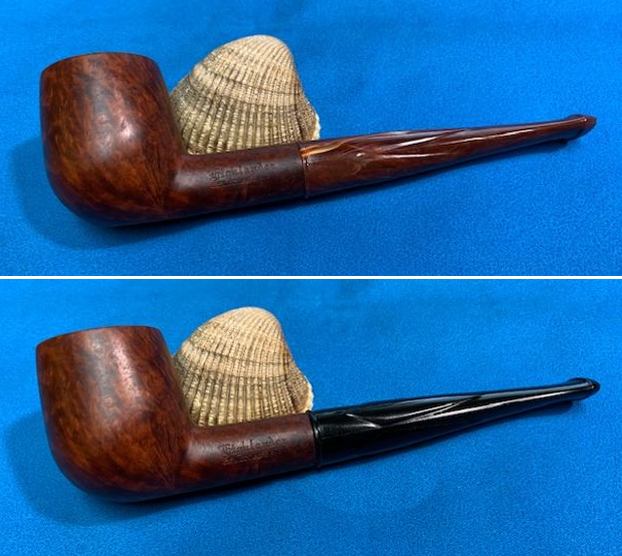
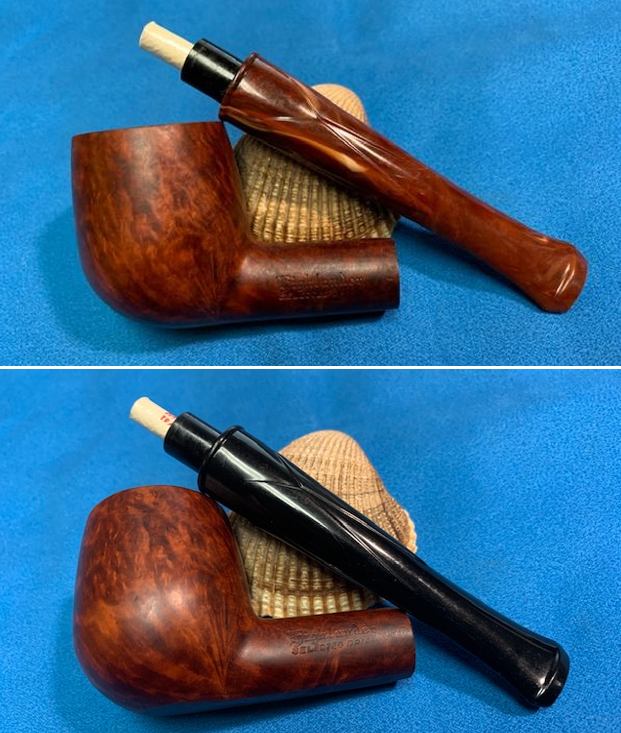
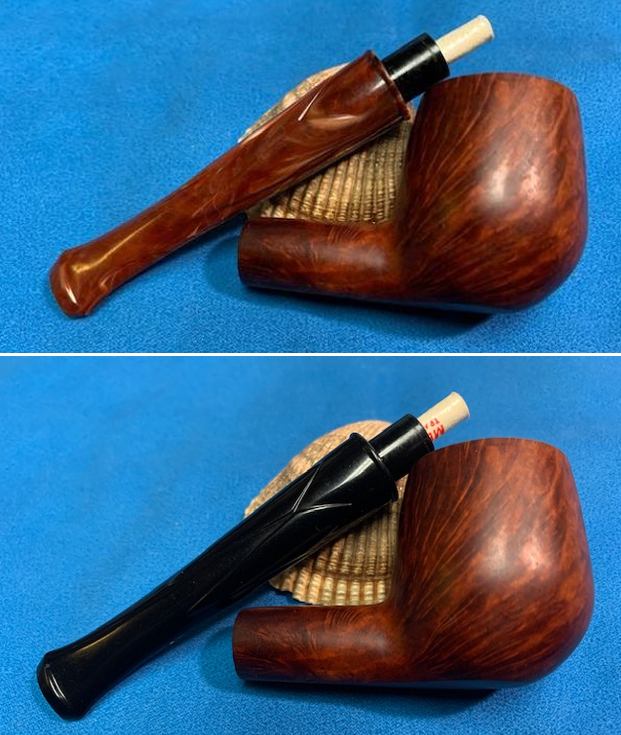
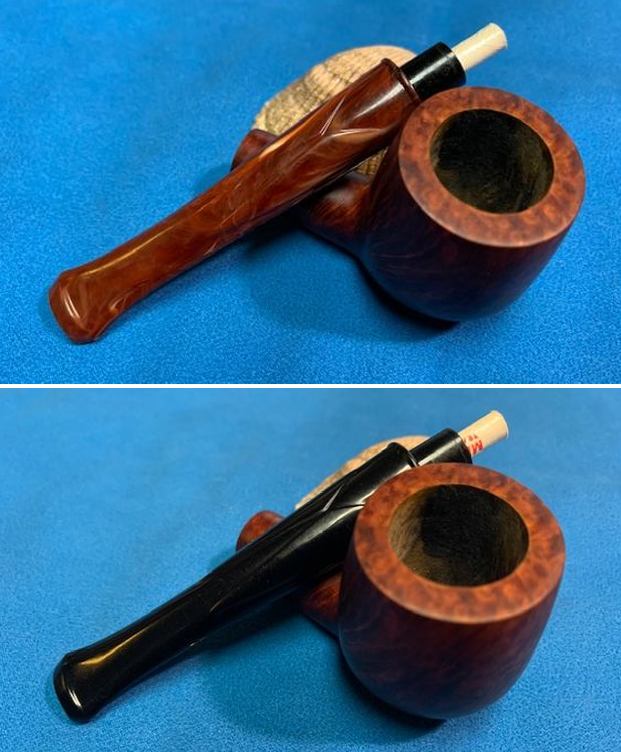
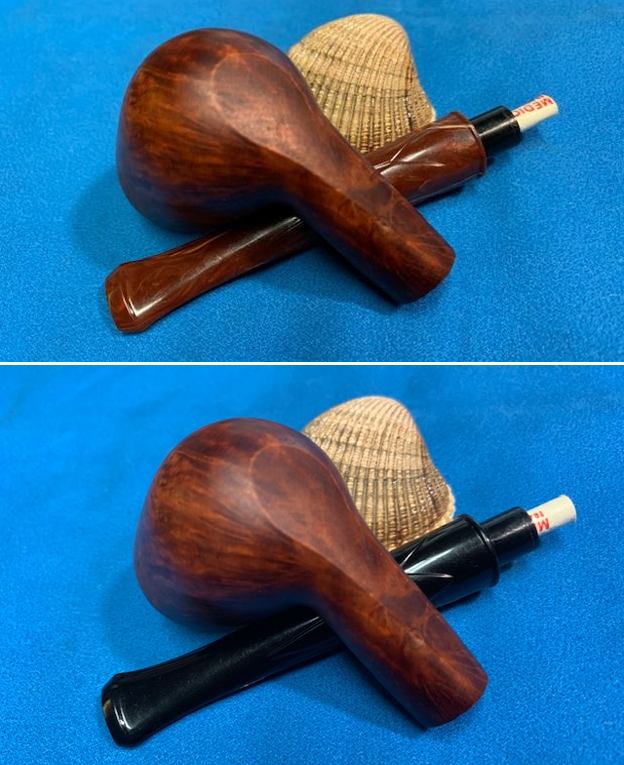
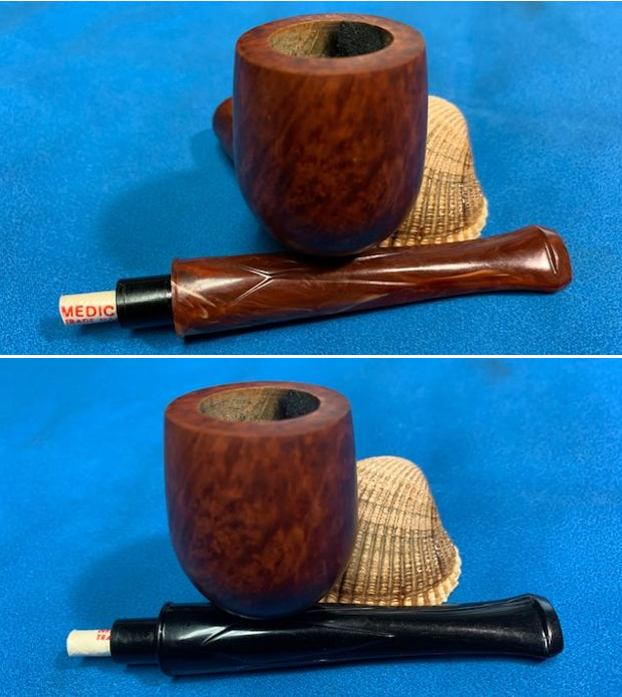
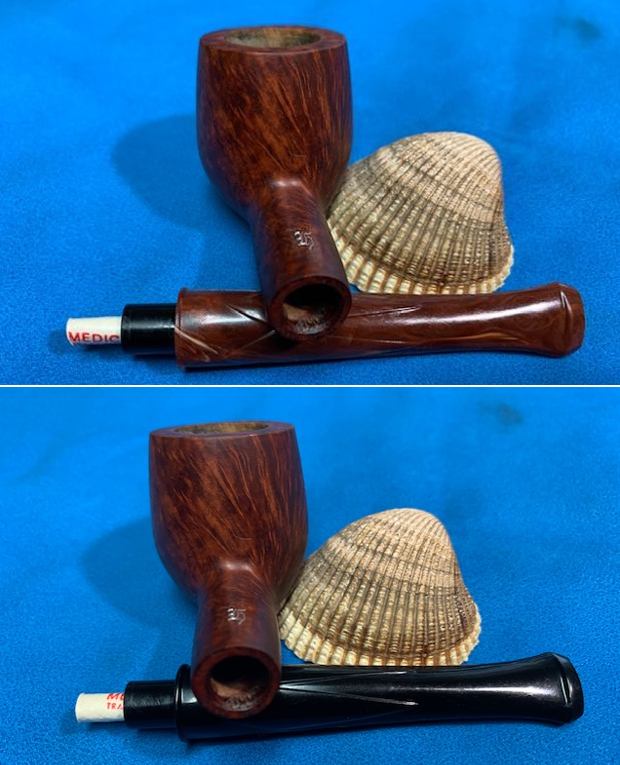
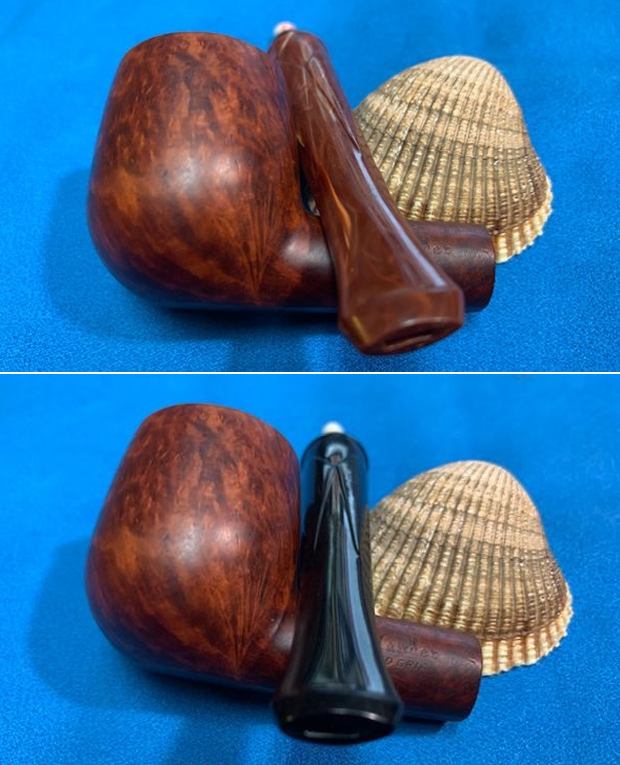
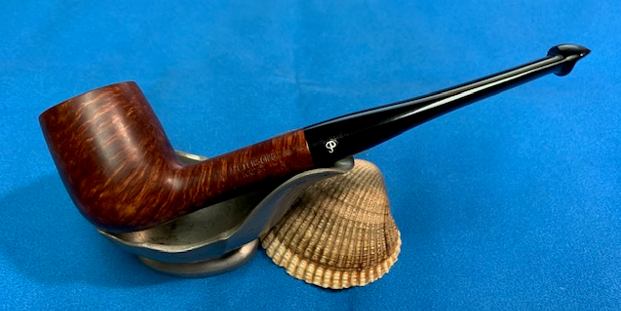
The next pipe came to us off eBay back on 02/05/17 from York Haven, Pennsylvania, USA. It came in a Trapwell pipe box with all of the accompanying papers and pipe sock. The Trapwell is a bit of a legend from WWII years. The brand was made by D & P Pipe Works, owned by D. P. Levitas and located in Sparta, Alleghany County, North Carolina close to the population of Mountain Laurel in the area. Later, this company changed its name to Sparta Pipe Works and still later to Sparta Industries. I was excited to be working on a pipe made in that era by them. Here are some photos of the box that pipe came in. When Jeff opened the box he was suspicious. The pipe was not an apple and the contraption in the shank and stem pictured on the box cover was missing. All of the paperwork was there and the pipe sock as well. But the was not a Trapwell. It had a Germanic H stamped in silver on the top of the briar. On the left side of the shank it read Highlander [over] Selected Briar. There was nothing else stamped on the pipe. It was not a Trapwell and it was briar. It also came with a pair of stems – a swirled reddish one and a black one. Neither one of them appeared to have been used. The bowl had a thin cake on the walls and some lava on the top so it had been smoked. Jeff removed it from the box and took photos of the bowl with both the reddish swirled stem and the black one. It was quite a pretty looking pipe with either stem.Jeff took photos of the rim top and bowl to show the condition of the bowl and top. You can see the cake that is present and the light lava coat. The stems both appear to be unused. It makes me wonder how the previous pipeman smoked it. Jeff took a photo of the heel of the bowl that showed a flaw in the briar. He took photos of the stamping on the left side and top of the shank. They are clear and readable.I turned to Pipedia to see if I could get any information on this Highlander Filter Pipe. Here is the only link that was there (https://pipedia.org/wiki/American_Pipe_Brands_%26_Makers_G_-_H). The only information available was that the Highlander pipe was a brand of Altamira Company. I did a bit more searching to see if I cold find any more information. There was nothing specific to be found. With that I decided it was time to work on the pipe.

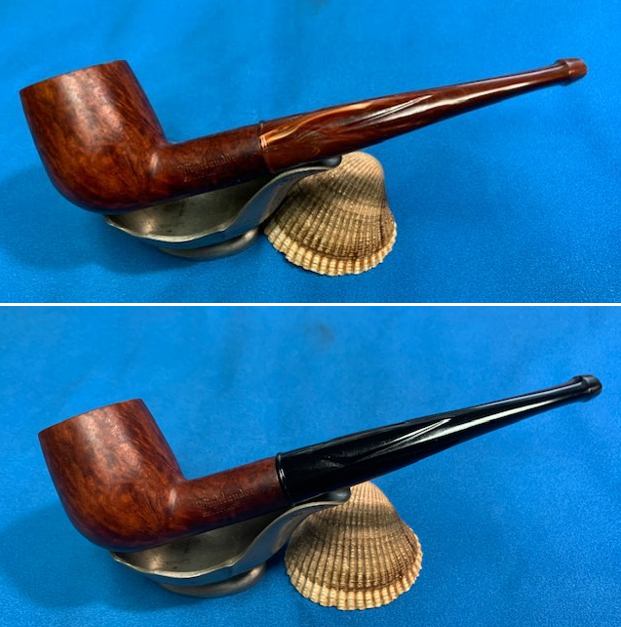
Jeff had done a great job cleaning up the pipe as usual. He reamed the pipe with a PipNet reamer and cut back the cake back to the bare briar. He cleaned up the walls with a Savinelli Fitsall Pipe Knife. He scrubbed the interior of the bowl and shank with pipe cleaners, cotton swabs and alcohol to remove the tars and oils. He scrubbed the exterior of the pipe with Murphy’s Oil Soap and a tooth brush to remove the grime from the finish and the light lava on the rim top. There appears to be a shiny varnish coat on the bowl that is spotty on the bottom of the shank and bowl. He scrubbed the inside of the stem with alcohol and pipe cleaners. He scrubbed the stem with Soft Scrub and then soaked it in Before & After Deoxidizer. He washed it off with warm water to remove the Deoxidizer. The pipe looked far better when it arrived.  I took some close up photos of the rim top and also of the stem surface. I wanted to show how well it had cleaned up. The rim top photo and edges look very good. I also took close up photos of the stems to show how clean they both were. There was no chatter or tooth marks on either stem.I took photos of the stamping on the left and topside of the shank. You can see that it is stamped as noted above. It is clear and readable.    I took the pipe apart and took a photo of the pipe and the two stems. The tenon on each stem is Delrin and drilled to fit a Medico filter. It is a good looking pipe and has some great mixed grain around the sides of the bowl. I started my work on the pipe by removing the varnish coat on the briar with acetone and cotton pads. I was careful to not remove or damage the H stamp on the top of the shank. I was able to clean up the damaged area on the heel of the bowl. It was good to see the grain in the briar come alive with the wash. I polished the briar with micromesh sanding pads –dry sanding with 1500-12000 grit pads and using a damp cloth after each pad. I worked some Before & After Restoration Balm into the surface of the briar with my fingertips to clean, enliven and protect the briar. I let the balm sit for 15 minutes and then buffed with a cotton cloth to raise the shine. The photos show the bowl at this point in the restoration process. I polished the stem with micromesh sanding pads – wet sanding with 1500-12000 grit sanding pads. I wiped it down after each sanding pad with Obsidian Oil. I polished it with Before & After Pipe Stem Polish – both Fine and Extra Fine. This pipe was not too bad to clean up. The stems were in excellent condition with no marks of chatter. The Highlander Selected Briar Billiard turned out to be quite a nice looking pipe. It is a filter pipe but the look is very good. I put the pipe back together and buffed it with Blue Diamond on the buffing wheel. I gave the bowl and stem multiple coats of carnauba wax. I hand buffed the pipe with a clean buffing pad to raise the shine and hand buffed it with a microfibre cloth to deepen the shine. It is fun to see what the polished reddish, brown bowl looks like with the polished mottled red stem and the second black one. The material is a mixture of plastic and rubber I believe but it is hard to tell. This Classic looking Highlander Selected Briar Billiard feels great in my hand. It is light and well balanced. Have a look at it with the photos below. The dimensions are Length: 6 inches, Height: 1 ½ inches, Outside diameter of the bowl: 1 ¼  inches, Chamber diameter: ¾ of an inch. The weight of the pipe is 29 grams/1.02 oz. It is a beautiful pipe and one that will be on the American Pipe Makers section of the rebornpipes store soon. If you are interested in adding it to your collection let me know. Thanks for walking through the restoration with me as I worked over this pipe. Thanks to each of you who are reading this blog.

Rebirthing a Lovely Republic Era Peterson’s Kapet 25 Billiard


Blog by Steve Laug

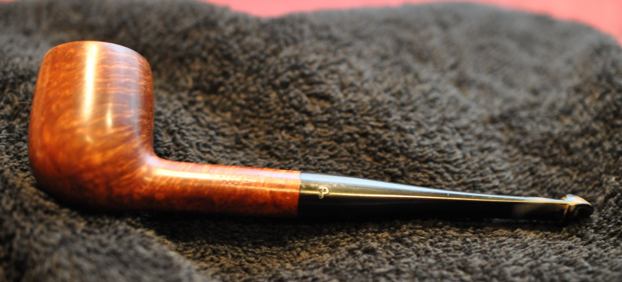
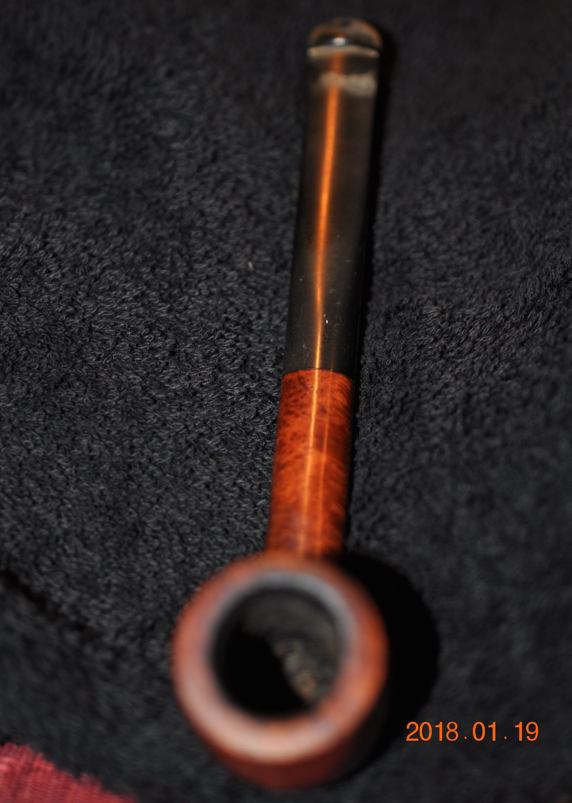
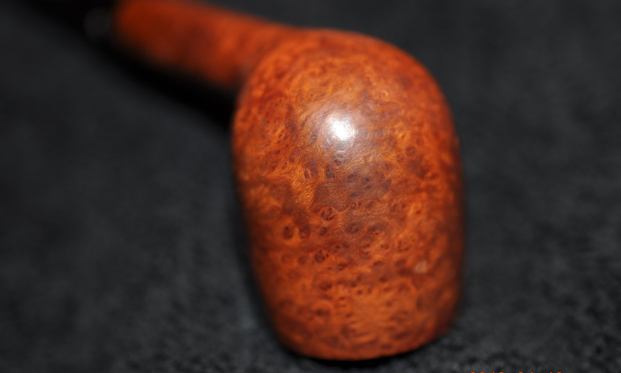
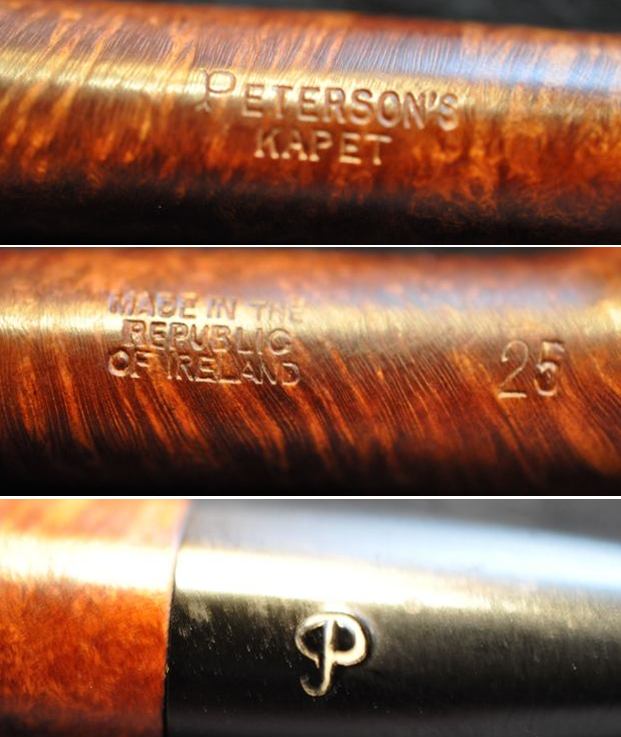
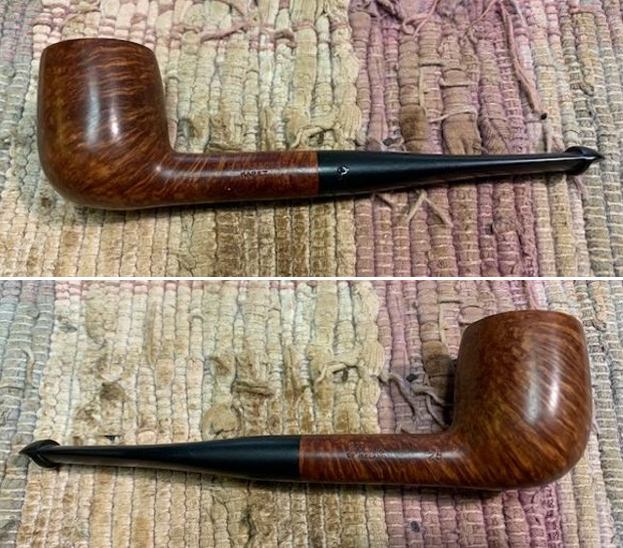
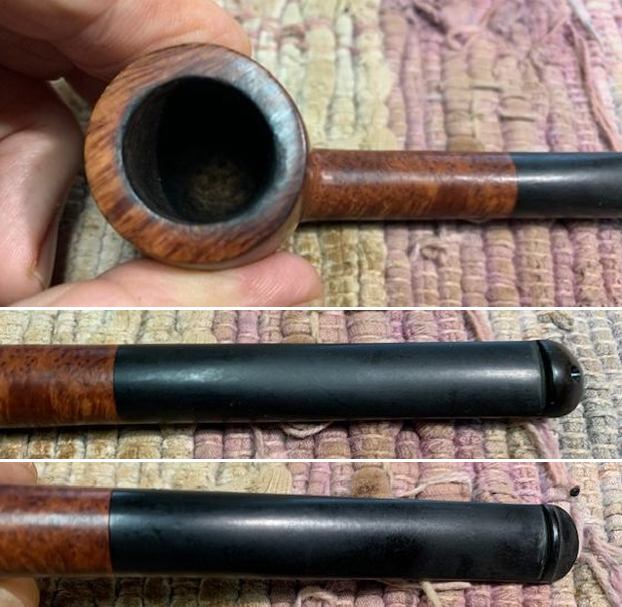
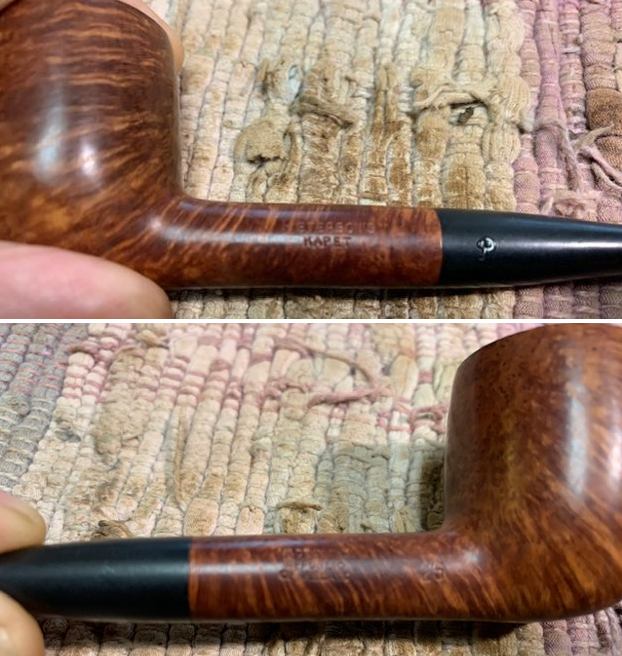
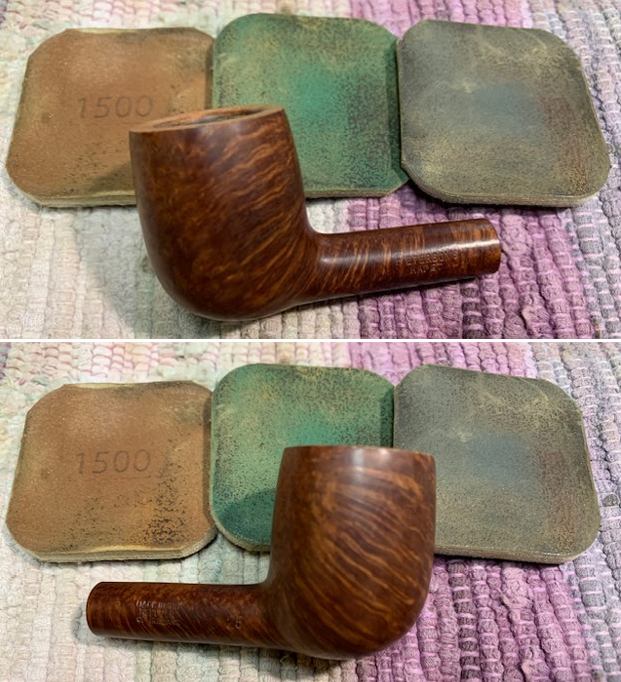
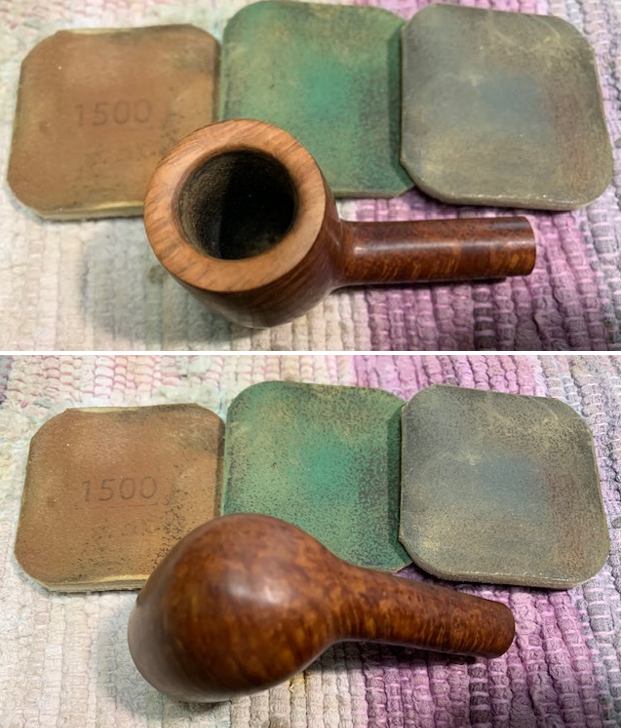
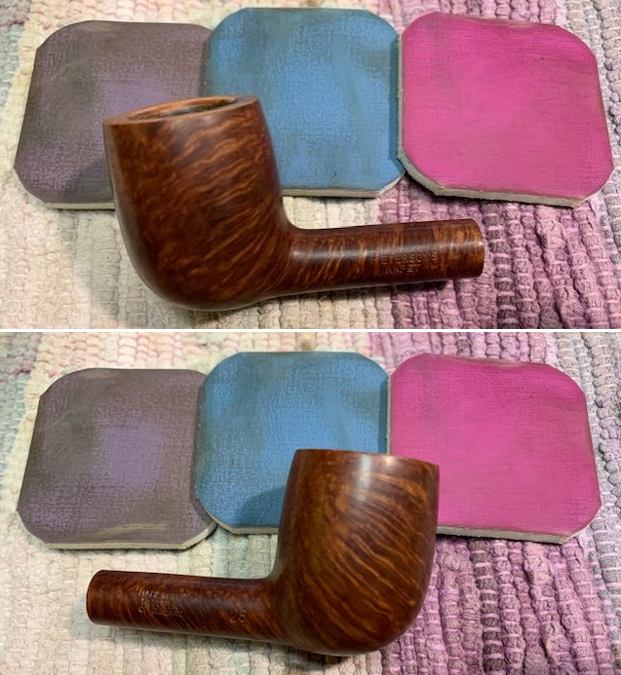
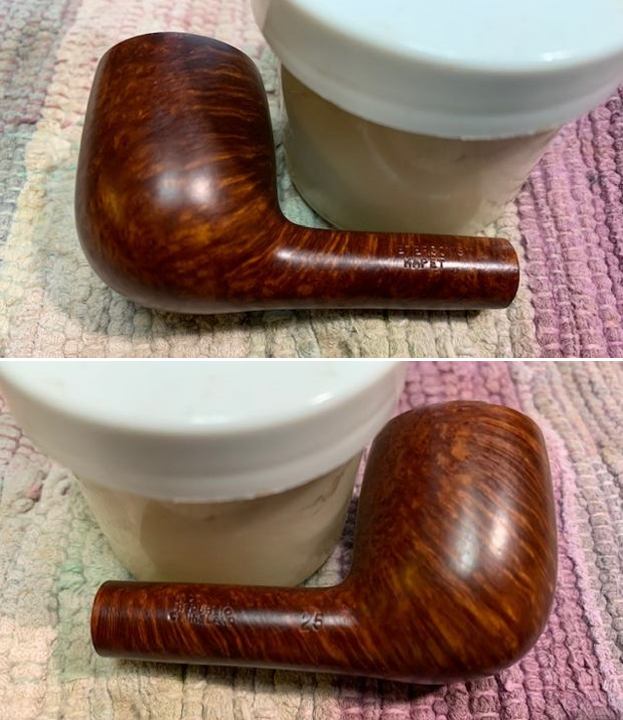
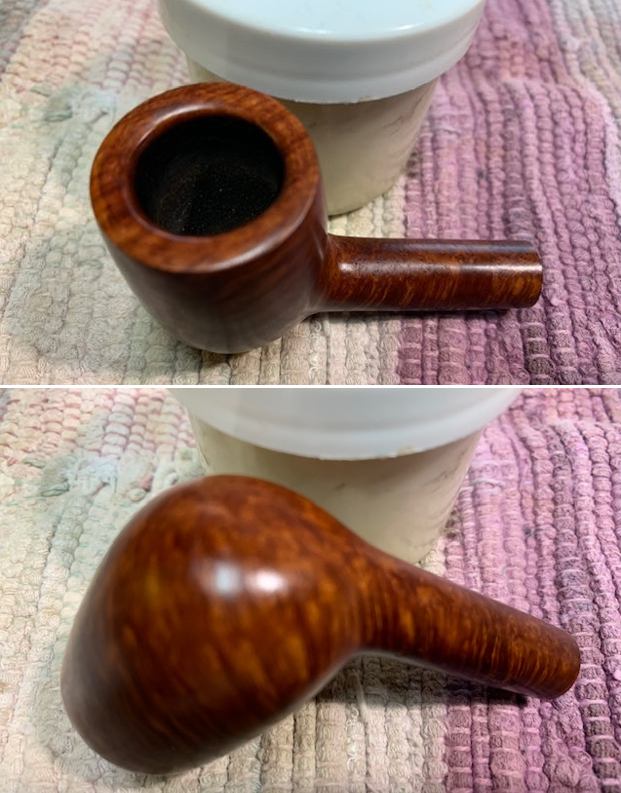
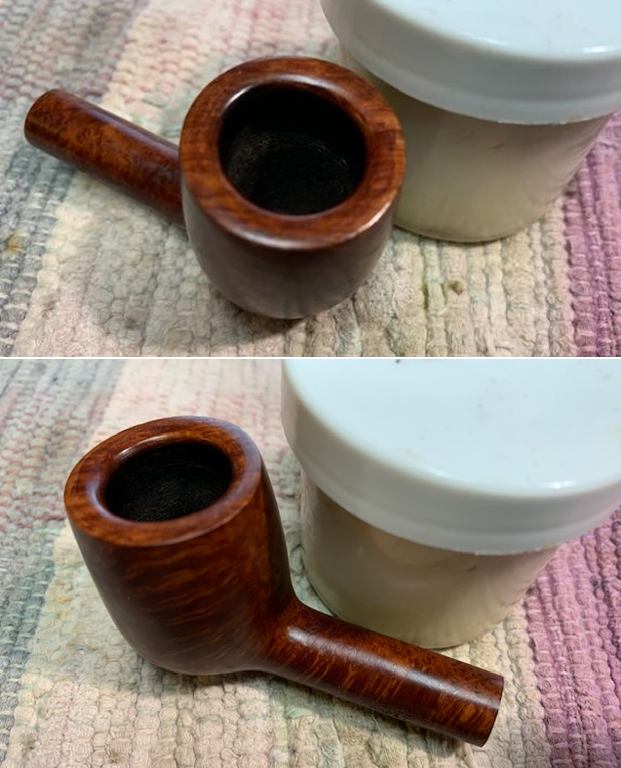
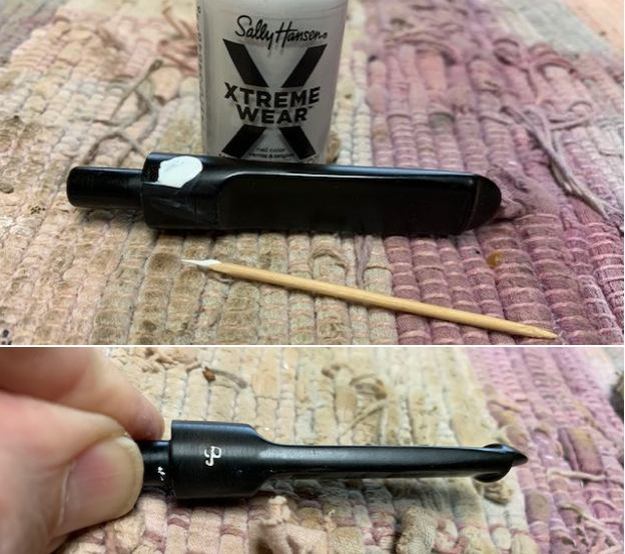
The next pipe I have chosen is a smooth Peterson’s pipe, a straight Billiard. It was also incredibly dirty. This Billiard is a real beauty under the grime with some great grain around the bowl. The grime was ground into the finish on the bowl sides. The contrast of the brown stains gave the grain a sense of depth. It was stamped on the left side of the shank and read Peterson’s [over] Kapet. The right side had the shape number 25 stamped near the bowl. Centered on the right side of the shank is stamped Made in the Republic of Ireland (in three lines). There was a moderate cake in the bowl and a light overflow of lava on the inner edge of the rim at the back. There was also burn damage on the inner edge of the rim at the back of the bowl. The stem was lightly oxidized, calcified and had light tooth marks, chatter on the top and underside near the button. There is a P stamped on the left side of the taper. It was in great condition. Jeff took photos of the pipe before his cleanup work. They tell the story and give a glimpse of the promise that we see in this pipe. Jeff took photos of the rim top and stem to show the general condition of the pipe. The bowl is moderately caked and the rim top has some lava and you can see the burn damage on the back inner edge. The photos of the stem show that it was oxidized and has light tooth marks on the top and underside near the button. Jeff took a photo of the bowl sides and heel to show the grain that was around this bowl. It is a nice looking pipe.      He took photos of the stamping on the sides of the shank. It is clear and readable and reads as noted above.   I turned to “The Peterson Pipe” by Mark Irwin and Gary Malmberg to get some background on the Kapet line. On page 305 it had the following information.

Kapet (1925-87) Line first described in 1925 brochure and featured in occasional catalogs through ’87. Early specimens will be stamped IRISH over FREE STATE. Described in 1937 catalog as available in dark plum or natural finish. Featured an aluminum “inner tube” or stinger until ’45. Mid-century specimens may be stamped MADE IN over IRELAND. Specimens from 1970 on may have mounts with hallmarks.

I knew that I was dealing with a Republic Era Kapet. Now it was time to work on the pipe.

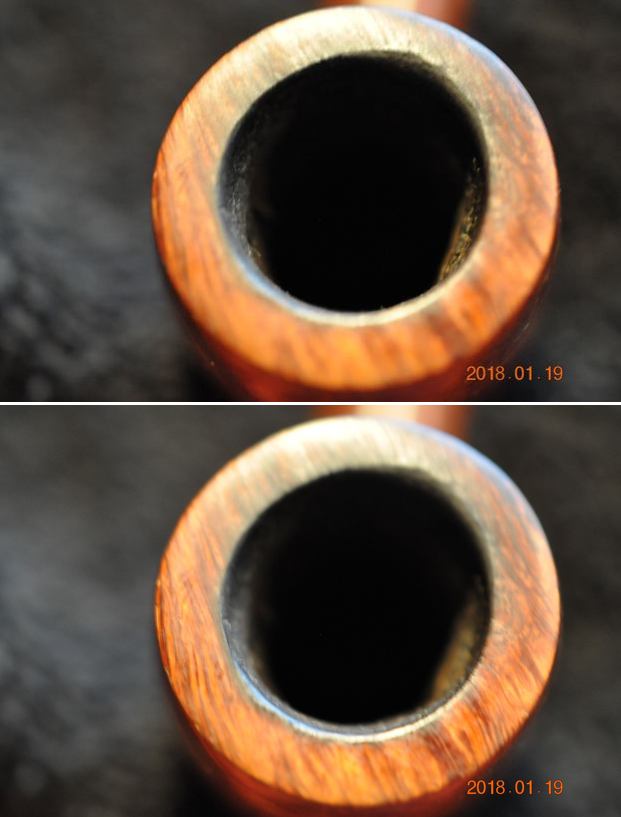
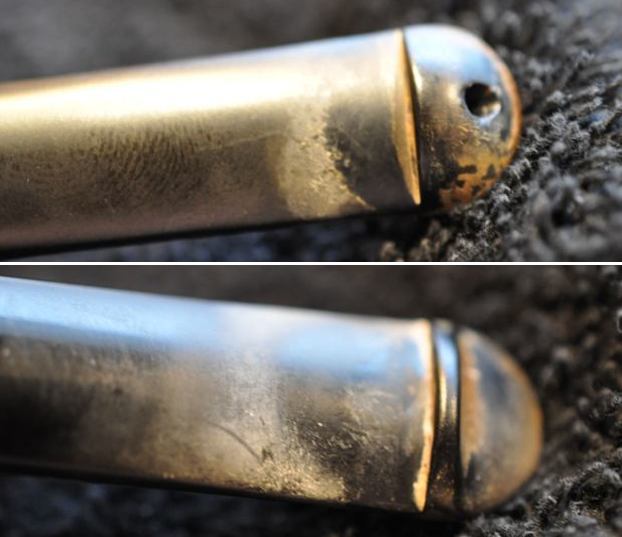
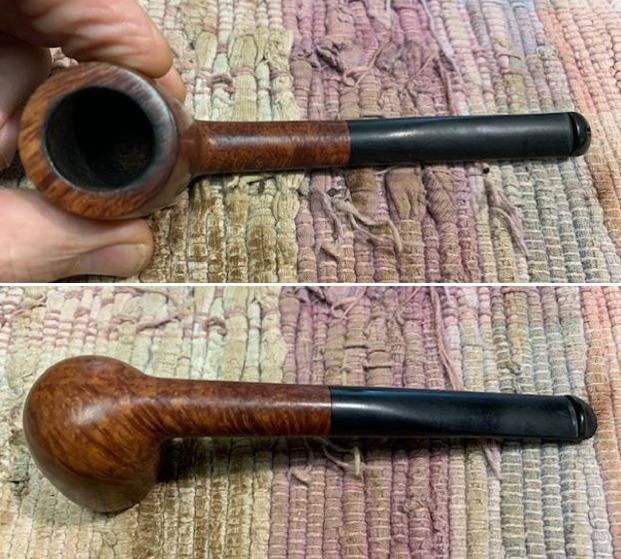
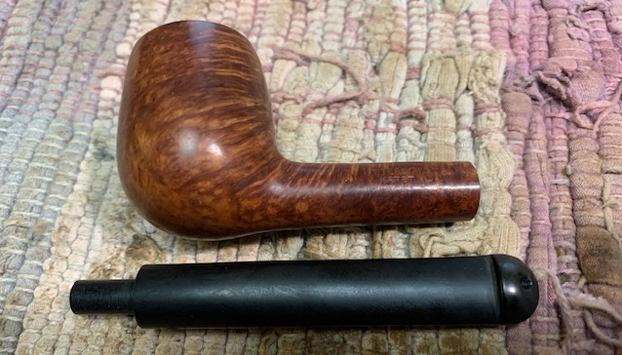
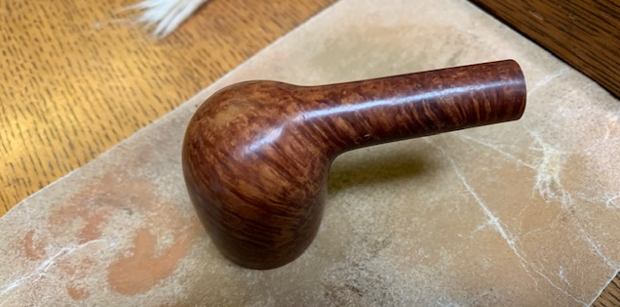
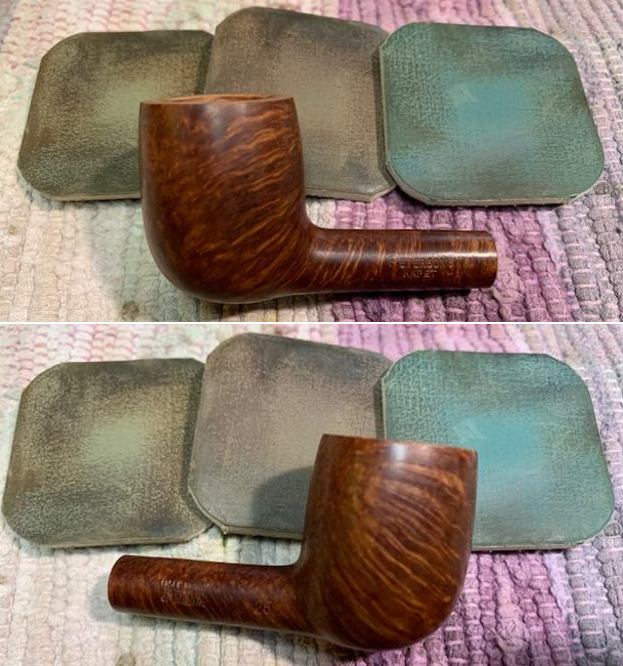
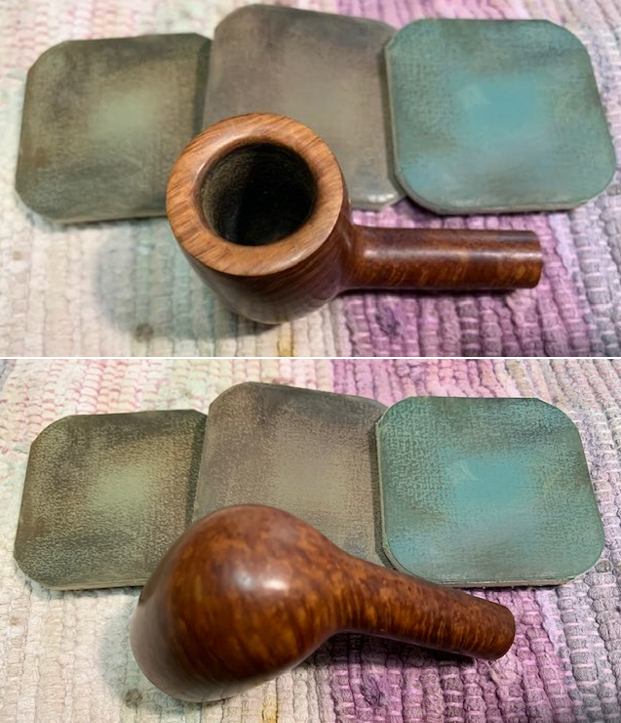
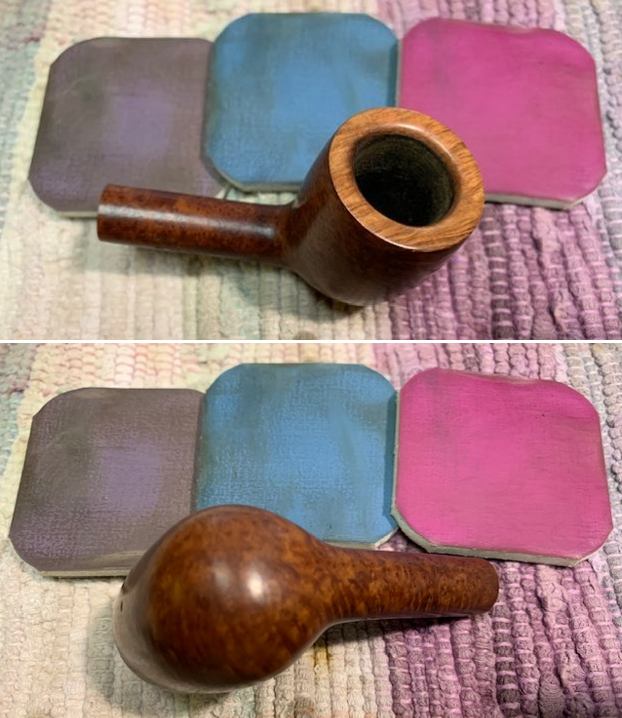
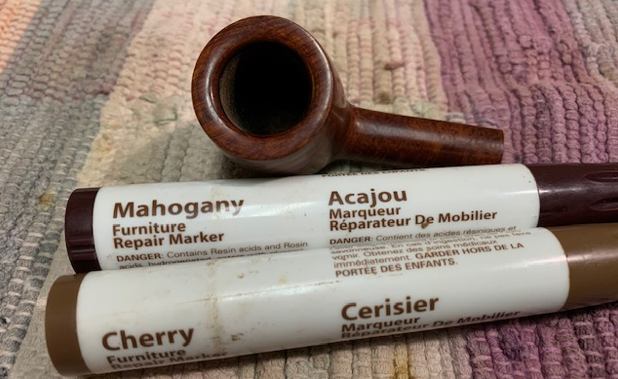
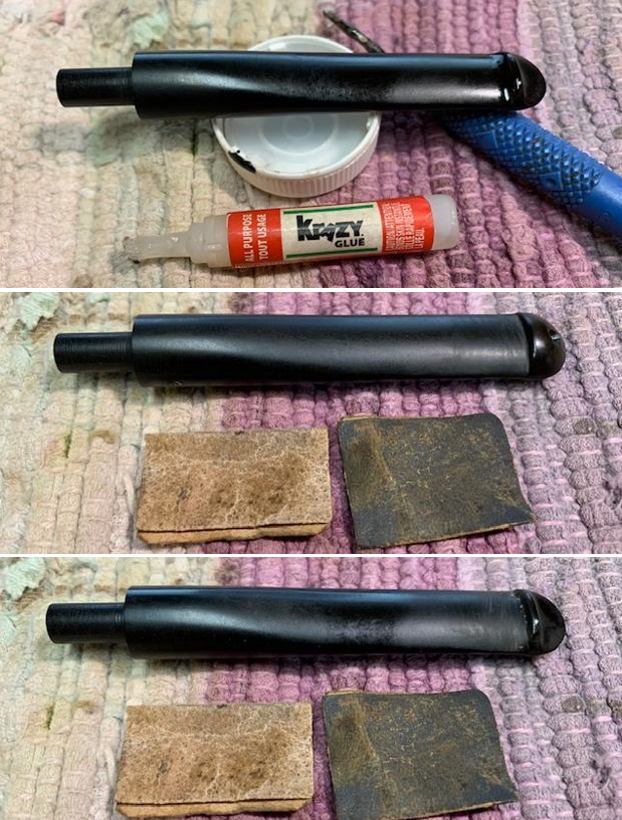
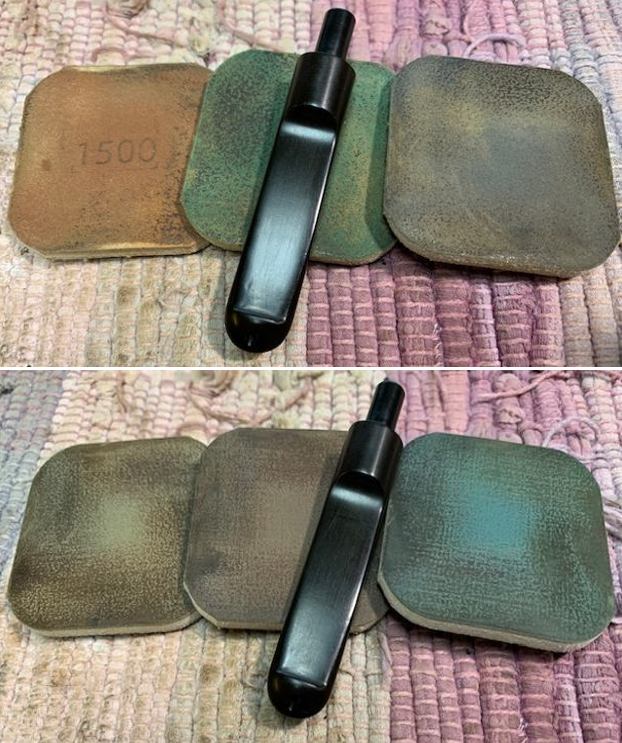
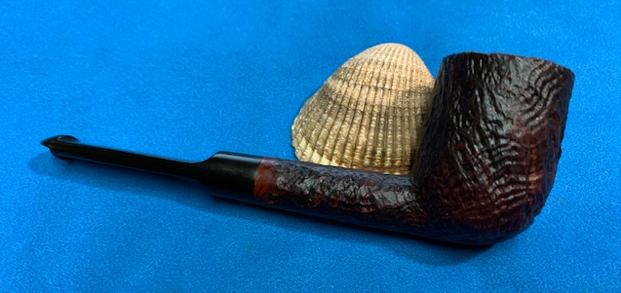
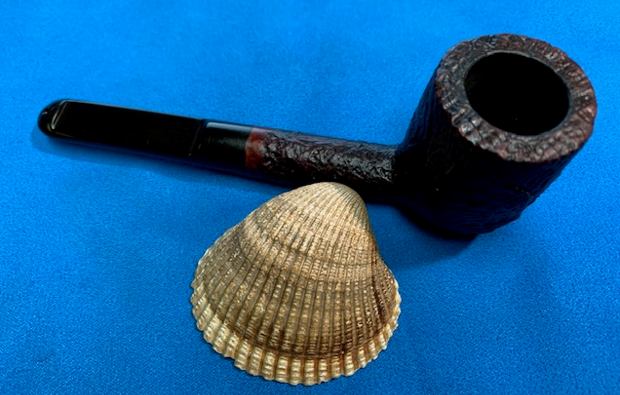
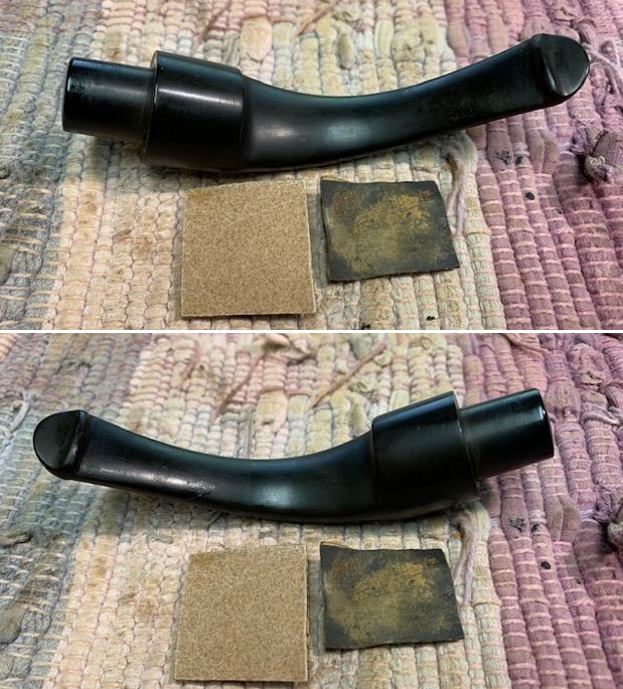
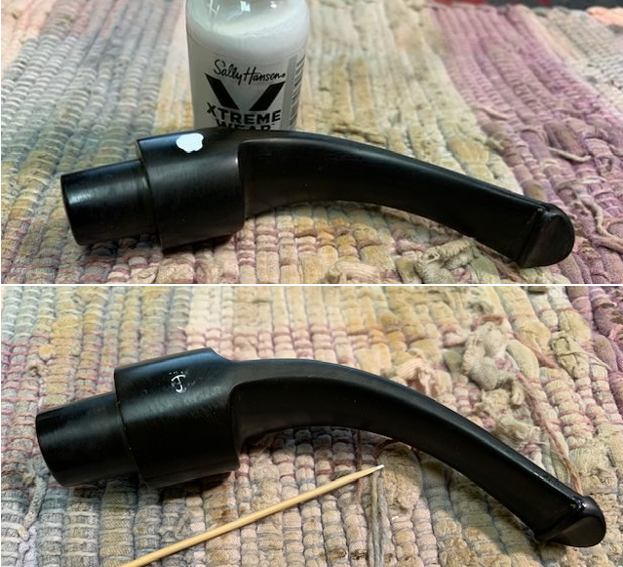
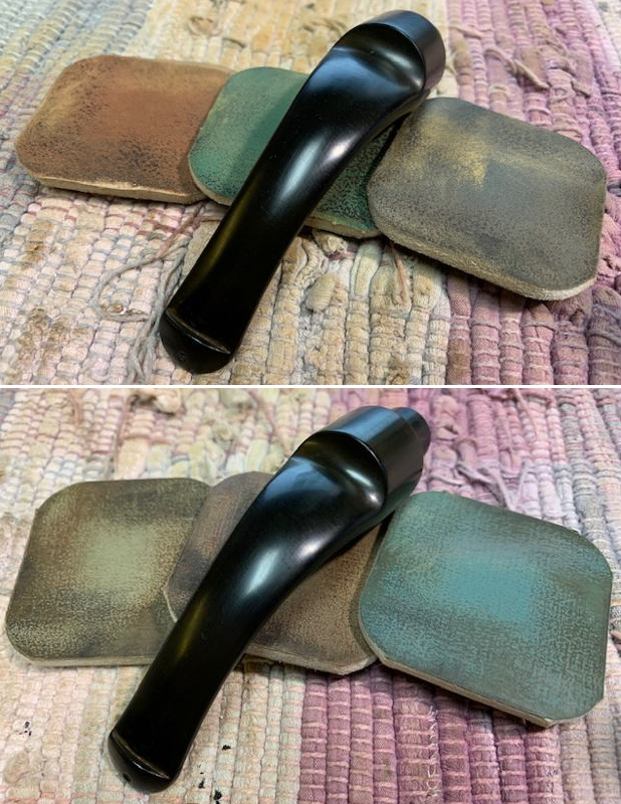
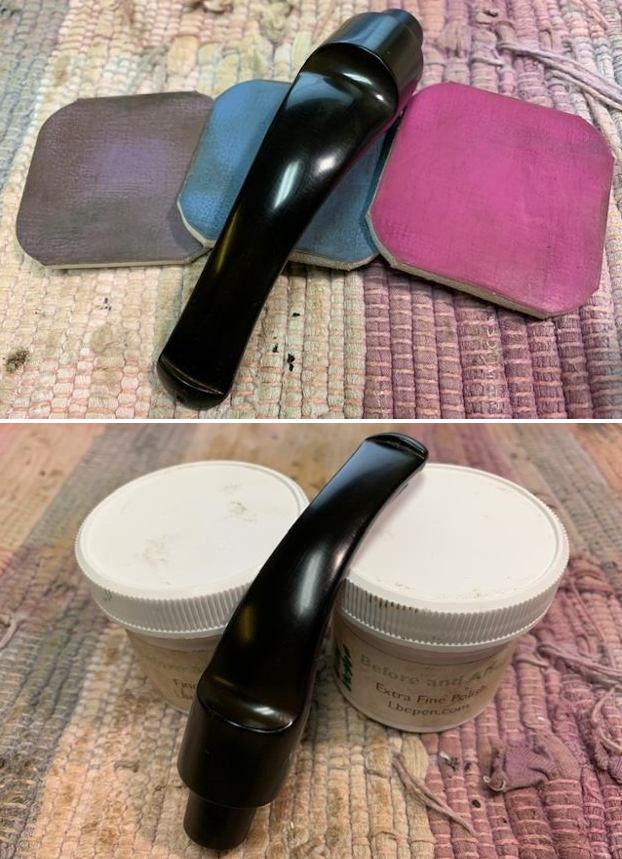
Jeff had done a great job cleaning up the pipe as usual. He reamed the pipe with a PipNet reamer and cut back the cake back to the bare briar. He cleaned up the walls with a Savinelli Fitsall Pipe Knife. He scrubbed the interior of the bowl and shank with pipe cleaners, cotton swabs and alcohol to remove the tars and oils. He scrubbed the exterior of the pipe with Murphy’s Oil Soap and a tooth brush to remove the grime from the finish. He worked on the rim top lava and darkening with the soap and tooth brush. He scrubbed the inside of the stem with alcohol and pipe cleaners. He scrubbed the exterior with Soft Scrub and then soaked it in Before & After Deoxidizer. He washed it off with warm water to remove the Deoxidizer. The pipe looked far better when it arrived.  I took some close up photos of the rim top and also of the stem surface. I wanted to show how well it had cleaned up. The rim top photo looks good but there is some burn damage on the inner edge at the back of the bowl and all around the inner edge there is darkening. I also took close up photos of the stem to show the light tooth marks and chatter on the surface near the button. I took photos of the stamping on the sides of the shank. You can see that it is stamped as noted above. It is clear and readable.     I took the pipe apart and took a photo of the pipe. It is a good looking pipe and has some great cross grain on the sides of the bowl.I decided to address the rim top damage first. I lightly topped the bowl on a topping board with 220 grit sandpaper to minimize the damage to the top and inner edge of the bowl. I then used a folded piece of 220 grit sandpaper to give the edge a slight bevel to further minimize the damage to the rim. I think that it is definitely better once I finished. I polished the briar rim top and edges along with the rest of the briar with micromesh sanding pads –dry sanding with 1500-12000 grit pads and using a damp cloth after each pad.       I combined a Mahogany and a Cherry stain pen to restain the rim top to match the rest of the bowl. It would match even better once it was buffed and polished.I worked some Before & After Restoration Balm into the surface of the briar with my fingertips to clean, enliven and protect the briar. I let the balm sit for 15 minutes and then buffed with a cotton cloth to raise the shine. The photos show the bowl at this point in the restoration process. I set the bowl aside and turned my attention to the stem. I filled in the tooth marks on the underside of the stem with clear super glue. I let the repairs cure. Once they had cured I sanded the repairs on the underside and the chatter on the topside with 220 grit sandpaper. I started the polishing with 400 grit wet dry sandpaper. I wiped it down with some Obsidian Oil.I touched up the “P” stamp on the stem with an acrylic white fingernail polish. I worked it into the stamp with a toothpick. I let it sit for a few minutes then scraped off the excess. I polished the stem with micromesh sanding pads – wet sanding with 1500-12000 grit sanding pads. I wiped it down after each sanding pad with Obsidian Oil. I polished it with Before & After Pipe Stem Polish – both Fine and Extra Fine. I am always excited to finish a restoration and this Peterson’s Kapet 25 Billiard is no exception. I put the pipe back together and buffed it with Blue Diamond on the buffing wheel. I gave the bowl and stem multiple coats of carnauba wax. I hand buffed the pipe with a clean buffing pad to raise the shine and hand buffed it with a microfibre cloth to deepen the shine. It is fun to see what the polished bowl looks like with the polished black vulcanite stem. This Classic looking Peterson’s Kapet Billiard feels great in my hand. It is light and well balanced. Have a look at it with the photos below. The dimensions are Length: 5 ½ inches, Height: 1 ½ inches, Outside diameter of the bowl: 1 1/8 inches, Chamber diameter: ¾ of an inch. The weight of the pipe is 26 grams/.92 oz. It is a beautiful pipe and one that will be on the Irish Pipe Makers section of the rebornpipes store soon. If you are interested in adding it to your collection let me know. Thanks for walking through the restoration with me as I worked over this pipe. Thanks to each of you who are reading this blog.

Rebirthing a Republic Era Peterson’s Kapruf  5S Saddle Stem Billiard


Blog by Steve Laug

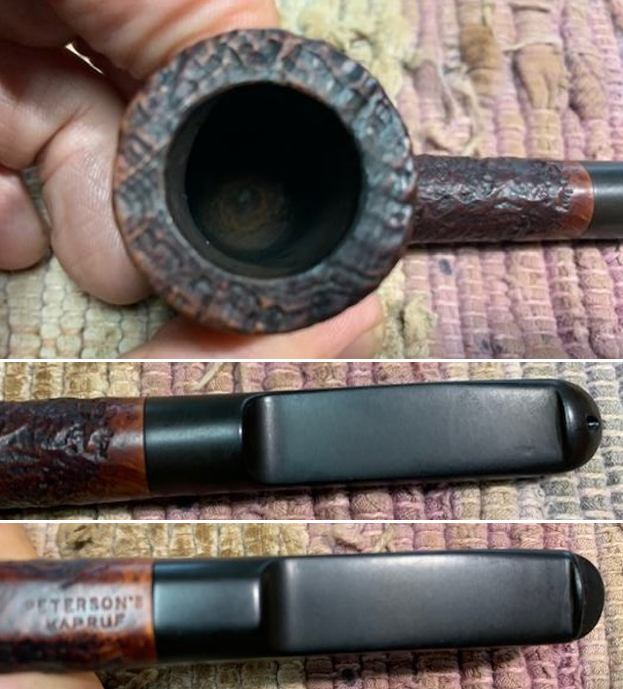
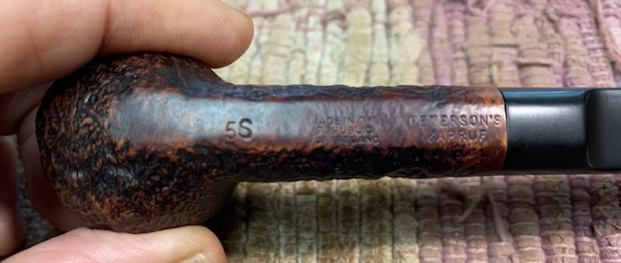
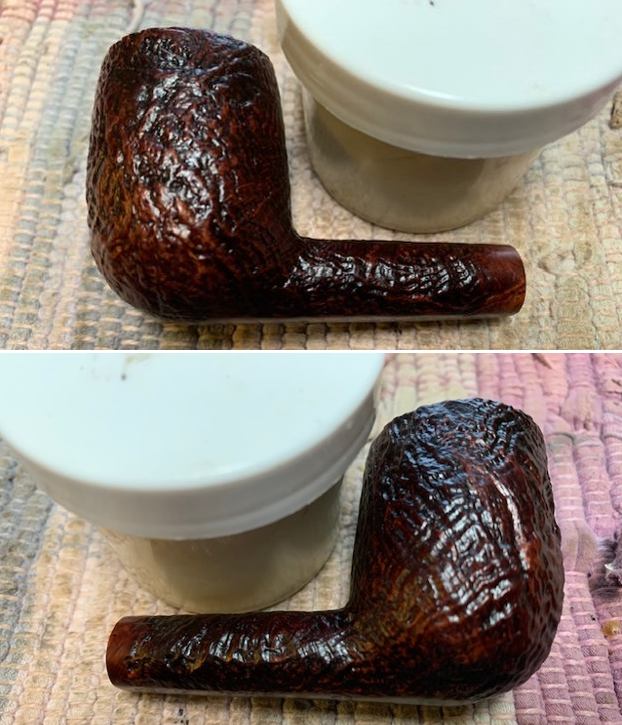
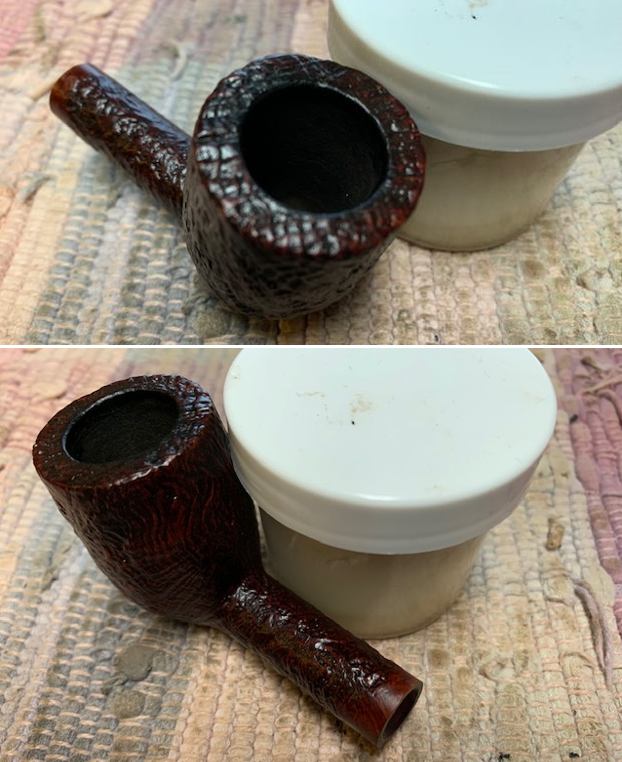
Today is rainy, chilly day in Vancouver. I know in comparison to where many of you live it is not cold but to us it is. It is also one of those kinds of day that my old friend Spencer would have been next to my work table begging for a treat and keeping company. I can’t believe that he died just over a year ago now. I miss him a lot on days like today. The next pipe I have chosen is another Peterson’s Billiard. It is a sandblast pipe that came to us from the estate of an old friend in Ontario, Canada. There was grime ground into the sandblast finish on the bowl sides. I love the way the contrast of the brown and black stains gave the blast a sense of depth. The stain is almost tiger striped. It was stamped on the flat underside in the center of the shank and read Made in the Republic of Ireland (three lines). To the right of that it is stamped Peterson’s [over] Kapruf. To the left of the Republic stamp, on the heel was the shape number 5S. This pipe must have been another favourite of my old friend as it had been well smoked. There was a well maintained cake in the bowl and some darkening on the rim top. The inner edge of the bowl looked good. The stem was oxidized, calcified and had light tooth marks and chatter on the top and underside on and near the button. Jeff took photos of the pipe before his cleanup work. Jeff took photos of the rim top and stem to show the general condition of the pipe. The bowl is lightly caked and the rim top and edges look to be in good condition despite a little darkening. The photos of the stem show that it was oxidized, calcified and has light tooth marks on the top and underside near the button. Jeff took a photo of the bowl sides and heel to show the blast that was around this bowl. It is a great sandblast and the choice of stain adds depth to the appearance of the bowl. He took photos of the stamping on the underside of the shank. It is clear and readable and reads as noted above. I turned to “The Peterson Pipe” by Mark Irwin and Gary Malmberg to get some background on the Kapruf line. On page 306 it had the following information.

Kapruf and “Kapruf” (c.1922-87) Sandblast (hence the name, Kapp-rough) P-lip or fishtail mouthpiece, in catalogs from 1940-87. Early documented specimens stamped IRISH over FREE STATE, no Eire specimens documented. Mid-century specimens may be stamped LONDON MADE [over] ENGLAND or MADE IN ENGLAND forming a circle or MADE IN [over] IRELAND, all dating no later than 1970. Those of recent vintage stamped MADE IN THE[over] REPUBLIC [over]OF IRELAND.

I knew that I was working on a KAPRUF that was made between 1970-1987 as it is stamped MADE IN THE REPUBLIC OF IRELAND as noted above. Now it was time to work on the pipe.

Jeff had done a great job cleaning up the pipe as usual. He reamed the pipe with a PipNet reamer and cut back the cake back to the bare briar. He cleaned up the walls with a Savinelli Fitsall Pipe Knife. He scrubbed the interior of the bowl and shank with pipe cleaners, cotton swabs and alcohol to remove the tars and oils. He scrubbed the exterior of the pipe with Murphy’s Oil Soap and a tooth brush to remove the grime from the finish. He worked on the rim top lava and darkening with the soap and tooth brush. He scrubbed the inside of the stem with alcohol and pipe cleaners. He scrubbed the exterior with Soft Scrub and then soaked it in Before & After Deoxidizer. He washed it off with warm water to remove the Deoxidizer. The pipe looked far better when it arrived.       I took some close up photos of the rim top and also of the stem surface. I wanted to show how well it had cleaned up. The rim top looks very good. There is a little darkening on the top at the back of the bowl but is not too bad. I also took close up photos of the stem to show the light chatter and marks on the surface near the button. I took a photo of the stamping on the underside of the shank. You can see that it is stamped as noted above. It is faint but readable. I took the pipe apart and took a photo of the pipe. It is a good looking pipe and has an interesting shallow sandblast on the bowl.The exterior of the bowl was in great shape. I used a brass bristle wire brush to knock of some of the darkening on the rim top.  I worked some Before & After Restoration Balm into the surface of the briar with my fingertips and a horse hair shoe brush to clean, enliven and protect the briar. I let the balm sit for 15 minutes and then buffed with a cotton cloth to raise the shine. The photos show the bowl at this point in the restoration process.  I set the bowl aside and turned my attention to the stem. I touched up the P stamp on the left side of the saddle stem with some acrylic fingernail polish. I worked it into the stamp with a toothpick and then scraped off the excess once it had dried.    I polished the stem with micromesh sanding pads – wet sanding with 1500-12000 grit sanding pads. I wiped it down after each sanding pad with Obsidian Oil. I polished it with Before & After Pipe Stem Polish – both Fine and Extra Fine.      I always am excited to finish working on a pipe. This Peterson’s Kapruf 5S Billiard, Made in the Republic of Ireland is no exception. I put the pipe back together and buffed it with Blue Diamond on the buffing wheel. I gave the bowl multiple coats of Conservator’s Wax and the stem multiple coats of carnauba wax. I buffed the pipe with a clean buffing pad to raise the shine and hand buffed it with a microfibre cloth to deepen the shine. It is fun to see what the polished smooth rim top and the sandblast bowl looks like with the black vulcanite taper stem. This Classic looking Peterson’s Kapruf Sandblast Billiard feels great in my hand. It is light and well balanced. Have a look at it with the photos below. The dimensions are Length: 5 ½ inches, Height: 1 ¾ inches, Outside diameter of the bowl: 1 ¼  inches, Chamber diameter: ¾ of an inch. The weight of the pipe is 34 grams/1.20 oz. I will be putting it on the rebornpipes store shortly in the Irish Pipe Makers section if you are interested in it. Thanks for walking through the restoration with me as I worked over this pipe. Thanks to each of you who are reading this blog.

Restoring a Republic Era Peterson’s De Luxe XL9S Bent Billiard


Blog by Steve Laug

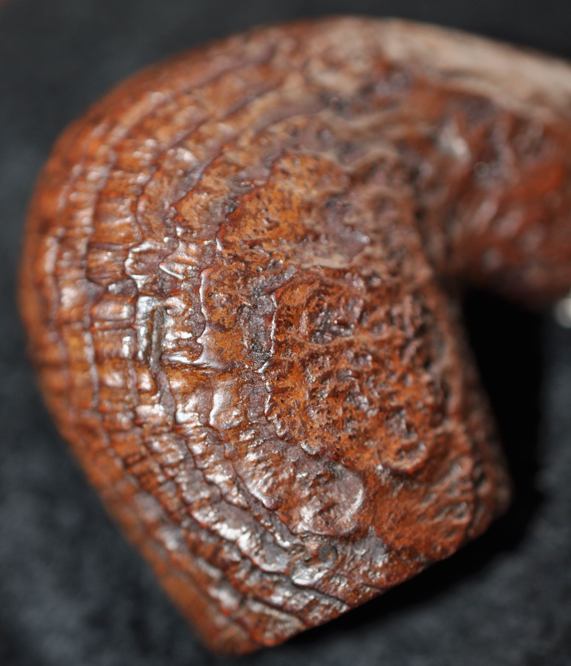
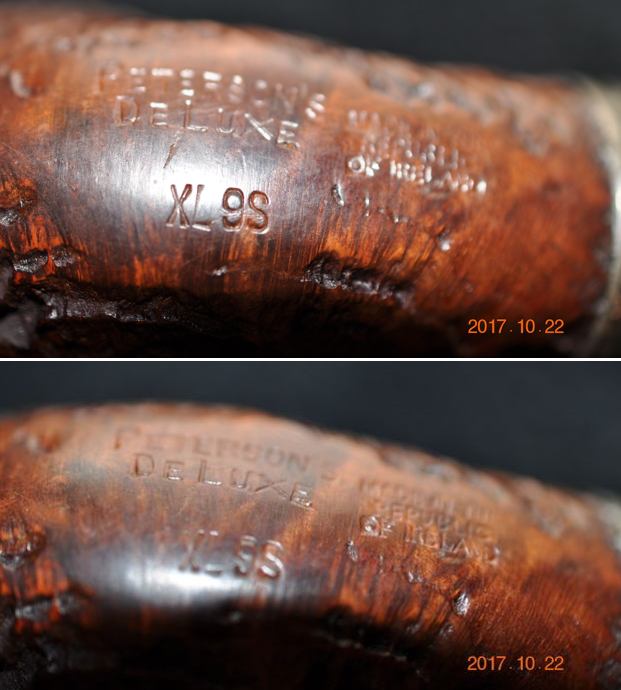
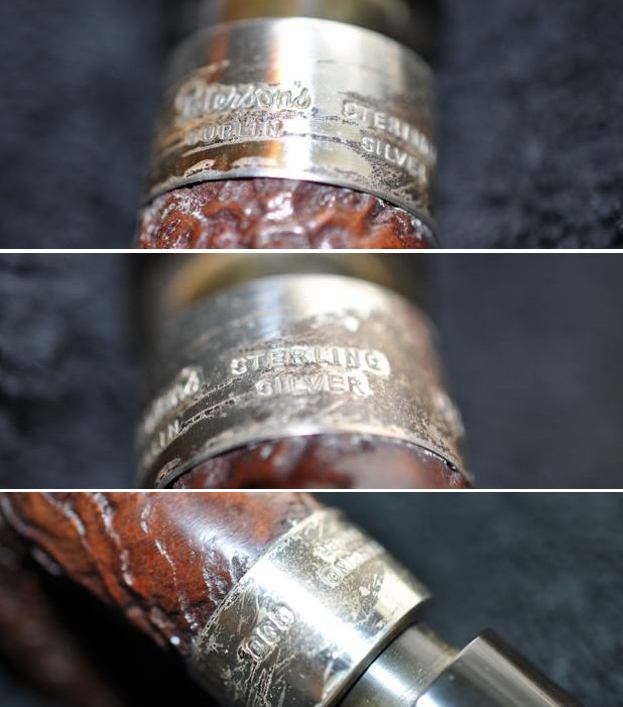
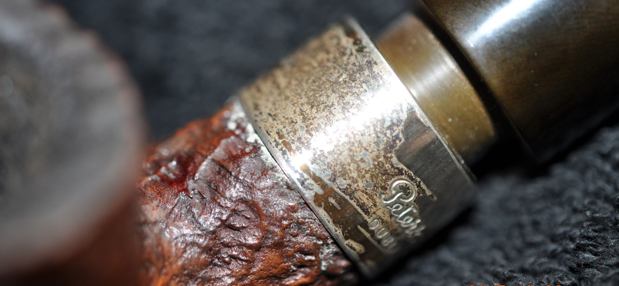
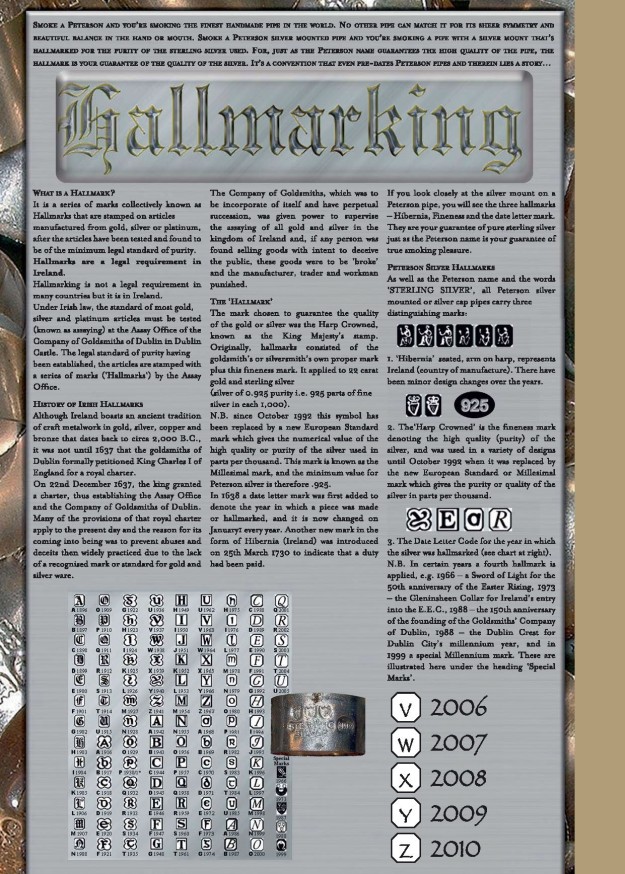
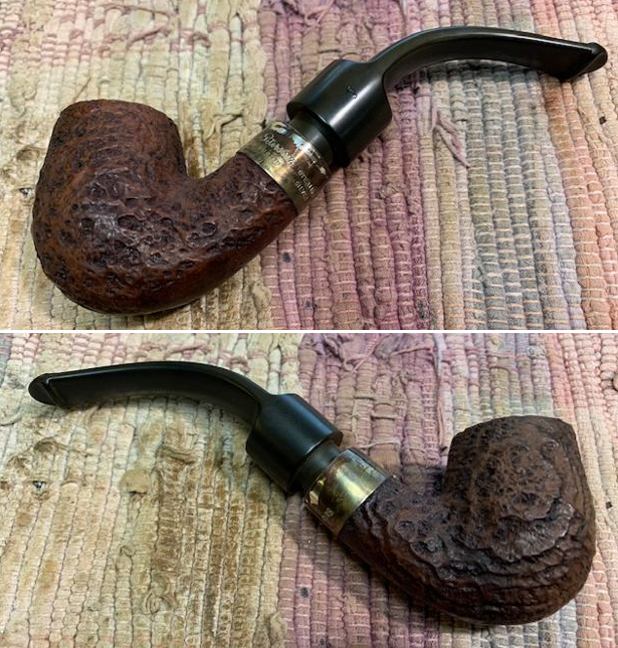
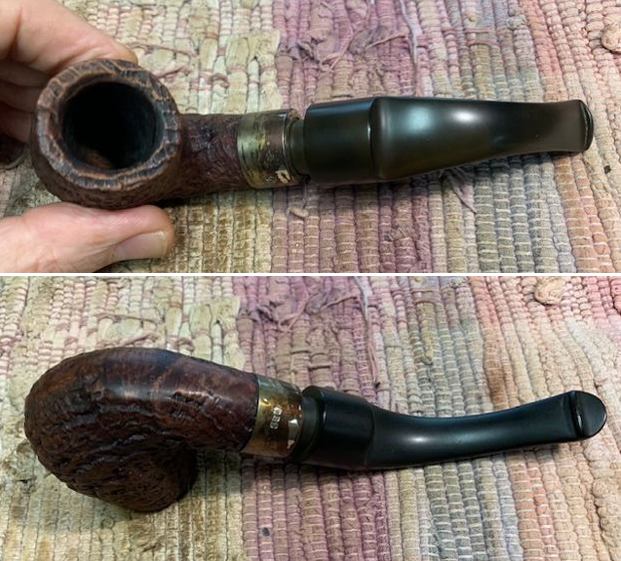
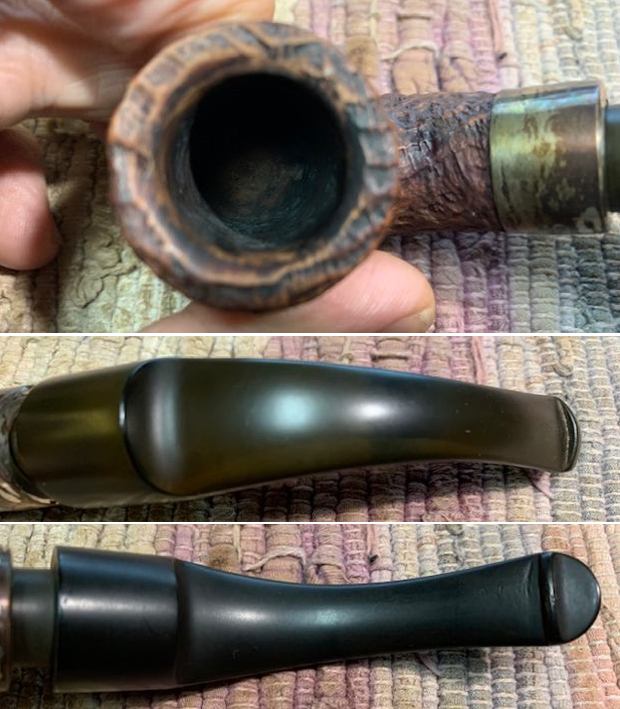
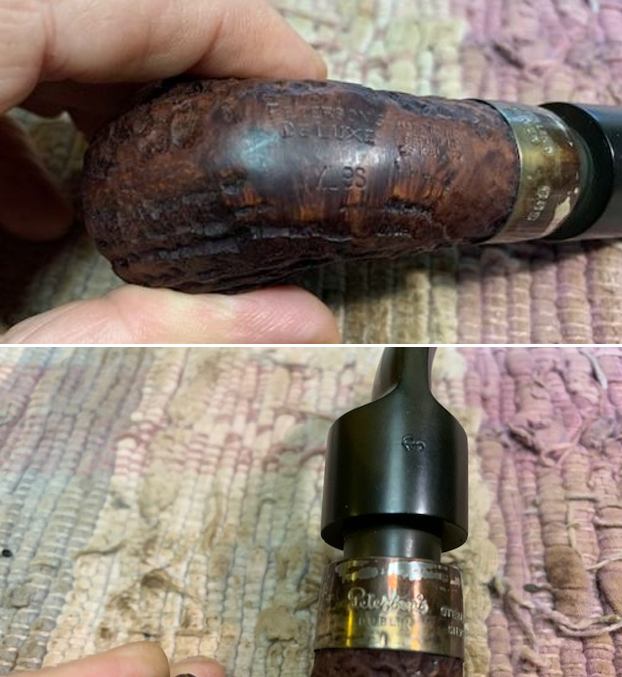
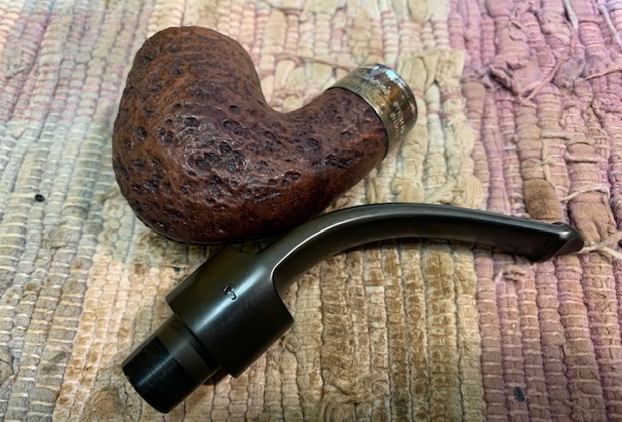
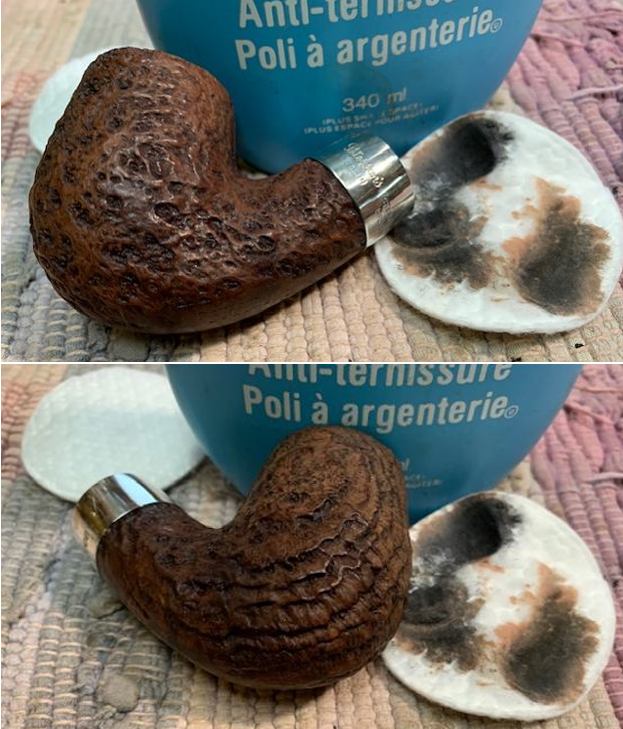
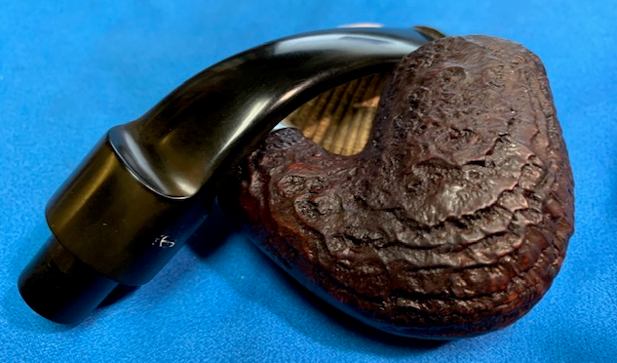
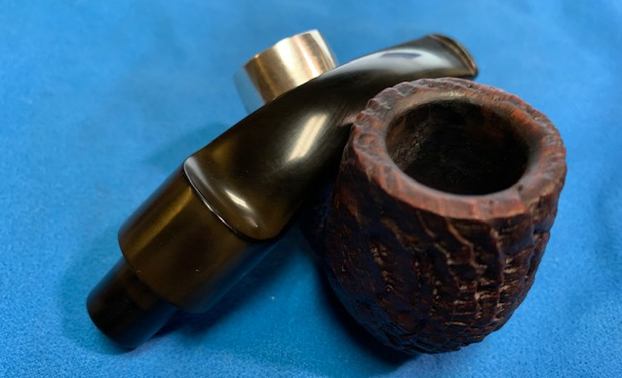
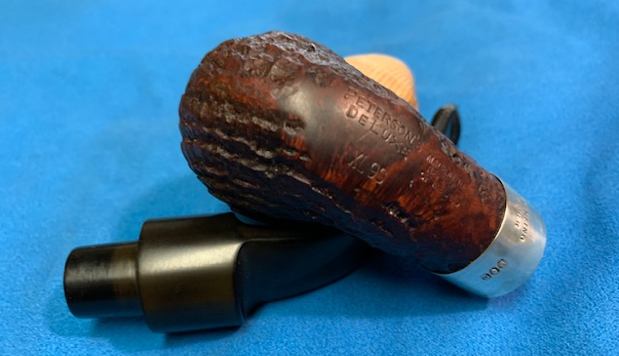
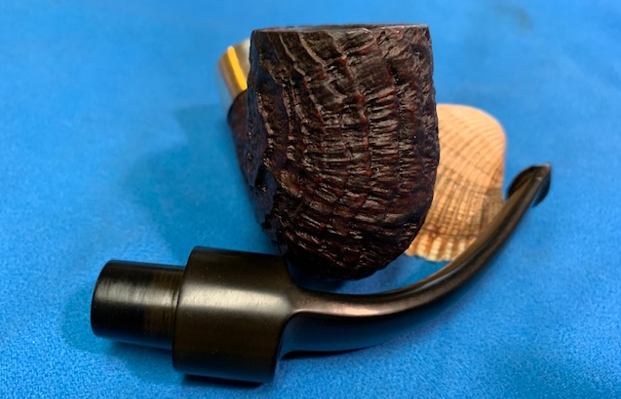
The next pipe I have chosen is a Peterson’s De Luxe XL9S sandblast bent Billiard. It came to us from an antique store in Pocatello, Idaho, USA back in 10/20/17. The finish is deeply sandblasted and dirty but there is some great grain around the bowl sides and shank. The finish is otherwise in great shape. It was stamped on the underside of the shank and read Peterson’s [over] De Luxe [over] the shape number XL9S. That is followed by a three line stamp MADE IN THE [over] REPUBLIC [over] OF IRELAND. It was filthy when Jeff brought it to the table. There was a thick cake in the bowl and a thick overflow of lava on the rim top and the inner edge of the bowl. It was hard to know what the condition of the rim top and bowl were under that thick lava coat. The Sterling Silver band is heavily tarnished. It is stamped as well and reads Peterson’s [over] Dublin on the top left. Further down the left side of the band it is stamped Sterling Silver. On the underside and starting up the right side it has three hallmarks – Hibernia, a Harp and the lower case letter “n”. The stem had a “P” stamped on the left side of the saddle and was oxidized and had tooth marks and chatter on the top and underside on and near the button. Jeff took photos of the pipe before his cleanup work. Jeff took photos of the rim top and stem to show the general condition of the pipe. The bowl is heavily caked and the rim top and edges have a thick lava overflow. The stem is lightly oxidized and has tooth marks on the top and underside near the button. Jeff took photos of the bowl sides and heel to show the grain that was around this bowl. It is a nice looking pipe. The blast is quite deep and attractive. He took photos of the underside of the shank to show the stamping. The stamping is readable in the photos below and is as noted above. He also captured the stamping on the silver band.    I am including the link to the Pipedia’s article on Peterson pipes. It is a great read in terms of the history of the brand (https://pipedia.org/wiki/Peterson).

I turned to “The Peterson Pipe” by Mark Irwin and Gary Malmberg to get some background on the Peterson’s Deluxe Line. On page 297 it had the following information.

De Luxe (1915-) Introduced in newspaper advertising in 1916, production of this high-grade smooth finish model may have been stalled by the Great War and domestic disturbance. It will not appear in Peterson catalogs until ’37. Specimens documented from 1915 to the thirties are extremely rare and confined to extra-large house pipes and occasionally medium sized pipe with unconventional shapes. Specimens from 1930-1950 appear in a wide selection of Classic Range shapes, often as Canadians. Catalogs from 1937-50 list it as the ‘the finest possible quality obtainable.’ After ’50 the Supreme would supplant the De Luxe as the top of the line model, and to this day the De Luxe is a high quality pipe but not the highest. Early models often have no COM. Models from the twenties until the sixties will be stamped IRISH over FREE STATE, EIRE, LONDON MADE over ENGLAND, MADE IN over IRELAND (forming a circle) or MADE IN THE over REPUBLIC over OF IRELAND. The last three COM stamps, used from ‘38 through ’68 when no hallmarks were stamped on Peterson mountings, can never be precisely dated. If a De Luxe was made in ’69 or later it will be hallmarked with a date designator and always have a Republic COM. See also Special De Luxe.

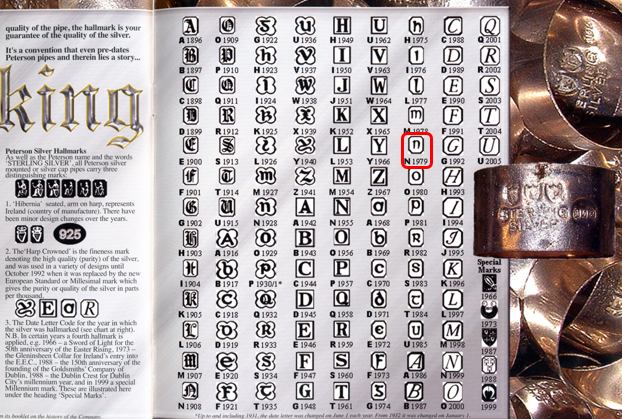
 Judging from the description above, the pipe I am working on is stamped with the stamp noted in red above. It reads MADE IN THE REPUBLIC OF IRELAND in three lines which narrows the date to between approximately 1938 and the present. It also has a silver Hallmark that make it a pipe made after 1969. Now it was time to narrow down the date further.

I turned to a blog I wrote on rebornpipes that had a Peterson’s catalogue and a hallmarking chart (https://rebornpipes.com/tag/peterson-hallmark-chart/). I have included it below. On the chart I looked for a lower case “n” in a hexagonal cartouche. I also included a enlargement of the chart and drawn a box around the “n” in red. It dates the  pipe to 1979. Jeff had done a great job cleaning up this 1979 Peterson’s De Luxe pipe. He reamed the pipe with a PipNet reamer and cut back the cake back to the bare briar. He cleaned up the walls with a Savinelli Fitsall Pipe Knife. He scrubbed the interior of the bowl and shank with pipe cleaners, cotton swabs and alcohol to remove the tars and oils. He scrubbed the exterior of the pipe with Murphy’s Oil Soap and a tooth brush to remove the grime from the finish. He worked on the rim top lava and darkening with the soap and tooth brush. He scrubbed the inside of the stem with alcohol and pipe cleaners. He scrubbed the exterior with Soft Scrub and then soaked it in Before & After’s Pipe Stem Deoxidizer. He washed it off with warm water to remove the Deoxidizer. I took photos of the pipe when I brought it to the work table. I took some close up photos of the rim top and also of the stem surface. I wanted to show how well it had cleaned up. The rim top and inner edges around the bowl looked very good. I also took close up photos of the stem to show the tooth marks on the surface near the button. I took a photo of the stamping on the underside of the shank. It reads as noted above.  I also took a photo of the band and the stamp on the left side of the saddle stem.   I removed the stem and took a photo of the pipe to have a look at the parts and overall look.I decided to address the tarnish on the silver band of the pipe first. I scrubbed it with some tarnish remover and finished with a jeweler’s cloth. The silver looked very good.  I worked some Before & After Restoration Balm into the surface of the briar with my fingertips and a horsehair shoe brush to clean, enliven and protect the briar. I let the balm sit for 15 minutes and then buffed with a cotton cloth to raise the shine. The photos show the bowl at this point in the restoration process.    I scrubbed the surface of the stem with Soft Scrub Cleanser to remove the oxidation on the surface of the vulcanite. I “painted” the tooth marks on the vulcanite with the flame of a lighter and was able to lift all of them on the topside. There was one against the edge of the button on the underside that did not lift all the way. I filled it in with a drop of clear CA glue and set it aside to cure.     I used a folded piece of  220 grit sandpaper to smooth out the repair and then started polishing it with 400 grit wet dry sandpaper.I painted the “P” stamp on the left side of the saddle stem with white acrylic fingernail polish. I worked it into the stamp with a tooth pick. I scratched off the excess acrylic with the tooth pick and a fingernail. It looked better though the curve of the right side of the “P” was faint. I polished the stem with micromesh sanding pads – wet sanding with 1500-12000 grit sanding pads. I wiped it down after each sanding pad with Obsidian Oil. I polished it with Before & After Pipe Stem Polish – both Fine and Extra Fine.     I am excited to finish this Republic Era Peterson’s Deluxe XL9S Bent Billiard. I put the pipe back together and buffed it with Blue Diamond on the buffing wheel. I gave the bowl multiple coats of Conservator’s Wax and the stem multiple coats of carnauba wax. I buffed the pipe with a clean buffing pad to raise the shine. I hand buffed the pipe with a microfiber cloth to deepen the shine. It is fun to see what the polished bowl looks like with deep sandblast all around it. Added to that the polished black vulcanite stem was beautiful. This sandblast De Luxe XL9S is great looking and the pipe feels great in my hand. It is light and well balanced. Have a look at it with the photos below. The dimensions are Length: 6 ½ inches, Height: 2 inches, Outside diameter of the bowl: 1 ¼ inches, Chamber diameter: ¾ of an inch. The weight of the pipe is 61grams/2.15oz. It is a beautiful pipe and one that will soon be on the rebornpipes store in the Irish Pipe Makers Section of the store. If you want to add it to your collection let me know. Thanks for walking through the restoration with me as I worked over this pipe. Thanks to each of you who are reading this blog.

Reuniting a Yello-Bole stem with its original Pipe and Restoring the Pipe


Blog by Steve Laug

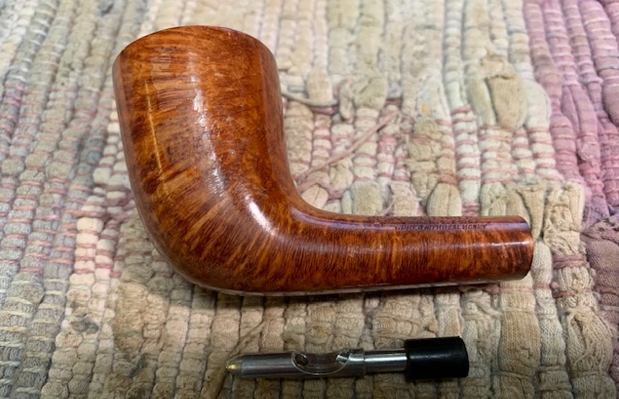
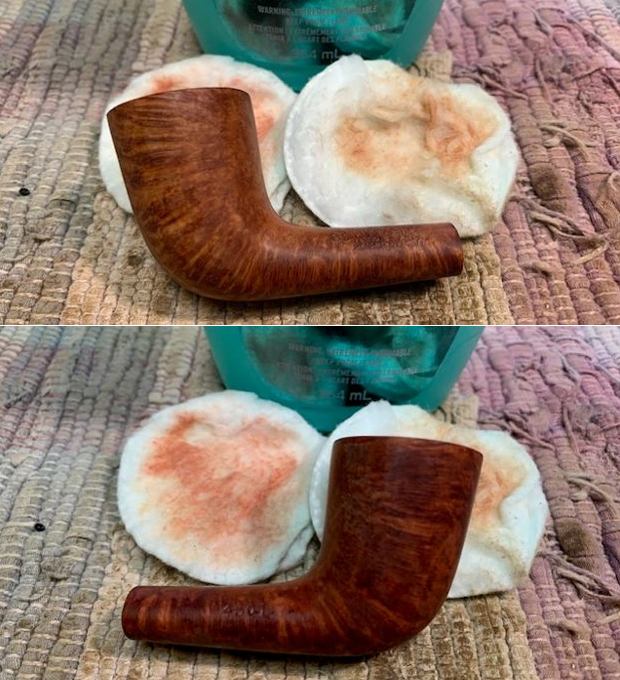
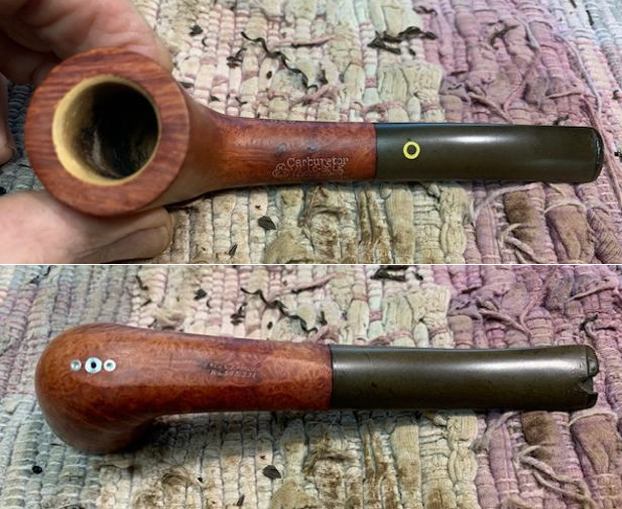
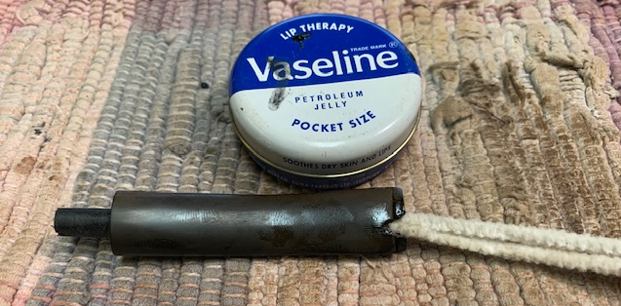
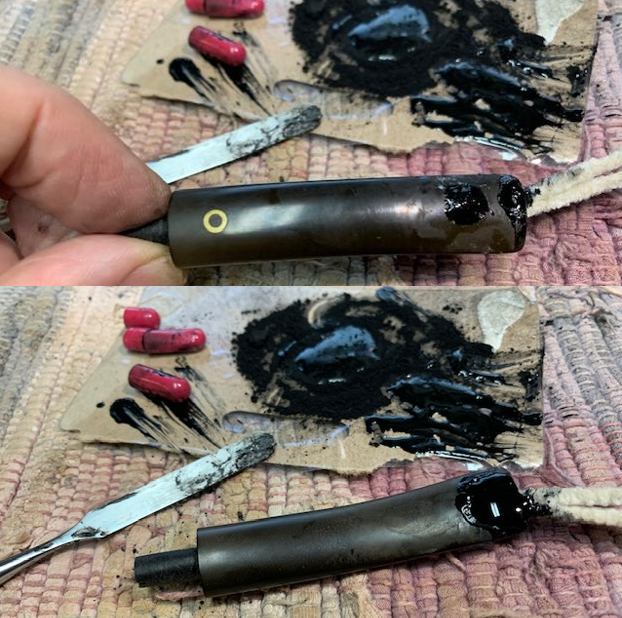
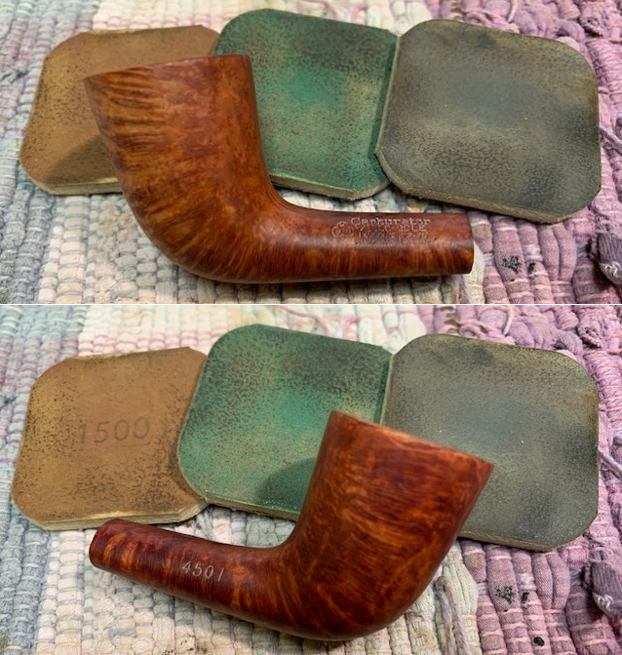
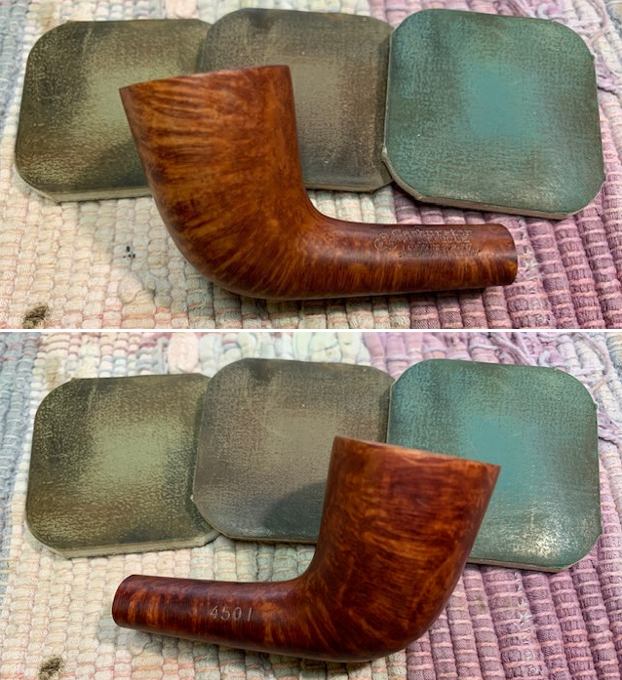
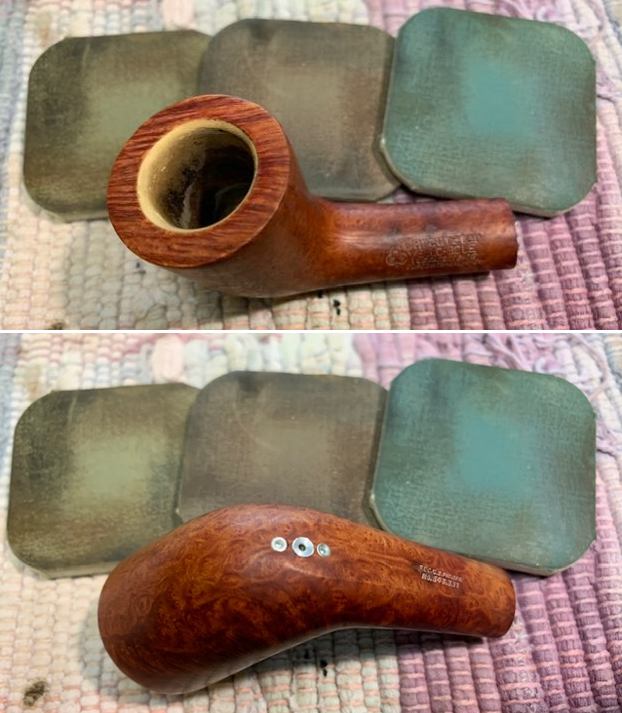
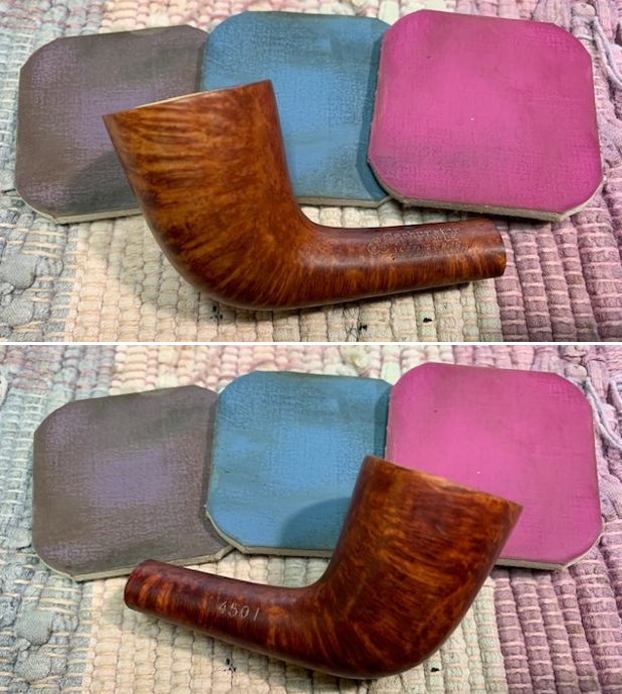
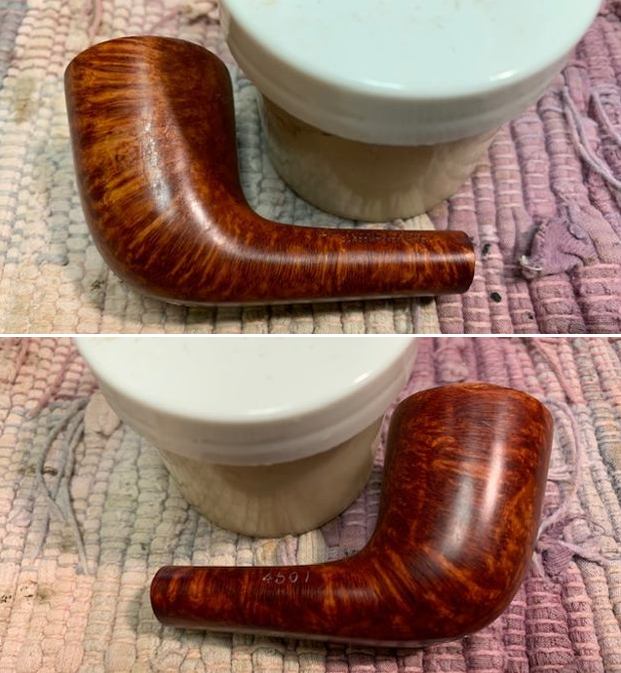
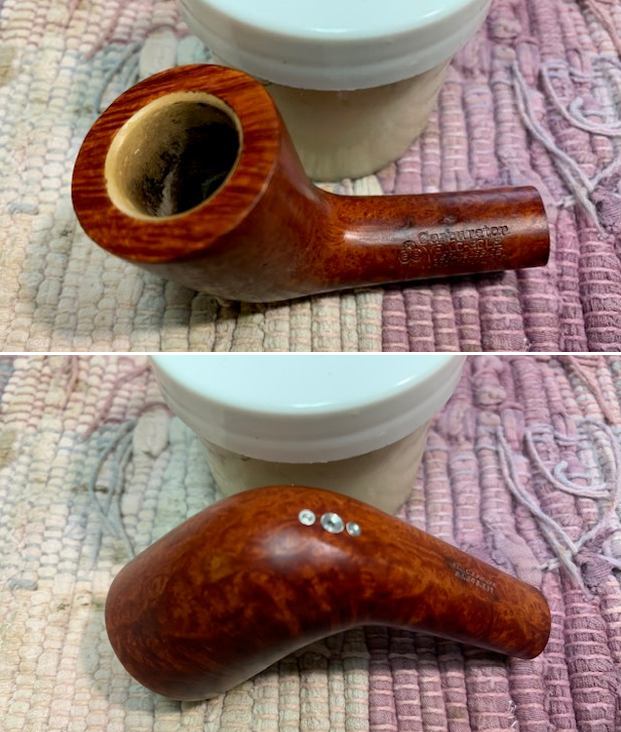
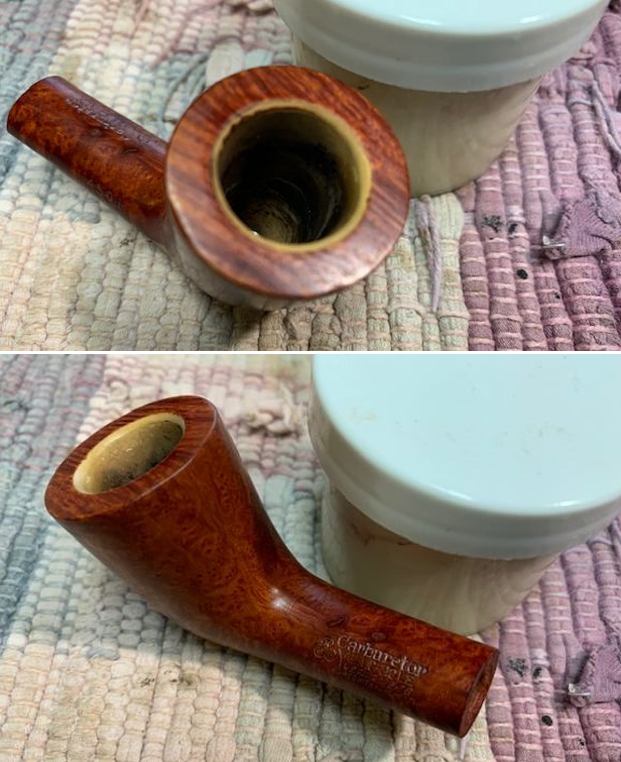
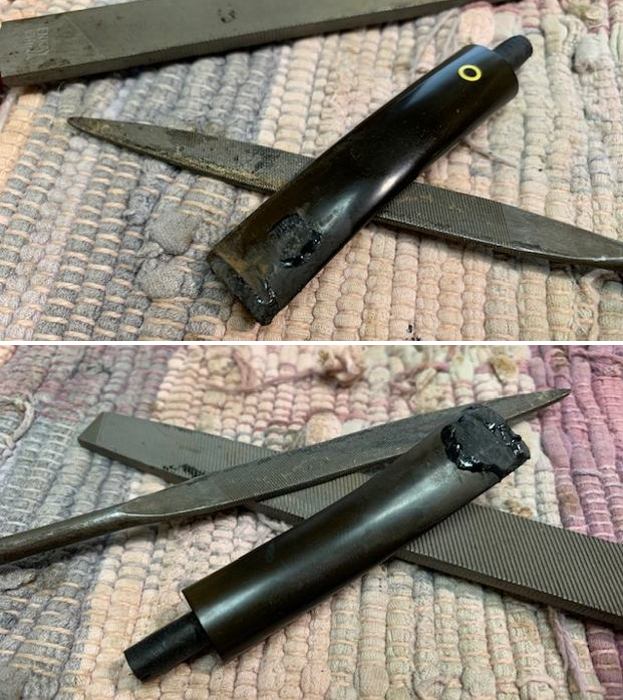
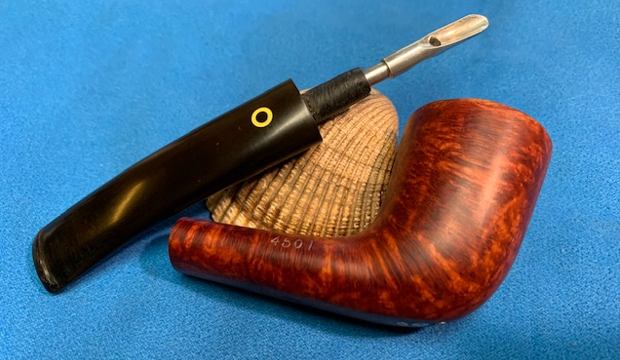
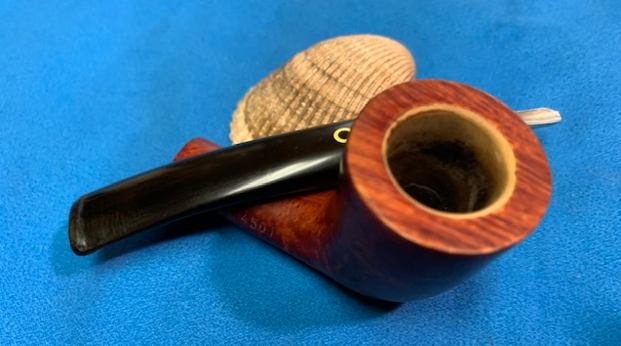
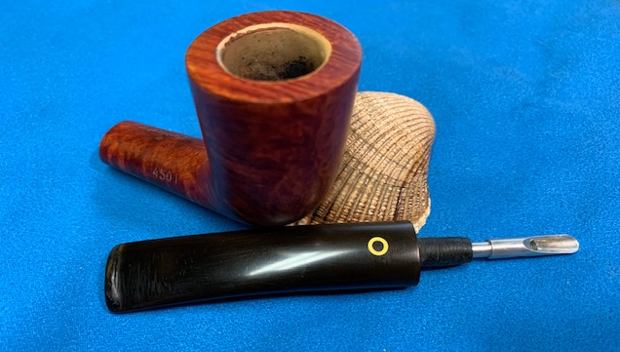
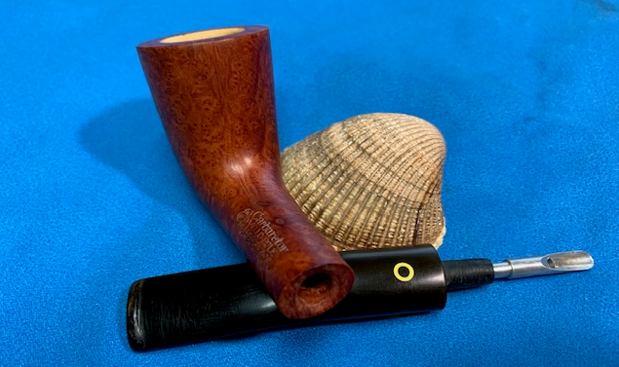
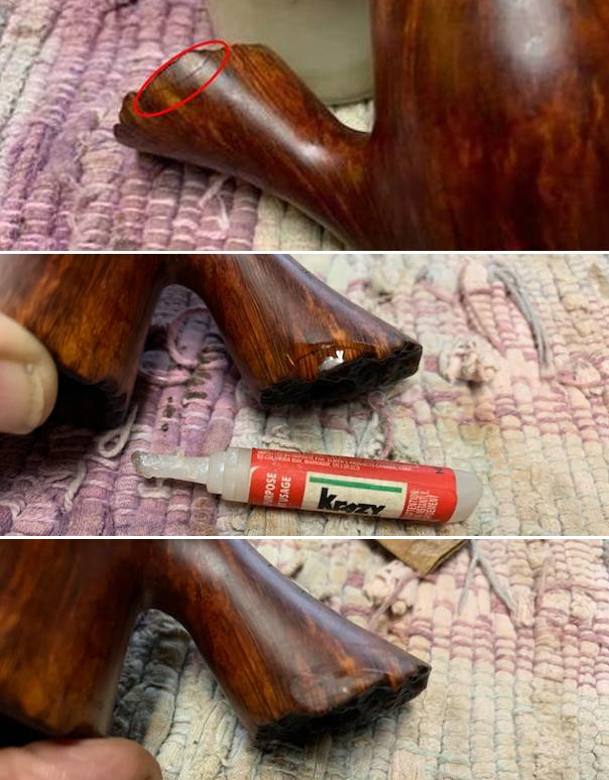
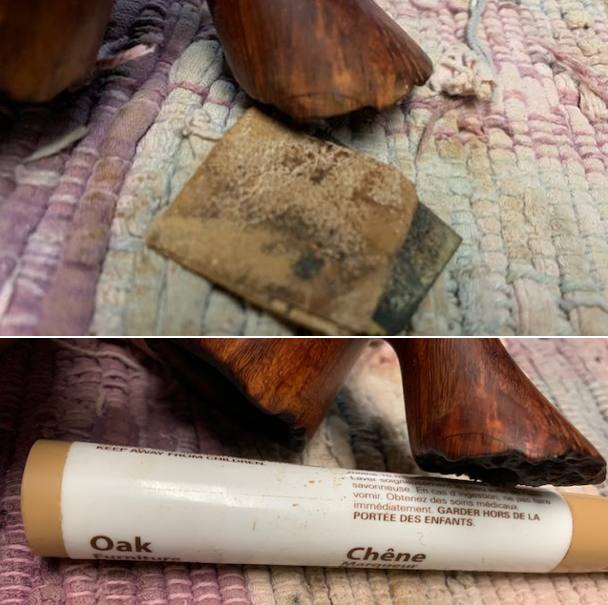
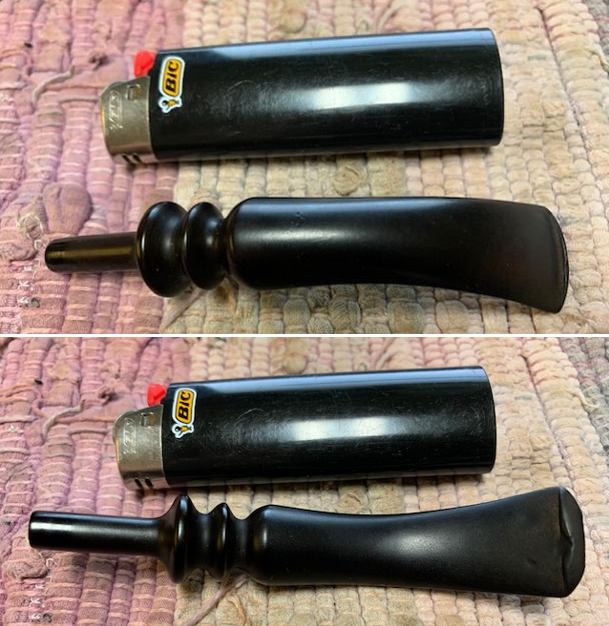
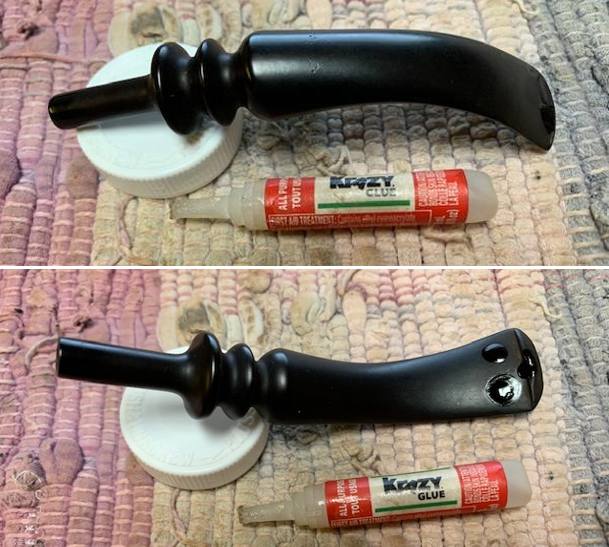
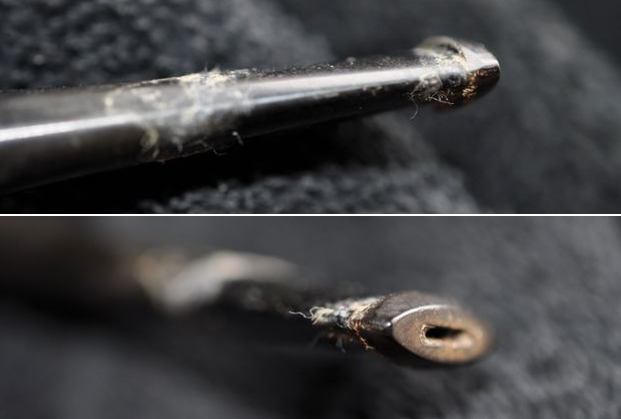
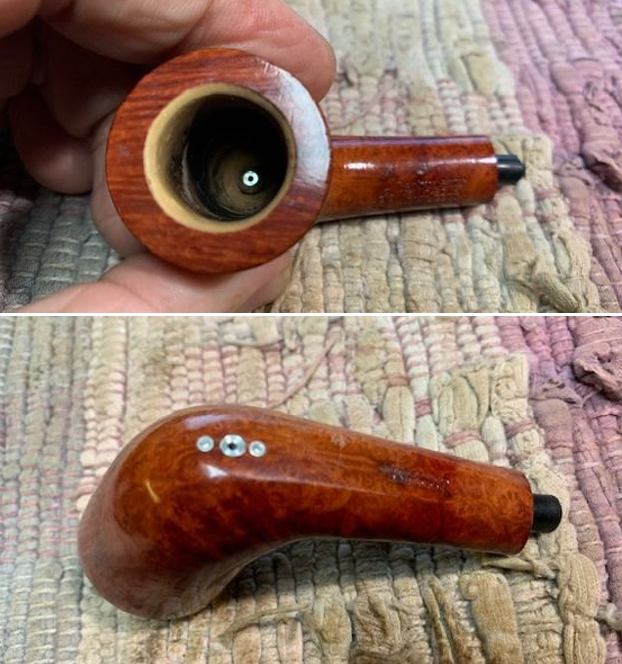
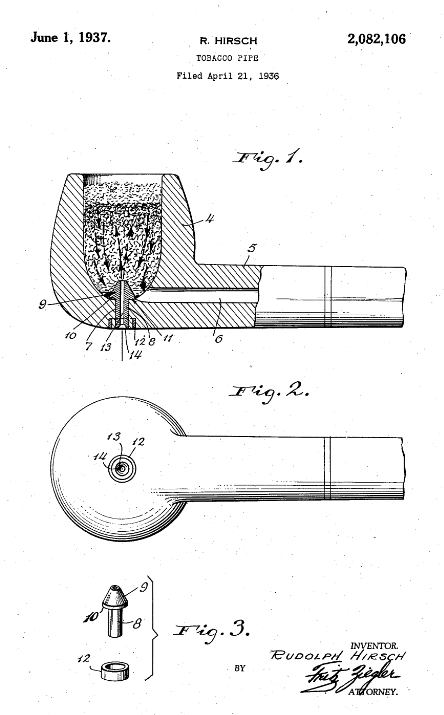
The next pipe on the table is a Carburetor KBB Yello-Bole Zulu. Jeff picked it up on an online auction from New Braunfels, Texas, USA in April of 2016. It has been sitting here since then. You may wonder why once you see the photos below as it is a nice looking pipe. It is stamped on the left side of the shank with KBB in a cloverleaf followed by Carburetor [over]Yello-Bole [over] US. Pat. 2,082,106 [over] Cured with Real Honey. The stamping starts in the middle of the top of the shank and rolls down the side. On the right side it is stamped with the shape number 4501. On the underside it is stamped Reg. U.S. Pat. Off. [over] 343,331. I will have to look up both of the patents and see what I am working with. The finish on the pipe was peeling and flaking off in spots. There was a metal contraption that forms the carburetor on these pipe in the bottom of the bowl and on the heel. The bowl still had the yellow bowl coating. It appeared to have been smoked just a few time so the coating was pretty in tact. There was a light lava coat on the rim top, heavier at the back of the bowl. The inner bevel and outer edge looked very good. The stem was lightly oxidized and had tooth marks on both sides. There was a large chunk out of the underside of the stem at the button. Jeff took these photos of the pipe before he did his work.He took photos of the rim top and the stem surfaces to give a clear idea of what needed to be done with this pipe. The description above is clearly shown in the photos. He took photos of the heel of the bowl to give a clear idea of the carburetor system but also of the beautiful grain on this pipe. It really is a nice piece of briar. Jeff was able to capture the stamping on the shank very well. They are clear and readable. The only photo missing is that of the shape number on the right side of the shank. You can also see the Yellow O on the stem top.Now comes the moment of truth! Somehow (neither Jeff nor I have any memory of this) the tenon had snapped off in the shank and the stem and bowl were separated. Generally when this happens on Jeff’s end he bags the bowl and stem in a sandwich bag to keep them together. But in this case that was not done. It could have broken in transit between Idaho and Canada or I could easily have snapped it when I tried to remove the stem. I too would have bagged the parts together but somehow the two were separated. The bowl went into my box of bowls for restemming and the broken stem went into the can of stems. Seemingly never to meet again.
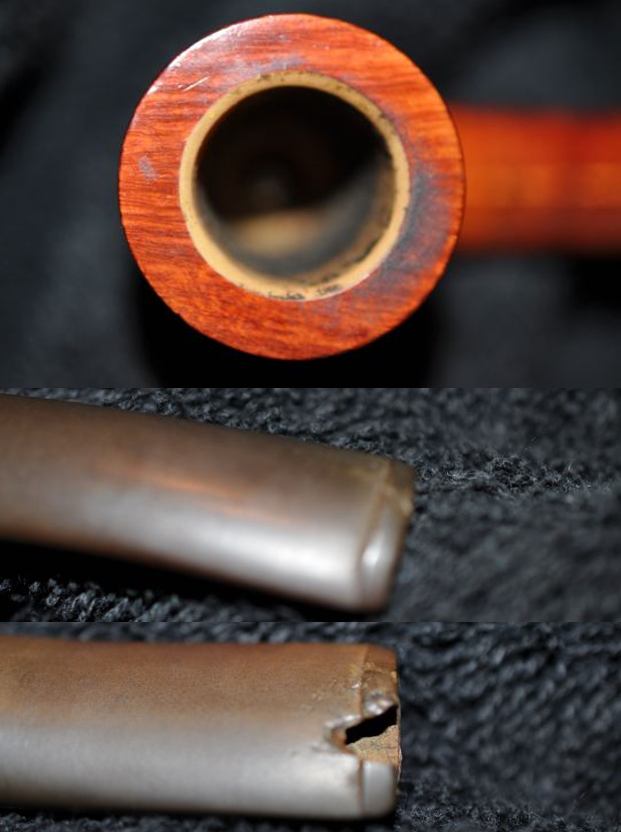
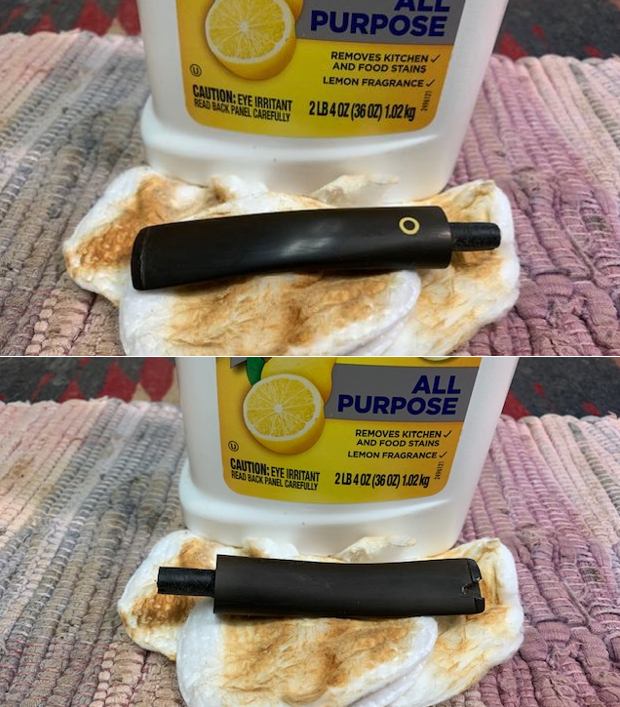
I took the bowl out of the box about a month ago to restem. It had a broken tenon in the shank. So I popped it in the freezer for a little while then pulled the tenon out with a screw. I was surprised to see that it had the stinger apparatus that was in these Yello-Bole pipes still in the broken tenon and it was undamaged. Jeff had done a thorough cleanup on this one so it was in great shape. I took some photos of the bowl before I started looking for a stem for the pipe. I went through my can of stems and found oval shaped stem with a snapped tenon. It was even a Yello-Bole stem so that was a bonus. Or so I thought. I still did not put it together that this was the original stem. I took the broken tenon and stinger and lined it up with the stem. It was a perfect match! Now I knew that it was the original stem and I would be able to unite the parts again. Remember at this point I had not seen Jeff’s before photos that are above showing what the pipe looked like when he bought it. All of this was a bit of a fluke! Once I saw those photos all doubt was removed but I still had no idea how they got separated. I decided to look up the patents on the US Patent site and see what I could find about about them and the date they were filed (https://patft.uspto.gov/netahtml/PTO/srchnum.htm). I searched first for the US. Pat. 2,082,106 that was stamped on the top and left side of the shank. I assumed it referred to the Patent for the Carburetor but I was not certain. I found a drawing and description of the carburetor system of a patent filed by R. Hirsch on April 21, 1936 and granted on June 1, 1937. I have included those pages below. Now I had an idea of a starting date for the age of this old pipe. On the underside of the shank it was stamped with a different Patent No. It read as follows: Reg. U.S. Pat. Off. 343,331 and I had no idea what this patent referred to so I ran it through the same site’s search and found a Paten filed by A. Muller-Jacobs of New York for a coloured varnish finish. The pipe I was working on had a peeling varnish finish so that also fit well with the pipe. The patent itself was granted on June 8, 1886. I have included that document below for your purview.From there I wanted to see if I could set the date with more accuracy. I looked up a blog I had written on a Yello-Bole with a Double Carburetor to see what I had found when I had researched for that pipe (https://rebornpipes.com/2019/08/09/restoring-a-kbb-yello-bole-double-carburetor-bulldog/). I quote that blog in part below.
I Googled the brand and line to see what I could find out. Here is what I found.

The first link to me to the Kaywoodie Group and a thread on dating this particular pipe. There was a helpful exchange between lifeon2 and Bosun about a pipe that is stamped in a similar manner to the one that I have. Here is a link to the full conversation: https://www.tapatalk.com/groups/kaywoodie/dating-yello-bole-pipes-t86.html

lifeon2 writes: OK so there isn’t a lot of dating information for Yello-Bole pipes but here is what I have learned so far.

  1. If it has the KBB stamped in the clover leaf it was made 1955 or earlier as they stopped the stamping after being acquired by S.M. Frank.
  2. From 1933-1936 they were stamped Honey Cured Briar.
  3. Post 1936 pipes were stamped “Cured with Real Honey”
  4. Pipes stems stamped with the propeller logo they were made in the 30s or 40s no propellers were used after the 40s.
  5. Yello Bole also used a 4 digit code stamped on the pipe in the 30s.
  6. If the pipe had the Yello Bole circle stamped on the shank it was made in the 30s this stopped after 1939.
  7. If the pipe was stamped BRUYERE rather than briar it was made in the 30s.

(Information gathered from Pipedia – https://pipedia.org/wiki/Yello-Bole)

Bosun replies: the one I have is stamped on the left side of shank:

  1. Double Carburetor
  2. yello-bole
  3. u.s.pat.off
  4. with KBB to the left of the above

underside of shank has Cured with Real Honey

right side of shank has 4907

on top of stem is the white circle

lifeon2 replies: According to the list  I have it looks like you have a late 30s model, sweet

I also turned to a blog by Andrew Selkirk on rebornpipes that also added a degree of certainty to the date of manufacture of this pipe (https://rebornpipes.com/2015/05/03/1934-35-yello-bole-carburetor/).

I can say with a fair degree of certainty that this pipe is from 1934 or 35. The carburetor patent was granted in 1935, this pipe is stamped “Pat Applied For.” Interestingly enough, it also has a patent number on the bottom of the shank. Additionally, the four digit number was used by Kaywoodie until 1936. The first two numbers indicate the finish and the second two numbers indicate the shape.

With that information in hand I knew what I was dealing with in terms of age of this pipe. I knew from the information from Pipedia that the KBB in a clover leaf stamp meant that the pipe was made before 1955. The Cured with Real Honey stamp placed the pipe as 1936 or after. The four digit shape code was used until 1936. The shape code on this one was 4982 thus it is another argument for 1936. The patent was given to KBB in 1935 so the stamped “Reg. US Pat. Off also places the pipe after 1935.

The information that I have gathered helps me to know with a high degree of certainty that this Carburetor pipe was made in 1936. The four digit shape number and the patent information that I have included helped identify that with certainty. I also learned that the first two numbers indicate the finish and the second two numbers indicate the shape.

Now it was time to work on the pipe. I removed the peeling varnish with some fingernail polish remover (acetone). It came of nicely and left behind a nice looking piece of briar. With that finished I set the bowl aside and turned to deal with the hardest part of this work. I needed to replace the broken tenon in the stem and I needed to repair the chip out of the underside at the button. Both would require time for the repair to cure. I decided to do the tenon replacement first. I unscrewed the stinger from the broken tenon and chose a new tenon for the replacement. I used a threaded tenon. I used a Dremel and sanding drum to remove the shoulder on the new tenon and reduce the diameter to match the broken tenon. I screwed the tenon in the new tenon and the fit was perfect. Now it was time to drill out the stem.I smoothed out the broken edge with a Dremel and sanding drum. I drilled out the airway using increasingly larger drill bits to open up the airway the depth of the threaded portion of the tenon.I reduced the diameter of the threaded portion of the tenon with the Dremel and sanding drum until the fit in the drilled out stem was snug. I coated the tenon with black super glue and put the parts together to check on the fit and look of the new tenon. I set it aside to cure while I took a break and enjoy a coffee.After coffee it was cured and I put the stem on the shank to have a look at the fit! The fit was really good and the parts looked like they belonged together. Now it was time to work on the next part of the stem repair. I took the stem off the bowl and unscrewed the tenon. I scrubbed the oxidation on the stem with Soft Scrub to get a clean surface to do the repair.I greased a folded pipe cleaner with Vaseline Petroleum Jelly so that it the repair would not stick to it. I inserted it in the slot and spread it out under the chipped area.I mixed a batch of Black super glue and activated charcoal powder to make a paste. I filled in the deep tooth mark on the top side of the stem and the button edge. I turned the stem over and layered in the fill on the chipped area. I sprayed the repairs with an accelerator to harden the super glue and give it a hard shell so that I could remove the pipe cleaner. I purposely overfill this kind of repair so that I have room to work on the shaping of the button and the stem surface. Once it was hardened to touch I pulled the folded pipe cleaner free and set the stem aside for the repair to cure. Tomorrow I will work on shaping the repaired area into a proper button.I set the stem aside to cure further and turned my attention to polishing the bowl – I dry sanded it with 1500-12000 grit micromesh sanding pads. I wiped the bowl down after each pad with a damp cloth to check the progress and remove the sanding debris. It was looking very good. I rubbed the bowl and shank down with Before & After Restoration Balm. I worked it into the surface of the bowl sides and shank with my fingertips to clean, enliven and protect the briar. I let the balm sit for about 10-15 minutes and buffed with a cotton cloth to raise the shine. The grain came alive. I set the bowl aside and turned my attention to reshaping the stem. I used files to do the initial shaping and remove the excess repair material. I sanded out the file marks and shaped the button with 220 grit sandpaper to blend them into the surface of the vulcanite. I started polishing it with 400 grit wet dry sandpaper. I polished the vulcanite stem with micromesh sanding pads – 1500-12000 grit pads. I wiped it down with Obsidian Oil after each sanding pad. I used Before & After Pipe Polish – both Fine and Extra Fine to further polish the stem. This nicely grained Yello-Bole 4501 Zulu turned out to be a great looking pipe now that it has been restored. (The yellow in the bowl is a bowl coating not a Meerschaum lining).The grain around the bowl and shank is quite beautiful and works well with both the shape and the polished and repaired vulcanite taper stem. With the tenon replaced and the stem rebuilt on the button end it looked very good. I put the stem back on the bowl and carefully buffed the pipe with Blue Diamond on the buffing wheel. I gave the bowl and the stem multiple coats of carnauba wax on the buffing wheel and followed that by buffing the entire pipe with a clean buffing pad. I hand buffed the pipe with a microfiber cloth to deepen the shine. The finished Yello-Bole Zulu is another pipe that fits nicely in the hand and feels great. Give the finished pipe a look in the photos below. The dimensions of the pipe are Length: 5 ½ inches, Height: 1 ¾ inches, Outside diameter of the bowl: 1 ¼ inches, Chamber diameter: ¾ of an inch. The weight of the pipe is 25g/.88oz.  I will be putting it on the rebornpipes store shortly. You can find it in the American (US) Pipe Makers Section. If you are interested in adding this pipe to your collection send me a message or an email. Thanks for reading this blog and my reflections on the pipe while I worked on it. There are many more to come!