Blog by Steve Laug
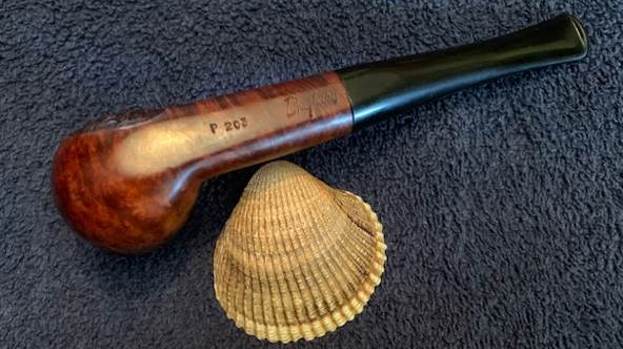
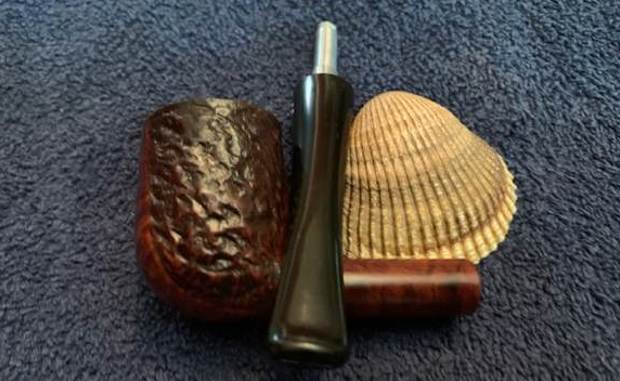
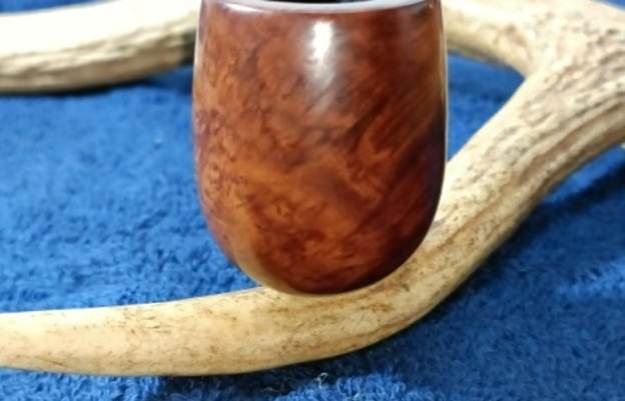
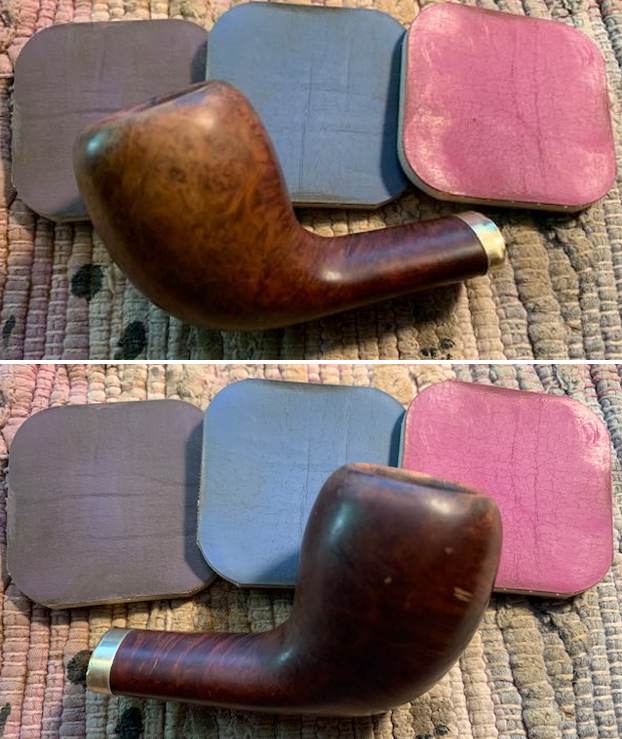
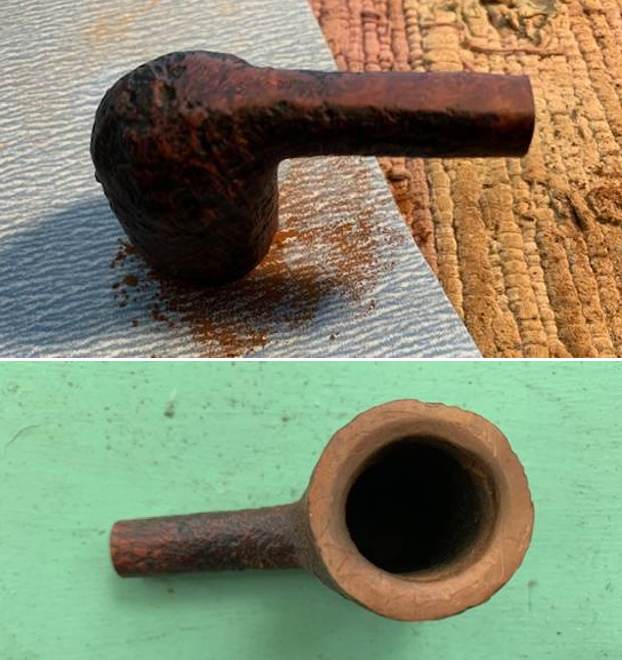
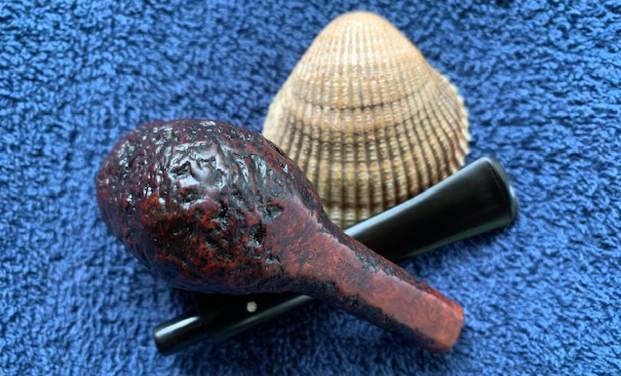
This morning two of my daughters and I met Kenneth and went on a hunt for pipes at an Antique and Collectible sale not far from here. We arrived when they opened the doors and the girls went off on their own hunt. Kenneth and I wandered row by row through the sale. We saw a lot of pipes for sale on the tables and the majority of them were worth far less than the seller was expecting. There were Kaywoodies, Grabows, Lorenzos and other odds and ends all priced between $50-70 dollars. It was discouraging to say the least. We finally came to one table where the seller was far more reasonable. Kenneth picked up two old timers – a Boer War trench art pipe and a Custombilt bent. I picked up a Kings Cross Cutty. We met my daughters and they had found a nice Brigham they took me to see. It had a shape number for a Billiard but it was preceded by the letter “P”. It also had an oval shank but all those made me want to add it to my list. With a bit of negotiation I picked up that Brigham as well. That closed out our hunt and we came home with our finds.
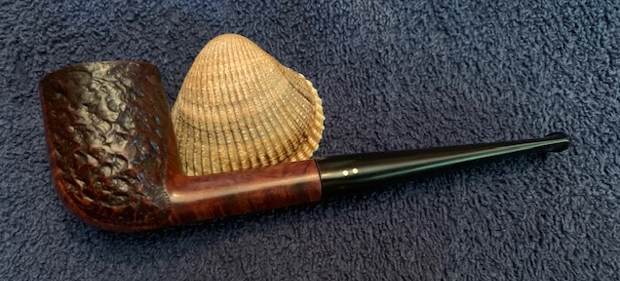
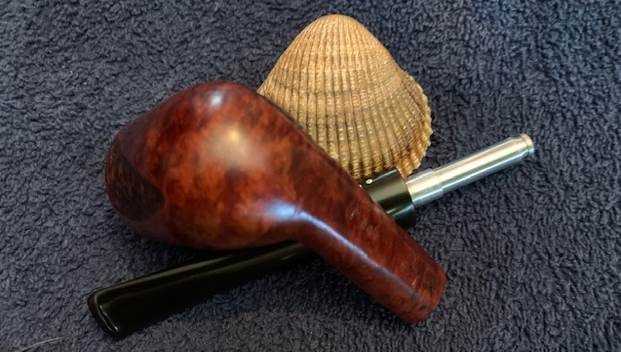
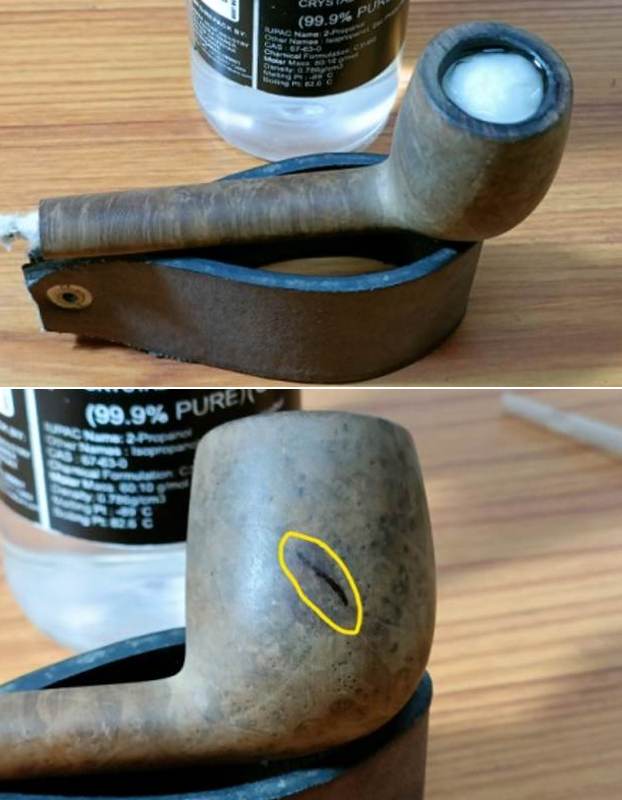
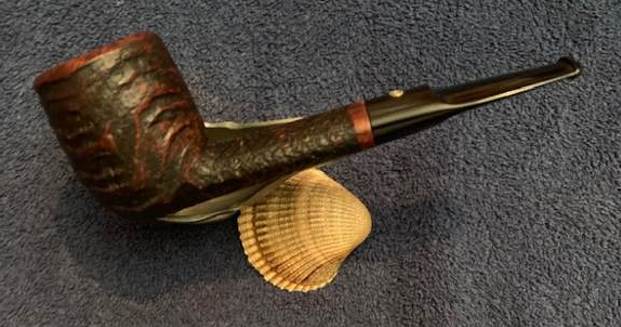
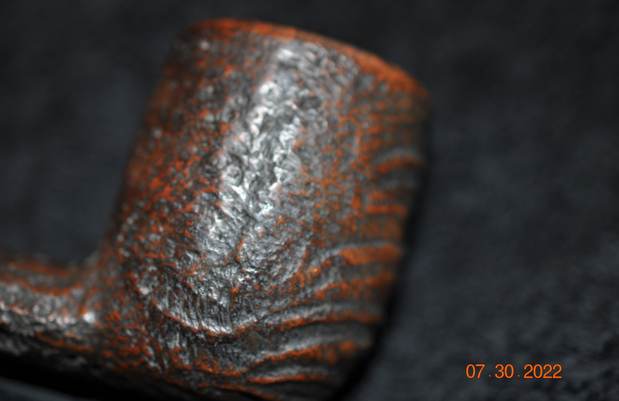
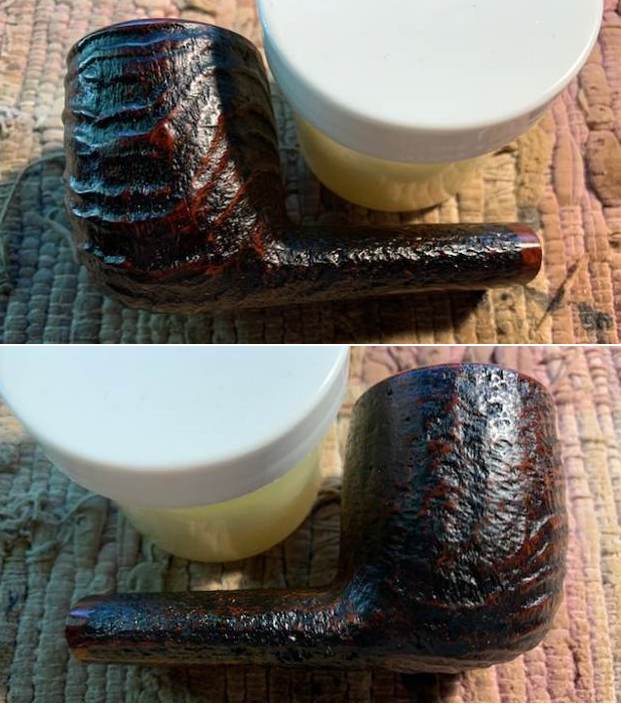
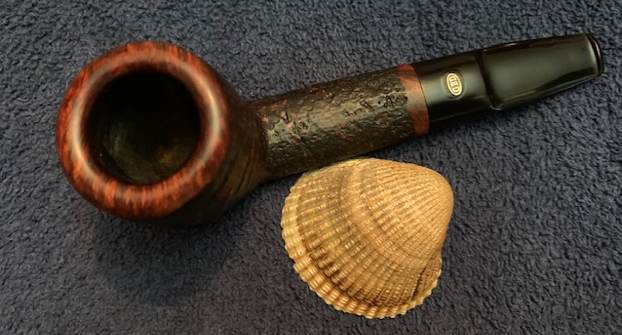
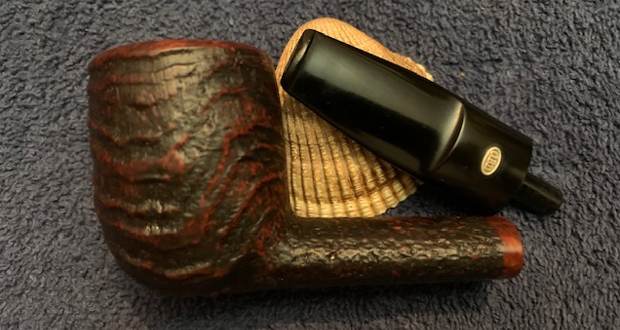
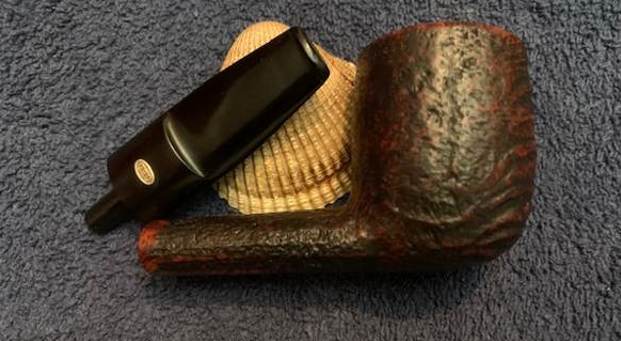
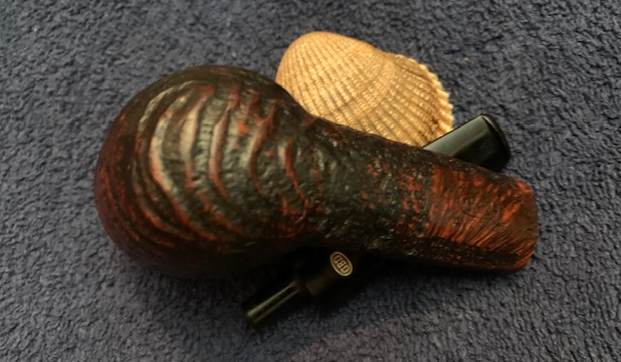
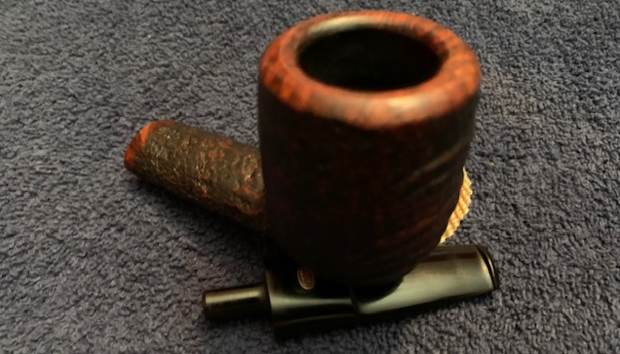
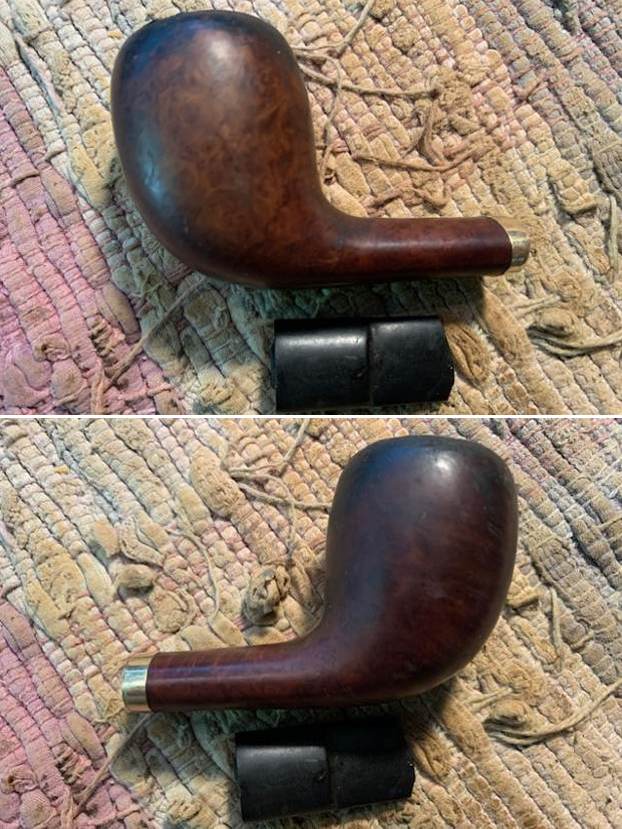
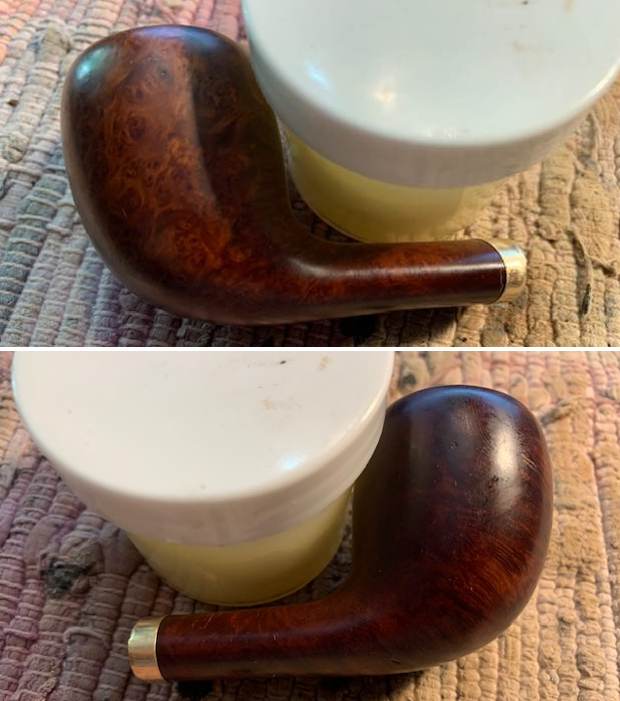
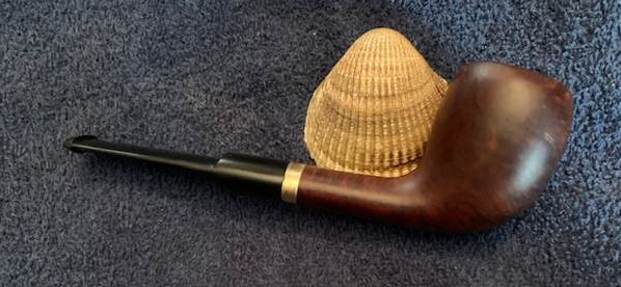
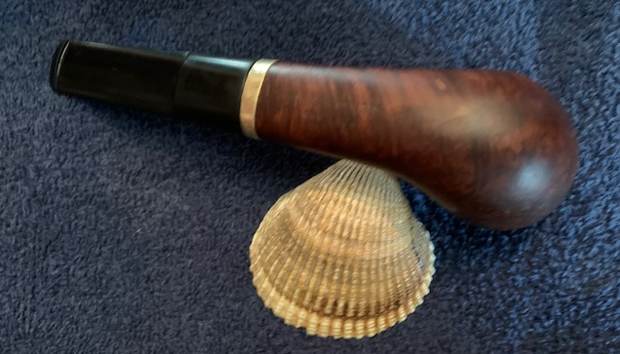
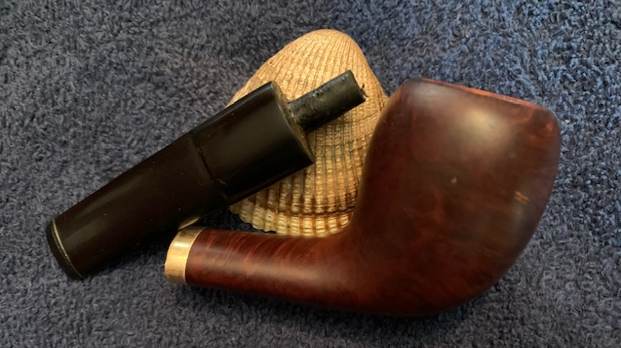
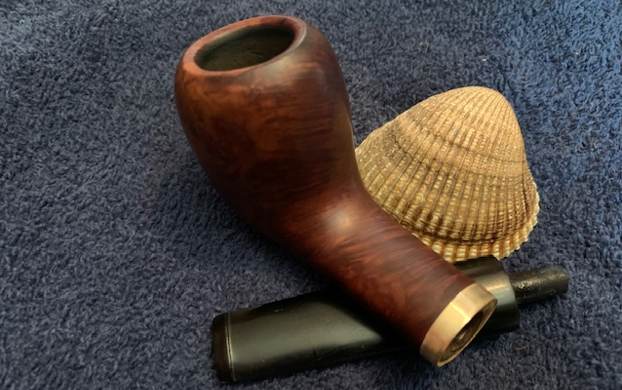
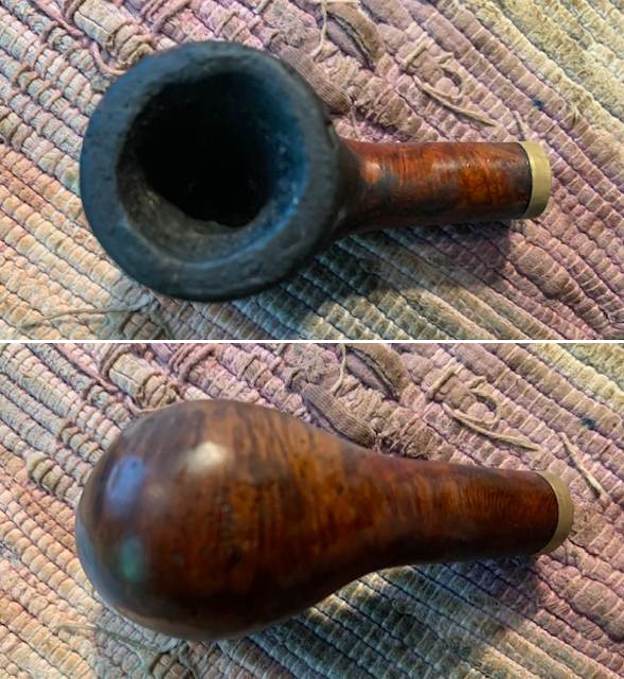
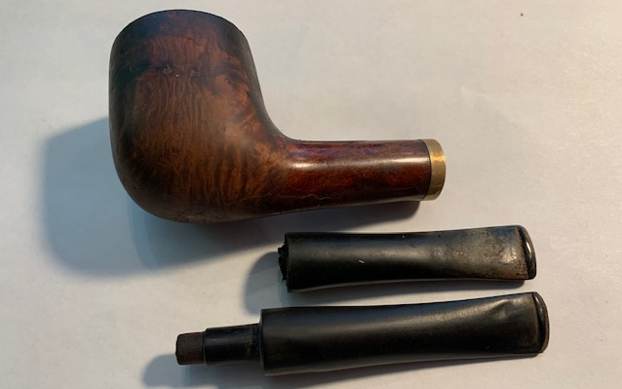
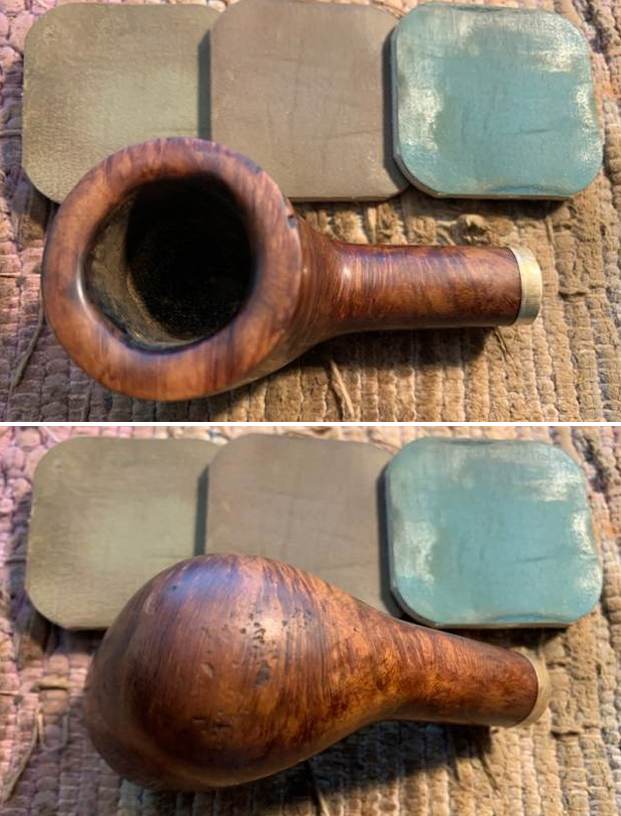
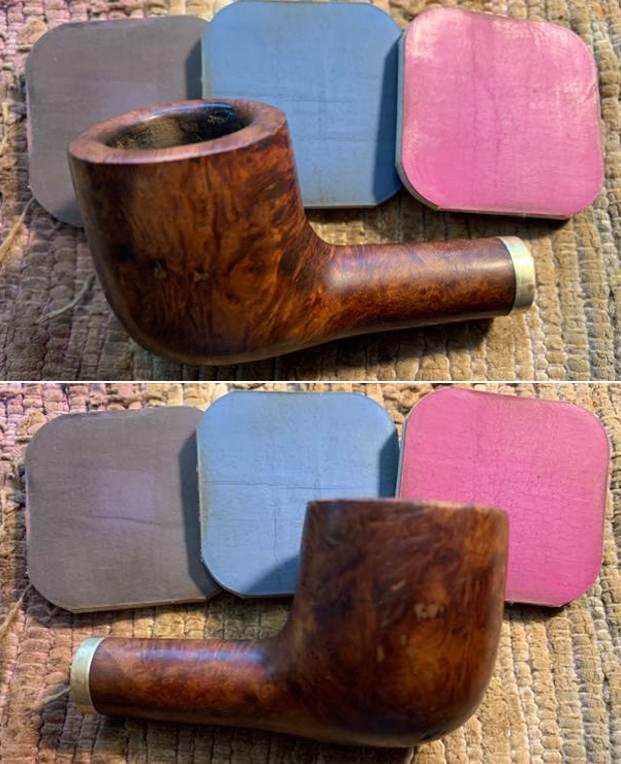
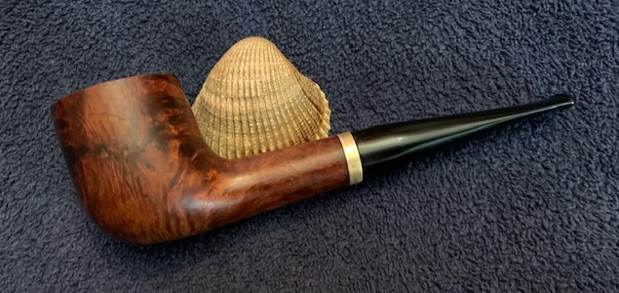
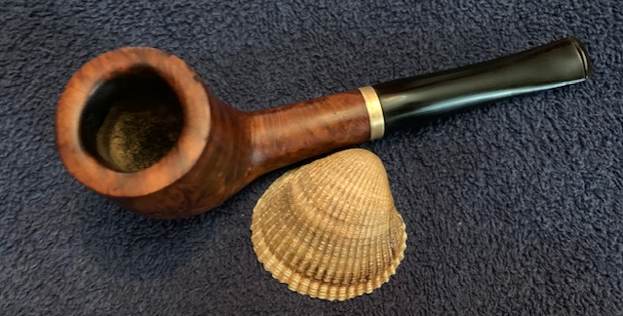
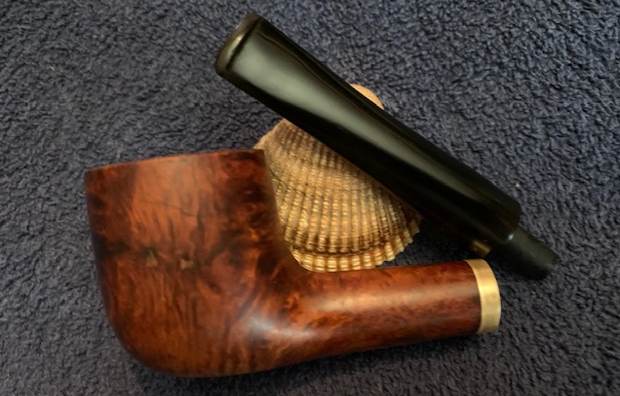
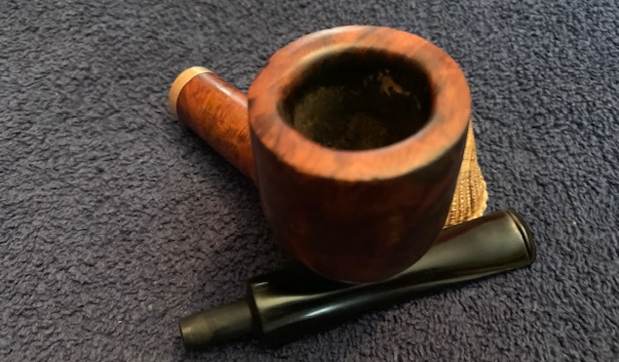
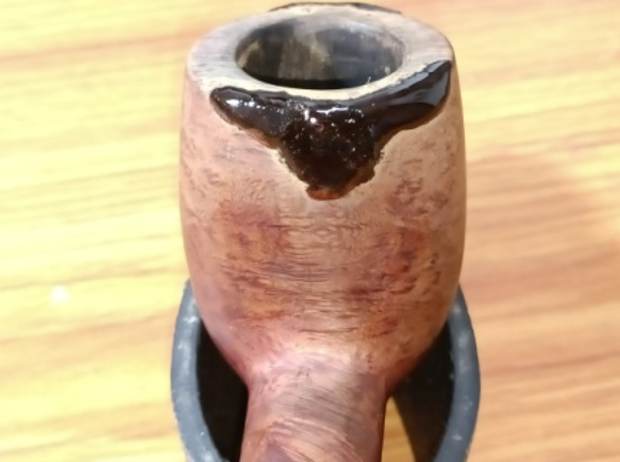
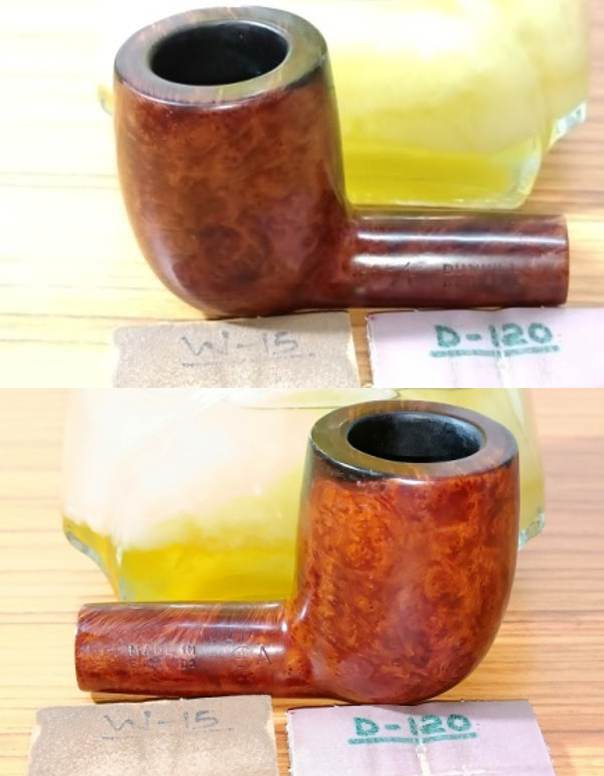
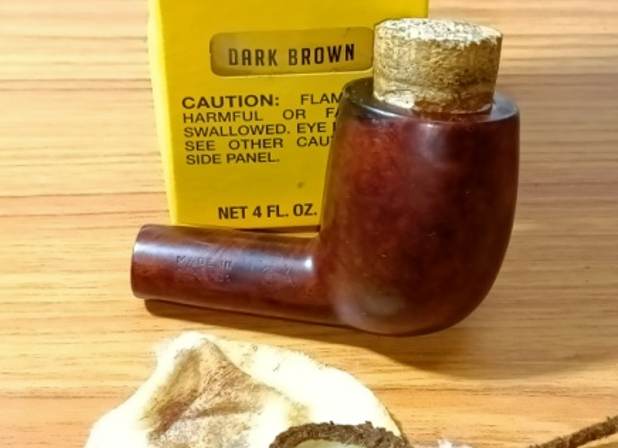
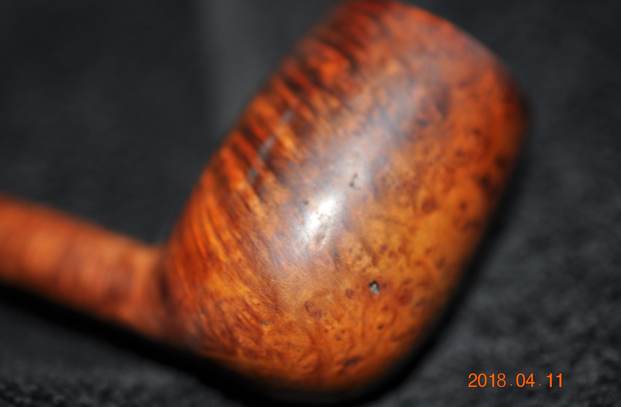
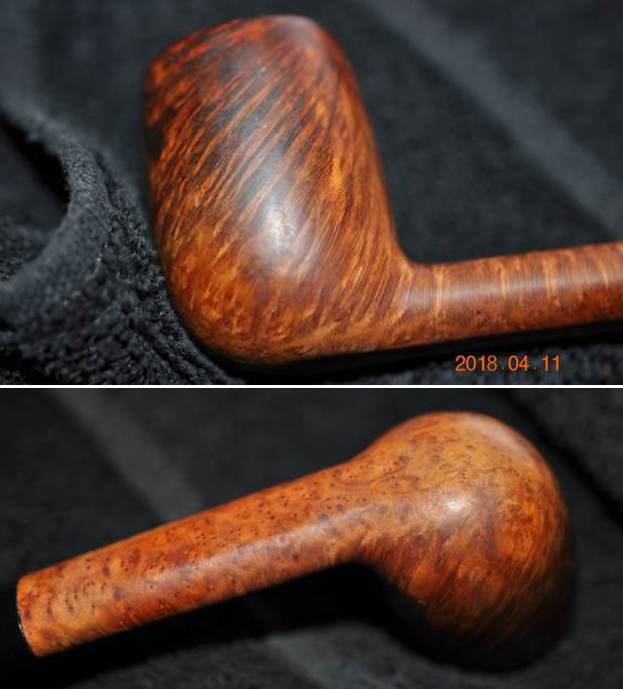
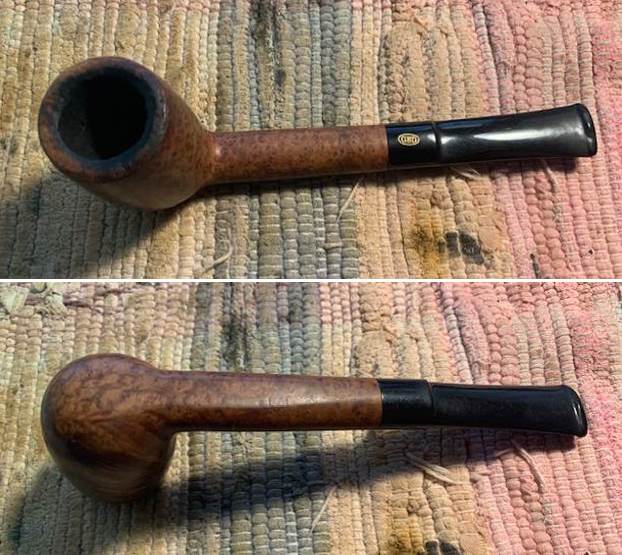
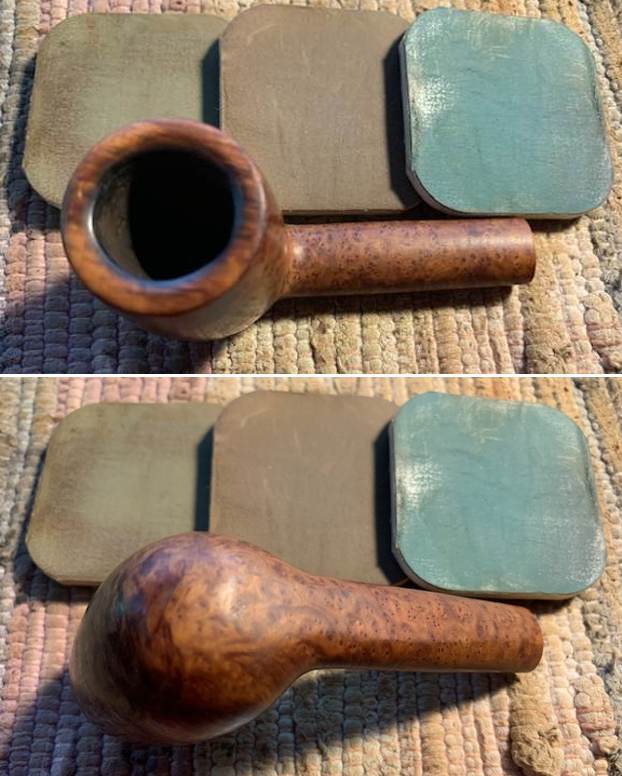
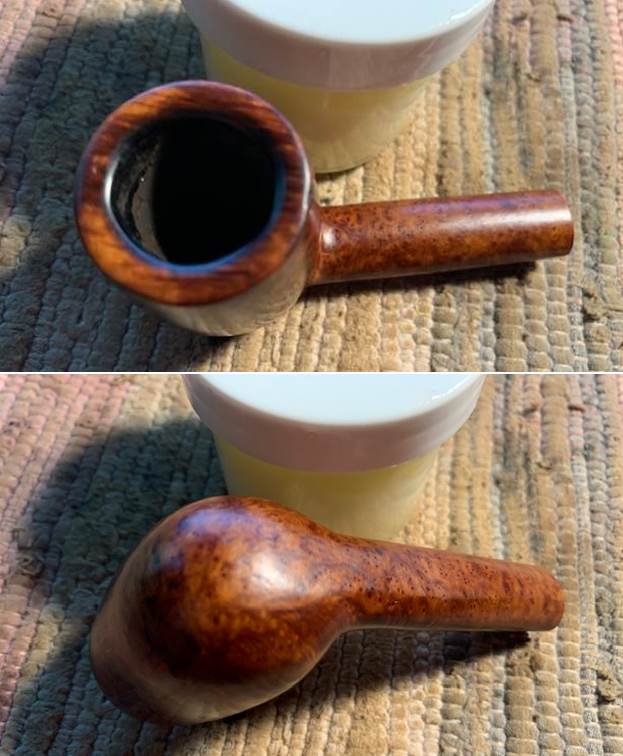
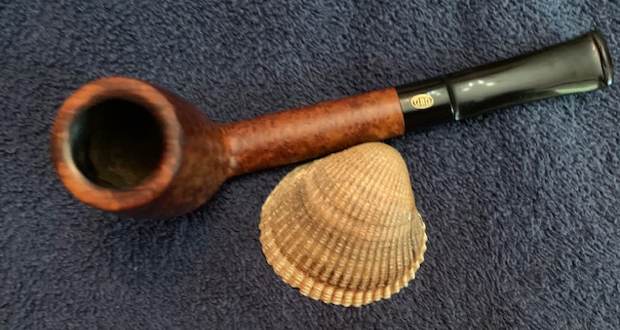
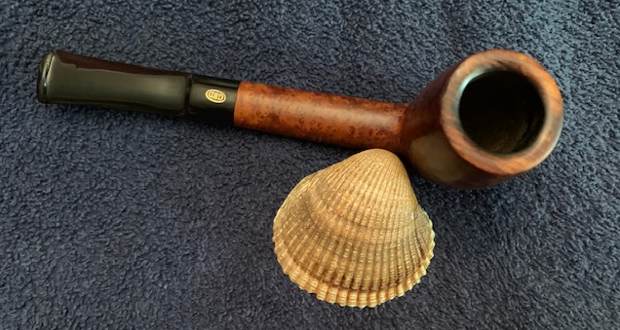
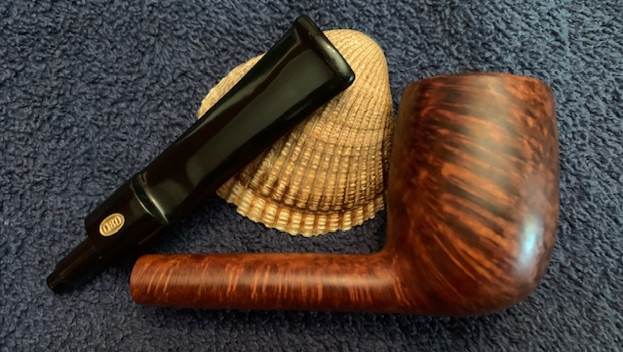
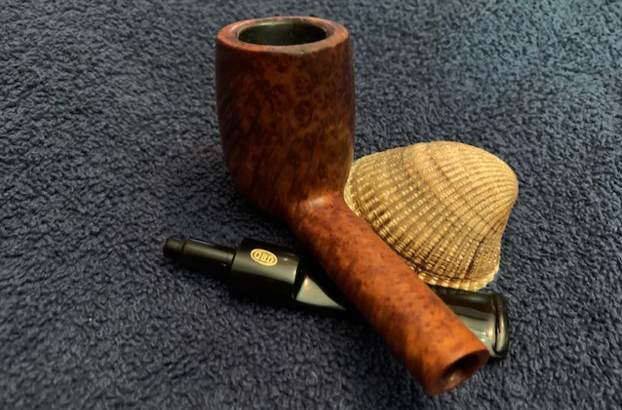
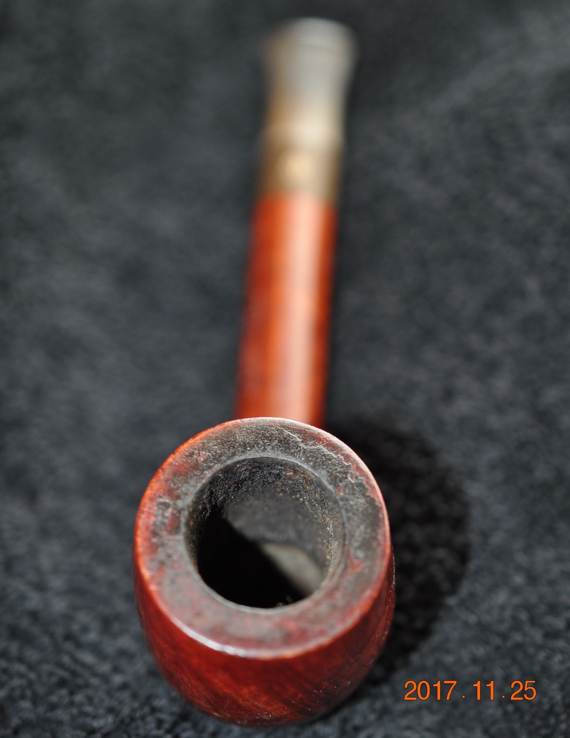
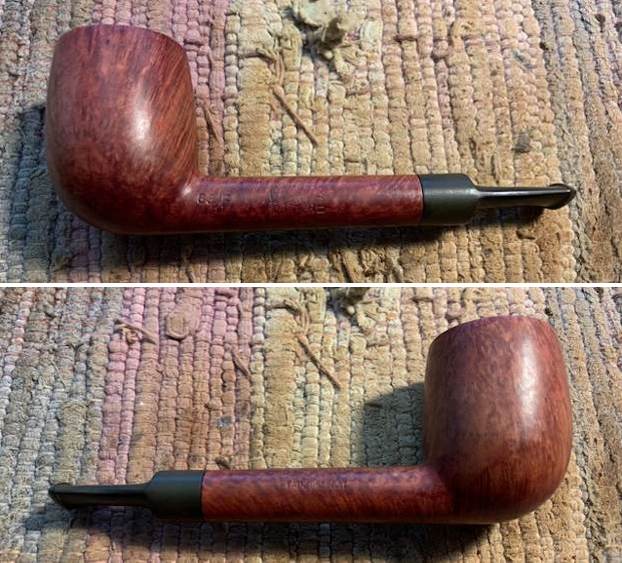
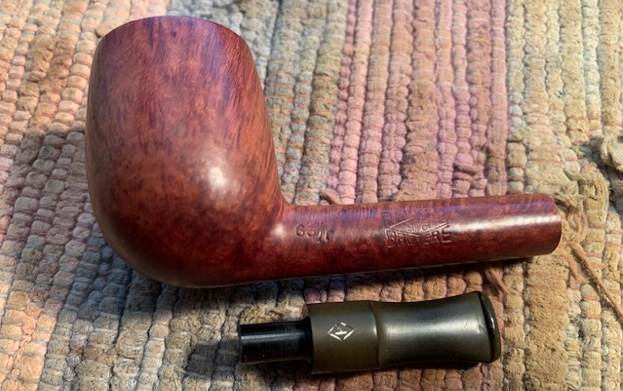
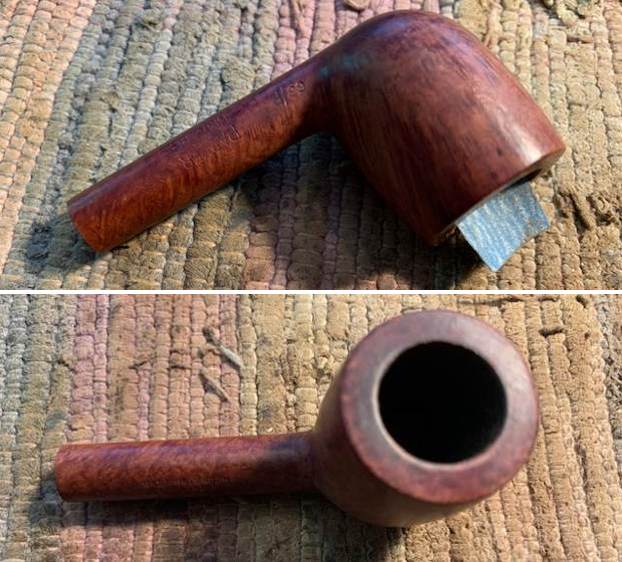
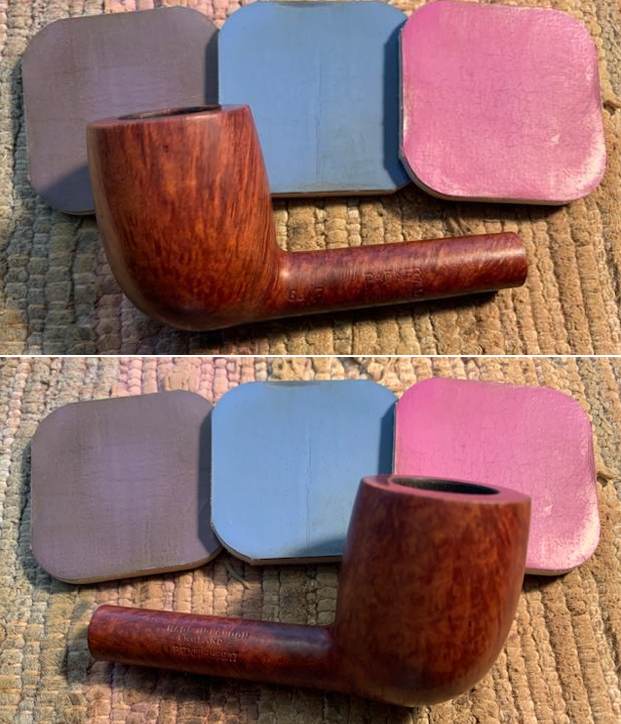
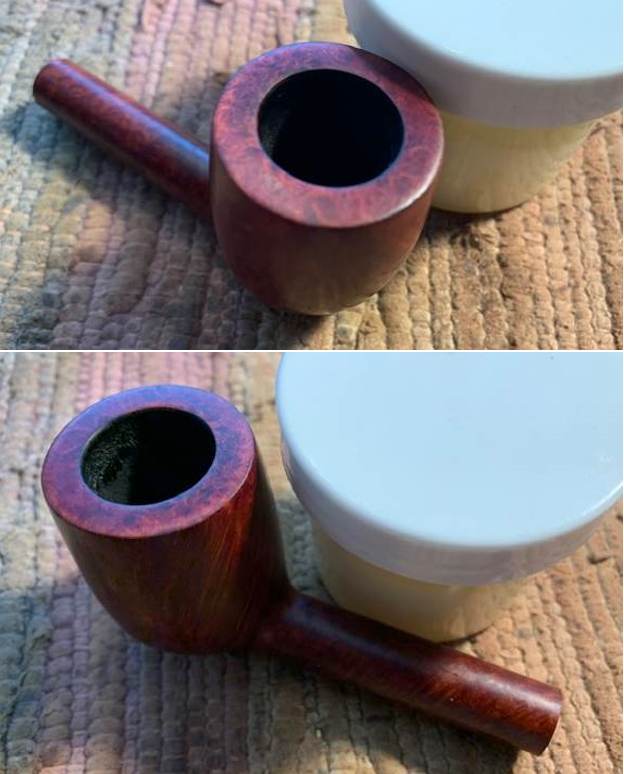
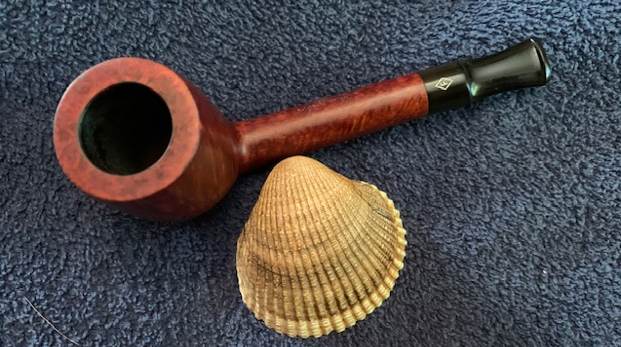
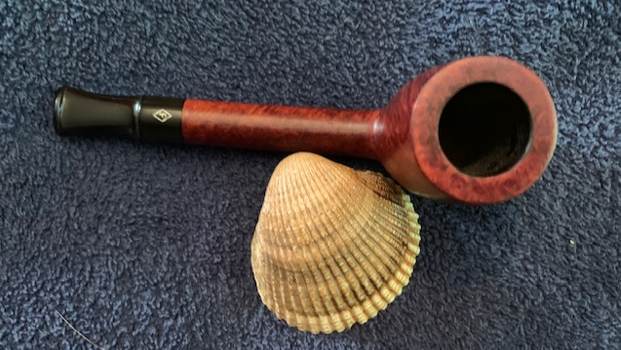
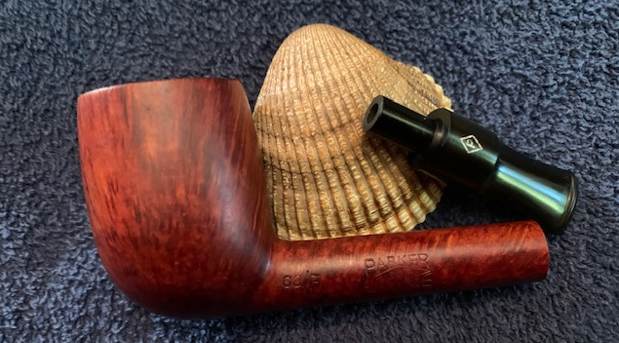
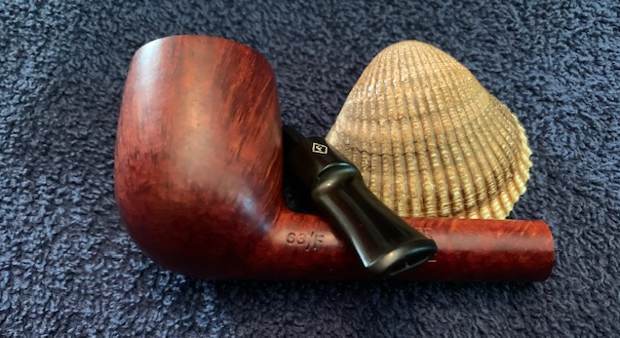
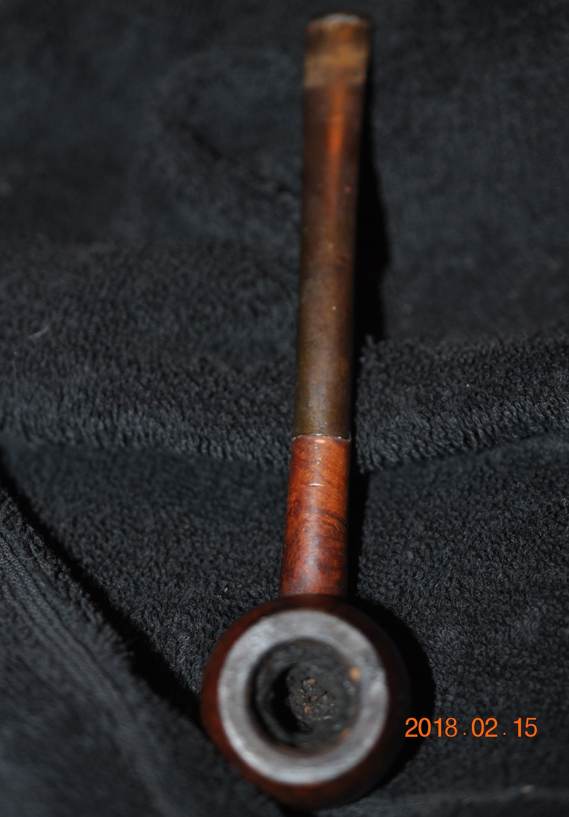
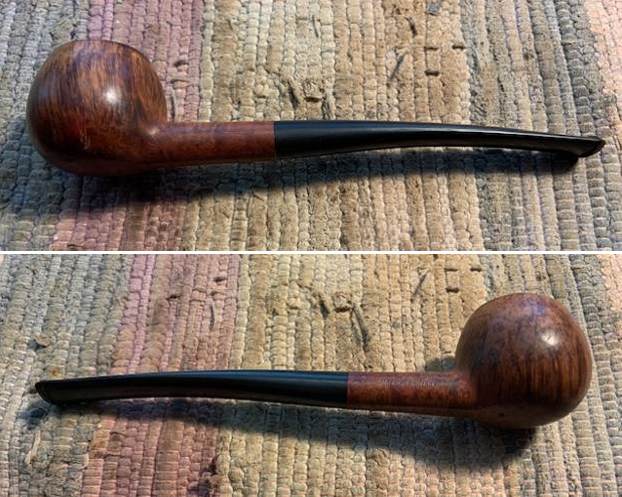
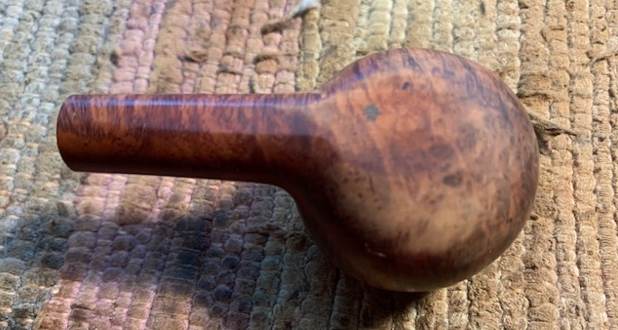
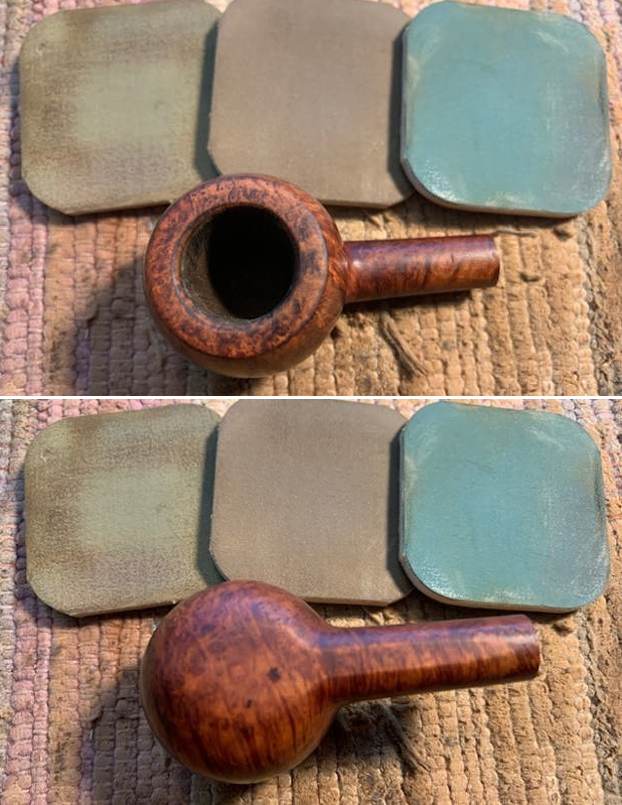
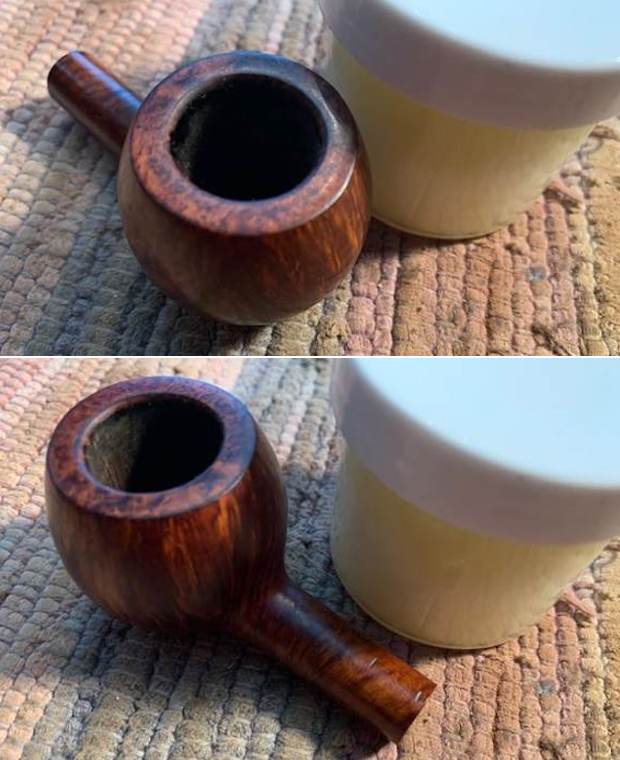
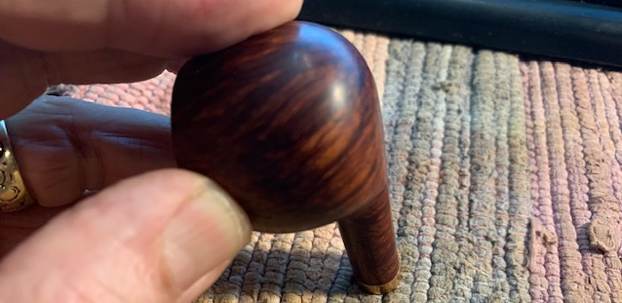
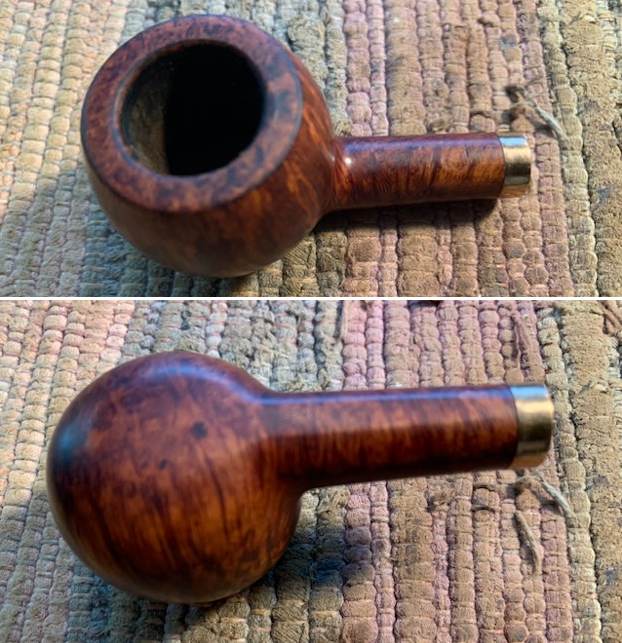
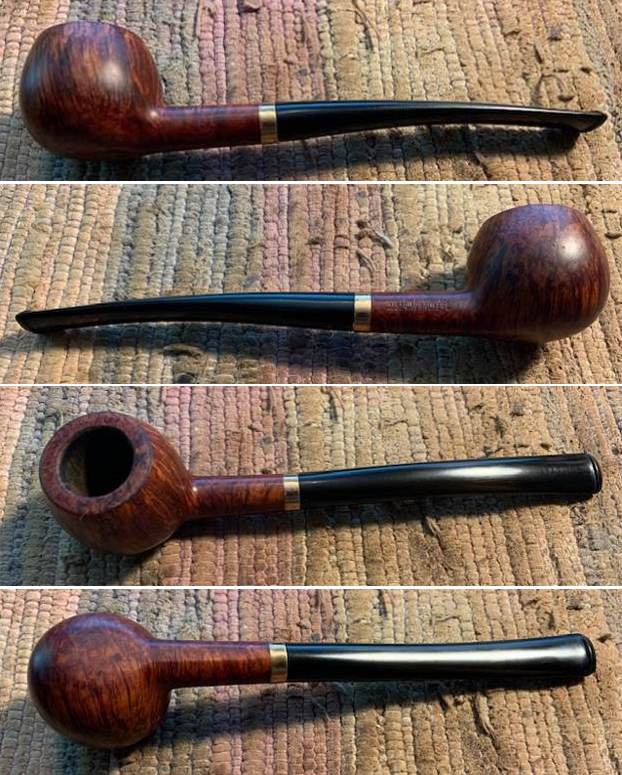
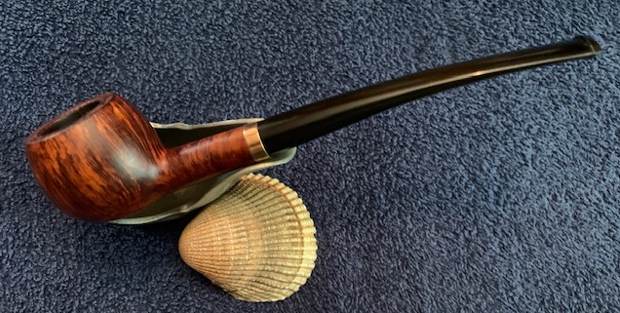
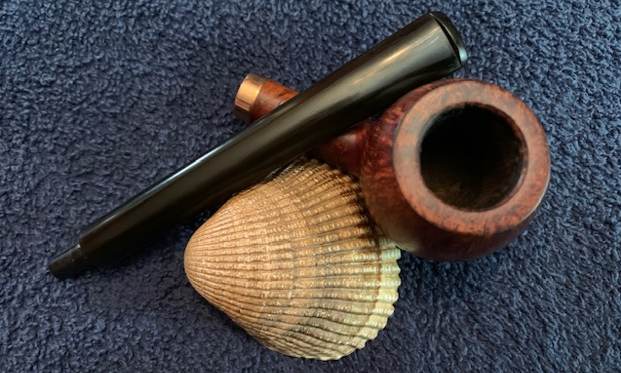
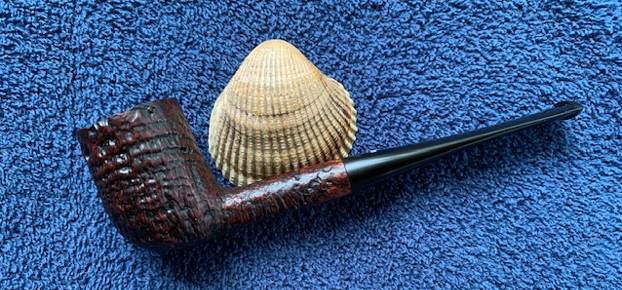
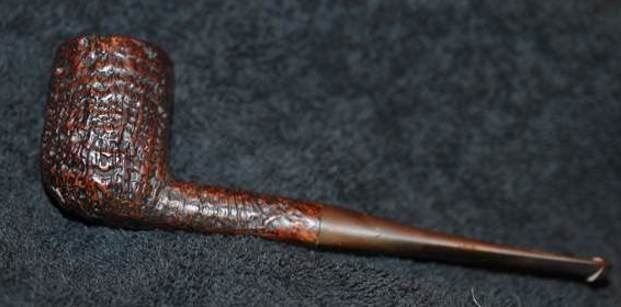
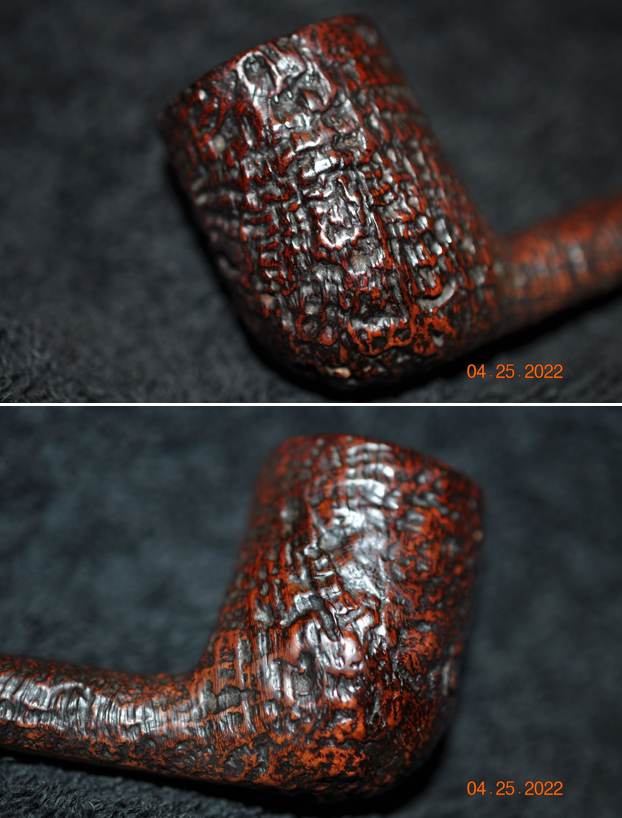
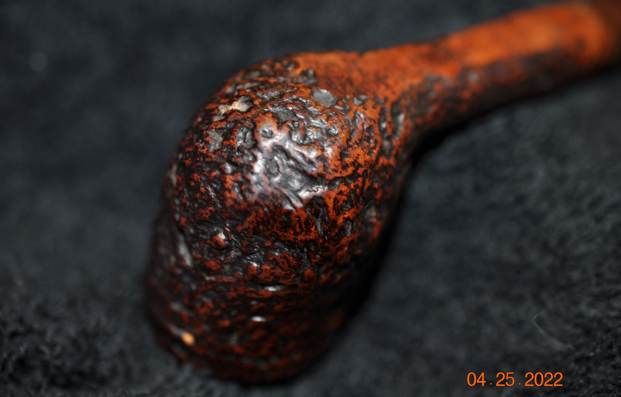
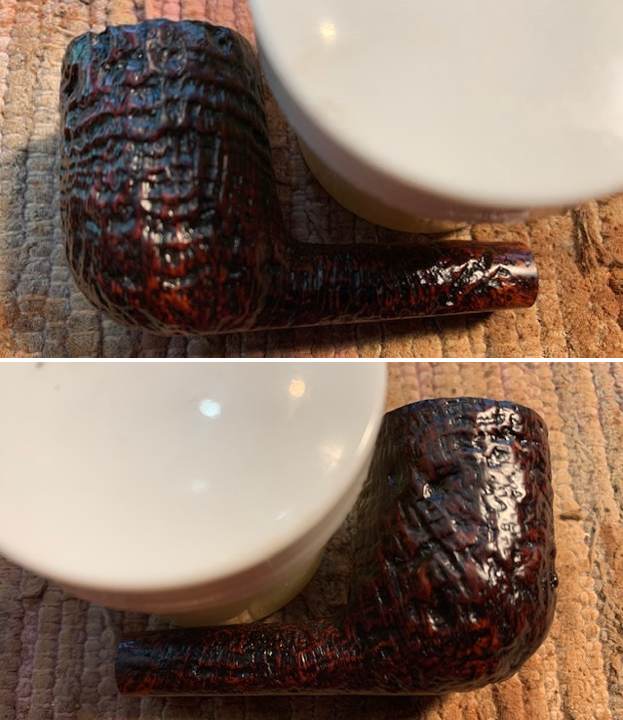
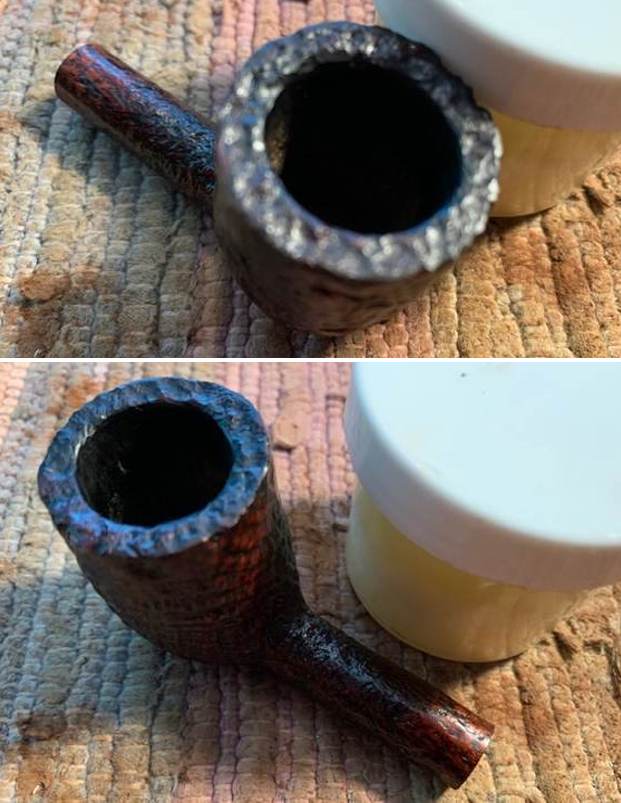
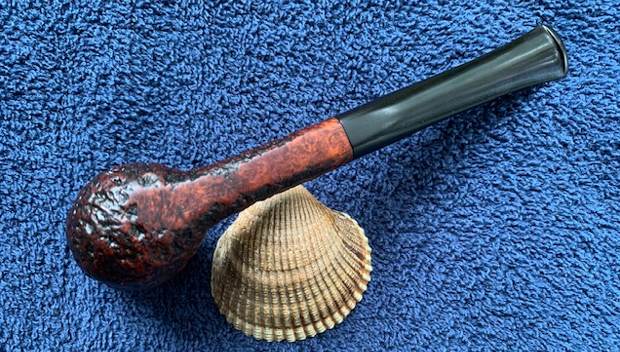
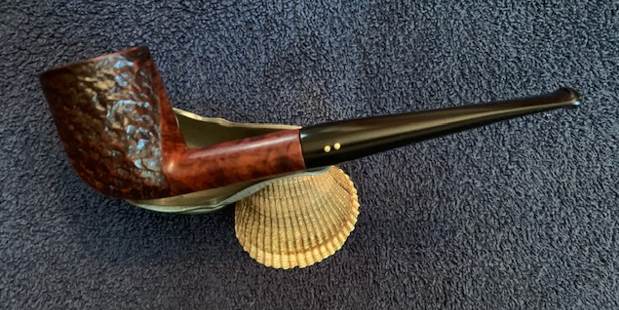
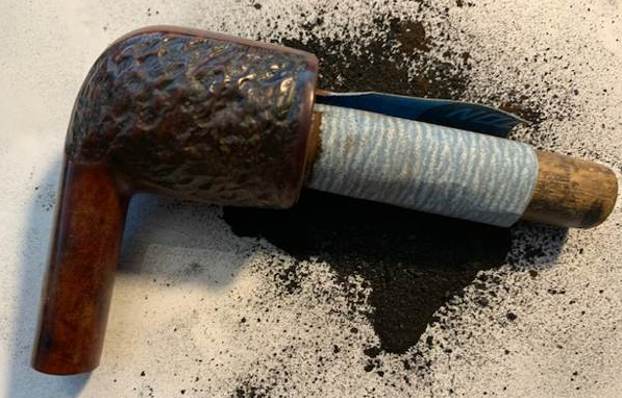
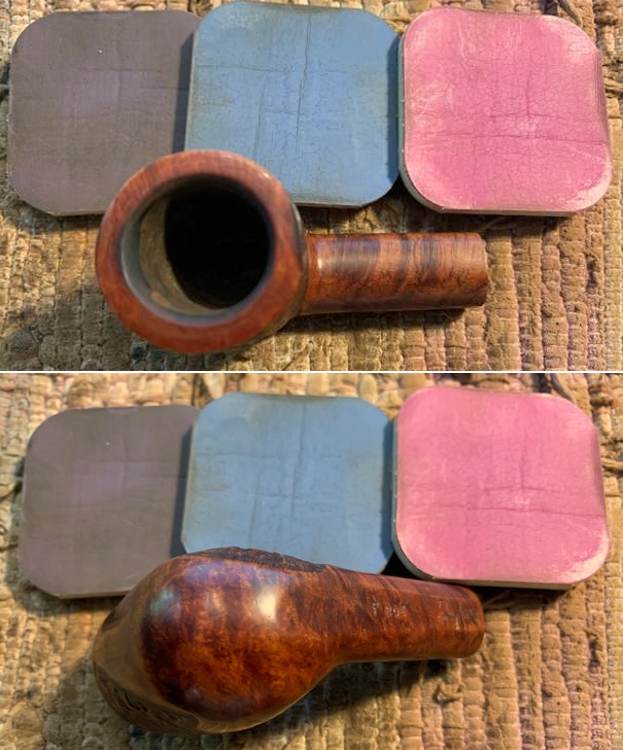
The pipe had a been given a coat of varnish that made it shine. The outside of the bowl had been cleaned off and wiped down. The finish was unique with rusticated patches with a classic Brigham rustication on both sides of the bowl. There was a smooth finish all the rest of the way around the bowl, rim top and shank. The rim top was in bad condition with burn damage on the front inner edge of the bowl that made the inner edge out of round. The back outer edge of the bowl had a chip out of the top edge and down 1/8 of an inch into the rustication leaving that portion flat and making the outer edge out of round. The rim top was a real mess but the uniqueness of the pipe made me want to deal with the trouble. I took photos of the pipe when I brought it home.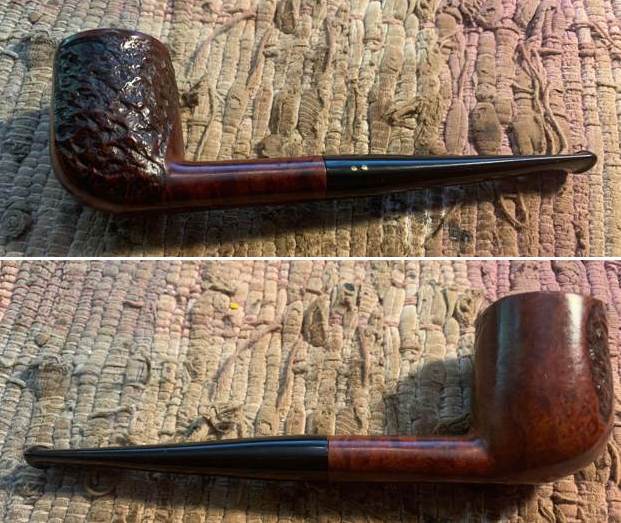
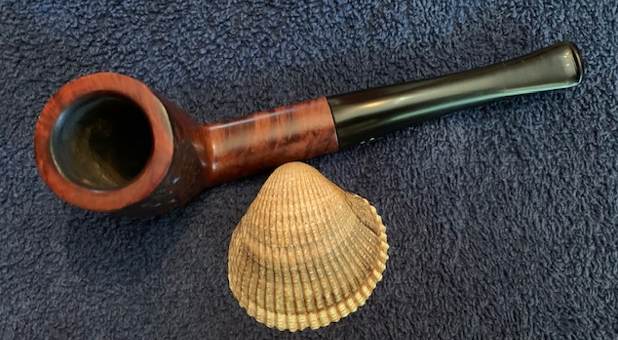
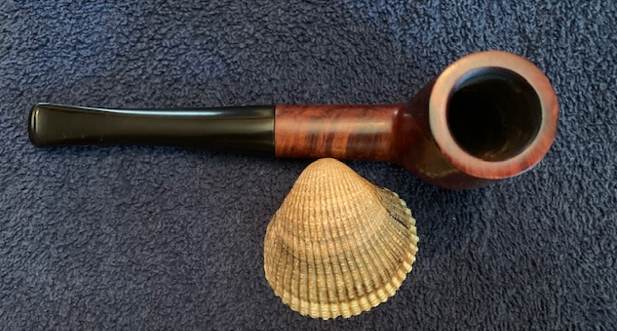
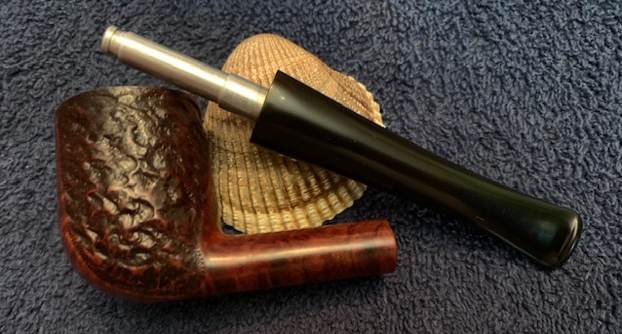
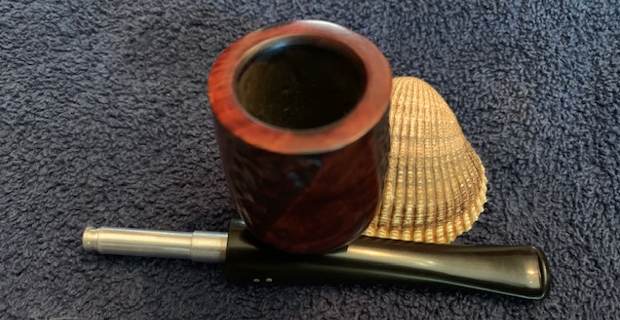
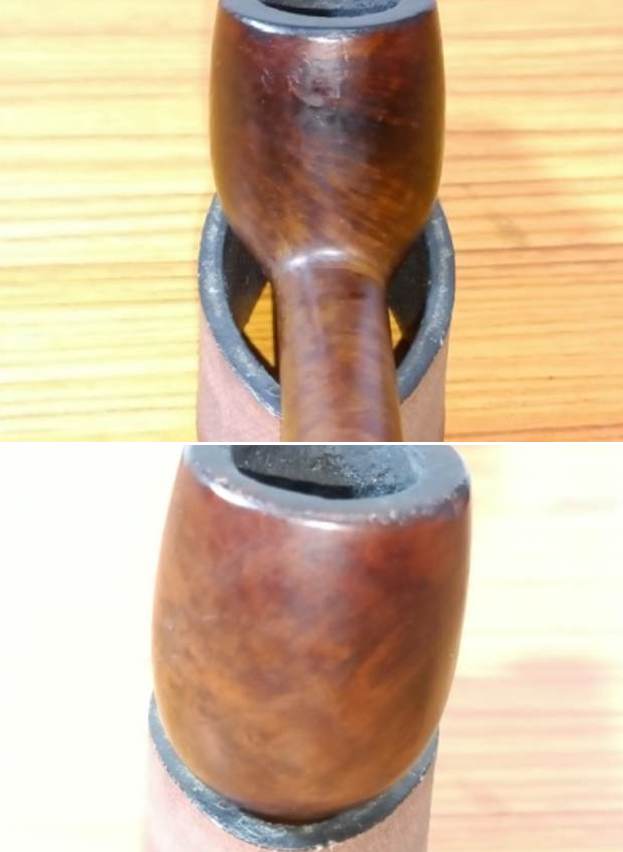
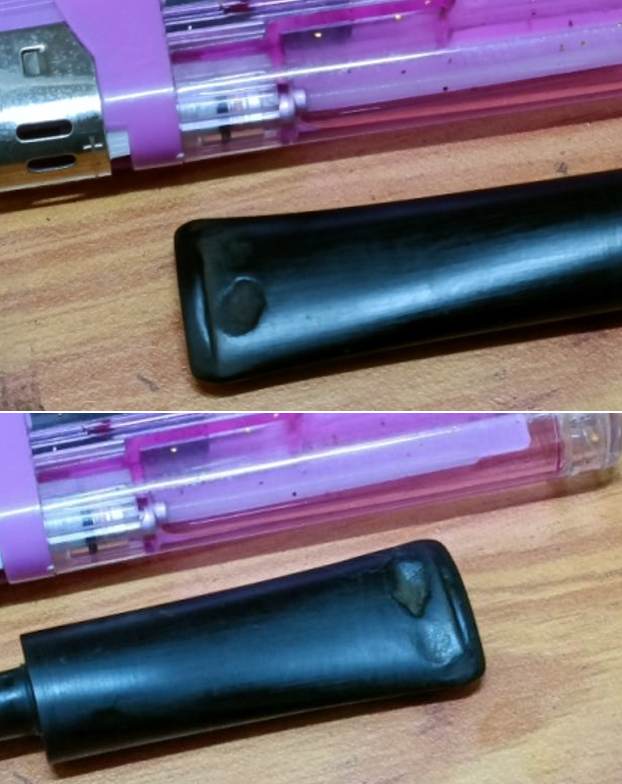
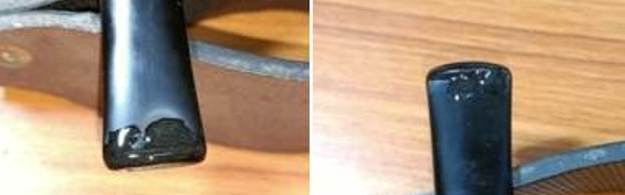
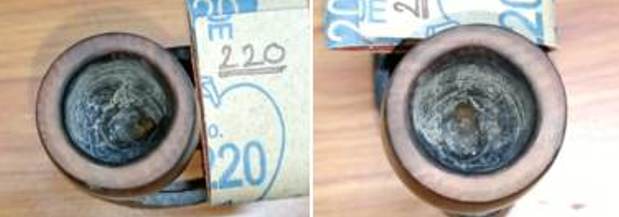
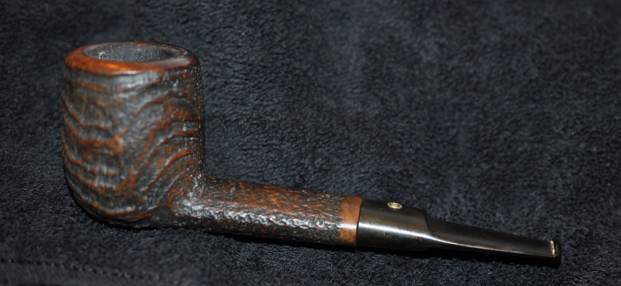
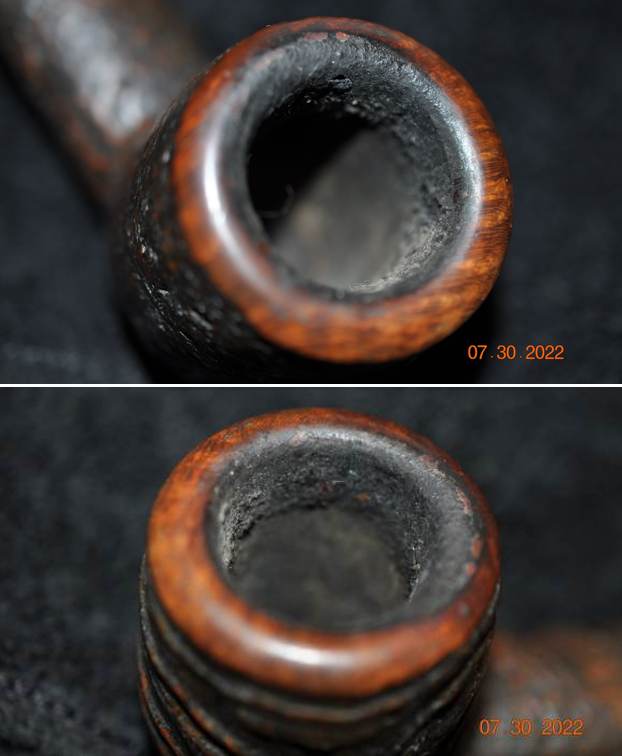
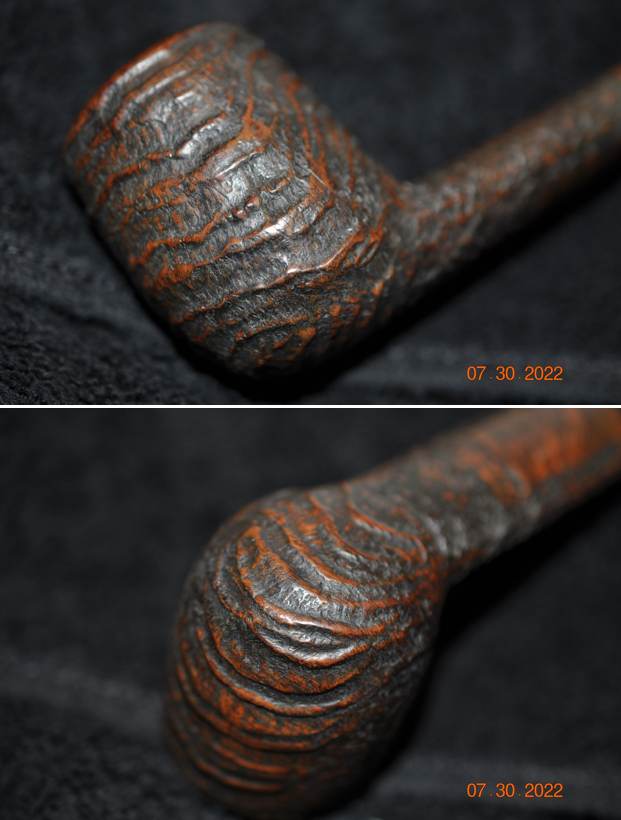
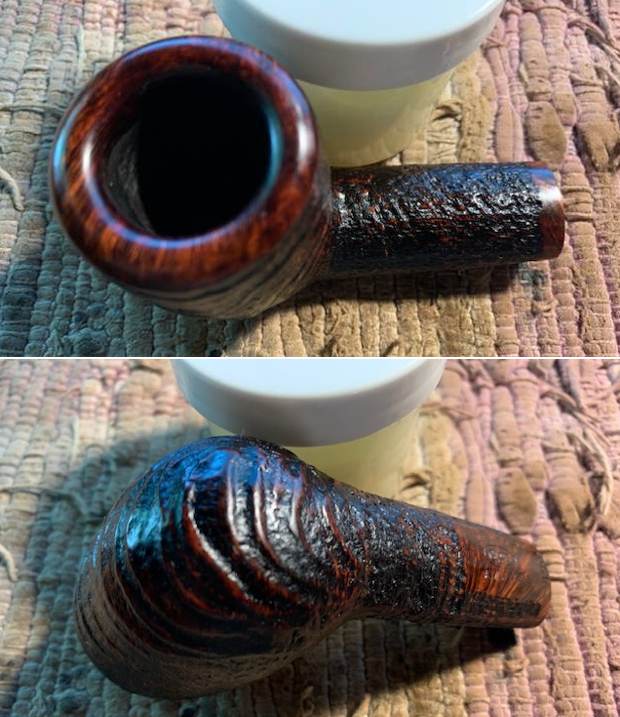
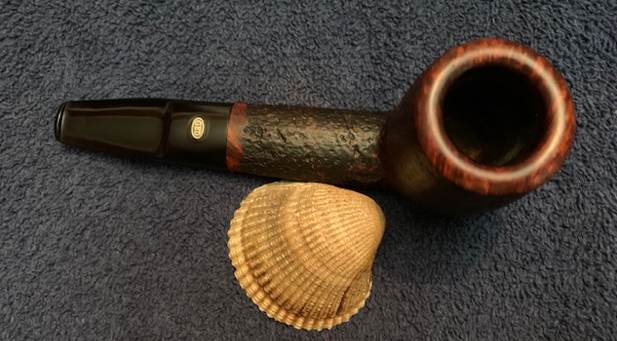
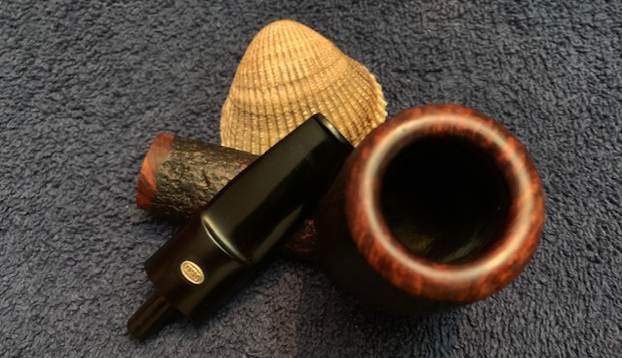
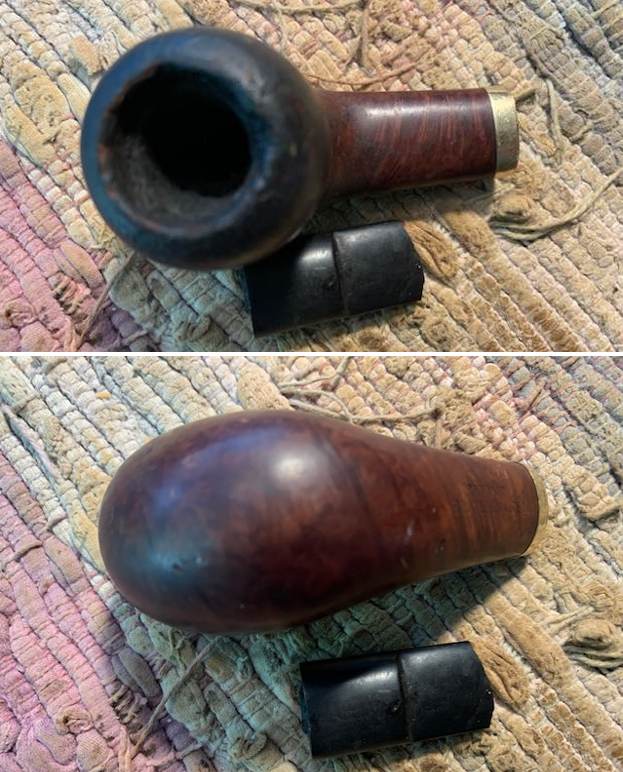
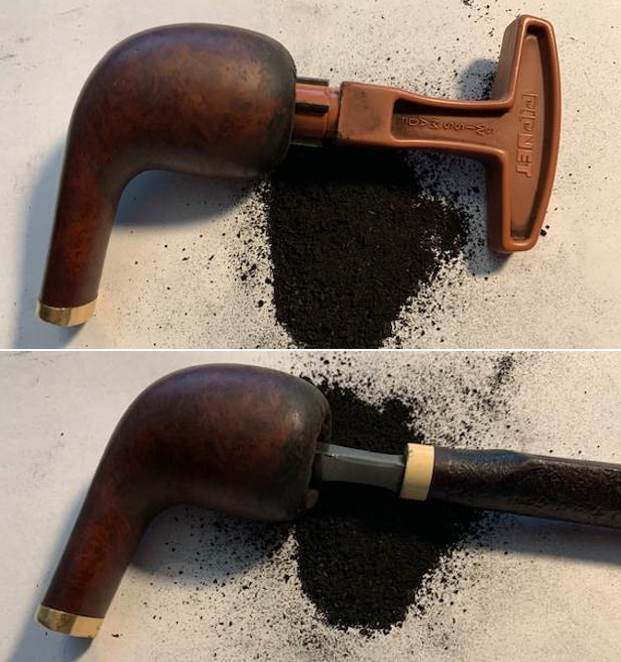
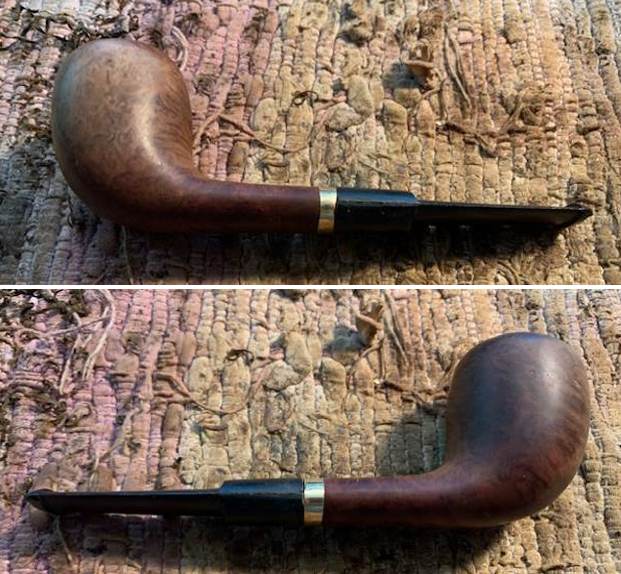
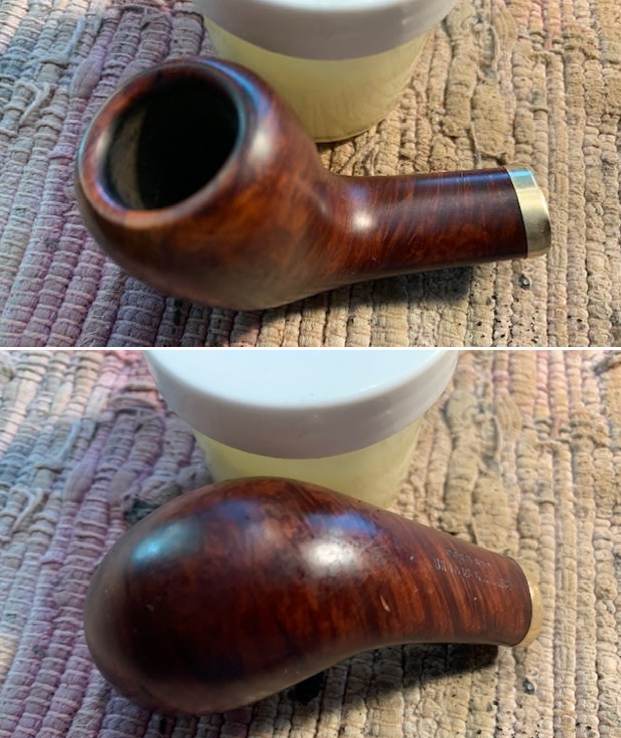
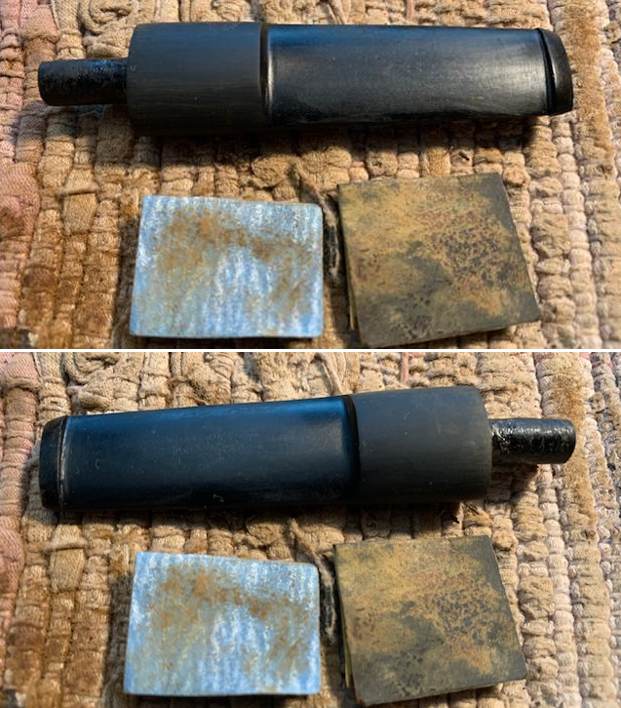
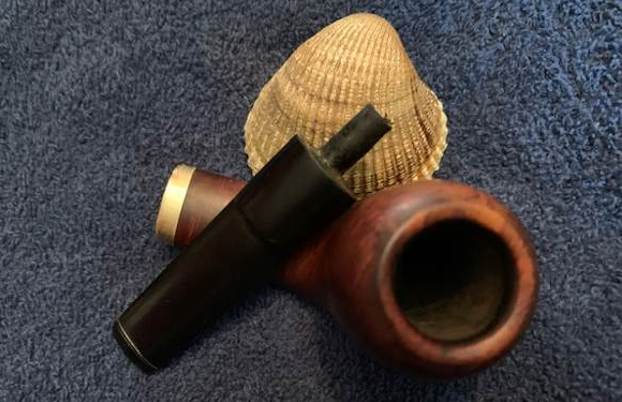
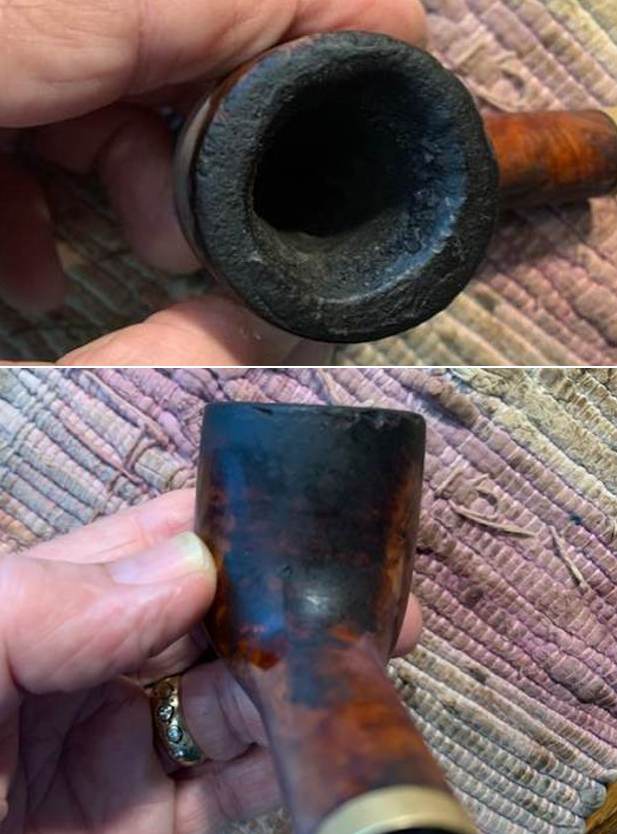
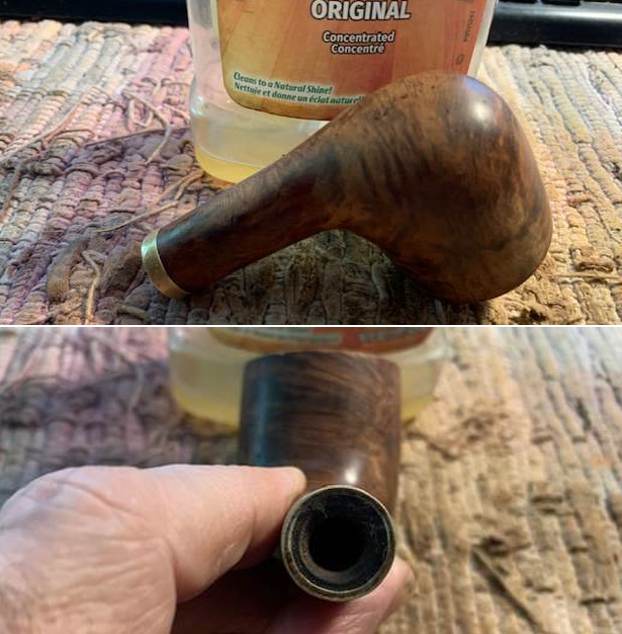
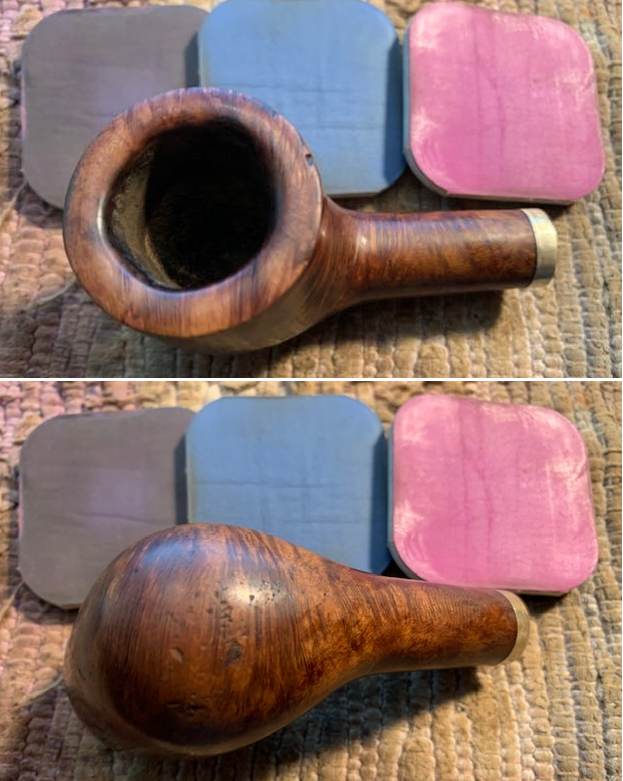
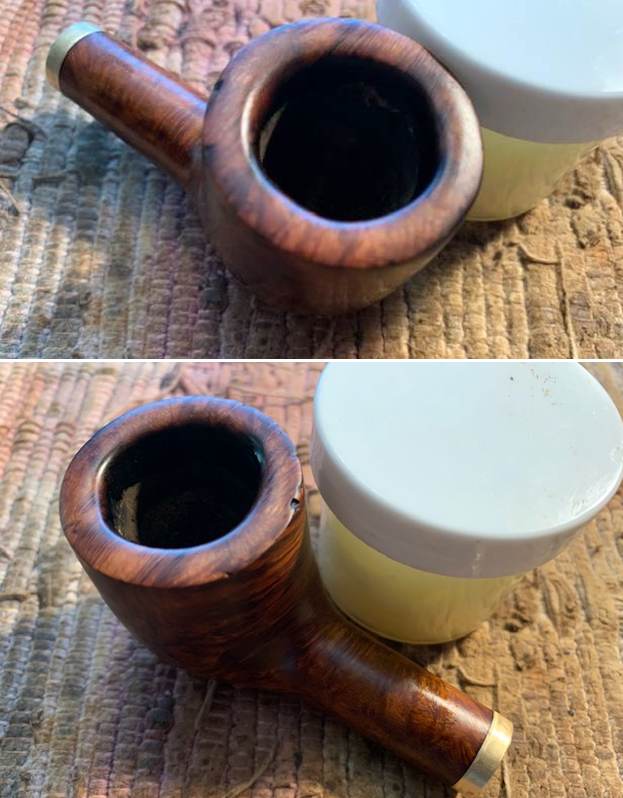
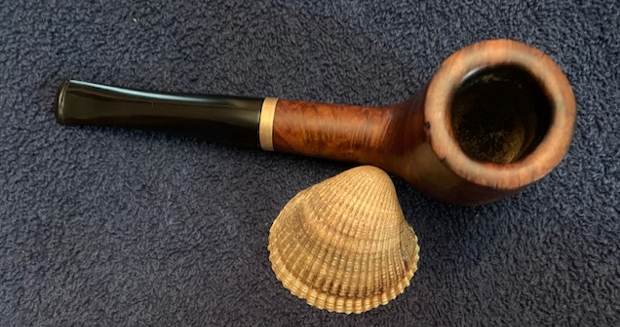
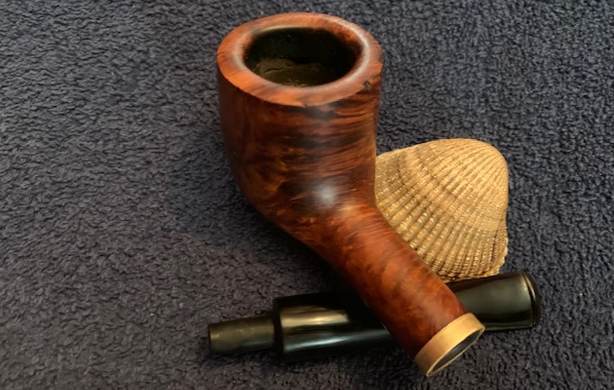
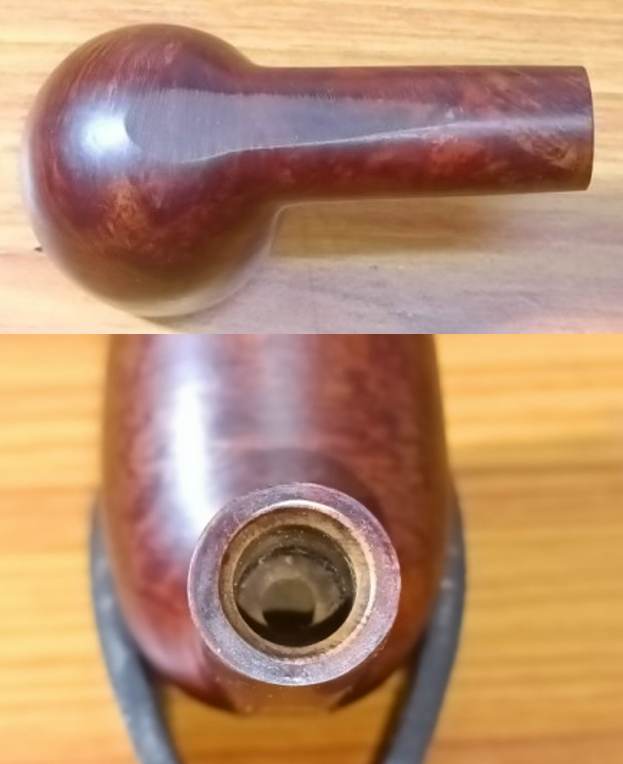
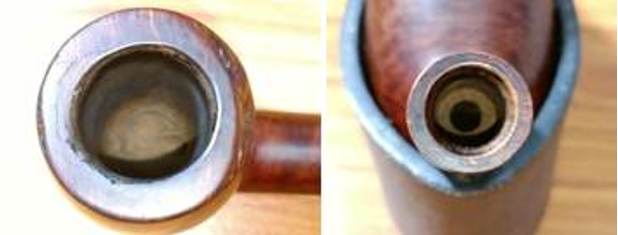
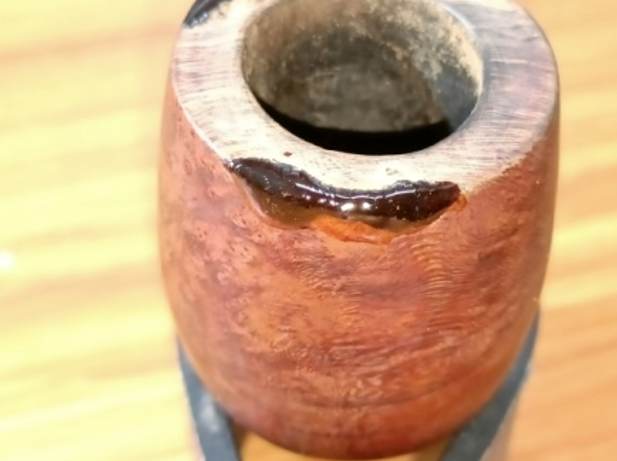
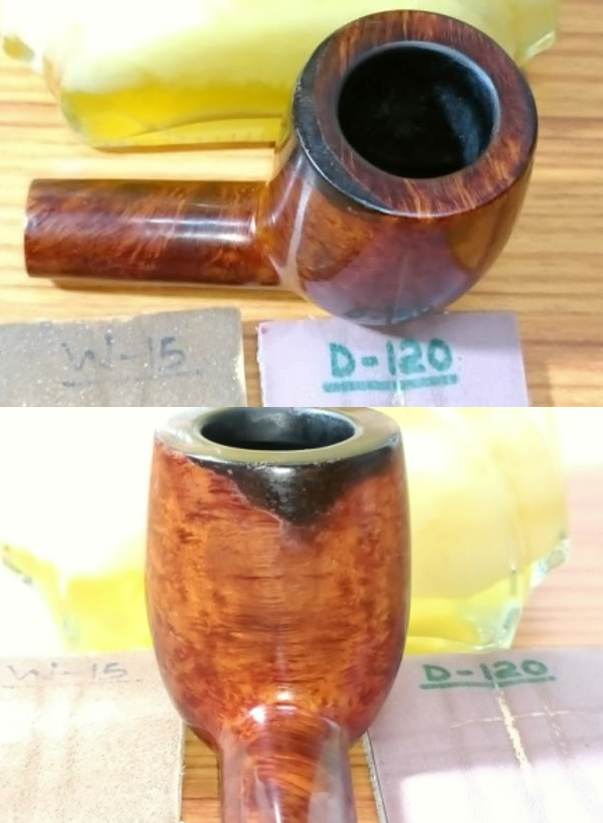
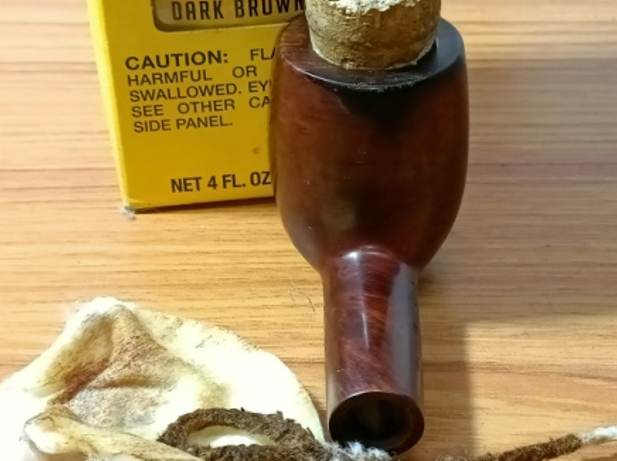
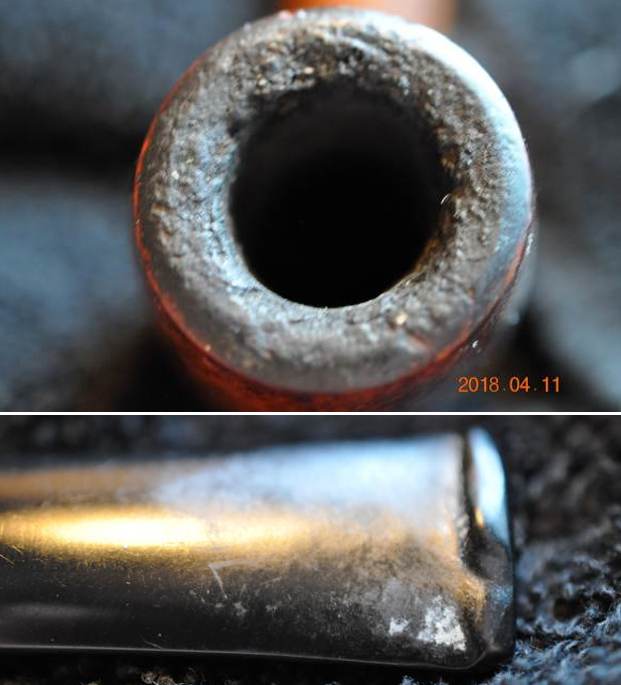
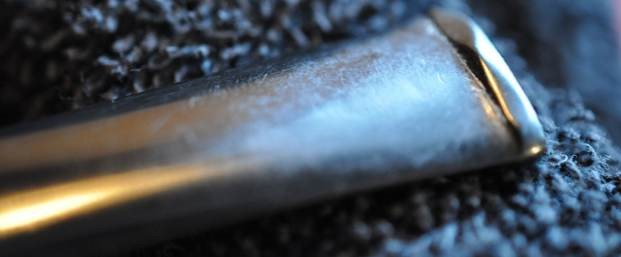
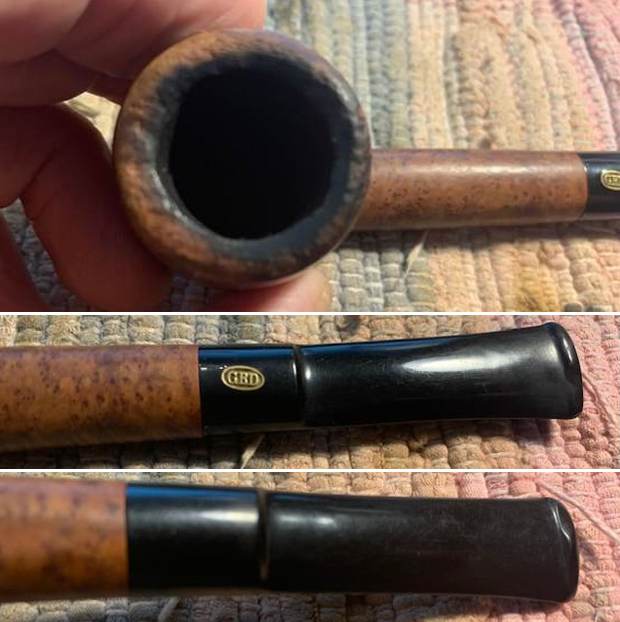
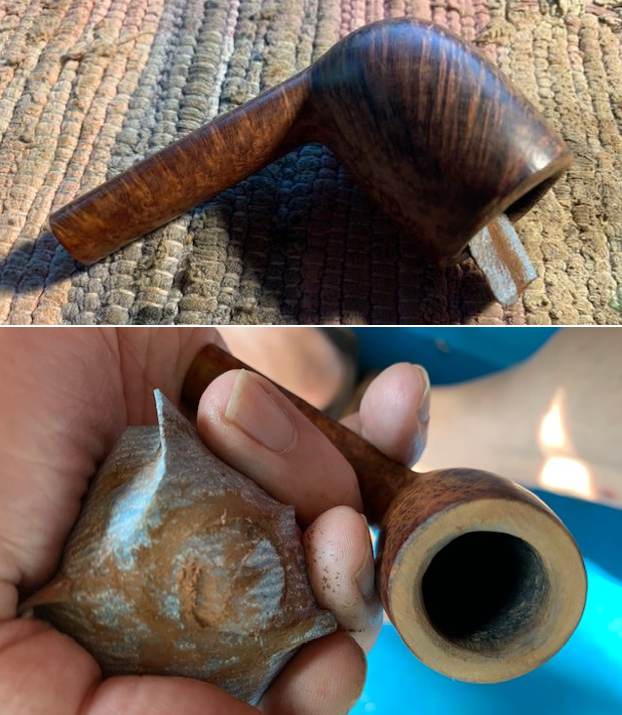
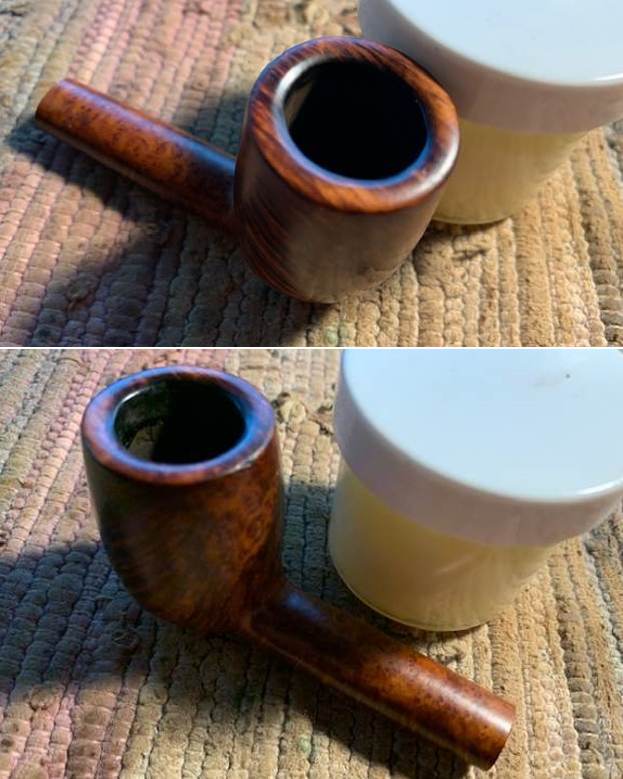
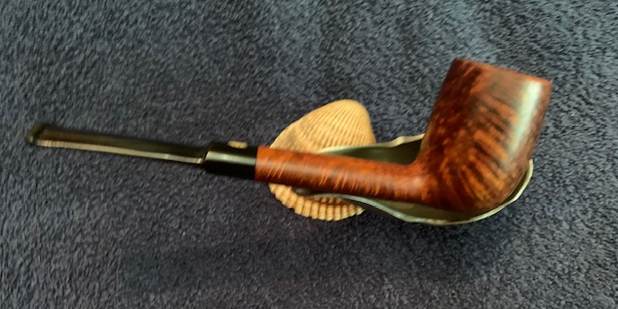
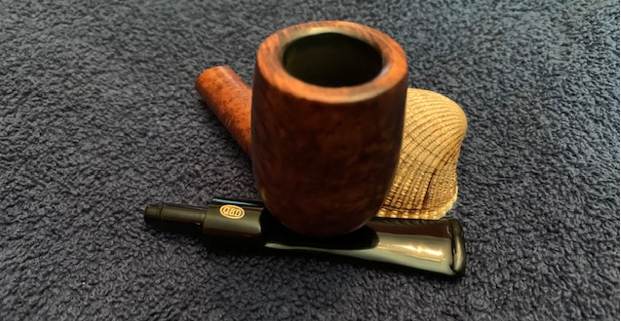
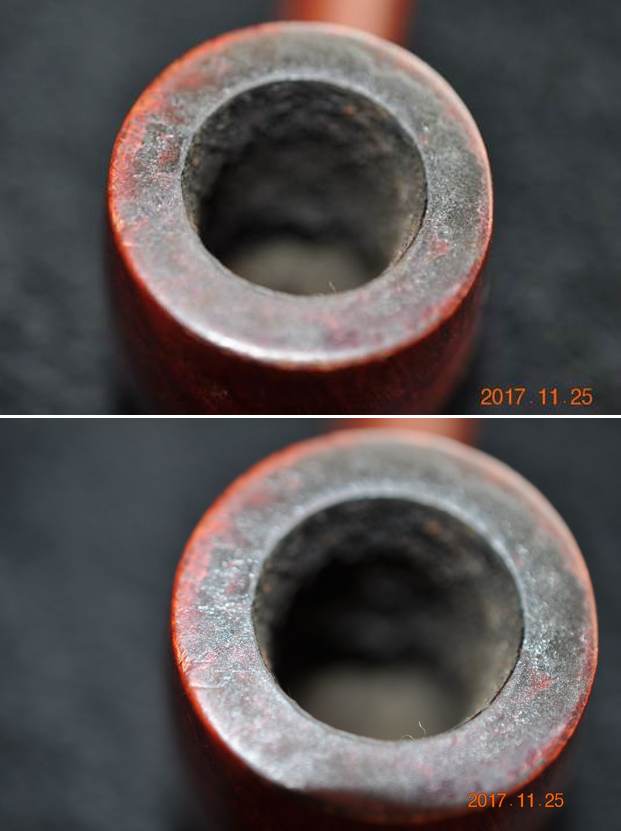
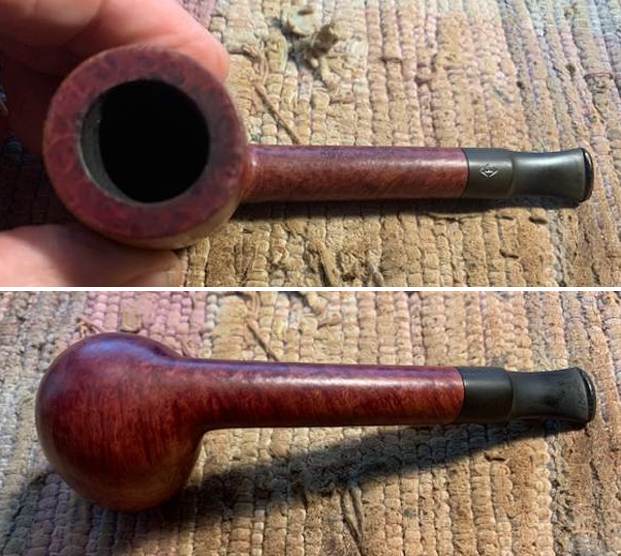
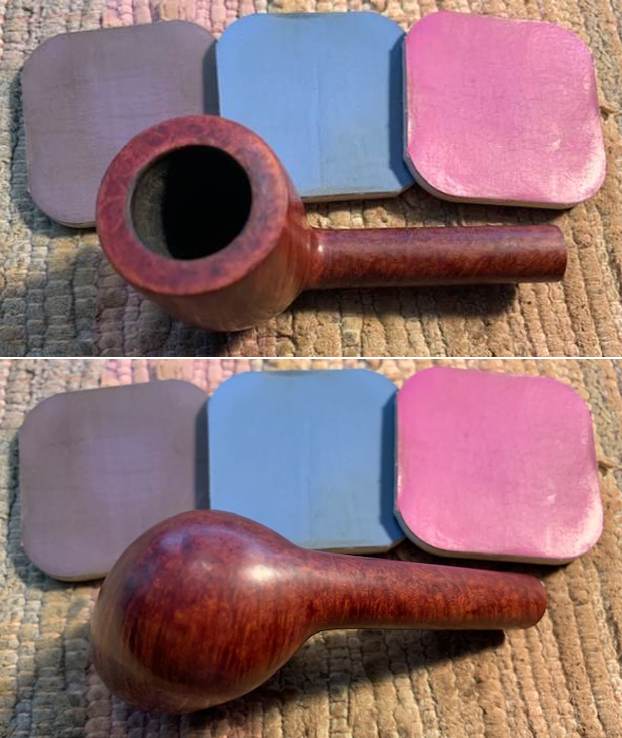
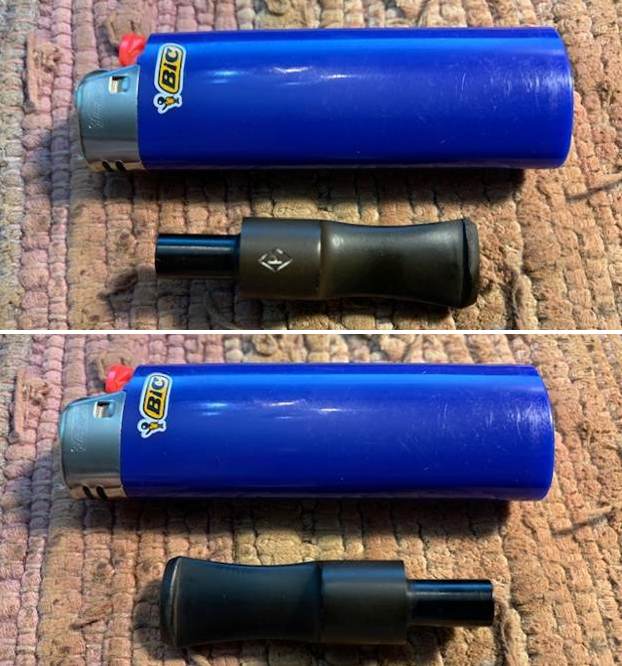
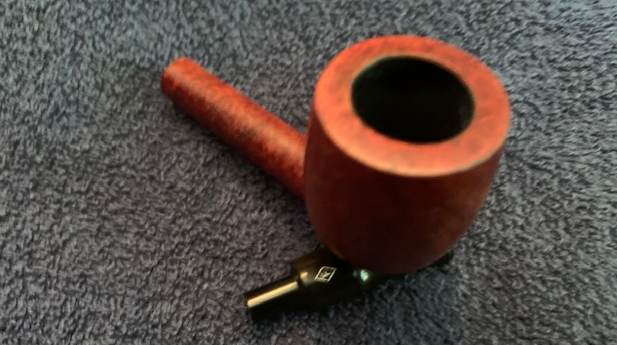
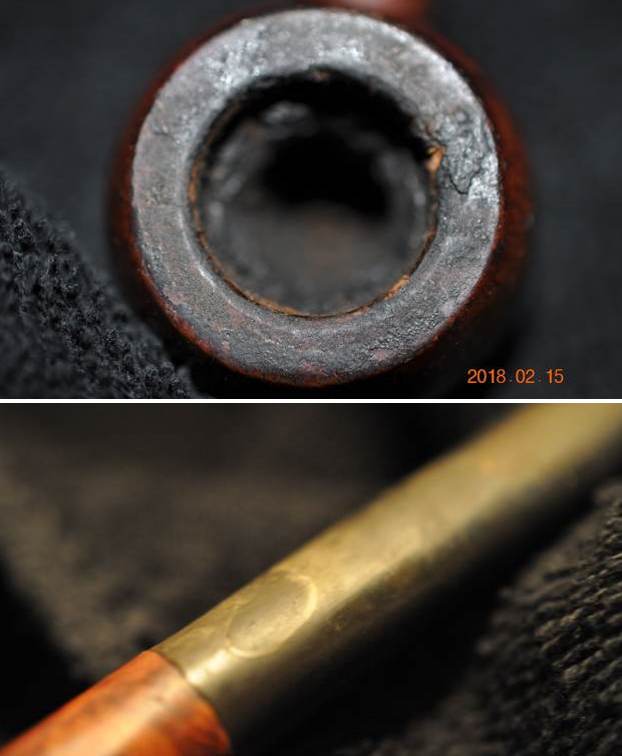
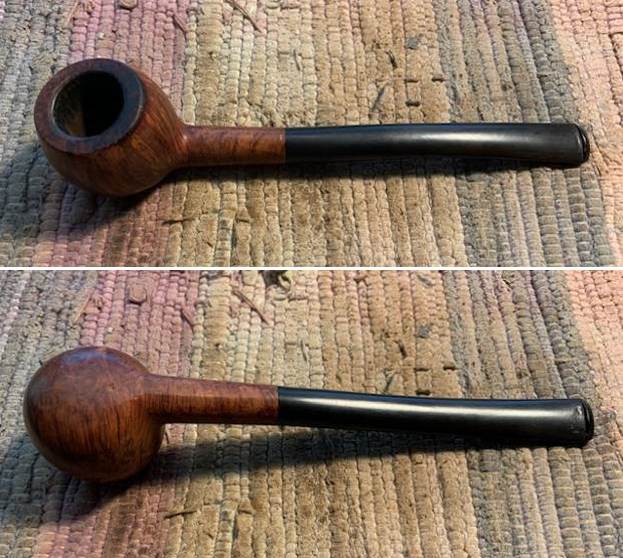
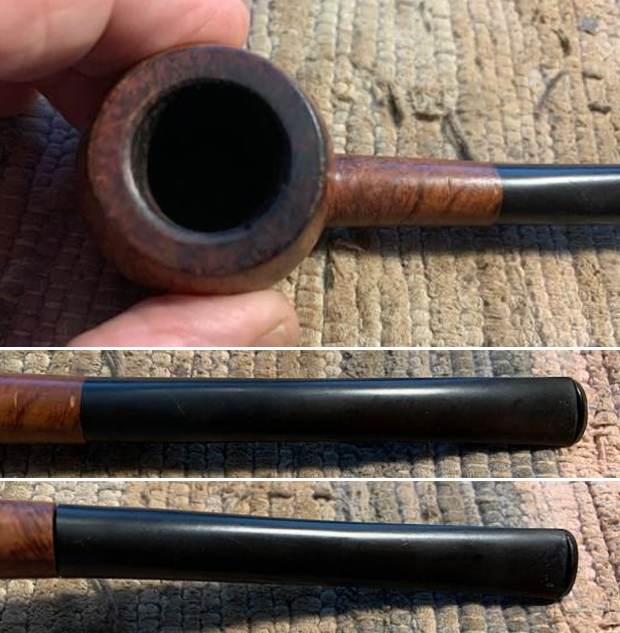
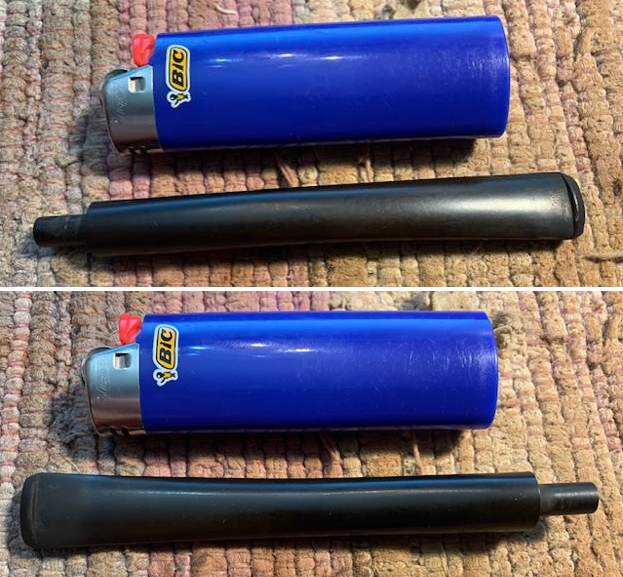
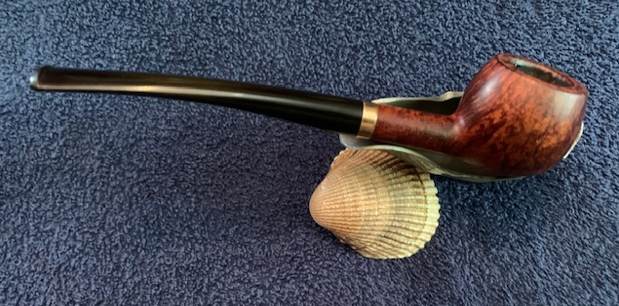
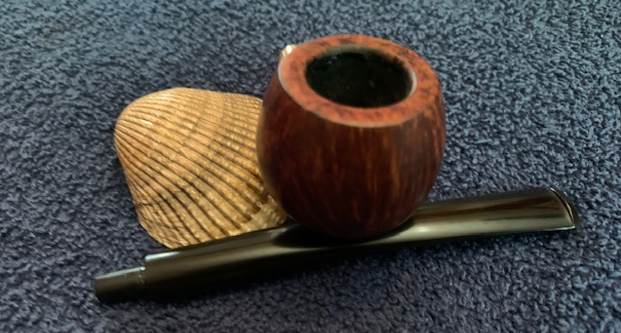
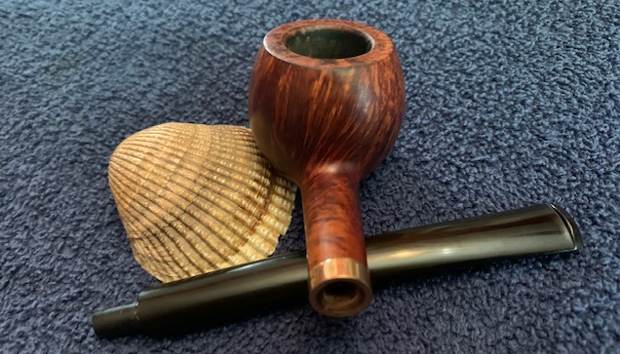
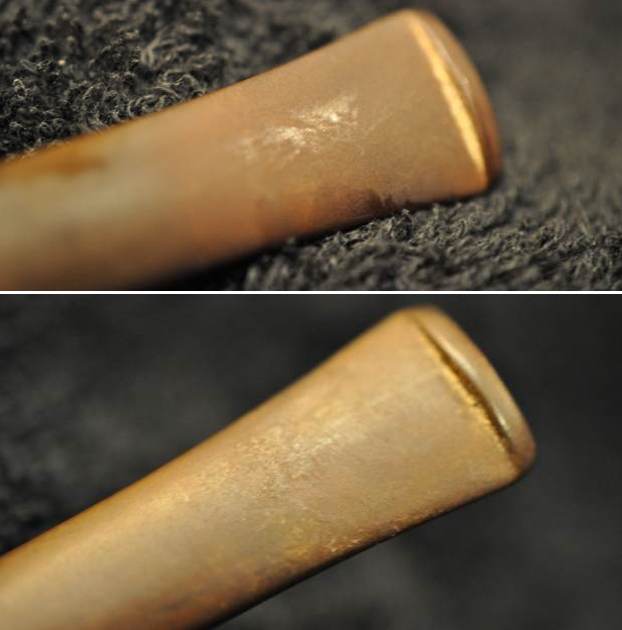
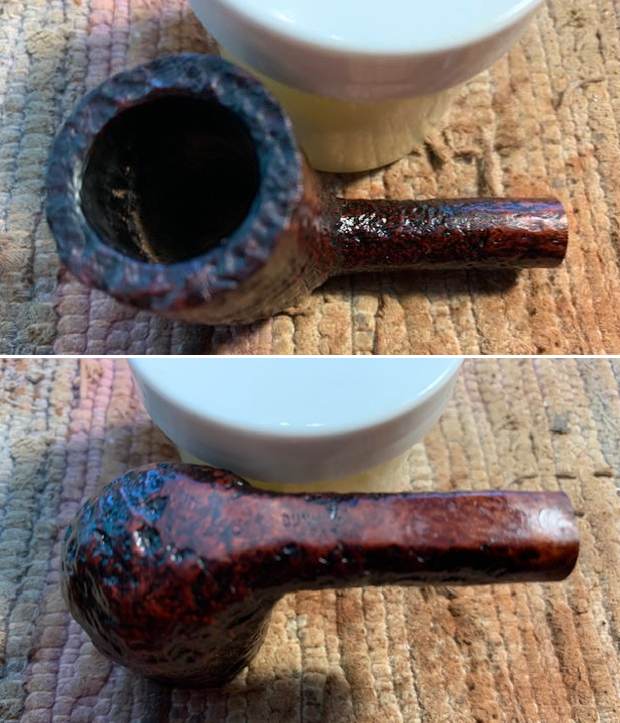
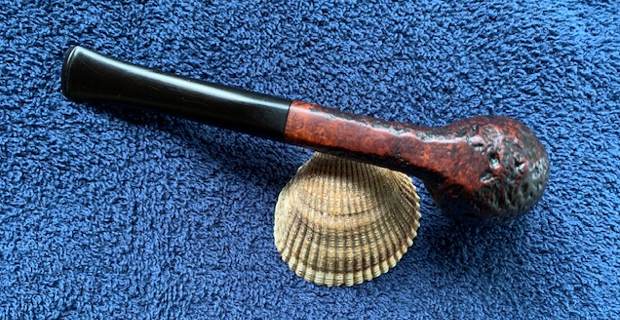
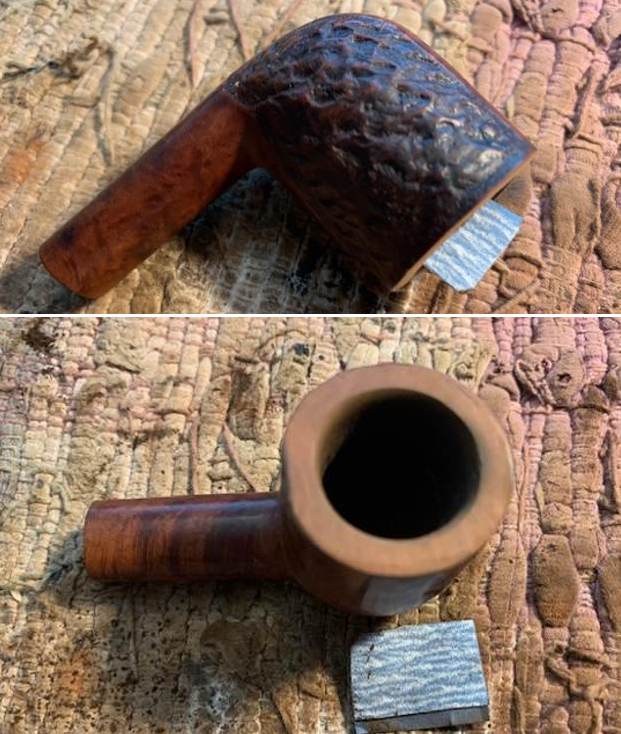
 I took some closeup photos of the rim top and the stem to show the condition. The rim top is in the condition described above. You can see the damage to the top front and inner edge of the rim and the damage to the outer edge of the bowl at the back. It is really quite a mess and will take some work to get it back to normal. The stem was in very good condition with no oxidation and minimal tooth chatter or marks on the surface ahead of the button. It looked quite good.
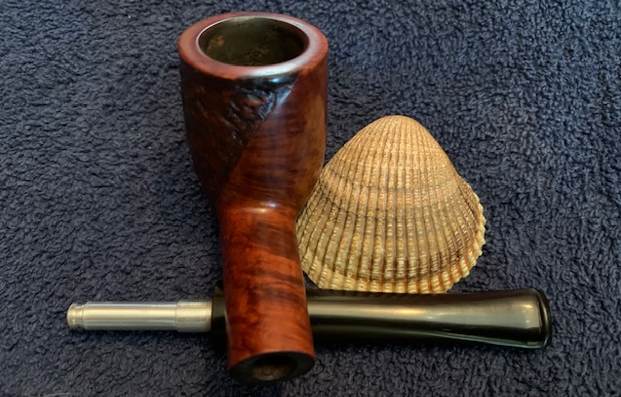
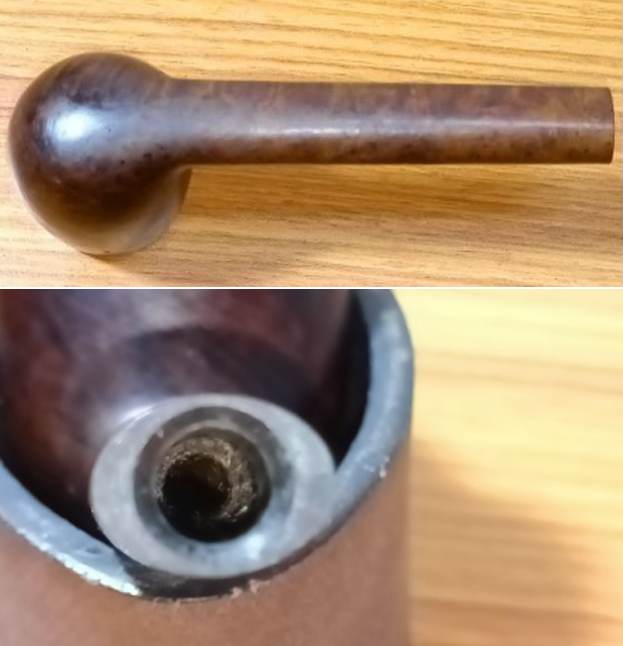
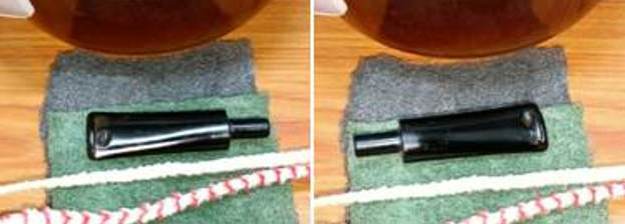
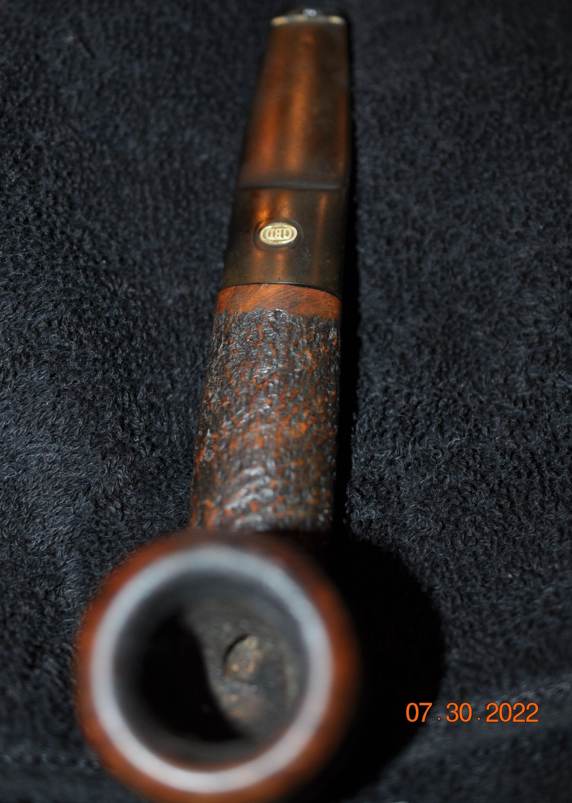
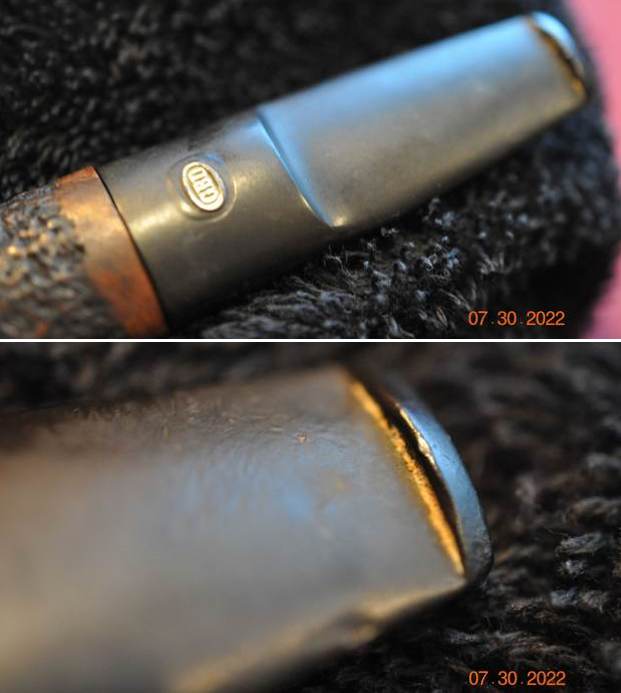
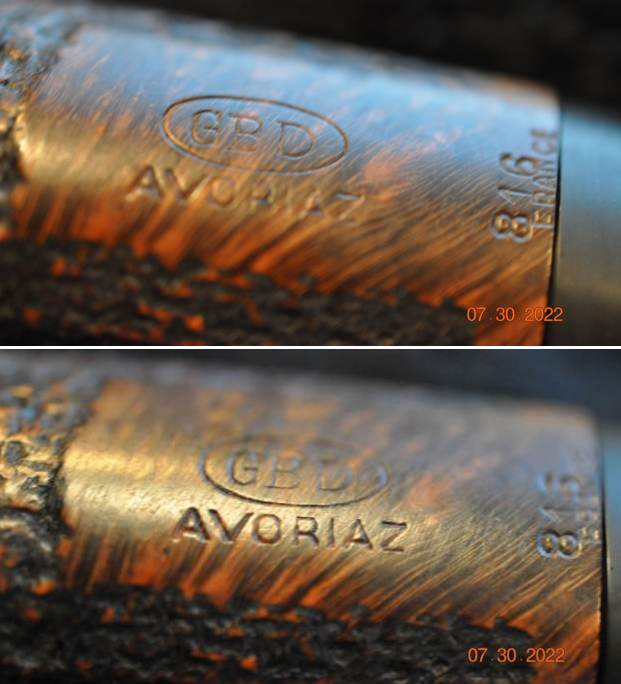
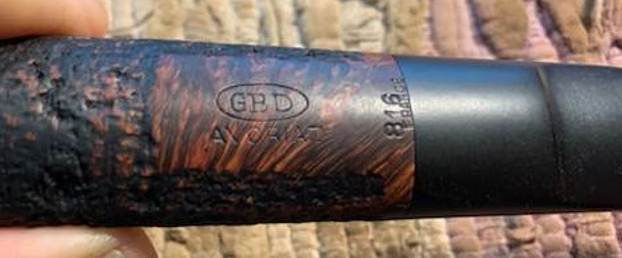
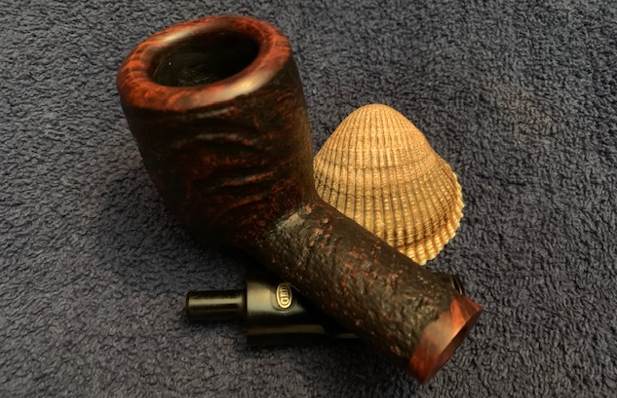
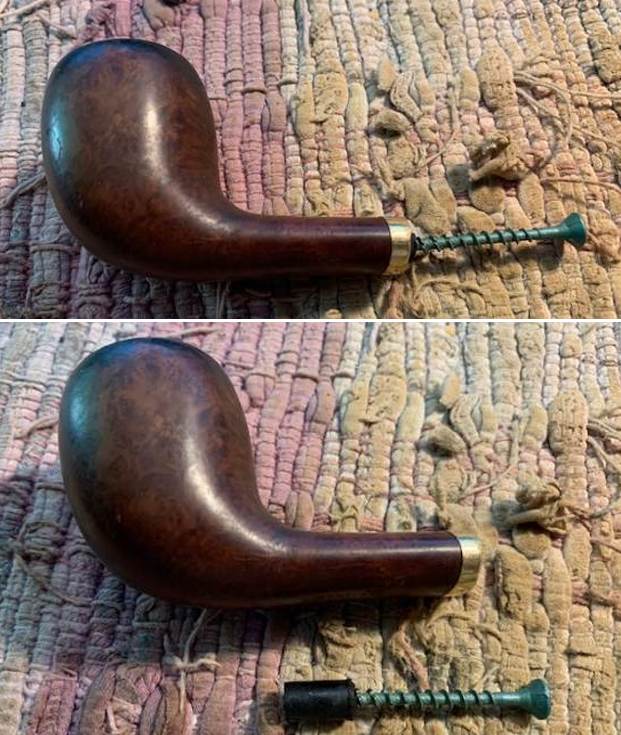
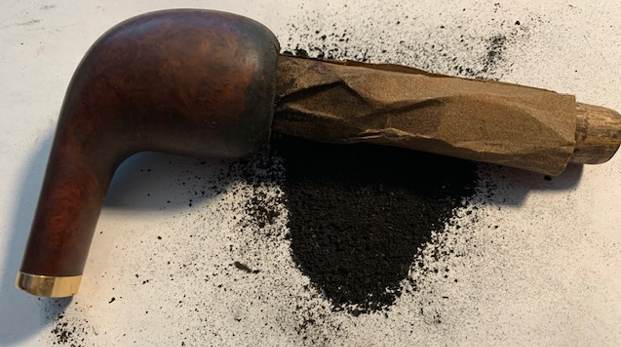
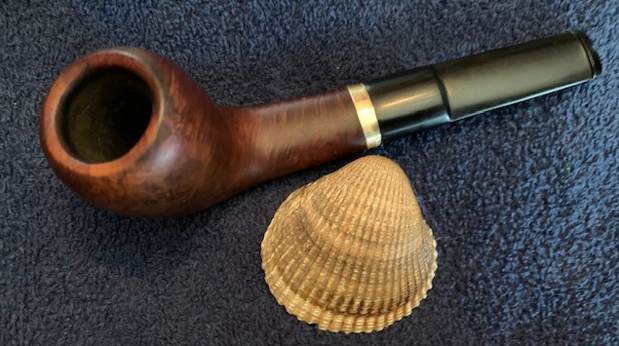
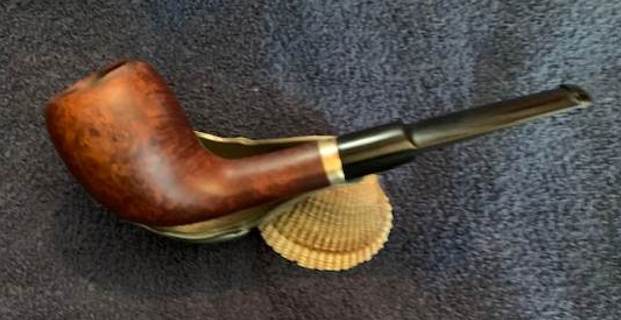
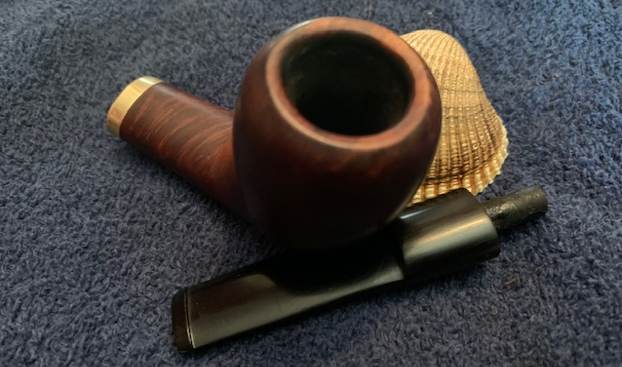
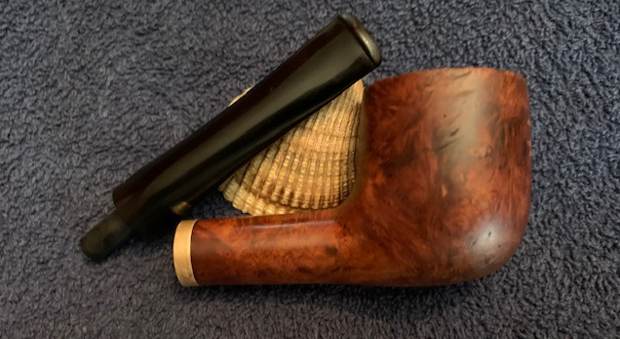
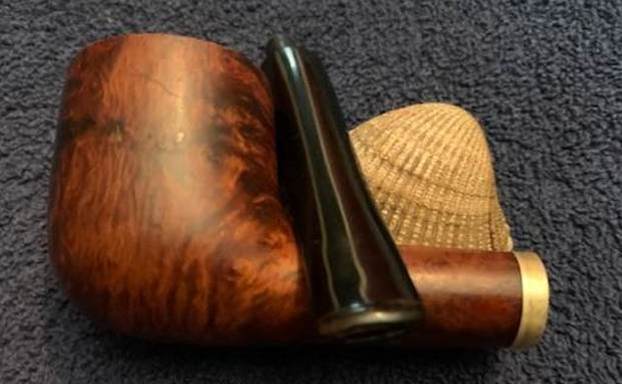
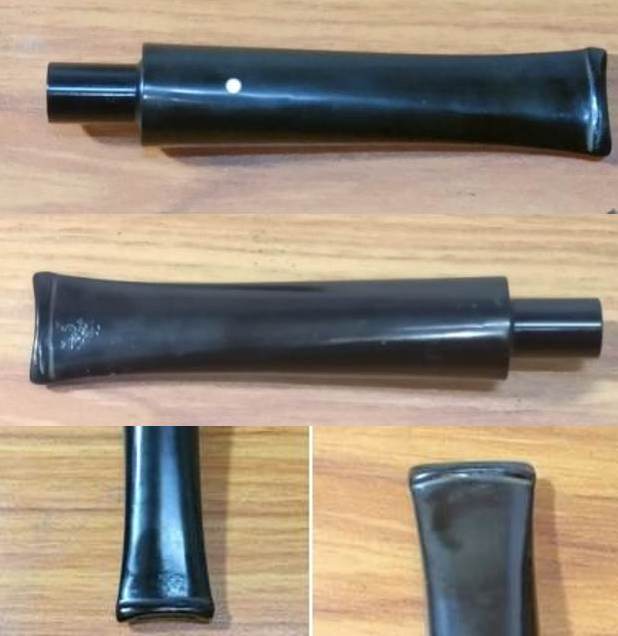
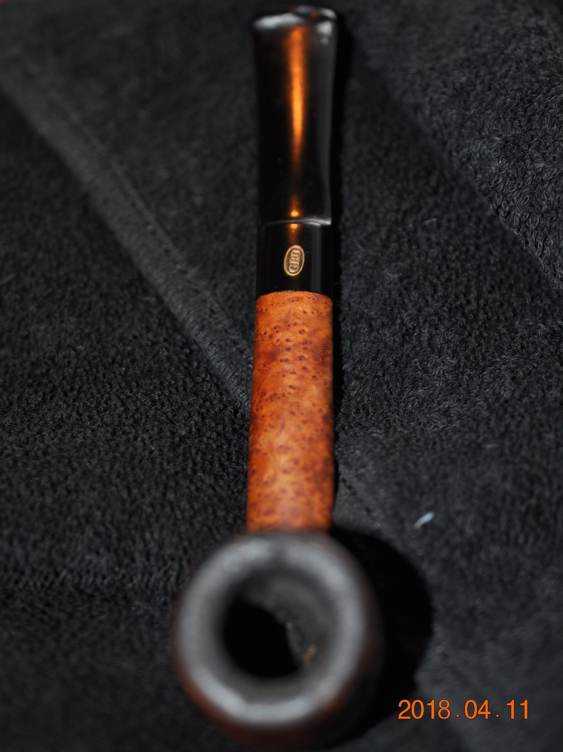
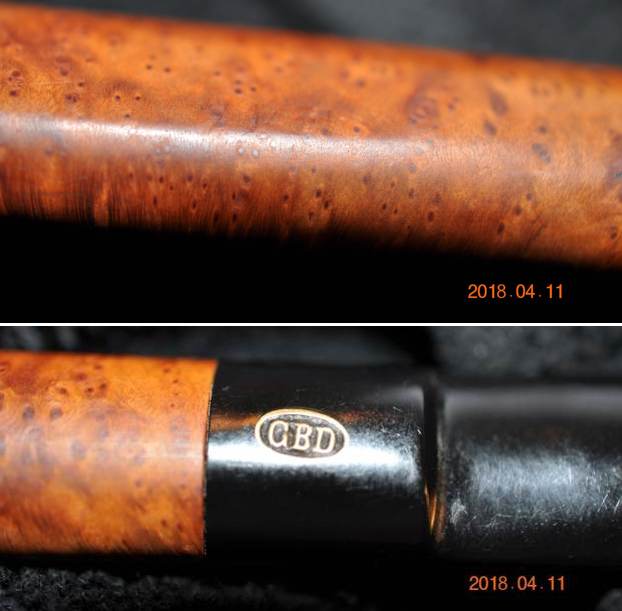
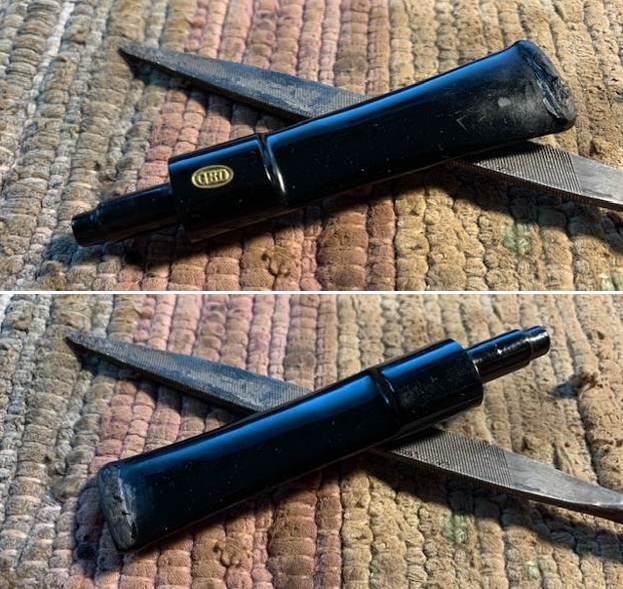
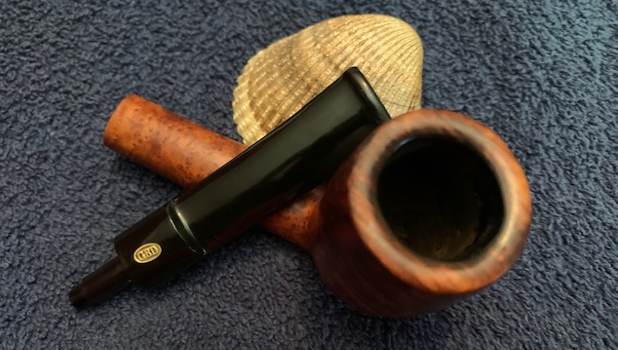
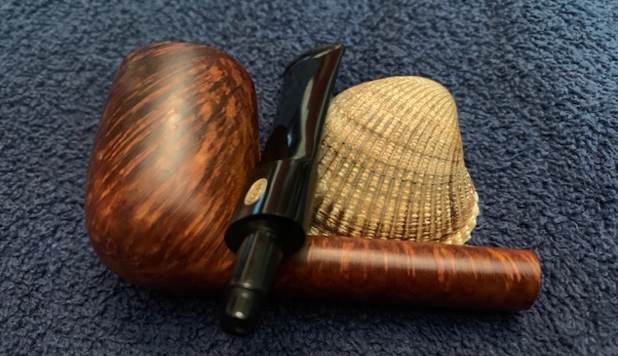
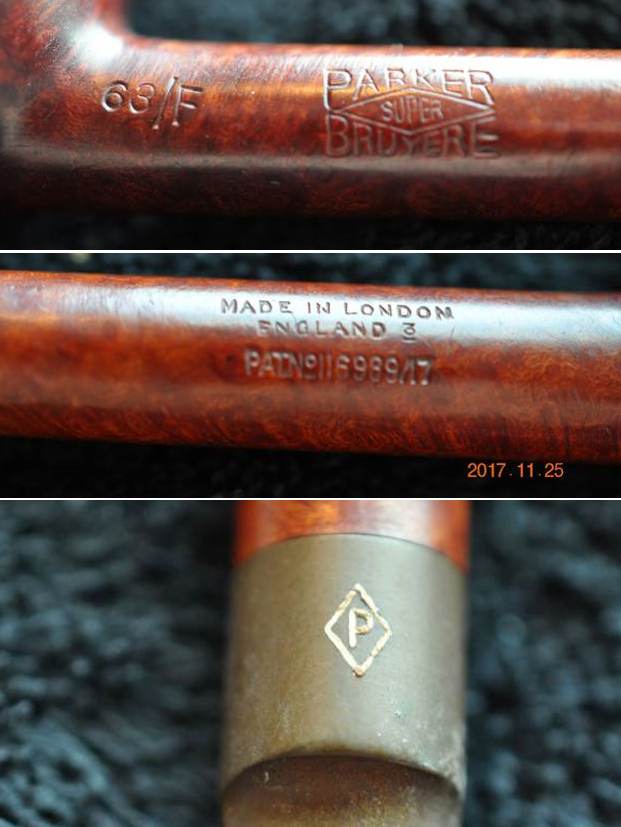
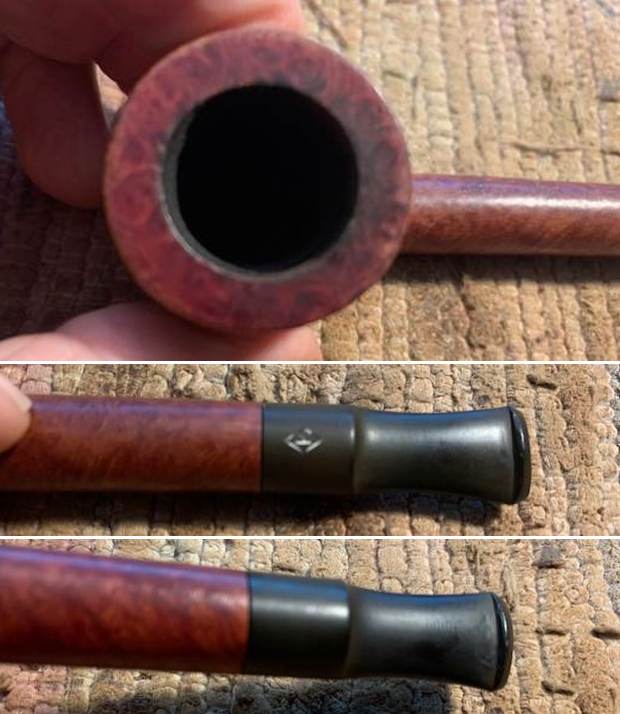
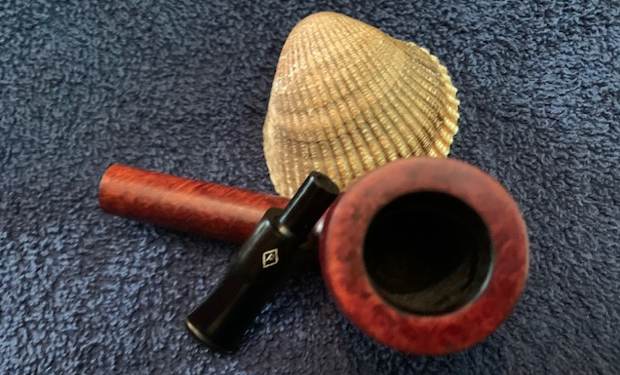
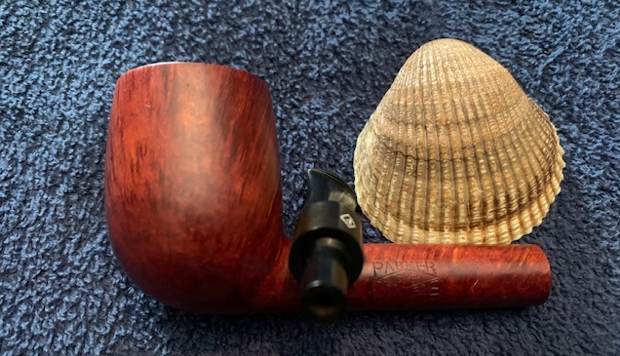
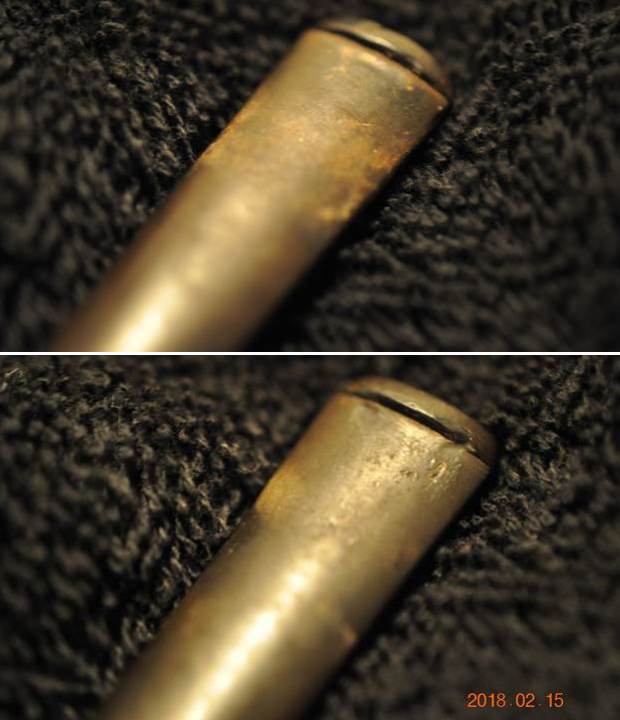
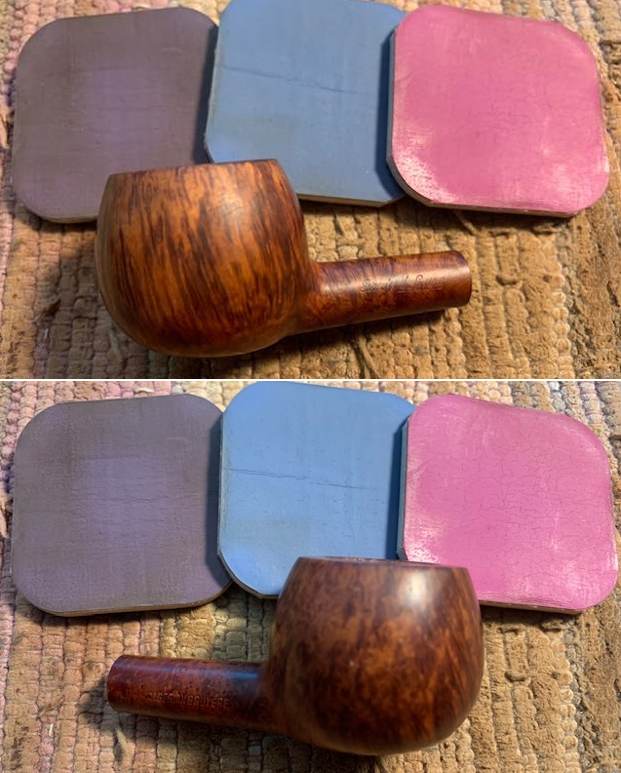
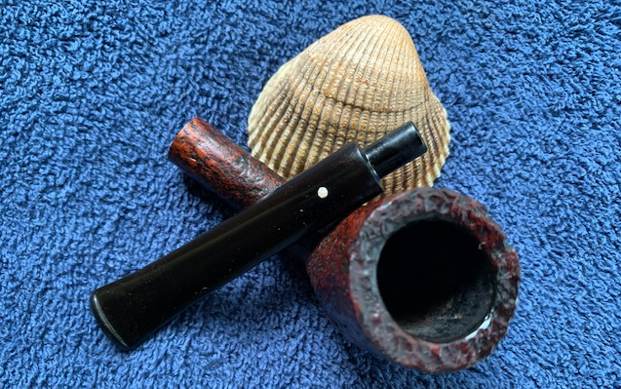
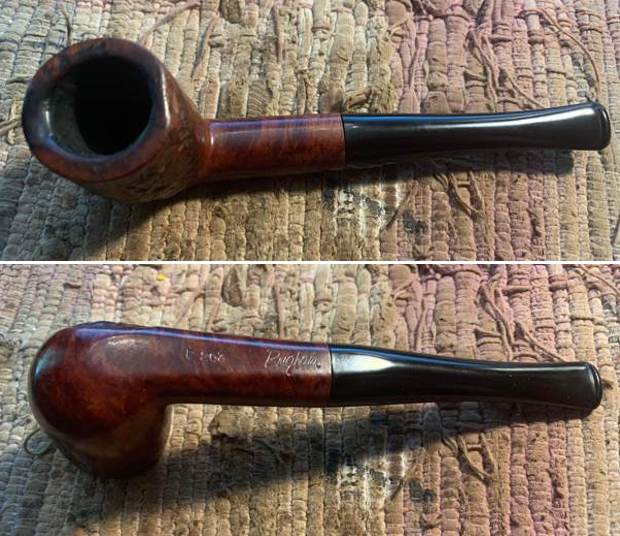
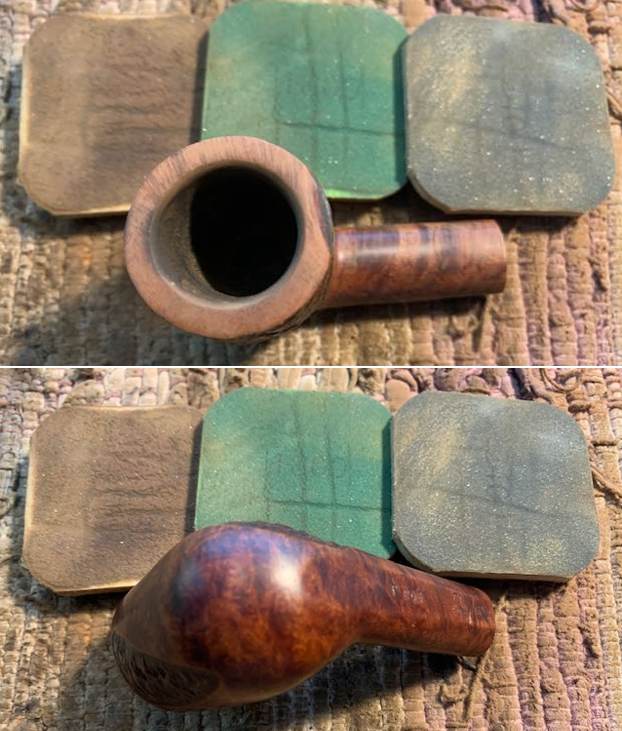
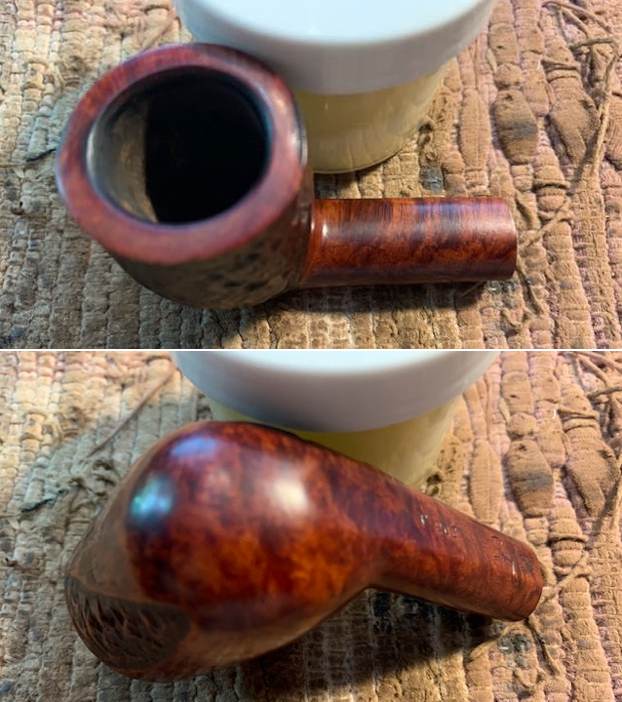
 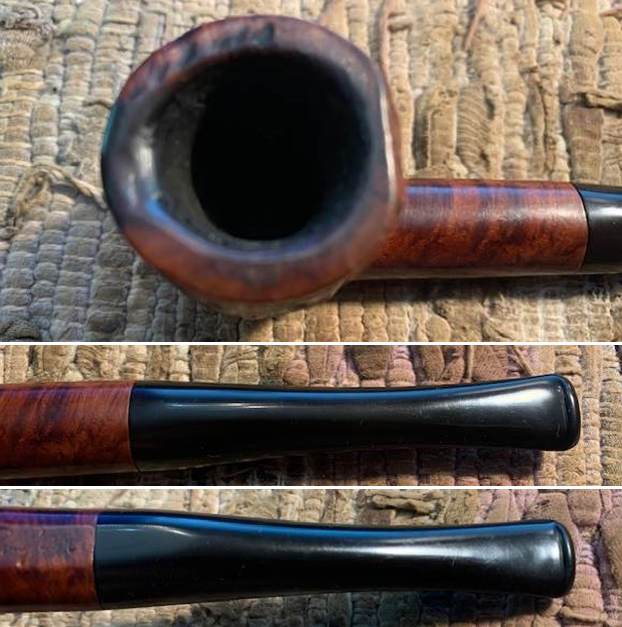 I took a photo of the stamping on the shank and the 2 brass dots on the left side of the stem. The stamping is clear and readable as noted above.
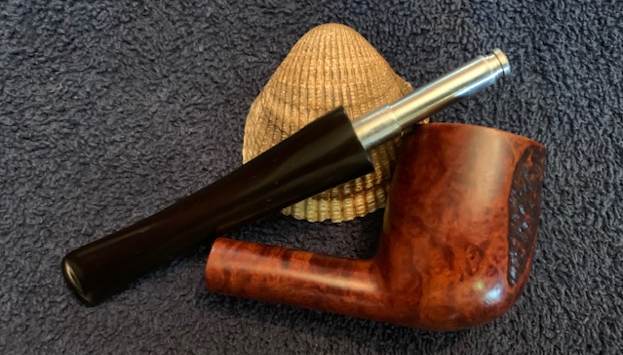
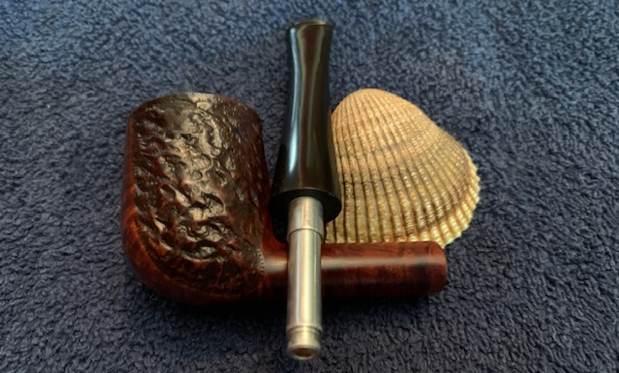
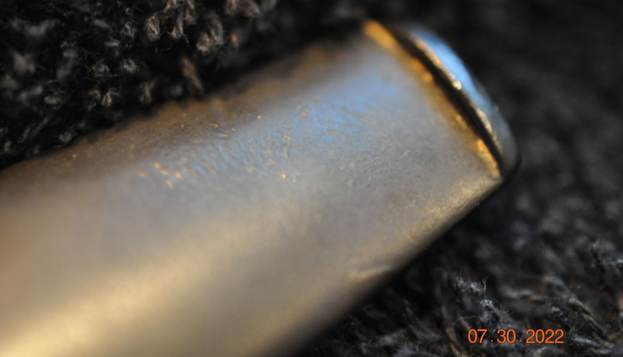
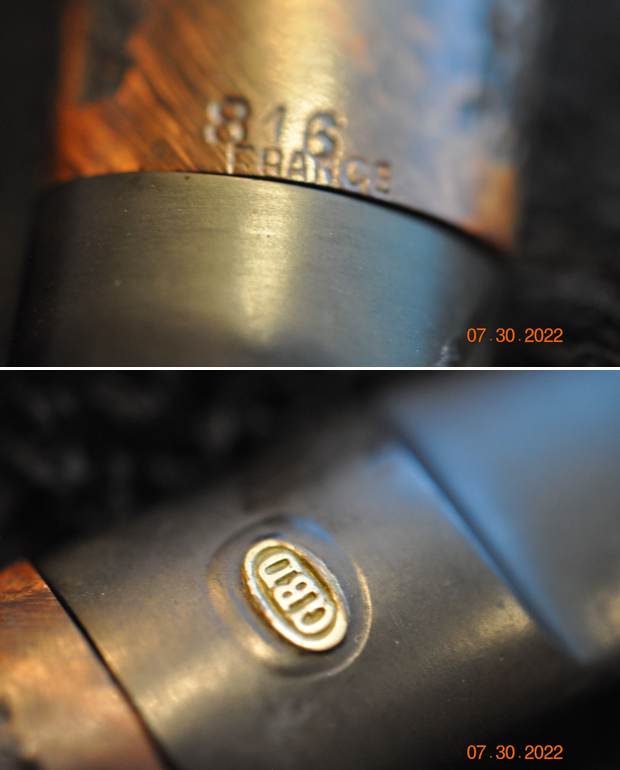
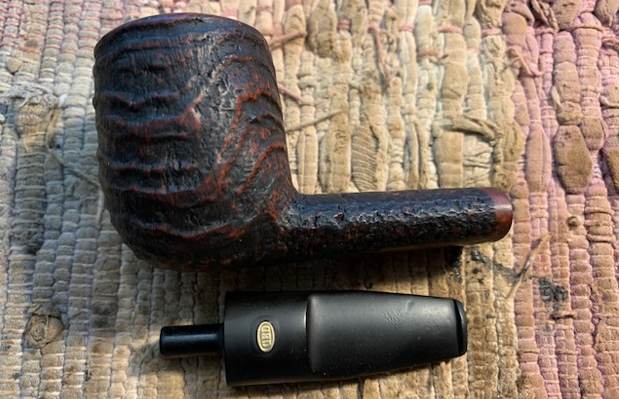
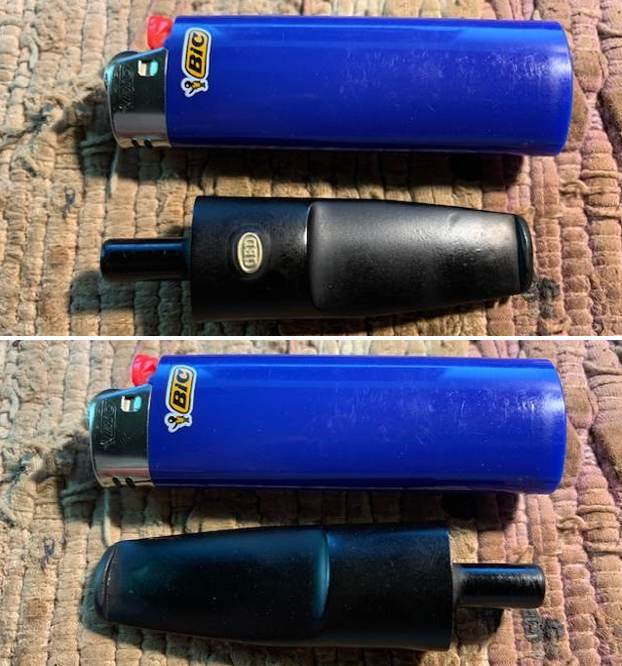
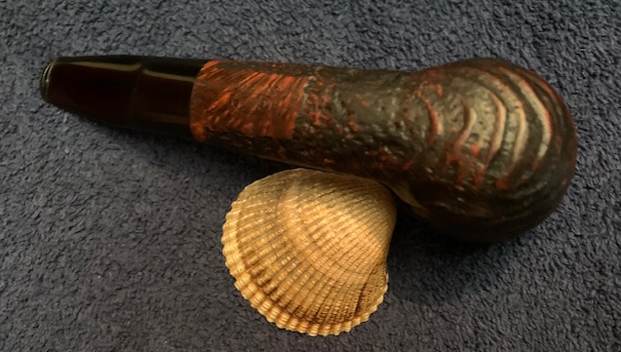
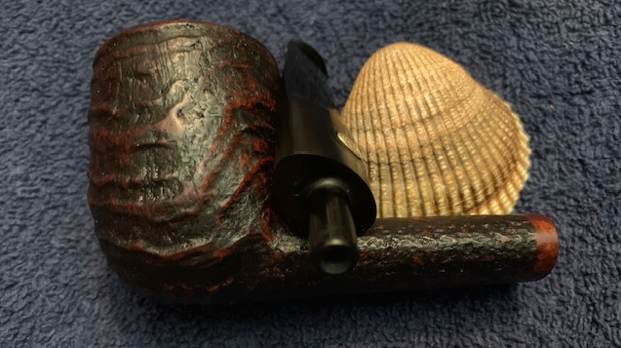
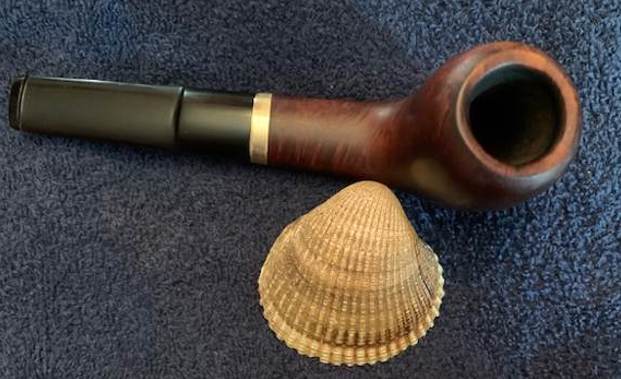
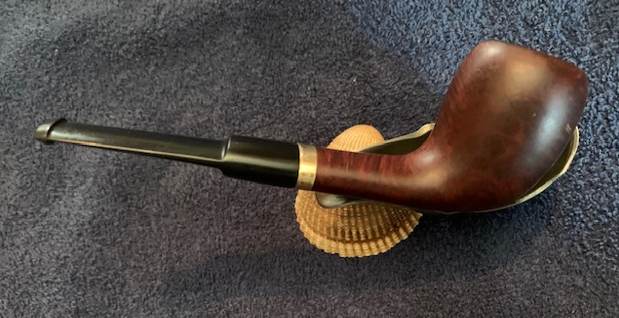
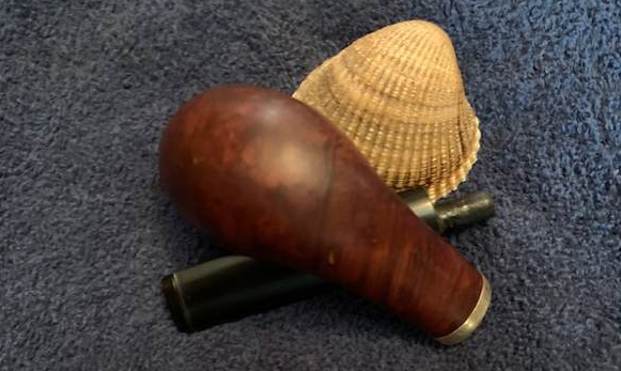
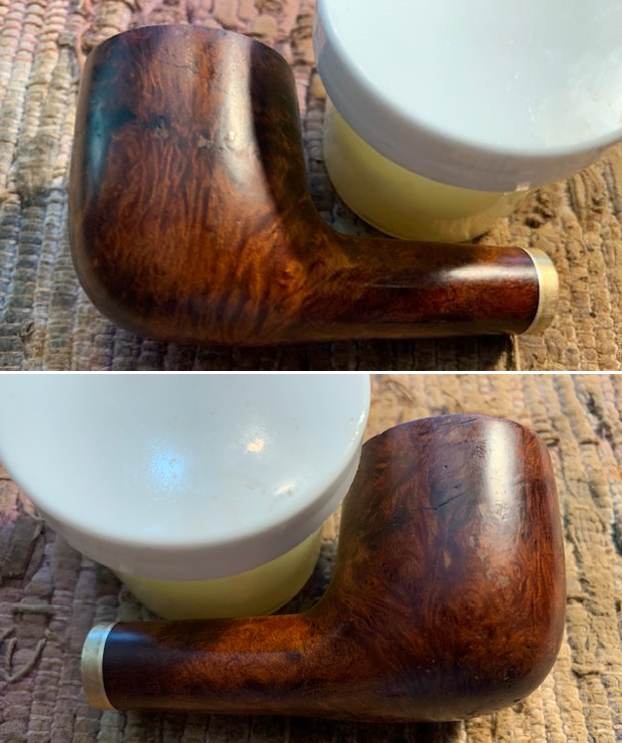
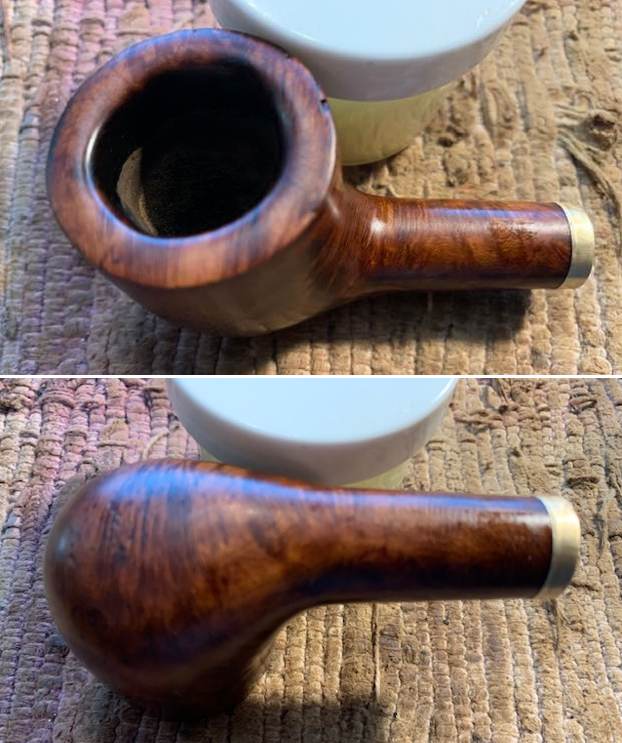
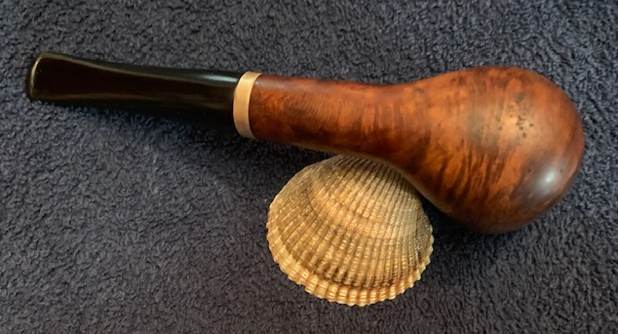
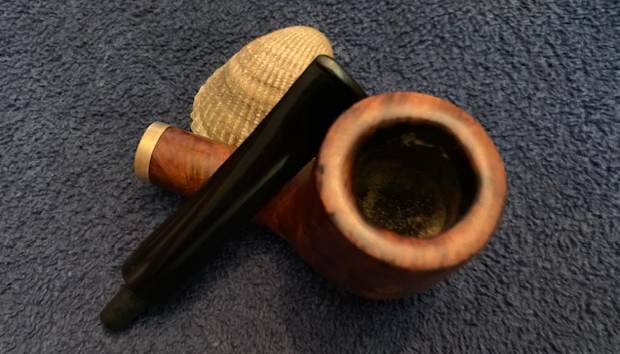
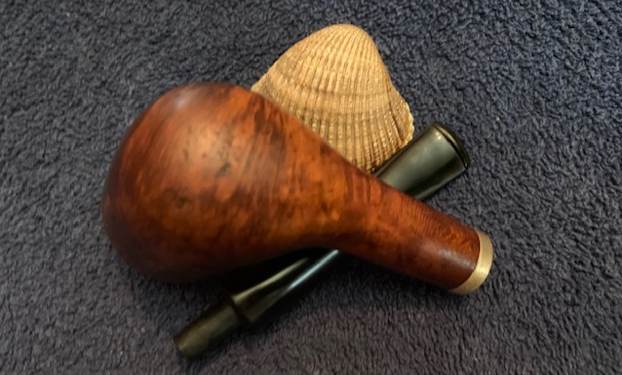
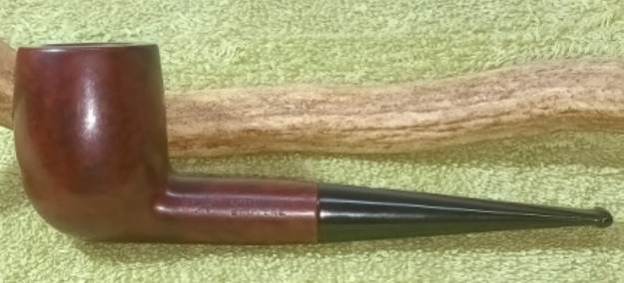
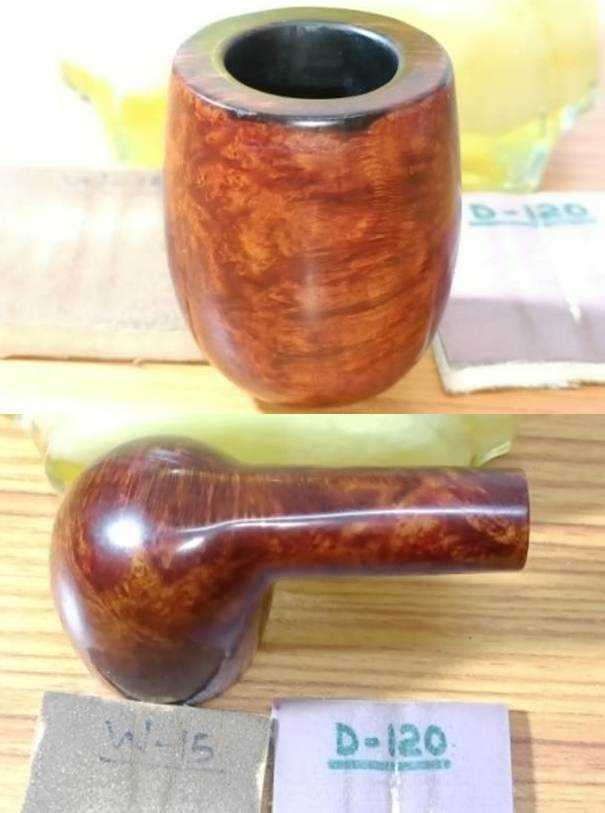
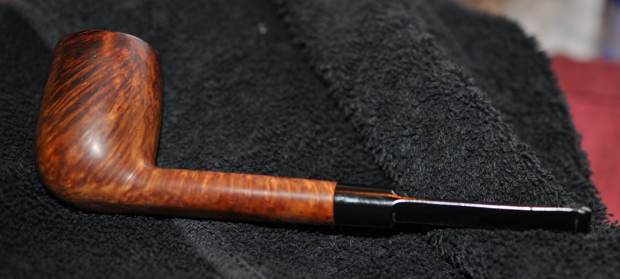
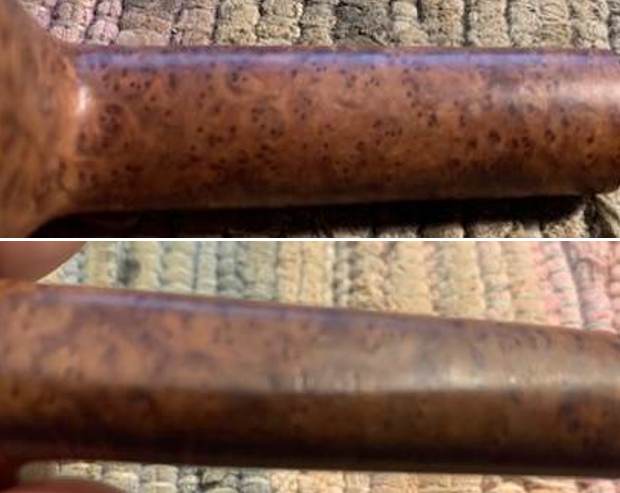
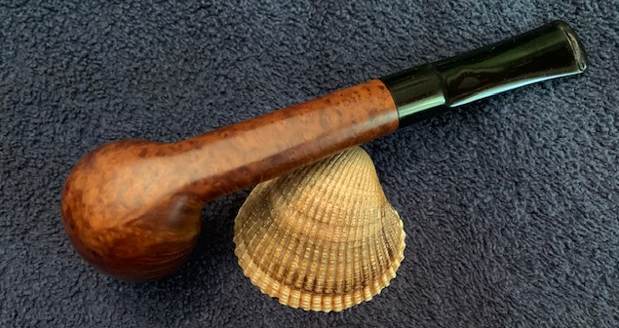
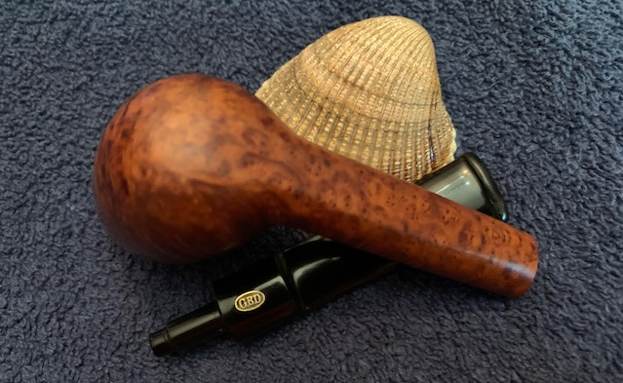
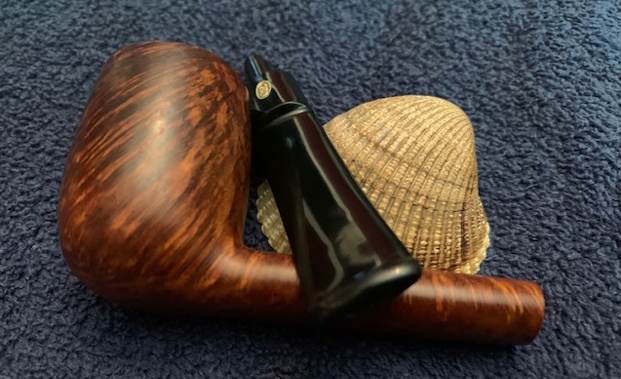
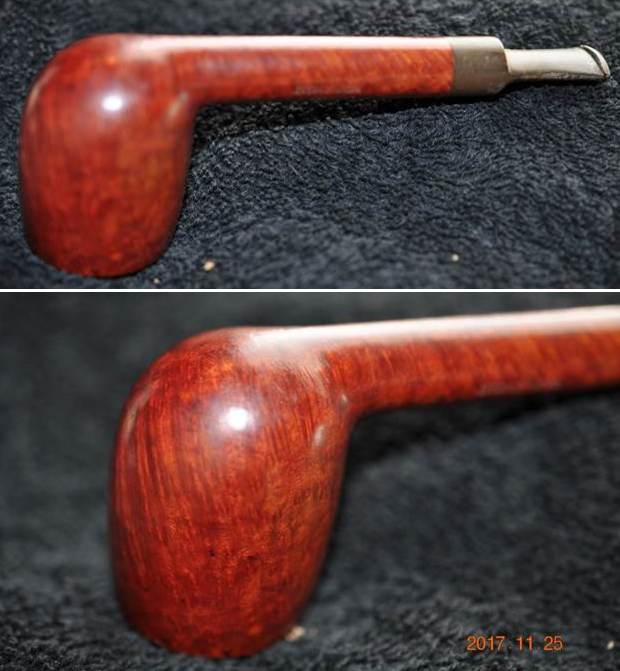
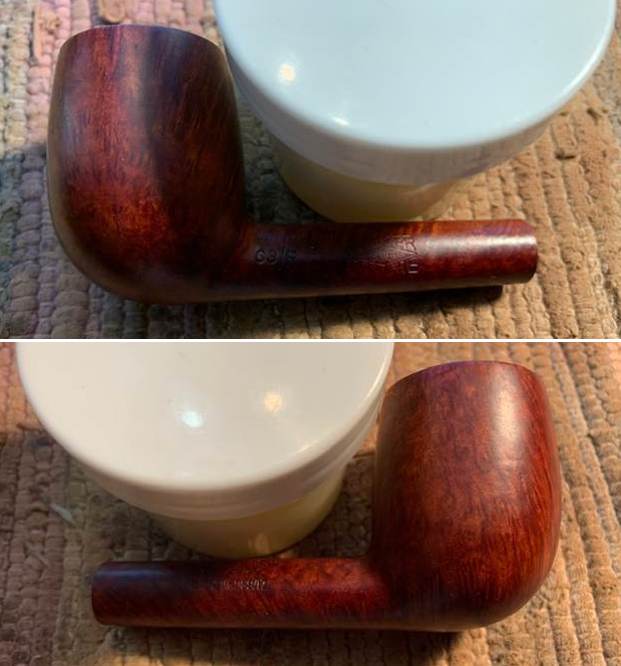
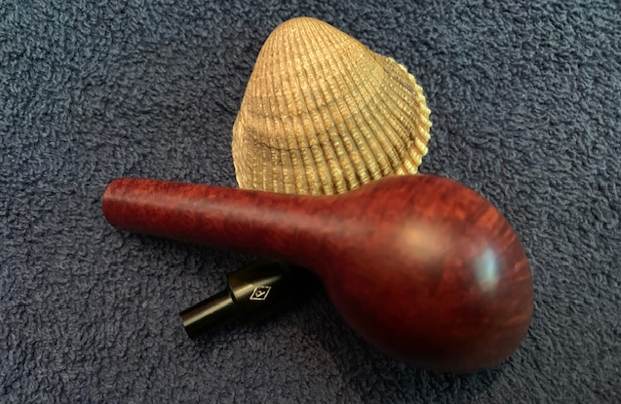
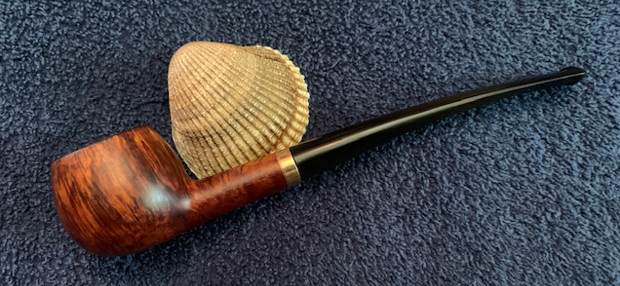
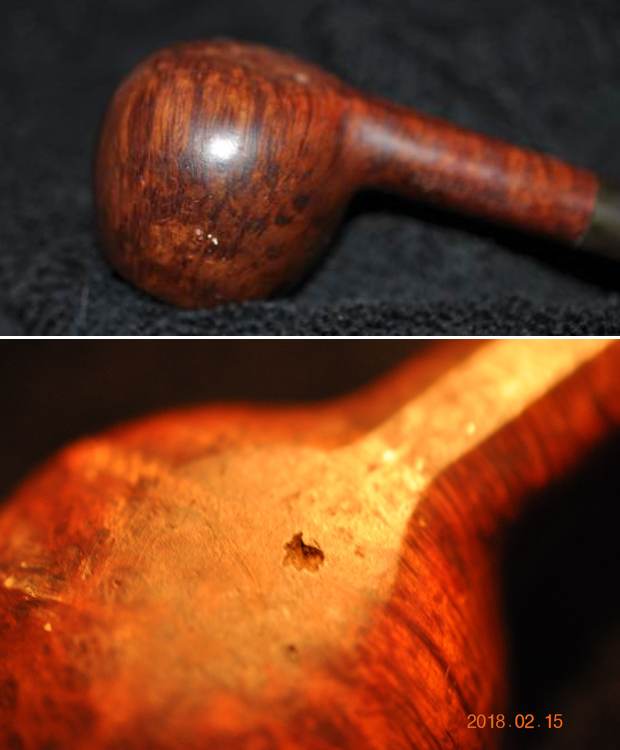
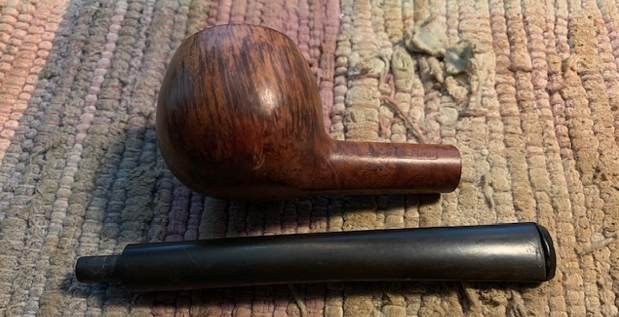
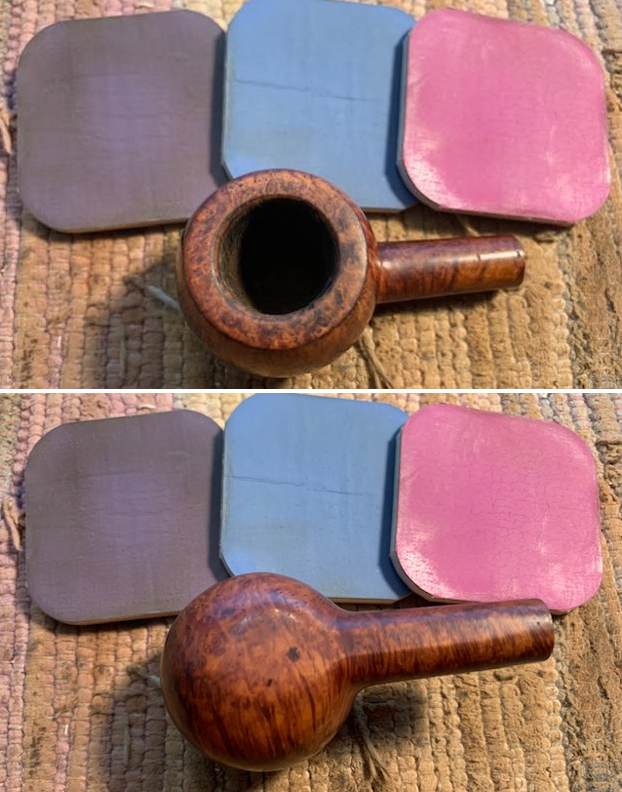
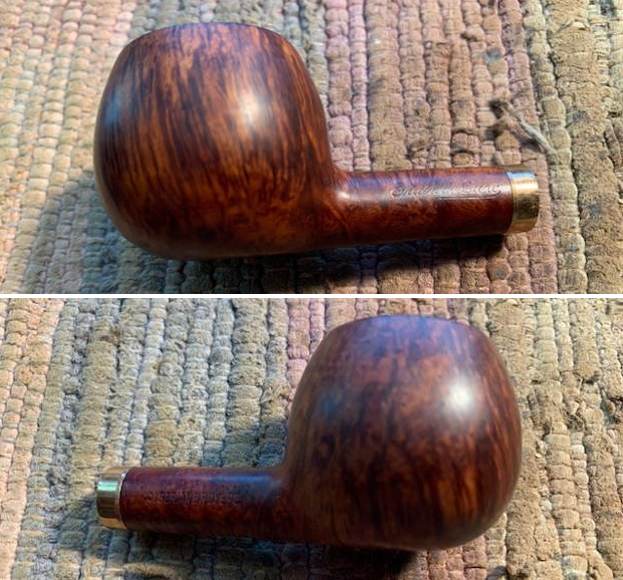
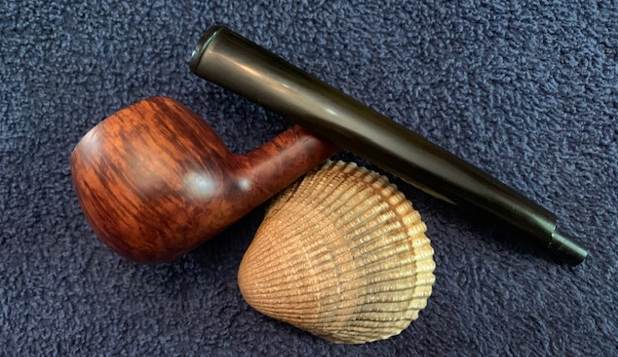
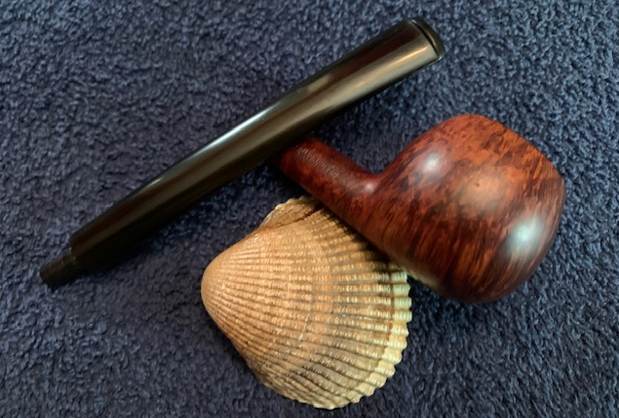
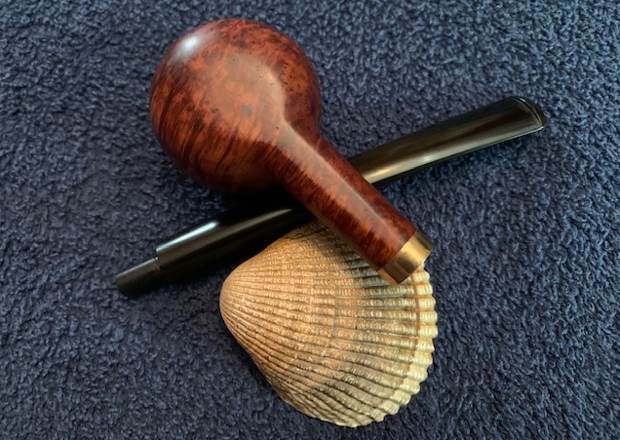
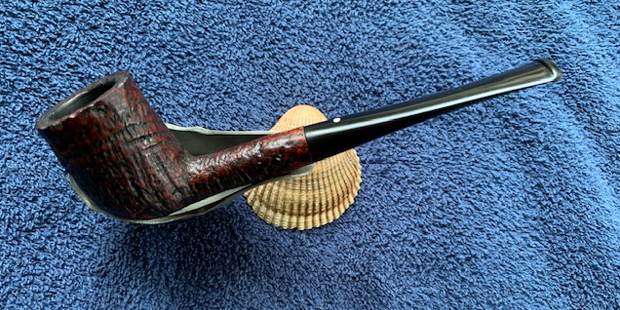
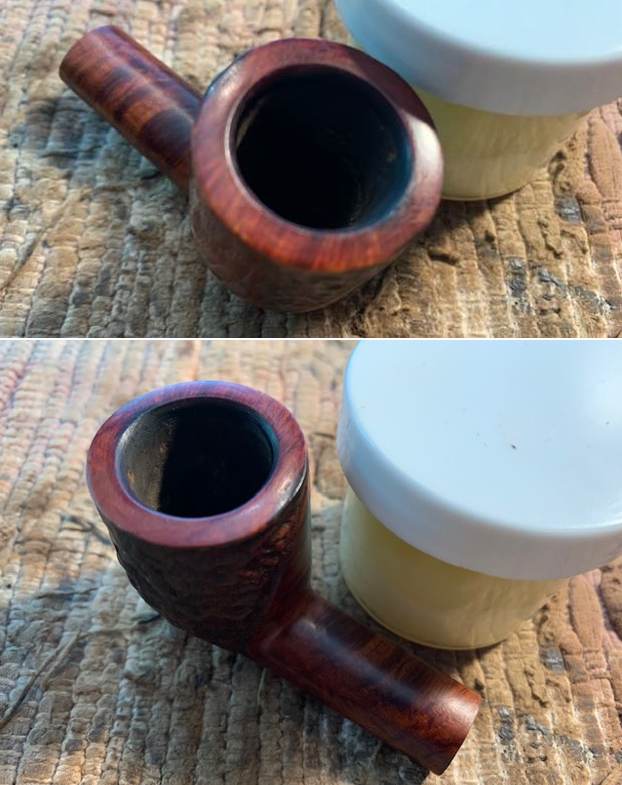
 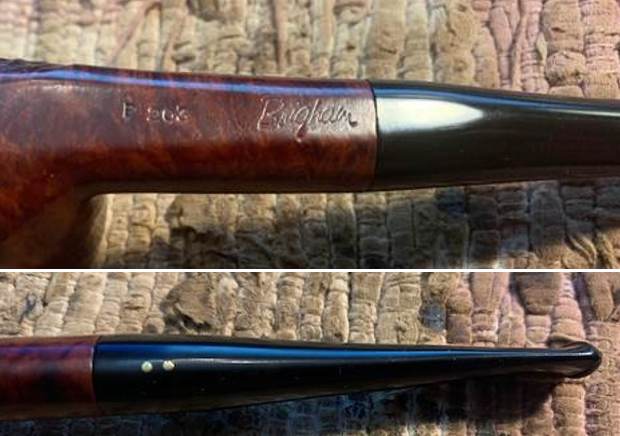 I removed the stem and took a photo of the pipe to give a sense of the side view. It is a great looking pipe from this vantage point.
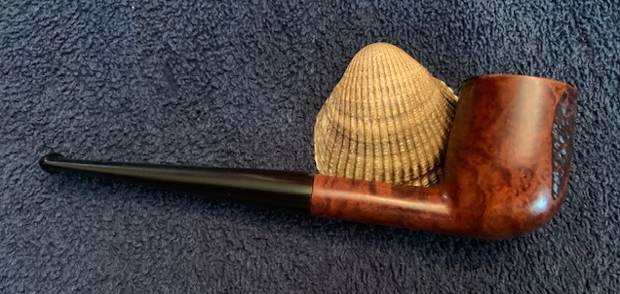
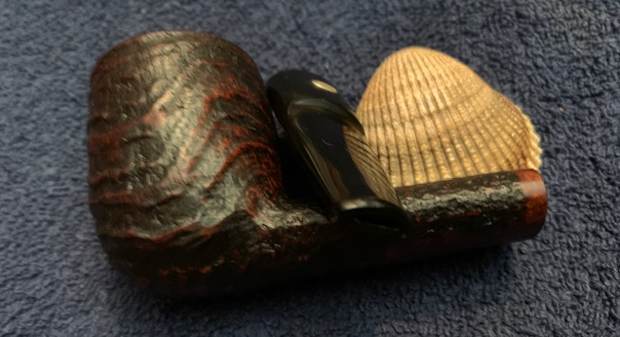
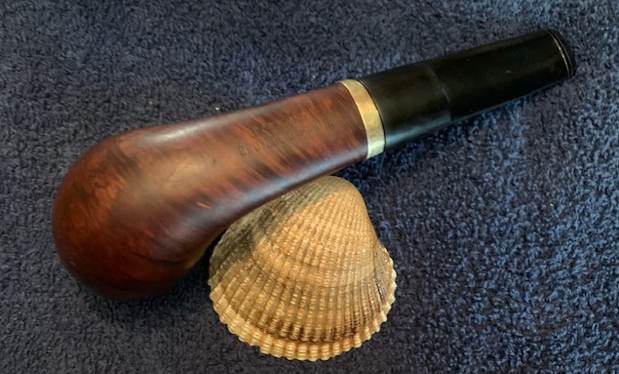
 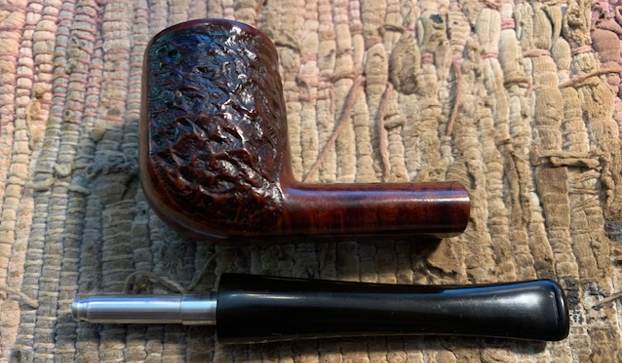 While I started my work on the pipe I wrote to Charles Lemon, my go to guy on all things Brigham. He is still in the process of writing the definitive history of the brand. I am including my email to him about this pipe and his response below. As usual his answer was definitive and very helpful.
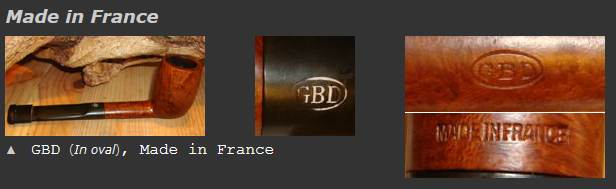
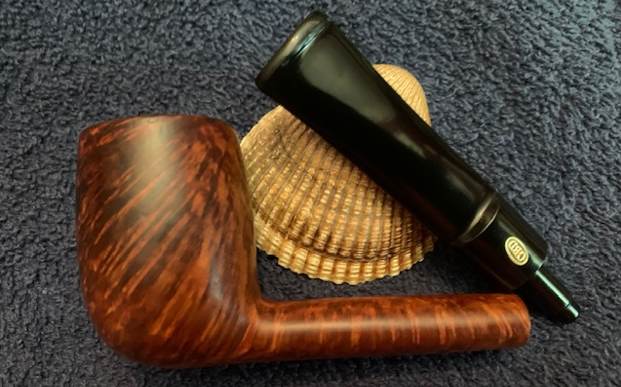
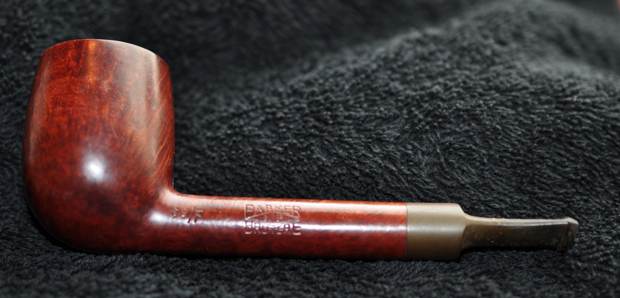
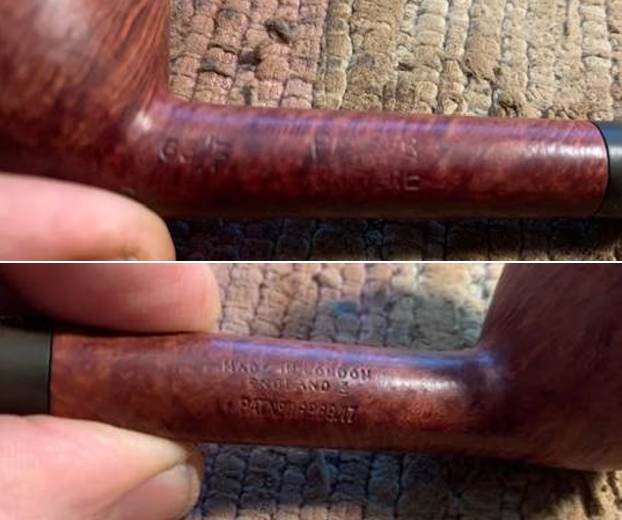
I wrote him: Hi Charles, I went to an antique show this morning and picked up a couple of pipes. One is a Brigham P203 Oval Shank… it is a shape and a number I am not familiar with.. has the metal fitment. Some rim top damage but not a bad looking pipe.
Charles responded and wrote: Hey Steve. Good to hear from you. The “P” in the shape code stands for “promotional”. These were usually made from stummels that for one reason or another didn’t quite meet the requirements for production pipes – things like slightly small briar blocks, short shanks, etc. I used to have one with an acrylic shank extension that made up the missing briar.
Apart from that, your 203 is a 2 Dot medium straight Billiard. If you put it side by side with a regular 03 shape you will likely be able to spot the differences that made it a promotional pipe.
Thanks Charles! Now I knew I was dealing with a 2 Dot Medium Straight Billiard (203 shape). The “P” stamp meant that it was a Promotional shape that used a block of briar that somehow did not meet the requirements for a production pipe. Now it was time to work on the pipe.
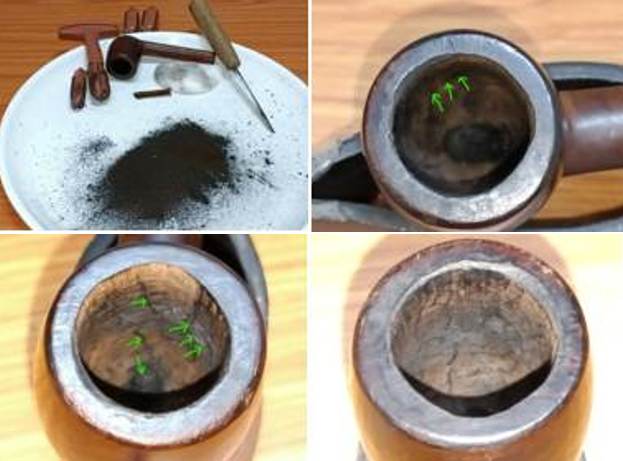
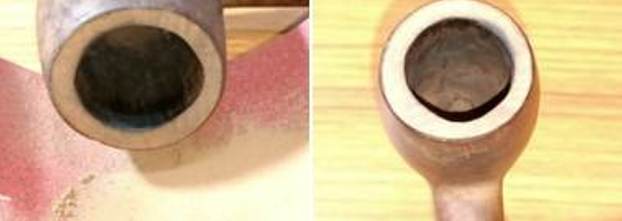
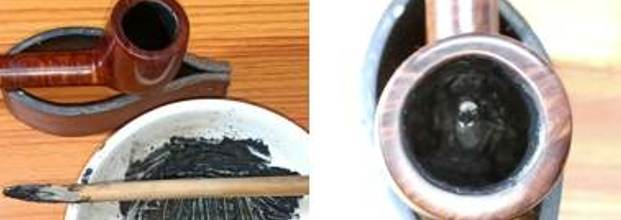
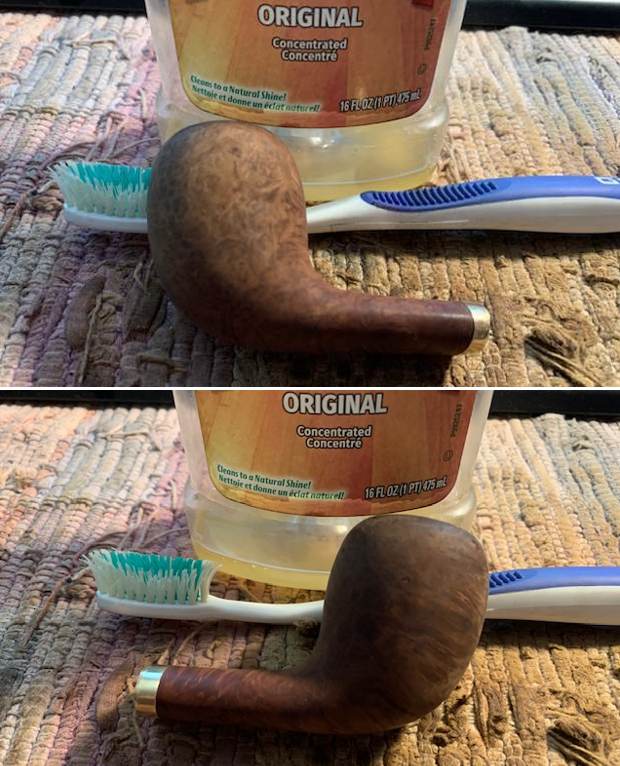
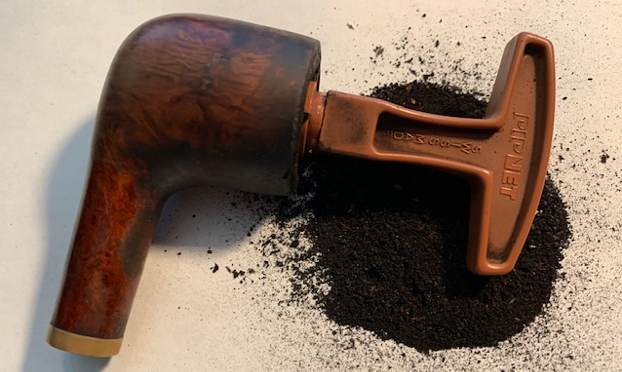
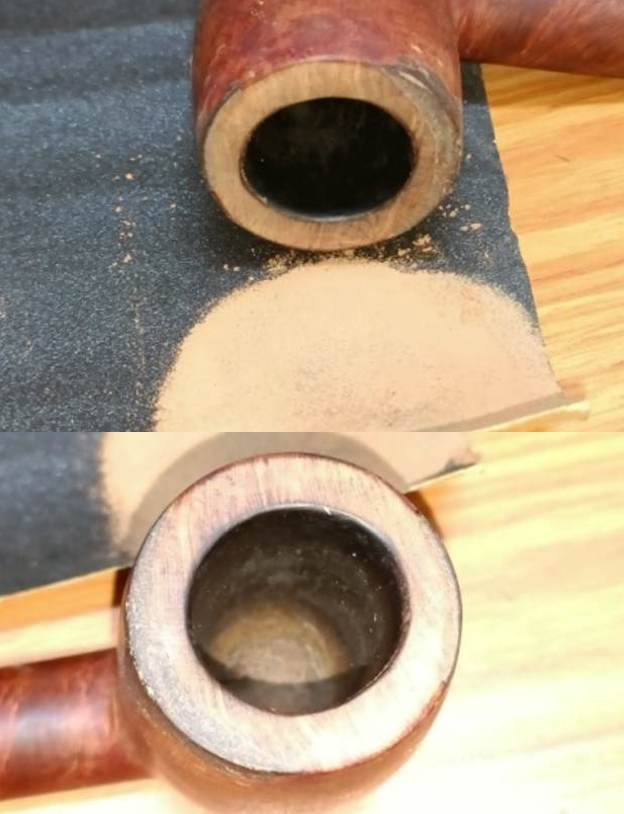
I reamed the pipe with a PipNet pipe reamer using the first three cutting heads to take the cake back to bare briar. I cleaned up the bowl walls with a Savinelli Fitsall Pipe Knife and removed the remaining spots of cake. I sanded the bowl walls with a piece of 220 grit sandpaper wrapped around a piece of briar. The bowl interior looked very good and the walls showed no damage.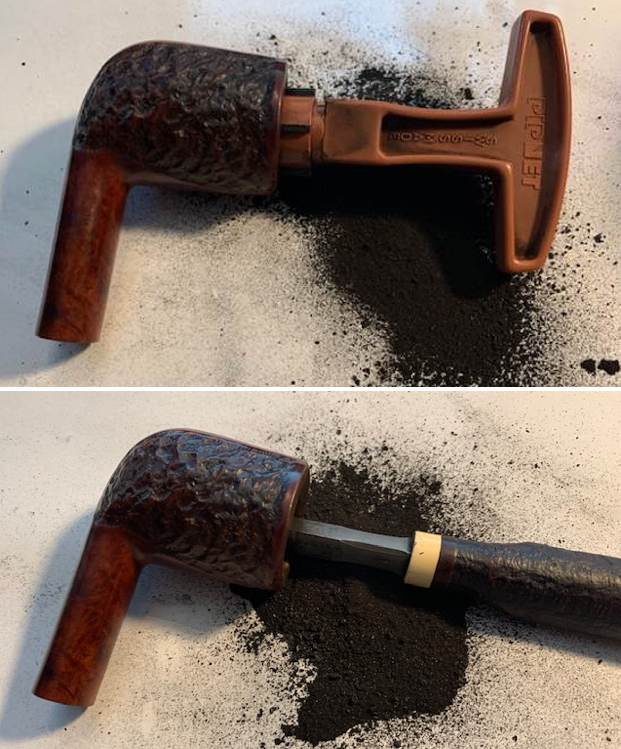
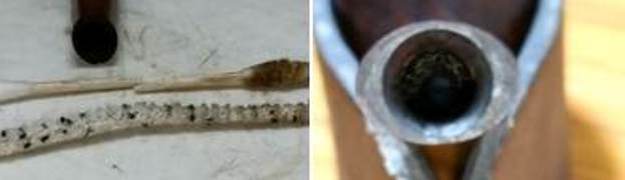
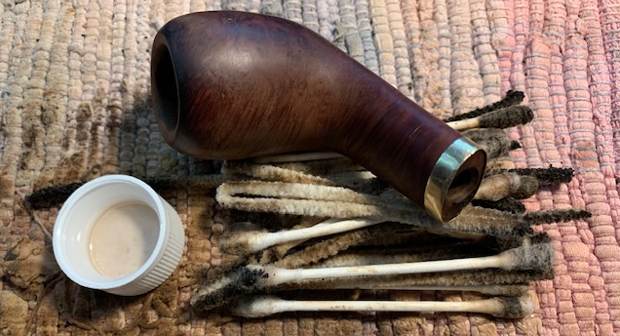
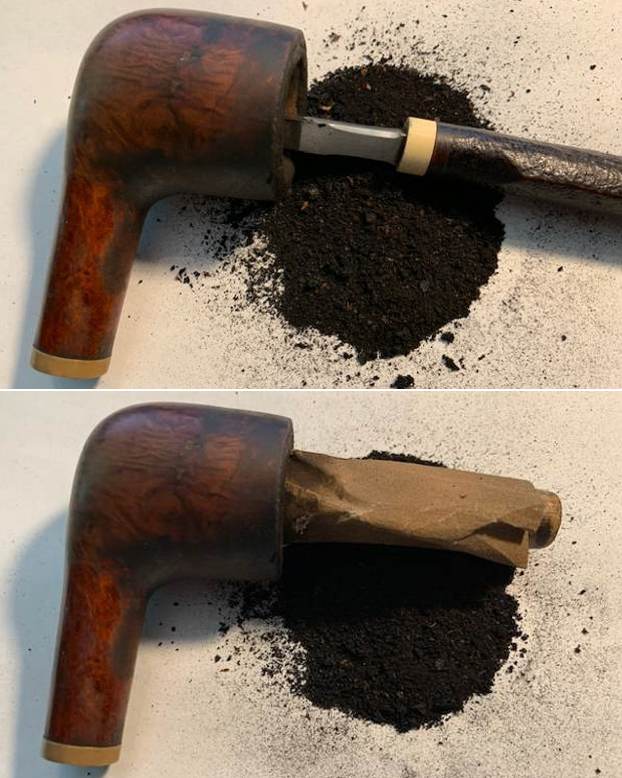
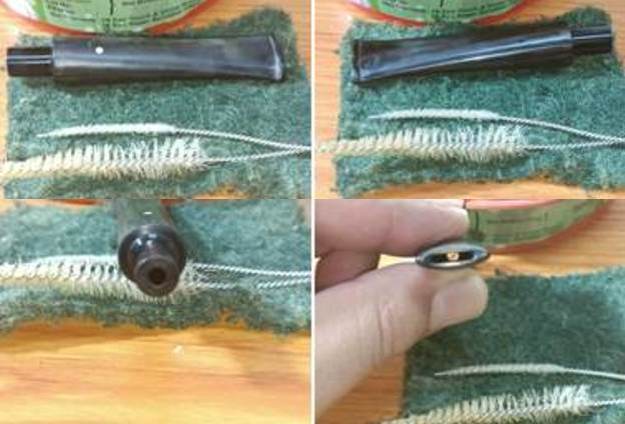
 I cleaned out the interior of the shank and the stem with alcohol, pipe cleaners and cotton swabs. I worked over the interior until the cleaners came out clean. The pipe smelled and looked clean.
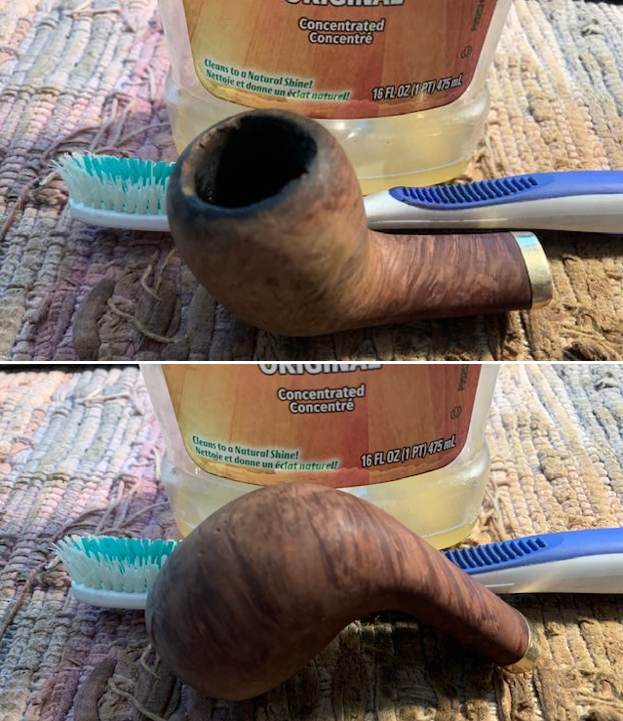
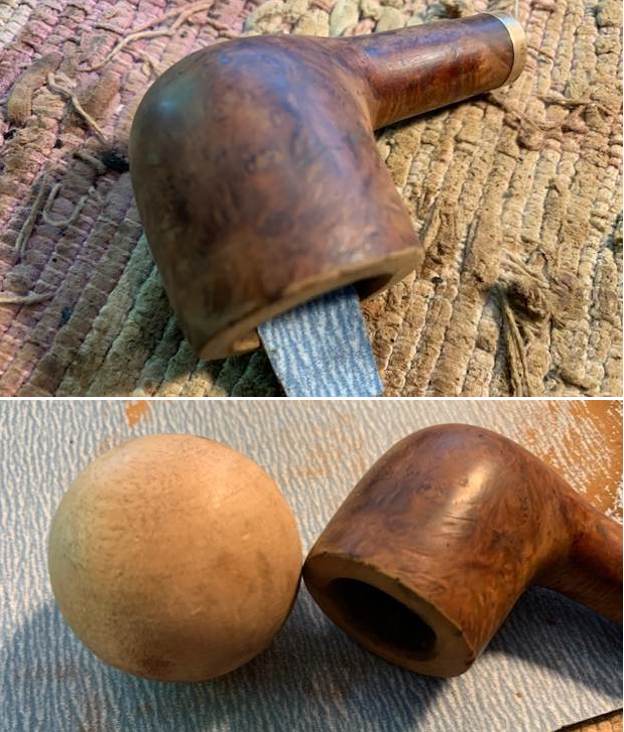
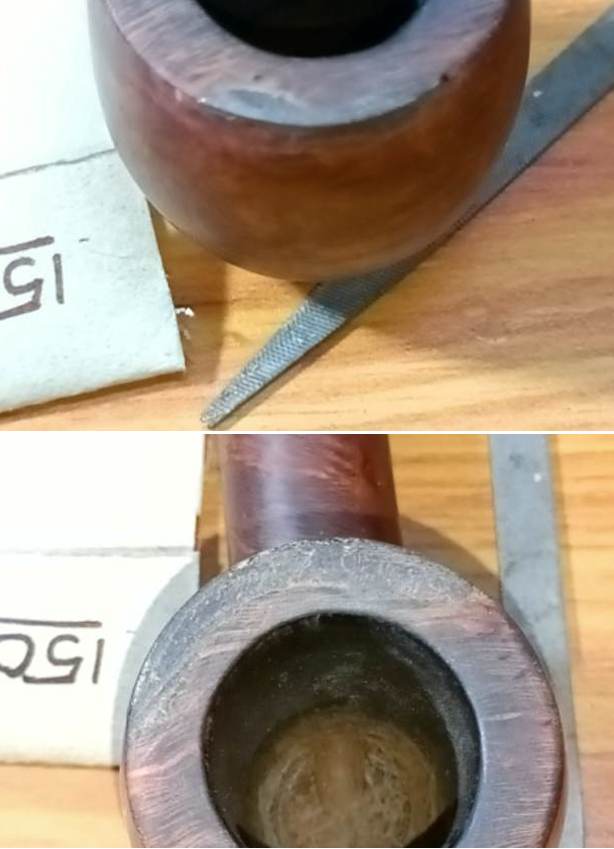
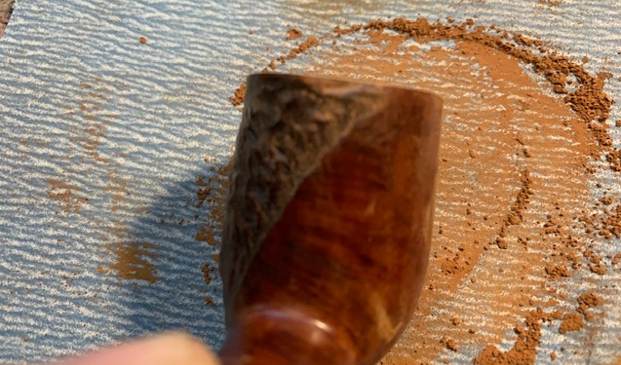
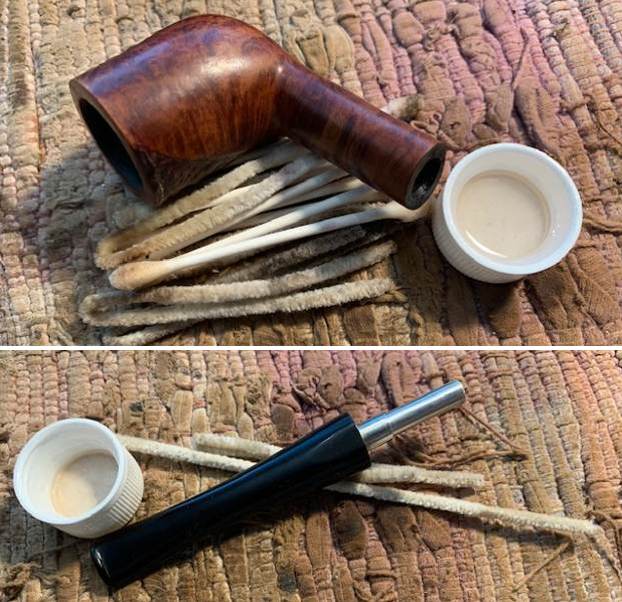 With the pipe cleaned it was time to clean up the damaged rim top and edges. I topped the bowl with 220 grit sandpaper on a topping board. Once it was smooth I worked over the inner edge of the rim with a folded piece of 220 grit sandpaper. I gave the inner edge a slight bevel to minimize the damage.
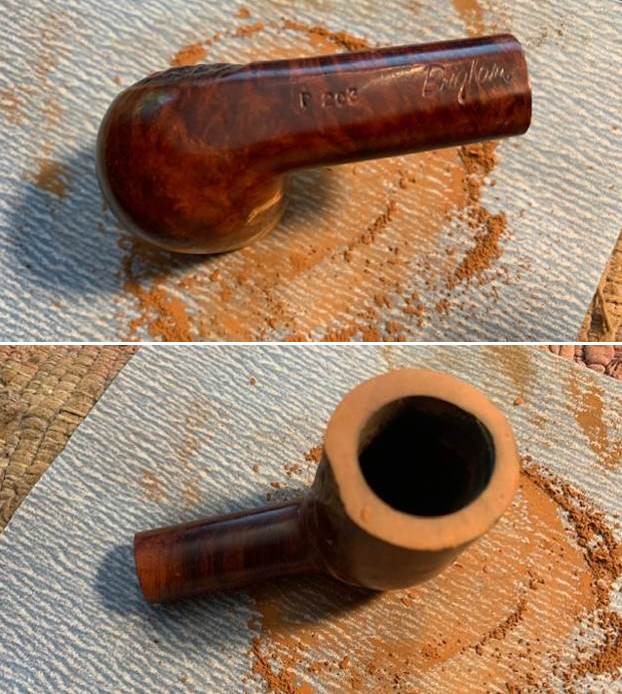
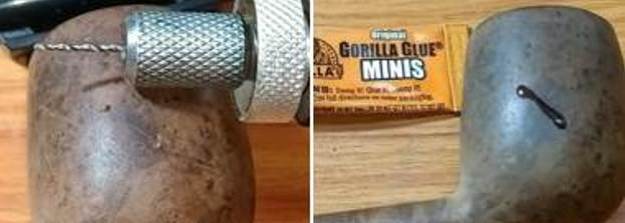
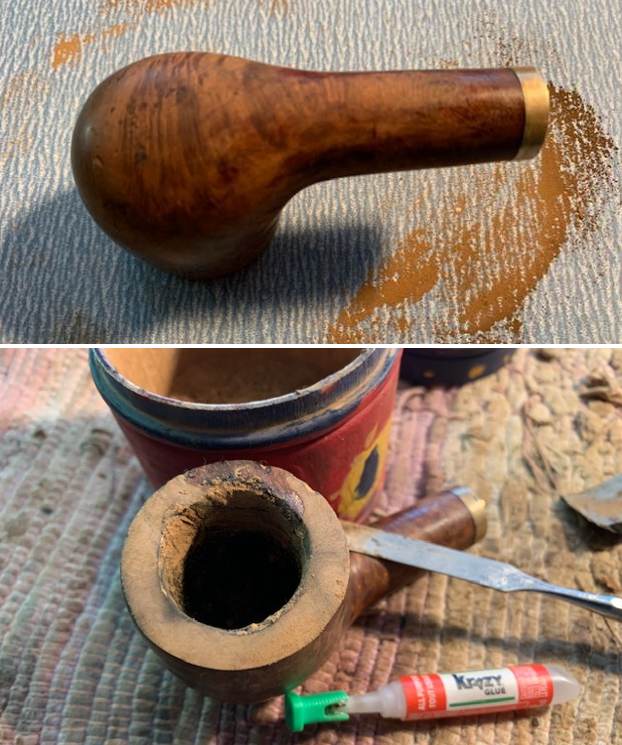
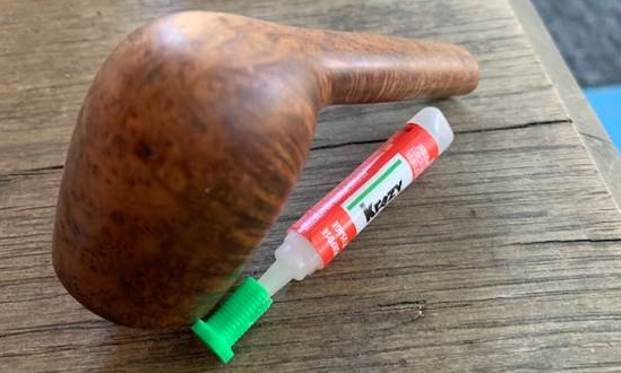
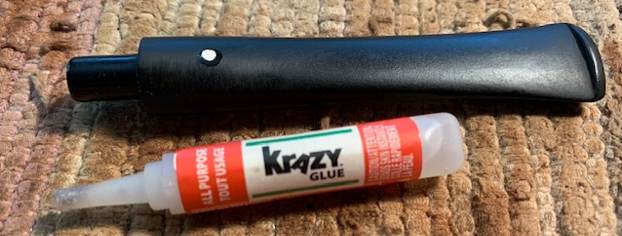
 I rebuilt the back outer edge of the rim with clear CA glue and briar dust as well as the damaged inner edge at the front of the bowl. I topped the rim top again with 220 grit sandpaper to smooth it out and blend it in. I smoothed out the inner edge and outer edge with 220 grit sandpaper.
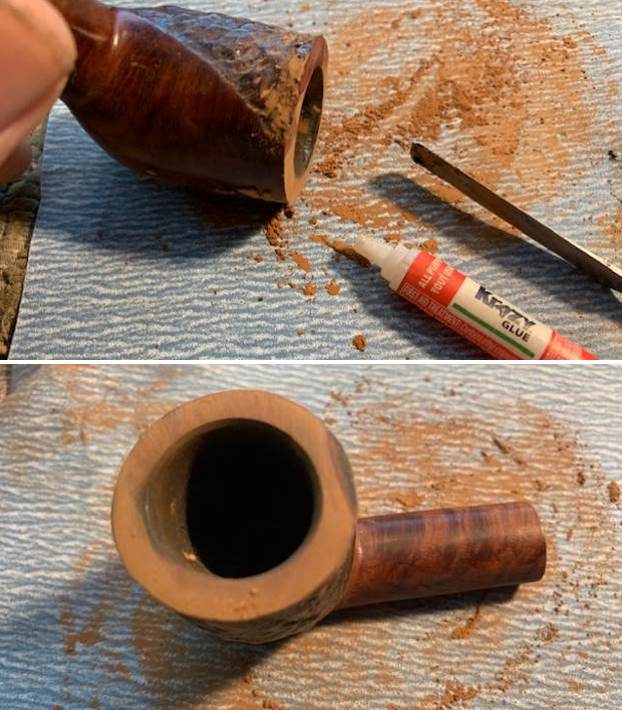
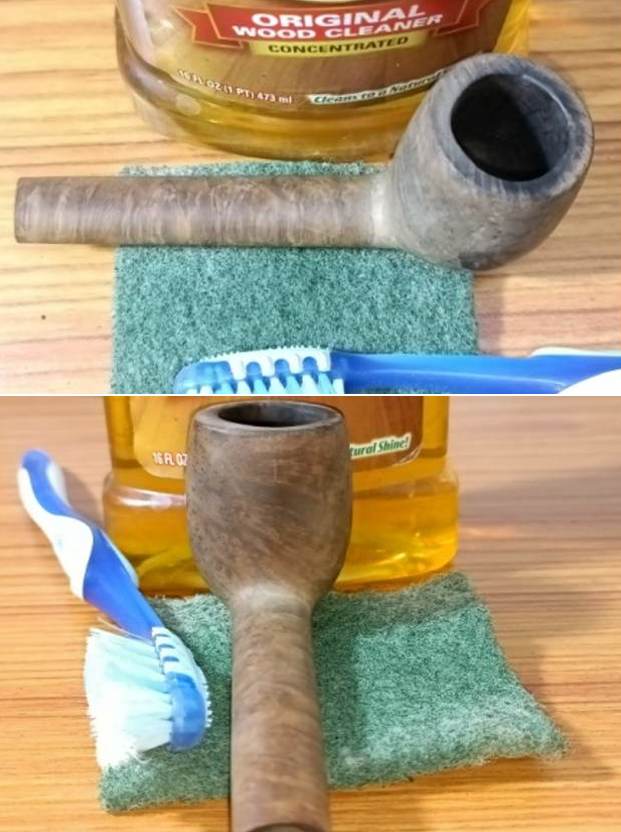
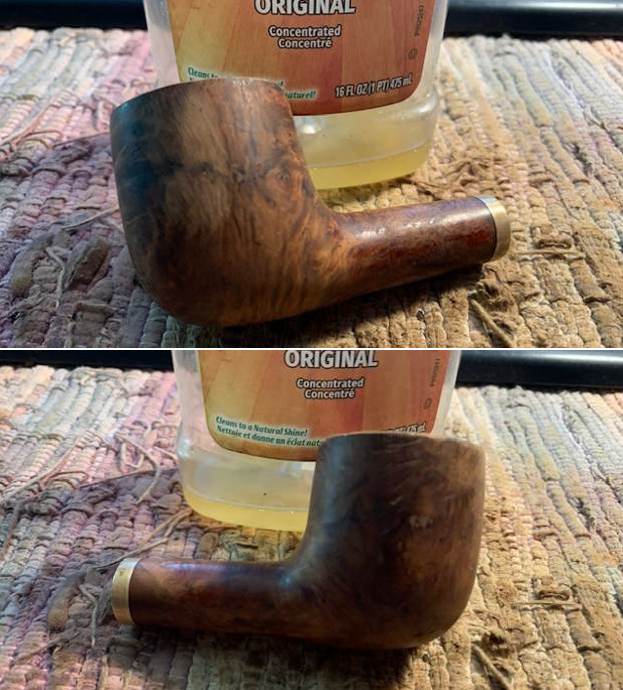
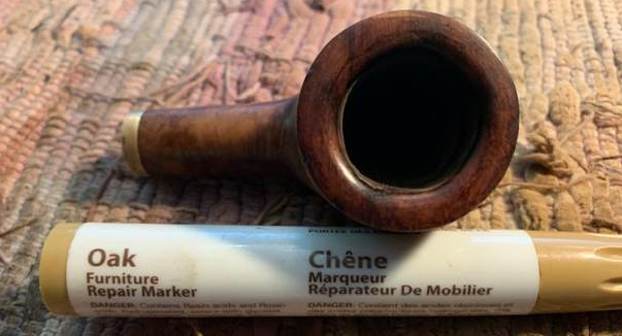
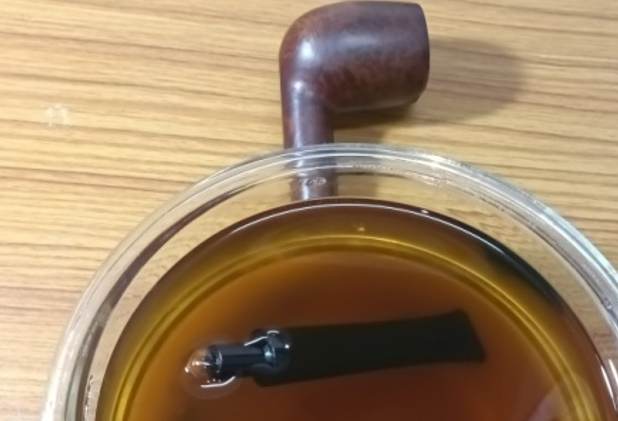
 I wiped down the bowl sides with acetone to break the varnish/lacquer coat on the smooth and rusticated portions of the bowl to remove it and leave the finish clean.
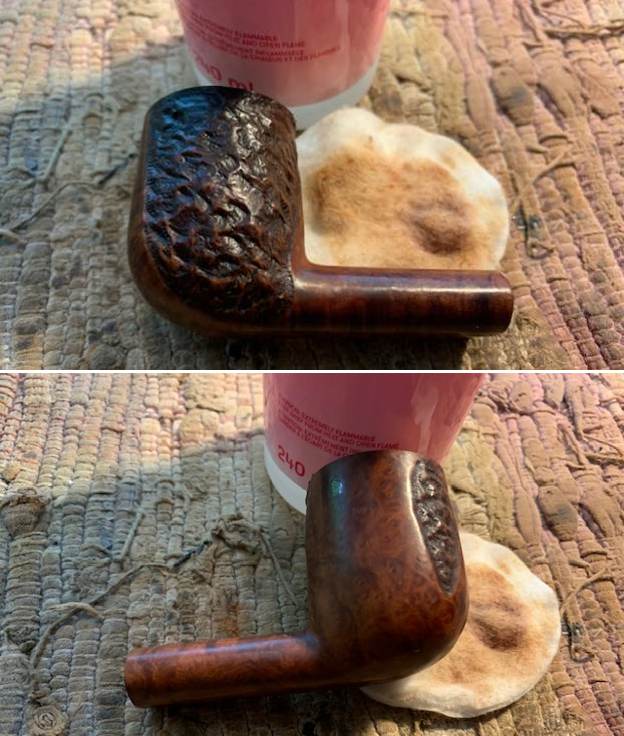
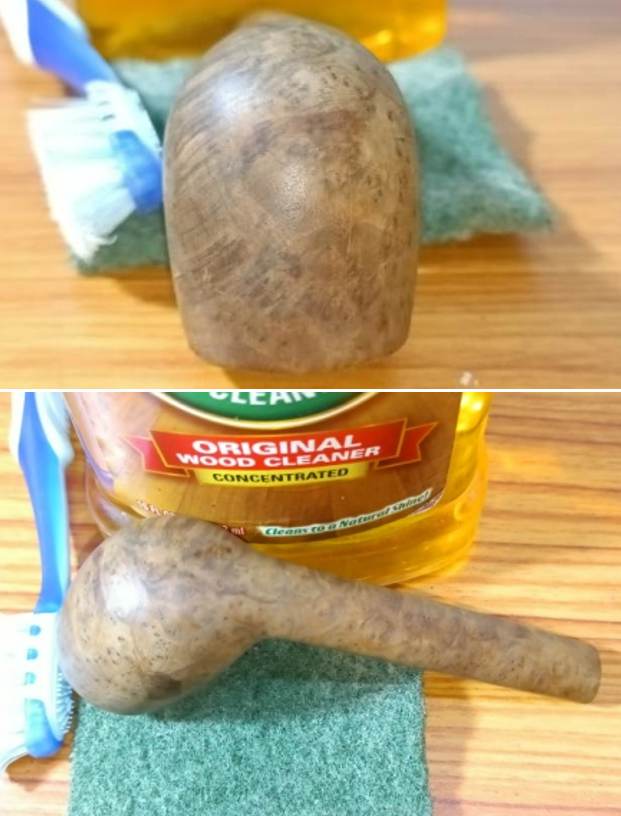
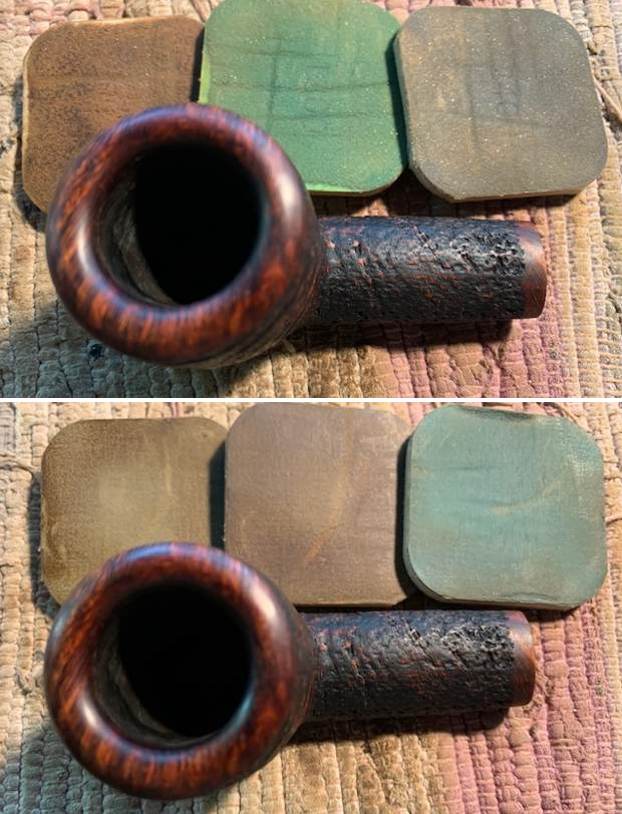
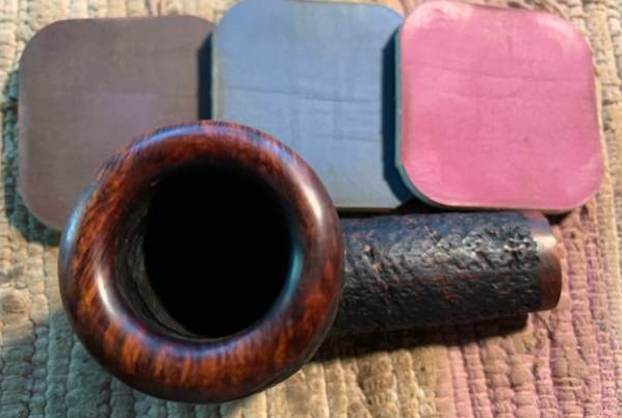
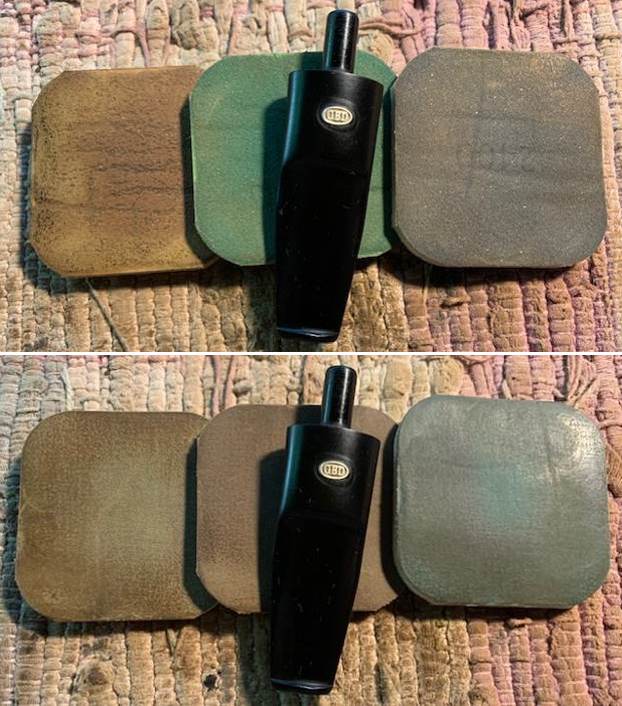
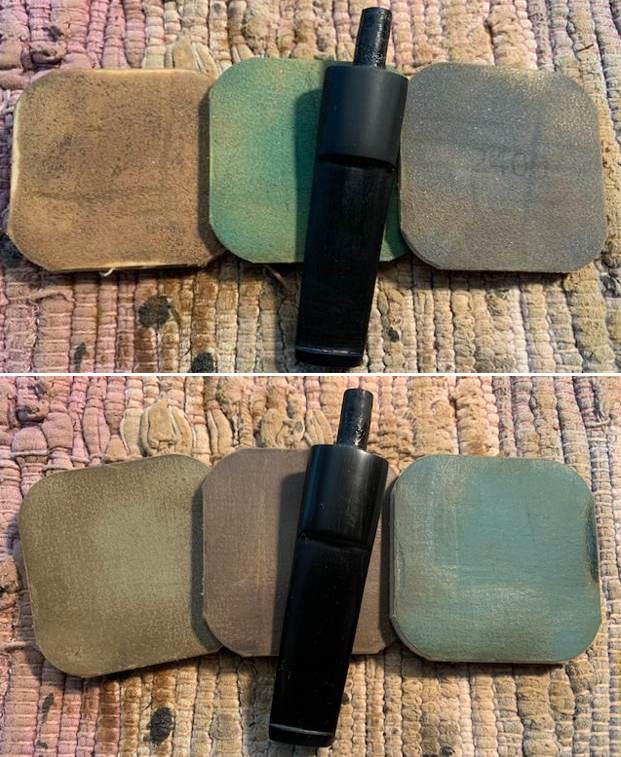
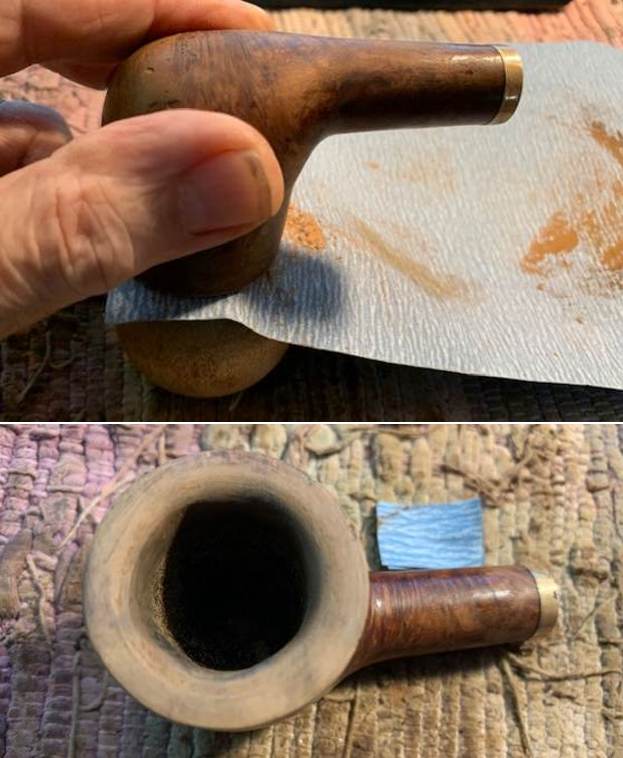
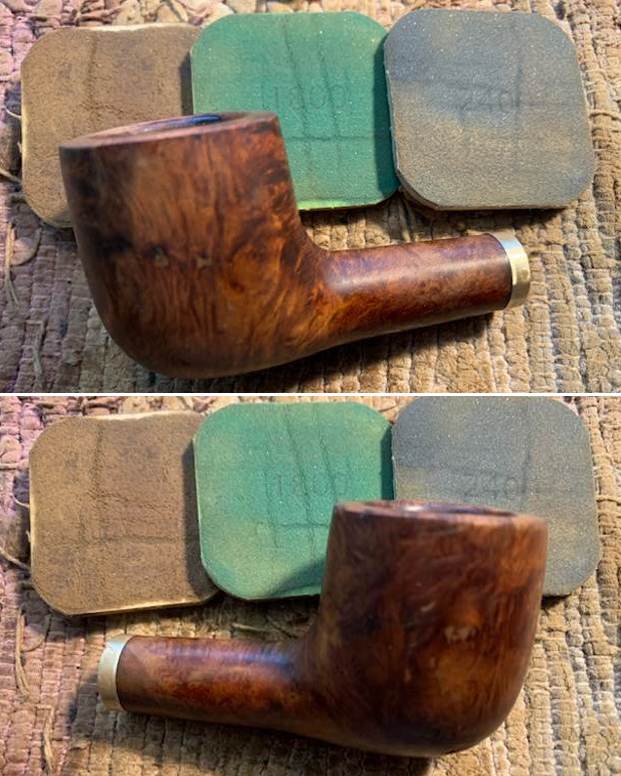
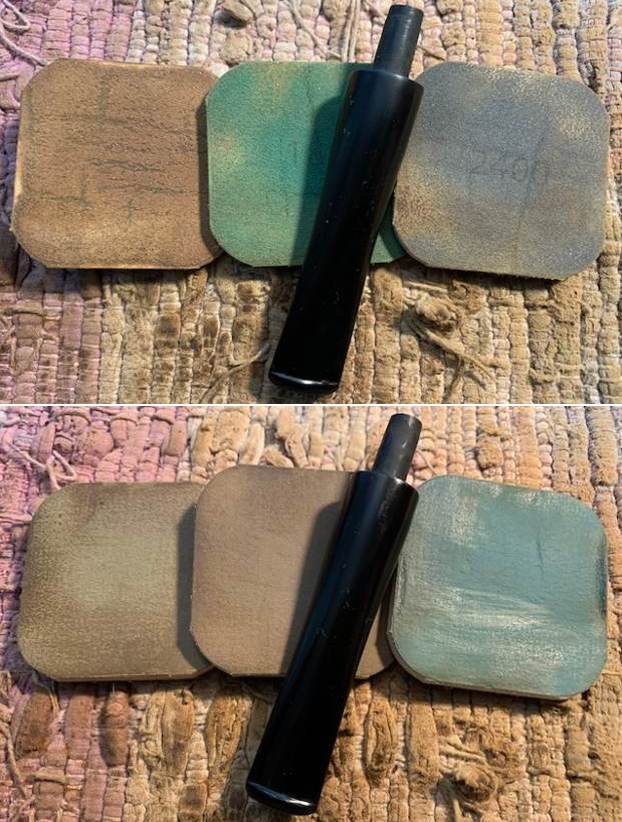
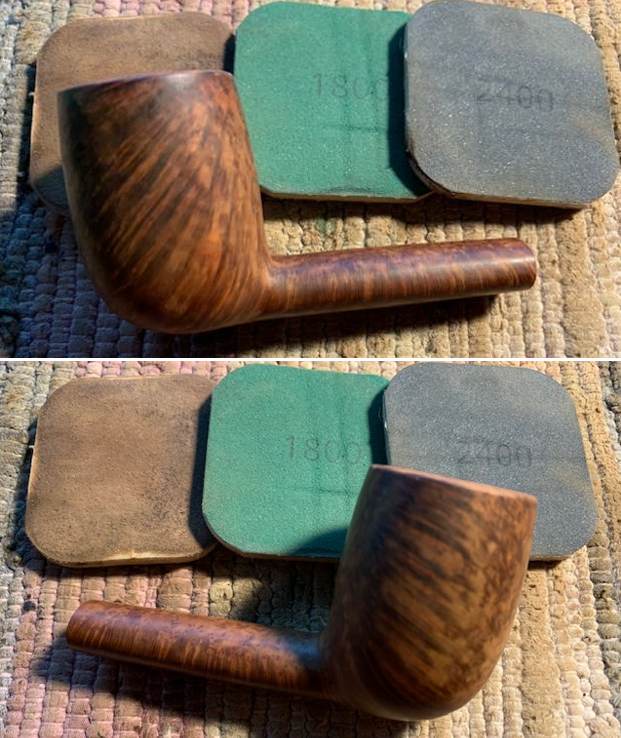
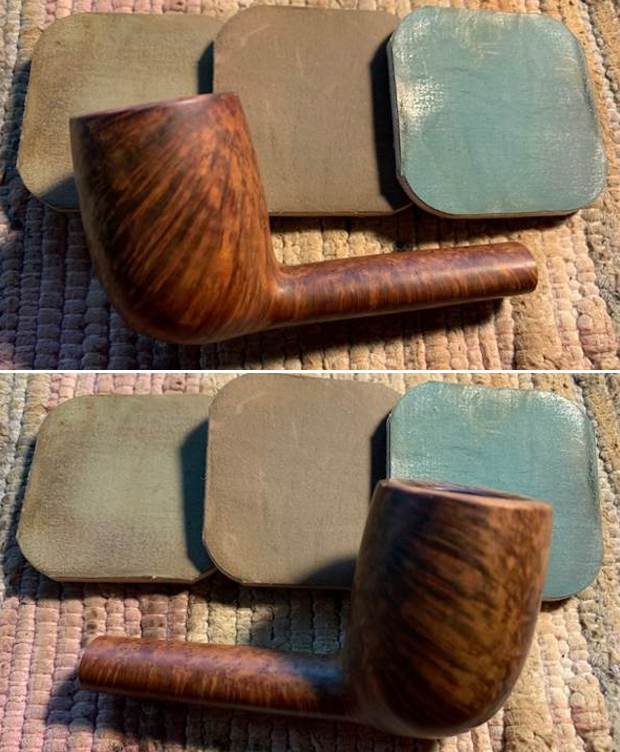
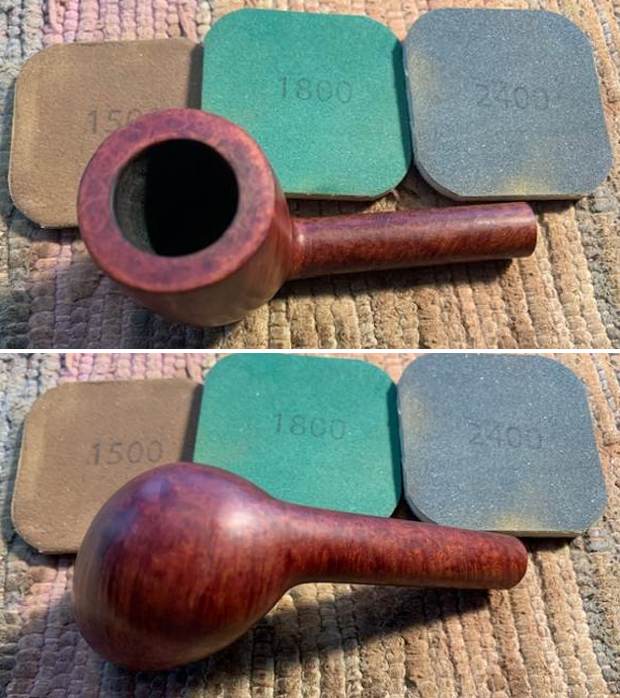
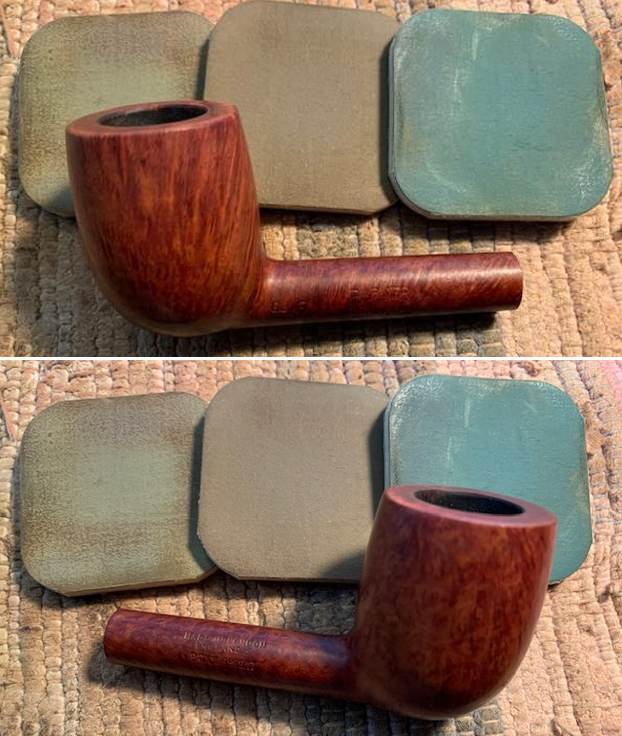
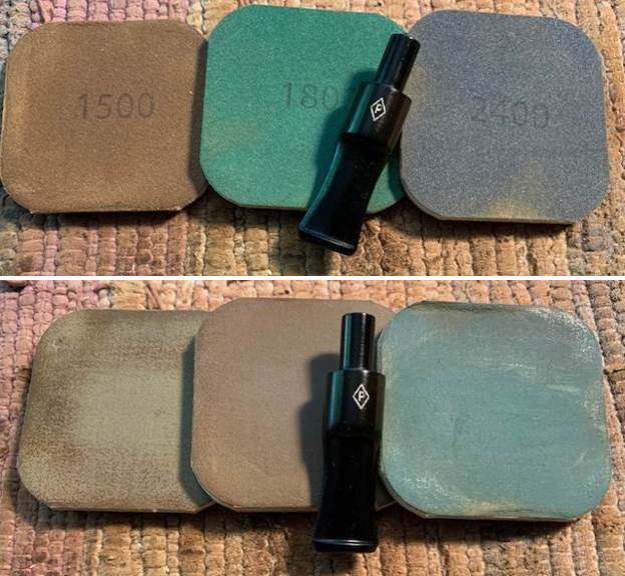
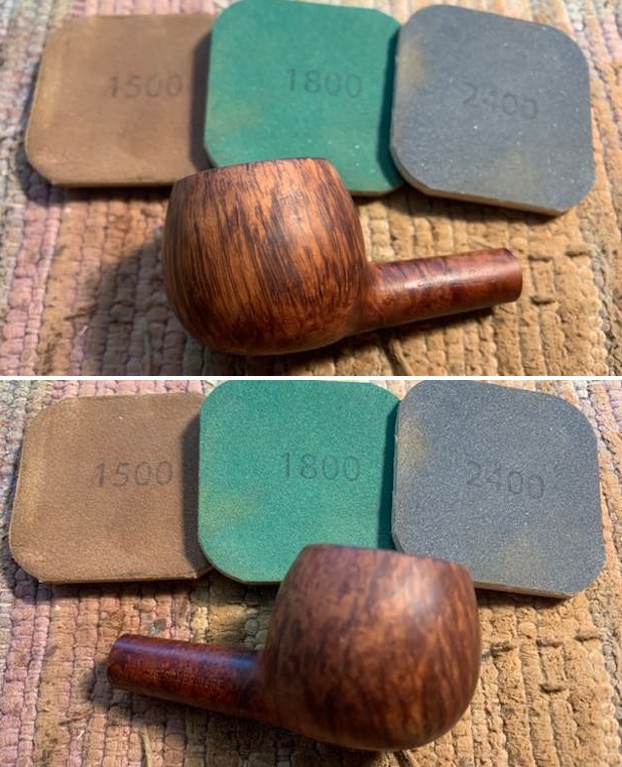
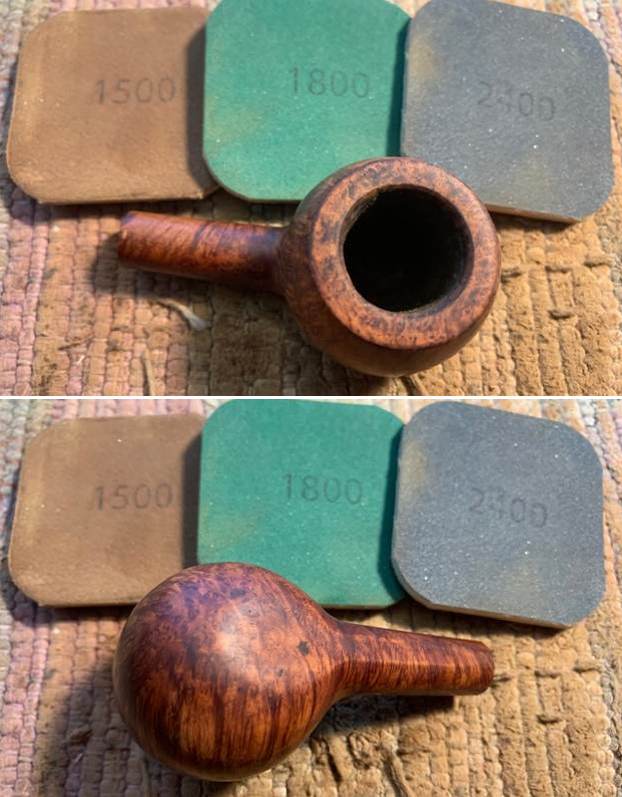
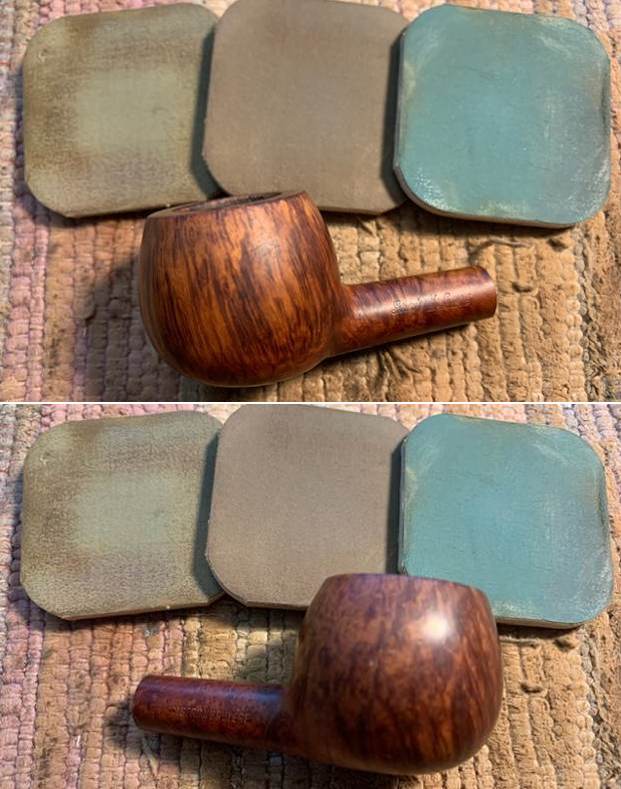
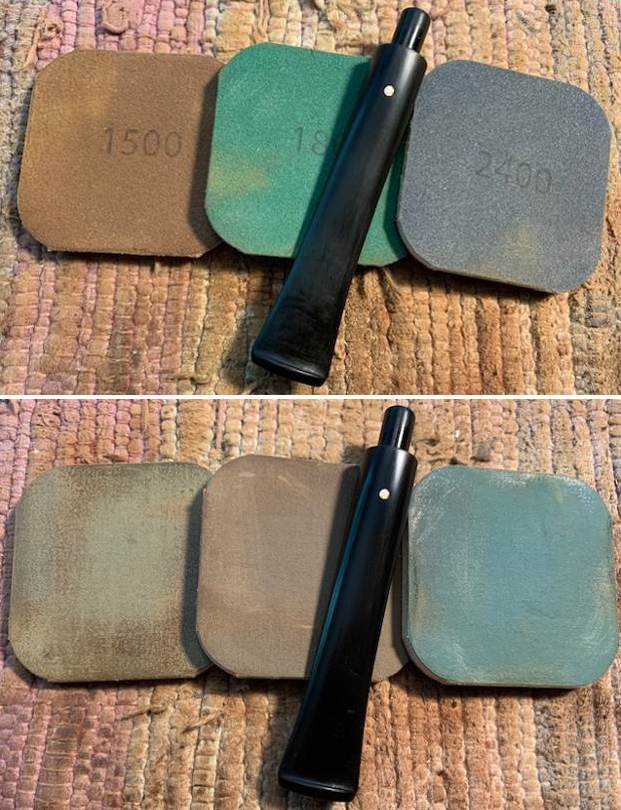
 I polished the bowl sides, the top and inner edge of the bowl with micromesh sanding pads – dry sanding with 1500-12000 grit sanding pads. I wiped it down with a damp cloth after each pad to remove the debris. The smooth finish and the rustication took on a rich glow. The rim top and edges looked better and polished well.
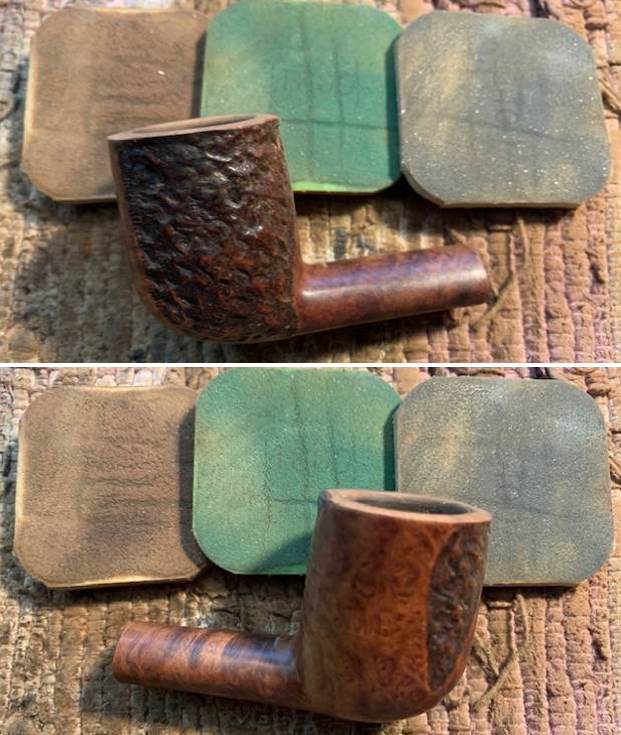

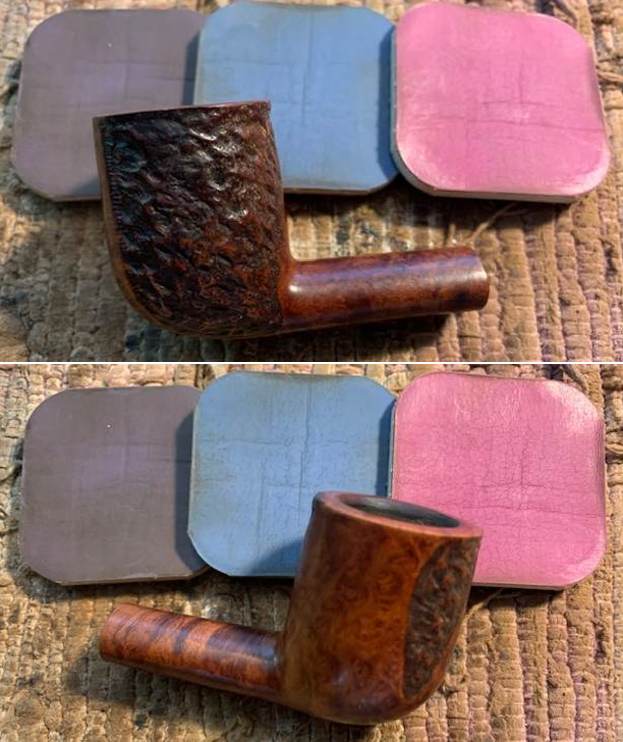
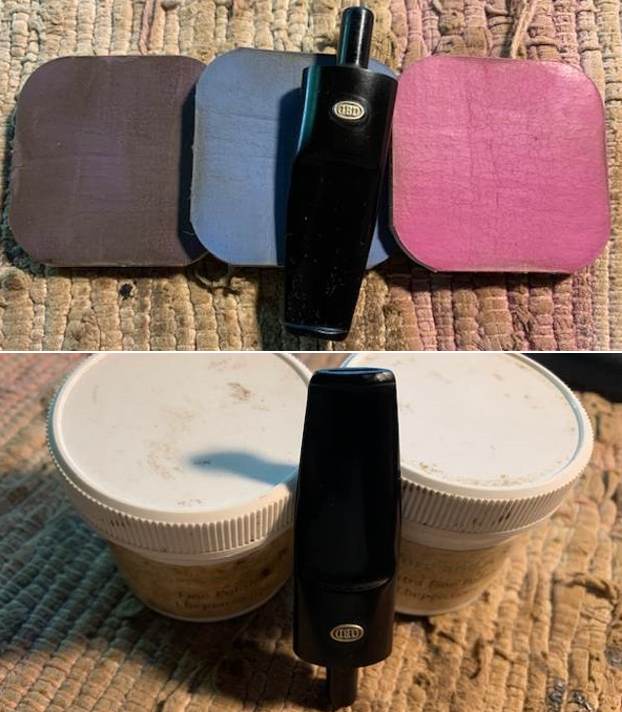
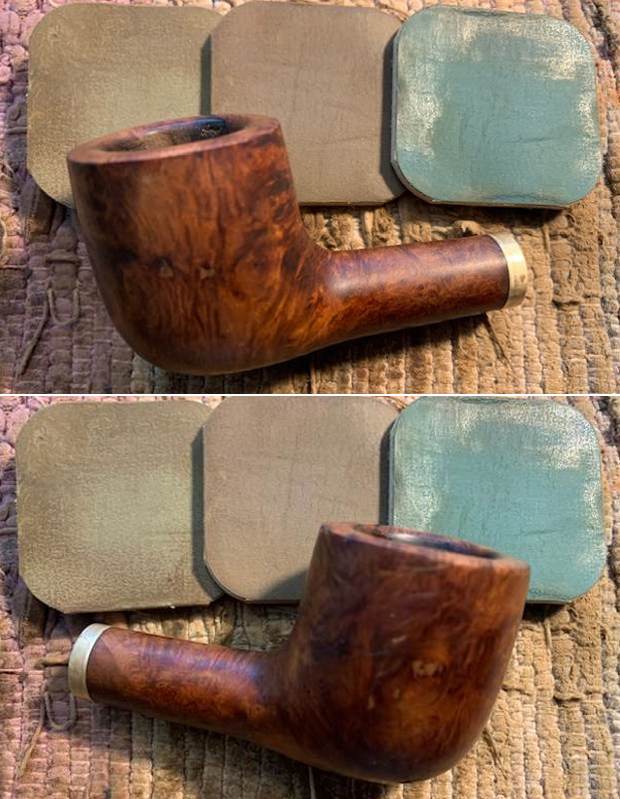
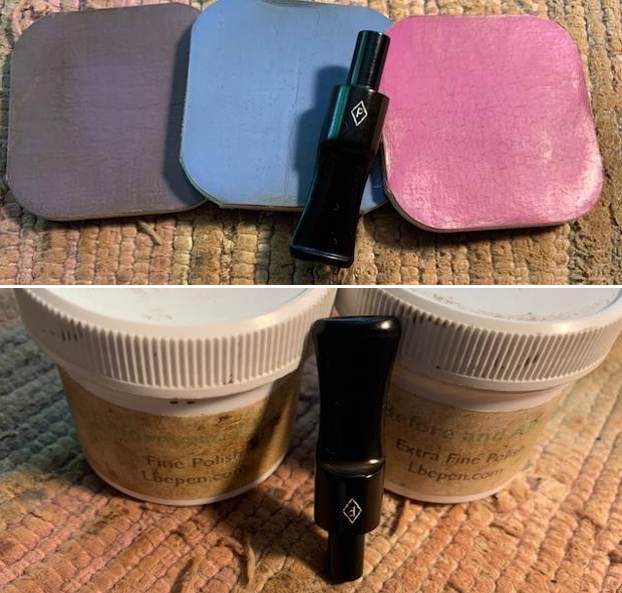
 I worked some Before & After Restoration Balm into the briar with my finger tips and into the rustication with a shoe brush. The product works to clean, revive and protect the briar. I let it sit on the pipe for 10 minutes then buffed it off with a soft cloth.
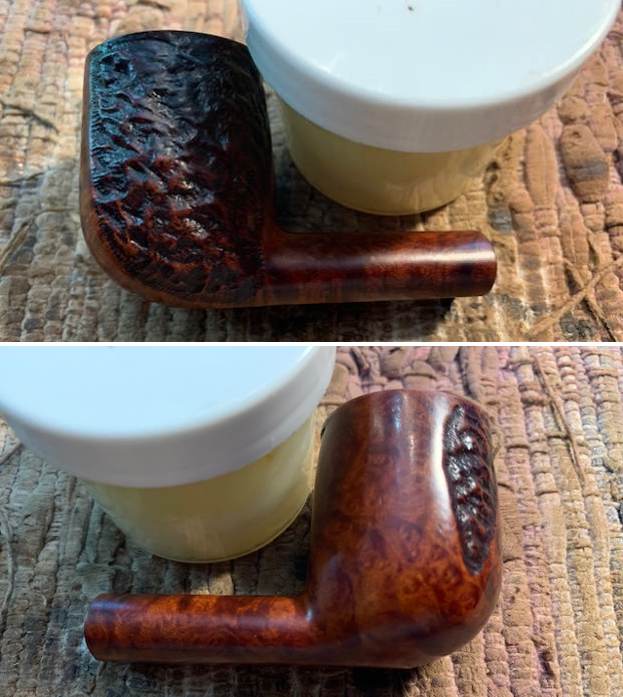
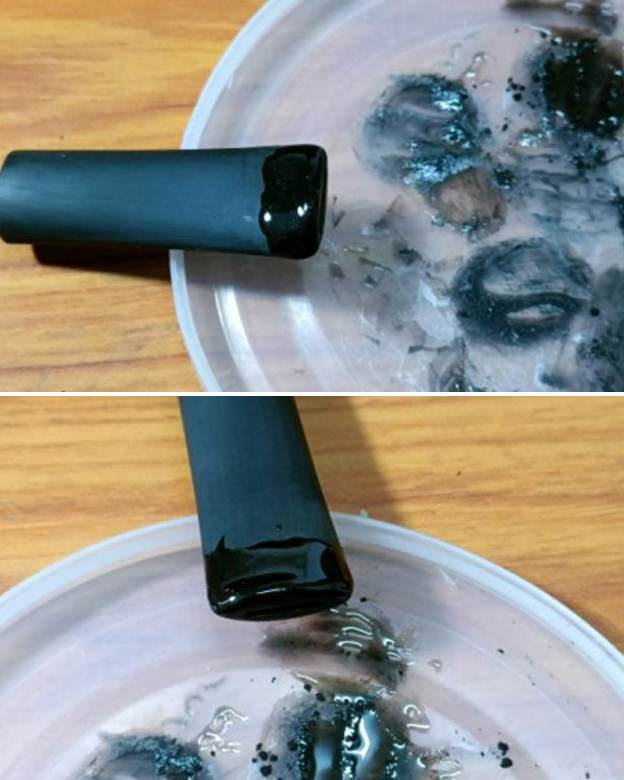
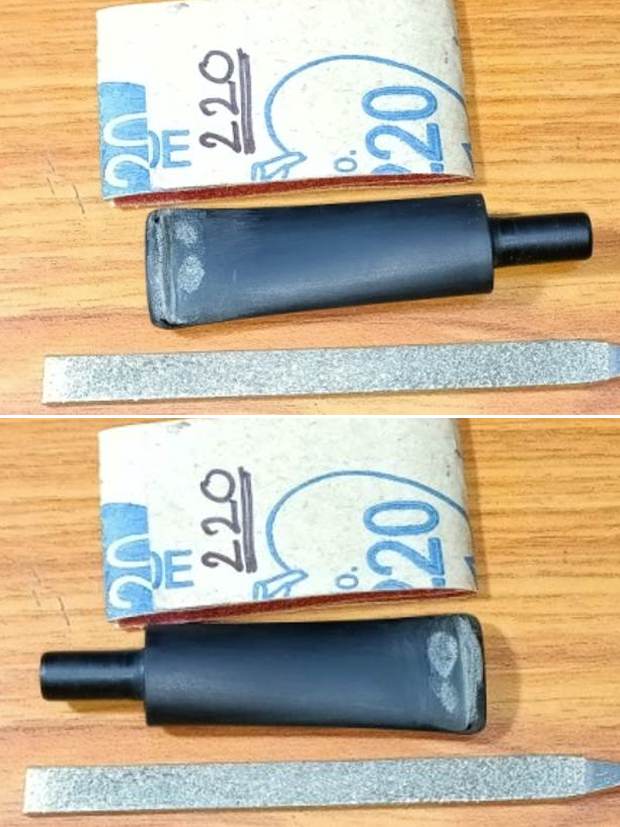
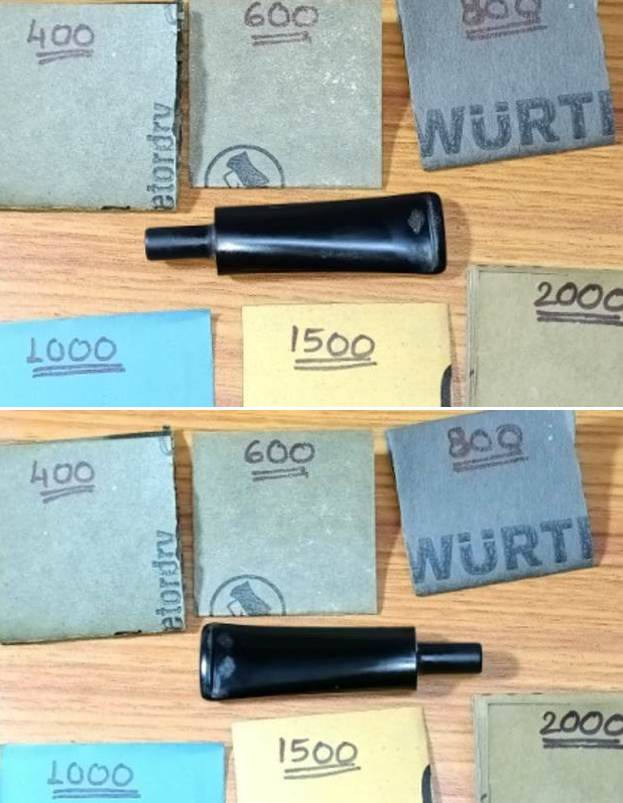
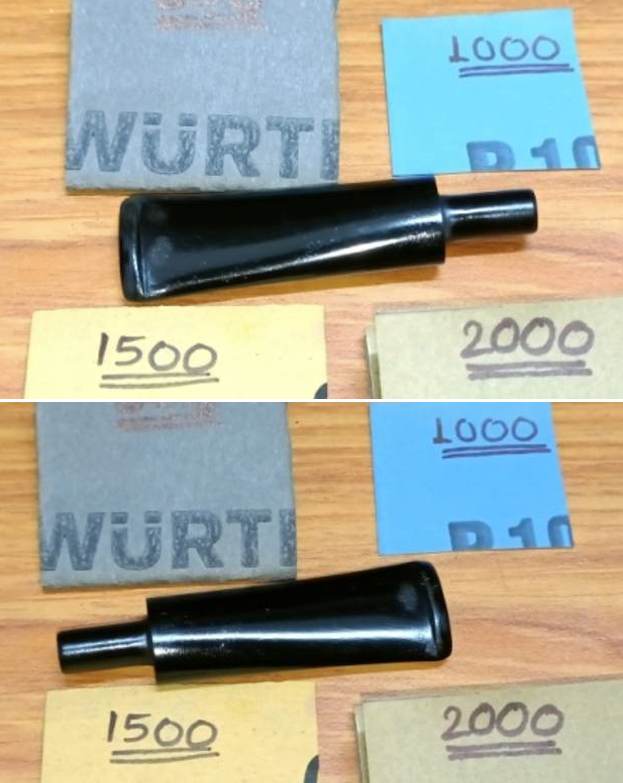
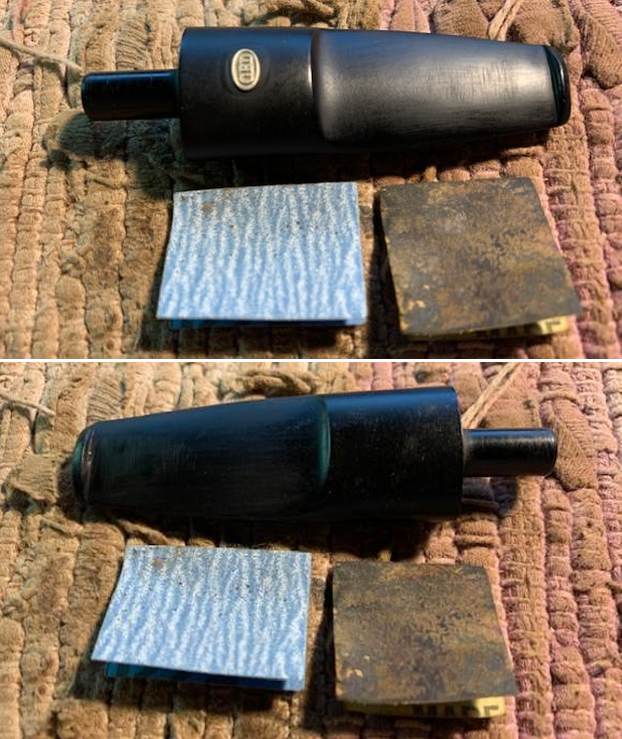
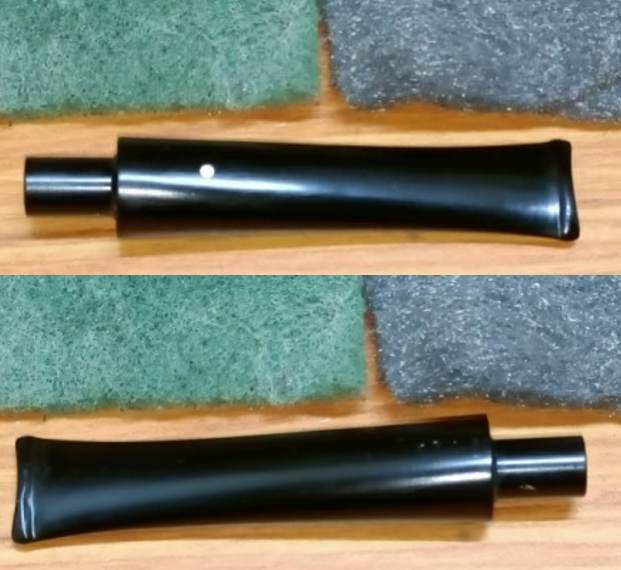
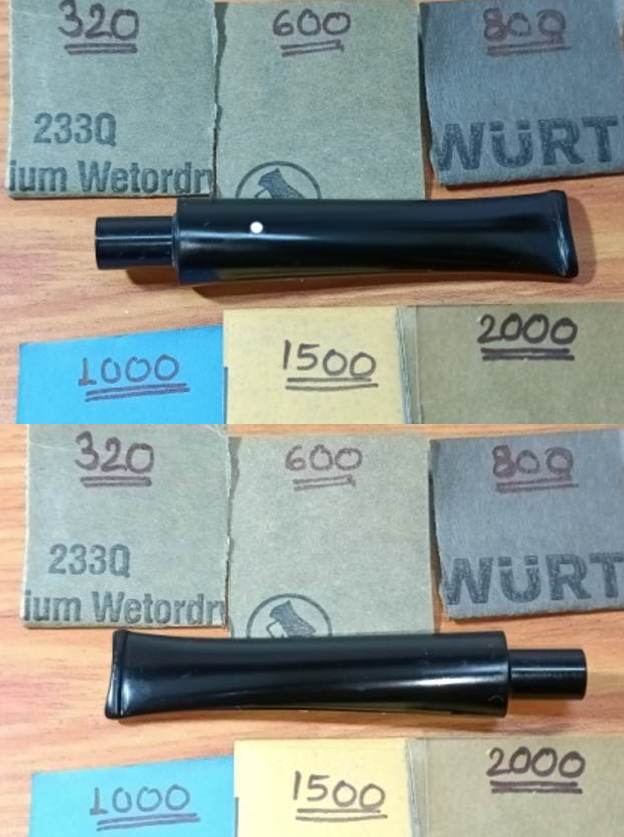
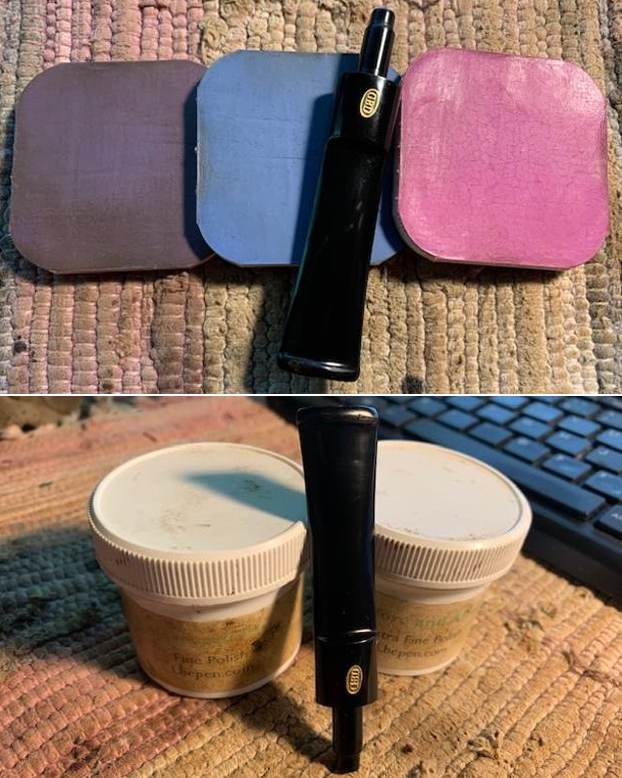
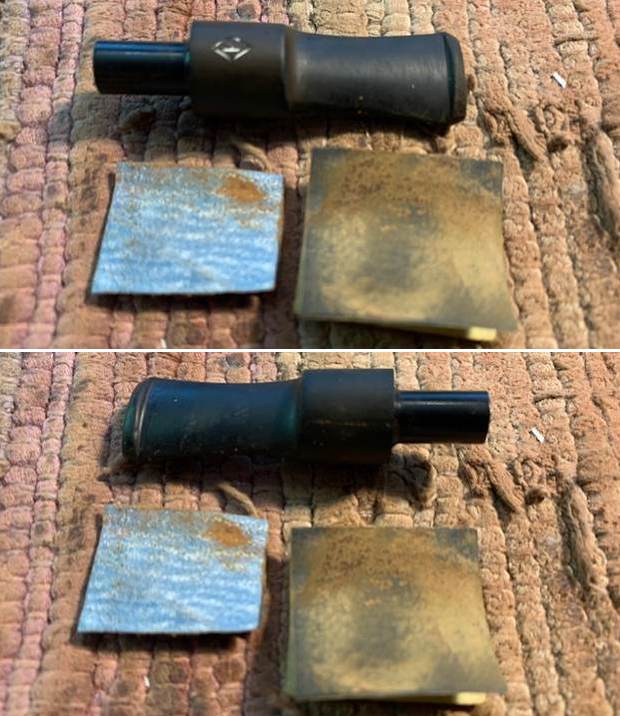
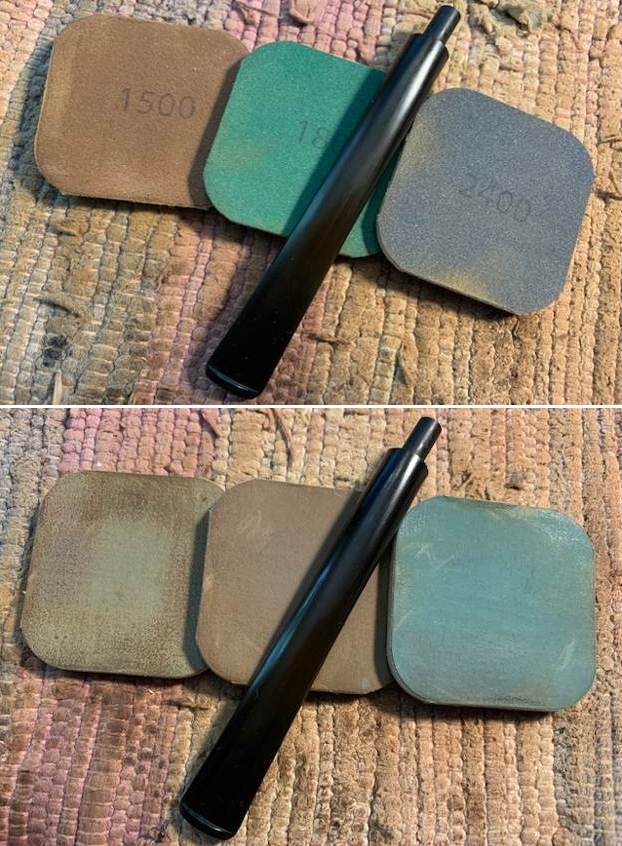
 I polished out the tooth chatter and marks on the stem with micromesh sanding pads – dry sanding it 1500-12000 pads. I wiped it down with some Obsidian Oil each pad to remove the dust and polishing debris. I polished it with Before After Pipe Polish – both Fine and Extra Fine. I gave it a final coat of Obsidian Oil and set it aside to dry.
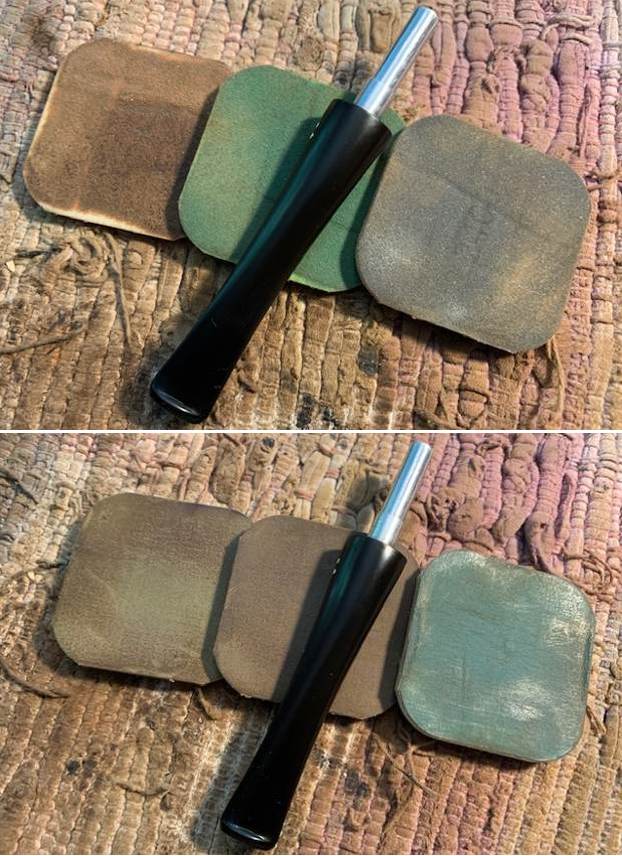
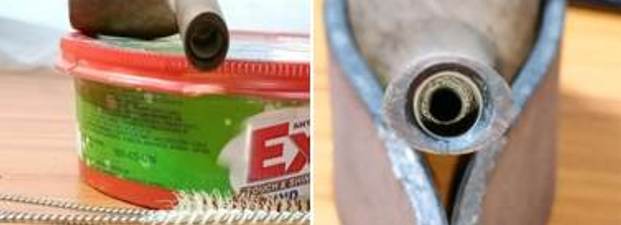
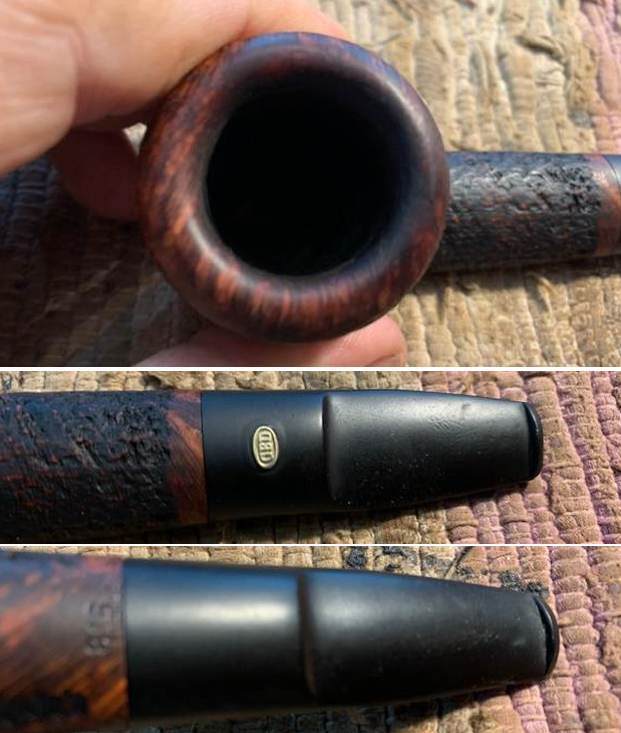
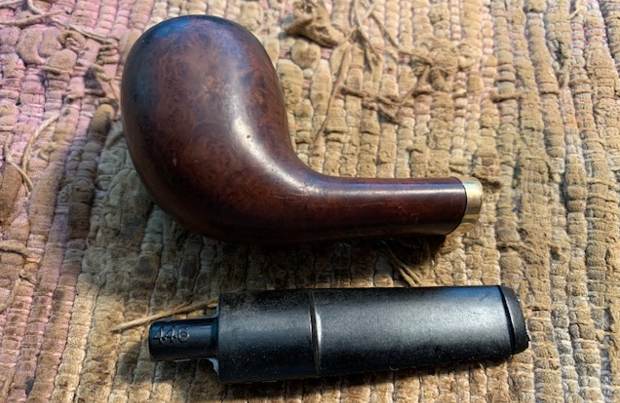
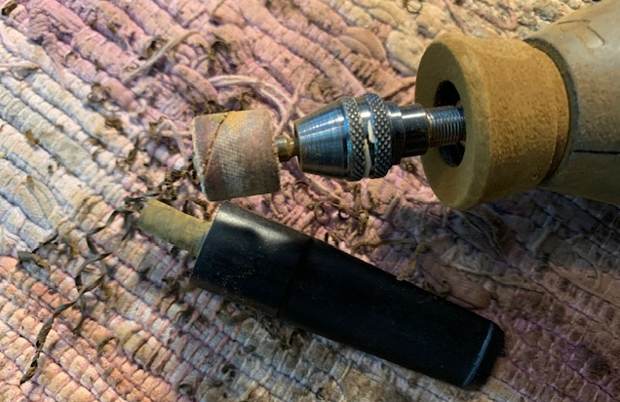
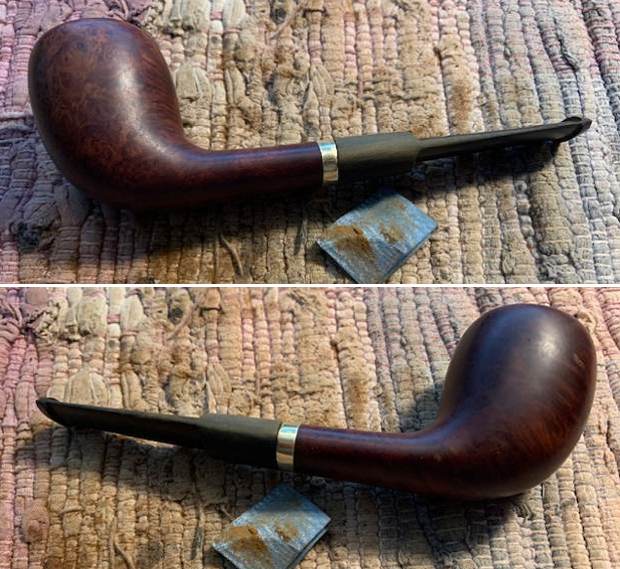
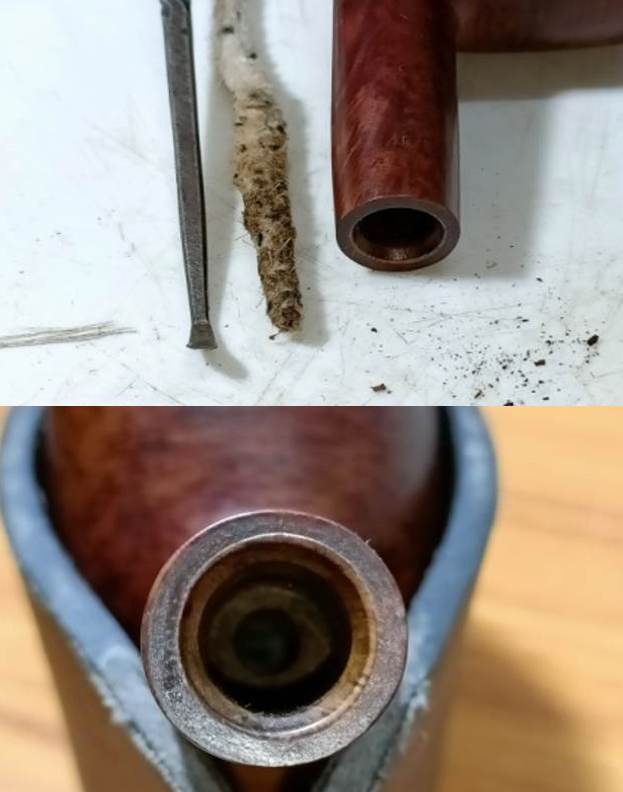
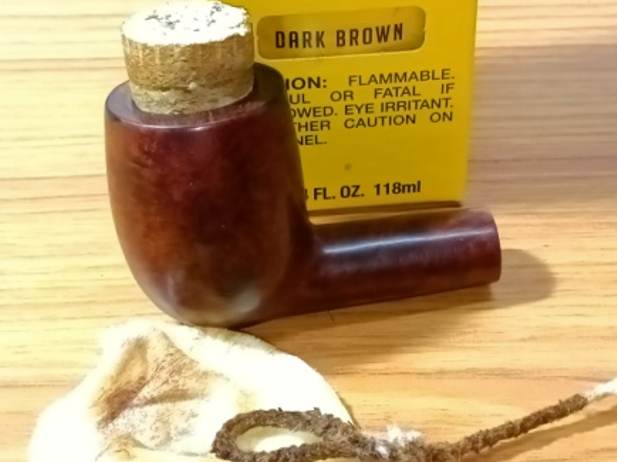
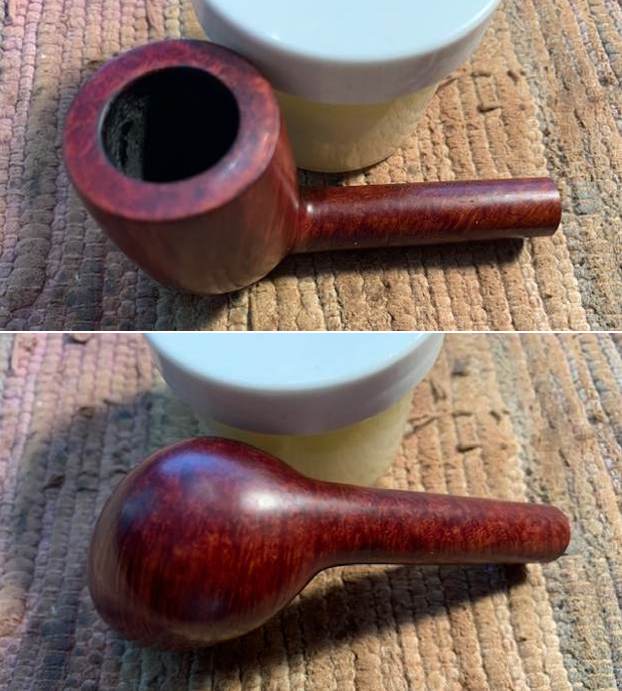
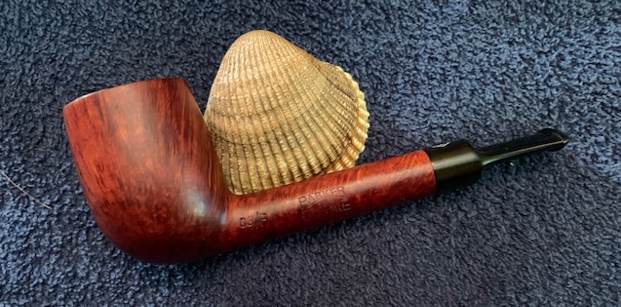
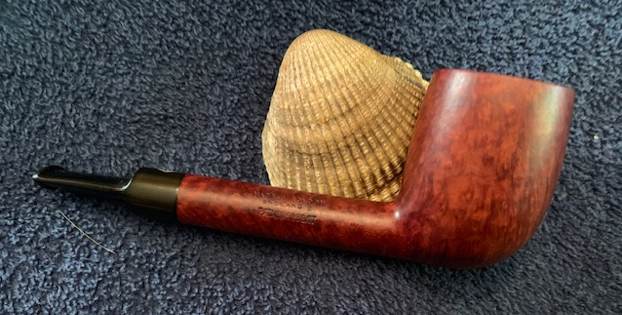
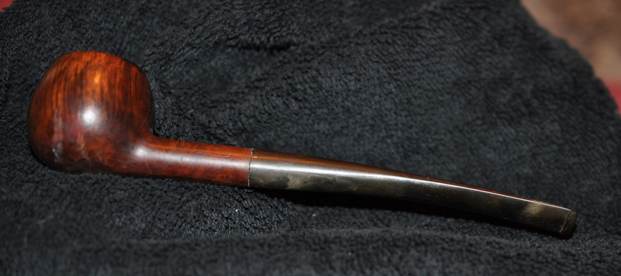
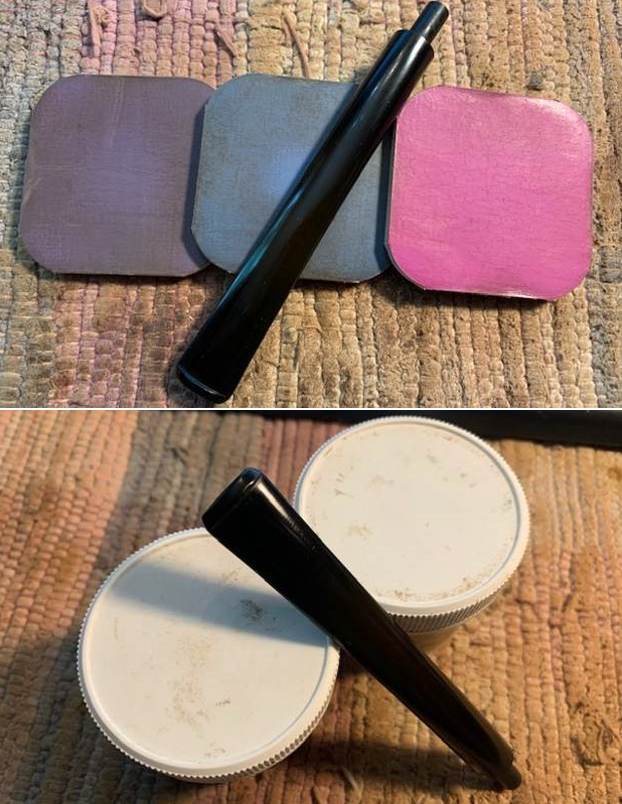
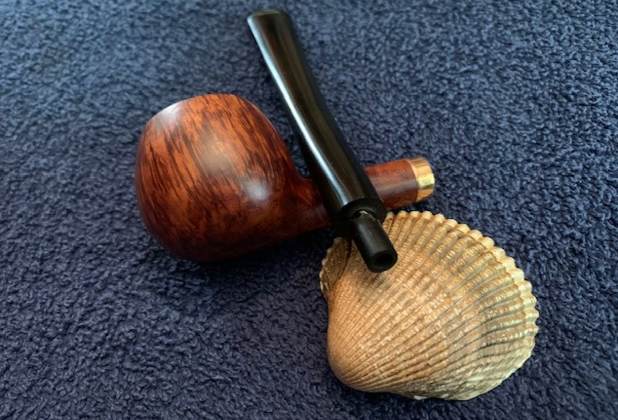
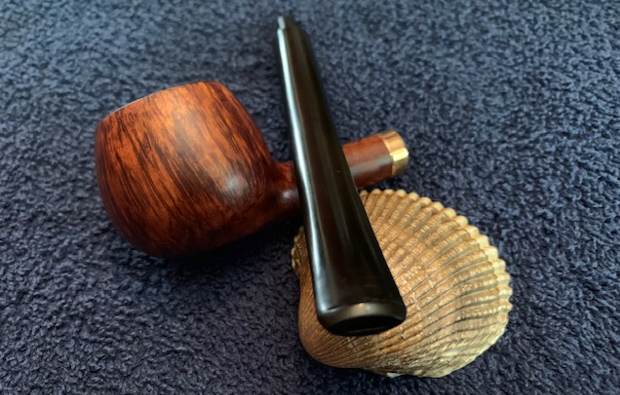
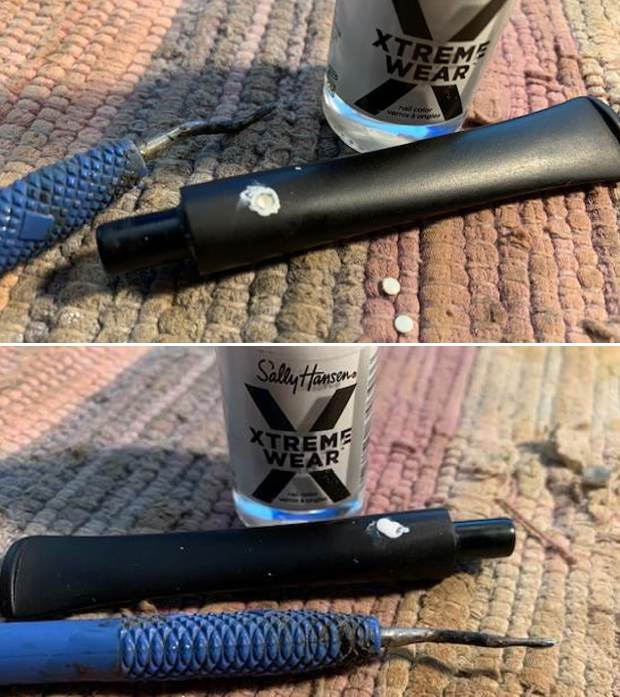
 I put a new Maple Distillator tube in the metal tenon and took a photo. This system works amazingly well and delivers a smooth dry smoke and allowing the free insertion of a pipe cleaner in the stem.
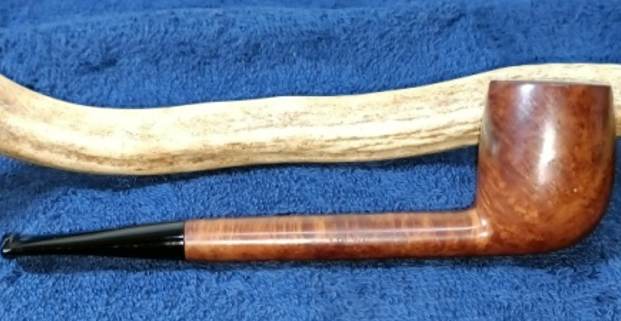
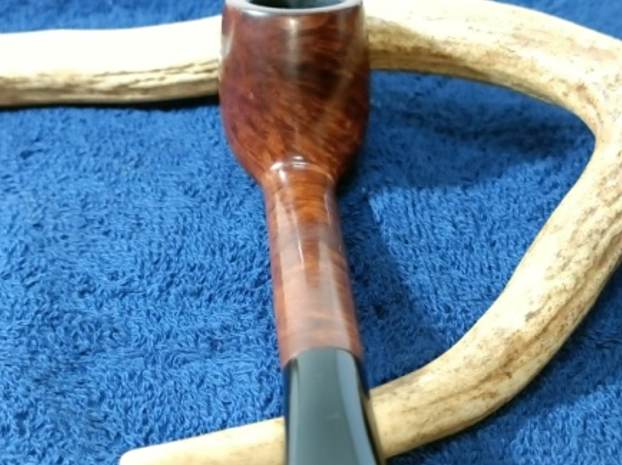
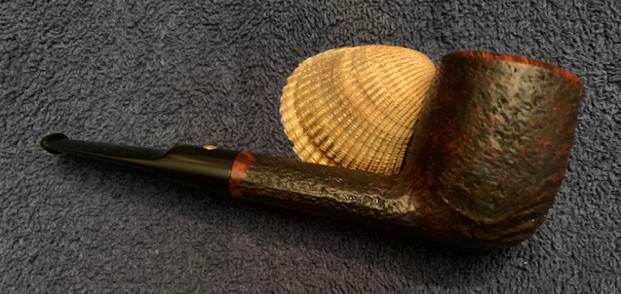
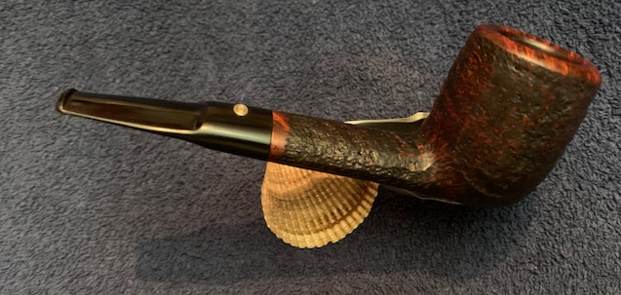
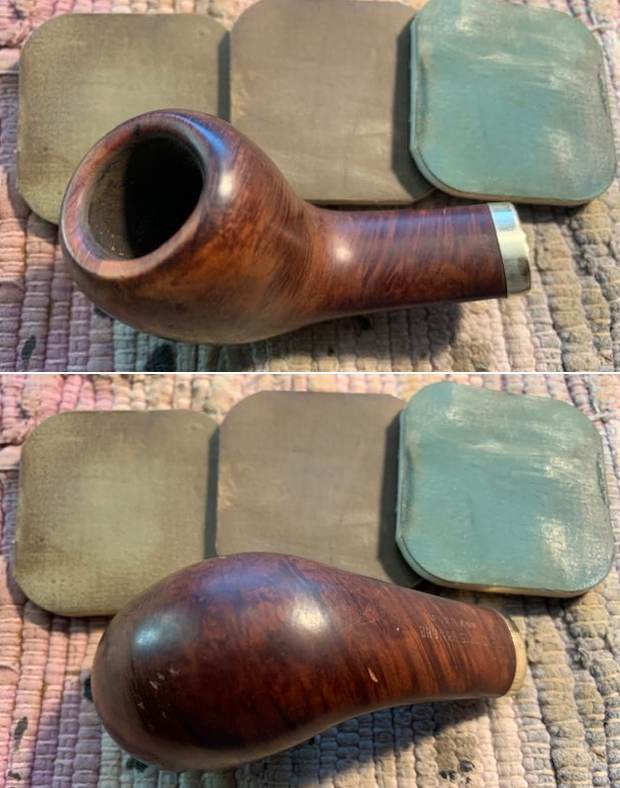
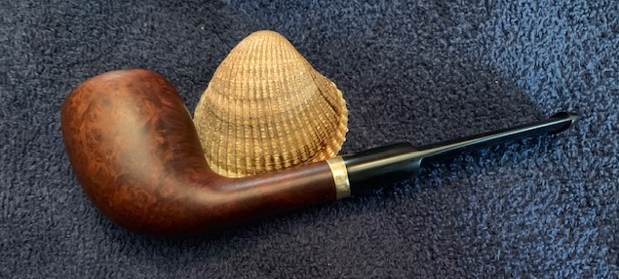
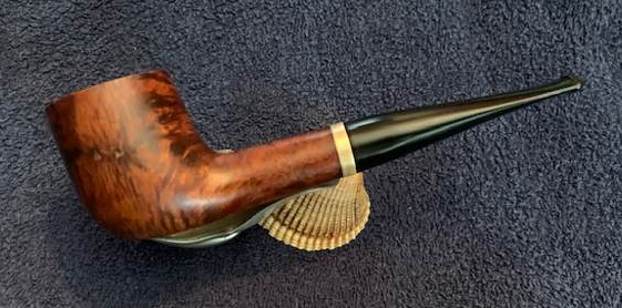
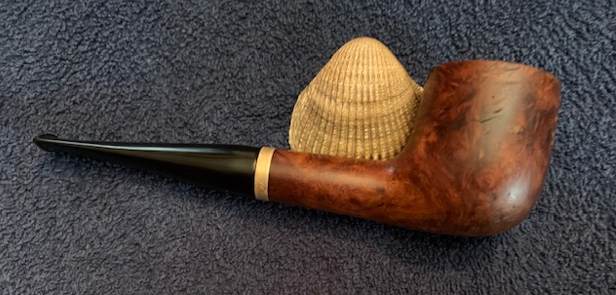
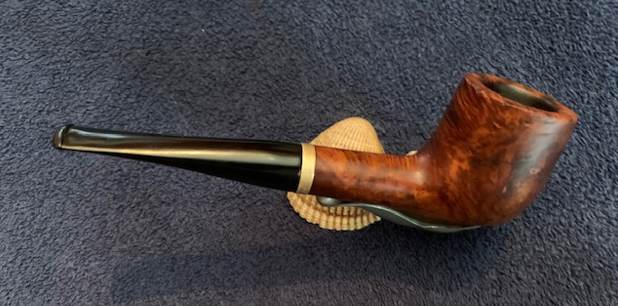
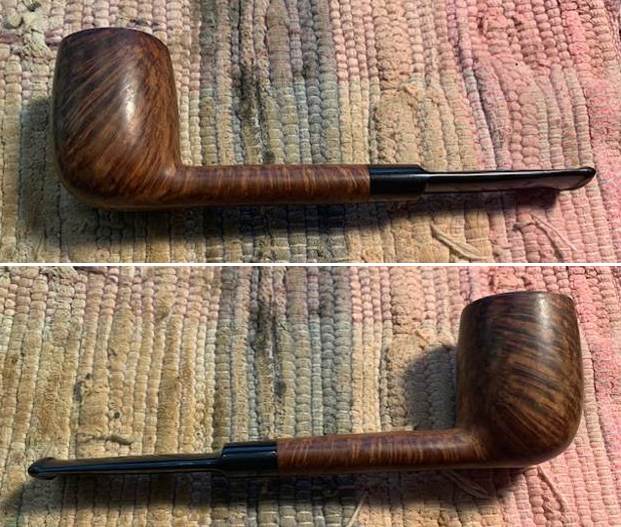
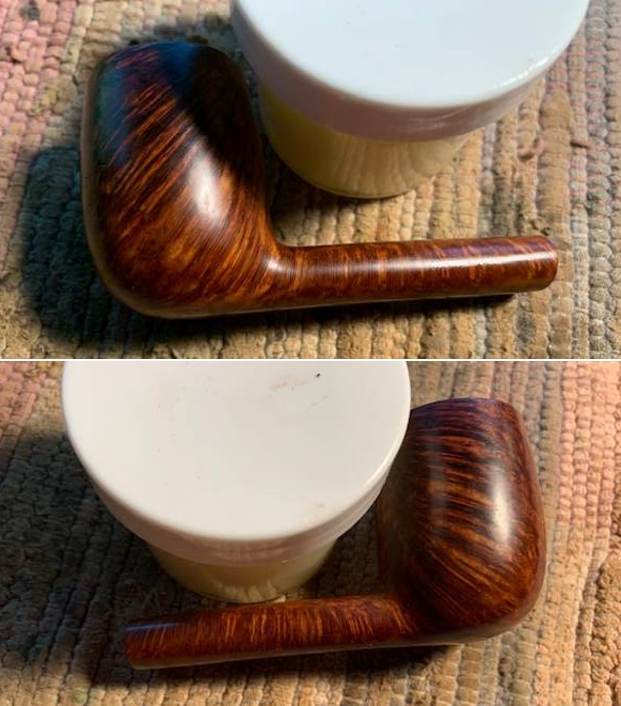
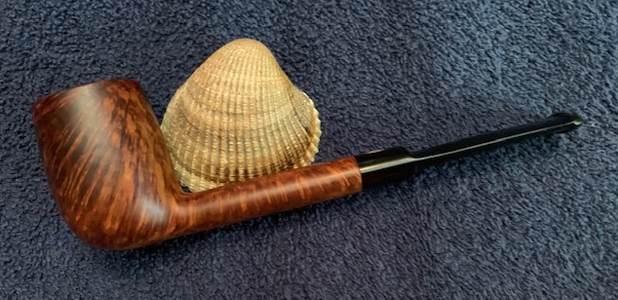
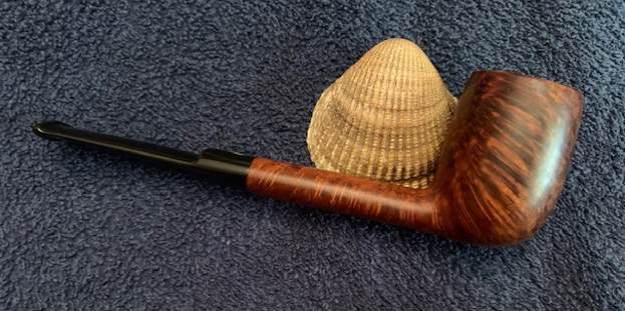
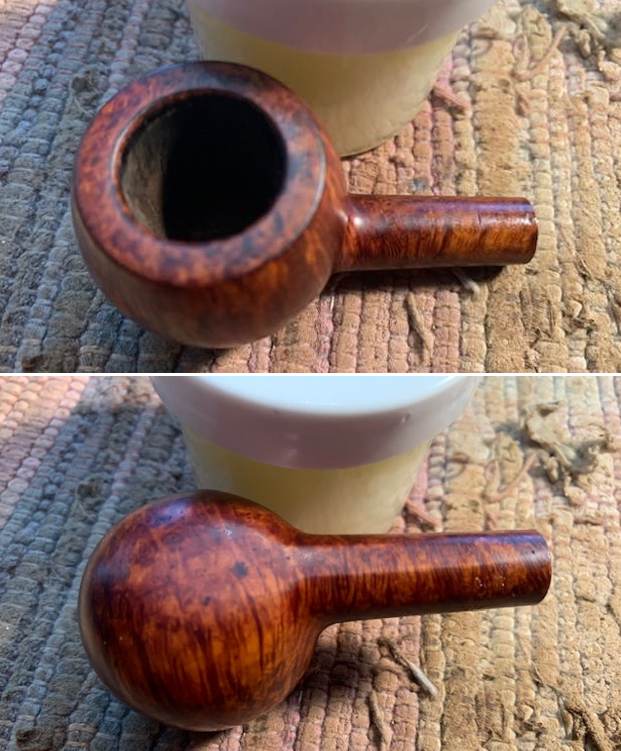
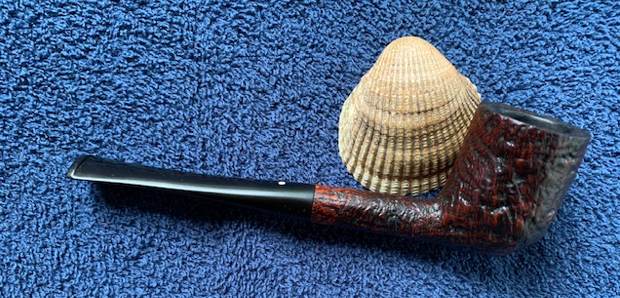
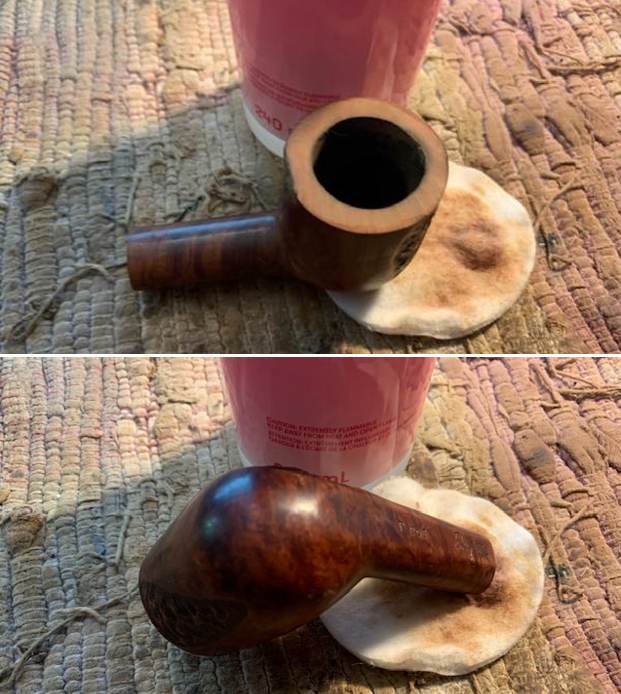
 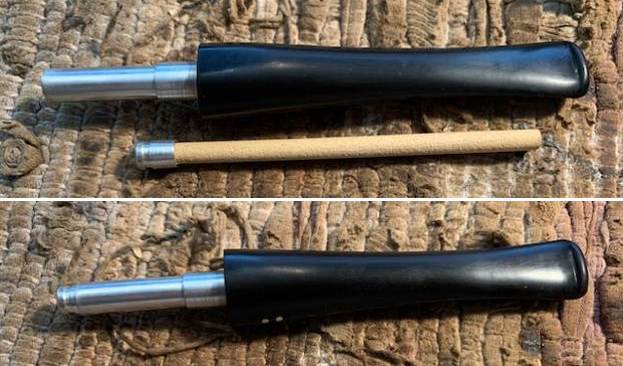 This is another pipe that I am really happy about the look of the finished restoration. This reborn Brigham P203 2 Dot Promotional Oval Shank Billiard turned out really well. I think that it really is a great looking pipe with a great shape and grain. The rebuilt rim top and cleaned up inner edge came out very well. The combination of the smooth finish and rusticated patches look good.. The polished black of the stem works well with the briar. The briar really came alive with the buffing. The rich brown stains of the finish make the grain really pop with the polishing and waxing. I put the stem back on the bowl and buffed the pipe with Blue Diamond on the buffing wheel. I gave the bowl and the stem multiple coats of carnauba wax on the buffing wheel. I buffed the pipe with a clean buffing pad to raise the shine. I hand buffed the pipe with a microfiber cloth to deepen the shine. The finished Brigham Promotional Oval Shank Billiard really feels great in the hand and it looks very good. Give the finished pipe a look in the photos below. The dimensions of the pipe are Length: 5 ¾ inches, Height: 1 ¾ inches, Outside diameter of the bowl: 1 ¼ inches, Chamber diameter: 7/8 of an inch. The weight of the pipe is 35 grams/1.23 oz. The pipe will be going on the rebornpipes store soon. It will be in the Canadian Pipe Makers Section if you would like to add it to your collection. Thanks for reading this blog and my reflections on the pipe while I worked on it. It was a fun one to work on!