Tag Archives: bowl topping

Refinishing and Reworking the Rim on a Comoy’s London Pride.


I looked up some information regarding this line of Comoy’s on the internet as I was not familiar with its placement in the ranks of Comoy’s lines. There I found that Comoy’s introduced the London Pride as the second grade to the Blue Riband around the same time to meet the American demand for a lighter finish. It was priced in 1943 at $25 and in 1965 at $25, then in 1979 at $95. It was described as having a natural amber coloring and tending to be Birdseye/Cross-Grained pattern pipes. At the time this pipe was made it was the next-to-top-of-the-line. The original stem had a three-piece “C” logo and this one did not have that. Judging from that fact, the shape of the tenon and the stem shape I am confident that it is a replacement stem. The stampings on the left side of the shank are “Comoy’s in block script over London Pride” and on the right side the stamping is worn. The shape number is near the bowl shank junction on the right and reads 292. The next four photos show the pipe as it was when I brought it to the work table.
Comoys1

Comoys2

Comoys3

Comoys4

The pipe was in fair condition. The stamping was faint, the finish had a thick coat of varnish over it and the rim was heavily damaged. The previous refurbishing had rounded the inner and outer rim removing the characteristic bevel on the inner rim and the sharp out edge. The stem was a replacement and the person who had replaced the stem sanded the shank down to fit the new stem. Fortunately they had not taken off too much of the briar. It was visible from the lines of the pipe and from the lightening of the area around the shank/stem junction. I have included the next photo to show the rim damage that needed to be addressed.
Comoys5

I topped the bowl on a flat board and sandpaper to remove the rounded inner and outer edges. I removed only enough to clean up and sharpen the outer edges and reduce the inner rounding to a slight bevel. I also sanded the inner edge with a folded piece of sandpaper to redo the bevel. I sanded the top and the bevel with a medium grit sanding sponge and also with a 1500 grit micromesh sanding pad to remove the scratches.
Comoys6

Comoys7

Comoys8

I wiped down the bowl with acetone on a cotton pad to remove the varnish coat and the remaining stain on the pipe. I find it easier to match the new rim colour if the bowl is also clean and the stain removed as much as possible.
Comoys9

Comoys10

Comoys11

I stained the bowl and rim with Minwax Medium Walnut stain which brought the colour as close as I could to the photos I found of the original colour of the London Pride line. I applied the stain and hand buffed the pipe.
Comoys12

Comoys13

Comoys14

Comoys15

I probably should have cleaned the inside earlier in the process but I did not bother until this point as it was quite clean. I scrubbed out the bowl with a cotton swab and Everclear as this bowl did not have the same black bowl coating as some of the others from this box of English pipes. The shank and the stem were not too dirty and it only took a few cotton swabs and pipe cleaners to bring it back to clean.
Comoys16

The stem was in great shape so I did not need to remove tooth marks or dents. It was also quite clean so I rubbed it down with some Obsidian Oil and then took the pipe to the buffer and buffed it with White Diamond. I gave the bowl and stem multiple coats of carnauba wax and buffed to a shine with a clean flannel buff. The finished pipe is shown in the photos below. It turned out to be a beautiful pipe – the combination of cross grain and birdseye matches the description I had found on the web regarding this line of Comoy’s pipes. It is ready to serve the next season of its life.
Comoys17

Comoys18

Comoys19

Comoys20

Reworked Comoy’s The Guildhall London Pipe Stack – Shape 345


Blog by Steve Laug

The pipe is stamped The in script over Guildhall over London Pipe on the left side of the shank and number 345 near the bowl on the right side of the shank and Made in London in a circle over England. This is the third of the pipes from the box my daughters found for me. The first two were the Orlik’s that I wrote about earlier. This one was in better condition than the other two. The top was beat up with outer and inner rim damage and also the same varnish coat over the uncleaned rim and the bowl and shank. The stem was original and has the three silver bars on the left side as expected in the Guildhall series. There were tooth dents that had been buffed out and left the stem with waves around the remaining marks. The grain was quite nice on this one – lots of cross grain and birdseye but it was obscured by the finish coat. The interior was filthy as were the others. In the side photos below the finish looks pretty good but the grain could stand out more clearly.
IMG_3927

IMG_3930

IMG_3931

I took the next photo to show the damage on the rim. The inner edge was rough and the outer edge was also rough. There was tar build up under the varnish coat that had not been cleaned off before varnishing. The bowl was also coated with a black bowl coating.
IMG_3932

I sanded the top and bottom side of the stem with 20 grit sandpaper to smooth out the ripples in the vulcanite and remove the remainder of the tooth marks. Once I had them removed I worked on the bowl.
IMG_3935

IMG_3936

I topped the bowl on the sandpaper and flat board as is my usual method. I took off enough briar to make the top smooth and the outer edge sharp as well. I sanded the inner edge with a folded piece of sandpaper to smooth out the damage there as well. The next two photos show the topping process and the sanding of the inner edge.
IMG_3938

IMG_3939

The interior of the shank and stem were filthy and needed a lot of work with Everclear, pipe cleaners and cotton swabs. The photo below shows the first lot that was used but by the time I was finished cleaning the shank I had used about twice that number.
IMG_3940

I wiped down the surface of the bowl with acetone on cotton pads to remove the varnish coat and the finish. I wanted to remove as much of it as possible so that when I restained the rim it would be easier to match.
IMG_3941

IMG_3942

IMG_3943

I sanded the stem with a medium grit sanding sponge and then with my usual array of micromesh sanding pads. I wet sanded with 1500-2400 grit pads and dry sanded with 3200-12,000 grit pads. I buffed the stem in between the wet sanding and the dry sanding with red Tripoli because I wanted to see what I had to work with and if I had removed the rippling on the vulcanite. I had so I went on to the dry sanding. When I had finished I buffed the stem with White Diamond and then rubbed it down with Obsidian Oil and put it aside to dry.
IMG_3944

IMG_3945

IMG_3946

I stained the bowl with MinWax Medium Walnut stain. I applied it with a cotton pad and rubbed it off with a cotton cloth. I repeated the process until I had the coverage that I wanted and the rim and bowl matched.
IMG_3947

IMG_3948

IMG_3950

IMG_3951

I reinserted the stem in the shank and took the pipe to the buffing wheel for a buff with White Diamond. I gave both the bowl and the stem multiple coats of carnauba wax and polished it with a soft flannel buff. The reworked Comoy’s Guildhall Stack is shown in the photos below ready and clean for its inaugural smoke.
IMG_3953

IMG_3954

IMG_3955

IMG_3956

Reworking an Orlik De Luxe L23 Billiard


Blog by Steve Laug

This is the second pipe from box of English pipes that my daughters found when cleaning out our storage room under the front porch (interior room). It is stamped Orlik De Luxe over Made in England on the left side of the shank and L23 on the right side of the shank. It looked as if it had been refurbished by the same gent who did the Orlik Canadian I reworked. This one also had a varnish coat on the bowl that made it shiny. Underneath the varnish the finish was spotty. The outer and inner edge of the rim was damaged and there were deep grooves on the surface of the rim. The tarry buildup had not been totally removed before the finish coat of varnish was put in place. The inside of the bowl had been painted with a bowl coating that was black. The stem appears to be a replacement but it was better craftsmanship than the previous one. The stem itself was clean but had scratches. The interior of the pipe and stem were filthy.

I have little experience with Orlik pipes so the numbering system was a mystery to me. I did a bit of research and found out that the shape numbers remain consistent throughout the various lines of Orlik pipes. The only difference is found in the letter that precedes the number. In the case of the two pipes that I have now worked on each had the letter “L” before the shape number. The letter signifies the line of pipes within the Orlik family that is in hand. The L stands for the Orlik De Luxe line. I have included the chart below that gives the various lines of Orlik pipes. I have also included the shape chart for Large Billiards that shows the L23. The one I have is similar to the one in the picture though I am certain that mine has a replacement stem as it has a different taper to the stem.
orl24

orl4

The first three photos below show what the pipe looked like when I brought it to the work table. The issues that I noted above are clearly visible from these photos. The stamping on the pipe is faint but readable on the left side. The number stamp on the right side is in better condition.
IMG_3901

IMG_3902

IMG_3903

In the photo above the tars that were left on the rim before the varnish are visible by my thumb and also my forefinger. The bowl would need to be topped. I have included the next two close-up photos of the rim to show the condition it was in when I started the rework of this pipe and to explain why I was going to top the bowl. The inner edge of the rim had significant damage and showed signs of being hit against something to empty the bowl. The outer edge had similar damage and was badly pitted on the back and the front of the bowl.
IMG_3907

IMG_3908

I set up the sandpaper on the flat board that I use for topping and topped the bowl until the rim and the edges were once again sharp and clean. I did not have to remove very much of the briar but what I removed took off the damaged outer edges of the rim and reduced the appearance of damage to the inner edge. I sanded around the inner edge with a folded piece of sandpaper to smooth out the inside. The newly topped bowl is visible in the second photo below.
IMG_3910

IMG_3911

I used a lot of pipe cleaners and cotton swabs to remove the black tars and oils that had not been cleaned out for quite a while. This is only the second pipe that I have cleaned up that came from this chap and I have to say I am not impressed at this point. These were sold in a shop as estates that had been refurbished and were ready to smoke. I wiped down the bowl with acetone on cotton pads to remove the varnish coat before I restained the bowl. I used a black permanent marker to carry the grain lines through the two fills on the left side of the bowl. The briar was actually quite nice under the varnish coat.
IMG_3912

IMG_3913

IMG_3914

IMG_3915

I wiped the bowl down a final time with acetone and then gave it a coat of MinWax Medium Walnut stain. I rubbed it into the bowl and then wiped it off with a soft cotton towel. It really brought the grain to life on this old pipe.
IMG_3916

IMG_3917

IMG_3918

IMG_3919

The stem had scratches from the sandpaper that had been used on it previously and a slight bit of tooth chatter near the button that had been buffed over. I sanded it with a medium grit sanding sponge and then with the usual array of micromesh sanding pads – wet sanding with the 1500-2400 grit pads and dry sanding with 3200-12,000 grit pads. I took the pipe and stem to the buffer and buffed the entirety with White Diamond, being careful around the faint stamping on the left side of the shank. I rubbed the stem down with Obsidian Oil and hand buffed it when it was dry.
IMG_3920

IMG_3921

IMG_3922

I buffed the finished pipe with White Diamond and then gave it multiple coats of carnauba wax. I finished buffing with a clean flannel buff to give the pipe a shine. The photos below show the reworked pipe, cleaned and ready for its inaugural bowl.
IMG_3923

IMG_3924

IMG_3925

IMG_3926

Reworking an Orlik Matt Canadian Shape L78


A few years ago I was gifted a small box of English pipes. I had truly forgotten about it but my daughters were cleaning out our storage room under the front porch (interior room) and came across the box. So now I have five more pipes to restore. The pipe on the table this morning was a Canadian with a poorly fitted replacement stem. It was not the same oval as the shank. The shank had been sanded down to fit the stem and done in such a way that it was no longer an even taper. Even in doing so the stem still was larger on the top and bottom where it met the shank. The transition was thus rough and uneven. The stem also had significant scratches on it and a spot at the top and bottom where there was an uneven bump near the shank. The bowl had been topped and then the rim and shank restained but they did not match the rest of the pipe. The stamping though faint on the top of the shank reads Orlik Matt over Made in England in block letters. There is also a shape number on the right side of the shank as noted in the title – L78. I did a bit of checking to see if the shape number matched what I had. I have included a page of shapes – the one I have is at the bottom of the page.
orl7

Here are some photos of the pipe when I started.
Orlik1

Orlik1b

Orlik2

Orlik3

I wiped the bowl and shank down with acetone on a cotton pad to remove the spotty finish. I cleaned out the shank and stem as they were filthy and prohibited a true fit on the stem. Once I had the stem sitting in the stem correctly I sanded the shank and stem junction with 220 grit sandpaper to smooth out the transition and even out the taper from the bowl to the stem. I wanted to also remove the excess vulcanite and to reshape the oval of the stem and shank. I wanted the transition to be smooth to the feel. I think that whoever restemmed and restored this pipe the first time gave the bowl a coat of varnish so I removed that with the acetone.
Orlik4

Orlik5

Orlik6

Orlik7

I sanded the stem shank union with a medium grit sanding sponge and a fine grit sanding block to further smooth out the transition and lines. I wanted a smooth flow of line from the bowl to the button.
Orlik8

Orlik9

Orlik10

Orlik11

Once I had finished sanding the stem and shank and the briar was smooth and unscratched it was time to stain the shank and rim. I gave the shank end and the rim a coat of dark brown aniline stain to try to bring it back to the same hues and the rest of the bowl and then stained the entire bowl and shank with a Minwax Medium Walnut stain. The first time I did it the stain still did not match well so I heated the end and the rim with a lighter and reapplied the dark brown aniline. Then stained them both again with the Minwax stain. When I had finished they were closer than before.
Orlik12

Orlik13

Orlik14

Orlik15

I sanded the stem and the bowl with micromesh sanding pads. I wet sanded the stem with 1500-2400 grit pads and then dry sanded the bowl and stem with 3200-12,000 grit pads. I rubbed the stem down with Obsidian Oil and then took the pipe to the buffer to give it a light buff with White Diamond to polish. I was careful in the buffing to avoid the already light stamping on the top of the shank. I had buffed that section with a soft cotton cloth.
Orlik16

Orlik17

I still was not happy with the stain coverage on the sanded portions of the pipe as they appeared lighter than the body of the pipe. I brought it back to the work table and touched up those two areas – the stem shank junction and the rim – with Minwax Red Mahogany Stain then set it aside to dry.
Orlik18

Orlik19

Orlik20

Orlik21

Orlik22

Once the stain was dry I lightly buffed the pipe with White Diamond and then gave it multiple coats of carnauba wax with the buffer. I polished the finished pipe with a clean flannel buff to protect it and give a shine. Even with the buffing I was seeking more of a matt look to the pipe than a shiny one. The finished pipe is pictured below.
Orlik23

Orlik24

Orlik25

Orlik26

Steps Toward Solving a Pipe Mystery – 2 More One Blue Dot Billiards


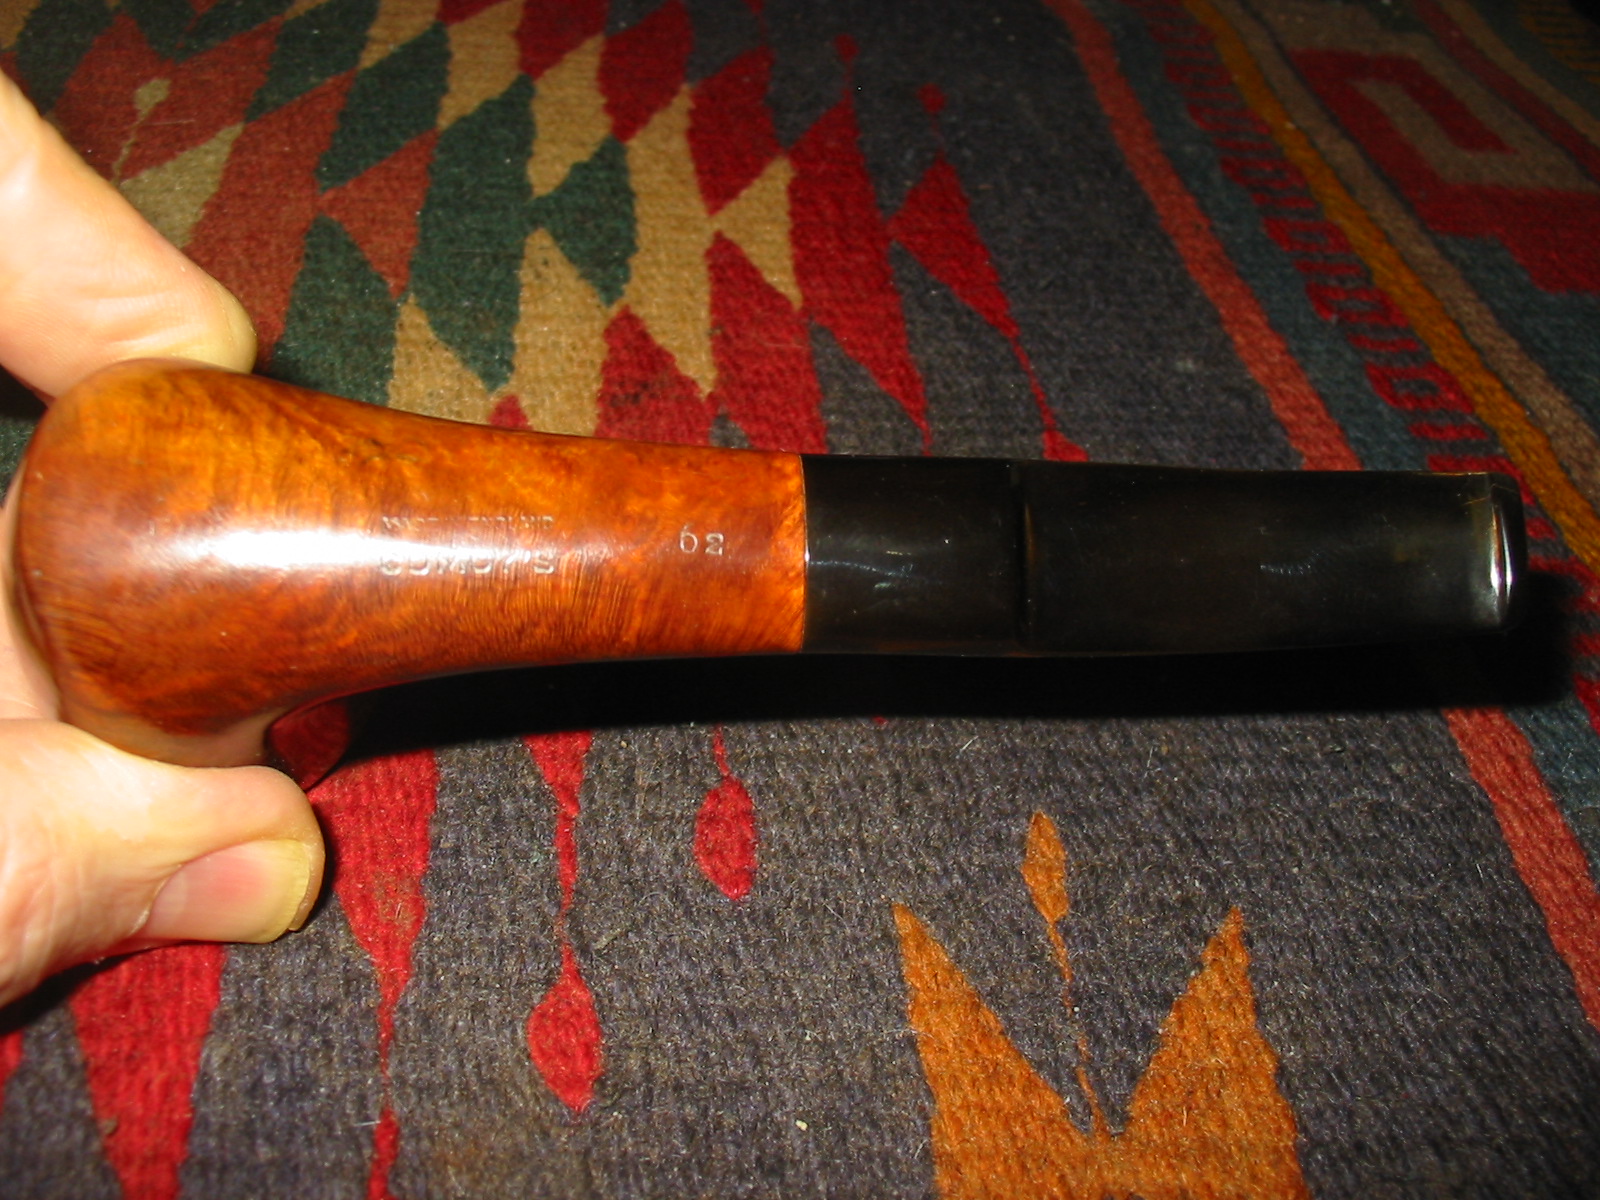
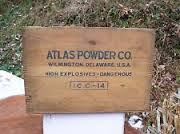
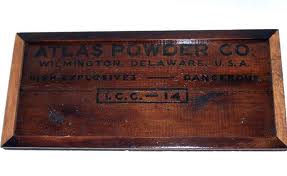
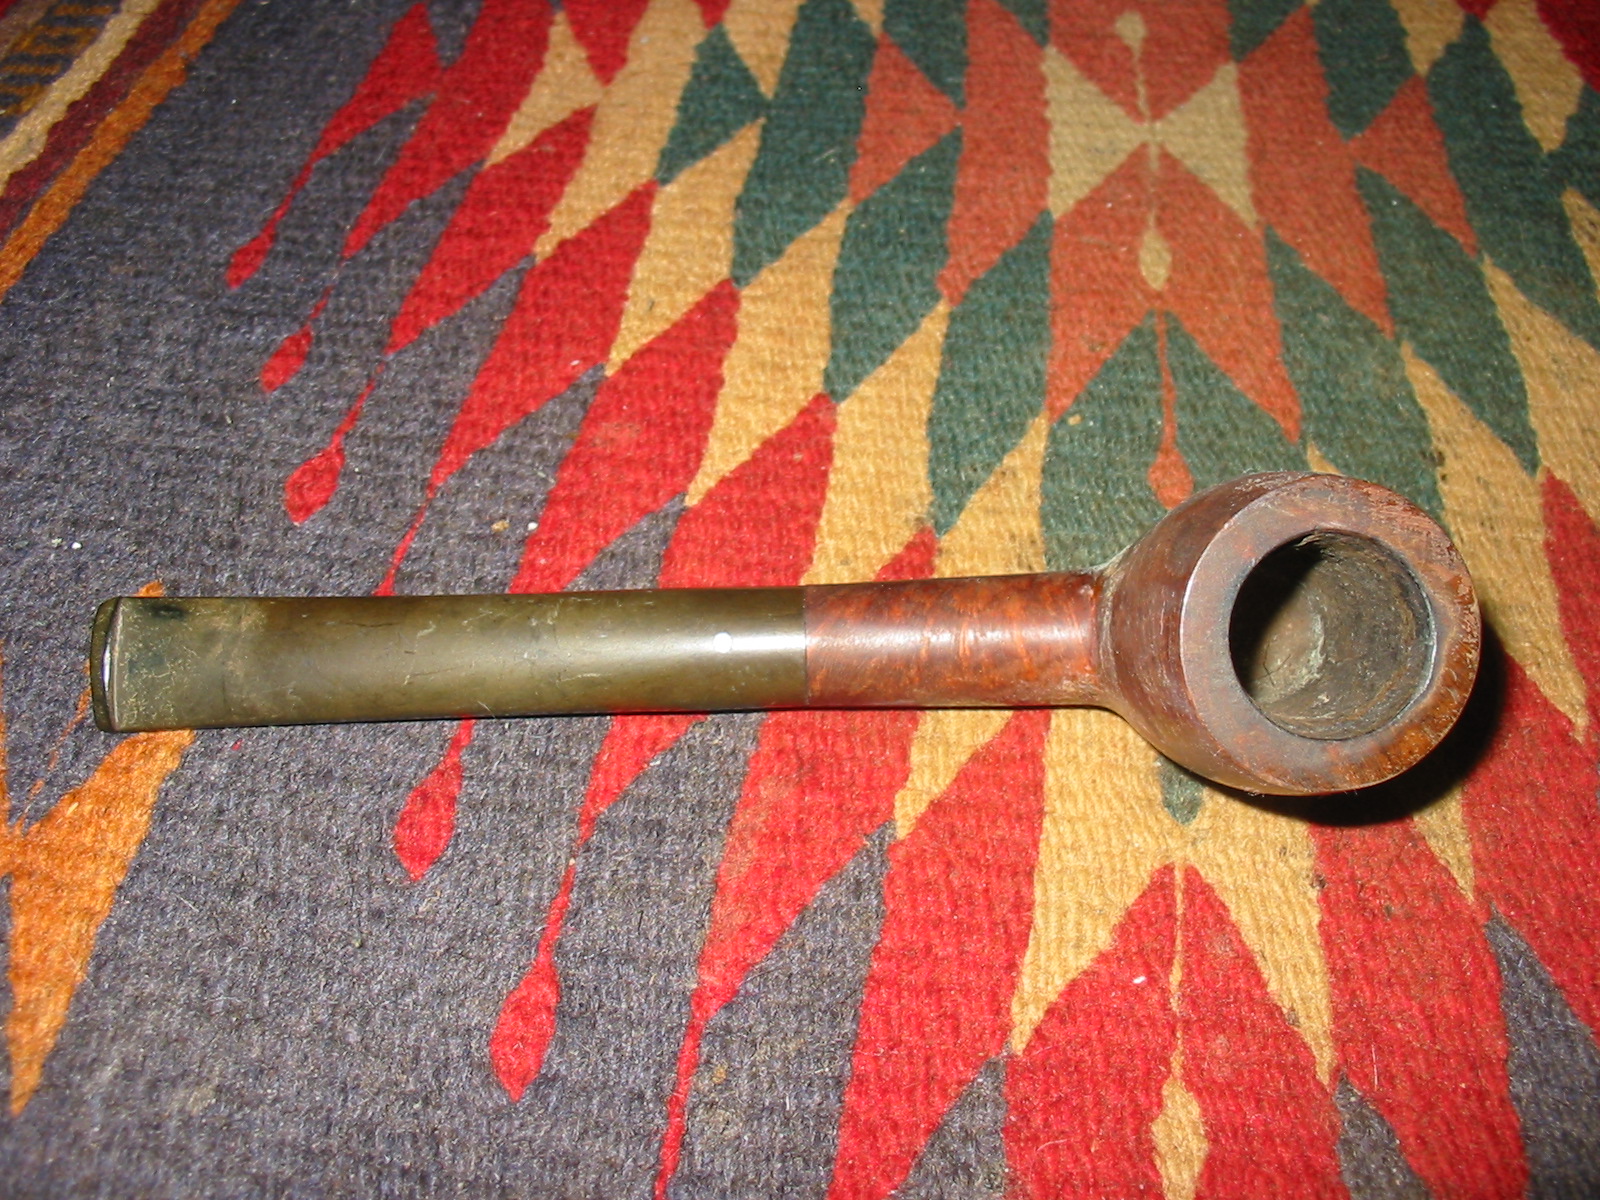
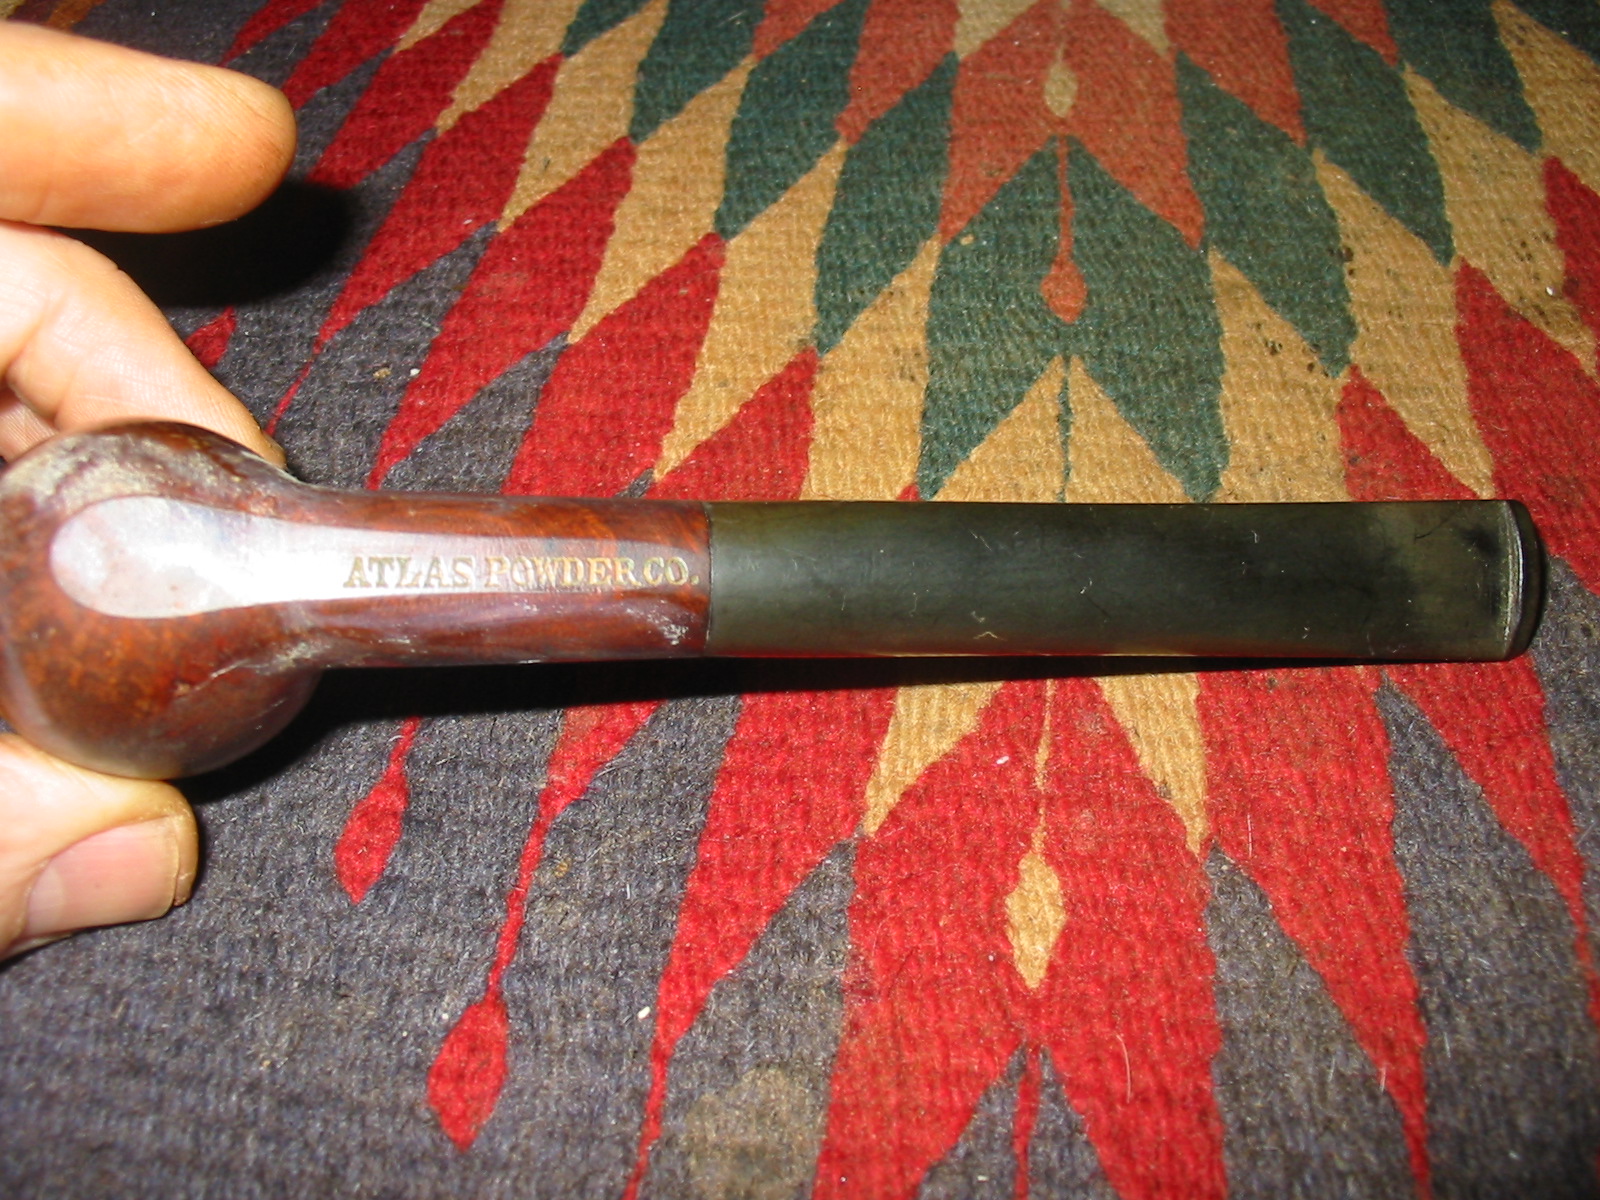
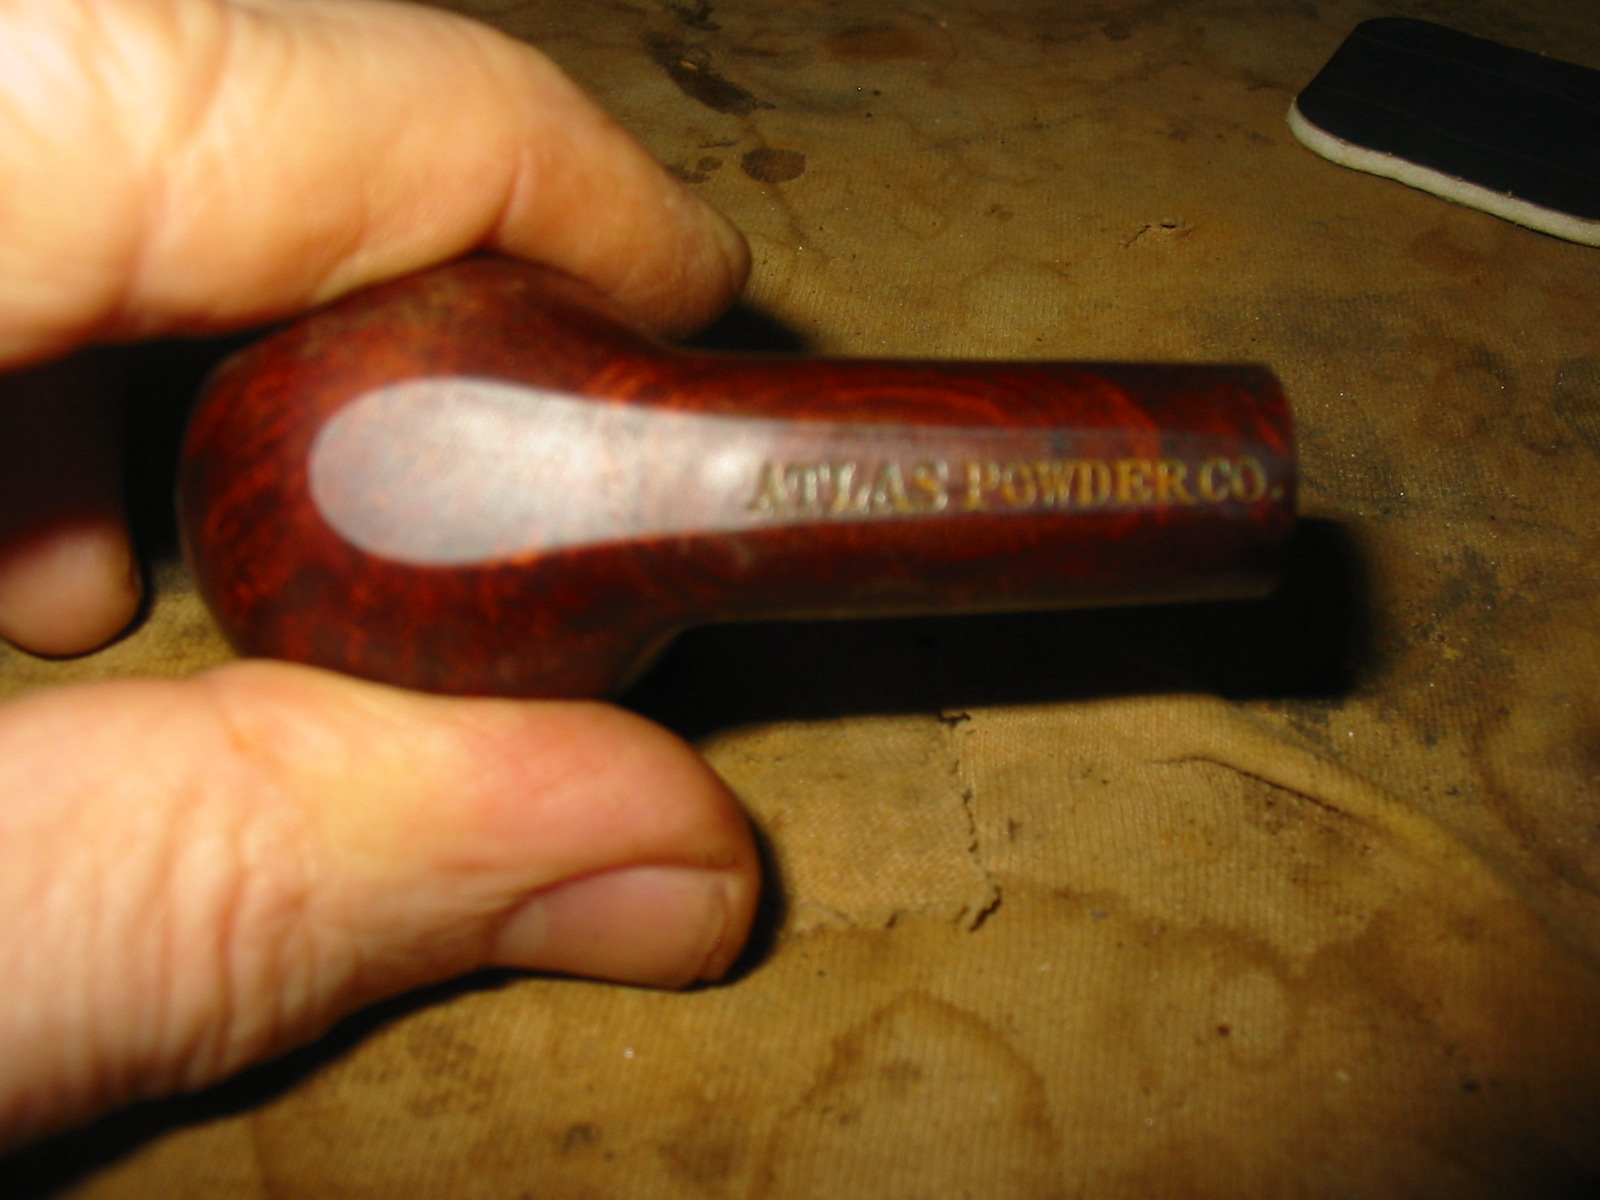
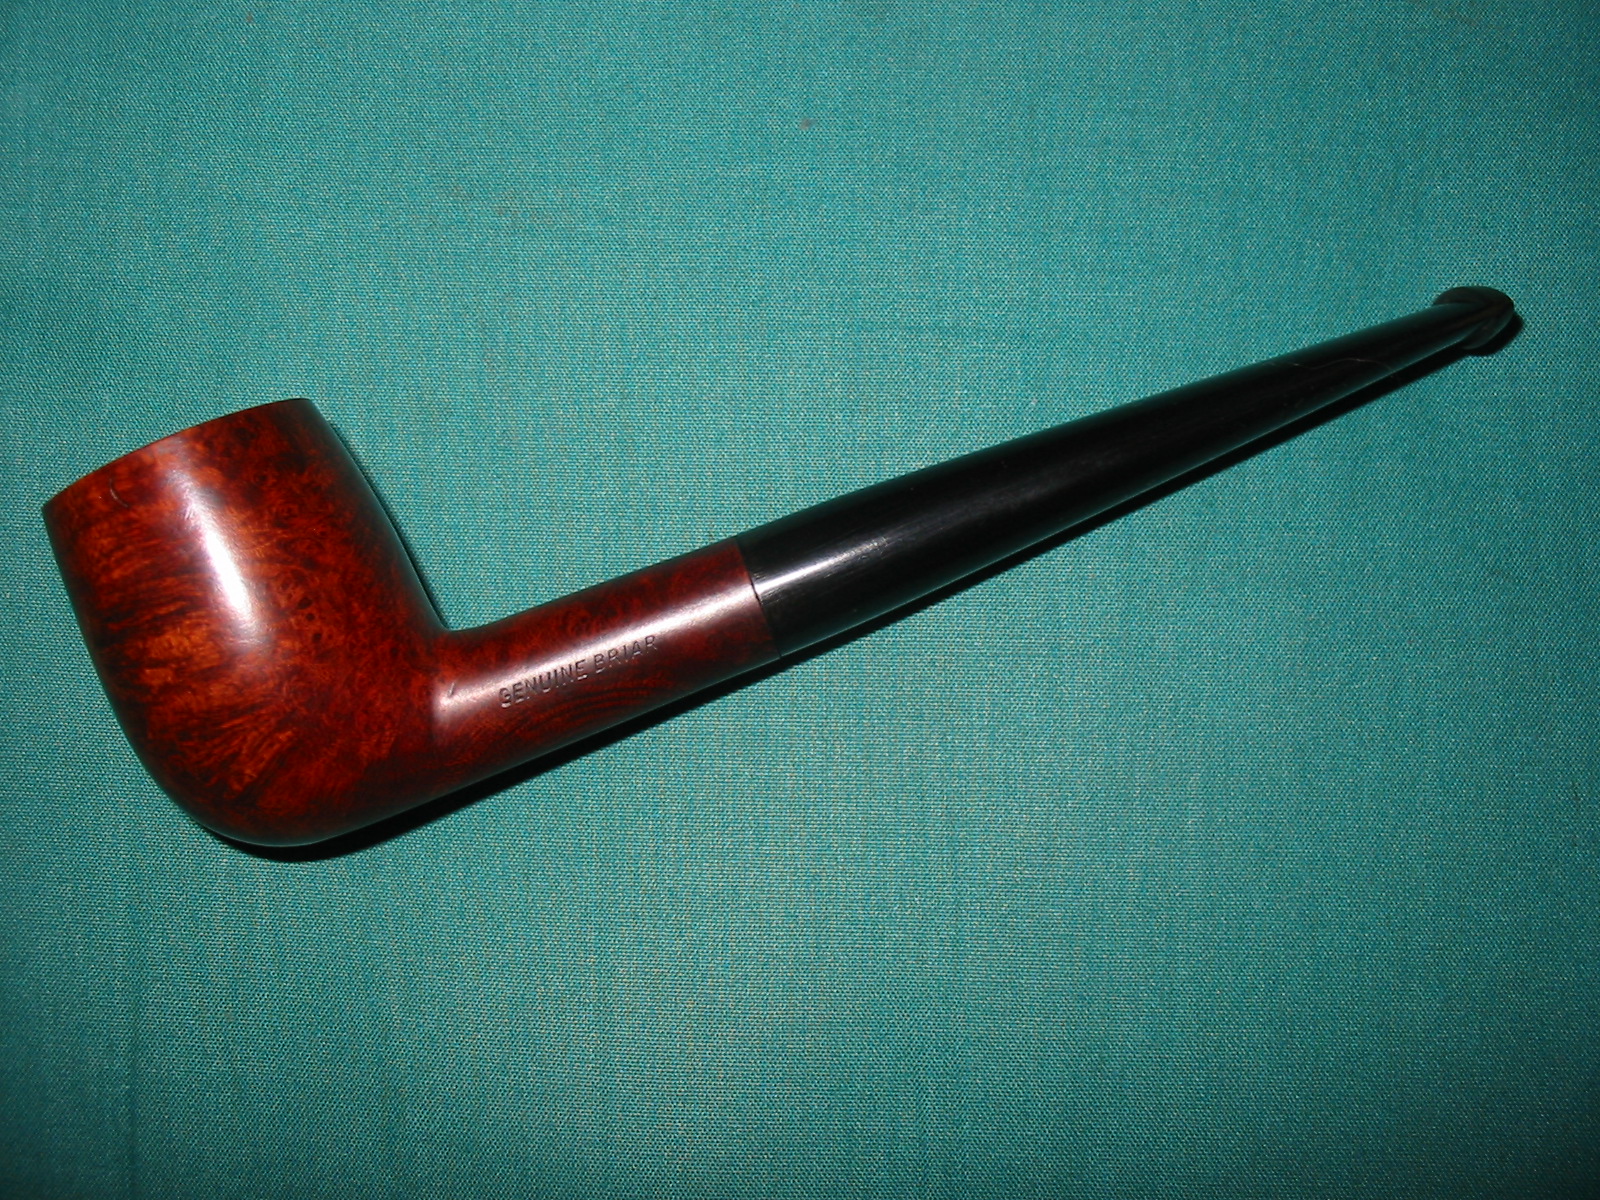
On October 26, 2013, I wrote about a pipe I found and my questioning whether it was a Sasieni Blue Dot billiard. I refurbished the billiard and wrote about it in this blog post https://rebornpipes.wordpress.com/2013/10/26/when-i-saw-it-i-thought-it-was-a-sasieni-one-dot-billiard/ . I was never satisfied with my conclusions regarding the manufacture of this particular pipe. Last weekend (December 28, 2013) I went pipe hunting again and stopped at the same location. There were two more of the blue dot pipes in his case. One of them had been smoked quite a lot and one of them was pretty clean. The one had a cracked shank and the other was clean. The clean one had a stinger apparatus in it while neither the earlier find or the other one this time had one present. The interesting thing to me was that on both of these pipes there was a single line stamped on the bottom of the shank. On the relatively clean pipe the stamping was gold filled and read ATLAS POWDER CO. On the other pipe it had the same stamping though the gold was long gone. I checked the previous pipe and sure enough the same stamping, though fainter was present. Suddenly I had in my possession a trio of billiards. All had the single blue dot on the stem, all were stamped Genuine Briar. All had the same English style tapered stem. All were nice pieces of briar with no fills or flaws. All were stamped ATLAS POWDER CO.

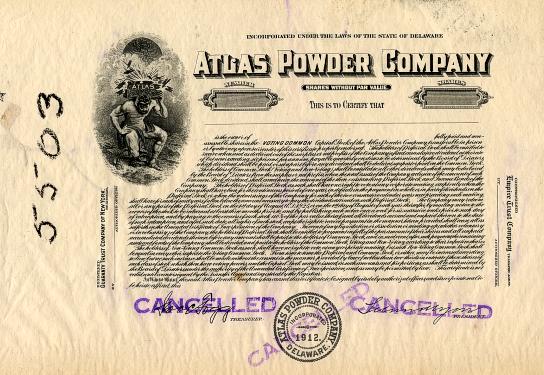
Now I had some work to do – not just restoring these two old pipes to the same state as the other one but really digging into the ATLAS POWDER CO. to find out who they were. Was it possible that what I had were three specialty pipes, stamped with the Company name in gold lettering were made as gift pipes or award pipes? That raised a second question that to me was at least as important. Who made the pipes for the company? Is it possible that they were made by Sasieni, specially stamped with the name of the company to be given out to executives or share holders as gifts? Being able to read the stamping on the bottom of the shank gave me an important clue regarding what to look for on the web. With my questions clearly in my I began to do research on the company. I quickly found out that in 1912, Atlas Powder Company was created in Wilmington, Delaware, when DuPont Company sold two explosives divisions, as mandated by “trust busting” enactments during the Theodore Roosevelt presidency. In the 1960s, Atlas Powder Company changed its corporate name to Atlas Chemical Industries. I wanted more details on that formation and the other companies that may have been included in the process.

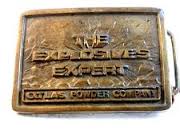
I found a facsimile of an old stock certificate that had some corporate information on it as well as the back side of a mailing envelope with the name and products that were produced by the Atlas Company.
atlas-powder-company-rare-specimen-proof-delaware-1925-2.gif

apc-01back

Further research took me to the company archives at this site http://beta.worldcat.org/archivegrid/collection/data/776641025 There I found information and company minutes from a variety of their meetings and activities. I also found information on lawsuits and actions pending against them at various times in their history. There were corporate memos and data that was marginally interesting but nothing that definitively spoke of pipe being made, purchased or given away. Quoting from the site:

“… The Atlas Powder Company was incorporated in Delaware on October 18, 1912 as part of the court-ordered breakup of the explosives monopoly of E.I. du Pont de Nemours & Company. As part of the settlement, parts of DuPont’s black powder and dynamite business were spun off to two new companies, the Hercules Powder Company, capitalized at $13 million, and the Atlas Powder Company, capitalized at $6 million. Atlas functioned as an independent explosives and chemicals company until July 21, 1971, when it was purchased by Imperial Chemical Industries Limited (U.K.) and became its American affiliate under the name ICI Americas Inc.
Atlas buckle

Atlas began business on Jan. 1, 1913, with four former DuPont black powder plants at Ooltewah, Tenn., Belleville, Ill., Pittsburg, Kan., and Patterson, Okla., and three ex-DuPont dynamite plants at Landing, N.J., Hancock, Mich., and Webb City, Mo. Later that year, it purchased the Reynolds Works near Tamaqua, Pa. from the Potts Powder Company, where it manufactured electric exploders, blasting caps, nitric and sulphuric acids, dynamite, and blasting detonators. In 1915, Atlas purchased The Giant Powder Company, Consolidated, which held the first U.S. rights to the Nobel dynamite patents, giving it a presence on the West Coast.
Atas tin

atlas caps

Following the lead of DuPont and Hercules, Atlas began diversifying from explosives into other chemical lines with the 1917 acquisition of Richards & Co., Inc., of Connecticut, and its sales subsidiaries Zapon Leather Cloth Company and Celluloid Zapon Company, manufacturers of lacquers and artificial leather. In 1925, the Pacific Lacquer & Bronze Company was added to the Zapon family. In 1921, Atlas contracted with the Darco Corporation to build an activated carbon plant in Marshall, Tex., and in 1928 Richards & Co., Inc., purchased the Duratex Corporation, a manufacturer of pyroxylin and rubber coated fabrics which also brought a controlling interest in Darco. Atlas bought the assets of the Brevolite Lacquer Company of North Chicago in 1933 and combined it with the Midwest business to the Zapon Company as the Zapon-Brevolite Lacquer Company. Traditional explosives capacity increased with the 1932 purchase of the Peerless-Union Explosives Company. The Atlas Research Laboratory was established at the Reynolds Plant in 1930, and Atlas de Mexico, S.A., was organized as a sales company in 1937.
Atlas Box

atlas box2

Atlas devoted all of its plants to military needs during World War II and operated three ordnance plants under contract from the government. However, despite a second surge during the Korean War, the post-World War II years brought a major restructuring. The Duratex line of coated fabrics and plastics was discontinued in 1948, and the Zapon-Darco industrial finishes business was sold in 1955. The following year, Atlas bought the Thermaflow Chemical Corporation of Pennsylvania, makers of high-impact reinforced plastic molding compounds, and the Aquaness Corporation of Houston, Texas, a maker of chemical compounds used in the petroleum industry. In 1959, Atlas formed Solar Nitrogen Chemicals, Inc., as a joint venture with the Standard Oil Company (Ohio) to manufacture ammonia fertilizers. At the same time, explosives plants were being closed. As a consequence, Atlas changed its name to Atlas Chemical Industries, Inc., on May 31, 1961, and the next day completed a merger with The Stuart Company, a Pasadena pharmaceuticals maker. In 1997, after numerous spinoffs and restructurings, the pharmaceuticals business of Atlas became AstraZeneca LP, which has its headquarters in the former Atlas facilities in the Wilmington suburbs.”
Atlas Powder page1

Armed with that information and information gleaned by looking at sales of gift memorabilia on EBay it became at least a real possibility that these pipes were given to stock holders as gifts. I was not able to find definitive information regarding the gifting of the pipes or who made them the implications were strong that they were made for that purpose.
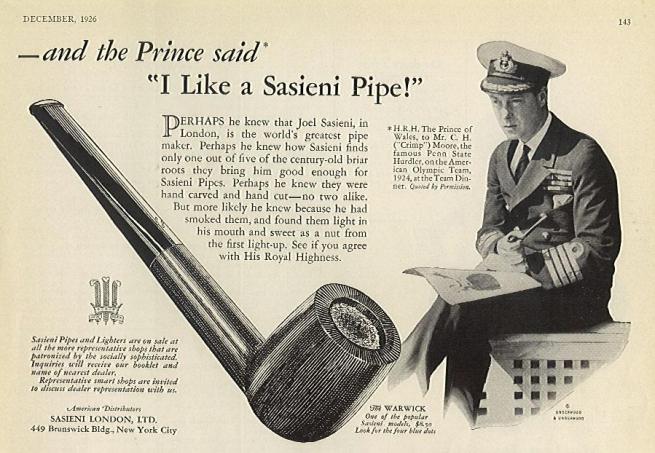
The question still remained regarding the pipes. That took me to a search on the history of Sasieni pipes and any potential connections between the companies. The first article that I turned to was a definitive piece on the history of the brand by Stephen Smith entitled, “Connecting the Dots: A Concise History of the Sasieni Pipe”. http://murderofravens.org/my-sasieni-pipe-article/
19439612371

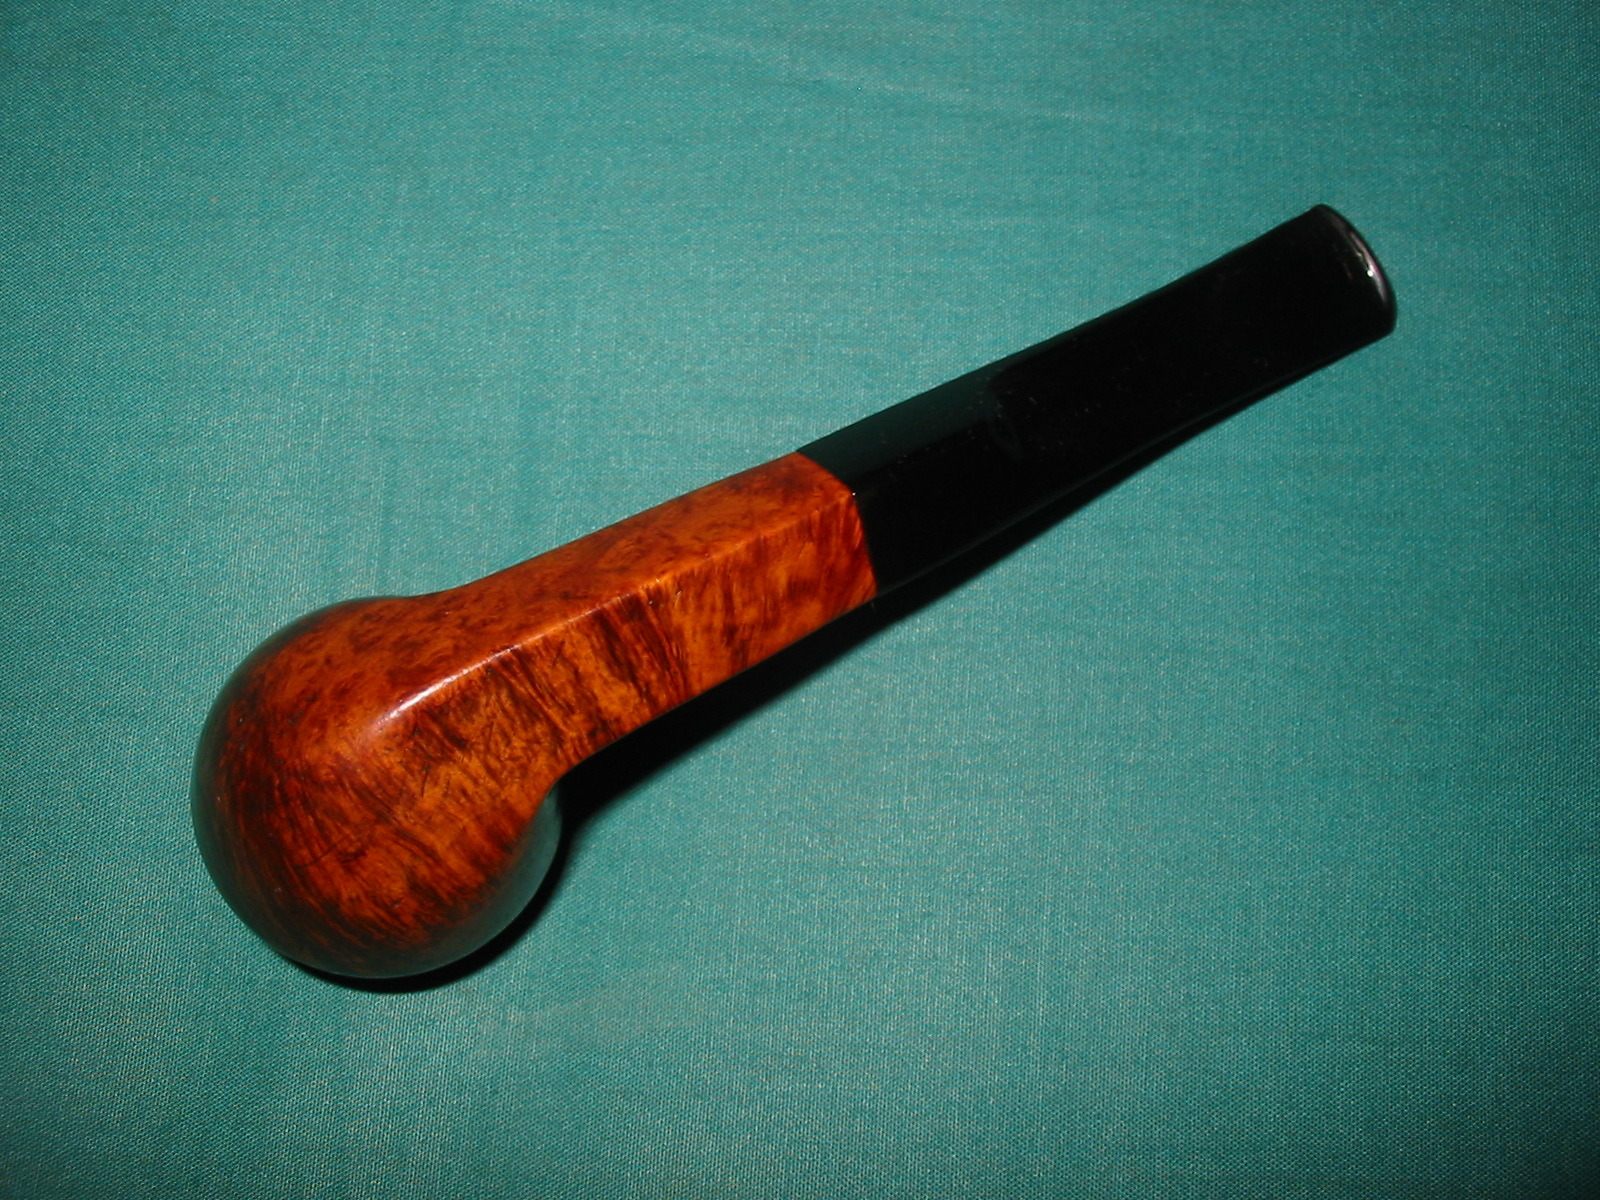
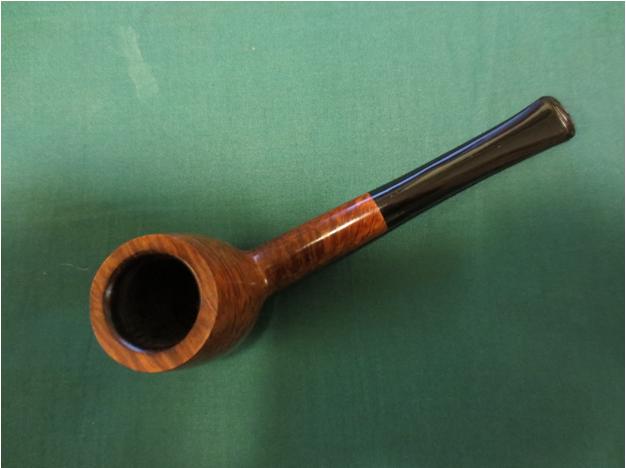
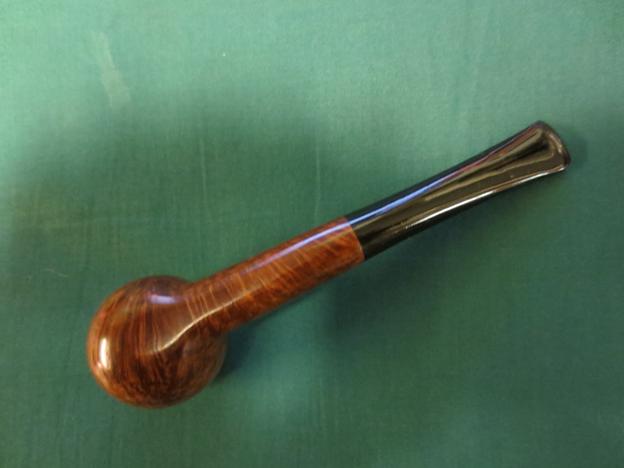
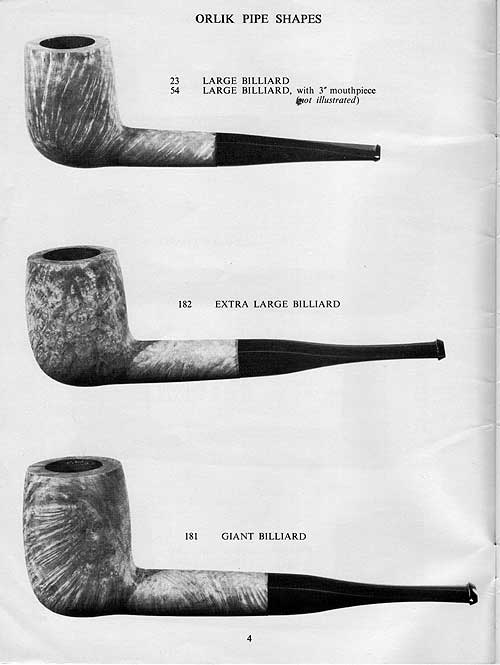
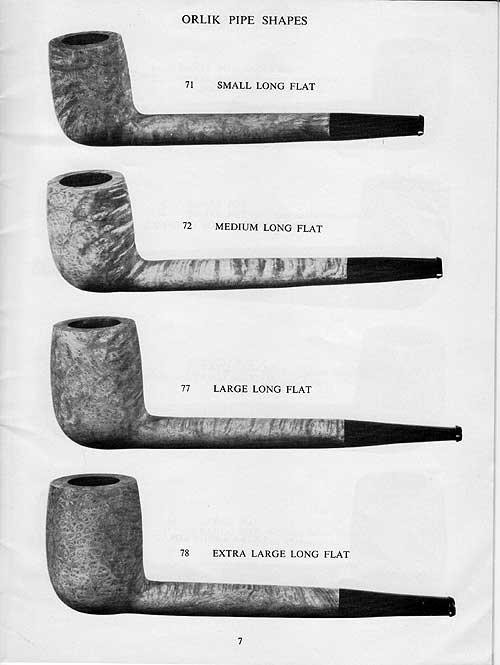
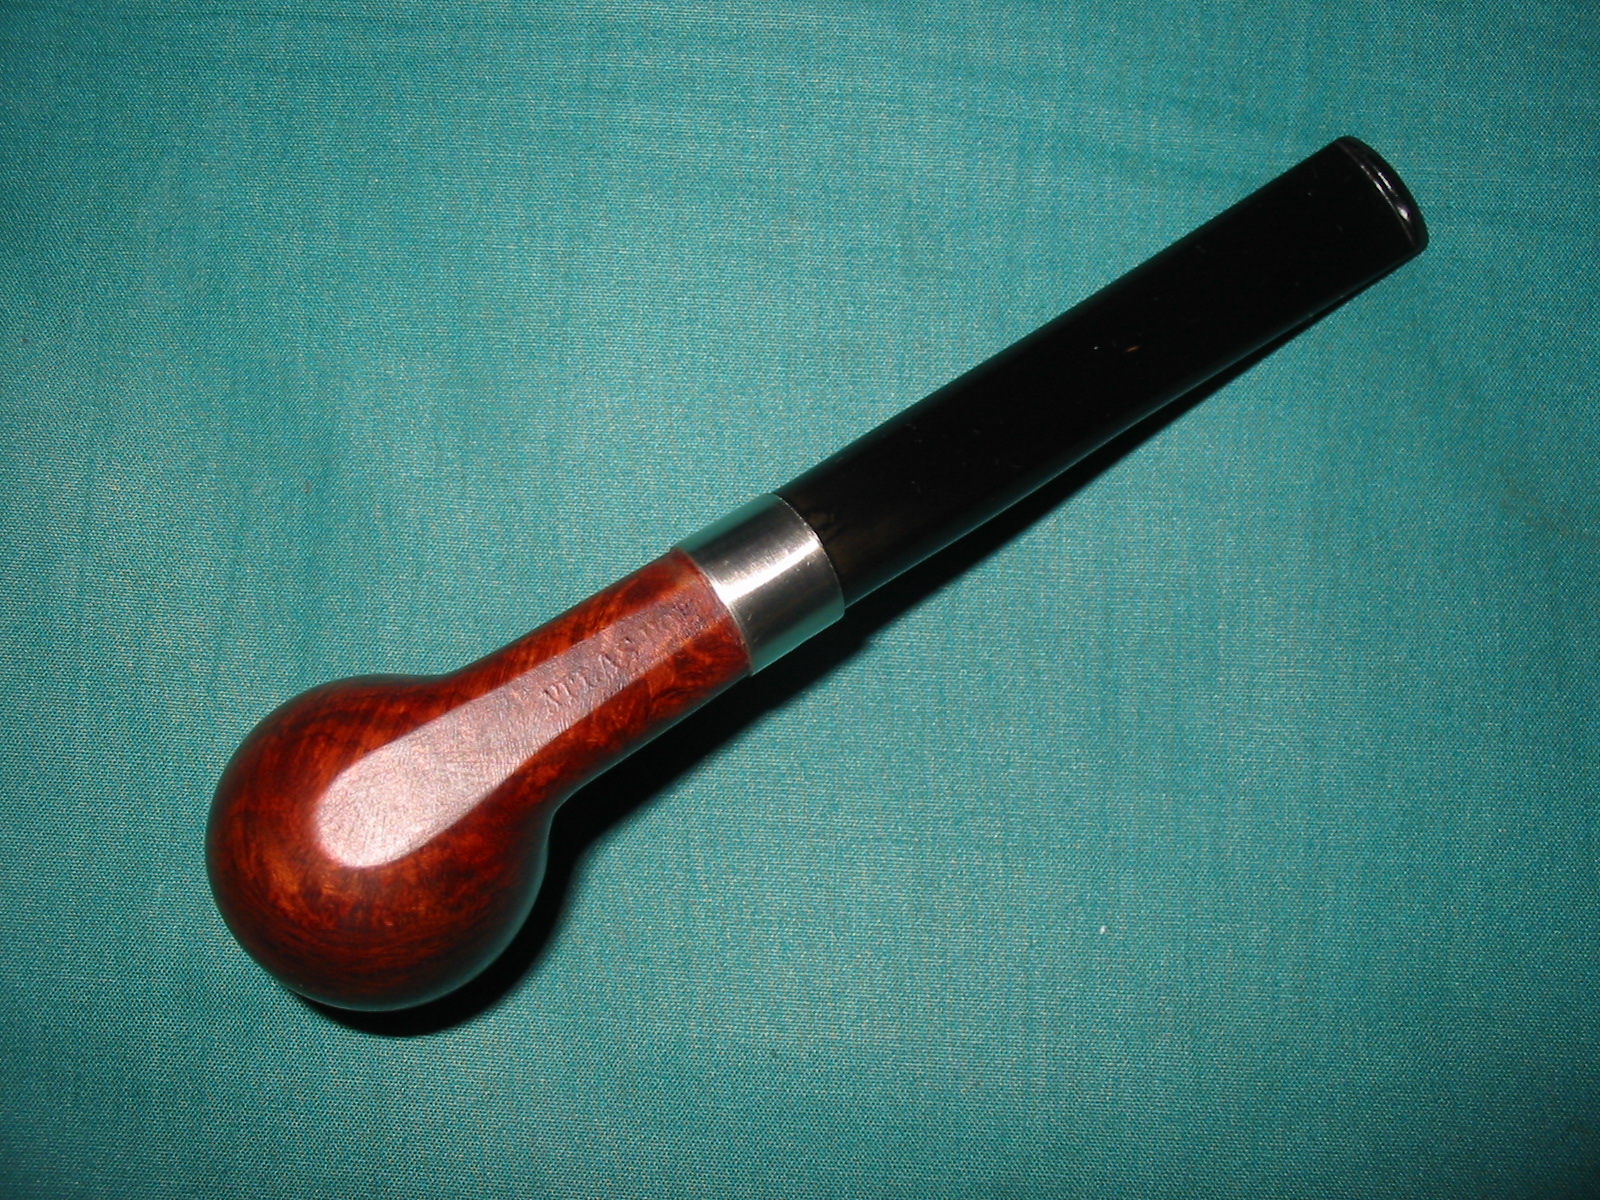
From the article I learned a brief review of the history of the brand. I learned that the Sasieni Company began in 1919 and continued in the family until 1979 when it was sold (this period is the Pre-Transition Period). The Transition period lasted from 1979 to 1986. The company had been bought by Ian Chase and a group of South African investors. In 1986, the company was once again sold to James B. Russell and after him to Cadogan Investments Ltd (Oppenheimer & Co. Ltd.). This Post-Transition period has continued since 1986 to the present. The time period of the pipe and the ATLAS POWDER CO. overlap. However interesting that may be there is still no proof of the connection at this point in my search. I included the above advertisement photo from Stephen’s article because the shape of the billiard in the photo is virtually identical to the three that I have that are the cause of this research.

I am on holiday so I had the time to spare and I spent several hours tracing down leads and dead ends on the links between the two companies. There are no links that I can find. So I am left with just a hunch, a supposition that the pipes were made for the Atlas Powder Co. as gift pipes and that they were potentially made by Sasieni. I may never know more than that but it still leaves more room for digging in the future.

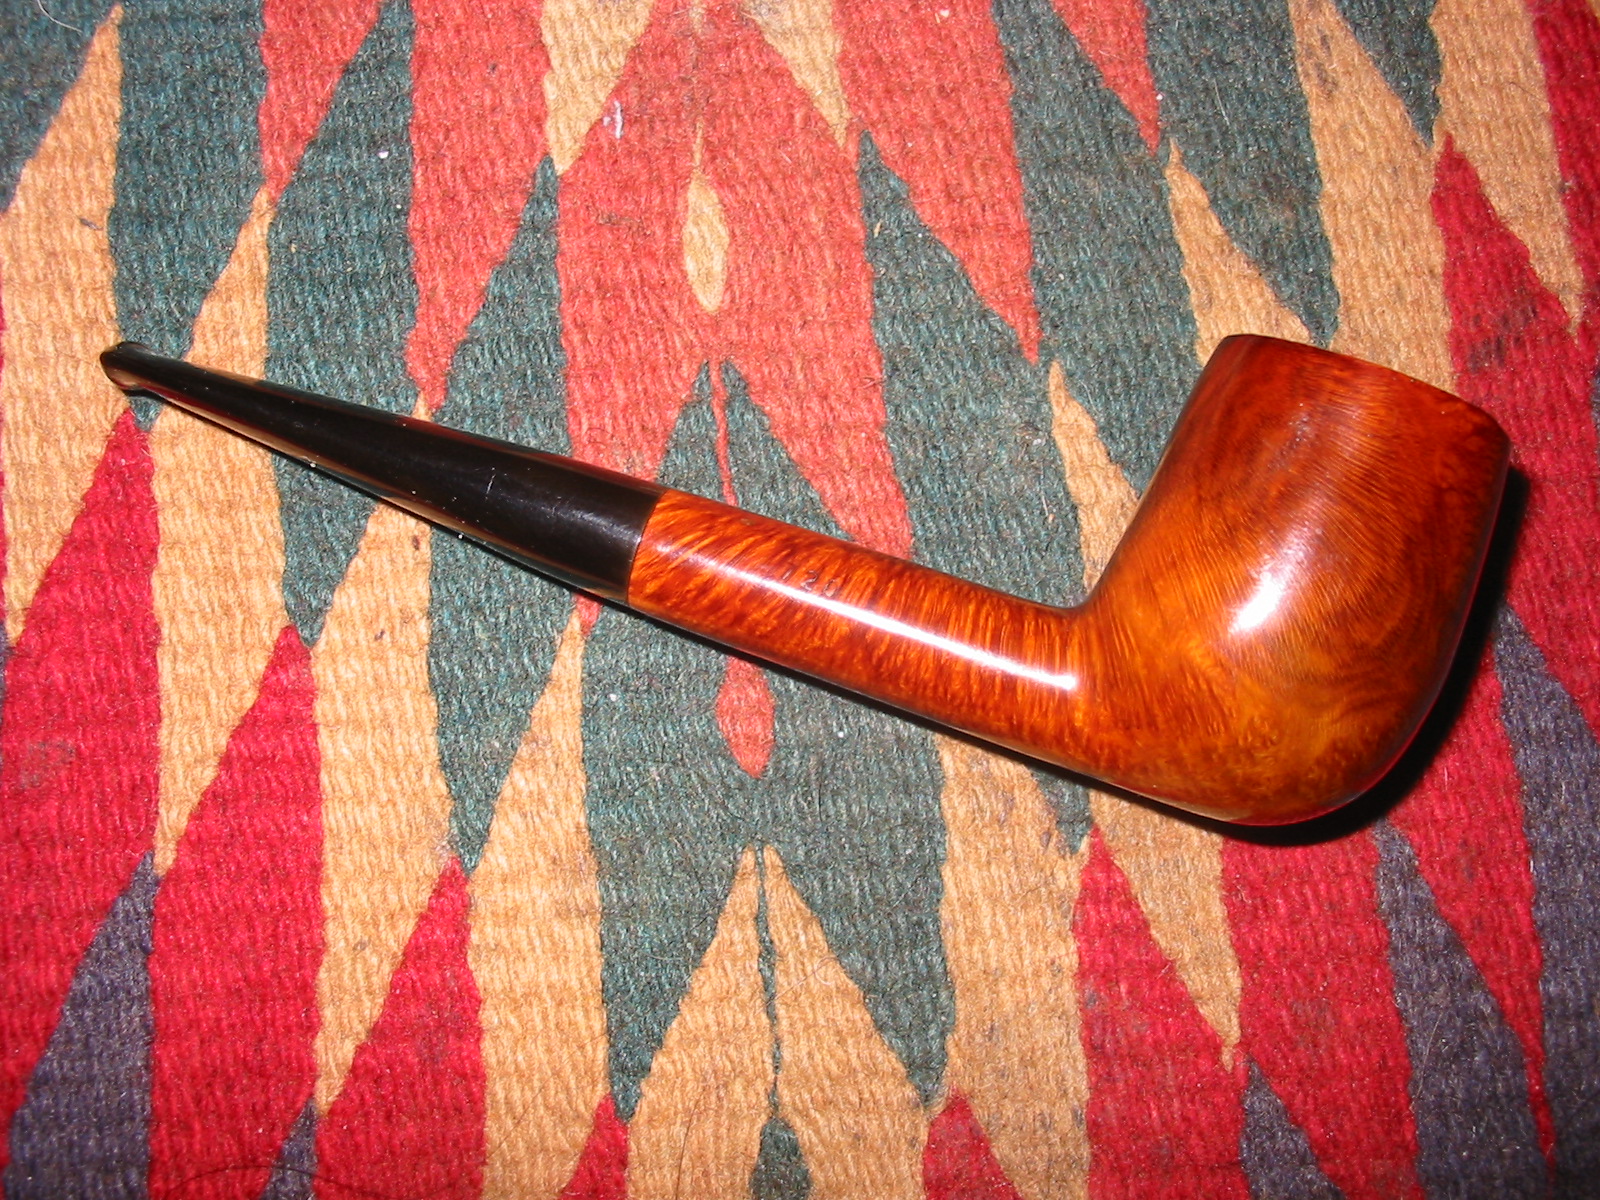
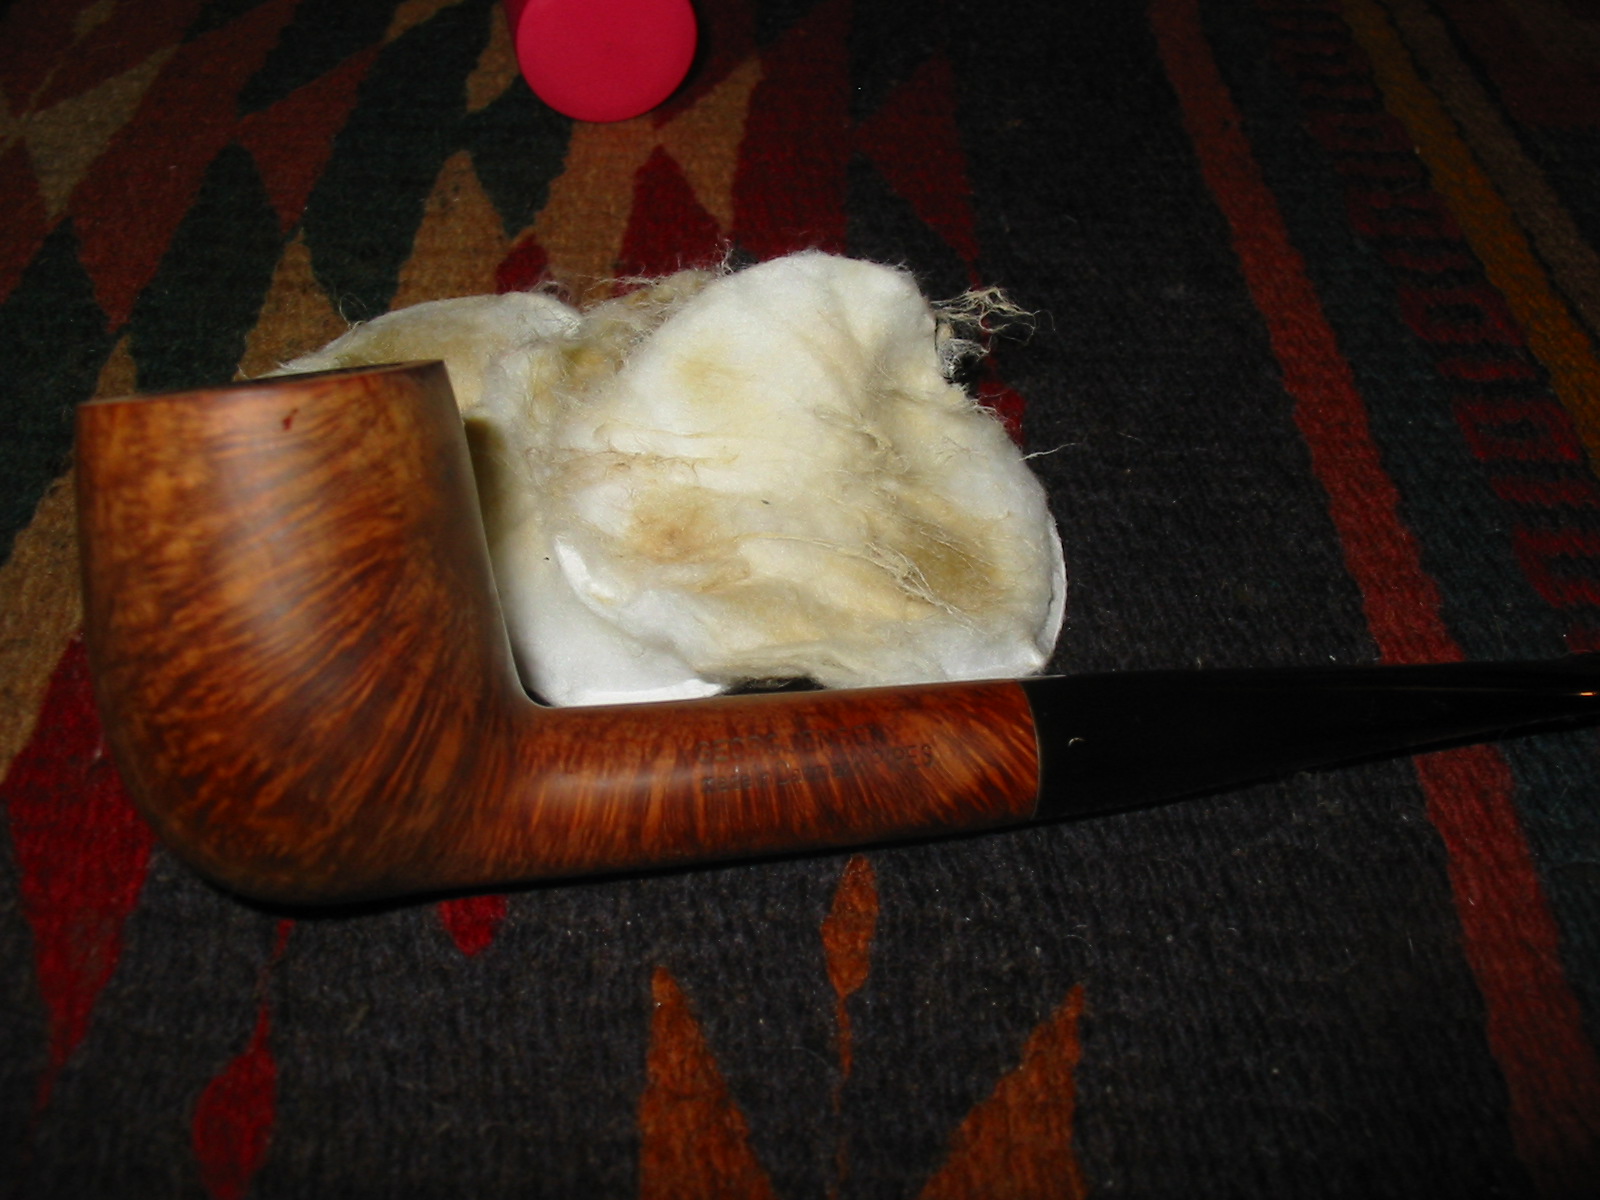
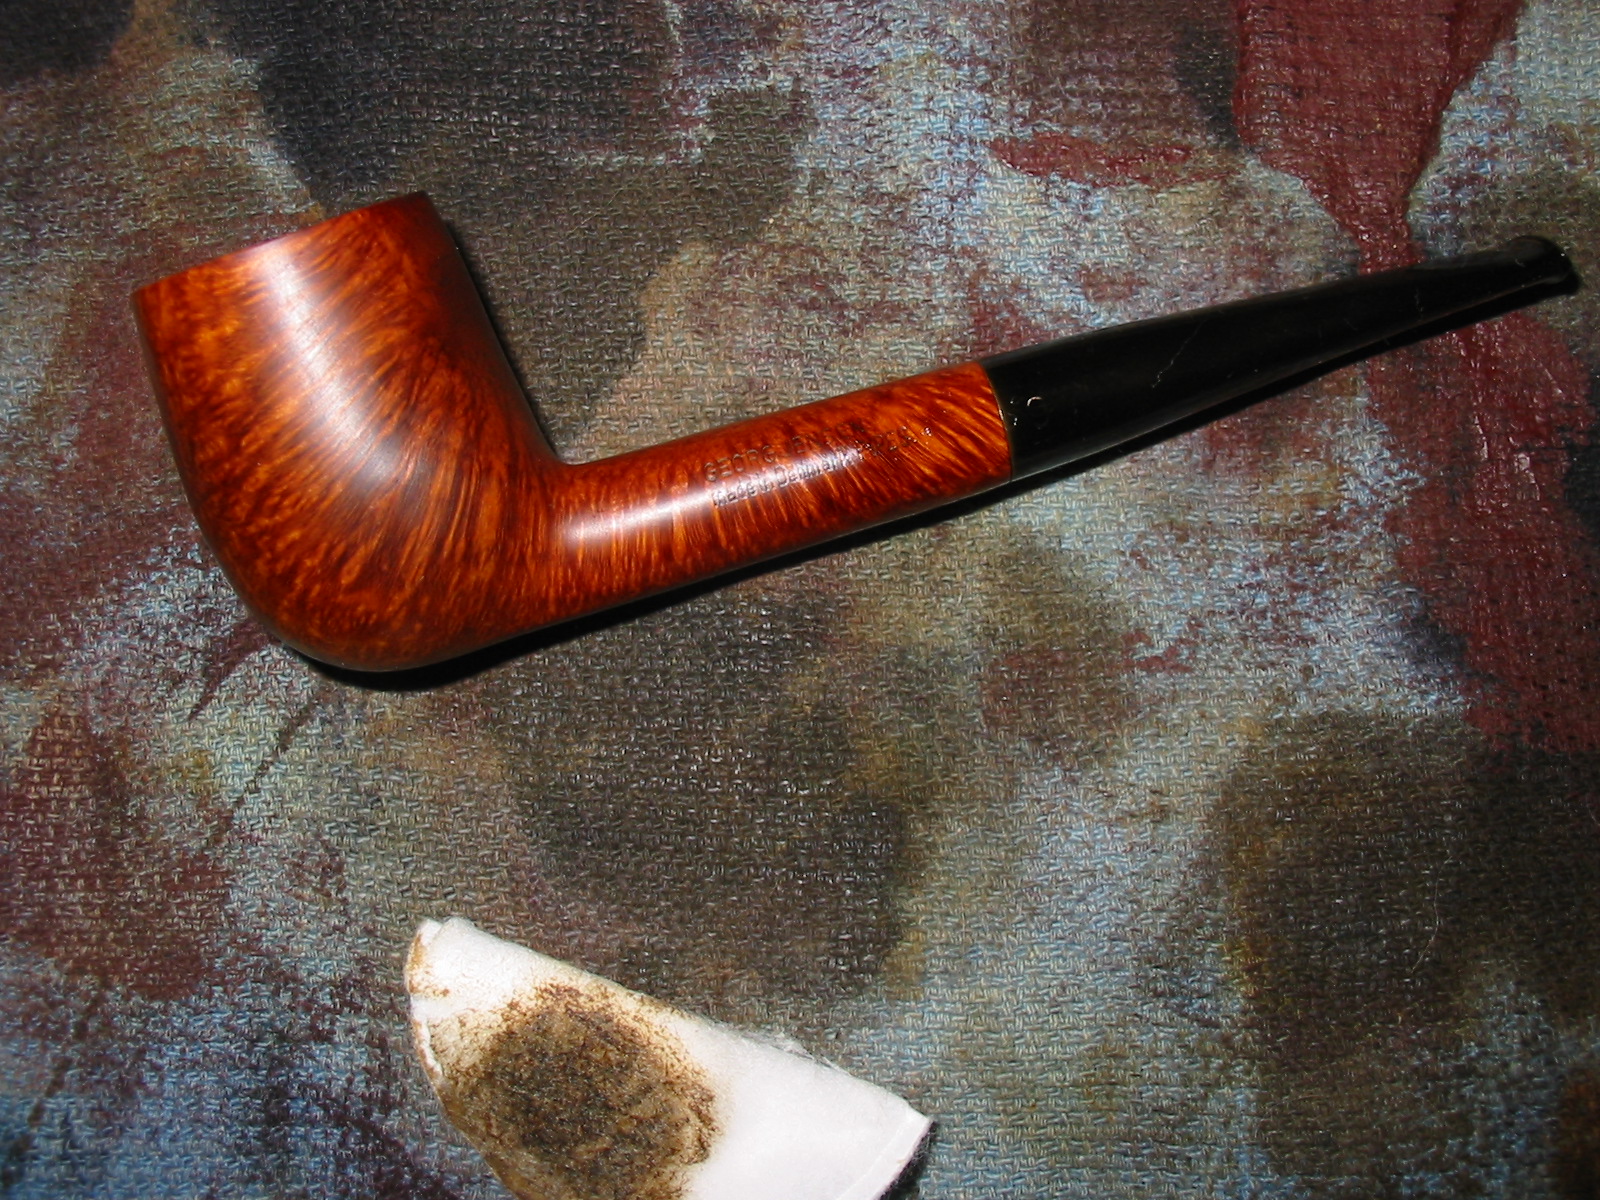
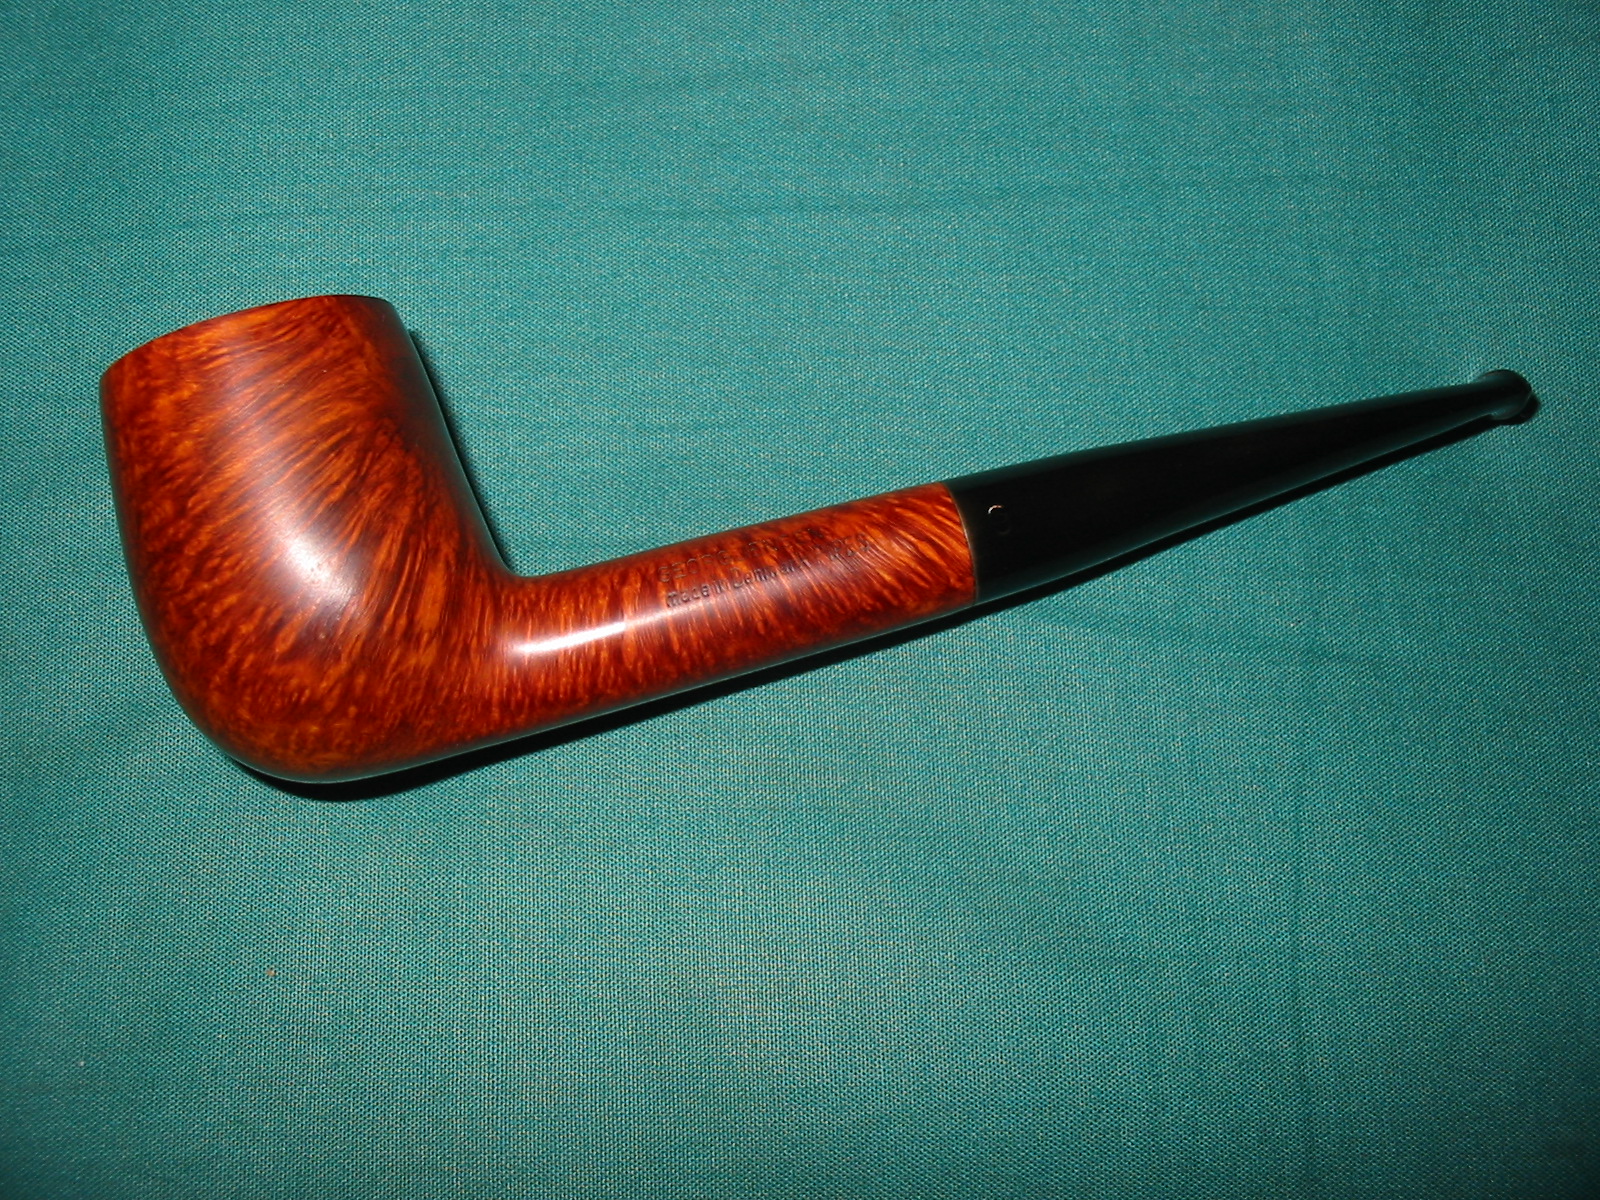
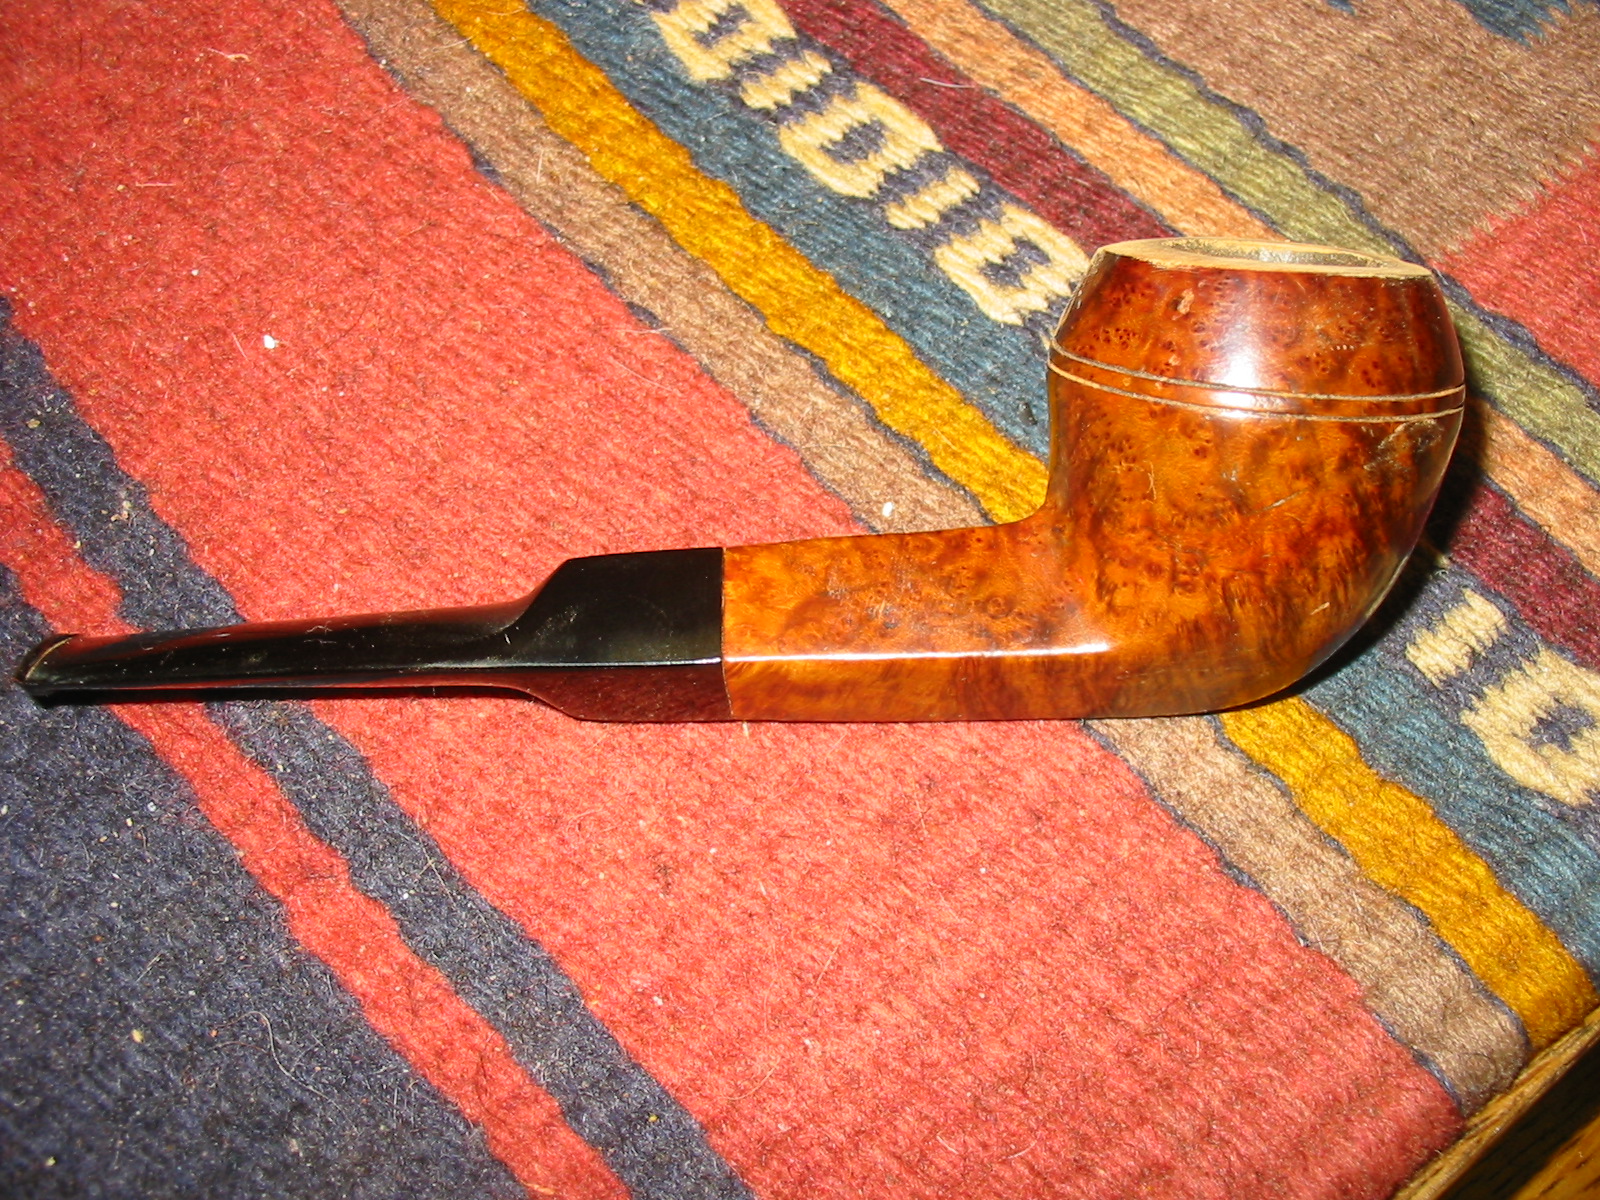
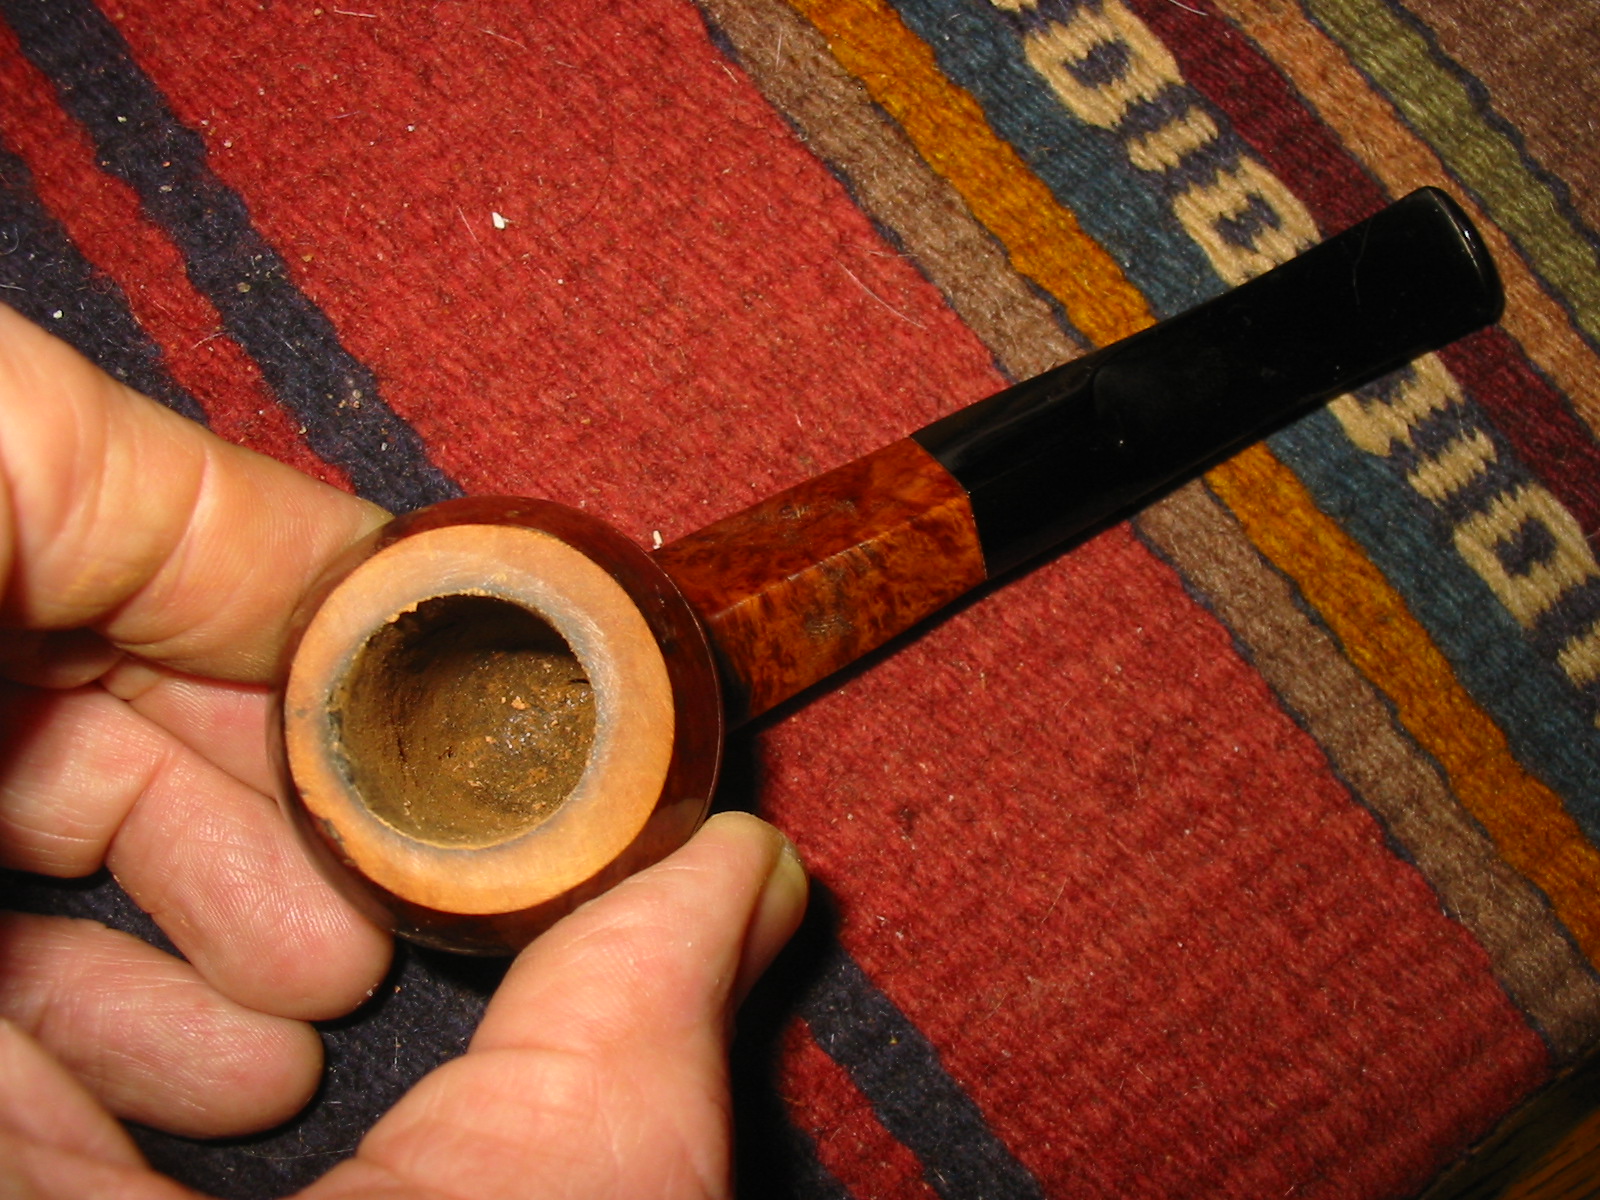
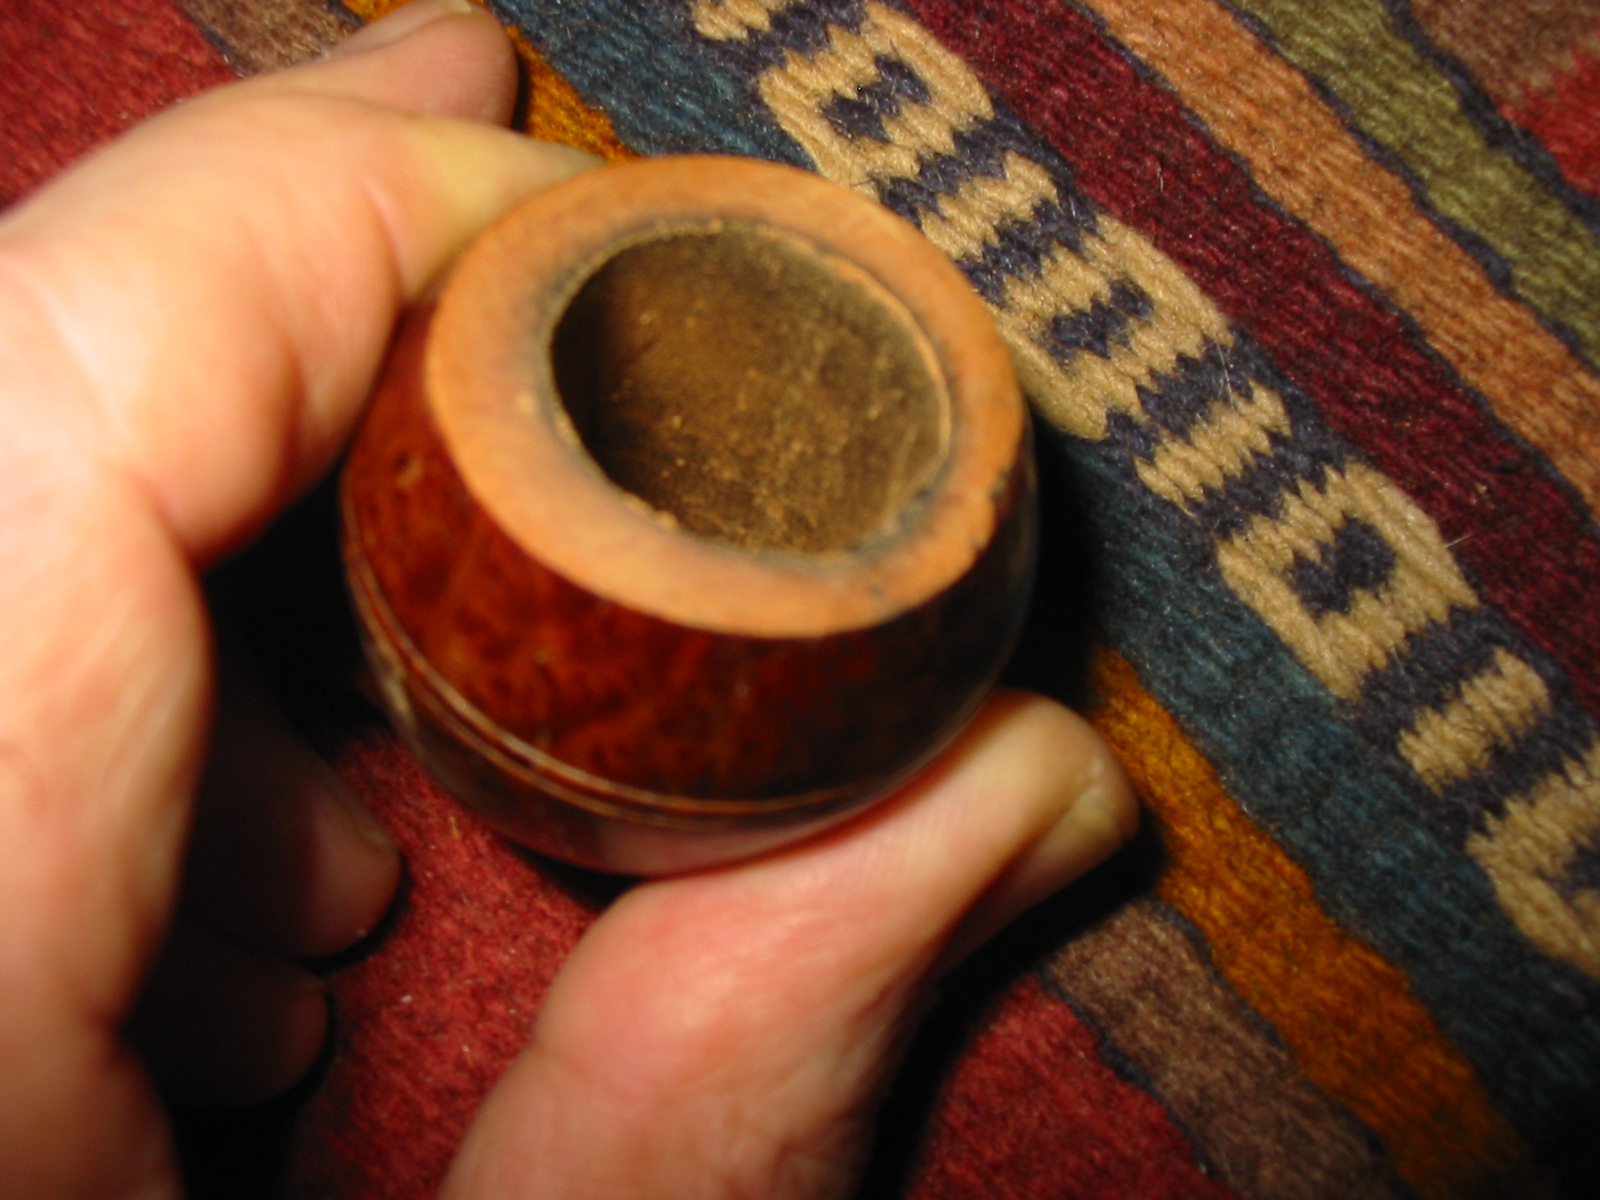
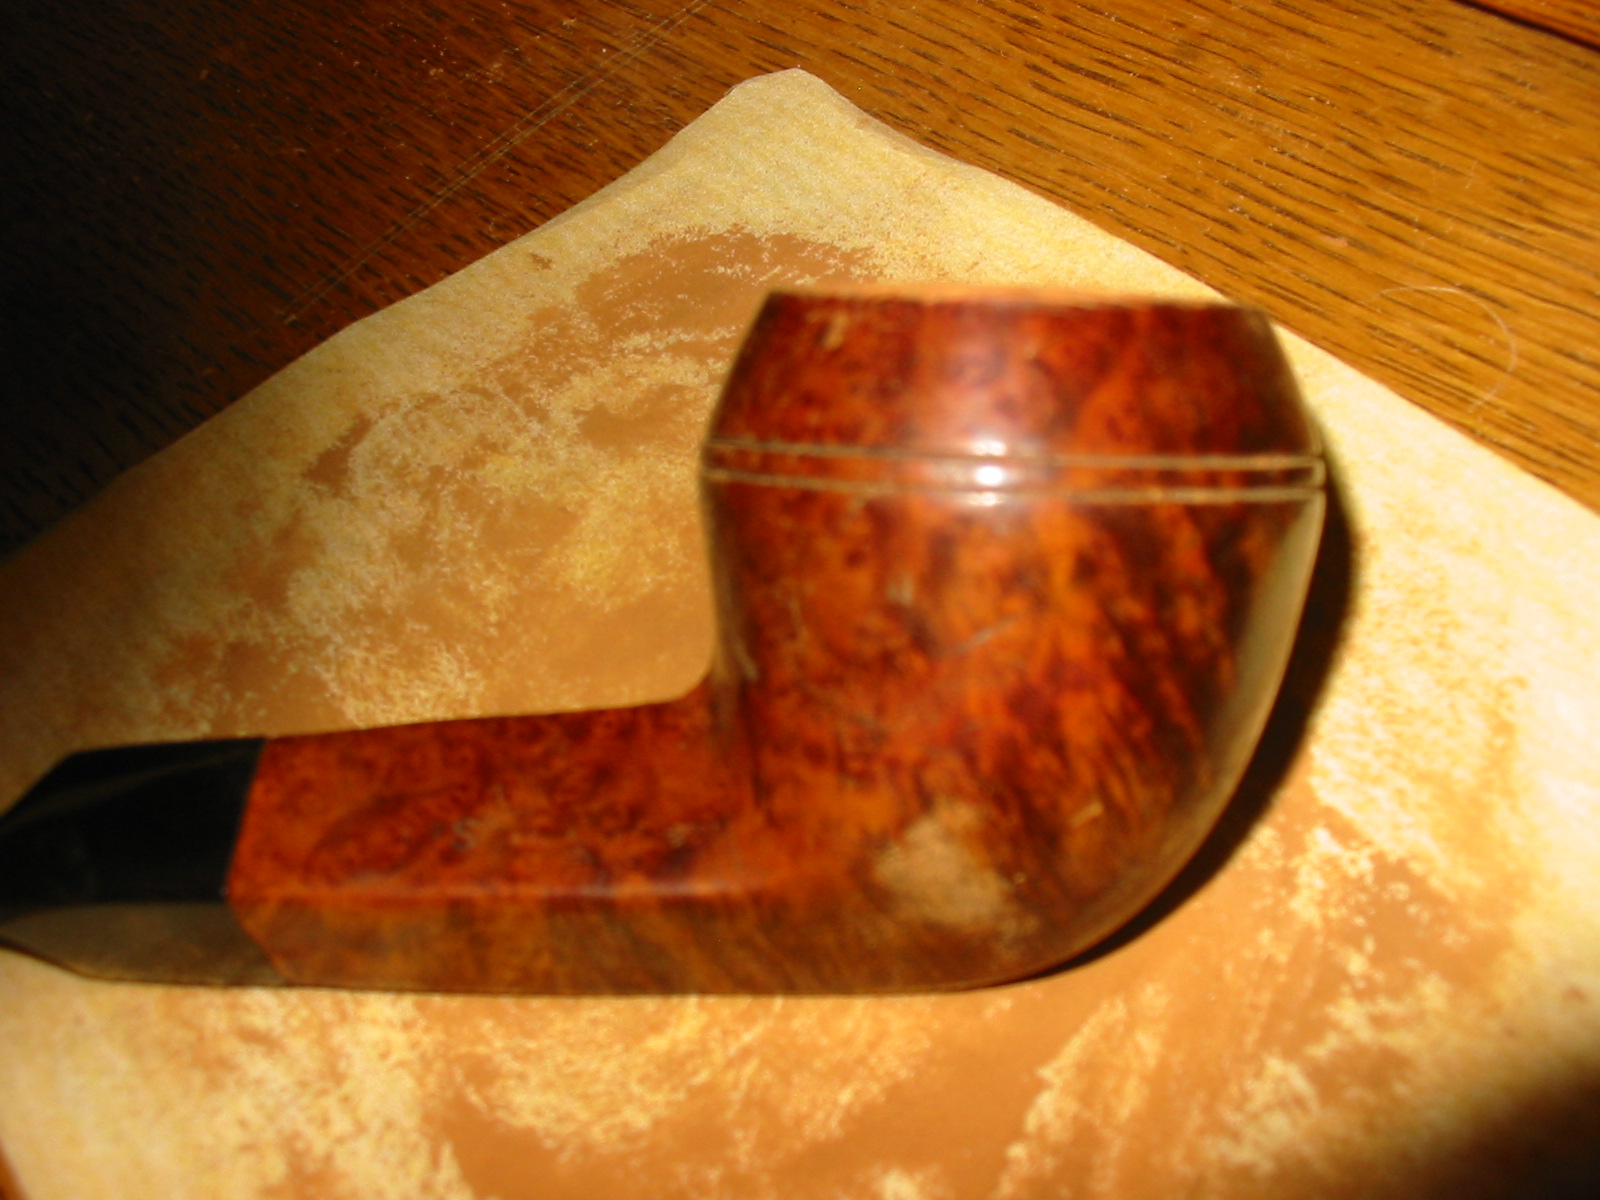
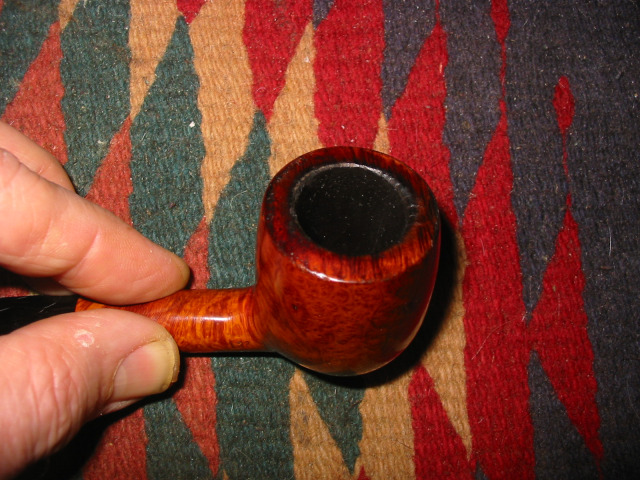
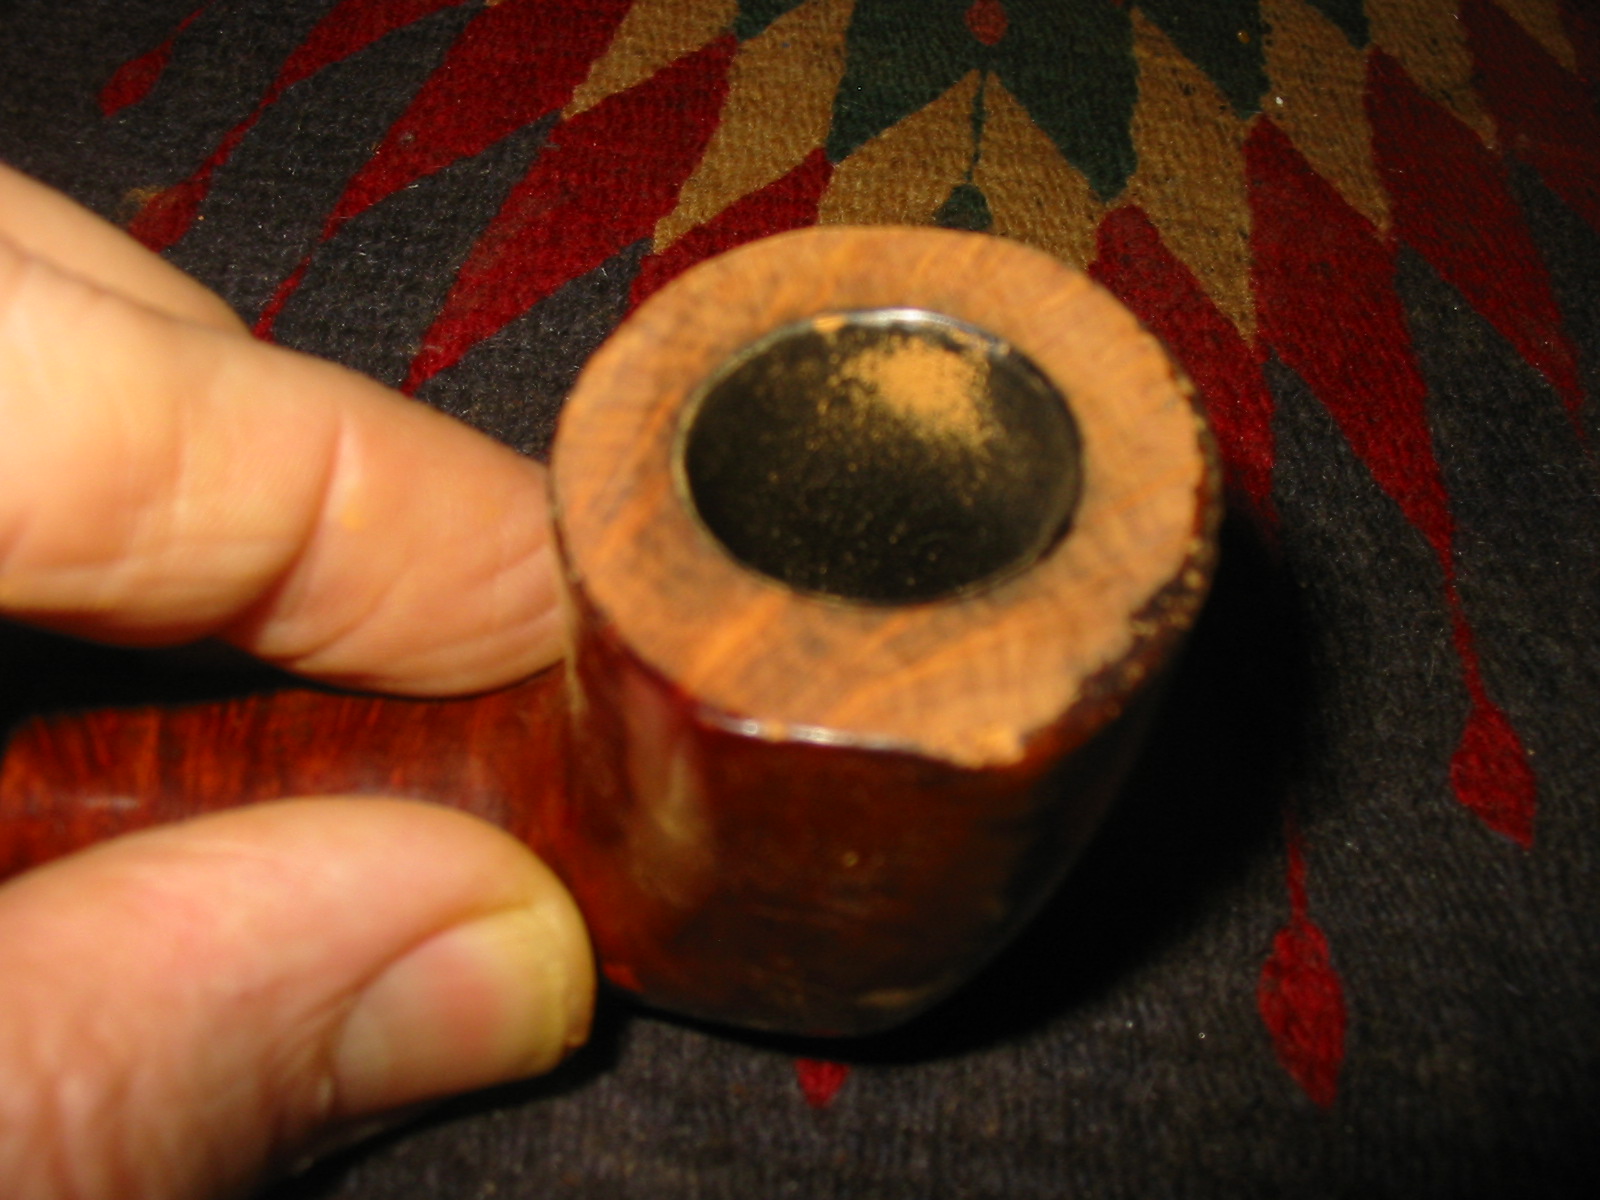
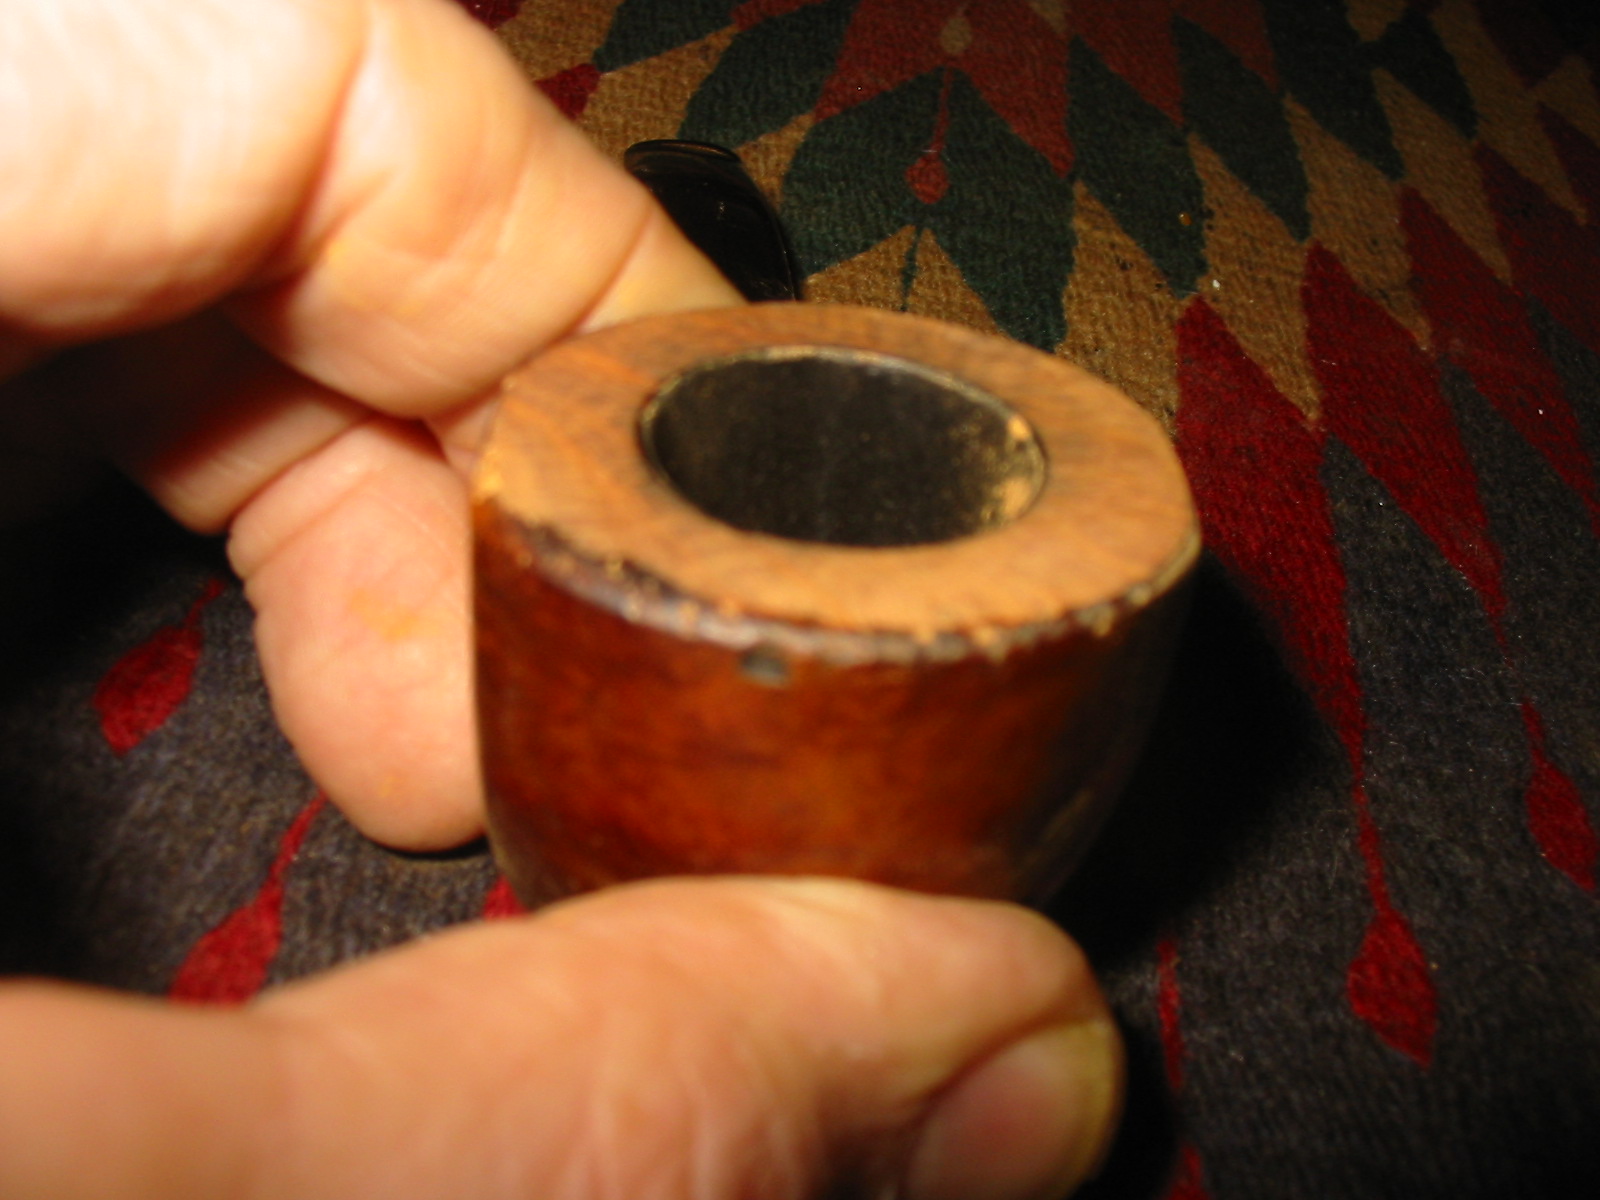
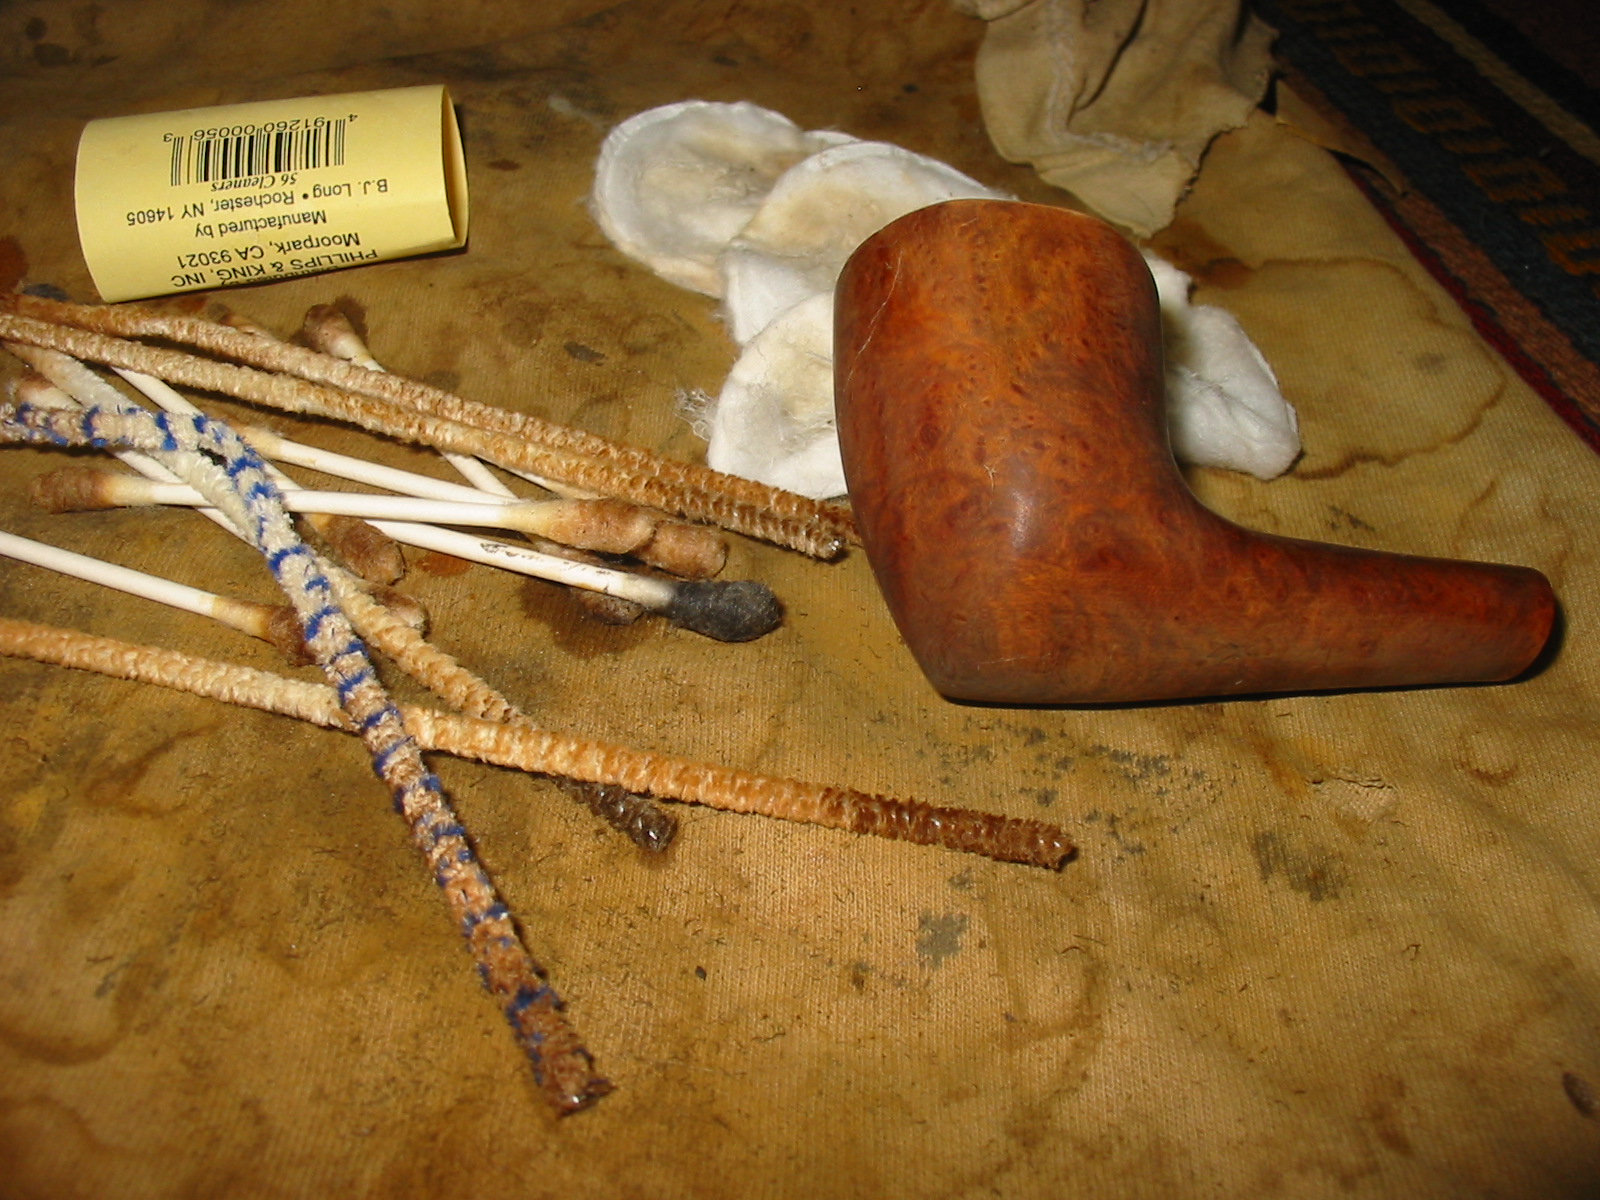
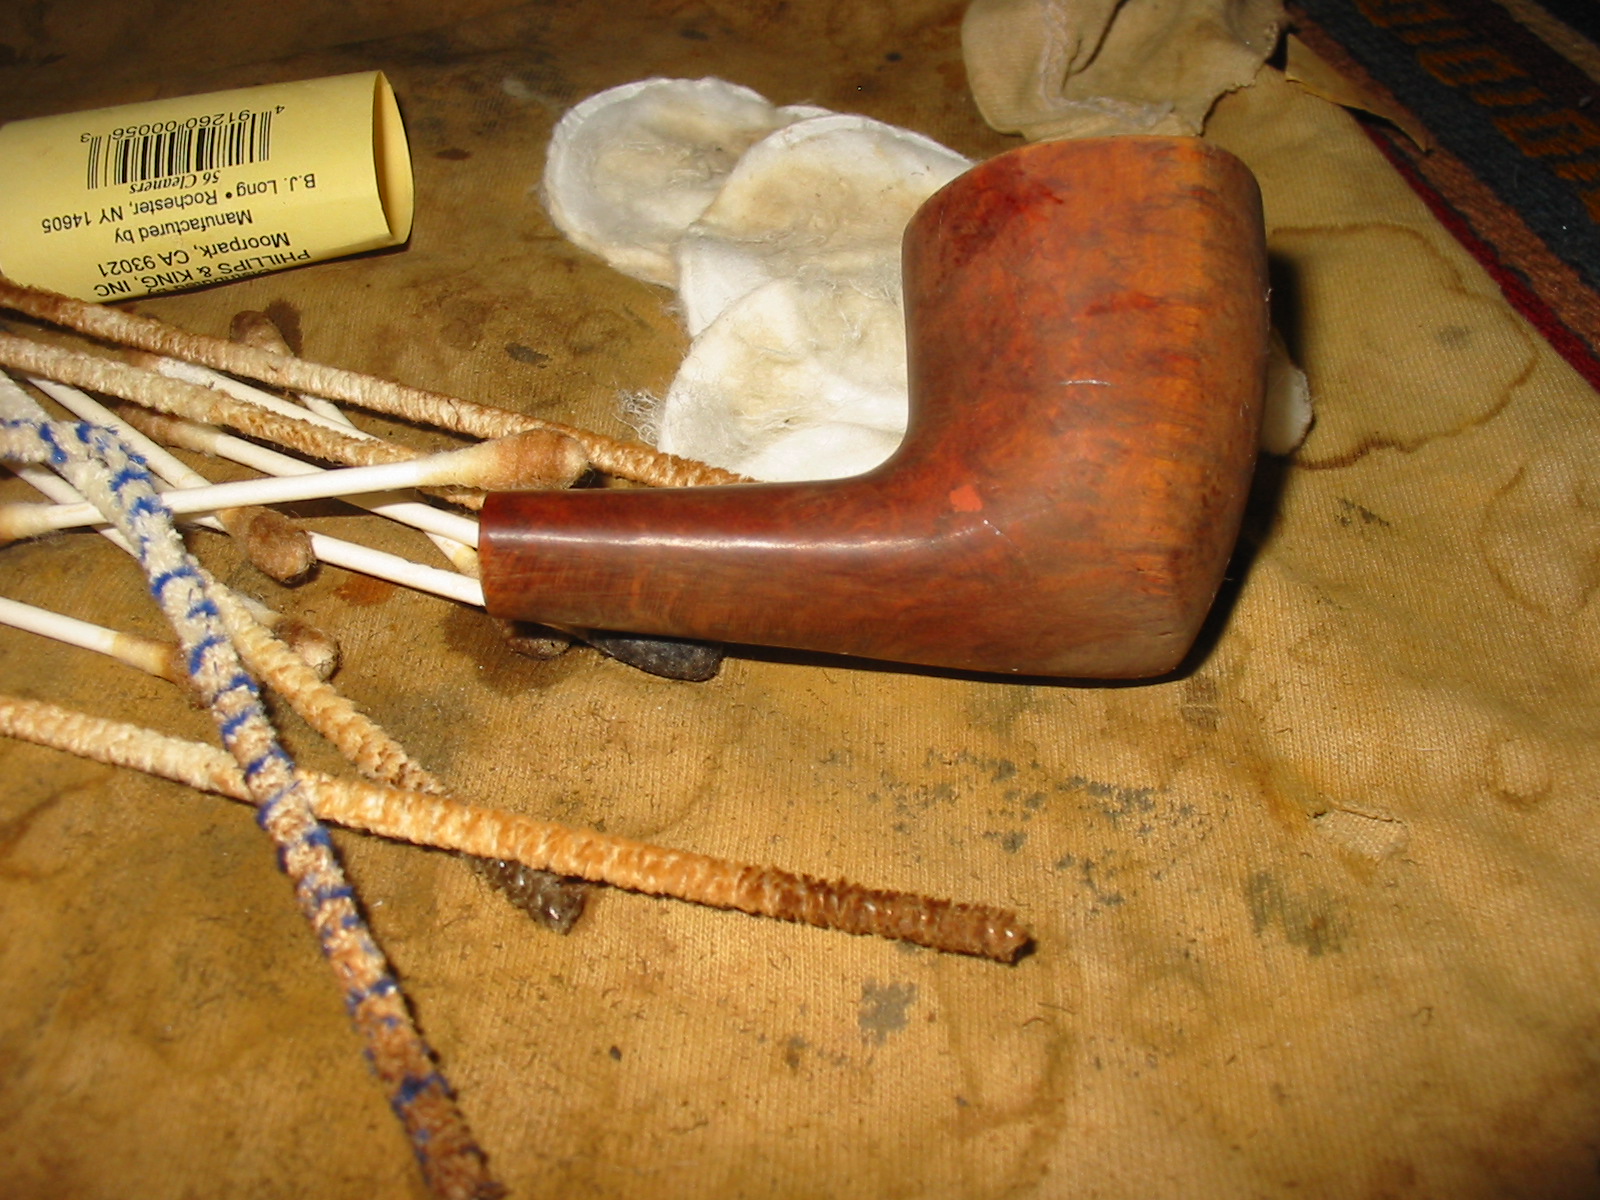
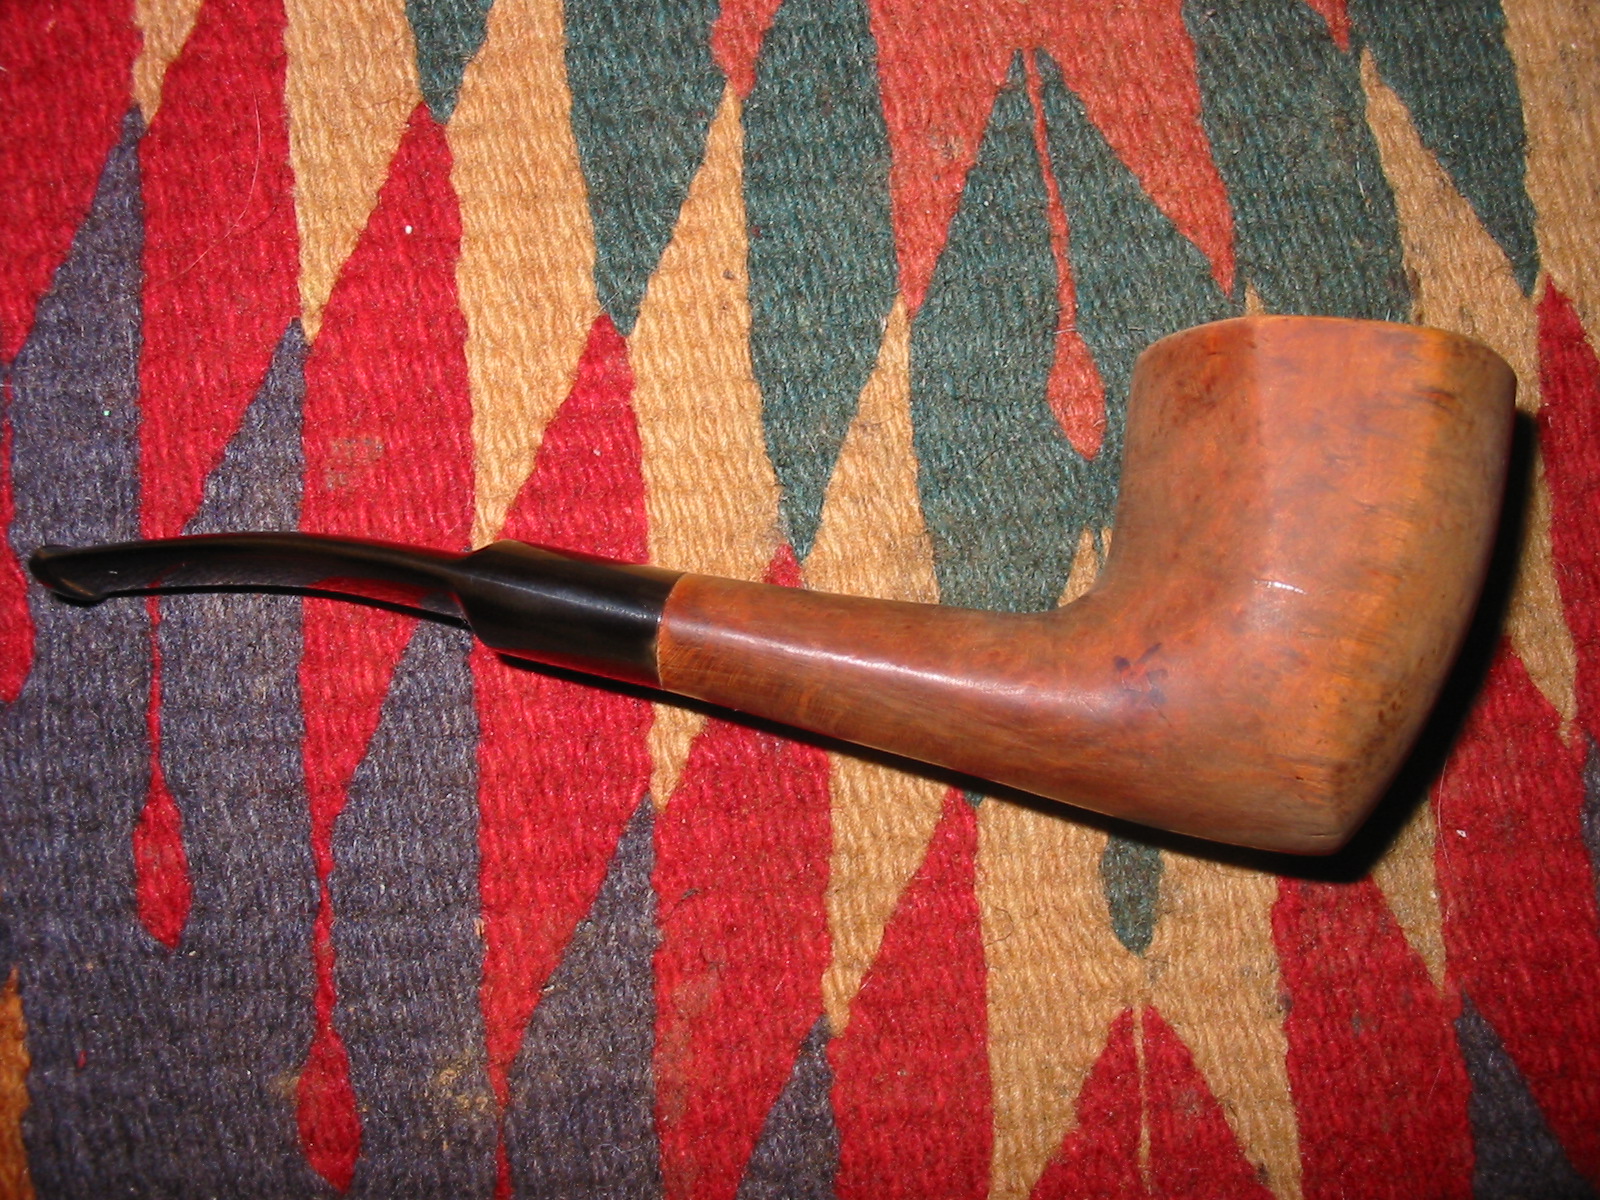
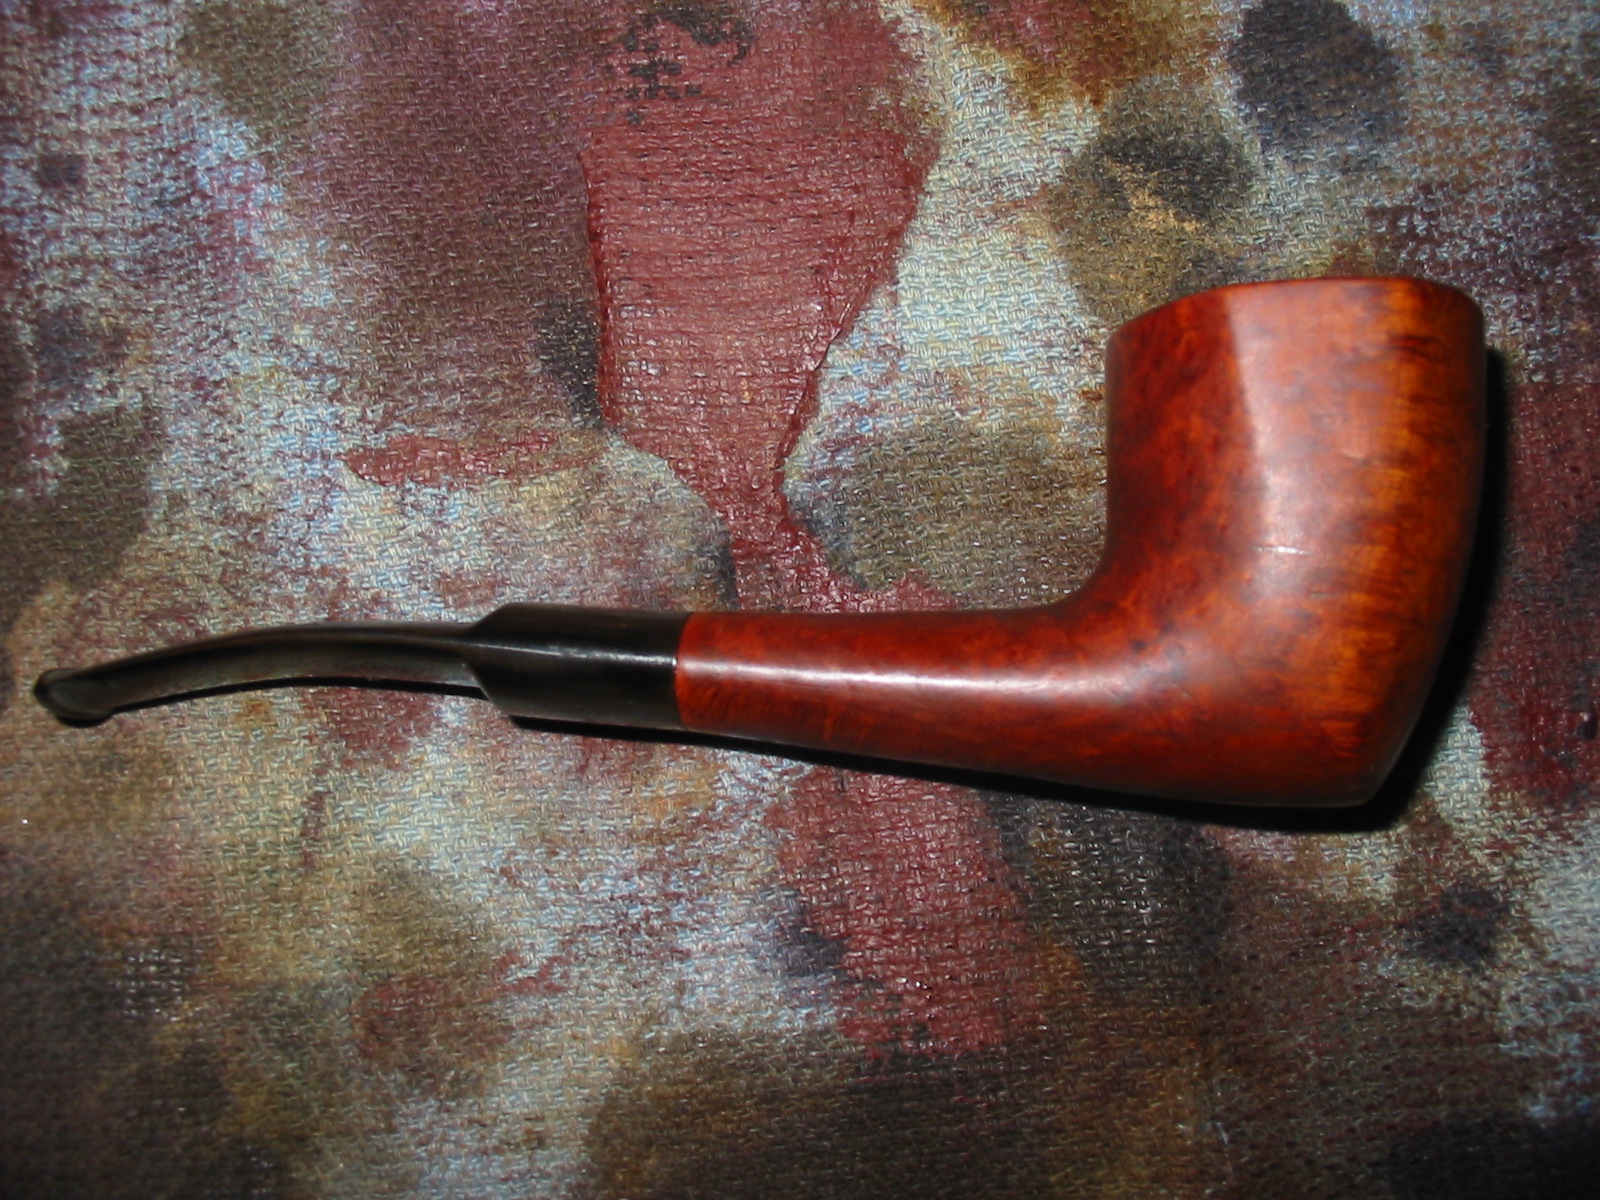
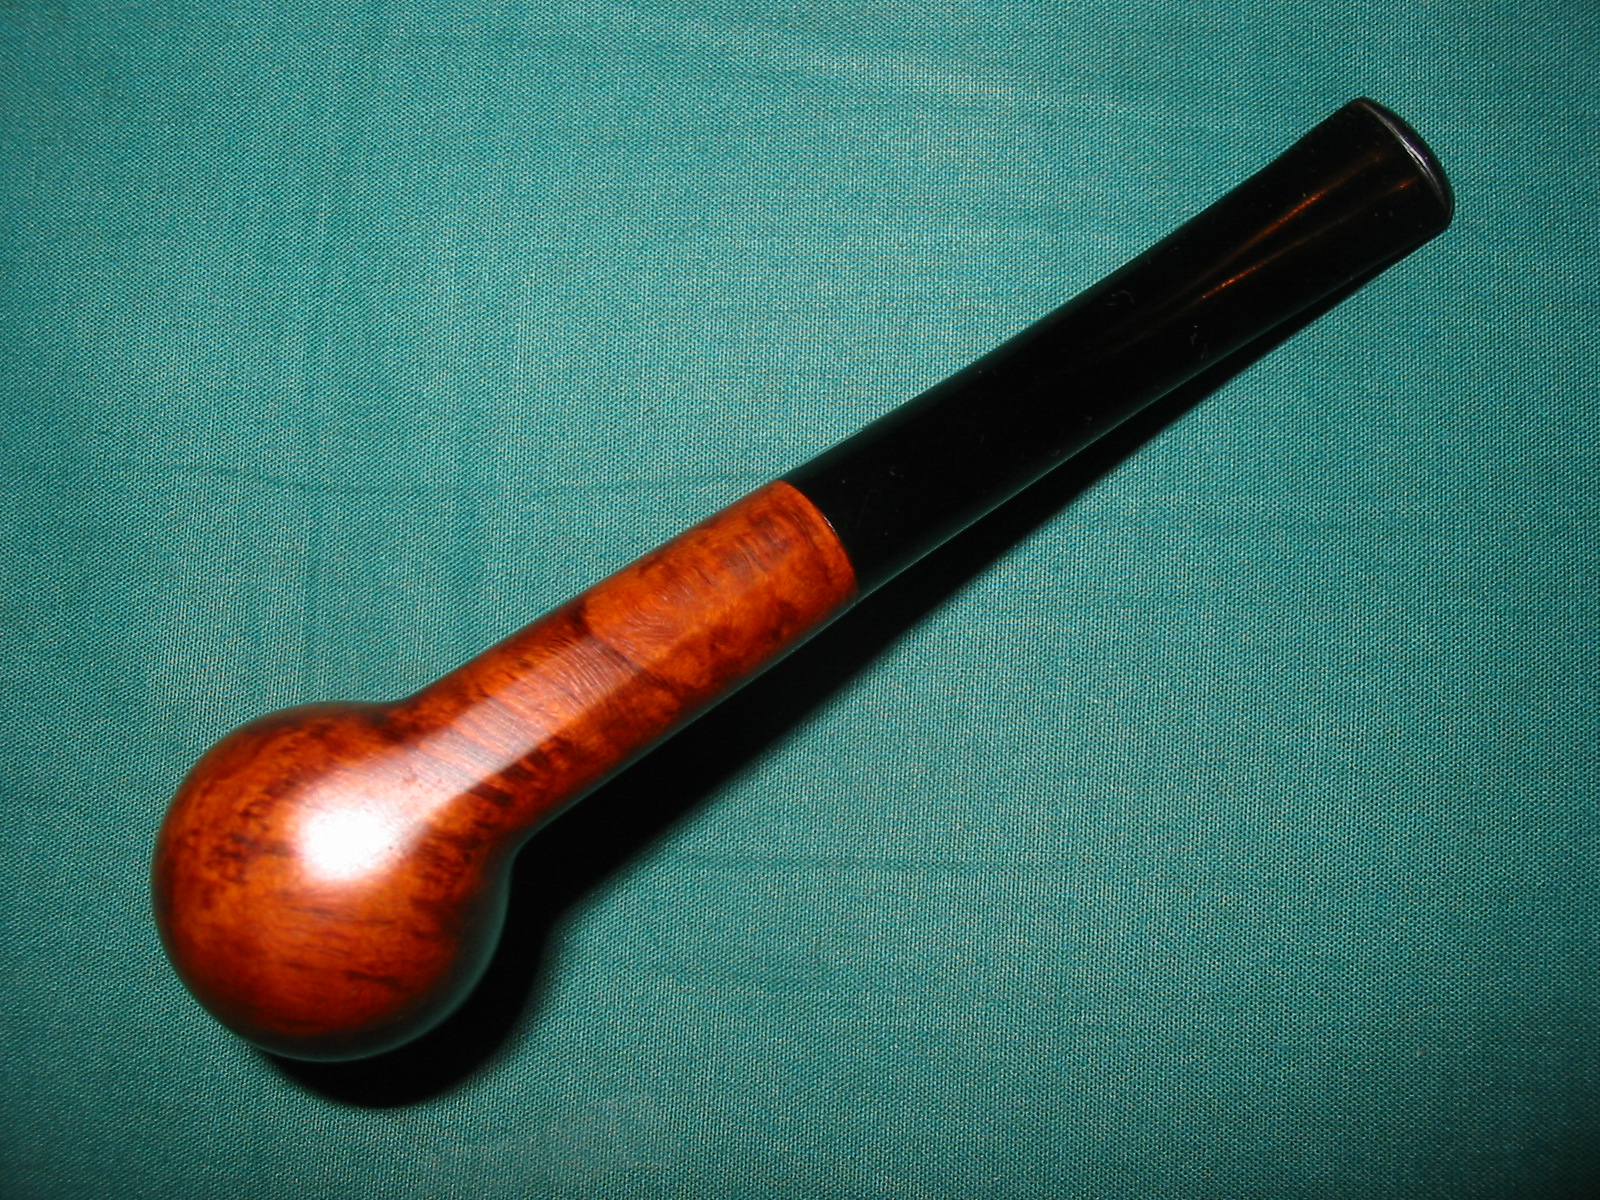
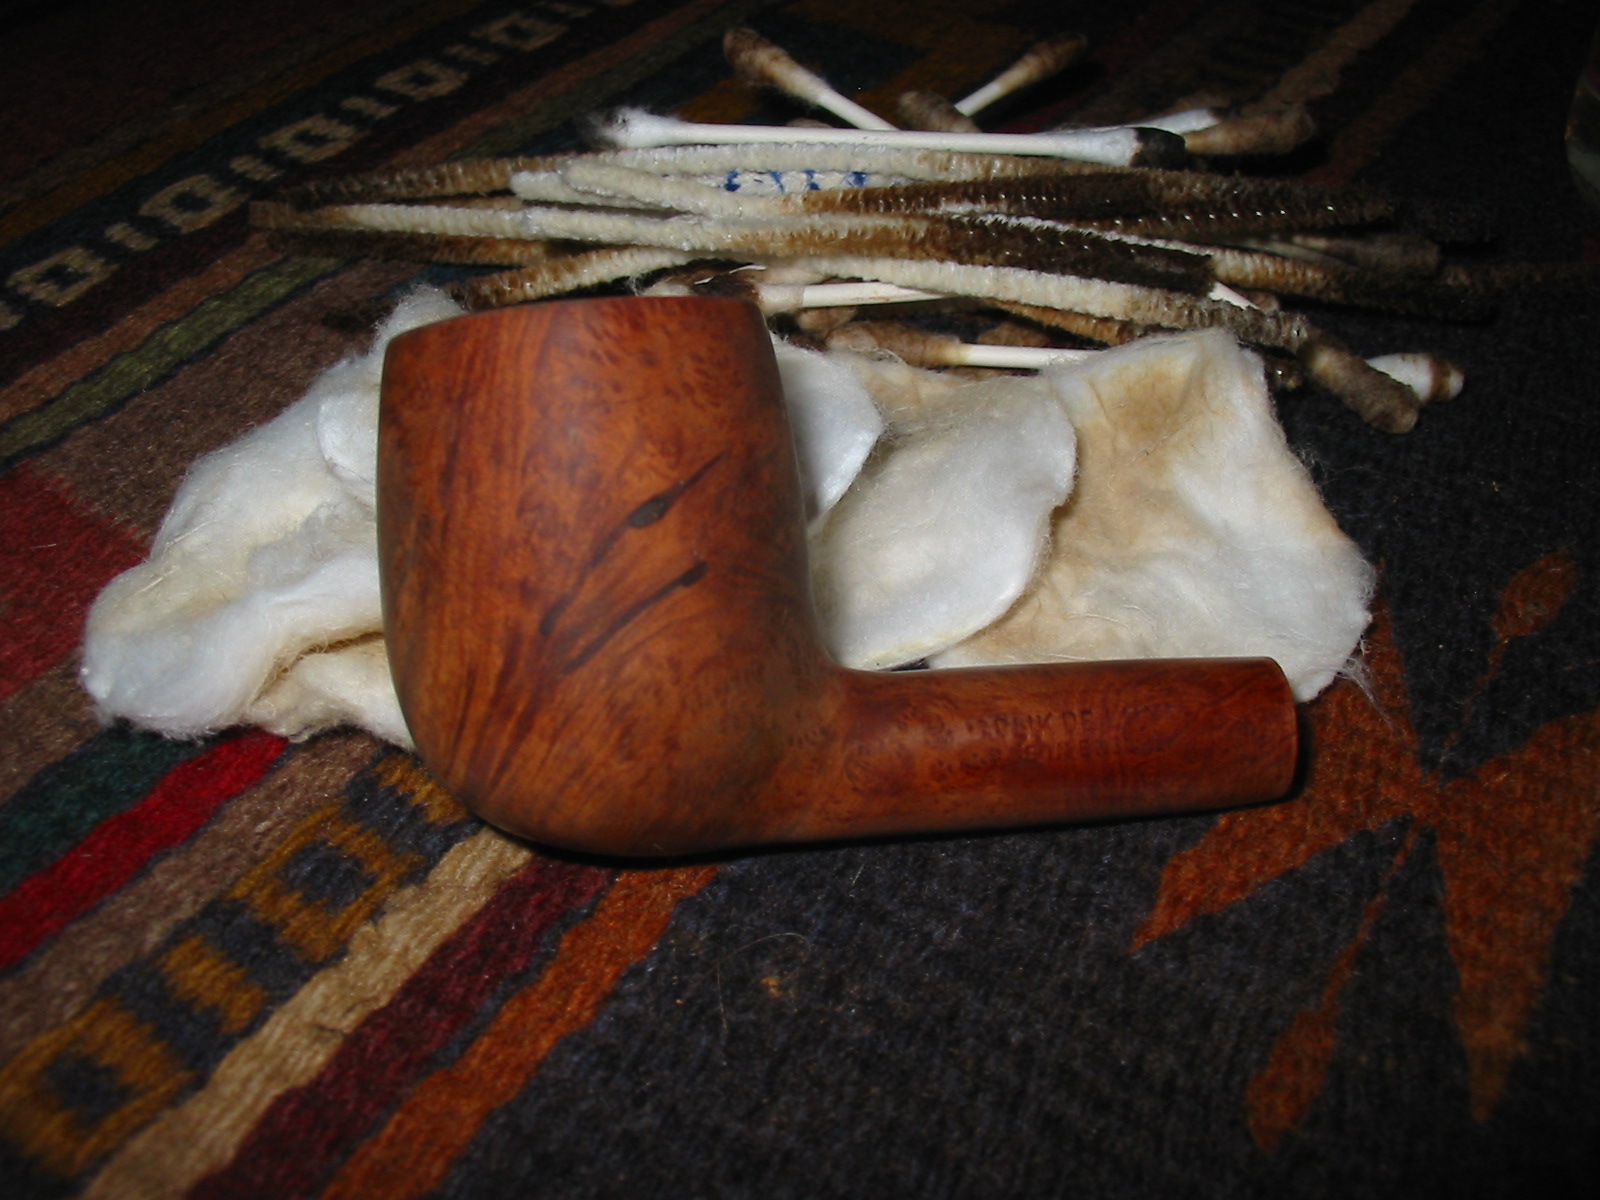
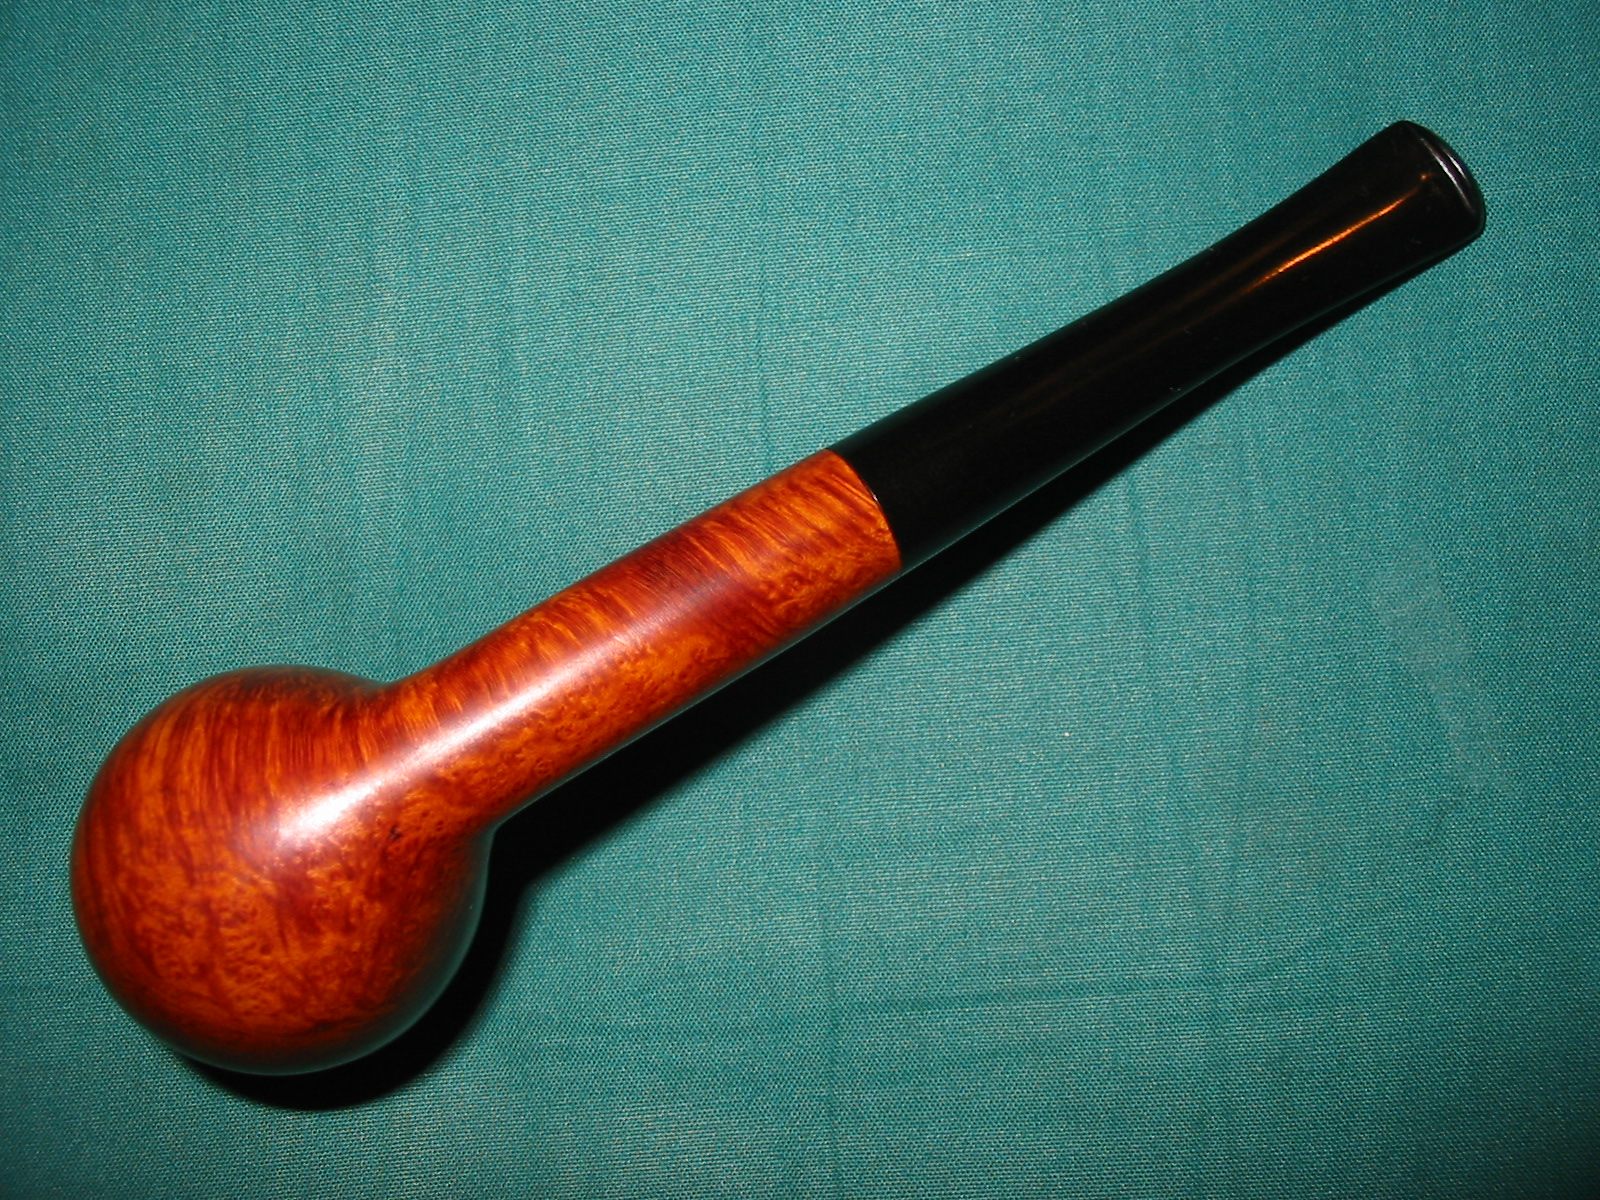
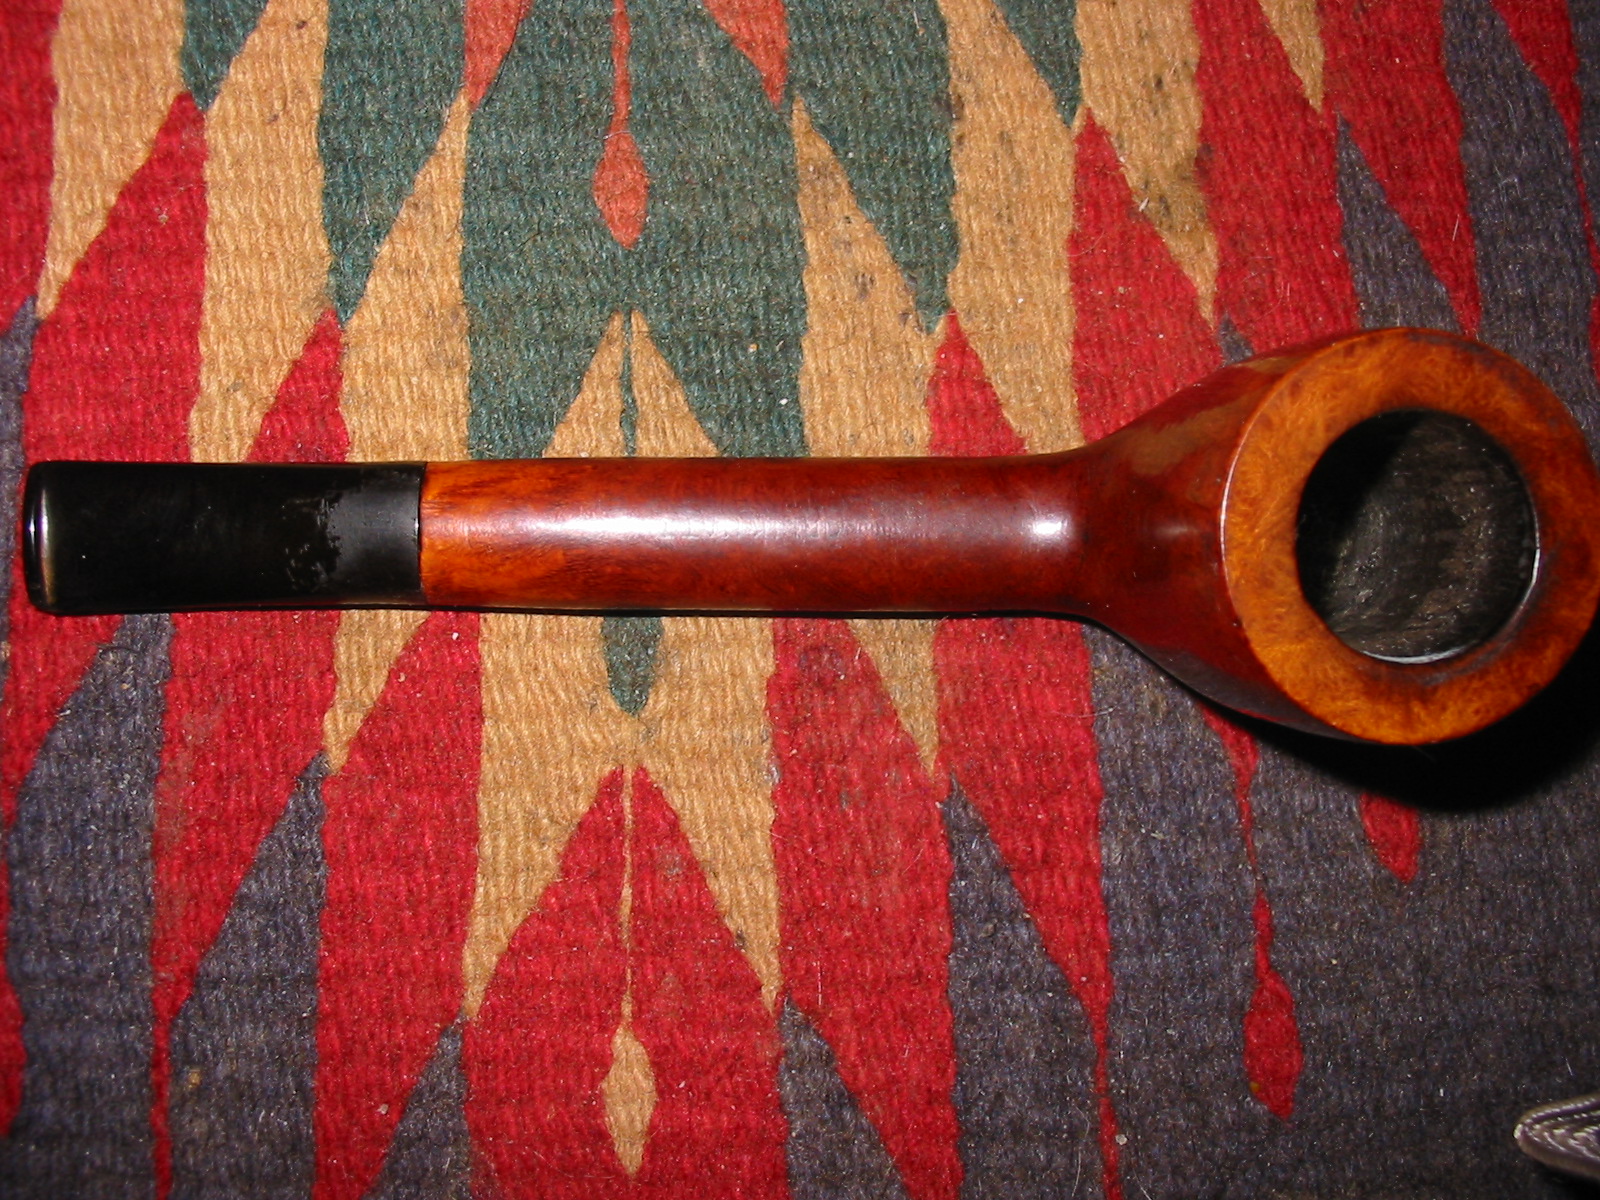
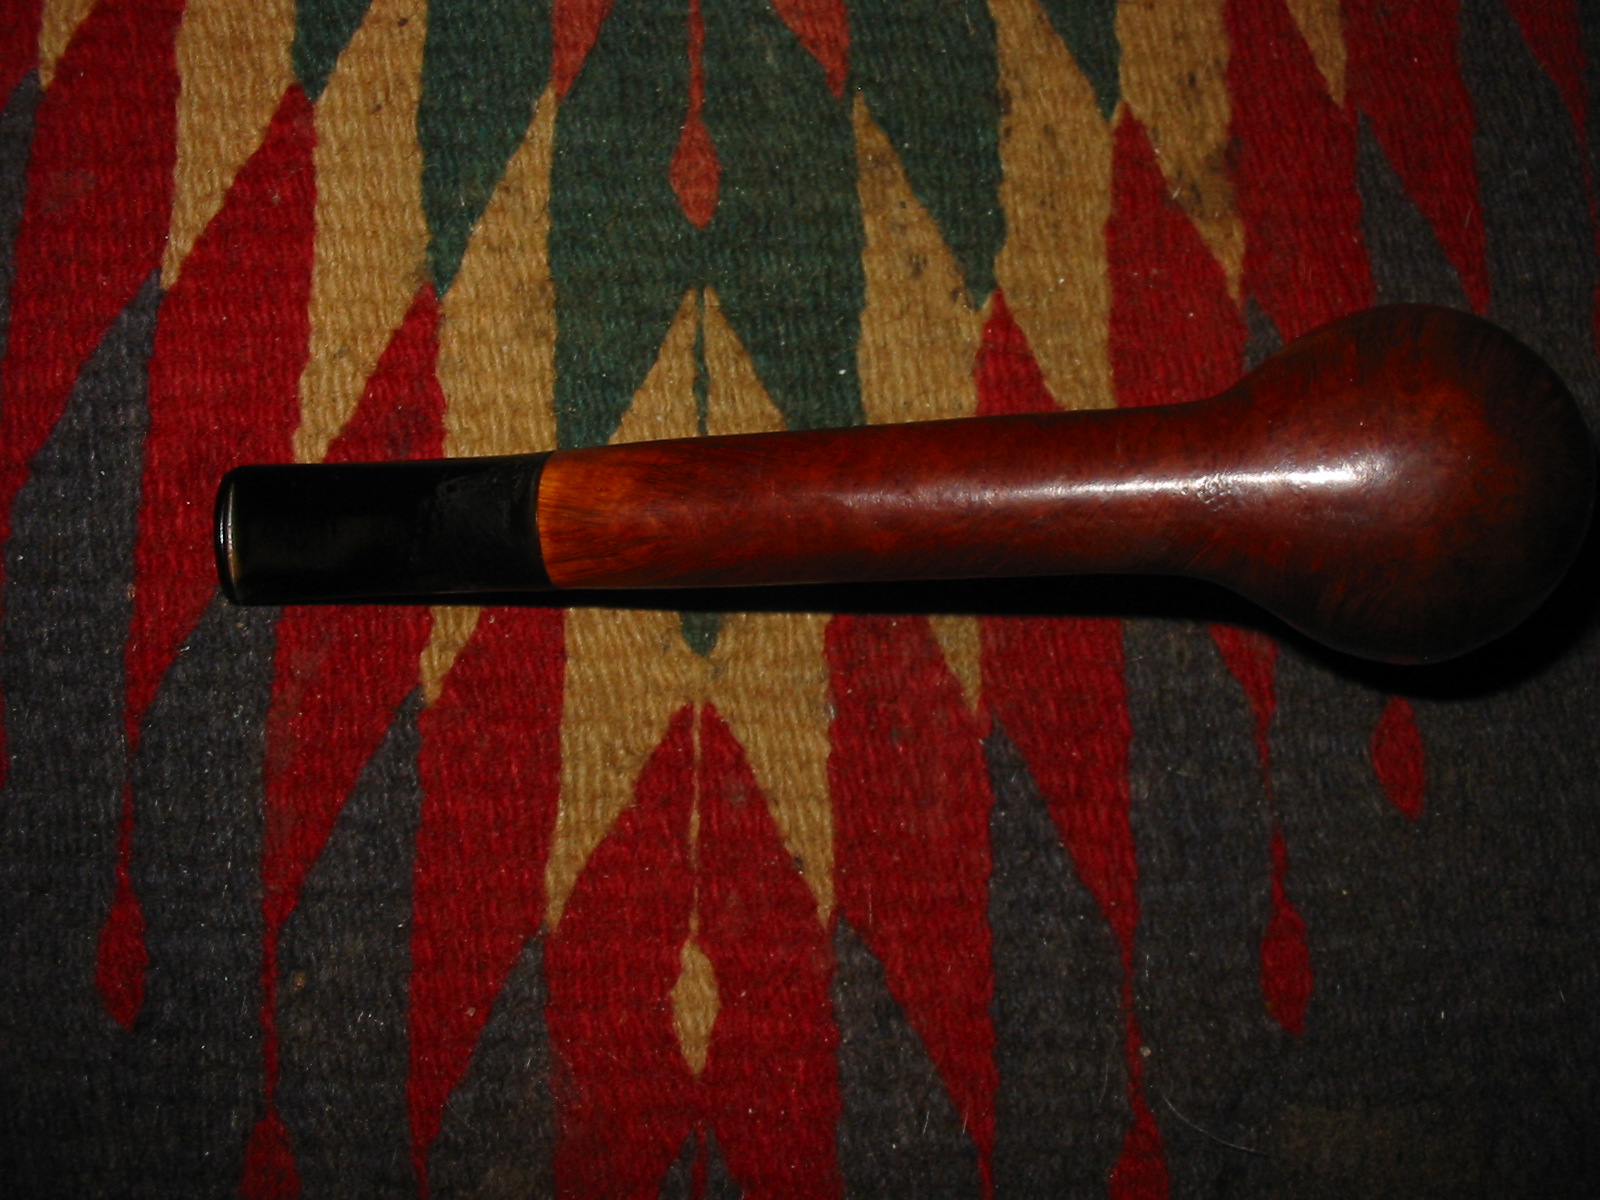
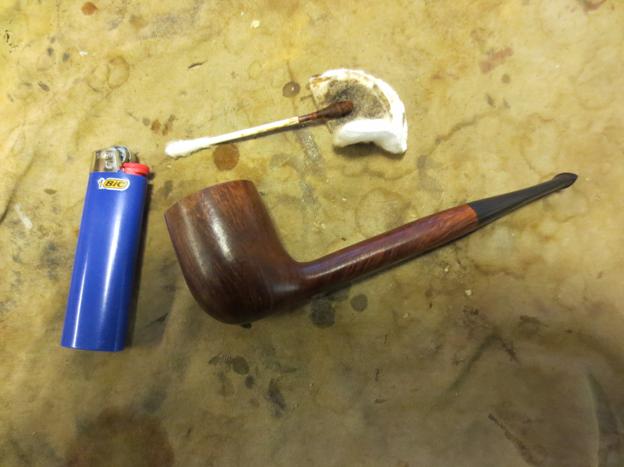
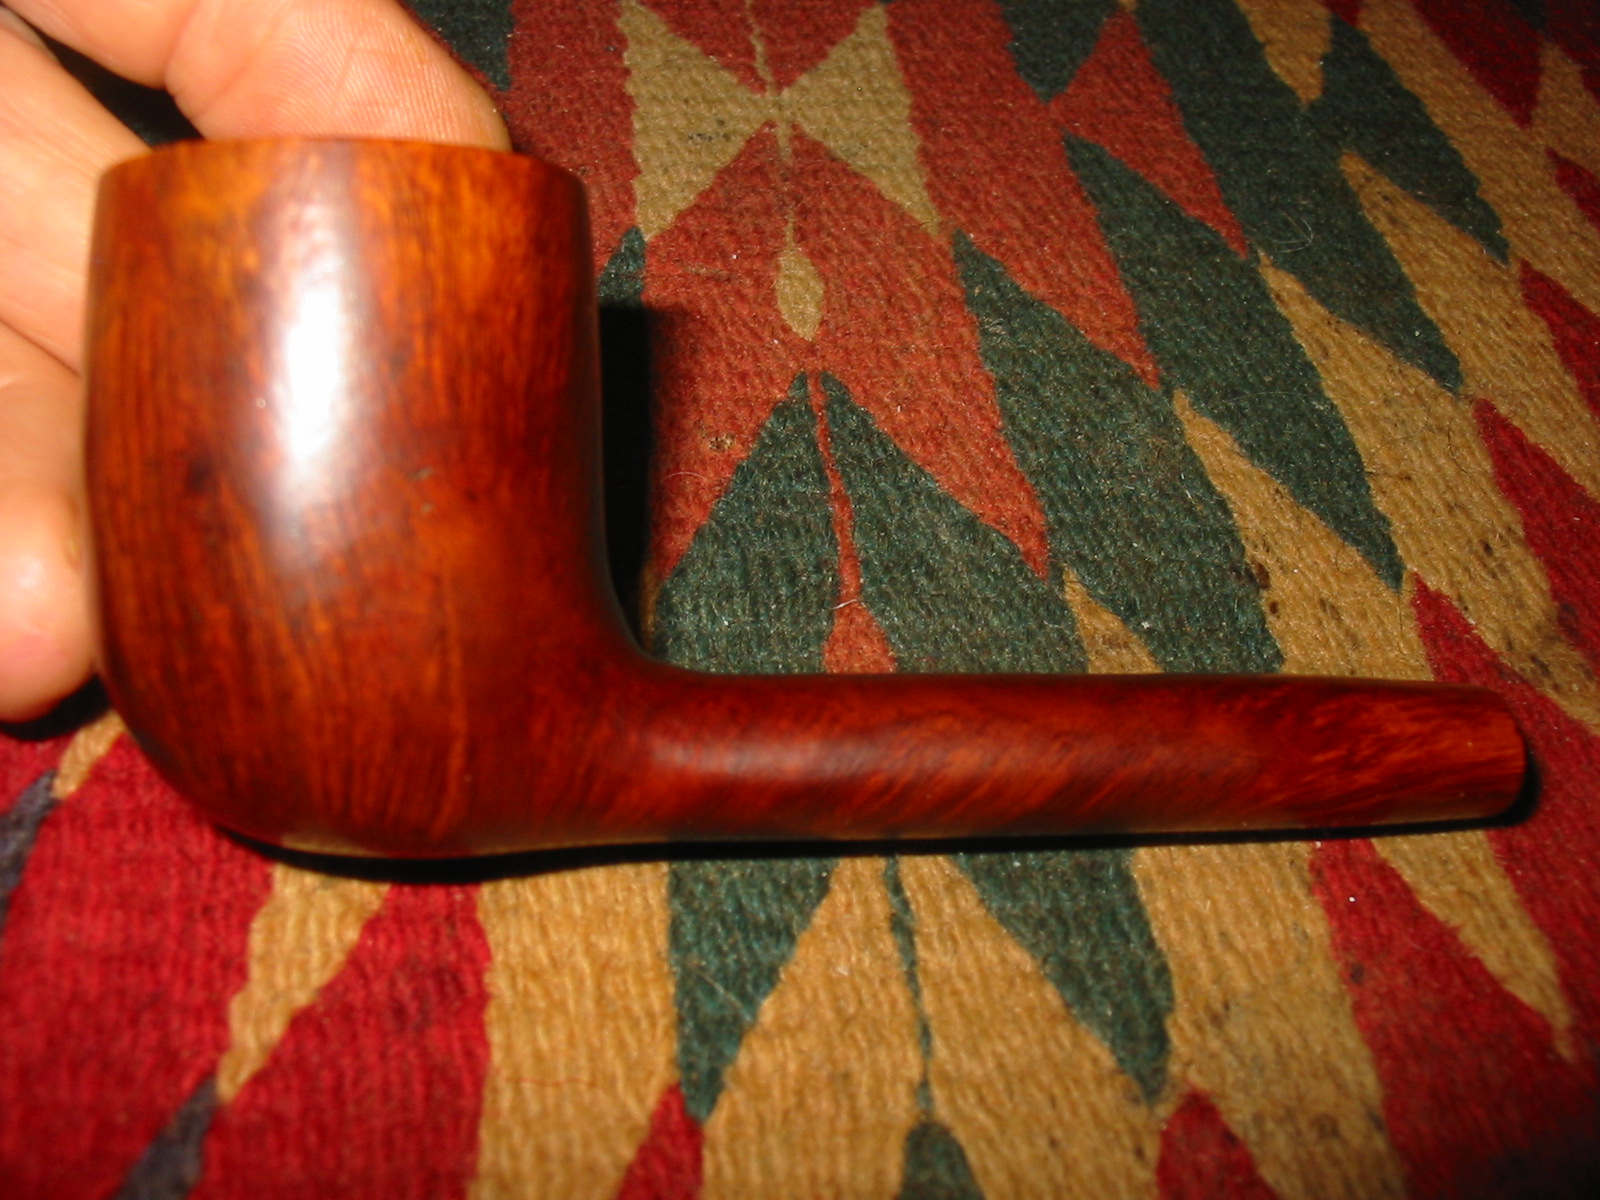
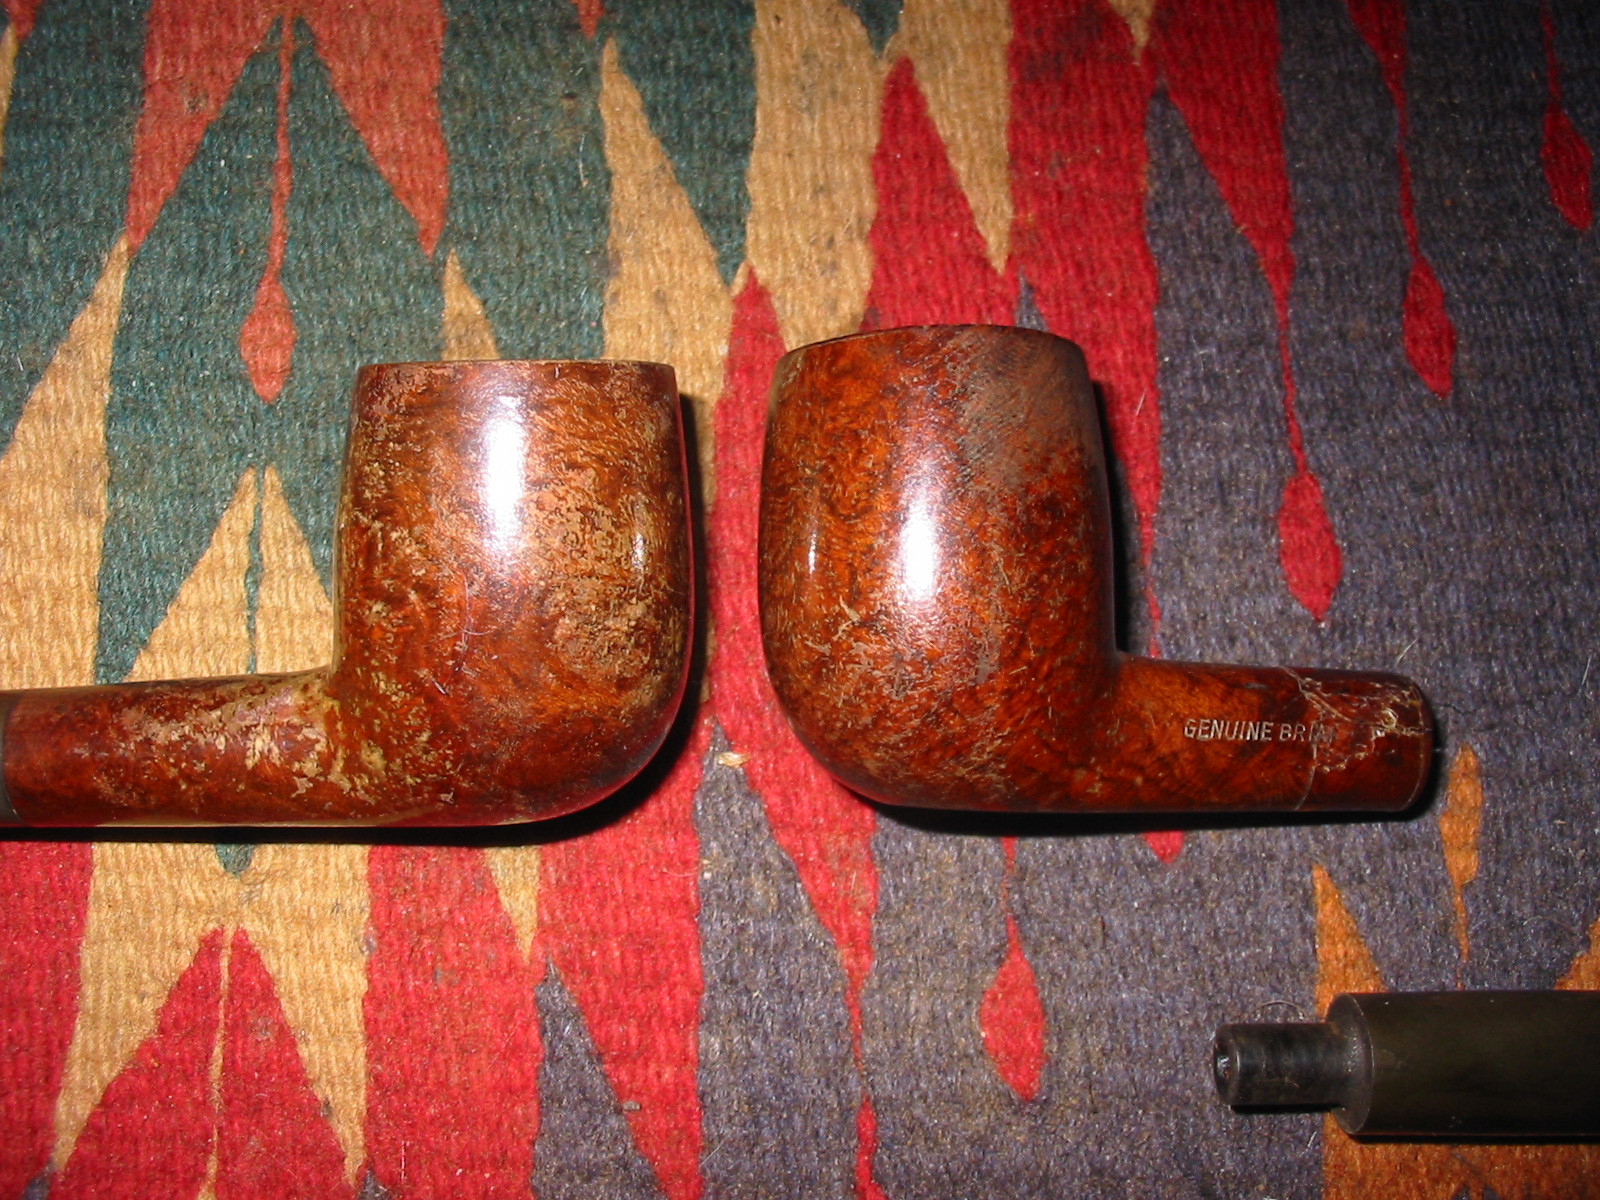
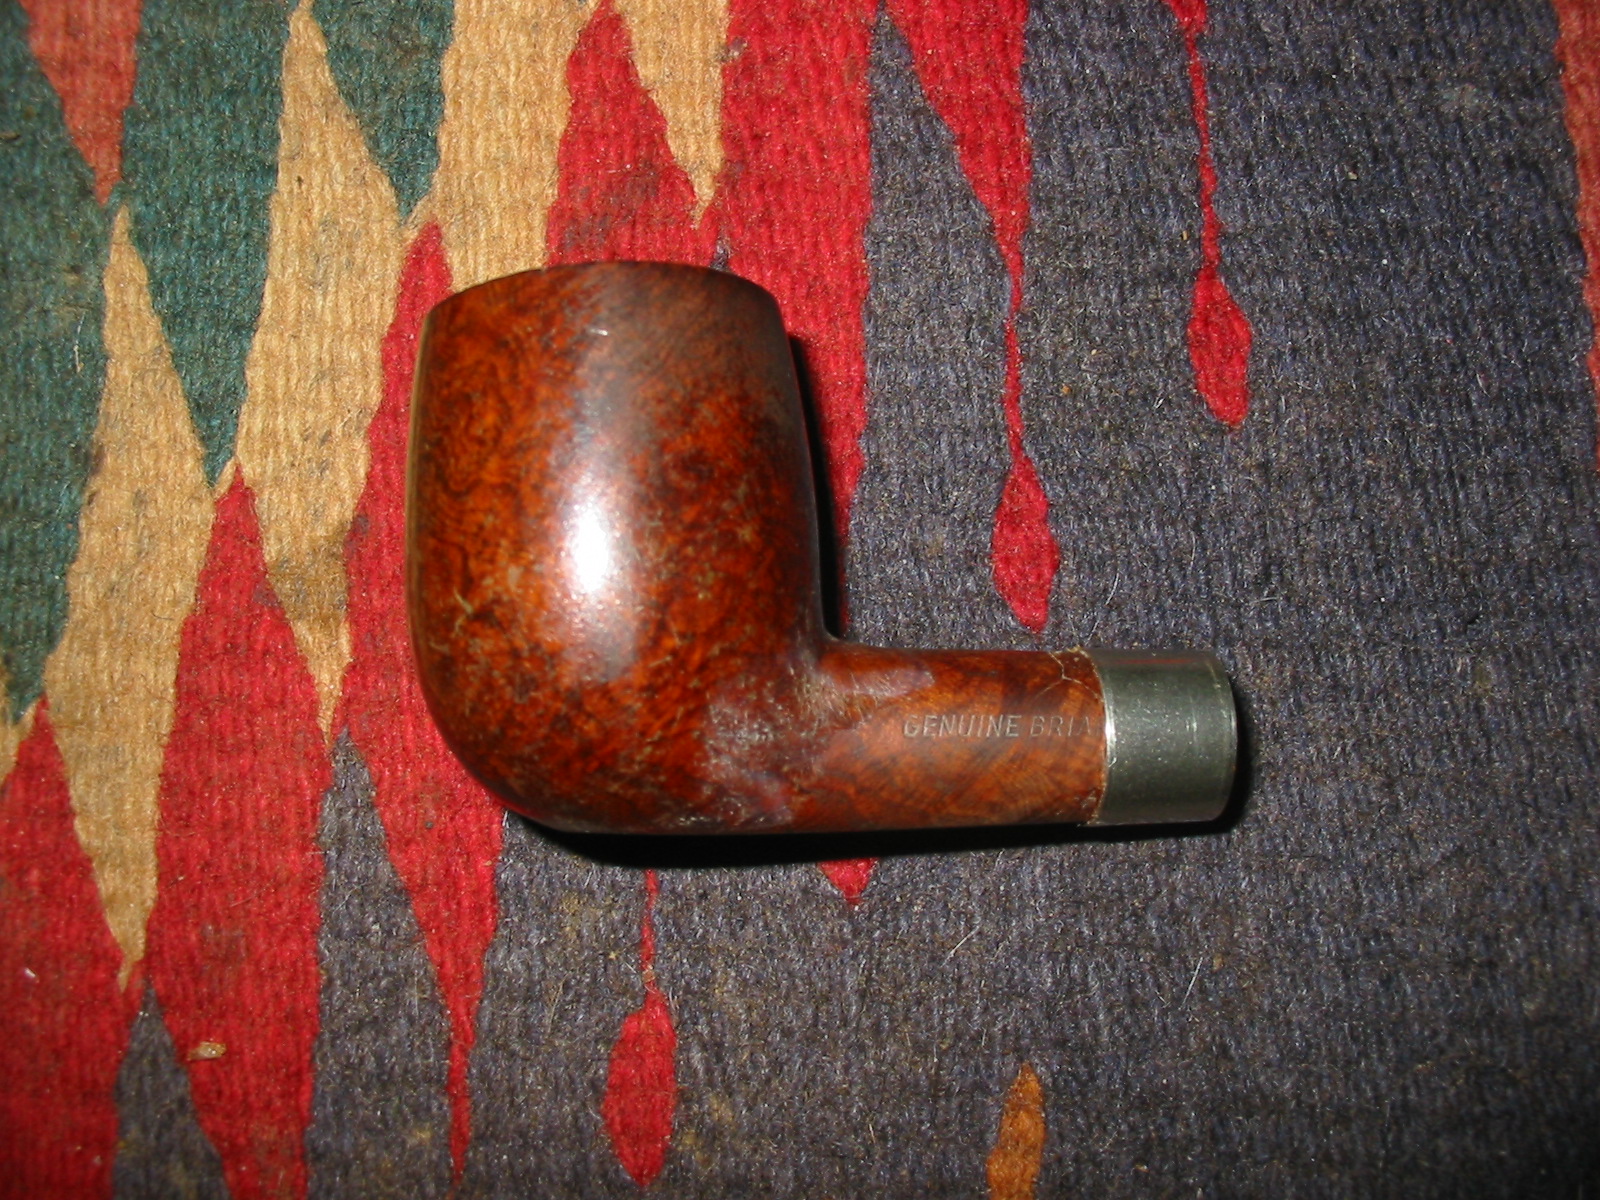
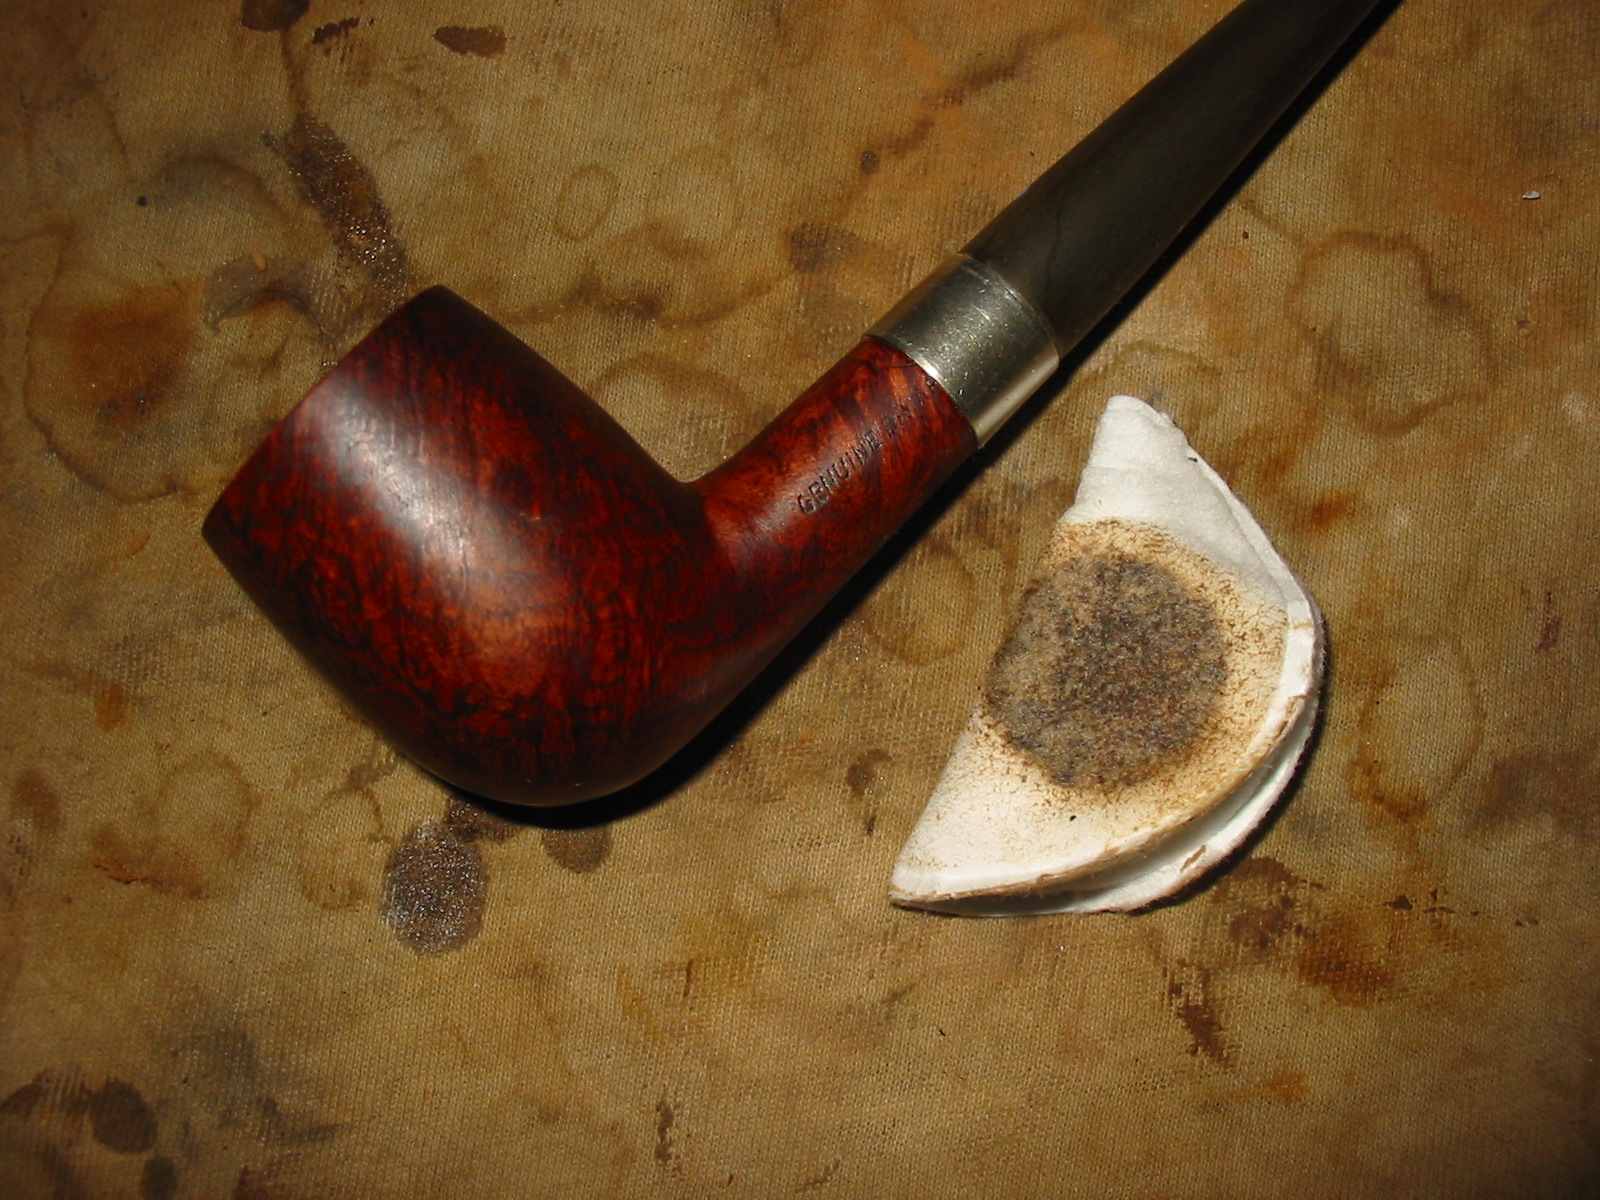
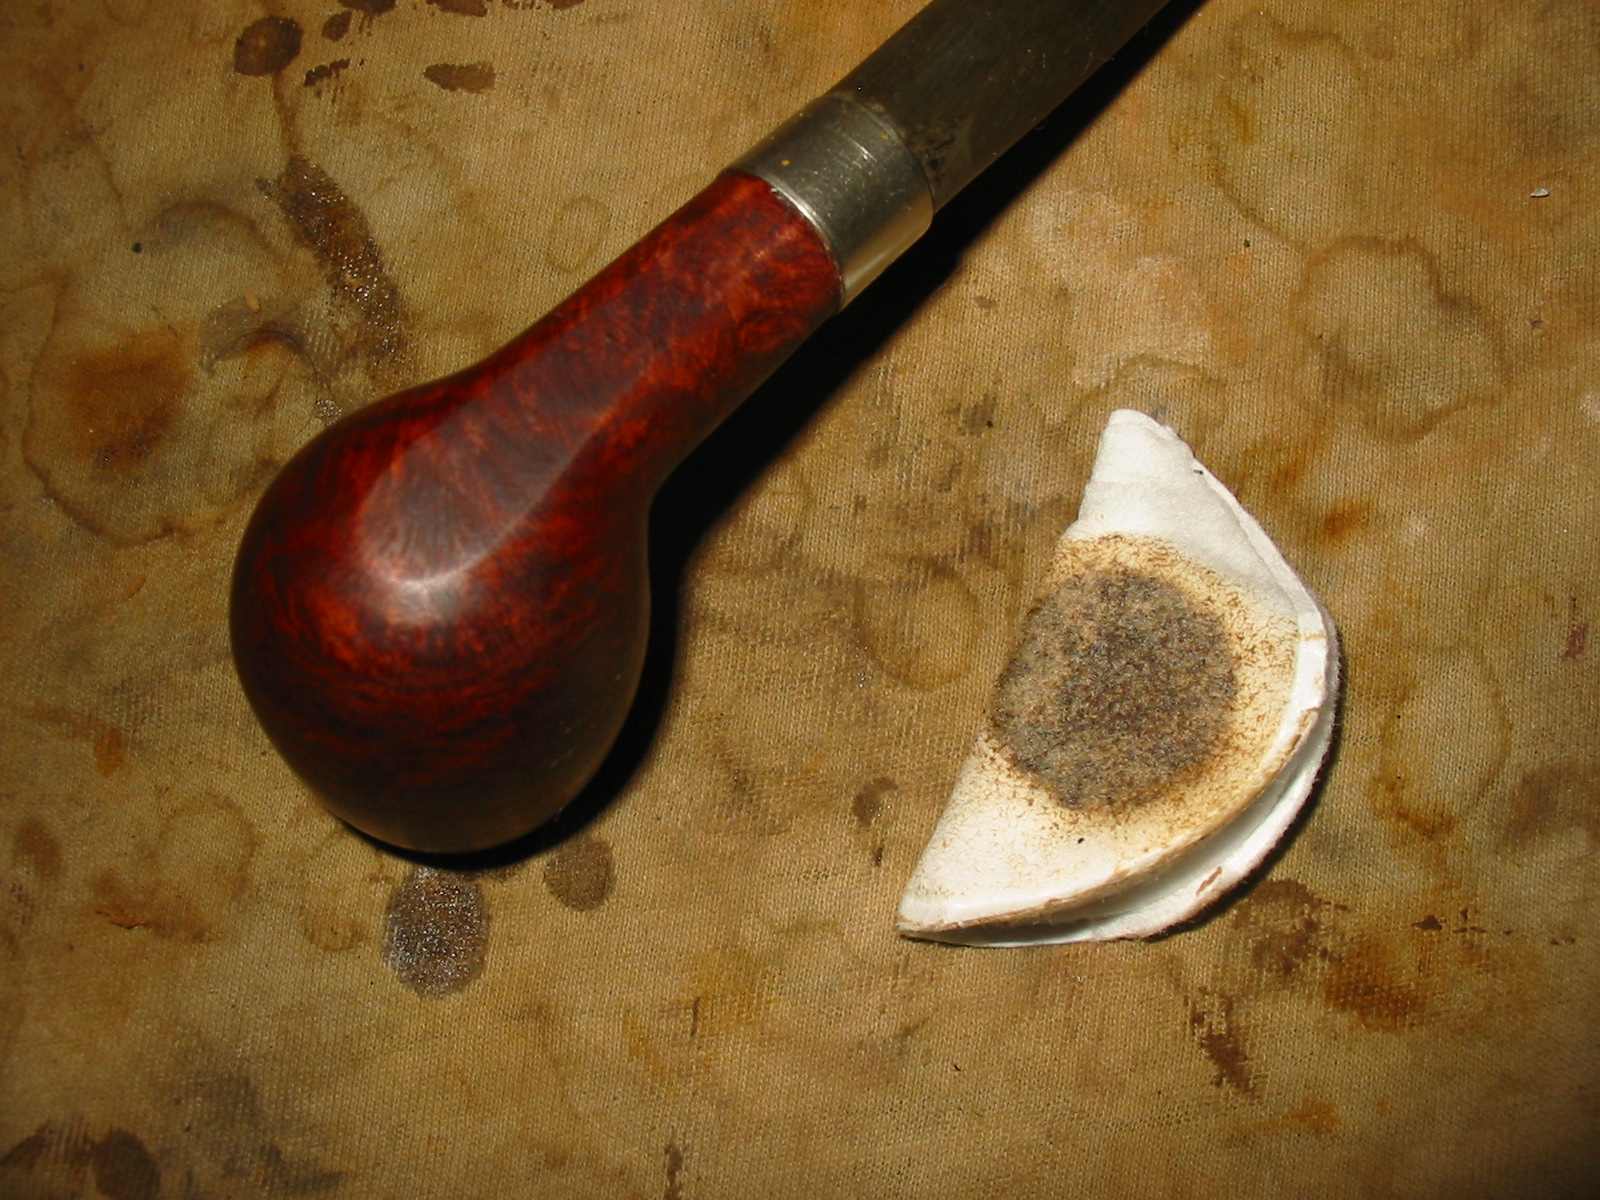
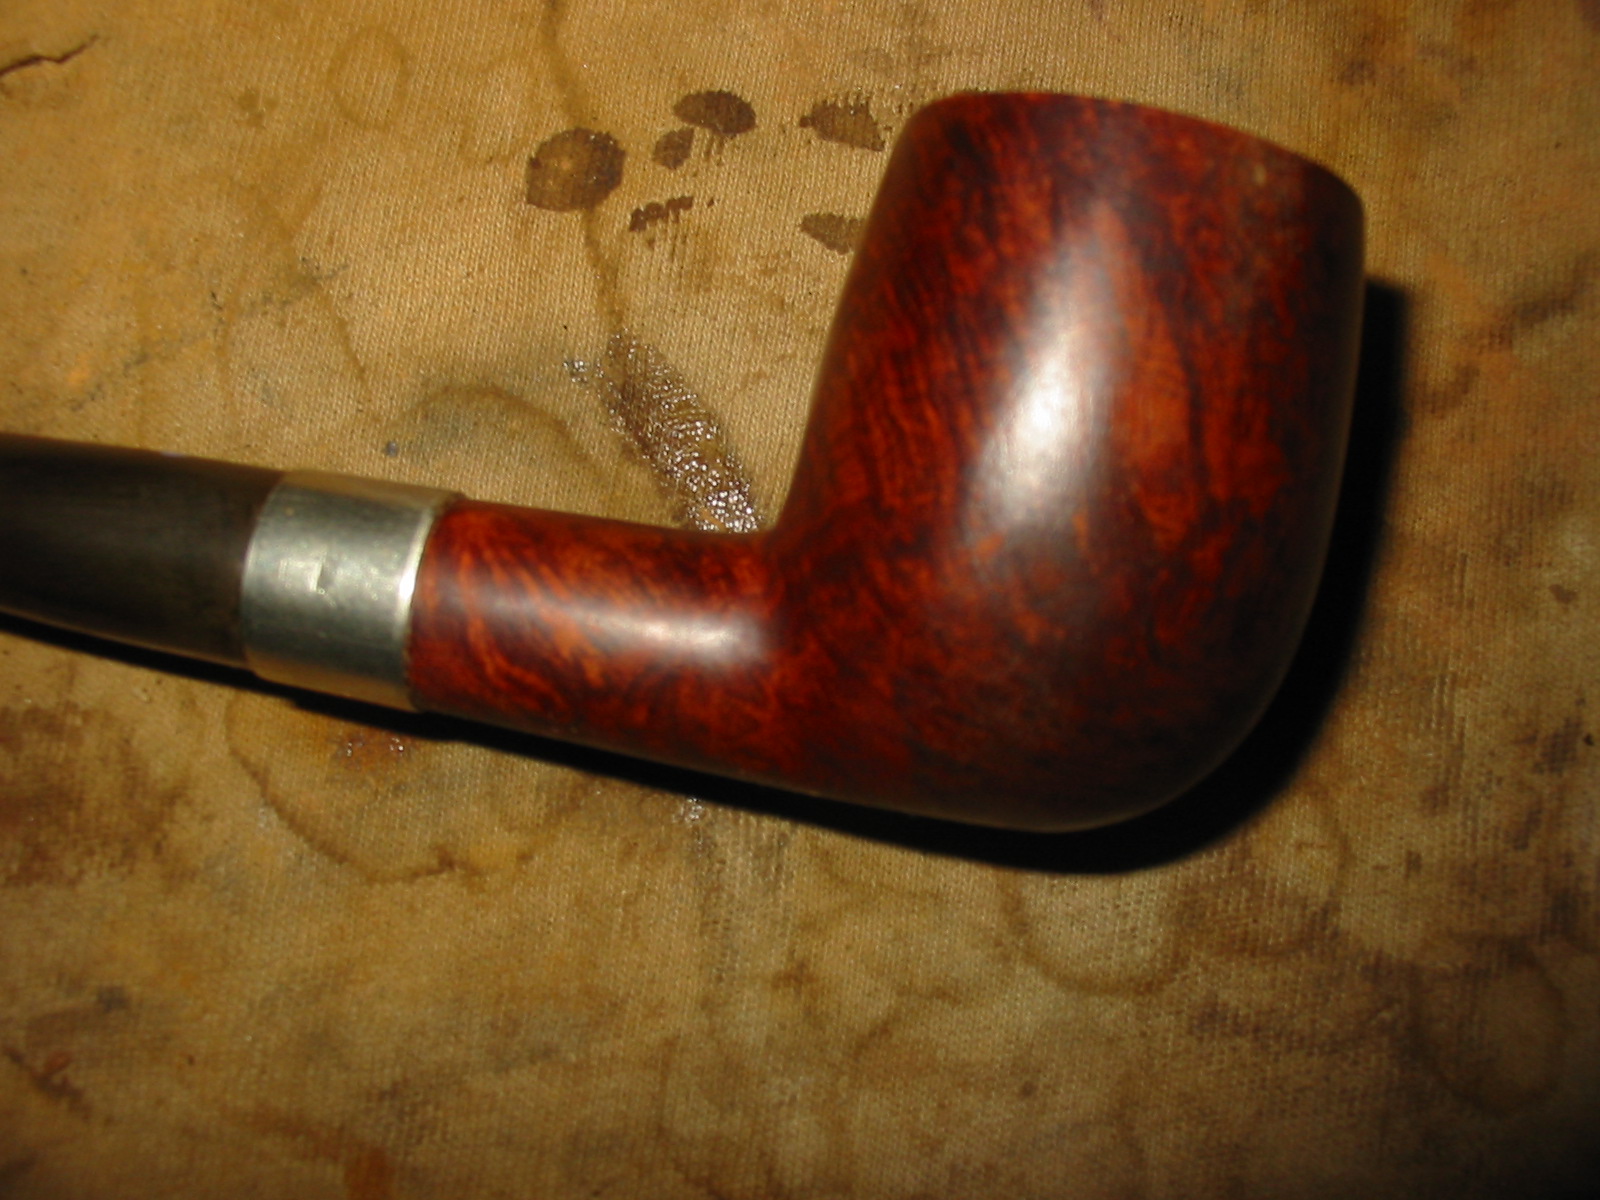
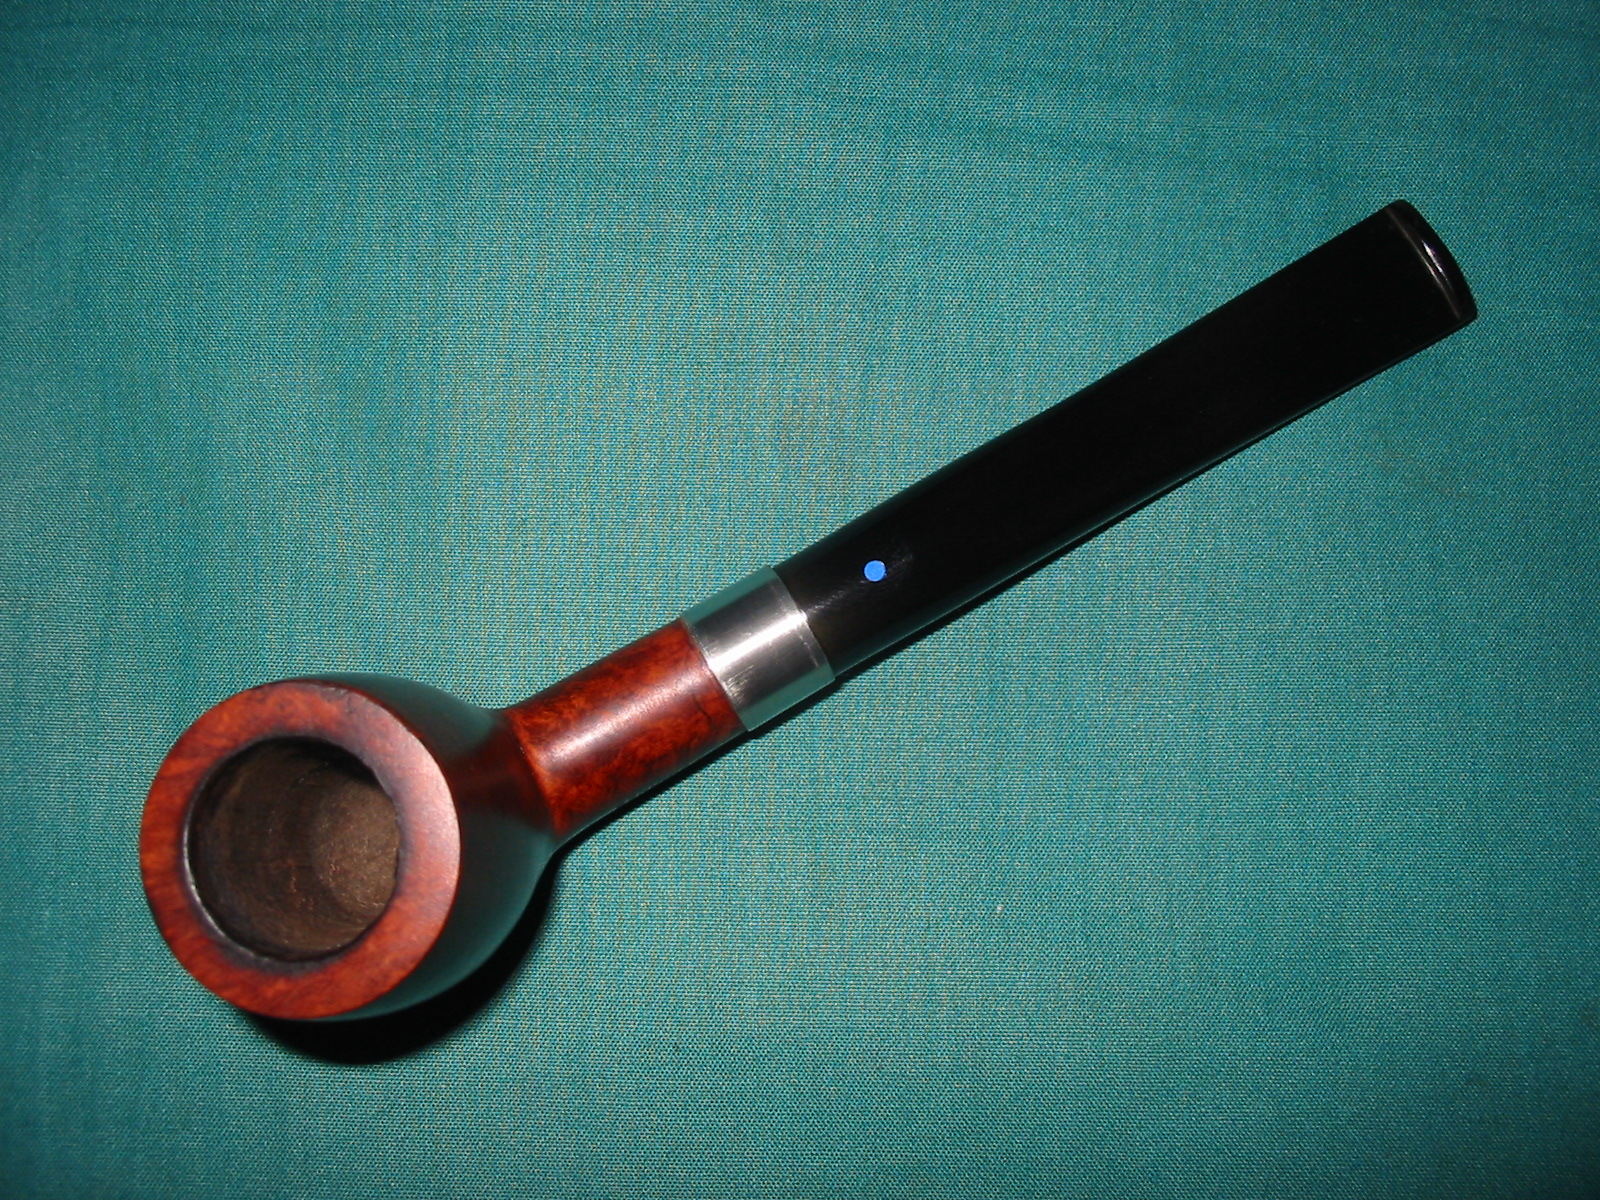
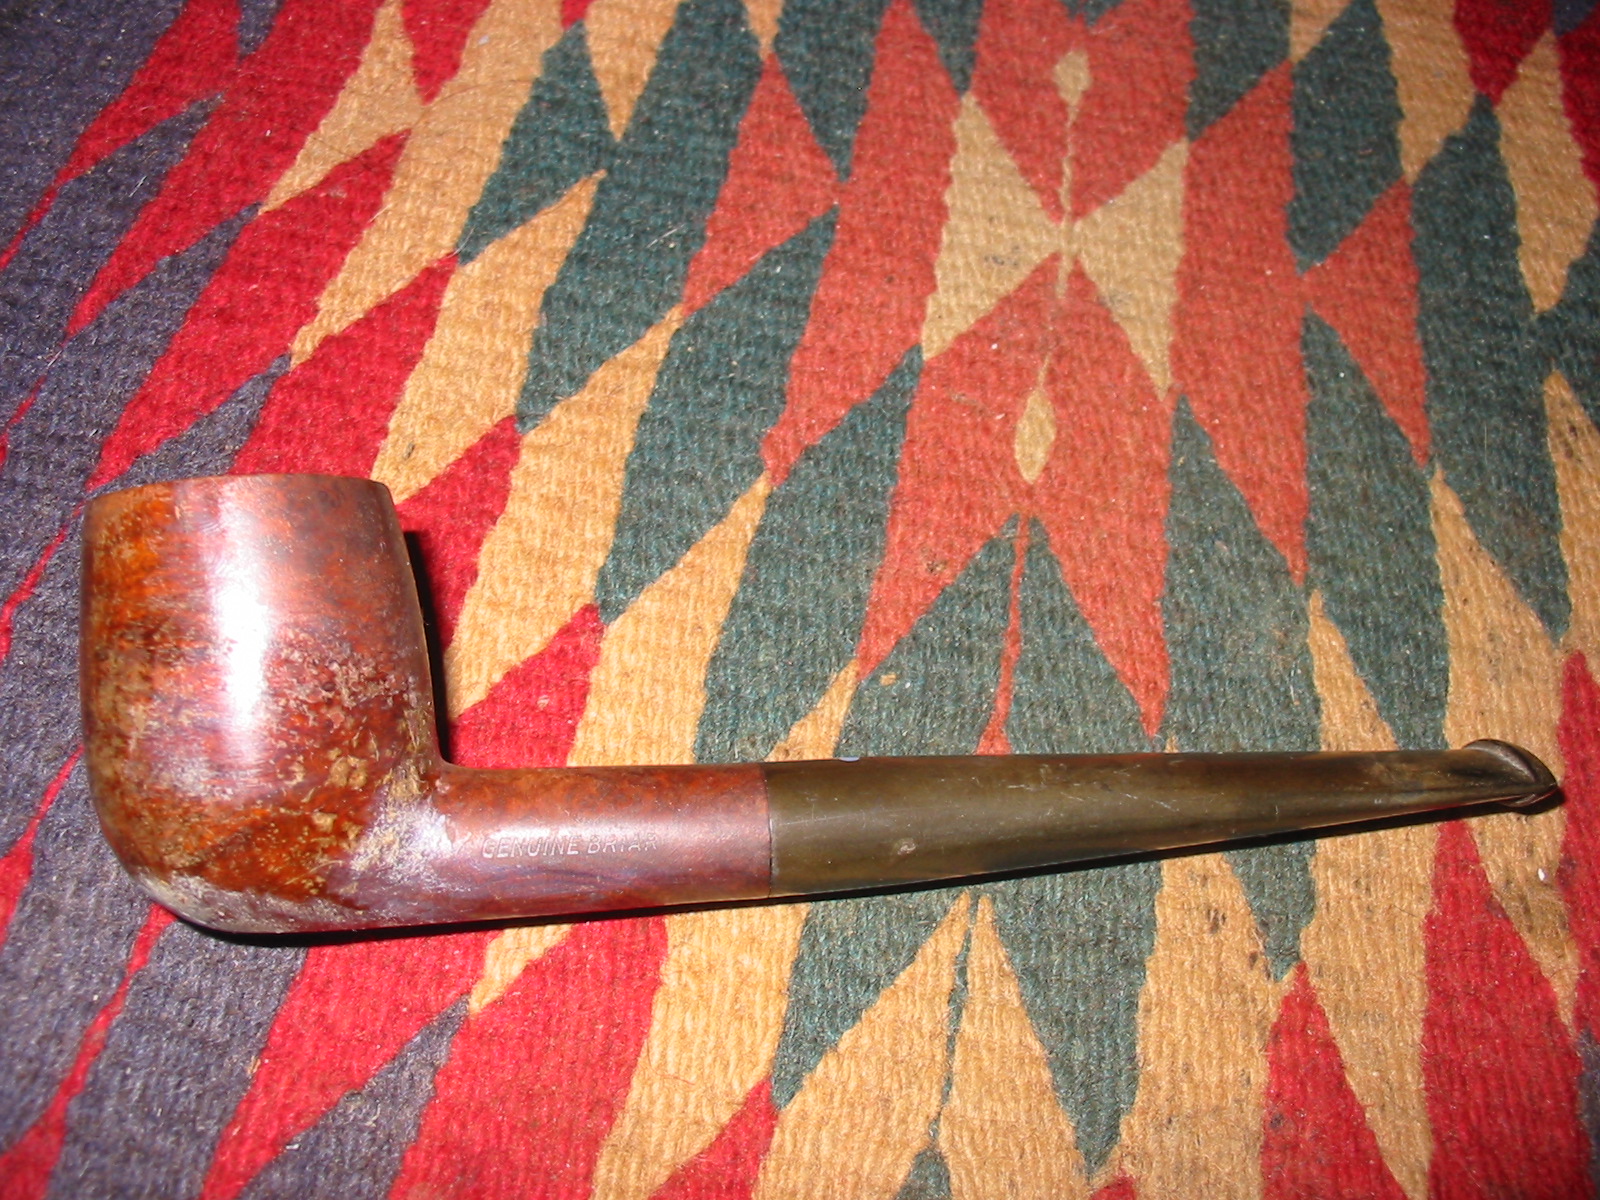
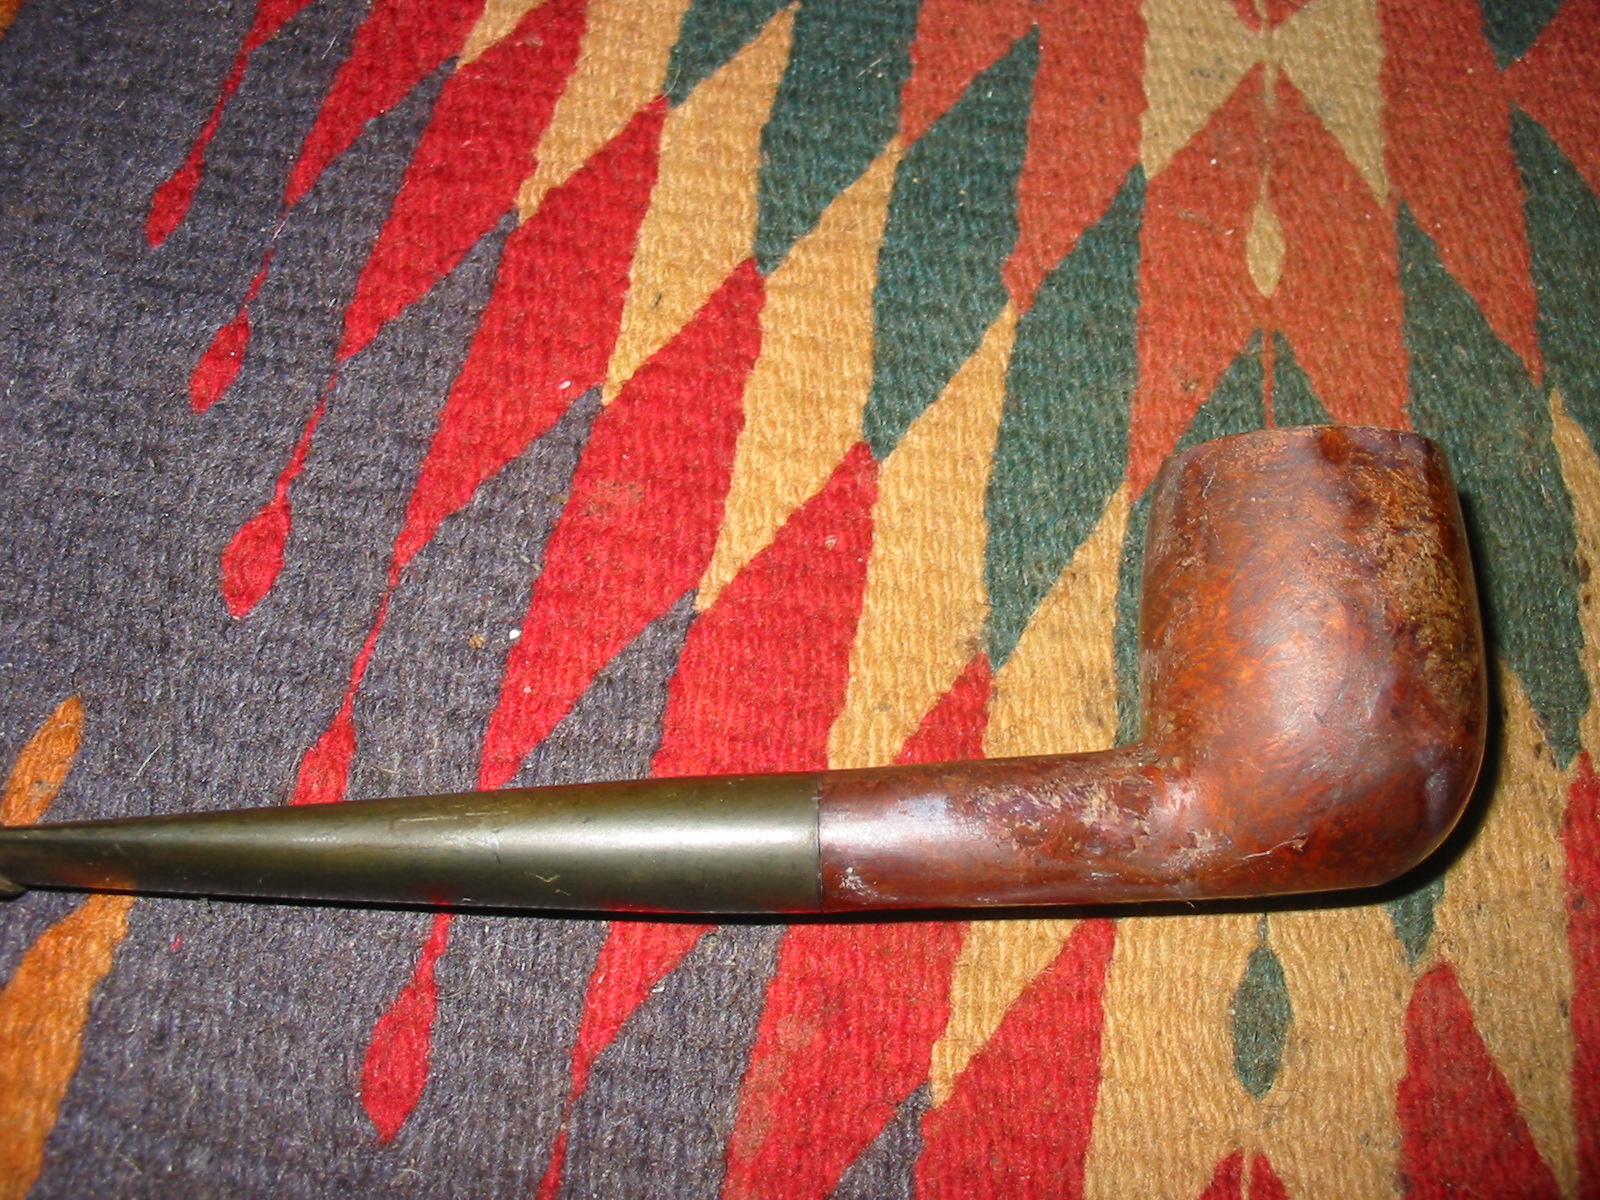
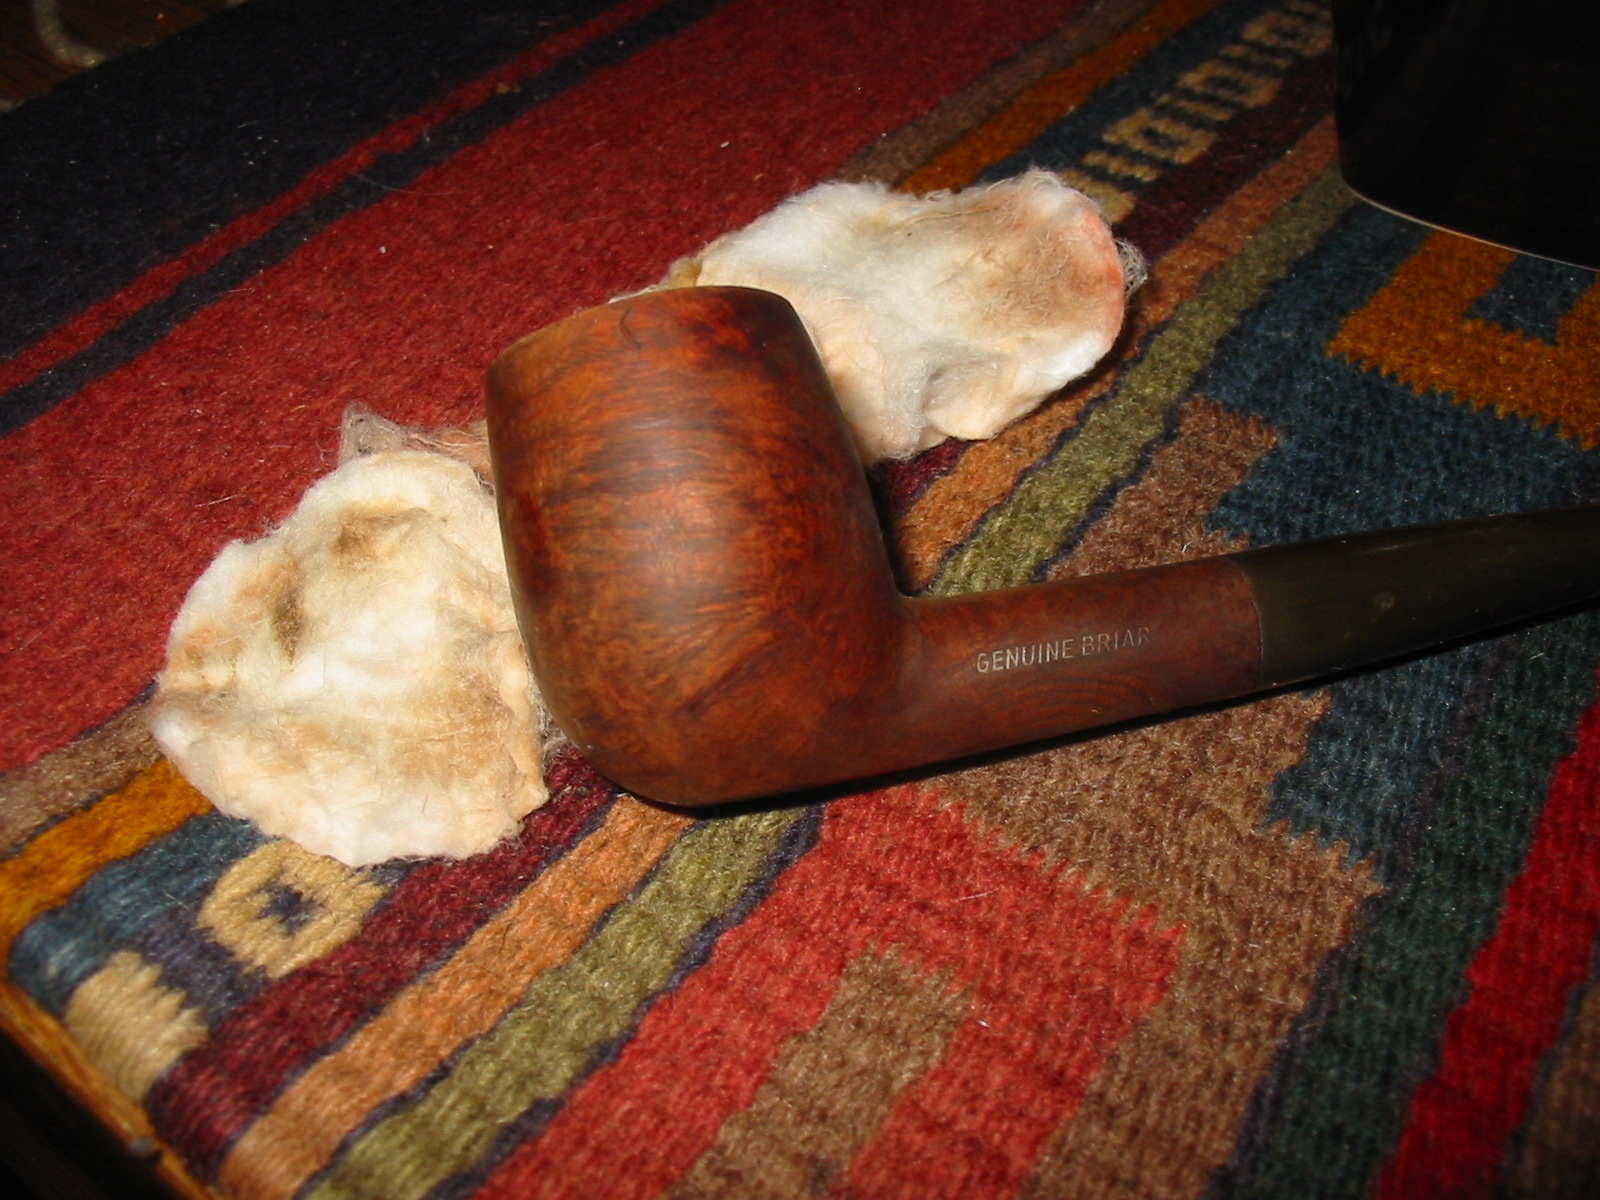
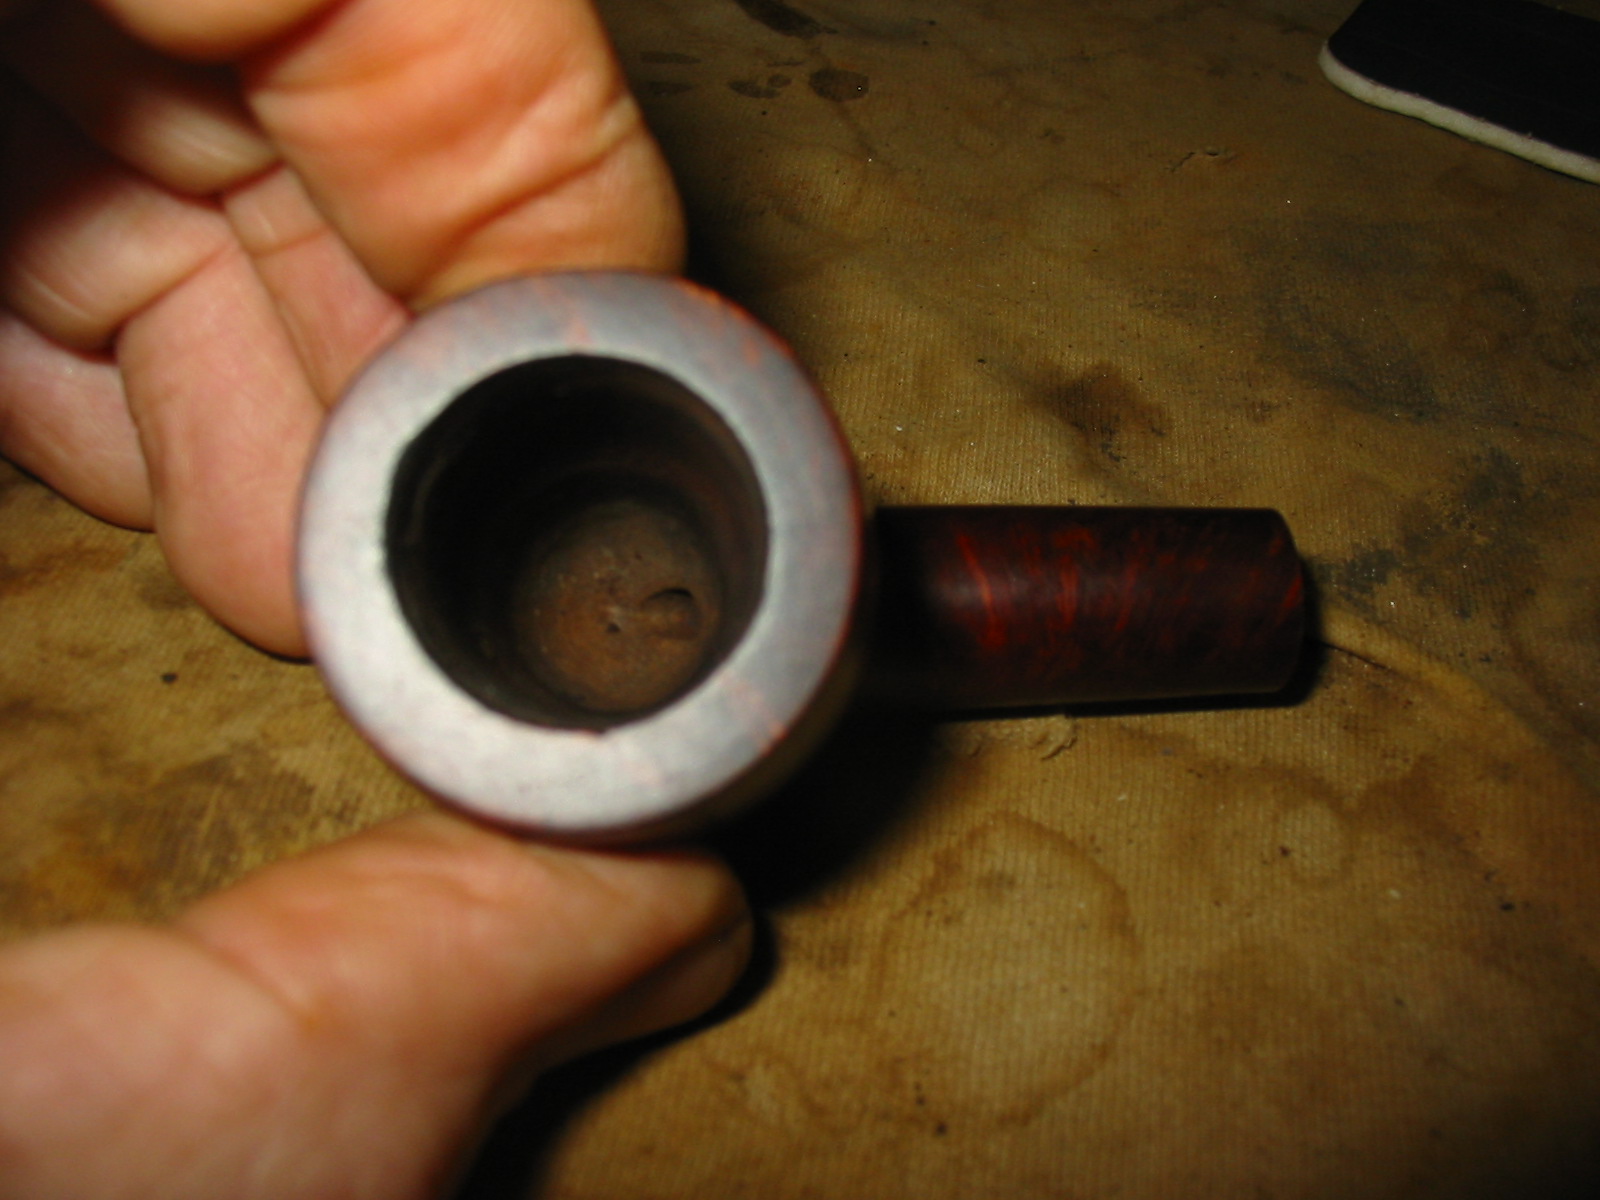
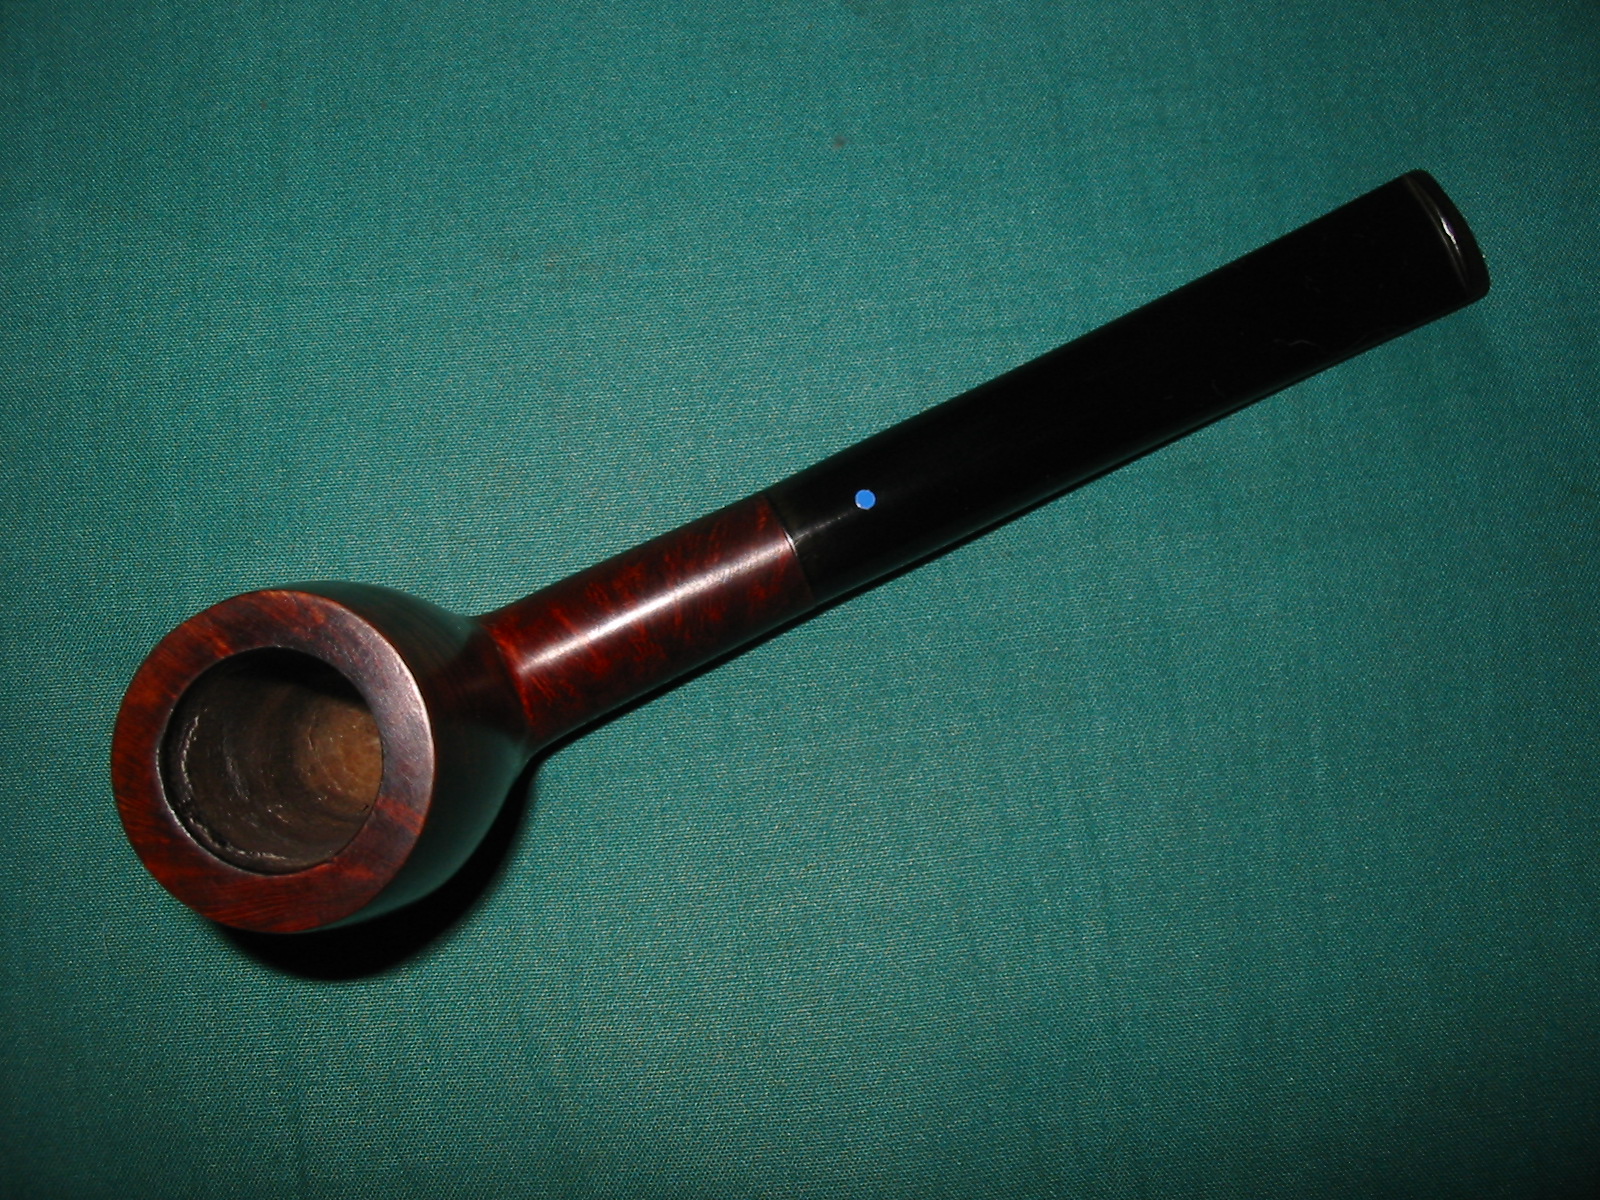
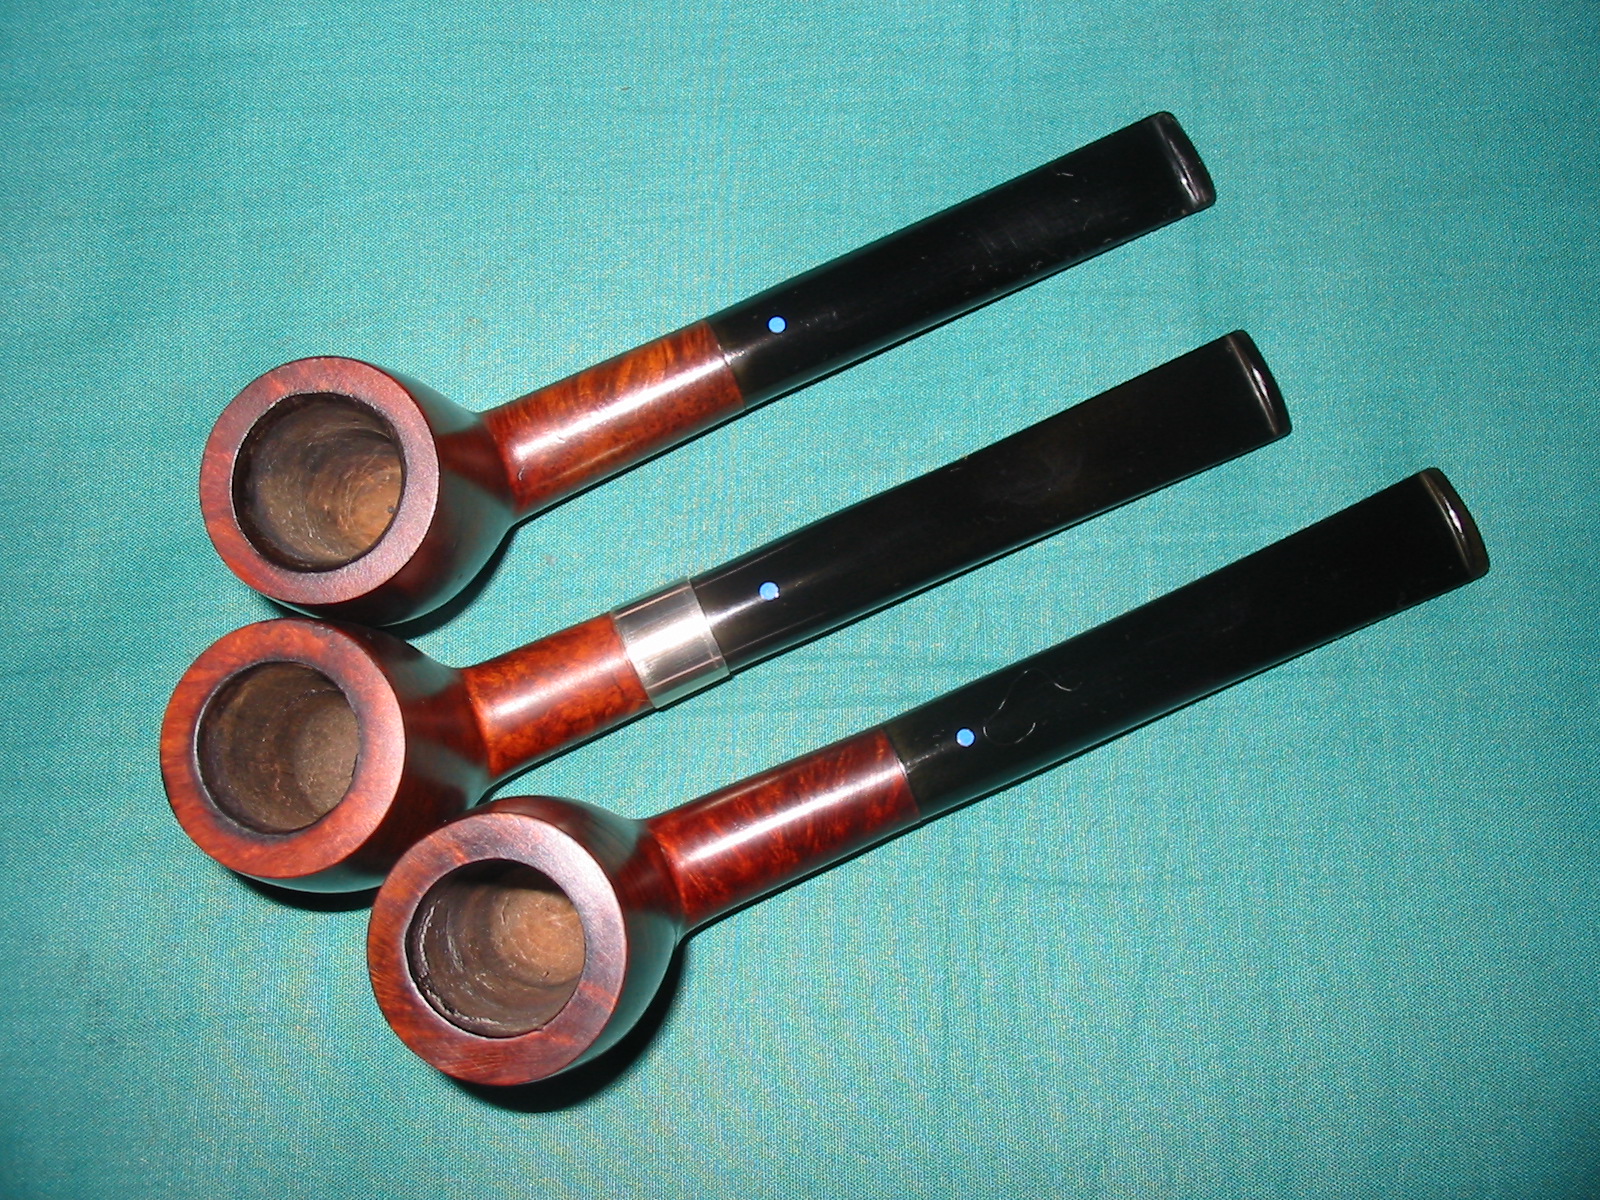
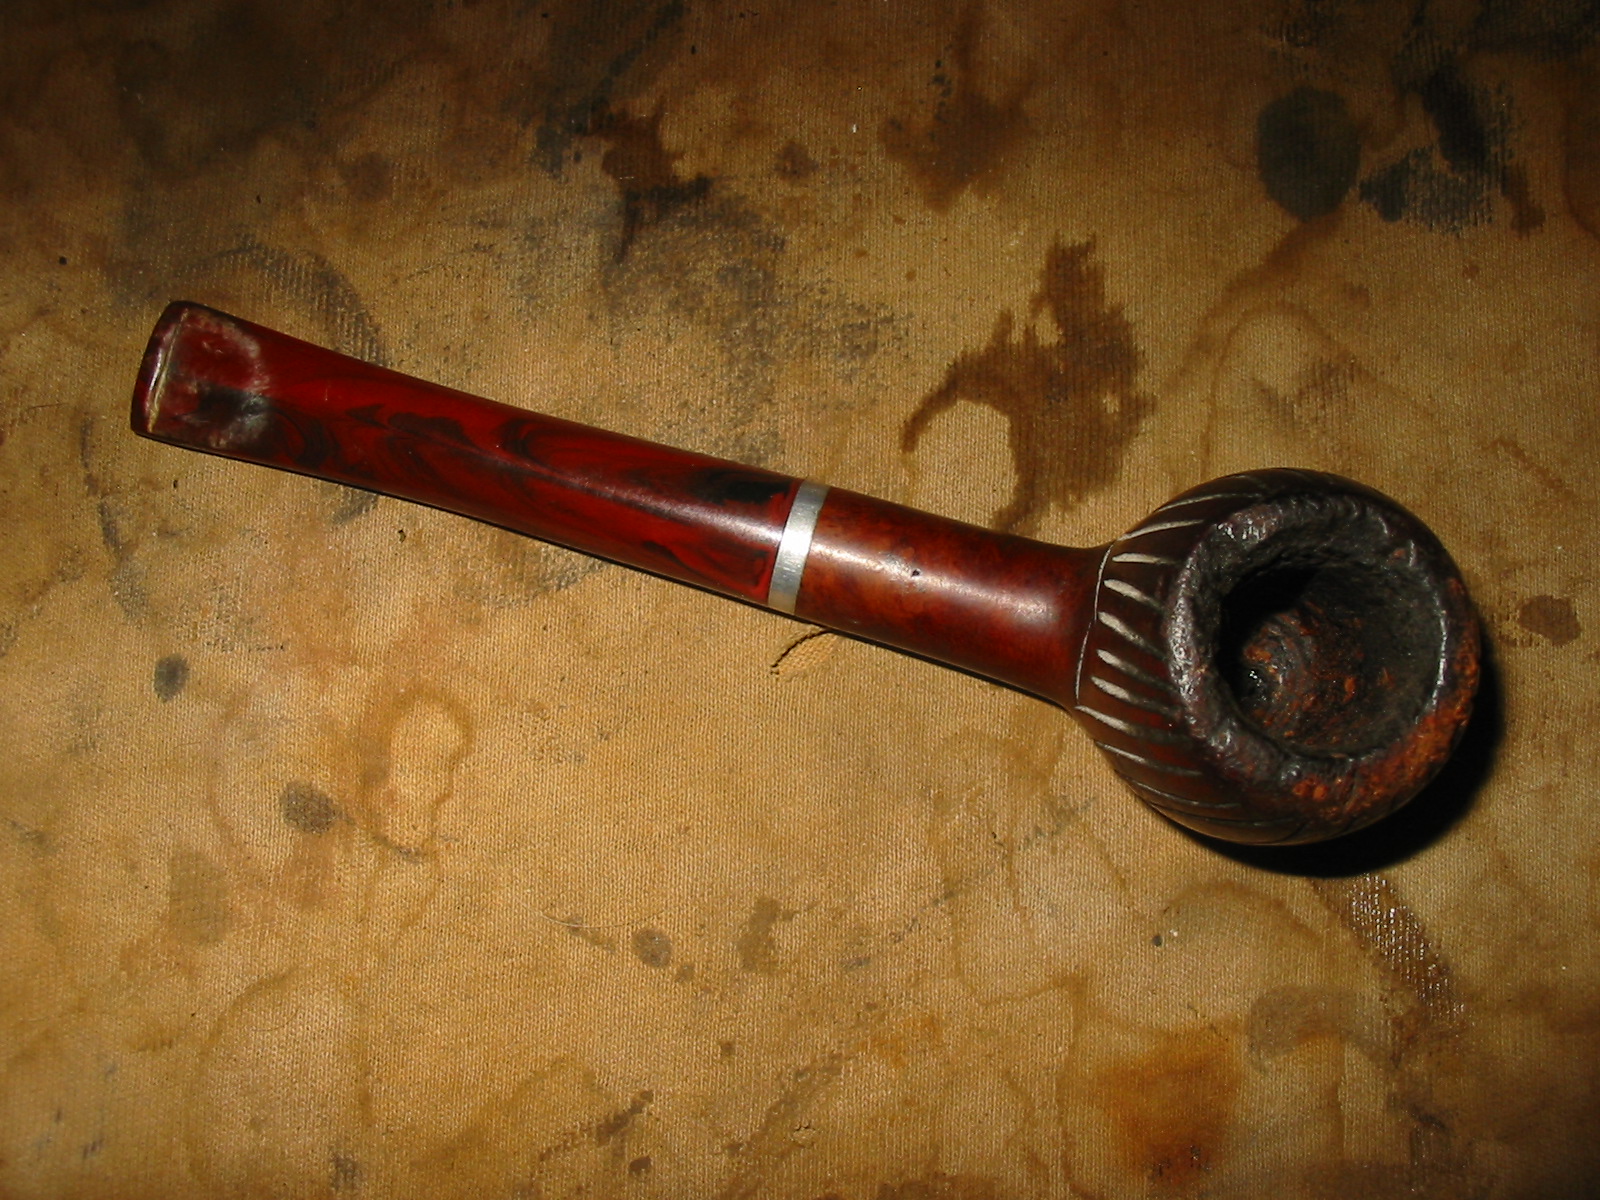
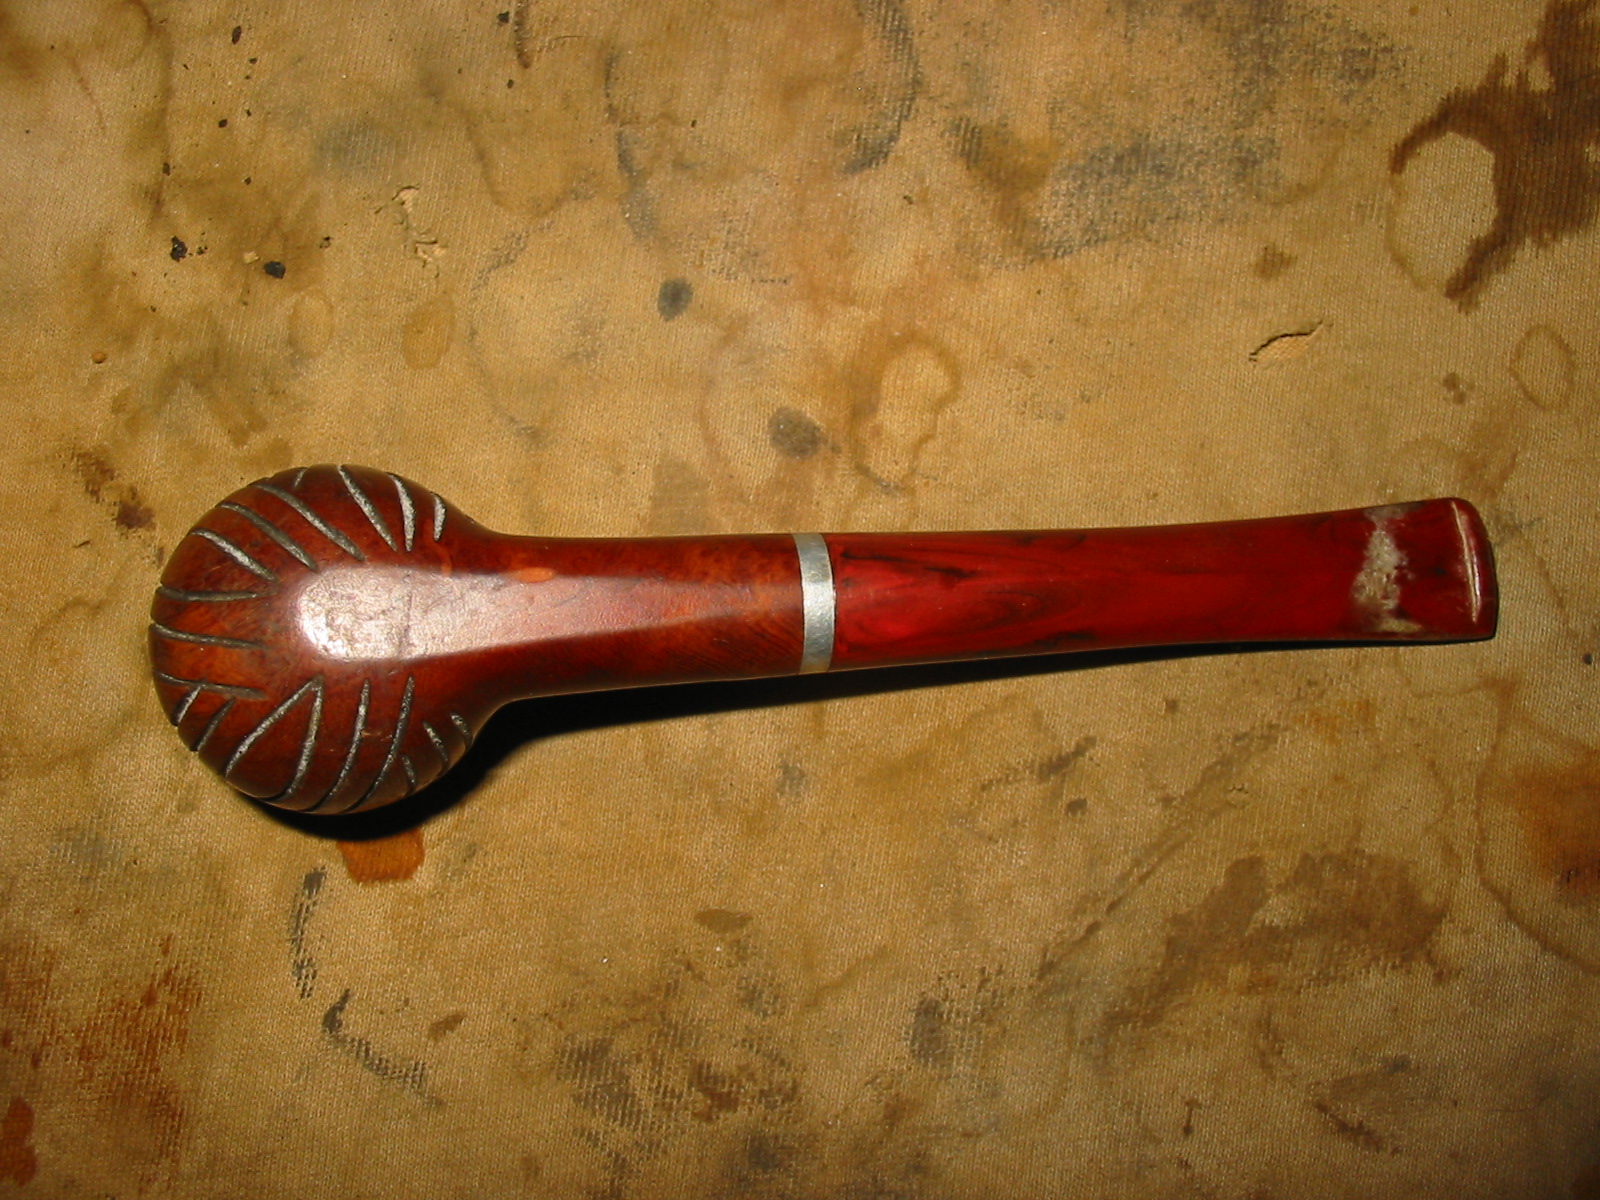
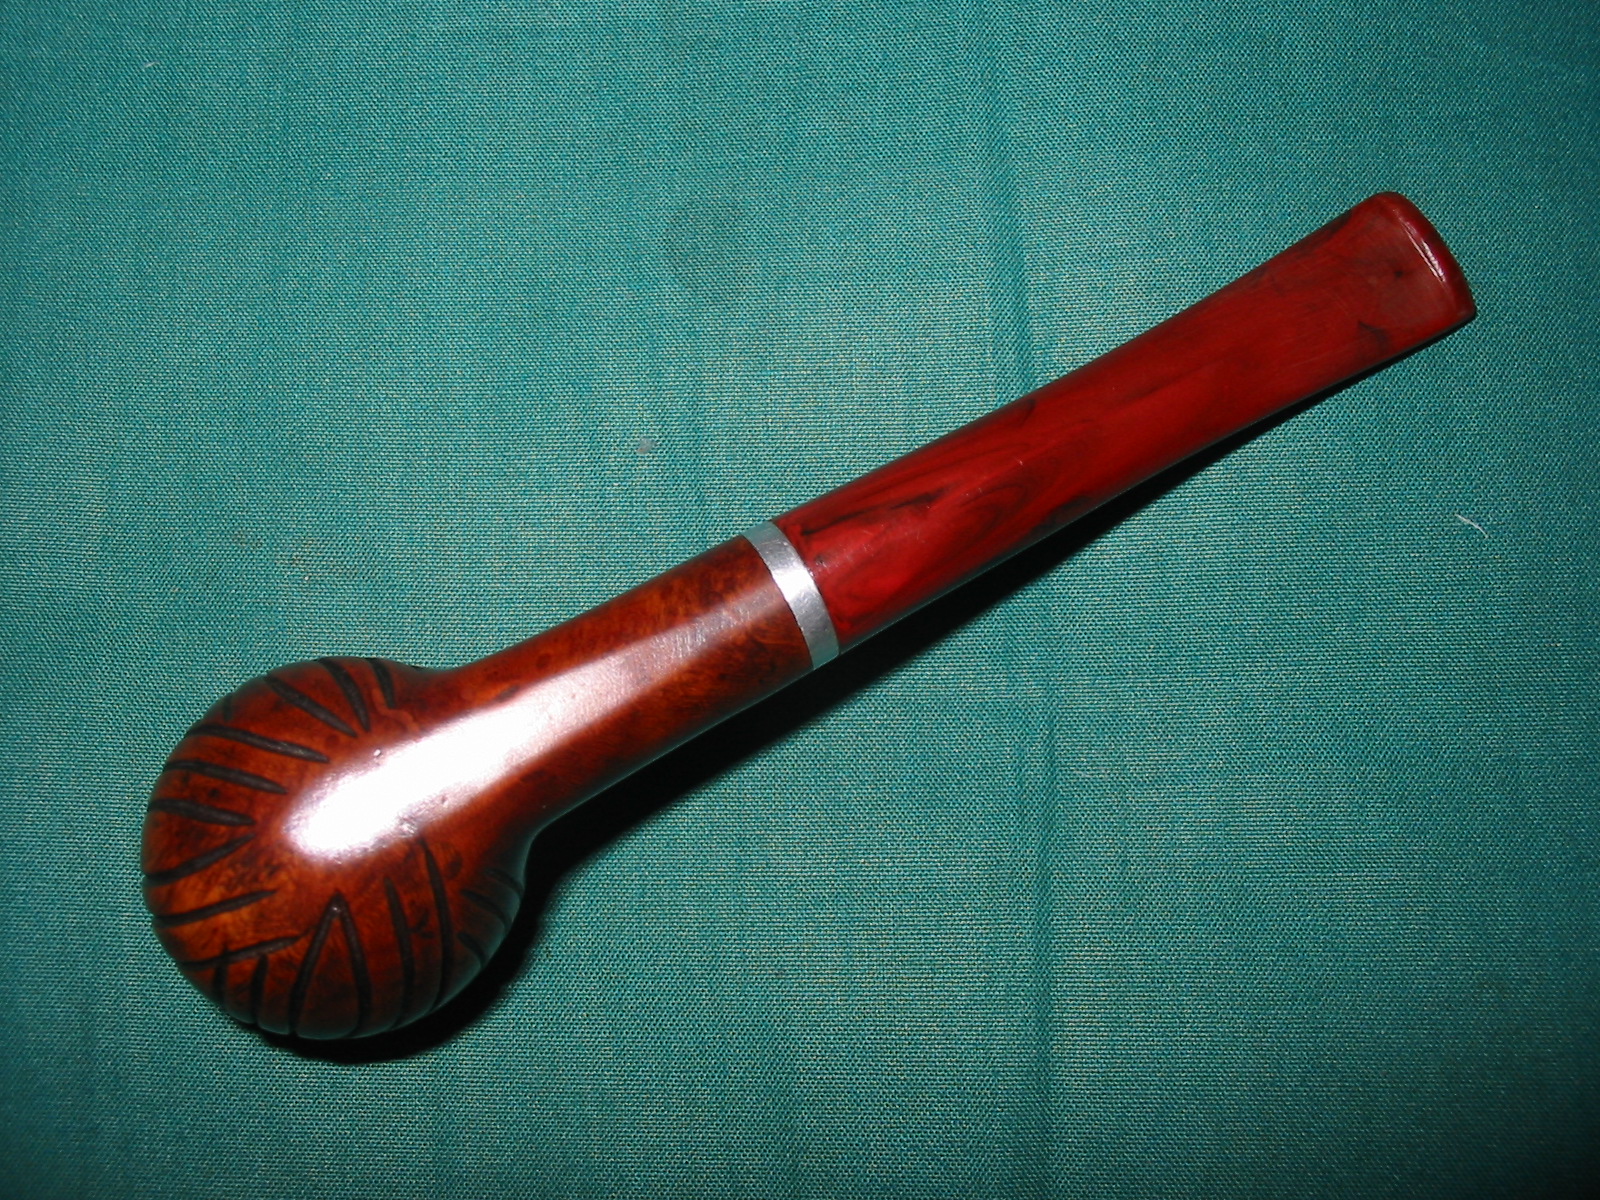
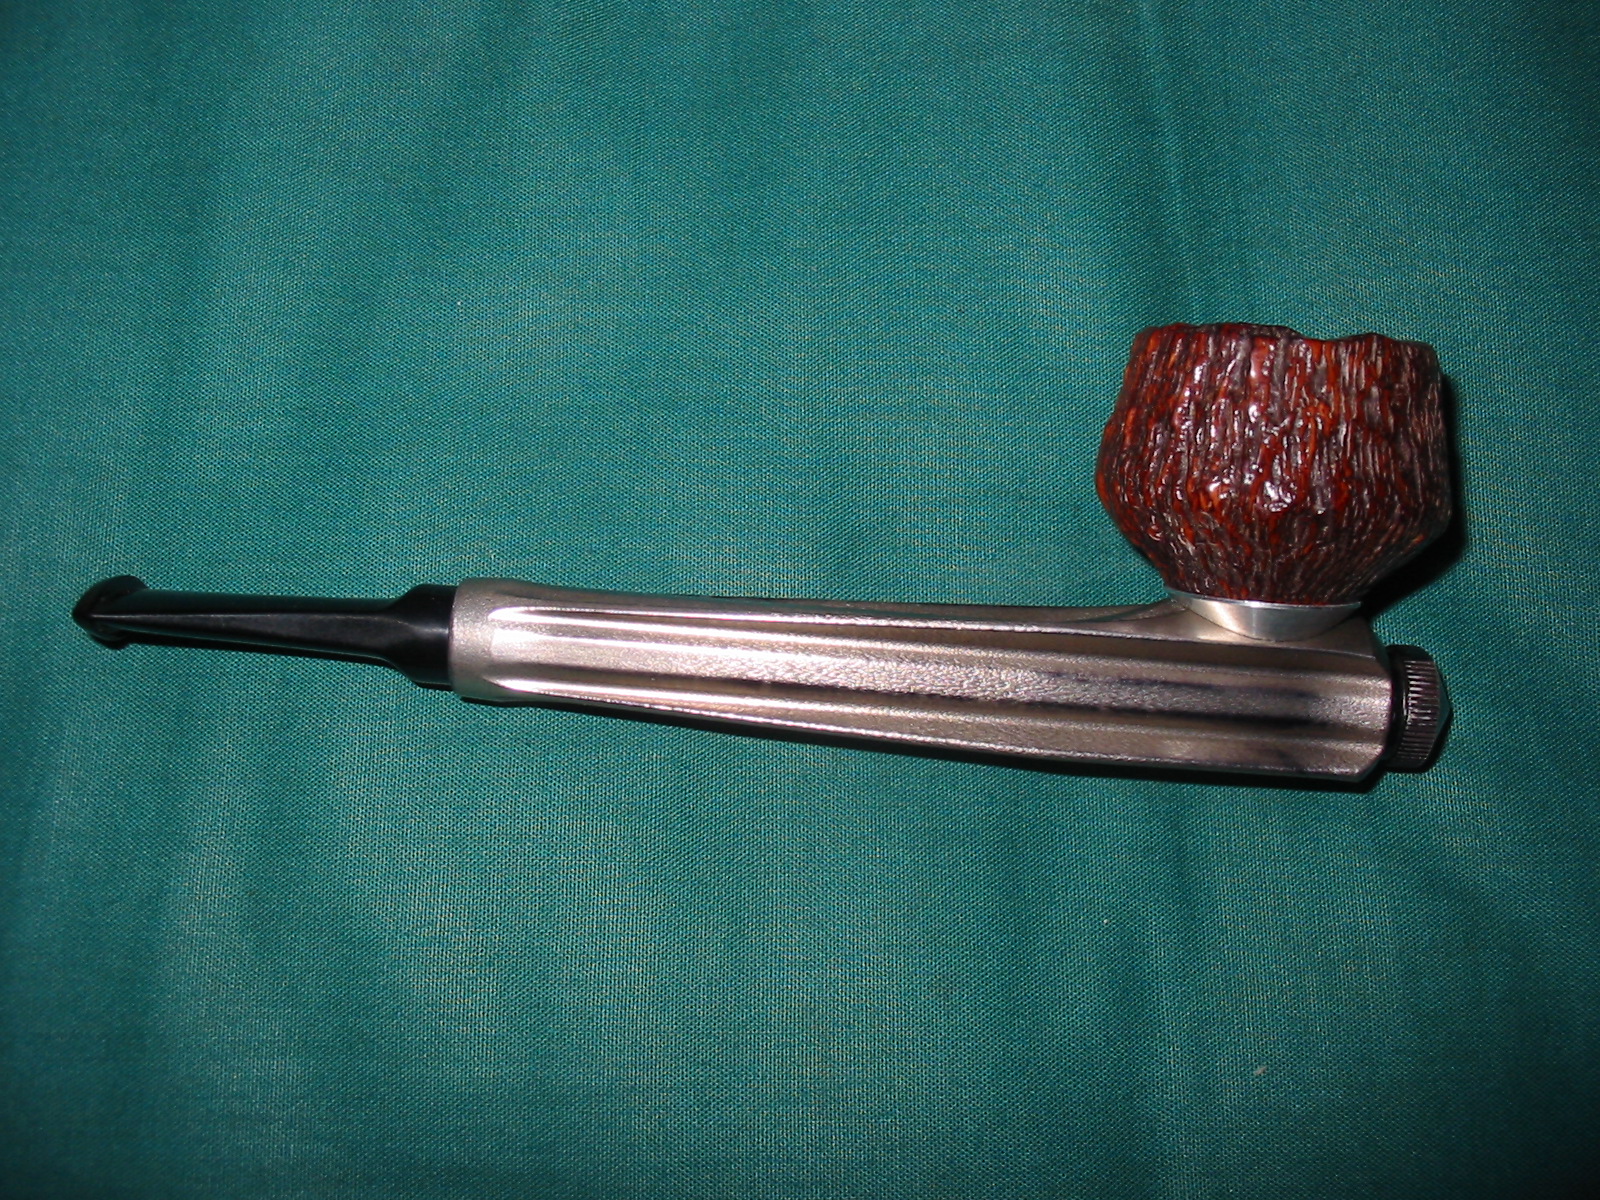
Leaving the mystery to stew for a bit longer I will walk through the refurbishing of the two additional one dot pipes. Here is the pair of bowls in question. The one on the left is solid and less used than the one on the right. It had very little cake in the bowl and the shank and stem were in good shape. The one on the right was more heavily smoked and had a cracked shank. The stem was in fairly decent shape on this one as well. I began my refurbishing on this pair with the pipe on the right.
IMG_3704

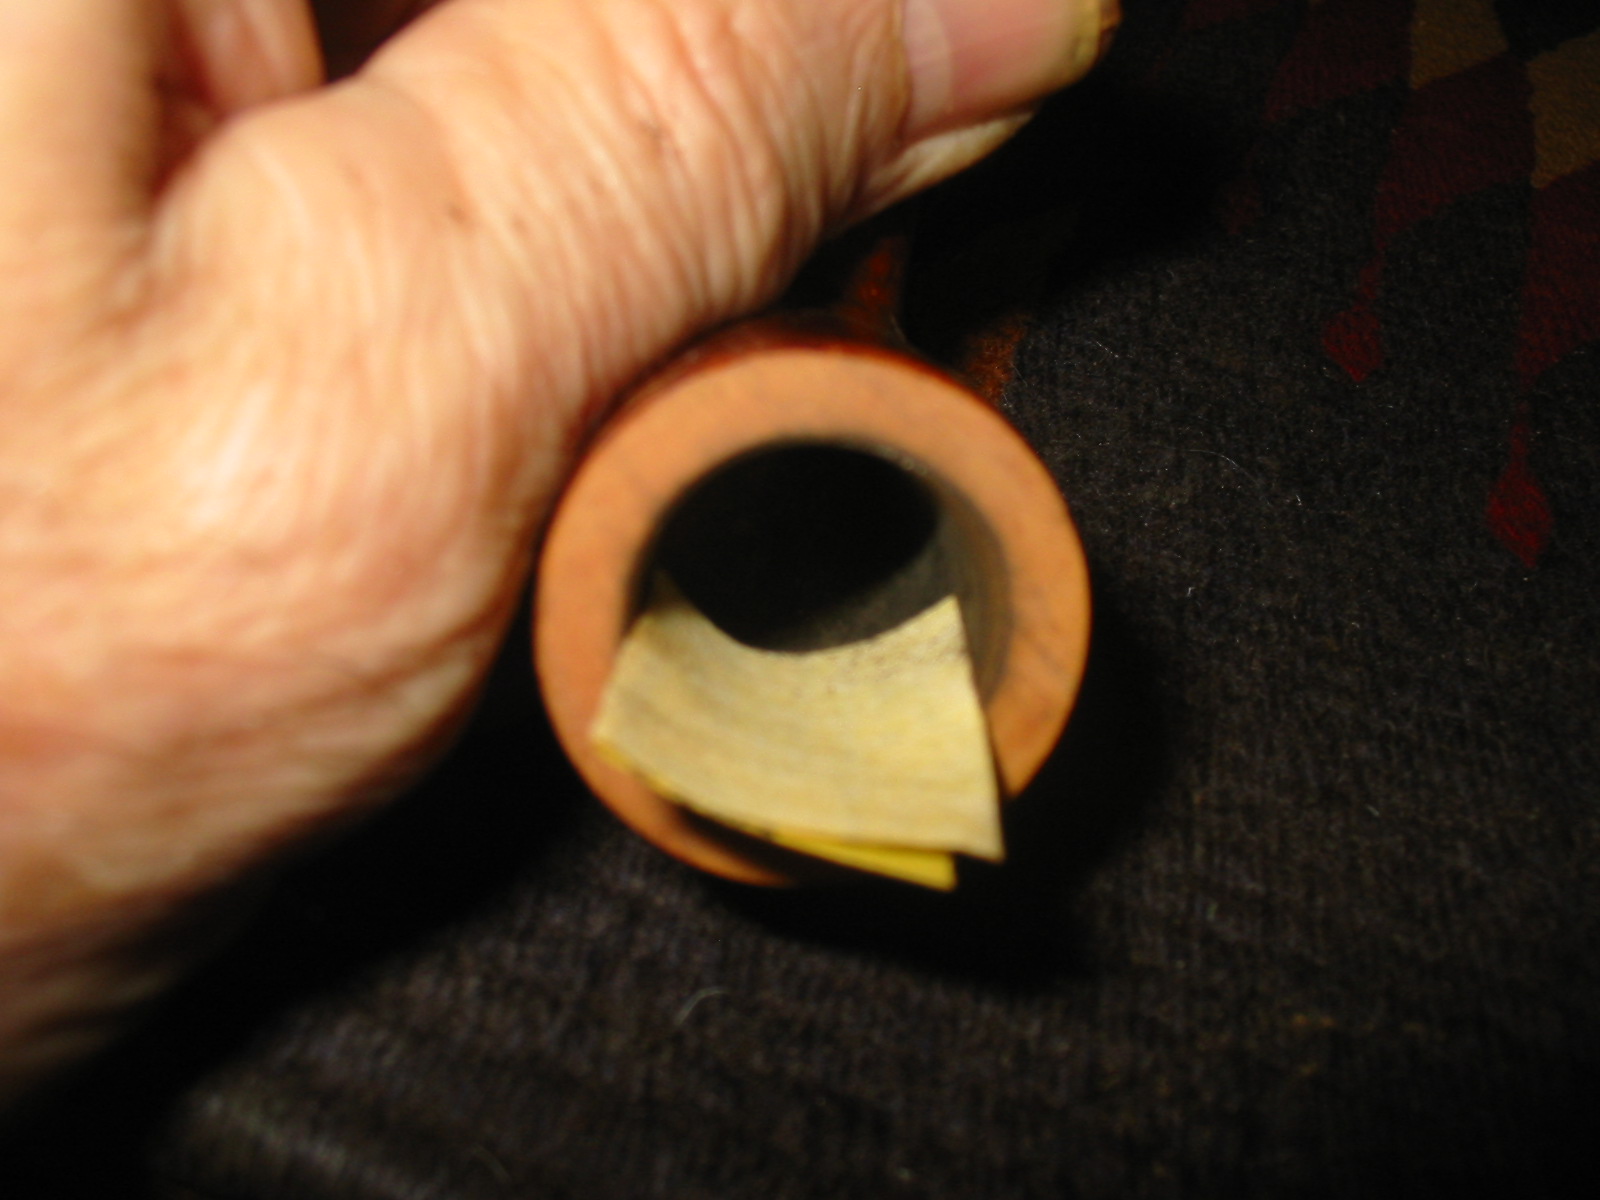
I use a dental pick to remove the scotch tape that held the shank together. It was not clear how bad the crack was until I could get the tape completely removed. I wetted a cotton pad with acetone and wiped down the scotch tape to facilitate its removal.
IMG_3705

IMG_3706

IMG_3708

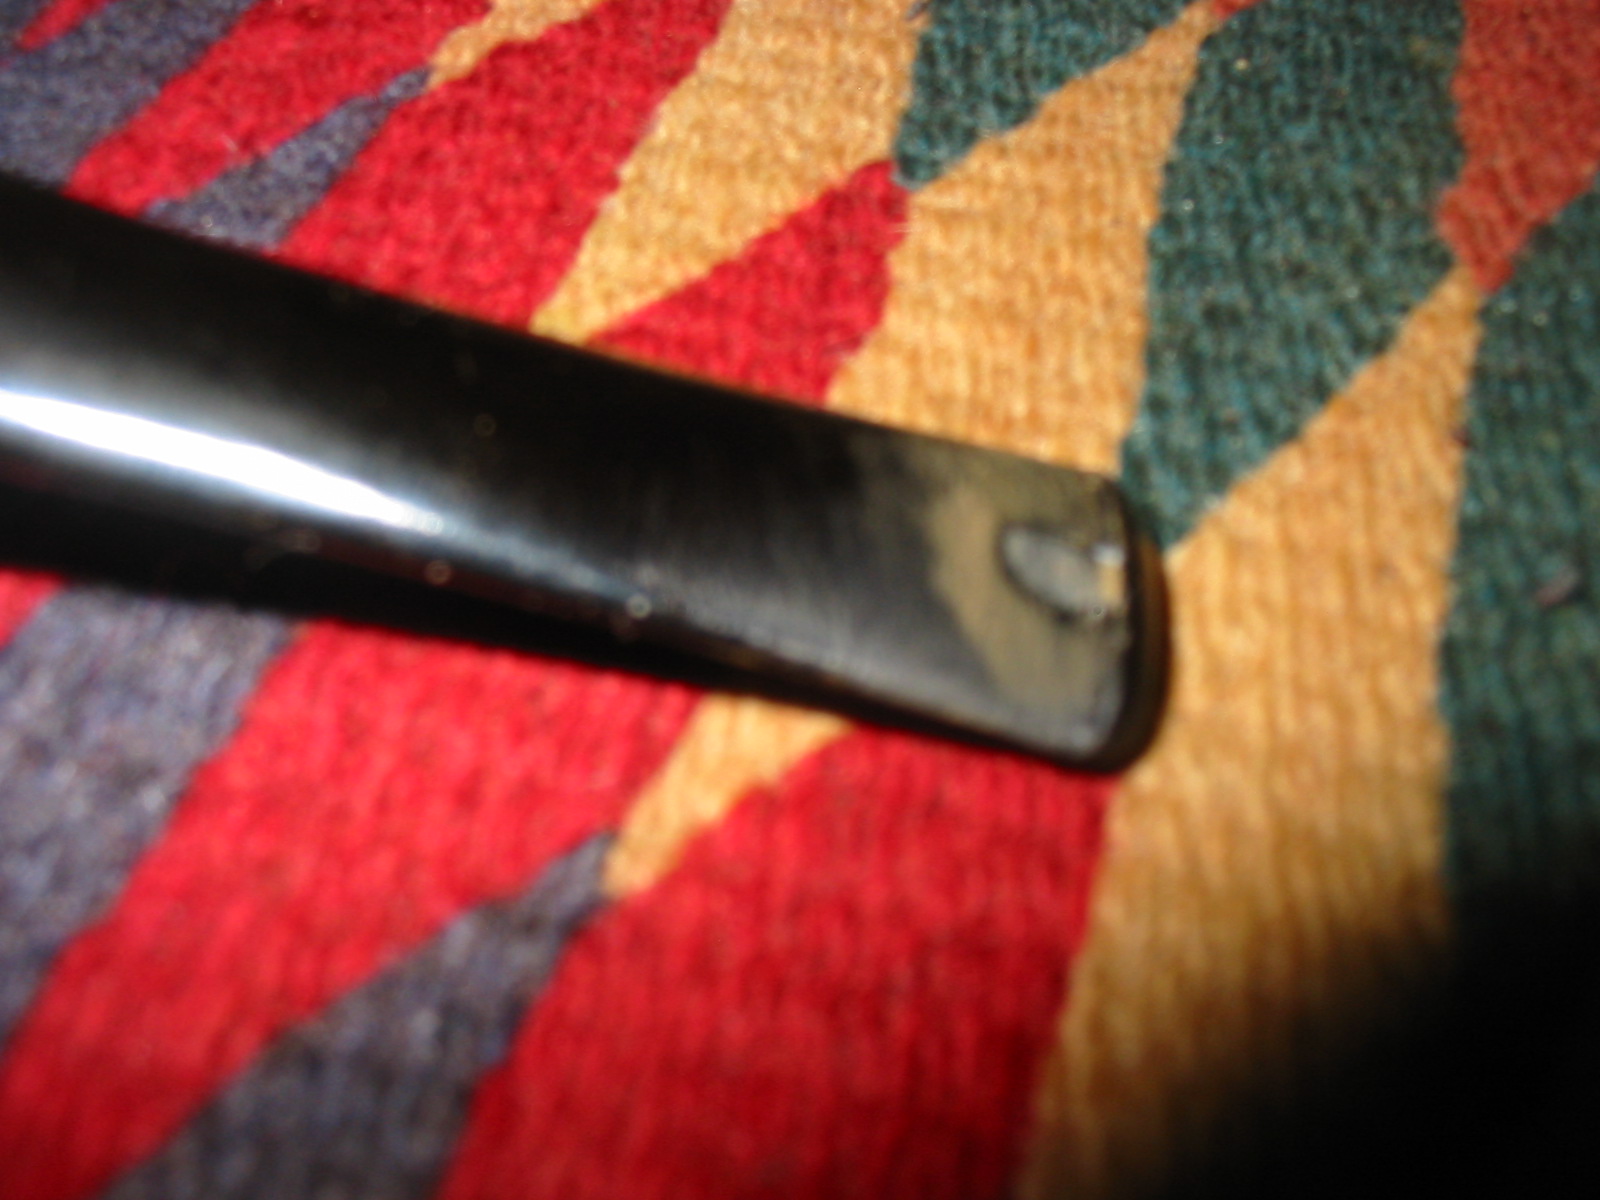
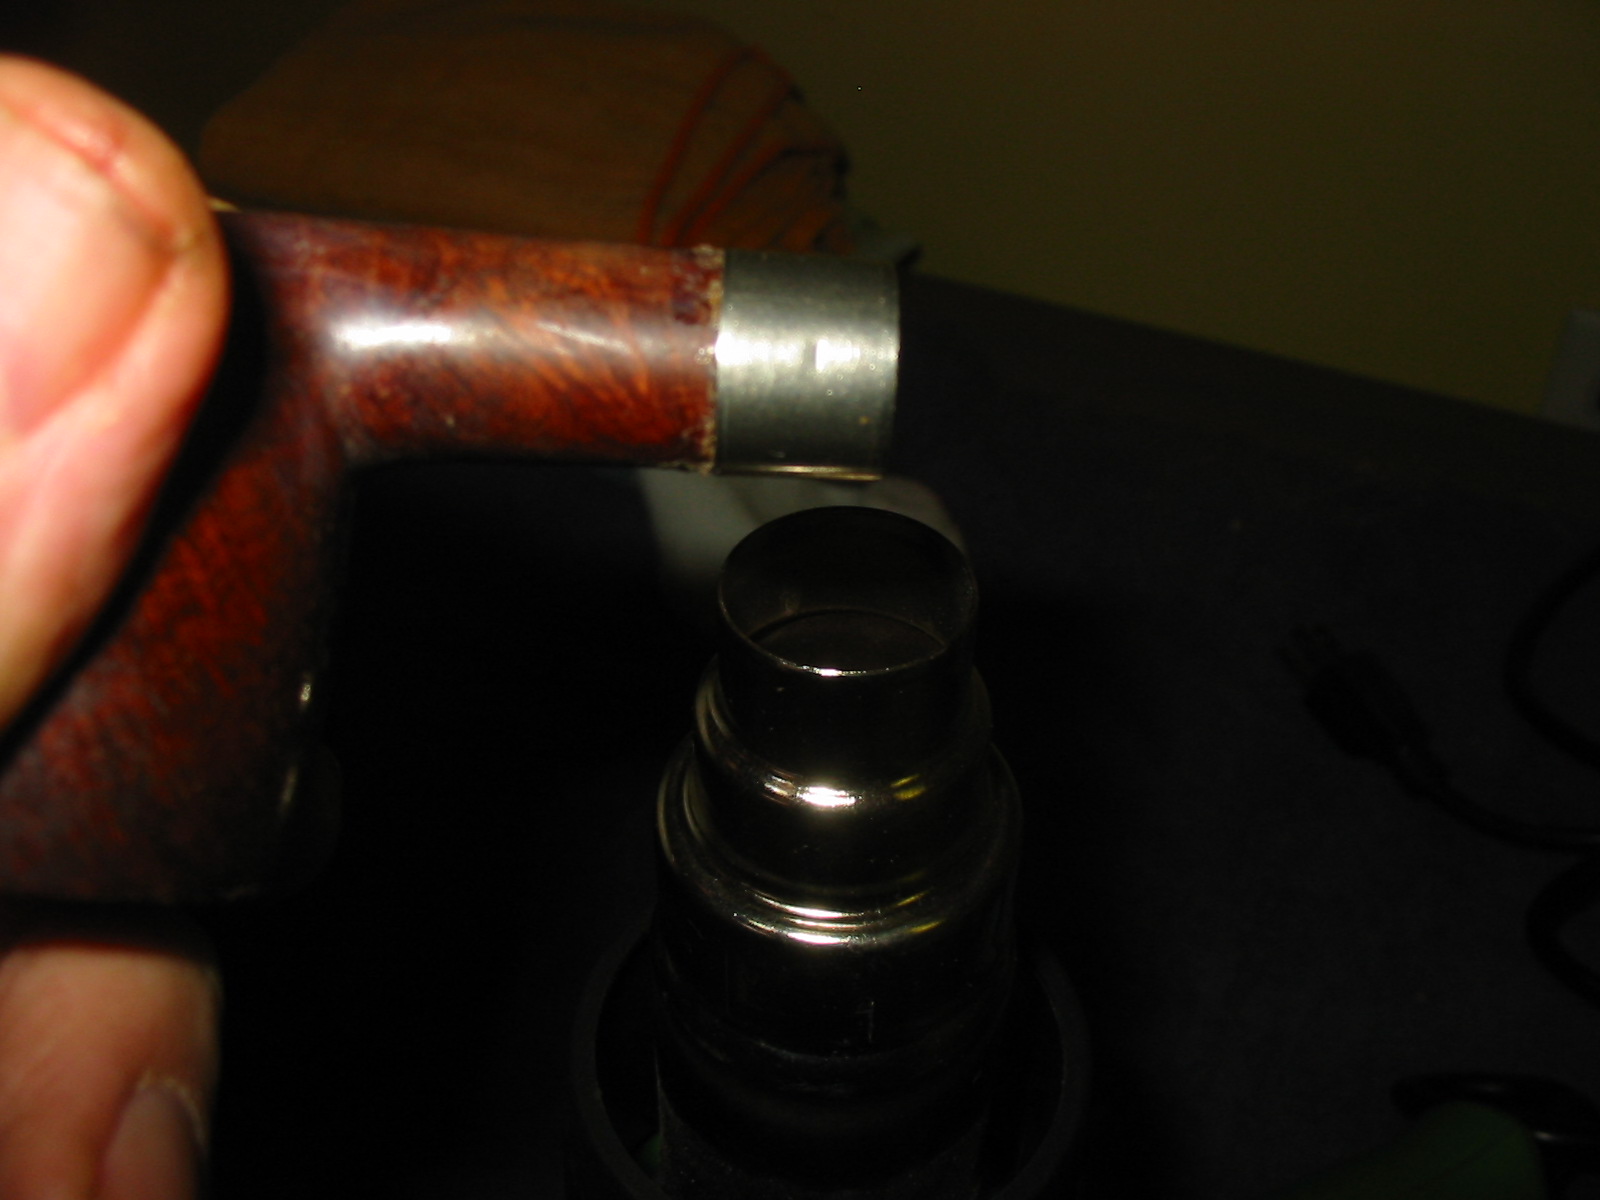
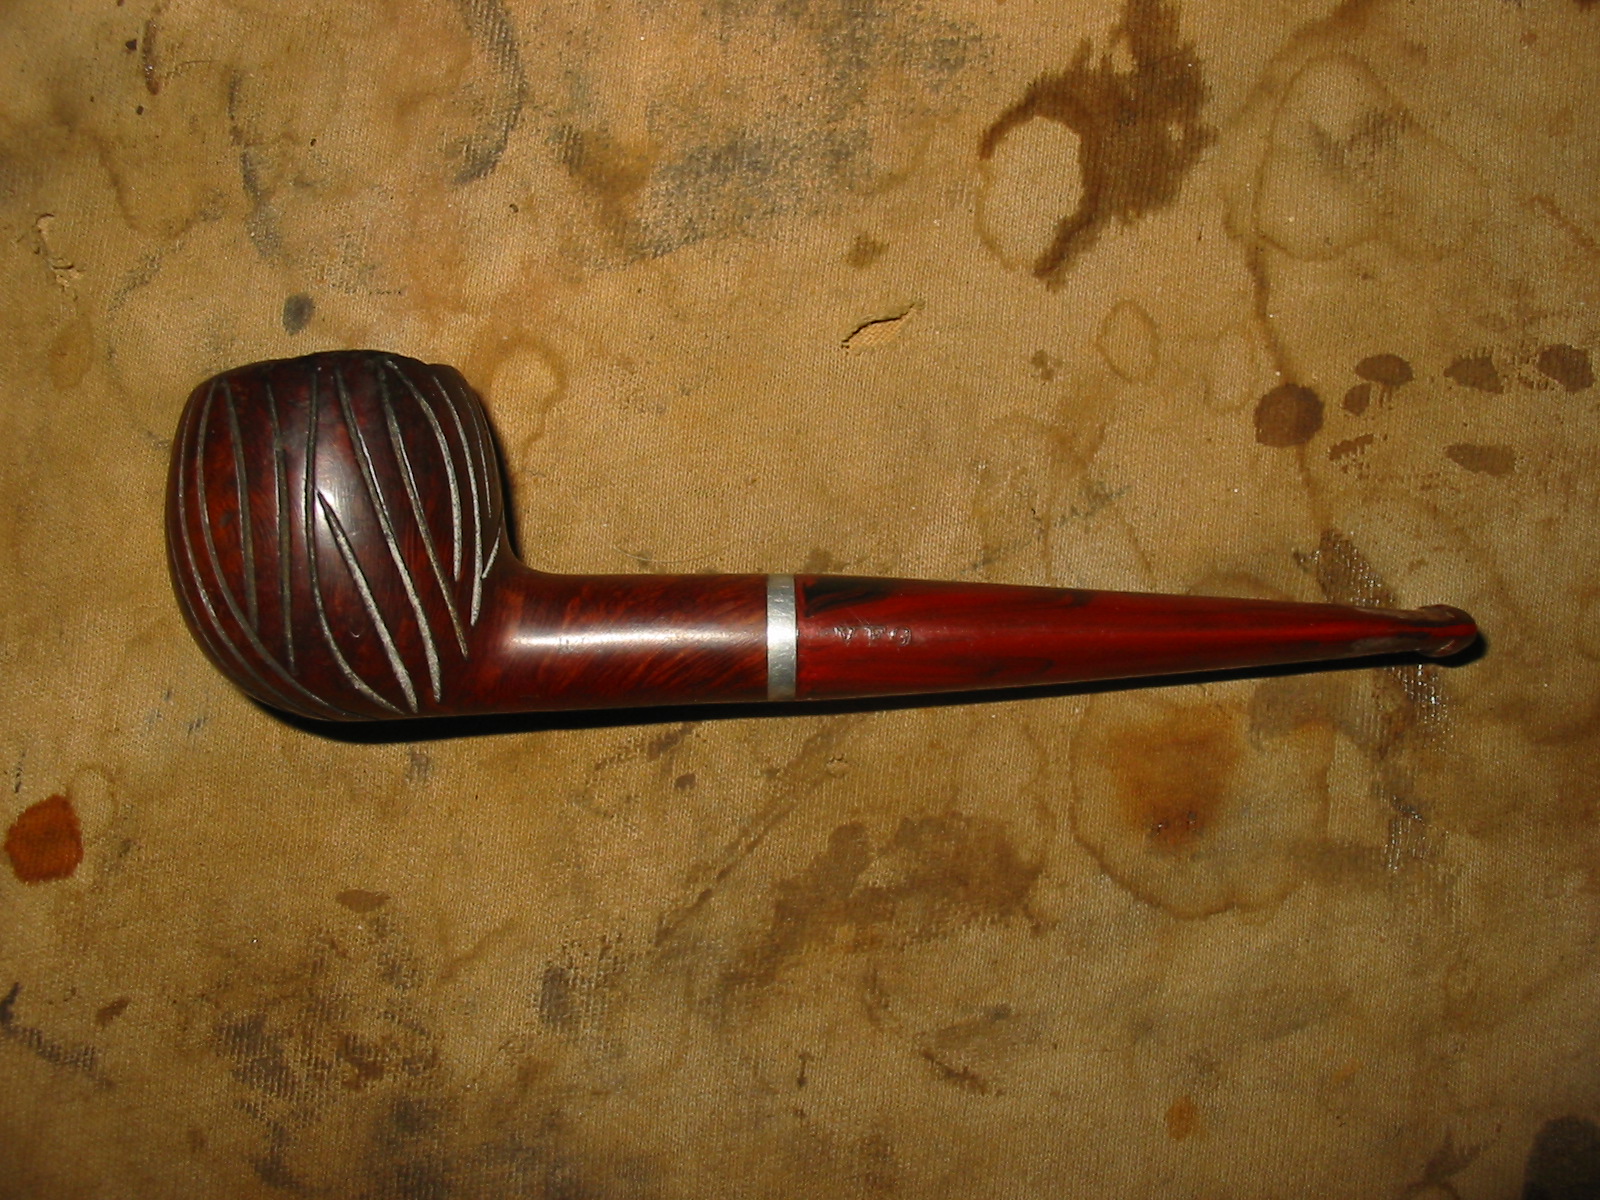
The next photo is horrible and for that I apologize. I would not have included it if it did not still show the damage to the cracked shank on the first pipe. I glued the cracked piece in place with superglue and then found a band that I could pressure fit on the shank. The combination of gluing the damaged shank and banding it would make it useable once more. I heated the band on the shank over a heat gun and then pressure fit it onto the shank.
IMG_3711

IMG_3712

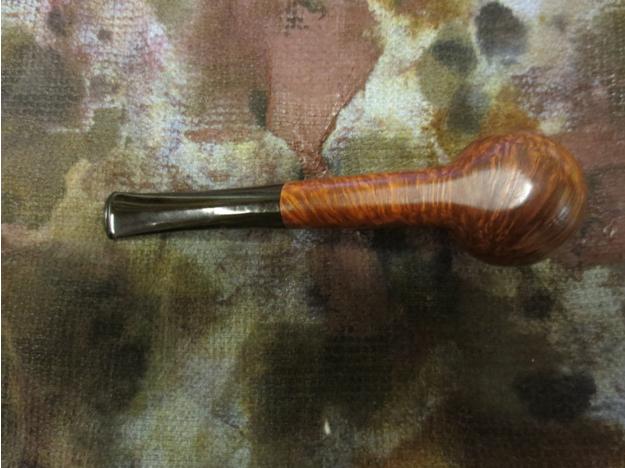
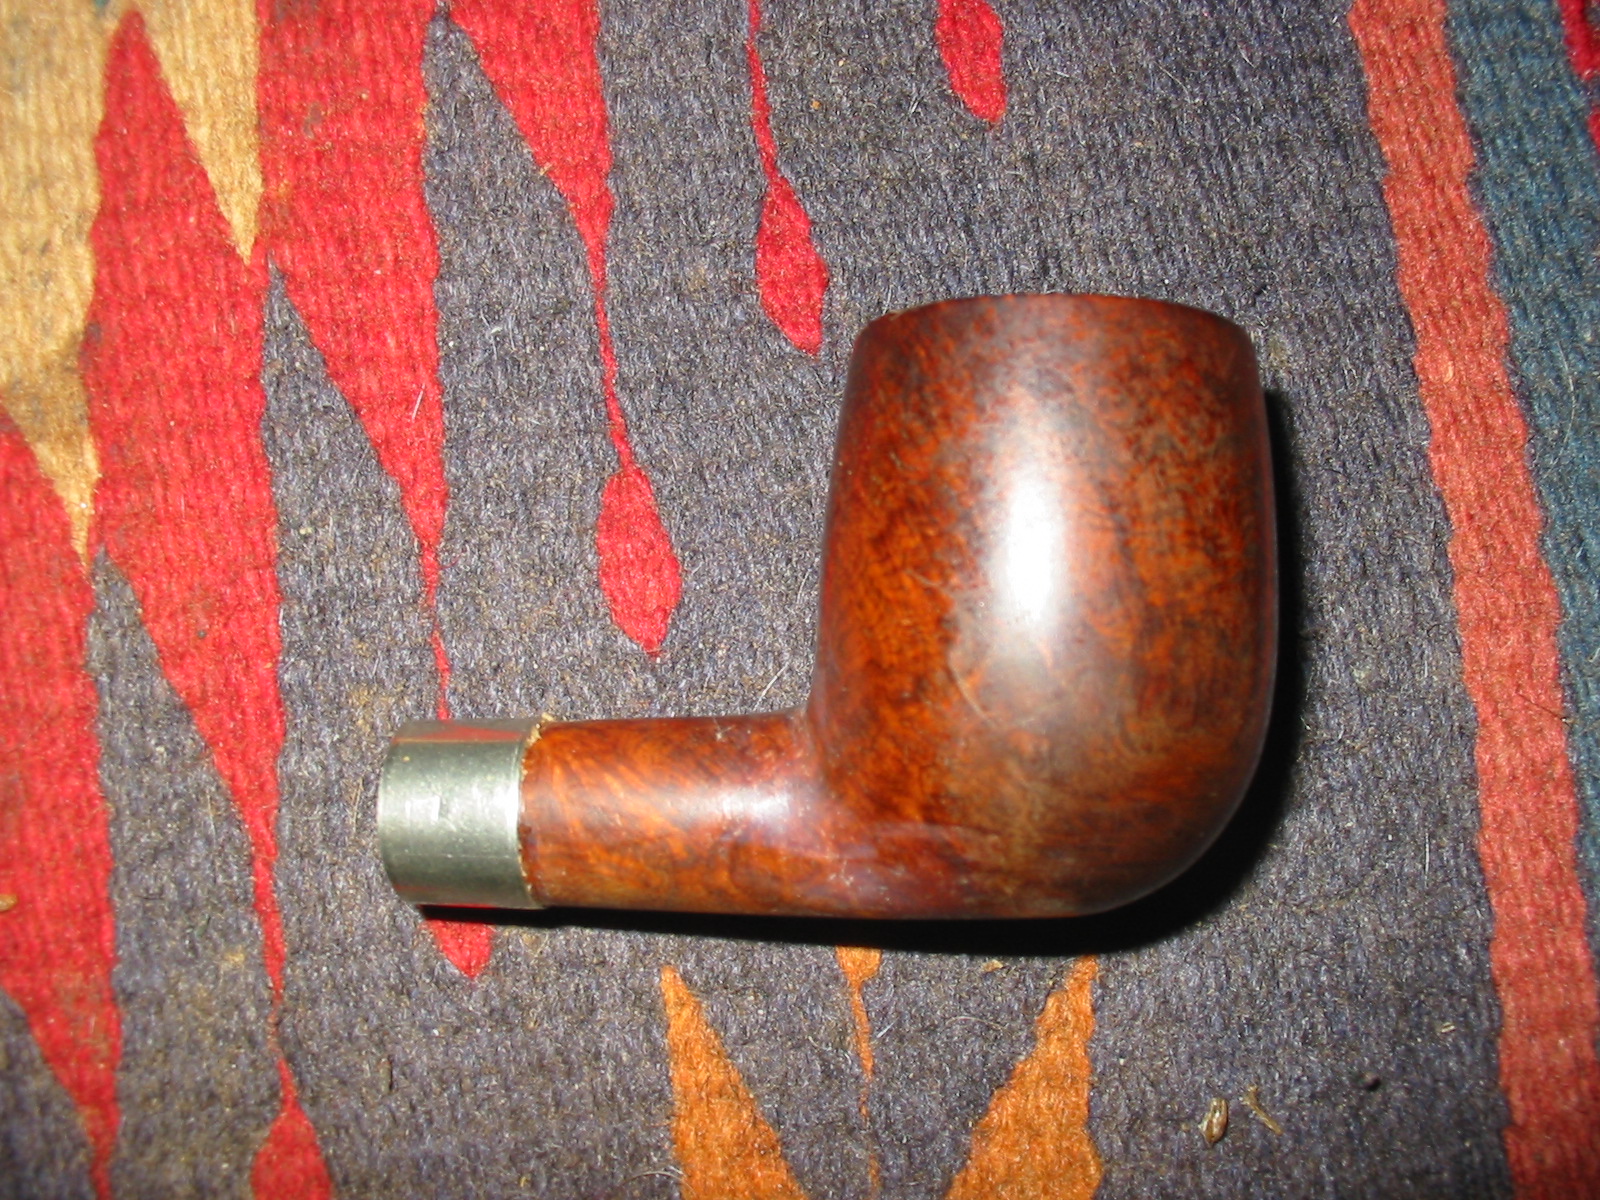
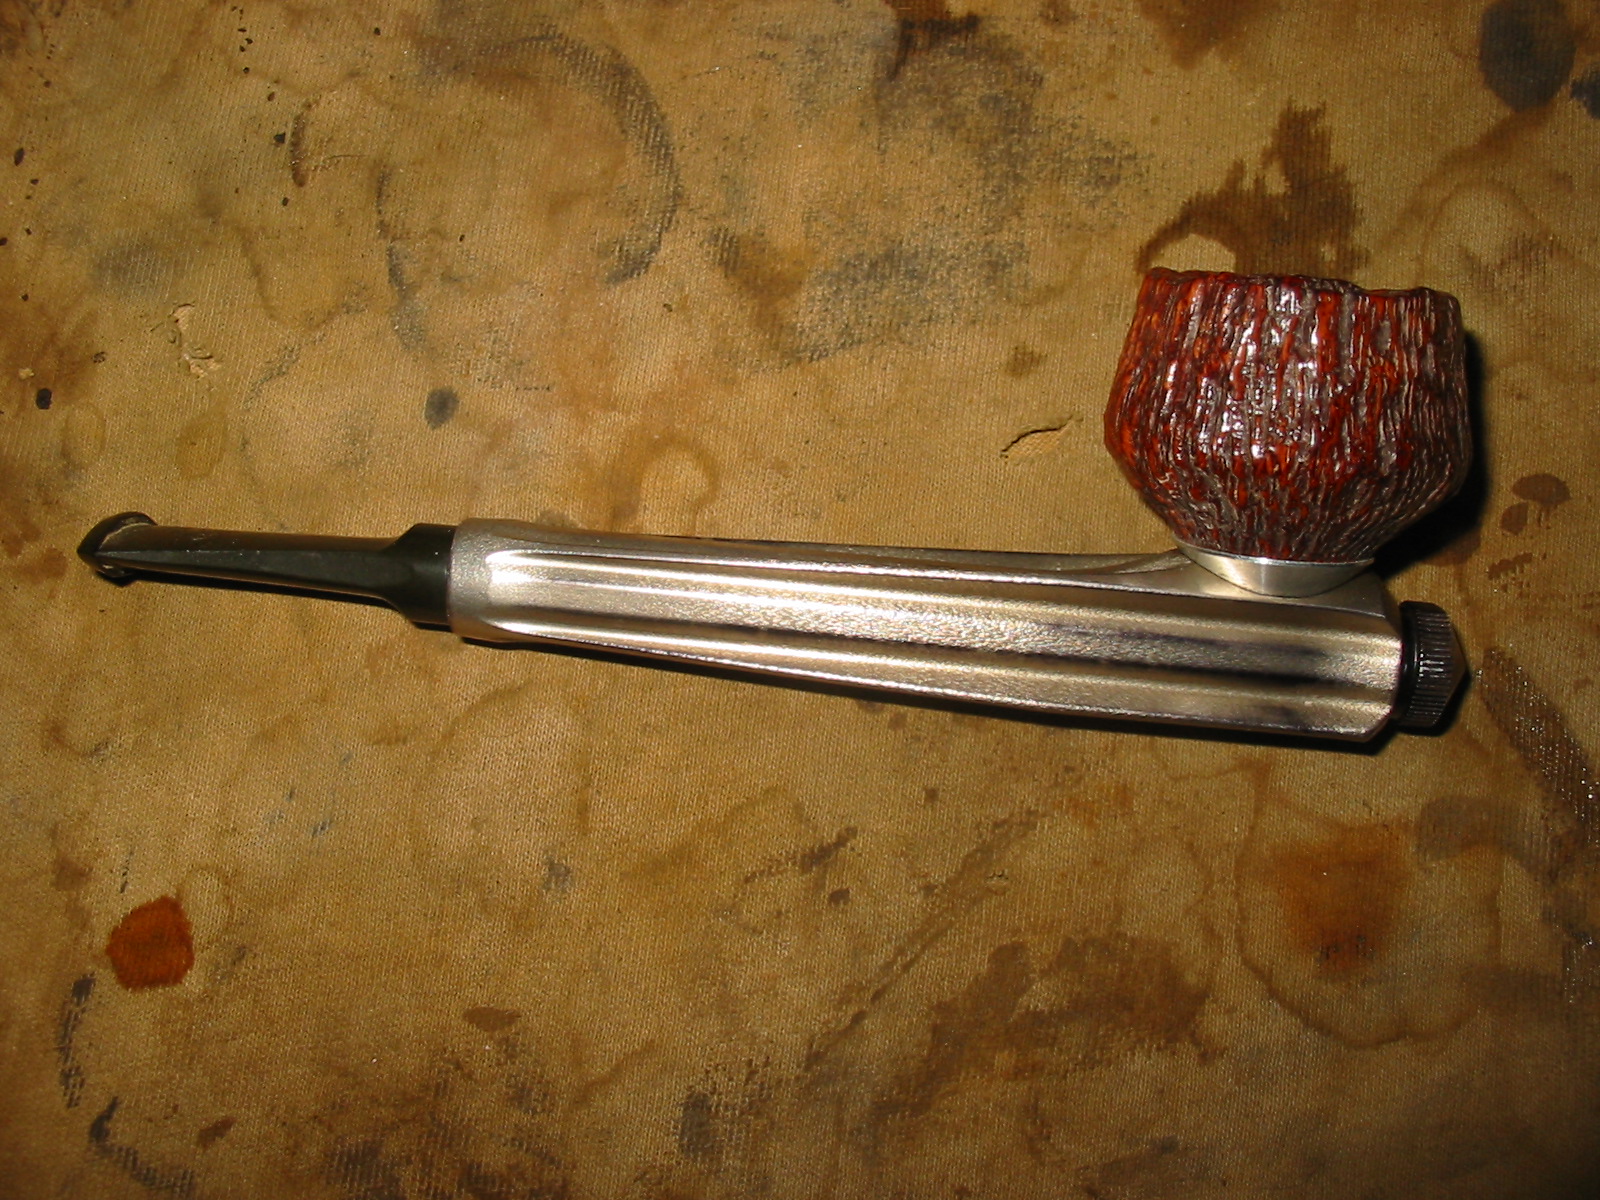
The next series of three photos show the newly banded shank. The repair is finished and with the band in place the rest of the refurbishing of the bowl can take place.
IMG_3713

IMG_3714

IMG_3715

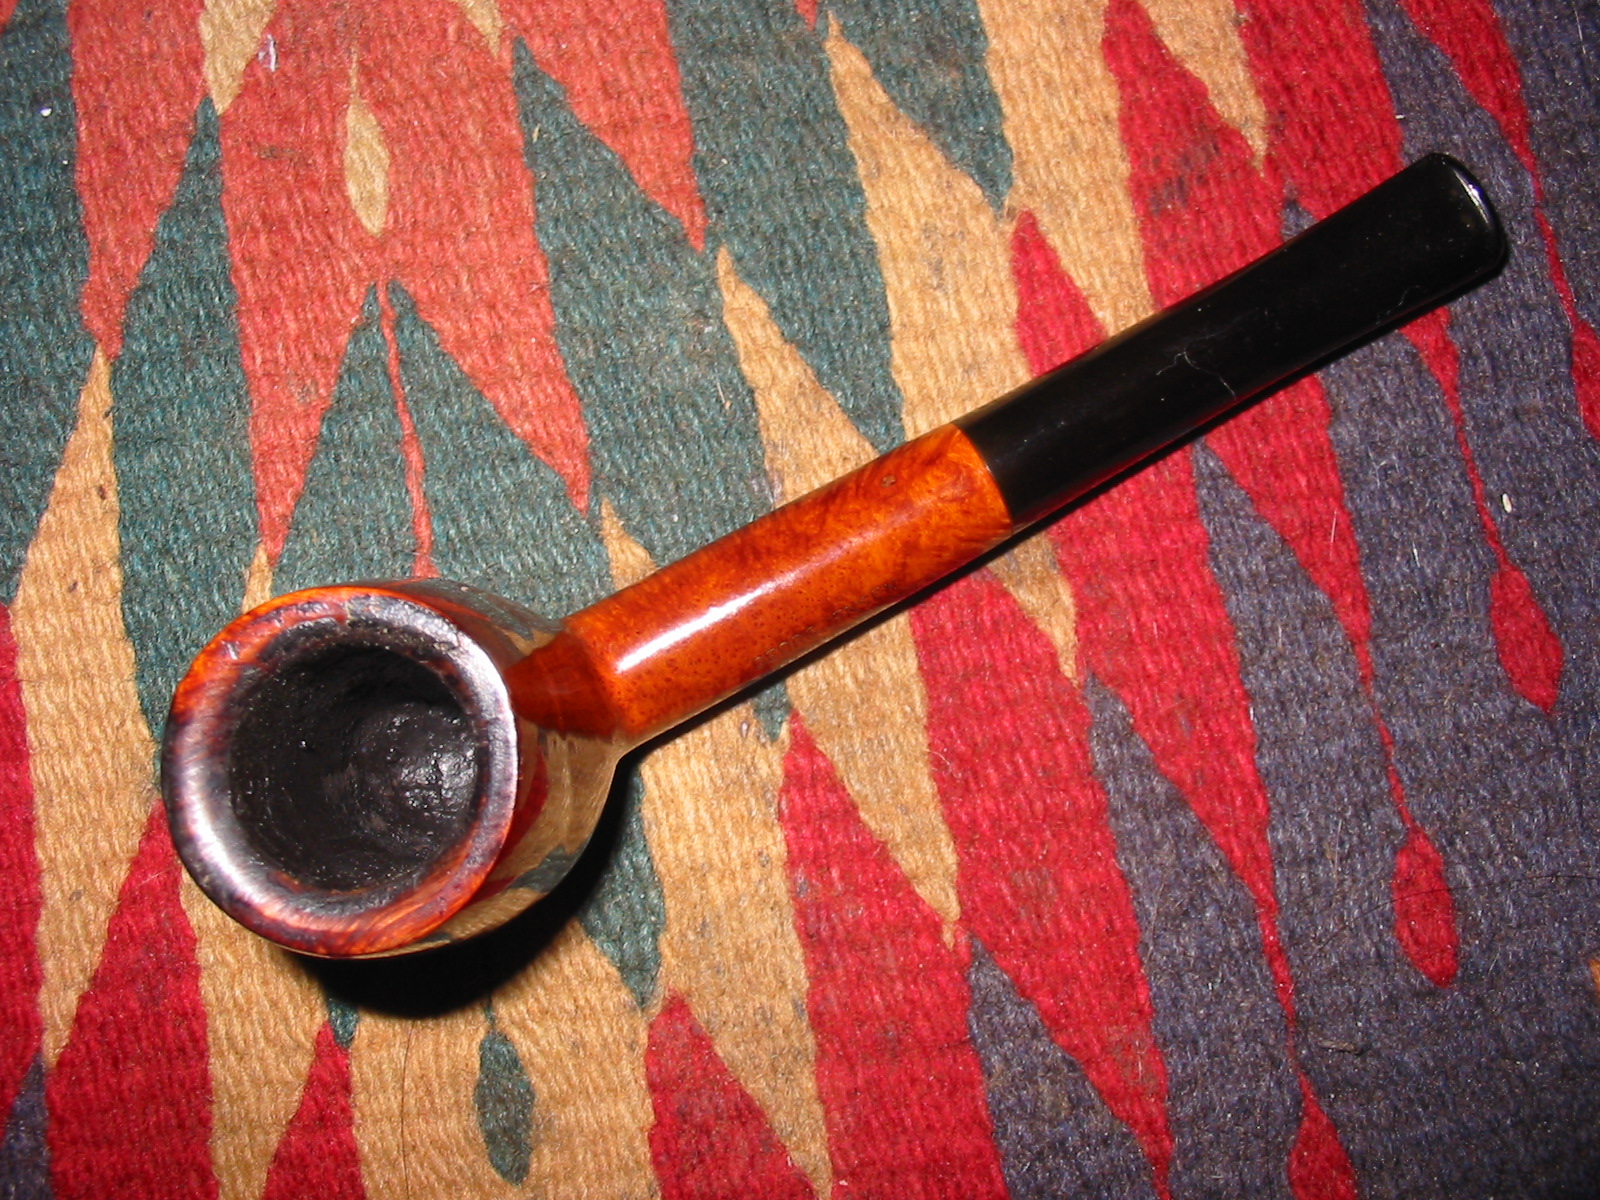
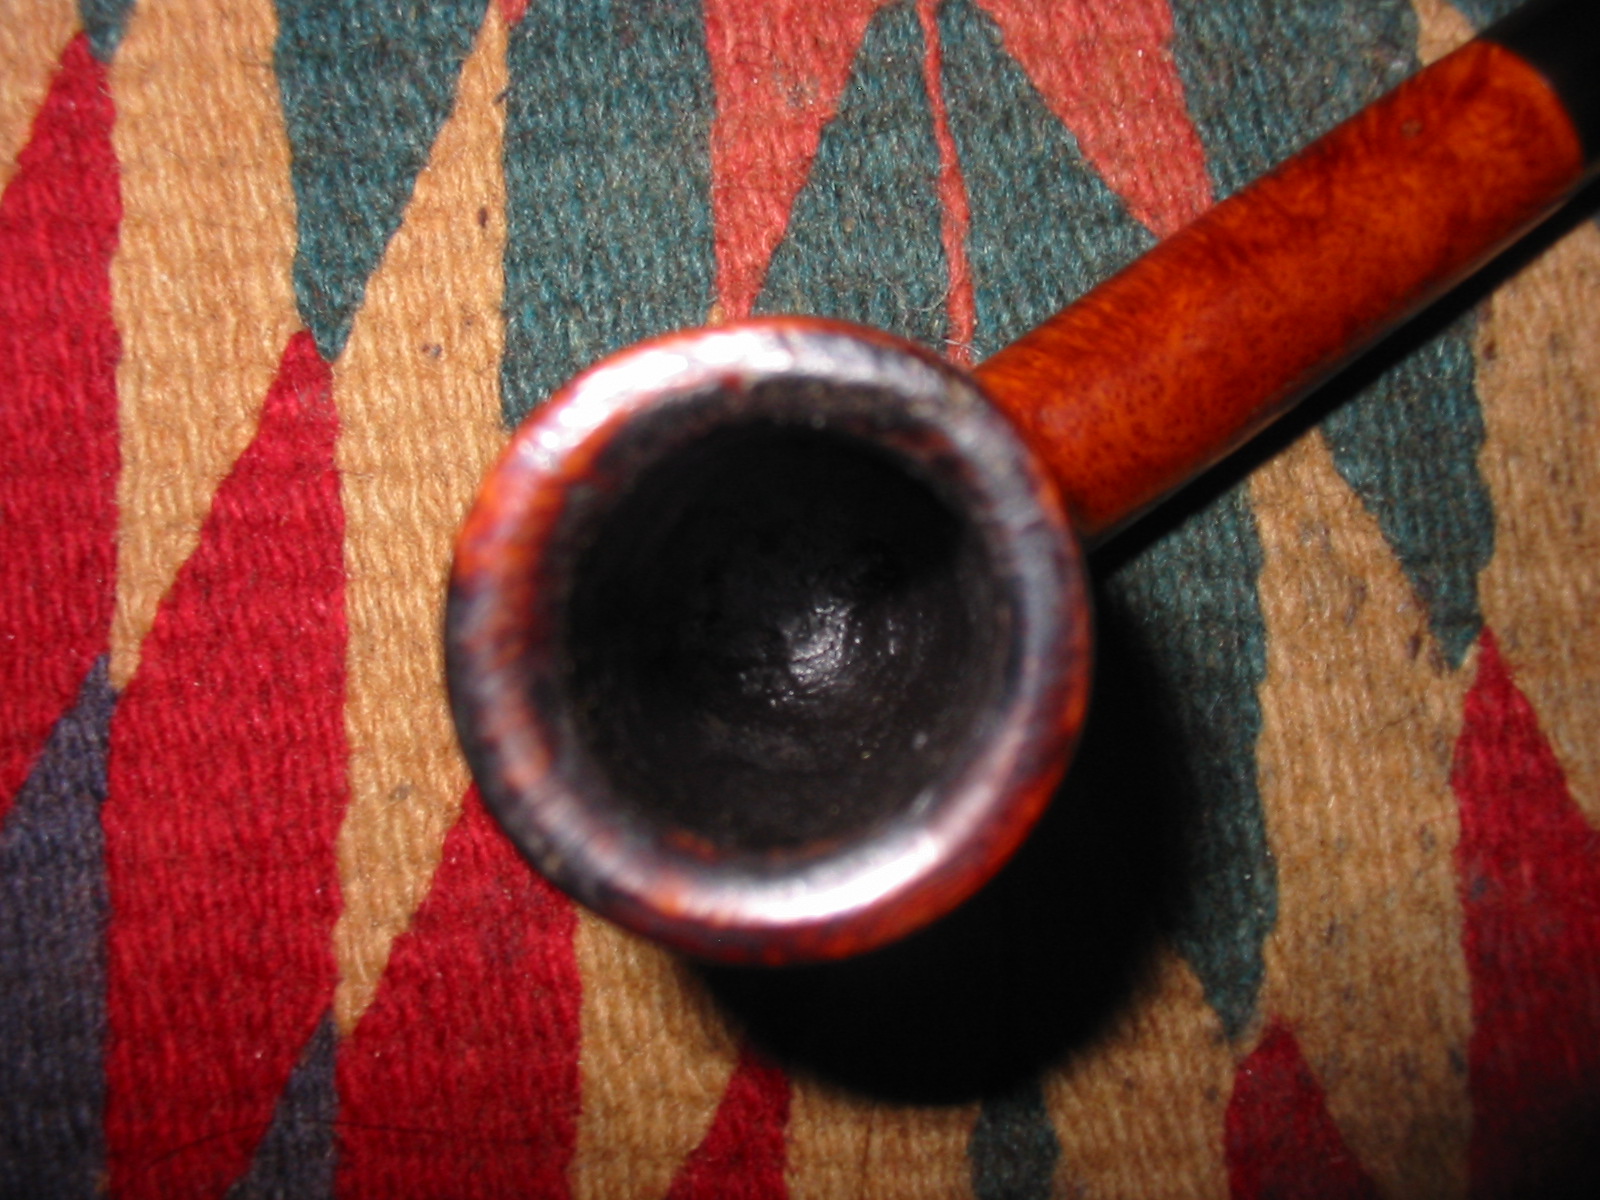
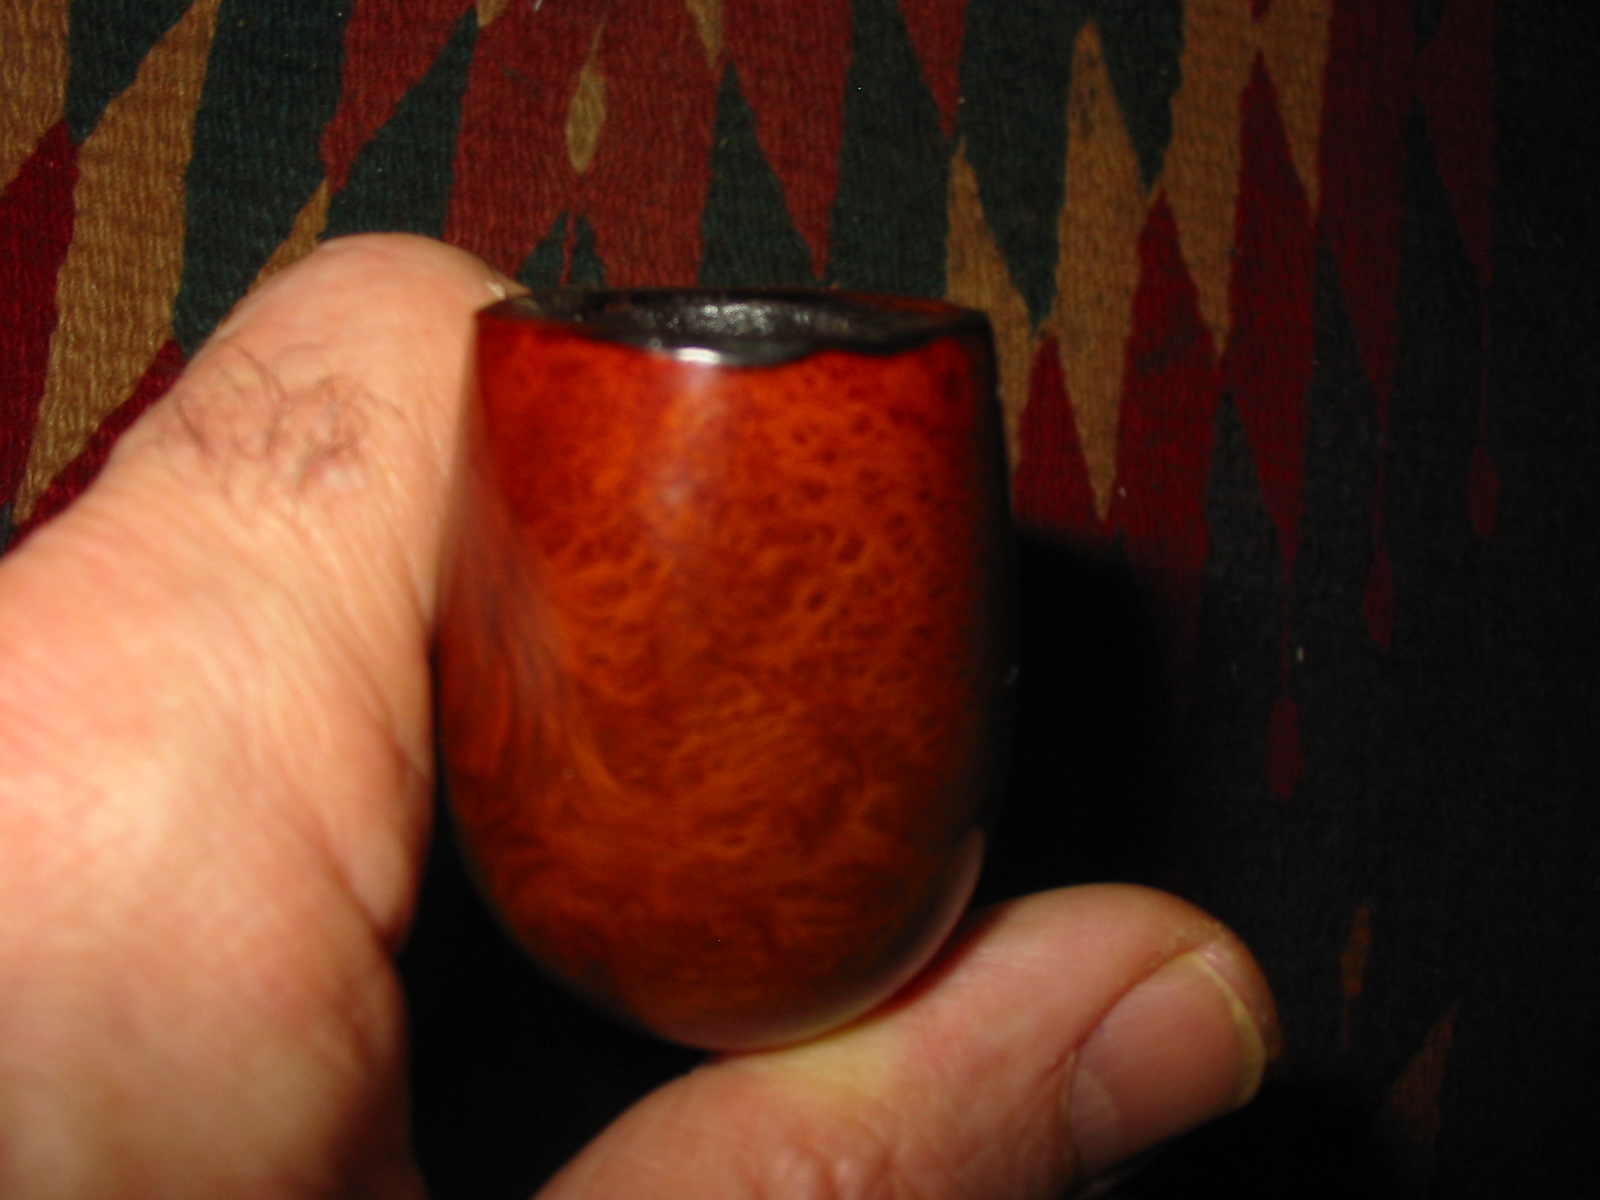
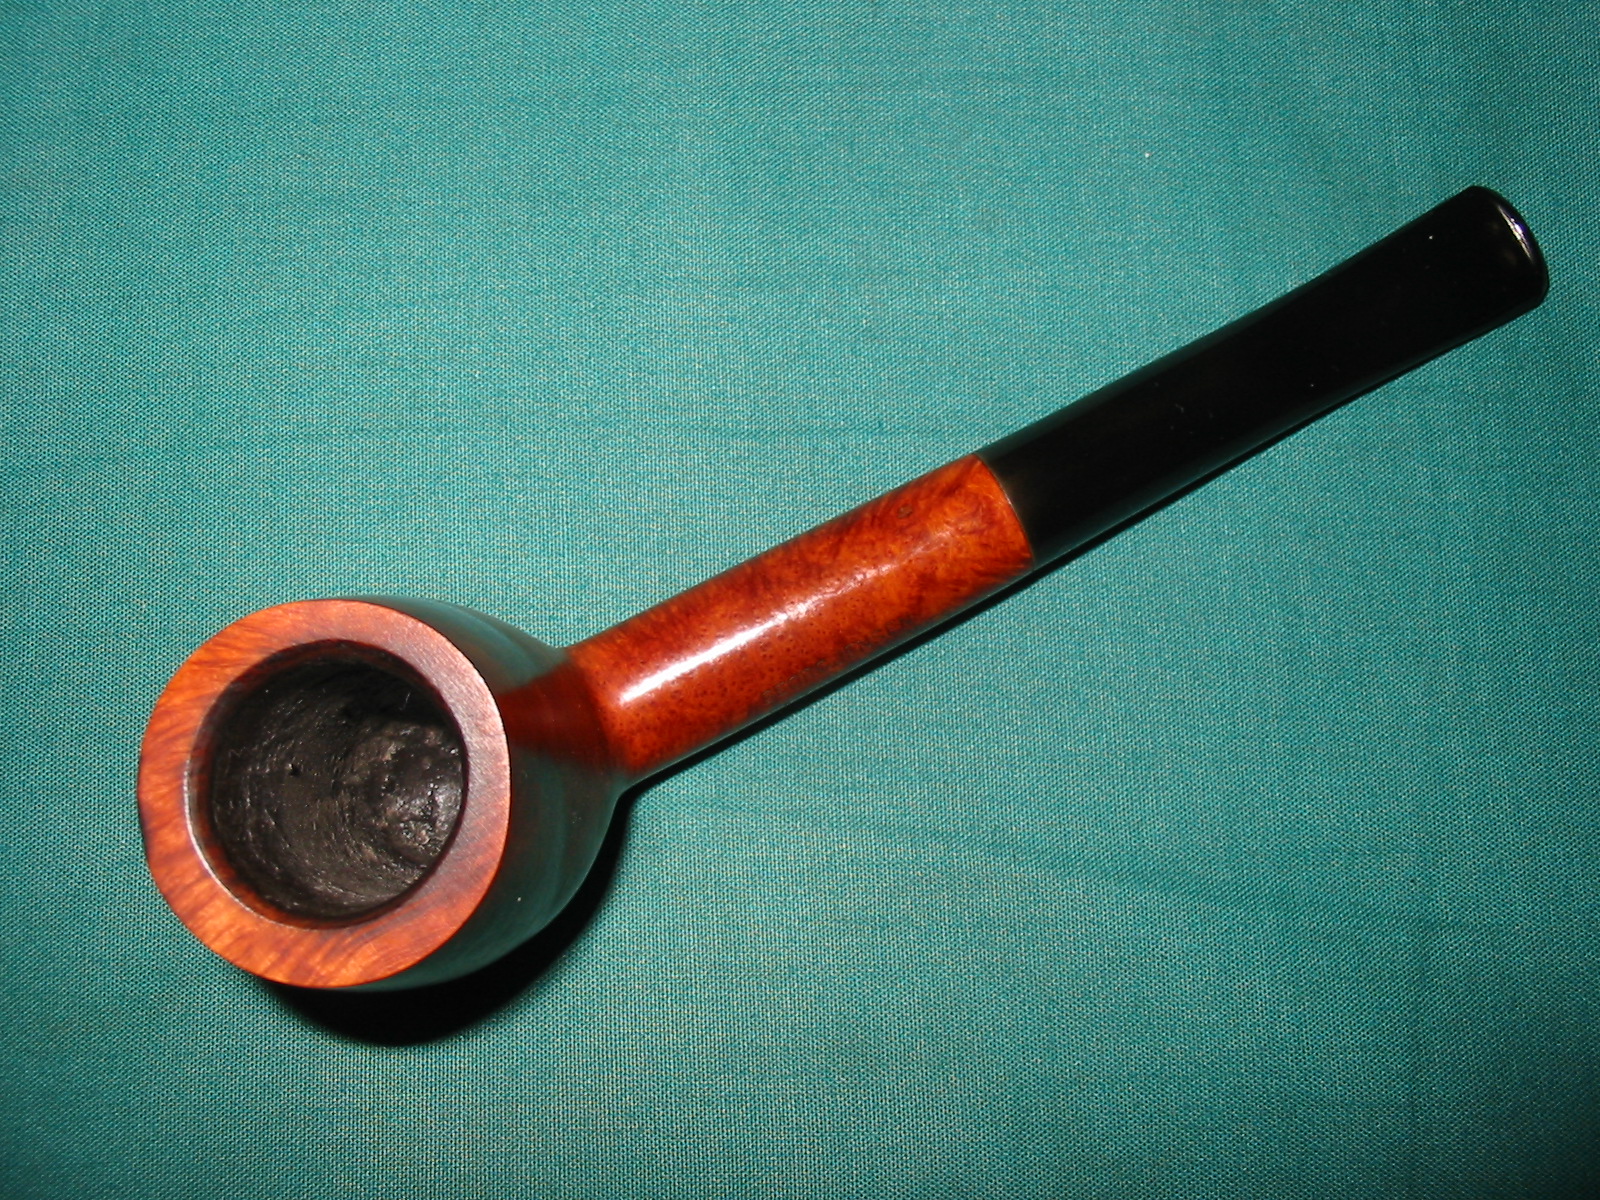
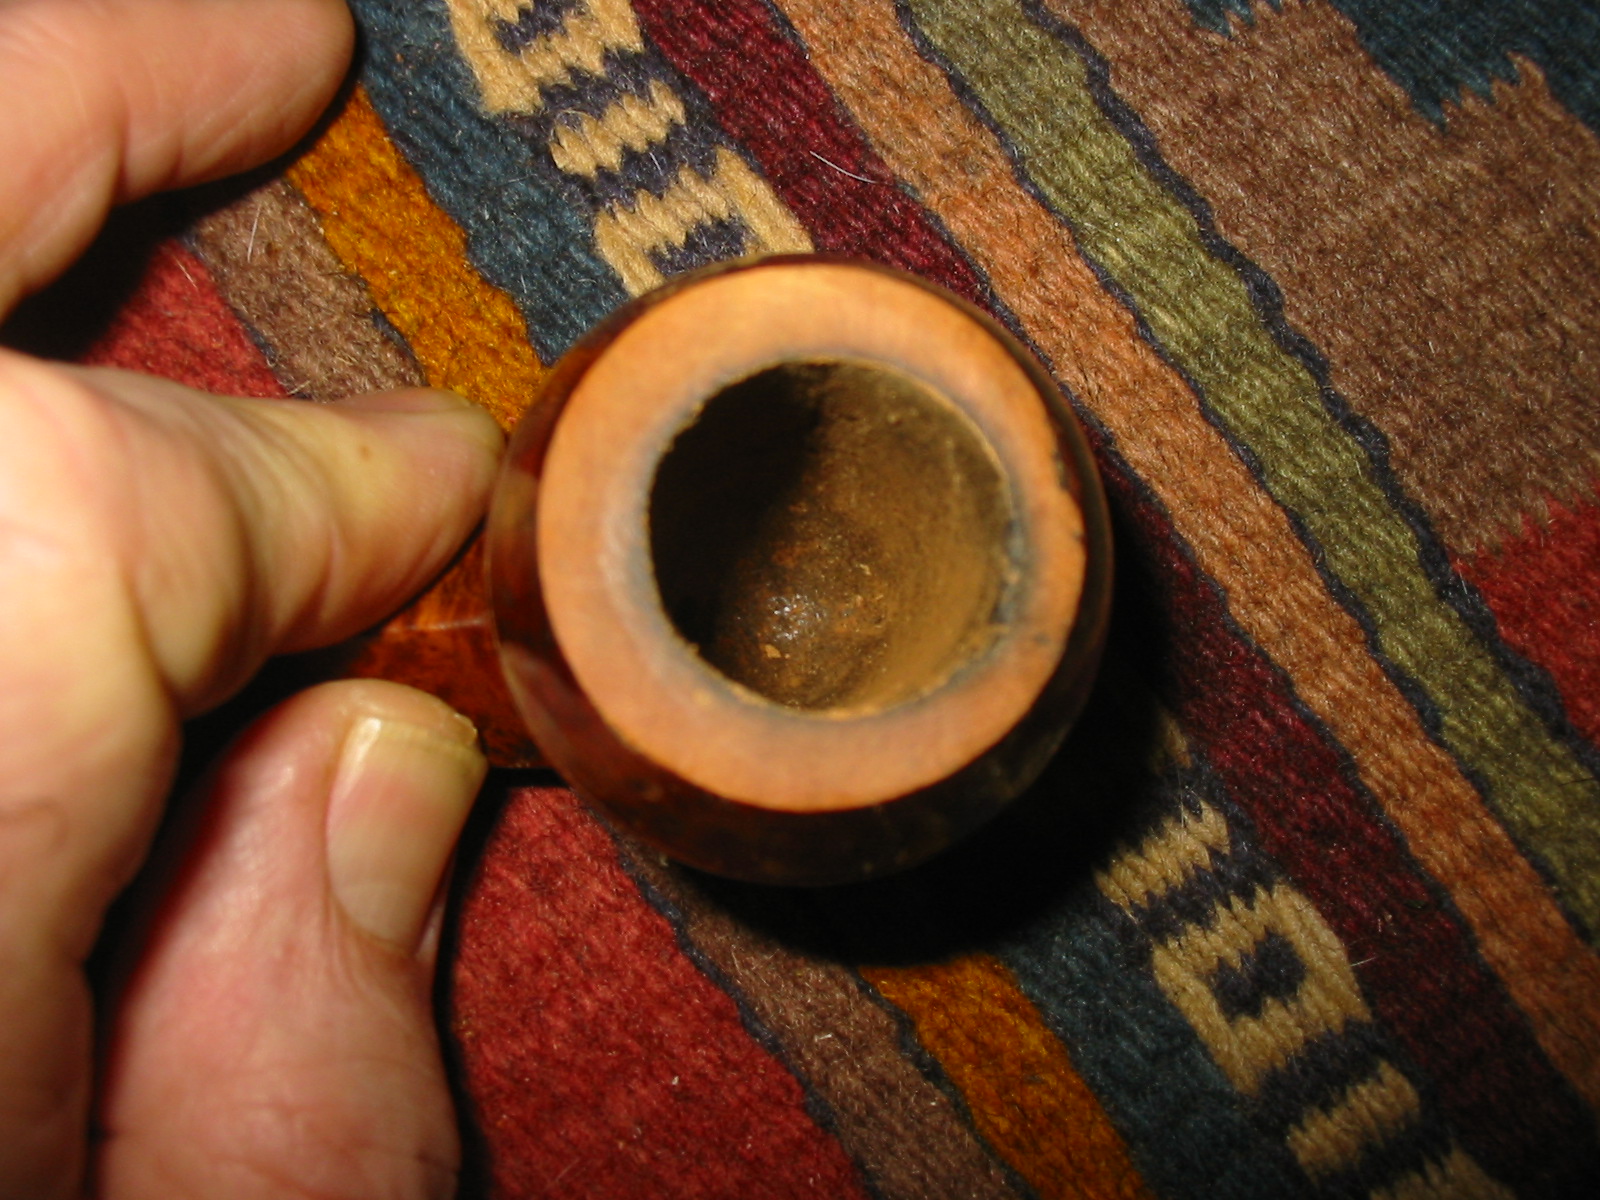
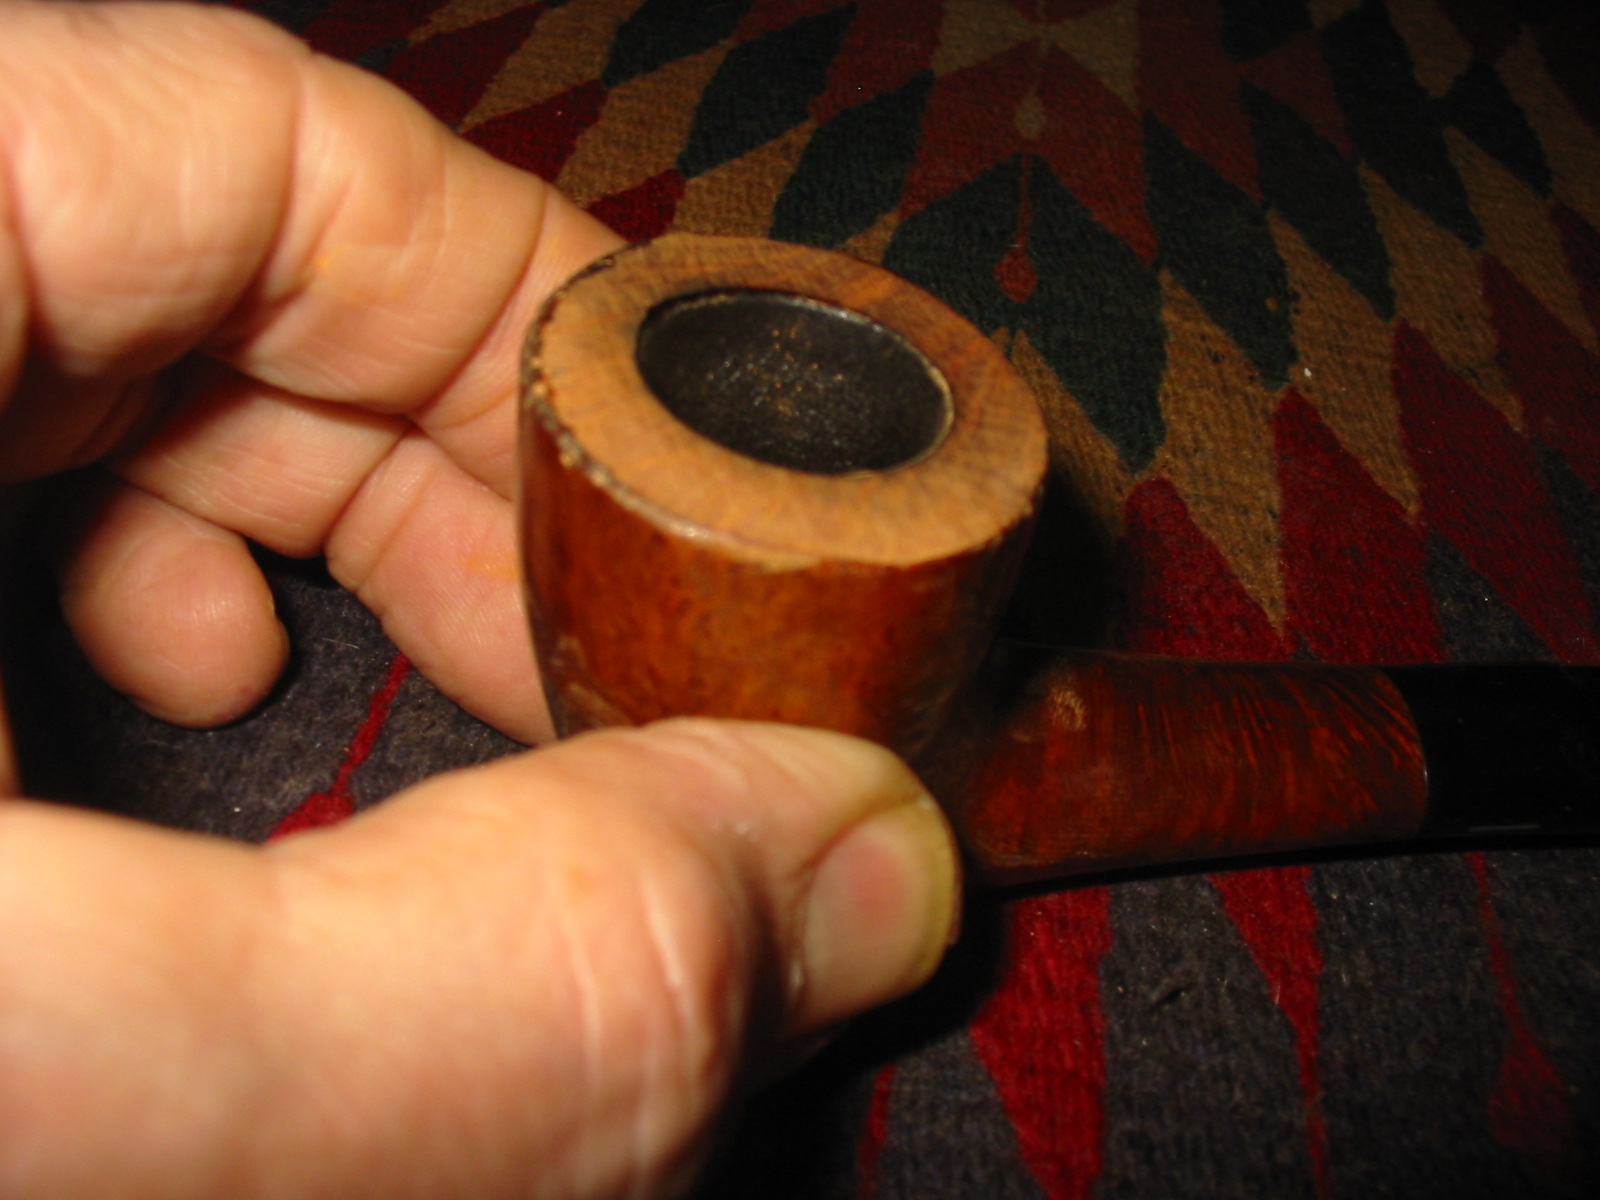
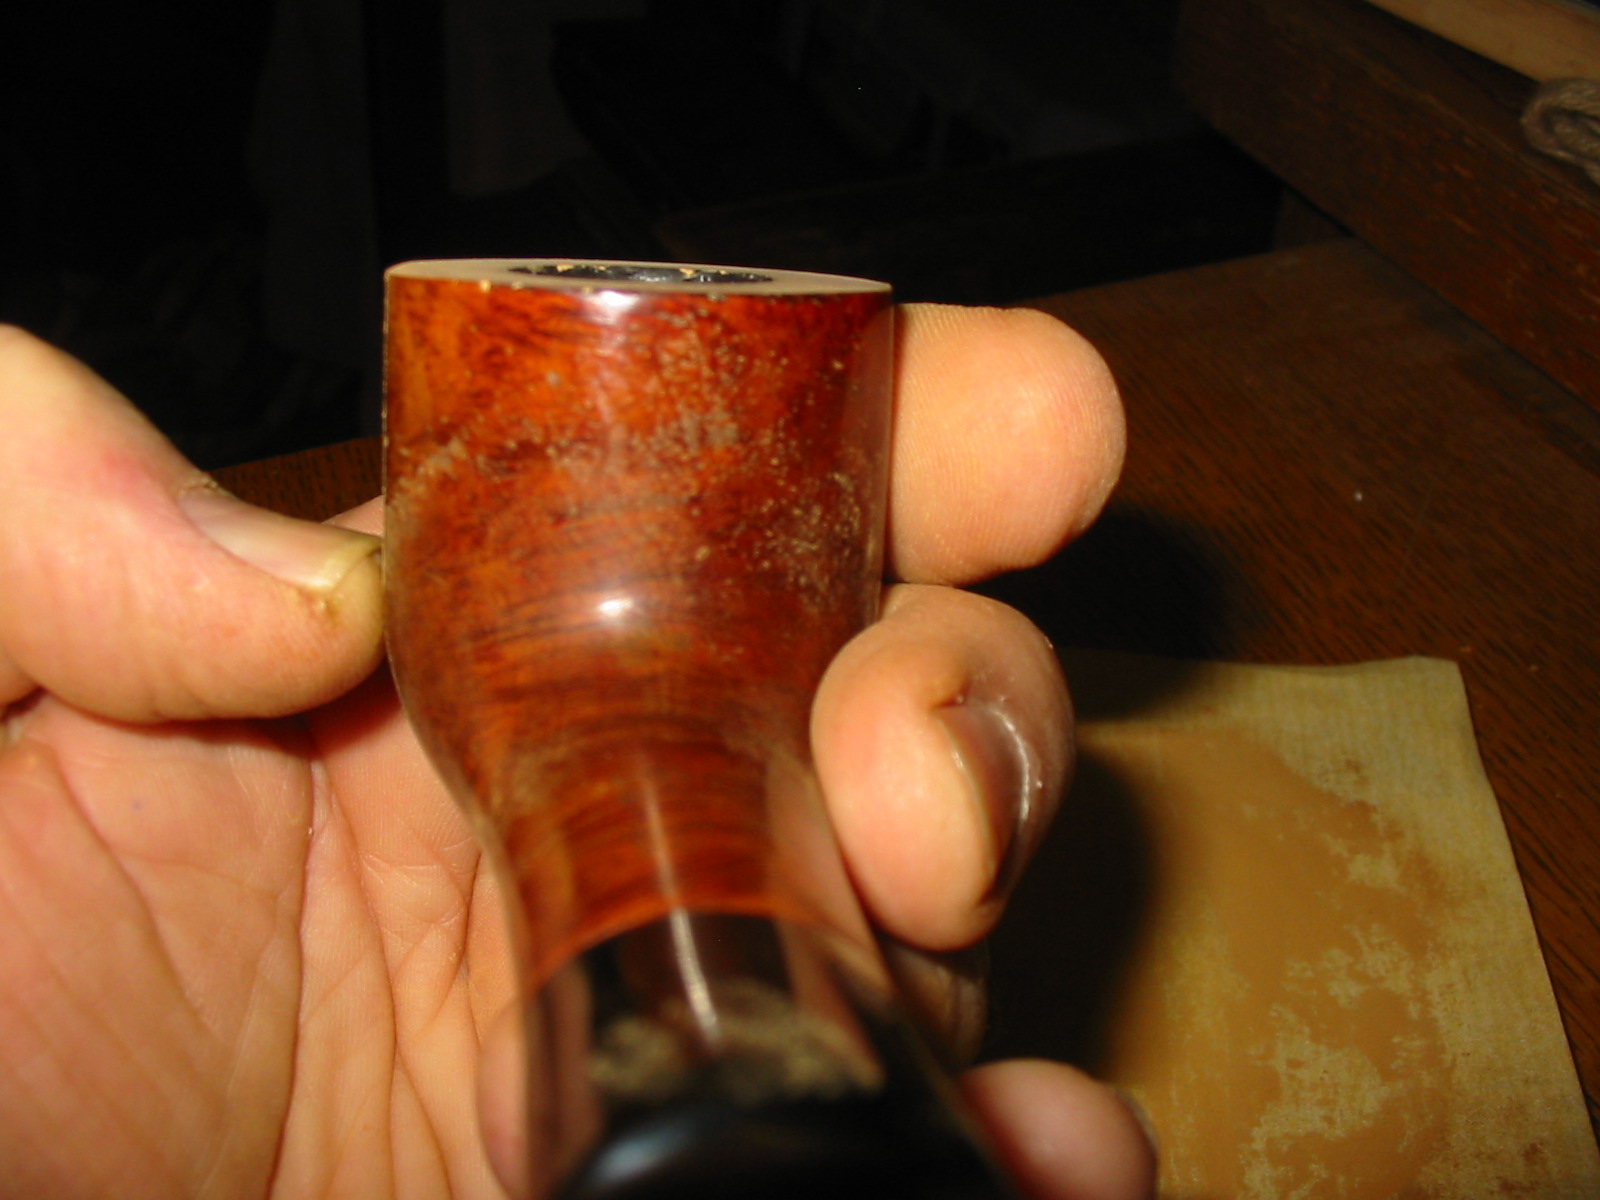
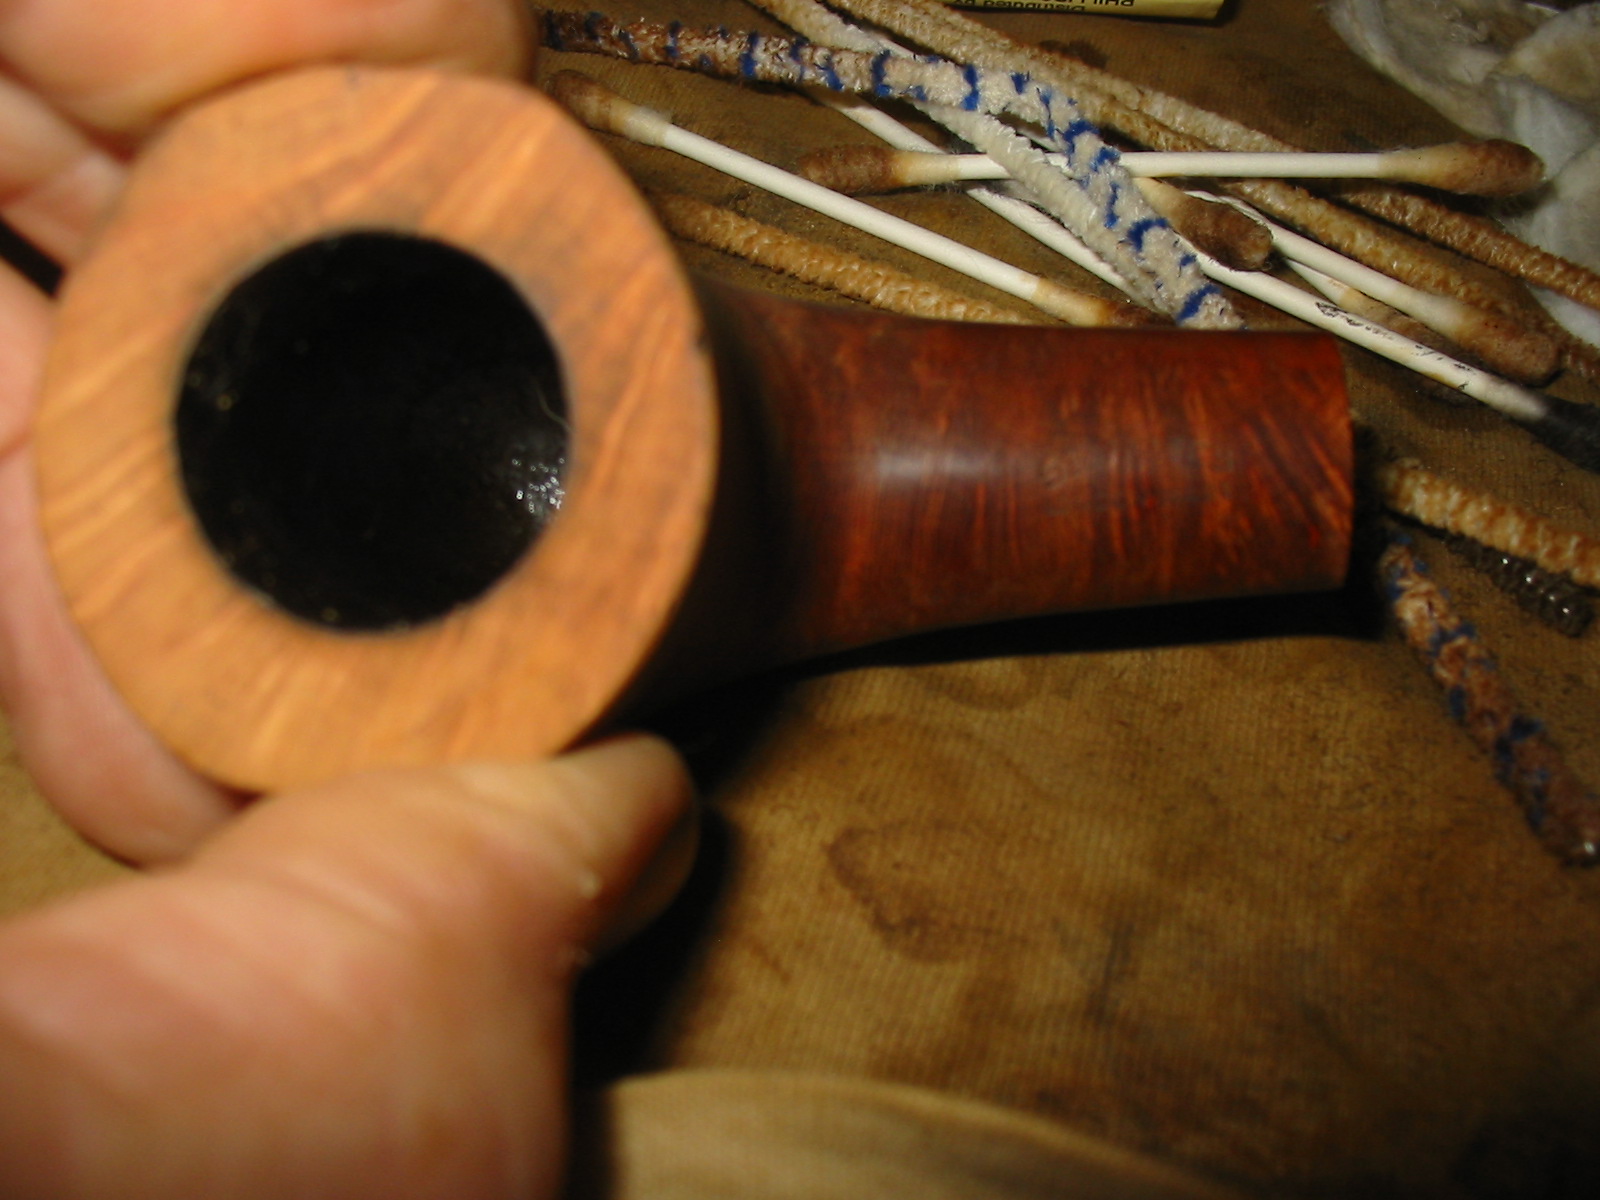
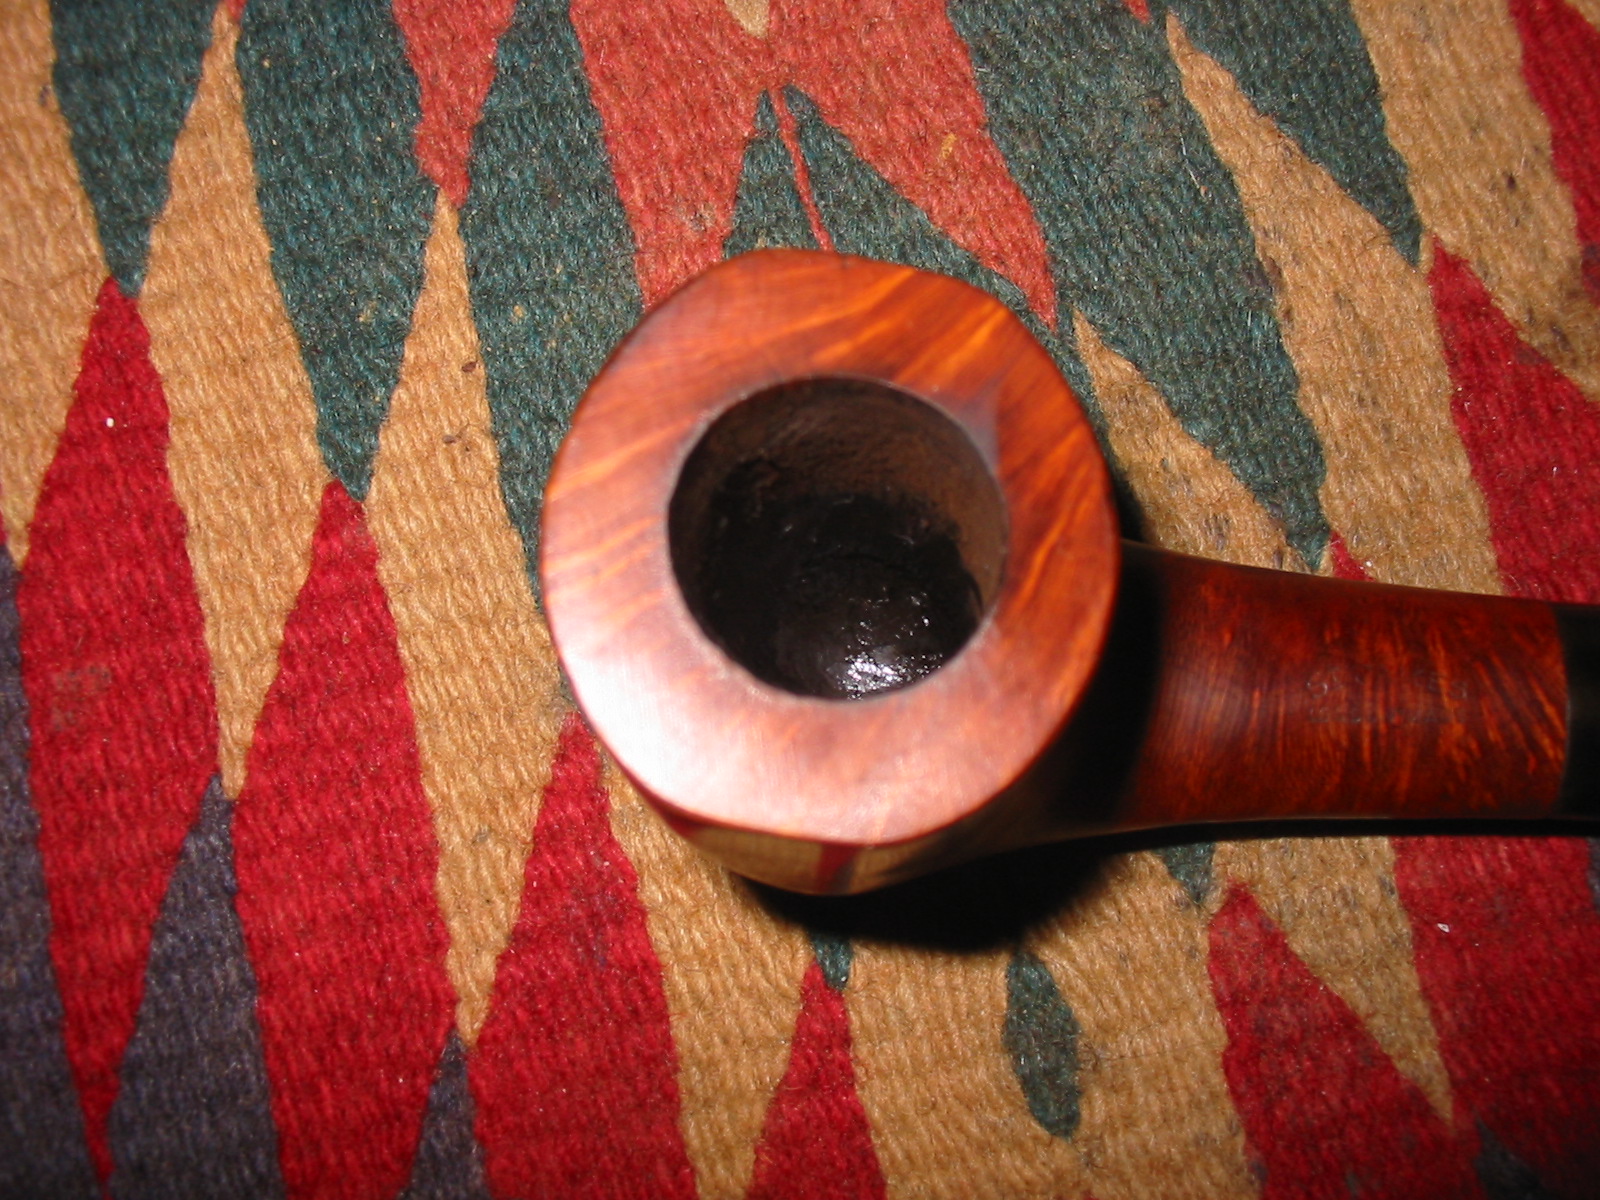
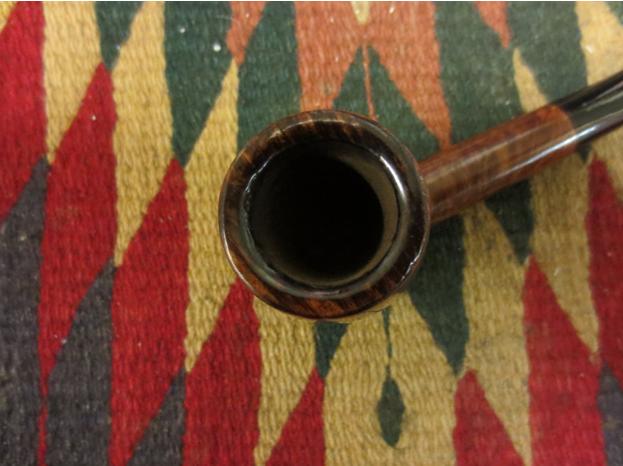
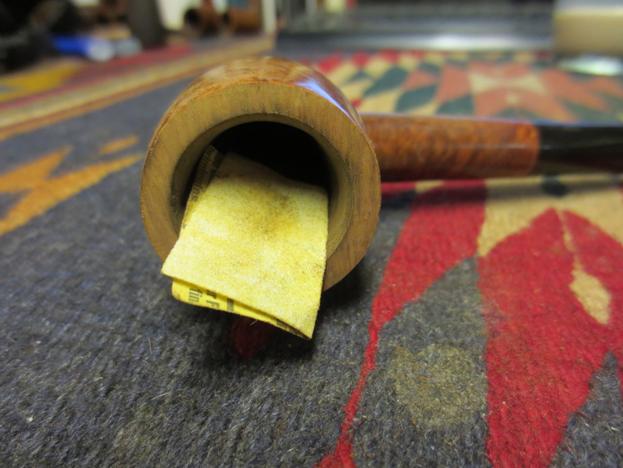
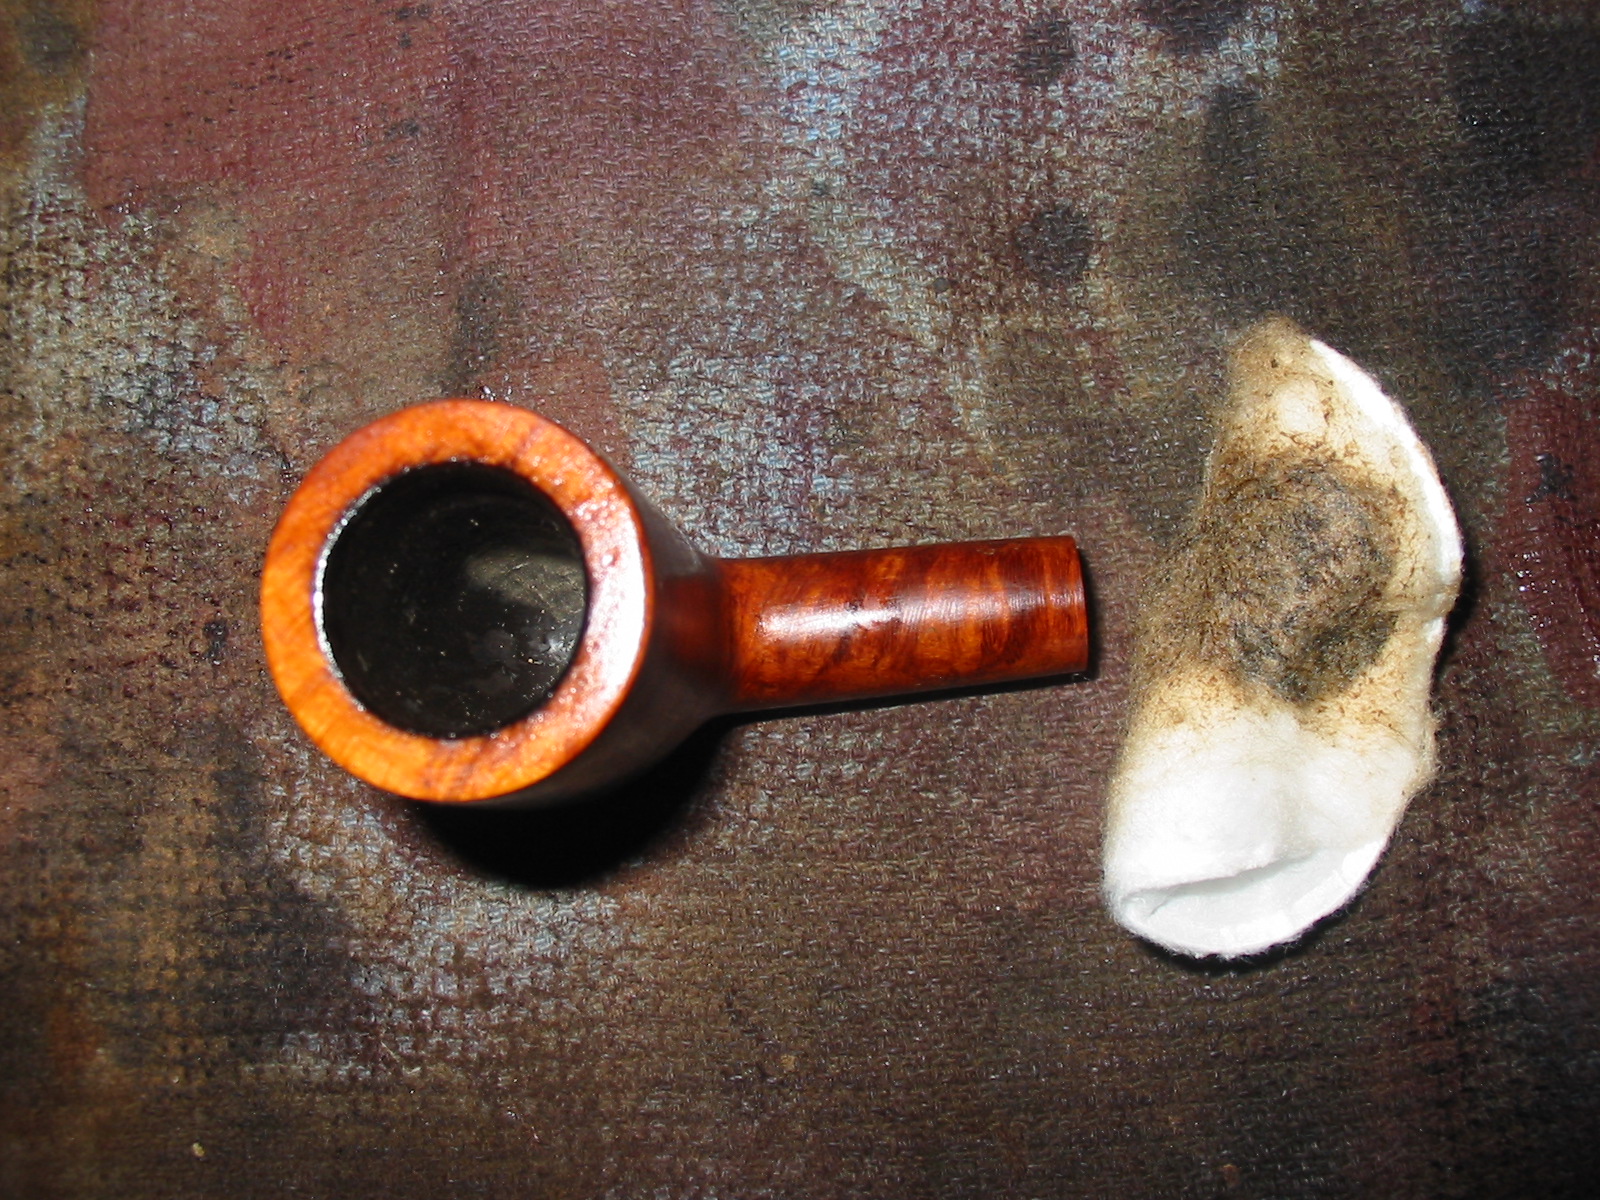
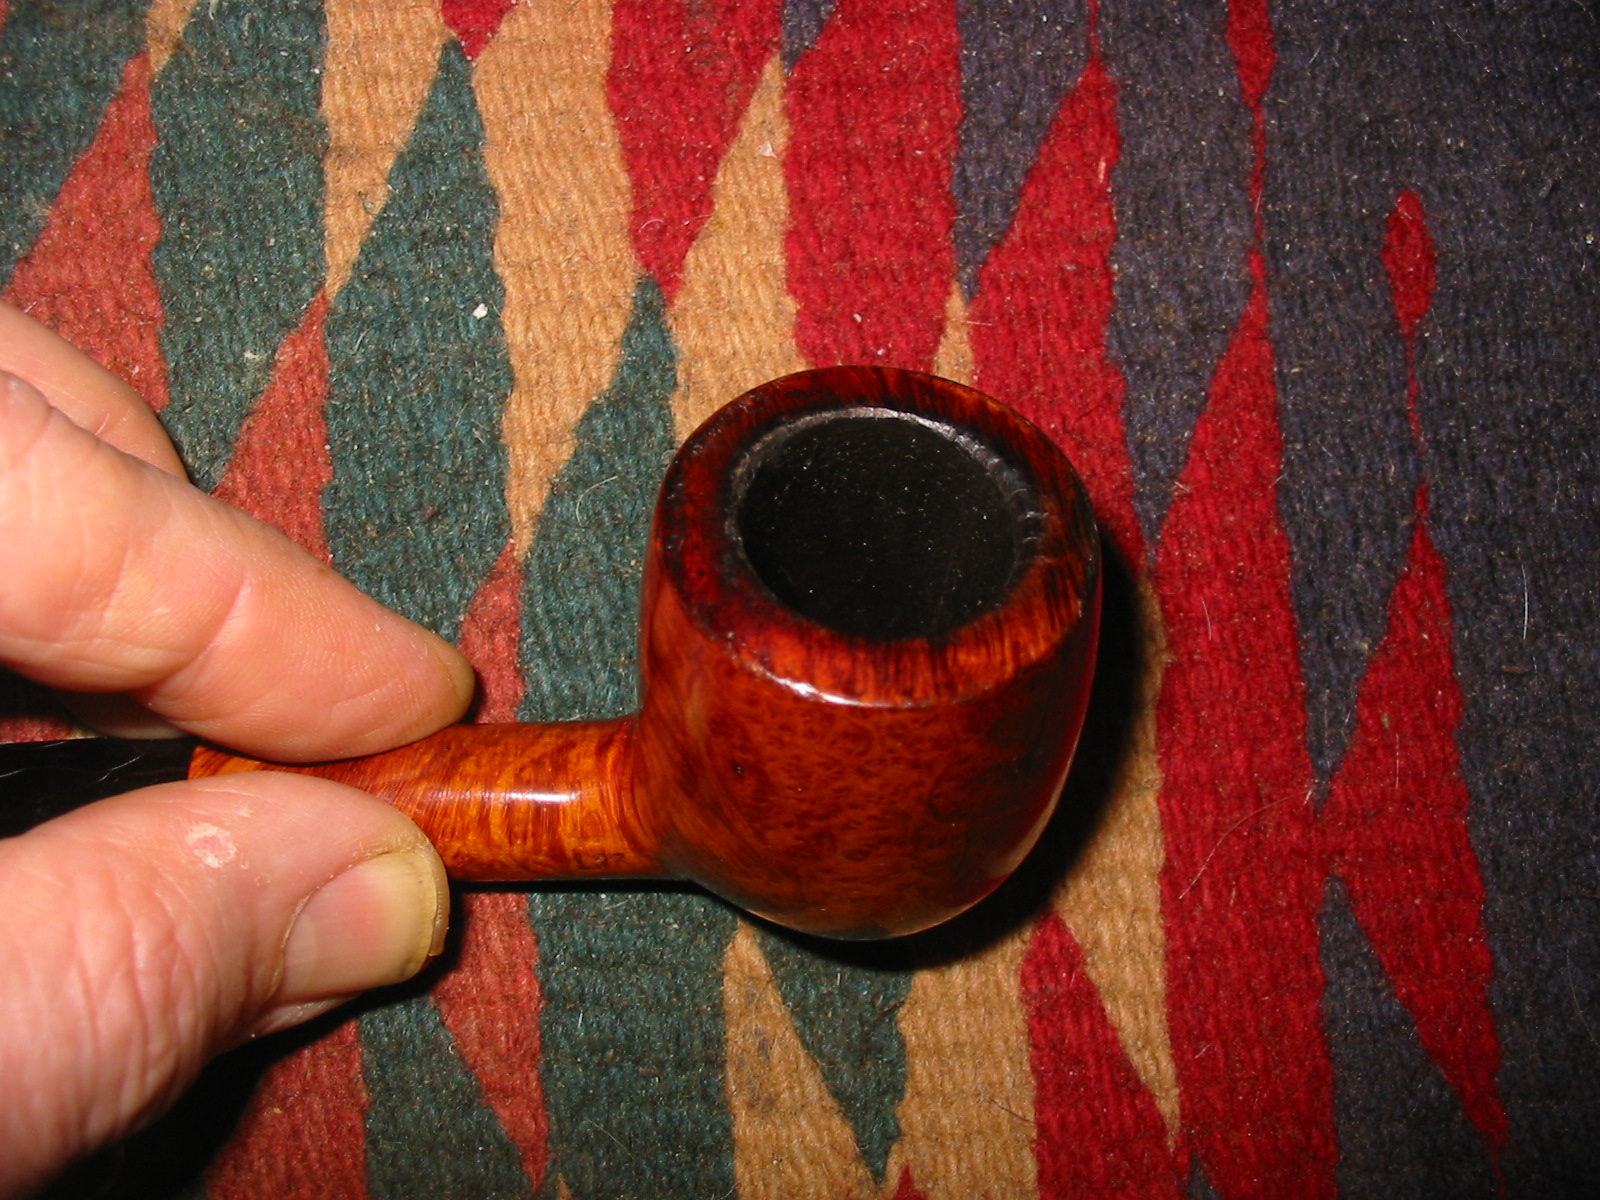
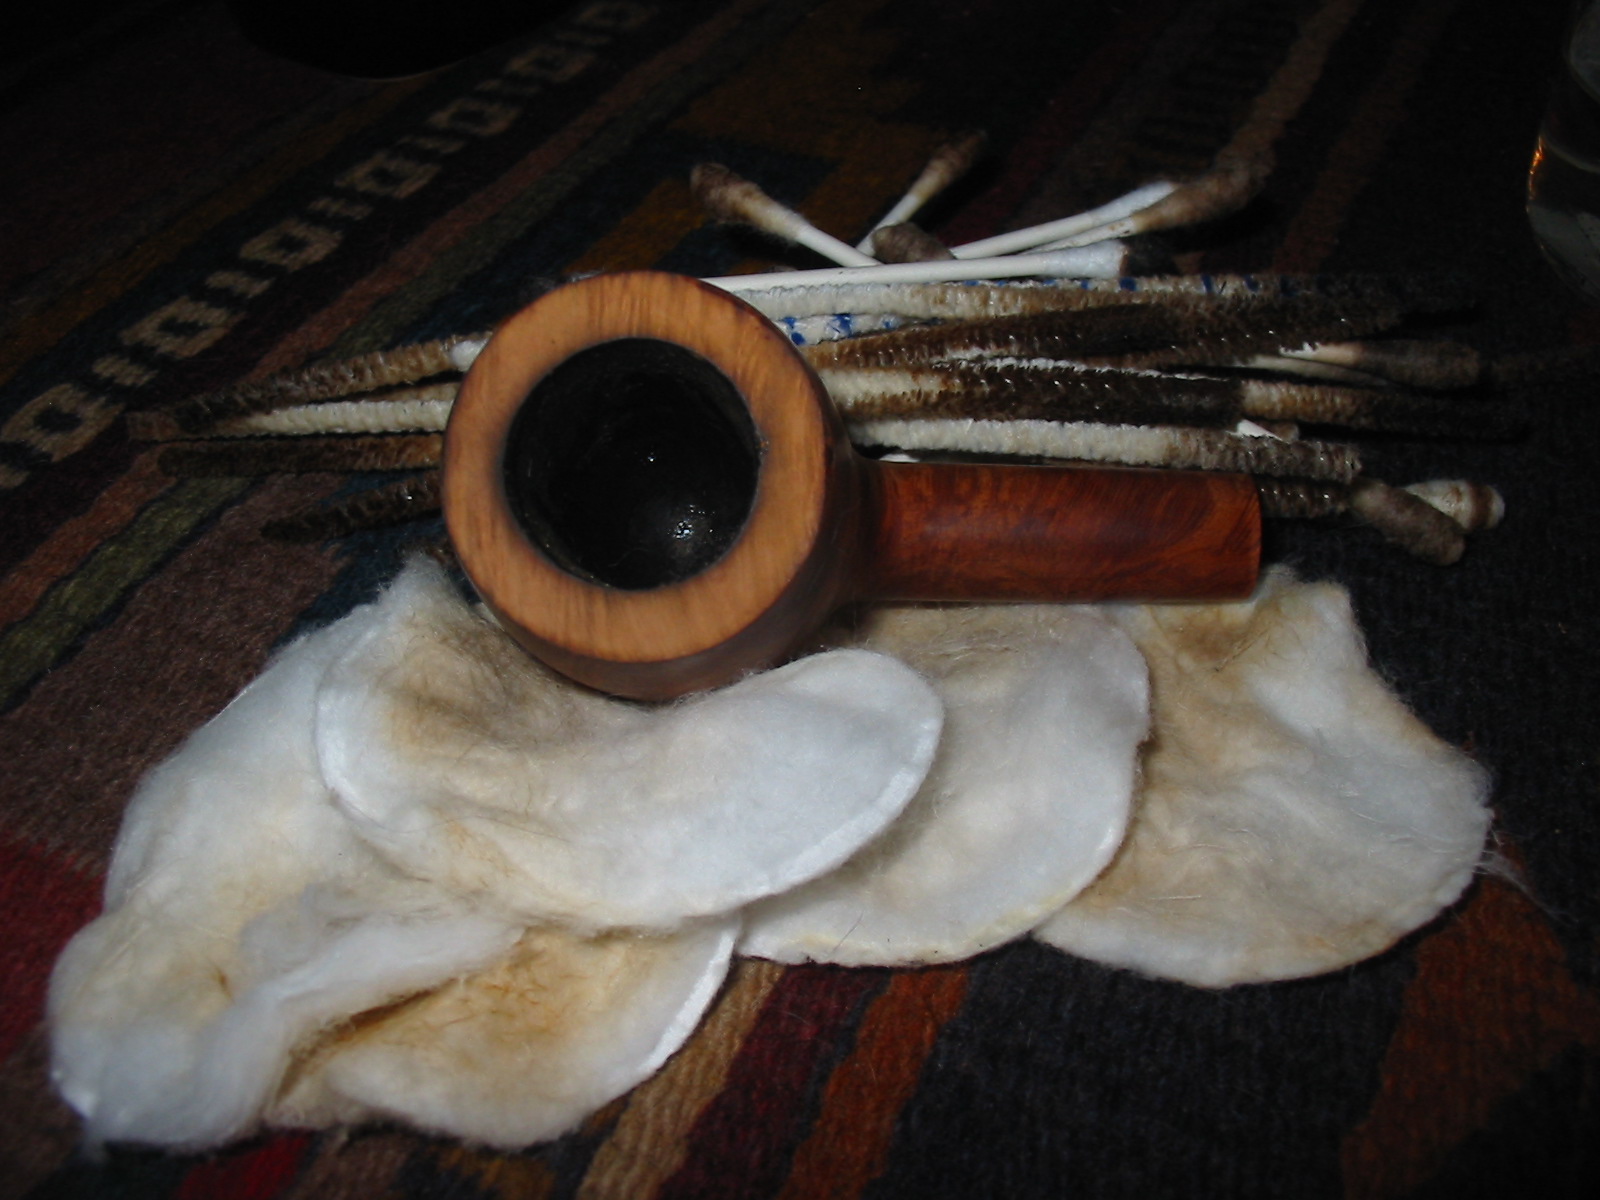
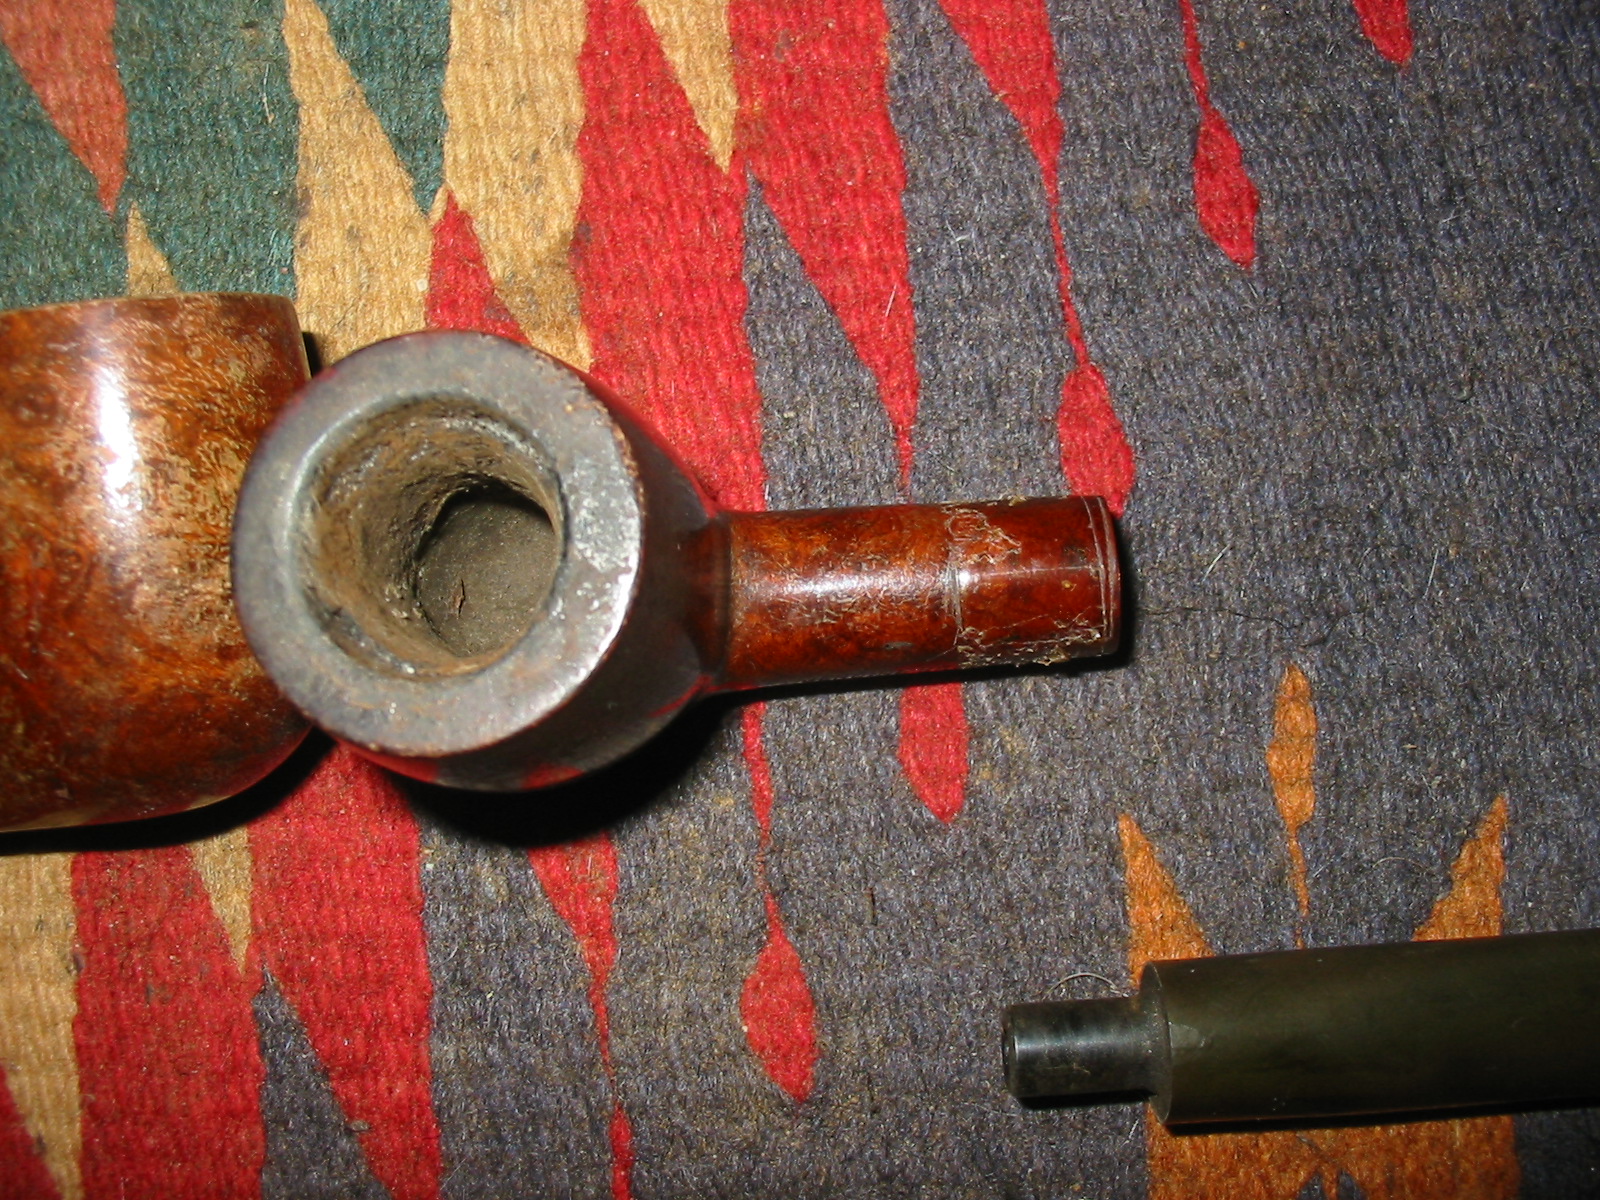
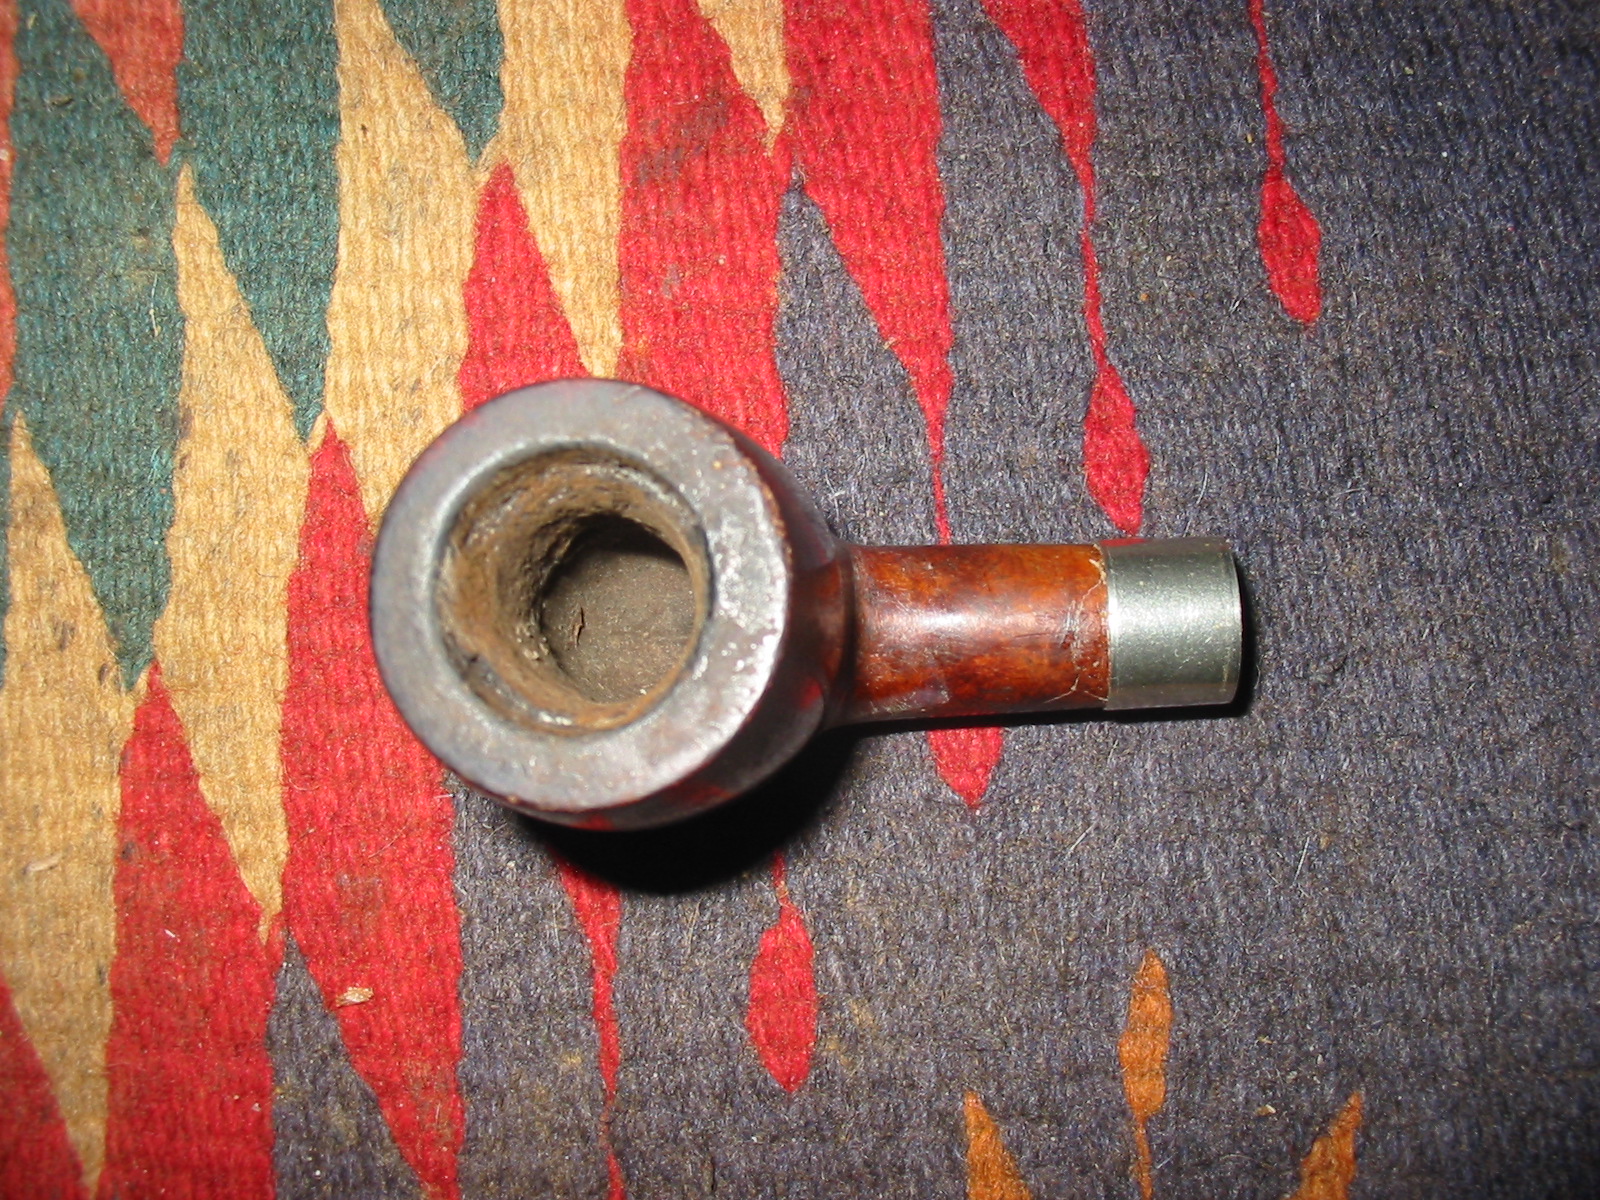
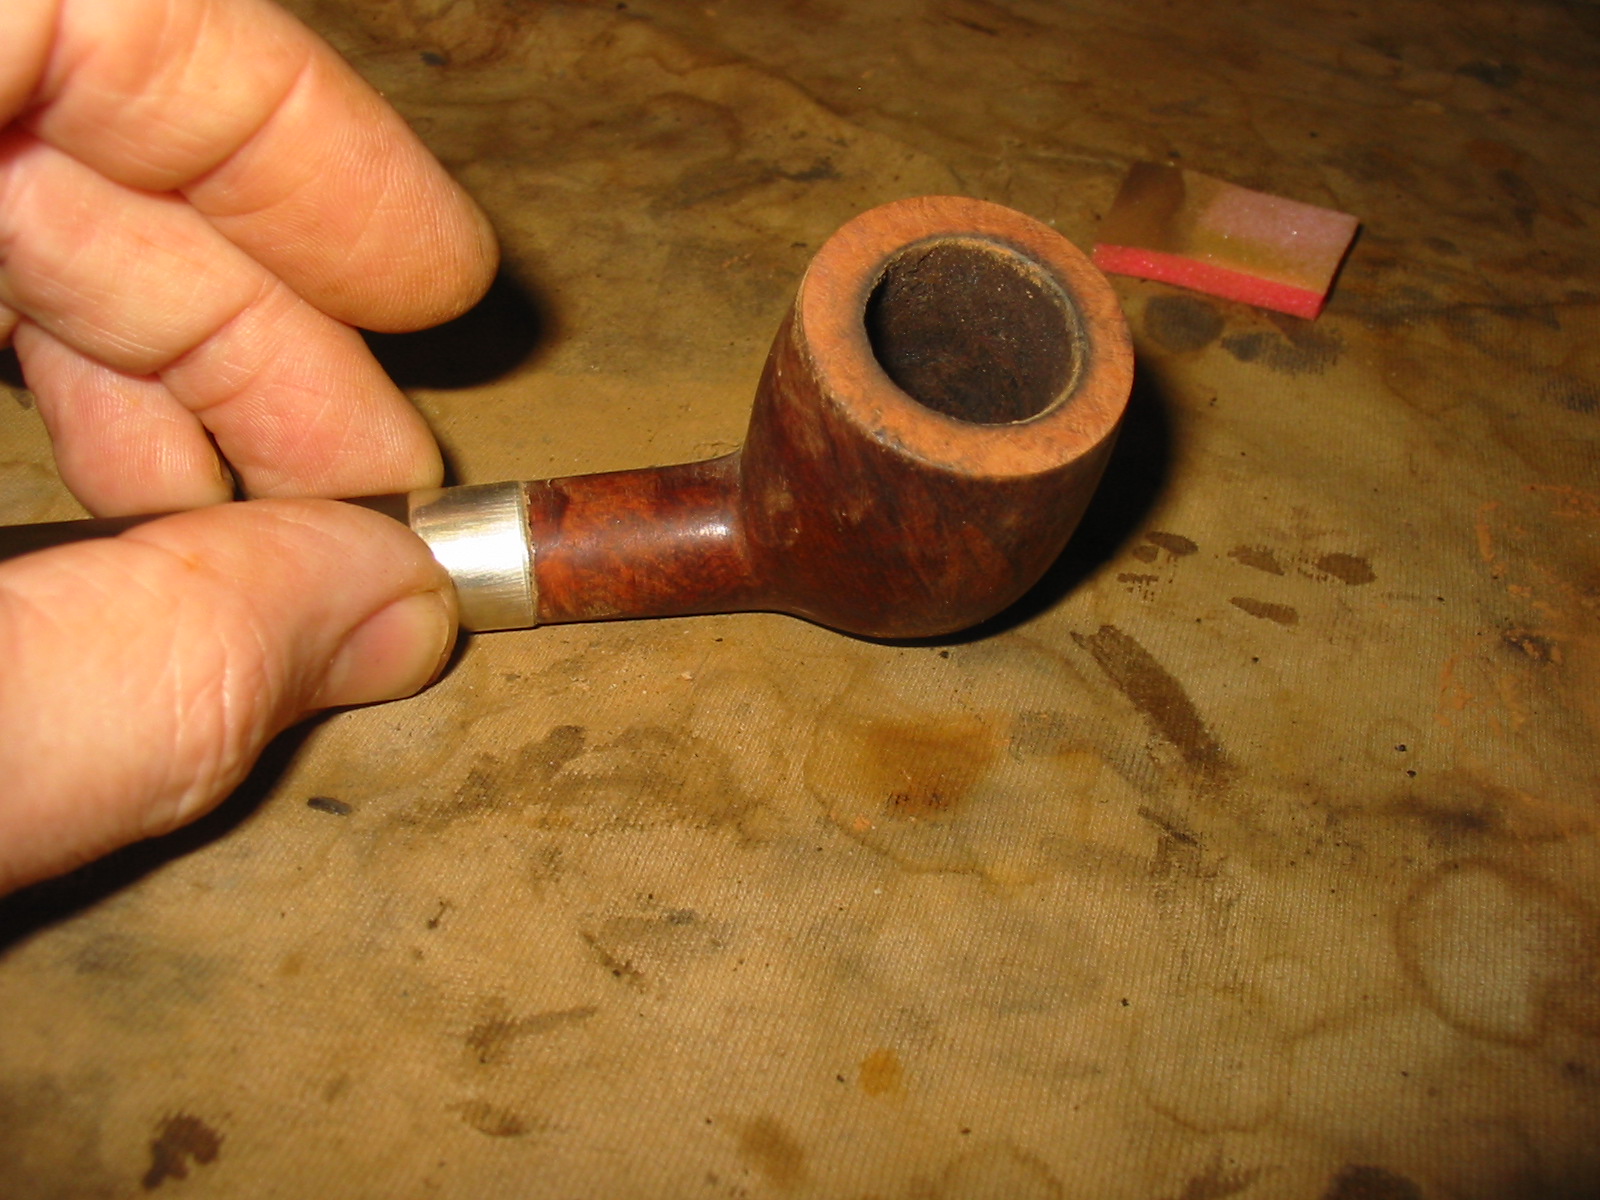
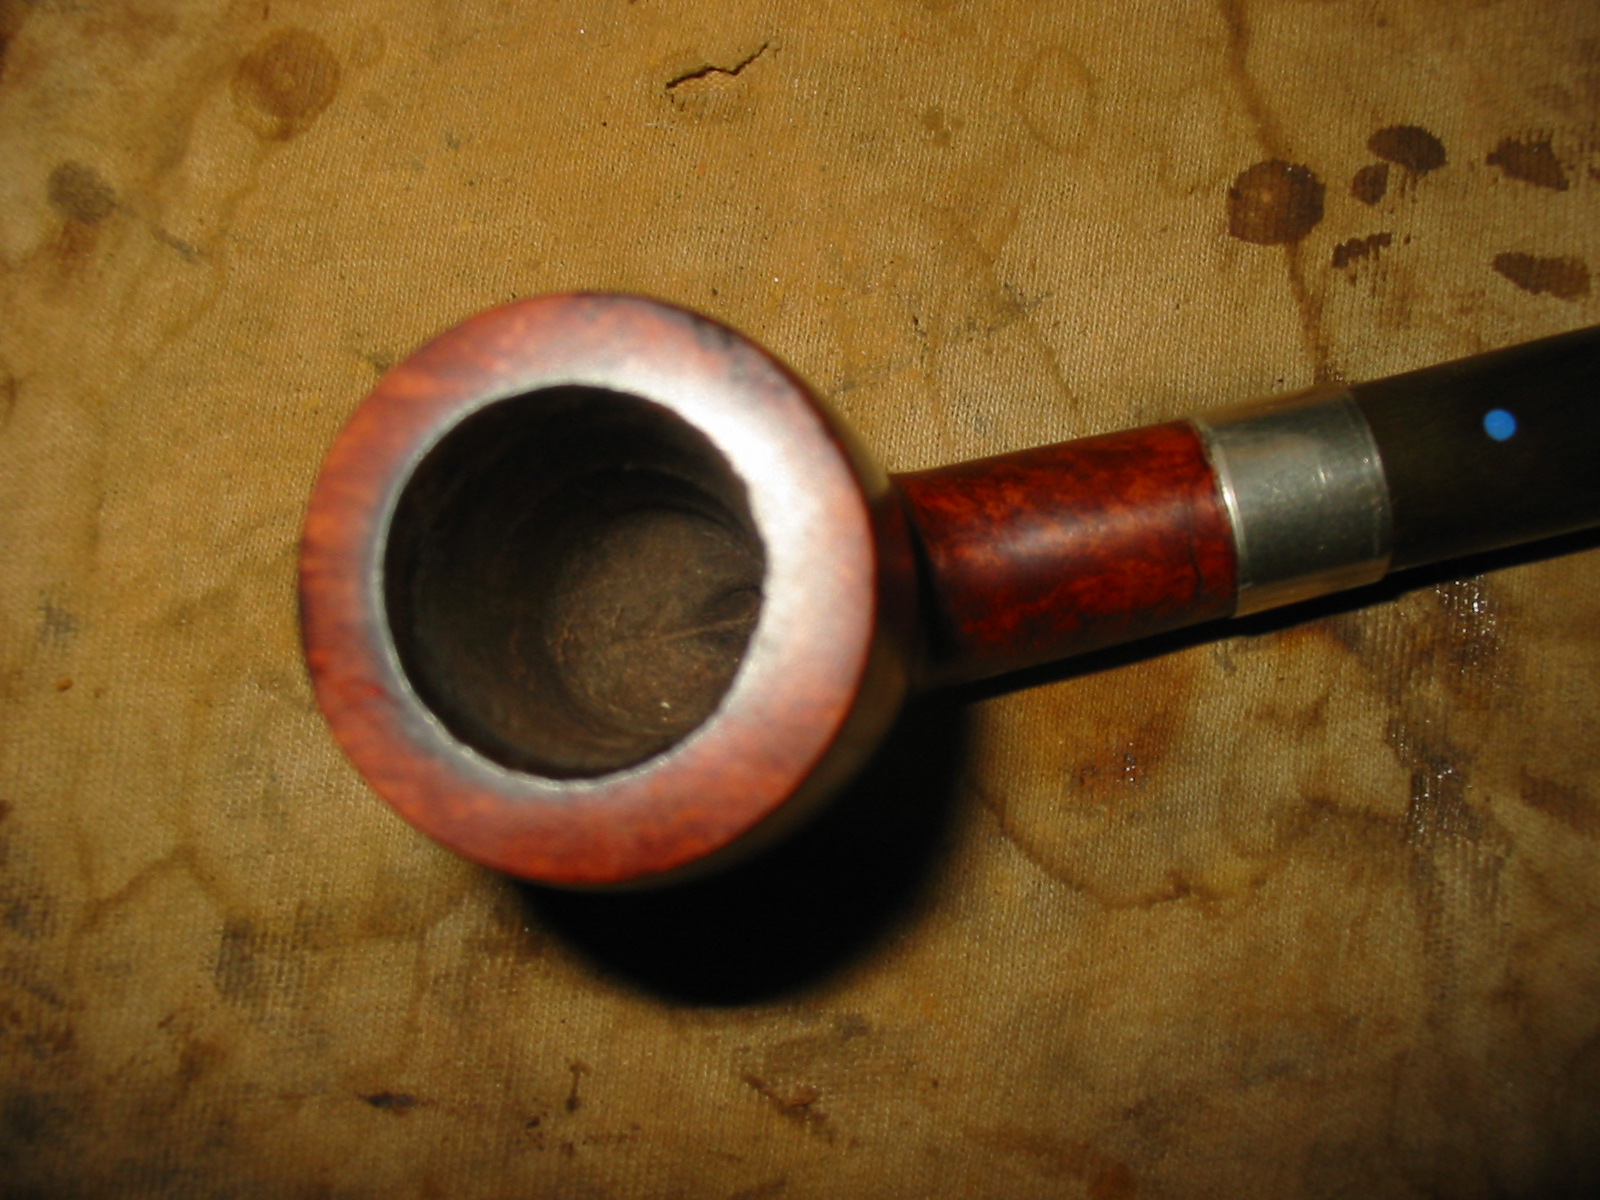
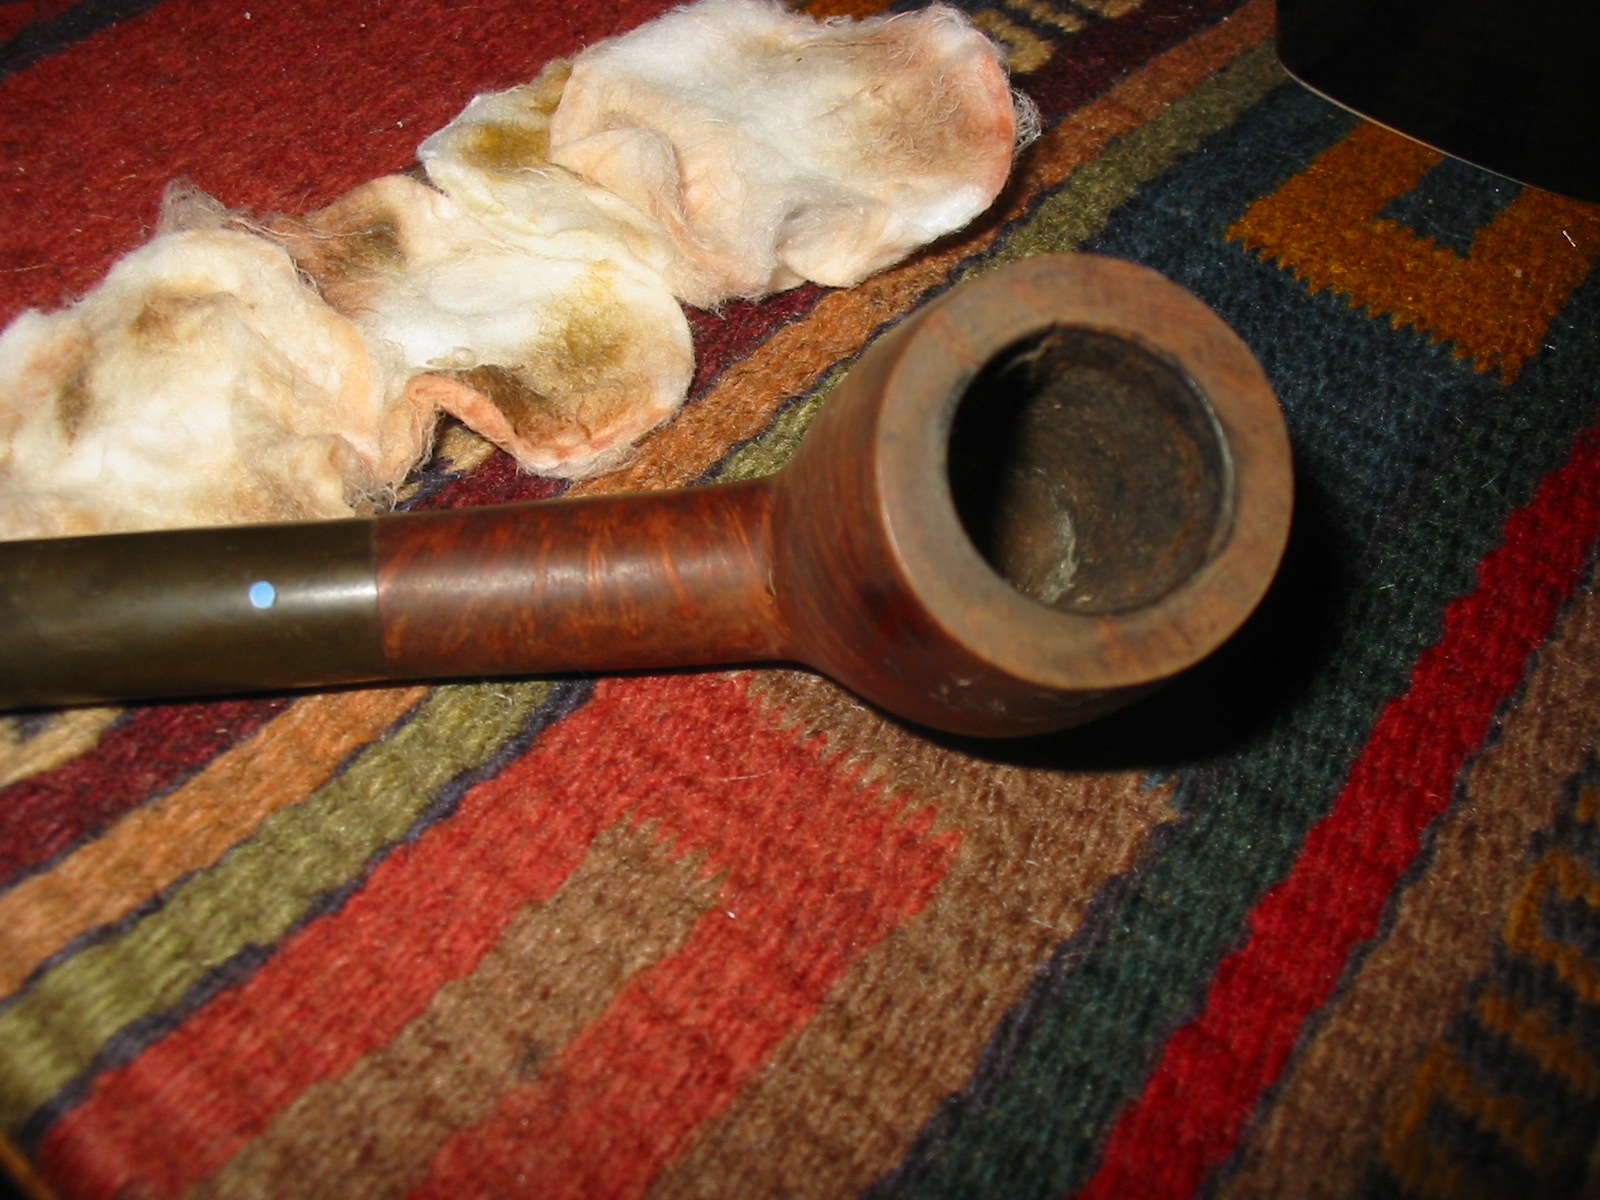
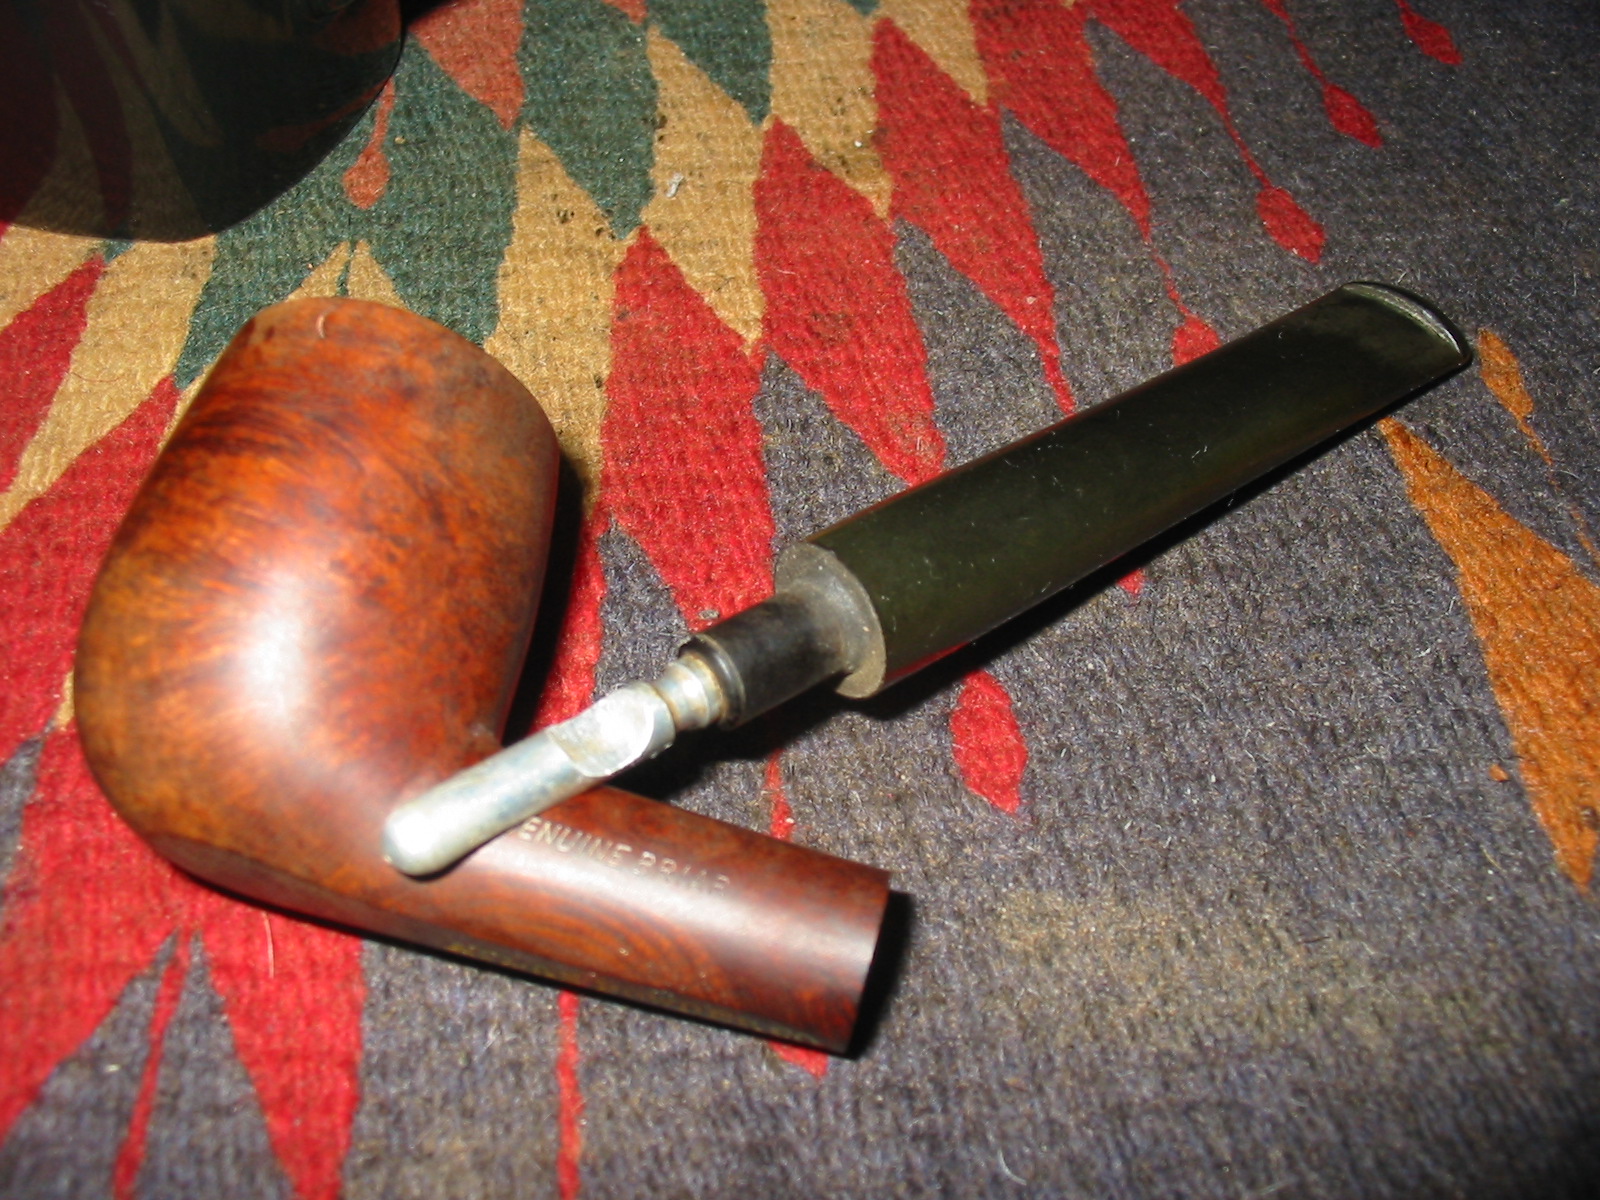
With the band in place on the shank the tenon had to be reduced slightly for a comfortable fit. I cleaned out the shank before I sanded the tenon as I wanted a clean surface for the tenon to sit against. I used cotton swabs and Everclear to clean out the shank. Once it was done I sanded the tenon with 220 grit sand paper to remove enough of the tenon for it to have a snug fit in the shank. I reamed the bowl with a PipNet reamer to remove the carbon build up in the bowl. I lightly topped the bowl to remove the tars and buildup on the rim and to remove some of the slight burn marks on the rim top. Fortunately these were shallow and I was able to remove them completely without dramatically affecting the height of the bowl.
IMG_3722

IMG_3723

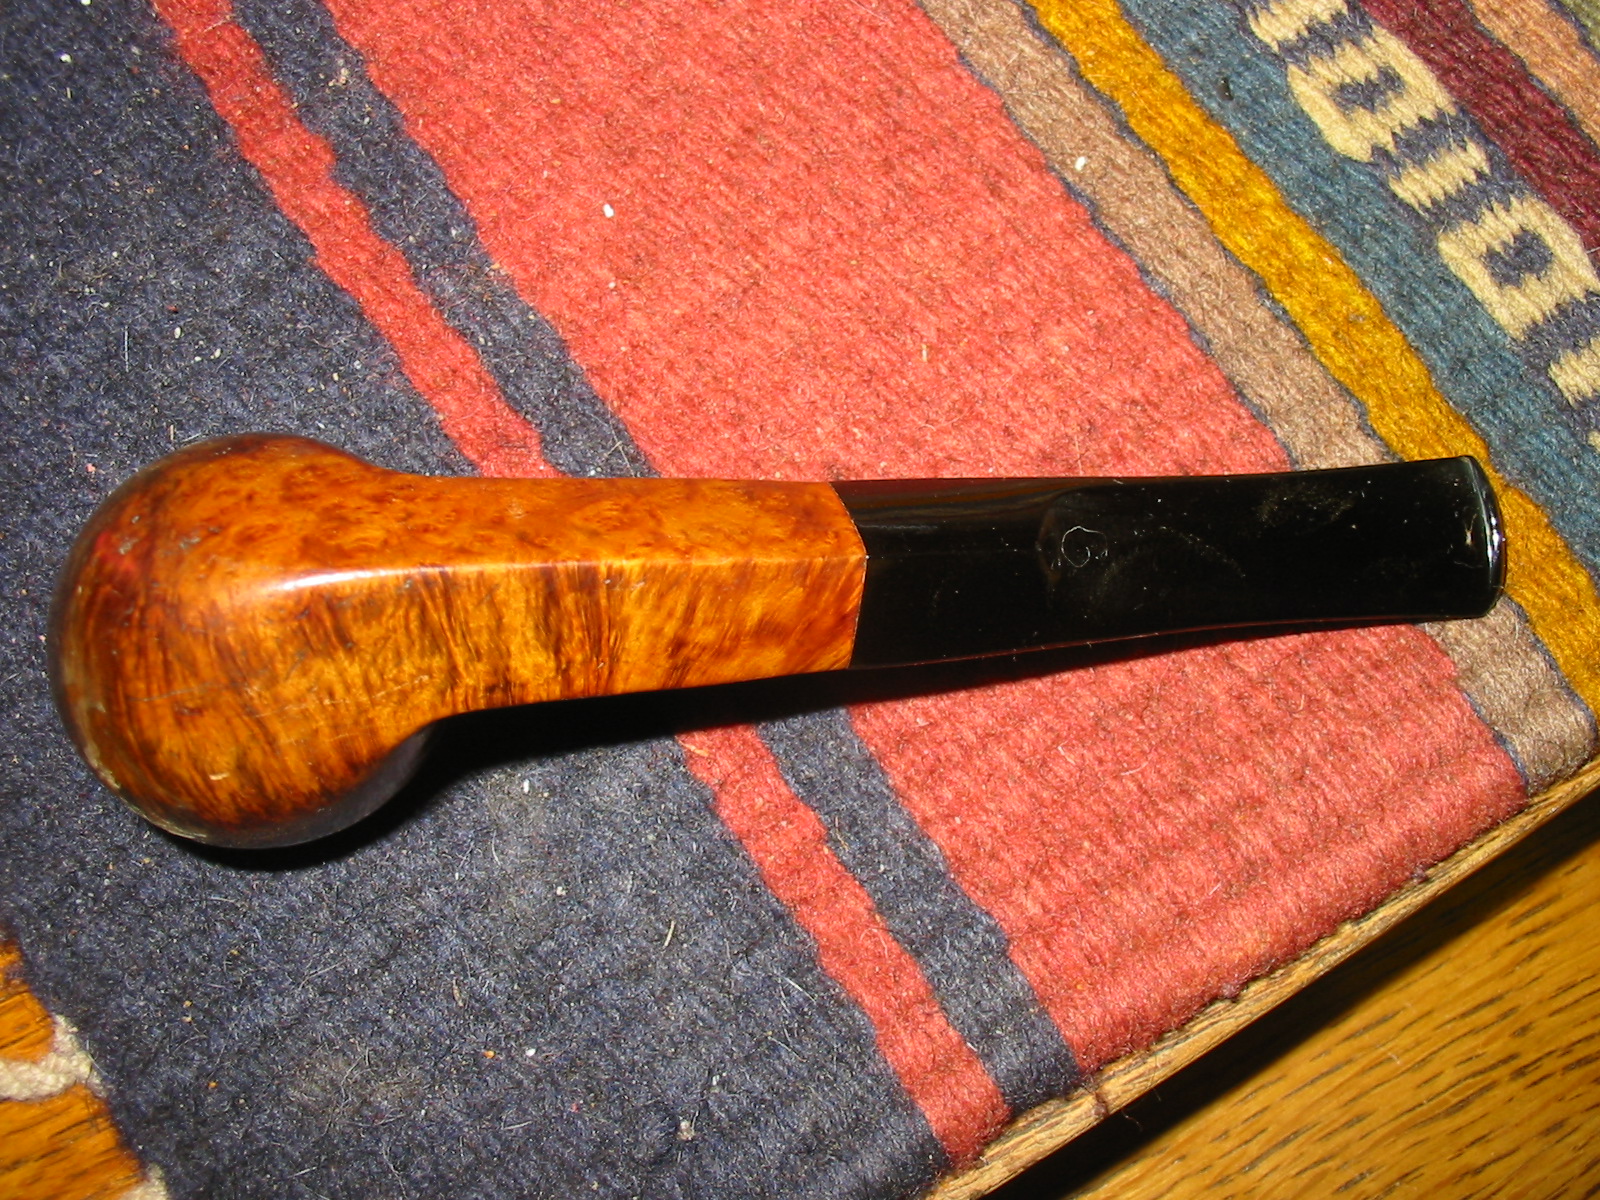
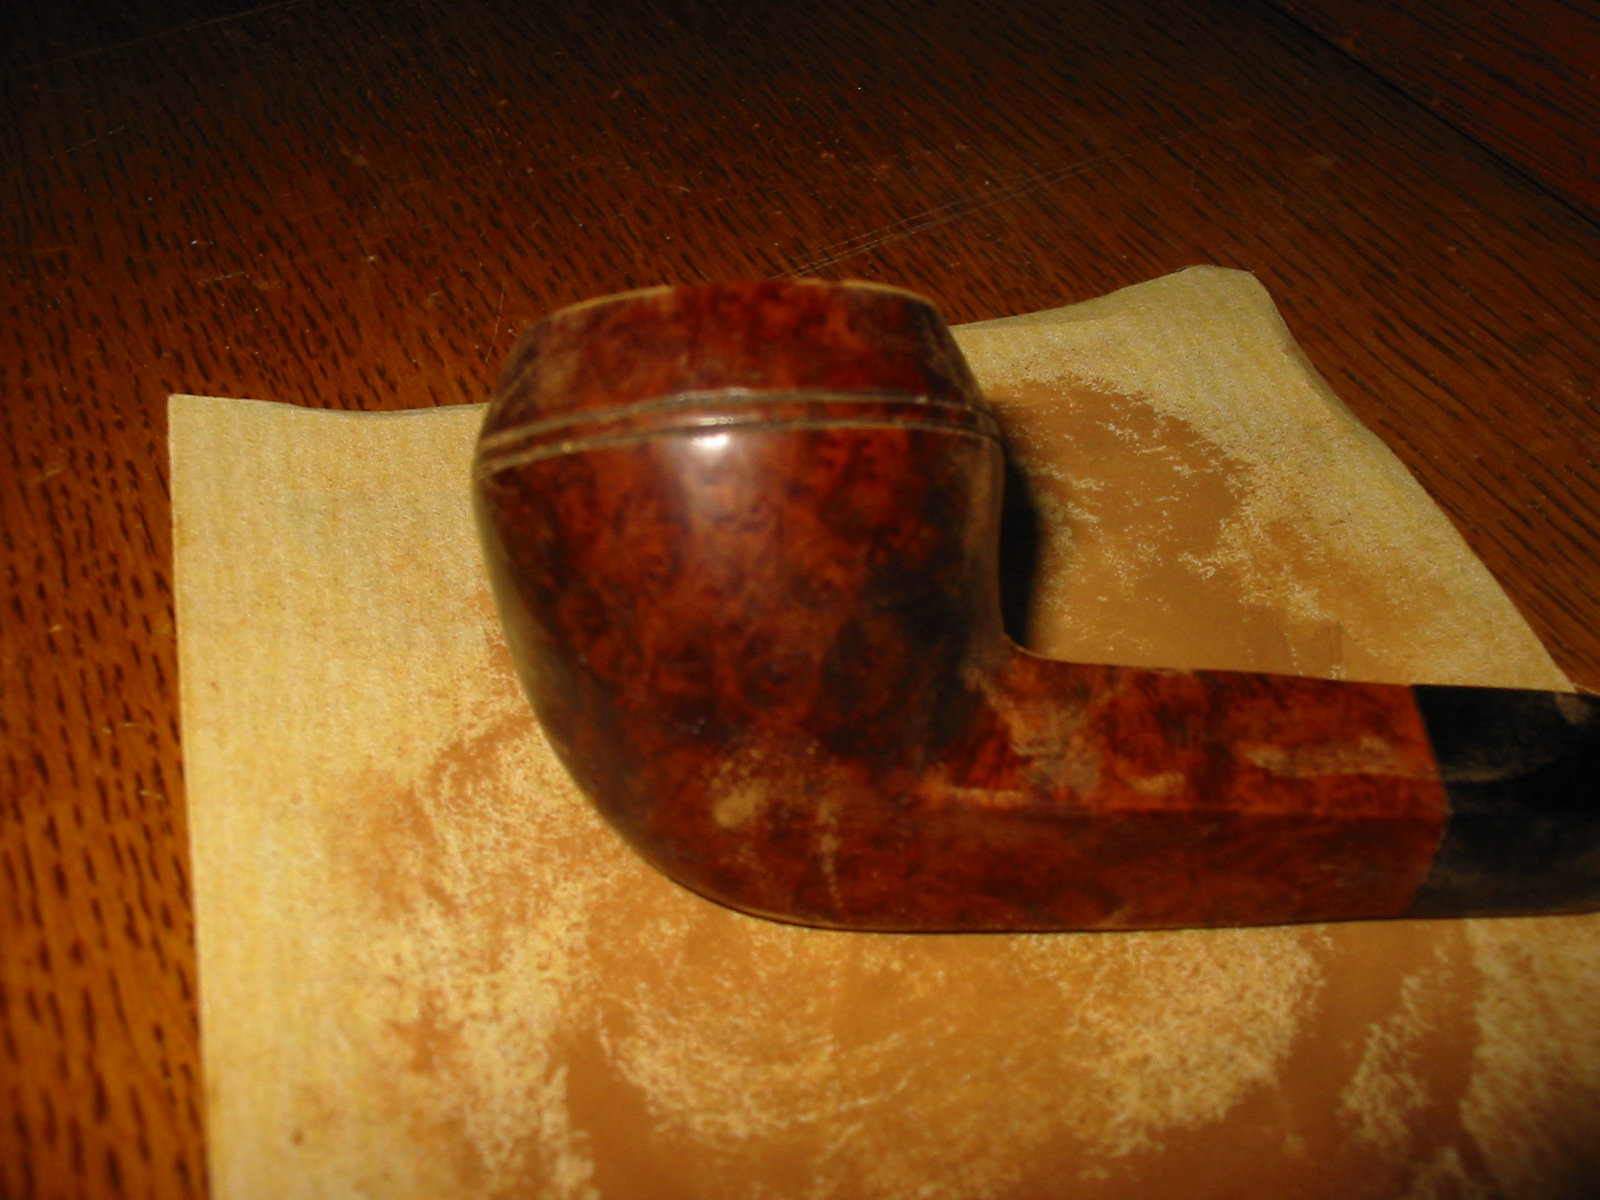
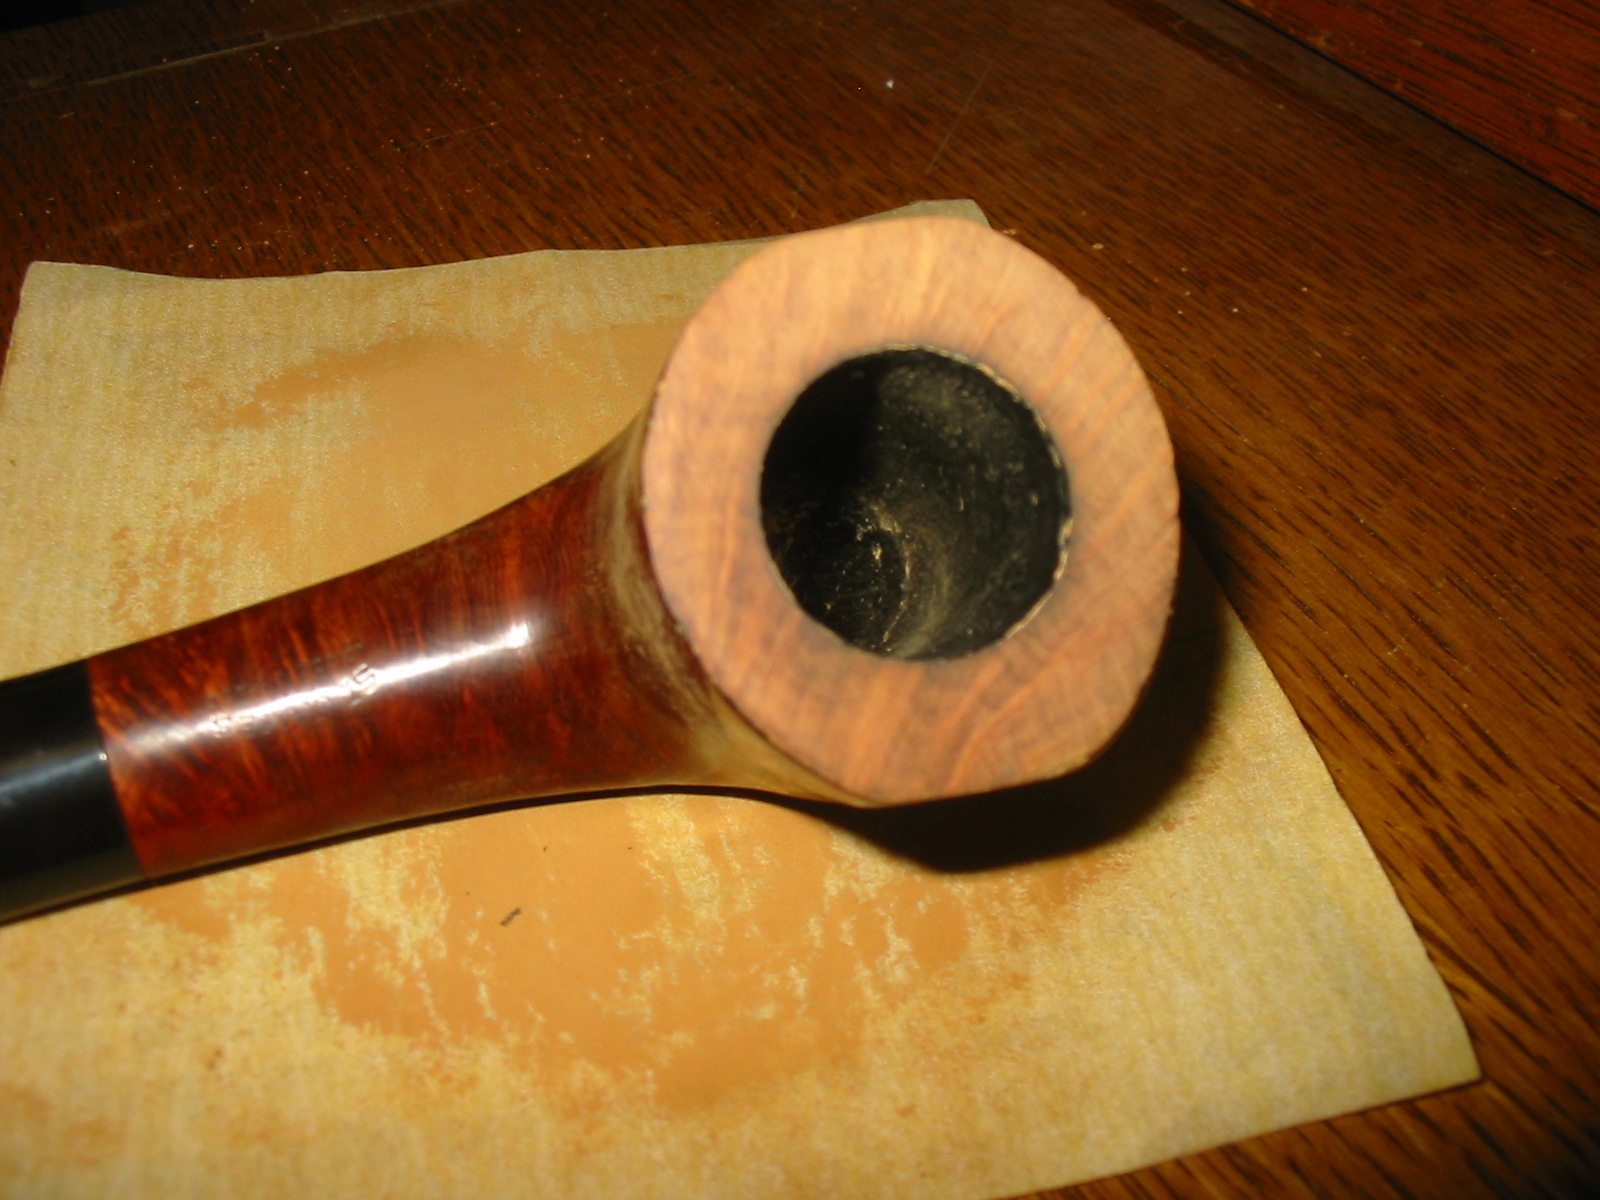
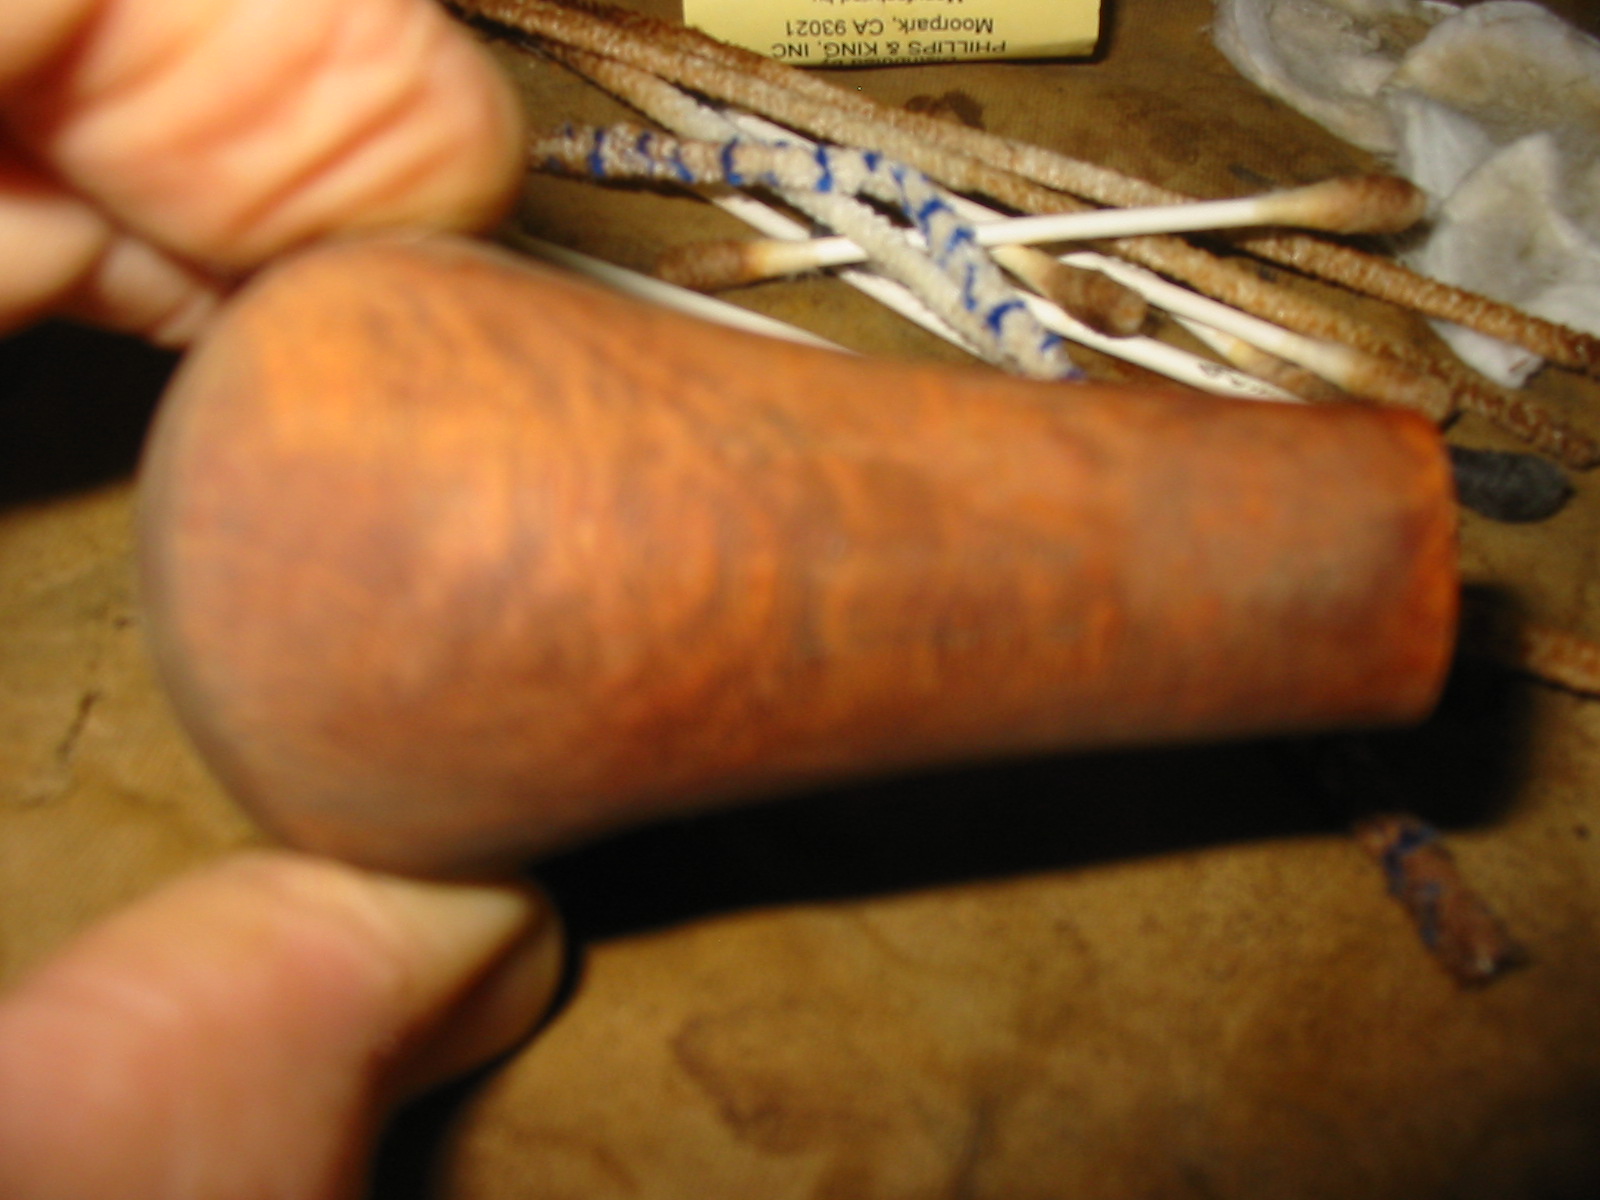
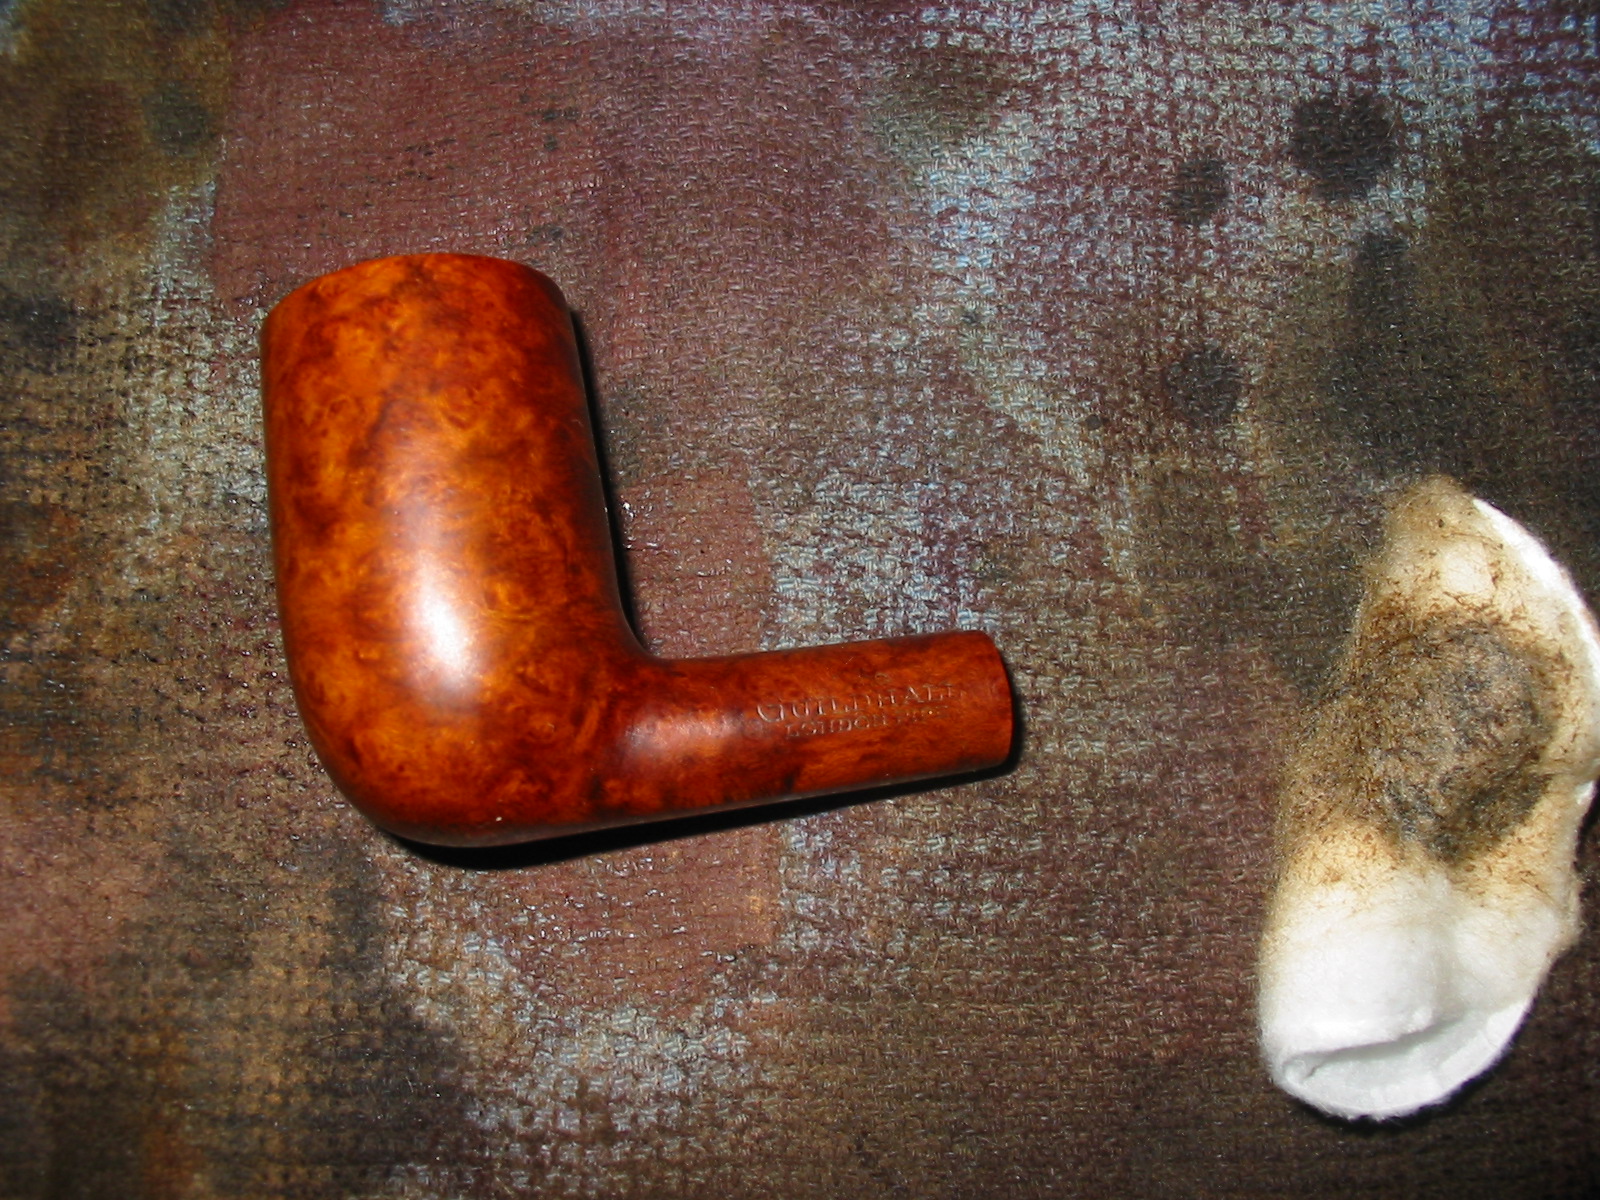
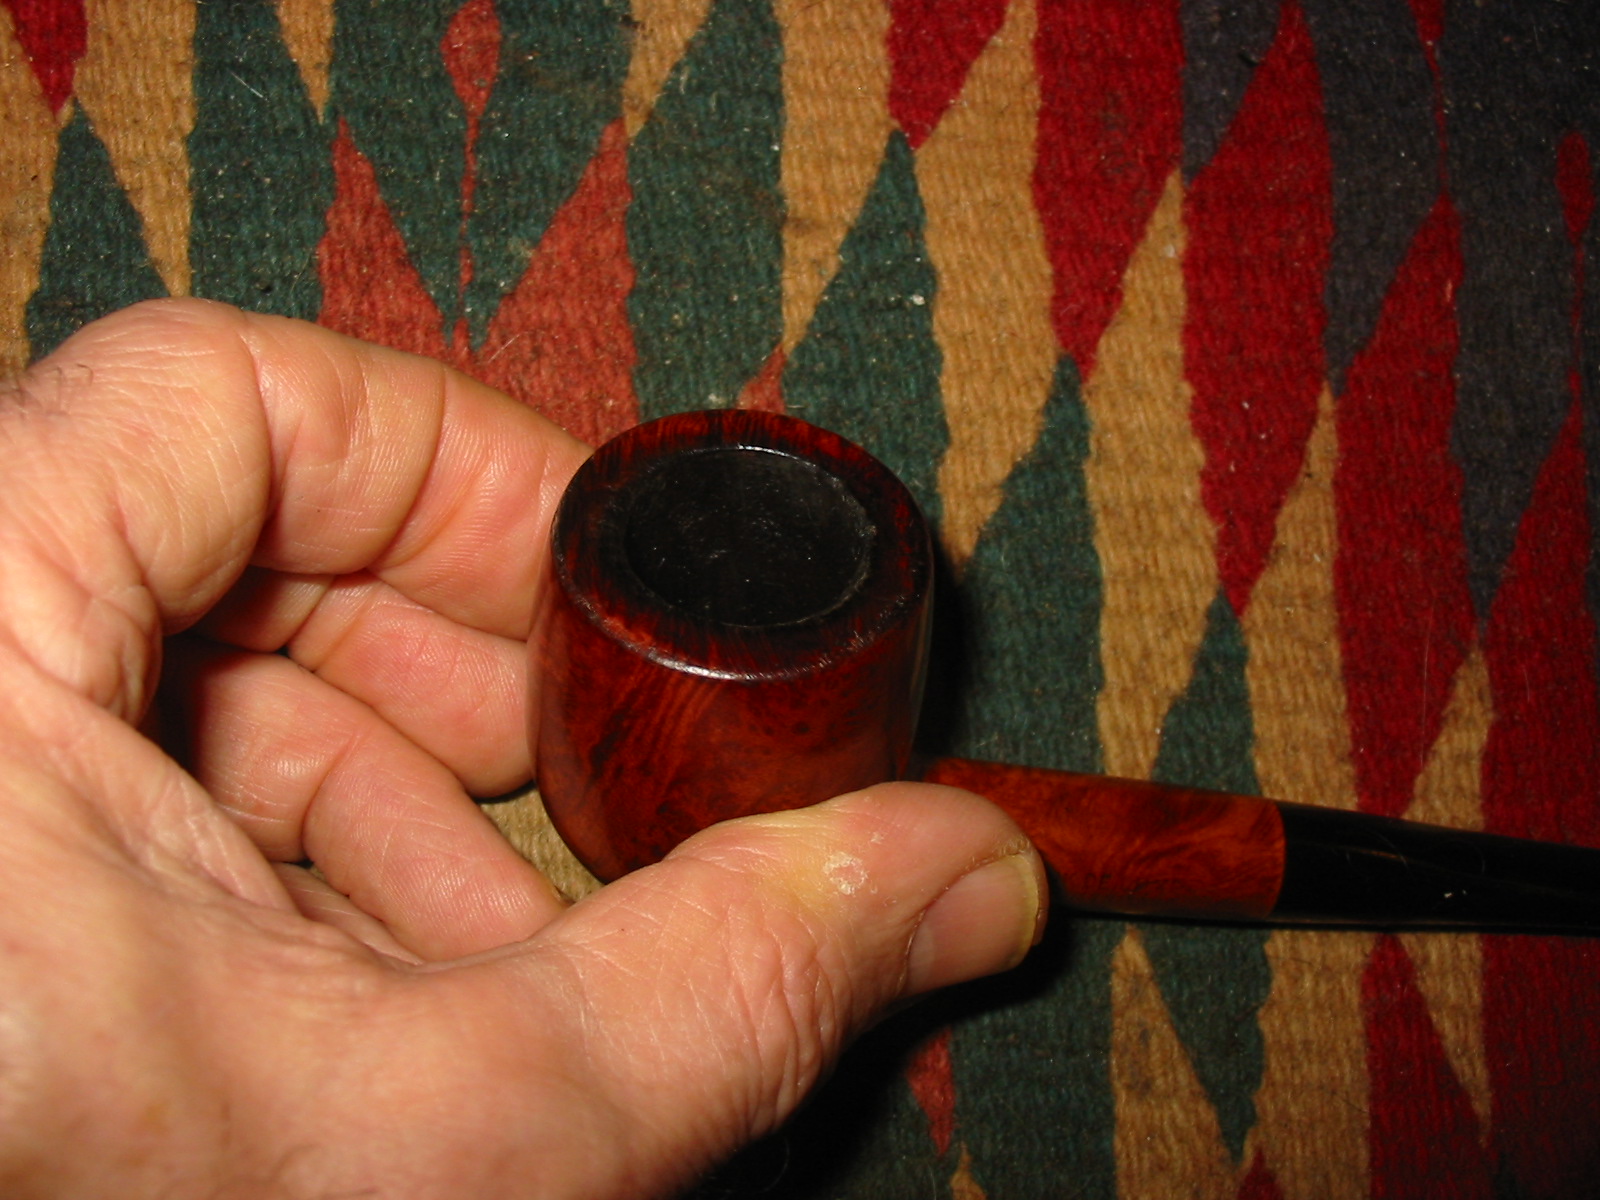
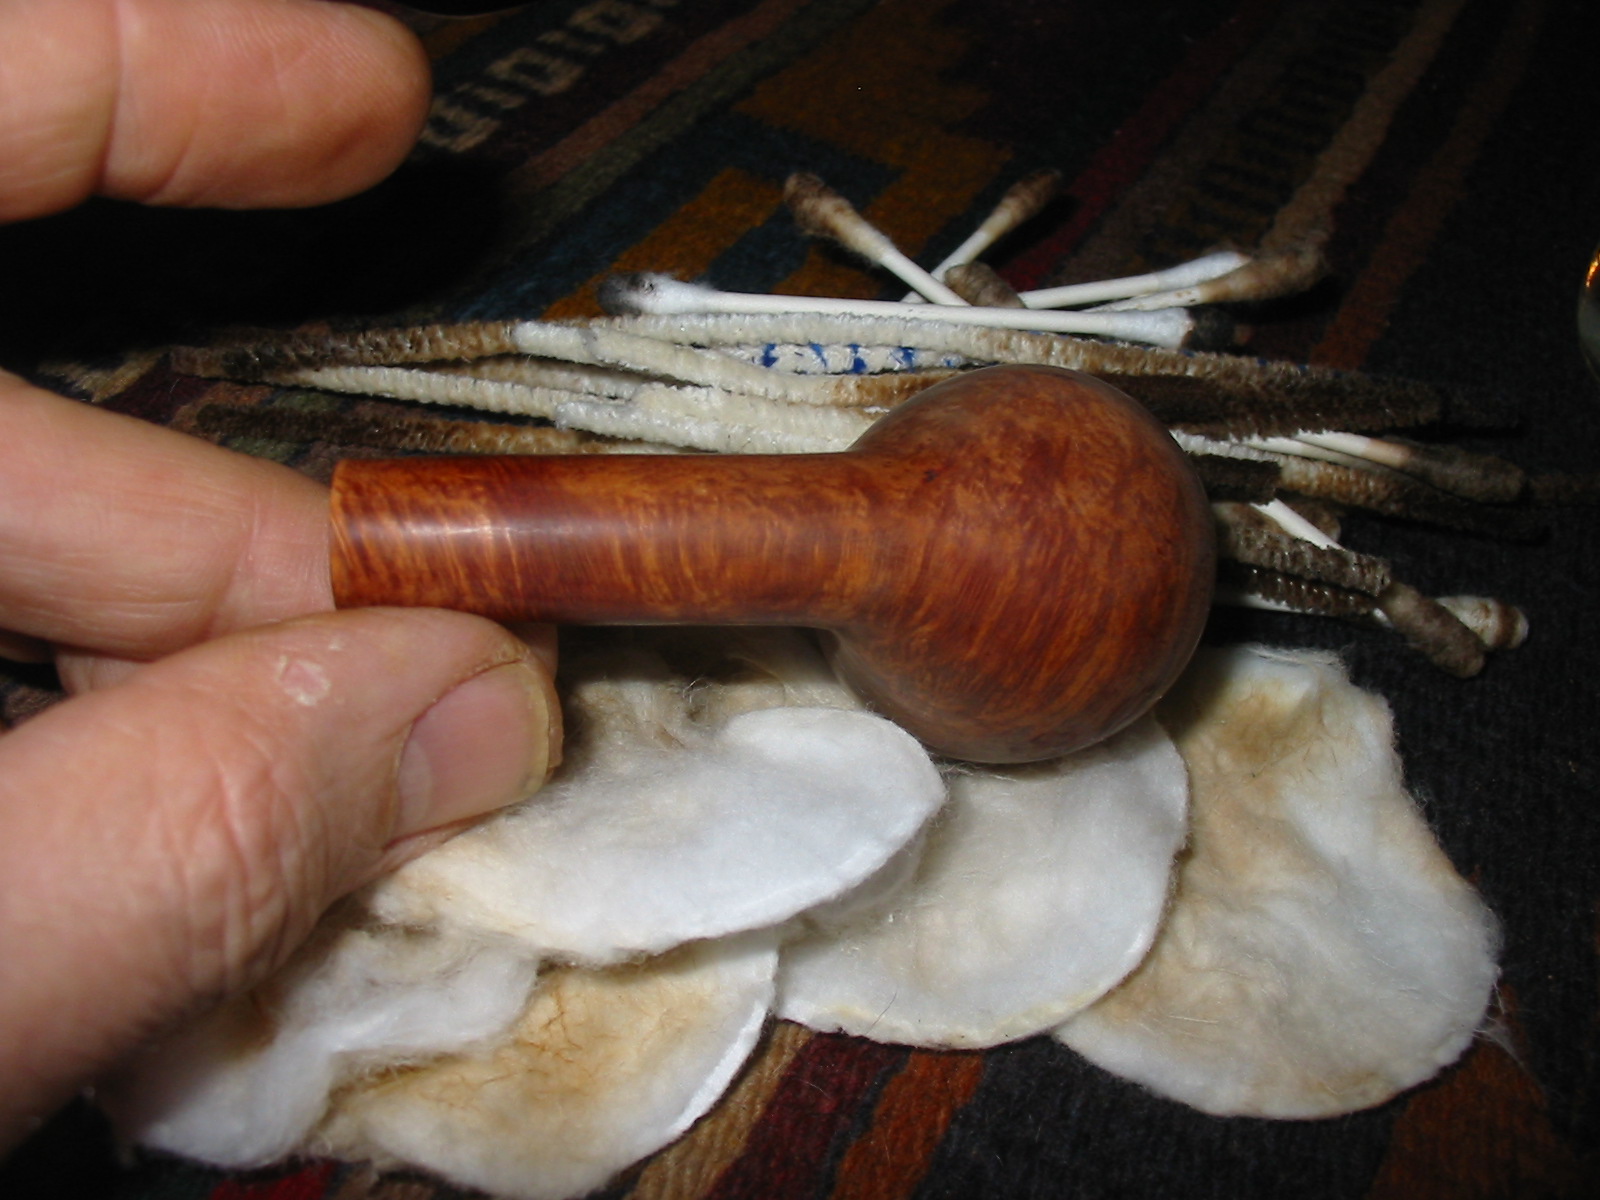
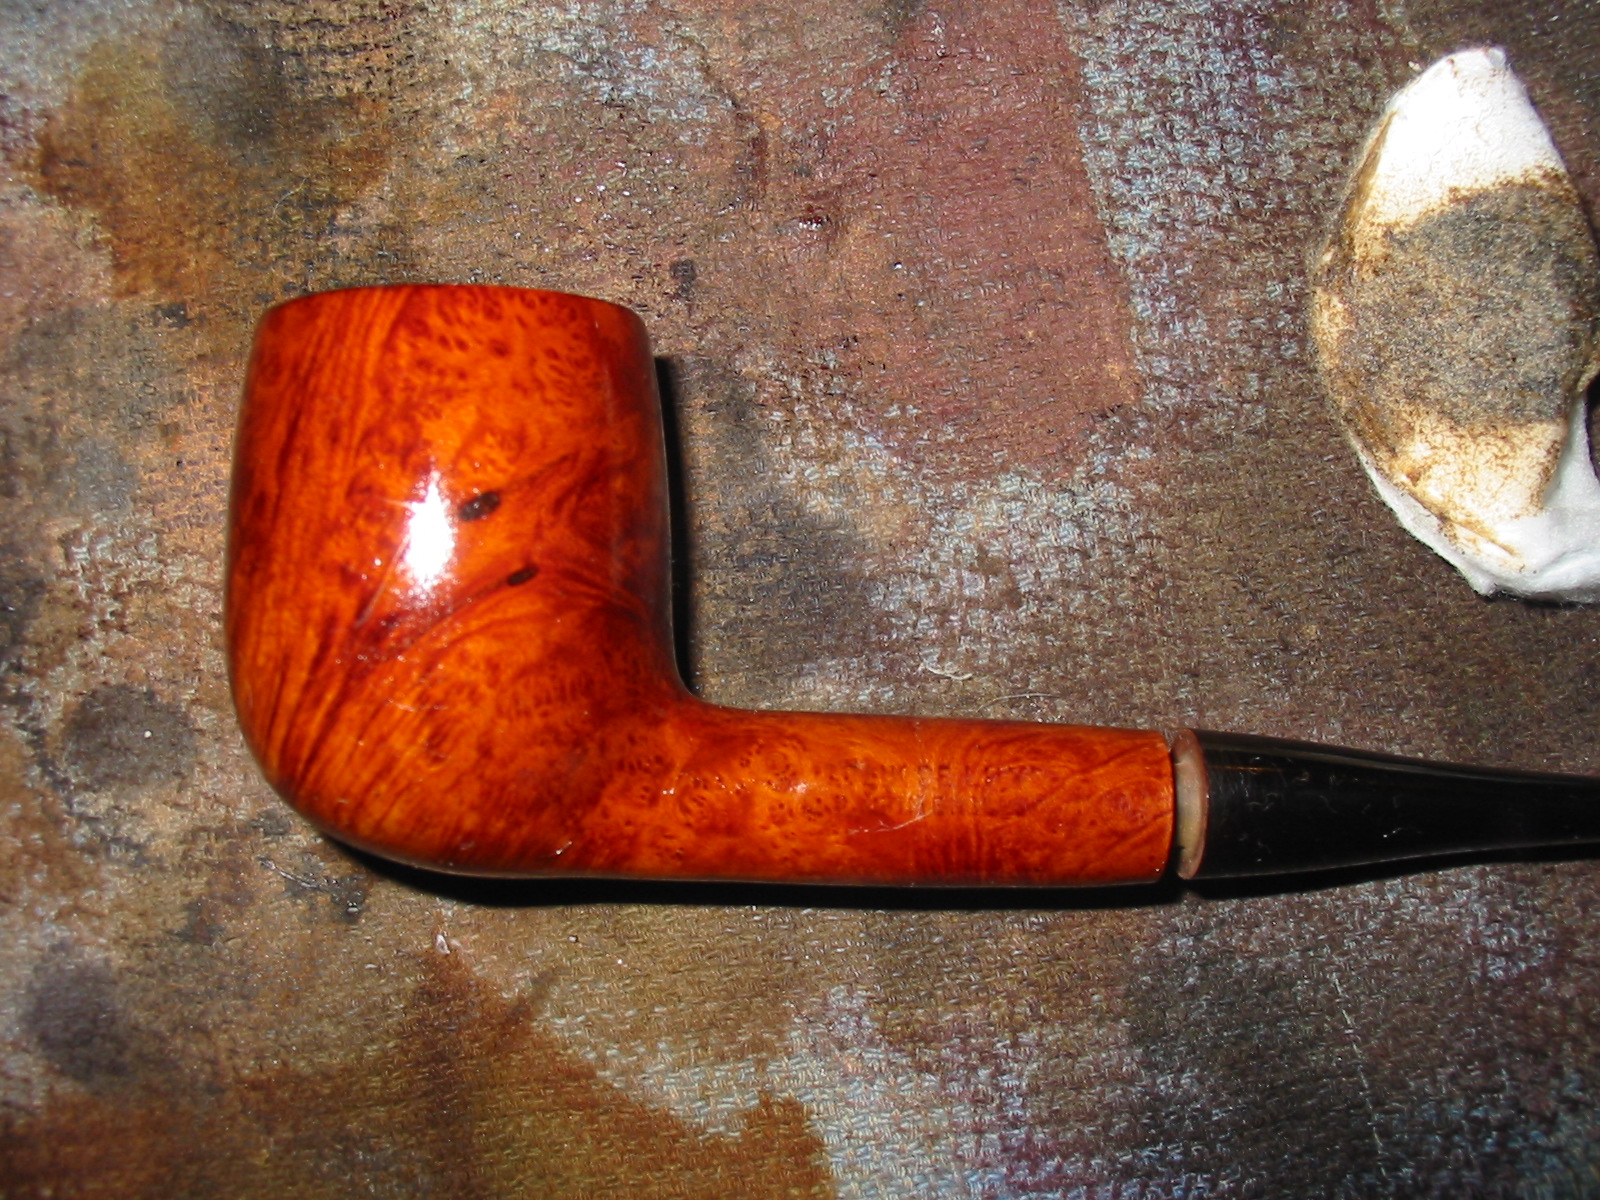
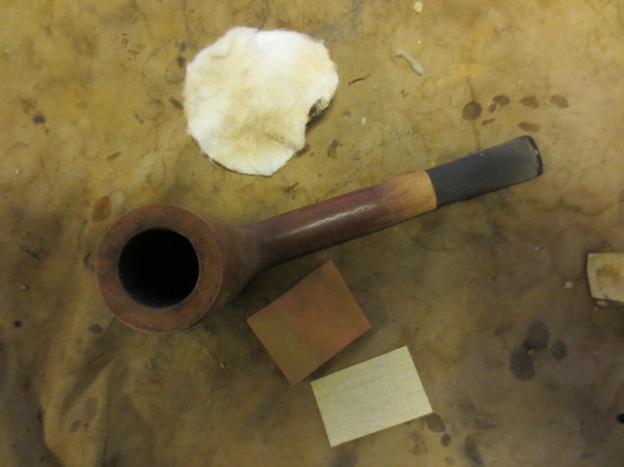
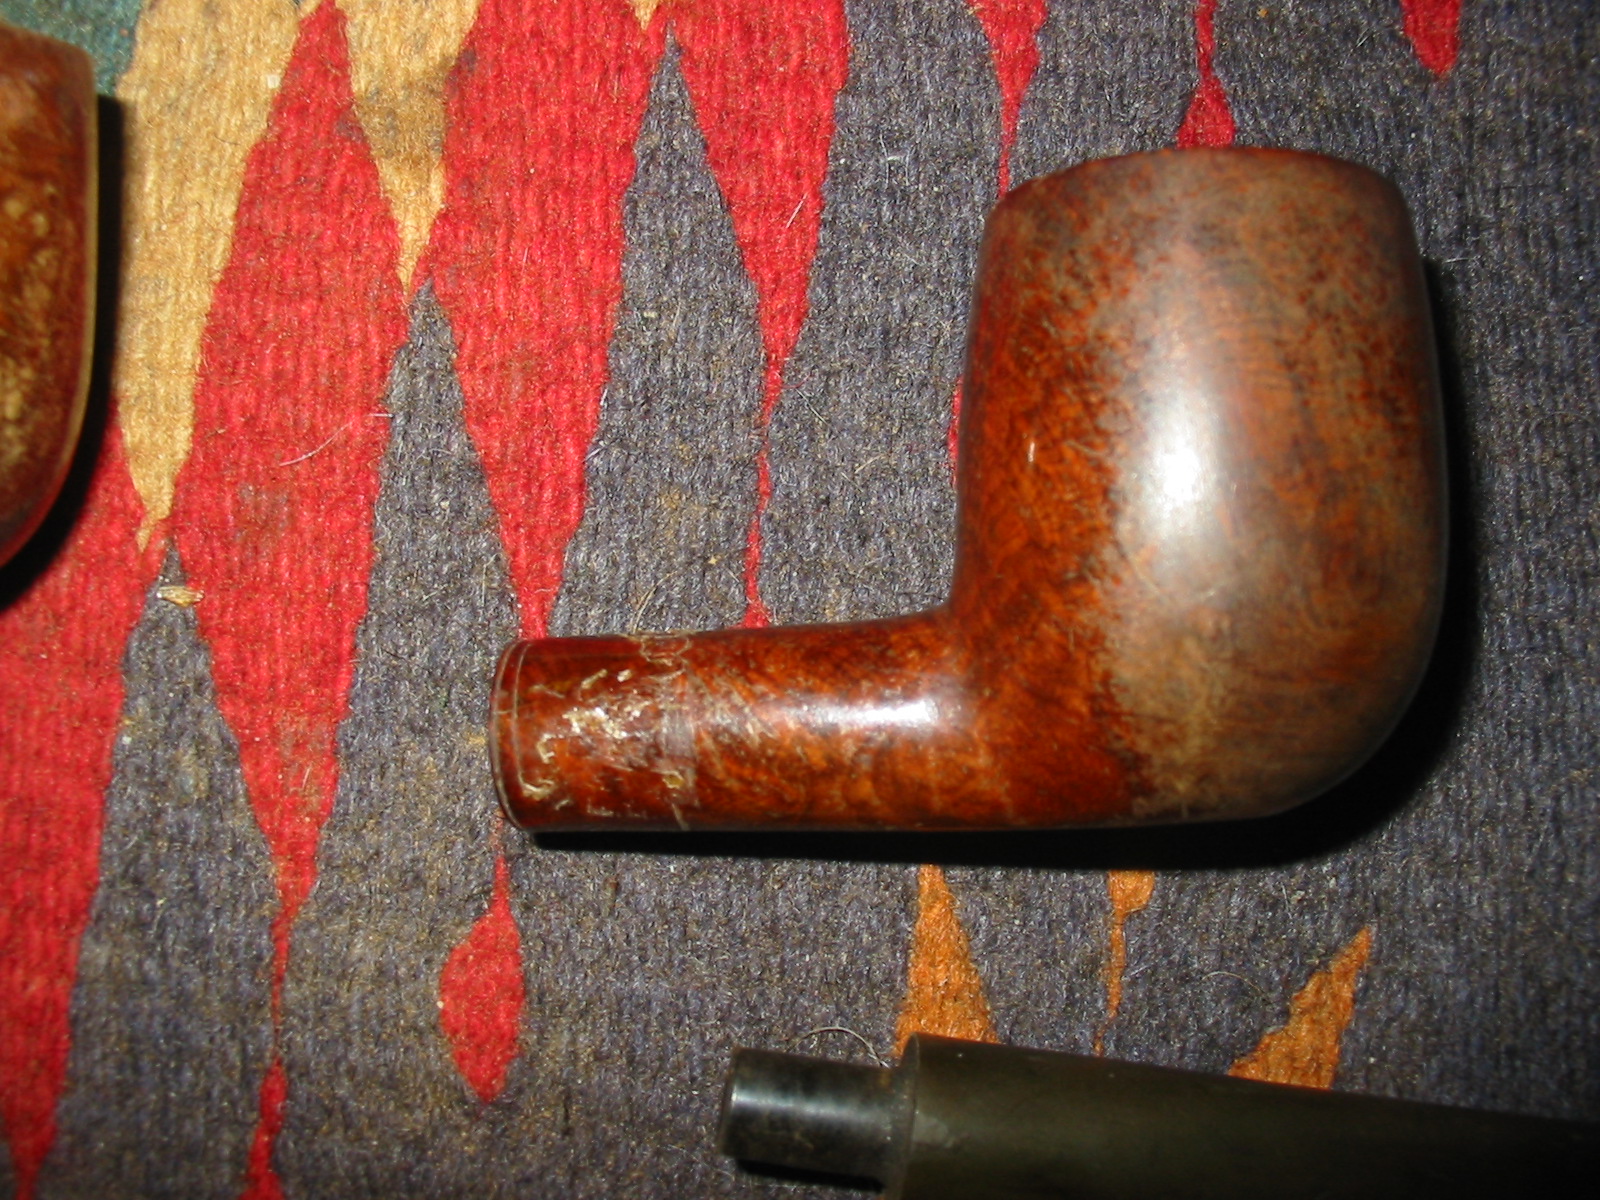
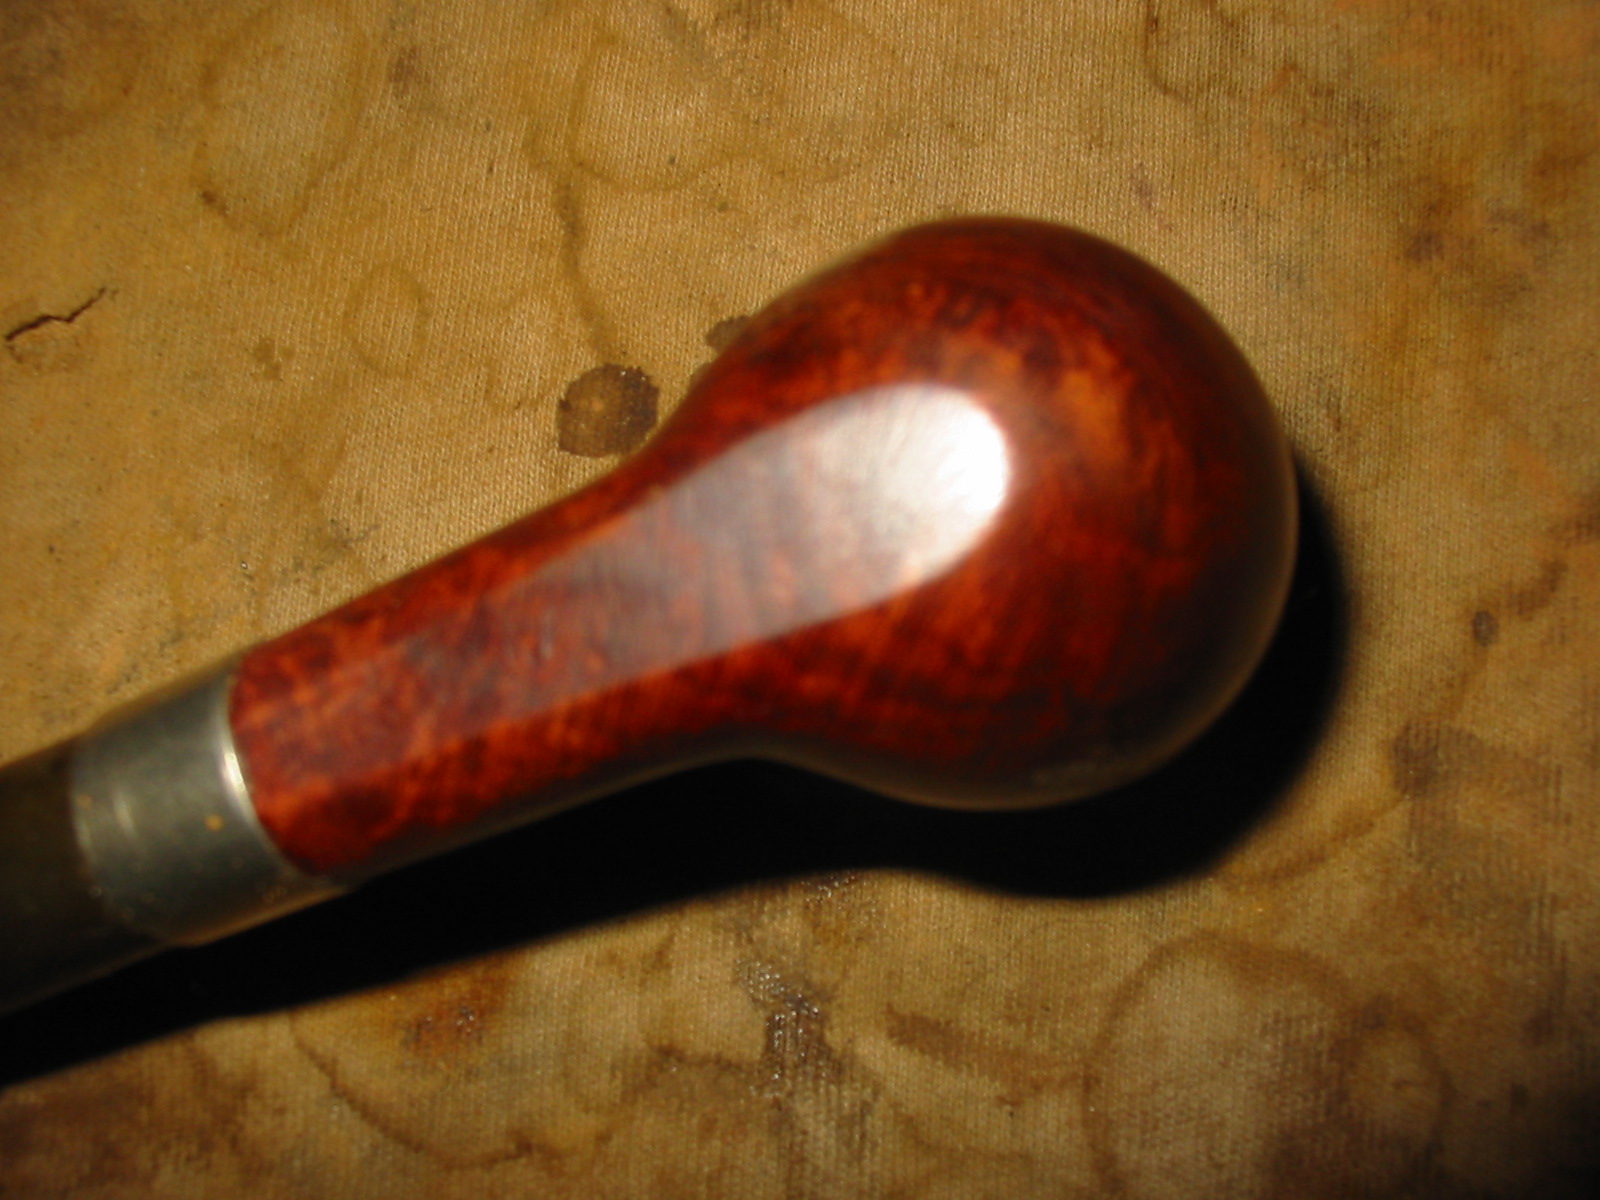
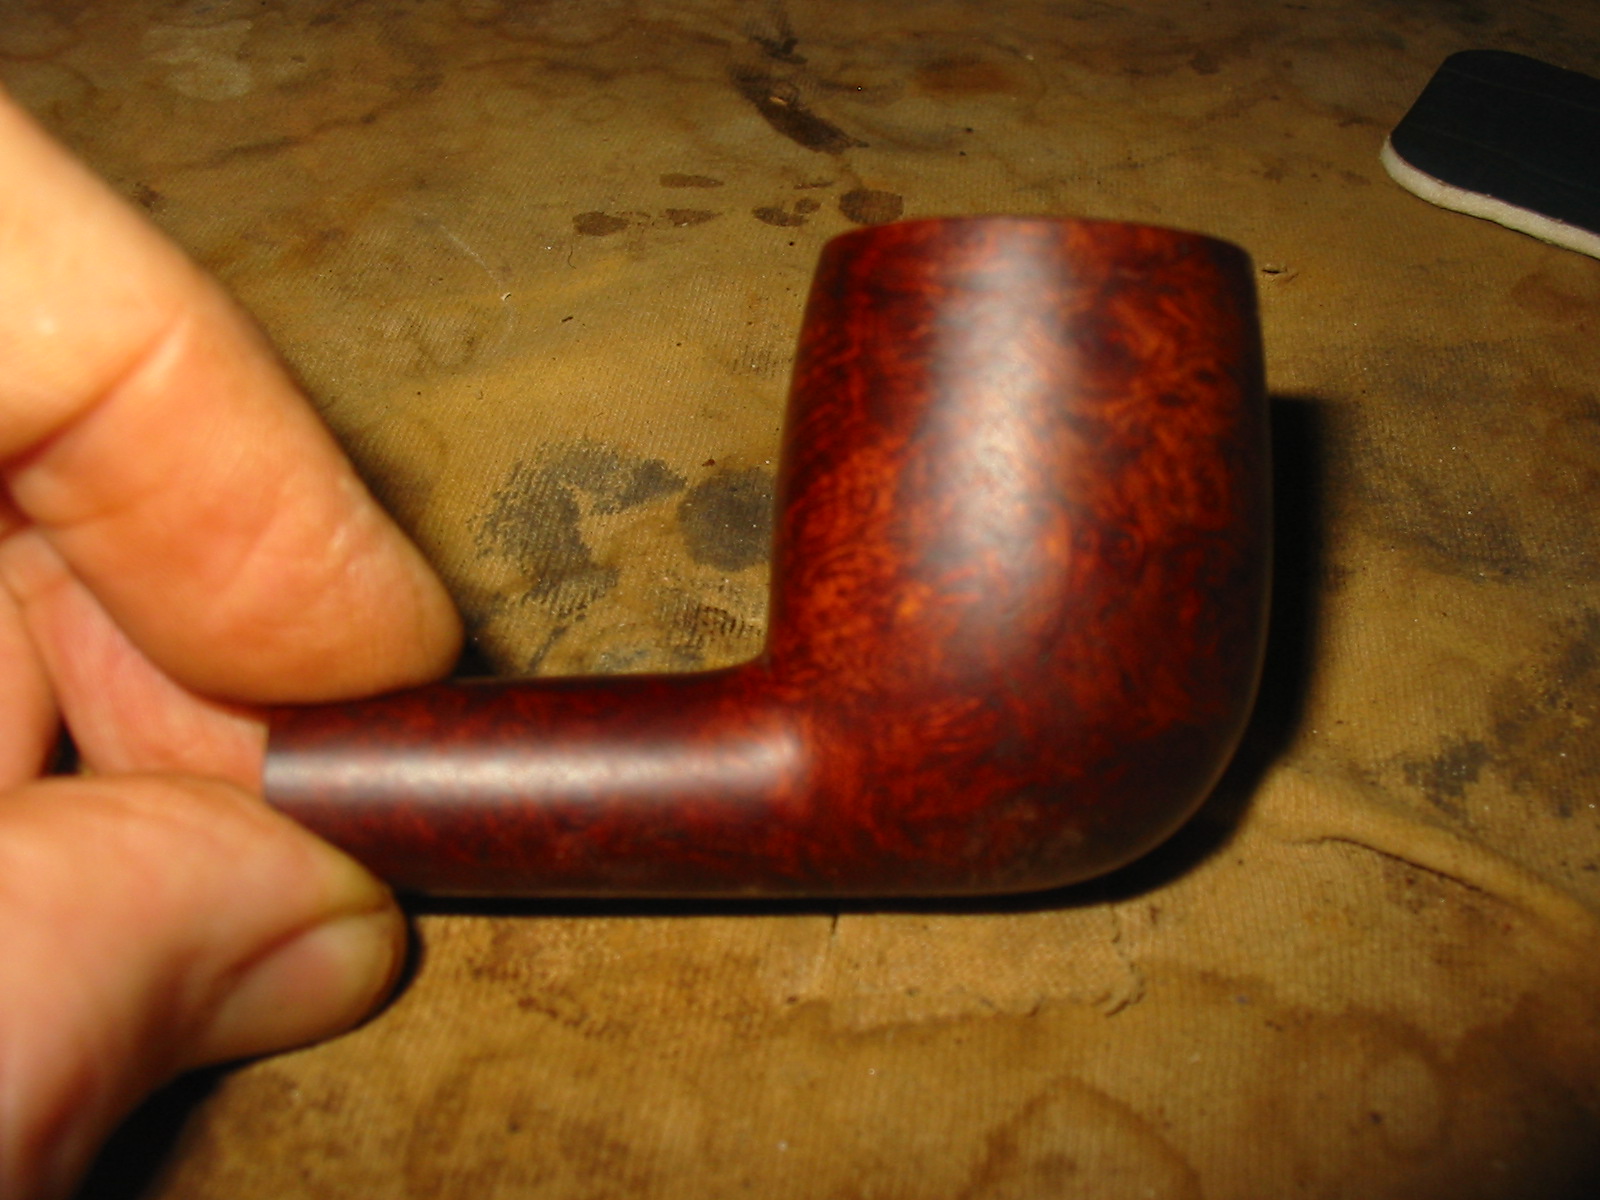
I wiped the bowl down with acetone on a cotton pad to remove the finish that remained on the pipe. There was a light varnish coat that came off easily with the acetone. Underneath was some very nice grain and no fills or fissures.
IMG_3724

IMG_3725

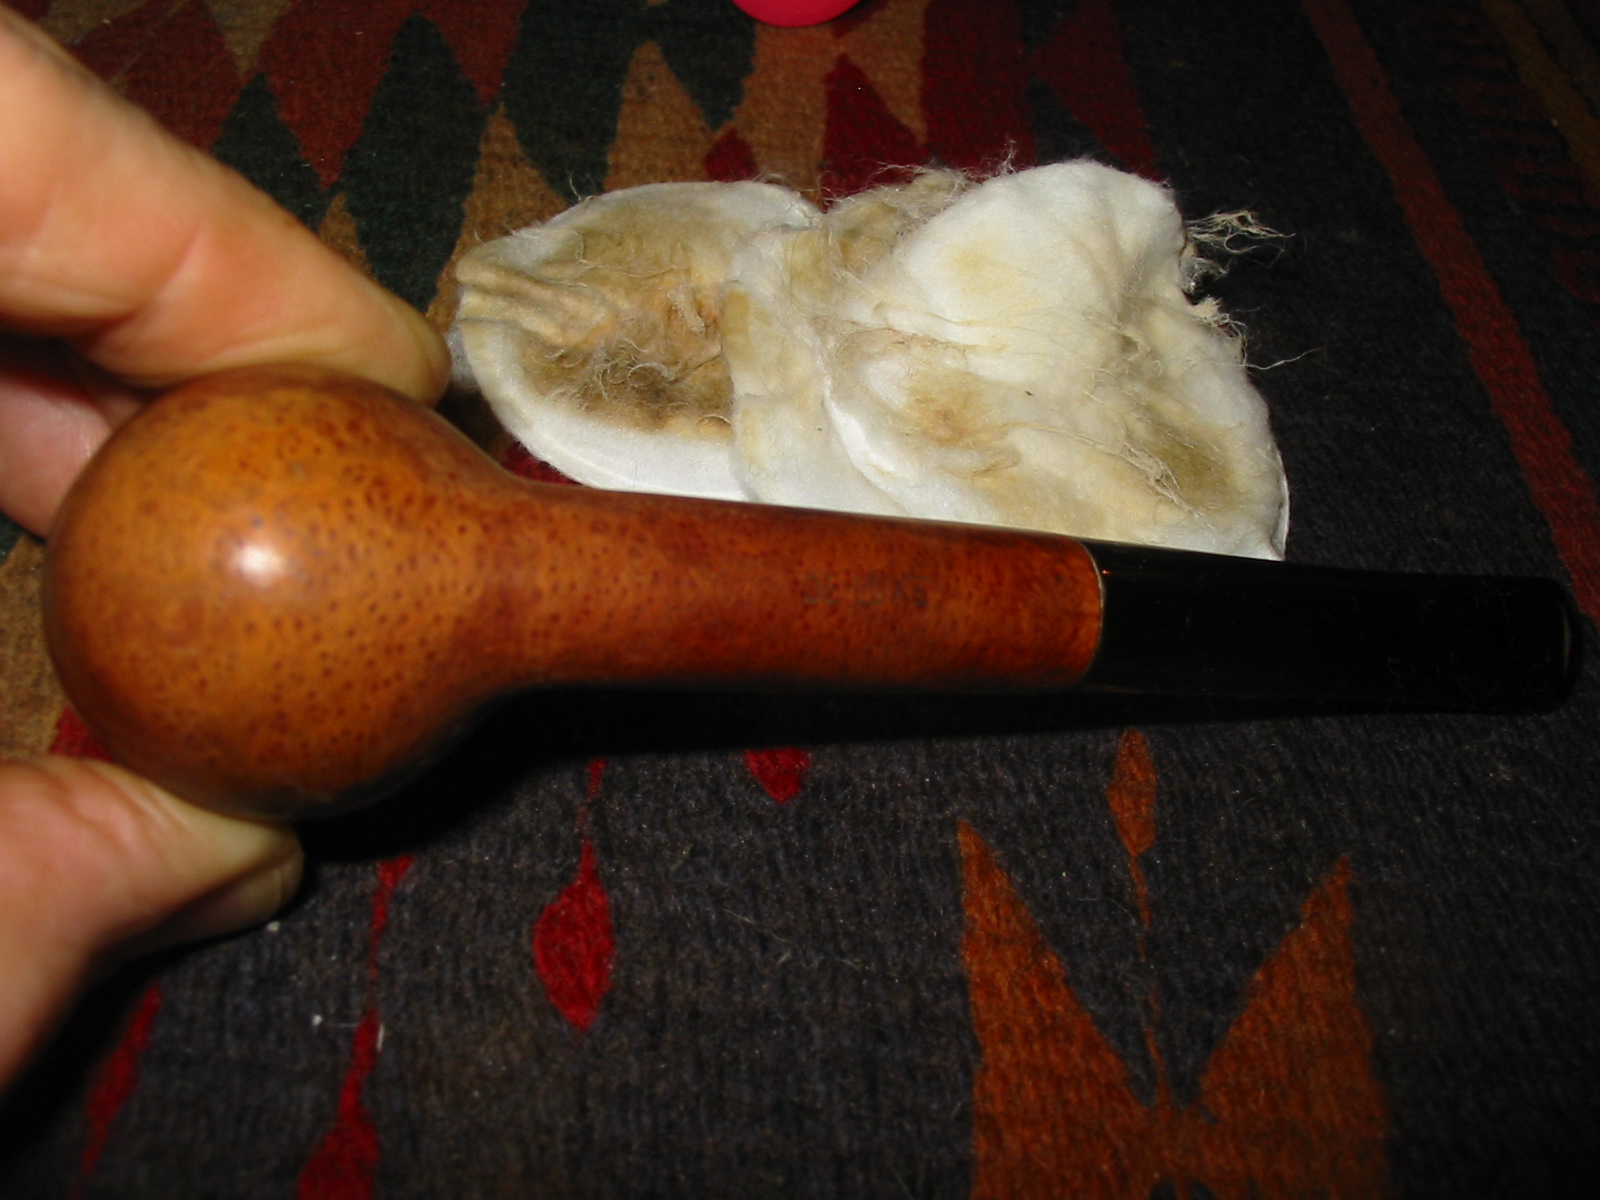
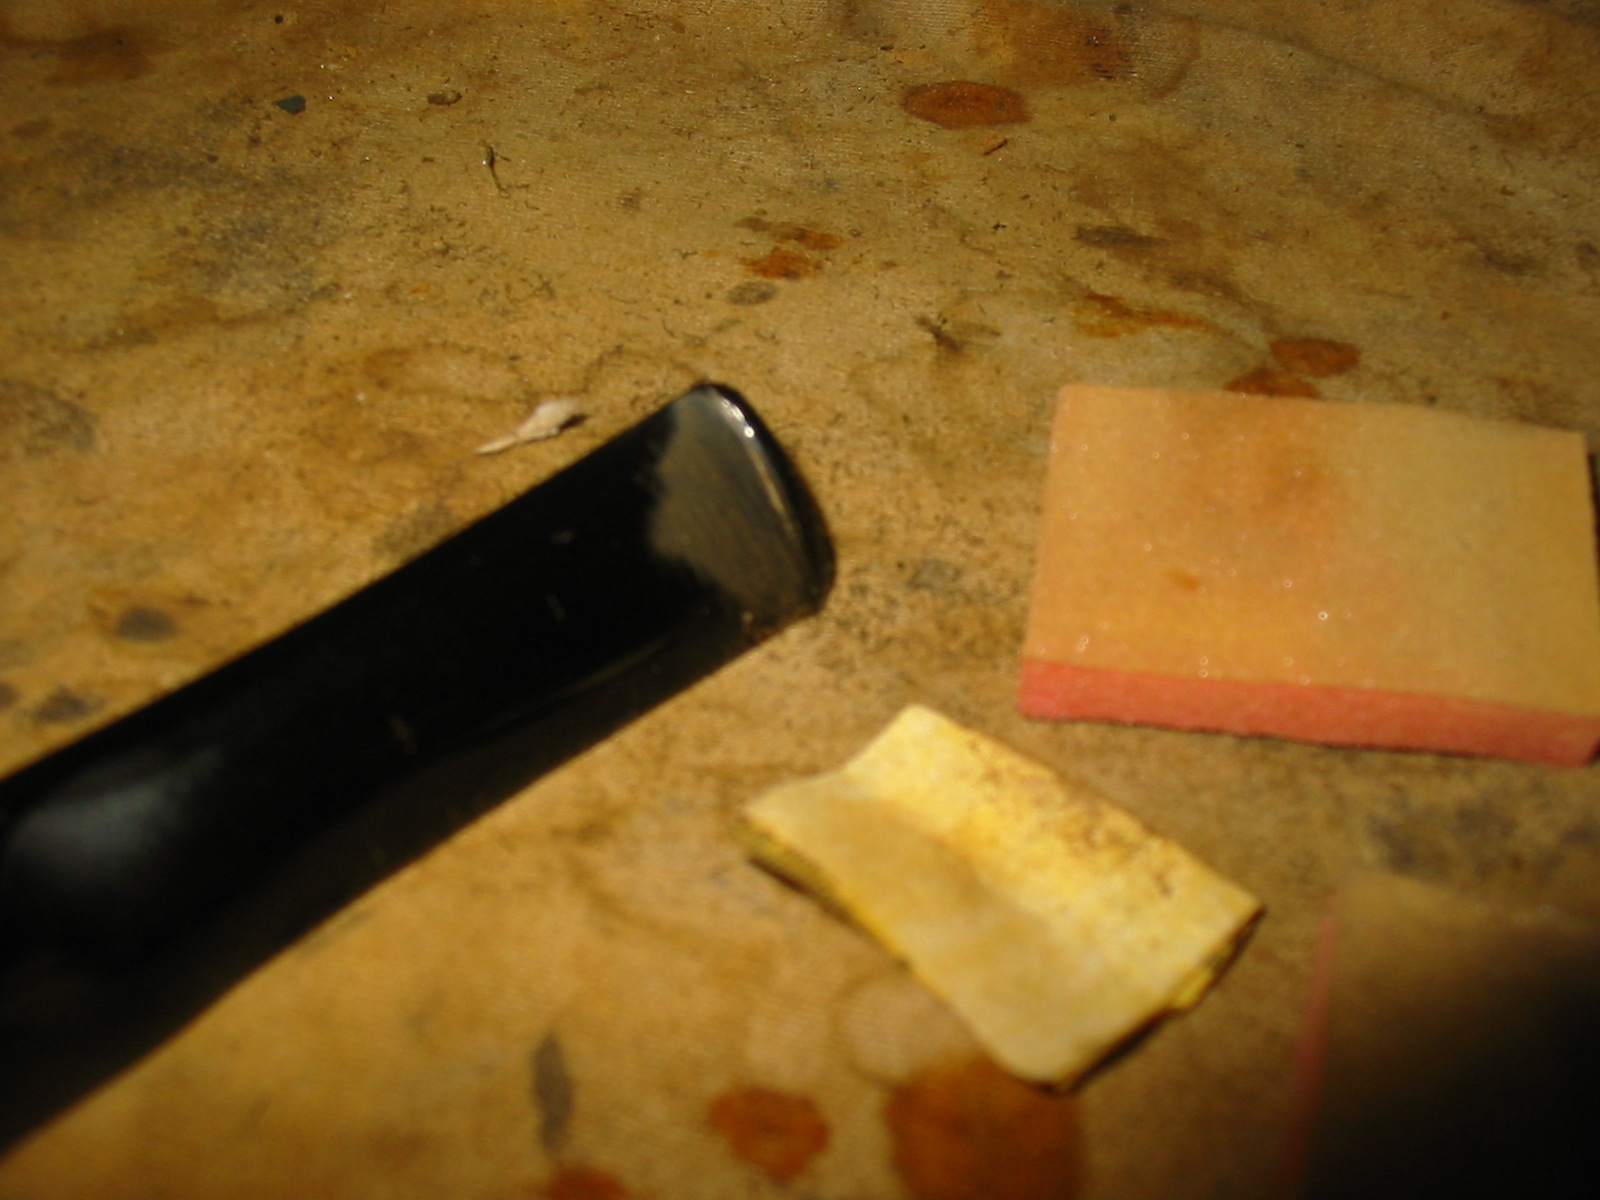
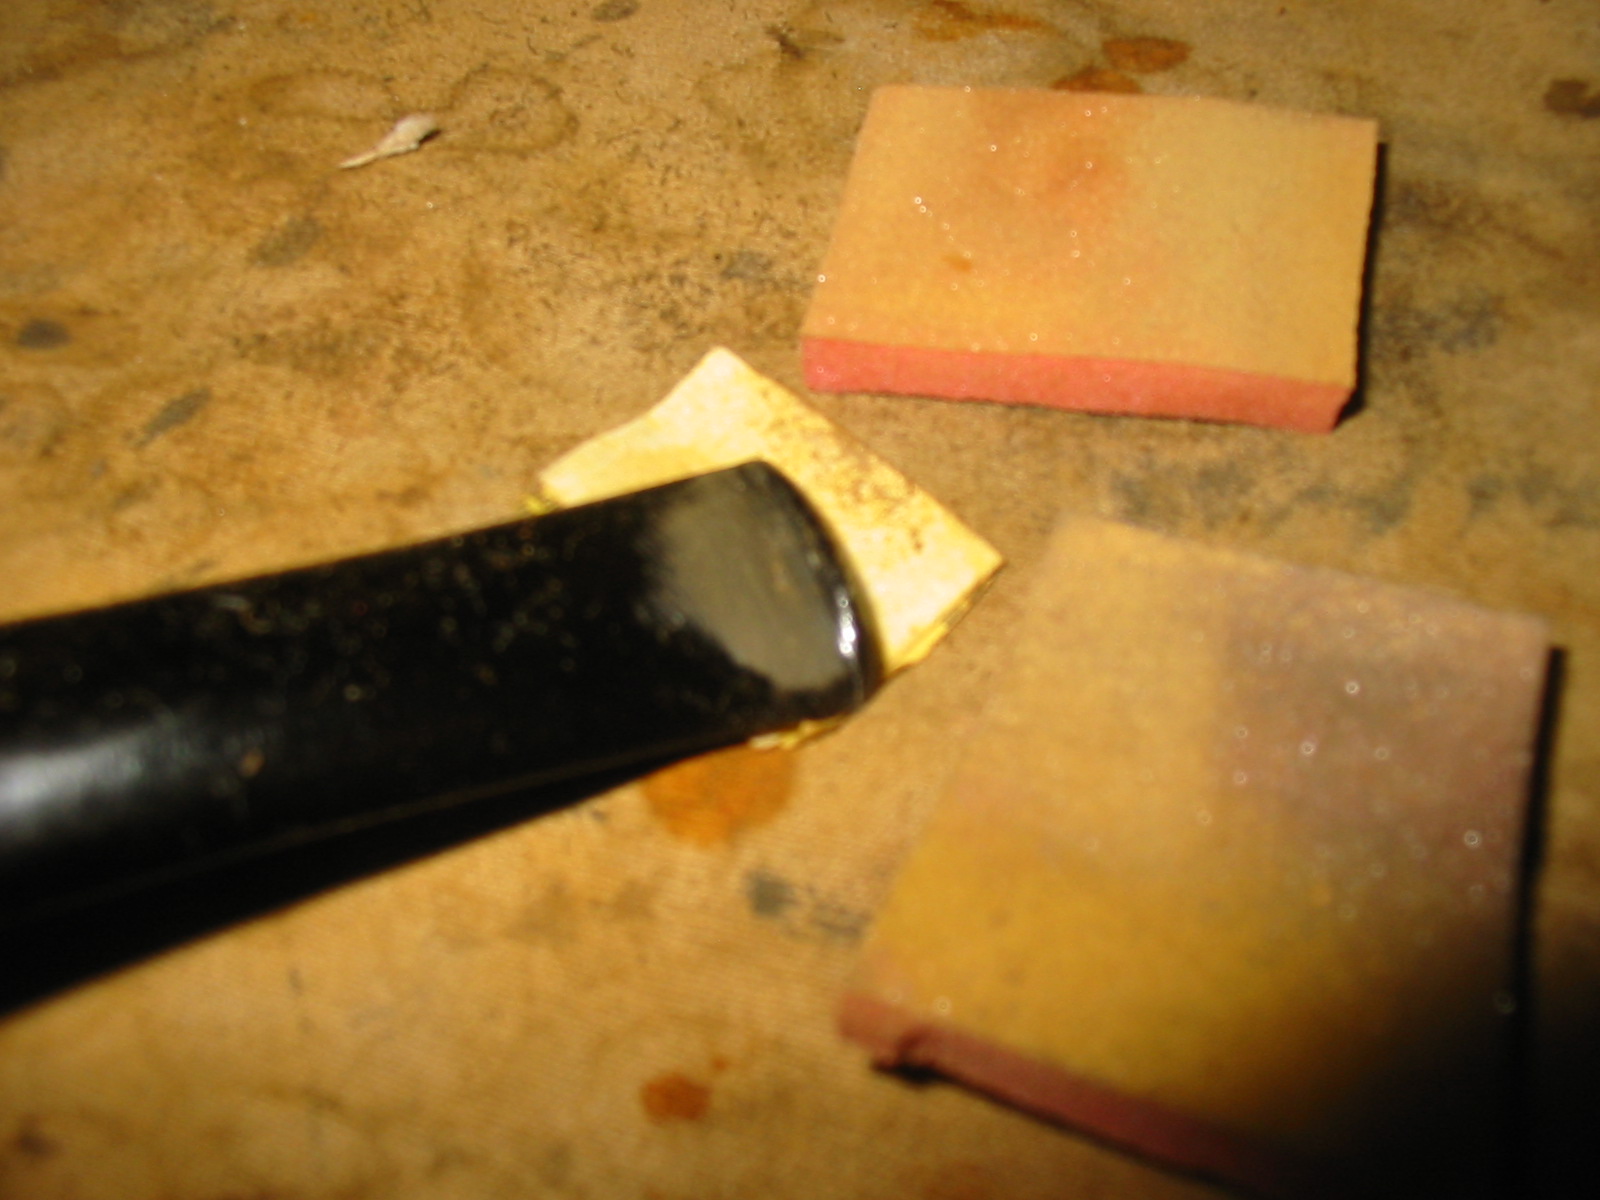
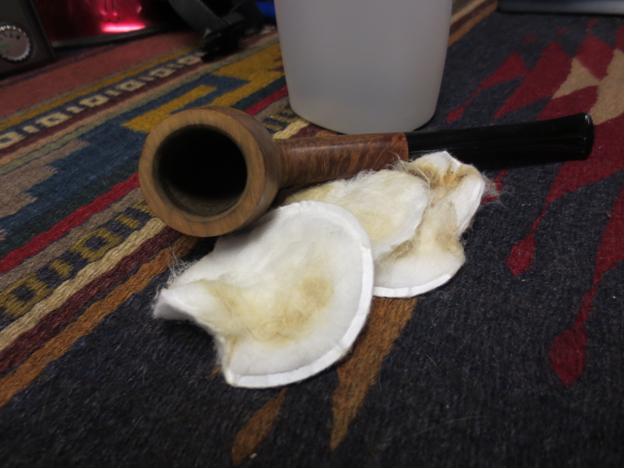
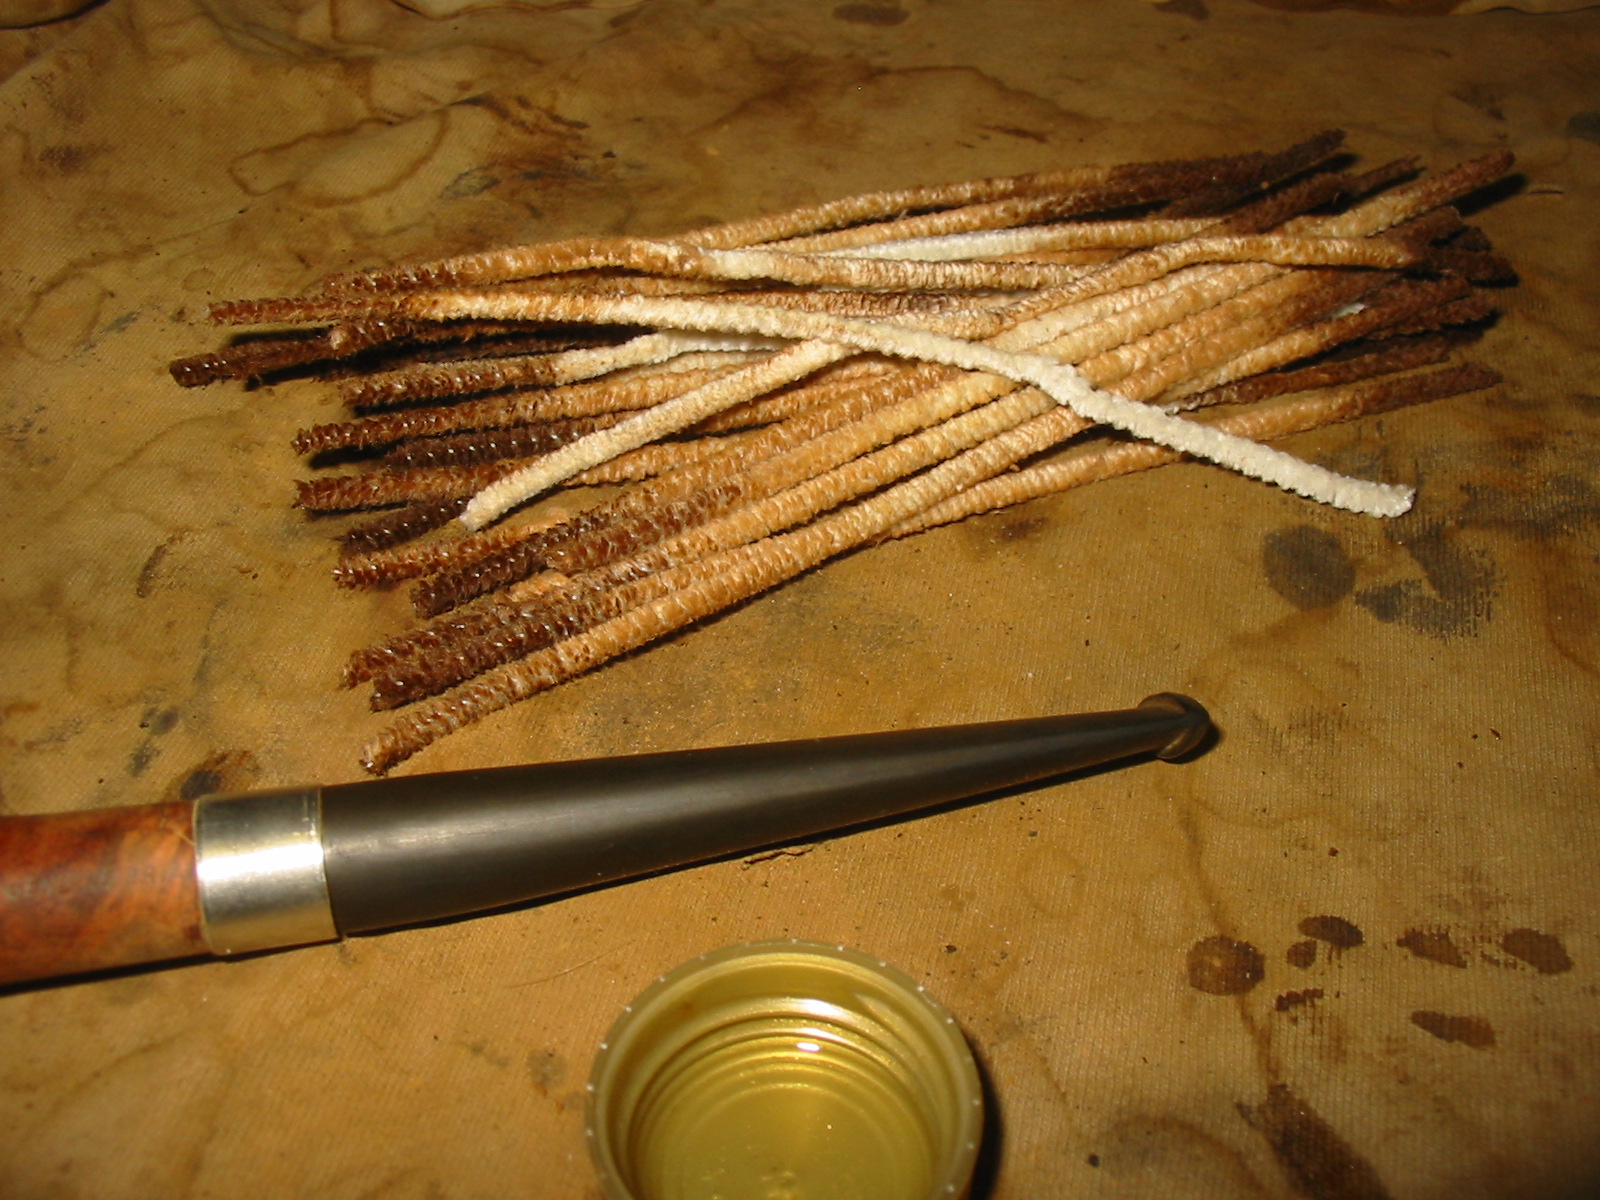
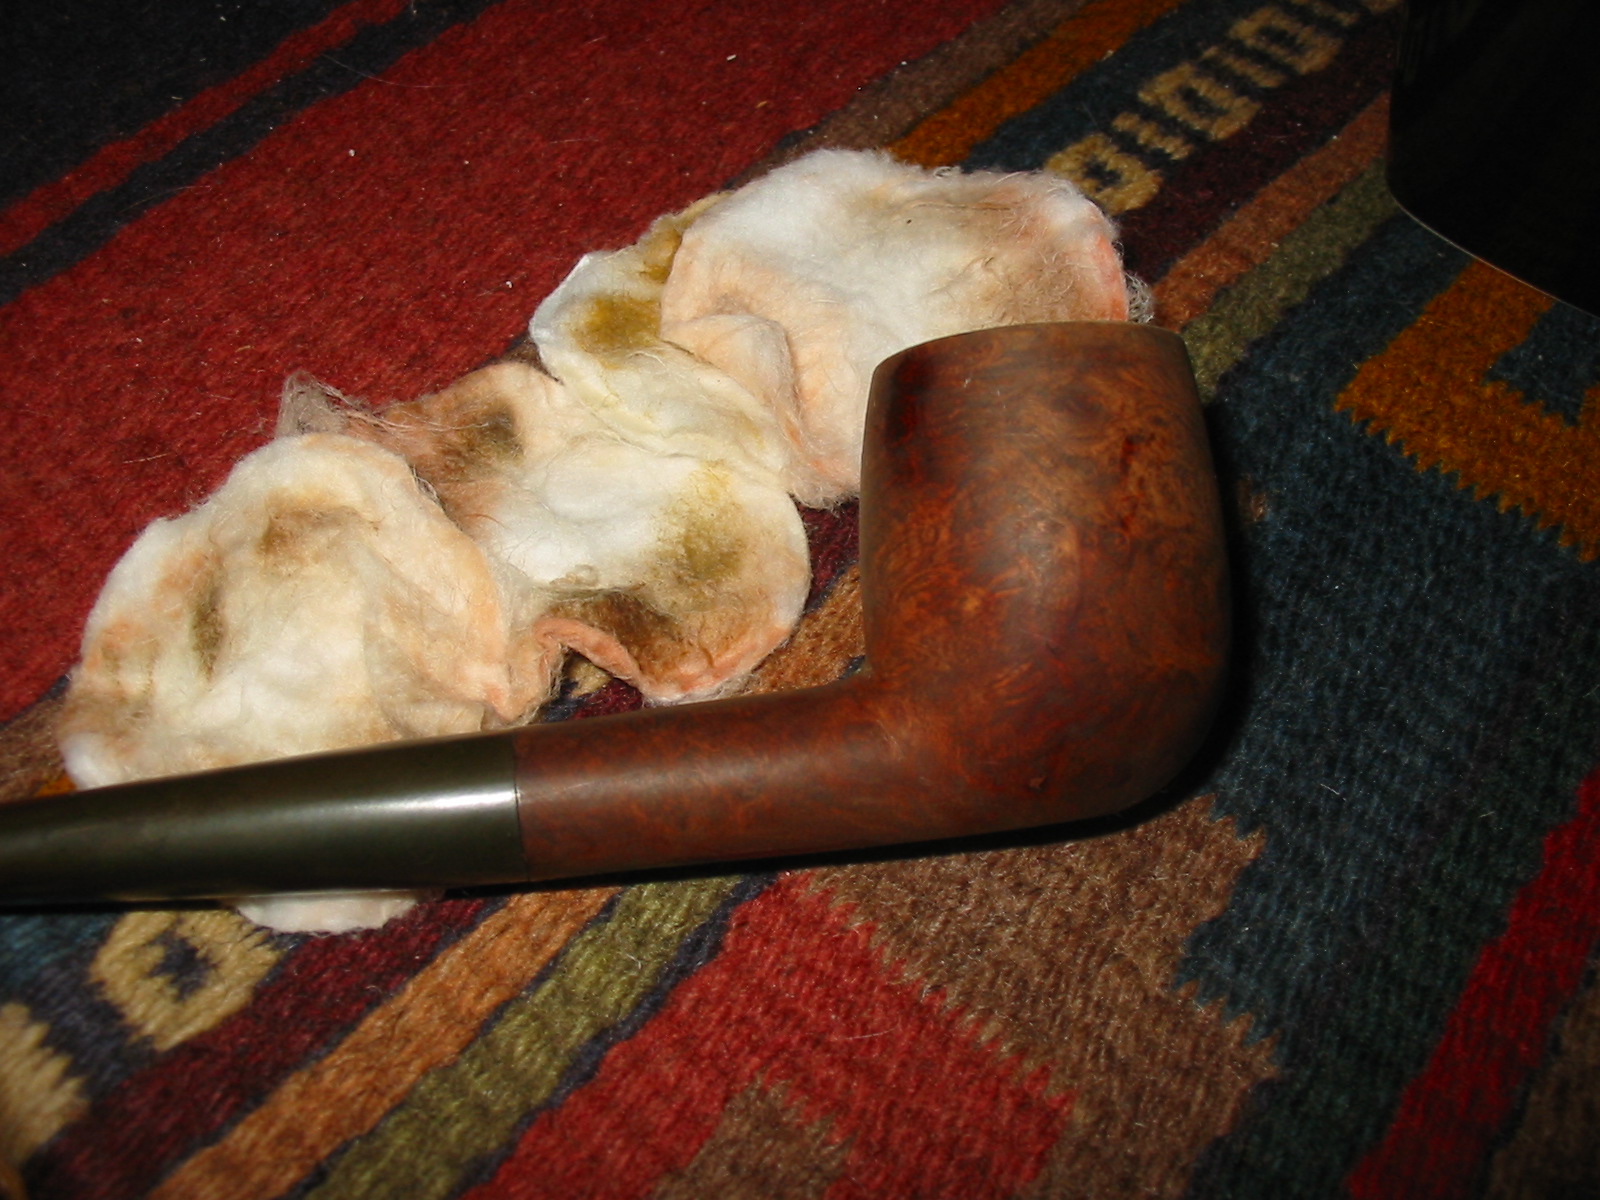
The airway in the stem was clogged and I was not able to blow air through it so I used a dental pick to reach into the airway at the tenon end and through the slot in the button. Fortunately the blockage was near both of these openings and I was able to remove the hardened tars and oils that were present. The tenon end also seemed to have some metallic pieces remaining from the stinger apparatus that was originally in the tenon (I know that it had a stinger as the other pipe still had one in place). It took many pipe cleaners and much Everclear to get the grime deposits removed from the airway of the stem. The photo below shows just a few of them toward the end of the process.
IMG_3728

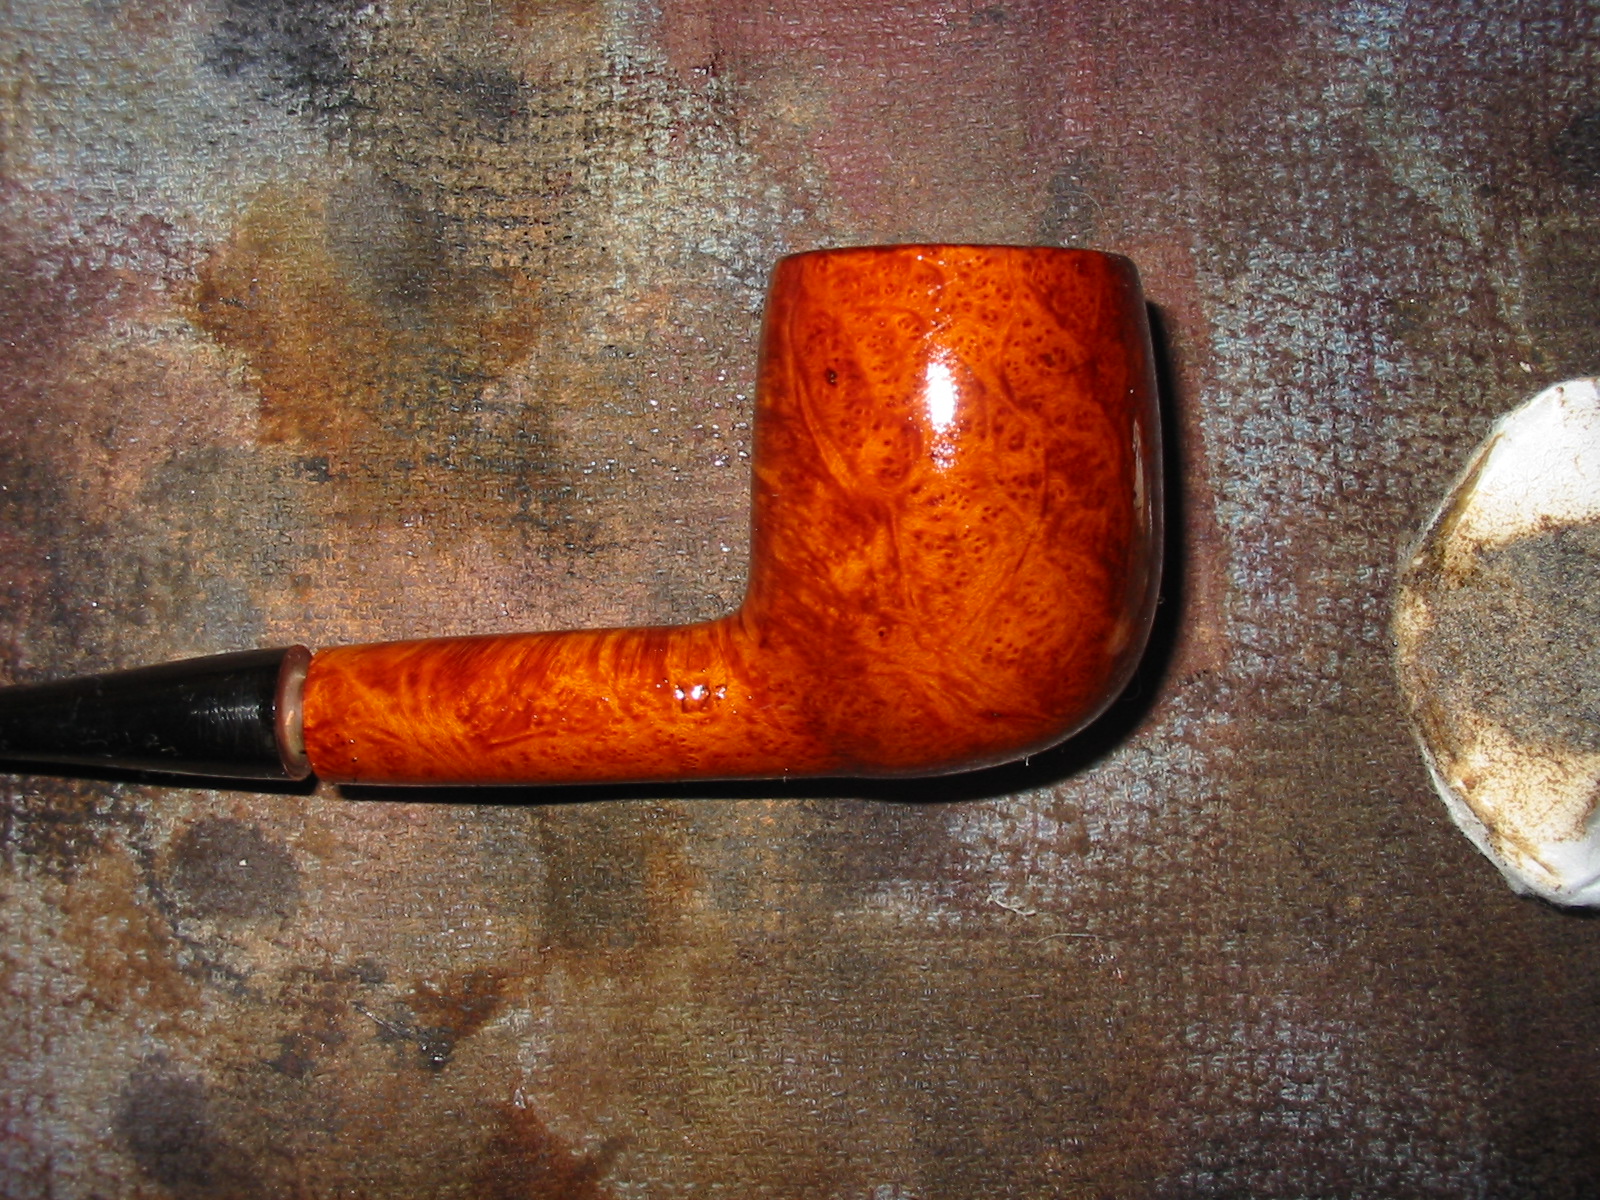
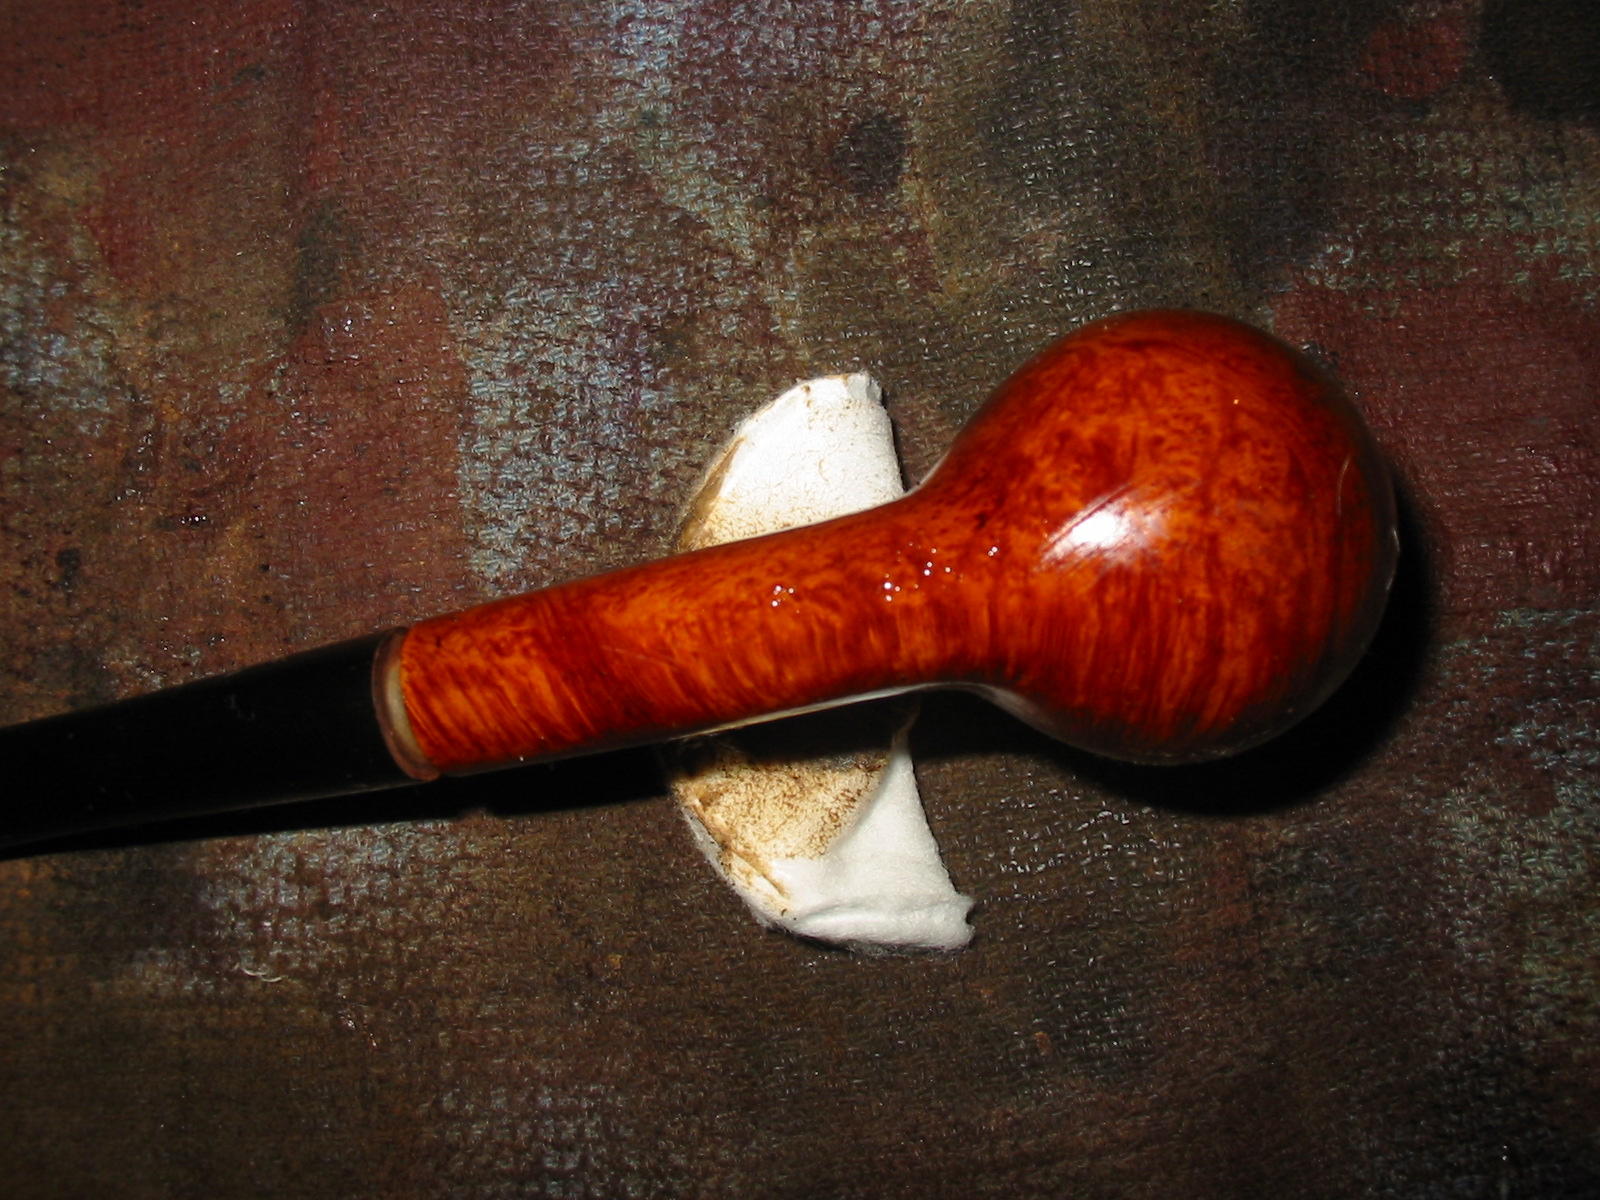
I stained the pipe with a Minwax Medium Walnut stain. It has a nice patina and goes well with the age of these older pipes. I rubbed it on with a cotton pad and rubbed it off with a soft cotton cloth. I reapplied the stain until I had the coverage that I wanted. My goal was to let the grain show through the stain and highlight the beauty of this old pipe.
IMG_3730

IMG_3731

IMG_3732

I buffed the pipe with White Diamond once the stain was dry to bring out a shine to the finish.
IMG_3733

IMG_3734

IMG_3735

IMG_3736

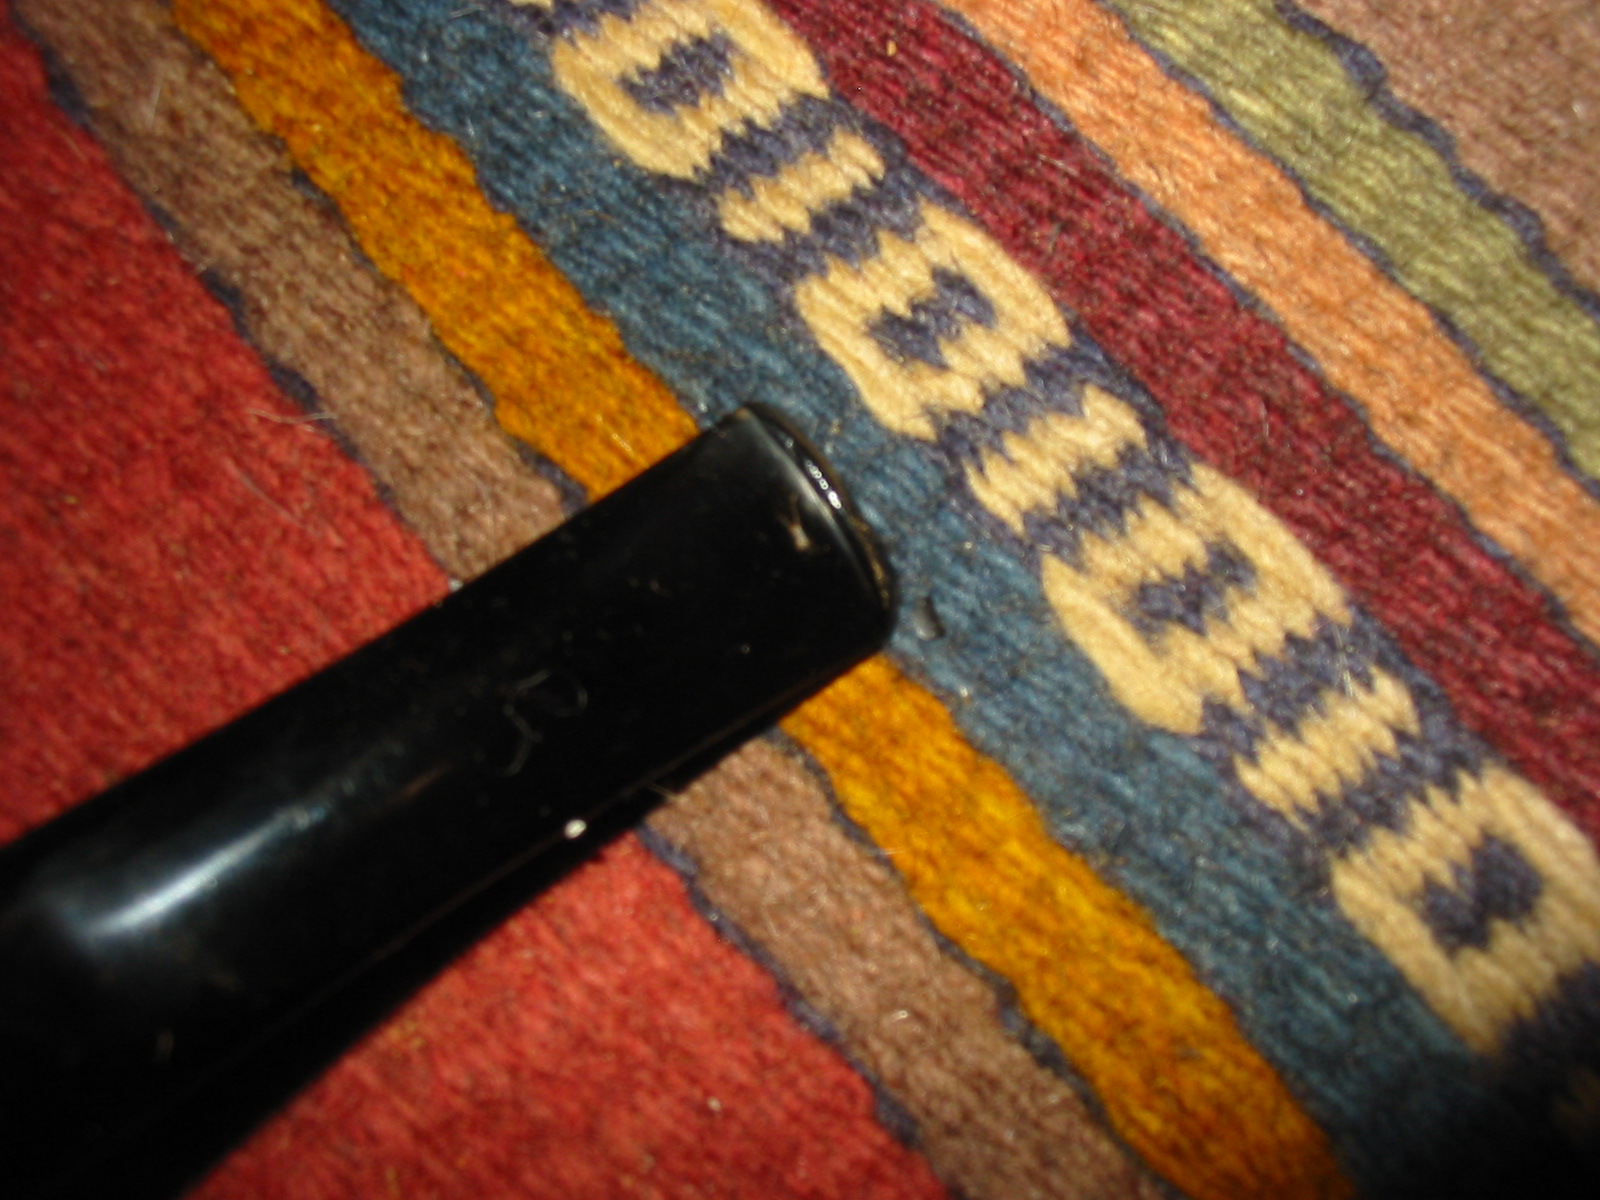
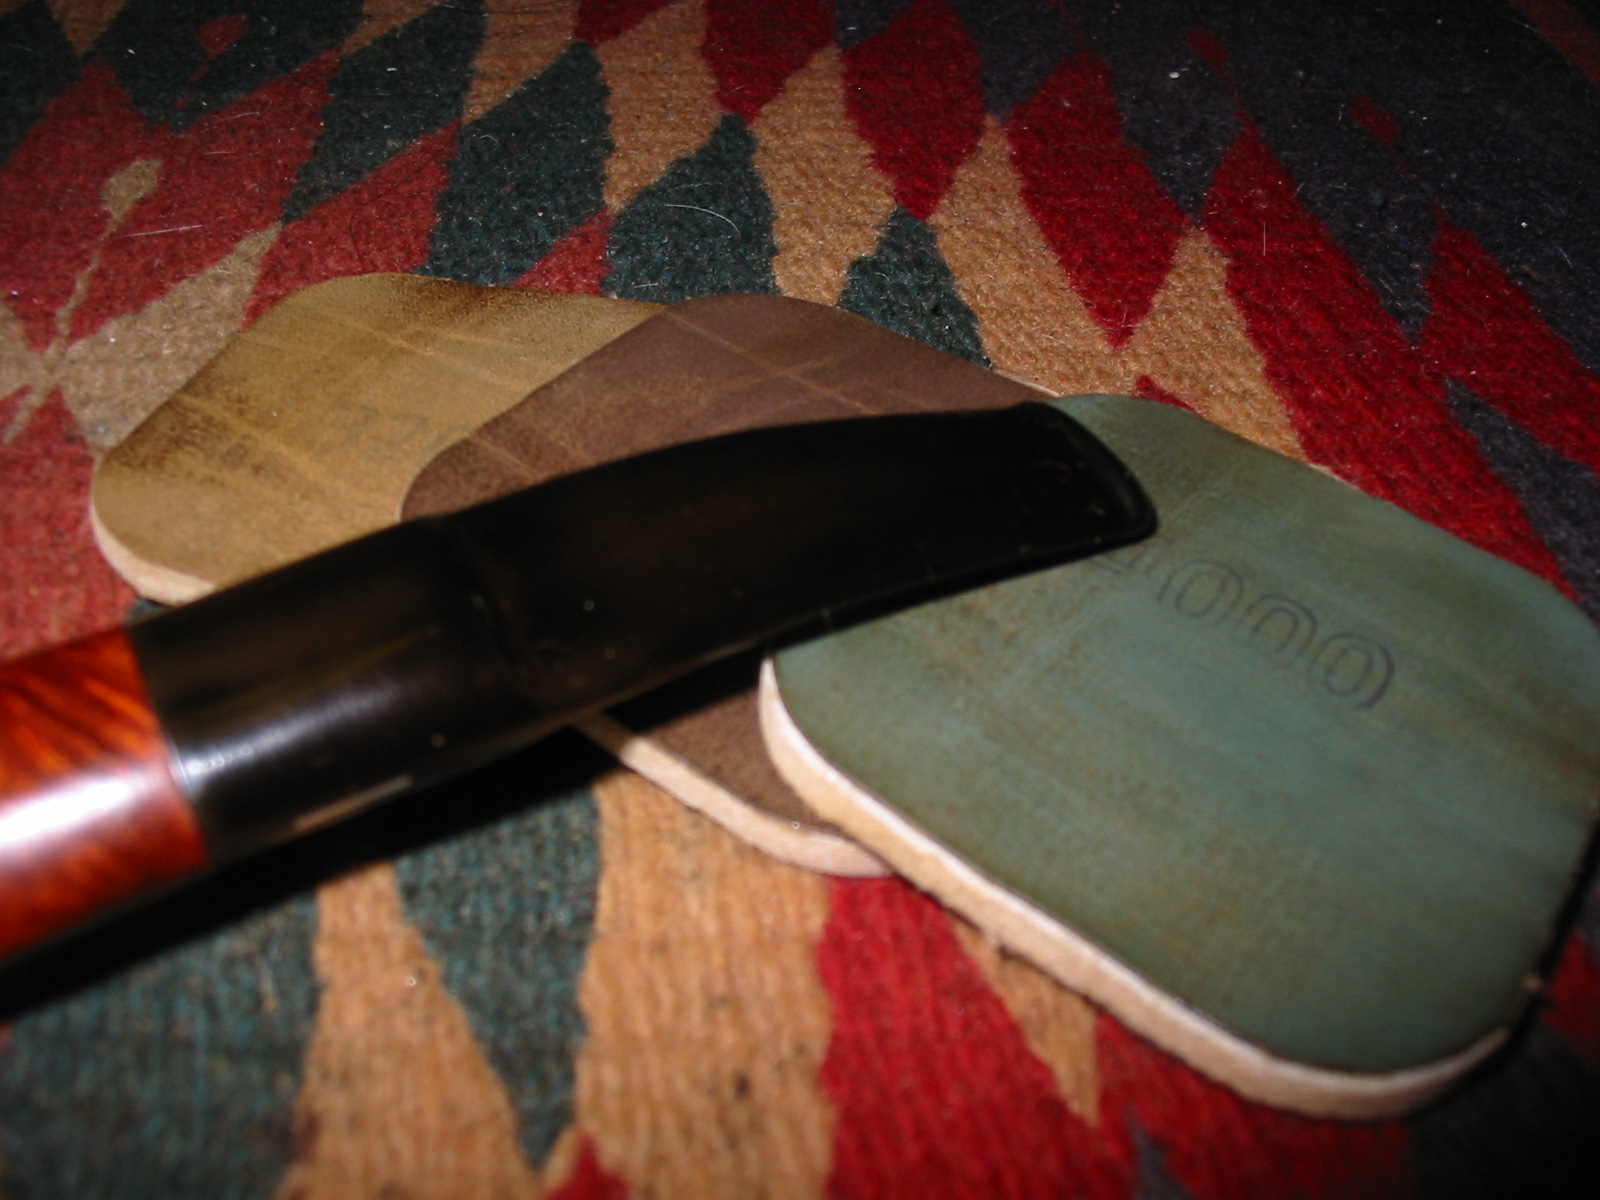
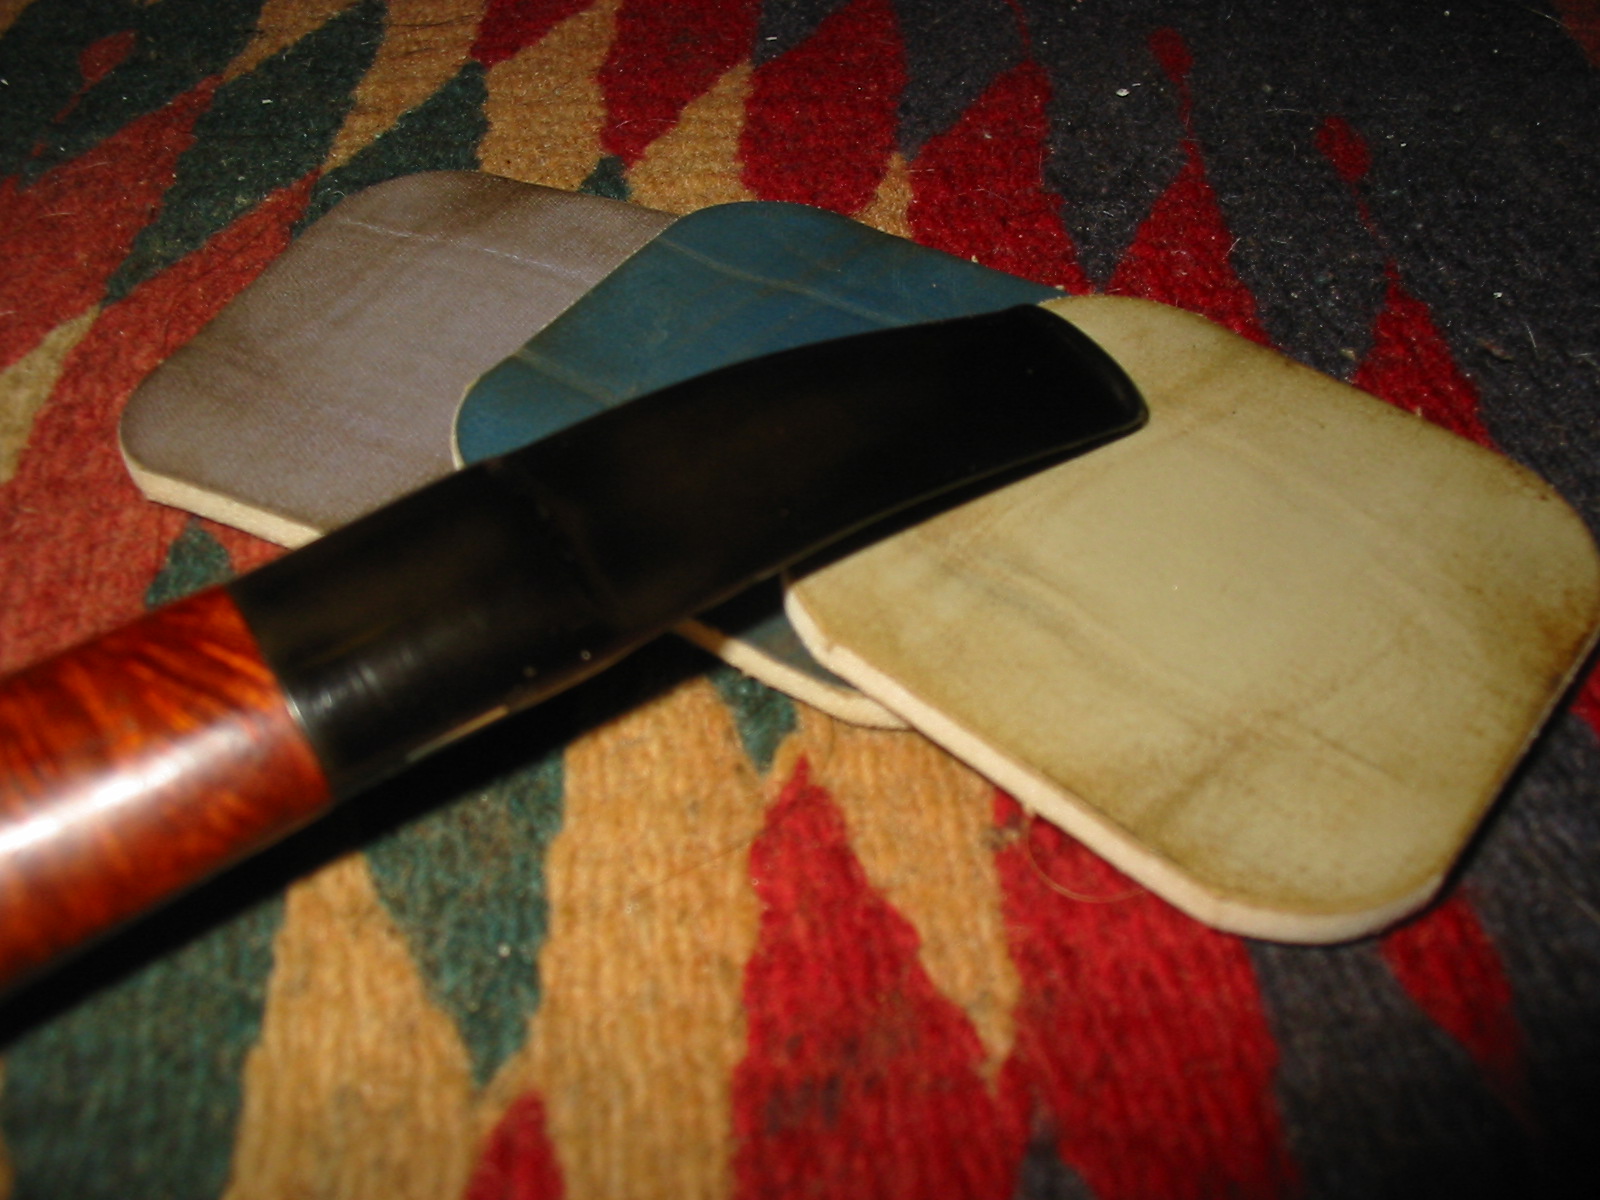
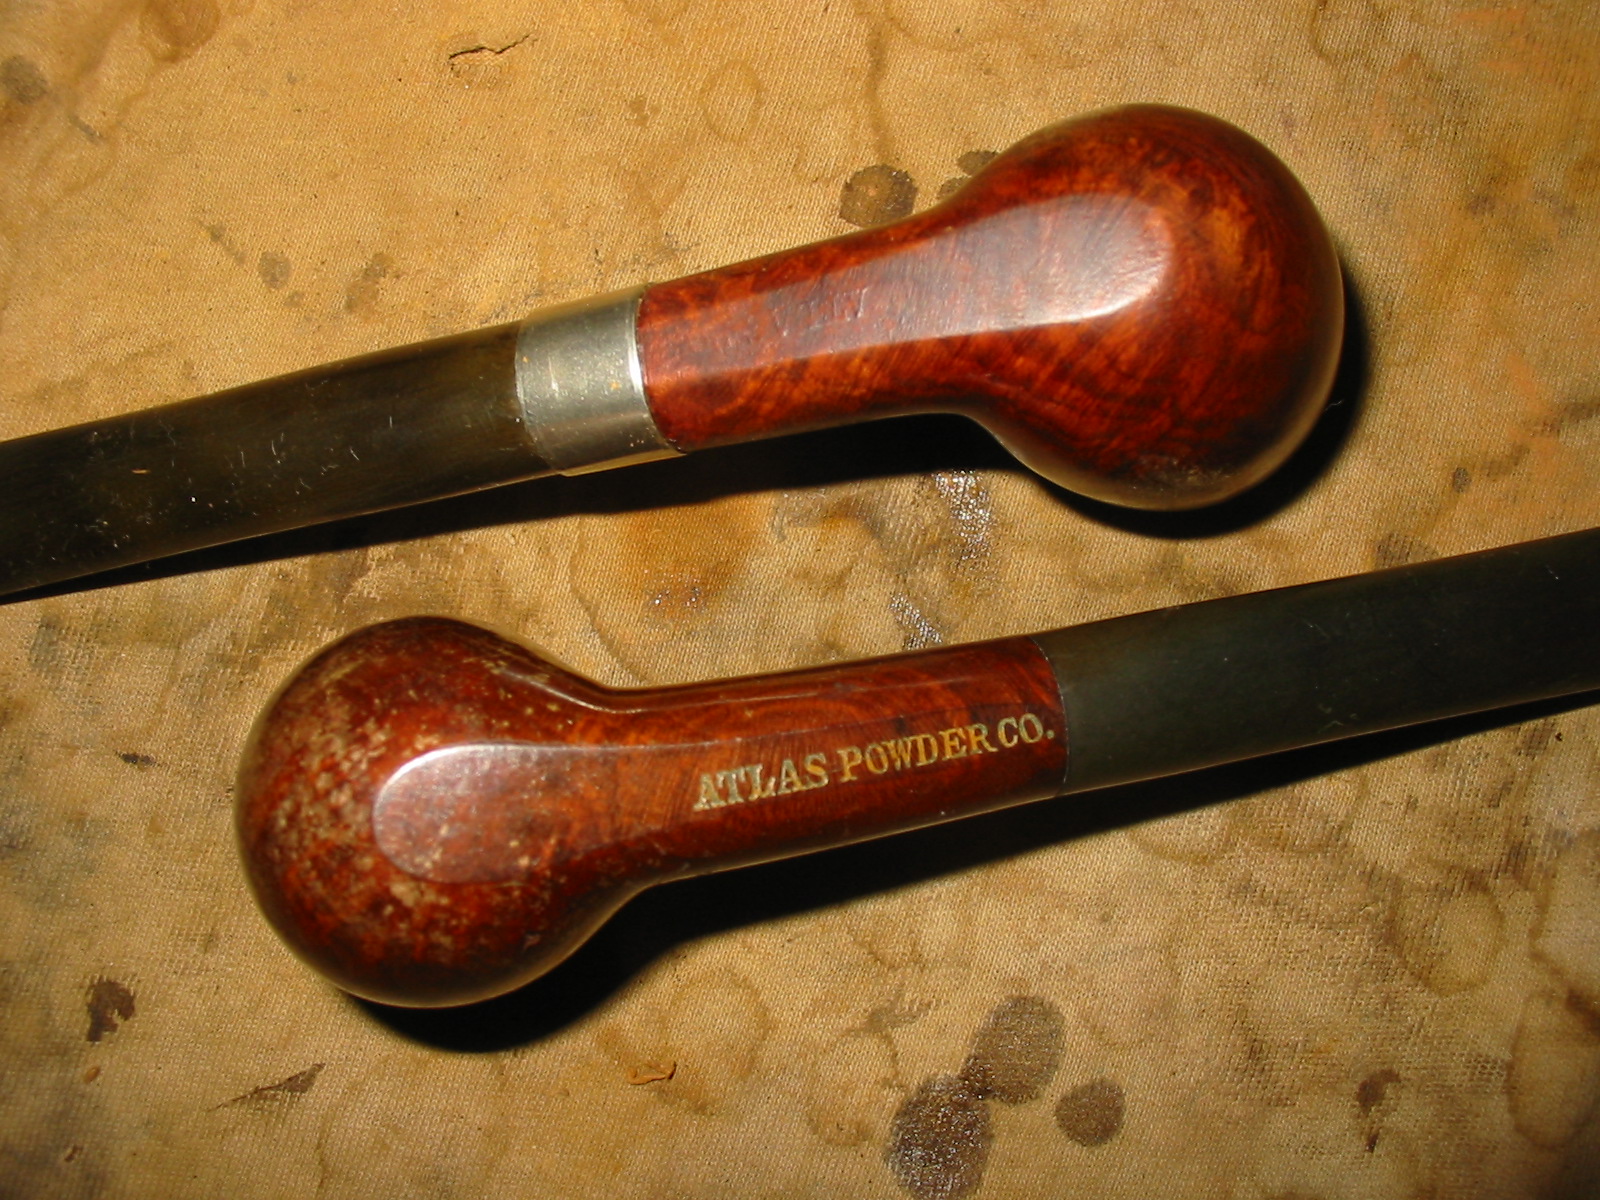
The next photo shows the pipe lying next to the other one. I wanted the stamping on the unrefurbished pipe to highlight the stamping on this pipe. The golden colour of the other stamp is very clear and the stamping on the newly stained one is still visible yet not golden. Before I finished this one, the golden stamping was missing and a black stamping was present in its place.
IMG_3738

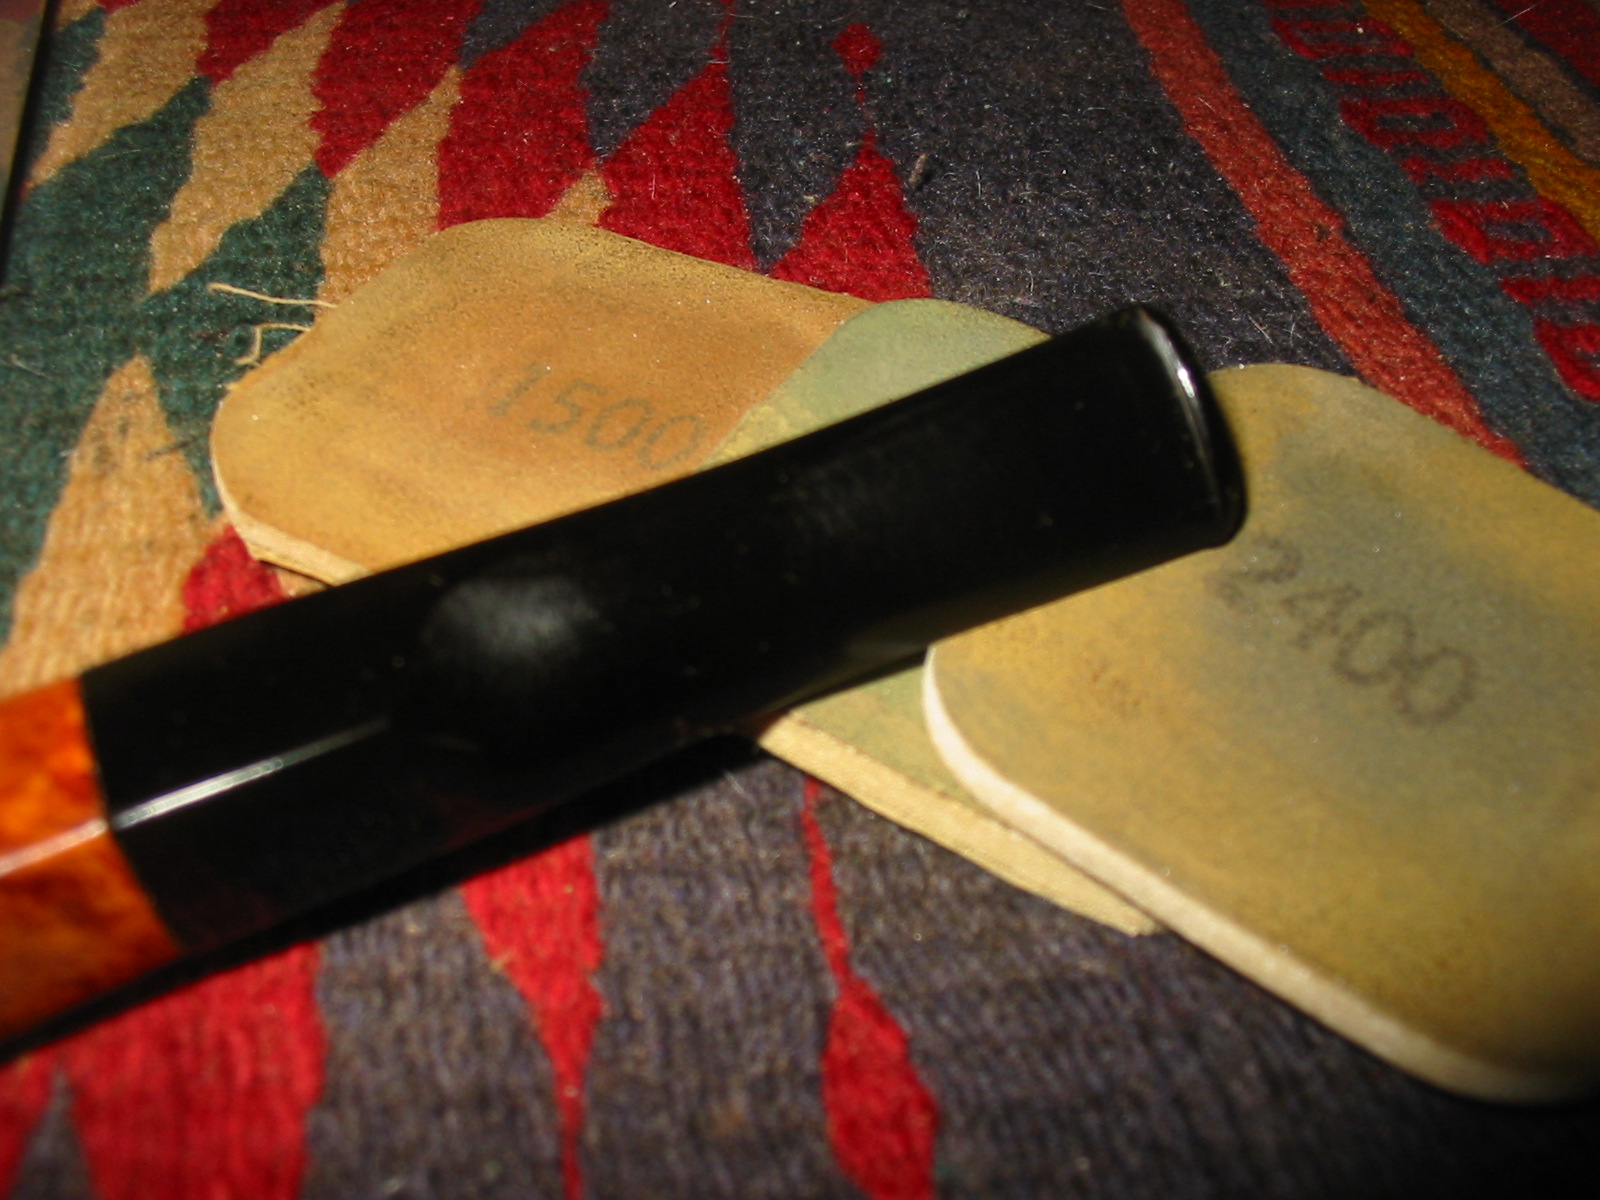
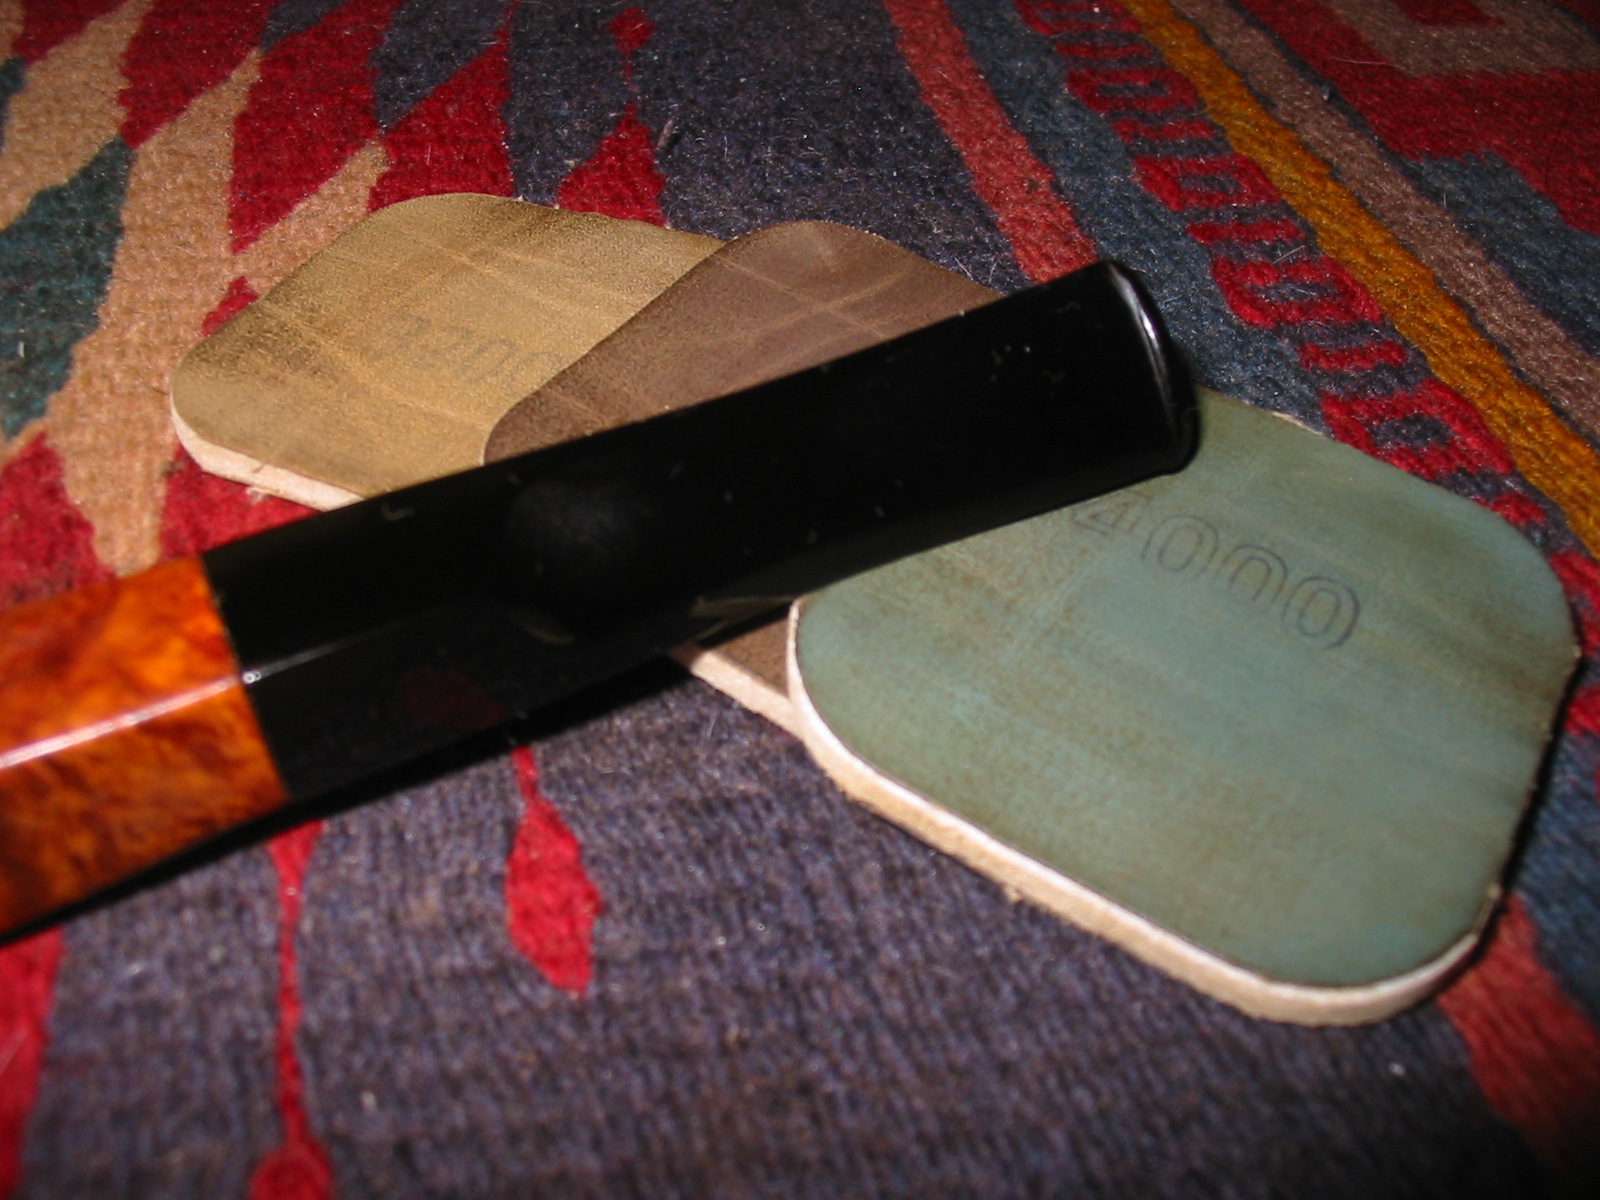
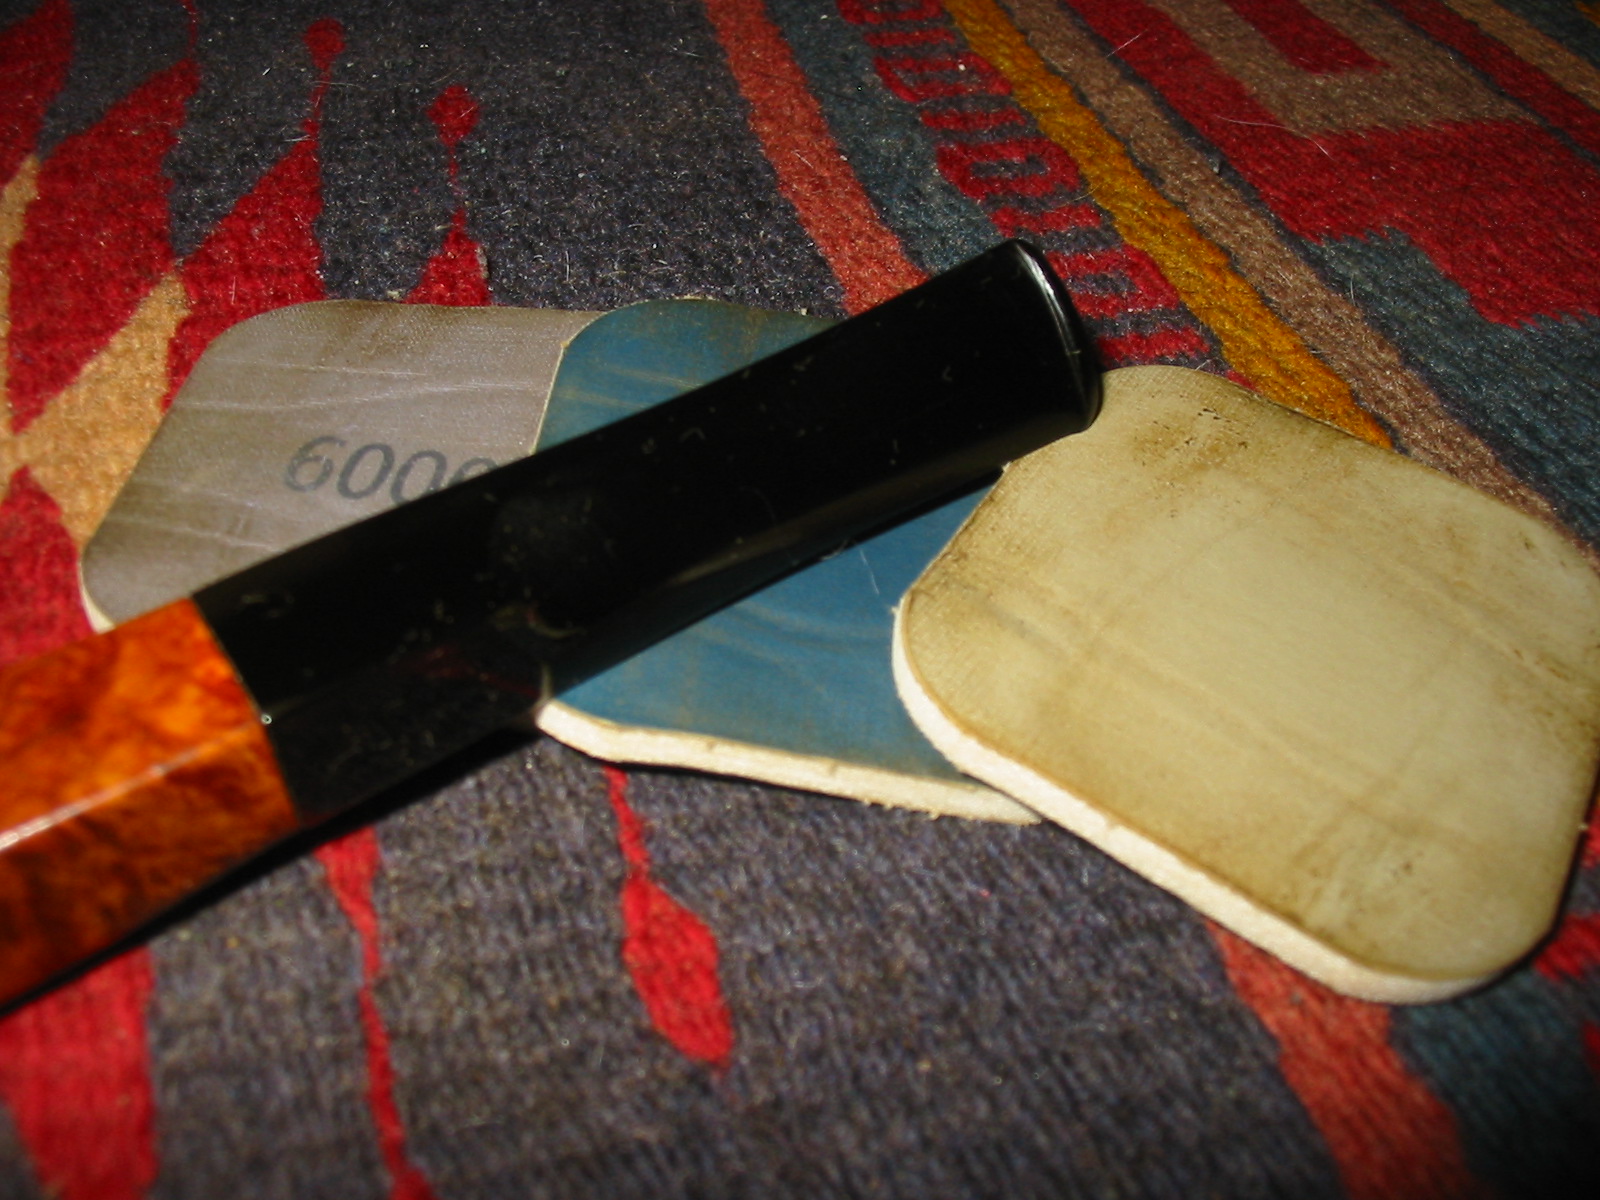
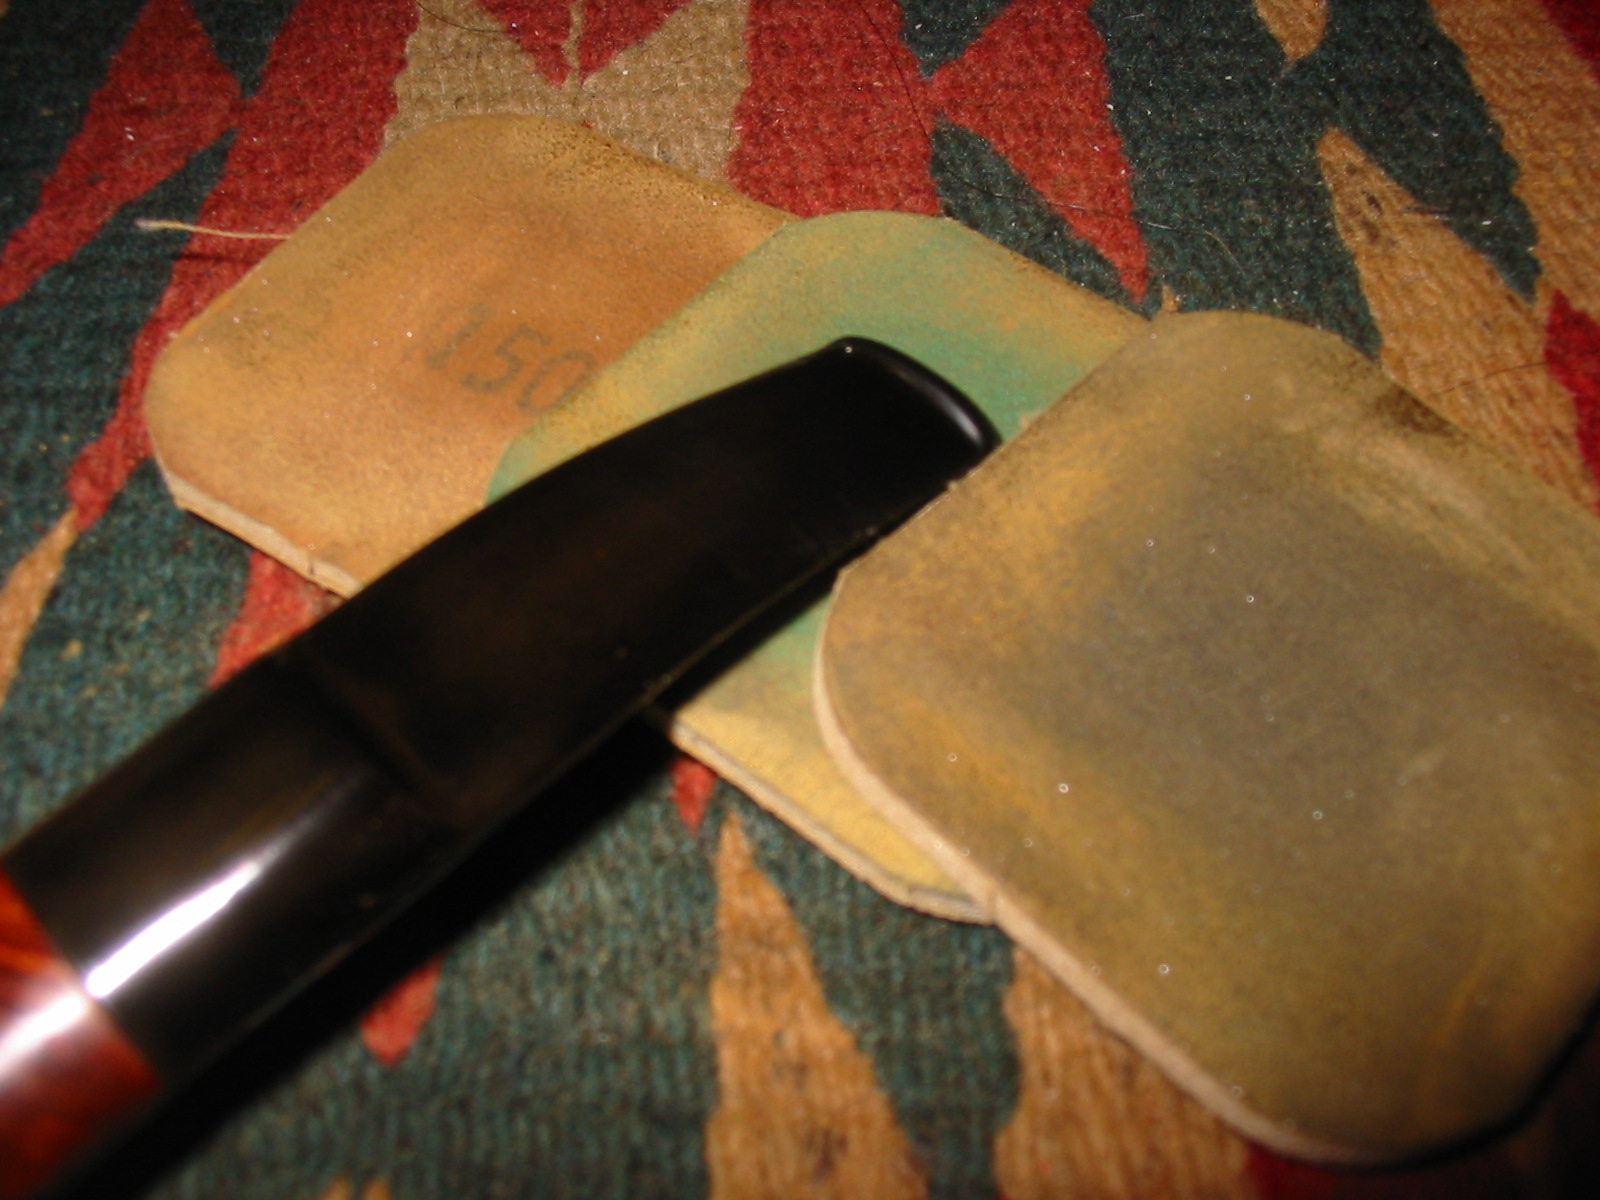
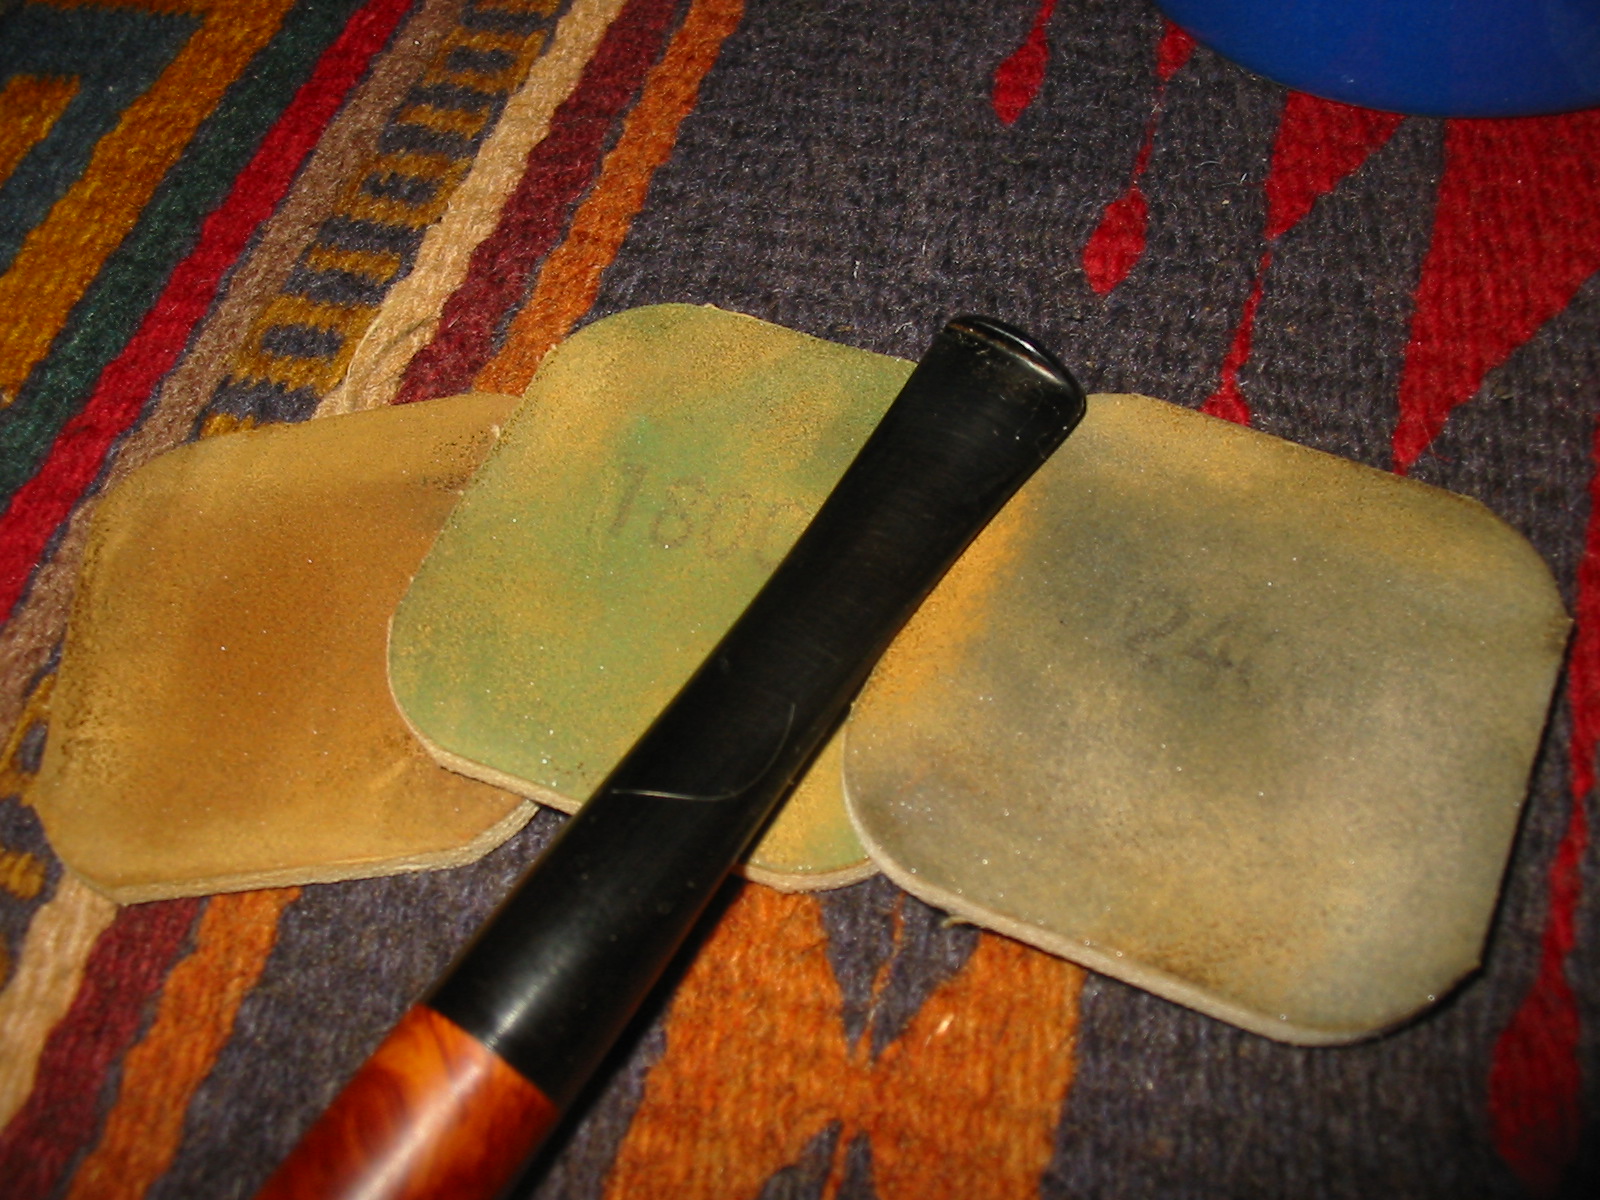
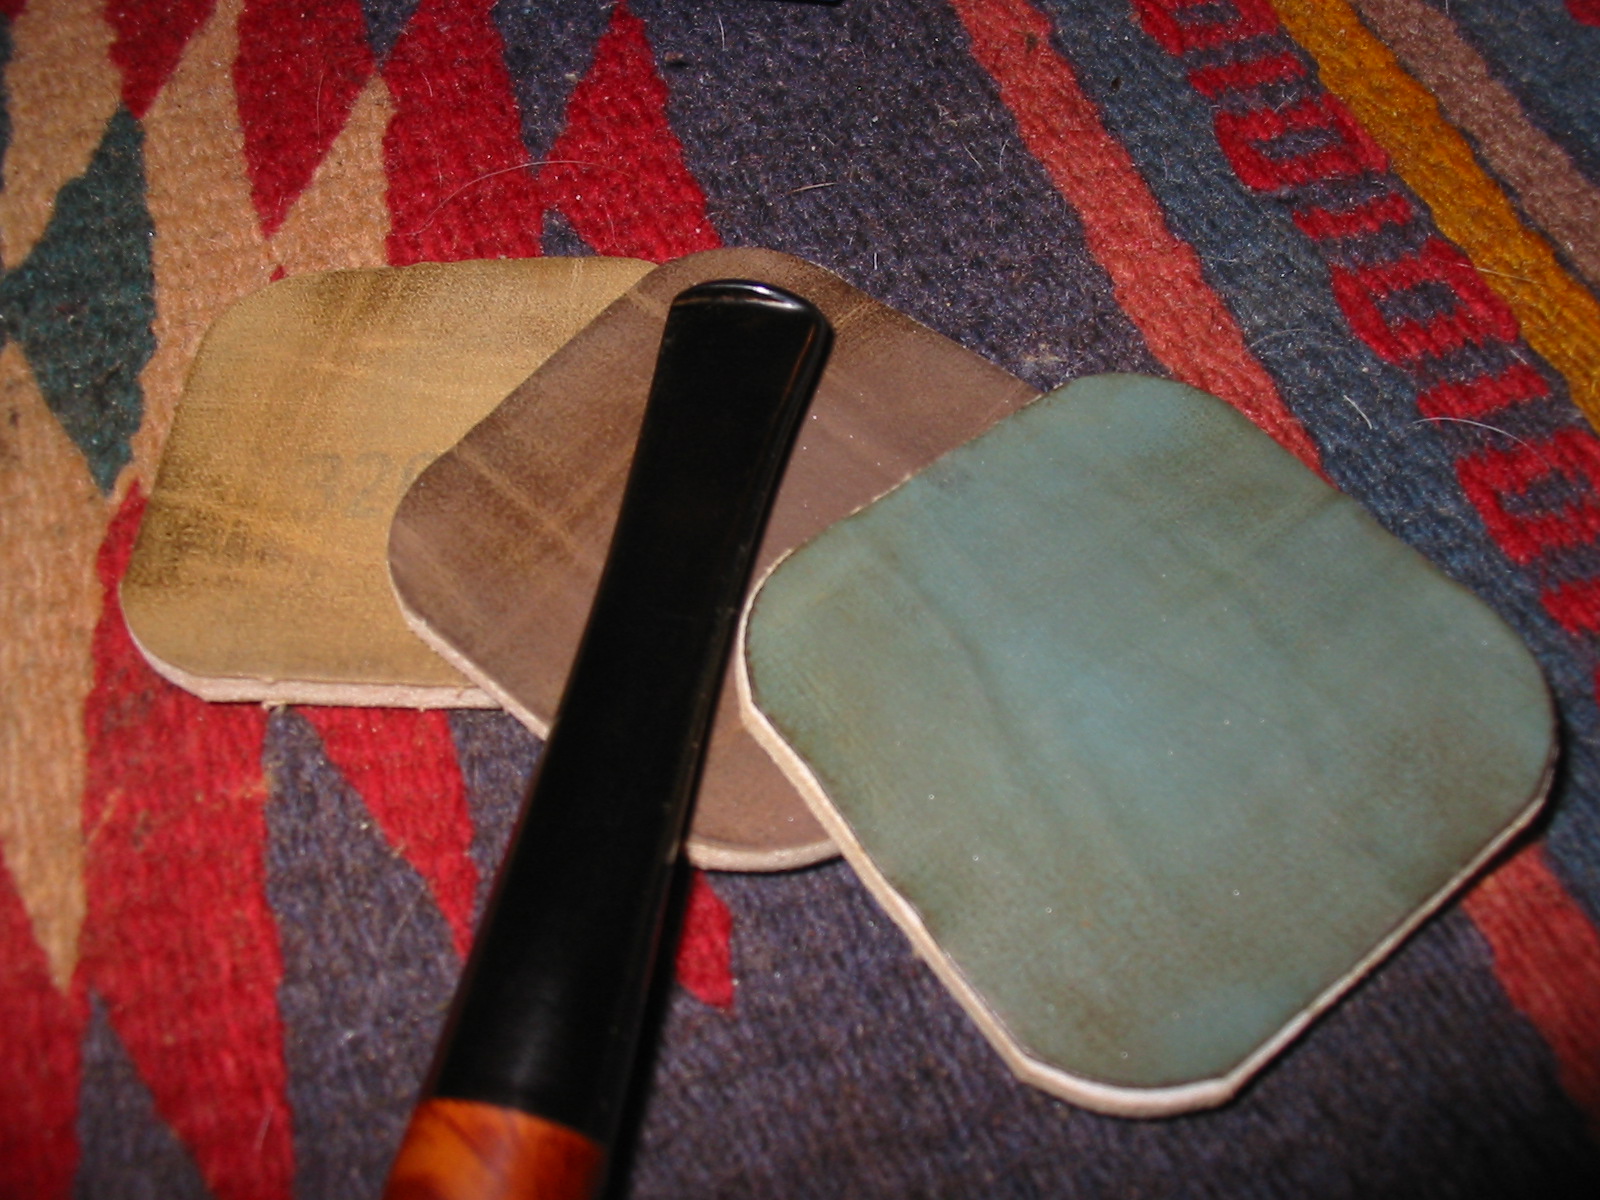
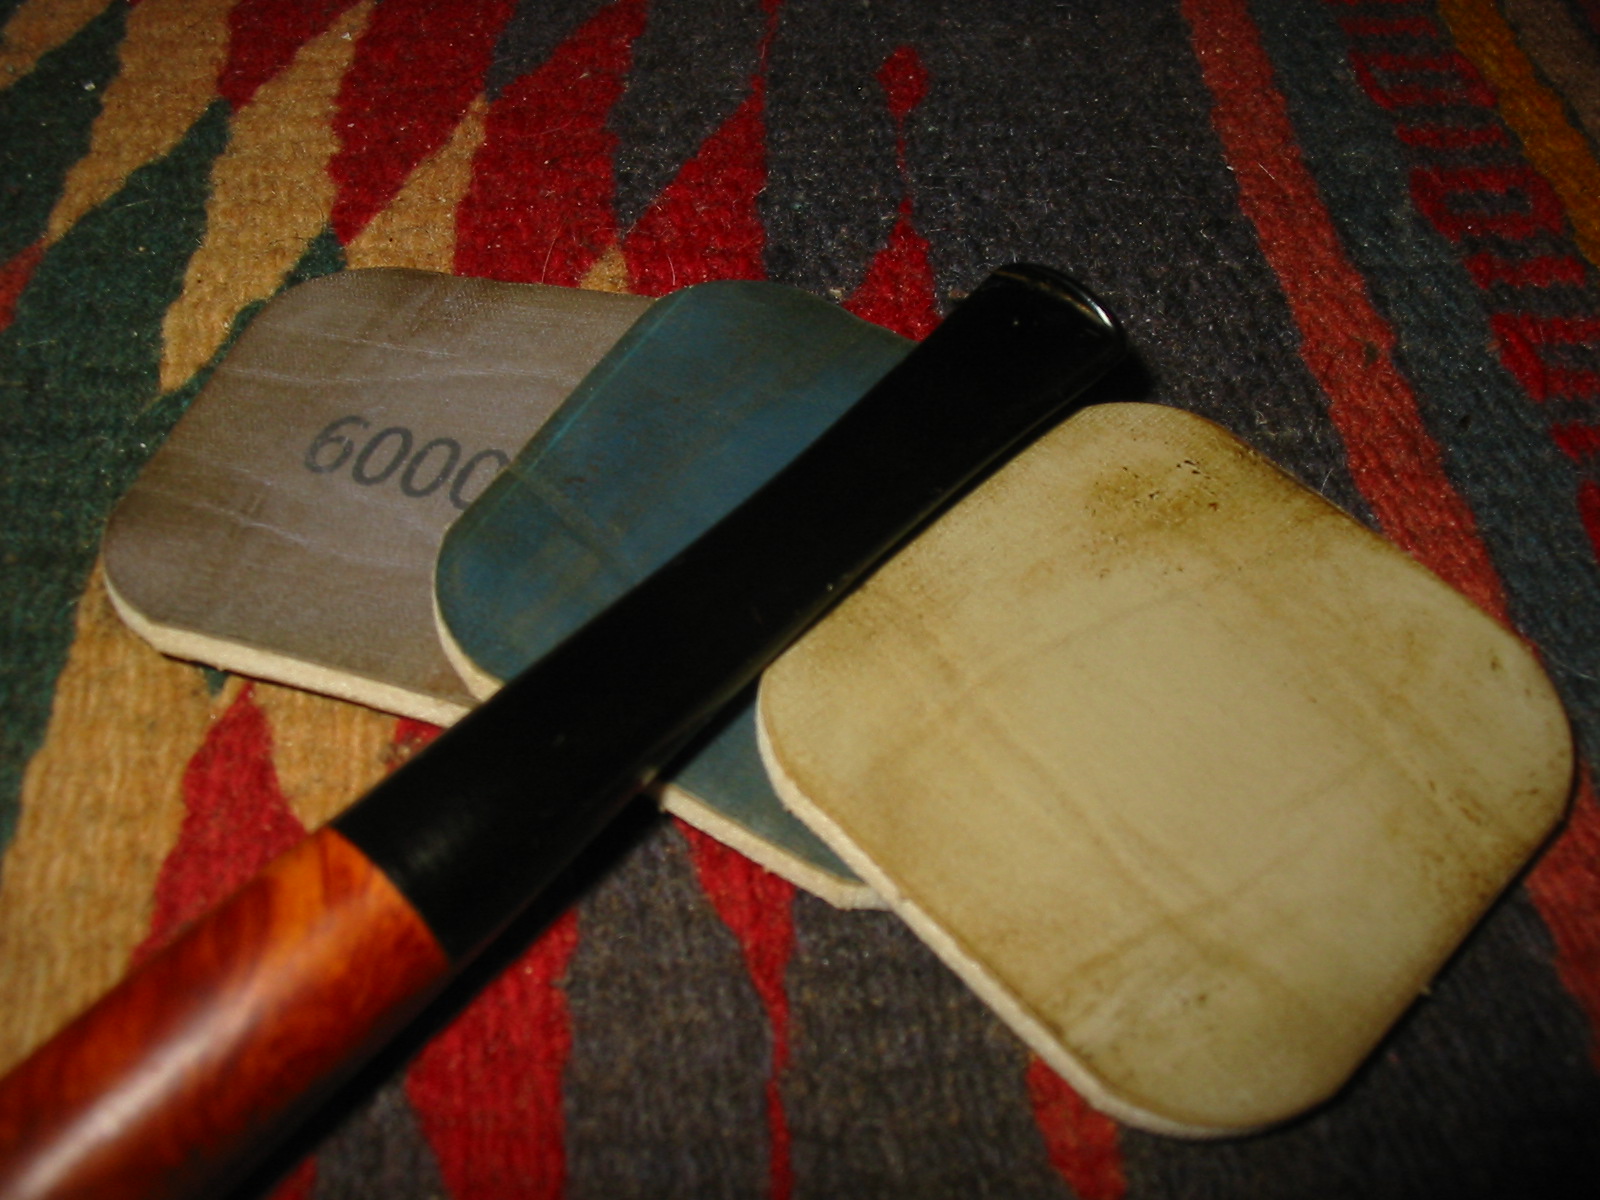
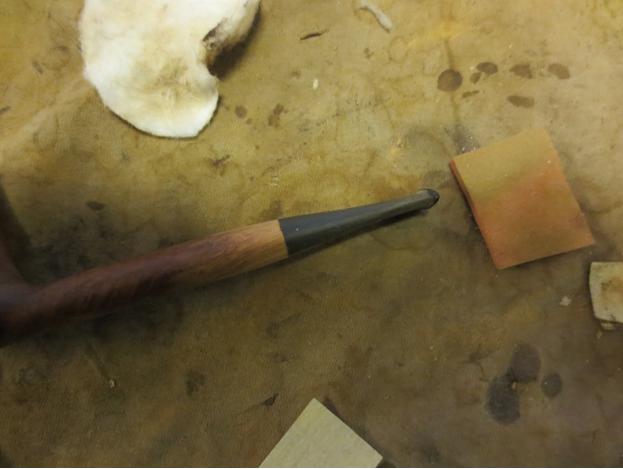
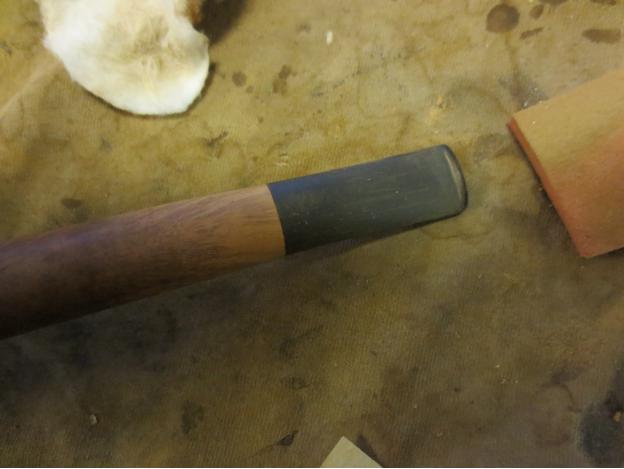
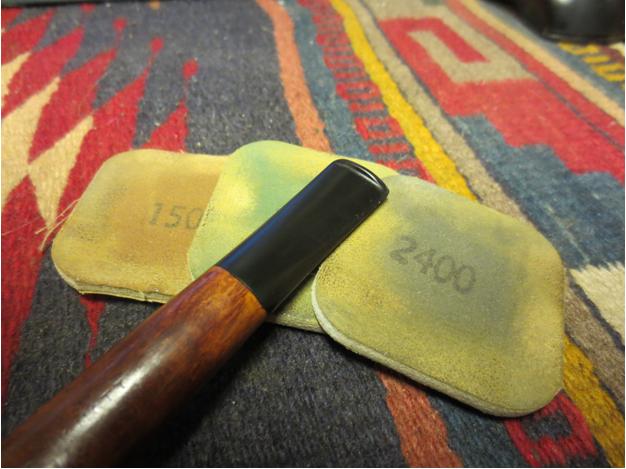
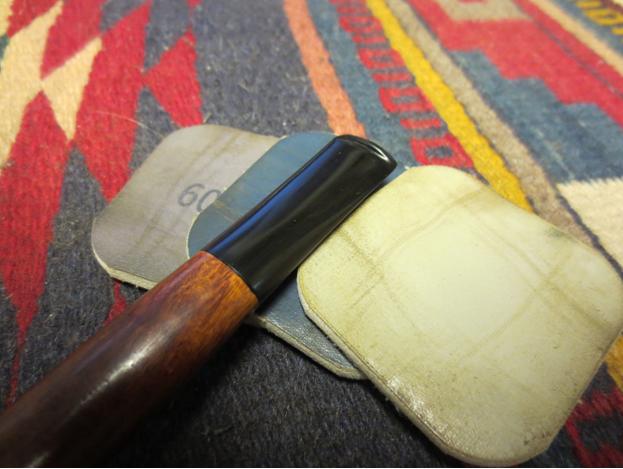
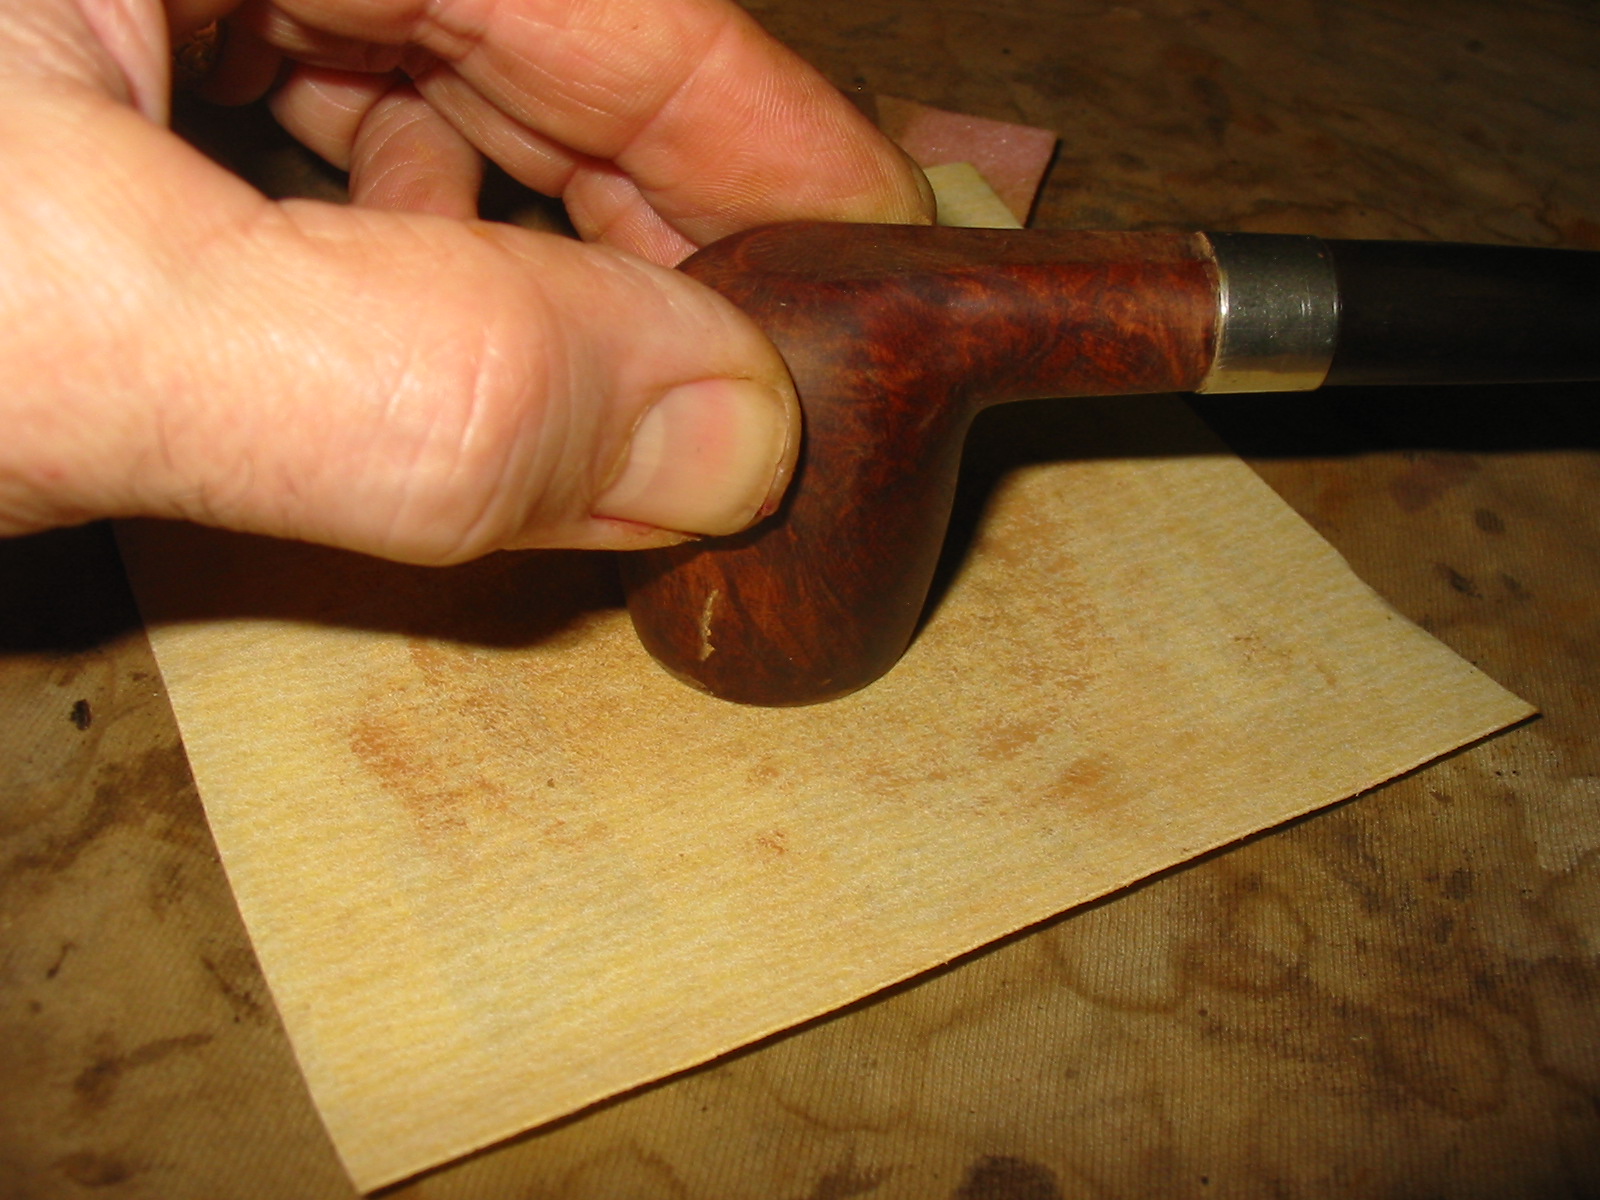
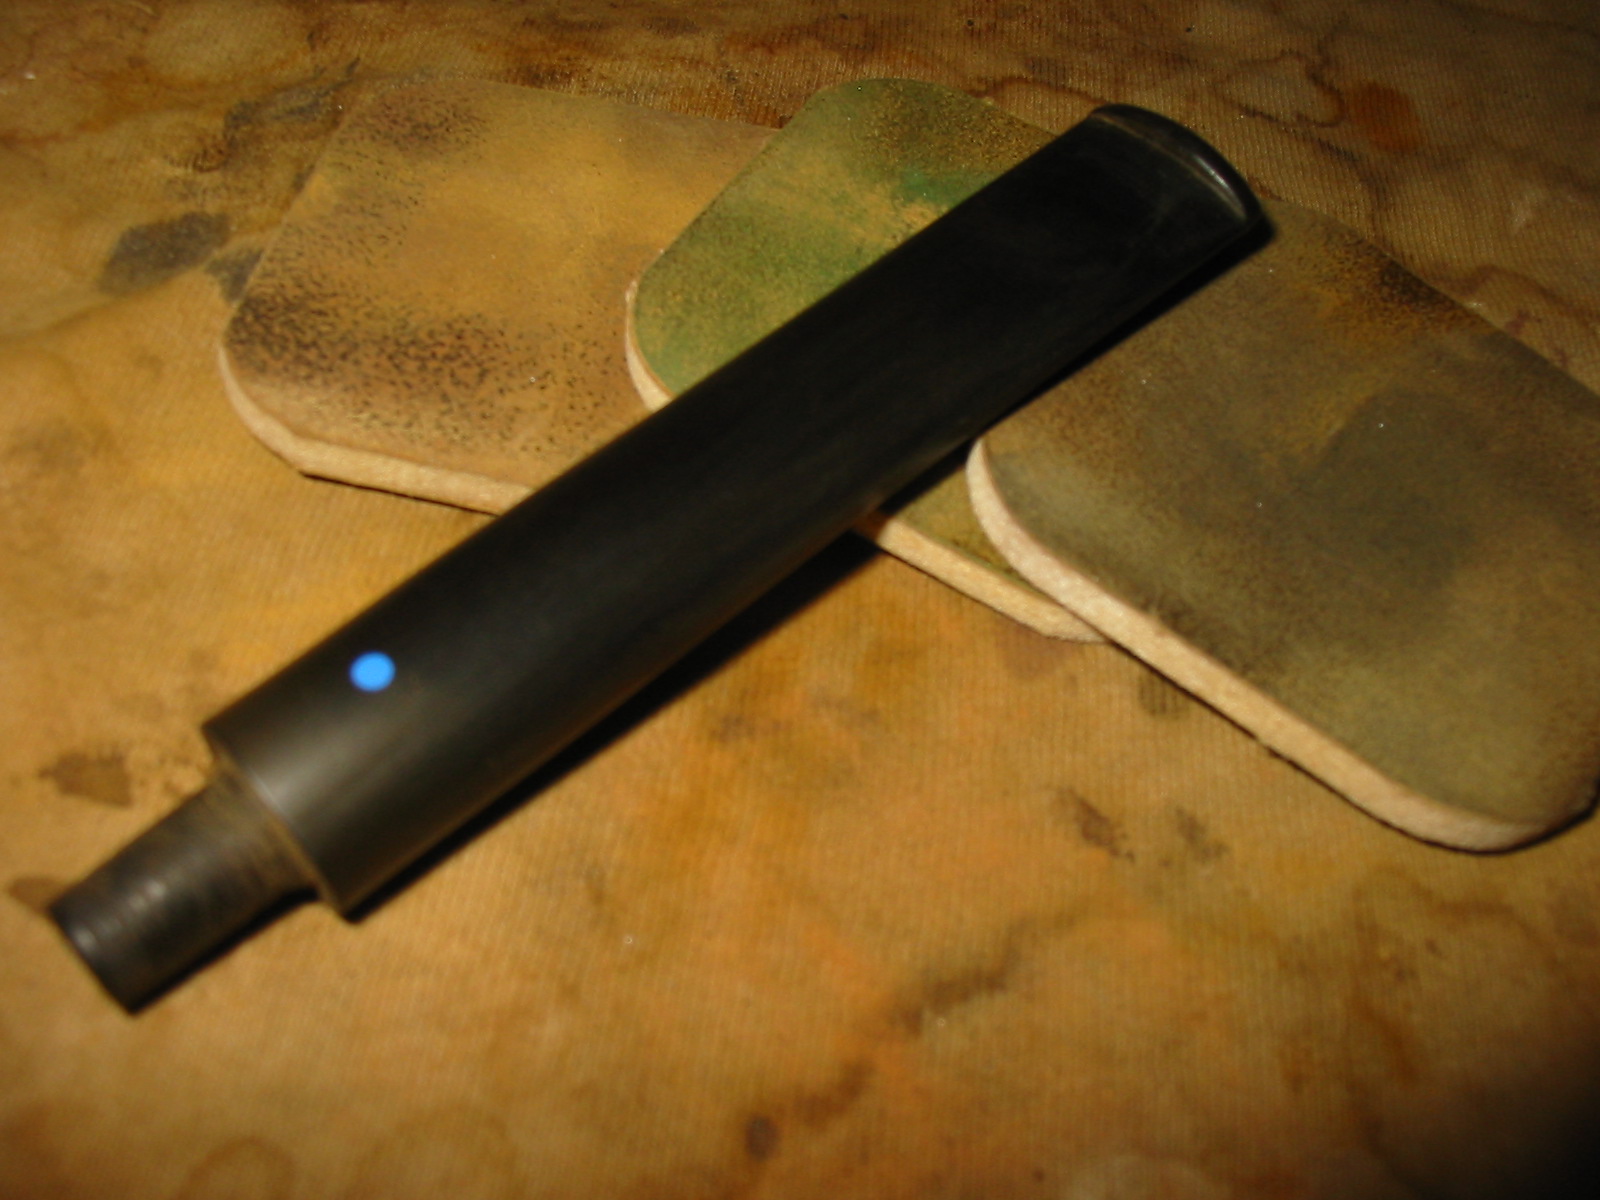
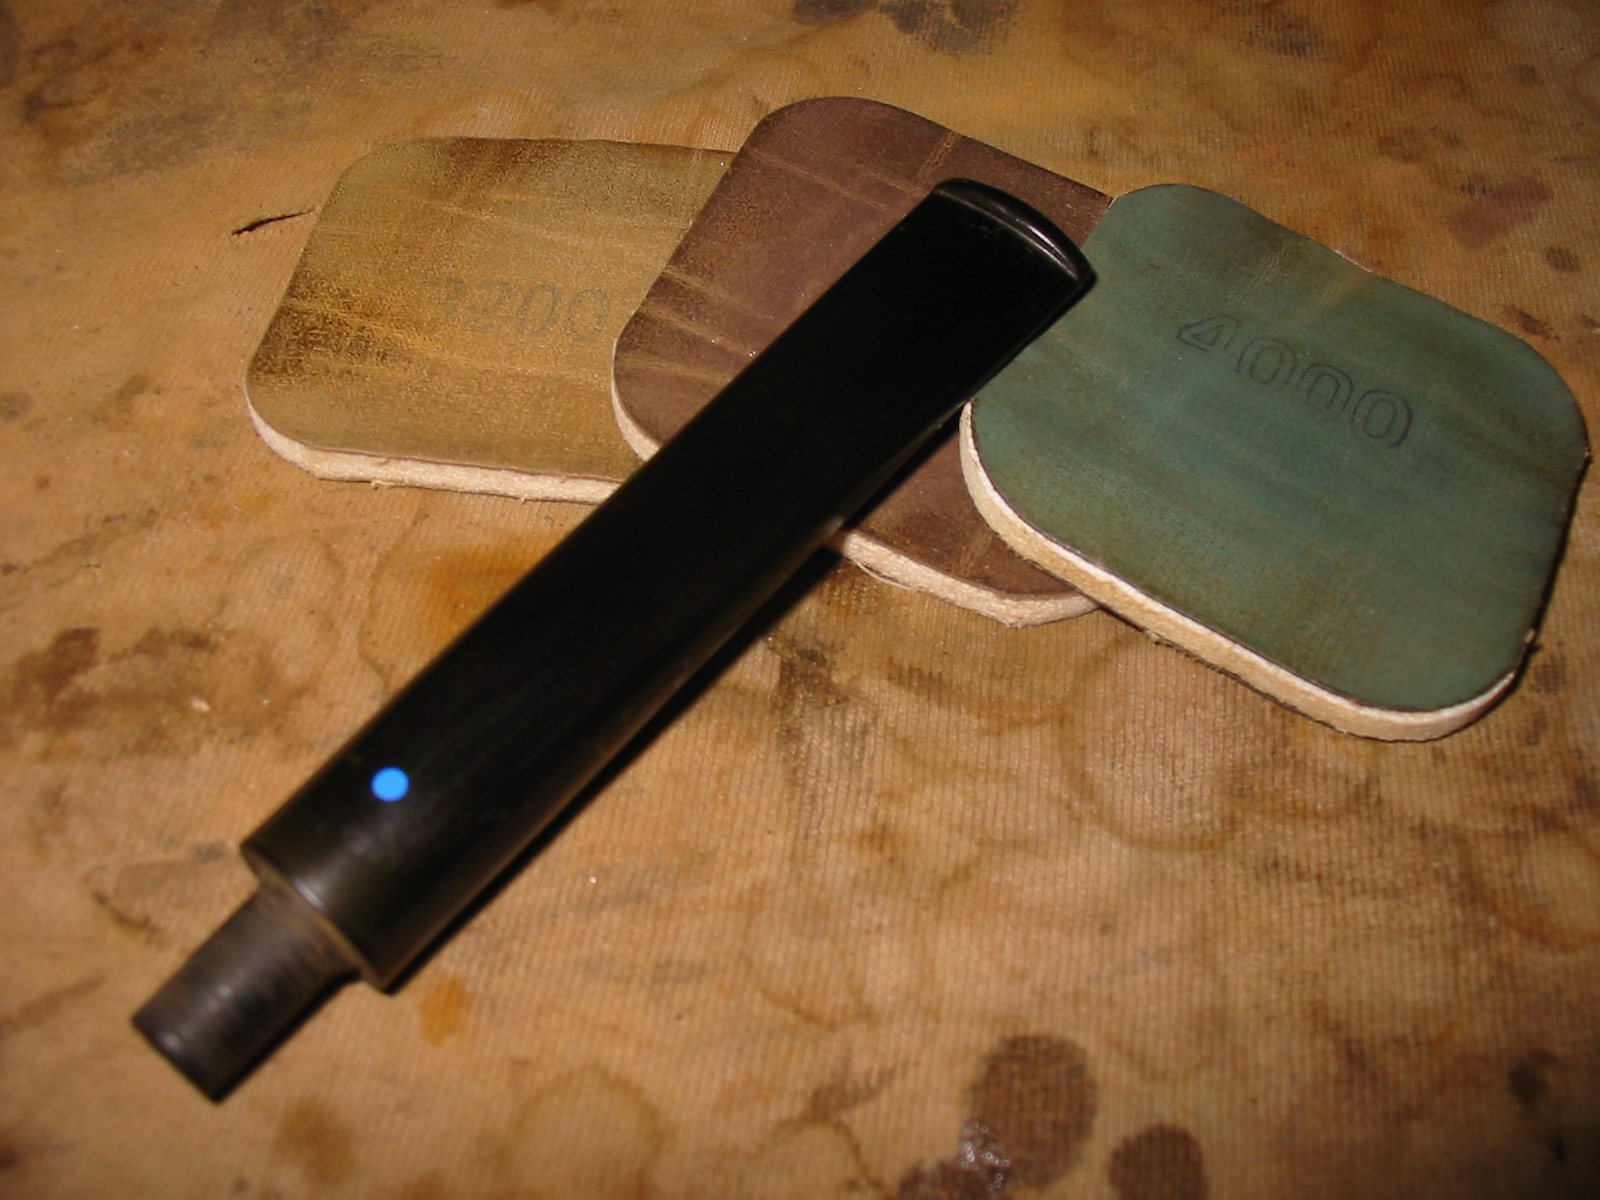
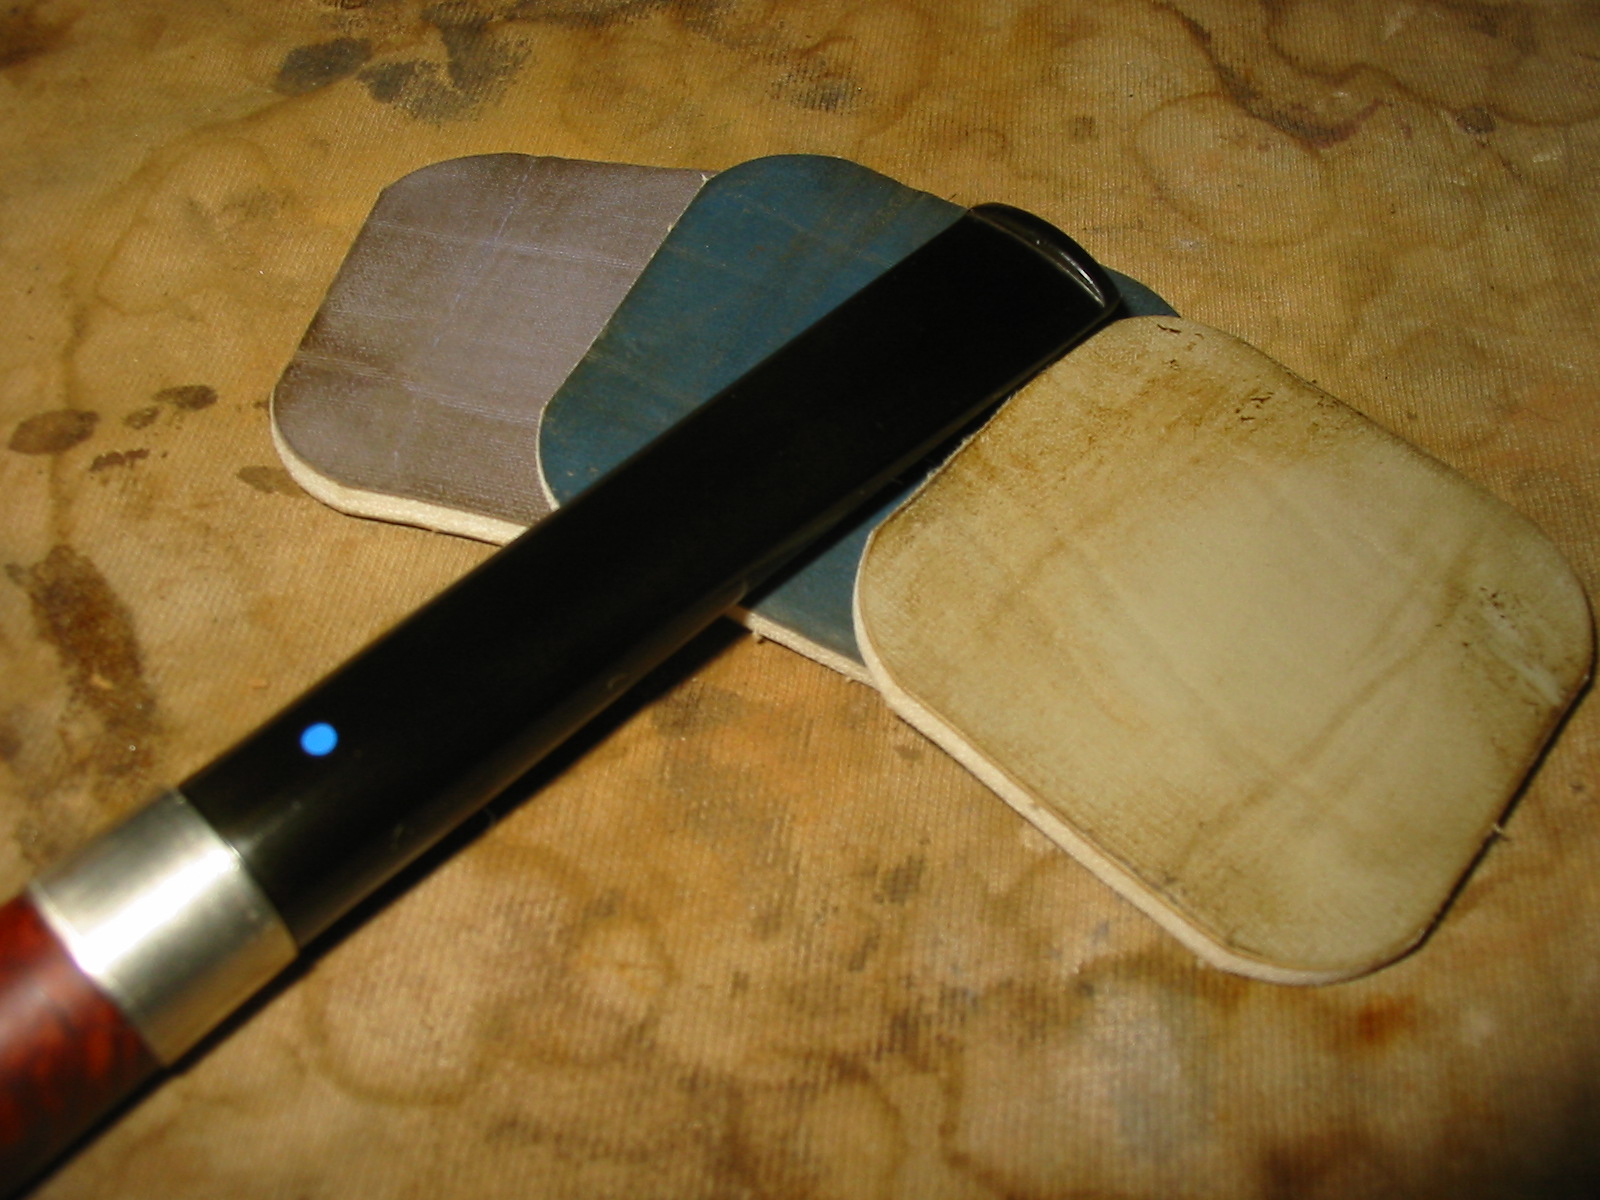
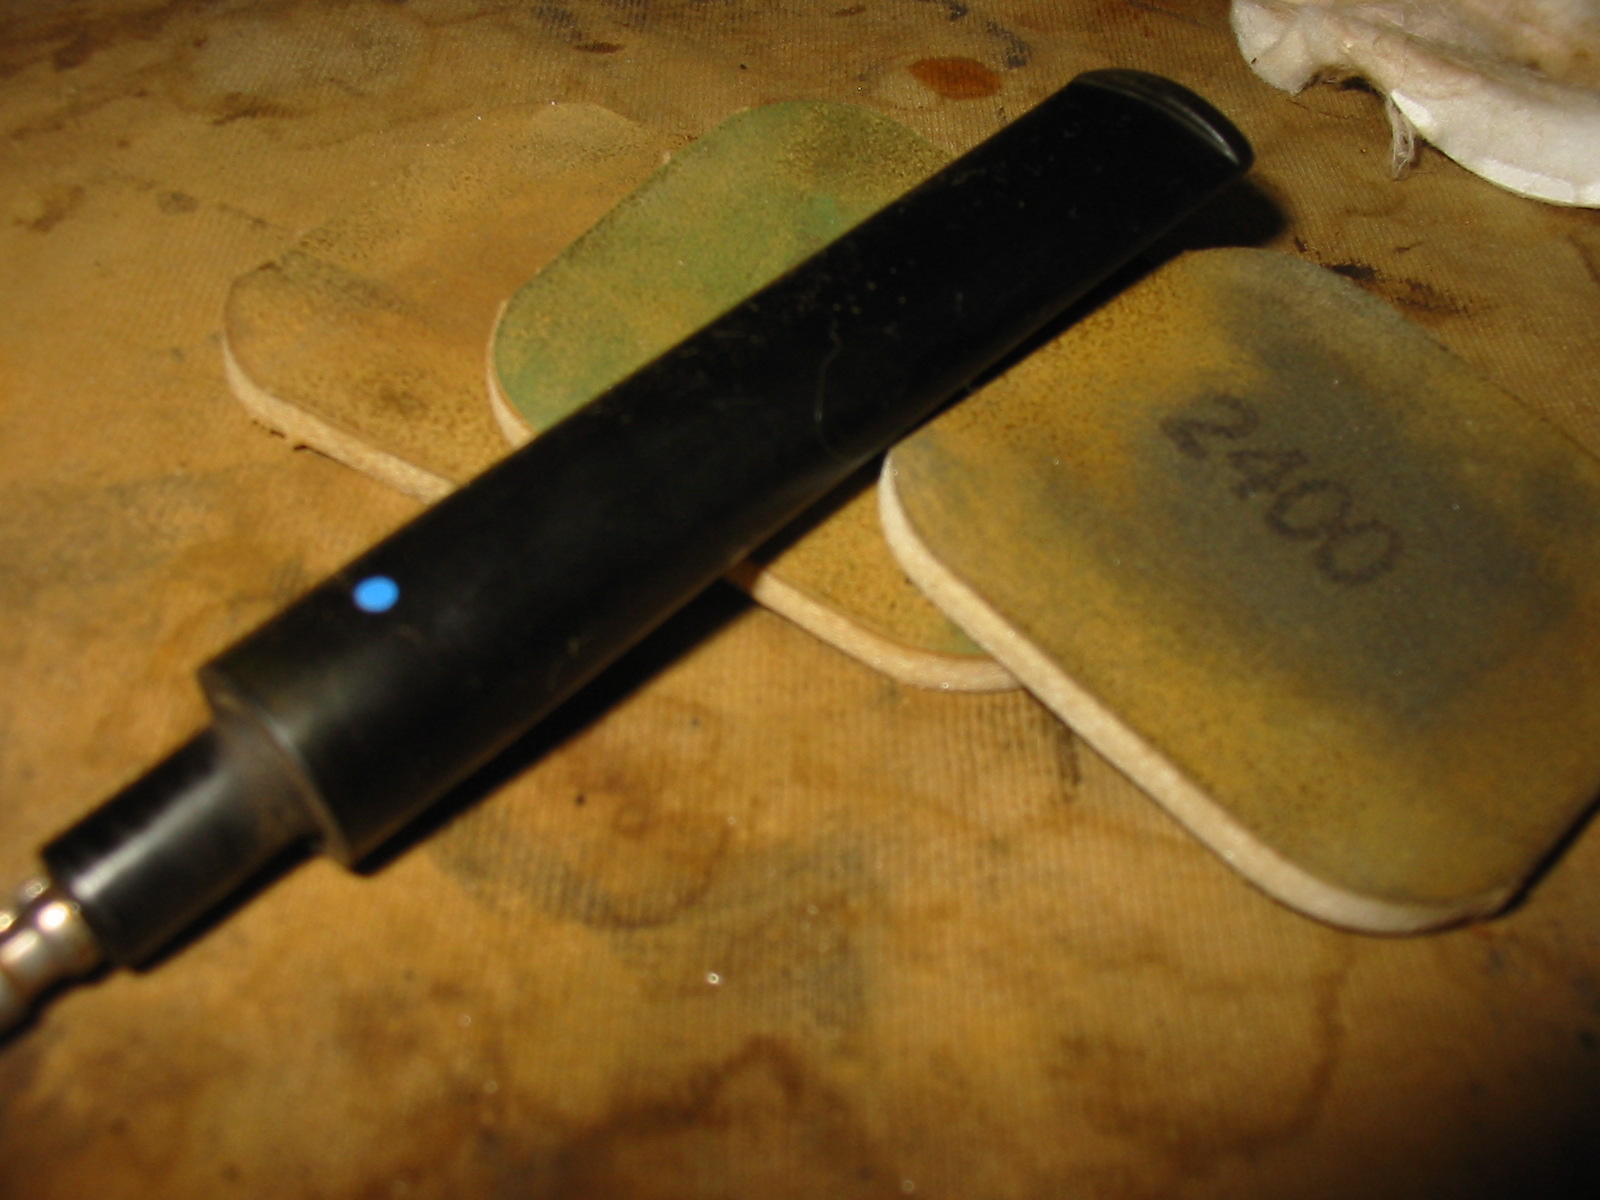
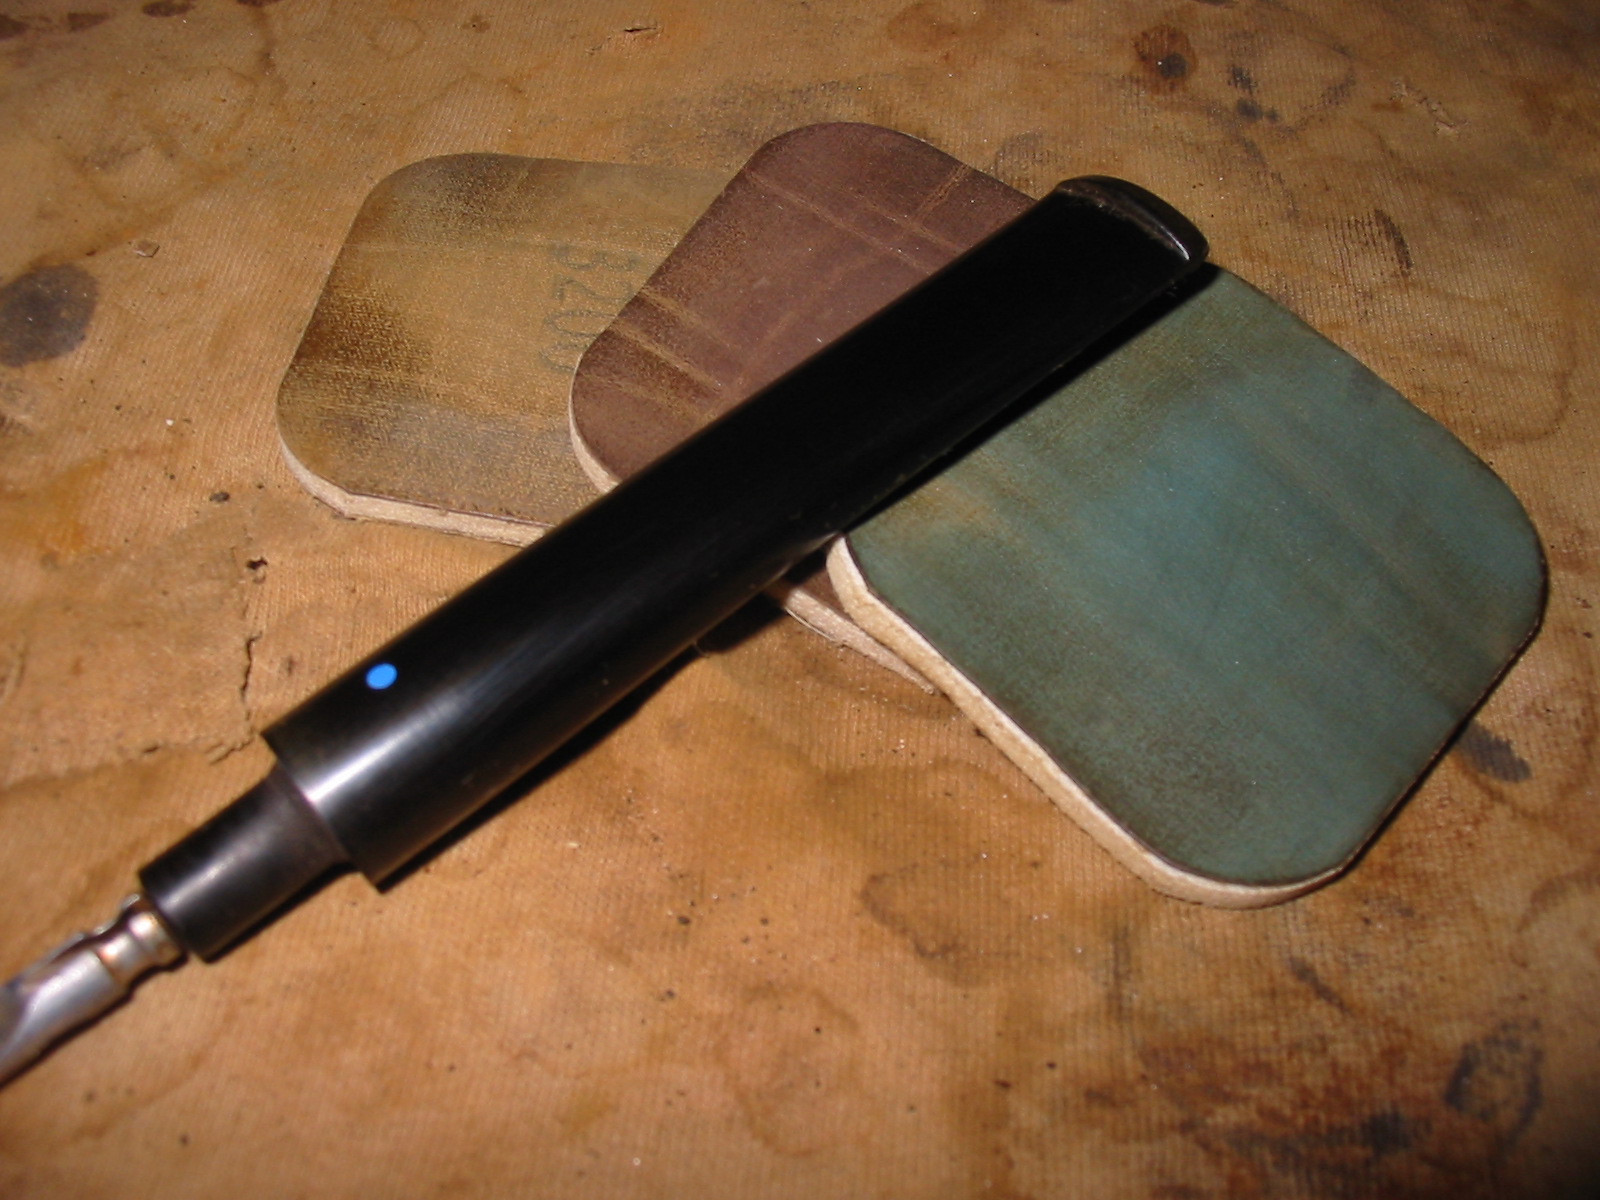
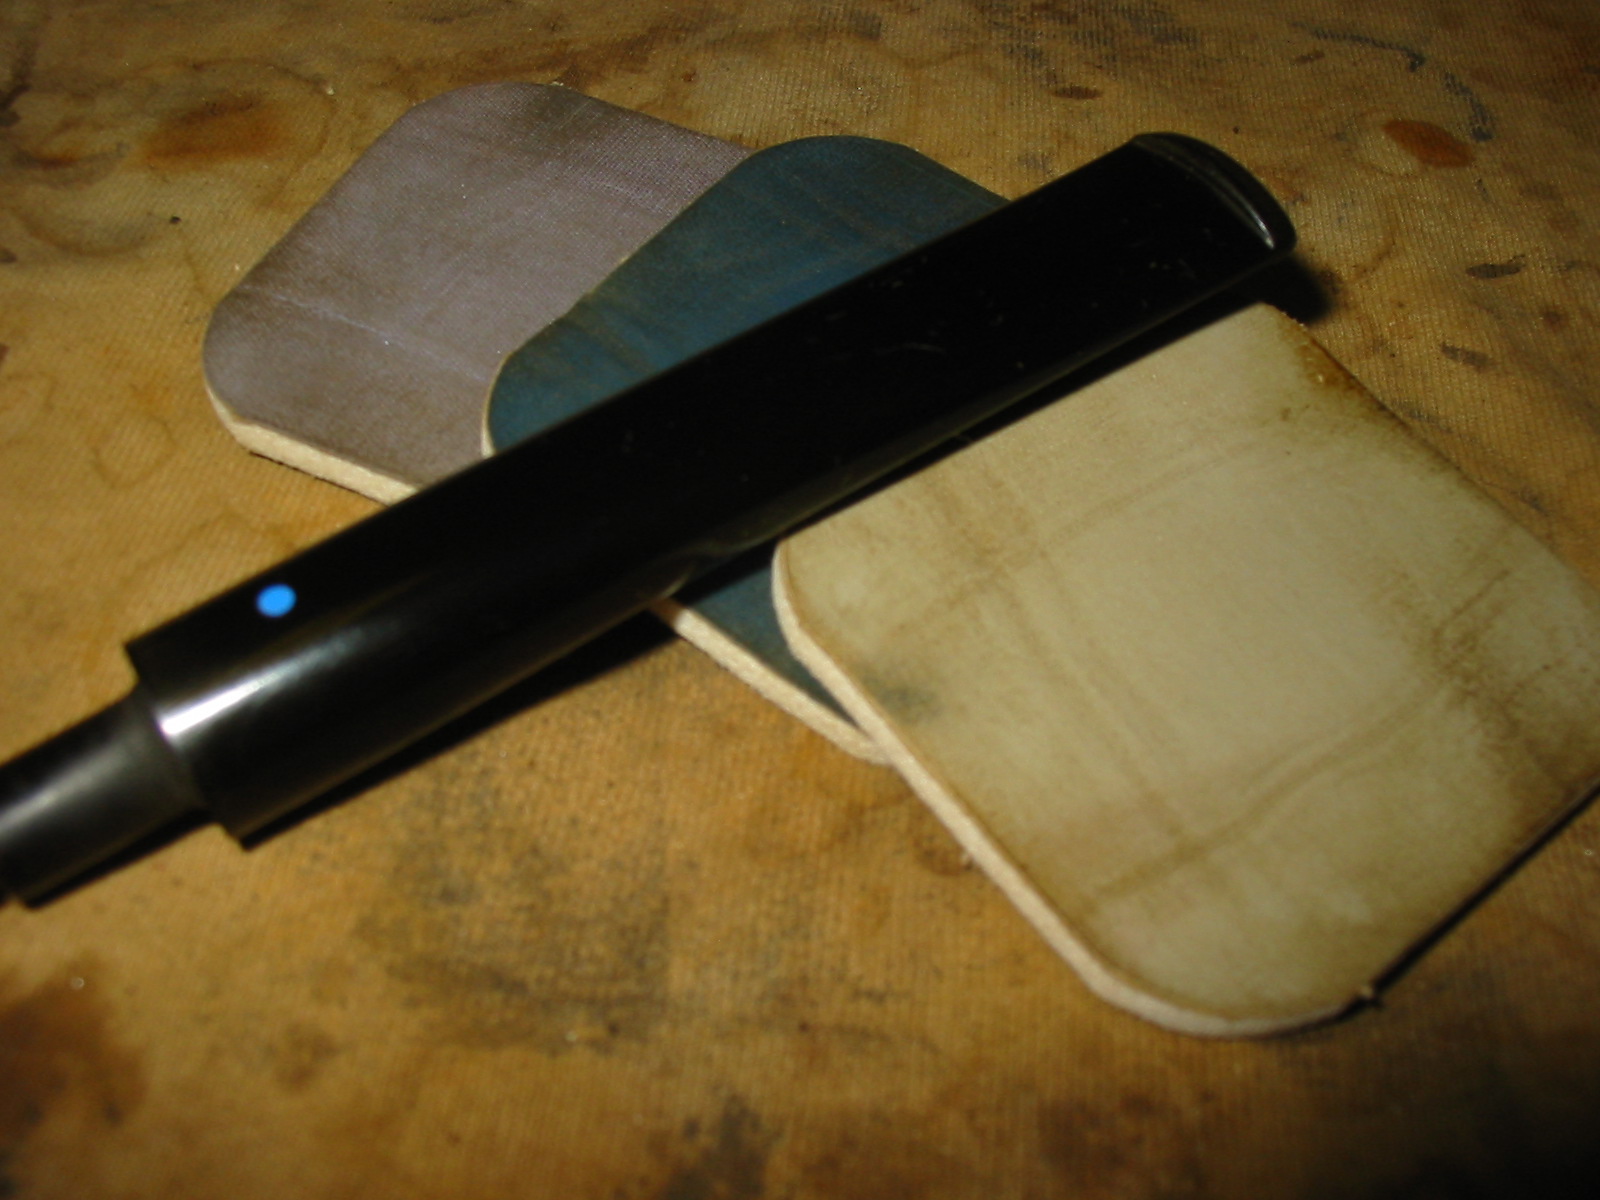
I worked on the stem with my usual regimen of micromesh sanding pads – wet sanding with 1500-2400 grit pads and dry sanding with 3200-12,000 grit pads. I buffed the stem with White Diamond after using the 12,000 grit pad and then rubbed it down with Obsidian Oil. I hand buffed it before putting it back in the shank of the pipe. I also used the micromesh pads to polish the nickel band before I buffed the pipe. I used 2400-4000 grit pads to polish the nickel and then rubbed it down with a silver polishing cloth.
IMG_3739

IMG_3740

IMG_3741

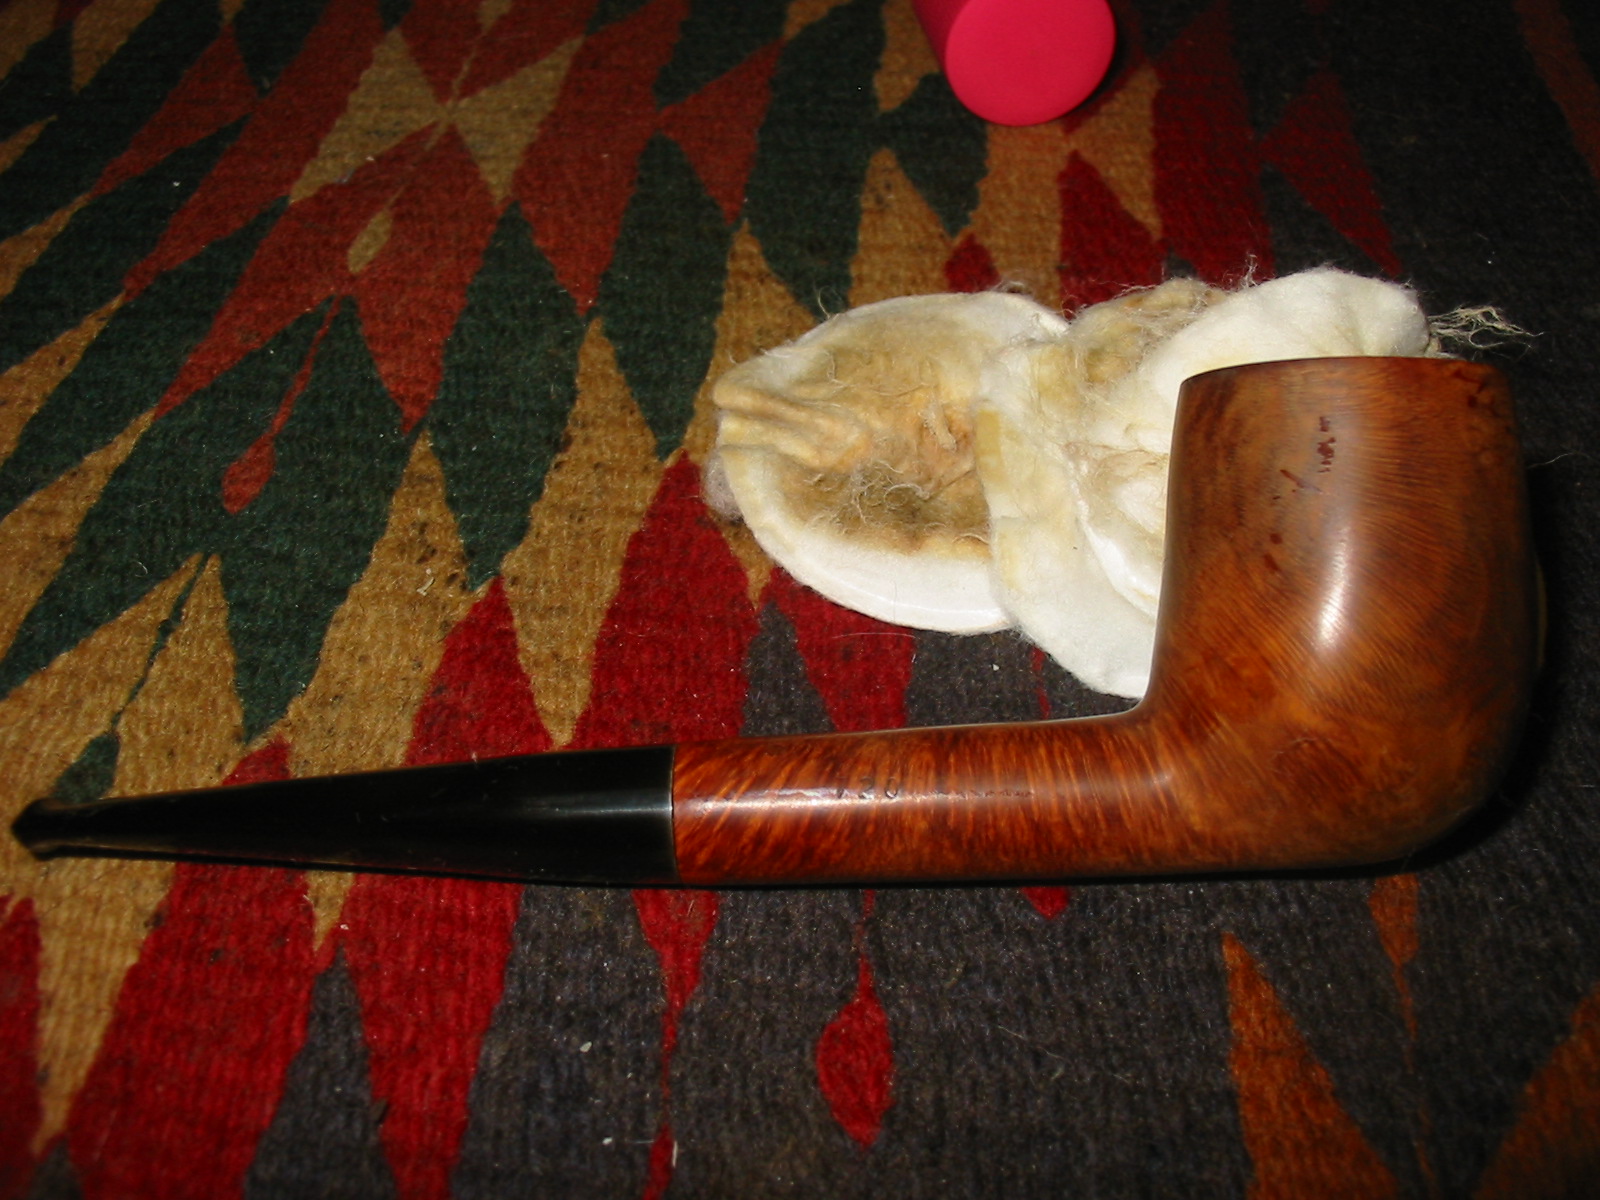
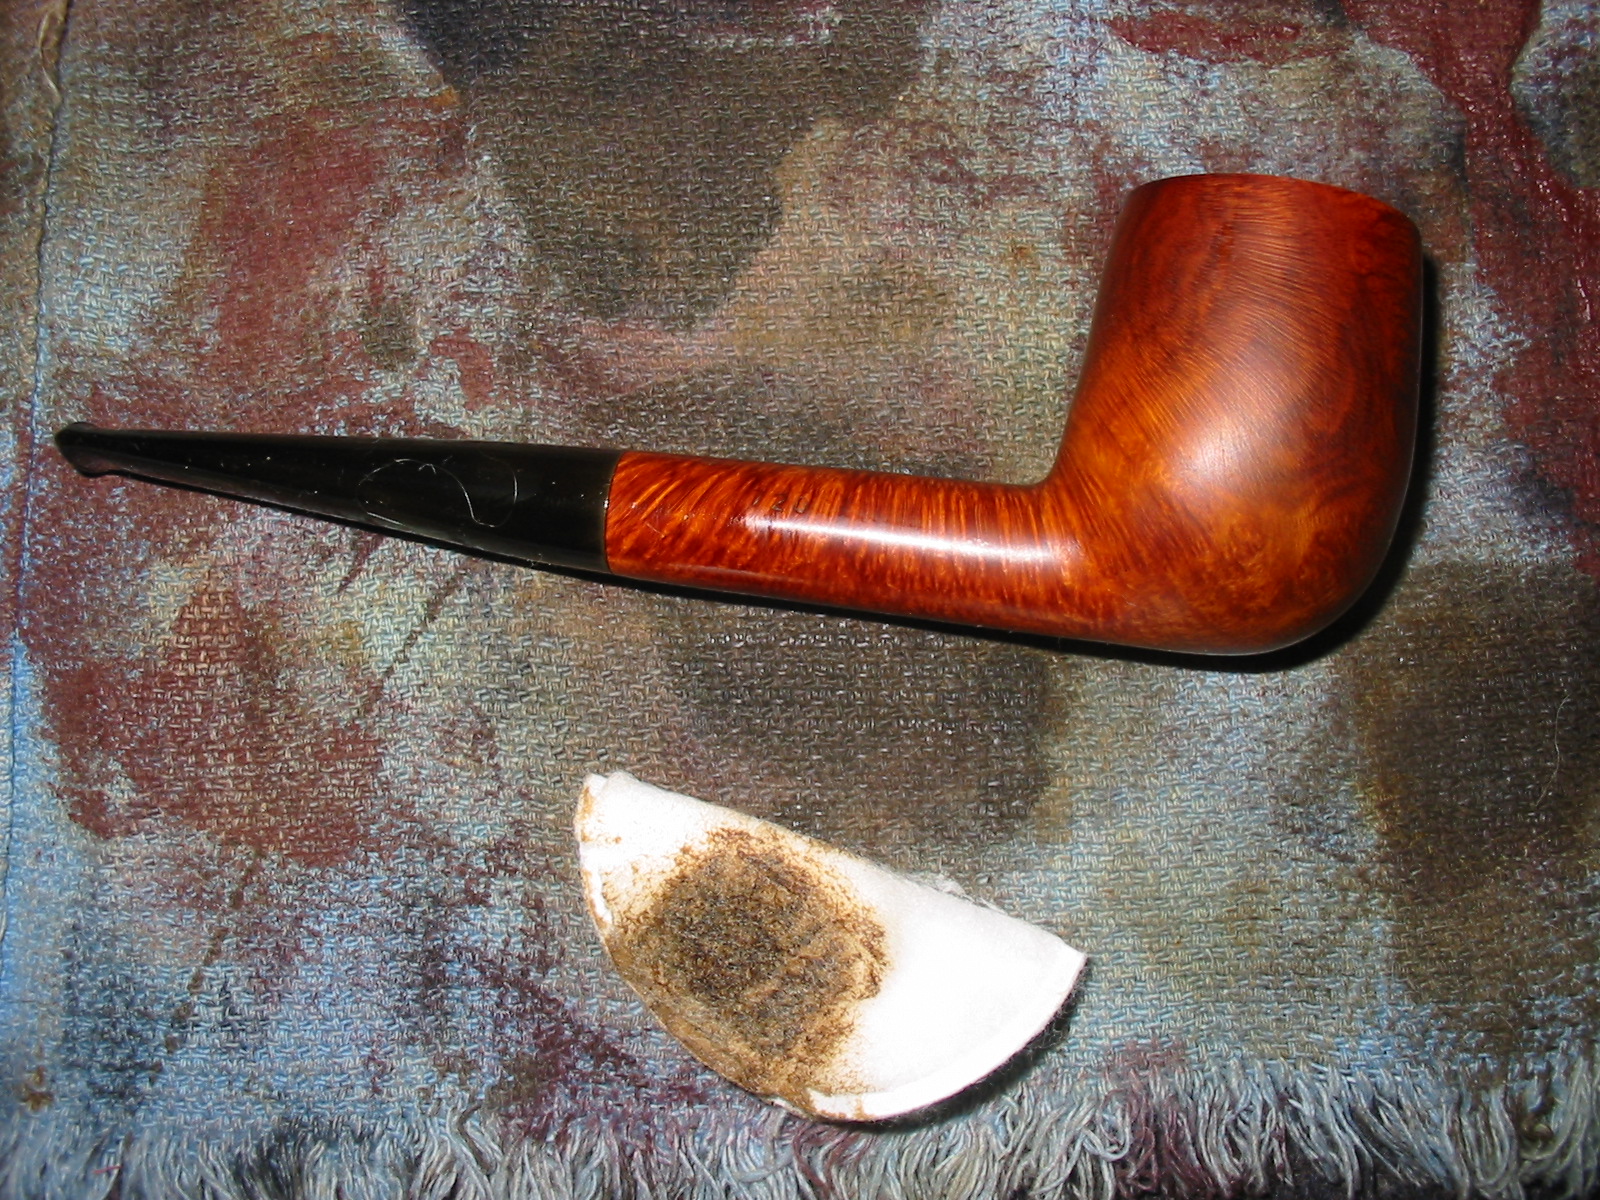
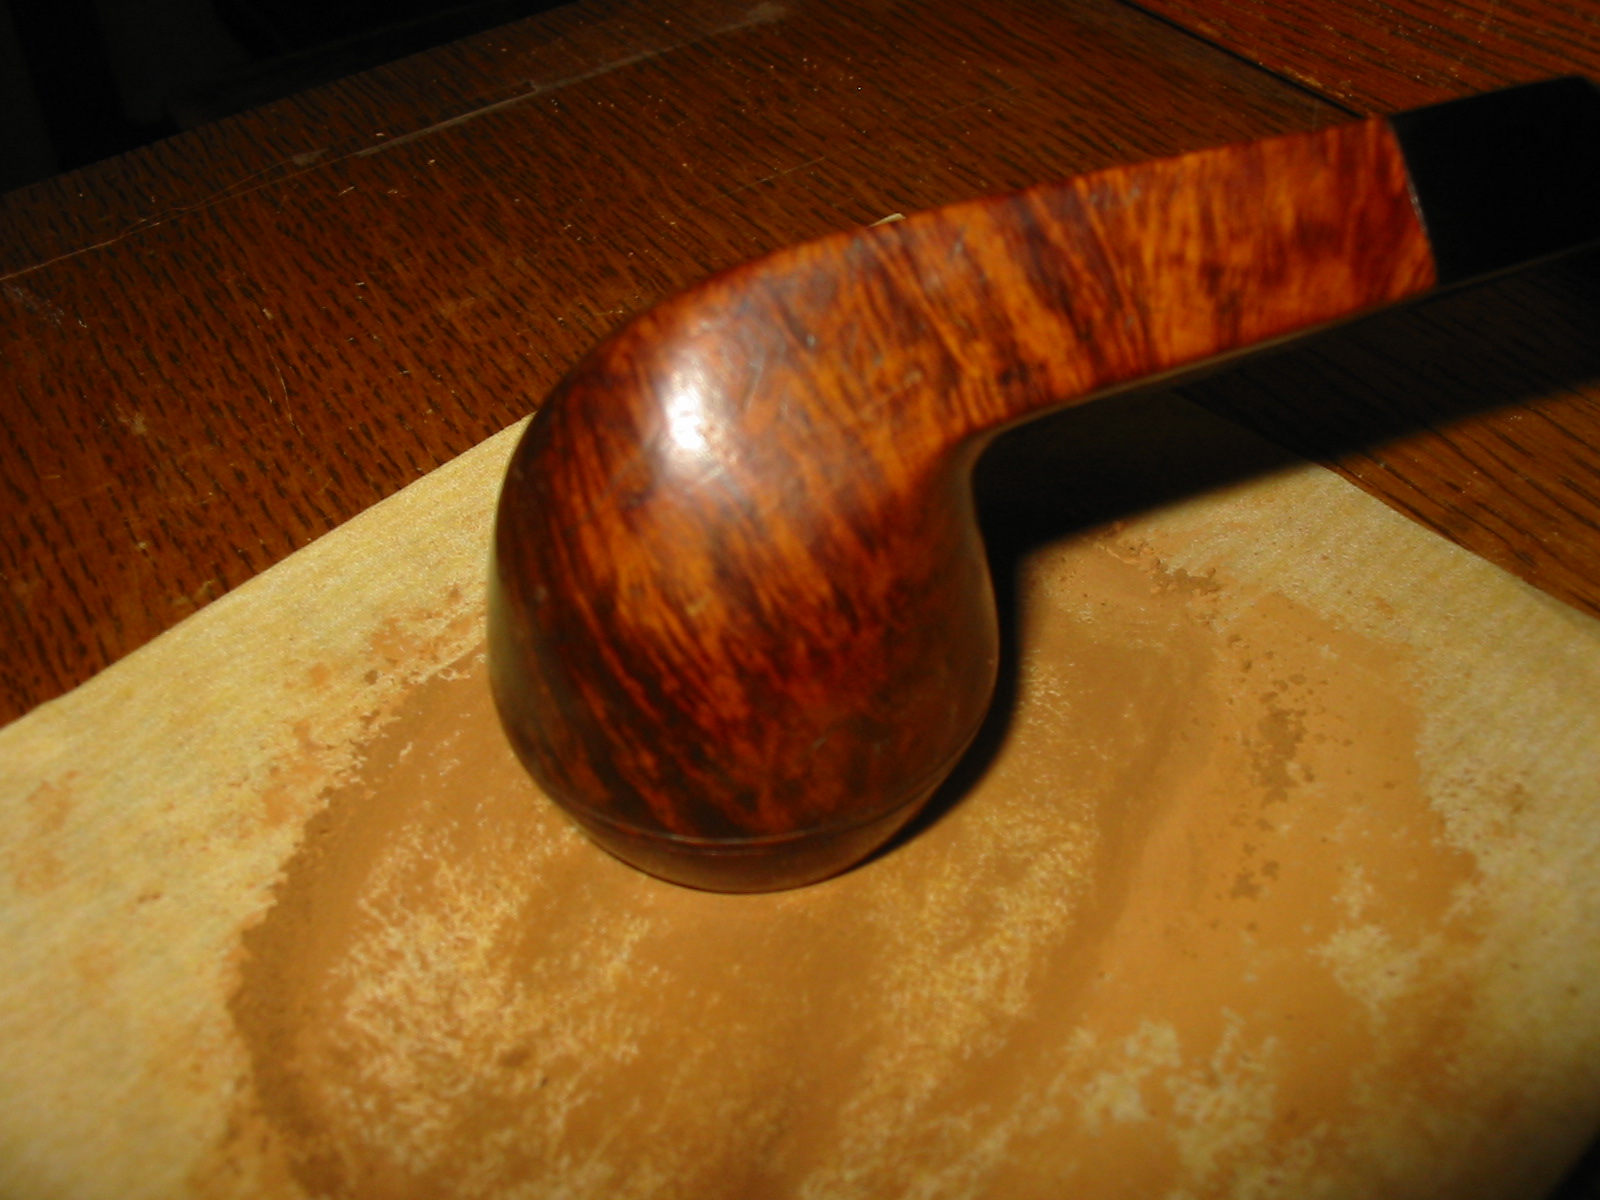
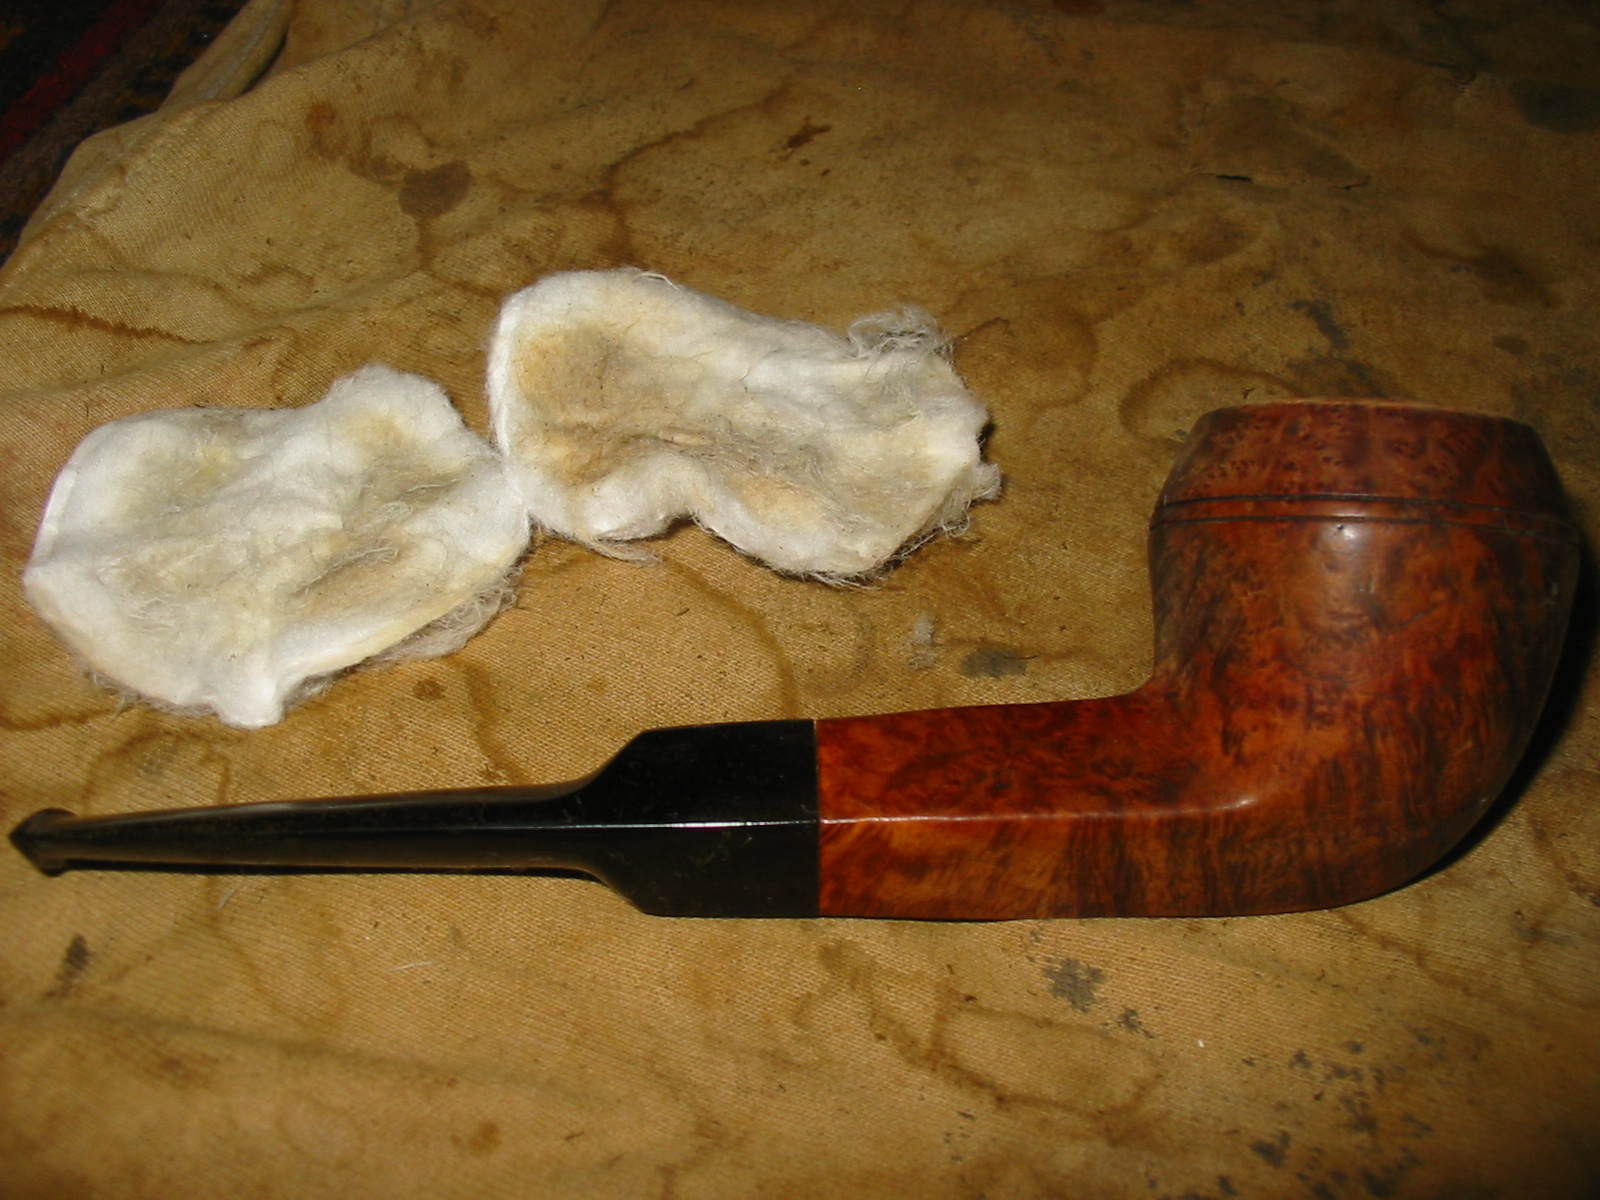
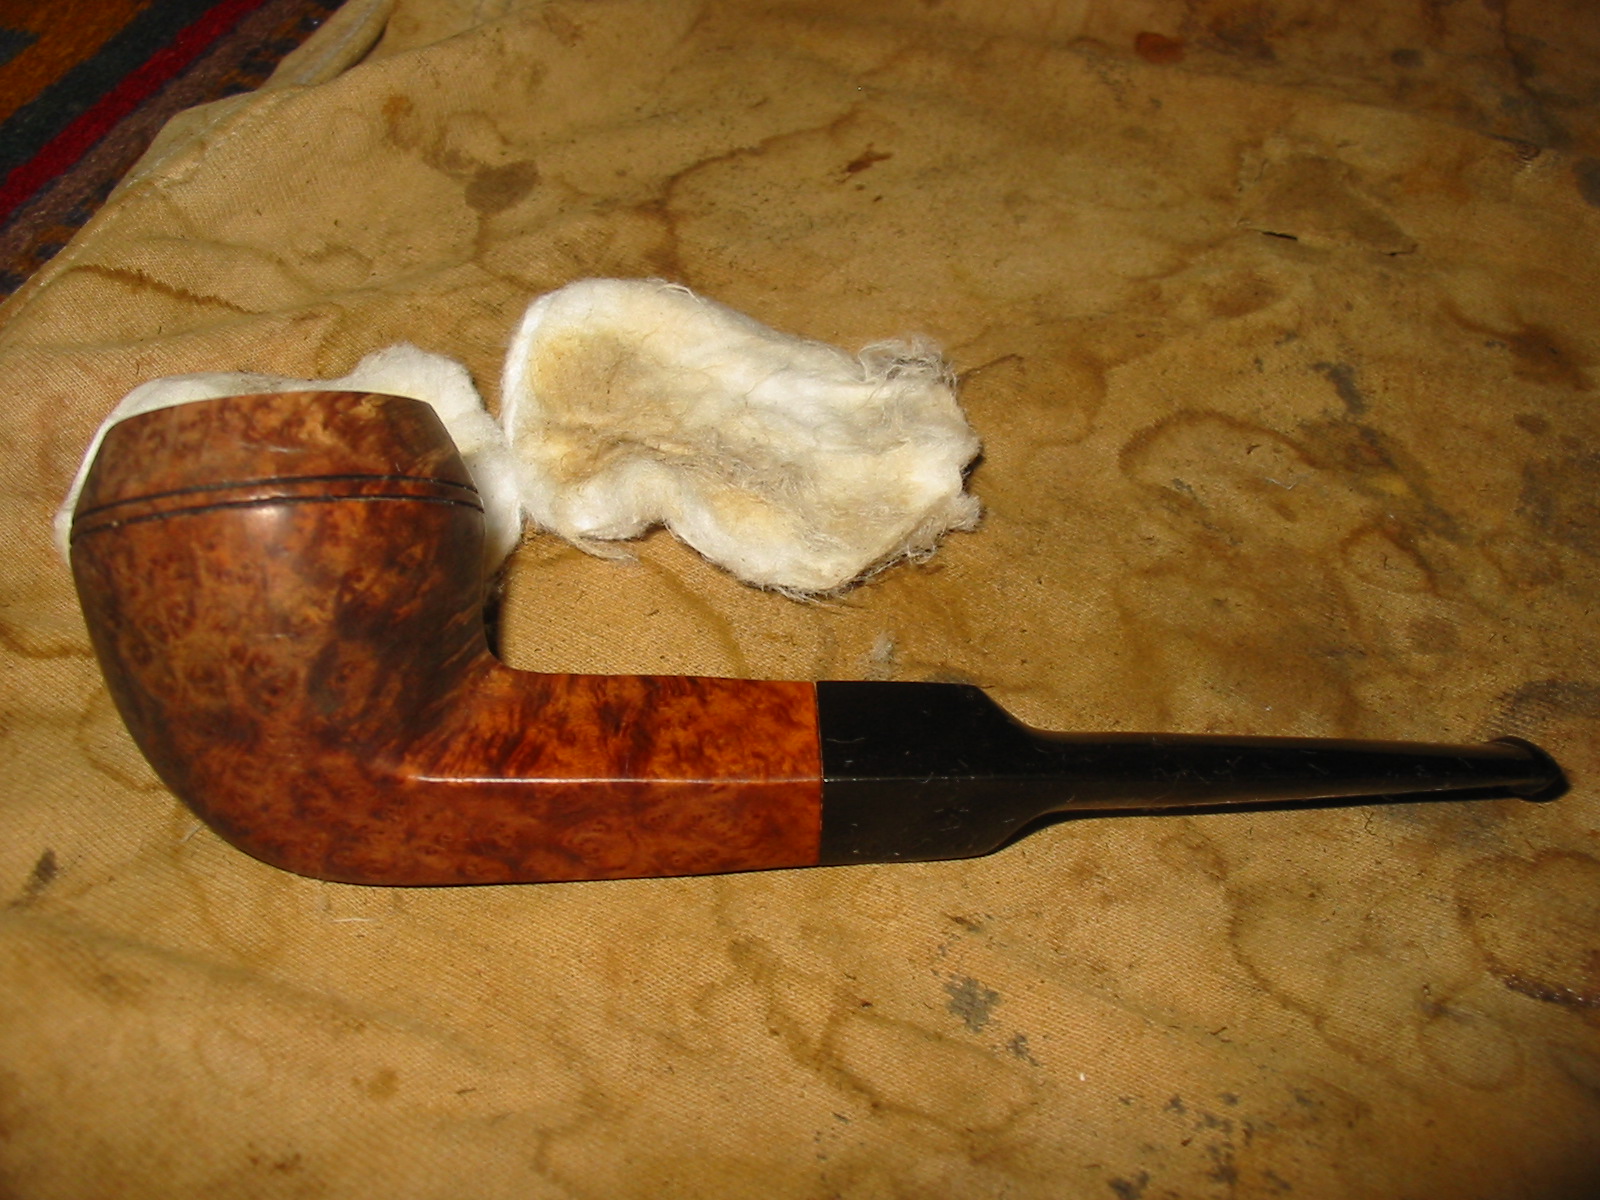
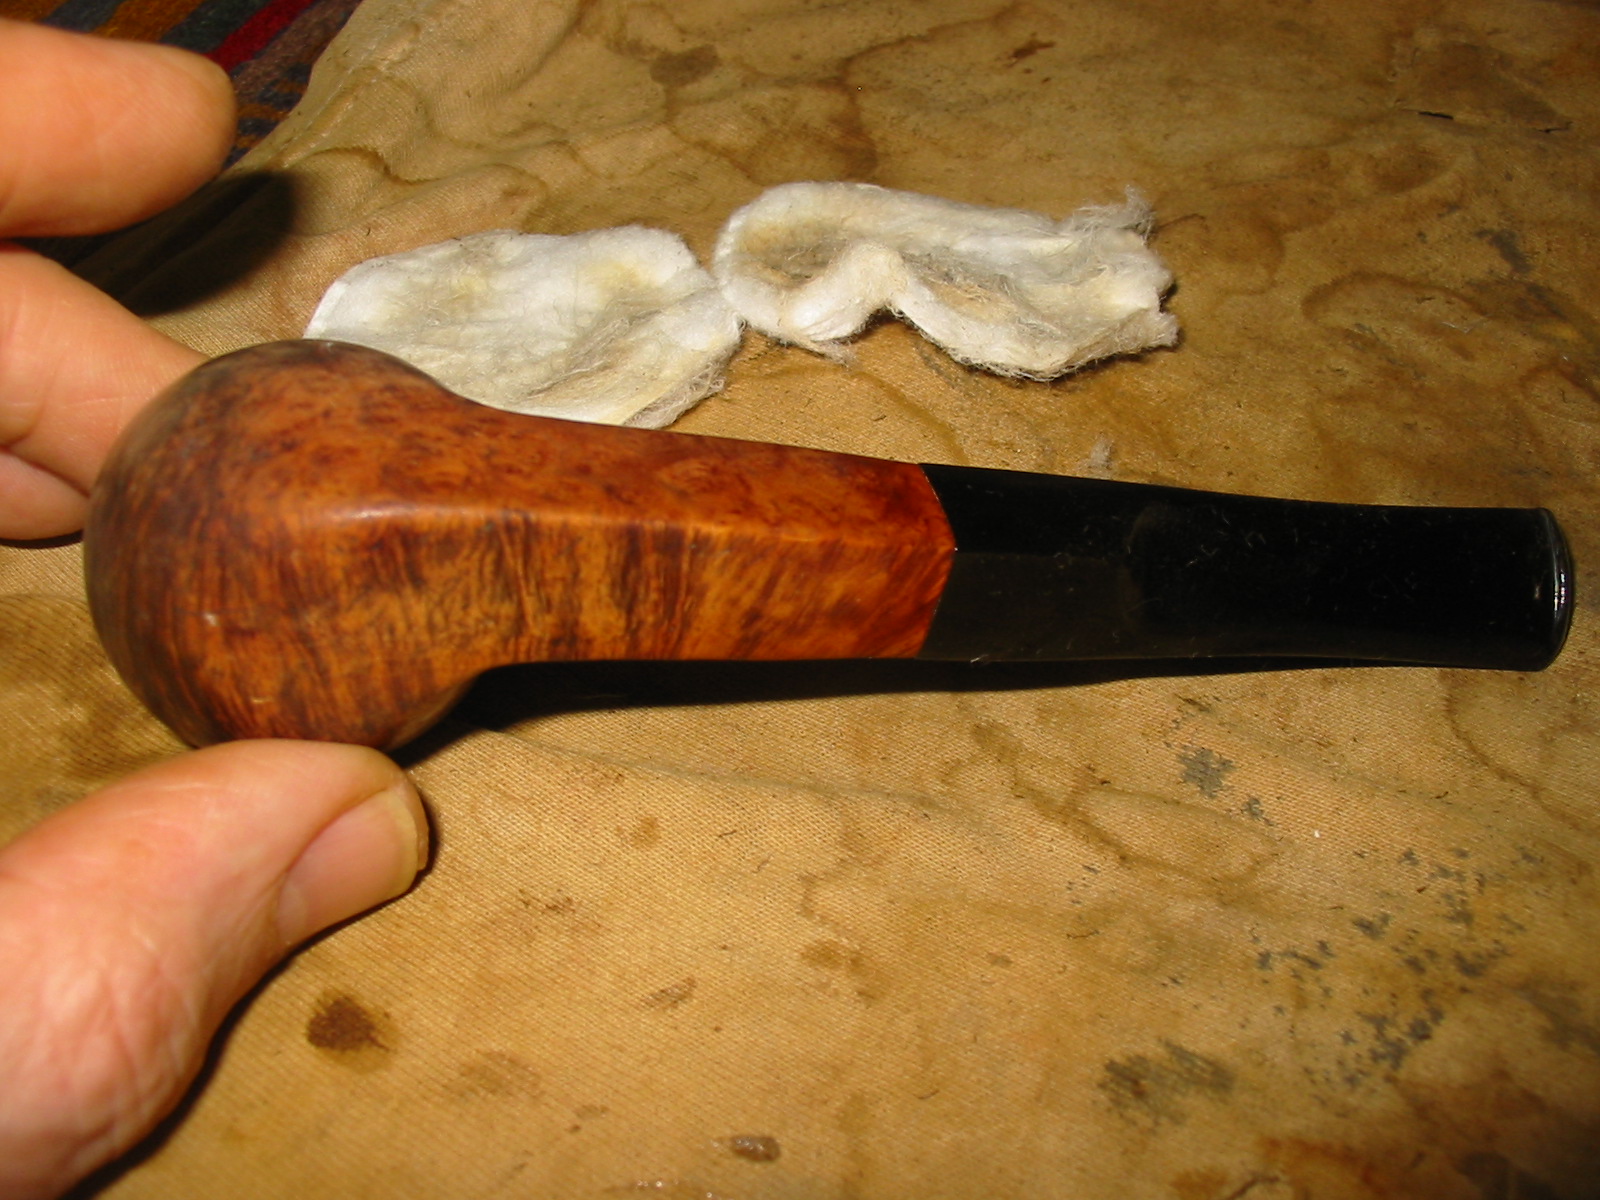
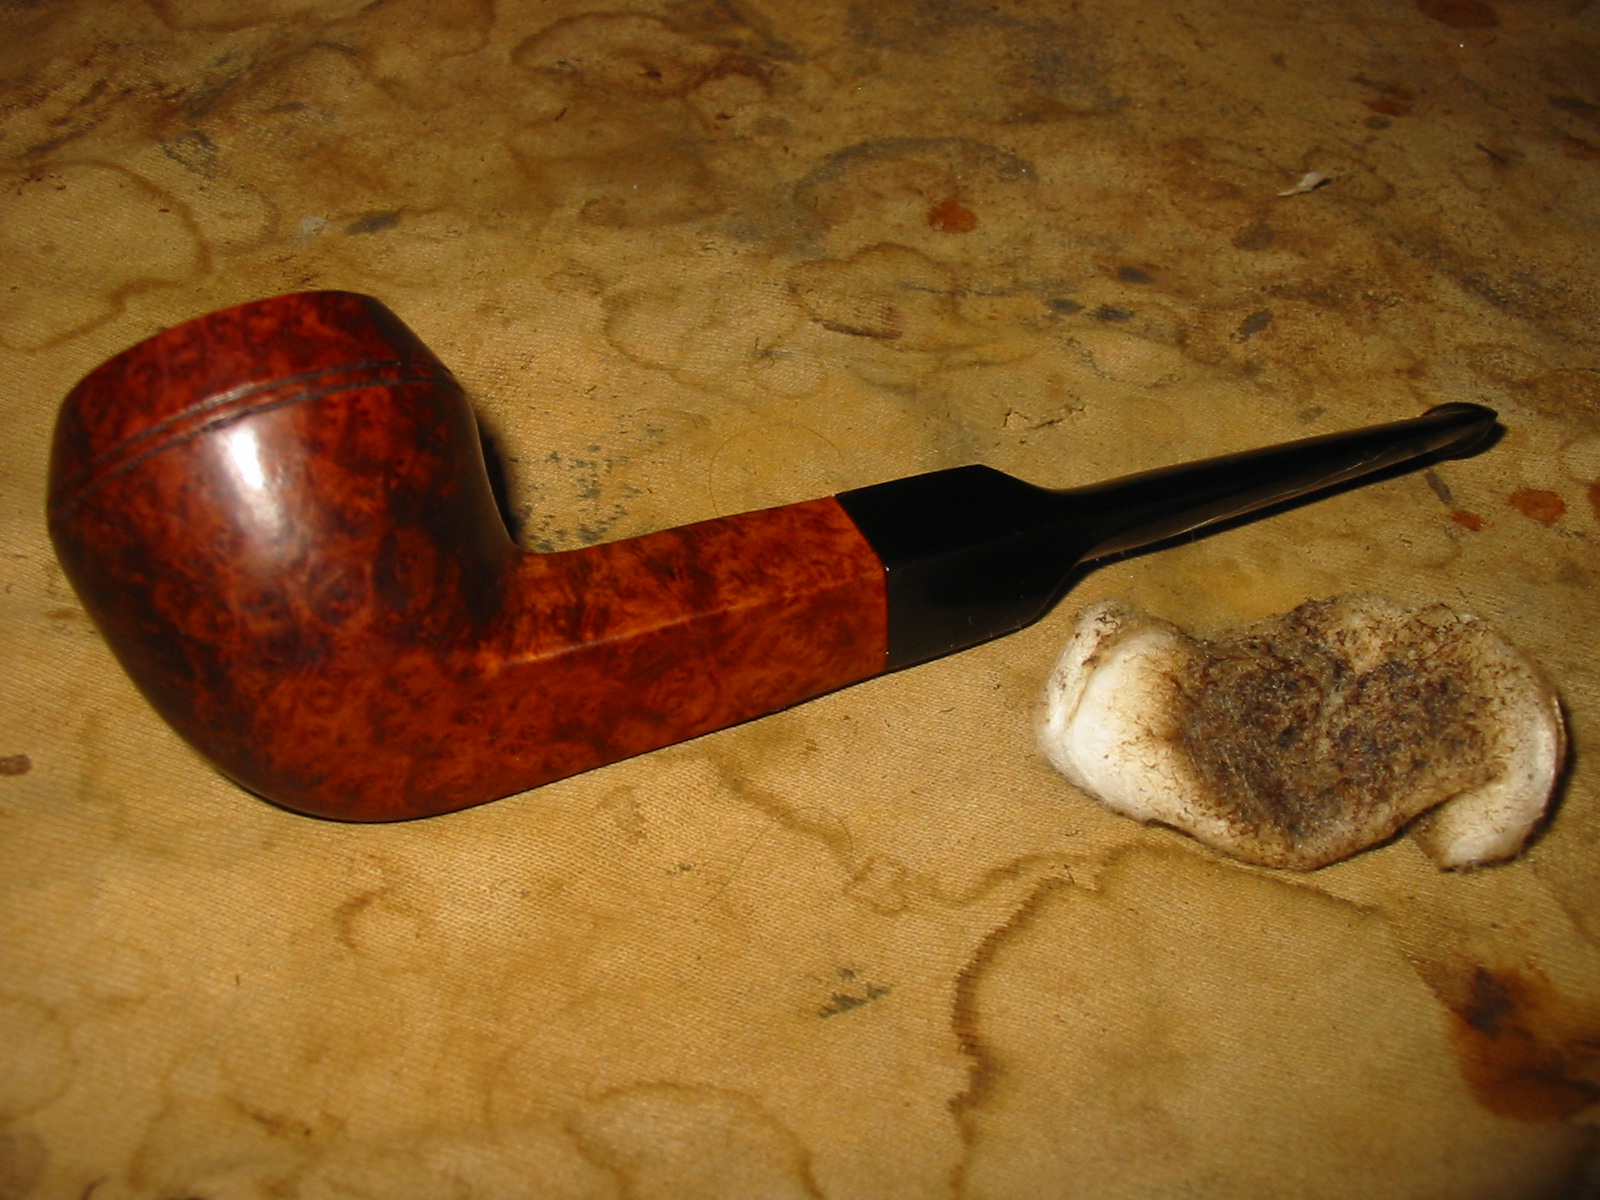
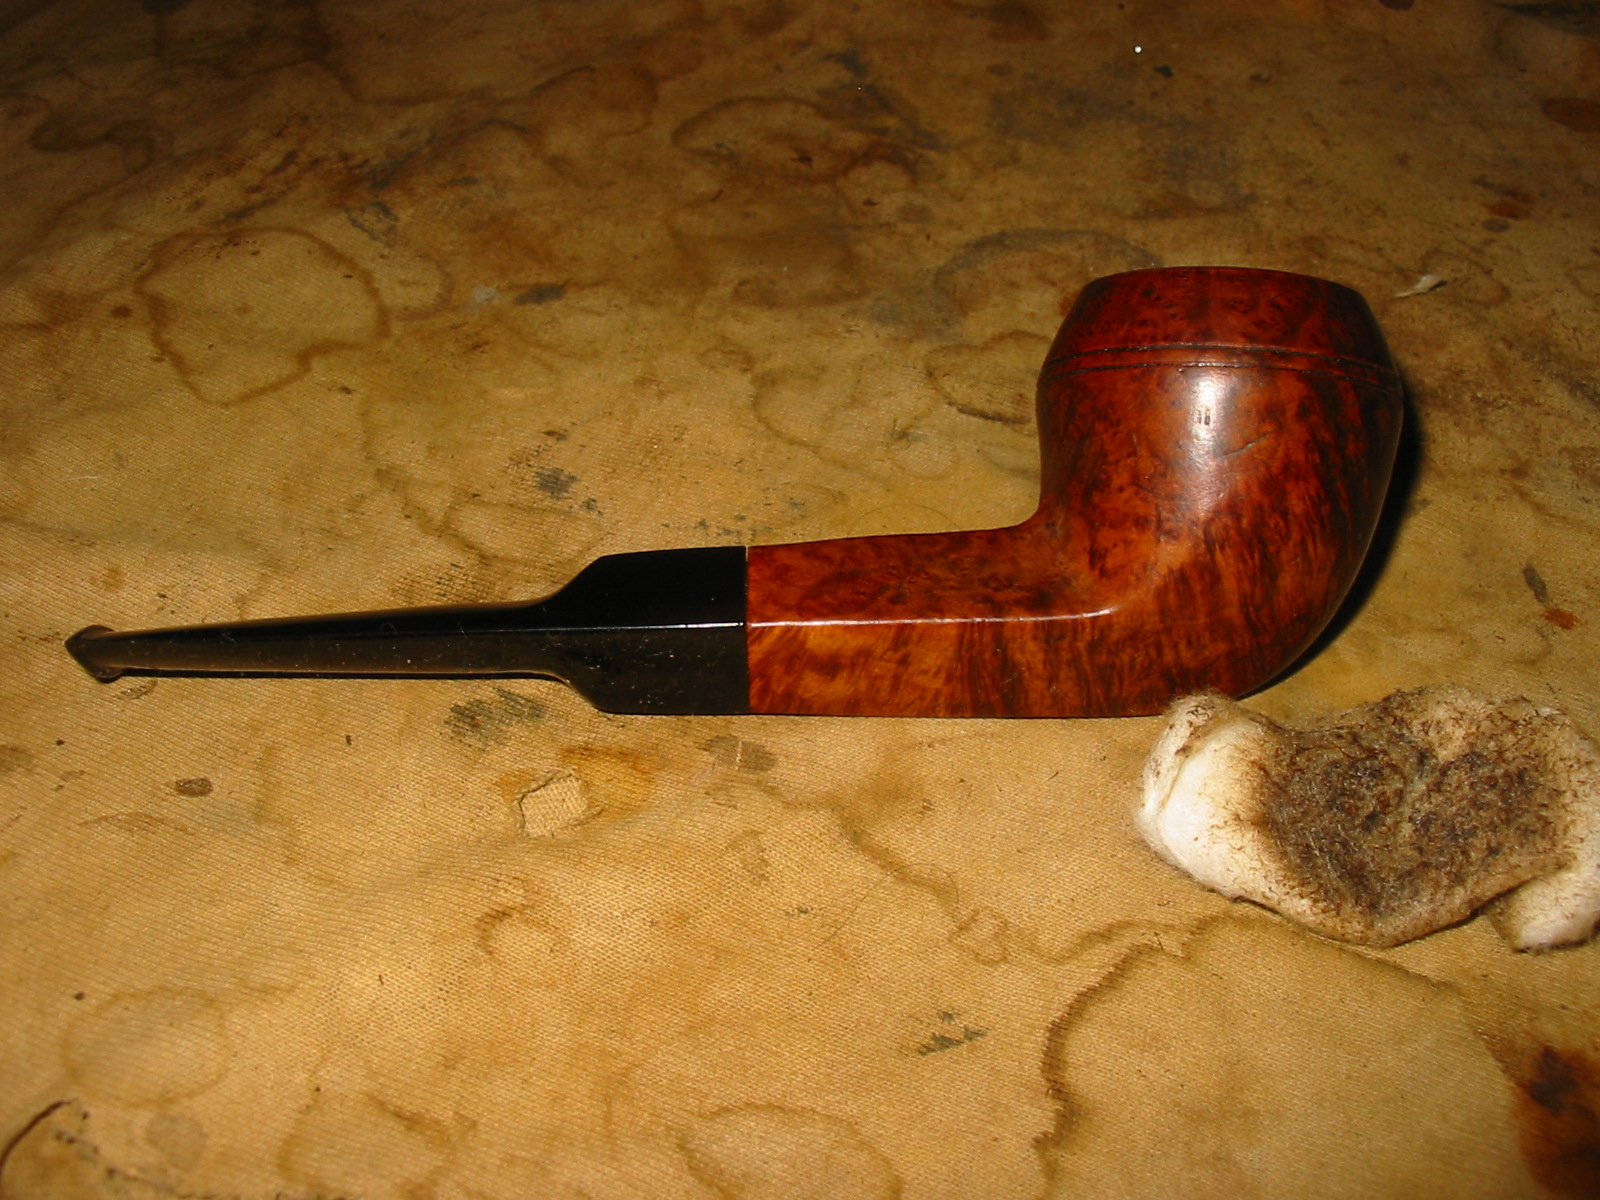
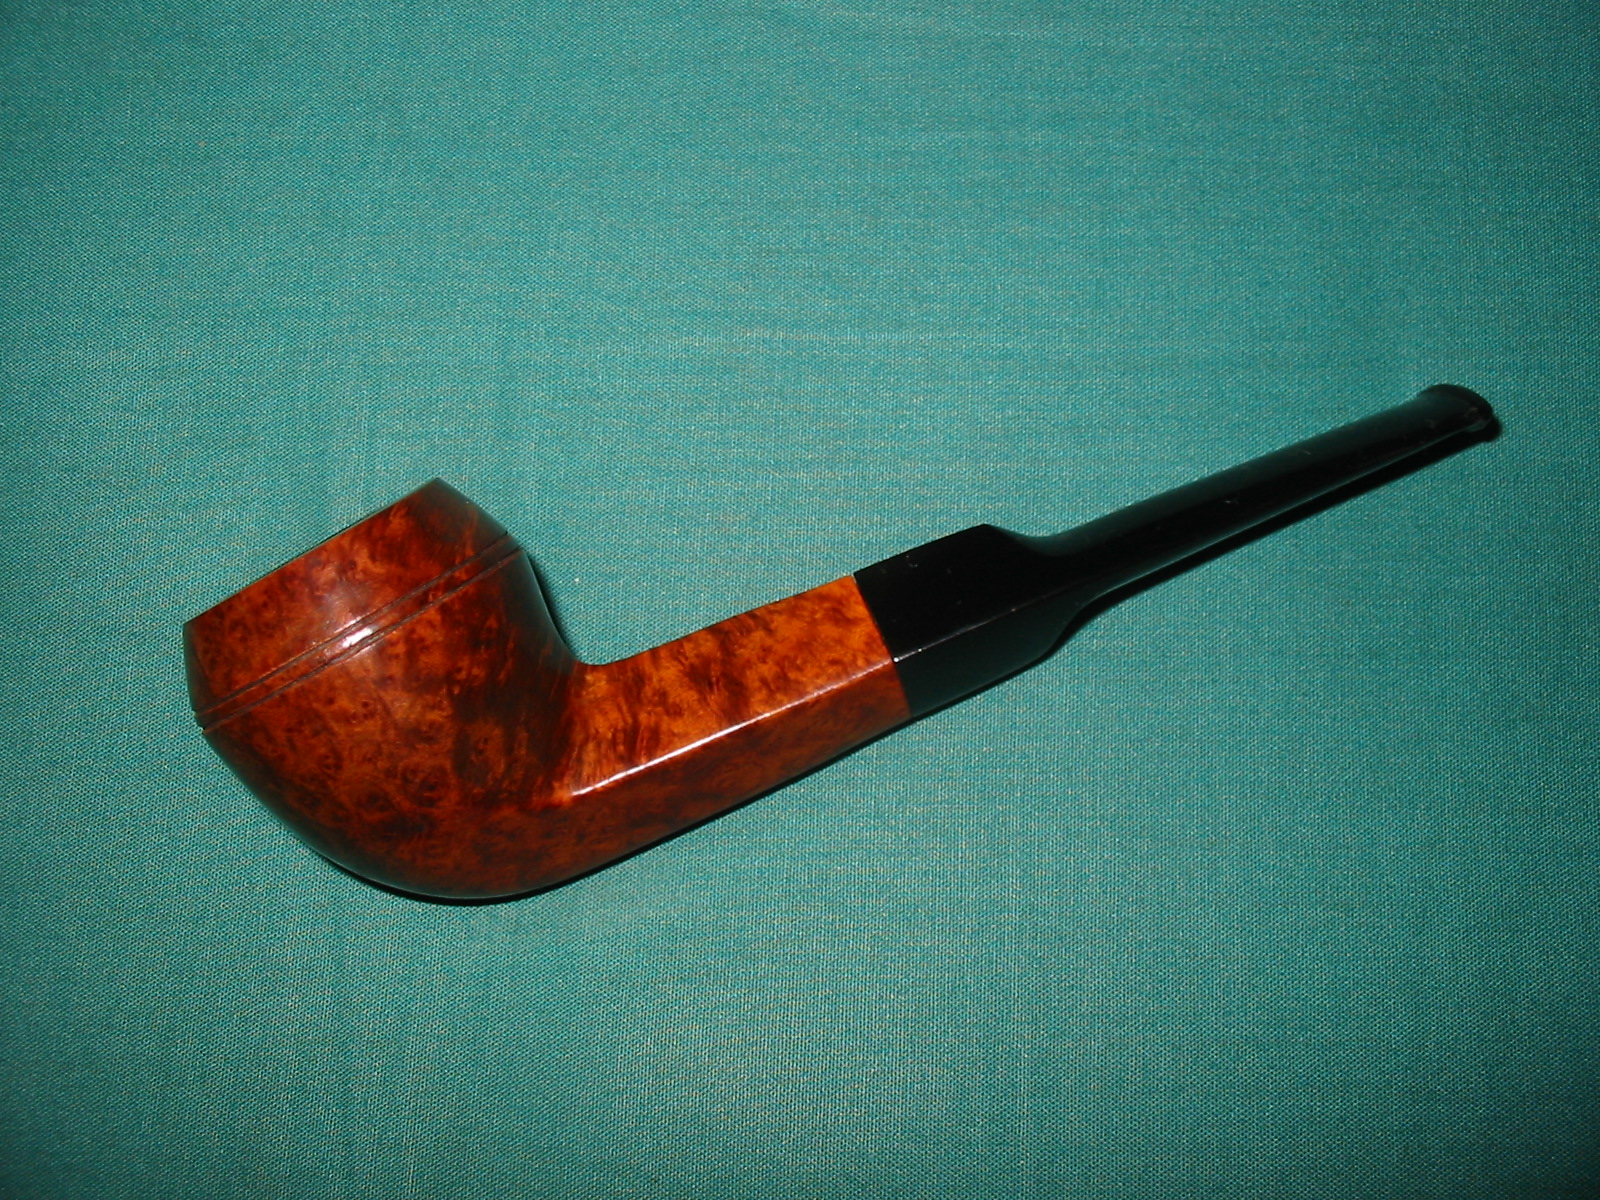
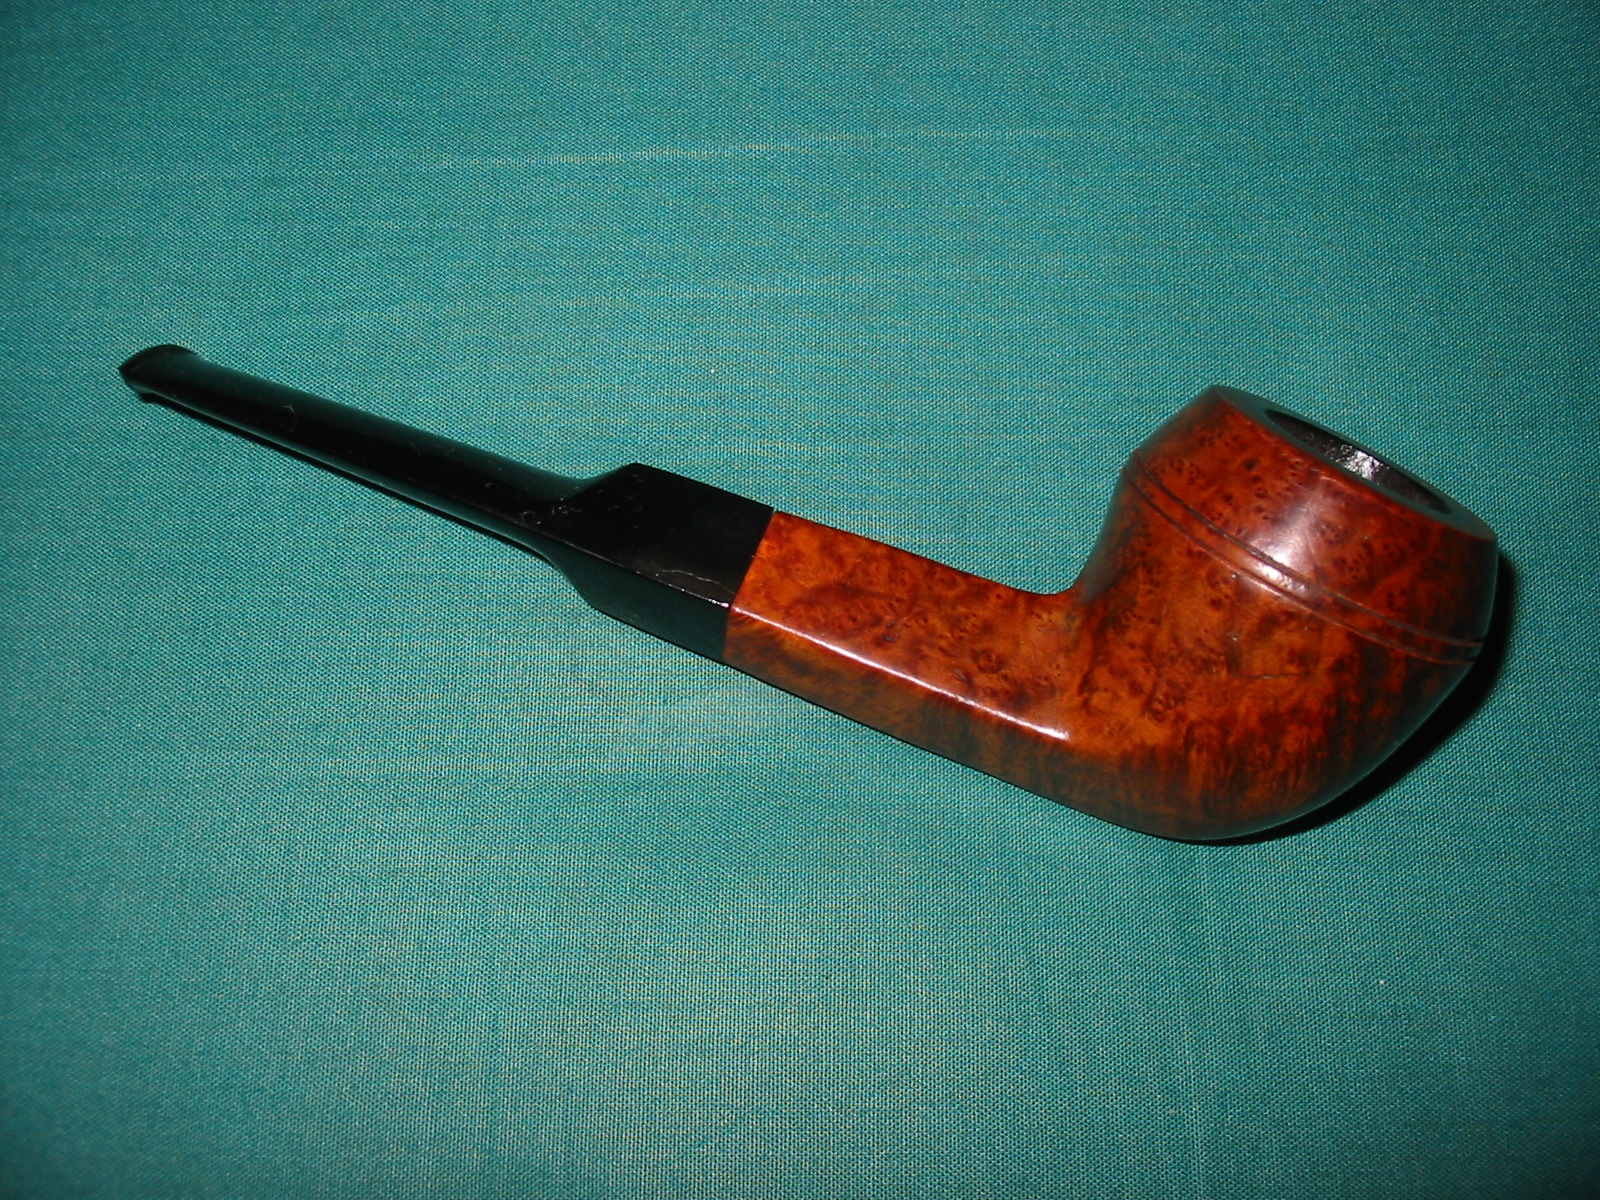
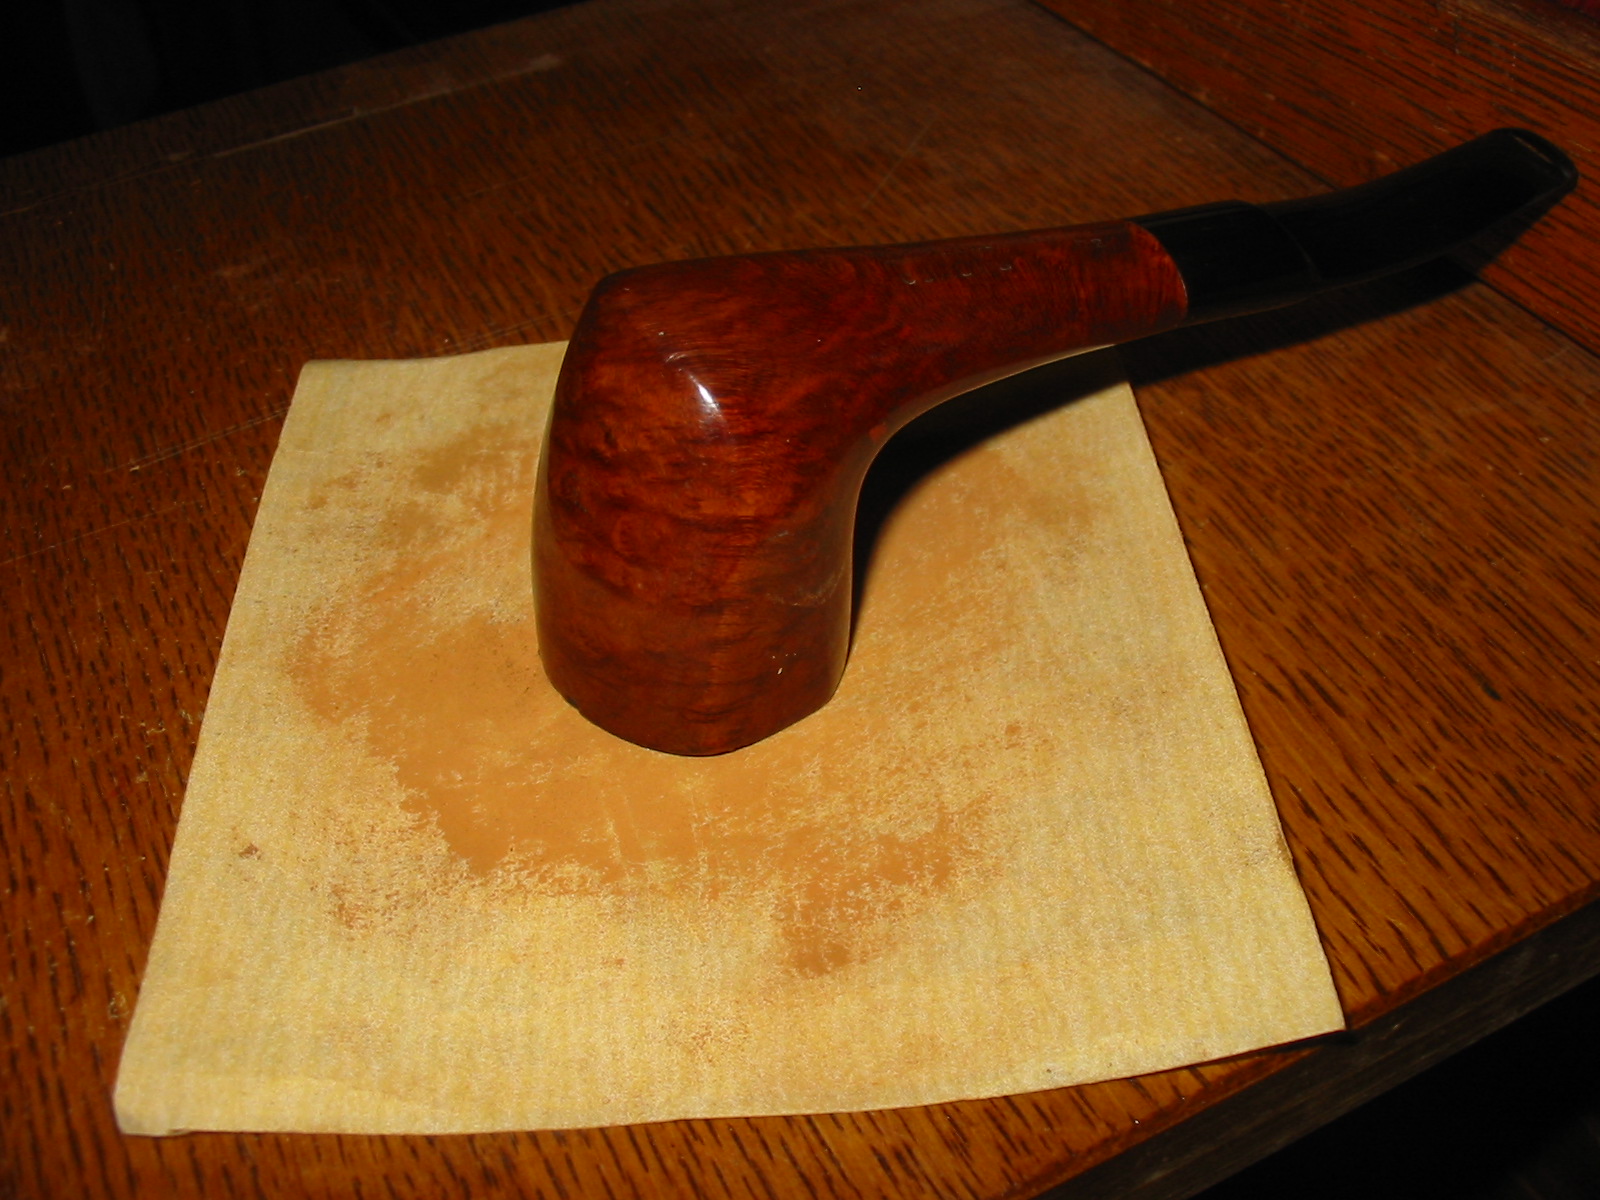
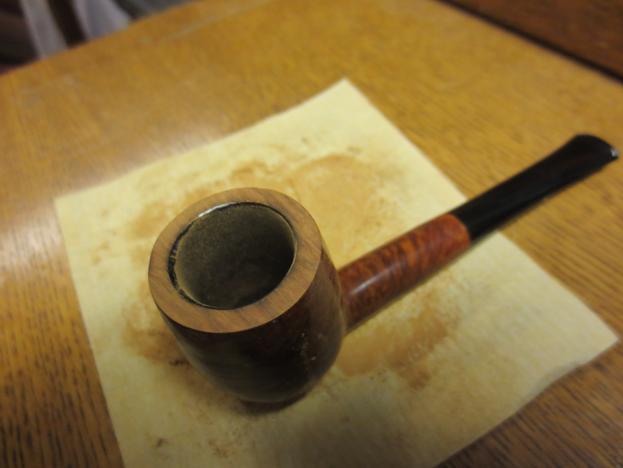
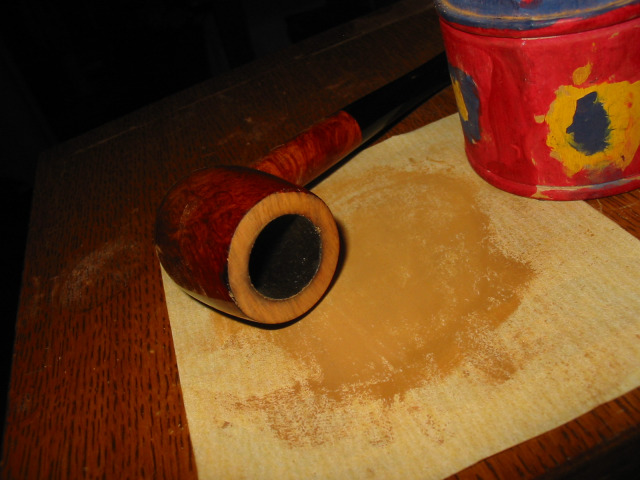
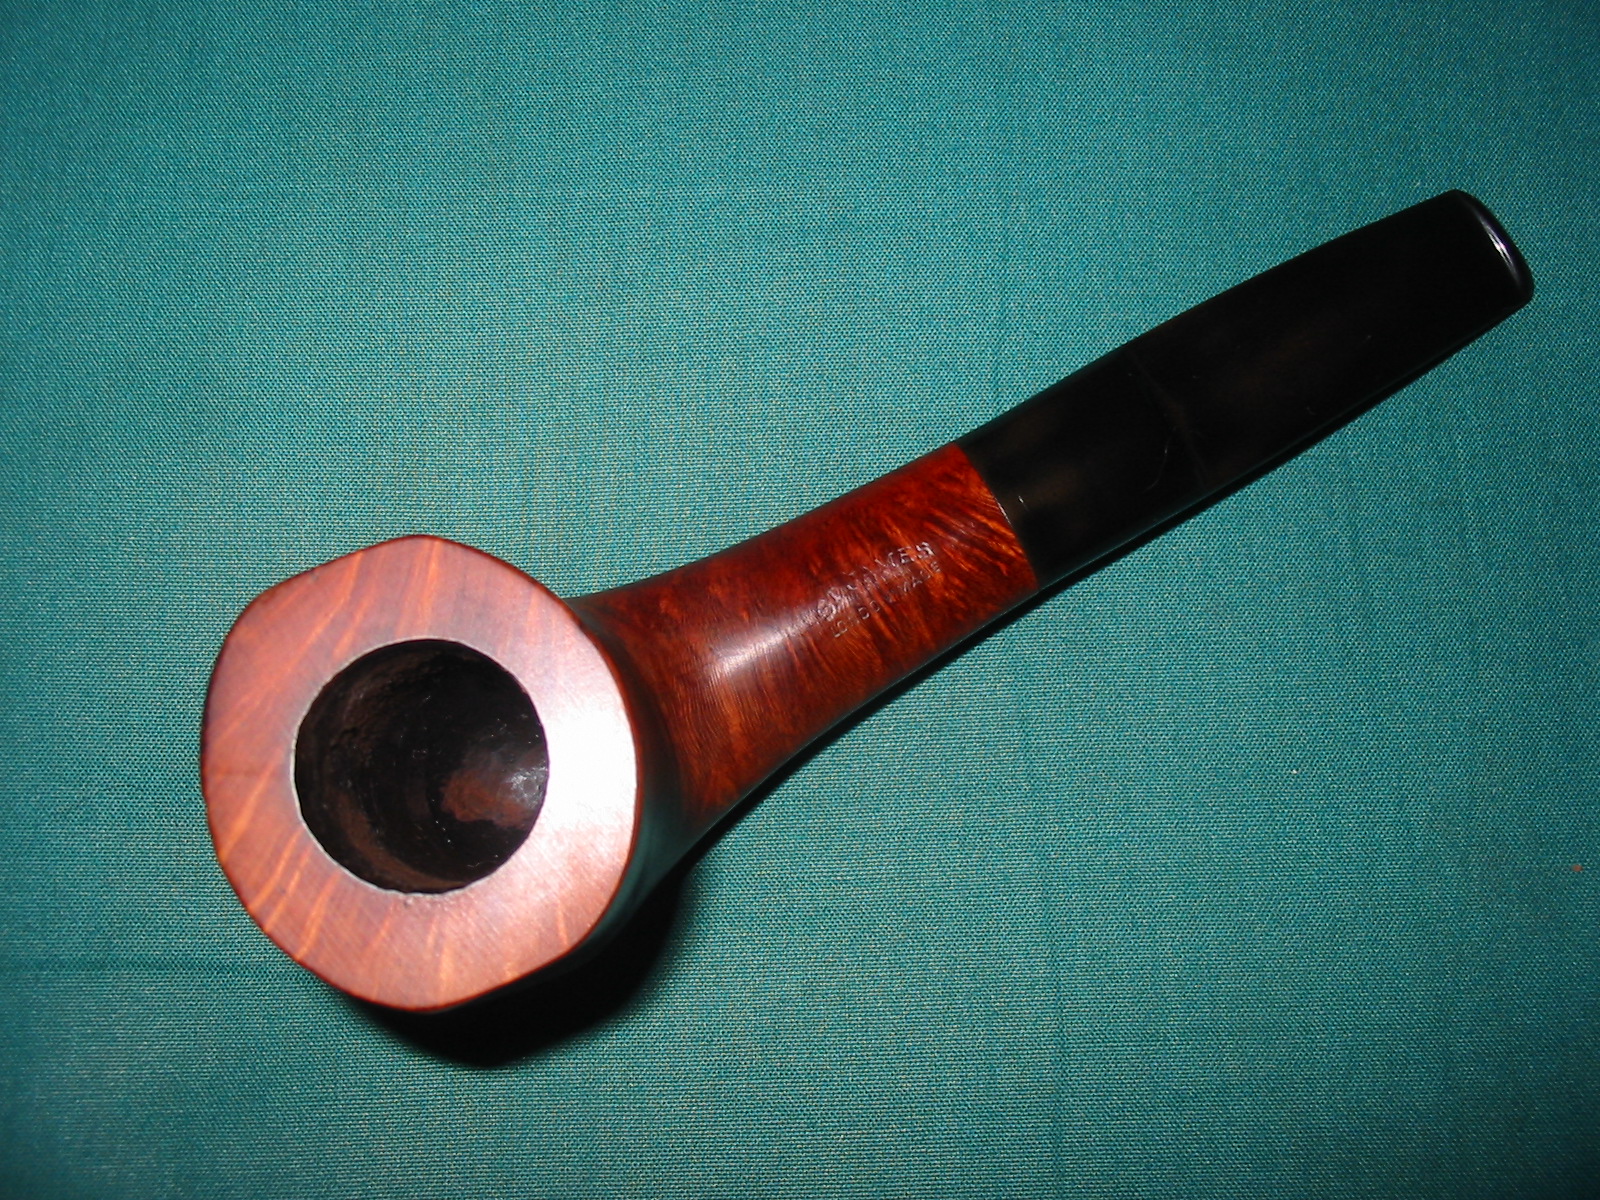
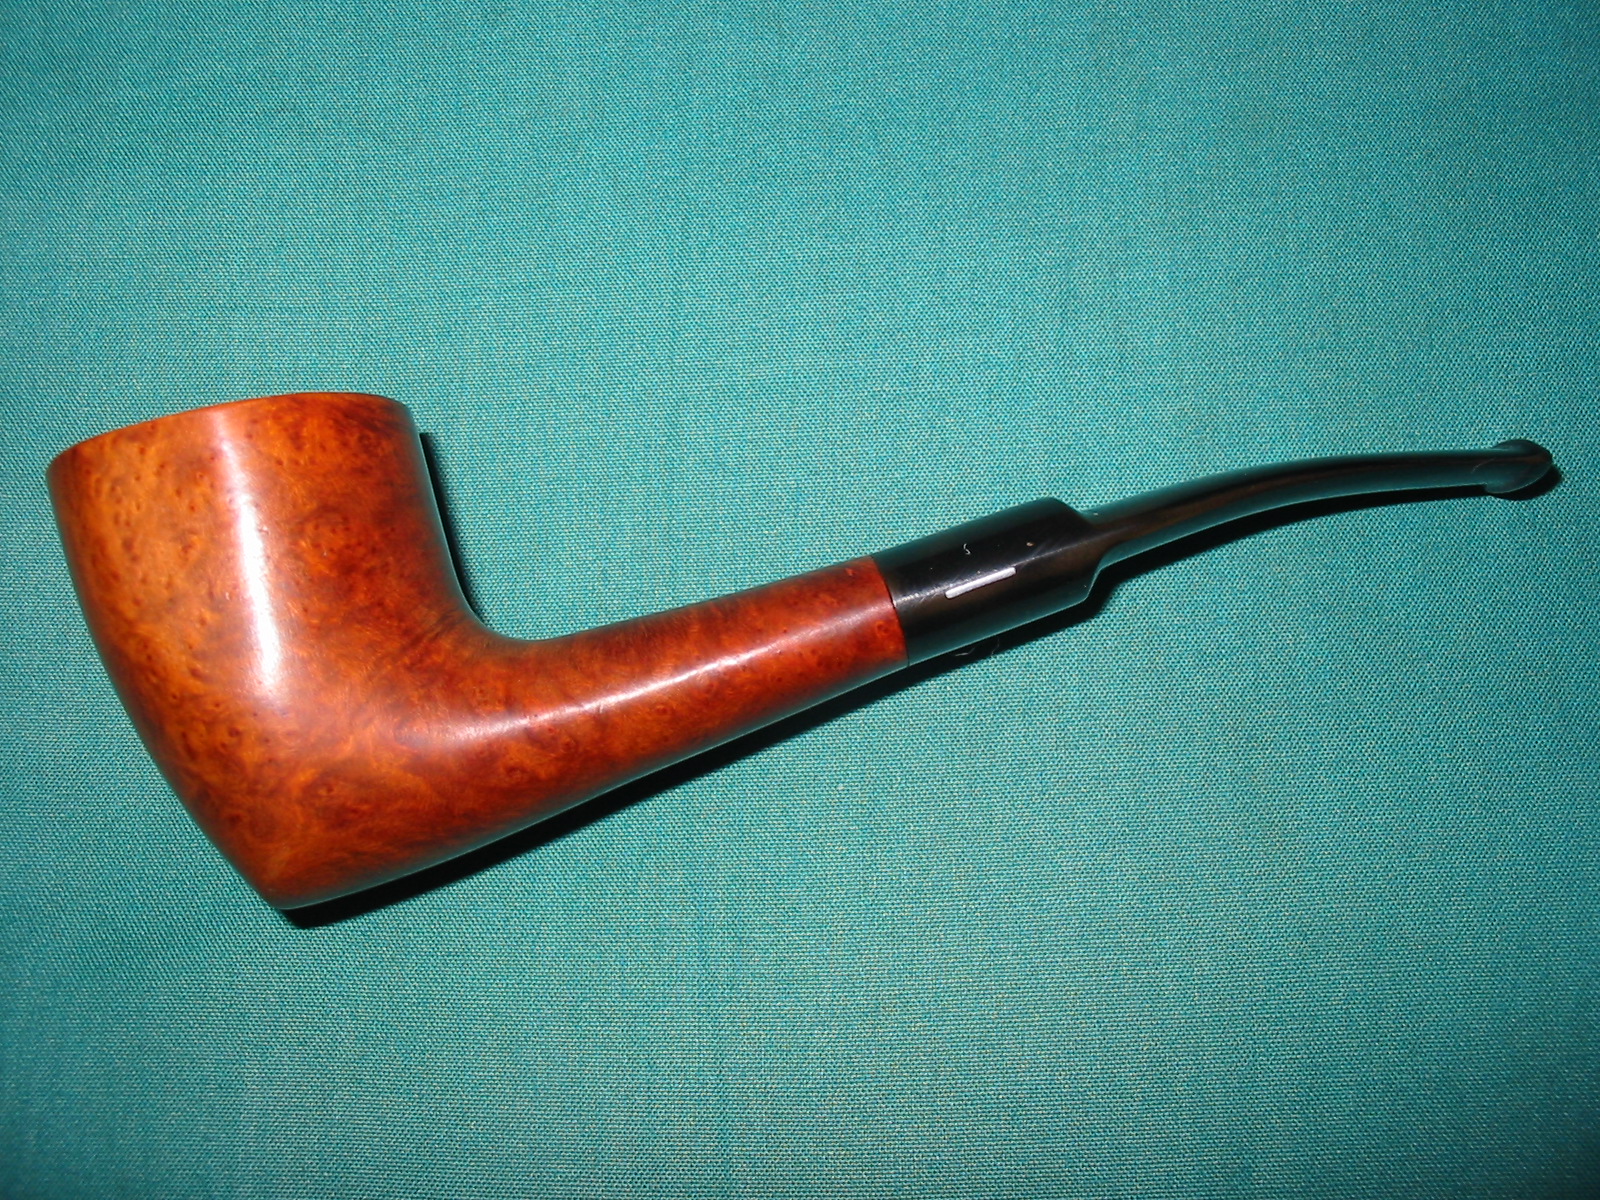
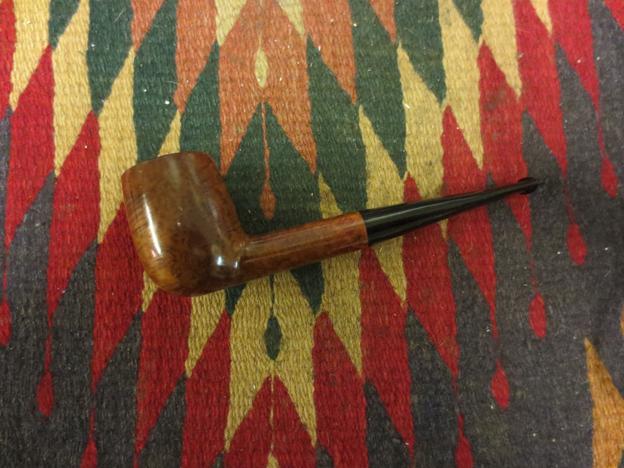
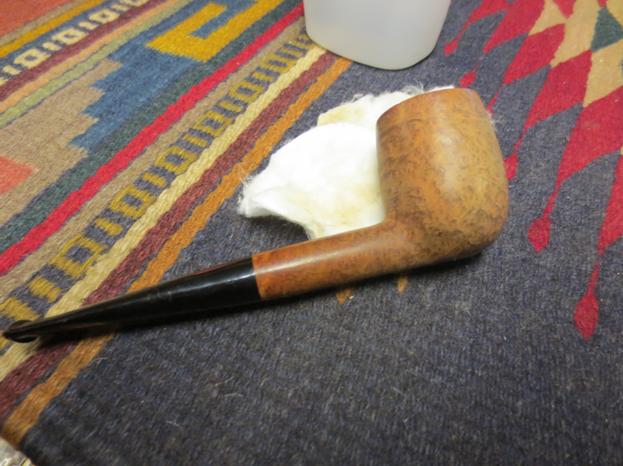
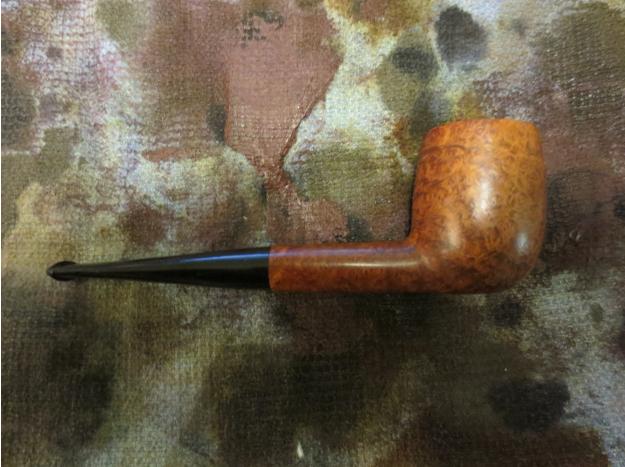
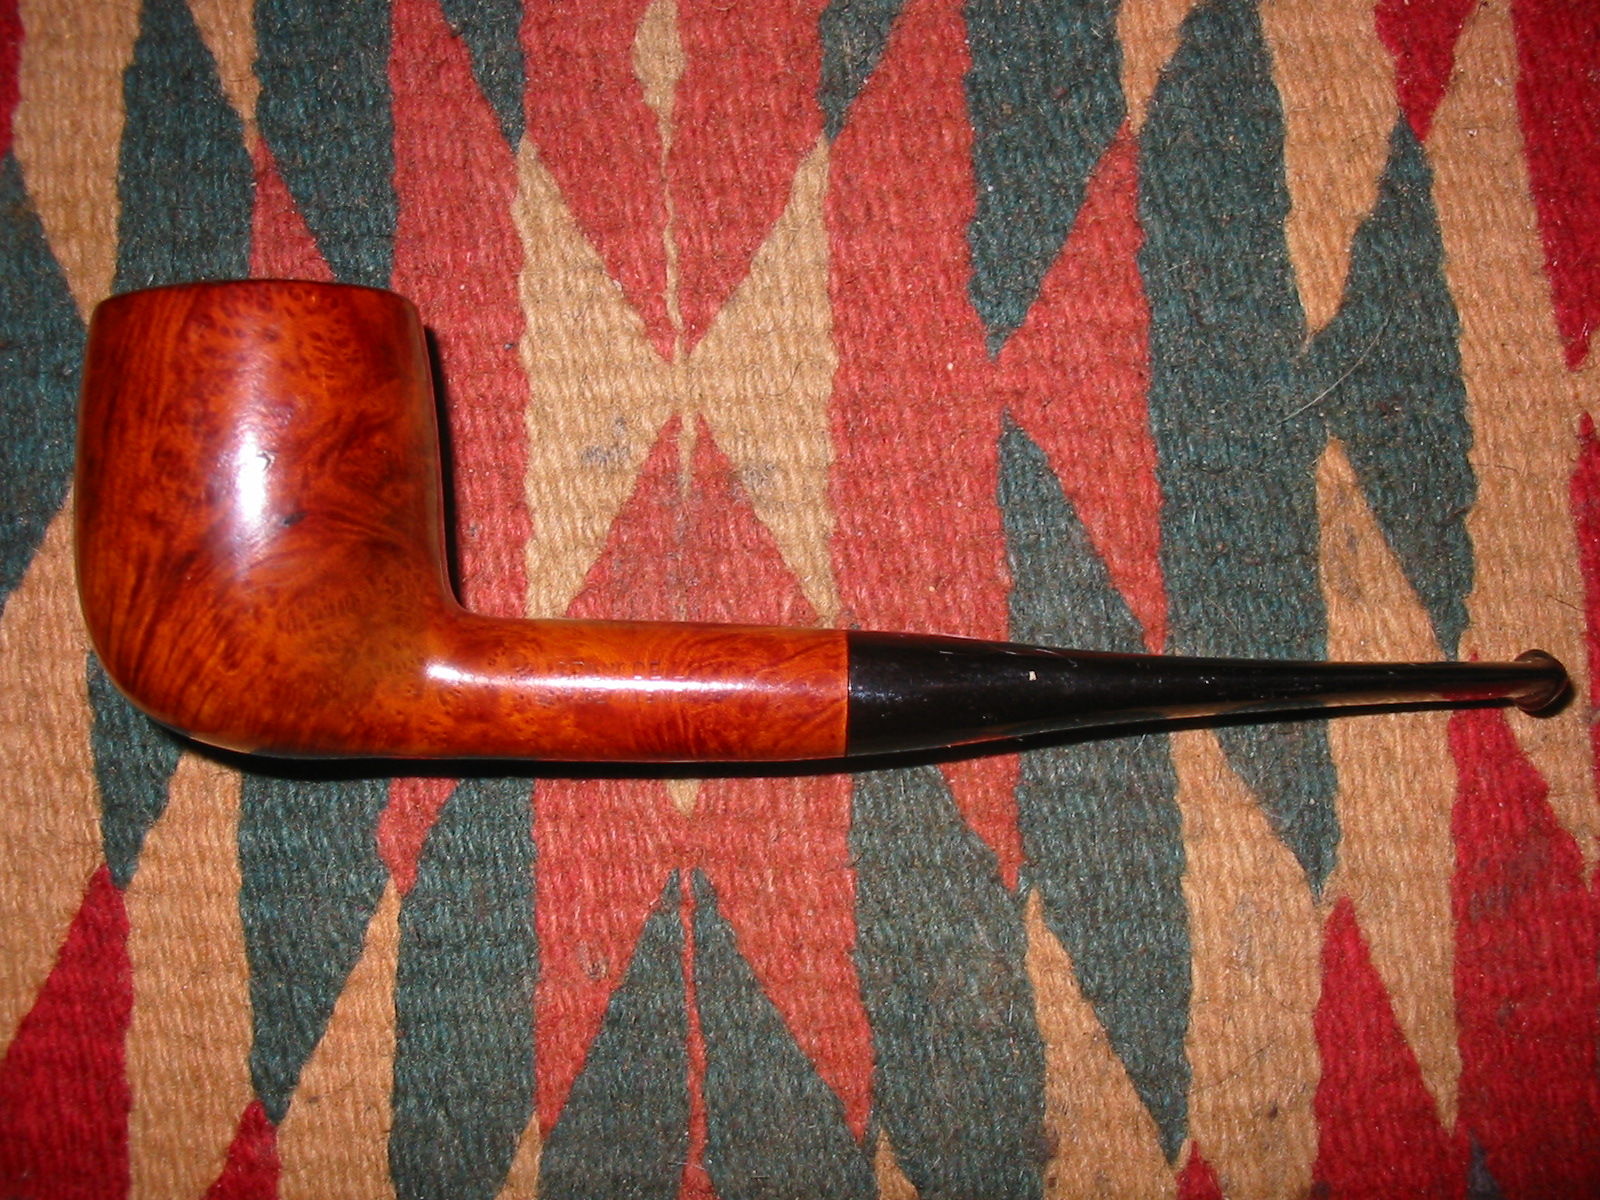
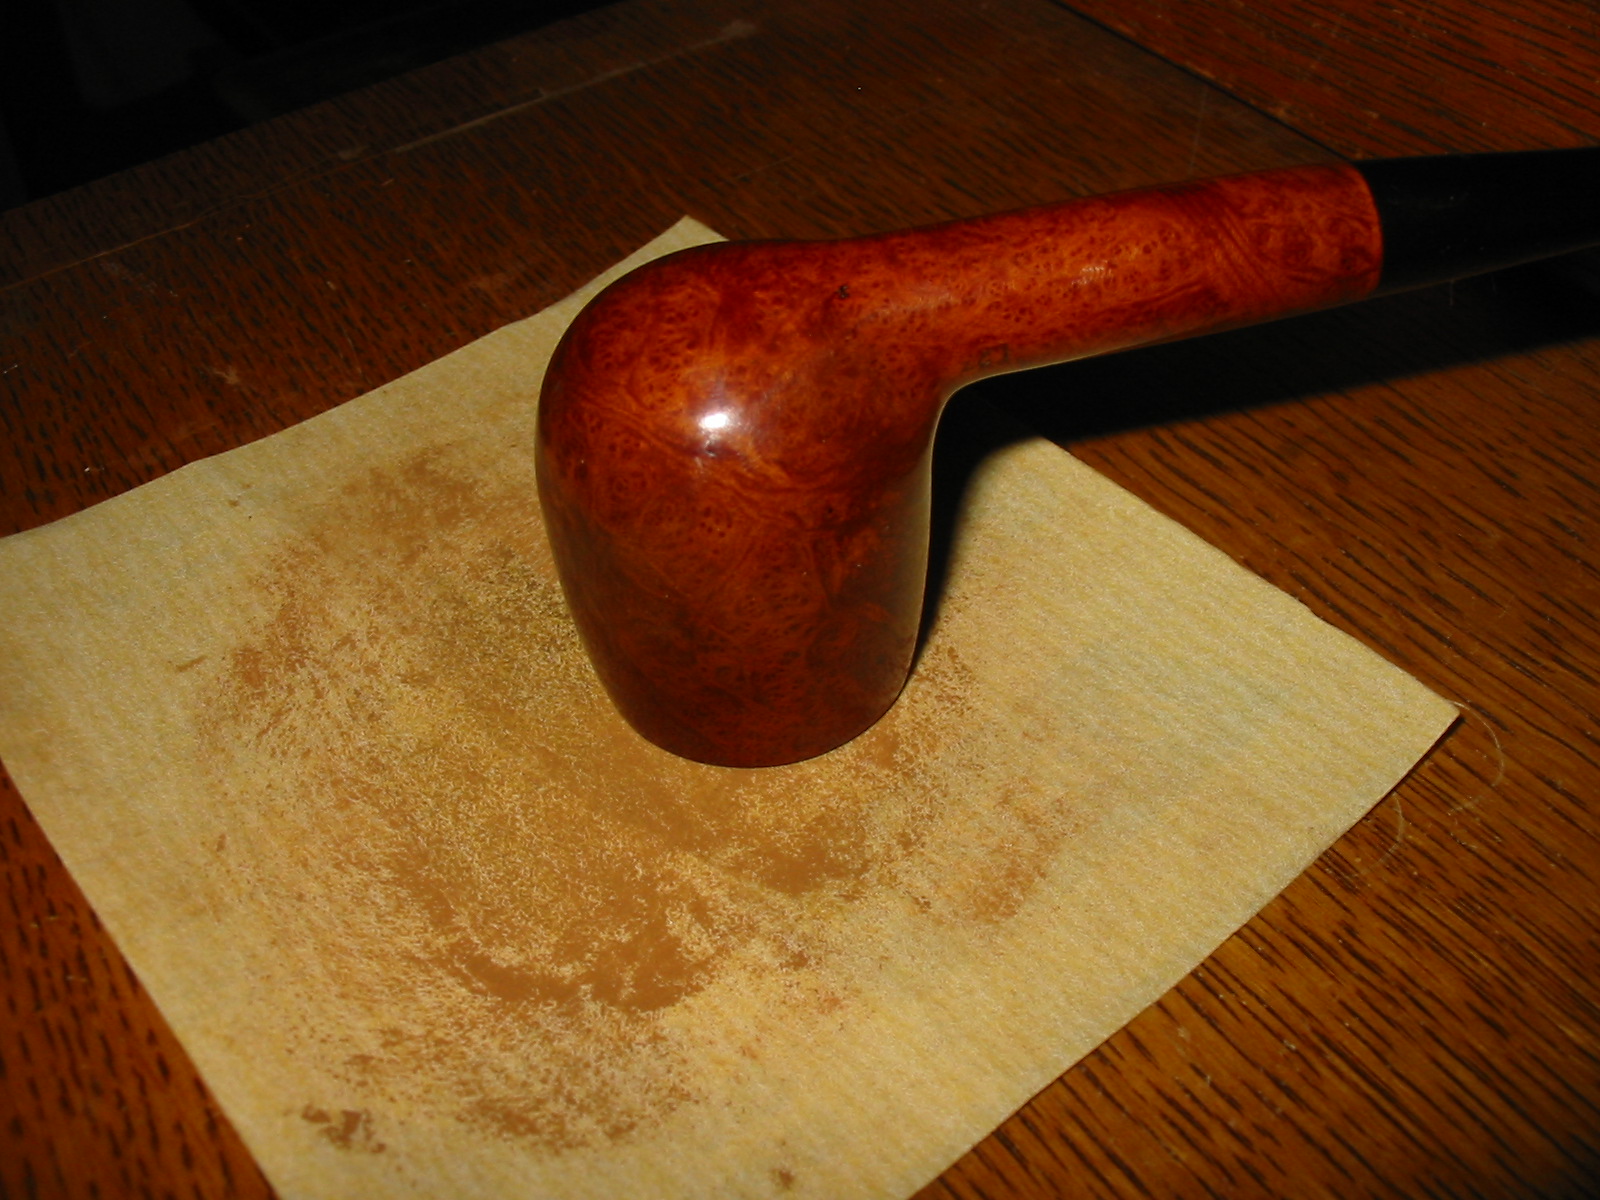
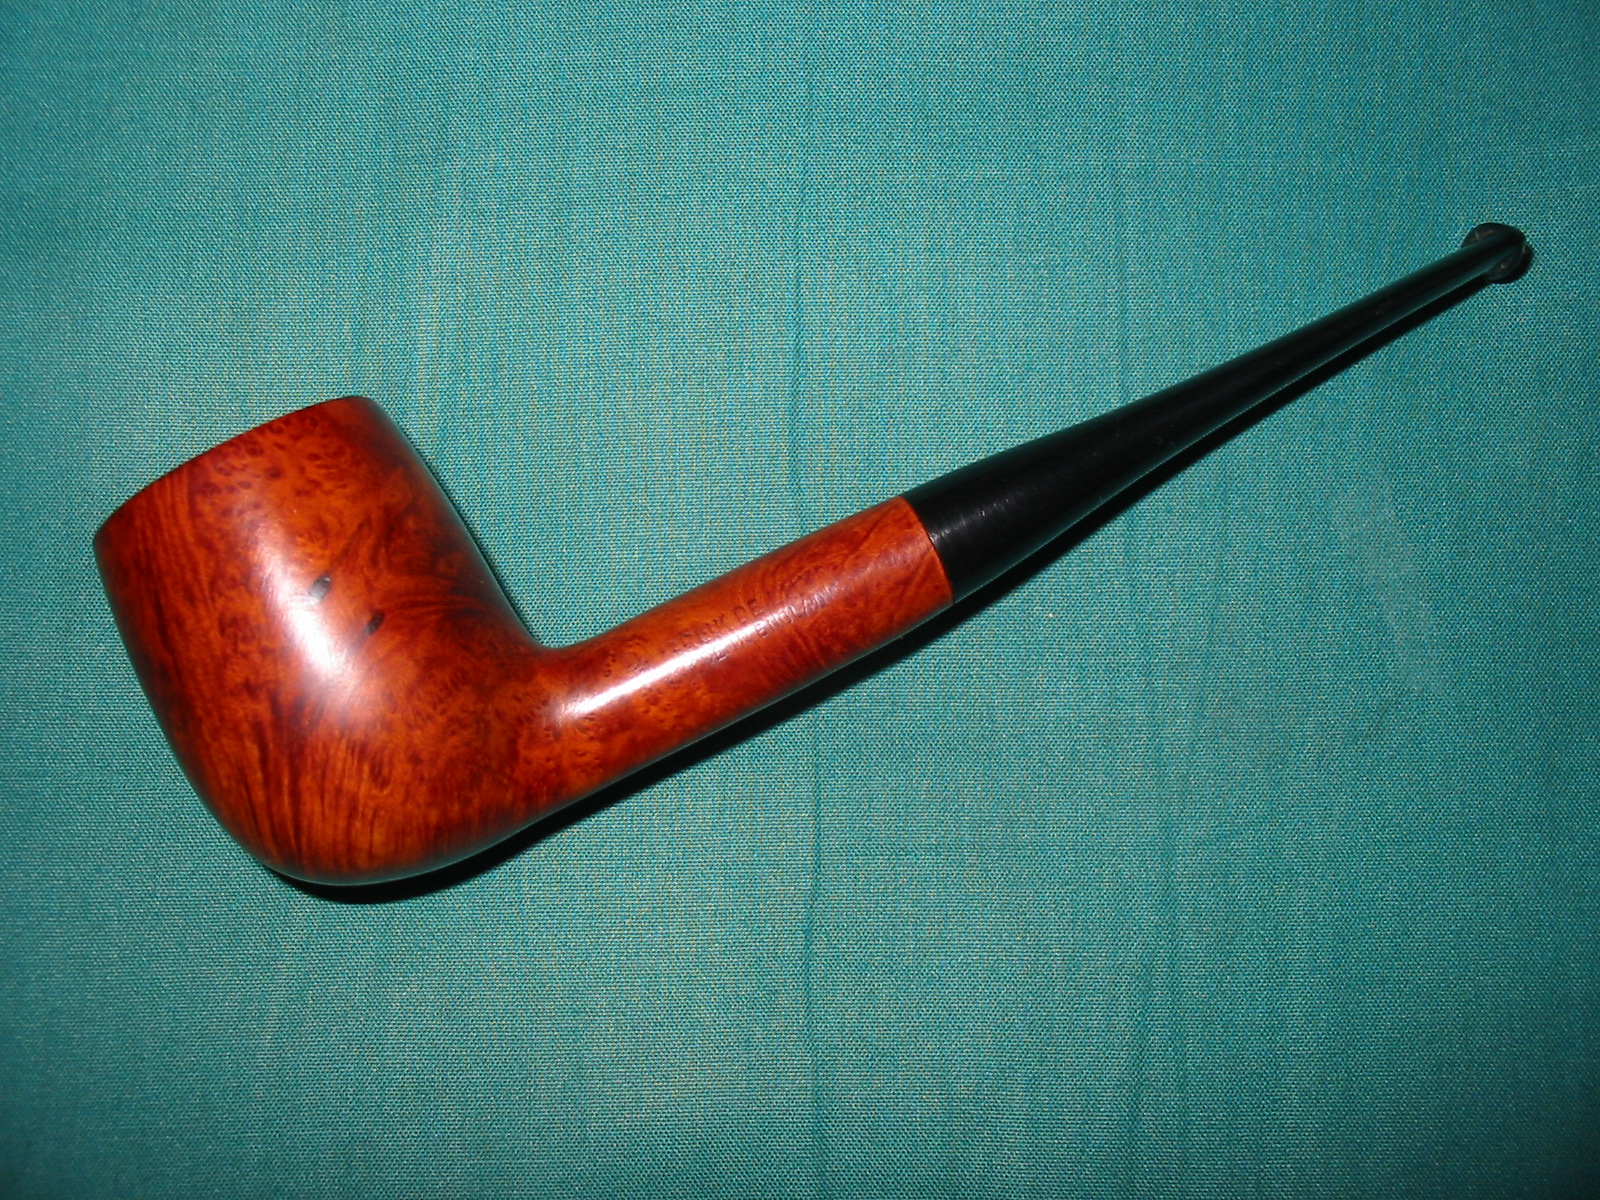
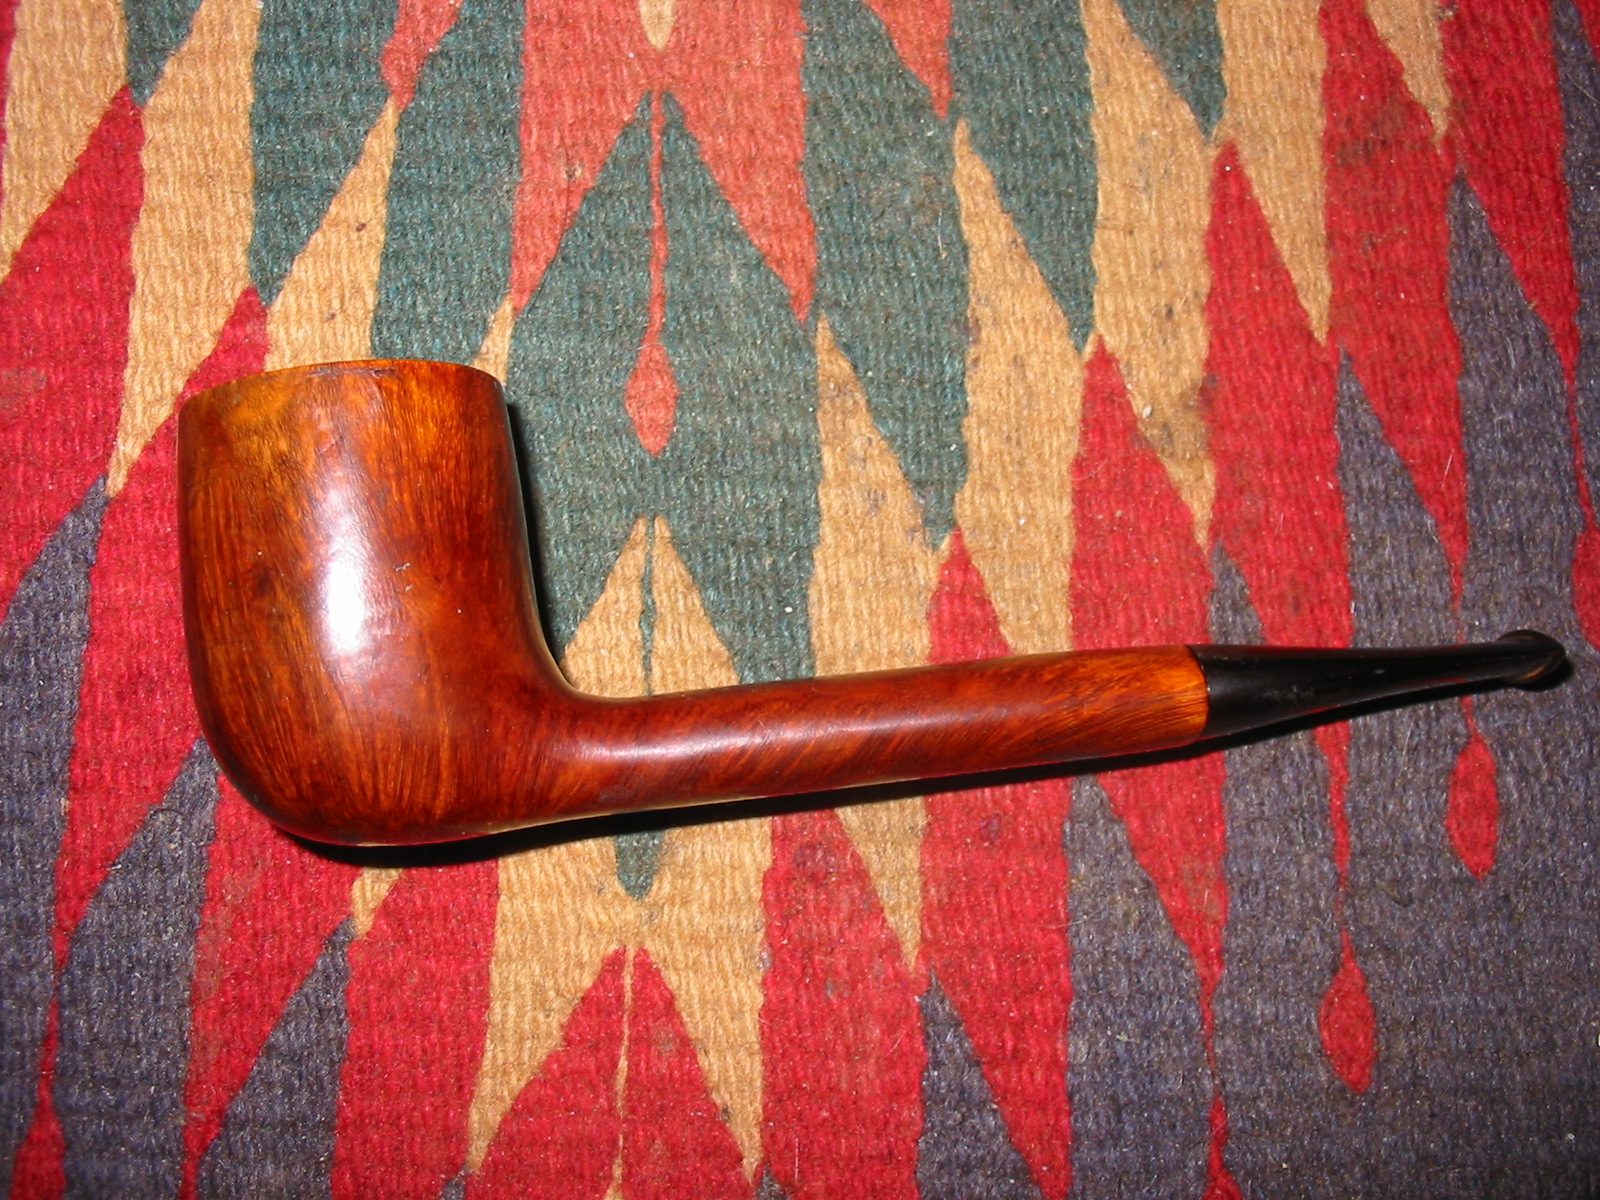
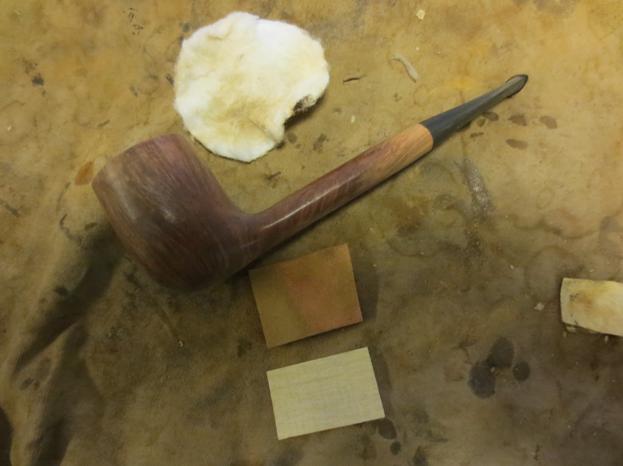
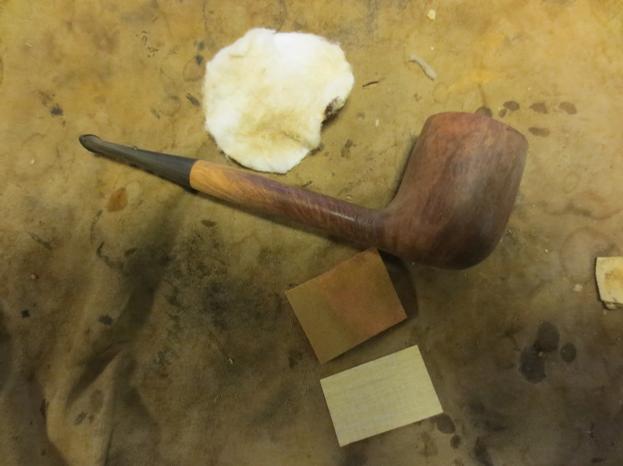
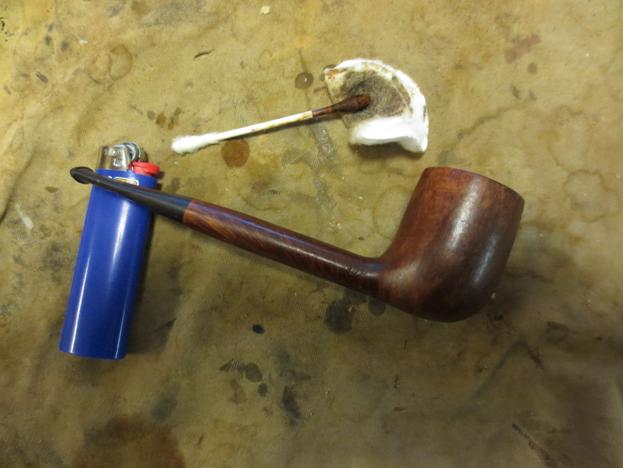
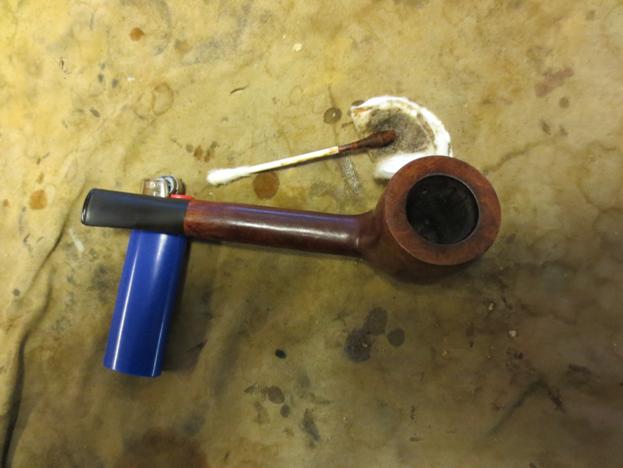
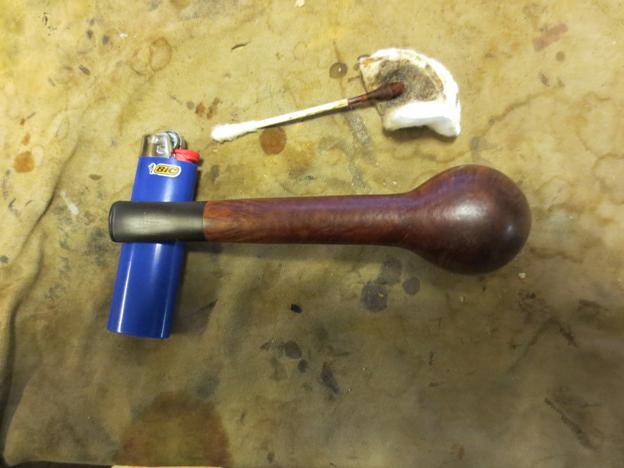
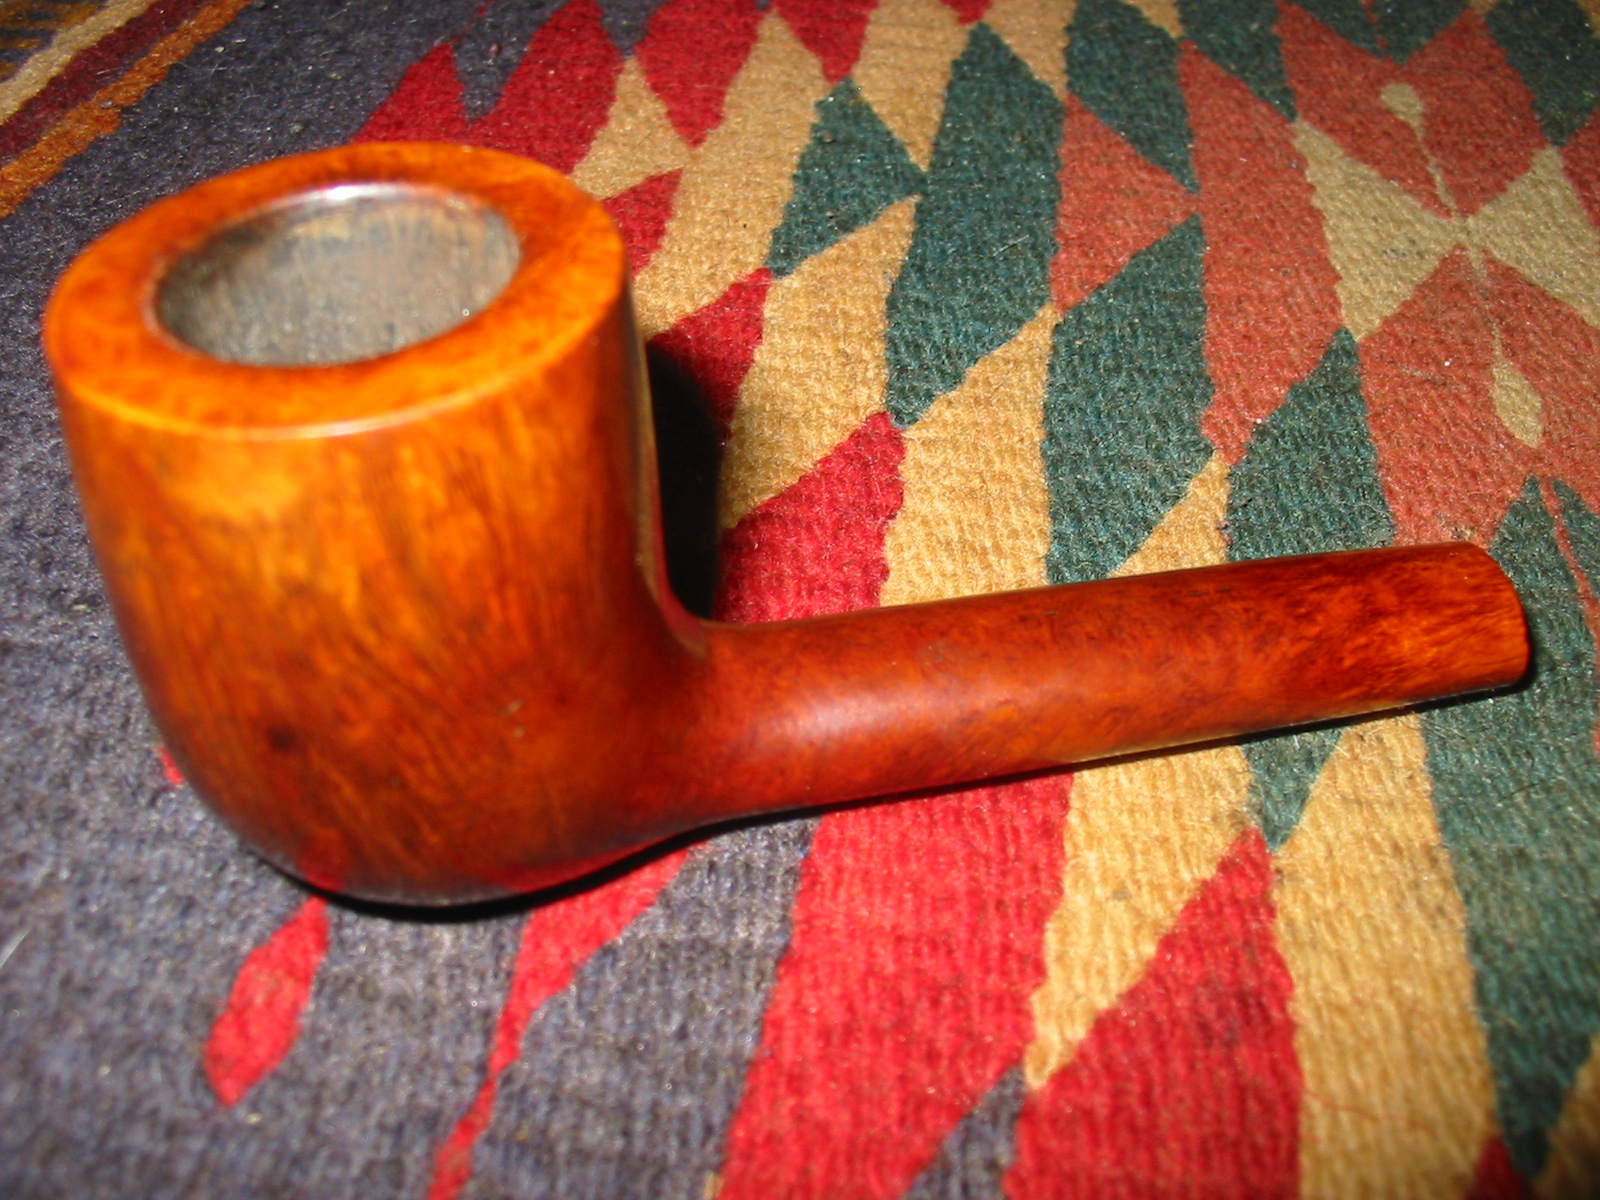
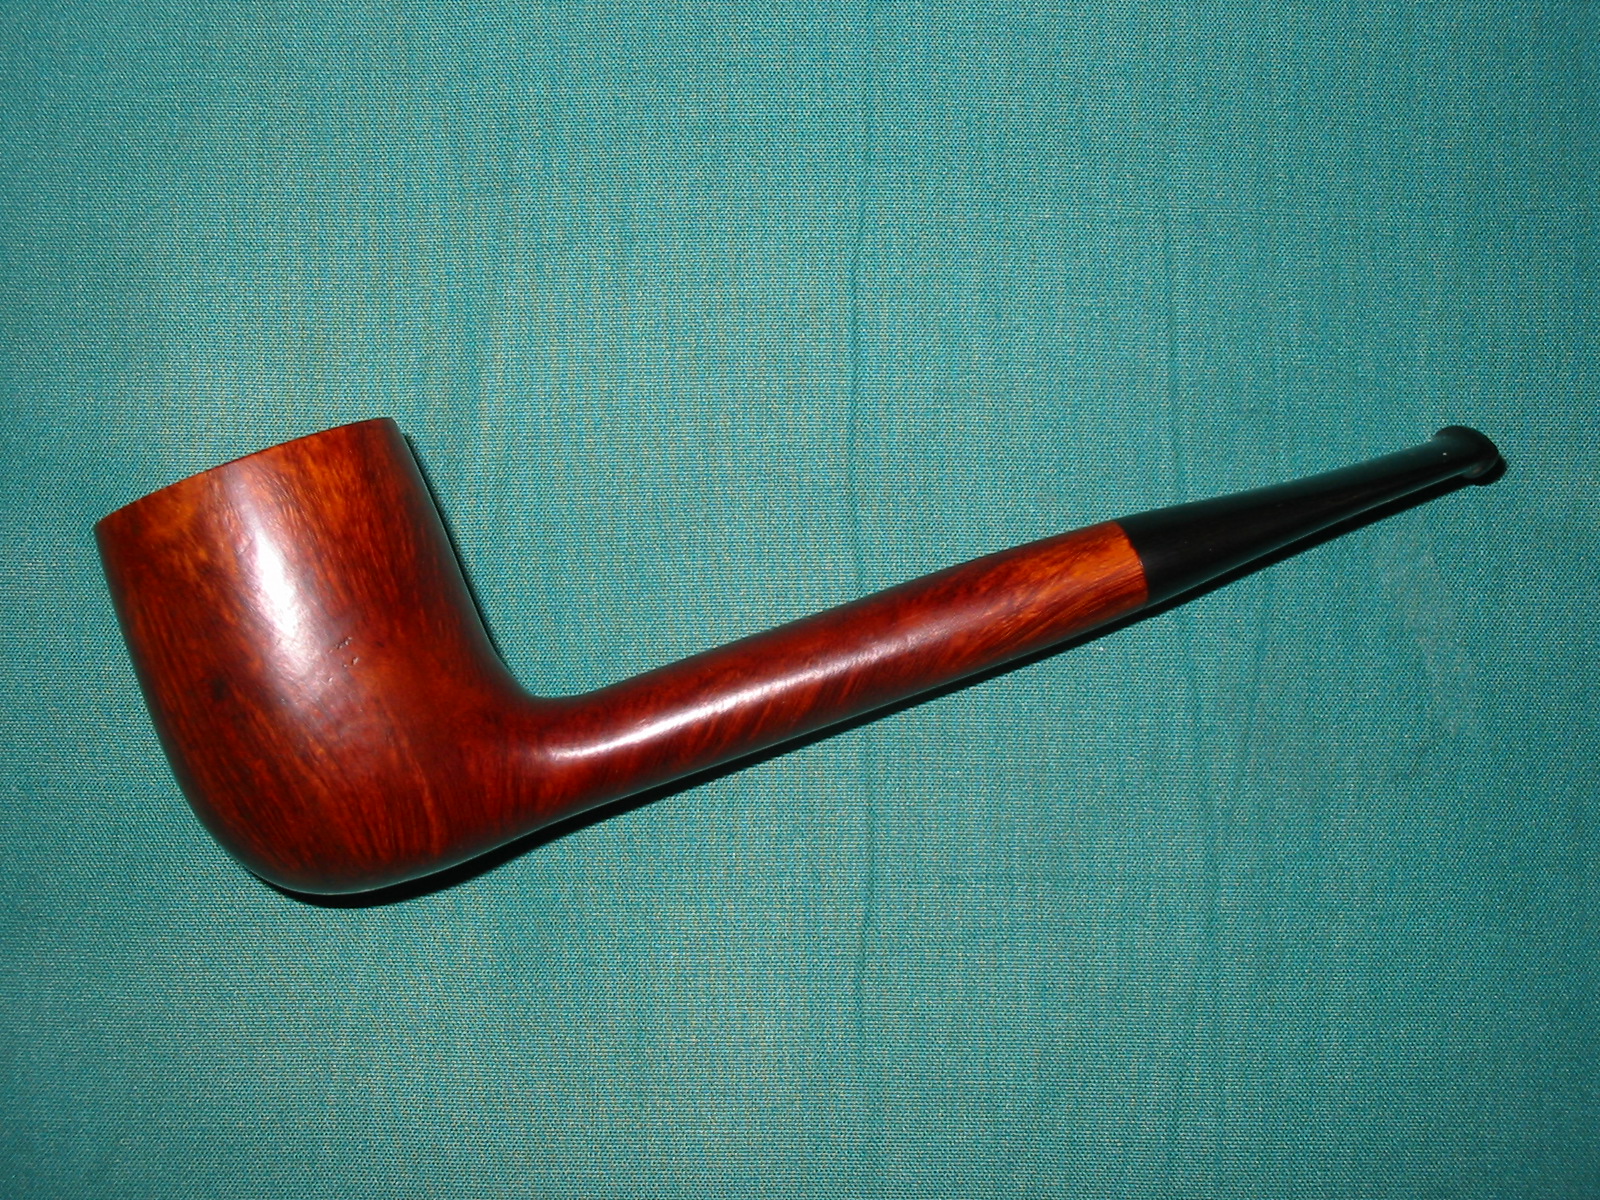
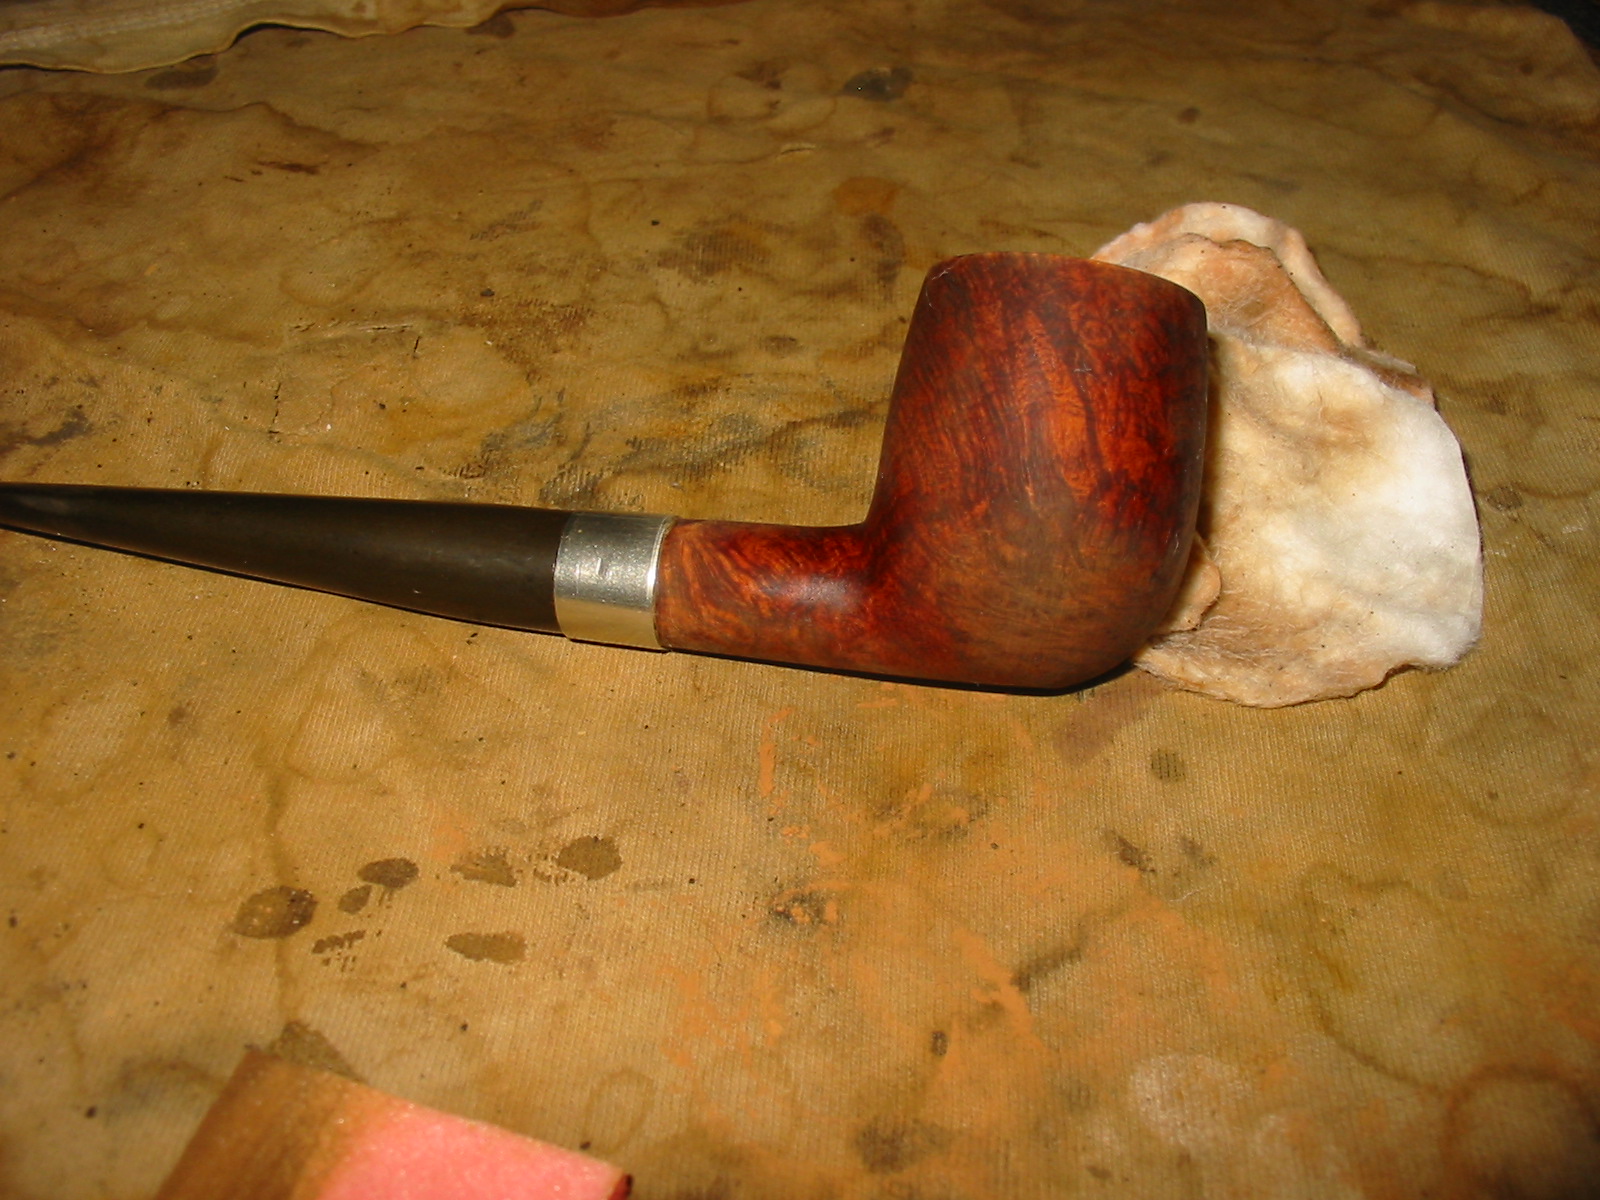
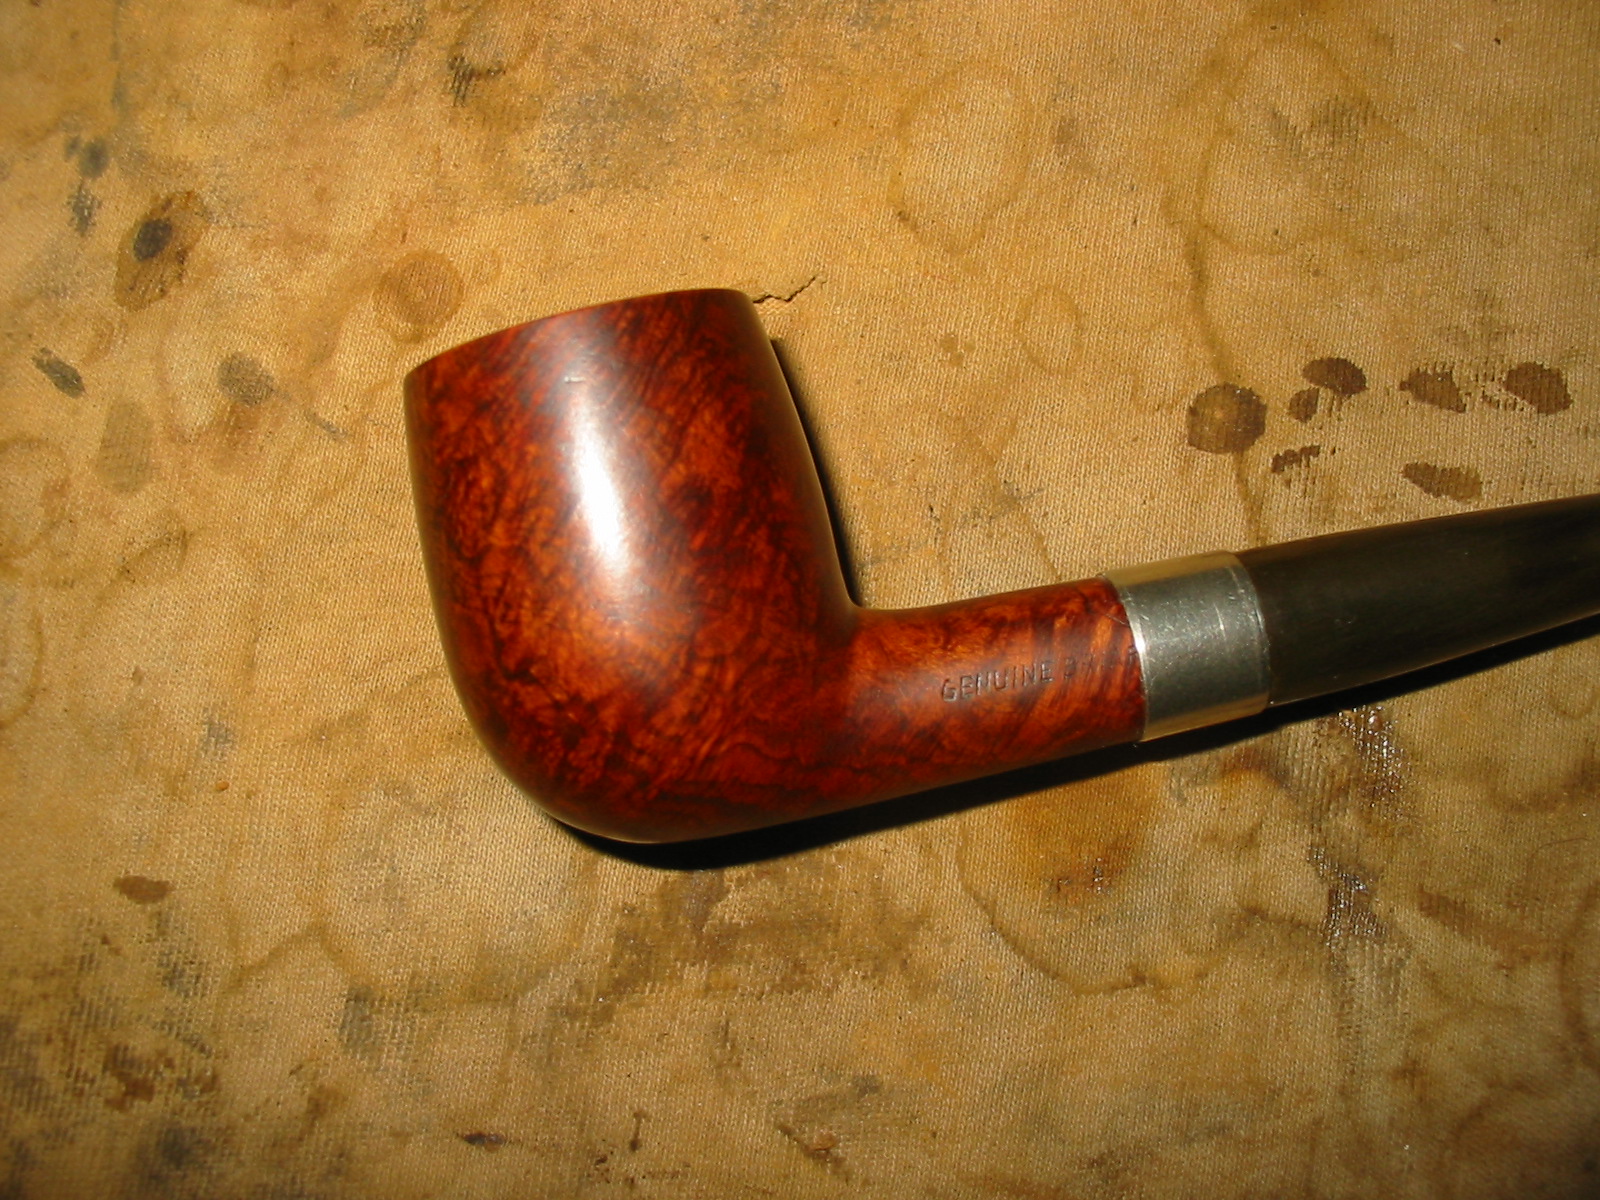
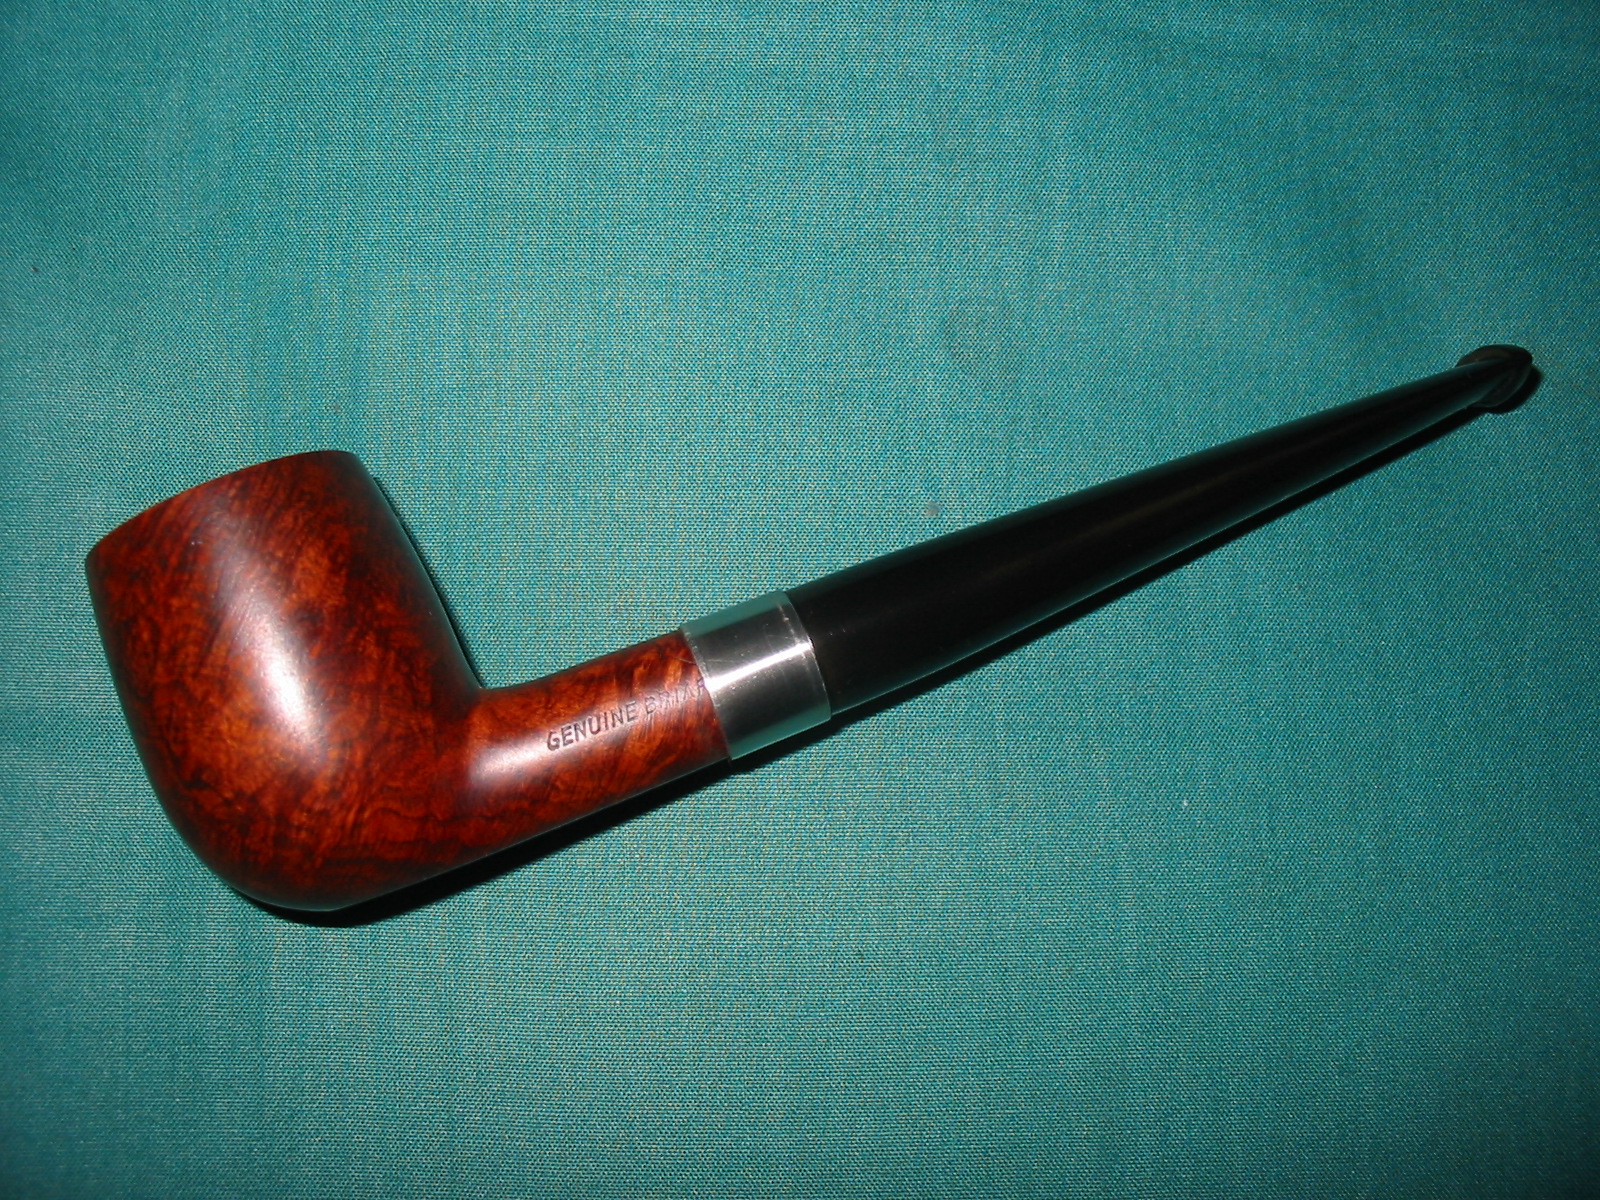
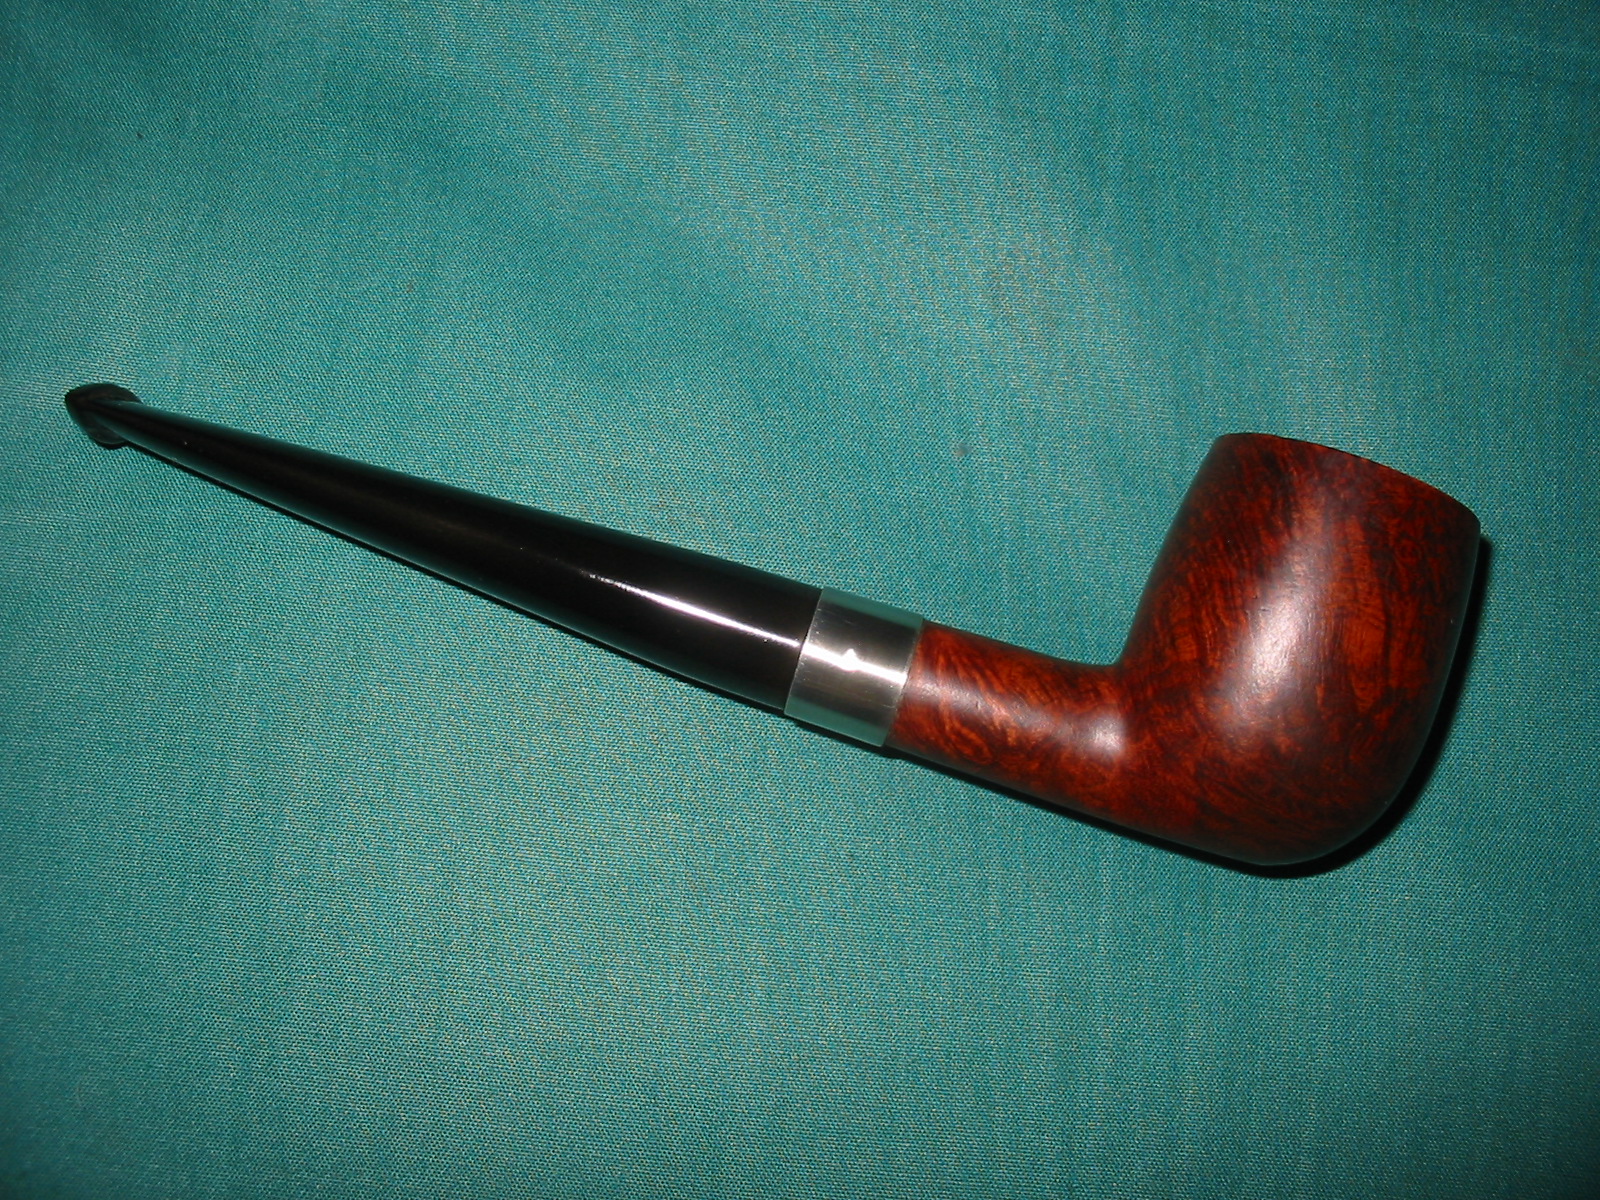
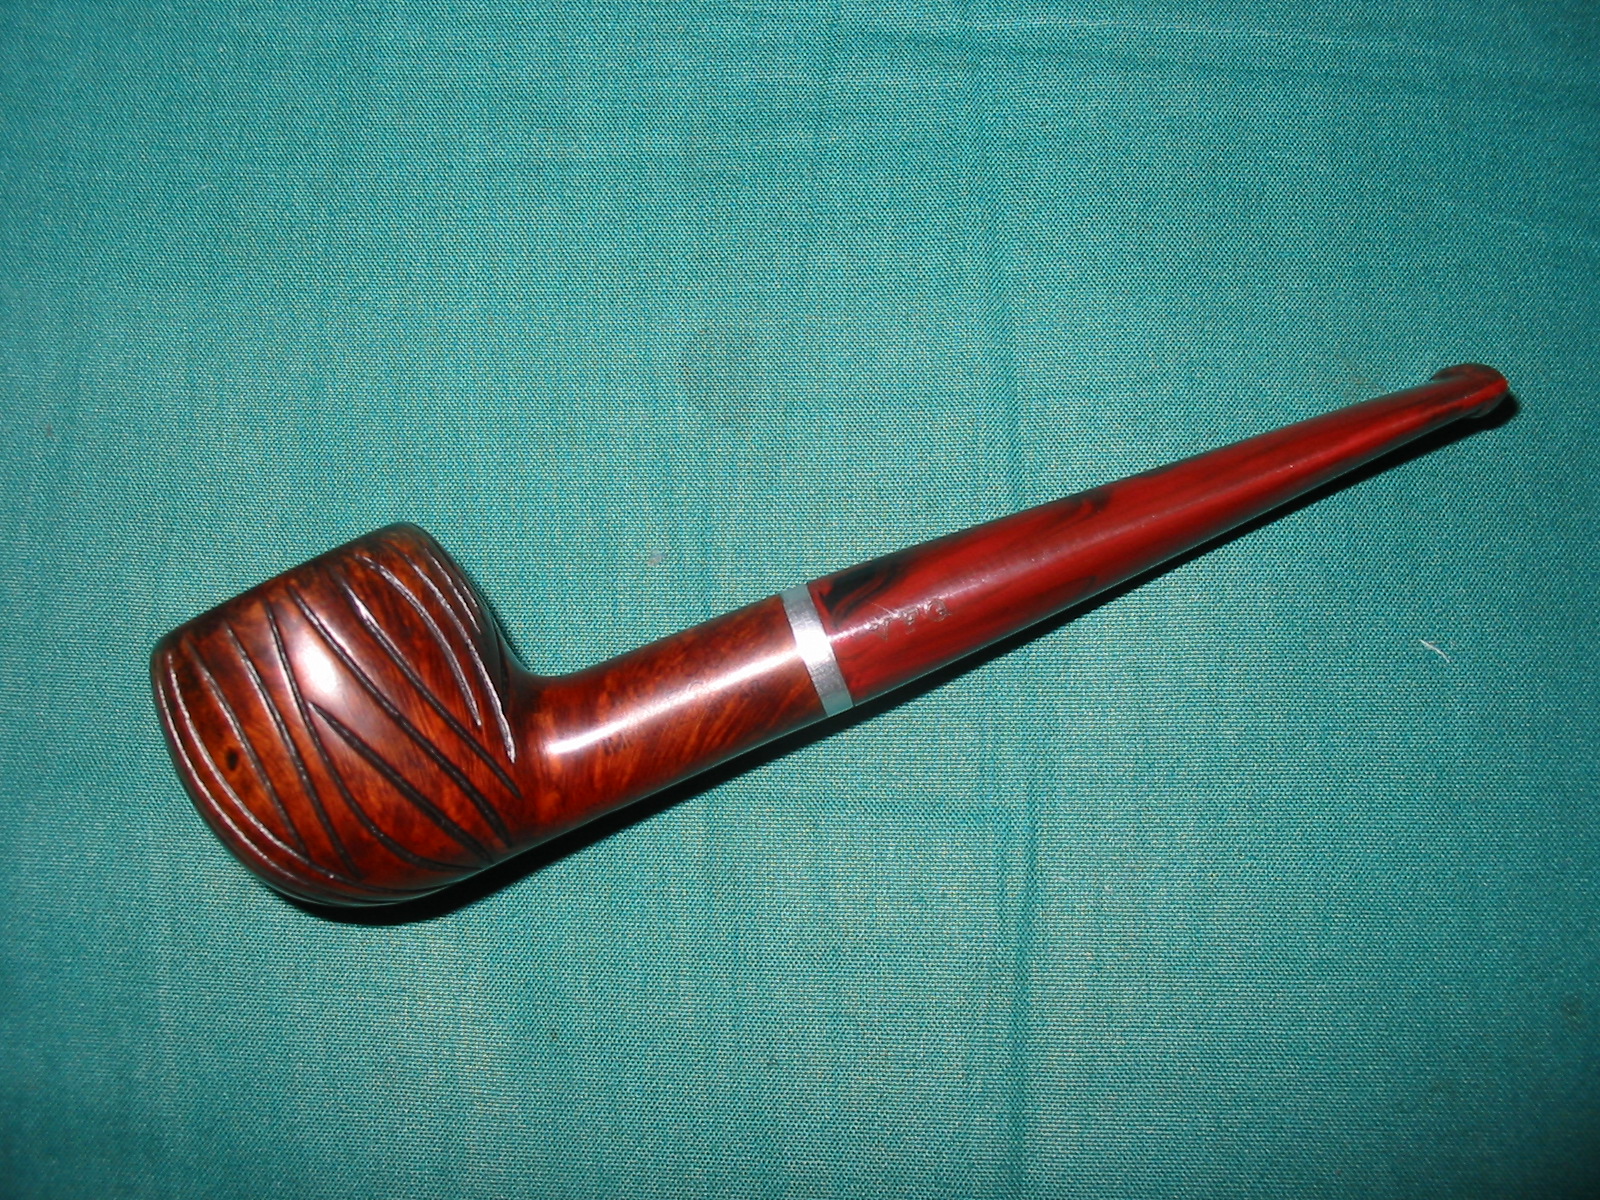
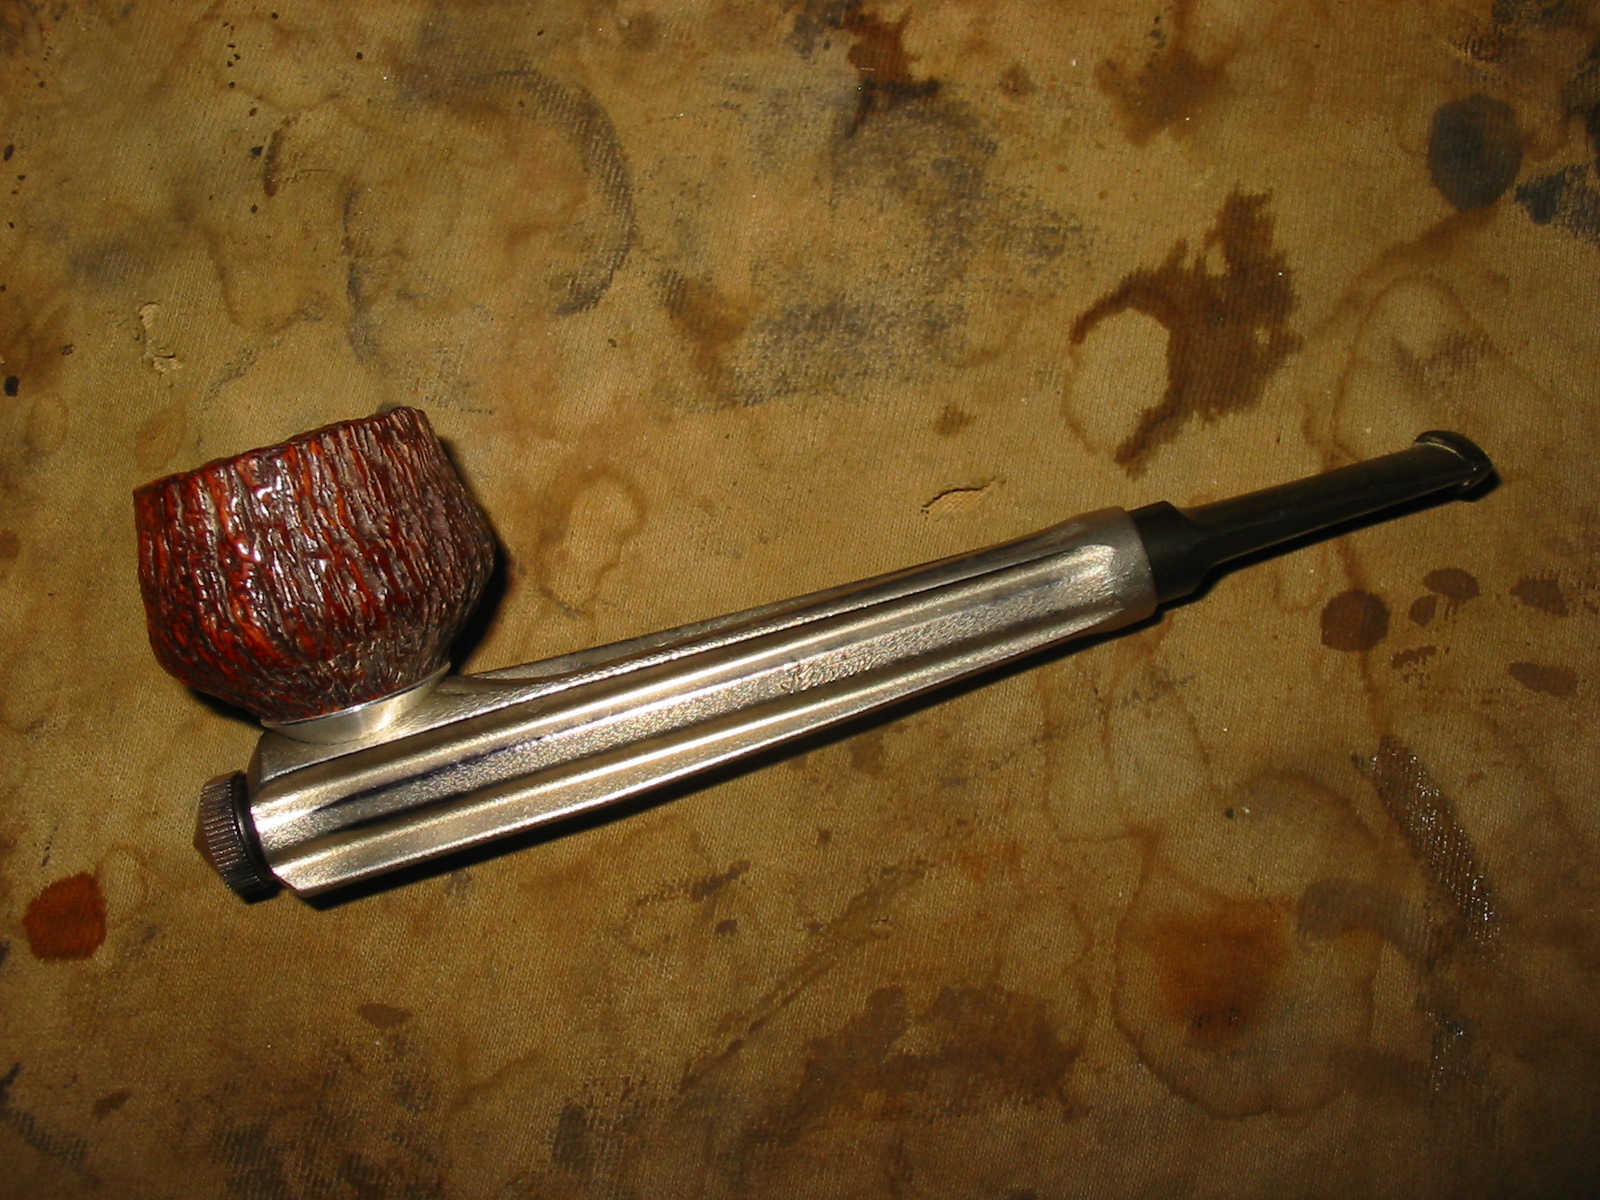
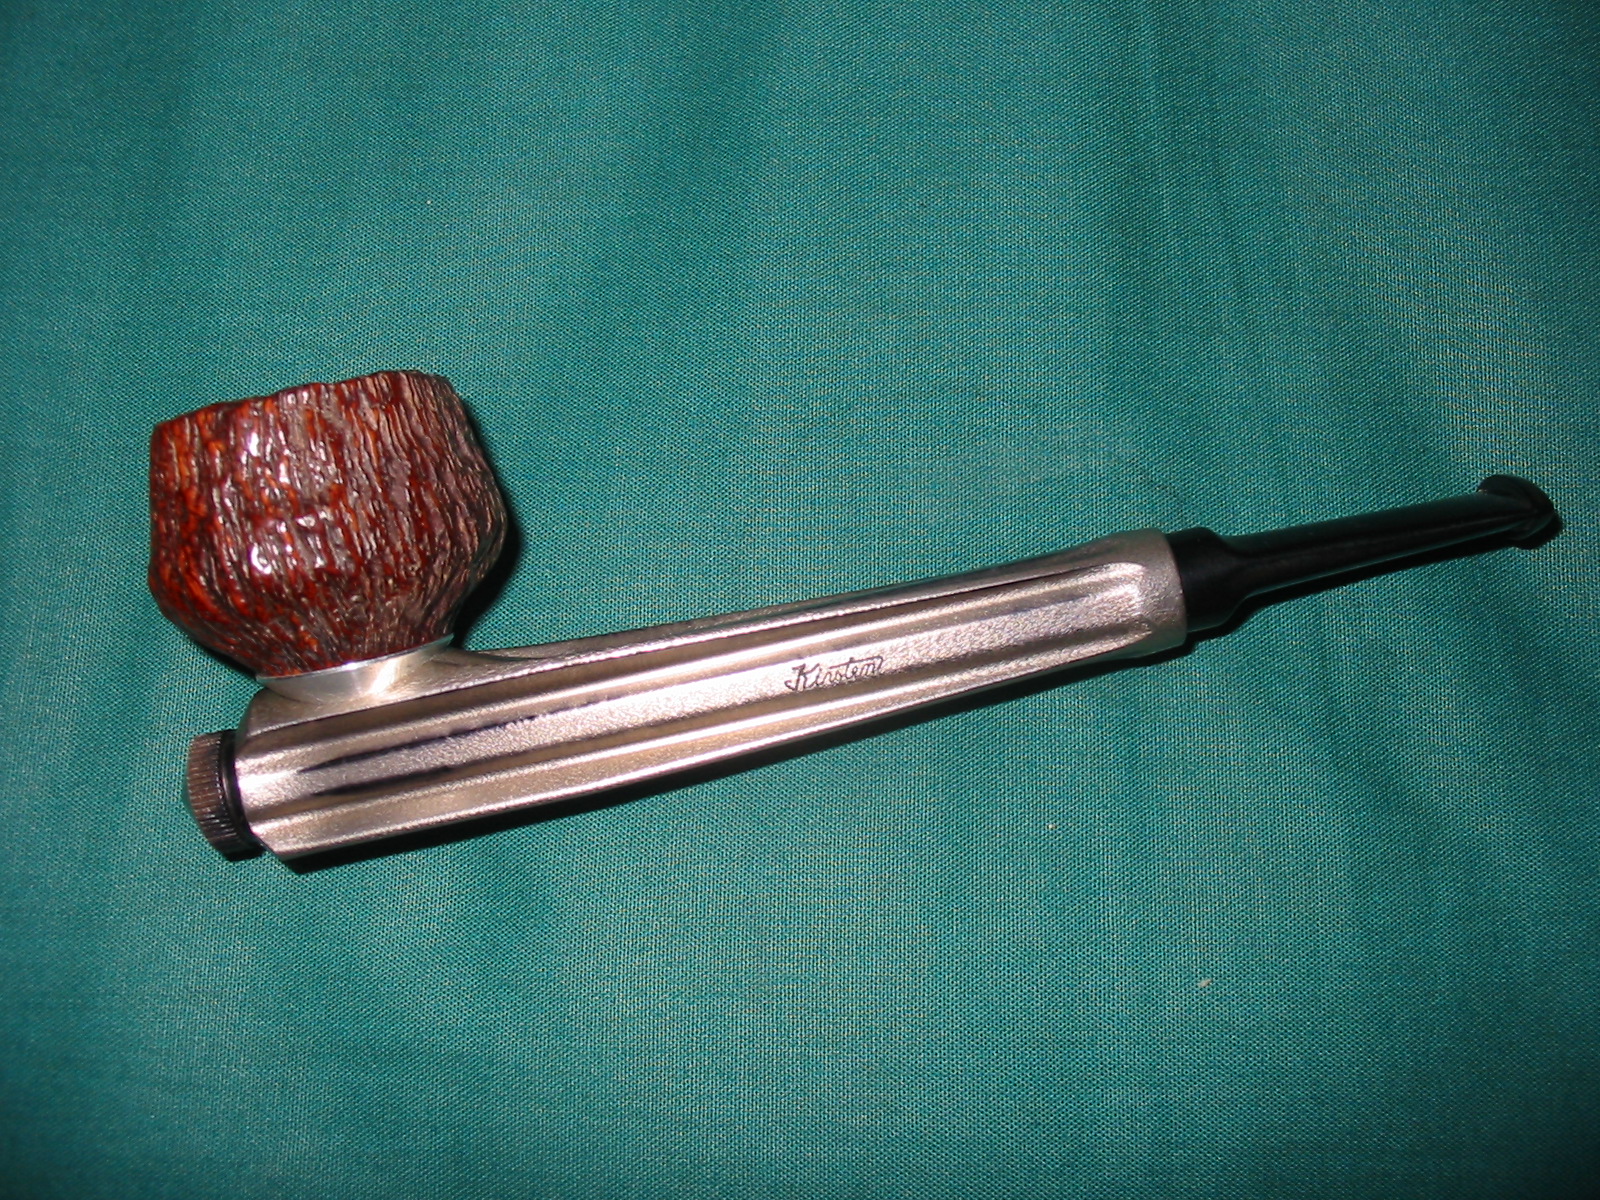
The first of the two pipes was finished. I buffed the entirety with White Diamond and then gave it multiple coats of carnauba wax. I buffed the newly waxed pipe with a soft, clean flannel buff to give it a shine and set it aside while I worked on the second pipe. The next four photos show the finished pipe.
IMG_3742

IMG_3743

IMG_3744

IMG_3745

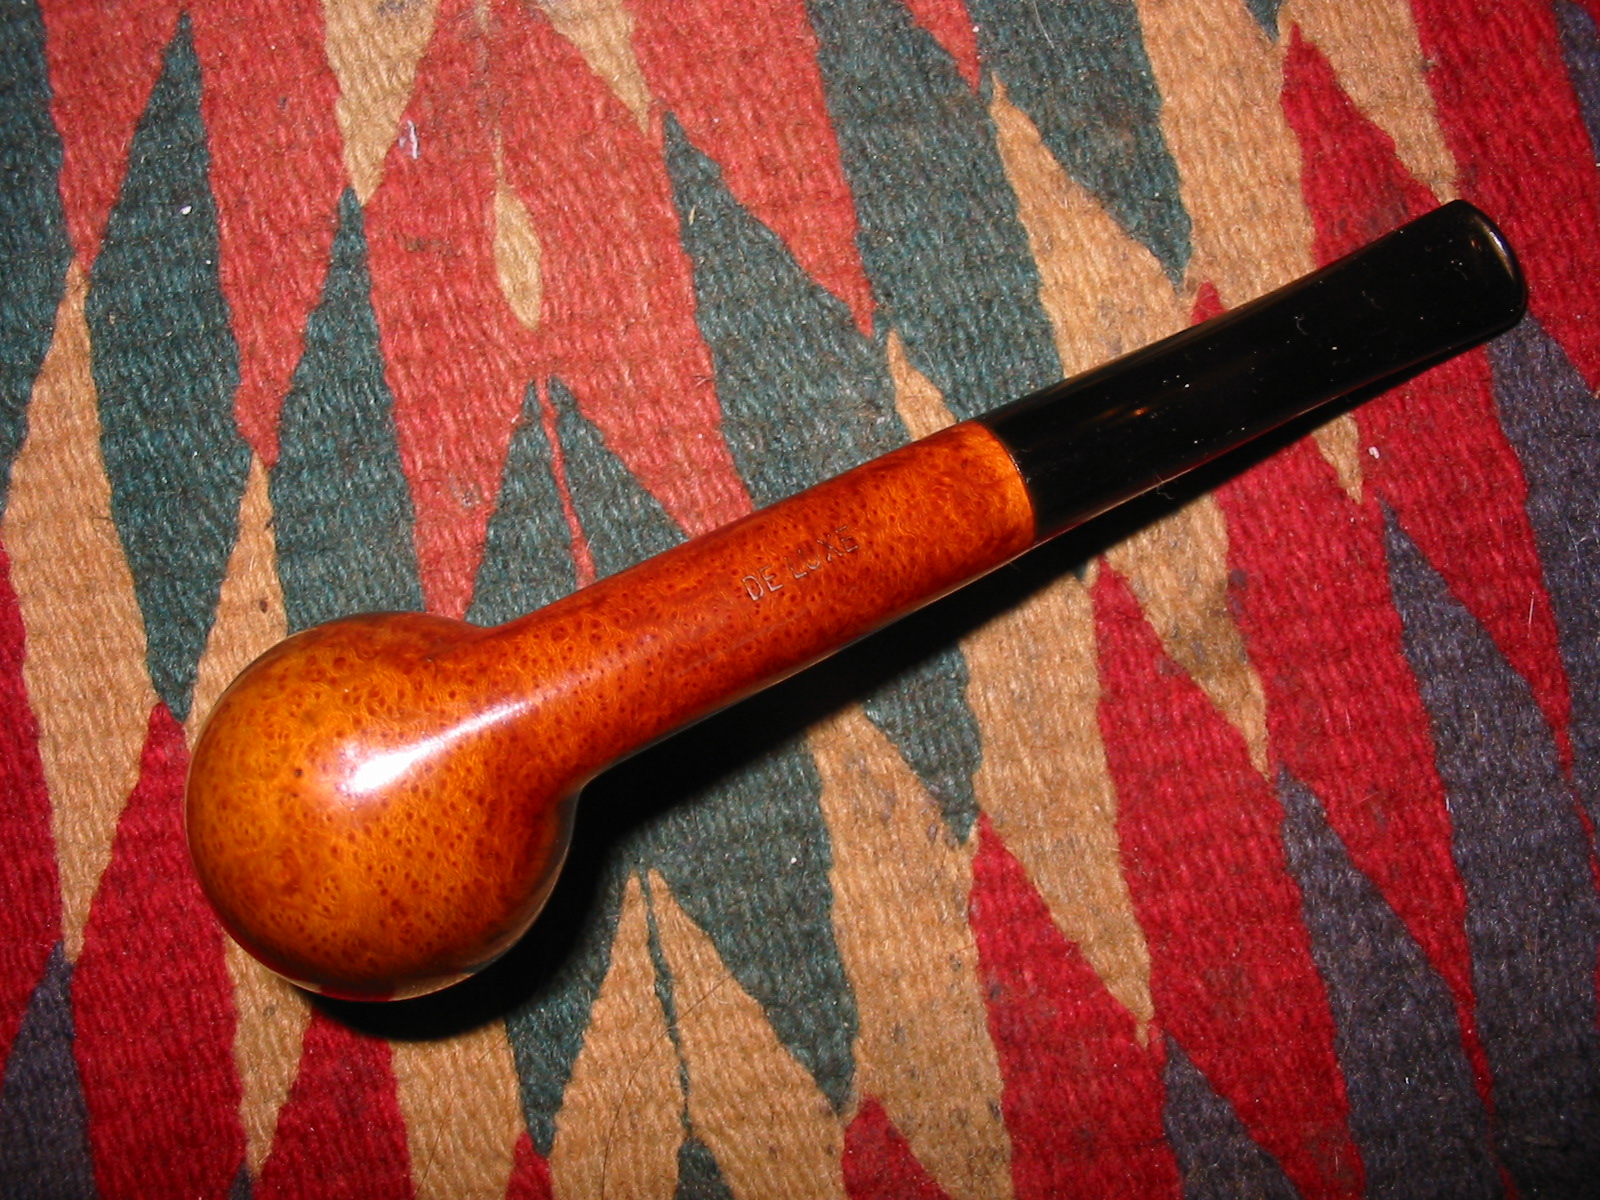
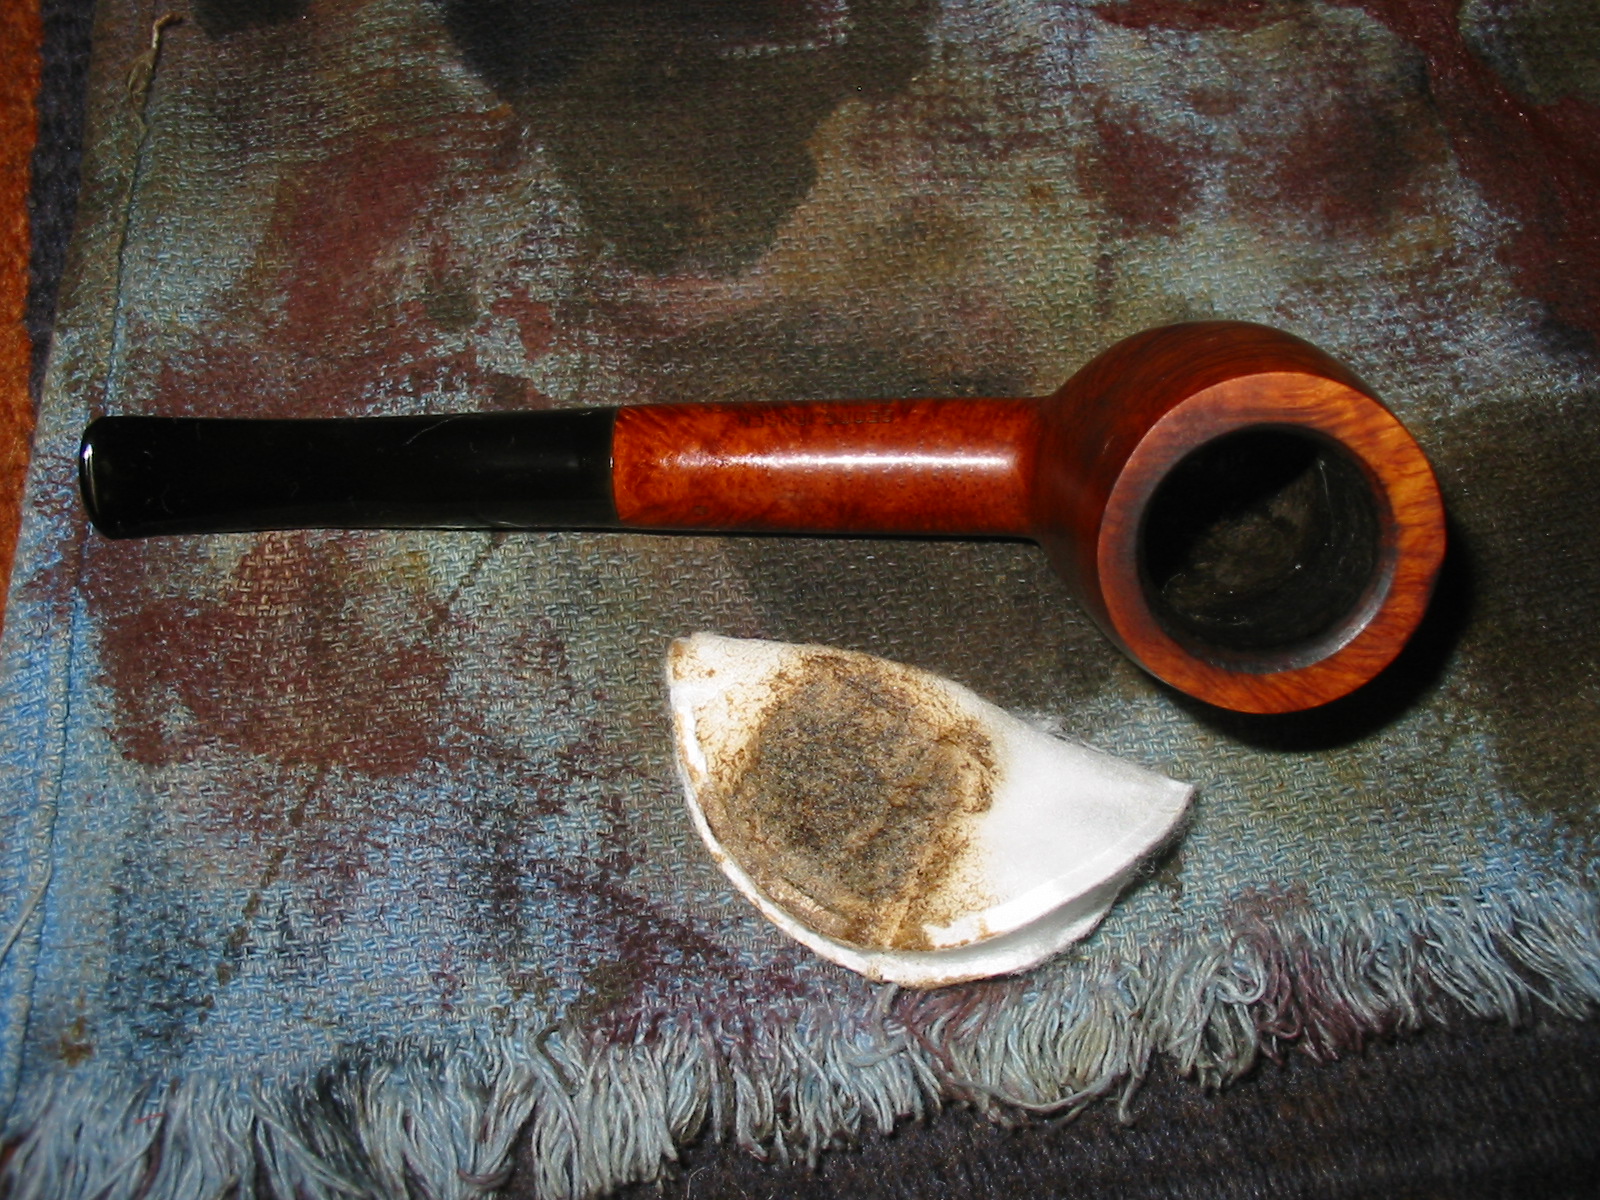
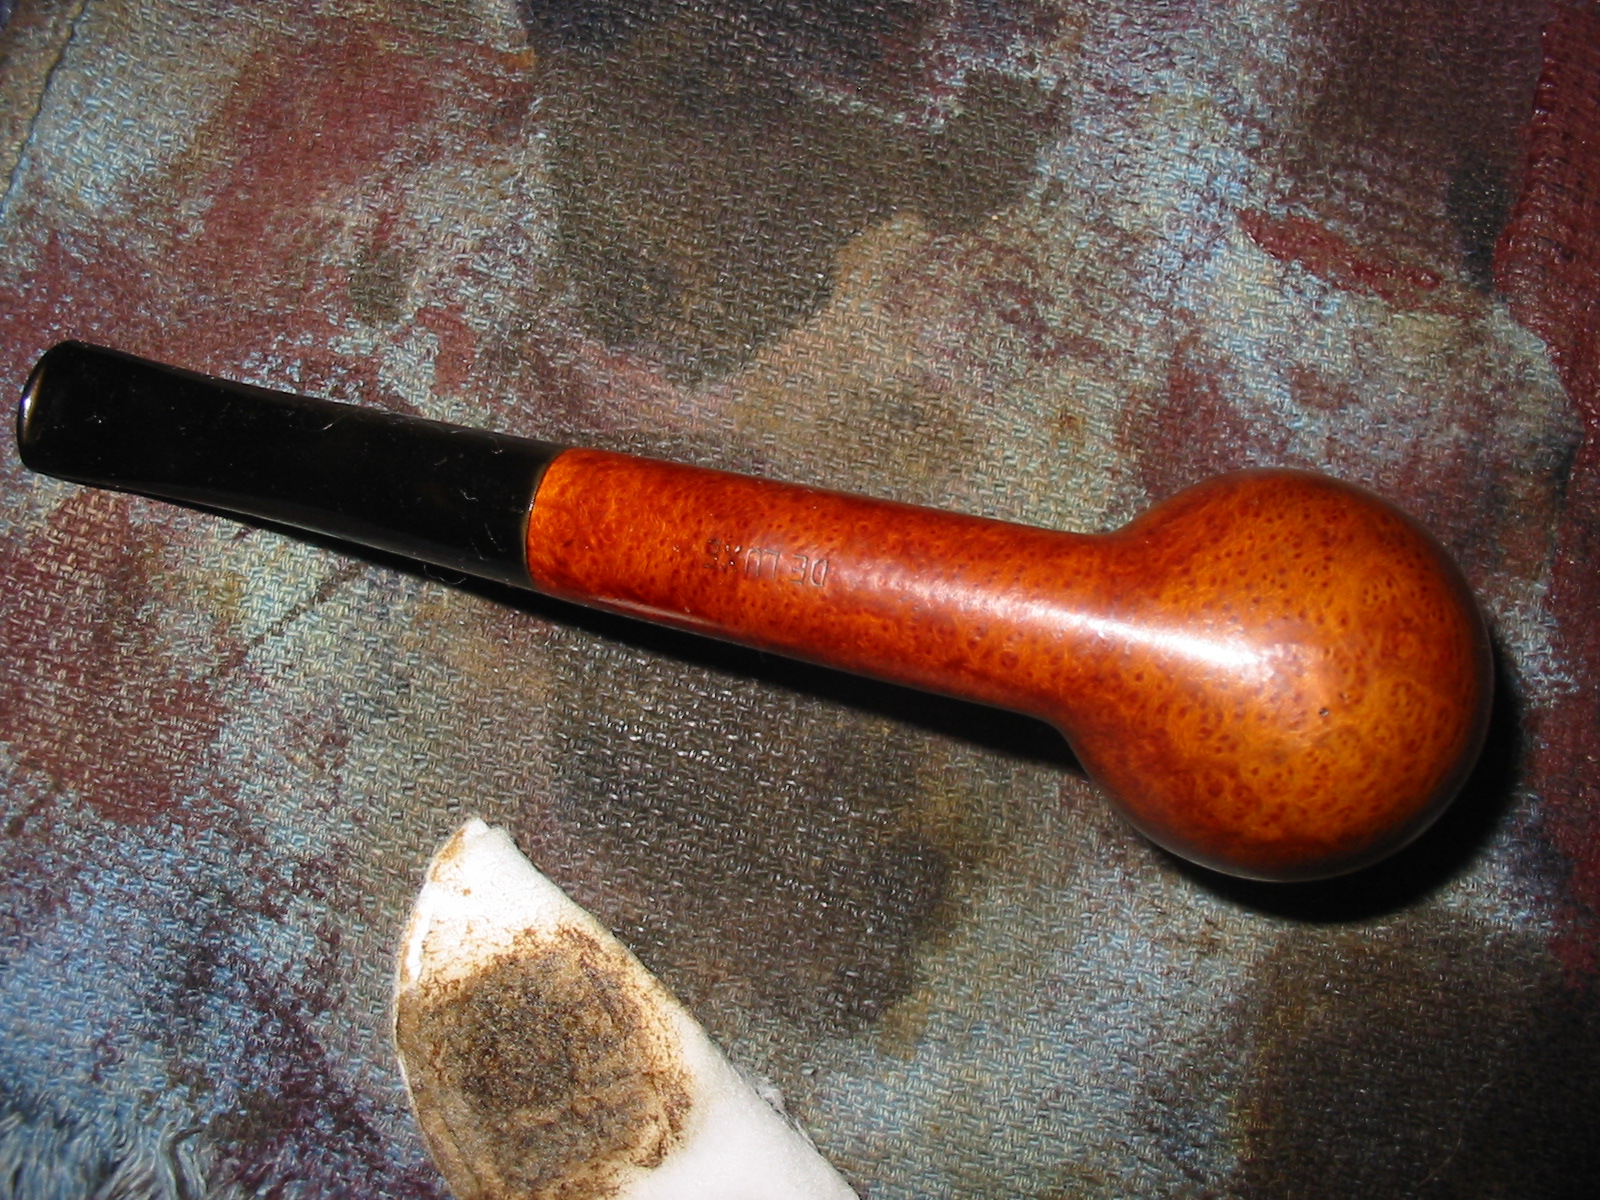
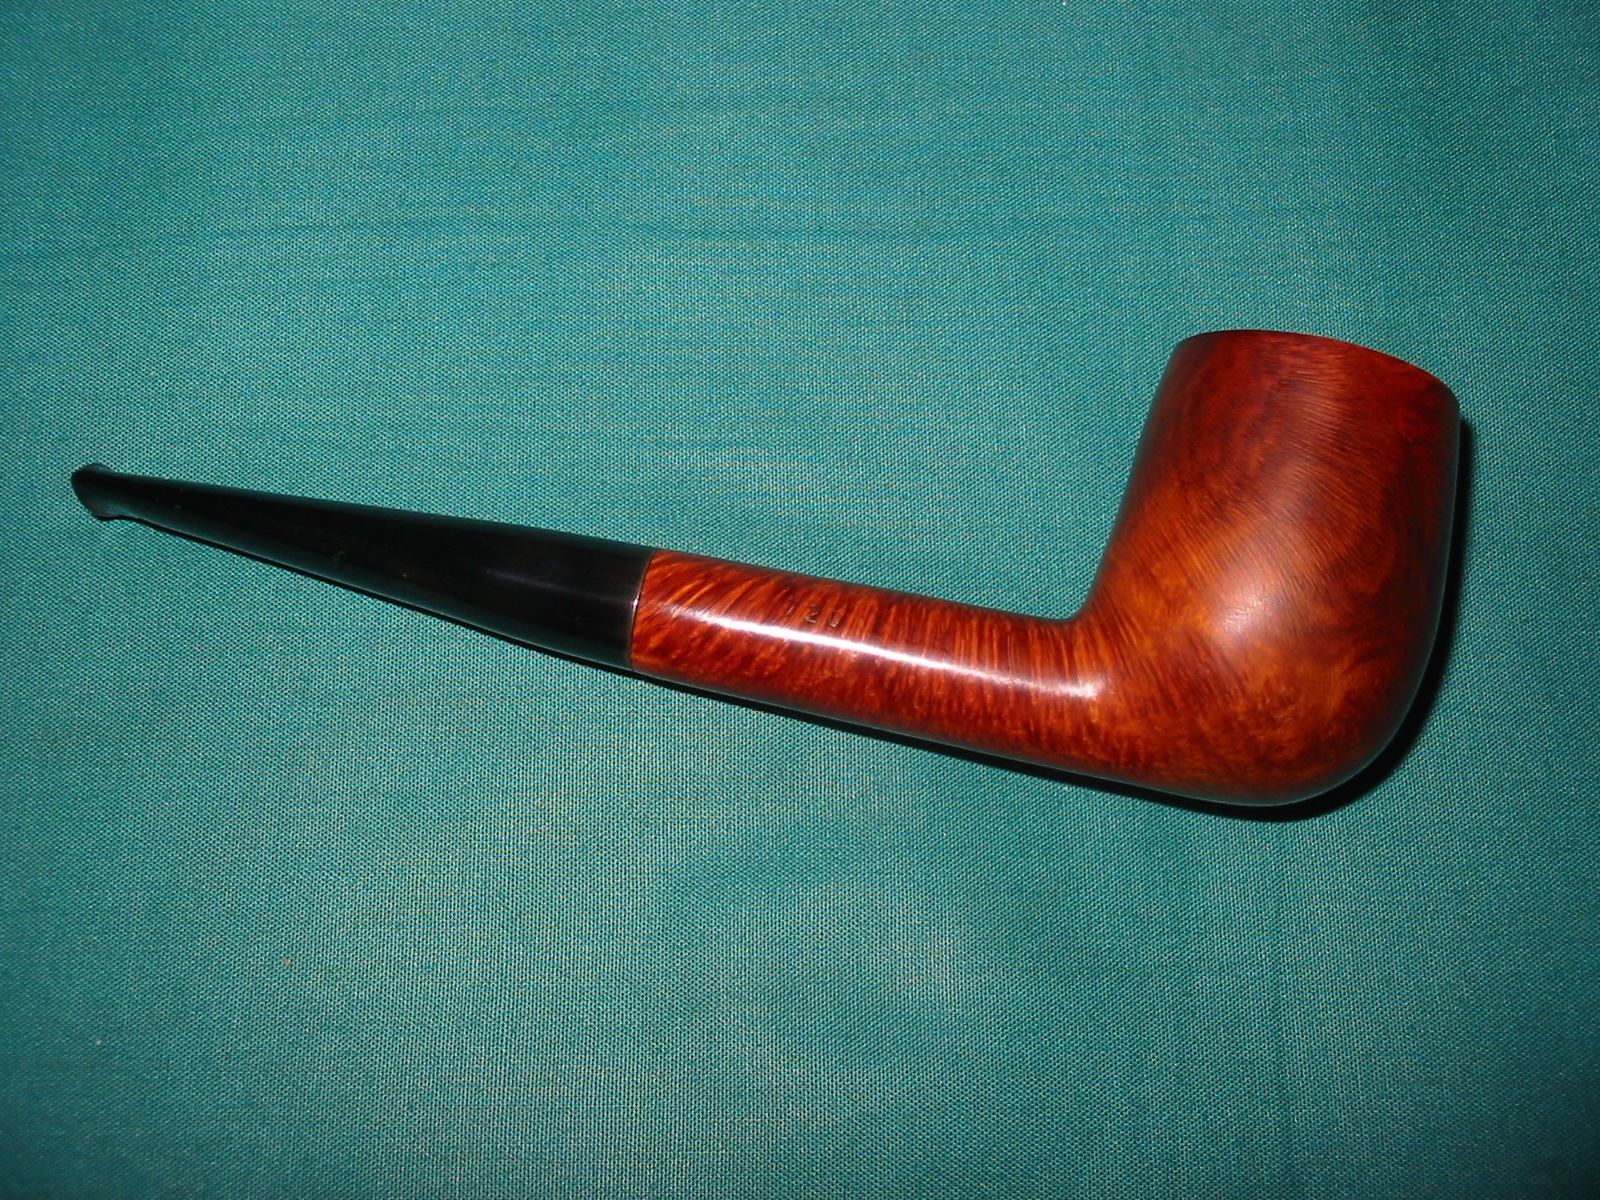
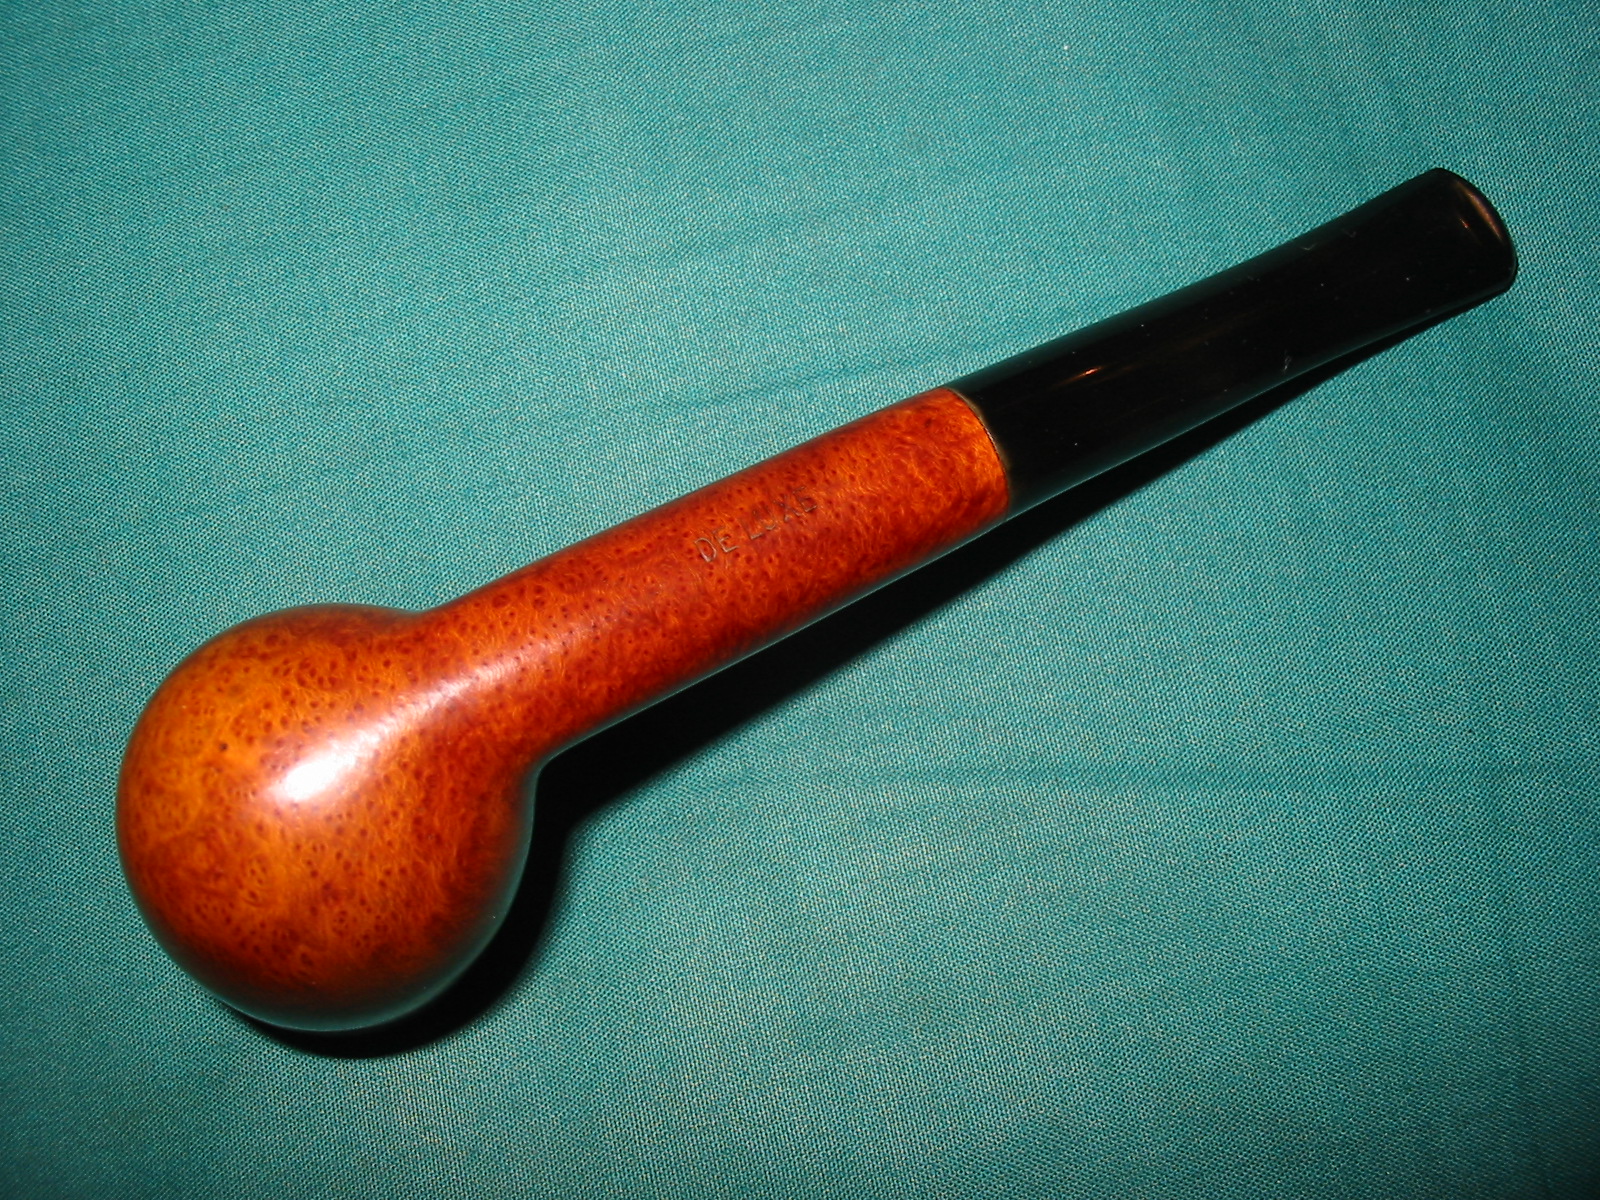
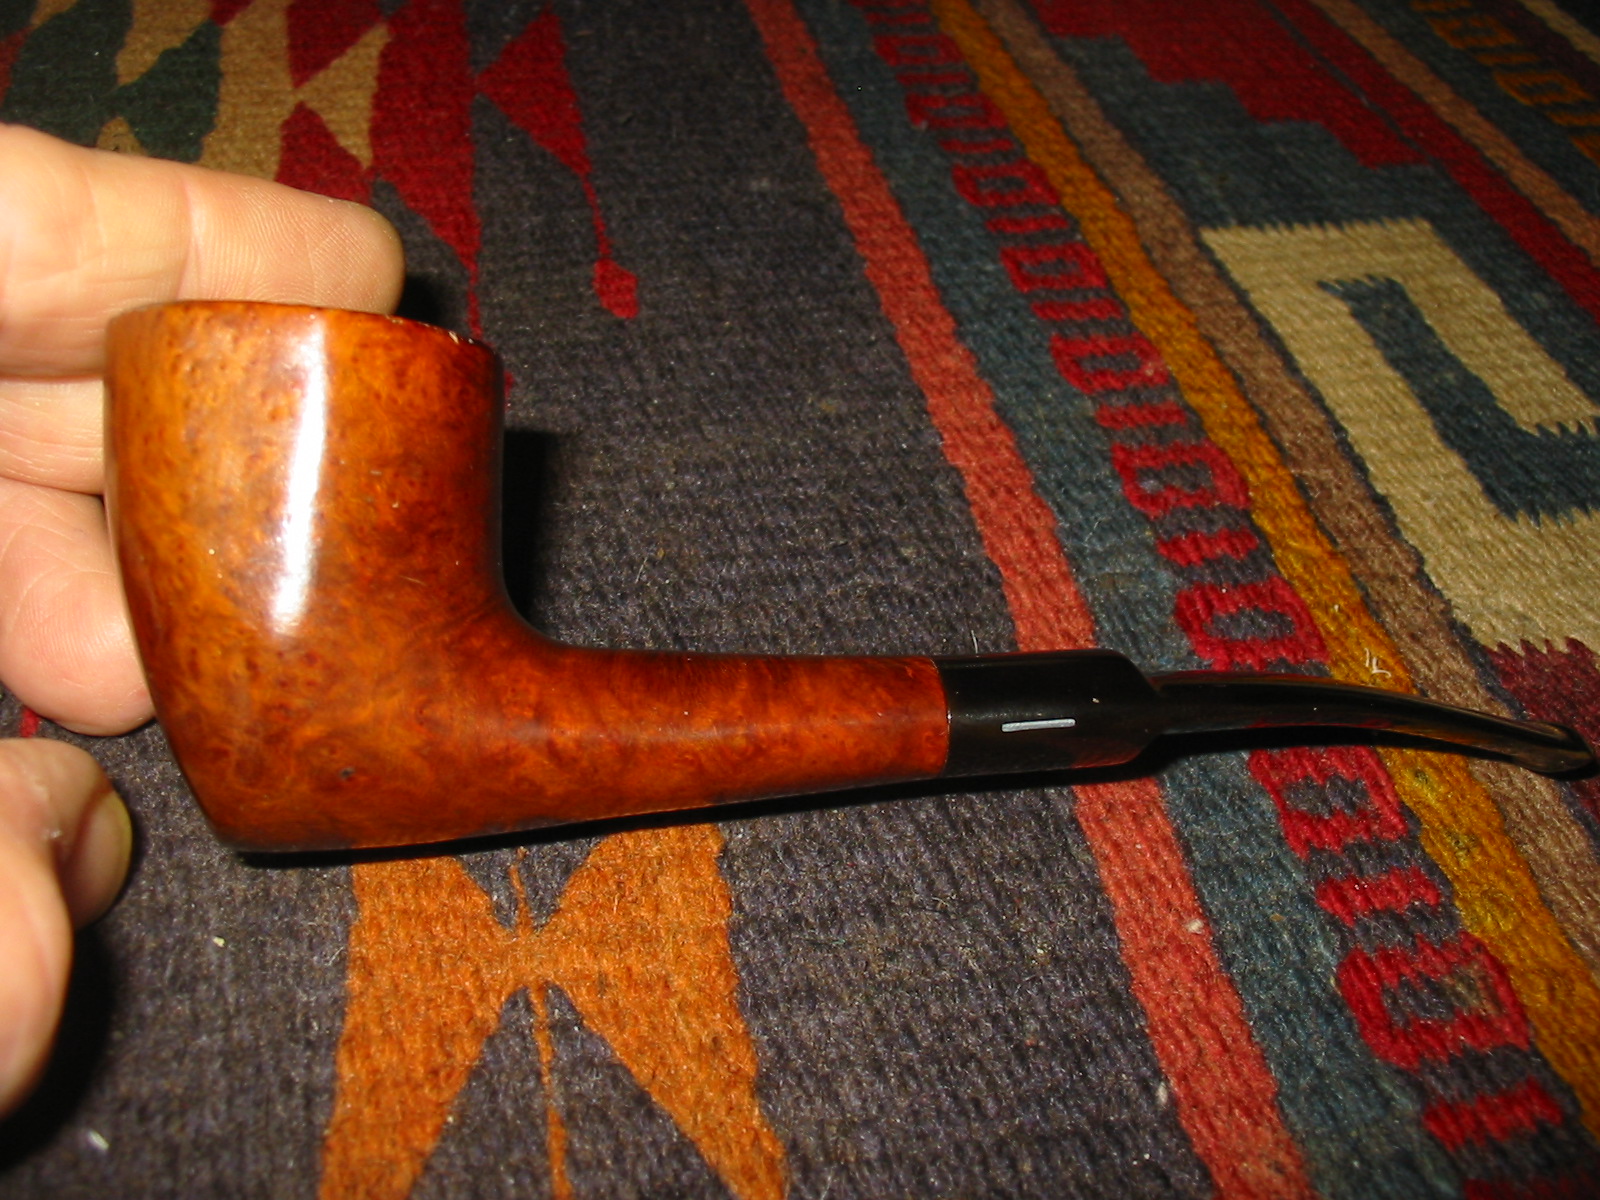
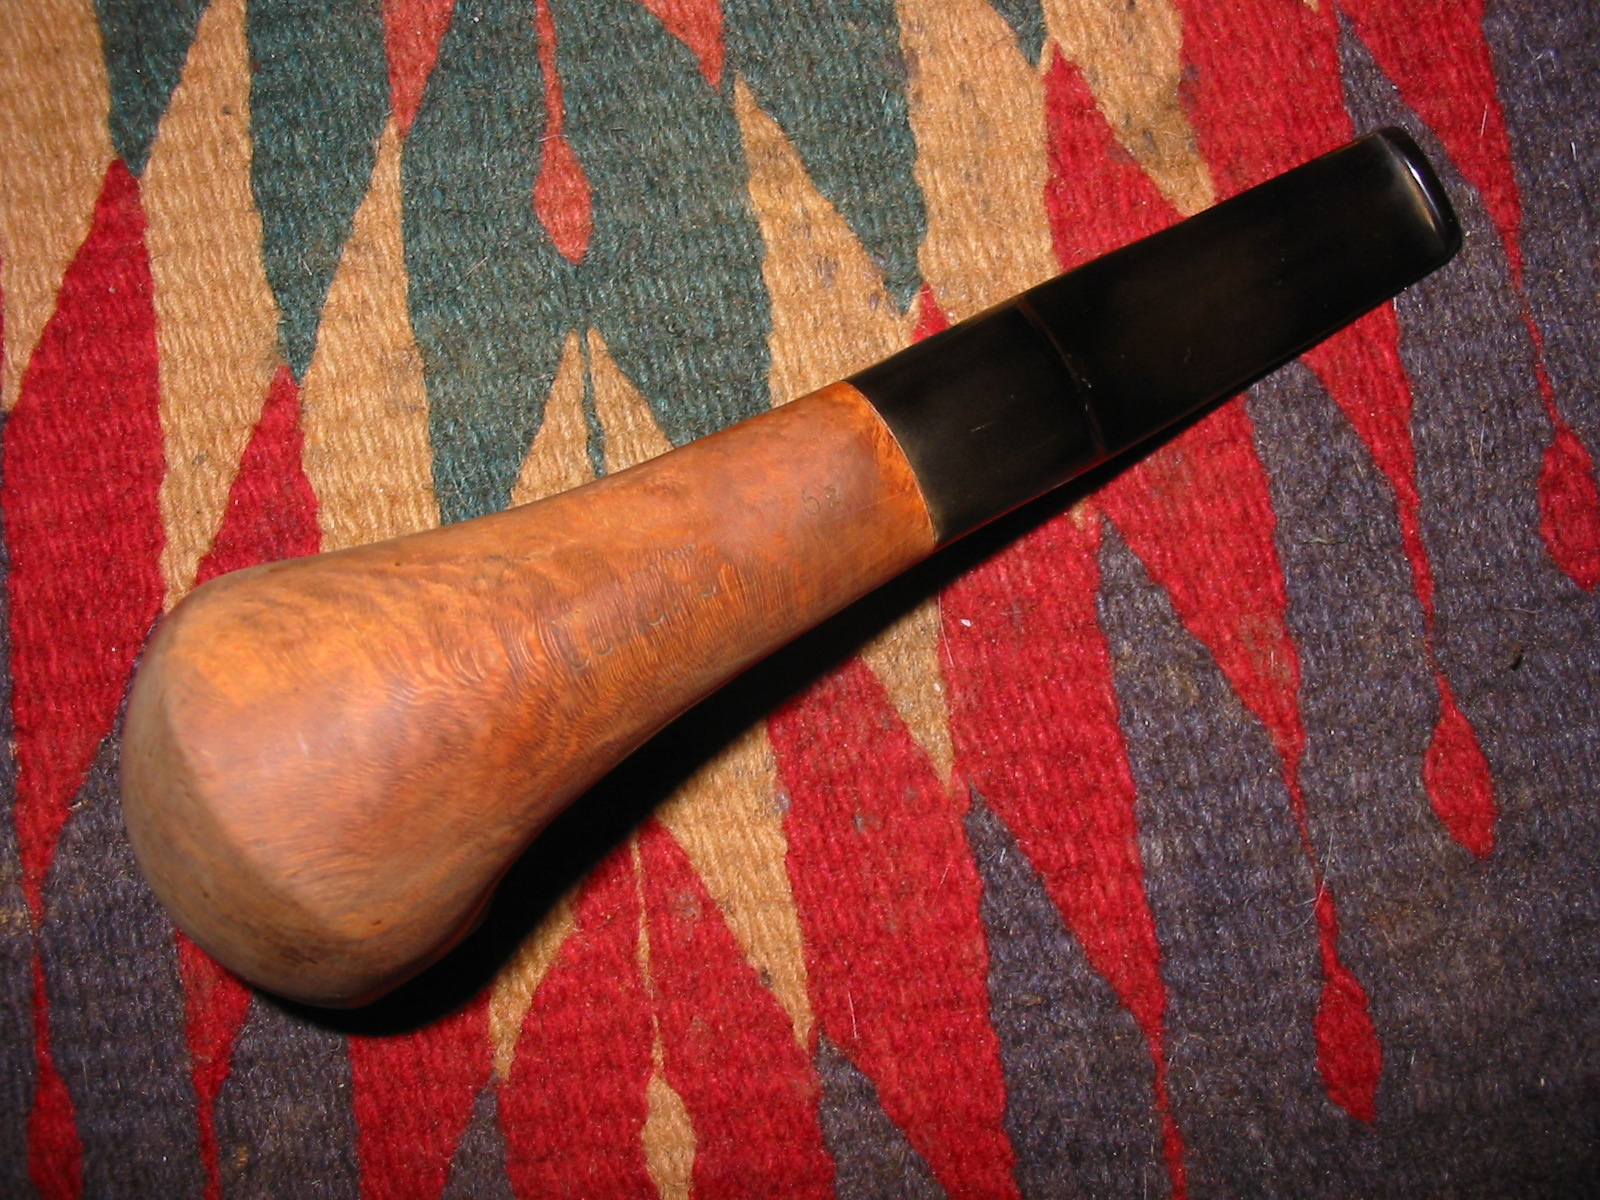
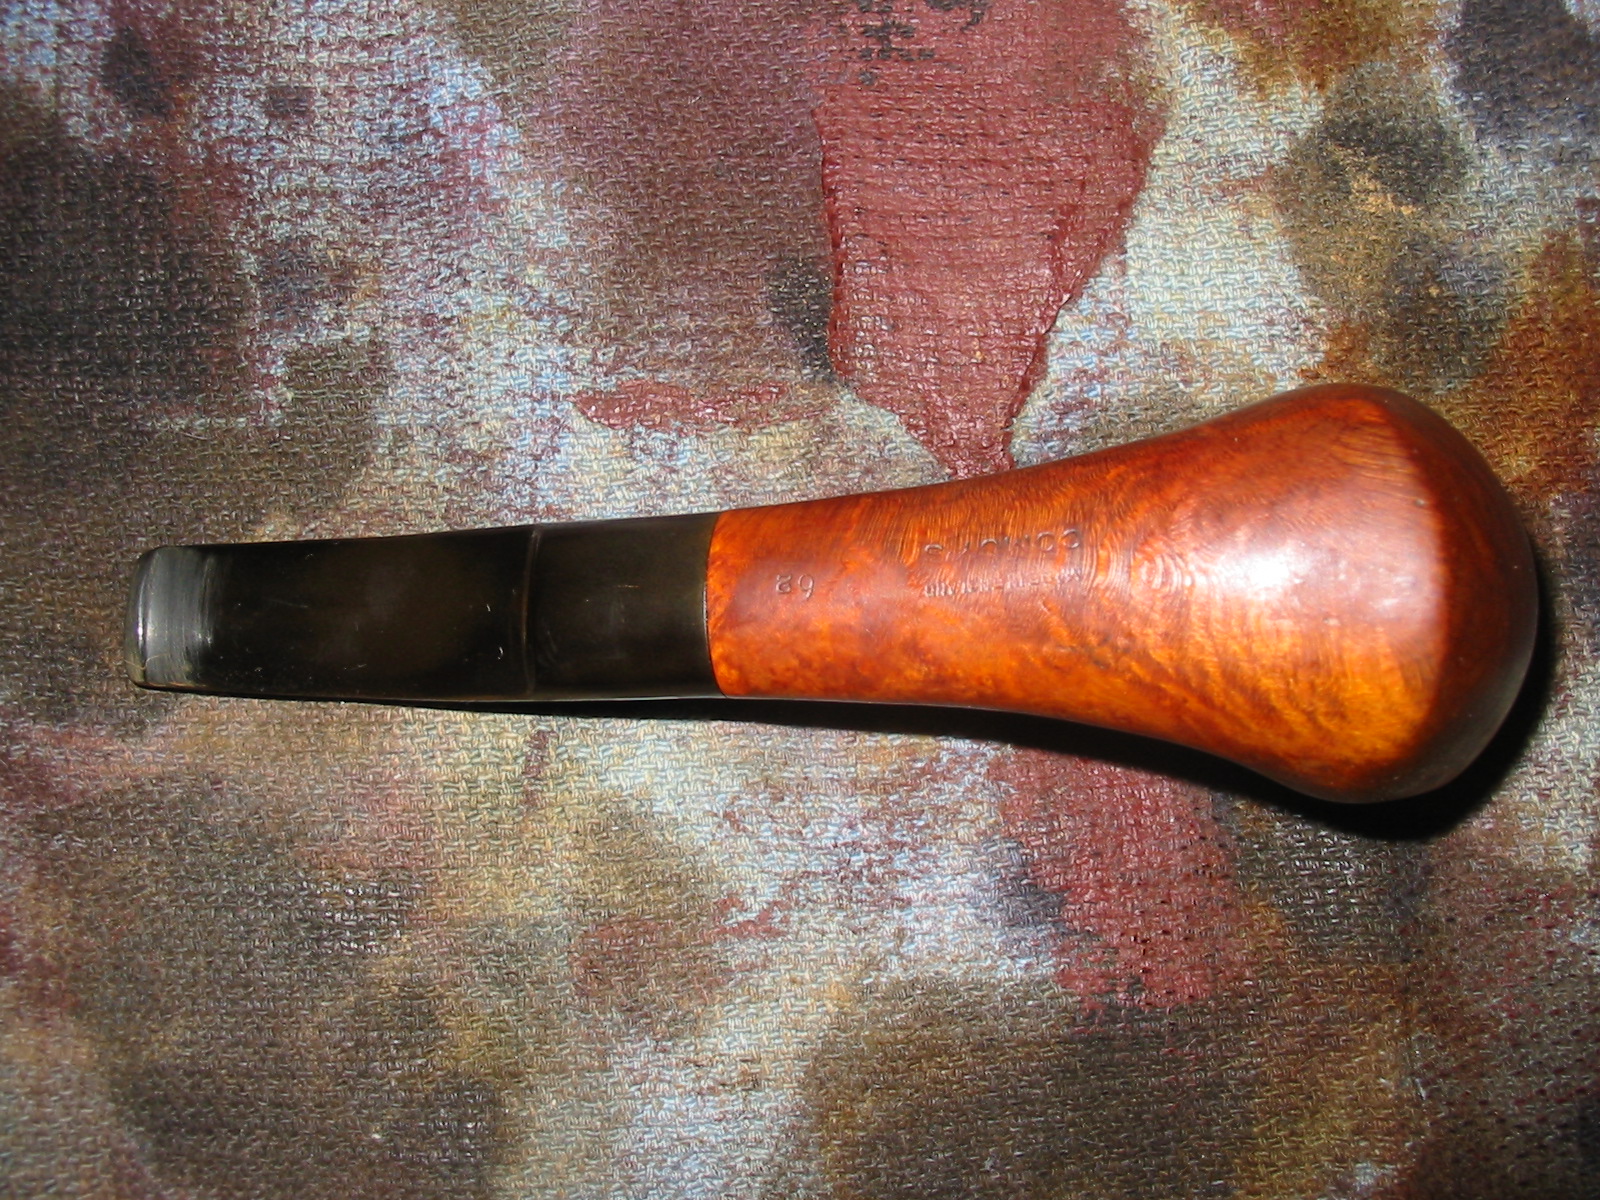
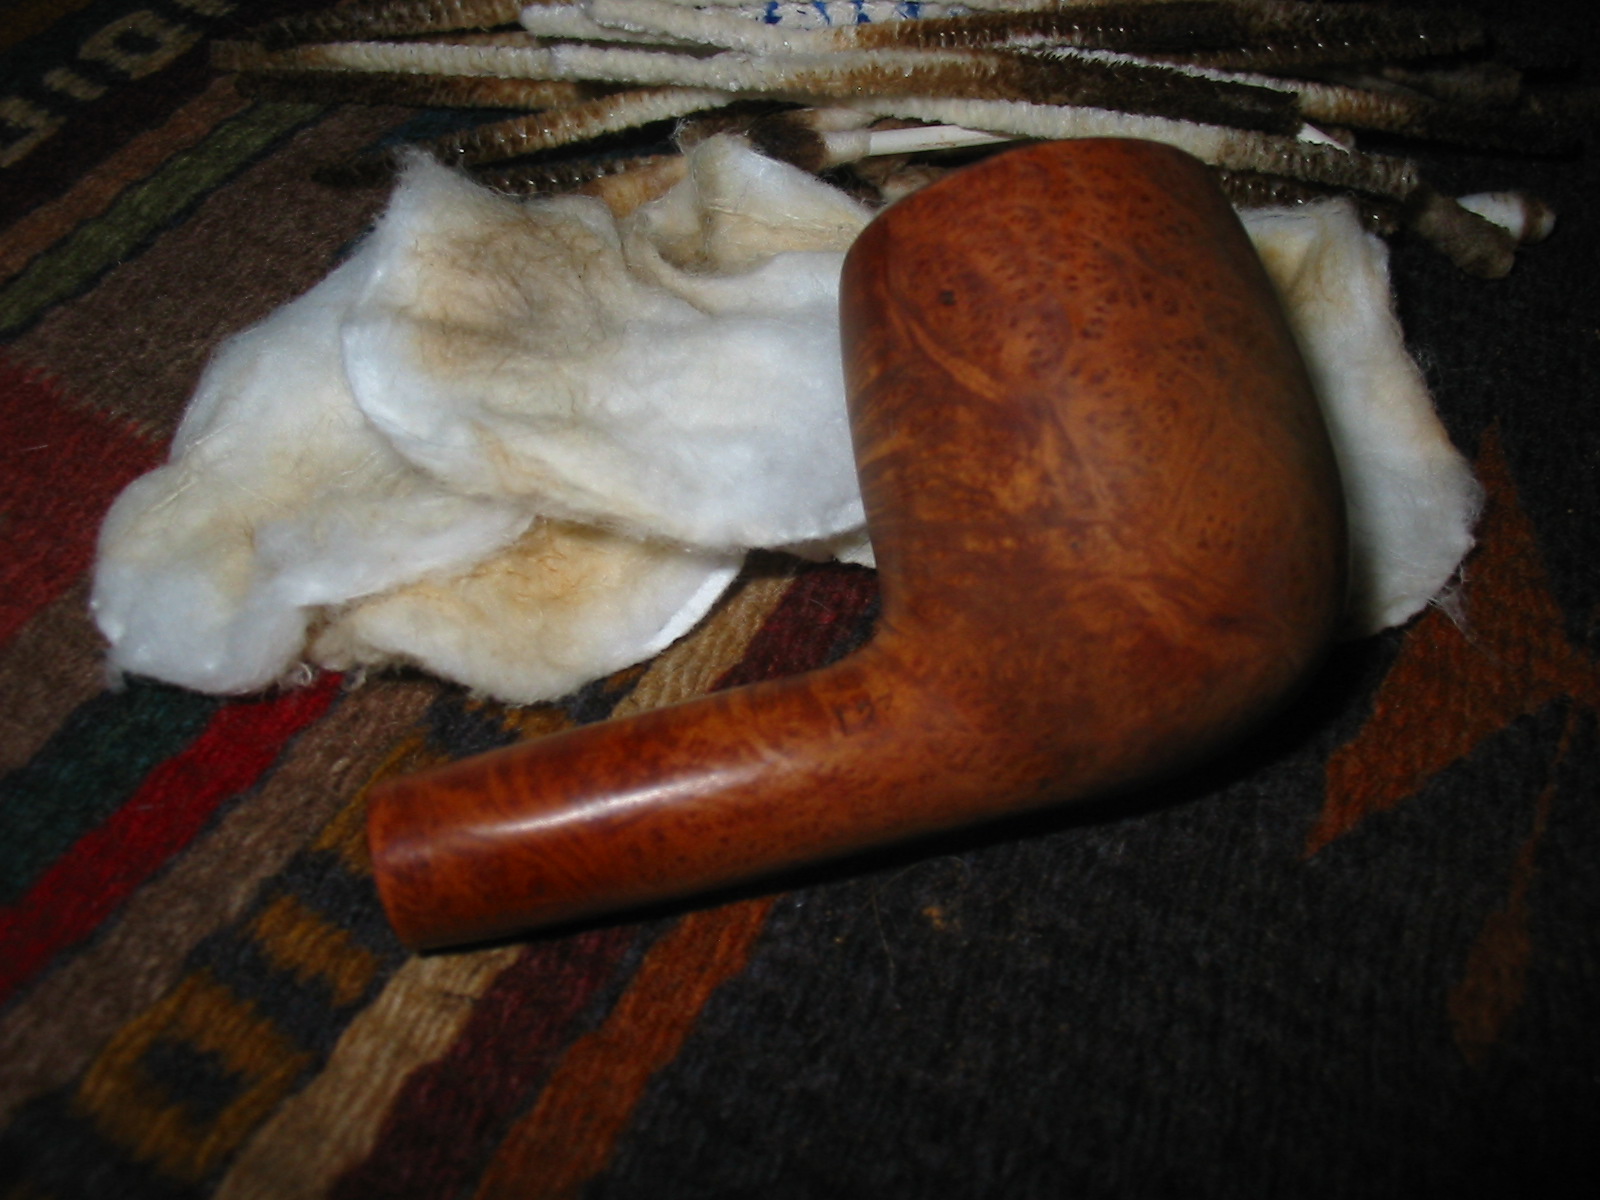
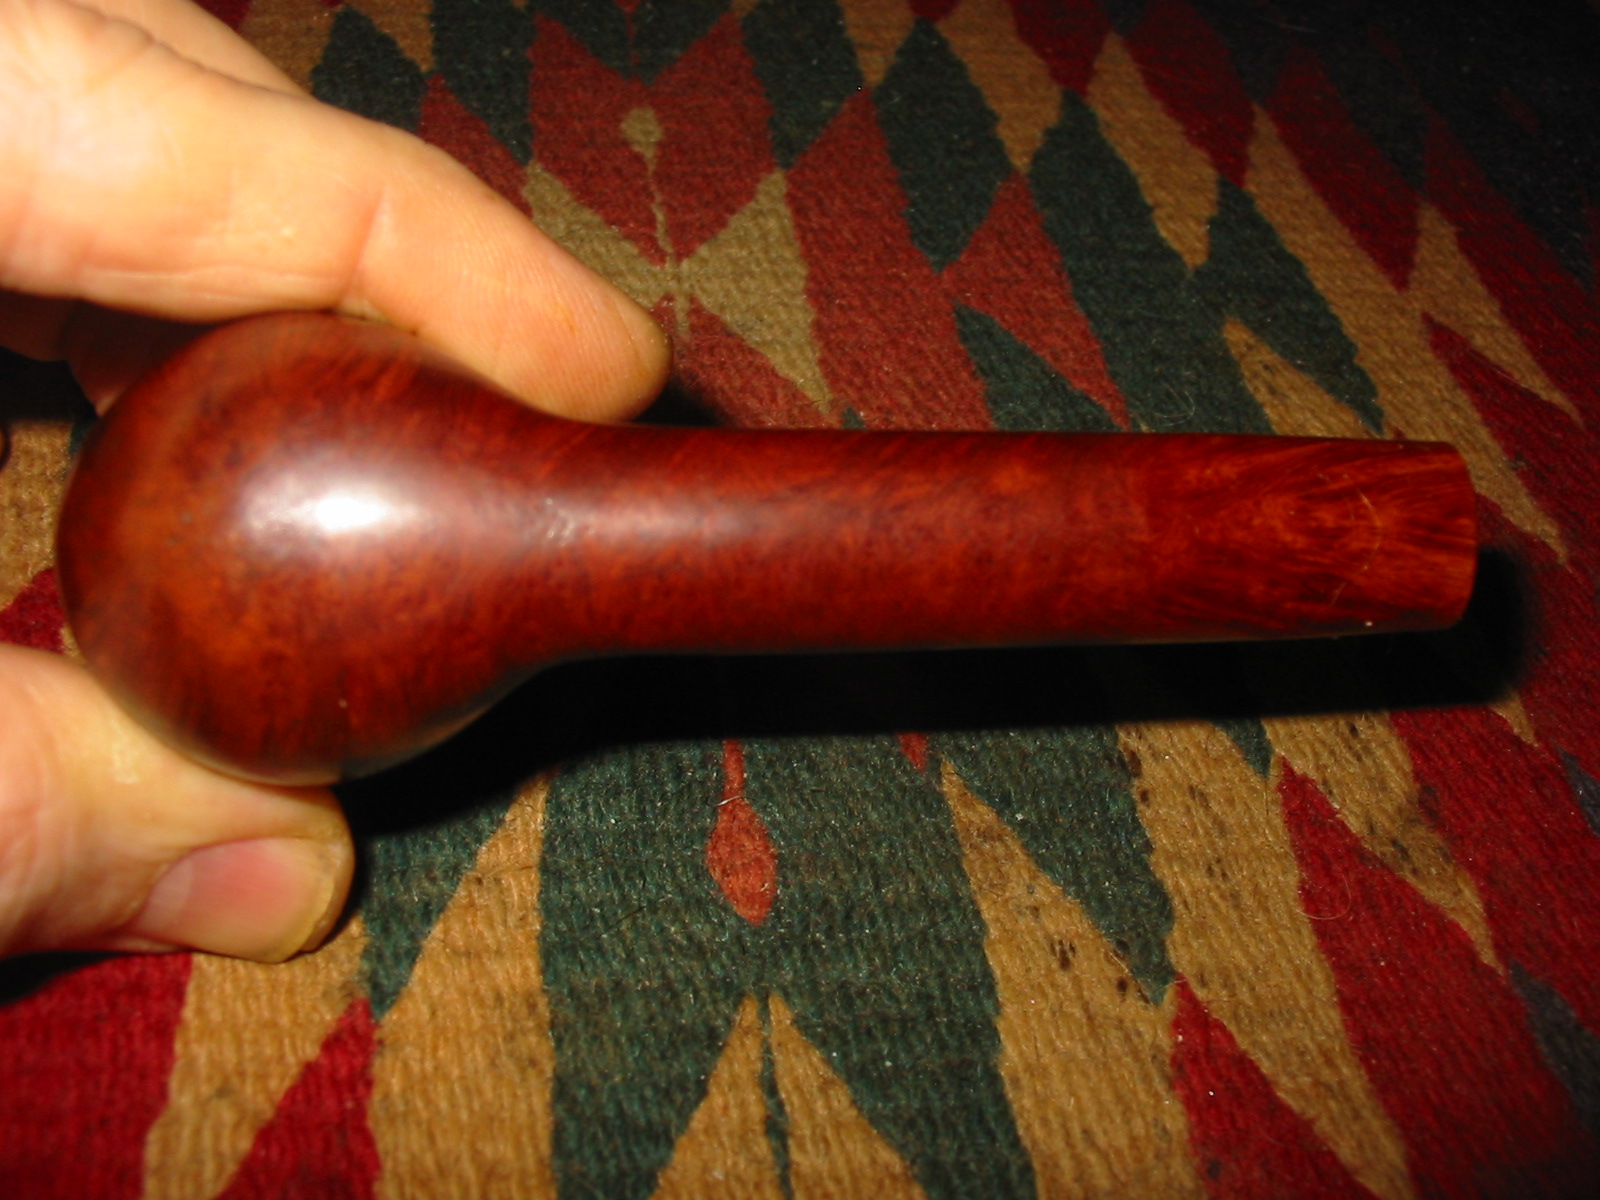
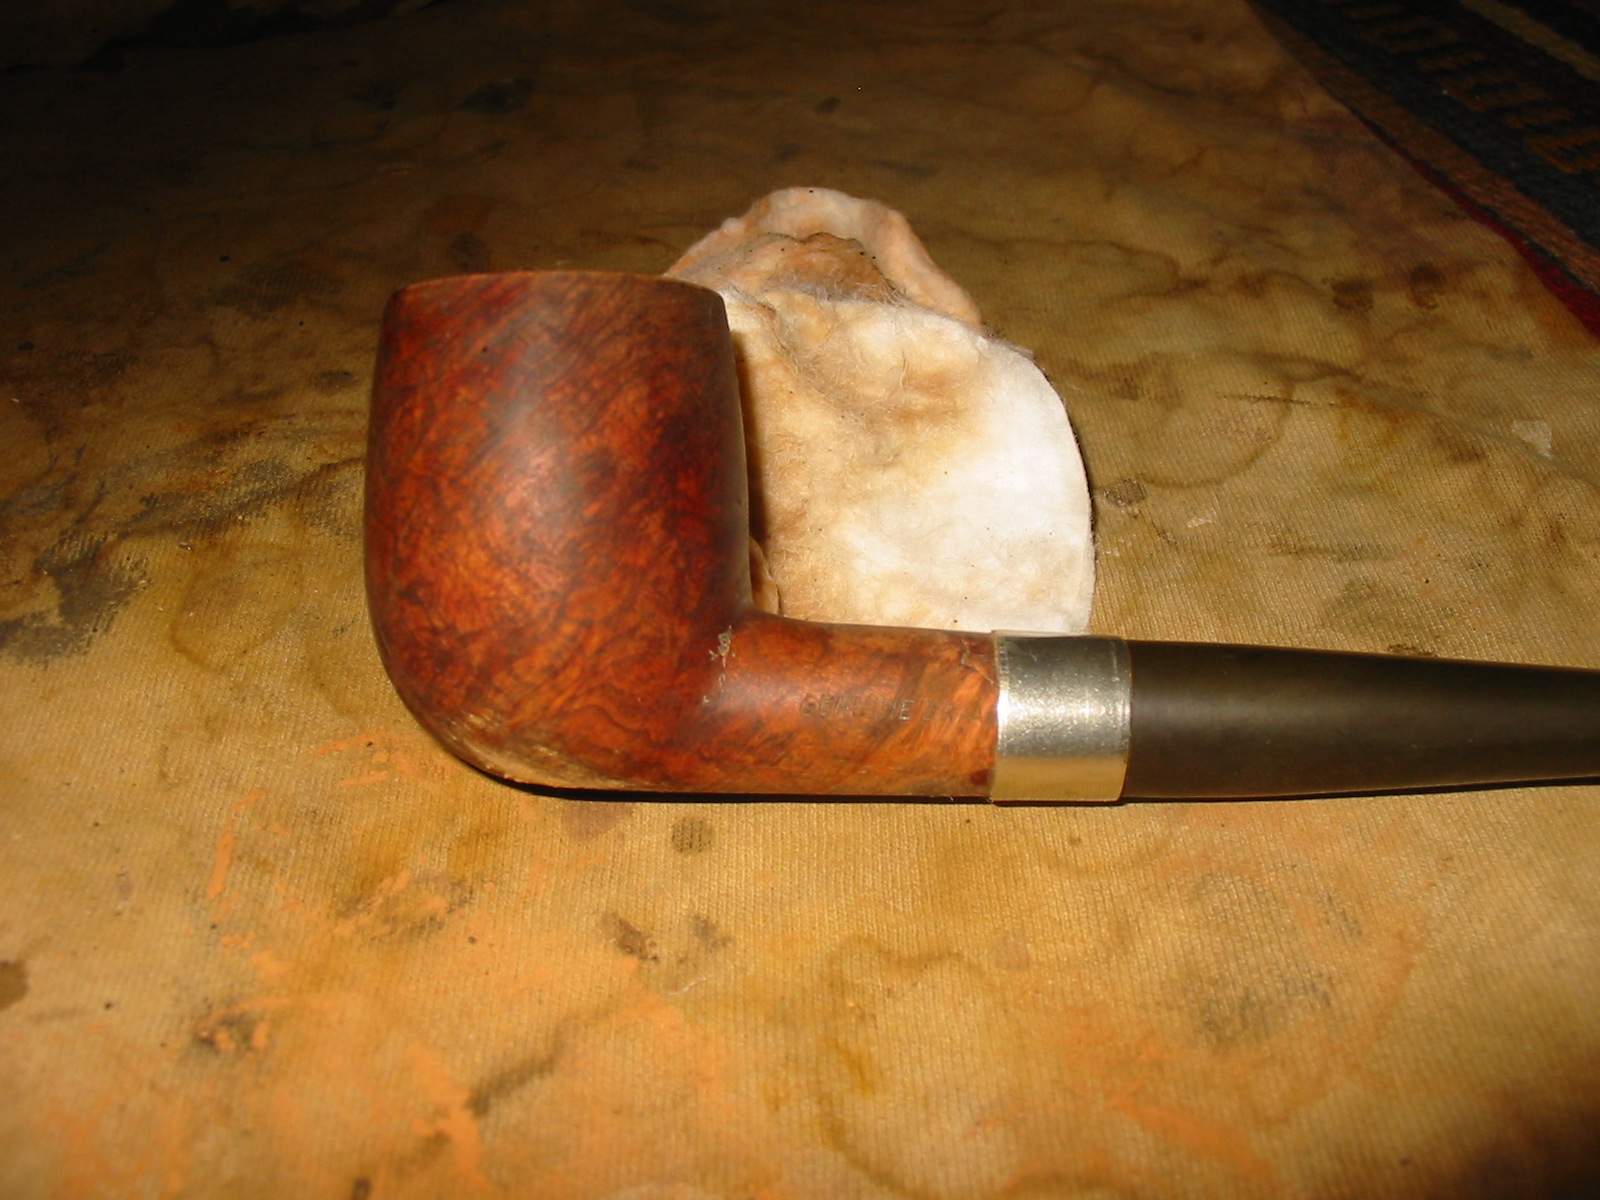
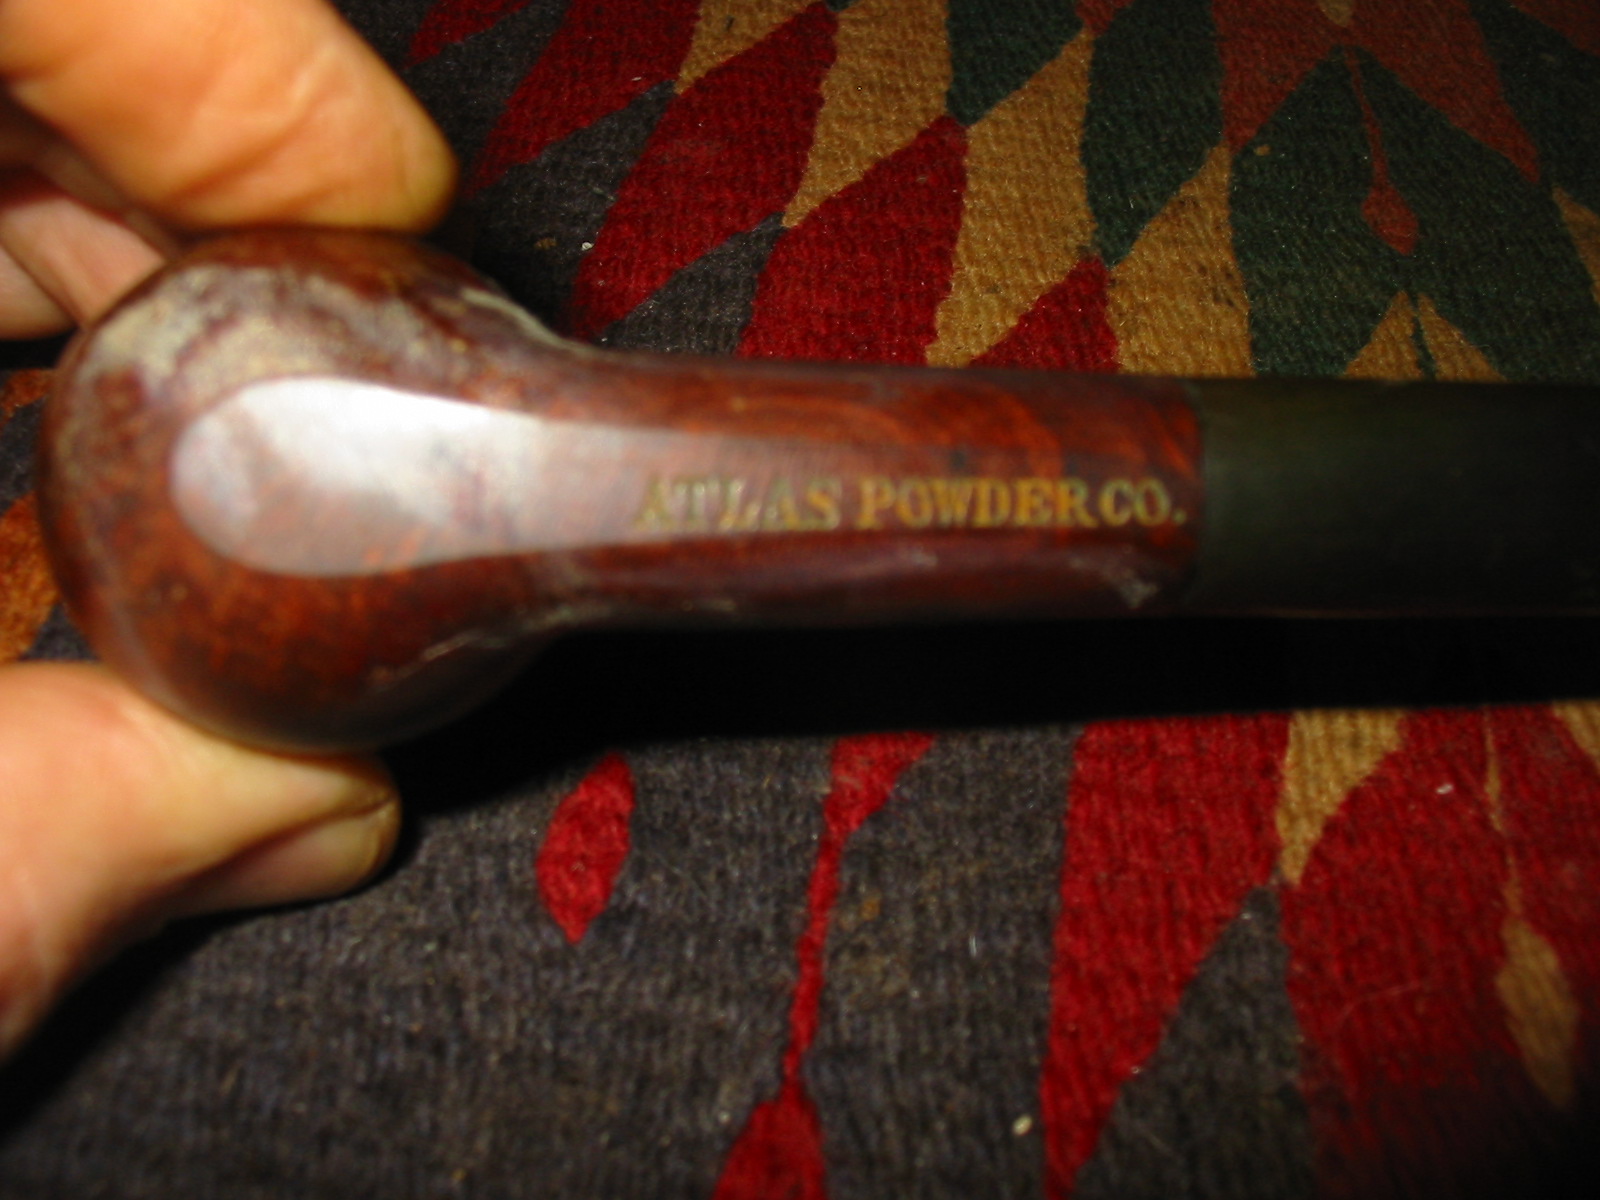
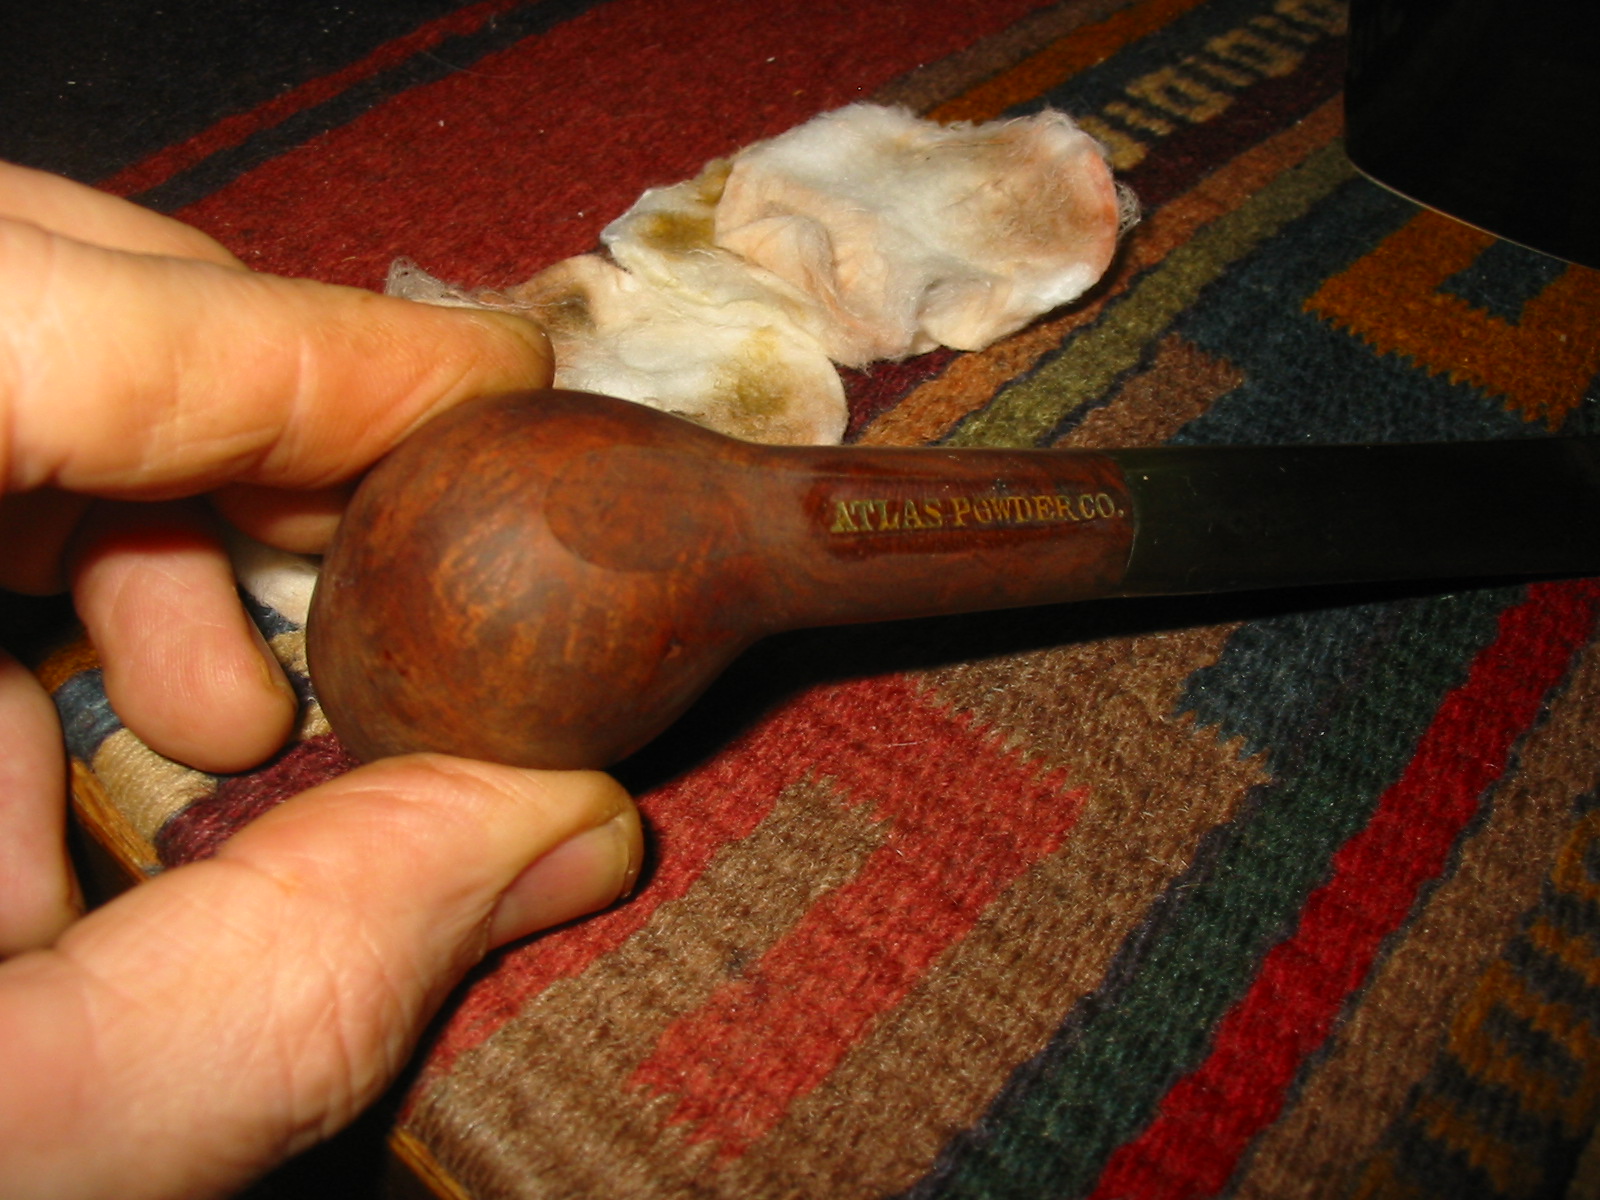
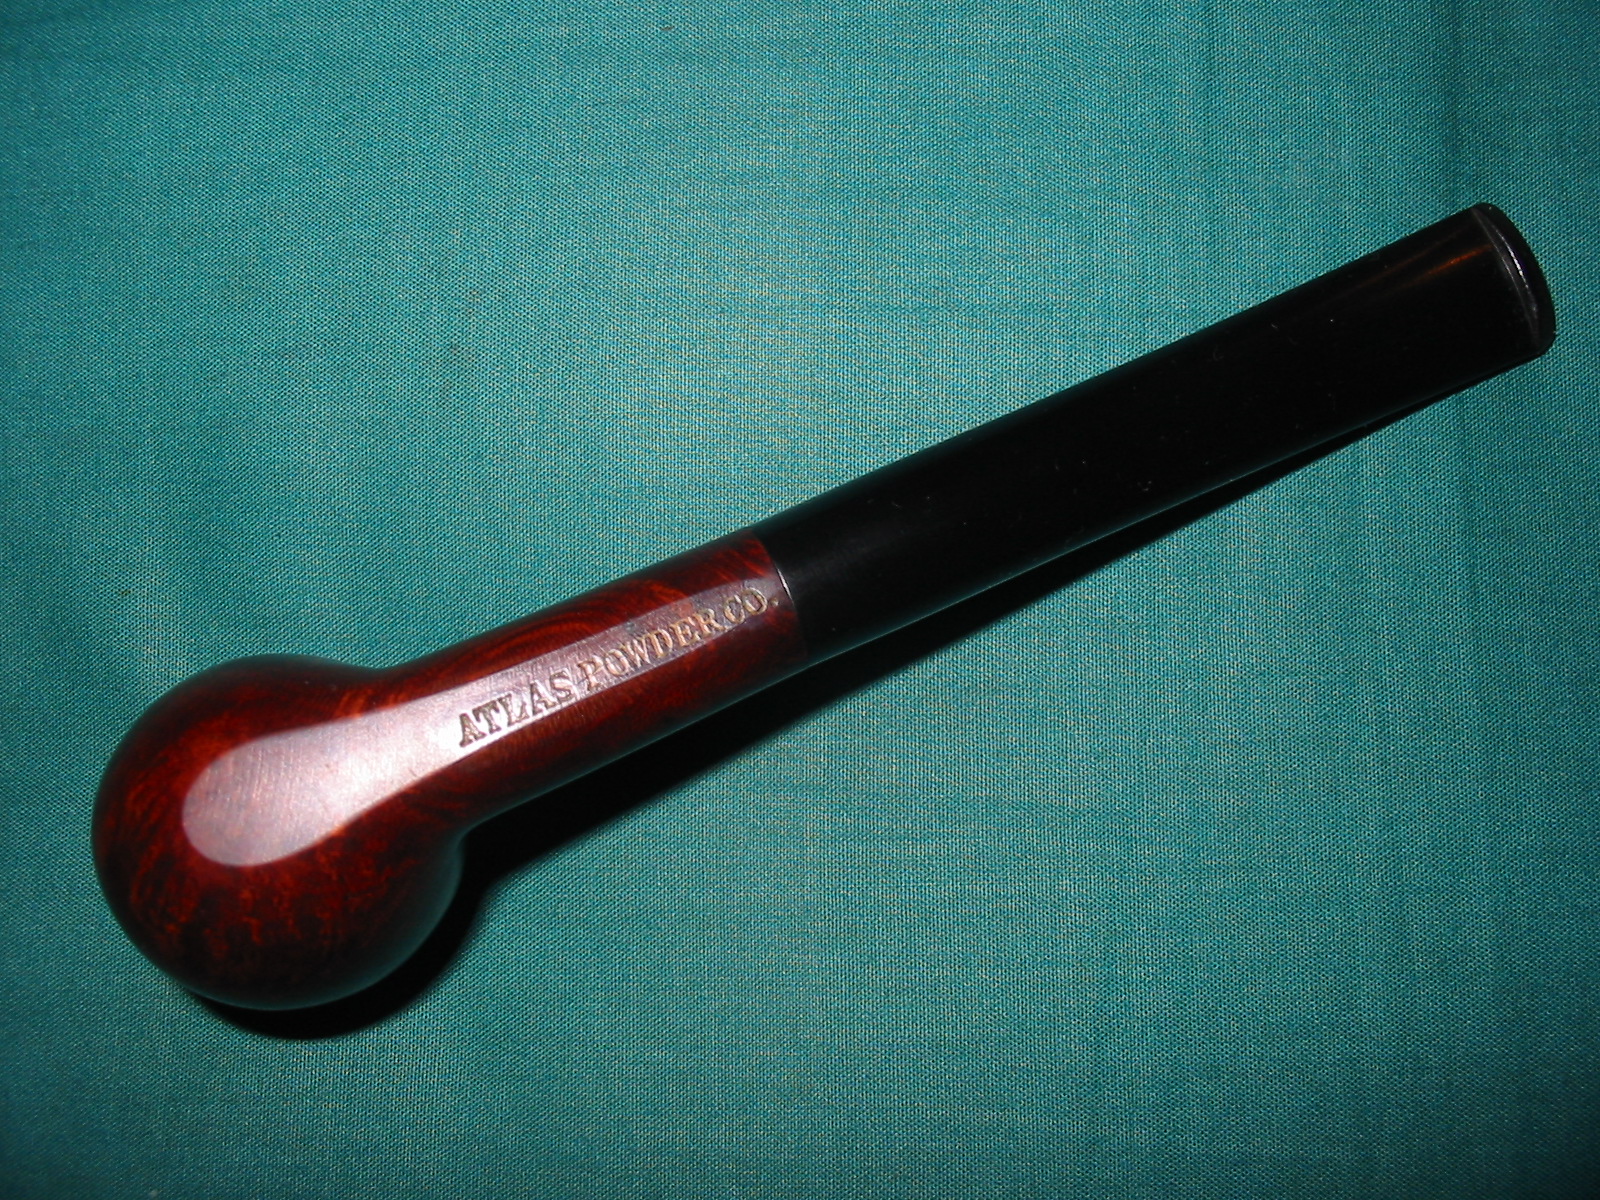
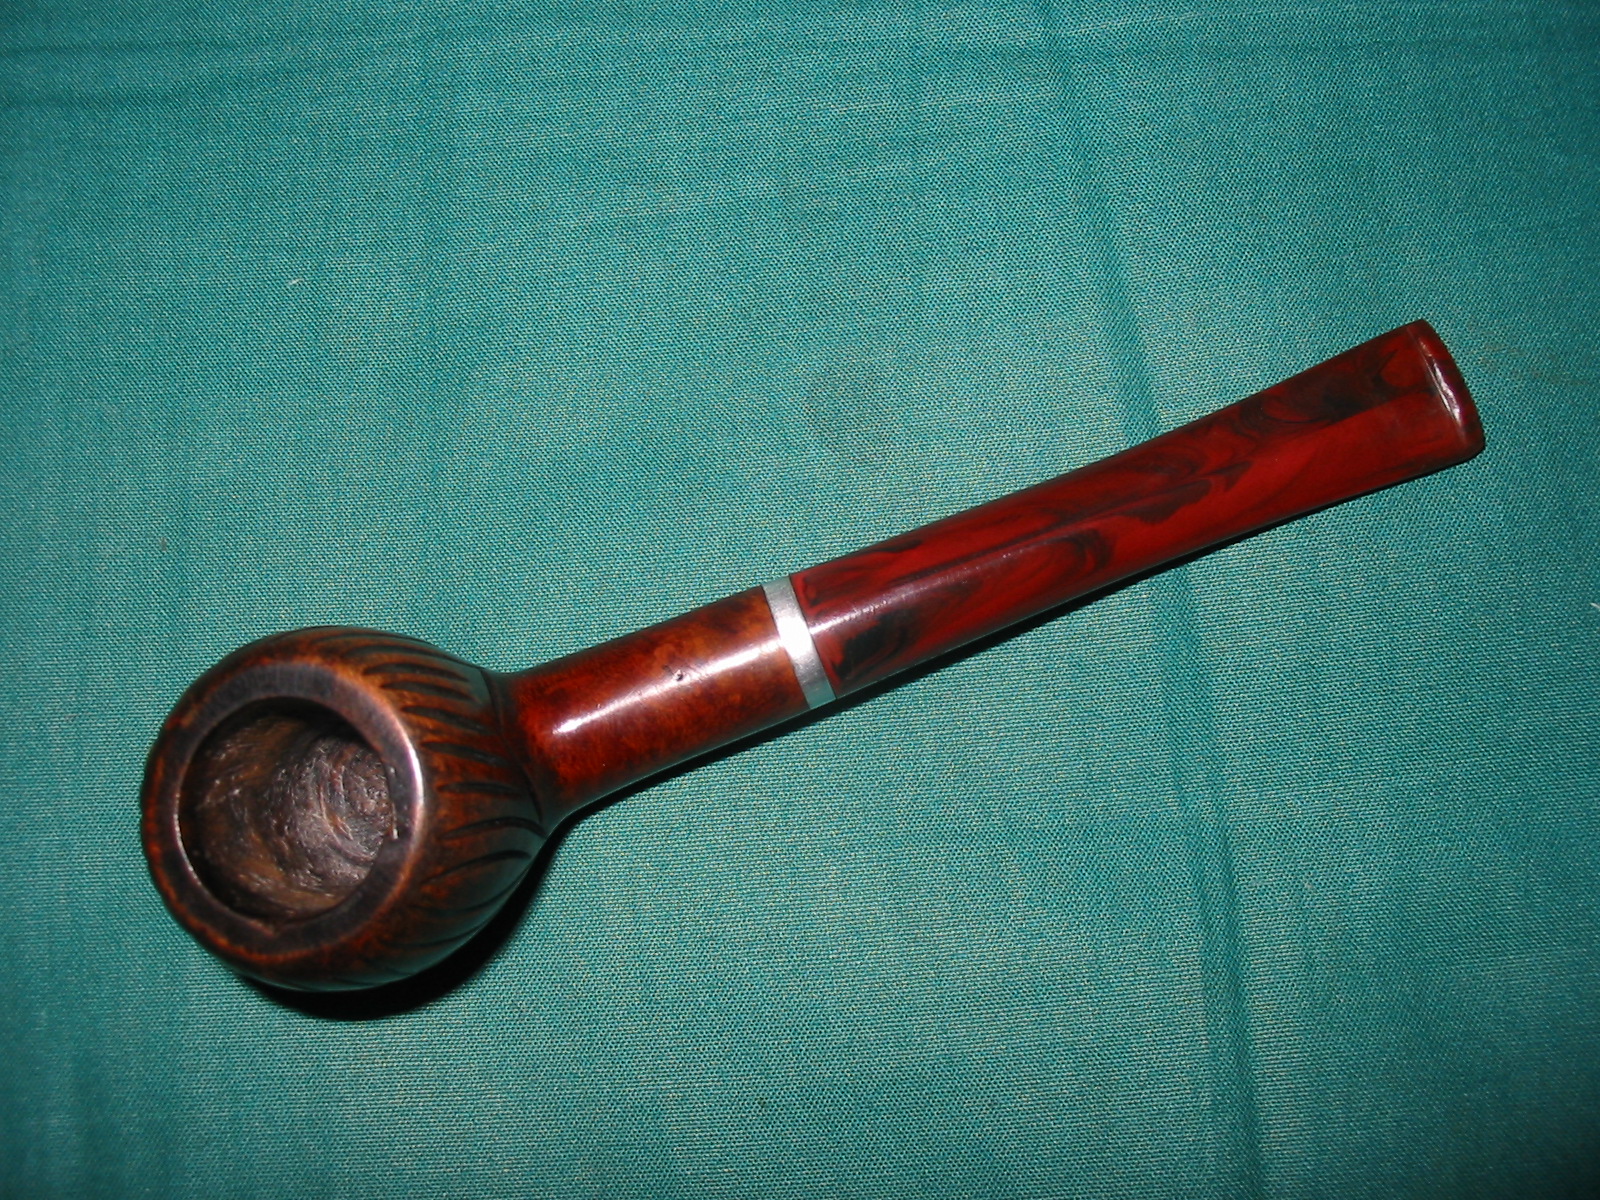
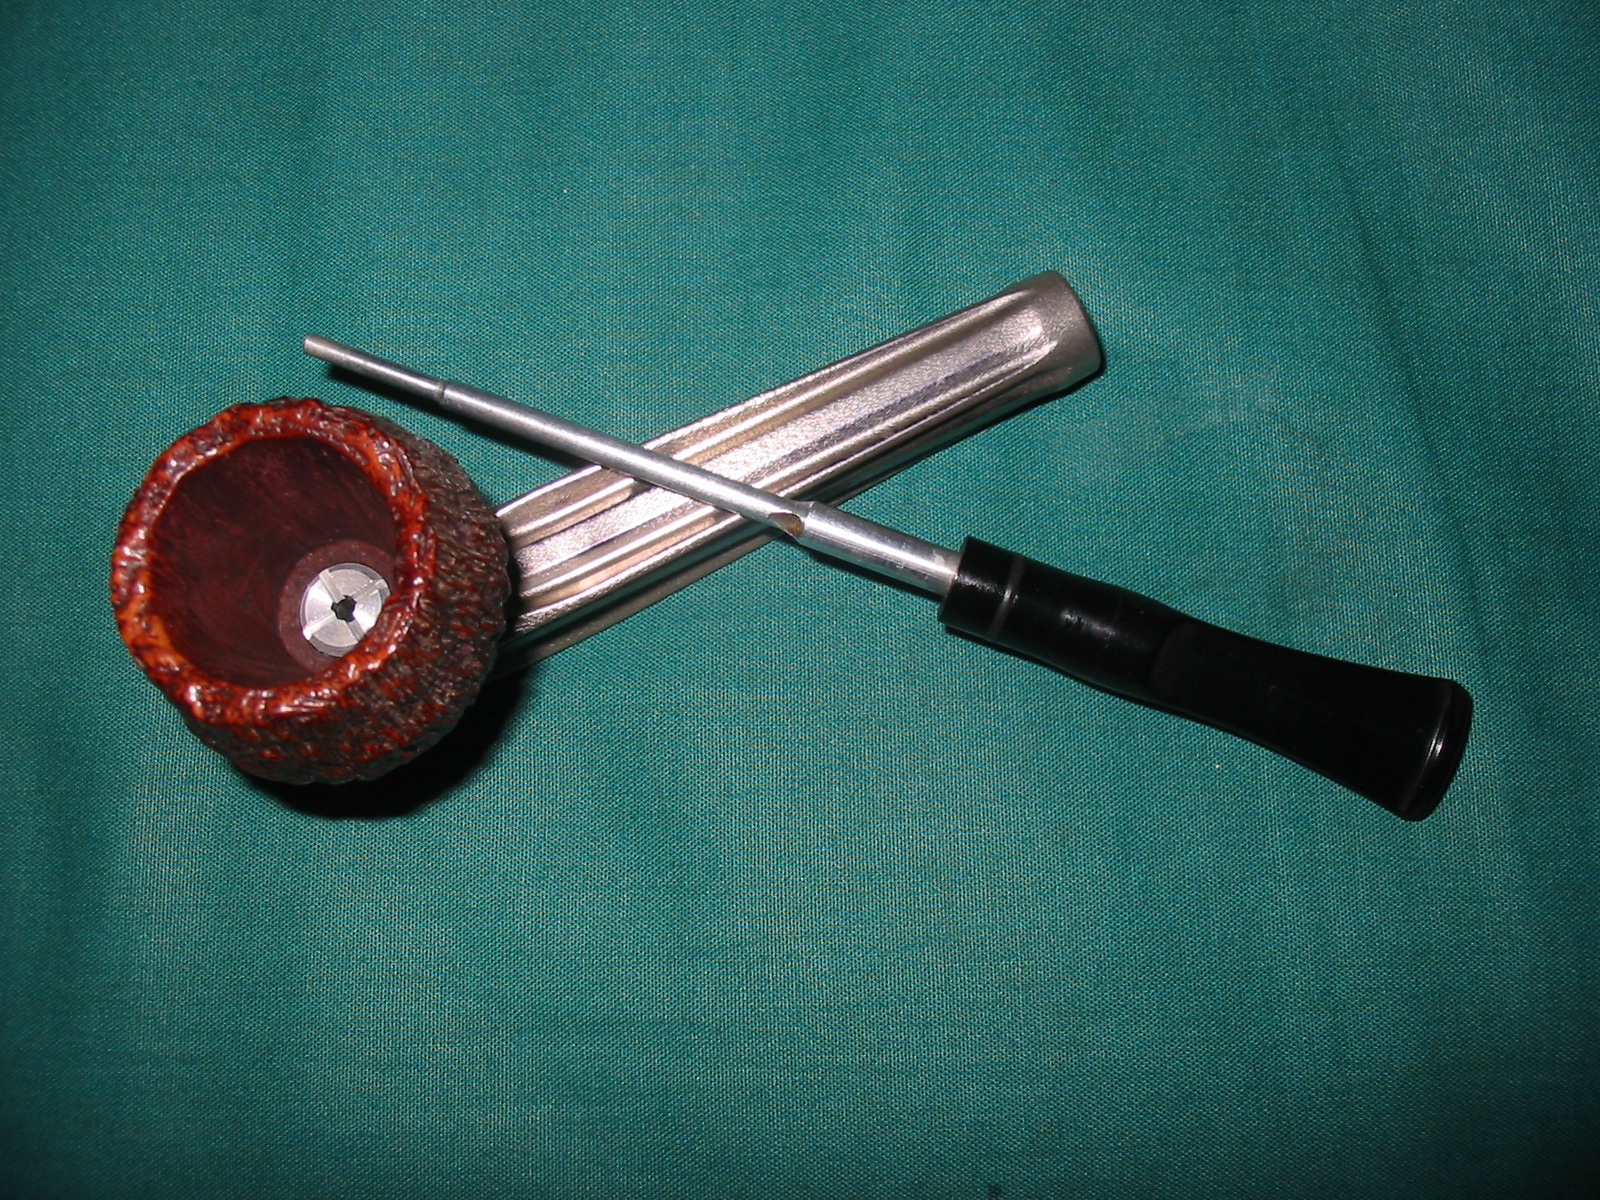
The second pipe looked worse for wear when I started on it but it was merely surface wear. The bowl itself was not even broken in and the slight cake on the top portion of the bowl was very thin. The shank and the inside of the stem were very clean. The original stinger apparatus was still in place and was slightly discoloured. The ATLAS POWDER CO. stamping on the bottom of the shank was still embossed with gold in the letters. The varnish coat on the finish was disintegrating on the surface of the briar but the briar itself was in great shape. There was no damage to the rim or the edges of the rim. The bowl had no visible fills or dents. It just needed a major cleanup.
IMG_3746

IMG_3747

IMG_3748

IMG_3749

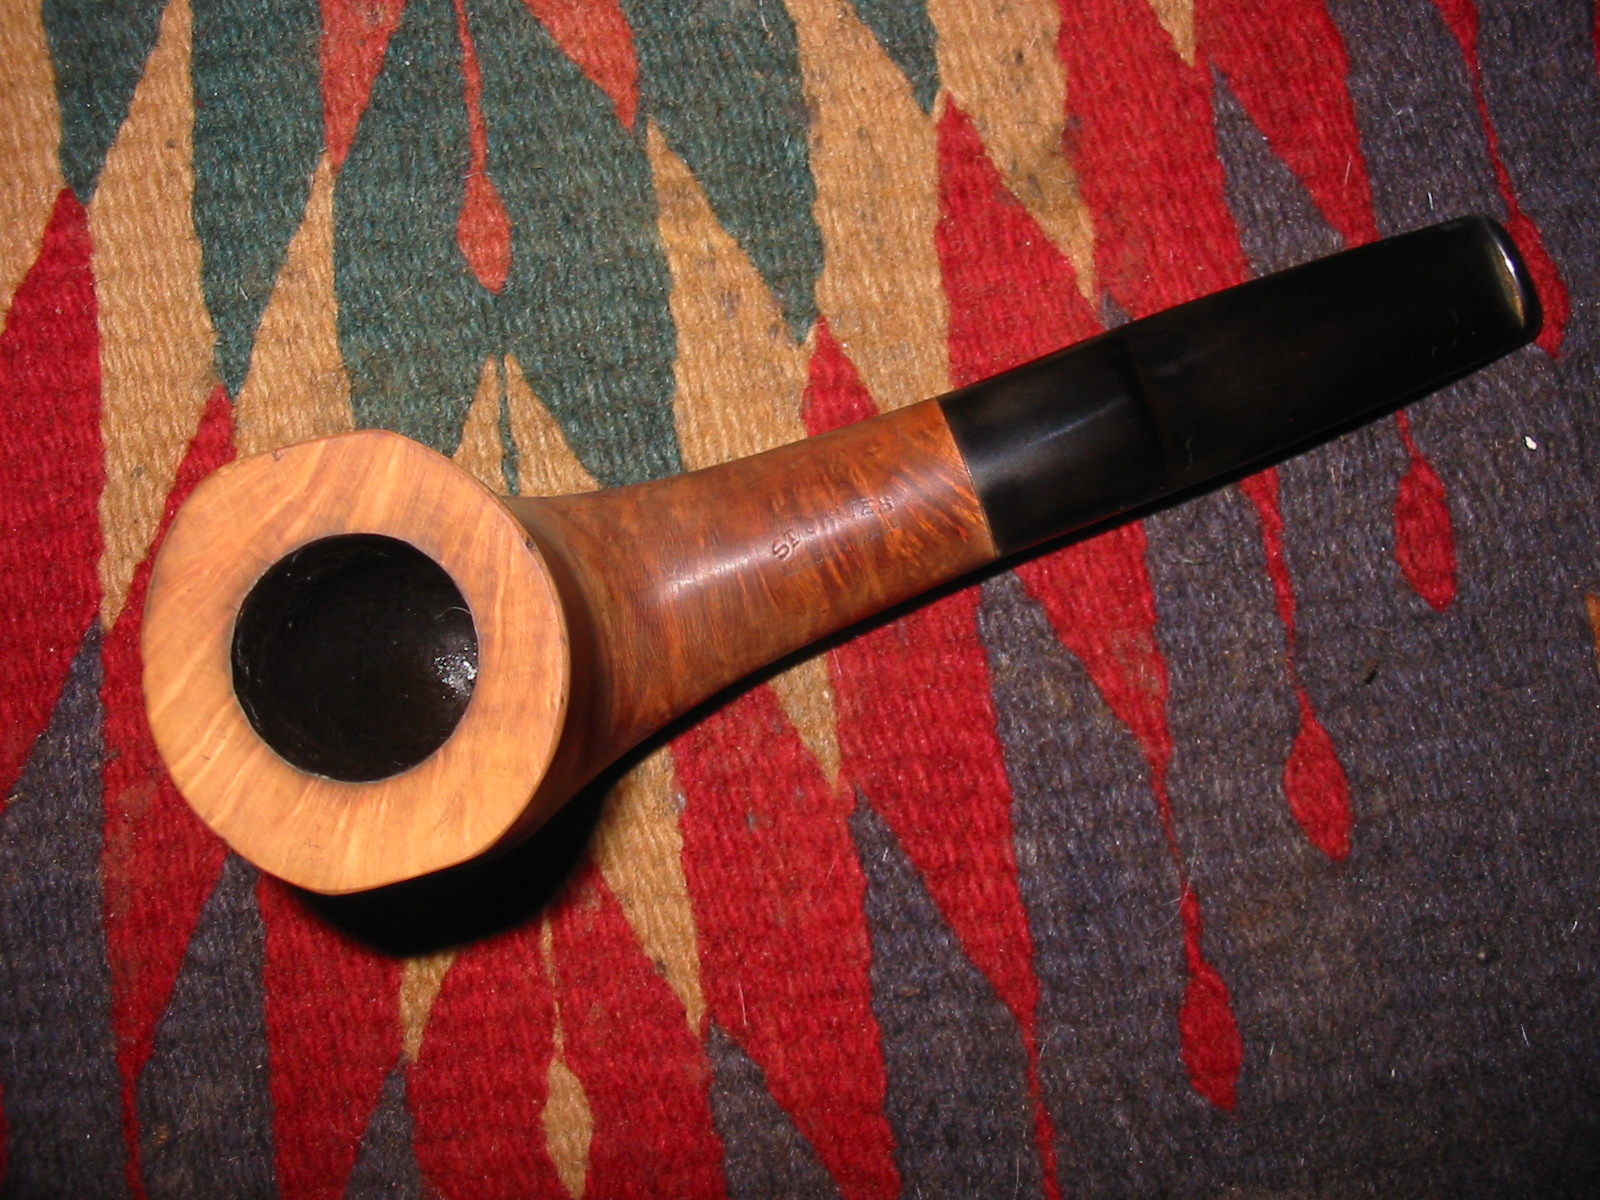
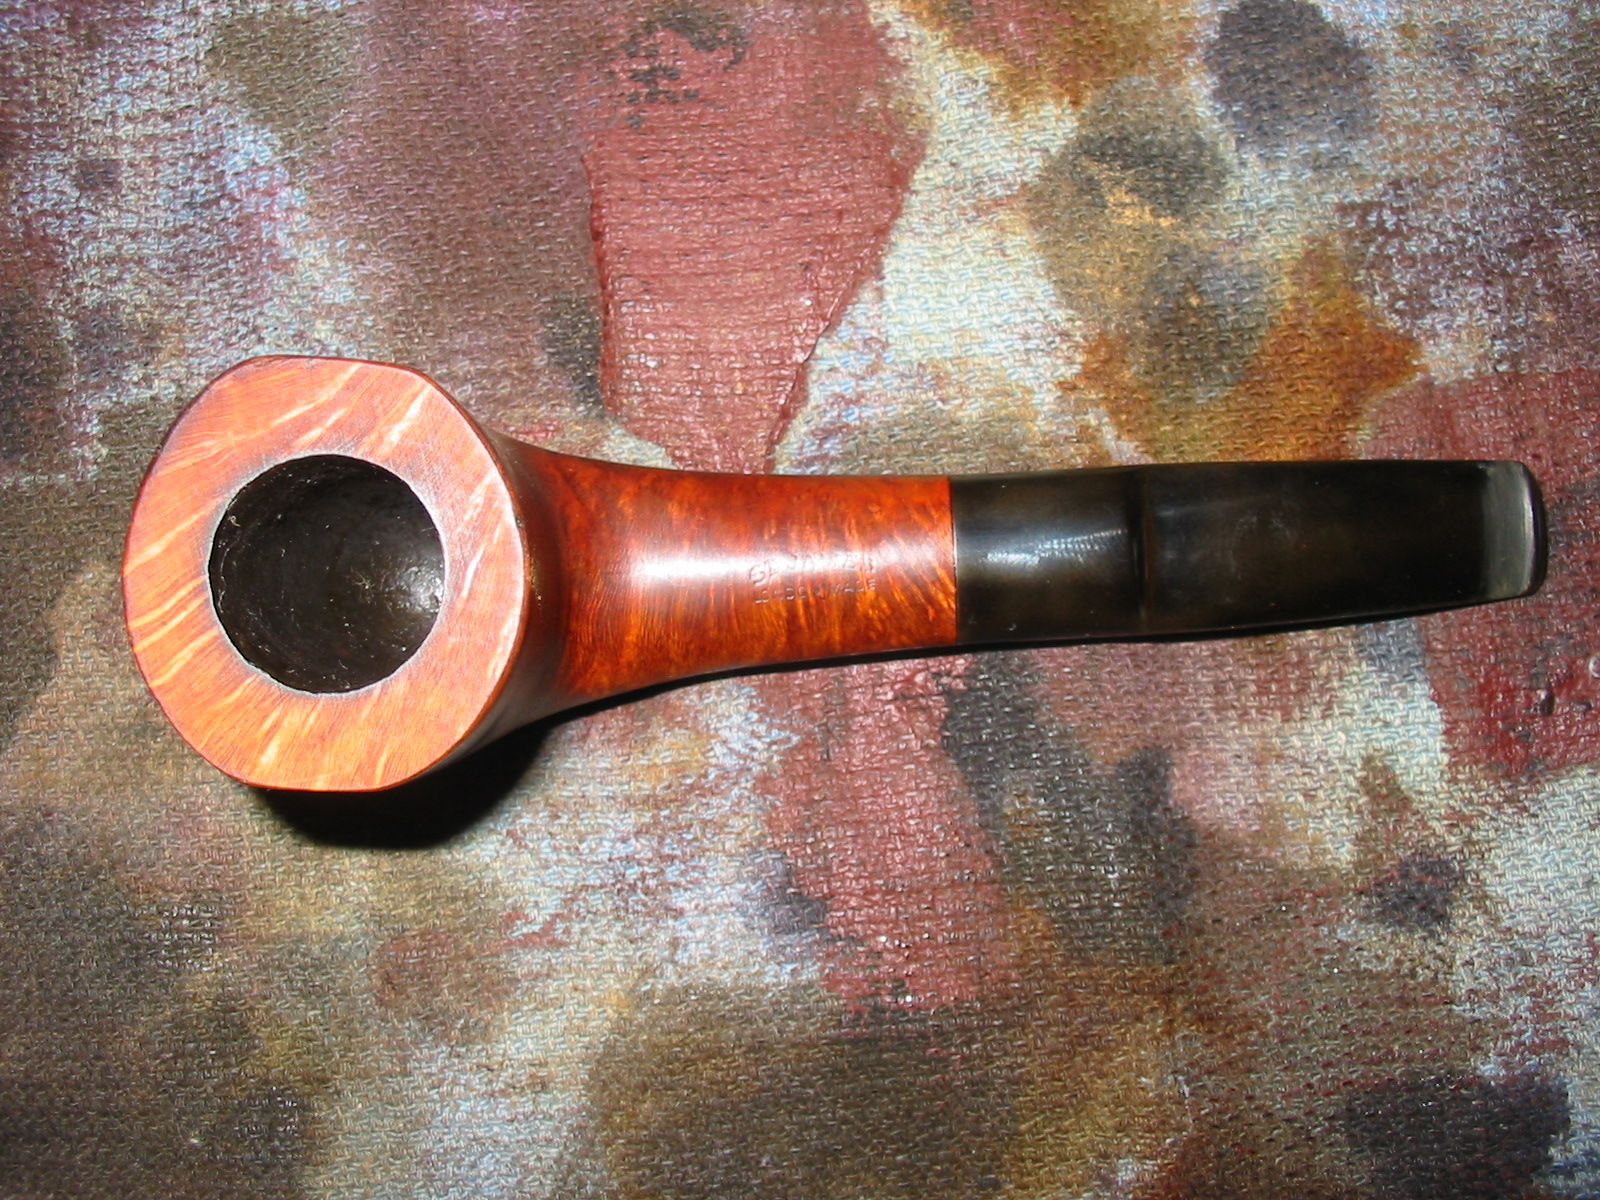
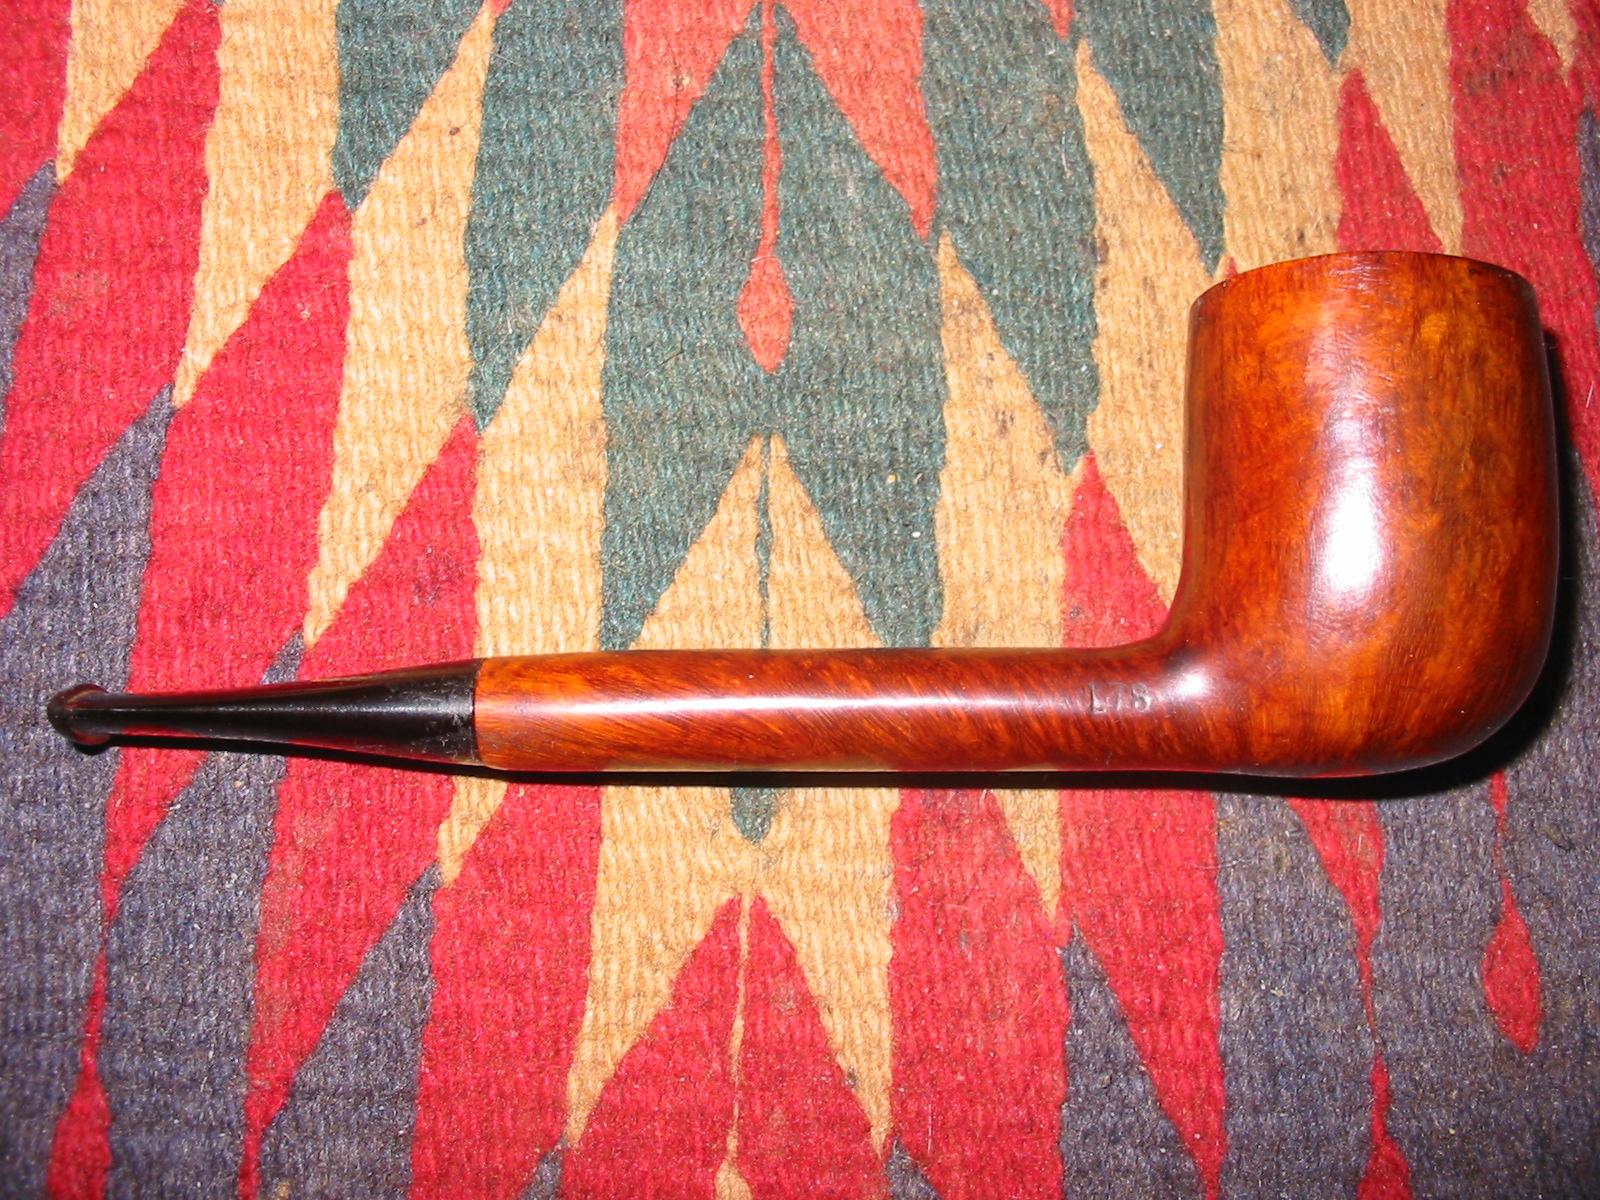
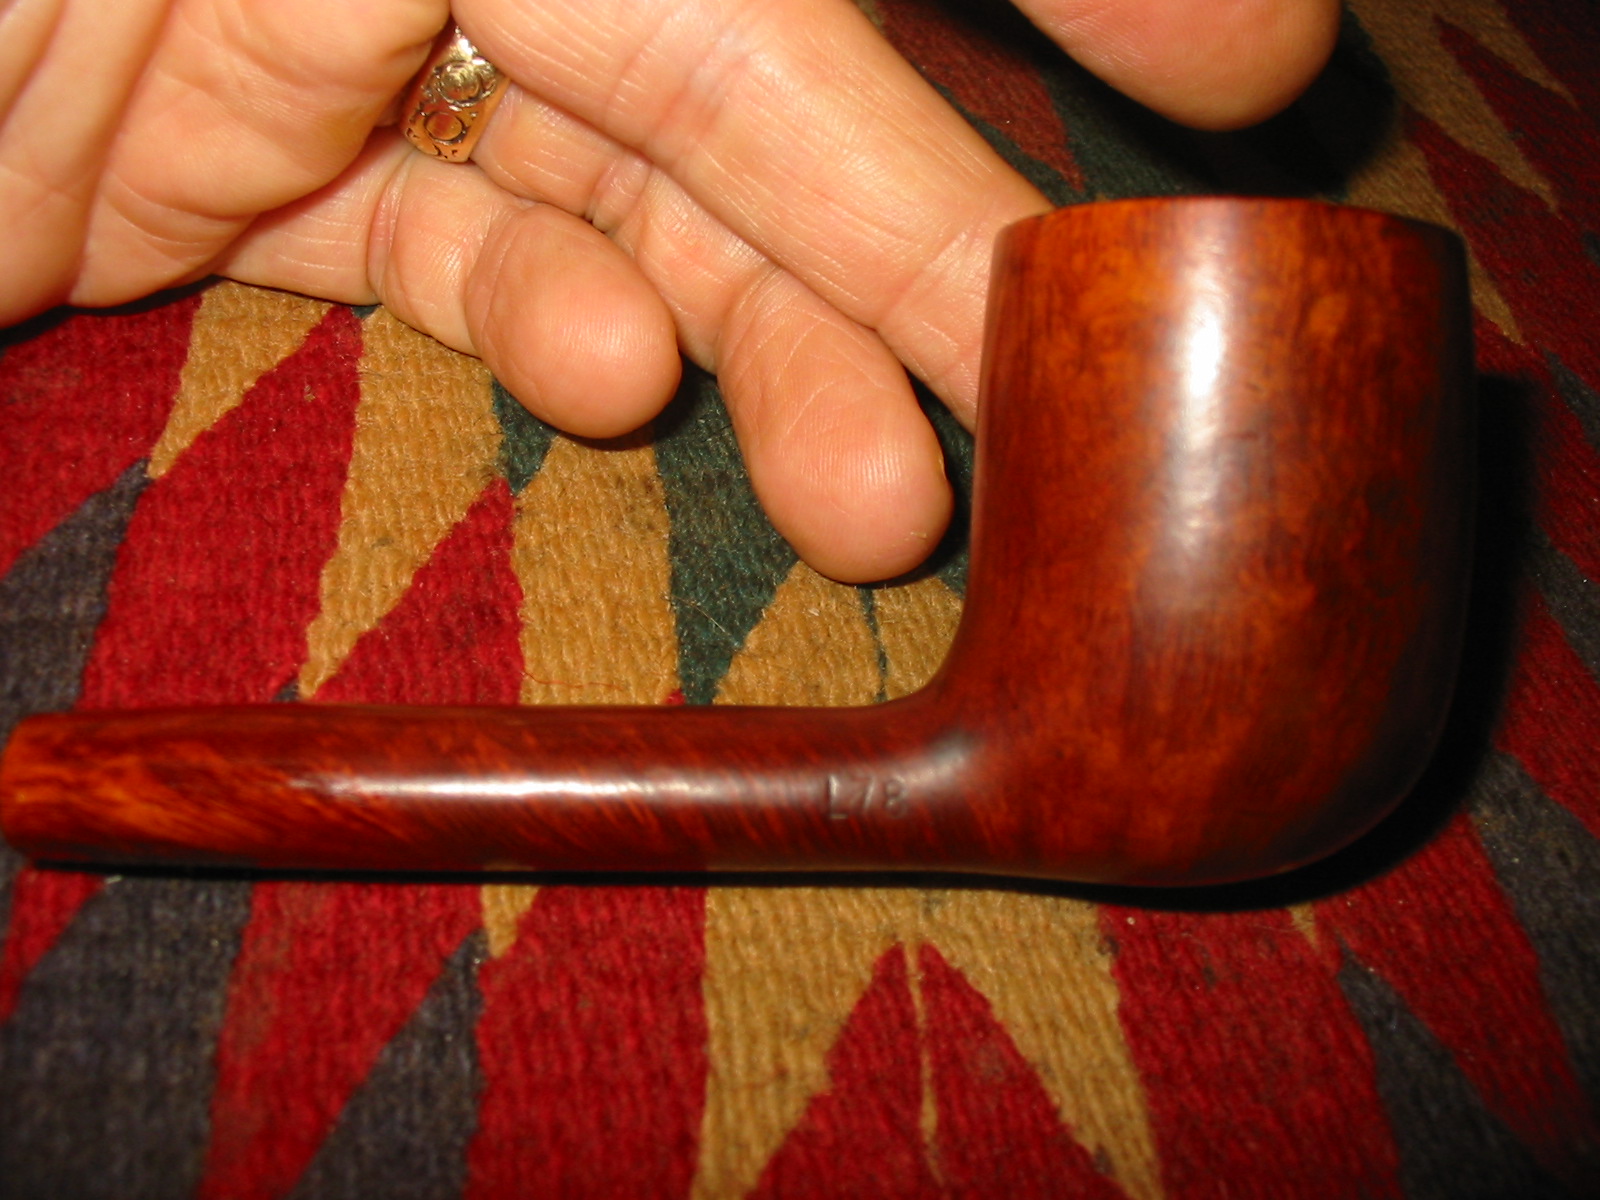
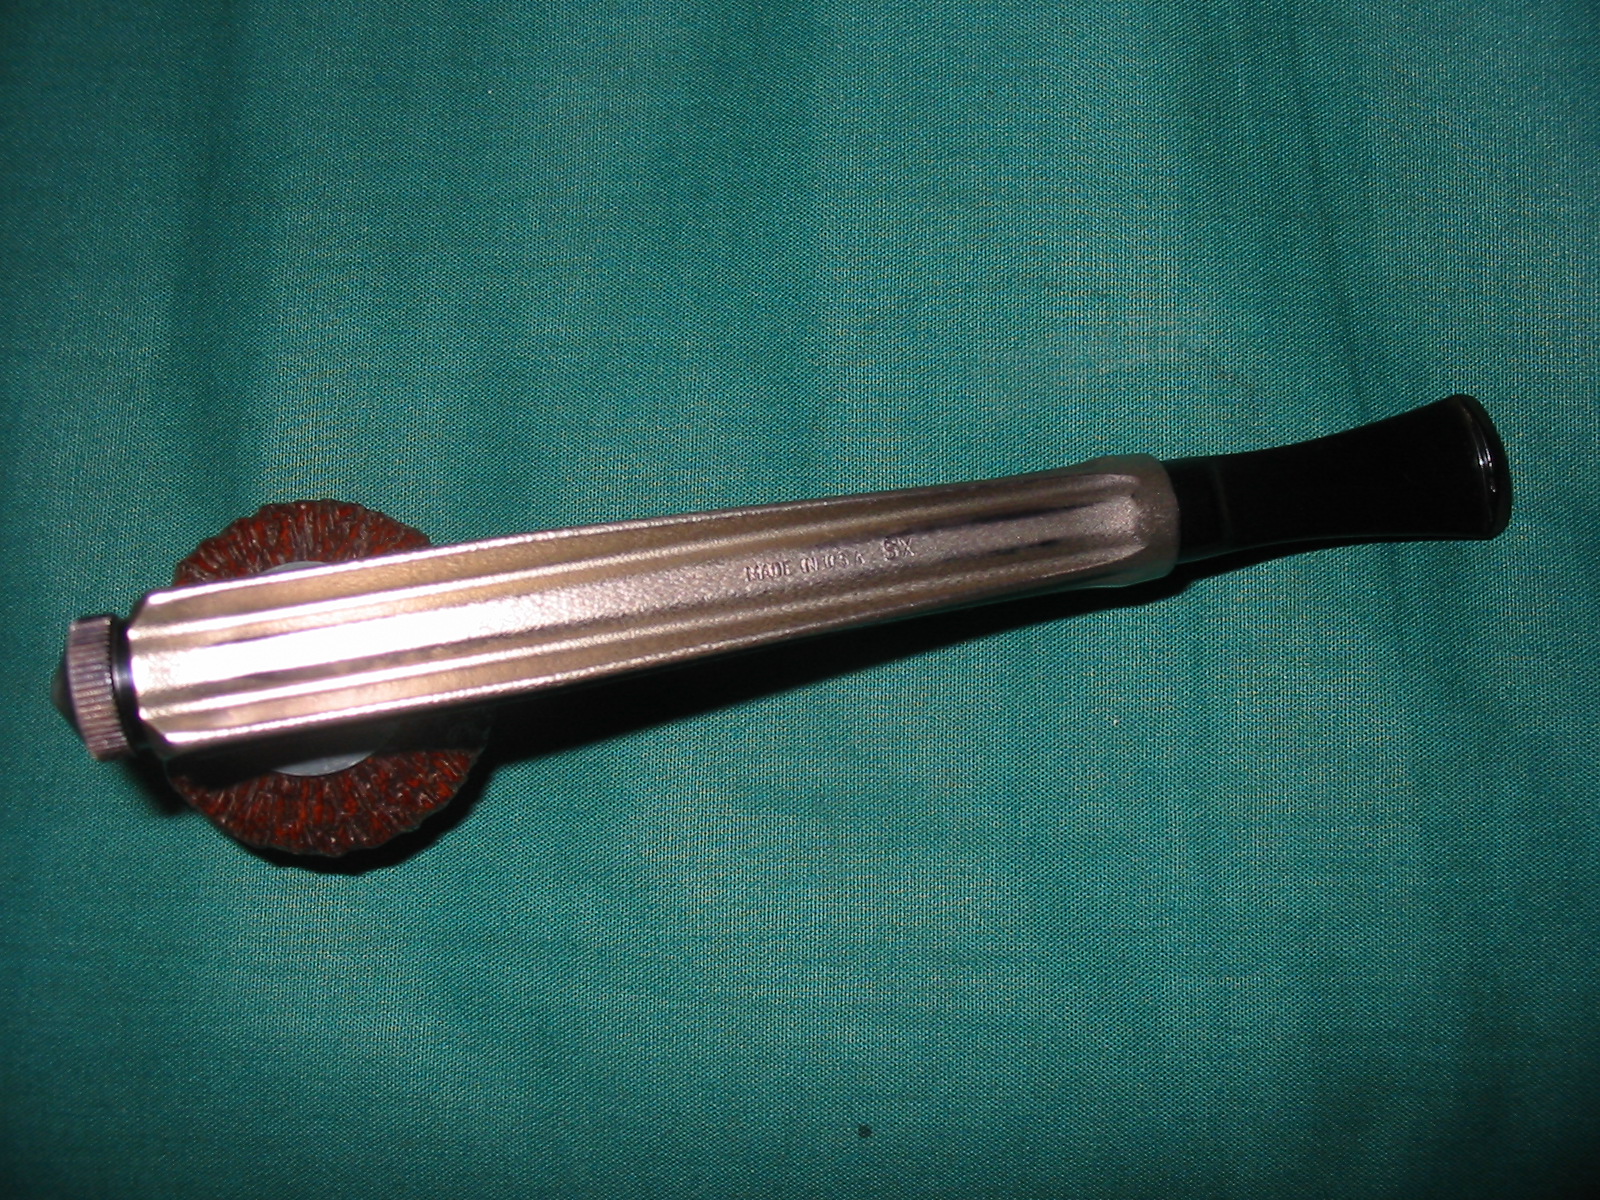
I have included the next photo to show the ATLAS stamping on the shank more clearly.
IMG_3750

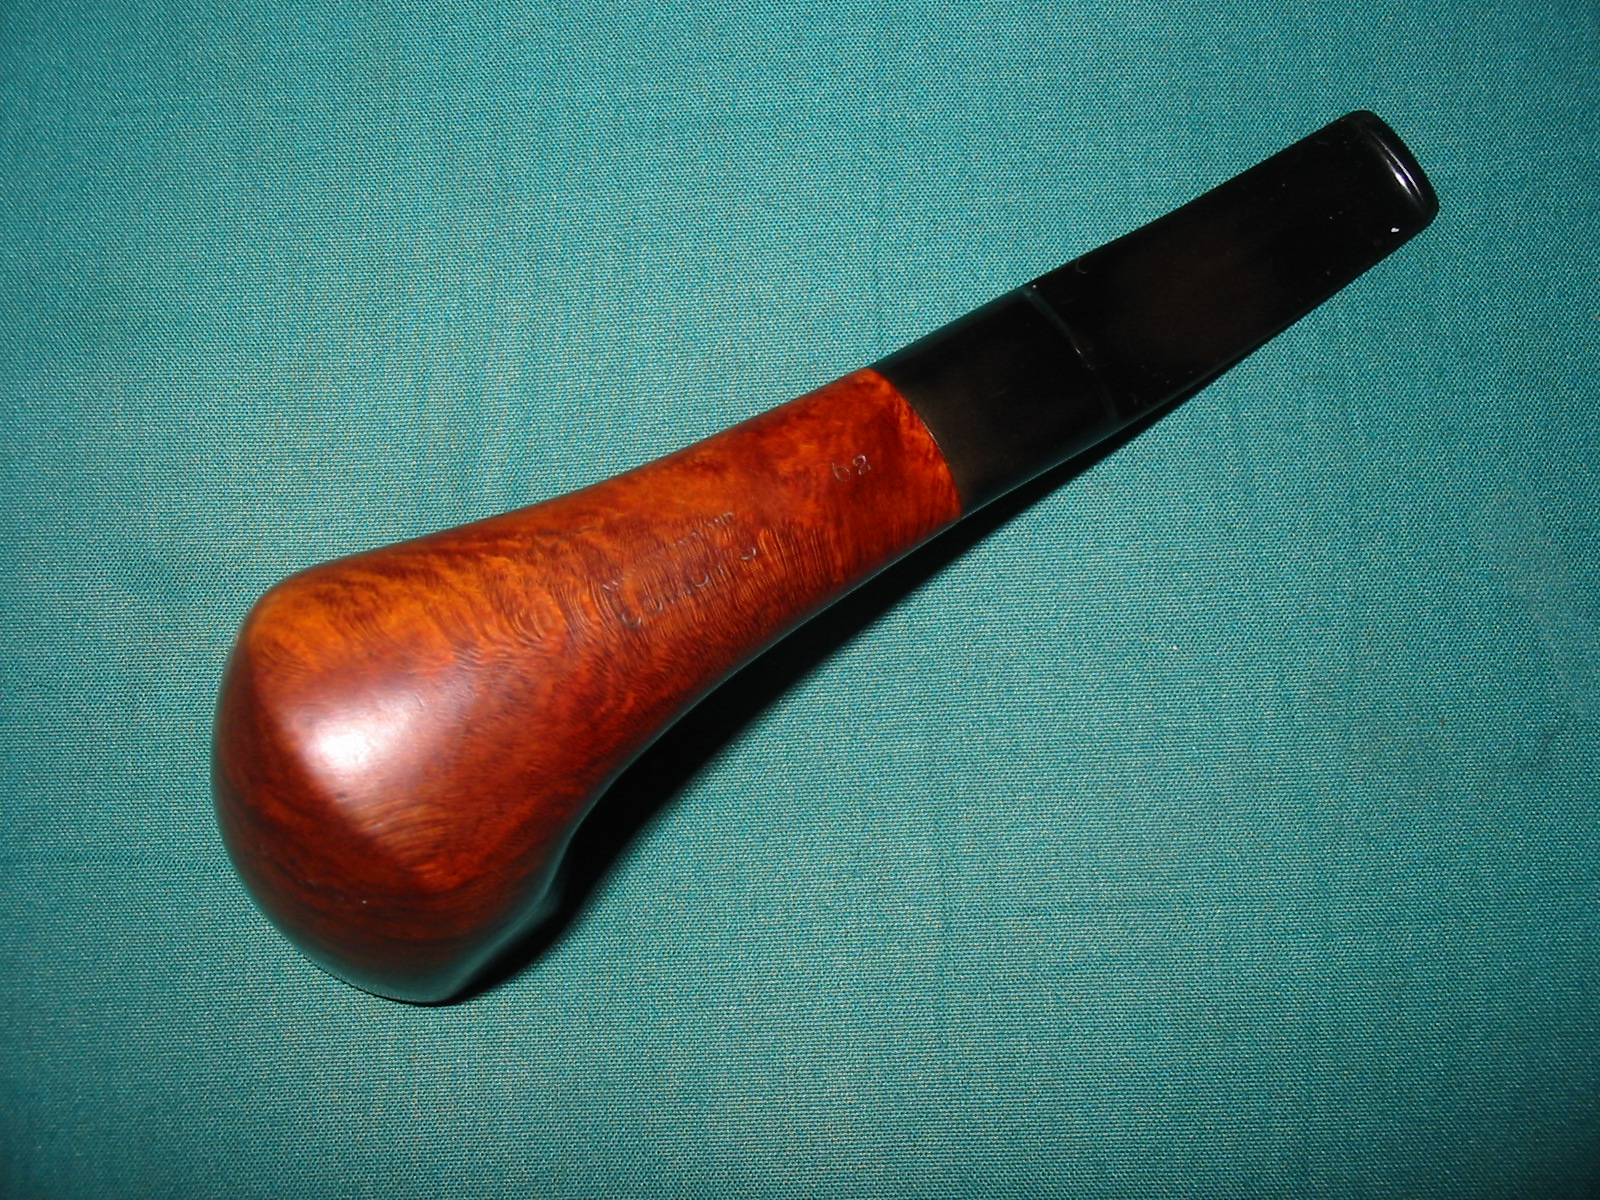
I followed the same process on this pipe as the one above and wiped the bowl down with acetone on cotton pads. I was careful to not wipe down the bottom of the shank as I wanted to leave the gold stamping intact. With the varnish coat removed the grain on this pipe was also very nice. There is a mix of cross grain, birdseye and a swirl of mixed grain.
IMG_3751

IMG_3752

IMG_3753

IMG_3754

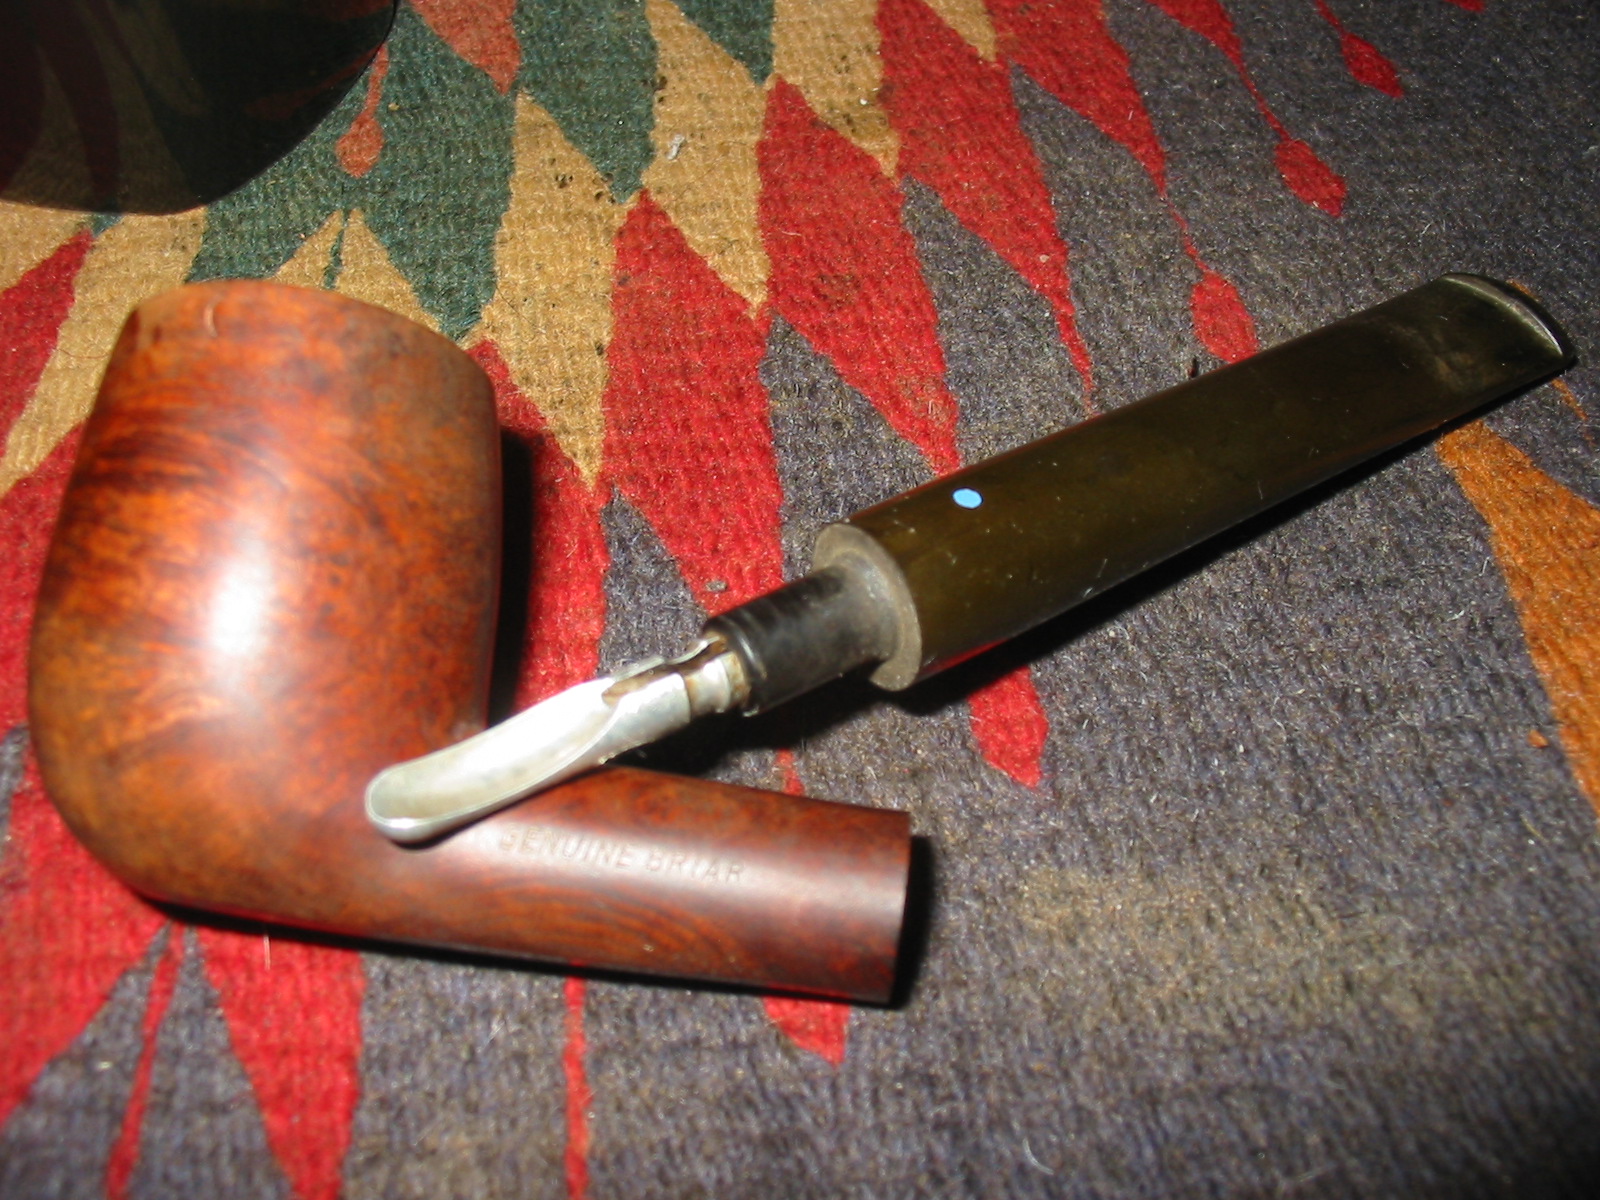
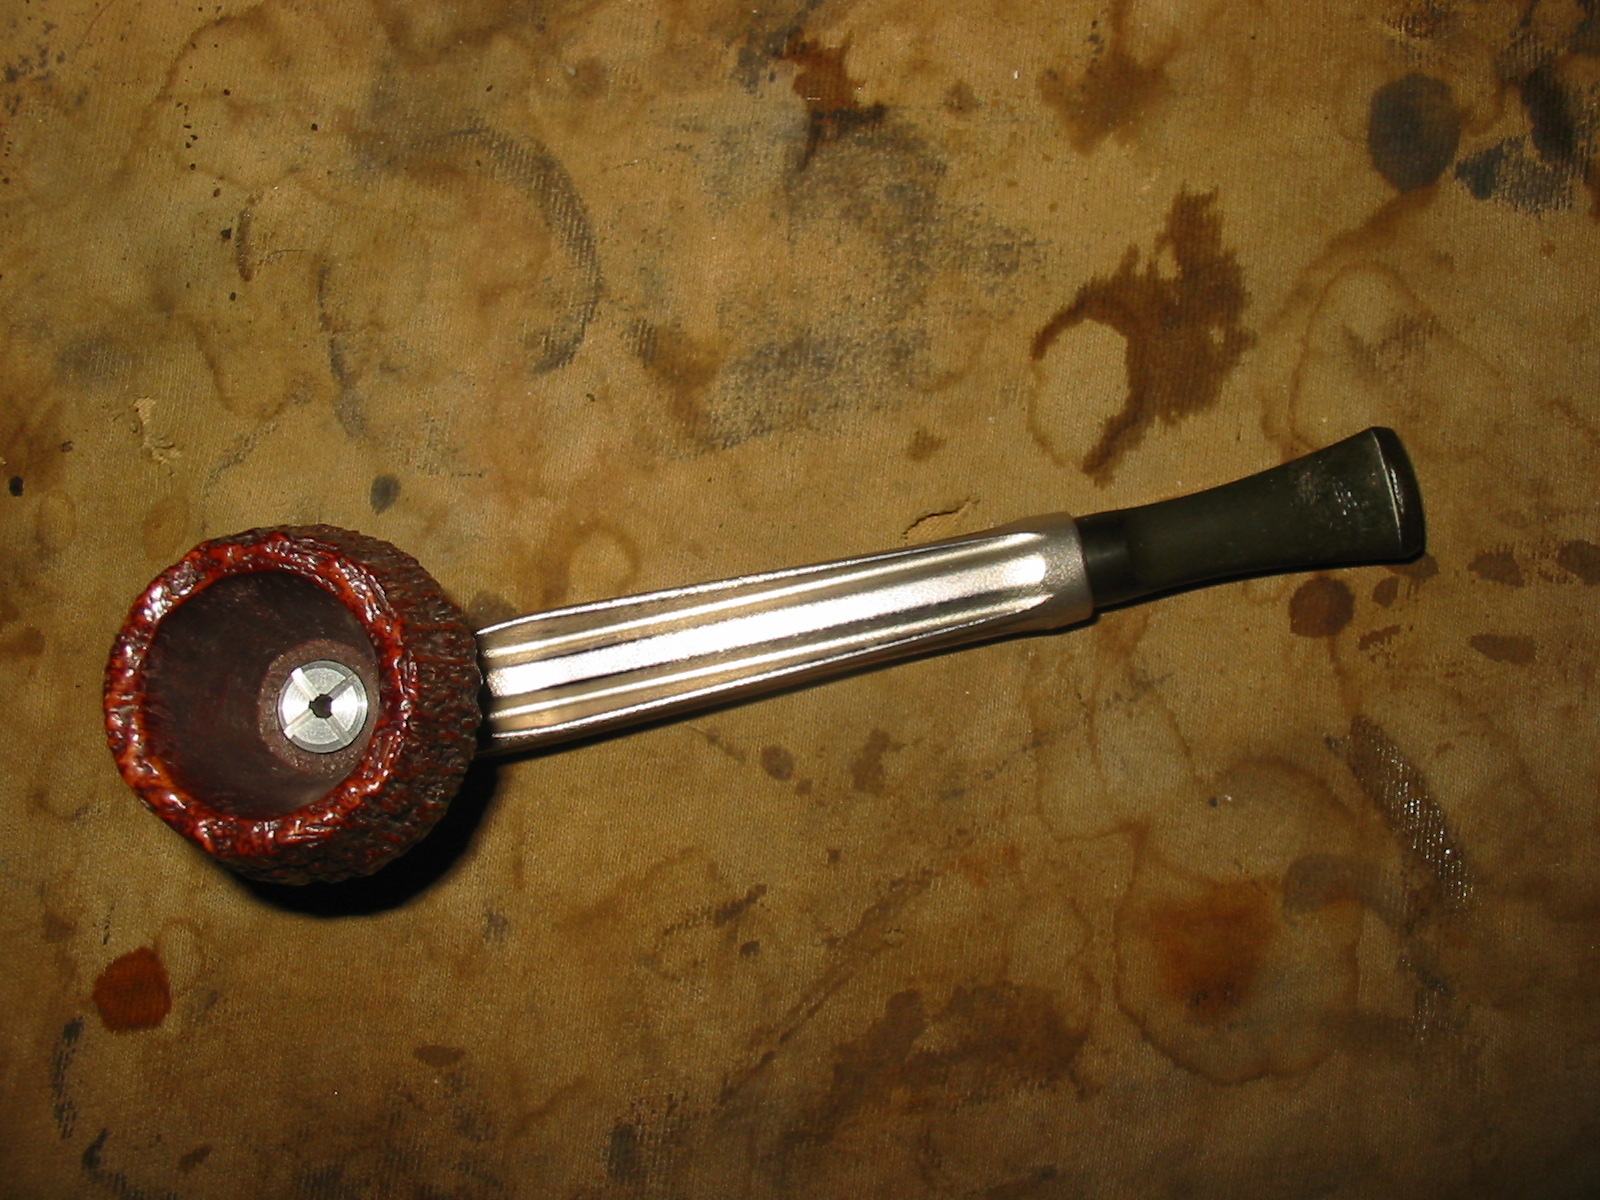
I removed the stinger apparatus which was pressed into the tenon of the pipe by twisting it free. Once it was removed I cleaned up the interior of the slot on the stinger and the grooves around the end of the spoon portion of the piece. I reinserted it in the stem.
IMG_3755

IMG_3756

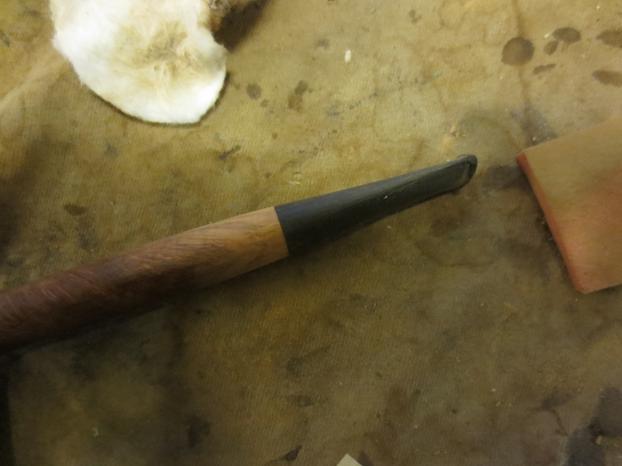
I used the same regimen on the stem as noted above to polish the oxidation away. I have found that the combination of wet and dry sanding with micromesh sanding pads works well for me and gives the stem a deep shine. When I finished sanding I buffed it with White Diamond and rubbed it down with Obsidian Oil. I hand buffed the stem and set it aside while I worked on the bowl.
IMG_3758

IMG_3762

IMG_3768

I used the same Minwax Medium Walnut stain on this pipe as the last. I applied it, rubbed it off, and reapplied it until I had the coverage I wanted. As before, I wanted the grain to shine through the stain and give depth to the finish of the pipe.
IMG_3763

IMG_3764

IMG_3766

IMG_3767

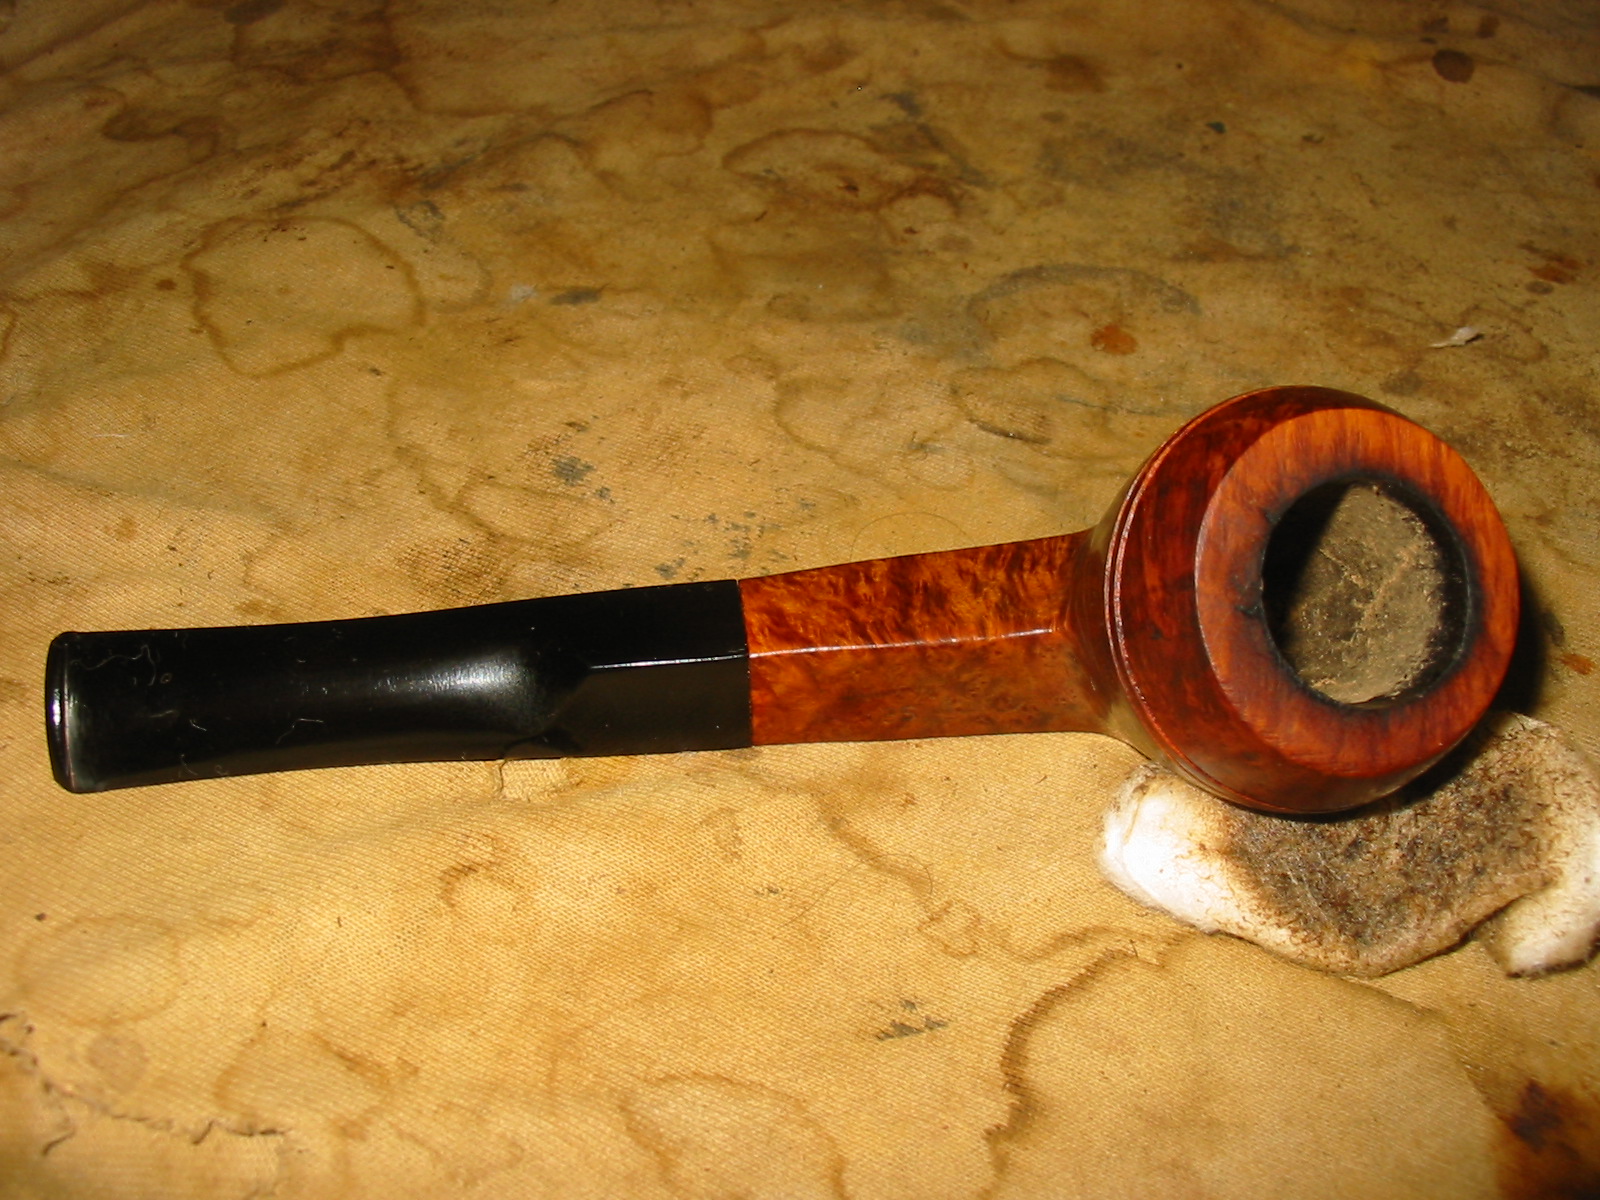
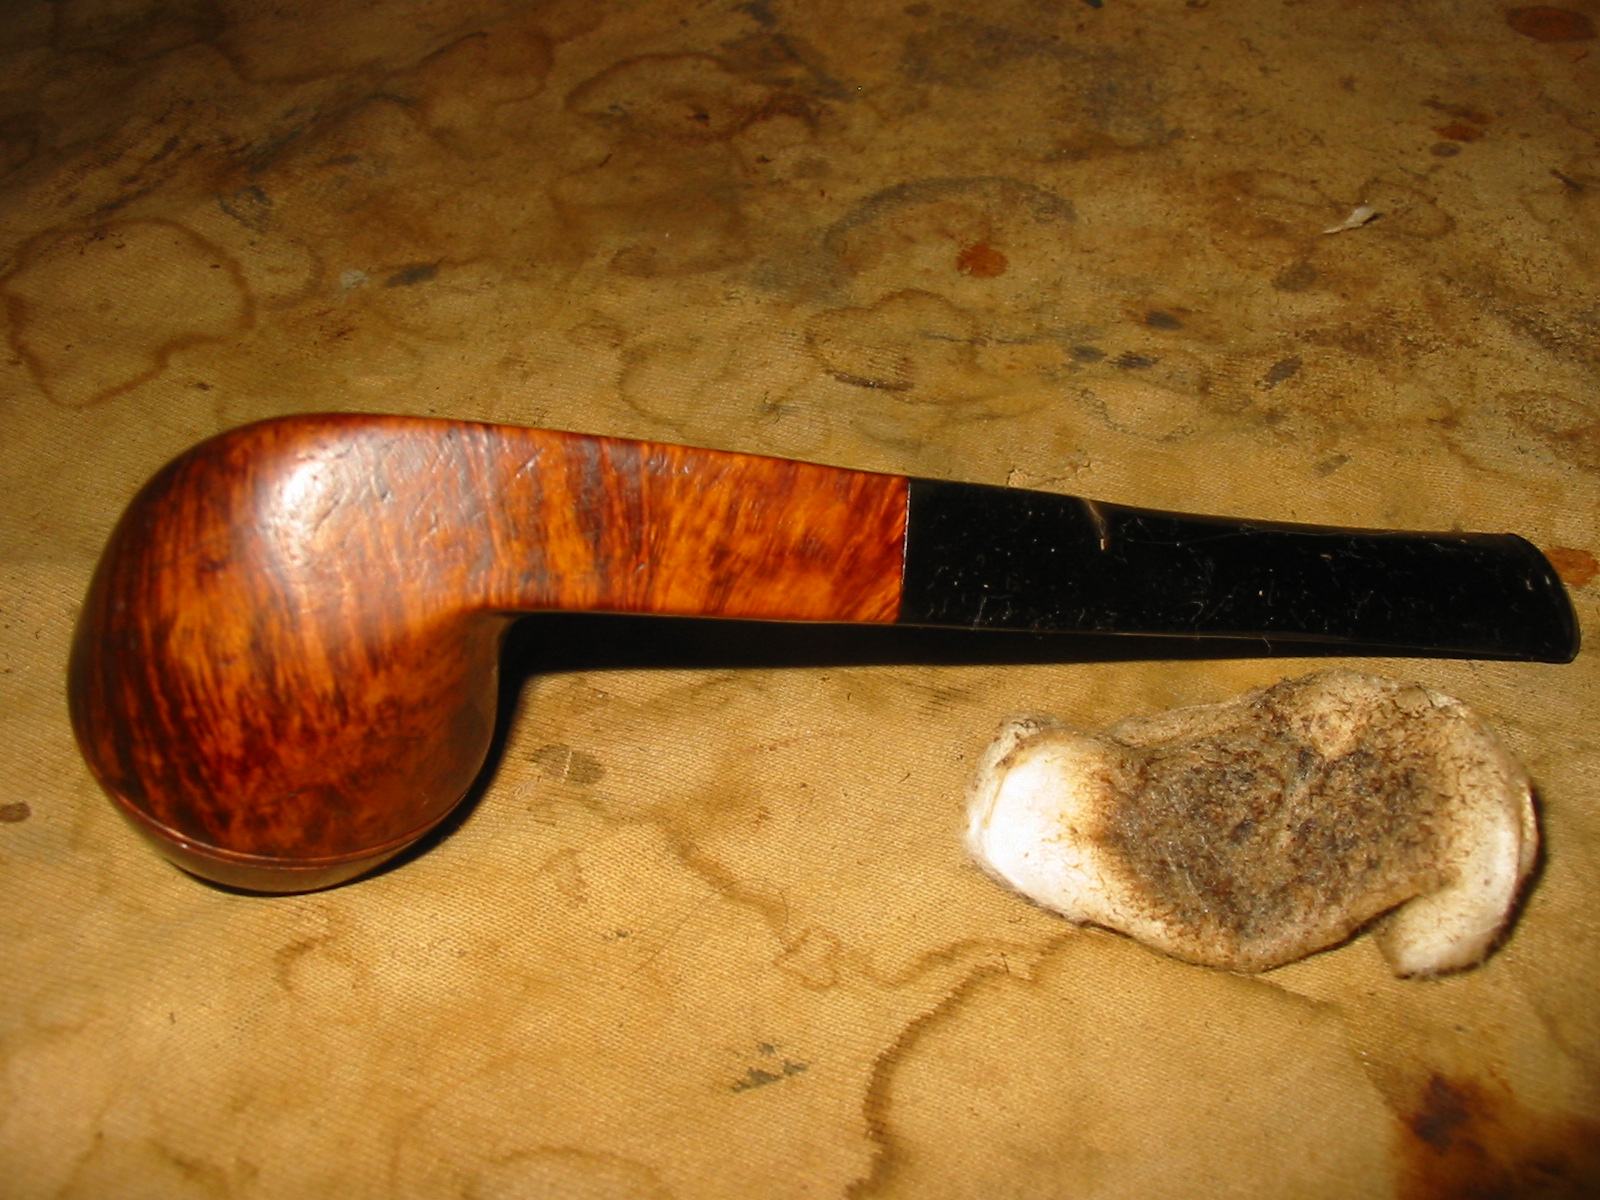
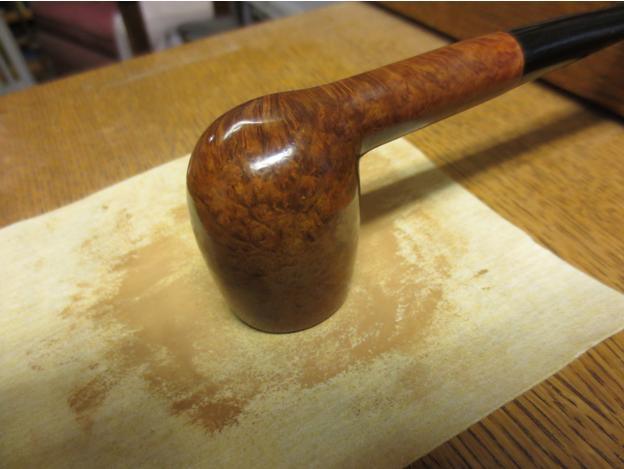
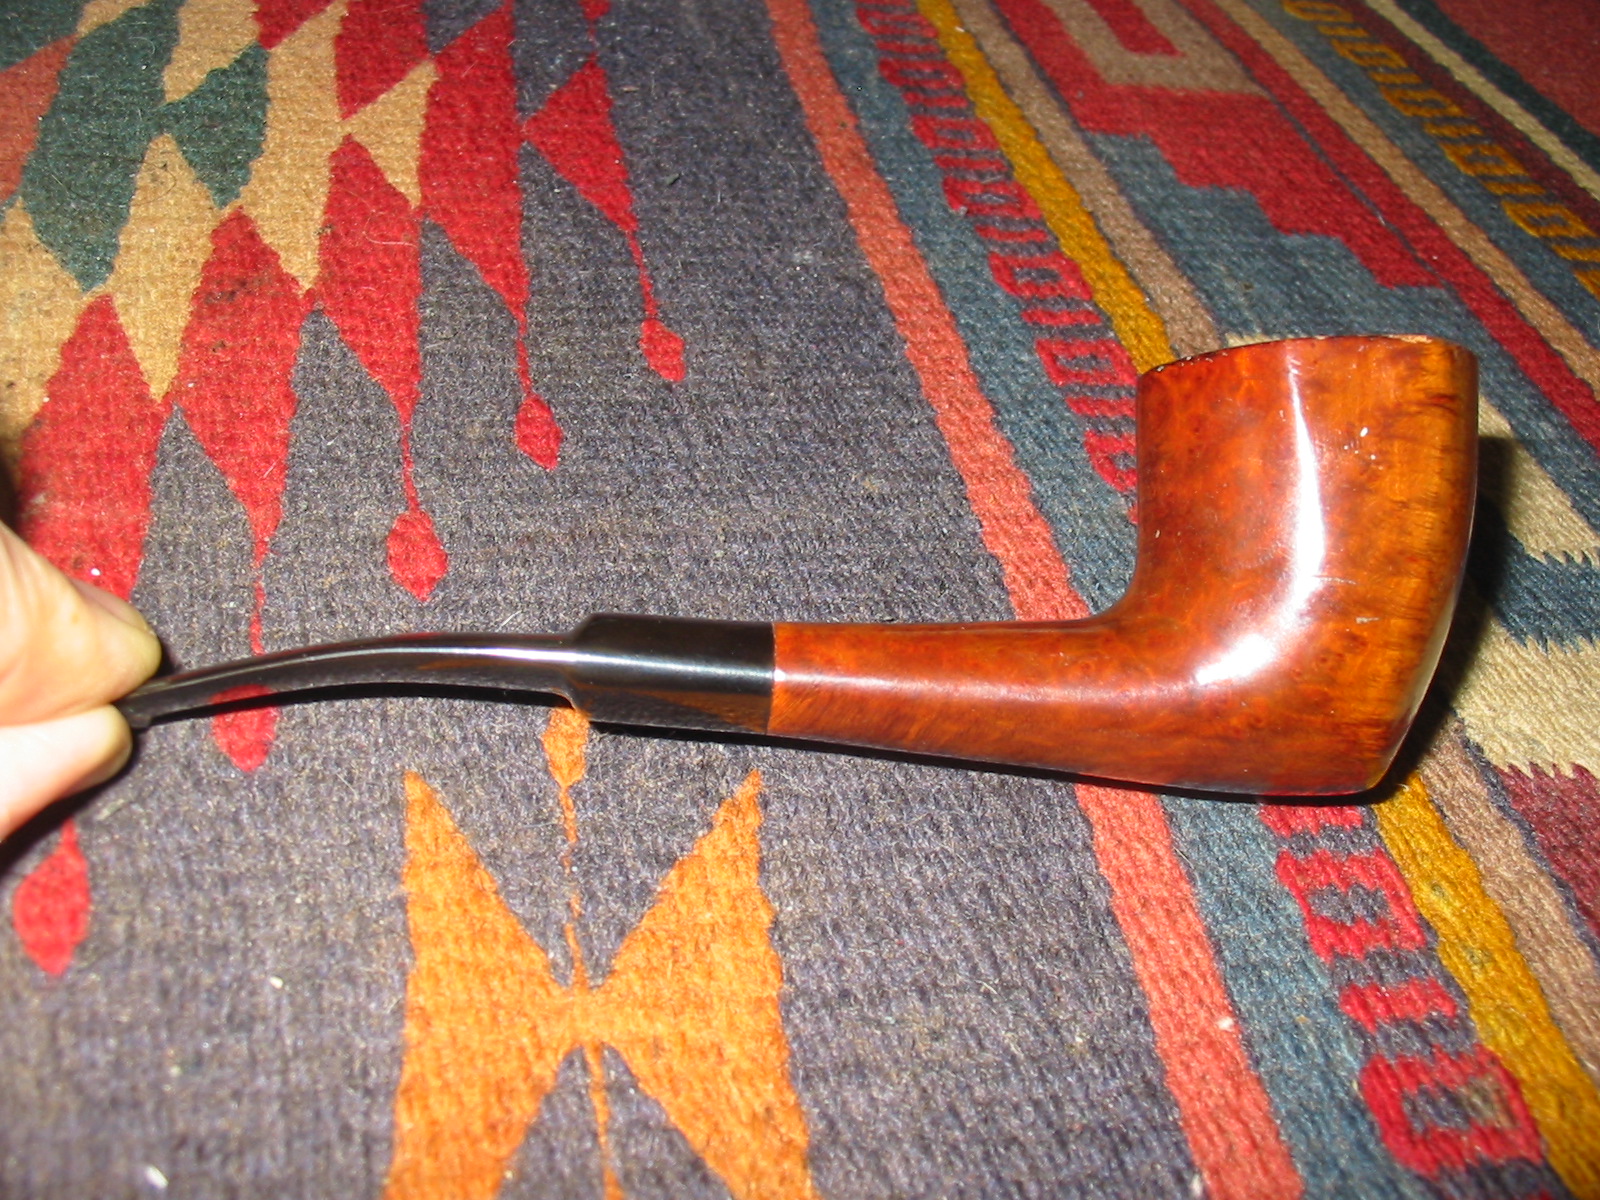
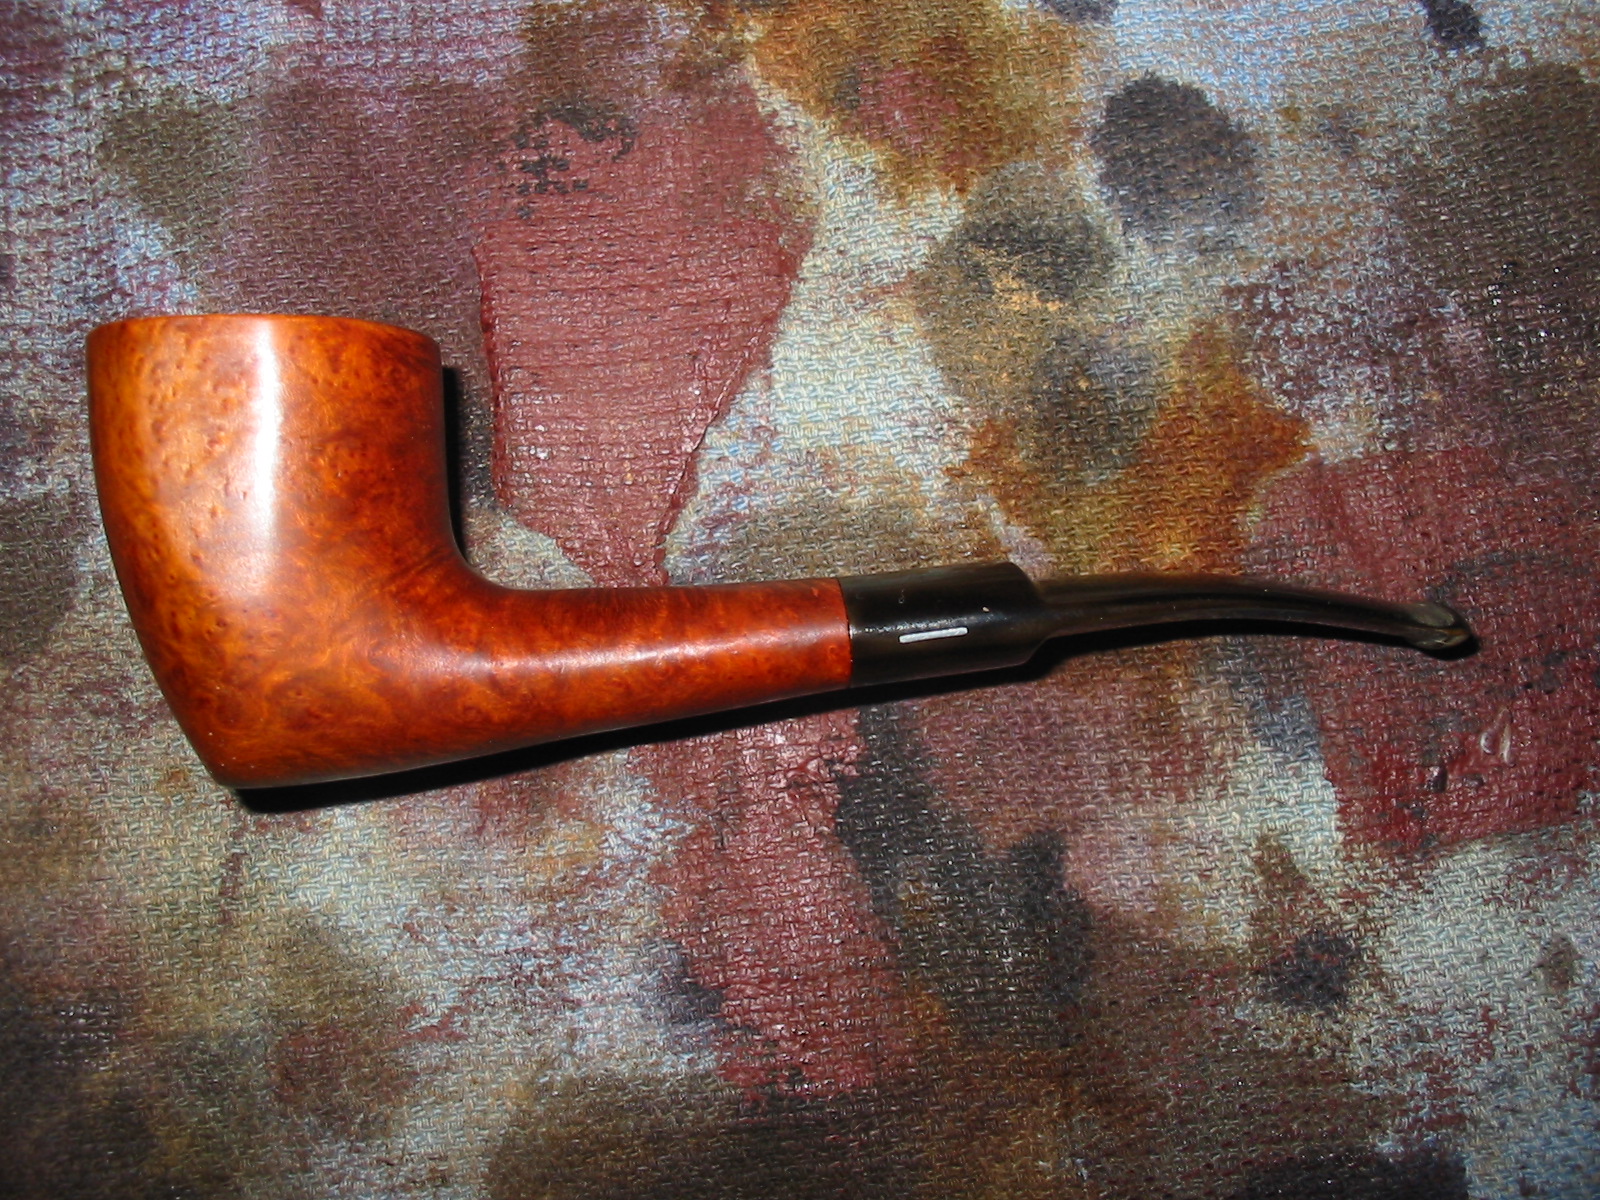
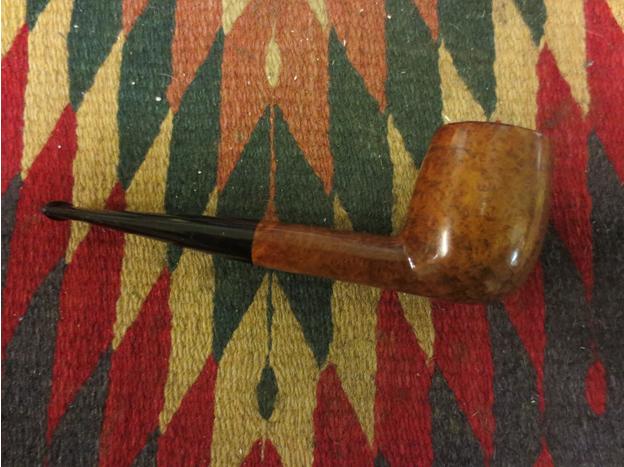
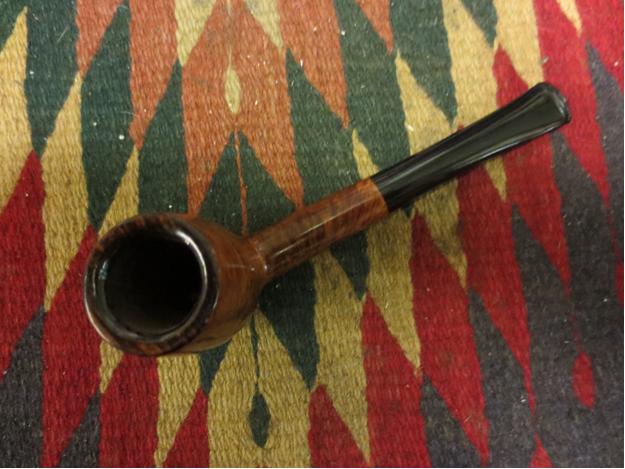
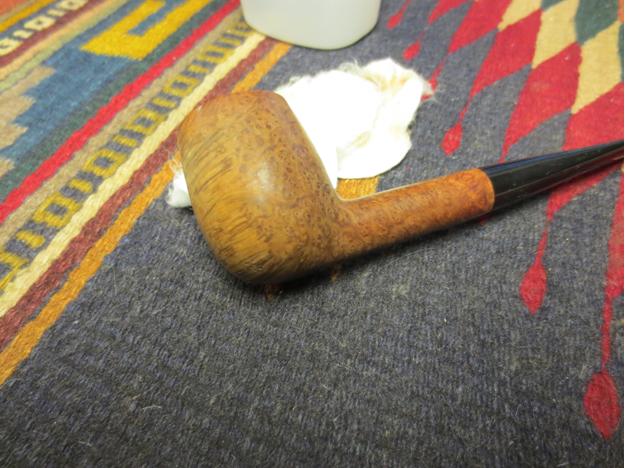
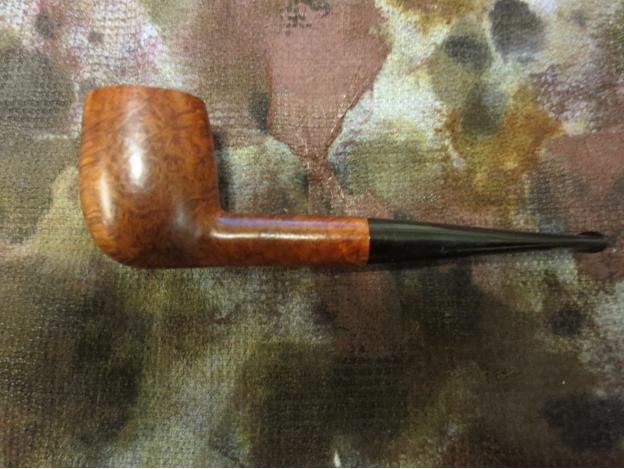
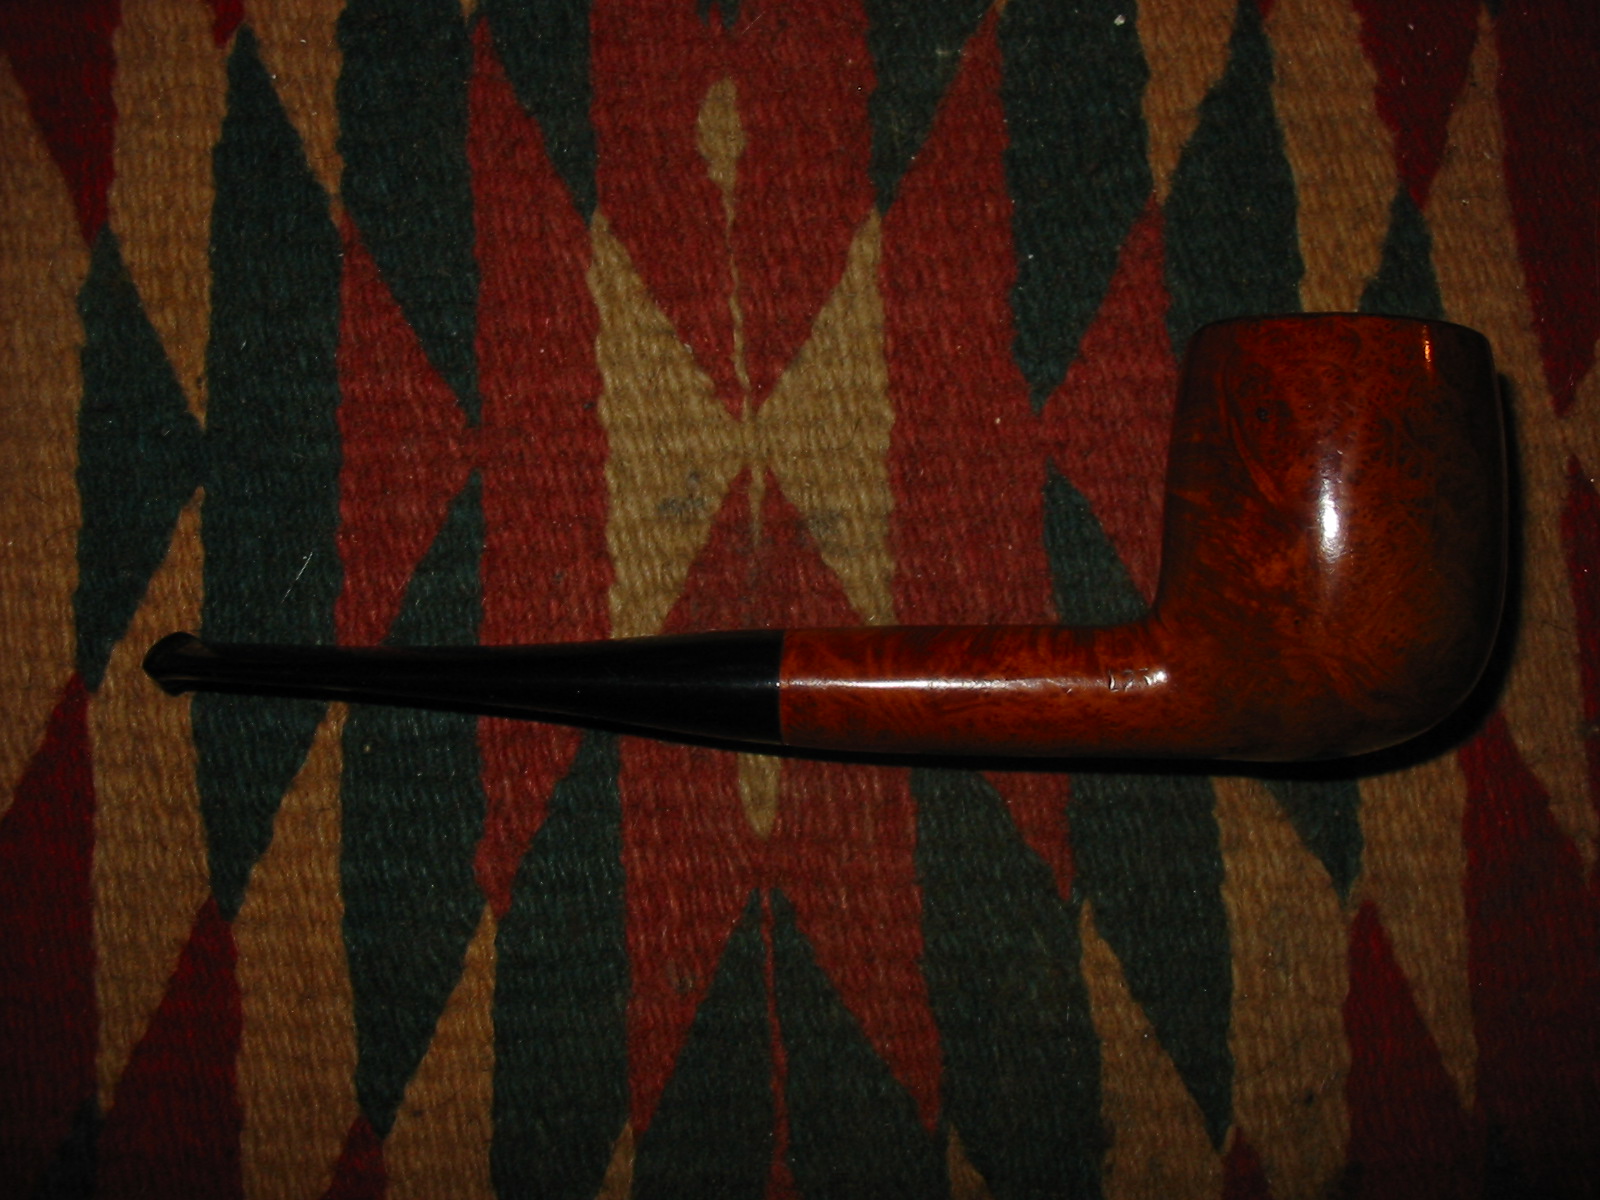
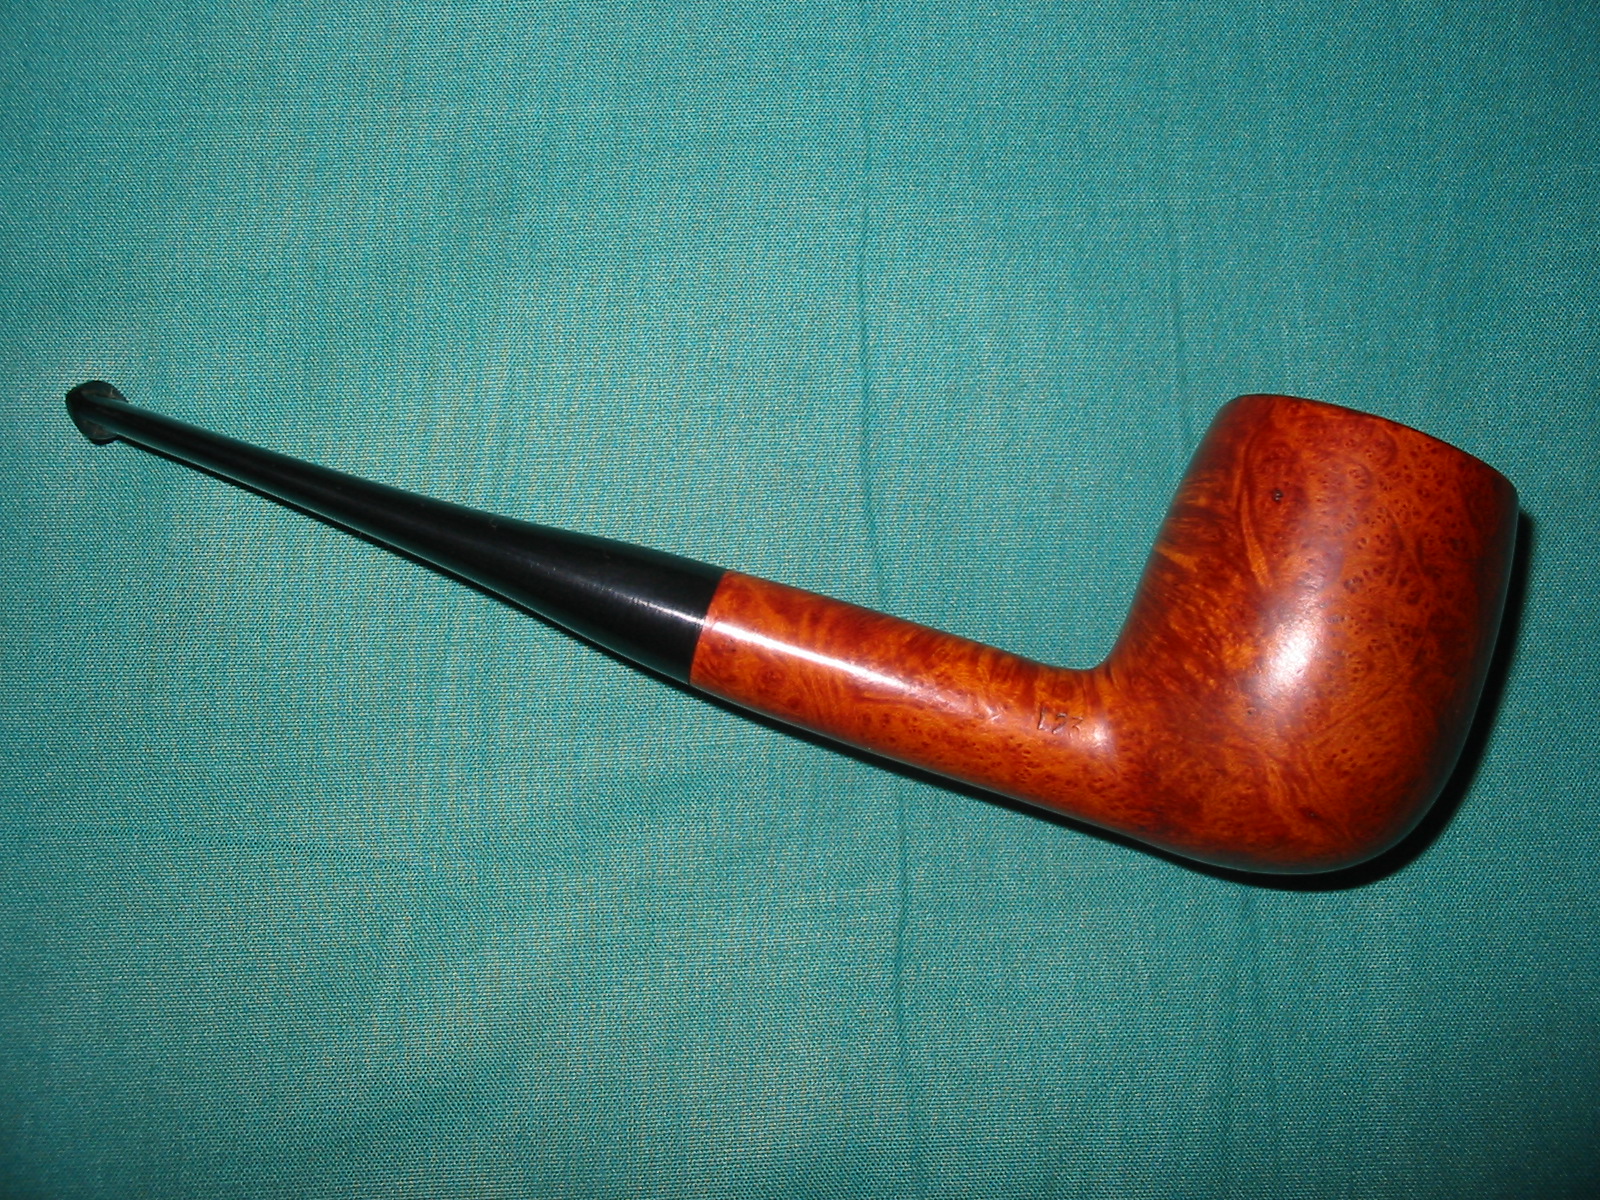
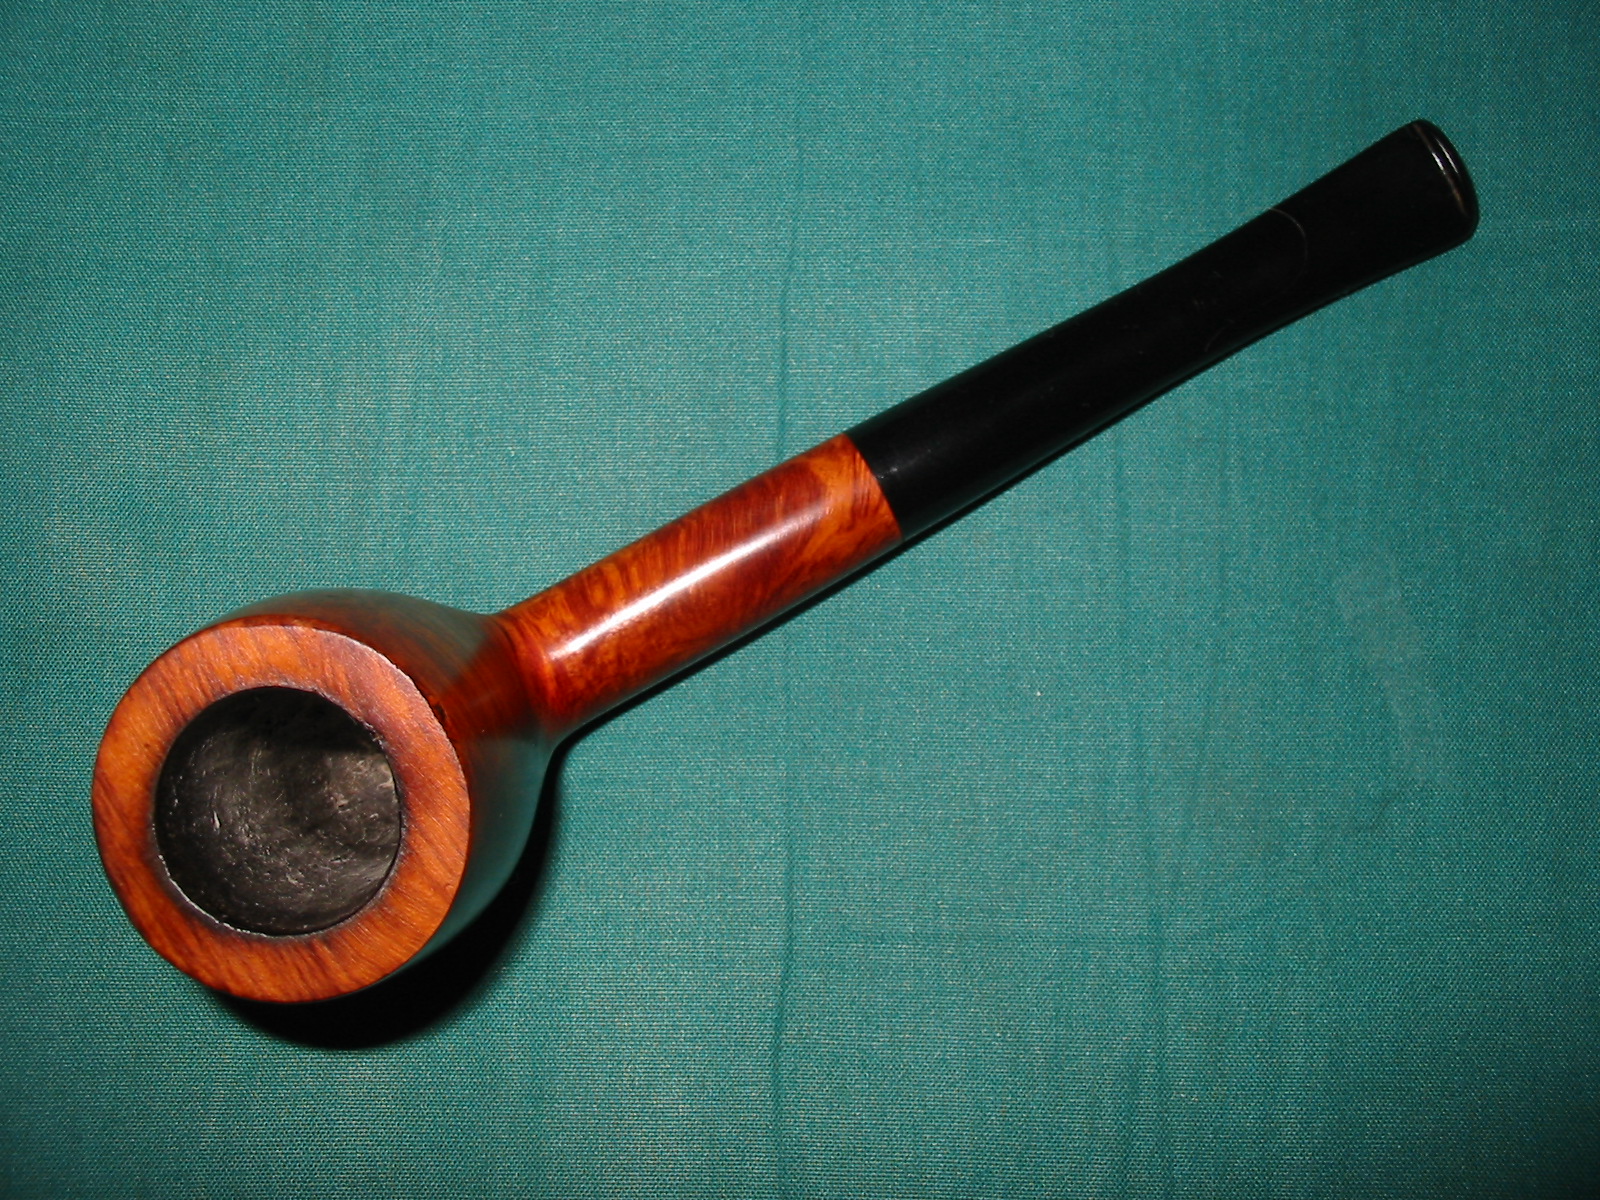
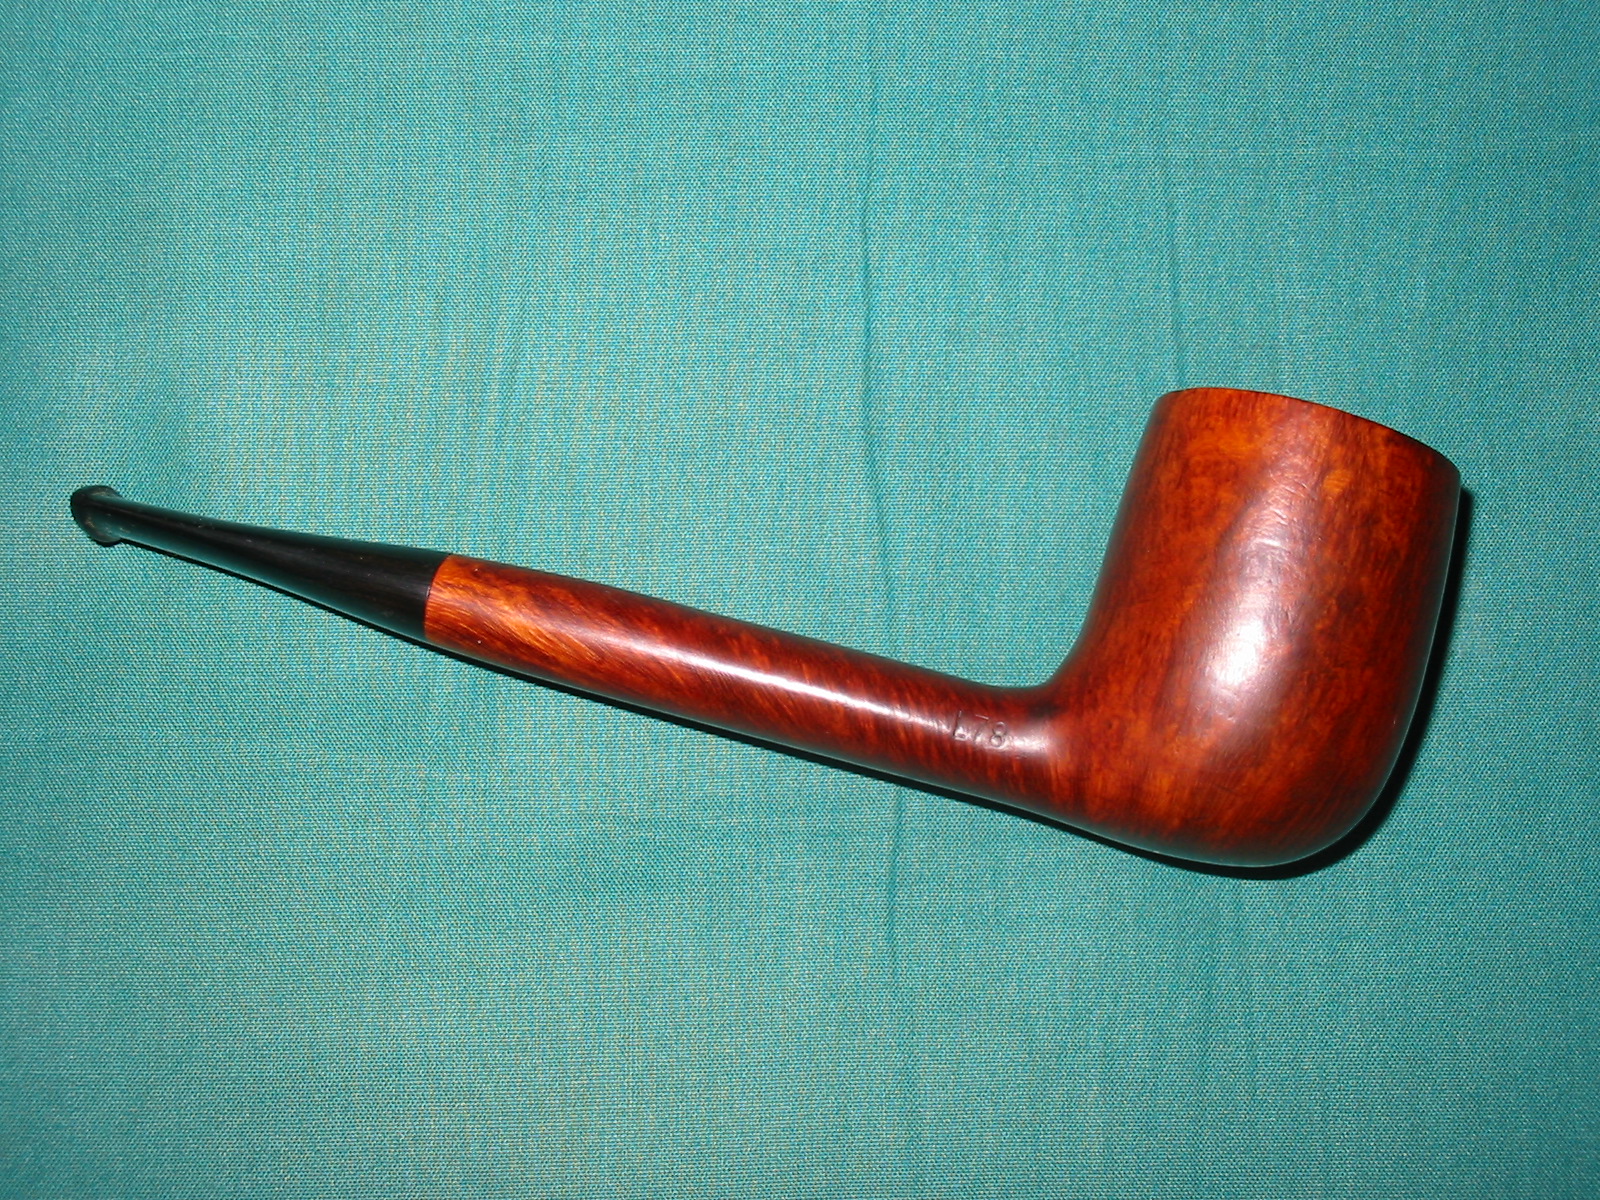
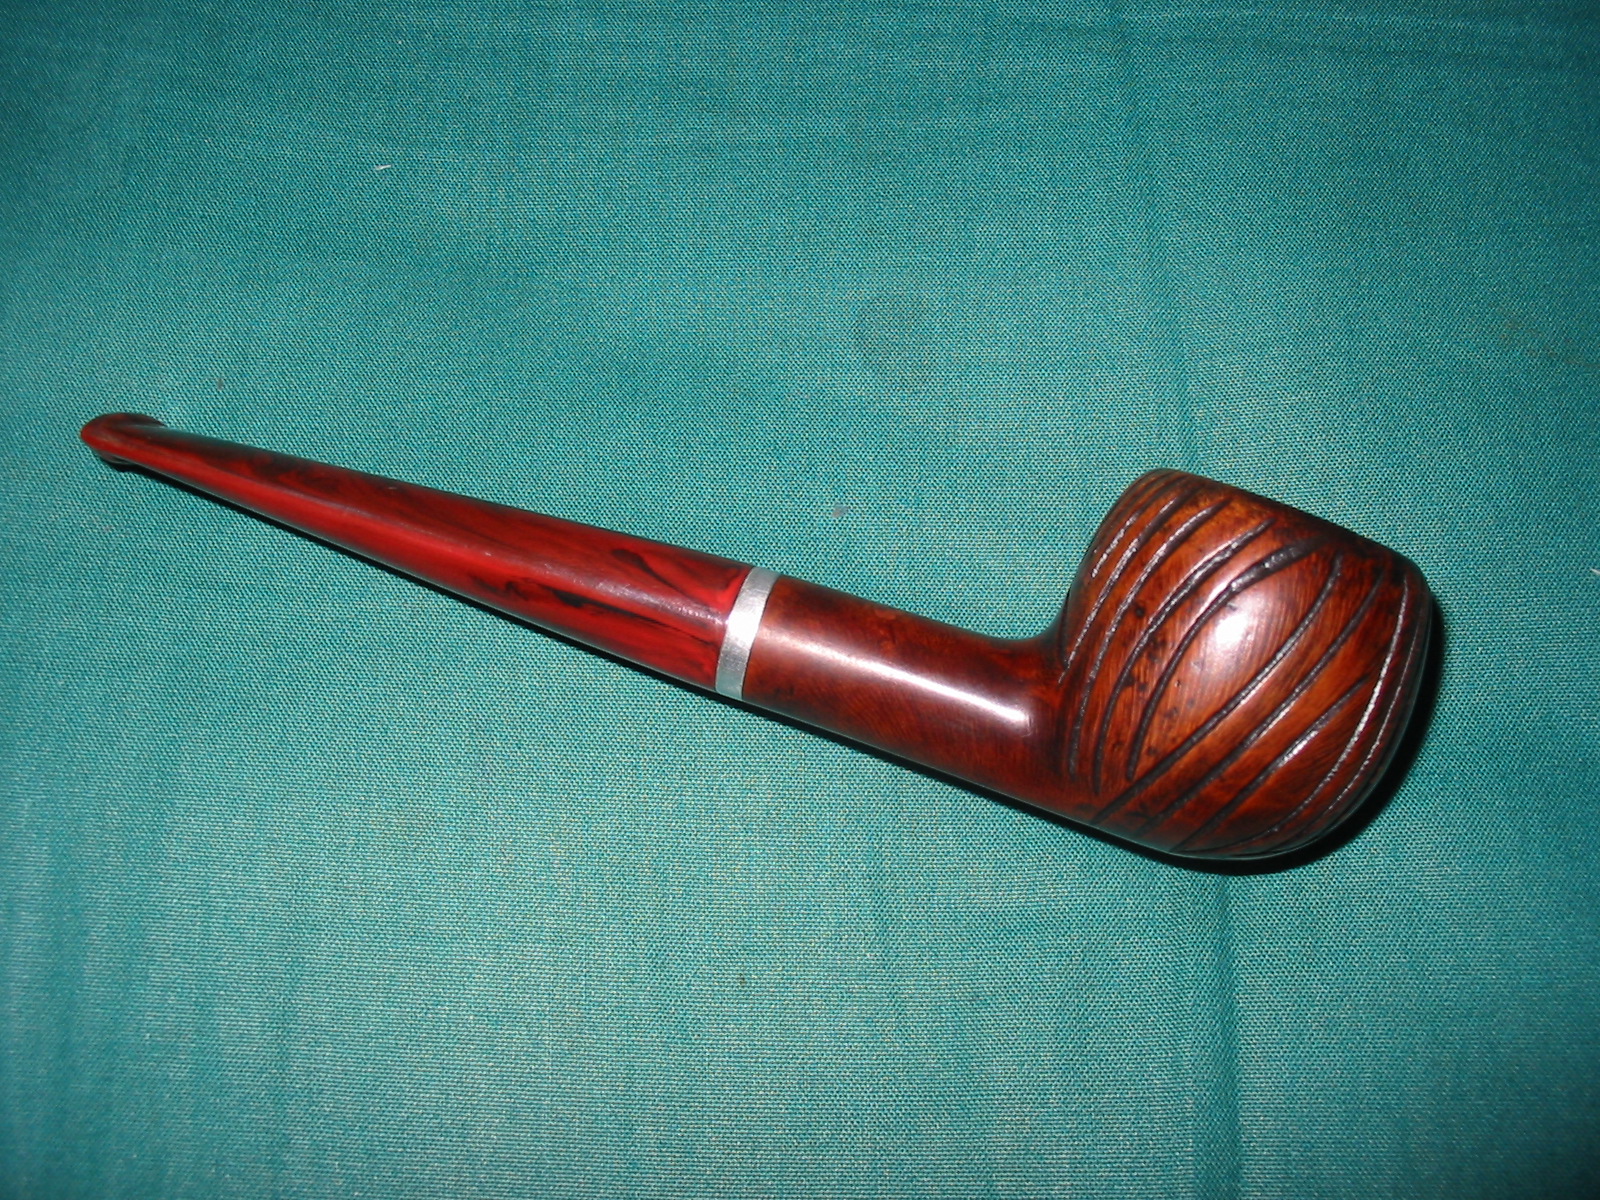
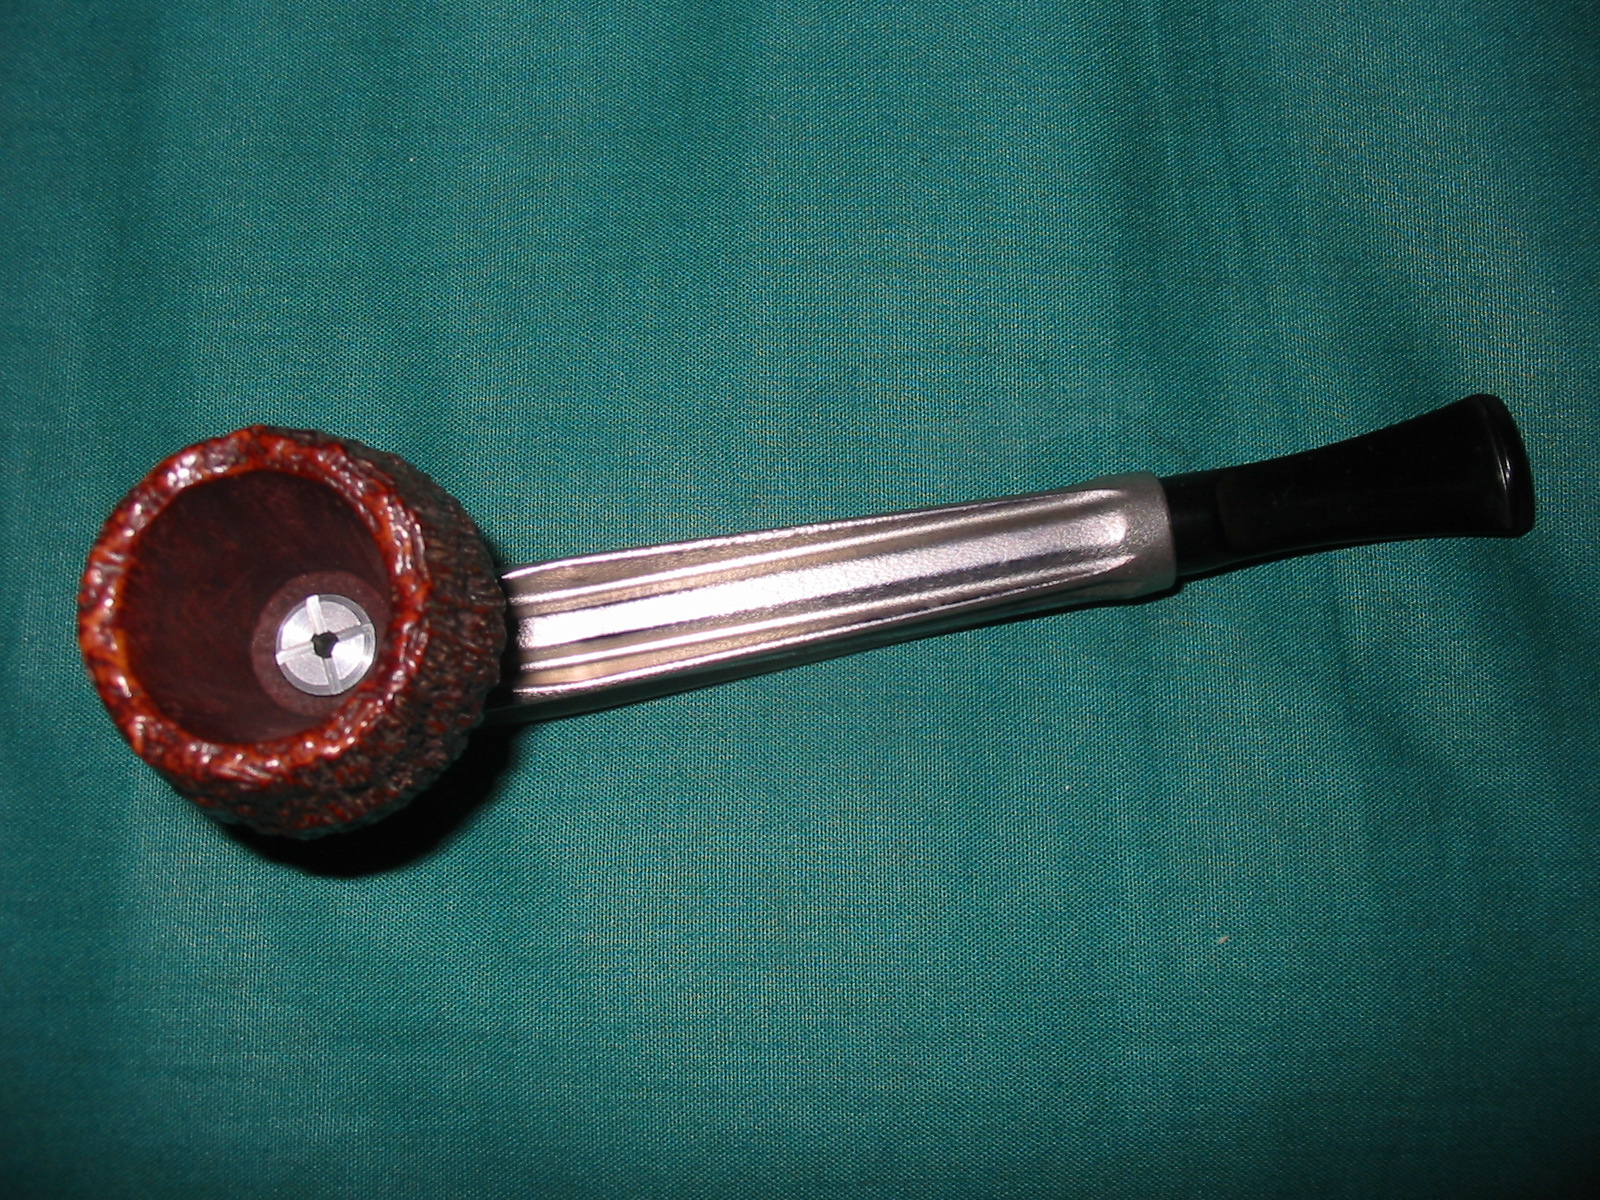
I inserted the stem in the shank and buffed the whole pipe with White Diamond and then gave it multiple coats of carnauba wax. The finished pipe is shown in the photos below.
IMG_3769

IMG_3770

IMG_3771

IMG_3785

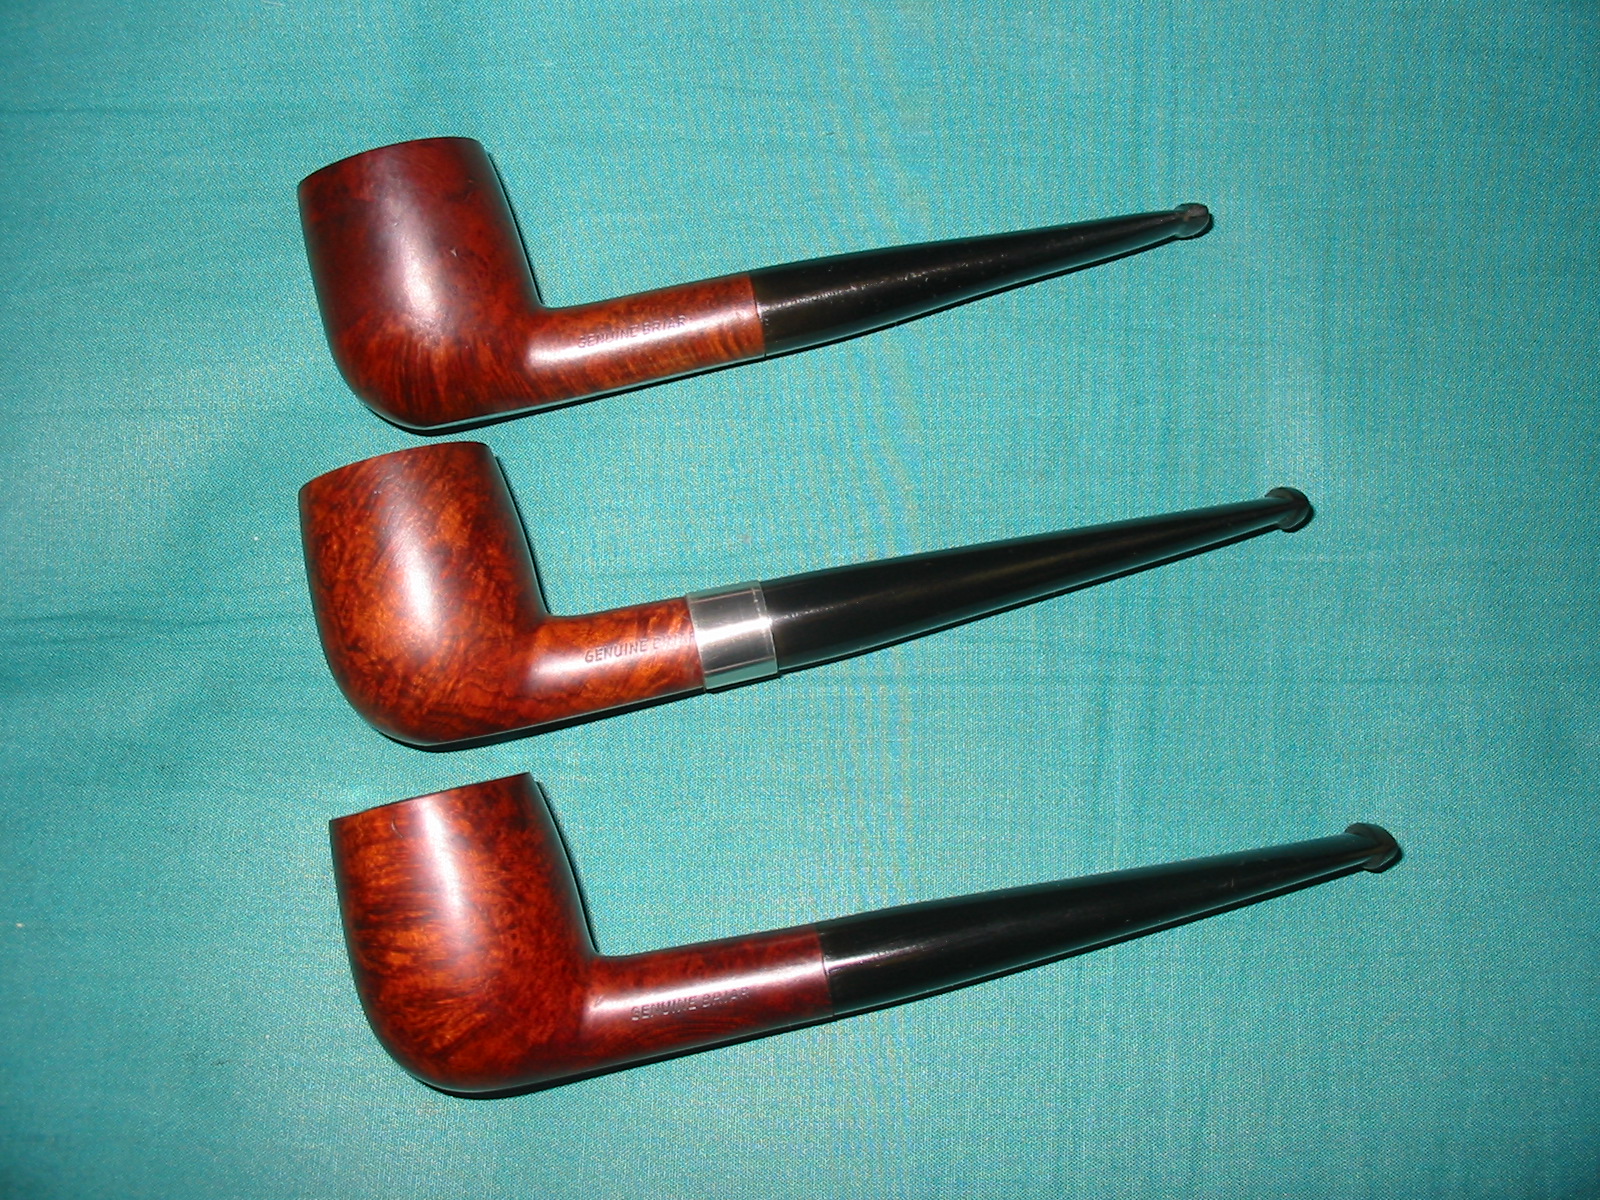
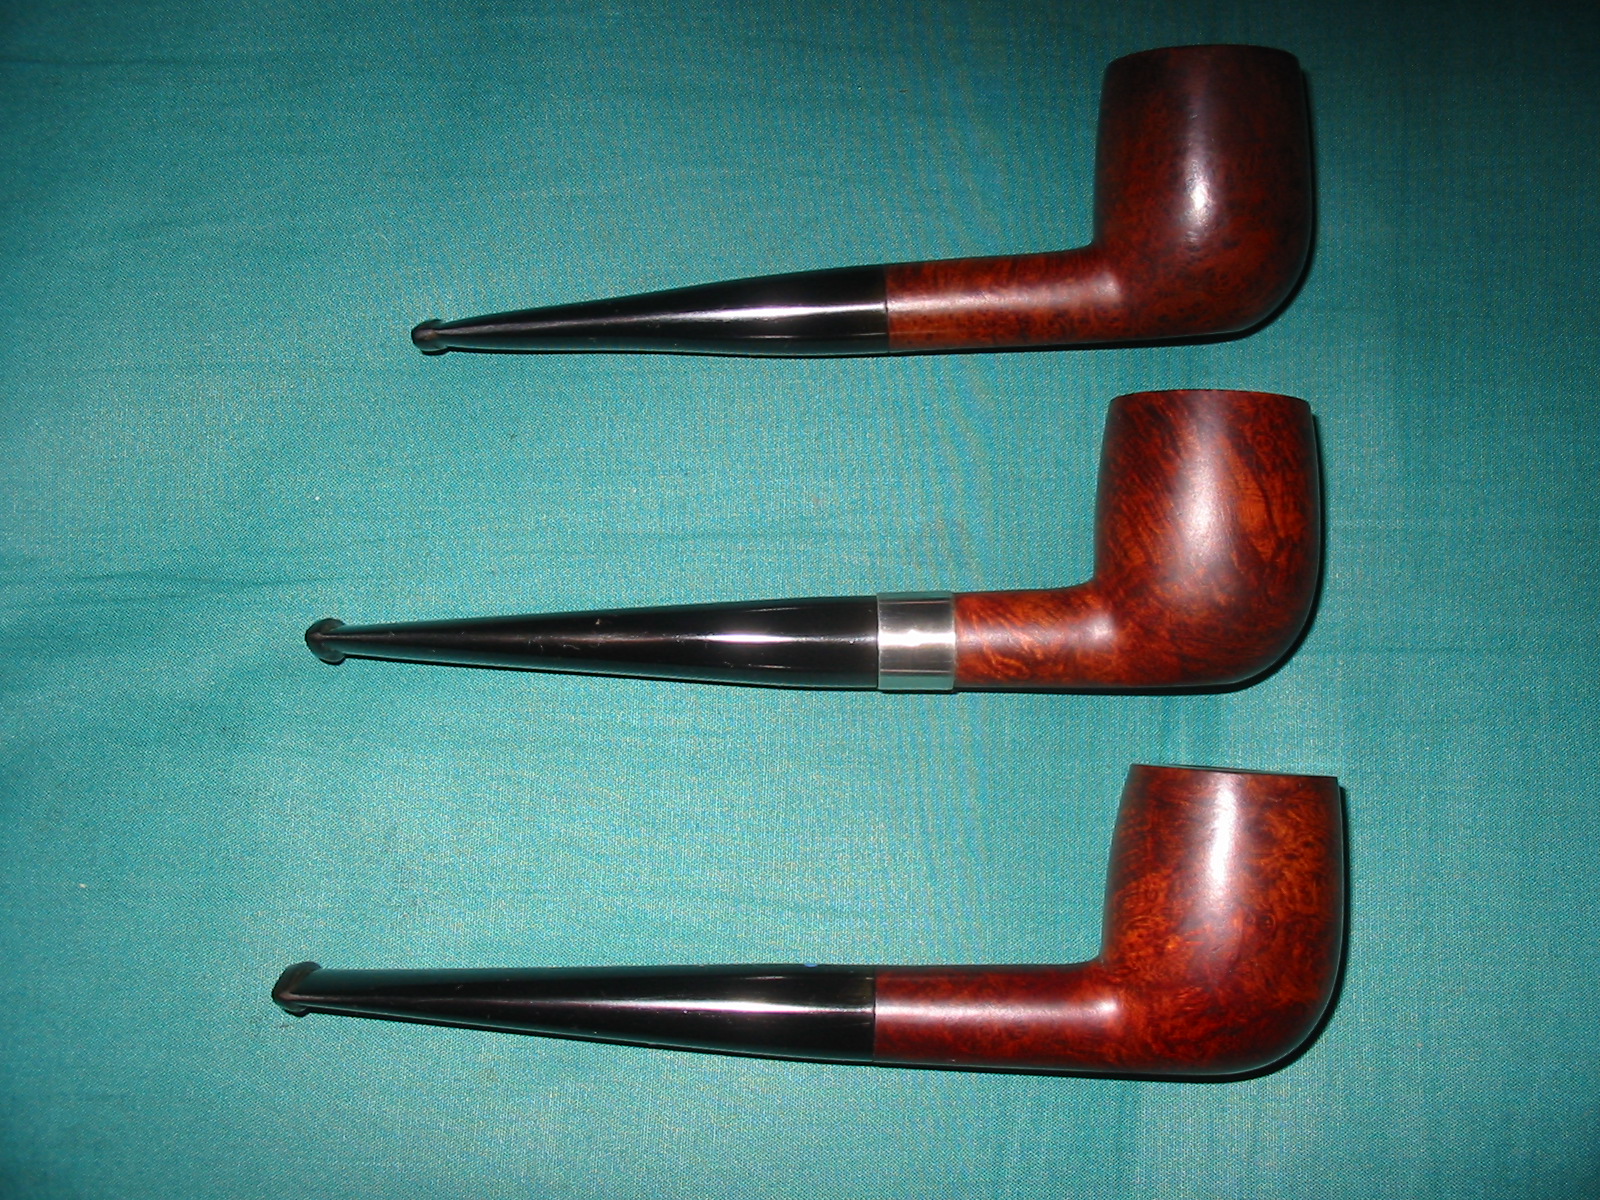
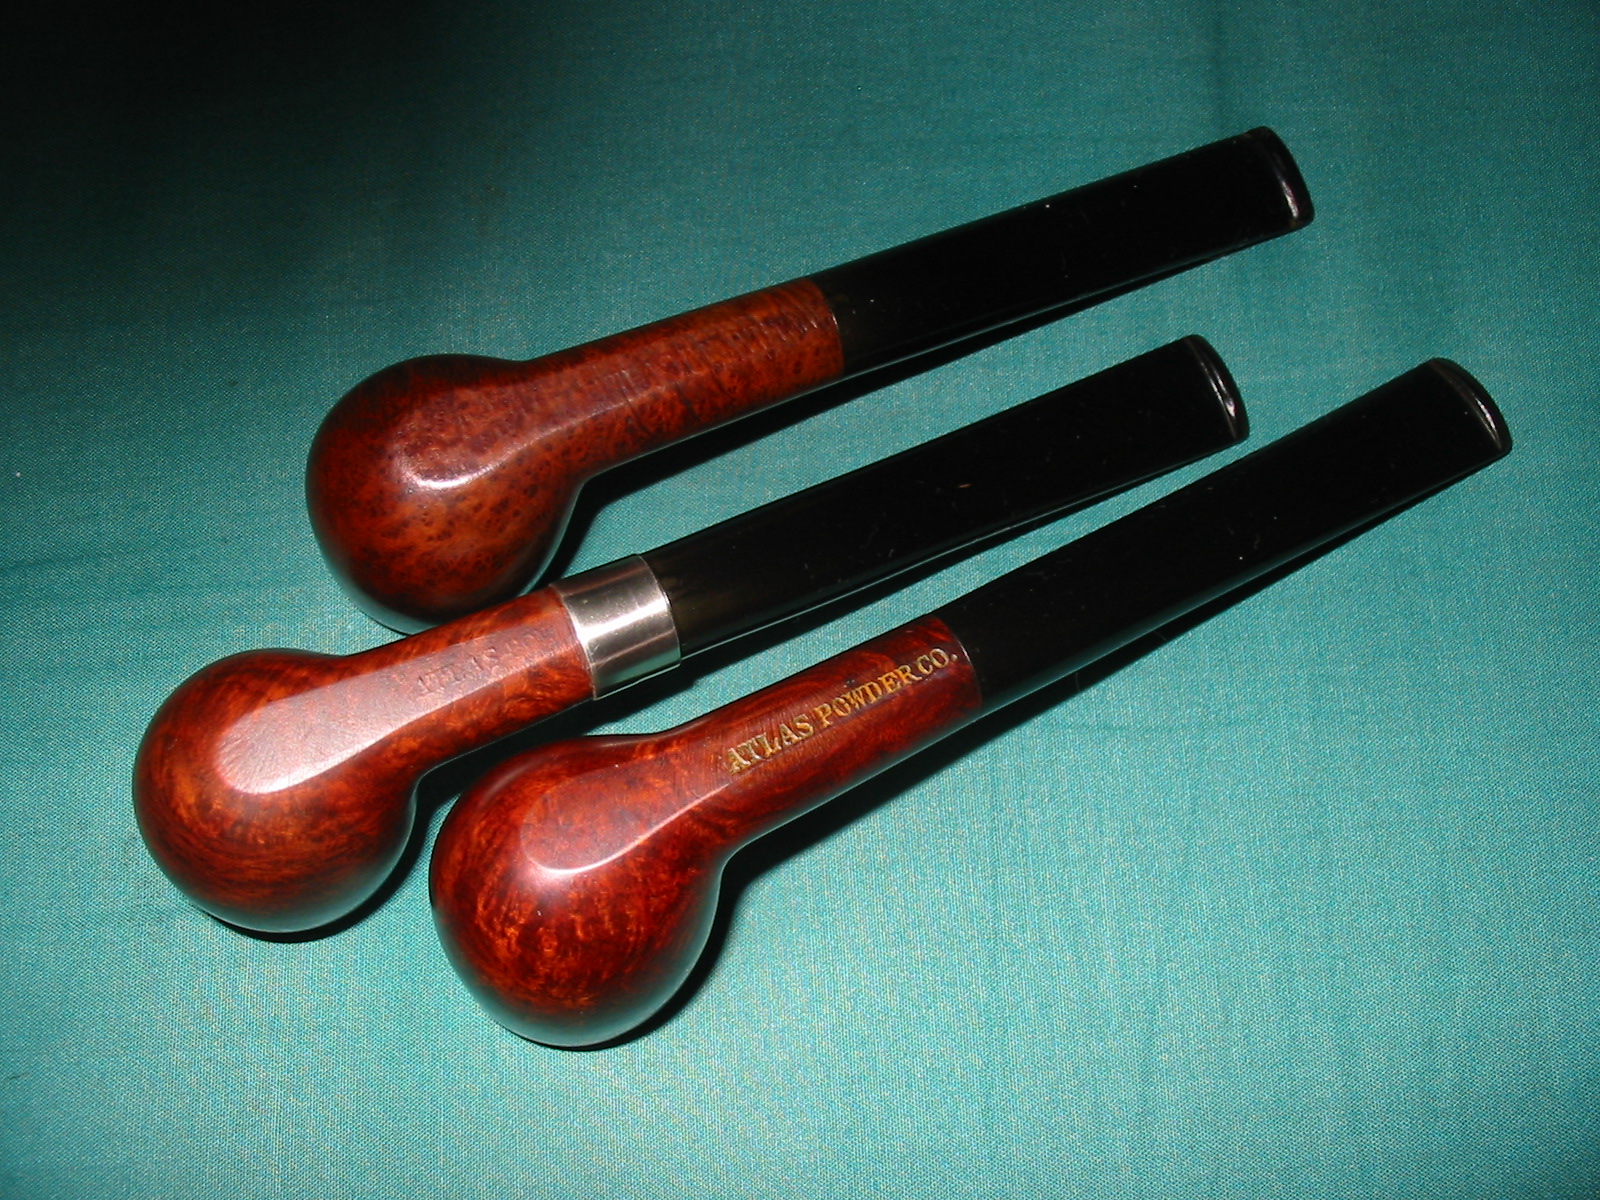
With both of the new additions finished I put them together with the previous ATLAS POWDER CO. pipe and took the following photos. The first pipe has a shorter stem because when I found it the stem had a large bite through. I shortened the length on it and reshaped the button. Other than that and the added band on the middle one the pipes are much the same. All bear the same stamping and the same blue dot. Who knows who the maker of these pipes was? I am still inclined to believe that they may have been made by Sasieni for the ATLAS POWDER CO. to be given to share holders or executives. Whatever the case may be they are smooth smoking pipes and will last another lifetime.
IMG_3778

IMG_3779

IMG_3780

IMG_3781

Reworking a Couple of Pipes with my Son in Law on a Grey Vancouver Day


On a recent pipe hunt my son in law went with me and picked up a couple of pipes of his own. The first one was an interesting little Medico VFQ apple with a red stem. The stem was not too badly damaged. It was a filter pipe and still had the old paper Medico tube in the shank. The bowl was a mess. The rim had been burned and chipped and the bowl was badly caked and it looked as if the previous owner had smoked gooey aromatics in it that left behind a heavy residue of tar in the bottom of the bowl. It had hardened into lava like material. He liked the stem colour and the shape of the old pipe so I said to go ahead and pick it up and the two of us could work on it and bring it back for him. So he shelled out the $12.50 for the pipe and it became his first estate purchase of the trip.
IMG_3549

IMG_3551

IMG_3553

This old pipe took every trick I had up my sleeves to refurbish. The stem was nylon not rubber so it was fussy to clean up. Every scratch shows in nylon and it cannot be buffed except with a very gentle hand. Everything had to be done by hand. I worked on the stem while Lance worked on the bowl. I sanded the stem from the button up the stem for about an inch to remove the calcification on the end and remove the tooth chatter on the top of the stem. On the underside there were a couple of deeper tooth marks that needed attention. I heated the nylon carefully with a lighter to try to raise the dents in the stem. I moved quickly across the surface so as not to melt the nylon. All but one of them lifted nicely – it remained a stubborn part of the sanding process. I sanded the stem with 220 grit sandpaper and then with a medium grit sanding sponge. I finished by sanding the stem with micromesh sanding pads from 1500-12,000 grit – wet sanding with the first three grits and then dry sanding with the remaining grits. I rubbed the stem down with Obsidian Oil. I also sanded the aluminum tenon with the 2400 grit micromesh pad to remove the oxidation on it. I polished it with a silver polishing cloth.

In the mean I had Lance top the bowl and flatten out the rim surface. Then he beveled the outer edge to give the pipe a rounded look like it had previously. He gave the inner edge a slight bevel as well. There were three flaws in the rim surface where the fills were missing. I had him repair these with briar dust and super glue. He then topped the bowl lightly a second time to smooth out the fill repairs. He wiped the bowl down with acetone and sanded it with the sanding sponge. He gave it a quick sand with 1500-2400 grit micromesh as well and then stained it with a black undercoat making sure that the stain went into the grooves that were carved in the bowl surface. He then wiped it down with acetone and sanded it again to remove the black stain from the surface of the bowl leaving it deep in the grooves and around the rim. The black feathered out down the bowl sides and at the tenon shank union. He sanded the aluminum band with a 3200 grit micromesh sanding pad to polish it and then restained the bowl with a red mahogany Miniwax stain. We buffed the pipe with White Diamond and then gave the stem very lightly making sure to not let it heat up. We gave the entirety several coats of carnauba wax. Here is the first pipe he had ever refurbished after it was finished.
IMG_3565

IMG_3566

IMG_3567

IMG_3570

The second pipe was less of a challenge and it was found second on the hunt. It is a Kirsten SX. With a little research we found out that the X designation added to the shape and size S usually meant Brass but that during the 1960’s there was a brief period of time where the SX was an antiqued black and silver finish. That is what he had! Thus we were able to date the pipe a bit for him. The bowl was unsmoked new stock and was probably a replacement. The stem was oxidized and covered with tooth chatter. The barrel was oxidized and much of the antiquing had worn of the finish. The valve at the end was stuck in place. The ramrod was oxidized and dirty. It would be a very easy refurbishing job. Considering the pipe cost him $15 it was well worth the effort.
IMG_3554

IMG_3555

IMG_3556

IMG_3557

Lance took the pipe apart unscrewing the bowl and removing the stem and ramrod from the barrel. The valve at the end was stuck so we had to drive it out with piece of rod I have here. Once it was apart we each went to work cleaning the parts. Lance worked on the barrel and the valve cleaning the outside and the inside of the parts. I worked on the ramrod and the stem. He cleaned out the valve with cotton swabs, pipe cleaners and Everclear and also cleaned out the inside of the barrel with the same. He polished the barrel with silver polish to remove the oxidation and then we washed the barrel with a wash of black aniline stain to give it a bit of an antique look. I sanded out the tooth marks on the stem and polished the ramrod. Lance then sanded the stem with micromesh sanding pads from 1500-12,000 grit. Once the stem was polished he rubbed it down with Obsidian Oil and then we gave the stem a quick buff with White Diamond on the buffer. We rubbed Vaseline into the O-rings on the valve and the stem/ramrod then reassembled the pipe. We gave the entire pipe a light buff with carnauba wax and a soft flannel pad to polish it. Here is the finished pipe.
IMG_3559

IMG_3560

IMG_3561

IMG_3562

IMG_3564

When we finished we filled a bowl with well aged Balkan Sobranie Virginian No. 10 and retired to the porch to have a bowl and a visit. It was a great way to spend a grey Vancouver day and get to know my son in law a bit better. We are already planning more hunts and pipe refurbishing sessions. It is great to have someone working with me who is interested in learning the tricks of the hobby living so close by.

Kaywoodie Drinkless Apple Repurposed and Refurbished


Blog by Steve Laug

I was gifted this old Kaywoodie Apple in an exchange recently. It is the last of the box of pipes that I have to refurbish. I left it to last as it had some serious problems. The stem was overturned and had deep tooth marks at the button. The bowl had some deep scoring on the left side of the bowl. Those issues might not seem too serious at first glance but they were more so than I had expected. I inspected the stinger apparatus and saw that it had been reglued in the stem. I heated the stinger with a heat gun and turned it back into the shank of the pipe. As I turned it carefully the stem fell off in my hand. I looked and saw that it was corroded through and the heat had softened the glue and the piece literally fell out of the stem. I tried to epoxy it back into the stem and connect the two pieces but it would not stay. Each time I put it back into the shank it fell out – no matter how much curing time I gave it. That was the first issue. In looking at the tooth marks they were repairable but with the broken stinger and threaded tenon I wondered whether it was worth fixing it. The grooves on the bowl and the dip in the rim above them could be repaired and would be a simple fix if I decided to keep the pipe. Those were the issues that caused me to lay the pipe aside for a bit and work on other pipes. That is why it is the last pipe in the bottom of the box.
IMG_3047

IMG_3048

IMG_3049

IMG_3050

Because of the extent of damage to this pipe it was unlikely that it would ever be truly collectible again. Though to some my next decisions will appear to have desecrated an older Kaywoodie I decided to use this pipe to experiment with a few repair ideas. I topped the bowl with my usual method to remove the rim damage. I removed the damaged portion of the bowl and flattened the rim against the sandpaper. When I was finished topping the bowl the rim was flat again however the inner edge of the rim needed to be repaired. It was missing a large chunk of briar.
IMG_3051

IMG_3052

IMG_3053

IMG_3054

The missing chunk matched the twin scoring marks on the outside of the bowl and made me wonder how the previous pipeman had caused that kind of damage to the bowl. The divot on the rim was not a burn mark but a divot that had been caused in the same moment the scoring occurred on the outside of the bowl. I sanded down the scored areas and cleaned the bowl with acetone. I then patched the score marks with superglue and briar dust. I also built up the top of the rim in the divot area with the same mixture. I kept the mix on the top of the rim as much as possible with very little of it on the inside edge. I did not want to use it inside the bowl.
IMG_3055

I sanded the bowl to remove the excess of the glue and briar dust mix and then wiped the entire bowl down with acetone on cotton pads. The three photos below show the state of the bowl and the repairs down with the briar dust and superglue. The third photo shows the top patch.
IMG_3056

IMG_3057

IMG_3058

Because the stem was not functional I had a decision to make. I could drill out the disintegrated end of the stinger and put a new replacement tenon in place or I could remove the metal shank insert and make a new push stem for the pipe. The faintness of the stamping on the shank and the extent of damage that I had repaired on the bowl made me take the second choice. I removed the metal shank insert from the shank. This is not as hard as it sounds. I have heard of others drilling it out and leaving it in place. I have opted to remove it. It is threaded and can be unscrewed from the shank with a small pair of needle nose pliers. The next two photos show the process. I sorted through my stem can and found a stem that could be repurposed to fit this shank and then be adapted to fit the diameter of the shank.
IMG_3355

IMG_3354

Before I could properly fit the tenon in the shank I needed to drill the mortise deeper. The current depth of the mortise was the same length as the threaded portion of the metal shank attachment in the photo. I wanted the tenon to be longer so I drilled out the mortise to double the length of the current depth. I would need to remove some of the tenon length on the stem to make a good fit but that is a simple task.
IMG_3356

With the drilling done, I used the PIMO Tenon Turning Tool to remove some of the excess diameter of the tenon and also shortened the tenon slightly to get a good tight fit in the shank and clean joint at the tenon shank union. The larger diameter of the stem is visible in the photo below.
IMG_3357

I used the Dremel with the sanding drum and carefully reduced the diameter of the stem while it was in place on the shank. I run the Dremel at a speed that allows me to carefully and steadily control it as I work close to the shank of the pipe.
IMG_3359

IMG_3360

IMG_3361

IMG_3362

IMG_3363

Once I had it roughed in to fit with the Dremel it was time to take it back to the work table and do the hand work with sandpaper to make the fit seamless. Since I was going to restain the pipe anyway I sanded the shank as I sanded the stem to make the transition smooth. In the first two photos the stamping is visible in the light of the flash. In real life it is quite a bit fainter and shallow. I also use some superglue and briar dust to repair some of the deeper dings and marks on the bowl to ready it for staining. I sanded it with 220 grit sandpaper and then with a medium grit sanding sponge to smooth out the surface and remove the scratches left behind by the sandpaper.
IMG_3364

IMG_3365

IMG_3366

IMG_3367

I wiped the bowl down with Everclear to remove the sanding dust and give it a last cleaning before I started giving it a new stain coat. I have also included two photos of the new stem with the older KW stem and broken parts for comparison sake. I really like the way the new stem fit the shank and the look of the pipe after the repairs.
IMG_3368

IMG_3369

IMG_3370

I wanted to continue to experiment with contrast staining so I gave the pipe a first coat of stain with black aniline stain. I applied the stain and flamed it and repeated the process until the coverage was even. I then heated the entire bowl by passing over it with the flame of a Bic lighter to warm the briar and set the stain.
IMG_3371

IMG_3372

IMG_3373

IMG_3374

The black aniline stain is transparent enough that the brown of the briar actually makes the stain appear to be a dark brown. It also covers the repairs on the bowl and blends them into the grain in way that makes them less visible. This was especially important with the repair I had made to the two deep scoring marks on the left side of the bowl. Once the stain dried I wiped it down with acetone to remove the top coat and leave only the grain darkened with the black. After doing that the bowl was still do dark for my liking. Though the grain patterns are very visible I wanted it to be lighter so that when I put the contrast stain coat on it would really pop to the surface.
IMG_3375

IMG_3376

IMG_3377

I sanded the bowl with 220 grit sandpaper and then with a medium grit sanding sponge to further remove the black stain. I finished the sanding by wet sanding the bowl with 1500-2400 grit micromesh sanding pads. Sanding with the micromesh pads removed the scratching left behind by the other sandpapers and prepared it for the next coat of stain that I wanted to give it. I stained the bowl a second time with a coat of Minwax Water based stain. I chose a red mahogany stain for this coat. I like the contrast the reddish colour of the mahogany with the black undercoat. I applied the stain and then wiped it off with a soft cotton cloth.
IMG_3378

IMG_3379

IMG_3380

IMG_3381

I finished the contrast staining with a third colour – a Minwax medium walnut stain for the finish coat. I applied the stain and wiped it down using a soft cotton cloth and then hand buffed it with a shoe shine brush. The next series of four photos show the finish after the application of the three stains and a hand buffing. I really like the contrast finish that the three stains gave the pipe.
IMG_3382

IMG_3383

IMG_3384

IMG_3385

I sanded the bowl and stem with micromesh sanding pads to bring out the shine. I wet sanded the stem with 1500-2400 grit pads and then dry sanded the bowl and stem with 3200- 4,000 grit pads. At that point I made a decision that some will like and others will hate.
IMG_3387

IMG_3388

I took out my box of nickel bands and found one that would fit the shank. I took the photo below with the band next to the pipe to symbolize the thinking process that went into this decision. I put the band against the shank and the stem next to it to see how it looked. I looked at the faint stamping and the fact that is was a non-collectible pipe anyway due to my stem modifications and decided to give it a go.
IMG_3389

I put the band on the end of the shank. For those banding a pipe shank pay attention to the diameter of the band – the end that goes on the shank is slightly larger than the end the faces the stem. I took the pipe and heated the band with a heat gun and then pressed it into place on the shank.
IMG_3390

IMG_3391

I took it back to the work table and finished sanding the stem and bowl with 6,000, 8,000 and 12,000 grit micromesh sanding pads. In the photo below the newly banded shank is visible. The band is solely cosmetic as the shank was not cracked and the fit of the stem was perfect. I liked the added bling on this pipe quite a bit.
IMG_3393

I wiped the stem down with Obsidian Oil and rubbed it into the surface of the vulcanite and then buffed the pipe with White Diamond. I avoid buffing the band as much as possible because it discolors the stem and the shank with the black residue caused by buffing the nickel. I then buffed the pipe with multiple coats of carnauba wax to protect and give a rich finish to the pipe. The finished pipe is shown below in the last four photos. The contrast stain worked well on this pipe. The flaws are there and visible but do not detract from the finish. The stem has a good glow with the lines of the pipe and the nickel band gives a nice polished look to the old pipe. Overall this experiment in repairs ended well. I like the finished look of the pipe and I learned a few new tricks along the way.
IMG_3398

IMG_3399

IMG_3400

IMG_3401

Reworking a No Name Brand Italian Billiard


I am definitely getting to the bottom of the refurbishing box – this pipe and one other left before it is empty and I need to start hunting again for more. This old-timer is only stamped on the left side of the shank with IMPORTED BRIAR over ITALY. There is no other stamping on the right side of the shank. The bowl was in pretty decent shape – no real dents or scratches other than around the rim. The edges of the rim were rounded over. The left side showed some nice birdseye grain and the front and the back of the bowl were cross grain. The right side of the bowl was a mess. There were at least a dozen putty fills in various states of coming out of the briar. There were two on the rim that took a bite out of the outer edge of the rim. The finish was gone and the stain had faded. The bowl did not come with a stem so I hunted through my can of stems and found one that would do the trick. It took very little work to get the tenon to fit into the shank. It was a wide blade stem that previously had been on a George Jensen pipe at sometime in its life but that pipe bowl had long since disappeared. With some minor adjustments to the diameter of the stem it would make a great stem for the Italian billiard.
IMG_3288

IMG_3289

IMG_3290

IMG_3291

IMG_3292

I decided to top the bowl to clean up the rounded edges on the outer rim and to minimize the damage from the two fills on the right edge. I set up my sandpaper on the flat board and turned the bowl top into the sandpaper. I work at this slowly and turn and sand and then tip the briar dust into a container that I have saved for repairs to fills. The first photo below shows the set up as well as the condition of the rim before I worked on it.
IMG_3302

IMG_3303

IMG_3304

I took the top down until the outer edges of the rim were sharp and clean. The damage from the fills is still visible but I stopped before I changed the overall shape of the bowl. I used a Dremel with a sanding drum to reduce the diameter of the stem to match the shank. I take it down as far as possible with the Dremel and then do the finish shaping by hand with sandpaper.
IMG_3305

IMG_3306

IMG_3307

IMG_3308

I sanded the stem with 220 grit sandpaper to remove the oxidation and to finish shaping the area around the shank and stem junction.
IMG_3309

IMG_3310

IMG_3311

IMG_3312

I wiped down the bowl with acetone on a cotton pad to remove the remaining finish.
IMG_3313

IMG_3314

IMG_3315

IMG_3316

I dropped the bowl in an alcohol bath to soften the putty fills to make them easier to remove. It also removed the remaining finish to the bowl. The dark colour of the alcohol bath adds a patina to the bowl that is something that I appreciate. (I continue to use the bath and filter out the grit and grime from the alcohol every other month. The filtering removes the impurities but leaves the alcohol the colour of the stain that has been removed from the bowl. It is a uniform dark brown colour. I rarely change the bath, just refill it as the alcohol evaporates over time.)
IMG_3317

When I removed it from the bath I picked out the softened putty fills with a dental pick and lightly sanded the bowl and shank with a fine grit sanding sponge.
IMG_3318

IMG_3319

IMG_3320

IMG_3321

I am continuing to experiment with wood glue and briar dust combined to replace the fills. I am finding that the mixture gives virtually the same darkening of the fill as the mixture of briar dust and superglue so I am not convinced. The drawback to using the wood glue is the slow drying time. That probably is not an issue for some of you but if the result is the same I will opt for the quick results of the superglue. I packed in the briar dust, dribbled the glue into the fills and then added more dust to the mixture. When it dried I sanded it with 220 grit sandpaper to remove the buildup and smooth out the surface of the bowl. I then sanded the bowl with a fine grit sanding block to remove the scratches.
IMG_3322

IMG_3323

IMG_3324

IMG_3325

IMG_3326

IMG_3327

IMG_3328

IMG_3329

I am also continuing to experiment with the contrast staining process so I used it again on this bowl. I wanted to highlight the beautiful birdseye grain and cross grain on the bowl and hide the repaired fills as much as possible. I used a black aniline stain for the first coat of stain. I applied it and flamed it and repeated the process until I had good coverage on the bowl.
IMG_3330

IMG_3331

IMG_3332

I wiped down the bowl with Everclear on a cotton pad to remove the heavy black stain from the surface of the bowl while leaving it deep in the grain. I notice in the process that the stain did not soak into the areas around the fills where there was remnant of wood glue on the surface of the briar. It left a shiny spot of unstained briar. To remedy that I would need to sand those areas of the bowl before applying the second coat of stain.
IMG_3333

IMG_3334

IMG_3335

IMG_3336

I sanded the bowl with a fine grit sanding sponge and also with micromesh sanding pads from 1500-2400 grit. I wet sanded with these grits as they work well to remove scratches in the surface and also to remove the remaining glue on the surface. Once I had the bowl sanded smooth I wiped it down with a damp alcohol pad to remove surface dust and then restained the bowl with an oxblood aniline stain. The next series of photos show the freshly stained bowl before I flamed it. The undercoat of black comes through and highlights the grain very nicely. Once the bowl was dry I buffed it lightly with White Diamond.
IMG_3337

IMG_3338

IMG_3339

IMG_3340

I sanded the bowl and stem with micromesh sanding pads to polish it further. I wet sanded with 1500-2400 grit and then dry sanded with 3200-12,000 grit pads. I find that the higher grit pads add a deeper level of shine with each successive grit. The next three photos show the stem and bowl after polishing with three grits of micromesh. The first photo shows 1500, 1800 and 2400 grit pads. The second photo shows 3200, 3600 and 4000 grit pads. The third photo shows 6000, 8000 and 12,000 grit pads.
IMG_3341

IMG_3342

IMG_3343

I rubbed the stem down with Obsidian Oil and when it was dry I buffed the stem and bowl with White Diamond. I gave the pipe multiple coats of carnauba wax to protect the finish and give it a shine. The contrast stain worked well with this pipe. The birdseye grain really pops and the cross grain is also highlighted. The black undercoat also minimizes the eyesore of the fills on the right side of the bowl and the small one on the left side has virtually disappeared. The final four photos below show the finished pipe. I am happy with the way it turned out – far better than I expected when I took it out of the box to refurbish.
IMG_3348

IMG_3349

IMG_3350

IMG_3351

Help Requested for Unknown Maker of a Threaded Pipe Bowl with an Aluminum Base


In one of the lots of pipes I picked up on Ebay this threaded bowl was present. There was not a pipe base that it fit even though there were two threaded bases in the lot. One was a WDC Bakelite base that was wider and had different threads and the other was a no name older base also with a wider base and different threads on the bowl. I have not seen a bowl with this kind of set up before. The bowl itself is a tube of briar fit over an aluminum bottom. The bottom of the bowl is threaded on the end that screws into the pipe and the upper portion is inserted into the bowl. The top of the insert is a cup that extends a third of the way up the sides of the bowl. I have quite a few metal pipe bases and older Bakelite bases available here but this bowl does not fit any of them. It is truly a mystery to me.

When I got it the finish was worn and there was a crack in the bottom edge of the bowl where it sits against the aluminum. The crack went up about a quarter of the way up the outside of the bowl. The bottom of the threaded portion is stamped PATENT APD FOR, which I assume is the abbreviation of Patent Applied For. I have no idea about country of origin or manufacturer so checking for patent information is difficult. If anyone has seen one of these and has some information please let me know.

Since I am working with the bottom of my refurbishing box, I decided to clean up the bowl and restore it so that when I find a base that it fits it will be ready. The rim was rough so I topped the bowl with a piece of 220 grit sandpaper on a flat surface. I twisted the bowl into the sandpaper to remove the damage to the surface.
IMG_3274

IMG_3275

IMG_3276

I reamed the bowl with a PipNet reamer to clean up the inside. The outer edge of the bowl rim was damaged so I sanded it until it was smooth. I also used a piece of folded sandpaper to smooth out the damage to the inner rim. I scrubbed the aluminum base with acetone on cotton swabs to clean out the grooves/threads on the nub. I scrubbed the base on the outside and the inside of the bowl. I picked the threads with a dental pick to clean out the buildup of tars in each groove. I wiped down the exterior of the bowl with the acetone to remove the finish.
IMG_3277

IMG_3278

I sanded the bowl with 220 grit sandpaper and also with a medium grit sanding sponge. I sanded it with 1500-1800 grit micromesh sanding pads. Once the surface was smooth I cleaned out the crack with a dental pick and filled it with superglue and briar dust. I sanded that area until it was smooth and blended in with the rest of the bowl. I wiped it down a final time with the alcohol soaked pads to remove the dust before I gave it the first coat of the two step stain.
IMG_3279

I stained it with a black aniline stain, flamed it and then restained and reflamed it again. Once the stain was set I wiped it down with Everclear on a cotton pad to remove the top coat of black. My intention was to set the black into the interesting grain pattern around the bowl and rim and then remove the excess before giving a second colour of stain as a top coat.
IMG_3280

IMG_3281

IMG_3282

I buffed the bowl with red Tripoli to finish removing the excess black and to also smooth out any existing scratches in the bowl. I sanded it with a fine grit sanding sponge and then with 1500 grit micromesh sanding pads. The next three photos show the bowl before I gave it the top coat of stain.
IMG_3283

IMG_3284

IMG_3285

For the second coat of stain I used an oxblood aniline stain. I applied it and flamed it and then buffed it to give it a shine.
IMG_3286

IMG_3287

IMG_3293

IMG_3294

IMG_3295

To finish the bowl I buffed it with White Diamond on the wheel and then gave it multiple coats of carnauba wax to protect and polish it. The finished bowl is seen in the photos below. It is ready for the mystery base that will allow it to once again be filled with tobacco and smoked.

Once again, I would appreciate any information that folks may have regarding potential makers for the bowl and potential bases that would hold this kind of threaded bowl. For information sake: it does not fit the Pacemaker, the Falcon, Alco, Viking or any of those pipes. It also does not fit the WDC bases or older Bakelite bases that I have tried. Thanks ahead of time for your help.
IMG_3296

IMG_3297

IMG_3298

IMG_3299

IMG_3300

A Dr. Grabow Duke Billiard Reborn


Two more pipes left in the box of pipes needing to be refurbished. The first is a Gr. Grabow billiard. It is stamped on the left side of the shank DUKE over Dr. Grabow and on the right side Imported Briar. It was a bowl without a stem. The bowl was in very rough shape. The top was no longer flat and had a large dip in the front where the bowl rim was burned down by a torch lighter or something like that. The finish was ruined and the fills on the left and right had fallen out of the briar. The bowl itself was caked heavily and appeared to be out of round. I sorted through my can of stems and found one that was close to the shank diameter. The oddity of this pipe was that the original shank was more oval than round so whatever stem I fit would have to be adjusted to fit the shape of the shank. I turned the tenon on this old stem and it fit quite well in the shank. I would need to adjust the diameter of the stem to the oval shape of the shank eventually.
IMG_3220

IMG_3221

IMG_3222

IMG_3223

IMG_3224

I adjusted the diameter of the stem to fit the shank with a Dremel and sanding drum. I was able to bring it very close to the shank size and then did the rest of the work in fitting the stem by hand sanding.
IMG_3225

The bowl rim was in rough shape. I debated whether to refurbish this pipe since I received it from a friend. I would take it out and look it over and then put it back in the box undecided. However, with the box almost empty I decided to give a go. The biggest area of damage was the front edge of the rim. The extent of damage to the rim is visible in the next two photos.
IMG_3226

IMG_3227

I reamed the bowl with a PipNet reamer to clean up the inside of the bowl and assess the damage to the inner rim on the front. The front edge of the rim had the most damage. I topped the bowl using my usual method of sandpaper on a flat surface. The sandpaper was 220 grit. I placed the bowl top flat against the sandpaper and turned it into the sandpaper to remove the damaged material. I worked the rim down until it was once again flat. I worked on the inner edge of the rim with a piece of sandpaper to smooth out the surface and restore as much of the roundness of the bowl as possible.
IMG_3228

IMG_3230

IMG_3231

I repaired the fills that had fallen out next. First I cleaned them with a dental pick to remove loose debris and the wipe them down with alcohol. I packed briar dust into the holes and mixed it with wood glue. I wanted to experiment with the wood glue to see if it would take stain better than the superglue patches that I have been using. Once the glue was dry I sanded the bowl smooth again with 220 grit sandpaper and also a medium grit sanding sponge.
IMG_3232

IMG_3235

I sanded the bowl smooth and then wiped it down with acetone on a cotton pad to remove the stain and the remaining finish.
IMG_3236

IMG_3237

After wiping it down with the acetone I sanded it with a fine grit sanding sponge to smooth out the remaining surface and prepare it for staining. (In the third photo below the reworked inner edge of the bowl is visible.)
IMG_3238

IMG_3239

IMG_3240

IMG_3241

I decided to use a two part staining process once again to give good coverage to the bowl and to bring out some of the grain on the pipe. I applied the first coat of stain – a black aniline stain – with a cotton swab, flamed it and reapplied and reflamed it until the coverage was good. I warmed the briar with the flame of the lighter to set the stain deep in the grain of the briar.
IMG_3249

IMG_3250

IMG_3251

IMG_3252

I wiped the bowl down with acetone again to remove the top coat of the black stain and bring the grain highlights to the surface. I continued to wipe it down until I removed as much as possible with the acetone.
IMG_3253

IMG_3254

IMG_3255

I sanded the bowl with the medium grit sanding sponge and then wiped it between sandings with cotton pads and Everclear. When I had the finish looking the way I was hoping it would I gave it a final wash with Everclear.
IMG_3256

IMG_3257

IMG_3258

I buffed the pipe and stem with red Tripoli to remove more of the stain and to see what the finish would look like with a buff. I knew that I would need to do more sanding to the bowl and shank to remove the scratches that remained before I gave it the second stain colour coat.
IMG_3259

IMG_3260

IMG_3261

IMG_3262

I sanded the bowl with 1500-2400 grit micromesh sanding pads and then stained it with a top stain of walnut brown aniline. I applied it, flamed it and repeated the process until I had a good even coat of stain.
IMG_3263

IMG_3264

IMG_3265

IMG_3266

I sanded the bowl again and the stem as well with the micromesh sanding pads. I wet sanded with 1500-2400 grit and then dry sanded with the remaining grits from 3200-12,000. When I had finished sanding the stem I gave it a coat of Obsidian Oil and rubbed it into the stem.
IMG_3267

IMG_3268

IMG_3269

When it was dry I buffed the bowl and stem with White Diamond and then gave the entirety several coats of carnauba wax to protect and seal the stem against oxidation and to give some shine to the bowl of the pipe. The finished pipe is shown below. The finished look is far better than I expected when I started with the pipe. The rim looks better and the stain colour highlights the grain nicely. It should provide someone with a good smoking pipe for use in the yard or shop.
IMG_3270

IMG_3271

IMG_3272

IMG_3273