Guest Blog by Robert M. Boughton
Member, North American Society of Pipe Collectors
http://www.naspc.org
http://www.roadrunnerpipes.com
http://about.me/boughtonrobert
Photos © the Author
My oldest pipe, my dearest girl,
Alas! Which shall it be?
For she has said that I must choose,
Betwixt herself and thee.
Farewell, old pipe; for many years
You’ve been my closest friend,
And ever ready at my side
Thy solace sweet to lend.
No more from out thy weedy bowl,
When fades the twilight’s glow,
Will visions fair and sweet arise
Or fragrant fancies flow.
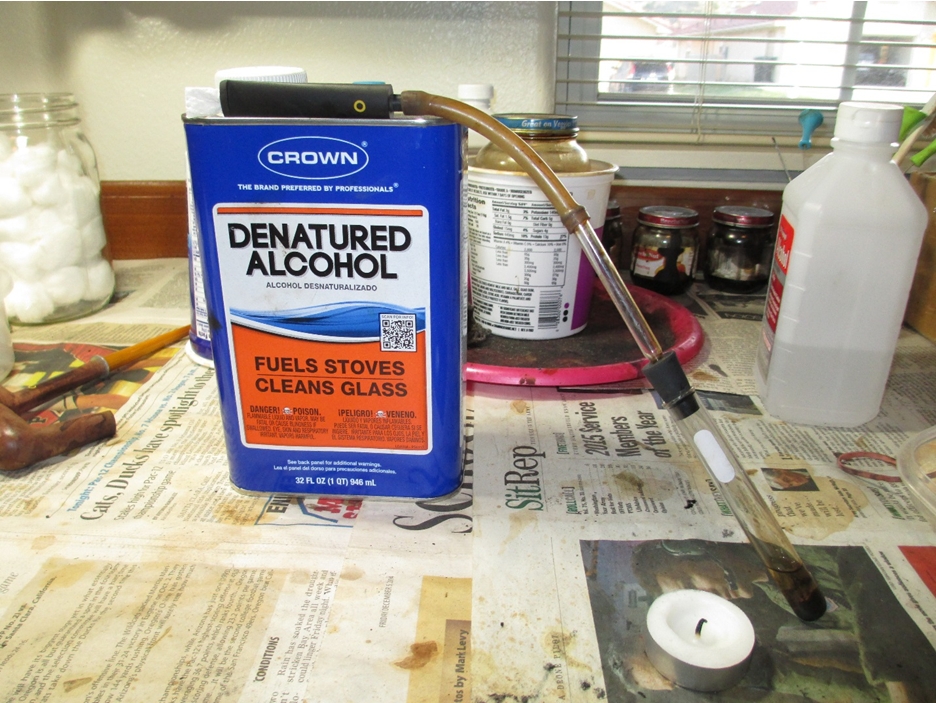
No more by flick’ring candlelight
Thy spirit I’ll invoke,
To build my castles in the air
With wreaths of wav’ring smoke.
And so farewell, a long farewell–
Until the wedding’s o’er,
And then I’ll go on smoking thee,
Just as I did before.
― Edmond Day, “A Bachelor’s Soliloquy,” in Bain Jr., John, ed., “Tobacco in Song & Story,” 1896
INTRODUCTION
Aware of my sometimes peculiar use of quotes to lead into blogs, I ask that you try to follow this reasoning behind the above description of a somewhat disingenuous if humorous plan. As a recovered alcoholic (which is not to say cured), I have not found it necessary to return to the certainty of the lifestyle I led until my last drink of the life-deadening liquid, for persons of my nature, 27 years and a few months ago. Still, I remember with a cringe the oft-quoted “Lips that touch wine shall never touch mine,” a slight adjustment of the popular slogan of the Temperance Movement in the late 19th and early 20th centuries, that I used to hear with frequency in certain circles.
I always recoiled from the notion as being too Puritanical for my liking. Likewise, as a bachelor, I still (or perhaps more so now, given the socio-political incorrectness of enjoying tobacco, even a pipe) encounter the ultimatum of choosing my great, sundry pleasures derived from these marvelous instruments of relaxation and contemplation, or someone with whom to share my life. Being somewhat obdurate when push comes to shove, so to speak, I have no trouble saying fare thee well to all who spur the ominous prognostication of the inevitable disaster of any proposed relationship founded upon such Draconian conditions.
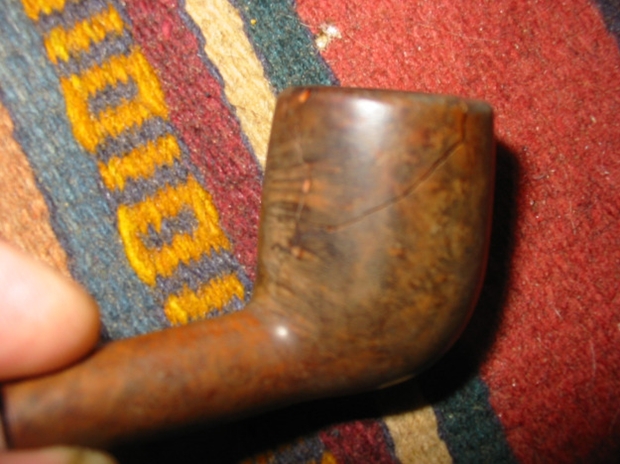
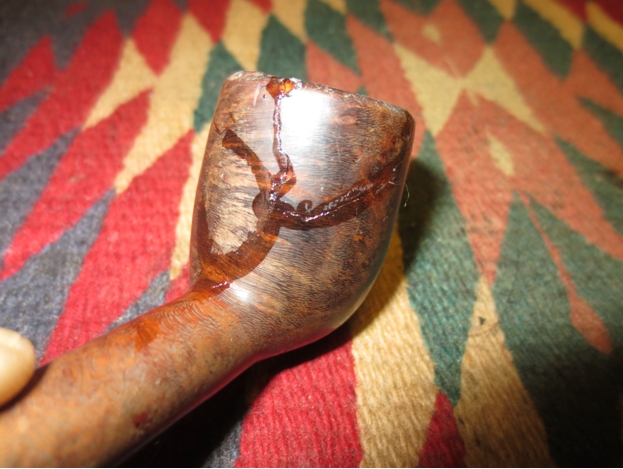
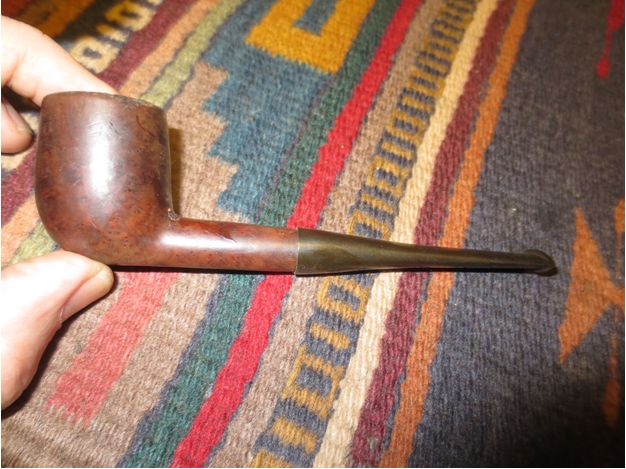
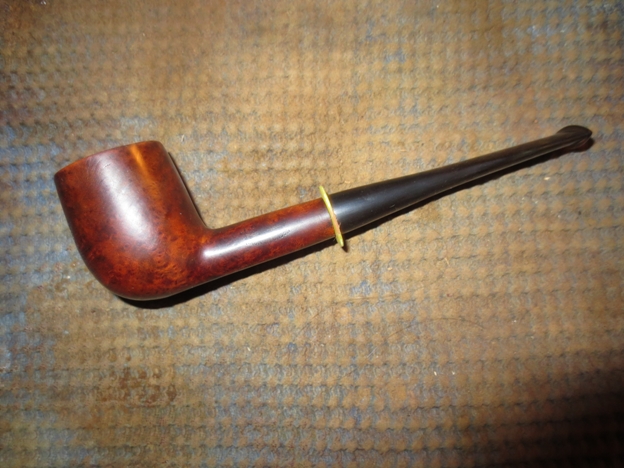
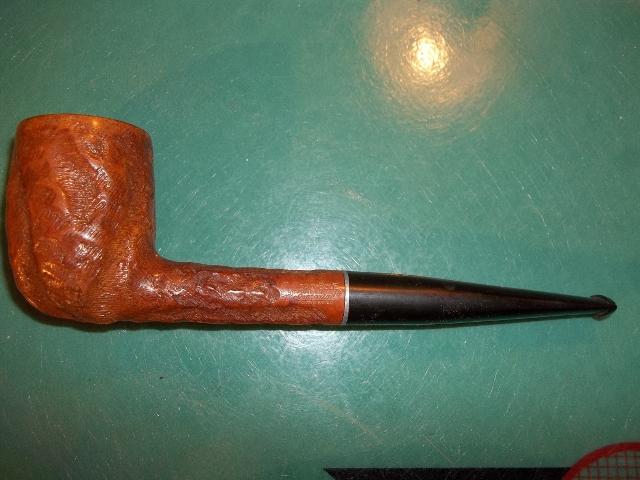
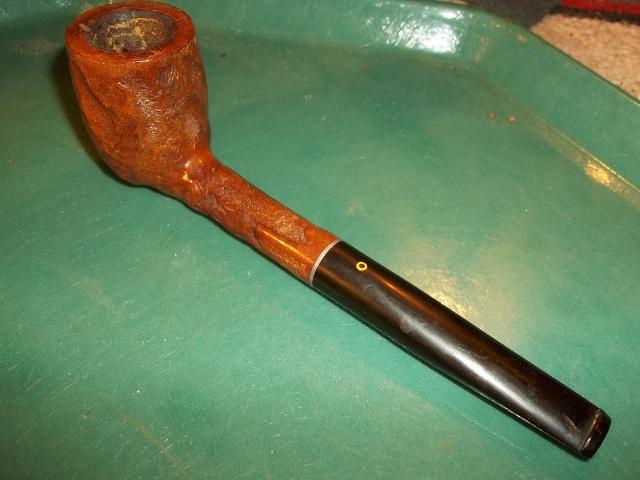
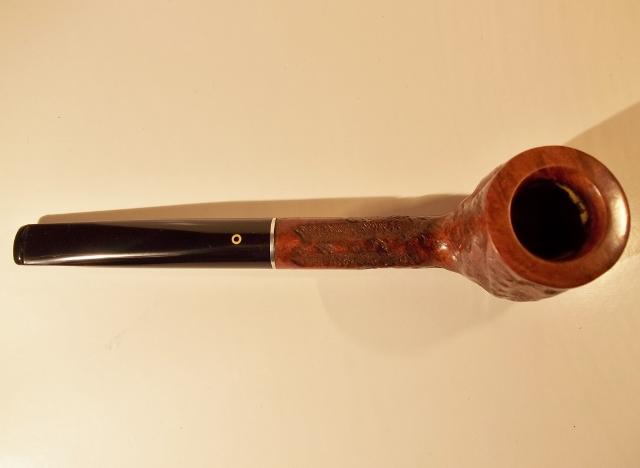
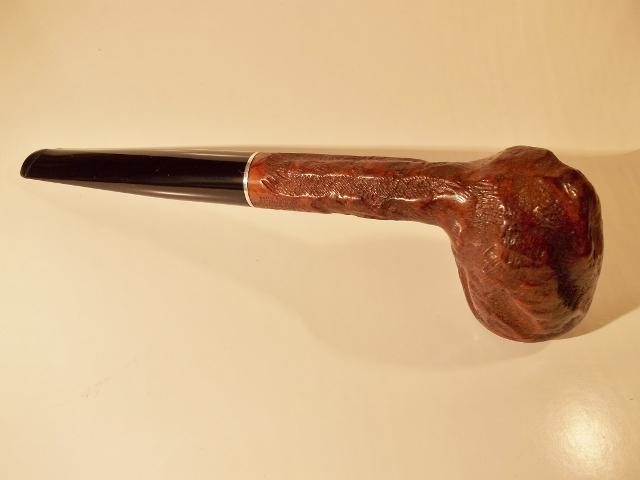
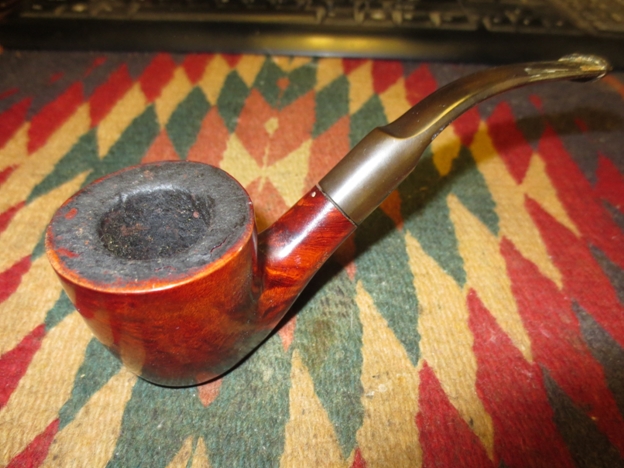
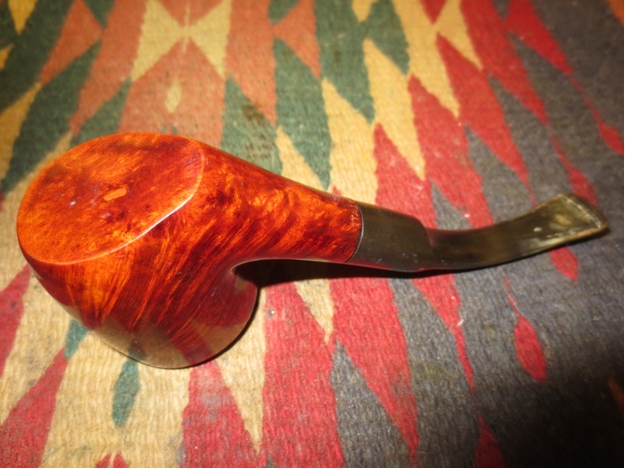
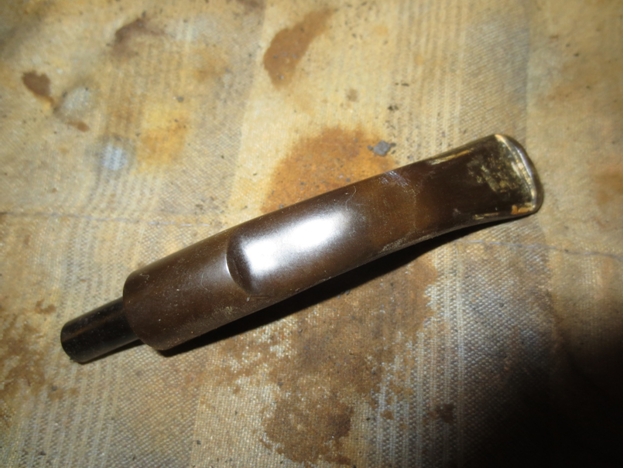
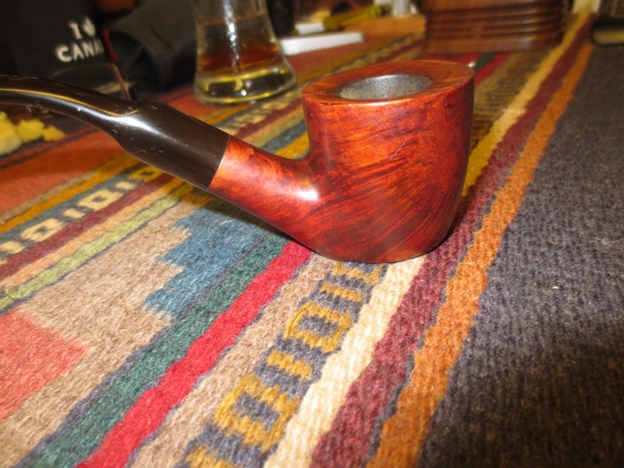
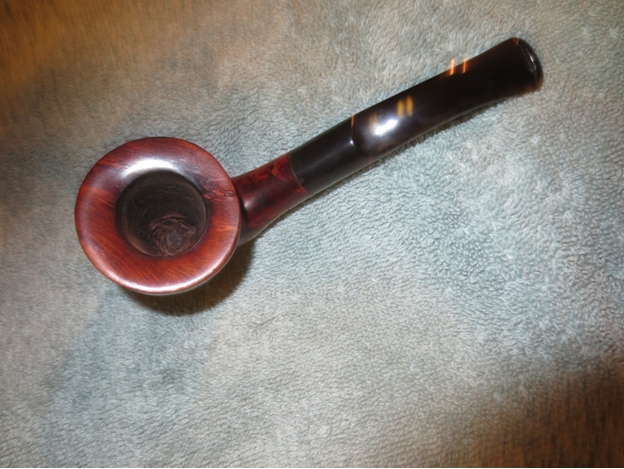
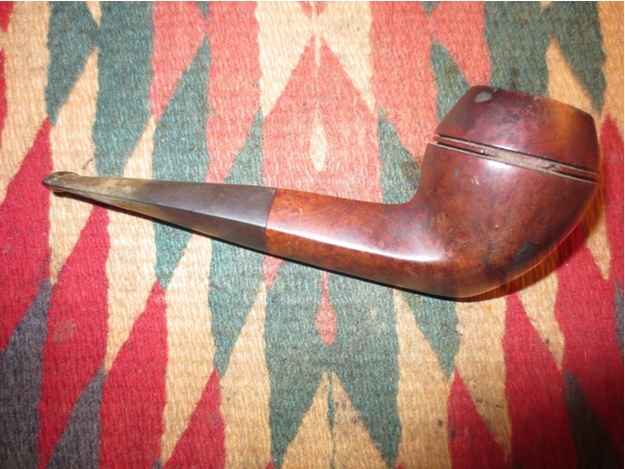
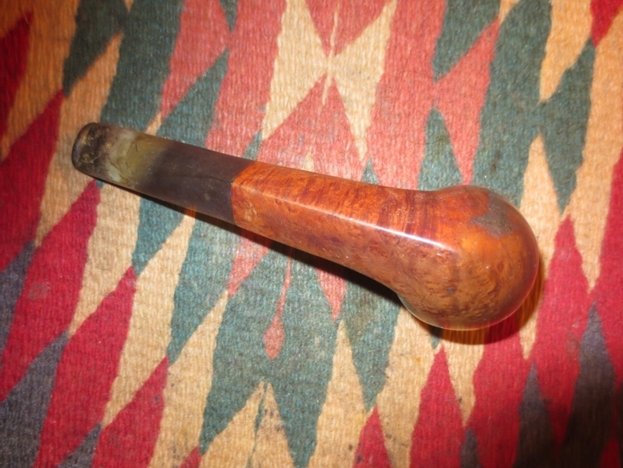
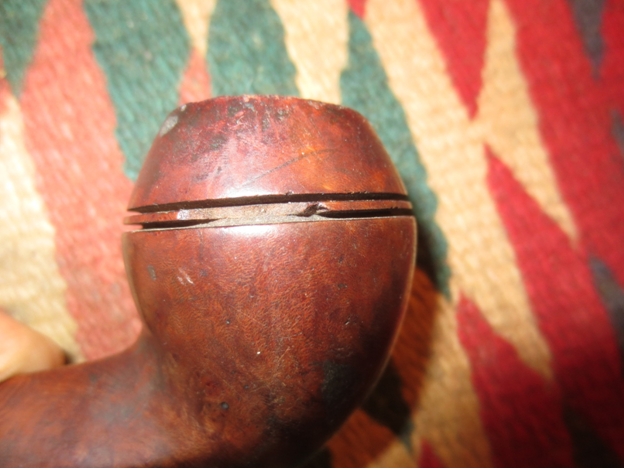
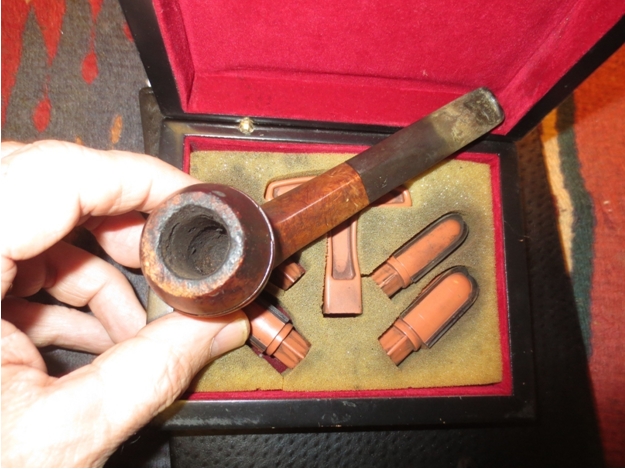
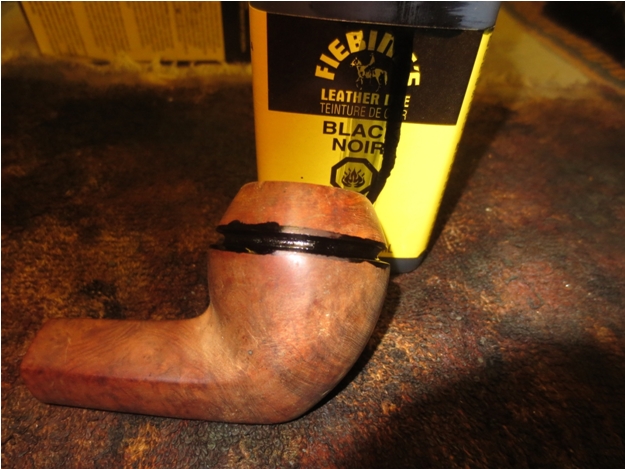
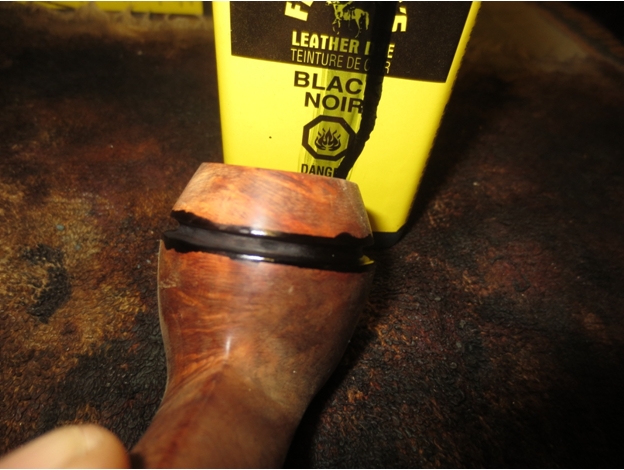
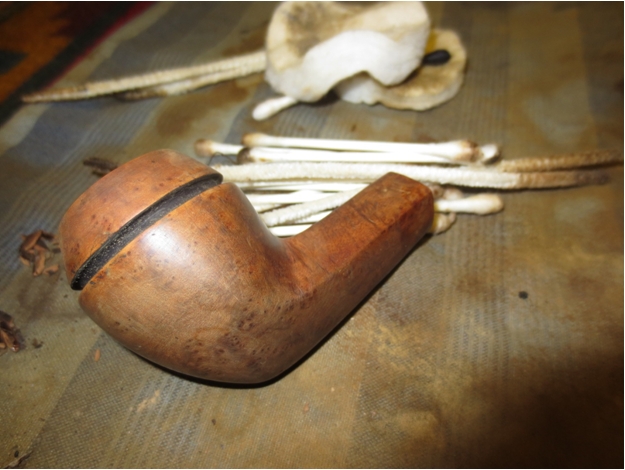
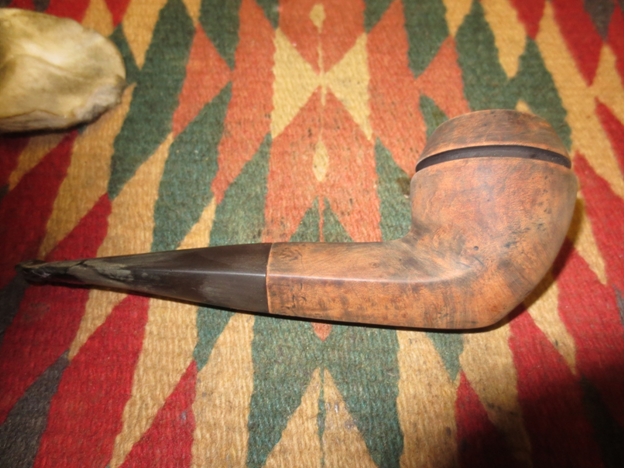
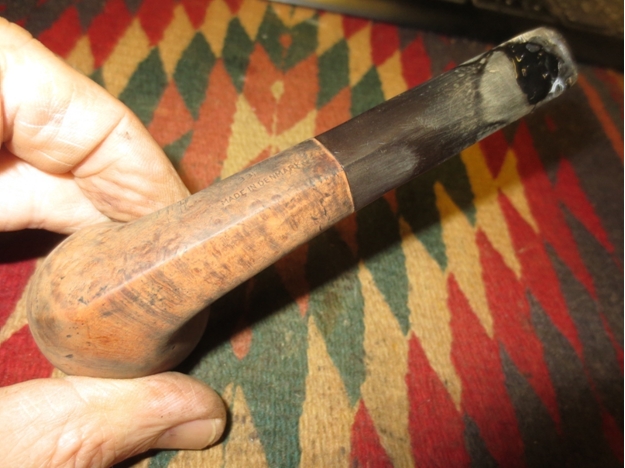
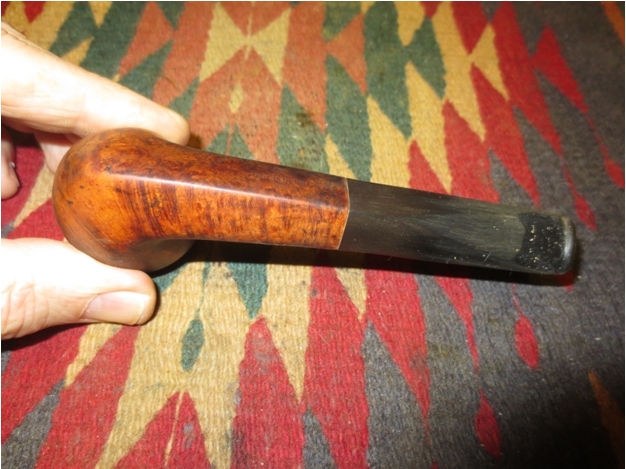
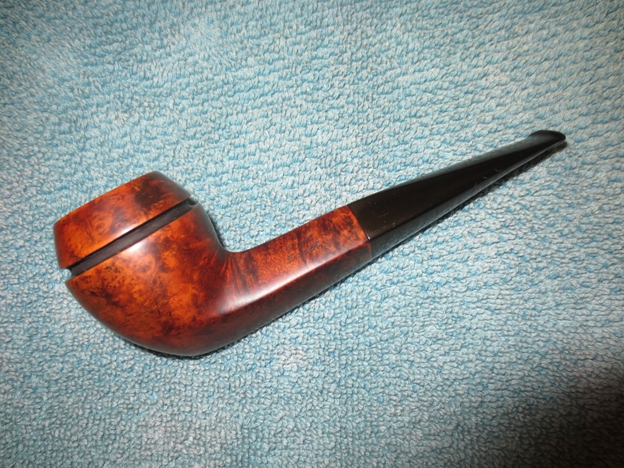
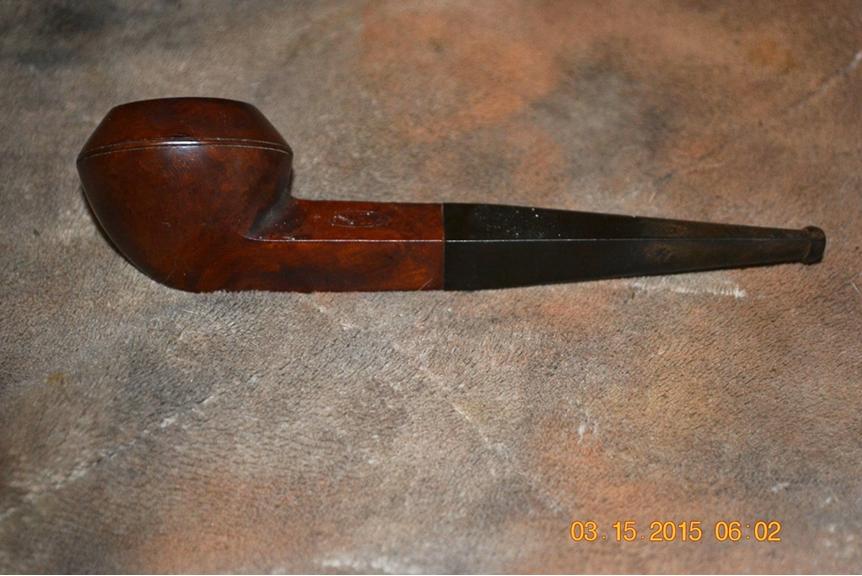
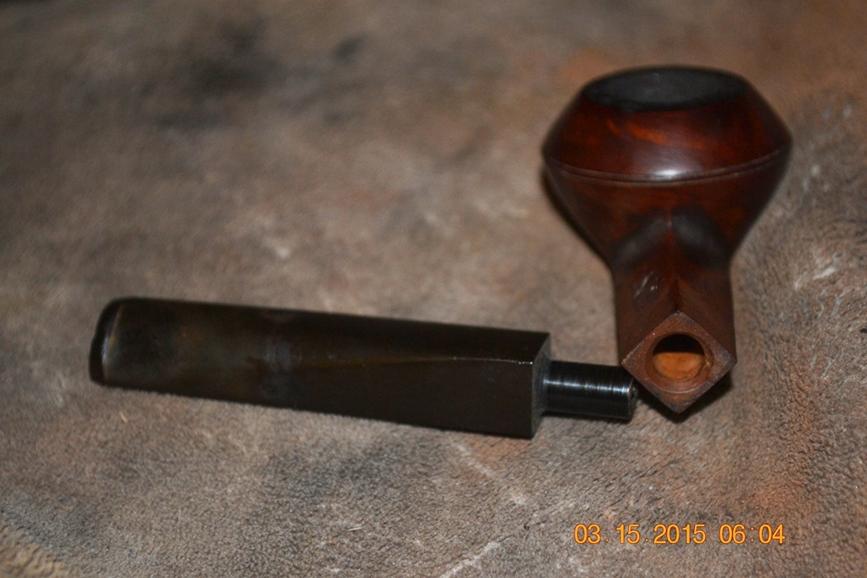
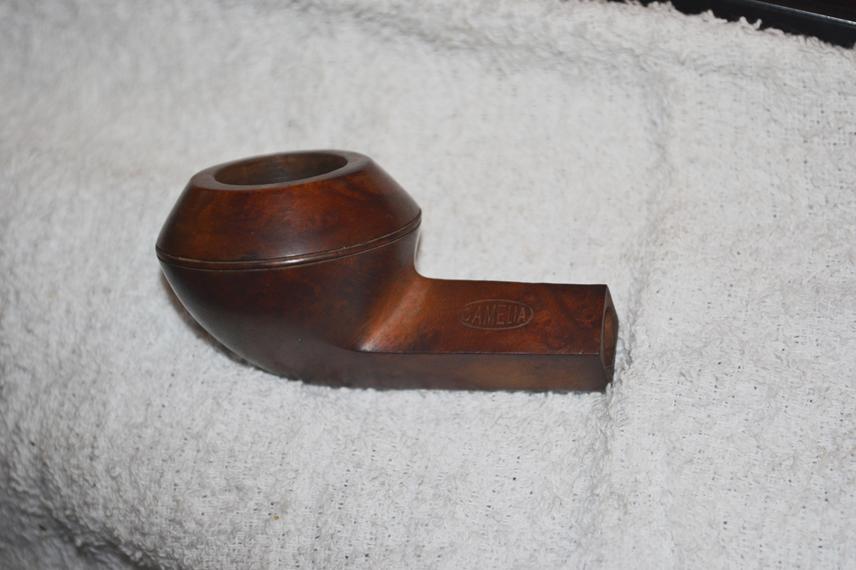
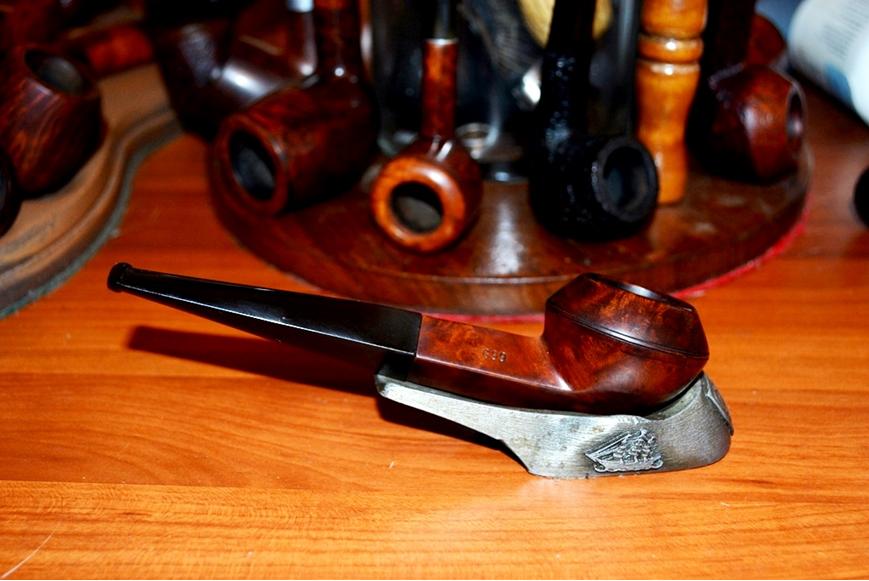
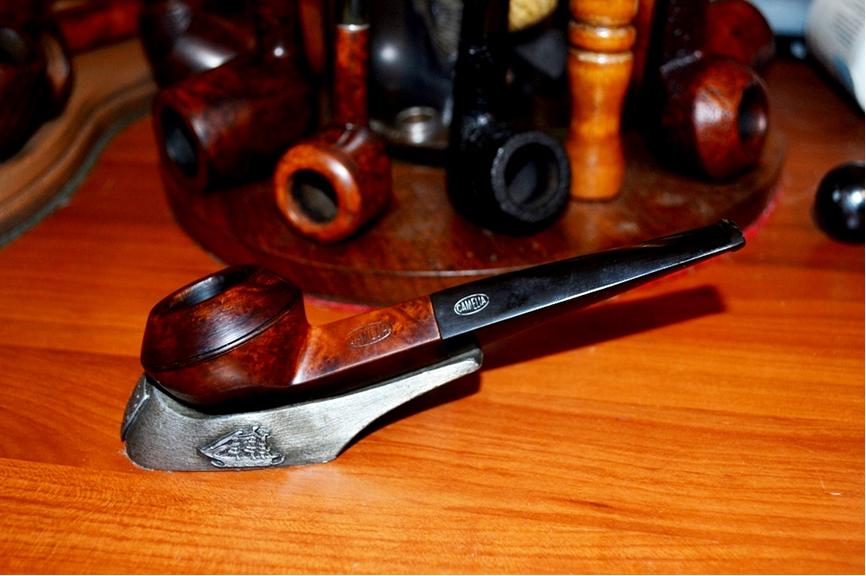
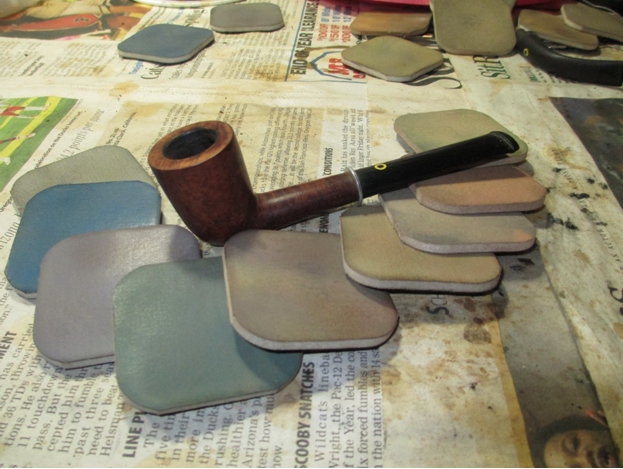
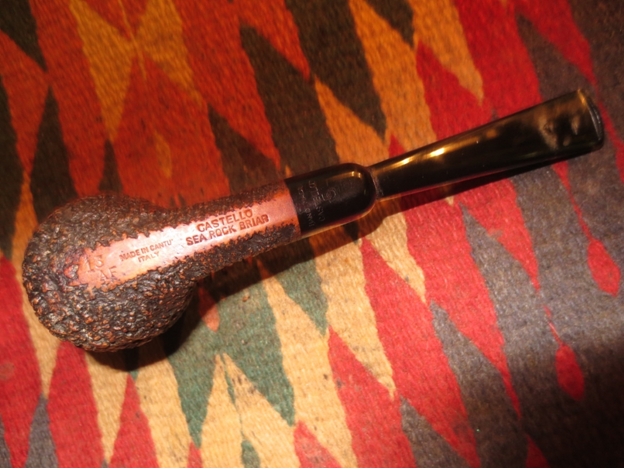
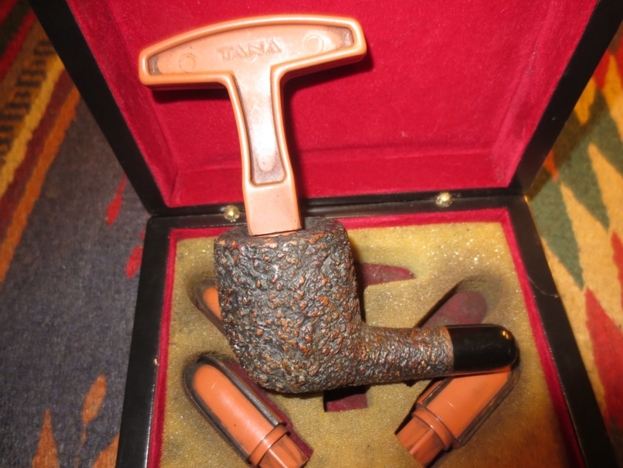
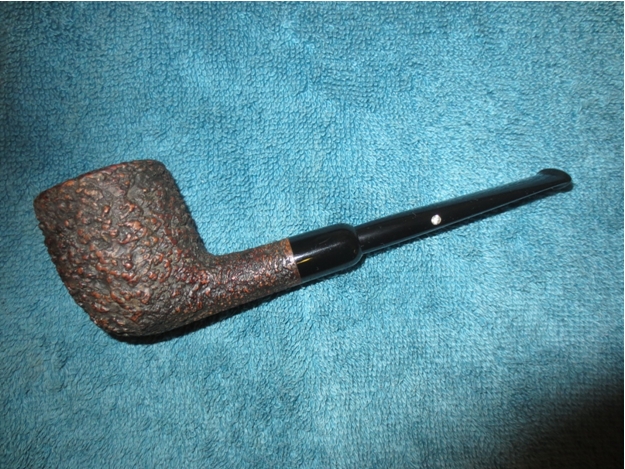
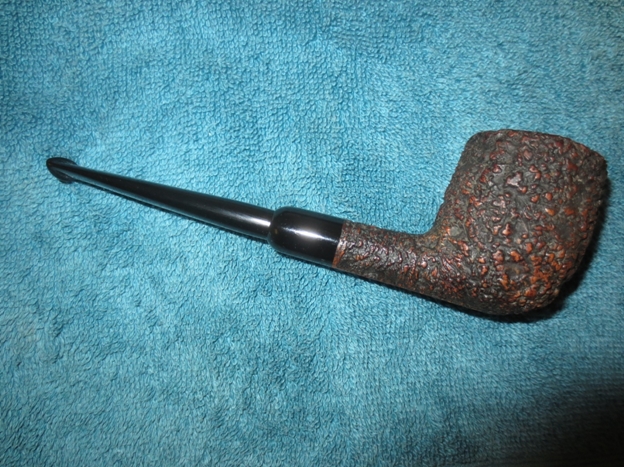
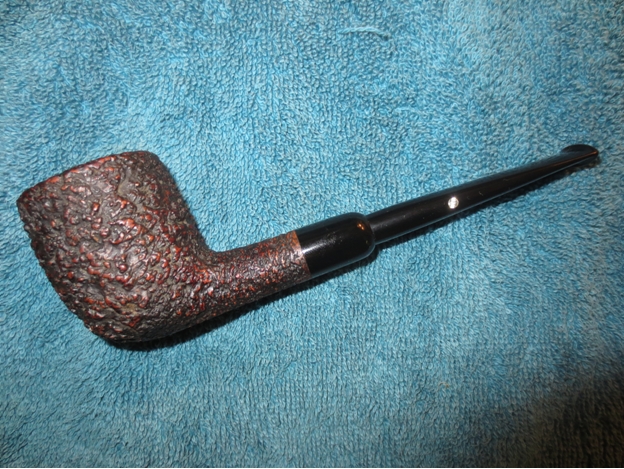
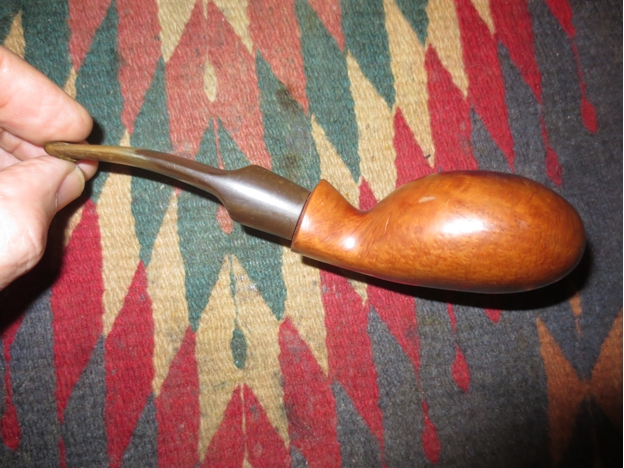
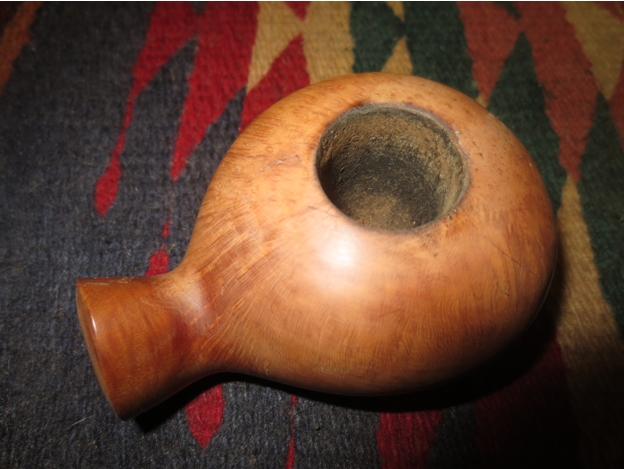
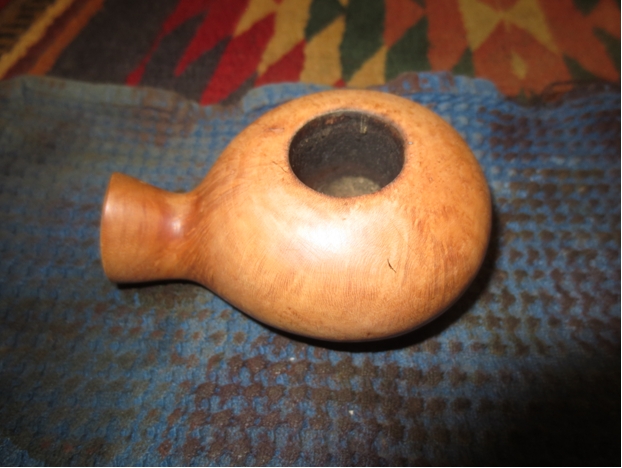
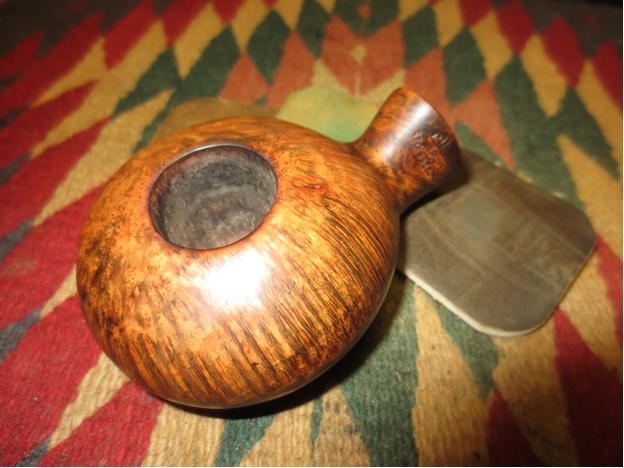
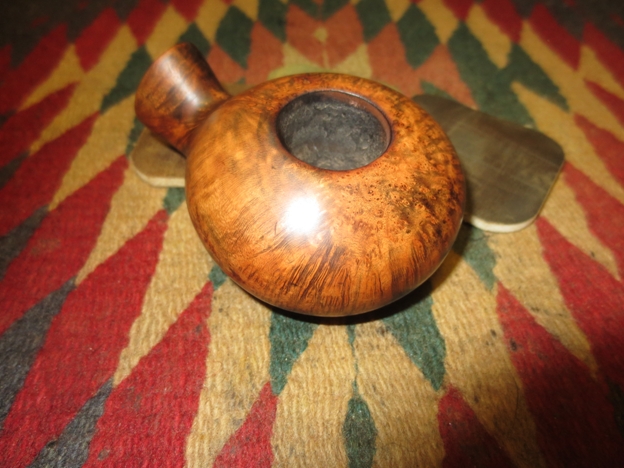
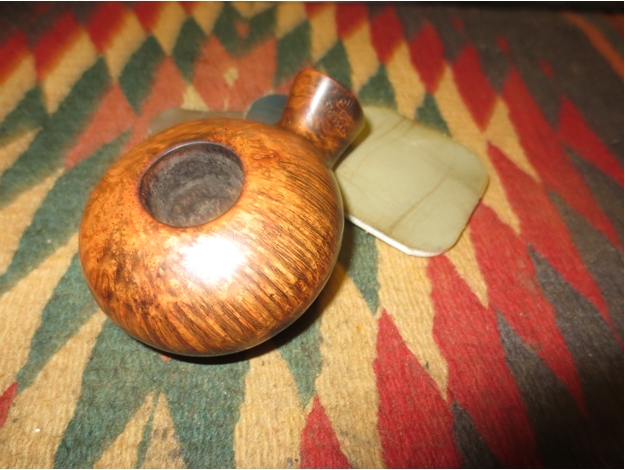
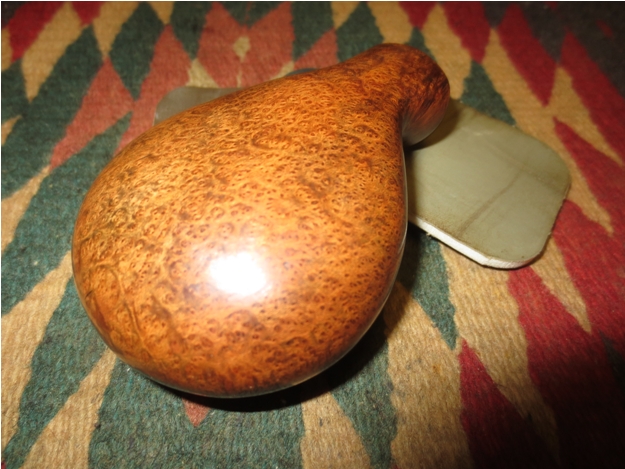
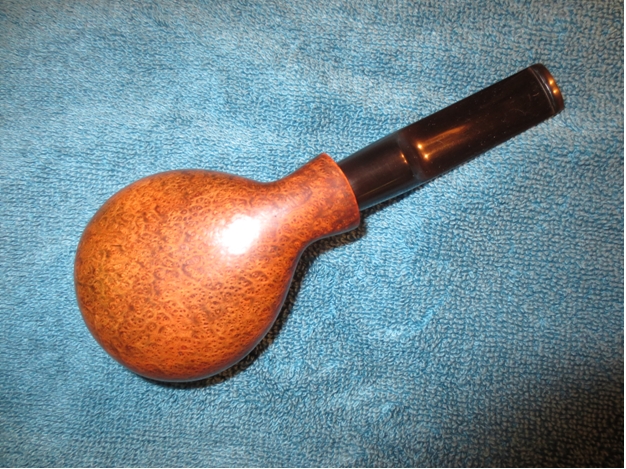
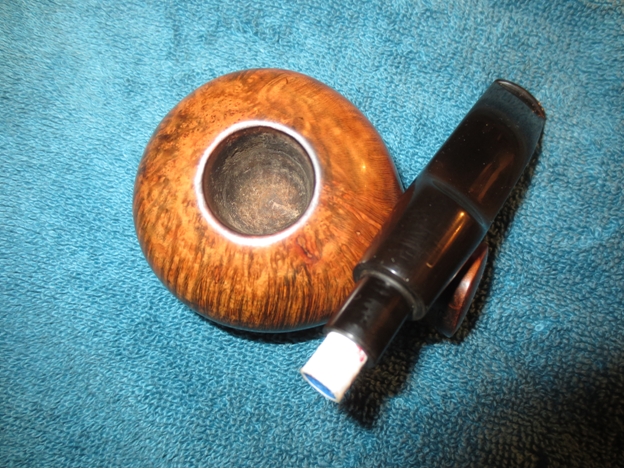
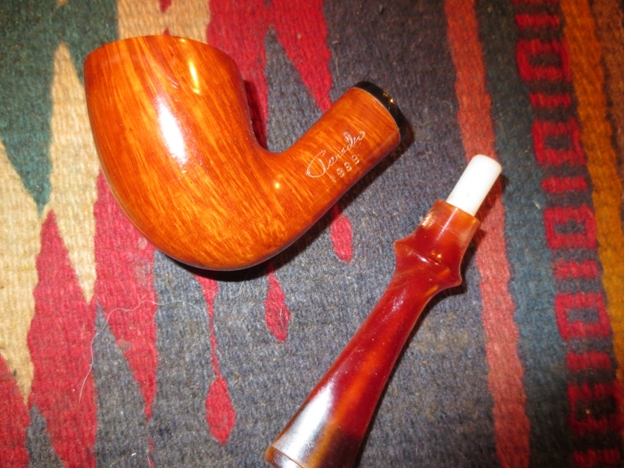
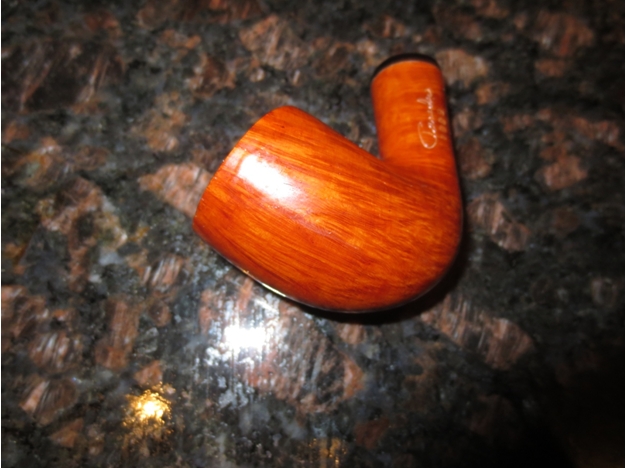
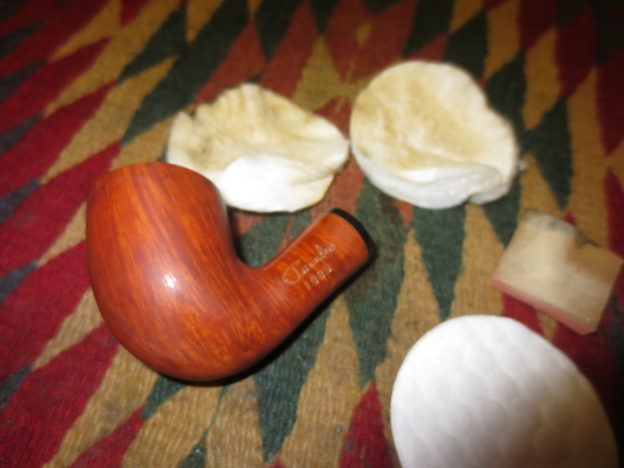
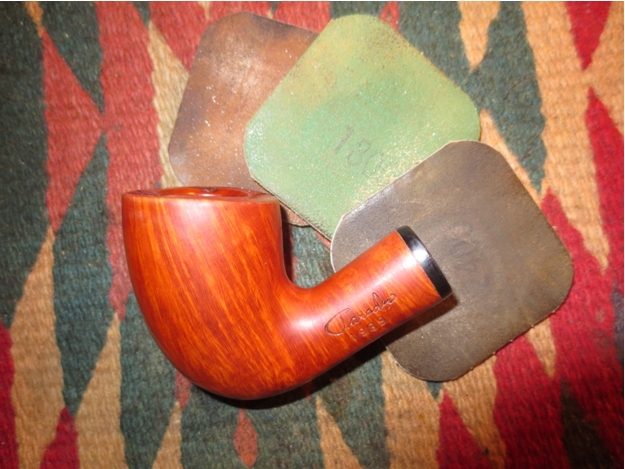
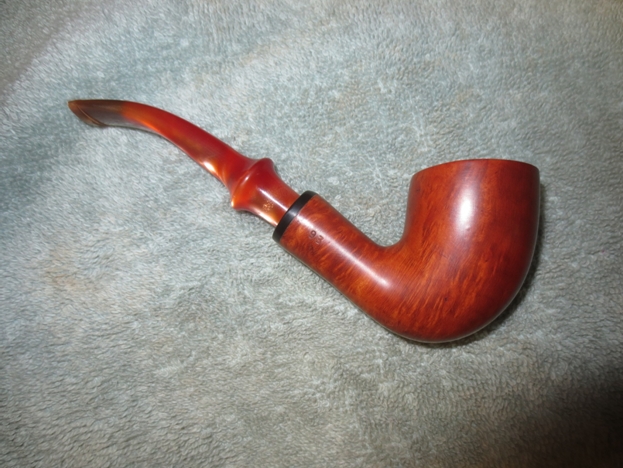
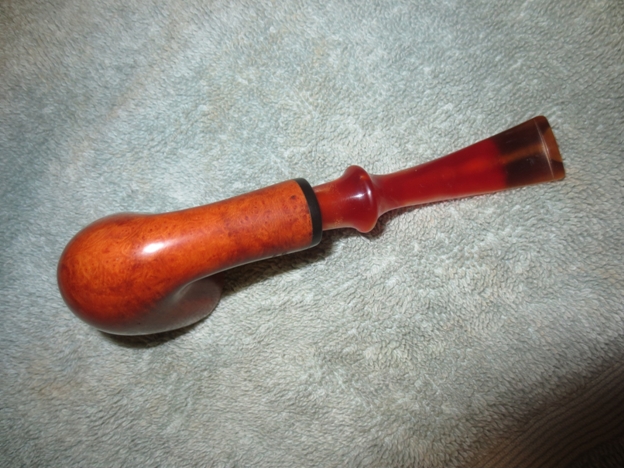
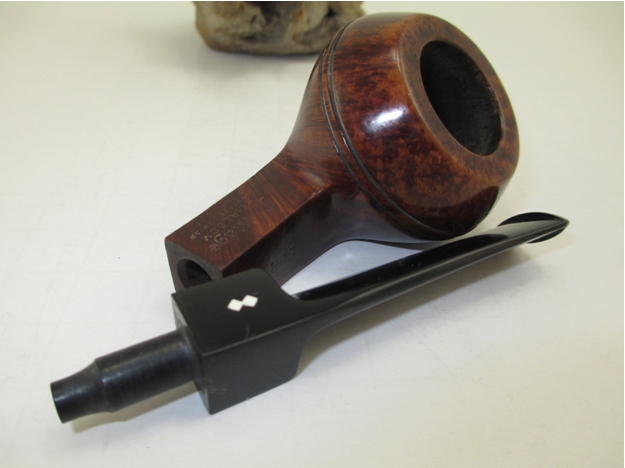
Thus, coming upon the quote in an old collection devoted to the comforting qualities of fine tobaccos, I made a mental connection with the habits of many former drinkers to eschew even those who are able to enjoy liquor socially and responsibly, and their cohorts in the dating war who substitute tobacco use as the evil enemy. People of these sorts are deluded by their recruiters. And while, again, I do not condone the deceptive behavior suggested by the English-speaking but now apparently almost forgotten poet, I do understand his hunger to enjoy all of life’s appetites, and I find it somehow French in attitude, and by association à propos to my sentiments for this lovely example of the elegant Camelia straight smooth bulldog #699, originating in France of excellent lineage, being, according to Pipedia, an obsolete line of pipes once made by GBD.
[There is, by the way, an anonymous, very funny spoof on Hamlet’s famous soliloquy, called “The Bachelor’s Soliloquy,” available at http://www. monologuearchive.com/a/anonymous_001. html.]
THE RESTORATION


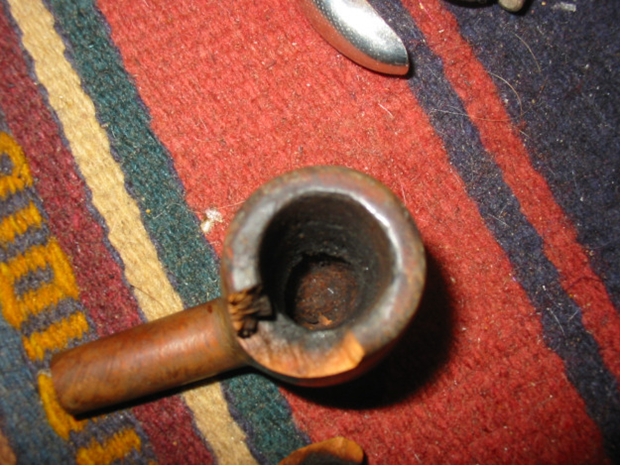
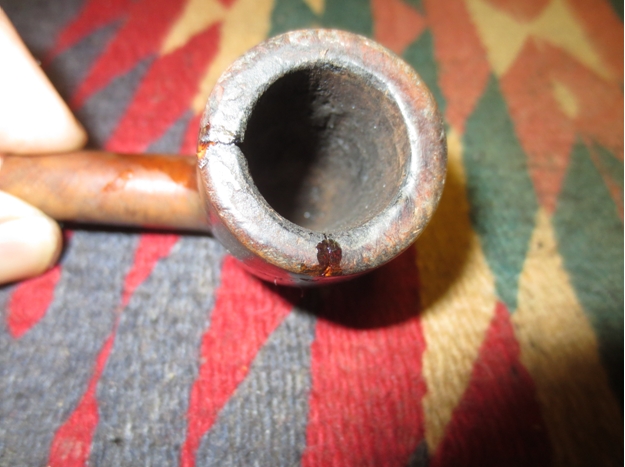
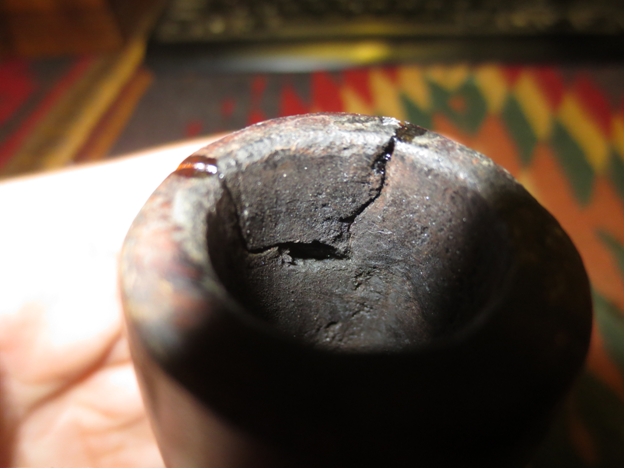
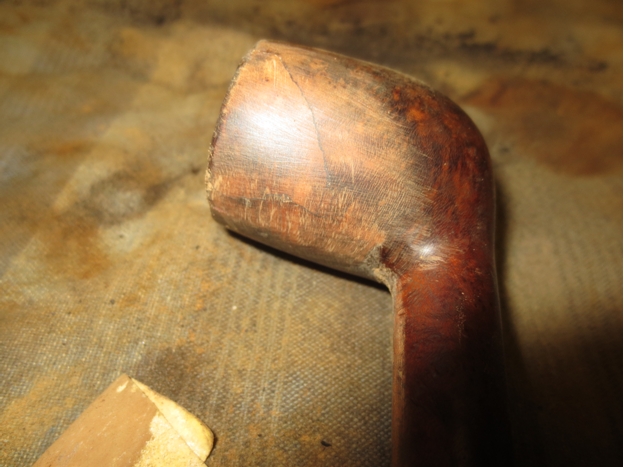
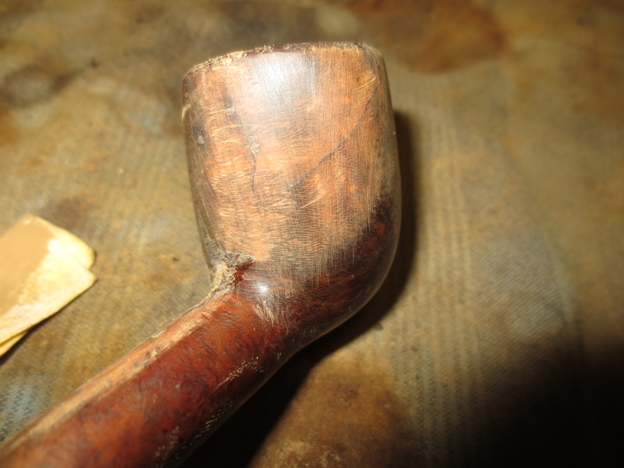
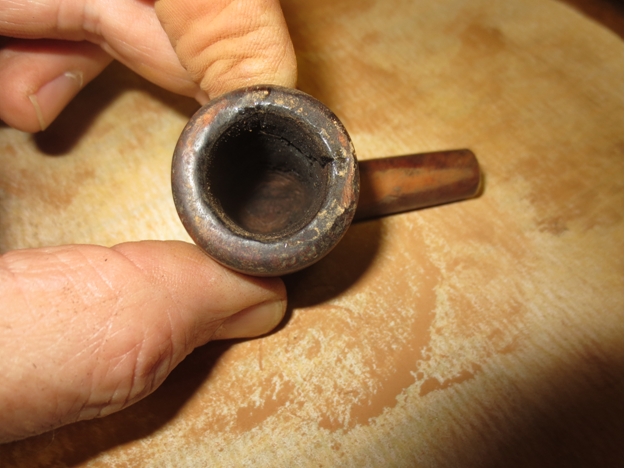
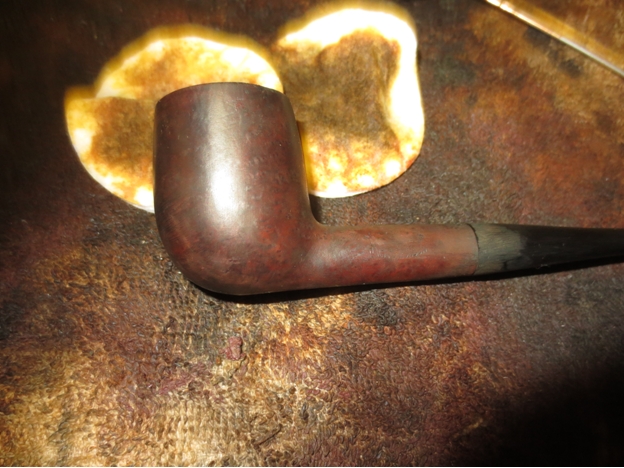
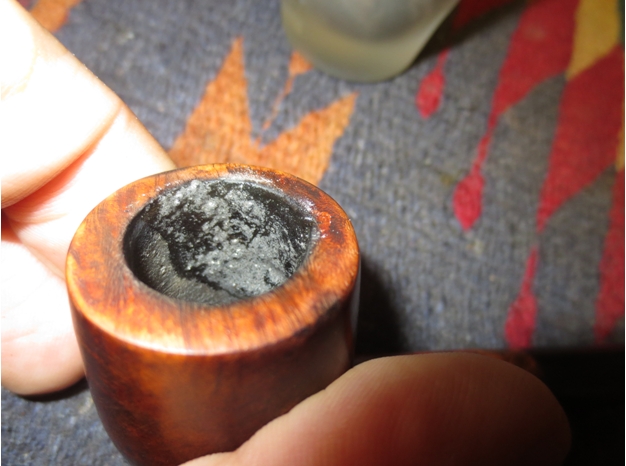
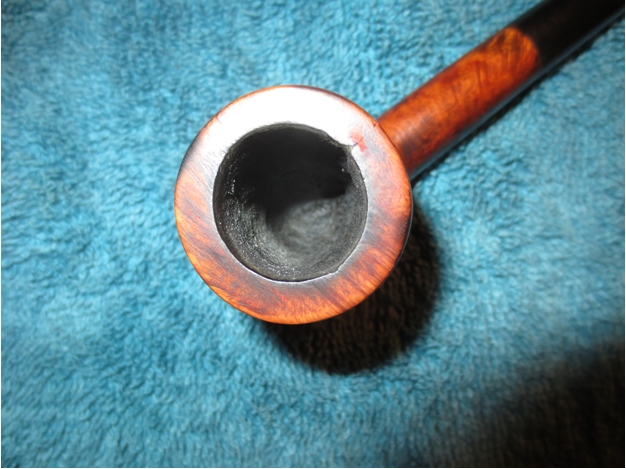
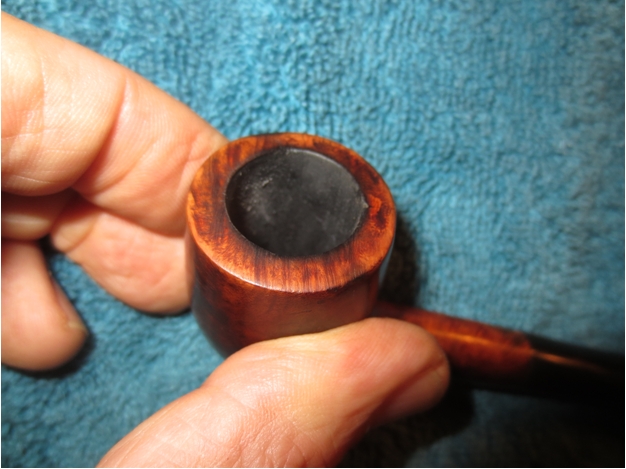
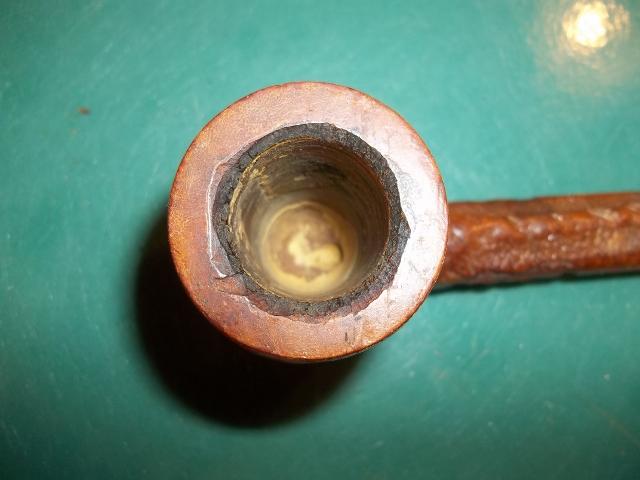
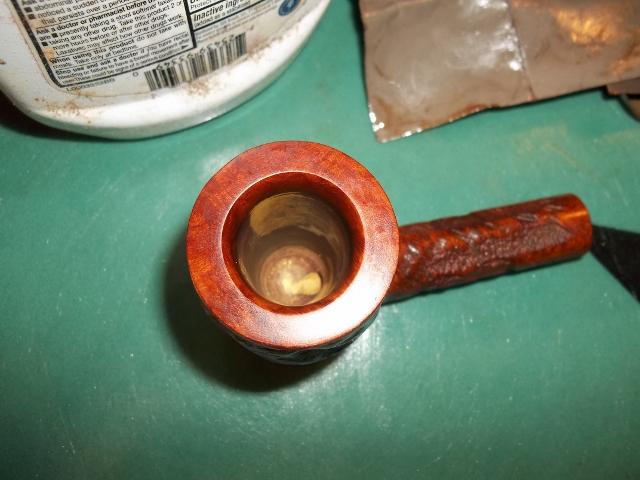
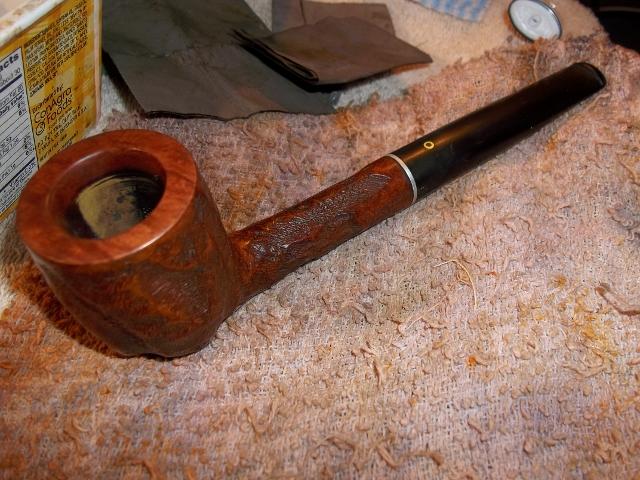
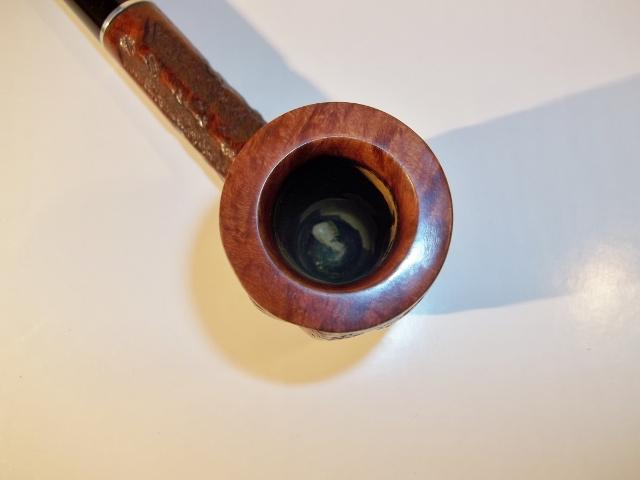
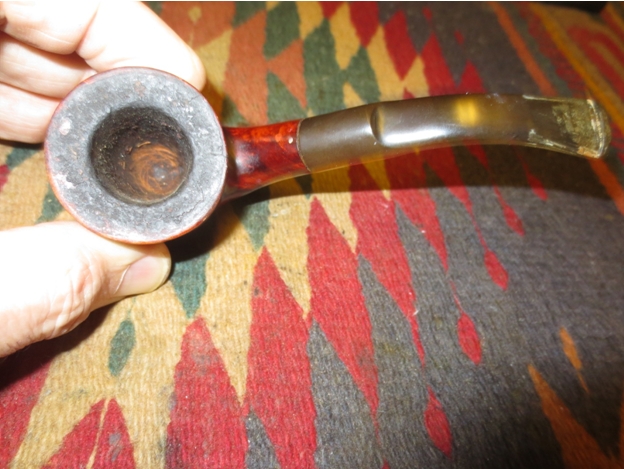
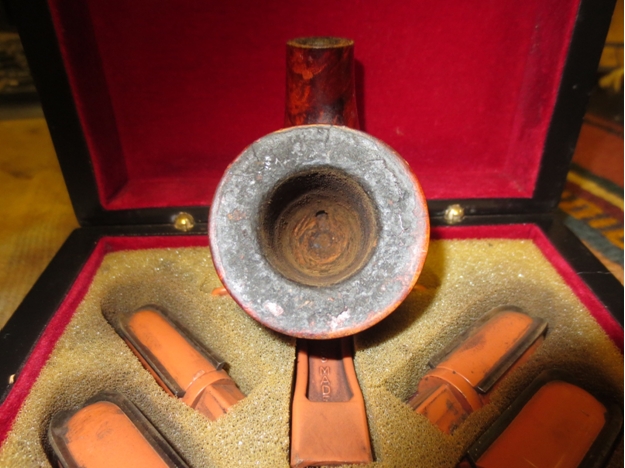
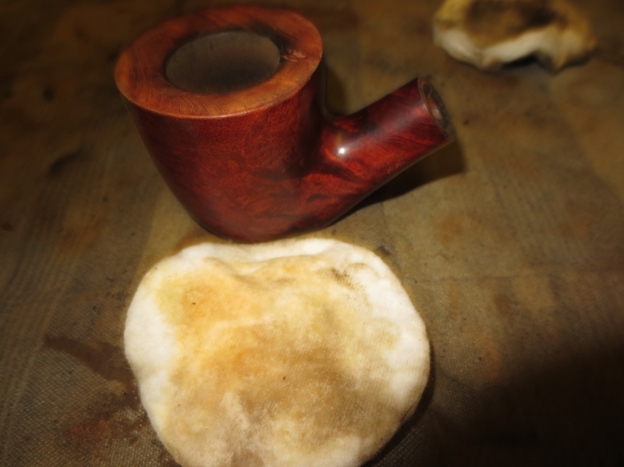
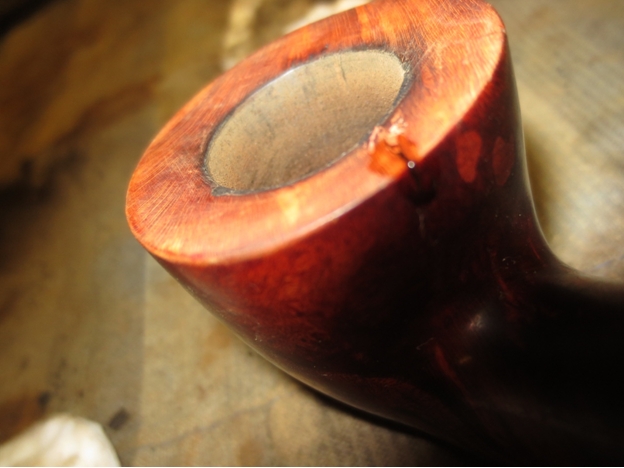
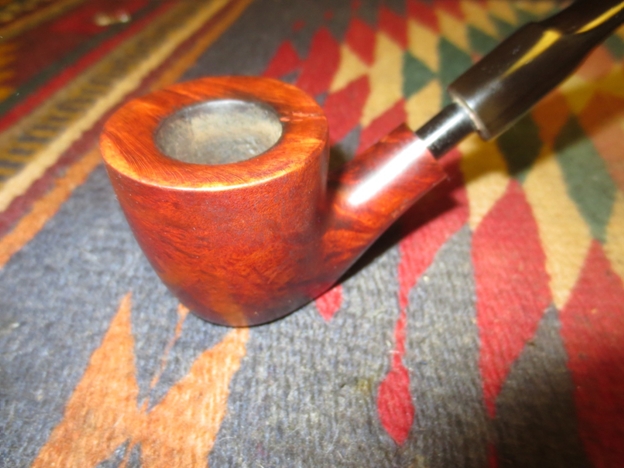
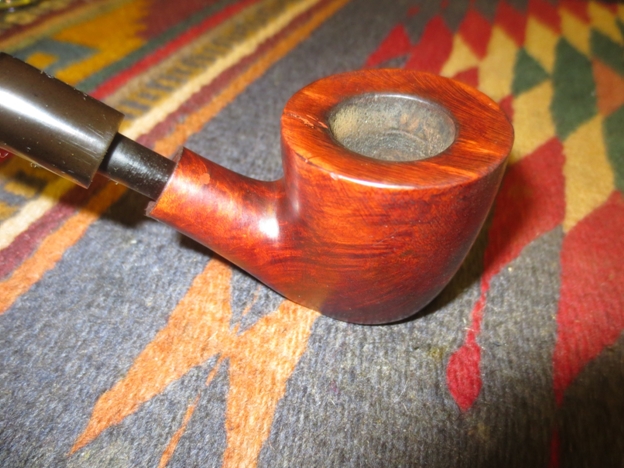
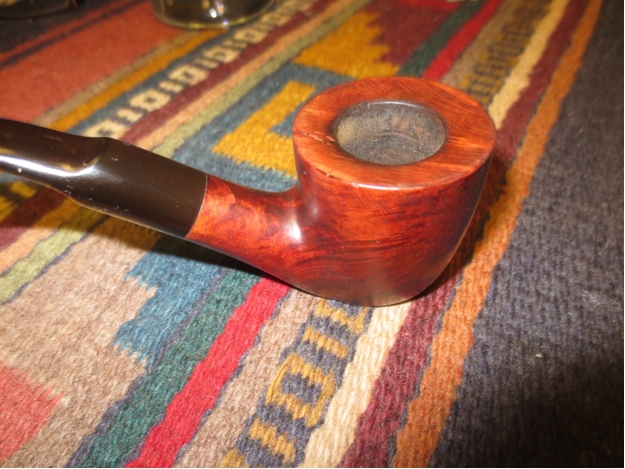
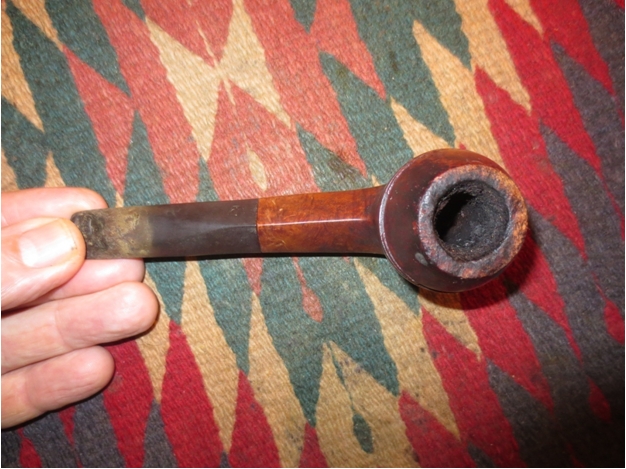
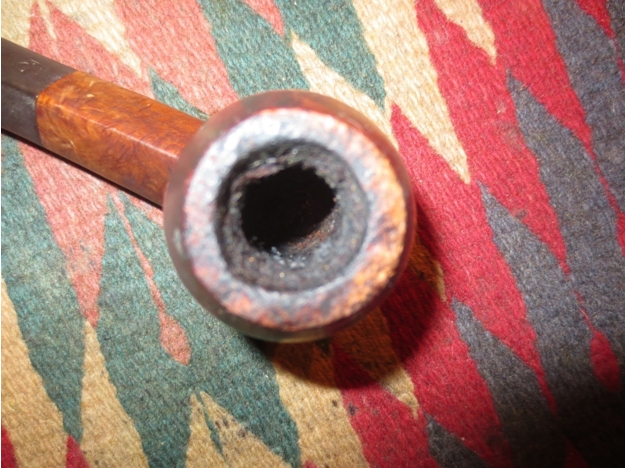
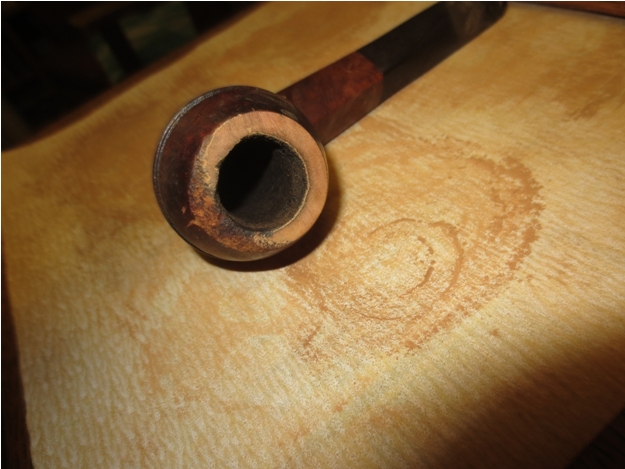
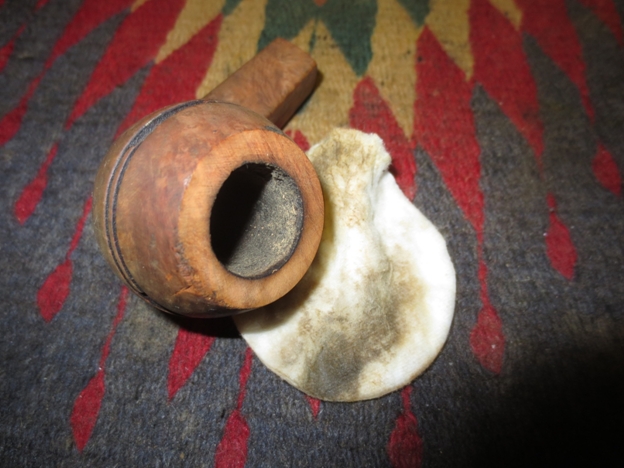
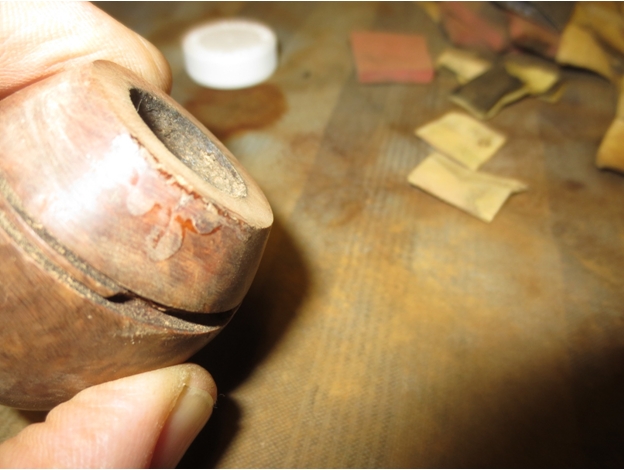
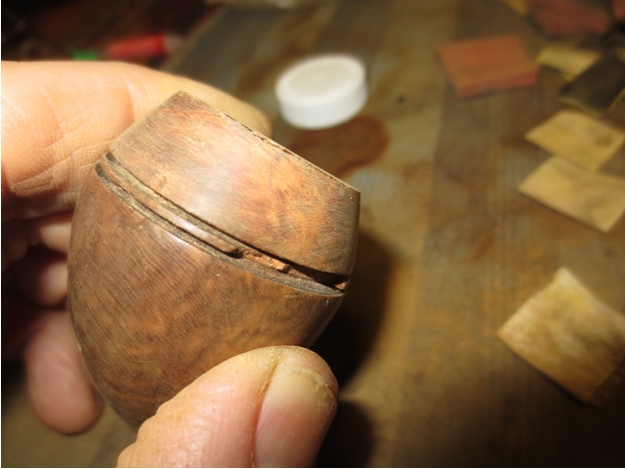
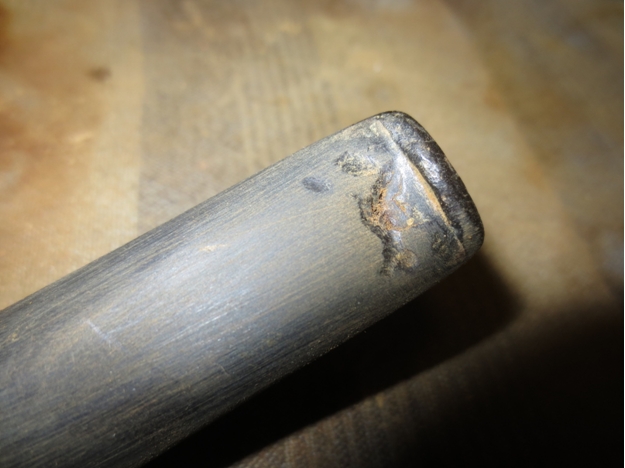
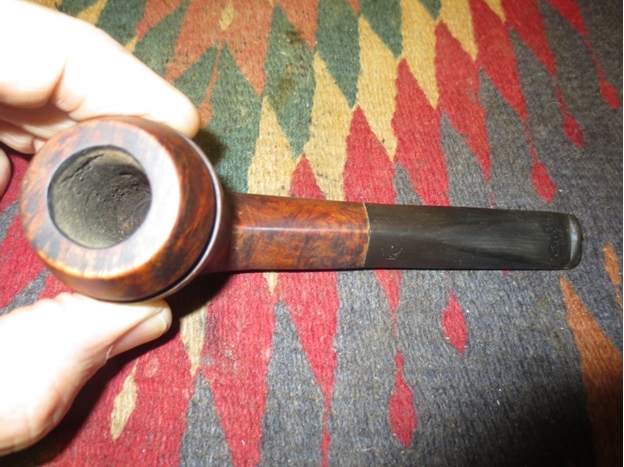
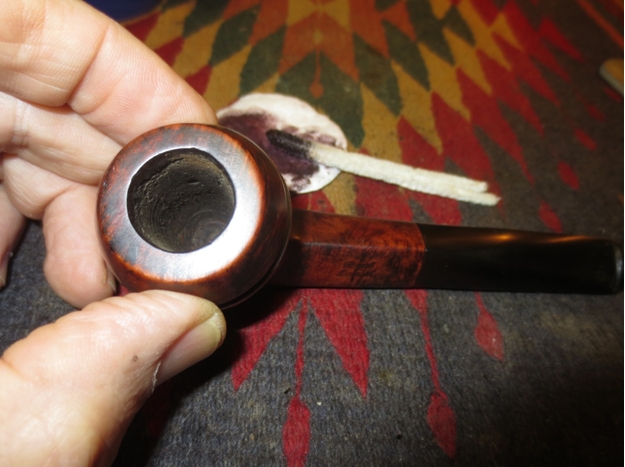
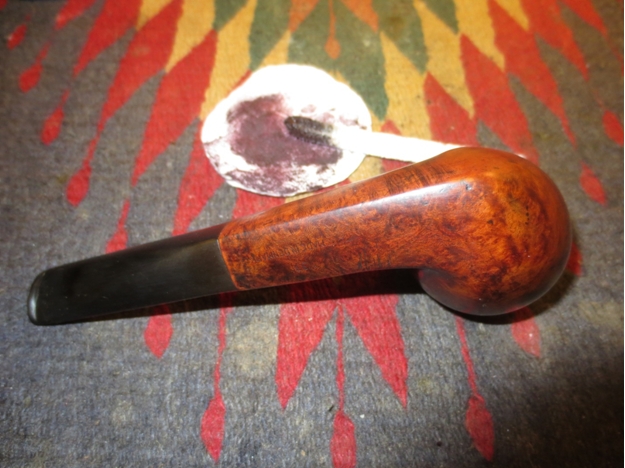
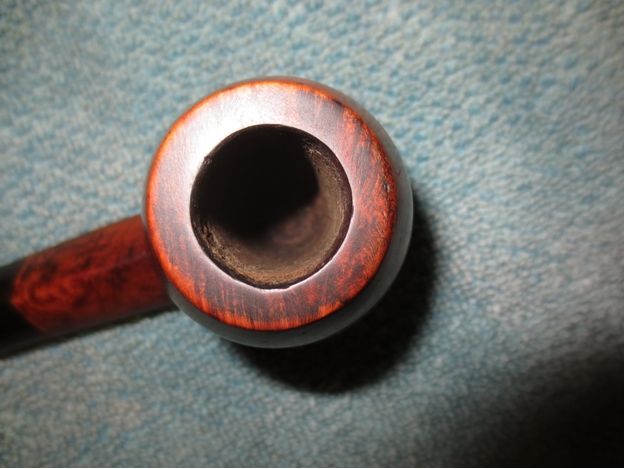
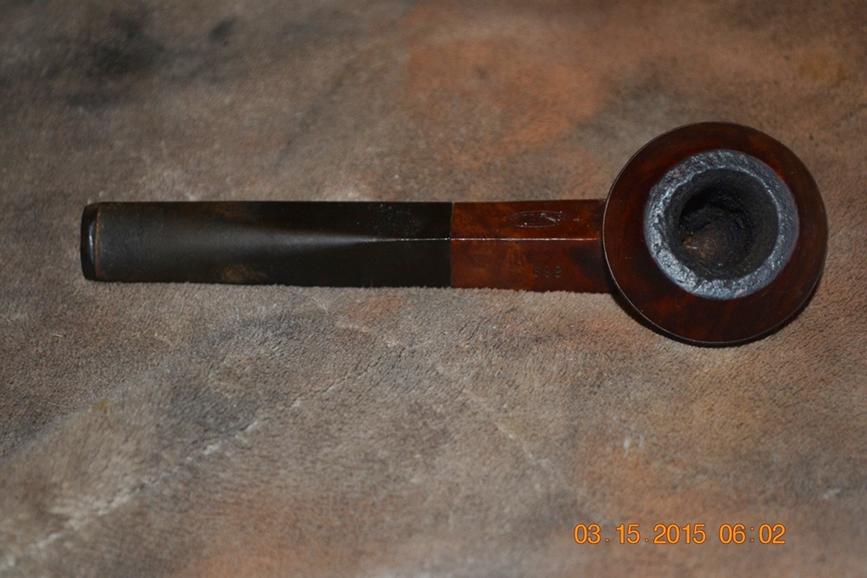
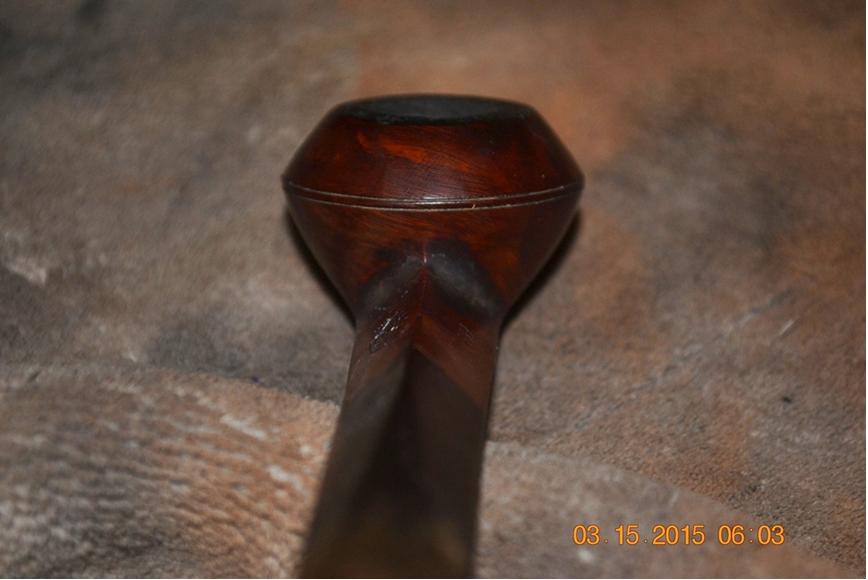
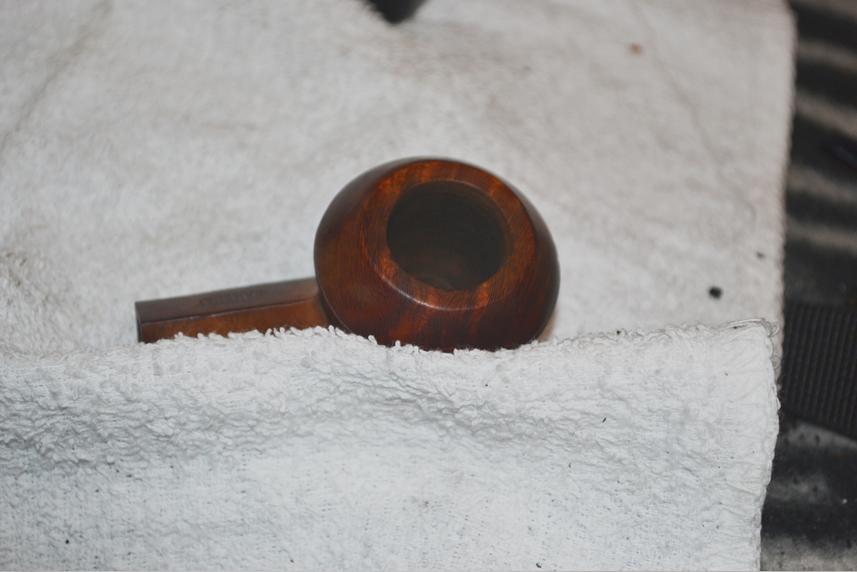
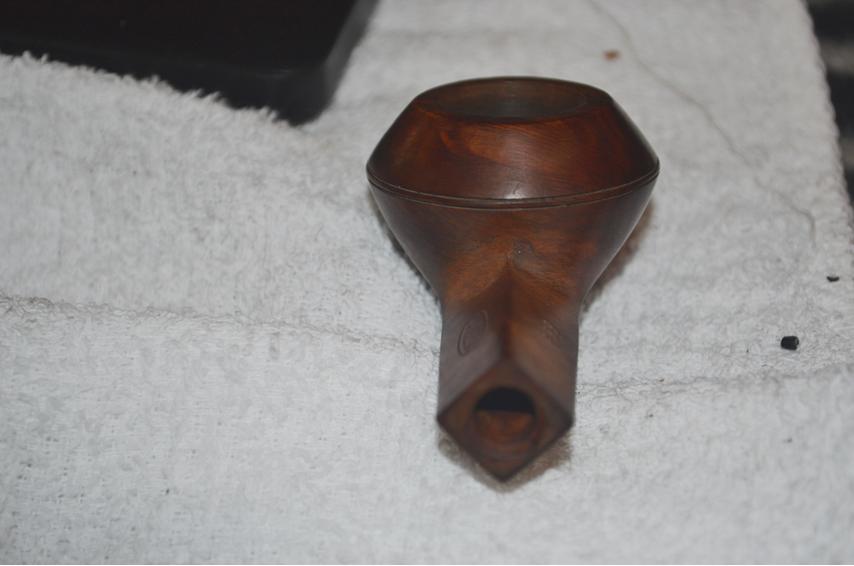
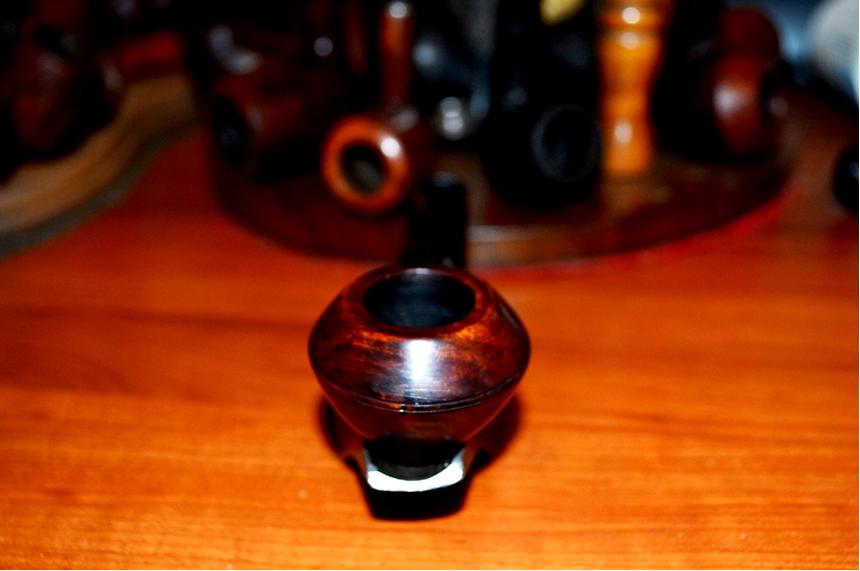
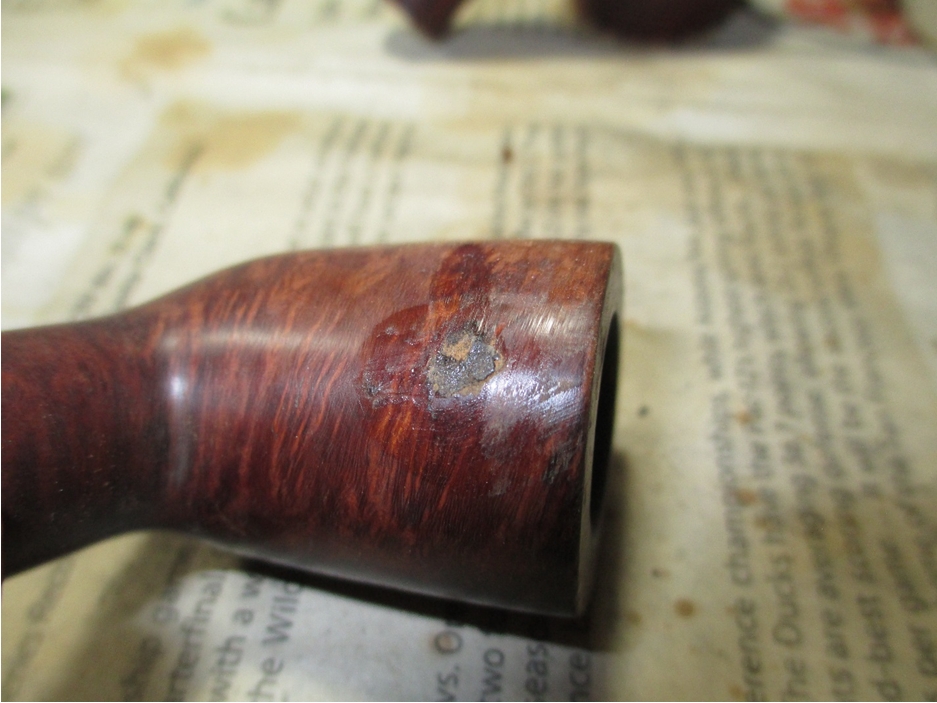
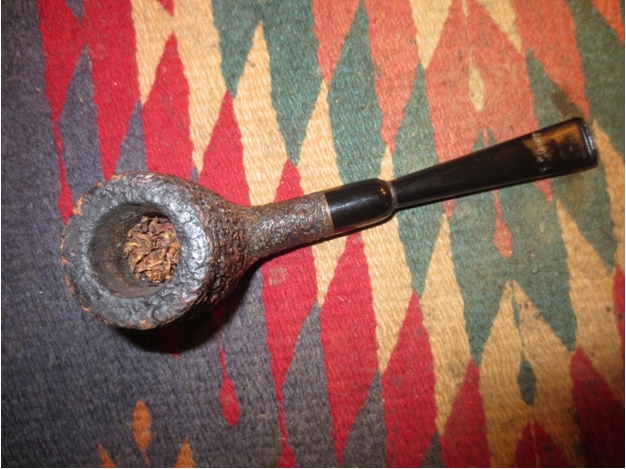
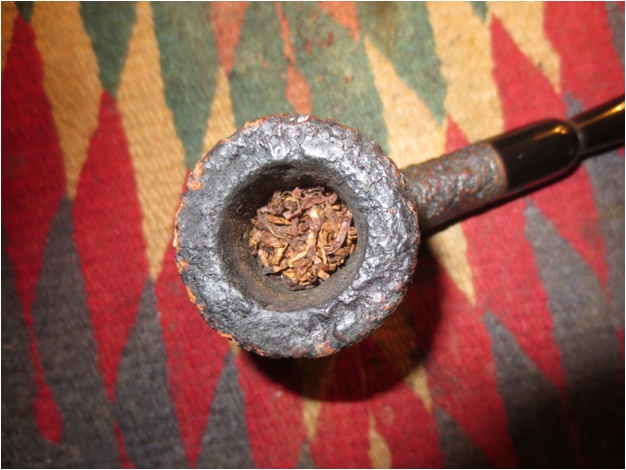
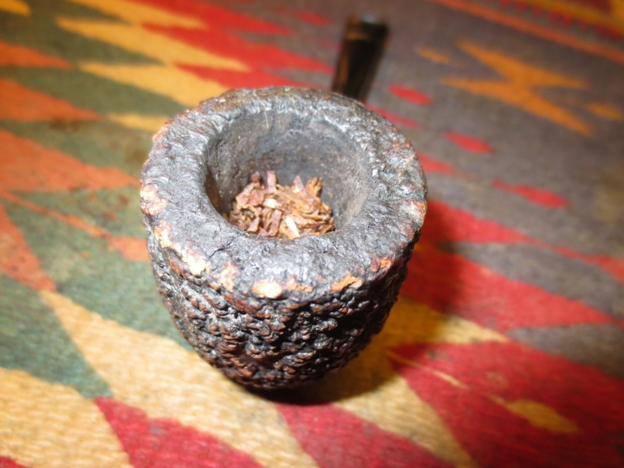
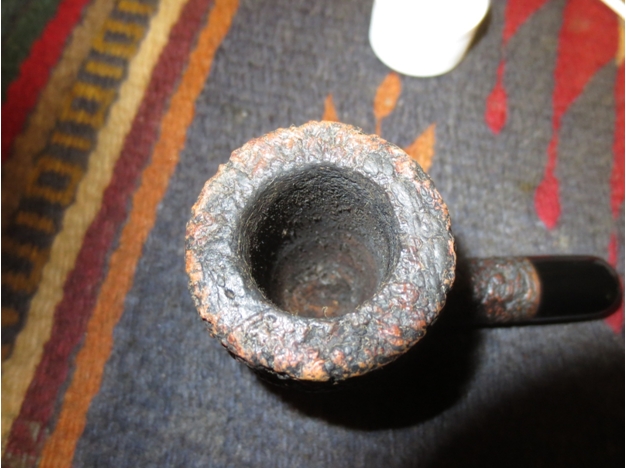
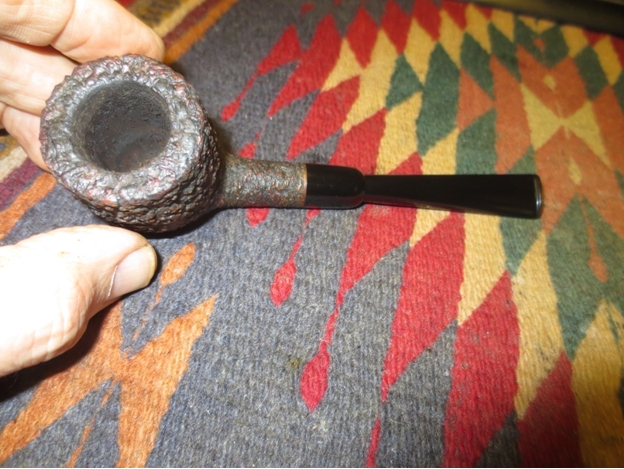
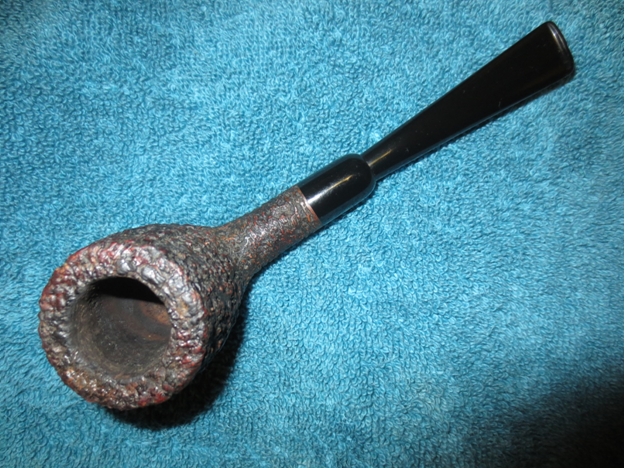
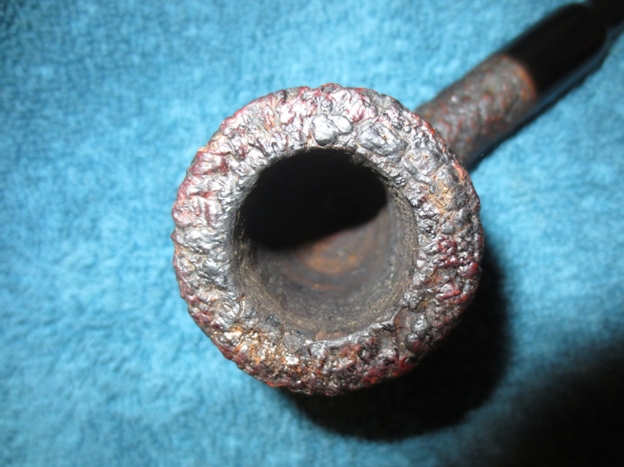
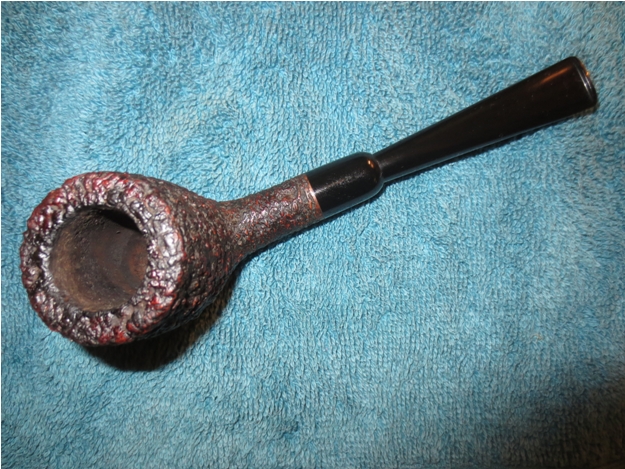
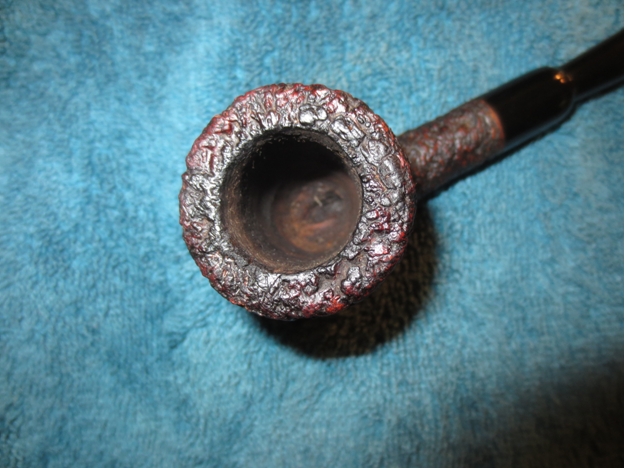
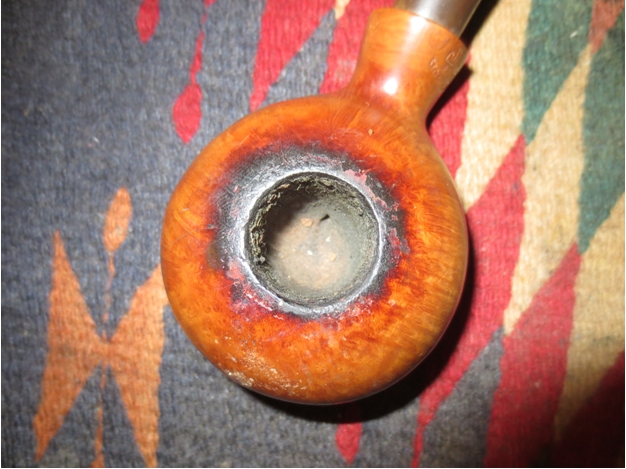
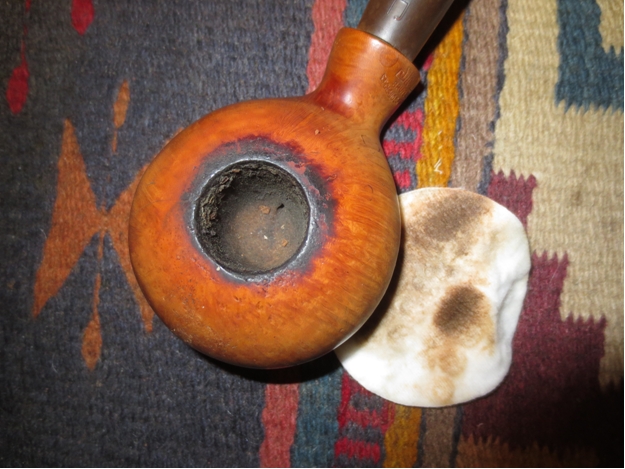
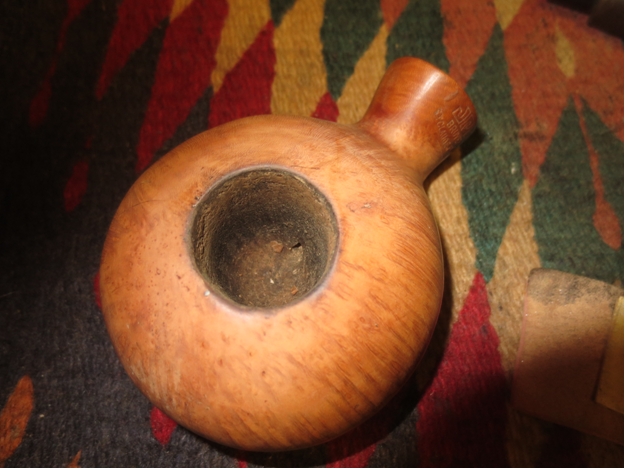
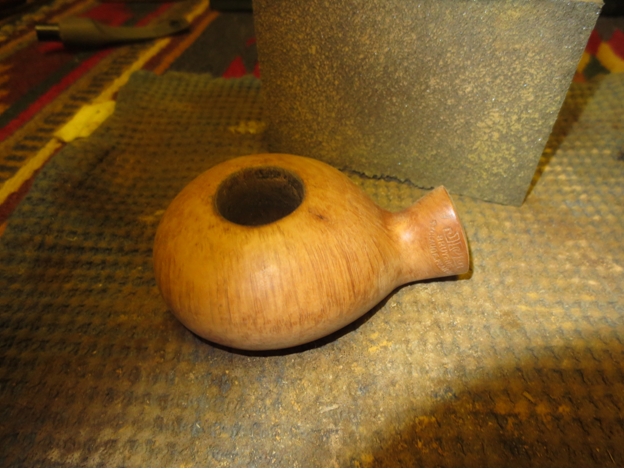
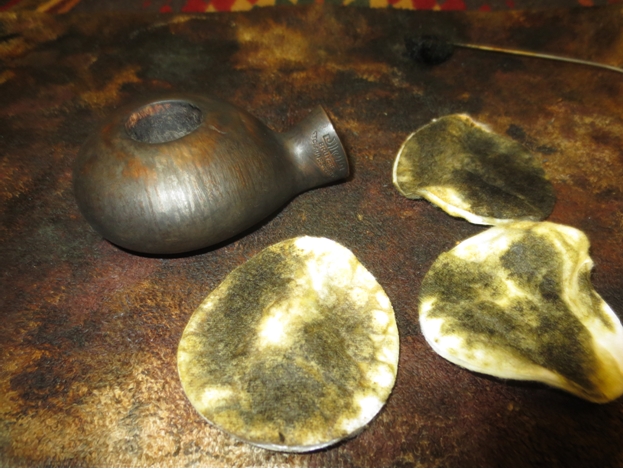
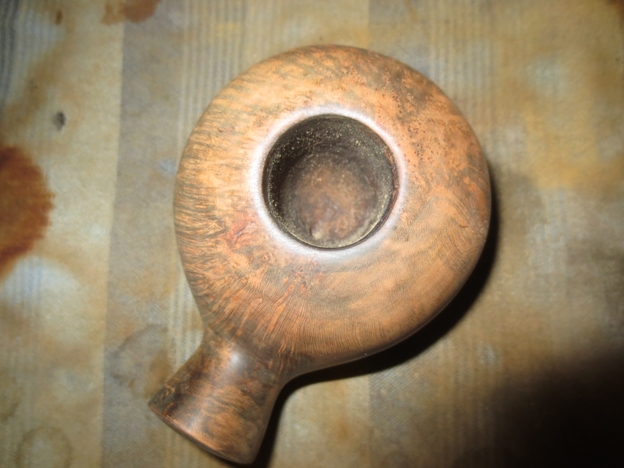
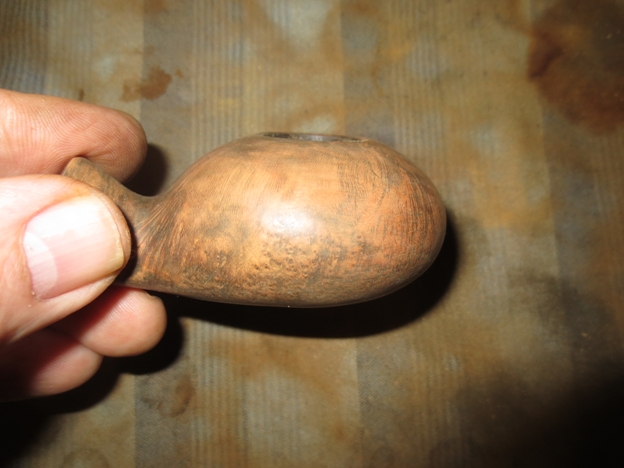
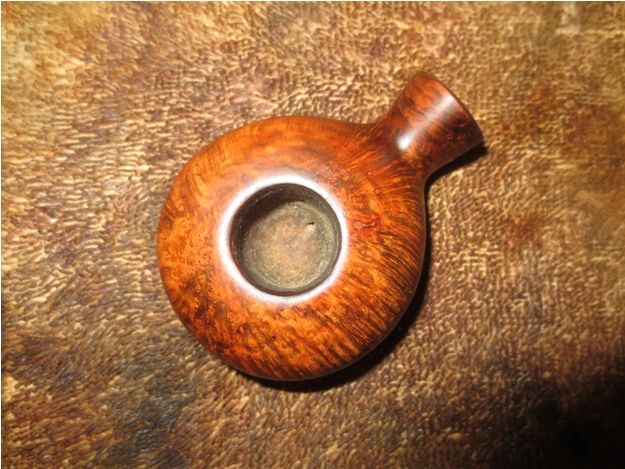
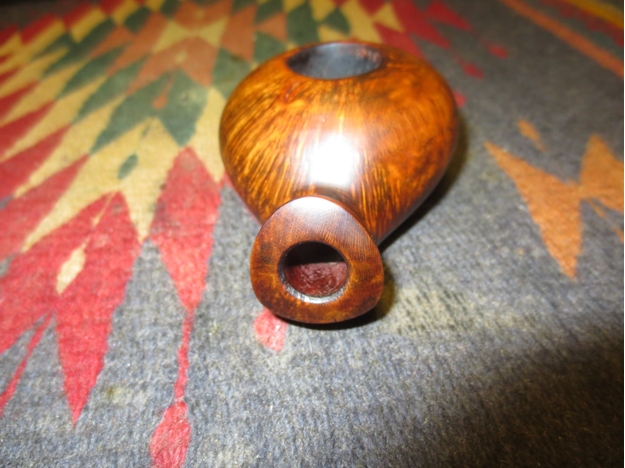
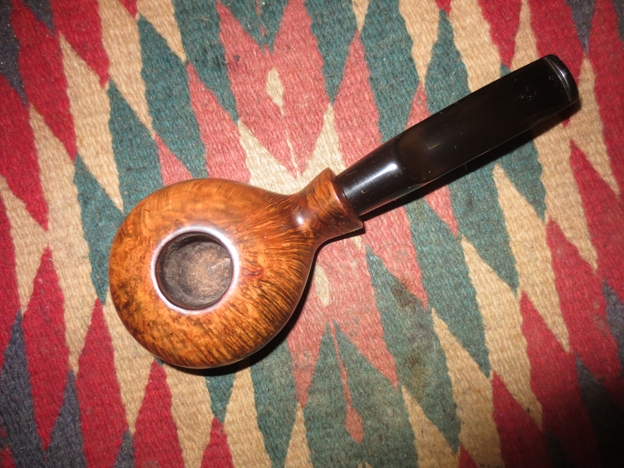
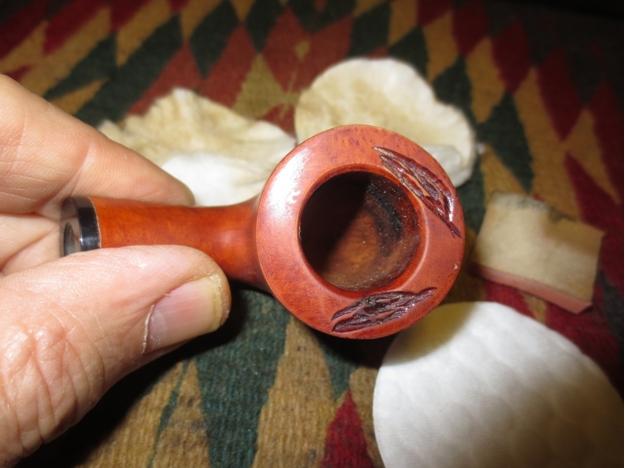
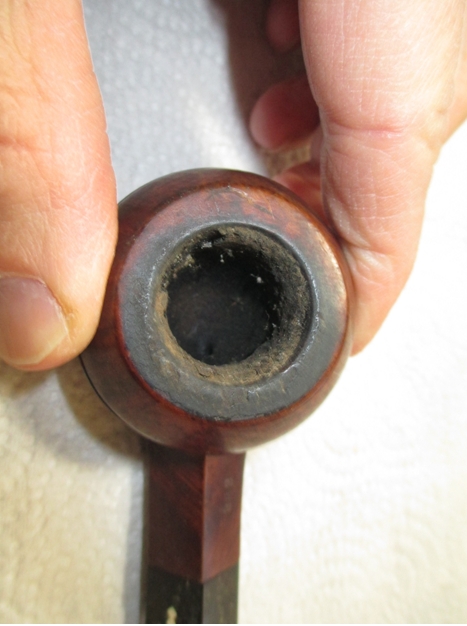
 While the stem sloughed off its inner and outer impurities in an OxiClean soak, I turned to the briar. The rim burn was removed with greater than usual ease using super fine steel wool, and the chamber cake crumbled almost as fast with a few turns of a 17mm reamer followed by 150-grit sandpaper, then 320.
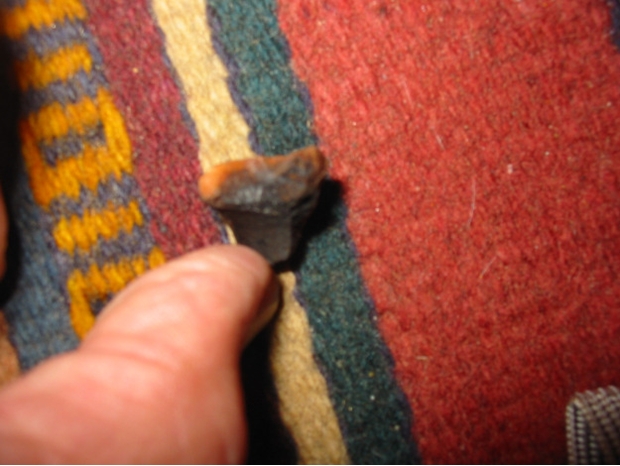
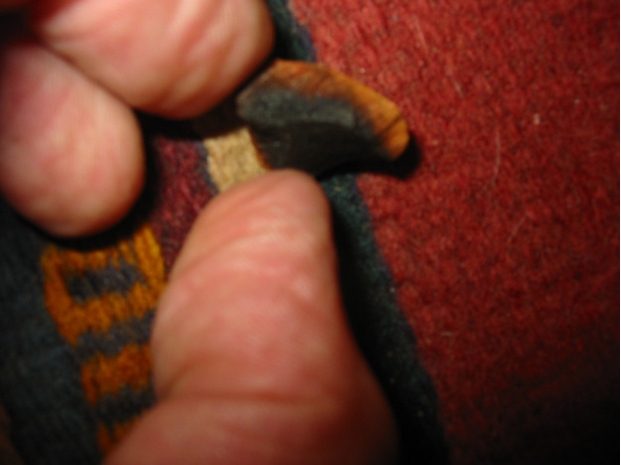
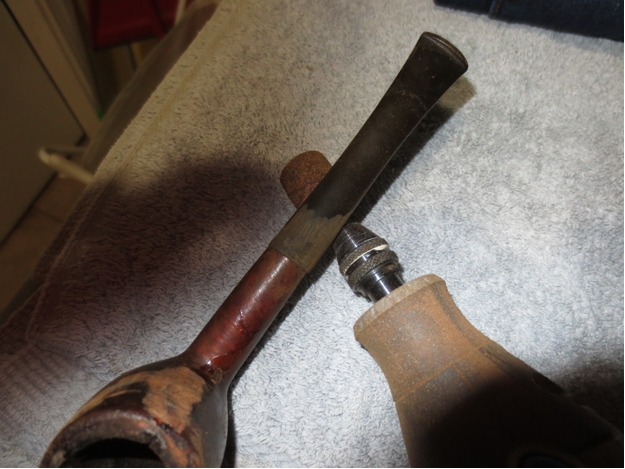
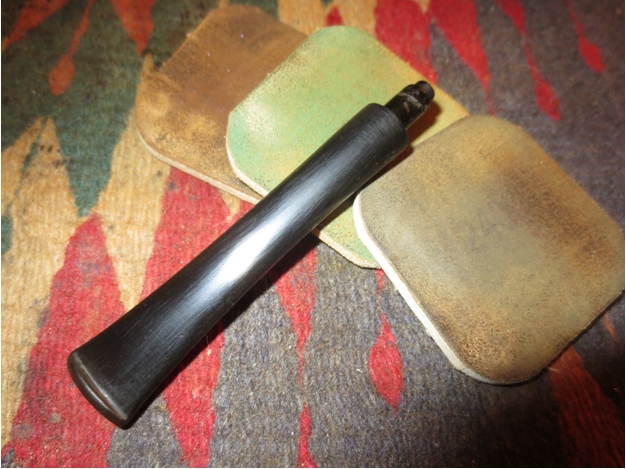
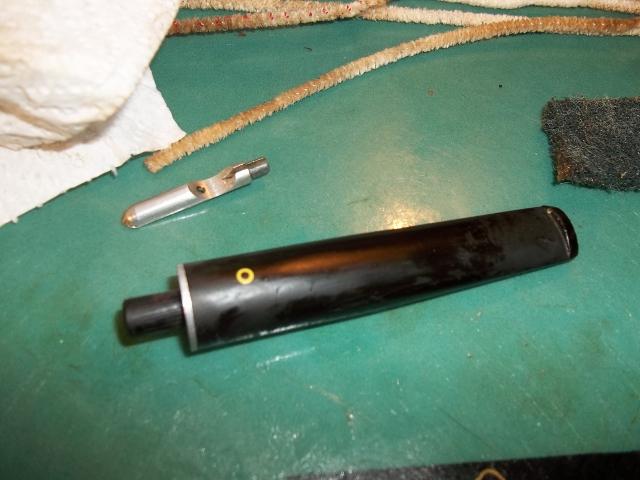
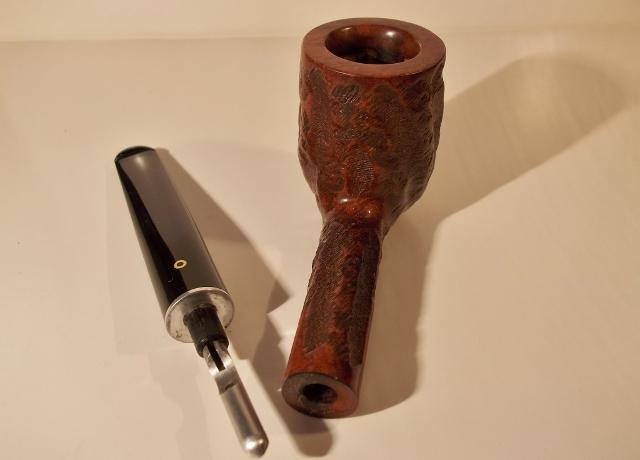
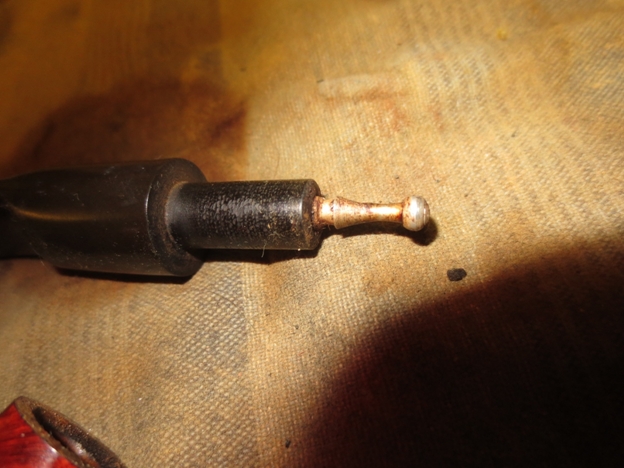
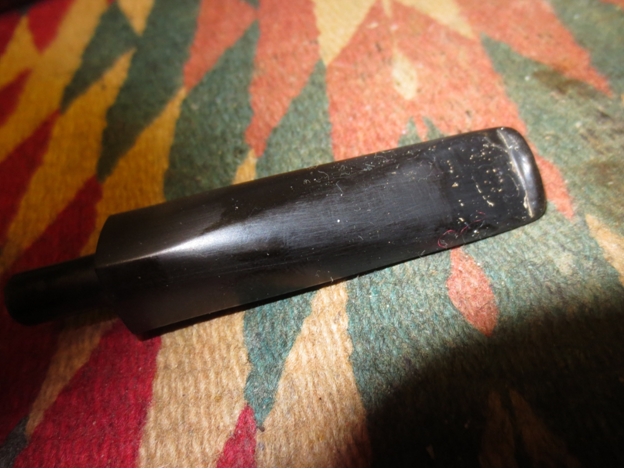
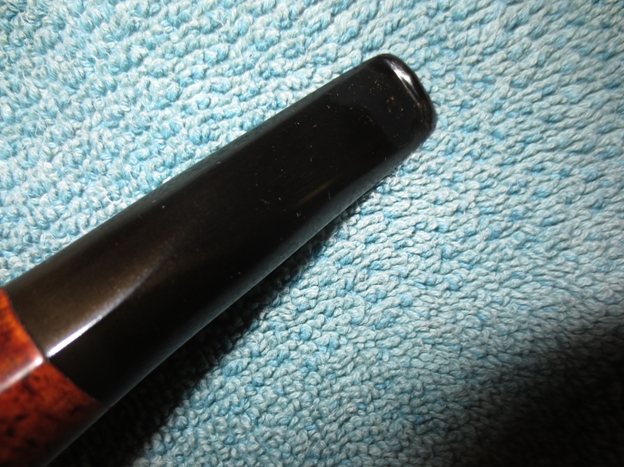
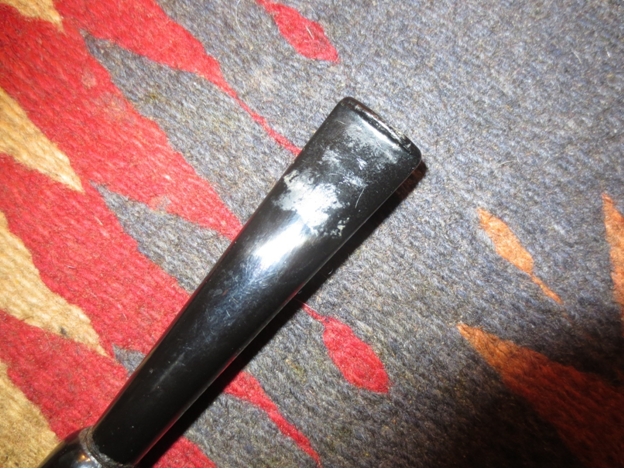
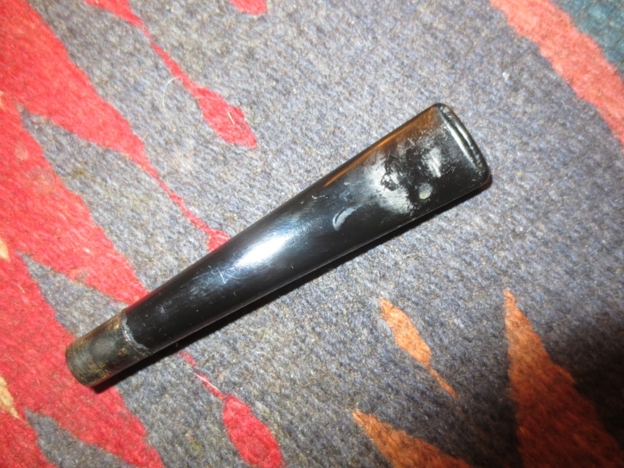
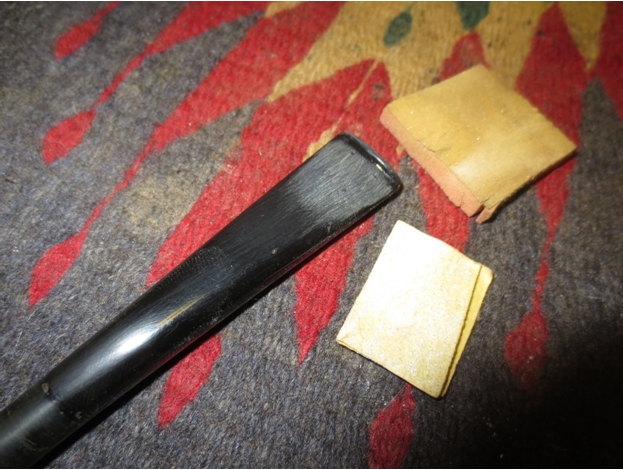
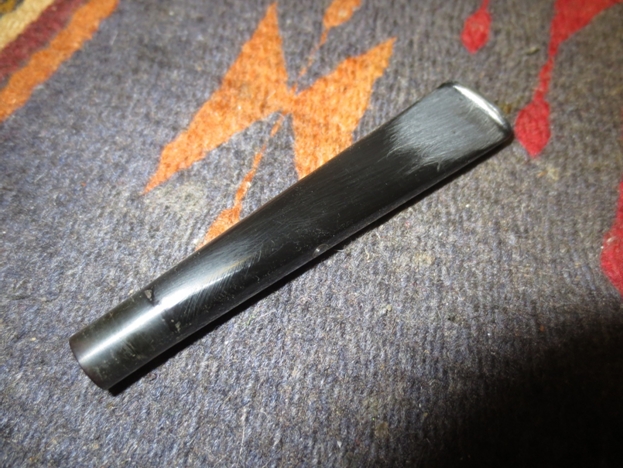
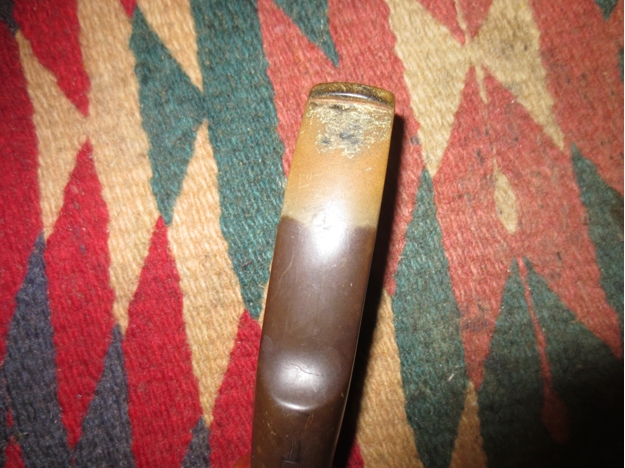
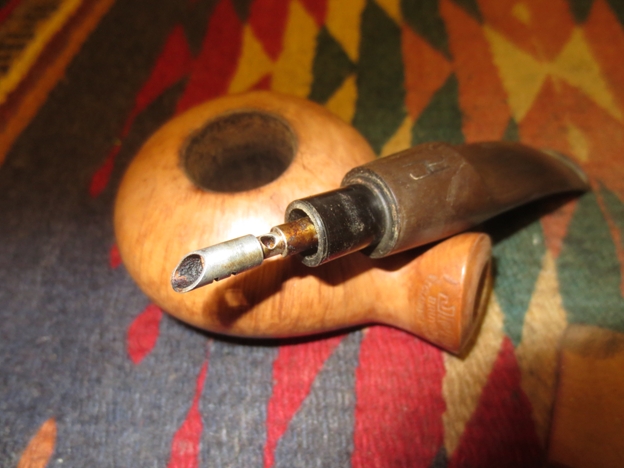
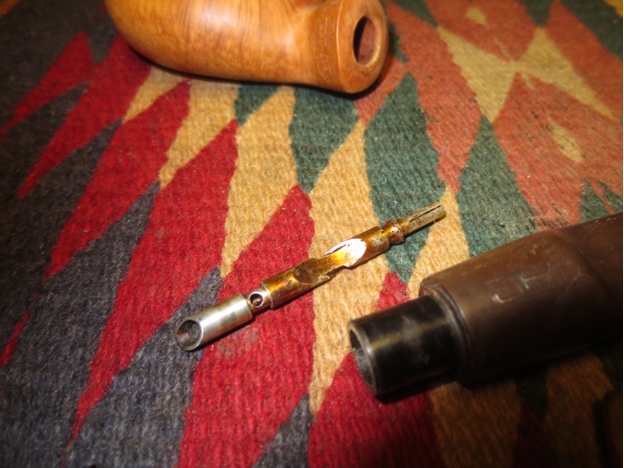
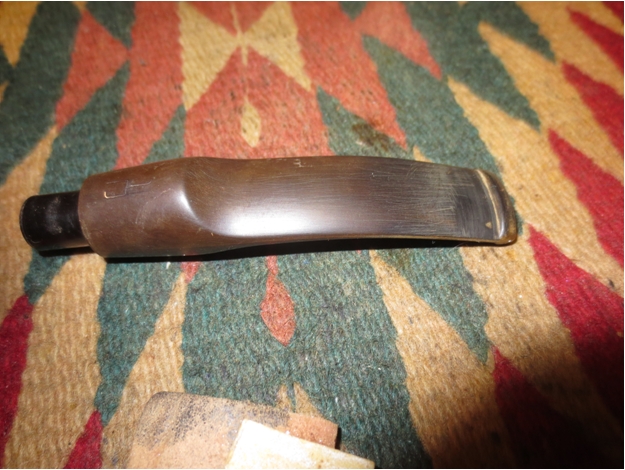
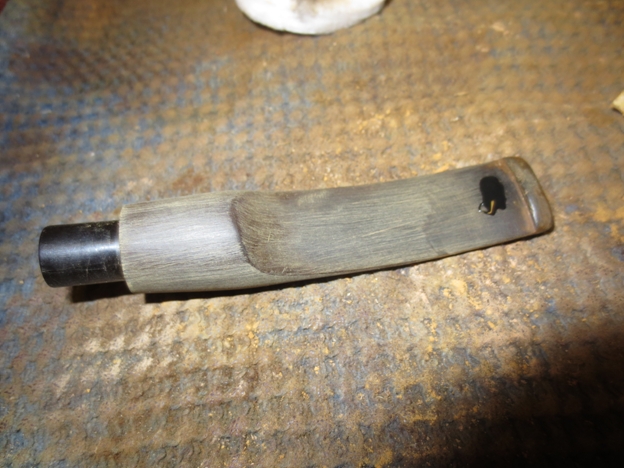
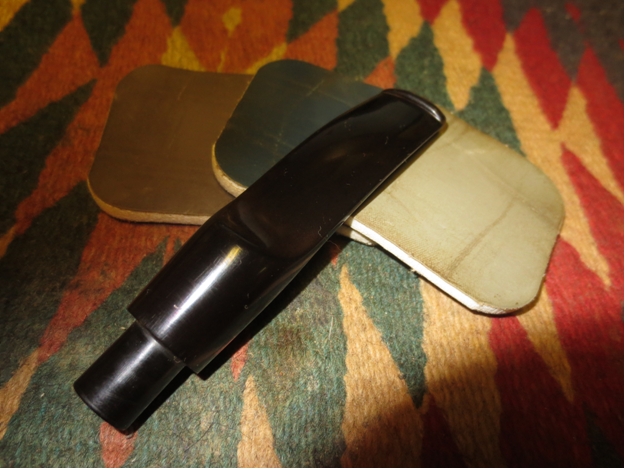
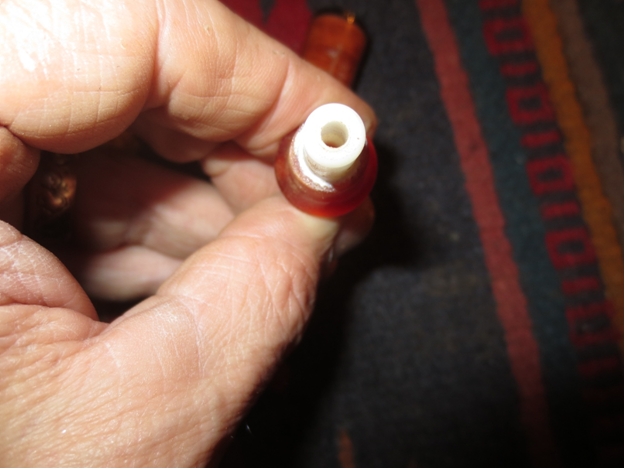
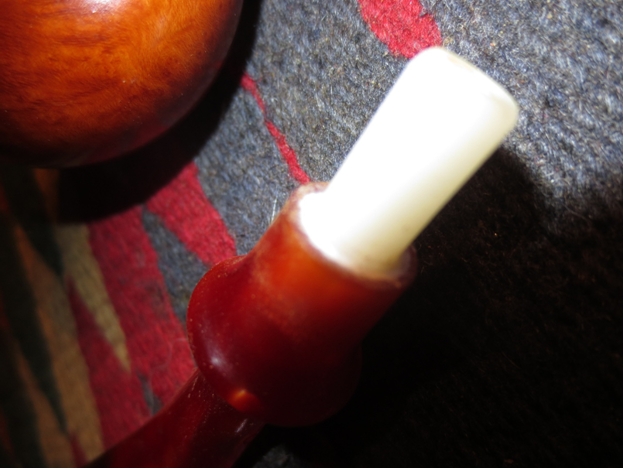
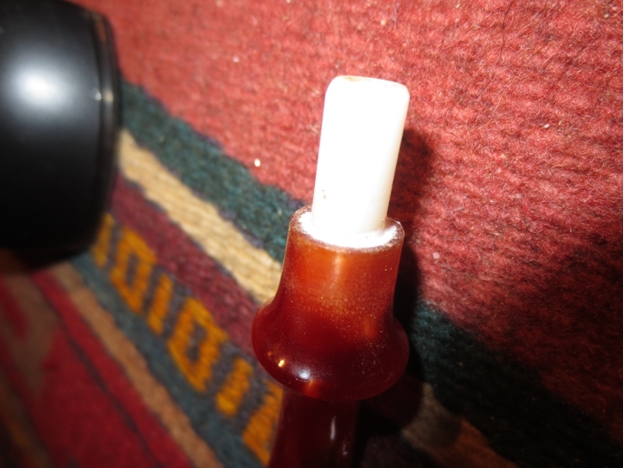
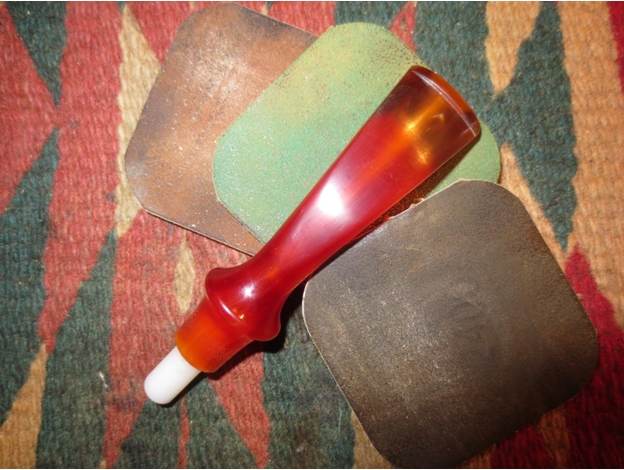
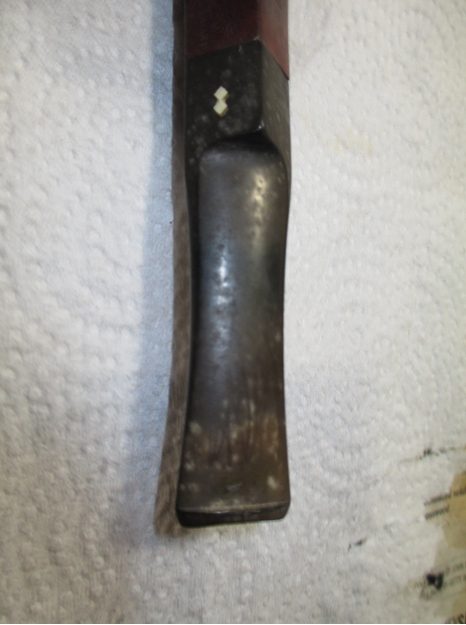
I removed the stem from its soak and rinsed it before wiping off the residue and cleaning the air hole with a soft, thick cleaner. The resulting evidence made clear that a large area, on both sides below the bit, required more work before applying the micromesh.
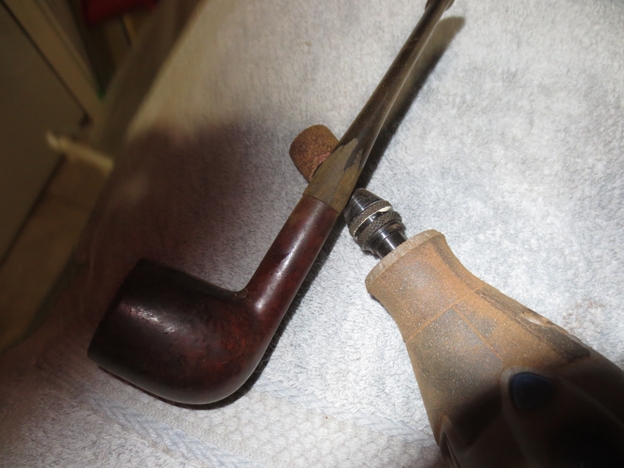
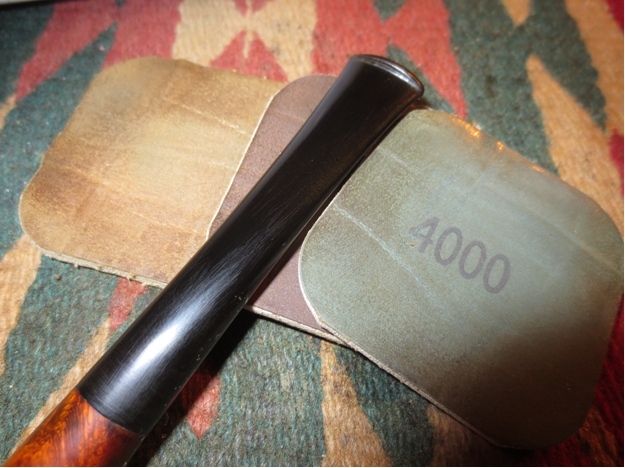
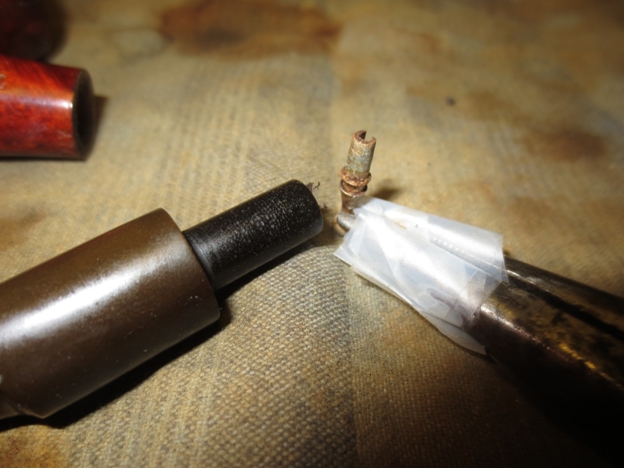
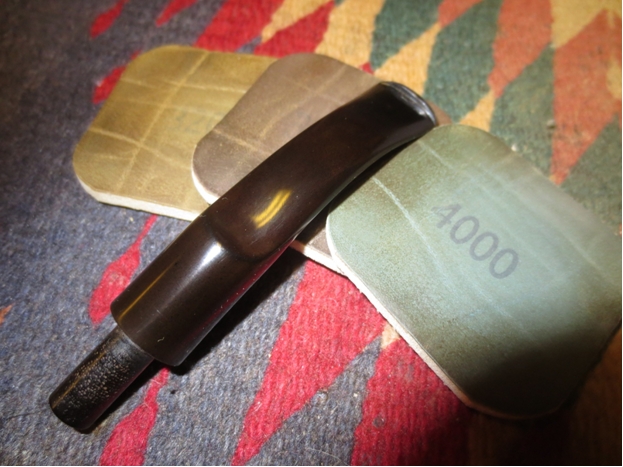
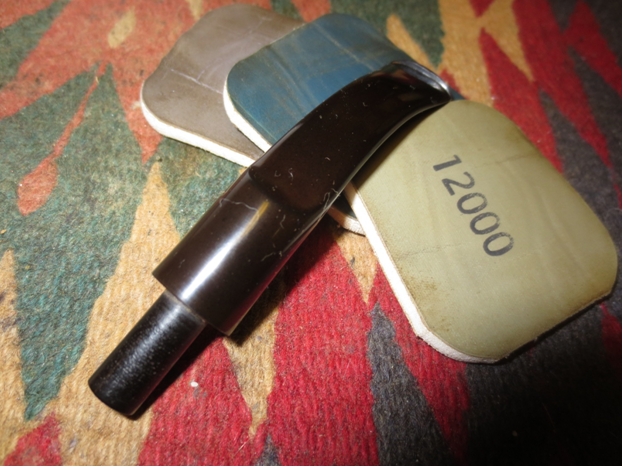
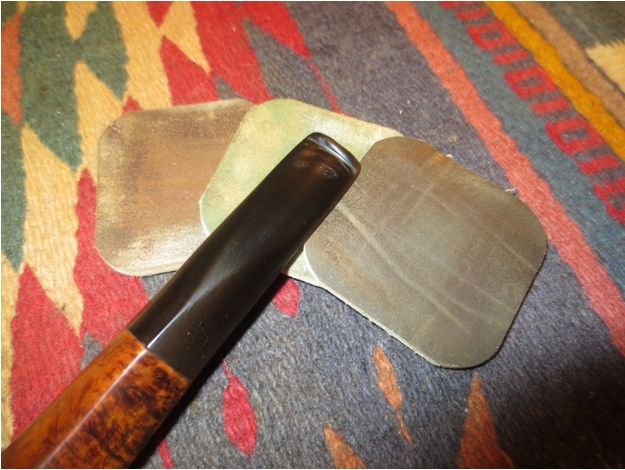
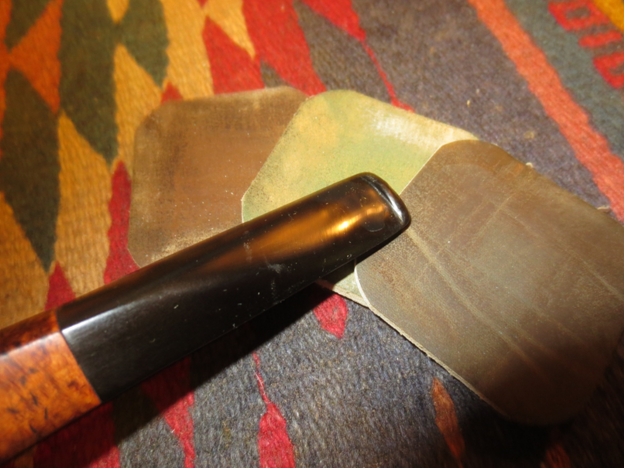
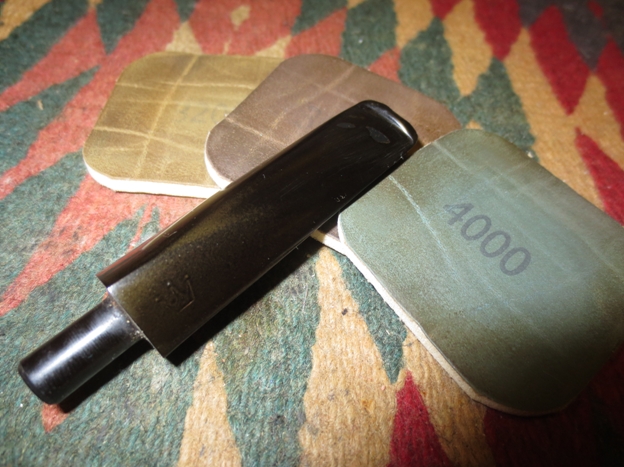
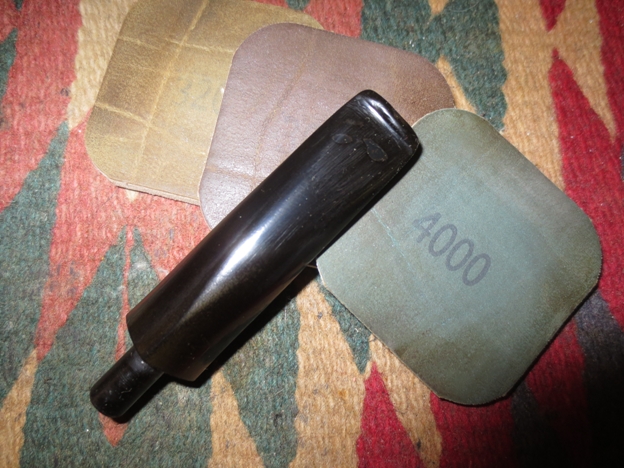
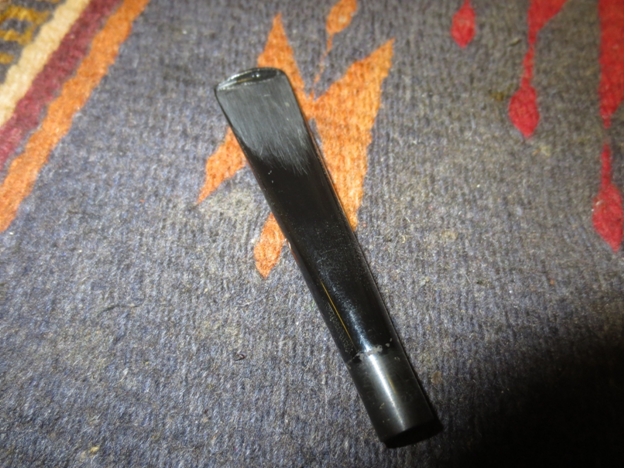
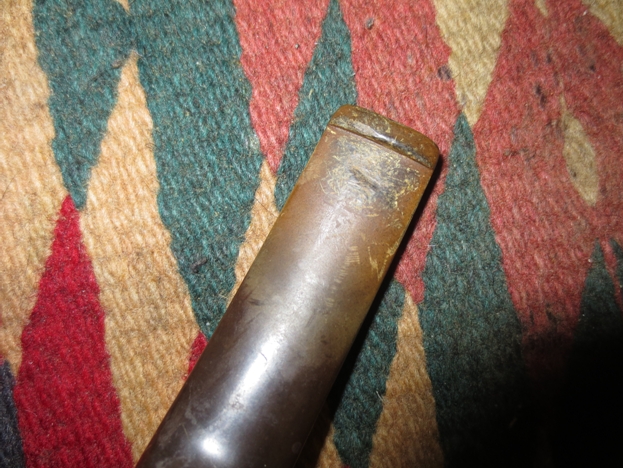
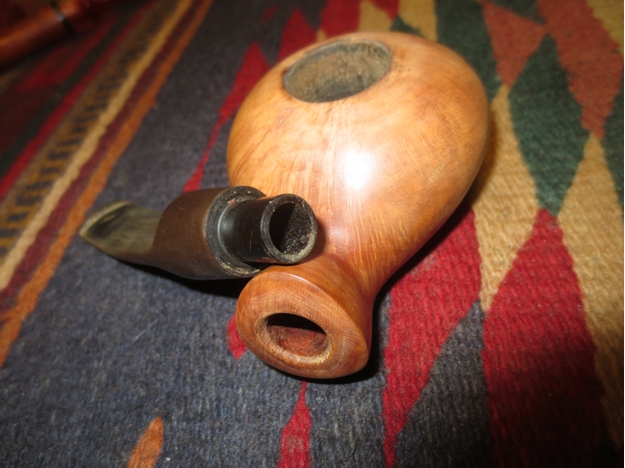
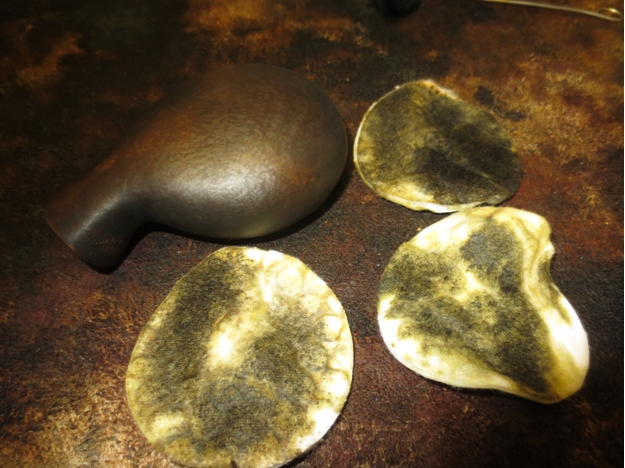
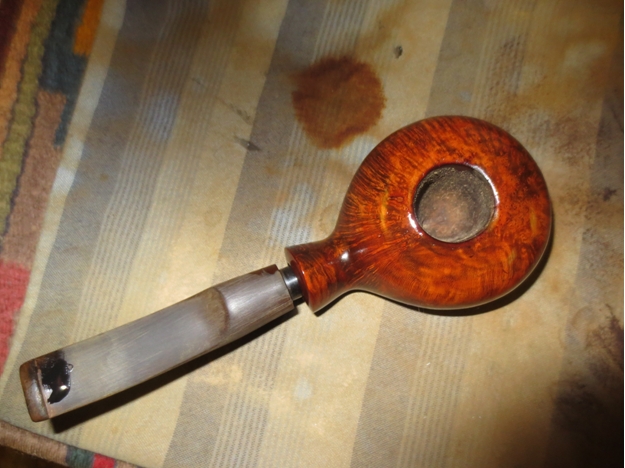
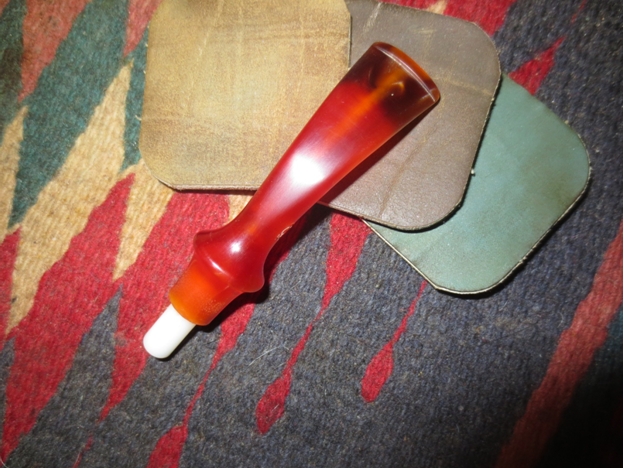
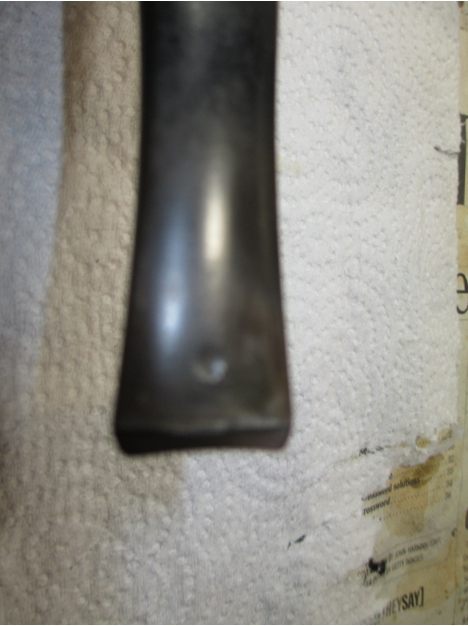
 And so I reattached the stem to the shank and retorted the pipe before finishing the stem with light work using 320-grit paper on the scratched areas before a four-stage micromesh progression from 1500-4000.
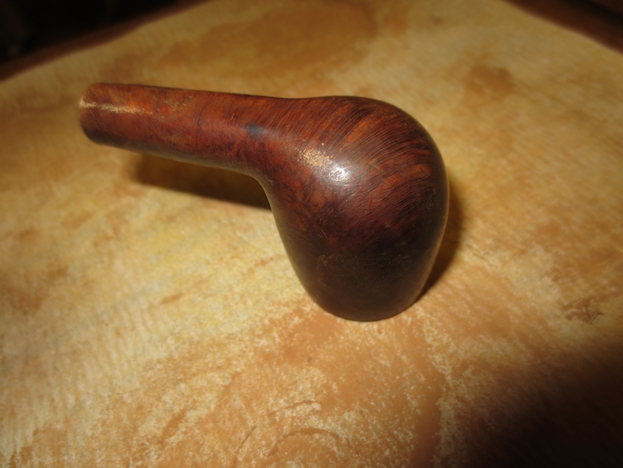
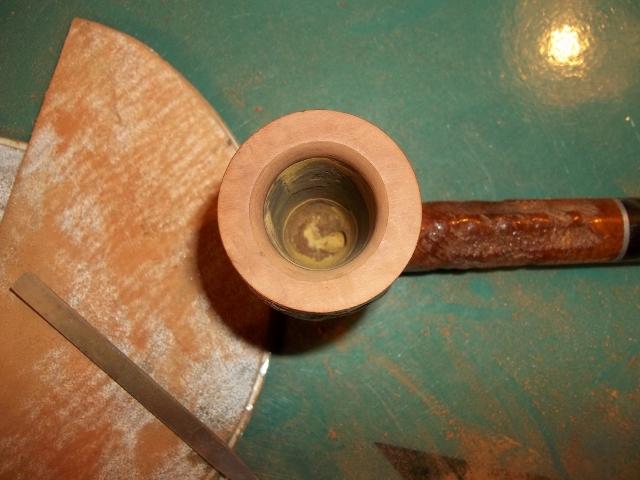
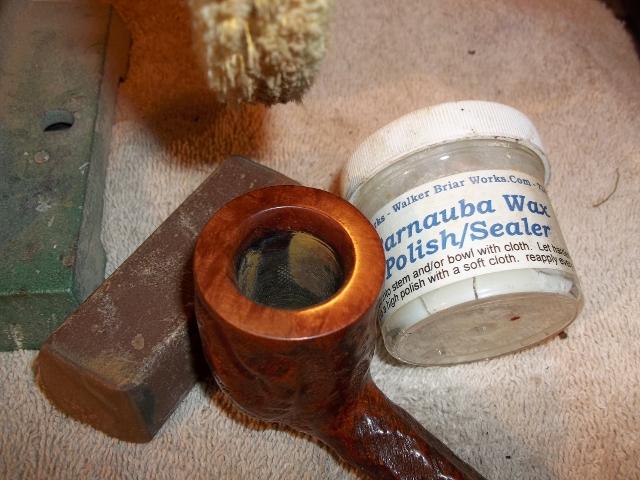
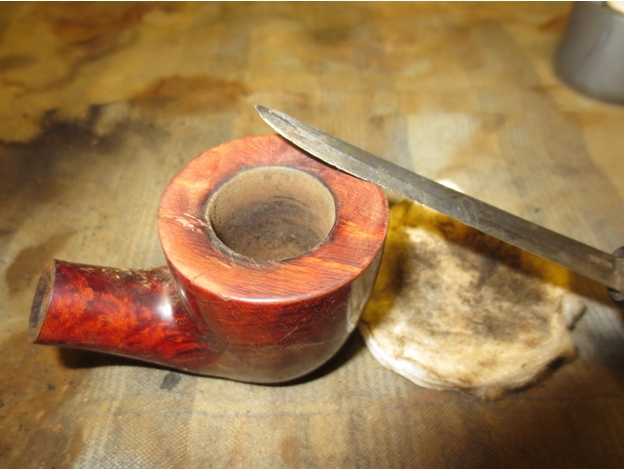
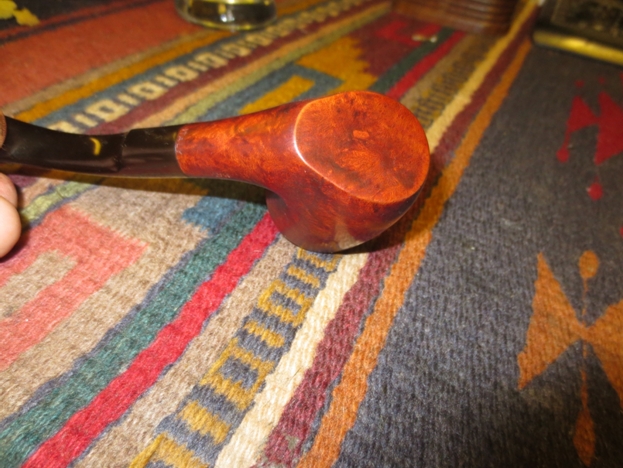
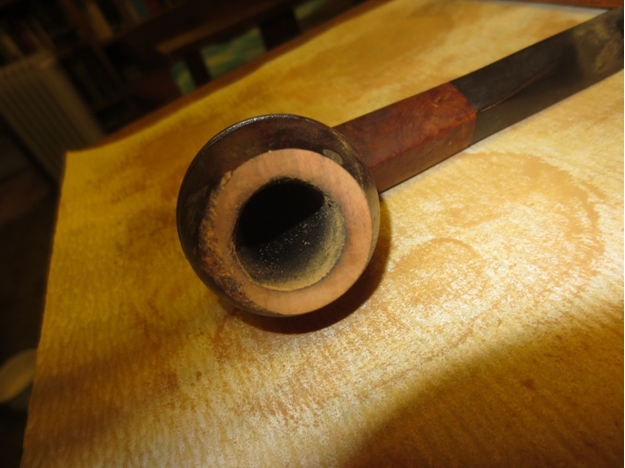
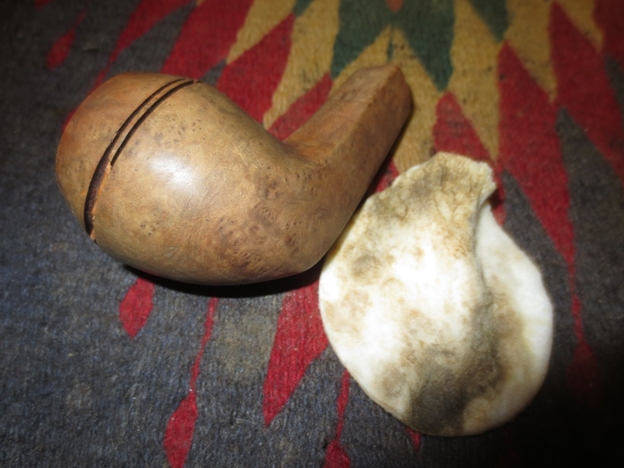
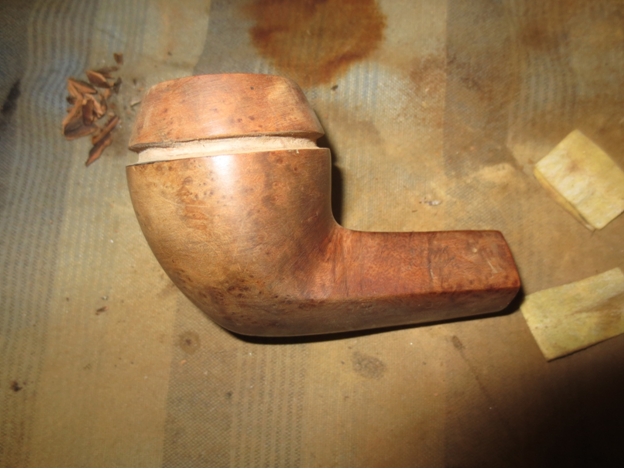
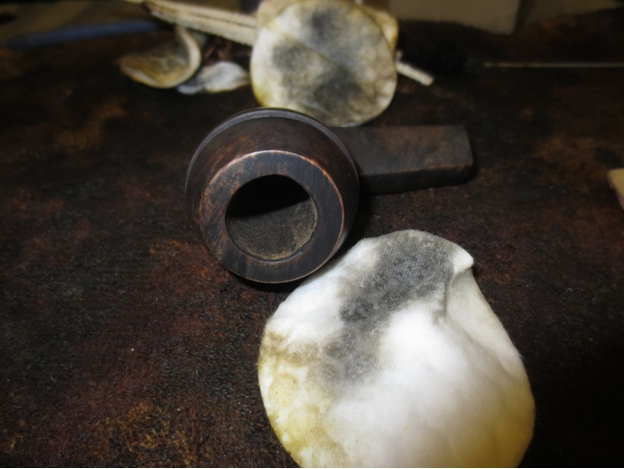
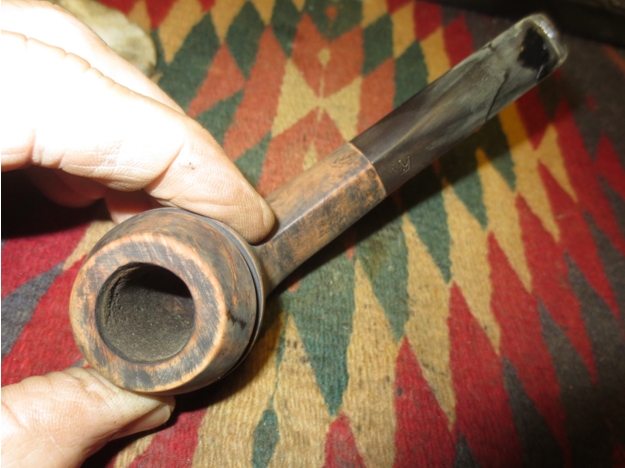
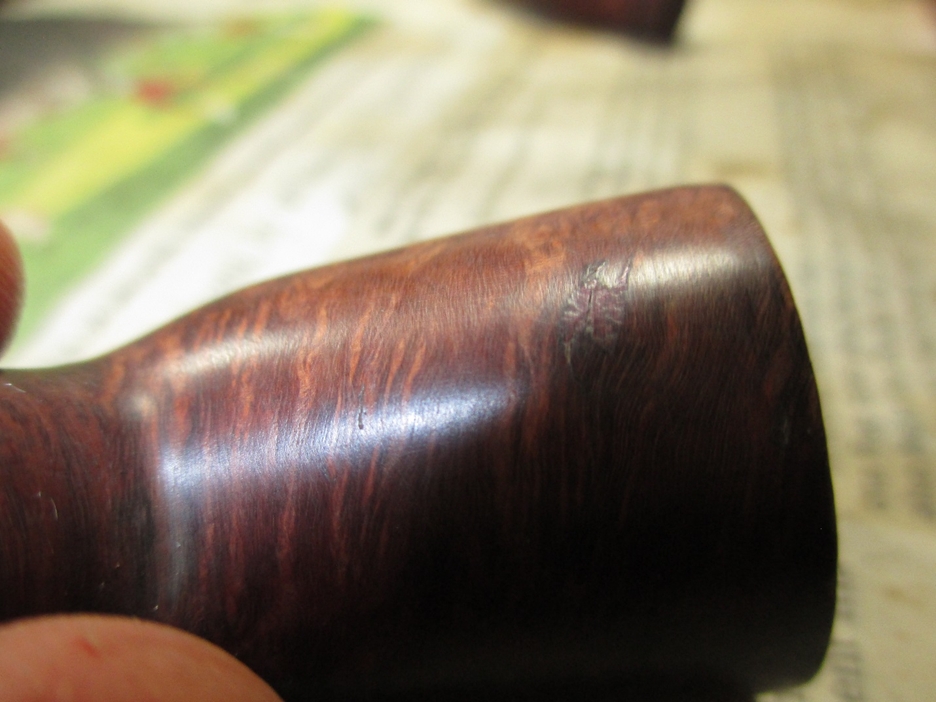
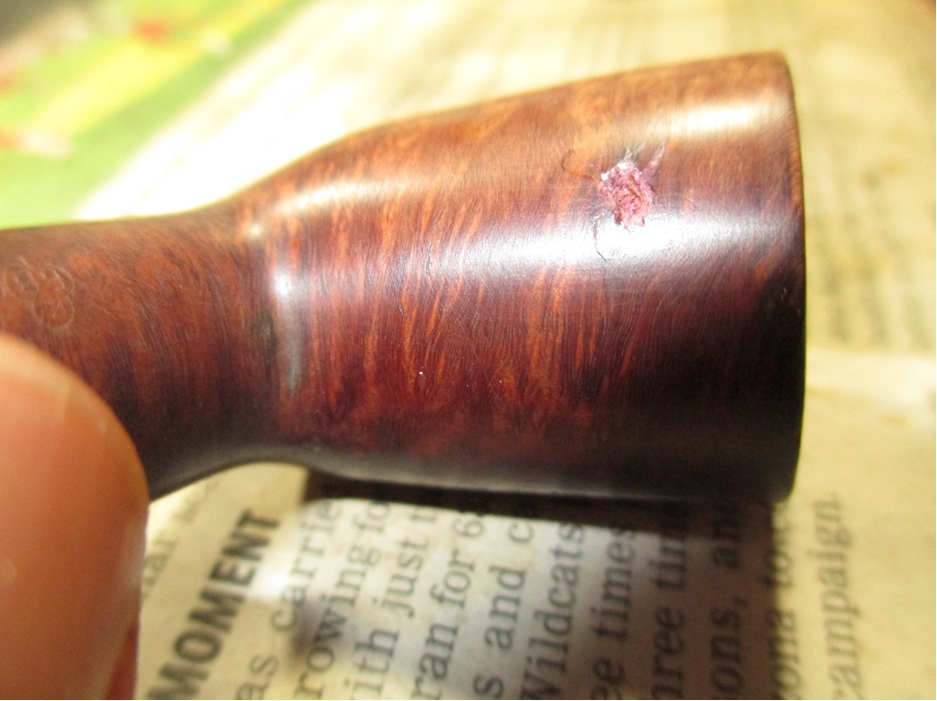
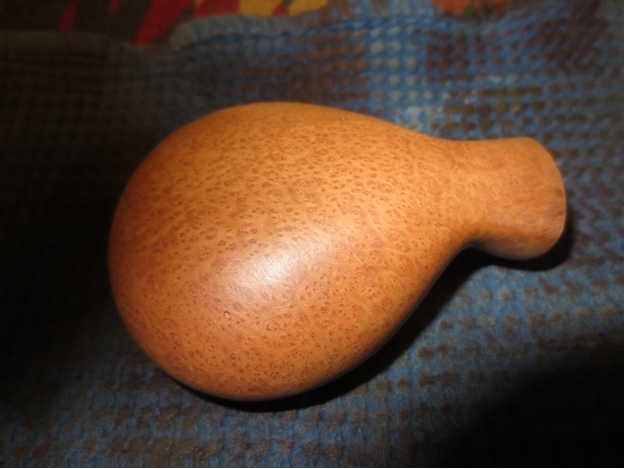
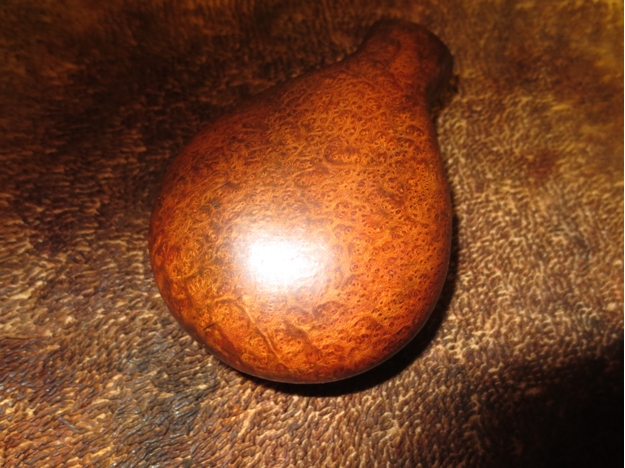
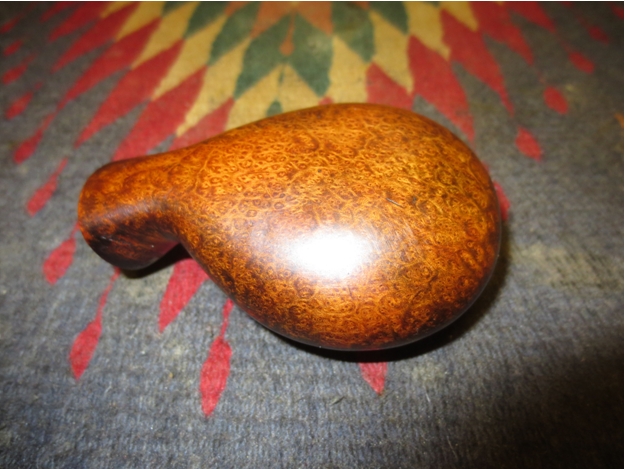
I gave the briar a bath and saw no major scratches or other blemishes. My next step of micro-meshing the wood the same way I did the stem turned out to be a waste of a few minutes, but what the heck.


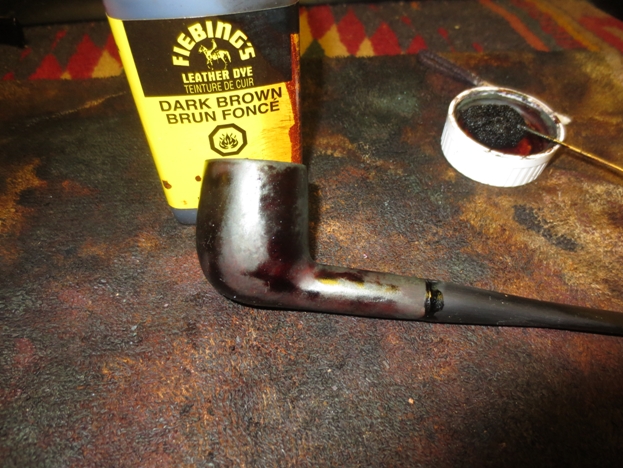
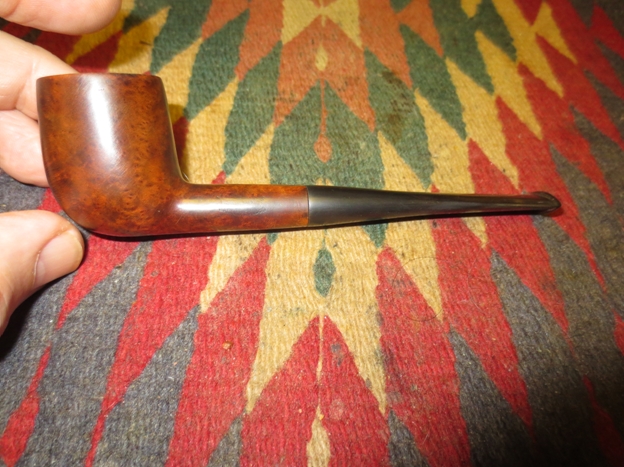
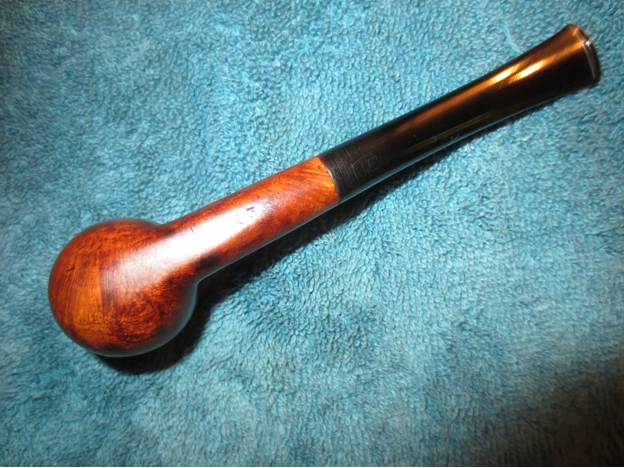
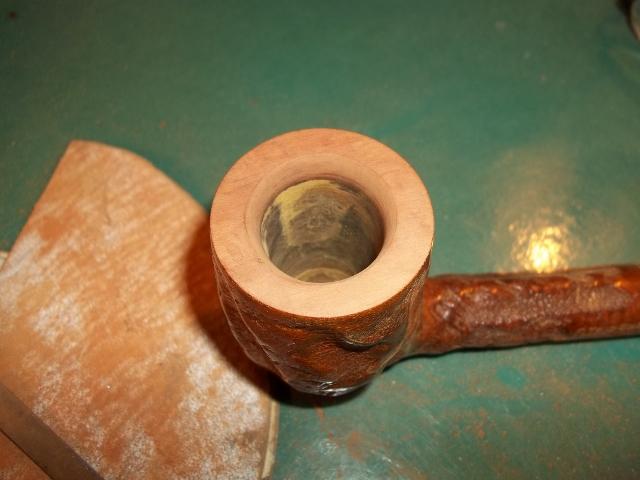
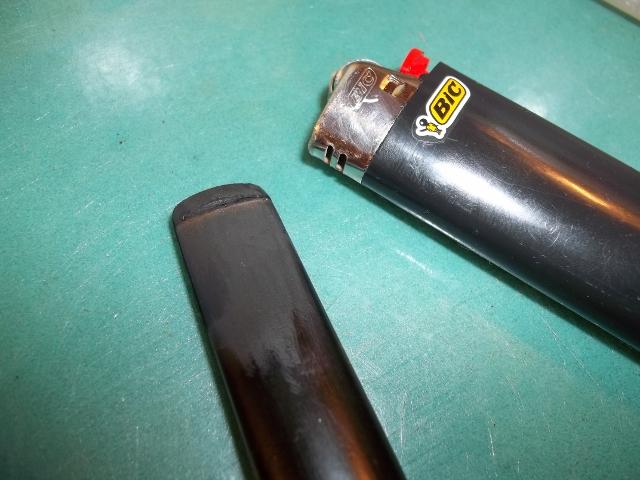
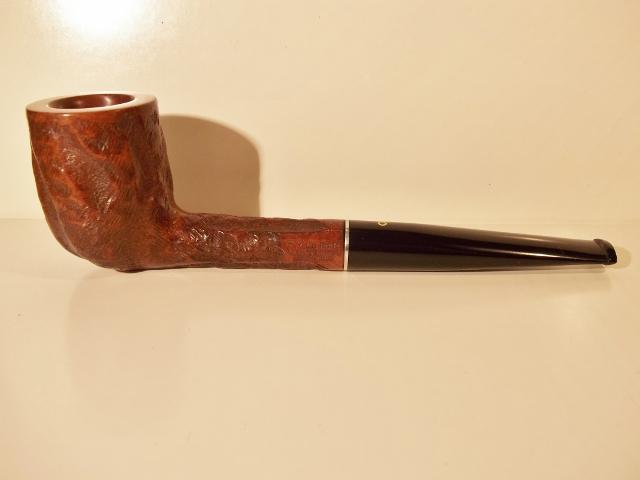
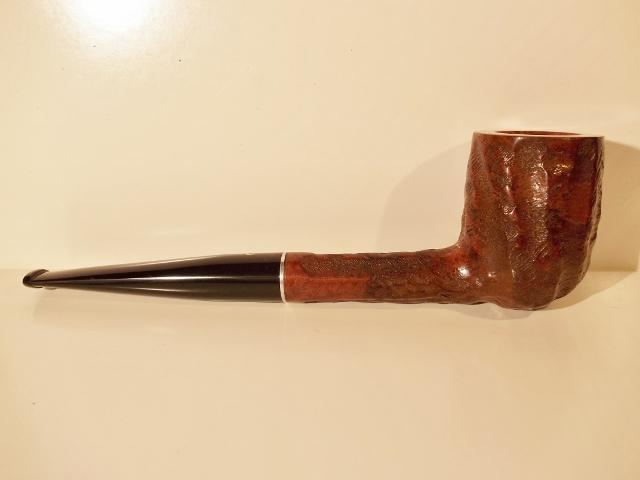
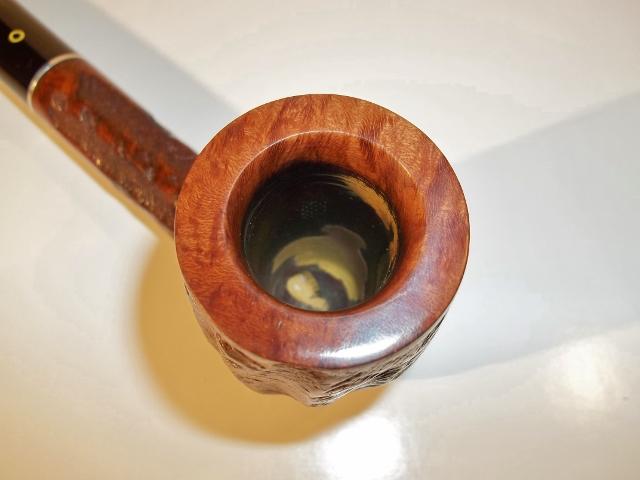
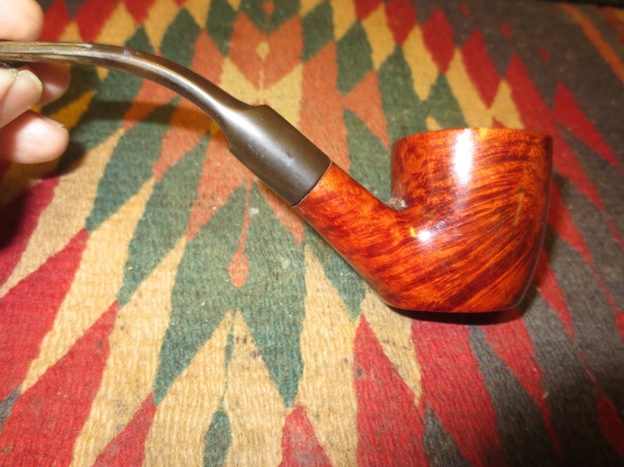
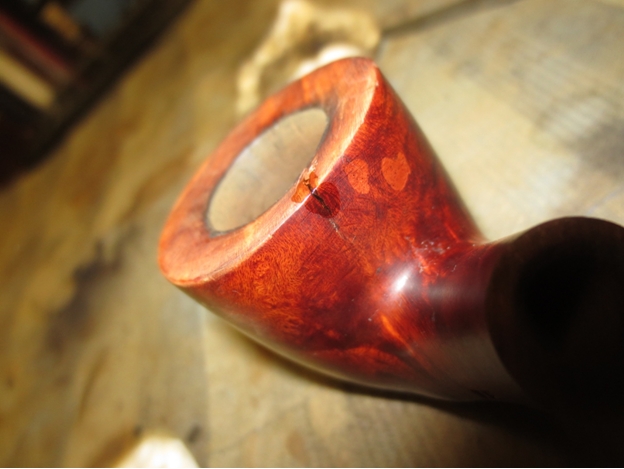
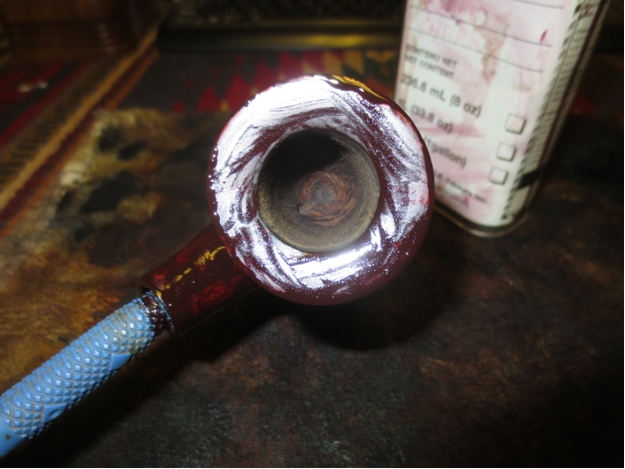
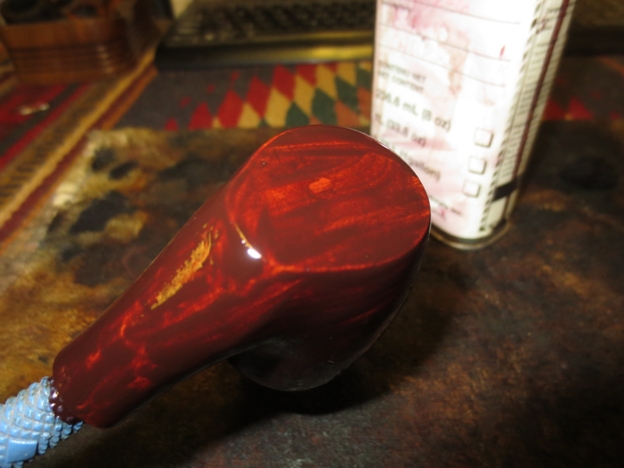
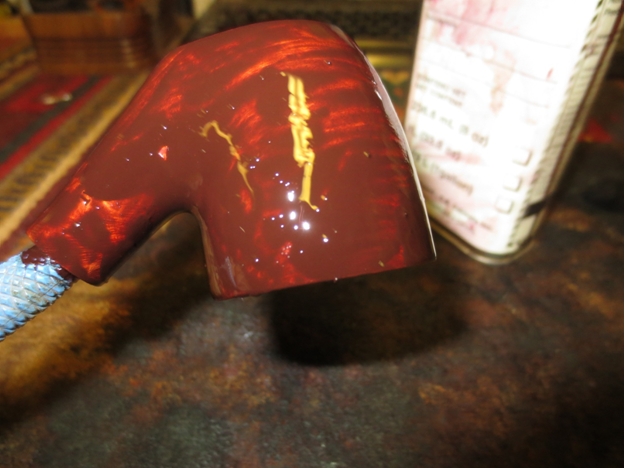
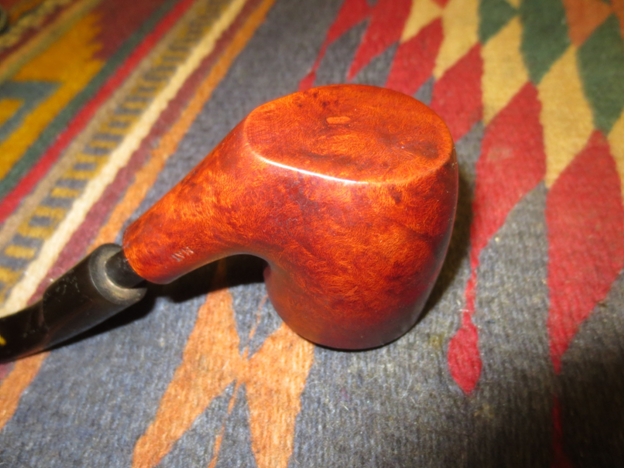
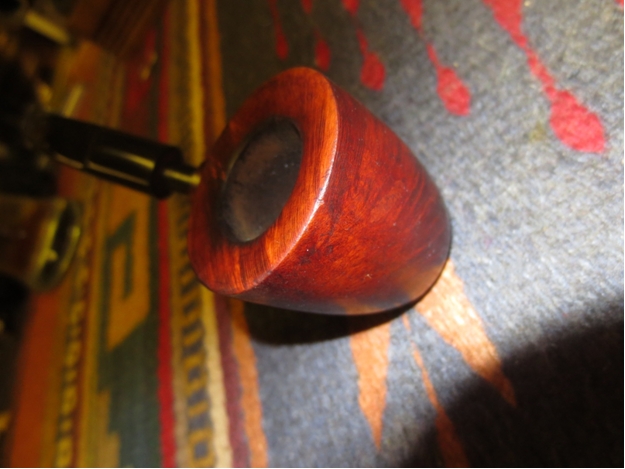
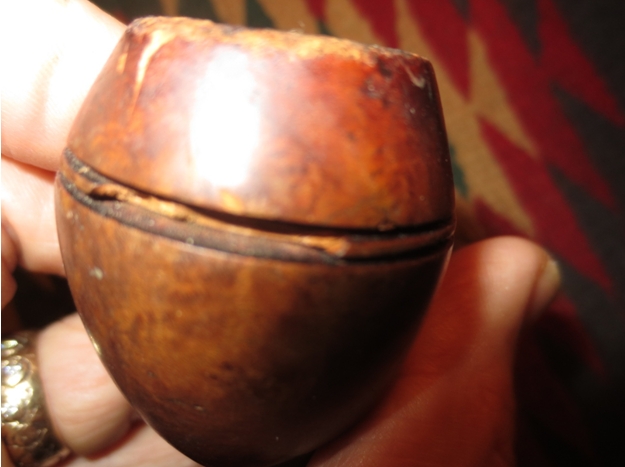
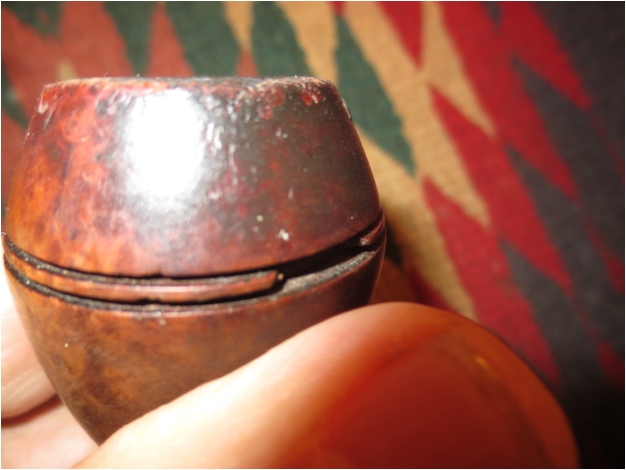
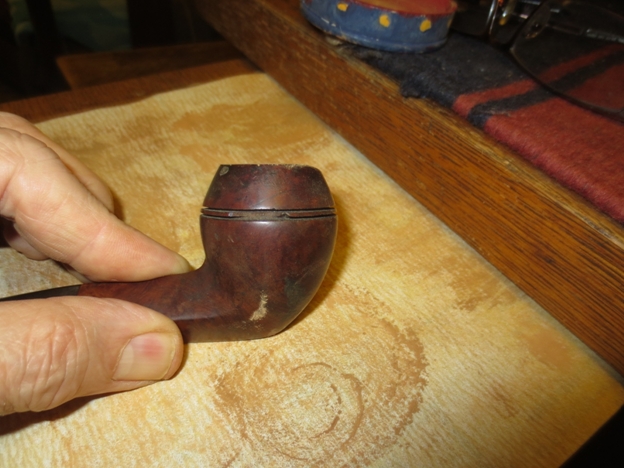
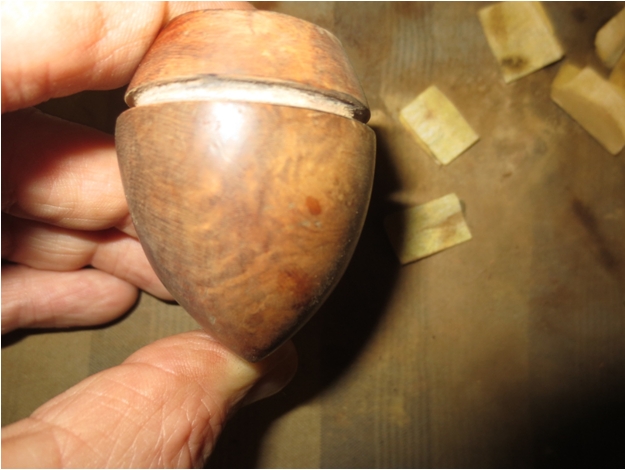
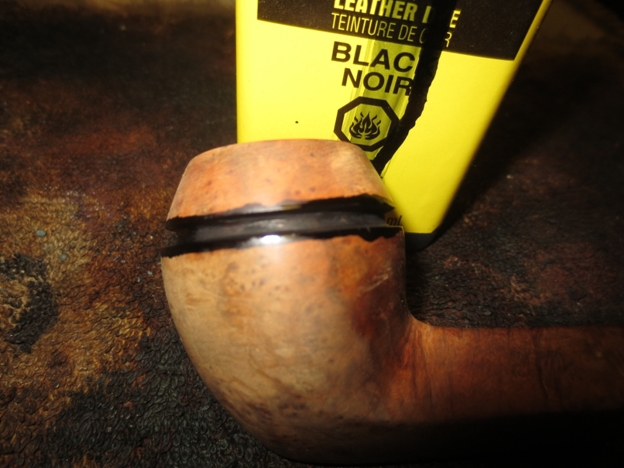
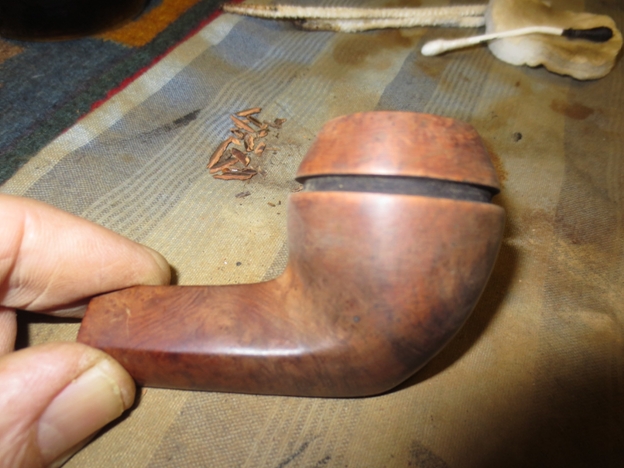
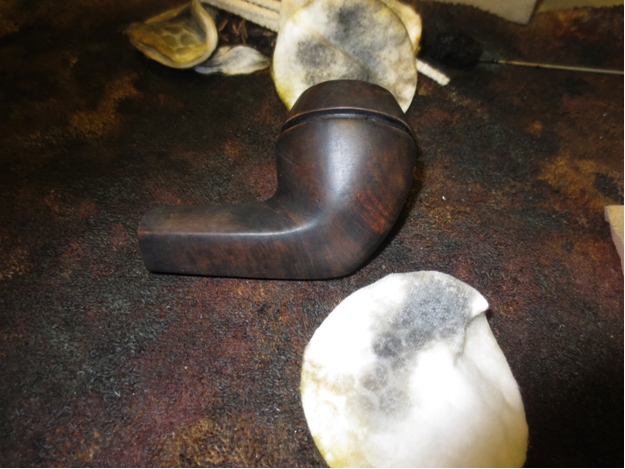
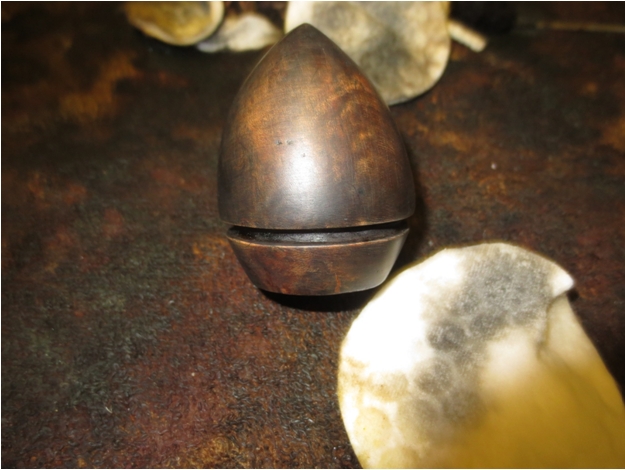
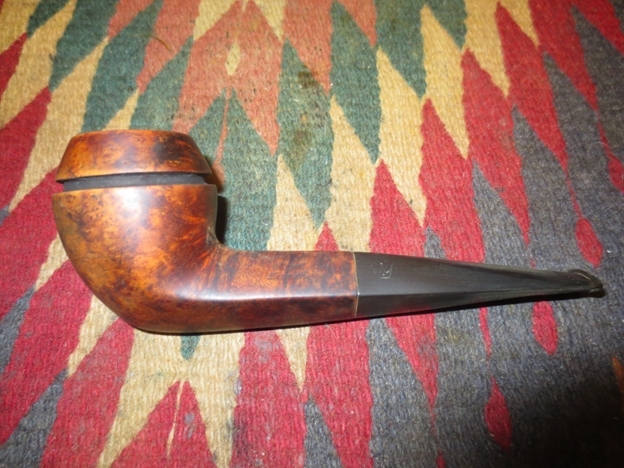
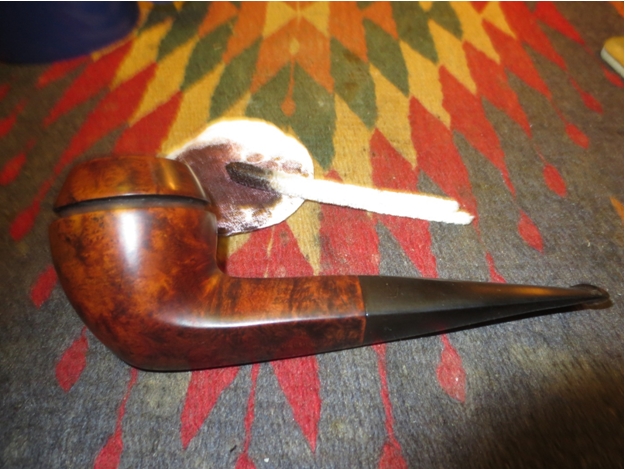
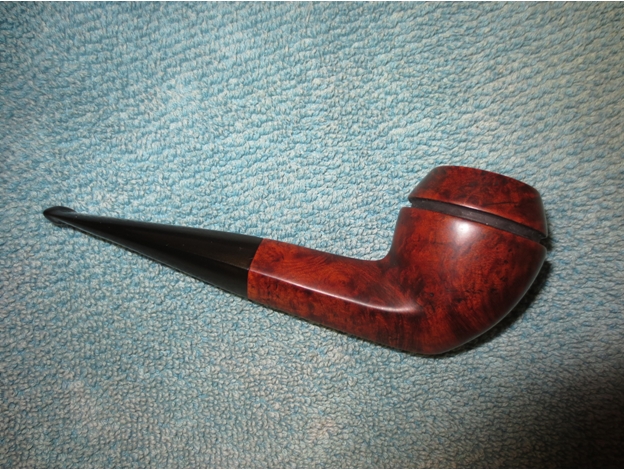
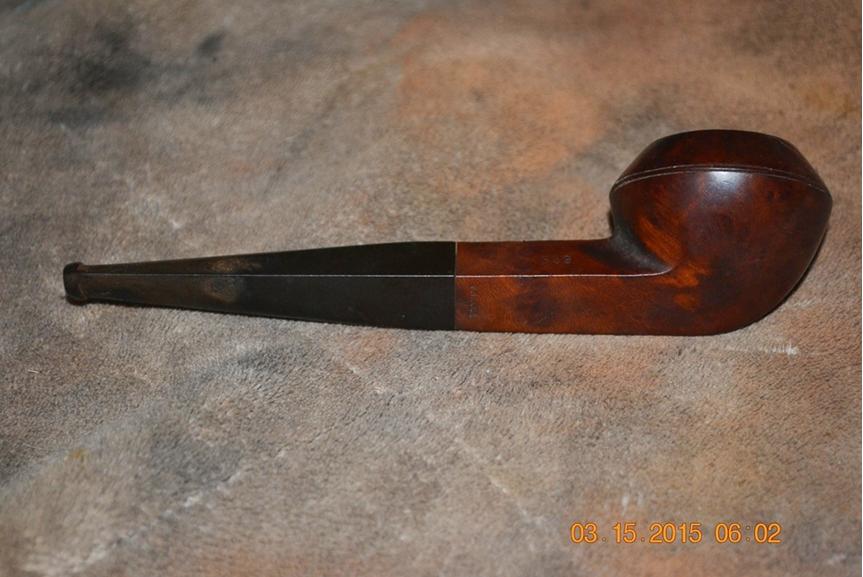
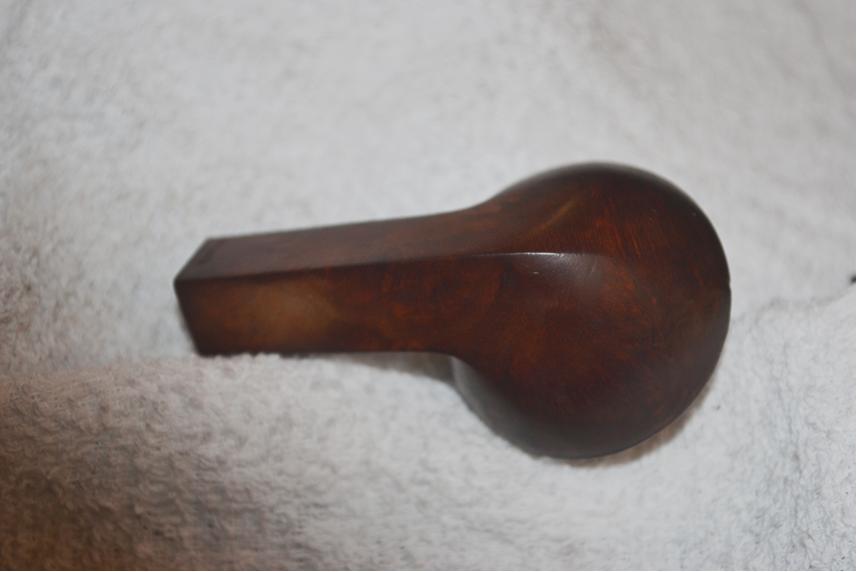
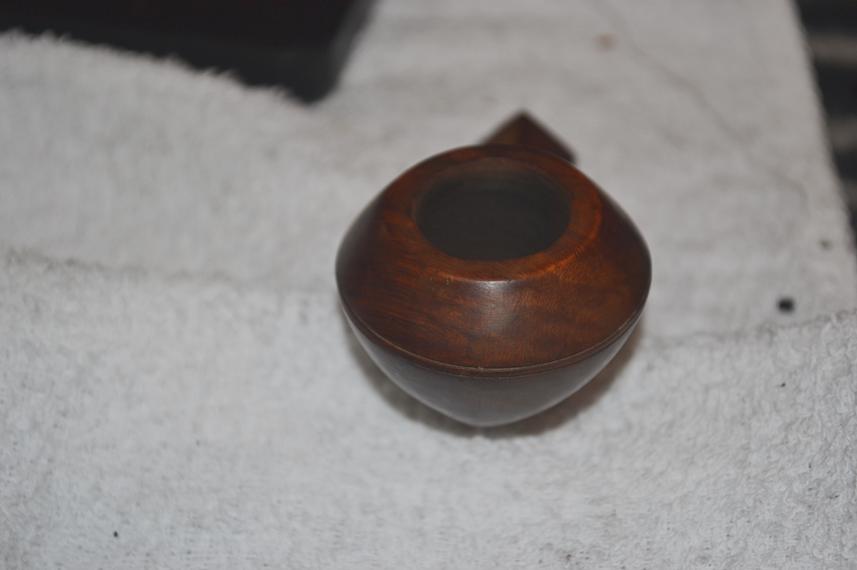
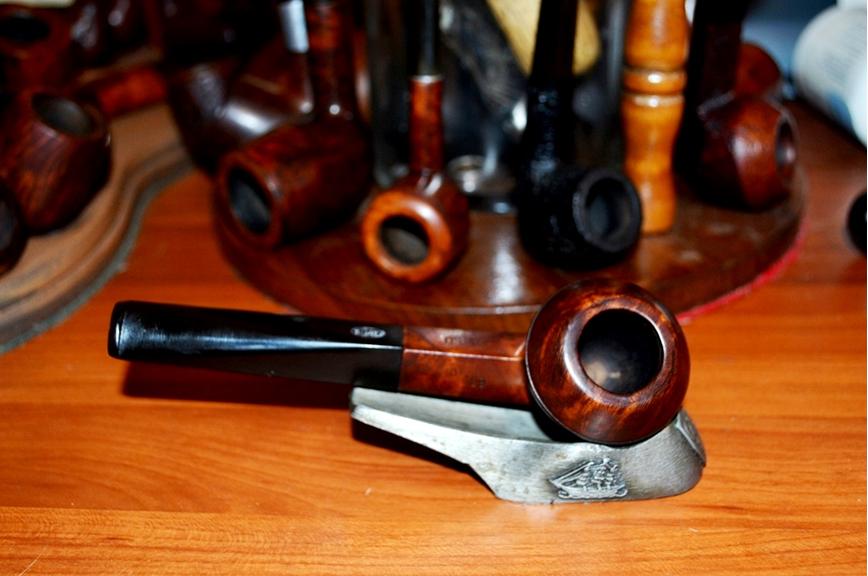
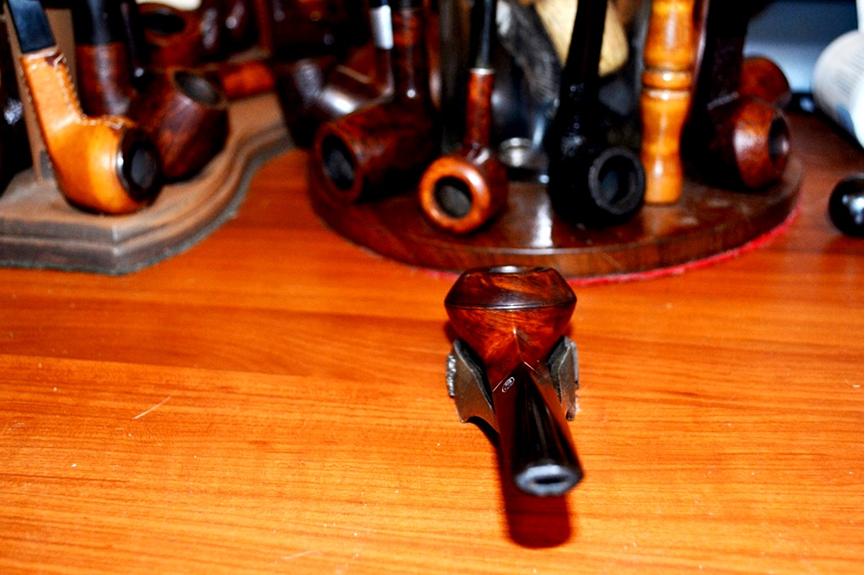
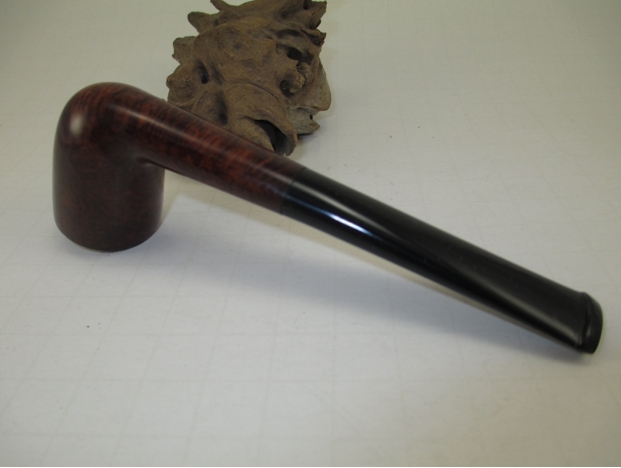
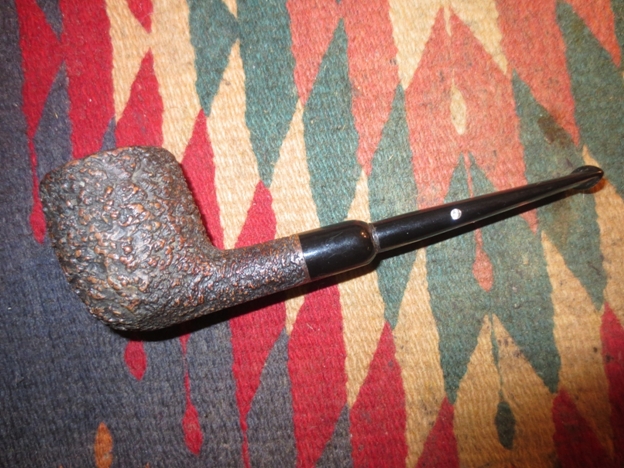
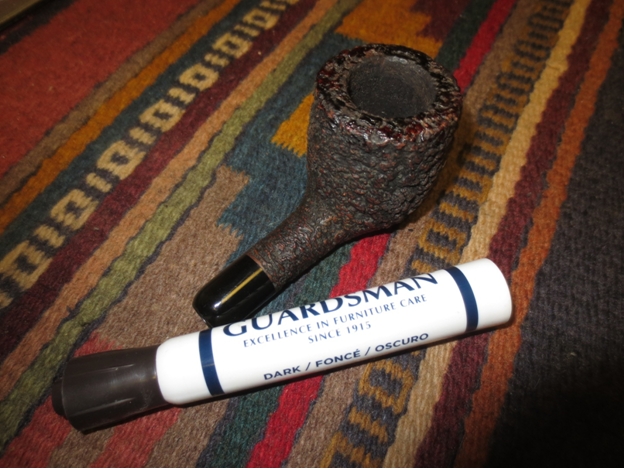
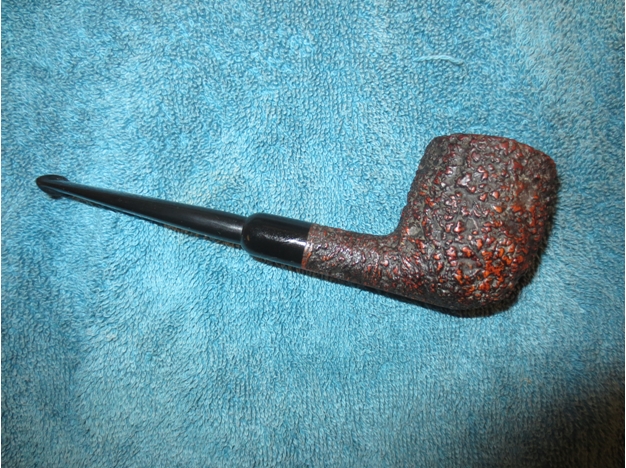
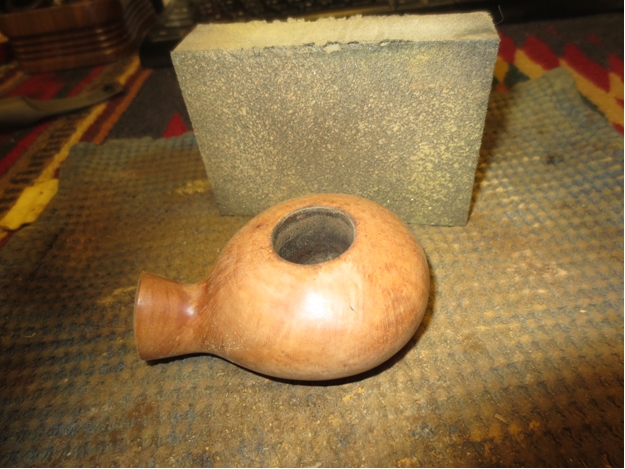
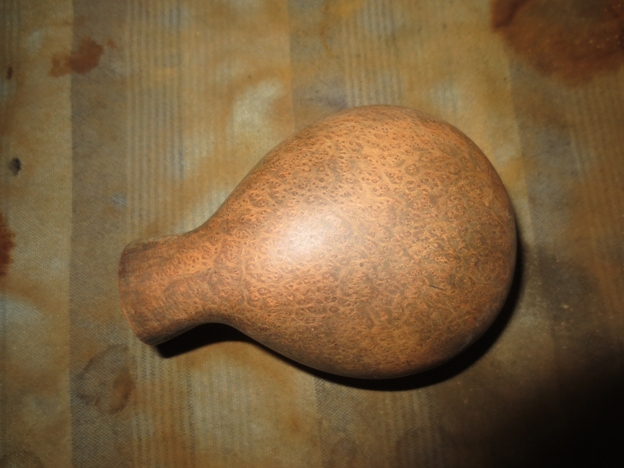
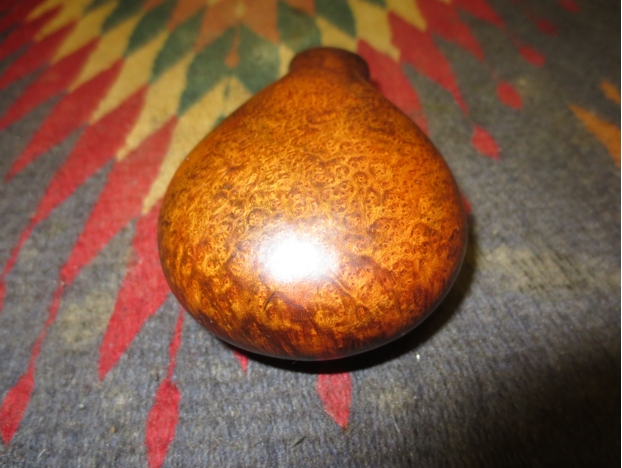
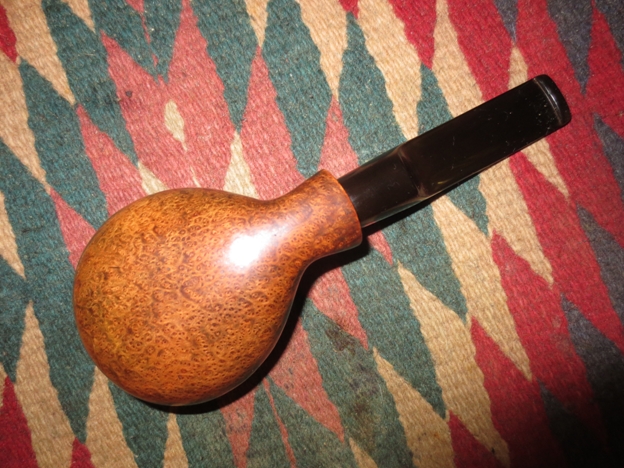
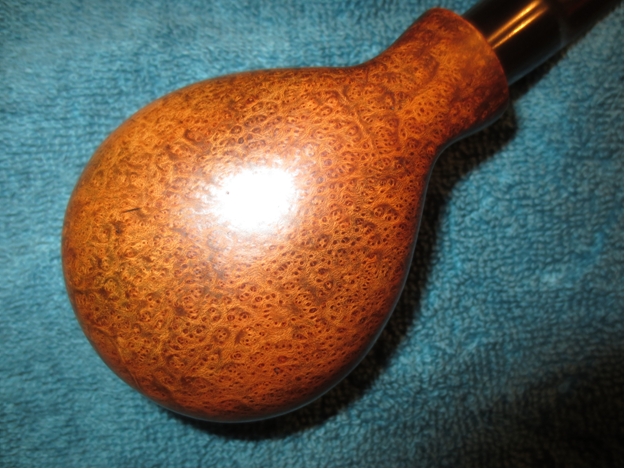
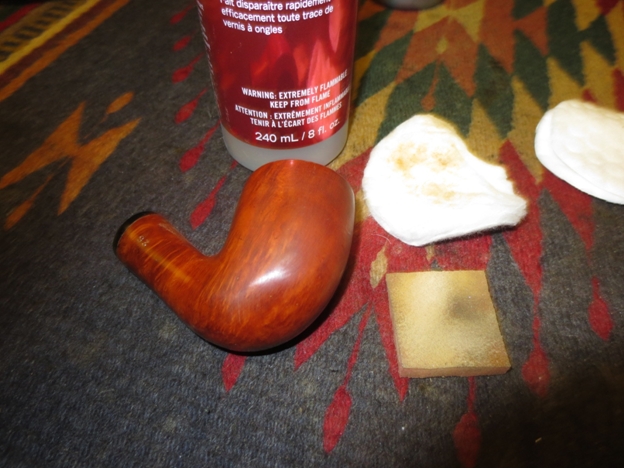
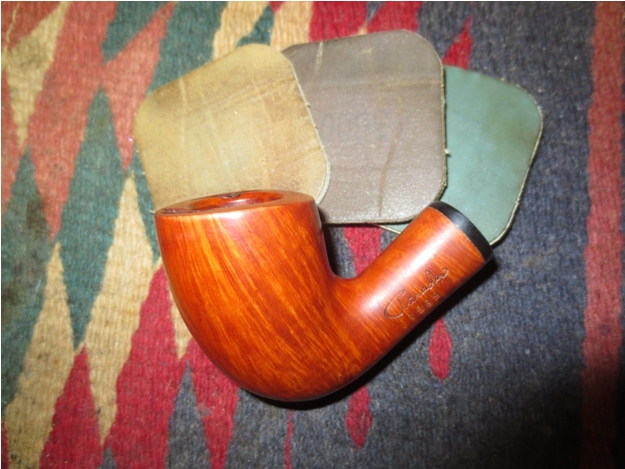
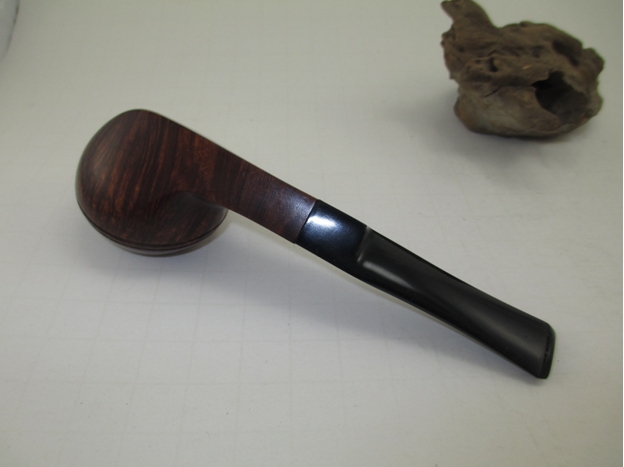
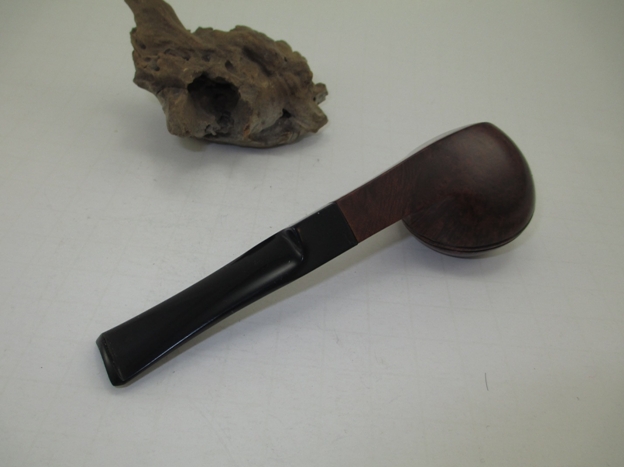
 Granted, based on the original color of the pipe, it was already prepared for polishing with the buffers. But I seem to draw over-dark-stained pipes with unnatural frequency. I don’t think I’m alone in appreciating as much of the good grain every pipe has to offer. Therefore, I got out a small piece of the super fine steel wool to ease away a shade or two of the stain. Of course, when I could see the result I wanted, I had to re-micromesh the whole outer briar again and apply a light brown stain to the shank and lower bowl up to the bulldog line and inward curve of the top. Flaming that part and letting it cool before using 3600 micromesh to remove the film of char, I applied burgundy stain to the curved top and rim of the bowl and flamed it, and after the cool-down period I wiped it gently with the micromesh also. The effect produced was subtle but still there for the discerning eye.
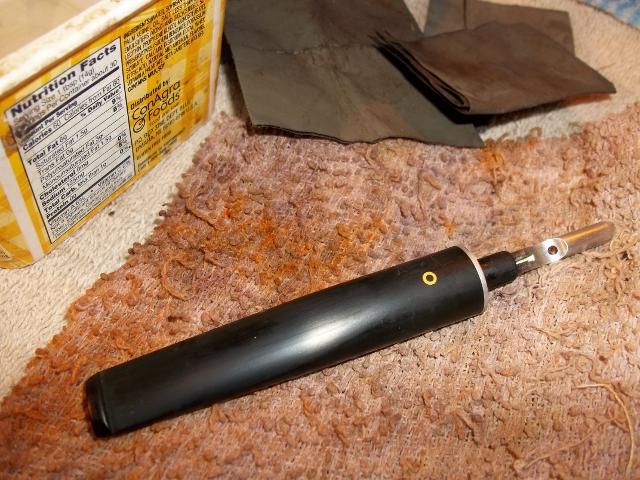
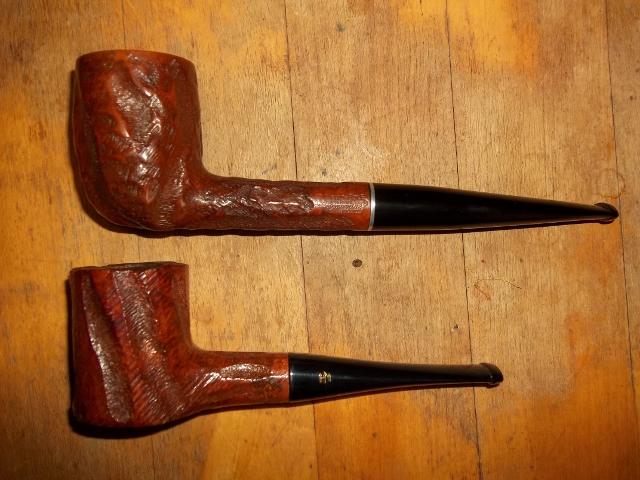
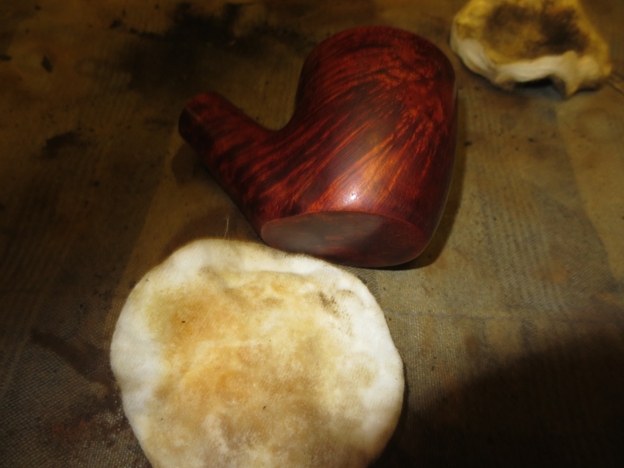
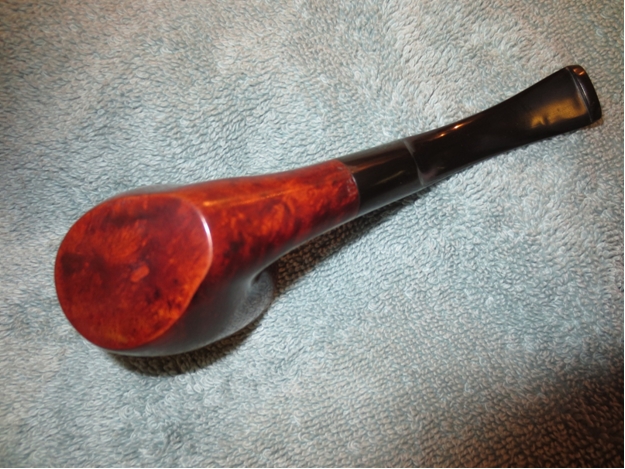
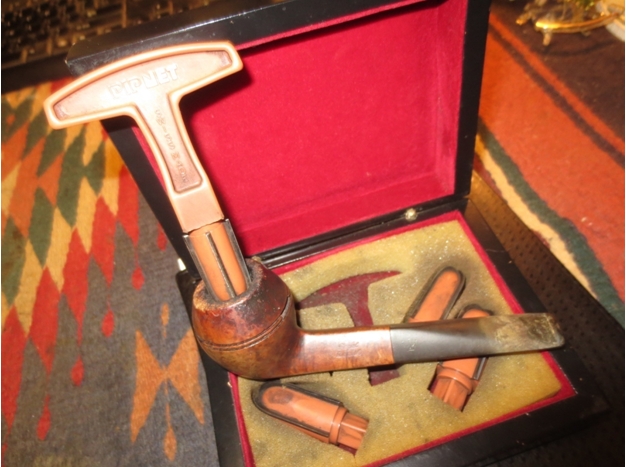
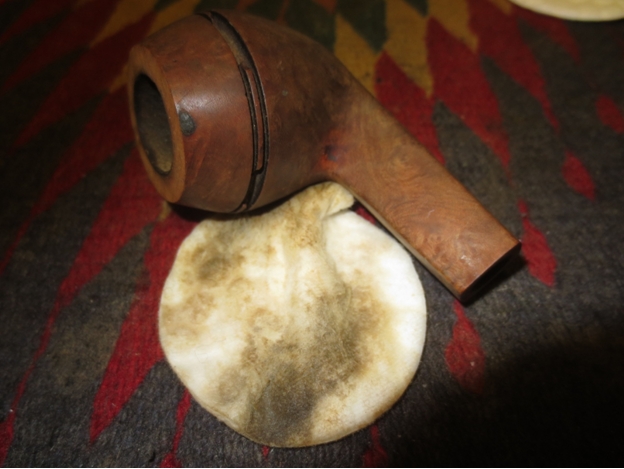
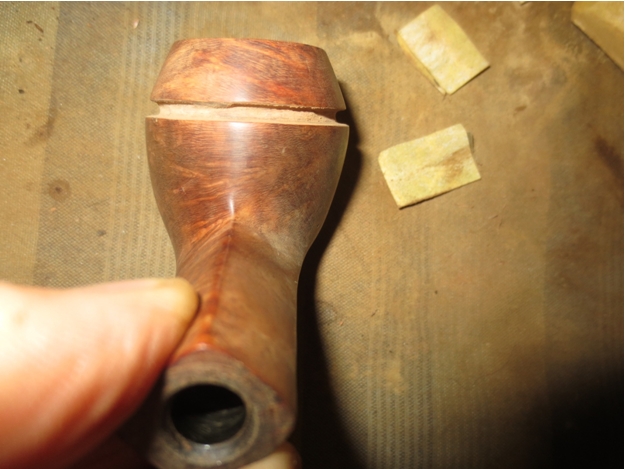
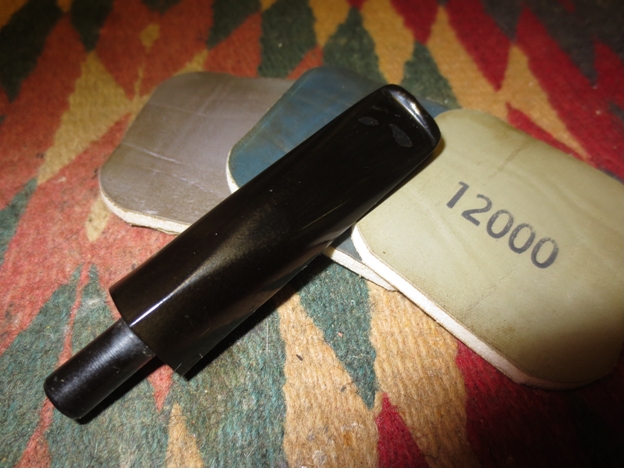
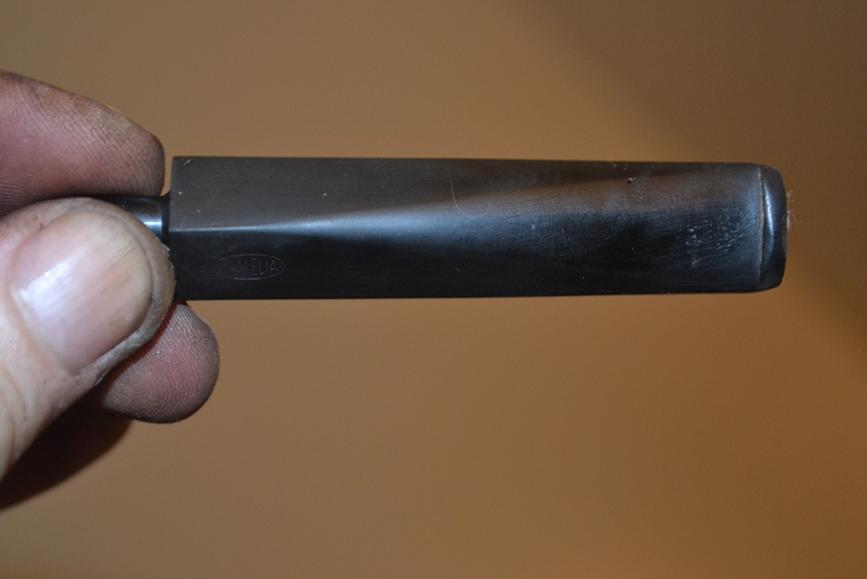
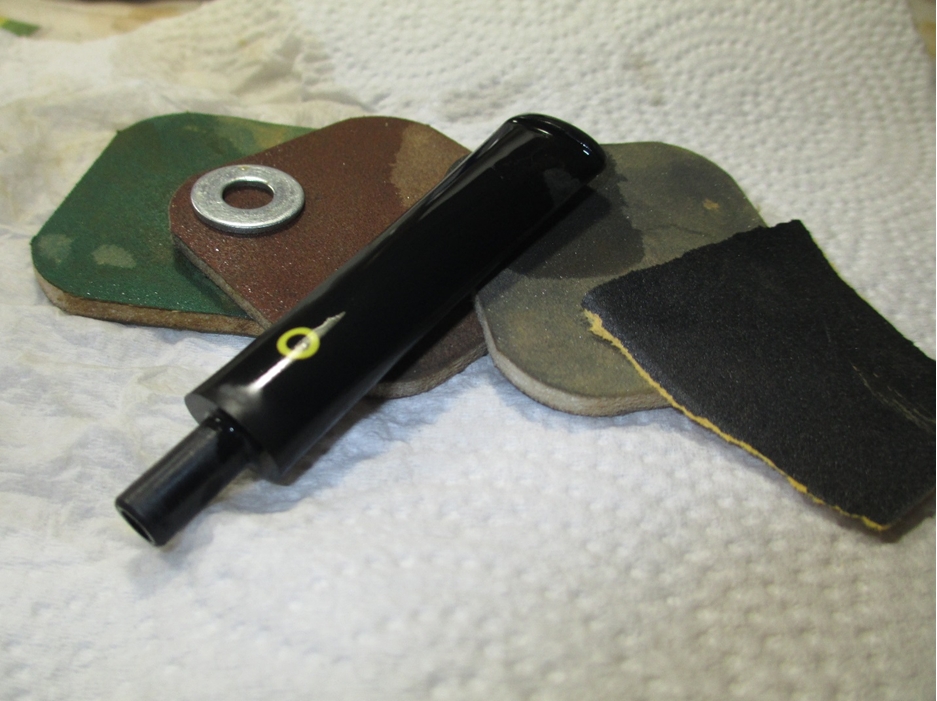
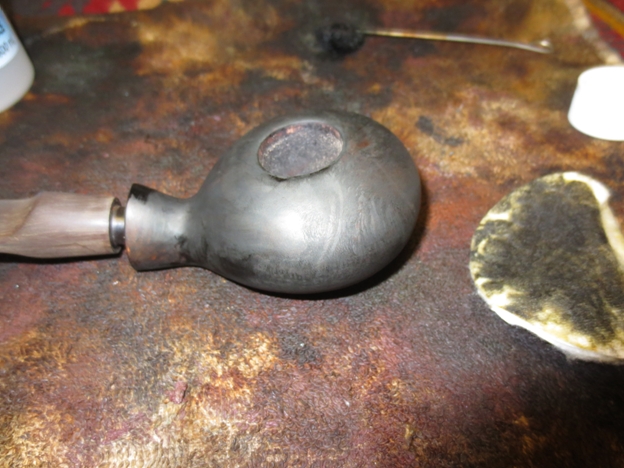
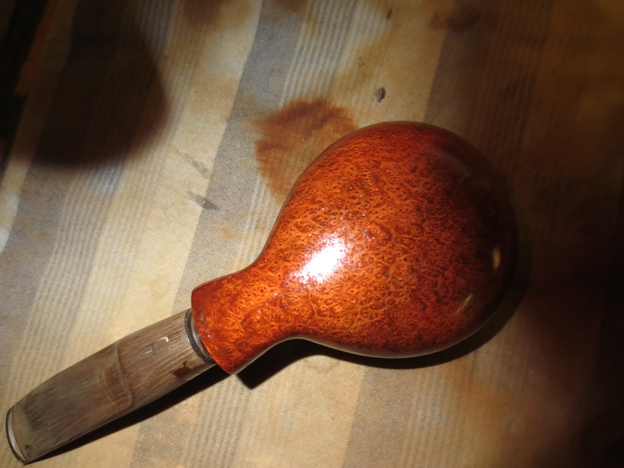
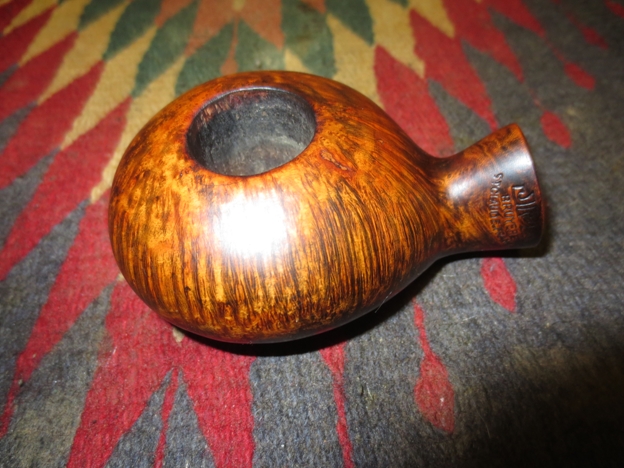
Ready for the electric buffers, I took the two pieces of the Camelia from my living room work substation to the bedroom/workroom proper. For the stem, I followed my former practice of buffing with white and red Tripoli followed by White Diamond, one after the other, as I incorrectly understood they were to be applied. Then I buffed the briar with the same compounds and wax except for the red Tripoli, and including a double carnauba wax. The Camelia straight, smooth bulldog was the last pipe I worked on with this procedure because of a comment by my friend and mentor, Chuck, when I showed him the pipe. He had been asked by another member of our pipe club why my pipes appeared duller than his when compared side by side on the same table. Chuck’s close inspection of the Camelia then revealed streaking of the finishes, and he was able to deduce the reason.
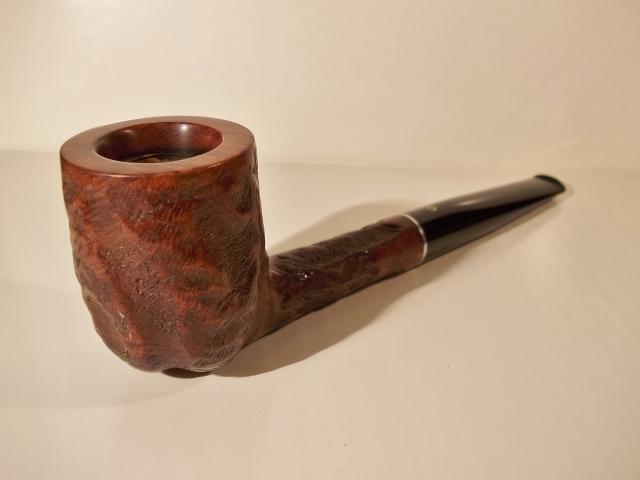
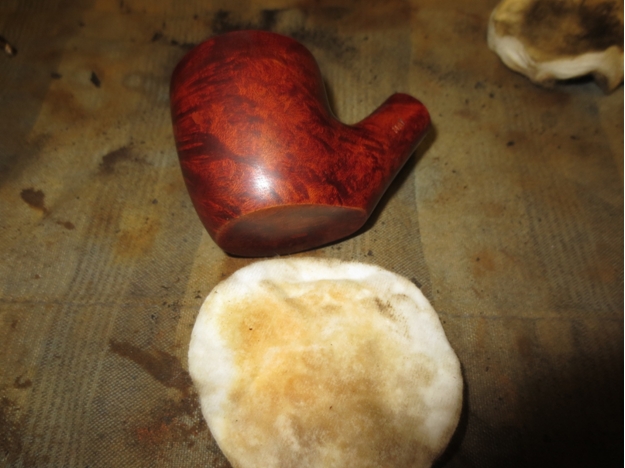
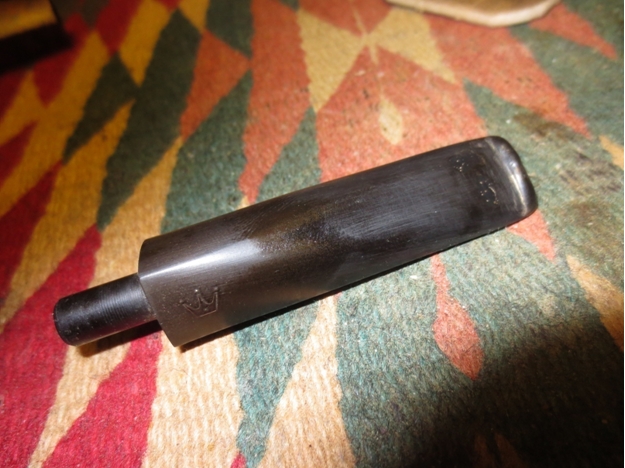
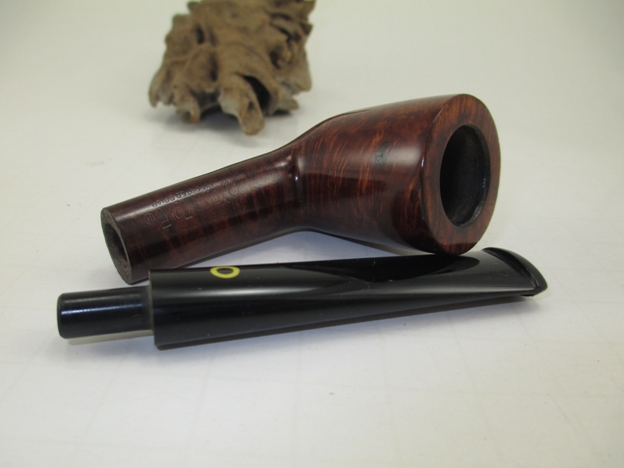
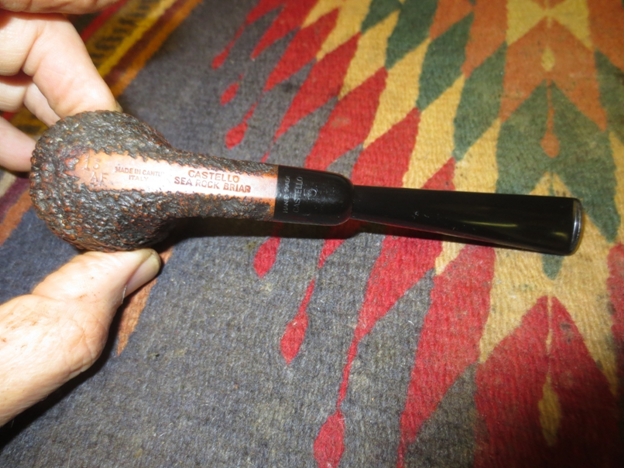
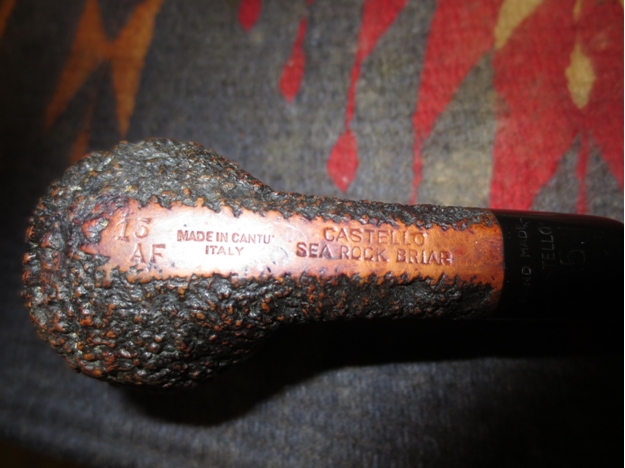
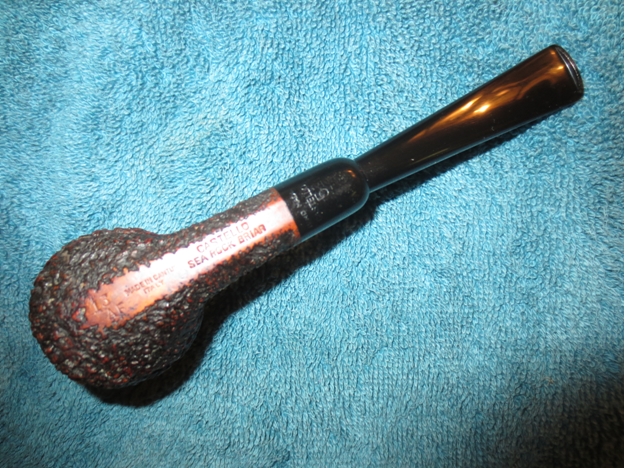
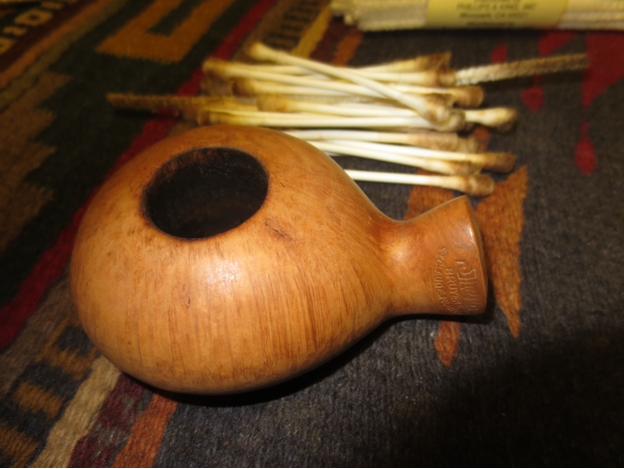
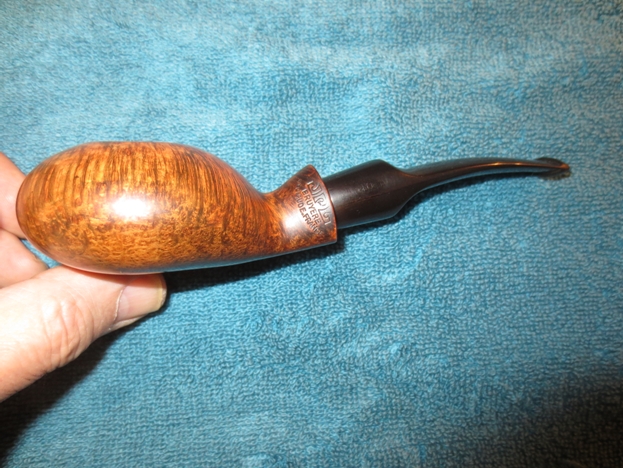
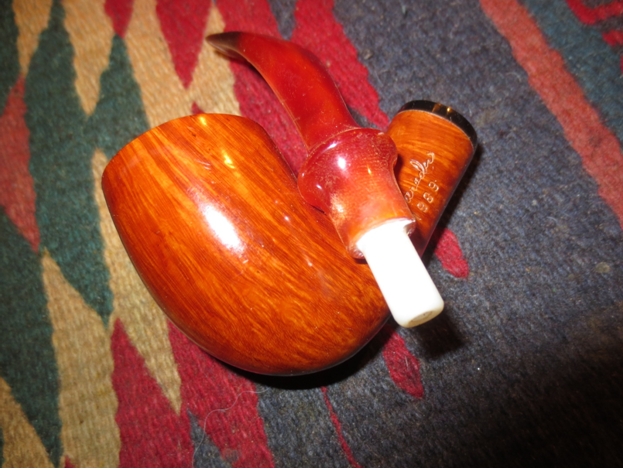
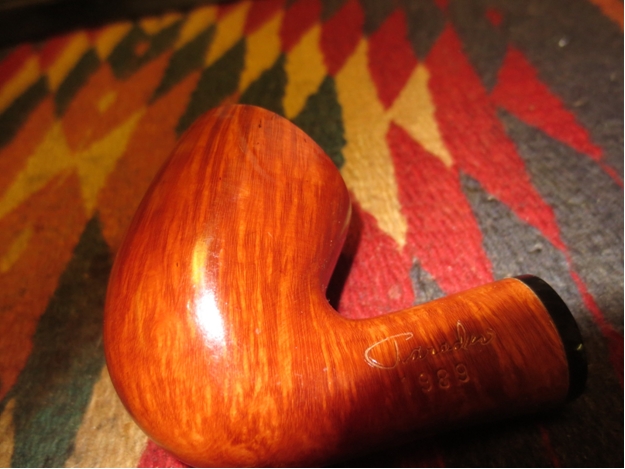
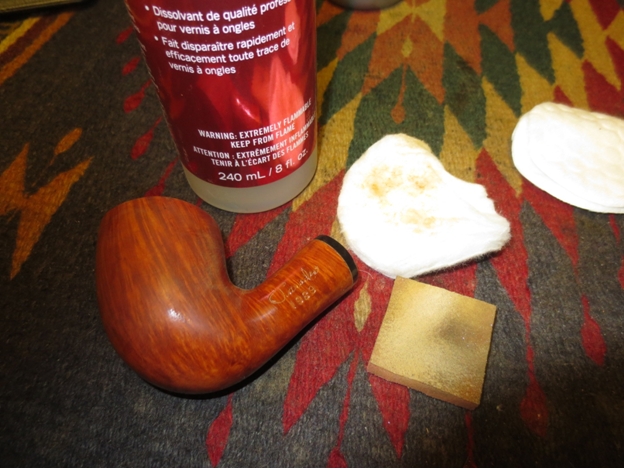
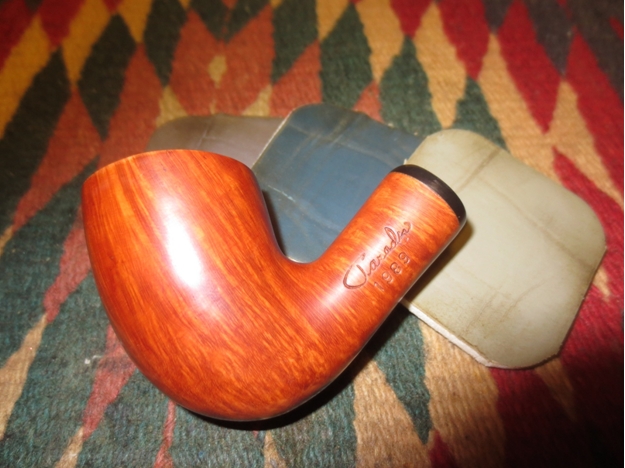
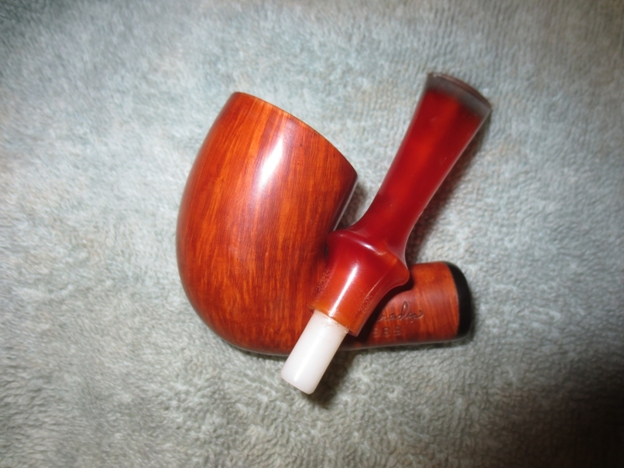
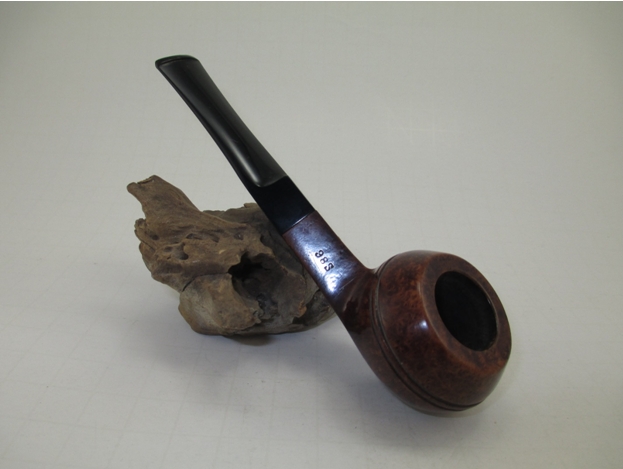
Armed with my new understanding of how to run the stem and briar over a clean buffer on the wheel between coats, I returned home later and began by putting both parts to an unused replacement pad to clear off the excess previous waxes and repeated the series of buffs, using the clean pad after each. After the re-buffs, I filled in the Camelia brand mark on the stem with a white china marker.


 CONCLUSION
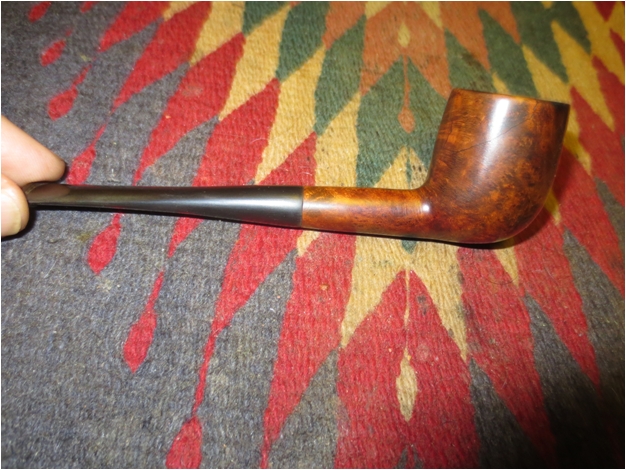
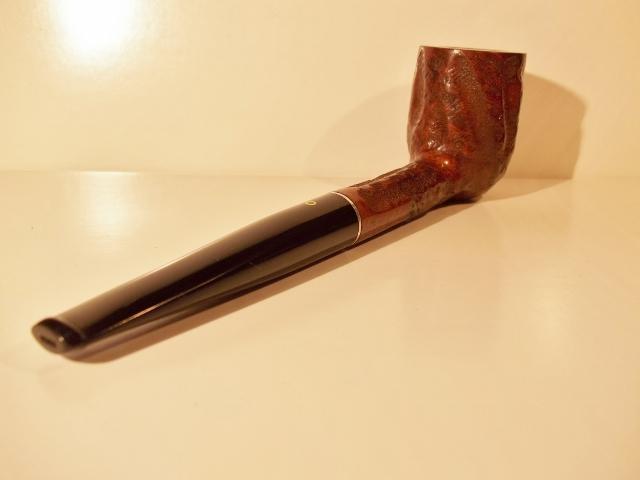
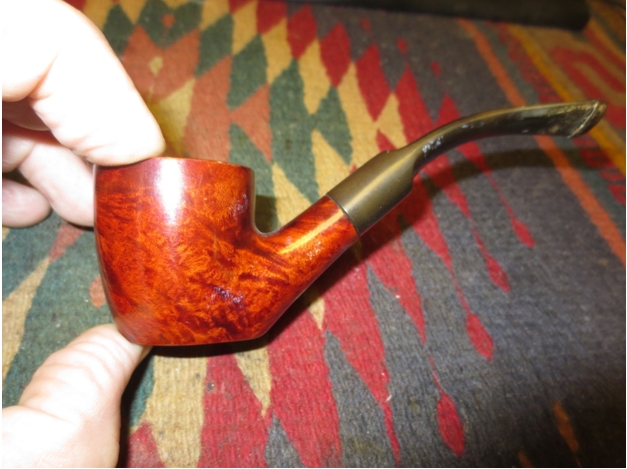
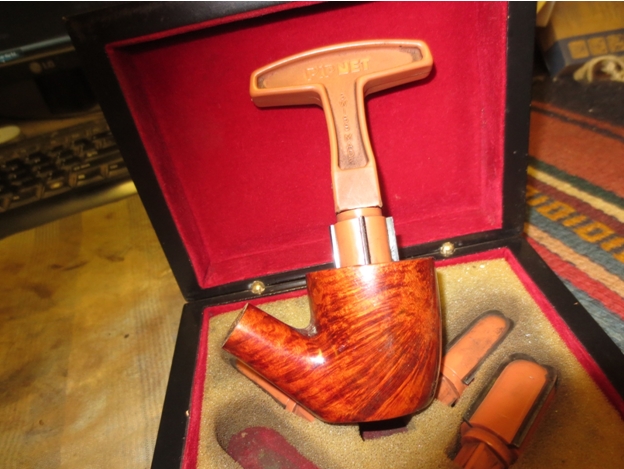
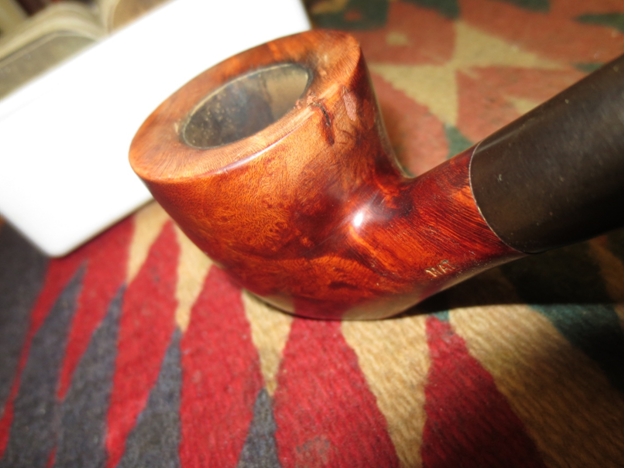
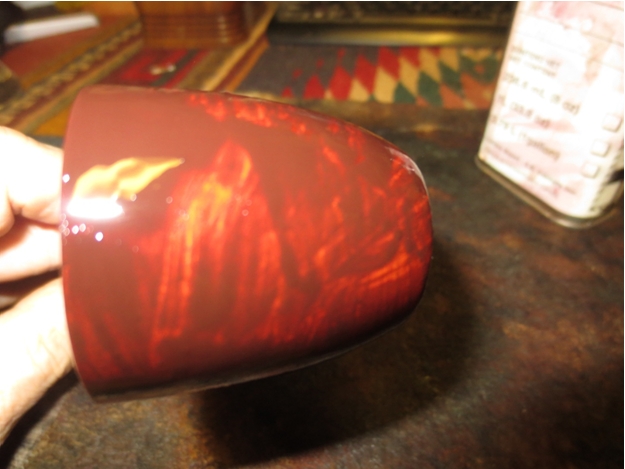
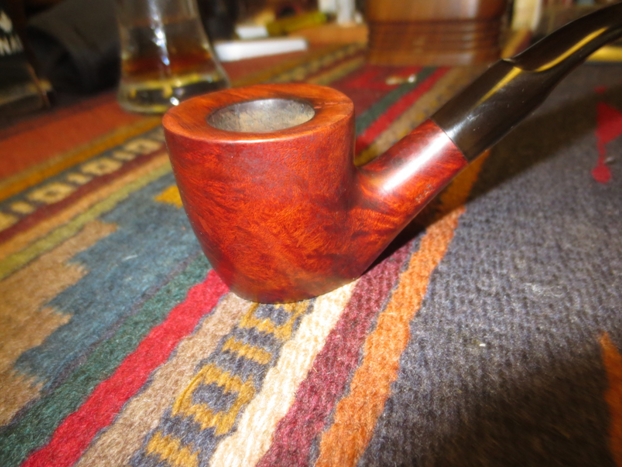
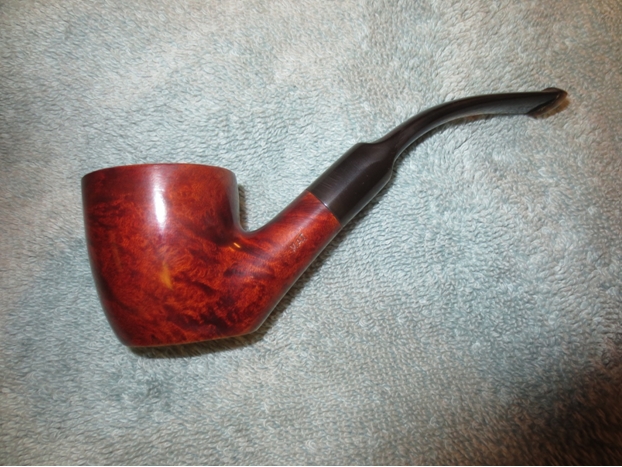
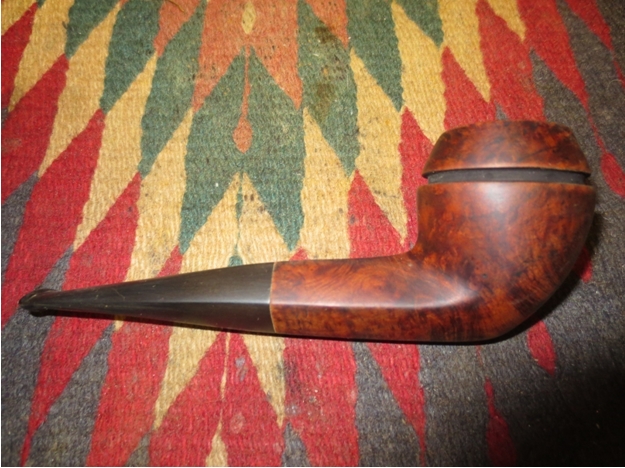
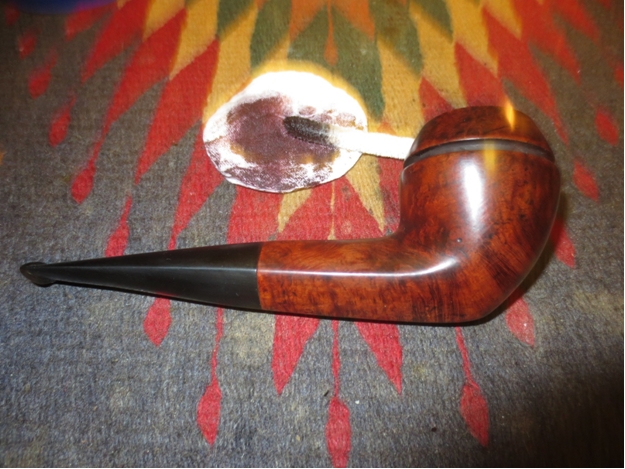
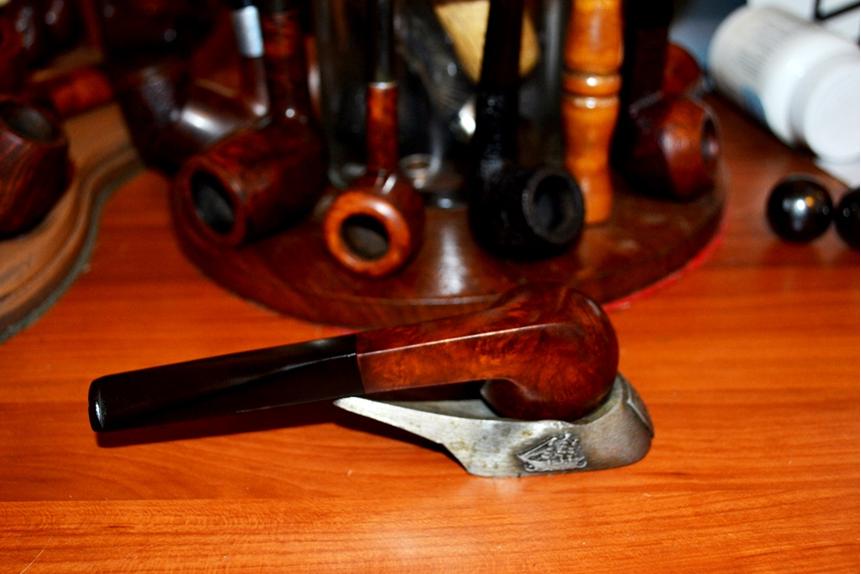
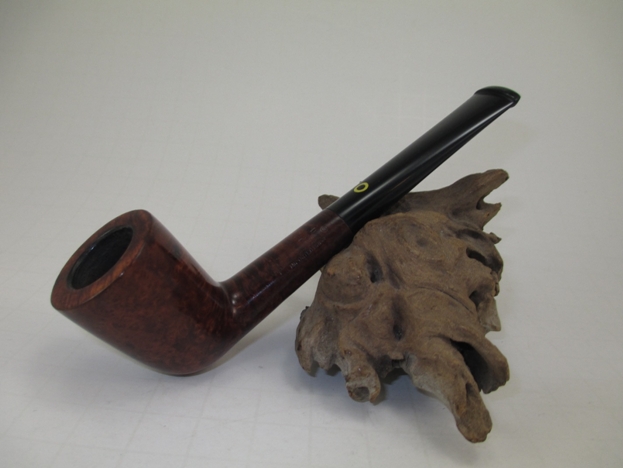
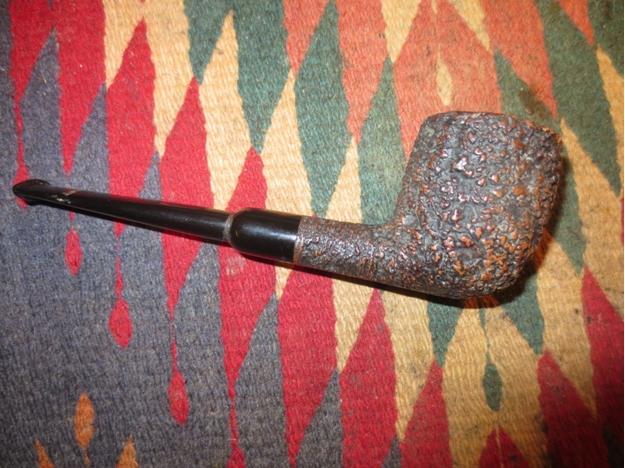
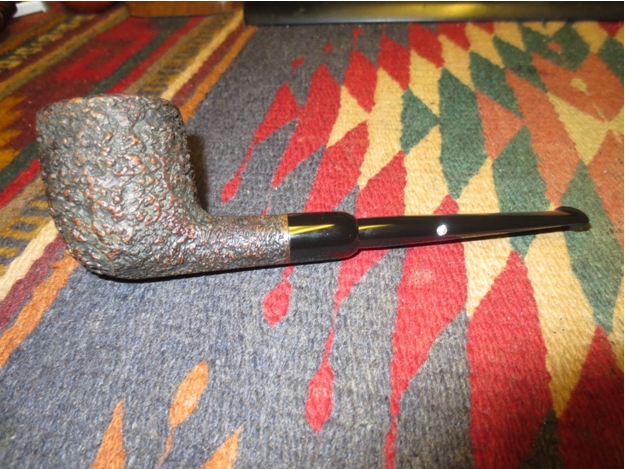
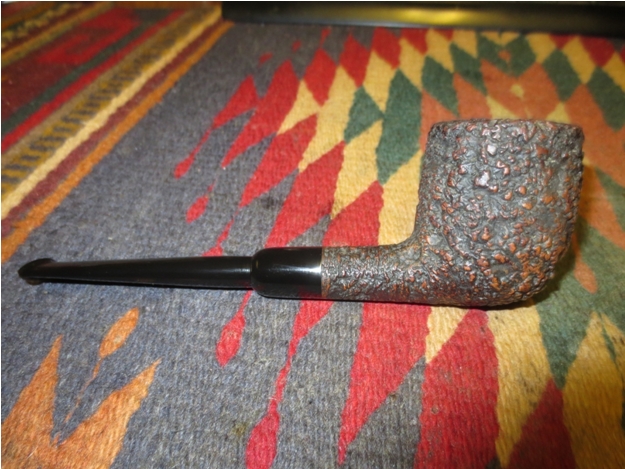
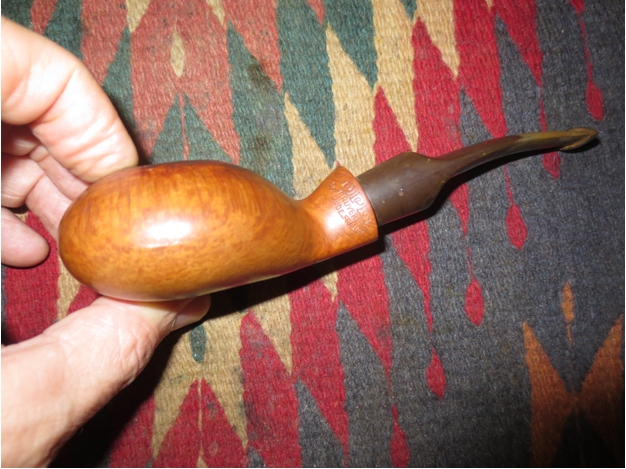
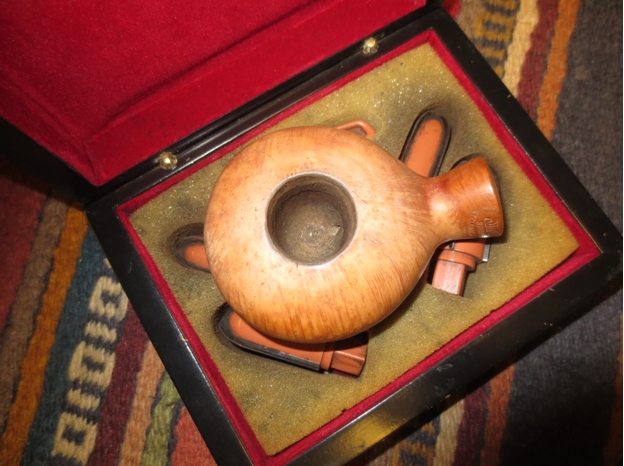
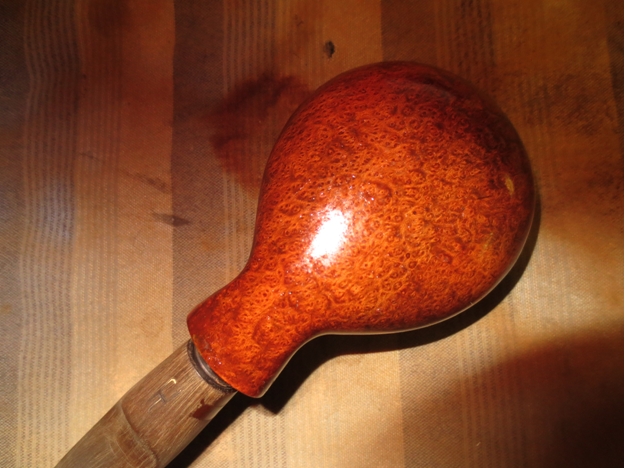
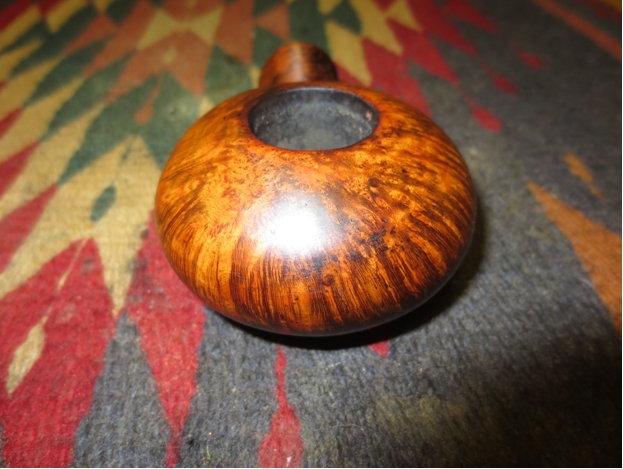
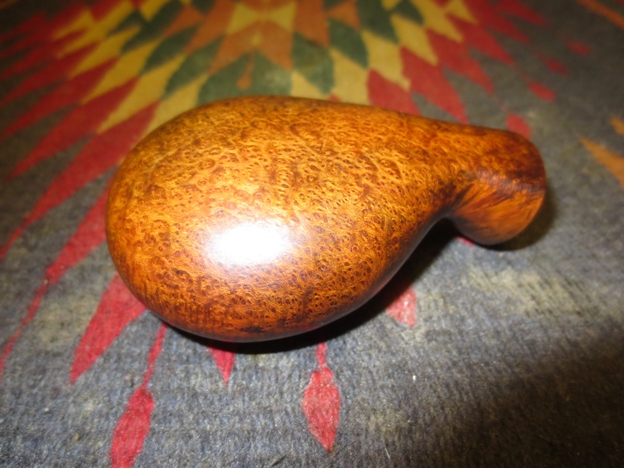
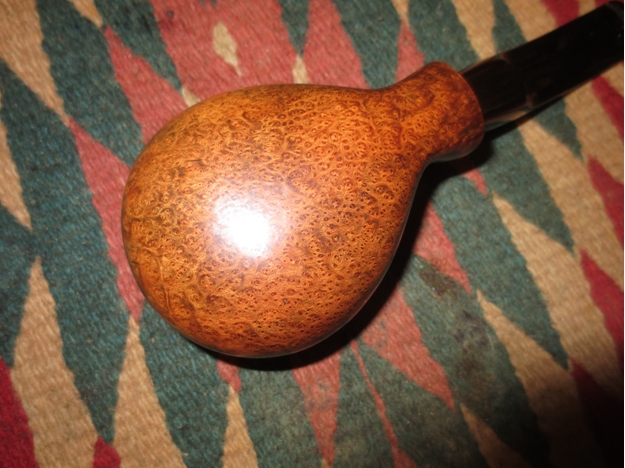
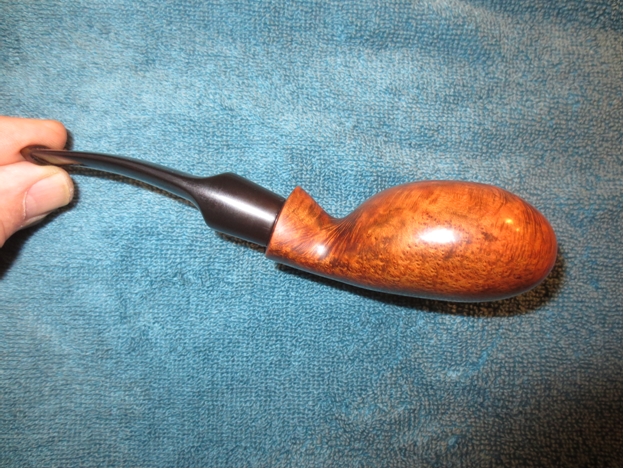
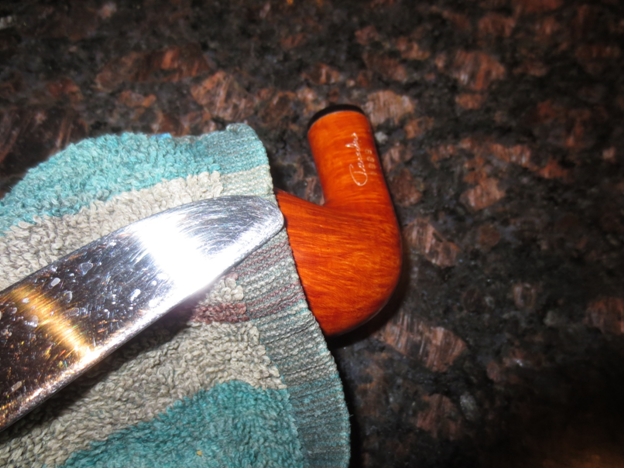
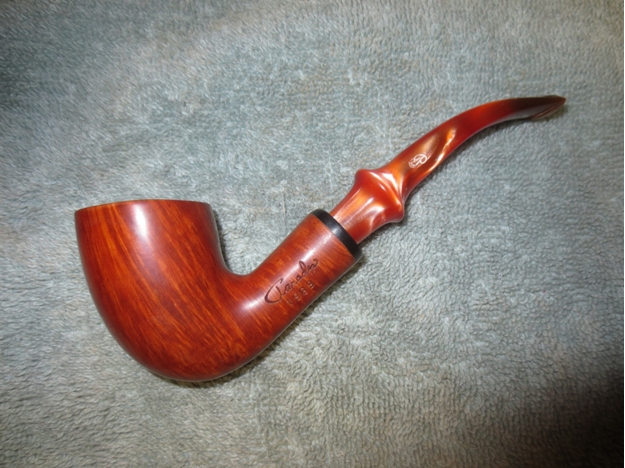
The entire pipe, from bowl to bit, glowed with a far brighter and unyielding finish. Showing Chuck the new and improved completed Camelia, he smiled after the quick look-over that is necessary when nothing is wrong, and asked with obvious excitement, “Was I right? Doesn’t that simple step make all the difference in the world?”
Yes, Chuck, you were right. And the world is a little bit better as a result.
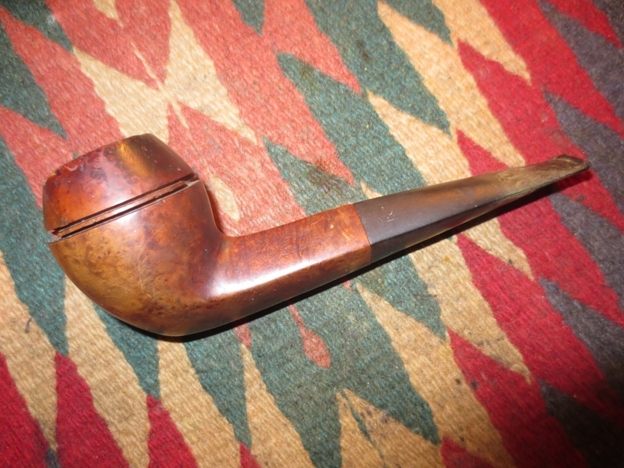
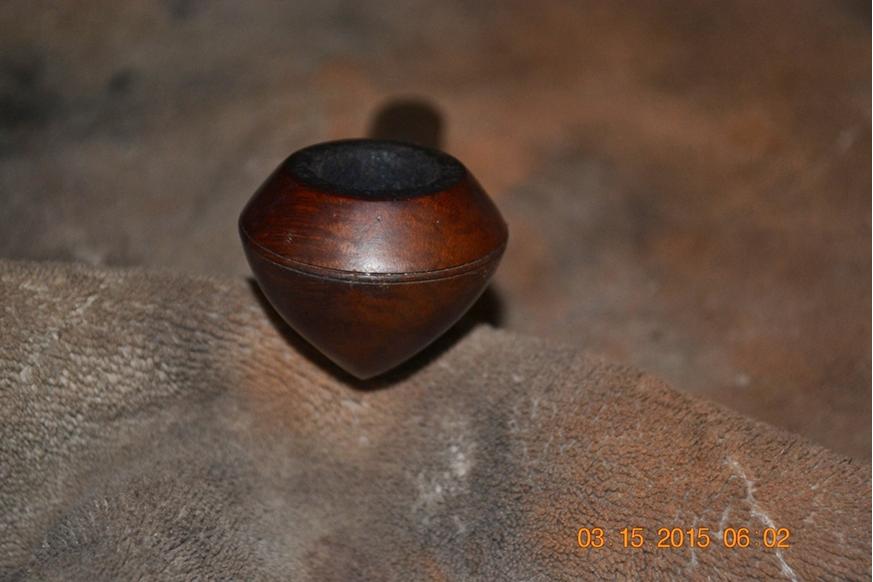
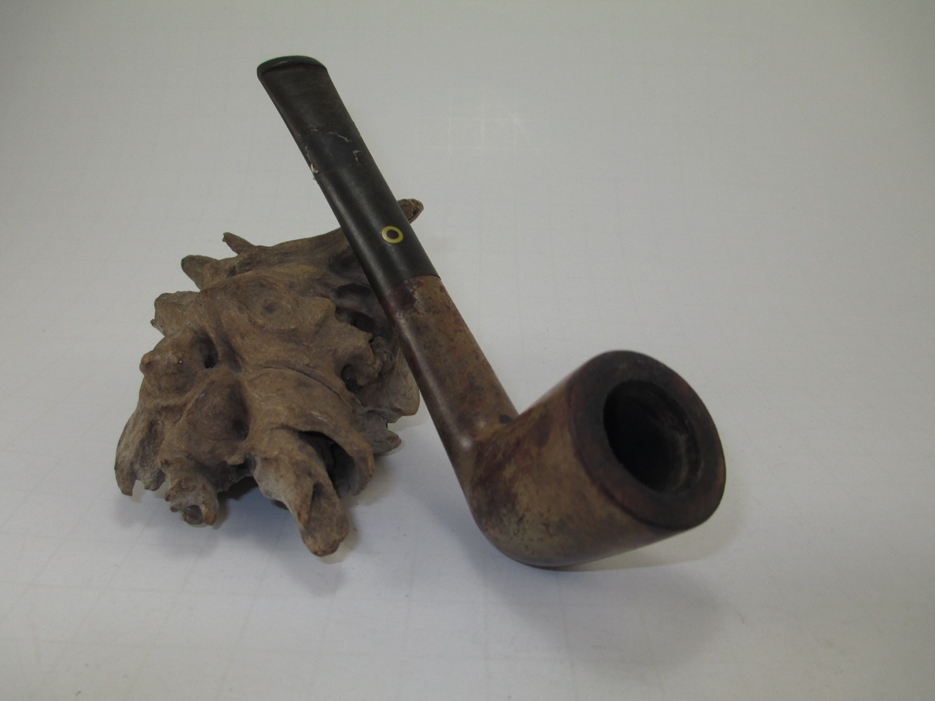
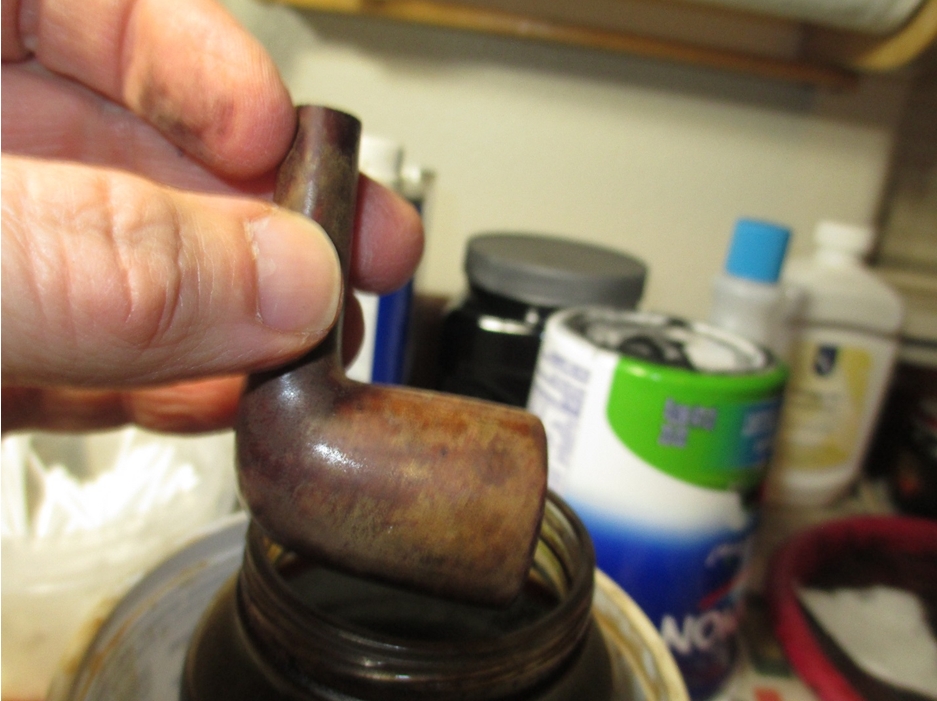
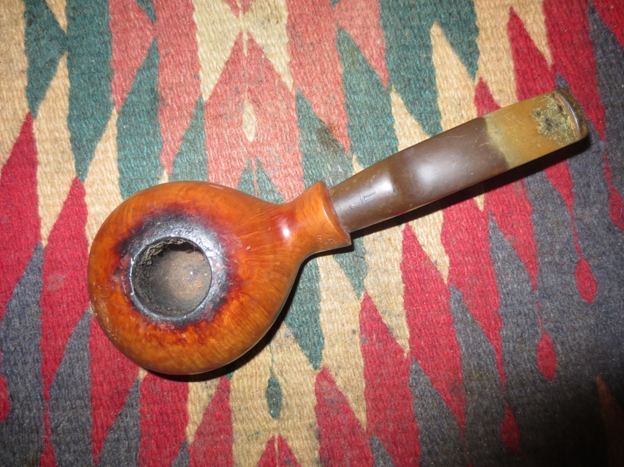
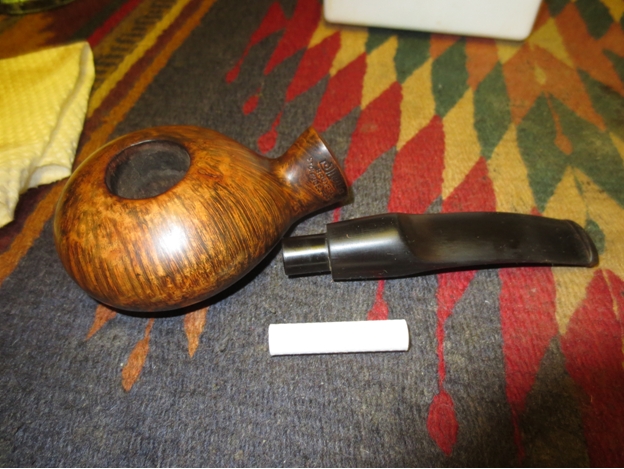
 With concerns about cleanliness in mind, I dropped the bowl into the alcohol bath.
 I also soaked the stem in Oxyclean.
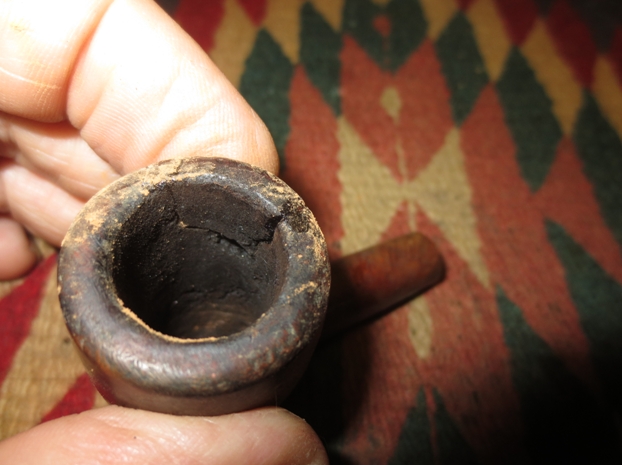
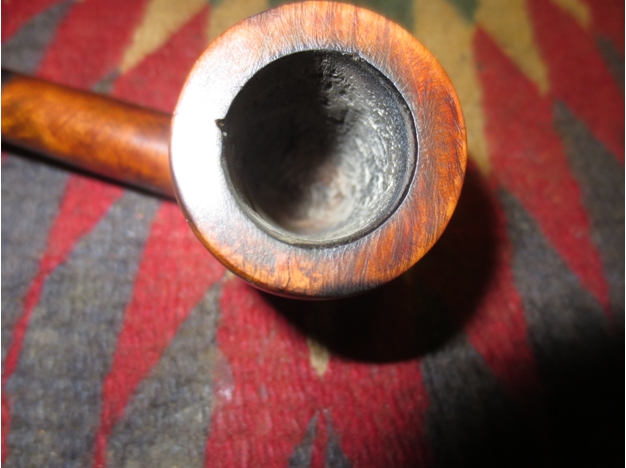
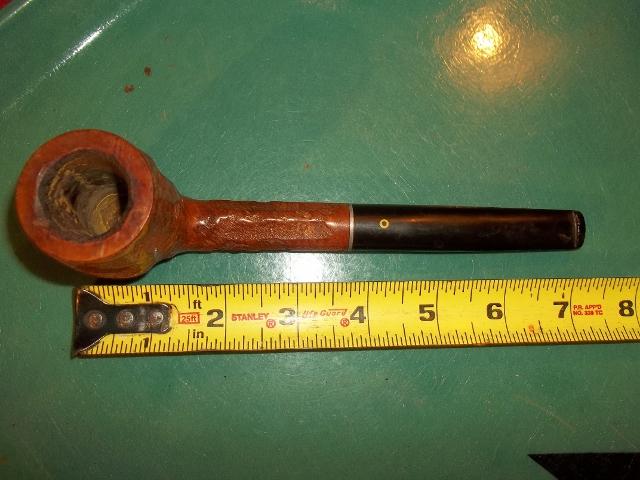
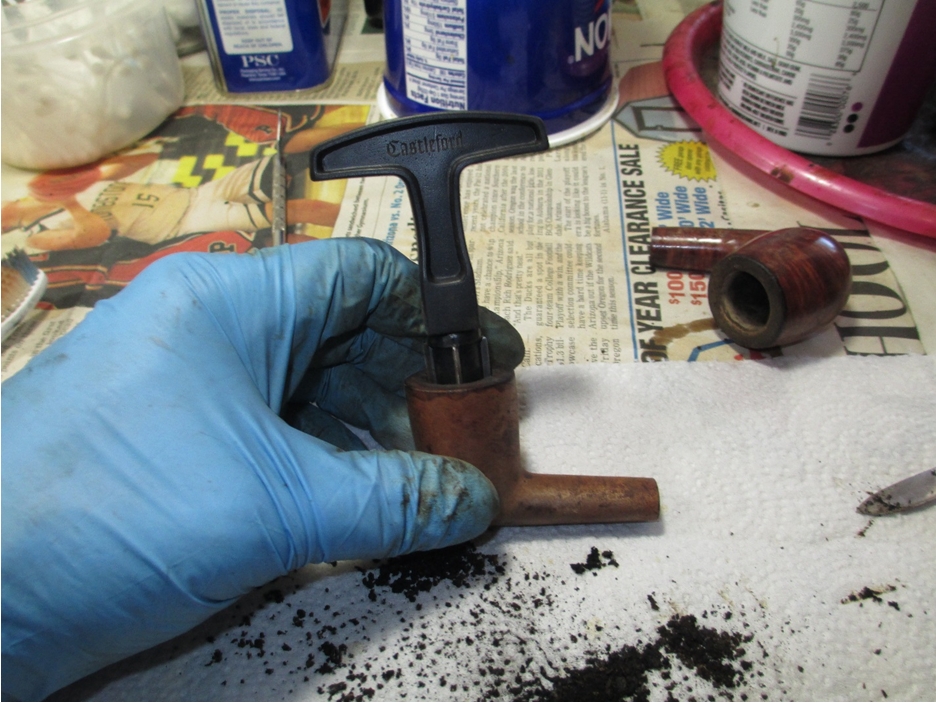
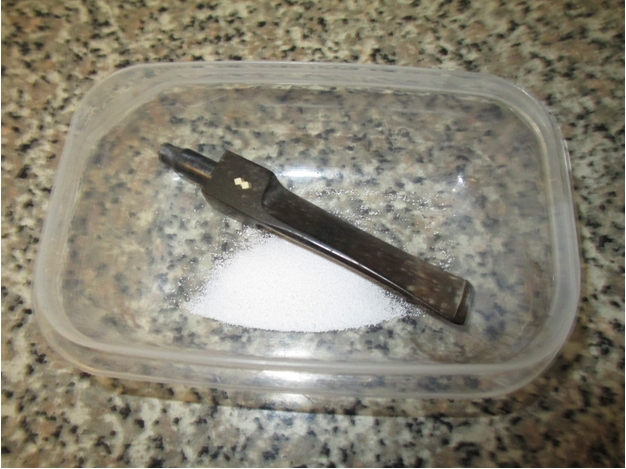 After soaking overnight, I used my Castelford reamer to clean the cake.
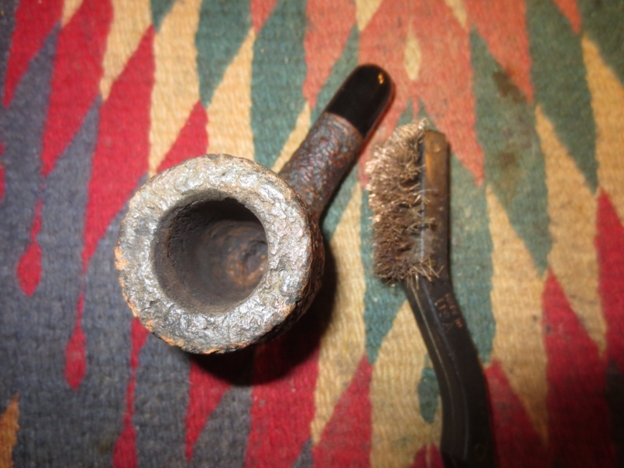
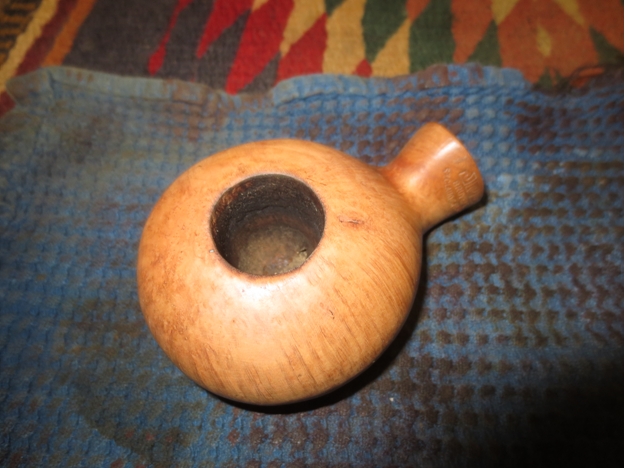
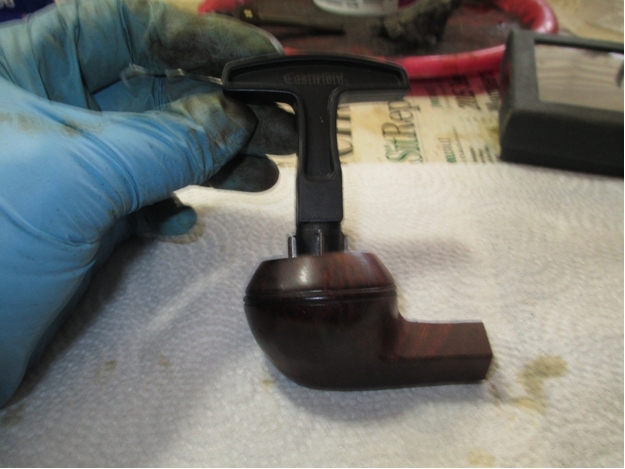 I checked the cleanliness of the shank with a brush and was pleasantly surprised.
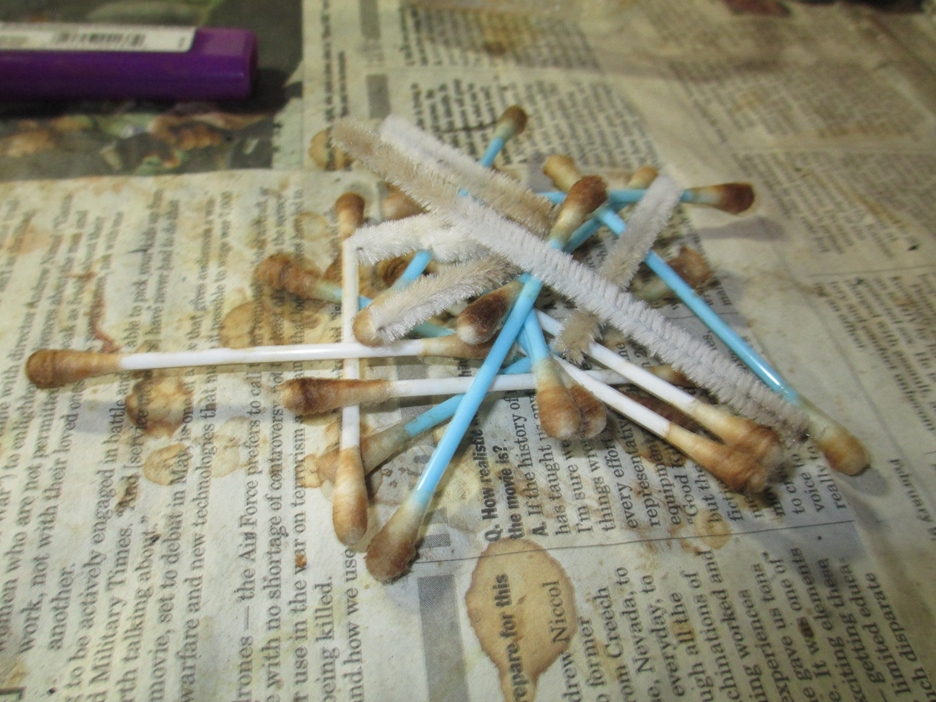
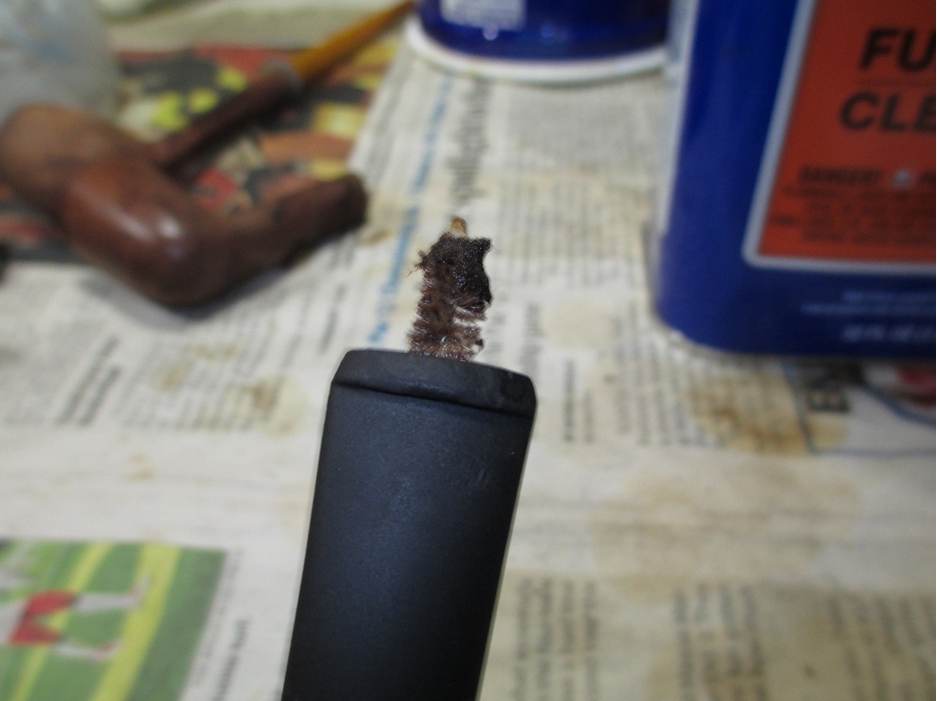
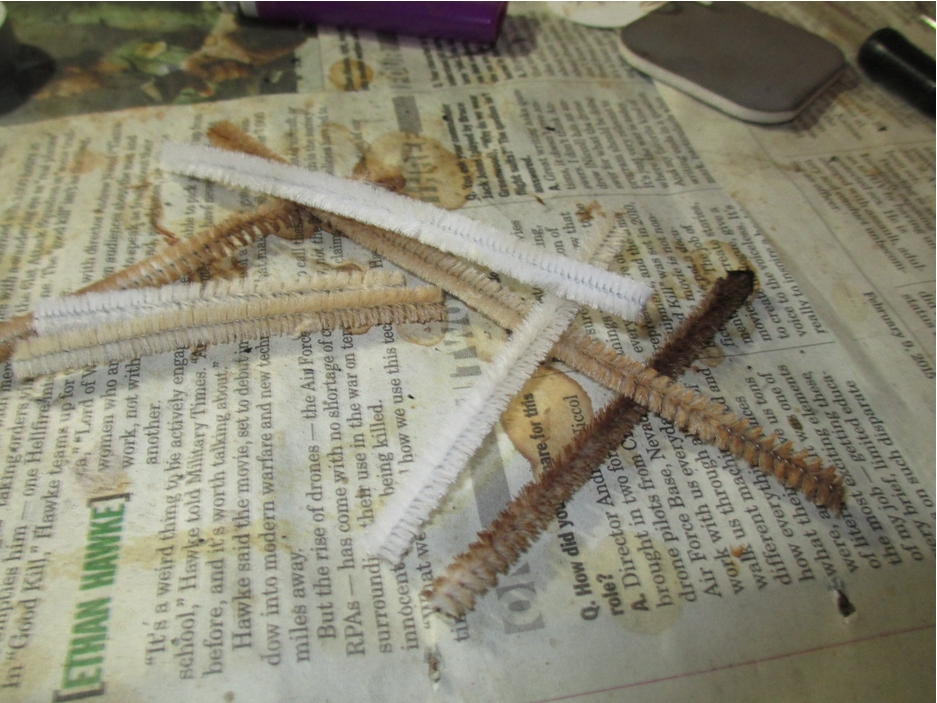
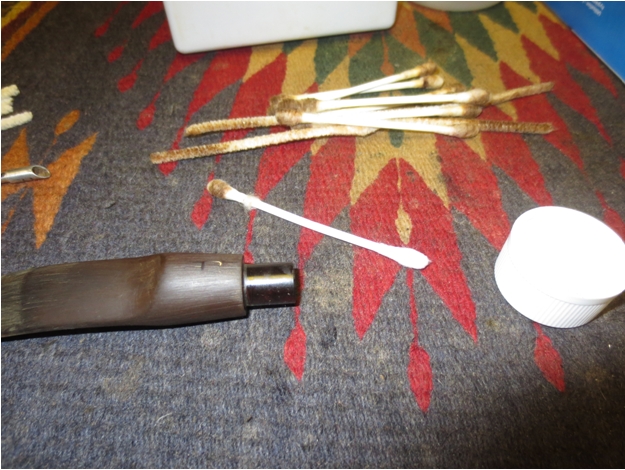
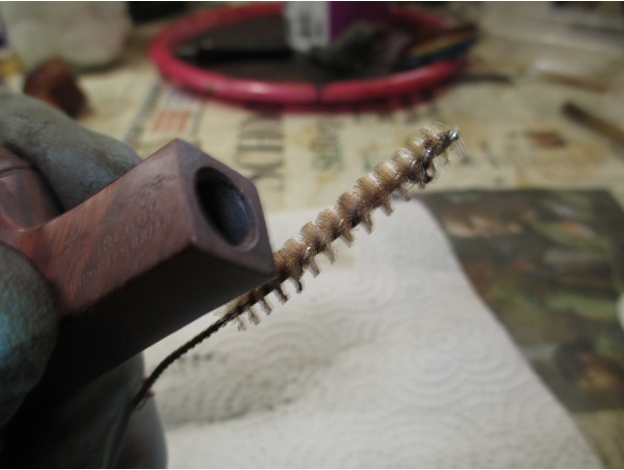 I retorted the shank, sorry no pictures this time, and after a few q-tips and fuzzy sticks the shank was clean.
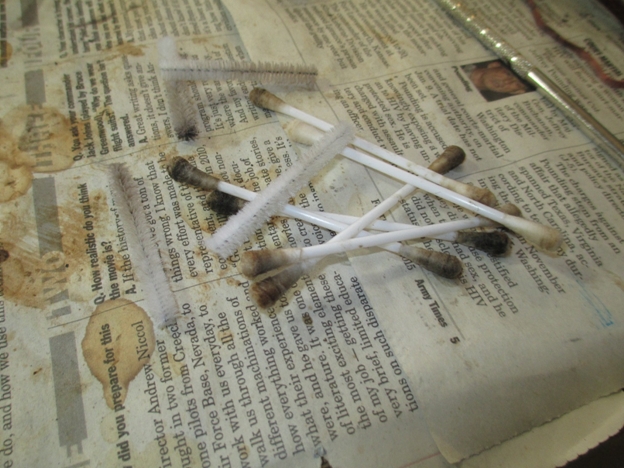 Next I retorted the stem.
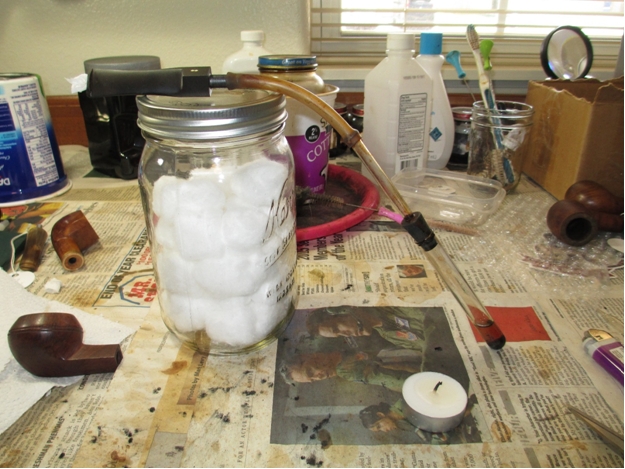 It was also relatively clean; this was a fuzzy stick dipped in alcohol right after the retort.
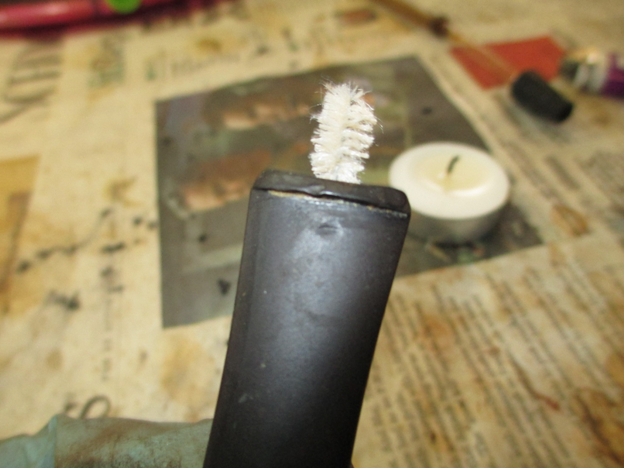 I used two fuzzy sticks dipped in alcohol just to make sure.
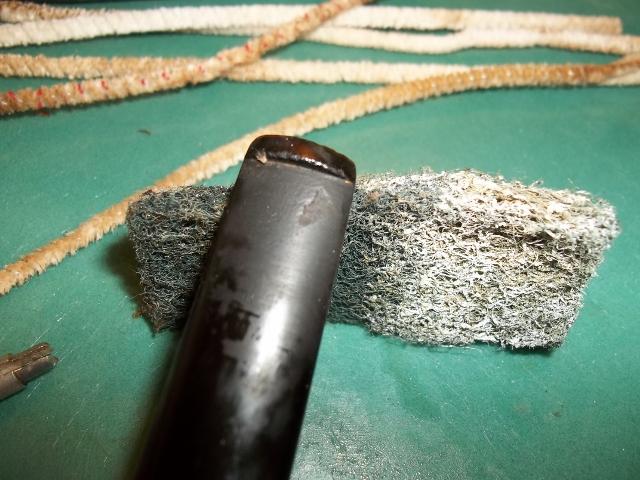
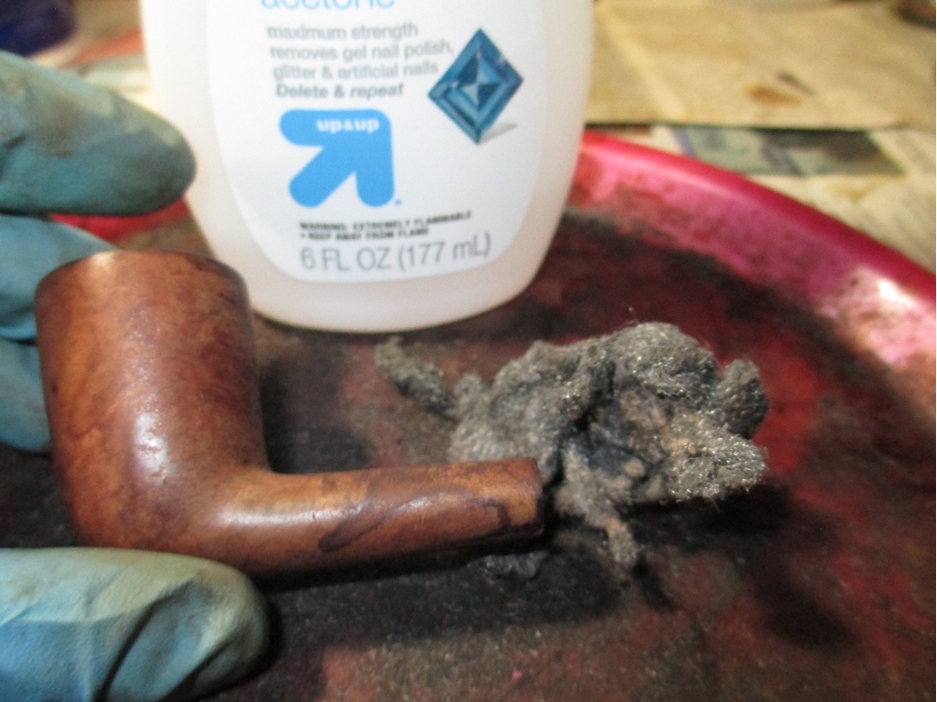
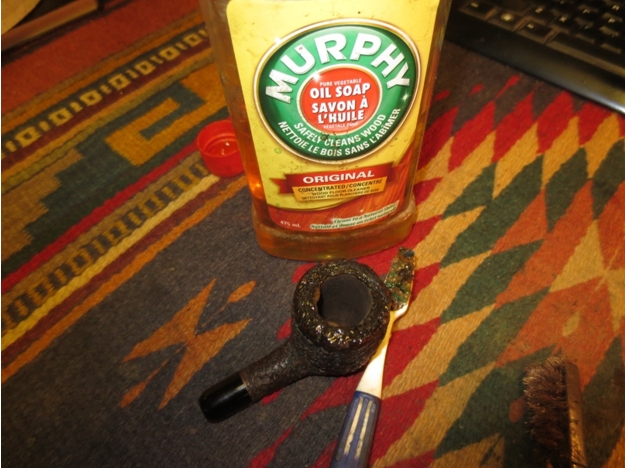
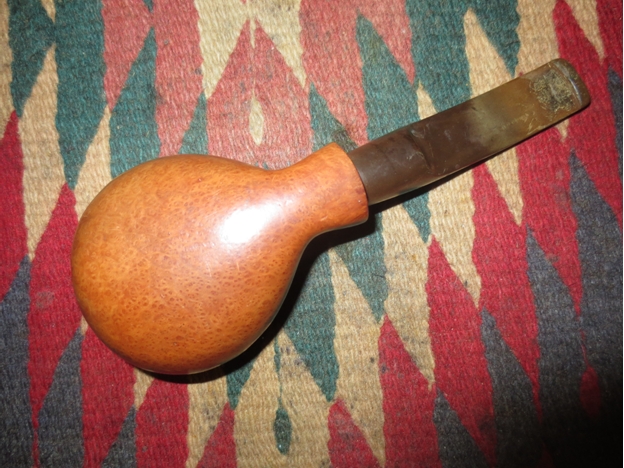
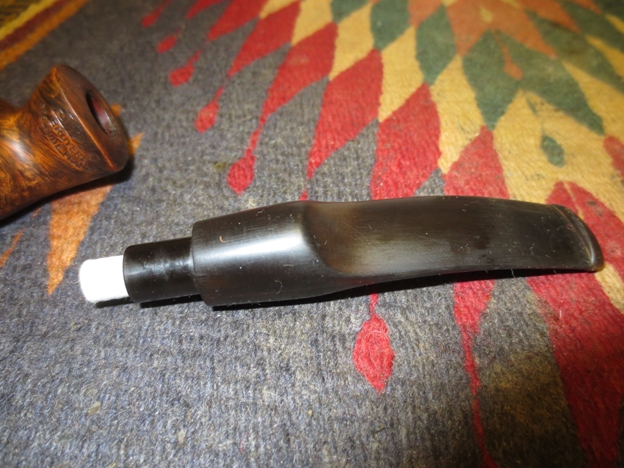
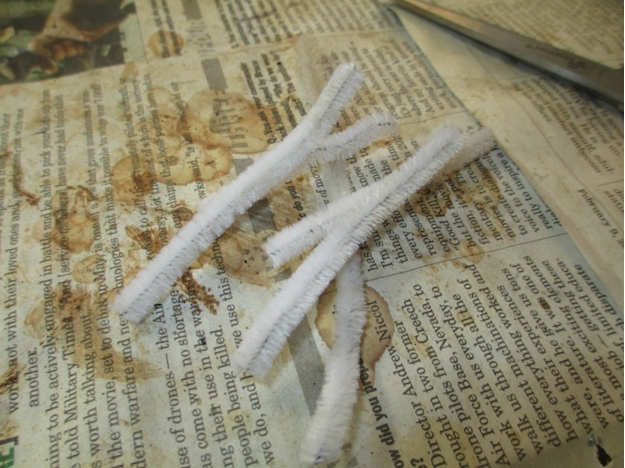 I wanted to tackle the grime on the bowl and tar on the rim, so I used 0000 steel wool and acetone.
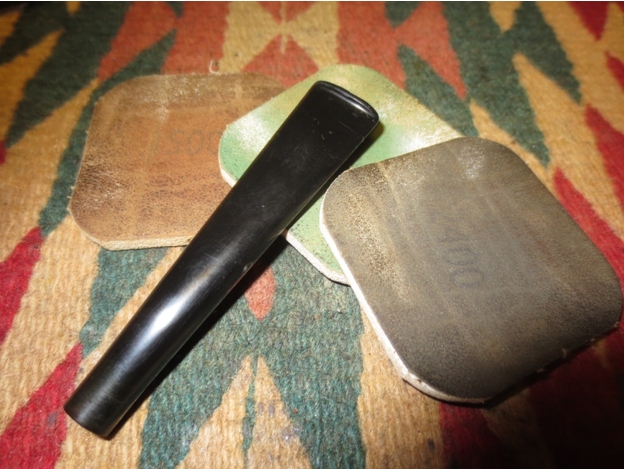
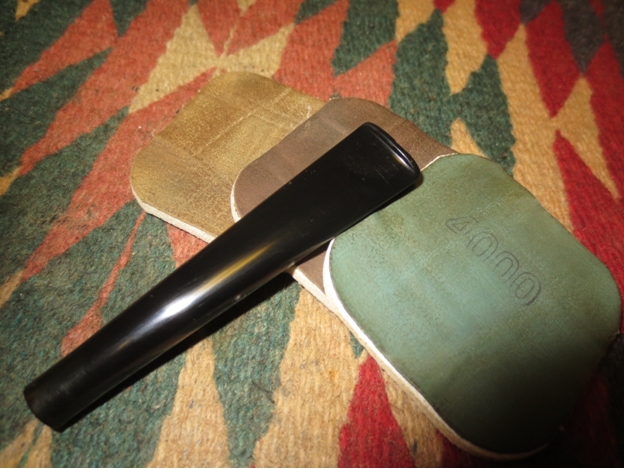
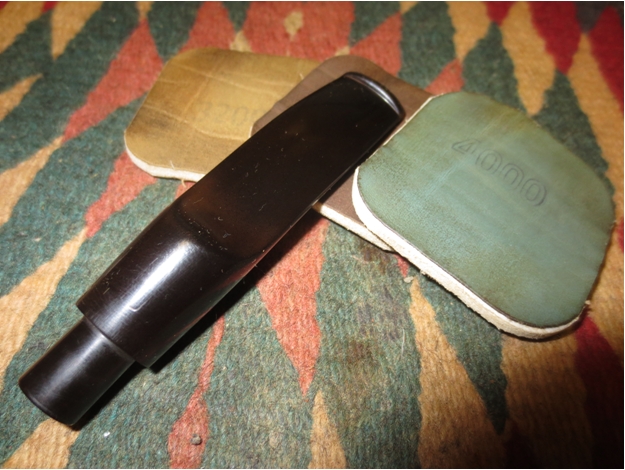
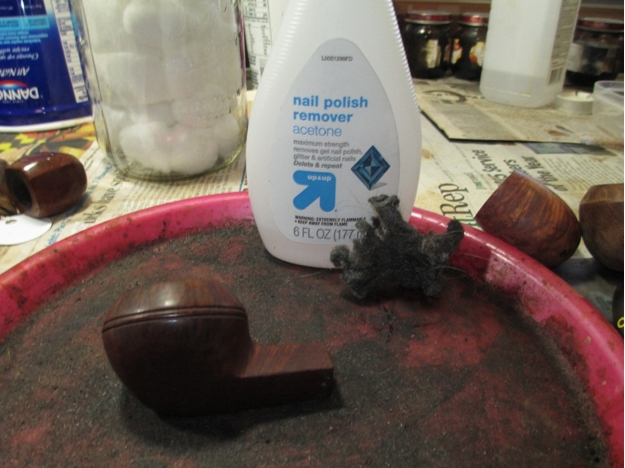 Next I turned my attention to the stem. I used 400 grit wet/dry sand paper with water, followed by 1500-2400 grit micro mesh pads with water.
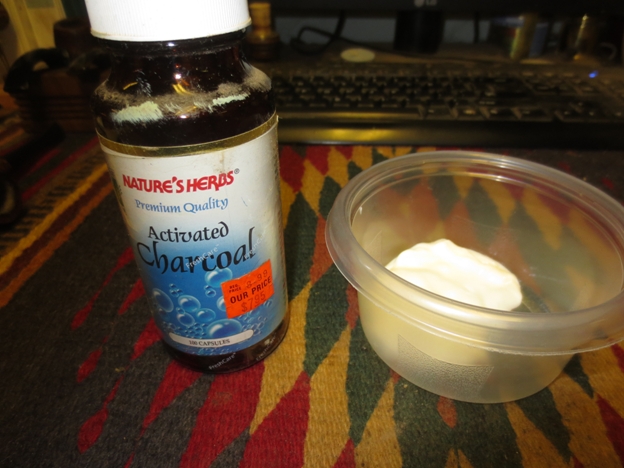
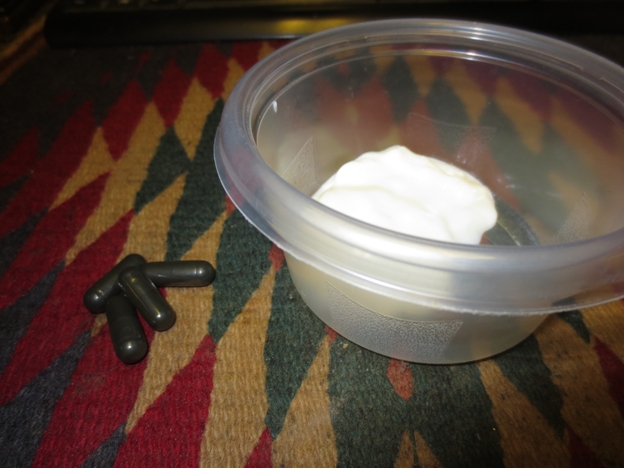
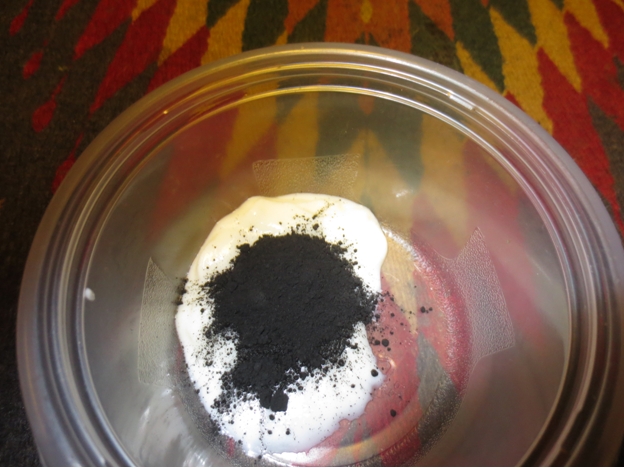
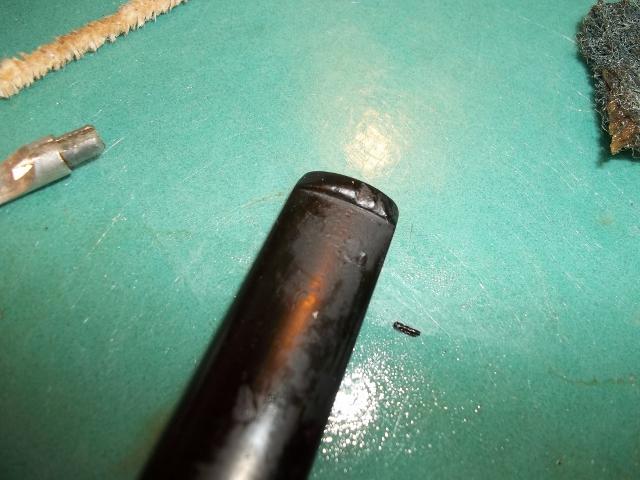
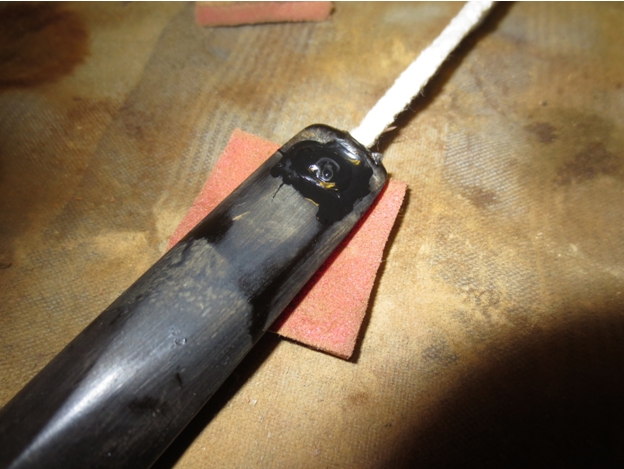
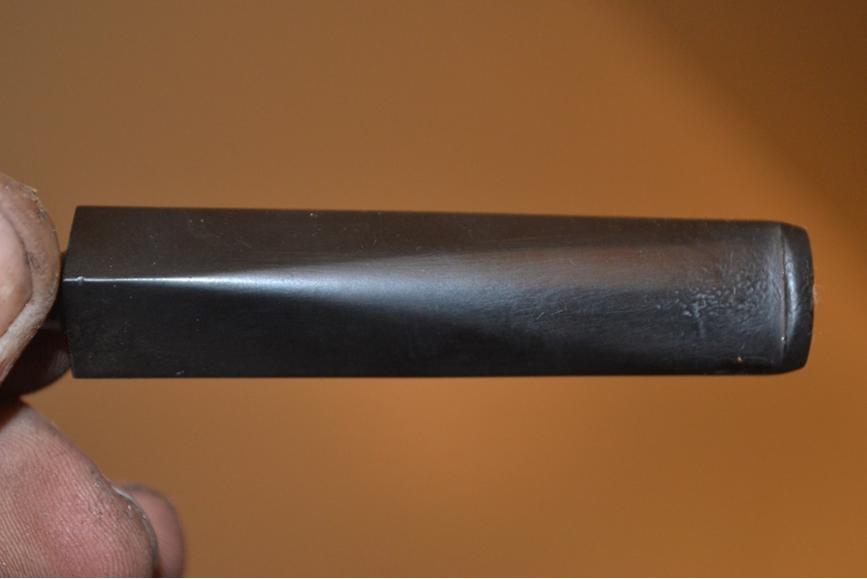
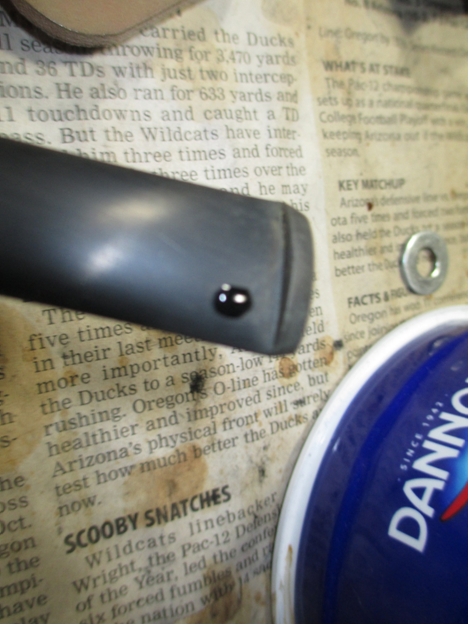
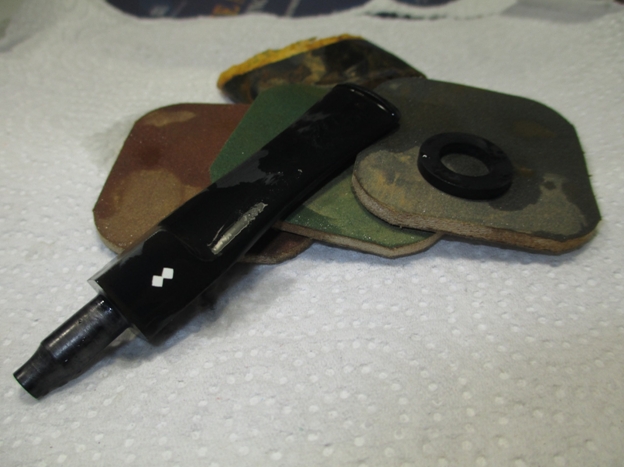 Since the stem had some tooth marks, I mixed up some clear CA glue and ground charcoal. I applied the glue with a straight pin and added accelerator to dry it. I used a small flat file to shape the repairs followed by sanding with 400 grit and micro mesh pads.
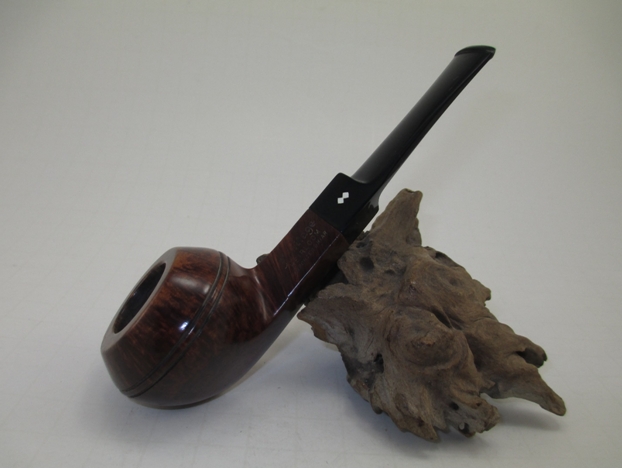
 Thanks for looking.