by Steve Laug
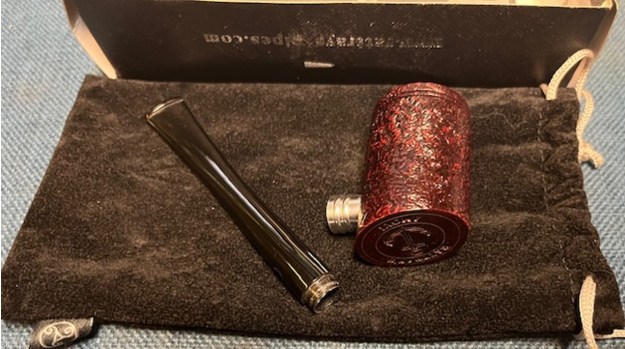
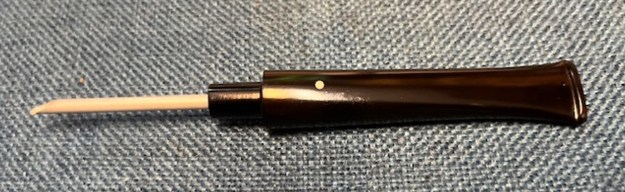
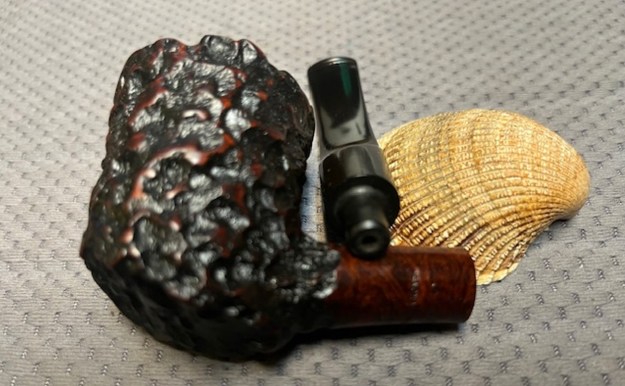
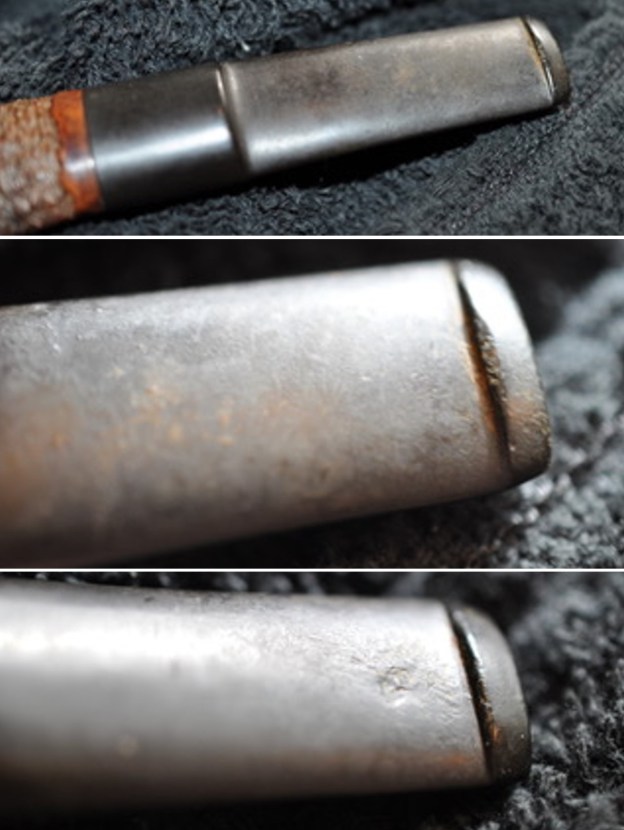
On the weekend I got a call from the local pipe/cigar shop. They had a customer break the stem on his new Rattray’s Ahoy sandblast pipe. I asked the clerk to email me some photos of what had happened as I expected worst. In my mind when someone tells me they broke the stem I visualize many different things but as I had never seen or worked on a Rattray’s Ahoy I had no idea what was going on. He sent me the following photos. The first one spooked me a bit as it looked almost as if the tenon that fit the metal fitment on the bowl side had broken off. I was looking forward to seeing it in person. The second and third photos helped understand a bit better. It looked as if the customer had pulled the stem out of the fitment. The combination of the fitment and stem held a 9mm filter. I was ignorant of the system but I kind of figured that the fitment would slip out of the bowl in order to change the filter easily. When he dropped it off I would be able to figure it out.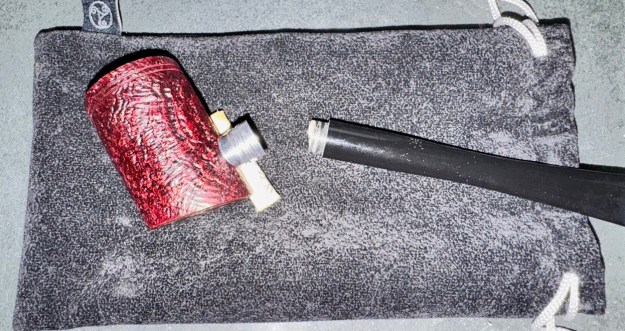
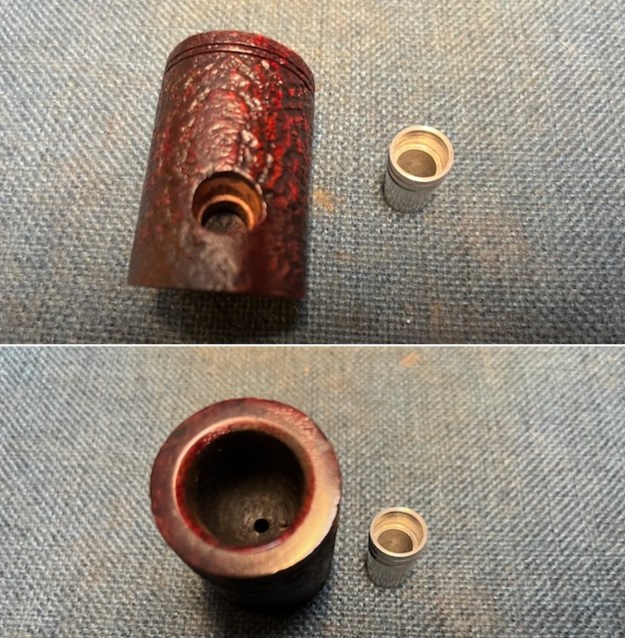
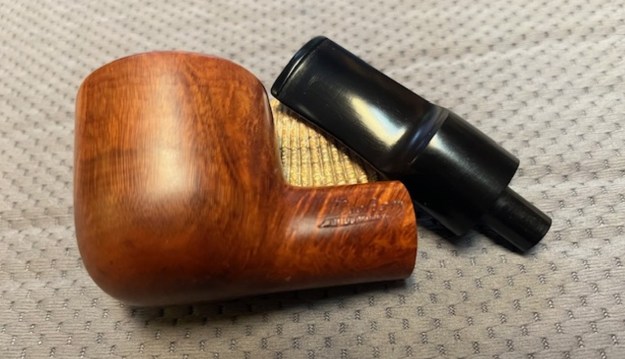
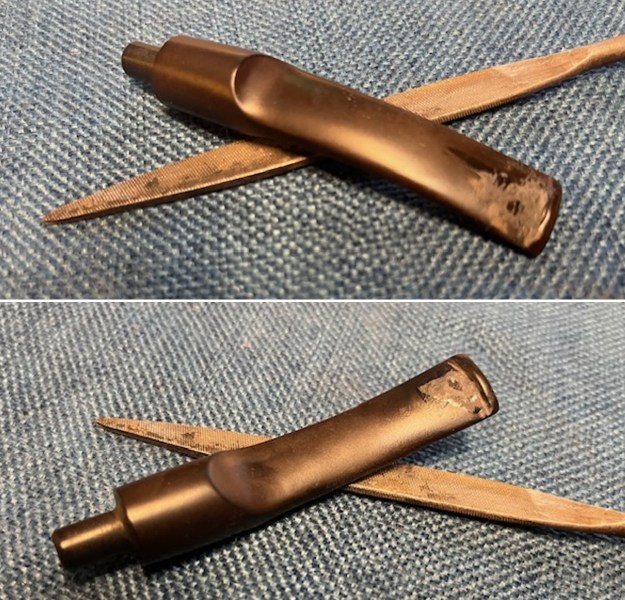
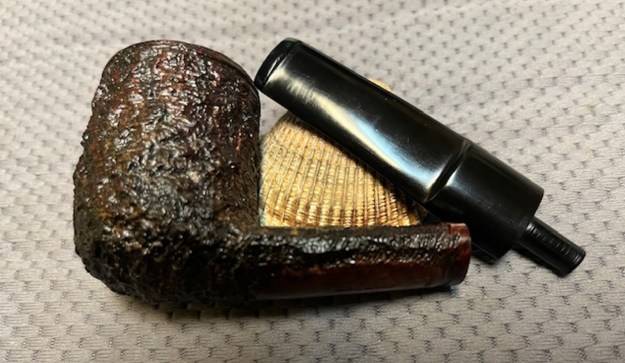
 When Joe dropped the pipe off today I was not sure what to expect. When he handed it to me it was in its original Rattray’s box and inside was a cloth pipe sock that held the parts of the pipe. I opened the box, took out the pipe sock and removed the broken pipe. I breathed a sigh of relief as it was clear what had happened. The fellow had literally twisted the stem out of the metal fitment. I checked the fitment and it was securely stuck in the bottom of the bowl.
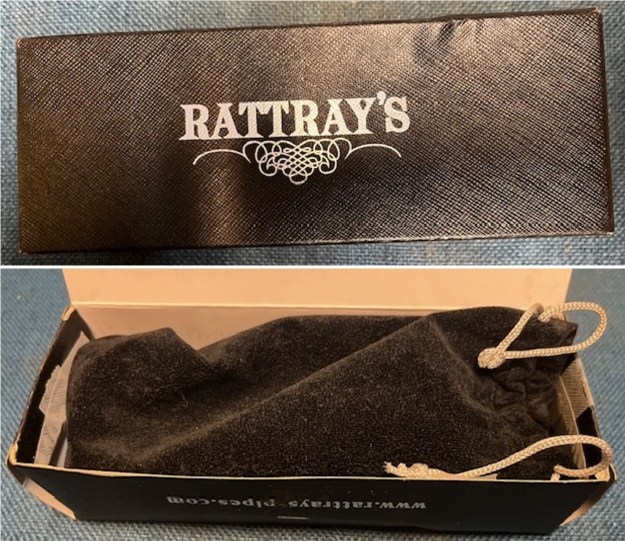
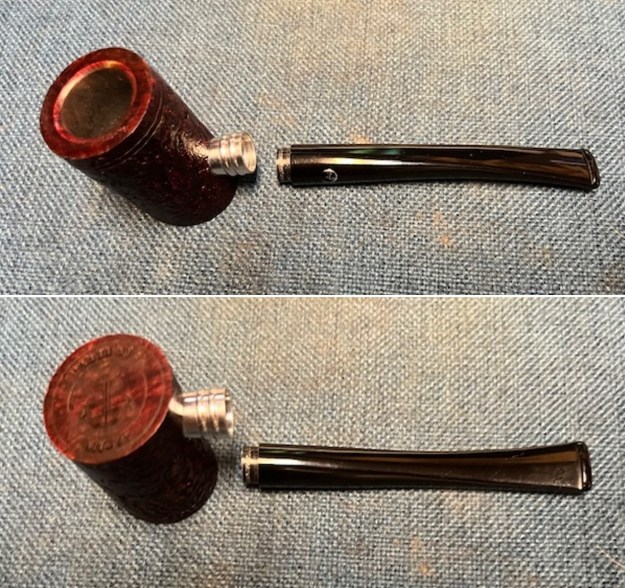
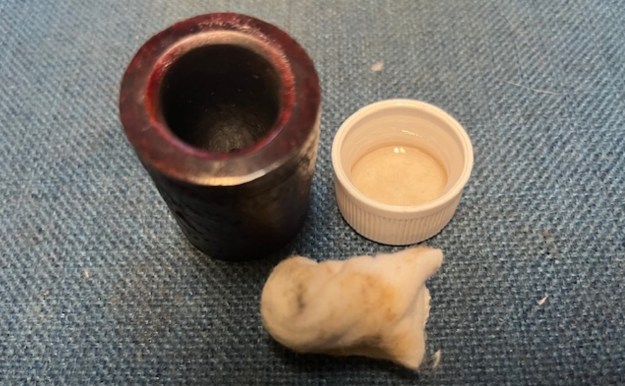
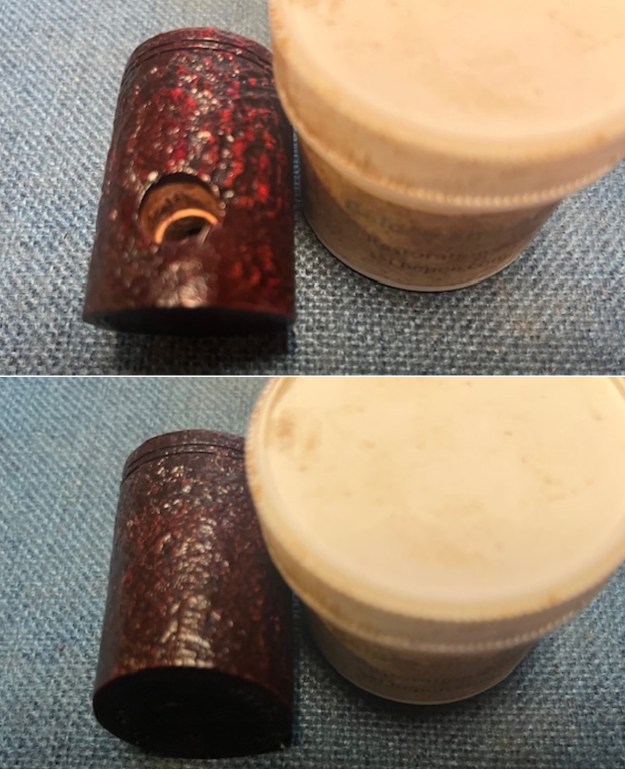
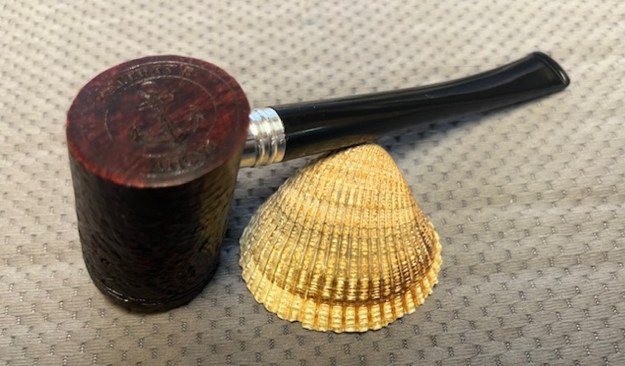
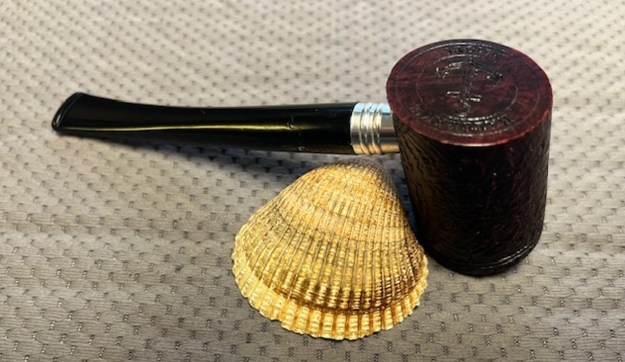
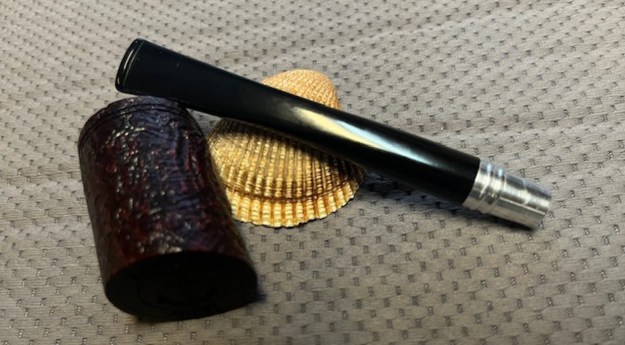
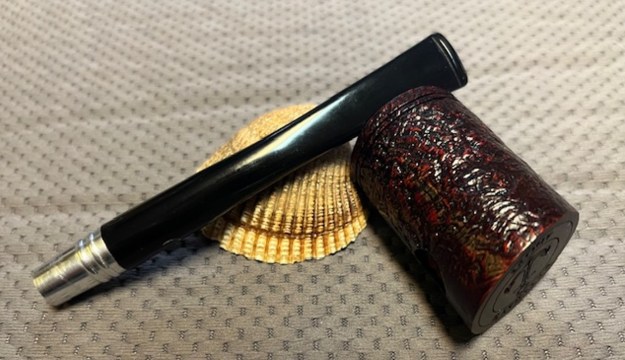
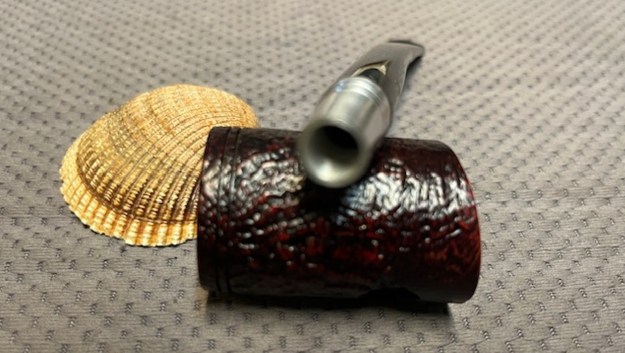
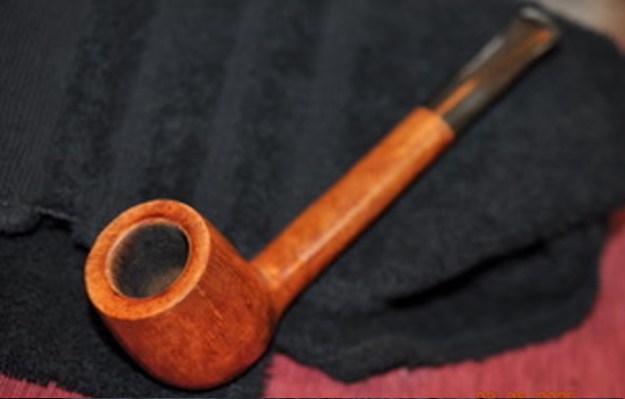
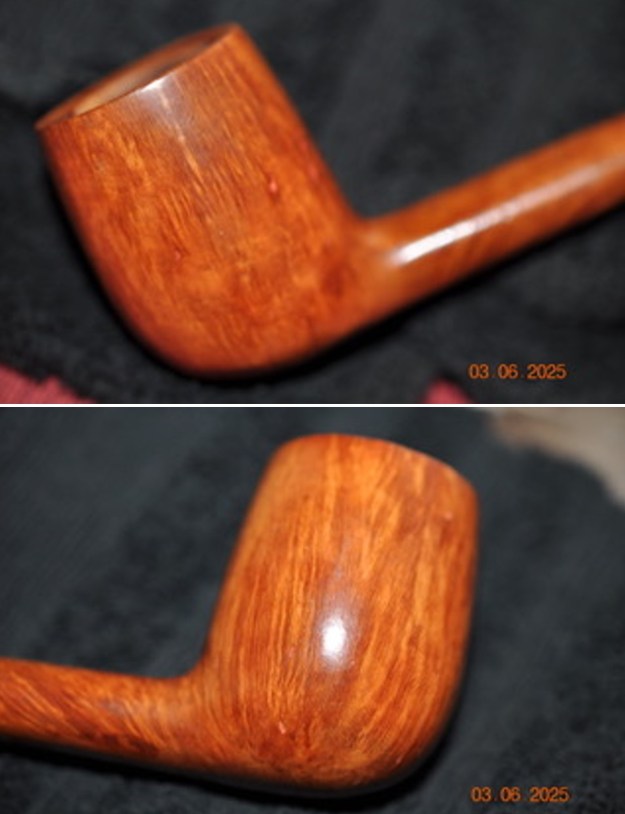
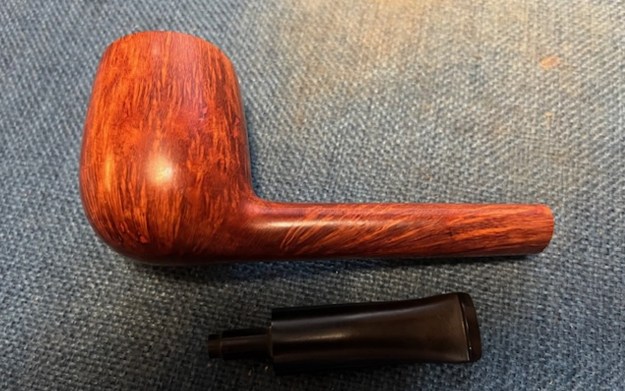
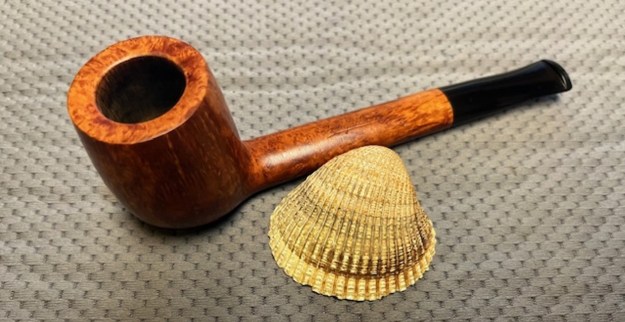
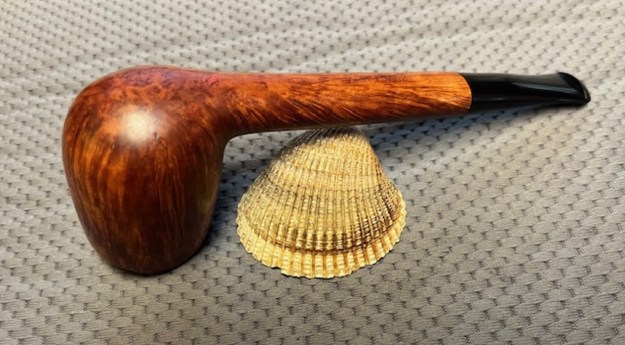
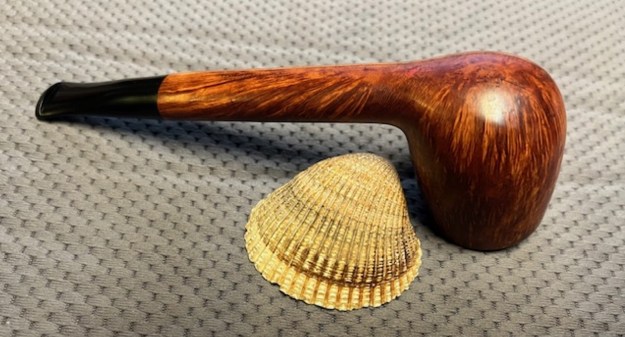
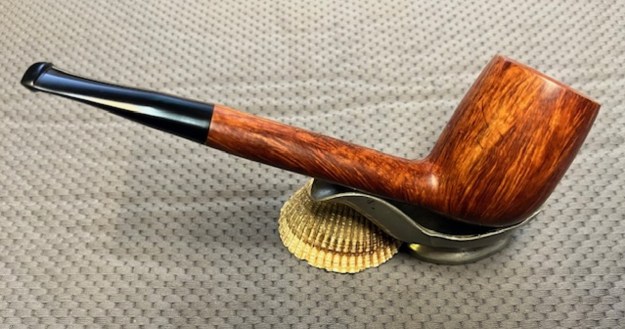
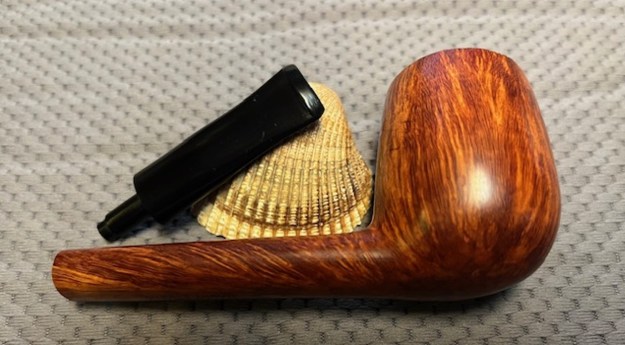
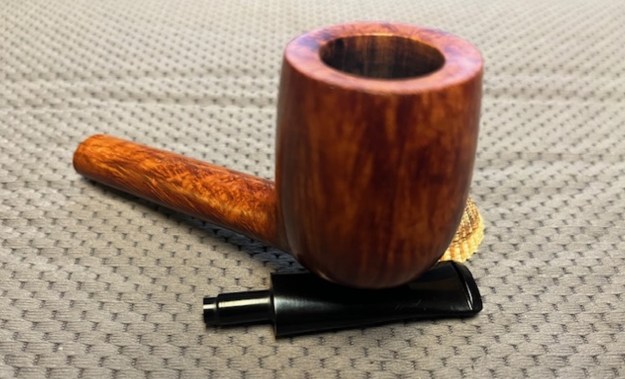
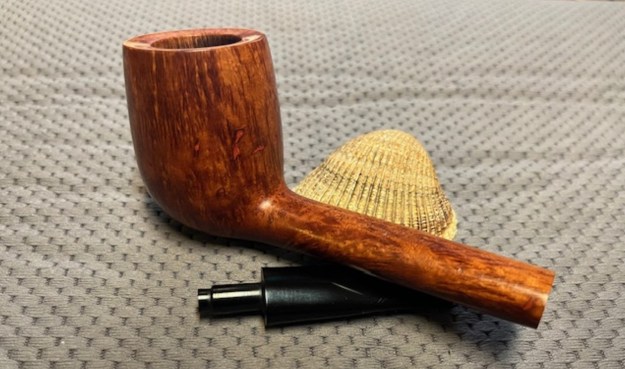
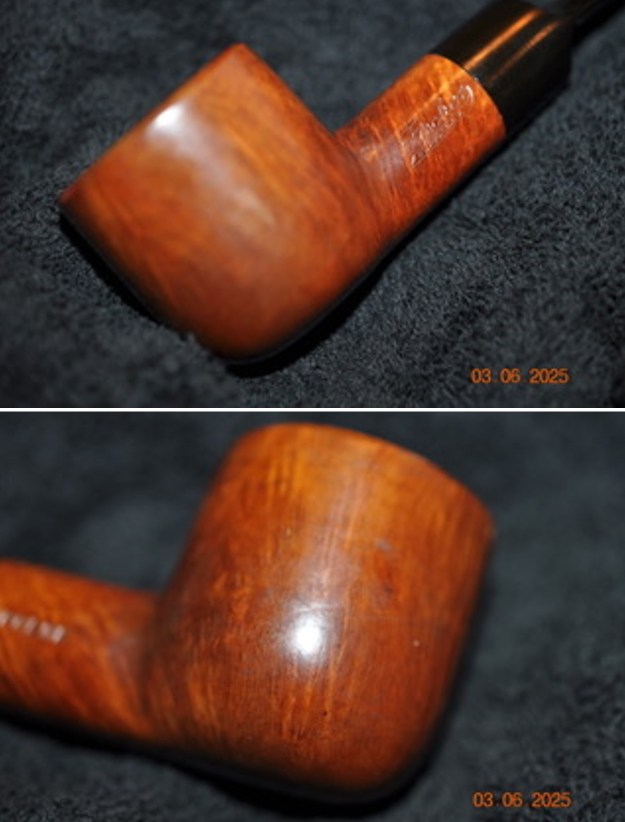
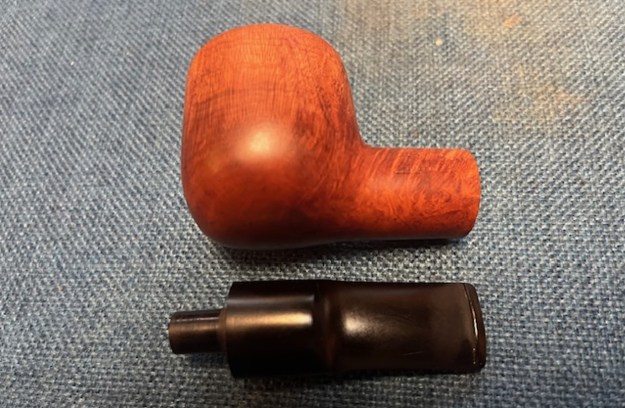
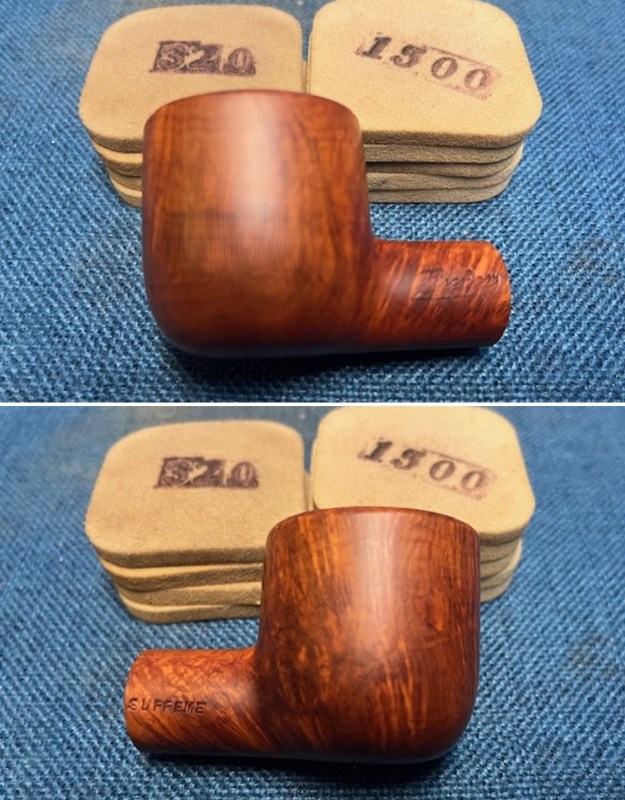
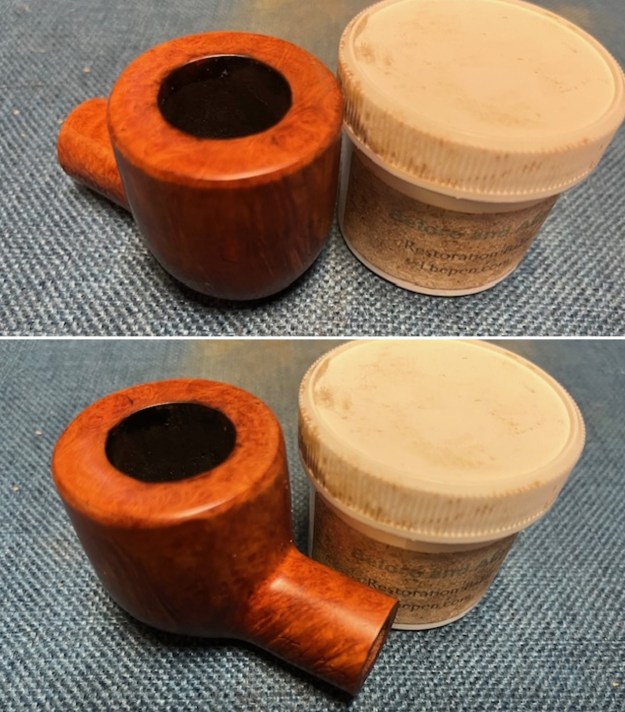
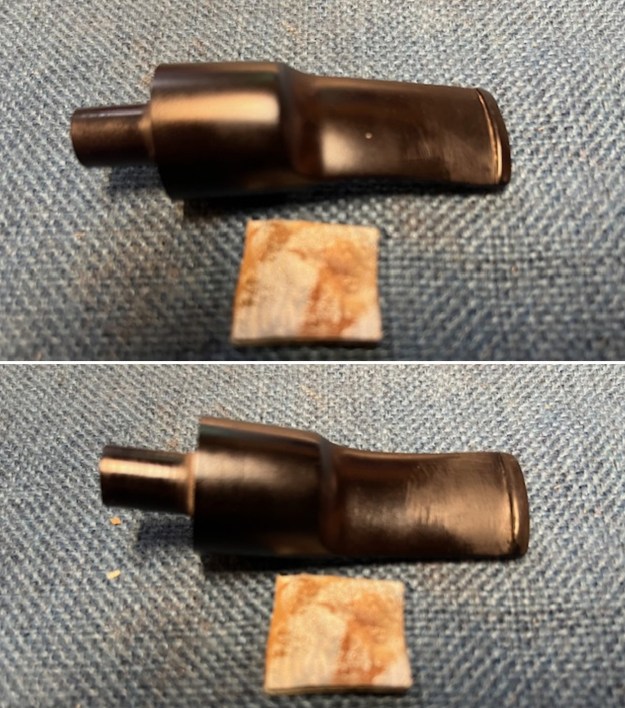
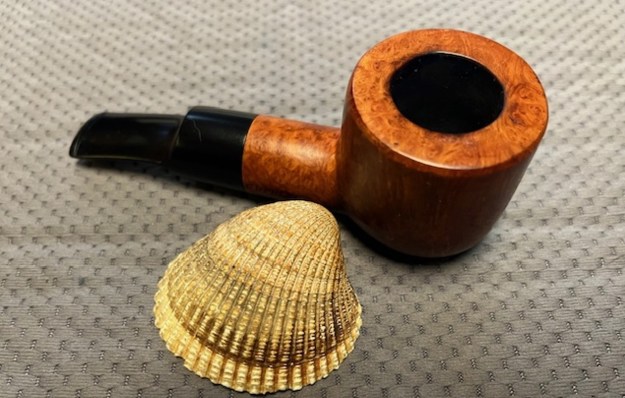
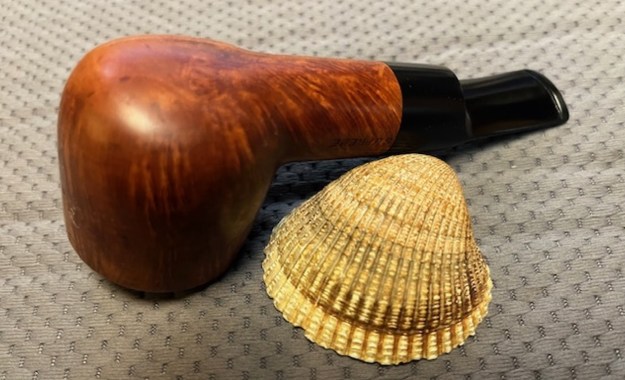
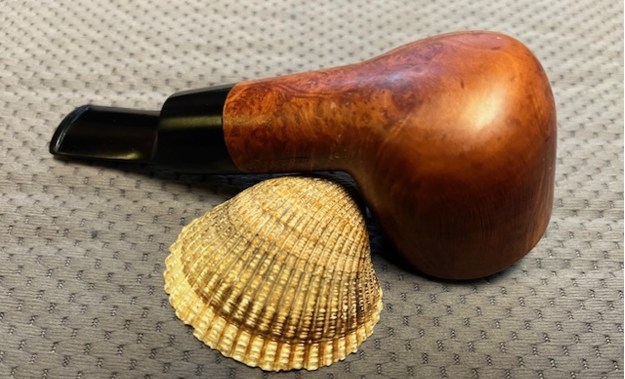
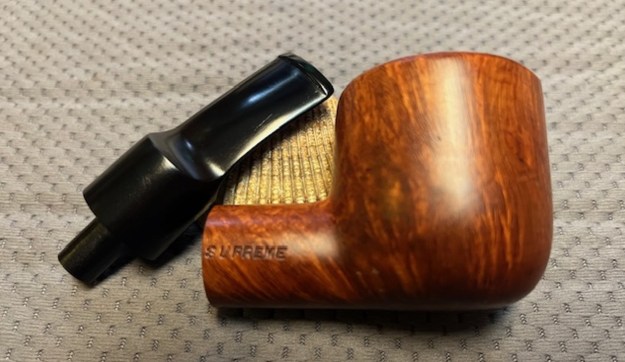
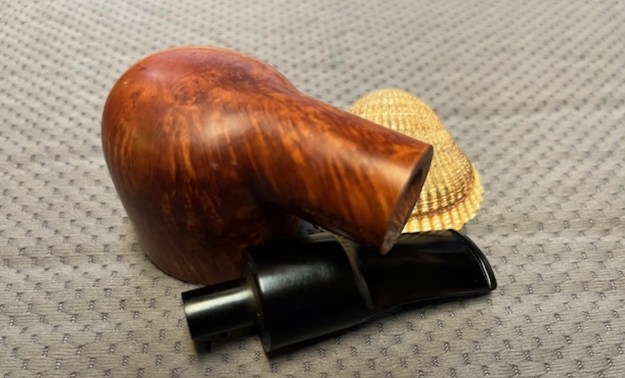
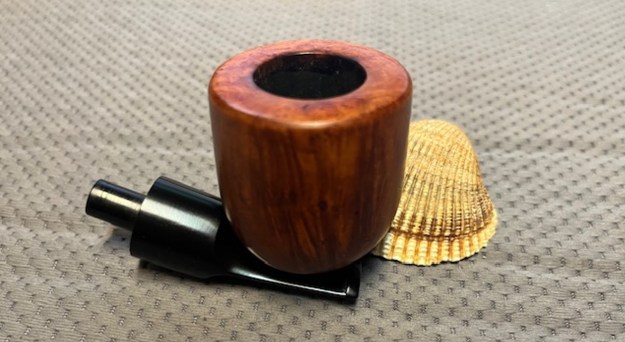
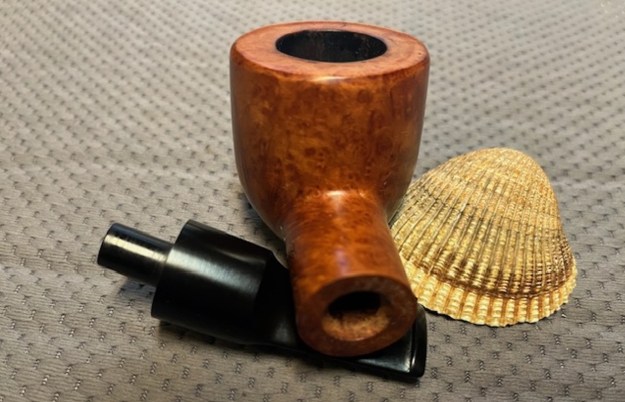
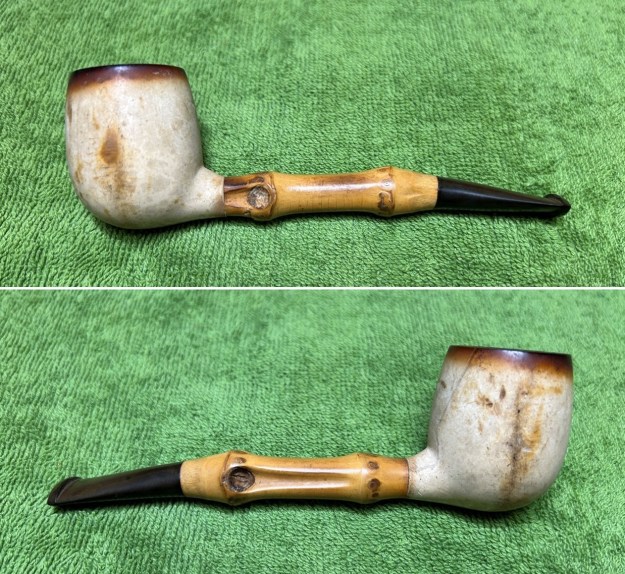
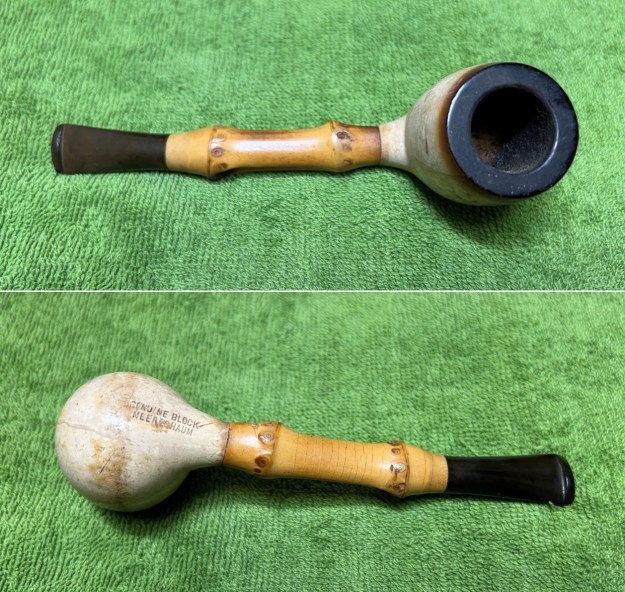
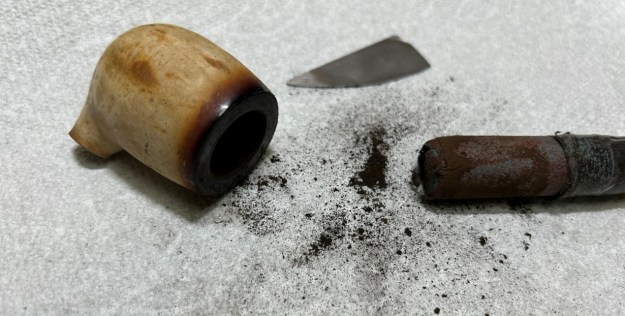
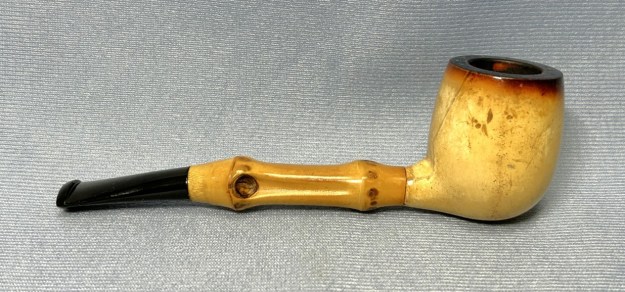
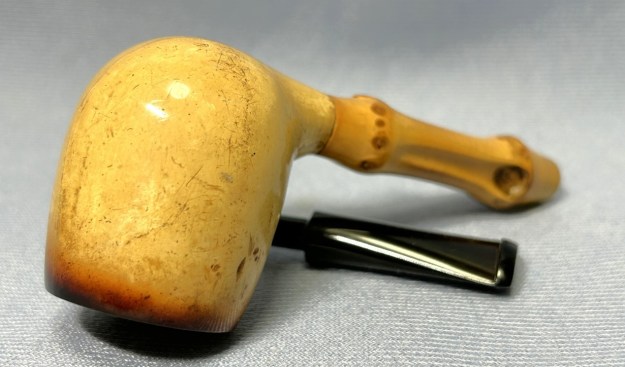
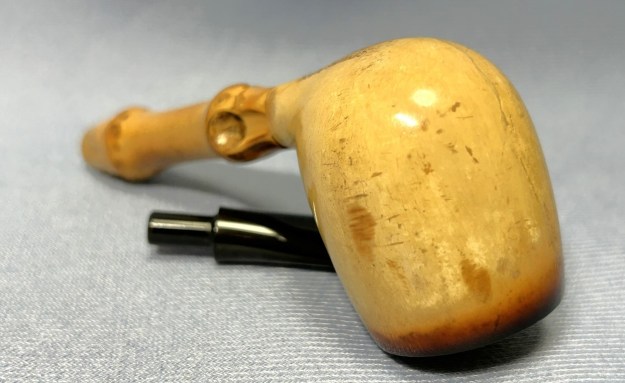
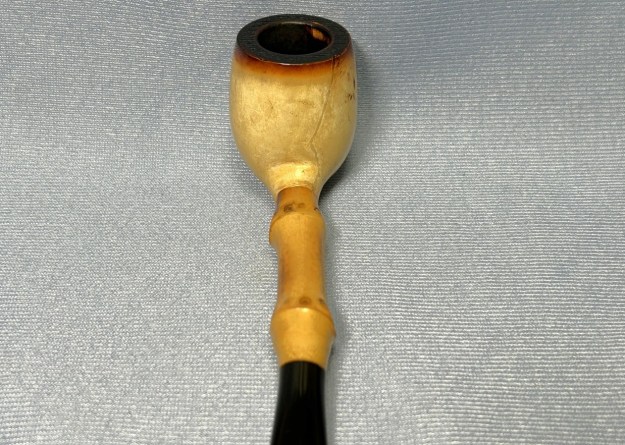
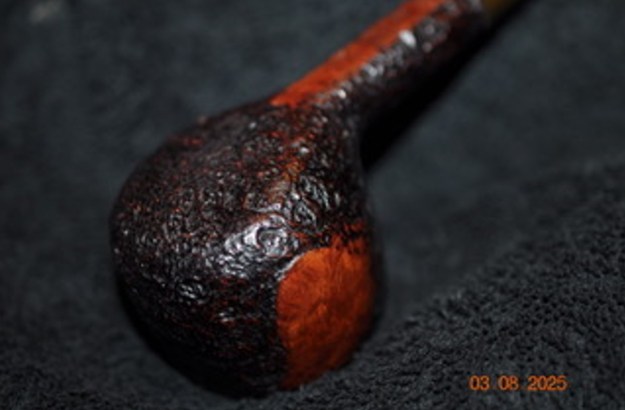
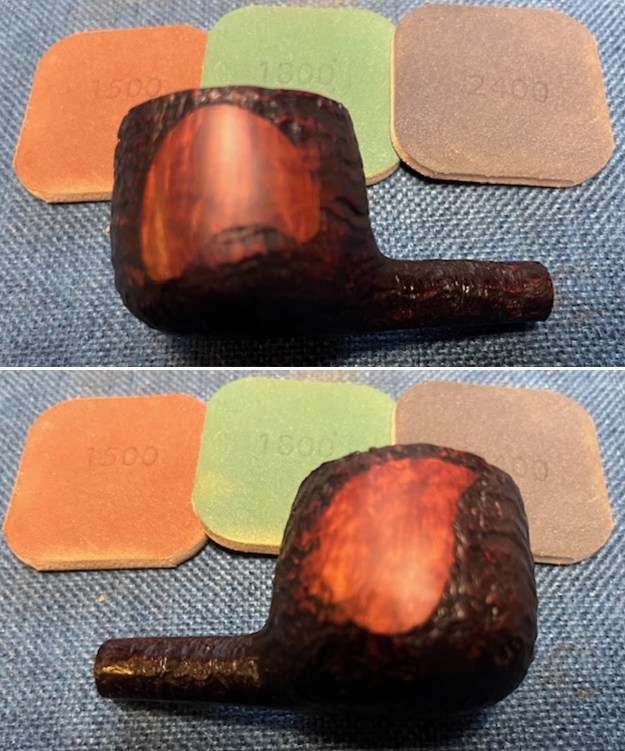
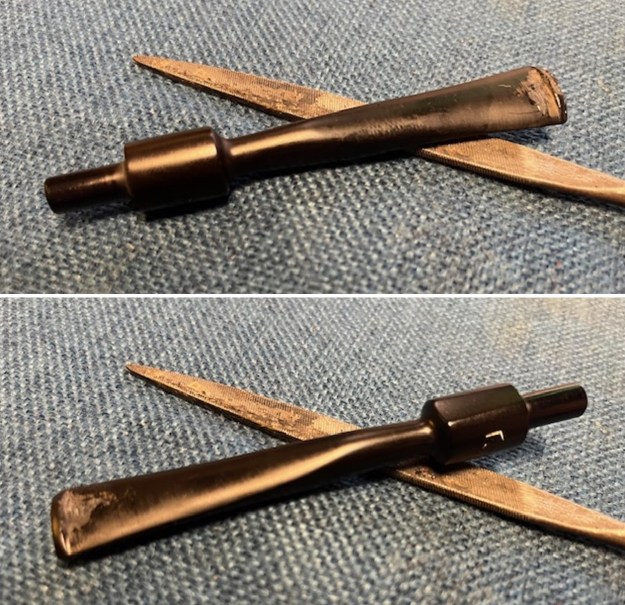
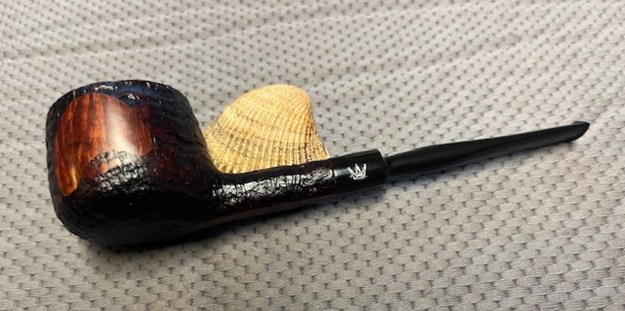
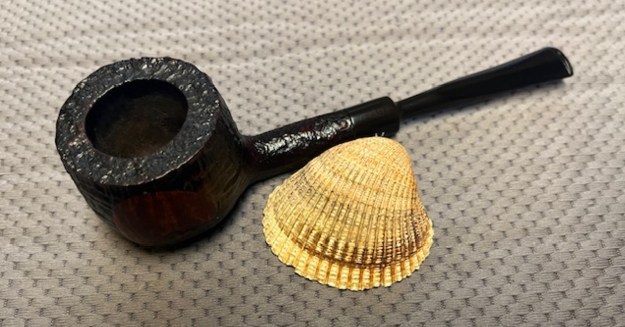
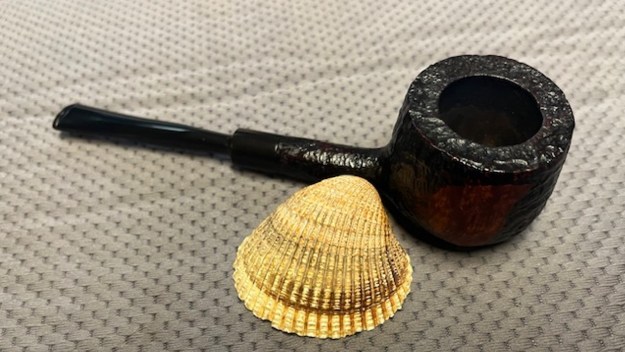
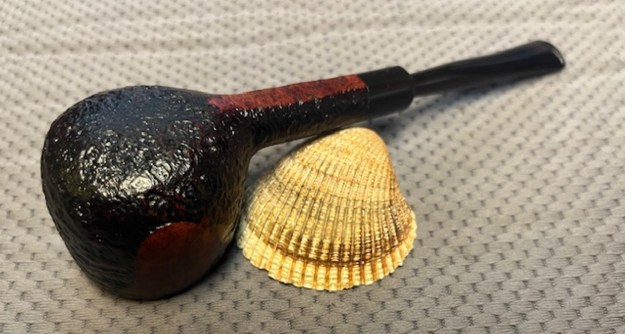
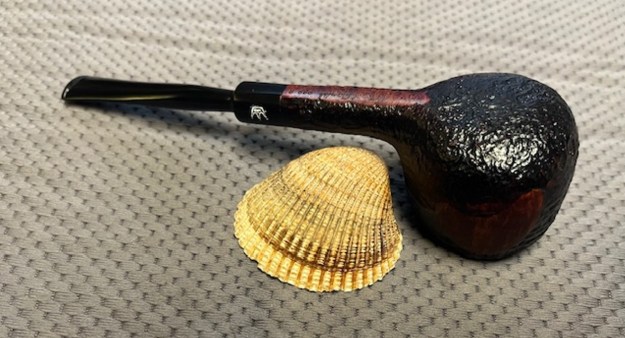
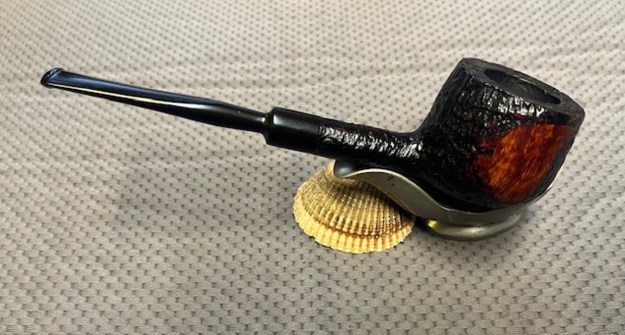
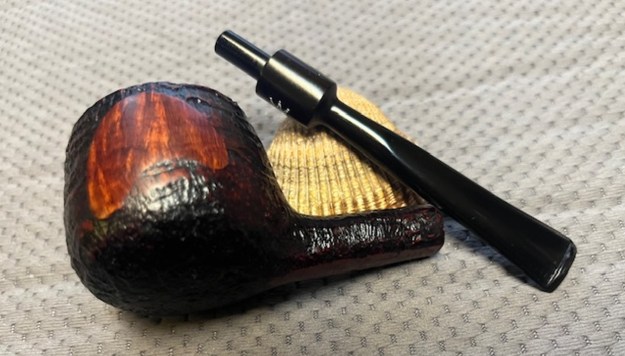
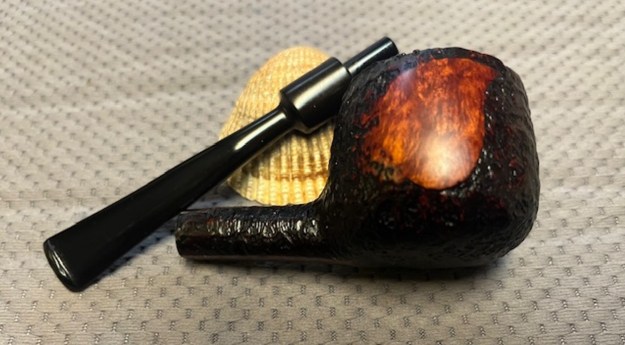
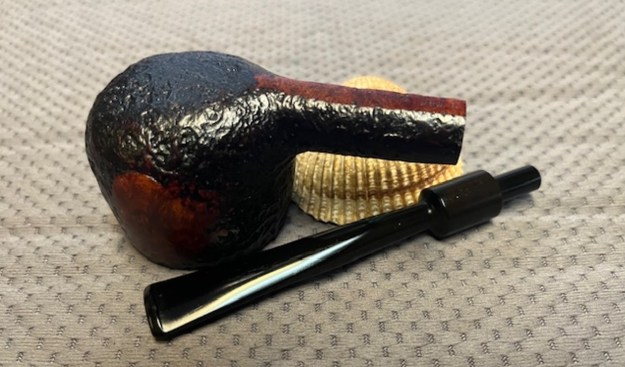
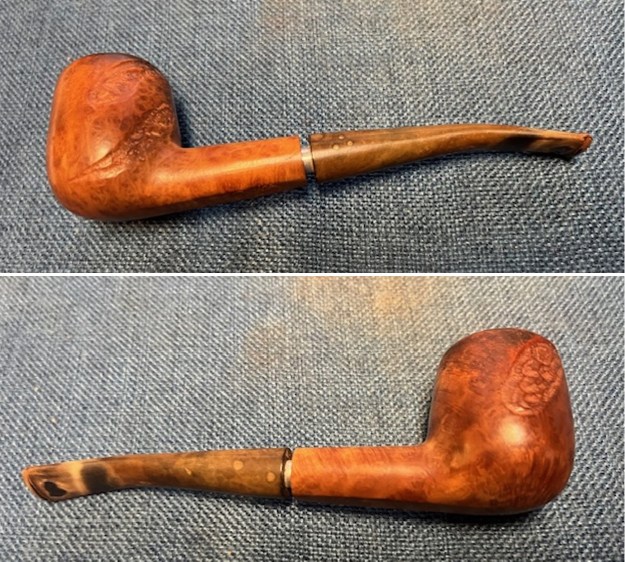
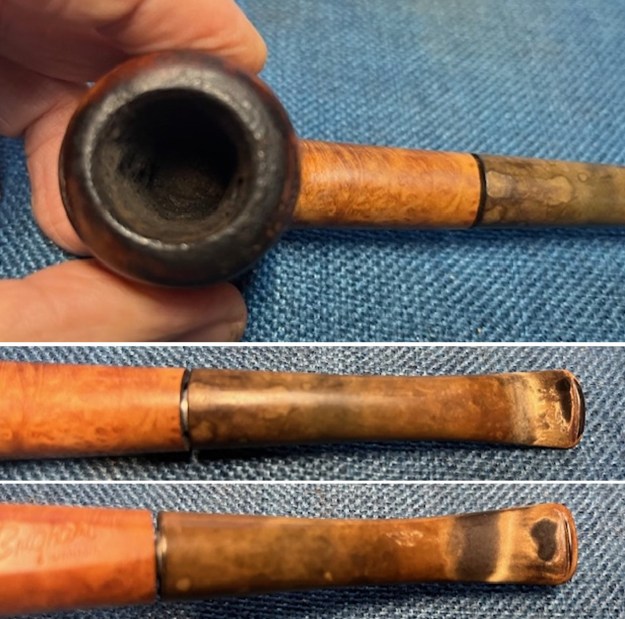
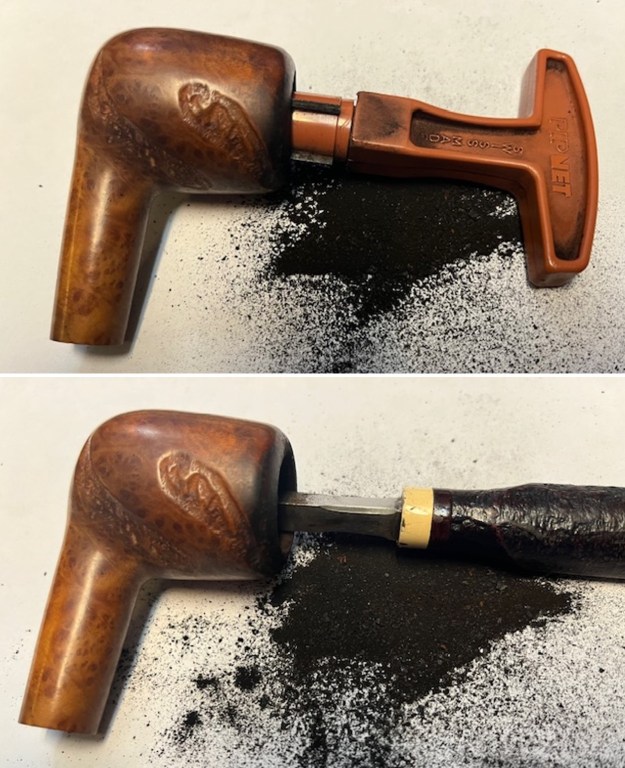
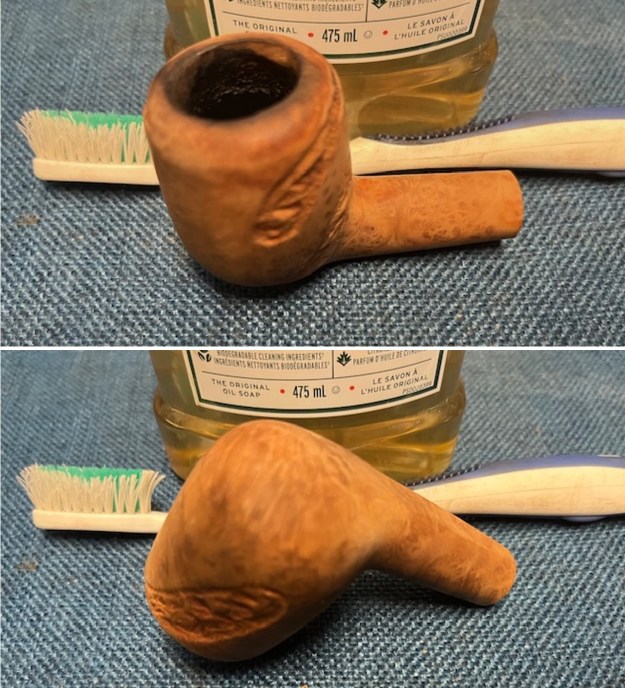
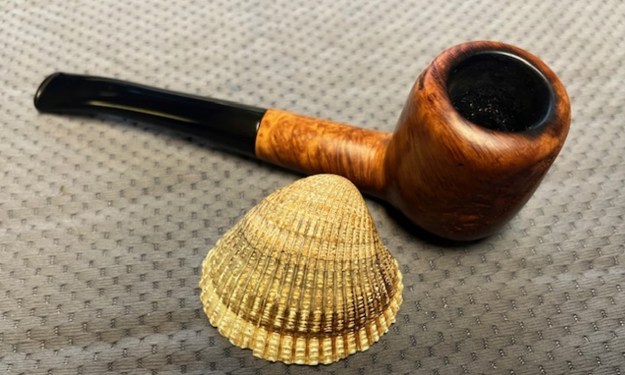
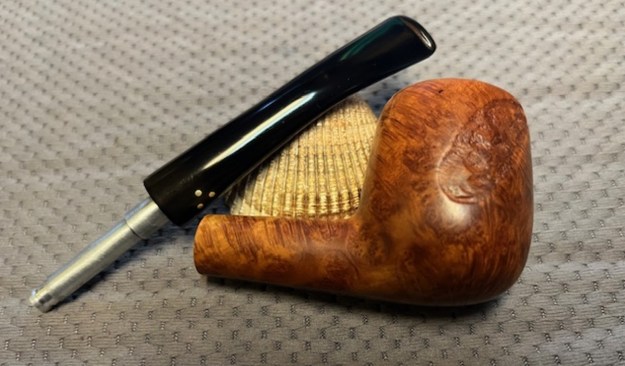
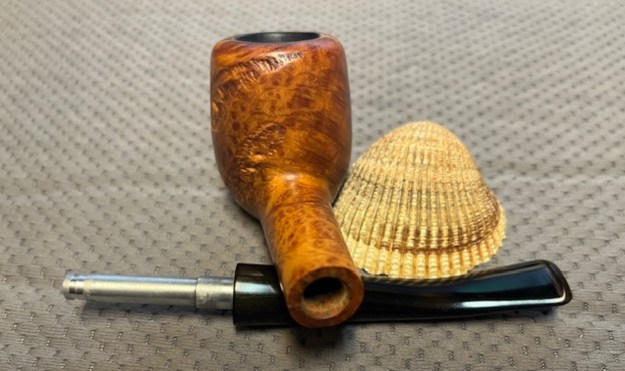
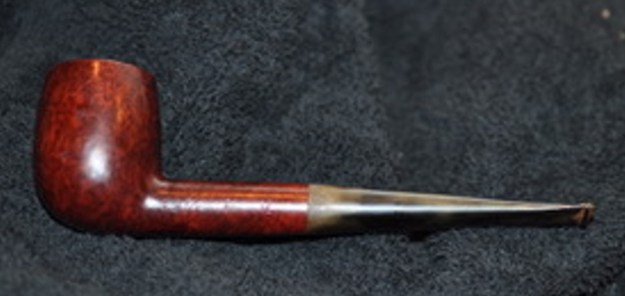
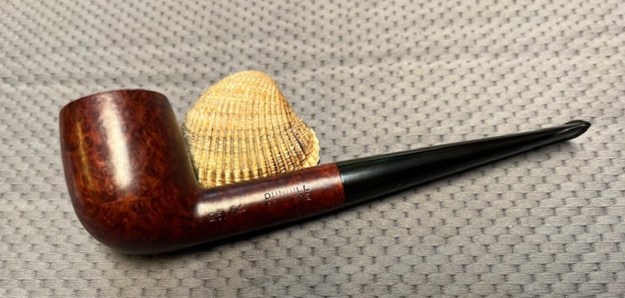
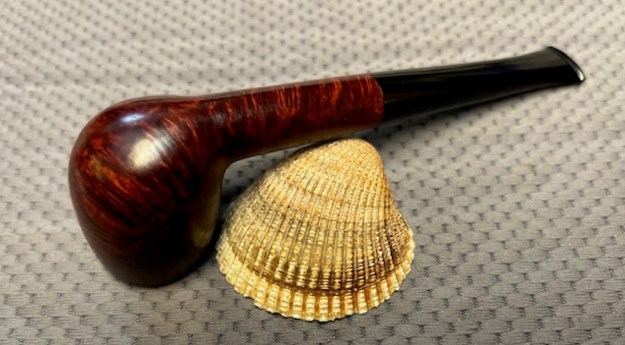
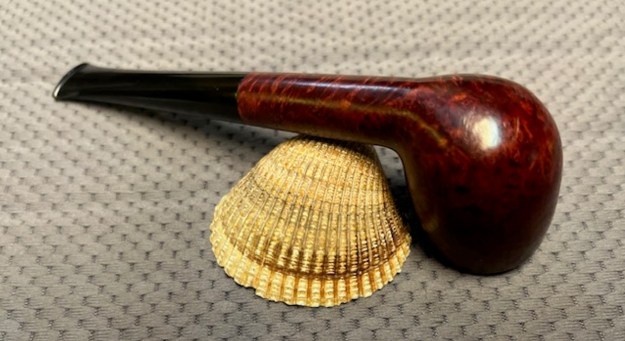
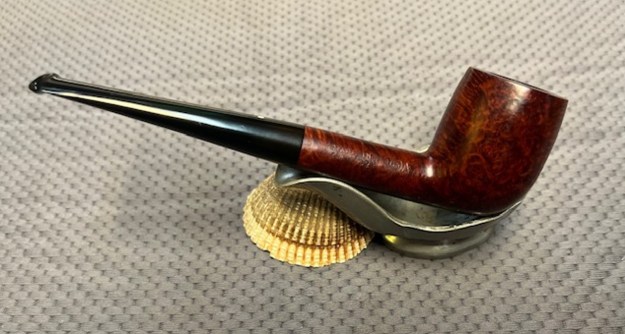
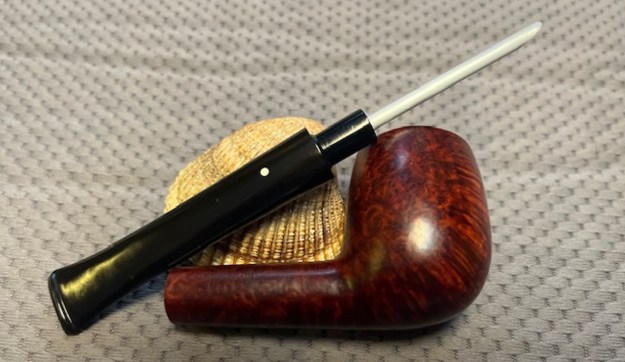
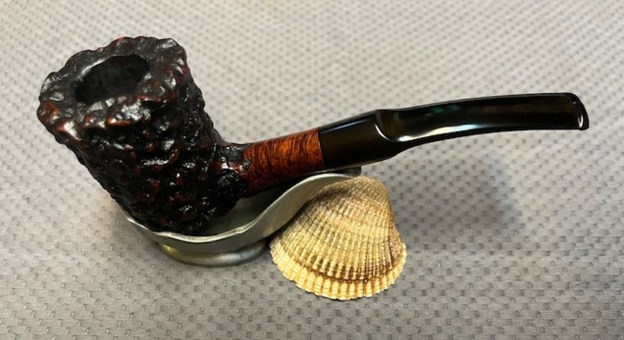
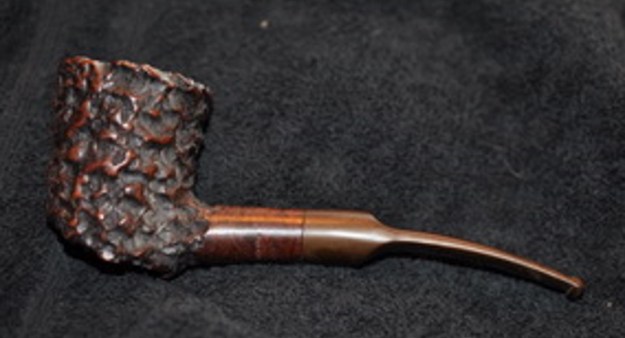
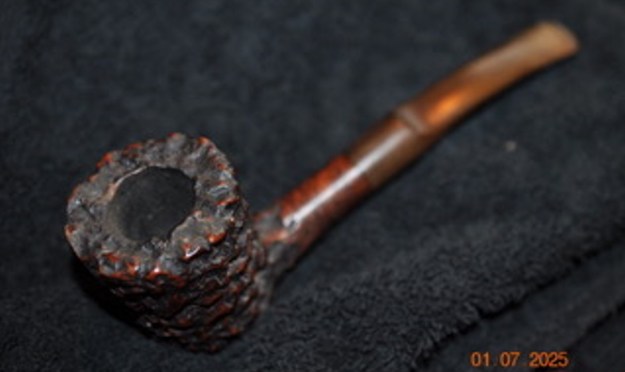
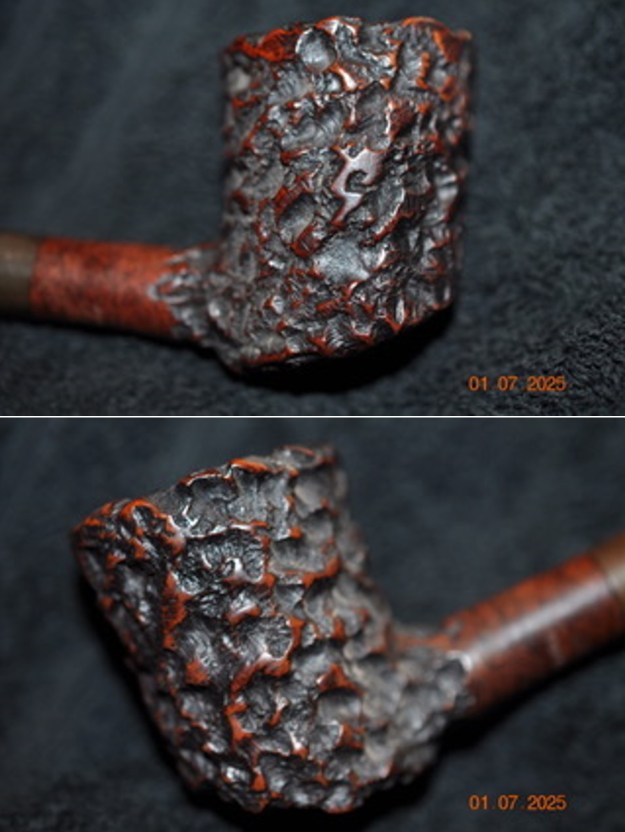
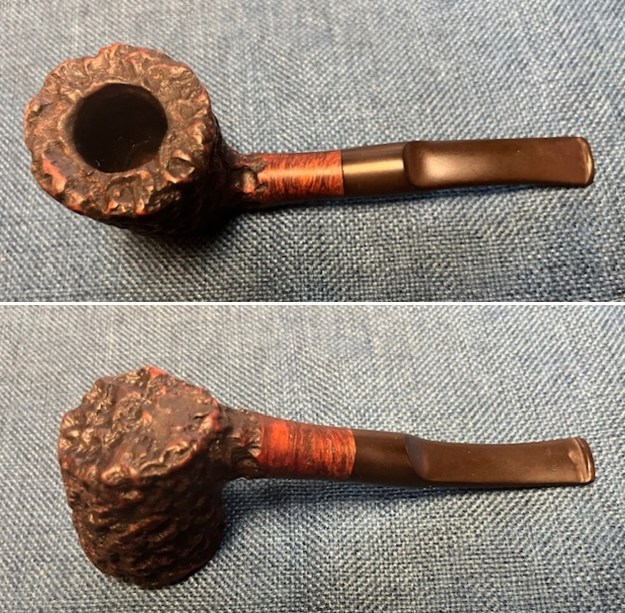
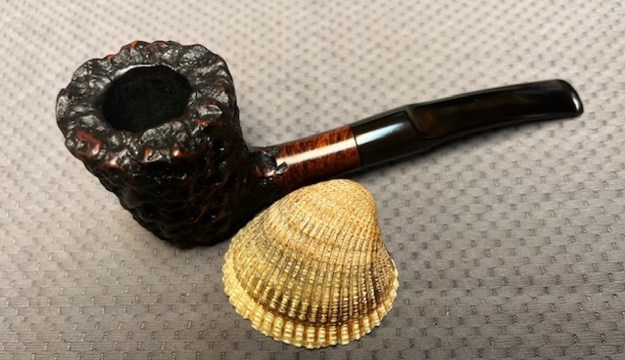
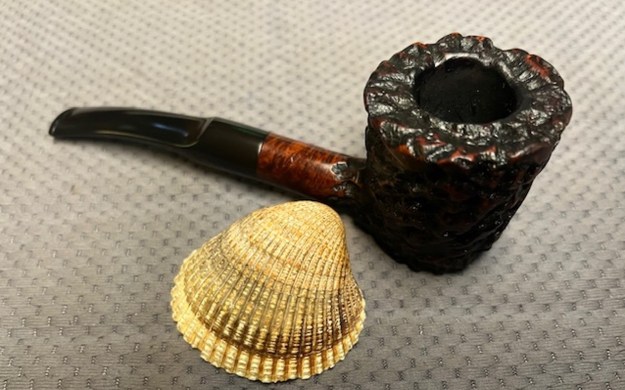
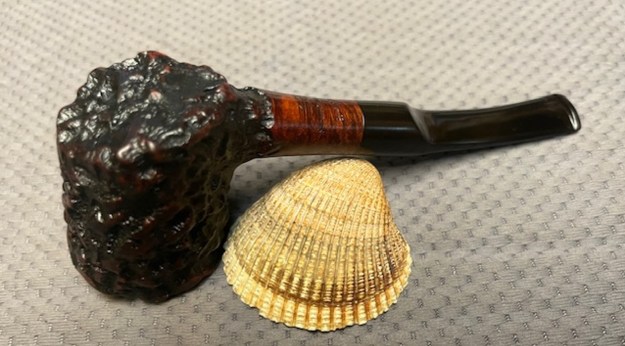
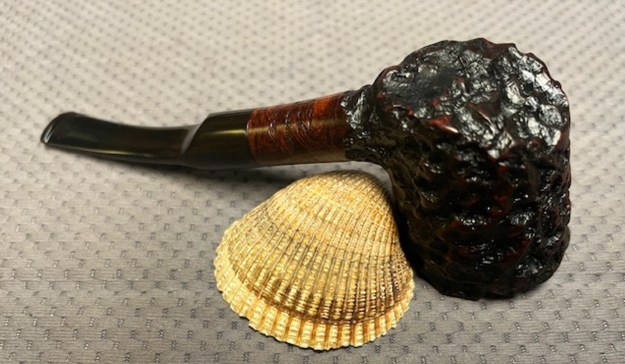
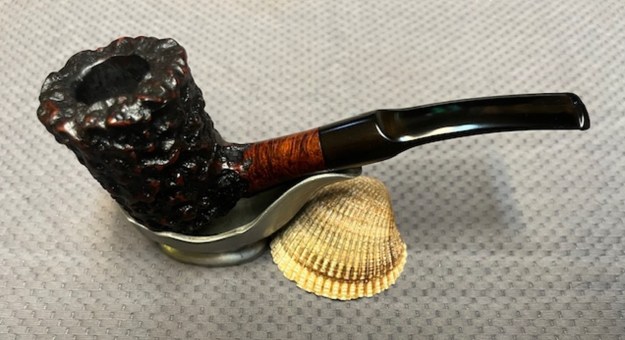
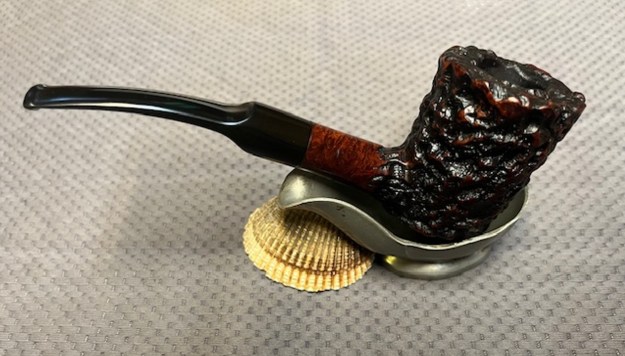
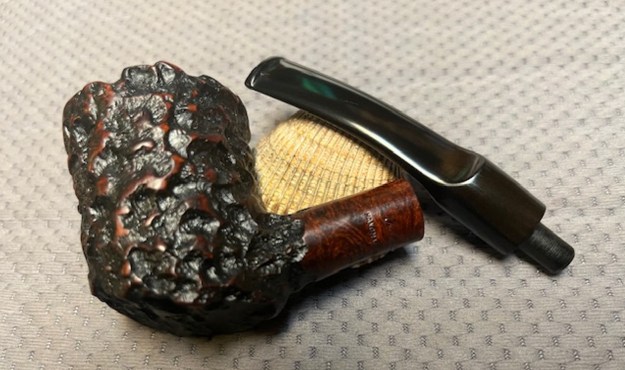
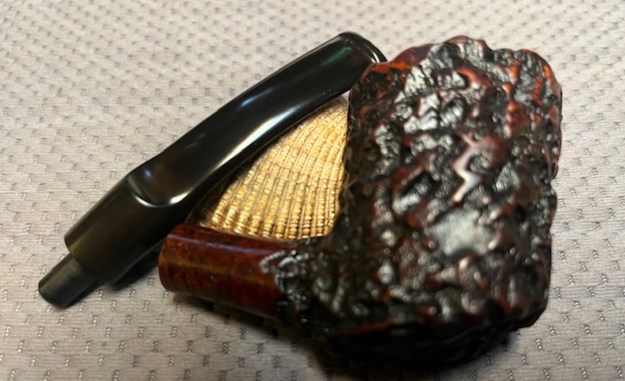
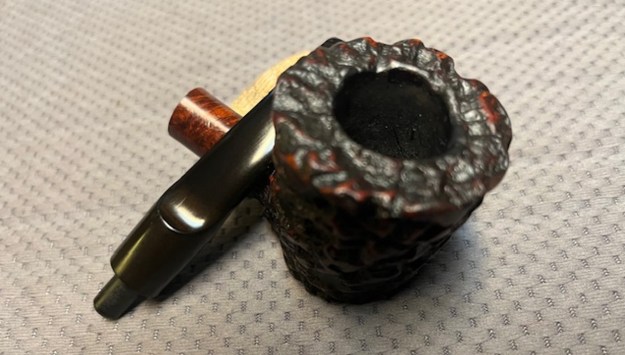
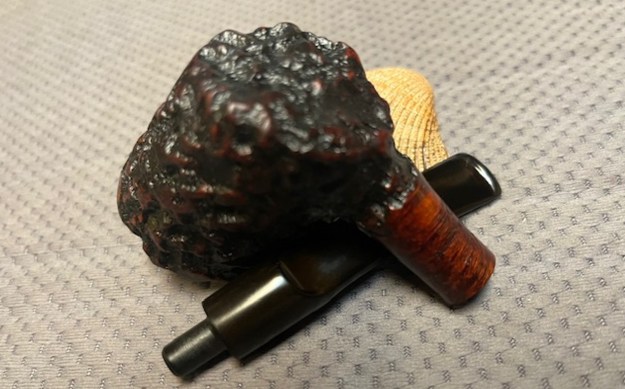
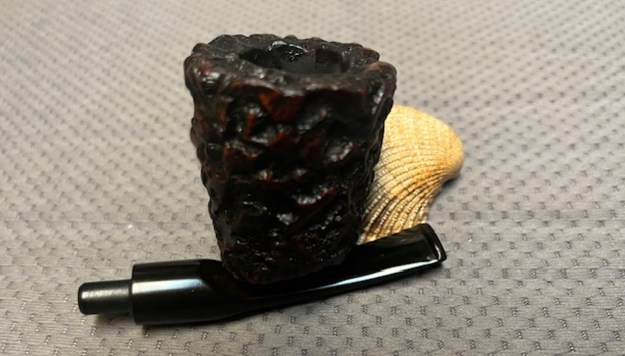
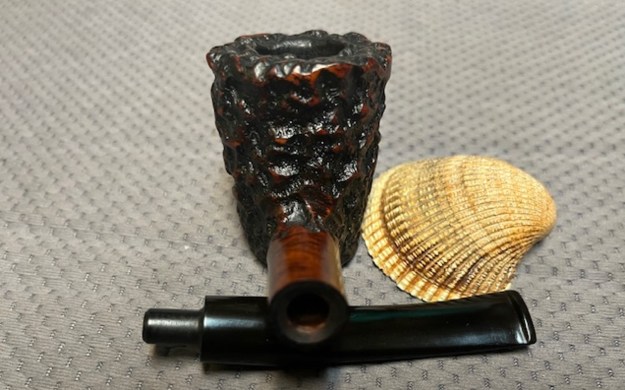
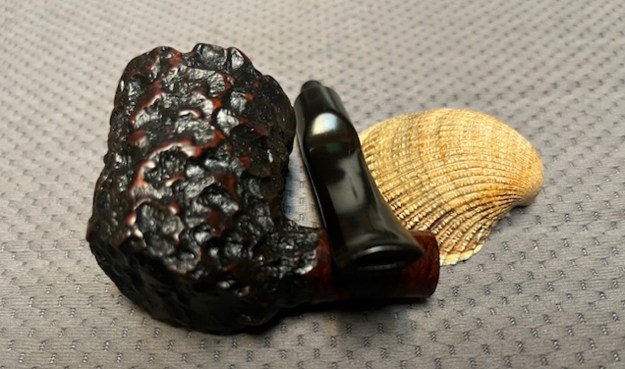
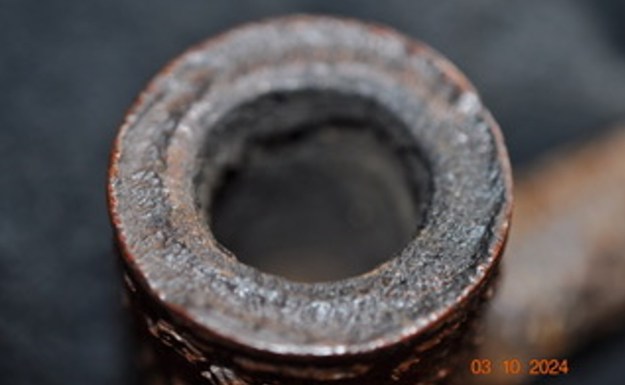
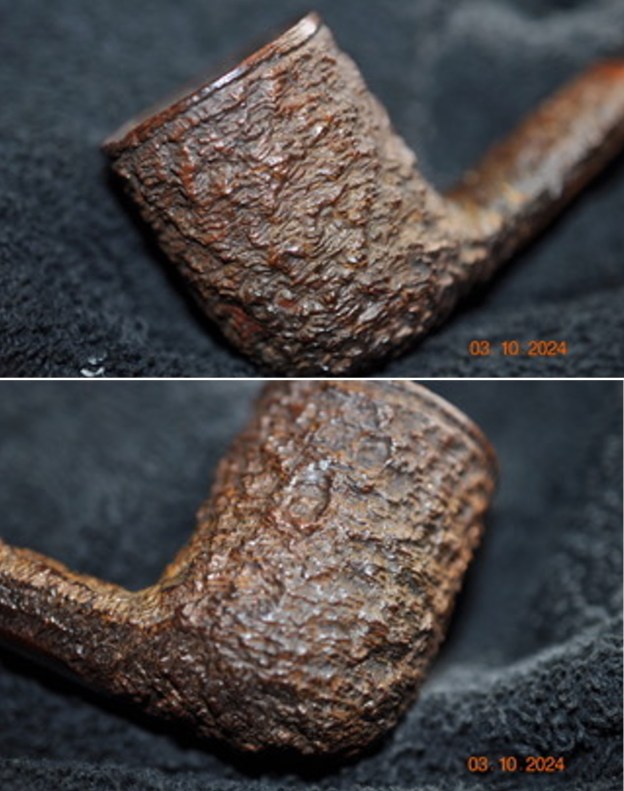
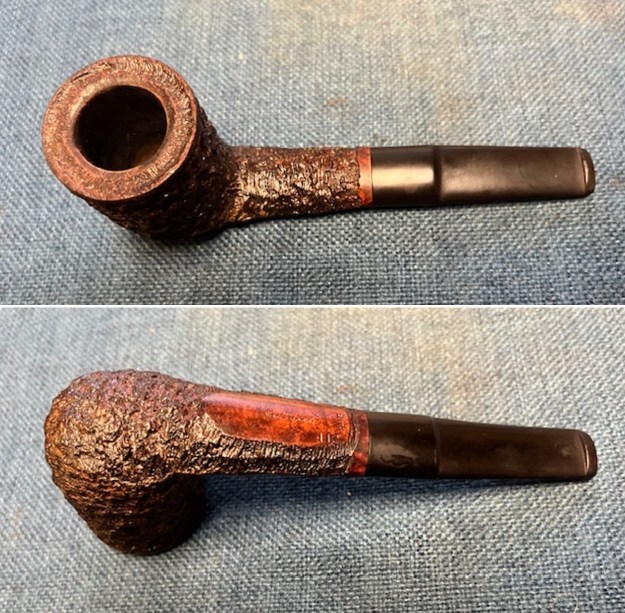
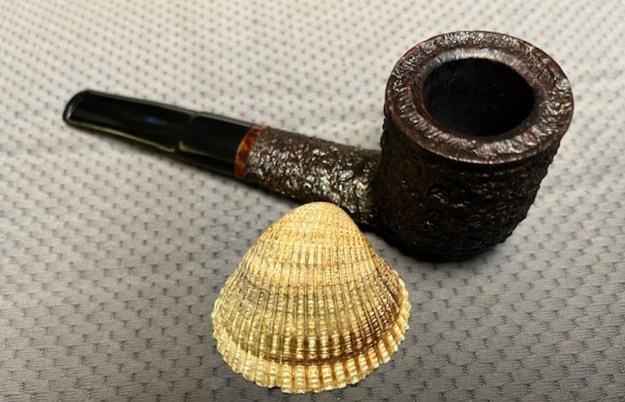
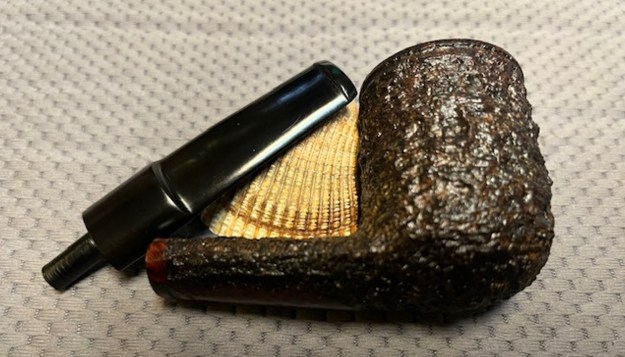
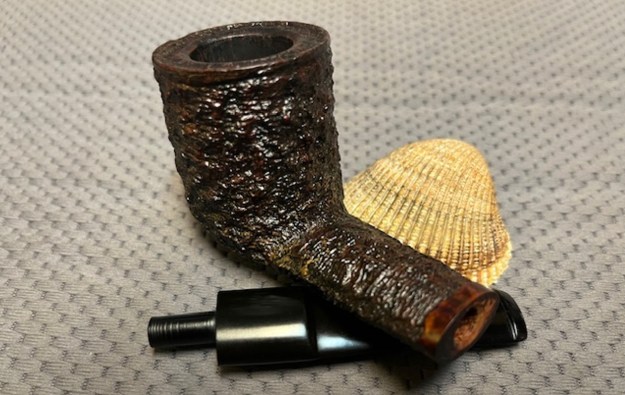
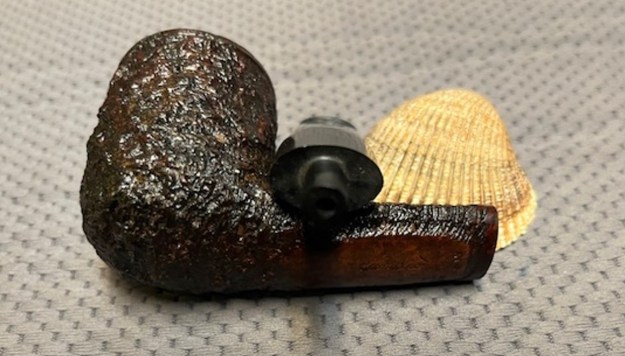
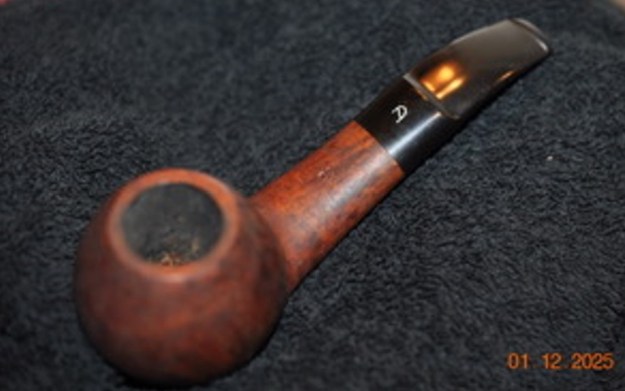
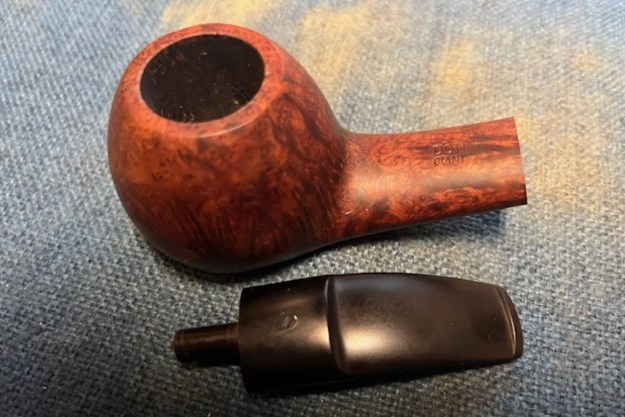
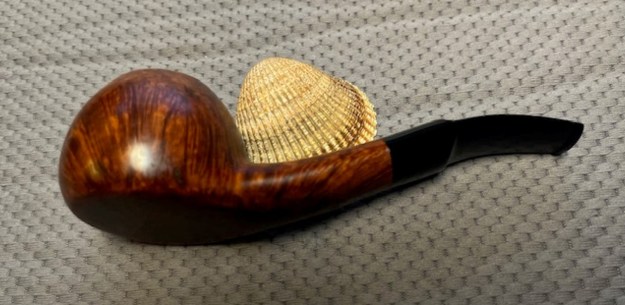
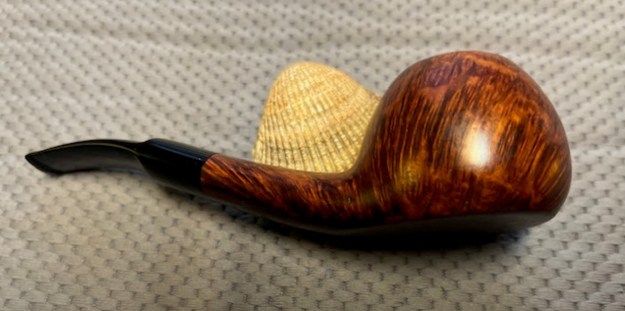
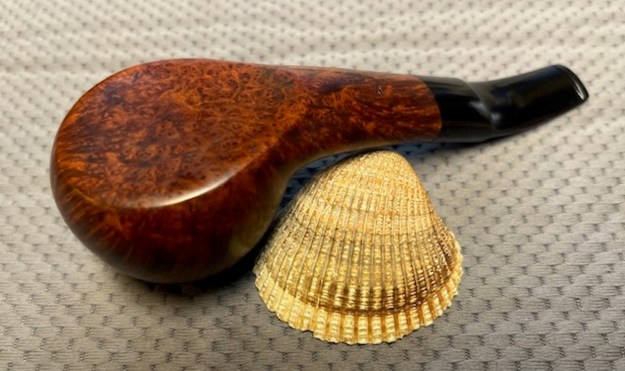
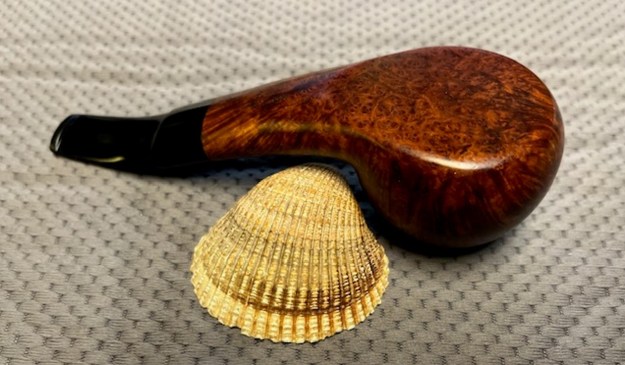
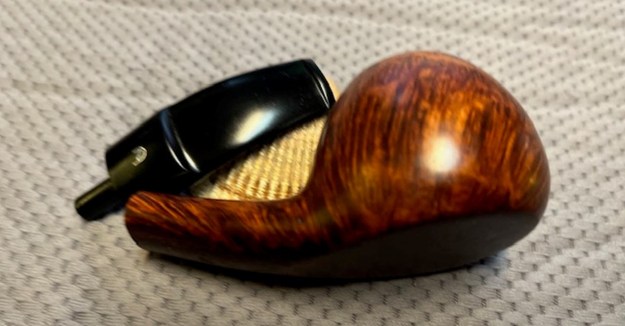
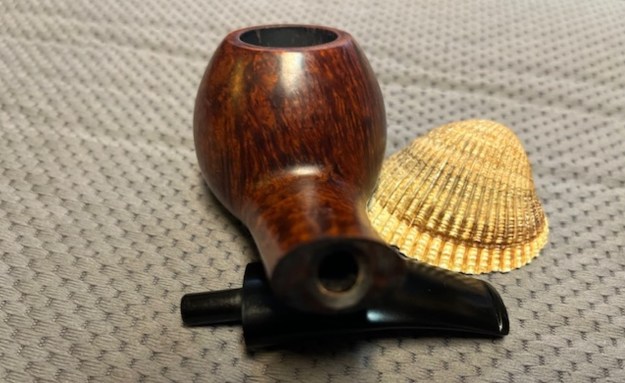
 I took the pipe to my work desk and took photos of the piece before I started my work on it. The pipe had been smoked at least once and there was a spot of bubbling on the rim top where the varnish had bubbled when heated. The bowl had some darkening and ash. The fitment on the bottom of the bowl that held the stem was stuck in place and it appeared to be slightly dirty from ash. The bowl was surprisingly shallow – maybe 2/3 of the height of the bowl. The airway entered the bowl at the bottom and was centered. The stem seemed plastic though maybe acrylic. It was drilled for a 9mm filter. There was hardened glue around the tenon end where it had been glued into the metal fitment/shank. It would need to be scraped clean. The stem itself was also a little dirty from the smoking and would need to be cleaned out. I was grateful that the pipeman who had smoked the pipe had not chomped the bit at all so it was quite clean. The photos show the approximate lay of the parts of the pipe showing the sandblast around the bowl, the smooth rim top and heel of the poker. It is a very lightweight kind of pretty little pipe.
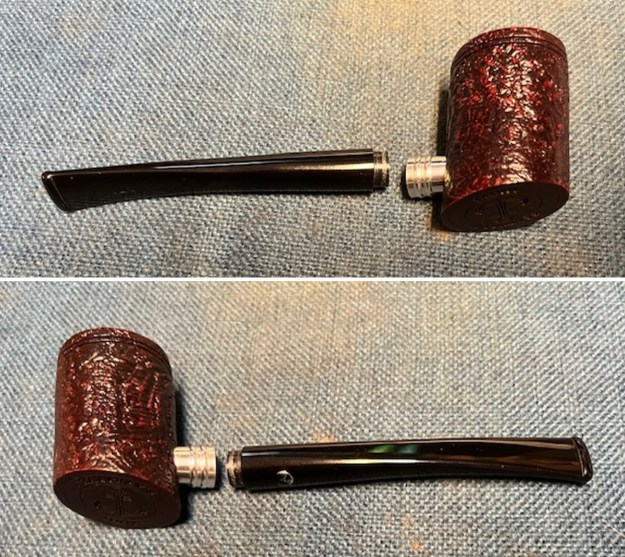
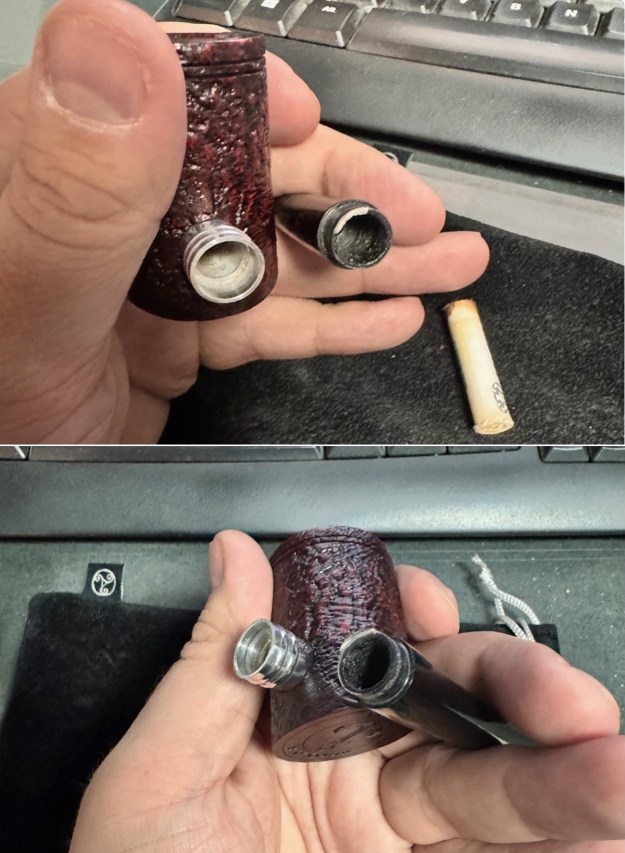
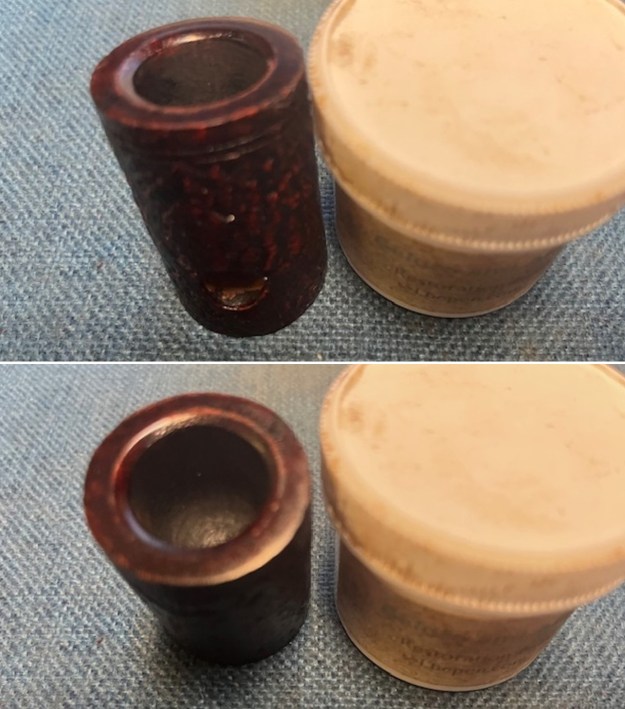
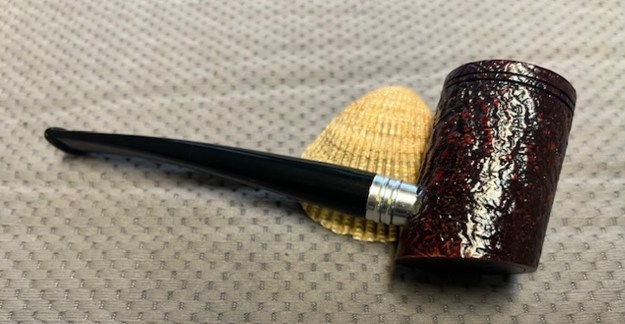
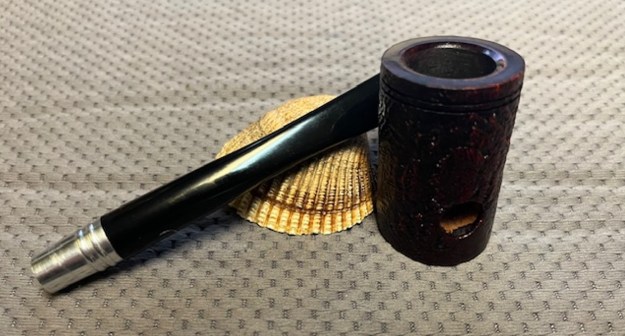
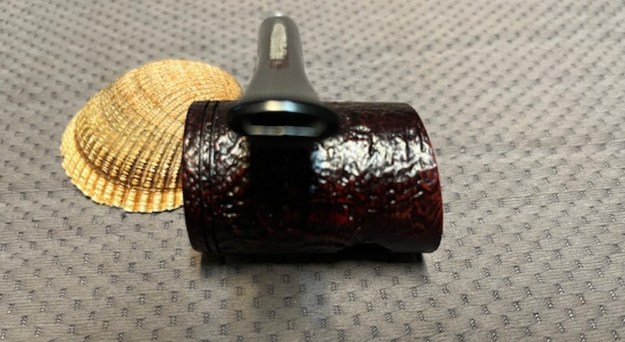
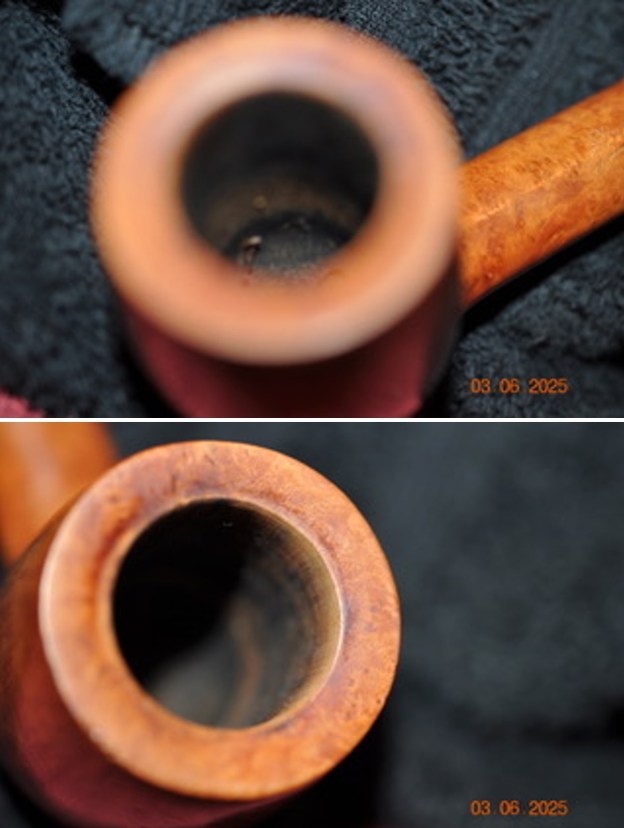
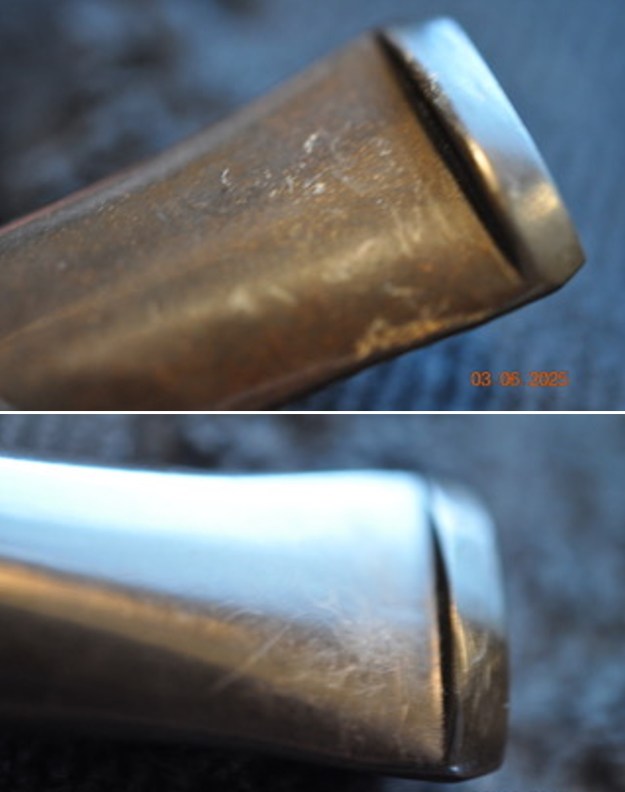
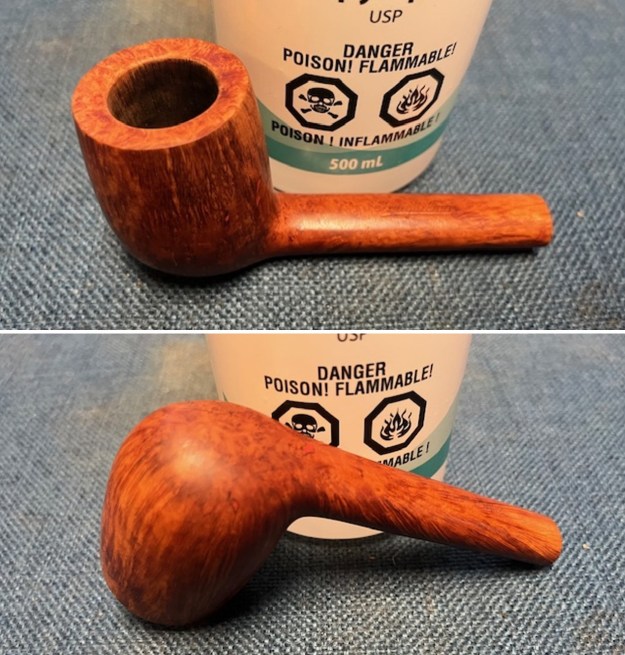
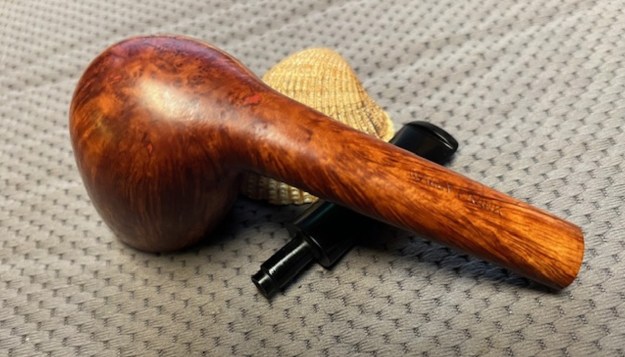
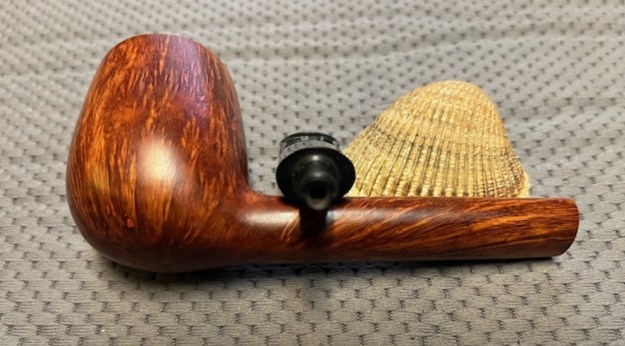
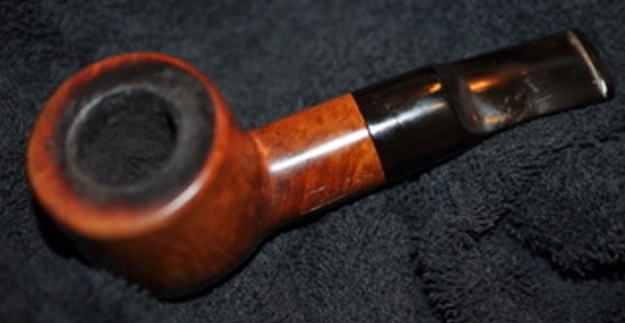
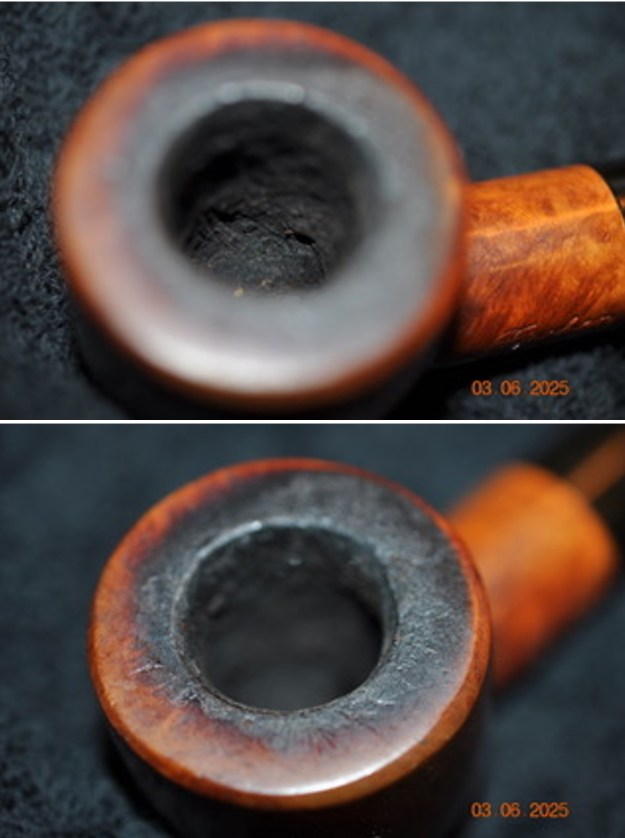
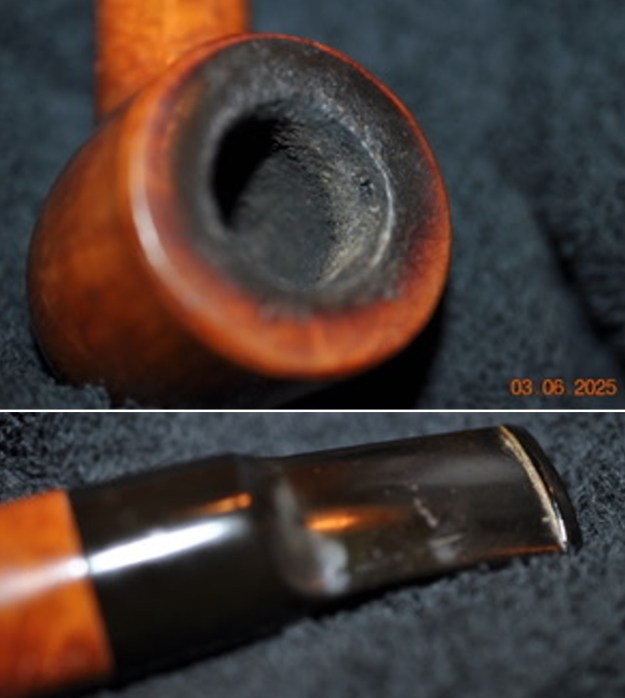
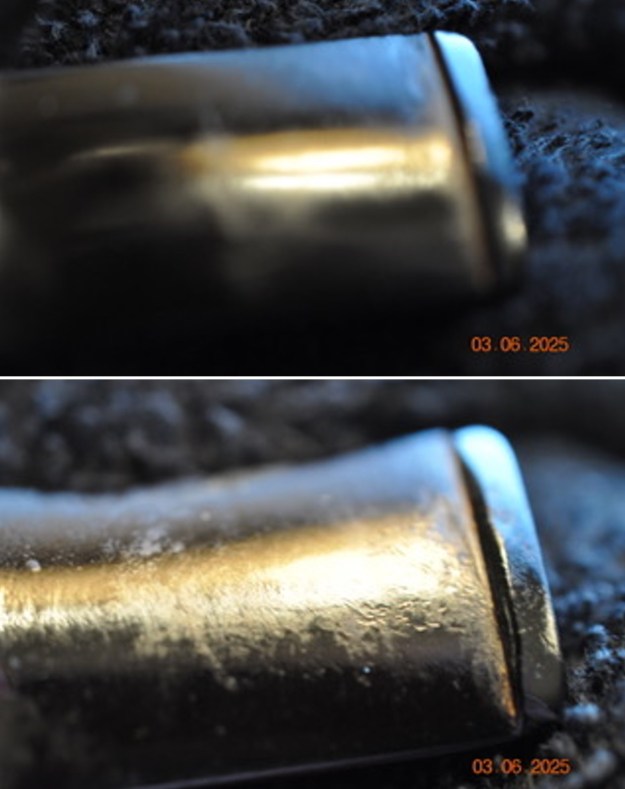
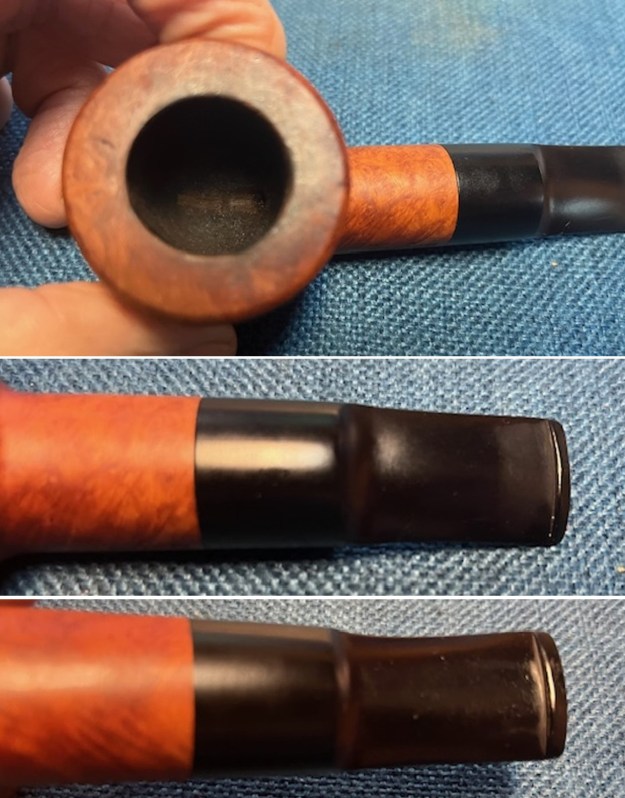
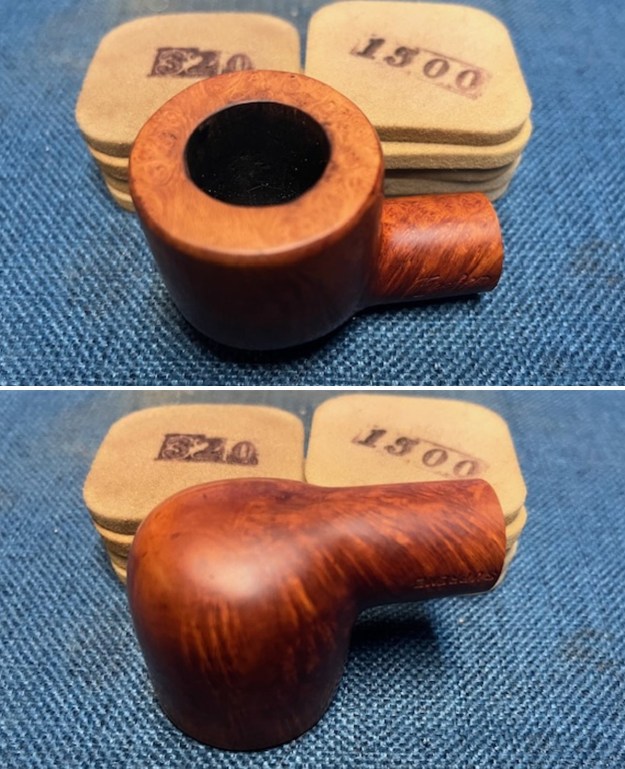
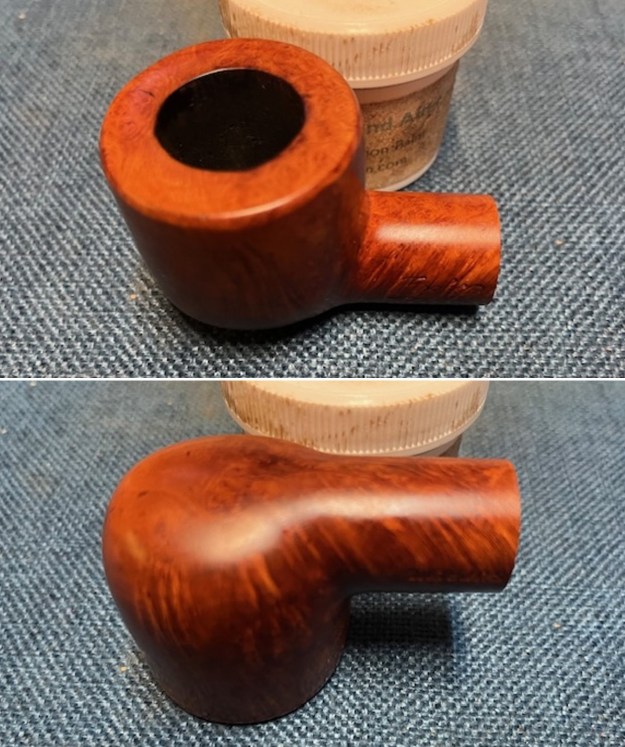
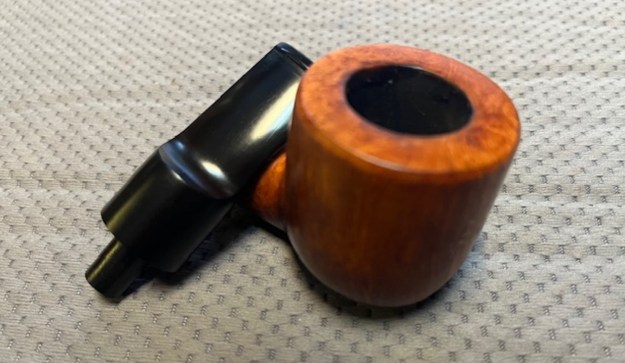
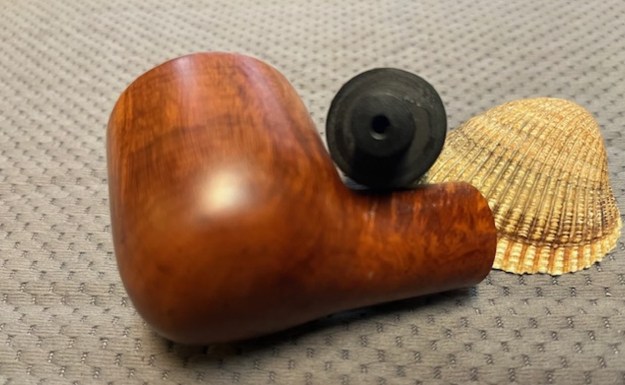
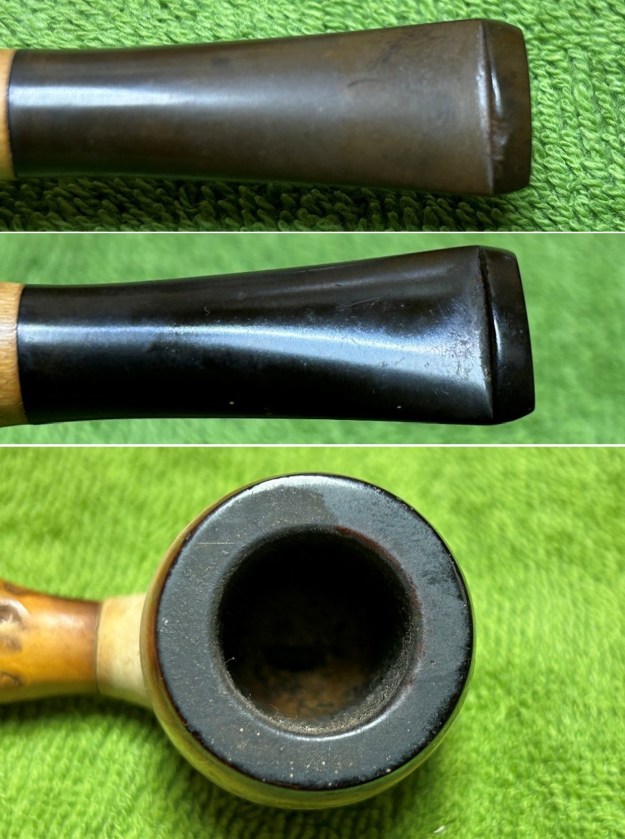
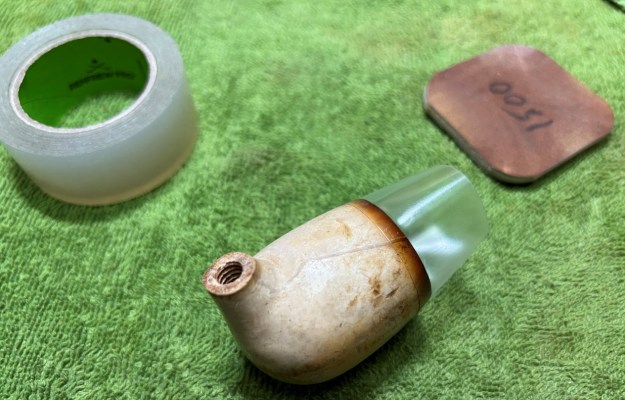
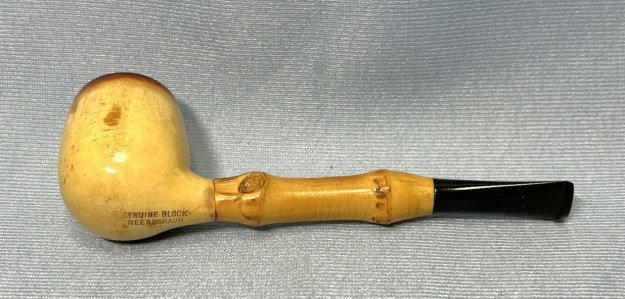
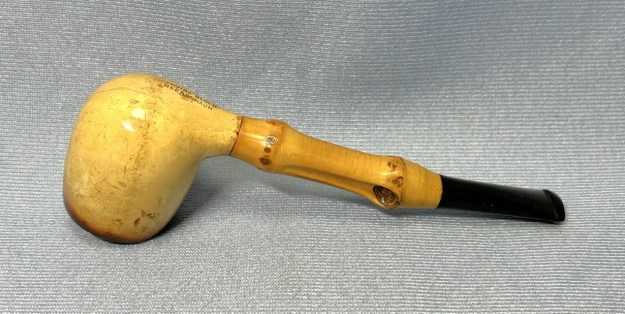
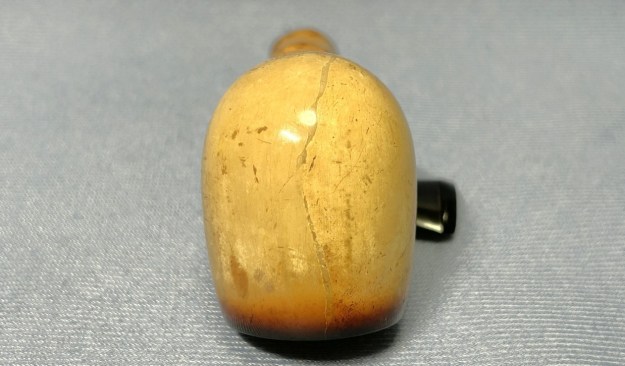
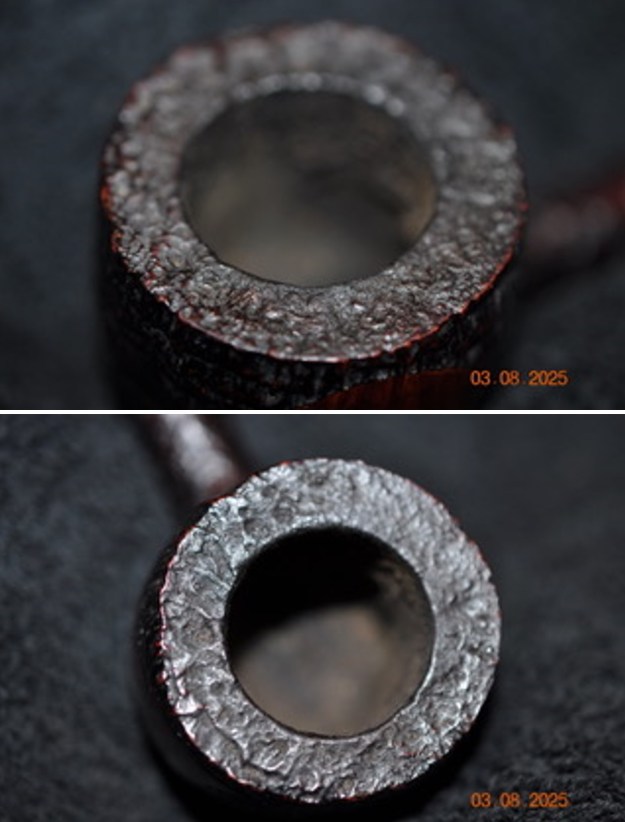
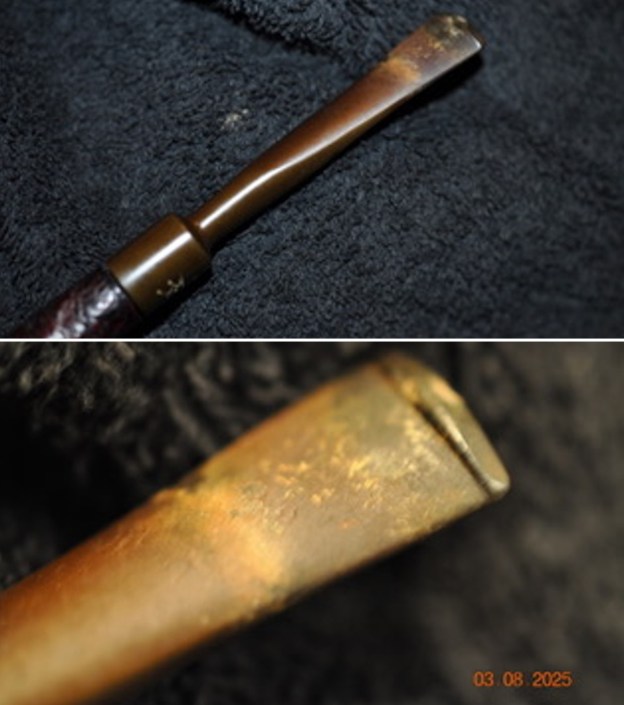
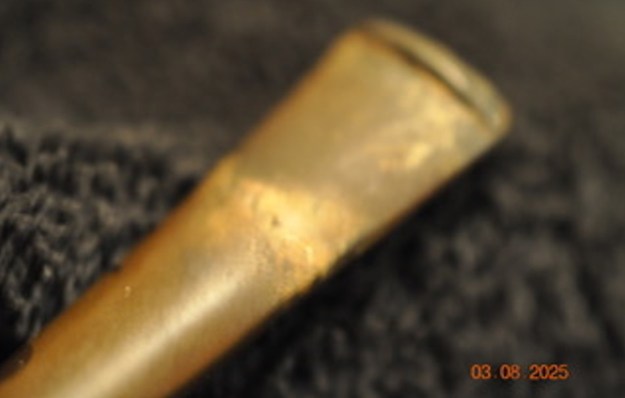
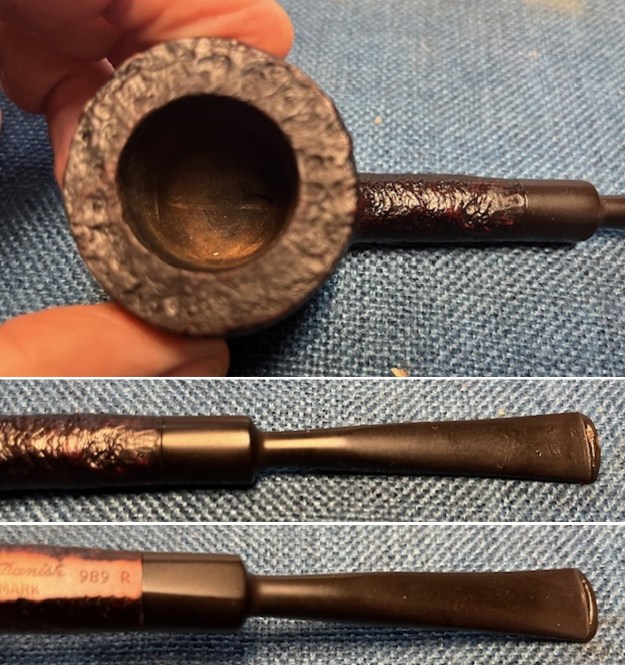
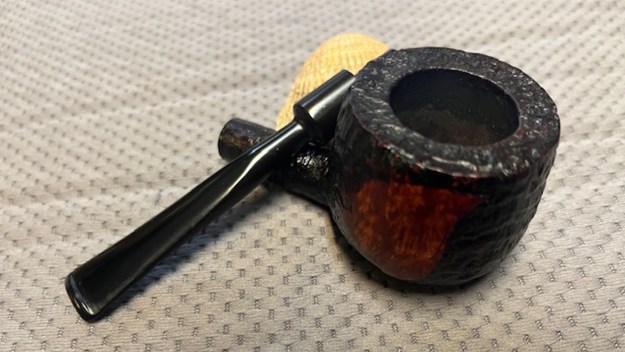
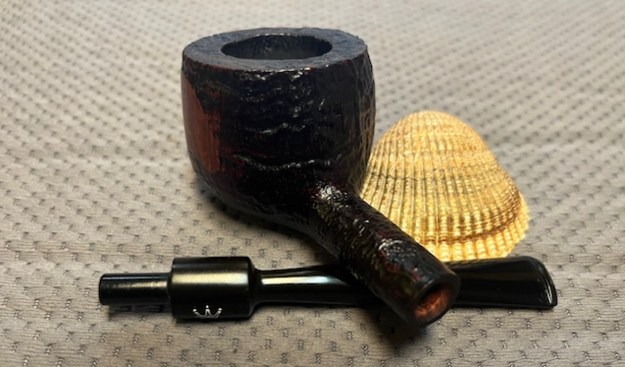
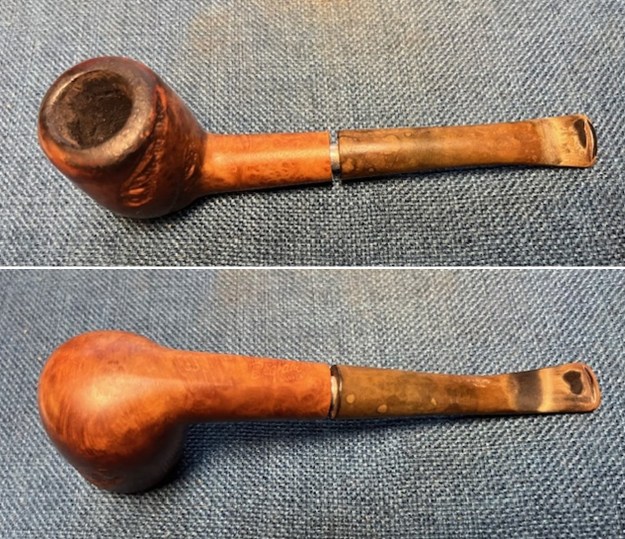
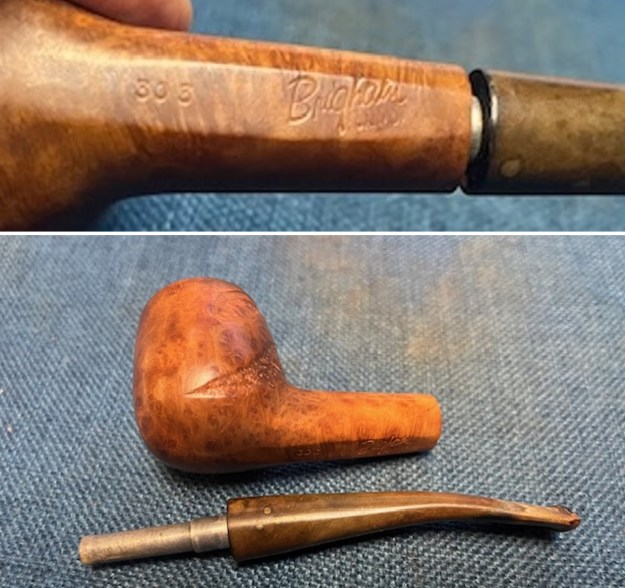
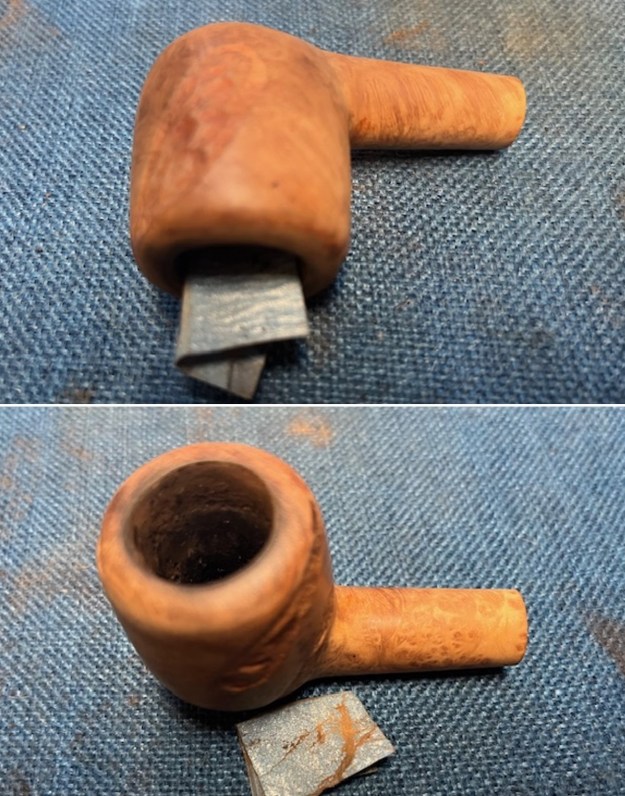
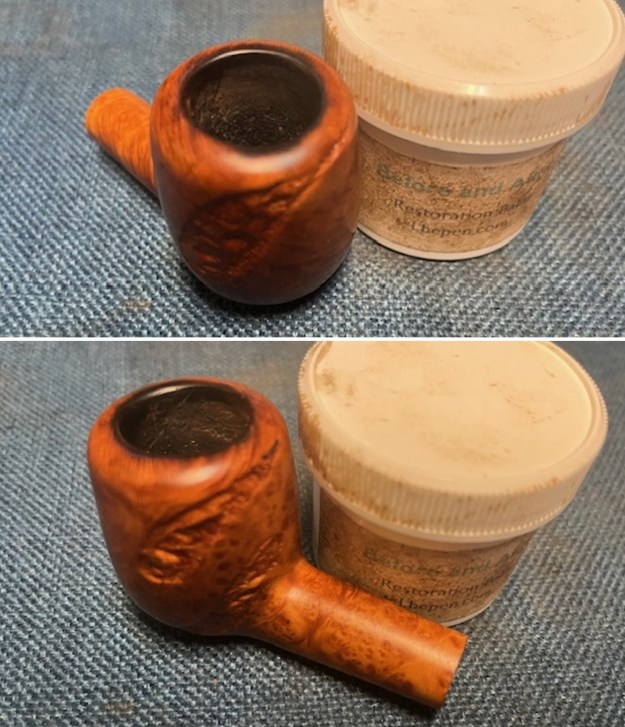
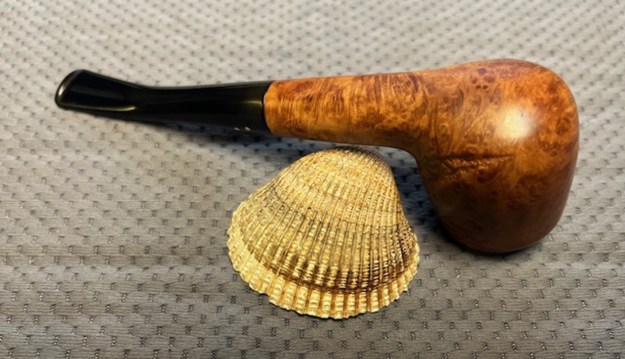
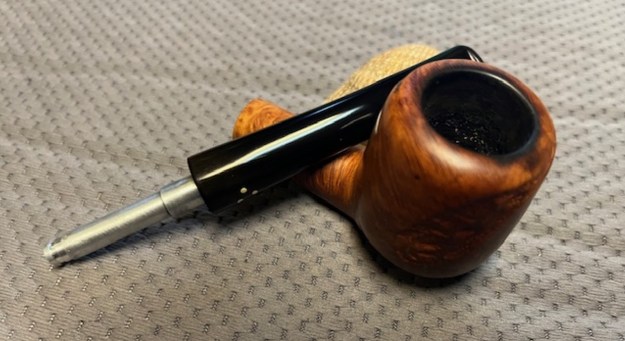
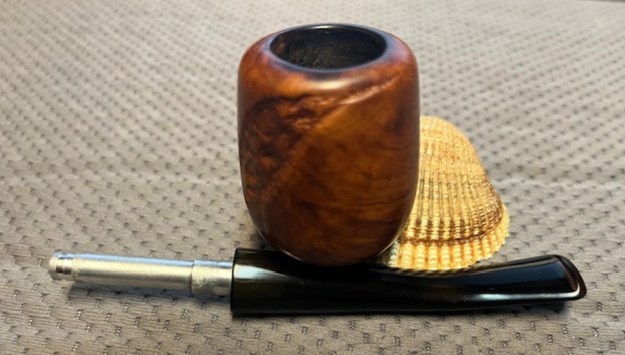
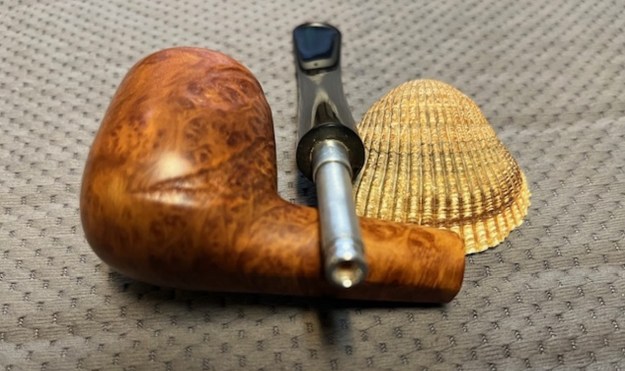
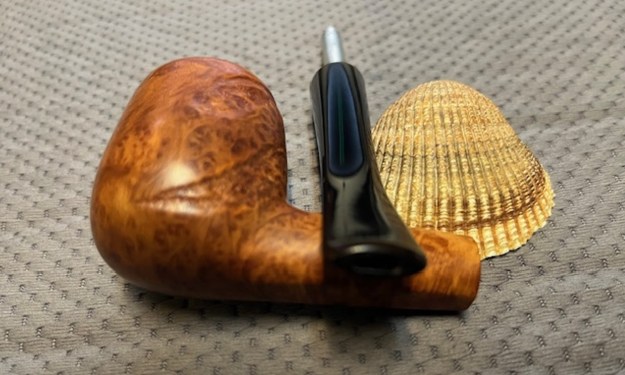
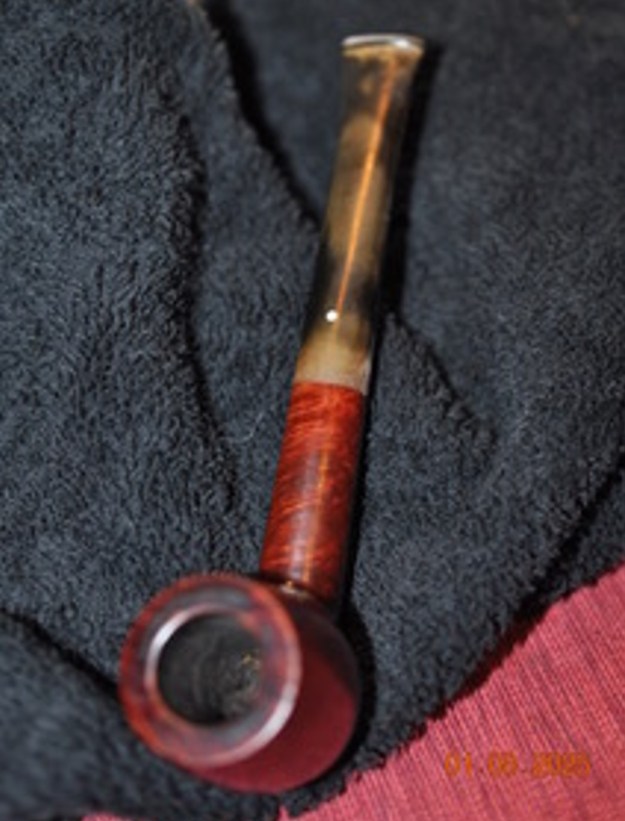
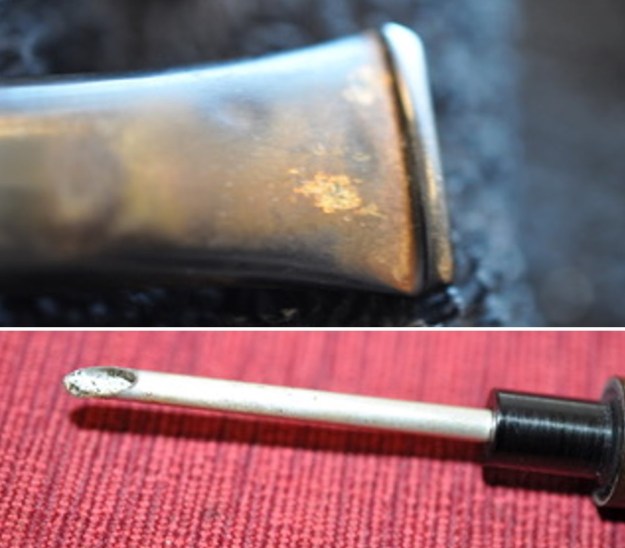
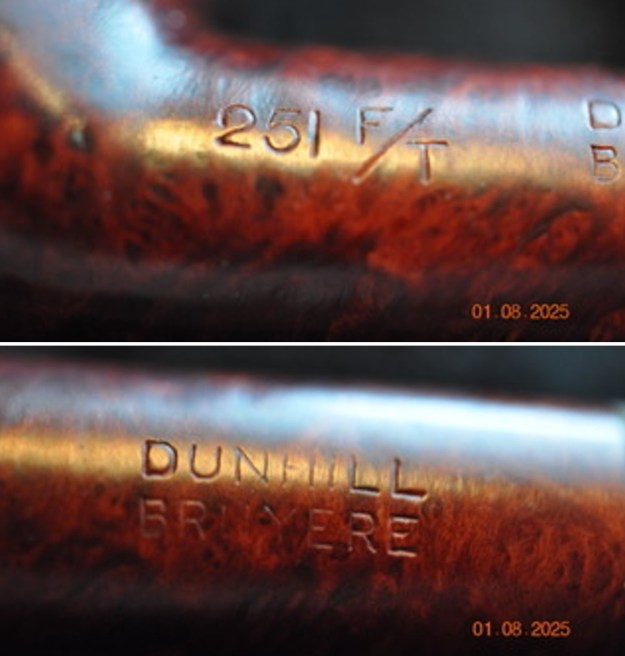
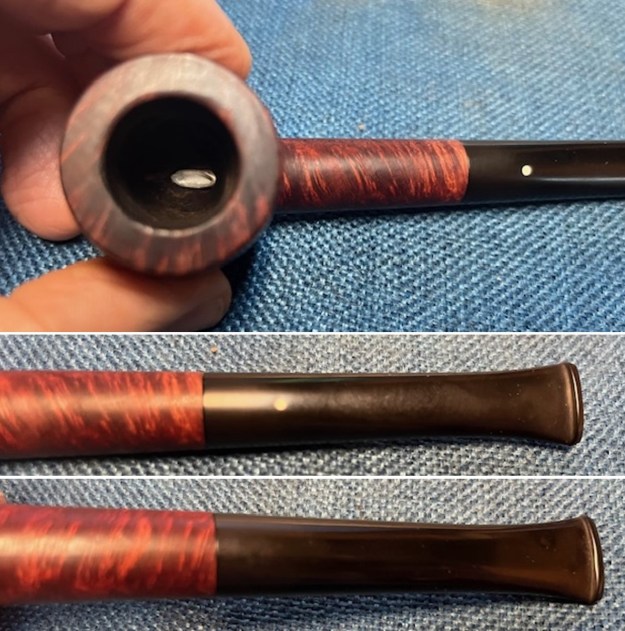
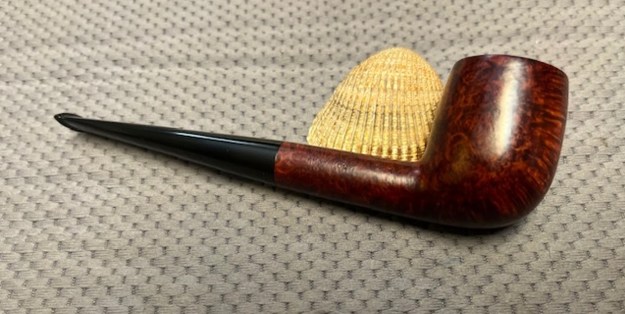
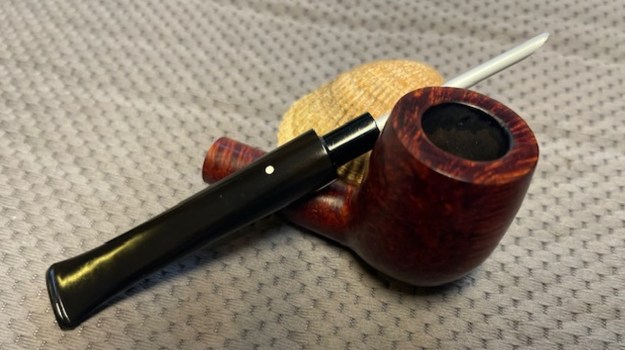
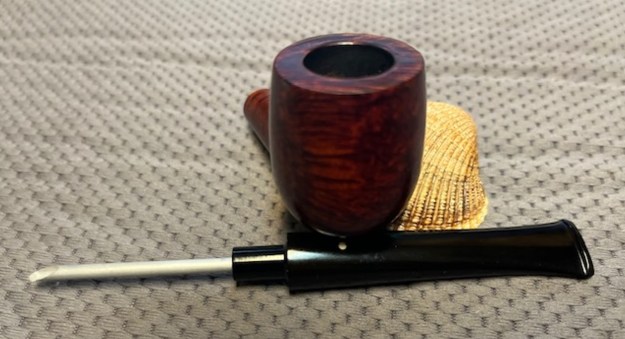
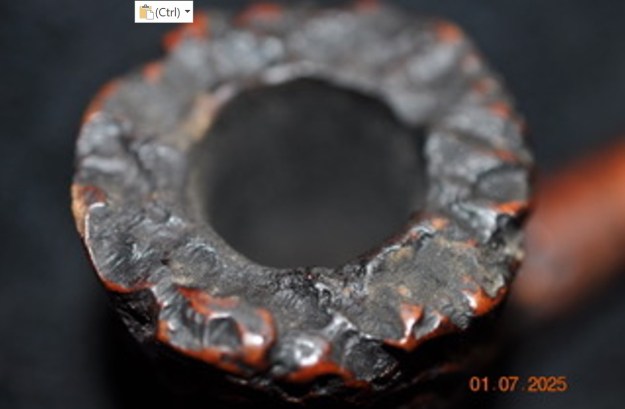
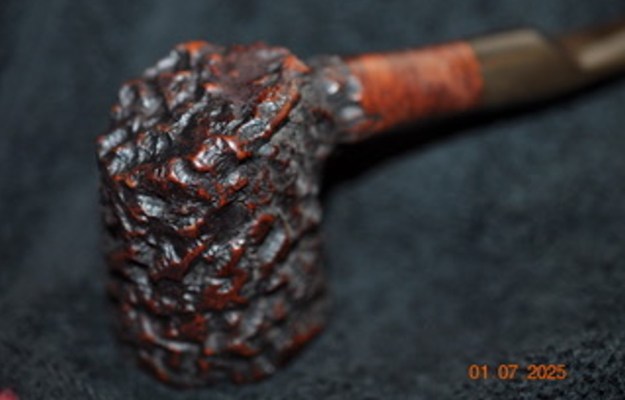
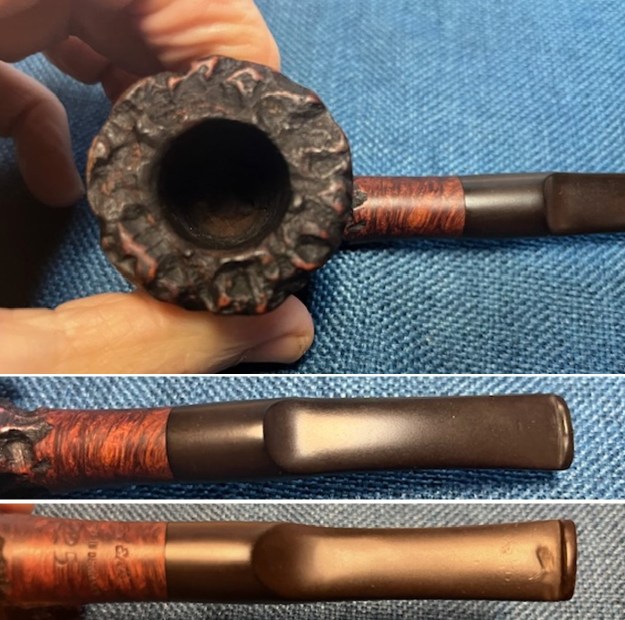
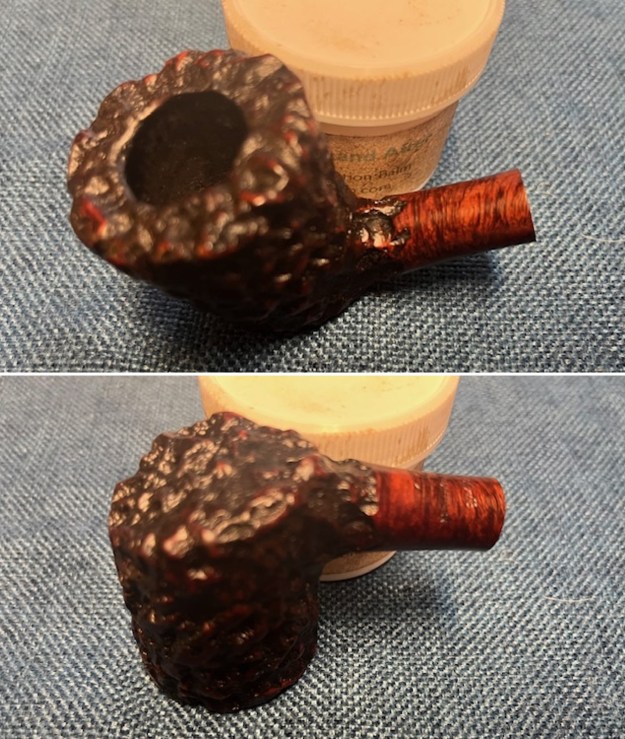
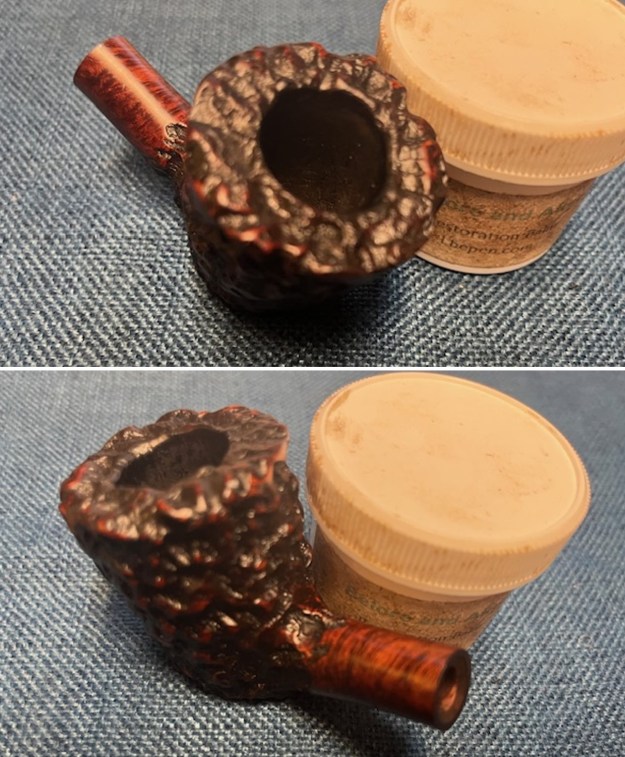
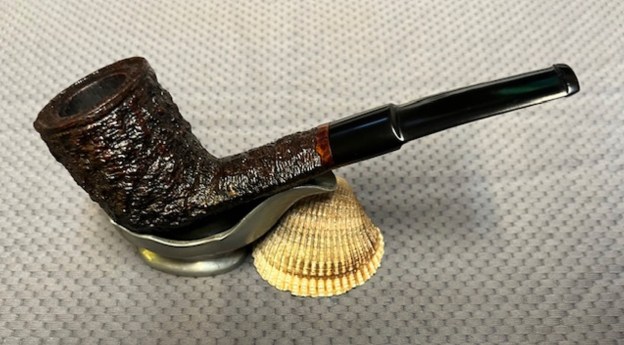
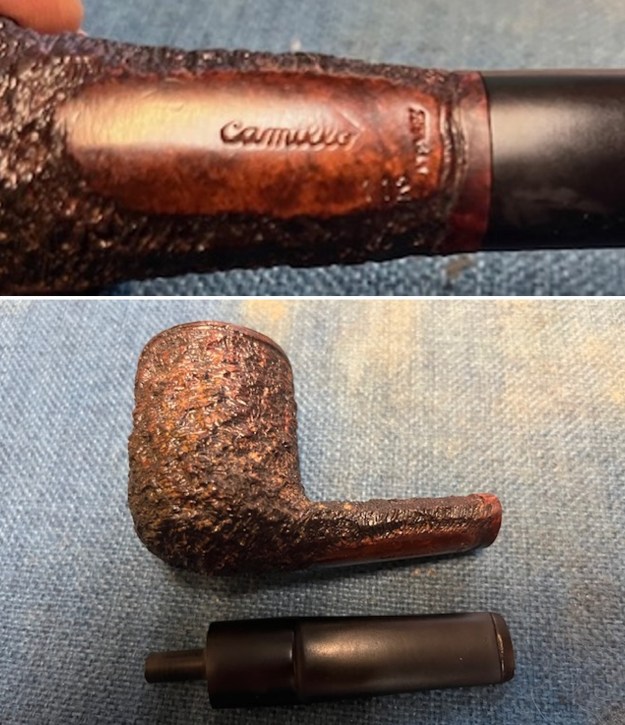
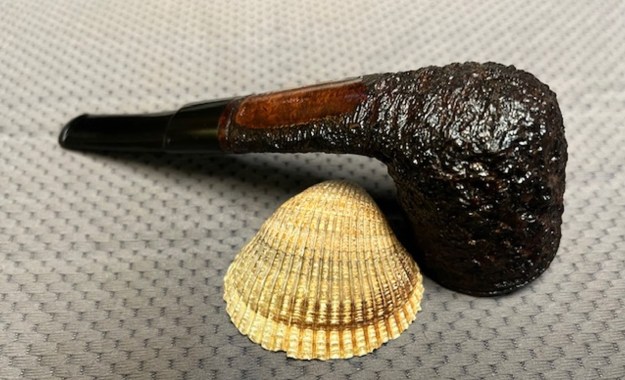
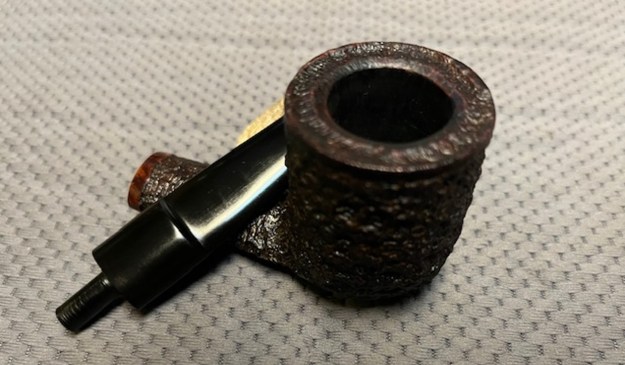
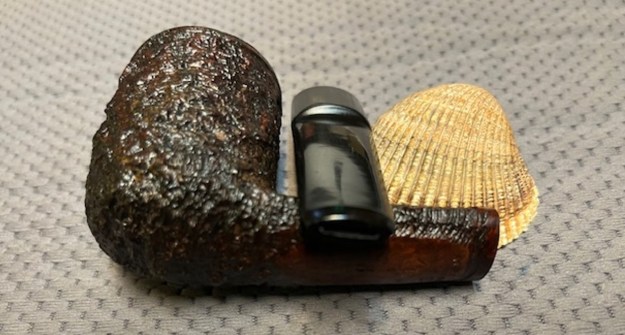
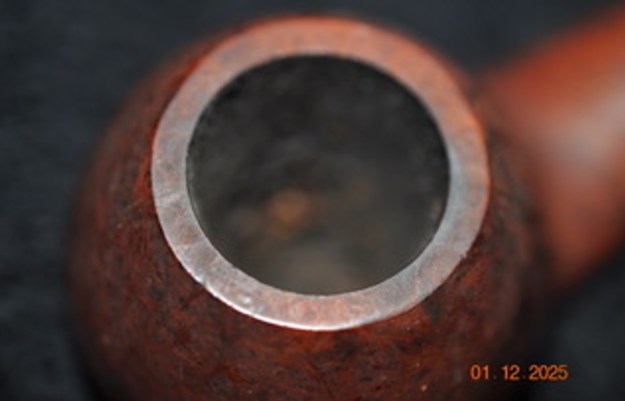
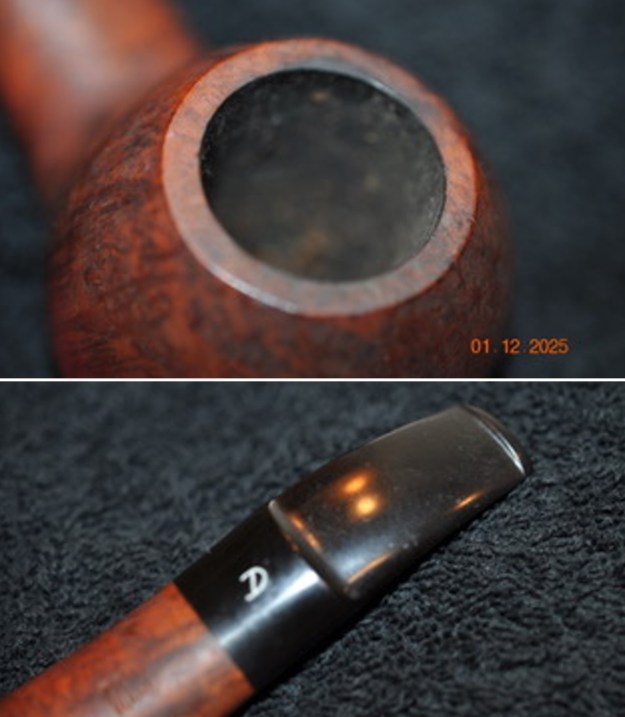
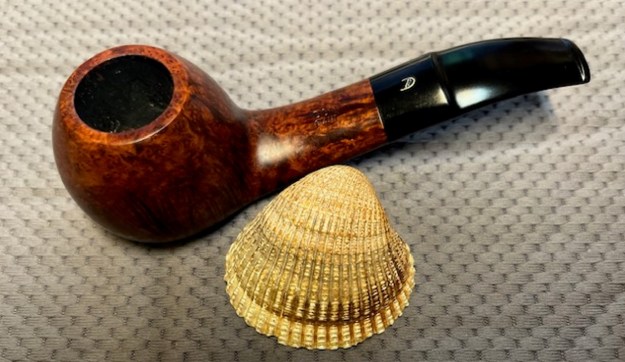
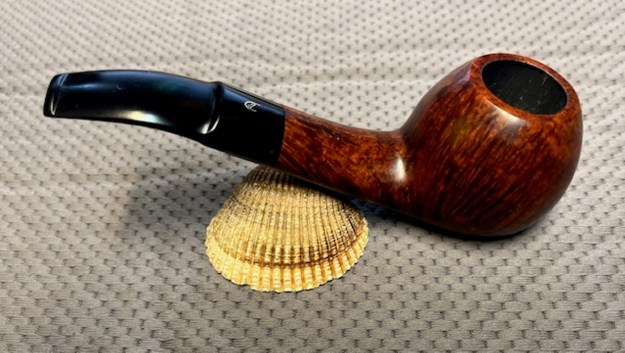
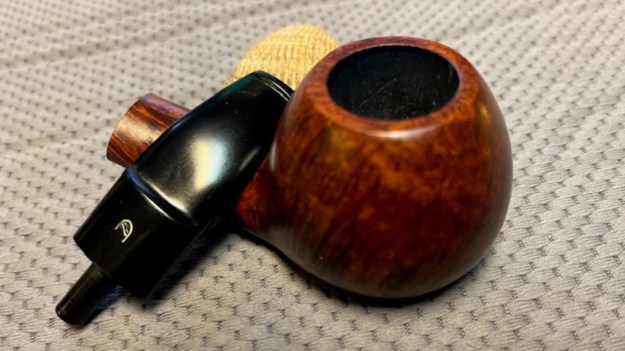
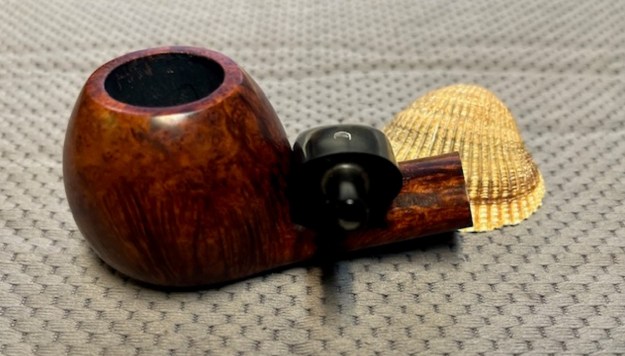
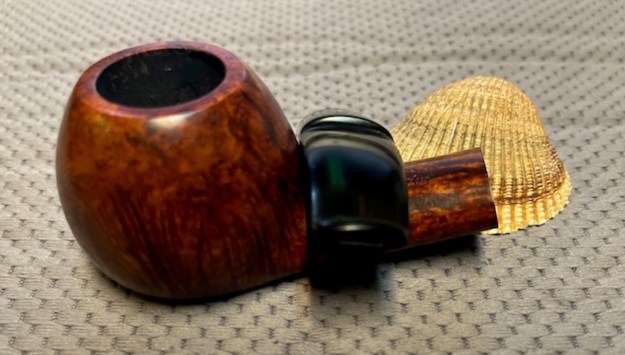
 I took a close up photo of the rim top and bowl to show the condition of the bowl and top. You can see the airway entering at the bottom of the bowl. It is actually centered very well even though in the photo it appears to be toward the left. The bowl is ashy and I will need to wipe it out. The rim top shows the bubbles I referred to above on the back left of the bowl just above my thumb in the photo. You can also see the Rattray’s logo is incomplete on the stem on the right side of the photo. I also took photos of the top and underside of the stem to show their very clean condition in terms of bite or chatter marks. You can also see the residue of the original glue that held it in the metal fitment.
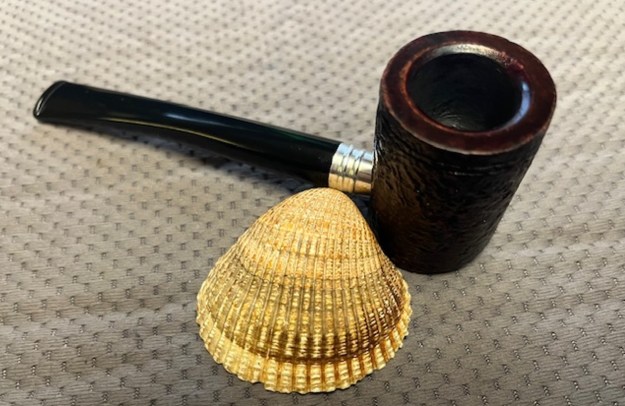
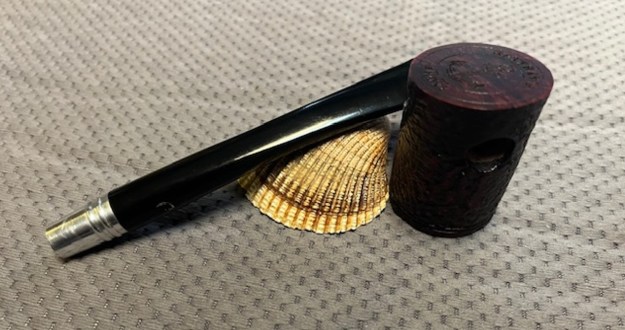
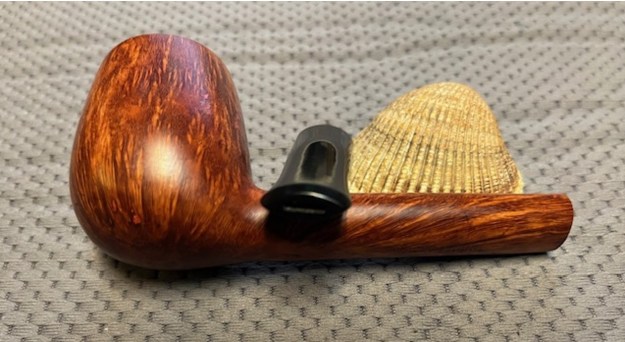
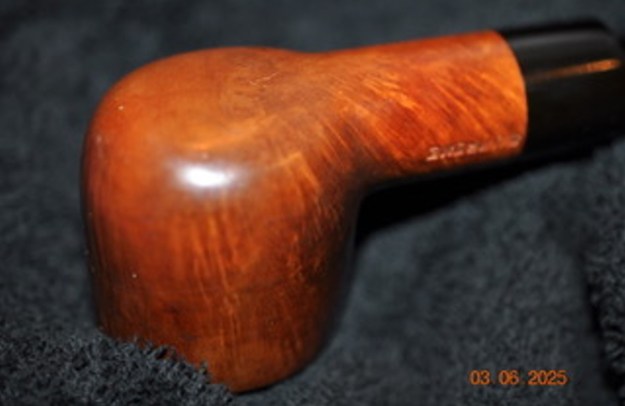
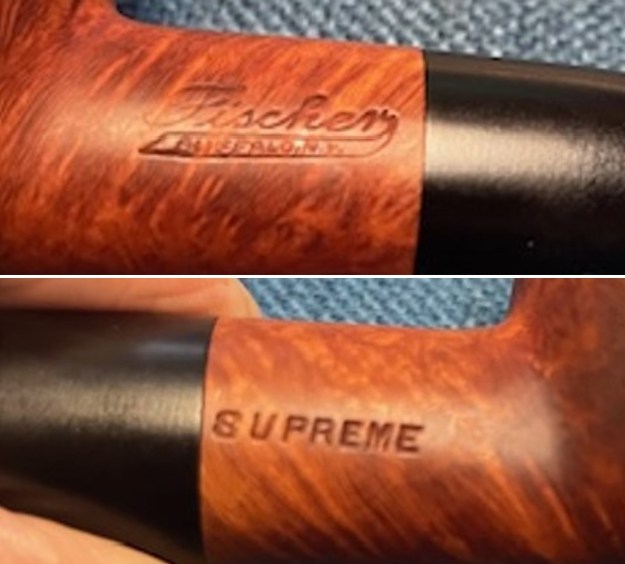
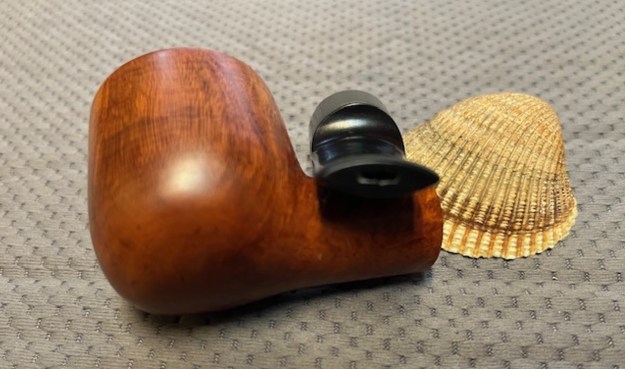
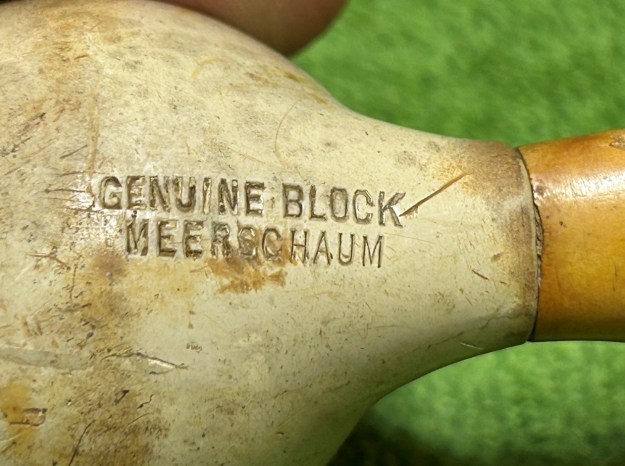
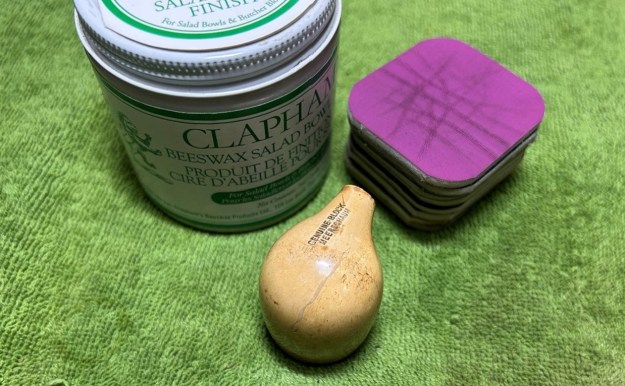
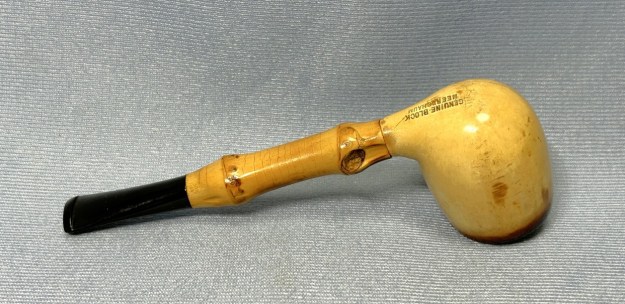
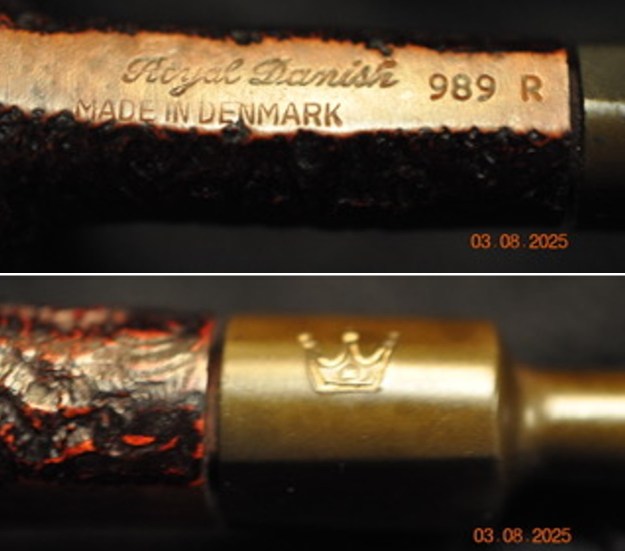
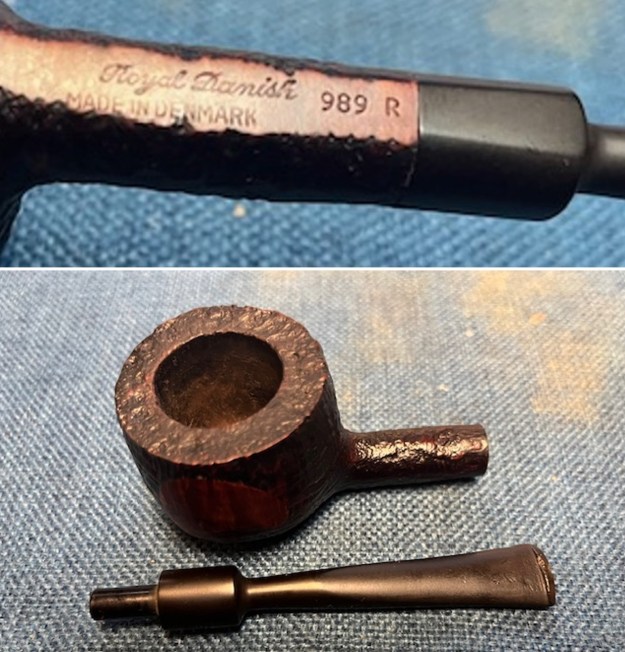
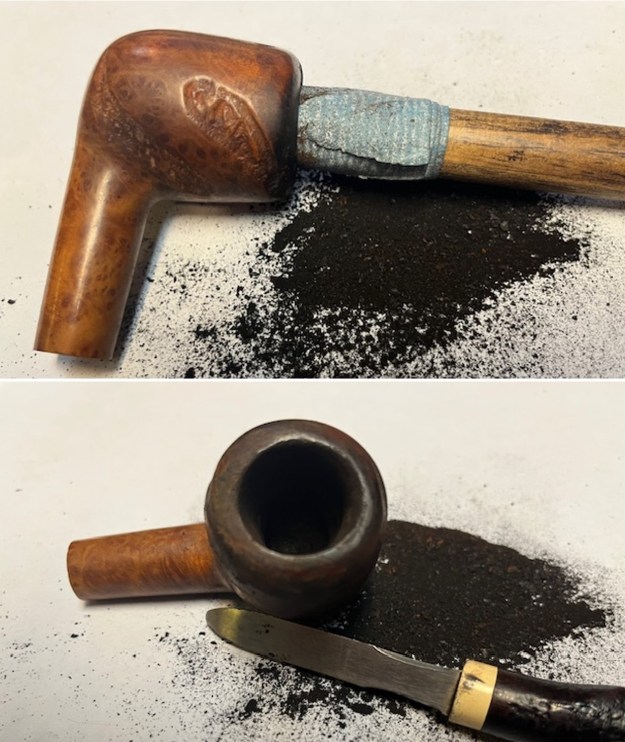
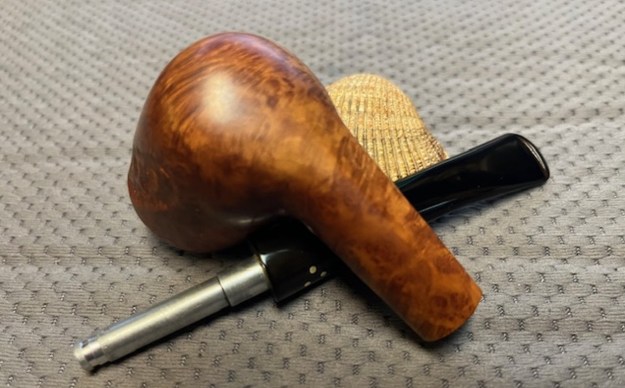
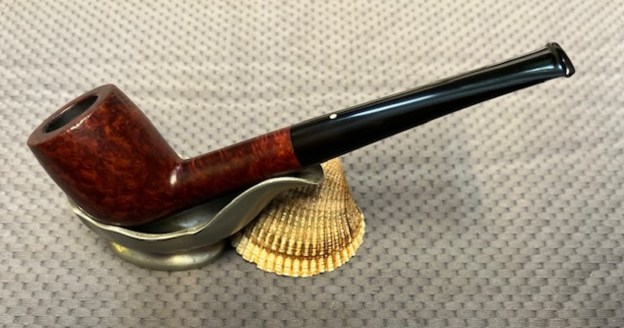
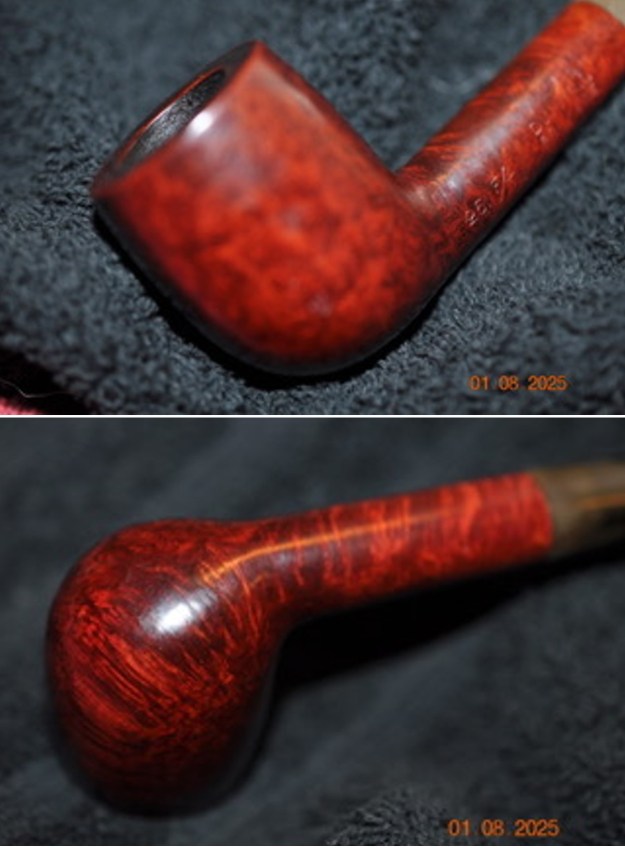
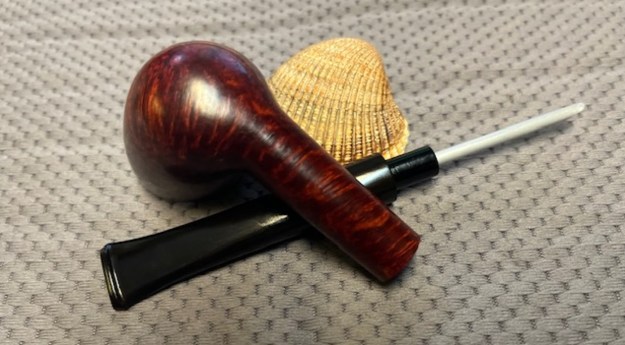
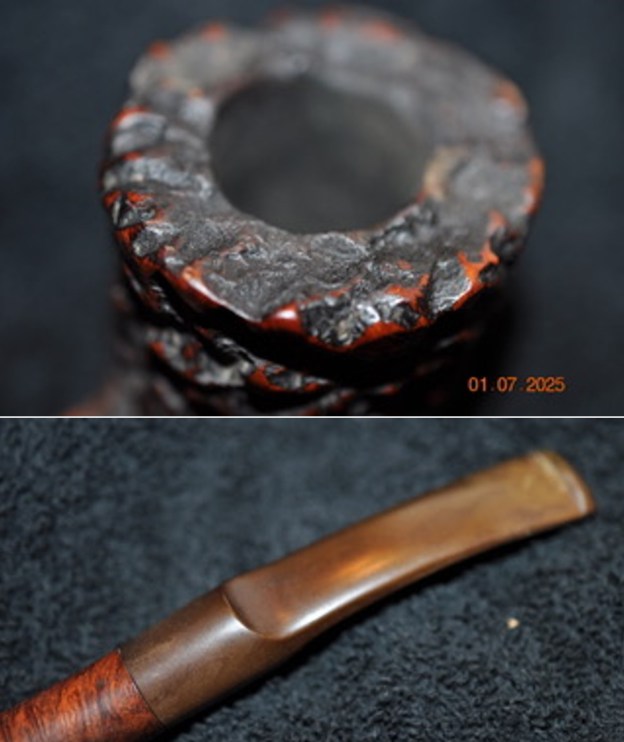
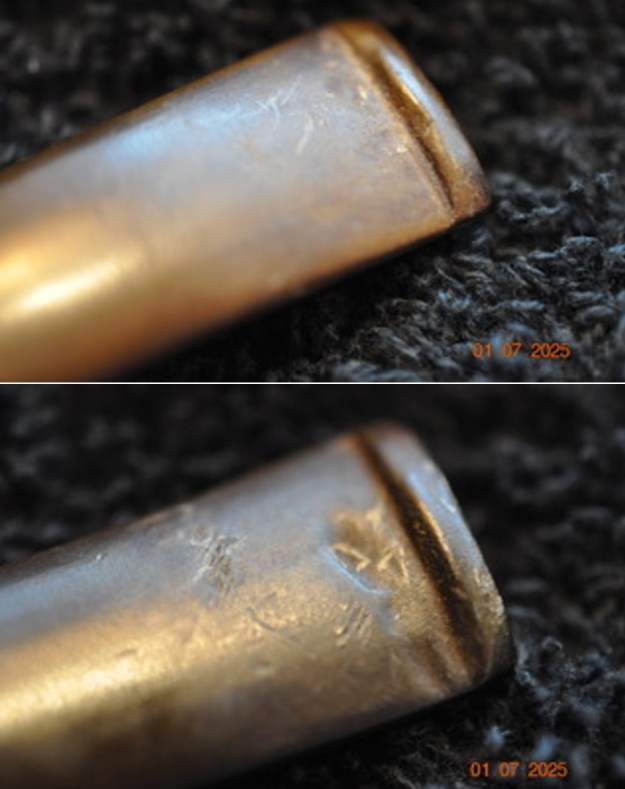
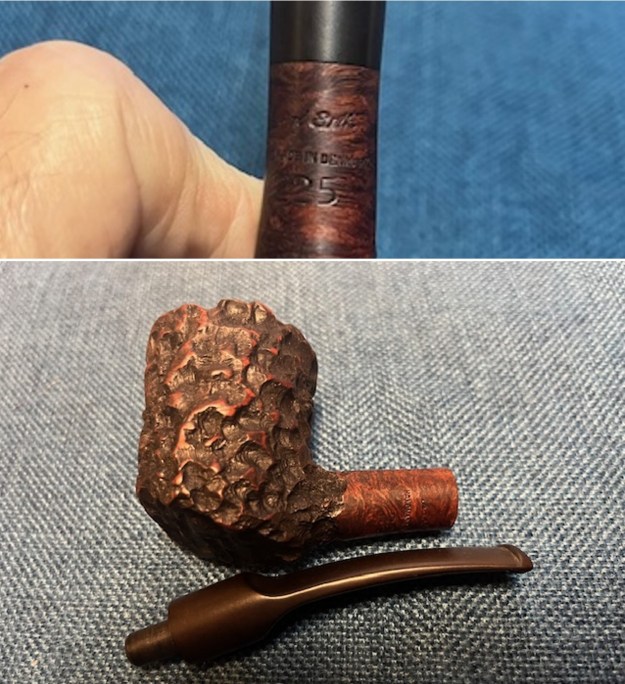
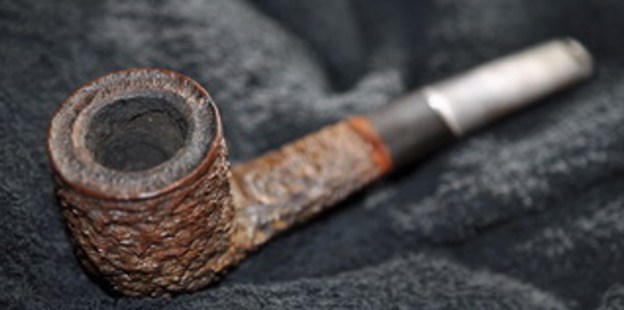
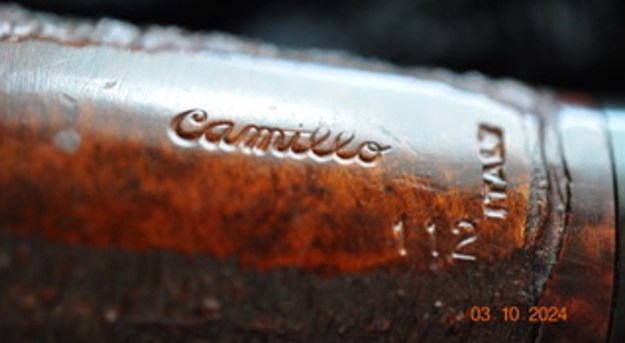
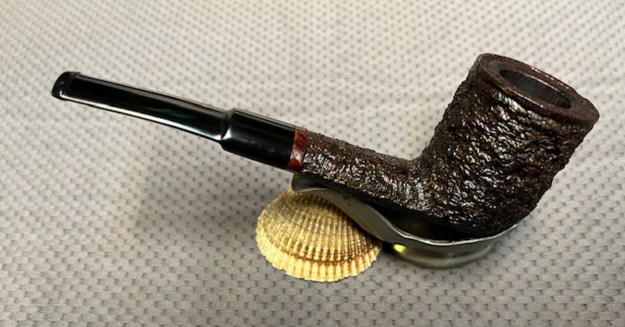
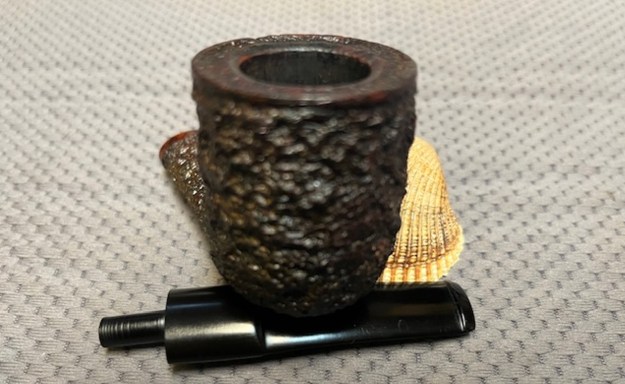
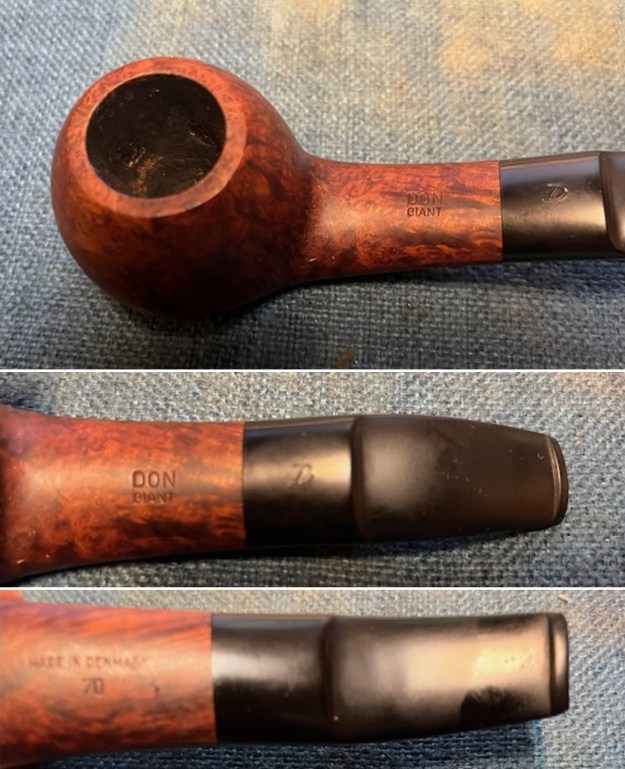
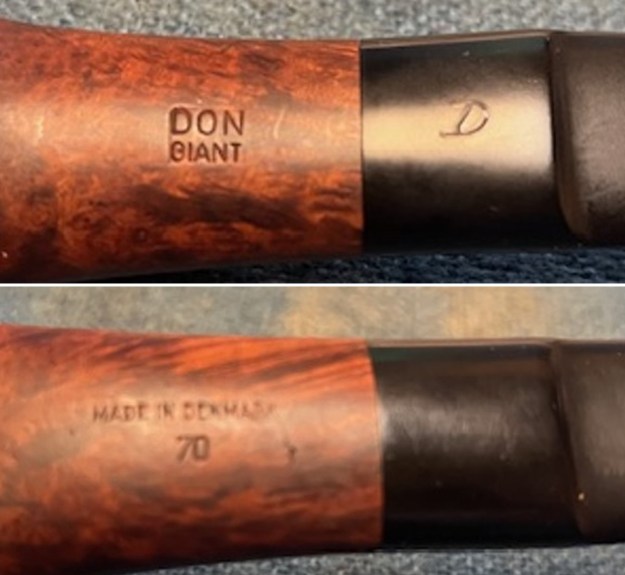
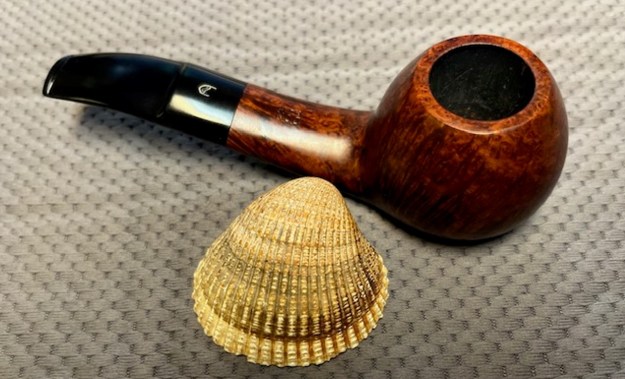
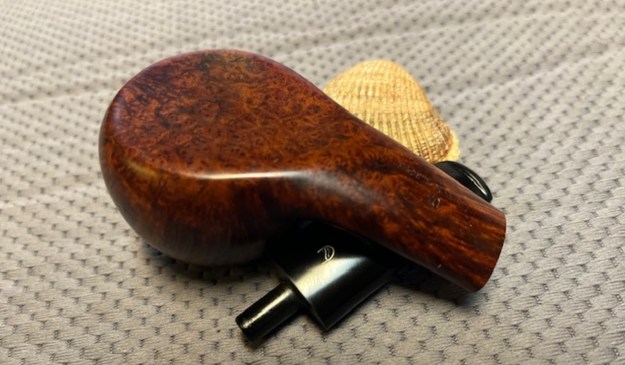
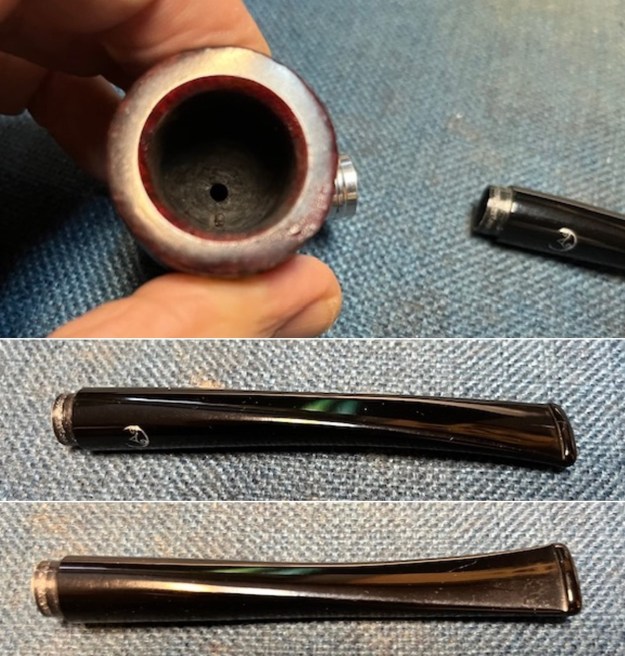 I took a photo of the laser engraved stamping on the heel of the bowl. It is well done and very readable. There is an anchor in the centre of the heel encircled with two rings. Between the rings on the left side (top in the photo below) it reads RATTRAY’S and on the right side (bottom in the photo below) it reads AHOY!.
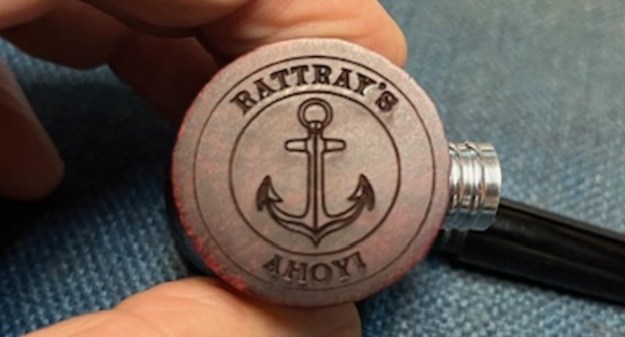 I decided to turn to the Rattry’s Pipes site to see what I could learn about the pipe from the seller themselves (https://www.rattrays-pipes.com/en/Rattray-s-Ahoy-Natural). I quote what they included in their description of the pipe.
Ready for the next adventure? You defy the wind and the cold, conquer the waves. The lighthouse guides you around the cliffs, and the sun rises from the sea.
The next port promises a cozy fire in the harbour tavern, where the liquid luck pours down the throats. Compensation for the long weeks at sea. Soon the journey continues, only one destination in mind. Home.
Rattray’s Ahoy! A small sized Poker shape with a lasered bottom for a short smoke.
I also included the Description or Vitals that were listed for the pipe:
| Description: Vitals
Surface |
Sandblast |
| Series | Ahoy |
| Application |
Metal
|
| Chamber Diameter |
19 mm
|
| Drilling | 9mm |
| Mouthpiece |
Acrylic
|
| Limited Edition | No |
| Shape | Straight – Poker |
| Style |
Classic series
|
| Bowl Height | 50 mm |
| Material | Briar |
| Weight |
30-39 gram
|
| Length | 140 mm |
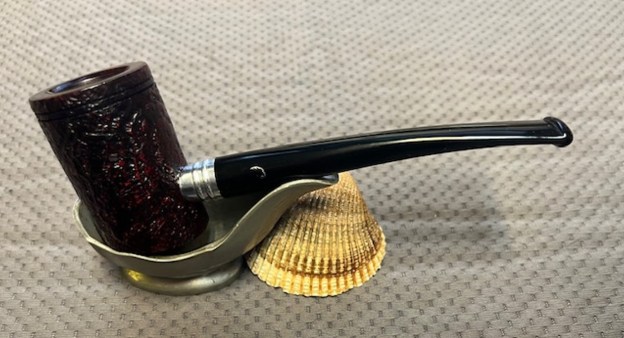
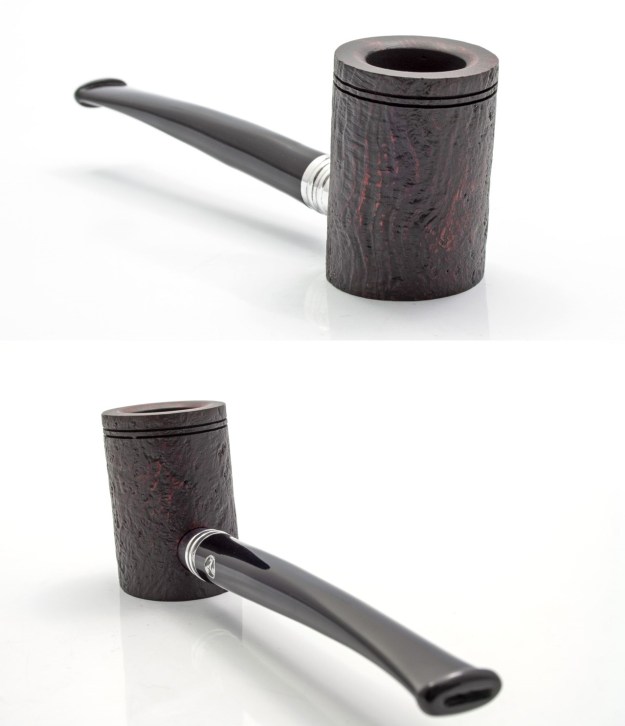
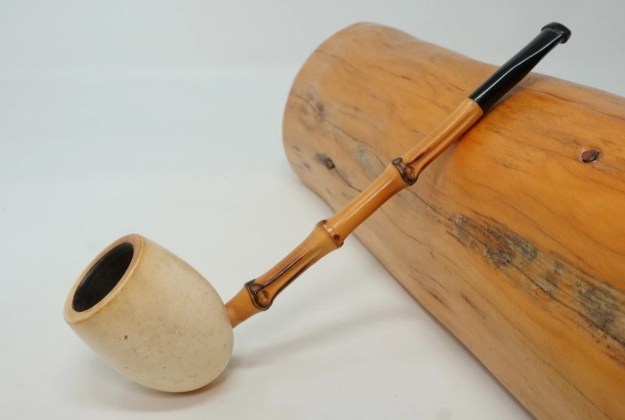
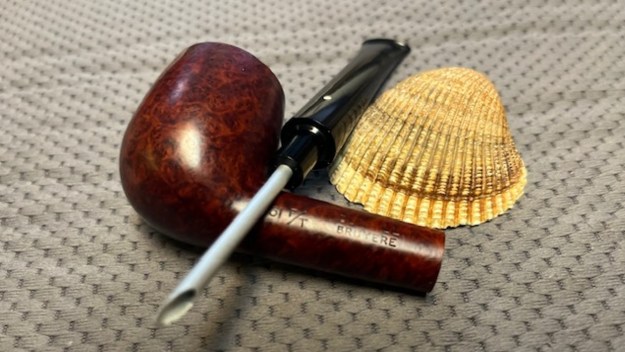
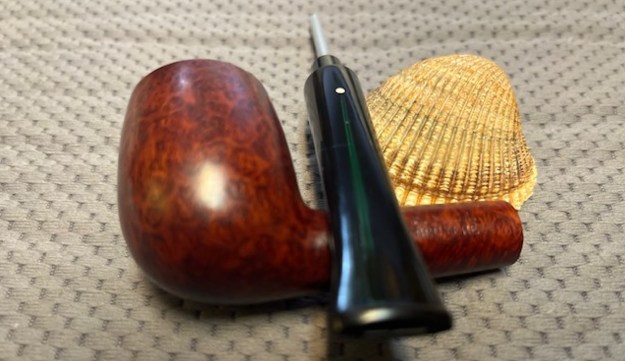
The site also had photos of the various finishes the pipe that were available. I turned to the sandblast finish Ahoy and took some photos of the pipe as it was (at least in the factory photos).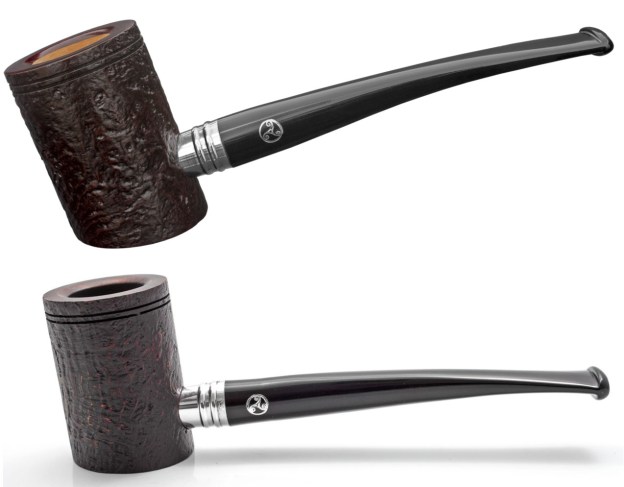
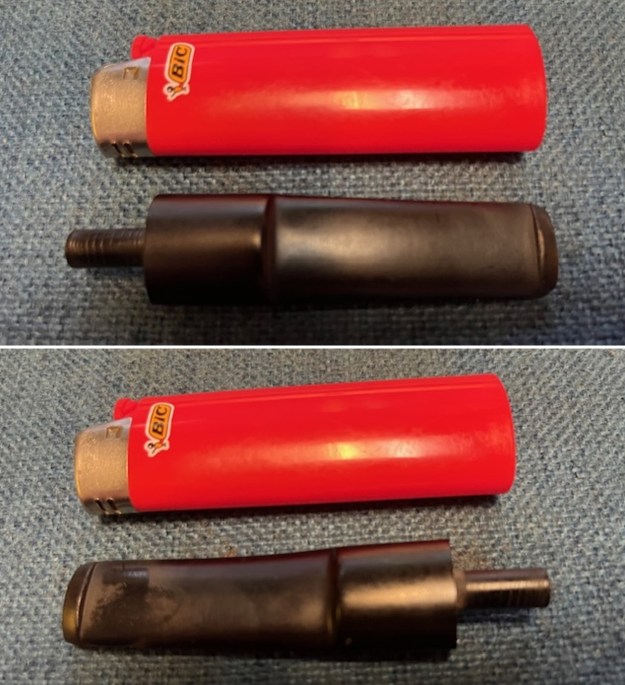
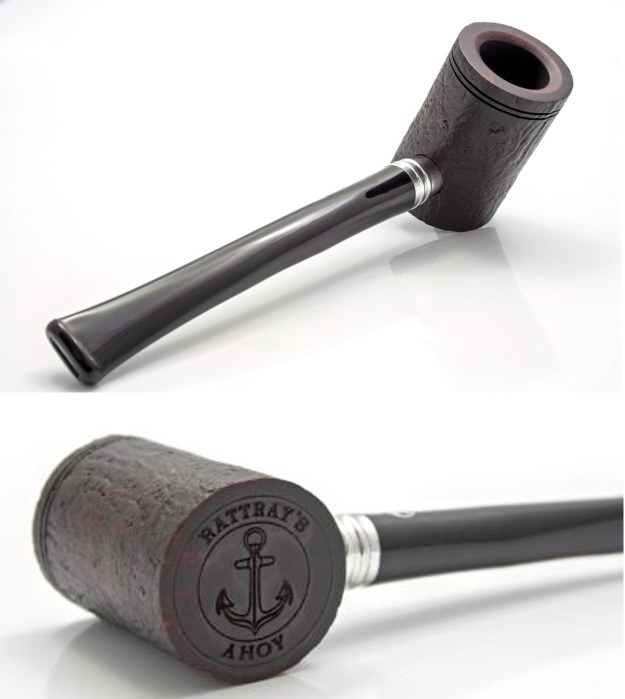 Perhaps the most important photo on the site was found in the photos of the smooth version of the pipe. It confirmed what I had assumed about the metal fitment being connected to the stem portion and pressure fit into the side of the bowl. This gave me the direction I needed for repairing the stem! Thank you internet and Rattray’s for the detailed photos.
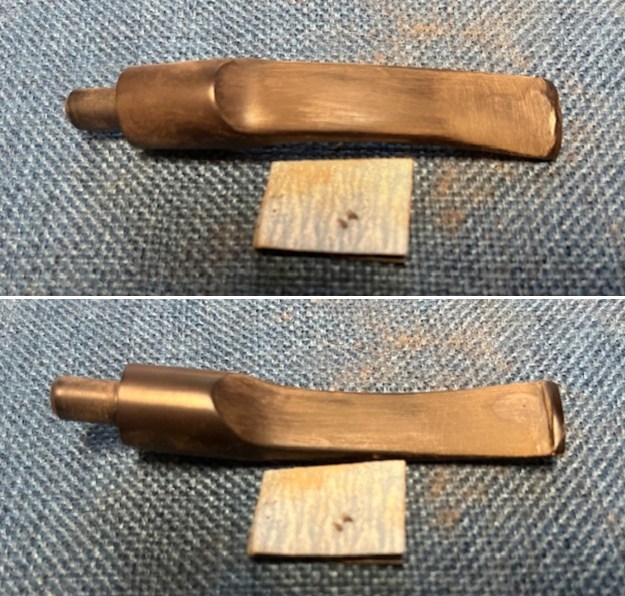
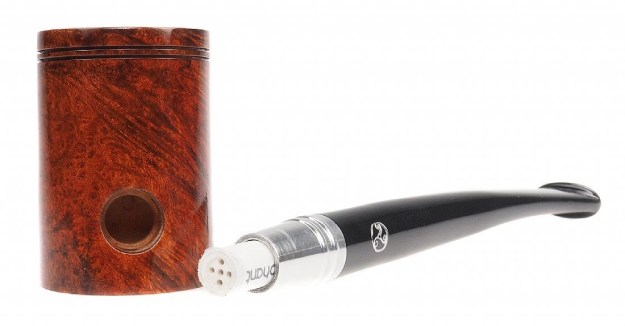 Now it was time to work on the pipe. I tried to wiggle the metal fitment in the bowl and it was solidly stuck in place. I used an old trick – putting it in the freezer for about 10 minutes. The chill air affects the metal and the briar differently. When I removed the bowl from the freezer the metal fitment easily came out of the bowl. It was clean an undamaged.
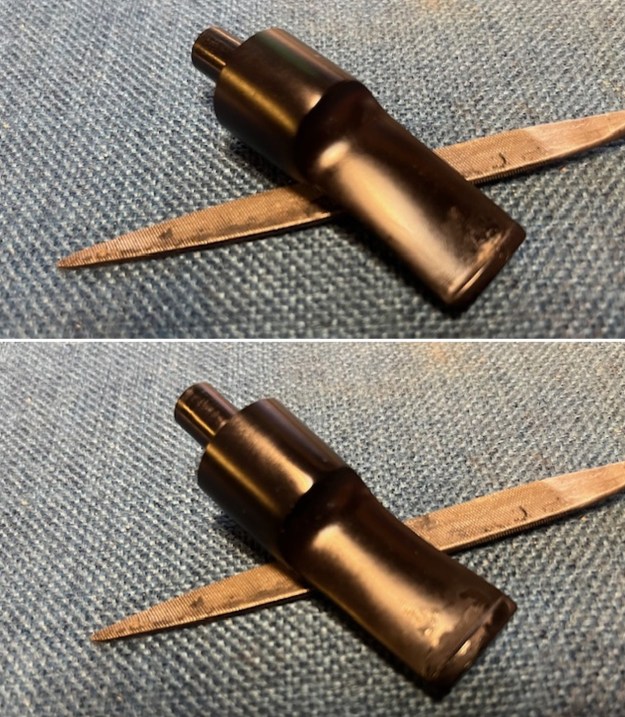
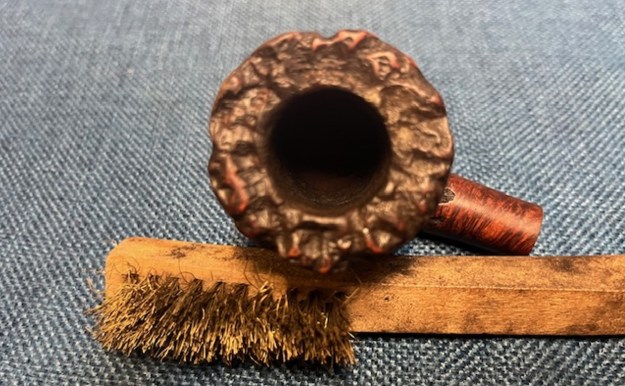
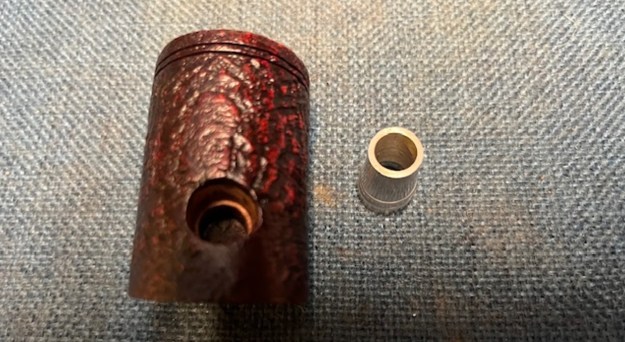
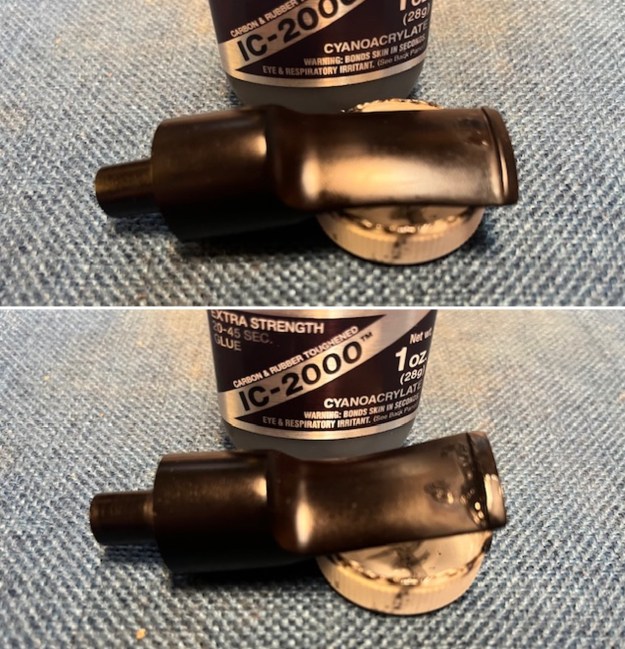
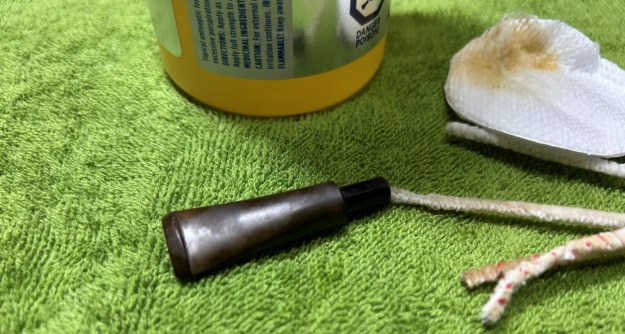
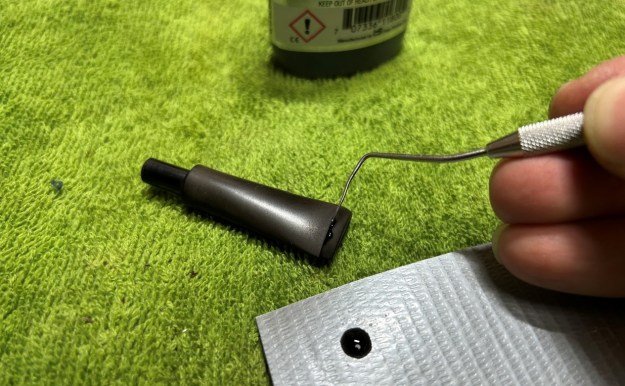
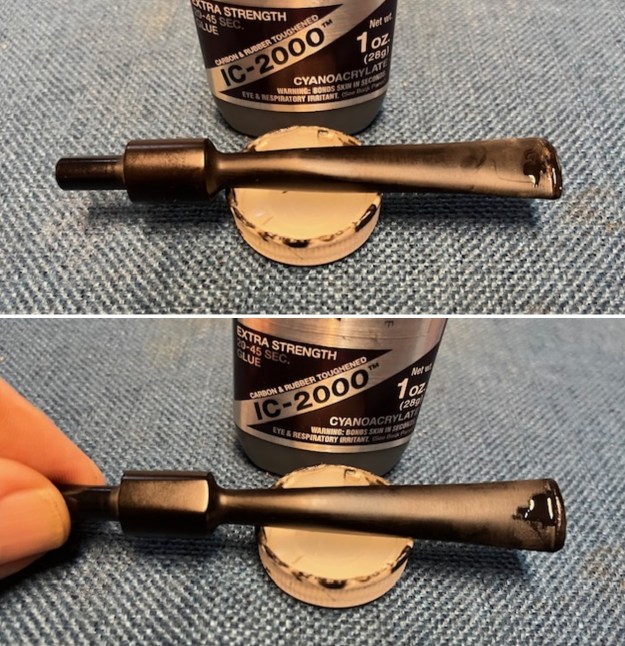
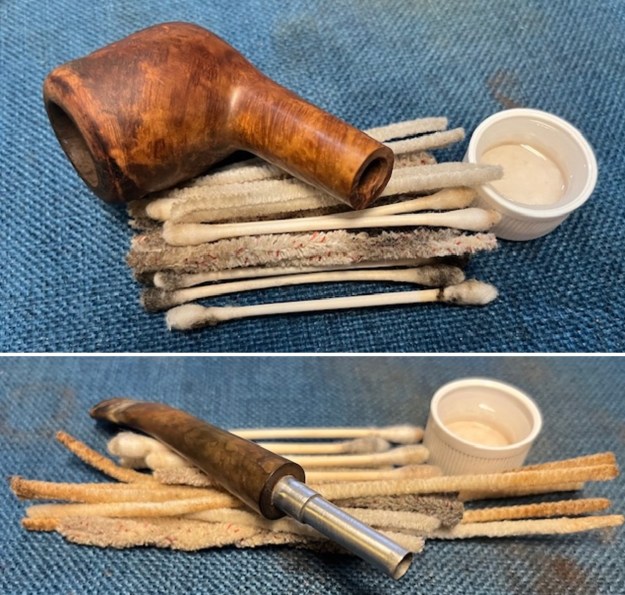
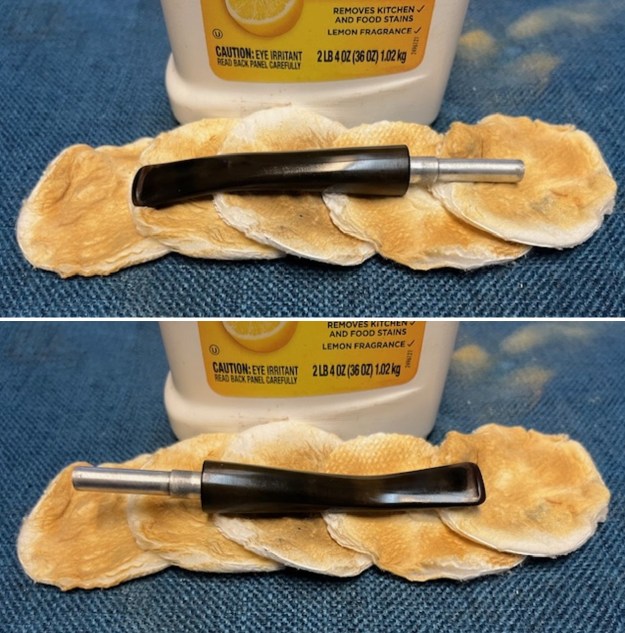
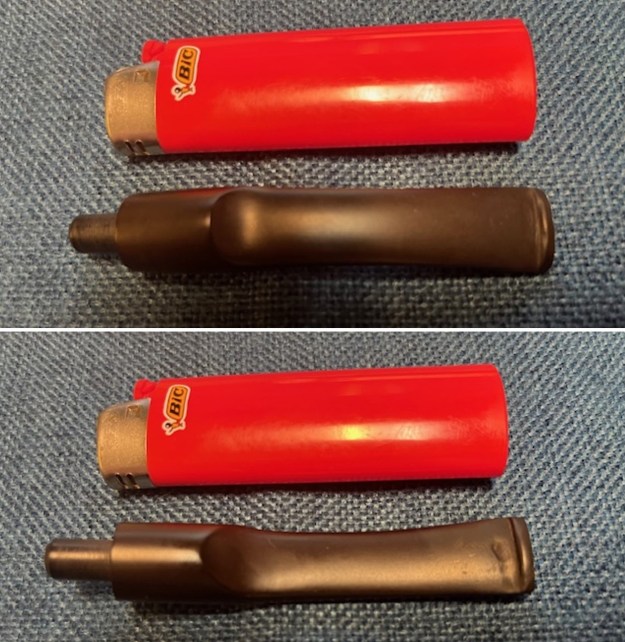
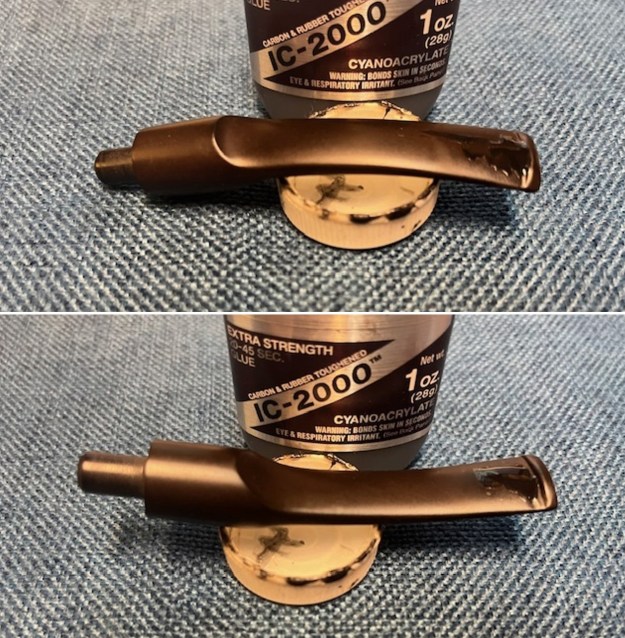
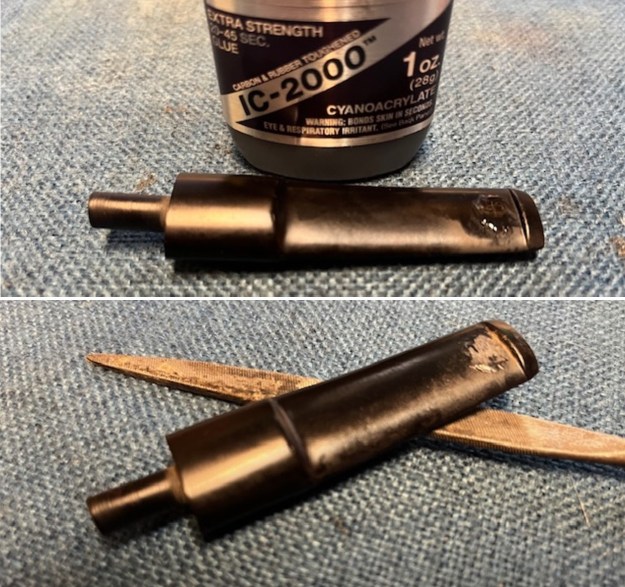
 I used a qtip/cotton swab and some isopropyl alcohol to cleanup the inside of the metal and the stem end to remove all of the residual glue. I used a tooth pick to paint the stem end with black rubberized CA glue and pressed the fitment onto the stem. I wiped off the excess glue that oozed out with a alcohol dampened cloth. Once it was ready I set it aside to let the glue cure.
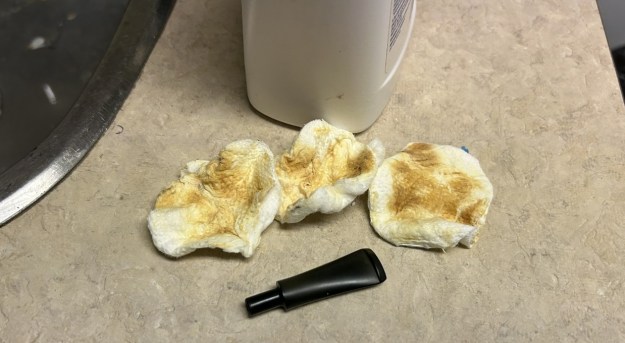
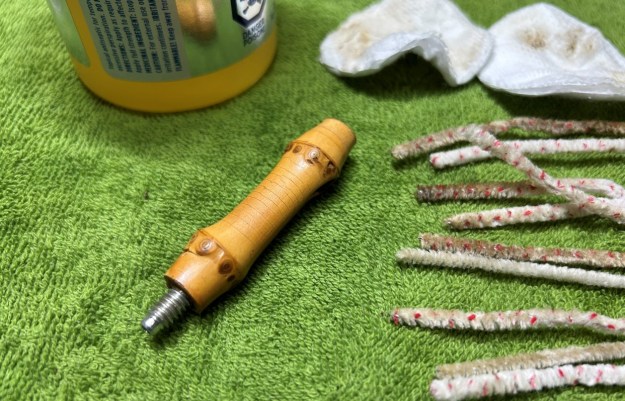
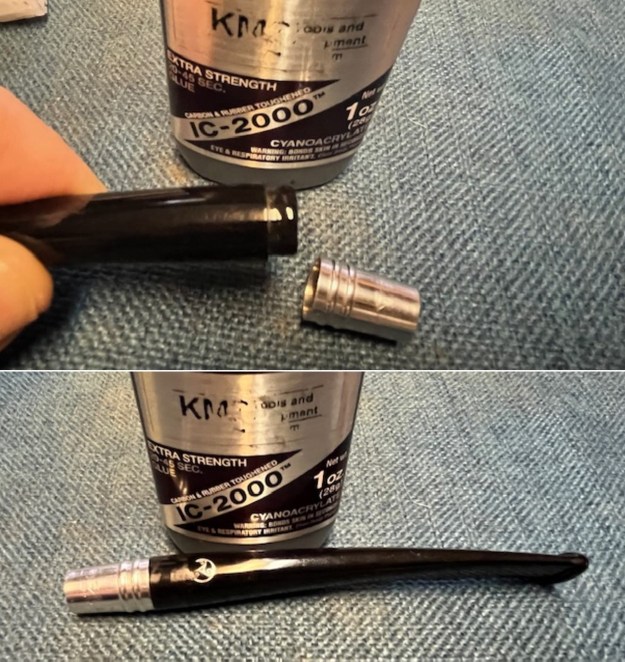 I cleaned out the airway in the stem and the mortise with isopropyl alcohol, cotton swabs and pipe cleaners. I used a cotton pad and alcohol to clean out the inside of the bowl. It removed the tobacco smell and the oils from the bowl and shank.
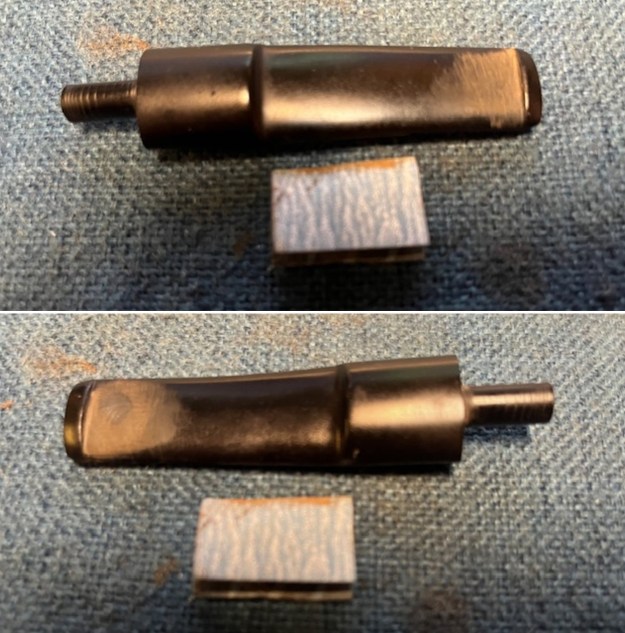
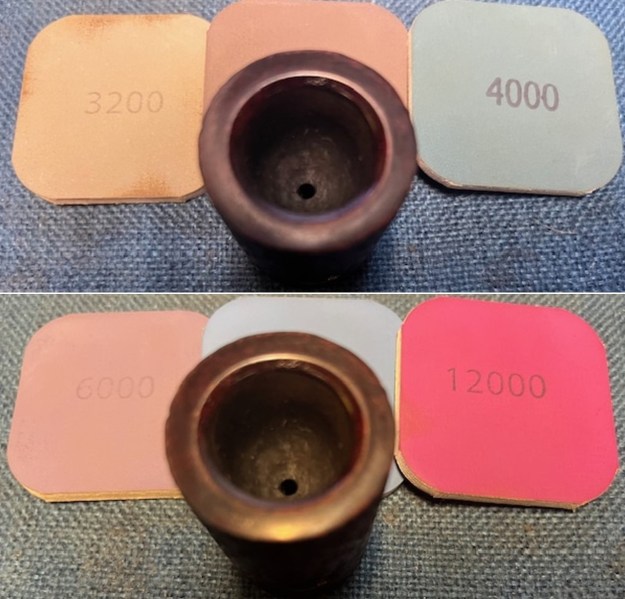
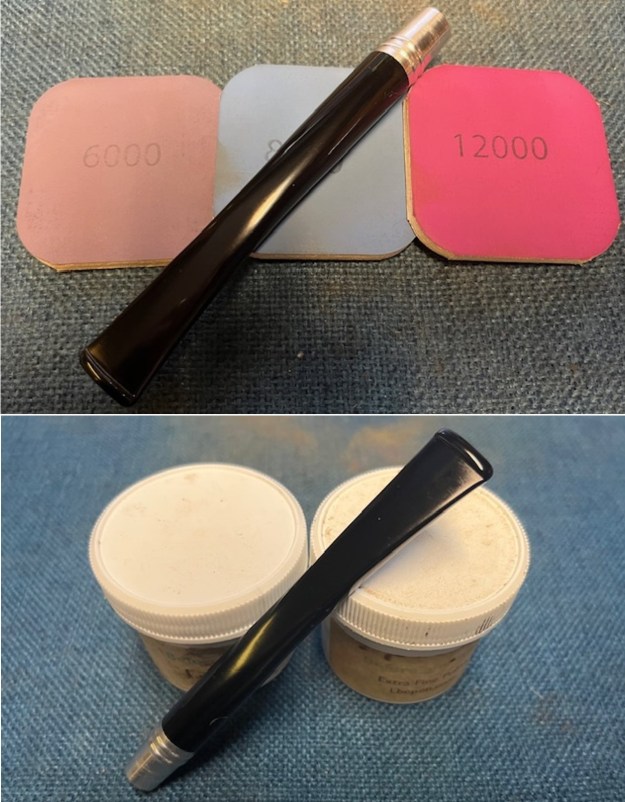
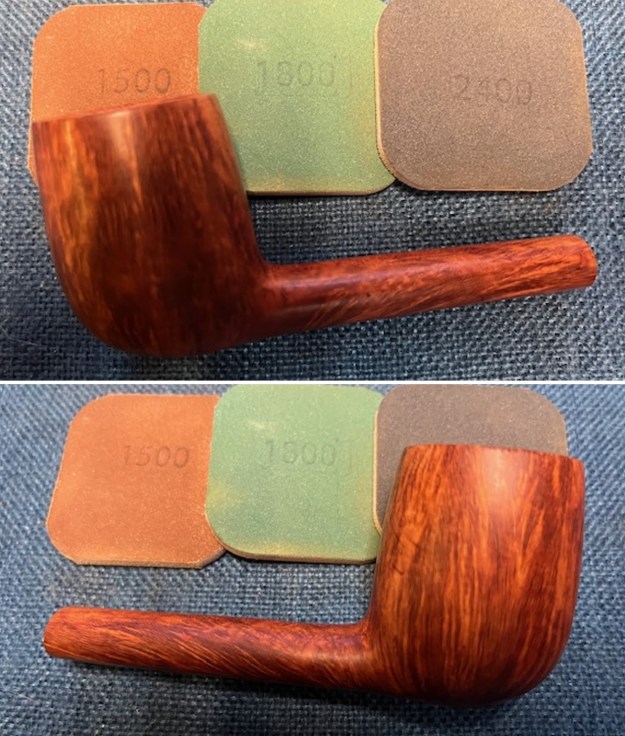
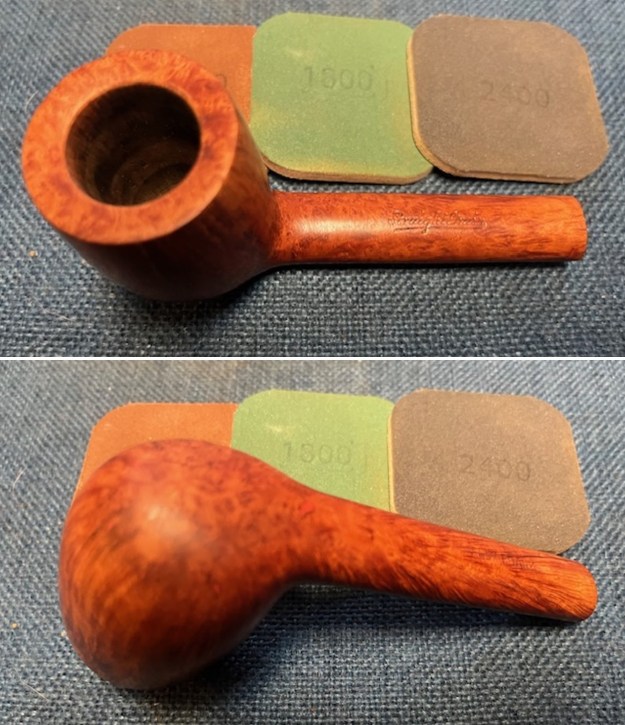
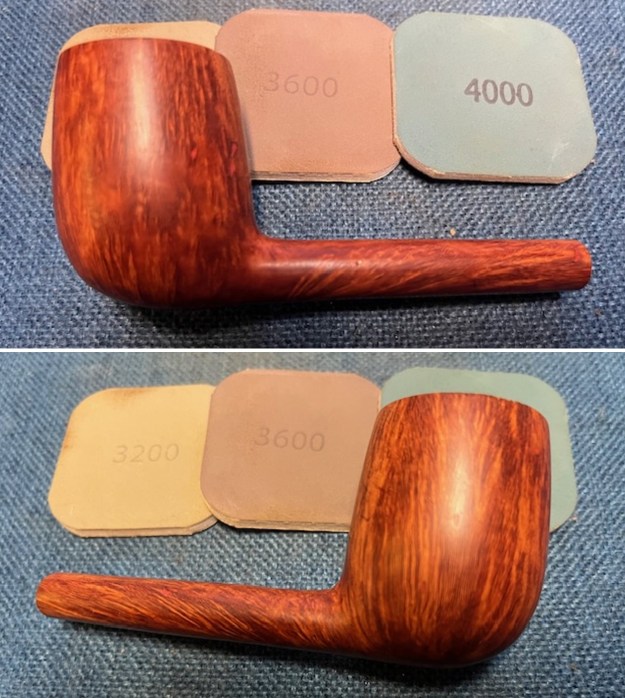
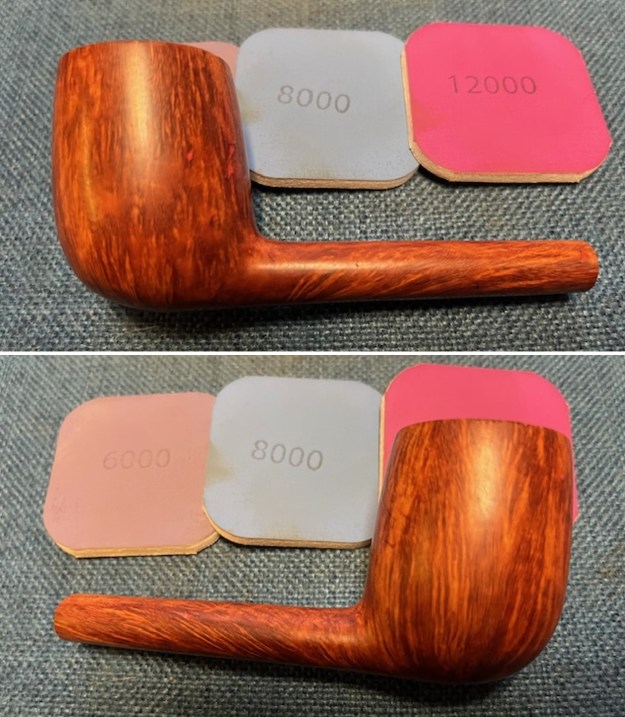
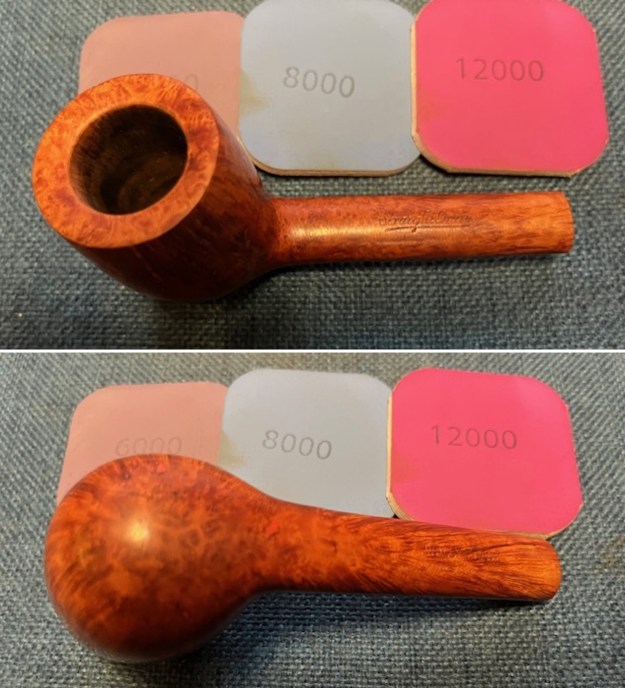
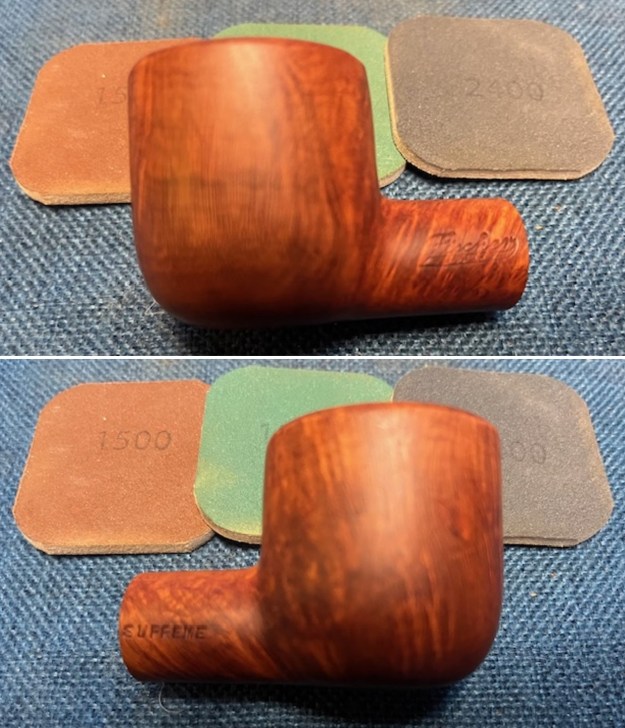
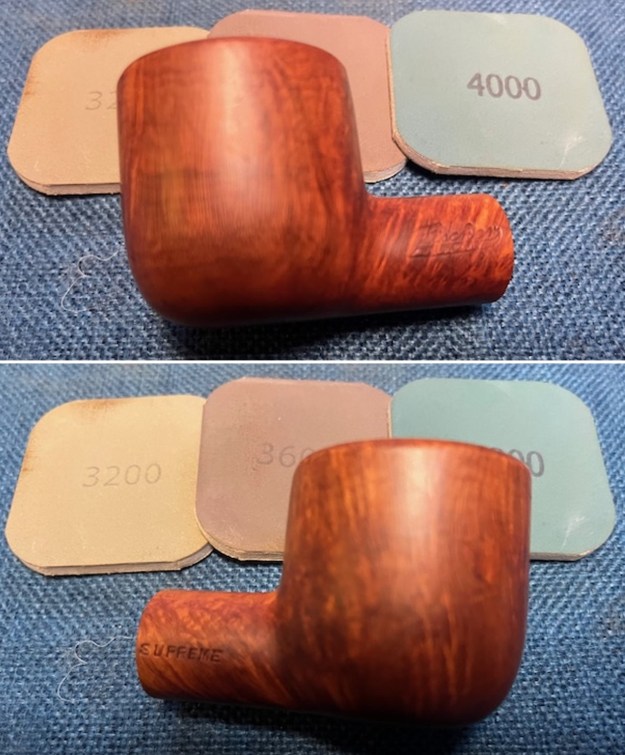
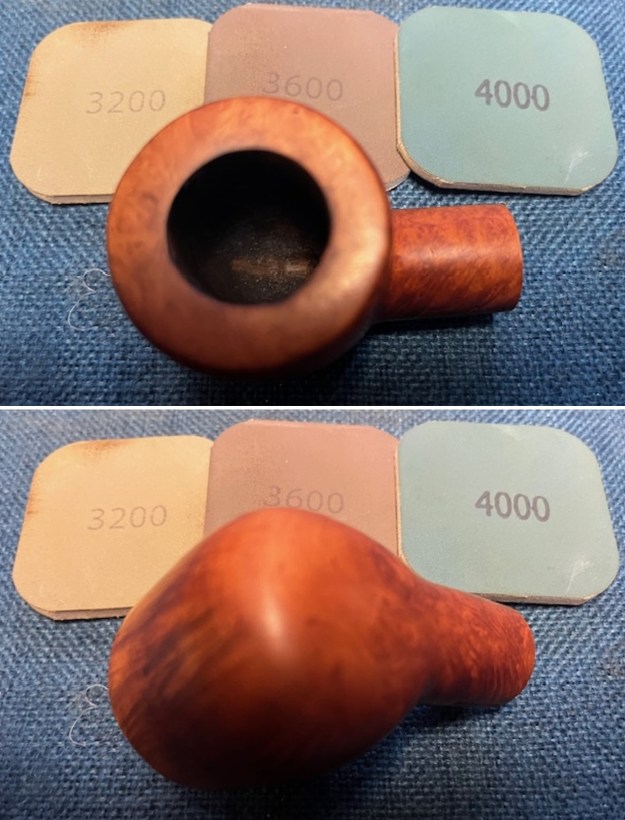
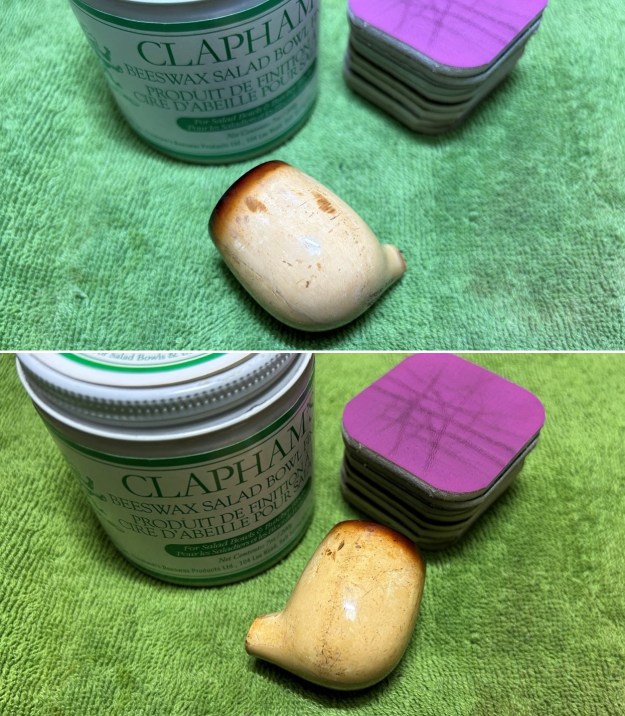
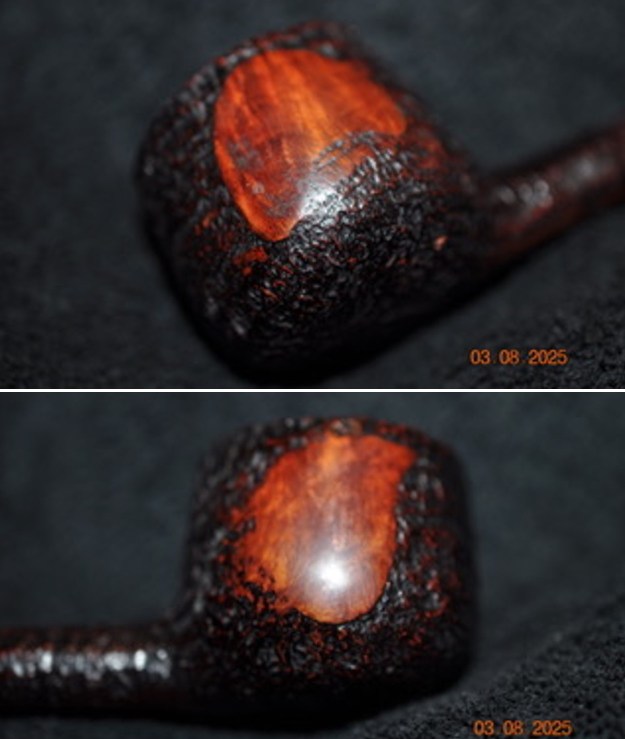
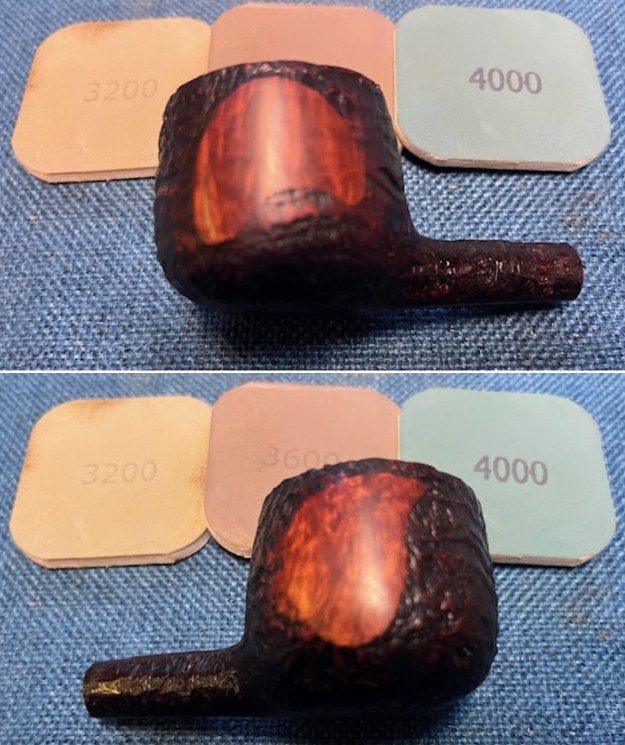
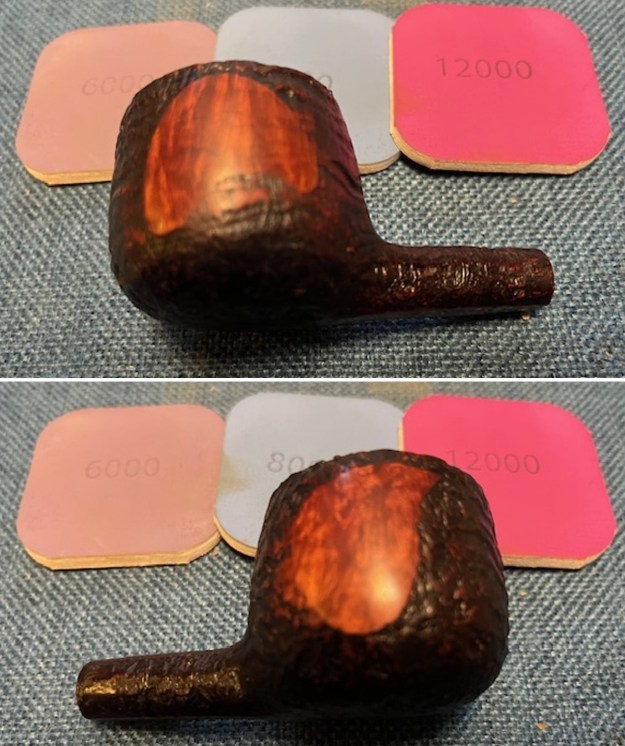
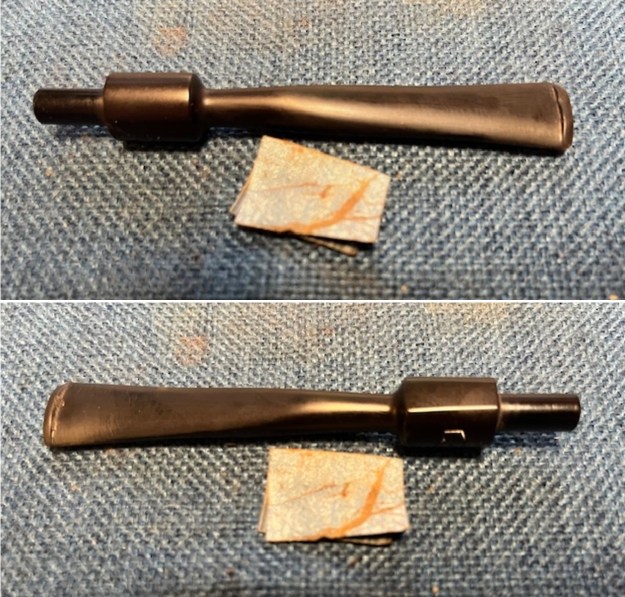
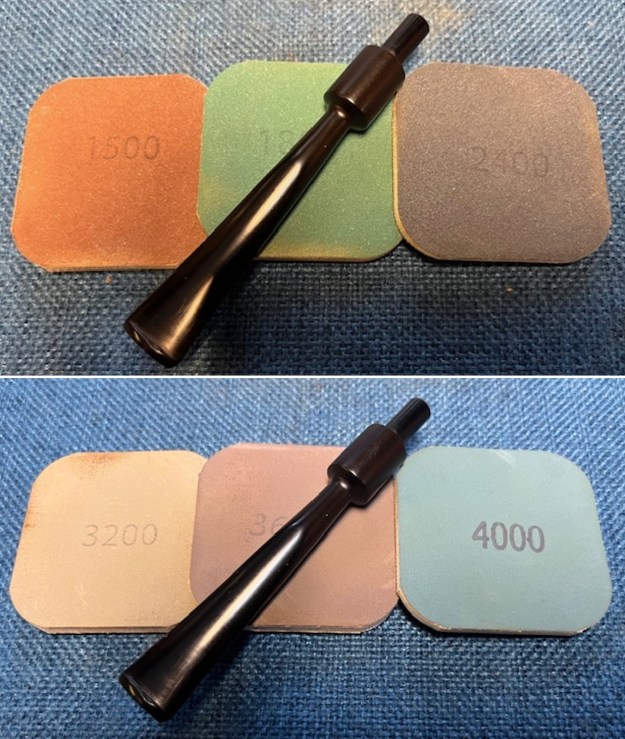
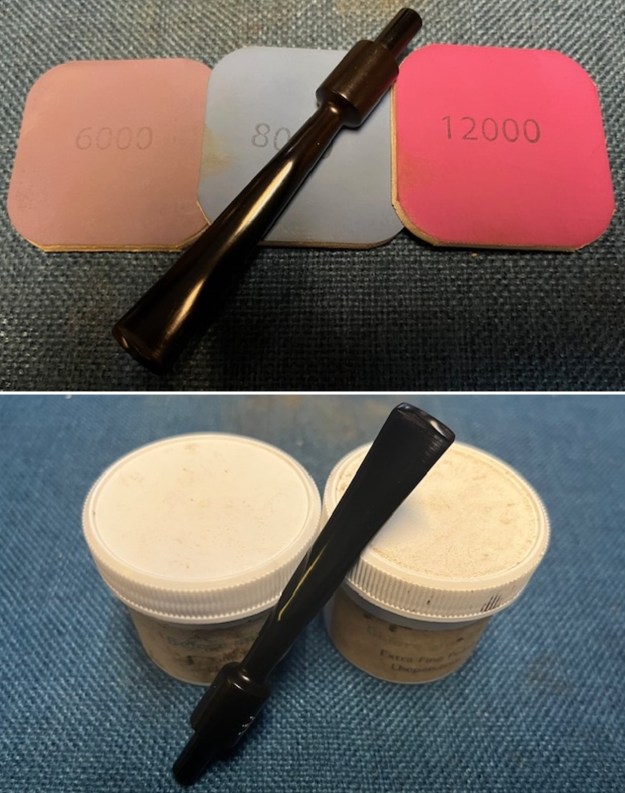
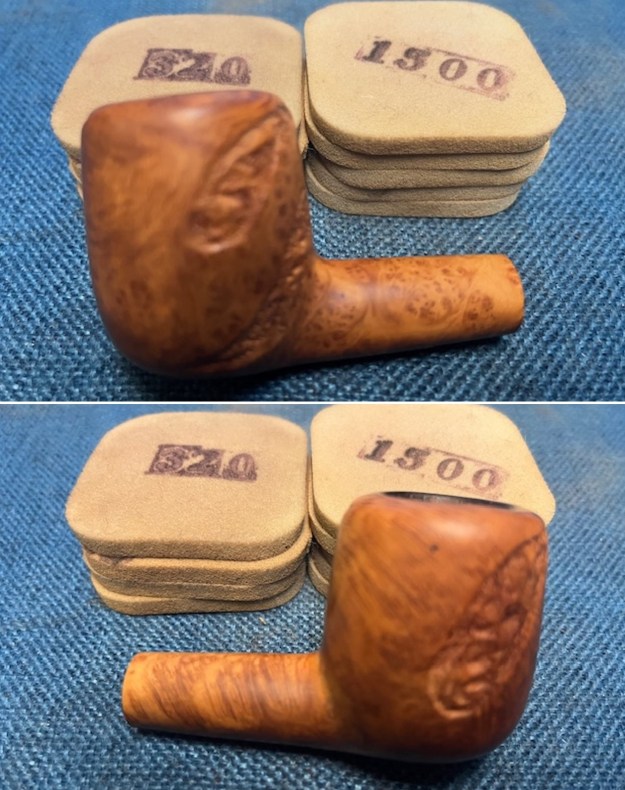
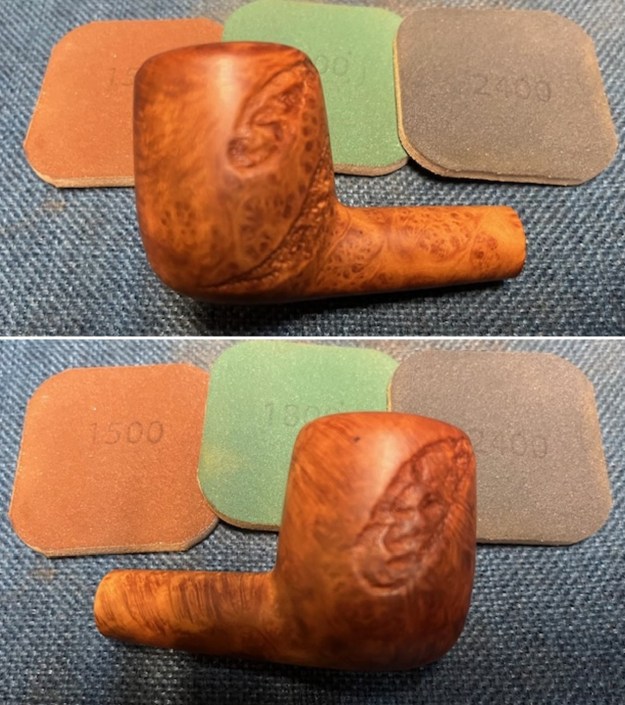
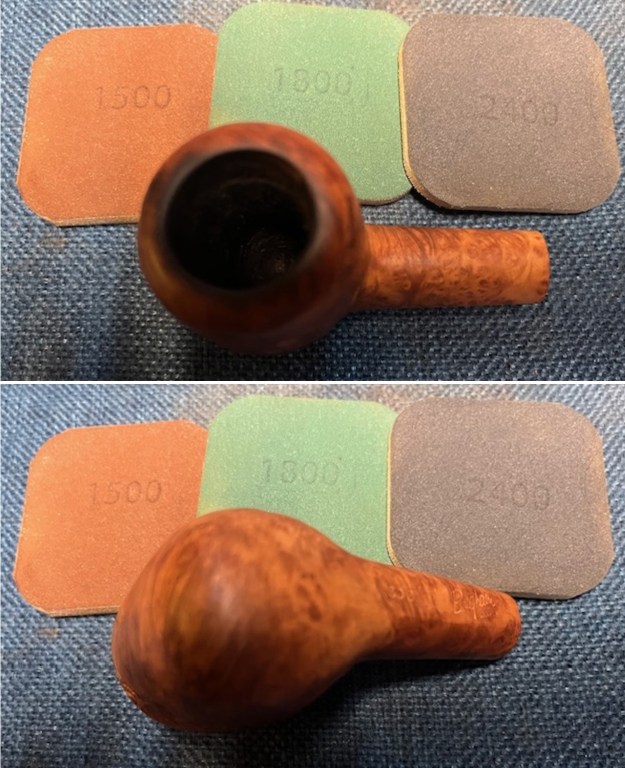
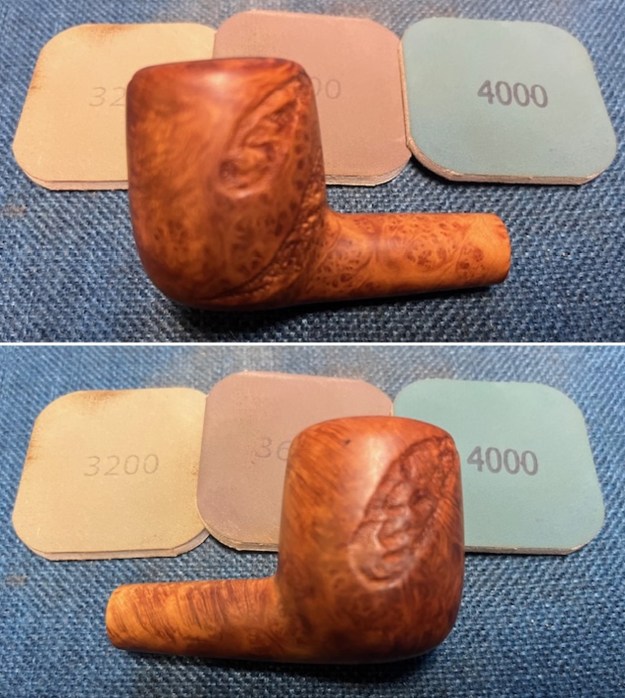
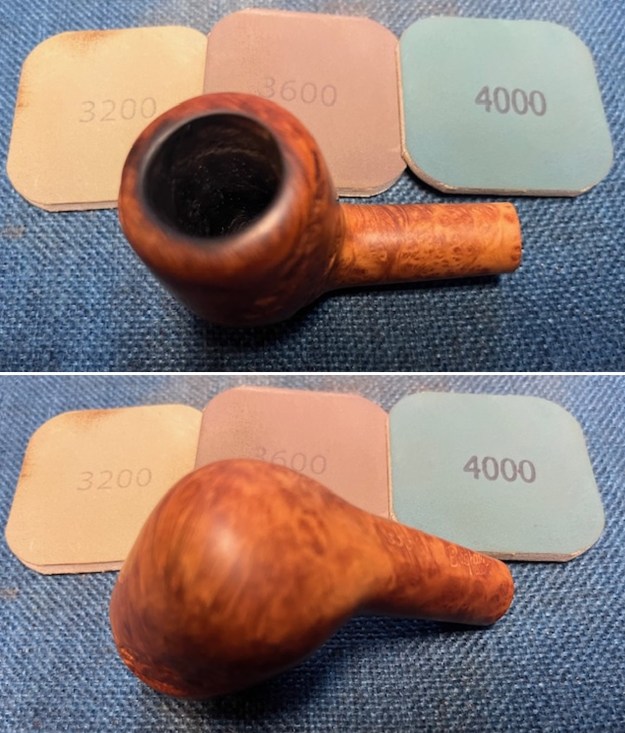
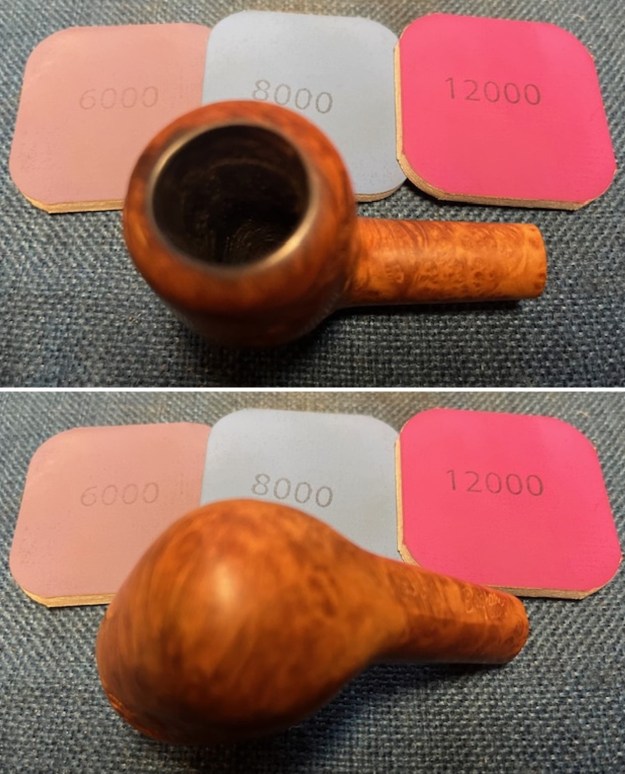
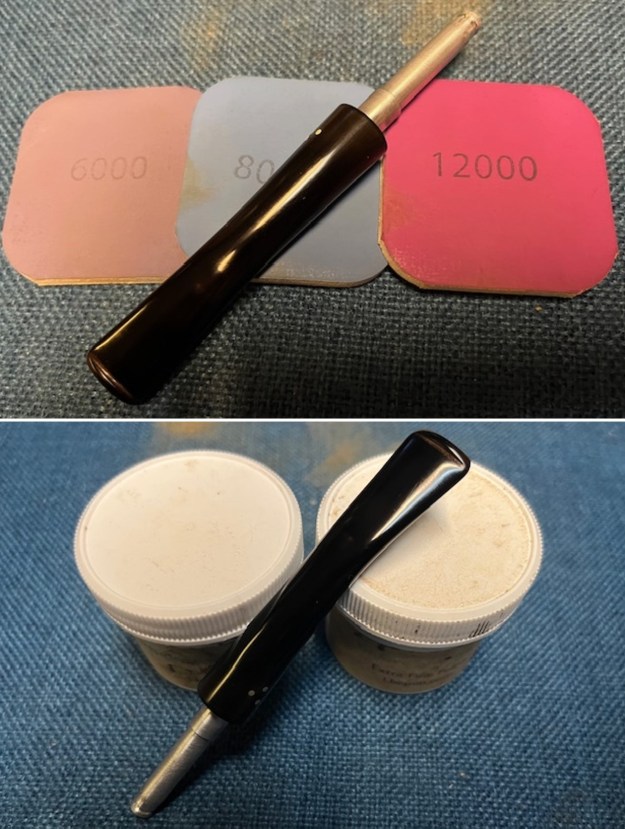
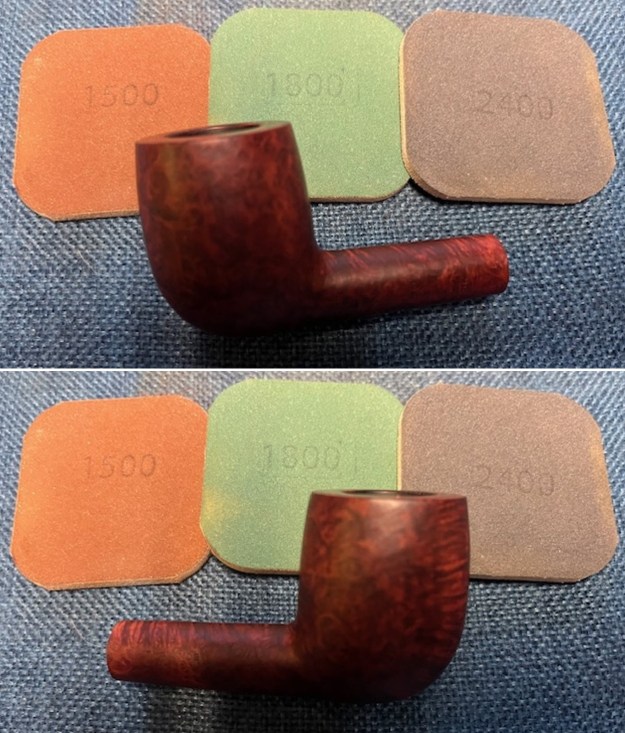
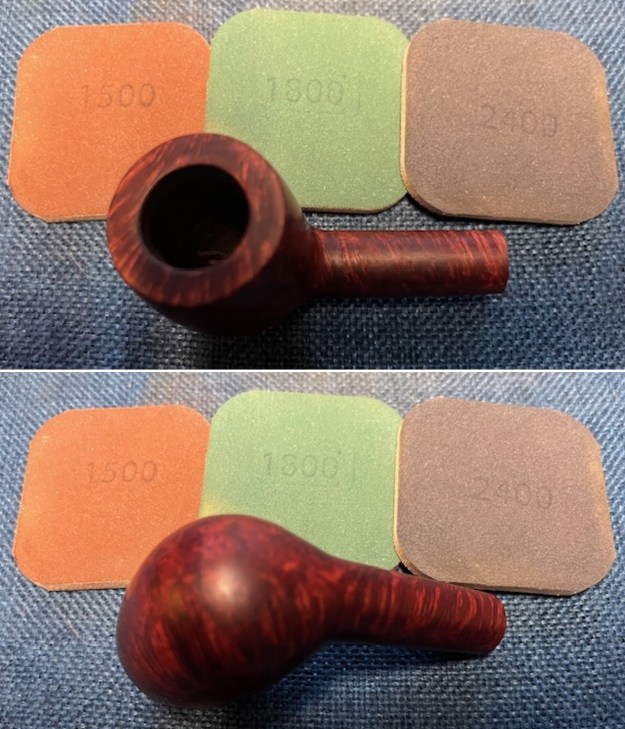
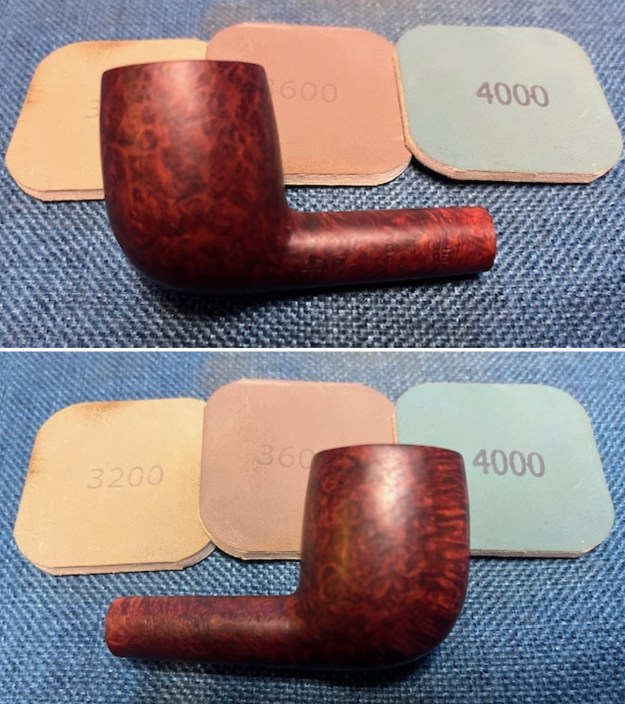
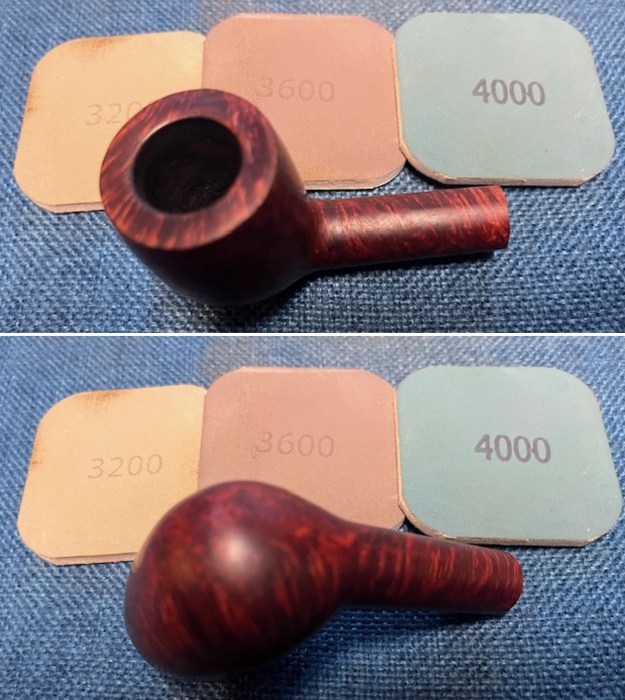
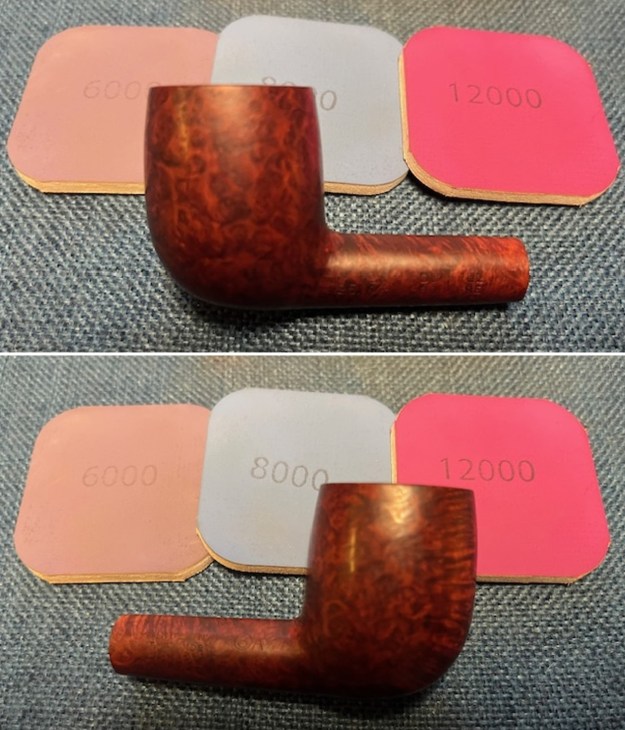
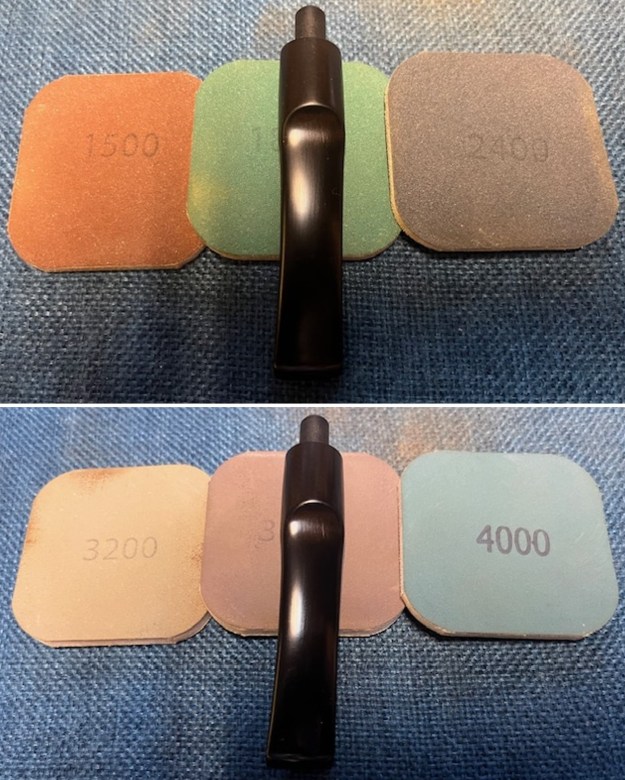
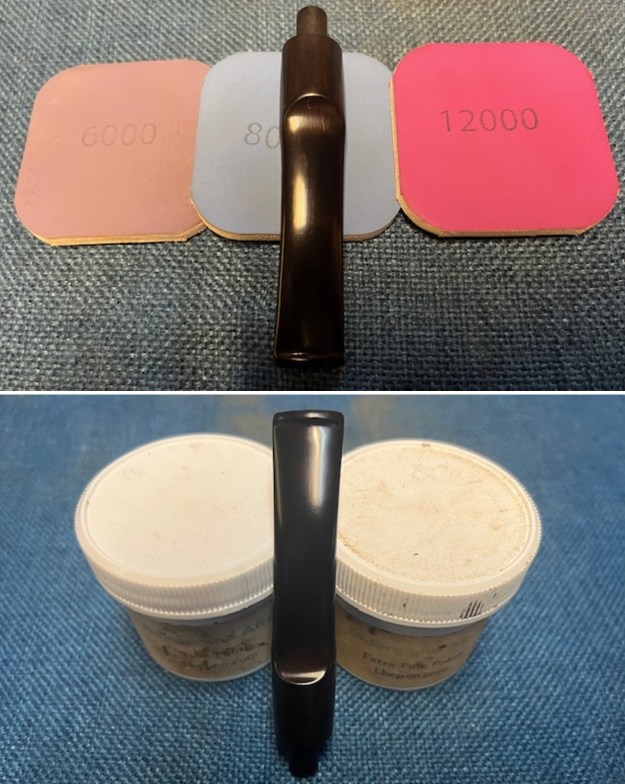
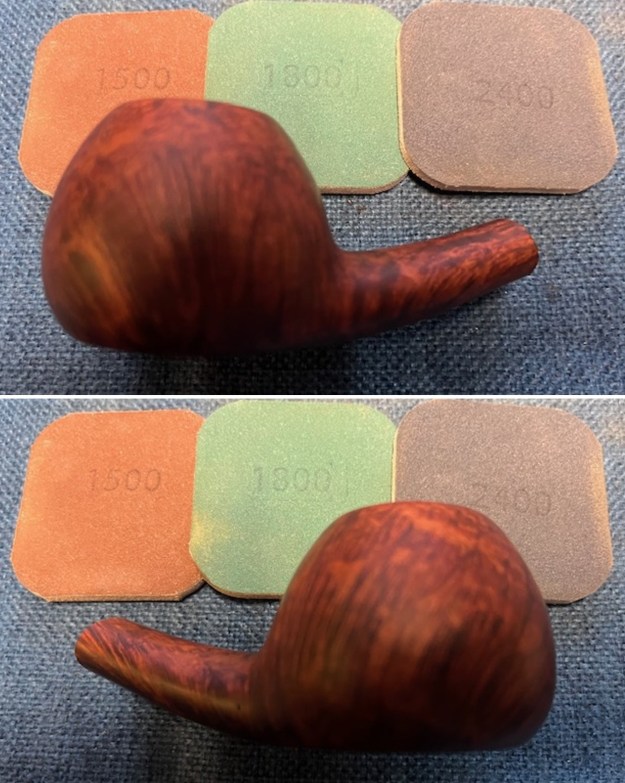
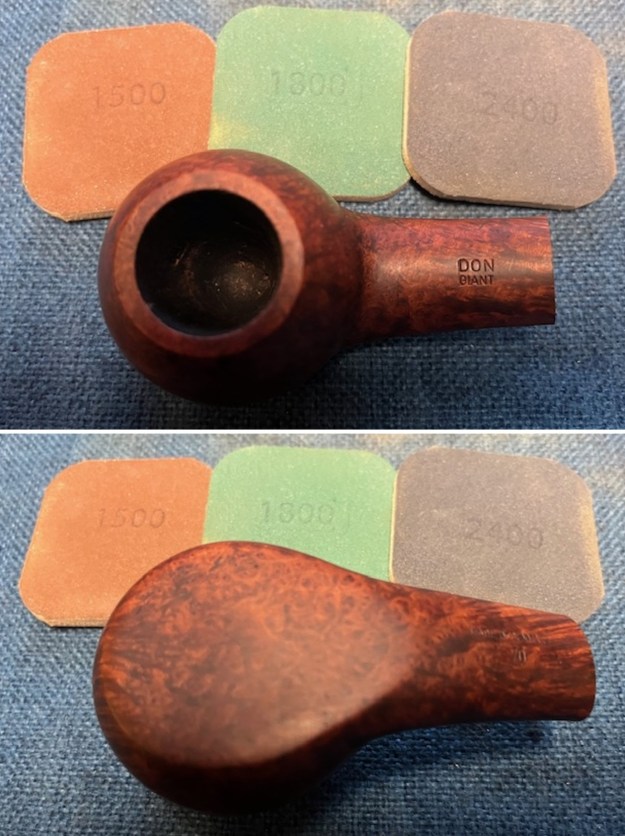
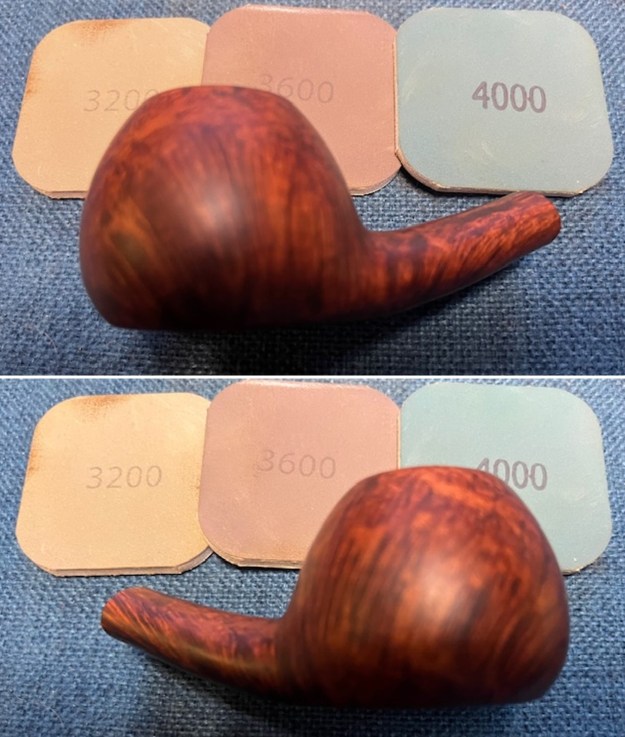
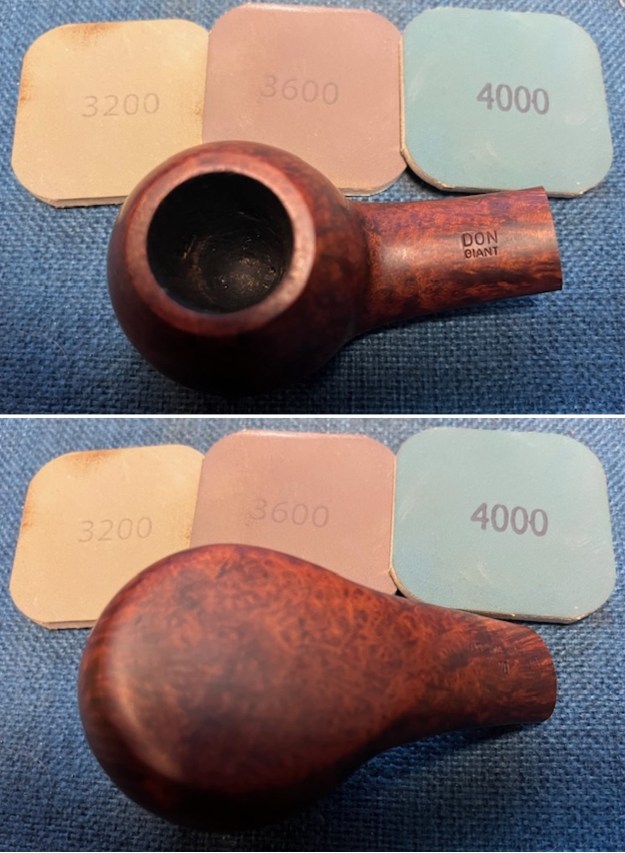
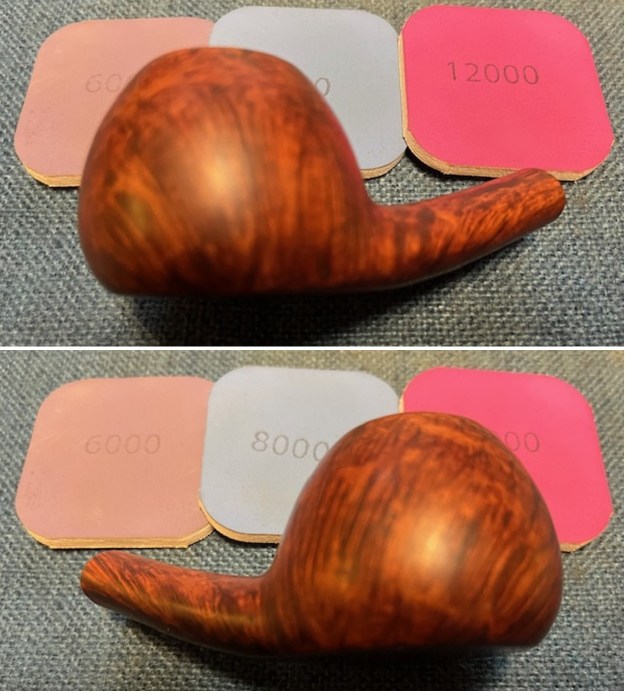
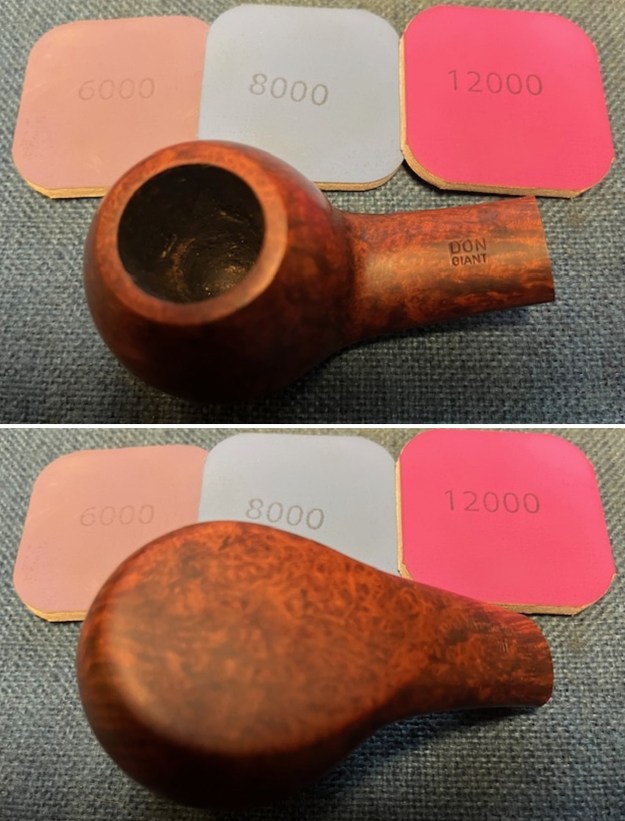
 To remove the bubbling finish on the top of the rim top I polished it with 1500-12000 grit micromesh sanding pads. I removed the damage on the rim top with the pads. I wiped it down with a damp cloth to remove the sanding debris on the surface.
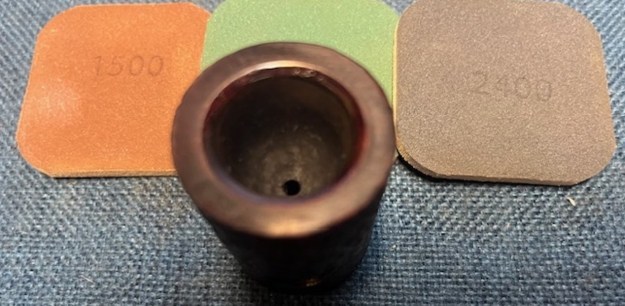
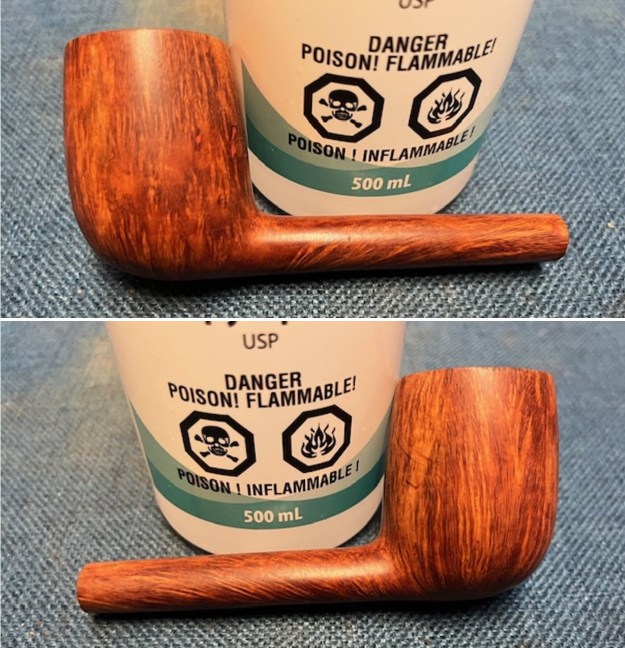
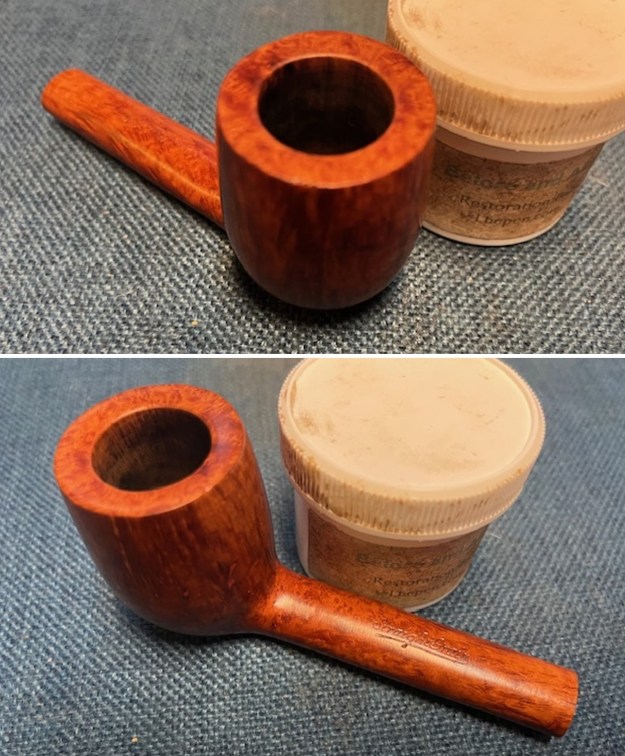
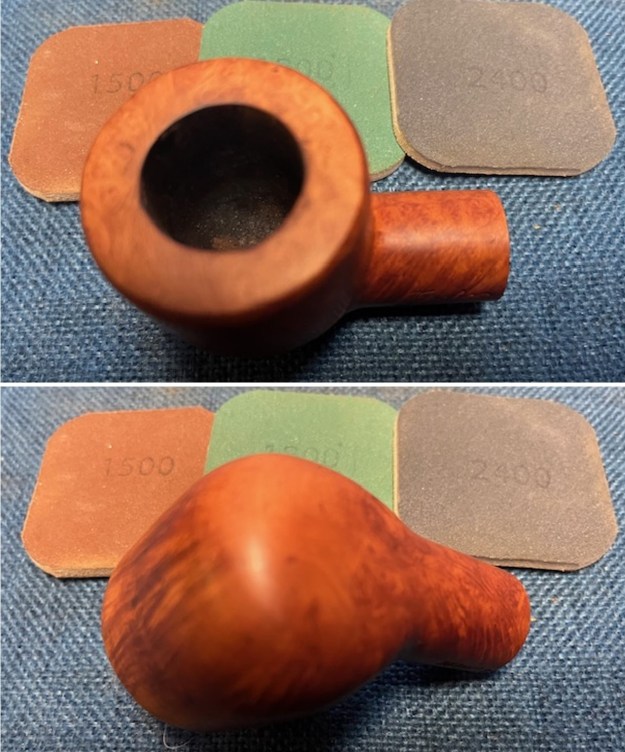
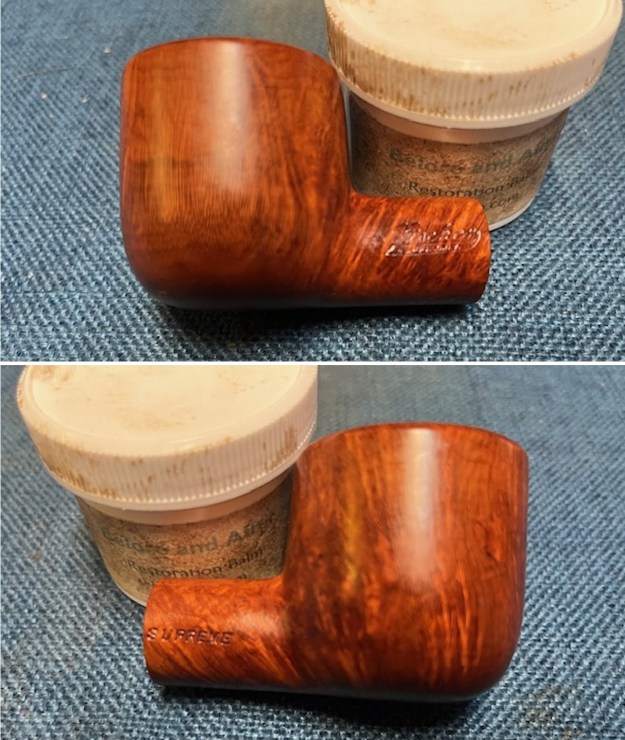
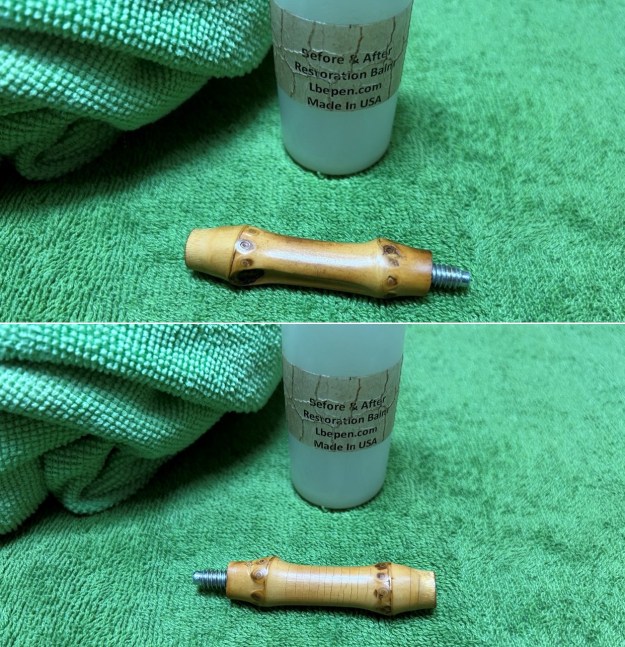
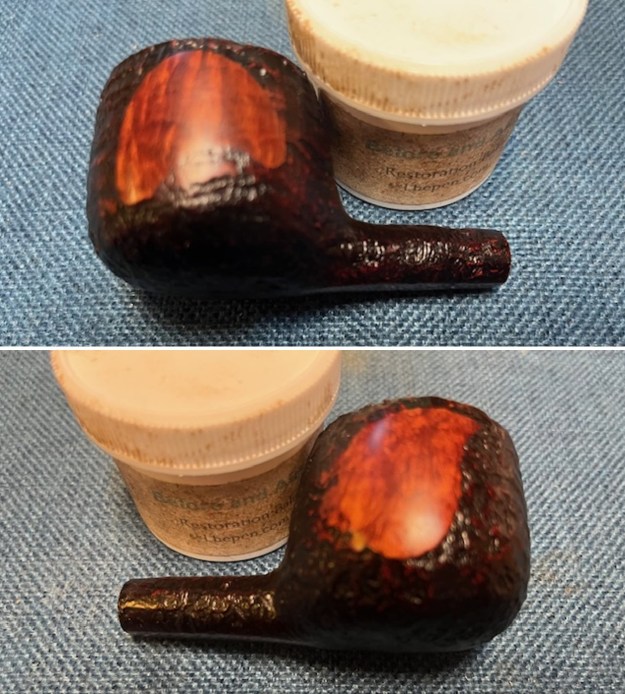
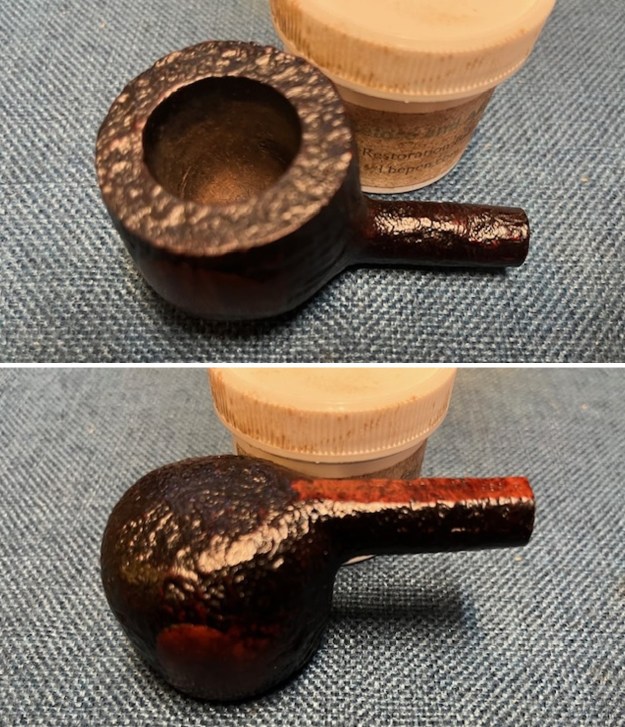
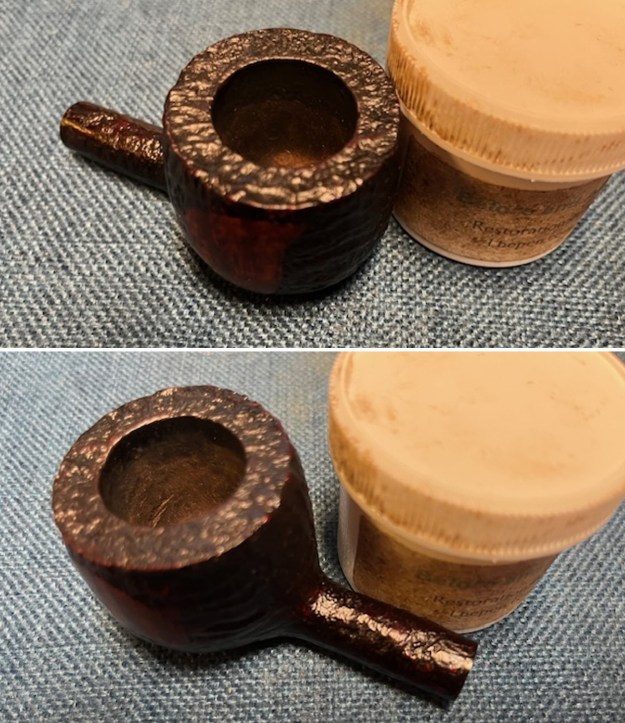
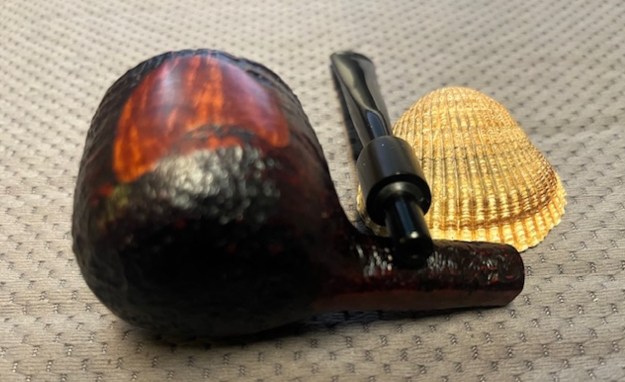
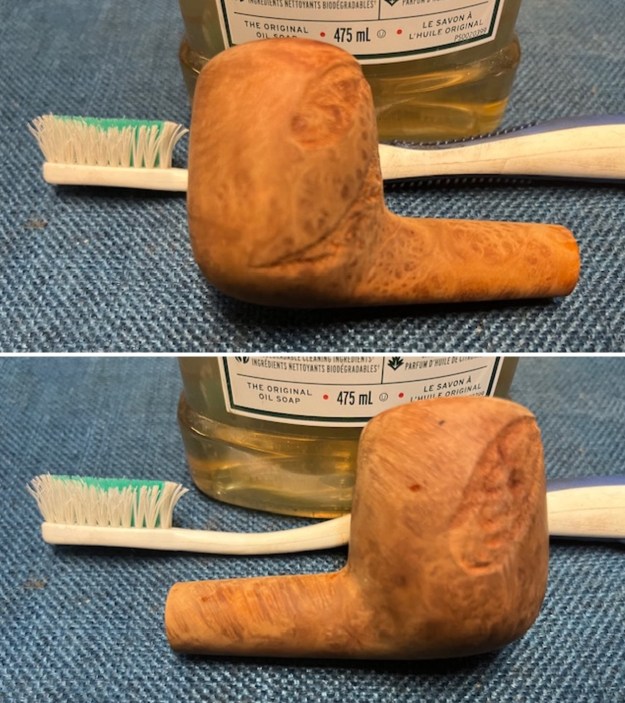
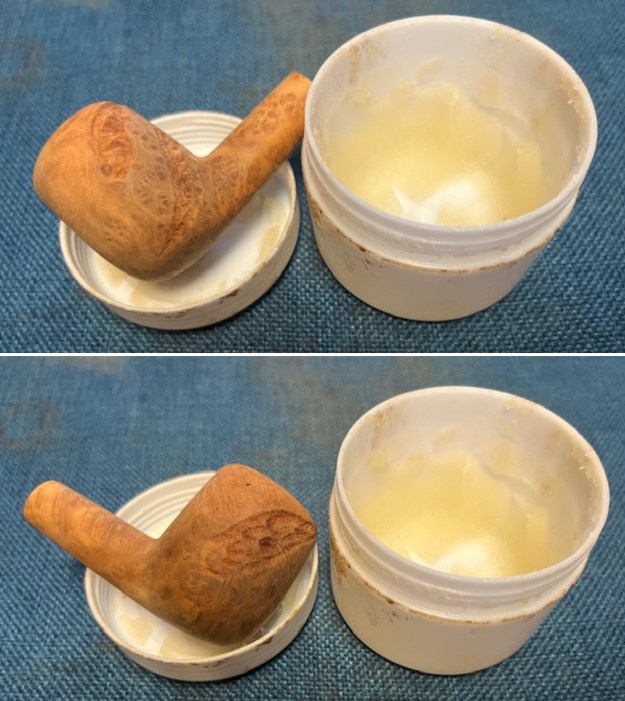
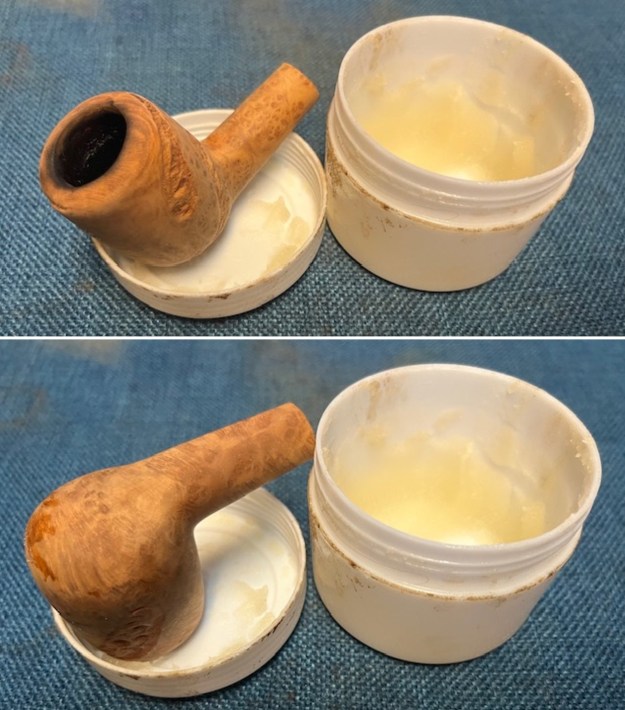
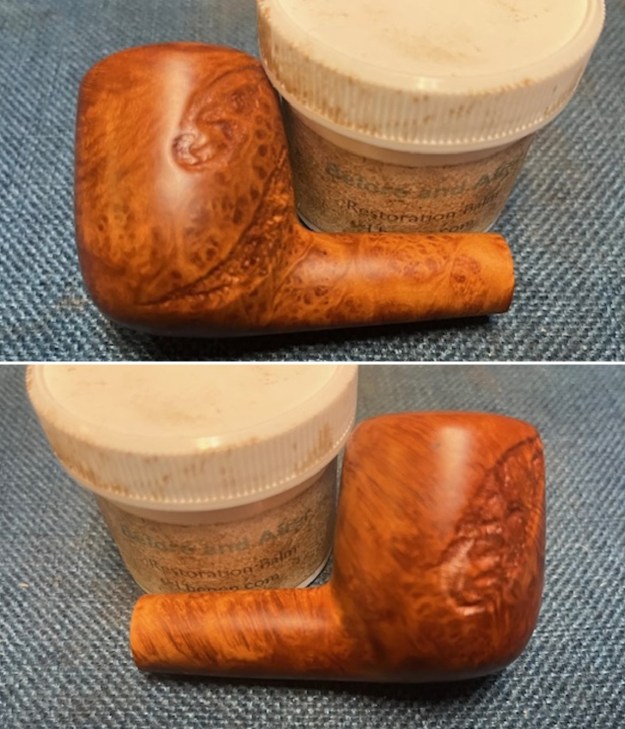
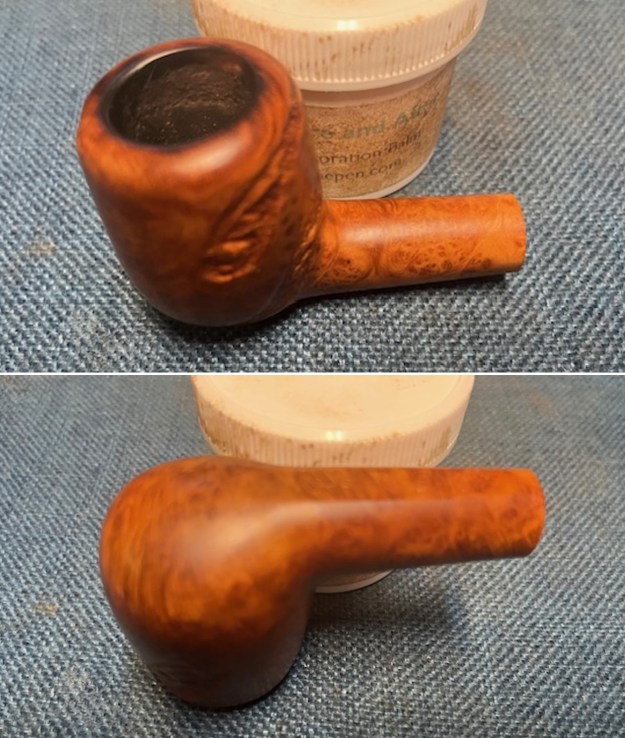
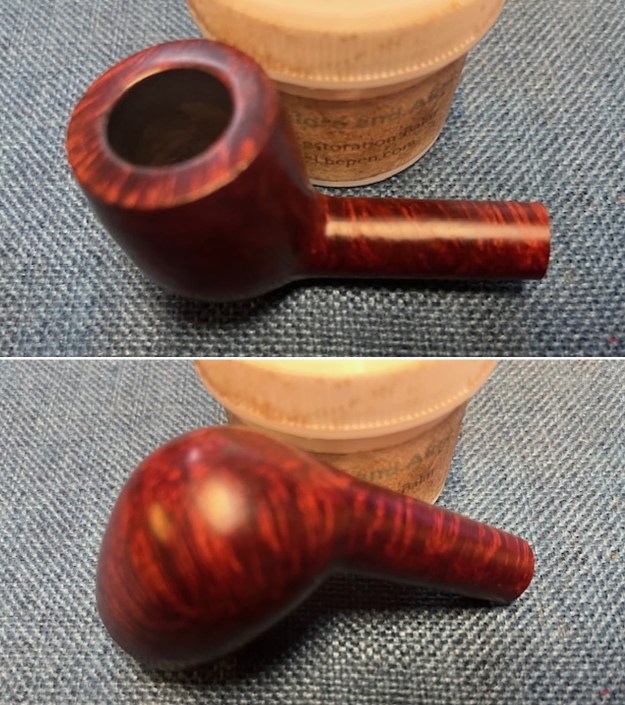
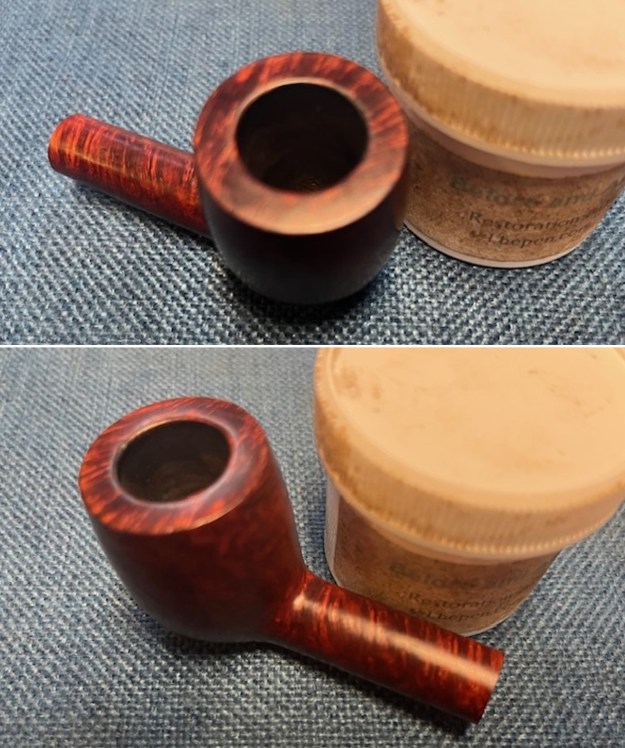
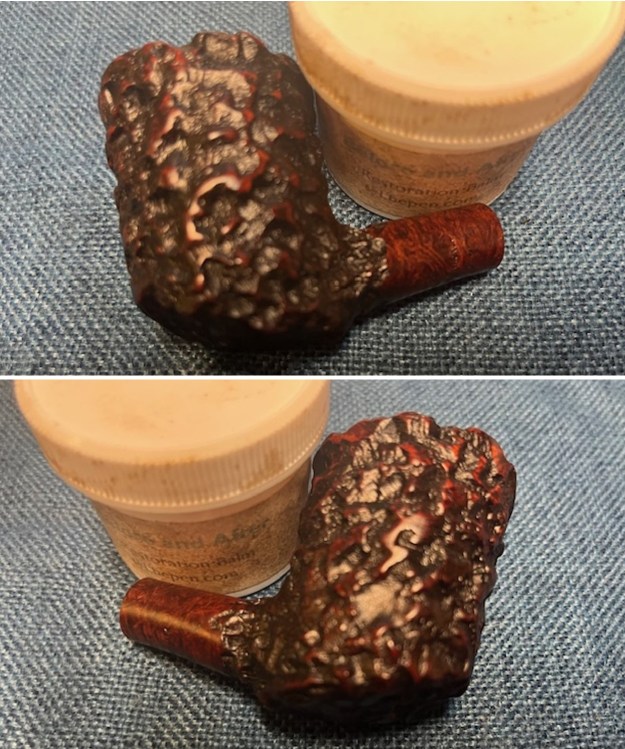
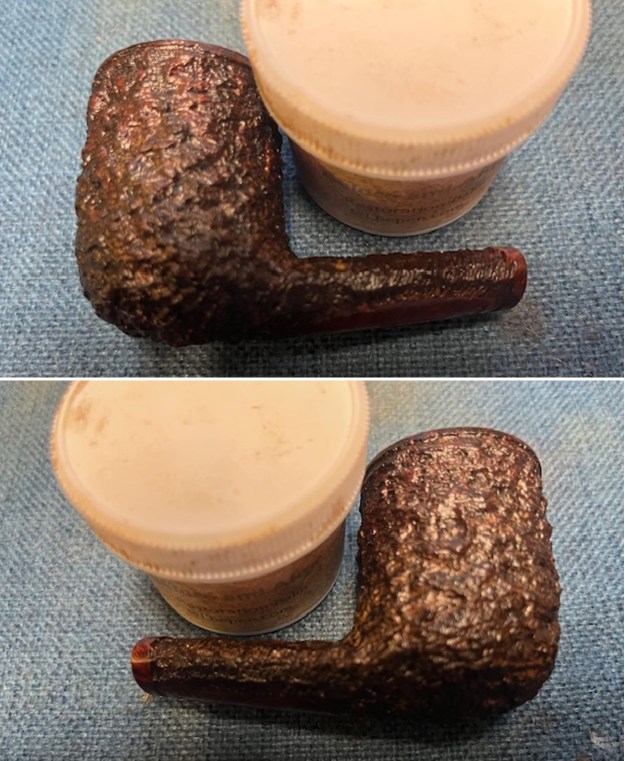
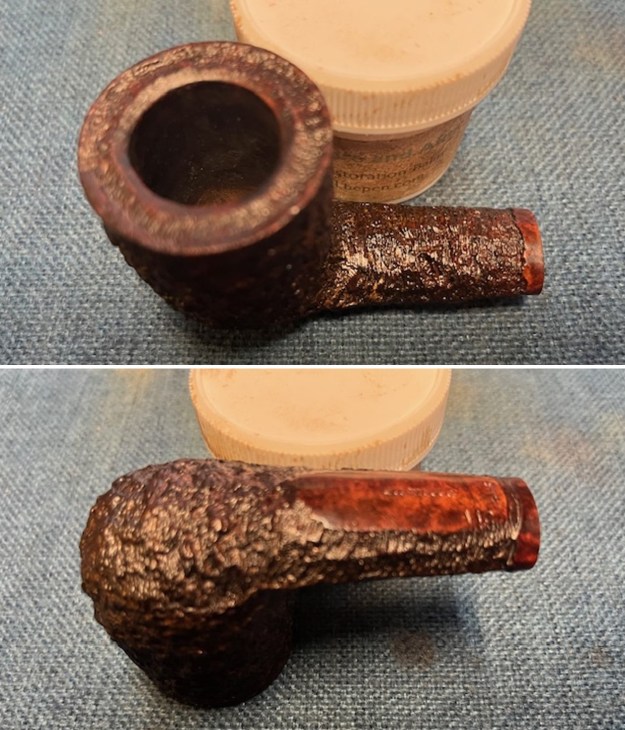
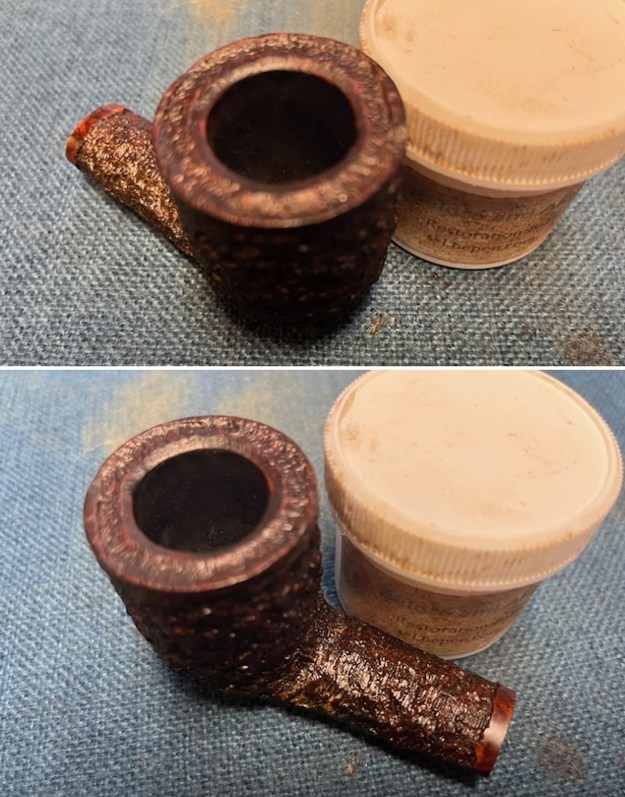
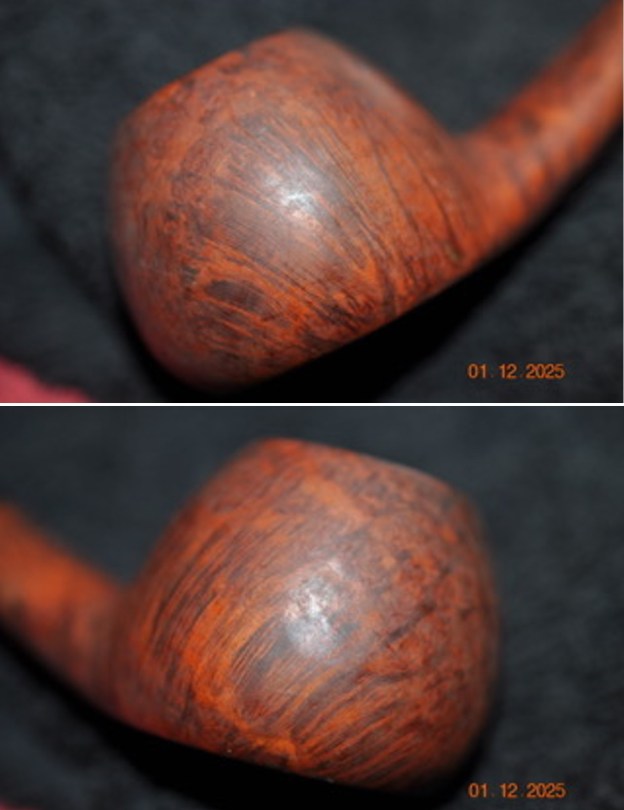
 I worked some Before & After Restoration Balm into the surface of the briar with my fingertips and a shoe brush. It works to clean, enliven and protect the briar. I let it sit for 15 minutes then buffed it off with a soft cloth and raised the shine. The bowl looks great at this point.
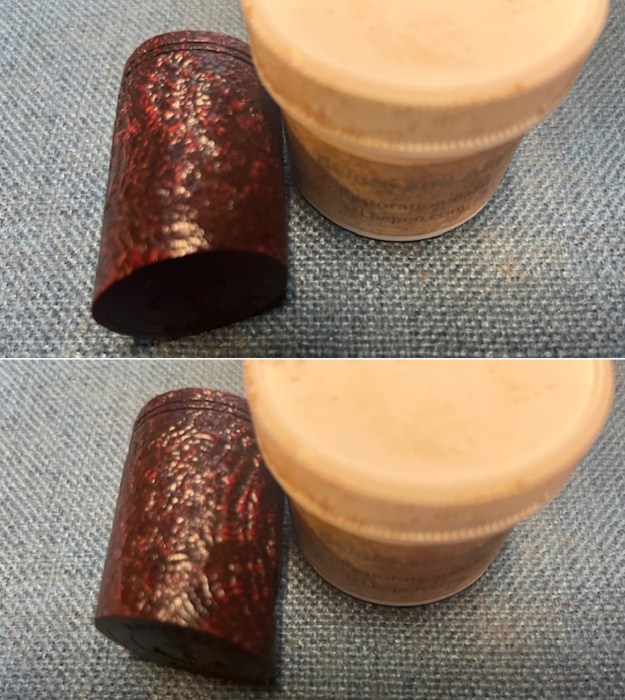
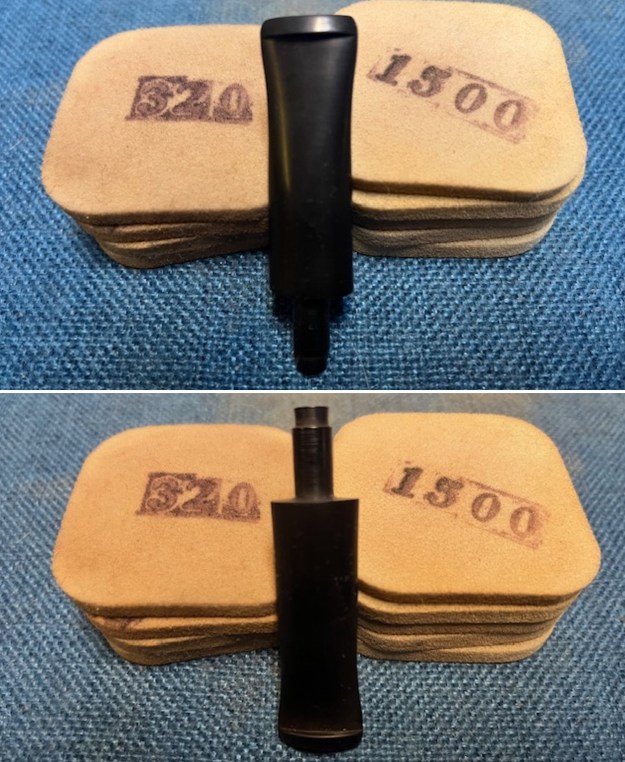
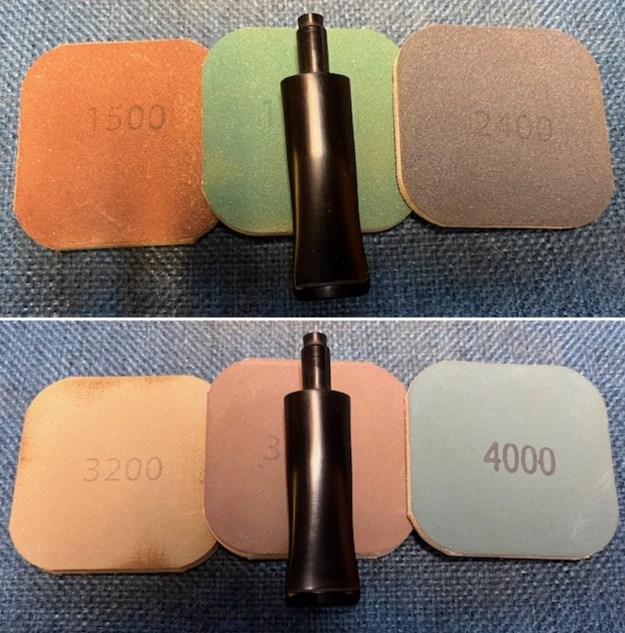
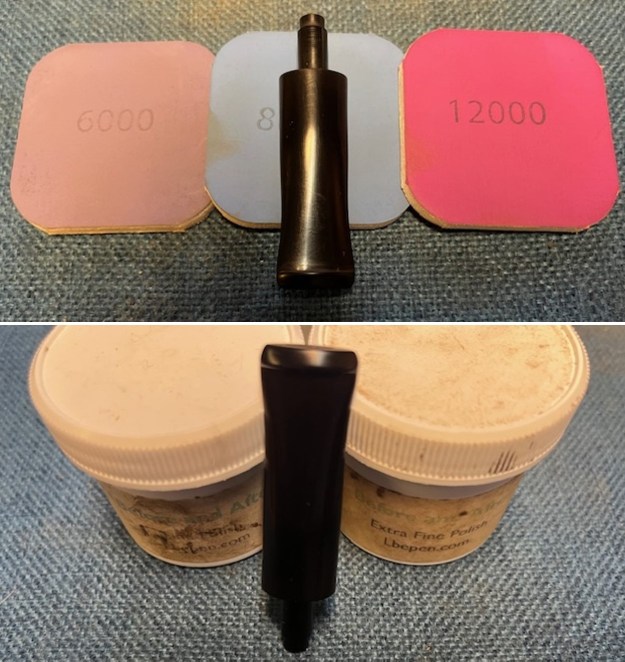
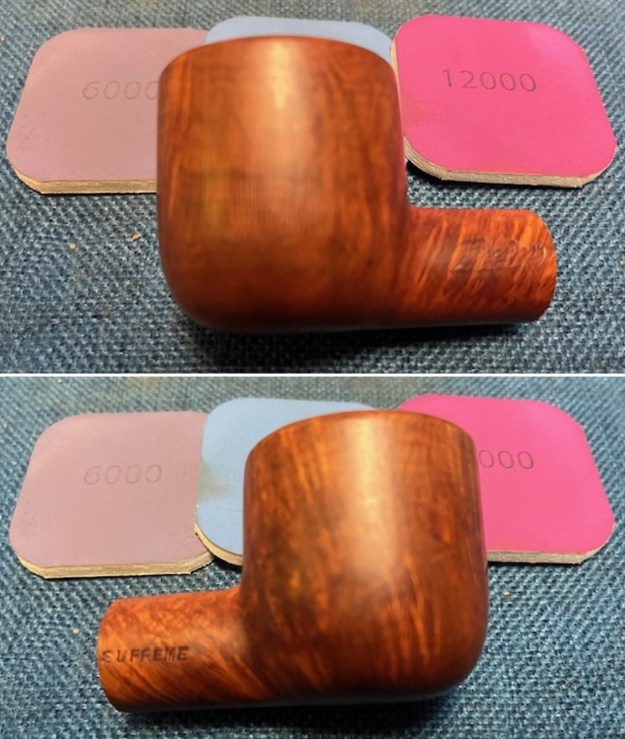
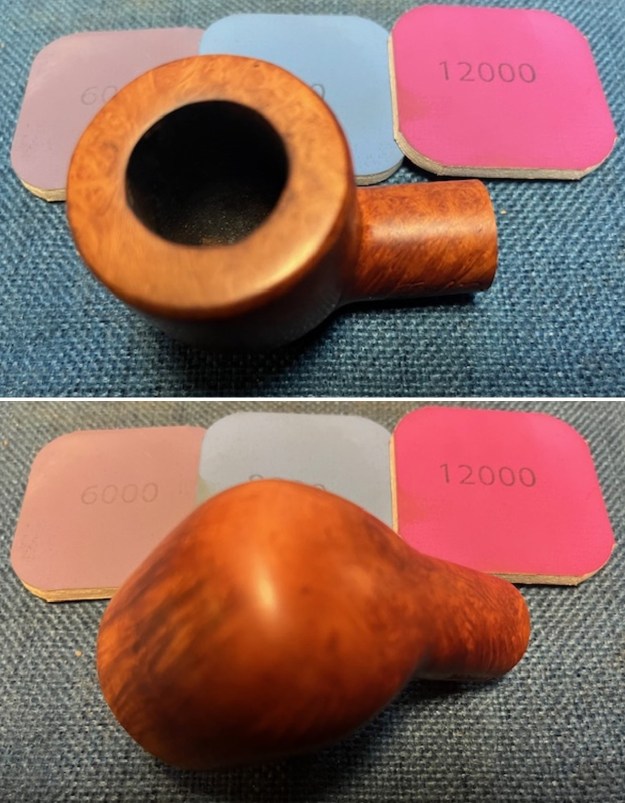
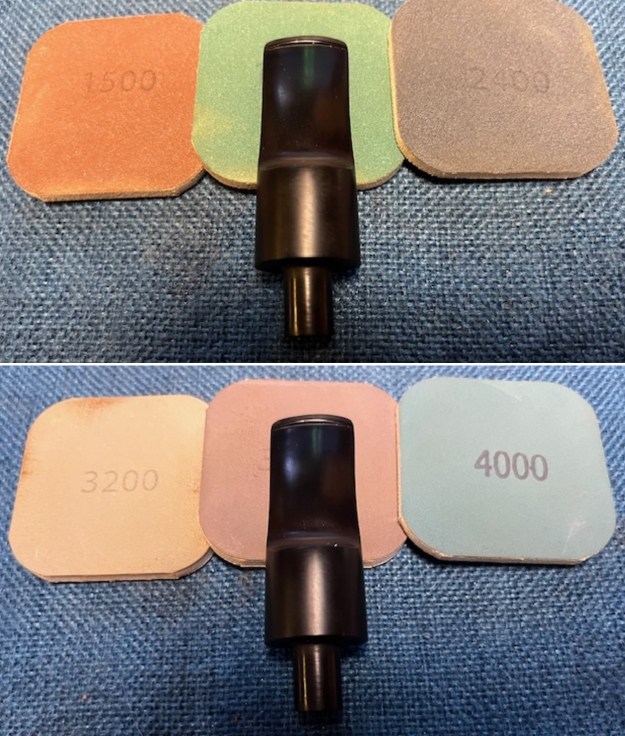
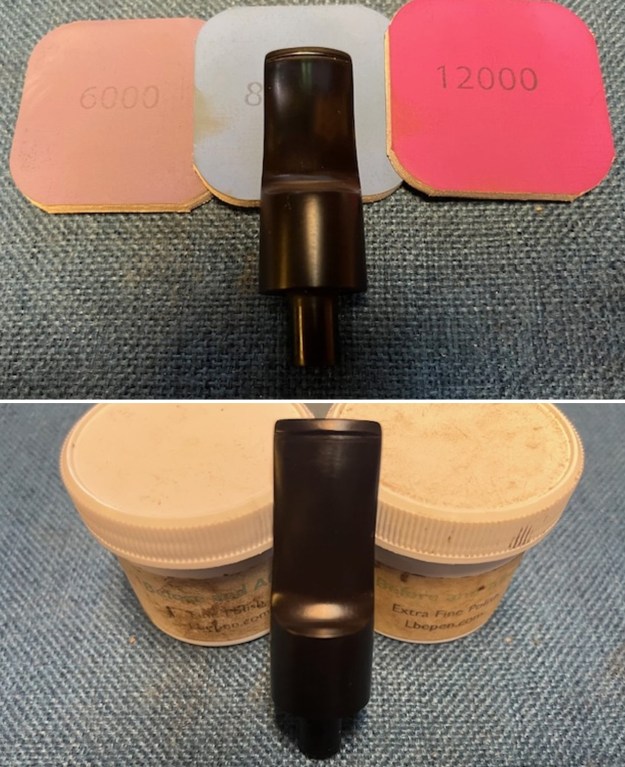
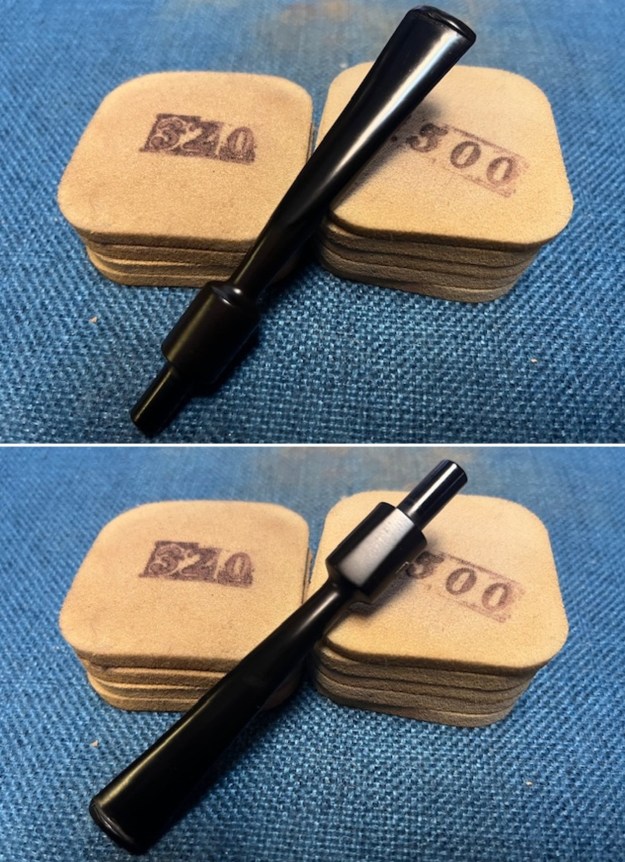
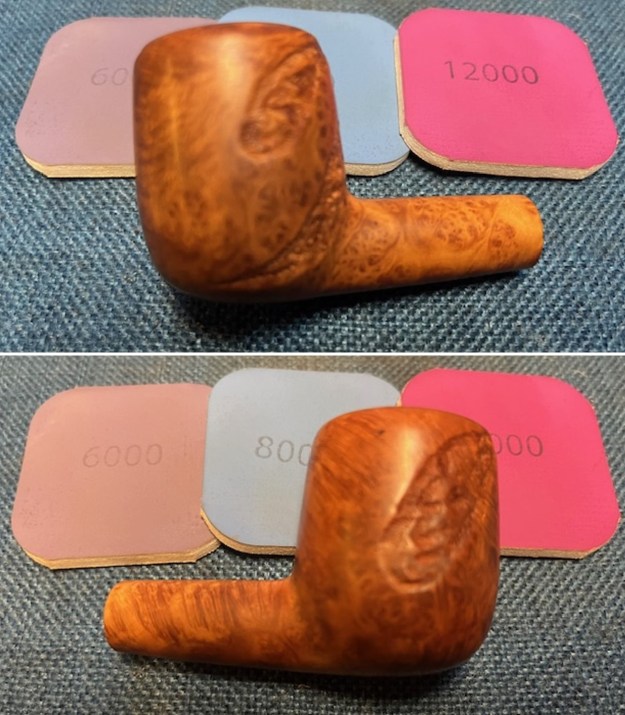
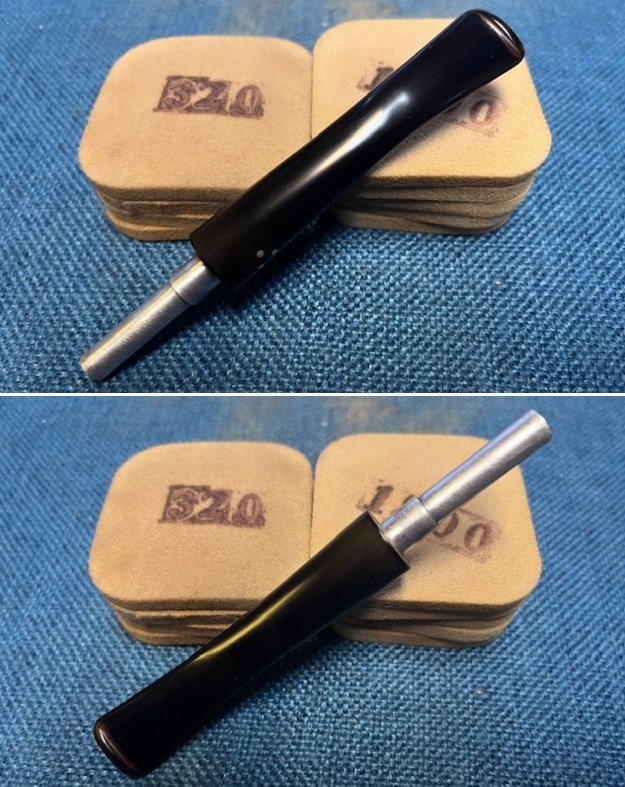
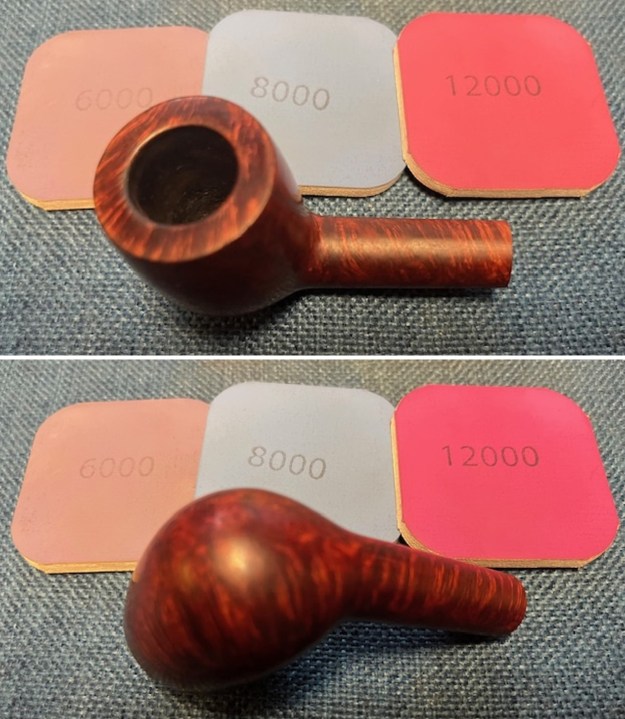
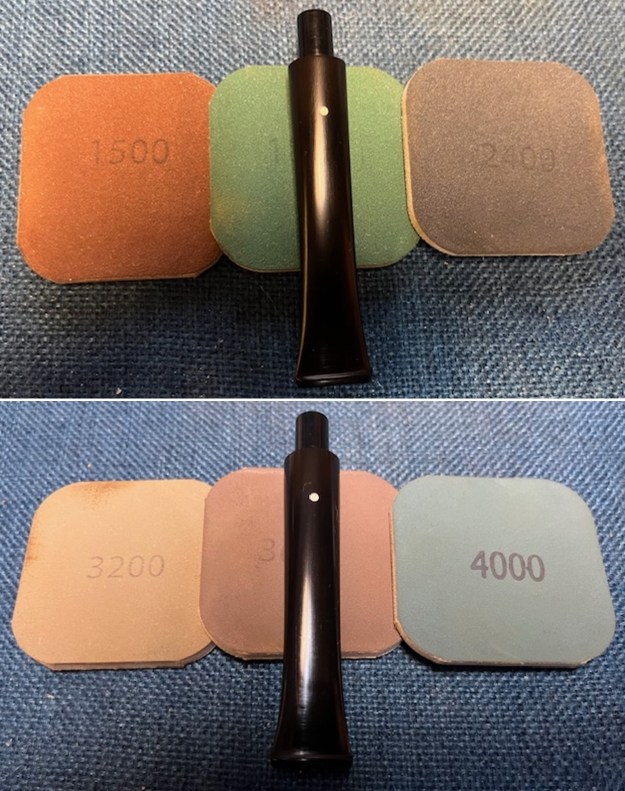
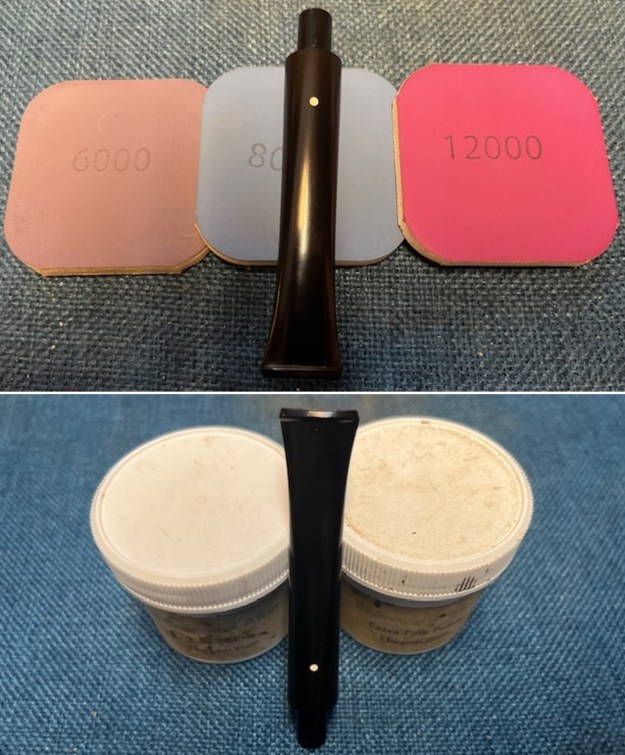
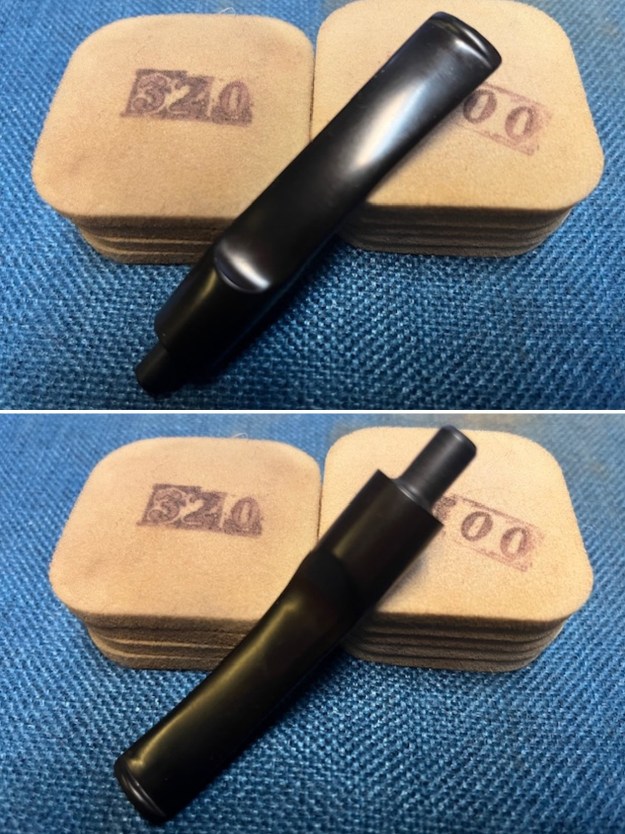
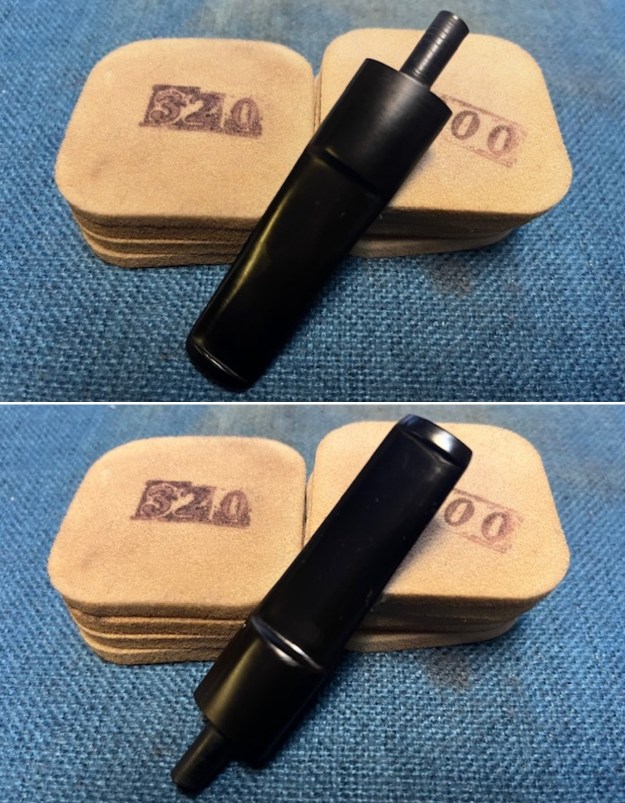
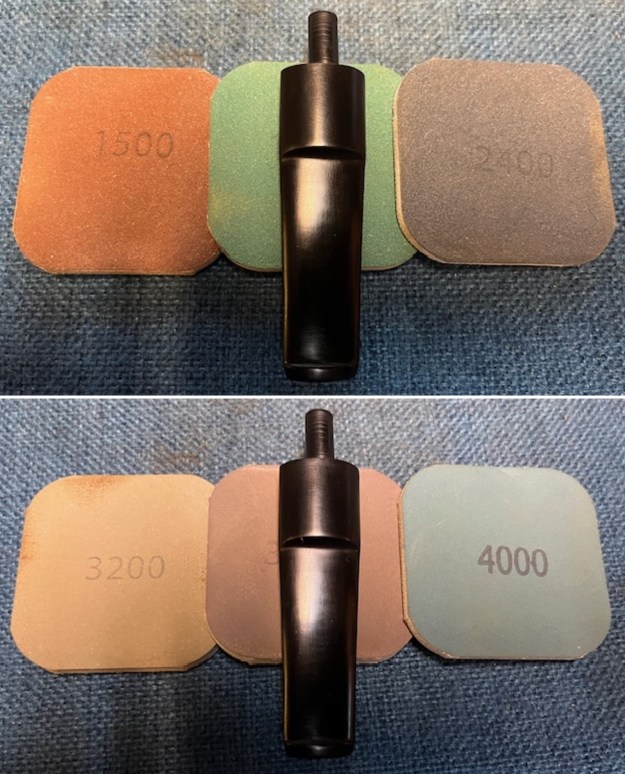
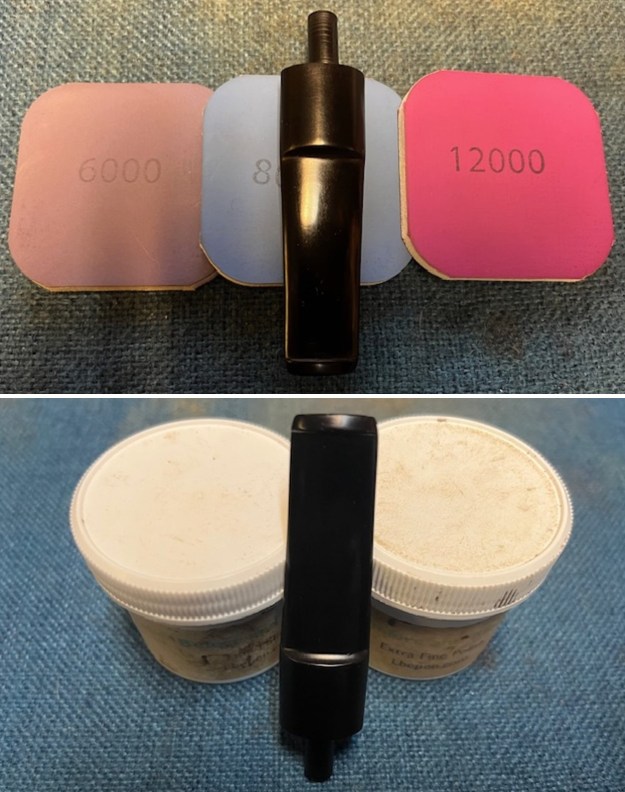
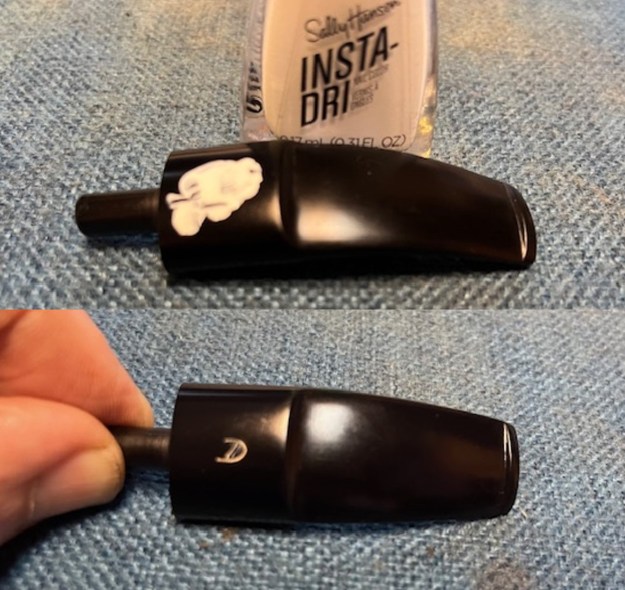
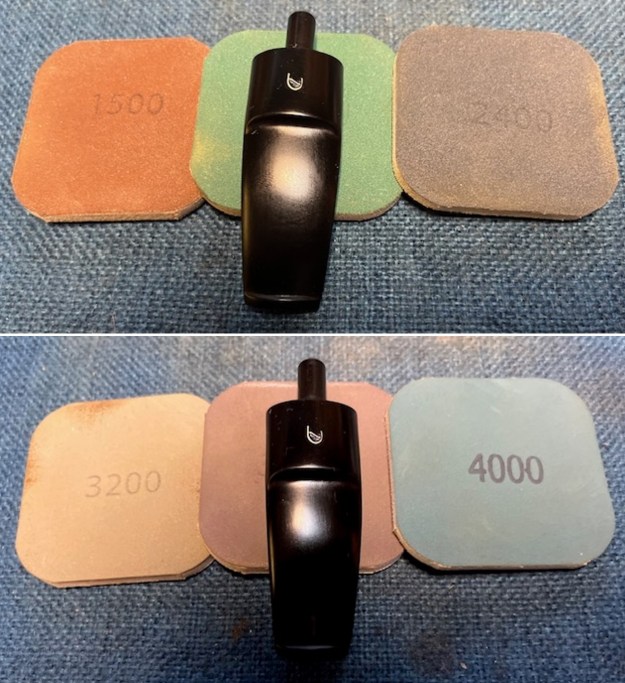
 I polished the stem, carefully avoiding the remaining Rattray’s stamp on the left side of the stem. I appeared to be almost a decal but I am uncertain so I avoided all contact with it. I used 1500-12000 grit micromesh sanding pads. I wiped the stem down with an Obsidian Oil cloth after each sanding pad. It looked very good.
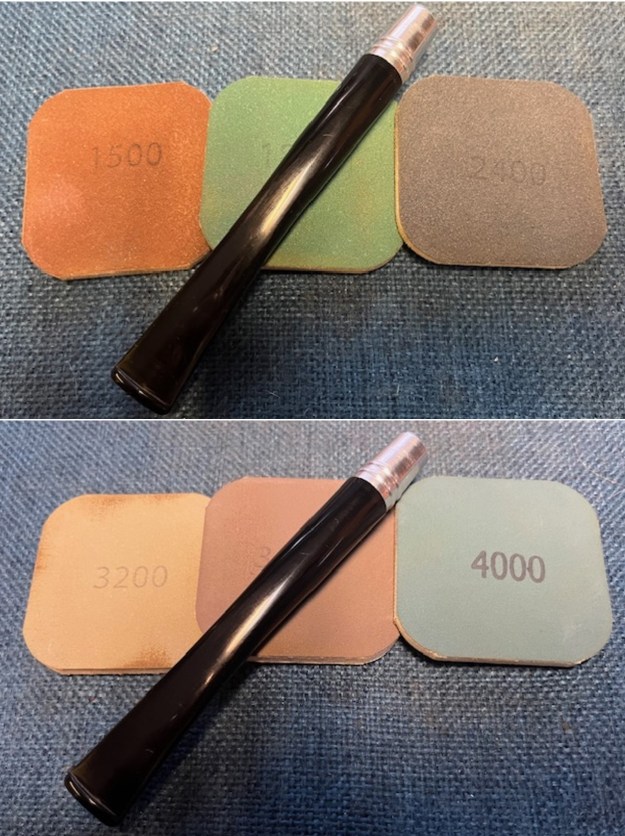
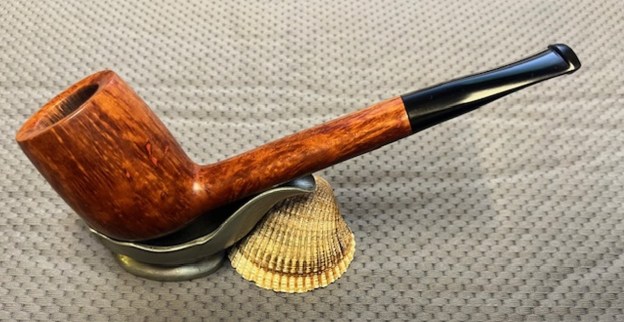
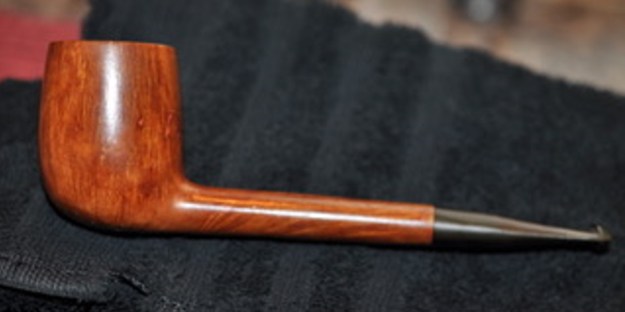
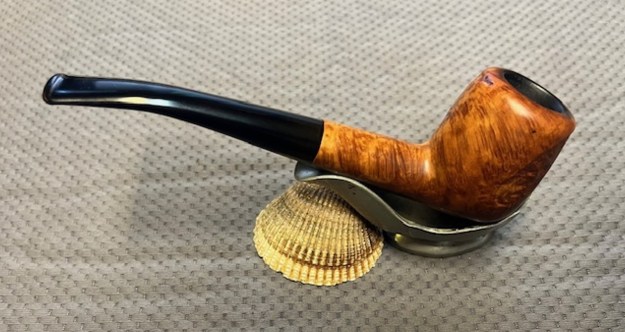
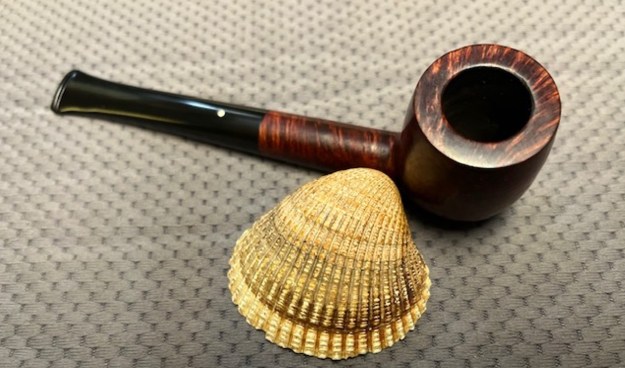
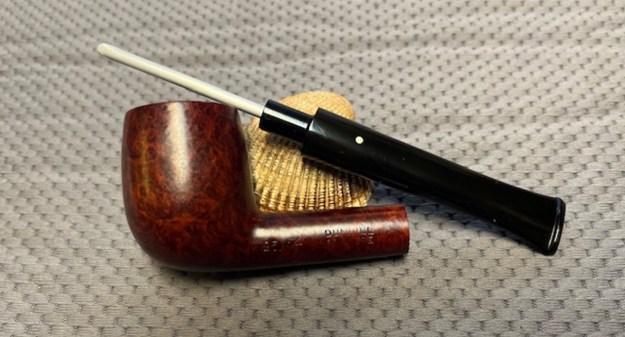
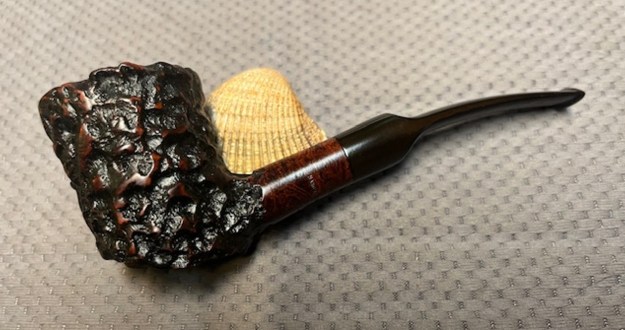
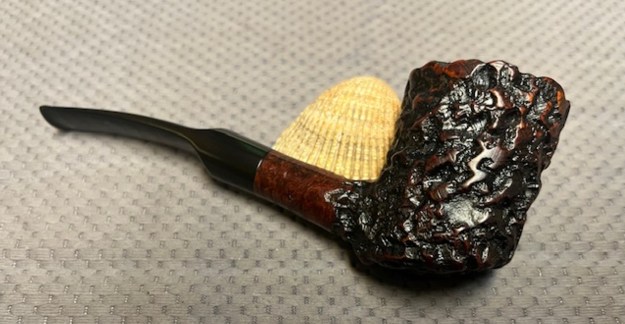
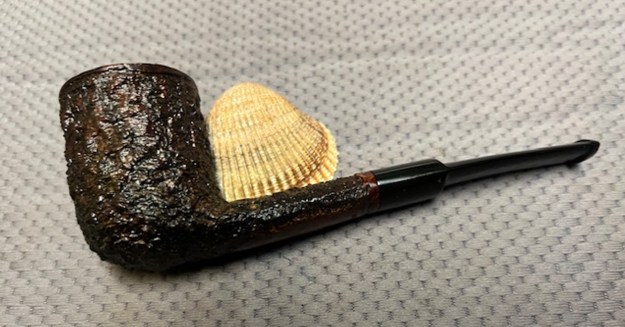
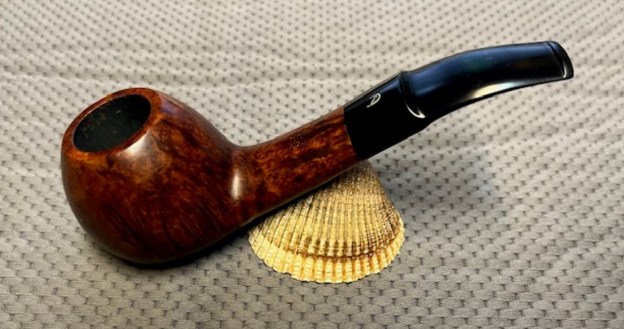
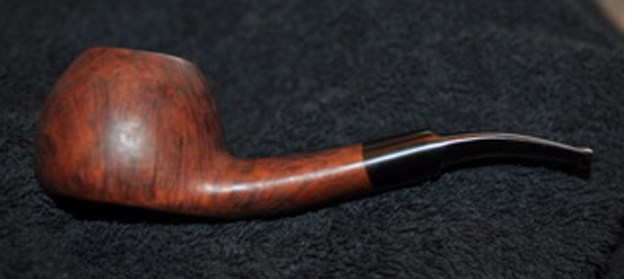
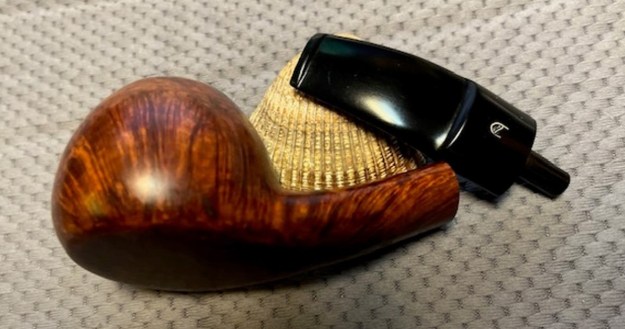
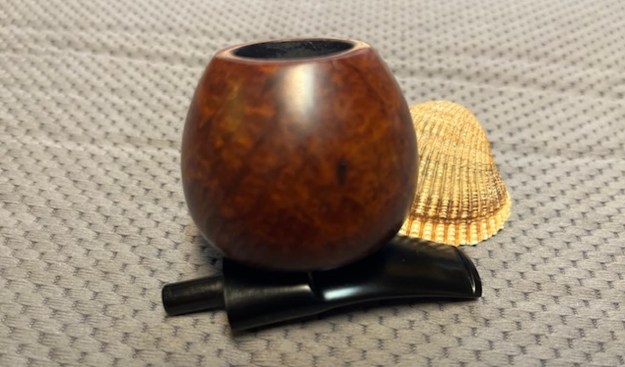
 I fit the stem with a 9mm filter and reinserted the stem in the bowl. It was ready to go back.
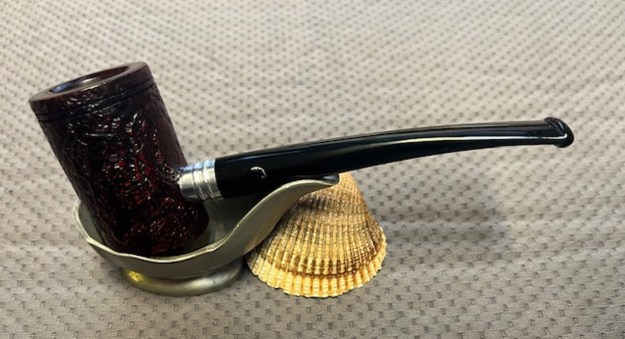
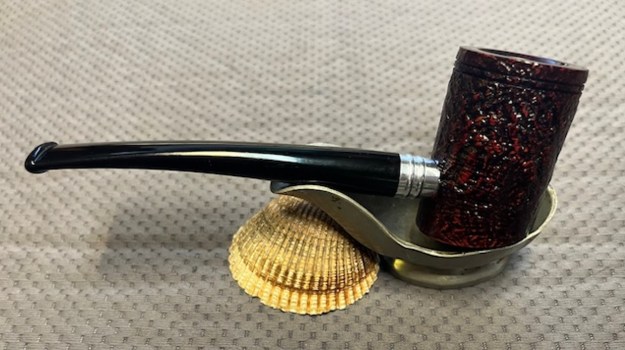
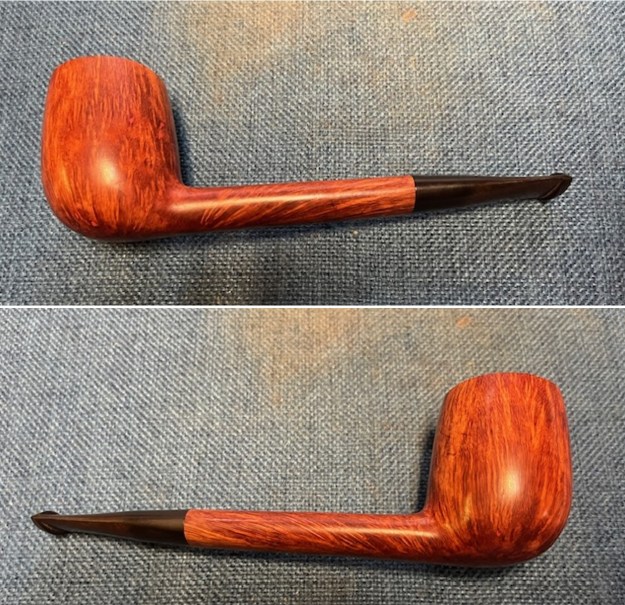
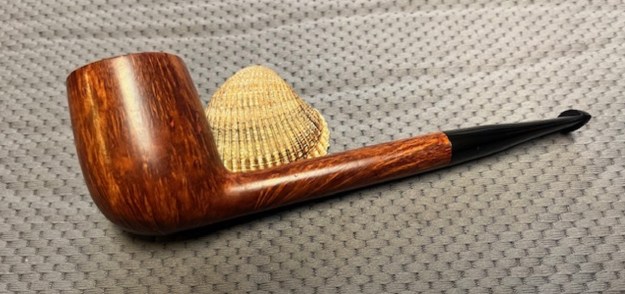
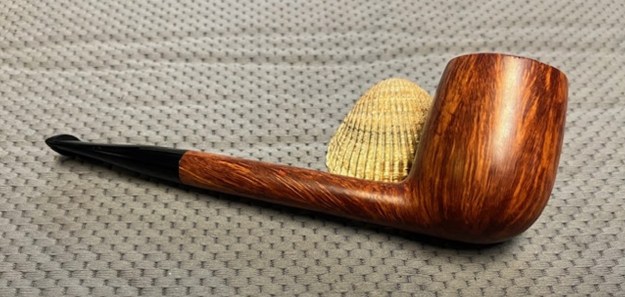
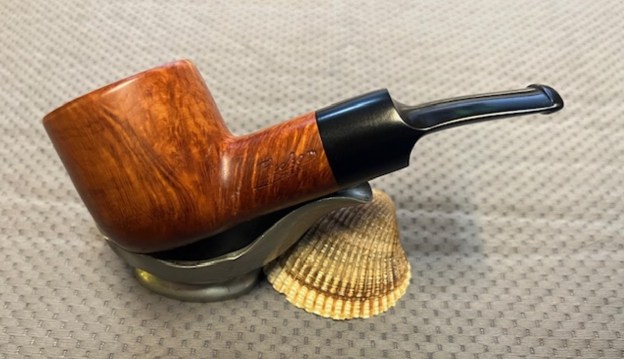
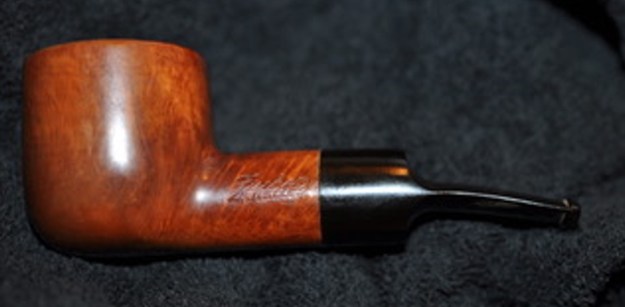
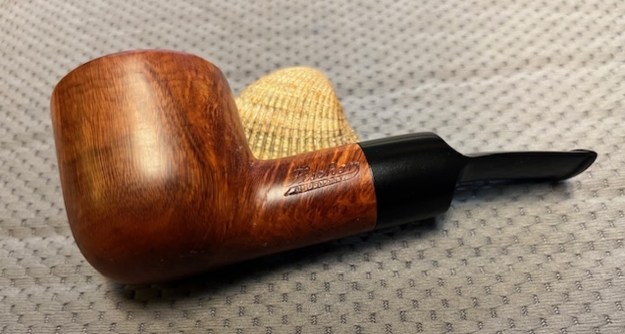
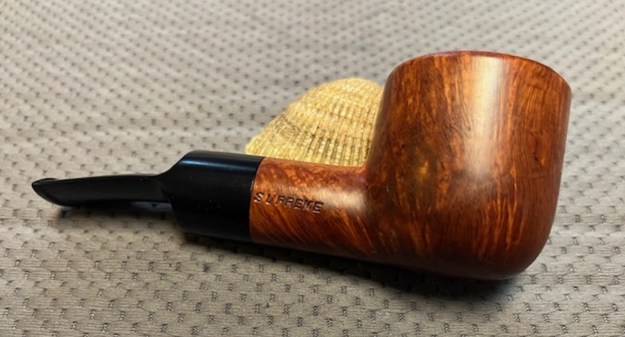
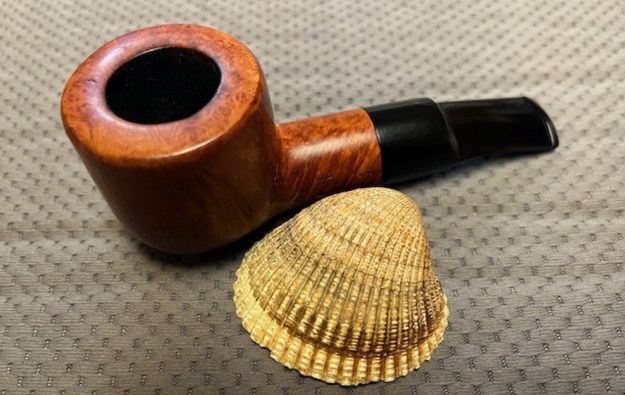
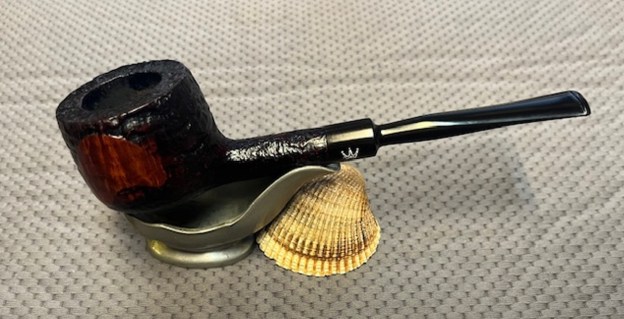
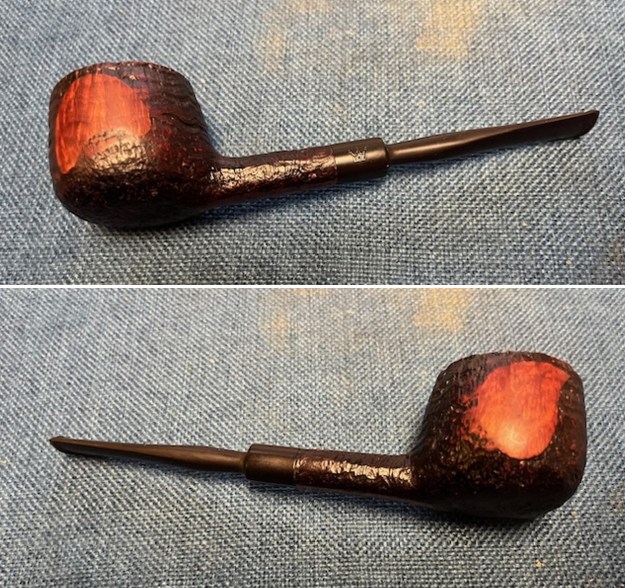
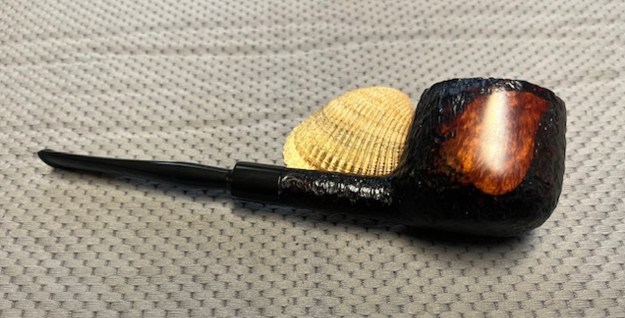
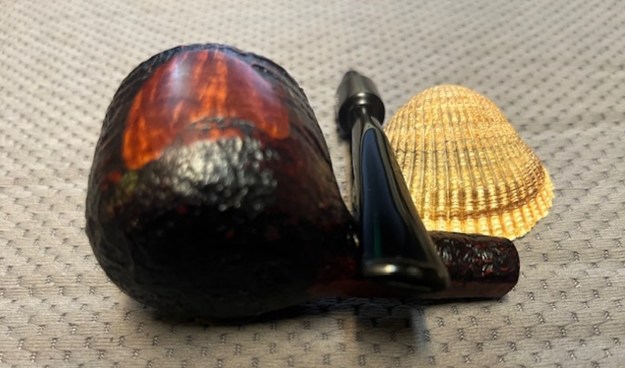
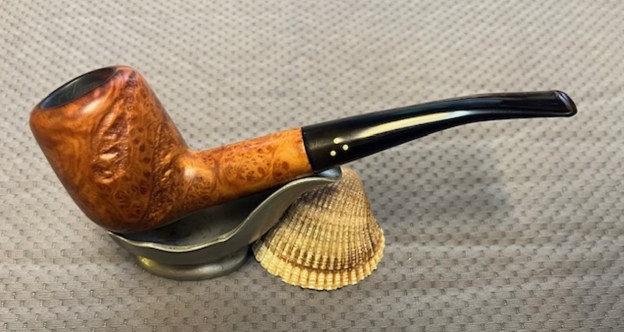
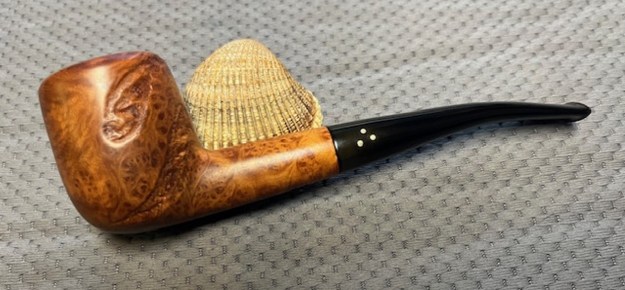
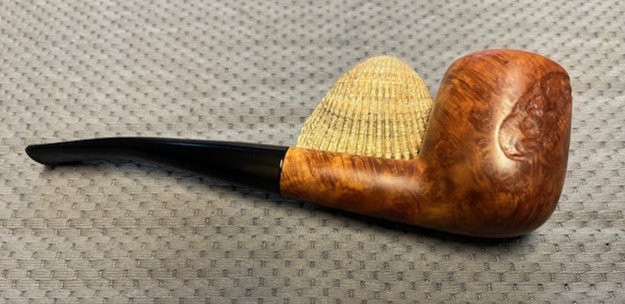
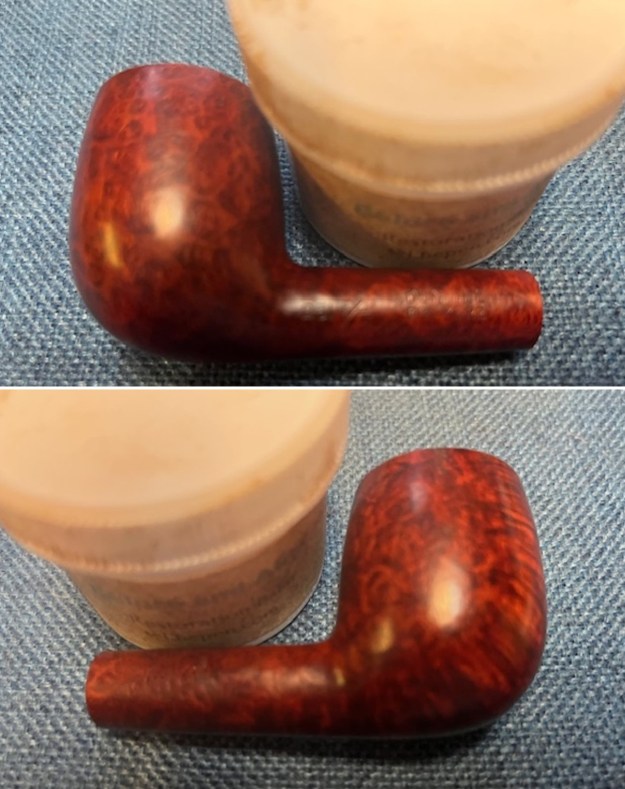
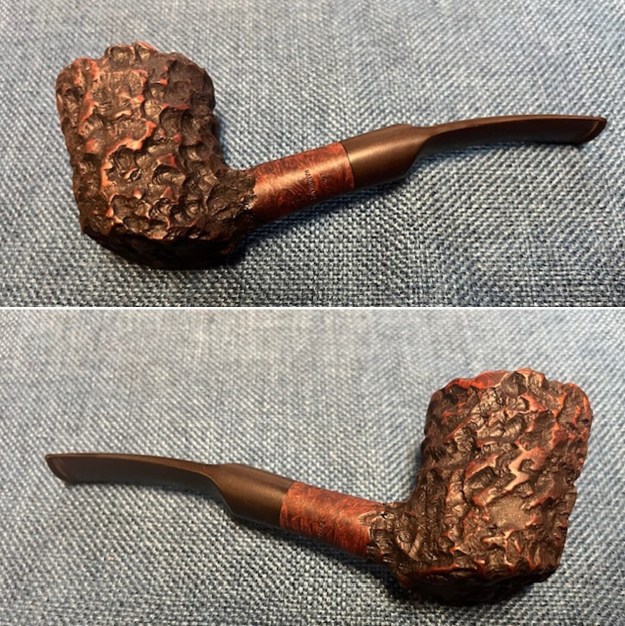
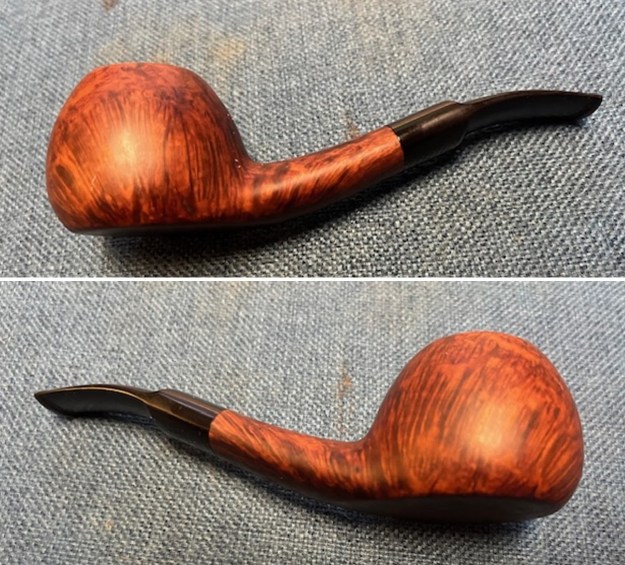
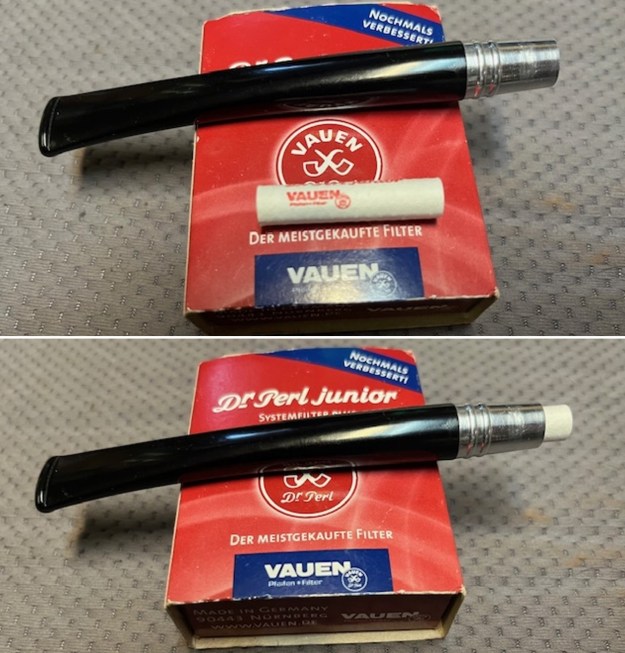 This Rattray’s Ahoy! Sandblast Poker with an acrylic military bit is a great looking pipe now that it has been restored. The rich browns and blacks of the contrasting stains came alive with the polishing and waxing. The acrylic stem had a nickel cap on the end of the stem that really shone and went will with the black of the stem. I put the stem back on the bowl and carefully buffed the pipe with Blue Diamond on the buffing wheel using a light touch on the briar. I gave the bowl and the stem multiple coats of carnauba wax on the buffing wheel and followed that by buffing the entire pipe with a clean buffing pad. I hand buffed the pipe with a microfiber cloth to deepen the shine. The finished Rattray’s Ahoy! Poker is a beauty and fits nicely in the hand and looks very good. Give the finished pipe a look in the photos below. The dimensions of the pipe are Length: 5 ½ inches, Height: 2 inches, Outside diameter of the bowl: 1 ¼ inches, Chamber diameter: ¾ of an inch. The weight of the pipe is 1.38 ounces/40 grams. This beauty will be going back to the Pipe & Cigar store shortly. Thanks for reading this blog and my reflections on the pipe while I worked on it. There are many more to come!
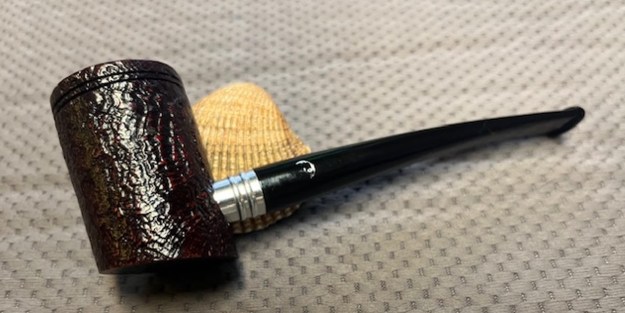


