Blog by Steve Laug
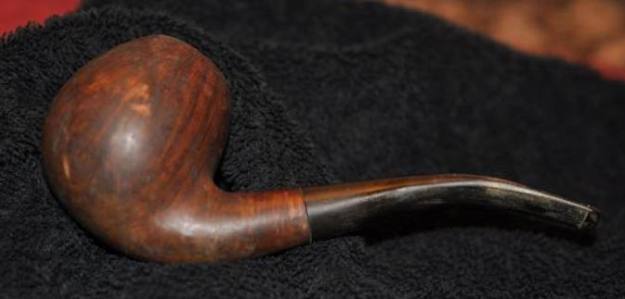
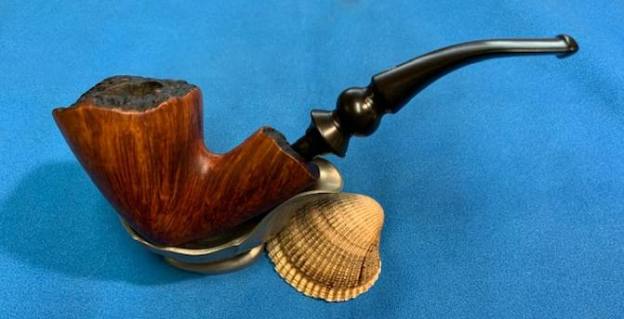
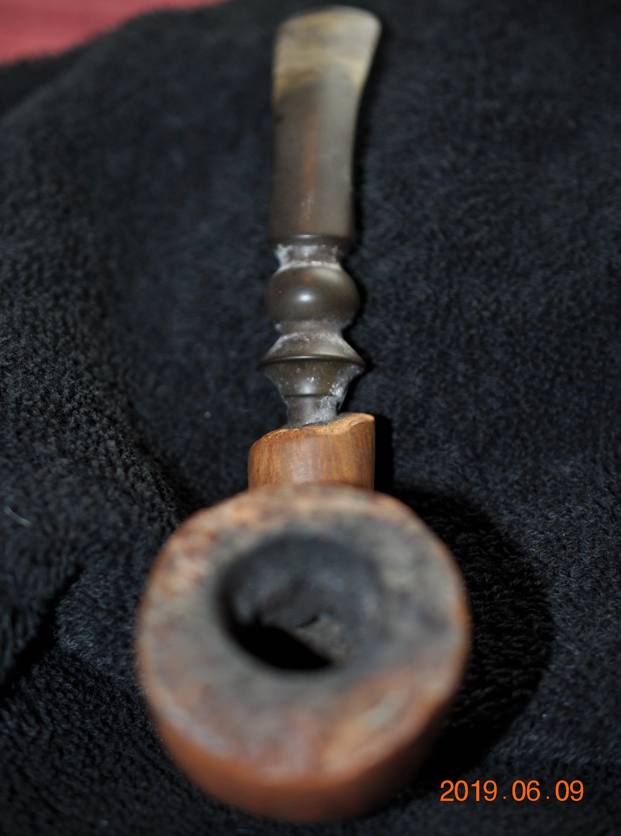
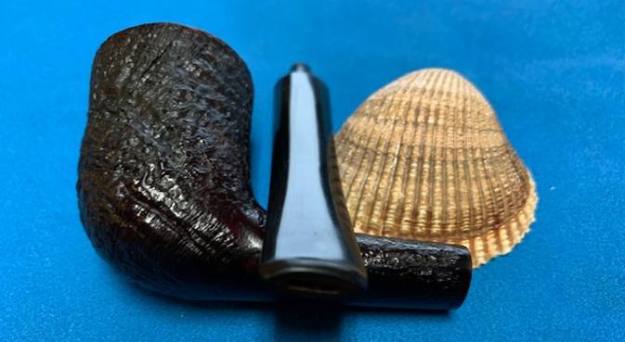
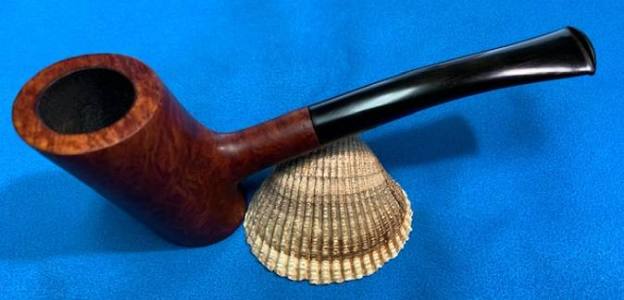
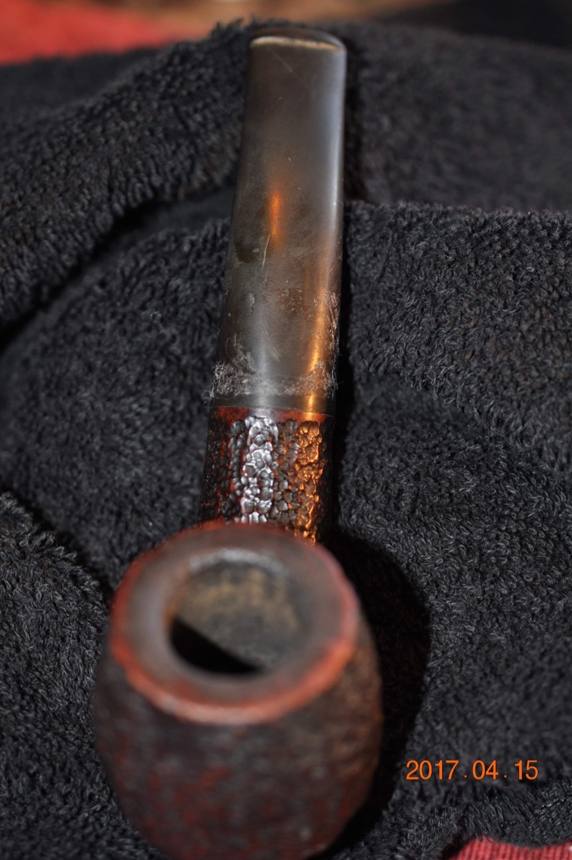
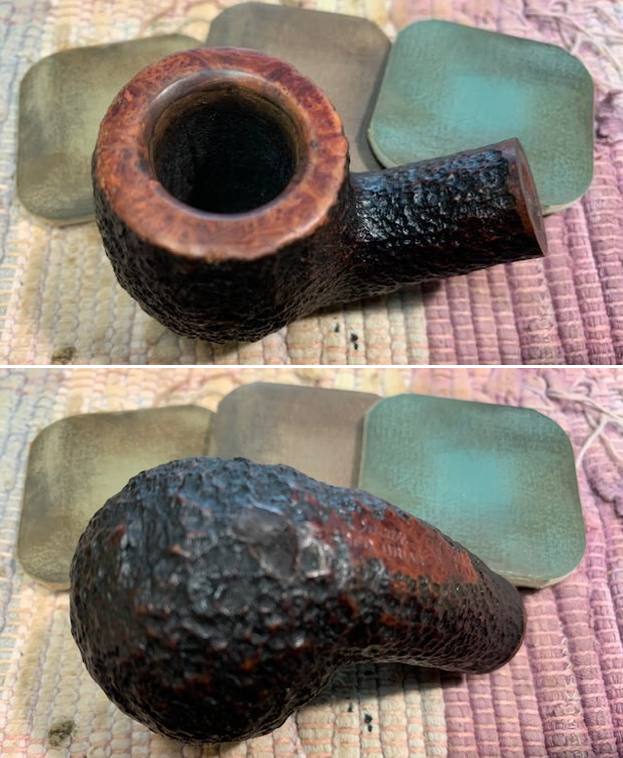
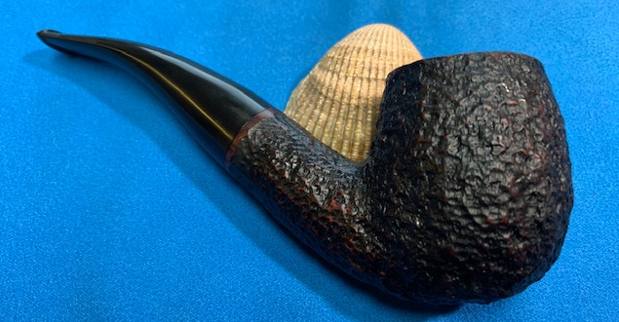
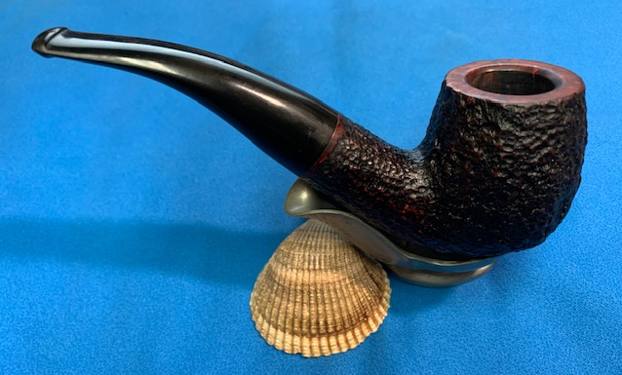
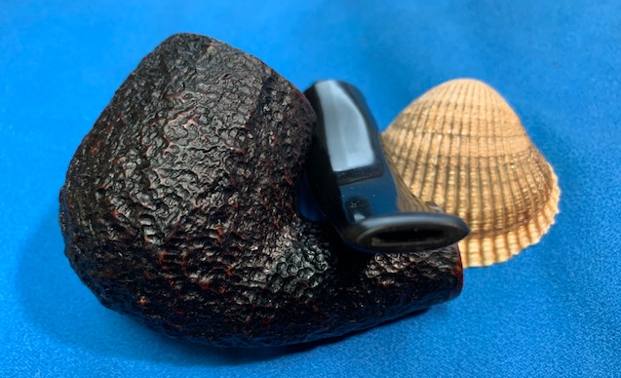
This next pipe was a gift from a friend. He contacted me about a pipe he wanted to give me. He sent some photos of the pipe. It was a beautiful shaped Pipeworks creation, hand made by Elliot Nachwalter. The stamping on the left side of the shank read Pipeworks [over] New York City [over] USA. On the right side of the shank it read Made by Hand [over] Elliot Nachwalter. Near the stem is stamped a number that I assume is the date/shape stamp. It reads 6 81 which could easily be 6th pipe of 1981 or a pipe made in June of 1981. The pipe has some issues that really don’t show up to well except in the second photo below. There were really just a few of them but they were big ones. The pipe had what looked to be a trough like groove with a crack in the bottom around at least the left side and front of the bowl judging from his photos. It was probably even worse in person than it appeared in the photos. I thought it would be a challenge for me to deal with during some time off over Christmas so he put it in the mail for me. He told me that he had originally purchased it to restore but when it arrived he figured it was beyond his capabilities. That always scares me a bit when someone says that as I am not sure I am all that capable either sometimes. Once it arrives I will know more for sure. The next photo shows some of the crack/trough mid bowl extending from the back of the bowl across the side and around to the front. All around the damaged area the briar had darkened as well. It is a shame as it is a really beautiful pipe. I am guessing that it was smoked very hot but I would have a better idea once I had in hand and cleaned out the bowl.
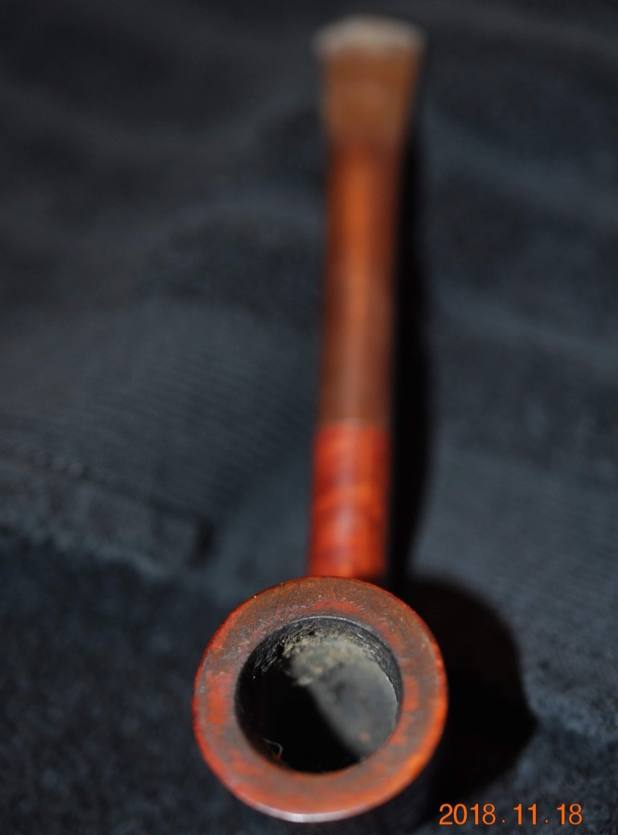
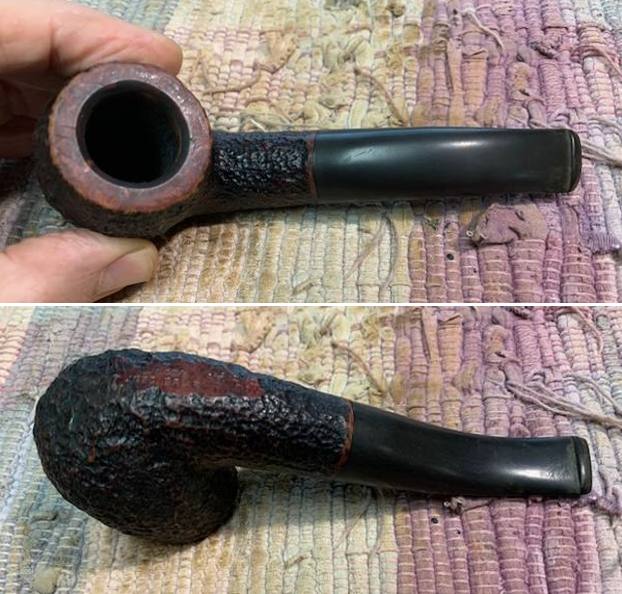
 The rim top and edges looked very good and the stem was surprisingly in good shape. There were some light tooth marks next to the button that really were not an issue.
 Yesterday when I came home from work the pipe was waiting for me. I was excited to see it in person so I took it to the basement worktable and opened the box. I took photos of the pipe as I examined the crack/trough and was not surprised to see that they went all the way around the bowl – left, right, front and rear of the bowl. Other than that the finish looked good. The rim top was in good condition. The bowl had a thin cake that would need to go so I could check out the inner walls to see if the cracks had come through. The stem looked good and sure enough there were some tooth marks and chatter on the stem as noted above – a little heavier on the underside than the topside. This would be a fun challenge as it was a beautiful pipe and one made by a favourite pipe maker of mine – Elliot Nachwalter.
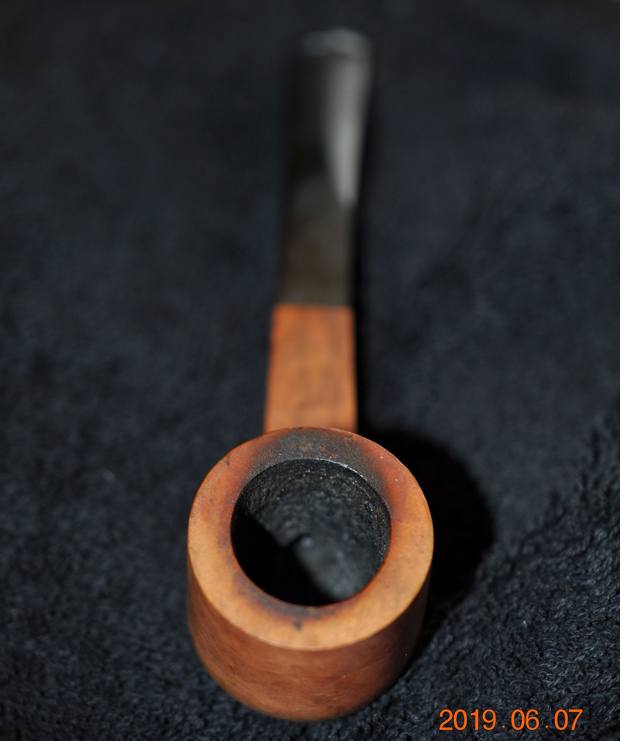
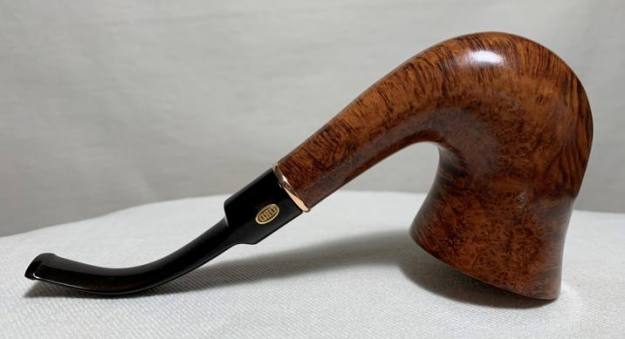
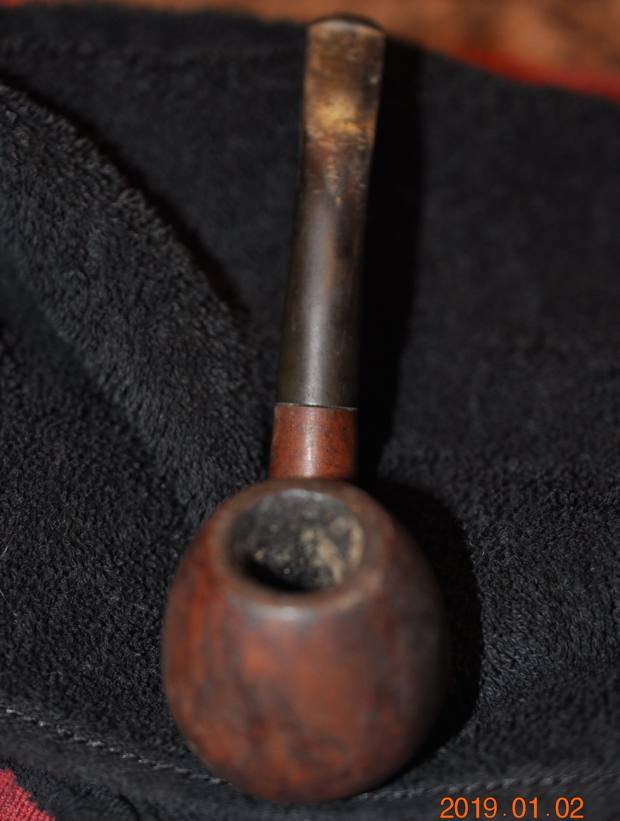
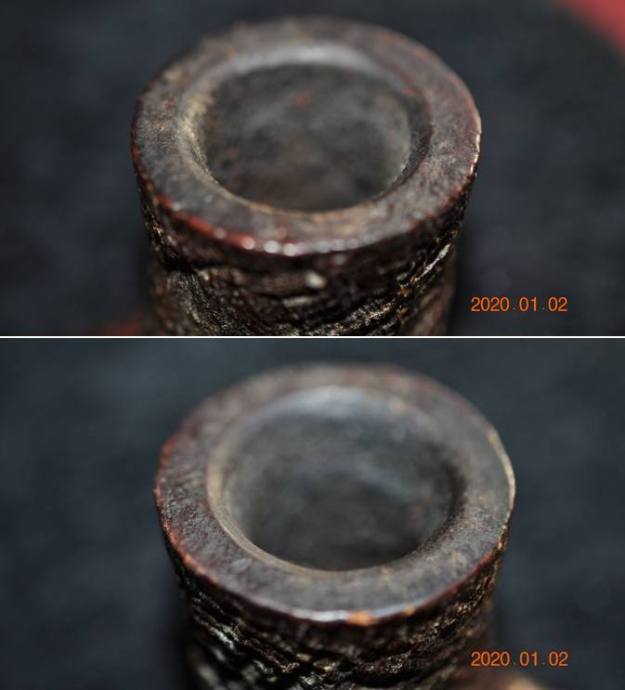
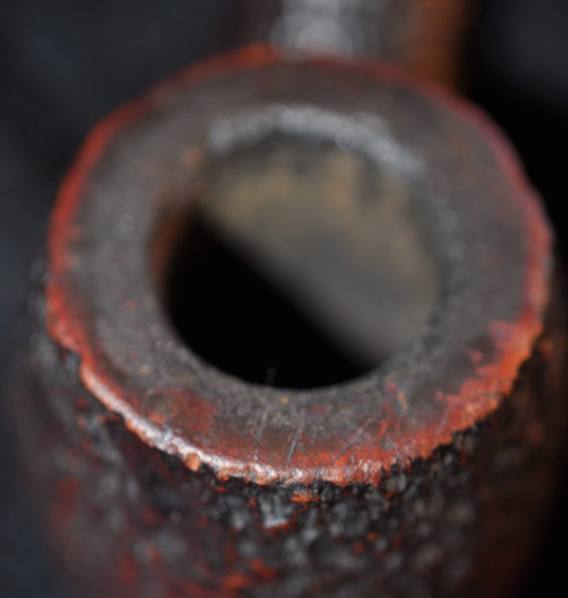
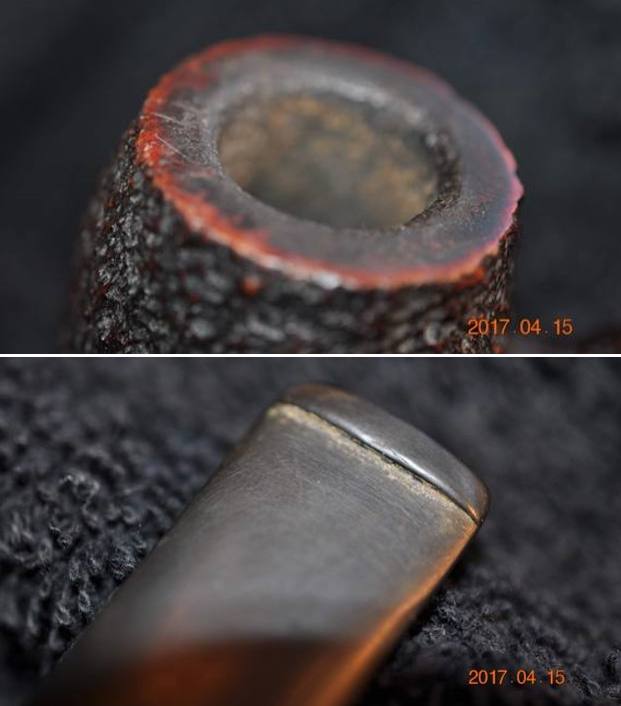
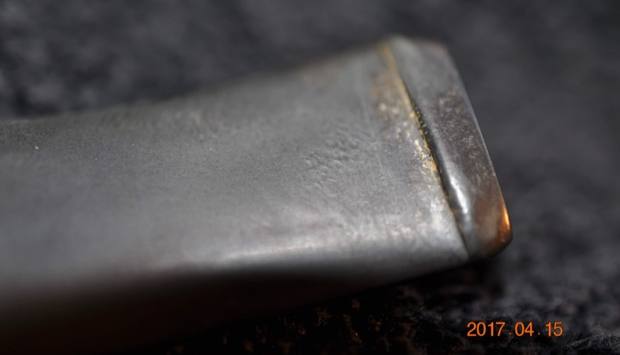
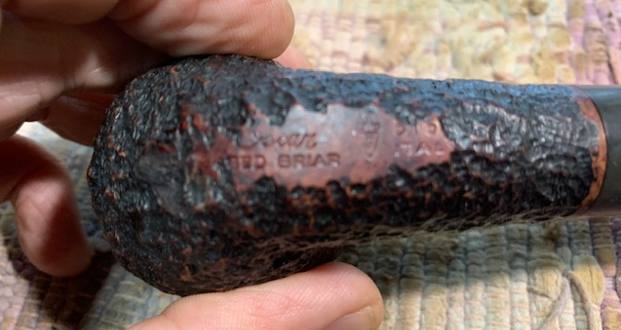
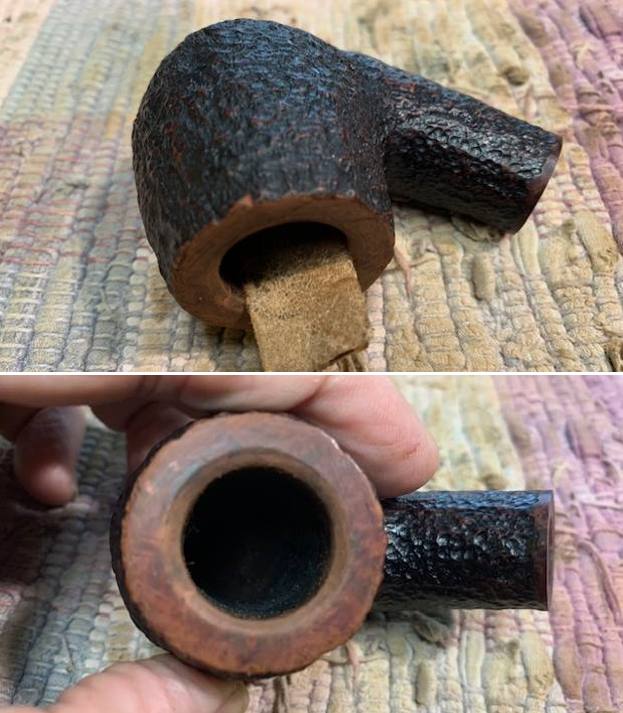
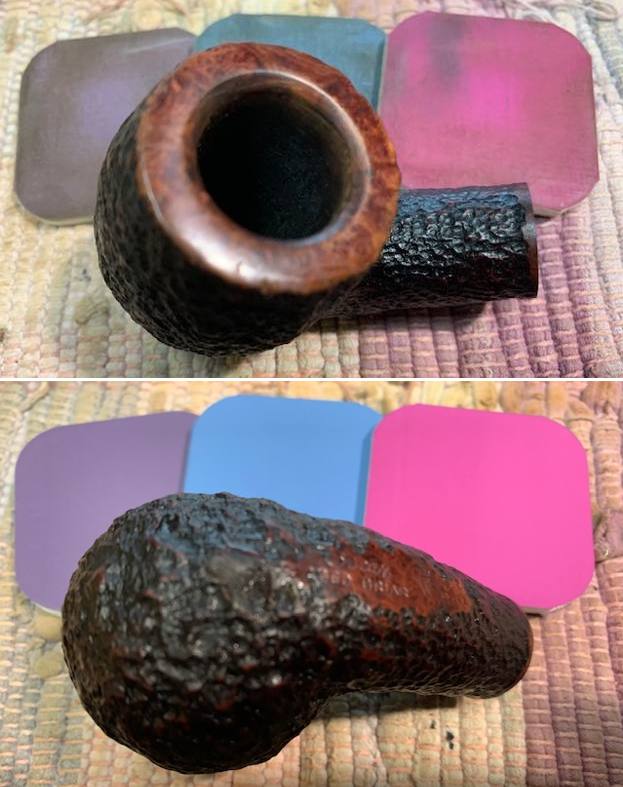
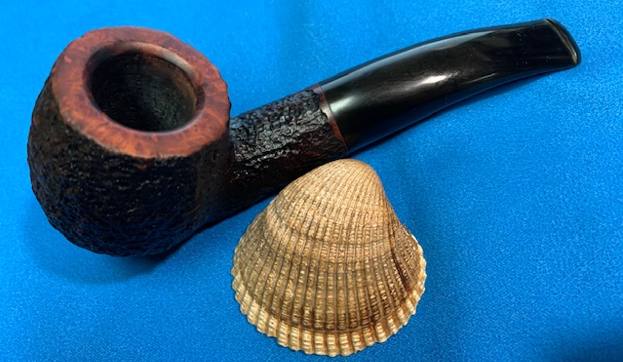
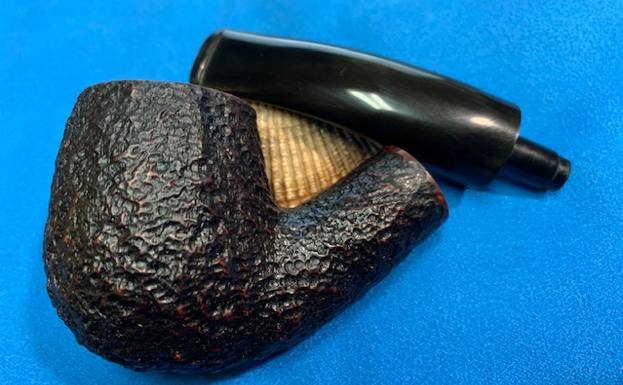
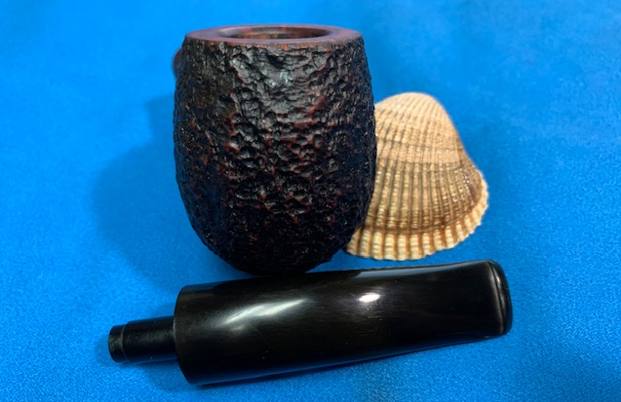
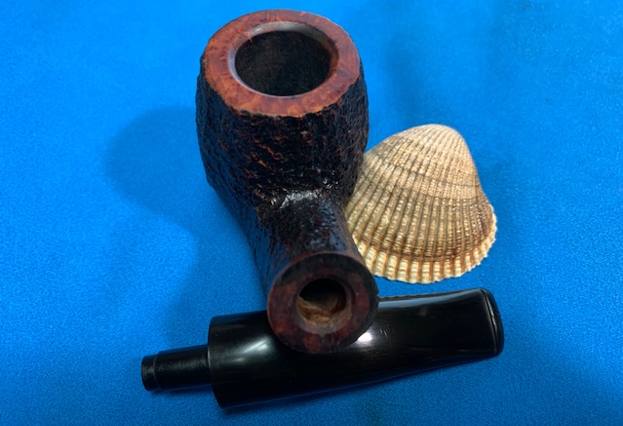
 I took a close up photo of the rim top and bowl so you can see how they look. I captured the stem as well to try to show the tooth marks and chatter near the button.
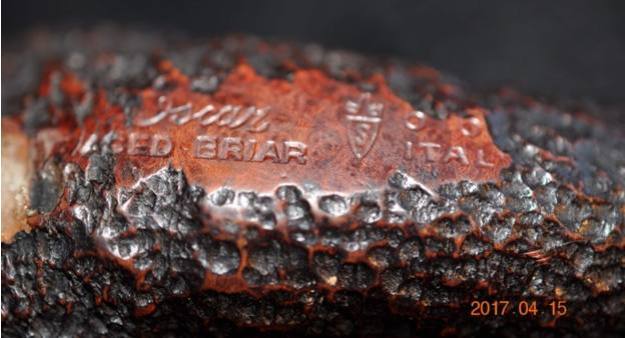
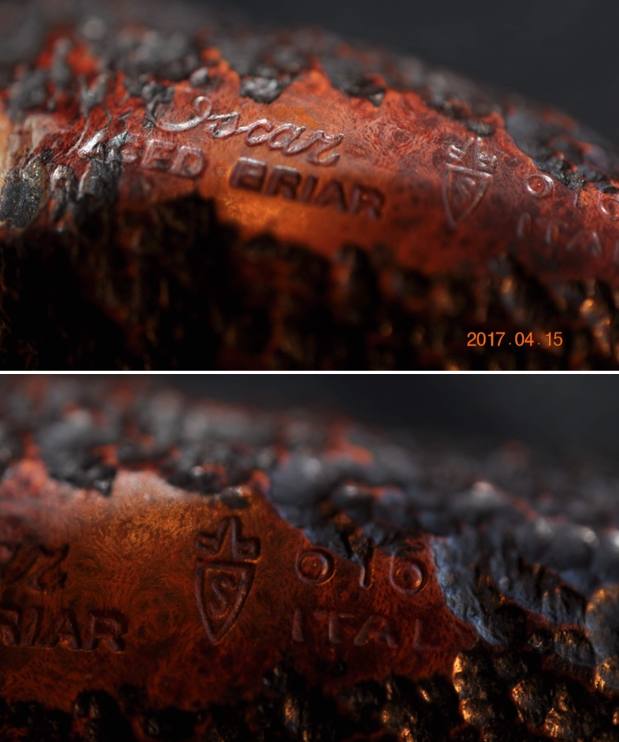
 I took photos of the stamping on both sides of the shank. It was clear and readable as noted above (They are far more readable than can be seen in the photos below). There was also the classic Nachwalter snowflake (star) logo on the left side of the saddle stem.
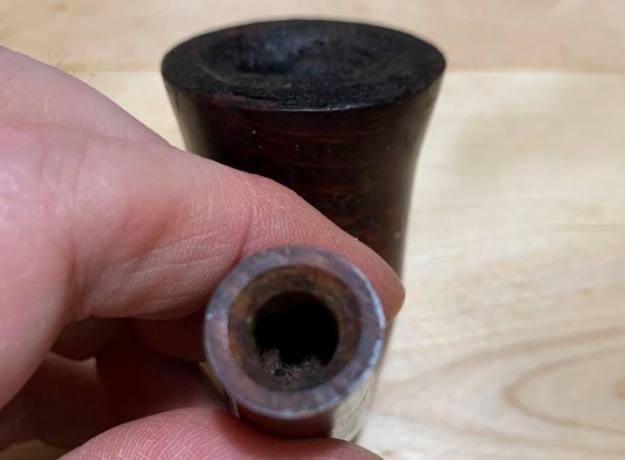
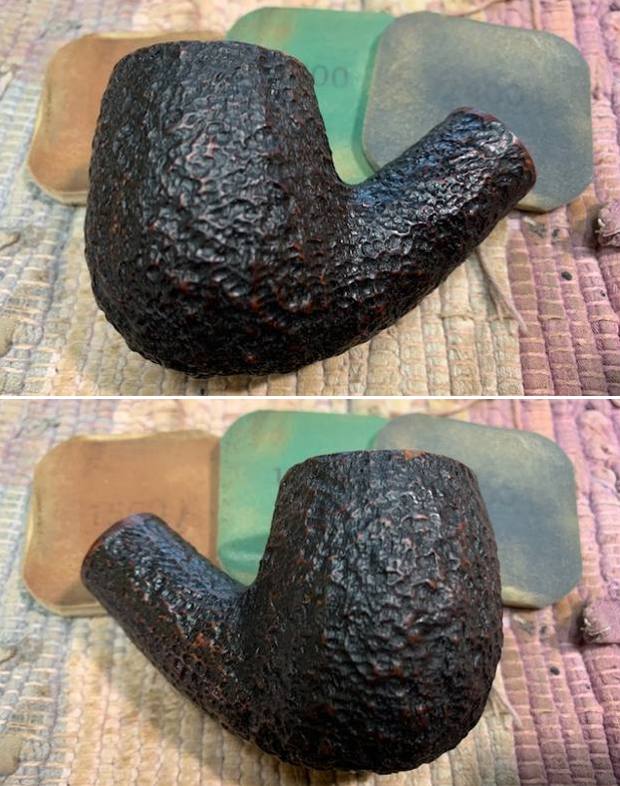
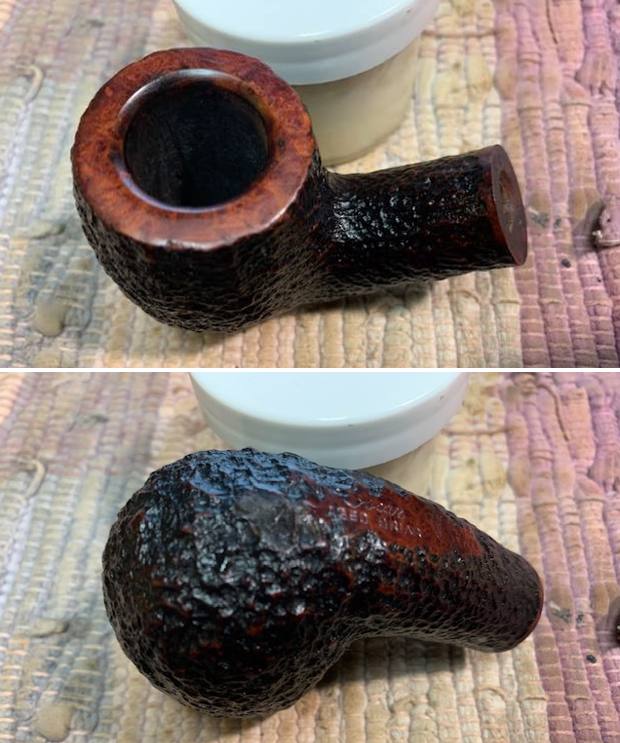
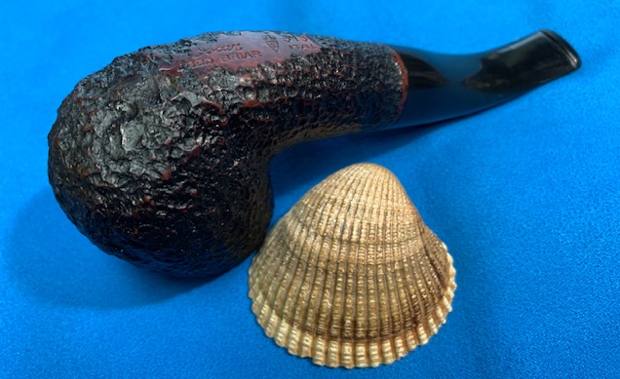
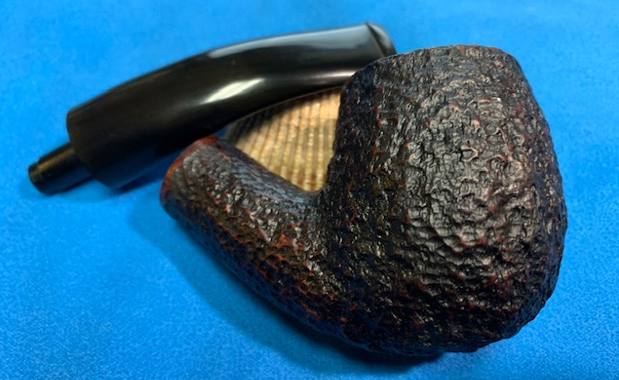
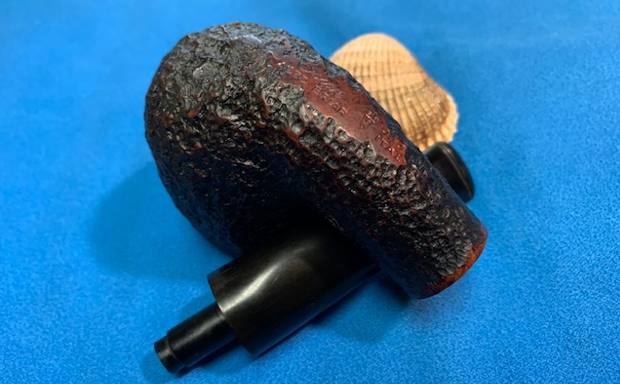
 I took a series of photos of the trough around the bowl sides. It was a complete loop that had one small trail splitting off down the left front side of the bowl. There was a hairline crack in bottom of the groove that would need to be dealt with.
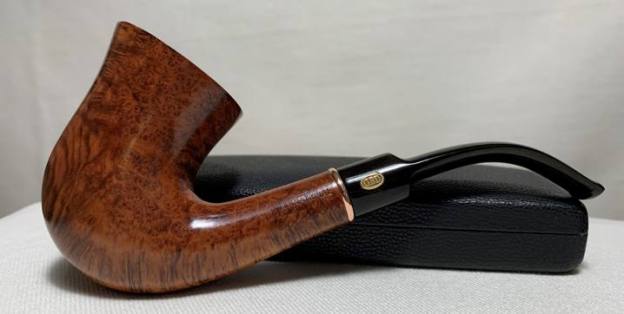
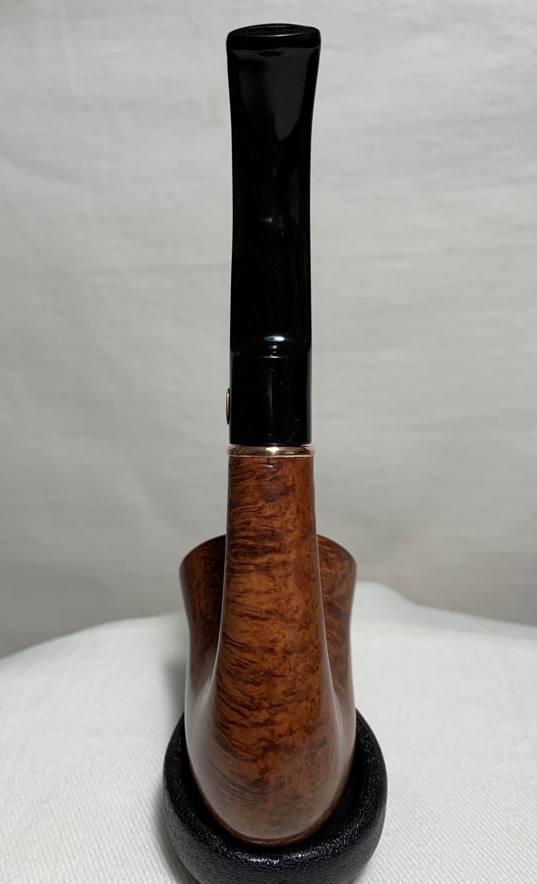
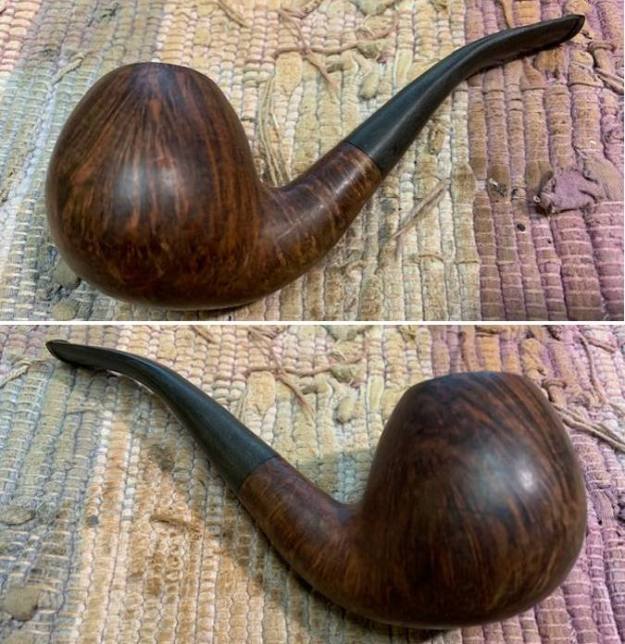
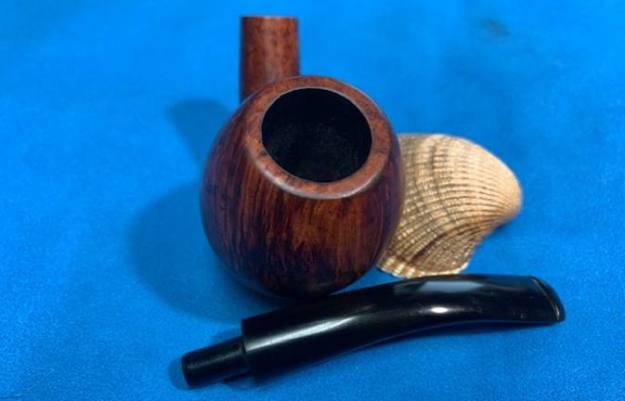
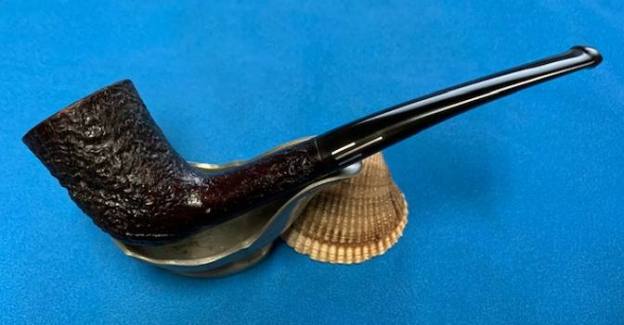
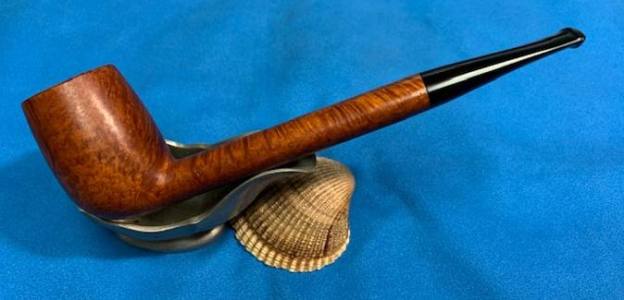
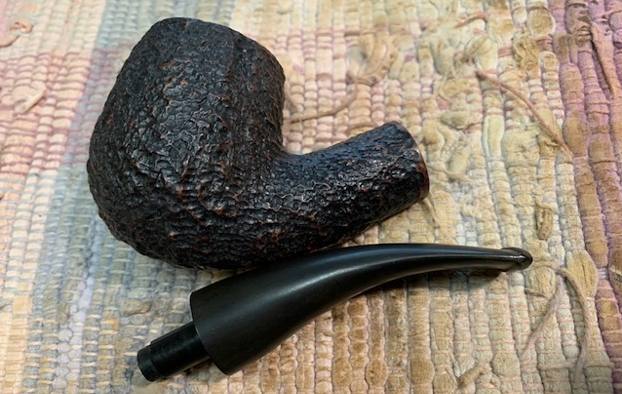
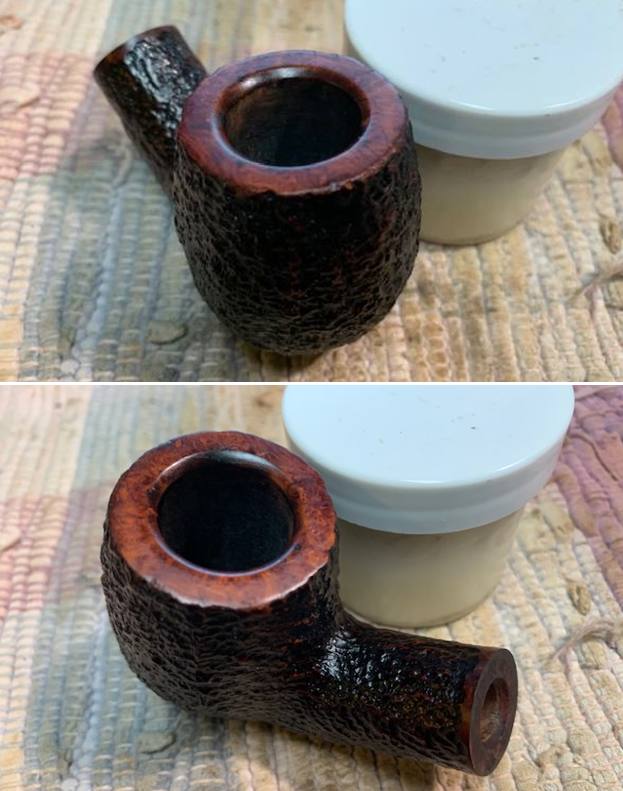
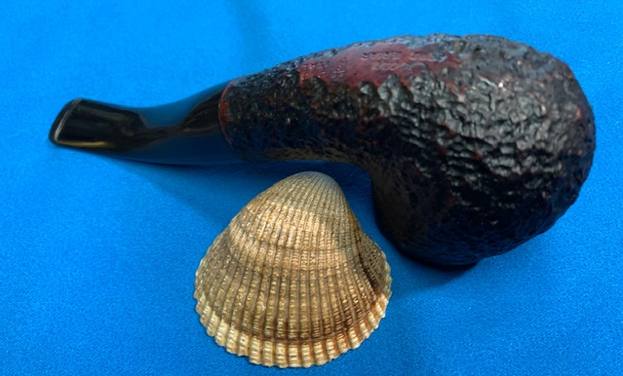
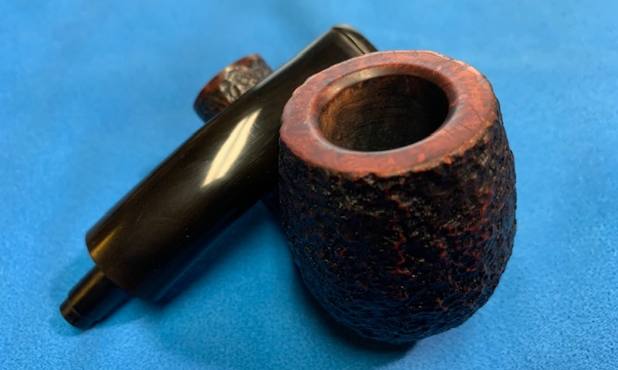
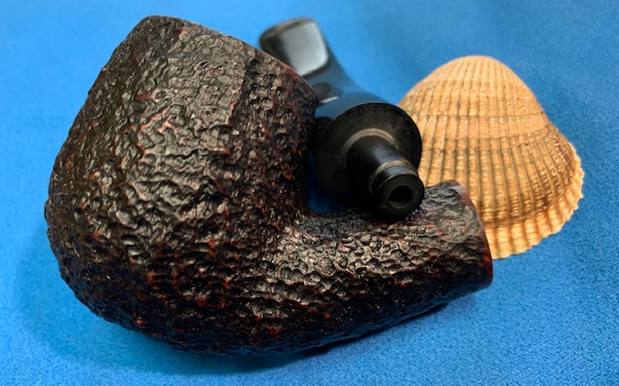
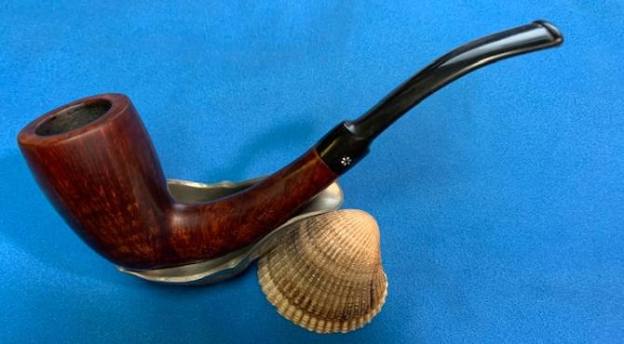
 I removed the stem from the shank to give a sense of the unique elegance of the shape of the pipe. I really like the look of it.
 I turned to Pipephil’s site to look up information on the brand to identify the period of time when Nachwalter made the pipe. I turned first to the section on Elliot Nachwalter’s name (http://pipephil.eu/logos/en/logo-e2.html#elliotnachwalter) to see what it said. It is interesting in that I shows a pipe made in Vermont whereas the one I have says New York City USA.
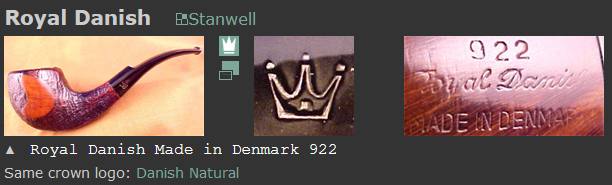
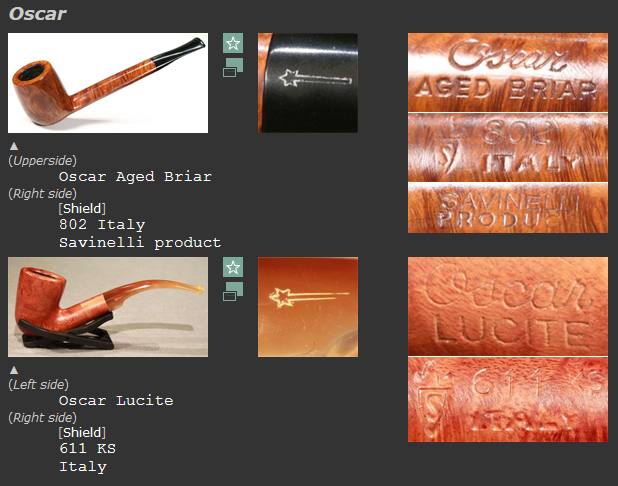
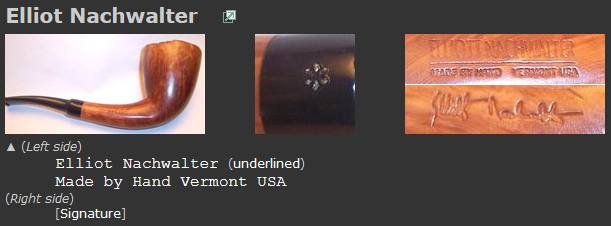 I turned then to the section of the site on Pipeworks as that is also stamped on the pipe I am working on (http://pipephil.eu/logos/en/logo-p3.html#pipeworks). Sure enough the site showed a pipe that was stamped the same way as the one I have. It is shown in the screen capture below. The stem logo looks more like the pipe above than the one below.
 I also learned that the pipe was crafted during the period (1980-1995) when Elliot Nachwalter and his ex-wife Carol Burns owned the Wilke Pipeshop in NYC. So now I had a time period for the pipe. I wonder if the stamping on my pipe 6 81 helps to date it to 1981?
From there I turned to Pipedia for a bit more information (https://pipedia.org/wiki/Nachwalter). The site quoted from both Lopes book and from Nachwalter’s website and had a lot of great historical information. I quote portions of it below.
From Pipes, Artisans and Trademarks, by Jose Manuel Lopés’
Elliott Nachwalter studied the History of Art and Photography, but passionate about pipes, decided to go into pipe making. With a few tools and some machinery, he started his workshop some 25 years ago (that would be 35 years ago now, as of 2015), in Stowe, Vermont, where he shared a warehouse with Andrew Marks. He later created Briar Workshop with Jorg Jemelka, and was joined by the Danish designer Finn Meyan Andersen. They also collaborated with various artisans, such as Brad Pohlmann, J.T. Cooke, and Carol Burns.
Between 1980 and 1983, Elliot had a shop in New York where he would make and sell his pipes There then followed an interregnum — “For three years I was away from my craft, not knowing if I would ever make pipes again” –, after which he returned to Vermont and built Pipestudio. Aim: “to create sensual pipes, beautifully grained that are pleasing to the eye” and which would be “the creation of sculpted smoking instruments that are functional pieces of art”.
He uses Briar from Italy and Greece; and vulcanite, acrylic, or Cumberland stems. Symbol: a kind of six-pointed star…
…In 1980 I opened a store in New York City and designed and made pipes in the back of the store for pipe smokers that visited me from around the world. I worked late into the night. There came a time when I felt the need to stop making pipes. For three years I was away from my craft, not knowing if I would ever make pipes again. Something was missing. Perhaps I was missing the struggle of the creative process and the pure joy that one feels when you make something turn out exactly as imagined in your mind’s eye. I suppose I needed to make pipes; I needed to work late into the night.
In the autumn of ’96 as the falling leaves mixed with the early snowfall, I built a small studio overlooking the Battenkill and surrounded by the Taconic and Green mountains.
It is my desire to create sensual pipes, beautifully grained that are pleasing to the eye. I work with only the rarest of briar burls that are seasoned in a manner that allows for a minimal break in period and a very smooth smoking pipe. The briar grows in the wild and there is a remarkable difference in grain between each block . This variance of grain together with the myriad of designs in my mind and the nature of the work, makes for truly one of a kind pipes. The essence of my work is in the creation of sculpted smoking instruments that are functional pieces of art.
So once again the time period for the pipe that I have was confirmed as being made between 1980 when Elliot was in New York City and 1996 when he left to build a workshop in Vermont. I love it when the information comes together.
Now it was time to work on this old timer. I started my work by highlighting the crack and groove around the bowl sides. I sanded the entire groove all around the bowl with a folded piece of 220 grit sandpaper. In the photos that follow you can see the cracked area very clearly.

 I left the sanding dust in place on the bowl and filled in the crack with clear CA glue. I was not too concerned with further cracking around the bowl as it was complete circle – the ends of the crack were joined. I was more concerned with heat from smoking forcing the cracking deeper into the interior of the bowl. The photos tell the story of the repair.
 Once the glue cured I sanded it smooth to blend it into the surrounding briar. I refilled any spots that still showed damage with more CA glue. I sanded them smooth as well. The bowl was starting to look quite good.
 I sanded it further with a medium and fine grit sanding sponge to blend the repairs into the surrounding briar. The grain really began to stand out.
 With that done I called it a night and when I woke early this morning I made a mixture of Oxalic Acid and water. I wiped down the darkened areas on the sides of the bowl to lighten them as much as possible. The mixture worked wonders and the pipe looked much better. There was one small spot on the crack shown in the second photo that I needed to touch up with the CA glue.
 With the externals repaired I turned my attention to the bowl. I reamed it with a PipNet reamer and took the cake back to bare briar. I cleaned that up with a Savinelli Fitsall Pipe Knife. I wanted the cake removed so I could check out the inside walls. I finished reaming process by sanding the bowl with 220 grit sandpaper wrapped around a dowel.
 I cleaned out the airway in the stem and shank with alcohol, cotton swabs and pipe cleaners. I scrubbed the walls of the bowl with alcohol at the same time. I examined the walls and bottom of the bowl with a bright light. There were not cracks on the internal walls that matched those around the bowl sides and front. There was however some checking on the back wall directly behind the cracks on the back of the bowl. I cleaned those carefully to remove all the debris. I am pretty certain that the heat followed the checking out to the exterior and during repeated hot smoking followed the path of least resistance all the way around the bowl. I think I found the internal source. I would need to do an internal repair to the bowl to stop further cracking from the inside.
 I polished the bowl and the rim top, sides and shank with micromesh sanding pads – dry sanding with 1500-2400 grit pads in preparation for staining the pipe.
 I stained the bowl with a light brown aniline stain. I applied it with a dauber and then flamed it with a lighter to set it in the grain. I repeated the process until I was happy with the coverage.
 I went upstairs and had lunch with my wife. The stain cured for an hour while I dined. I wiped the bowl down with cotton pads and isopropyl alcohol to make the finish more transparent and show the grain around the bowl and shank. I was liking the colour and the coverage at this point.
 I then polished the bowl and the rim top, sides and shank with micromesh sanding pads once again this time to make it even more transparent – dry sanding with 1500-12000 grit pads and wiping it down after each pad with a damp cloth. The grain stood out nicely and the repairs were well hidden at this point! It was looking very good.


 I rubbed the bowl and shank down with Before & After Restoration Balm. I worked it into the surface of the bowl sides and shank with my fingertips to clean, enliven and protect the briar. I let the balm sit for a little while and then buffed with a cotton cloth to raise the shine. I really like what I was seeing!
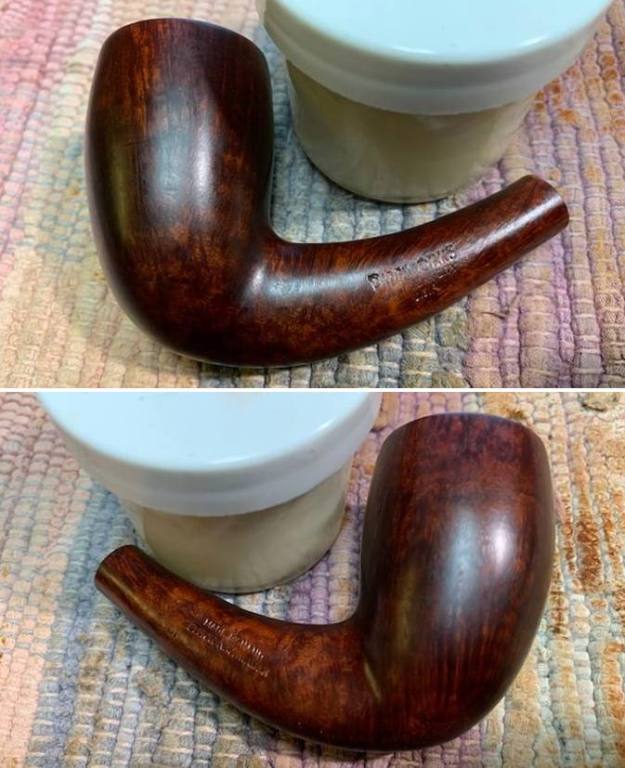

 I mixed a batch of JB Weld to line the interior of the bowl. I blended the two parts of the product together with a dental spatula and applied it to the walls of the bowl with a folded pipe cleaner. Before I started that though I inserted a pipe cleaner in the shank to keep the airway open in the bottom of the bowl. JB Weld cures neutral and does not gas off when heated. Once it cures I sand it smooth leaving it in the checking and cracks of the bowl walls. I give it a bowl coating of sour cream and activated charcoal powder to further protect the walls until a cake is formed.

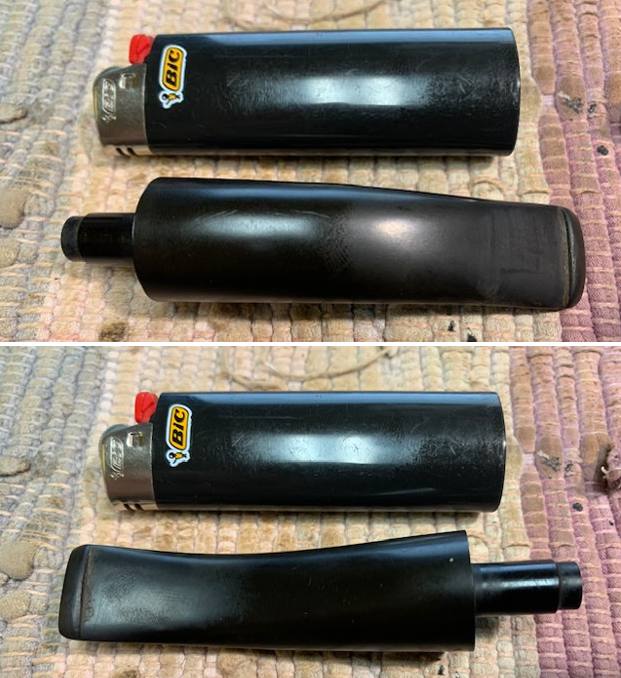
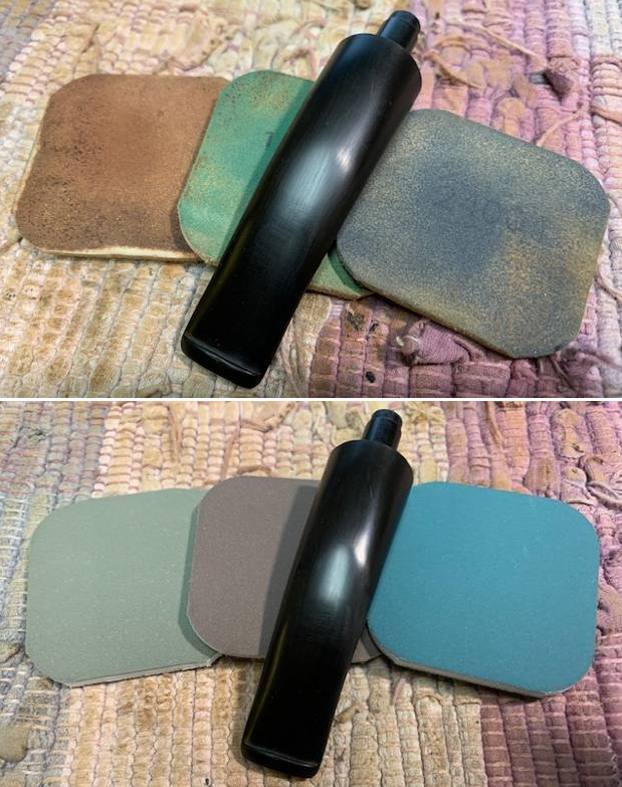
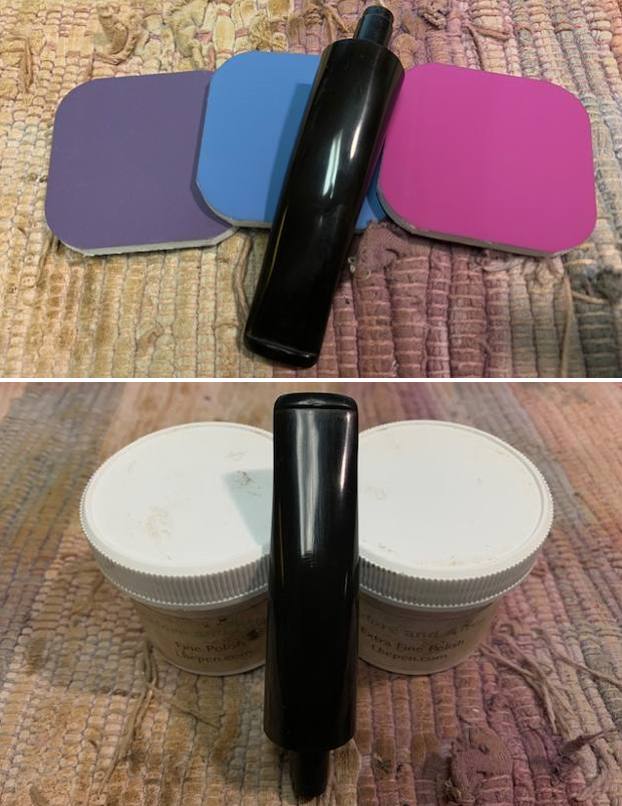
 I set the bowl aside to let the wall repairs cure overnight. I turned my attention to the stem. I removed the tooth chatter and marks with the polishing process with the micromesh sanding pads – 1500-12000 grit pads. I wiped it down with a cloth impregnated with Obsidian Oil after each sanding pad. I used Before & After Pipe Polish – both Fine and Extra Fine to further polish the stem. I gave it a final coat of Obsidian Oil and let it dry.
 I touched up the stamping on the side of the saddle stem with acrylic fingernail polish. I let it dry and scraped off the excess. The snowflake (or star?) is quite visible and looks good.
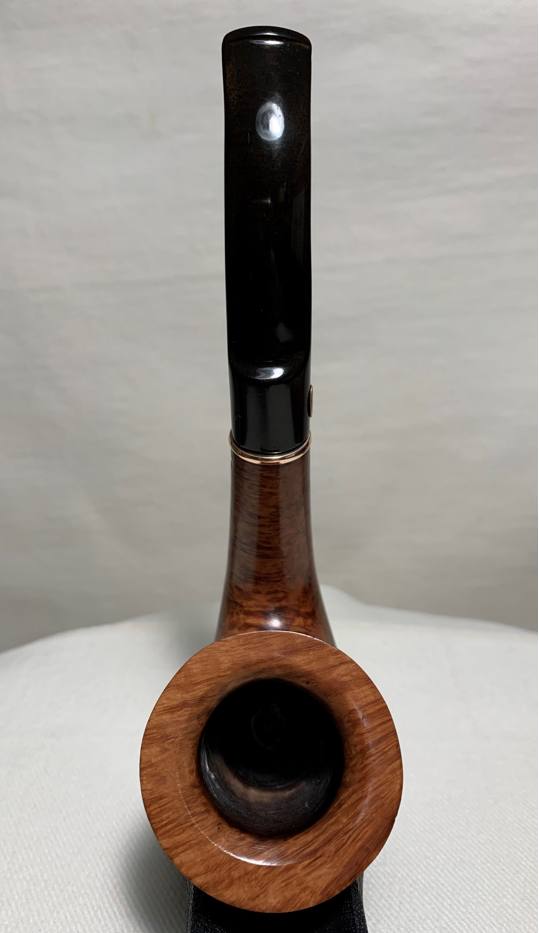
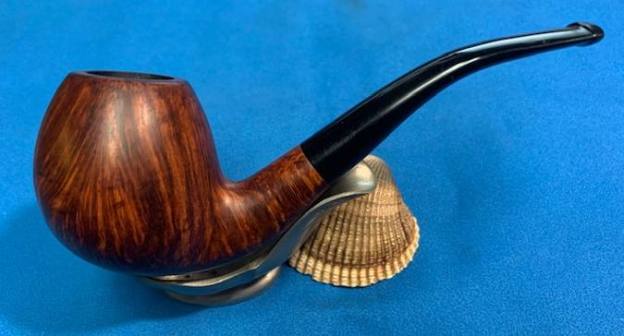
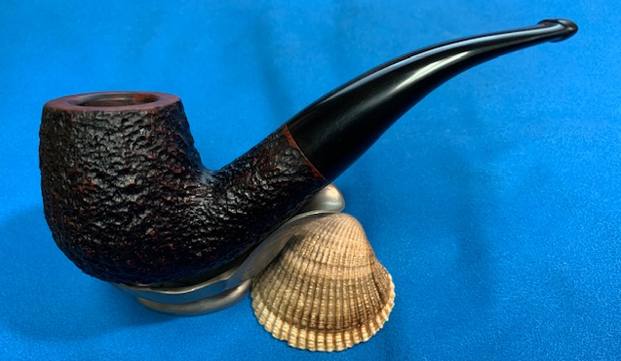
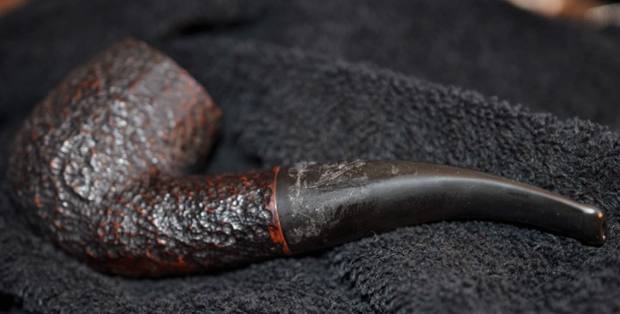
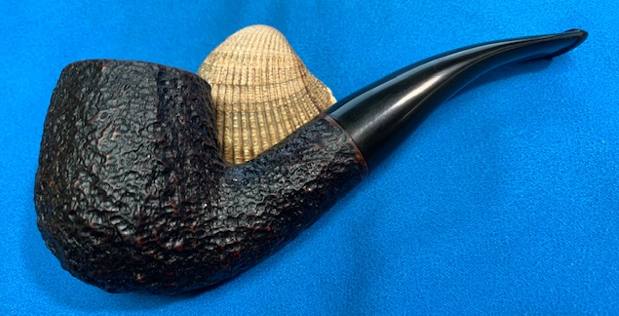
 This Pipeworks NYC Elliot Nachwalter Hand Made with a vulcanite saddle stem is really an elegant looking pipe. It was a lot of work to bring it back but I think it was worth the effort. I put the stem back on the bowl and carefully buffed the pipe with Blue Diamond on the buffing wheel. I gave the bowl and the stem multiple coats of carnauba wax on the buffing wheel and followed that by buffing the entire pipe with a clean buffing pad. I hand buffed the pipe with a microfiber cloth to deepen the shine. The finished Nachwalter feels as great in the hand as it looks to the eye. Give the finished pipe a look in the photos below. The dimensions of the pipe are Length: 5 ¾ inches, Height: 2 ¼ inches, Outside diameter of the bowl: 1 ¼ inches, Chamber diameter: ¾ of an inch. The weight of this pipe is 35 grams/1.23 ounces. I will keep the pipe (for a while anyway) and enjoy it with a favourite tobacco. Thanks for reading this blog and my reflections on the pipe while I worked on it.