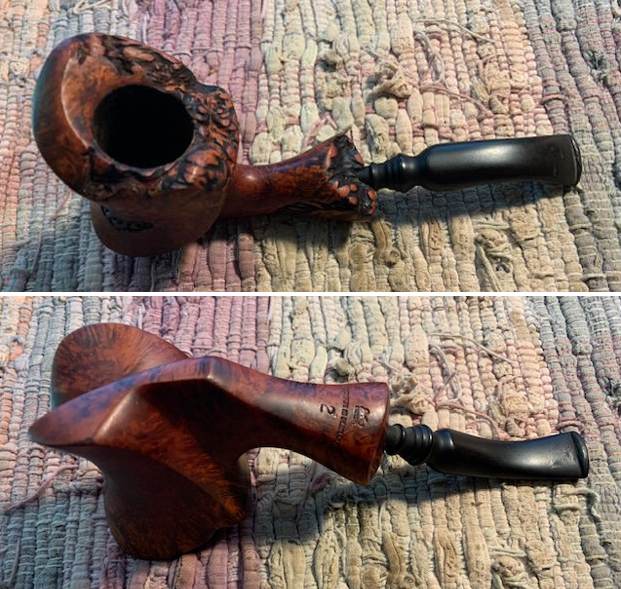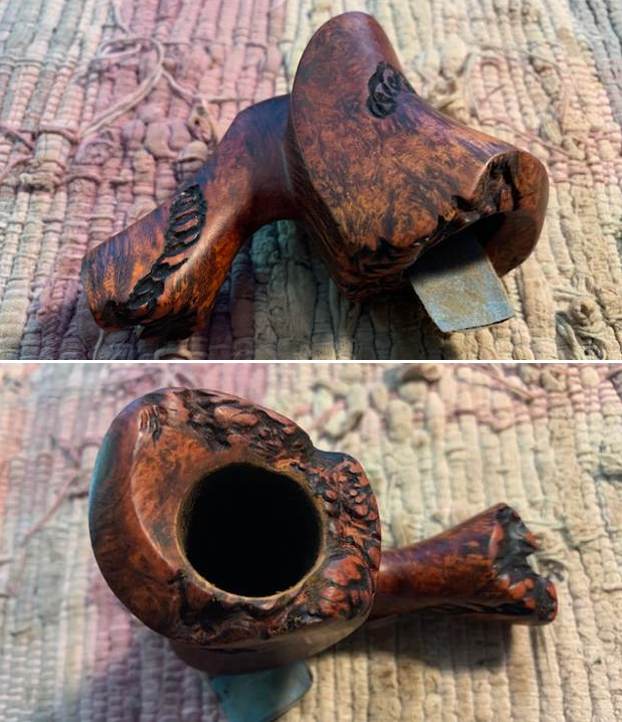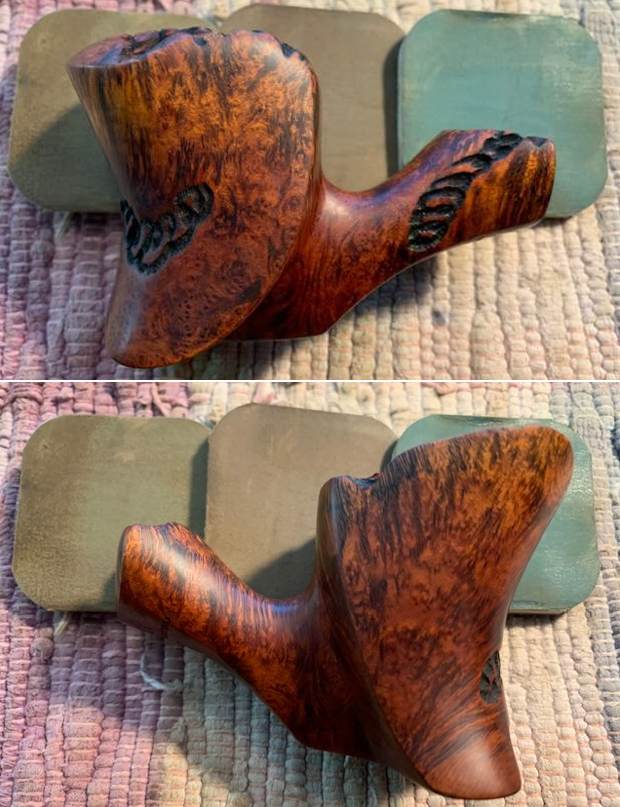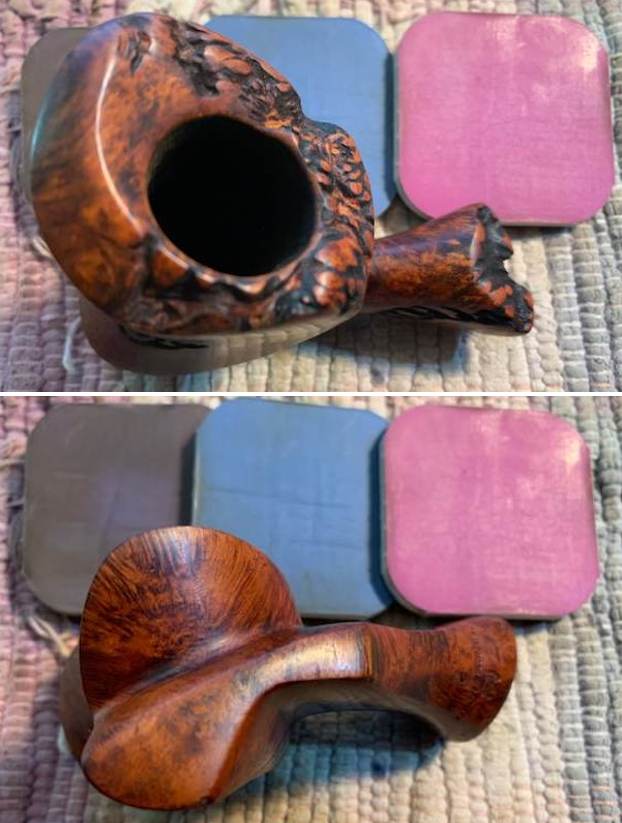
Tag Archives: bite marks

Restoring a Mixed Finish Danish Pride by Ben Wade Freehand


Blog by Steve Laug

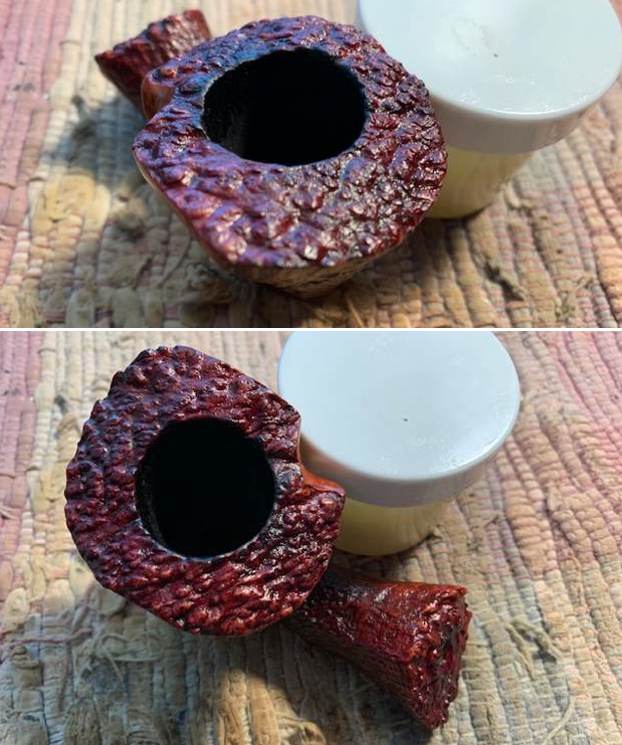
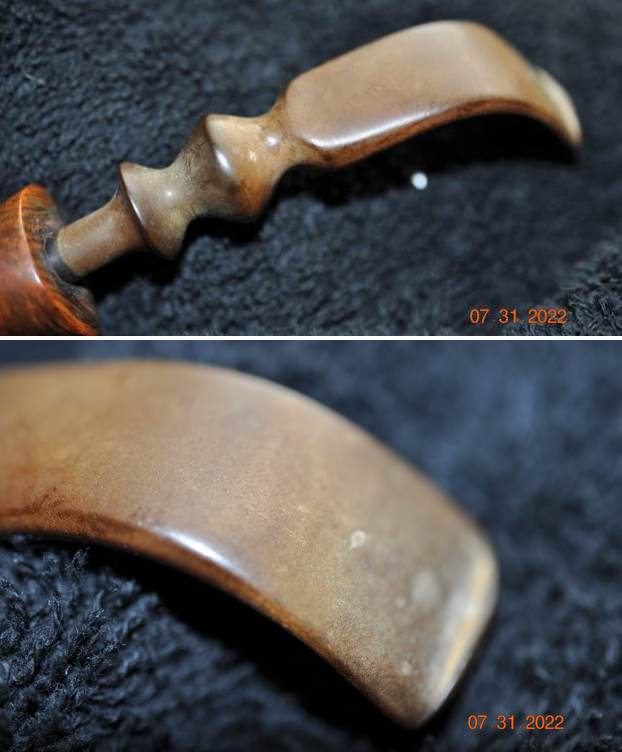
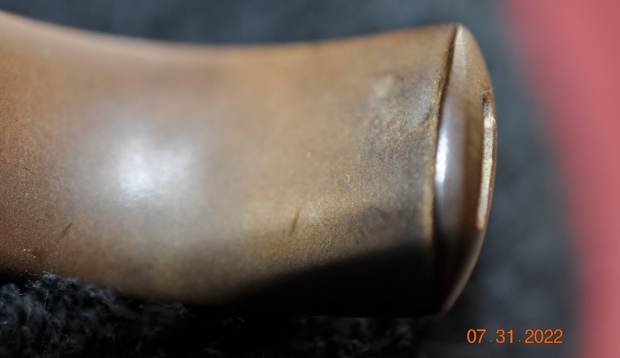
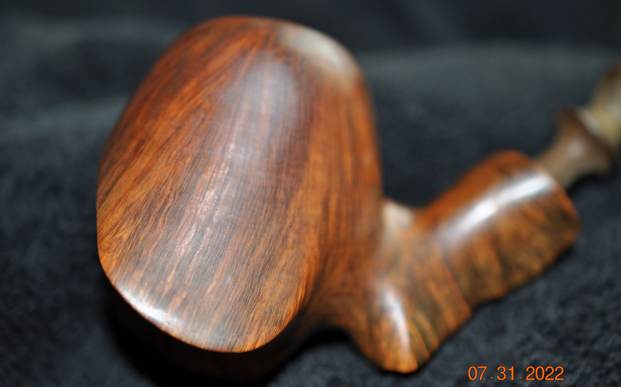
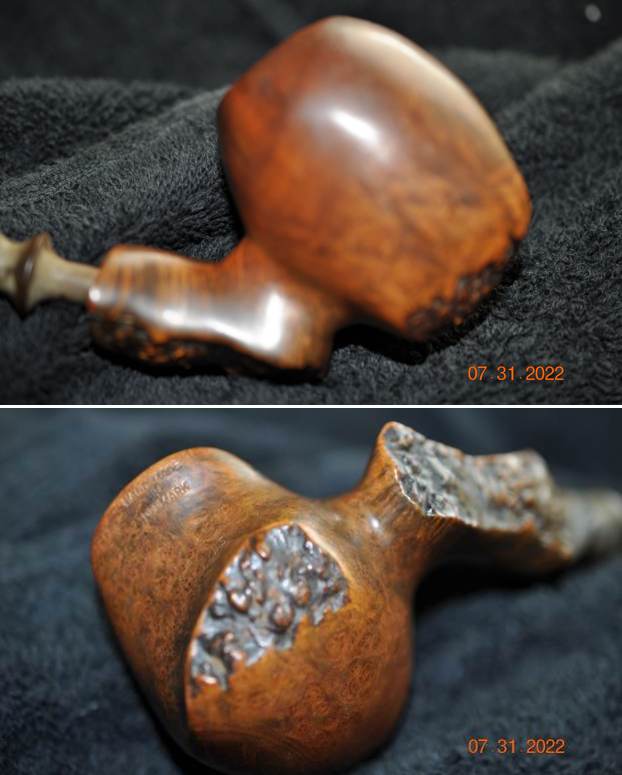
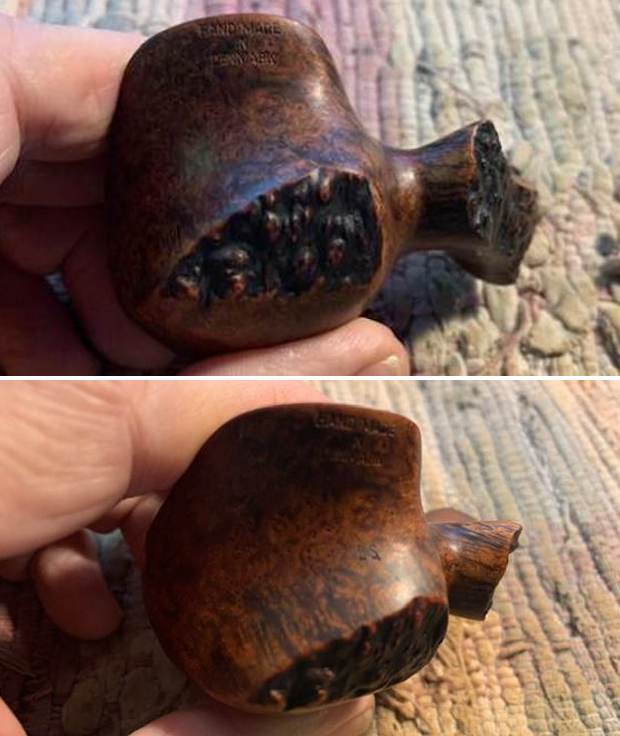
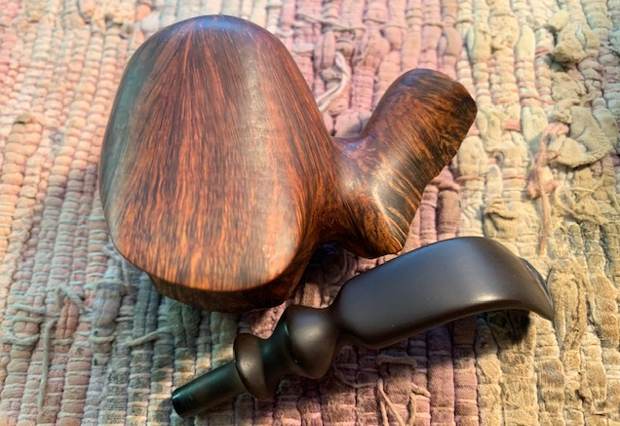
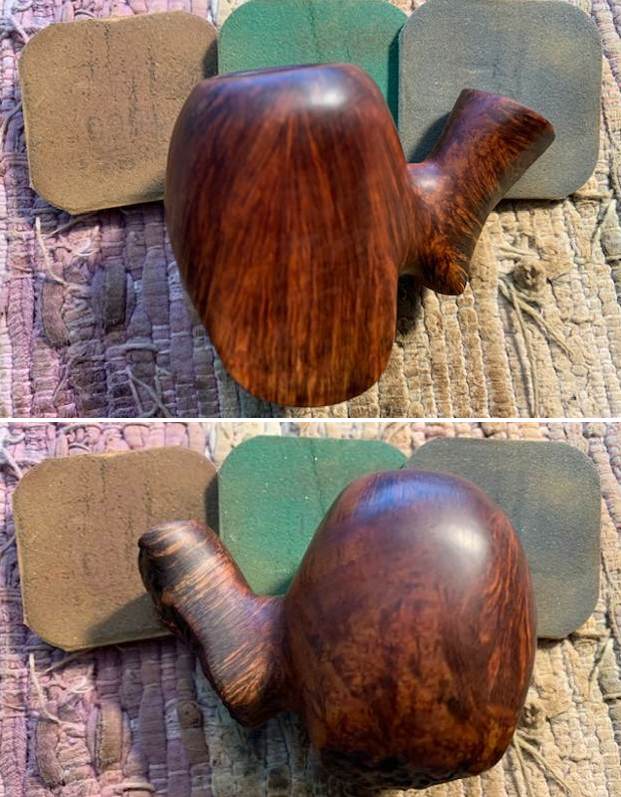
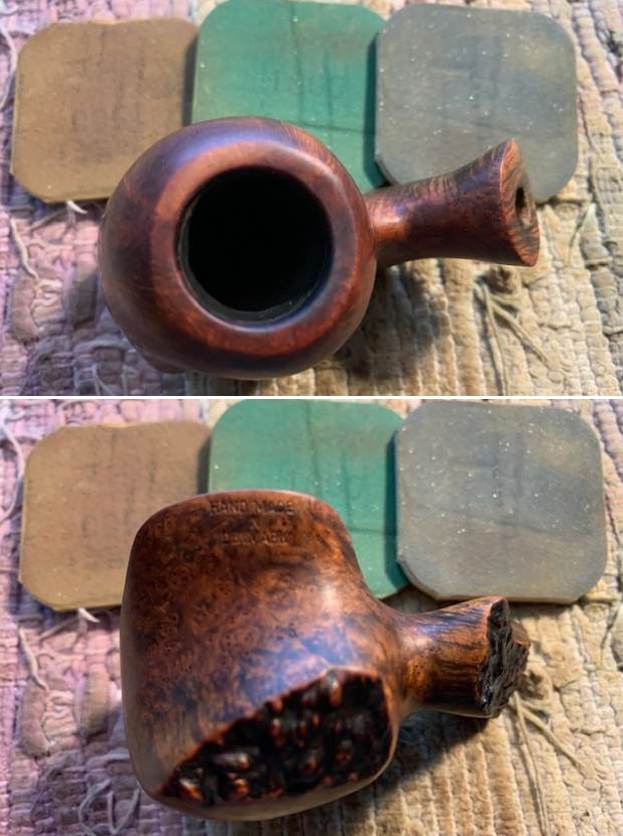
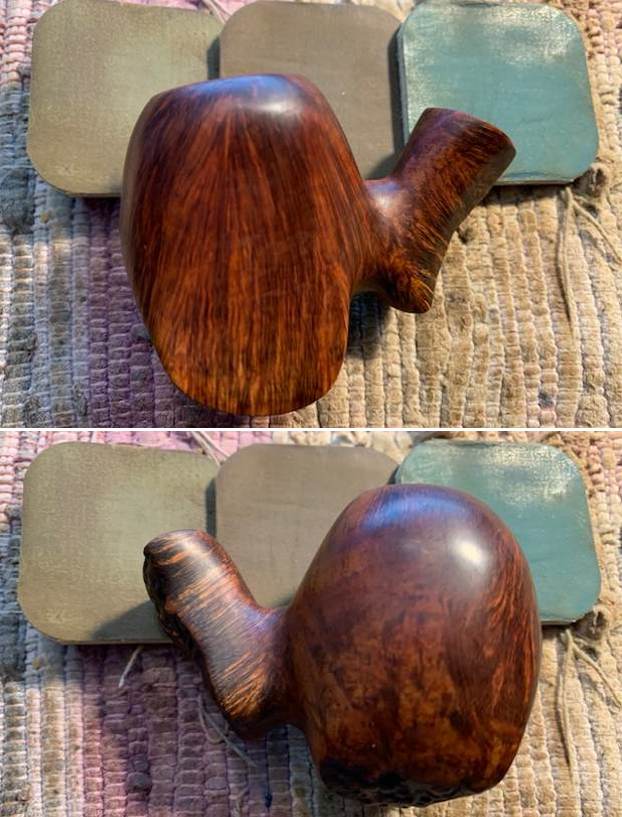
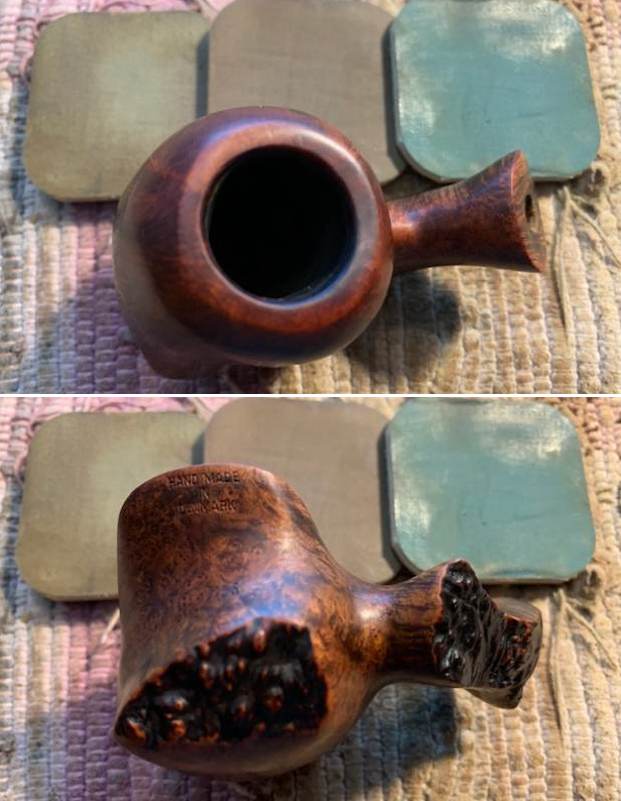
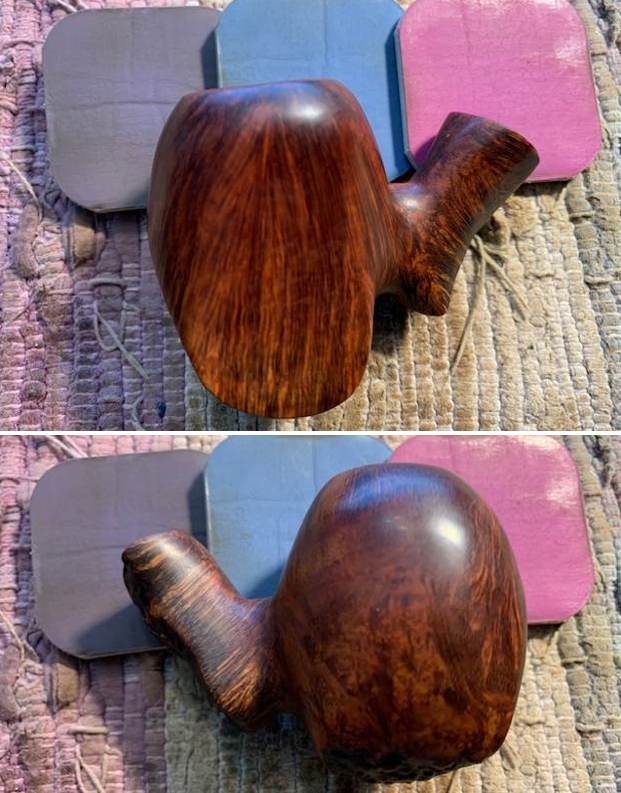
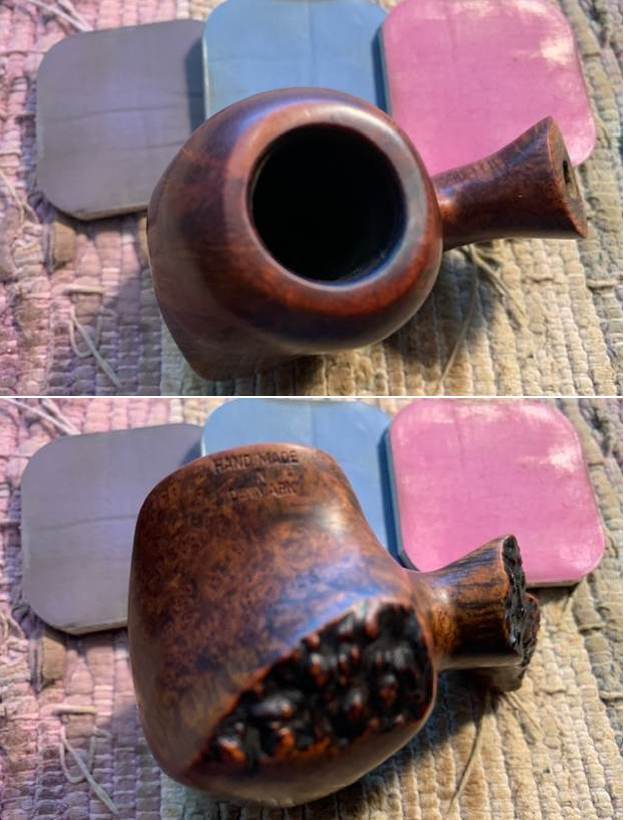
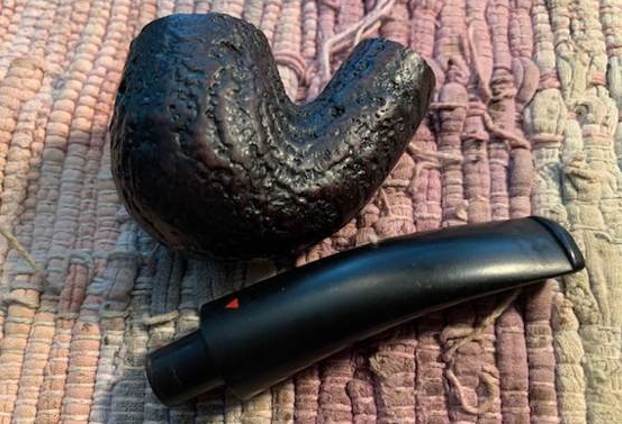
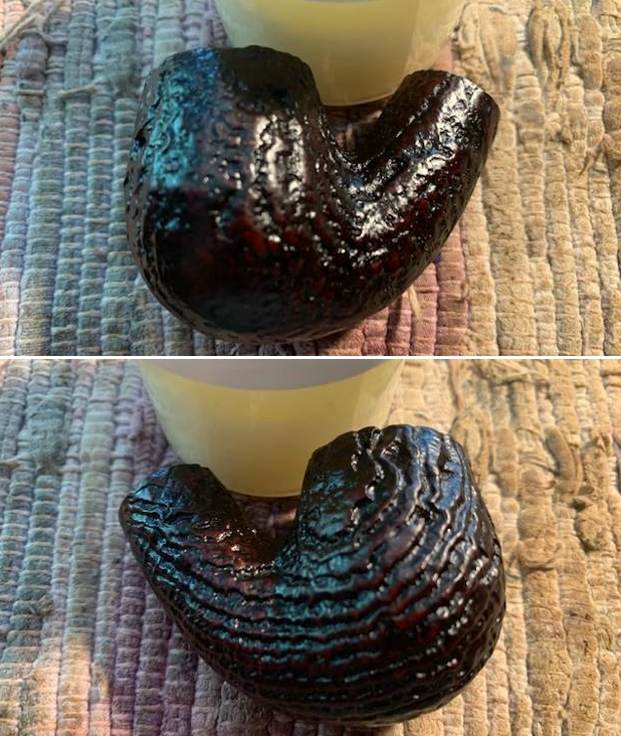
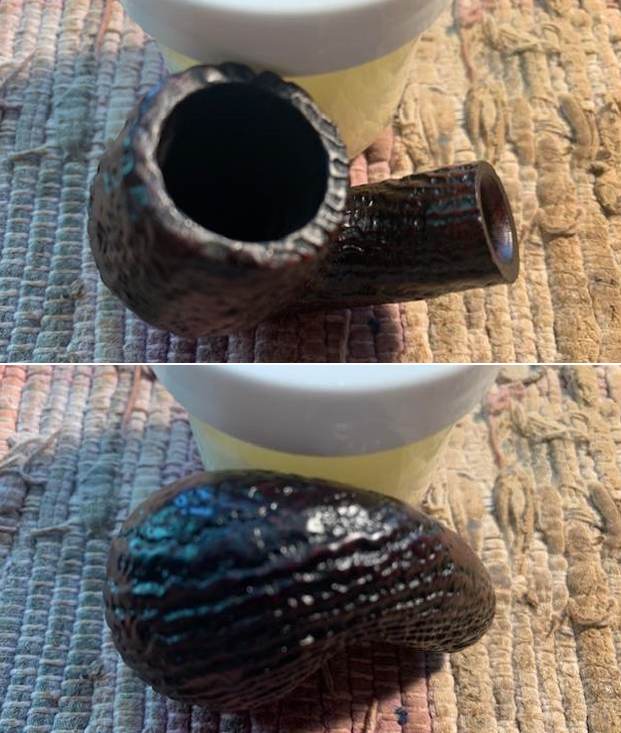
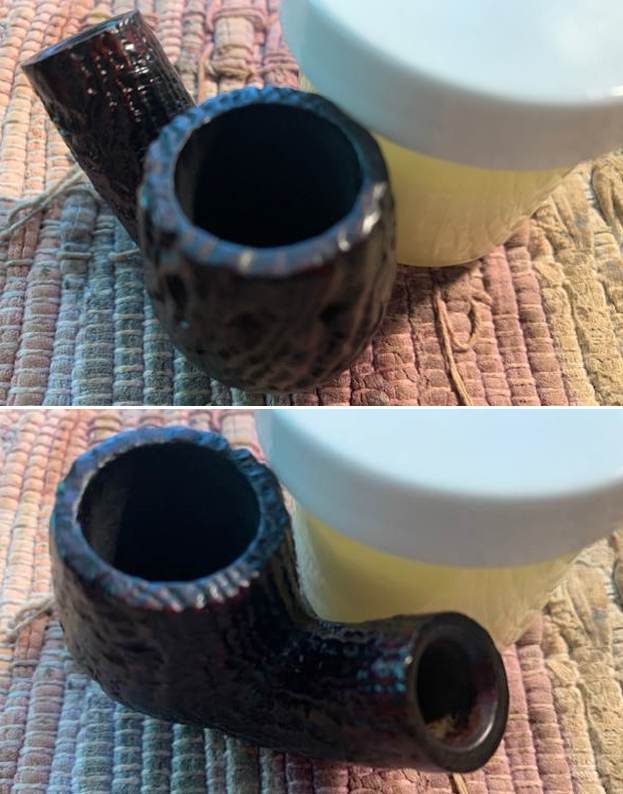
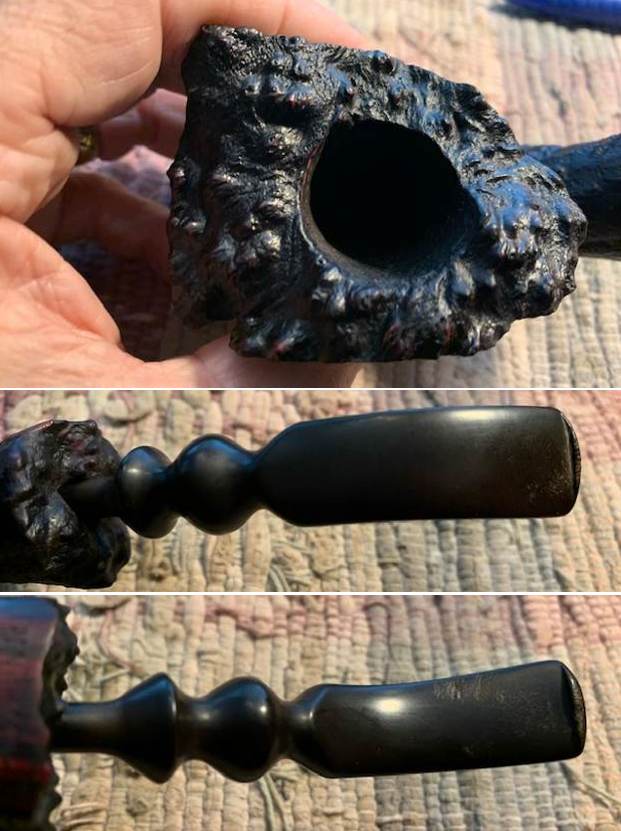
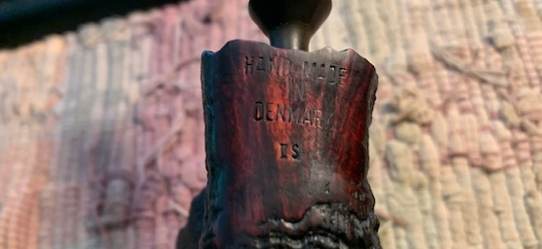
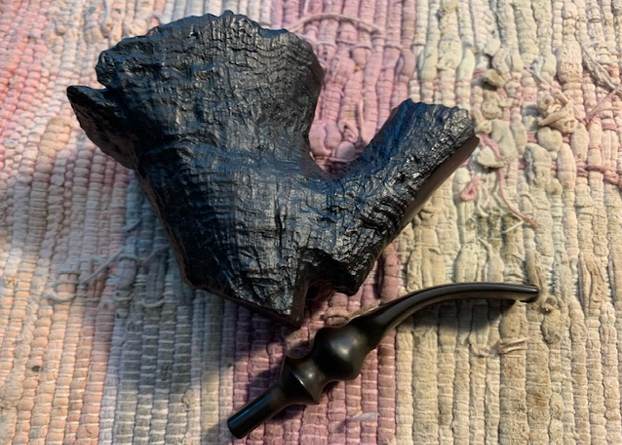
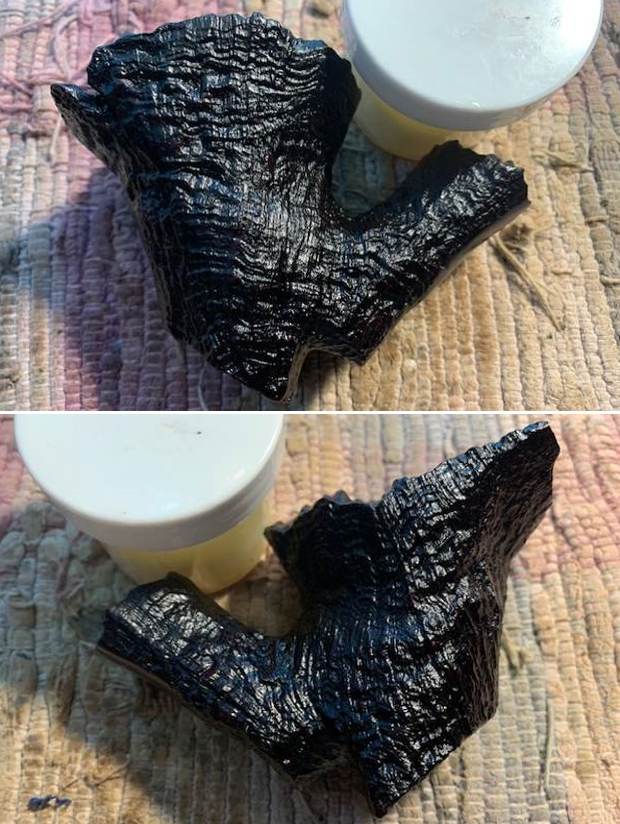
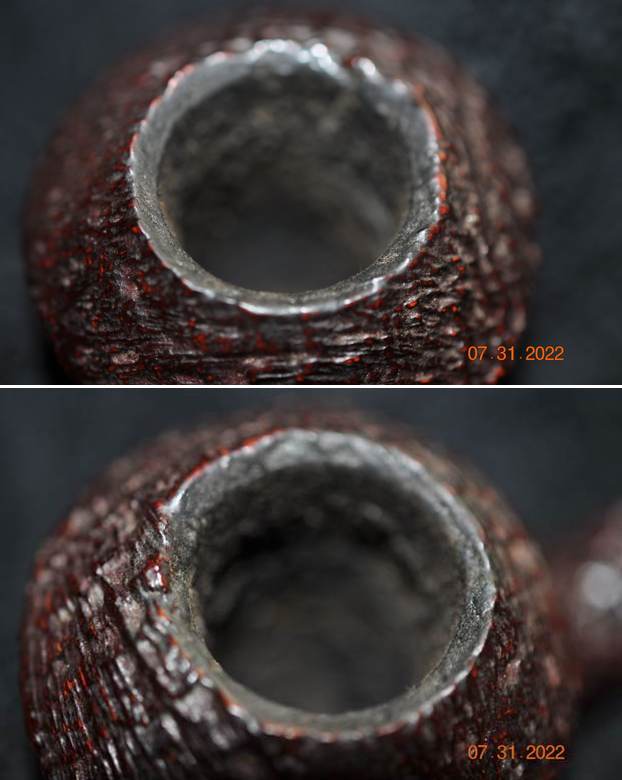
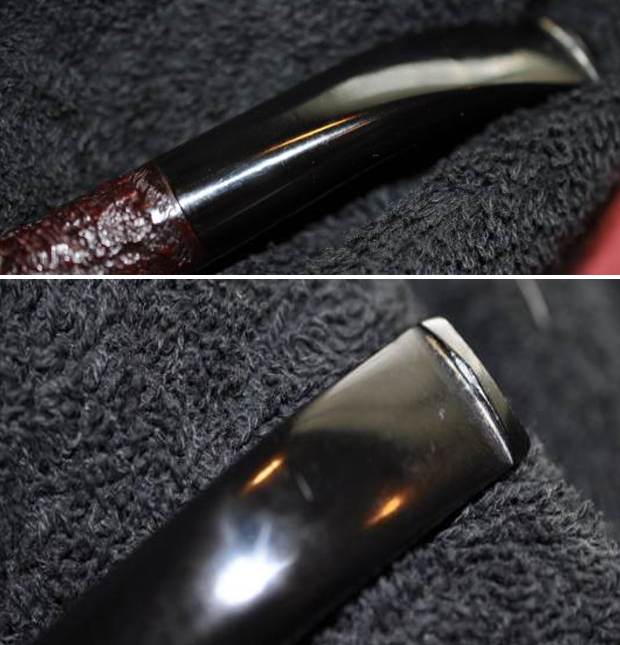
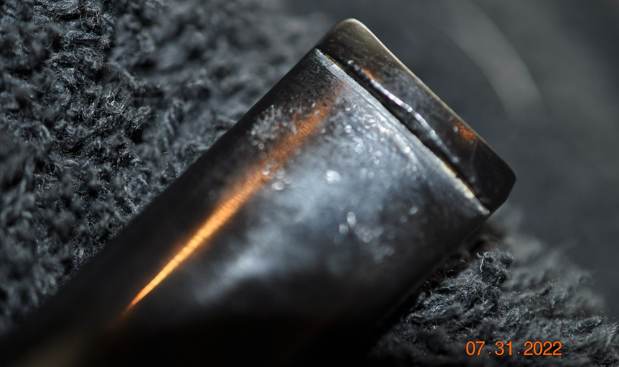
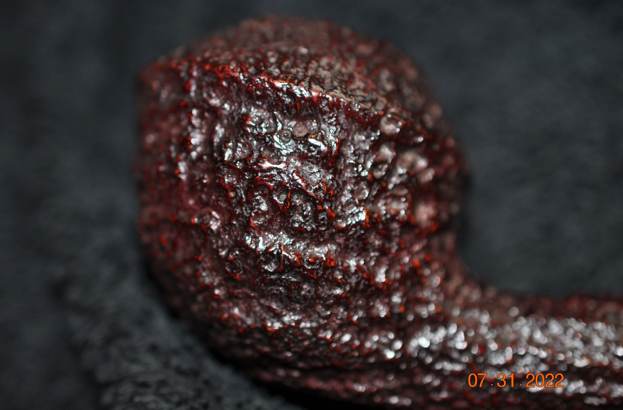
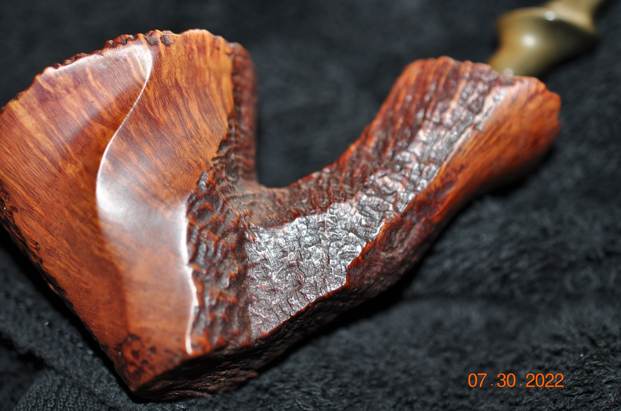
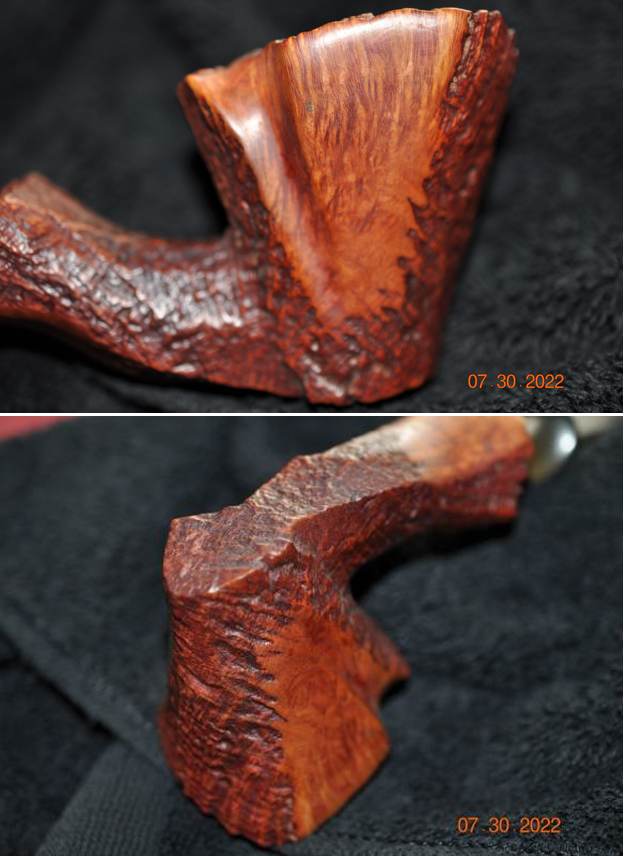
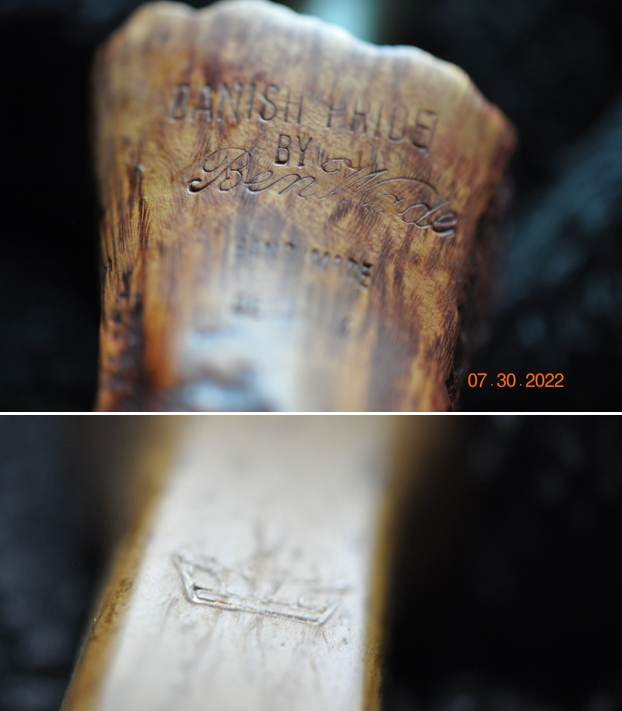
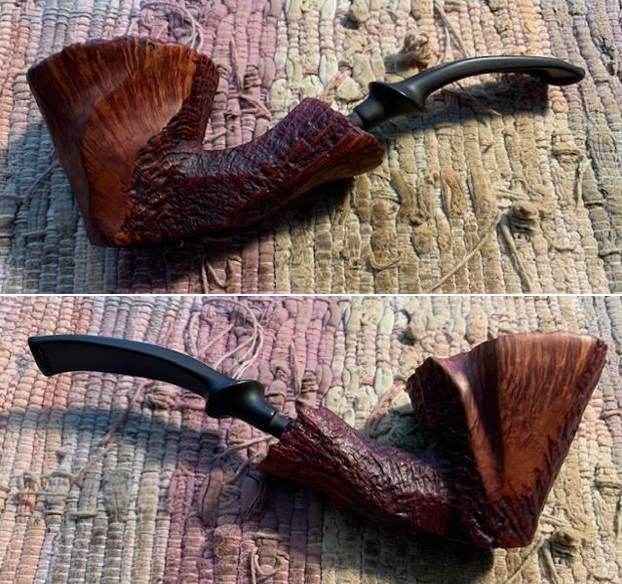
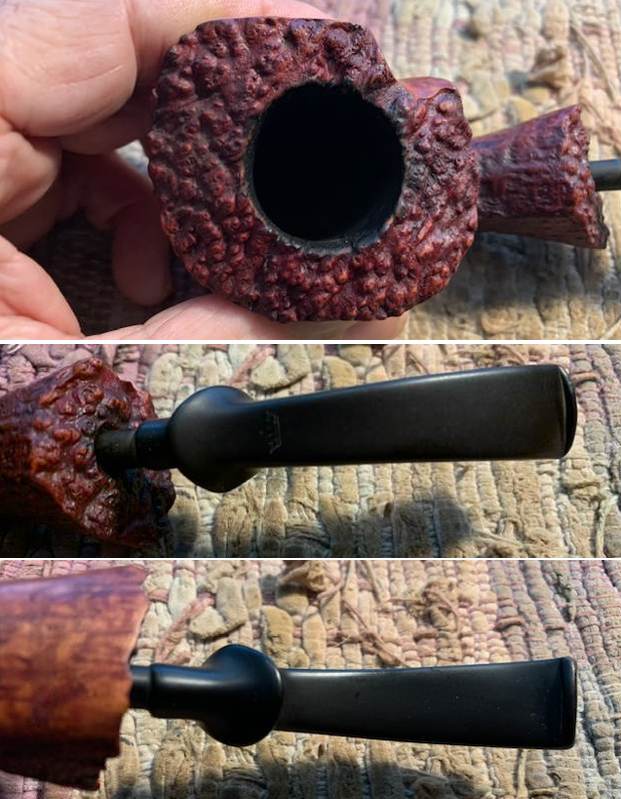
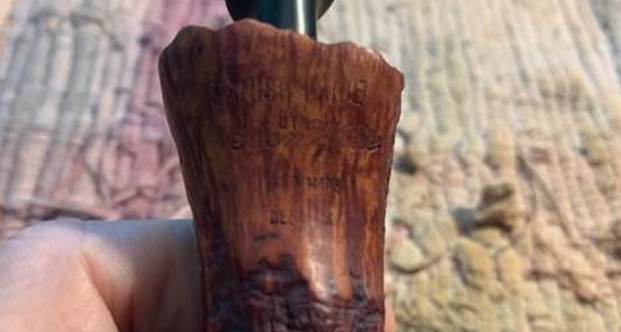
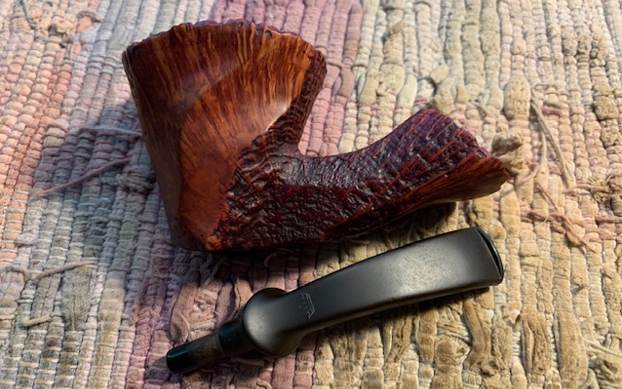
This particular mixed finished Freehand pipe was purchased on 05/25/22 from an antique mall in Kalama, Washington, USA. It really is another nice looking Freehand pipe that combines a plateau rim top and shank end with curved smooth panels on a sandblast bowl and shank. It is stamped on a smooth panel on the underside of the shank and reads Danish Pride [over] by Ben Wade [over] Hand Made [over] In [over] Denmark. The mixed finish is dirty but still a beautiful looking combination. The pipe had a thick cake in the bowl and a thick lava overflow on the rim top and inner edge of the bowl filling in grooves of the plateau. It is thicker on the back side of the bowl but present all the way around. There was grime ground into the smooth and sandblast finish and dust and debris in the plateau valleys on the shank end. The fancy vulcanite saddle stem had Crown logo on the top side. It was heavily oxidized and had tooth marks and chatter on both sides ahead of the button. The pipe must have been a great smoker judging from the condition it came it. Jeff took photos of the pipe before he started his work on it. Jeff took photos of the bowl, rim top and the stem to show the condition of the pipe when we received it. You can see the cake in the bowl and the lava on the plateau rim top and inner edge of the bowl. The turned vulcanite stem was dirty and had chatter and tooth marks on both sides near the button. He took photos of the sides of the bowl and the heel to give an idea of the shape and the condition of the briar around the bowl. It really is a nicely shaped pipe that has the classic look of a Freehand carved by Preben Holm. The next photo Jeff took shows the stamping on the underside of the shank. It is clear and readable as noted above. He also took a photo of the Crown logo on the top of the vulcanite saddle stem.In a previous blog I had researched the brand quite a bit. I have included it below for information on this pipe (https://rebornpipes.com/2020/10/03/restoring-a-danish-pride-by-ben-wade-mixed-finish-handmade-freehand-sitter/). I quote:
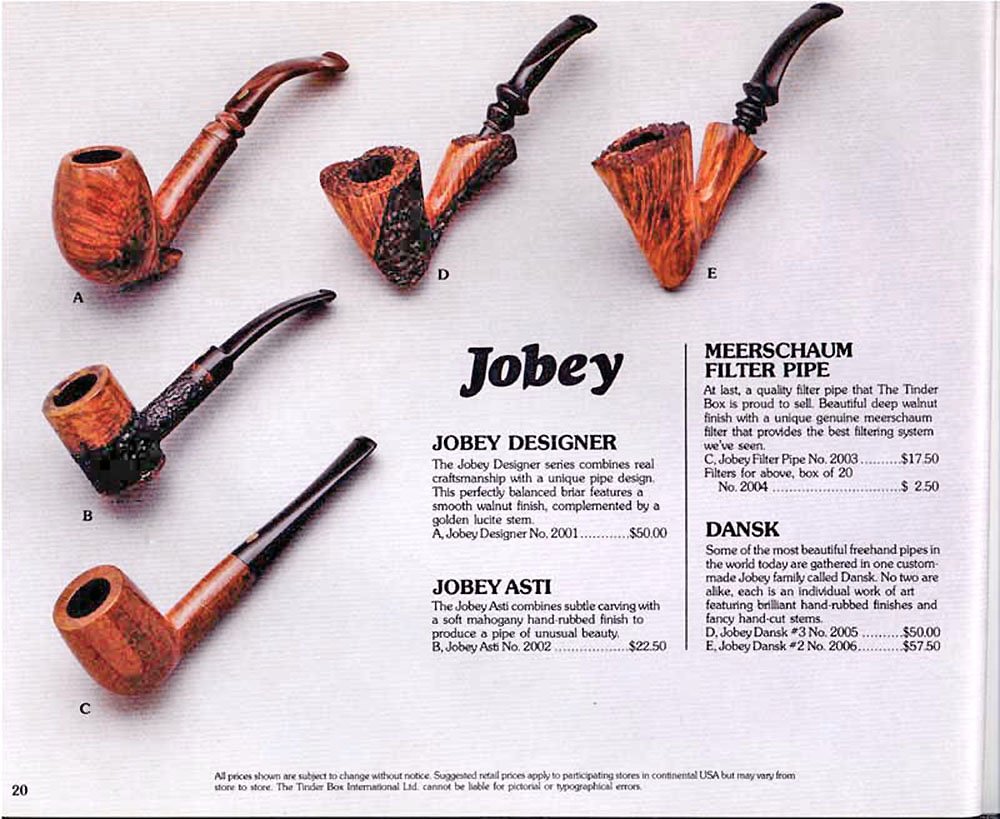
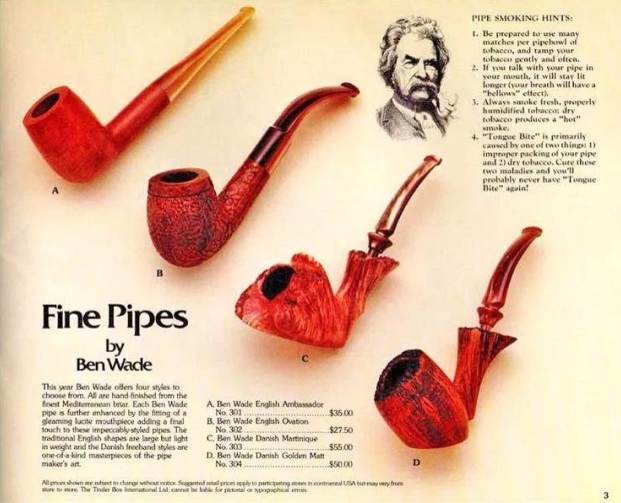
I remembered that the Preben Holm pipes were marketed under the Ben Wade label in the US and imported through Lane Ltd. I turned to Pipedia and read the listing on the brand to refresh my memory and flesh out the knowledge of the brand (https://pipedia.org/wiki/Ben_Wade). I have included a photo from that site that was taken from a Tinderbox advertisement.I quote the portion of the article that summarizes the Danish period of the history of the brand:
Young Copenhagen master pipemaker Preben Holm had made a meteoric career heading a pipe manufacture employing 45 people at the age of 22! But around the turn of 1970/71 he was in major financial difficulties. His US distributor, Snug Harbour Ltd. in New York City, left him in the lurch. Holm had three unpaid invoices on his desk and another large shipment was ready for the USA, when Snug Harbour’s manager told him on the phone that there was no money at all on the account to pay him.

So the Dane went to New York for an almost desperate search for a new distribution partner. He made contacts with Lane Ltd. and met Herman G. Lane in February 1971. Lane Ltd. had no interest in Holm’s serial pipes produced at that time but so much the more in the hand-carved freehands because the hype for Danish freehands and fancies in the States was still on its way to the climax then. The meeting resulted in an agreement to start a cooperation. Lane insisted to improve the quality considerably and in return he assured to be able to sell essentially larger quantities.

Holm went back home to work on new samples with all-new designs and altered finishes for Lane. Both, Lane and Holm, agreed that it would be unwise to sell the pipes under Preben Holm’s name as long as Snug Harbour had a considerable stock of Preben Holm pipes and might sell them pipes at very low prices just to bring in some money.

So on Mr. Lane’s proposal it was determined to use the name Ben Wade belonging to Lane Ltd. Lane spent considerable amounts of money for advertising the new brand in the big magazines– the centerpiece being whole-page ads showing a very exclusive Seven Day’s Set.

The cooperation with Lane Ltd. proved to be an eminent business success for both partners. Within a very short time Ben Wade Handmade Denmark sold in much larger quantities and at higher prices than they had ever dreamed of. And the hype these freehands and fancy pipes caused went on unbroken long after Herman G. Lane deceased. Preben Holm – obviously much more brilliant in pipe making than in pipe business – was in major troubles again in 1986 and had to sack most of his staff. The Ben Wade production was significantly lowered but continued until his untimely death in June of 1989.

Up to now Preben Holm made Ben Wade pipes are cult and highly sought for on the estate markets.

With that information my initial thoughts were confirmed. This pipe was a Preben Holm made Freehand distributed in the US by Lane Ltd under the name Ben Wade. The freehand rage occurred in the late 70s and the pipes were made until Preben’s death in 1989. My guess would be that this pipe was made sometime during that time period and potentially in the late 70s.

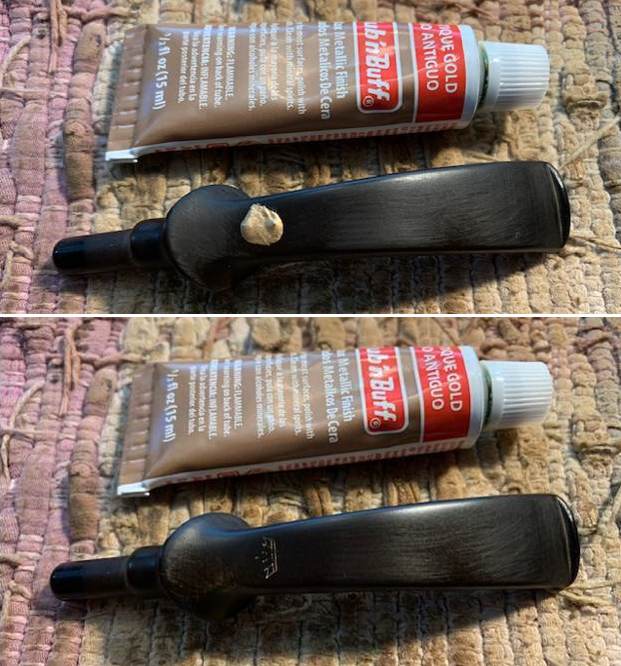
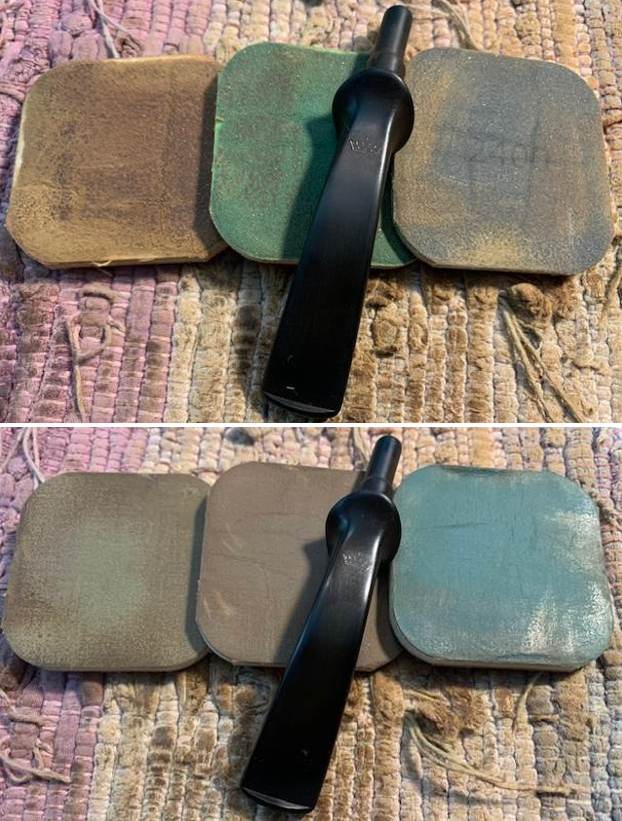
Jeff had cleaned up the pipe following his normal cleaning process. In short, he cleaned up the reaming with a Savinelli Fitsall Pipe Knife.  He scrubbed the bowl with undiluted Murphy’s Oil Soap with a tooth brush. He worked over the lava and debris on the plateau rim top and shank end and was able to remove it. He rinsed it under running warm water to remove the soap and grime. He cleaned out the inside of the shank and the airway in the stem with alcohol, cotton swabs and pipe cleaners. He scrubbed the stem with Soft Scrub and cotton pads to remove the debris and oils on the stem. He rinsed it with warm water and dried it off. I took photos of the pipe once I received it. It really looked good.   I took close up photos of the stem and the rim top to show both how clean they were and what needed to be addressed with both. The rim top and bowl look good. The stem looked better and the tooth marks and chatter were still present. I would need to remove those to bring the stem back. I took a photo of the stamping on the left side of the shank. You can see from the photo that it is readable. It is clearer on the top half of the stamp than the lower but it is still readable.I removed the stem from the bowl and took a photo of the parts to give a sense of the beauty of the pipe.The bowl was in such good condition after the clean up that I worked some Before & After Restoration Balm into the surface of the briar with my finger tips and a horse hair shoe brush to get into the crevices of the plateau and sandblast portions. The product is incredible and the way it brings the grain to the fore is unique. It works to clean, protect and invigorate the wood.   I set the bowl aside and turned my attention to the stem. I “painted” the stem surface with the flame of a lighter to lift the tooth marks. I was able to lift them all and the stem looked much better. I sanded what remained smooth with 220 grit sandpaper to blend them into the surface of the briar. I started the polishing of the stem with 400 grit wet dry sandpaper.  I touched up the Crown logo on the stem surface with Rub’n Buff Antique Gold. I worked it into the stamp and the buffed it off with a soft cloth. It looks better but not perfect as there are parts of the stamp that are faint.  I polished the stem with micromesh sanding pads – dry sanding it 1500-12000 pads. I wiped it down with a damp cloth after each pad to remove the dust and polishing debris. I polished it with Before  After Pipe Polish – both Fine and Extra Fine. I am really happy with the way that this Preben Holm Made Ben Wade Danish Pride Freehand turned out. It really is a beautiful looking pipe with a great shape and mix of smooth and sandblast finishes around the bowl and shank. The rugged plateau on the rim top and shank end are beautiful. The fancy original vulcanite saddle stem works well with the reddish brown of the stained briar. The pipe really came alive with the buffing. The rich brown stains of the finish gave the pipe a sense of depth with the polishing and waxing. I put the stem back on the bowl and carefully buffed the pipe with Blue Diamond on the buffing wheel using a light touch on the briar. I gave the bowl multiple coats of Conservator’s Wax and the stem multiple coats of carnauba wax on the buffing wheel. I buffed the pipe with a clean buffing pad to raise the shine. I hand buffed the pipe with a microfiber cloth to deepen the shine. The finished Ben Wade Danish Pride really is a beauty and feels great in the hand and looks very good. Give the finished pipe a look in the photos below. The dimensions of the pipe are Length: 6 ¾ inches, Height: 2 ¼ inches, Outside diameter of the bowl: 2 ¼ inches long x 2 inches wide, Chamber diameter: 1 inch. The weight of the pipe is 69 grams/2.43 ounces. The pipe will be going on the rebornpipes store in the Danish Pipe Makers Section if you would like to add it to your collection. Thanks for reading this blog and my reflections on the pipe while I worked on it. It was a fun one to work on!
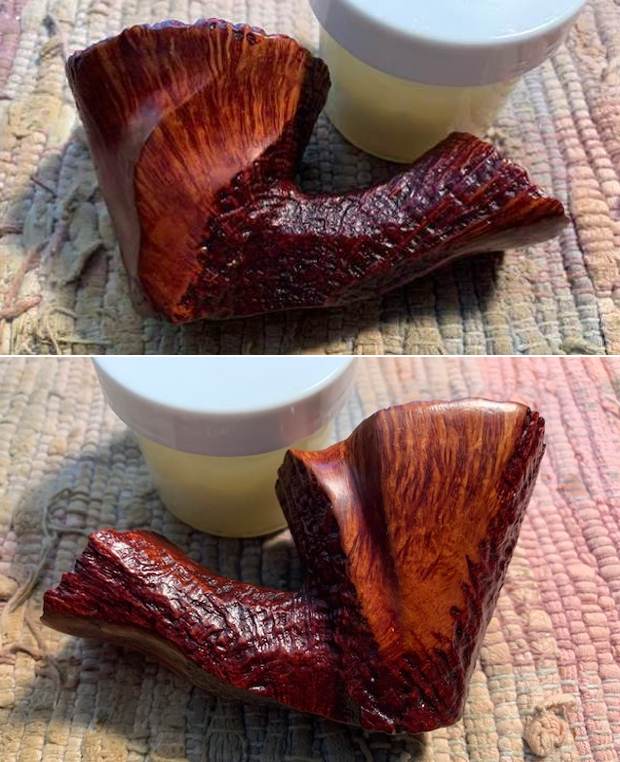
Cleaning up a Preben Holm made Monte Verde Twin Finish Freehand


Blog by Steve Laug

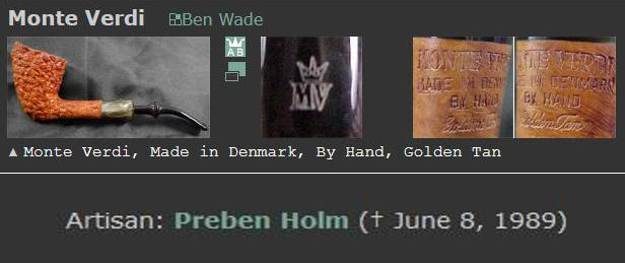
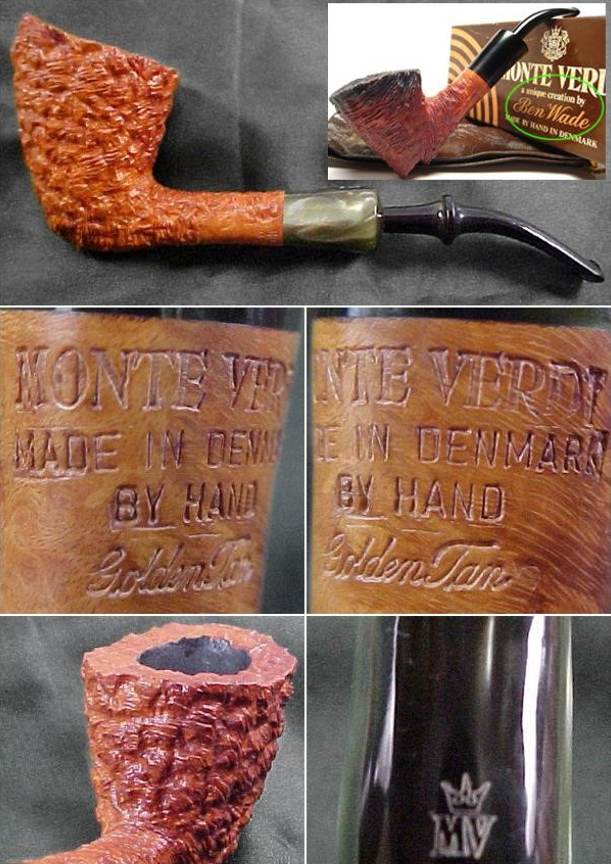
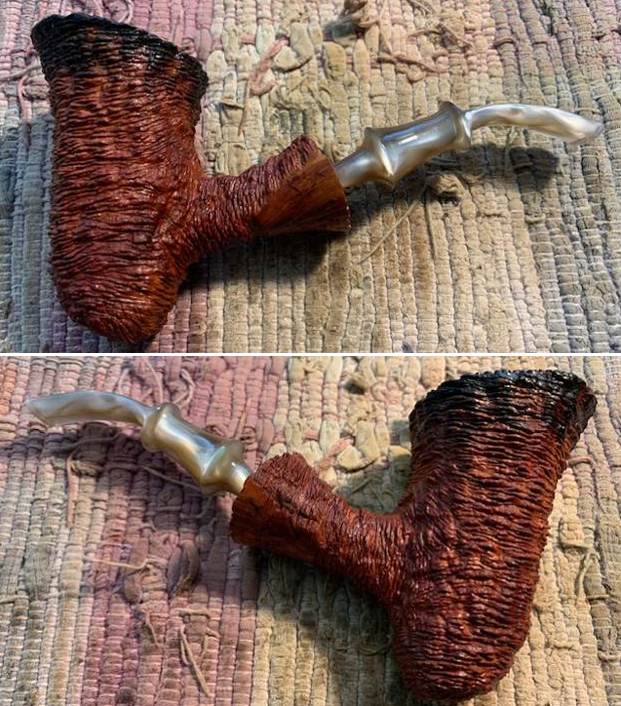
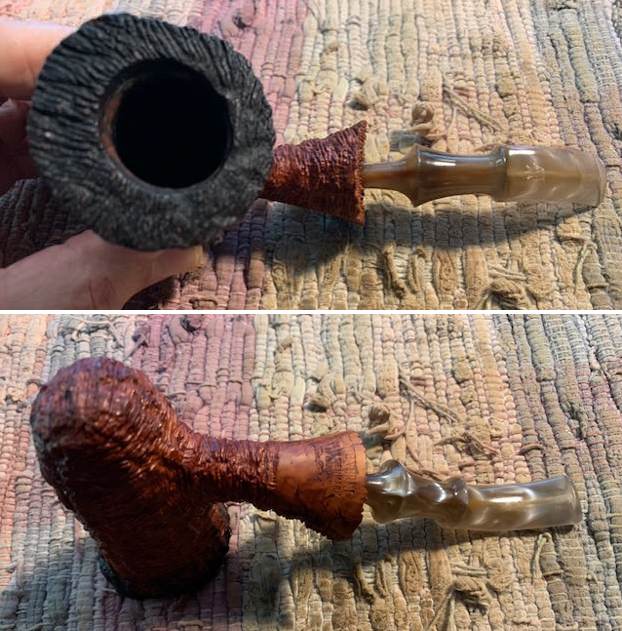
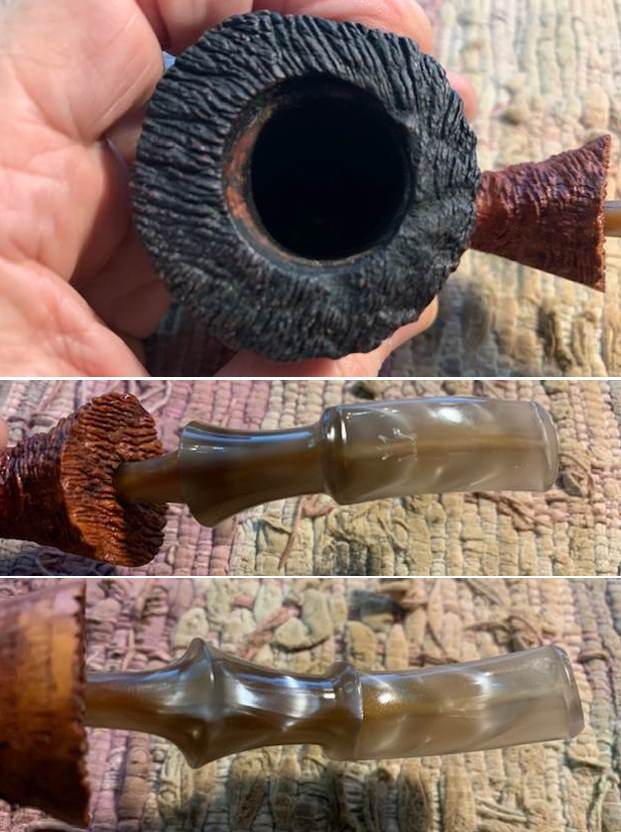
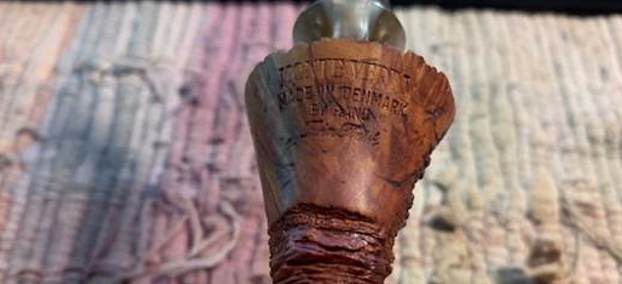
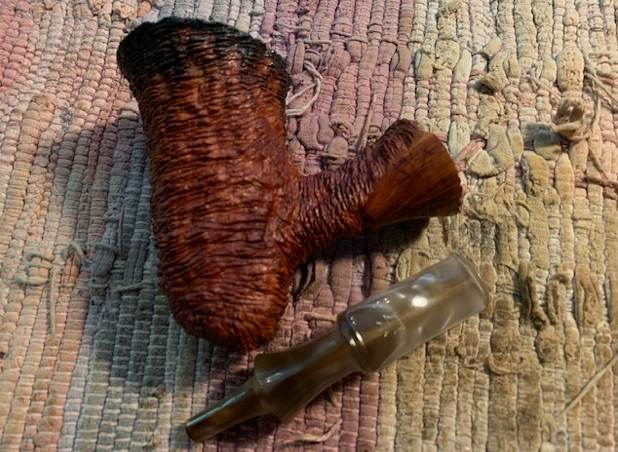
The next pipe on the table was purchased from an estate lot on 06/13/22 from Fort Myers, Florida, USA. It has that verve that I have come to associate with pipe made by Preben Holm and the fellow we purchase this lot from obviously love Preben Holm pipes because we acquired several from him in this lot from the IIS pipes to a Danish Pride still to come. They are unique and beautiful. The pipe is stamped on a smooth panel on the underside. It reads Monte Verde over Made in Denmark by Hand. Underneath that there is a script stamp that reads Twin Finish. I have refurbished several Monte Verde pipe so if you are interested in the brand here is a link to one I did back in 2019 that is very similar to this one (https://rebornpipes.com/2019/02/09/new-life-for-a-preben-holm-monte-verde-twin-finish-freehand/). It was quite dirty, like the rest of the pipes in this collection. There was a thick cake in the bowl and a heavy lava overflow on the rim top that filled in the rustication. The inner and outer edges of the bowl looked very good. The stem had some light tooth marks and chatter on both sides near the button but really was in quite remarkable condition. Jeff took photos of the pipe before he started his cleanup process. The next photos show a close up of the bowl and rim top as well as both sides of the stem. You can see the thick cake in the bowl and heavy overflow of lava on the rim top. The close up photos of the stem show the light tooth marks in the surface near the button on both sides. He took photos of the sides and heel of the bowl to show the look the double rustication on the sides and heel of the bowl. The curved shape of the pipe makes it a tall Dublinesque Stack but the rustication gives it a tactile look that can only mean an added dimension to the pipe when it is smoked.  The next photos show the stamping on the underside of the shank and the top of the saddle stem. It is quite clear and legible. The top of the stylized saddle stem has a Crown MV stamped into the surface. It appears to have originally been gold.   I turned to Pipephil’s site to get a read on the brand (http://pipephil.eu/logos/en/logo-m6.html). It confirms that the Monte Verdi line was made by Preben Holm. The pipe in the photo had a very similar rustication to the Monte Verdi I was working on. I did a screen capture of the section on Pipephil. I have included it below.   There were also photos that were included on Pipephil of what this particular pipe looked like when it left Denmark. The rustication around the bowl and shank is very similar. The pipe I have does not have a shank extension but otherwise the finish is much the same. The pipe in the photo had a fancy turned vulcanite stem. The stem on the one I have in front of me is the original stem on the pipe and it is a fancy double saddle pearlized acrylic or Lucite stem.I also Googled the brand and found a thread on Pipes Magazine about the brand that gave me some more information (http://pipesmagazine.com/forums/topic/monte-verde-pipes). I include that below.

The Monte Verdi line was indeed a pipe style offered by Holm. It usually features heavily blasted and rusticated briar and smaller group sizes than some of his other lines. Some refer to this line as a “second”, but it provided an outlet for briar that had flaws and therefore unsuitable his other lines. Holm marketed many different lines featuring a variety of finishes in both stains and carvings and this is merely one of those. The ones I own are good pipes and smoke well. The blast finish is very interesting to look at and the tactile sensations make it fun to hold.

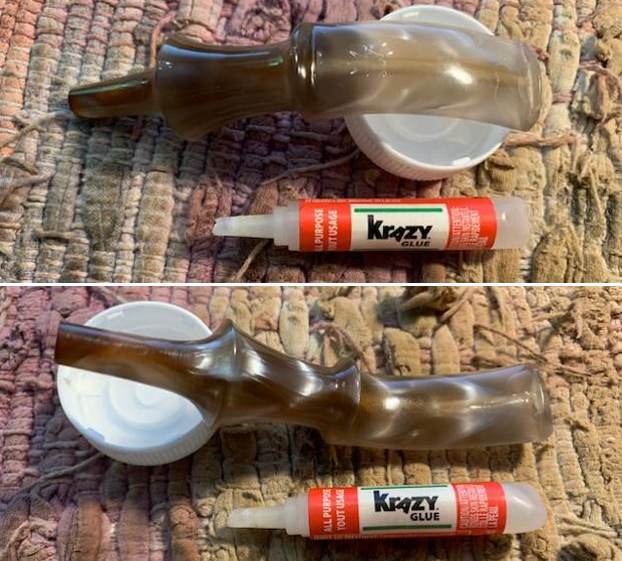
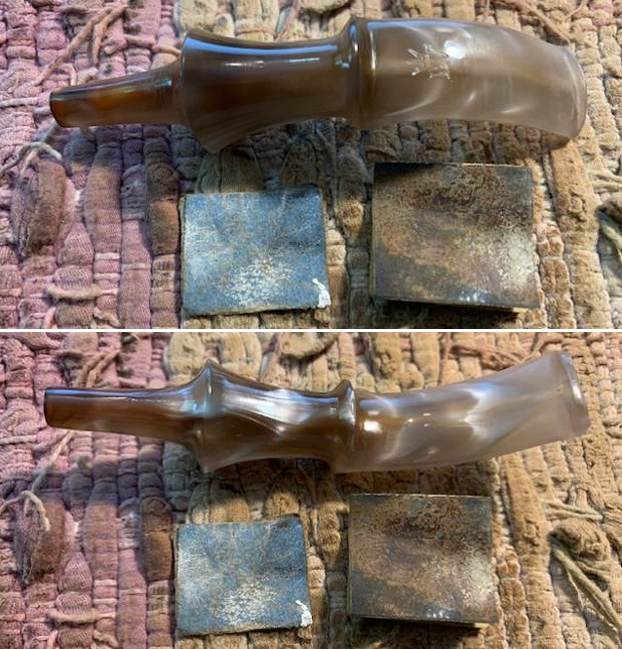
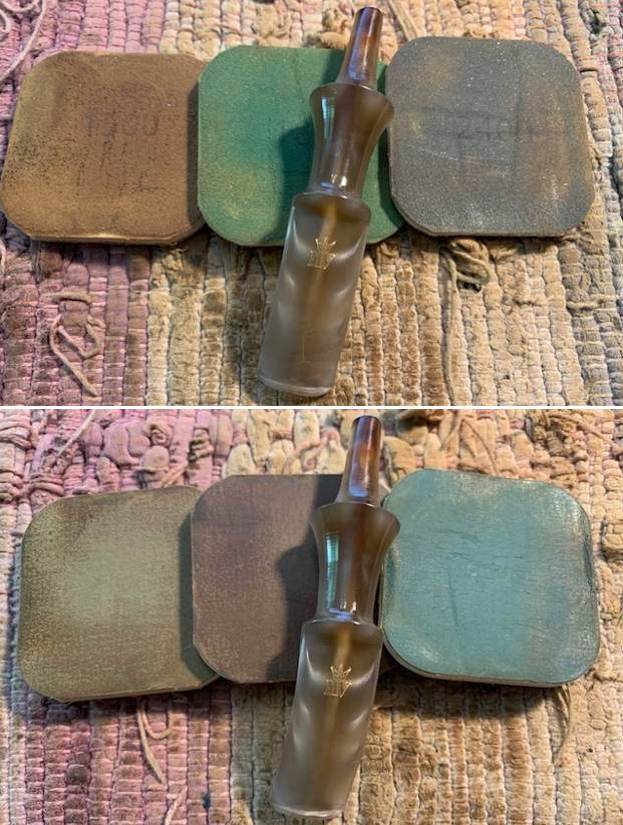
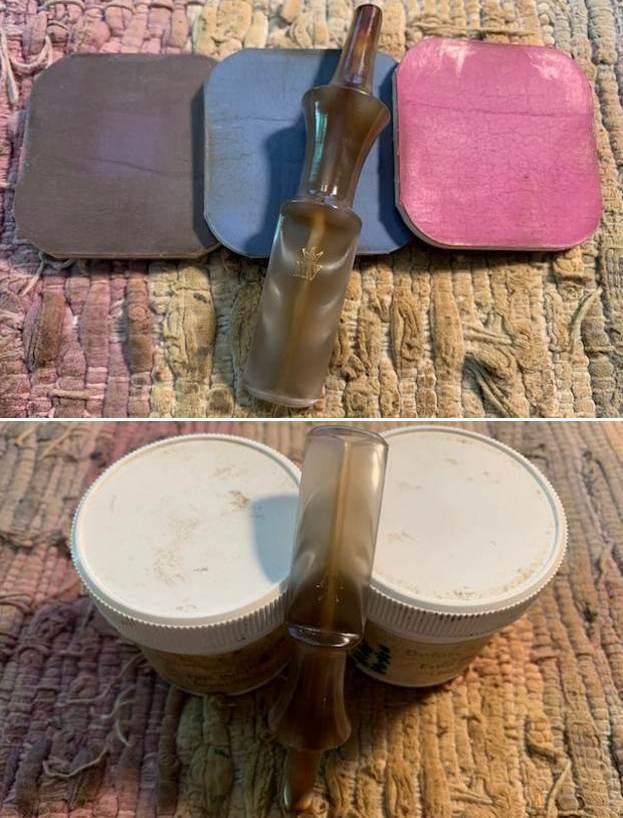
Jeff reamed the bowl with a PipNet pipe reamer and followed up with a Savinelli Fitsall pipe knife to remove the cake. He scrubbed out the mortise and the airway in the shank and the stem with alcohol, cotton swabs and pipe cleaners. He scrubbed the exterior of the bowl, rim, shank and stem with a tooth brush and Murphy’s Oil Soap to remove the oils and tars on the rim and the grime on the finish of the bowl. He rinsed it under running water. He dried it off with a soft cloth. He was able to remove most of the lava build up on the rim top and you could see a little remaining in the depths of the rustication. He cleaned out the inside of the stem with pipe cleaners, cotton swabs and alcohol. He scrubbed the surface o the stem with Soft Scrub Cleanser. The stem looked very good. I took photos of the pipe to show its condition before I started my work on it. I took close up photos of the bowl and rim top as well as the stem. You can see the condition of the rim top and bowl in the first photo. Jeff was able to remove almost all of the tar and oils but there was some deep lava in the rustication at the back of the rim. The Lucite stem had light tooth chatter and tooth marks on the top and underside of the stem near and on the button surface. The swirled browns, tans, blacks and greys of the Lucite looked good with the variegated browns of the briar.   I also took a photo of the stamping on the underside of the shank. The stamping is very clear and readable. You can also see the scratches in the smooth finish of the area in the photo below.I removed the stem from the shank and took a photo of the parts. It is a nice looking pipe with the flumed top, the rugged double rustication and the double saddle smoky acrylic stem.I started by working on the rim top. I used a brass bristle wire brush to clean off the remaining lava debris on the rim top. I was able to remove all of the remaining debris and the rim top looked really good. The deep rustication and the second wire rustication gave the pipe a very unique look.With the rim top cleaned I worked some Before & After Restoration Balm into the rusticated surface of the briar with my fingertips to clean, enliven and protect it. It took some time to really get it into the grooves and valleys of the rustication but I was able to work it in. I used a shoe brush to make sure it was deep in the grooves. I let the balm sit for 10 minutes and then buffed it with a cotton cloth to raise the shine. The following photos show the bowl at this point in the restoration process. The bowl and the rim top look really good and the darkening and lava are gone. I am very happy with the results.  I set aside the bowl at this point and turned my attention to the stem. I repaired the tooth marks with clear super glue. Once the glue cured I sanded the repairs with 220 grit sandpaper to blend them into the rest of the stem surface. I polished the sanding marks with 400 grit wet dry sandpaper. The photos tell the story. I touched up the stamping on the saddle portion of the stem with some Rub’n Buff Antique Gold. I let it dry in the stamping for a bit then buffed it off with a cotton pad. It looked much better. The MV was legible and the crown looked good. The side of the M was a little faint as the stamping was worn. I polished the Lucite stem with micromesh sanding pads – wet sanding with 1500-2400 grit sanding pads and dry sanding it with 3200-12000 grit sanding pads. I wiped it down after each sanding pad with a damp cloth. I polished it with Before & After Pipe Stem Polish and wiped it down a last time with the damp cloth.  This beautiful, double rusticated Preben Holm carved Monte Verde Twin Finish Large Freehand is a special looking pipe and it feels amazing in the hand. I polished stem with Blue Diamond polish on the buffing wheel. I gave the bowl multiple coats of Conservator’s Wax and the stem multiple coats of carnauba wax. I buffed the pipe with a clean buffing pad to raise the shine. I hand buffed it with a microfiber cloth to deepen the shine. The pipe polished up pretty nicely. The multi-coloured grain shining through the rustication came alive with the buffing. The rich contrasting brown colour works well with the polished swirling brown, tan, black and white Lucite stem. The finished pipe is a beauty and feels great in the hand. Have a look at it with the photos below. The dimensions are Length: 6 ½ inches, Height: 3 inches, Outside diameter of the bowl: 2 inches, Chamber diameter: 1 inch. The weight of the pipe is 2.75 ounces/ 78 grams. I will be putting this Monte Verde by Preben Holm on the Danish Pipe Making Section on the rebornpipes online store soon. It is such an interesting tactile pipe and if you have been looking for a freehand then this might be the one for you. Thanks for walking through the restoration with me on this interestingly shaped Preben Holm Hand made pipe.

Restoring another IIS – A Smooth Full Bent Hand Made Freehand


Blog by Steve Laug

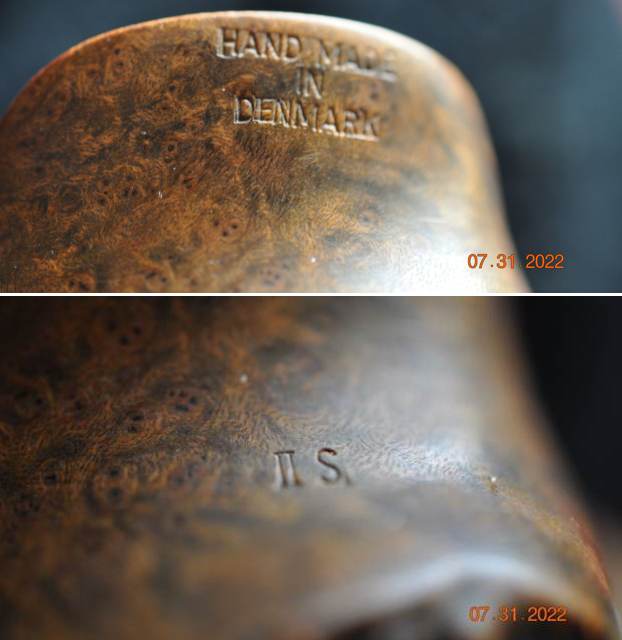
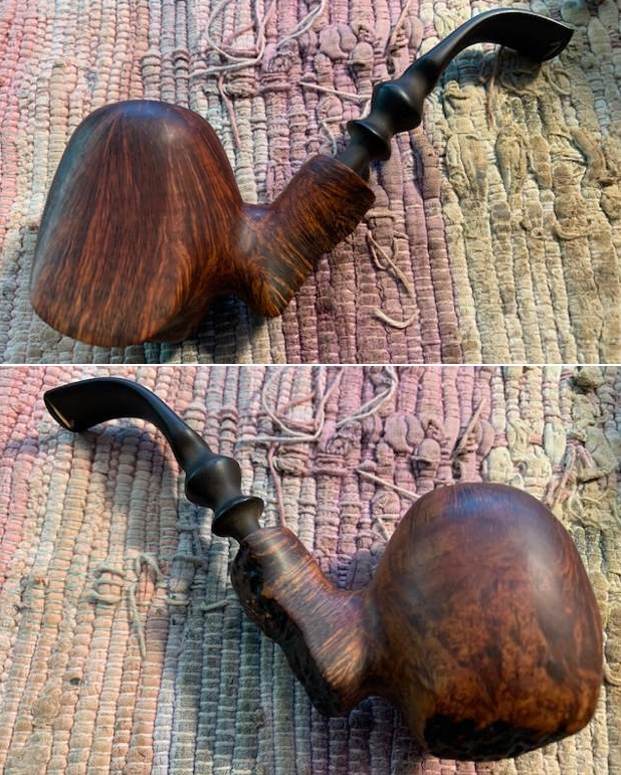
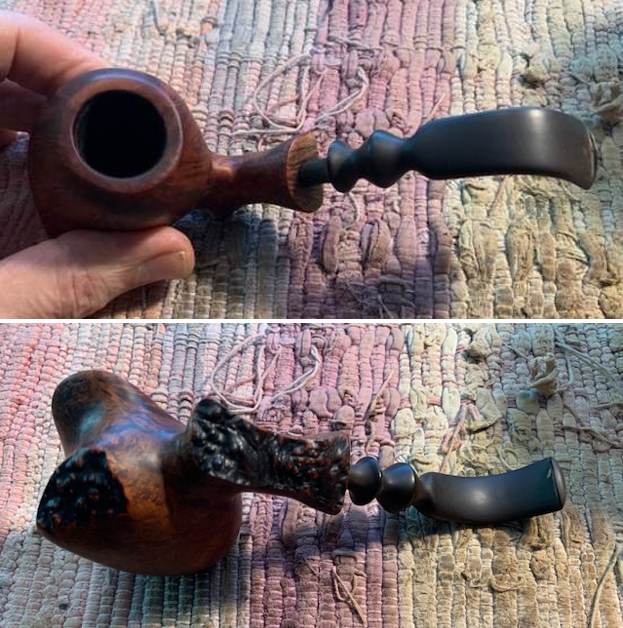
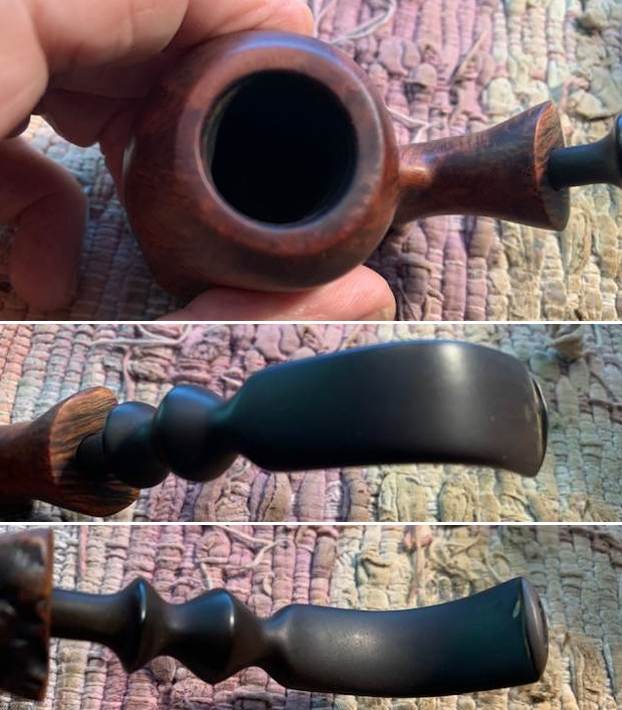
This smooth Freehand is another pipe says very clearly that it is a Preben Holm pipe. The unique shape that really chases the grain to give a sense of vertical and horizontal grain of the briar with plateau on the right side of the heel and  the underside of the shank all say it is another Holm to me. This pipe was purchased from an estate lot on 06/13/22 from Fort Myers, Florida, USA. It is stamped Hand Made [over] In [over] Denmark on left side of the heel of the bowl on the fin and across from it on the bottom of the heel – below the plateau portion it is stamped IIS. The shape of the bowl with the angles of the carving are unique and the way the grain flows give a sense of fluidity to the pipe. The finish is stained with rich mixture of brown stains that give a sense of depth to it. It was another filthy pipe with grime ground into the smooth finish and dust and debris in the plateau portions. The rim top has a heavy lava overflow on the top and edges coming from a thick cake in the bowl. The fancy turned vulcanite stem was heavily oxidized and calcified with tooth marks and chatter on both sides ahead of the button. Jeff took photos of the pipe before he started working on it. It is another beauty.He took close up photos of the uniquely shaped bowl and rim top from different angles to show the condition of the bowl and the rim top. You can see the thick cake in the bowl and the thick overflow of lava on the rim top and on the inner edge of the bowl. He took photos surface of the vulcanite stem to show the oxidation, calcification and tooth chatter and marks on both sides ahead of the button. He took photos of the sides and heel of the bowl to show how the plateau is situated on the heel of the bowl and the underside of the shank. The straight, flame and mixed grain on the right side of the bowl stands out through the grime on the shank and the sides of the bowl. The geometric angles of the bowl shape make the pipe function as a sitter.  Jeff took photos of the stamping on the heel of the bowl to capture it. It was clear and readable as noted above. I quote from a previous restoration I did recently on a IIS sandblast Freehand wrote a blog on (https://rebornpipes.com/2022/08/14/restoring-a-beautiful-iis-sandblast-fancy-carved-freehand/). I quote from that blog below.

I turned to Pipedia to see what I could find out about the IIS brand (https://pipedia.org/wiki/IIS). The article there was shrouded in mystery and gave several options on the maker. I quote:

Pipes marked with IIS and sometimes IS are reported to be made by Karl Erik, and can be found on many private label pipes, such as the one below, marked “John Crouch” for the Scottish Merchant & Tobacconist out of Alexandria Virginia. Others have reported pipes marked IIS, or perhaps the IS in particular, were seconds made by Preben Holm.

I googled for further information and found a pair of IIS pipes on etsy that were sold with notes by the maker (https://www.etsy.com/listing/504709353/ii-s-hand-made-in-denmark-tobacco-pipes). I found it interesting and quote part of it as follows:

There are some mixed ideas about the II S trademark. Spoke to a few about it and than searched the web. Could have been made by Karl Erik while employed by Preben Holm, or sold in US only pipes or could have been made by Preben Holm. In any case they are a very unique pair. Nice works of art. Here is some info that was shared with me and I will include to help solve any mysteries.

KE’s old grading used numbers ascending from 4 to 1. The entirely hand made one of a kind pieces were stamped “Ekstravagant”. Quite simple.

But then there are the II S stamped pipes! (And furthermore seen so far II SM, I S, I M and I B.) Three fairy tales, often told:

  • II S stands for the initials of a pipe maker who worked for Preben Holm before he changed to KE. (Karl Erik)
  • II S pipes are a second brand of KE. Nonsense comparing the quality of II S and normal KE pipes!
  • II S was used when there was no space for stampings otherwise.

I believe that the pipe was made by Preben Holm during the height of his work on pipes. I wonder if it is possible that they were made in the period before he changed from stamping them with his name and to Ben Wade due to issues with his importer in the US. I am not sure but I think that works well in terms of the data.

When I received it from Jeff this past week it incredibly better that the above photos show. It was clean and the finish had life. He reamed it with a PipNet pipe reamer and got rid of the cake. He cleaned up the reaming with a Savinelli Fitsall Pipe Knife so that we could see the walls of the bowl and assess for damage. It was in good condition. He cleaned the internals of the shank and stem with cotton swabs, pipe cleaners and alcohol. He scrubbed the exterior with undiluted Murphy’s Oil Soap and a tooth brush. He rinsed the pipe under warm water. He dried it off with a cloth and then let it air dry. He scrubbed the stem with Soft Scrub and soaked it in Briarville’s Stem Deoxidizer. He rinsed it with warm water and dried it off with a soft cloth. It came out looking very good. The finish on the bowl and the rim top cleaned up nicely. I took pictures of the pipe to show how it looked when I unpacked it. I took some photos of the rim top and stem to show the condition of them both when the pipe arrived. Overall it looked good. The oxidation on the stem had come off very well and the tooth marks and scratches in the finish were visible next to the button edge. I took a photo of the stamping on the underside of the shank. It was clear and readable as noted above.  I removed the stem from the shank and took a photo of the appearance of the parts. You can see how the grain flows around the bowl.I polished the bowl with micromesh sanding pads – dry sanding with 1500-12000 grit pads and wiping it down after each pad with a damp cloth. I worked some Before & After Restoration Balm into the surface of the briar. To get it into the nooks and crannies of the plateau I used a shoe brush and worked it deeply into the grooves. The balm works to clean, enliven and preserve the briar. I let it sit for 10 minutes then buffed it off with a soft cloth. It is a beautiful pipe. The bowl looks amazing. It is a beautiful pipe. I set the bowl aside and turned my attention to the stem. I sanded the surface of the stem and then “painted” the surface of the stem with the flame of a Bic lighter to lift the tooth marks and scratches. I was able to lift many of them. I used clear super glue to fill in those that remained. I sanded the surface of the stem with 220 grit sandpaper to smooth out the repairs and started the polishing with 400 grit wet dry sandpaper. I polished the stem with micromesh sanding pads – dry sanding with 1500-12000 grit pads. I wiped the stem down after each pad with some Obsidian Oil. I finished hand polishing it with Before & After Pipe Stem Polish – Fine and Extra Fine. I rubbed it down with another coat of Obsidian Oil and let it dry. The stem really was beginning to look very good.   This is another beautiful Hand Made in Denmark IIS by Preben Holm, a full bent with a fancy, turned, black vulcanite stem. It has a great look and feel. The feet on the heel of the bowl make it a sitter that is well balanced. The shape fits well in the hand with the curve of the bowl and shank junction a perfect fit for the thumb around the bowl when held. I polished stem with Blue Diamond polish on the buffing wheel. I gave the smooth bowl and plateau portions on the heel and the underside of the shank end and the stem multiple coats of carnauba wax. I buffed the pipe with a clean buffing pad to raise the shine. I hand buffed it with a microfiber cloth to deepen the shine. The pipe polished up pretty nicely. The rich combination of stains makes the grain just sing and it works well with the polished vulcanite stem. Have a look at the photos below. The shape, finish and flow of the pipe and stem are very well done. The dimensions are Length: 6 inches, Height: 2 ¼ inches, Outside diameter of the bowl: 1 ½ inches, Chamber diameter: ¾ of an inch. The weight of the pipe is 73 grams/ 2.57 ounces. Thanks for walking through the restoration with me as I worked over this pipe. It will be going on the rebornpipes store in the Danish Pipe Making Section shortly if you would like to add it to your collection.

Restoring an old WDC Sandblast Thorobred Kerly Briar Broken In


Blog by Steve Laug

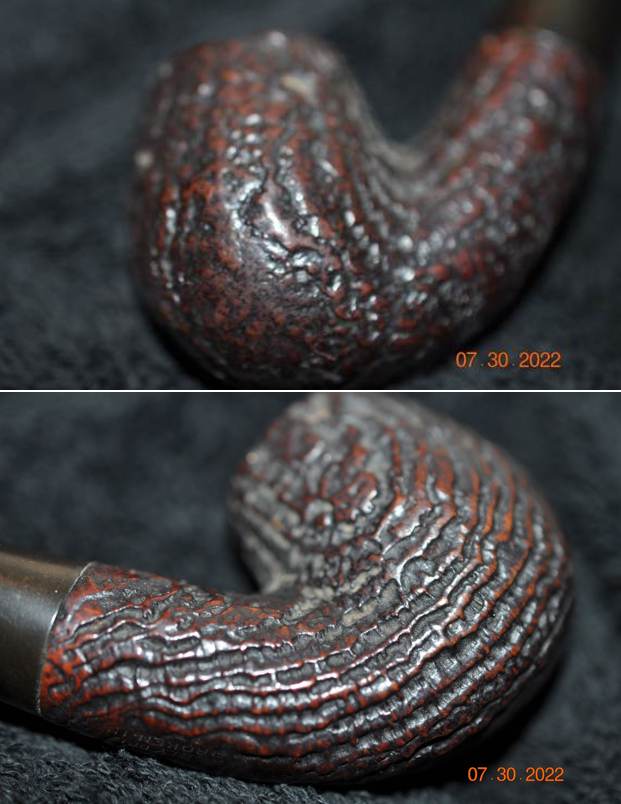
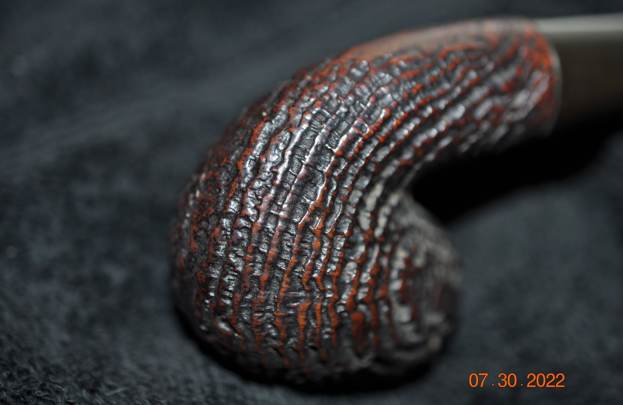
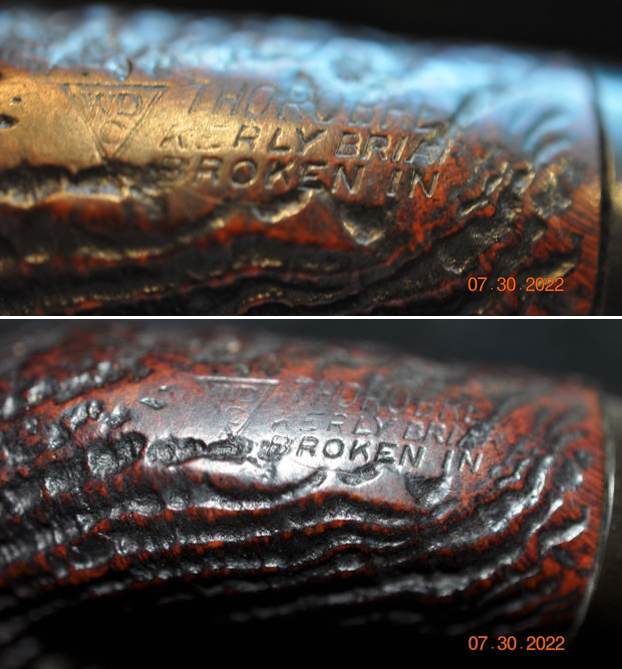
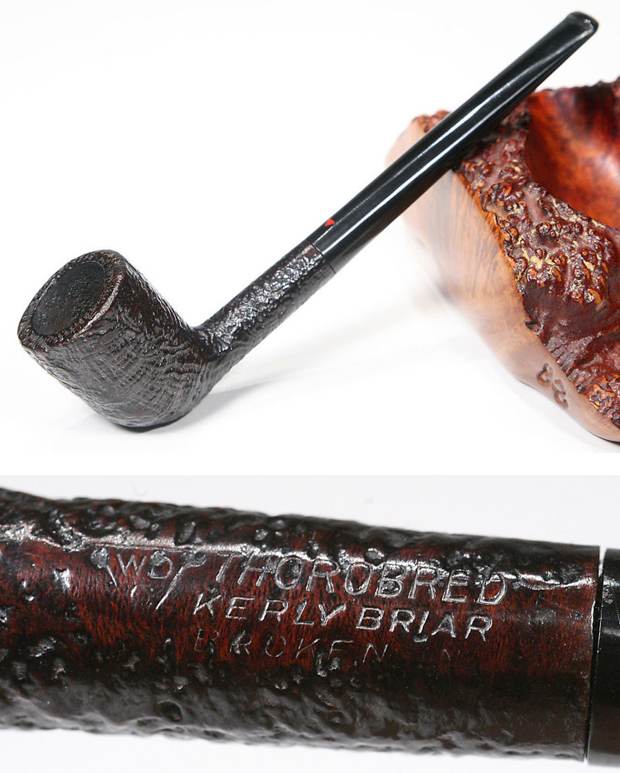
This deep and rugged sandblast Billiard is a beautiful pipe. The grain around the bowl has been sandblasted and left with deep grooves and mountains. Jeff picked the pipe up on 07/01/22 from an online auction in Manorville, New York, USA. It is stamped on the underside of the shank and reads WDC in a triangle followed by Thorobred [over] Kerly Briar [over] Broken In. The sandblast grain follows the flow of the carved briar. The finish is stained with dark colours – black and dark brown that give depth to its finish. It was filthy with dust and debris ground into the grooves around the sides of the bowl. The rim top has a heavy lava overflow on the top and edges coming from a thick cake in the bowl. The tapered hard rubber stem has a red triangle WDC logo inset on the topside. It was lightly oxidized and calcified with tooth marks and chatter on both sides ahead of the button. Jeff took photos of the pipe before he started working on it. It really is a beauty. He took photos of the rim top and the stem to show the condition. You can see the thick cake in the bowl and overflow of lava on the rim top. The photos of the stem show the tooth marks and damage in the hard rubber on the top and underside ahead of the button. Jeff took photos of the sandblast finish around the bowl sides to show the deep and flowing rustication around the bowl. You can also see the dust and debris in the grooves of he blast. Jeff took photos of the stamping on the underside of the shank to capture it. It was clear and readable as noted above. I turned to Pipedia (https://pipedia.org/wiki/William_Demuth_Company) and read a quick history of the brand. I have included it below.

William Demuth. (Wilhelm C. Demuth, 1835-1911), a native of Germany, entered the United States at the age of 16 as a penniless immigrant. After a series of odd jobs he found work as a clerk in the import business of a tobacco tradesman in New York City. In 1862 William established his own company. The William Demuth Company specialized in pipes, smoker’s requisites, cigar-store figures, canes and other carved objects.

The Demuth Company is probably well known for the famous trademark, WDC in an inverted equilateral triangle. William commissioned the figurative meerschaum Presidential series, 29 precision-carved likenesses of John Adams, the second president of the United States (1797-1801) to Herbert Hoover, the 30th president (1929-1933), and “Columbus Landing in America,” a 32-inch-long centennial meerschaum masterpiece that took two years to complete and was exhibited at the World’s Columbian Exposition in Chicago in 1893…

…In 1897 Ferdinand Feuerbach joined the Demuth company and by 1903 had become the production manager. Feuerbach is credited with developing Demuth’s popular Royal Demuth and Hesson Guard Milano pipelines. He left in 1919, when Sam Frank Sr. needed an experienced pipe man to run his pipe factory, located at 168 Southern Blvd., in the Bronx. Feuerbach and Frank had been close friends since Frank started his own business in 1900 and was closely associated with the sales staff of WDC, selling their line of pipes…

In early 1937, the City of New York notified S.M. Frank & Co. of their intent to take by eminent domain, part of the land on which the companies pipe factory was located. This was being done to widen two of the adjacent streets. As a result of this, Frank entered into negotiations to purchase the Wm. Demuth Co.’s pipe factory in the Richmond Hill section of Queens. It was agreed upon that Demuth would become a subsidiary of S.M. Frank and all pipe production of the two companies would be moved to DeMuth factory. New Corporate offices were located at 133 Fifth Avenue, NYC.

Demuth pipes continued to be made at the Richmond Hill plant till December 31. 1972. Then the Wm. Demuth Company met its official end as a subsidiary company by liquidation. Demuth’s mainstay pipe, the Wellington continued to be offered in the S.M. Frank catalog until 1976. In the mid-80’s, the Wellington even made a brief return as a direct to the consumer offer.

I also have included a photo of a Billiard with the same stamping and deep sandblast as the pipe I working on.When I received it from Jeff this past week it did not look like the same pipe. It was clean and the finish had life. He reamed it with a PipNet pipe reamer and got rid of the cake. He cleaned up the reaming with a Savinelli Fitsall Pipe Knife so that we could see the walls of the bowl and assess for damage. It was in good condition. He cleaned the internals of the shank and stem with cotton swabs, pipe cleaners and alcohol. He scrubbed the exterior with undiluted Murphy’s Oil Soap and a tooth brush. He rinsed the pipe under warm water. He dried it off with a cloth and then let it air dry. He removed the Softee Bit and then scrubbed the stem with Soft Scrub and soaked it in Briarville’s Stem Deoxidizer. He rinsed it with warm water and dried it off with a soft cloth. It came out looking very good. The finish on the bowl and the rim top cleaned up nicely. I took pictures of the pipe to show how it looked when I unpacked it. I took some photos of the rim top and stem to show the condition of them both when the pipe arrived. Overall it looked very good. The oxidation on the stem had come off very well and the tooth marks chatter in the surface of the stem were visible.   I took a photo of the stamping on the underside of the shank. It was clear and readable as noted above.I removed the stem from the shank and took a photo of the appearance of the parts. It is a beauty.The bowl was in great condition so I worked some Before & After Restoration Balm into the surface of the briar. To get it into the nooks and crannies I used a shoe brush and worked it deeply into the grooves. The balm works to clean, enliven and preserve the briar. I let it sit for 10 minutes then buffed it off with a soft cloth. It is a beautiful pipe.  The rugged finish on the bowl looks very good at this point. It is a beautiful pipe. I set the bowl aside and turned my attention to the stem. I “painted” the surface of the stem with the flame of a Bic lighter to lift the tooth marks and scratches. I was able to lift many of them. I used clear super glue to fill in those that remained. I sanded the surface of the stem with 220 grit sandpaper to smooth out the repairs and started the polishing with 400 grit wet dry sandpaper. I used a coffee mug with water to heat the stem end and bend it. I put the stem and the mug in the microwave and heated it for 2 minutes until it was boiling. I let the stem sit for a few moments then removed it from the water and bent it to the angle I wanted. I set the angle with cold water. I dried it off and set it aside to work on further. I polished the stem with micromesh sanding pads – dry sanding with 1500-12000 grit pads. I wiped the stem down after each pad with some Obsidian Oil. I finished hand polishing it with Before & After Pipe Stem Polish – Fine and Extra Fine. I rubbed it down with another coat of Obsidian Oil and let it dry. The stem really was beginning to look very good. This is a beautiful WDC Thorobred Kerly Briar Broken In Bent Billiard with a thick hard rubber, black stem. It has a great look and feel. The flat bottom makes it a sitter that is well balanced. The shape fits well in the hand with the curve of the bowl and bend of the shank making a great pipe to hold. I polished stem with Blue Diamond polish on the buffing wheel. I gave the sandblast bowl and plateau on the rim top and shank end multiple coats of Conservator’s Wax. I gave the stem multiple coats of carnauba wax. I buffed the pipe with a clean buffing pad to raise the shine. I hand buffed it with a microfiber cloth to deepen the shine. The pipe polished up pretty nicely. The rich combination of black and dark brown stains gave the sandblast a sense of depth. The pipe took on life with the buffing. The rich colour of the briar works well with the polished stem. Have a look at it with the photos below. The shape, finish and flow of the pipe and stem are very well done. The dimensions are Length: 5 inches, Height: 1 ½ inches, Outside diameter of the bowl: 1 inch, Chamber diameter: ¾ of an inch. The weight of the pipe is 39 grams/ 1.38 ounces. This Danish Freehand is a real beauty. Thanks for walking through the restoration with me as I worked over another beautiful pipe. This one will be going on the rebornpipes store in the American Pipe Makers Section shortly if you would like to add it to your collection. Thanks for your time.

Restoring a Beautiful IIS Sandblast Fancy Carved Freehand


Blog by Steve Laug

Everything about this large sandblast Freehand says that is it a Preben Holm pipe. The unique shape that really chases the grain to give a sense of vertical and horizontal grain of the sandblast says Holm to me. Jeff picked the pipe up on 06/26/22 from an online auction in Kansas City, Missouri, USA. It is stamped Hand Made [over] In [over] Denmark [over] IIS. The shape of the bowl with the angles of the carving are unique and the depth of the sandblast give a sense of fluidity to the pipe. The finish is stained with dark colours – black and purple that make it have a depth to its finish. It was filthy and the plateau rim and shank end was the same. The dust and debris is quite heavy around the sides of the bowl. The plateau rim top has a heavy lava overflow on the top and edges coming from a thick cake in the bowl. The fancy turned vulcanite stem was heavily oxidized and calcified with tooth marks and chatter on both sides ahead of the button. Jeff took photos of the pipe before he started working on it. It really is a beauty. He took close up photos of the uniquely shaped bowl and rim top from different angles to show the condition of the bowl and the plateau rim top. You can see the thick cake in the bowl with the flakes of tobacco stuck to the walls. You can also see the overflow of lava on the rim top and on the inner edge of the bowl. He took photos surface of the vulcanite stem to show the oxidation, calcification and tooth chatter and marks on both sides ahead of the button. He took photos of the sides and heel of the bowl to show a deep and rugged sandblast that really makes the mix of grain stand out through the grime on the shank and the sides of the bowl. The geometric angles of the bowl shape are really quite stunning and interesting.  Jeff took photos of the stamping on the underside of the shank to capture it. It was clear and readable as noted above.I turned to Pipedia to see what I could find out about the IIS brand (https://pipedia.org/wiki/IIS). The article there was shrouded in mystery and gave several options on the maker. I quote:

Pipes marked with IIS and sometimes IS are reported to be made by Karl Erik, and can be found on many private label pipes, such as the one below, marked “John Crouch” for the Scottish Merchant & Tobacconist out of Alexandria Virginia. Others have reported pipes marked IIS, or perhaps the IS in particular, were seconds made by Preben Holm.

I googled for further information and found a pair of IIS pipes on etsy that were sold with notes by the maker (https://www.etsy.com/listing/504709353/ii-s-hand-made-in-denmark-tobacco-pipes). I found it interesting and quote part of it as follows:

There are some mixed ideas about the II S trademark. Spoke to a few about it and than searched the web. Could have been made by Karl Erik while employed by Preben Holm, or sold in US only pipes or could have been made by Preben Holm. In any case they are a very unique pair. Nice works of art. Here is some info that was shared with me and I will include to help solve any mysteries.

KE’s old grading used numbers ascending from 4 to 1. The entirely hand made one of a kind pieces were stamped “Ekstravagant”. Quite simple.

But then there are the II S stamped pipes! (And furthermore seen so far II SM, I S, I M and I B.) Three fairy tales, often told:

  • II S stands for the initials of a pipe maker who worked for Preben Holm before he changed to KE. (Karl Erik)
  • II S pipes are a second brand of KE. Nonsense comparing the quality of II S and normal KE pipes!
  • II S was used when there was no space for stampings otherwise.

I believe that the pipe was made by Preben Holm during the height of his work on pipes. I wonder if it is possible that they were made in the period before he changed from stamping them with his name and to Ben Wade due to issues with his importer in the US. I am not sure but I think that works well in terms of the data.

When I received it from Jeff this past week it did not look like the same pipe. It was clean and the finish had life. He reamed it with a PipNet pipe reamer and got rid of the cake. He cleaned up the reaming with a Savinelli Fitsall Pipe Knife so that we could see the walls of the bowl and assess for damage. It was in good condition. He cleaned the internals of the shank and stem with cotton swabs, pipe cleaners and alcohol. He scrubbed the exterior with undiluted Murphy’s Oil Soap and a tooth brush. He rinsed the pipe under warm water. He dried it off with a cloth and then let it air dry. He removed the Softee Bit and then scrubbed the stem with Soft Scrub and soaked it in Briarville’s Stem Deoxidizer. He rinsed it with warm water and dried it off with a soft cloth. It came out looking very good. The finish on the bowl and the rim top cleaned up nicely. I took pictures of the pipe to show how it looked when I unpacked it.  I took some photos of the rim top and stem to show the condition of them both when the pipe arrived. Overall it looked good. The oxidation on the stem had come off very well and the tooth marks and scratches in the finish were visible. I took a photo of the stamping on the underside of the shank. It was clear and readable as noted above.I removed the stem from the shank and took a photo of the appearance of the parts. You can see how large the pipe is in the photos.The bowl was in great condition so I worked some Before & After Restoration Balm into the surface of the briar. To get it into the nooks and crannies I used a shoe brush and worked it deeply into the grooves. The balm works to clean, enliven and preserve the briar. I let it sit for 10 minutes then buffed it off with a soft cloth. It is a beautiful pipe. The rugged finish on the bowl looks amazing. It is a beautiful pipe. I set the bowl aside and turned my attention to the stem. I sanded the surface of the stem and then “painted” the surface of the stem with the flame of a Bic lighter to lift the tooth marks and scratches. I was able to lift many of them. I used clear super glue to fill in those that remained. I sanded the surface of the stem with 220 grit sandpaper to smooth out the repairs and started the polishing with 400 grit wet dry sandpaper. I polished the stem with micromesh sanding pads – dry sanding with 1500-12000 grit pads. I wiped the stem down after each pad with some Obsidian Oil. I finished hand polishing it with Before & After Pipe Stem Polish – Fine and Extra Fine. I rubbed it down with another coat of Obsidian Oil and let it dry. The stem really was beginning to look very good.   This is a beautiful Hand Made in Denmark IIS by Preben Holm with a fancy, turned, black vulcanite stem. It has a great look and feel. The flat bottom makes it a sitter that is well balanced. The shape fits well in the hand with the curve of the bowl and shank junction a perfect fit for the thumb around the bowl when held. I polished stem with Blue Diamond polish on the buffing wheel. I gave the sandblast bowl and plateau on the rim top and shank end multiple coats of Conservator’s Wax. I gave the stem multiple coats of carnauba wax. I buffed the pipe with a clean buffing pad to raise the shine. I hand buffed it with a microfiber cloth to deepen the shine. The pipe polished up pretty nicely. The rich combination of black and purple stains gave the sandblast and plateau depth. The pipe took on life with the buffing. The rich colour of the briar works well with the polished vulcanite stem. Have a look at it with the photos below. The shape, finish and flow of the pipe and stem are very well done. The dimensions are Length: 7 inches, Height: 3 ¼ inches, Outside diameter of the bowl: 2 ¼ wide x 3 inches long, Chamber diameter: 1 inch. The weight of the pipe is 103 grams/ 3.63 ounces. This Danish Freehand is a real beauty. Thanks for walking through the restoration with me as I worked over another beautiful pipe. This one will be going on the rebornpipes store in the Danish Pipe Making Section shortly if you would like to add it to your collection. Thanks for your time.

Renewing a Large Cellini Bent Billiard Pipe


Blog by Steve Laug

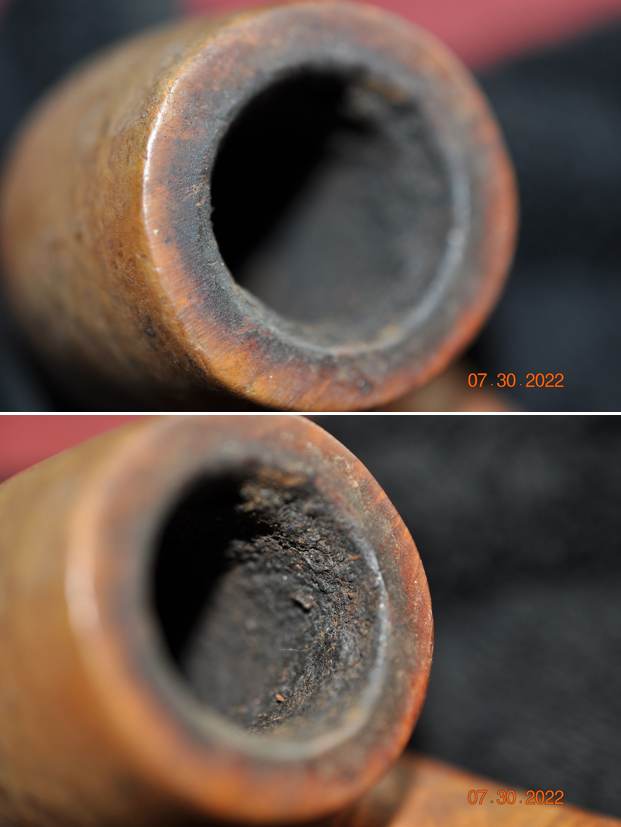
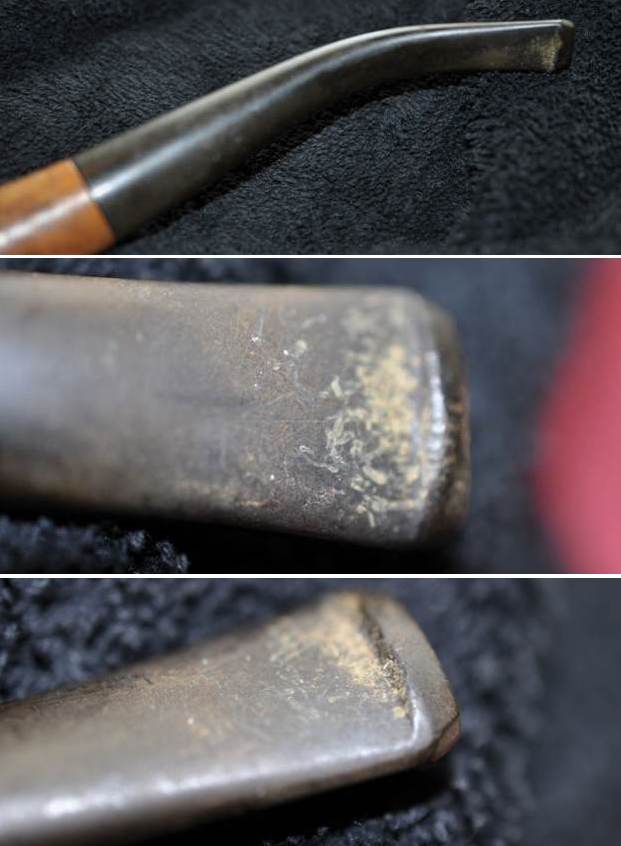
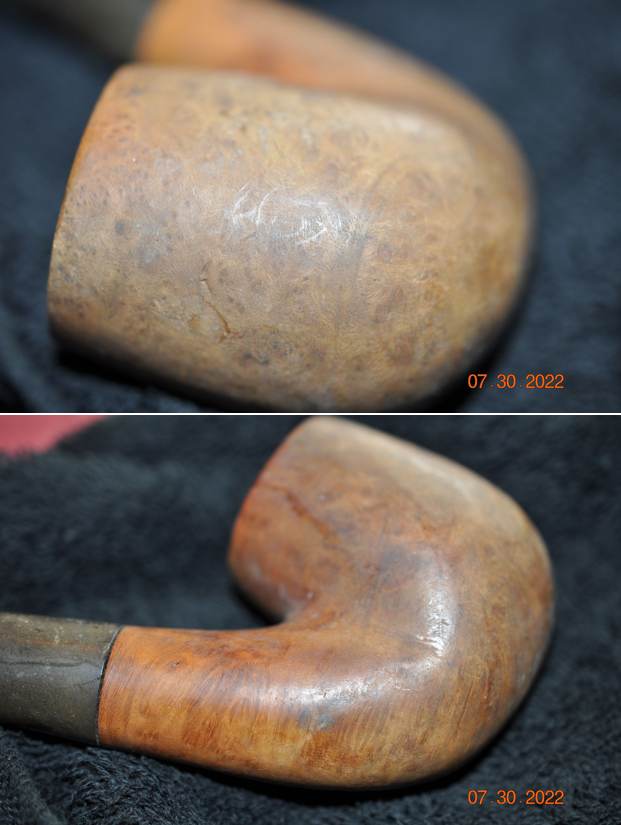
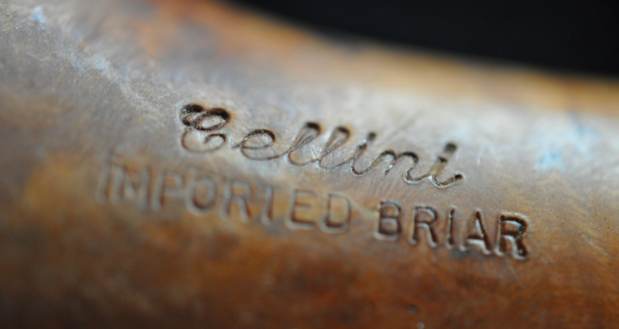
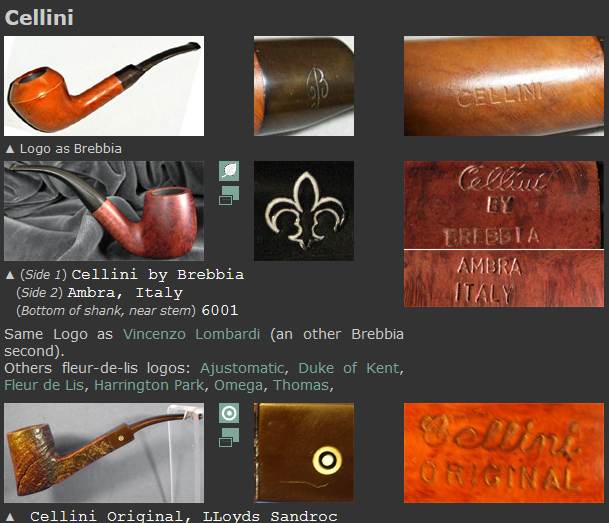
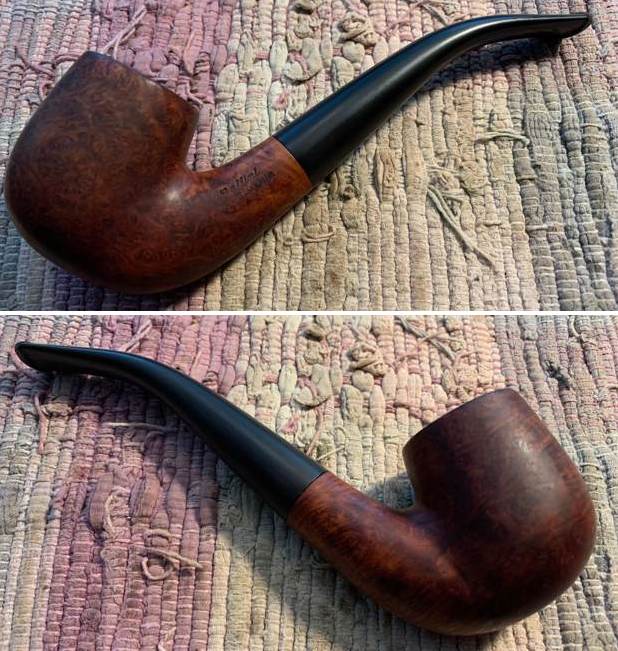
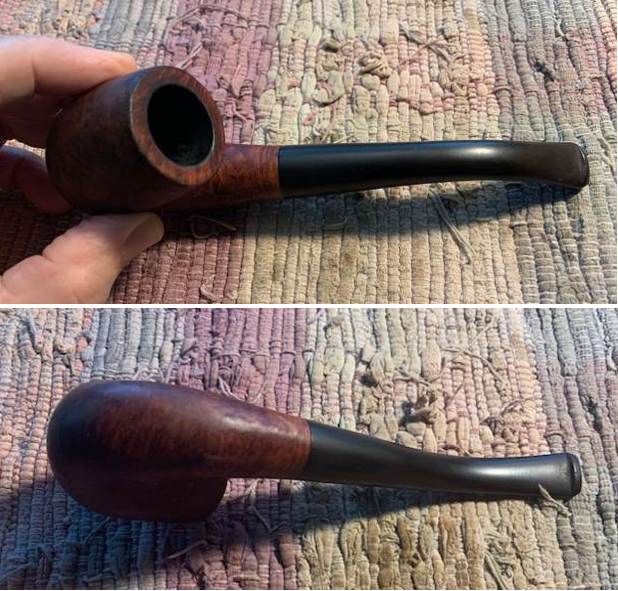
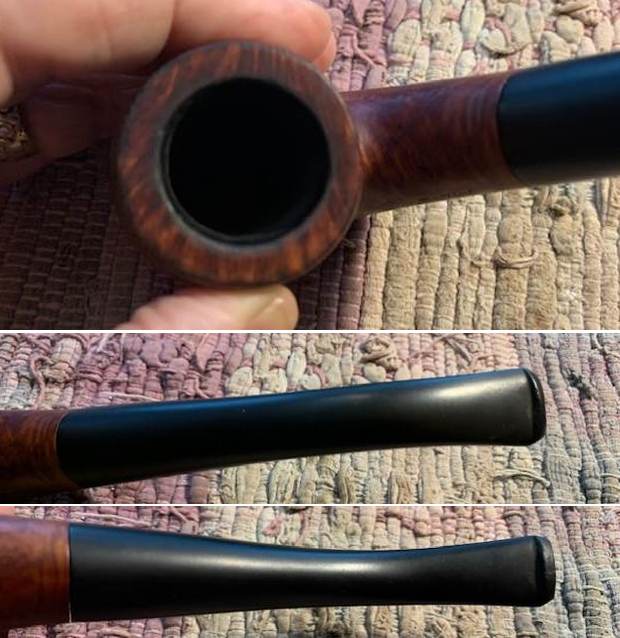
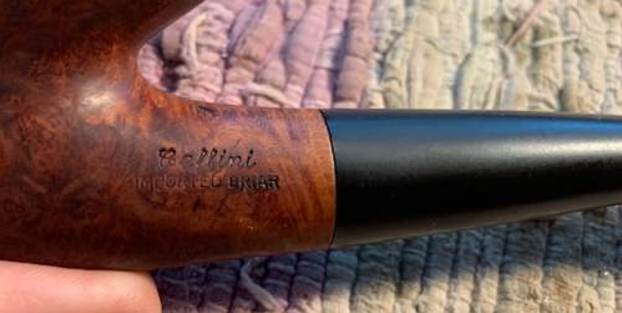
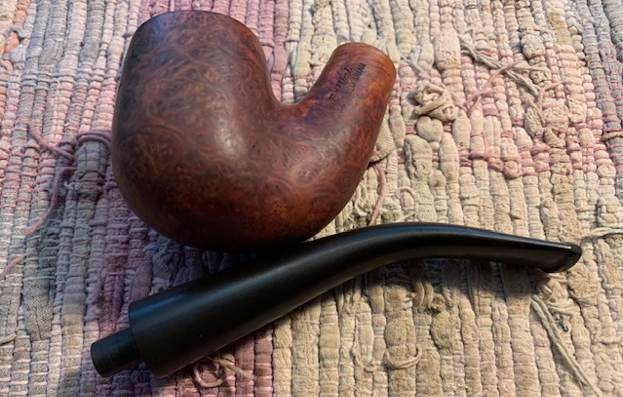
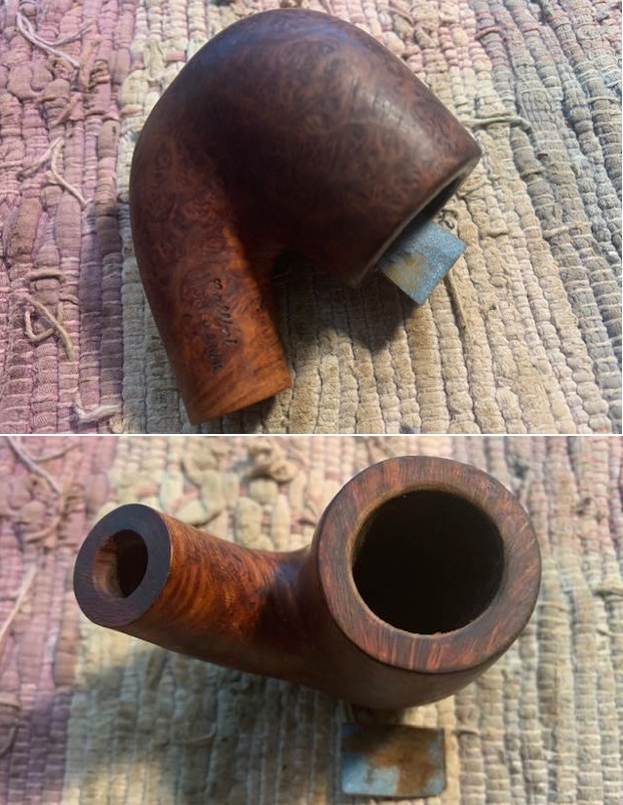
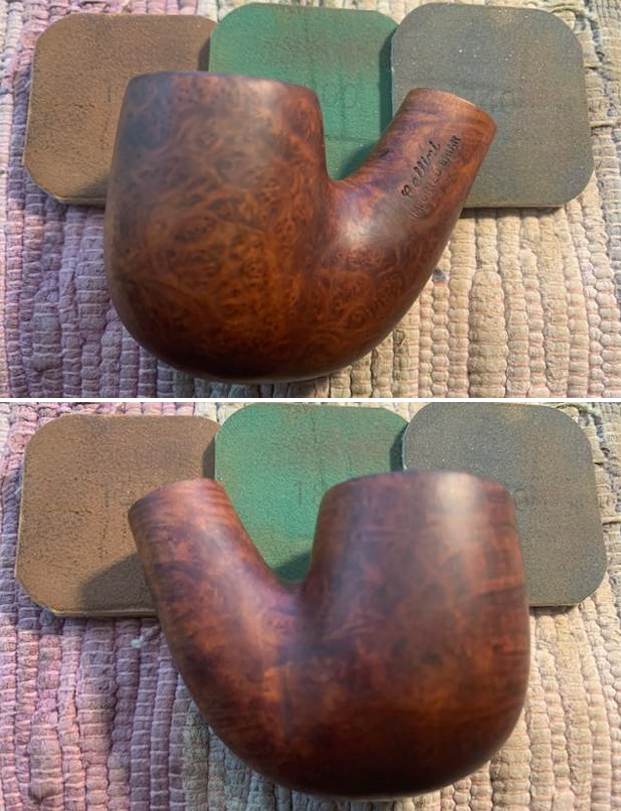
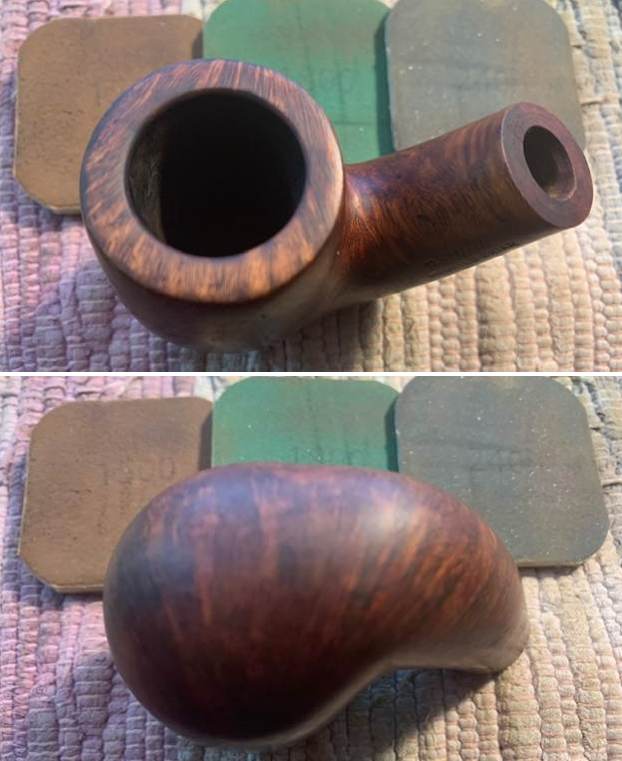
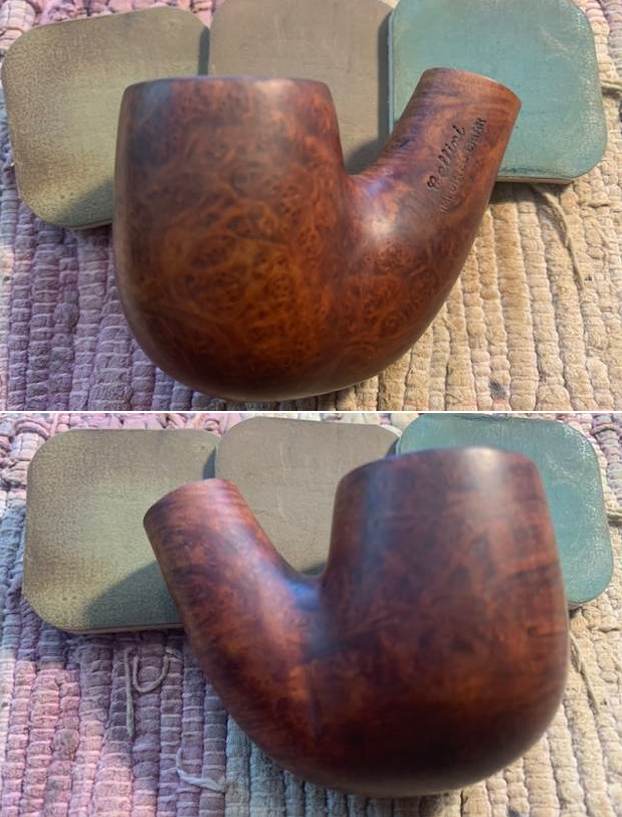
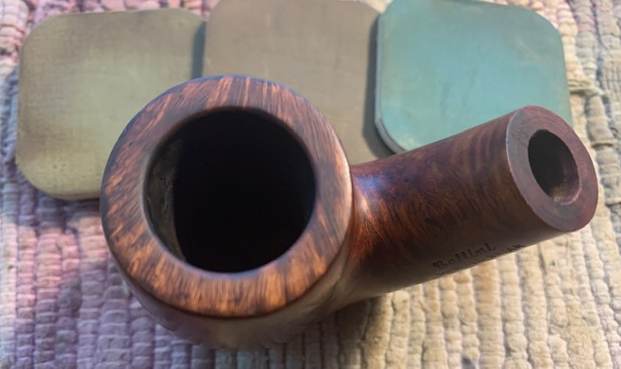
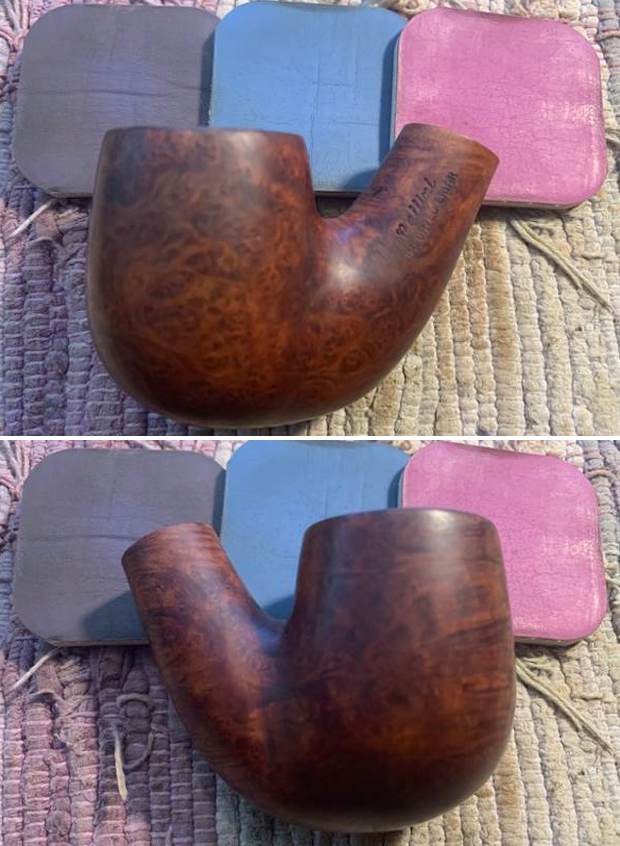
The next pipe on the worktable is large Bent Billiard that is faded and tired looking but still has something redeeming and promising about it. Jeff purchased the pipe from an antique store in Portland, Oregon, USA on 05/25/22. It is stamped on the left side of the shank and reads Cellini in script [over] Imported Briar. There is no other stamping on the pipe. The finish was worn and tired with grime ground into it all around. There was a thick cake in the bowl and a thick coat of lava on the inner edge and rim top. It was hard to know if the edge was damaged but cleaning it up would make that obvious. It was a well smoked and very dirty pipe. The stem was oxidized and calcified with tooth chatter and marks on both sides ahead of the button. It had straightened over time and the bend was not sufficient for the look of the pipe.He took close up photos of the bowl and rim top from different angles to show the condition of the finish. You can see the lava and build up on the rim top and the lava flowing over the inner edge of the heavily caked bowl onto the top. It is hard to know if there is damage or if the lava protected it. The next photos show the condition of the vulcanite stem which is oxidized and calcified. You can see the tooth marks and damage both on the surface of both sides ahead of the button. He took photos of the sides and heel of the bowl to show the grain peeking through the grime. Jeff took a photo of the stamping on the left side of the shank to capture it. It was clear and read Cellini in script over Imported Briar.I turned to Pipephil’s site (http://pipephil.eu/logos/en/logo-c3.html) for a summary of the information he had gathered on the brand and perhaps some photos. I have included both the information from the sidebar as well as a screen capture of some photos. I quote:

The shop in Chicago, Illinois, USA (opening: April 27, 1929)  was exclusively devoted to pipes. These generally were imported and Brebbia was the most important supplier. The shop closed down on February 28, 1991.From there I turned to Pipedia where as usual there was a great history of the brand to read about (https://pipedia.org/wiki/Cellini). I quote several pertinent paragraphs to whert your interested. Make sure to go to the site and read it in its entirety.

Cellini, or better, the Cellini Pipe Shop as it became known for its brand “Cellini” from its company name, Victory Pipe Craftsmen, was located in the heart of downtown Chicago, Illinois: 170 N. Franklin St, Chicago IL, 60606. Ideally for those who liked short ways, one of Cellini’s locations was across the street from Zimmerman’s Liquor Store. The company got it’s start in 1927 aided by a friendship between Arthur (Art) Silber and Tracy Mincer(??) who went for Custom-Bilt fame in 1934.

Art Silber (also known as the “Art” of pipe smoking) made Cellini a full service Pipe and Tobacco Shop offering tobacco blends and a complete line of accessories as well as an extensive and varied line of pipes ranging from Indian Peace Pipes to porcelain, cherrywoods, meerschaums and hefty sculptured freehands. The Catalogues were nearly 100 pages long – including some cigars, but absolutely NO cigarettes! – primarily pipes and pipe-related products! Cellini Pipes have Good Collectible value of their own commanding good prices on auctions today, developing somewhat of a Cult Following among Collectors.

Art was joined by his wife Ruth, daughter Bobbe (short for Barbara, also an established artist) and his 2 sons Stuart (who created the Cigar Pipe, crafted various Cellini pipes and freehands, became a cigar aficionado, was an antique and Meerschaum repair expert and more),and Elliot (who also worked as a physicist and an organic chemist).

Victory Pipe Craftsmen became the largest pipe repair shop in the country (probably in the world), repairing up to 2000 pipes per week for some 1200 pipe shops in the U.S., from replacing and customizing stems (mouthpieces) to Meerschaum and antique repair. Art Silber innovated many developments in the pipe industry. He invented a keyless 4-jaw chuck for nearly instant mounting of almost every shape mouthpiece. The result was finely crafted, custom-fitted complete stem replacement (including sanding with 3 grades of sandpaper, proprietary custom staining to match, bending if needed, and polishing on 2 different polishing wheels) in 8 1/2 minutes!! Cellini was famous for while-u-wait pipe repairs, which of course allowed the customer to browse the thousands of Cellini pipes on display…

…Although Cellini offered a very small variety of brands by other makers, their primary business was selling their own pipes made in their Chicago factory. Art Silber (also known as the “Art of pipe smoking”), who made pipes himself once upon a time, employed his own pipemakers (with “Primo Polidori”, former factory supervisor of the Chicago Dr. Grabow/Linkman factory, being the most recognizable name). The company was Victory Pipe Craftsmen, (Victory Pipe Craftsmen Inc. was the actual corporate name for “Cellini of Chicago”) The most experienced pipemaker there was Primo Polidori

After the death of it’s founder Art Silber, The Cellini Pipe Shop survived until the late 1980’s, run by Art’s oldest son Stuart, Bobbe and Elliot, ending a significant chapter in American pipemaking history. Art Silber’s sons Stuart (sometimes called “The Legend”) and Elliot are still liquidating the residue of the shop’s inventory. The charismatic Bobbe and their mother Ruth Silber have since passed on. All those interested should be aware that some of the Cellini Pipes seen on today’s online auctions may be flawed or rejected pipes that were not offered for sale while the company was in operation. Be sure to ask the seller to distinguish their pipes. Cellini specialized in natural finish, no lacquer, no varnish, no fills or wood putty. If flaws were found, the shape was changed, carving was done, or the pieces were used for repair of broken pipes…

From that information I knew that the pipe that I was working on was carved by one of the in house carvers at Cellini Pipe Shop in Chicago. I also knew that it was made before their closing in 1991. I had no idea how old it was as the shop started in 1929. Now it was time to work on the pipe on my end.

When I received it from Jeff this past week it did not look like the same pipe. It was clean and the finish had life. He reamed it with a PipNet pipe reamer and got rid of the cake. He cleaned up the reaming with a Savinelli Fitsall Pipe Knife so that we could see the walls of the bowl and assess for damage. It was in good condition. He cleaned the internals of the shank and stem with cotton swabs, pipe cleaners and alcohol. He scrubbed the exterior with undiluted Murphy’s Oil Soap and a tooth brush. He rinsed the pipe under warm water. He dried it off with a cloth and then let it air dry. The stem was scrubbed with Soft Scrub and soaked in Briarville’s Stem Deoxidizer. It came out looking very good. The finish on the bowl and the rim top cleaned up nicely. I took pictures of the pipe to show how it looked when I unpacked it.  I took some photos of the rim top and stem to show the condition of them both when the pipe arrived. Overall it looked good. There is some darkening and damage to the inner edge of the bowl. The stem had some light tooth chatter and marks ahead of the button and on the button surface on both sides.   I took a photo of the stamping on the left side of the shank. It is readable and in great condition.I removed the stem from the shank and took a photo of the pipe to show the look of the pipe.I started my work on the pipe by addressing the darkening and damage to the inner edge of the rim. I used a folded piece of 220 grit sandpaper to work and smooth it out. It looked better when I had finished. I polished the bowl with micromesh sanding pads – wet sanding with 1500-12000 grit pads. I wiped the briar down after each pad with a damp cloth. The bowl is starting to look very good. I worked some Before & After Restoration Balm into the surface of the briar with my fingertips to clean, enliven and protect it. I let the balm sit for a little while and then buffed with a cotton cloth to raise the shine. The photos show the bowl at this point in the restoration process. I set the bowl aside and turned my attention to the stem. I used a coffee mug with water to heat the stem end and bend it. I put the stem and the mug in the microwave and heated it for 2 minutes until it was boiling. I let the stem sit for a few moments then removed it from the water and bent it to the angle I wanted. I set the angle with cold water. I dried it off and set it aside to work on further.  I sanded the stem with 220 grit sandpaper to remove the tooth marks and chatter as well as the oxidation that remained on the stem. I started the polishing with 400 grit wet dry sandpaper and wiped it down with Obsidian Oil.    I polished the stem with micromesh sanding pads – wet sanding with 1500-12000 grit sanding pads. I wiped it down after each sanding pad with some Obsidian Oil. I finished polishing it with Before & After Pipe Stem Polish – both Fine and Extra Fine and buffed it off with a cotton cloth. This is a large hand made Cellini Imported Briar Bent Billiard made by the Cellini Pipe Company with a bent hard rubber stem. It has a great look and feel. The shape fits well in the hand with the curve of the bowl and shank junction a perfect fit for the thumb around the bowl when held. I polished stem and the bowl with Blue Diamond polish on the buffing wheel. I gave the bowl and the stem multiple coats of carnauba wax. I buffed the pipe with a clean buffing pad to raise the shine. I hand buffed it with a microfiber cloth to deepen the shine. The pipe polished up pretty nicely. The rich combination of browns in the smooth finish took on life with the buffing. The rich colour of the briar works well with the polished hard rubber stem. I like the grain and finished look of this Cellini Bent Billiard. Have a look at it with the photos below. The shape, finish and flow of the pipe and stem are very well done. The dimensions are Length: 7 ½ inches, Height: 2 inches, Outside diameter of the bowl: 1 ¼ wide, Chamber diameter: 7/8 of an inch. The weight of the pipe is 78 grams/ 2.75 ounces. This Danish Freehand is a real beauty. Thanks for walking through the restoration with me as I worked over another beautiful pipe. This one will be going on the rebornpipes store in the American Pipe Making Section shortly if you would like to add it to your collection. Thanks for your time.

A Unique Twisted and Turned Jobey Dansk Handmade in Denmark 2


Blog by Steve Laug

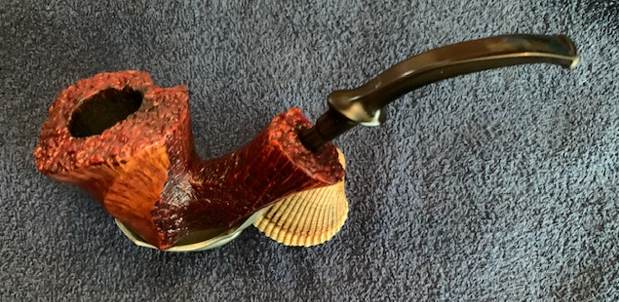
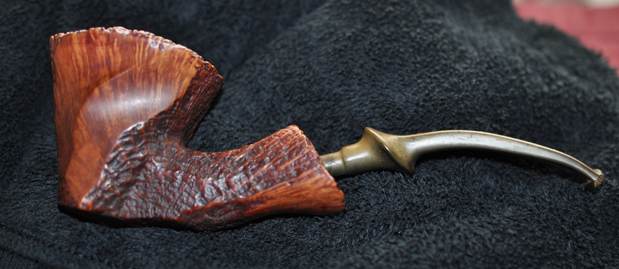
My brother Jeff picked up another Jobey Dansk Freehand pipe on June 6, 2022 from an antique shop in Cannon Beach, Oregon, USA. It had really unique shape and some nice grain with spot carvings around the bowl and shank. There was some plateau on the top of the rim and on the end of the shank. I have worked on enough of these to know that were Danish Freehand pipes were carved by Karl Erik. This one was stamped on the underside of the shank end and read Jobey in script [over] Dansk [over] Handmade in Denmark [over] 2 The finish on this pipe was dirty with dust and lava on the plateau top. The bowl was lined with a thick cake. There was thick dust in the rustication around the bowl and shank as well as the plateau on the shank end. The smooth finish was also dirty and dull looking. The fit of the stem to the shank was snug. It was a fancy turned vulcanite stem that was oxidized and calcified. There were light tooth marks on both sides of the stem at the button and on the smooth parts of the button on both sides. Otherwise it was a very clean stem. Jeff took of the pipe to show the overall condition of the bowl and stem. He took close up photos of the bowl and rim top from different angles to show the condition of the partial plateau finish. You can see the lava and build up on the rim top and the lava flowing over the inner edge of the bowl onto the plateau. It is hard to know if there is damage or if the lava protected it. The bowl has a thick cake that lining the walls and overflowing into lava. The next photos show the condition of the vulcanite stem which is oxidized and calcified. You can see the tooth marks and damage both on the surface of both sides ahead of the button. He took photos of the sides and heel of the bowl to show the lay of the grain and the rustication around the pipe. It is a nice piece of briar with a unique and somewhat strange shape that is unlike almost all of the Freehands that I have worked on. Jeff took a photo of the stamping on the underside of the shank to capture it. It was clear and read Jobey Dansk at the top. Under that it read Handmade in Denmark followed by a large number 2. I wanted to look at who had carved the Jobey Dansk line to confirm some suspicions I had about it. I had a feeling that the pipes were carved by a Danish carver known as Karl Erik. I looked up the Jobey listing on Pipedia (https://pipedia.org/wiki/Jobey) and found the following information. I quote a portion of the article that is pertinent as follows.

English – American – Danish – French… Information about the brand Jobey are only to be found in form of smithereens…

Probably established in England around 1920(?) the brand hiked into the USA later. In the course of time owner, distributor and manufacturer changed repeatedly. As far as known:

George Yale Pipes & Tobacco, New York (1942)

Norwalk Pipe Co., New York (1949)

Arlington Briar Pipes Corp., Brooklyn (when?)

Hollco International, New York (1969).

Weber Pipe Co., Jersey City, NJ (1970’s)

The Tinder Box, (1970’s – 80’s).

Throughout decades Jobey pipes were mainly sold in the USA, Canada and England but remained almost unknown in continental Europe. The bulk of Jobeys was predominantly made according to classical patterns and mainly in the lower to middle price range. The predominant judgment of the pipe smokers reads: “A well-made pipe for the price.” So there is hardly anything very special or exciting about Jobey pipes although a flyer from ca. 1970 assures: “The briar root Jobey insists upon for its peer of pipes is left untouched to grow, harden and sweeten for 100 years. […]Jobey uses only the heart of this century old briar and only one out of 500 bowls turned measures up to the rigid Jobey specifications.” 99.80% of cull… that makes the layman marveling!

Yet then there are partially really exciting Freehands mainly in the seventies, that Jobey – Weber owned back then – bought from Danish pipe genius Karl Erik Ottendahl. These pipes were offered as Jobey Dansk – ’70’s pure! (BTW waning sales caused Ottendahl to discontinue exports to the United States in 1987.)

There was also an interesting Tinderbox catalogue page, provided courtesy of Doug Valitchka, that includes a note about the Jobey Dansk (https://pipedia.org/images/7/7a/Jobey1979.jpg).From that information I confirmed that the pipe that I was working on was carved by Karl Erik Ottendahl. There were some similarities to the Karl Erik pipes that I have worked on in the past. The dating of the pipe line in the 70s fits well with the pipe I have in hand.

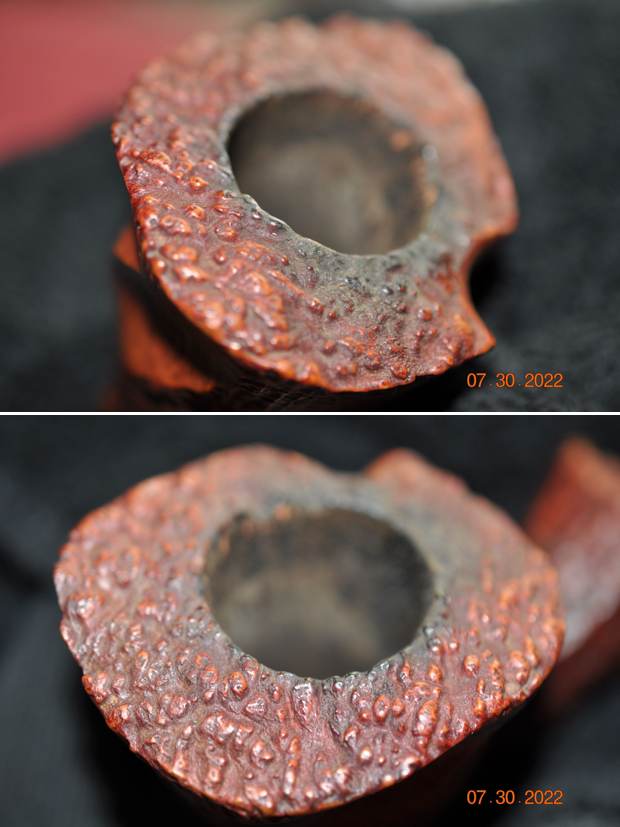
Now it was time to work on the pipe on my end. When I received it Jeff had once again done an amazing job cleaning the pipe. He reamed it with a PipNet pipe reamer and got rid of the cake. He cleaned up the reaming with a Savinelli Fitsall Pipe Knife so that we could see the walls of the bowl and assess for damage. It was in good condition. He cleaned the internals of the shank and stem with cotton swabs, pipe cleaners and alcohol. He scrubbed the exterior with undiluted Murphy’s Oil Soap and a tooth brush. He rinsed the pipe under warm water. He dried it off with a cloth and then let it air dry. The stem was scrubbed with Soft Scrub and soaked in Briarville’s Stem Deoxidizer. It came out looking very good. The finish on the bowl and the rim top cleaned up nicely. I took pictures of the pipe to show how it looked when I unpacked it. I took some photos of the rim top and stem to show the condition of them both when the pipe arrived. Overall it looked good. There is some darkening and damage to the inner edge of the bowl. The stem had some deep tooth marks ahead of the button and on the button surface on both sides.   I took a photo of the stamping on the underside of the shank. It is readable and in great condition.I removed the stem from the shank and took a photo of the pipe to show the look of the pipe.I started my work on the pipe by addressing the darkening and damage to the inner edge of the rim. I used a folded piece of 220 grit sandpaper to work and smooth it out. It looked better when I had finished.  I polished the bowl with micromesh sanding pads – wet sanding with 1500-12000 grit pads. I wiped the briar down after each pad with a damp cloth. The bowl is starting to look very good. I worked some Before & After Restoration Balm into the surface of the briar with my fingertips and into the plateau rim top and shank end with a horsehair shoe brush to clean, enliven and protect it. I let the balm sit for a little while and then buffed with a cotton cloth to raise the shine. The photos show the bowl at this point in the restoration process. I set the bowl aside and turned my attention to the stem. I filled in the deep tooth marks with clear CA glue. Once it cured and hardened I sanded out the tooth chatter and blended in the repairs with 220 grit sandpaper and started to polish it with a folded piece of 400 wet dry sandpaper. Once it was finished it began to shine. I polished the stem with micromesh sanding pads – wet sanding with 1500-12000 grit sanding pads. I wiped it down after each sanding pad with some Obsidian Oil. I finished polishing it with Before & After Pipe Stem Polish – both Fine and Extra Fine and buffed it off with a cotton cloth. This is a beautiful Jobey Dansk Hand Made by Karl Erik with a fancy, turned, black vulcanite stem. It has a great look and feel. The shape fits well in the hand with the curve of the bowl and shank junction a perfect fit for the thumb around the bowl when held. I polished stem and the bowl with Blue Diamond polish on the buffing wheel. I gave the plateau on the rim top and shank end multiple coats of Conservator’s Wax. I gave the bowl and the stem multiple coats of carnauba wax. I buffed the pipe with a clean buffing pad to raise the shine. I hand buffed it with a microfiber cloth to deepen the shine. The pipe polished up pretty nicely. The rich combination of browns and black in the smooth finishes and the plateau areas took on life with the buffing. The rich colour of the briar works well with the polished vulcanite stem. I like the grain and finished look of this Jobey Dansk pipe. Have a look at it with the photos below. The shape, finish and flow of the pipe and stem are very well done. The dimensions are Length: 5 ½ inches, Height: 2 inches, Outside diameter of the bowl: 1 ¼ wide, Chamber diameter: ¾ of an inch. The weight of the pipe is 56 grams/ 1.98 ounces. This Danish Freehand is a real beauty. Thanks for walking through the restoration with me as I worked over another beautiful pipe. This one will be going on the rebornpipes store in the Danish Pipe Making Section shortly if you would like to add it to your collection. Thanks for your time.

New Life for a Romford Rhodesian made by Bill Ashton Taylor


Blog by Steve Laug

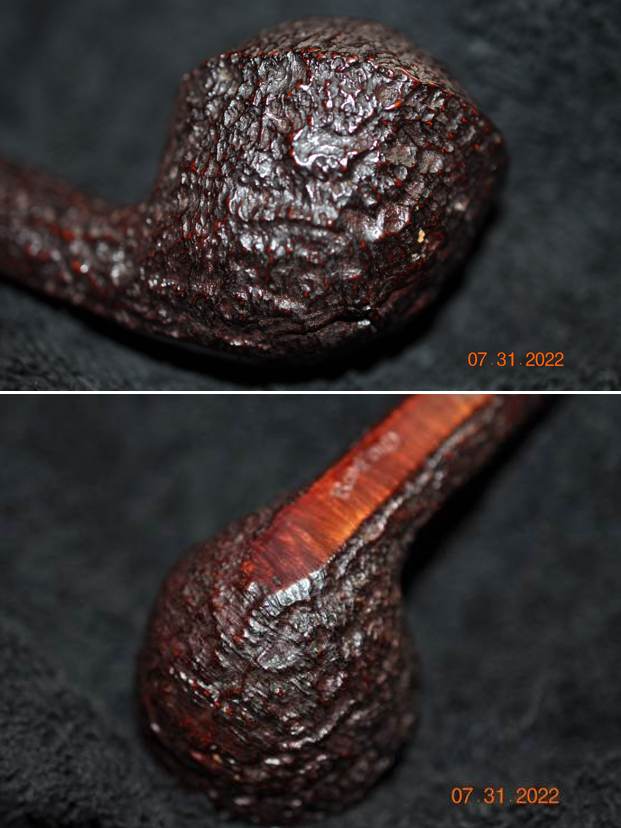
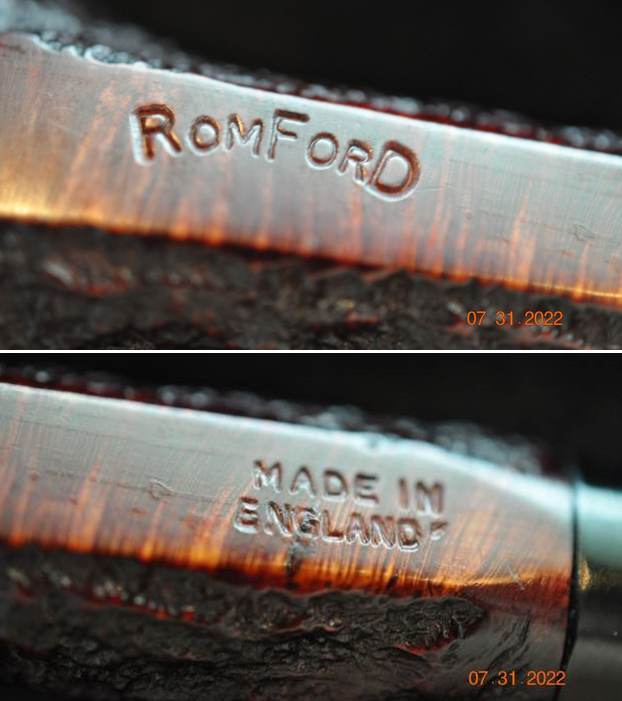
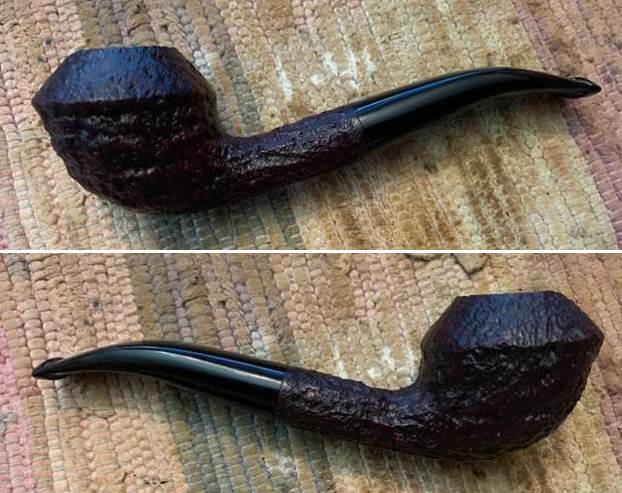
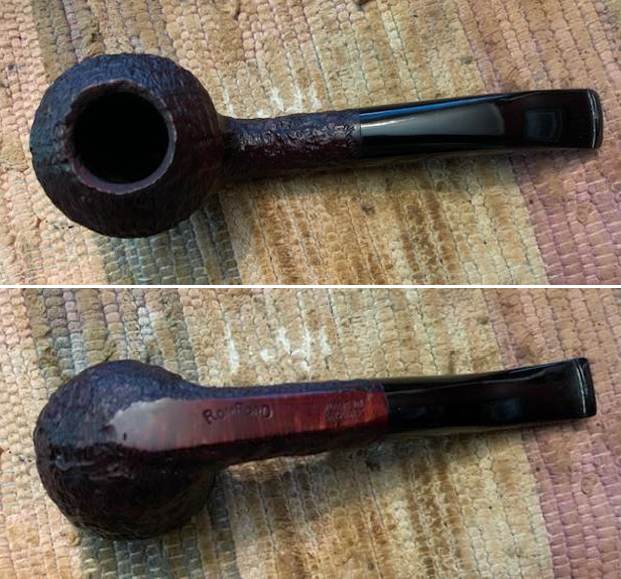
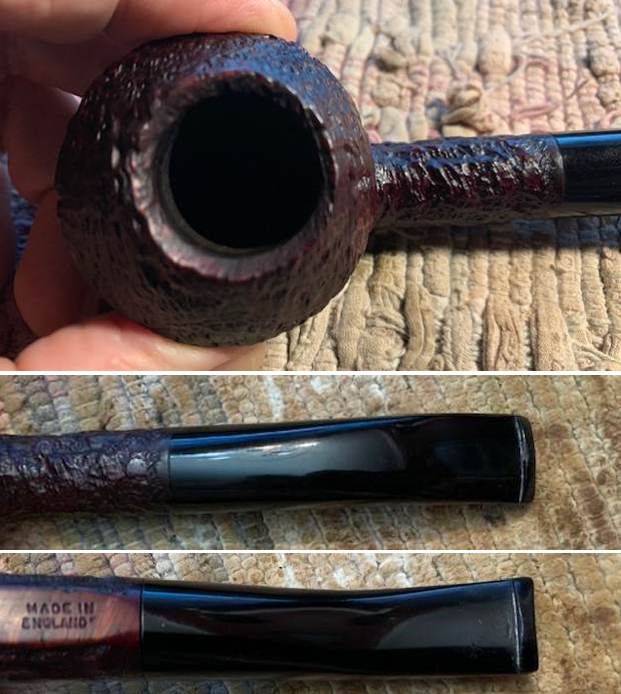
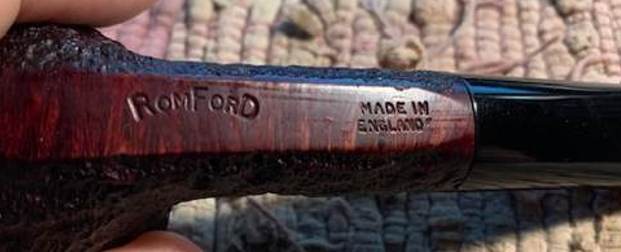
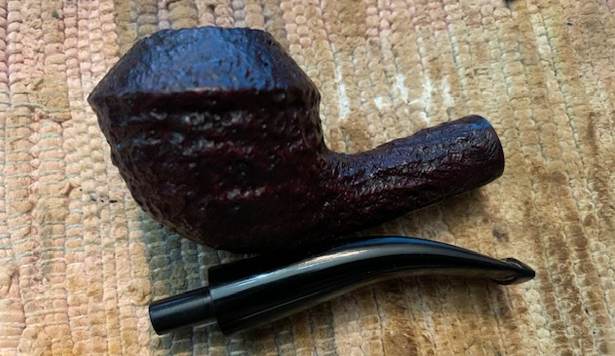
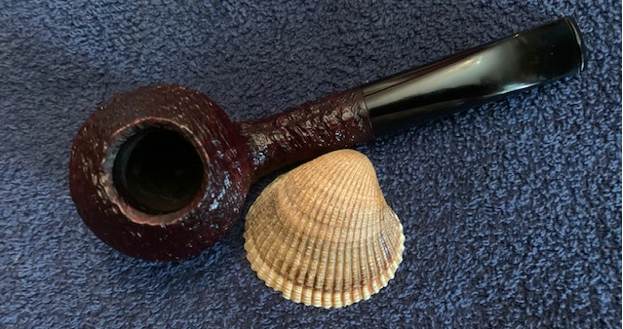
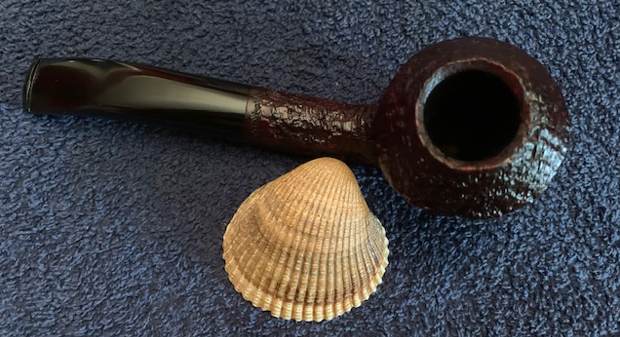
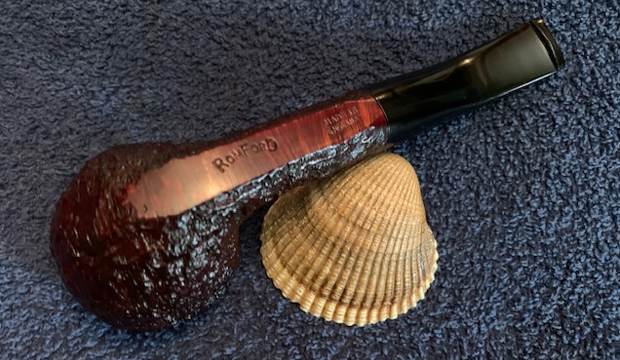
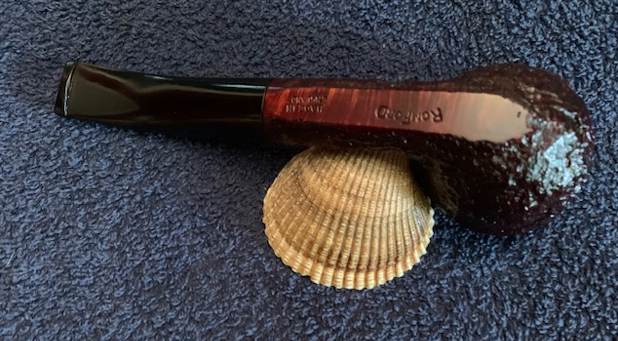
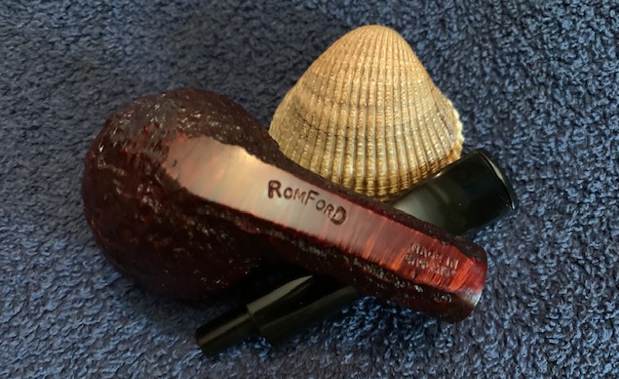
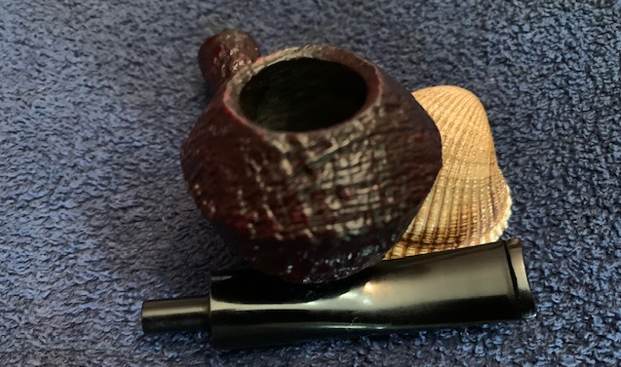
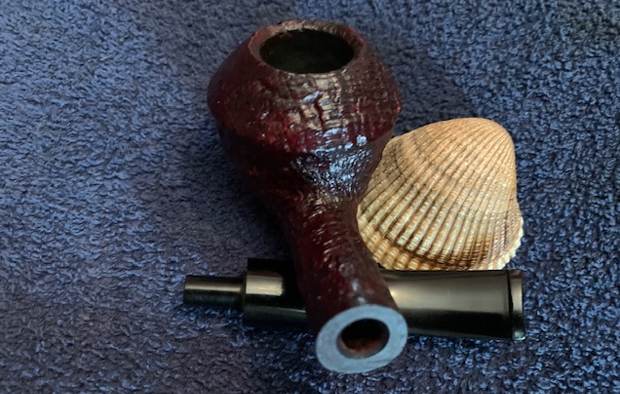
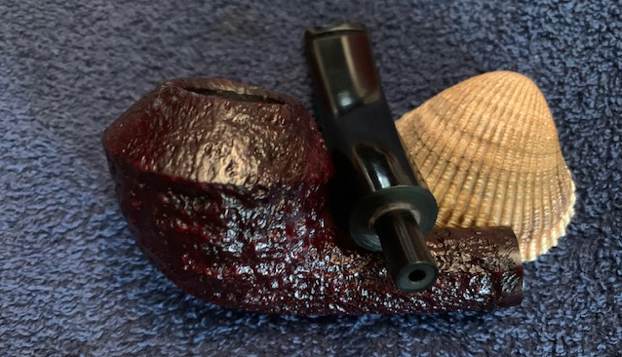
The next pipe also came in a recent box of pipes that Jeff sent me. It is a great looking sandblast Rhodesian with a quarter bend. The bowl is a beautiful sand blasted briar. The stem is made of what appears to be acrylic. We purchased it from an auction on 06/24/22 in Manorville, New York, USA.  It is a Rhodesian shaped pipe with a deep sandblast that gives a rich tactile feel in the hand. When Jeff sent me photos of the pipe before the auction and told me it was a Romford I had a memory of a connection to Bill Ashton Taylor of Ashton pipe making fame. The finish is nice but has dust and debris in the nooks and crannies of the sandblasted surface. The rim top was beveled into the bowl and there was a thick lava overflow from the thickly caked bowl. The beveled rim top and inner edge was thickly caked but it seemed like the edges were in good condition. The pipe was stamped on the underside of the shank and read ROMFORD followed by Made in [over] England. The tapered stem was made of acrylic and was in good condition with some light tooth marks and chatter on both sides near the button. Jeff took the following photos before he started his cleanup work on the pipe. He took close-up photos of the bowl and rim top from various angles to capture the condition of the bowl, rim top and edges of the bowl. The cake was very thick and the bowl overflowed in thick lava on to the rim top filling in much of the sand blast. He also captured the condition of the top and underside of the stem. You can see the tooth marks and chatter on both sides ahead of the button. It was a well used, dirty pipe. He took photos of the sides and heel of the bowl to show the condition of the beautiful sandblast around the bowl. You can also see the smooth underside of the shank and the grime and debris of time ground into the finish. Jeff took a photo of the stamping on the smooth underside of the shank. It is clear and readable as noted above.   I did a Google search for Romford pipes and found a few listings on smokingpipes.com. There was one Romford pipe for sale that had a great description of the brand (https://www.smokingpipes.com/pipes/estate/england/moreinfo.cfm?product_id=76028). I quote:

The Romford pipe is named after the town where Bill Ashton Taylor produced his pipes. They are all made of oil-cured briar, shaped by Bill. pretty much the same as an Ashton, except the stain or grain didn’t make the grade and often a vulcanite, rather than Ashtonite, stem is used. Hard to beat the smoke for the buck.

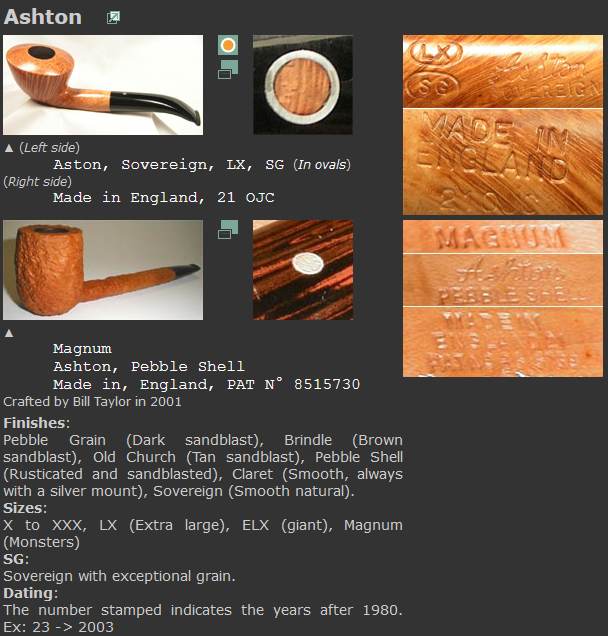
From there I turned to Pipephil and looked up Ashton pipes (http://pipephil.eu/logos/en/logo-a8.html). I have included a screen capture of the brand information there as well as the notes in the sidebar identifying the Romford as a sub-brand of Ashton pipes that was sold through McCranies Pipe Shop in Charlotte North Carolina. The McCranies Shop sold Ashton made McArris and also Romford pipes.Brand established in 1983 by Bill Ashton-Taylor (1945 – 2009†). James Craig (Jimmy) was designed by Bill himself worthy to continue Ashton pipes manufacture.

Sub-brand: Romford (sold through McCranie’s) See also: Taylor Made , Mac Cranie

For a great history of the Ashton brand give the article on Pipedia a read as well as the Ashton Pipe Story there (https://pipedia.org/wiki/Ashton).

Jeff had reamed the pipe with a PipNet pipe reamer and cleaned up the reaming with a Savinelli Fitsall Pipe Knife. He scrubbed out the internals of the shank and stem with alcohol, pipe cleaners and cotton swabs until the pipe was clean. He scrubbed the exterior of the bowl with Murphy’s Oil Soap and a tooth brush to remove the grime and grit on the briar and the lava on the rim top. The finish looks much better but there is still some darkening on the rim top and inner edge of the bowl. Jeff scrubbed the stem with Soft Scrub to remove the grim on the acrylic stem surface. When the pipe arrived here in Vancouver for the second stop of its restoration tour it looked a lot better. I took photos this morning before I started my part of the work. That is one of the benefits of being an early bird. I took some close up photos of the rim top and the stem surface. I wanted to show the cleaned bowl and rim top. The rim top and the inner and outer edges of the bowl were in excellent condition. The beveled rim top of the bowl and edges looked very good. I also took close up photos of the stem to show the tooth marks on the stem surface. I took a photo of the stamping on the underside of the shank and it is readable as noted above.   I removed the stem for the shank and took a photo of the bowl and stem to give a picture of what it looked like. The sandblast finish is beautiful.I rubbed the bowl and shank down with Before & After Restoration Balm to deep clean the finish on the bowl and shank. The product works to clean, enliven and protect the briar. I worked it in with my fingertips and a horse hair shoe brush to get it into the nooks and crannies of the sand blast finish on the bowl and shank. I let it sit for 10 minutes to let it do its magic. I buffed it with a soft cloth. The briar really began to have a rich shine. I took some photos of the bowl at this point to mark the progress in the restoration.   I set the bowl aside and turned my attention to the tooth marks and chatter in the stem. I sanded the stem surface with 220 grit sandpaper and removed the chatter and marks against the button edge. I started polishing the stem with 400 grit wet dry sandpaper.I polished the stem with micromesh sanding pads – dry sanding with 1500-12000 grit pads. The stem took on a rich glow and the marks are gone. I polished it with Before & After Stem Polish – both Fine and Extra Fine and wiped it down with some Obsidian Oil. I put the Bill Ashton made Romford Rhodesian back together and buffed the bowl and stem with Blue Diamond on the buffing wheel. I polished out the tiny scratches remaining in the acrylic and used a light touch to polish the sandblast finish. The bowl and stem looked very good. I gave the bowl several coats of Conservator’s Wax and the stem multiple coats of carnauba with the wheel. I buffed it with a clean wheel on the buffer and hand buffed it with a soft cloth to deepen the shine. The finished pipe looks very good. The rugged sandblast finish highlights the grain that is below it and really is a stunning pipe. The pipe feels great in the hand. It is comfortable and light weight for its size. The finished Romford is shown in the photos below. The dimensions of the pipe are Length: 6 inches, Height: 1 ¾ inches, Outside diameter of the bowl: 1 ¾ inches, Chamber diameter: ¾ of an inch. The weight of the pipe is 2.05 ounces/ 58 grams. I am still very undecided whether to keep this pipe or part with it. This is the problem of working on so many pipes – which to keep and which to sell. Thanks for reading this blog and my reflections on the pipe while I worked on it.

Fresh Life for The Everyman London Pipe 215 Bent Billiard


Blog by Steve Laug

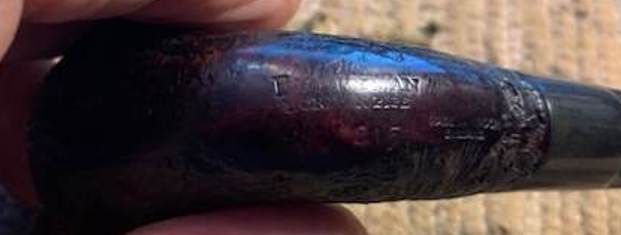
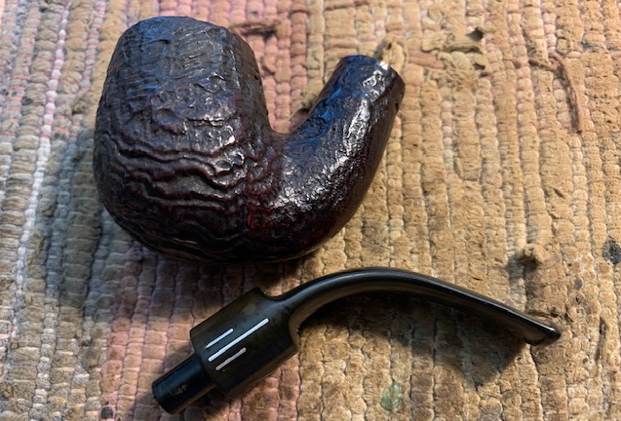
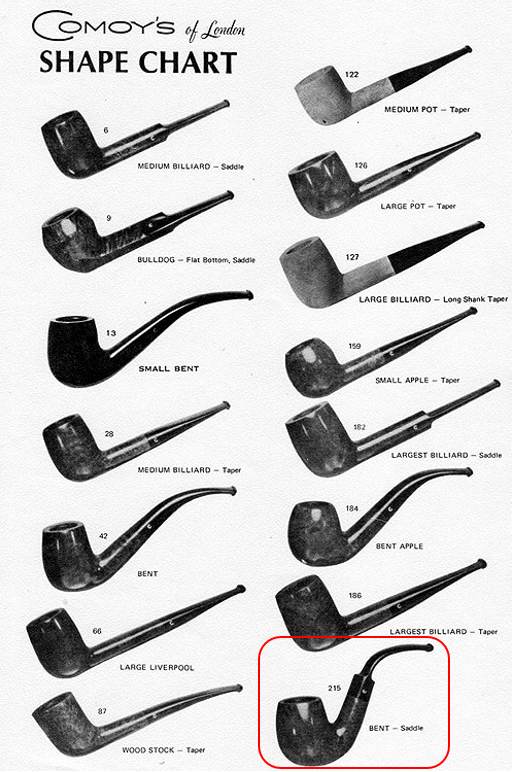
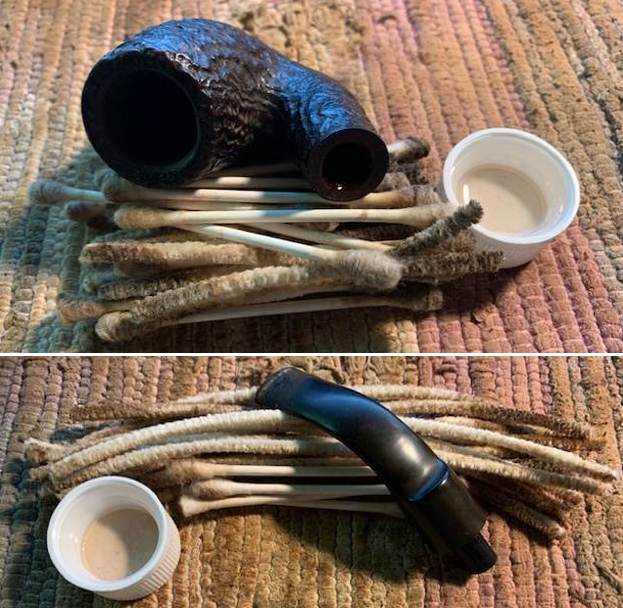
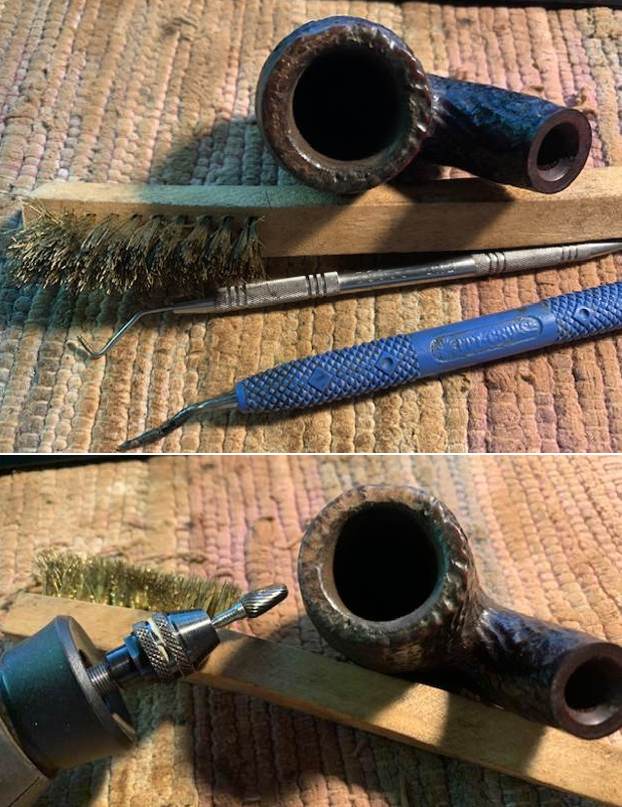
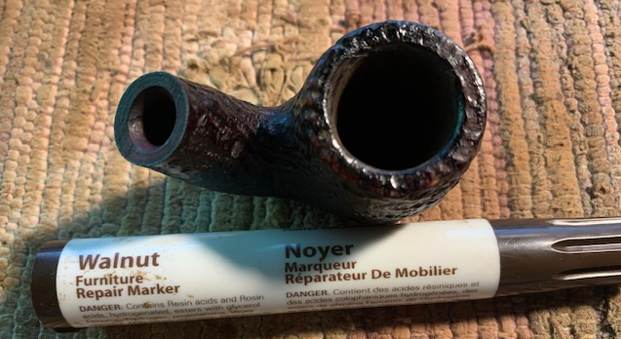
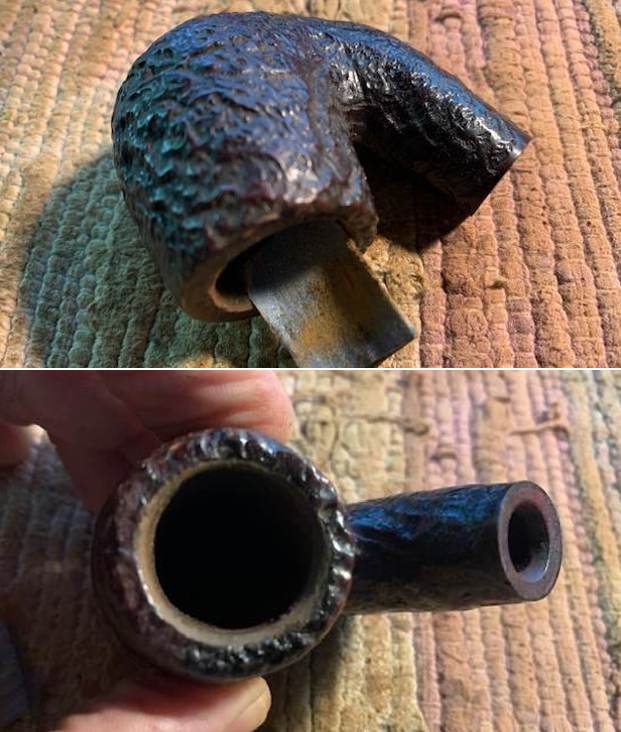
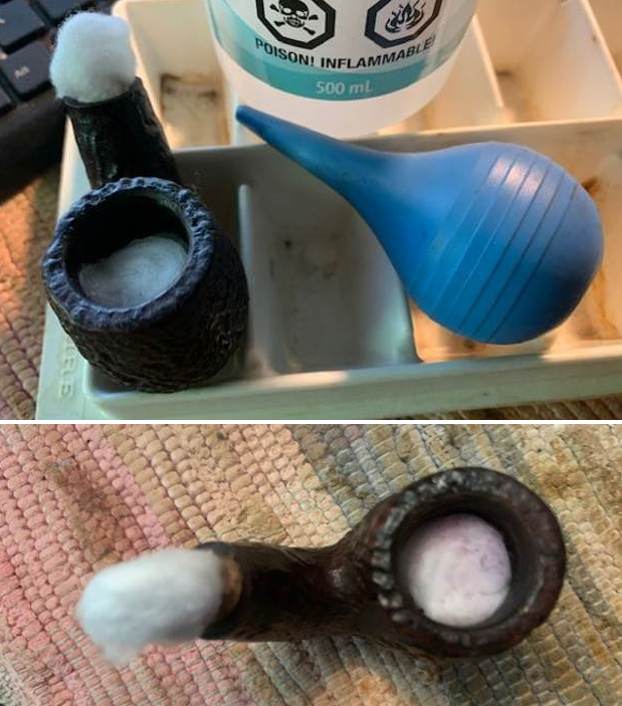
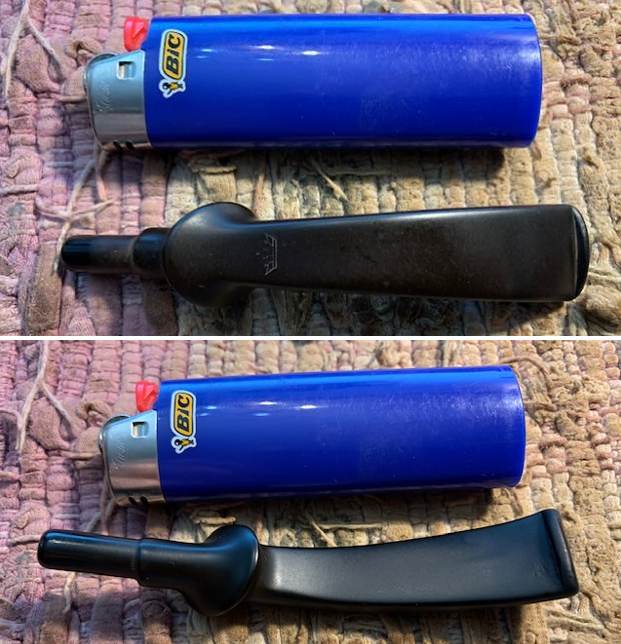
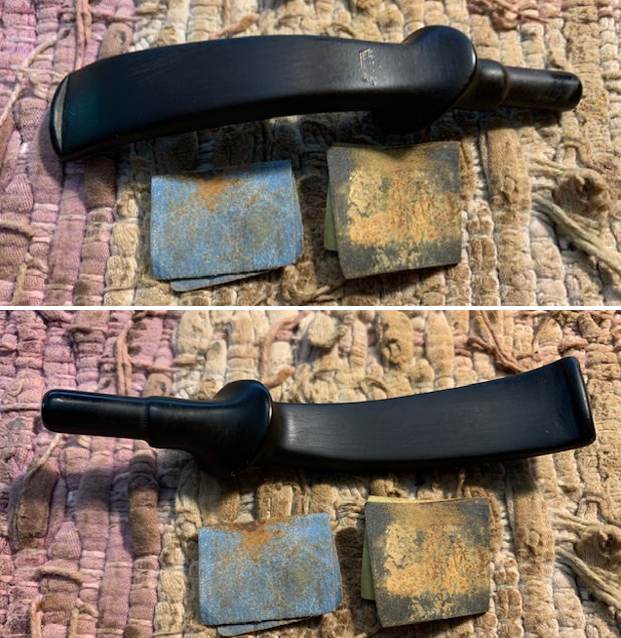
This next pipe is another that has been here for a very long time. I have no idea where I purchased it or whether it came to me in a trade for labour. I don’t remember. I have worked on quite a few of these Comoy’s made The Everyman Pipes over the years and find that they are well made and quite nice. The pipe is stamped on the underside and reads The [over] Everyman [over] London Pipe [over] the shape number 215. That is followed by Made in London [over] England. This  particular pipe has a rugged and deep sandblast around the bowl and shank. It has been stained with a dark brown stain. The bowl had been well reamed but there was some lava on the rim top blast. It was slightly out of round with some damage on the back inner edge of the bowl. Internally it smelled like an aromatic tobacco like Half and Half. The stem was oxidized, calcified and had some tooth chatter and marks on the top and underside ahead of the button. I took some photos of the pipe to give a sense of what I saw before I started my clean up work.   I took photos of the rim top and inner edge of the bowl to show the lava coat in the sandblast rim top and some burn damage and darkening on the inner edge of the bowl. The photos of the stem show the oxidation, calcification and the tooth marks and chatter on both sides ahead of the button. I took a photo of the stamping on the underside of the shank. It is clear and readable as noted above. I removed the stem from the shank and took a photo of the pipe to give a sense of the proportion. Before starting my cleanup work on the pipe I turned my favourite go to sites on background of brands. The first is Pipephil’s site (http://www.pipephil.eu/logos/en/logo-e4.html). There I looked up The Everyman brand and confirmed what I remembered about it being made by Comoy’s. From there I turned to Pipedia (https://pipedia.org/wiki/Comoy%27s). I went directly to the section on Comoy’s pipes. At the bottom of the article I found links for a shape list and also a shape chart. I have included both of them below. The shape number 215 is shown as a small ½ Bent Billiard.I have circled the 215 shape in the Comoy’s shape chart below.Now it was time to work on the pipe. I decided to address the stench in the pipe first so I could work on a clean pipe. The pipe bowl had been reamed and it was quite clean so I turned to clean the mortise and the airway in the shank and stem. I scrubbed the out with pipe cleaners, cotton swabs and Isopropyl 99% alcohol. Many pipe cleaners and much time passed and the draught was clean and open in both the stem and the shank.  With that done I worked on the lava build up on the rim top and the burn damage and darkening on the inner edge of the rim. I worked over the rim top with a brass bristle wire brush and two dental picks to clean out the grooves of the sandblast. I rusticated the sandblasted rim to further rough up the surface and remove the tars. I used a small conical burr to remove the damaged areas and reshape the rim top.   I used a Walnut Stain pen to stain the rim top rustication to match the other parts of the blasted rim top. I actually looks quite good. I used a folded piece of 220 grit sandpaper to give the edge a light bevel to minimize the damage and bring the bowl back to round.   With that part of the work done I decided it was time to address the ghost in pipe with alcohol and cotton bolls. I stuffed the bowl with cotton bolls and twisted one into a plug that I pushed into the shank end. I set the bowl upright in an old ice cube tray and filled it with alcohol using an ear syringe. I set it aside to do its work over night.    I worked some Before & After Restoration Balm into finish of the briar with my fingertips to clean, enliven and protect it. I let the balm sit for a little while and then buffed with a cotton cloth to raise the shine. The Restoration Balm really makes the grain stands out beautifully.   I cleaned the exterior of the stem with some Soft Scrub All Purpose cleanser and cotton pads. I was able to remove a lot of oxidation and calcification from the stem surface. I set the bowl aside and turned my attention to the stem. I used the flame of a Bic lighter to “paint” the surface of the stem to lift the tooth marks on both sides of the stem. The heat lifted many of the marks. I filled in what remained with clear CA glue and set it aside to harden.  Once the repairs cured on the top and underside of the stem I filed them flat and recut the button edge with a small file. I sanded them with a folded piece of 220 sandpaper. I started polishing the stem with 400 grit wet dry sandpaper. I polished the stem with micromesh sanding pads – wet sanding with 1500-2400 grit pads and dry sanding with 3200-12000 grit pads. I wiped the stem down after each pad with Obsidian Oil. I polished it with Before & After Pipe Stem Polish – both fine and extra fine and buffed it with a cotton pad. I gave it a final coat of Obsidian Oil and set it aside to dry.  The Everyman London Pipe 215 Bent Billiard was finished. I polished the bowl and stem with Blue Diamond to polish out the remaining small scratches. I used a very light touch so as not to damage the stamping on the shank. I gave the bowl multiple coats of Conservator’s Wax and the stem multiple coats of carnauba wax. I buffed the pipe with a clean buffing pad to raise the shine. I hand buffed it with a microfiber cloth to deepen the shine. The pipe polished up pretty nicely. The depths of the sandblast came alive with the buffing and works well with the polished black vulcanite saddle stem. Altogether the pipe has a rich look. The finished pipe is shown in the photos below. The shape, finish and flow of the pipe and stem are very well done. The dimensions are Length: 5 inches, Height: 1 ¾ inches, Outside diameter of the bowl: 1 ¼ inches, Chamber diameter: ¾ of an inch. The weight of the pipe is 1.55 ounces/45 grams. I will be putting it on the rebornpipes store in the British Pipemakers Section soon. If you are interested in adding it to your collection let me. I have one of these and they are a cool dry smoke. Thanks for walking through the restoration of this fine old Comoy’s made pipe. It was a pleasure to work on.
Can this one be brought back to life? A Butz-Choquin Rocamar 1319 Bent Billiard


Blog by Steve Laug

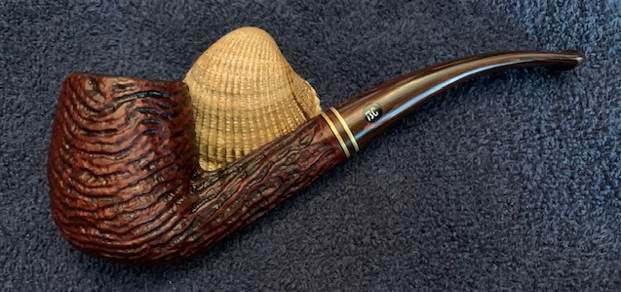
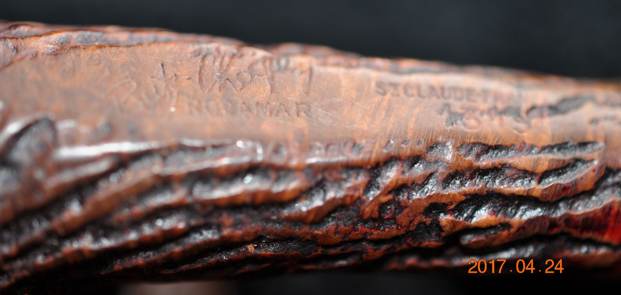
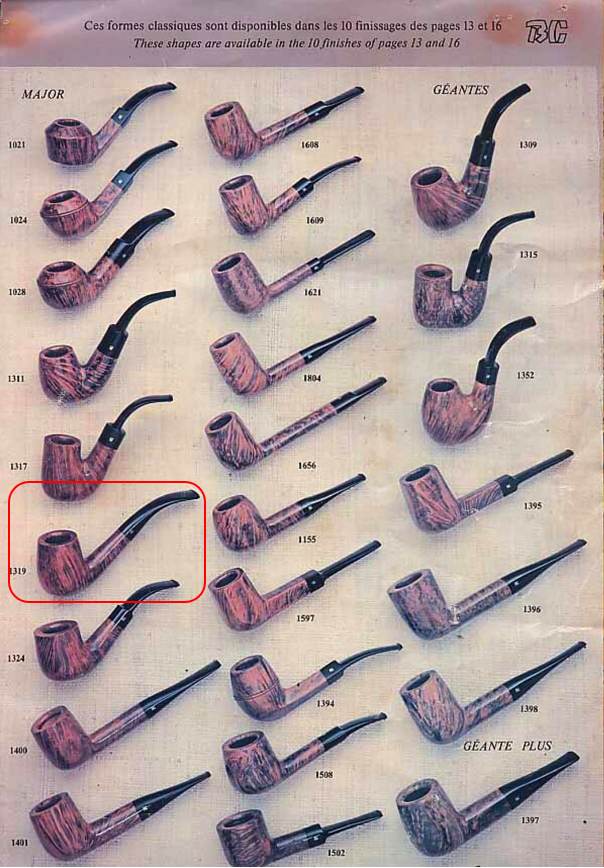
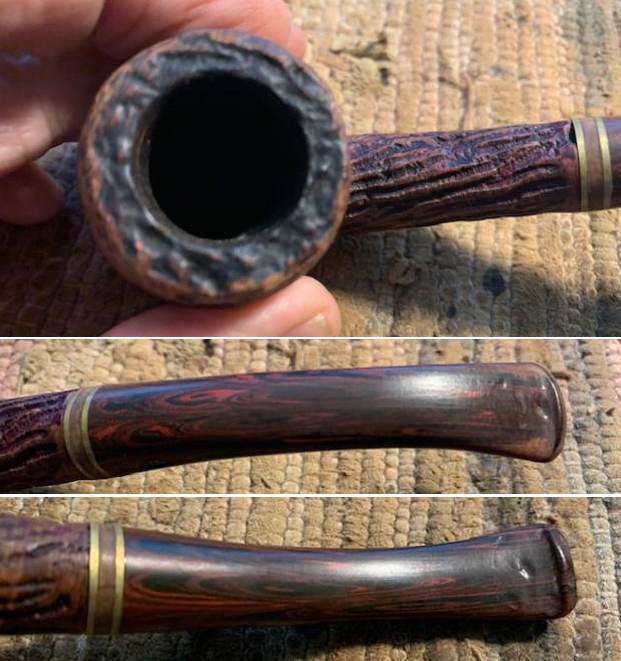
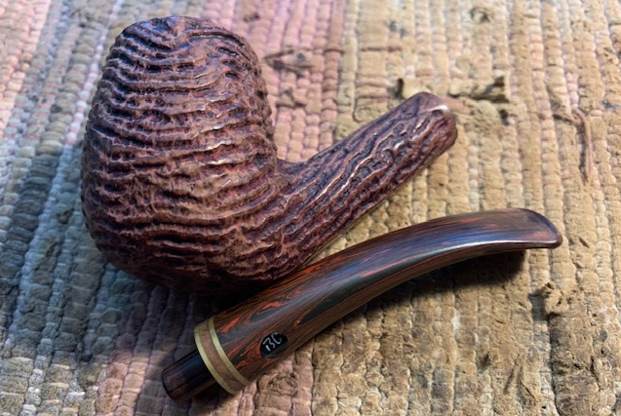
The next pipe on the table is French made Bent Billiard with rugged sandblast that looks like it was helped along by a guided hand. Jeff purchased it on eBay on 04/14/17 from a seller in New Tripoli, Pennsylvania, USA. The shape of it fits well in the hand and has a tactile feel as well. The pipe is stamped on the underside of the shank and reads Butz-Choquin [over] Rocamar. That is followed by St. Claude France [over] the shape number 1319. Rocamar in Spanish means Rocklike and that applies well to the finish on this one. The finish appears to be a rugged sandblast but I am not sure if it is as it appears. The finish is a rich reddish brown colour and it is dirty with grime ground into the grooves of the finish. The bowl had a thick cake in it and a thick overflow of lava spills over the rim top. It is thick enough to make assessing the edges hard to do. The bent taper Cumberland stem was oxidized, calcified and had deep tooth marks and chatter on both sides ahead of the button and on the button surface itself. There was a BC logo encased in a circular, clear acrylic inlay on the left side of the stem. There was a band on the end of the stem composed of twin brass rings and a wafer of briar between them. Jeff took photos of the pipe before he started his work on the clean up. The exterior of the pipe was very dirty – grime and grit ground into the blasted/carved finish from years of use and sitting. The rim top was covered with a coat of thick lava that overflowed from the thick cake in the bowl. It was hard to know what the rim edges looked like because of the lava. The stem was dirty, calcified and oxidized with tooth chatter and marks on the top and underside of the stem ahead of the button and on the button surface. Jeff took a photo of the side and the heel of the bowl to give a better feel for the condition of the briar around the bowl. It is an interesting finish that has the look of a sandblast but also seems to look like some rustication/carving as well. The next photos show the stamping on the underside of the shank and it is very readable. It reads as noted above.  Jeff also took a photo of the chipped edge of the shank on the right side where it met the stem band. It appeared that someone had tried to pry off the stem from the shank and damaged the shank end in the process.I turned to Pipephil’s site (http://pipephil.eu/logos/en/logo-butzchoquin.html) to see if I could find any information on the Rocamar line. There was nothing there on the line itself to help me understand more about it. There was a good summary of the history of the brand that I have included below.

The origin of the brand reaches back to 1858 when Jean-Baptiste Choquin in collaboration with his son-in-law Gustave Butz created their first pipe in Metz (France). Since 1951 Butz-Choquin Site officiel Butz Choquin, pipes de Saint-Claude jura. BC pipe de bruyere luxe is a brand of the Berrod-Regad group (Saint-Claude, France).

Jean Paul Berrod managed the company from 1969 to 2002 when he retired and sold the corporate to Mr Fabien Gichon. Denis Blanc, already owner of EWA, took over the S.A. Berrod-Regad in 2006.

I then turned to Pipedia (https://pipedia.org/wiki/Butz-Choquin) to see if I could find any info on the Rocamar line. There was nothing there either but there was further information on the brand itself. I have included it below.

The pipe, from Metz to Saint-Claude.

Jean-Baptiste Choquin of Metz started out as a tobacconist. This enterprise was prosperous; he had several employees. Among those, there was a certain Gustave Butz who was its first workman and who became his son-in-law by marrying Choquin’s daughter Marie in 1858.

In 1858 Jean-Baptiste Choquin created, in collaboration with Gustave Butz, the Choquin pipe. This bent pipe with a flat-bottomed bowl was finished with an albatross-bone mouthpiece, fixed with silver rings.

In 1858, still in Metz, Gustave Butz built an establishment for the manufacture of the Choquin pipe which took the name of . In 1951, the Berrod-Regad company bought the trademark, continuing manufacture until 2002. Departing from Metz, the workshop was relocated to Saint-Claude, then also called “the world capital of the briar pipe”, under the Berrod-Regad group. The Berrod-Regad group would go on to completely rebuild the network of representatives until finally entering the export market in 1960 and has since won several prizes, as well as the Gold Cup of French good taste.

In a few years, the brand’s collection increased from ten to seventy series. 135 years after it was founded, the pipe is still well-known not only in France but throughout the world. In 2002, the Berrod family, wishing to preserve manufacture of pipes in Saint-Claude, handed over the company to Fabien Guichon, a native of the area, who will continue to develop the brand during the 21st century.

The site also had some catalogue pages showing the various shape numbers thanks to Doug Valitchka (https://pipedia.org/images/0/03/BC_Shape02.jpg). I am including a screen capture of the page that shows the shape 1319 Bent Billiard. I have circled it in red in the chart below.Jeff had reamed the pipe with a PipNet pipe reamer and cleaned up the reaming with a Savinelli Fitsall Pipe Knife. He scrubbed out the internals of the shank and stem with alcohol, pipe cleaners and cotton swabs until the pipe was clean. He scrubbed the exterior of the bowl with Murphy’s Oil Soap and a tooth brush to remove the grime and grit on the briar and the lava on the rim top. The finish looks much better but there is still some darkening on the rim top and edges of the bowl. Jeff scrubbed the stem with Soft Scrub and soaked it in Before & After Deoxidizer to remove the oxidation on the vulcanite. When the pipe arrived here in Vancouver for the second stop of its restoration tour it looked a lot better. It has been sitting here for 5 years so it is about time I worked on it. I took photos this morning before I started my part of the work.  I took some close up photos of the rim top and the stem surface. I wanted to show the cleaned bowl and rim top. The rim top and the inner and outer edges of the bowl were in good condition. The top of the bowl had some darkening in the grooves of the carved surface of the rim top and the inner edge of the bowl. I also took close up photos of the stem to show the tooth marks on the stem surface. I took a photo of the stamping on the underside of the shank and it is faint but readable. It is stamped as noted above.   I removed the stem for the shank and took a photo of the bowl and stem to give a picture of what it looked like. The Rocamar finish is totally unique.I started my work on the pipe by addressing the chip on the right end side of the shank where it met the stem. I used a dental spatula to rebuild the chip with clear CA glue and briar dust. Once it cured I sanded the repair smooth. With the repair finished I turned my attention to the darkening on the rim top and inner edge. I wiped the rim top and edge down with some acetone on a cotton pad. I used a brass bristle wire brush to clean up the grooves in the carving on the rim top. I also used the wire brush on the rest of the bowl as well to clean up the debris of time in the box here. The bowl and the rim top came out looking much better.I rubbed the bowl down with Before & After Restoration Balm. I worked it into the surface of the briar with my fingertips and a horse hair shoe brush to clean, enliven and protect it. I let the balm sit for a little while and then buffed with a cotton cloth and shoe brush to raise the shine.  I set the bowl aside and turned my attention to the stem. I used the flame of a Bic lighter to “paint” the surface of the stem to lift the tooth marks on both sides of the stem. The heat lifted many of the marks. I filled in what remained with clear CA glue and set it aside to harden.  Once the repairs cured on the top and underside of the stem I filed them flat and recut the button edge with a small file. I sanded them with a folded piece of 220 sandpaper. I started polishing the stem with 400 grit wet dry sandpaper.   I polished the vulcanite with micromesh sanding pads – 1500-12000 grit pads. I wiped it down with a damp cloth after each sanding pad. I used Before & After Pipe Polish – both Fine and Extra Fine to further polish the stem.  I left a little oxidation around the stamp so as not to damage it more.   This Butz-Choquin Rocamar 1319 Bent Billiard was a fun one to work on. Did we achieve our goal of bringing it back to life? In the end, you have to decide. To my mind it cleaned up really well and looks very good. The Before & After Restoration Balm brought the colours and grain out in the sandblast/carve finish on the pipe. It works well with the polished Cumberland taper stem. I put the stem back on the bowl and carefully buffed the pipe with Blue Diamond on the buffing wheel using a light touch on the briar. I gave the bowl multiple coats of Conservator’s Wax and the stem multiple coats of carnauba wax on the buffing wheel. I followed that by buffing the entire pipe with a clean buffing pad. I hand buffed the pipe with a microfiber cloth to deepen the shine. The finished Butz-Choquin Rocamar Bent Billiard fits nicely in the hand and I think it will feel great as it heats up with a good tobacco. The tactile finish will add to the experience. Give the finished pipe a look in the photos below. The dimensions of the pipe are Length: 6 inches, Height: 2 inches, Outside diameter of the bowl: 1 ¼ inches, Chamber diameter: ¾ of an inch. The weight of the pipe is 2.15 ounces/61 grams. If you are interested in carrying the previous pipeman’s legacy with this pipe send me a message or an email. I will be adding it to the rebornpipes store in the French Pipe Makers Section. Thanks for reading this blog and my reflections on the pipe while I worked on it.