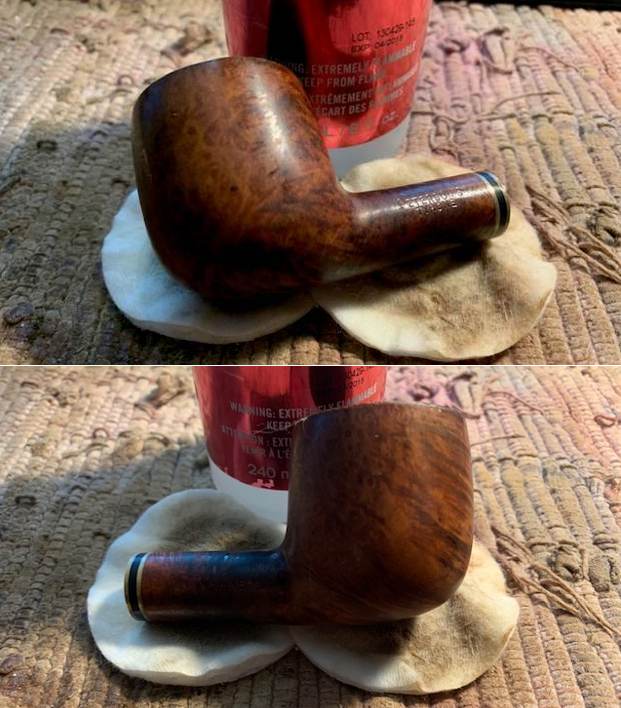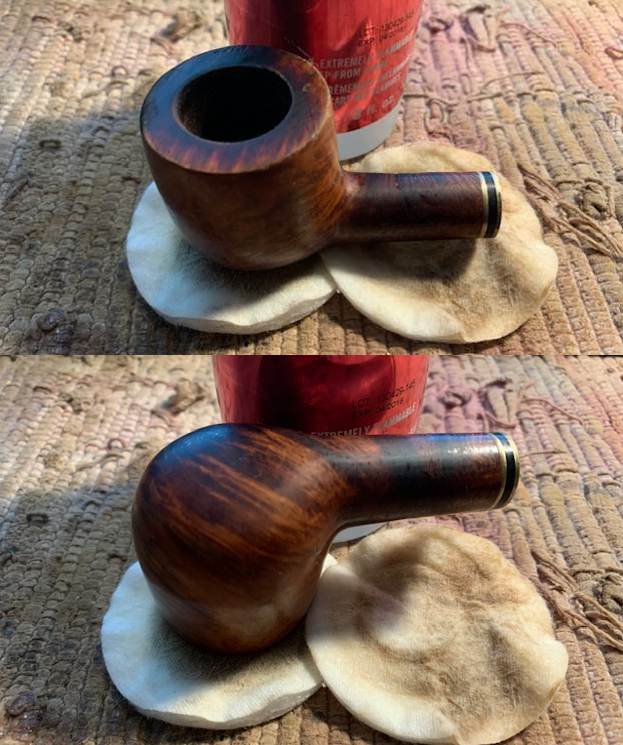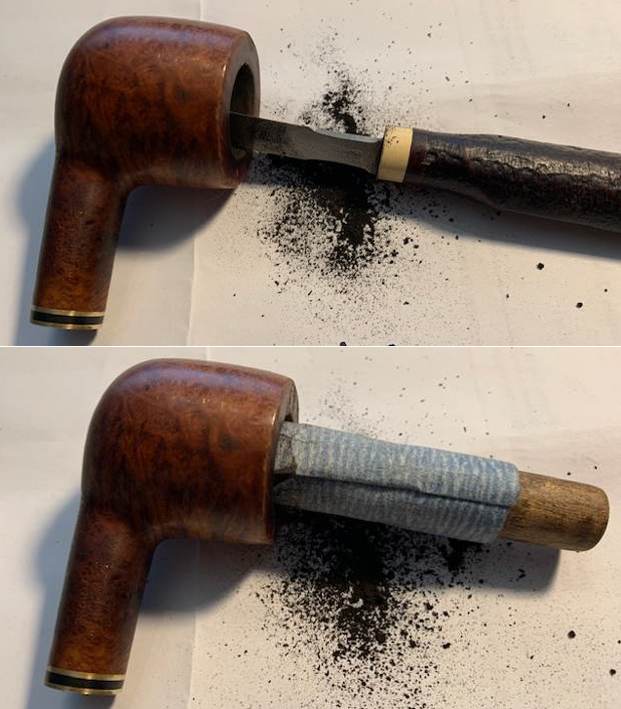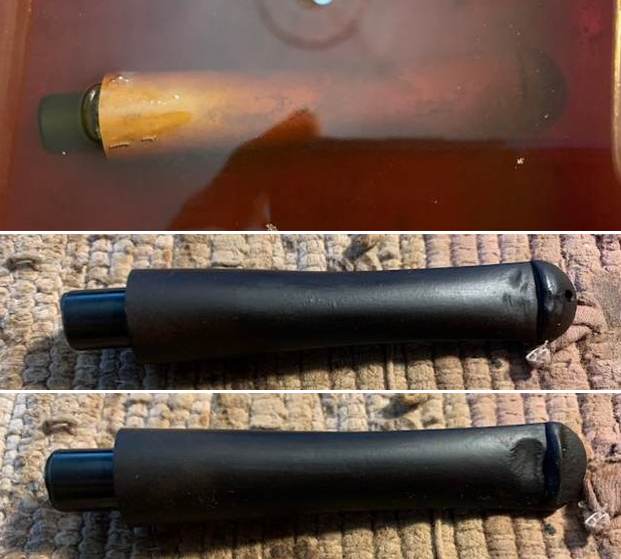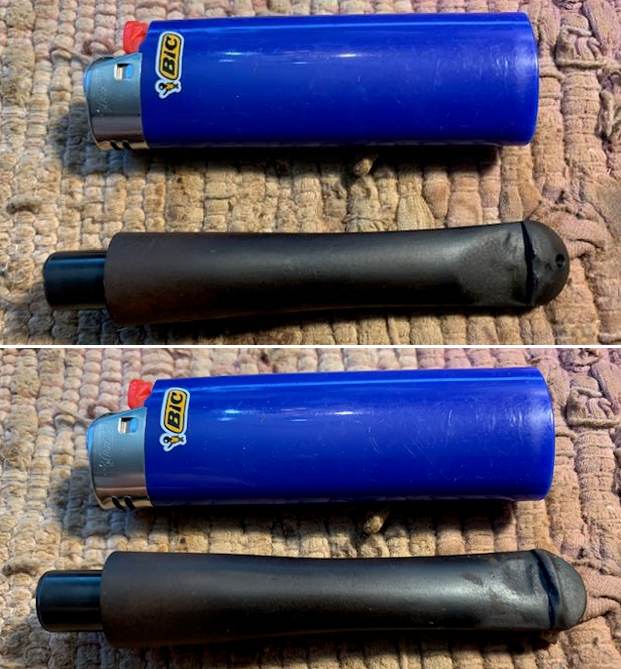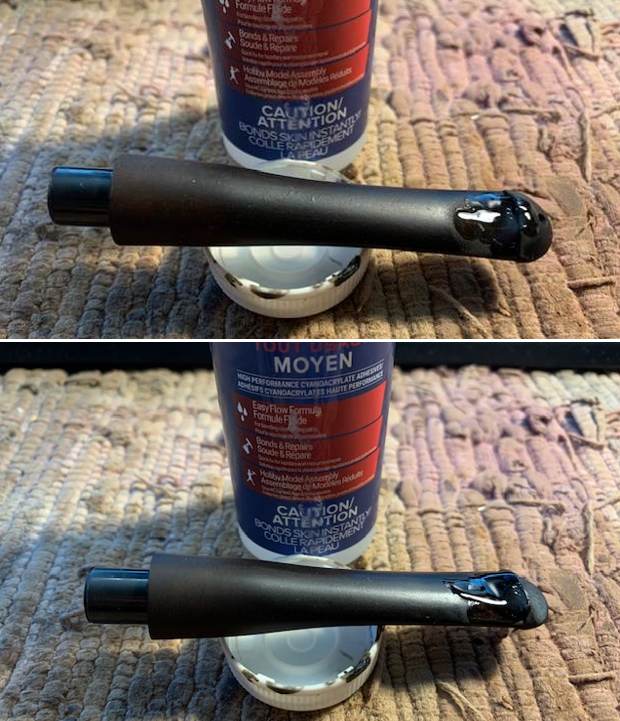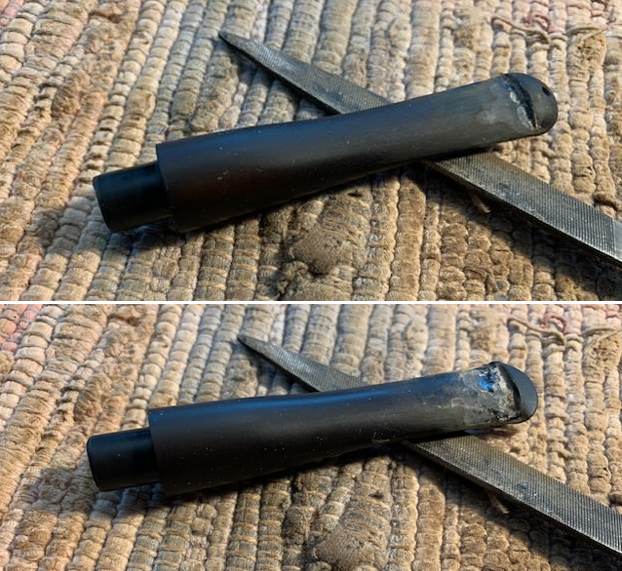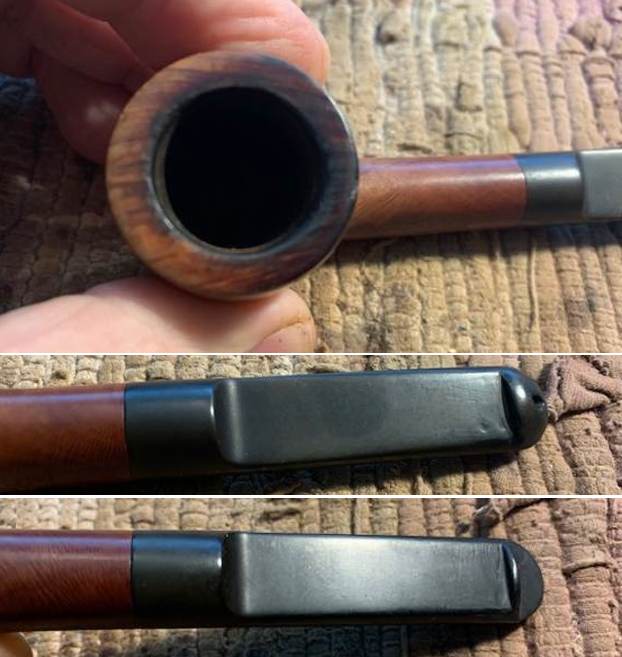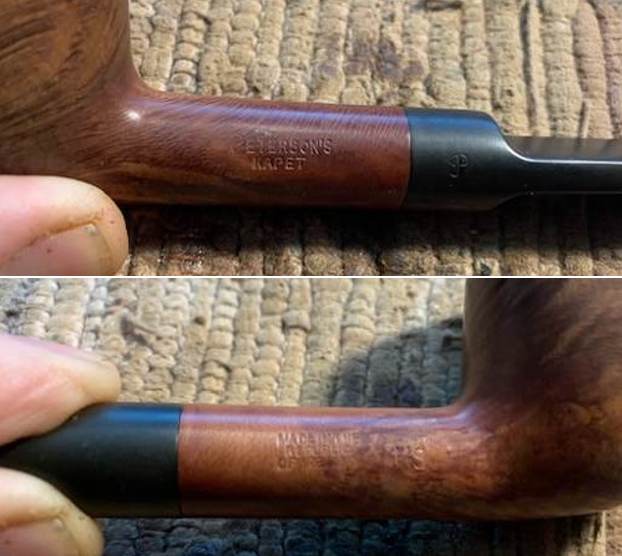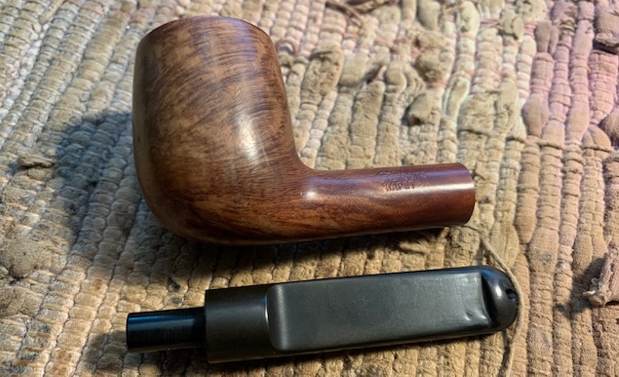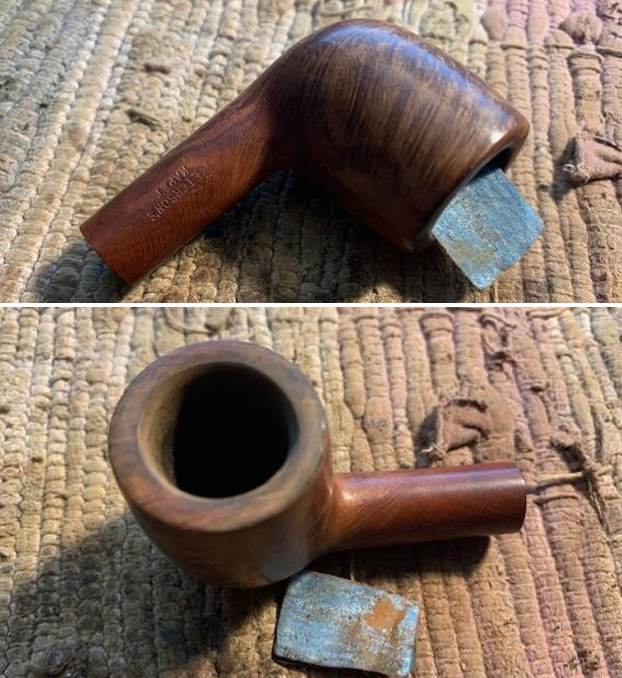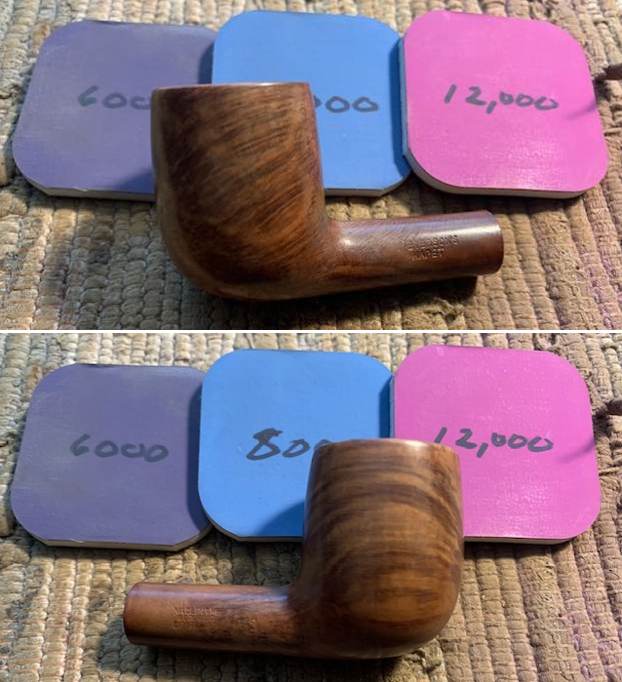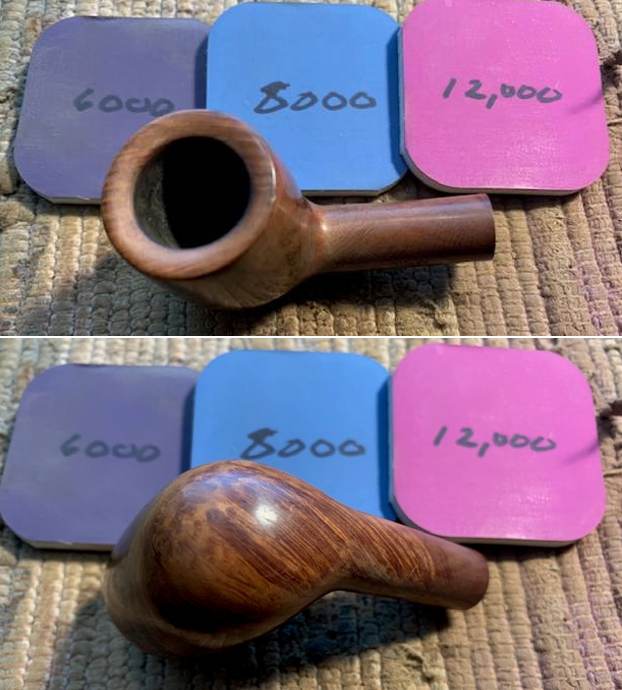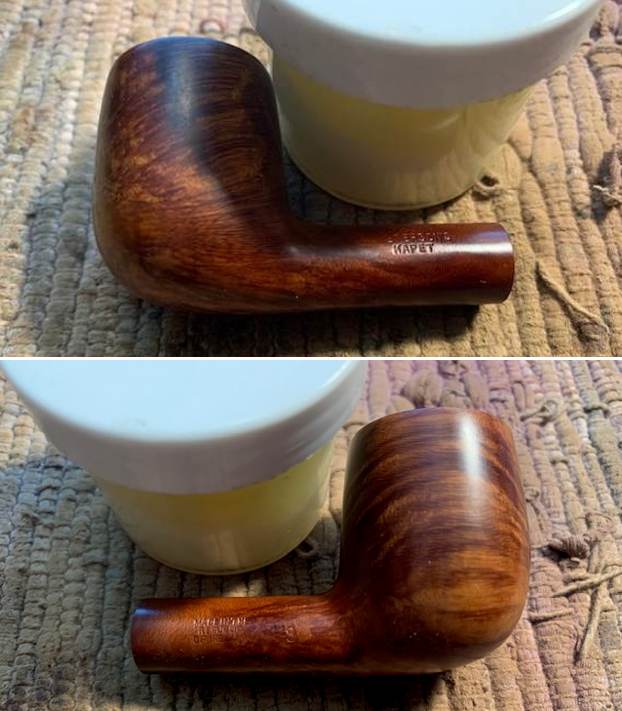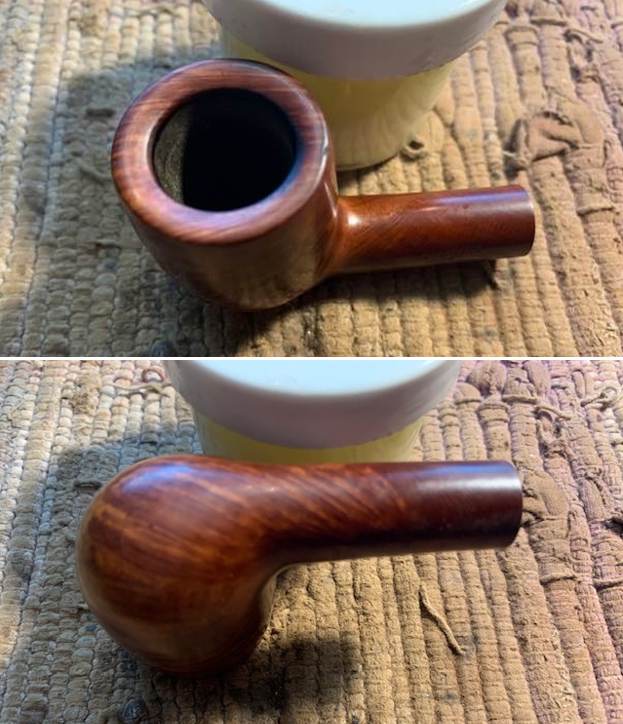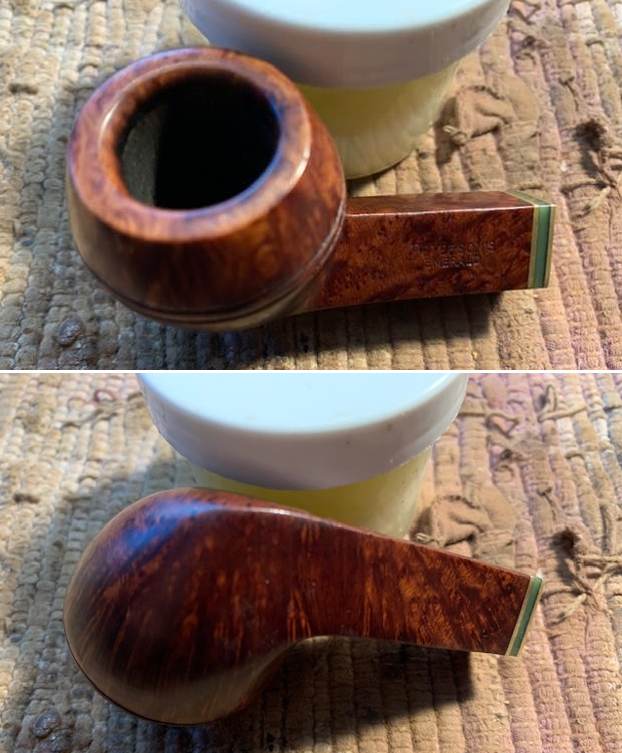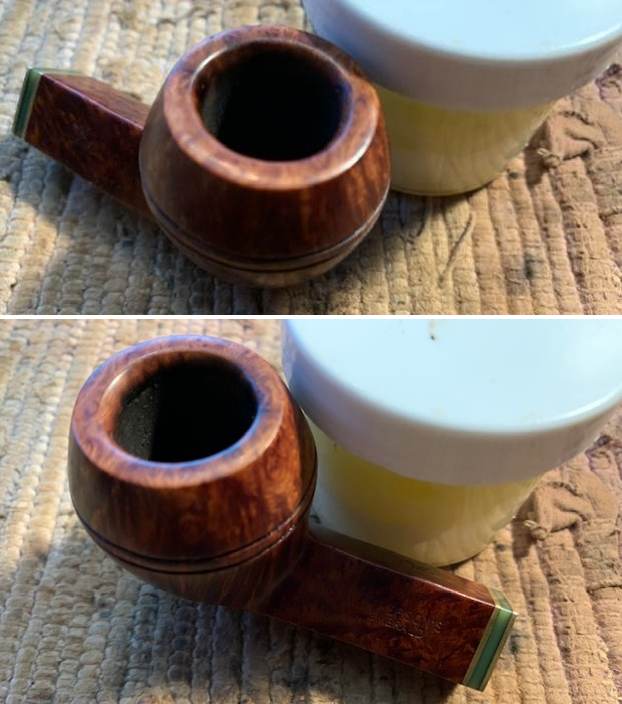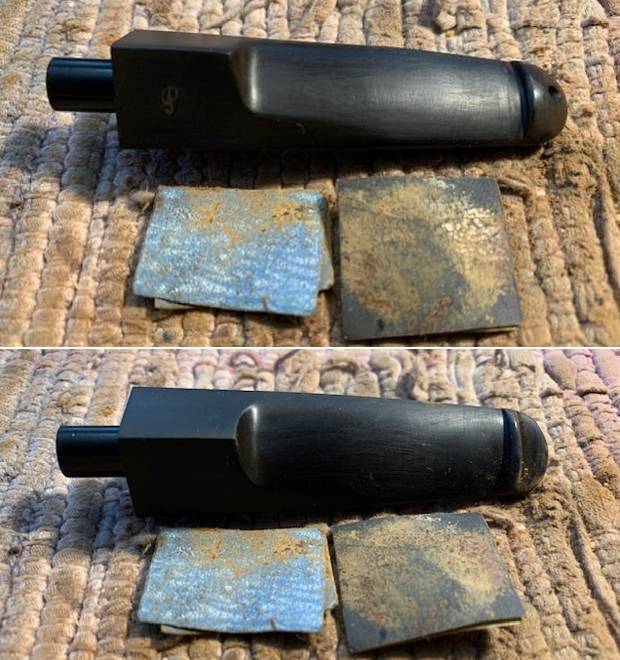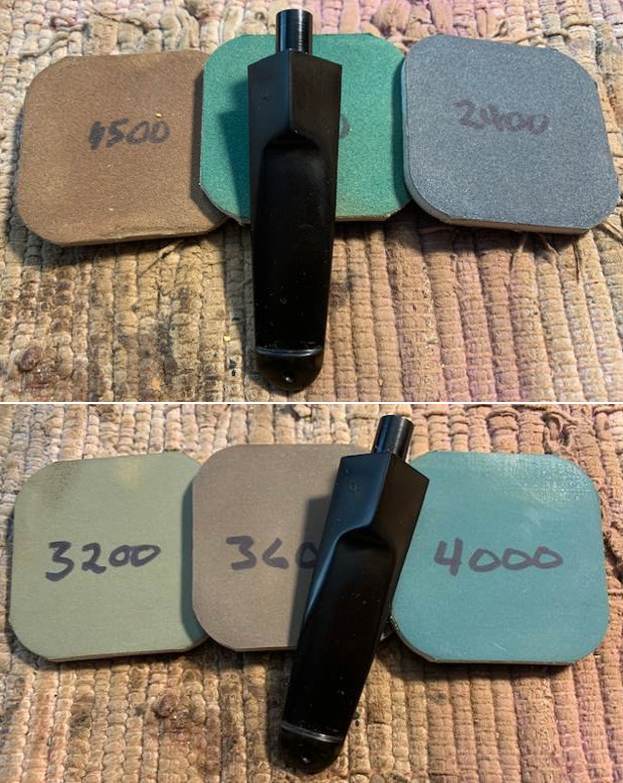
Tag Archives: bite marks

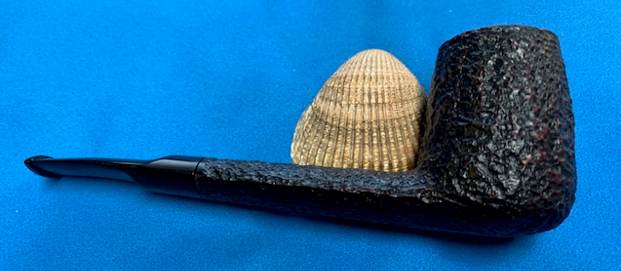
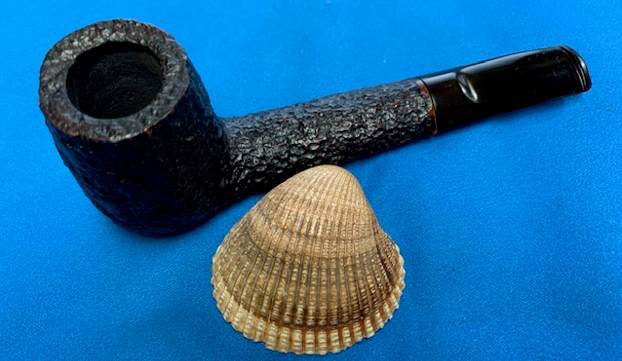
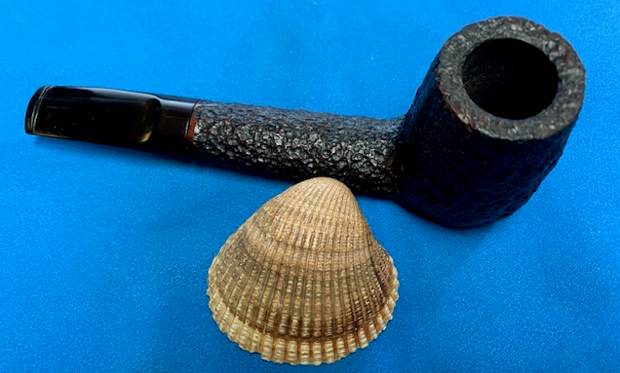
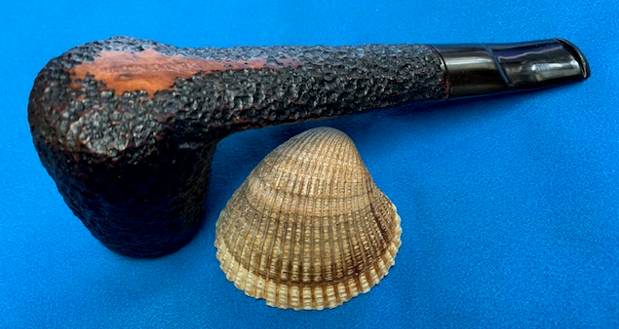
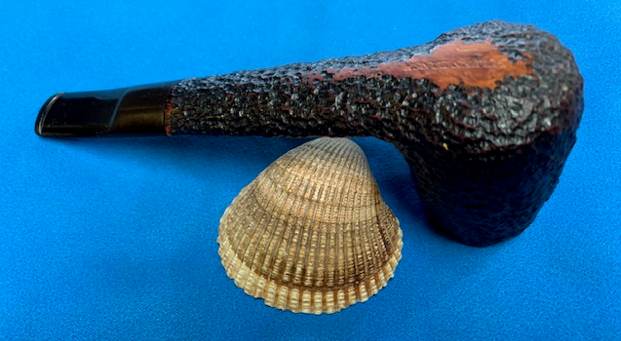
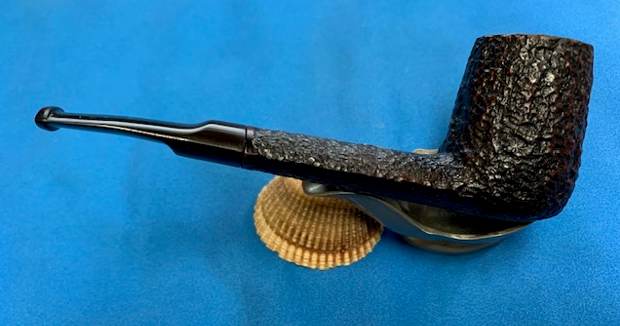
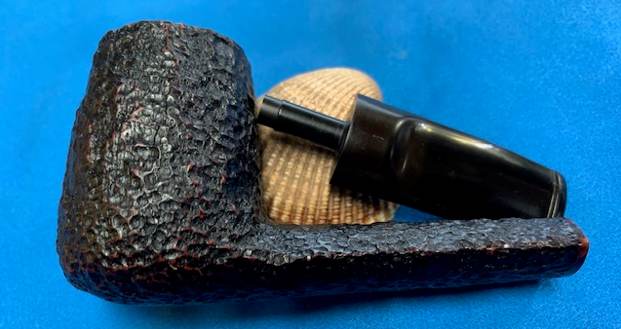
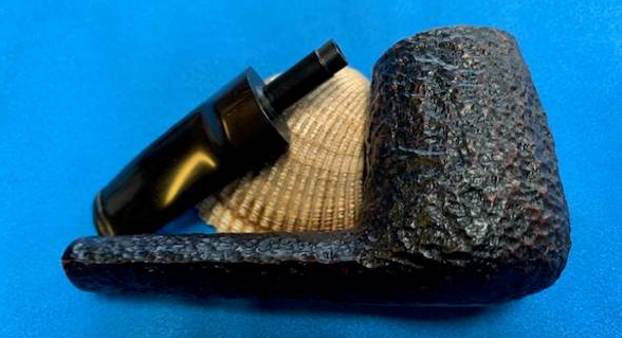
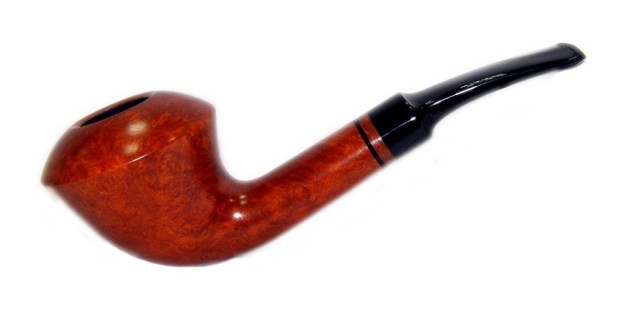
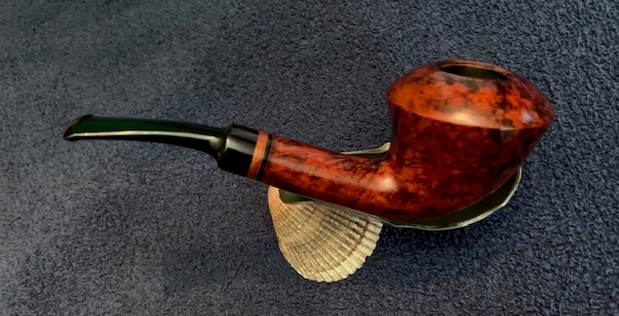
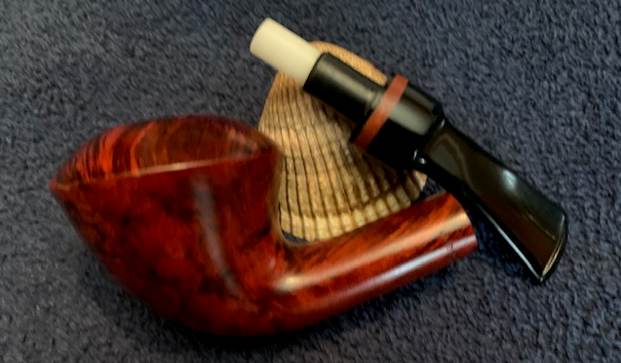
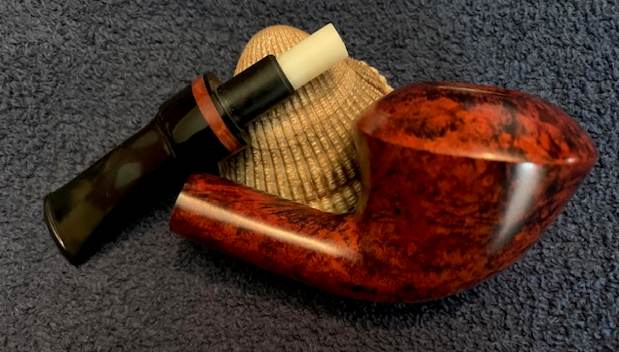
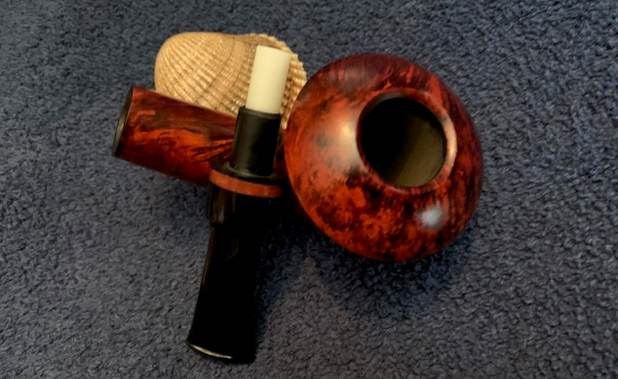
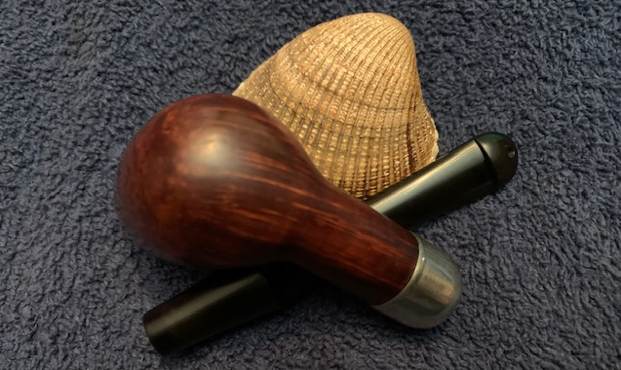
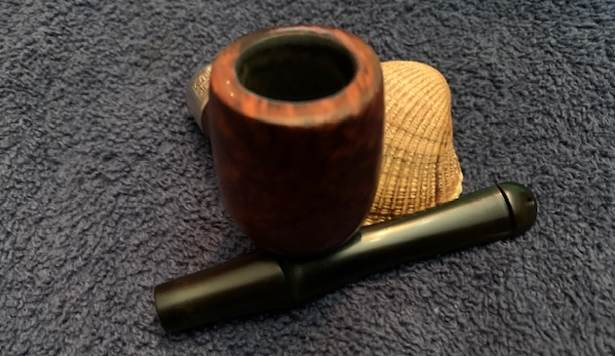
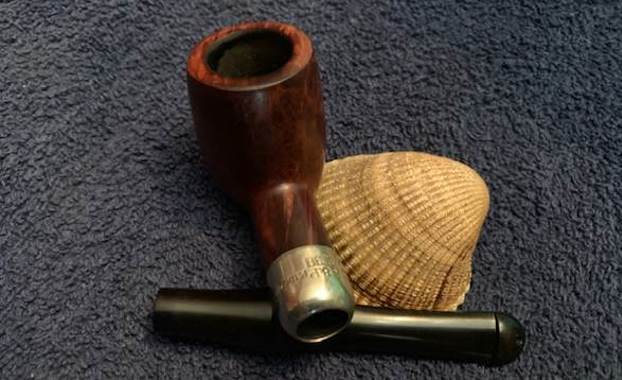
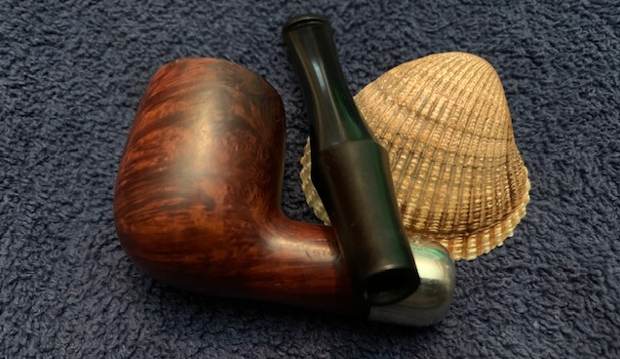
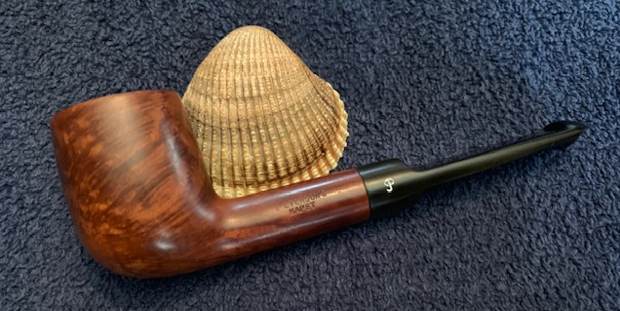
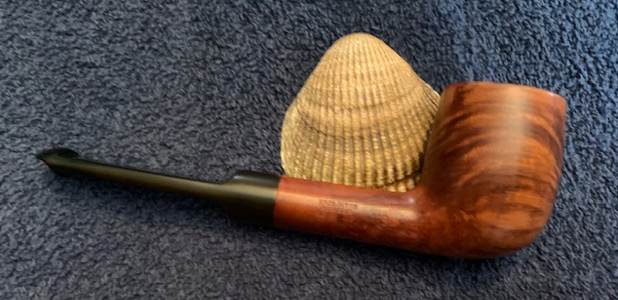
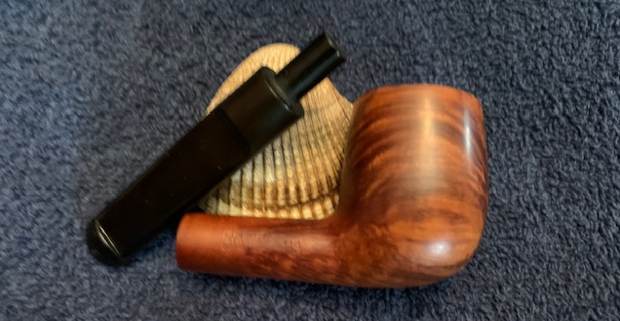
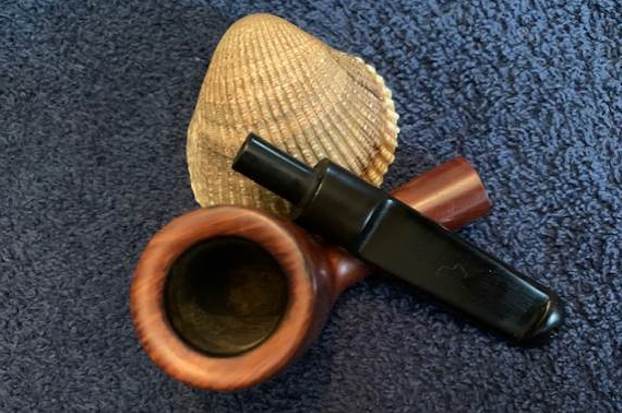
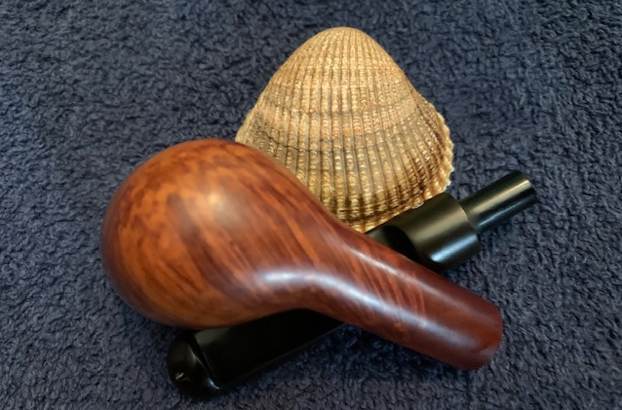
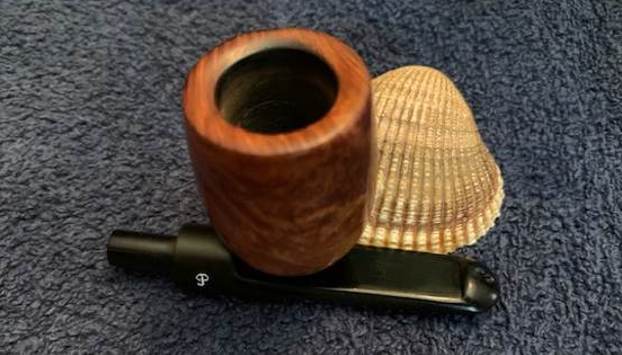
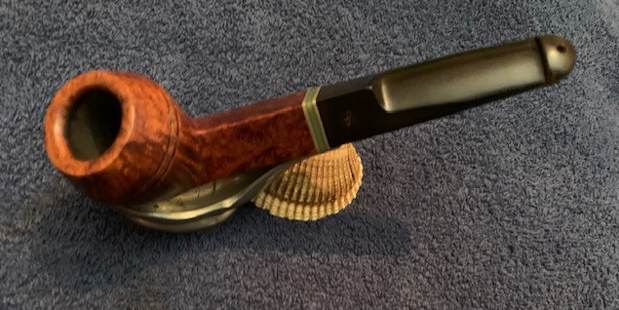
Restoring an Italian Made Gulden Dansk Long, Oval Shank Brandy


Blog by Steve Laug

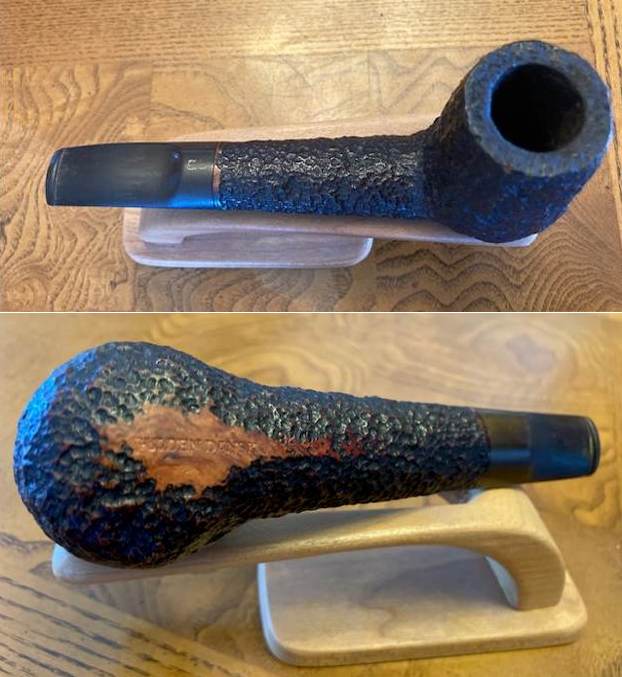
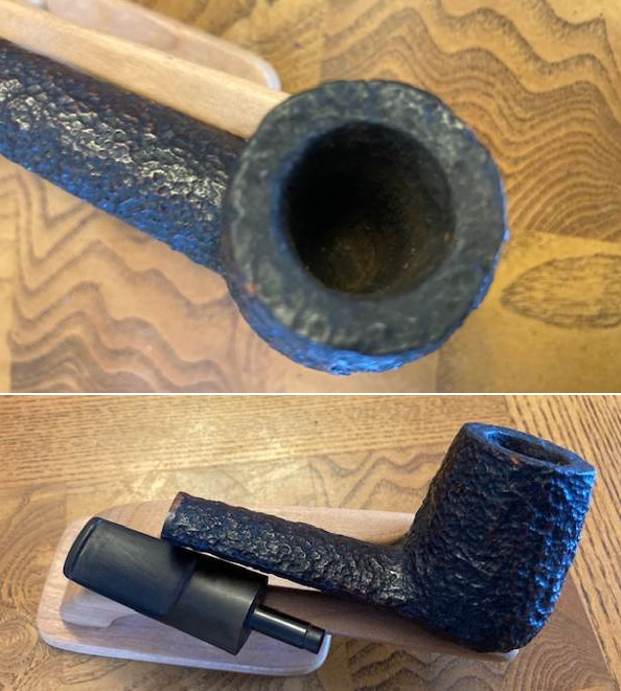
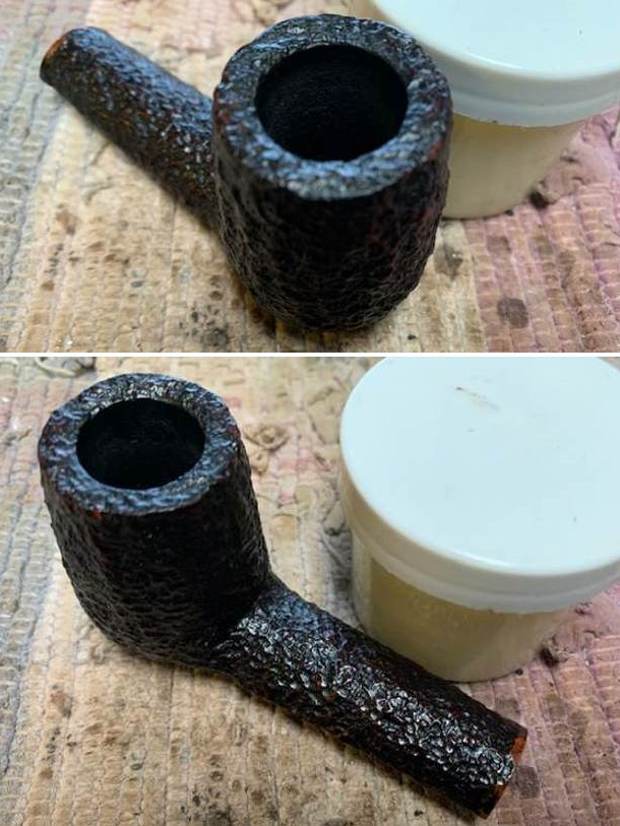
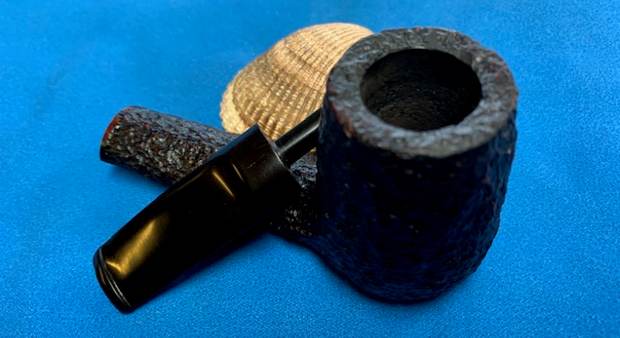
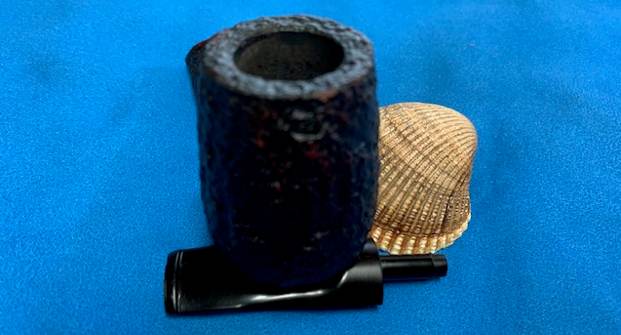
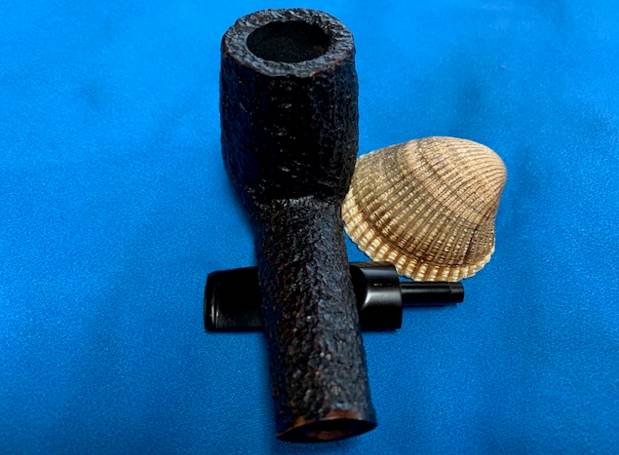
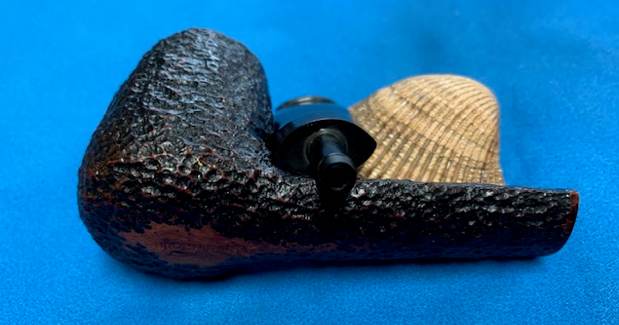
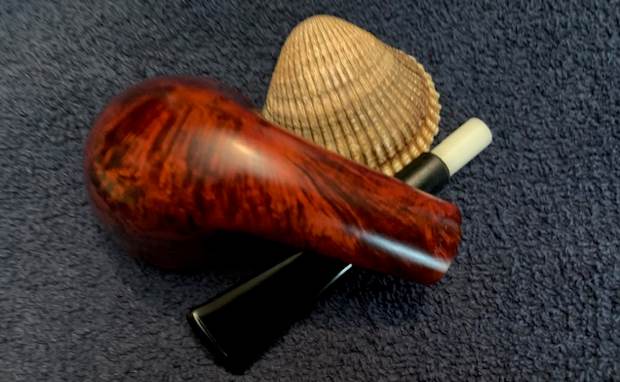
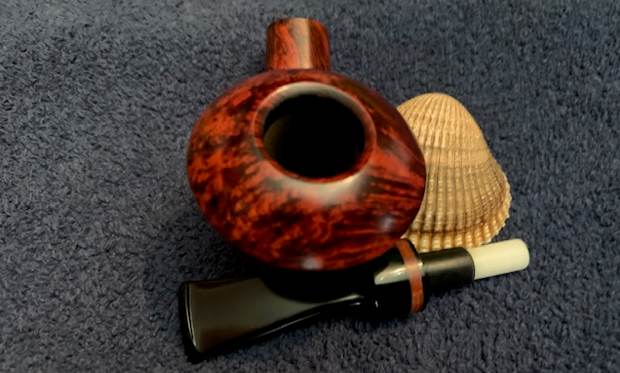
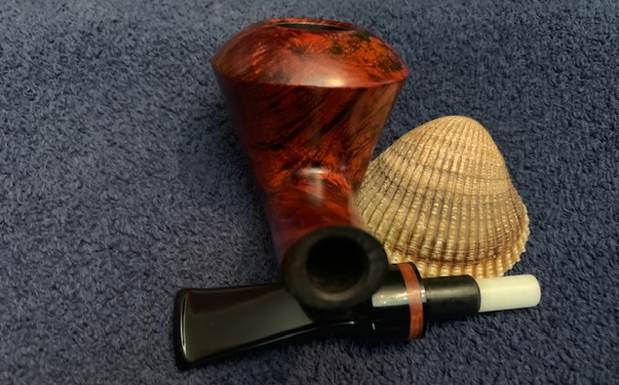
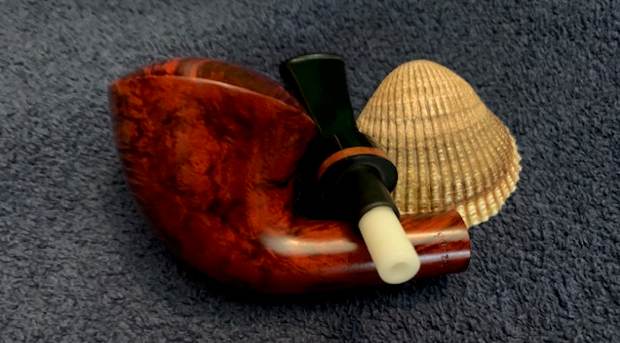
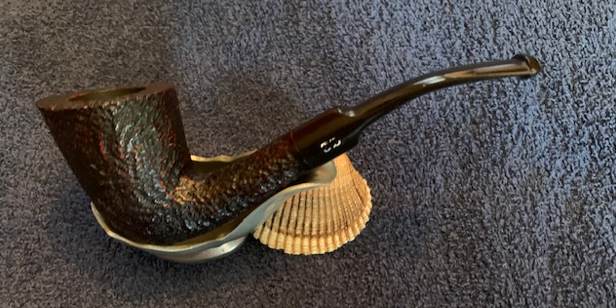
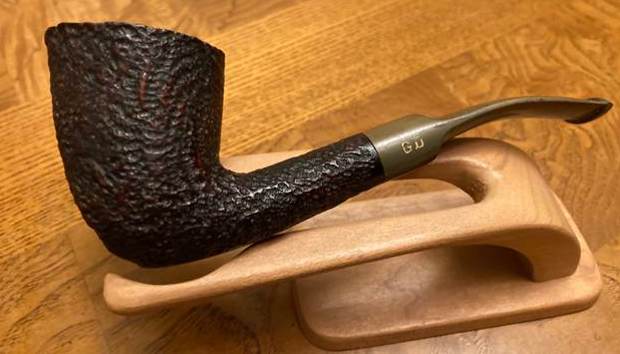
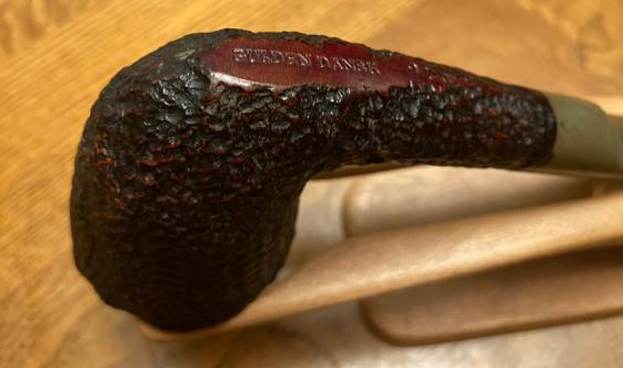
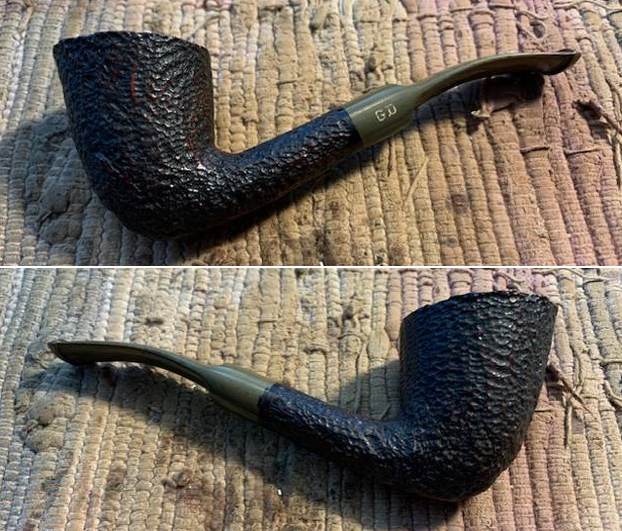
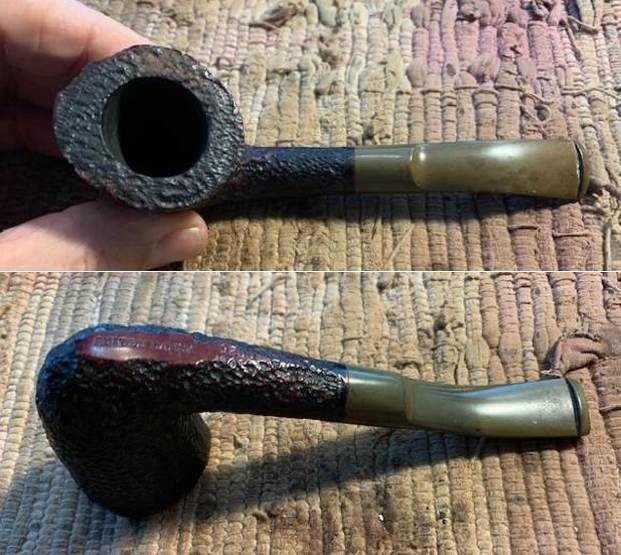
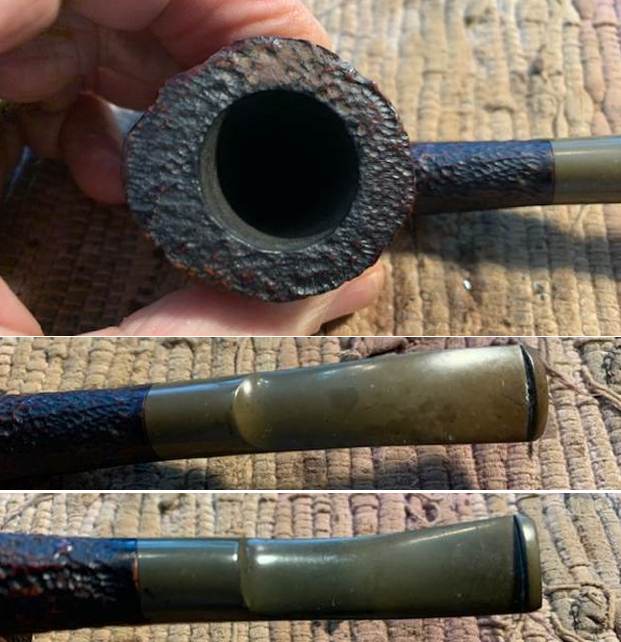
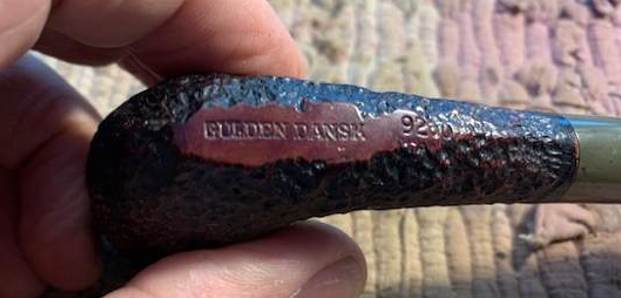
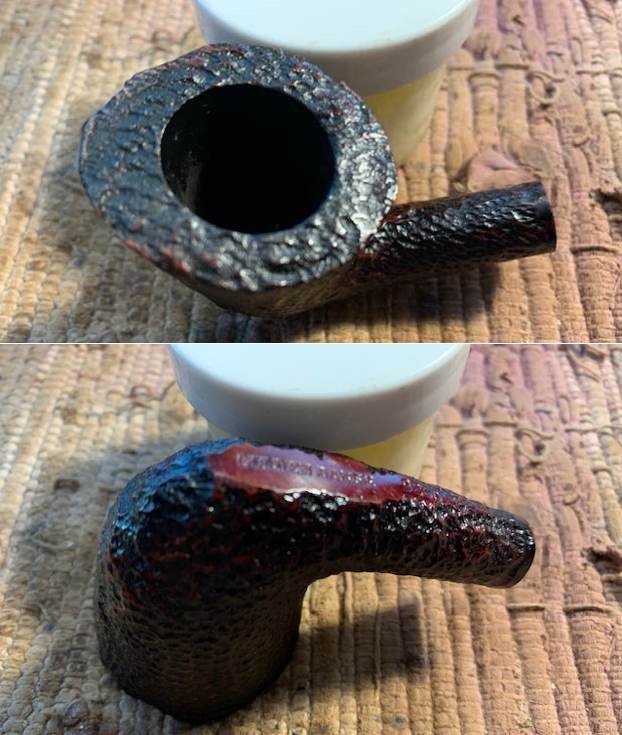
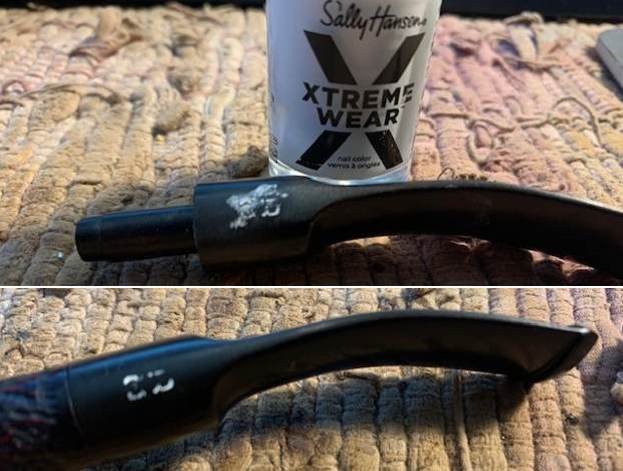
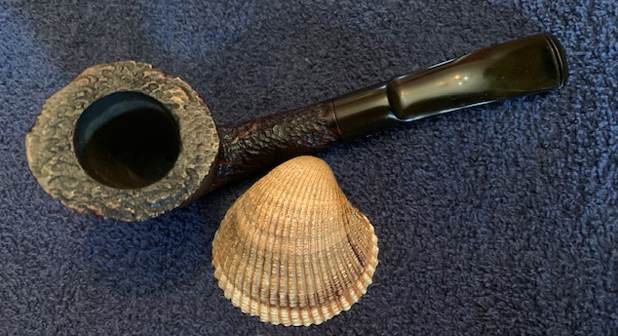
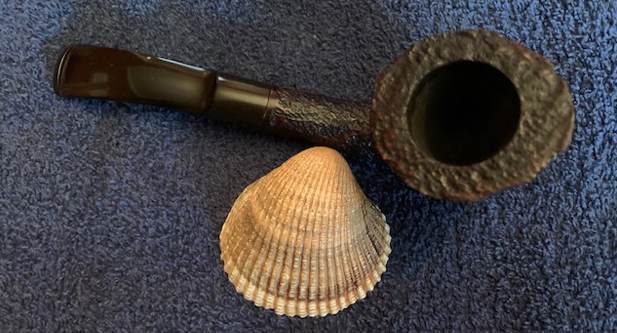
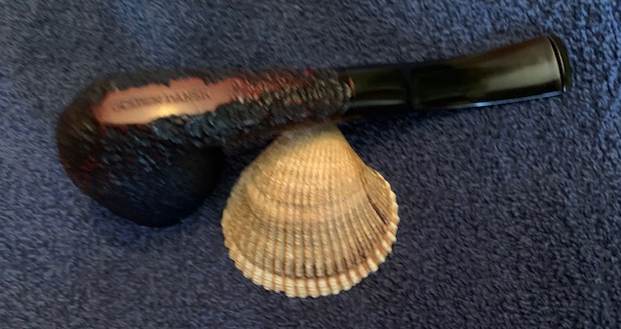
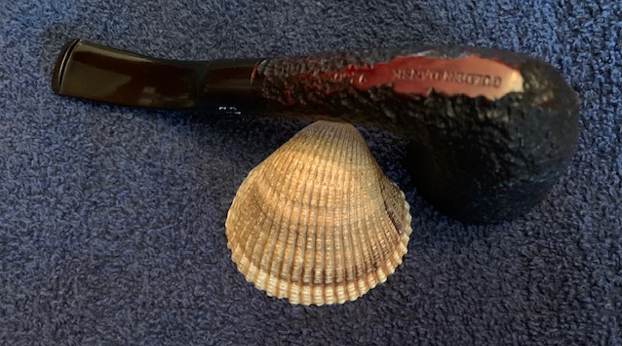
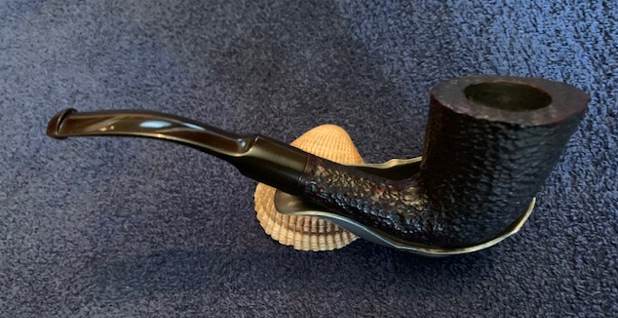
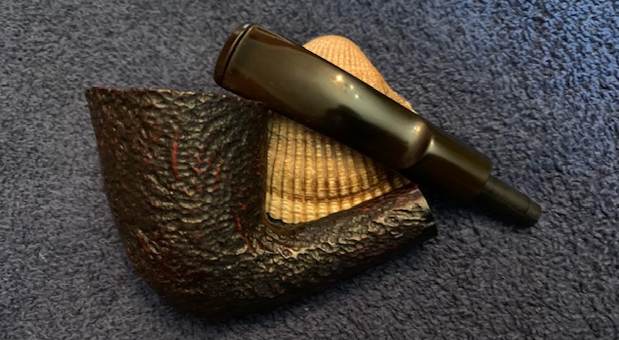
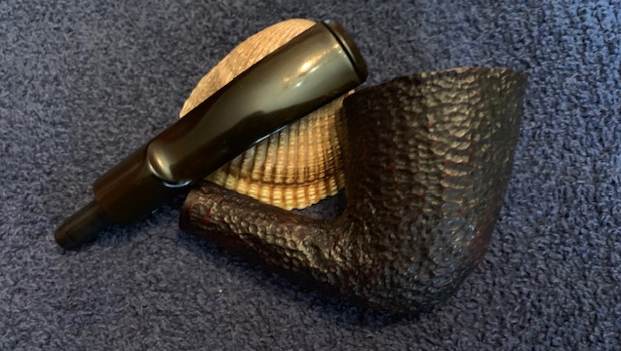
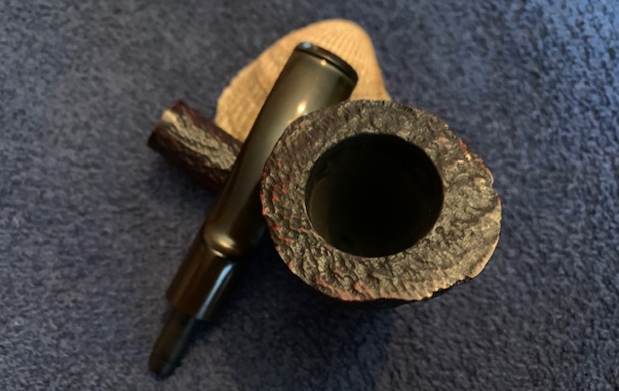
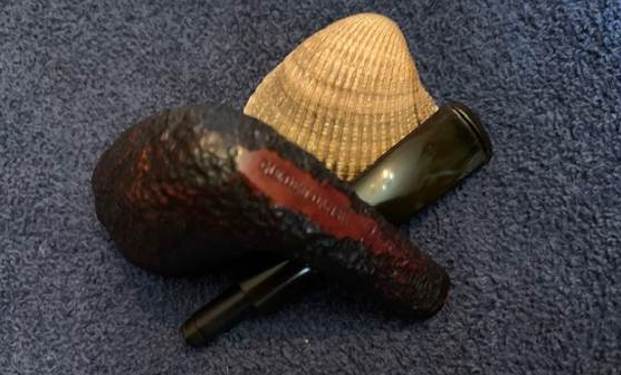
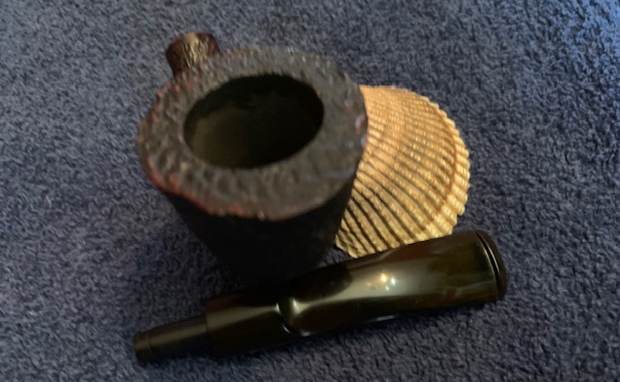
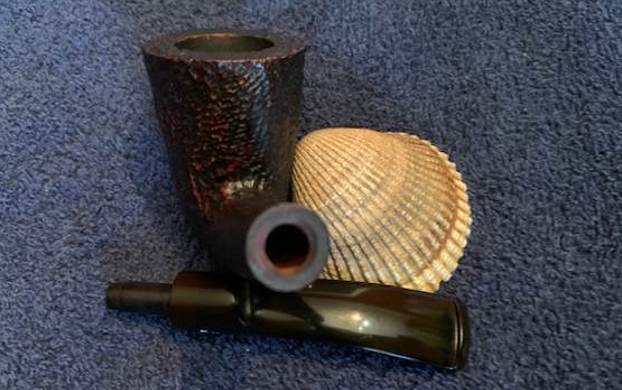
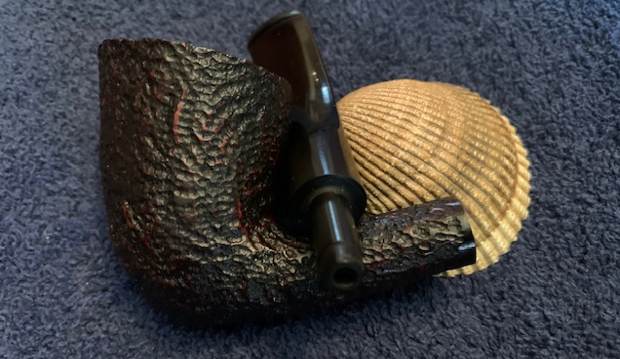
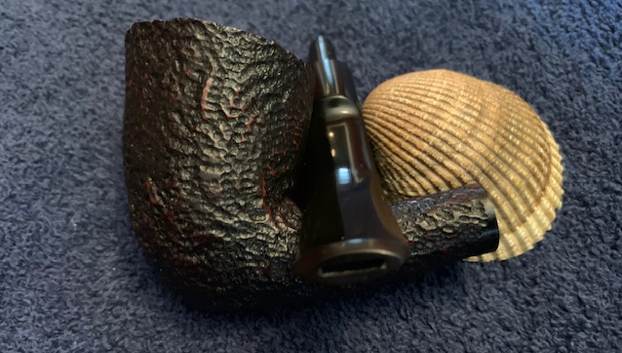
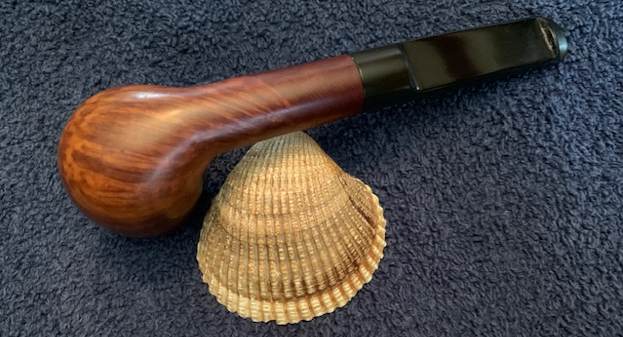
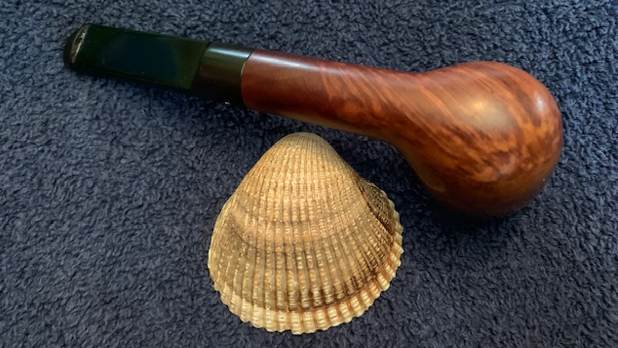
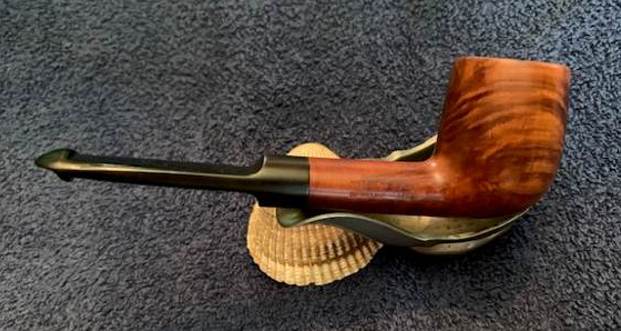
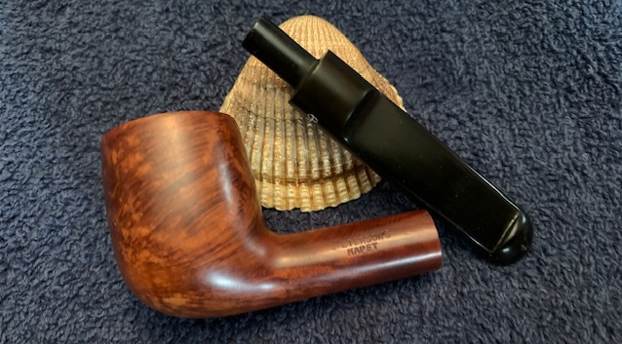
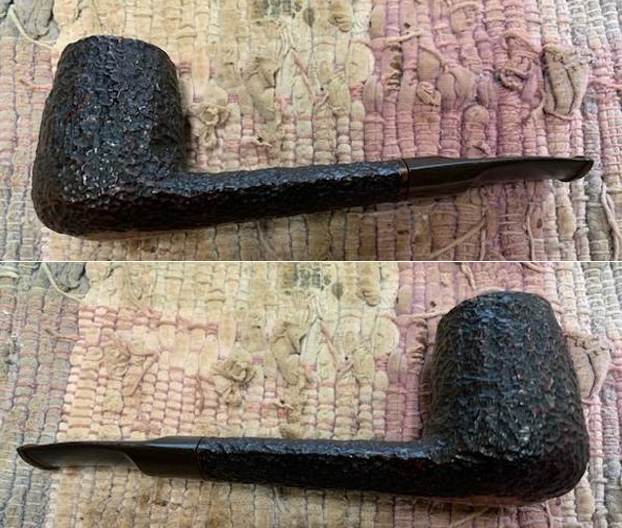
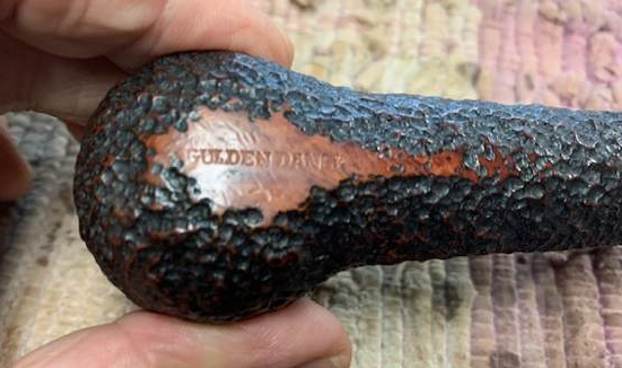
Last week I received an email from Sonny, the fellow I had restored the Gulden Dansk 9200 Freehand Dublin. He was sending me a package with what he called the brother to that Gulden Dansk pipe to work on that he wanted restored. It arrived this week and it was another old Gulden Dansk pipe made by Savinelli with a vulcanite saddle stem. He wanted me to restore it like I had the other one. It had the same rusticated finish with a tight pattern around the bowl. The finish was dirty with dust in the grooves but it was still quite pretty. The rim top was rusticated to match the bowl finish. The rim top was dirty with lava overflow filling in the grooves. The edges of the rim were very good. The pipe was stamped on the underside of the shank and read Gulden Dansk. It was quite lightweight and would clean up quite nicely. In chatting with him over email that he wanted the pipe cleaned up and restored. The stem was oxidized and the GD stamp was faded but the stamping looked to be deep enough to try to restain it. I am including the photos that Sonny sent me. It is an intriguing looking pipe. When I received the pipe in the mail on this week, I went back to the previous blog I did for Sonny and reread what I had written there from a Blog that Kenneth wrote about a pair of pipes he had worked on – a Gulden Dansk and a Silveren Dansk. I turned to his blog and read through what he had written about the brands there (https://rebornpipes.com/tag/savinelli-made-gulden-dansk/). I quote the research that Kenneth did on the brand before I started my clean up work. It is very helpful and tied the pipe brand to Savinelli as I assumed looking at it.
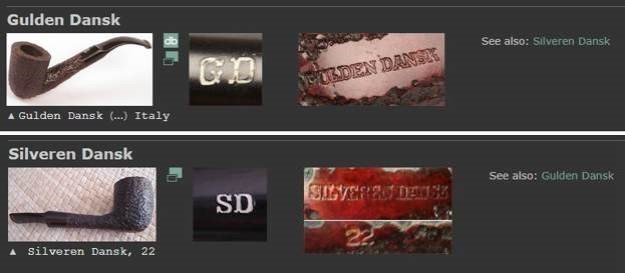
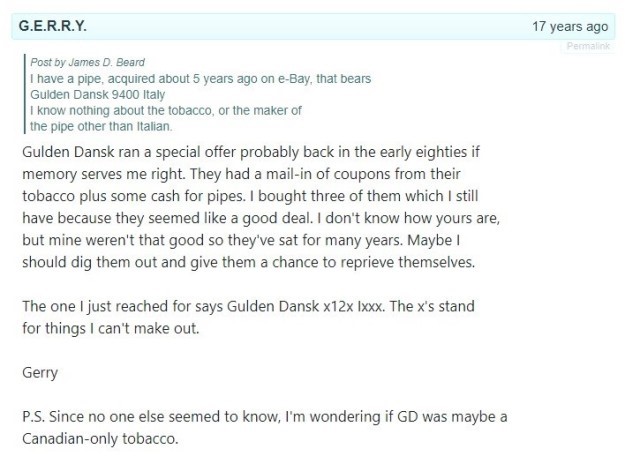
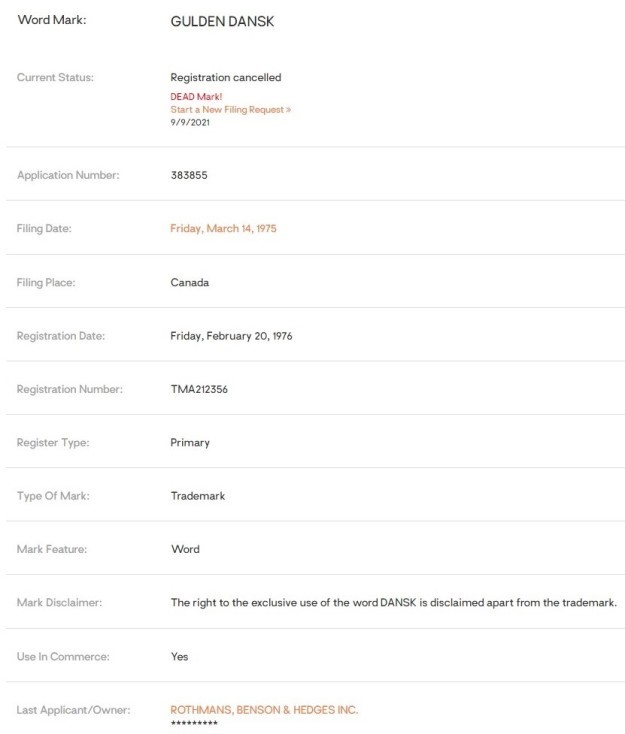
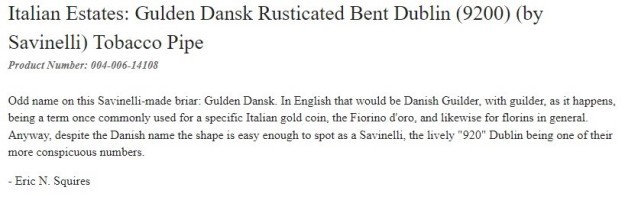
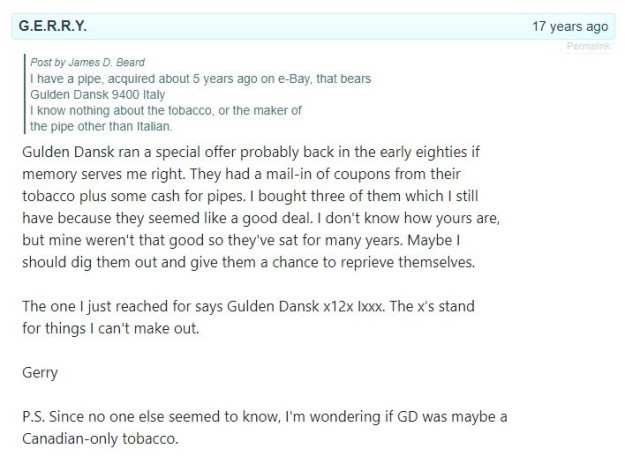
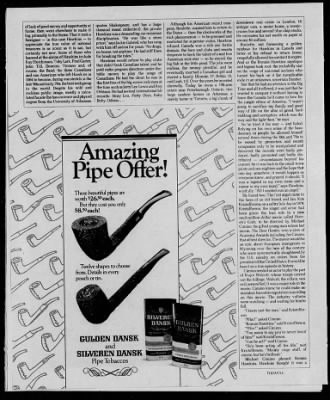
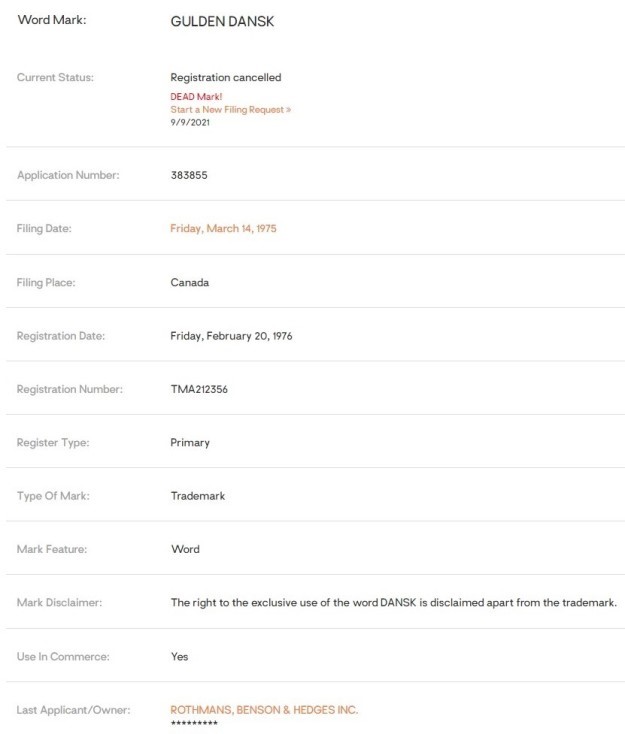
The brands Gulden Dansk and Silveren Dansk are ones about which there is very little information. I cobbled together as much information as I could, and I will do my best to record that here. Both brands are sub-brands of Savinelli, according to smokingpipes.com. You can see in the photo below that smokingpipes.com states this clearly, and they are quite knowledgeable. Pipedia had no information at all regarding these brands. Meanwhile, pipephil.eu had precious little info (see below). One small clue is their reference to Italy in the Gulden Dansk image. Comments from some old pipe forums suggest that the brand(s) might be made for the Canadian market and came to full prominence in the early 1980s. See below.The newspaper ad above (sorry for the poor quality) is taken from the Montreal Gazette, November 1st, 1980. It shows that, in addition to pipes, they also sold tobacco.Furthermore, I found Canadian trademark registrations for both brands. I have shown some of that information below. For reasons unknown, the Silveren Dansk trademark is still active, whilst the Gulden Dansk one has expired. I also found an Australian trademark registration for the same, but it was noted on the Australian site that the origin of the application was Canada. Kenneth concluded his work as follows:
In short, we can say a few things about both Gulden Dansk and Silveren Dansk. They were both made by Savinelli, probably for the Canadian market (and perhaps other markets). The Canadian connection obviously fits with the gentleman in Winnipeg. They made pipes and tobacco, and all the comments I could find on the quality of the pipes were very positive. If you have any further details on these brands, I would love to hear from you.

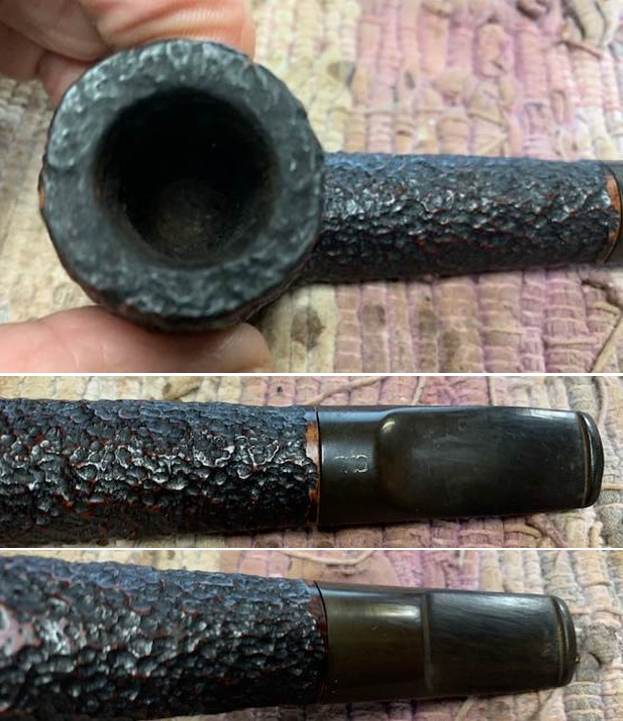
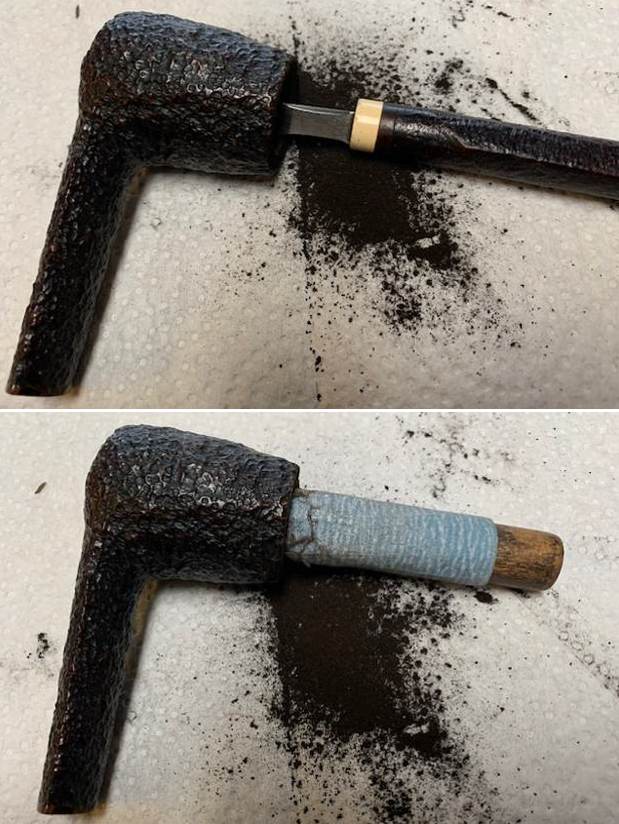
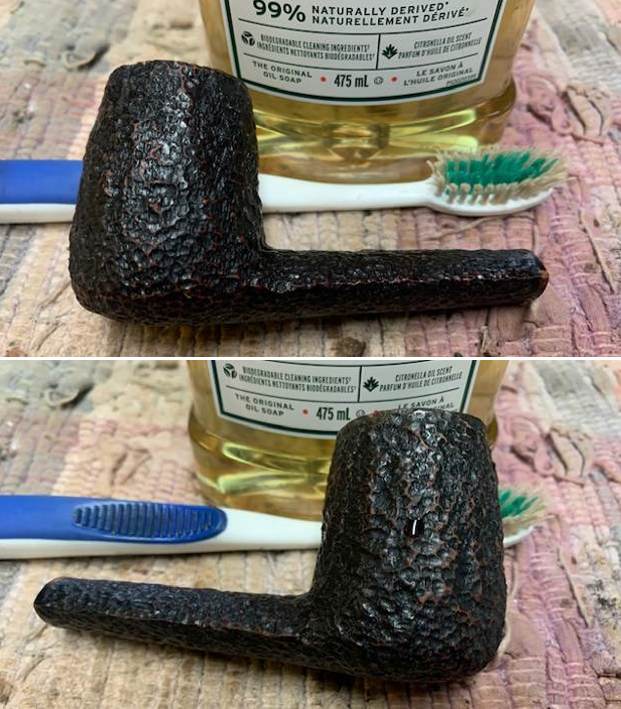
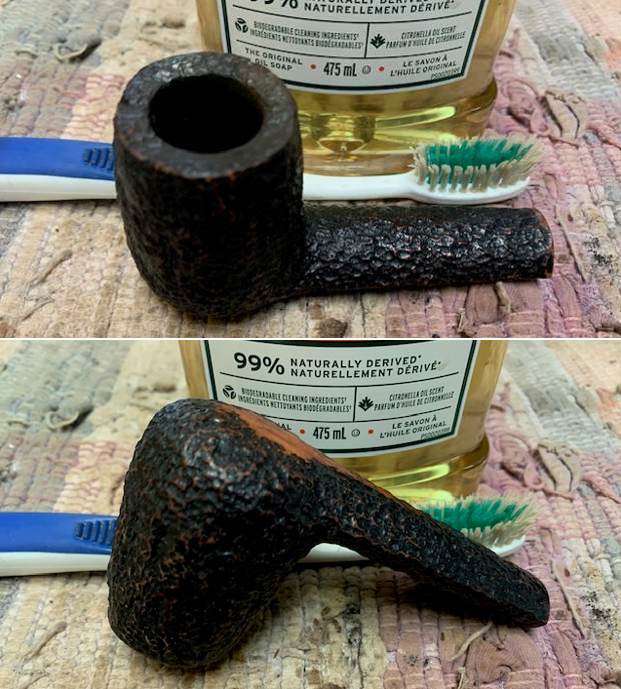
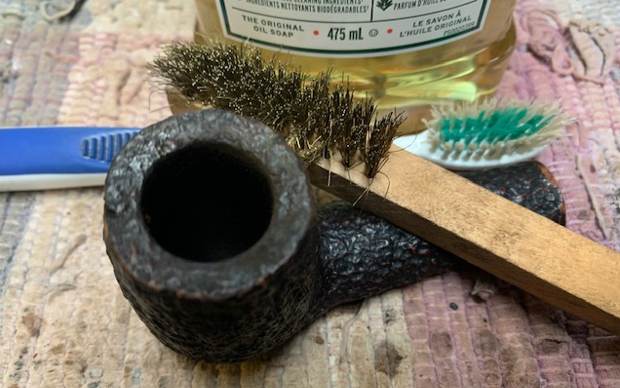
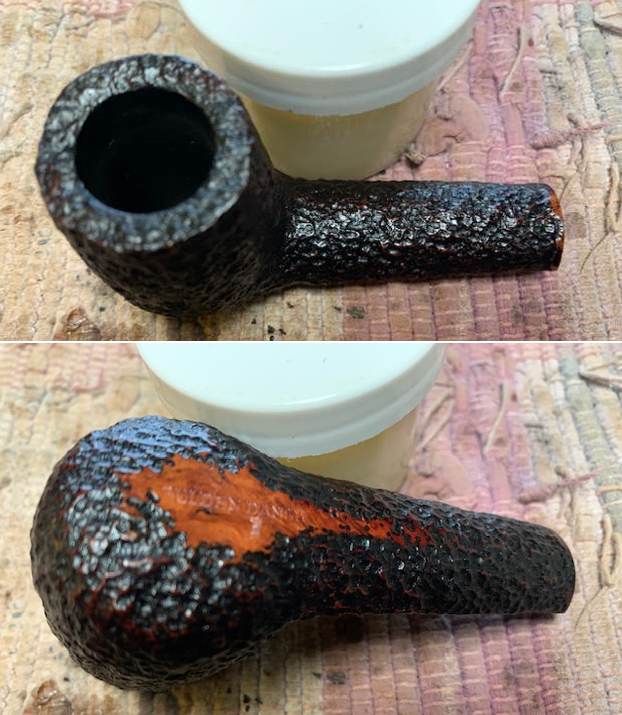
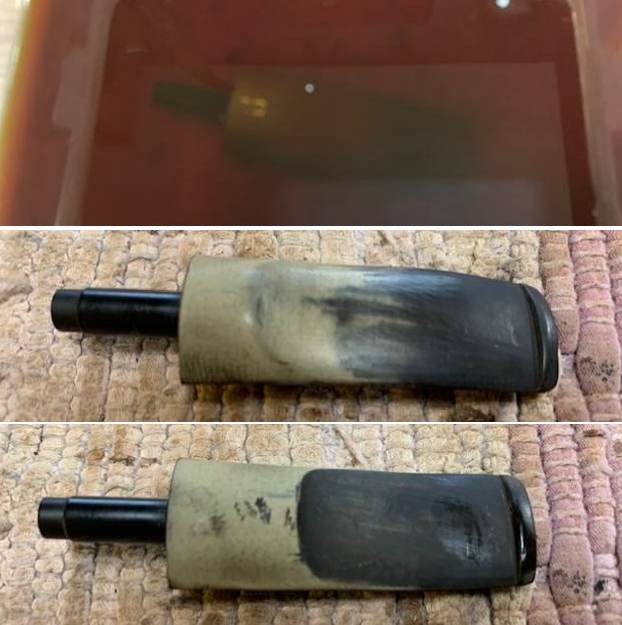
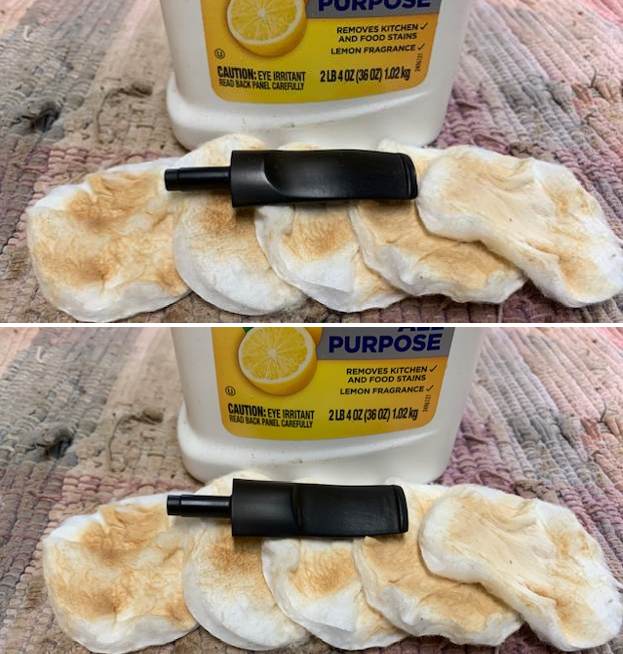
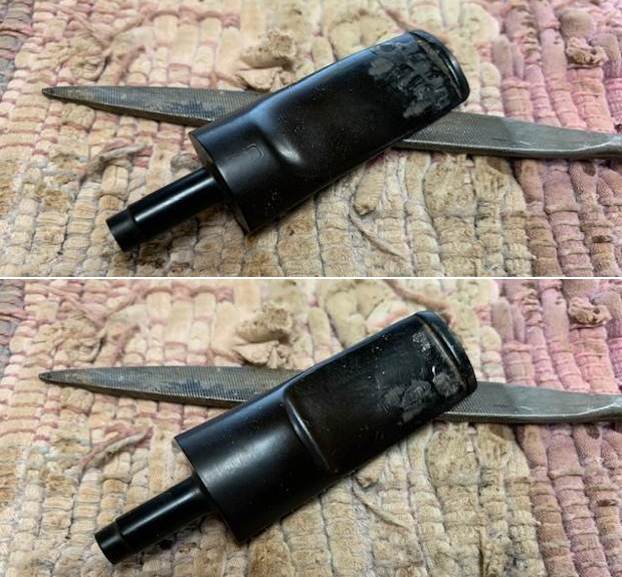
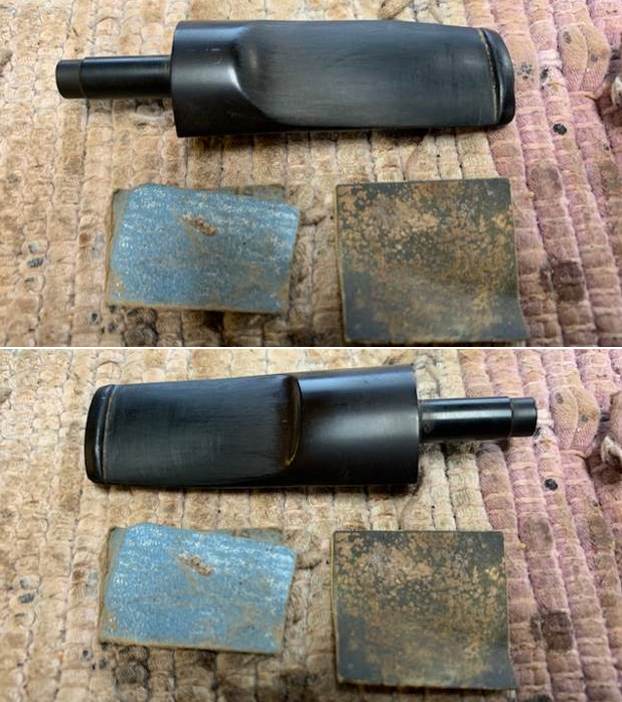
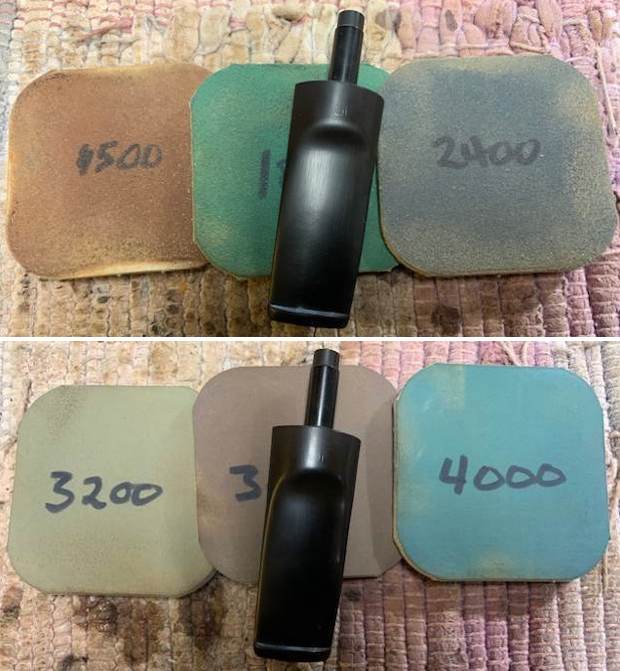
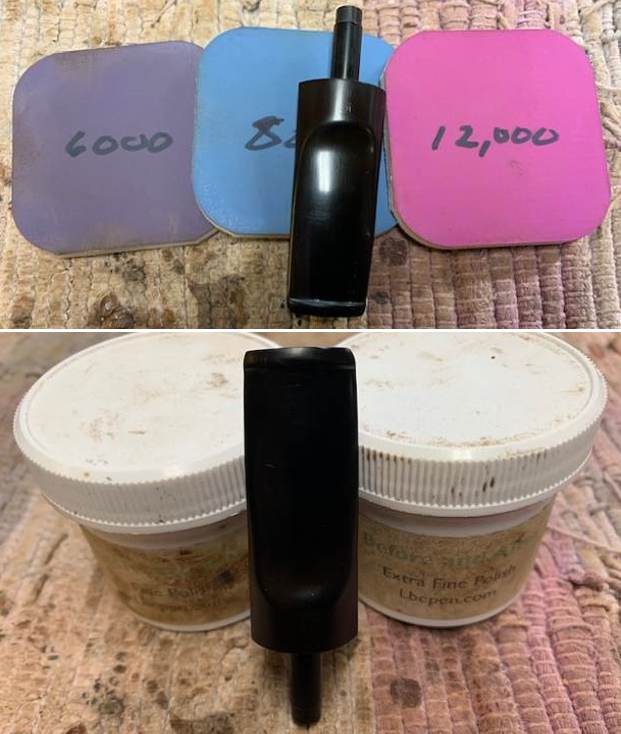
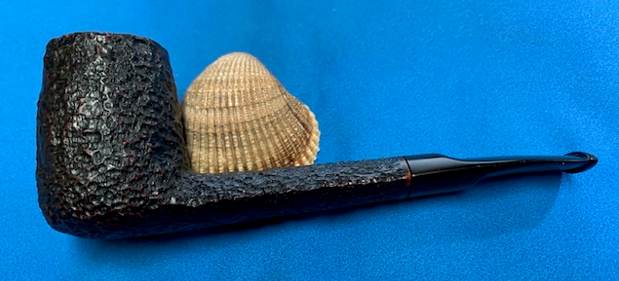
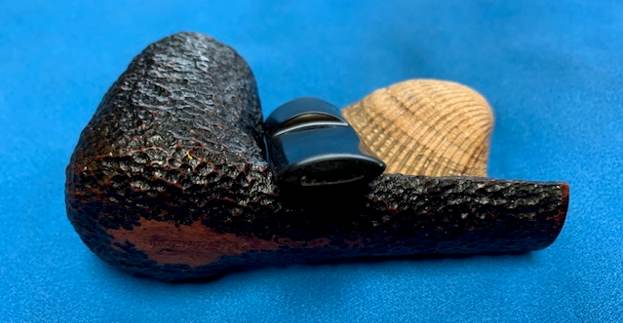
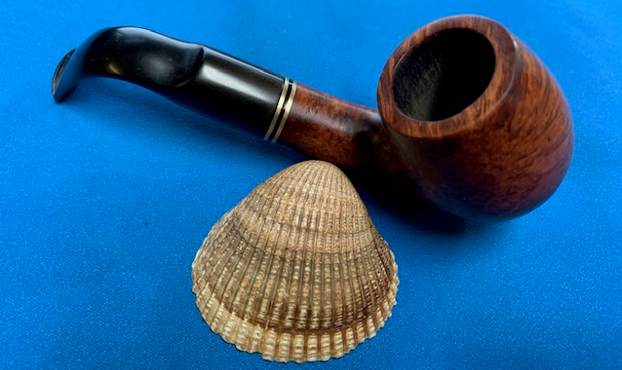
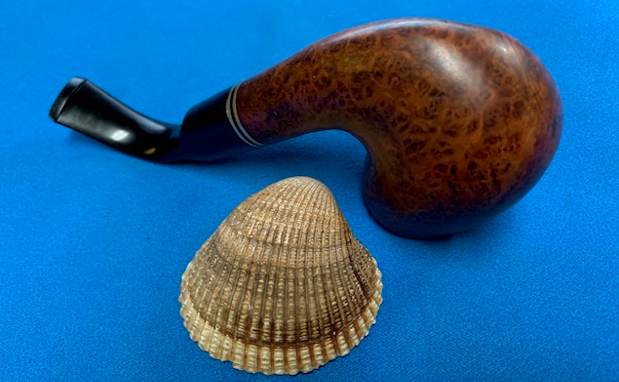
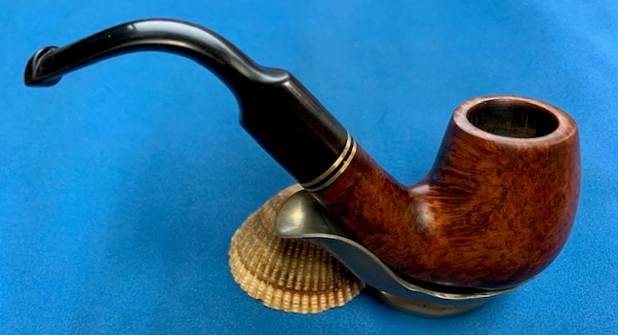
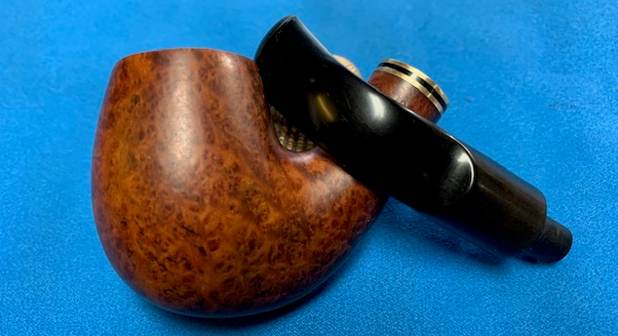
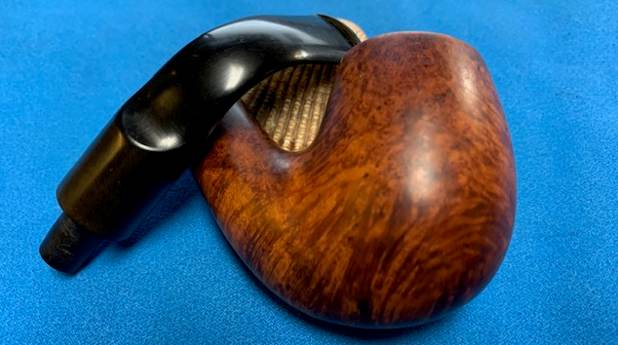
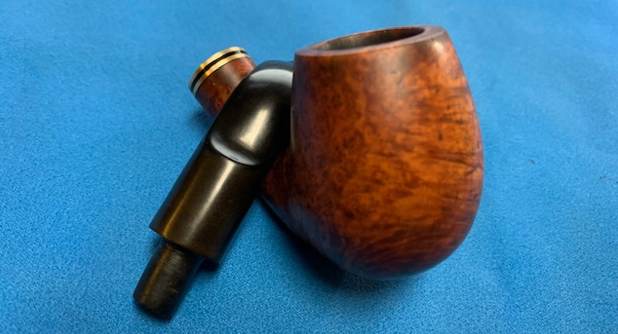
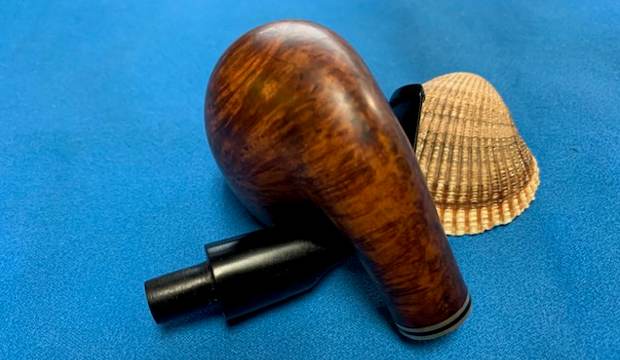
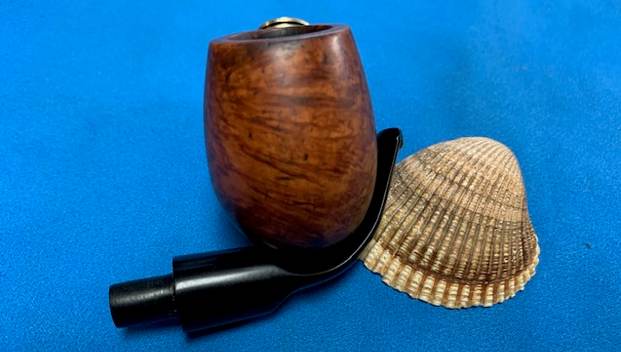
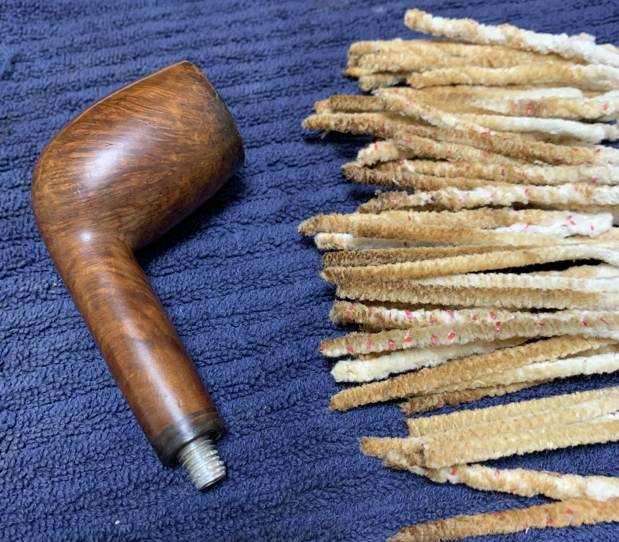
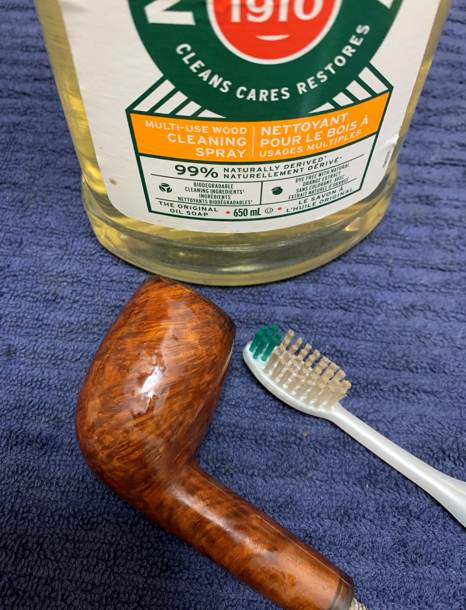
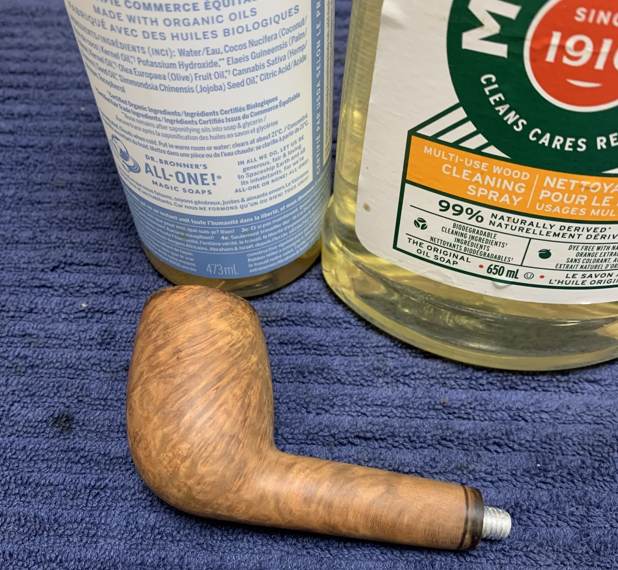
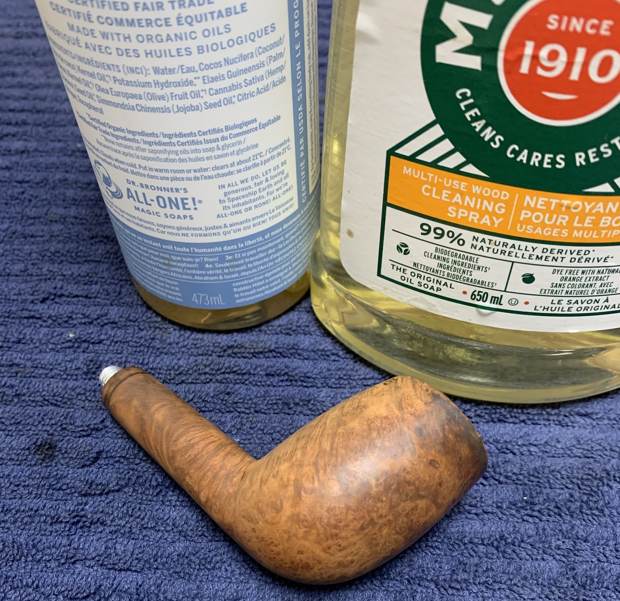
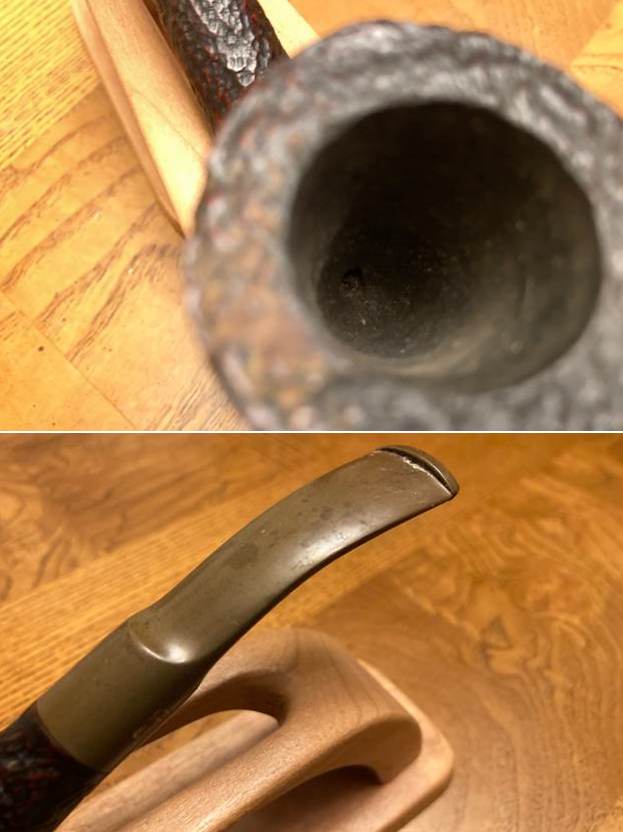
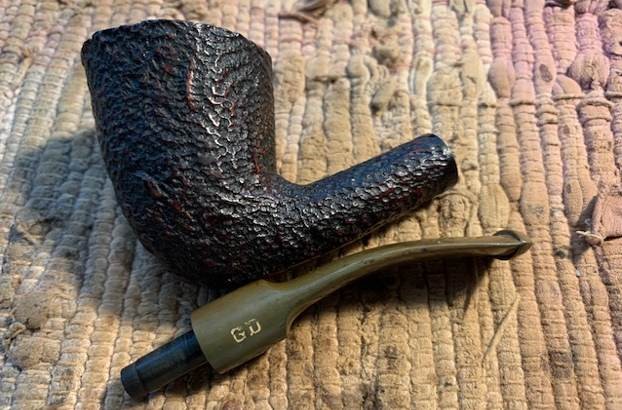
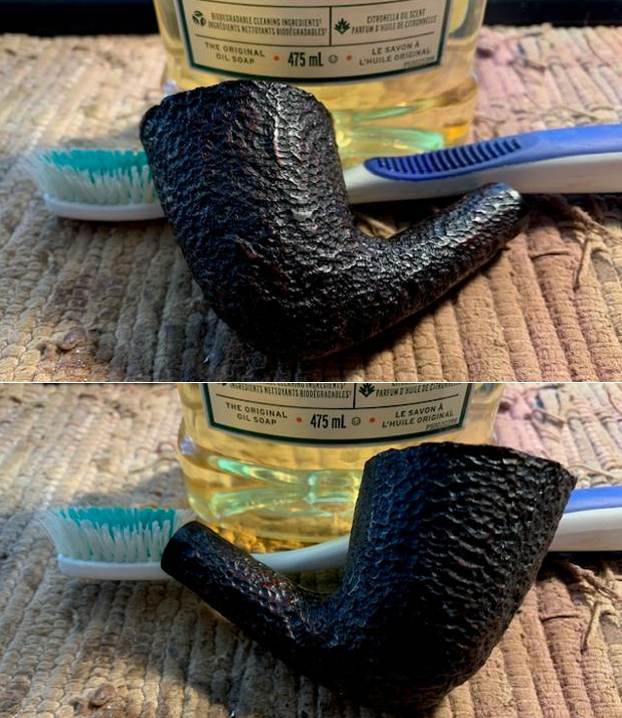
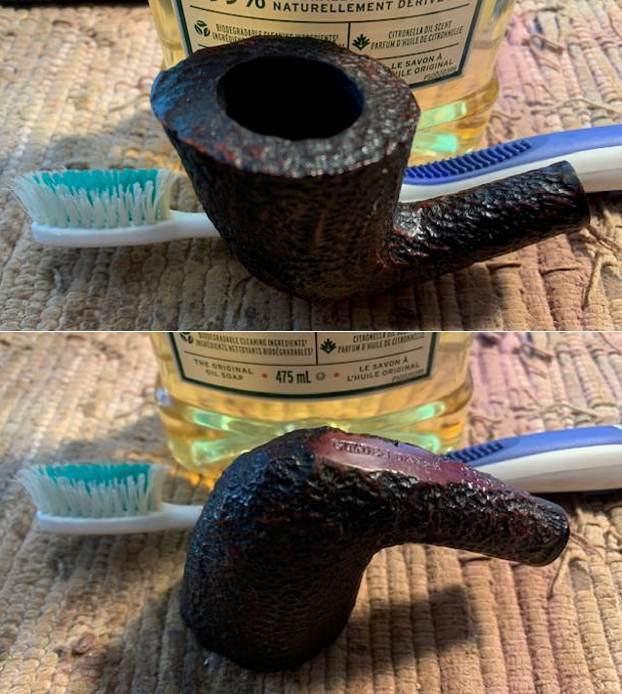
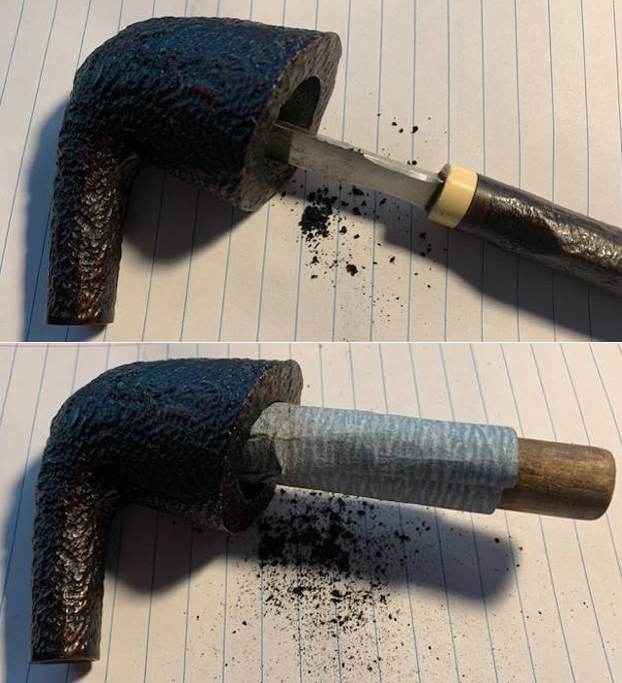
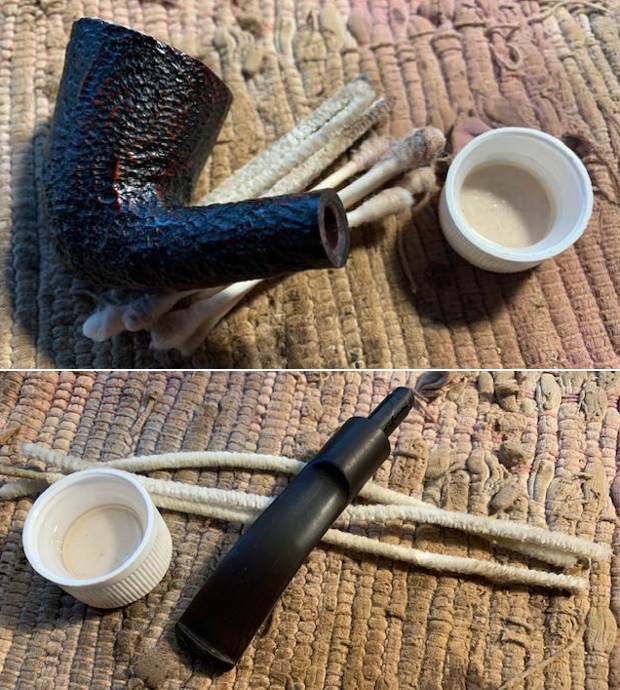
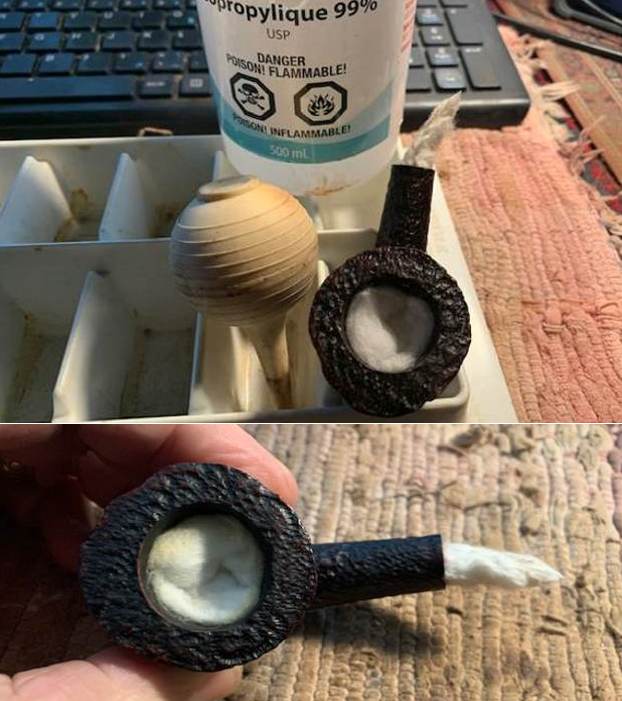
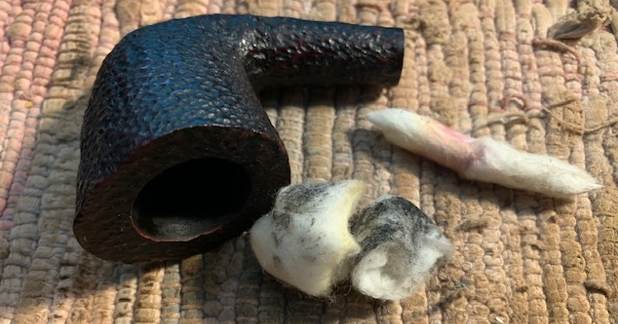
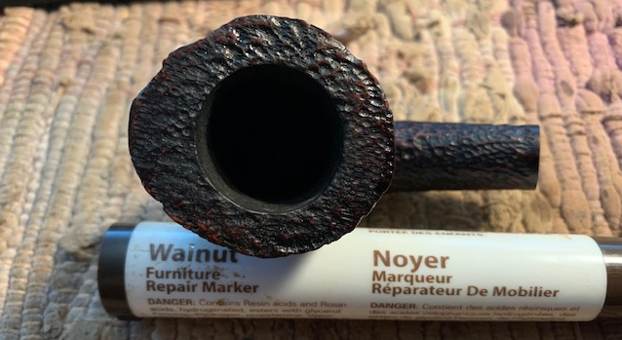
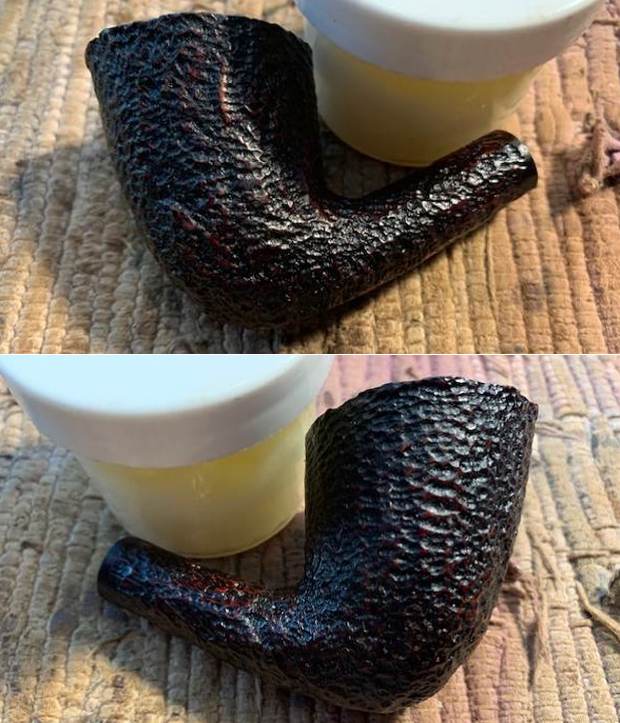
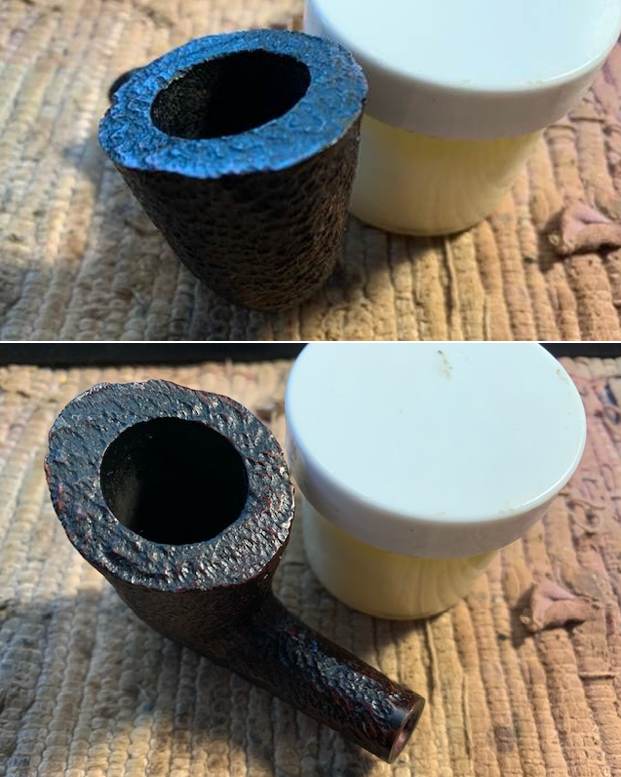
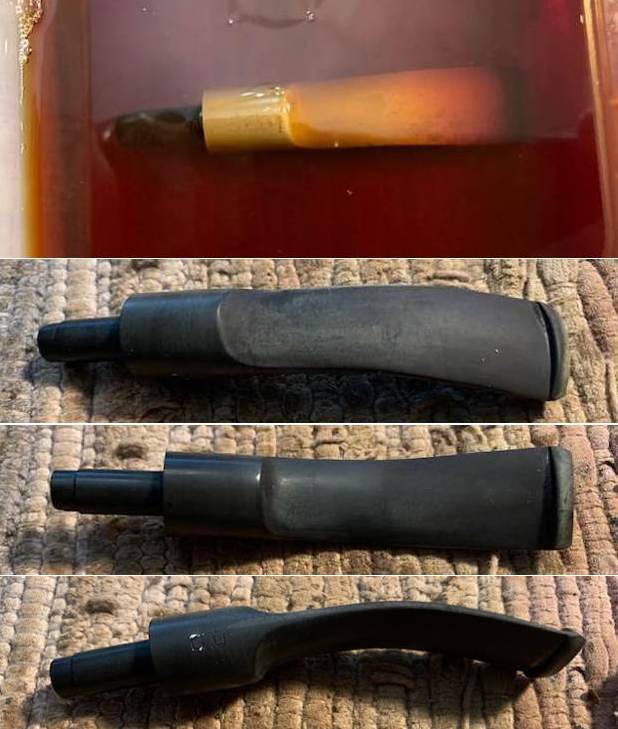
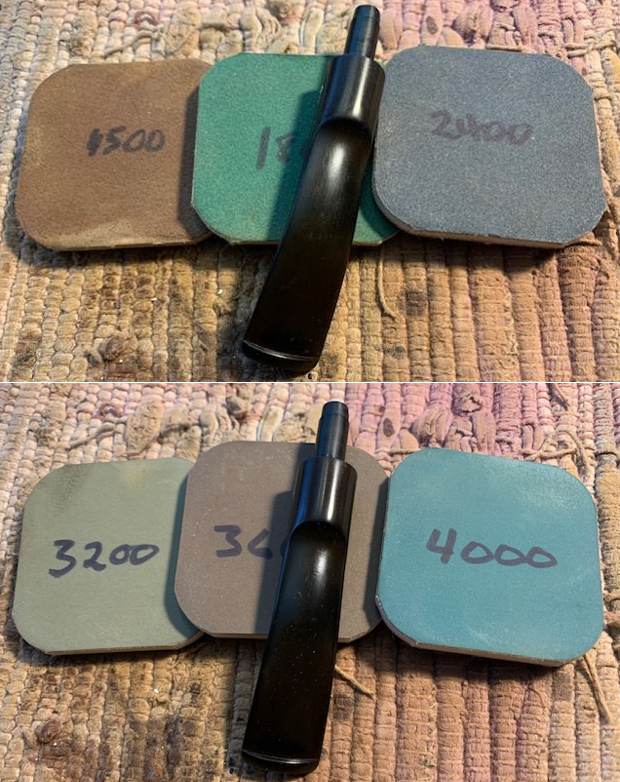
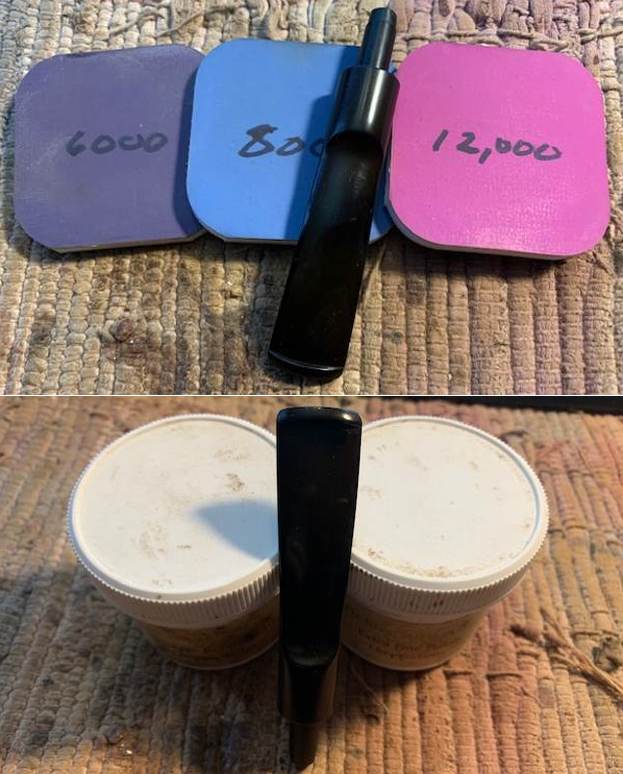
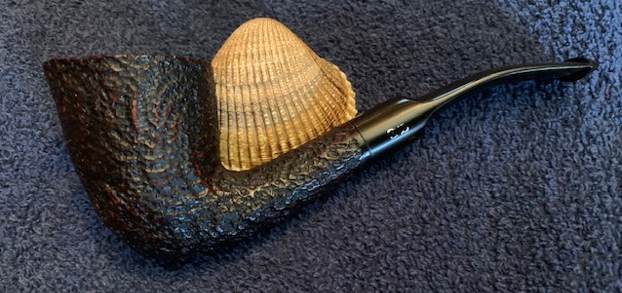
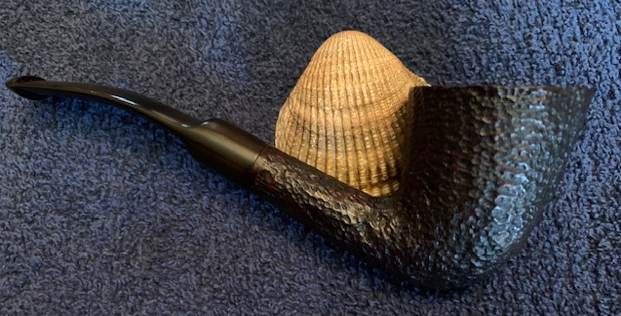
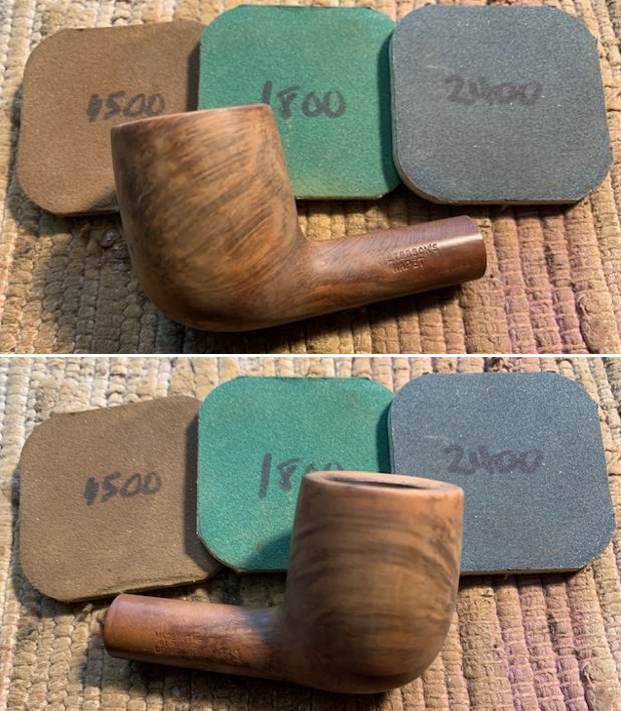
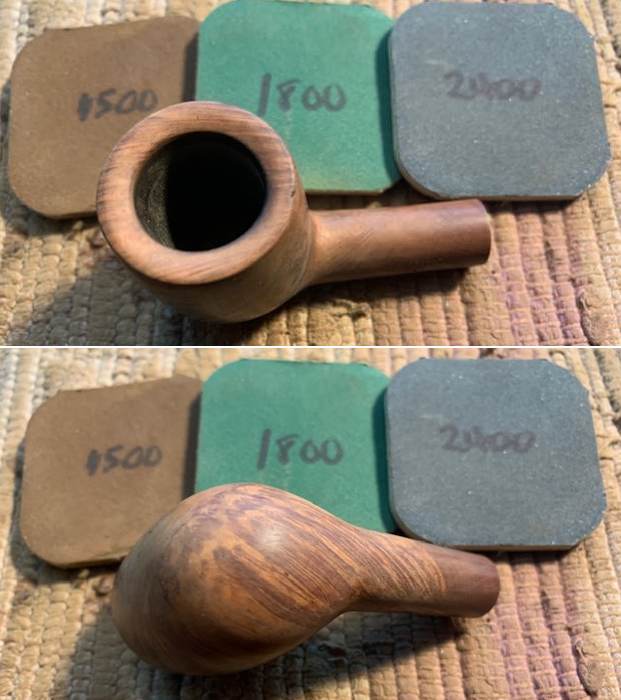
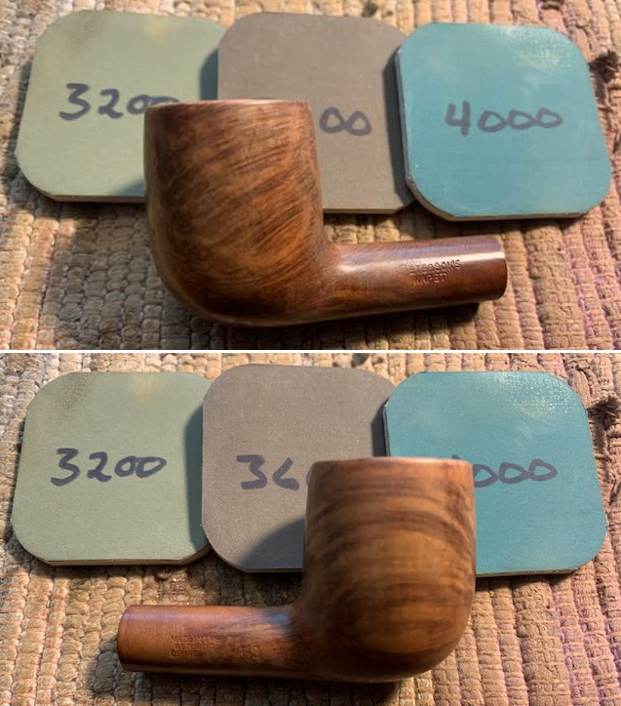
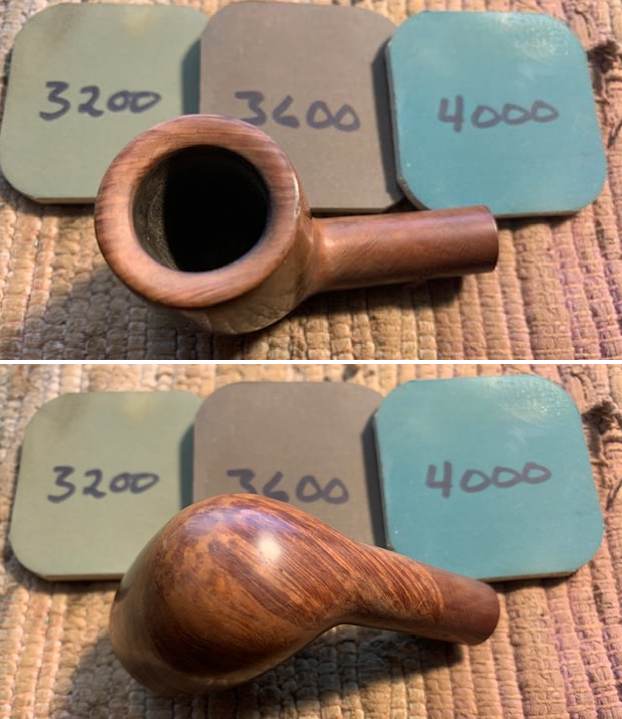
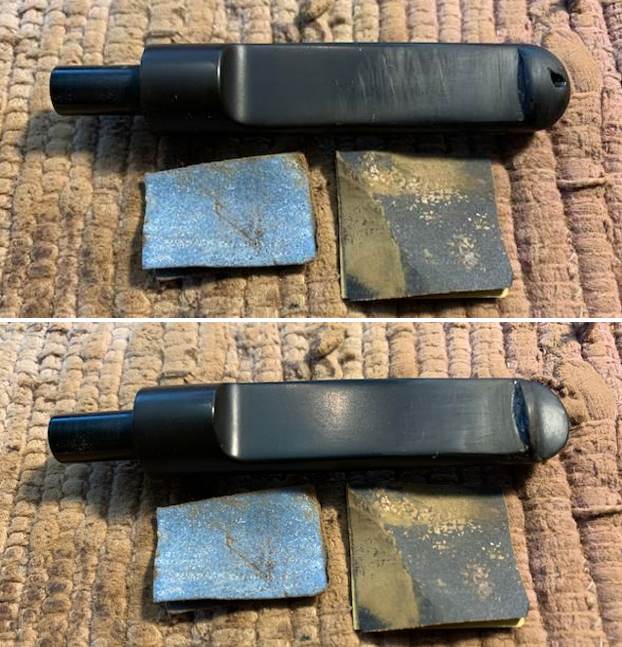
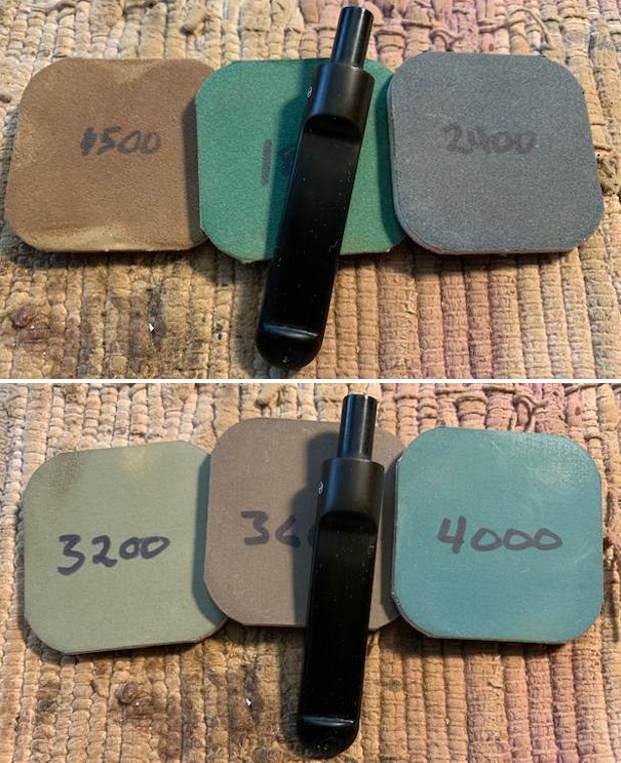
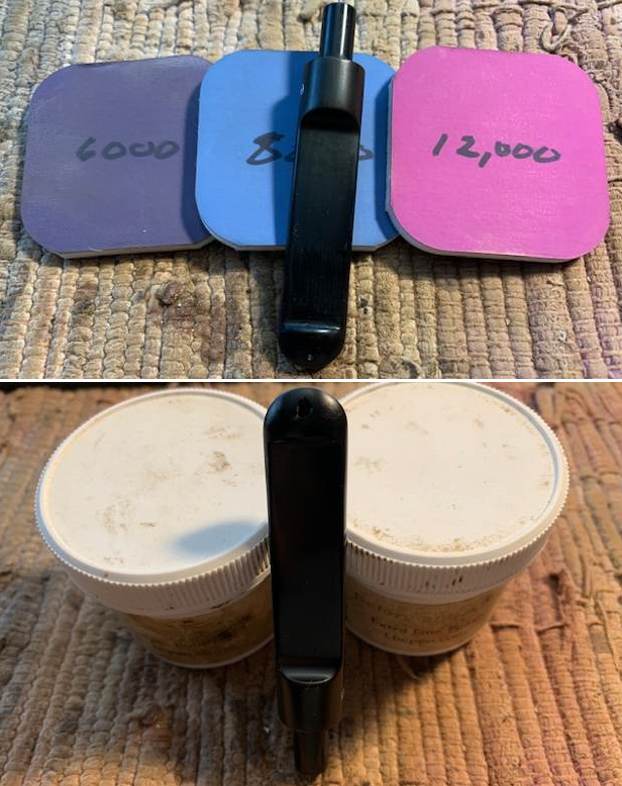
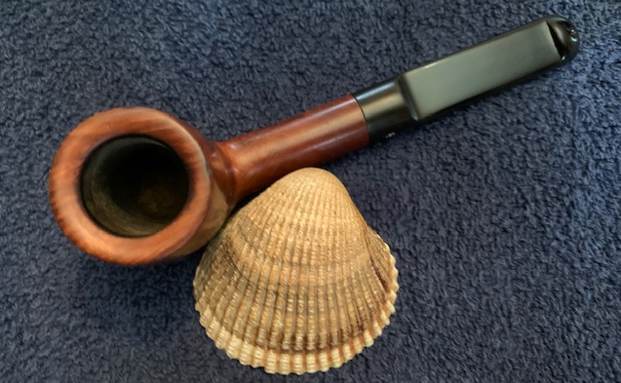
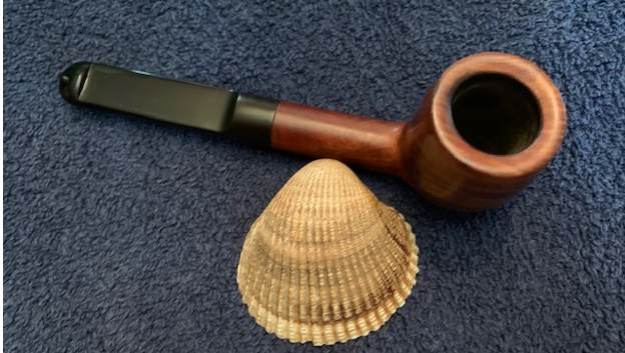
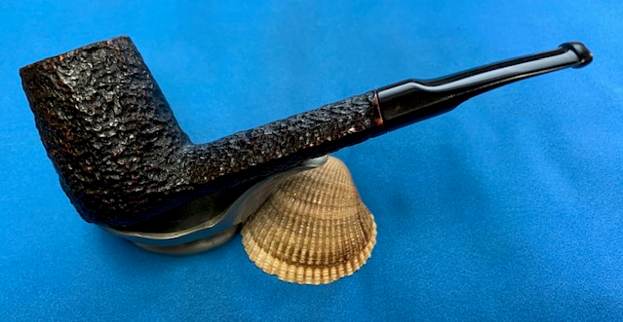
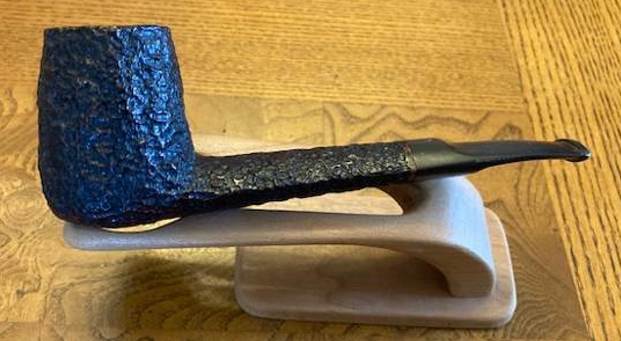
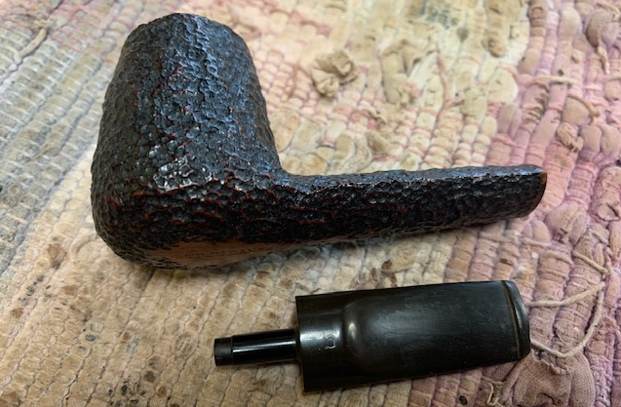
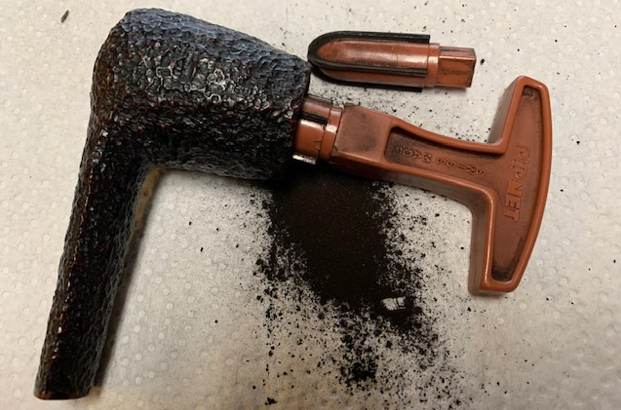
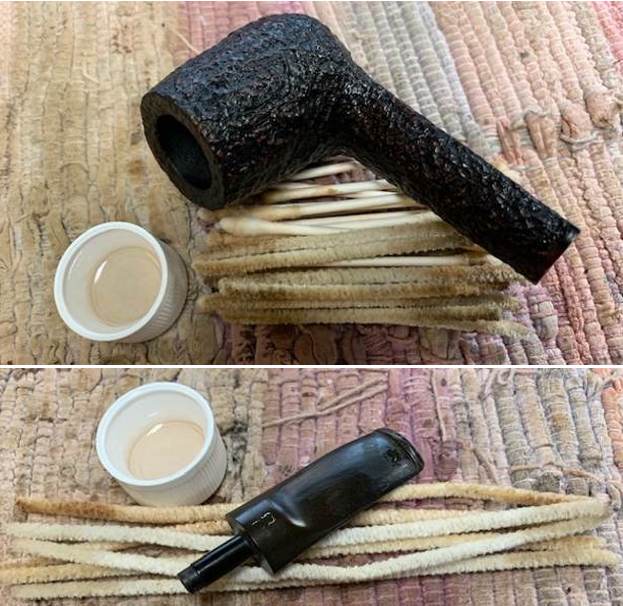
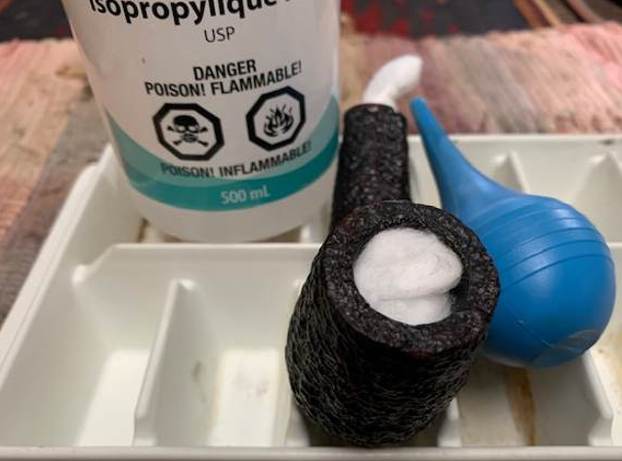
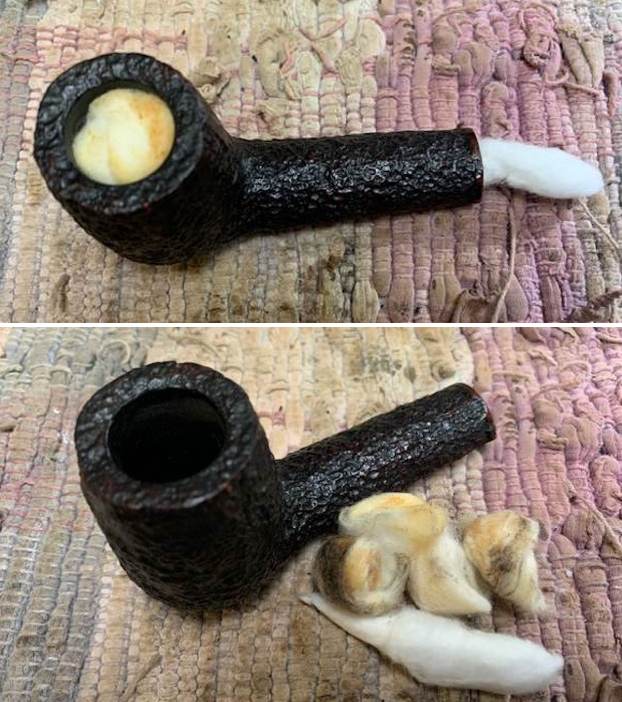
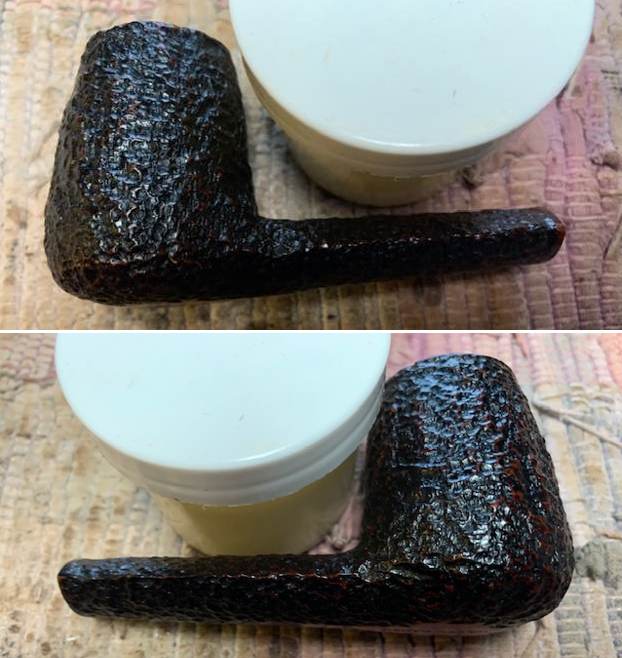
Now it was time to work on the pipe itself. I took photos of the pipe when I opened the box. It is a nice looking shape – a long, oval shanked Brandy with a saddle stem. It is a great looking pipe with a tight rusticated finish that was quite beautiful. The stem and shank have a slight cant and angle that looks good. You can see the finish as noted above and the oxidation on the stem as well. I took photos of the rim top and the top and underside of the stem. You can see how it fit against the shank. It is oxidized with light tooth chatter and marks on the surface on both sides. You can see the grime on the right side of the rim top and the moderate cake in the bowl. It is a nice looking pipe.The next photo shows the stamping on the underside of the shank. It is clear and readable as noted above.I removed the stem from the shank and took a photo of the parts to give a sense of the overall look of the pipe. It is really a nicely designed looking bent Dublin that will look great once it is cleaned up.I reamed the bowl with a PipNet pipe reamer using the first two cutting heads to take the cake down to briar. I followed up with a Savinelli Fitsall Pipe Knife to clean up the remnants. I sanded the walls smooth with 220 grit sandpaper wrapped around a piece of dowel. I scrubbed the exterior of the bowl with a tooth brush and undiluted Murphy’s Oil Soap. I worked over the rim top and edges and rinsed it with warm water scrubbing it while rinsing it. I scrubbed the rim top with a brass bristle wire brush to loosen up the lava coat. I dried it off and took these photos. I cleaned out the mortise and airway in the shank and the stem with cotton swabs, pipe cleaners and isopropyl alcohol until they came out clean.  With the pipe cleaned it still had a ghost of a smell to it. It was a sweet aromatic smell with lingering smells of vanilla. I stuffed the bowl with cotton bolls and twisted a plug of cotton and turned it into the shank. I used an ear syringe to fill the bowl with isopropyl alcohol and set it aside in an old ice tray to let the deghosting happen! In the morning I woke up to find the cotton bolls in the bowl to be brown around the edges and the shank cotton was also brown at the shank end. I removed it and cleaned the shank once more. The bowl smelled better and the ghost had been exorcised to a large degree. I rubbed the bowl and shank down with Before & After Restoration Balm. I worked it into the finish with my fingers and used a shoe brush to press it deep into the crevices of the sandblast. The product works to deep clean the finish on the bowl and shank and enliven and protect the briar. After it sat for 15 minutes I wiped it off with a soft cloth. The briar really came alive with a rich shine. I took some photos of the bowl at this point to mark the progress in the restoration. It is a beautiful bowl. While the bowl sat deghosting I put the stem in a Briarville Stem Deoxidizer soak. I let soak overnight. When I took it out in the morning the oxidation had risen to the surface of the vulcanite. The GD logo on the top lost its remaining colour and it is very faint.I scrubbed the vulcanite with Soft Scrub to remove the oxidation from the surface of the bowl. Once finished it looked much better.I “painted” the surface of the stem with the flame of a Bic lighter and was able to lift them a little. I filled in what remained with clear CA glue and set the stem aside to cure. I used a small file to flatten the repairs. I sanded them flat with 220 grit sandpaper and started the polishing with 400 grit wet dry sandpaper. I polished the stem with micromesh sanding pads – dry sanding with 1500-12000 grit pads. I wiped the stem down after each pad with Obsidian Oil to remove the sanding dust. I used the Before & After Pipe Polish to remove the small minute scratches left in the vulcanite. I finished by wiping the stem down with a final coat of Obsidian Oil and set it aside to dry.  As usual at this point in the restoration process I am excited to be on the homestretch. I look forward to the final look when it is put back together, polished and waxed. I put the Gulden Dansk Oval Long Shank Brandy back together. I polished the bowl and stem with Blue Diamond to polish out the scratches in the briar and the vulcanite. I gave the bowl and the stem multiple coats of carnauba wax. I buffed the pipe with a clean buffing pad to raise the shine. I hand buffed it with a microfiber cloth to deepen the shine. The pipe polished up pretty nicely. The grain really pops with the wax and polish. The shiny black vulcanite stem is a beautiful contrast to the dark browns of the bowl and shank. This rusticated Gulden Dansk Oval Long Shank Brandy was another fun pipe to work on. It really is a quite stunning piece of briar whose shape follows the flow of the grain on the briar. The pipe is comfortable pipe to hold in the hand. The finished pipe is shown in the photos below. The dimensions of the pipe are Length: 5 ¾ inches, Height: 2 inches, Outside diameter of the bowl: 1 ¼ inches, Chamber diameter: ¾ of an inch. The weight of the pipe is 1.80 ounces/ 51 grams. I will be sending this beautiful Gulden Dansk back to the pipeman who dropped it off. Thanks for reading my reflections on the pipe while I working on it.
Moving yet another one of my own – Harriss 863 Bent Billiard


Blog by Steve Laug

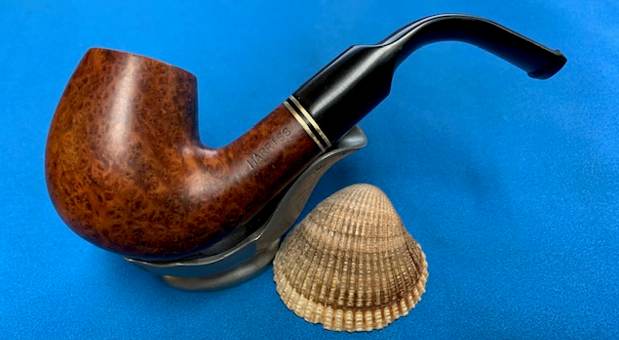
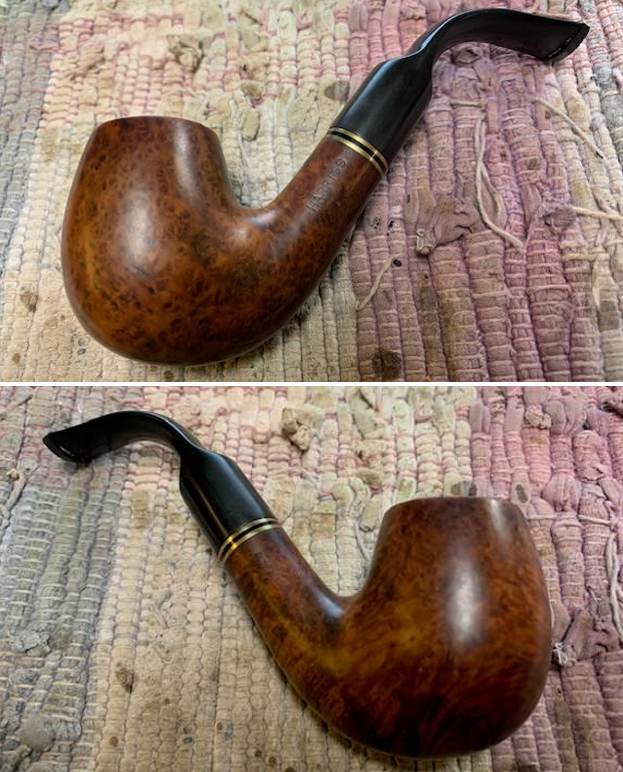
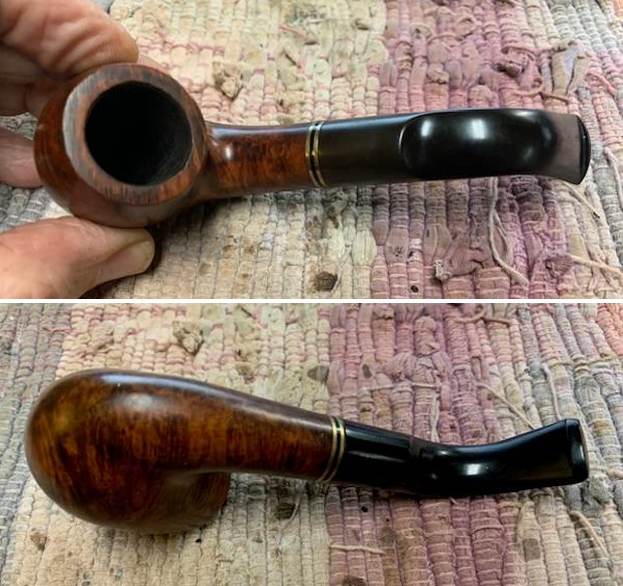
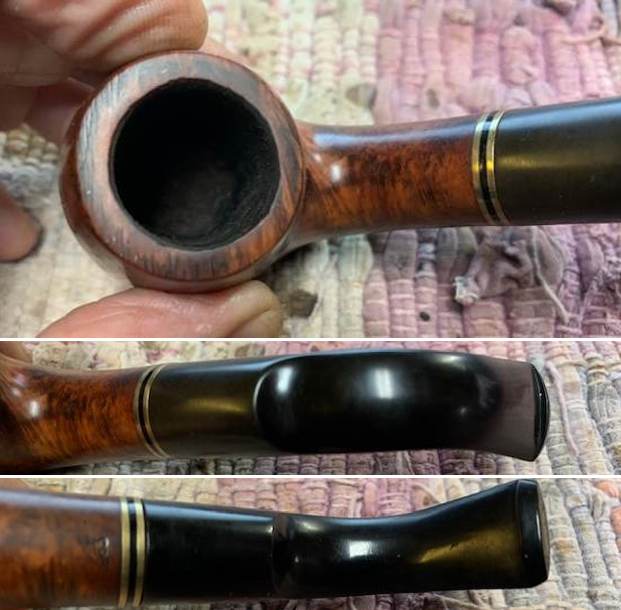
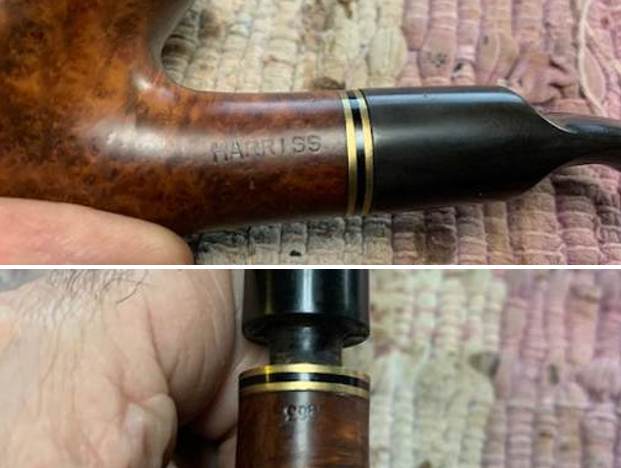
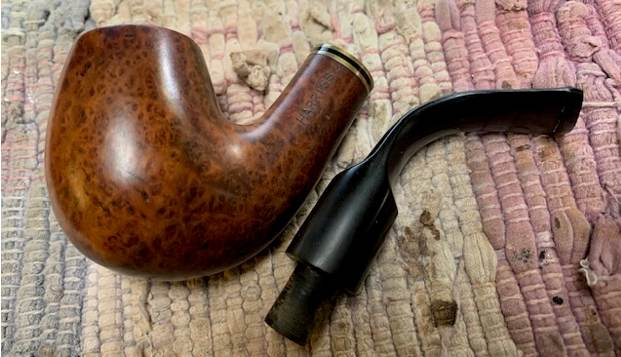
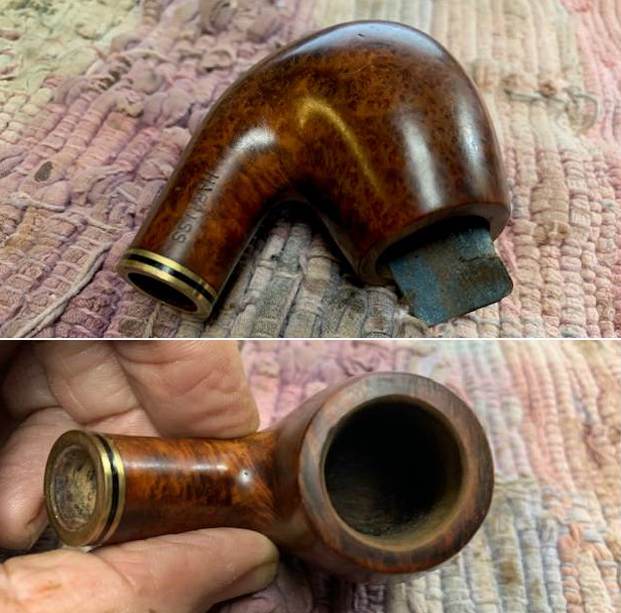
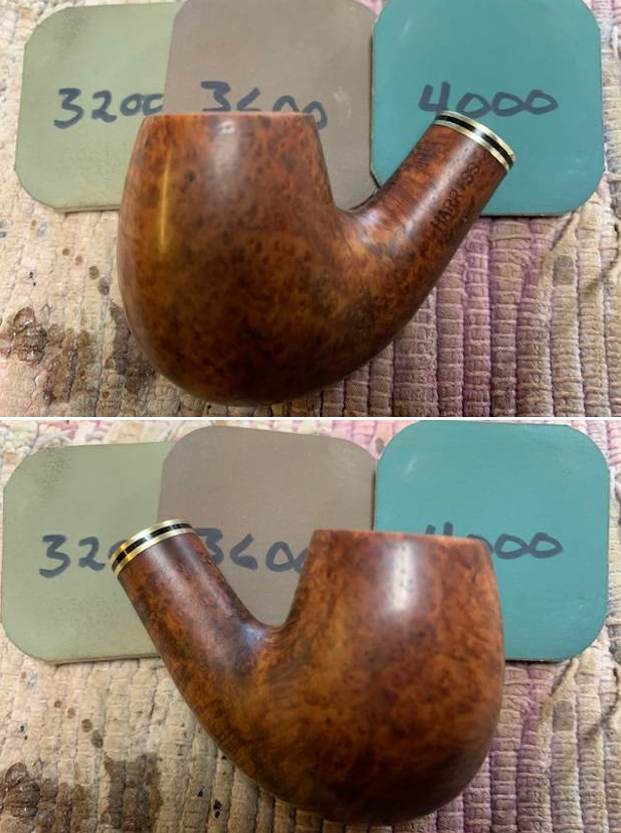
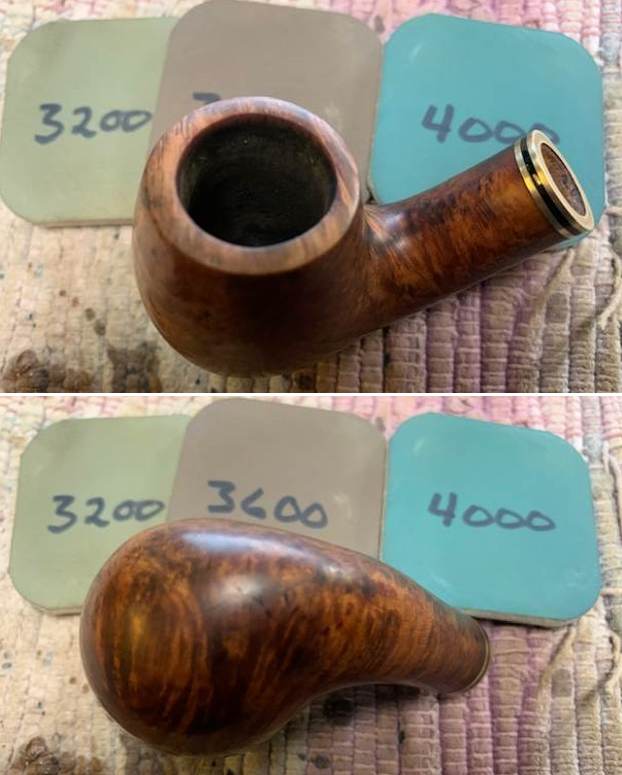
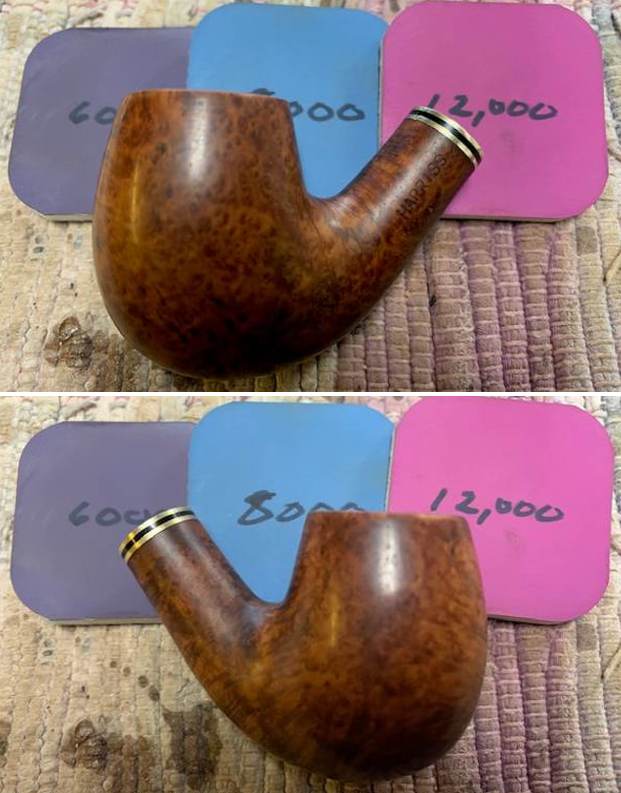
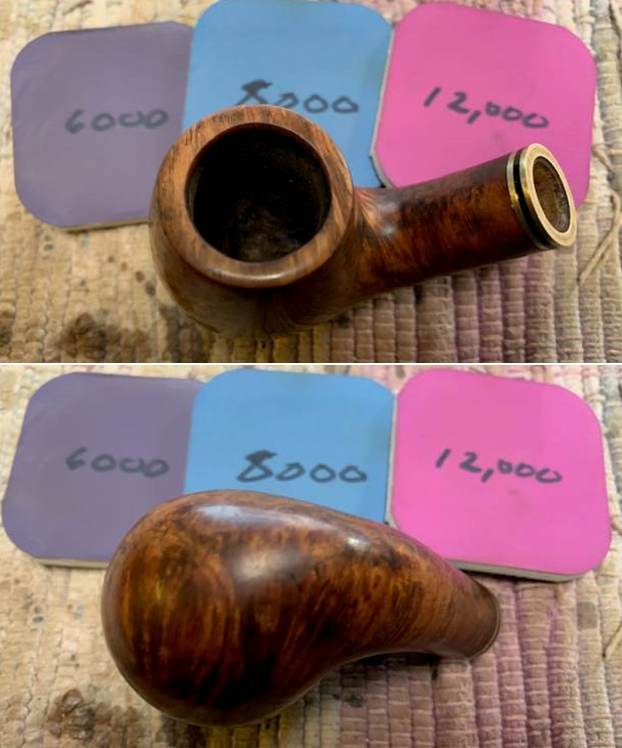
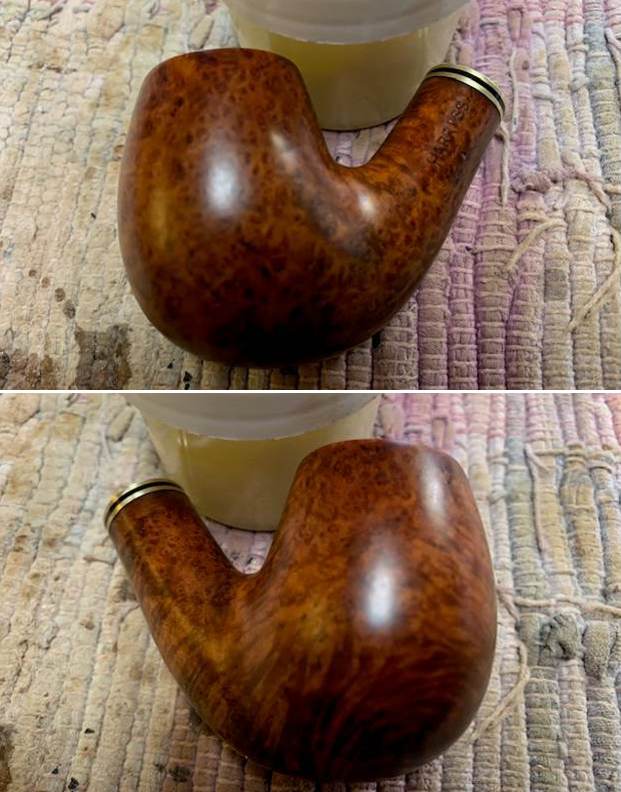
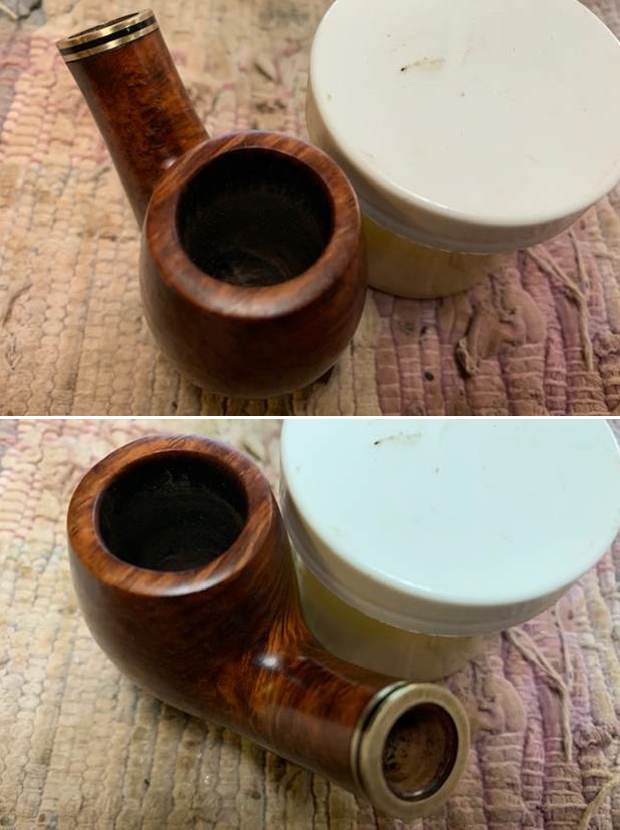
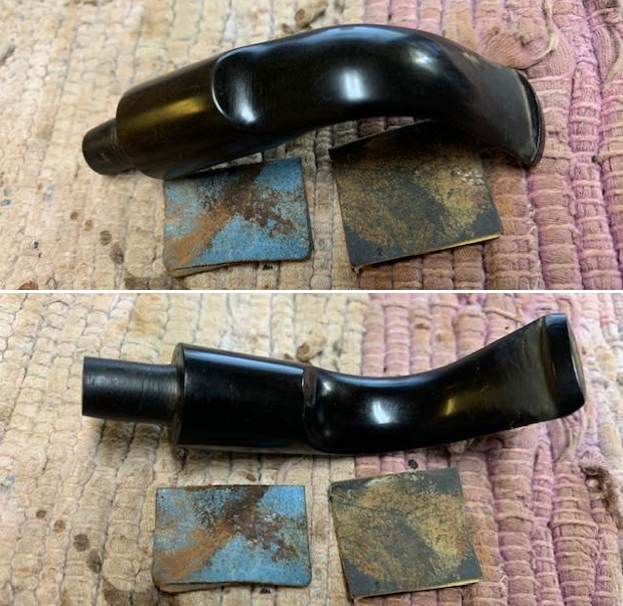
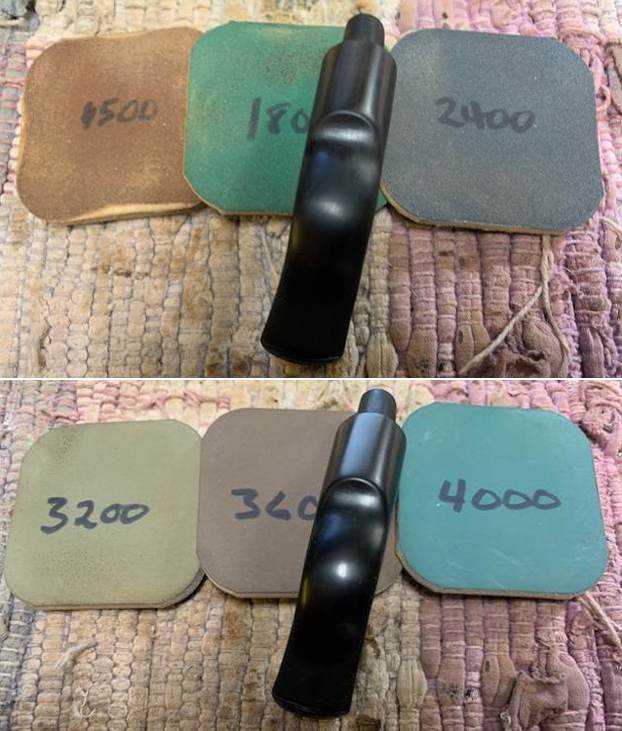
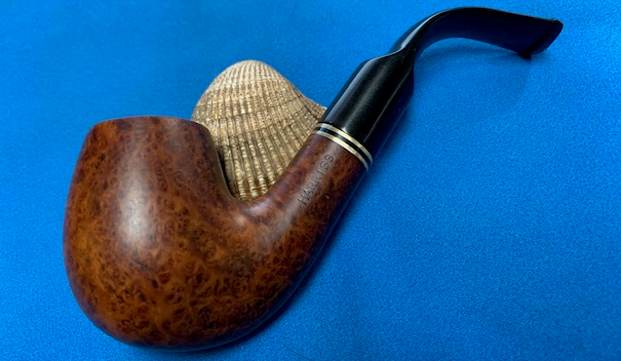
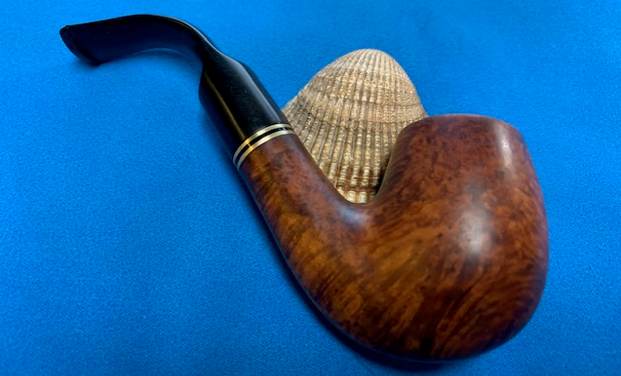
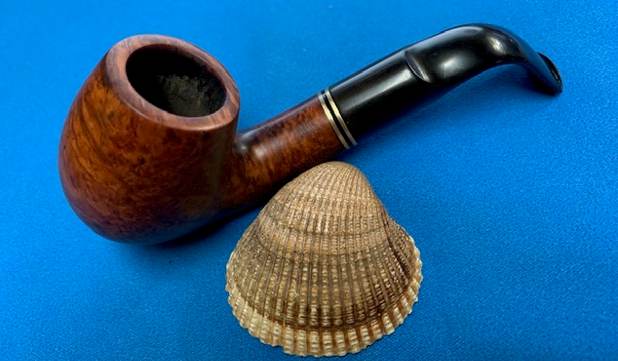
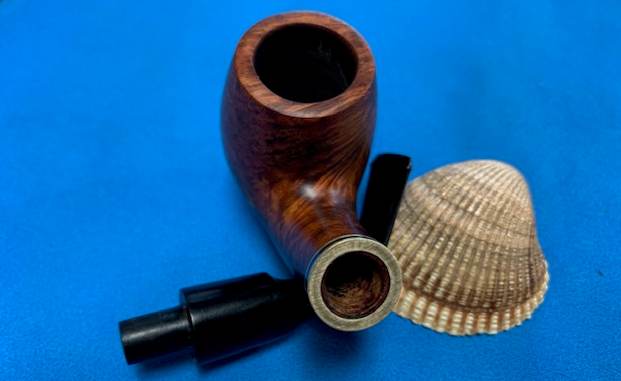
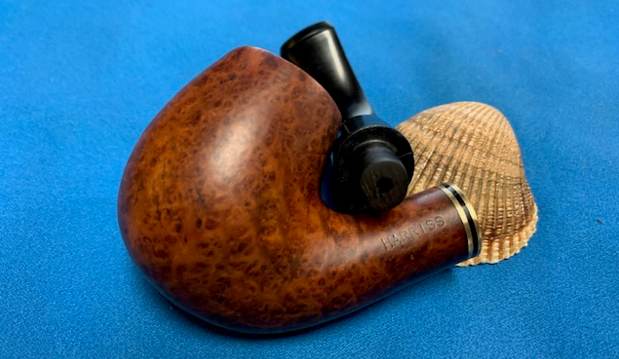
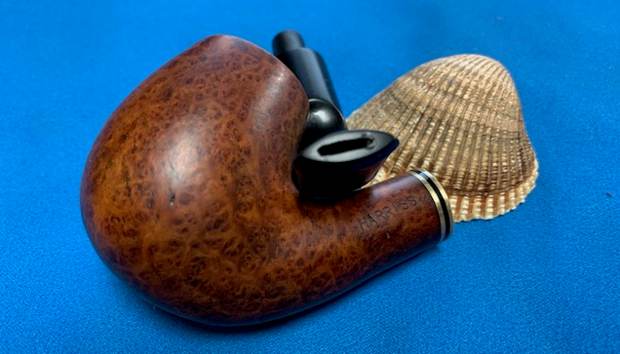
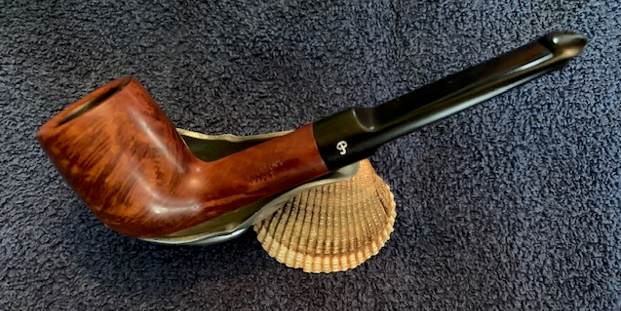
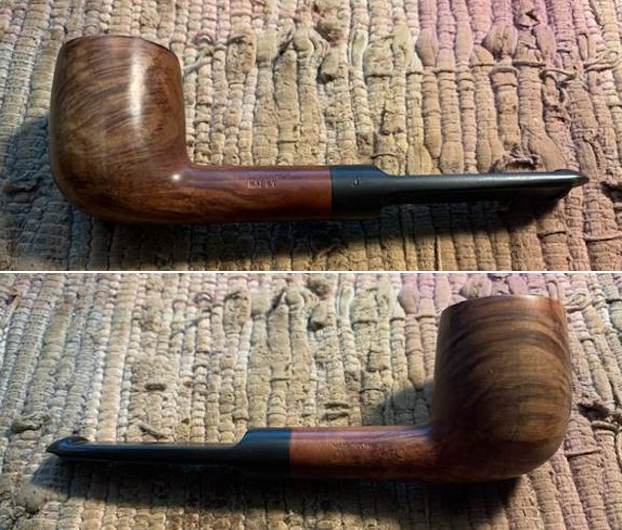
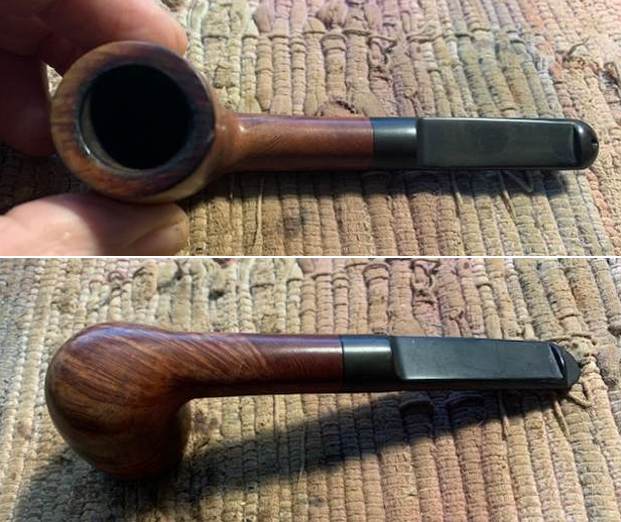
This is another pipe that I have taken out of my personal collection as I just do not use enough to warrant keeping it. This pipe was one that I purchased on a pipe hunt many years ago. I honestly can’t remember when or if I even smoked it. But I know from its condition it has not been smoked much. The airway in the shank and the mortise were quite clean. The smooth finish and rim top were in good condition. There was some damage to the inner edge of the bowl and it was slightly out of round. The stamping on the pipe is very simple on the left side of the shank it is stamped Harriss in block letters. On the underside it is stamped with a shape number 863. There nothing stamped on the stem on either side or the top. The rich brown finish goes well with the vulcanite saddle stem. It is in good condition with some light tooth chatter and some tooth marks ahead of the button on both sides. I took photos of the pipe before I did my clean up work on it. I took a photo of the bowl and rim top to verify the description above. I also took photos of the stem surface showing the light chatter and tooth marks on both side. I took a photo of the stamping on the sides of the shank. It is clear and readable as noted above.  I took the stem off the bowl and took a photo of the pipe to give a sense of proportion of the pipe. You can also see the deep and rugged rustication on the briar and it is a beauty.Now it was time to work on the pipe. I worked on the inner edge of the bowl 220 grit sandpaper to give the inner edge a slight bevel and clean up the damage that was present there. The rim came out looking quite good. I reamed the light cake in the bowl with a Savinelli Fitsall Pipe Knife. I sanded the walls of the bowl to smooth them out with a piece of 220 grit sandpaper wrapped around a dowel.I cleaned the mortise and airways in the shank and stem with cotton swabs, pipe cleaners and isopropyl alcohol to remove the debris and tars from my smoking. You can see that it was not too bad as I tend to keep my pipes clean. I polished the rim top and the briar with micromesh sanding pads – dry sanding with 1500-12000 grit pads. I wiped the bowl down with a damp cloth after each sanding pad to remove the dust and debris. The rim top polished out and matched the oil cured look of the bowl and shank. The bowl was in such good condition that decided to give the bowl and shank a coating of Before & After Restoration Balm. I worked it into the surface of the briar with my fingertips to clean, enliven and protect the briar. I let the balm sit for 15 minutes and then buffed with a cotton cloth to raise the shine. The photos show the bowl at this point in the restoration process. I set the bowl aside and sanded out the tooth marks and chatter on the stem surface and button with 220 grit sandpaper. I started polishing the stem with 400 grit wet dry sandpaper. I was able to smooth out the marks on the surface of both sides.I polished the stem with micromesh sanding pads – dry sanding with 1500-12000 grit pads. I rubbed it down between pads with Obsidian Oil. I polished it with Before & After Fine and Extra Fine Pipe Stem Polish. I wiped it down with some Obsidian Oil and buffed it off. It is a beautiful stem. I am excited to put the final touches on the Harriss 863 Bent Billiard. I put the pipe back together and buffed the stem with Blue Diamond on the buffing wheel. I gave the bowl and the stem multiple coats of carnauba wax. I hand buffed the pipe with a clean buffing pad to raise the shine. It is fun to see what the polished bowl looks like with the beautiful grain, the triple sandwiched brass and black acrylic band on the shank end and the polished vulcanite saddle stem. This smooth Harriss Bent Billiard is great looking and the pipe feels great in my hand. It is light and well balanced. Have a look at it with the photos below. The dimensions are Length: 5 inches, Height: 2 inches, Outside diameter of the bowl: 1 1/8 inches, Chamber diameter: ¾ of an inch. The weight of the pipe is 52 grams/1.80 ounces. It is a beautiful pipe that I will soon be putting on the rebornpipes store in the English Pipe Makers Section. If you are interested in adding it to your collection send me an email or a message. Thanks for walking through the restoration with me as I worked over this pipe. Thanks to each of you who are reading this blog.

Moving another one of my own – an American Artisan Rusticated Cherrywood Pipe


Blog by Steve Laug

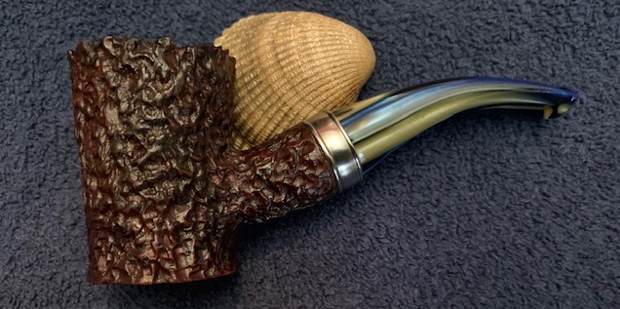
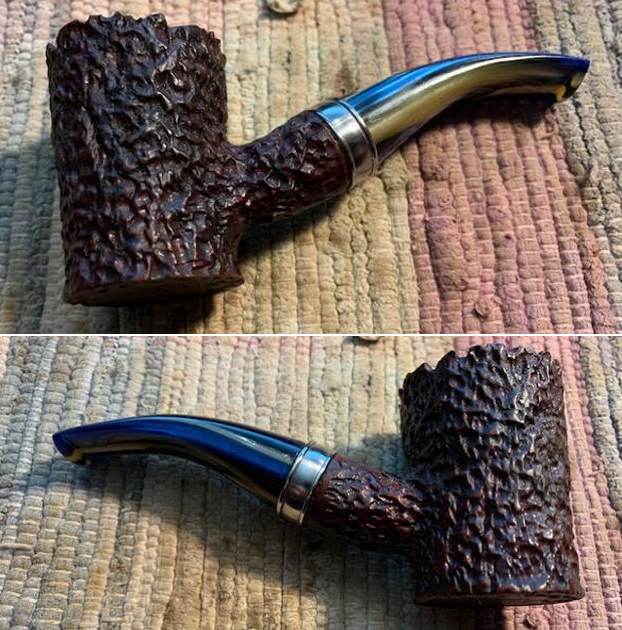
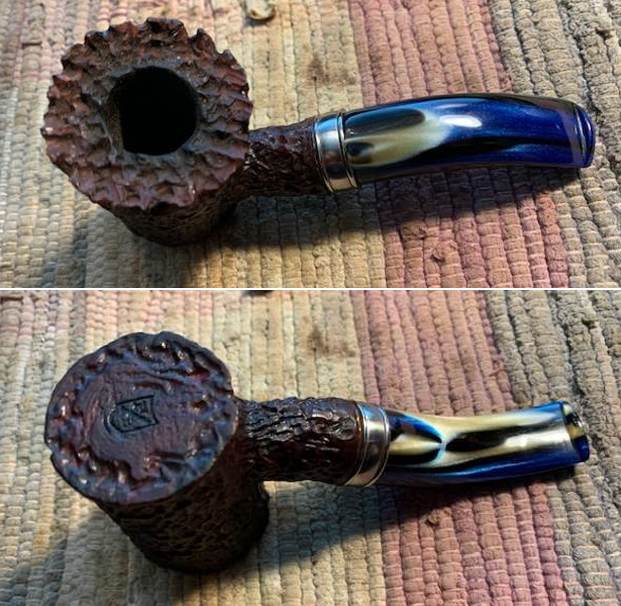
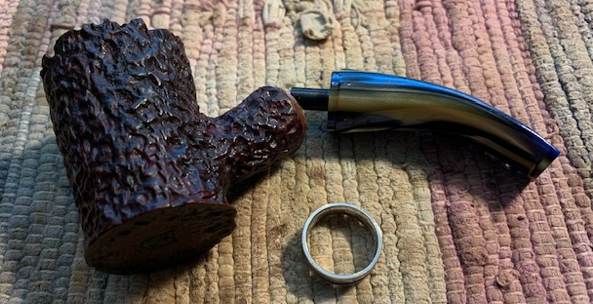
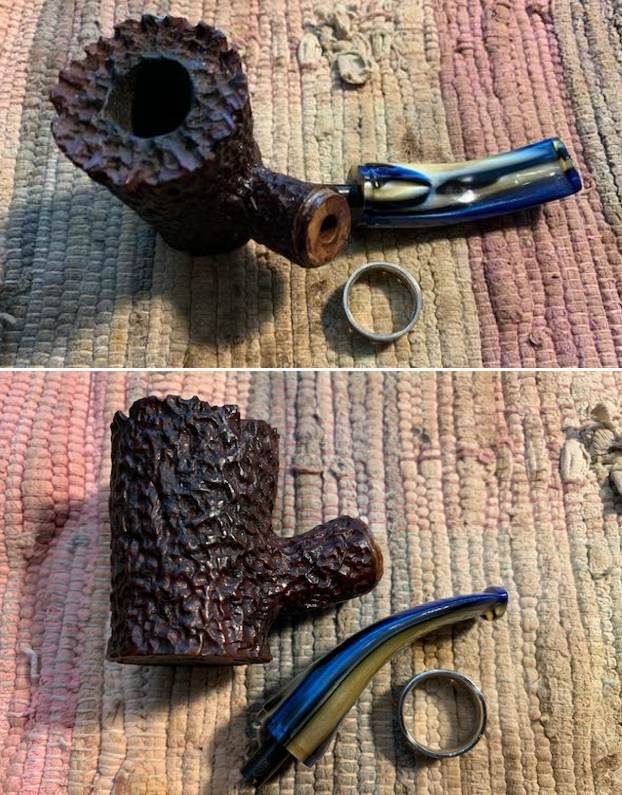
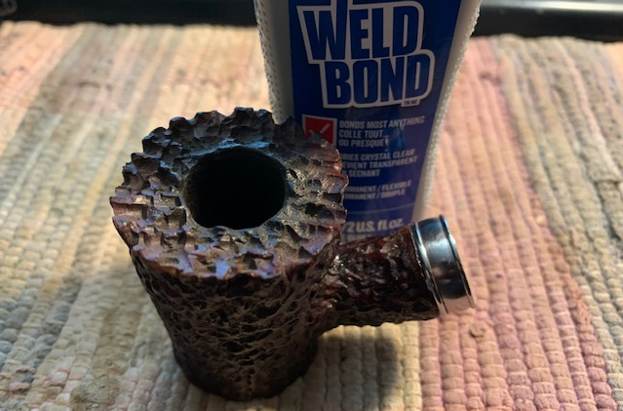
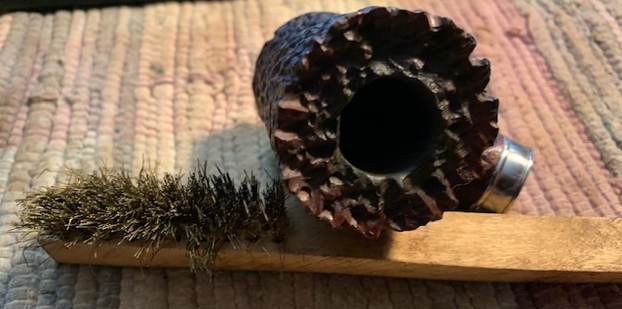
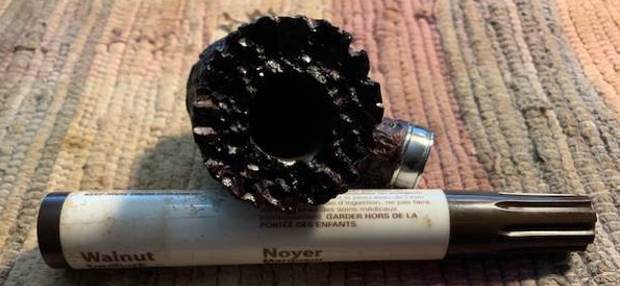
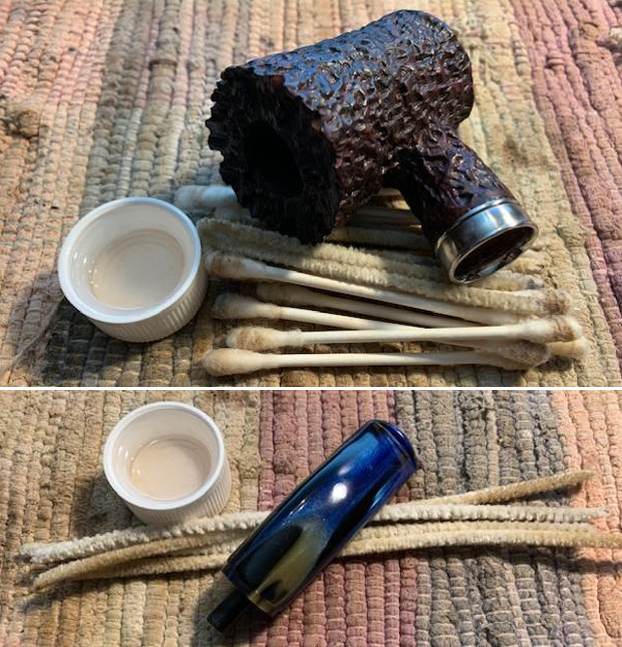
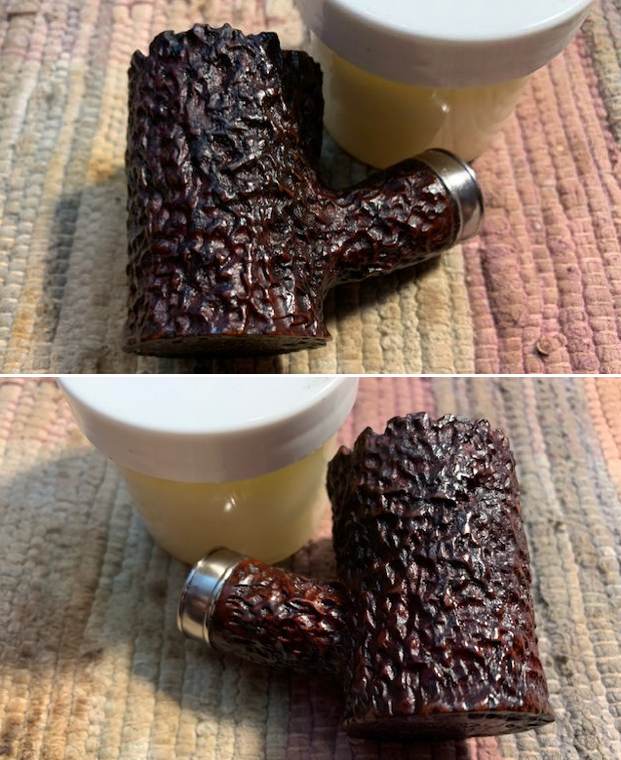
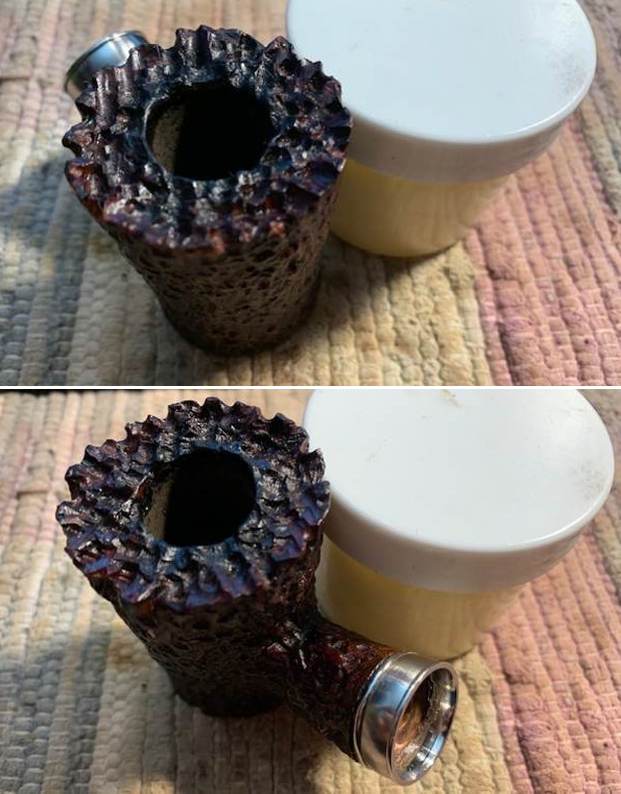
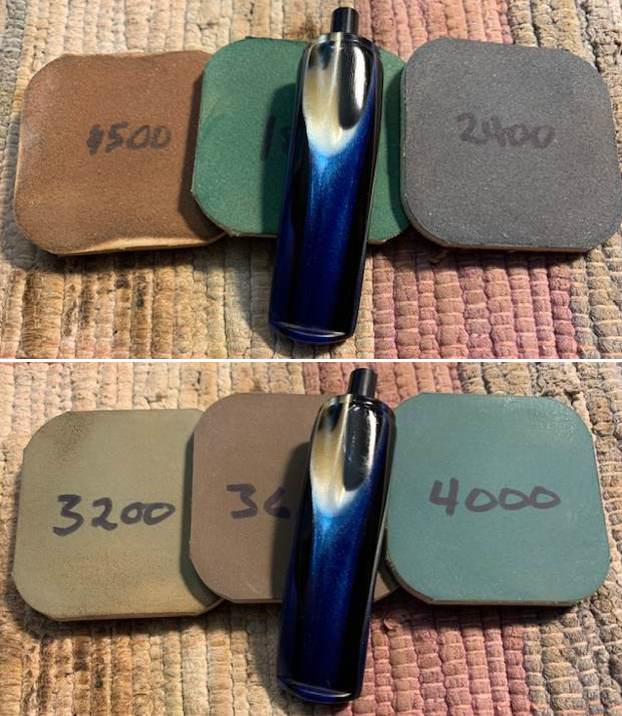
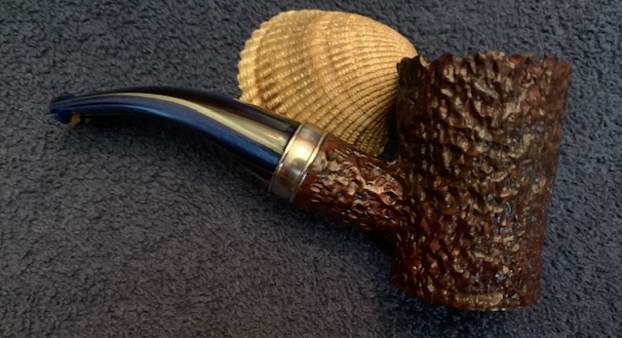
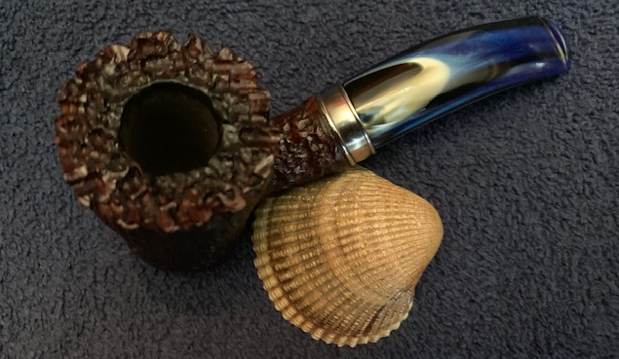
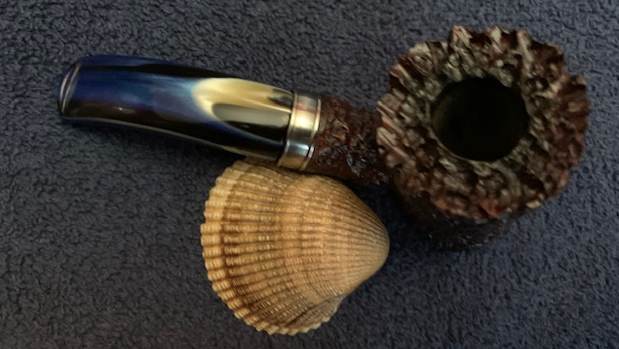
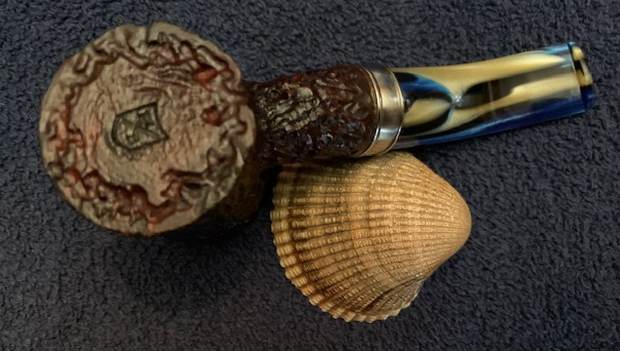
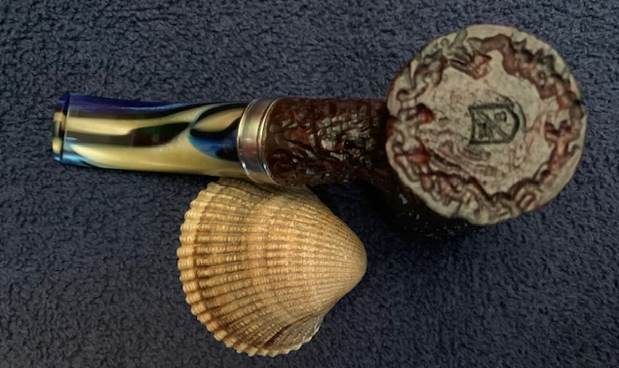
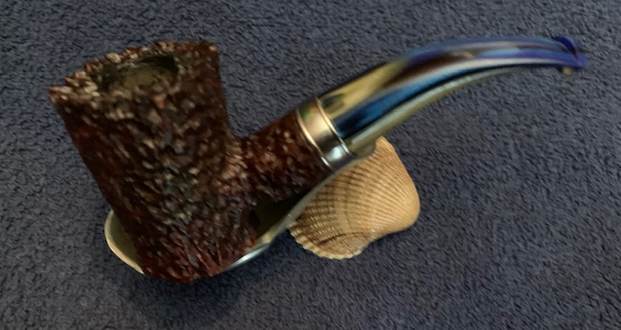
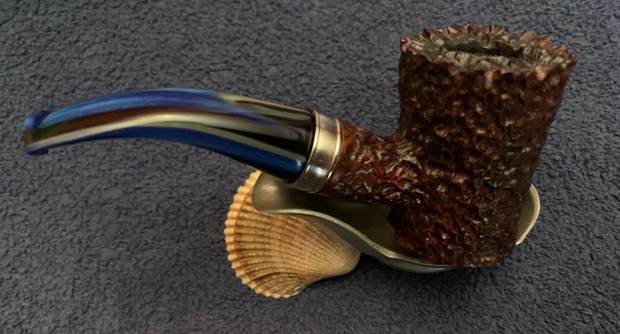
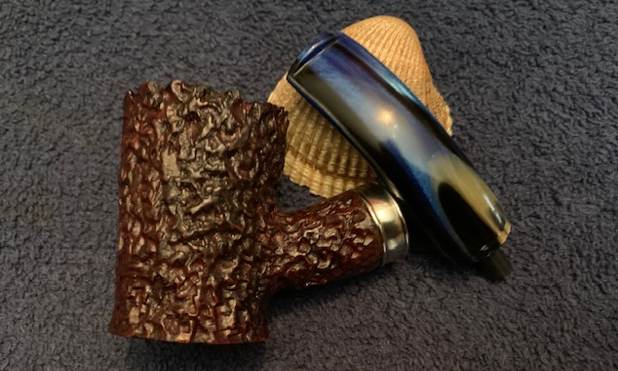
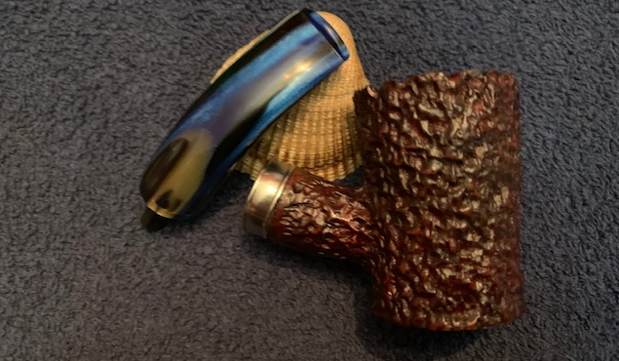
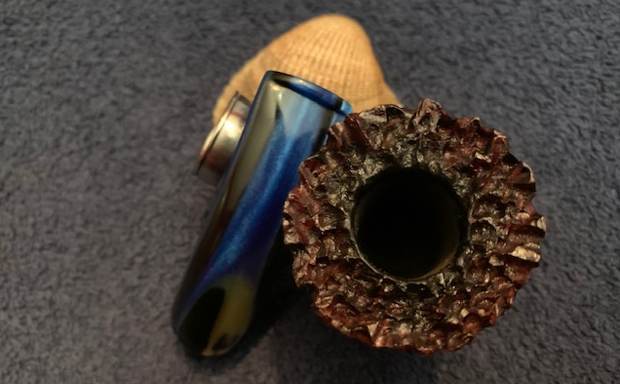
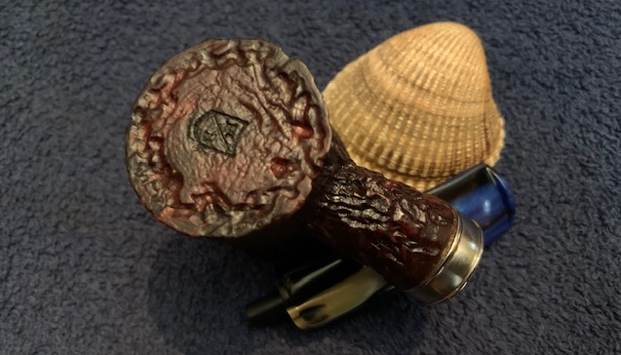
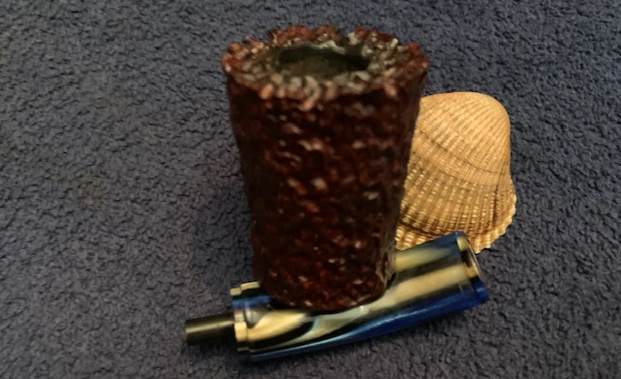
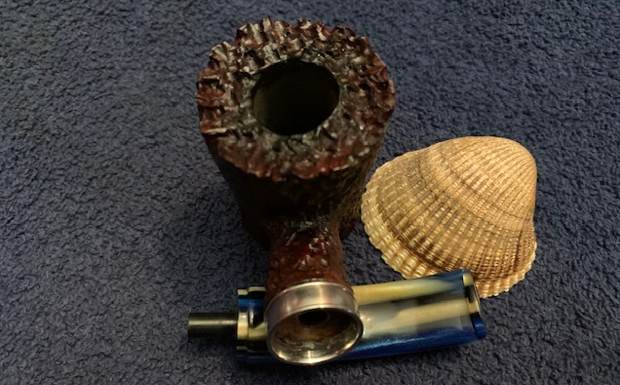
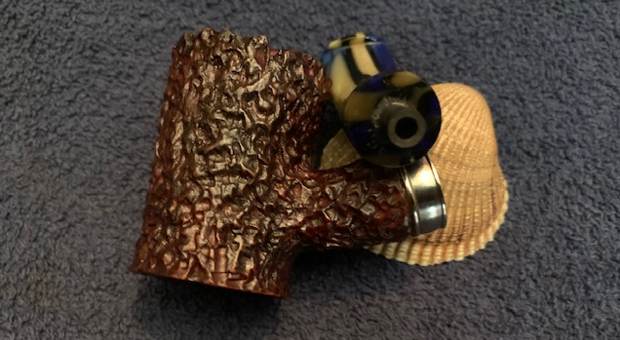
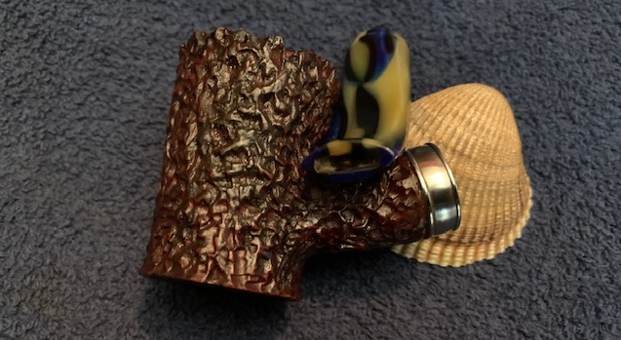
This is another pipe that I have taken out of my personal collection as I just do not use enough to warrant keeping it. This pipe was given to me in a group of pipes and I used it a bit when it came in. It is from a period of my journey where I smoked solely Virginia tobaccos so it is quite clean. The airway in the shank and the mortise were quite clean. The rusticated finish and rim top were in excellent condition. I don’t remember who made the pipe but I do remember it was a relatively new artisan American carver. It is stamped on the heel of the bowl with the letters B/B in a shield. There was a light cake in the bowl but the top and inner edge of the bowl clean and a bit faded. There is a polished steel band on the shank end. It is loose and the attachment is a bit odd. The shank end and stem end are both stepped down to receive the band. The blue and gold/tan acrylic stem is in good condition with some light tooth chatter ahead of the button on both sides. It has a inserted Delrin tenon that is a great fit in the shank. I took photos of the pipe before I did my clean up work on it. I took a photo of the bowl and rim top to verify the description above. I also took photos of the stem surface showing the light chatter on either side.I took a photo of the stamping on the heel of the bowl. It is clear and readable as noted above.  I took the stem off the bowl and took a photo of the pipe to give a sense of proportion of the pipe. You can also see the loose band and the step down area on the shank end and stem end. There was still some bits of glue on the shank end that I would clean off when I reglued the band. I used a toothpick to spread some Weld Bond all purpose glue around the shank end.I pressed the band on the shank end and wiped off the excess glue around the edge of the band.I cleaned up the rustication on the rim top with a brass bristle wire brush. It looked cleaner and more distinct.I touched up the stain on the rim top and worked it into the faded spots on the rim top, working it down into the valleys of the rustication.Now it was time to work on the pipe. I cleaned up the light cake in the bowl with a Savinelli Fitsall Pipe Knife. I sanded the bowl walls with a piece of dowel wrapped in 220 grit sandpaper.I cleaned the mortise and airways in the shank and stem with cotton swabs, pipe cleaners and isopropyl alcohol to remove the debris and tars from my smoking. You can see that it was not too bad as I tend to keep my pipes clean.The bowl was in such good condition that decided to give the bowl and shank a coating of Before & After Restoration Balm. I worked it into the surface of the briar with my fingertips and a horsehair shoe brush to clean, enliven and protect the briar. I let the balm sit for 15 minutes and then buffed with a cotton cloth to raise the shine. The photos show the bowl at this point in the restoration process. Since the stem was in quite good condition other than tooth chatter I polished out the chatter with micromesh sanding pads – dry sanding with 1500-12000 grit pads. I rubbed it down between pads with Obsidian Oil. I polished it with Before & After Fine and Extra Fine Pipe Stem Polish. I wiped it down with some Obsidian Oil and buffed it off. It is a beautiful stem. I am excited to put the final touches on this great looking American Made Artisan BB Rusticated Cherrywood. I put the pipe back together and buffed the stem with Blue Diamond on the buffing wheel. I gave the bowl multiple coats of Conservator’s Wax and the stem multiple coats of carnauba wax. I hand buffed the pipe with a clean buffing pad to raise the shine. It is fun to see what the polished bowl looks like with the rugged rustication all around it. Added to that the polished blue and gold/tan acrylic stem combined with the bowl and make a stunning pipe. This rusticated BB Cherrywood is great looking and the pipe feels great in my hand. It is light and well balanced. Have a look at it with the photos below. The dimensions are Length: 5 inches, Height: 2 inches, Outside diameter of the bowl: 1 ½ inches, Chamber diameter: ¾ of an inch. The weight of the pipe is 59 grams/2.08 ounces. It is a beautiful pipe that I will soon be putting on the rebornpipes store in the American Pipe Makers Section. If you are interested in adding it to your collection send me an email or a message. Thanks for walking through the restoration with me as I worked over this pipe. Thanks to each of you who are reading this blog.

Moving another one of my own – a Hungarian Made Bruyere Szabo Dublinesque Pipe


Blog by Steve Laug

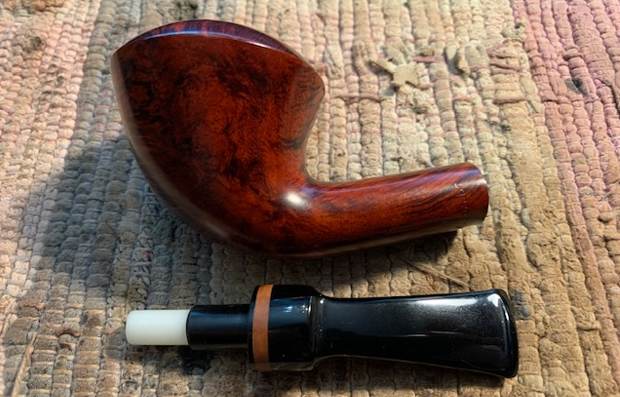
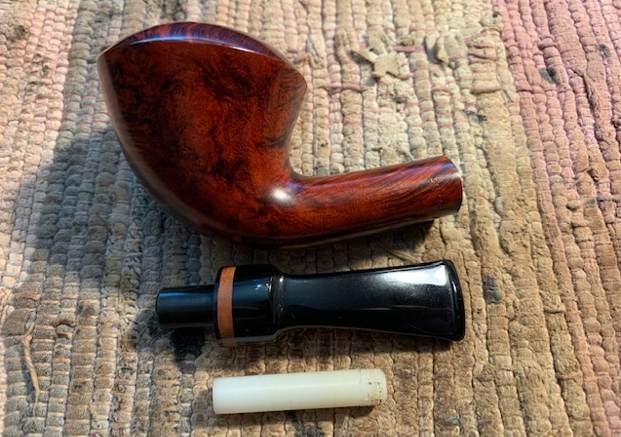
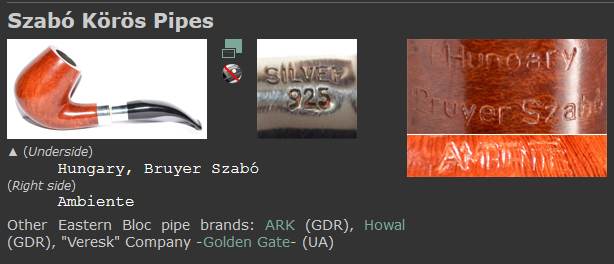
This is another pipe that I have taken out of my personal collection as I just do not use it too much. I picked this pipe up along with another on one of my trips to Budapest, Hungary. It is a Hungarian made pipe that I picked up at the Pipatórium . It is another pipe that I smoked solely Virginia tobaccos in so it is very clean. The airway in the shank and the mortise were quite clean. The smooth rim top and edges were in excellent condition. The smooth finish was very clean and still had a shine. It is stamped on the underside of the shank near the stem/shank joint and reads Bruyere Szabo. There was a light cake in the bowl but the top and inner edge of the bowl was dark at the back. The acrylic saddle stem is in good condition with some light tooth chatter ahead of the button on both sides. I took photos of the pipe before I did my clean up work on it. I took a photo of the bowl and rim top to verify the description above. I also took photos of the stem surface showing the light chatter on either side.I took a photo of the stamping on the underside of the shank. It was hard to capture with the camera as it is wrapped around the shank end. It is clear and readable as noted above.  I took the stem off the bowl and took a photo of the pipe to give a sense of proportion of the pipe. It is a beauty. There was also an adapter in the stem that was removable so that the pipe could be smoked with or without a filter. I turned to Pipephil’s site for a quick overview of the brand (http://pipephil.eu/logos/en/logo-s14.html). I have included a screen capture of the brand below. From that I knew that the pipe I was working on was post 1970 because of the stamping and the star on the stem.There was also a side bar that gave further information on the brand. I quote below

After the politcal changes in the early 1990s, Balázs Szabó Jr. bought back the Nagykörösi Pipe Factory established about 1930. This grandson of one of the founders renamed the corporate and focused production on briar pipes.

Pipedia has a short history on the brand (https://pipedia.org/wiki/K%C3%B6r%C3%B6s_Pipes). I quote from the page below.

The brand origins from the central Hungarian city of Nagykörös, where the Nagykörösi Pipe Factory was founded in 1930. Balázs Szabó Jr., a grandson of one of the founders, was able to buy back the company in 1989 after the politcal changes in the former Warsaw Pact territory. Now named Szabó Körös Pipe Factory.

I googled and found the website of the pipe maker (https://www.pipagyar.hu/?lang=en). I quote from the front page below.

Our company specialises in traditional handmade smoking pipes with deigns unique to Nagykőrös in Hungary. While we respect traditions, we always follow the latest trends and customer needs besides the classical and unique designs. Together with other specialist smoking pipe manufacturers and colleagues we strive to pass on smoking pipe manufacturing and the culture of pipe smoking to the next generations. It is our company philosophy to support wholesalers as well as small businesses.

THE ONLY TRADITIONAL SMOKING PIPE MANUFACTURER WITH FAMILY PASSION IN HUNGARY SINCE 1930.

The Szabó Smoking Pipe Manufacturer Ltd. is the home of Hungarian smoking pipe manufacturing, based on the high street in the city centre of Nagykőrös. It is a historical fact that wooden smoking pipes and their accessories were made exclusively in Nagykőrös even after the nationalisation took place in Hungary. We have been continuously manufacturing the usual classical pipe shapes. We follow customer needs and the latest trends and sell our smoking pipes nationally as well as internationally.

Irony of fate, that after the Change in Hungary, the Pipe Manufacture become the private property of Szabó Balázs. The Szabó’s have guaranteed and do it also nowadays that the tradition and secret of handmade pipe-craftsmanship will be continued to live up to generations. Sen. Szabó Balázs founded he firm in 1930. His son Szabó Balázs followed his father’s footsteps and now Szabó Balázs, the third in the generation directs the firm.

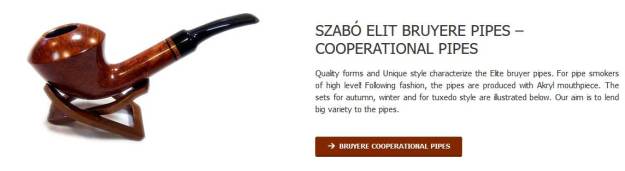
We have been manufacturing the classical pipe types continuously. Following the latest trends, we produce our products to Hungary and import them to different countries.I clicked on the button at the bottom of the graphic above and found the photo below that is the exact pipe that I purchased (https://www.pipagyar.hu/portfolio-posts/sc056/?lang=en). I include the photo below of the Szabo Bruyere sc056 pipe.Now it was time to work on the pipe. I cleaned up the light cake in the bowl with a Savinelli Fitsall Pipe Knife. I sanded the bowl walls with a piece of dowel wrapped in 220 grit sandpaper.I cleaned the mortise and airways in the shank and stem with cotton swabs, pipe cleaners and isopropyl alcohol to remove the debris and tars from my smoking. You can see that it was not too bad as I tend to keep my pipes clean.The bowl was in such good condition that decided to give the bowl and shank a coating of Before & After Restoration Balm. I worked it into the surface of the briar with my fingertips to clean, enliven and protect the briar. I let the balm sit for 15 minutes and then buffed with a cotton cloth to raise the shine. The photos show the bowl at this point in the restoration process. The tenon adapter used to reduce a filter tenon to a regular tenon was included with the pipe when I bought it. It is white and the end is threaded though the stem is not threaded inside to hold it. It was stained from smoking but I cleaned it up a bit with 220 grit sandpaper. I put the adapter back in the tenon.Since the stem was in quite good condition other than tooth chatter I polished it with micromesh sanding pads – dry sanding with 1500-12000 grit pads. I rubbed it down between pads with Obsidian Oil. I polished it with Before & After Fine and Extra Fine Pipe Stem Polish. I wiped it down with some Obsidian Oil and buffed it off. It is a beautiful stem. I am excited to put the final touches on this Hungarian Made Bruyere Szabo sc056. I put the pipe back together and buffed it with Blue Diamond on the buffing wheel. I gave the bowl and the stem multiple coats of carnauba wax. I hand buffed the pipe with a clean buffing pad to raise the shine. It is fun to see what the polished bowl looks like with beautiful mixed grain all around it. Added to that the polished black acrylic stem combined with the bowl and make a stunning pipe. This smooth Hungarian Made Bruyere Szabo is great looking and the pipe feels great in my hand. It is light and well balanced. Have a look at it with the photos below. The dimensions are Length: 5 ¾ inches, Height: 2 inches, Outside diameter of the bowl: 2 inches, Chamber diameter: ¾ of an inch. The weight of the pipe is 58 grams/2.05 ounces. It is a beautiful pipe that I will soon be putting on the rebornpipes store in the Pipes From Various Makers Section. If you are interested in adding it to your collection send me an email or a message. Thanks for walking through the restoration with me as I worked over this pipe. Thanks to each of you who are reading this blog.

Restoring a Republic Era Peterson’s System 31 Billiard


Blog by Steve Laug

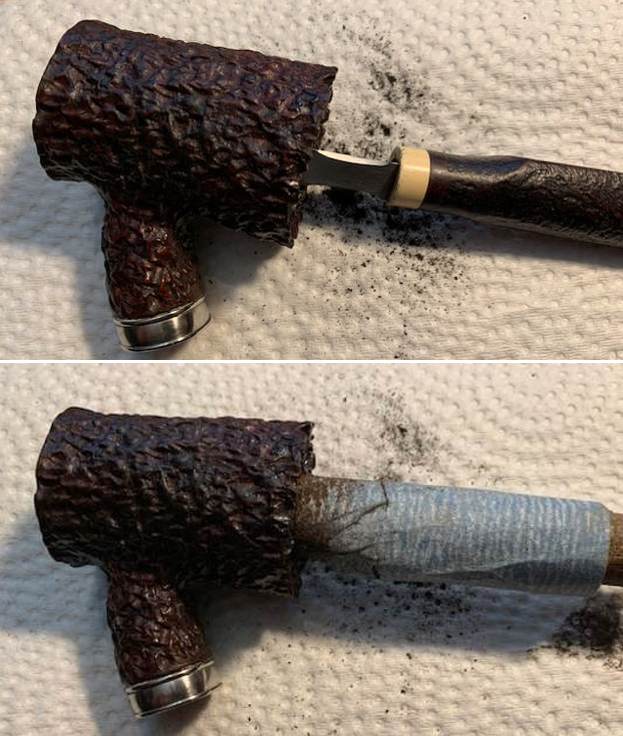
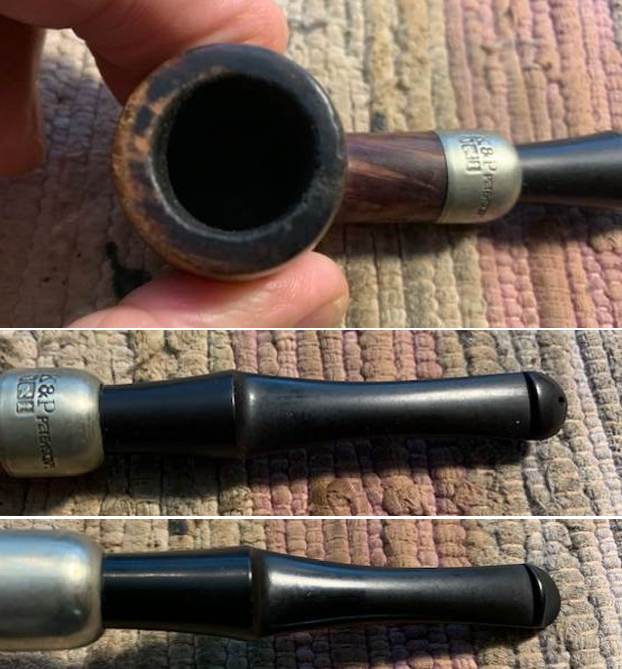
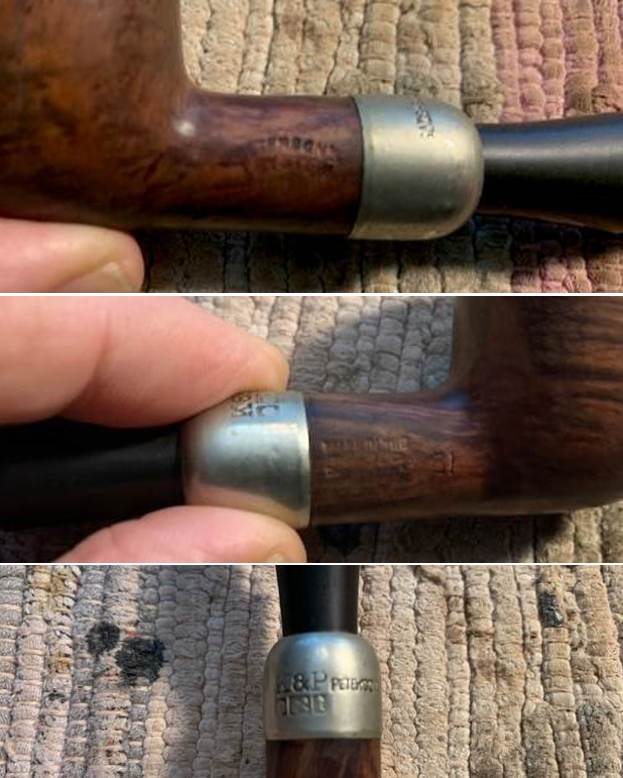
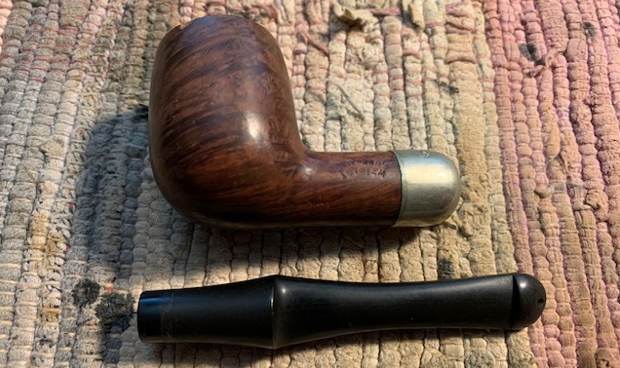
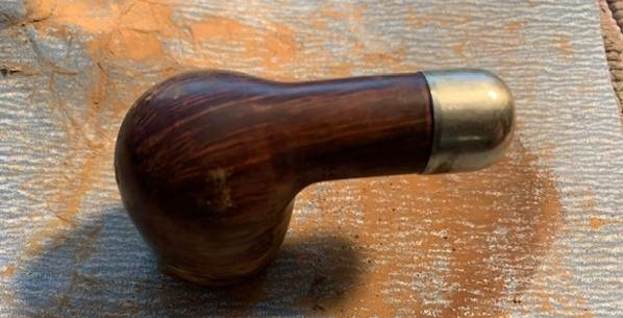
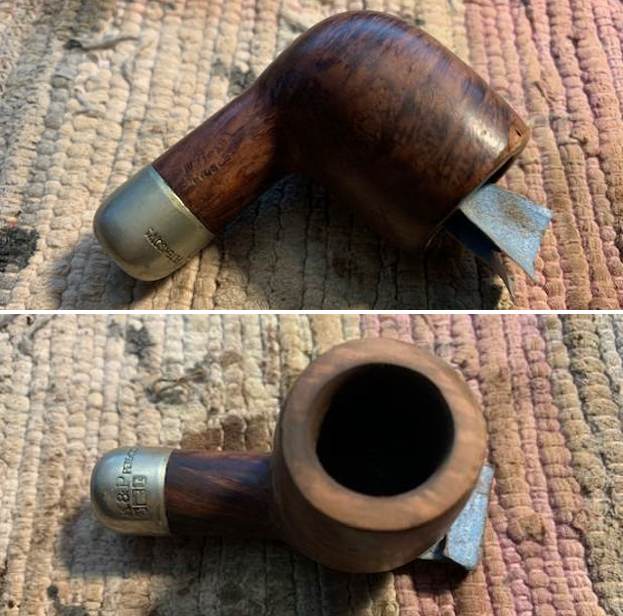
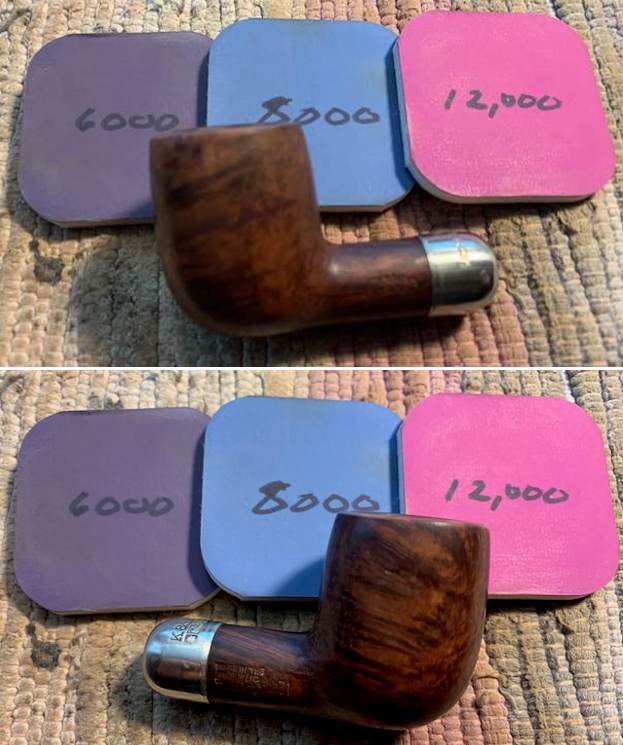
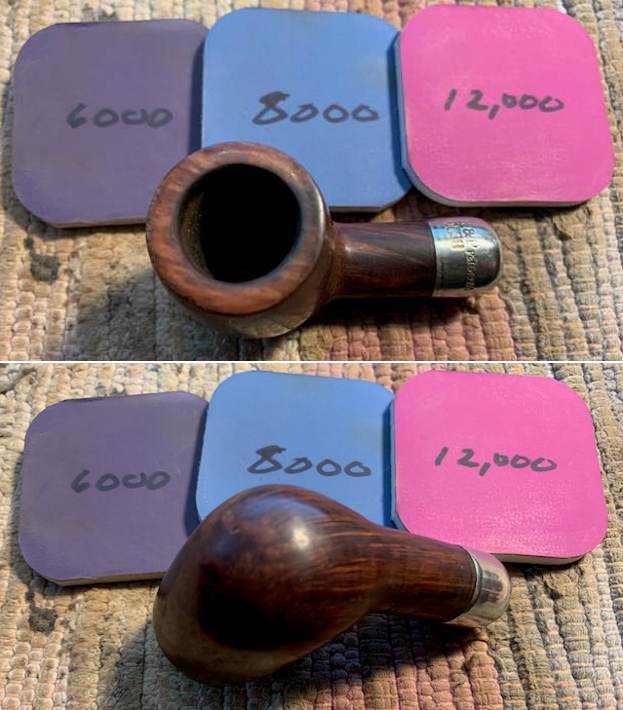
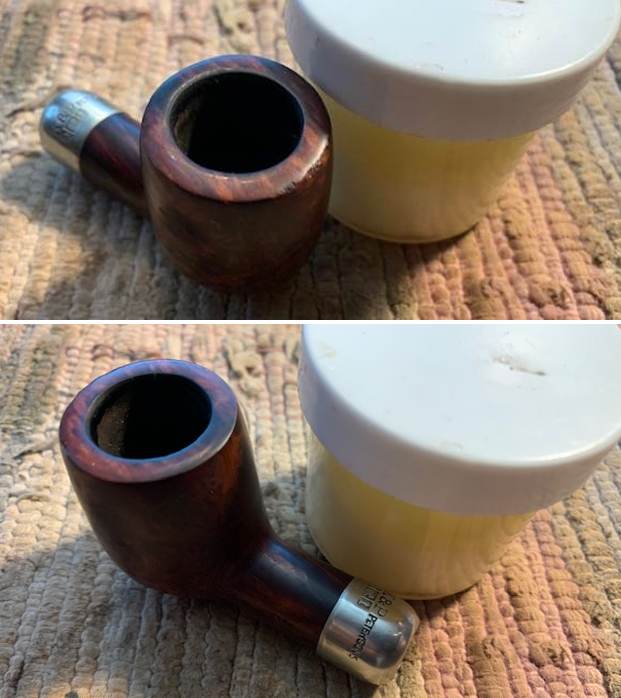
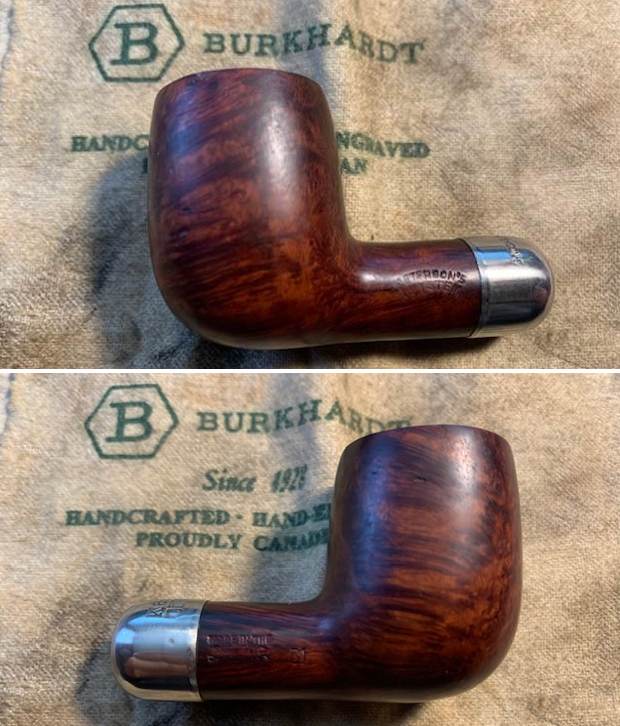
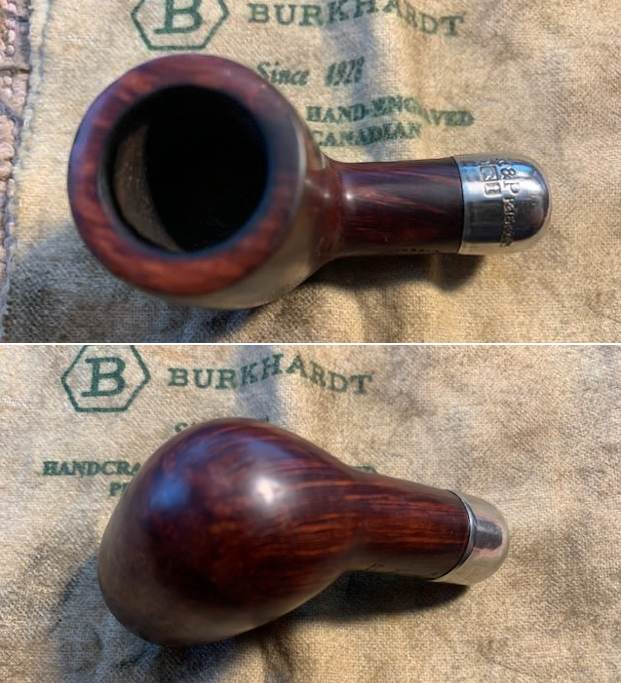
This is another one of those pipes that has been here for a long time and I have no memory where it came from. It had been cleaned and reamed. The inside of the shank, the system sump and the shank was quite clean. The smooth rim top was damaged and had some darkening. The edges – both inner and outer had some damages by burning and the bowl was out of round. The smooth finish was very clean from Jeff’s scrubbing. The stamping on the shank is clear and readable. The left side is stamped Peterson’s [arched over] System. On the right side it was stamped Made in the Republic of Ireland (3 lines). To the right of that stamp is the shape number 31. The nickel ferrule is oxidized and dull but it has the K & P stamp over three symbols. Next to that it was stamped Peterson’s. The stem was quite clean and free of tooth marks and chatter on both sides. I took some photos of the pipe before I started my work on it. I took close up photos of the bowl and the stem. You can see the reamed bowl and the darkening and damage on the rim top. The stem surface was clean and free of tooth marks or chatter on both sides. I took a photo of the stamping on the sides of the bowl and shank. It is clear and readable as noted above. I removed the stem from the shank and took a photo to give a sense of the proportions of the pipe. It is really quite nice looking.I am including the information from Pipedia’s article on Peterson pipes. It is a great read in terms of the history of the brand (https://pipedia.org/wiki/Peterson). I have included a bit of the pertinent history here.

1950 – 1989 The Republic Era  – From 1950 to the present time, the stamp for this era is “Made in the Republic of Ireland” in a block format generally in three lines but two lines have been used with or without Republic being abbreviated.

During the 1950’s and 60’s the Kapp & Peterson Company was still in the ownership of the Kapp family. However 1964 saw the retiral of the company Managing Director Frederick Henry(Harry) Kapp.

I found a great description of the System 31 shape on smokingpipes.com (https://www.smokingpipes.com/pipes/new/peterson/moreinfo.cfm?product_id=192182). I am including a portion of that below.

Peterson’s “31” shape is the only straight pipe featured in the System Standard line, yet it still features system drilling. Featuring a push-style tenon and a long, tapering metal tube, it houses a condensation chamber just under the bowl itself — providing the same gurgle free smoke you’d expect of a bent System configuration.

Paresh had worked on System 31 pipe so I went back and reread his work on that smooth pipe. It was very helpful for the background information included (https://rebornpipes.com/tag/peterson-system-31-pipe/).

I knew that I was dealing with a Republic Era pipe made between 1950-1989. The K&P mark on the nickel band ties to Kapp & Peterson brings the date to the time between 1950-1964. It was a smooth Straight billiard with a unique shape and chamber beneath the bottom of the bowl. The finish was stained with a combination of rich reddish brown stains. Now it was time to work on the pipe.

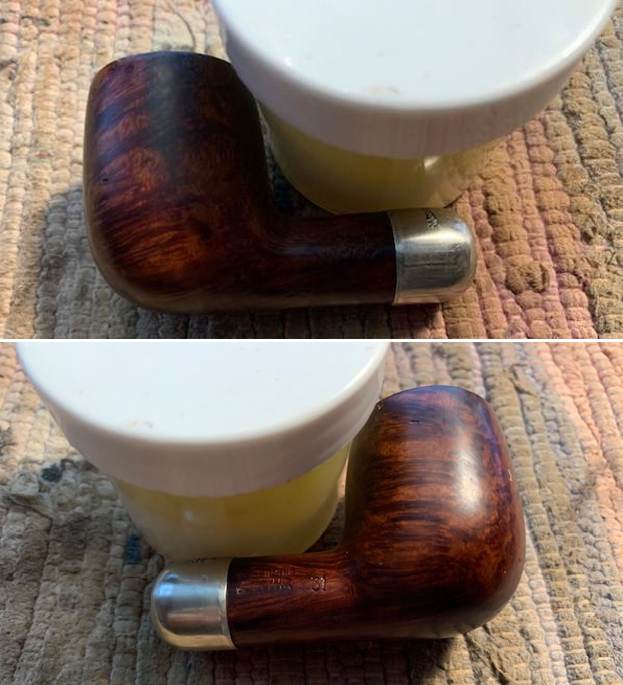
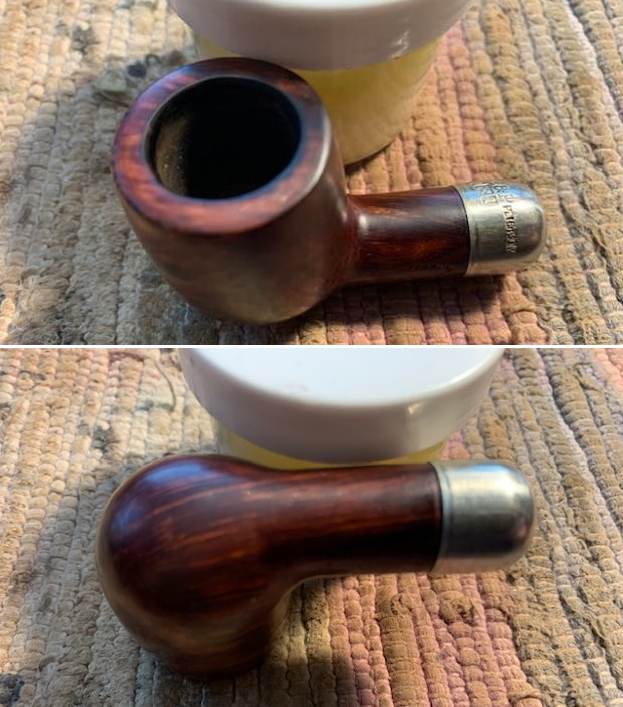
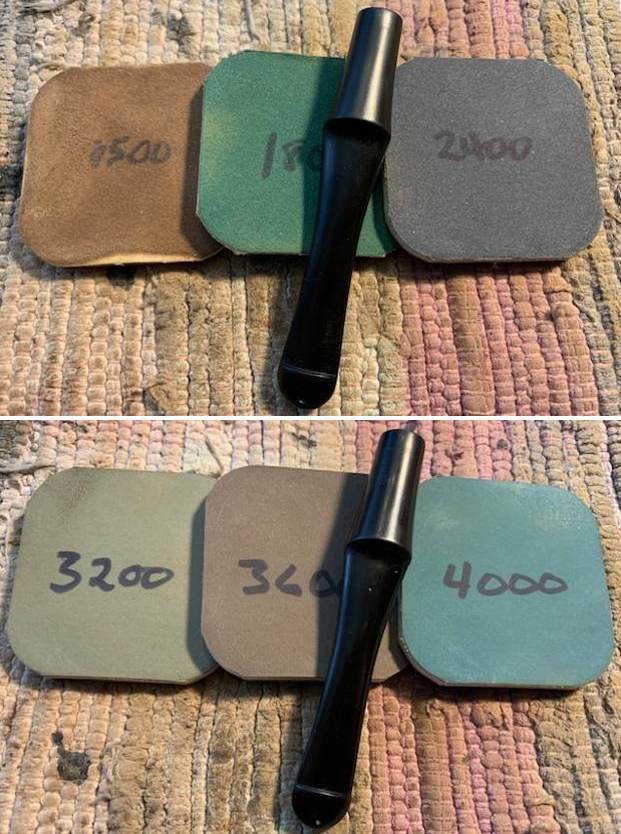
The bowl had been reamed and cleaned. I started working on the pipe by topping the damaged rim top on a topping board with 220 grit sandpaper to remove the damage on the rim top and edges of the bowl. I used a folded piece of 220 grit sandpaper to smooth out the inner edge of the bowl. I gave the inner edge of the bowl a slight bevel. I polished the rim top and edges with micromesh sanding pads – dry sanding with 1500-12000 grit pads to raise a shine. I wiped it down with a damp cotton pad to wipe off the debris after each sanding pad. I worked some Before & After Restoration Balm into the surface of the briar with my fingertips. It works to clean, enliven and protect the briar. I let it sit for 15 minutes then buffed it off with a soft cloth and raised the shine. The bowl looks great at this point.   I polished the nickel ferrule with a  jeweler’s cloth. The cloth is impregnated with polish that not only raises a shine but protects the metal.   I polished the stem with micromesh sanding pads – dry sanding it with 1500-12000 grit pads. I wiped the stem down with Obsidian Oil after each pad. I polished it with Before & After Pipe Polish – both Fine and Extra Fine and gave it a final coat and set it aside to dry.  I put the stem back on the Peterson’s System 31 Straight Billiard and buffed the pipe with Blue Diamond on the buffing wheel. I polished the briar and the vulcanite of the stem until there was a rich shine. This classic Peterson’s shape and finish really highlights a proportionally well carved pipe. Once I buffed the pipe the briar came alive and popped with polishing. The black vulcanite stem has a rich glow. This Peterson’s System Straight Billiard fits well in the hand and sits right in the mouth. Have a look at it with the photos below. The dimensions are Length: 5 ½ inches, Height: 1 ½ inches, Outside diameter of the bowl: 1 1/8 inches, Chamber diameter: ¾ of and inch. The weight of the pipe is 1.20 ounces/34 grams. This beauty will be going on the rebornpipes online store in the Irish Pipemakers Section. If you are interested let me know. Thanks for walking through the restoration with me as it was a pleasure to work on.

The French Collection


Blog by Kenneth Lieblich

No, not the French Connection – but French Collection! I have long had an interest in French pipes and pipemaking. In recent decades, French pipes have received a fair amount of derision – and deservedly so. However, early French pipes are very often beautiful, well-made, and – best of all – good smokers. In my own small way, I am aiming to resurrect the reputation of early French pipes. There are superb pipes to be had from France. This blog post is about the restoration of the first pipe that is going into my “French Collection”.

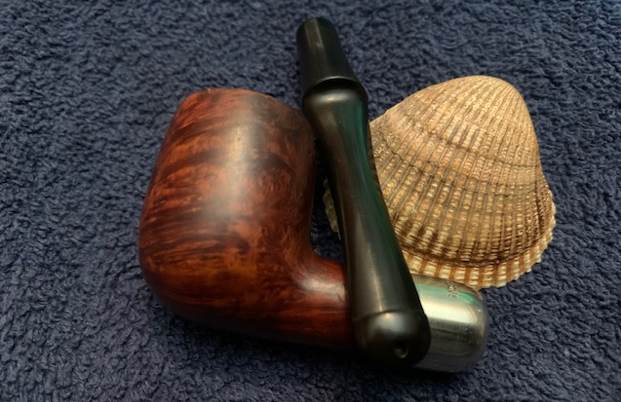
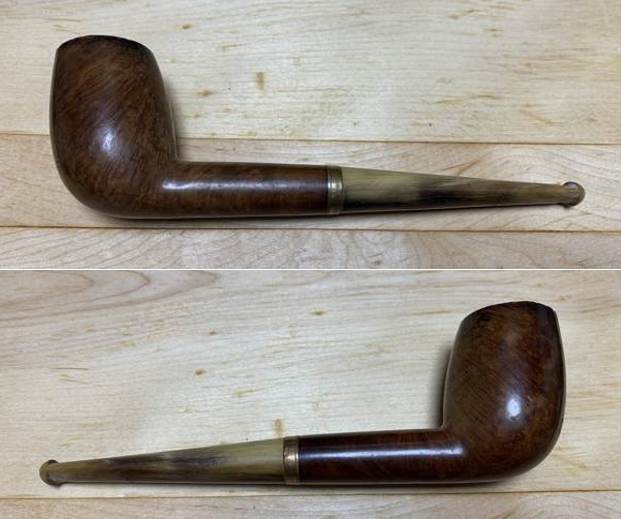
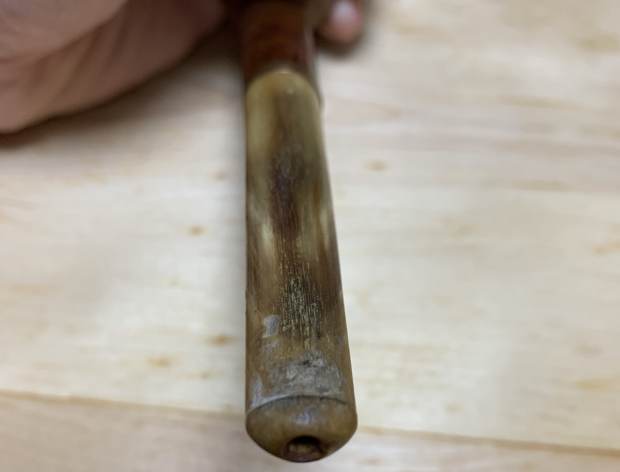
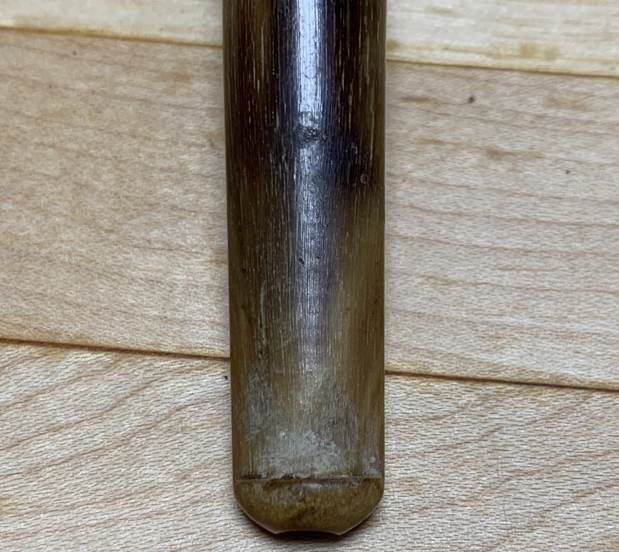
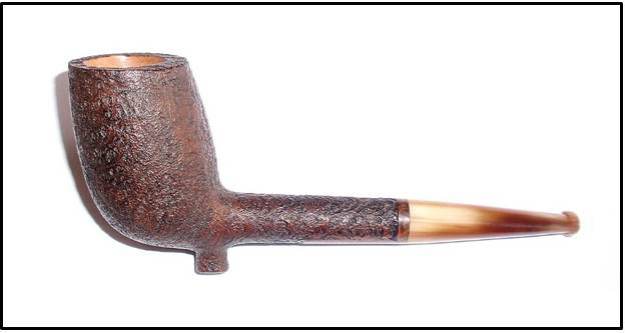
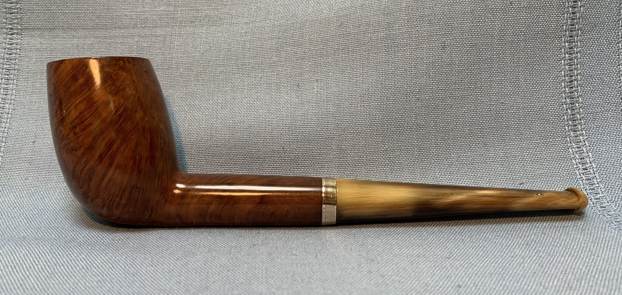
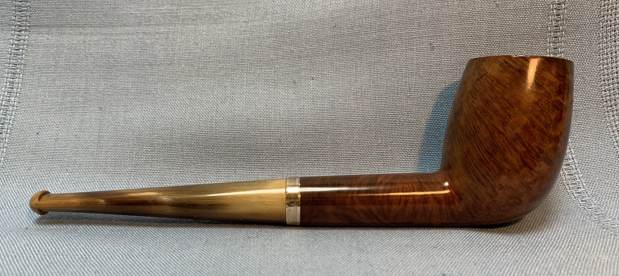
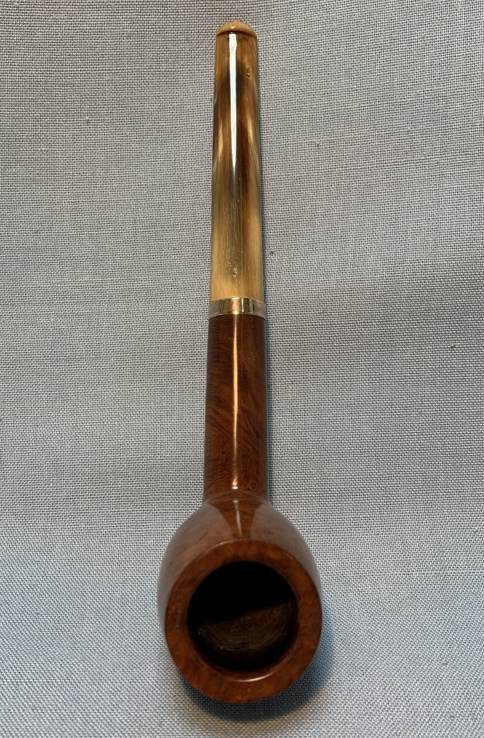
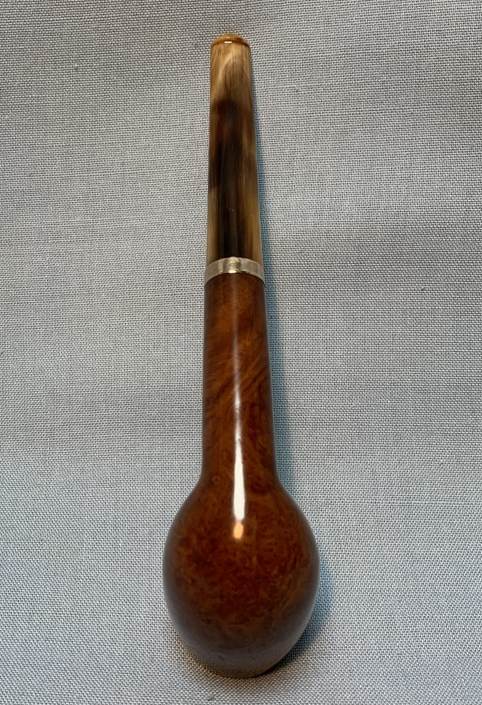
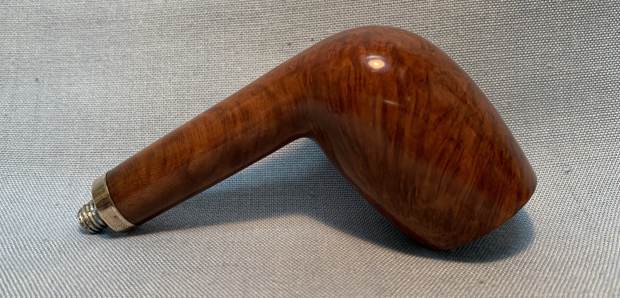
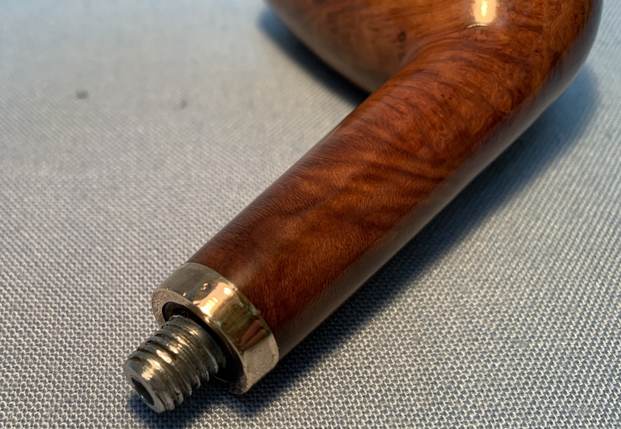
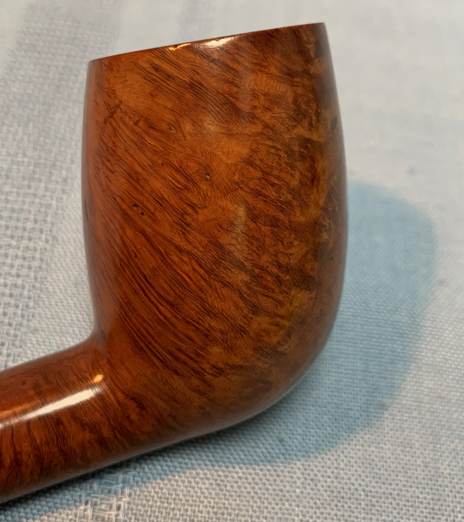
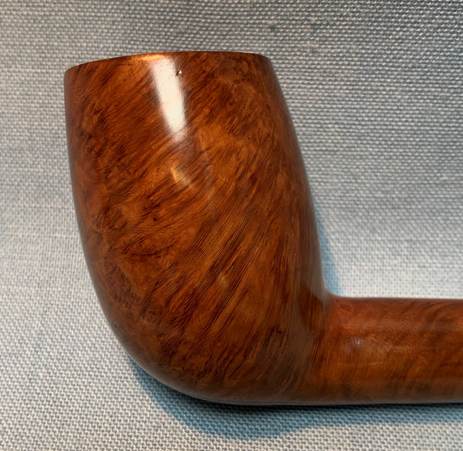
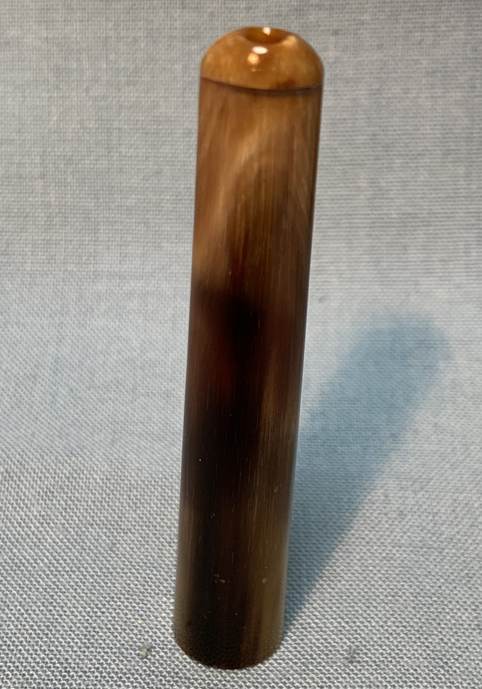
The pipe in question has no markings whatsoever. So how do I know it’s French? Well, I don’t have absolute proof, but I’ve got good circumstantial evidence: the pipe has a very French look to it, it smells like old French tobacco, it came in a lot of exclusively French pipes from France, and – most definitively – Steve thinks it’s French too.  As the photos show, this is a cutty-shaped pipe, albeit without the spur. However, it shows the distinctive, canted bowl of the cutty. It is a handsome pipe with a jaunty look to it, and I liked the pipe straight away. As I mentioned, this pipe has no marks of any kind. This obviously makes identification trickier. I know that Georges Vincent-Genod company used to make pipes similar to this once upon a time, but I cannot, in good conscience, definitely ascribe this pipe to the GVG company. Having said that, the following pipe from Genod certainly has its similarities…The age of this pipe is quite interesting. As you can see, the stem of the pipe is made of horn and has an orific button at the end. For more information on the orifice button, take the time to read Steve’s interesting article on the subject. This type of button is a feature that apparently disappeared by the 1930s, so the pipe must be around a hundred years old, right? Not so fast. The stummel has a threaded tenon made of metal – not bone (as one might expect from a century ago). Steve, my walking encyclopedia, informed me that the fact the tenon is in metal (instead of bone) suggests a date closer to World War II. He figures that the stem itself could be significantly older, but that it was left over in the factory and married to a ”newer” stummel. Therefore, we can surmise that the pipe is about 80 years old.

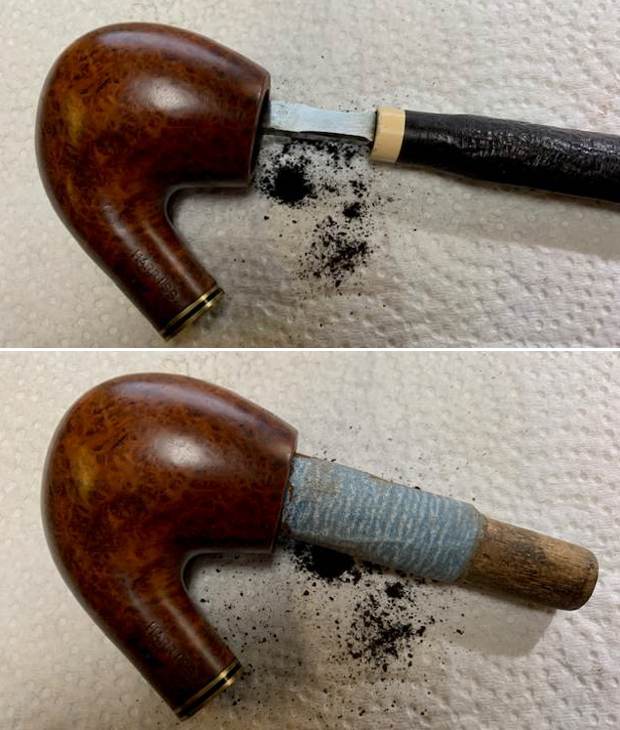
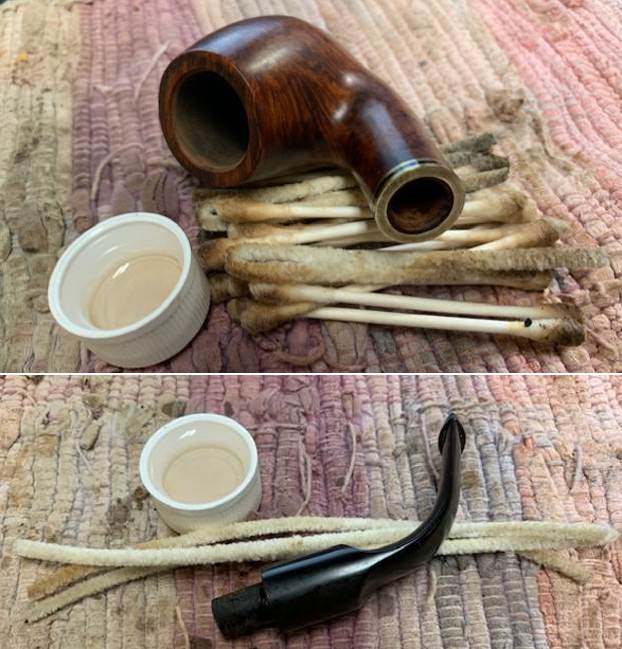
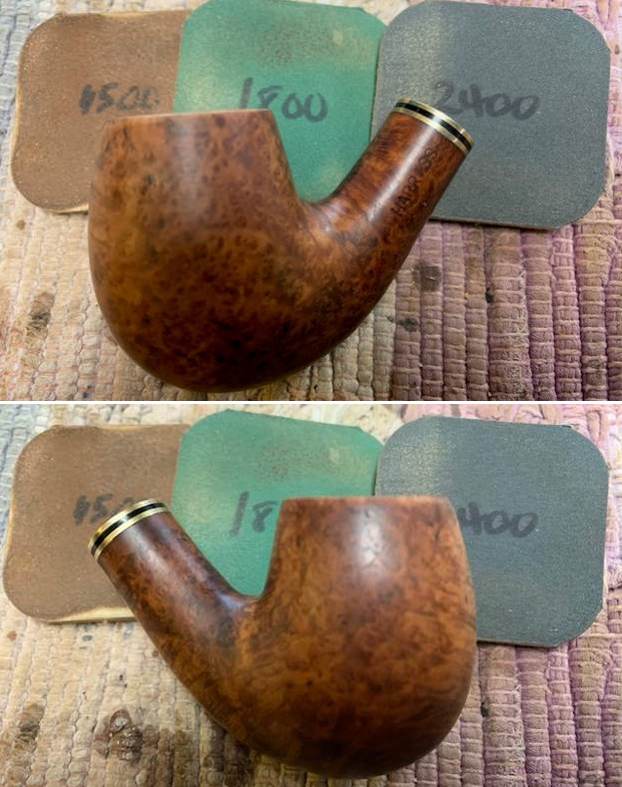
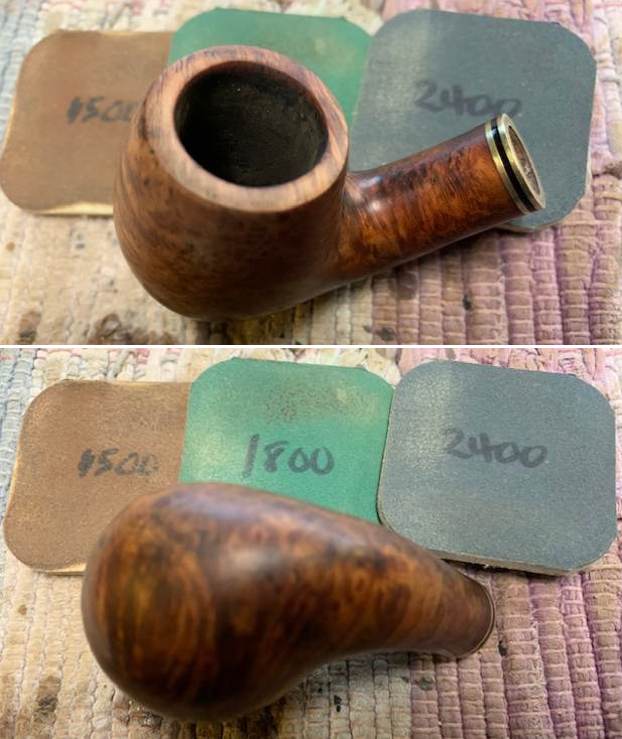
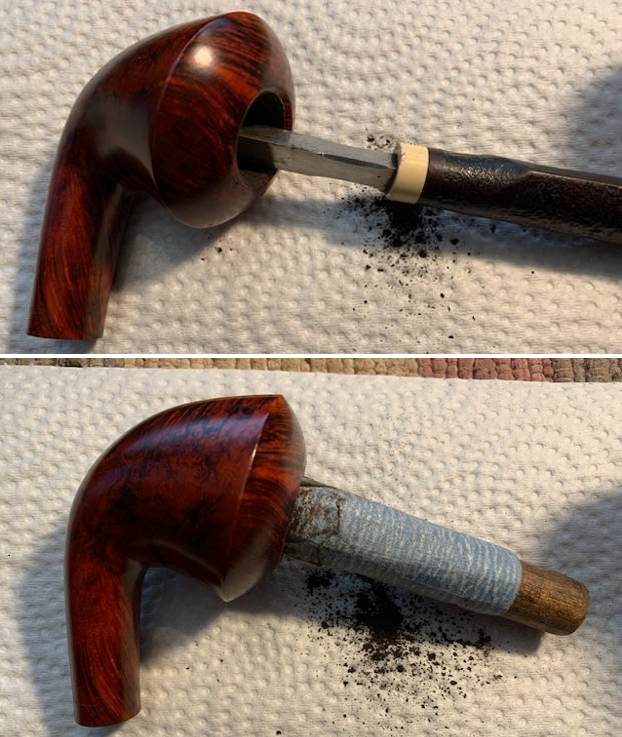
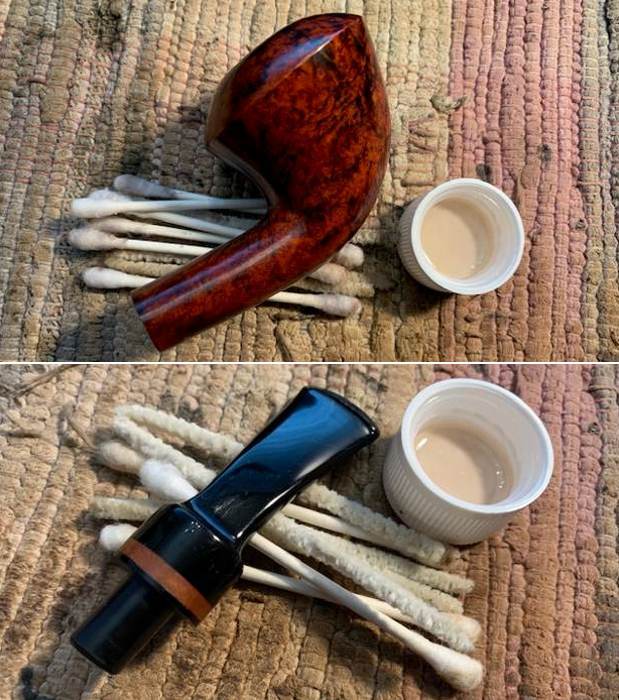
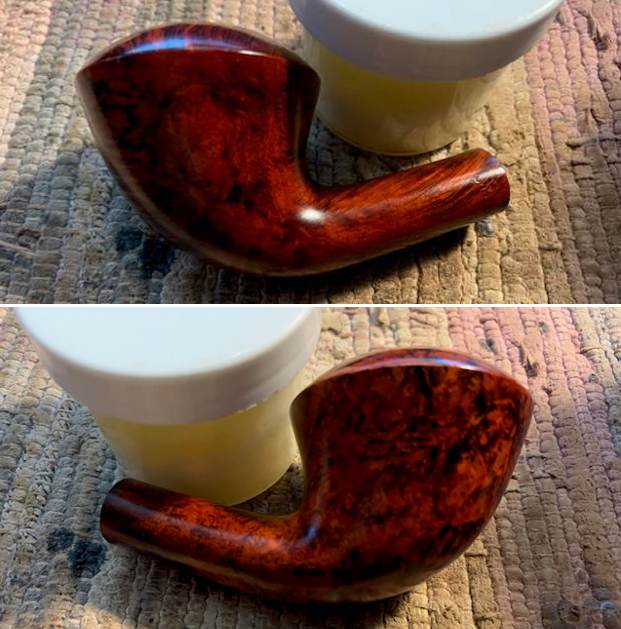
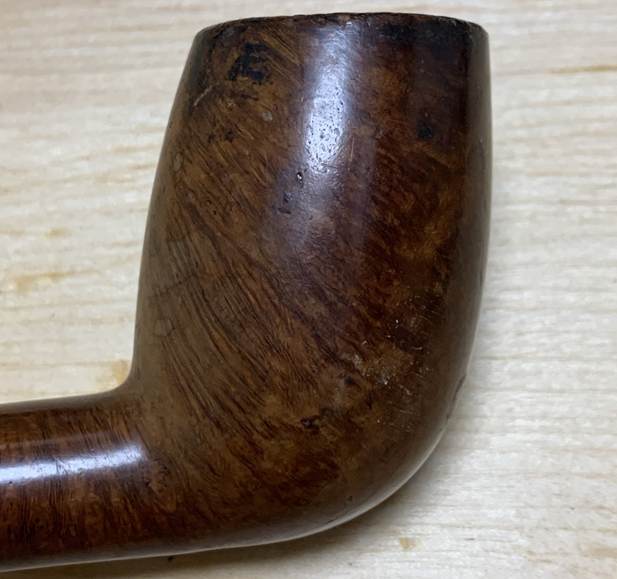
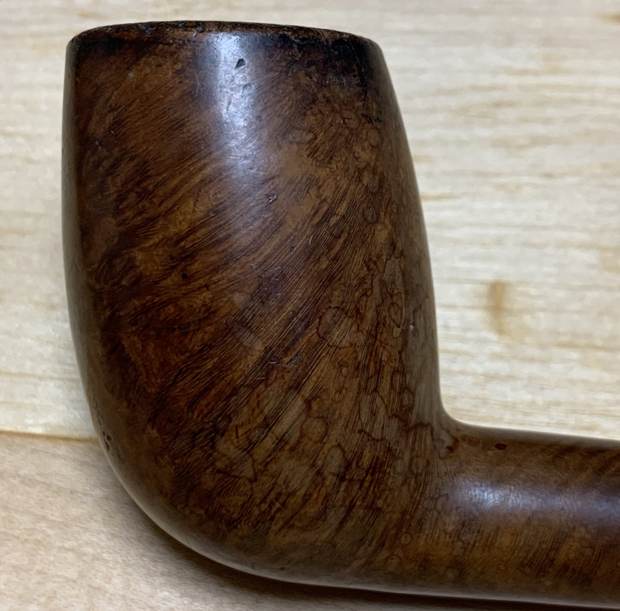
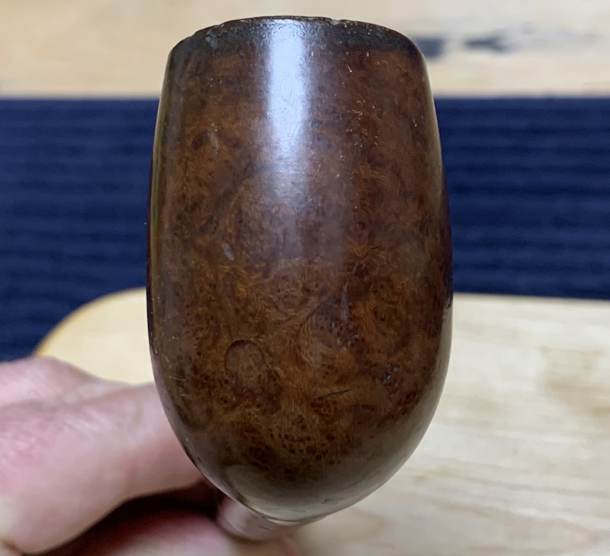
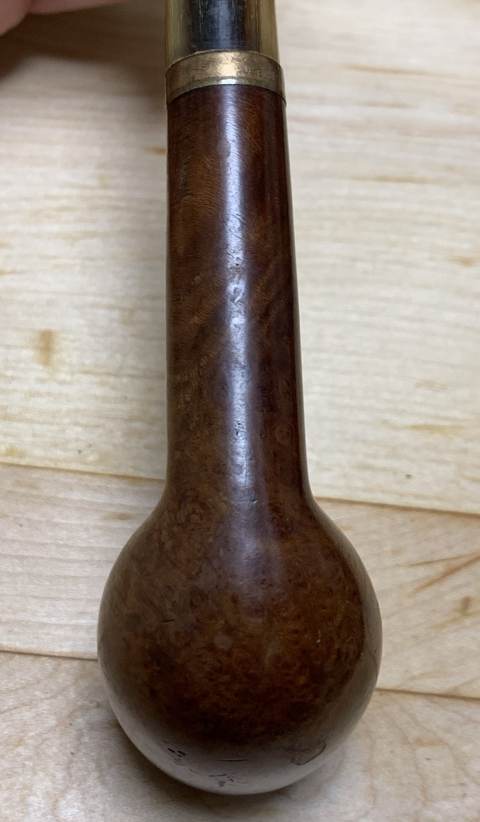
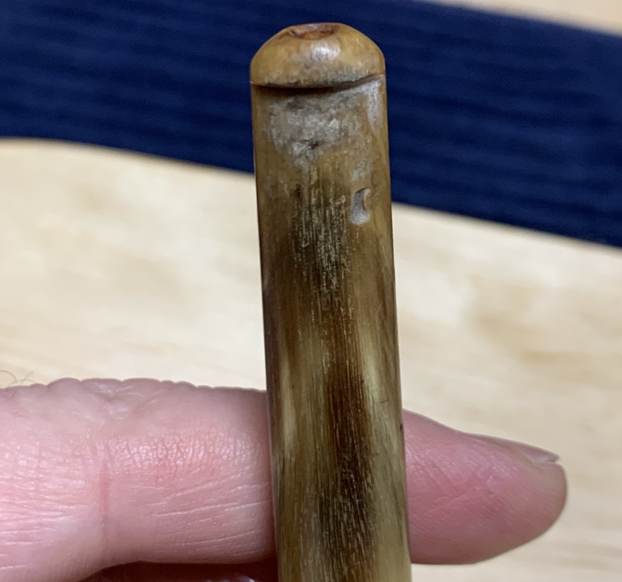
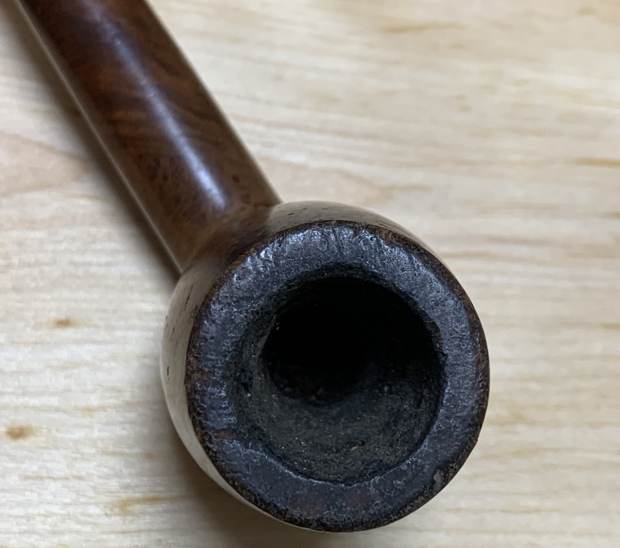
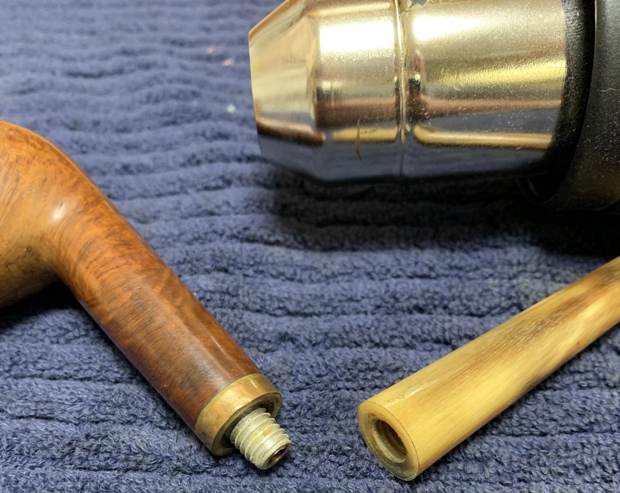
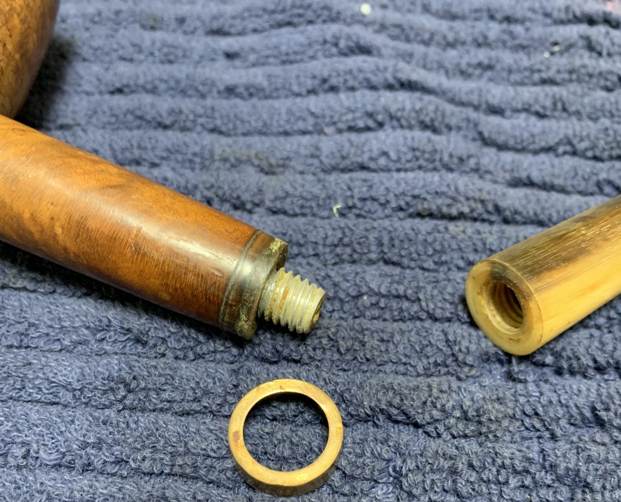
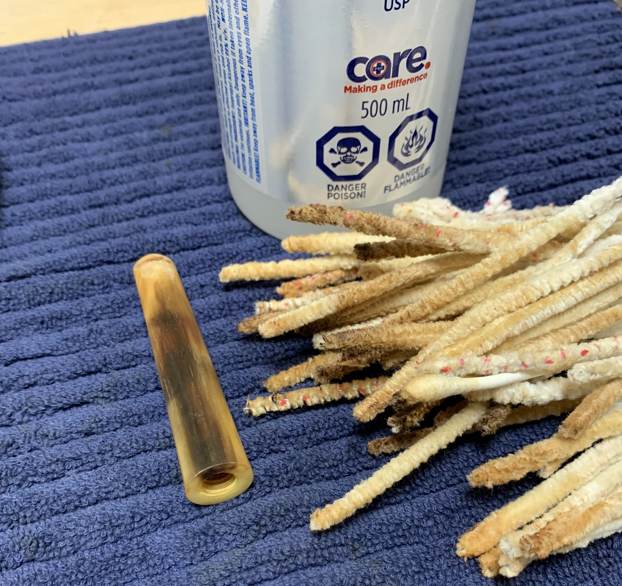
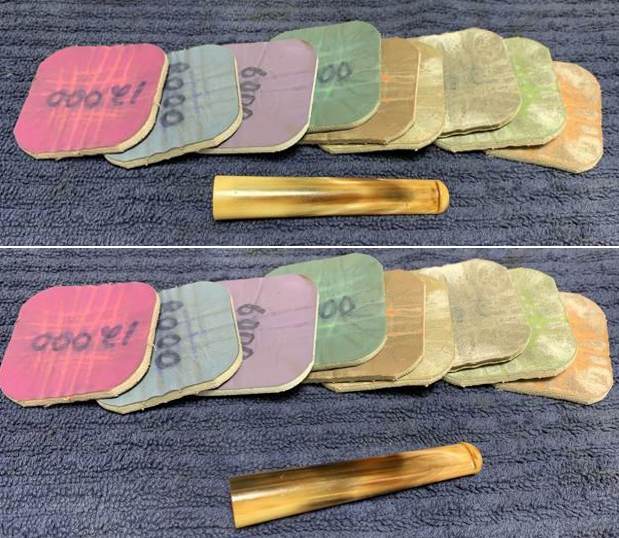
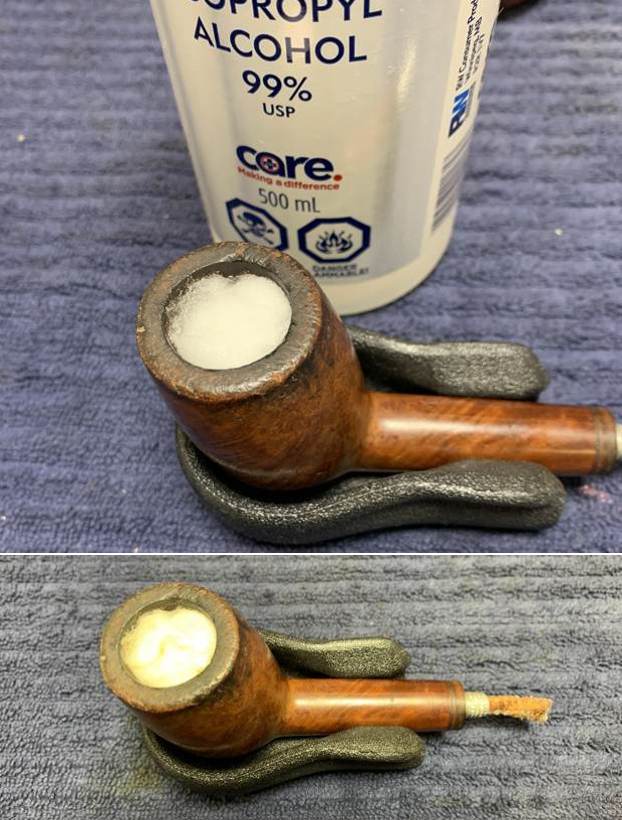
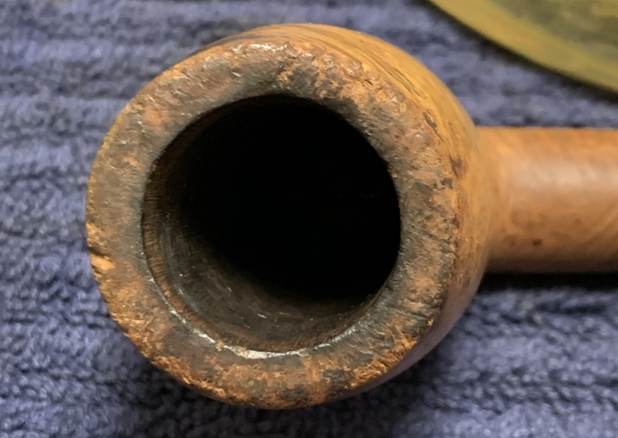
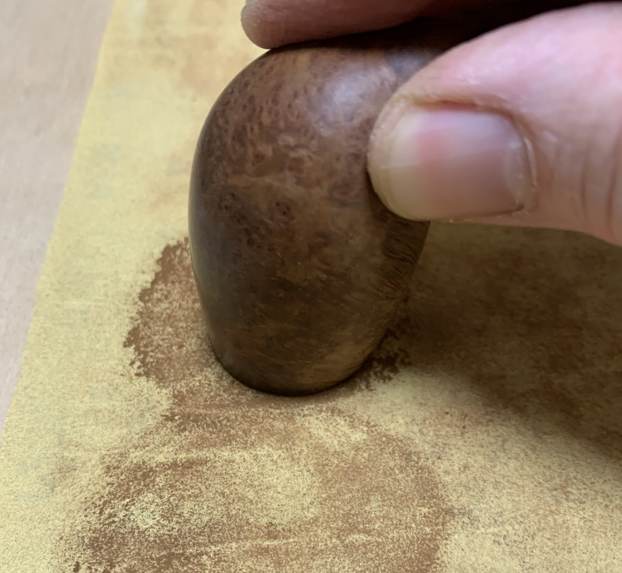
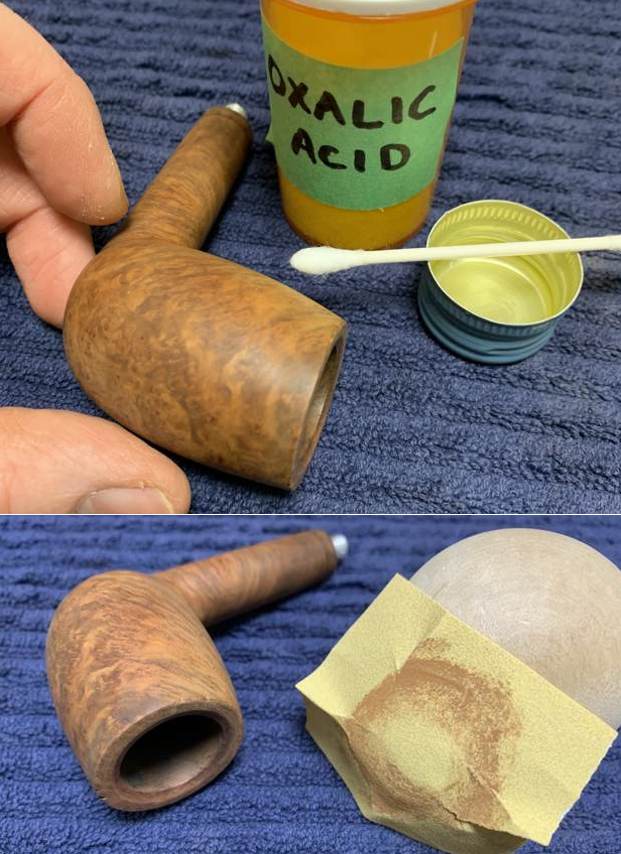
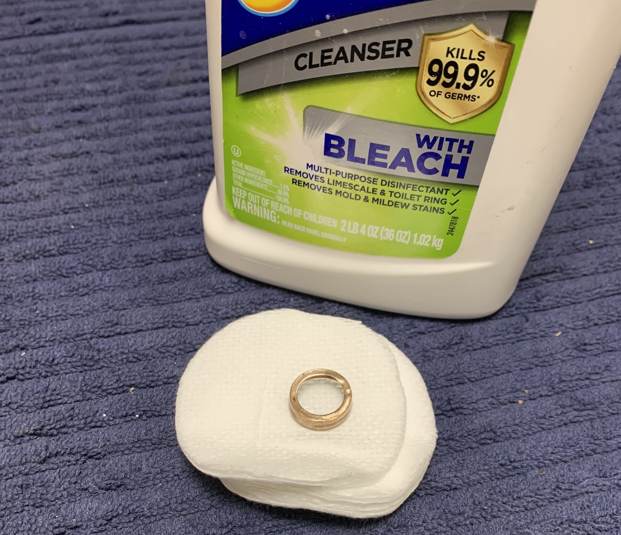
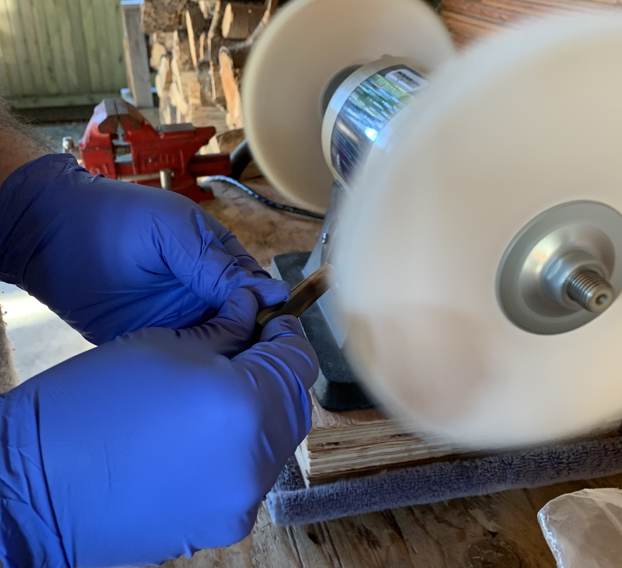
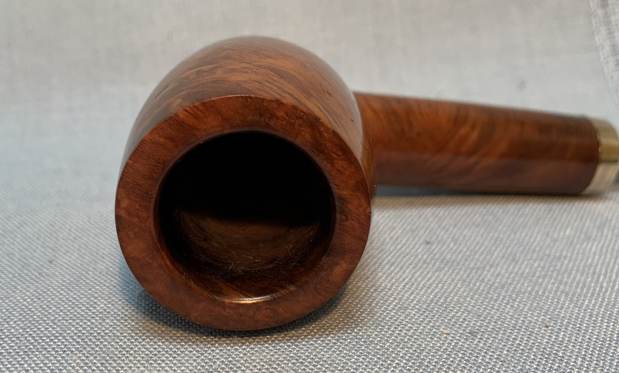
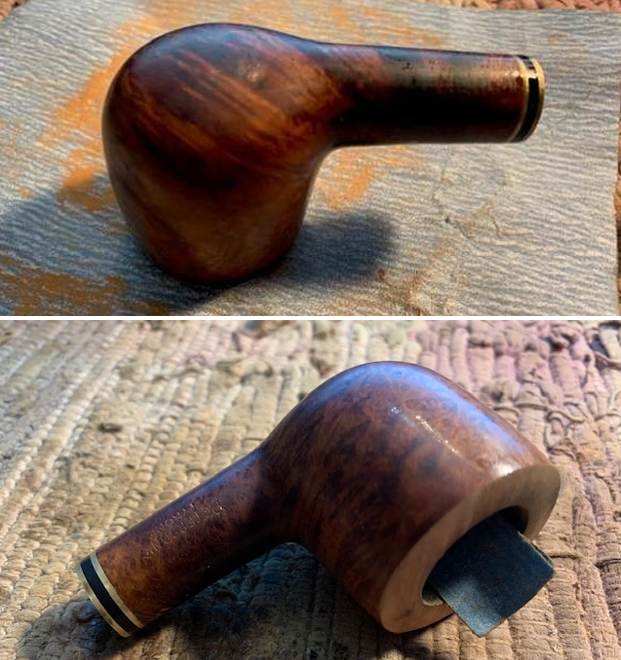
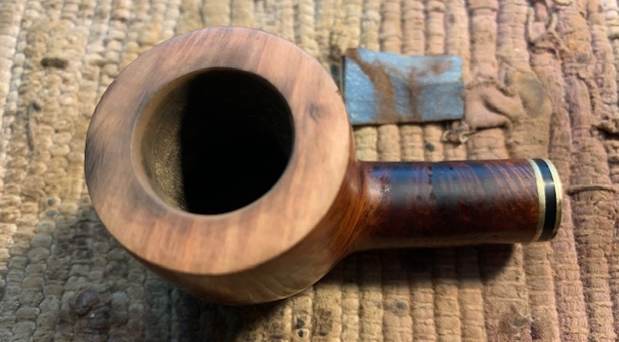
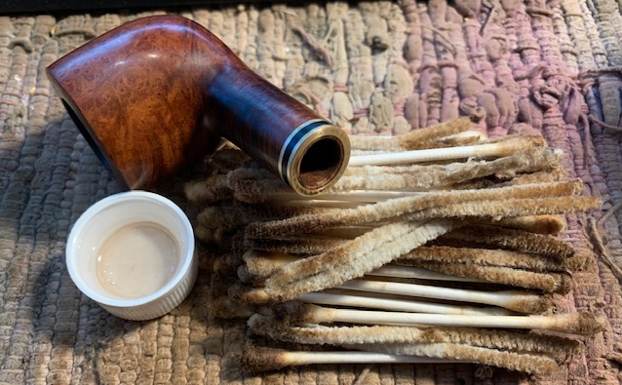
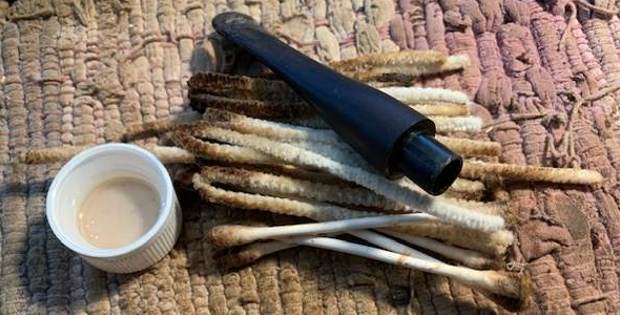
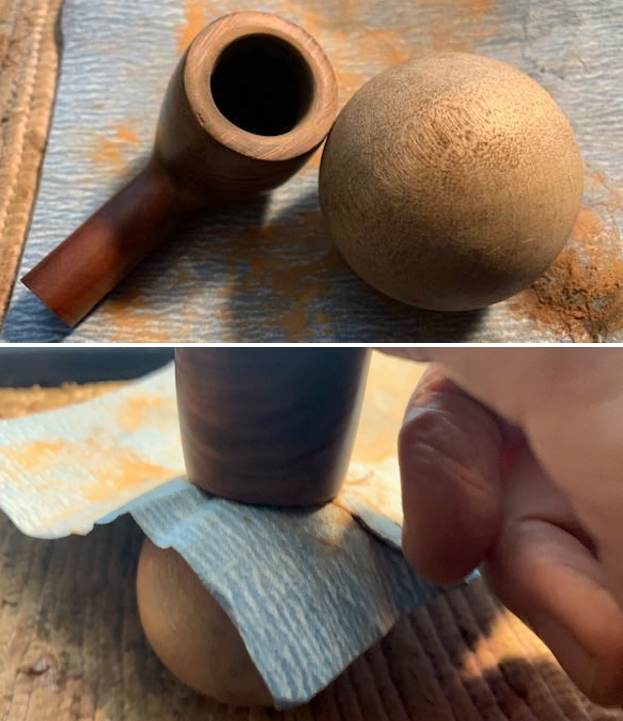
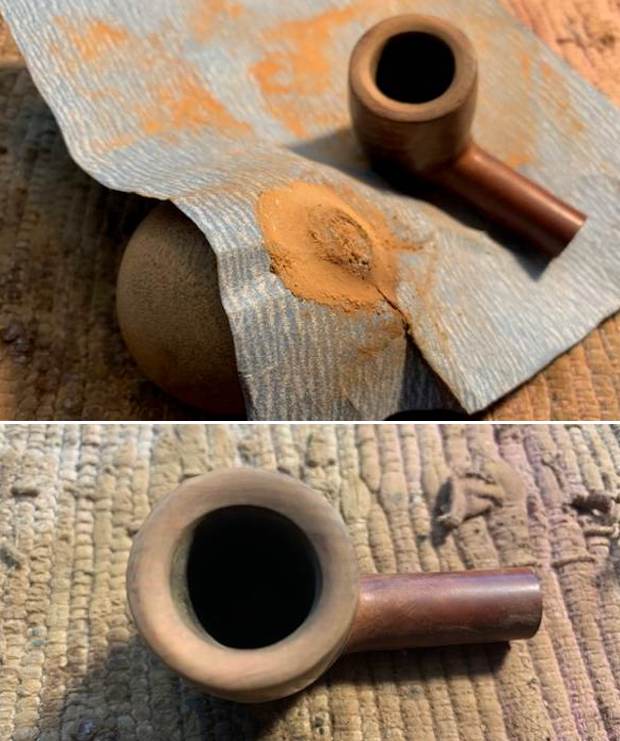
Let’s have a closer look at the condition of the pipe. The stem was dirty and worn, with plenty of evidence of tooth marks and dents. The insides were dirty too, but nothing too unusual. Meanwhile, the stummel was incredibly dirty.The bowl was so full of cake and the rim so overwhelmed with lava, that I couldn’t really tell what the condition of the wood inside was. Certainly, there was some lovely patina on the old wood on the outside of the bowl.I wanted to work on the stem first, but needed some help to unscrew it! I brought out the heat gun and gave a quick blast to loosen the goo holding the pipe together. That loosened the stem sufficiently to unscrew it. I wiped the stem with Murphy’s Oil Soap on some cotton pads. There was some filth there and I needed to remove it. I attacked the inside of the stem with pipe cleaners, cotton swabs, and isopropyl alcohol. It required a good amount of cotton to come clean. Now work on repairing the tooth marks, etc. on the outside of the stem. I built up the bite marks on the stem with cyanoacrylate adhesive and let it fully cure. There were a couple of small worm holes (or something similar) on the stem and I filled them the same way. Upon closer inspection, the button on the stem was a bit mangled. Simply doing the normal sanding wouldn’t do. I opted to use a small file and rework the horn to ensure a proper shape.Following that, I sanded the adhesive down with 220- and 400-grit sandpapers to meld seamlessly into the stem. I then used all nine Micromesh pads (1,500 through 12,000 grit) to bring out the beautiful designs in the horn, with some Obsidian Pipe Stem Oil in between each pad scrubbing. Now for the stummel. The brass ferrule came off very easily. I set it aside for now and would return to clean it later. First, I decided to ream out the bowl. I used the KleenReem and the PipNet to remove the built-up cake and followed that with 220-grit sandpaper taped to a dowel to eliminate as much as I could. Wow, there was a lot of debris! I took the chamber down to bare briar to ensure there were no hidden flaws in the wall. Fortunately (and surprisingly), there were none.Following this, I cleaned the insides with the requisite pipe cleaners, Q-tips and isopropyl alcohol. As the stack of cleaning materials show, it was a mess!I also took this opportunity to wash the stummel with Murphy’s Oil Soap and remove as much grime as I could. The pipe’s rim was so caked with filth that I opted to soak it in a jar-lid of Murphy’s to soften it. Then I used a brush to work out all the gunk on the rim. As the pictures show, the rim was badly worn. There were gouges and burn marks. Additional work would need to be done. Before that, however, I decided the pipe needed some additional TLC and I chose to de-ghost it. I thrust cotton balls in the bowl (and plugged up the shank) and saturated it with isopropyl alcohol. I left it overnight and let all the evil spirits in the pipe leech into the cotton. Once complete, the pipe looked great and smelled even better.I was, at first, very reluctant to “top” the pipe – that is to say, gently and evenly sanding down the rim on a piece of 220-grit sandpaper. I was reluctant because I loved the height of the bowl and didn’t want to change it. However, I did decide to do it – it just didn’t look right without it. I was especially careful this time, so as to remove the bare minimum from the rim.As I mentioned earlier, there were some burns on the inside of the rim that also needed to be addressed. I took some oxalic acid on a cotton swab and rubbed and rubbed. The burn improved but not sufficiently, in my opinion. So, I took a solid wooden sphere, wrapped sandpaper around it, and sanded until such time as the burns were removed. I proceeded very carefully, as I had to ensure that I was not removing too much. I think I got it just right and the rim looked much improved. After this, I used all nine Micromesh pads (1,500 through 12,000 grit) to sand the stummel smooth.I then applied some Before & After Restoration Balm which I massaged into the wood and let sit for 15-20 minutes. After that, I rubbed it with a microfiber cloth. The balm brings out the best in the beautiful wood. It makes things shine and really shows the lustre. I came back to the brass ferrule. It was pretty dirty too. I used some SoftScrub on a cotton pad and scrubbed it clean. Then I buffed it with a microfibre cloth and made it shine. I reattached it to the stummel with some glue and let it set.Finally, it was off for a trip to the buffer. The more I look at this pipe, the more I really like the elegant lines and the old-time feel of the wood. At the buffer, a dose of White Diamond and a few coats of carnauba wax were just what this pipe needed to shine properly. All finished! This is a wonderfully crafted pipe and has a very sporty feel to it. It took some work, but I am proud of it and the final product suits me to a T. It retains some wounds from battle, but, as Steve would say, they are part of this pipe’s story. This is one pipe that I am keeping for myself and adding to my newly-founded French Collection. I am sure that I will be enjoying this one for many years to come. The approximate dimensions of the pipe are as follows: length 6½ in. (165 mm); height 2 in. (51 mm); bowl diameter 1¼ in. (30 mm); chamber diameter ¾ in. (19 mm). The weight of the pipe is ⅞ oz. (25 g). I hope you enjoyed reading the story of this restoration as much as I enjoyed restoring it. If you are interested in more of my work, please follow me here on Steve’s website or send me an email. Thank you very much for reading and, as always, I welcome and encourage your comments. I hope you enjoyed reading the story of this pipe as much I as I did restoring it. If you are interested in more of my work, please follow me here on Steve’s website or email me directly at kenneth@knightsofthepipe.com. Thank you very much for reading and, as always, I welcome and encourage your comments.

Restoring a Worn and Tired Peterson’s Tyrone 606 Pot


Blog by Steve Laug

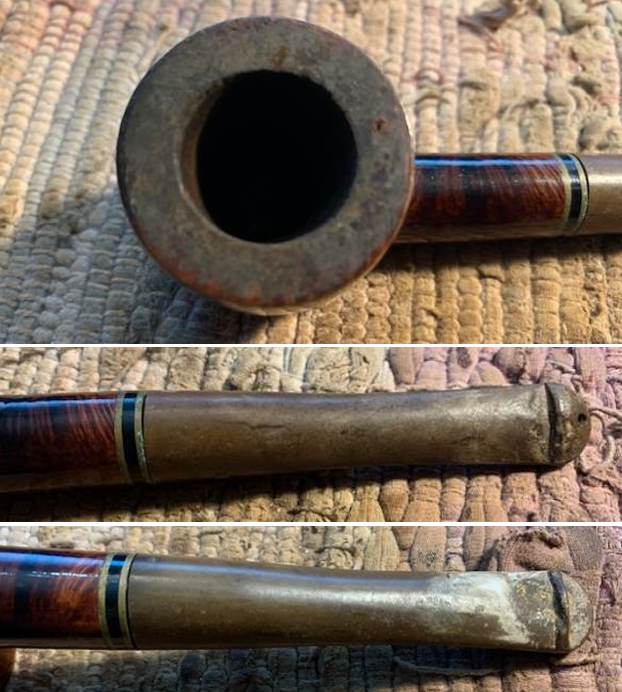
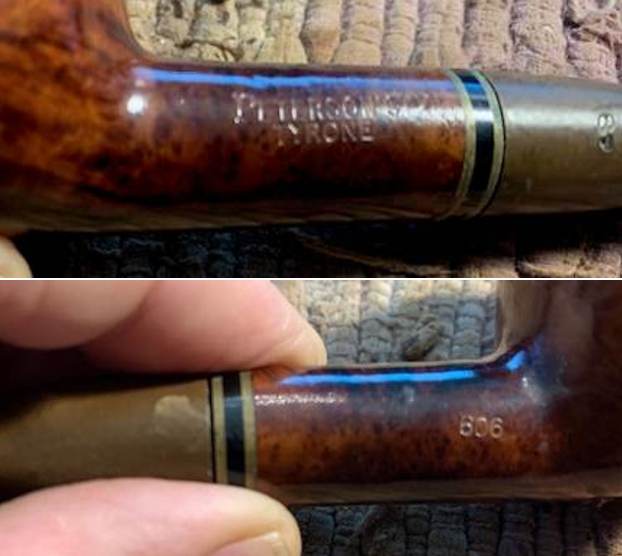
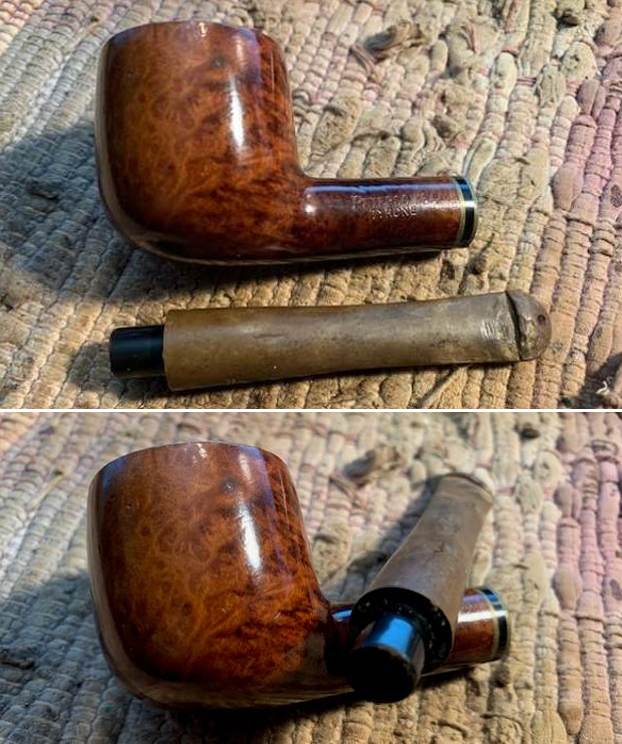
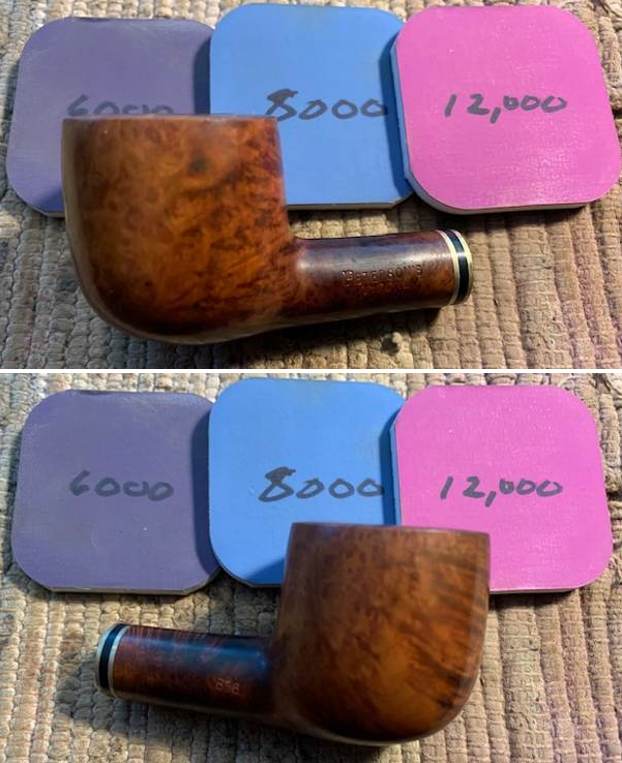
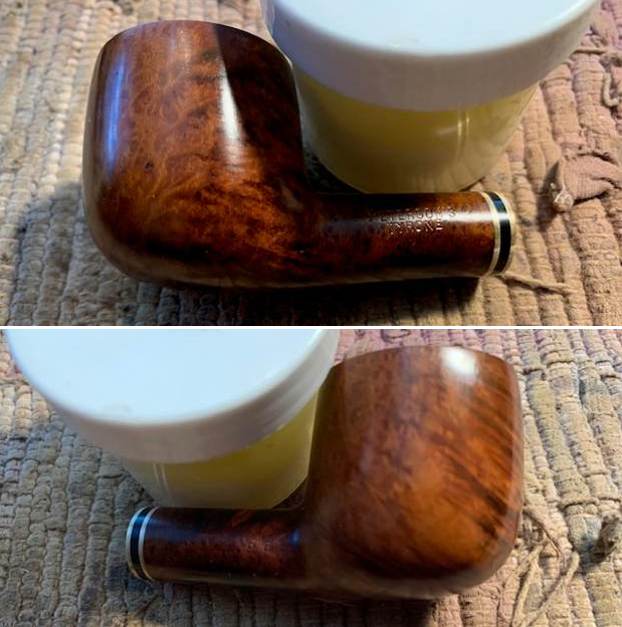
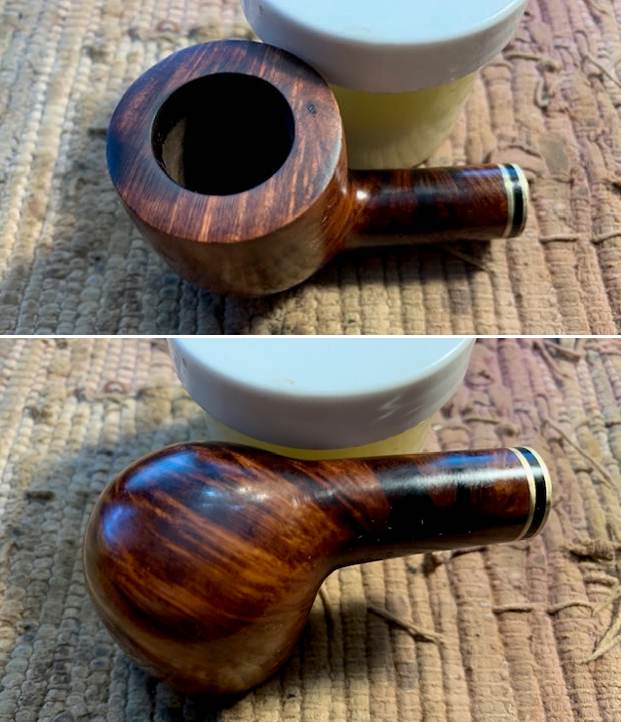
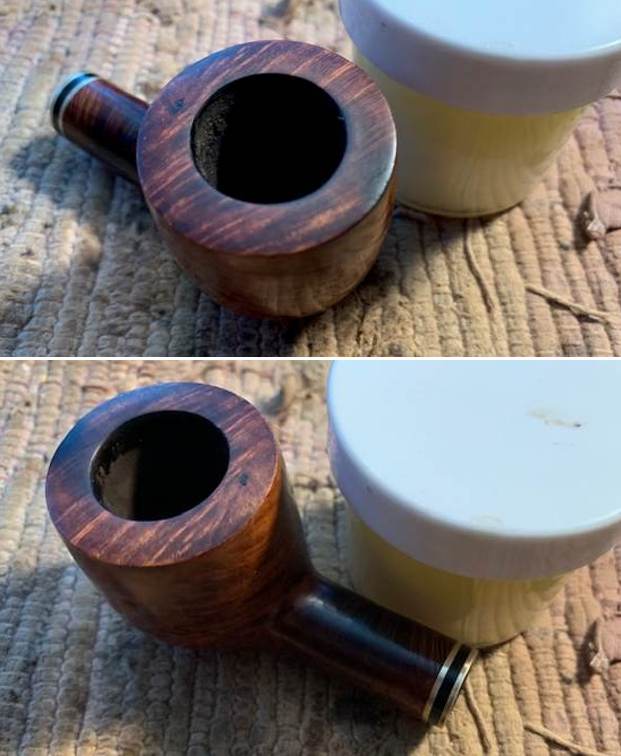
When ever either Jeff or I are pipe hunting we tend to pick up pipes that we like and want to restore. These have included a lot of different pipes of different brands. If you have followed us for long you know that some of these have included Peterson’s, Dunhill’s, and a wide range of Danish and English pipes. The next pipe I chose to work on is another Peterson’s Pipe – a nicely grained Pot shaped pipe. It is stamped on the left side of the shank and reads Peterson’s [over] Tyrone. On the right side of the shank it is a stamped with the shape number 606. There is a triple band shank extension – two brass bands separated by a black acrylic spacer. The bowl was heavily coated with varnish that was shiny under the dirt and grime. There was a heavy lava coat on the rim top and a moderate cake in the bowl. The stem was heavily oxidized and calcified with heavy tooth marks and chatter on both side of the stem and button. It was a nice looking pipe with some great grain around the bowl. I think that once it was cleaned up the grain would really stand out. I took photos of the pipe before I started my clean up work. I took some close up photos of the rim top and also of the stem surface. The rim top had a thick coat of lava protecting the rim top and the cake in the bowl covered the inner edges of the bowl. The outer edges of the bowl appear to be good condition. I would guess that there was some darkening and damage under the lava on the top. It should clean up really well. I also took close up photos of the stem to show oxidation, calcification and tooth marks and chatter on both sides of the stem and button. I took photos of the stamping on the sides of the shank and on the “P” logo on the left side of the stem. It is readable as noted above. I removed the stem and took a photo of the pipe to have a look at the parts and overall look. The tenon on the stem was made for a 9mm filter and actually looked quite good.I am including the link to the Pipedia’s article on Peterson pipes. It is a great read in terms of the history of the brand (https://pipedia.org/wiki/Peterson).

I turned to “The Peterson Pipe” by Mark Irwin and Gary Malmberg to get some background on the Peterson’s System Line. On page 315 it had the following information.

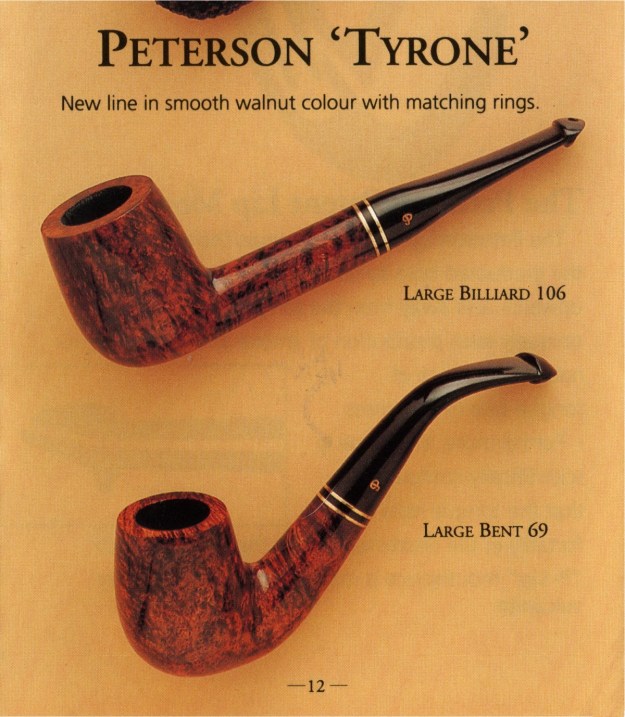
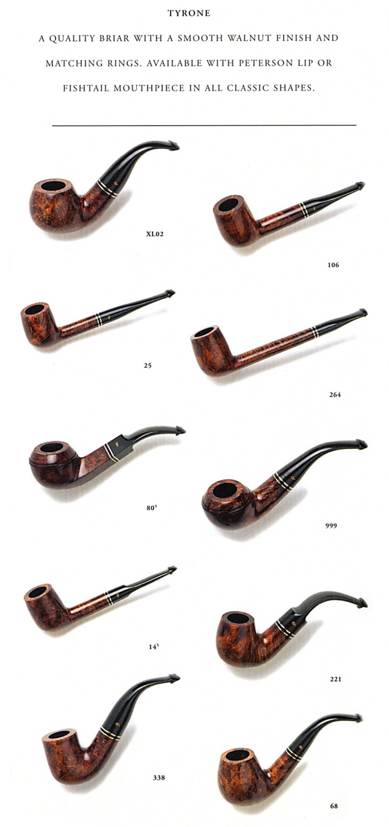
Tyrone (c.1991)- Smooth finish, walnut stain line with brass band with black acrylic inlay, gold hot-foil P stamped on P-lip or fishtail mouthpiece.

I followed some links to Mark Irwin’s Peterson Pipenotes where Mark had written something on the line (https://petersonpipenotes.org/2021/07/10/236-the-new-tyrone-line/). I quote from the article below and have included to pictures that Mark used. The first a brochure and the second a shape guide.

The original iteration of the Tyrone line debuted c. 1991 and was first seen in the early Dublin era’s1992 “Hand Made” brochure.As you can see, the walnut finish has a satin finish revealing quite a bit of grain beneath. The Black Catalog of 1997 gives a better glimpse of the stain, finish and original alternate mounting styles. The last appearance of this version of the Tyrone in the ephemera was in the 2010 Burgundy Catalog, although it was doubtless in production for a few years afterwards.For the Identification Guide:

Tyrone  (c. 1991–c. 2012; 2021–) smooth finish, walnut stain line with shank decoration of black acrylic between 2 brass rings, gold hot foil P stamped on mouthpiece, P-Lip or F/T. Relaunched July 2021 in Heritage finish (smooth dark brown) with original shank decoration and gold hot foil P on elongated F/T acrylic mouthpiece.

That information helps me date the pipe on hand as one of the original pipes from the line introduced between (c.1991-c.2012) rather than the later iteration of the line that came out in July of 2021 in the Heritage Finish. The first Tyrone came out with a smooth walnut stained finish the same as this one. It is a pretty looking pipe in a Pot shape.

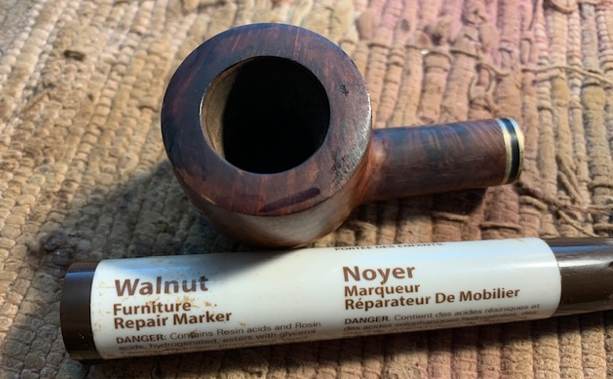
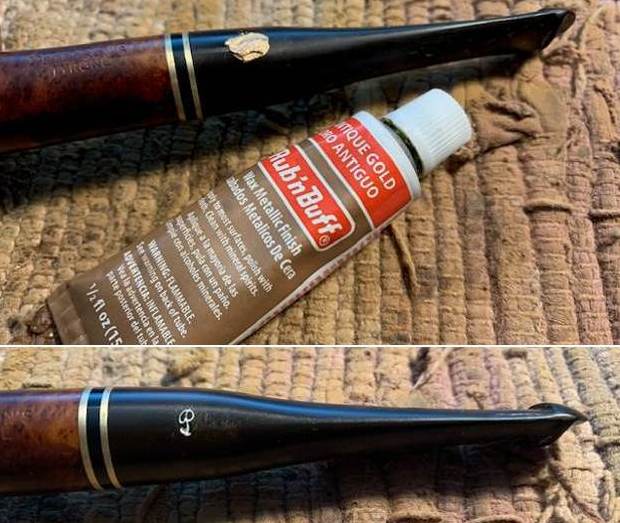
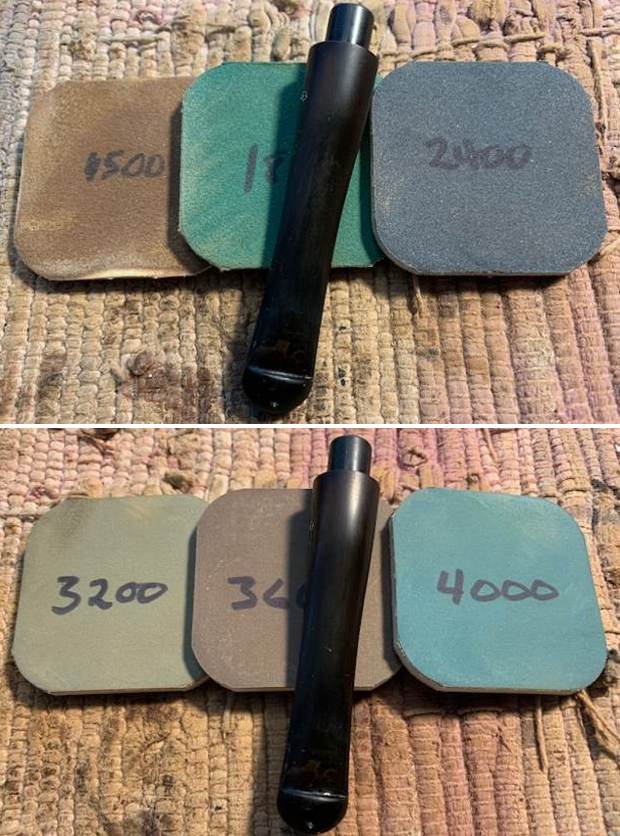
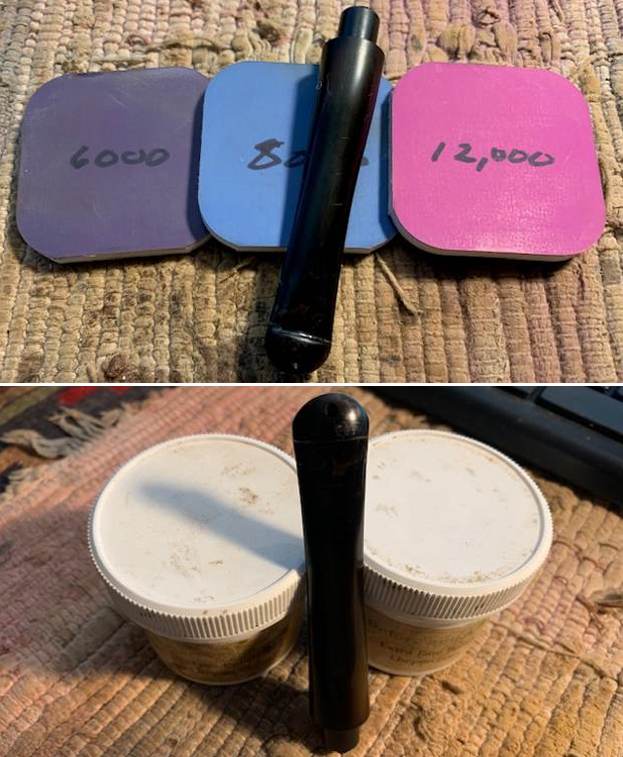
Now it was time to work on the pipe. I started working on it by stripping off the thick varnish coat with acetone and a cotton pad. I reamed the pipe with a Savinelli Fitsall Pipe Knife and cut back the cake back to the bare briar. I sanded the walls of the bowl with a piece of dowel wrapped with 220 grit sandpaper to smooth them out and clean them further. The bowl walls were in excellent condition.I topped the bowl with 220 grit sandpaper on a topping board to remove the marks and damage on the rim top. I carefully cleaned up some of the darkening and burn marks on the front rim top and edges. I used a folded piece of 220 grit sandpaper to give the inner edge of the bowl a slight bevel to minimize the darkening and damage and blend it into the surrounding briar. I restained the sanded rim top with a Walnut stain pen to match the bowl sides and shank.I cleaned out the mortise and airway in the shank with cotton swabs, pipe cleaners and isopropyl alcohol until they came out clean. (I would work on the airway in the stem when I removed it from the soak.)I polished the briar with micromesh sanding pads – dry sanding with 1500-12000 grit sanding pads. I wiped the bowl down with a damp cloth after each sanding pad. The polishing of the rim top and inner edge brought the rim top colour to match the rest of the bowl. I did not need to stain the rim at all. I worked some Before & After Restoration Balm into the surface of the briar with my fingertips to clean, enliven and protect the briar. I let the balm sit for 15 minutes and then buffed with a cotton cloth to raise the shine. The photos show the bowl at this point in the restoration process. I set the bowl aside and put the stem in the Briarville Pipe Stem Deoxidizer overnight and took a break to enjoy a movie. When I took it out of the bath the next morning the dip had removed the  oxidation and calcification. I rinsed it off with warm water and dried the stem with a coarse cloth to remove the surface oxidation. It looked very good and the tooth marks were very visible.I “painted” the surface of the stem with the flame of a lighter to lift the tooth marks on both sides. It lifted them considerably. I filled in what remained with clear CA glue. Once the glue cured I used a small flat file to flatten the repairs and recut the button edges. I sanded the stem with 220 grit sandpaper to blend them into the surface. I started polishing the stem with 400 grit wet dry sandpaper. I cleaned out the filter tenon and the airway in the stem with pipe cleaners, cotton swabs and isopropyl alcohol. I touched up the P stamp on the left side of the taper stem with Antique Gold Rub’n Buff. I applied it and worked it into the stamp with a tooth pick. Once it cured I scraped off the excess. It is definitely better though the stamp is faint in some spots. Strangely the stamping has a white tinge to it.I polished the stem with micromesh sanding pads – wet sanding with 1500-12000 grit sanding pads. I wiped it down after each sanding pad with Obsidian Oil. I polished it with Before & After Pipe Stem Polish – both Fine and Extra Fine. I am excited to put the final touches on this Peterson’s Tyrone 606 Pot with a 9mm Filter stem. I put the pipe back together and buffed it with Blue Diamond on the buffing wheel. I gave the bowl and the stem multiple coats of carnauba wax. I hand buffed the pipe with a clean buffing pad to raise the shine. It is fun to see what the polished bowl looks like with beautiful mixed grain all around it. Added to that the polished black vulcanite stem combined with the bowl and made a stunning pipe. This smooth Classic Peterson’s Tyrone 606 Pot is great looking and the pipe feels great in my hand. It is light and well balanced. Have a look at it with the photos below. The dimensions are Length: 6 inches, Height: 1 ½ inches, Outside diameter of the bowl: 1 ½ inches, Chamber diameter: 7/8 of an inch. The weight of the pipe is 43 grams/1.55 ounces. It is a beautiful pipe that I will soon be putting on the rebornpipes store in the Irish Pipe Makers Section. If you are interested in adding it to your collection send me an email or a message. Thanks for walking through the restoration with me as I worked over this pipe. Thanks to each of you who are reading this blog.

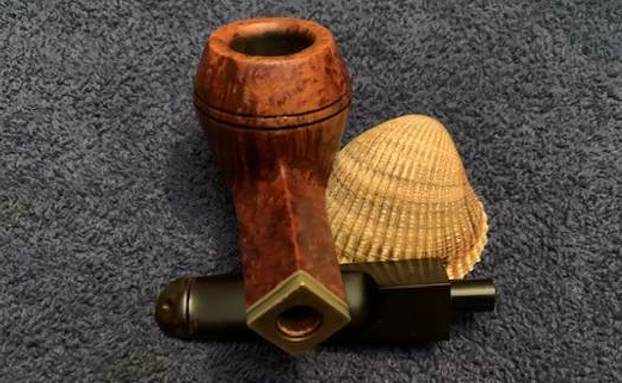
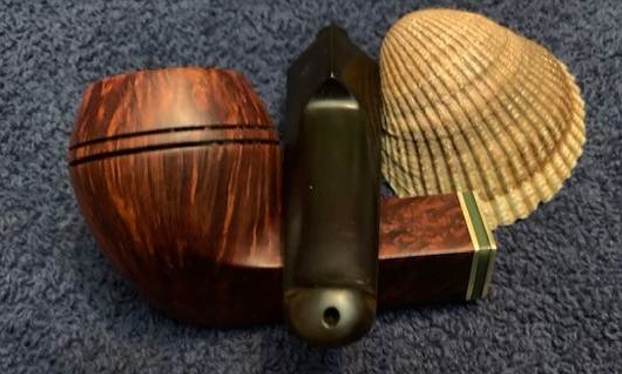
Restoring an Italian Made Gulden Dansk 9200 Bent Dublin Freehand


Blog by Steve Laug

This week I received an email from the fellow I had restored the pair of Vauen pipes for. He was sending me a package with a pipe to work on that he wanted restored. It was an old Gulden Dansk pipe made by Savinelli with a vulcanite stem. He wanted me to restore it. It was a rusticated finish with a tight pattern around the bowl. The finish was dirty with dust in the grooves but it was still quite pretty. The rim top was rusticated to match the bowl finish. The rim top was dirty on the right side of the bowl and there was some dust in the finish. The pipe was stamped on the underside of the shank and read Gulden Dansk followed by the shape number 9200. It was quite lightweight and would clean up quite nicely. In chatting with him over email that he wanted the original stem cleaned up and restored. The stem was oxidized and the GD stamp was faded but the stamping looked to be deep enough for a repair. I am including the photos that the pipeman who sent it to me took of it. It is an intriguing looking pipe. When I received the pipe in the mail on Monday, I remembered that Kenneth had worked on a pair of pipes – a Gulden Dansk and a Silveren Dansk. I turned to his blog and read through what he had written about the brands there (https://rebornpipes.com/tag/savinelli-made-gulden-dansk/). I quote the research that Kenneth did on the brand before I started my clean up work. It is very helpful and tied the pipe brand to Savinelli as I assumed looking at it.
The brands Gulden Dansk and Silveren Dansk are ones about which there is very little information. I cobbled together as much information as I could, and I will do my best to record that here. Both brands are sub-brands of Savinelli, according to smokingpipes.com. You can see in the photo below that smokingpipes.com states this clearly, and they are quite knowledgeable.Pipedia had no information at all regarding these brands. Meanwhile, pipephil.eu had precious little info (see below). One small clue is their reference to Italy in the Gulden Dansk image.Comments from some old pipe forums suggest that the brand(s) might be made for the Canadian market and came to full prominence in the early 1980s. See below.The newspaper ad above (sorry for the poor quality) is taken from the Montreal Gazette, November 1st, 1980. It shows that, in addition to pipes, they also sold tobacco.Furthermore, I found Canadian trademark registrations for both brands. I have shown some of that information below. For reasons unknown, the Silveren Dansk trademark is still active, whilst the Gulden Dansk one has expired. I also found an Australian trademark registration for the same, but it was noted on the Australian site that the origin of the application was Canada.Kenneth concluded his work as follows:

In short, we can say a few things about both Gulden Dansk and Silveren Dansk. They were both made by Savinelli, probably for the Canadian market (and perhaps other markets). The Canadian connection obviously fits with the gentleman in Winnipeg. They made pipes and tobacco, and all the comments I could find on the quality of the pipes were very positive. If you have any further details on these brands, I would love to hear from you.

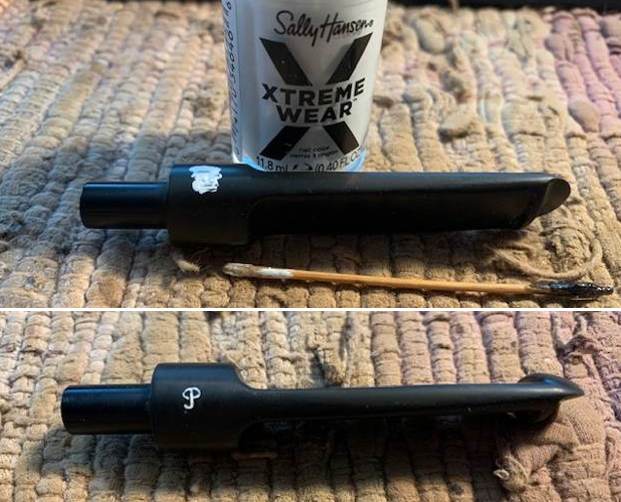
Now it was time to work on the pipe itself. I took photos of the pipe when I opened the box. It is a nice looking shape – Dublin with a saddle stem. Looking at it from the top down the shape of the top of the bowl is oval with a round bowl. You can see the finish as noted above and the oxidation on the stem as well. I took photos of the rim top and the top and underside of the stem. You can see how it fit against the shank. It is oxidized with light tooth chatter and marks on the surface on both sides. You can see the grime on the right side of the rim top and the cleanness (other than dust) of the bowl. It is a nice looking pipe.The next photo shows the stamping on the underside of the shank. It is clear and readable as noted above.I removed the stem from the shank and took a photo of the parts to give a sense of the overall look of the pipe. It is really a nicely designed looking bent Dublin that will look great once it is cleaned up.I scrubbed the exterior of the bowl with a tooth brush and undiluted Murphy’s Oil Soap. I worked over the rim top and edges and rinsed it with warm water scrubbing it while rinsing it. I dried it off and took these photos. I cleaned out the thin cake on the bowl walls with a Savinelli Fitsall Pipe Knife. I sanded the walls smooth with 220 grit sandpaper wrapped around a piece of dowel. I cleaned out the mortise and airway in the shank and the stem with cotton swabs, pipe cleaners and isopropyl alcohol until they came out clean.  With the pipe cleaned it still had a ghost of a smell to it. It was a sweet and horrible smell that was a combination of aromatic and Lakeland smells. I wonder if the previous owner had smoke Mixture 74 which leaves a horrible ghost. I stuffed the bowl with cotton bolls and twisted a plug of cotton and turned it into the shank. I used an ear syringe to fill the bowl with isopropyl alcohol and set it aside in an old ice tray to let the deghosting happen! In the morning I woke up to find the cotton bolls in the bowl to be brown around the edges and the shank cotton was also brown at the shank end. I removed it and cleaned the shank once more. The bowl smelled better and the ghost had been exorcised to a large degree. Once I removed the cotton bolls the pipe smelled much better. It was time to carry on with the external work on the pipe. I used a Walnut stain pen to touch up the area on the right side of the rim top. Once cleaned it was spotty under the damage and faded. The stain pen matched perfectly and the pipe looked better.I rubbed the bowl and shank down with Before & After Restoration Balm. I worked it into the finish with my fingers and used a shoe brush to press it deep into the crevices of the sandblast. The product works to deep clean the finish on the bowl and shank and enliven and protect the briar. After it sat for 15 minutes I wiped it off with a soft cloth. The briar really came alive with a rich shine. I took some photos of the bowl at this point to mark the progress in the restoration. It is a beautiful bowl.  I set the bowl aside and put the stem in the Briarville Pipe Stem Deoxidizer overnight and took a break to enjoy a movie. I touched up the GD stamp on the left side of the saddle stem with white acrylic fingernail polish. I applied it and worked it into the stamp with a tooth pick. Once it cured I scraped off the excess. It is definitely better though the stamp is faint in some spots.  I polished the stem with micromesh sanding pads – dry sanding with 1500-12000 grit pads. I wiped the stem down after each pad with Obsidian Oil to remove the sanding dust. I used the Before & After Pipe Polish to remove the small minute scratches left in the vulcanite. I finished by wiping the stem down with a final coat of Obsidian Oil and set it aside to dry. As usual at this point in the restoration process I am excited to be on the homestretch. I look forward to the final look when it is put back together, polished and waxed. I put the Gulden Dansk 9200 Dublin back together. I polished the bowl and stem with Blue Diamond to polish out the scratches in the briar and the vulcanite. I gave the bowl and the stem multiple coats of carnauba wax. I buffed the pipe with a clean buffing pad to raise the shine. I hand buffed it with a microfiber cloth to deepen the shine. The pipe polished up pretty nicely. The grain really pops with the wax and polish. The shiny black vulcanite stem is a beautiful contrast to the dark browns of the bowl and shank. This rusticated Gulden Dansk 9200 Bent Dublin  was another fun pipe to work on. It really is a quite stunning piece of briar whose shape follows the flow of the grain on the briar. The pipe is comfortable pipe to hold in the hand. The finished pipe is shown in the photos below. The dimensions of the pipe are Length: 5 ½ inches, Height: 2 inches, Outside diameter of the bowl: 1 ½ inches x 1 ¾ inches, Chamber diameter: 7/8 of an inch. The weight of the pipe is 1.31 ounces/ 37 grams. I will be sending this beautiful Gulden Dansk back to the pipeman who dropped it off. Thanks for reading my reflections on the pipe while I working on it.
Rebirthing a Lovely Late Republic Era Peterson’s Kapet 14S Saddle Stem Billiard


Blog by Steve Laug

The next pipe I have chosen is a smooth Peterson’s pipe, a straight, saddle stem Billiard. It was also incredibly dirty. This Billiard is a real beauty under the grime with some great grain around the bowl. The grime was ground into the finish on the bowl sides. The contrast of the brown stains gave the grain a sense of depth. It was stamped on the left side of the shank and read Peterson’s [over] Kapet. The right side had the shape number 14S stamped near the bowl. Centered on the right side of the shank is stamped Made in the Republic of Ireland (in three lines). Neither Jeff nor I remember where we got the pipe or when. So we have no photos of the pipe before clean up. Judging from the damage on the rim top and edges I would guess it had been a mess. The stem had tooth marks and some oxidation. But Jeff had done a great job cleaning up the pipe as usual. He reamed the pipe with a PipNet reamer and cut back the cake back to the bare briar. He cleaned up the walls with a Savinelli Fitsall Pipe Knife. He scrubbed the interior of the bowl and shank with pipe cleaners, cotton swabs and alcohol to remove the tars and oils. He scrubbed the exterior of the pipe with Murphy’s Oil Soap and a tooth brush to remove the grime from the finish. He worked on the rim top lava and darkening with the soap and tooth brush. He scrubbed the inside of the stem with alcohol and pipe cleaners. He scrubbed the exterior with Soft Scrub and then soaked it in Before & After Deoxidizer. He washed it off with warm water to remove the Deoxidizer. The pipe looked far better when it arrived. I took some close up photos of the rim top and also of the stem surface. I wanted to show how well it had cleaned up. The rim top photo looks good but there is some burn damage on the inner edge at the back of the bowl and all around the inner edge there is darkening. I also took close up photos of the stem to show the light tooth marks and chatter on the surface near the button. I took photos of the stamping on the sides of the shank. You can see that it is stamped as noted above. It is clear and readable. He took photos of the stamping on the sides of the shank. It is clear and readable and reads as noted above. I took the pipe apart and took a photo of the pipe. It is a good looking pipe and has some great cross grain on the sides of the bowl. I am including the link to the Pipedia’s article on Peterson pipes. It is a great read in terms of the history of the brand (https://pipedia.org/wiki/Peterson). There was a short note toward the bottom of the page about the series. It is definitely referring to the newer line that came out later. I quote:

I turned to Pipedia (https://pipedia.org/wiki/Peterson) to first pin down a date that the pipe was made. I knew that the Made in Ireland stamp would give me that. I quote:

As usual when trying to get accurate facts in regard to Peterson history, something will jump up and get in the way. They are missing many of their records. The following is the best that we can do for a guide to the myriad markings during the period 1922 – 1949. Prior to 1920 it was rare for a country of origin to be stamped on the pipe, just Peterson’s Dublin on the band. After 1921/22, if it is stamped “MADE IN IRELAND” and the “Made in” is stacked over “Ireland” or “MADE IN EIRE” or several other forms, it was made between 1922 and 1938. A considerable number of Peterson pipes were stamped “Irish Free State”. From about 1930 to 1949, most of the pipes (those which were stamped) were stamped “Made in Ireland”.” If the stamp reads “MADE IN IRELAND” in a circle, the pipe was made between 1939 and 1948. These are all “Pre-Republic” pipes. I can tell you that the mark “Irish Free State” was adopted in 1922; and replaced by “Eire” in 1937 and then by “Republic of Ireland” in 1949.

That gave me a date for the pipe – it was made between 1922 and 1938 as can be proved by the Made in Ireland stamp on the right side of the shank.

I turned to “The Peterson Pipe” by Mark Irwin and Gary Malmberg to get some background on the Kapet line. On page 305 it had the following information.

Kapet (1925-87) Line first described in 1925 brochure and featured in occasional catalogs through ’87. Early specimens will be stamped IRISH over FREE STATE. Described in 1937 catalog as available in dark plum or natural finish. Featured an aluminum “inner tube” or stinger until ’45. Mid-century specimens may be stamped MADE IN over IRELAND. Specimens from 1970 on may have mounts with hallmarks.

I knew that I was dealing with a Late Republic Era Kapet. Now it was time to work on the pipe.

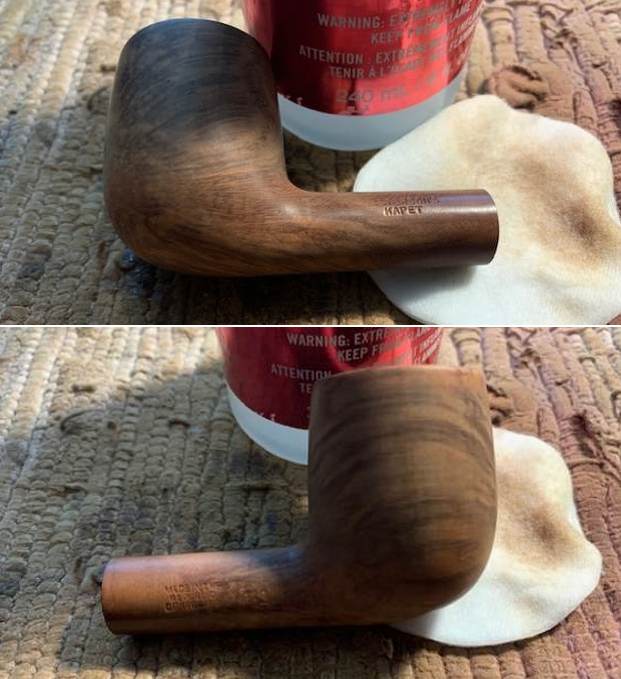
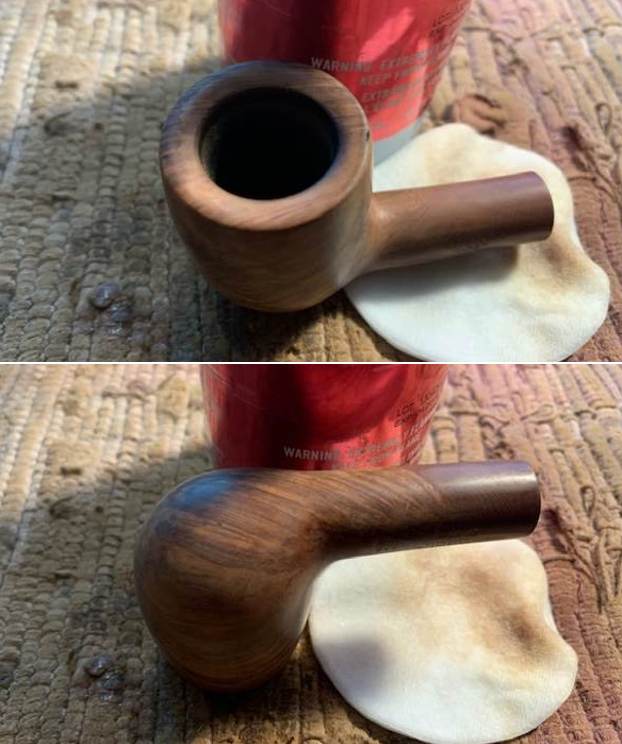
I decided to address the rim top damage first. I used a folded piece of 220 grit sandpaper to give the edge a slight bevel to further minimize the damage to the rim. I then used a piece of sandpaper and a wooden ball to even the bevel and give the rim a uniform look. I think that it is definitely better once I finished. I wiped down the bowl and rim top with acetone on a cotton pad to remove the spotty finish on the bowl and make blending in the sanded rim top simpler. I polished the briar rim top and edges along with the rest of the briar with micromesh sanding pads –dry sanding with 1500-12000 grit pads and using a damp cloth after each pad. I worked some Before & After Restoration Balm into the surface of the briar with my fingertips to clean, enliven and protect the briar. I let the balm sit for 15 minutes and then buffed with a cotton cloth to raise the shine. The photos show the bowl at this point in the restoration process. I set the bowl aside and turned my attention to the stem. I “painted” the tooth marks with the flame of a lighter to lift them. They came up significantly. I filled in the tooth marks that remained on both sides with clear super glue. I let the repairs cure. Once they had cured I recut the edge and flattened the repairs with a flat file. I sanded them with 220 grit sandpaper. I started the polishing with 400 grit wet dry sandpaper. I wiped it down with some Obsidian Oil. I touched up the “P” stamp on the stem with an acrylic white fingernail polish. I worked it into the stamp with a toothpick. I let it sit for a few minutes then scraped off the excess.I polished the stem with micromesh sanding pads – wet sanding with 1500-12000 grit sanding pads. I wiped it down after each sanding pad with Obsidian Oil. I polished it with Before & After Pipe Stem Polish – both Fine and Extra Fine. I am always excited to finish a restoration and this Peterson’s Kapet 14S Saddle Stem Billiard is no exception. I put the pipe back together and buffed it with Blue Diamond on the buffing wheel. I gave the bowl and stem multiple coats of carnauba wax. I hand buffed the pipe with a clean buffing pad to raise the shine and hand buffed it with a microfibre cloth to deepen the shine. It is fun to see what the polished bowl looks like with the polished black vulcanite stem. This Classic looking Peterson’s Kapet 14S Billiard feels great in my hand. It is light and well balanced. Have a look at it with the photos below. The dimensions are Length: 5 ½ inches, Height: 1 ½ inches, Outside diameter of the bowl: 1 ¼ inches, Chamber diameter: ¾ of an inch. The weight of the pipe is 30 grams/1.09 ounces. It is a beautiful pipe and one that will be on the Irish Pipe Makers Section of the rebornpipes store soon. If you are interested in adding it to your collection let me know. Thanks for walking through the restoration with me as I worked over this pipe. Thanks to each of you who are reading this blog.
New Life for a Republic Era Peterson’s Emerald 150 Bulldog


Blog by Steve Laug

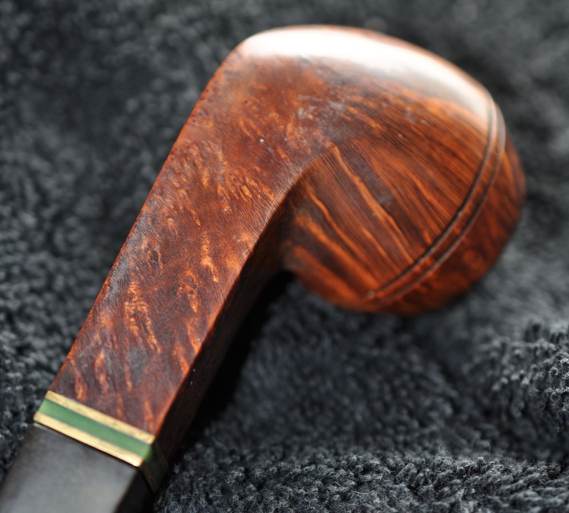
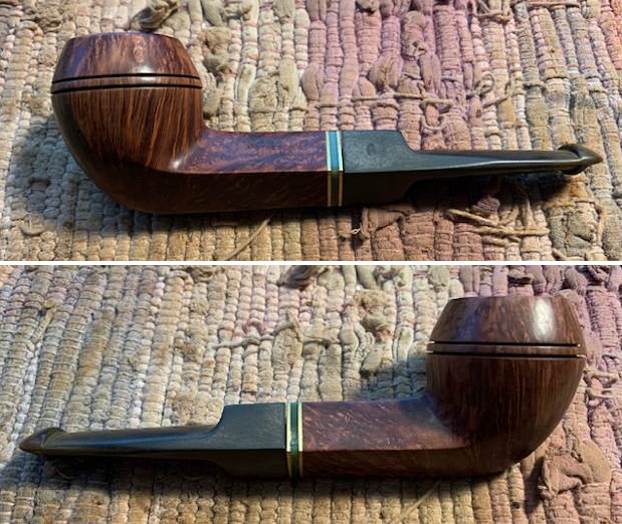
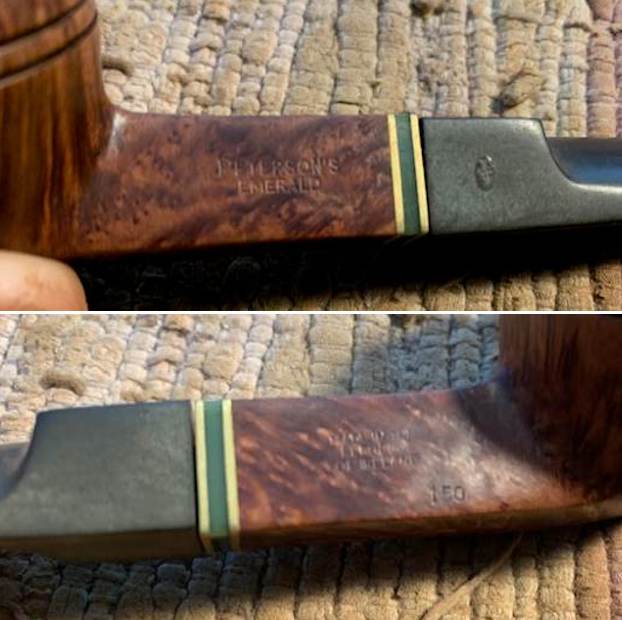
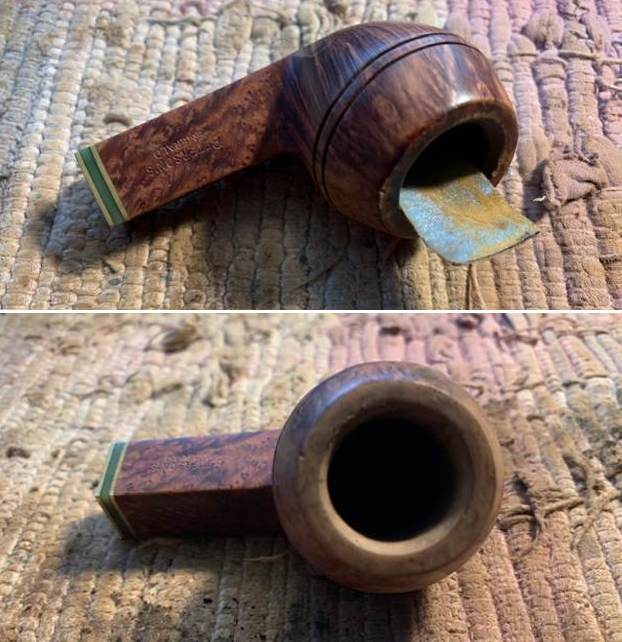
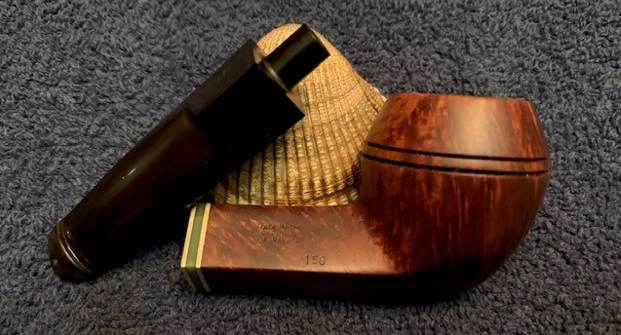
The next pipe I have chosen is smooth finished Peterson’s Emerald pipe. This one is a smooth 150 Straight Bulldog. It has a triple band on the shank – 2 thinner brass bands separated by and emerald green acrylic band. This pipe was purchased off eBay on 03/01/17 from Rochester, New York, USA. The pipe was very dirty with grit and grime on the bowl and shank. The mix of brown stains gives depth to the grain around the bowl. It was stamped on the top left side of the shank and read Peterson’s [over] Emerald. On the right side it reads Made in the Republic of Ireland in three lines and the shape number 150. The bowl was heavily caked with a thick overflow of lava on the rim top. The edges of the bowl appeared to be in good condition under the lava. The stem was oxidized, calcified and had tooth chatter and marks on the top and underside on and near the button. Jeff took photos of the pipe before his cleanup work. They tell the story and give a glimpse of the pipe.Jeff took photos of the rim top and stem to show the general condition of the pipe. The bowl is heavily caked with a thick overflow of lava on the top and edges. The stem is calcified, oxidized and has tooth marks and chatter on the top and underside near the button. Jeff took photos of the bowl sides and heel to show the grain around this bowl and shank. Underneath all the grime it is a nice looking pipe. He took photos of the underside of the shank to show the stamping. The stamping is readable in the photos below and is as noted above. I am including the information from Pipedia’s article on Peterson pipes. It is a great read in terms of the history of the brand (https://pipedia.org/wiki/Peterson). I have included a bit of the pertinent history here.

1950 – 1989 The Republic Era – From 1950 to the present time, the stamp for this era is “Made in the Republic of Ireland” in a block format generally in three lines but two lines have been used with or without Republic being abbreviated.

During the 1950’s and 60’s the Kapp & Peterson Company was still in the ownership of the Kapp family. However 1964 saw the retiral of the company Managing Director Frederick Henry(Harry) Kapp.

I knew that I was dealing with a Republic Era pipe made between 1950 and the present. Now it was time to work on the pipe.

I turned to The Peterson Pipe book by Mark Irwin and Gary Malmberg for more information. On page 299 there was a summary of the Emerald Pipe. I quote

Emerald (1987-) Moderate-priced  line in Bordeaux and black rustic finish with a shank band of green acrylic between brass rings, P-lip mouthpiece; smooth walnut version added in ’91. Fishtail mouthpiece added in ’97. Identical line and finishes named Jade from early eighties until ’87.

This information narrowed down the date even further. The smooth walnut finish was added in 1991 so this one came out before 1991 and has a P-lip style mouth piece.

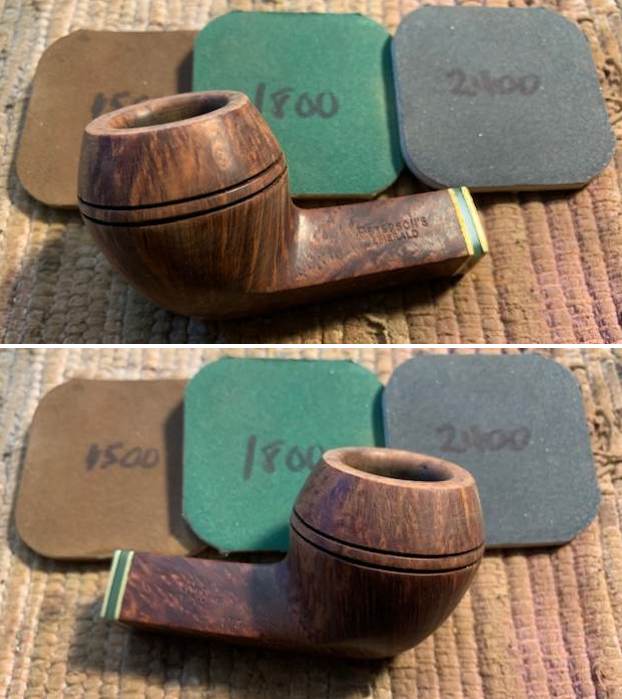
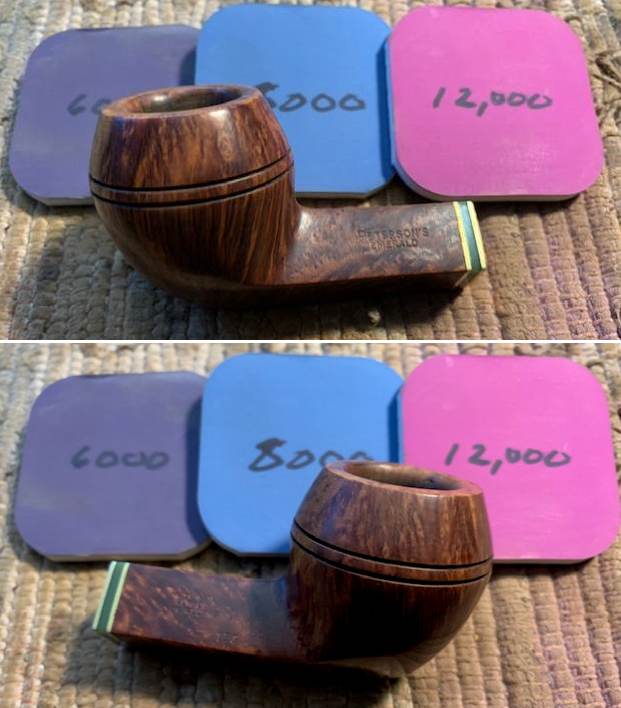
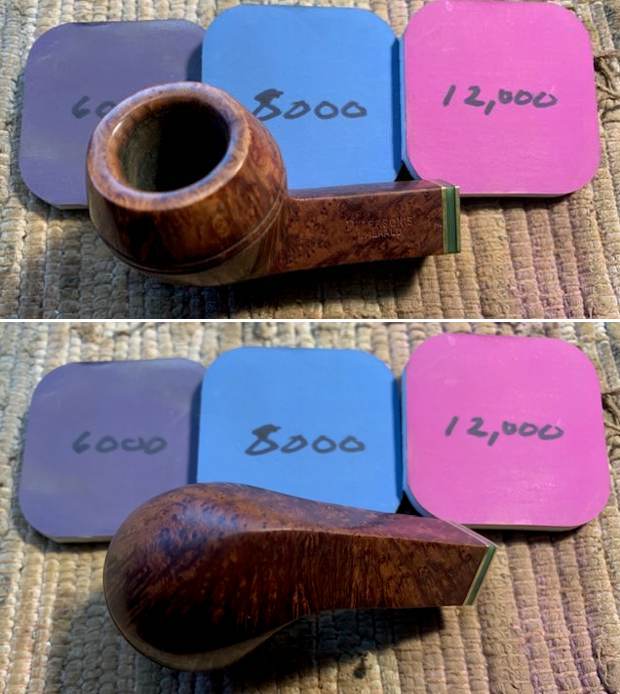
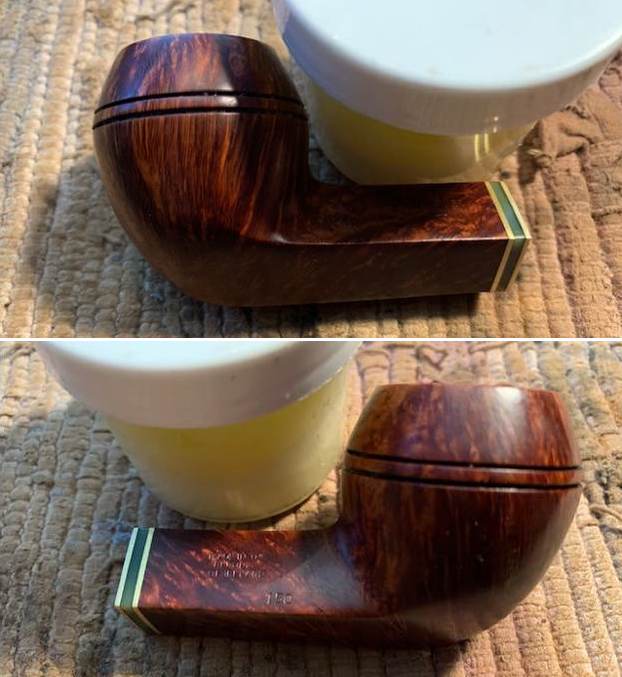
Jeff had done a great job cleaning up the pipe as usual. He reamed the pipe with a PipNet reamer and cut back the cake back to the bare briar. He cleaned up the walls with a Savinelli Fitsall Pipe Knife. He scrubbed the interior of the bowl and shank with pipe cleaners, cotton swabs and alcohol to remove the tars and oils. He scrubbed the exterior of the pipe with Murphy’s Oil Soap and a tooth brush to remove the grime from the finish. He worked on the rim top lava with the soap and tooth brush. He scrubbed the inside of the stem with alcohol and pipe cleaners. He scrubbed the exterior with Soft Scrub and then soaked it in Before & After Stem Deoxidizer. He rinsed it off with warm water to remove the Deoxidizer. It looked very good when I brought it to the worktable. The briar was very clean with some darkening on the rim top and inner edge. The stem had light oxidation and tooth marks. I took close up photos of the rim top and the stem surface. I wanted to show how well it had cleaned up. The rim top looked very good. The beveled inner edge and top had some darkening that would need to be cleaned up in the next steps of the process. I took photos of the stem to show the tooth marks on the surface ahead of the button and the light oxidation on the stem surface.I took a photos of the stamping on the sides of the shank. You can see that it is stamped as noted above. It is clear and readable.I took the pipe apart and took a photo of the pipe. It is a good looking pipe and has beautiful grain around the bowl and shank.I began my work on the pipe by dealing with the rim top and beveled inner edge of the bowl. I used a folded piece of 220 grit sandpaper to smooth it our and lessen the darkening. It cleaned up well and looked very good. I  polished the briar with micromesh sanding pads – dry sanding with 1500-12000 grit pads and wiping the bowl down after each sanding pad. The grain really began to shine through. It is a beautiful pipe. I worked some Before & After Restoration Balm into the surface of the briar with my fingertips to clean, enliven and protect the briar. I let the balm sit for 15 minutes and then buffed with a cotton cloth to raise the shine. The photos show the bowl at this point in the restoration process. I set the bowl aside and worked on the stem. I sanded out the tooth marks and chatter in the surface and the button edges with 200 grit sandpaper. I started the polishing with 400 grit wet dry sandpaper.I polished the stem with micromesh sanding pads – wet sanding with 1500-12000 grit sanding pads. I wiped it down after each sanding pad with Obsidian Oil. I polished it with Before & After Pipe Stem Polish – both Fine and Extra Fine. I am excited to finish this Republic Era Peterson’s Emerald 150 Straight Bulldog.  I put the pipe back together and buffed it with Blue Diamond on the buffing wheel. I gave the bowl and the stem multiple coats of carnauba wax. I buffed the pipe with a clean buffing pad to raise the shine and hand buffed it with a microfibre cloth to deepen the shine. It is fun to see what the polished bowl looks like with the rugged rustication all around it. Added to that the polished triple brass and emerald acrylic band and the black vulcanite stem was beautiful. This Classic Peterson’s Emerald is nice looking and the pipe feels great in my hand. It is light and well balanced. Have a look at it with the photos below. The dimensions are Length: 5 ½ inches, Height: 1 ¾ inches, Outside diameter of the bowl: 1 ¼ inches, Chamber diameter: ¾ of an inch. The weight of the pipe is 42 grams/1.48 ounces. It is a beautiful pipe and one that will be on the Irish Pipe Makers Section of the rebornpipes store soon. If you are interested in adding it to your collection let me know. Thanks for walking through the restoration with me as I worked over this pipe. Thanks to each of you who are reading this blog.