by Steve Laug
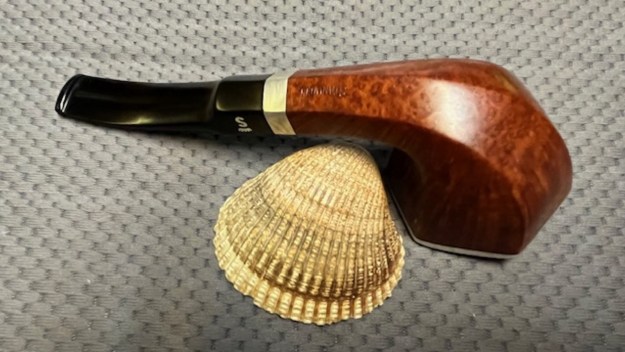
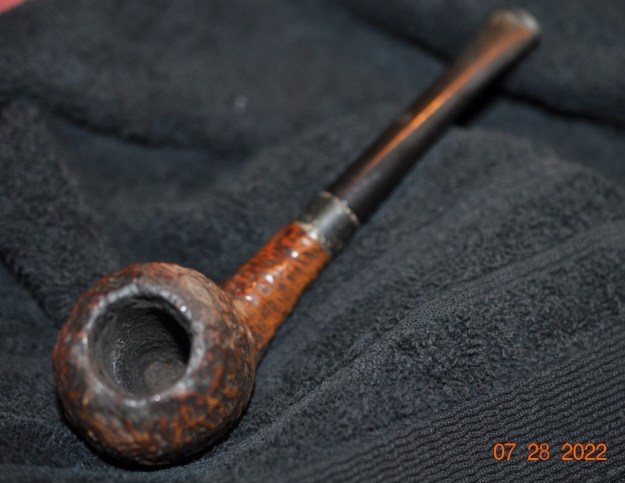
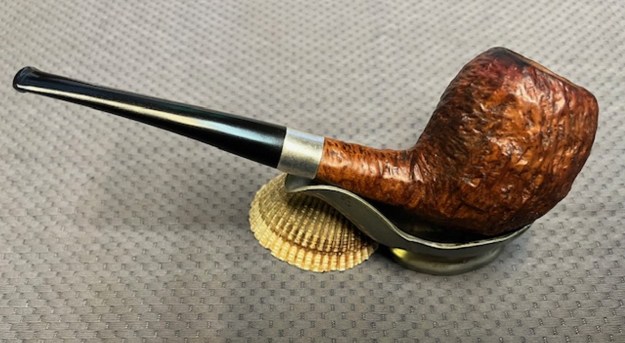
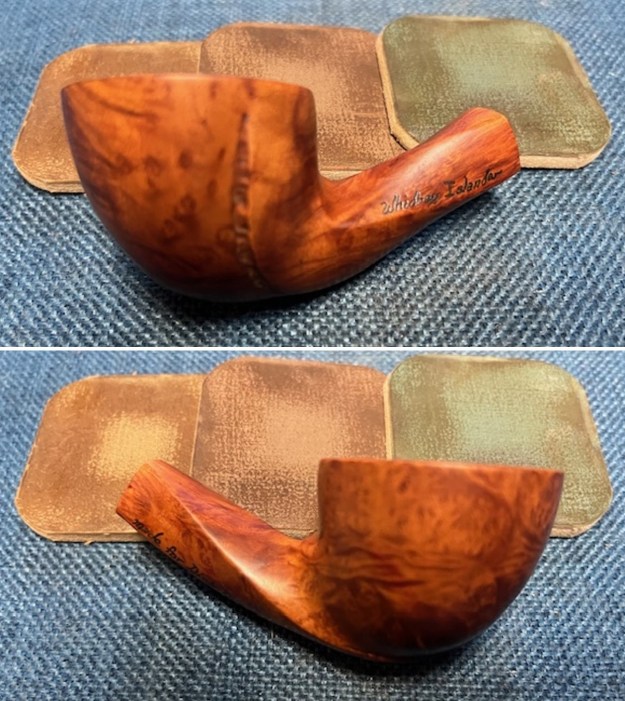
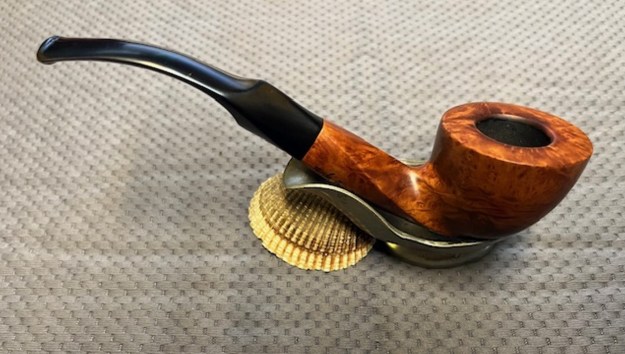
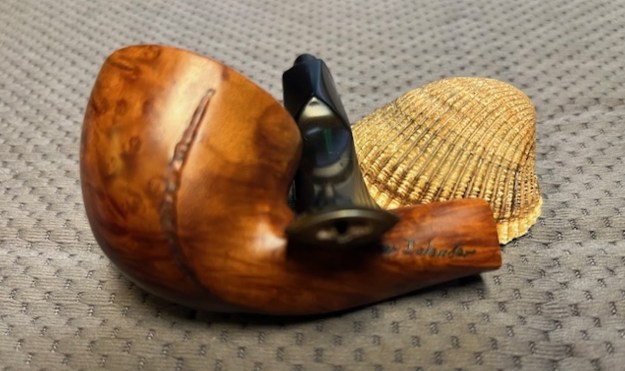
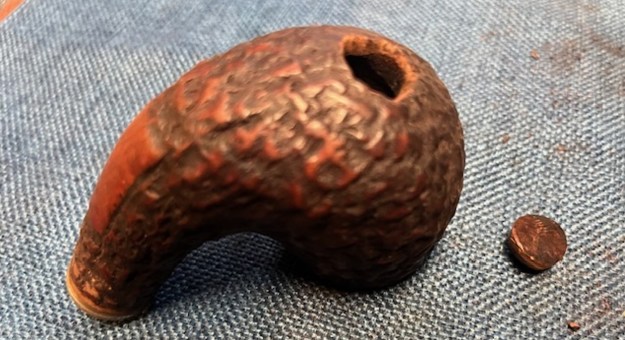
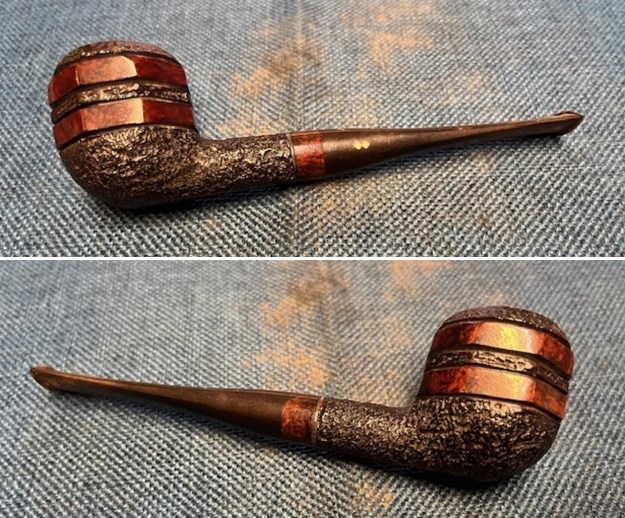
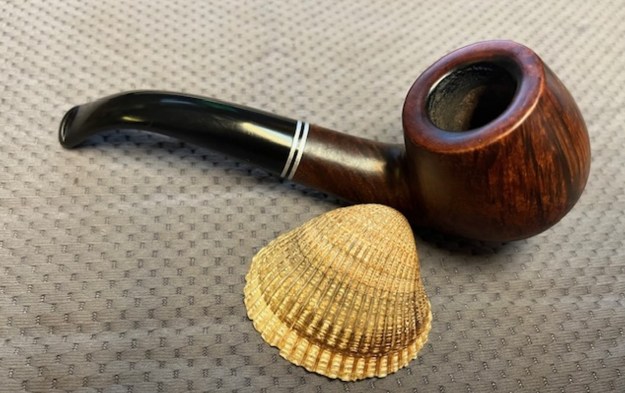
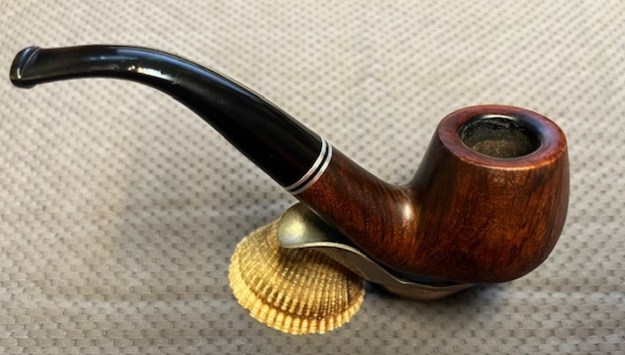
When this beautiful hexagonal Dublin by Stanwell came to us from our source in Denmark last year on 02/16/2023 I was pretty excited to work on it. The grain around the bowl and shank were amazing looking and the silver rim edge and shank band were great additions that gave the pipe a sense of polish. The pipe is stamped on the underside of the shank and on the left reads Stanwell. On the right it reads Made in Denmark. The silver band on the shank is stamped .925 identifying it as Sterling Silver. The bowl had a moderate cake and there was darkening and lava on the inner edge of the rim and the rim top. The filter stem was oxidized and had tooth marks and chatter ahead of the button on both sides. It looked like it should clean up very well. I was looking forward to getting it here in Canada and working on it. Jeff took photos of it before he started his clean up process. Do you see any issues in the photos below? I don’t see any other than what I have noted above. Nothing alarming! That would prove to be very wrong!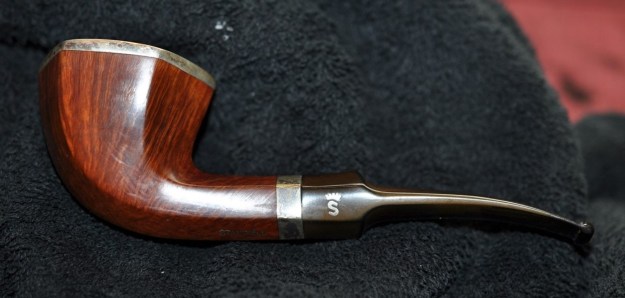
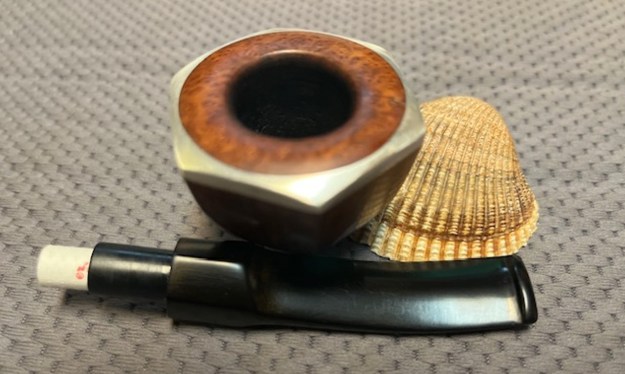
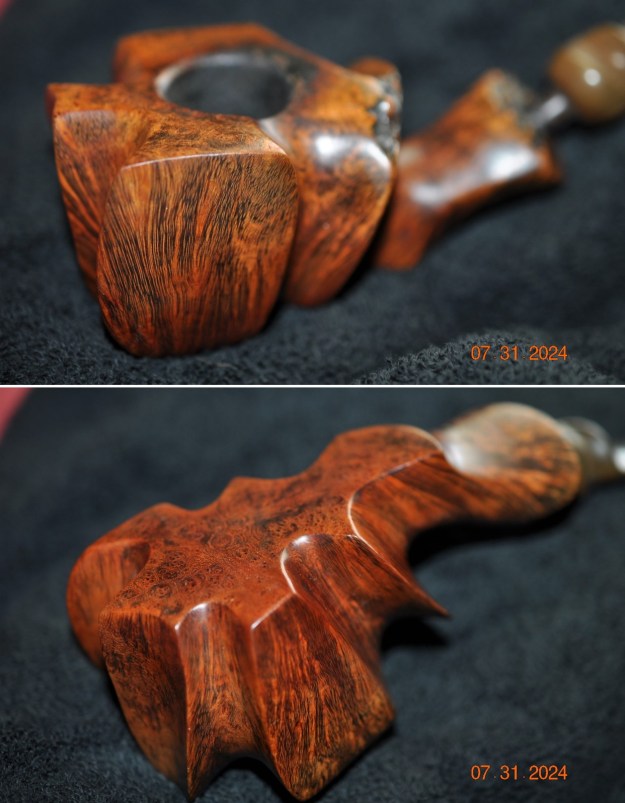
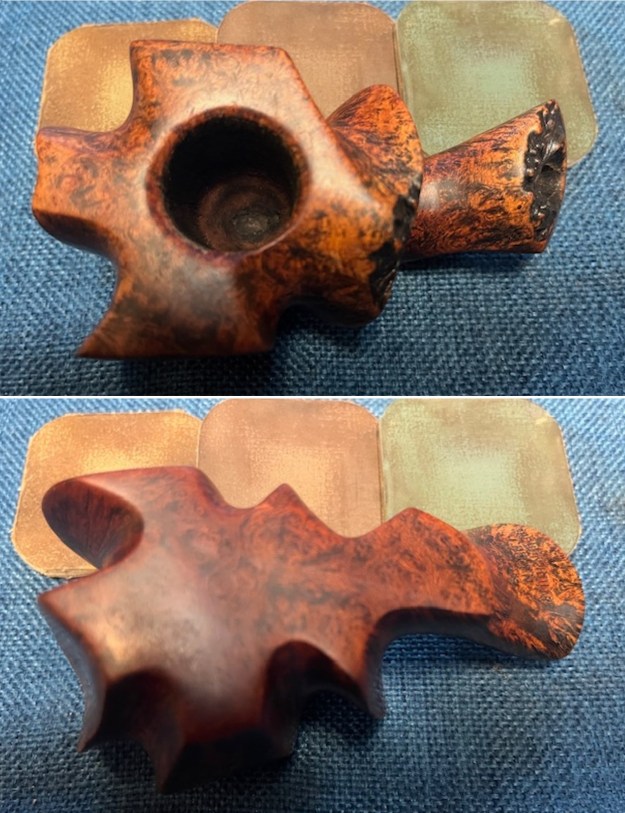
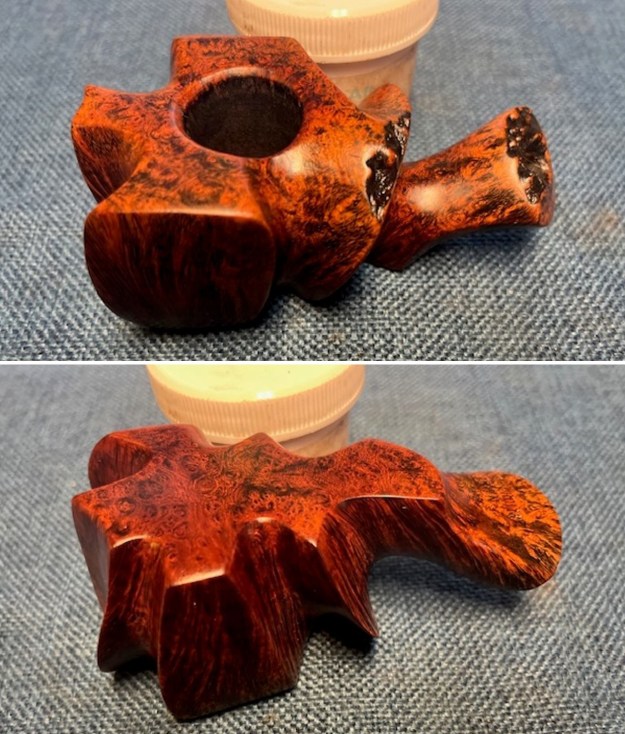
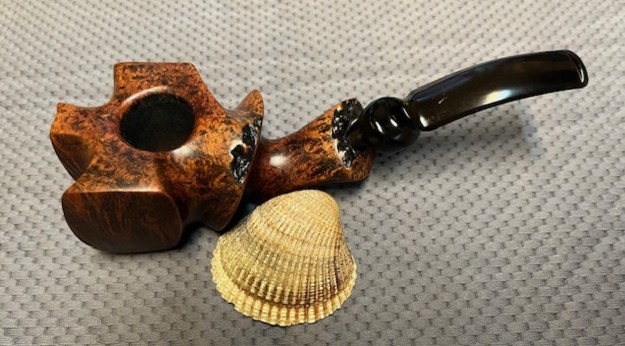
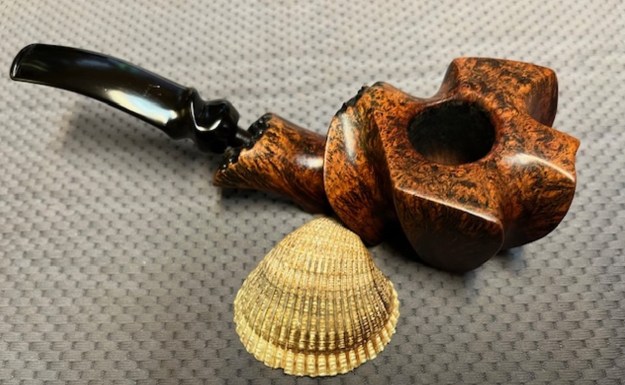
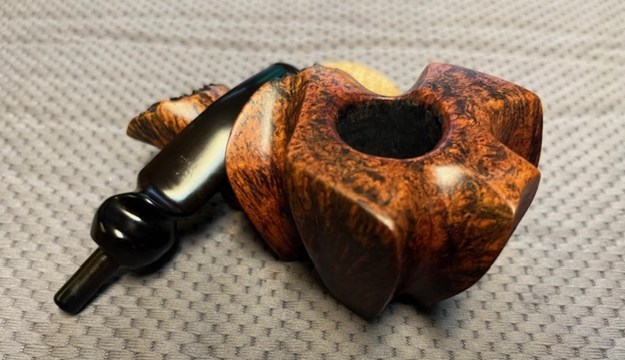
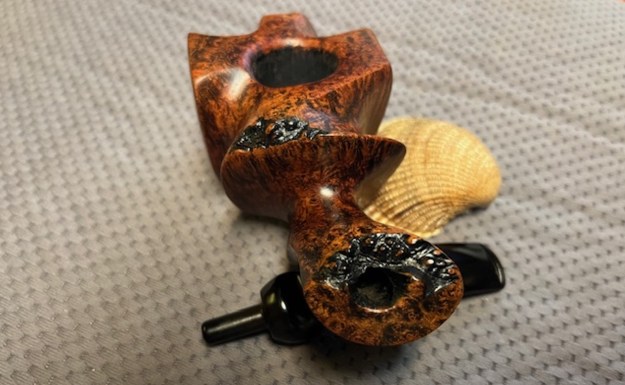
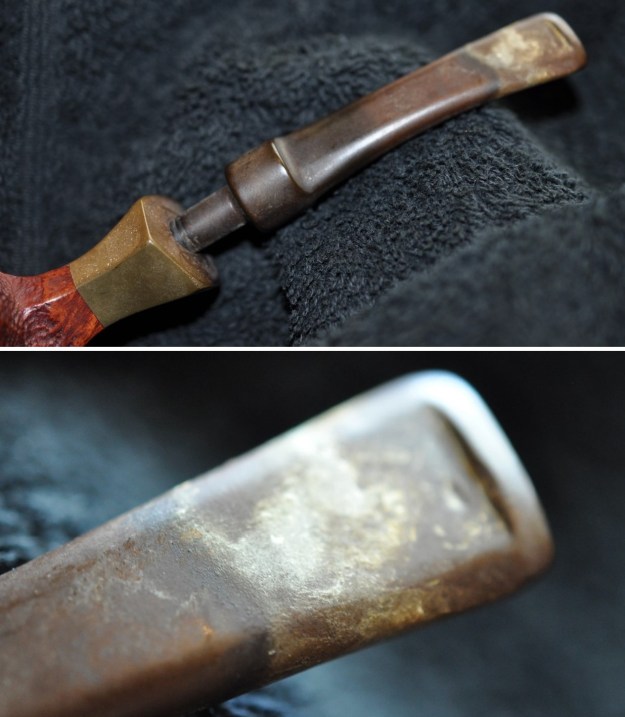
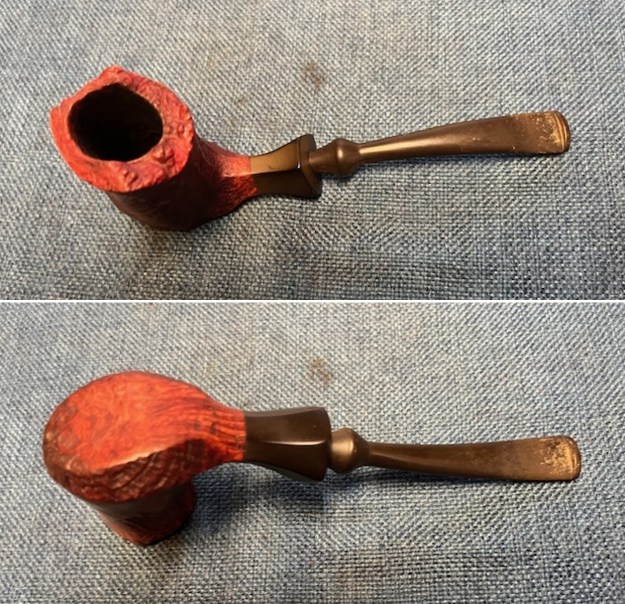
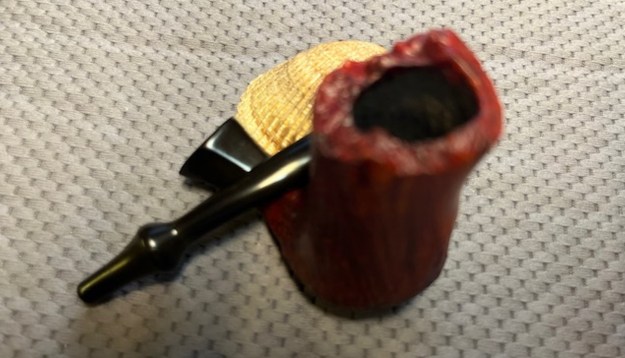
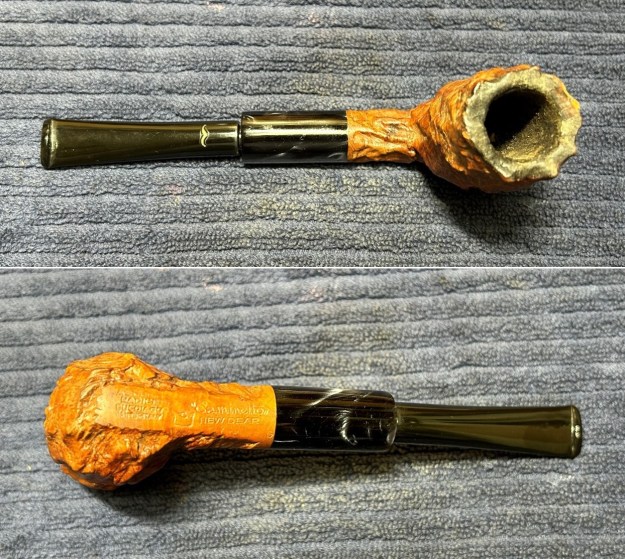
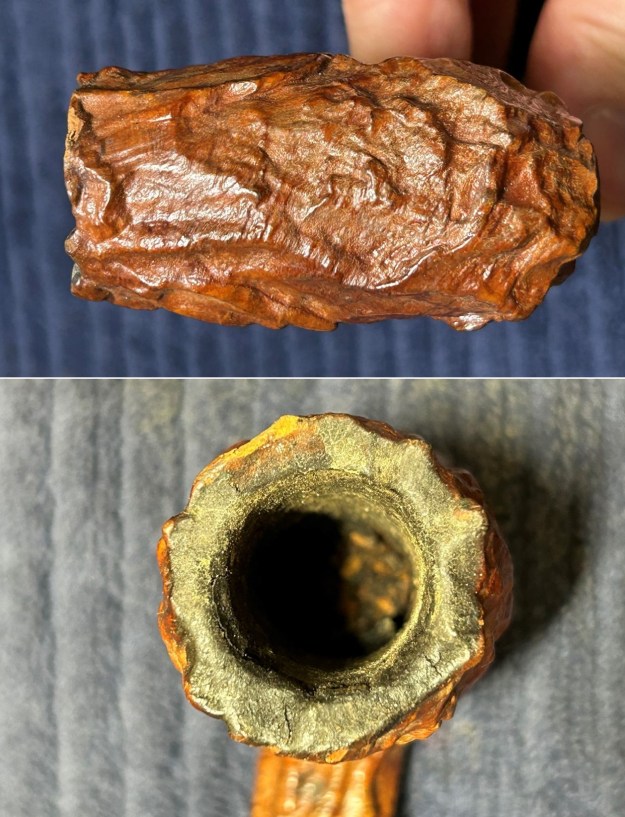
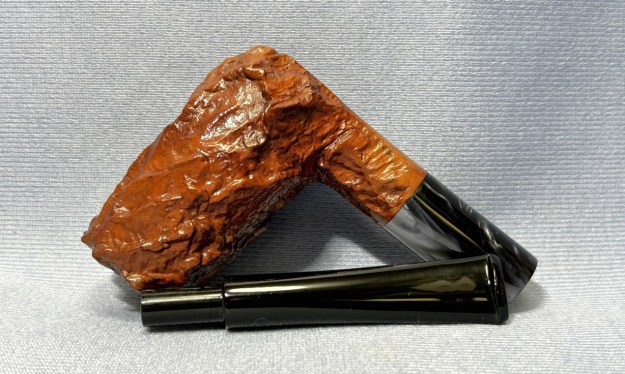
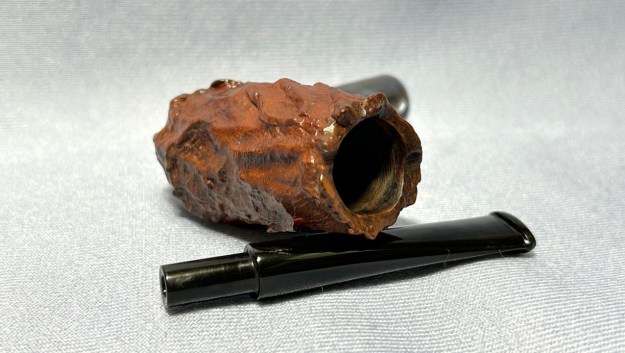
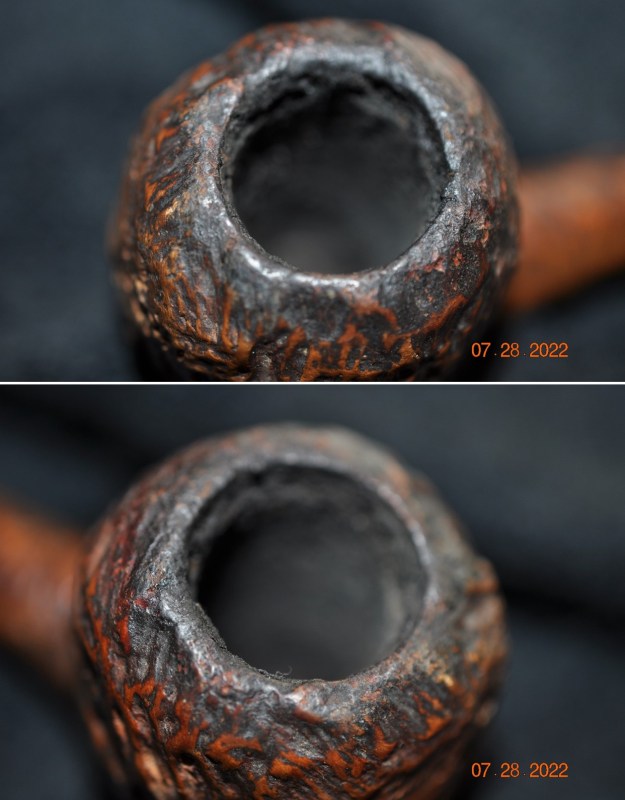
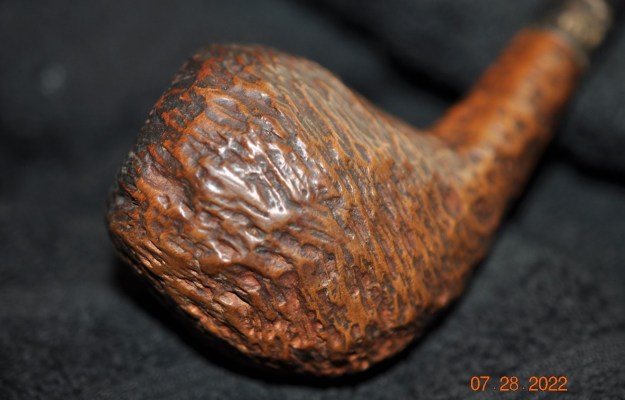
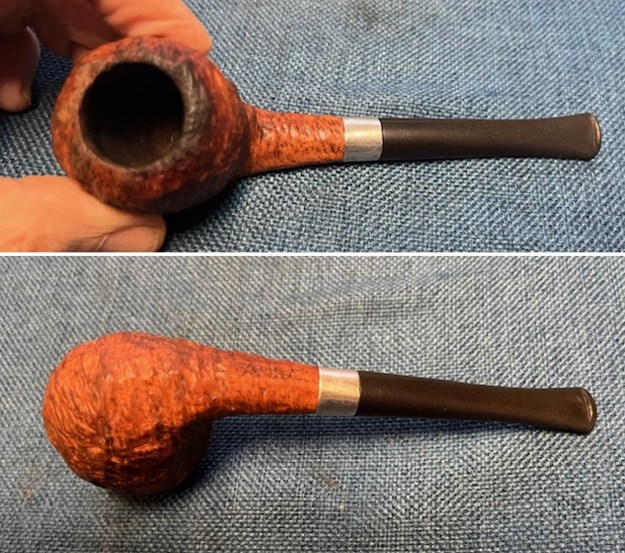
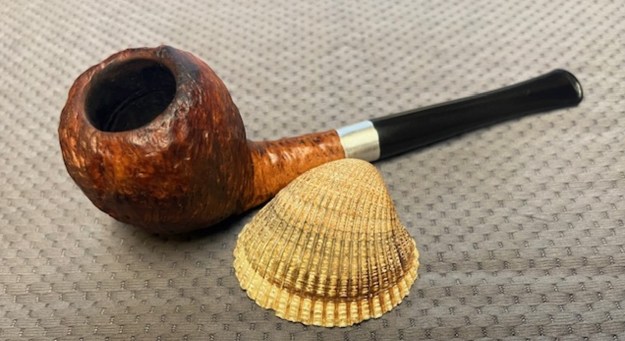
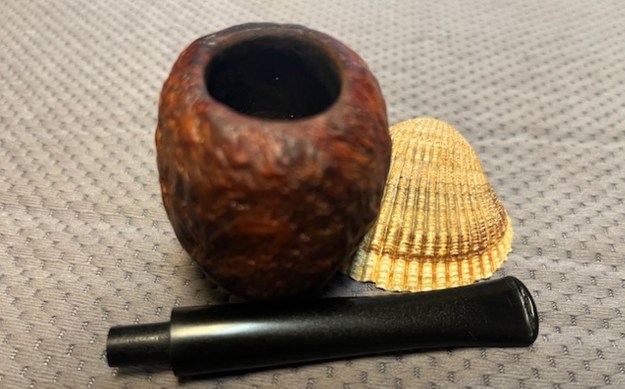
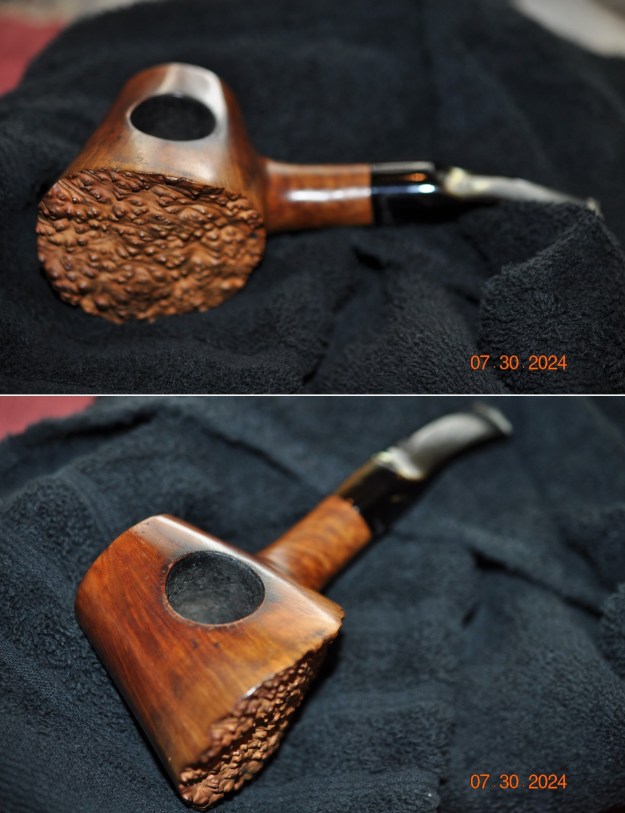
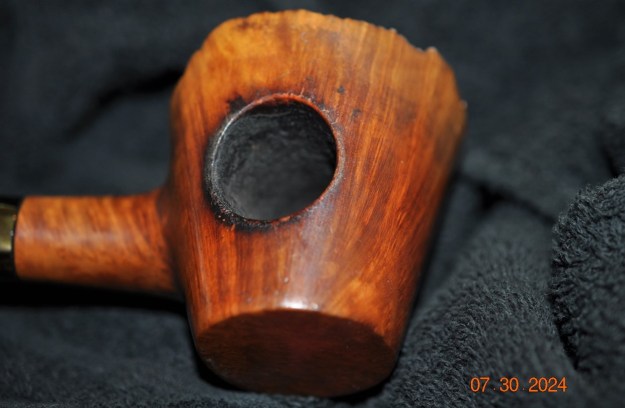
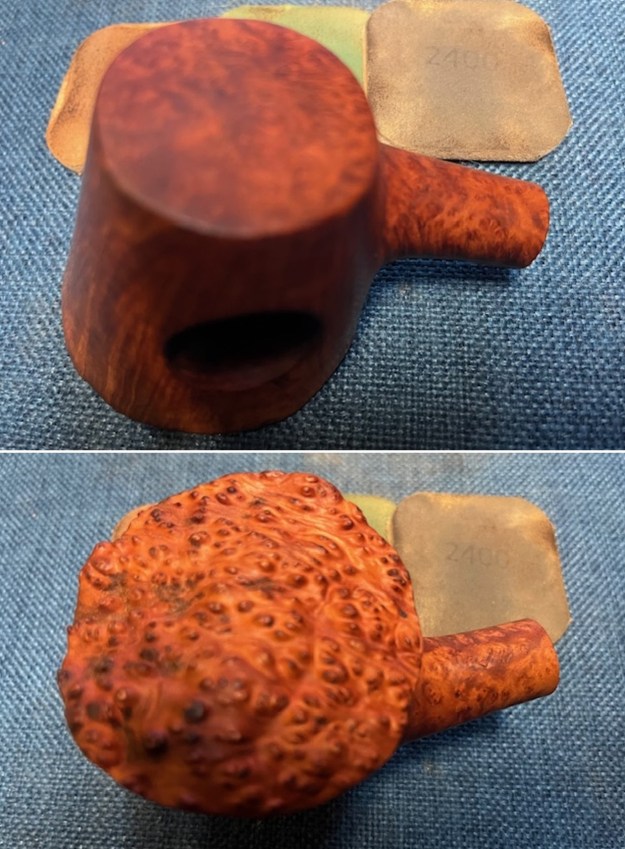
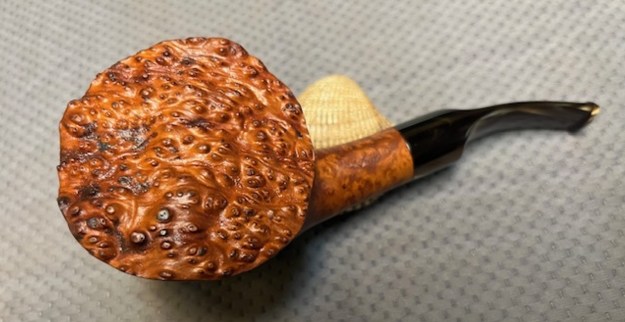
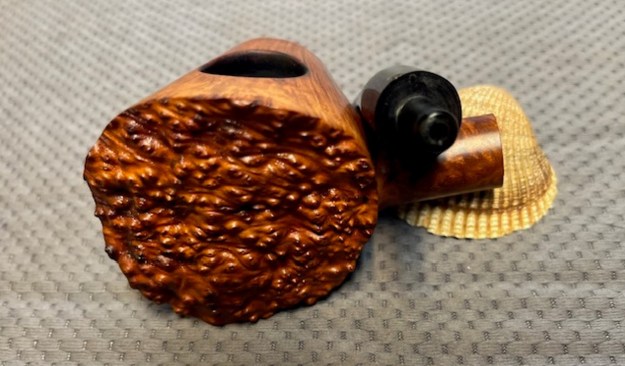
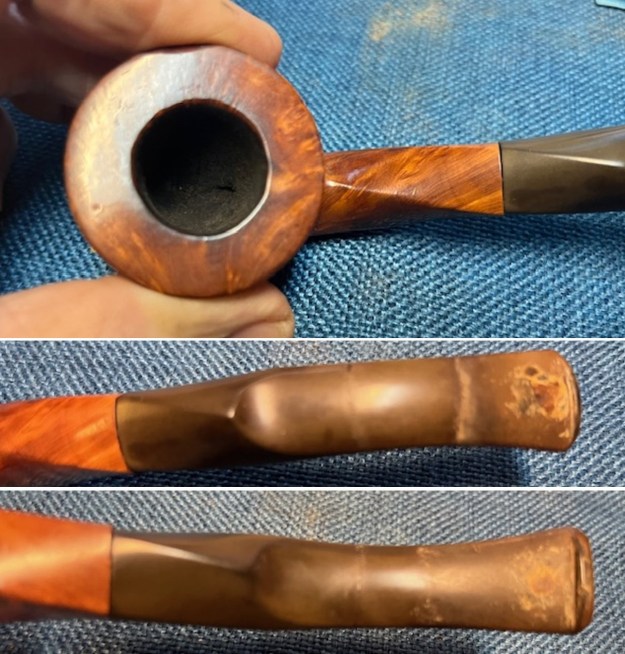
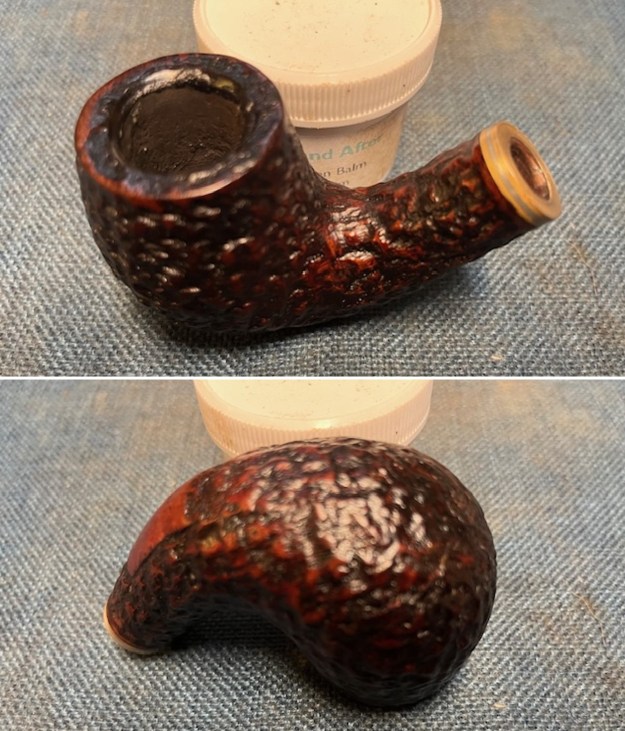
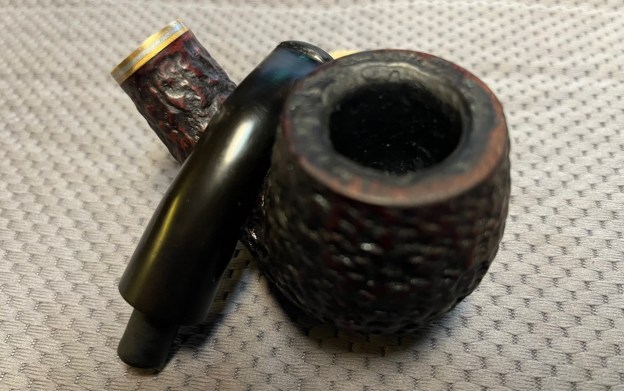
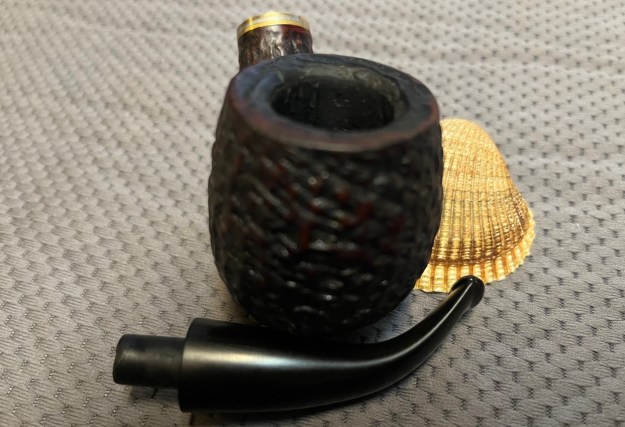
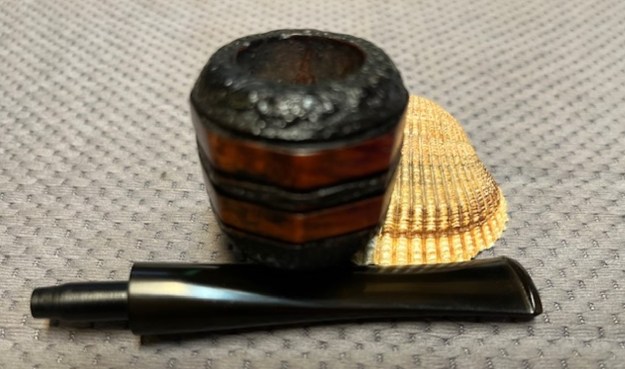
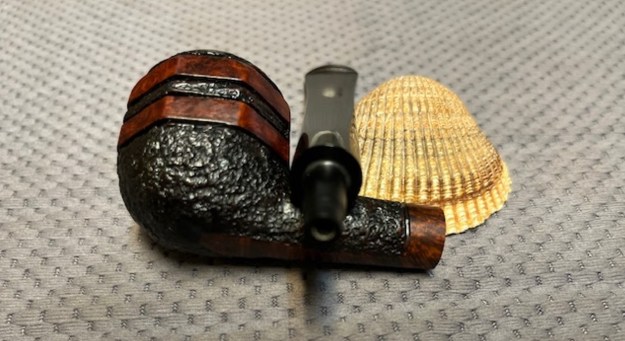
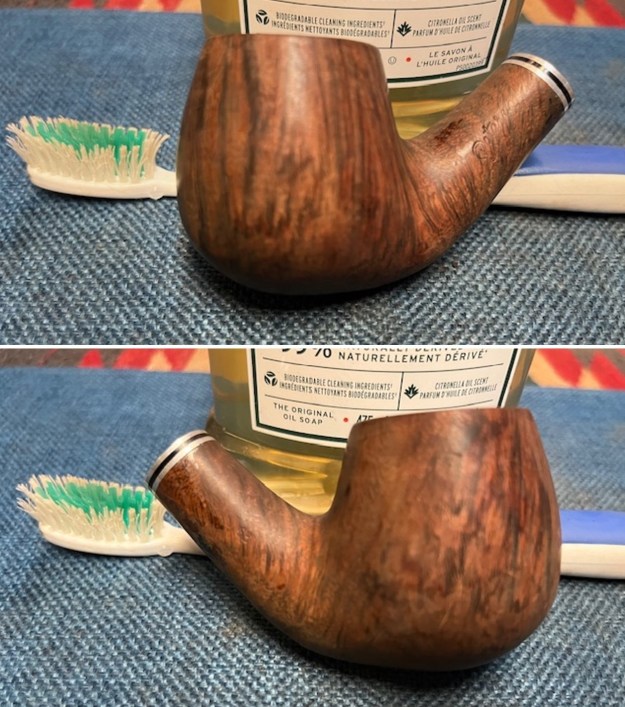
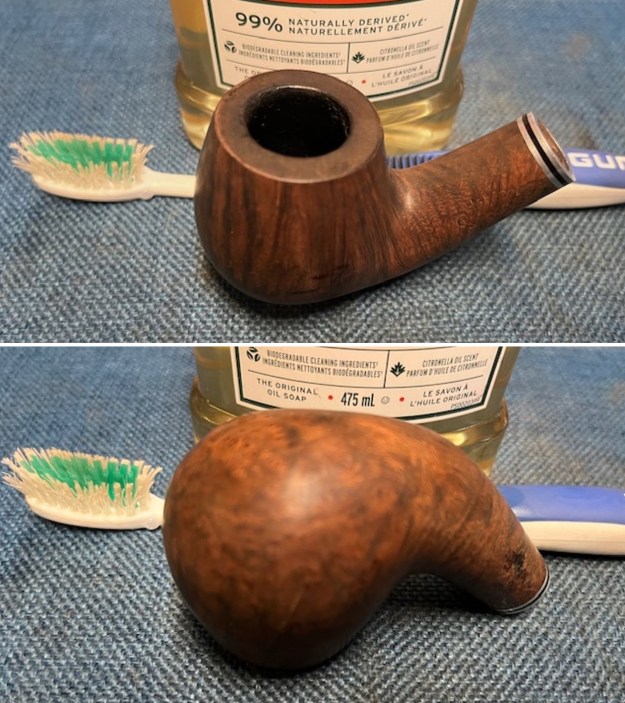
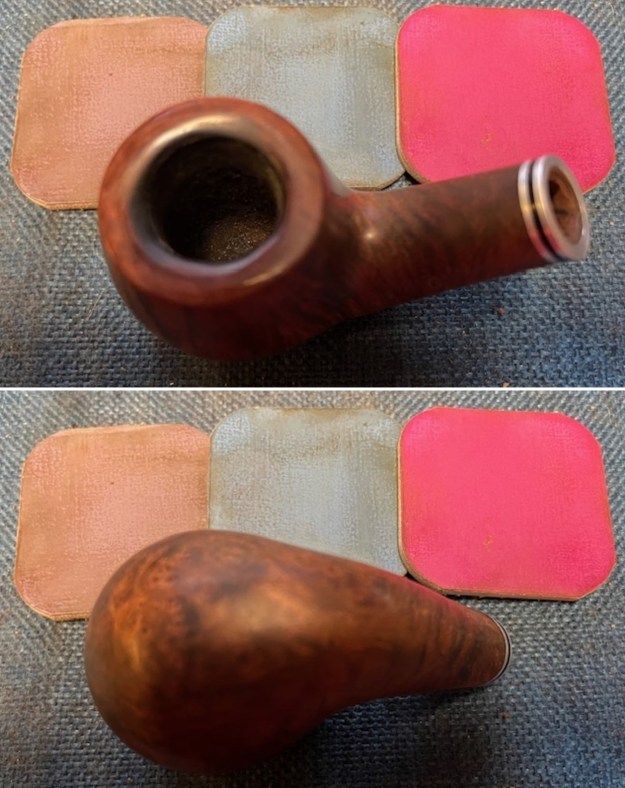
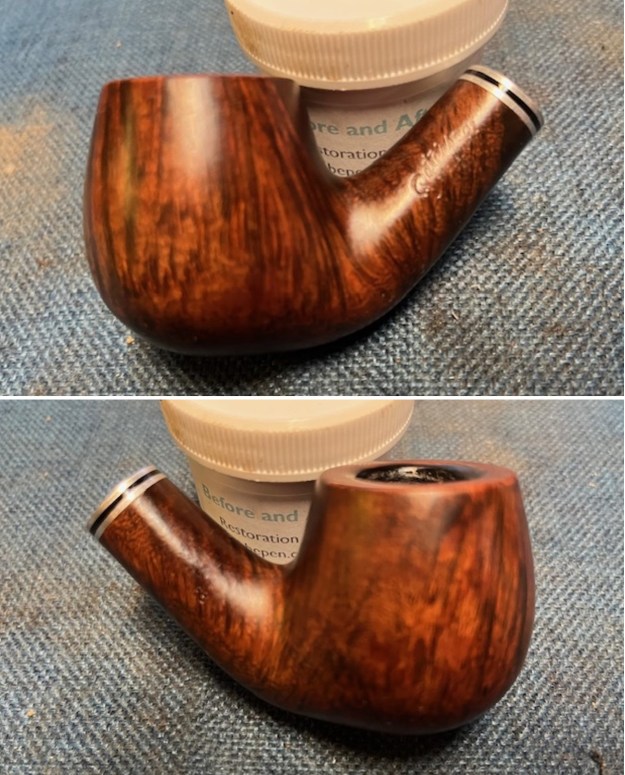
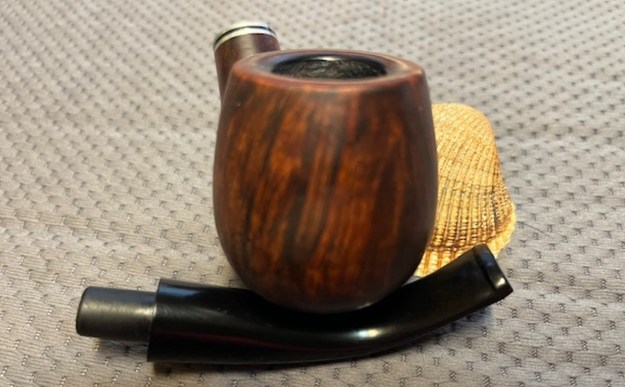
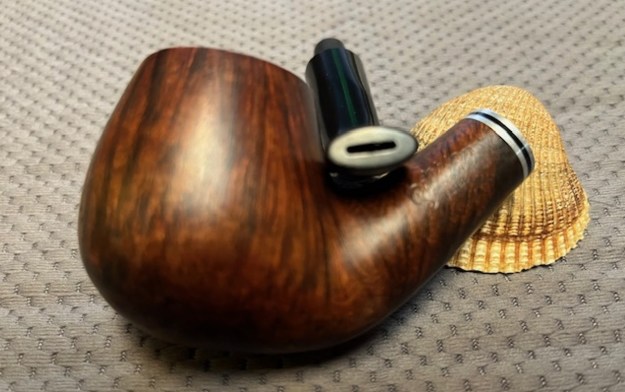
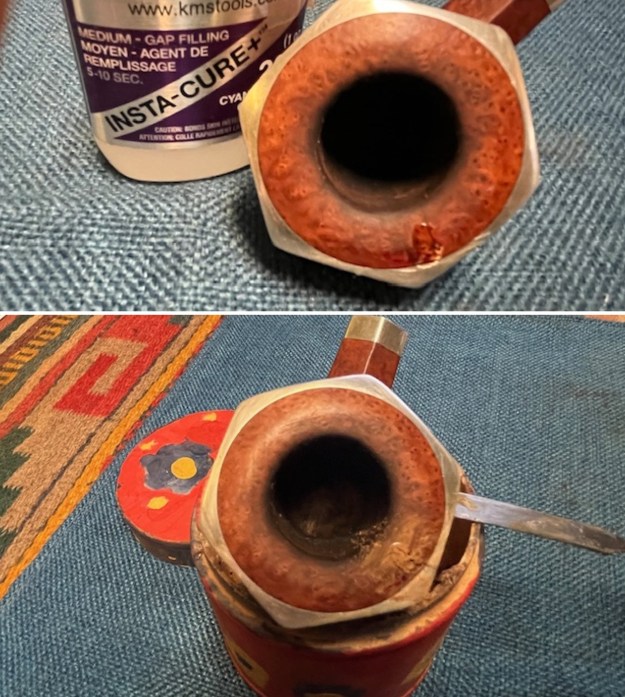
 Jeff took photos of the rim top that clearly show the thickness of the cake in the bowl and the darkening on the rim edge and top on the left front. There are scratches and tar on the silver rim cap that will need to be polished out but there is some beauty in the pipe. So far, no issues that can see. There does appear to be a bit of a shadow in the darkening on the right front of the top. The stem has some heavy oxidation that that will take work to remove but the tooth marks are light and there does not appear to be a lot of chatter ahead of the button.

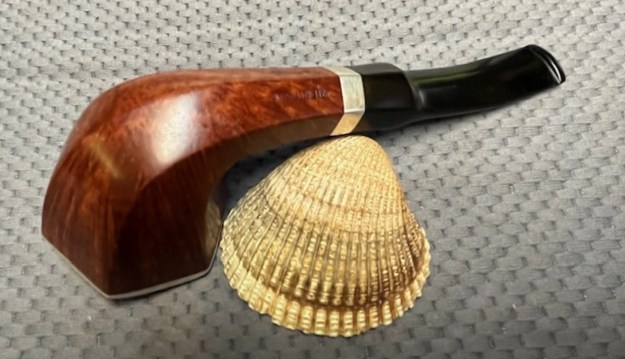
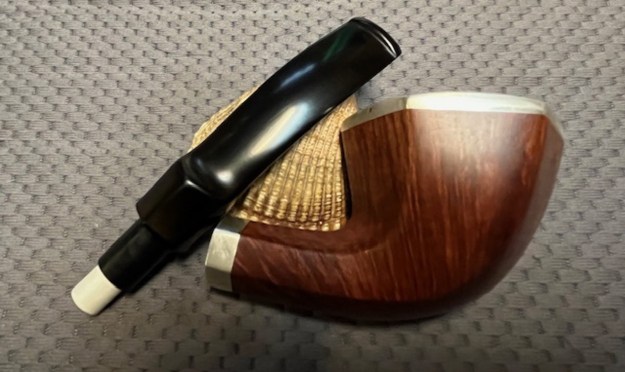
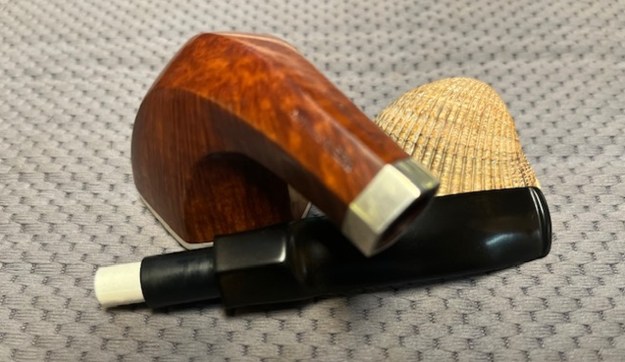
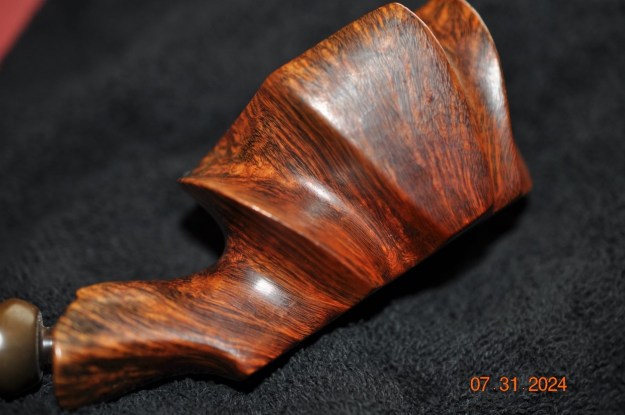
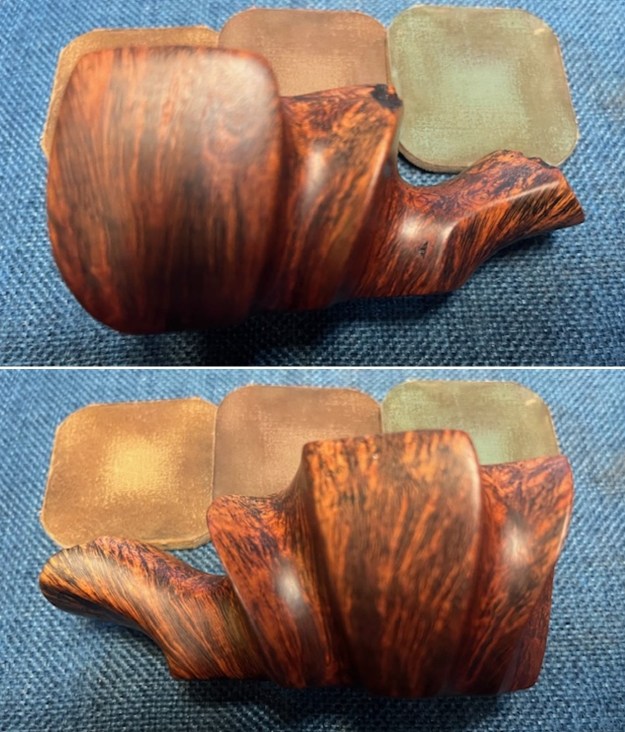
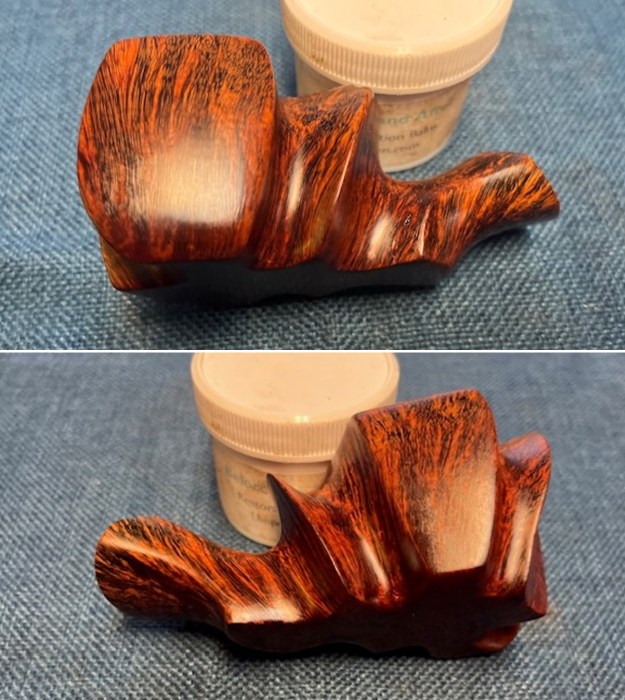
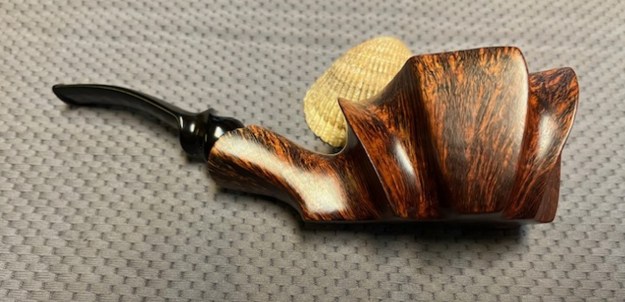
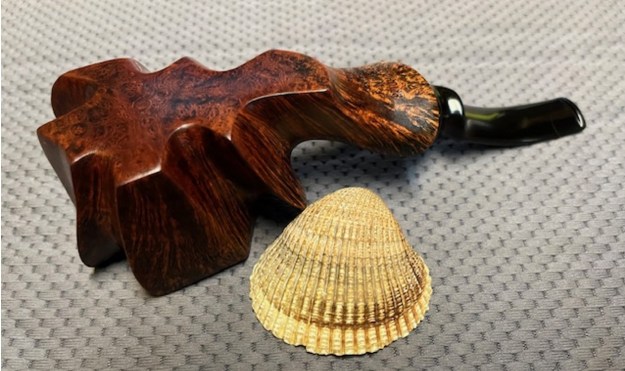
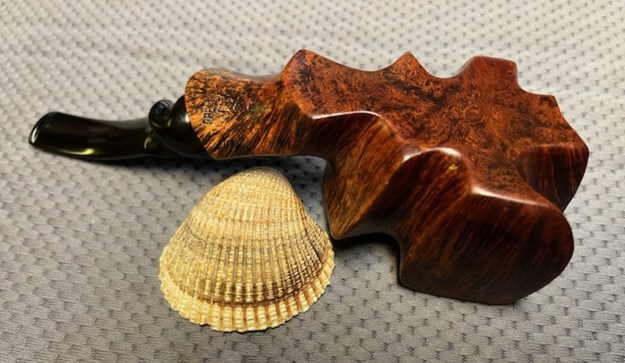
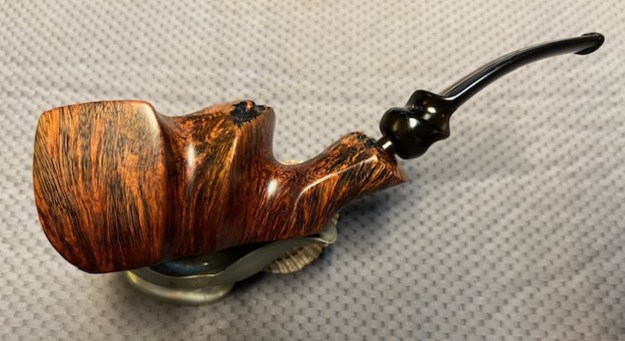
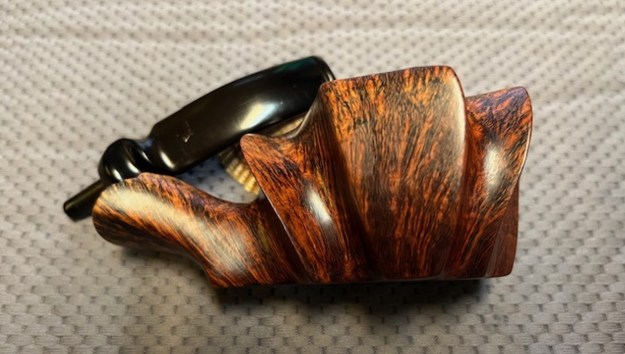
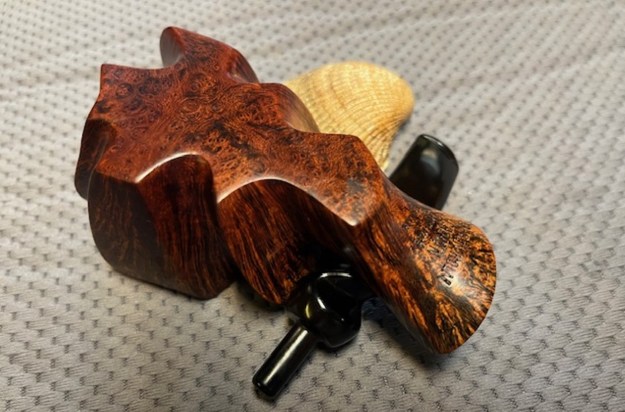
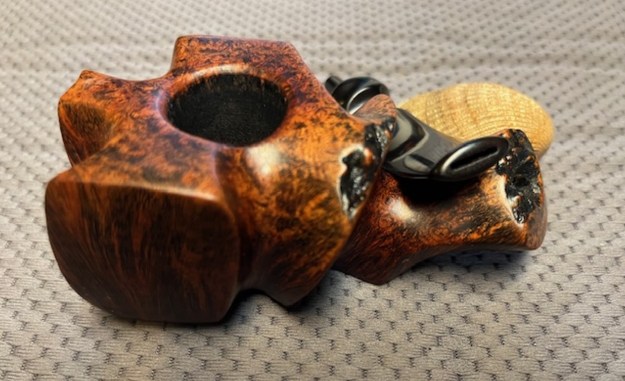
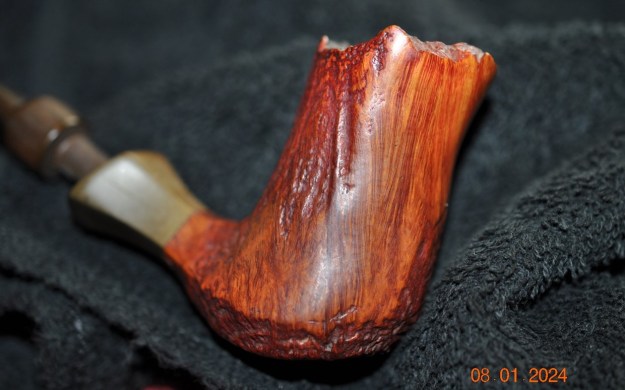
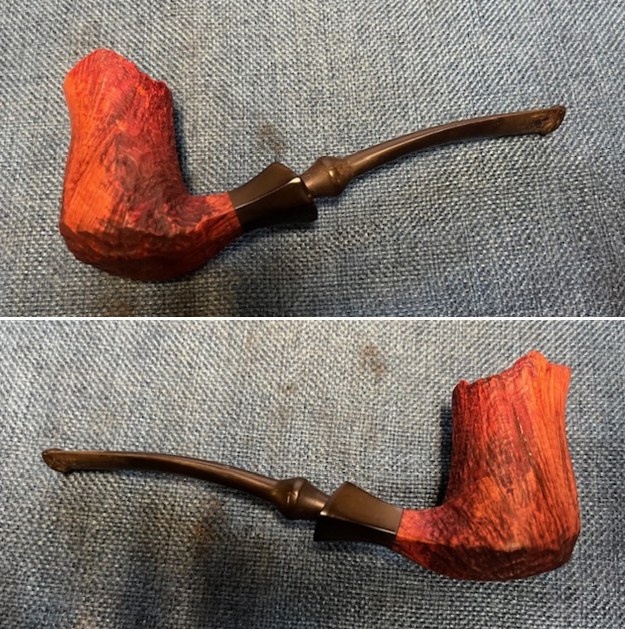
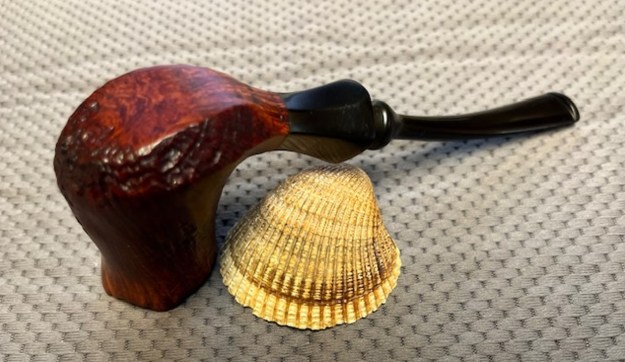
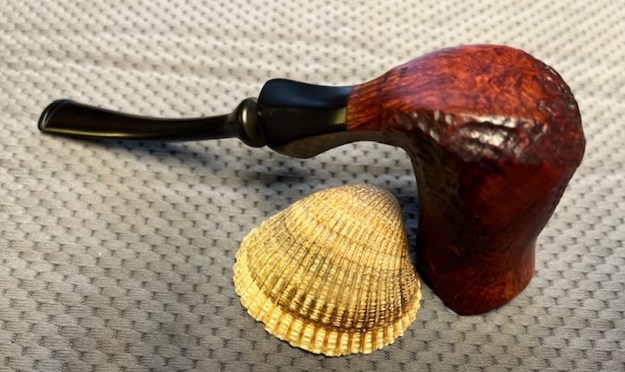
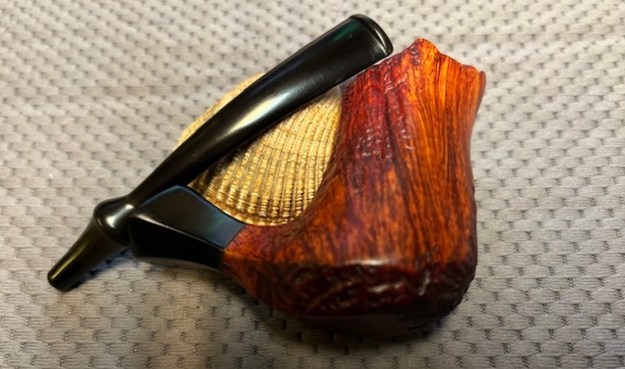
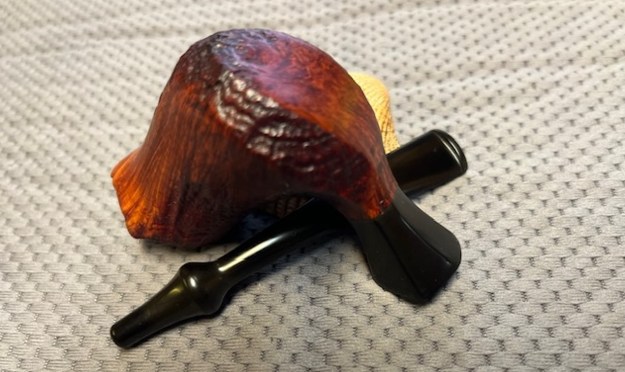
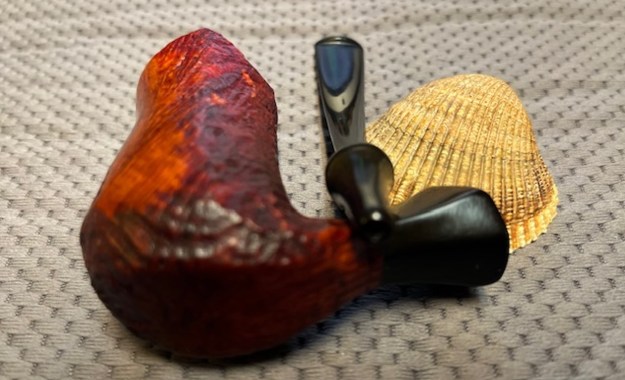
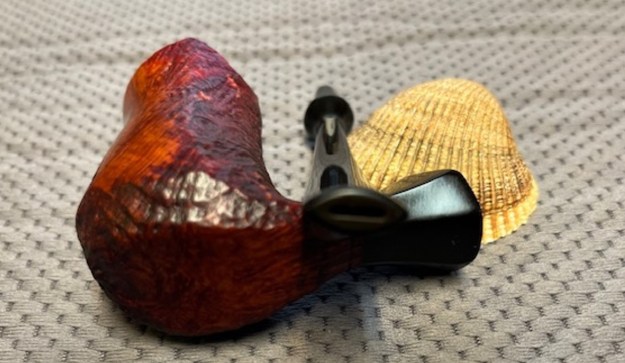
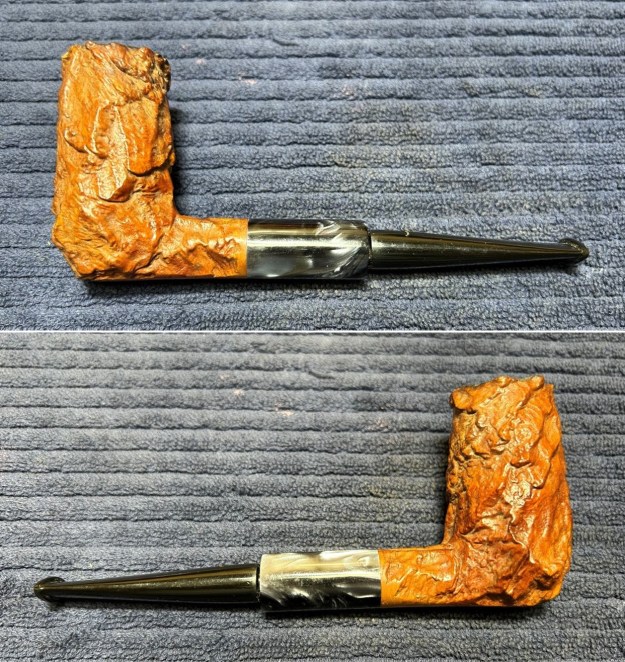
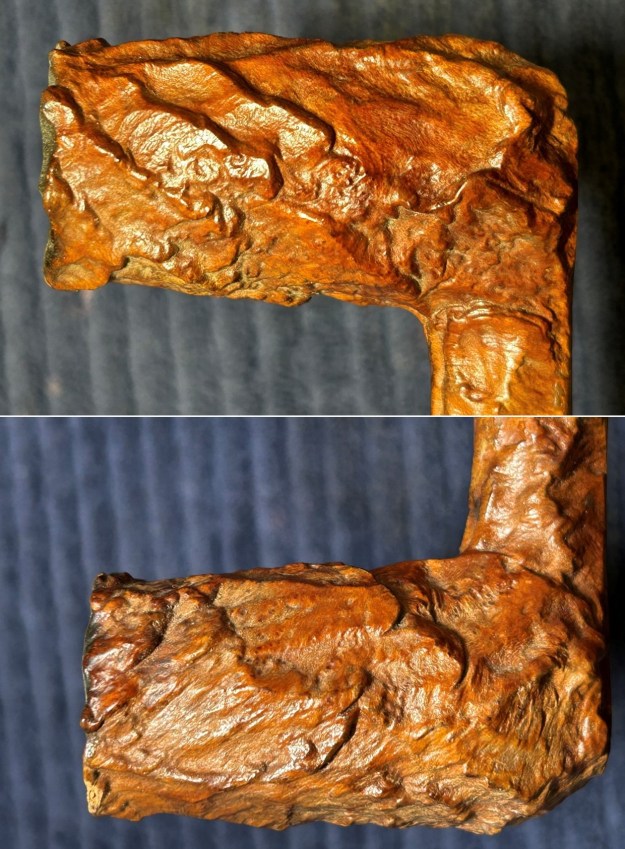
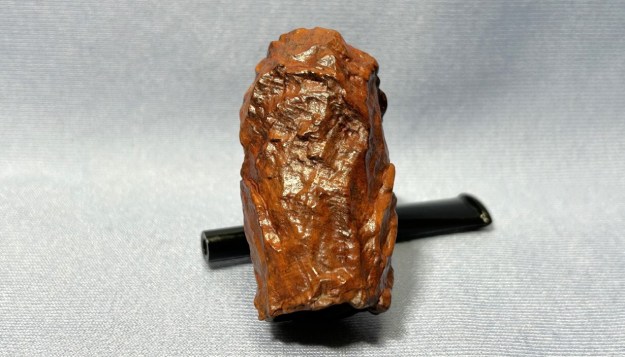
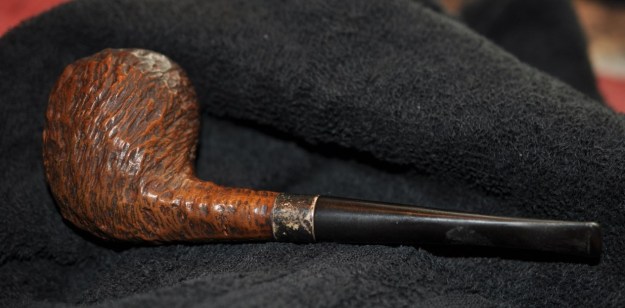
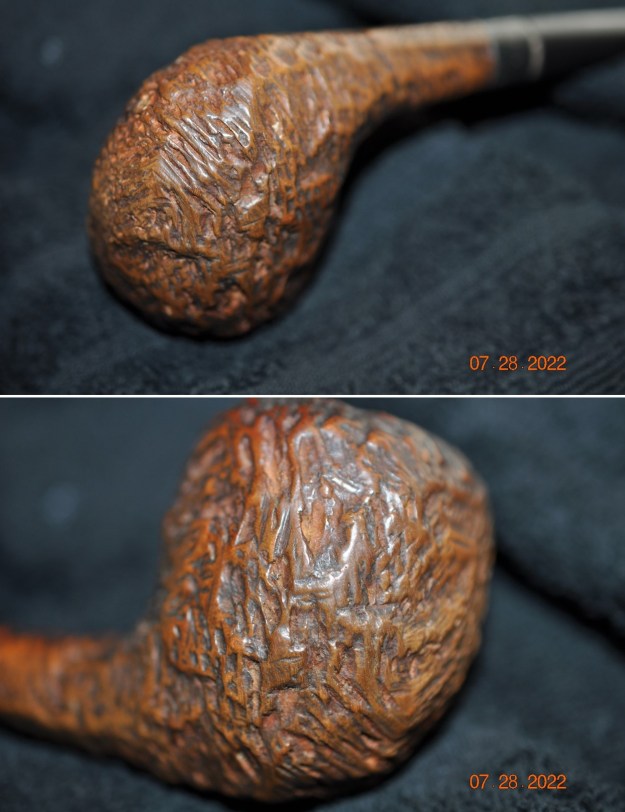
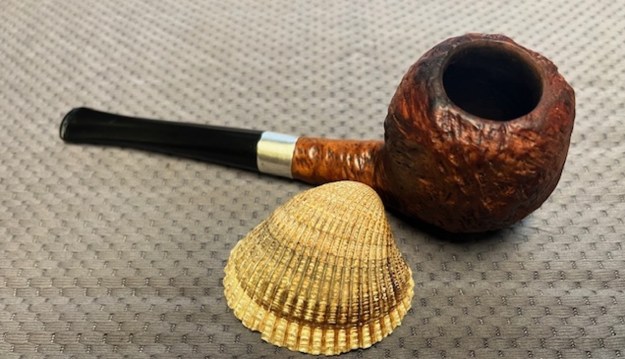
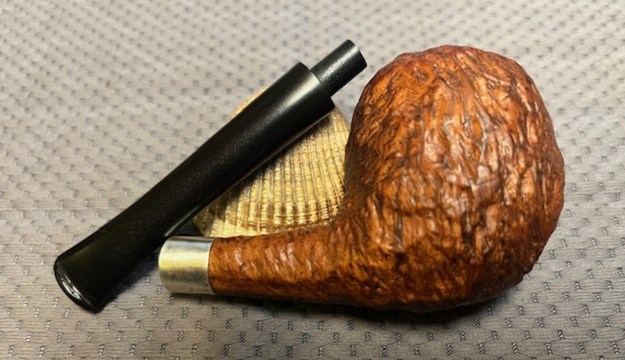
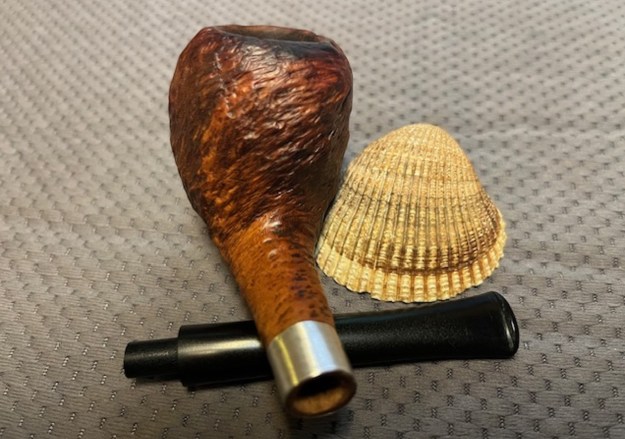
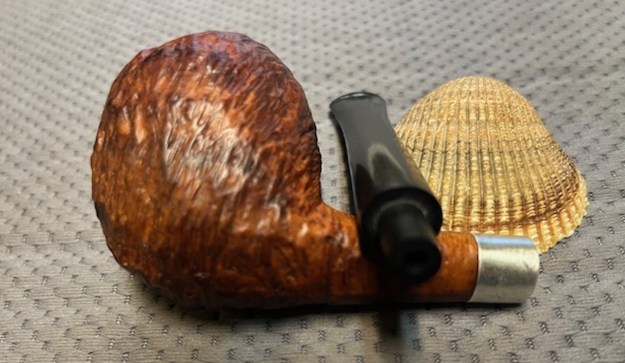
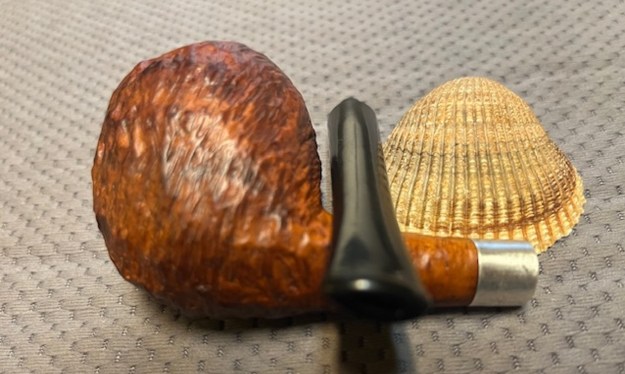
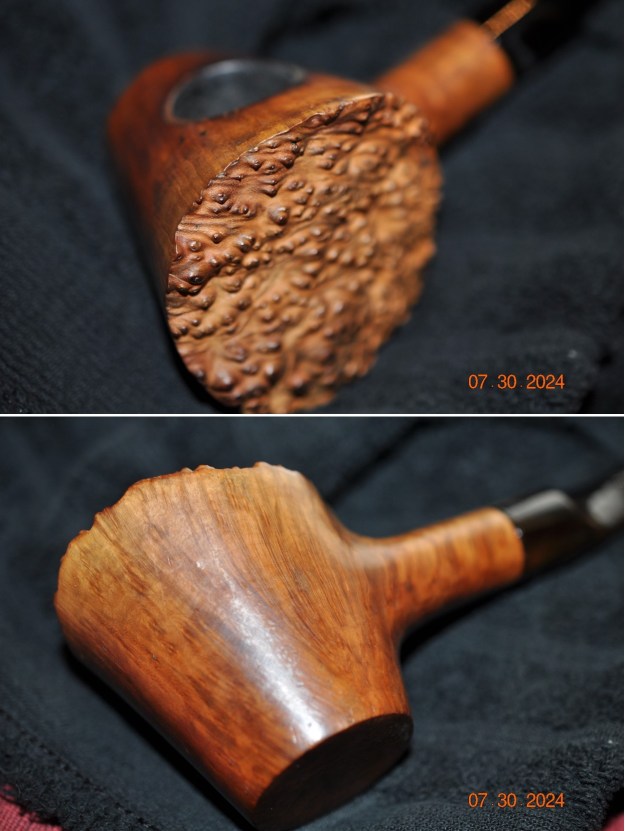
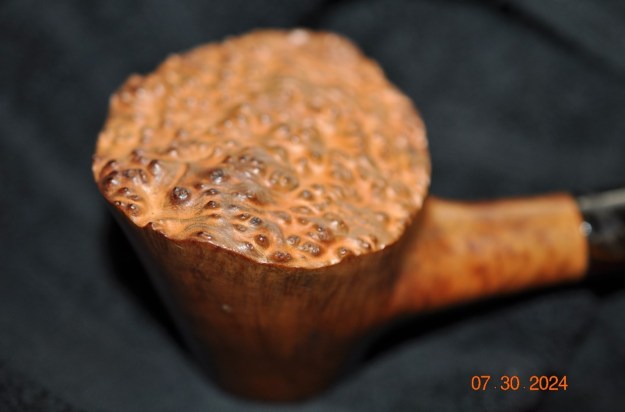
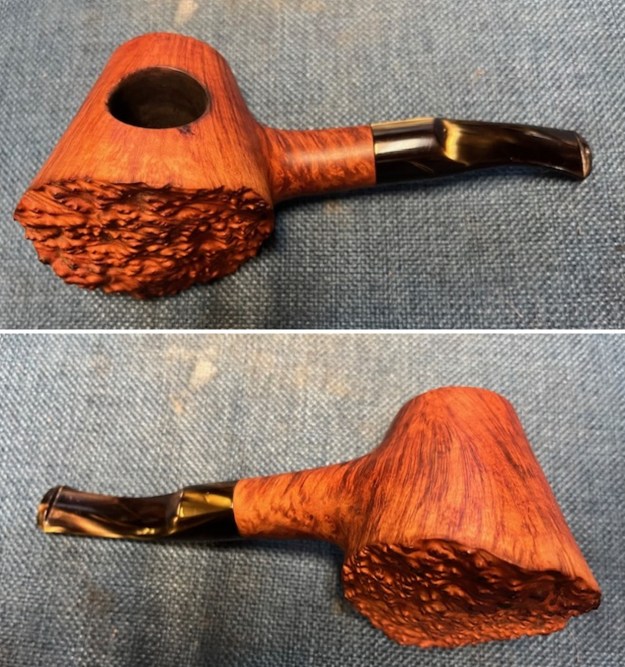
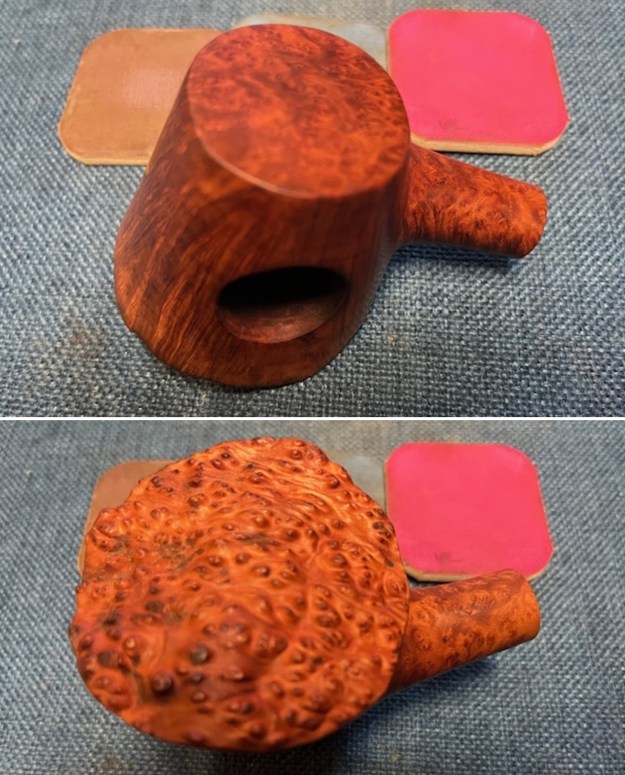
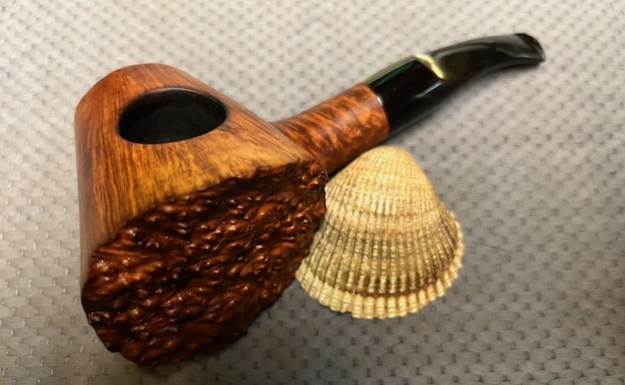
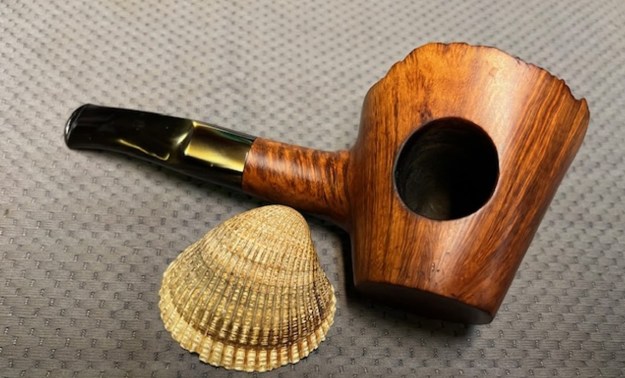
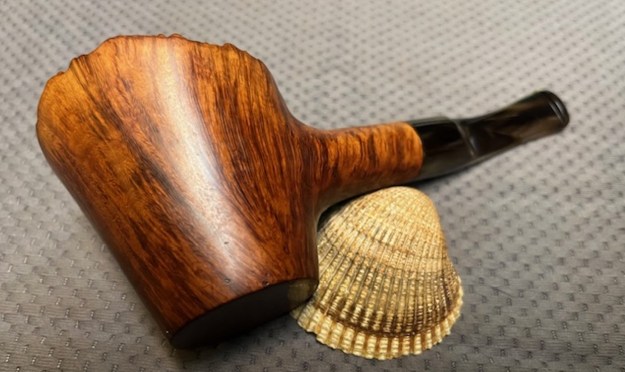
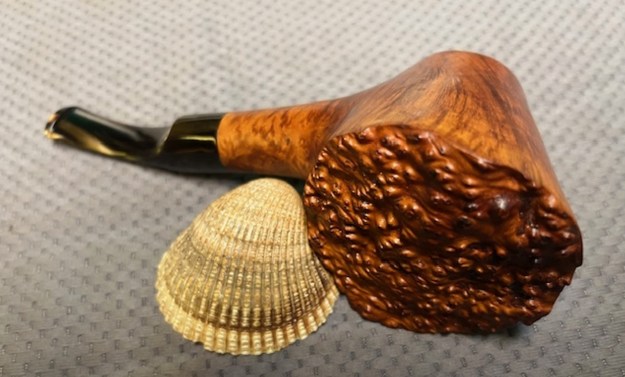
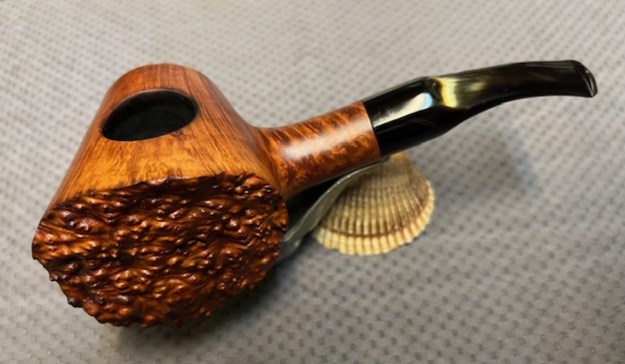
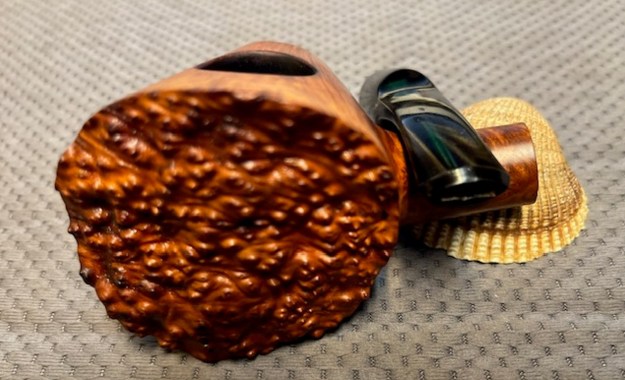
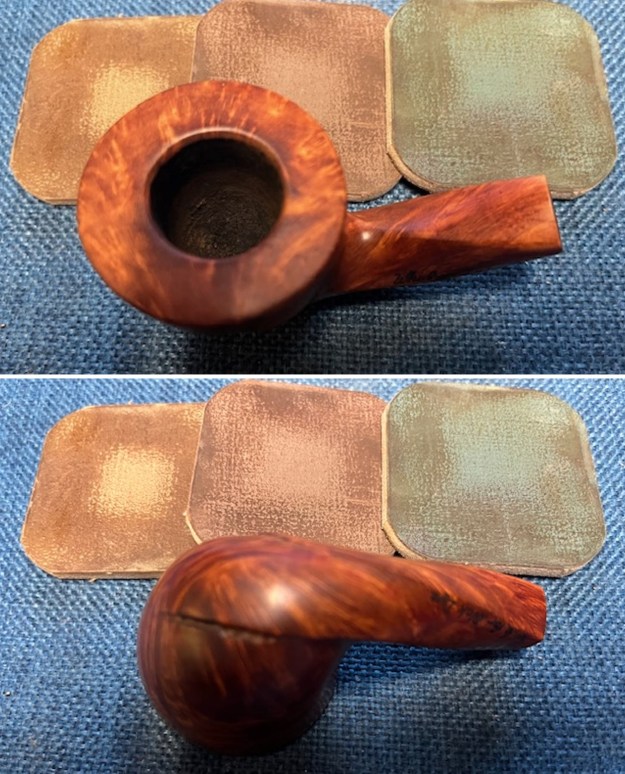
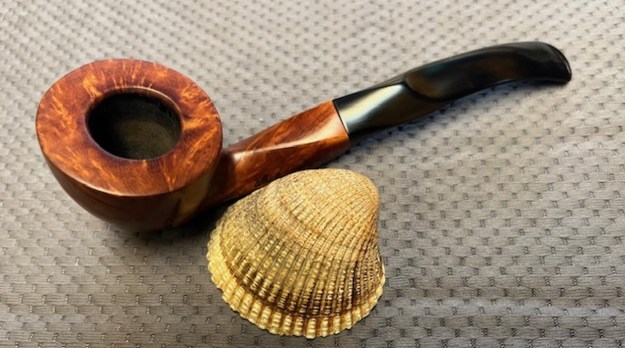
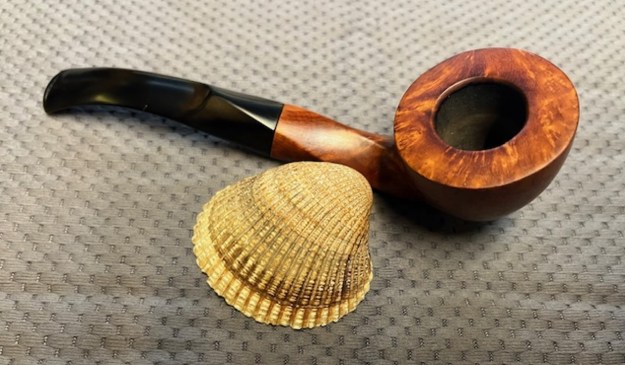
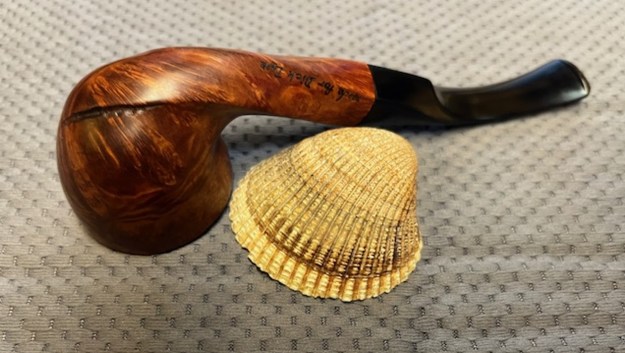
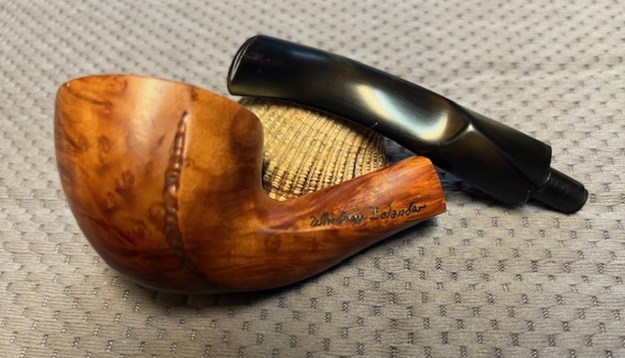
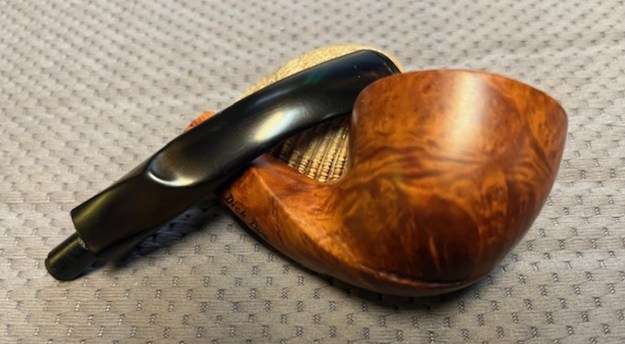
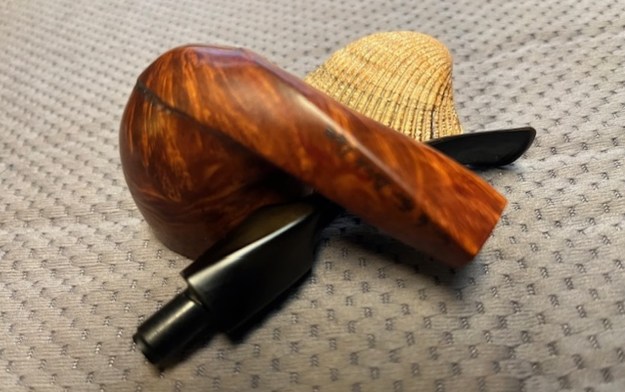
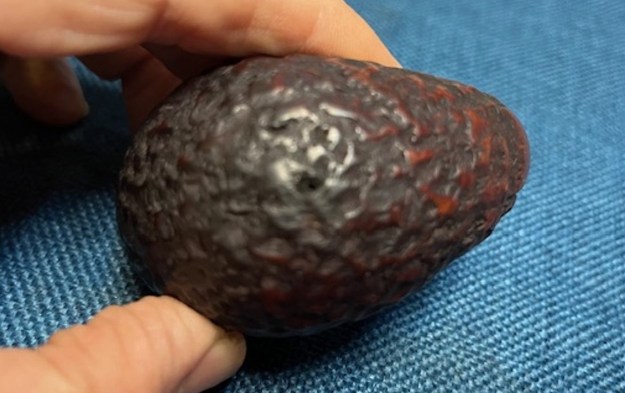
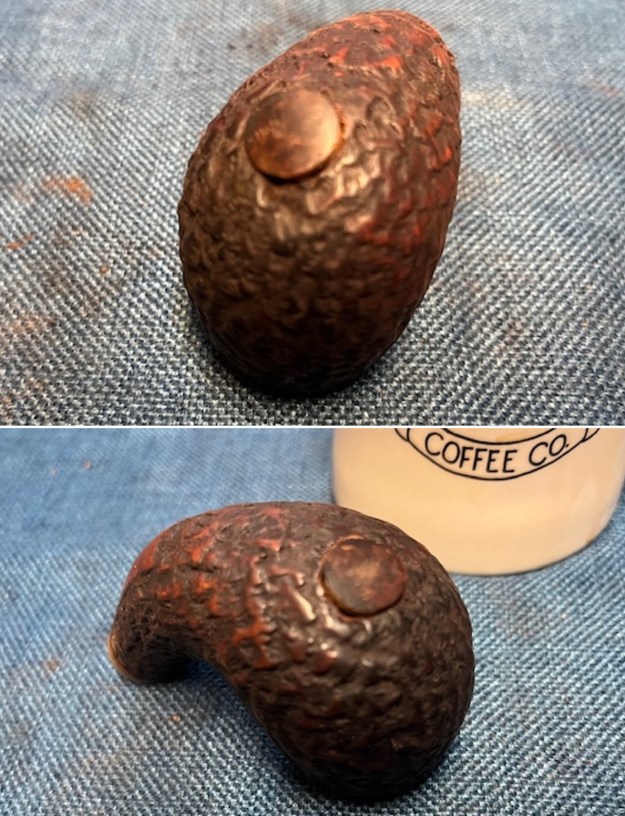
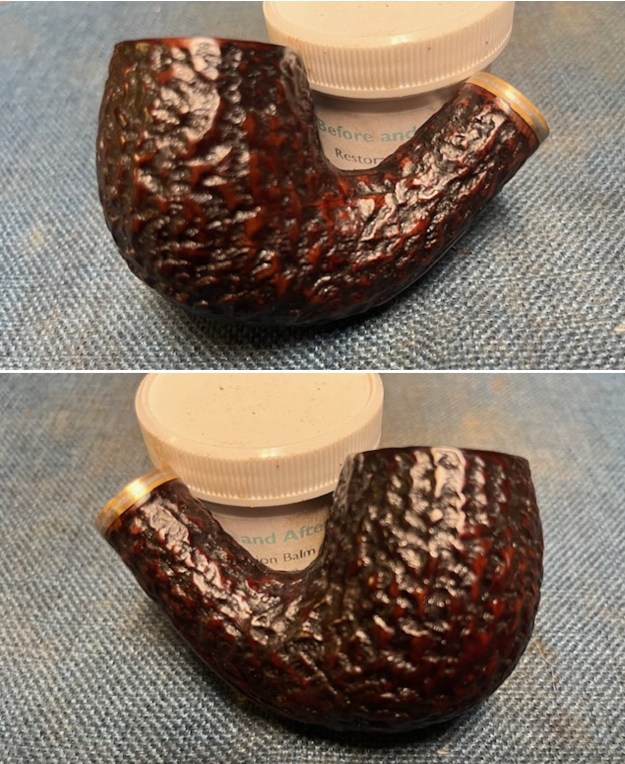
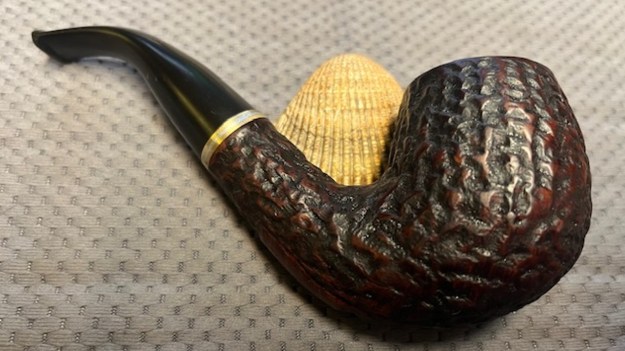
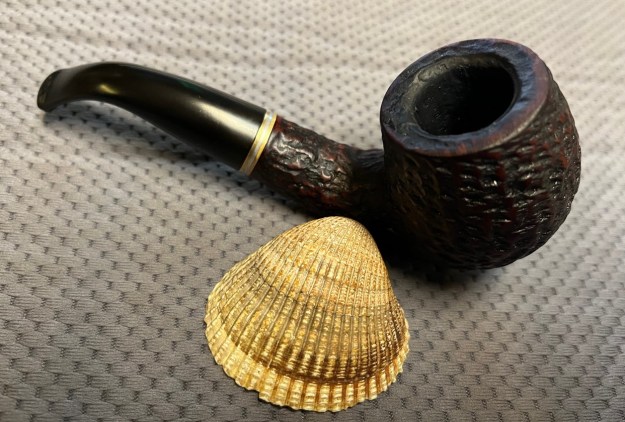
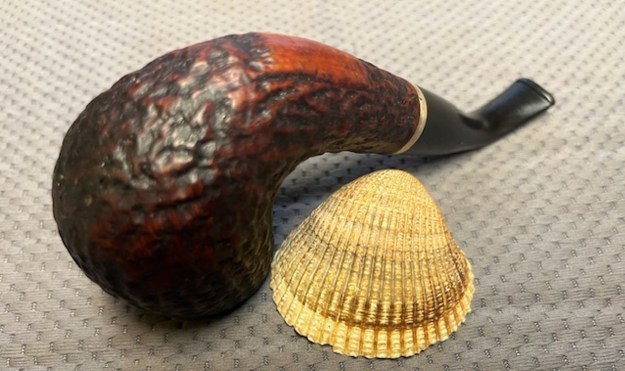
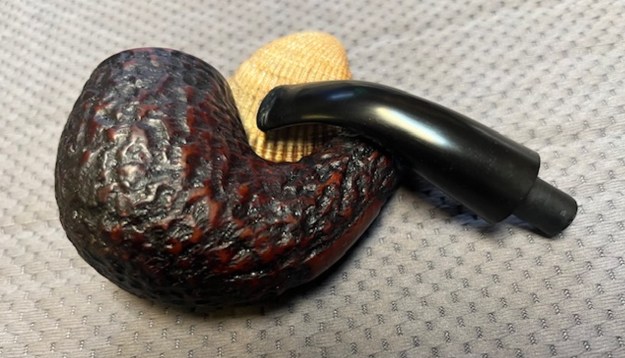
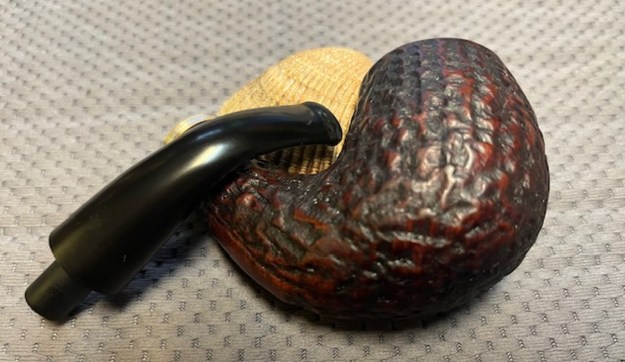
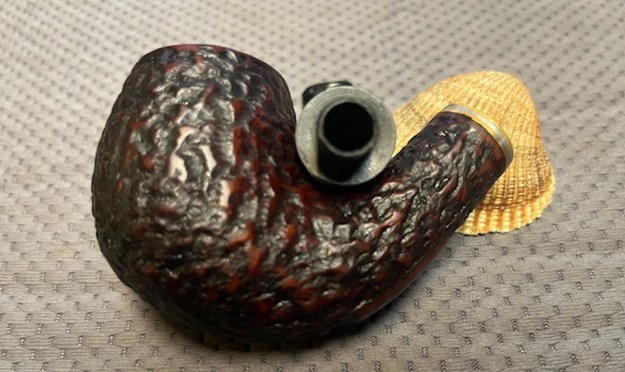
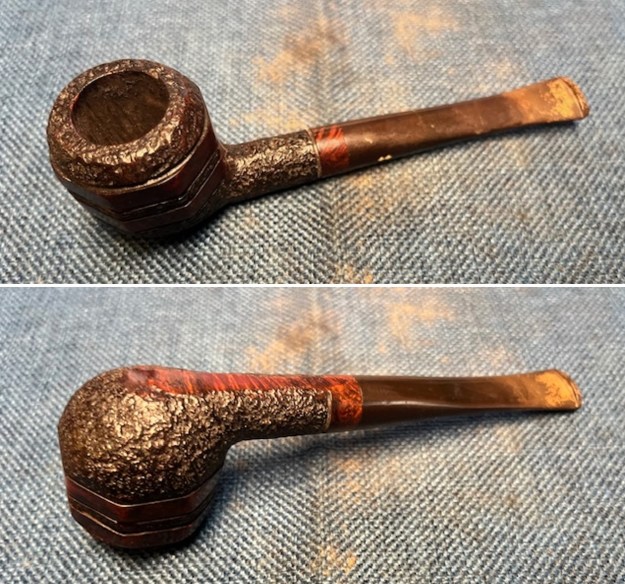
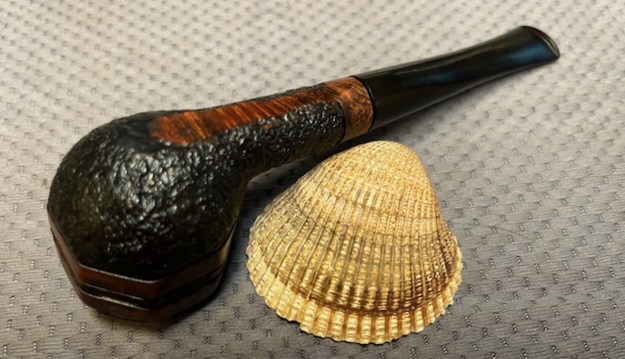
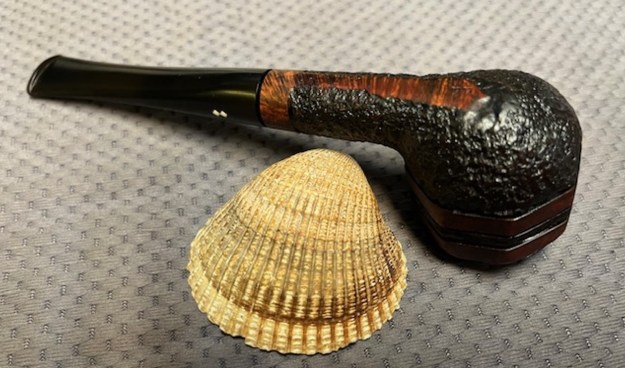
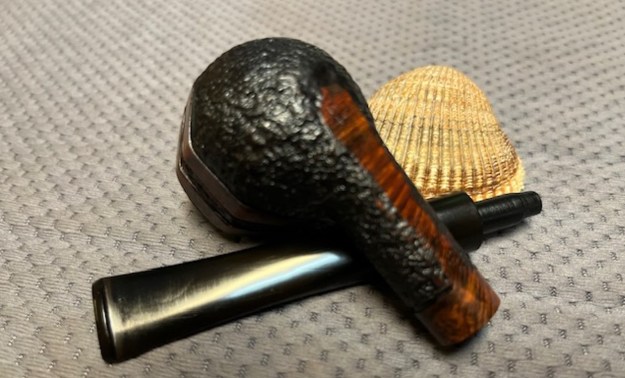
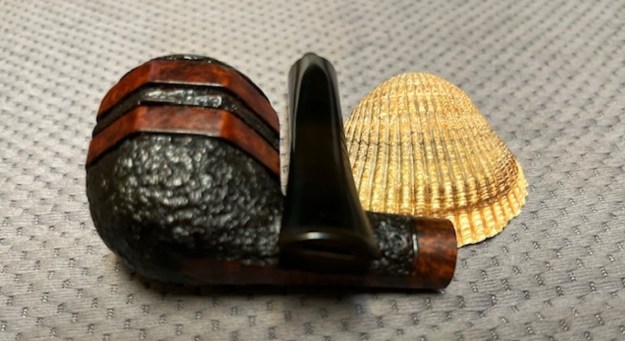
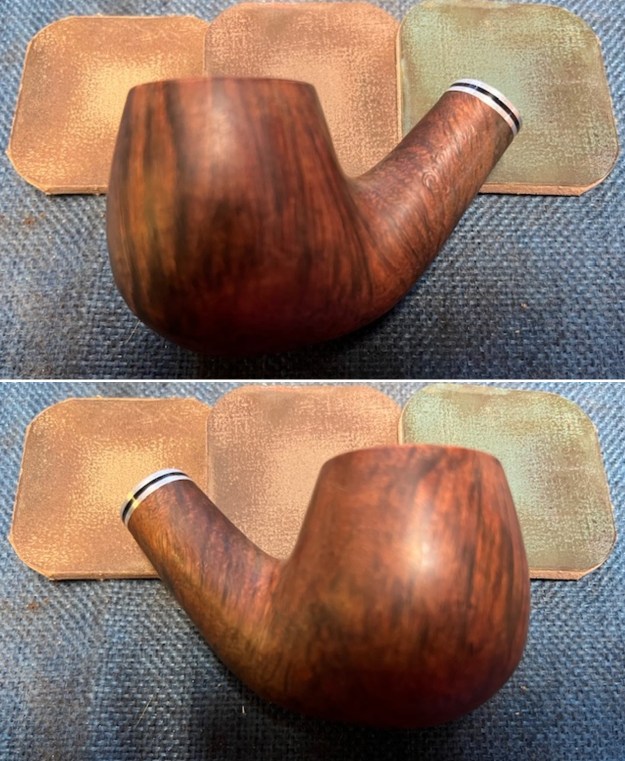
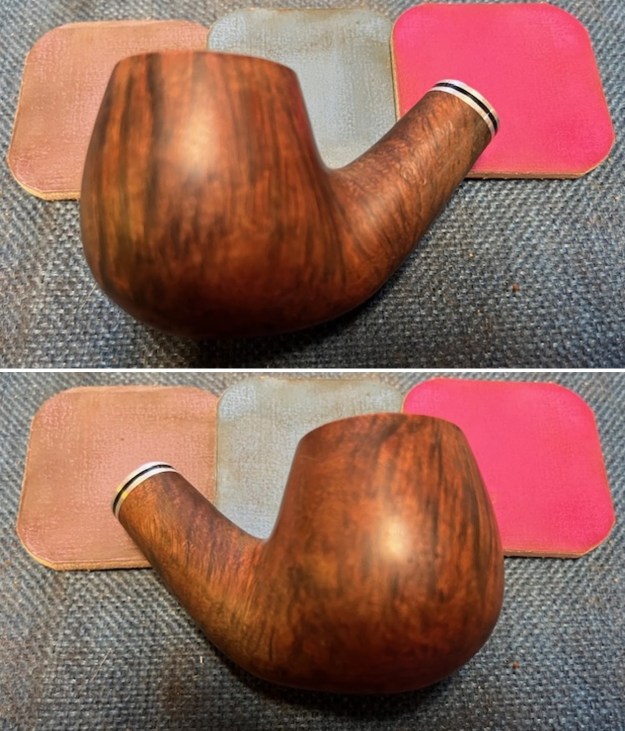
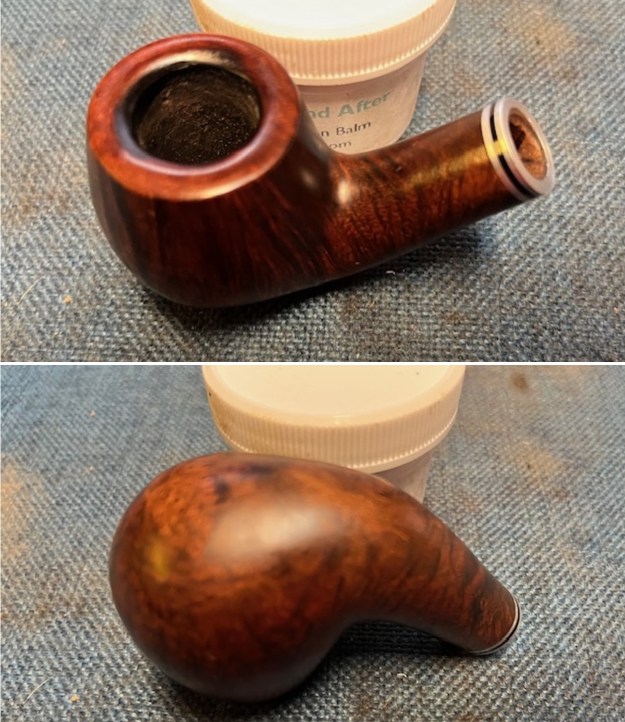
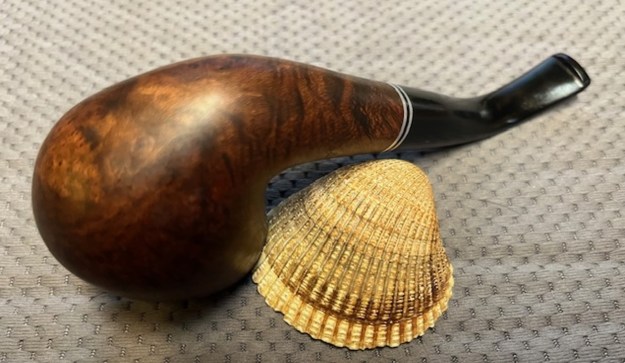
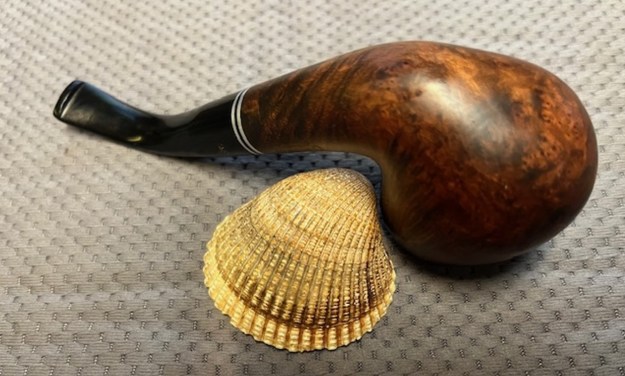
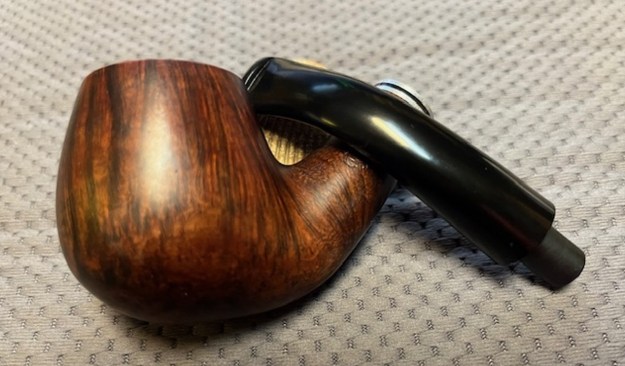
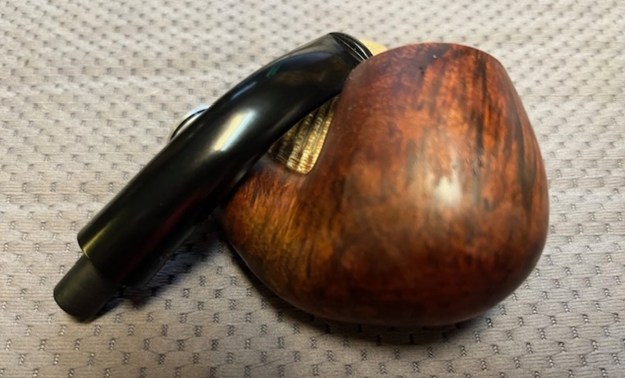
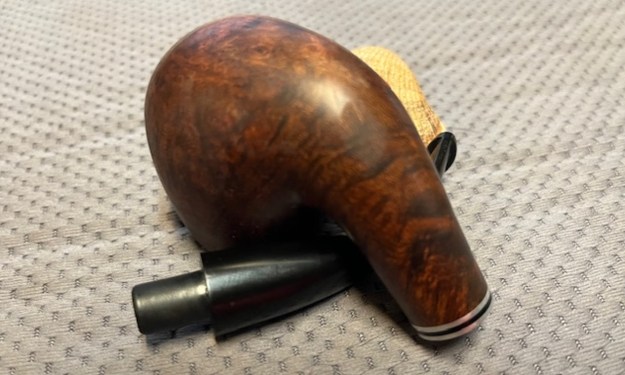
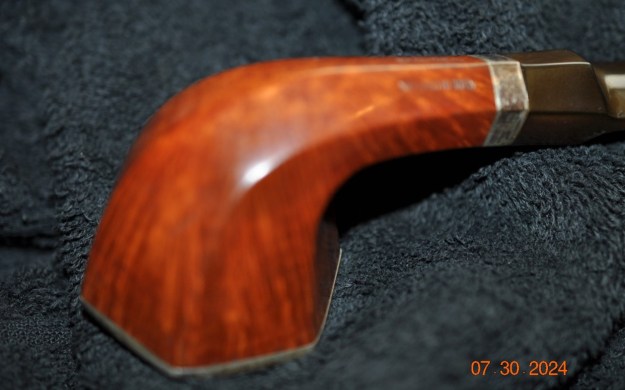
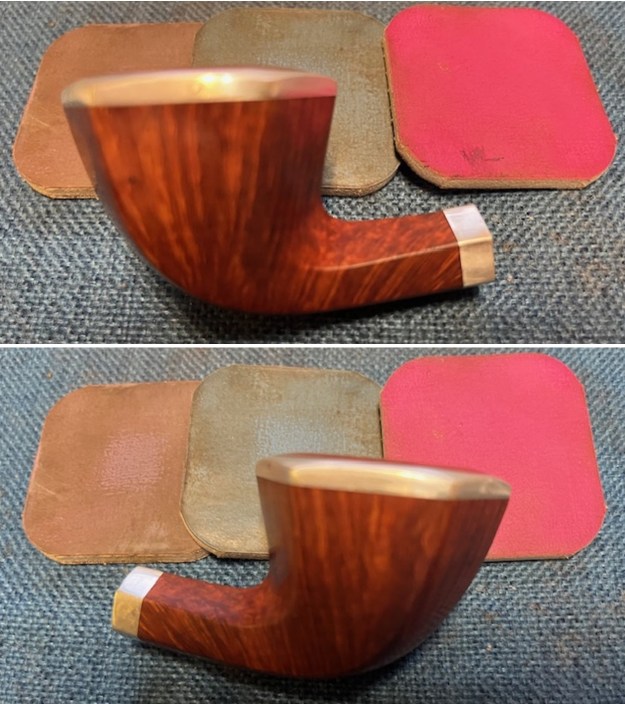
 Jeff took photos of the grain around the sides and heel of the bowl. It is a pretty pipe. It is dirty but the grain is quite stunning. The silver band and the rim edge are tarnish and look like there are scratches. I am not seeing any alarming damage…. YET.
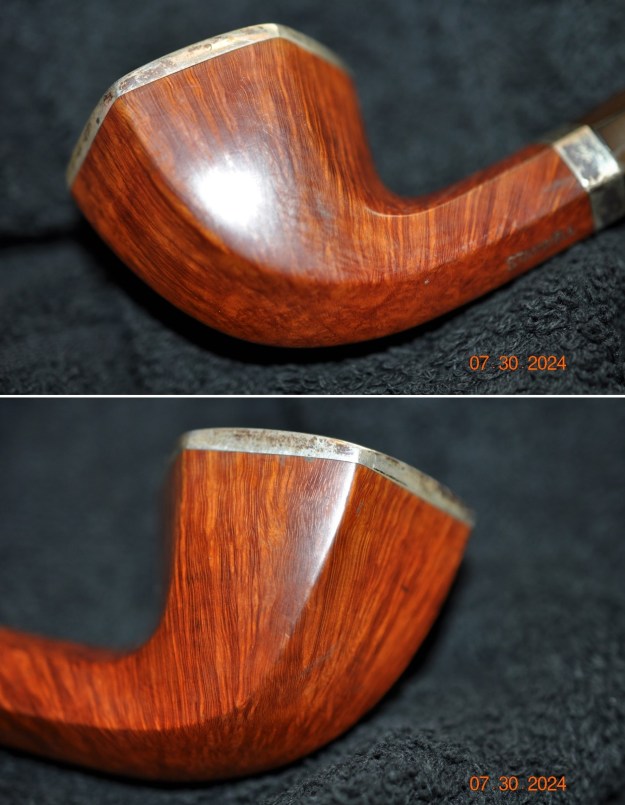
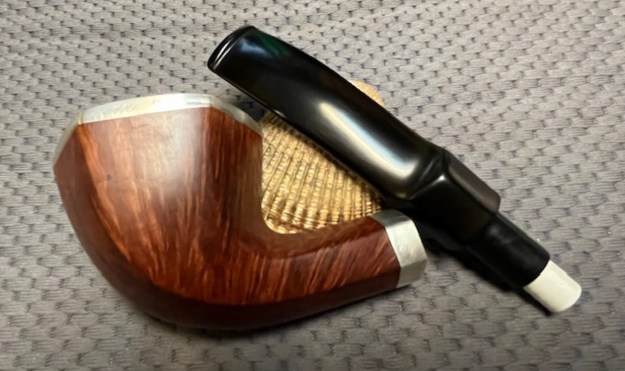
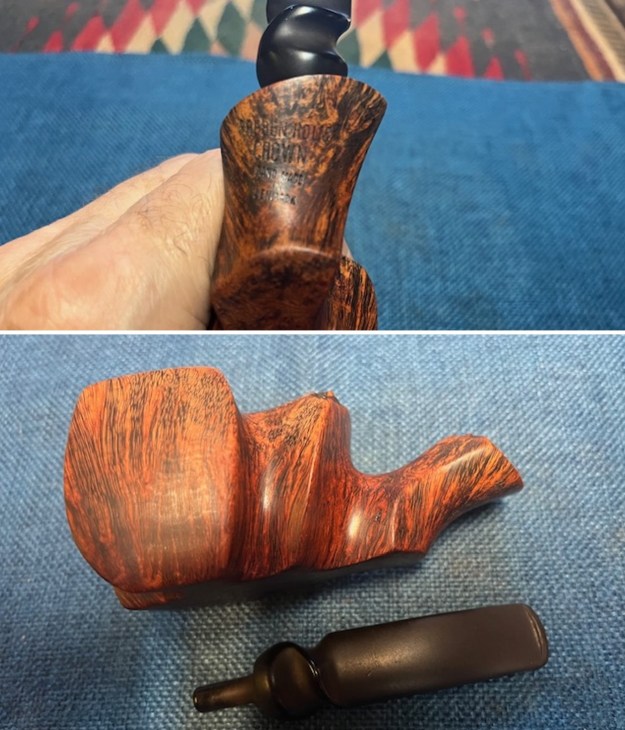
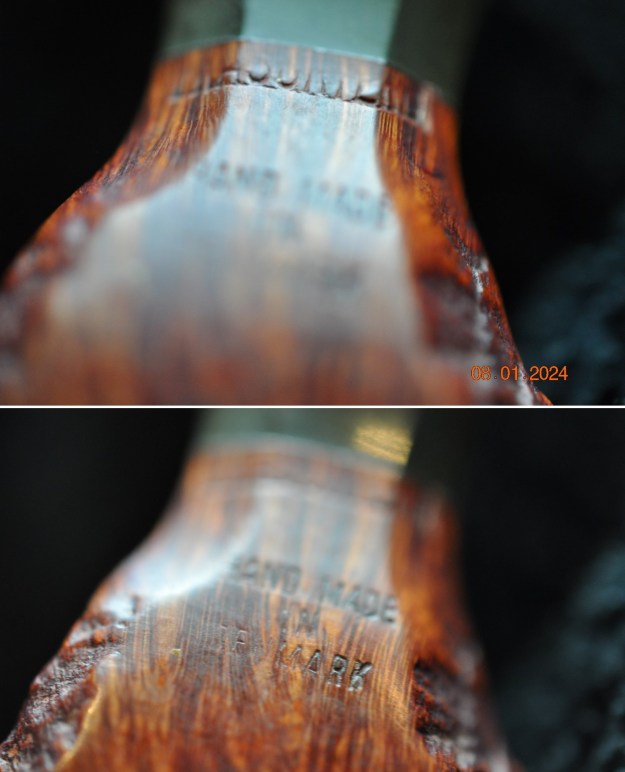
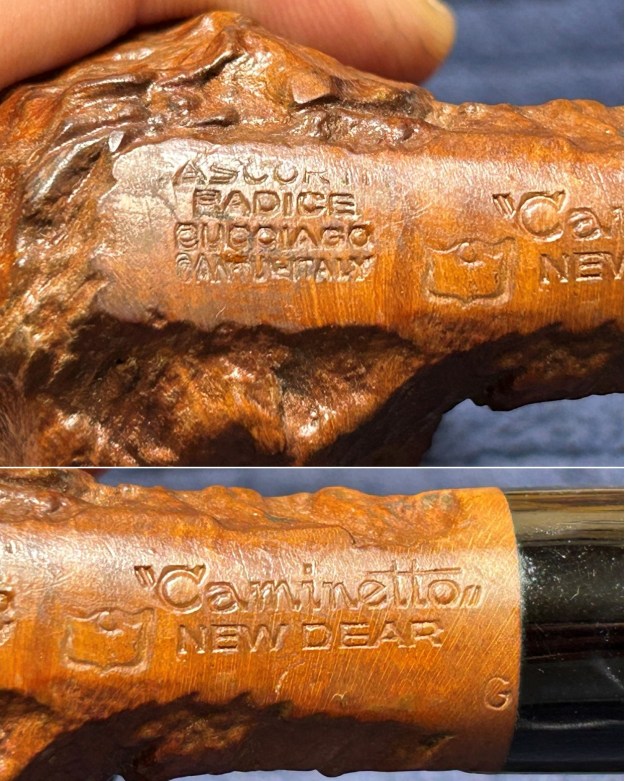
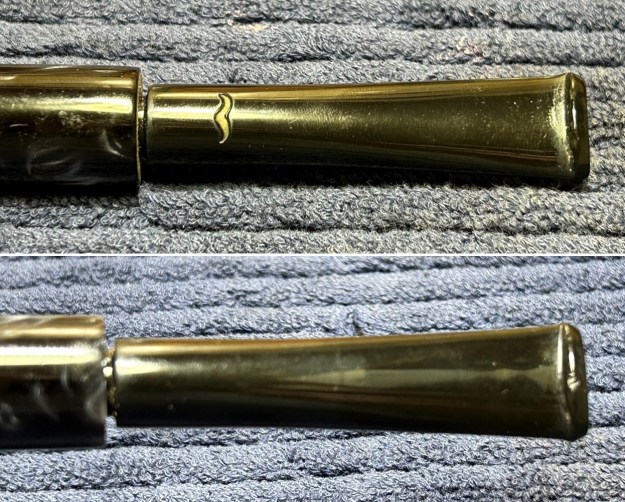
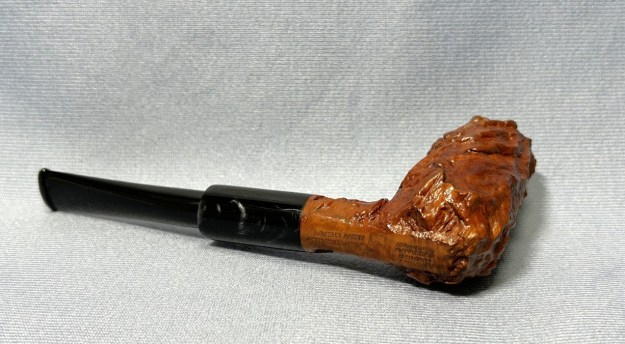
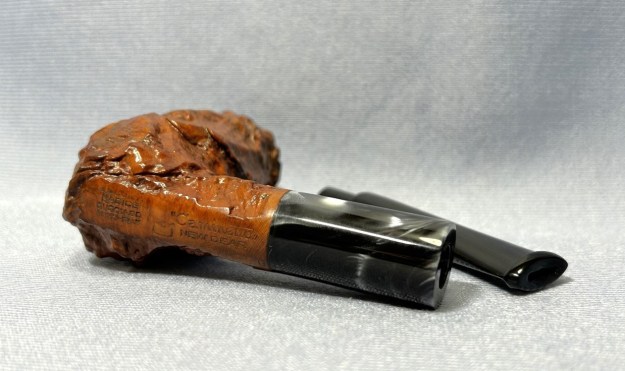
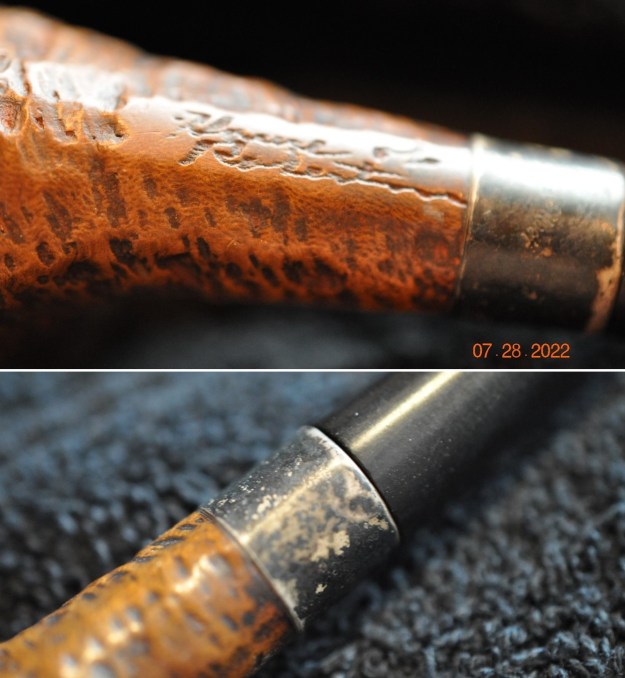
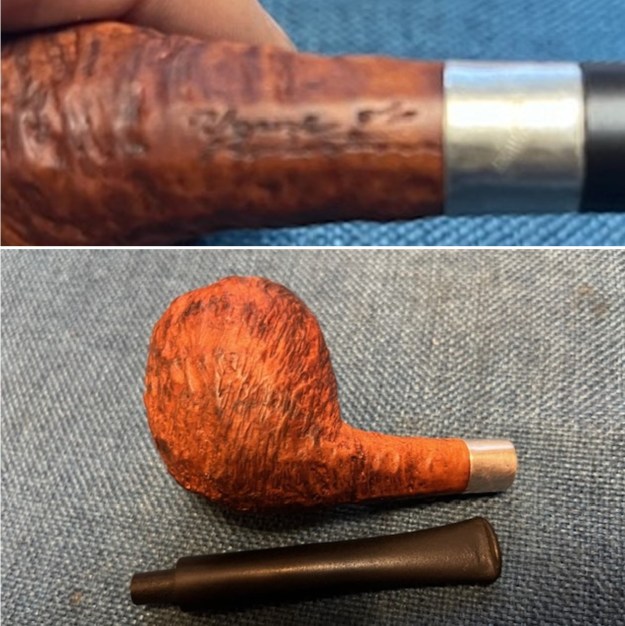
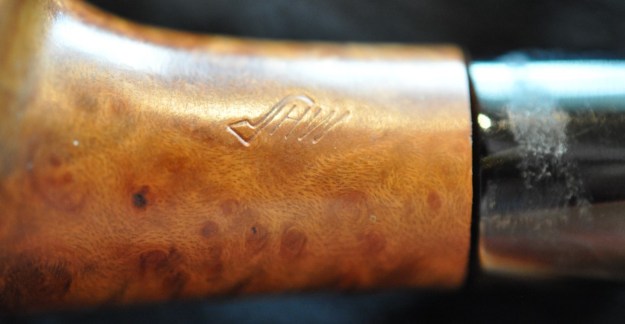
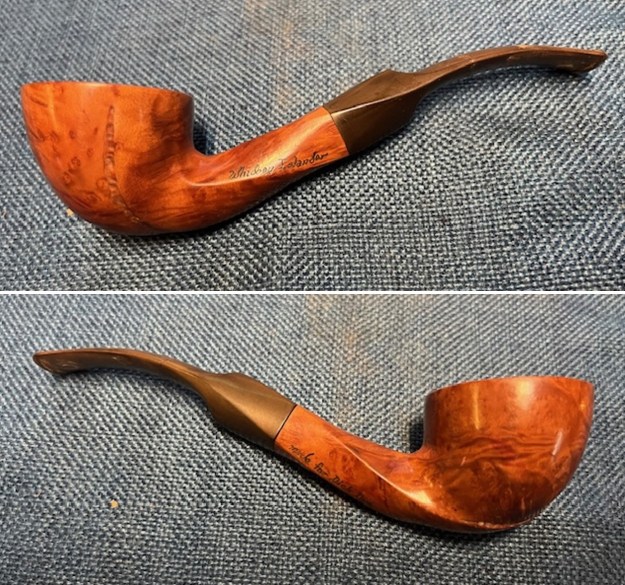
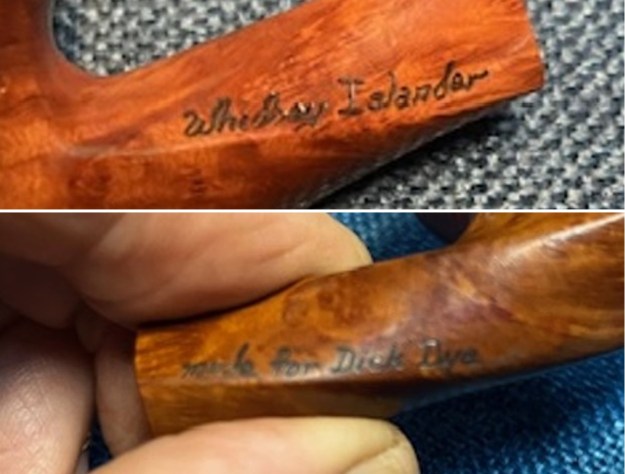
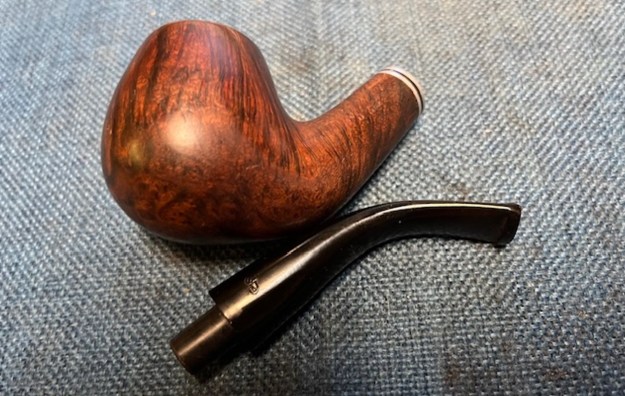
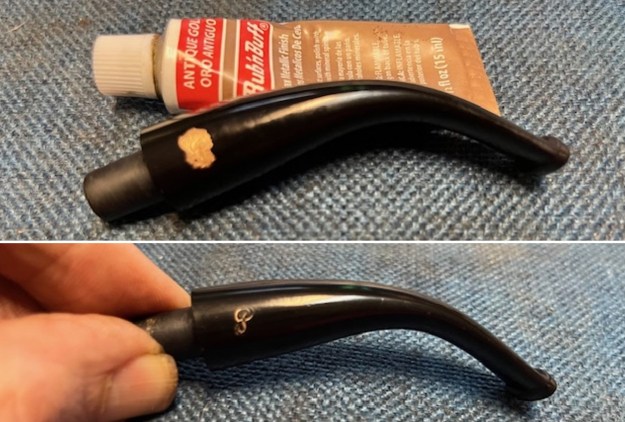
 The pipe is stamped on the underside of the shank. On the left side it is stamped Stanwell and on the right side it reads Made in Denmark. There is not a shape number or a line name on the pipe. It is clean of other stamping so that remains a mystery. The left side of the saddle stem has an inlaid silver Crown S logo.
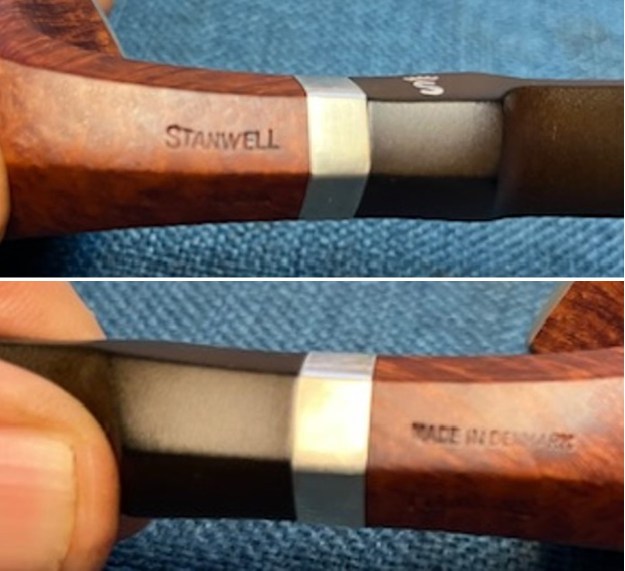
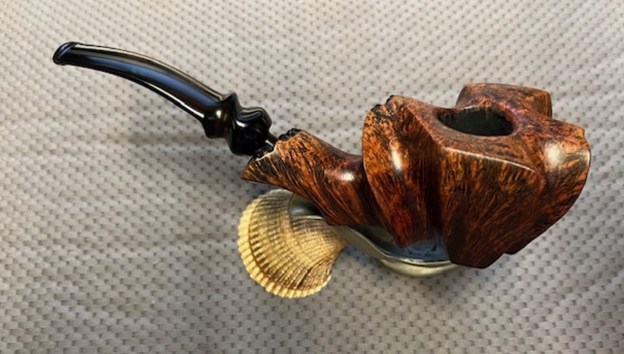
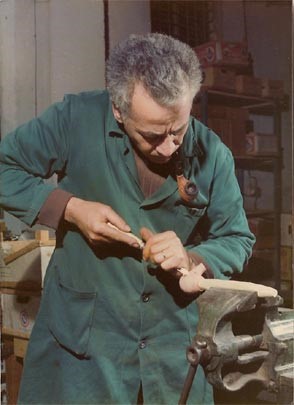
 Before I started working on the pipe I wanted to nail down the shape and the designer. I turned to an article on rebornpipes by Bas Stevens that was a compilation of Stanwell shapes and also noted the designers (https://rebornpipes.com/2013/09/03/stanwell-shapes-compiled-by-bas-stevens/). There I found the shape number I was looking for. The pipe was a 163 and was described as a Freehand, “Facet”, hexagonal, with brass ring. It was a shape designed by Jess Chonowitsch. The pipe I had included a Silver Band instead of a brass one and also added a Silver Rim Edge. Now I knew I was working on a 163 designed by Chonowitsch. Now it is time to do my part on the restoration. This is where the disappointment starts to build for me.
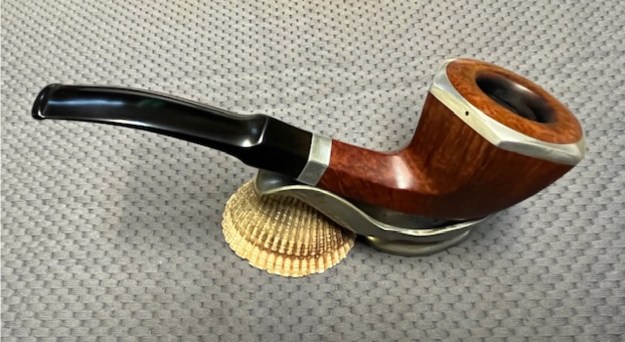
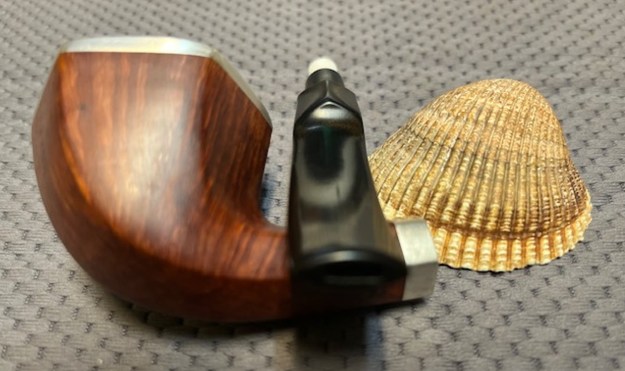
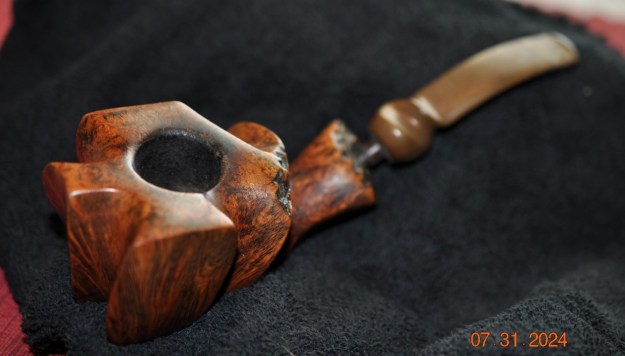
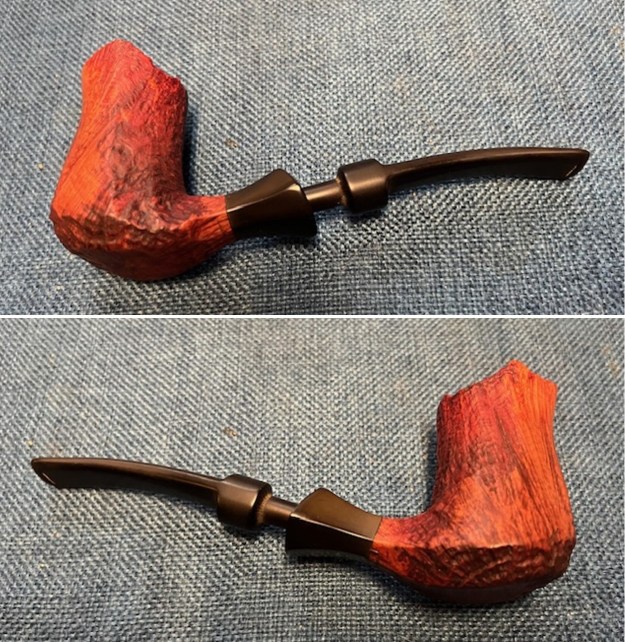
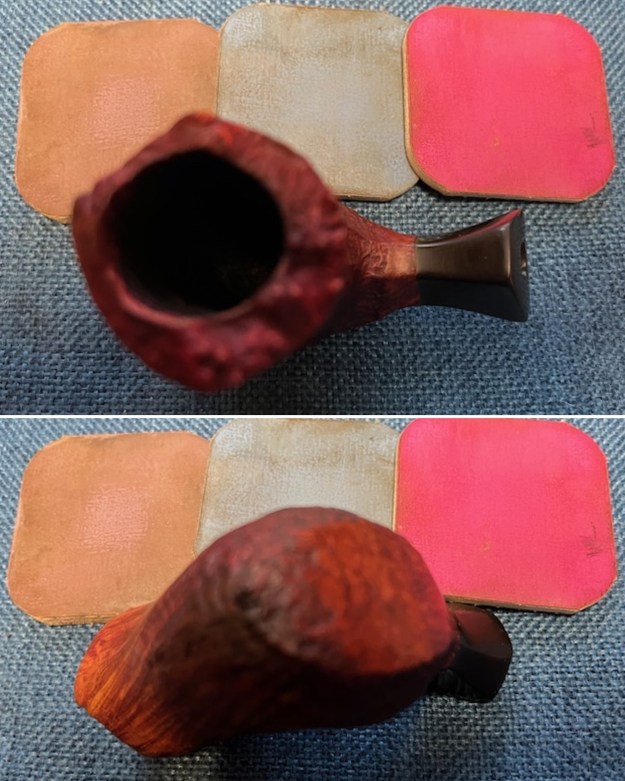
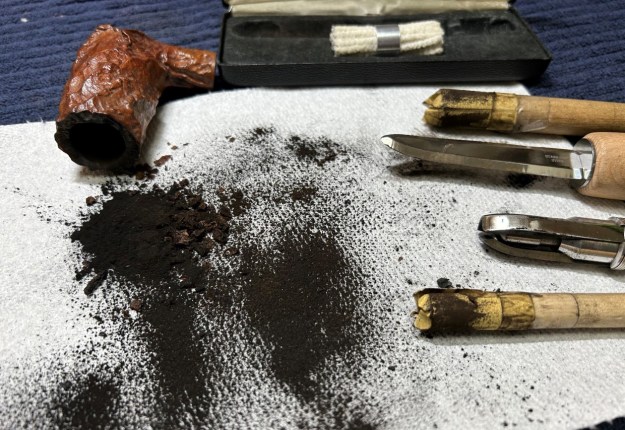
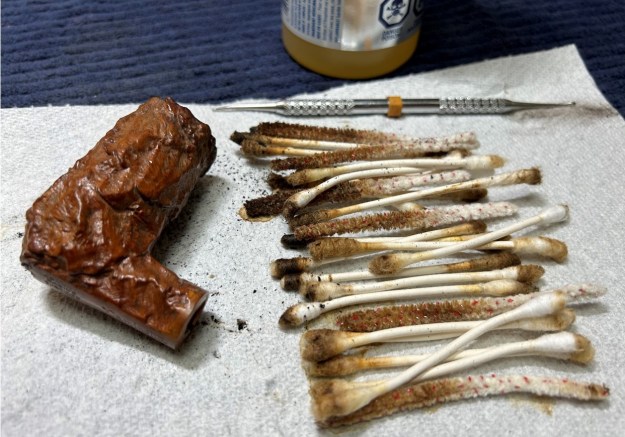
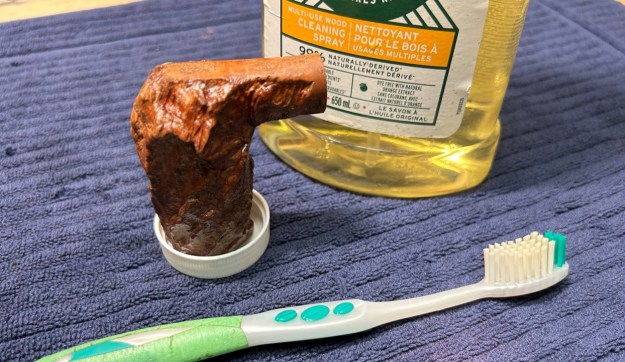
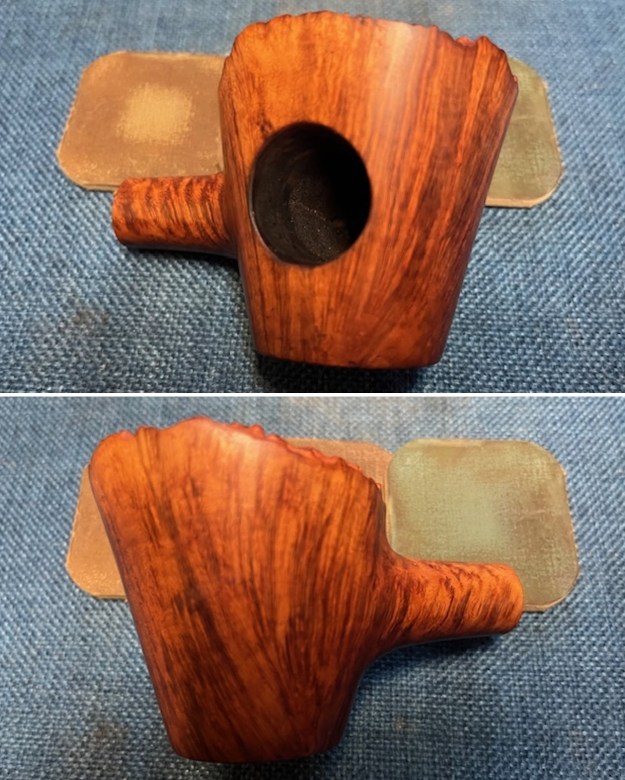
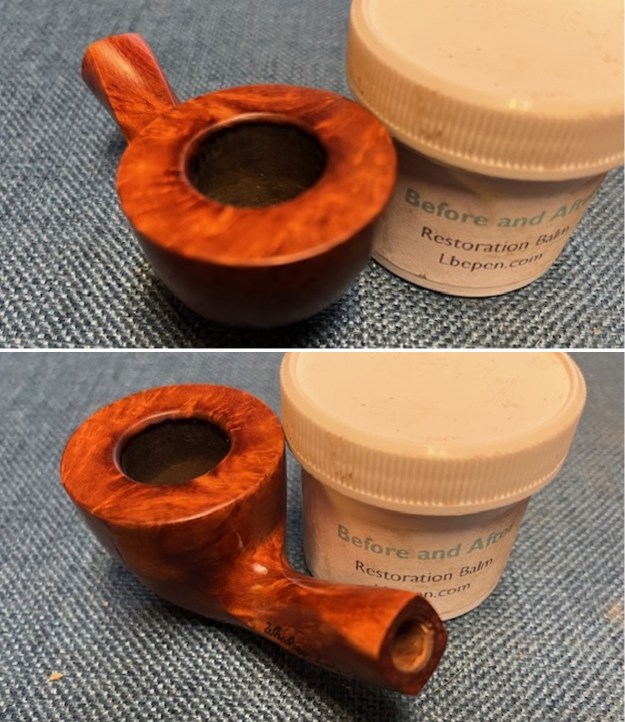
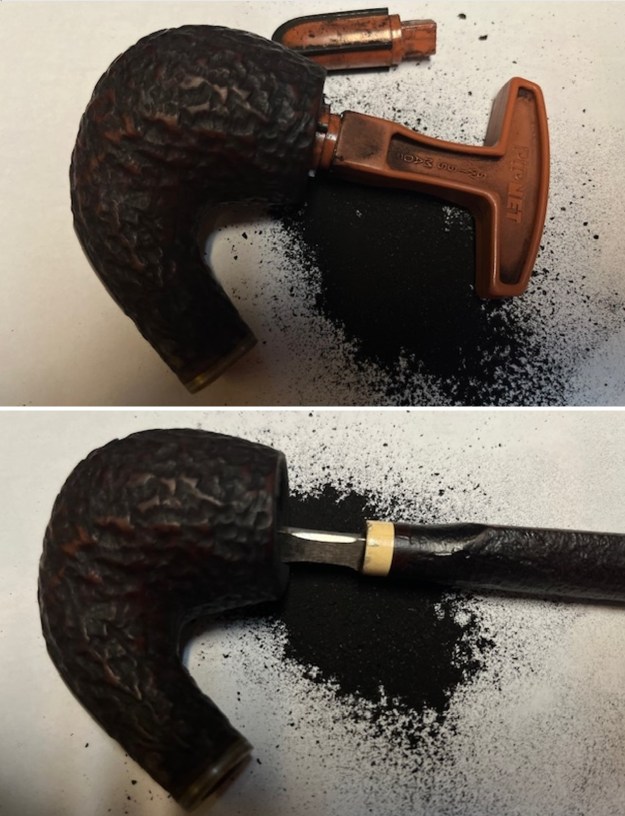
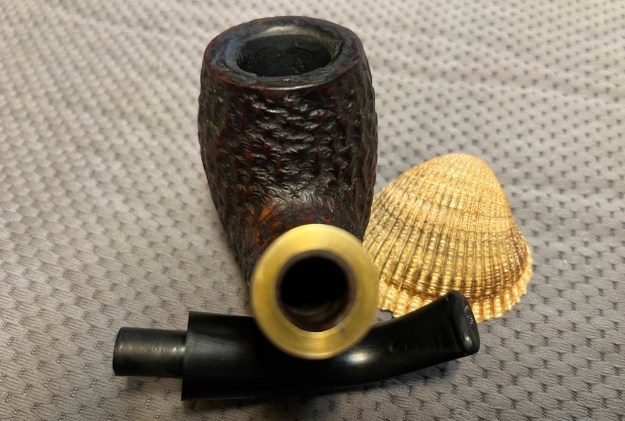
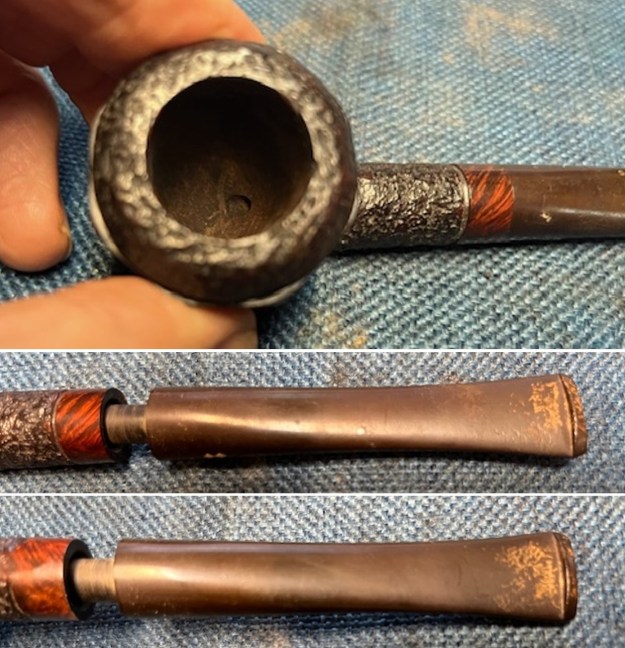
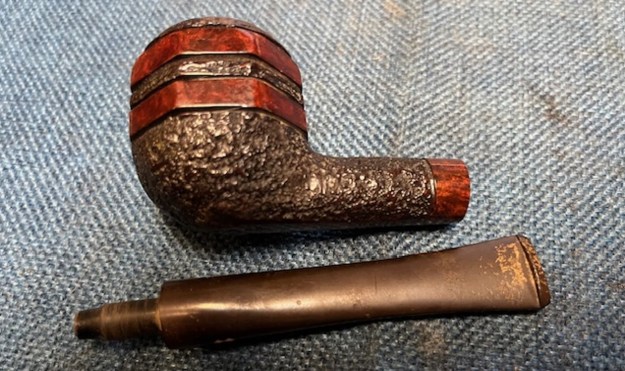
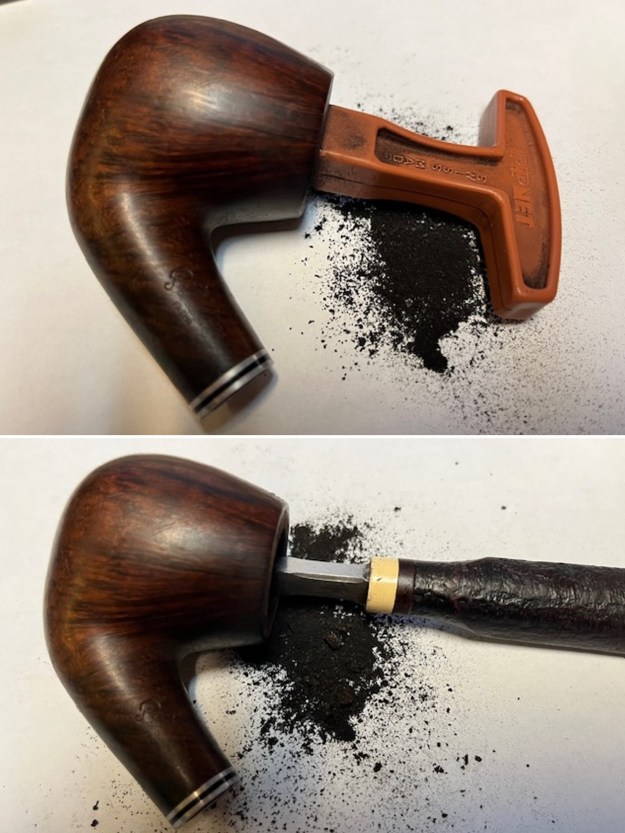
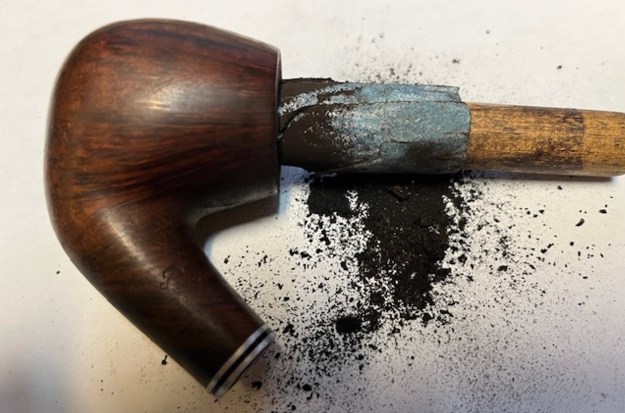
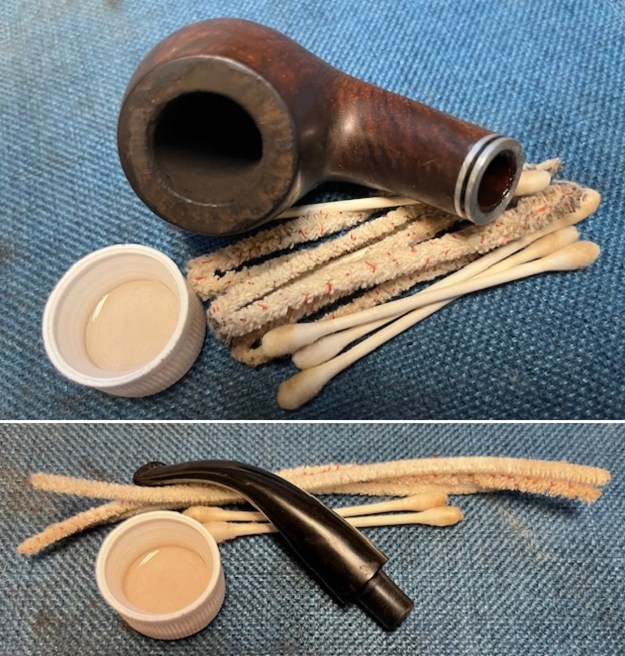
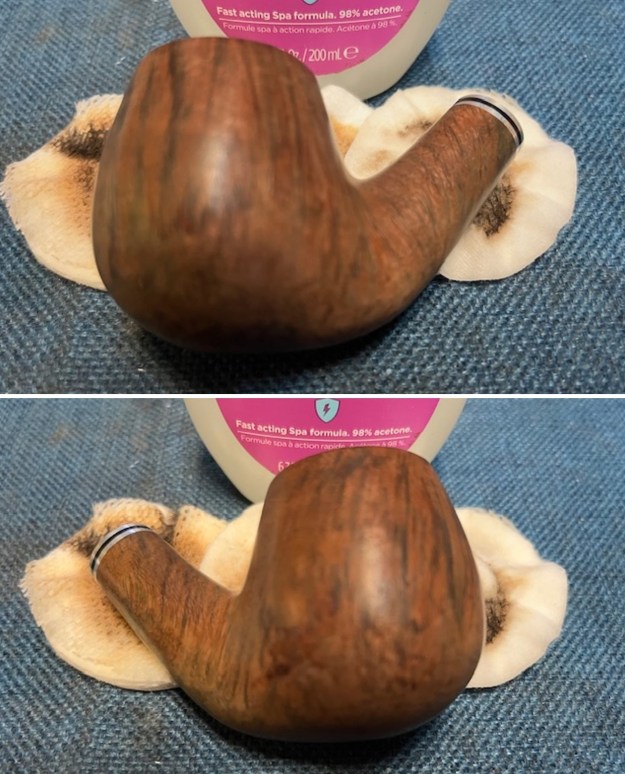
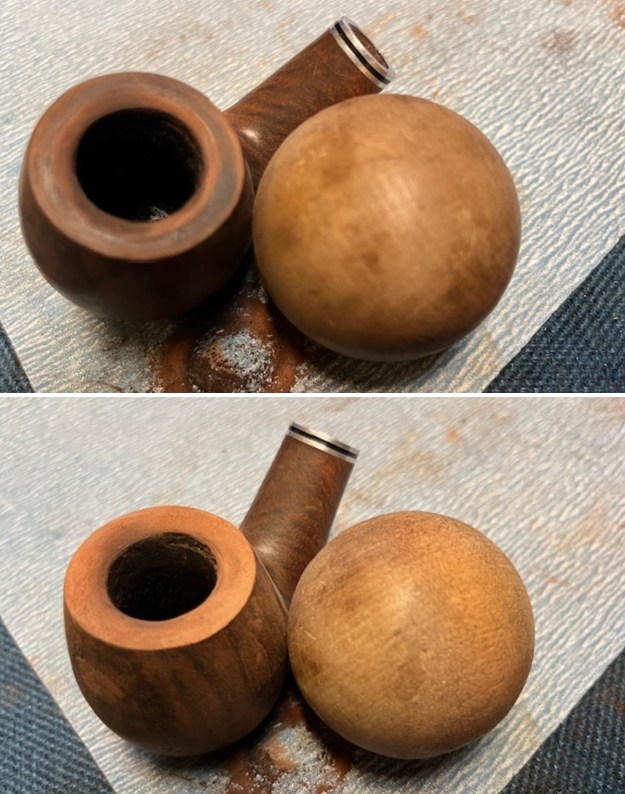
Jeff had carefully cleaned up the pipe following his normal cleaning process. In short, he reamed it with a PipNet pipe reamer to strip out the cake in the bowl and then cleaned up the reaming with a Savinelli Fitsall Pipe Knife. He scrubbed the bowl with undiluted Murphy’s Oil Soap with a tooth brush. He worked over the lava and debris on the rim top and shank end and was able to remove it. He rinsed it under running warm water to remove the soap and grime. He cleaned out the inside of the shank and the airway in the stem with alcohol, cotton swabs and pipe cleaners. He scrubbed the stem with Soft Scrub and cotton pads to remove the debris and oils on the stem. He also scrubbed the silver and removed the tarnish. He soaked the stem in Briarville’s Pipe Stem Deoxidizer and then rinsed it with warm water and dried it off. The oxidation was less but still present. I took photos of the pipe once I received it. Looking at it as a whole it really looked good.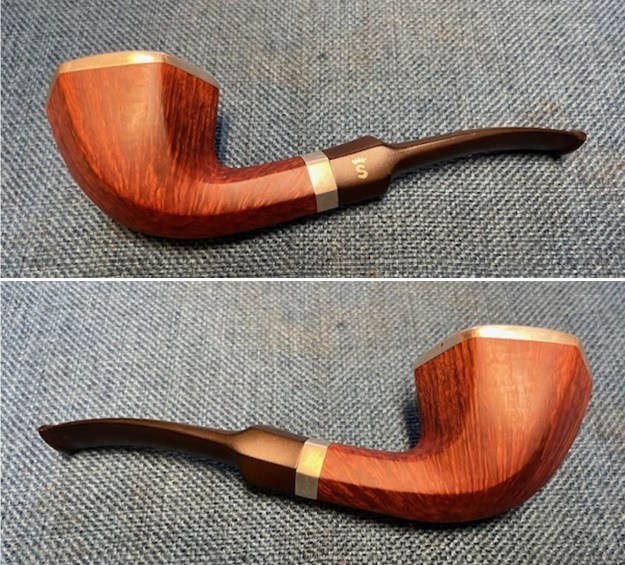
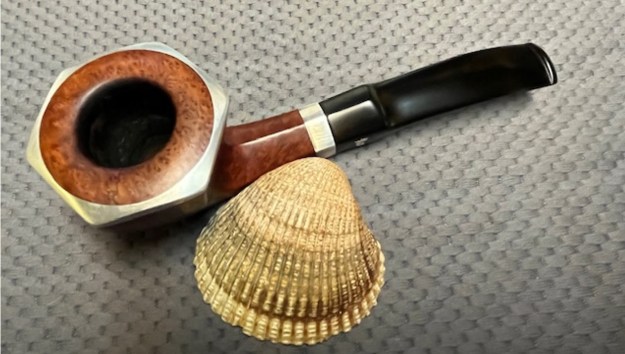
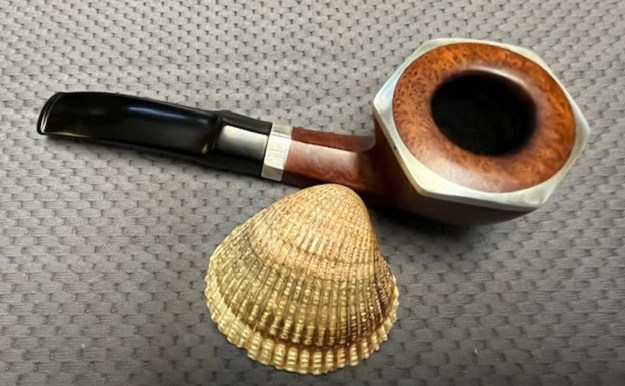
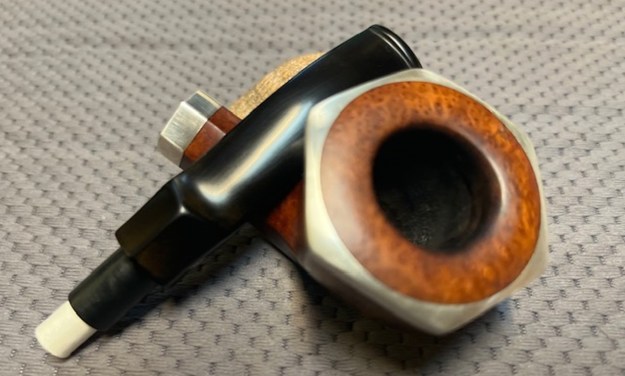
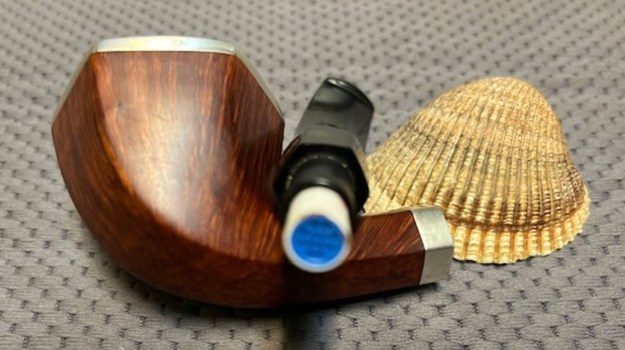
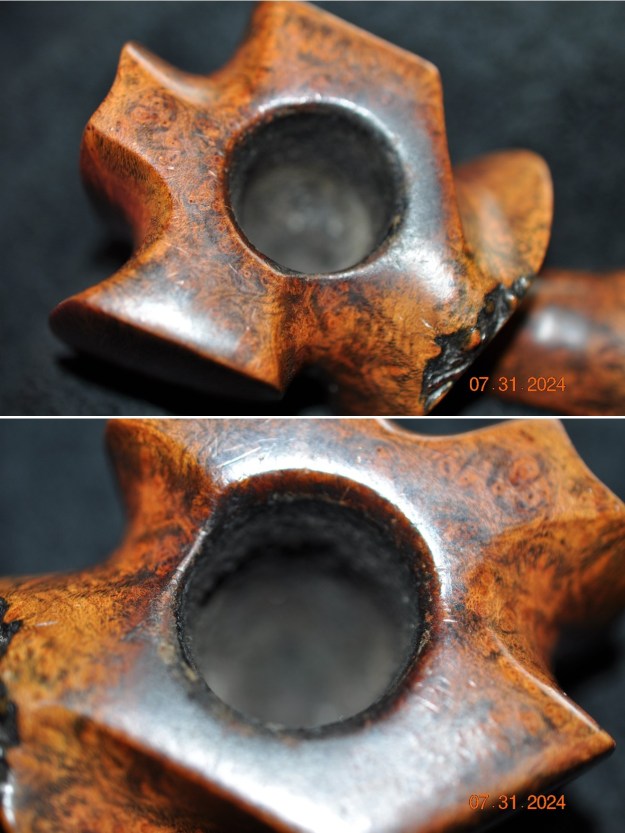
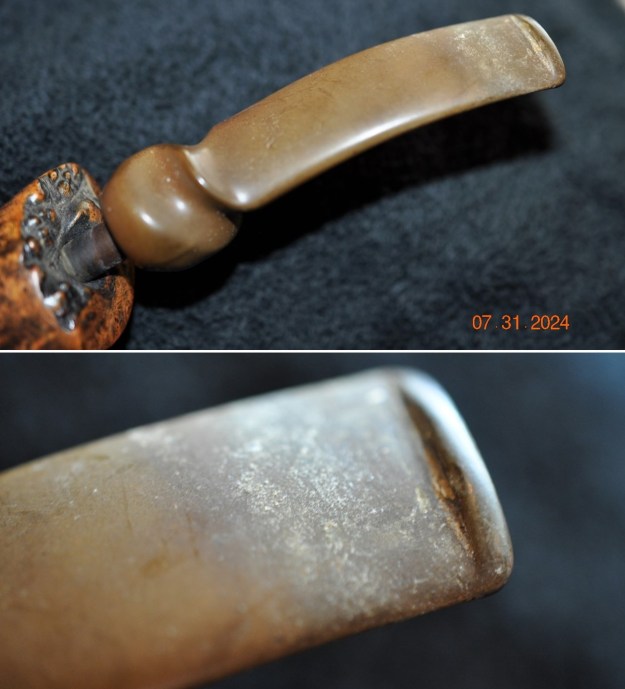
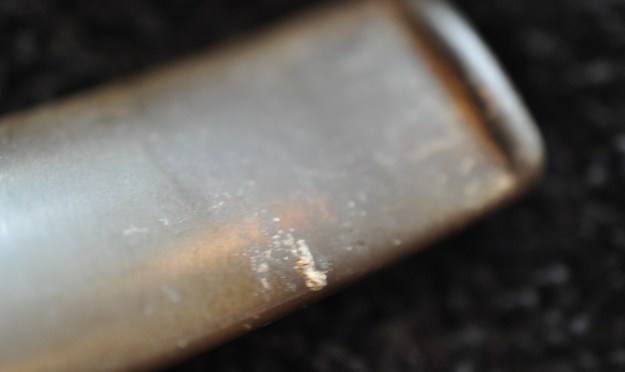
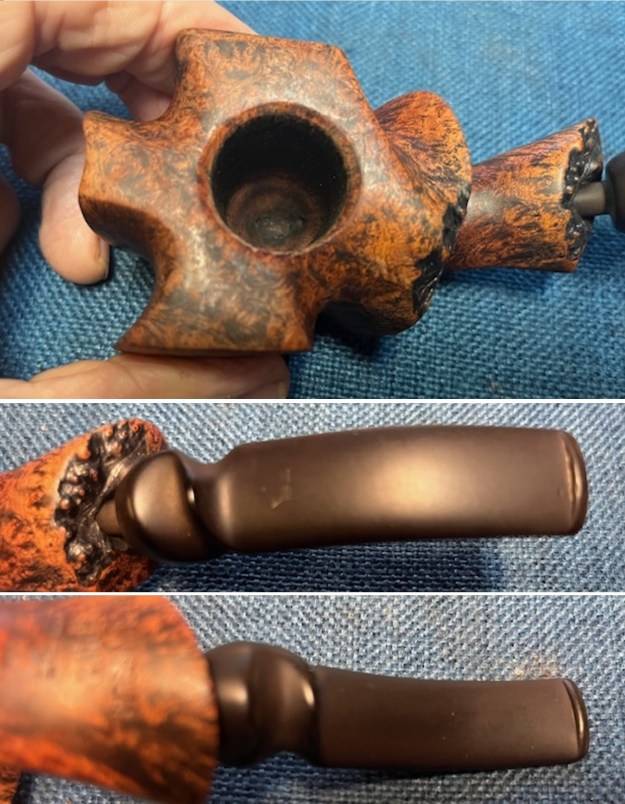
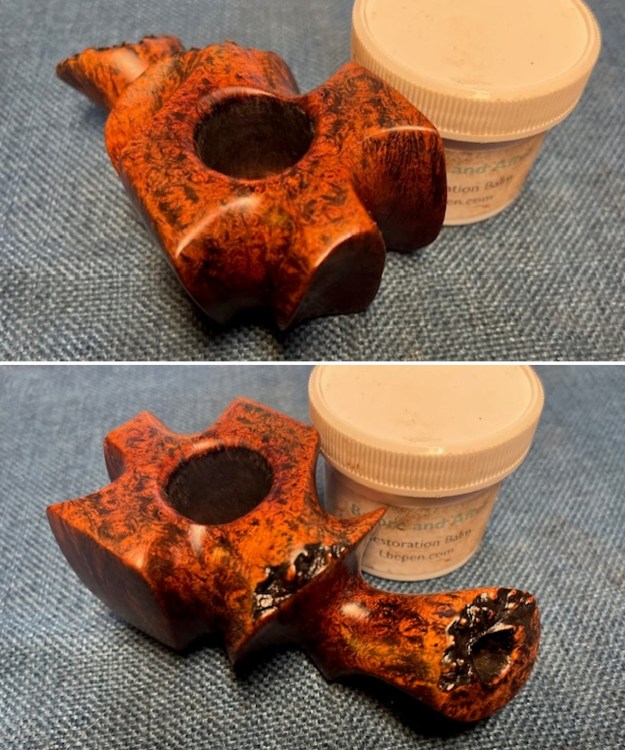
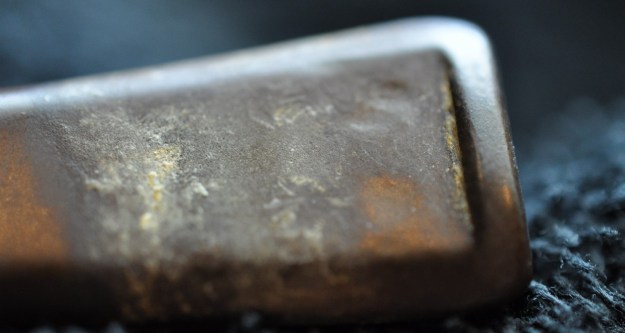
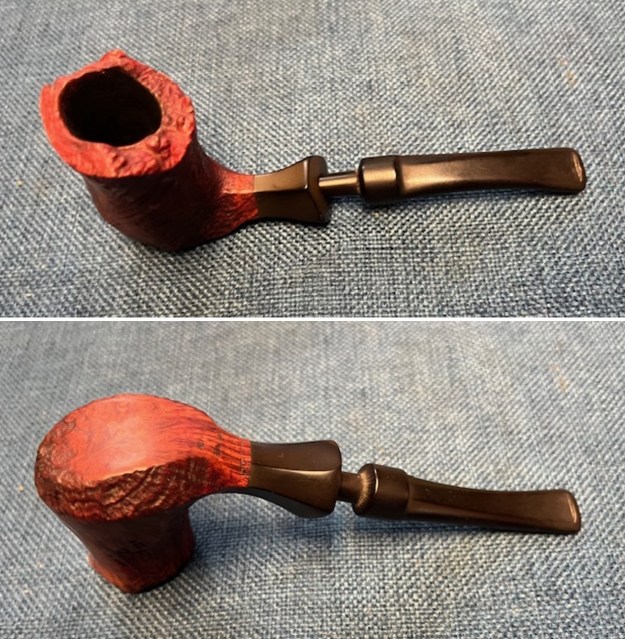
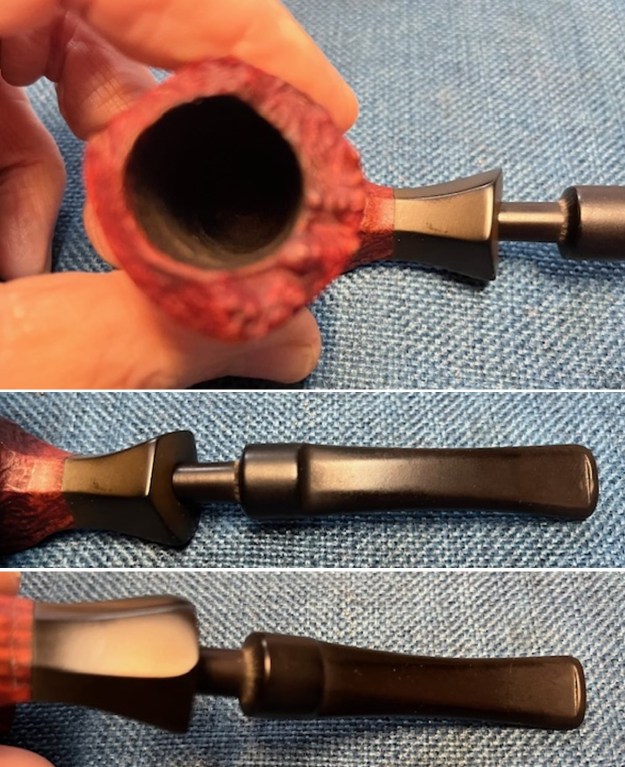
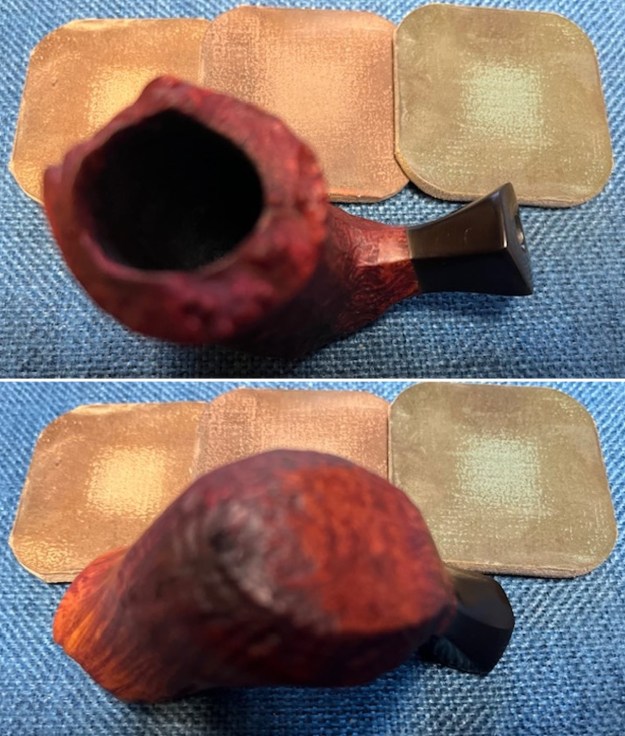
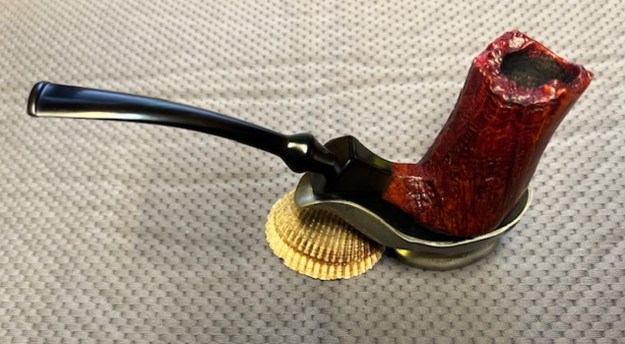
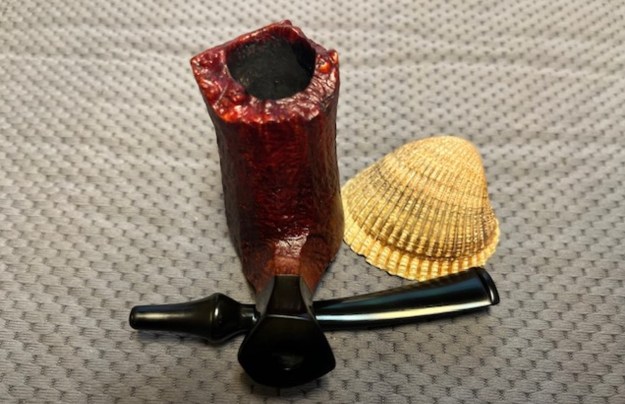
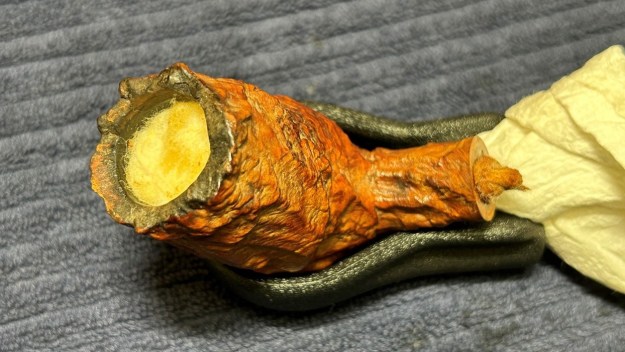
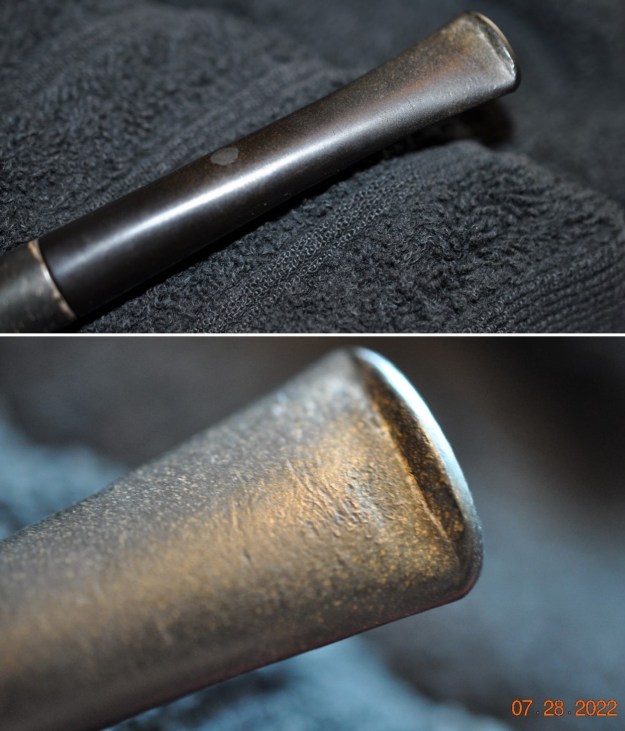
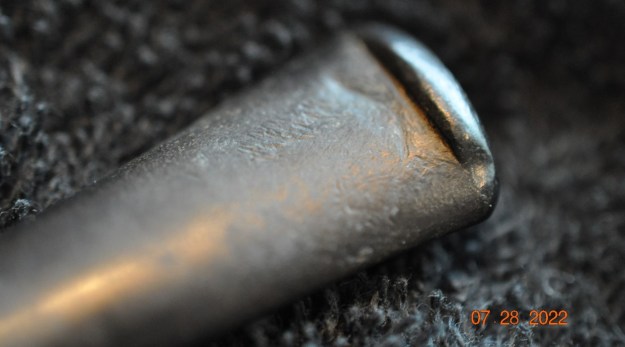
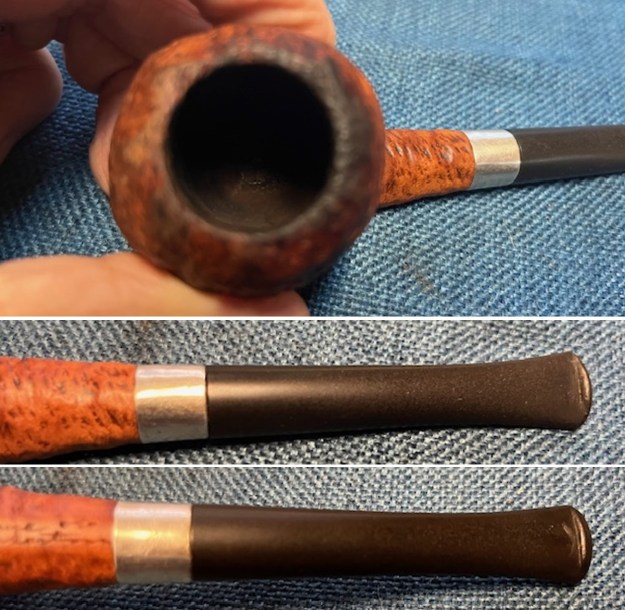
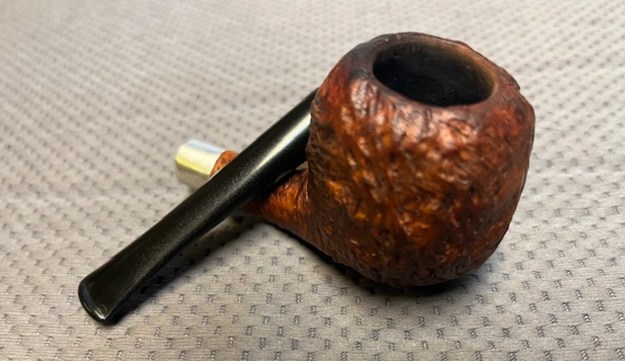
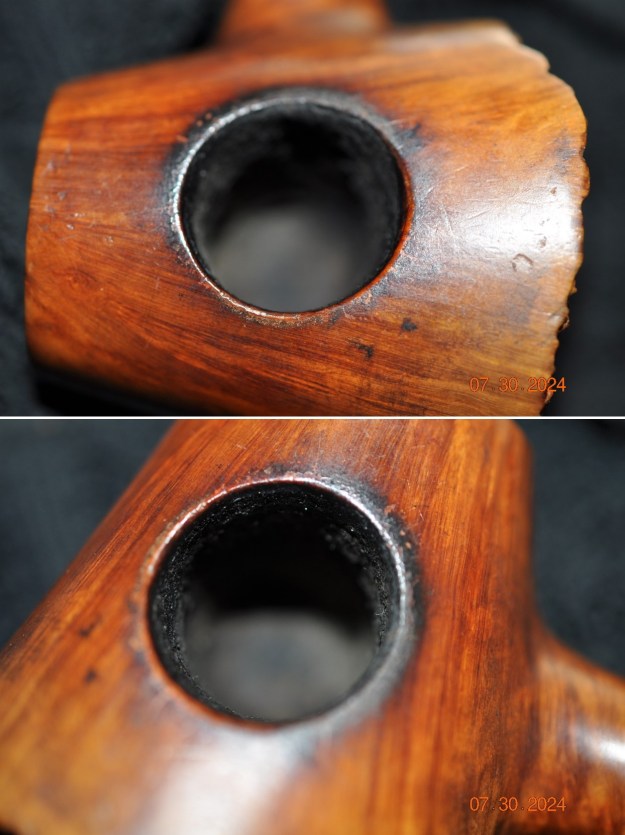
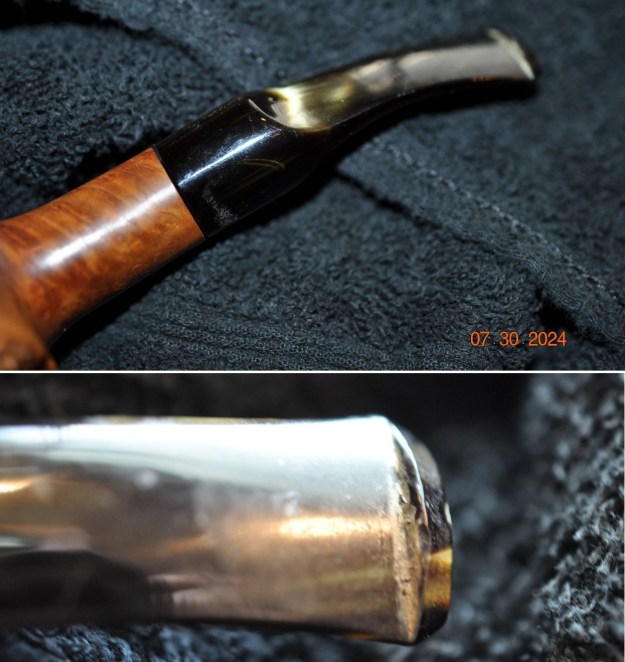
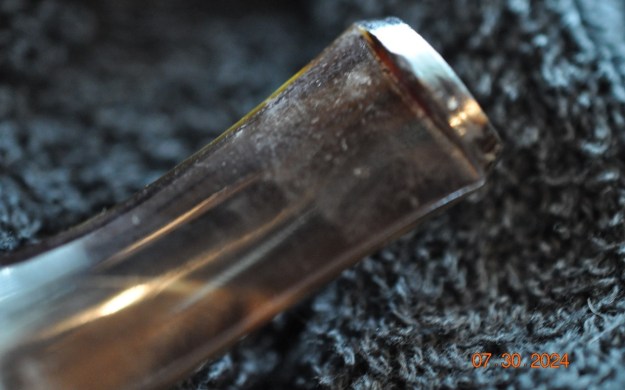
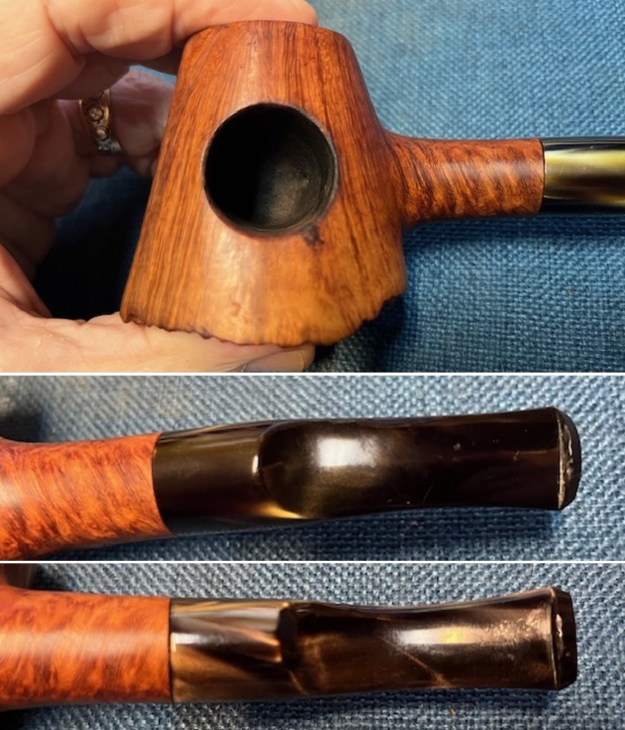
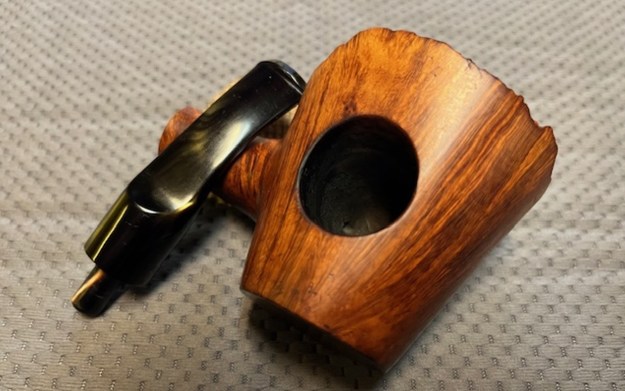
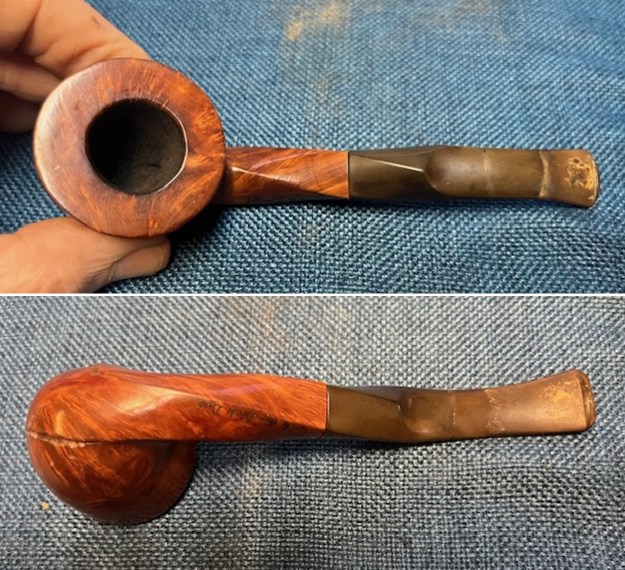
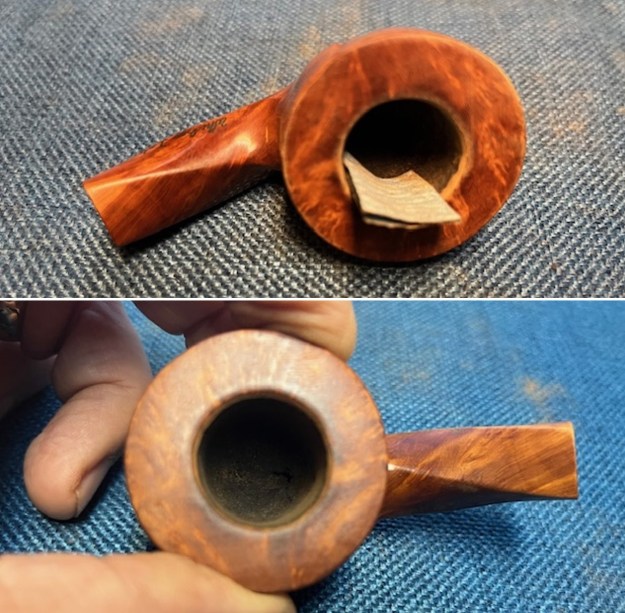
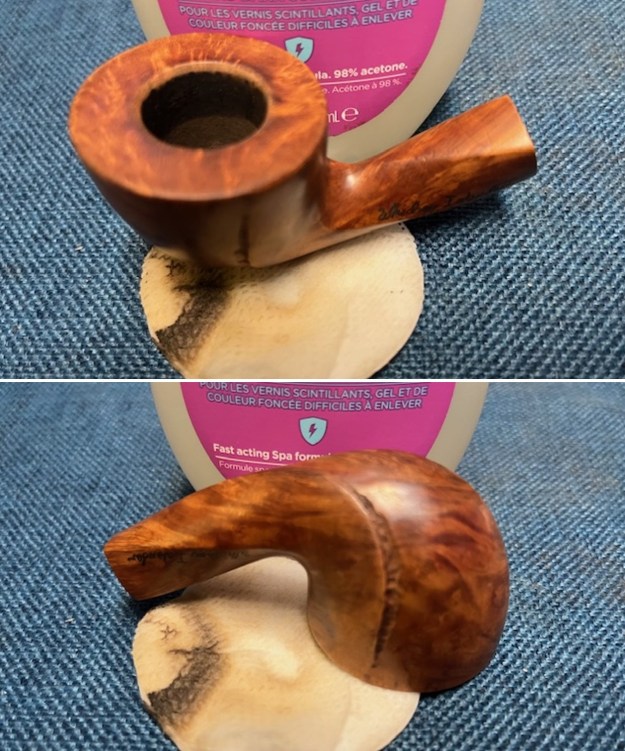
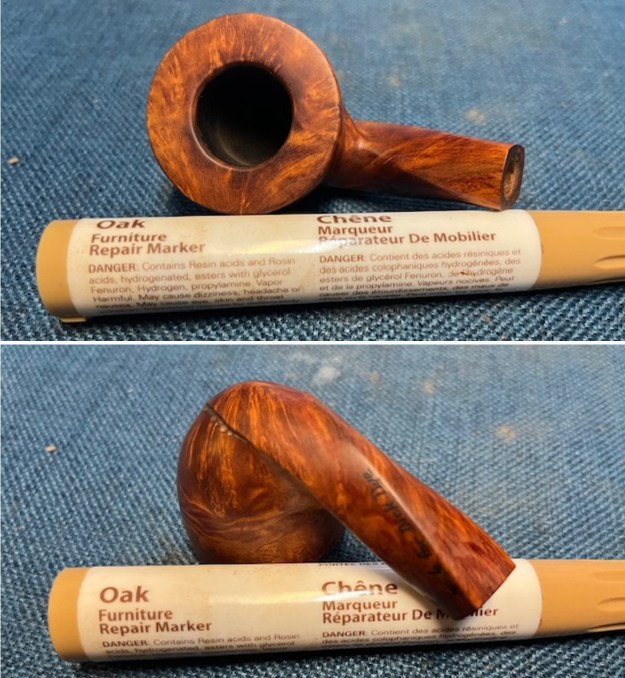
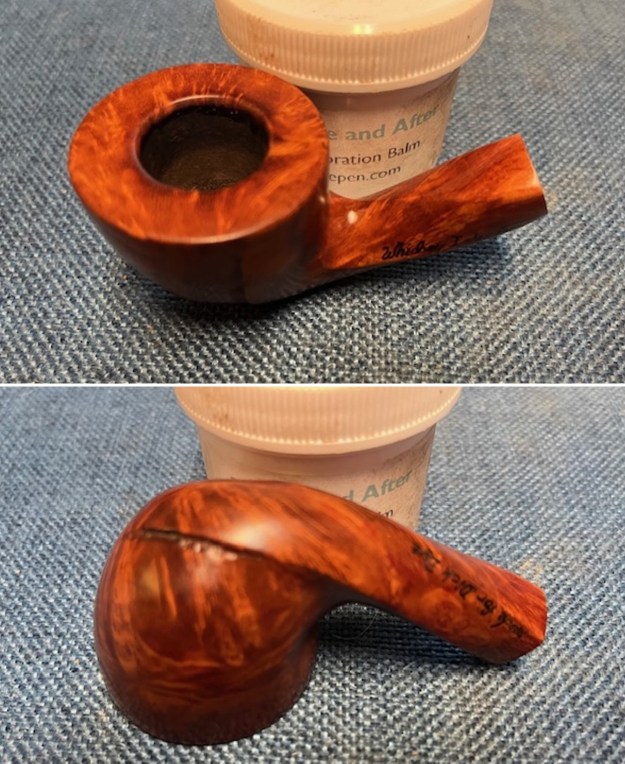
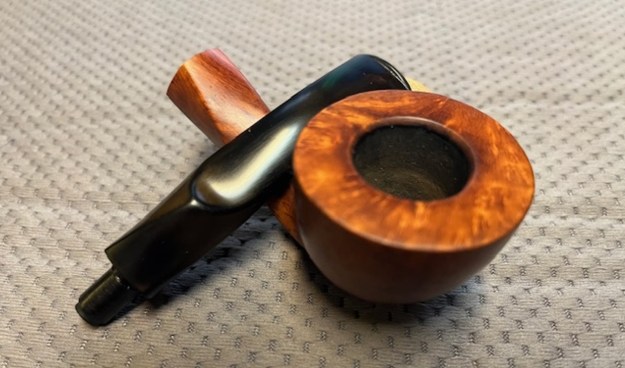
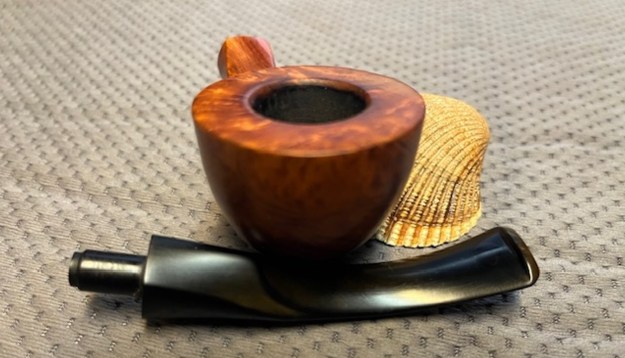
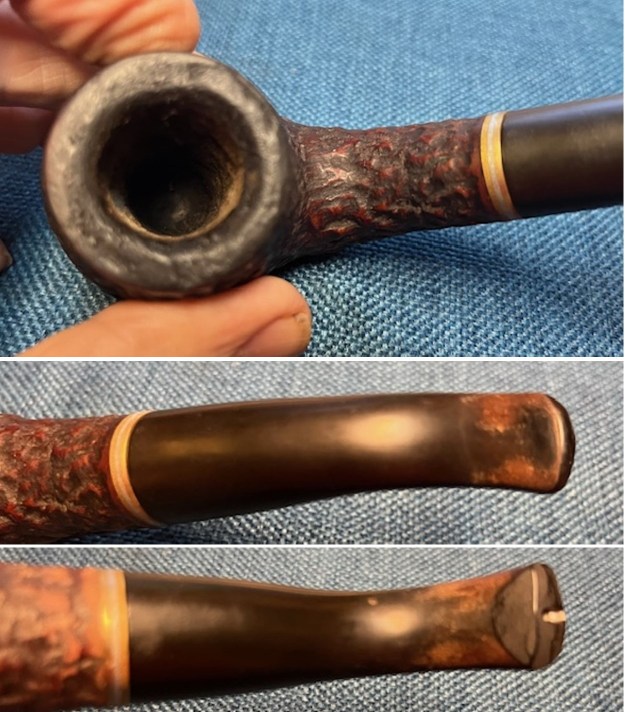
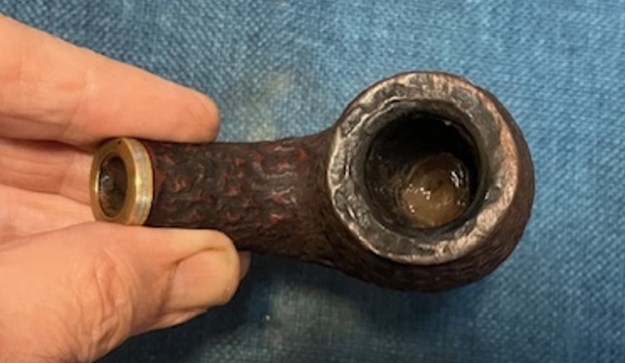
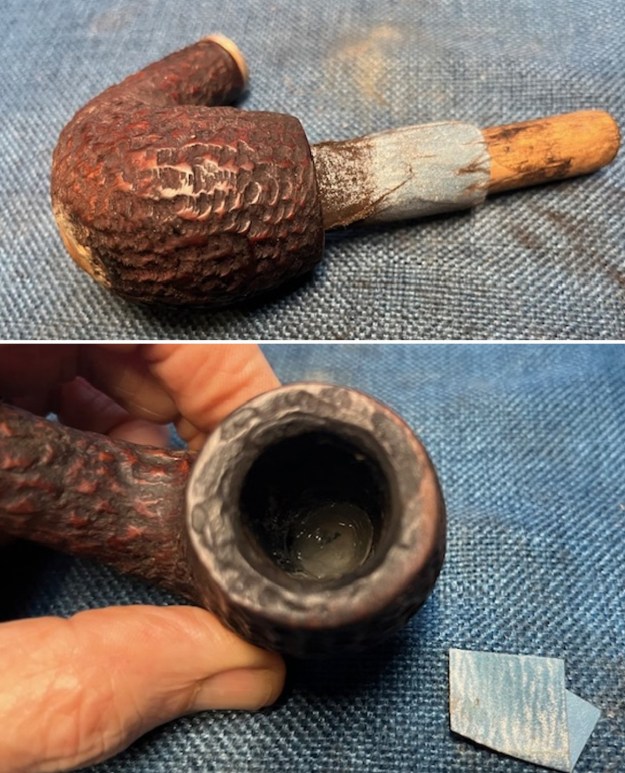
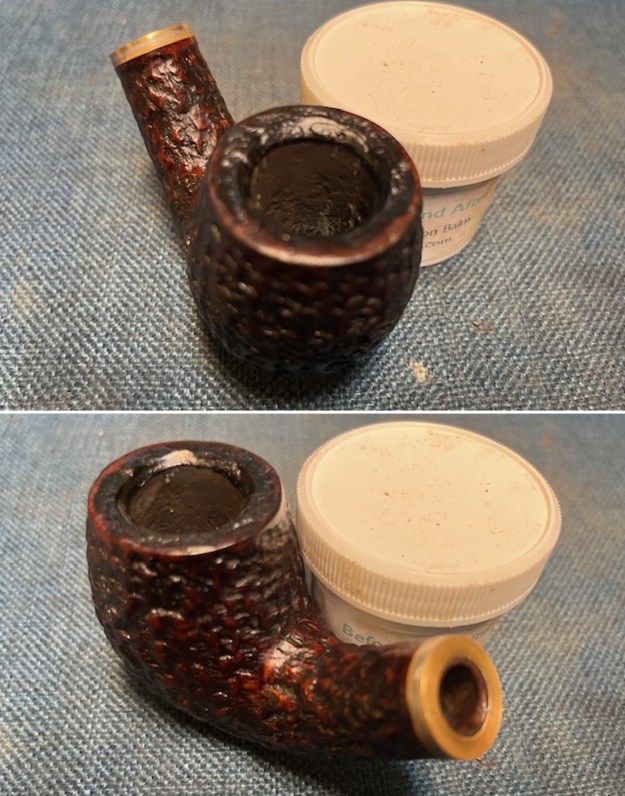
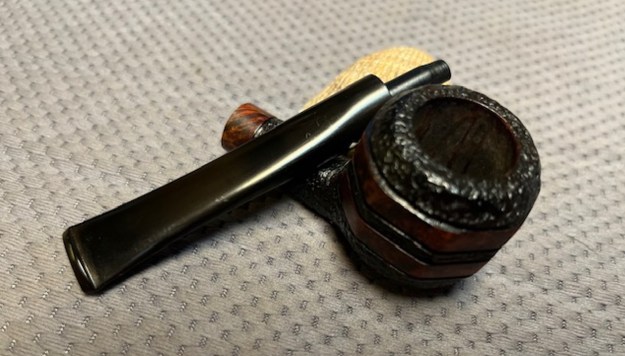
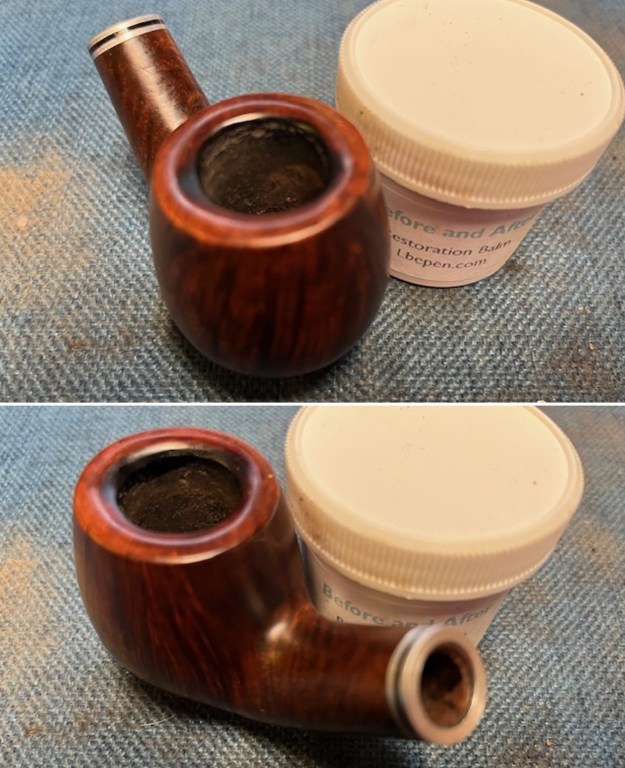
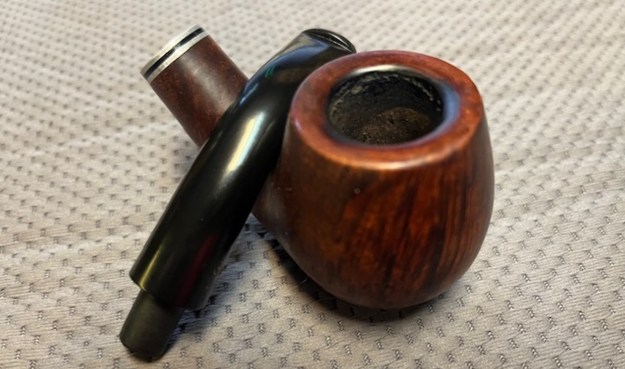
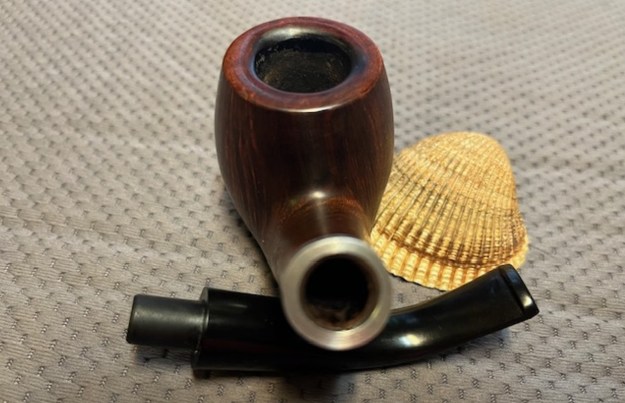
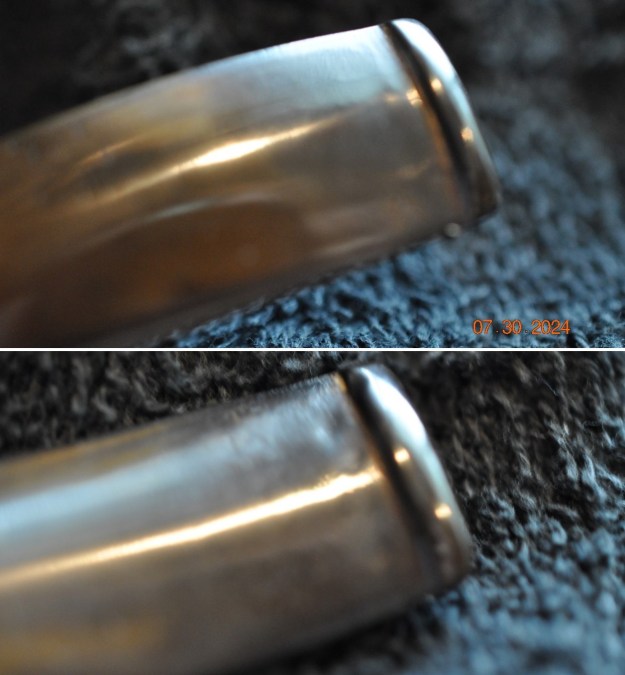
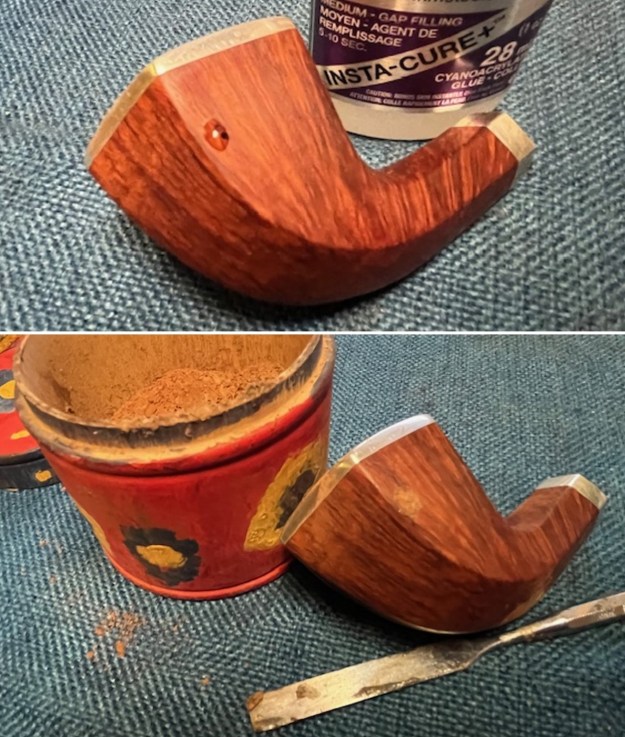
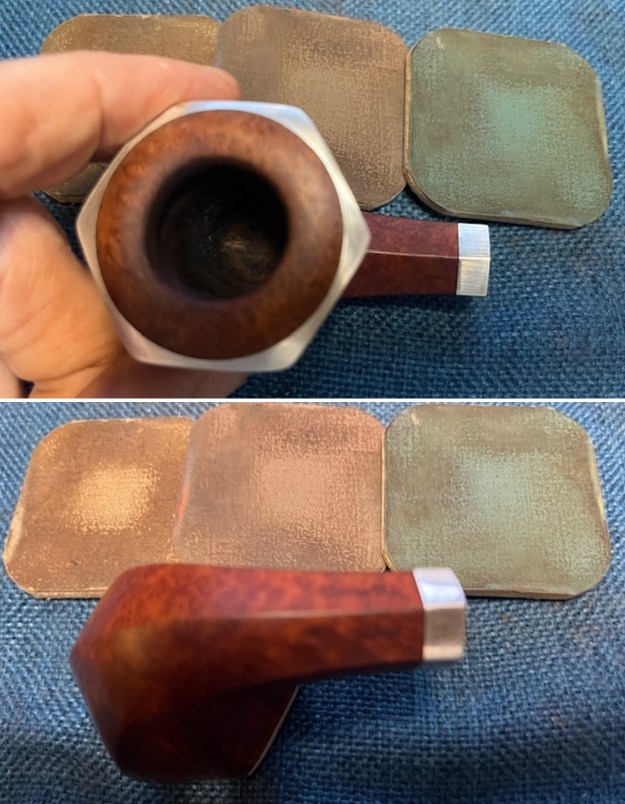
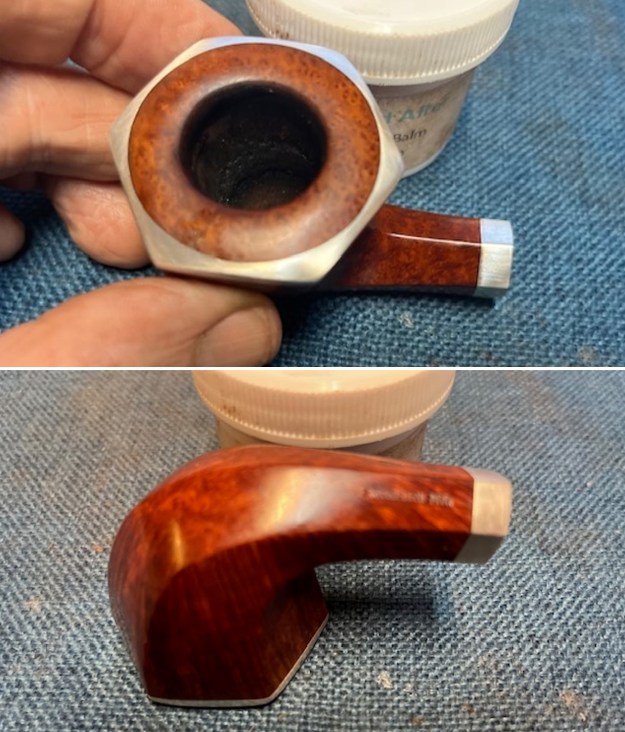
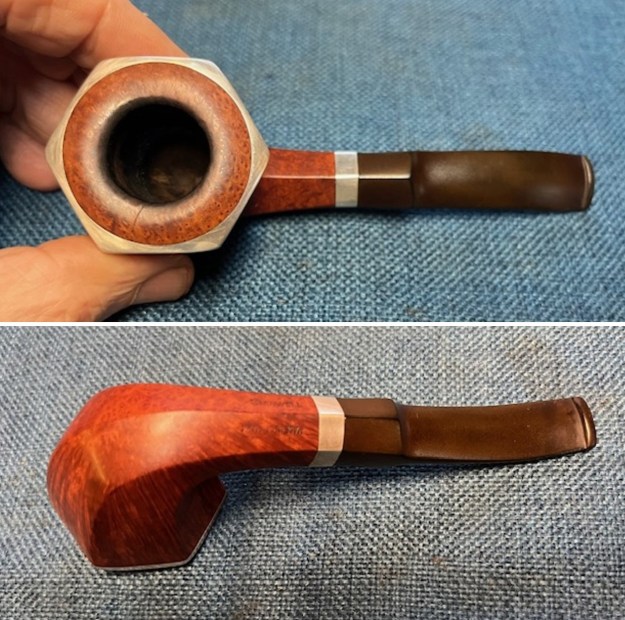 I took close up photos of the stem and the rim top to show both how clean they were and what needed to be addresses with both. The first disappointment showed up on the rim top as I examined it. There was a crack on the left side of the top radiating from the inner edge toward the side almost at the corner of the hexagonal cap. It did not go all the way to the edge so that was a plus but it still was a disappointment. The inner edge bevel looked clean but there was some darkening on the surface of the bevel. The stem looked better and there were light tooth marks and chatter on both sides ahead of the button. There were no disappointments at this point on the stem.
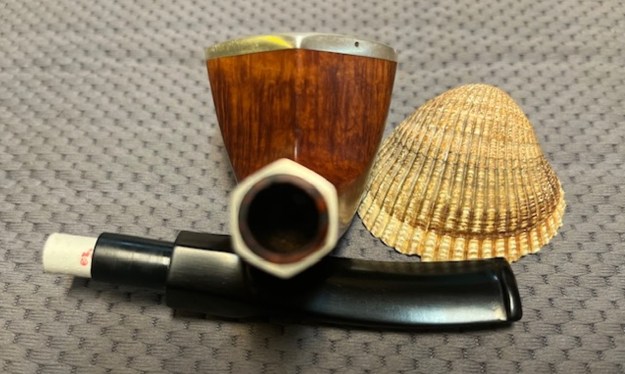
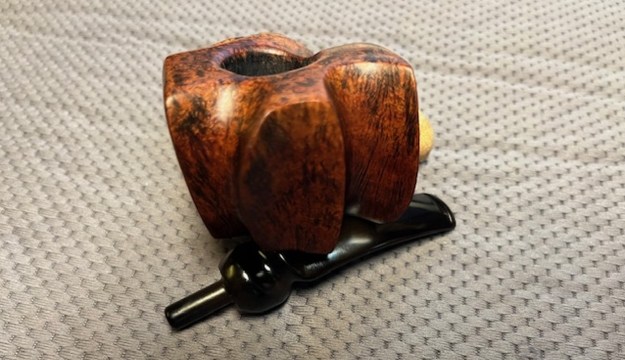
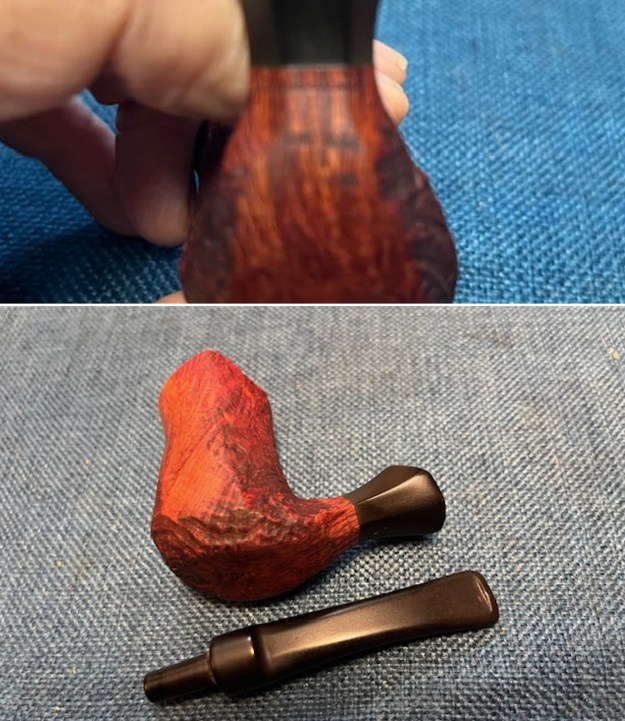
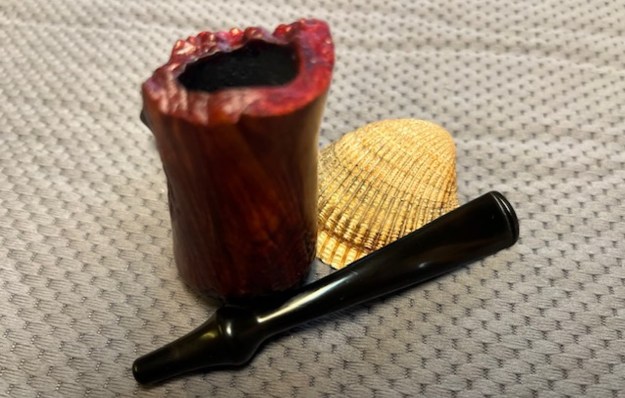
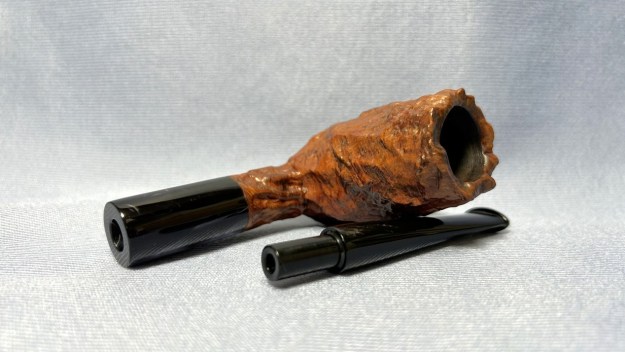
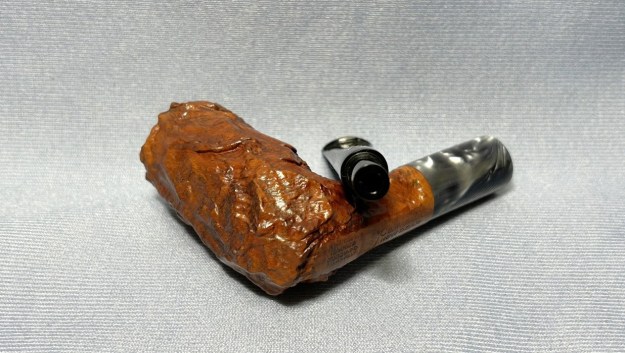
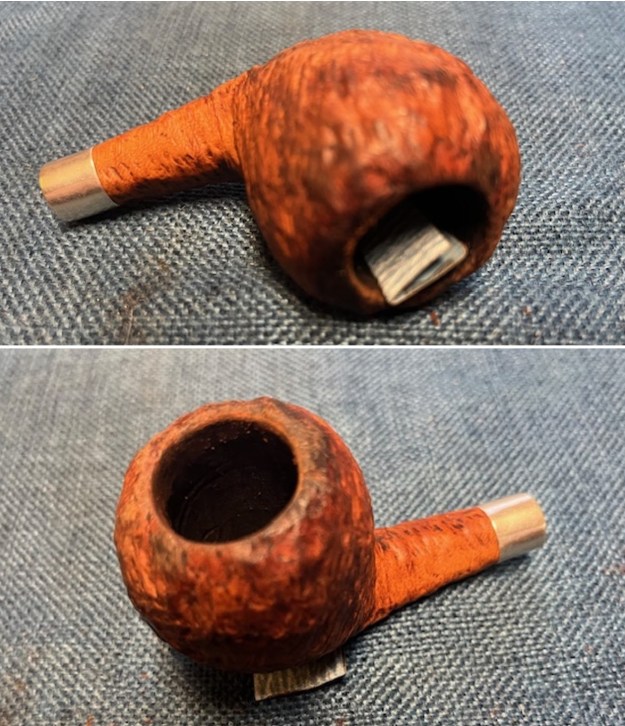
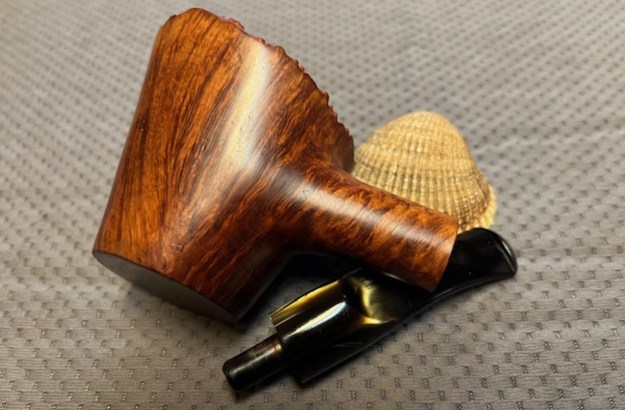
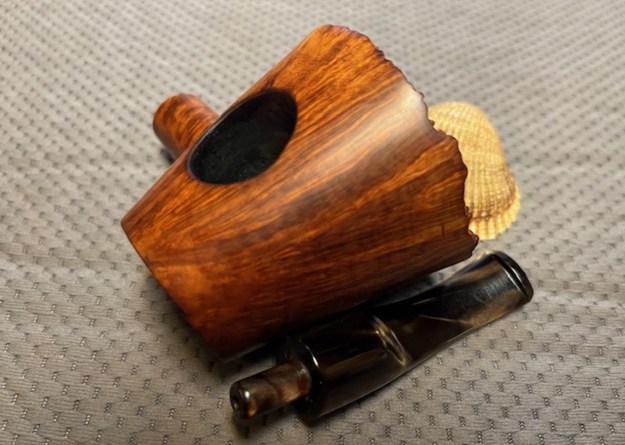
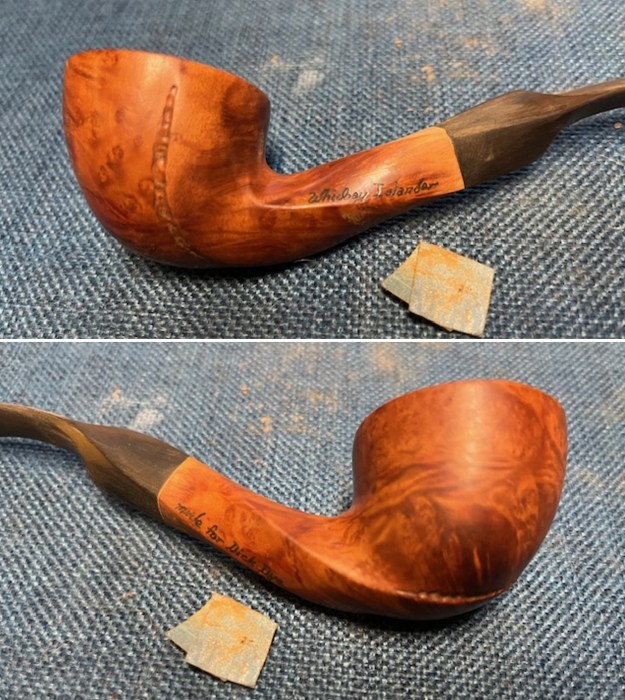
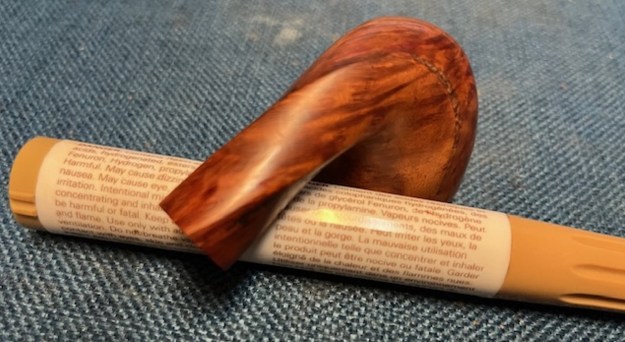
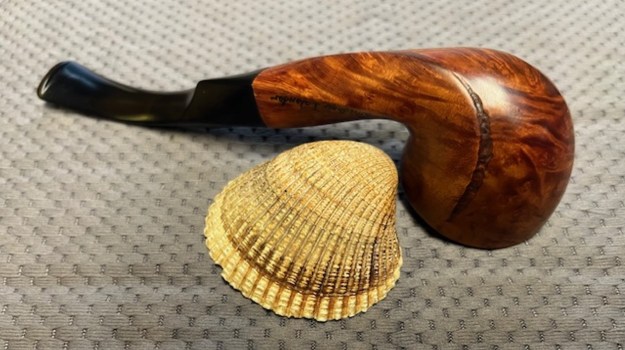
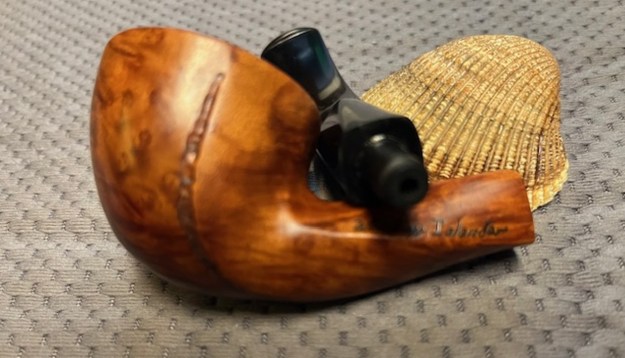
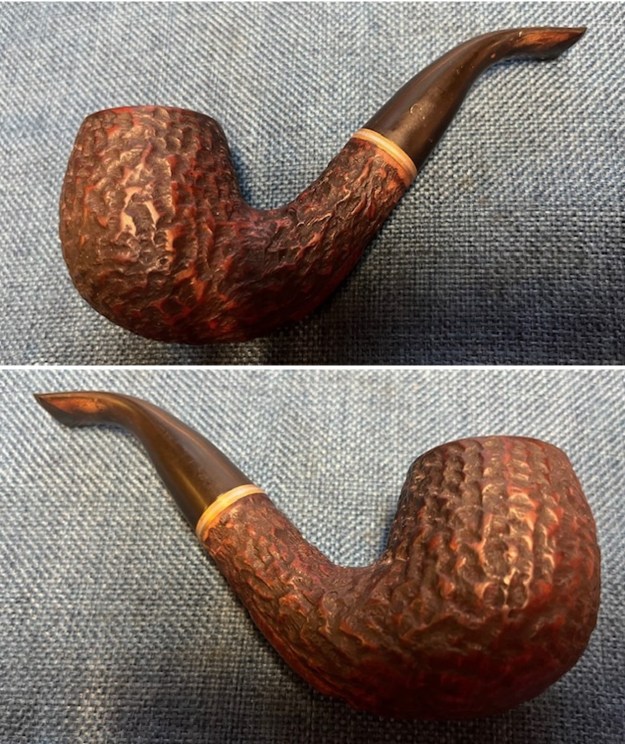
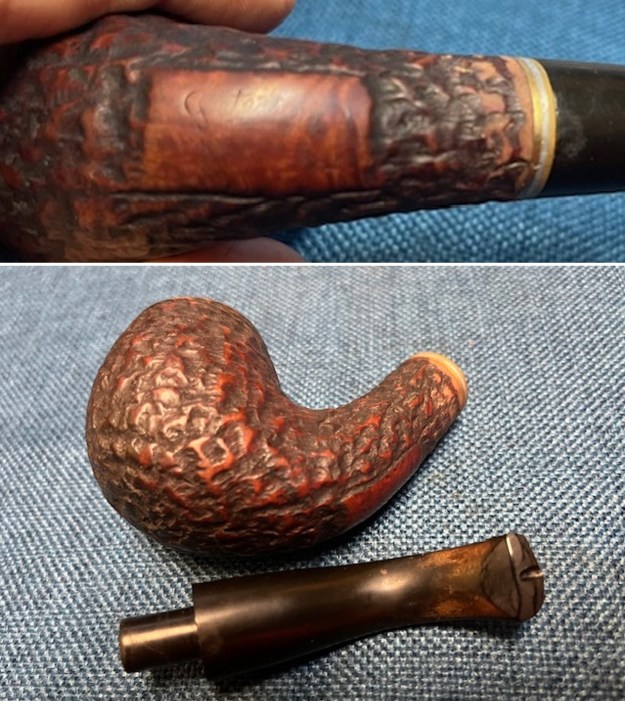
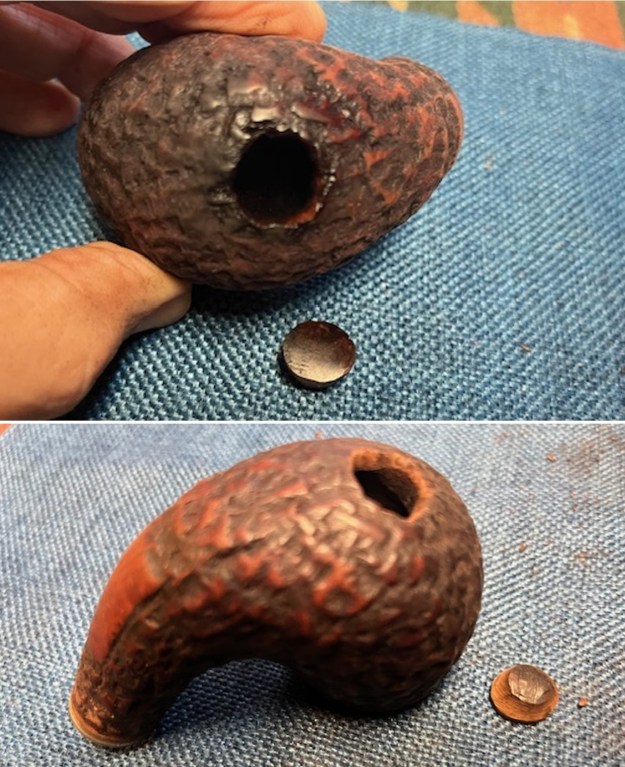
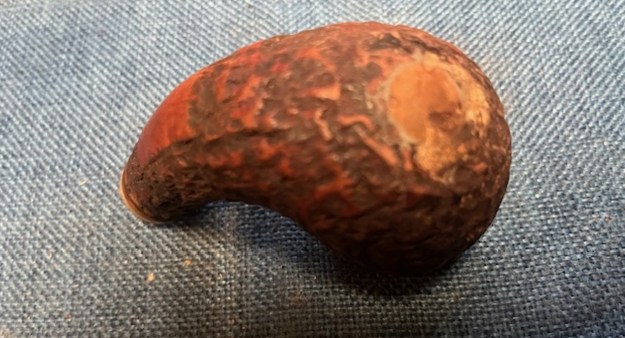
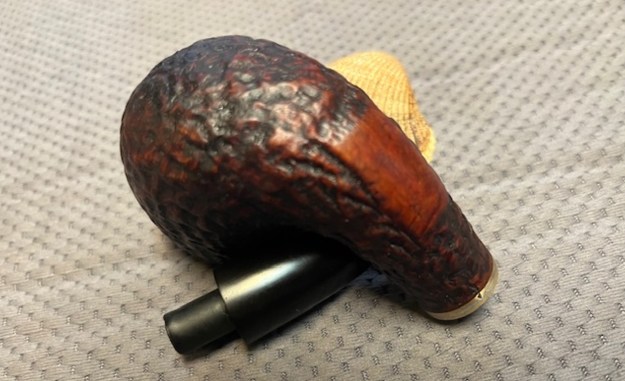
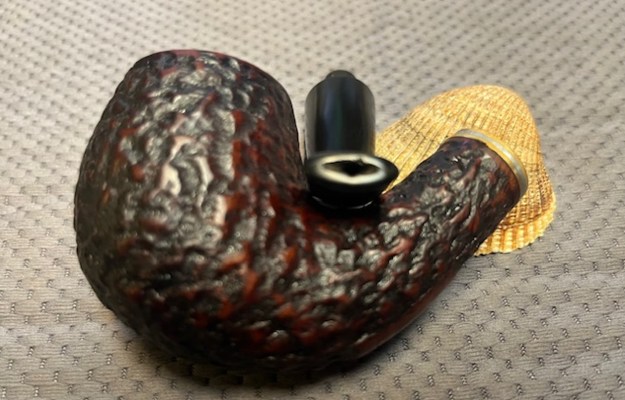
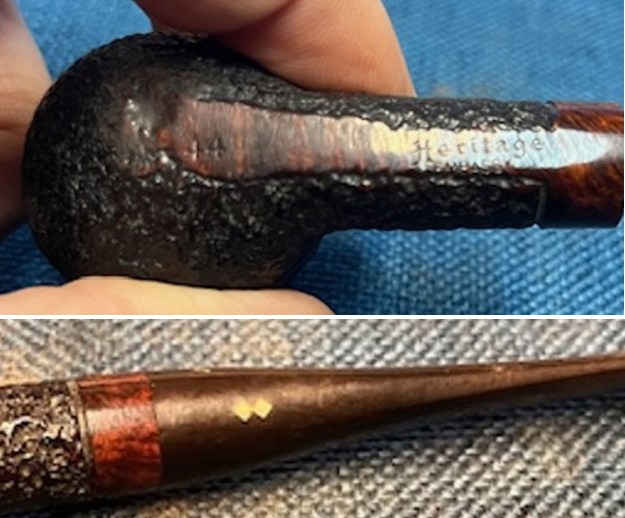
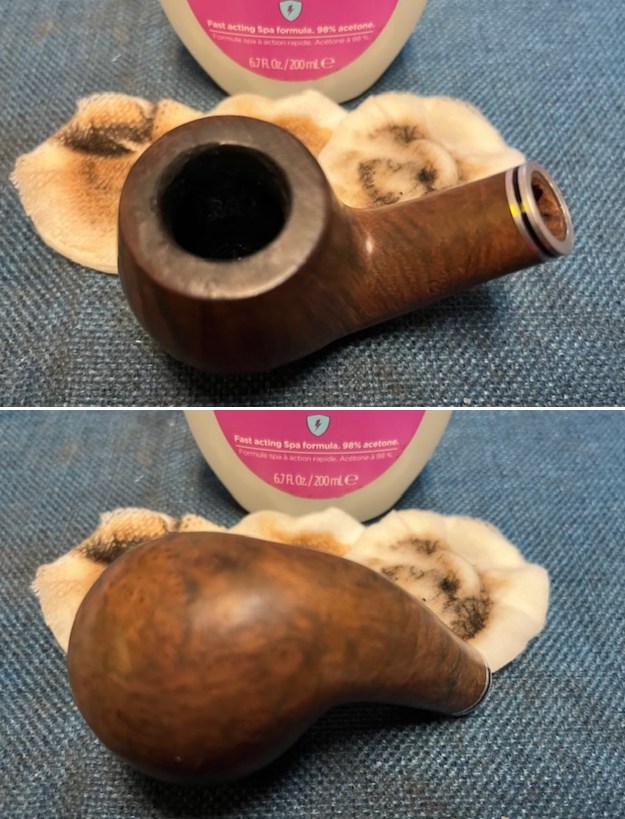
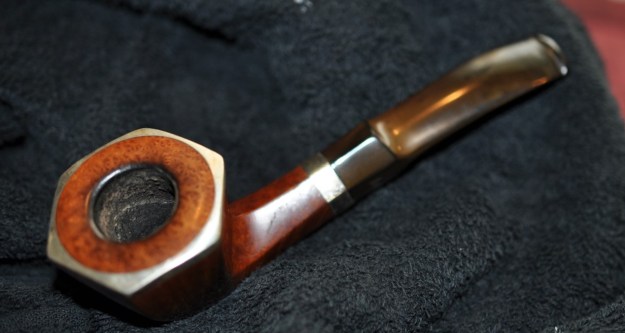
 I took photos of the stamping on the underside of the shank. You can see from the photos that it is clear and readable. I removed the stem from the bowl and took a photo of the parts to give a sense of the beauty of the pipe. Before I started working on the rim top I decided to examined the sides of the bowl and see if the crack ran down the side below the rim cap. This is where I found the second disappointment. There appeared to be a crack on the side panel flowing from the rim cap at an angle toward the front of the bowl for about an inch. I have drawn a circle around it in the photo below. I also took another photo of the crack in the rim top and circled it as well. Once I saw those two glaring disappointments I set the pipe aside and worked on some other things as it is just too frustrating to look at such a beautiful pipe that had these signs of abuse.
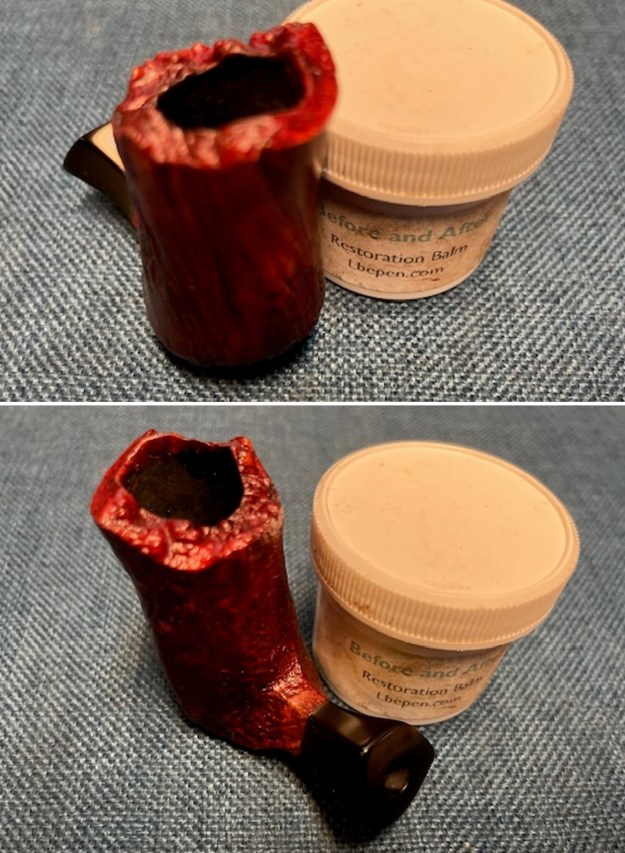
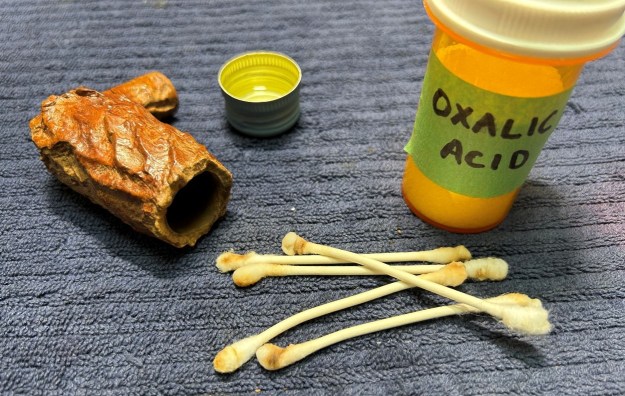
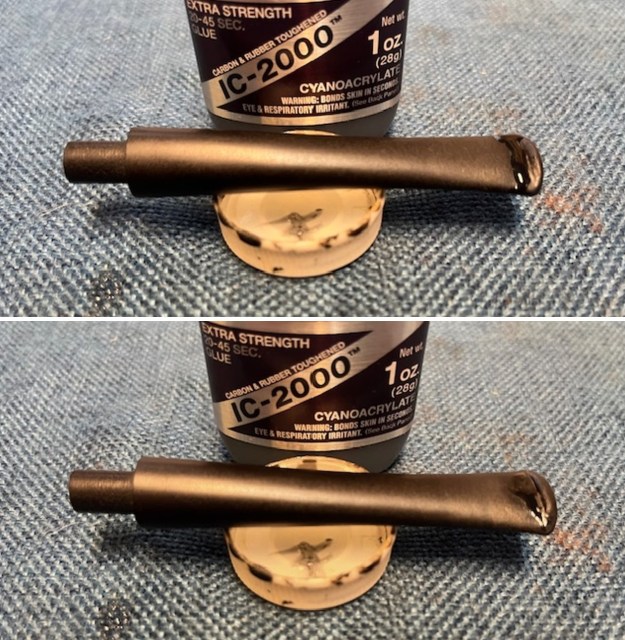
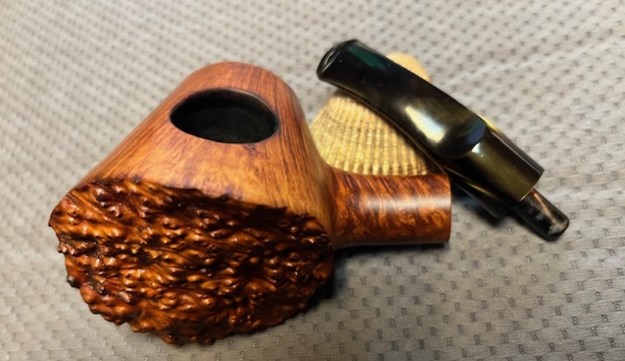
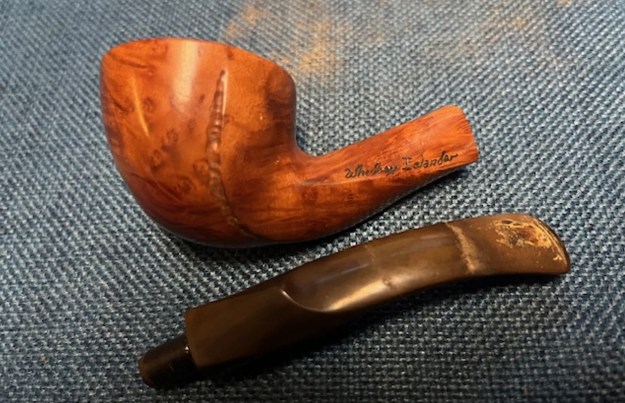
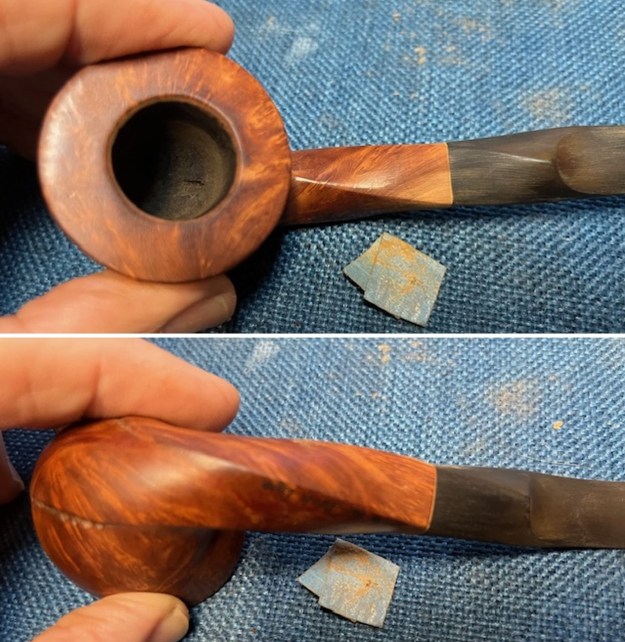
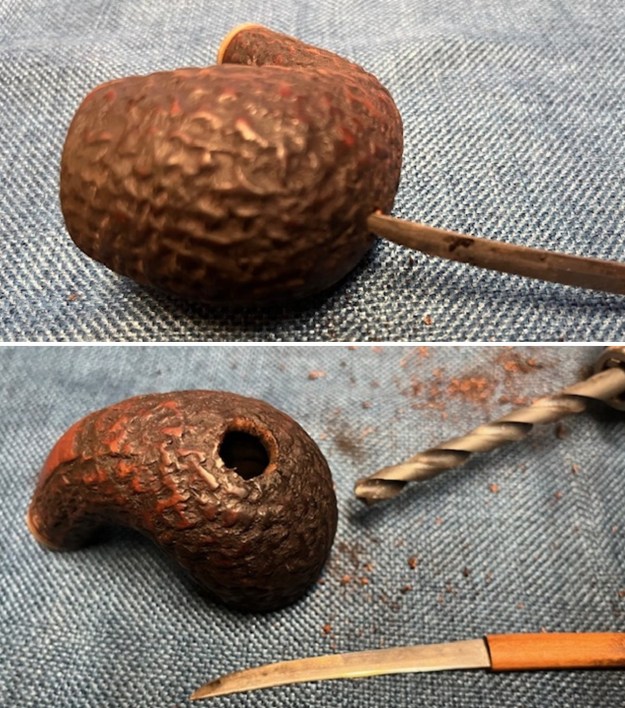
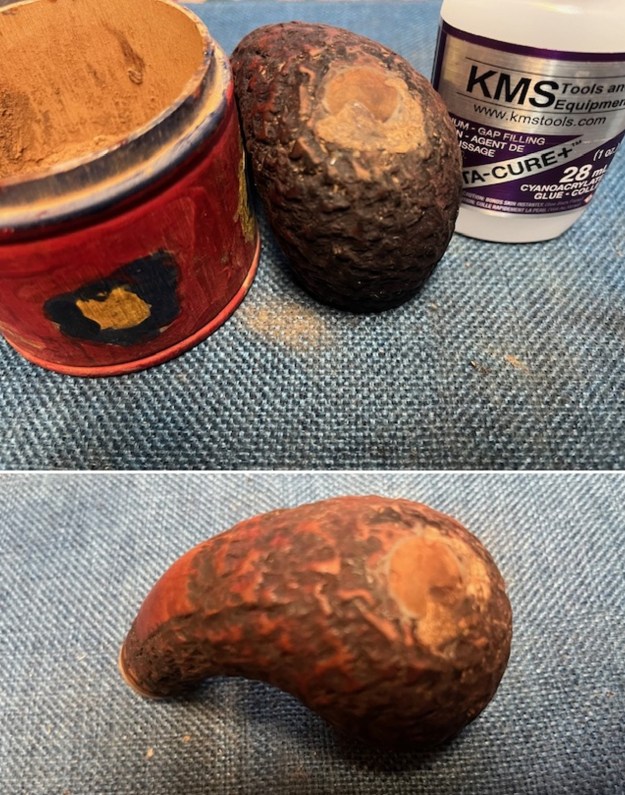
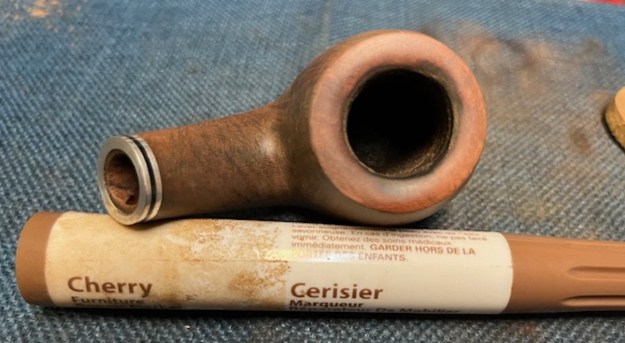
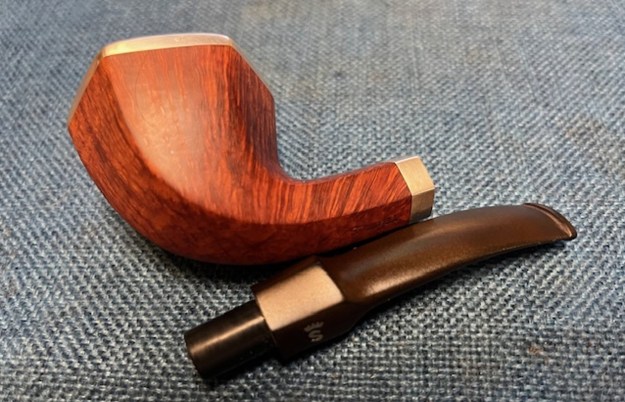
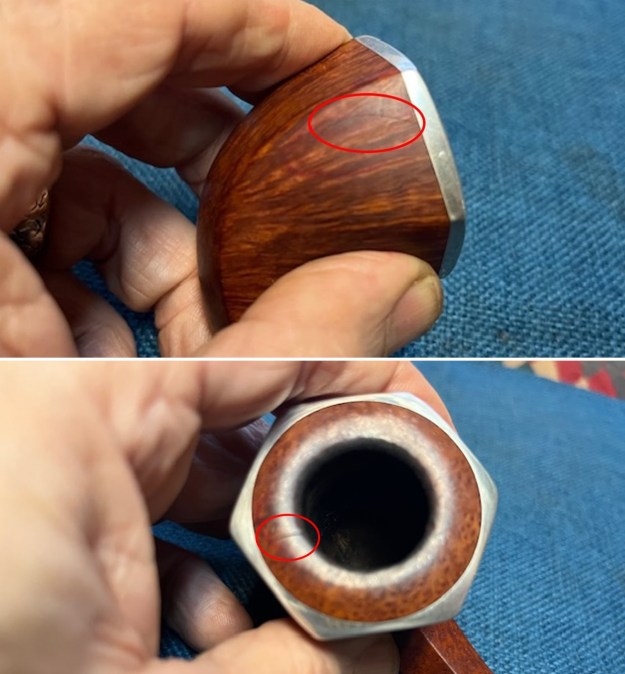 Last evening after work I finally decided to address the two glaring issues noted with the pipe. I put on my magnifying head lamps and examined both cracks. The crack on the rim top came from the inner edge but did not seem to drop too far into the bowl. Maybe an eighth of an inch. The “Crack” on the side of the bowl may well not be a real issue. There is a deep scratch in the silver band just above the line with the same arc. It may just be a deep scratch rather than a crack. I poked at it and probed it with a dental pick with the headlamp and magnifier in place and I am 99% sure it is just a scratch!!! I was leaping for joy at this point! I decided to treat it as a small hairline crack and also the crack on the rim at the same time. I used a micro drill bit and put a small pin hole at the end of the line on the side of the bowl and the end of the crack on the top of the rim. I used a tooth pick to put a spot of clear CA glue in the drill hole on both the top and side and on the crack on the rim top. I used a dental spatula to press fine briar dust into the glue on both and set it aside to dry. Once the repairs cured I sanded the areas smooth with a folded piece of 220 grit sandpaper.
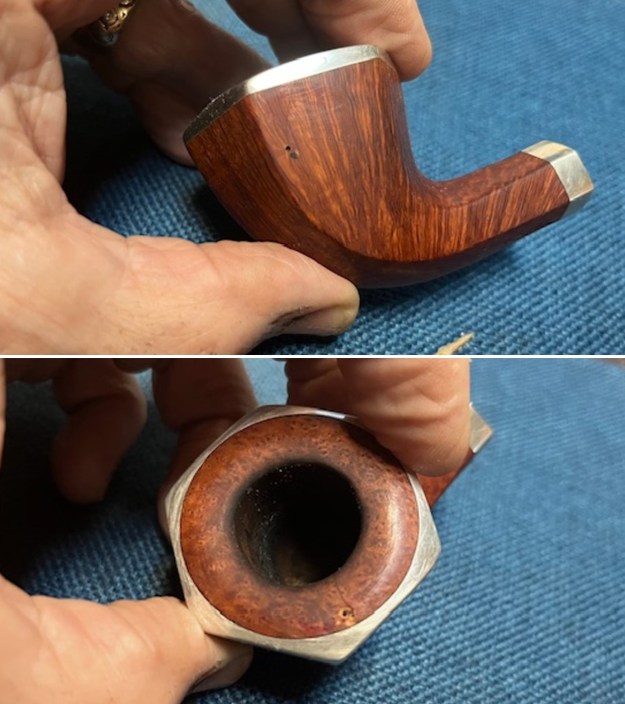
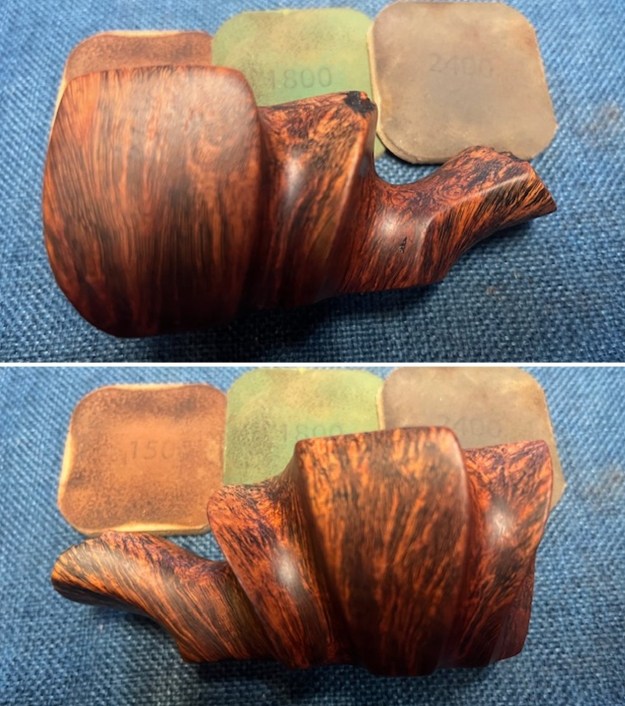
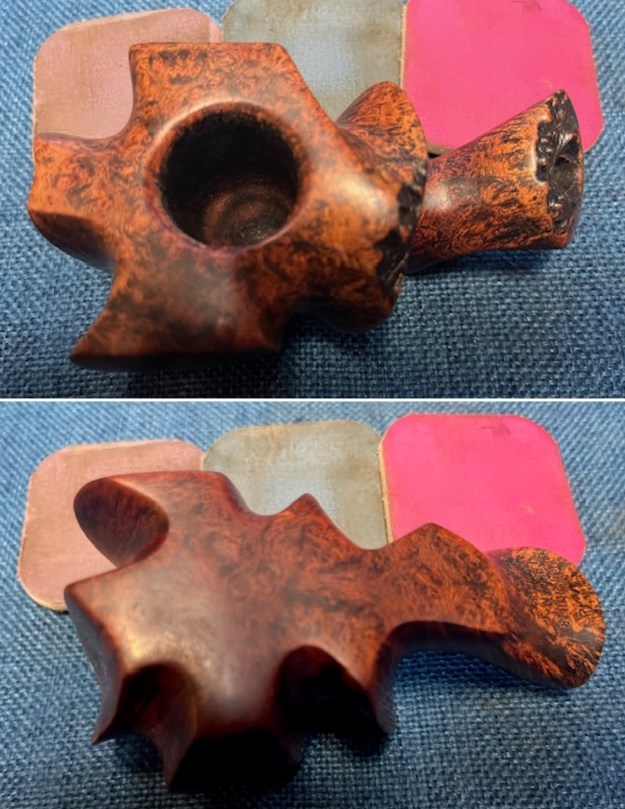
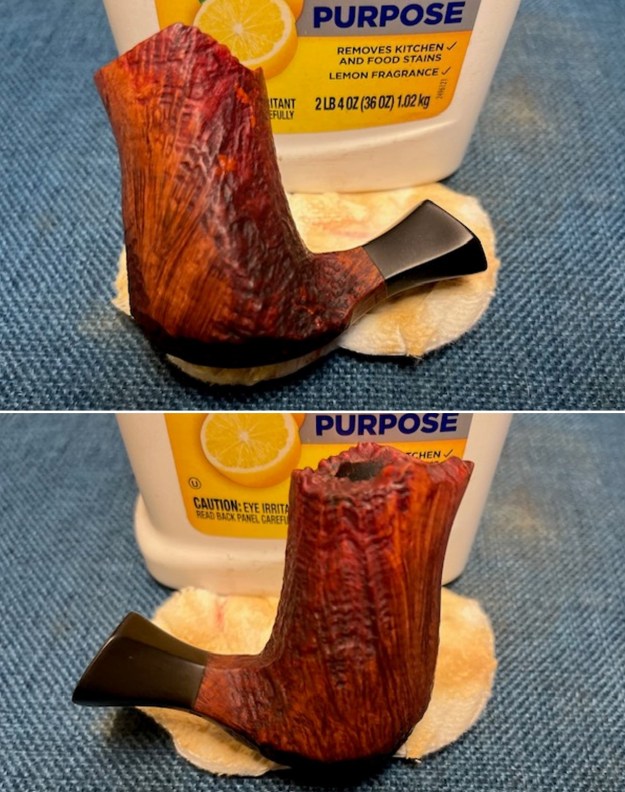
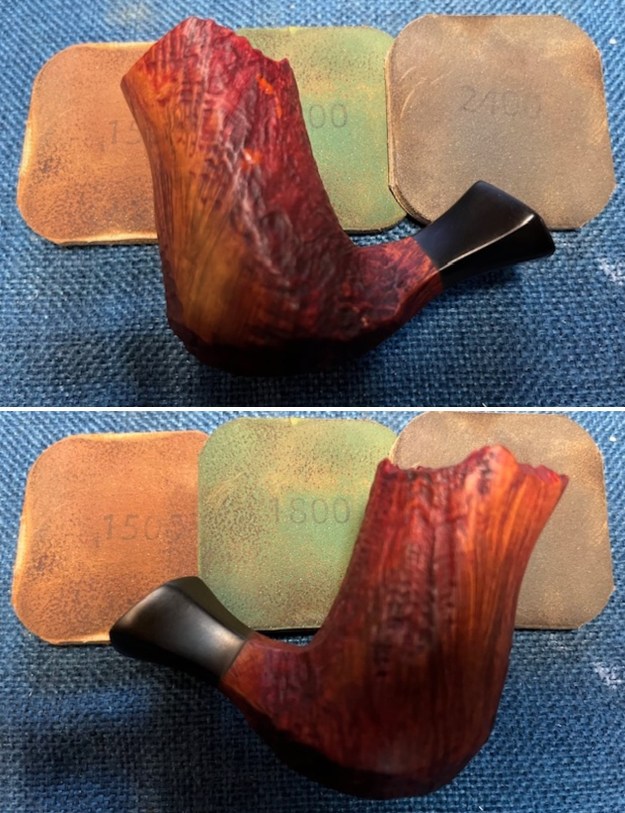
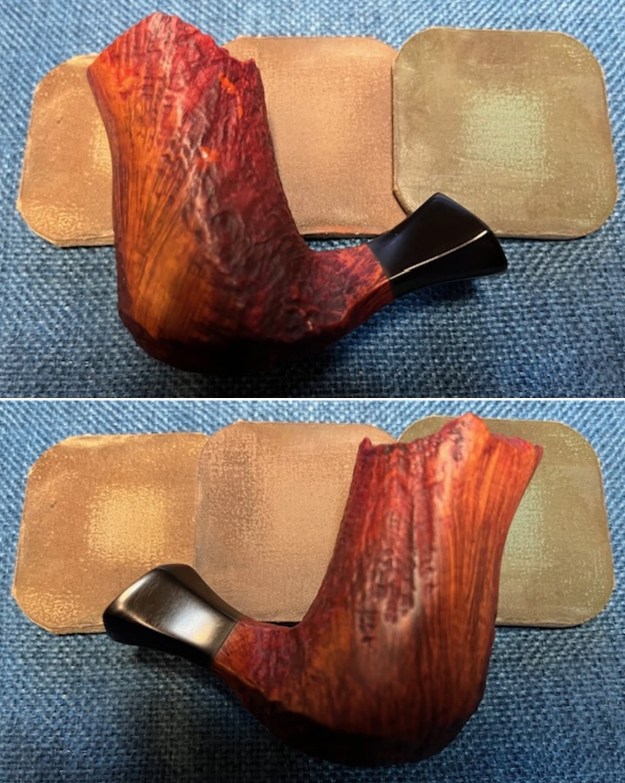
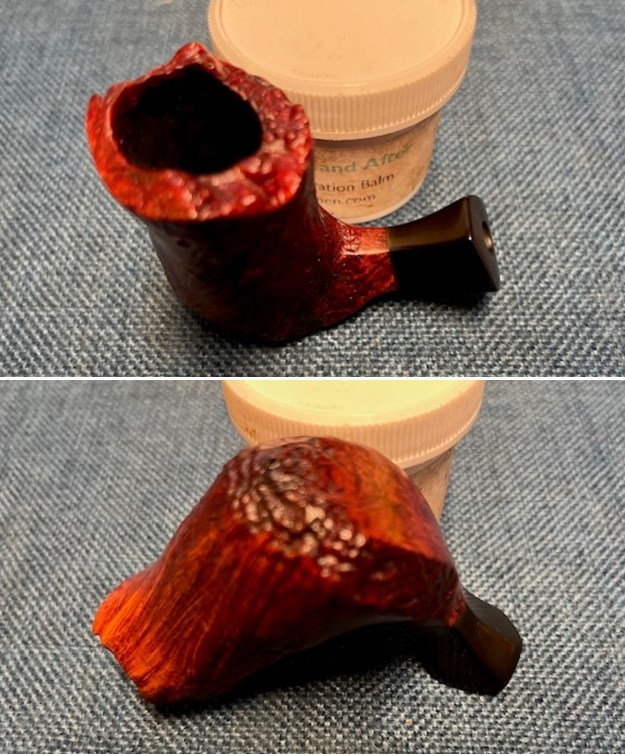
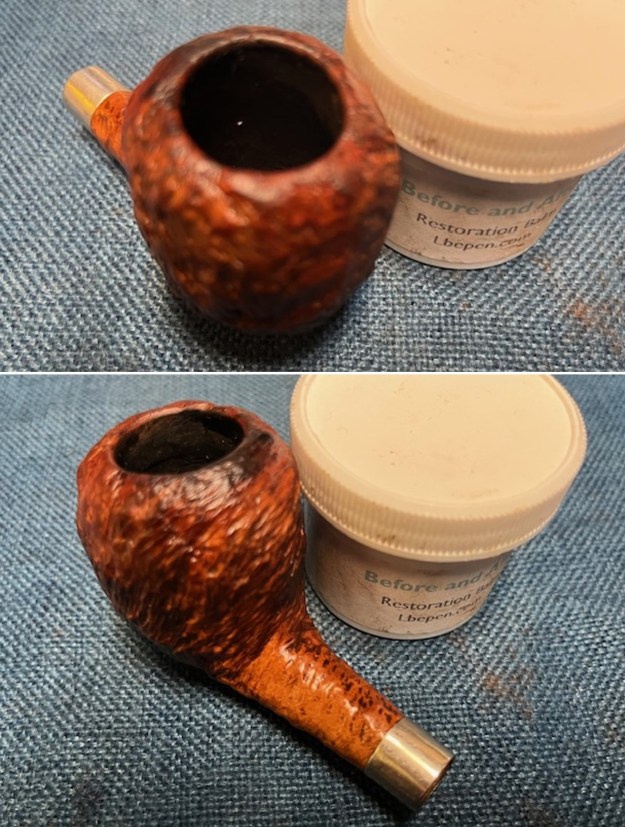
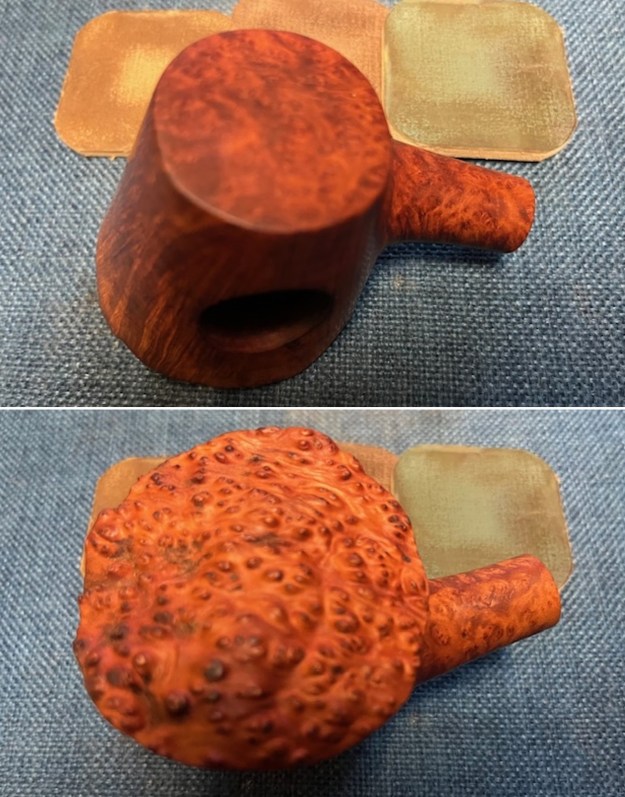
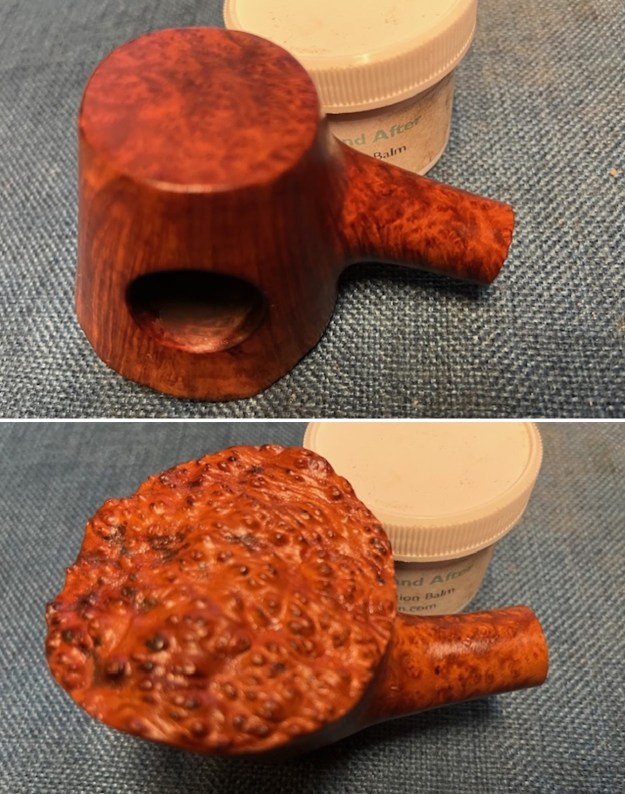
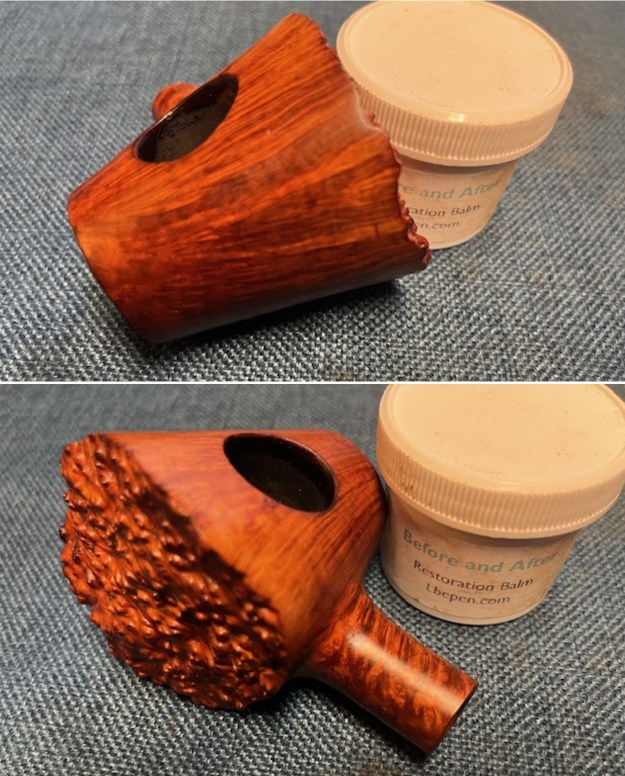
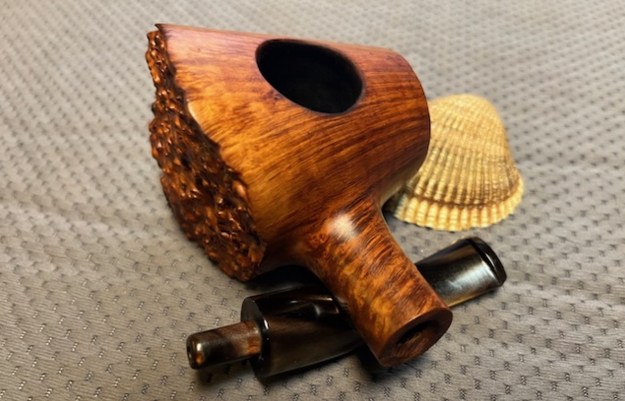
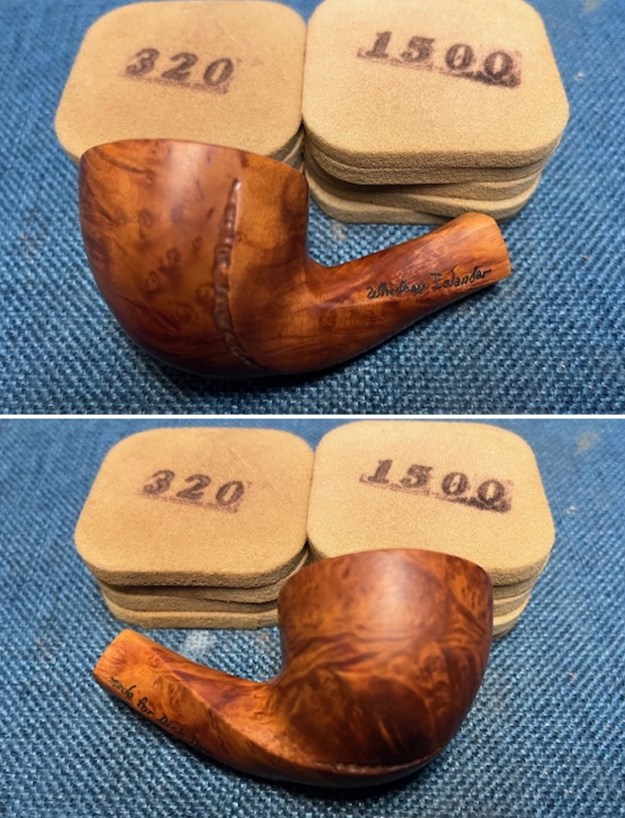
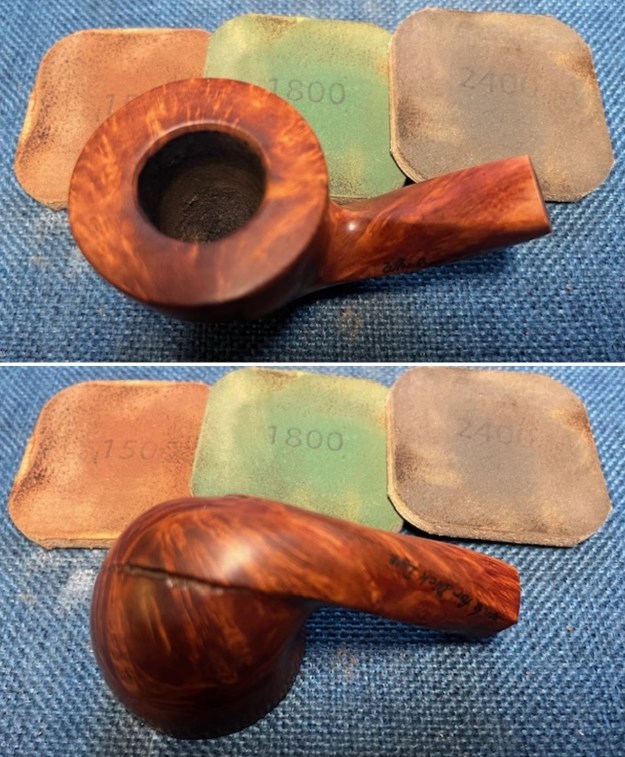
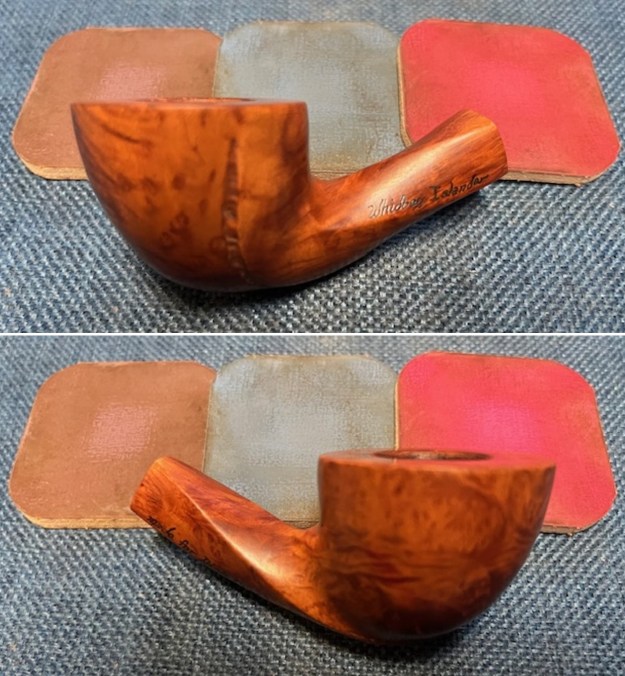
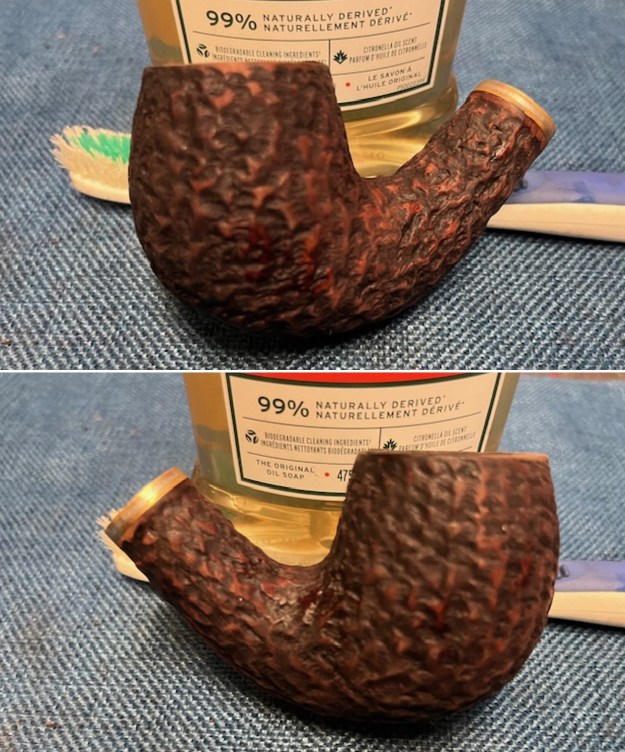
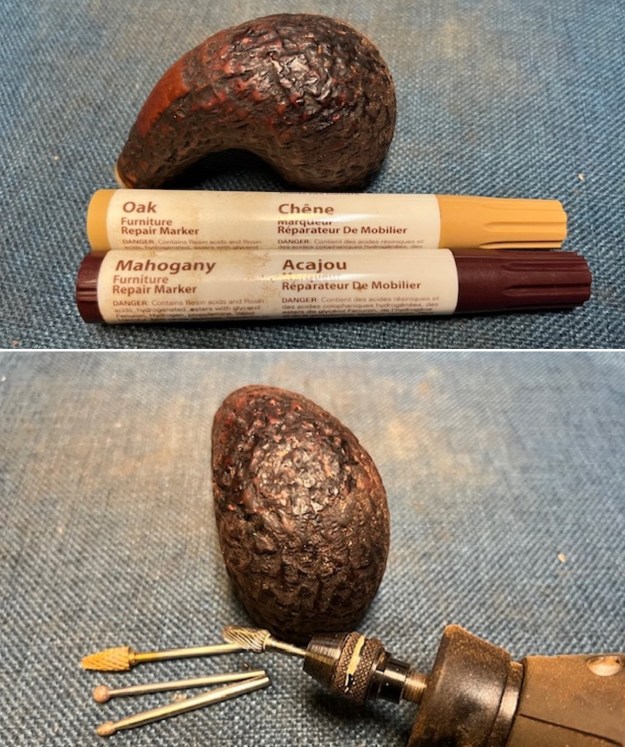
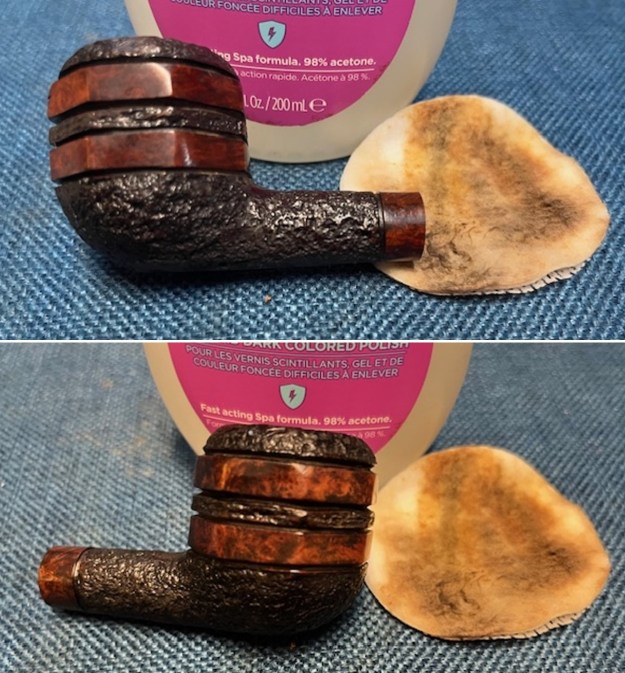
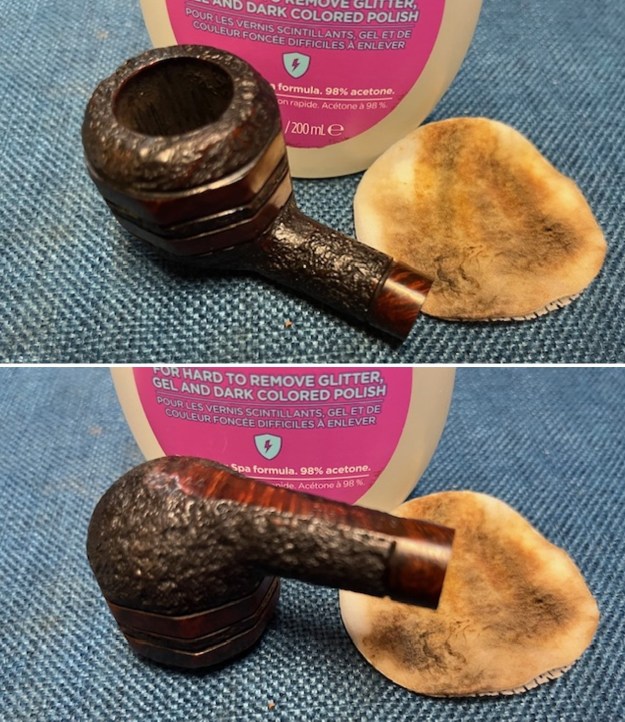
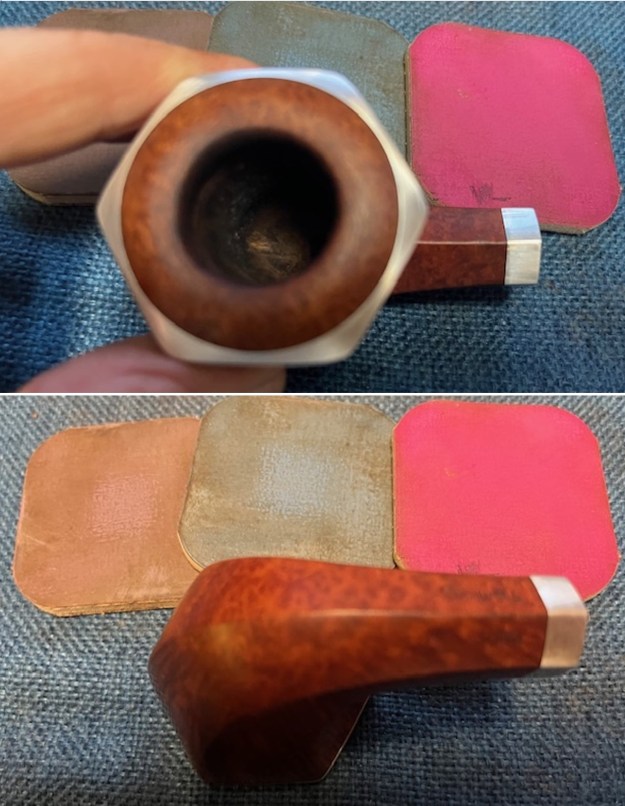
 I polished the bowl and rim top with micromesh sanding pads – dry sanding with 1500-12000 grit sanding pads. I wiped down the briar after each pad with a damp cloth to remove the dust and debris from the surface. The briar began to take on a shine. I also polished the silver rim edge and band at the same time remove some of the scratches. For those I used 3200-12000 grit pads. My disappointment was fading with way the repairs blended into the briar. It was a beauty.
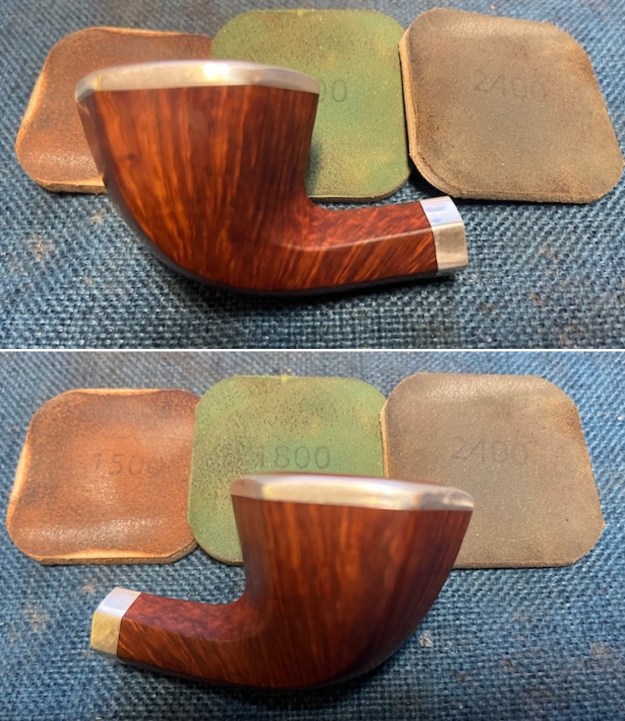

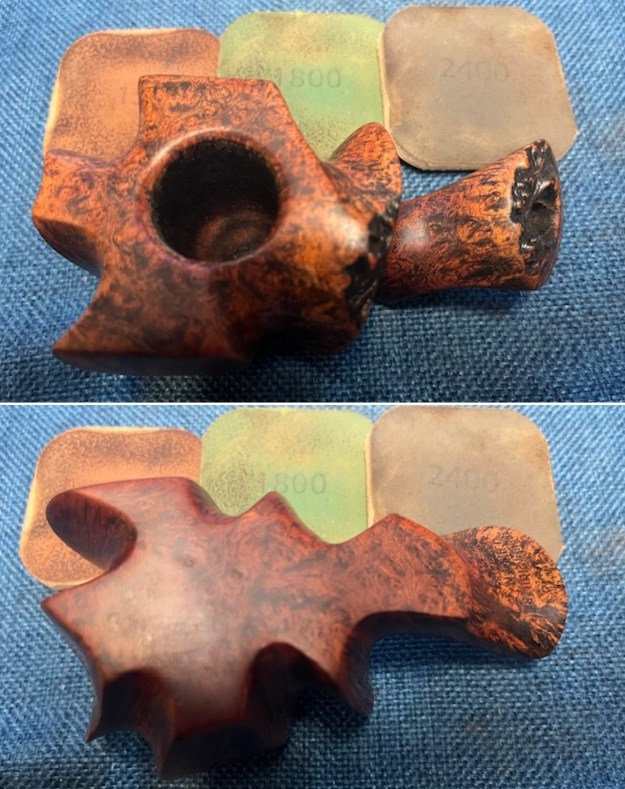
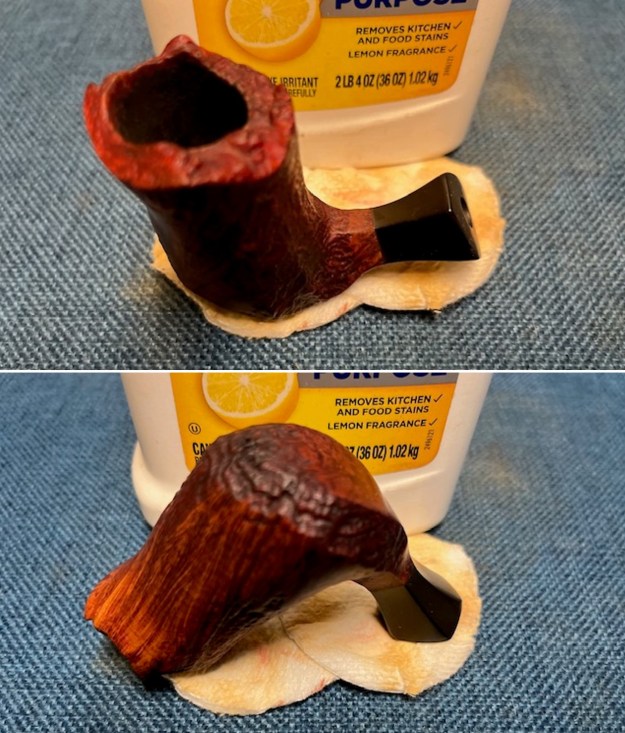
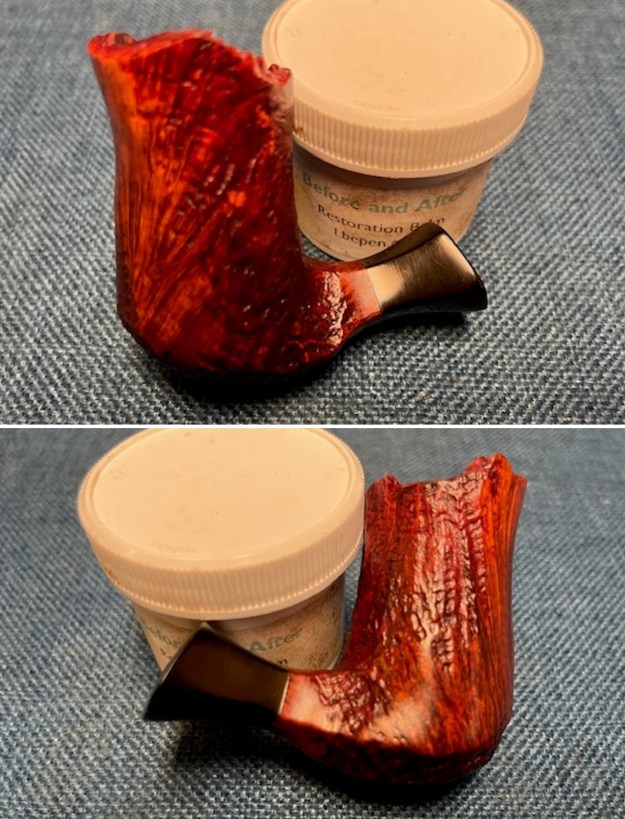
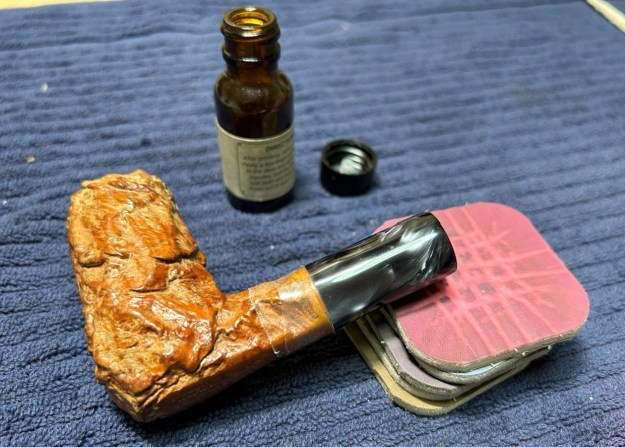
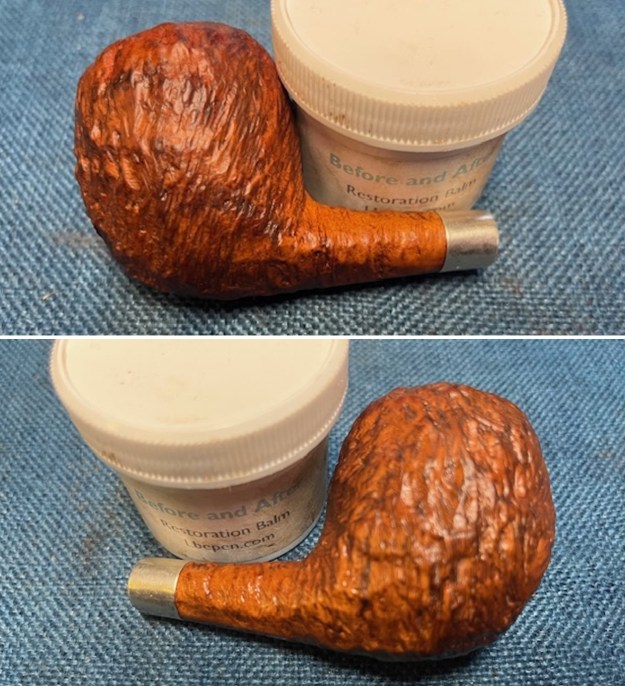
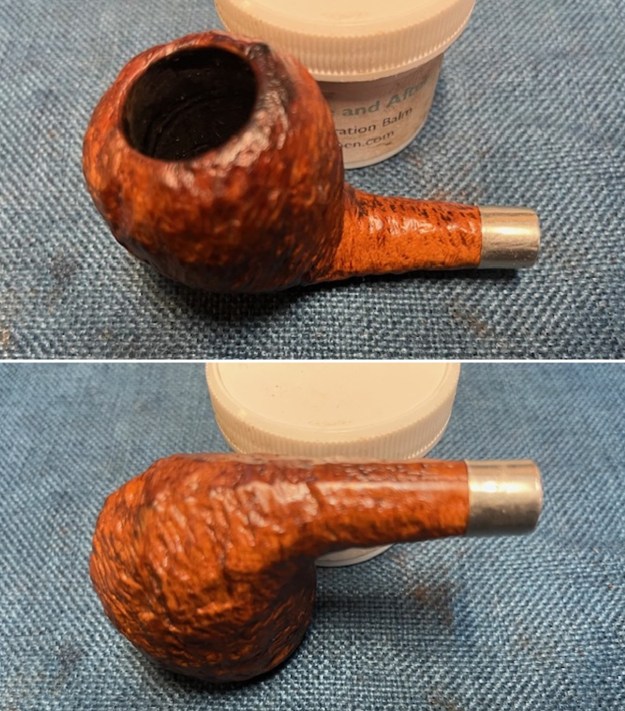
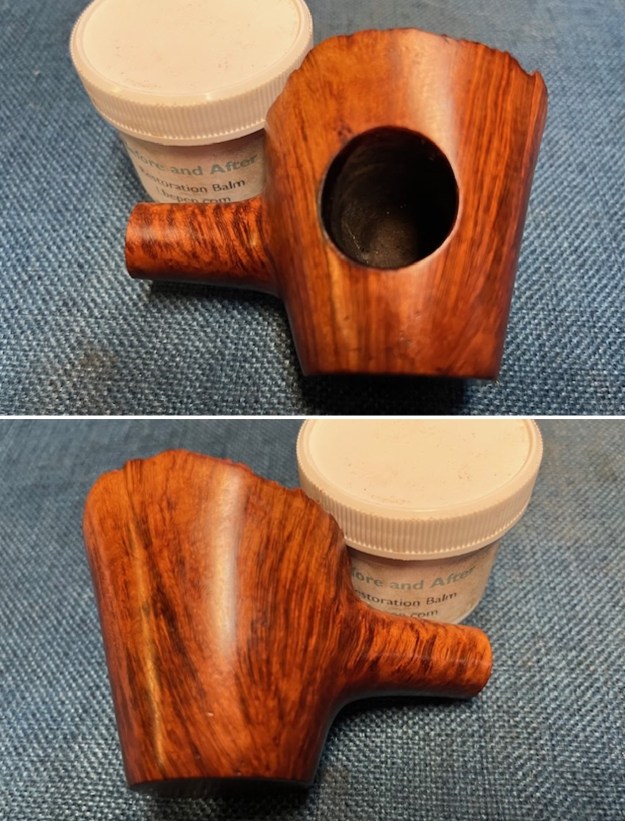
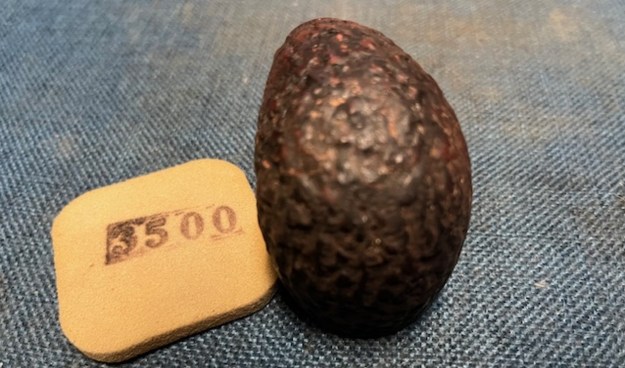
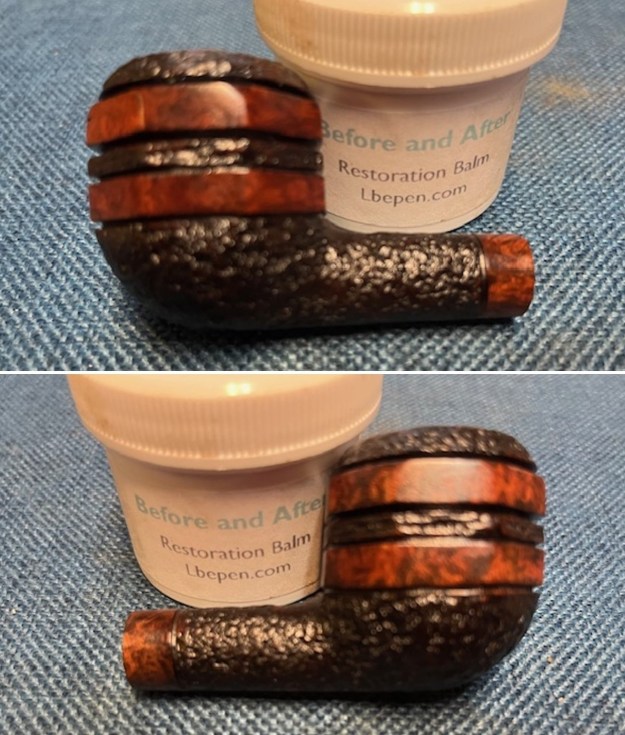
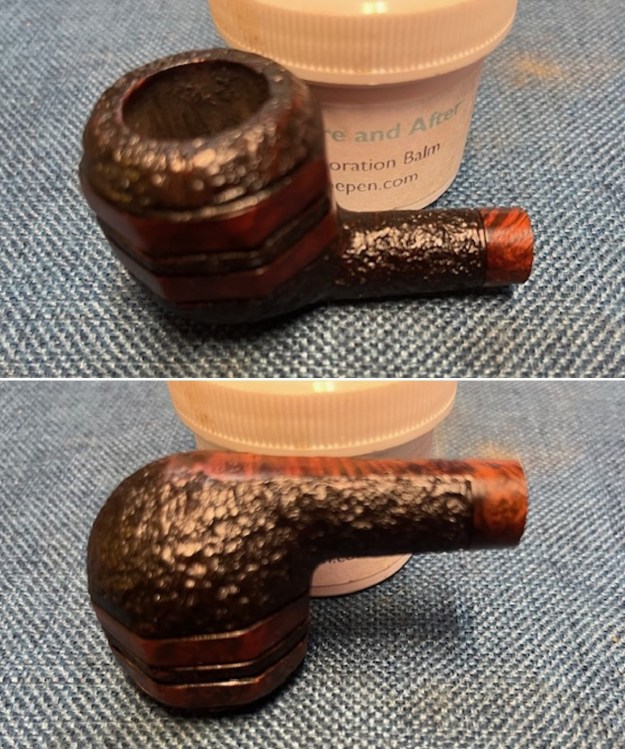
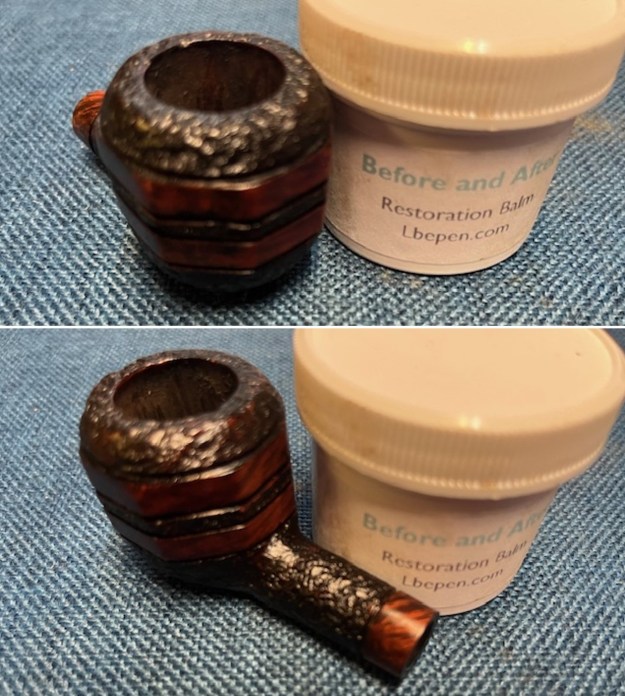
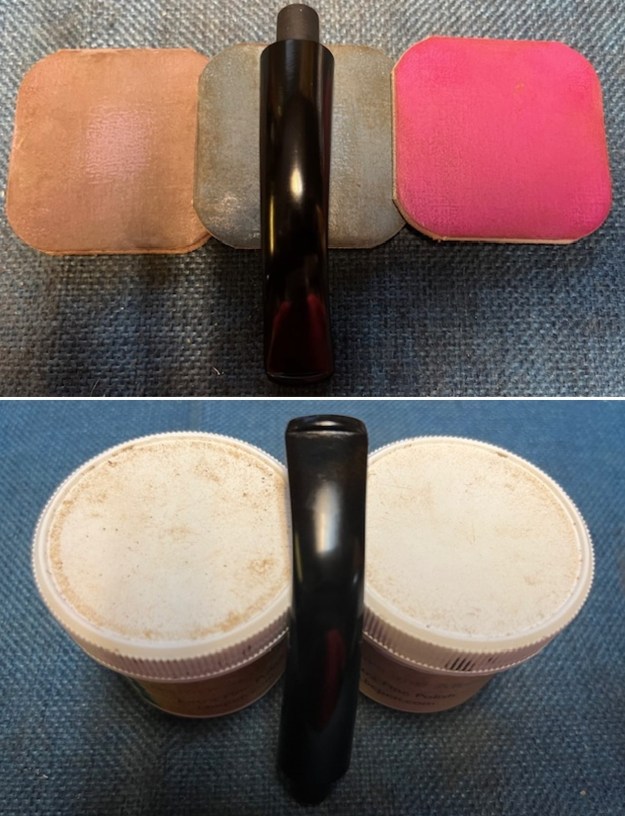
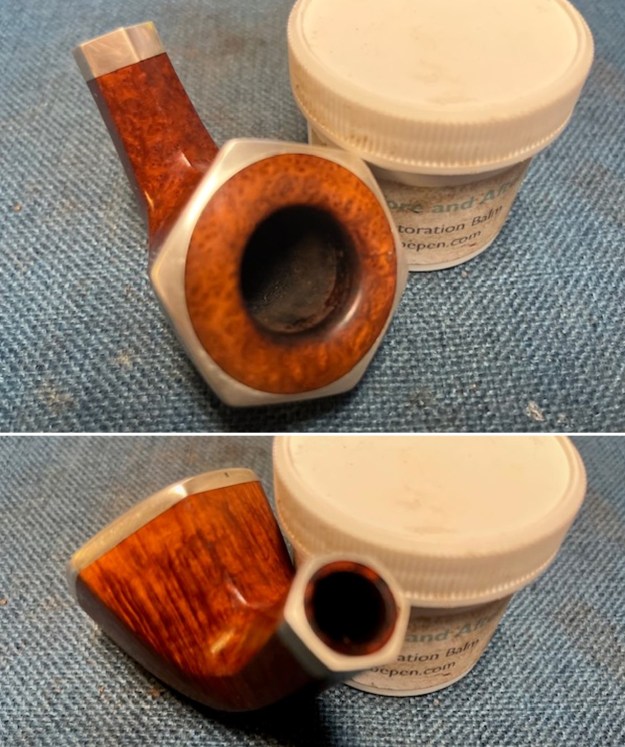
 I worked some Before & After Restoration Balm into the surface of the briar with my finger tips. The product is incredible and the way it brings the grain to the fore is unique. It works to clean, protect and invigorate the wood. The disappointments mentioned above were taken care of!
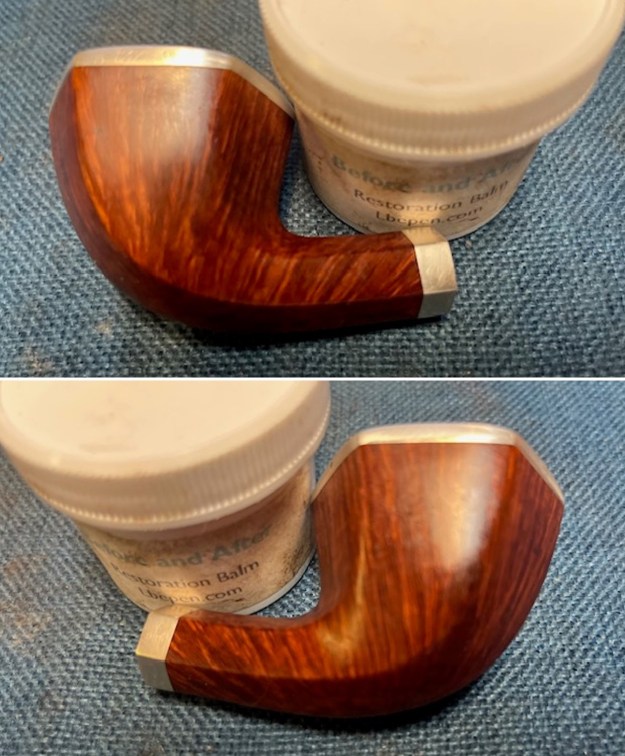
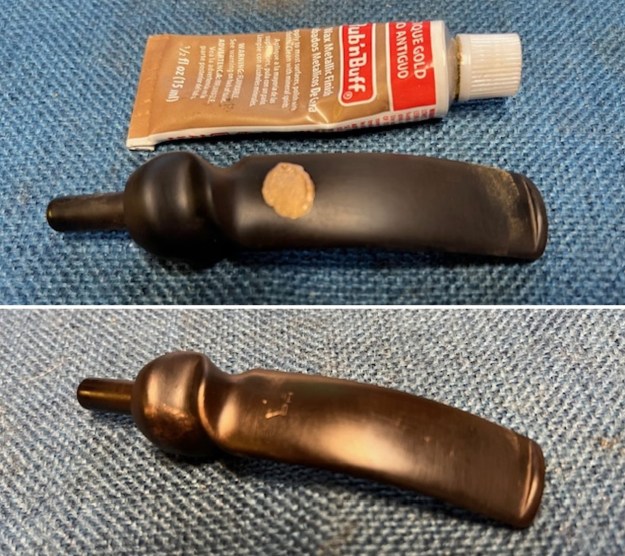
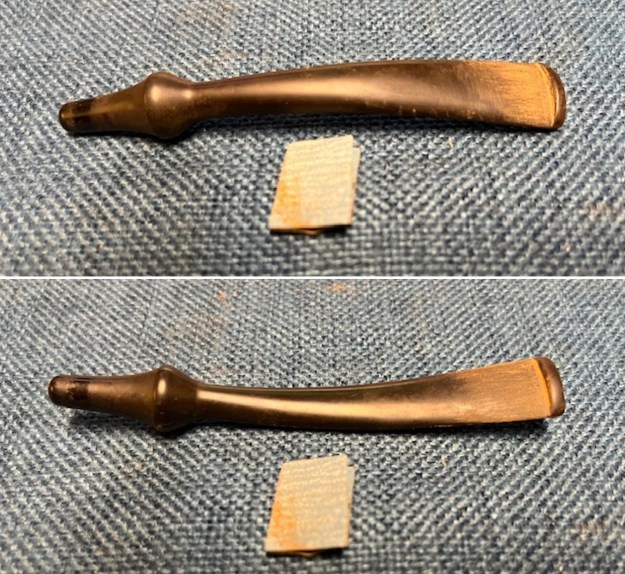
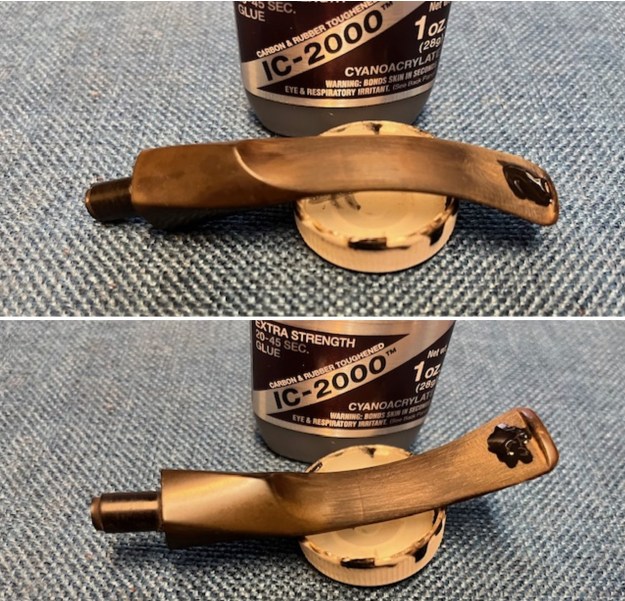
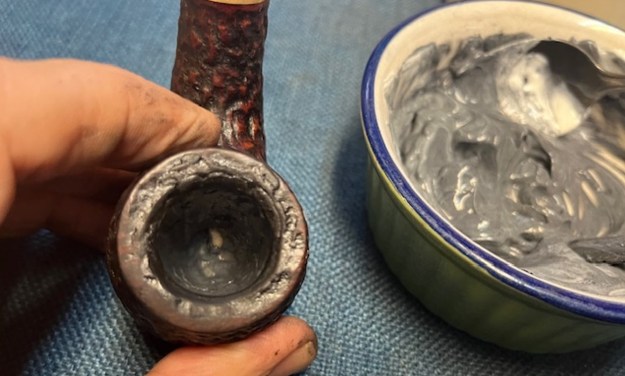
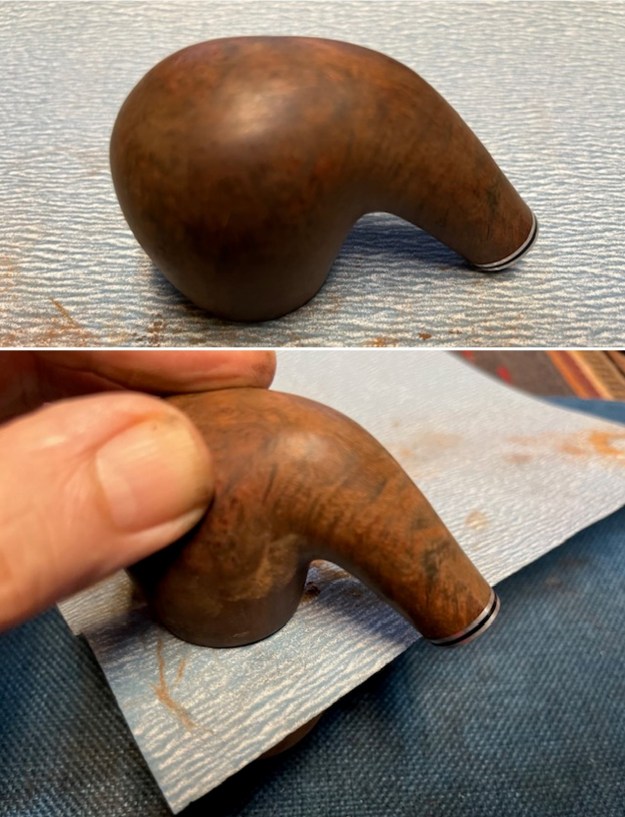
 I set the bowl aside and turned to work on the stem. I used Soft Scrub and cotton pads to work on the oxidation remaining on the pipe. It was deep and it took a bit of scrubbing to bring it to the surface.
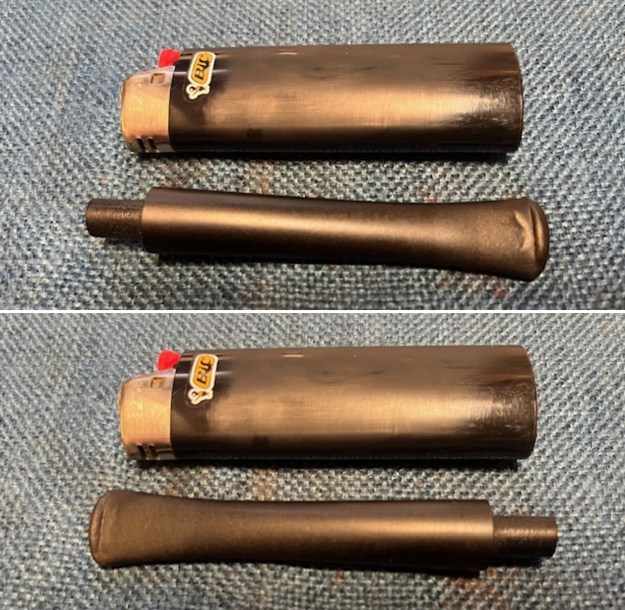
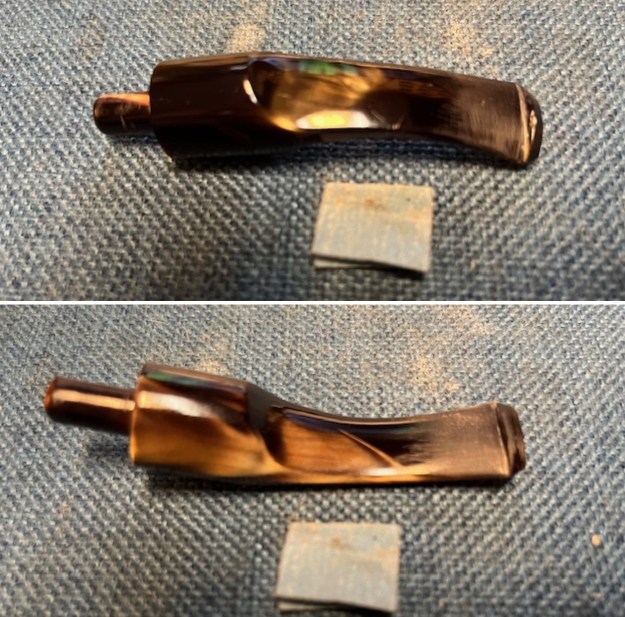
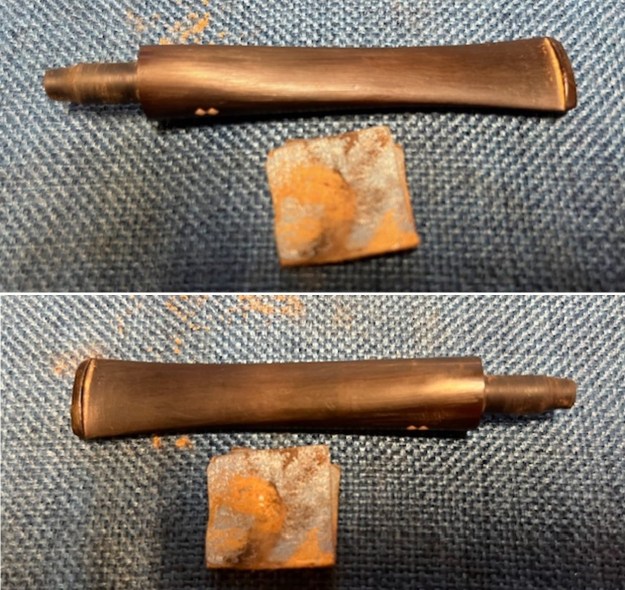
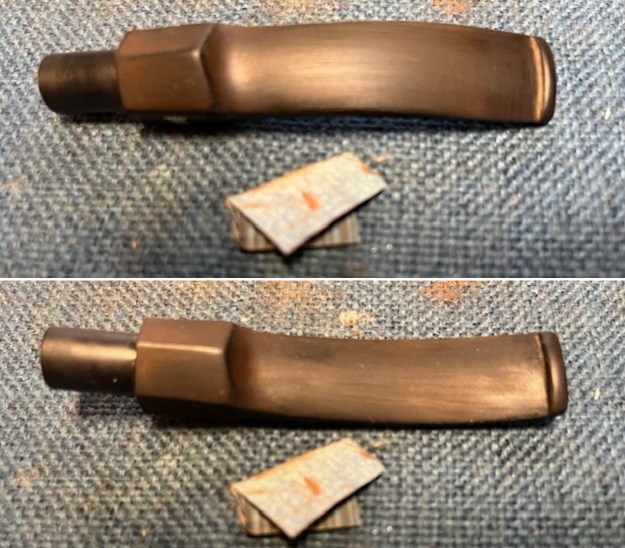
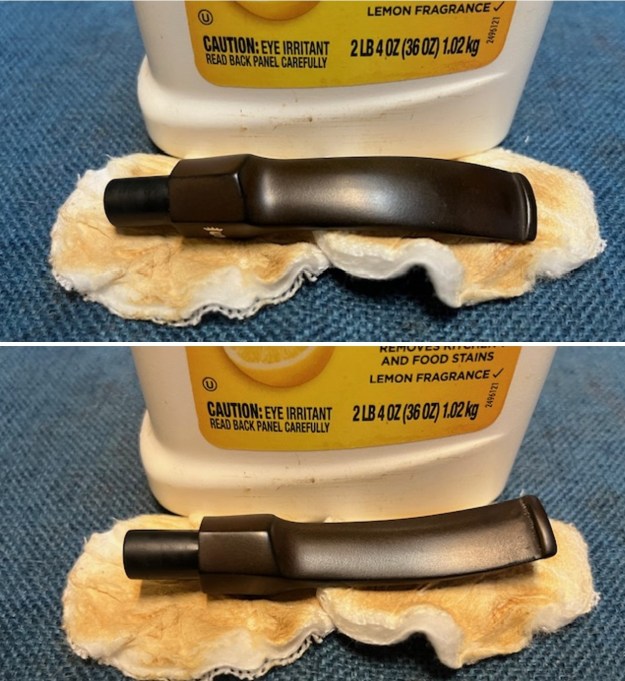 I “painted” the surface of the stem with the flame of a Bic lighter to lift the tooth marks ahead of the button on both sides. It worked very well and I was able to lift them all to the point that sanding the stem would remove the remnants. I sanded it with a folded piece of 220 grit sandpaper to remove the tooth marks and also remove the oxidation. It looked much better.
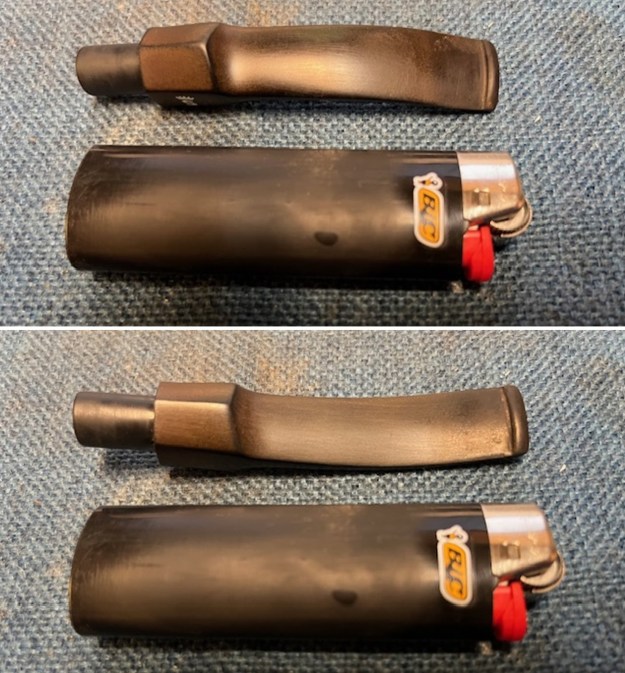
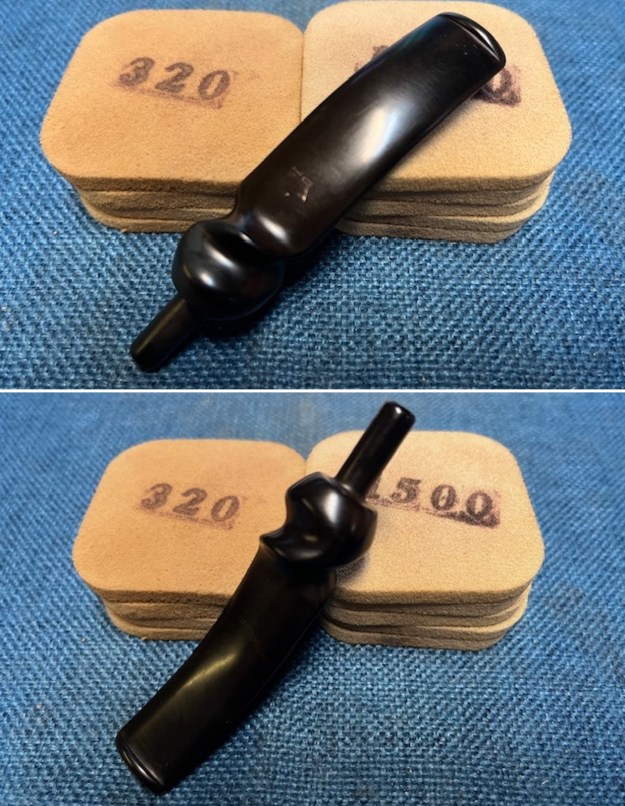
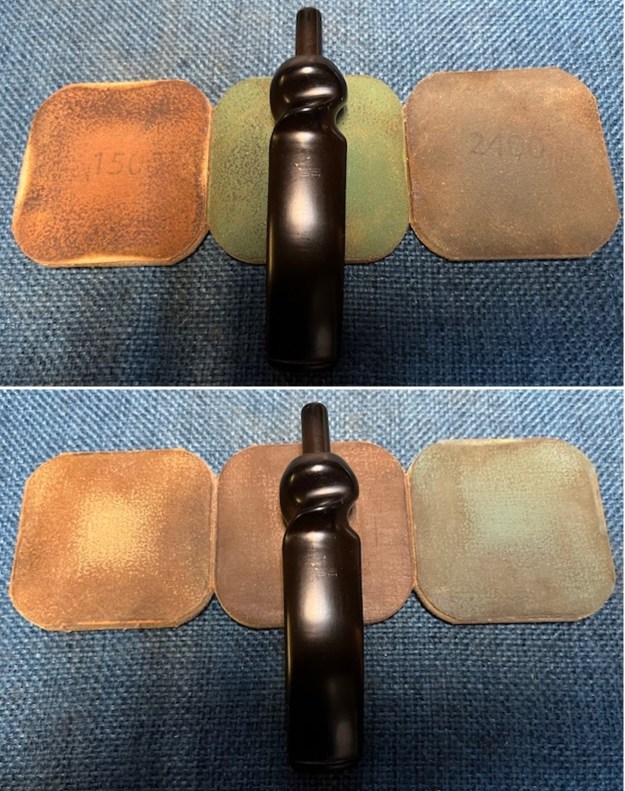
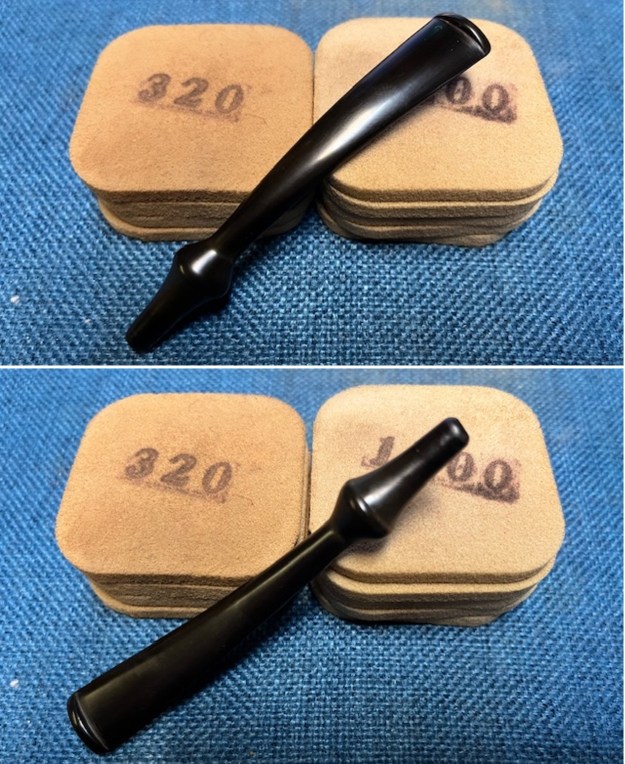
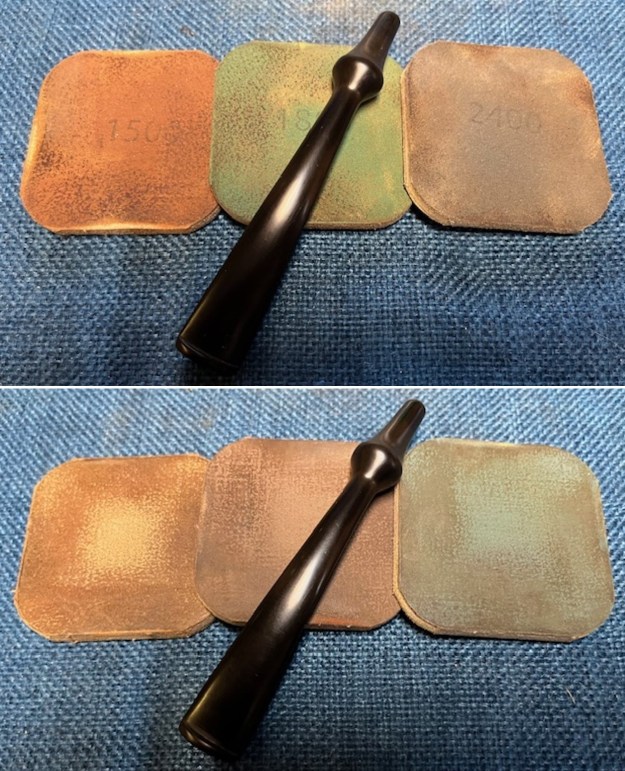
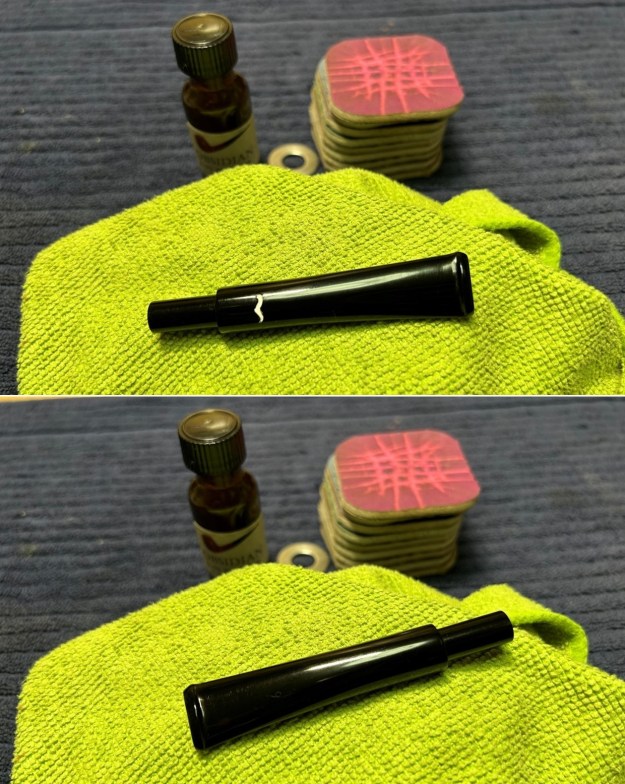
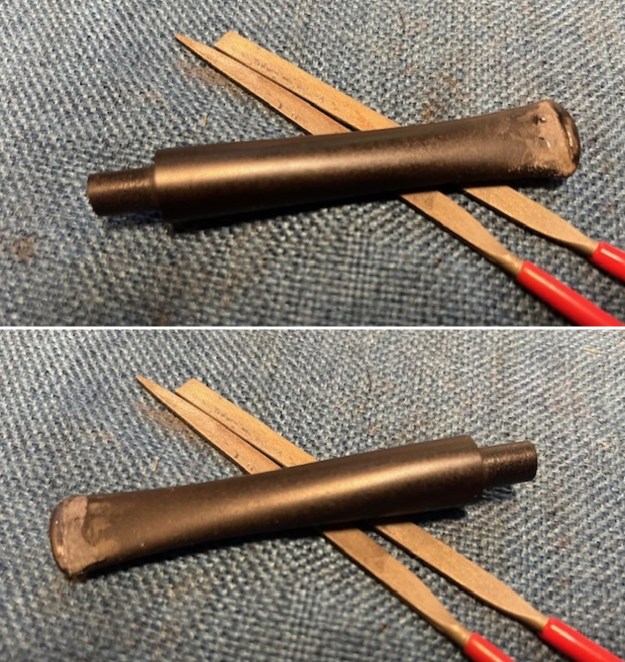
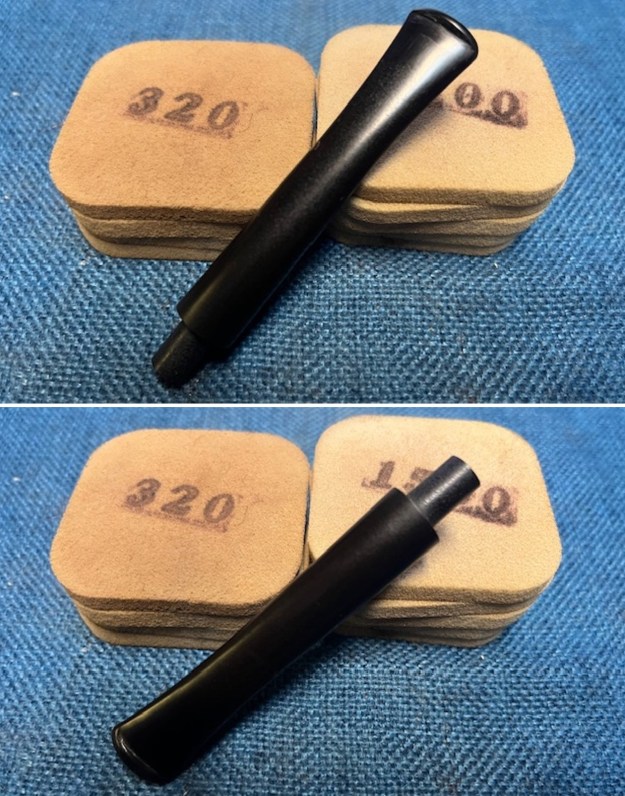
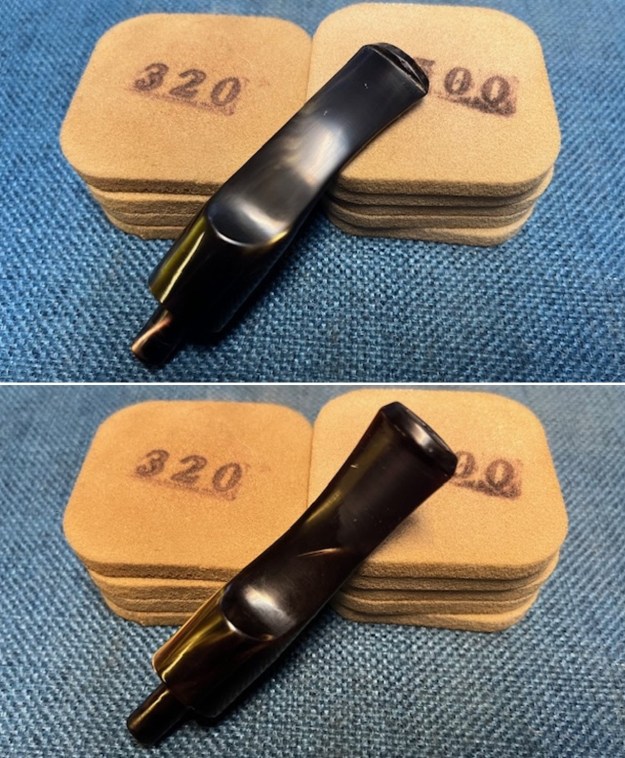
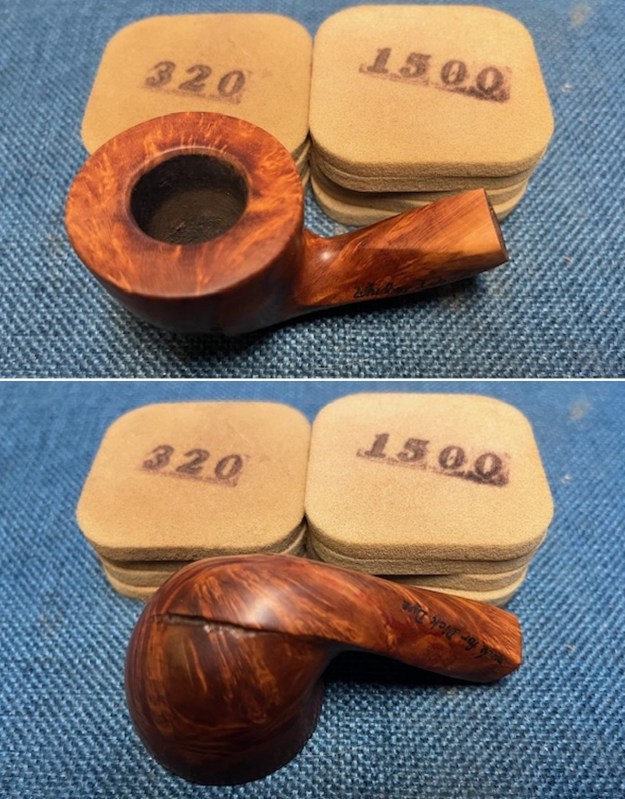
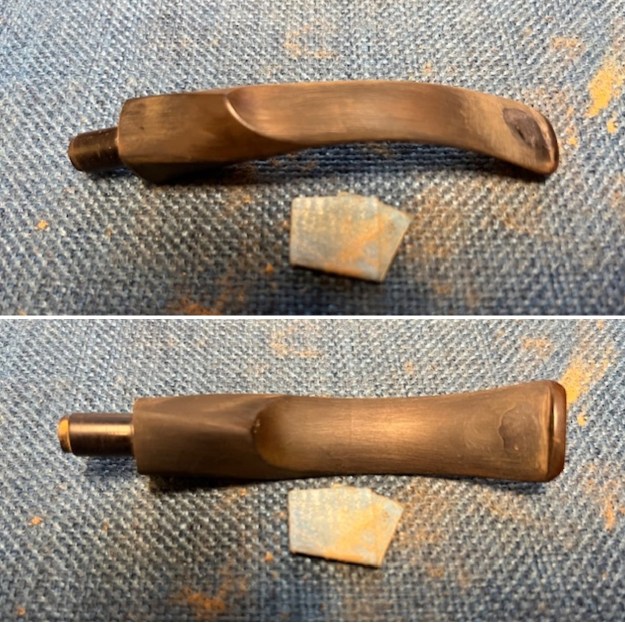
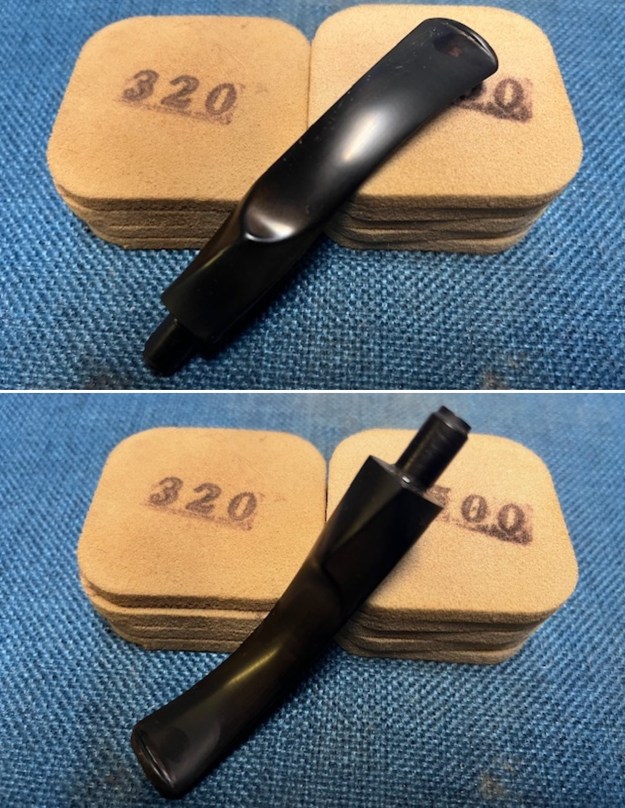
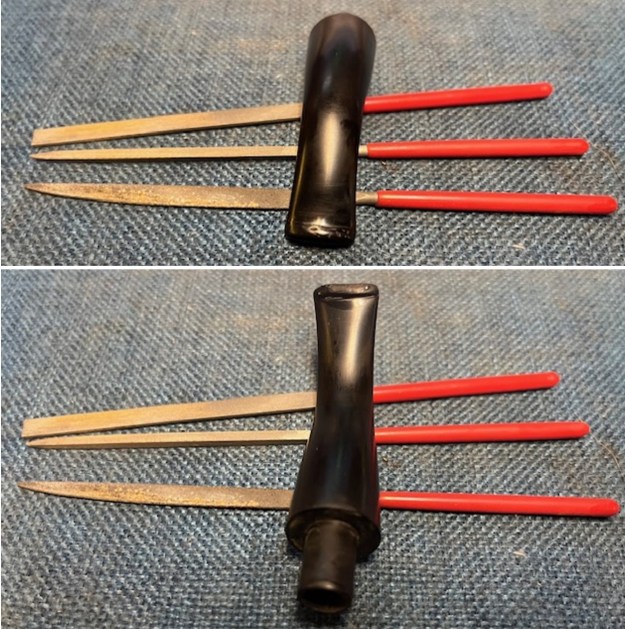
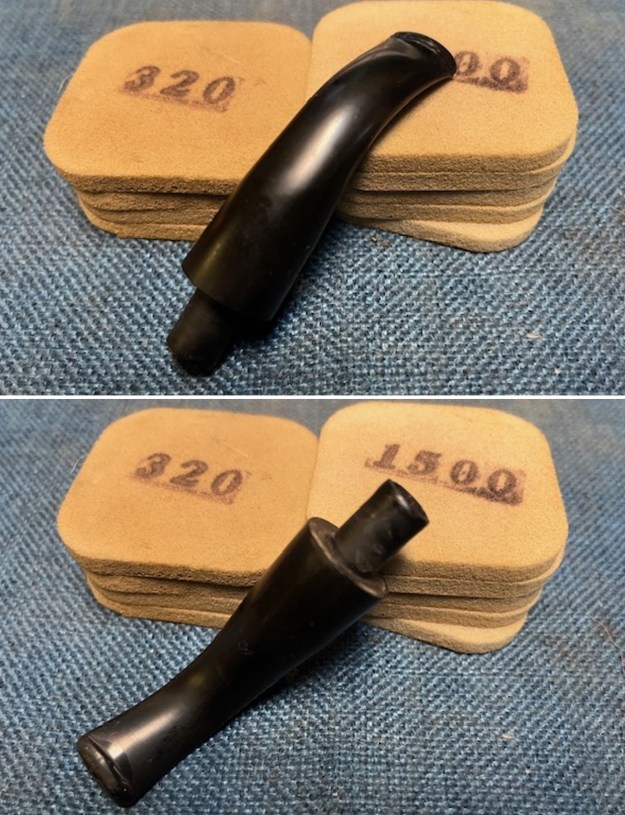
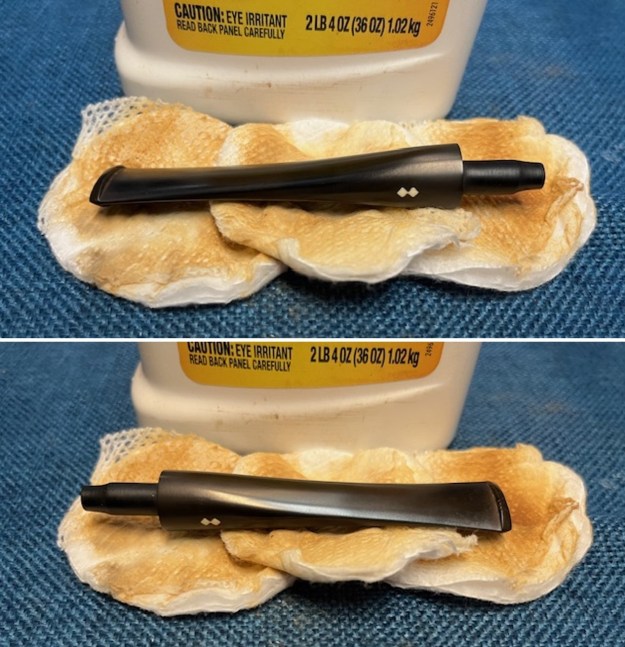
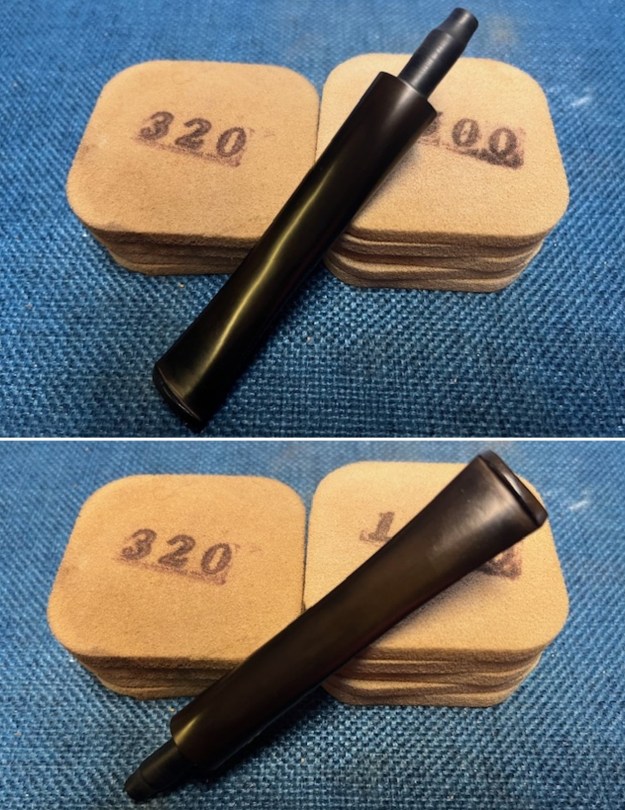
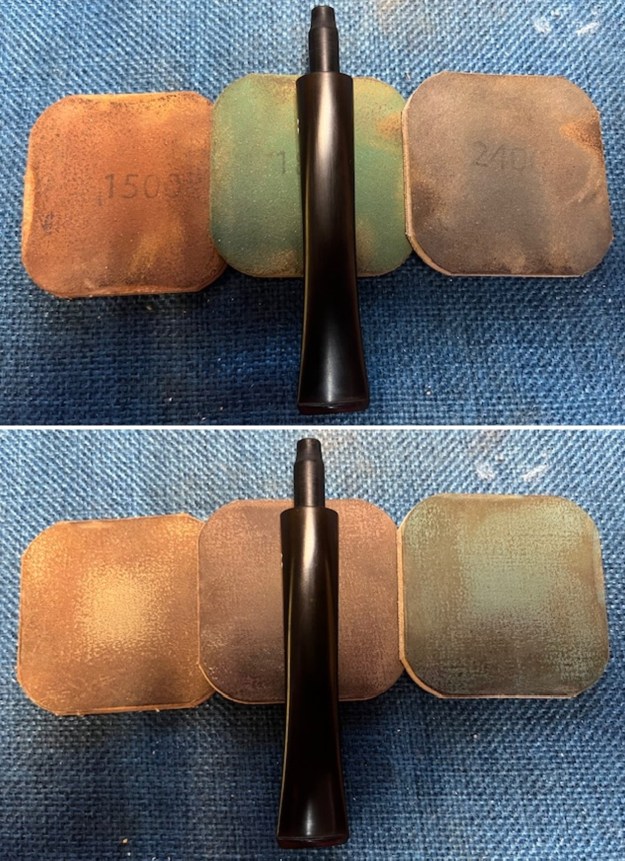
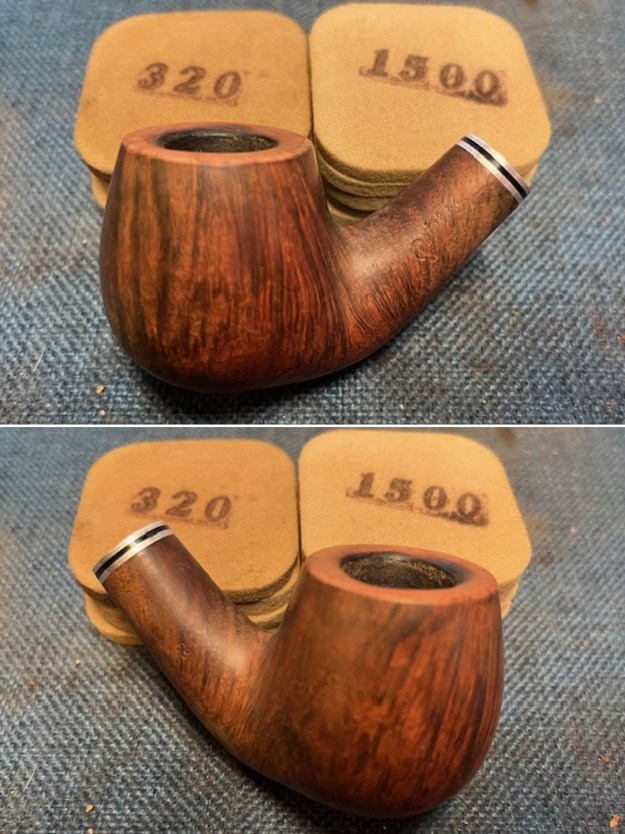
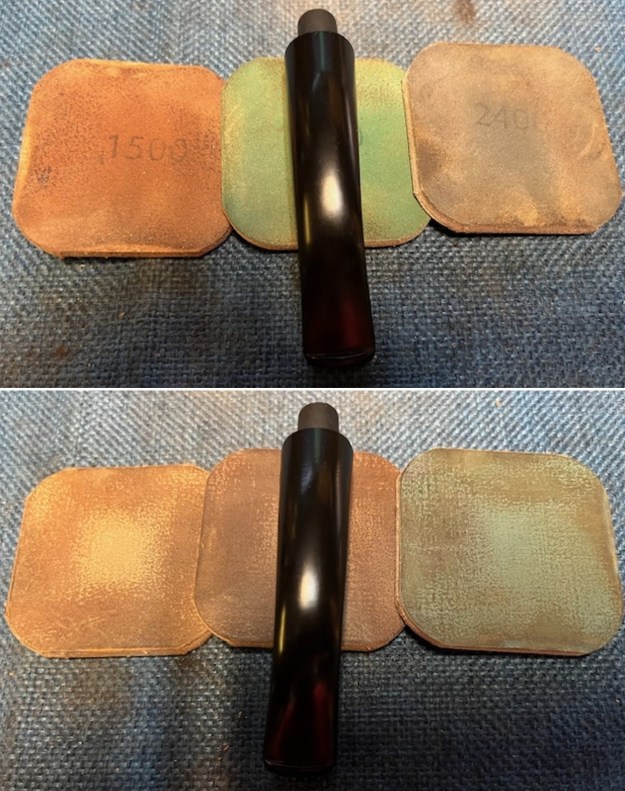
 I sanded the stem with 320-3500 grit sanding pads. Between the pads I wiped the stem down with Obsidian Oil. It is starting to look very good.
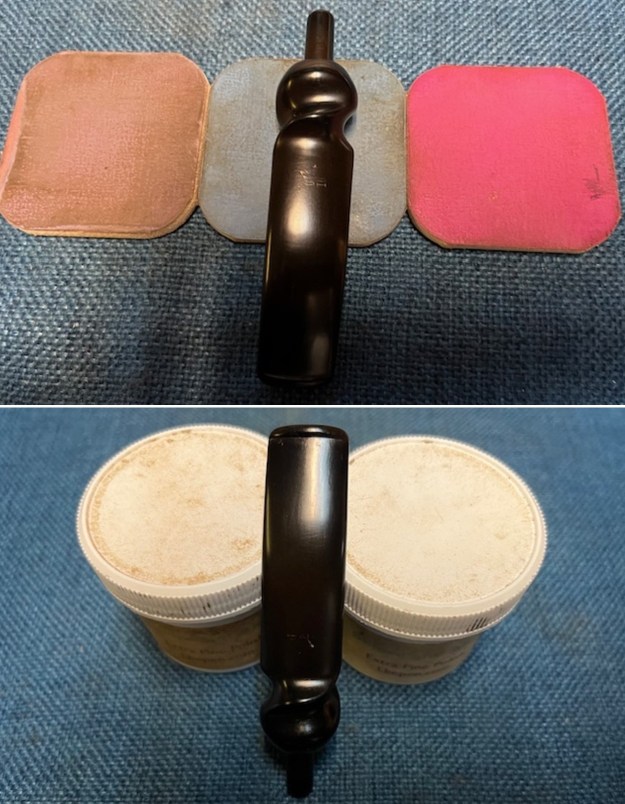
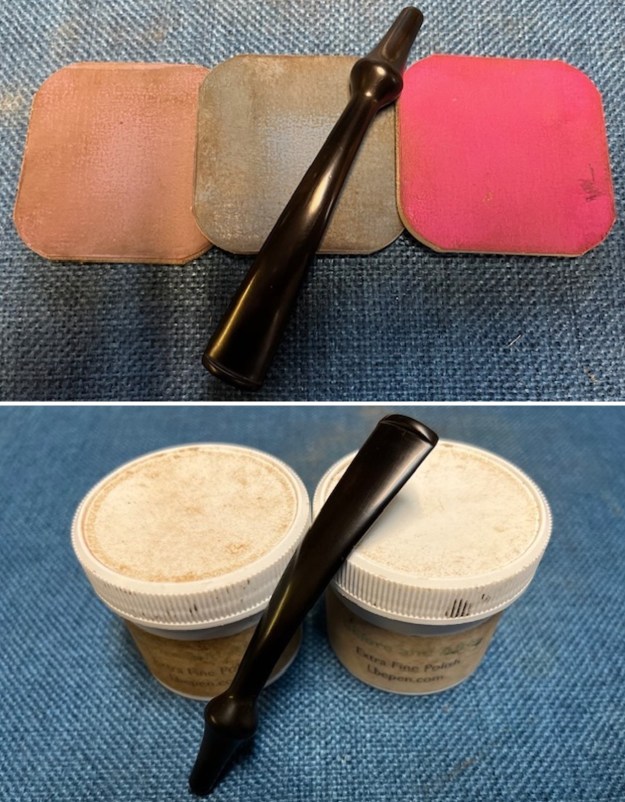
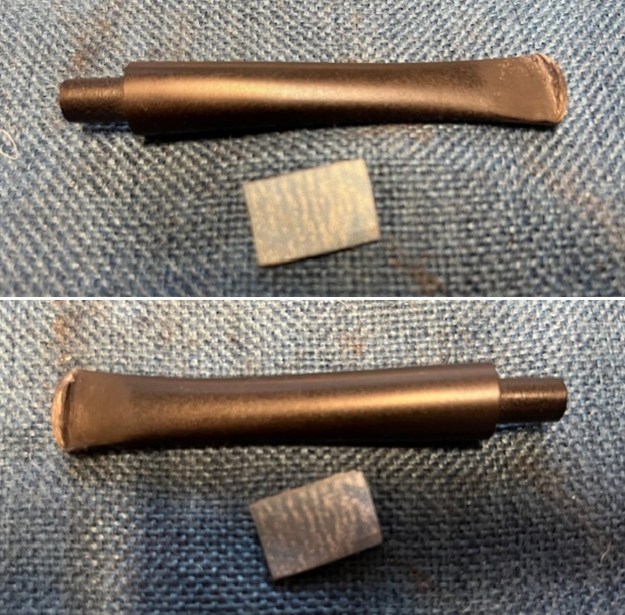
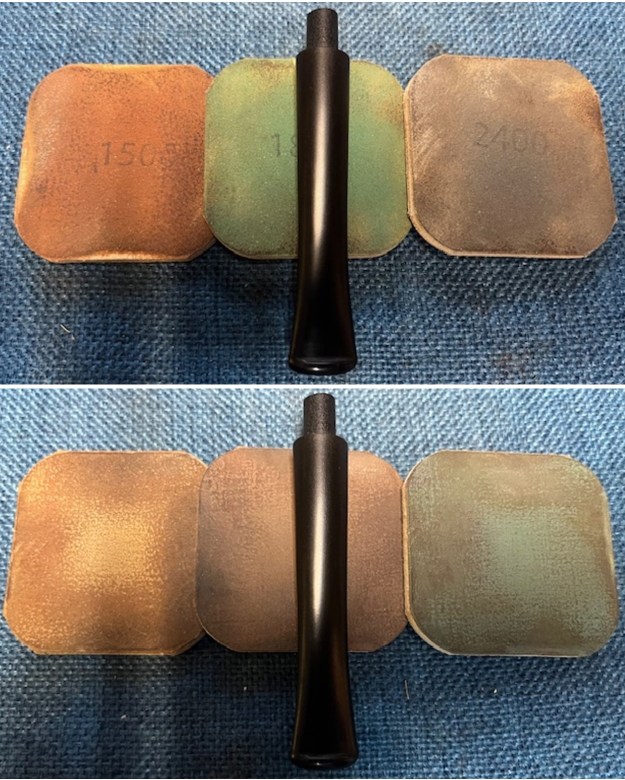
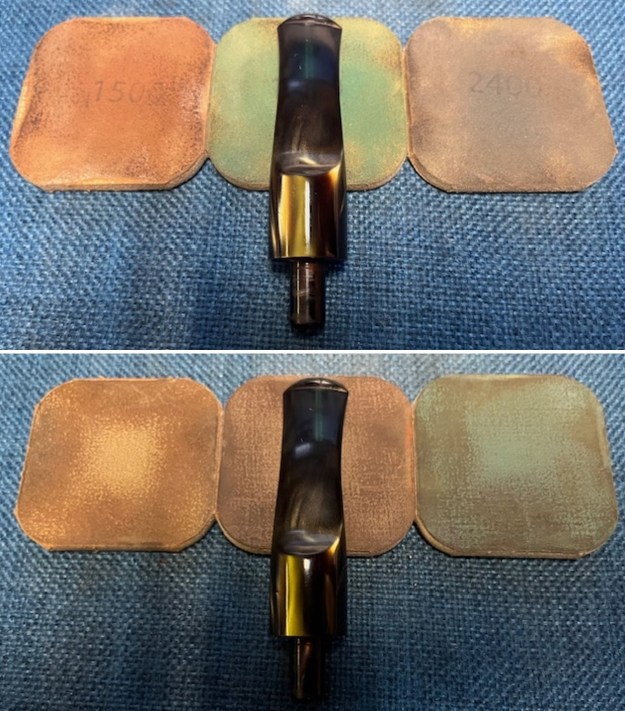
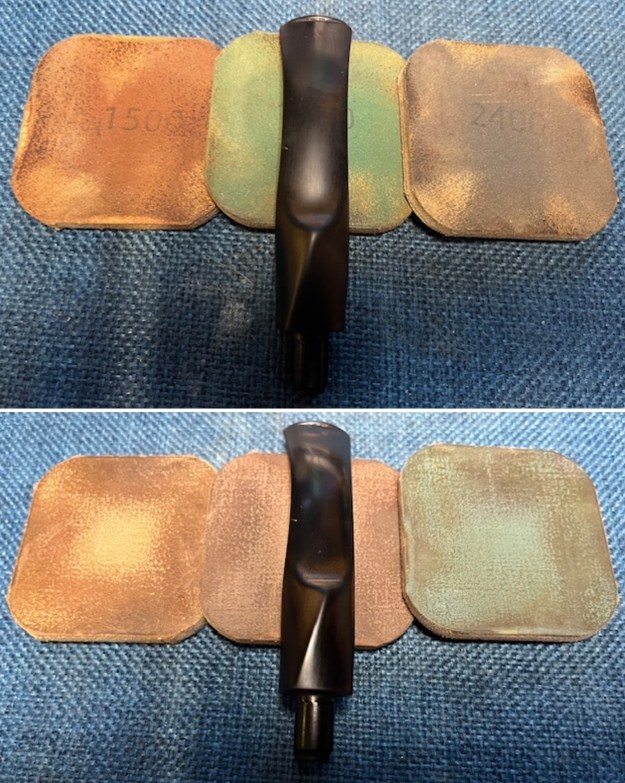
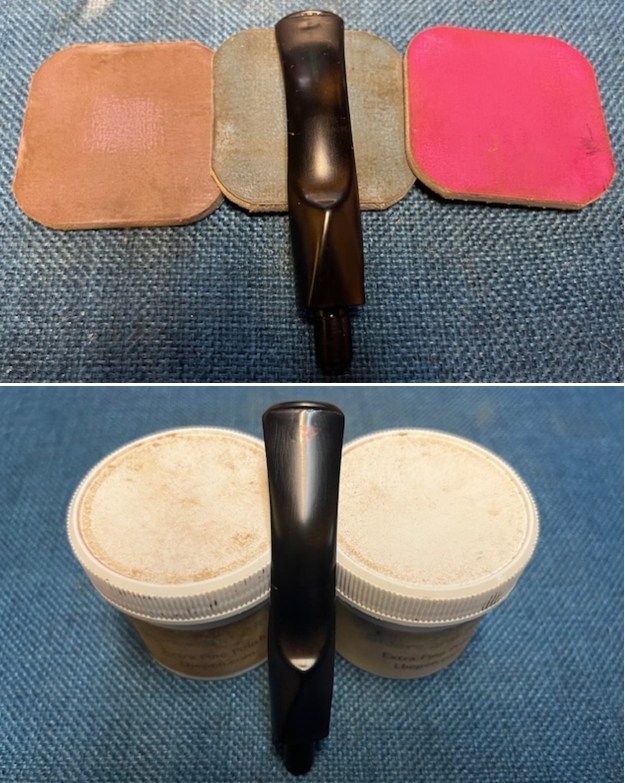
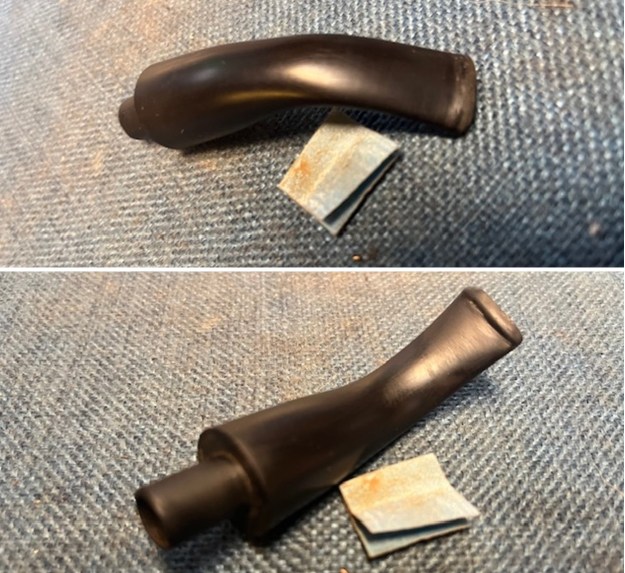
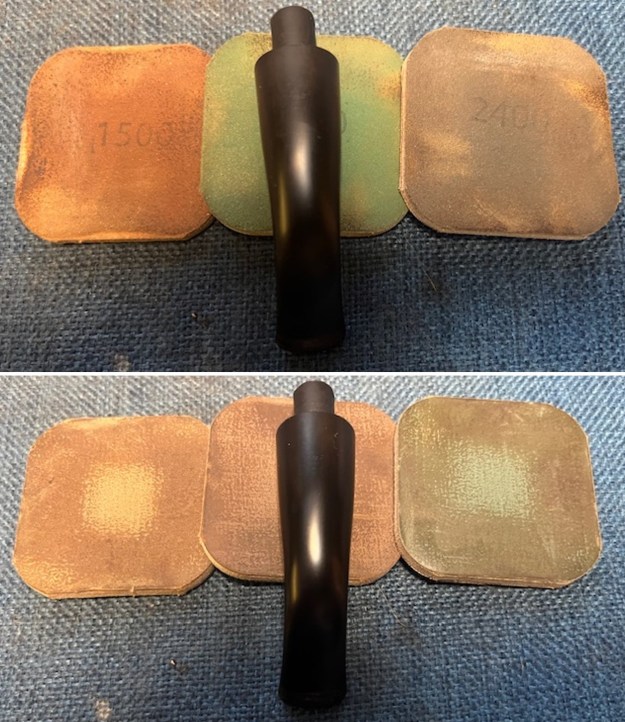
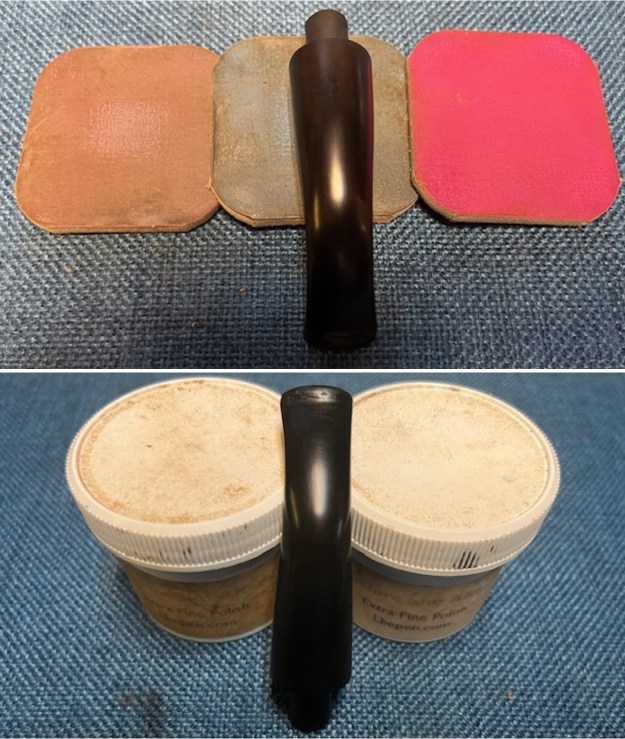
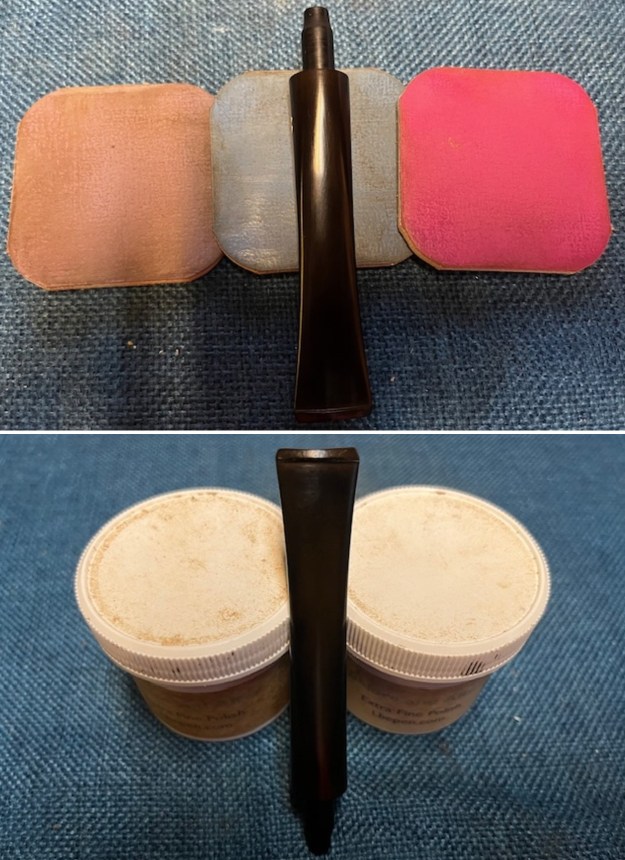
 I polished the stem with micromesh sanding pads – wet sanding it 1500-12000 pads. I wiped it down with Obsidian Oil after each pad to enliven and protect the vulcanite. I polished it with Before After Pipe Polish – both Fine and Extra Fine. I gave the stem another rub down with Obsidian Oil and set it aside to dry.
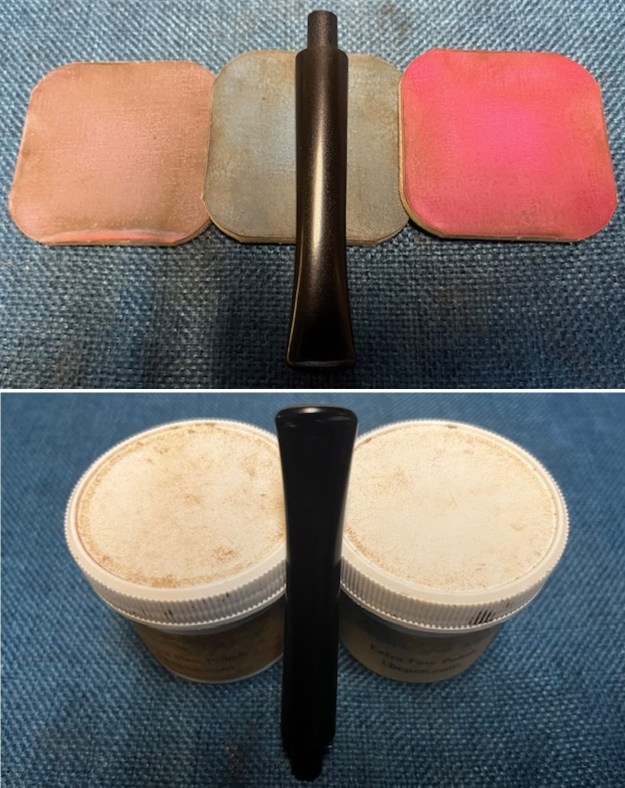
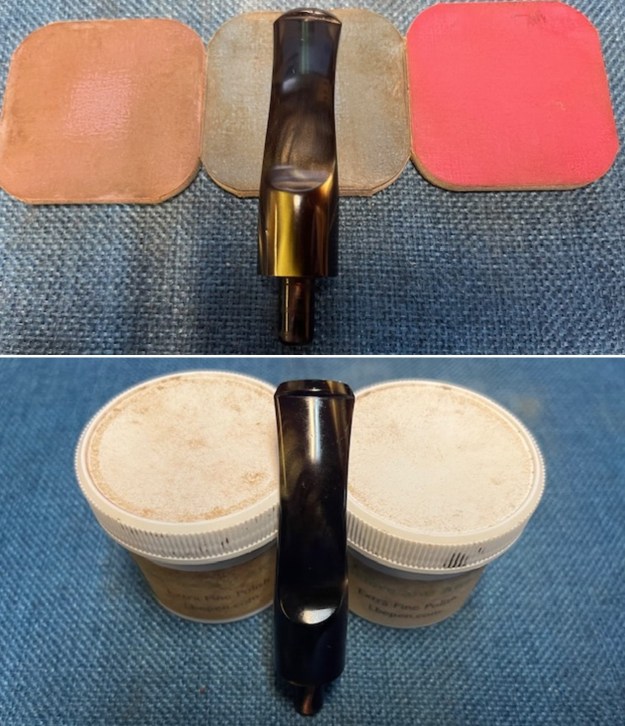
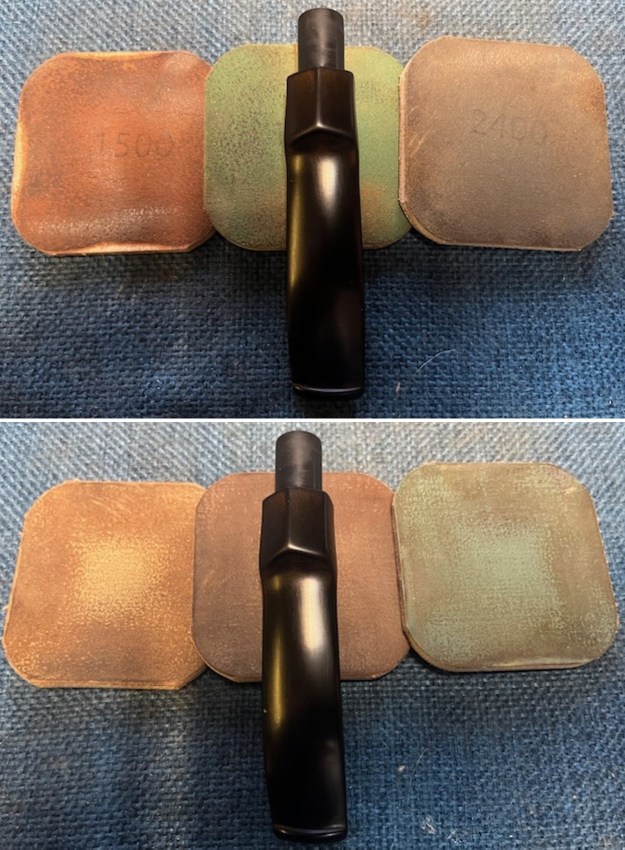
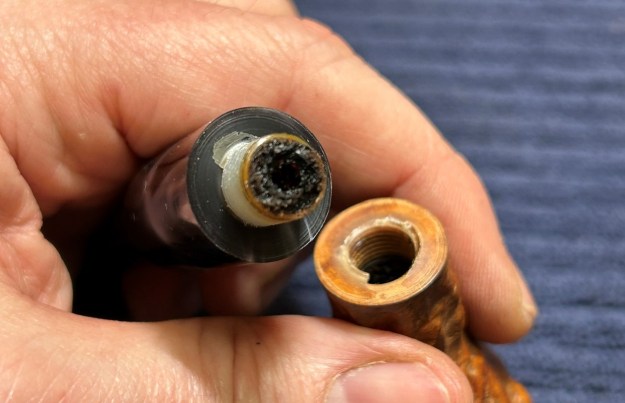
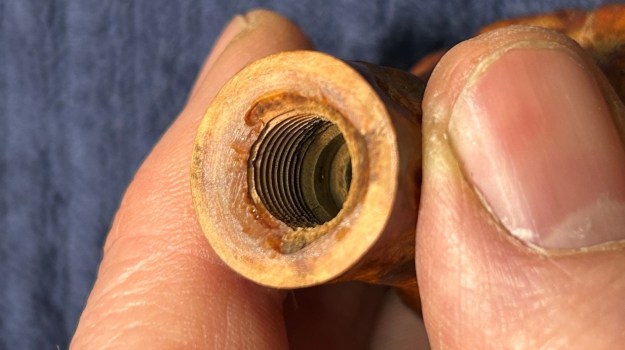
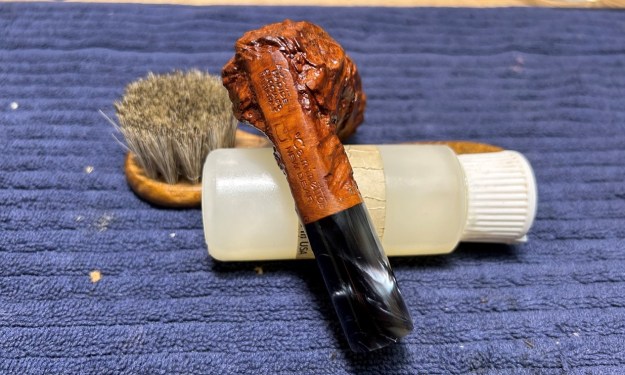
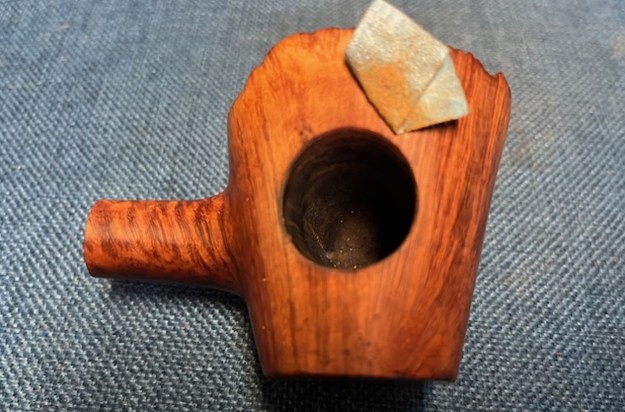
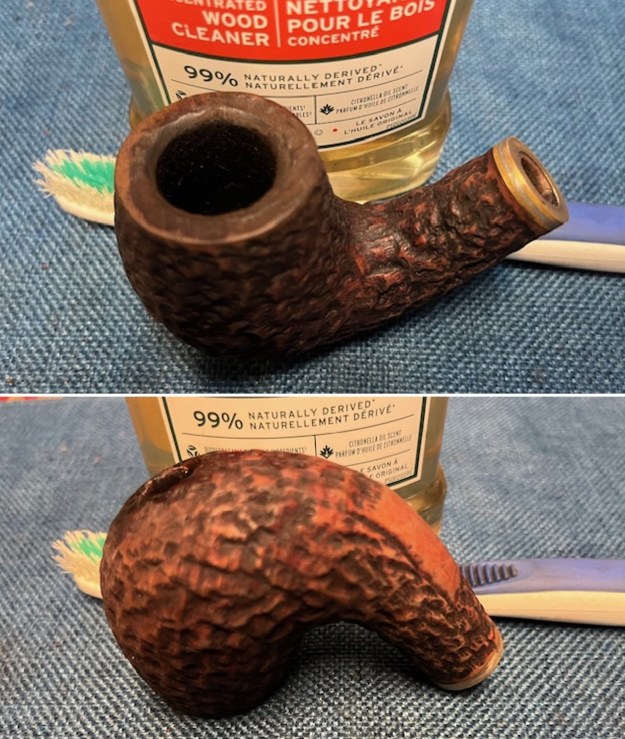
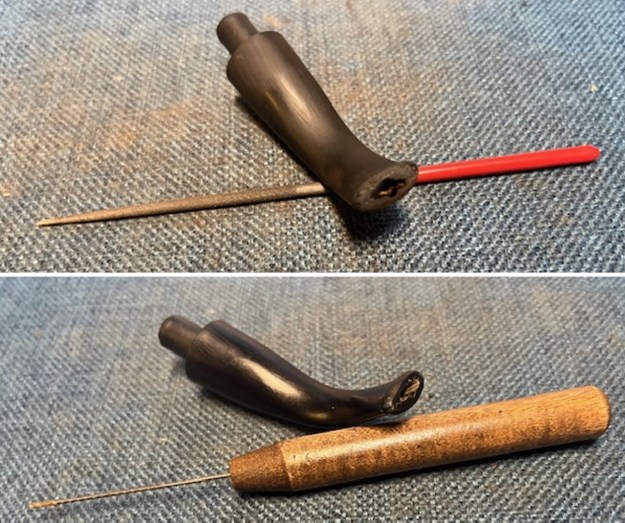
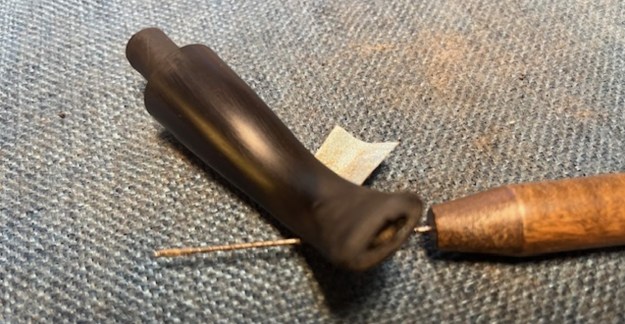
 I fit the stem with a 9mm Dr. Perl Junior filter. The fit of the filter to the stem was perfect. The 9mm was made for it.
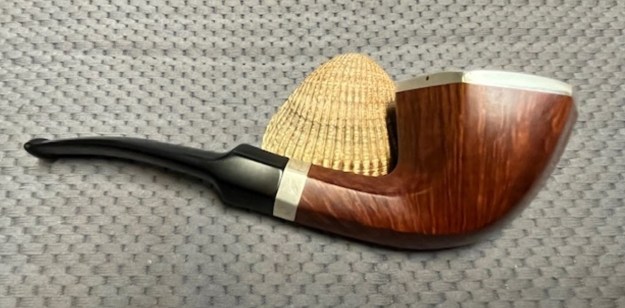
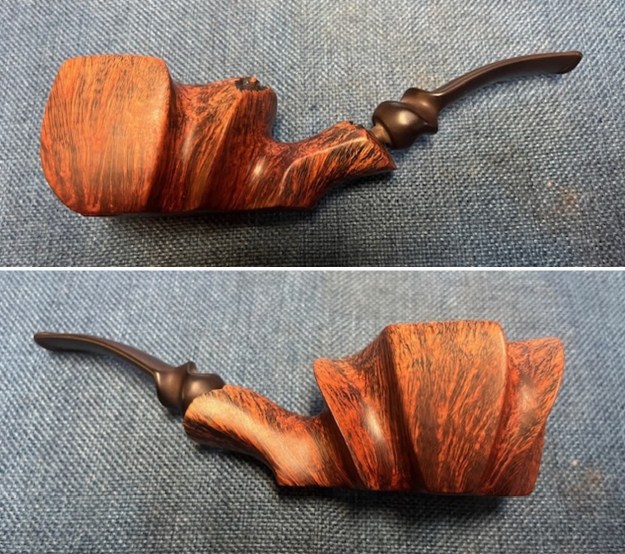
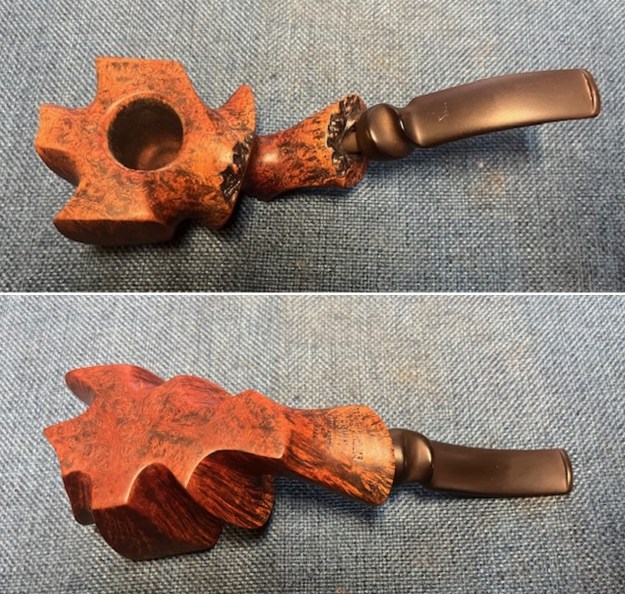
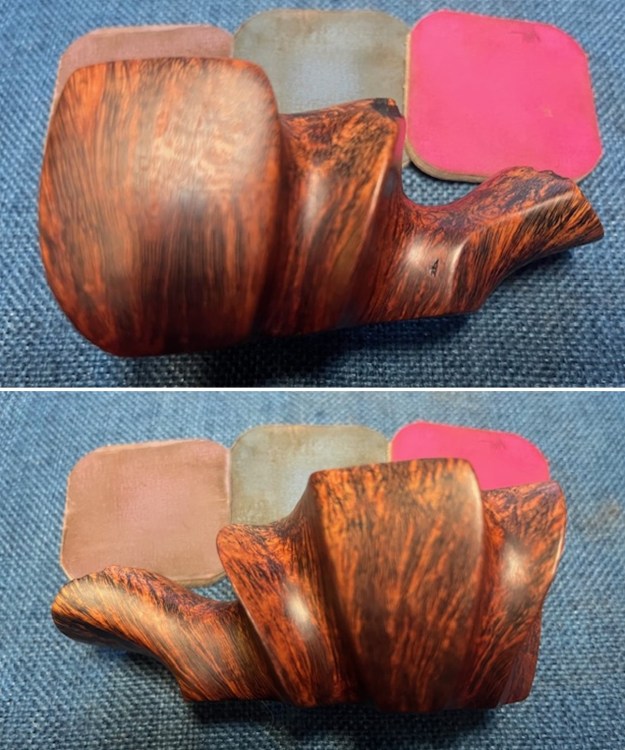
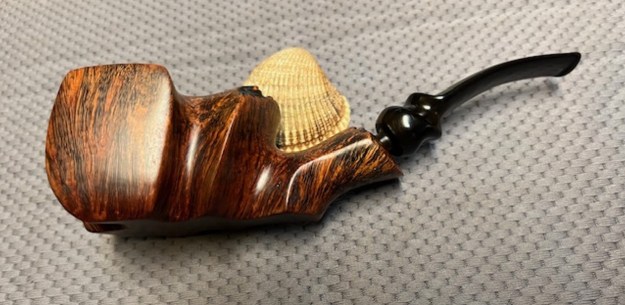
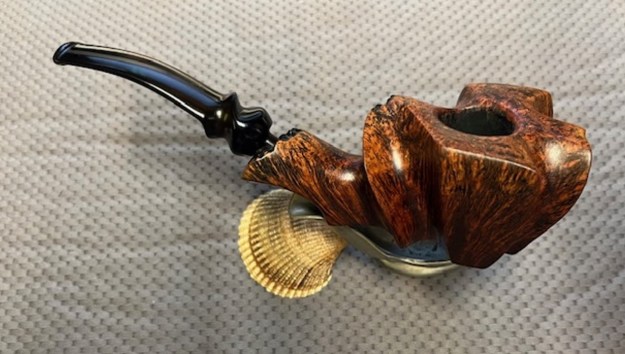
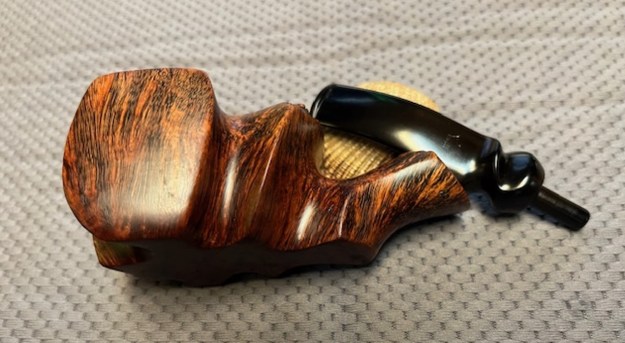
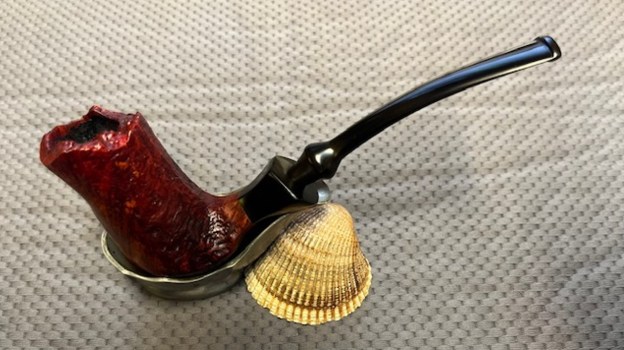
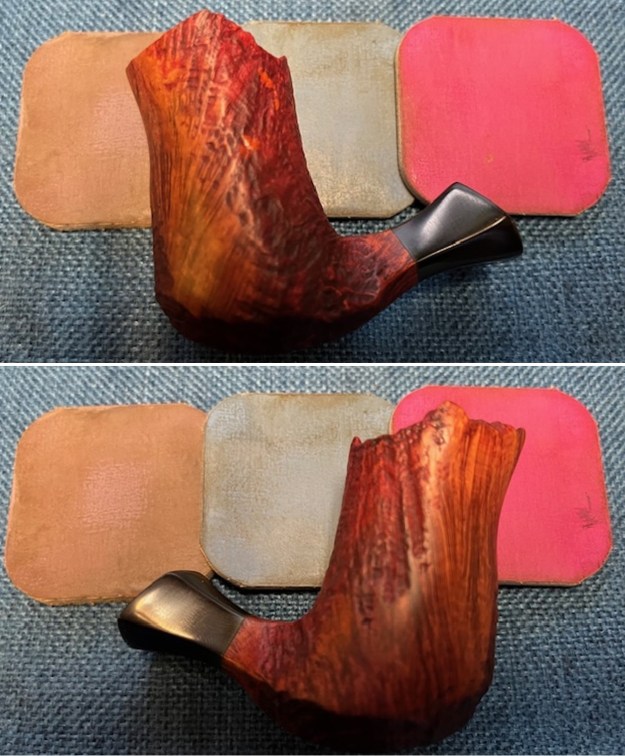
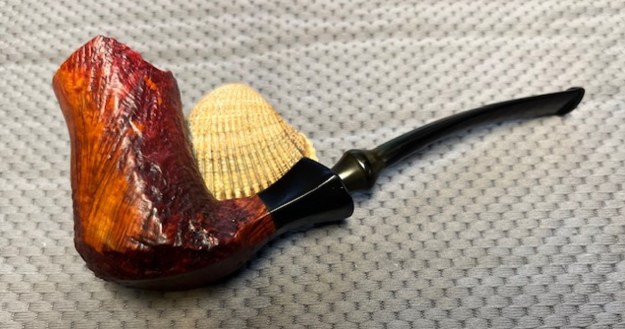
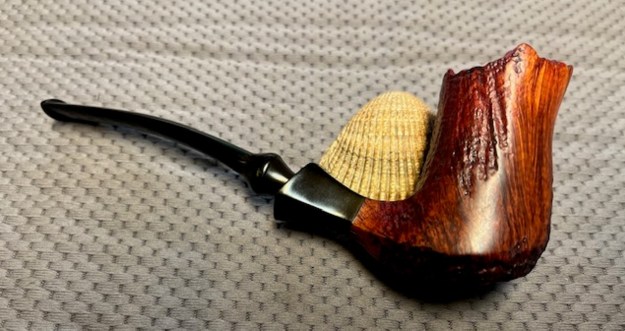
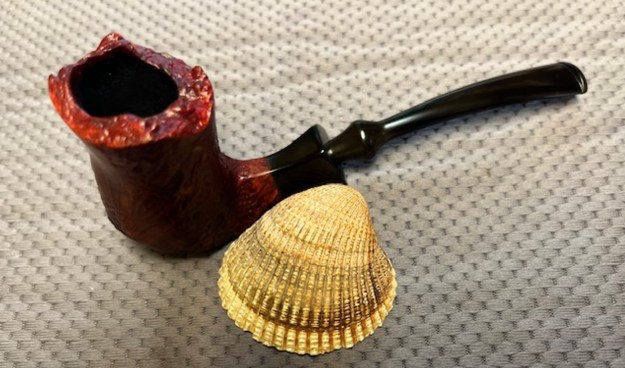
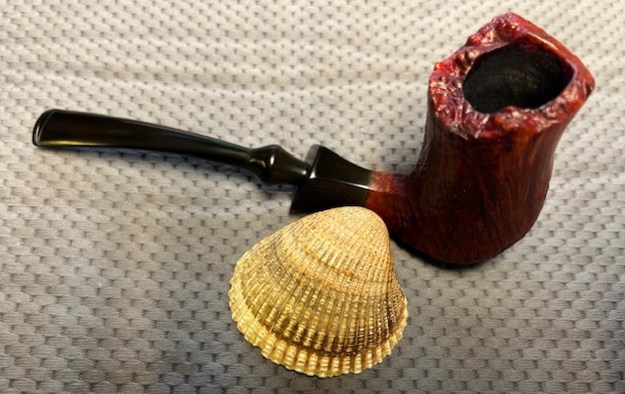
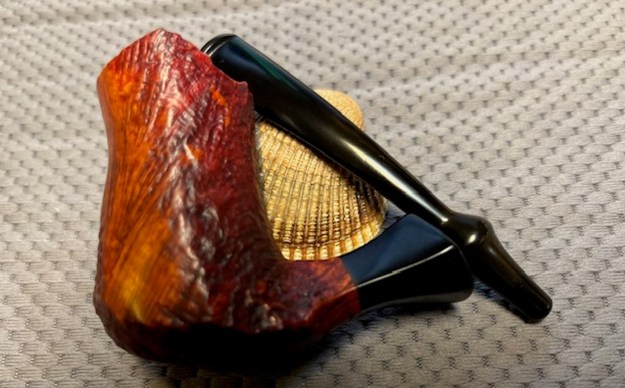
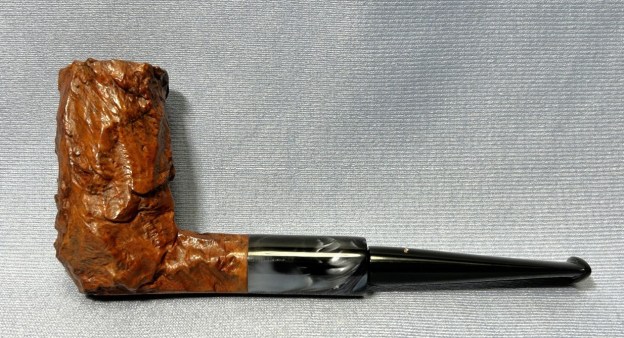
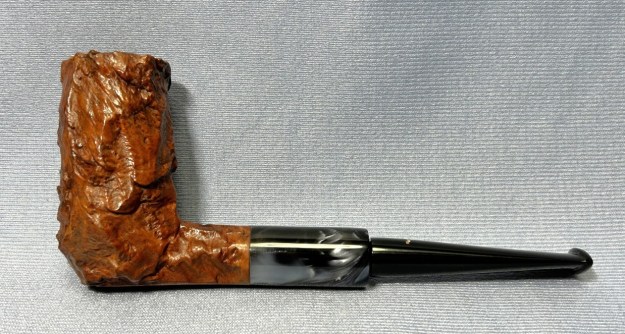
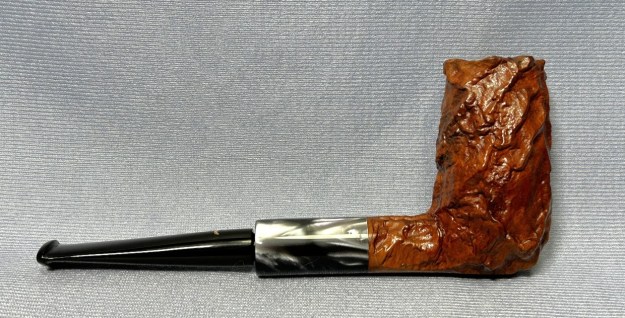
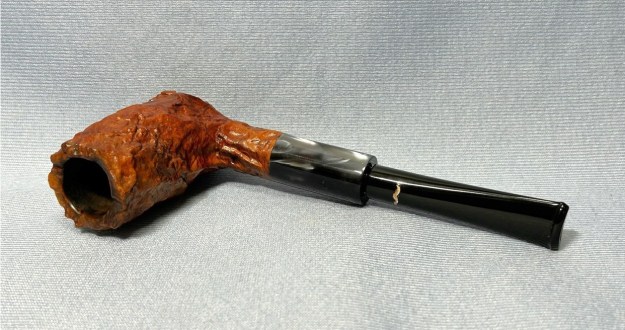
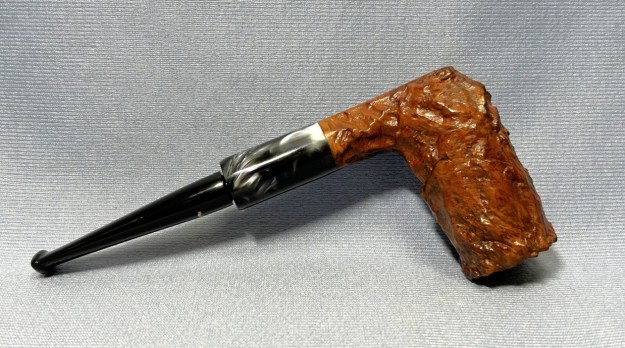
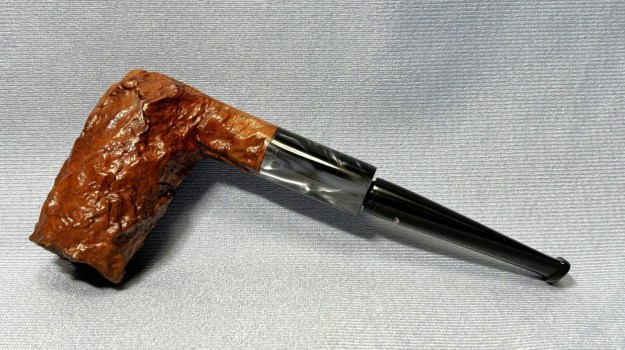
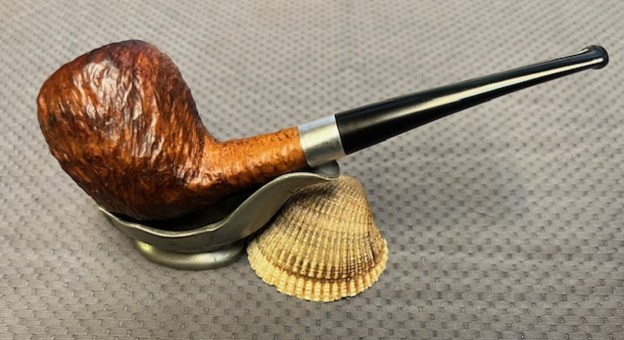
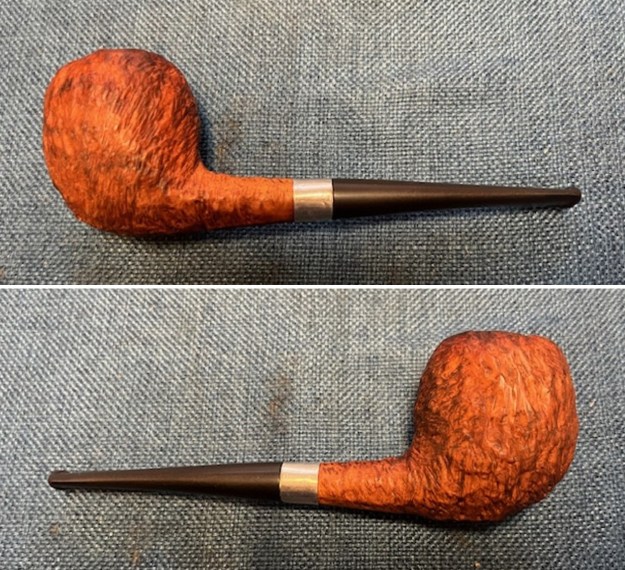
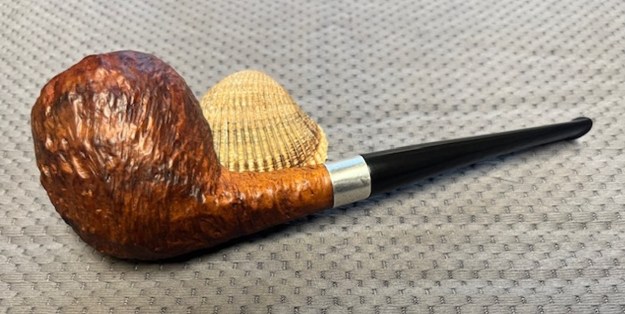
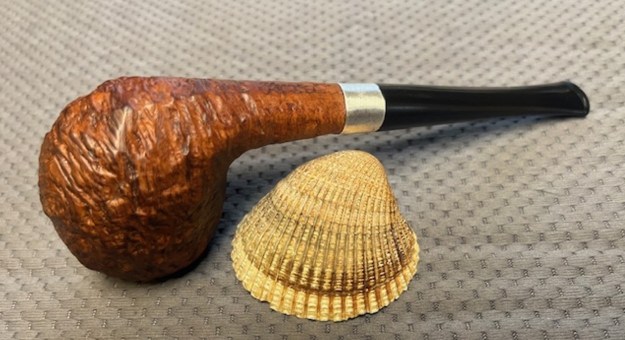
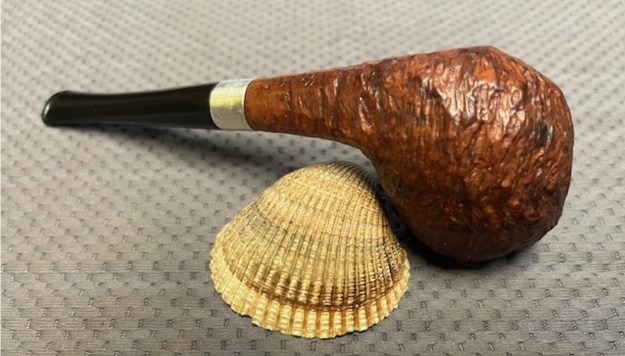
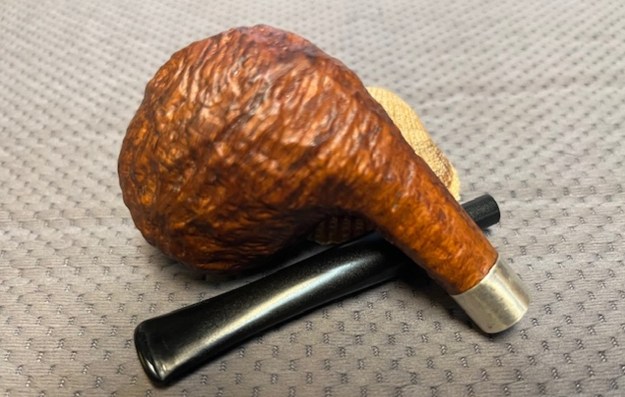
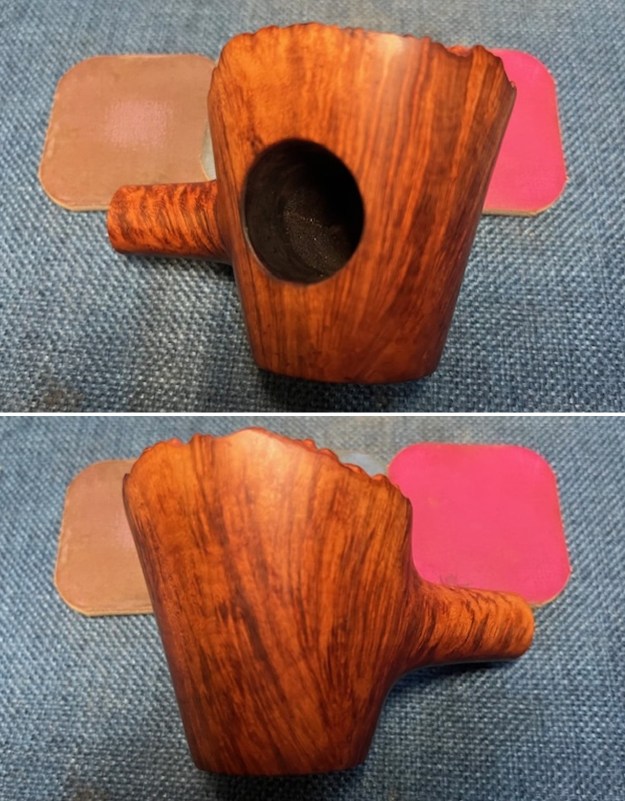
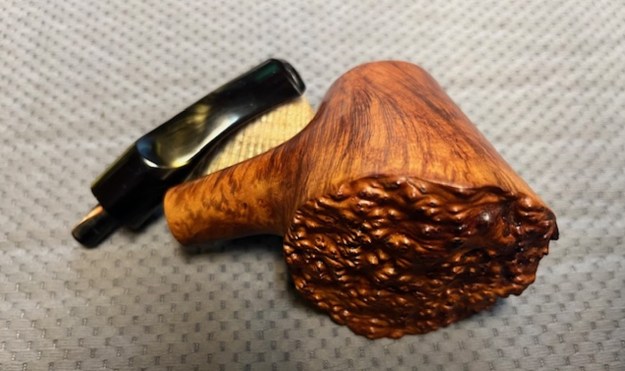
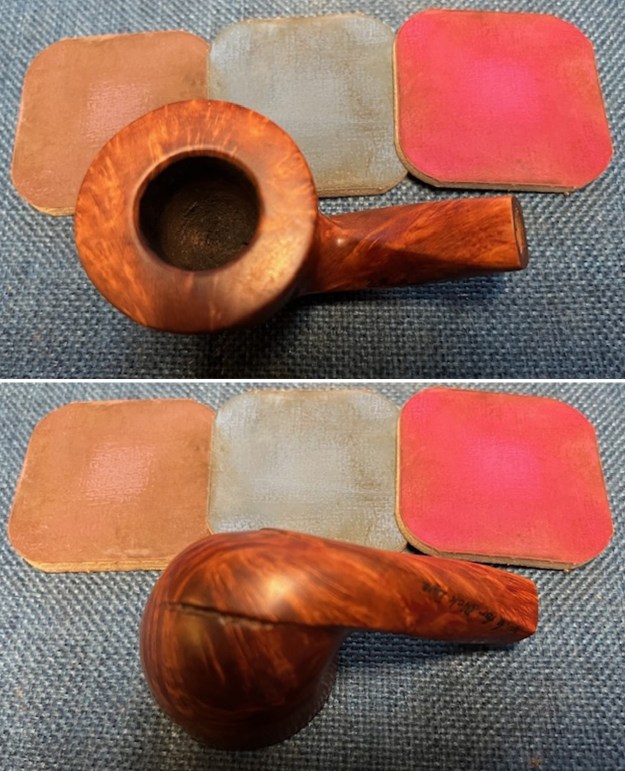
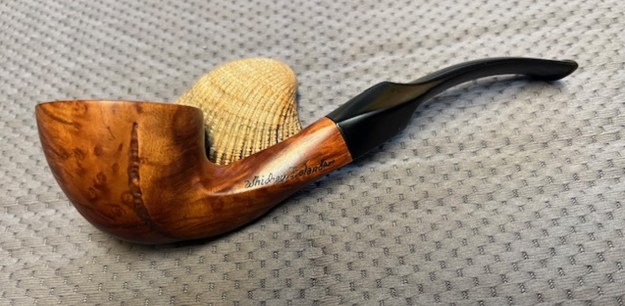
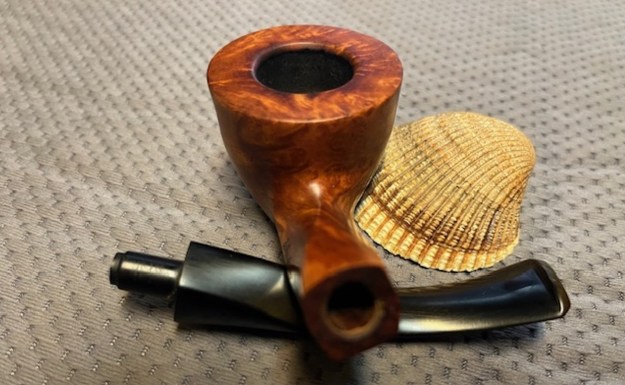
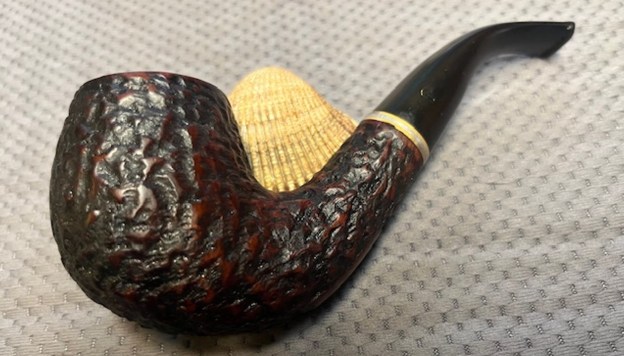
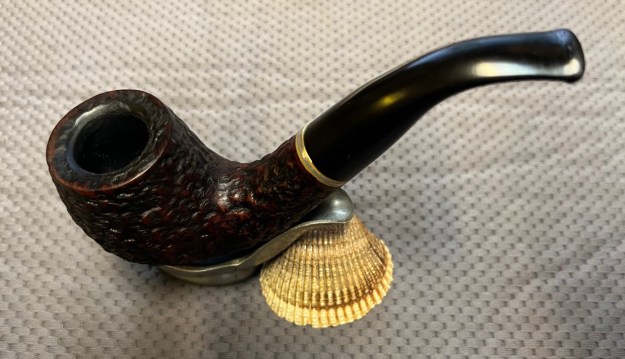
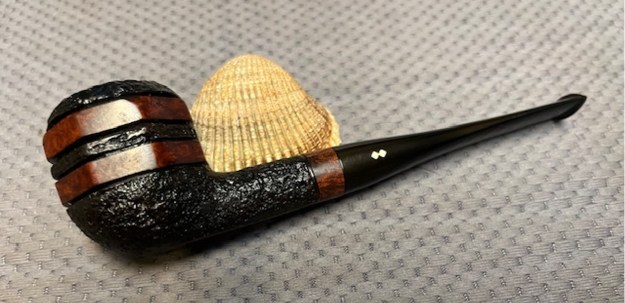
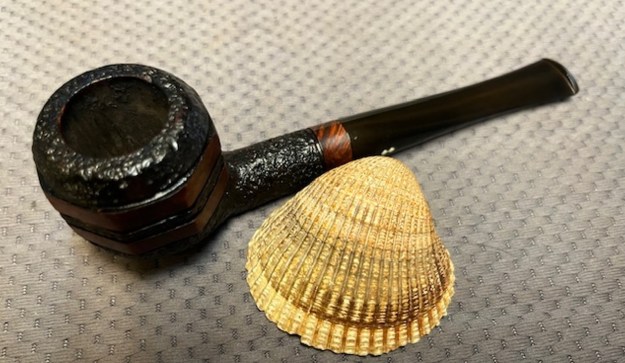
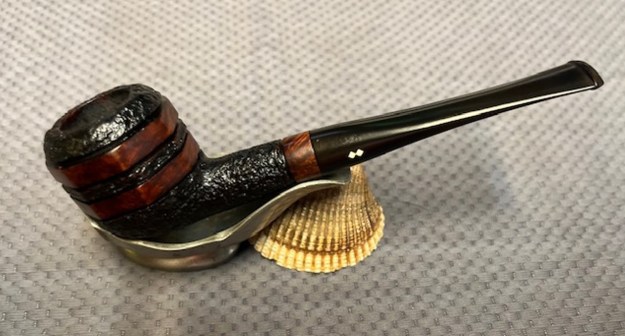
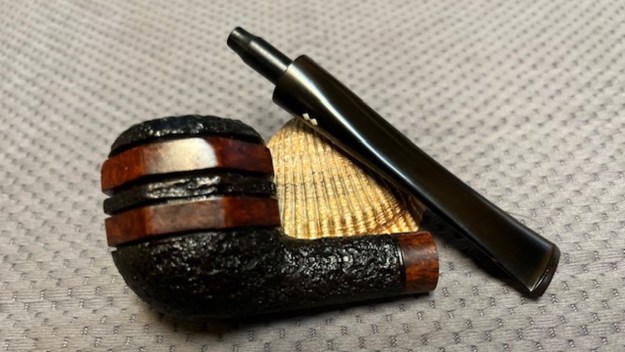
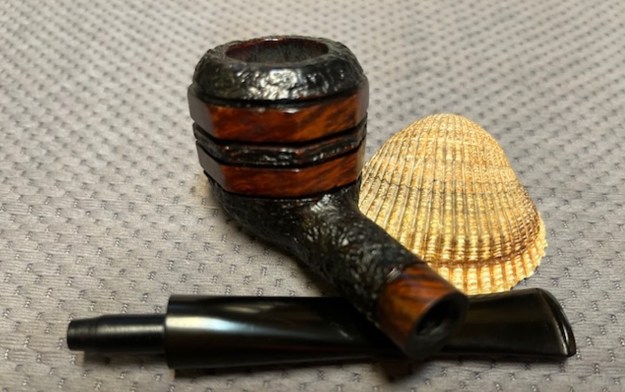
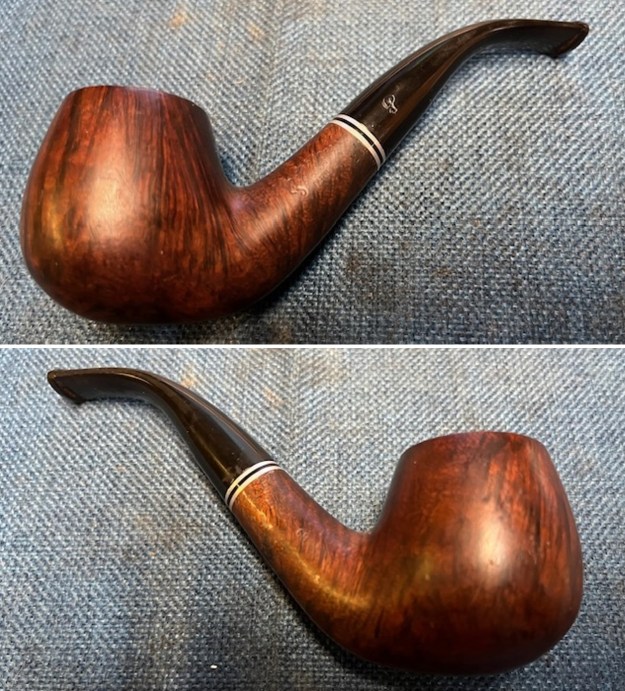
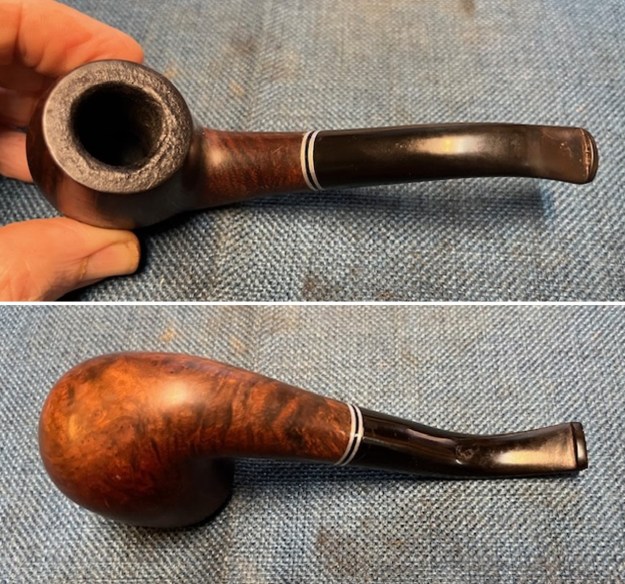
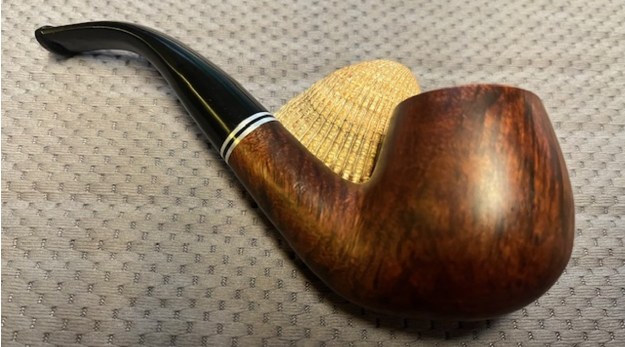
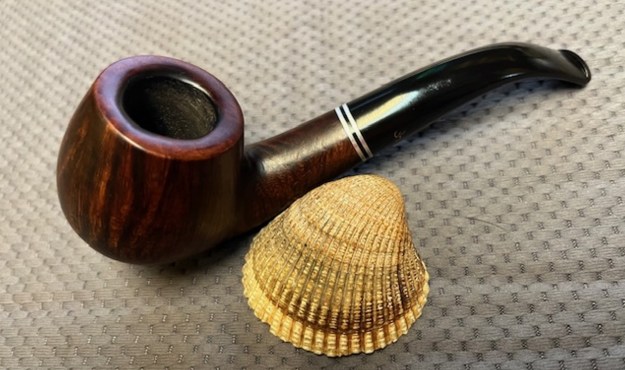
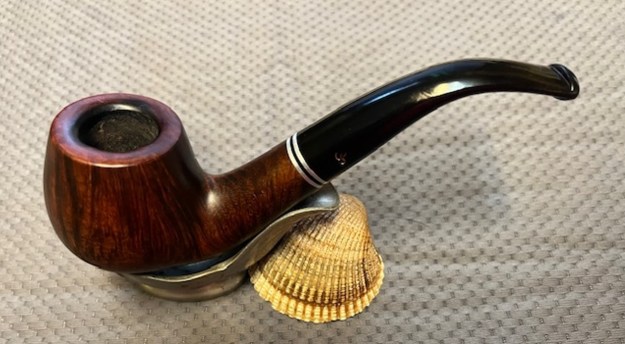
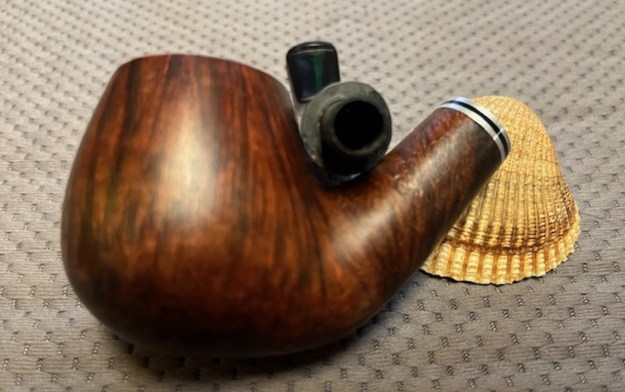
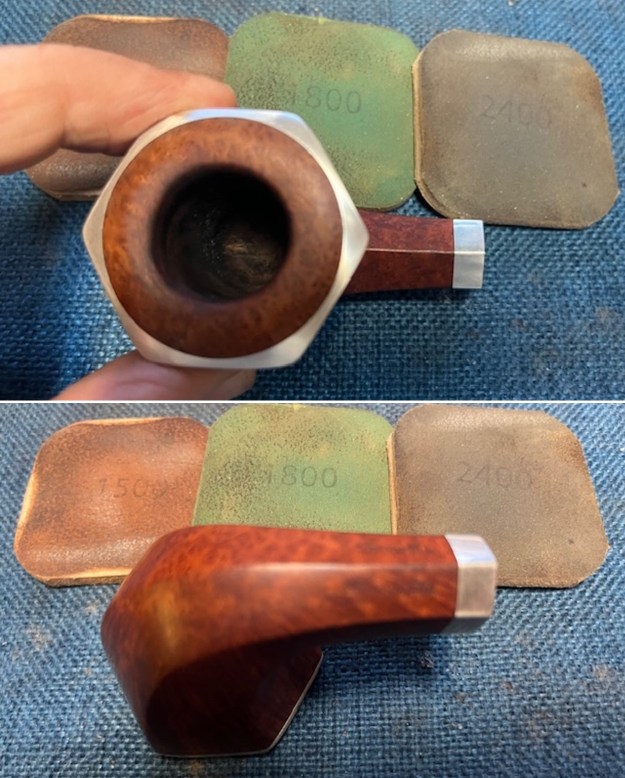
 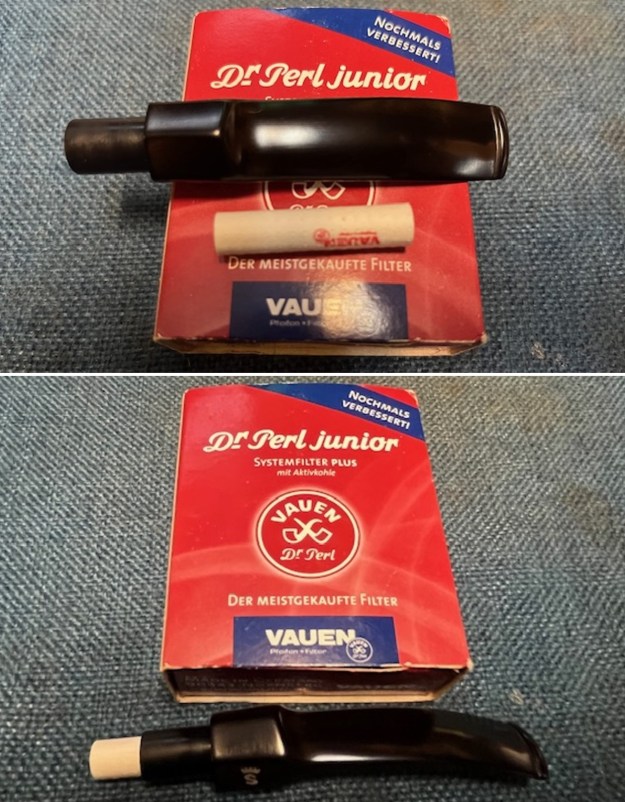 This Jess Chonowitsch Designed Stanwell Faceted Hexagon Freehand 163 with a hexagon vulcanite saddle stem fit for 9mm filters is a great looking pipe now that it has been restored. The beautiful grain on the briar and the silver rim edges and band shines through the polished finish and is stunning. I put the stem back on the bowl and carefully buffed the pipe with Blue Diamond on the buffing wheel. I gave the bowl and the stem multiple coats of carnauba wax on the buffing wheel and followed that by buffing the entire pipe with a clean buffing pad. I hand buffed the pipe with a microfiber cloth to deepen the shine. The finished Stanwell Faceted Silver Rim and Shank Band 163 fits nicely in the hand and feels great. Give the finished pipe a look in the photos below. The dimensions of the pipe are Length: 5 ½ inches, Height: 1 ¾ inches, Outside diameter of the bowl: 1 ¾ inches, Chamber diameter: ¾ of an inch. The weight of the pipe is 52 grams/1.83 ounces. I will soon be adding it to the rebornpipe store in the Danish Pipe Making Companies Section. If you are interested in this pipe send me a message or an email. Thanks for reading this blog and my reflections on the pipe while I worked on it. There are many more to come!
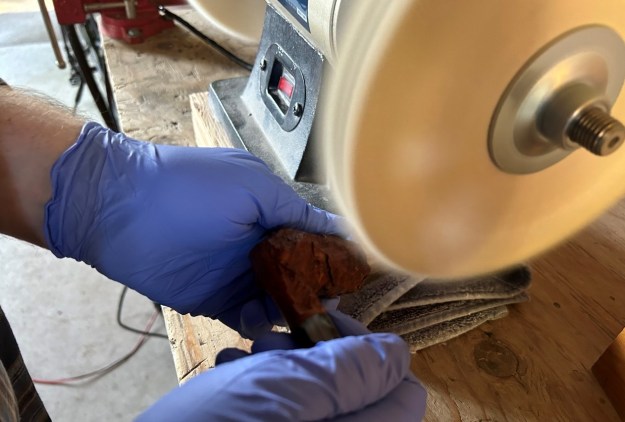