
by Steve Laug
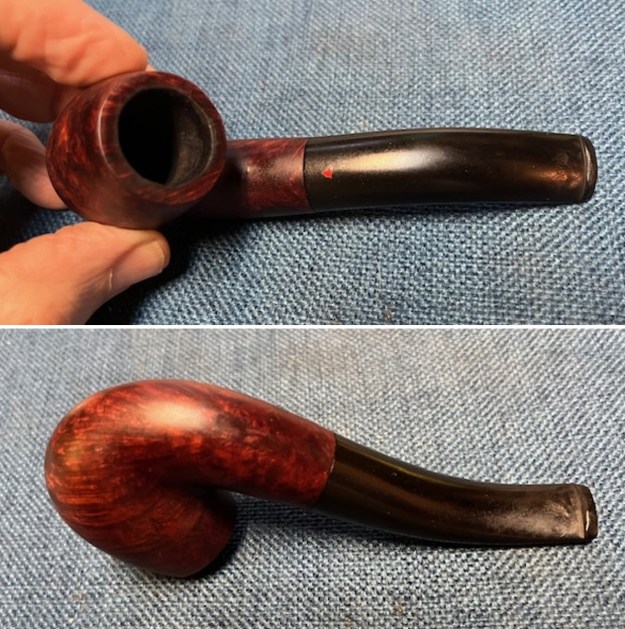
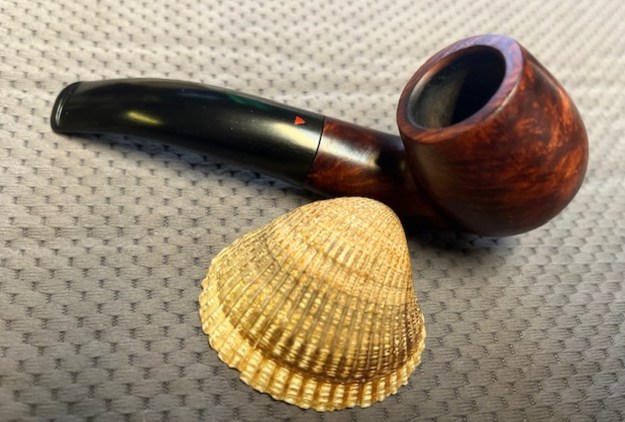
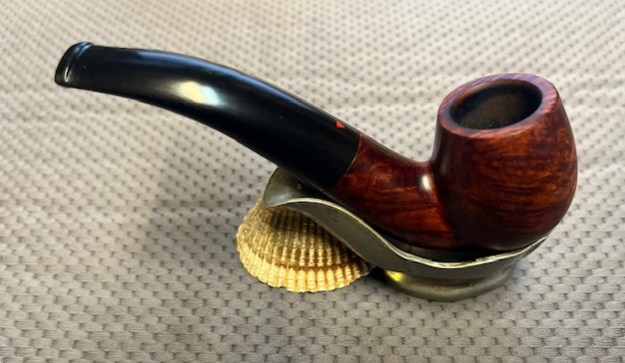
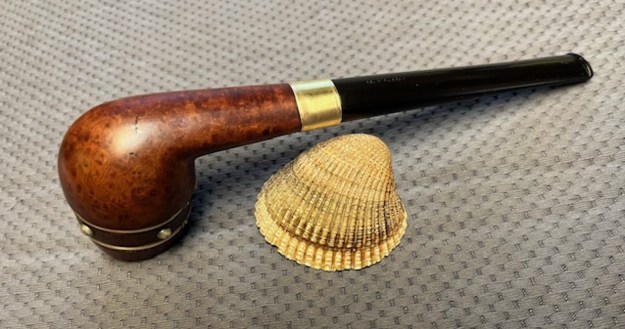
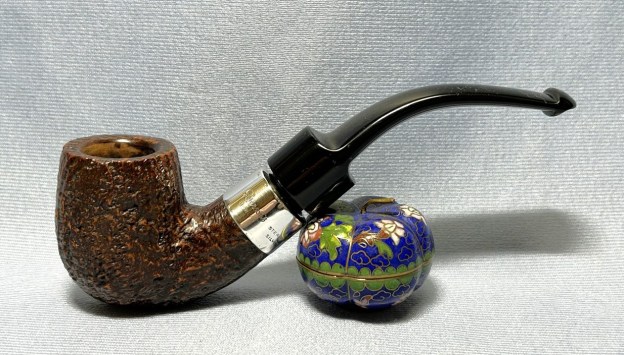
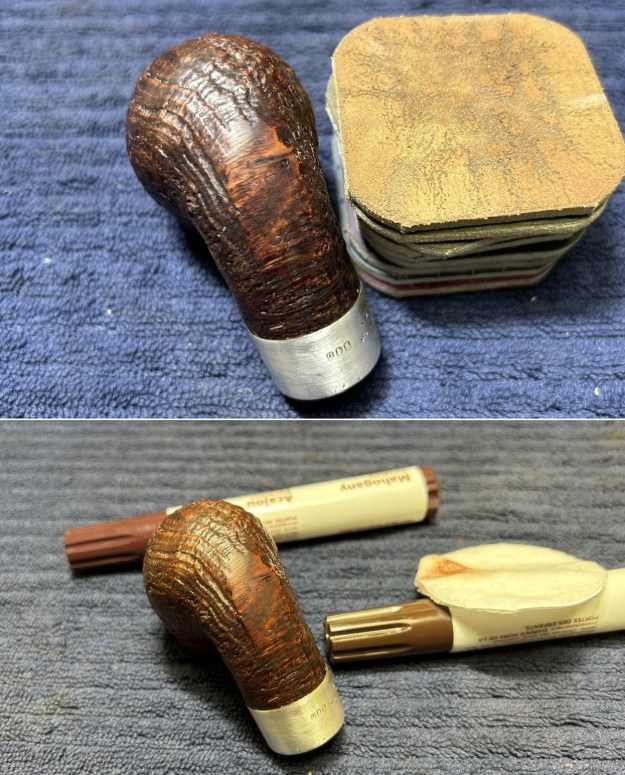
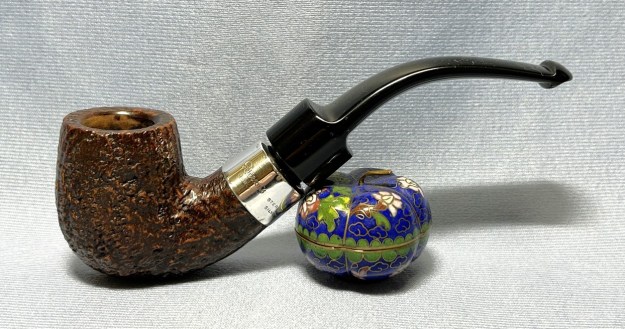
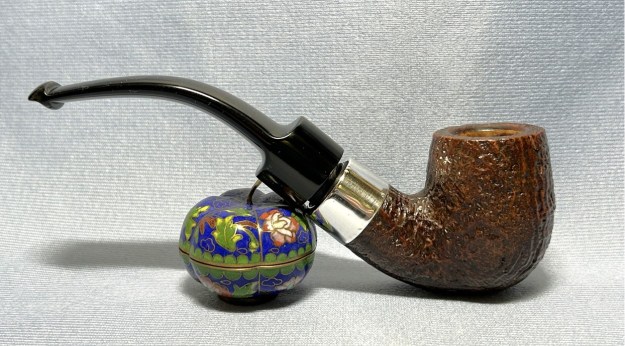
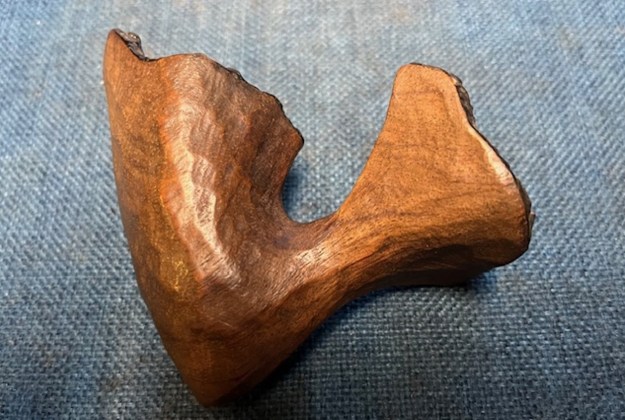
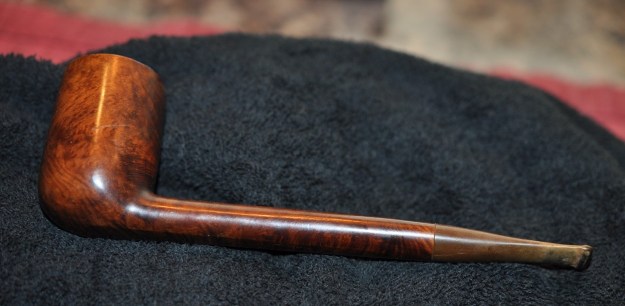
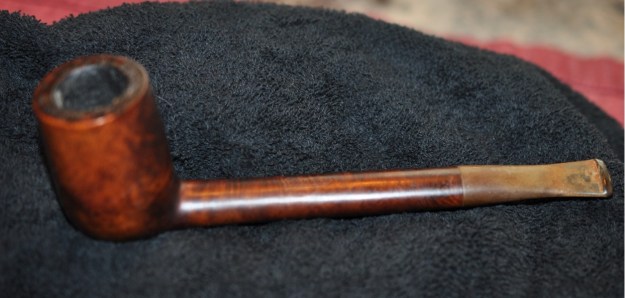
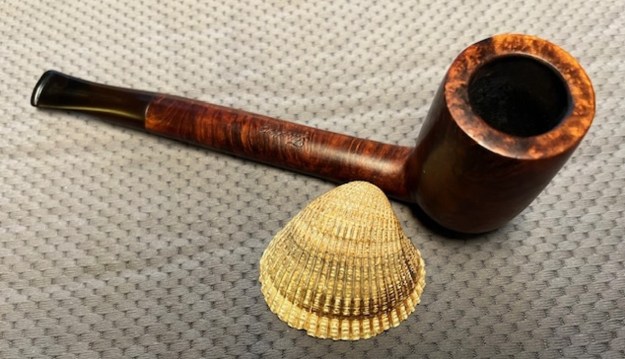
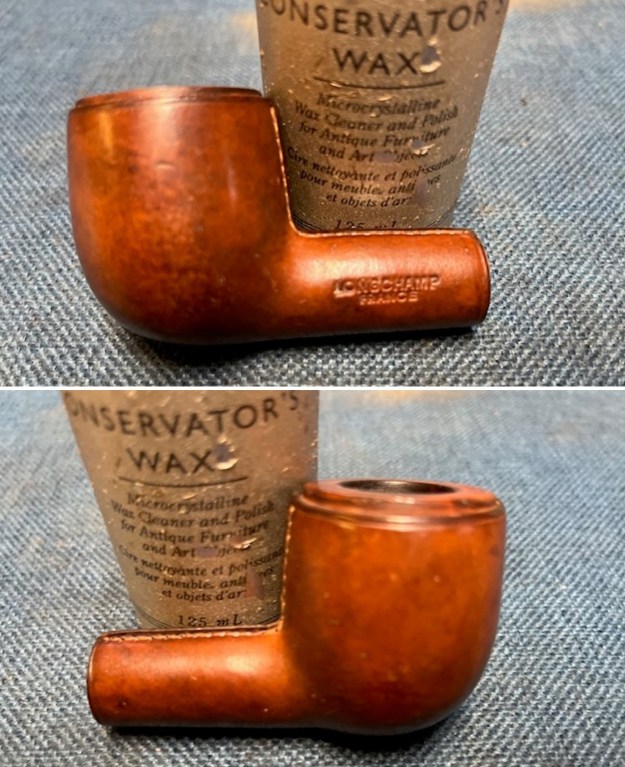
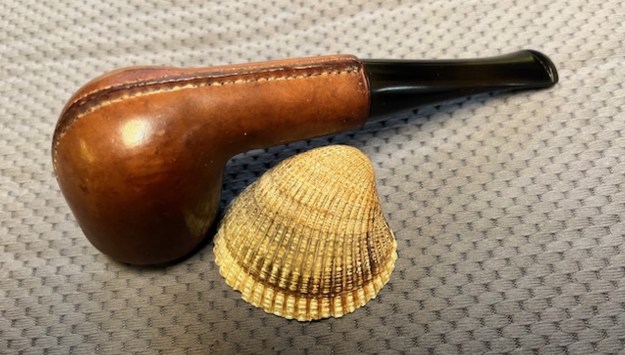
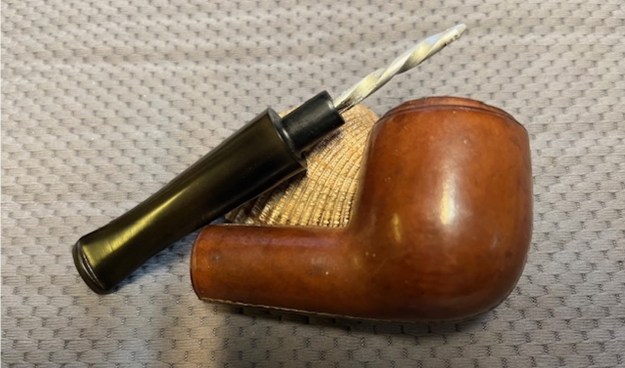
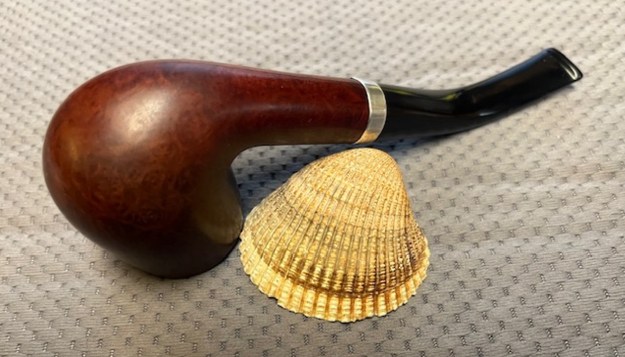
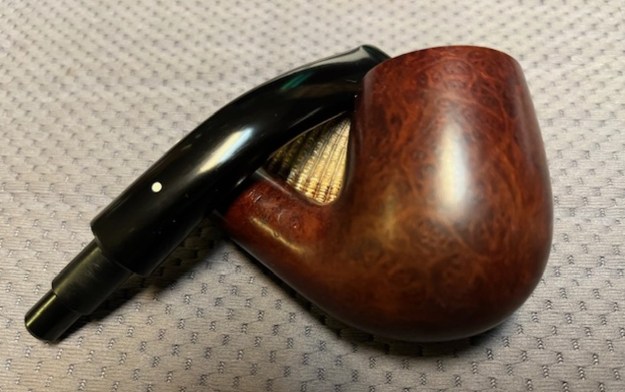
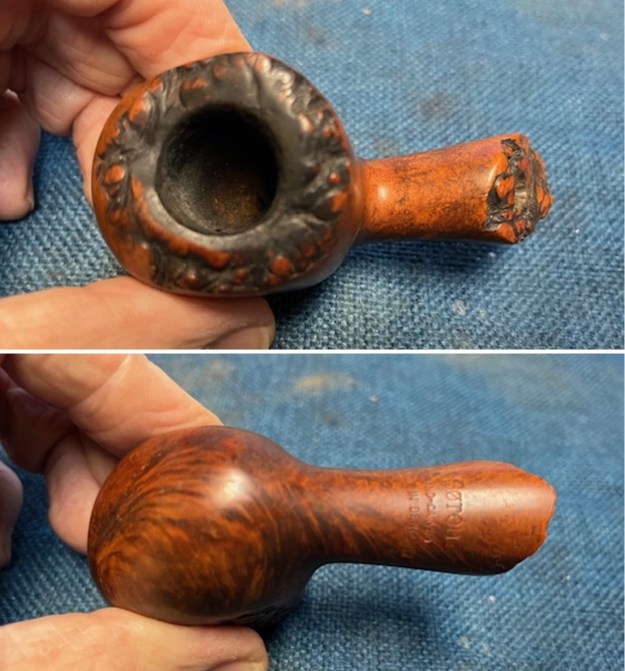
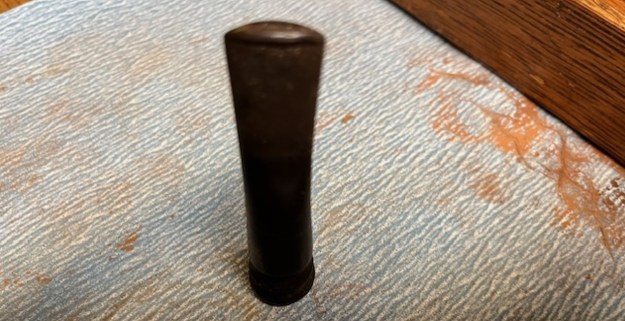
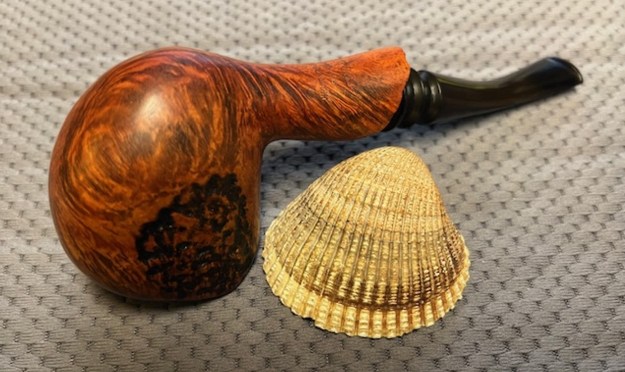
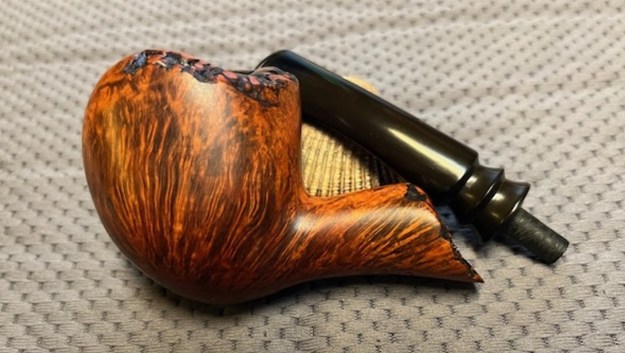
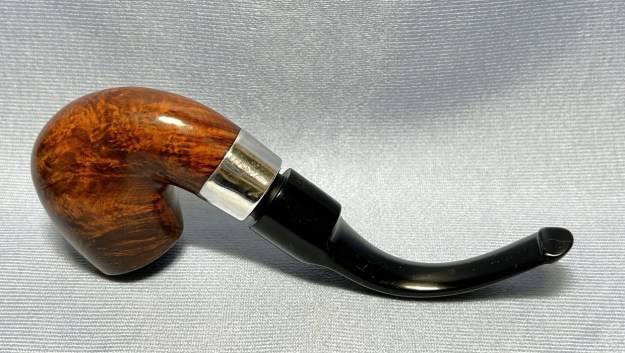
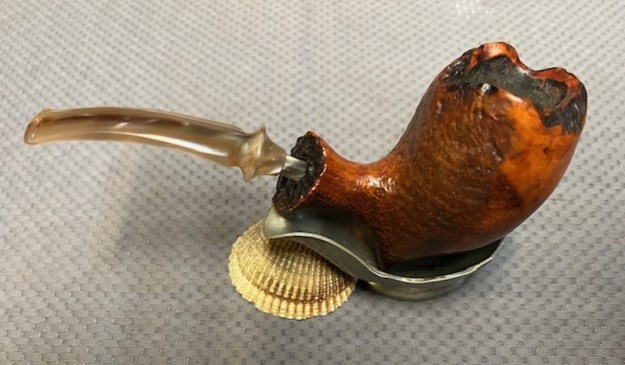
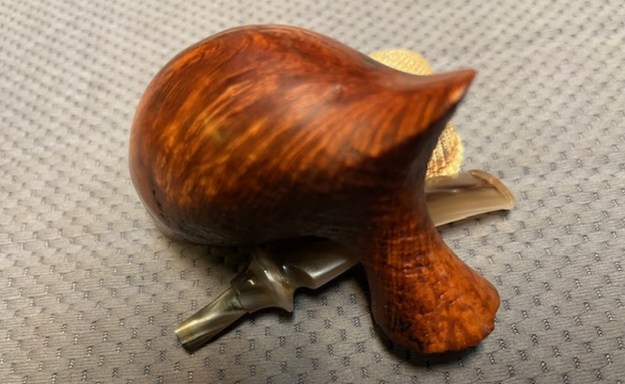
This richly stained Bent Billiard is a beautiful pipe. The grain around the bowl is highlighted by the stain and really stands out. Jeff picked the pipe up on 08/06/22 from an online auction in Manorville, New York, USA. He purchased it along with its brother, another Thorobred that was sandblast. I have restored it already and there are many similarities. Here is the link to the blog on the restoration (https://rebornpipes.com/2022/08/14/restoring-an-old-wdc-sandblast-thorobred-kerly-briar-broken-in/). It is stamped on the left side of the shank and reads WDC in a triangle followed by Thorobred [over] Broken In. The grain follows the flow of the carved briar. The finish is stained with rich colours – a mix of browns that give depth to its finish. It was filthy with dust and debris ground into the sides of the bowl. The rim top has a heavy lava overflow on the top and edges coming from a thick cake in the bowl. The tapered hard rubber stem has a red triangle WDC logo inset on the topside. It was lightly oxidized and calcified with tooth marks and chatter on both sides ahead of the button. Jeff took photos of the pipe before he started working on it. It really is a beauty.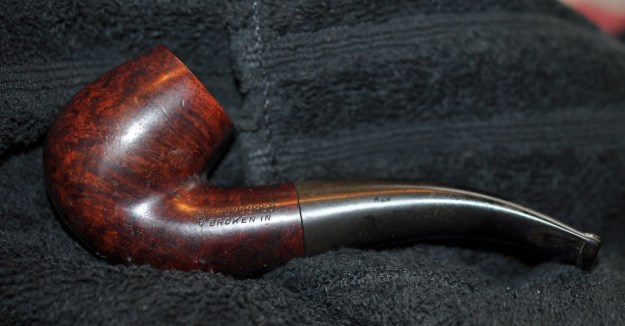
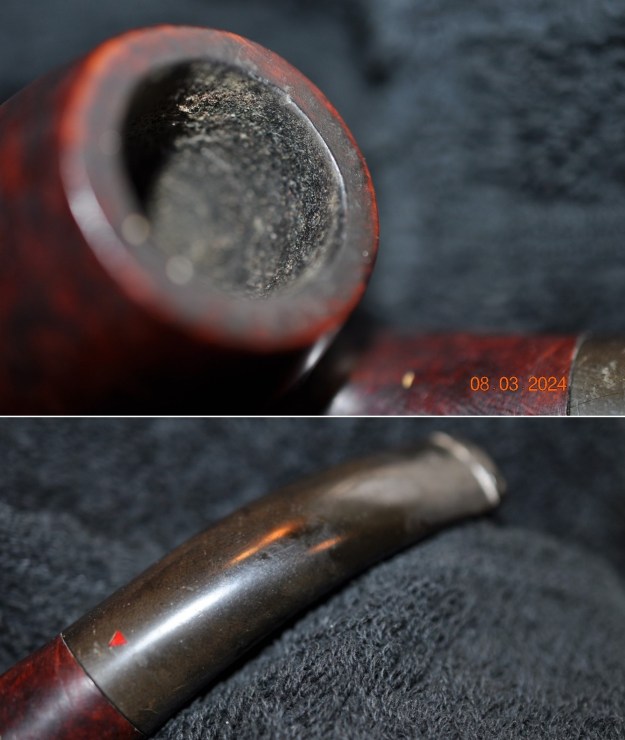
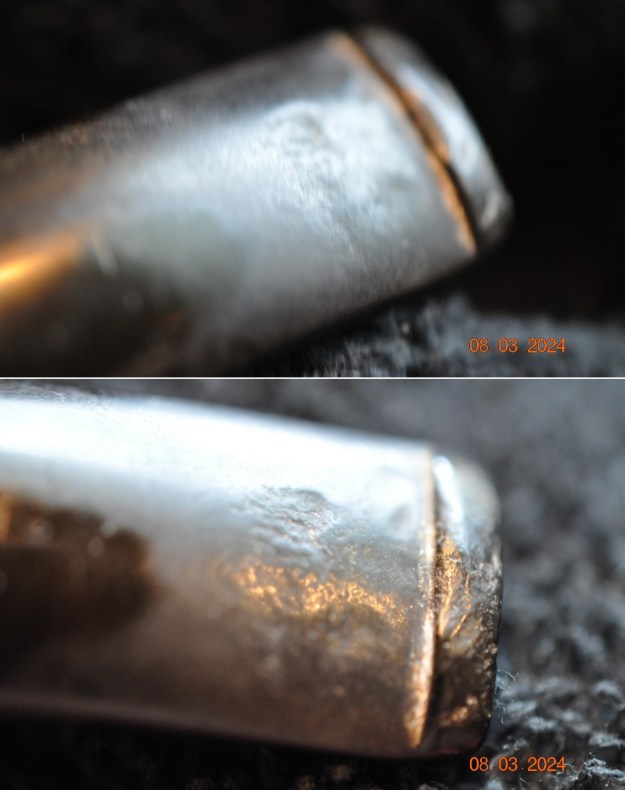
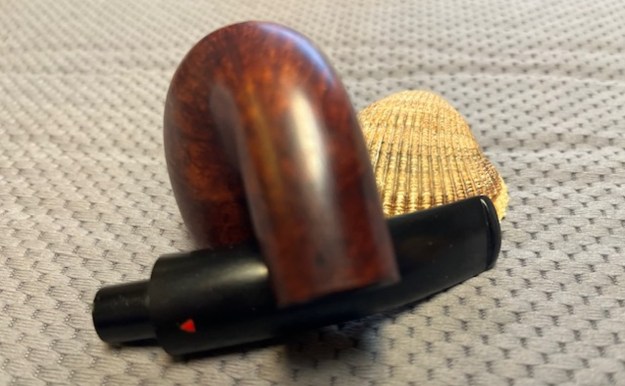
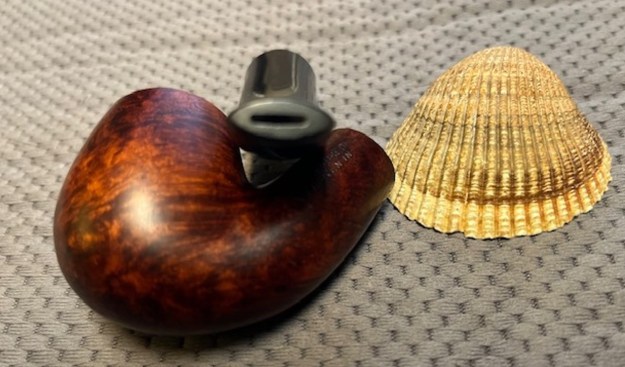
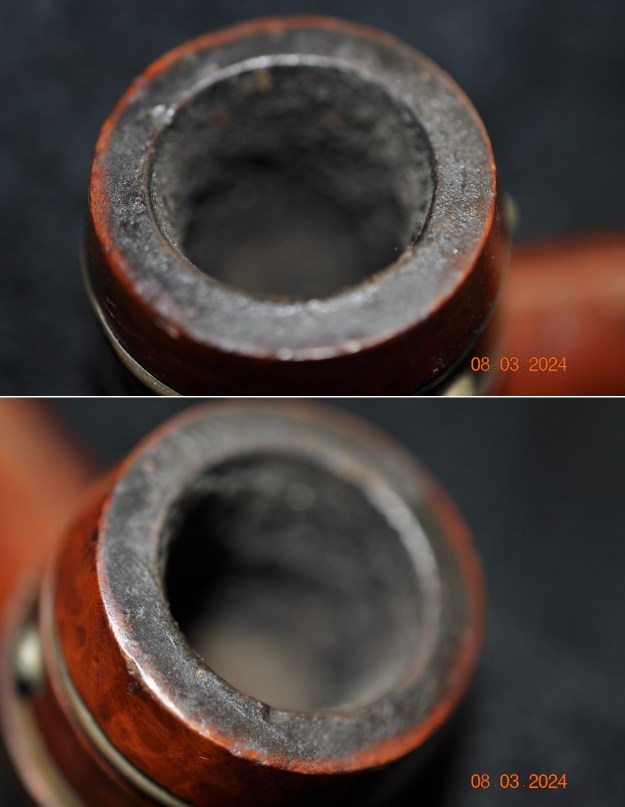
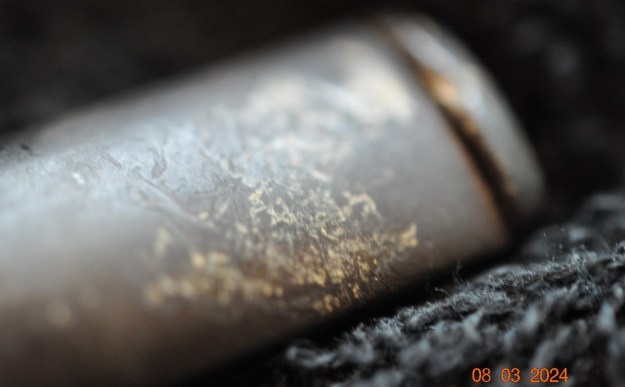
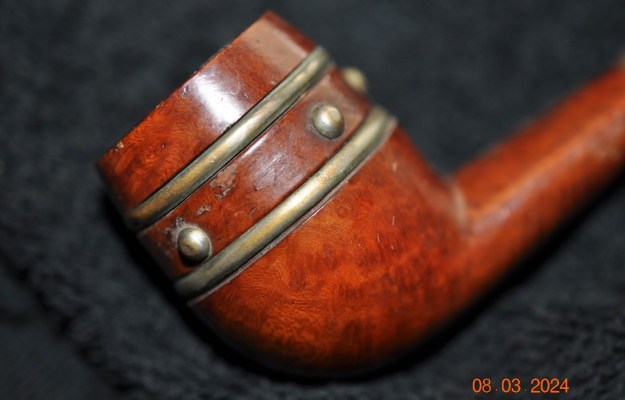
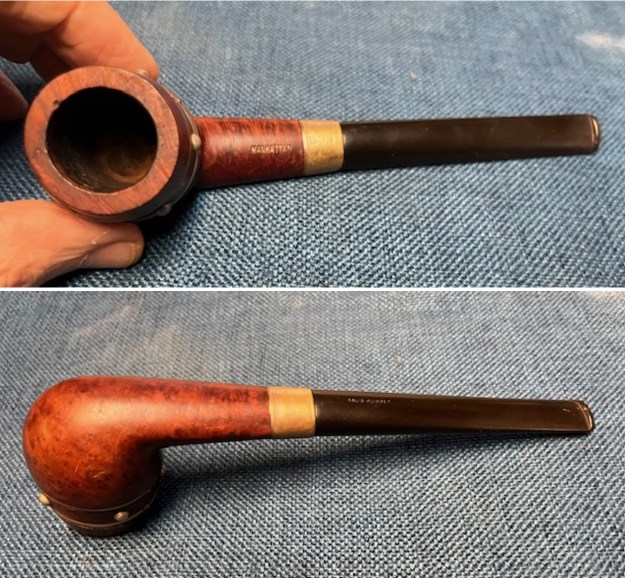
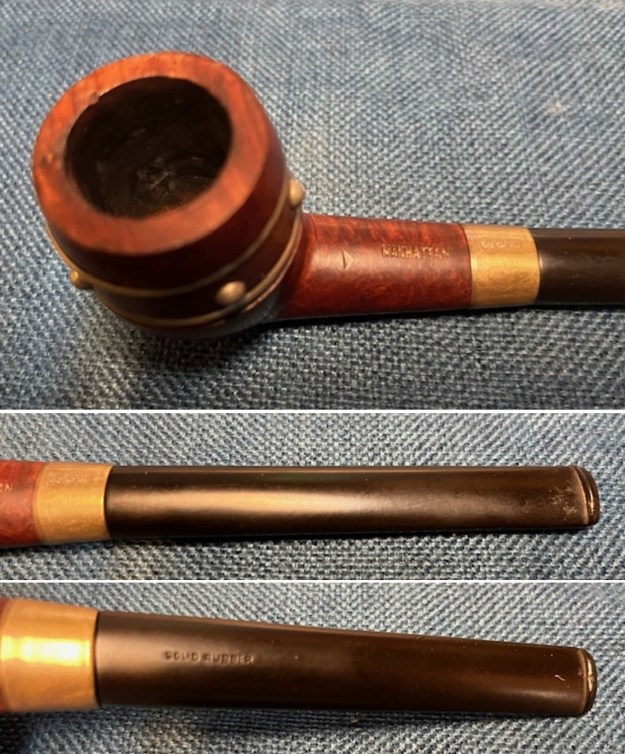
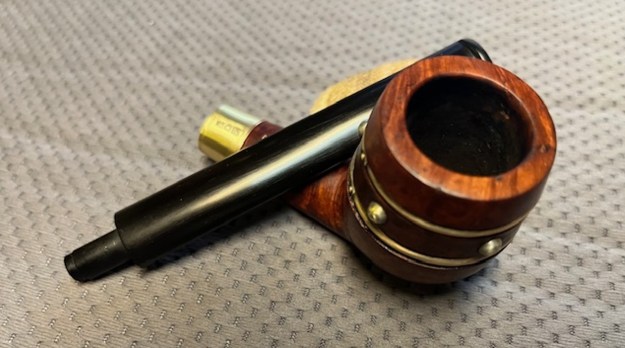
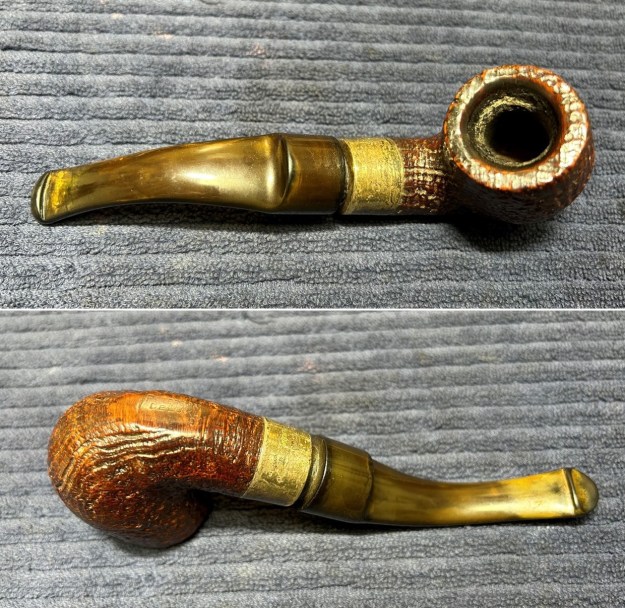
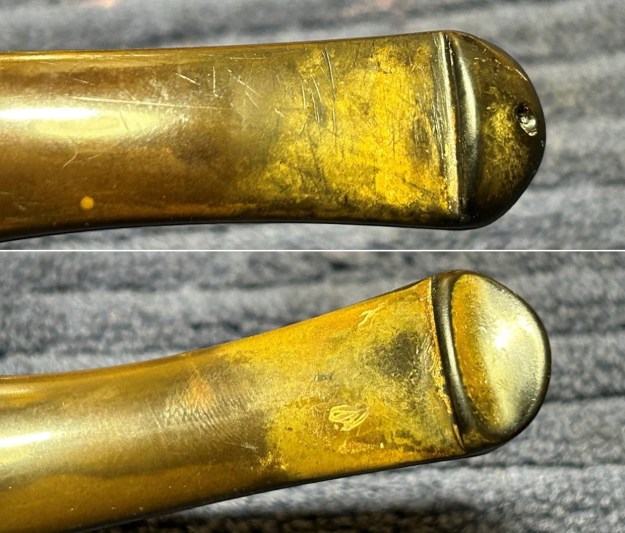
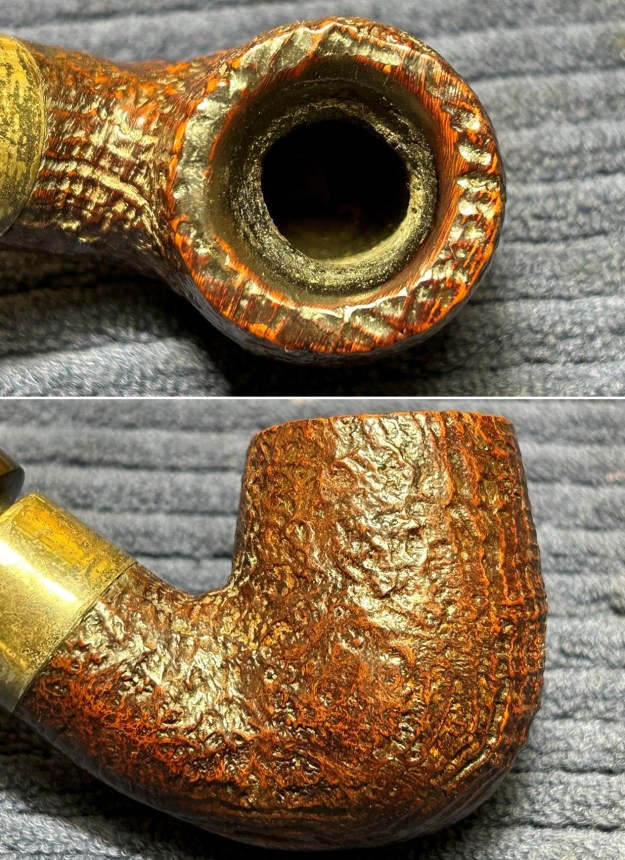
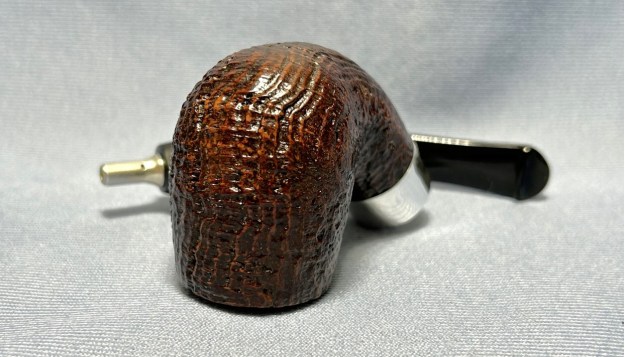
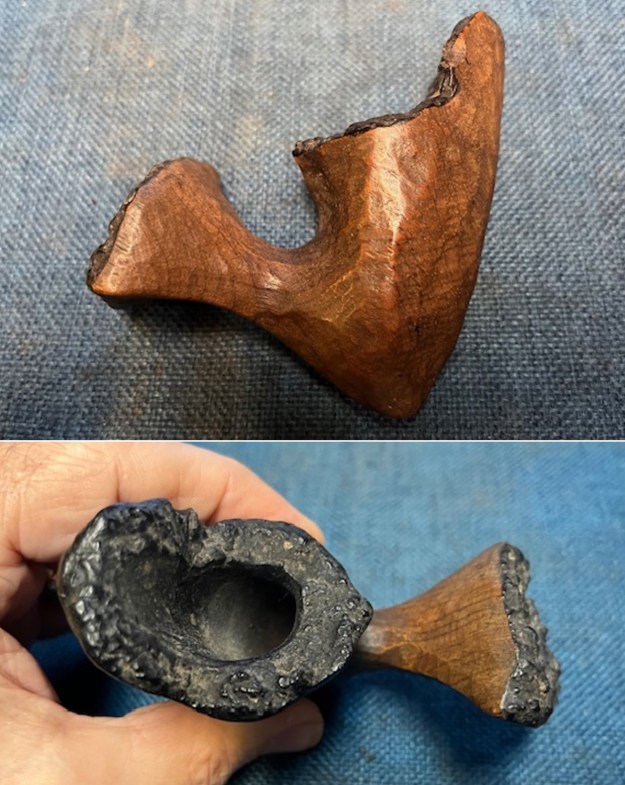
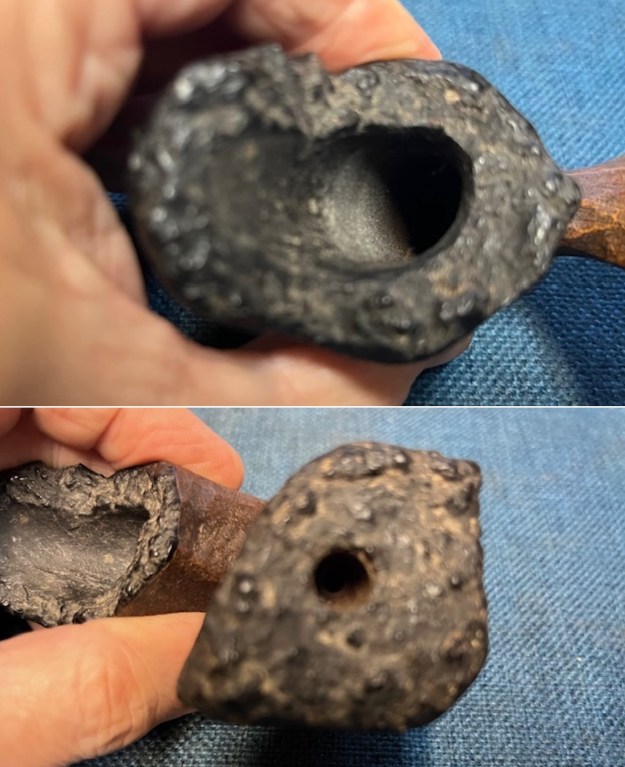
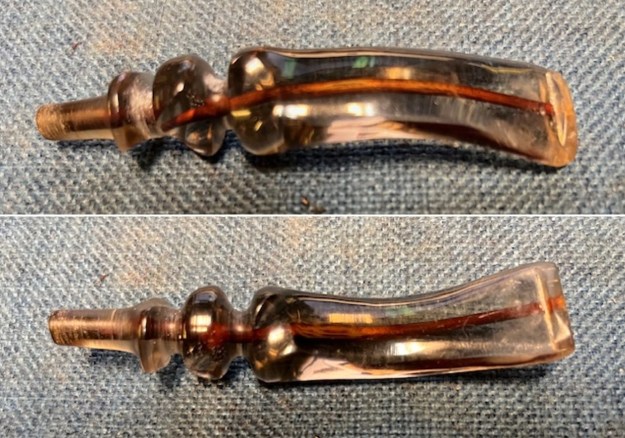
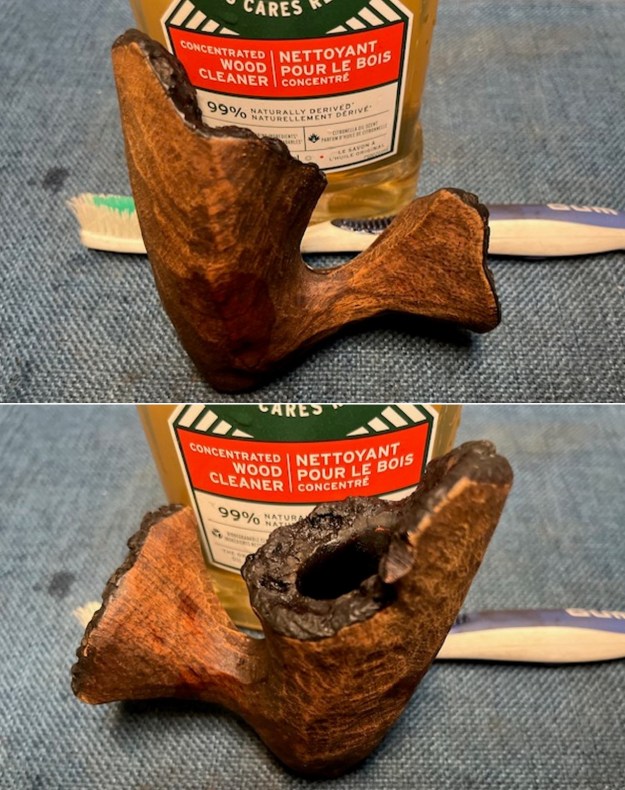
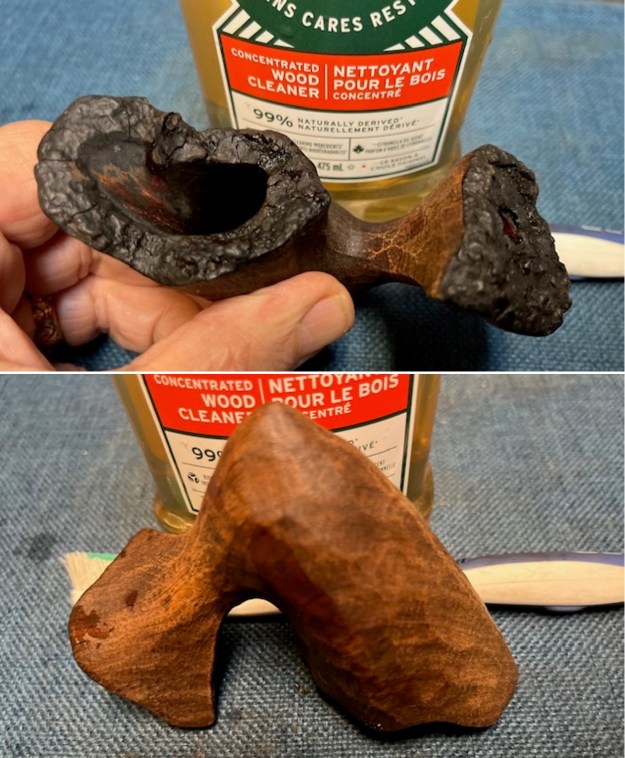
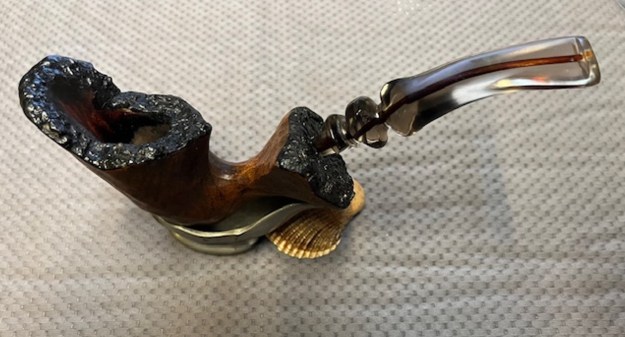
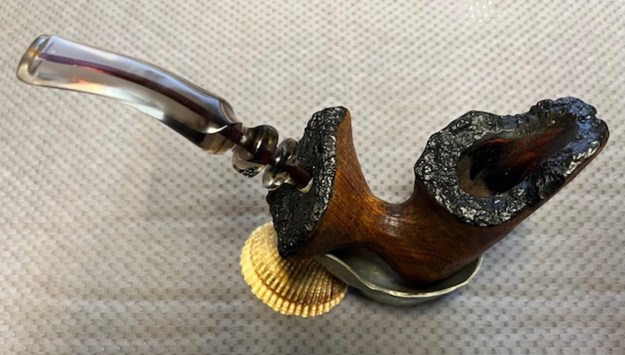
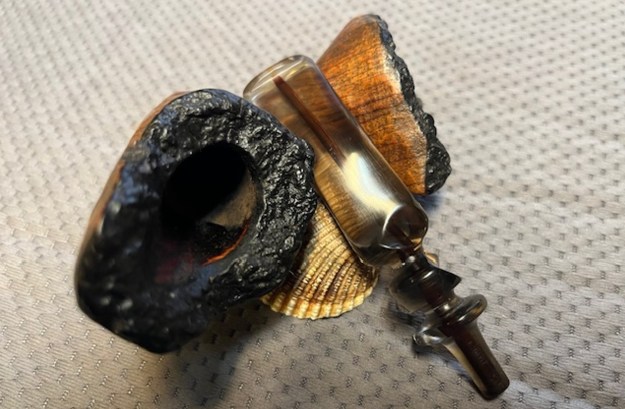
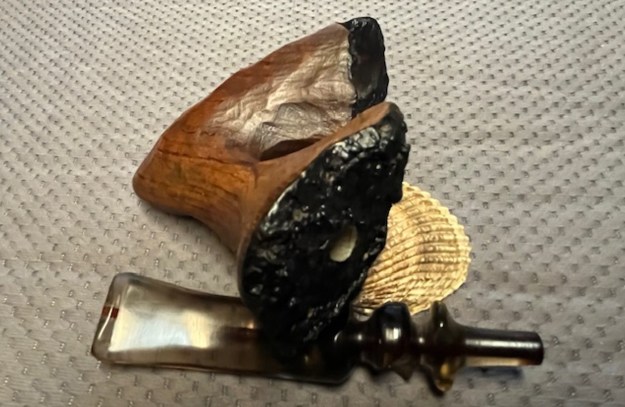
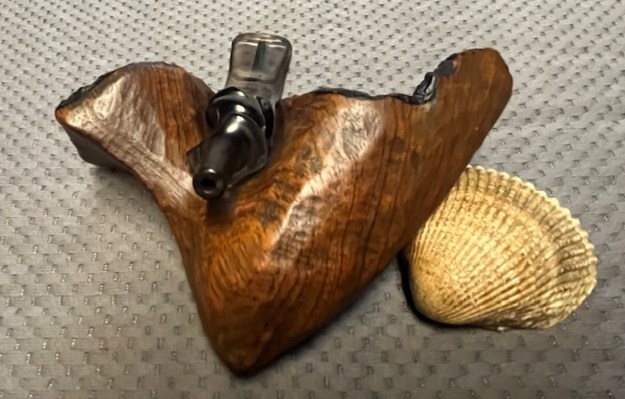
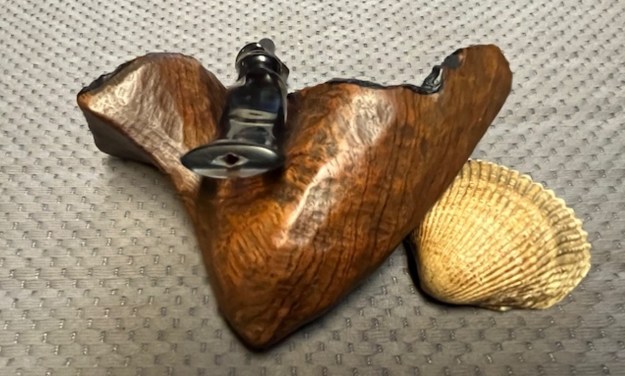
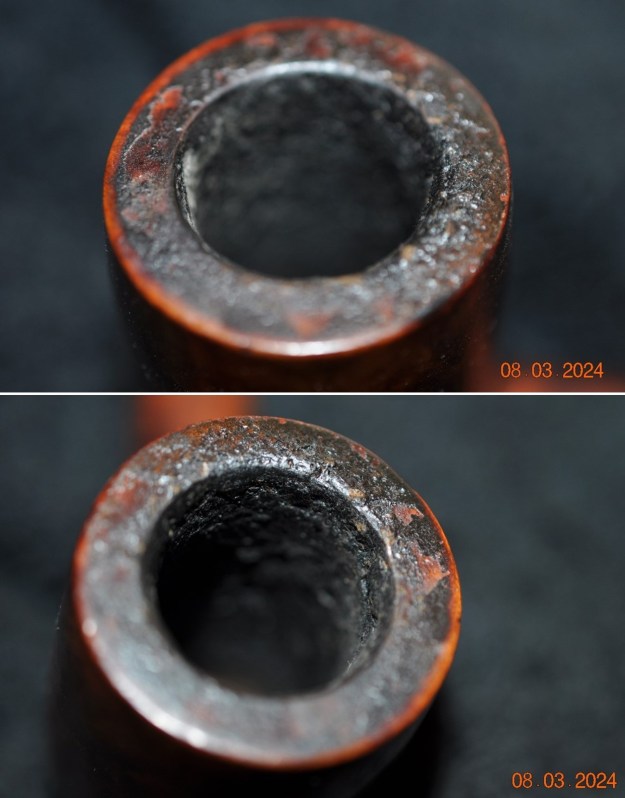
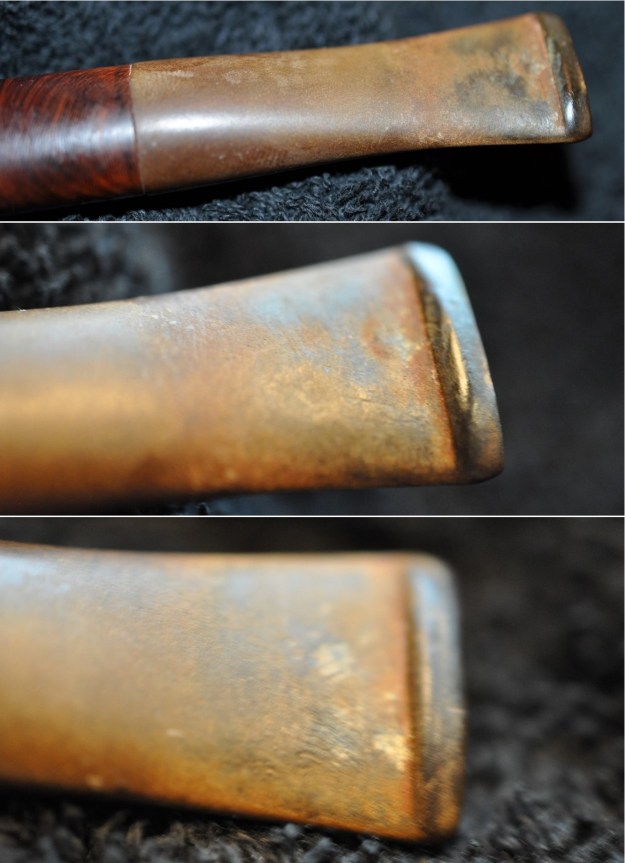
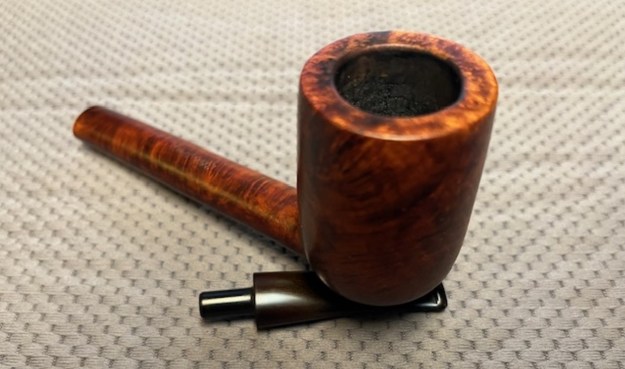
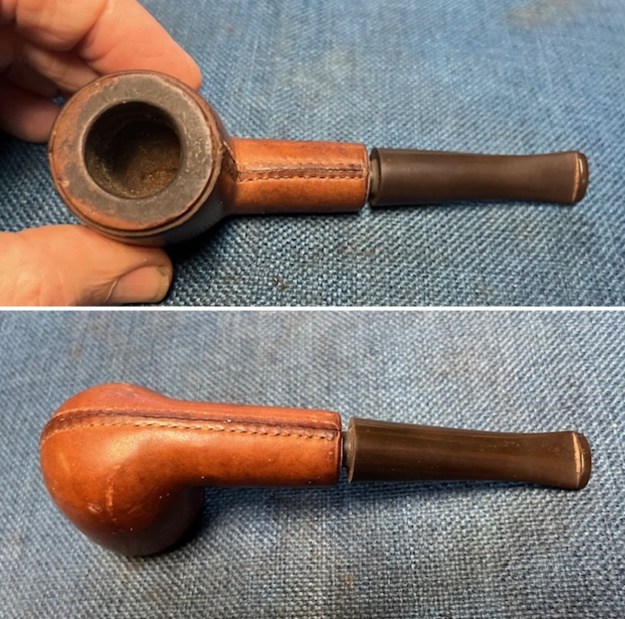
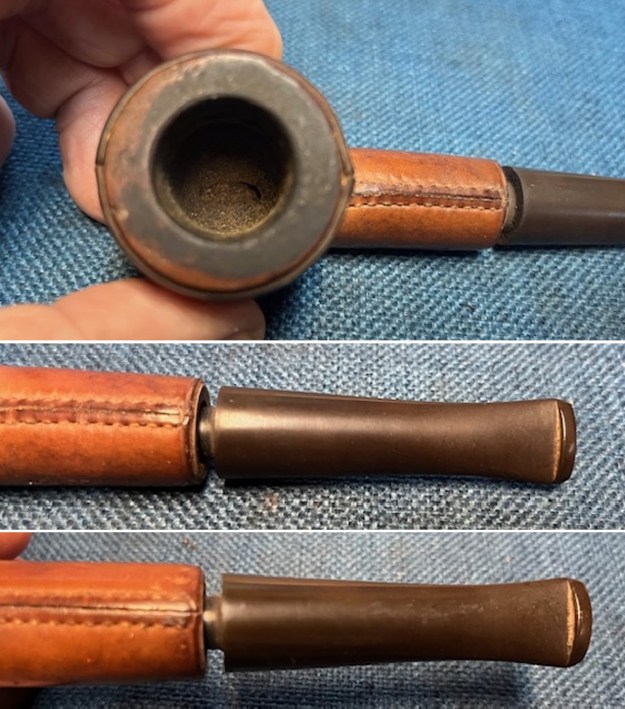
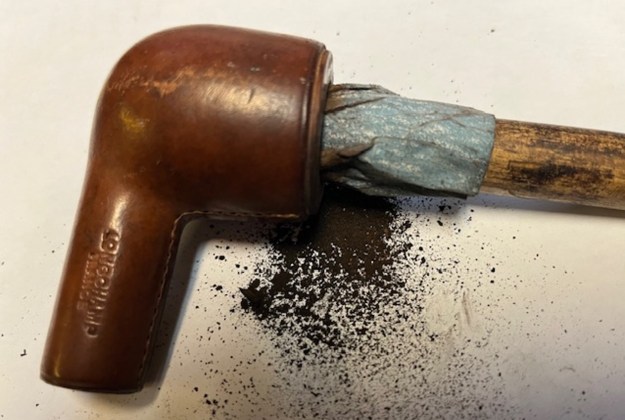
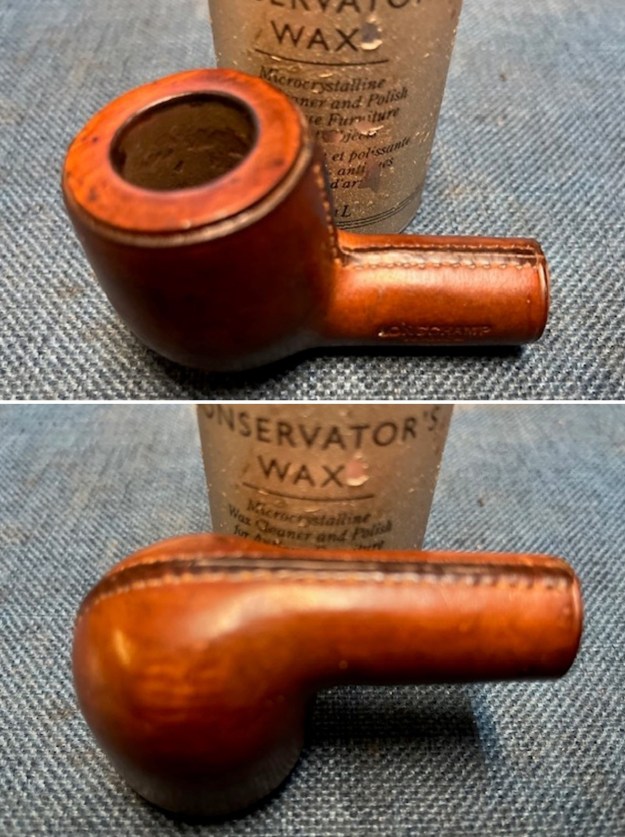
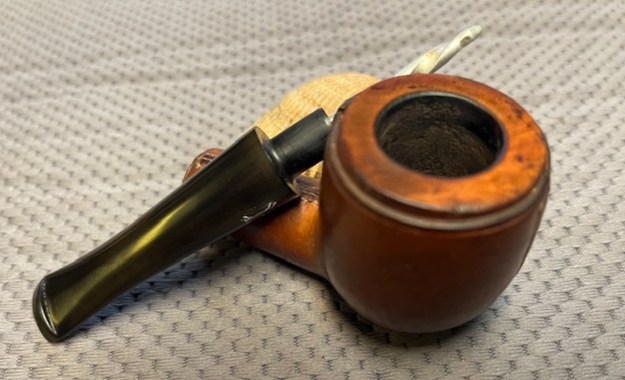
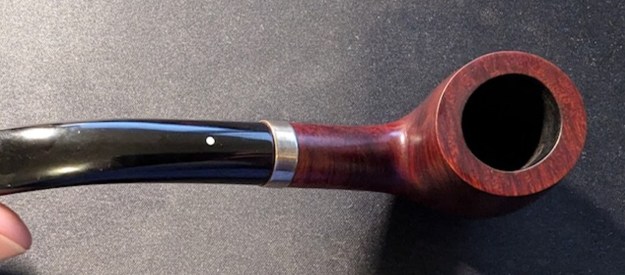
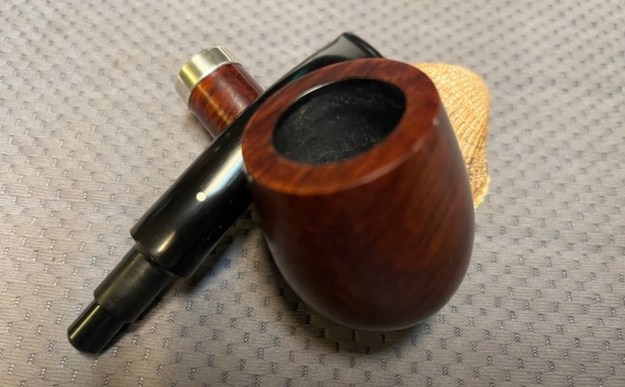
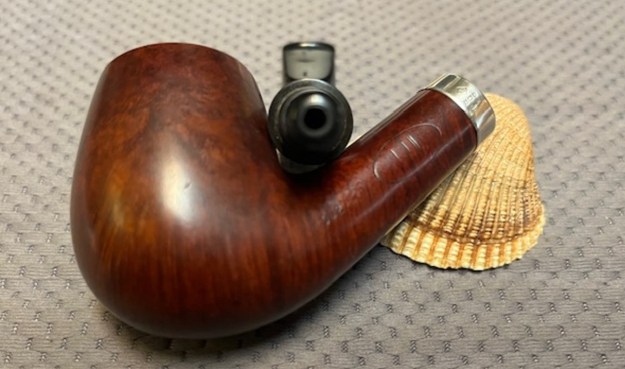
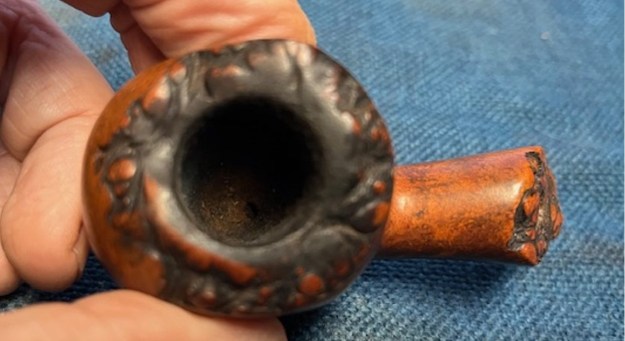
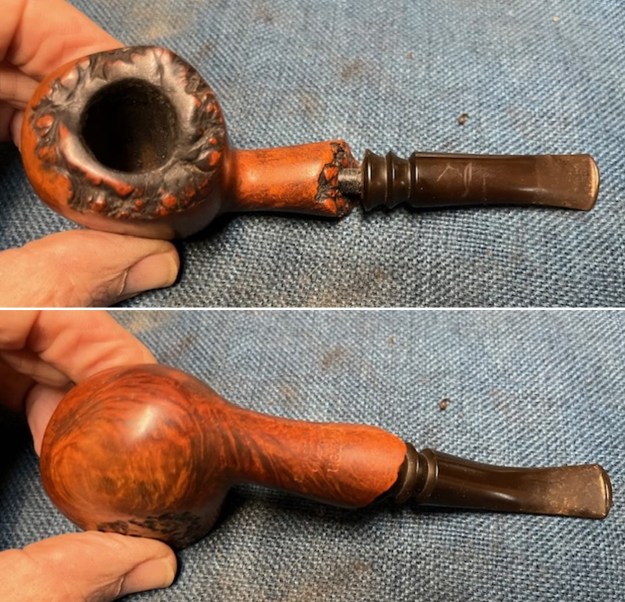
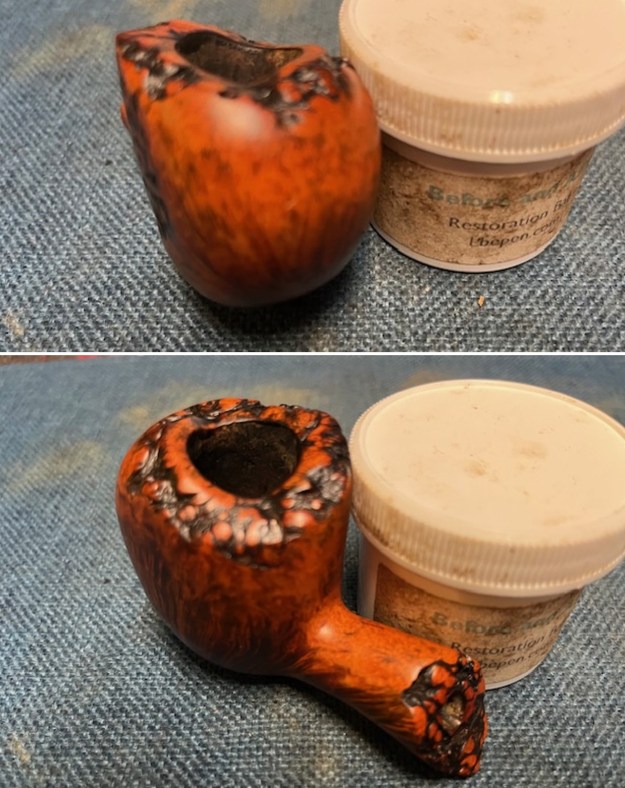
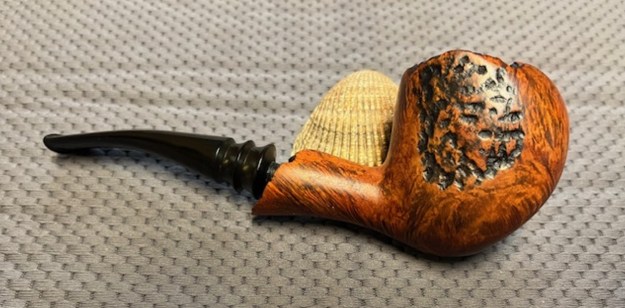
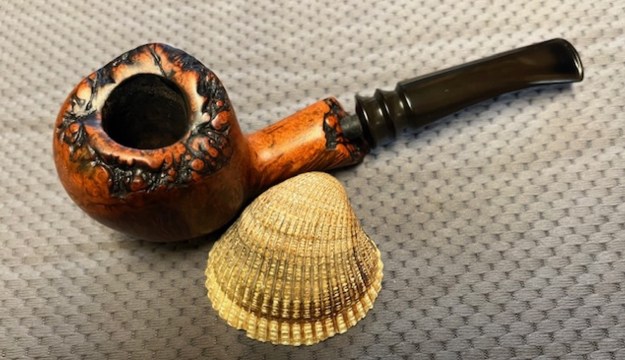
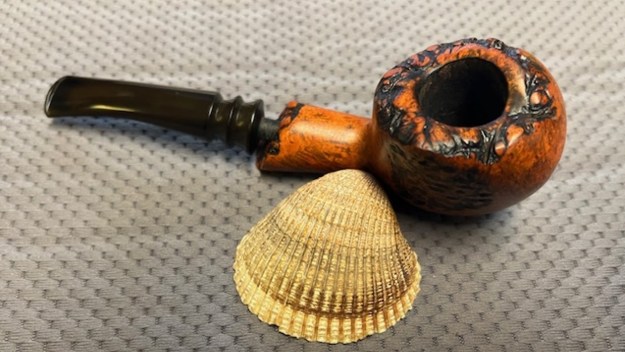
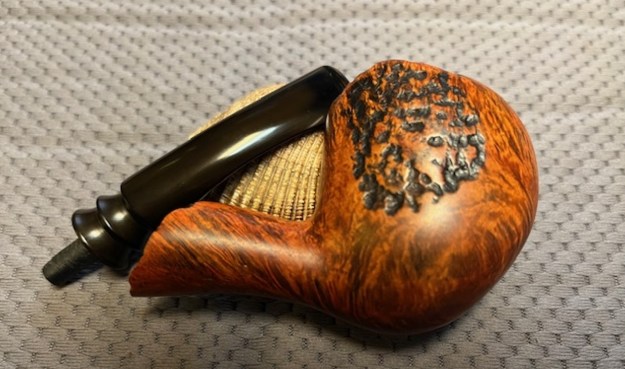
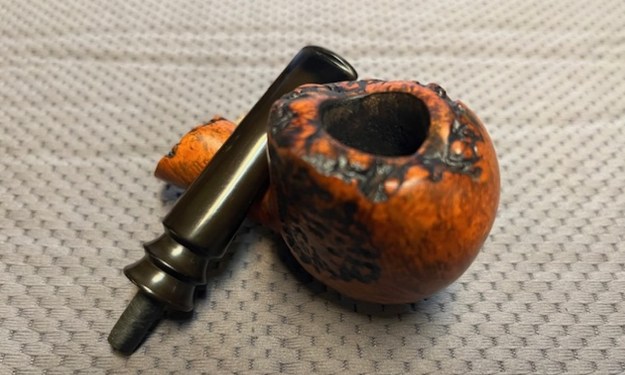
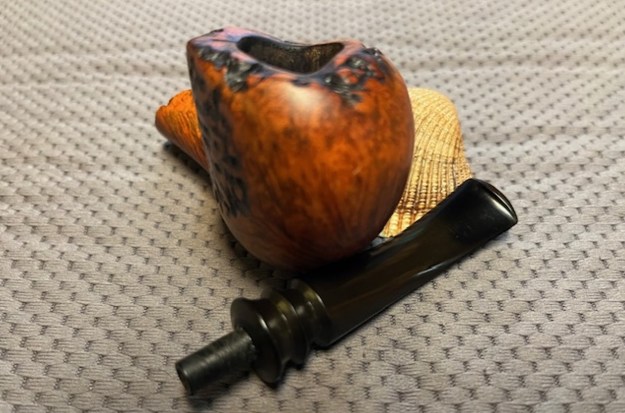
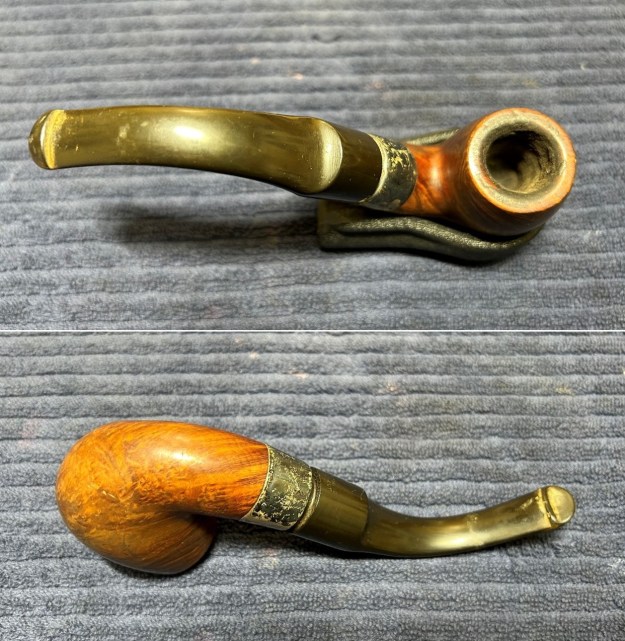
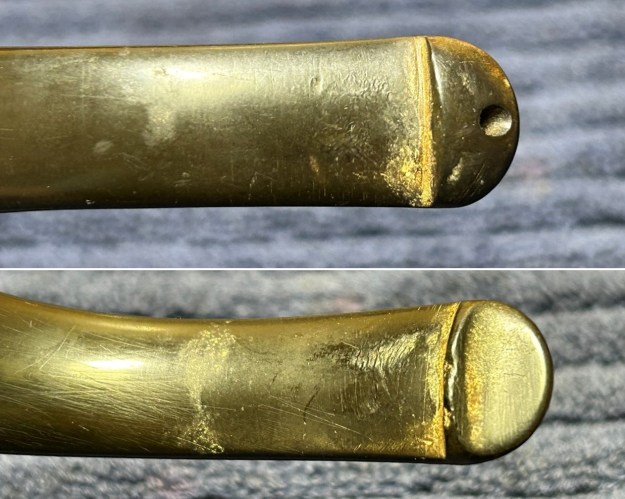
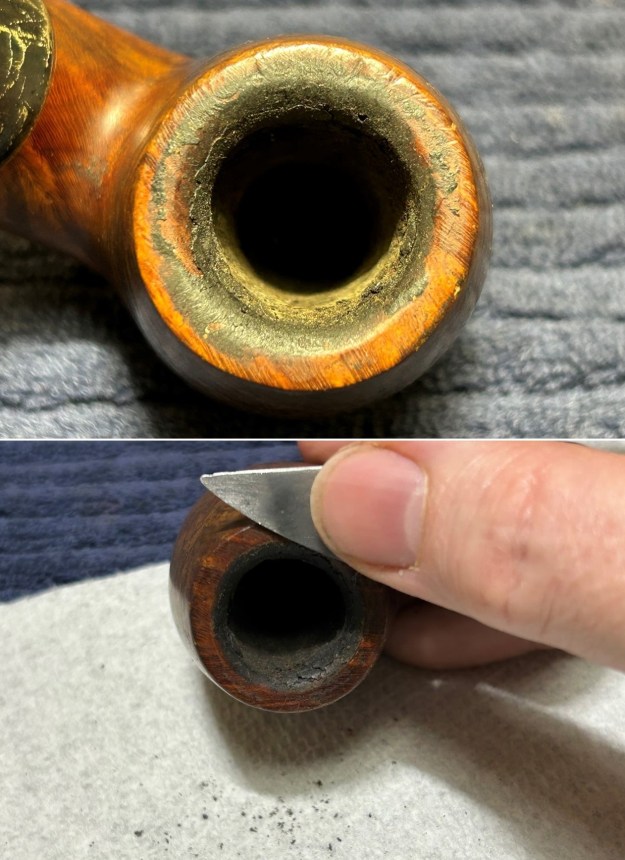
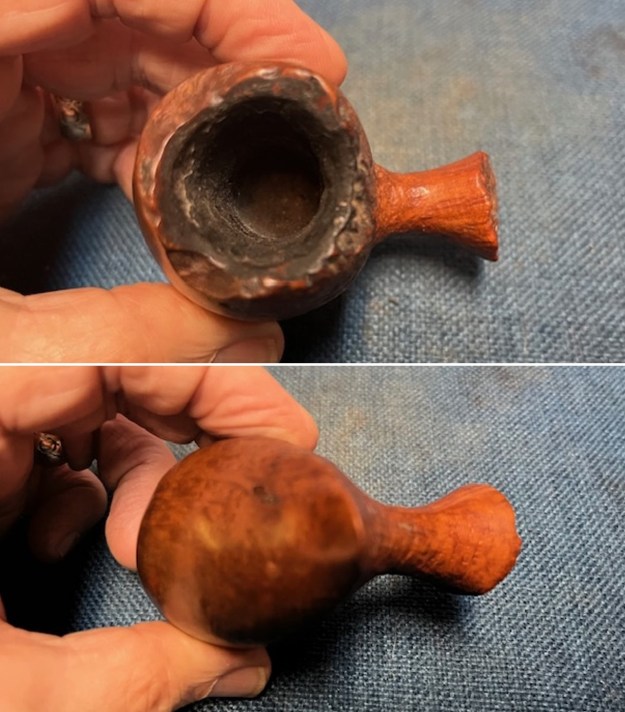
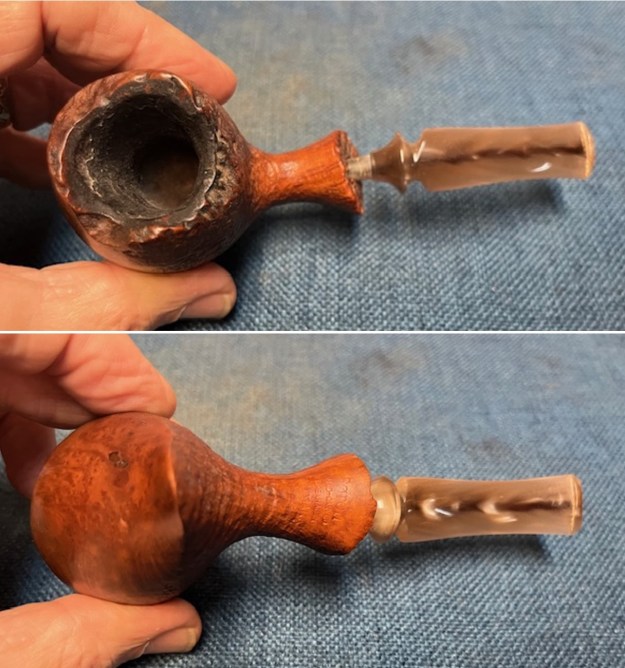
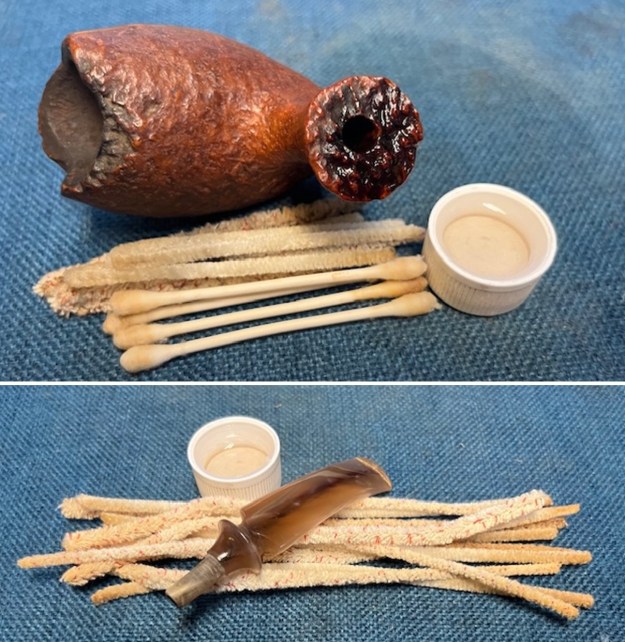
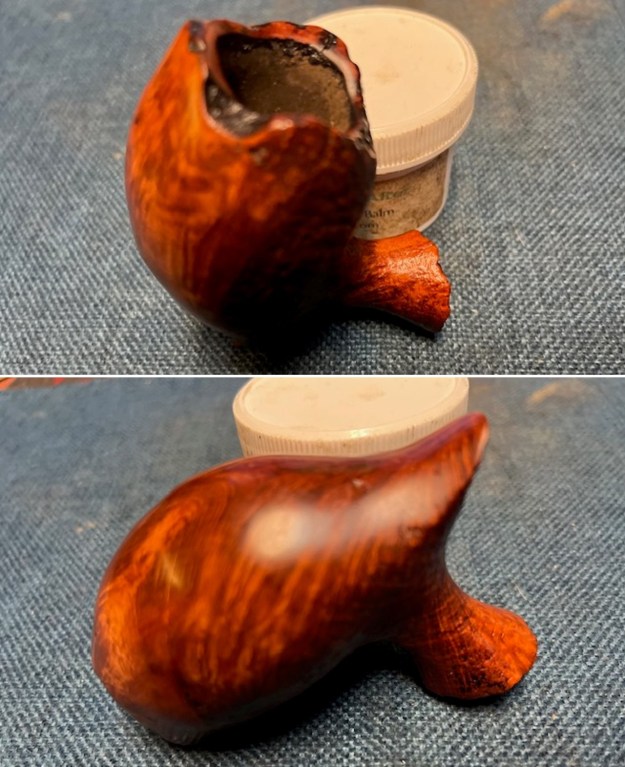
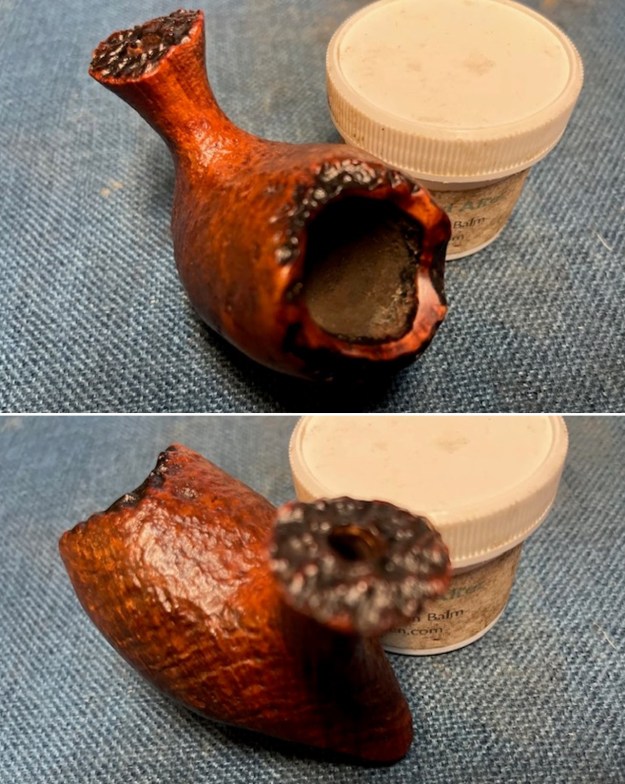
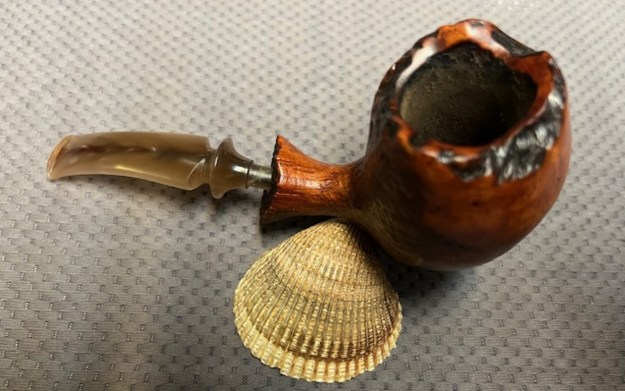
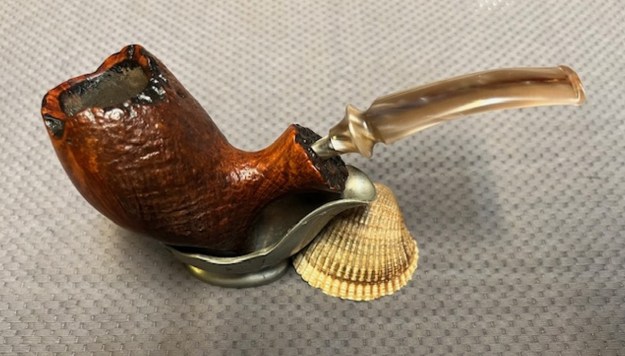
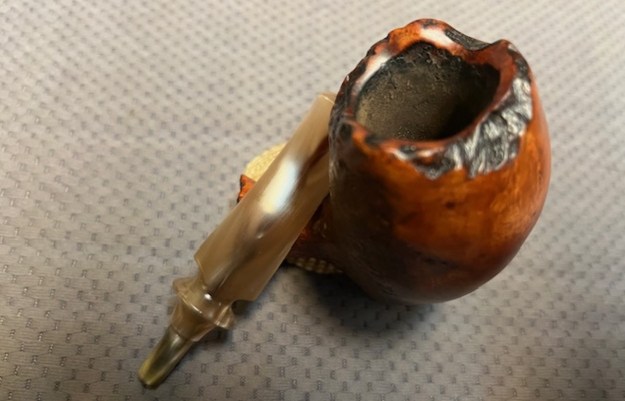
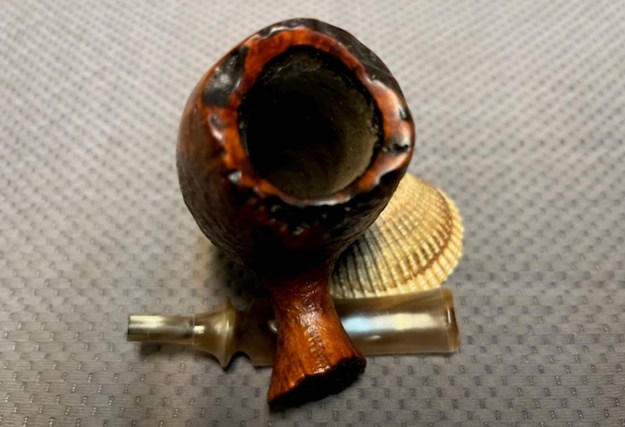
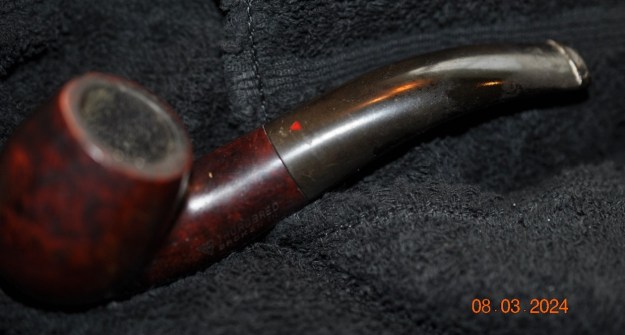 He took photos of the rim top and the stem to show the condition. You can see the thick cake in the bowl and overflow of lava on the rim top. The photos of the stem show the tooth marks and damage in the hard rubber on the top and underside ahead of the button.
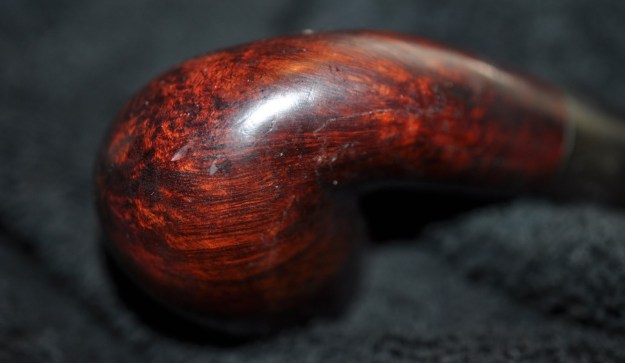
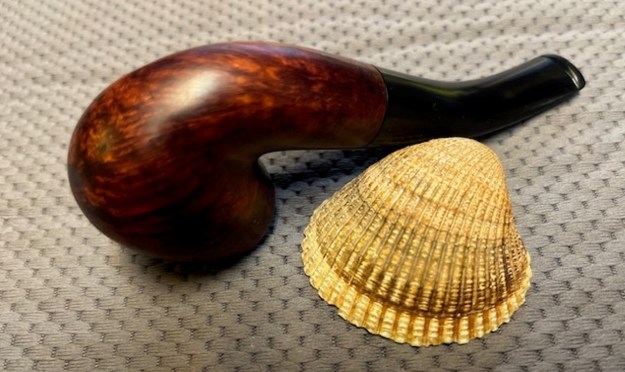
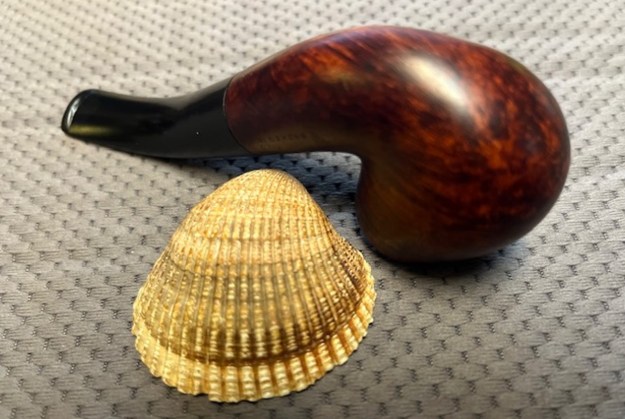
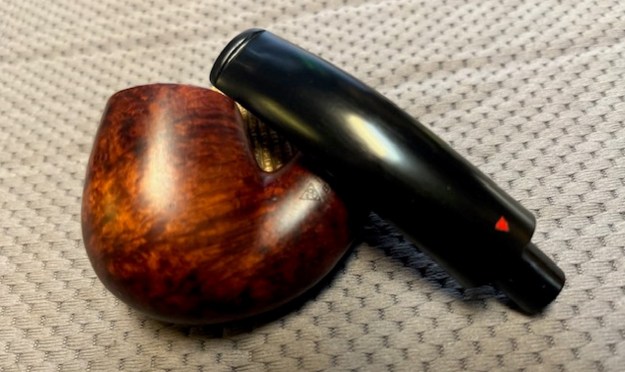
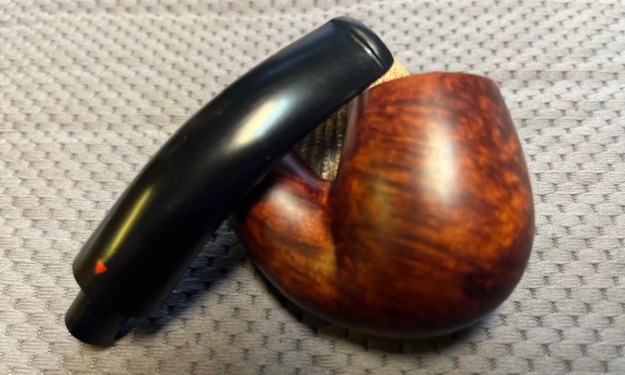
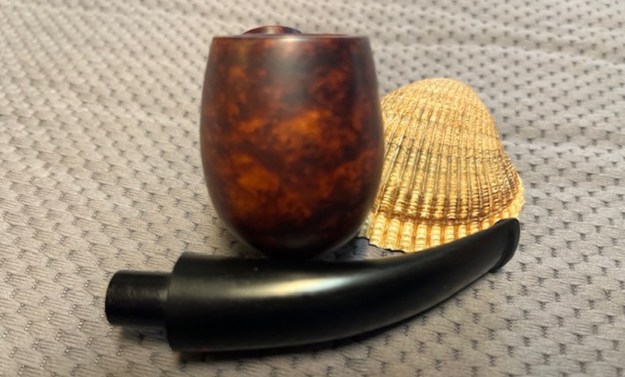
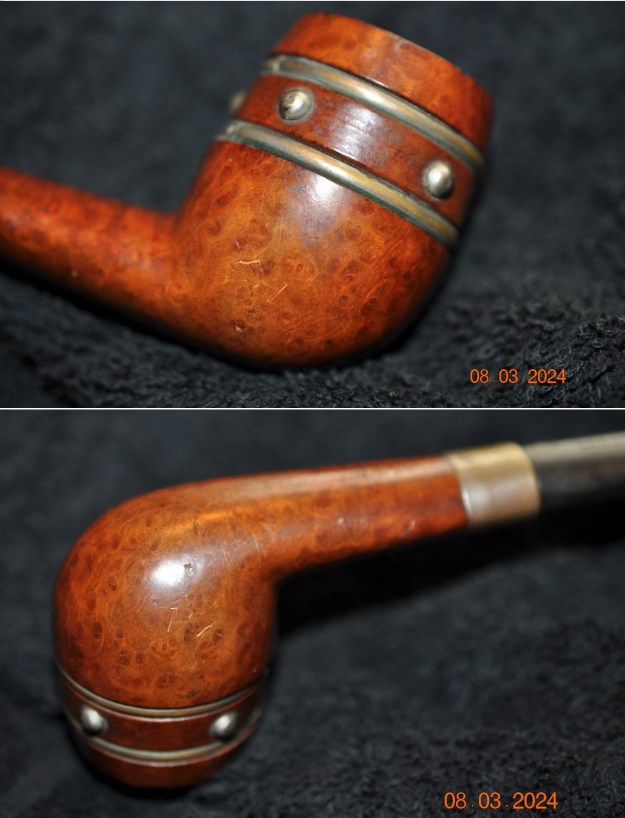
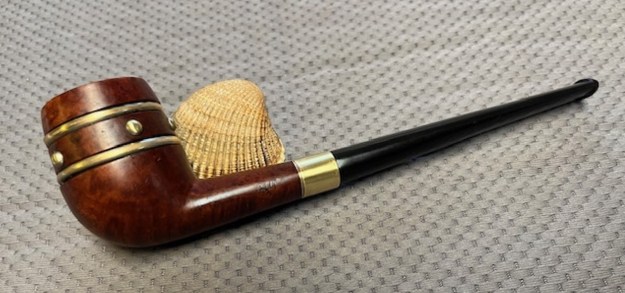
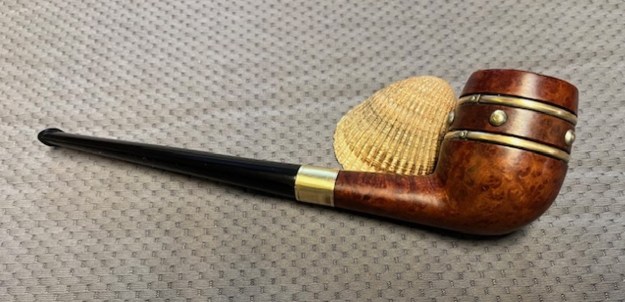
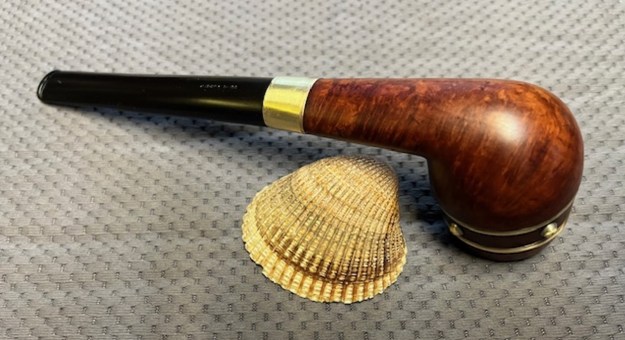
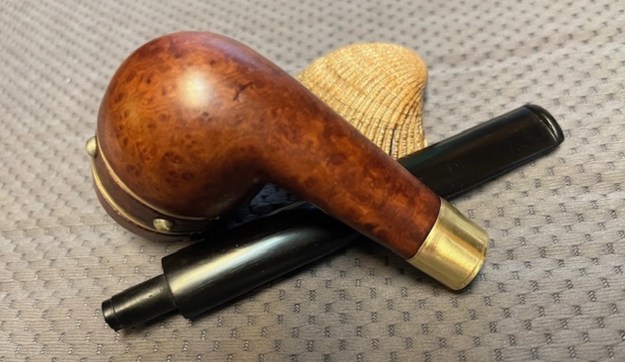
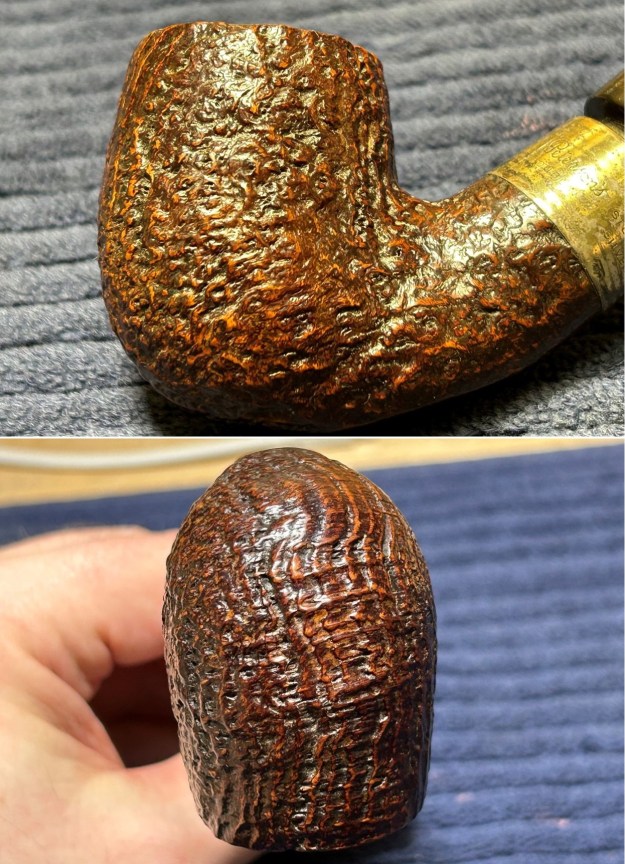
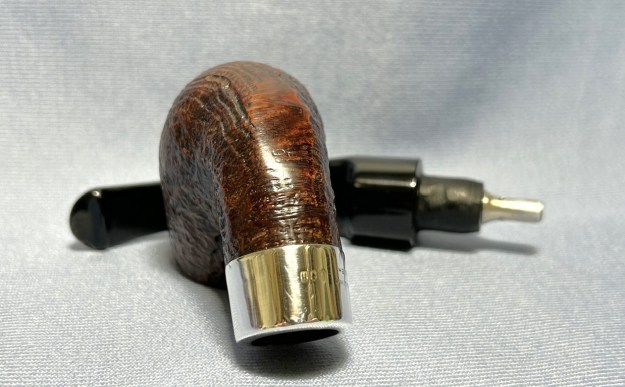
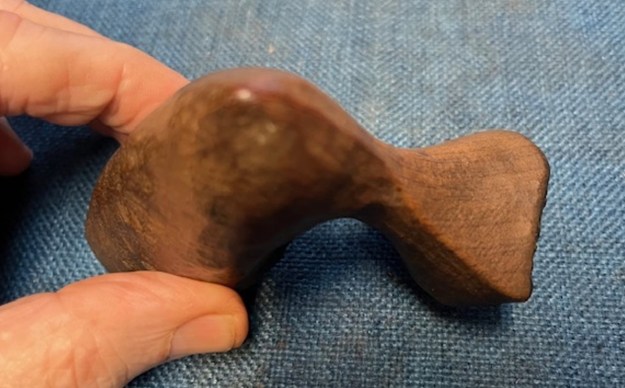
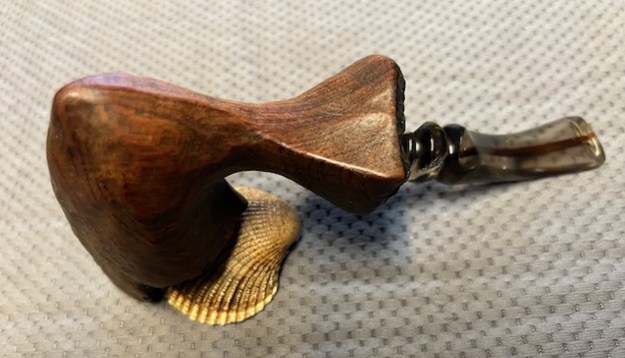
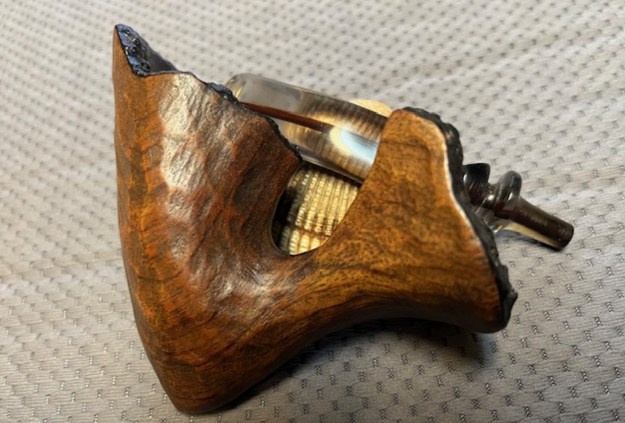
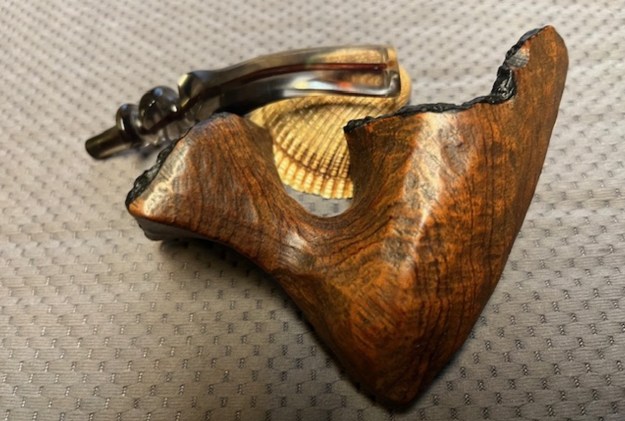
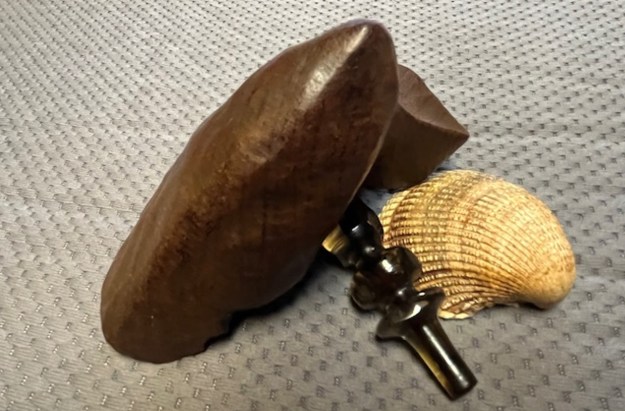
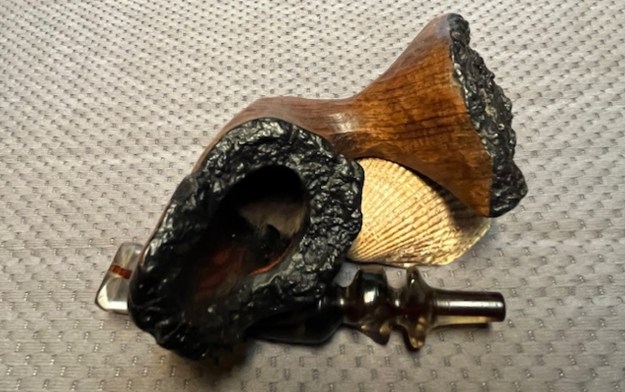
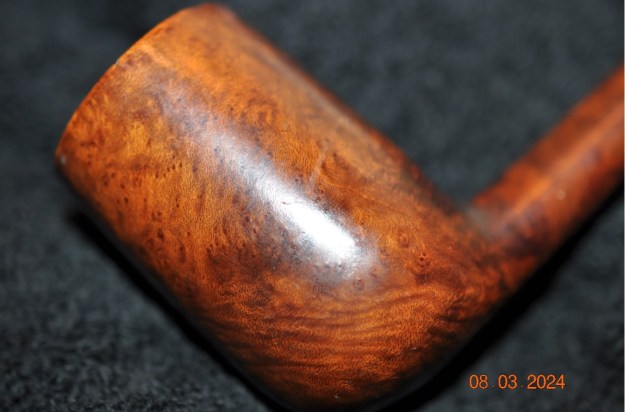
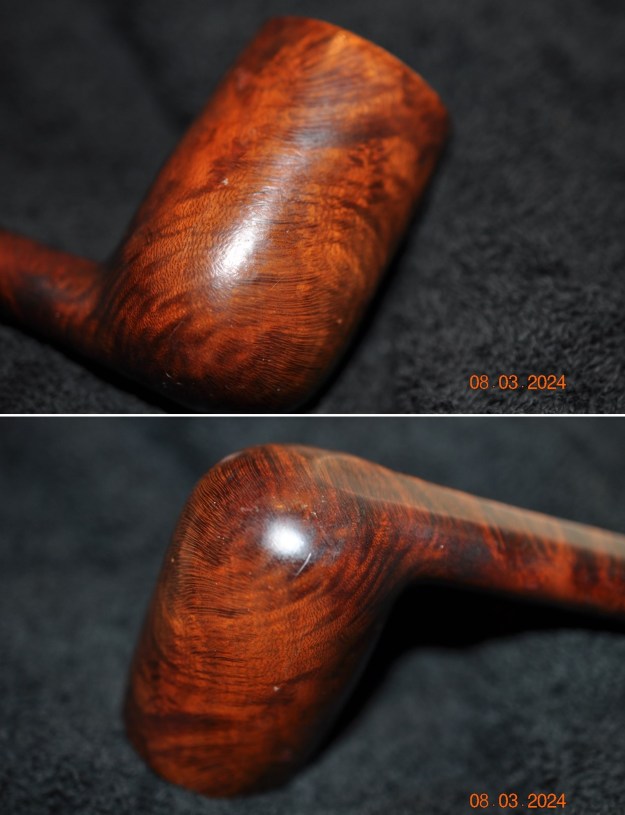
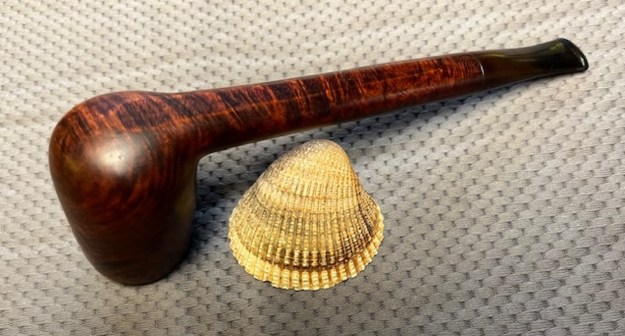
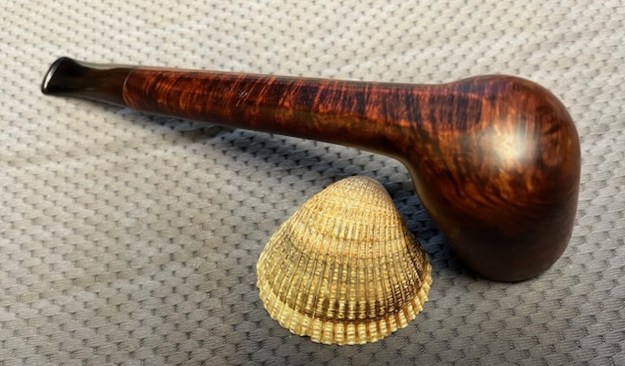
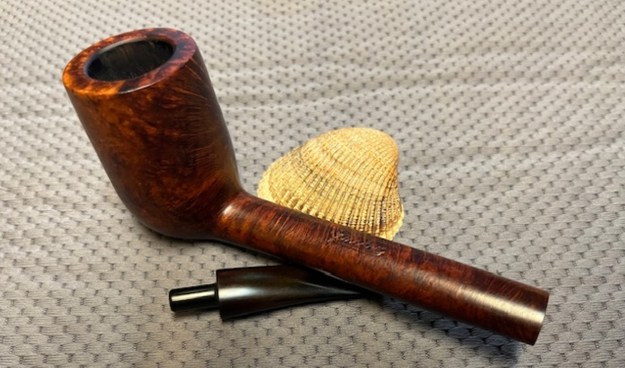
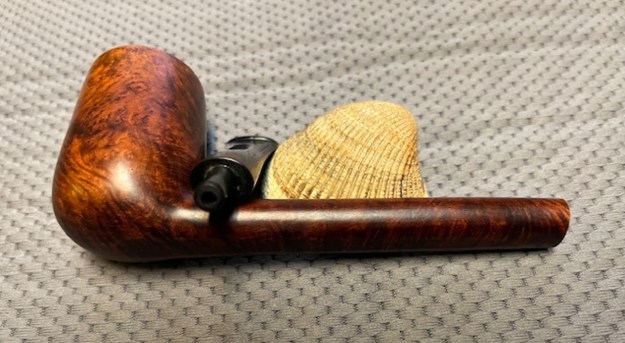
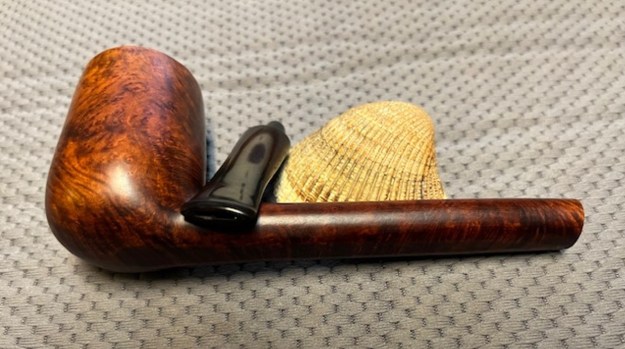
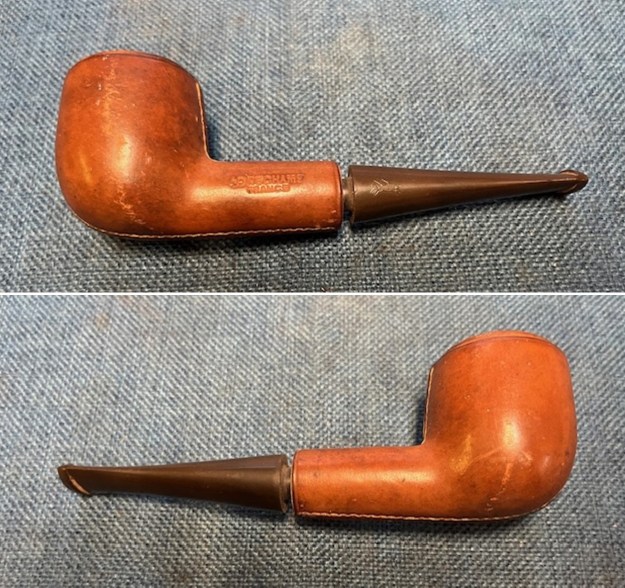
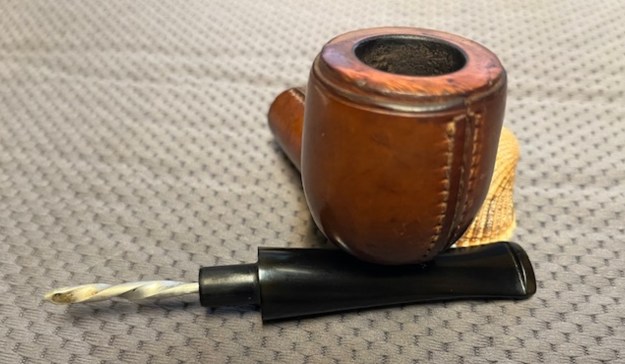
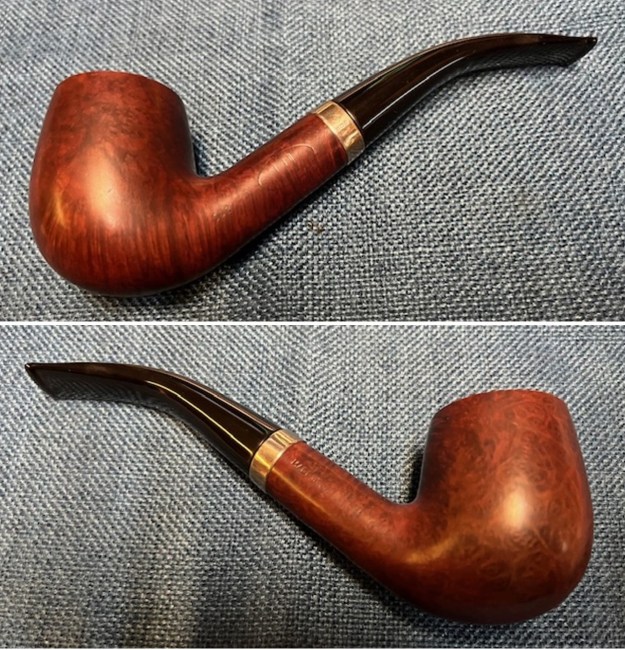
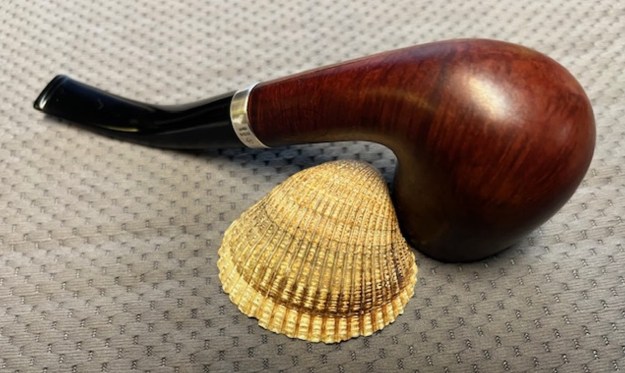
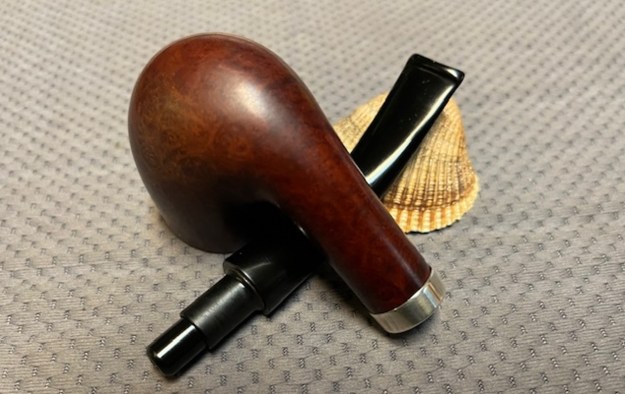
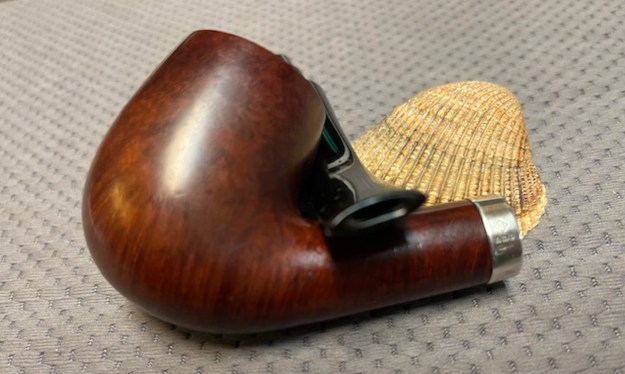
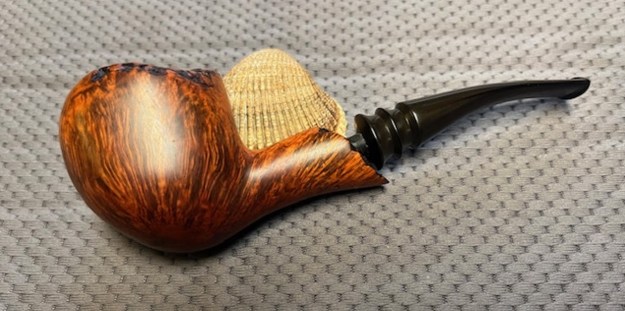
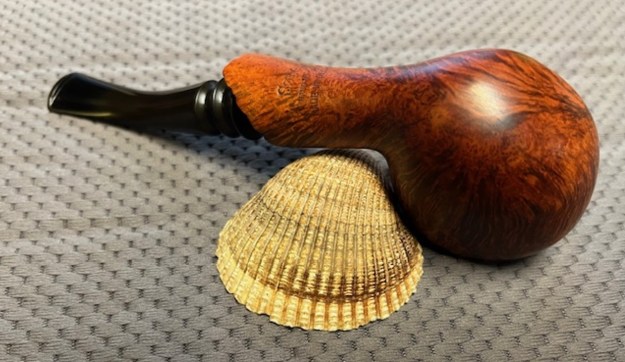
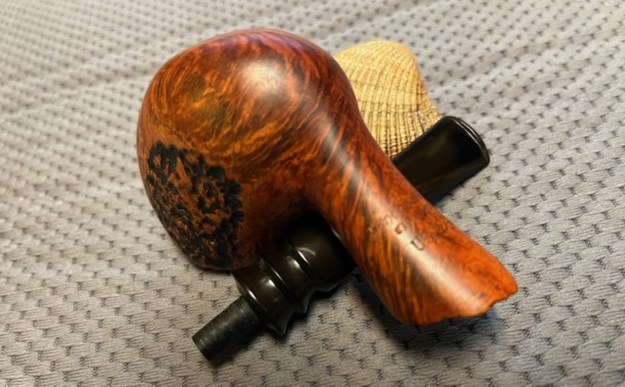
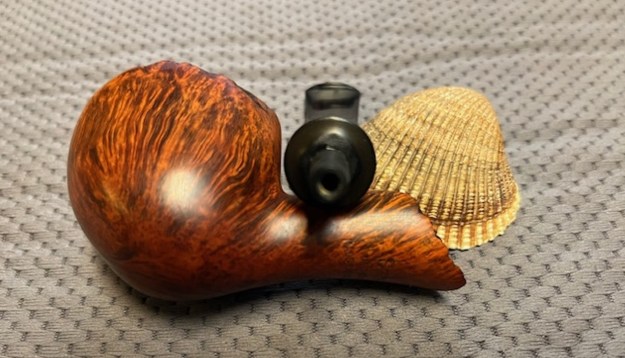
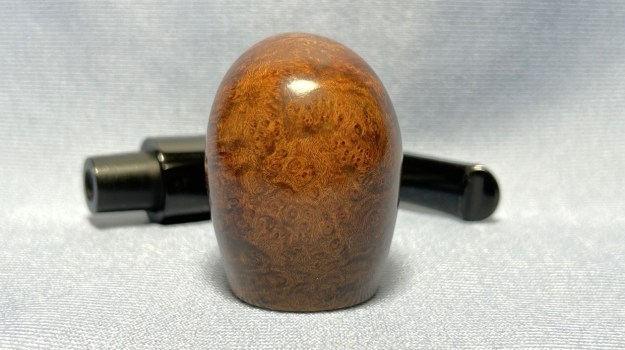
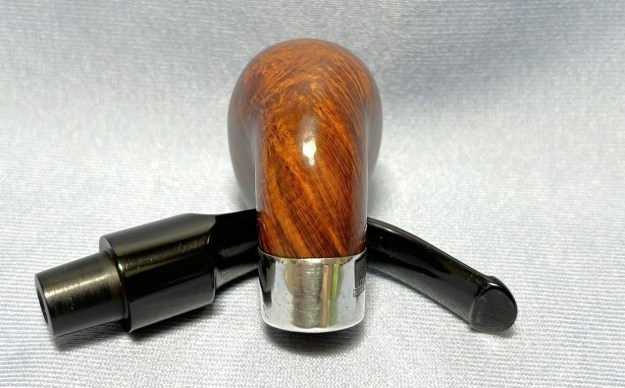
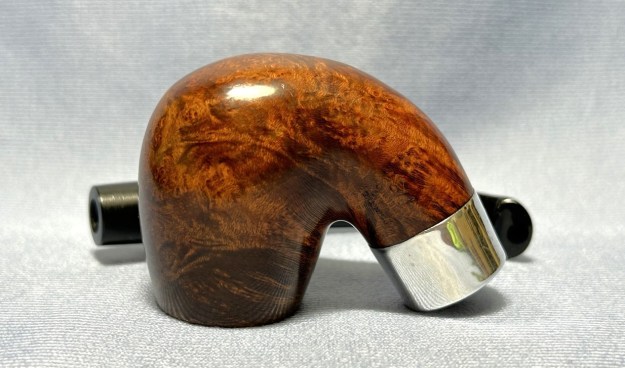
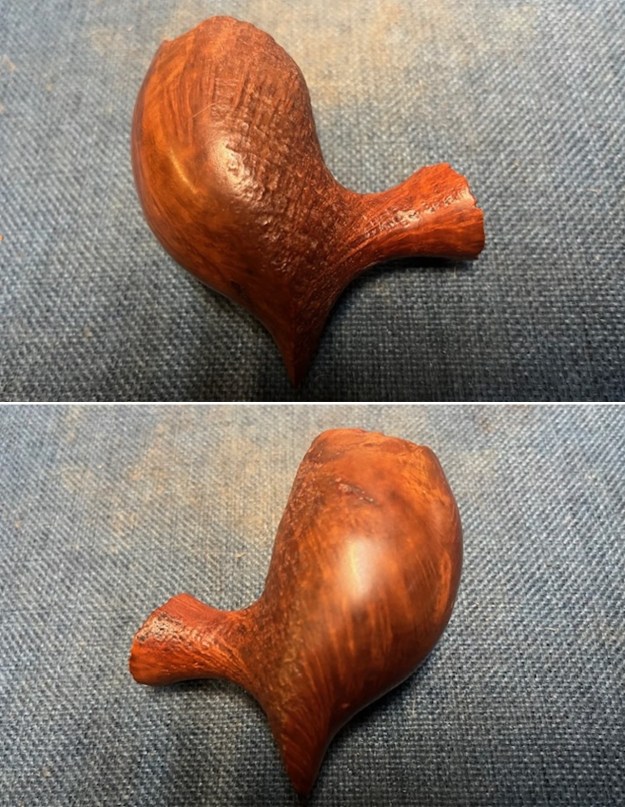
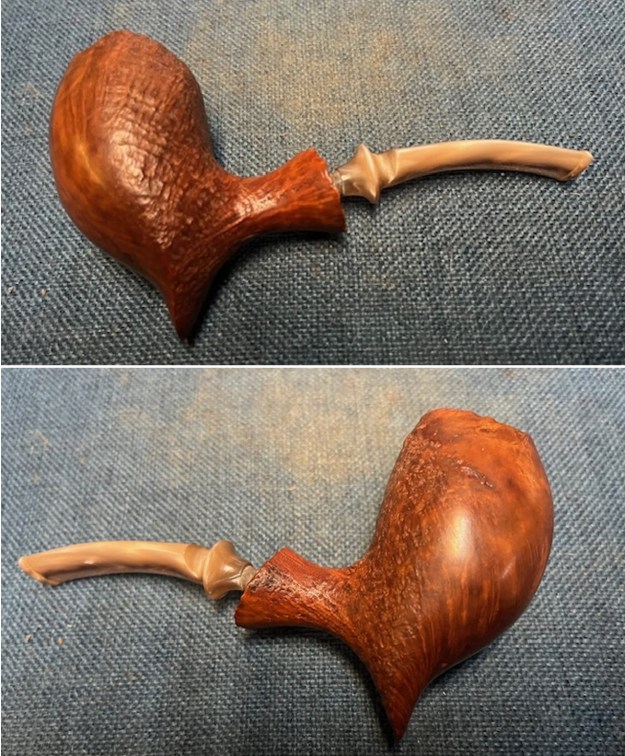
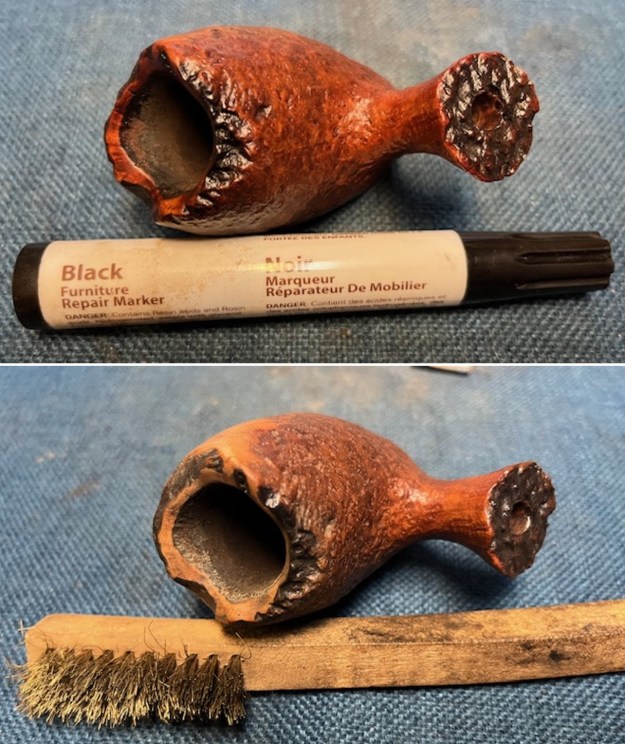
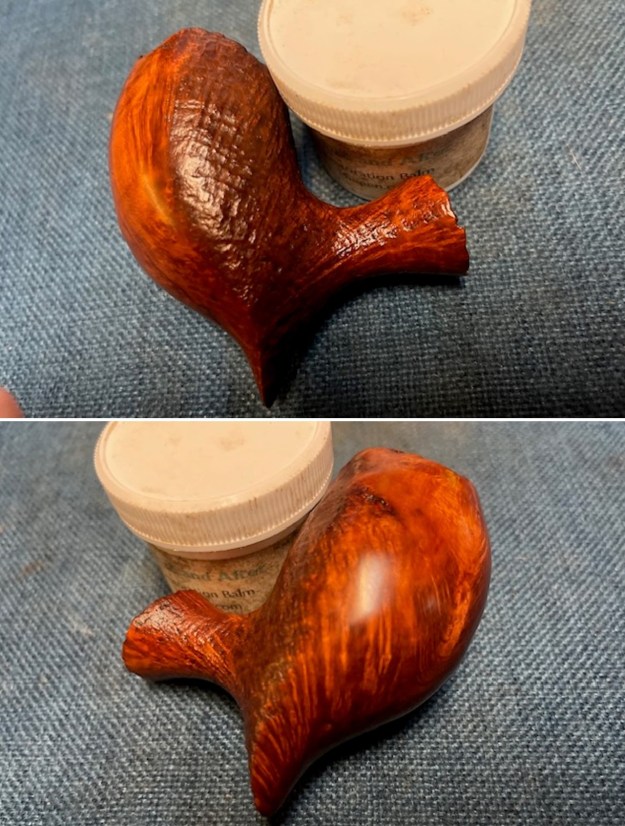
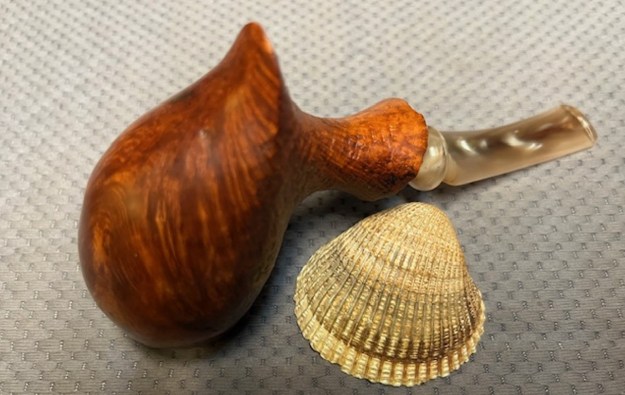
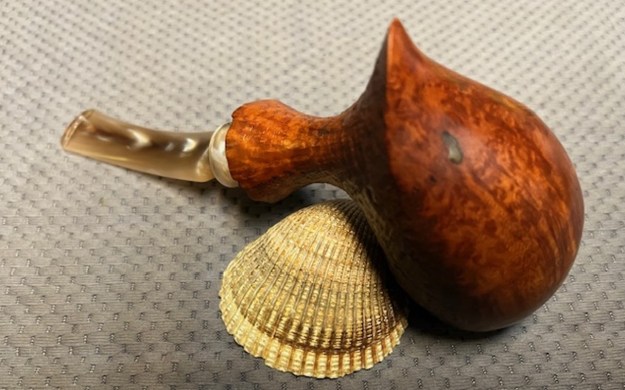
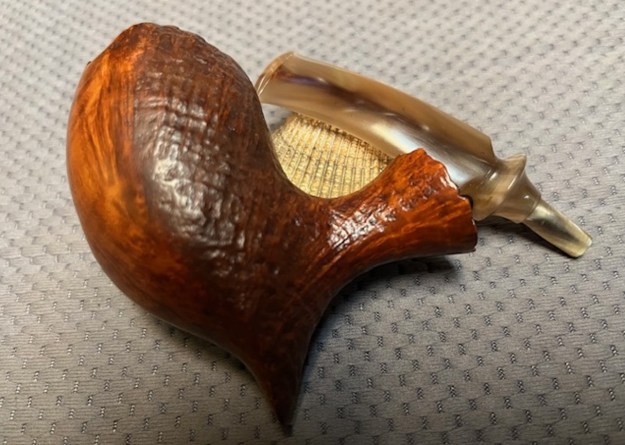
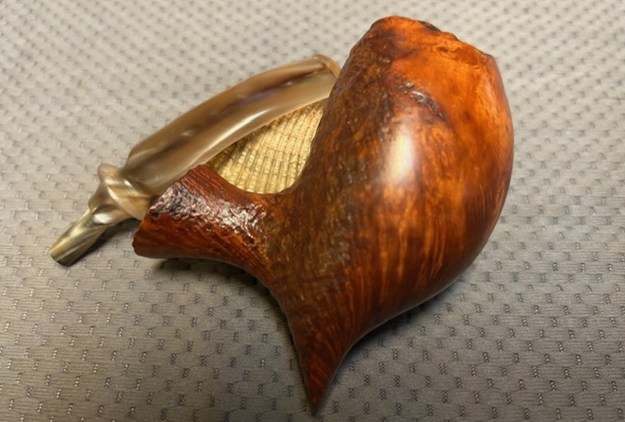
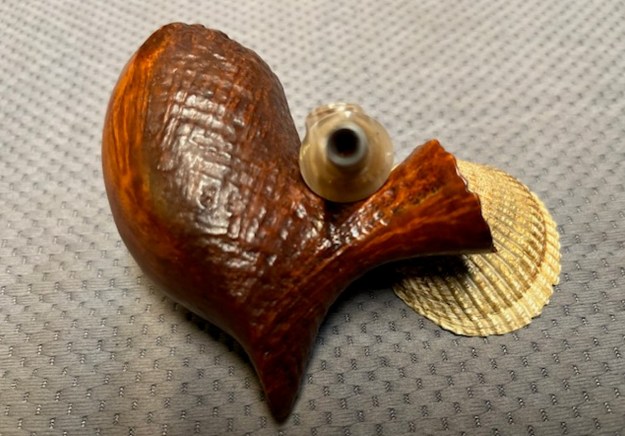
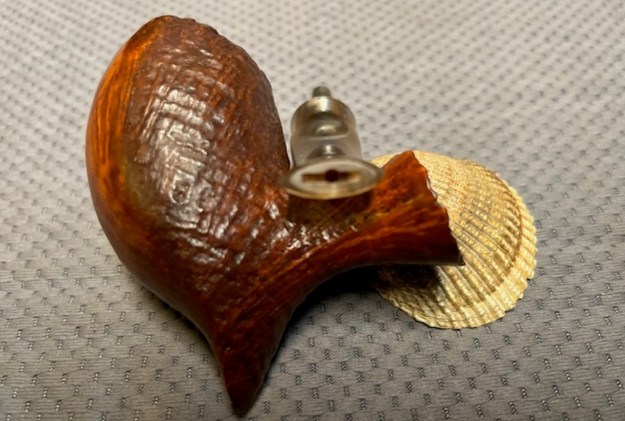
 Jeff took photos of the finish around the bowl sides to show flow of the grain around the bowl. You can also see the dust and debris in the finish.
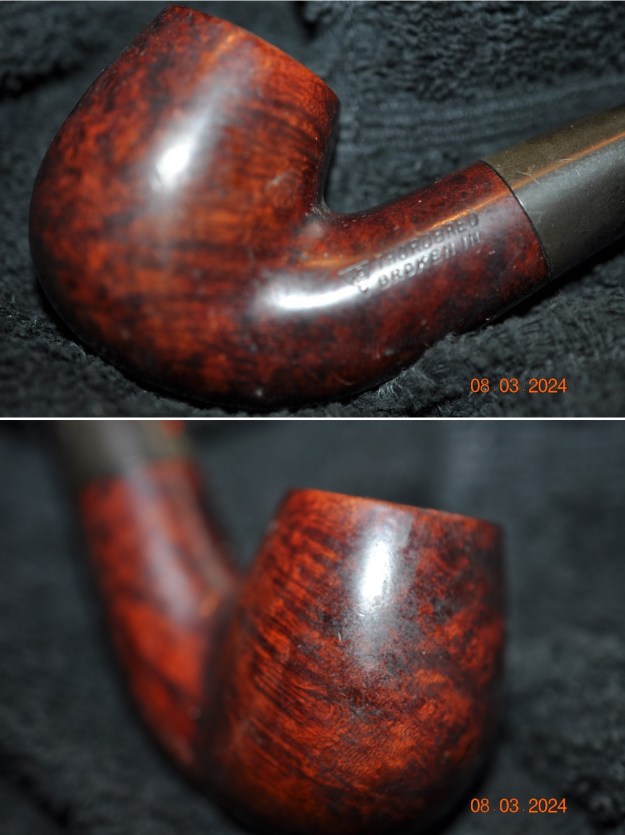
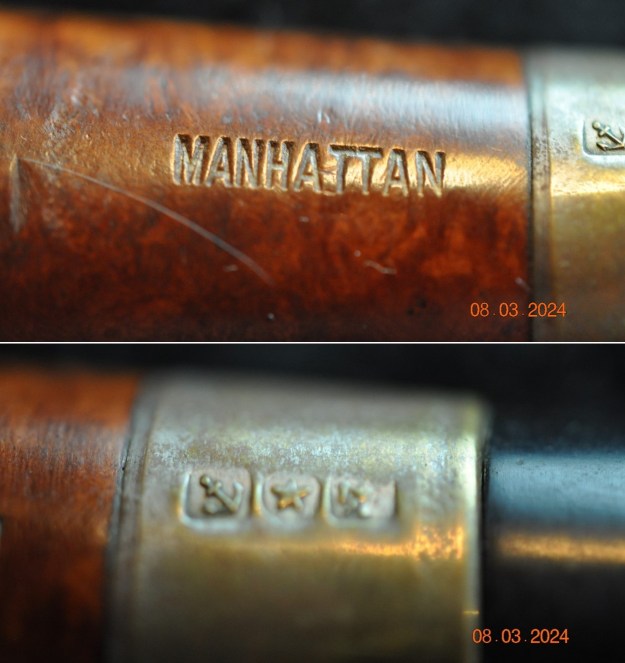
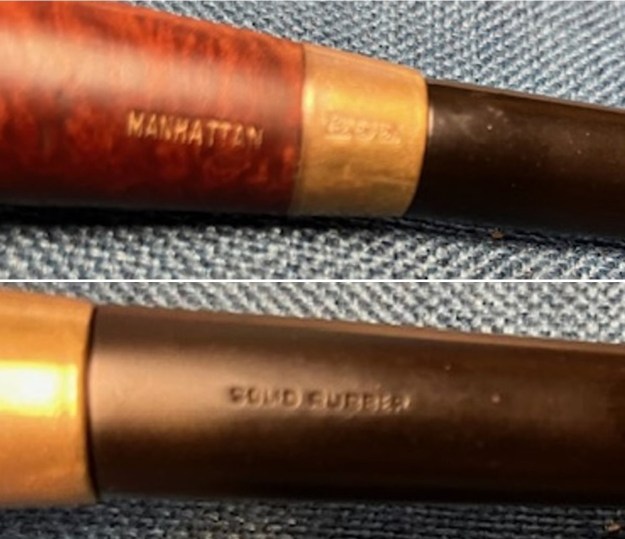
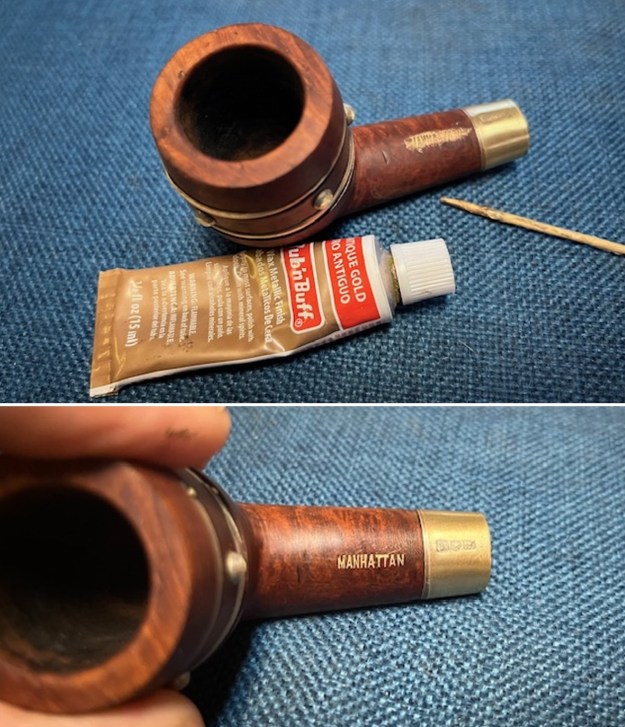
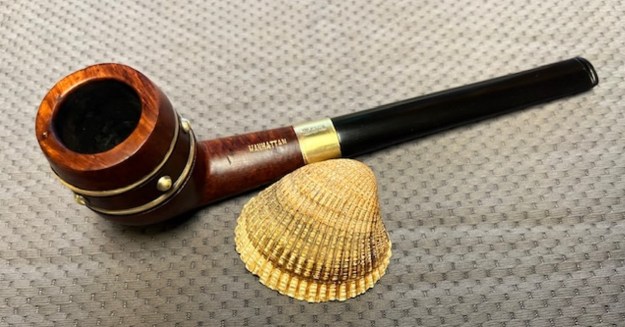
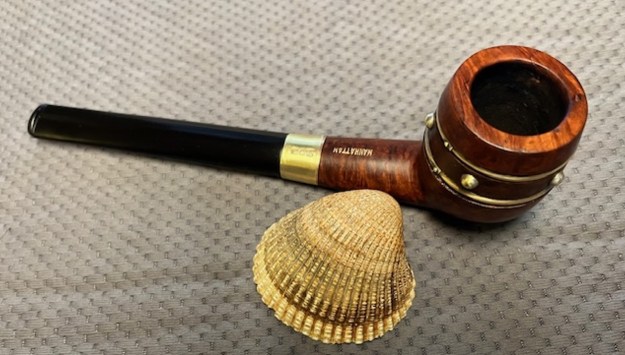
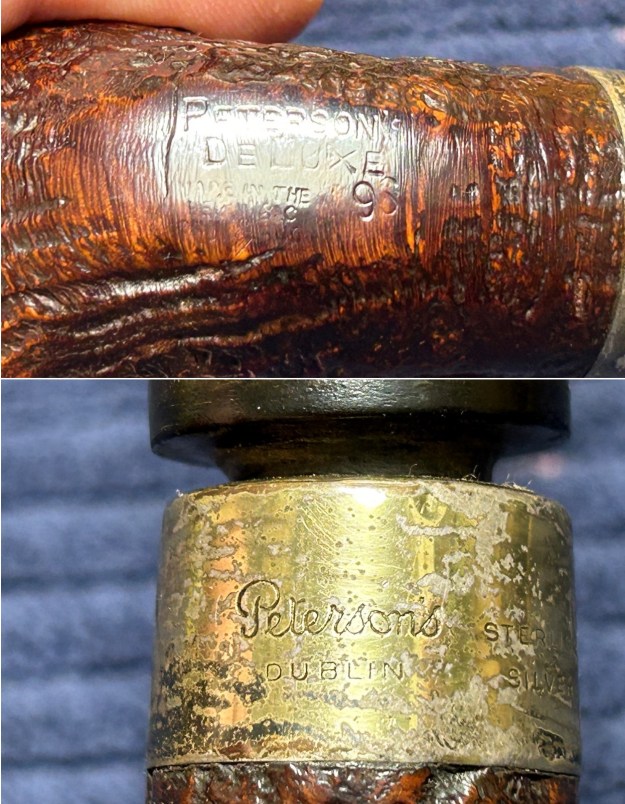
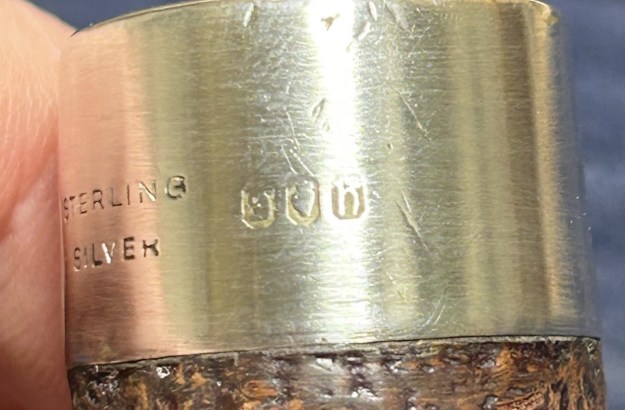
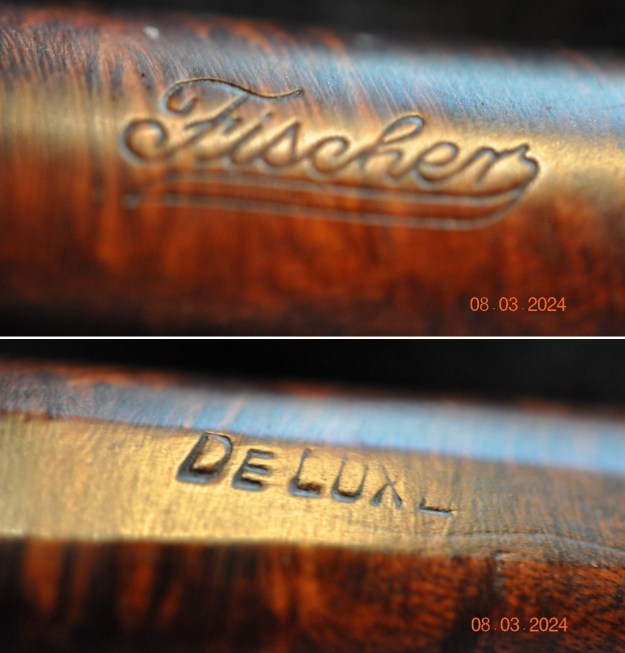
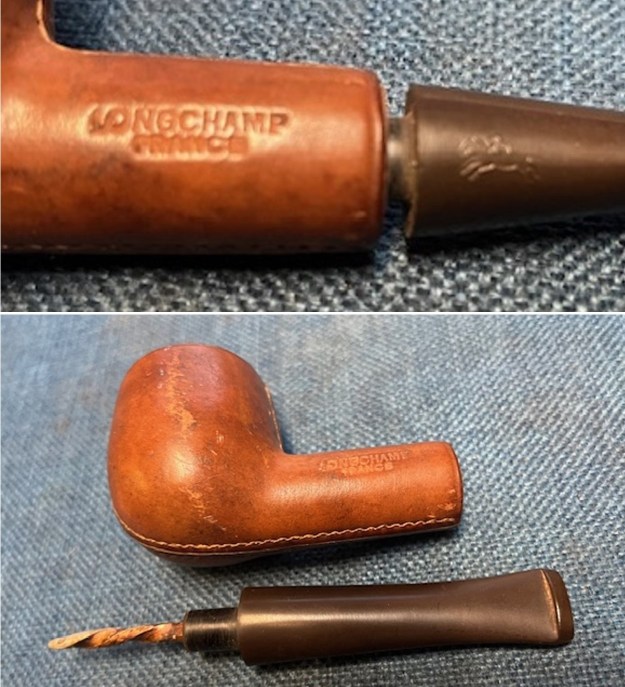
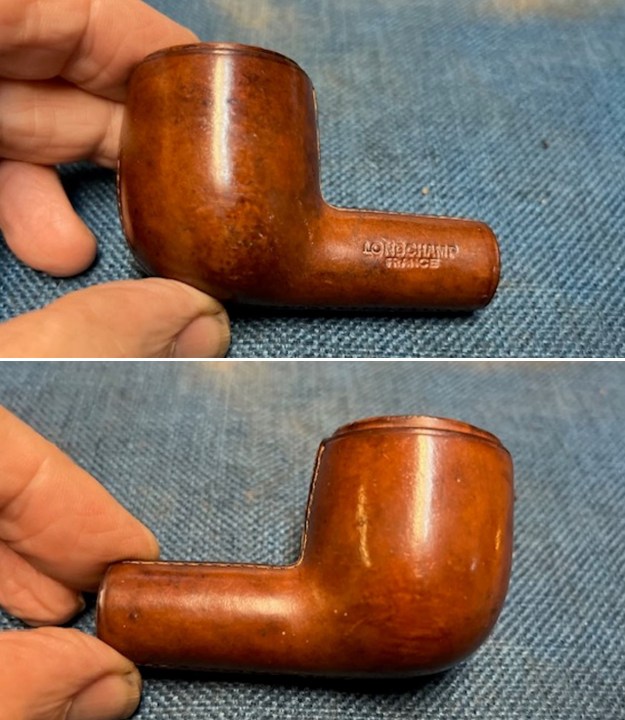
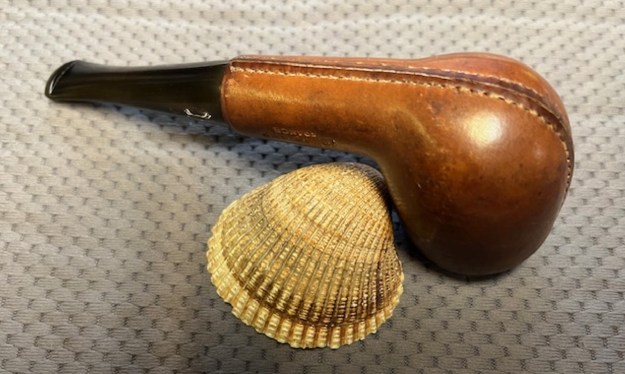
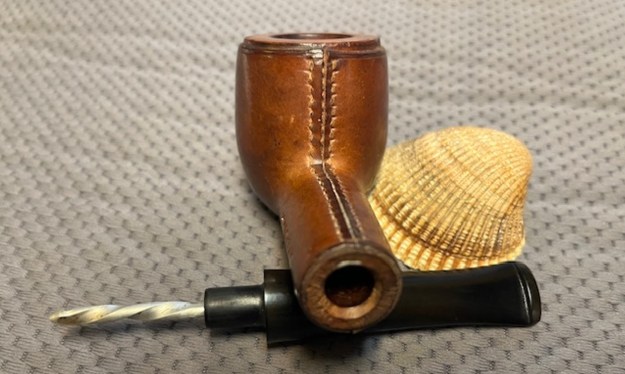
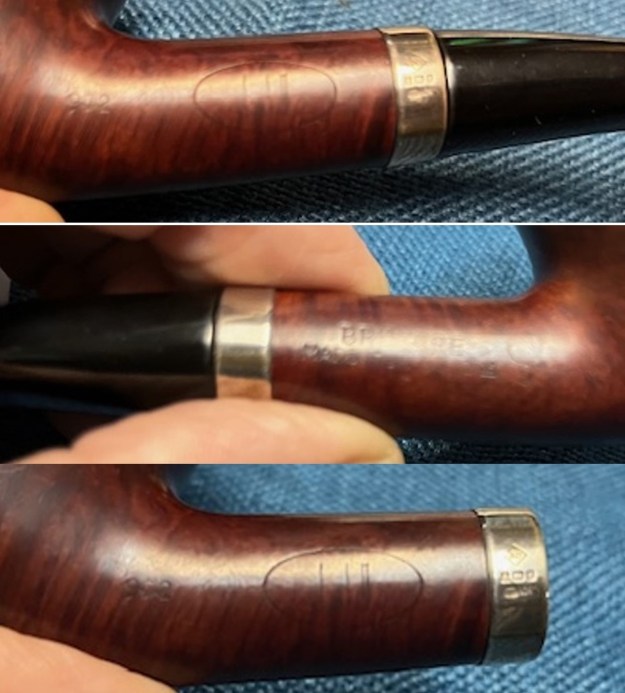
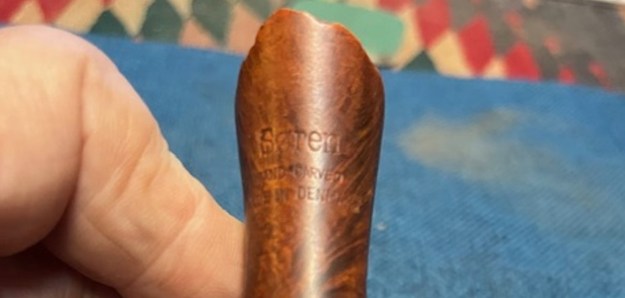
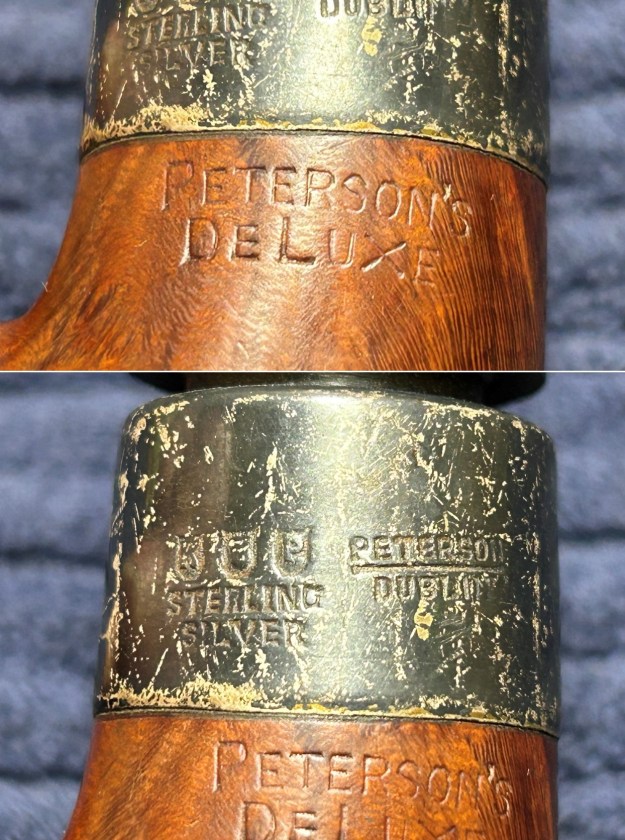
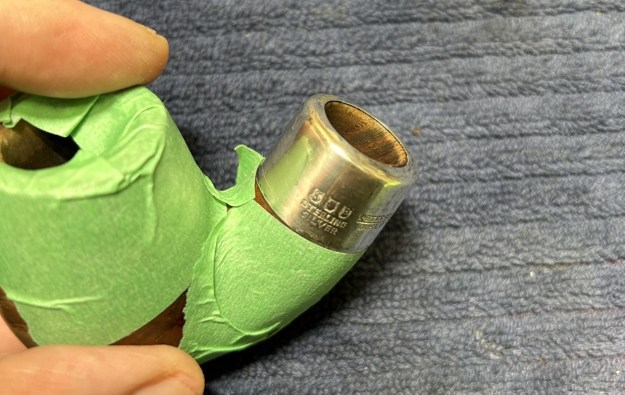
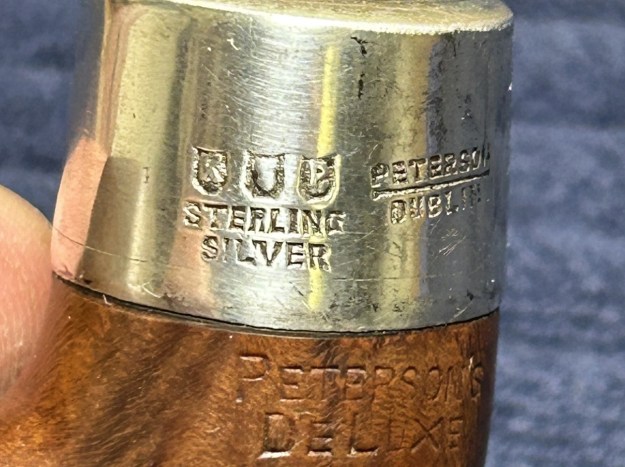
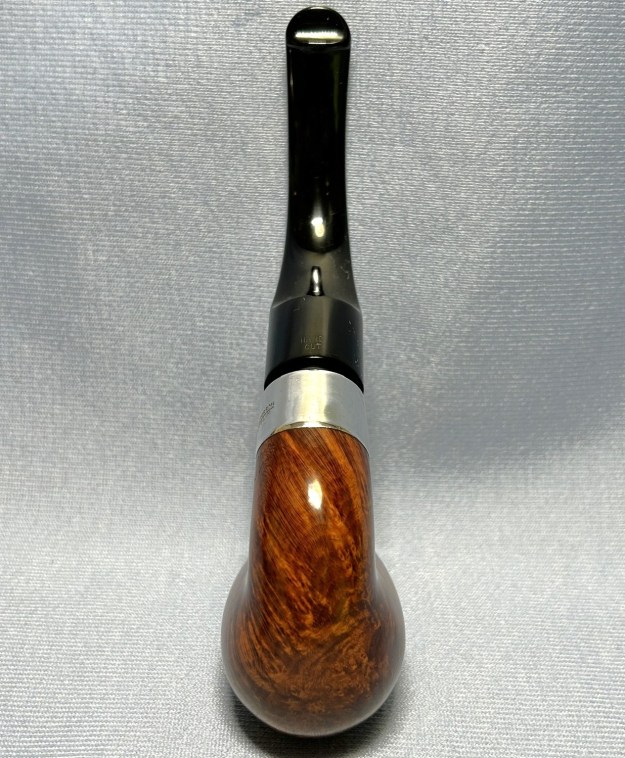
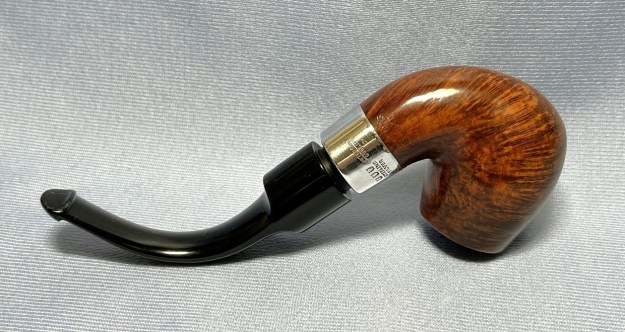
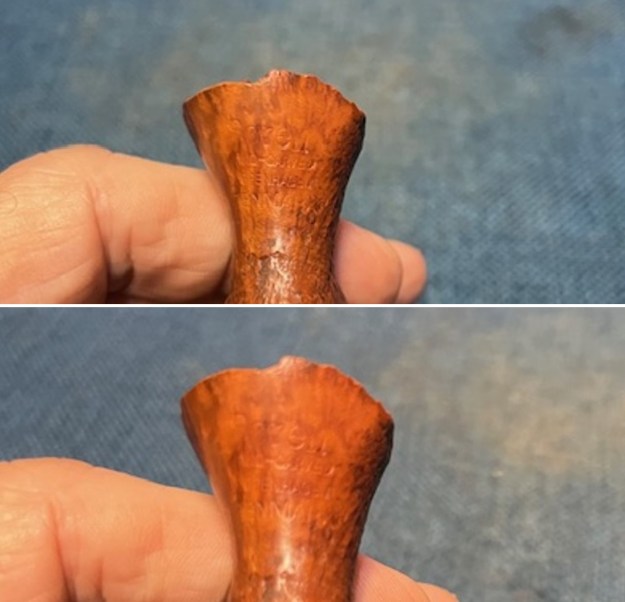
 Jeff took photos of the stamping on the left side of the shank to capture it. It was clear and readable as noted above. He also captured the red triangle WDC logo on the top of the stem.
 I turned to the blog, mentioned above on the restoration of the sandblast partner of this pipe and reread the history of the brand that I had gathered when working on it. I have included that information below for ease of reference.
I have included a quick history of the brand from Pipedia that is interesting and is helpful (https://pipedia.org/wiki/William_Demuth_Company).
William Demuth. (Wilhelm C. Demuth, 1835-1911), a native of Germany, entered the United States at the age of 16 as a penniless immigrant. After a series of odd jobs he found work as a clerk in the import business of a tobacco tradesman in New York City. In 1862 William established his own company. The William Demuth Company specialized in pipes, smoker’s requisites, cigar-store figures, canes and other carved objects.
The Demuth Company is probably well known for the famous trademark, WDC in an inverted equilateral triangle. William commissioned the figurative meerschaum Presidential series, 29 precision-carved likenesses of John Adams, the second president of the United States (1797-1801) to Herbert Hoover, the 30th president (1929-1933), and “Columbus Landing in America,” a 32-inch-long centennial meerschaum masterpiece that took two years to complete and was exhibited at the World’s Columbian Exposition in Chicago in 1893…
…In 1897 Ferdinand Feuerbach joined the Demuth company and by 1903 had become the production manager. Feuerbach is credited with developing Demuth’s popular Royal Demuth and Hesson Guard Milano pipelines. He left in 1919, when Sam Frank Sr. needed an experienced pipe man to run his pipe factory, located at 168 Southern Blvd., in the Bronx. Feuerbach and Frank had been close friends since Frank started his own business in 1900 and was closely associated with the sales staff of WDC, selling their line of pipes…
In early 1937, the City of New York notified S.M. Frank & Co. of their intent to take by eminent domain, part of the land on which the companies pipe factory was located. This was being done to widen two of the adjacent streets. As a result of this, Frank entered into negotiations to purchase the Wm. Demuth Co.’s pipe factory in the Richmond Hill section of Queens. It was agreed upon that Demuth would become a subsidiary of S.M. Frank and all pipe production of the two companies would be moved to DeMuth factory. New Corporate offices were located at 133 Fifth Avenue, NYC.
Demuth pipes continued to be made at the Richmond Hill plant till December 31. 1972. Then the Wm. Demuth Company met its official end as a subsidiary company by liquidation. Demuth’s mainstay pipe, the Wellington continued to be offered in the S.M. Frank catalog until 1976. In the mid-80’s, the Wellington even made a brief return as a direct to the consumer offer.
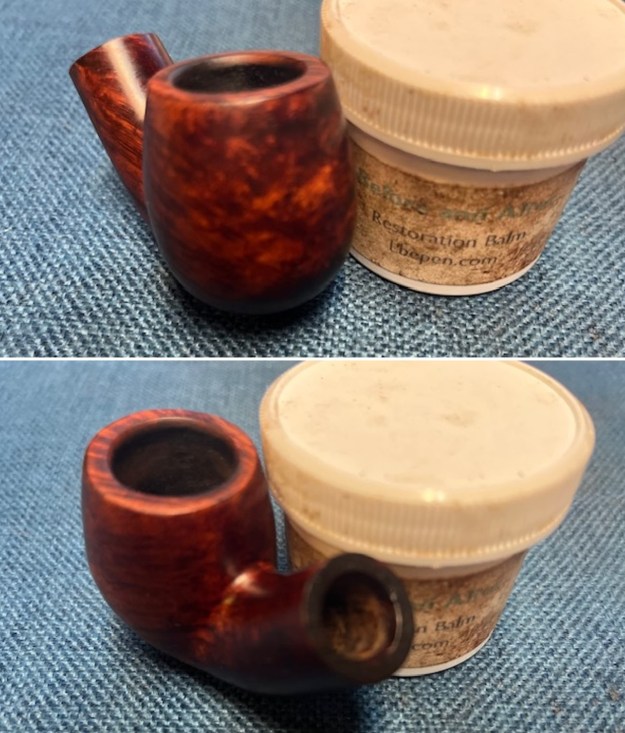
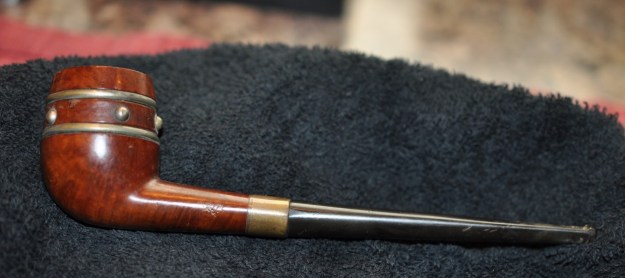
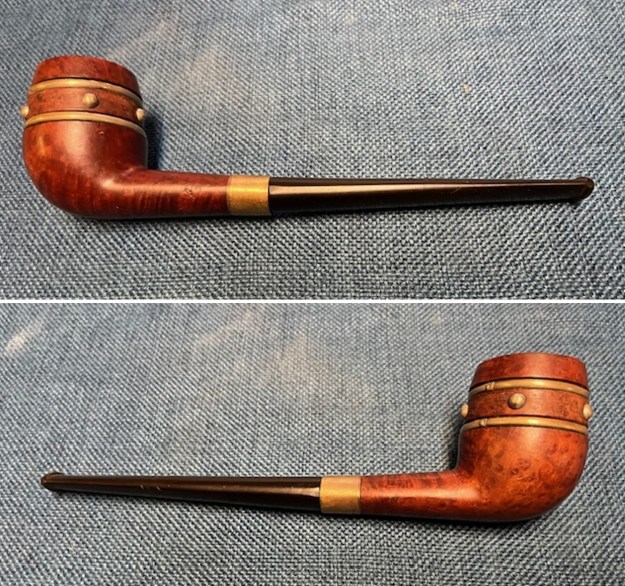
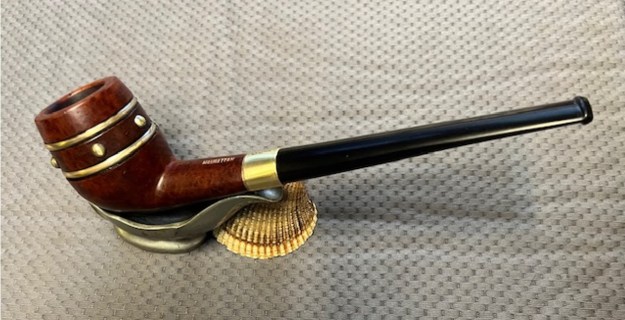
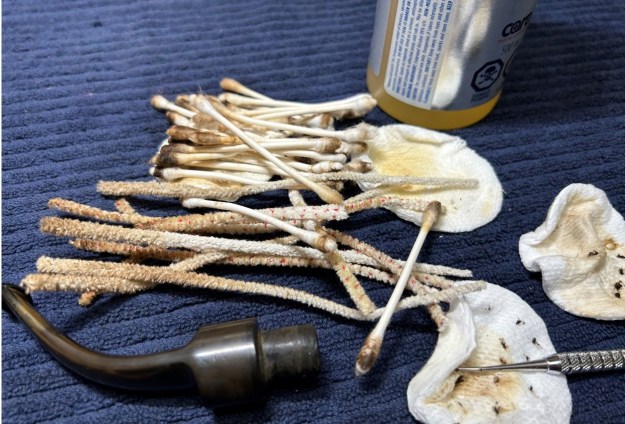
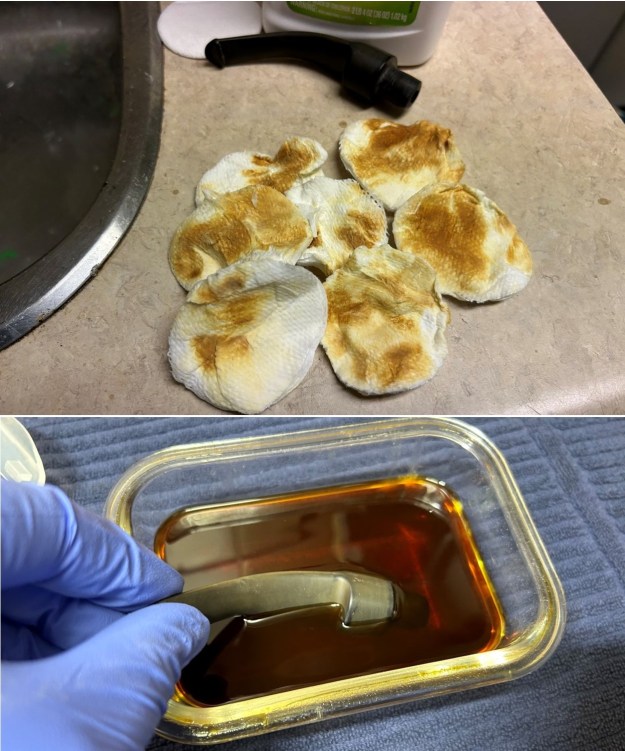
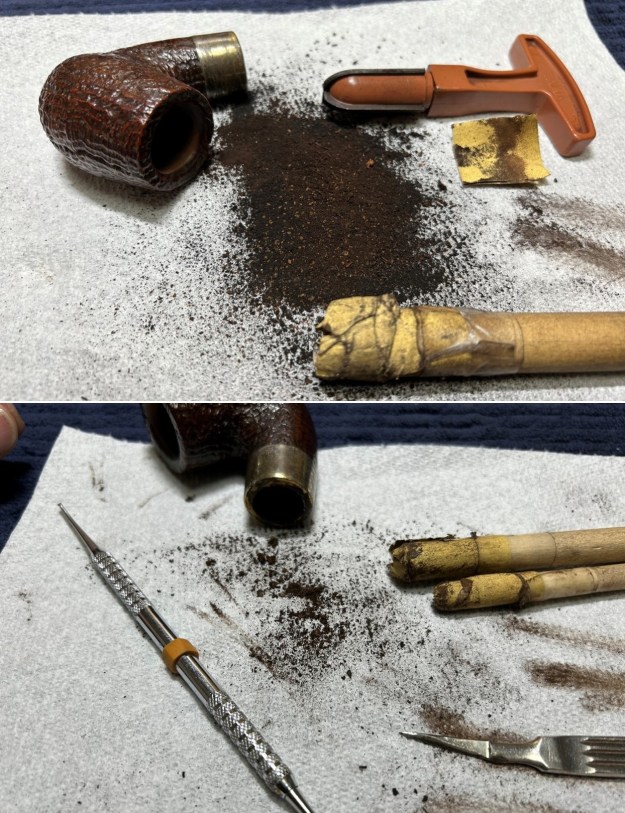
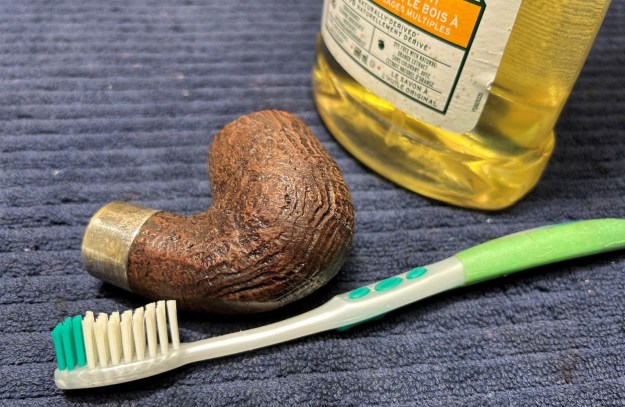
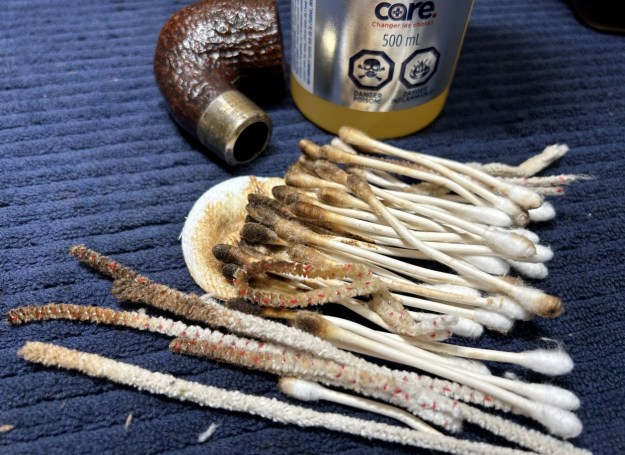
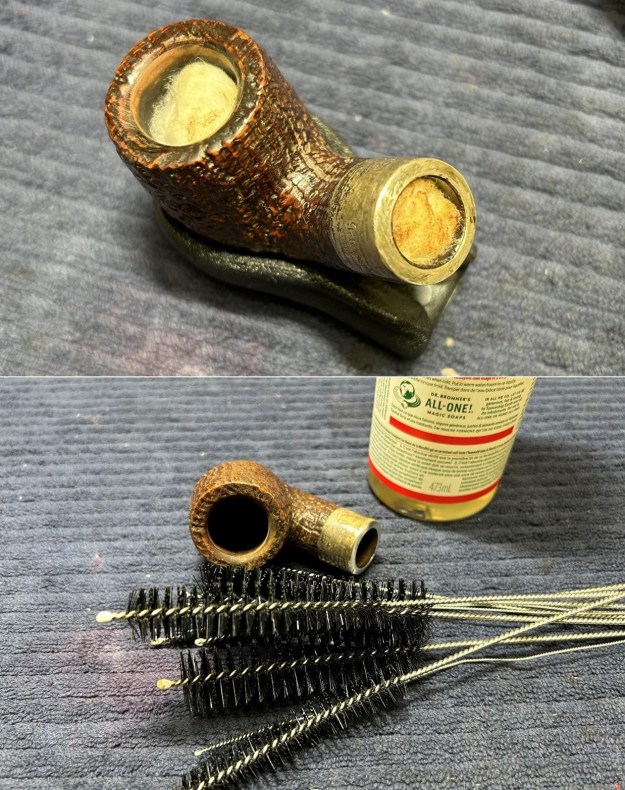
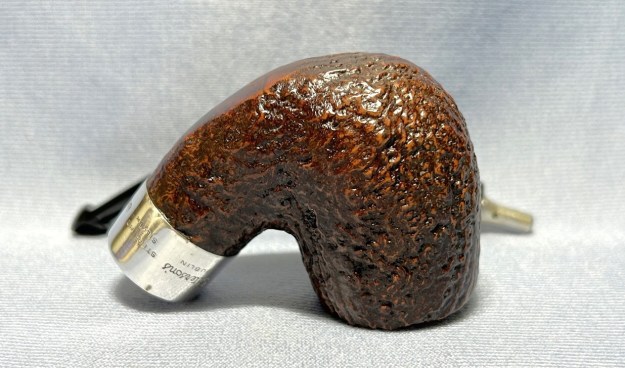
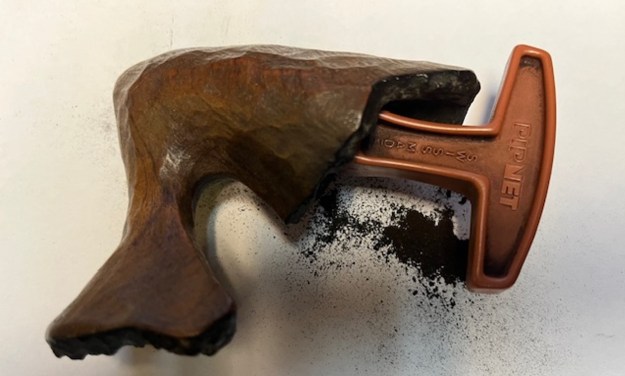
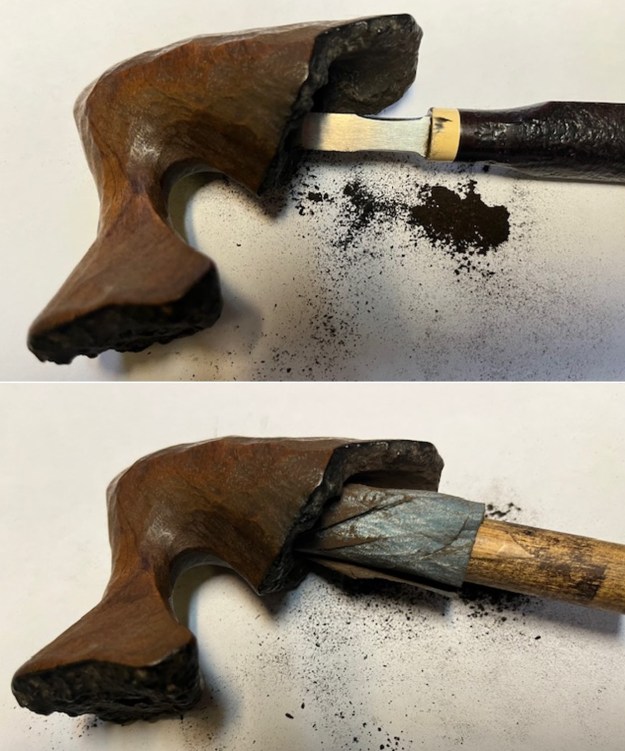
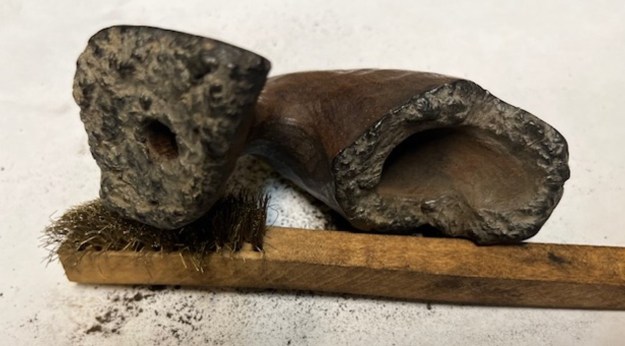
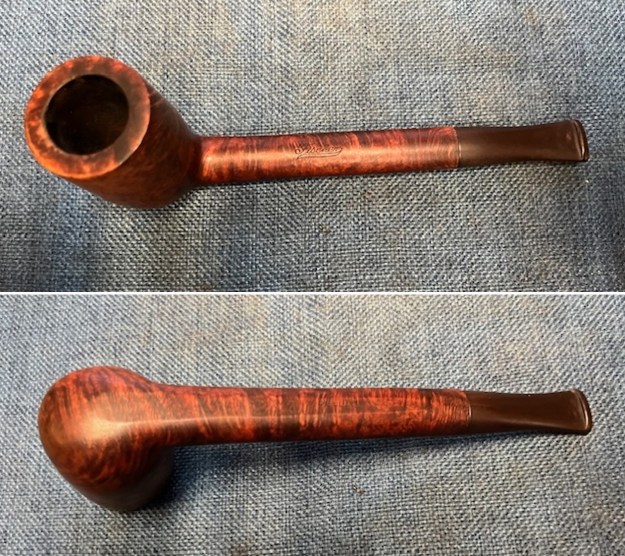
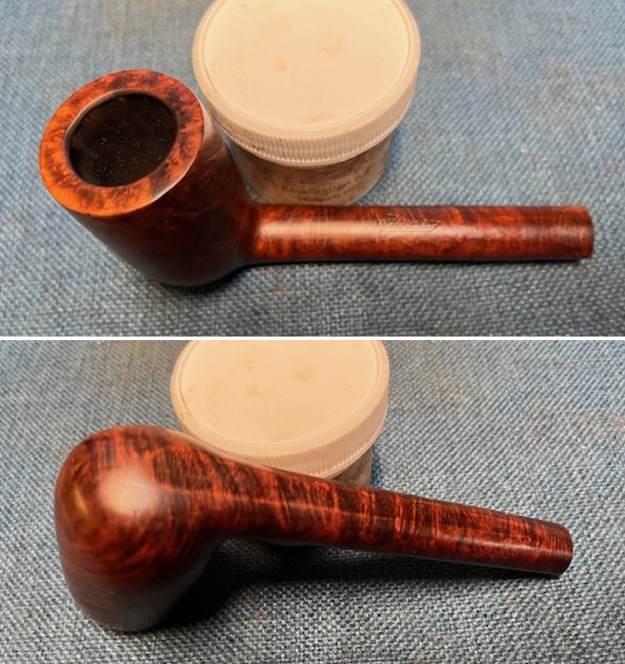
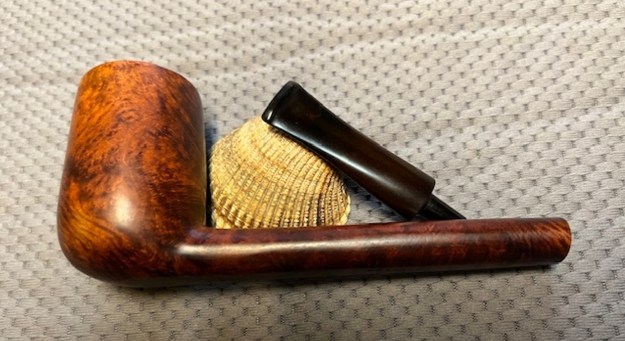
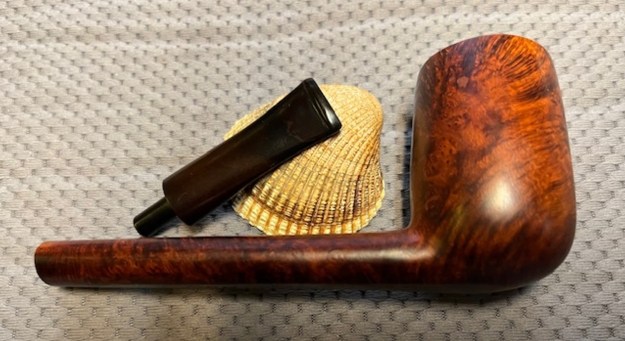
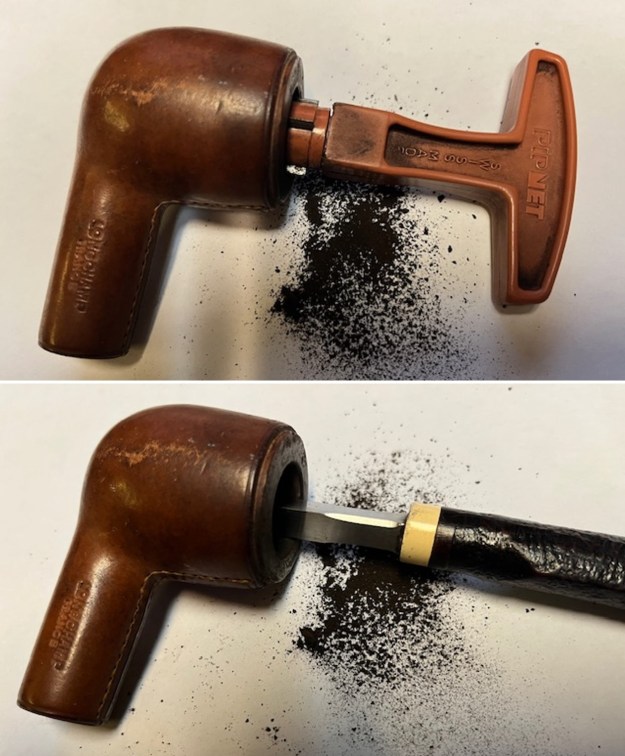
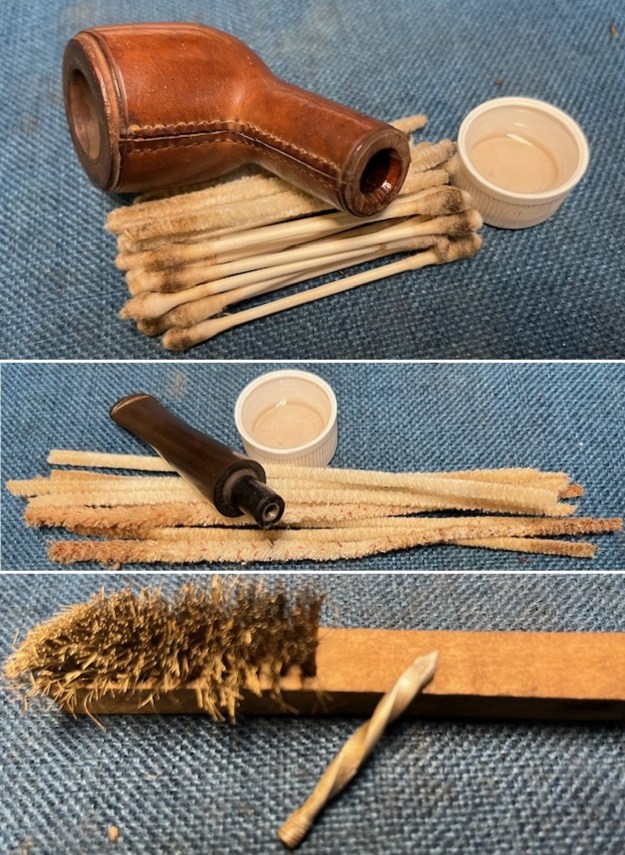
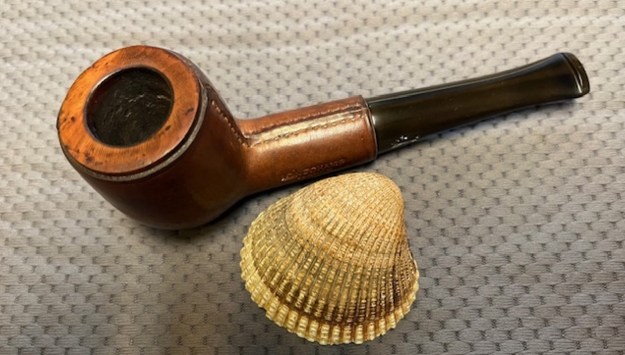
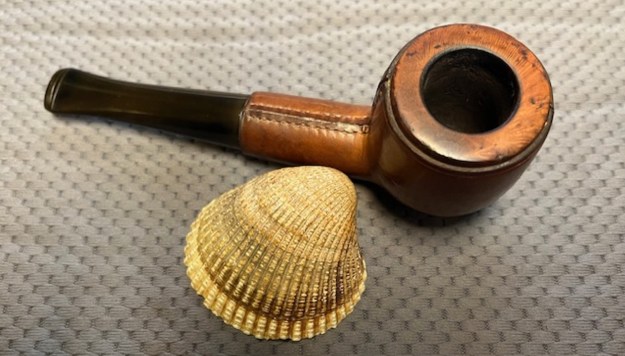
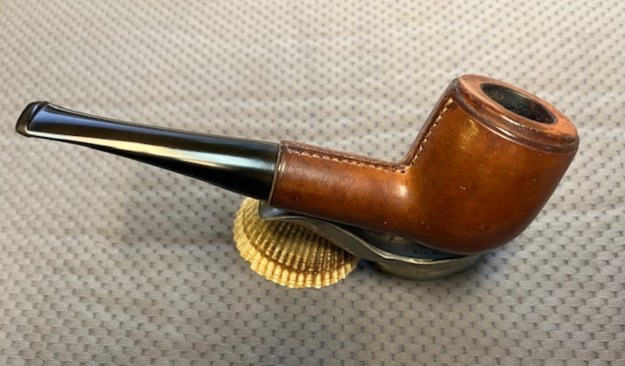
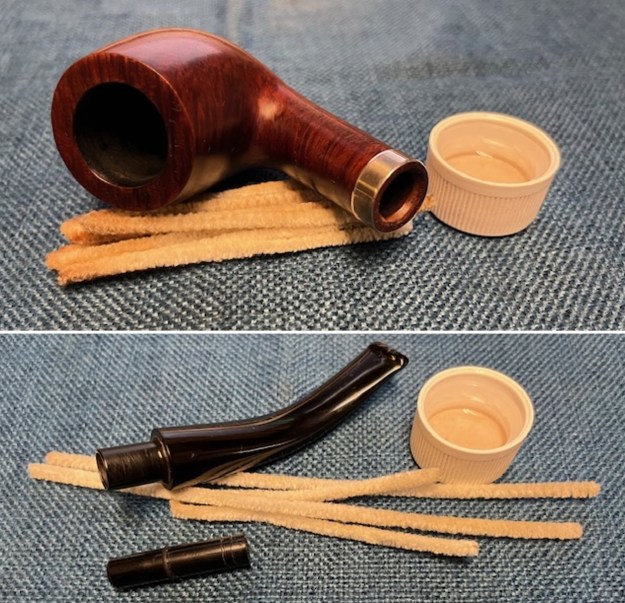
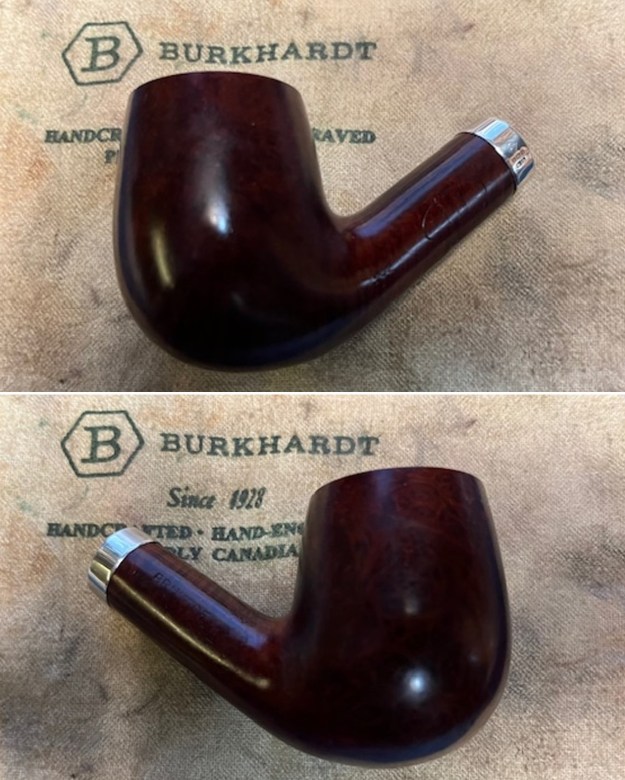
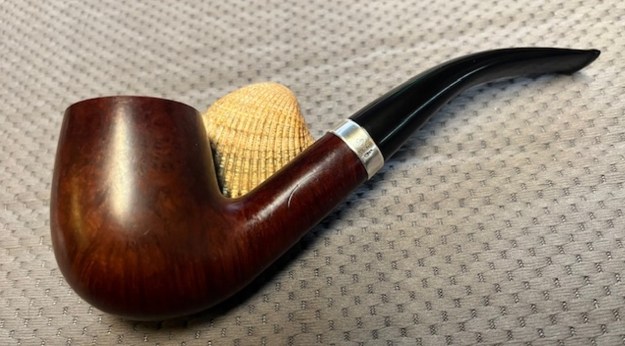
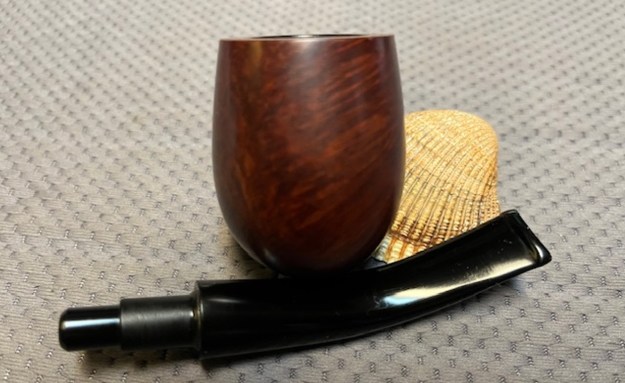
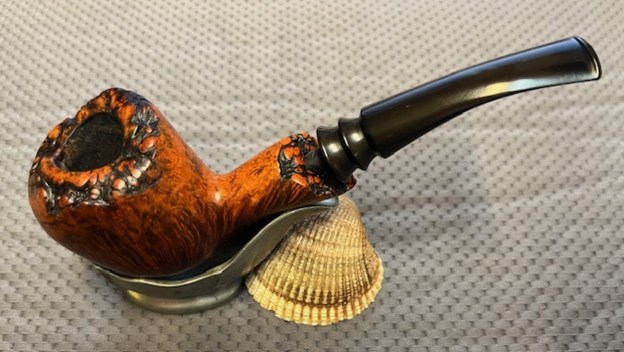
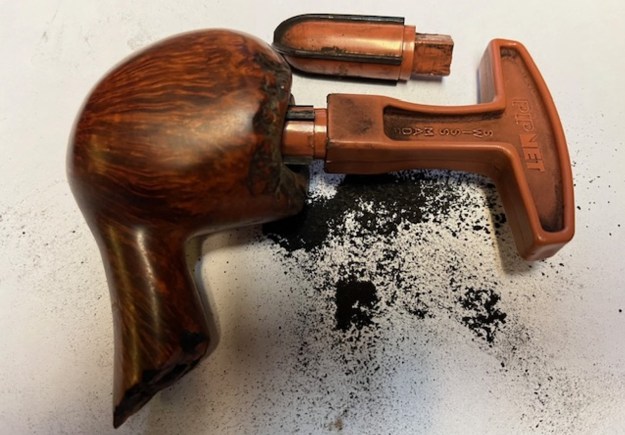
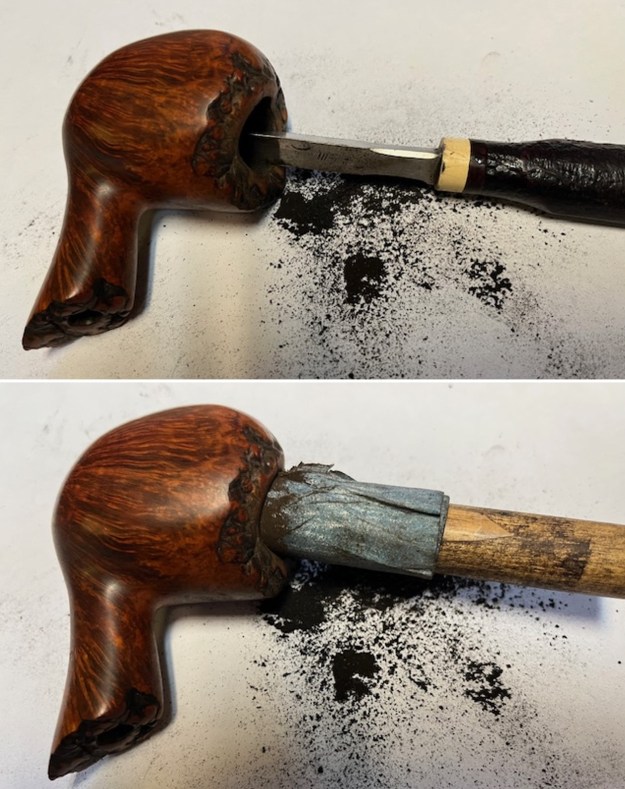
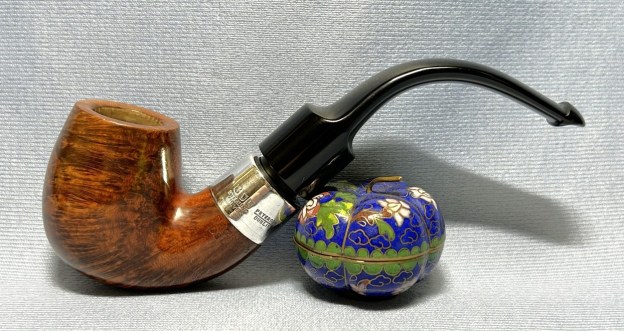
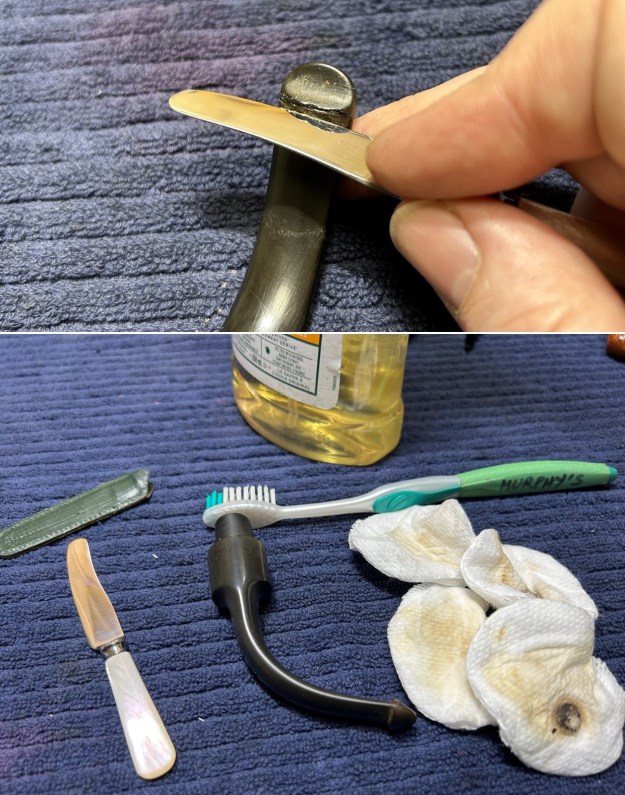
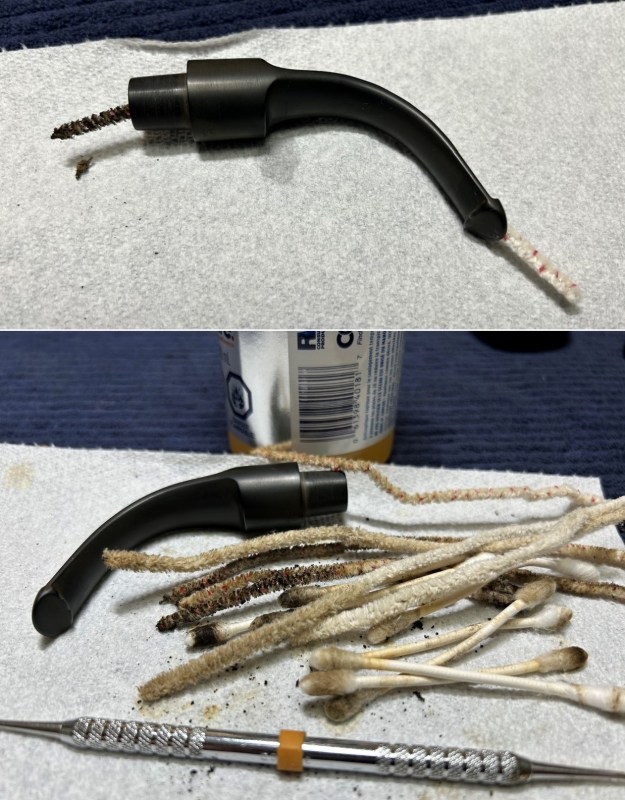
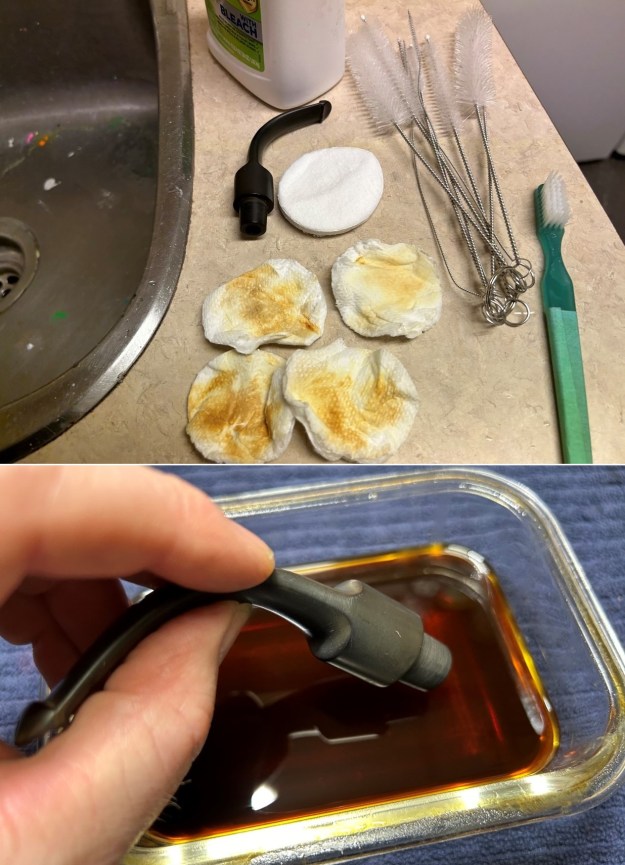
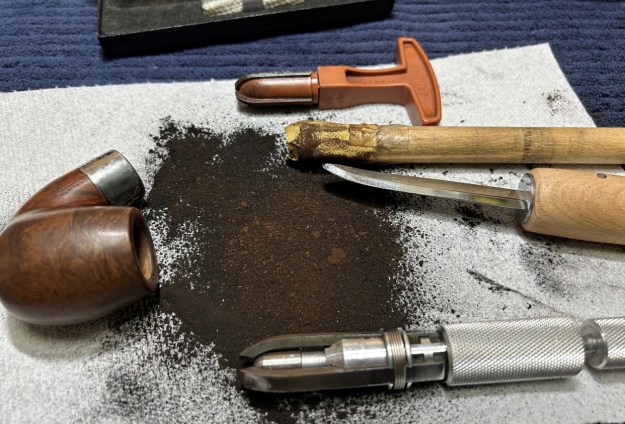
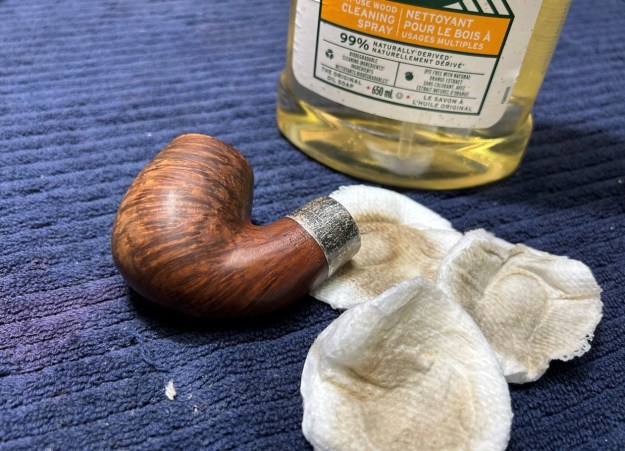
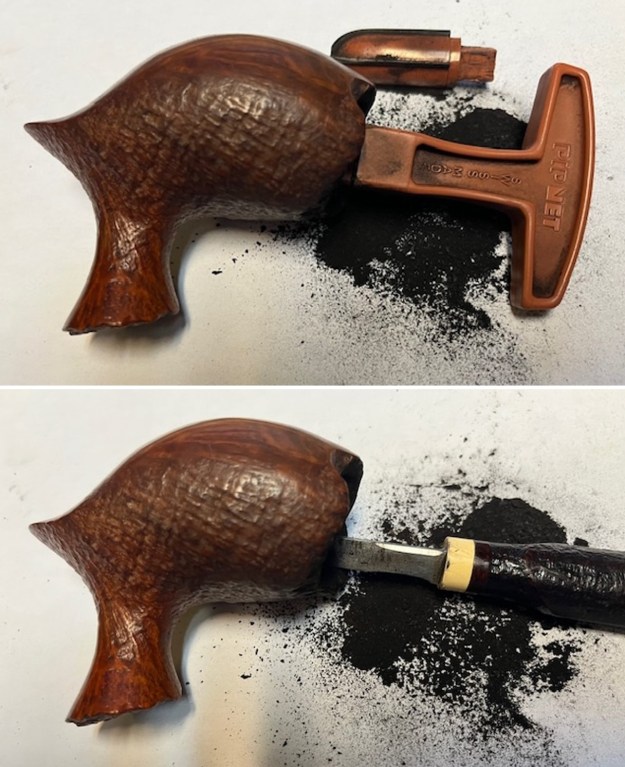
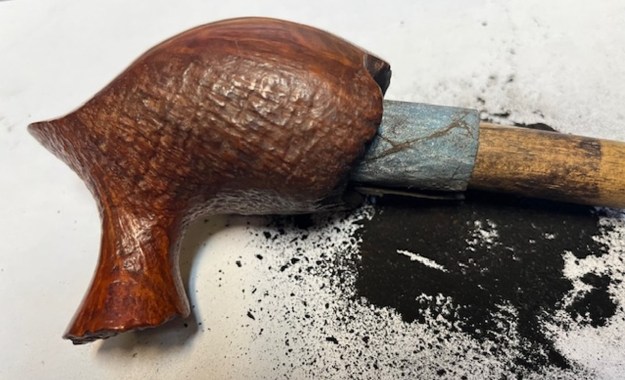
I also have included a photo of a Billiard with the same stamping as the pipe I working on though on a sandblast or Kerly Briar. The rest of the stamping on the pipe is the same as what is on mine.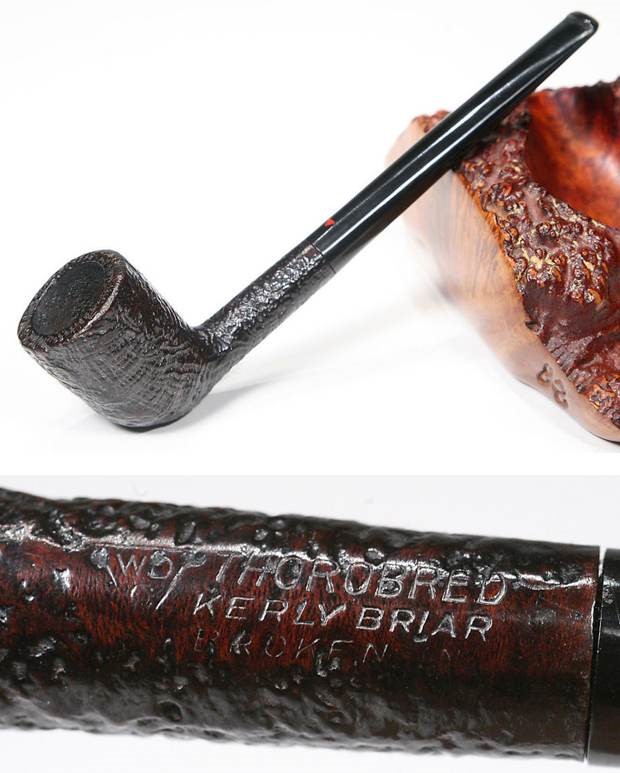 When I received it from Jeff it did not look like the same pipe. It was clean and the finish had life. He reamed it with a PipNet pipe reamer and got rid of the cake. He cleaned up the reaming with a Savinelli Fitsall Pipe Knife so that we could see the walls of the bowl and assess for damage. It was in good condition. He cleaned the internals of the shank and stem with cotton swabs, pipe cleaners and alcohol. He scrubbed the exterior with undiluted Murphy’s Oil Soap and a tooth brush. He rinsed the pipe under warm water. He dried it off with a cloth and then let it air dry. He scrubbed the stem with Soft Scrub and soaked it in Briarville’s Stem Deoxidizer. He rinsed it with warm water and dried it off with a soft cloth. It came out looking very good. The finish on the bowl and the rim top cleaned up nicely. I took pictures of the pipe to show how it looked when I brought it to the table.
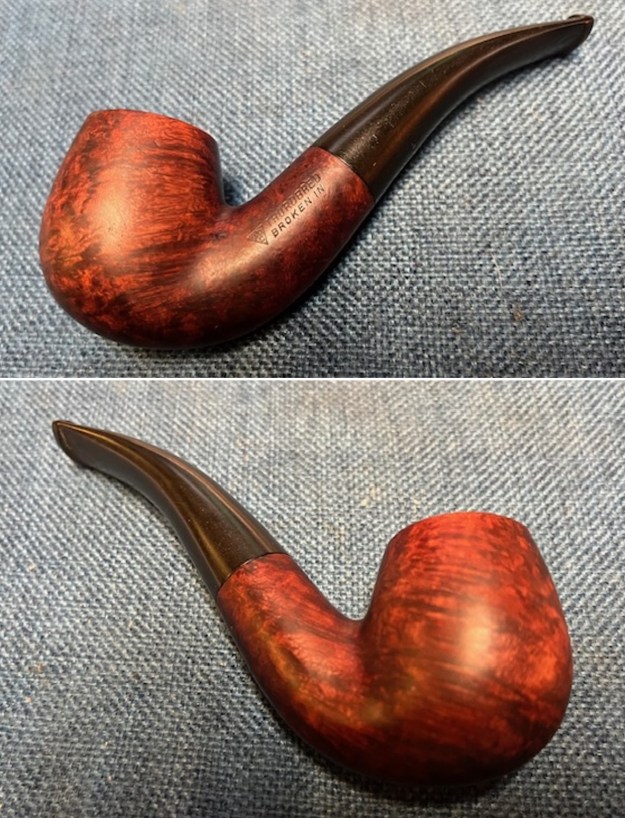
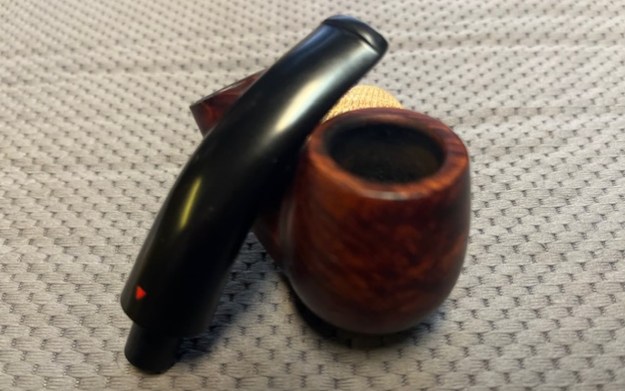
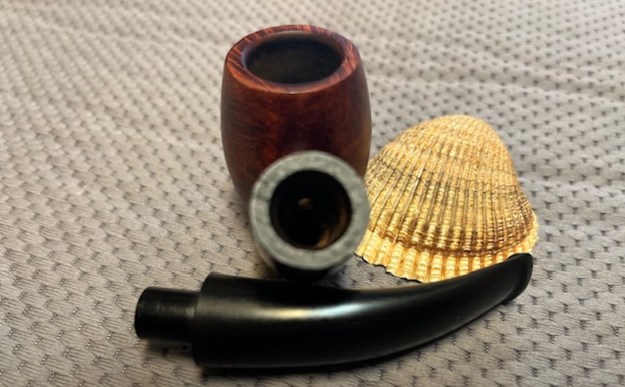
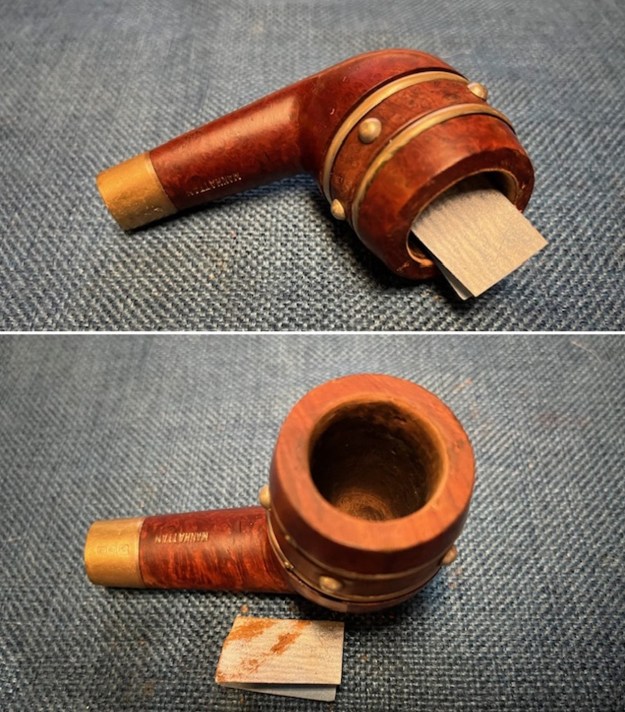
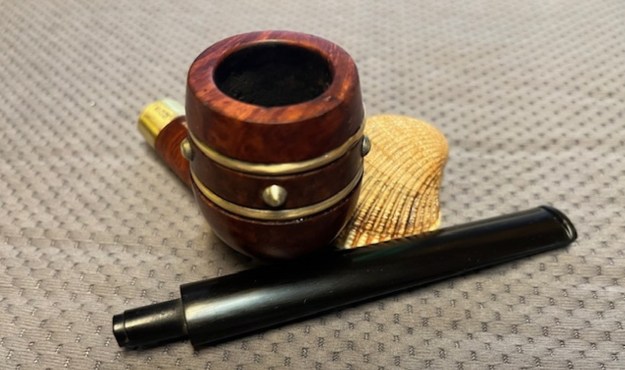
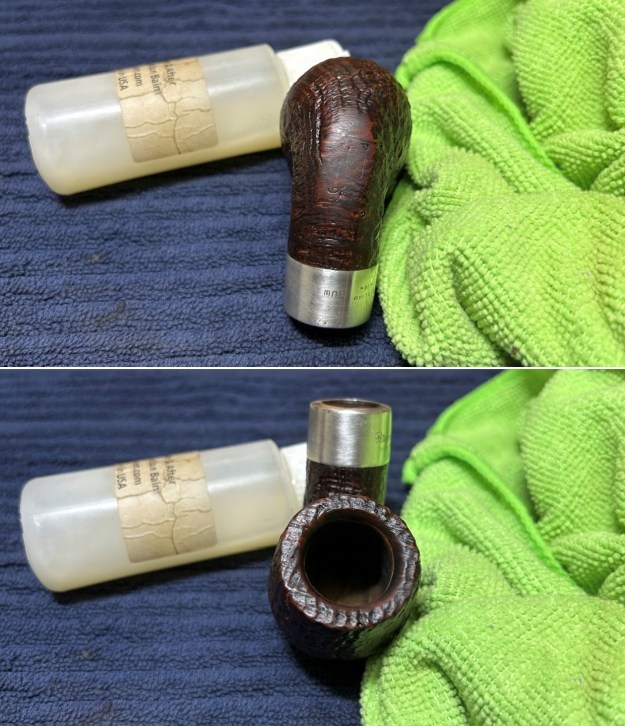
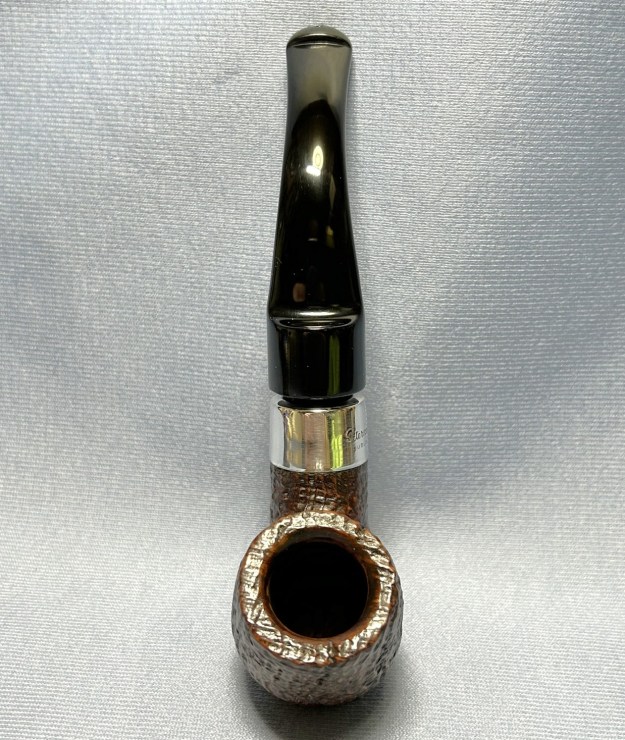
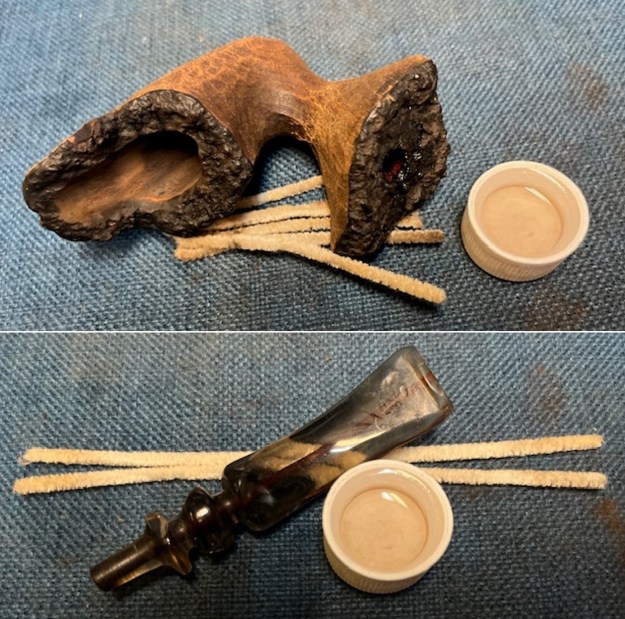
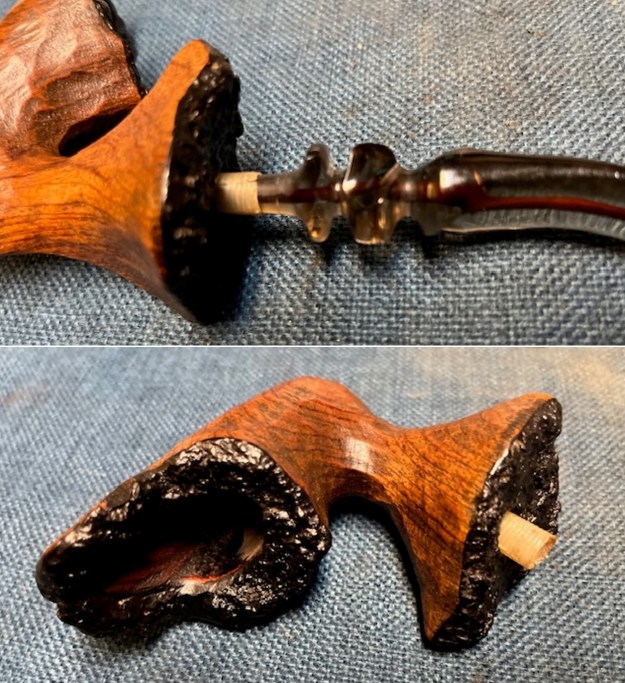
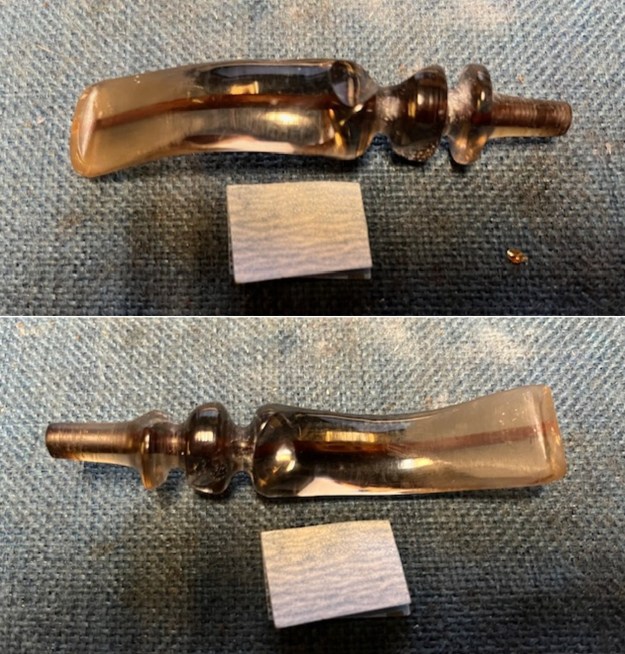
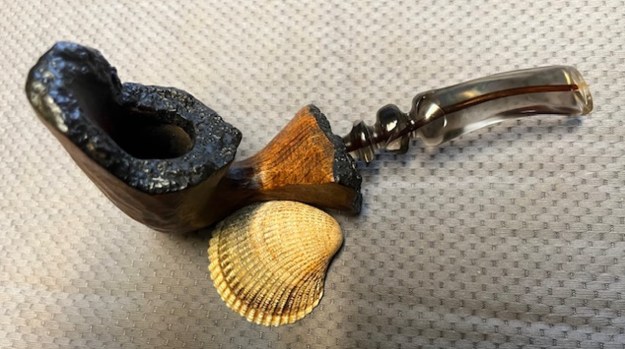
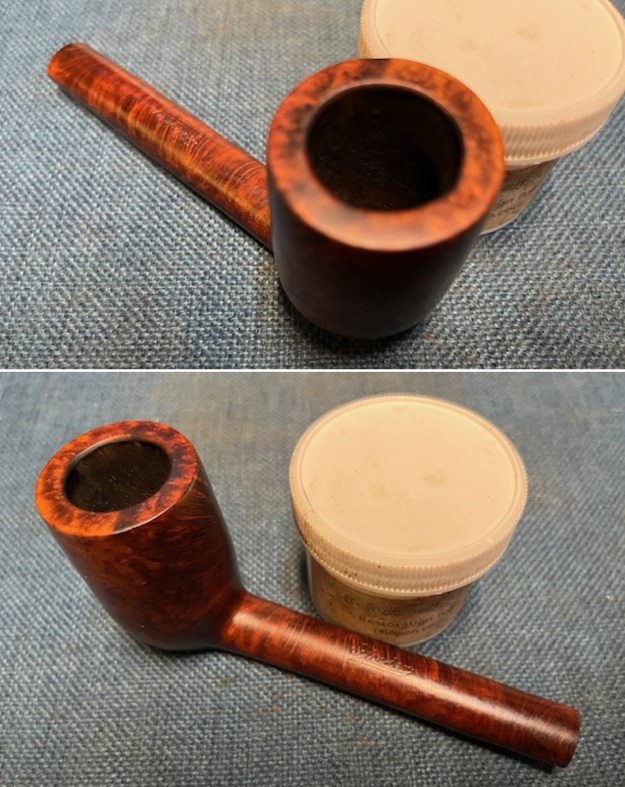
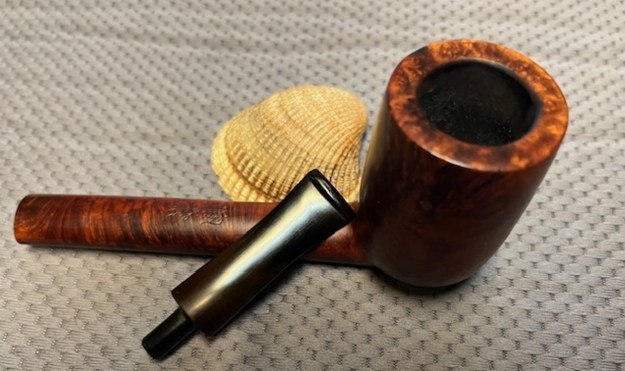
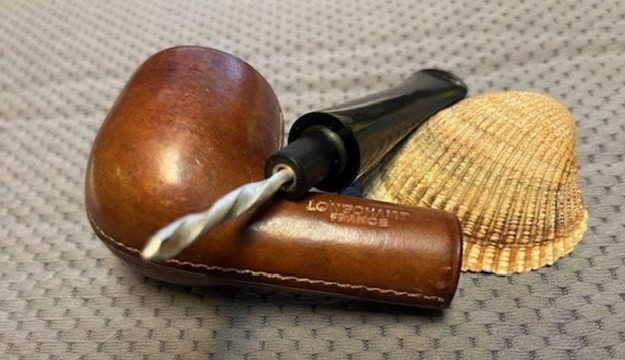
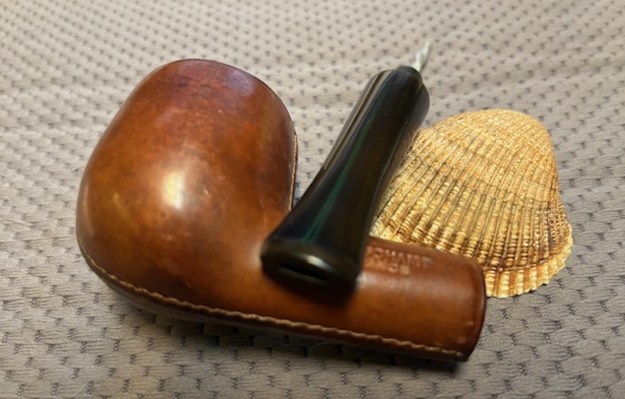
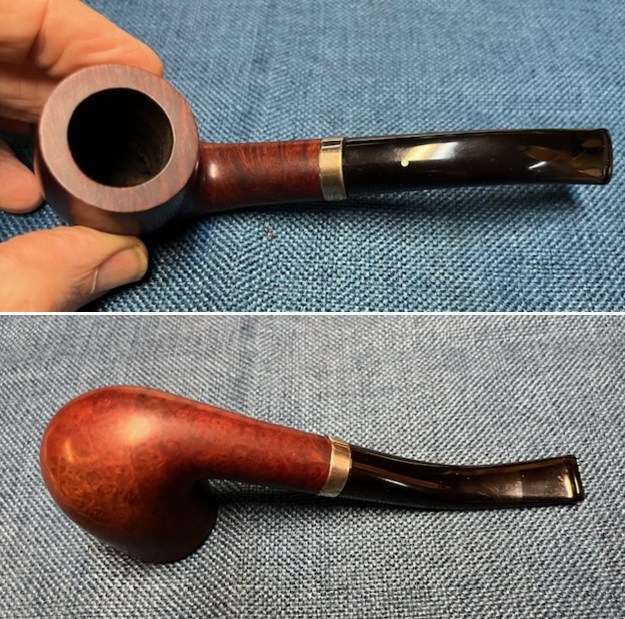
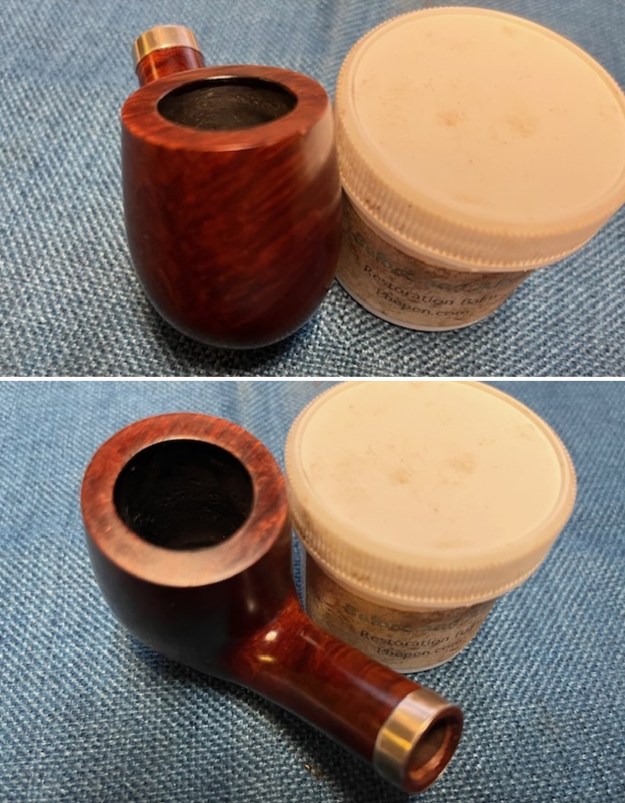
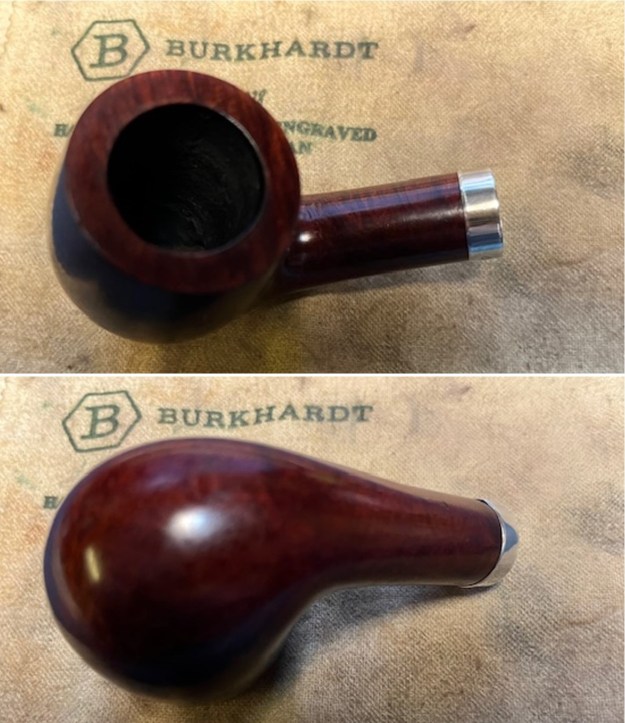
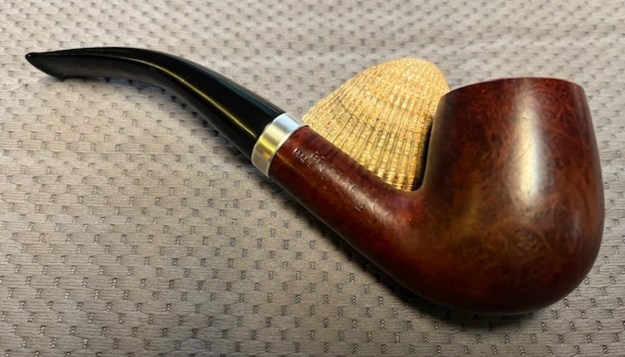
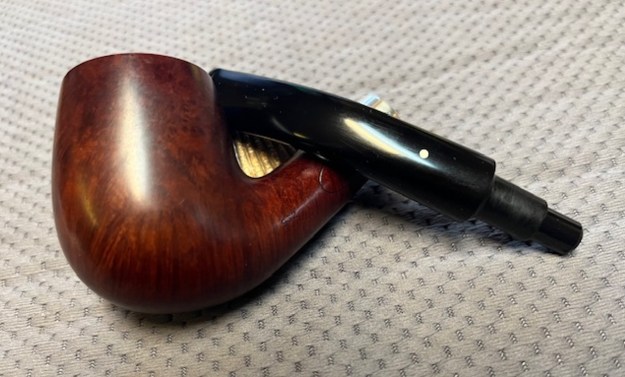
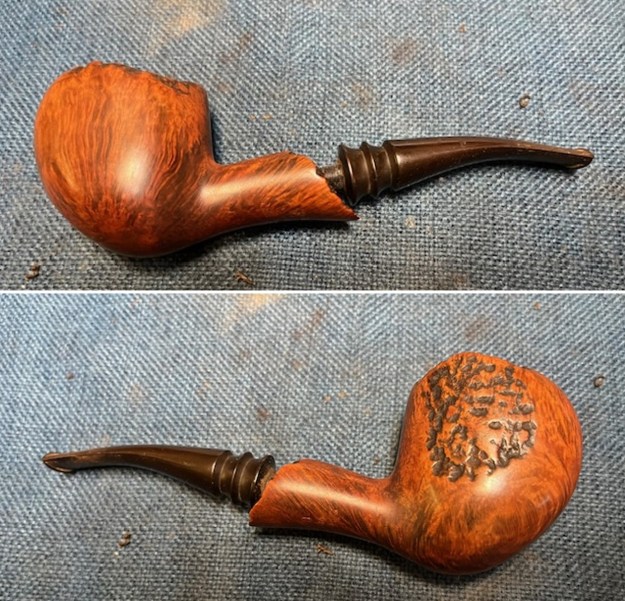
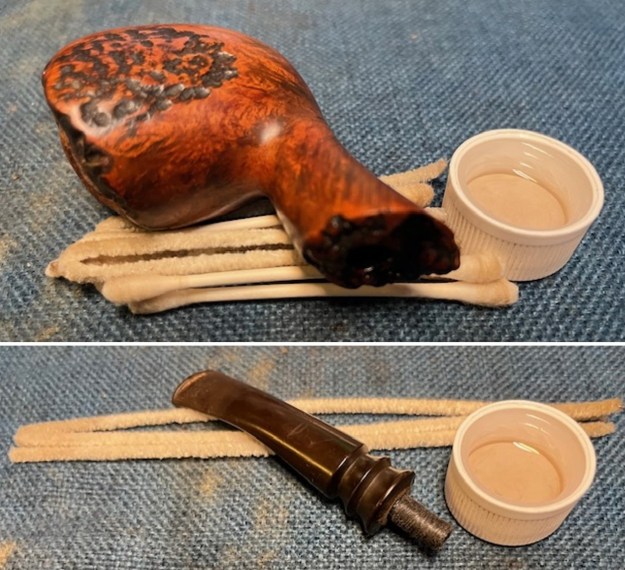
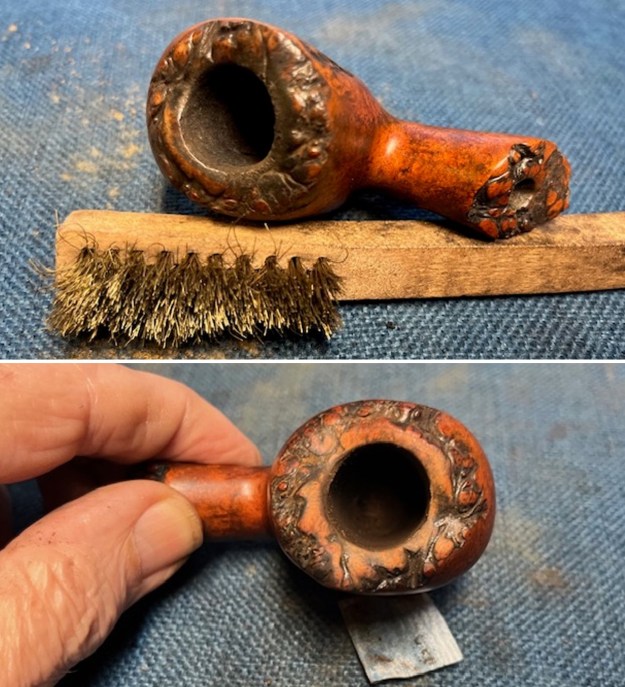
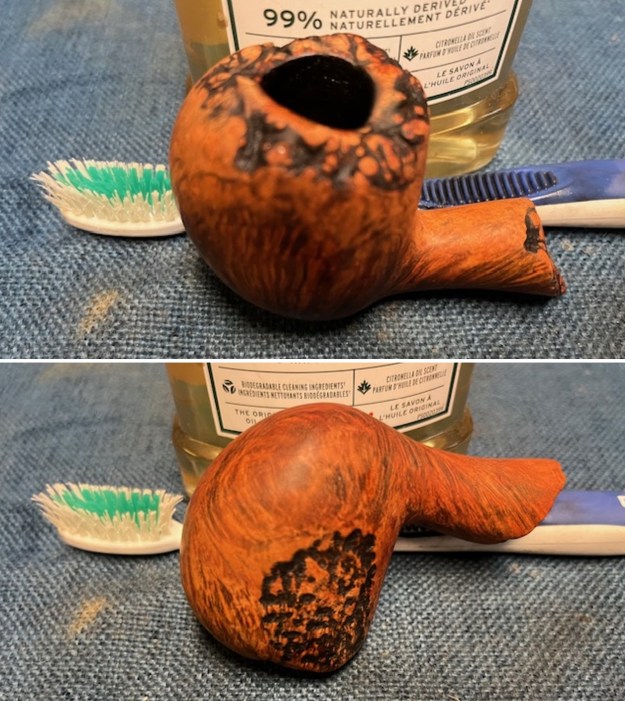
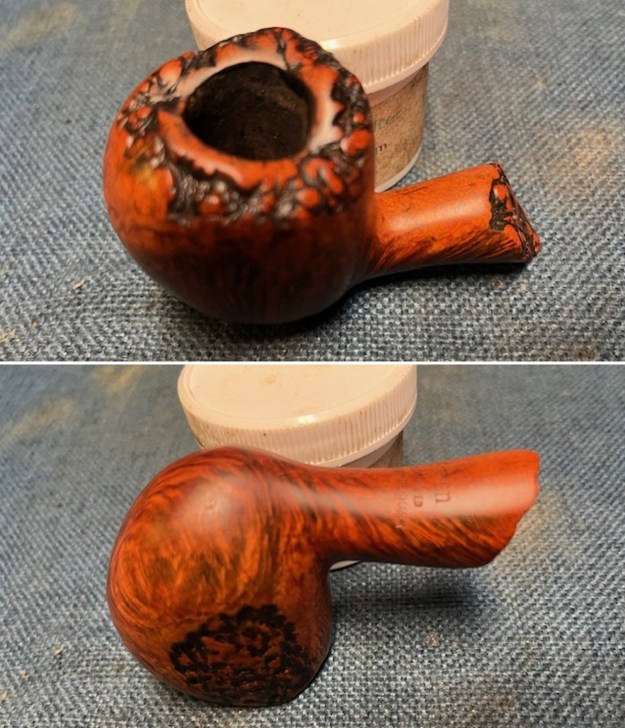
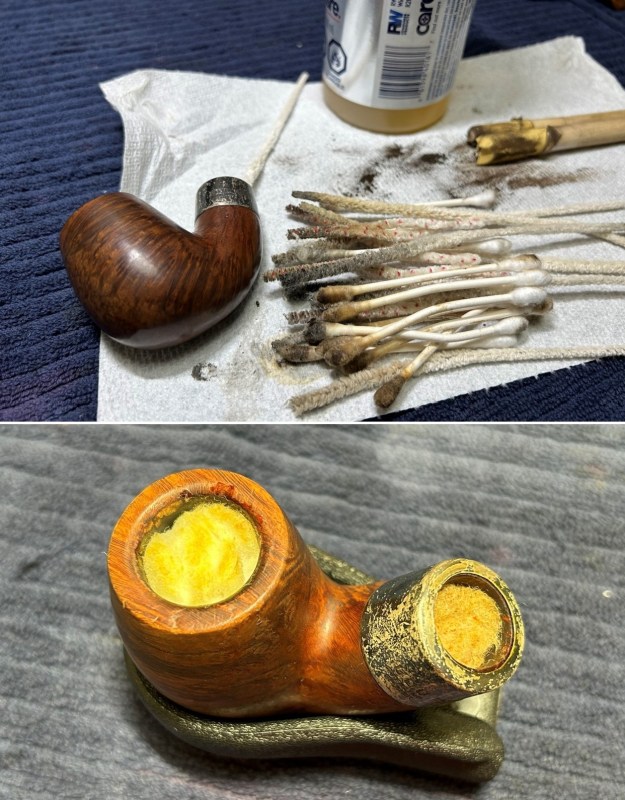
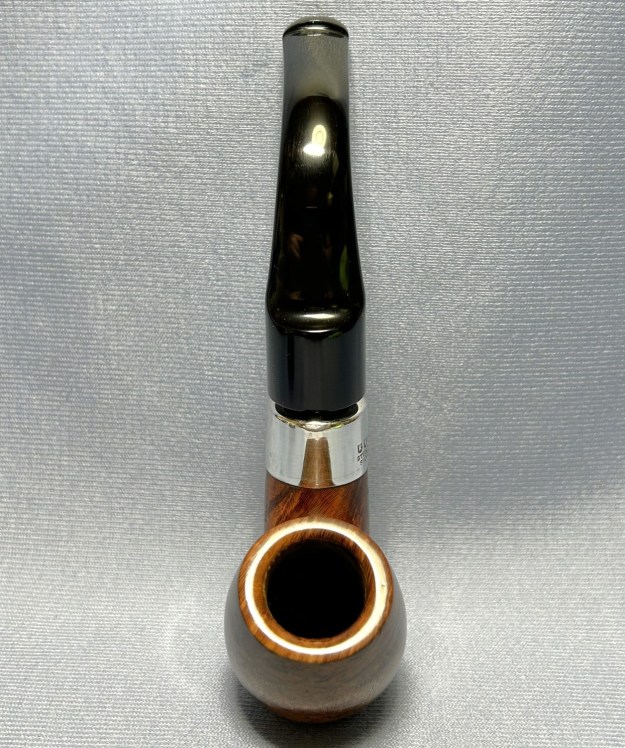
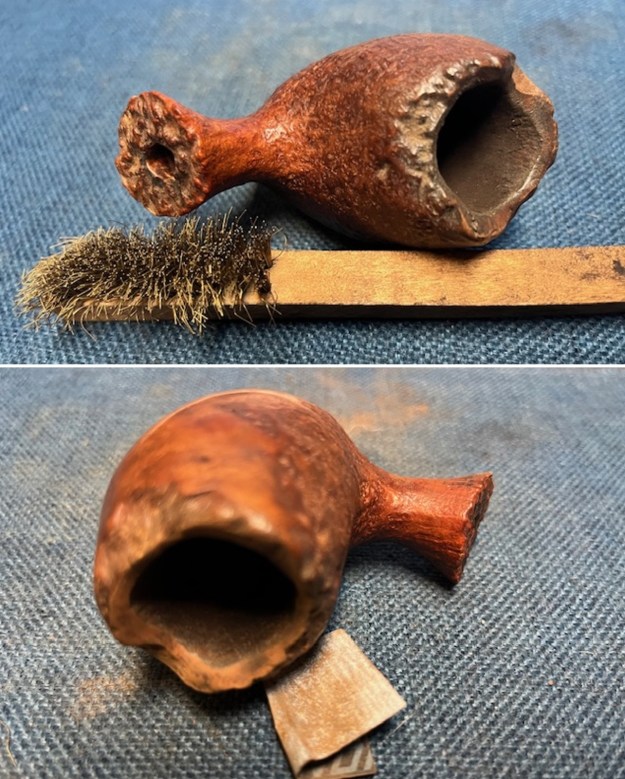
 I took some photos of the rim top and stem to show the condition of them both when the pipe arrived. The rim top had some damage to the inner edge of the bowl and some marks on the top surface. Overall it looked very good. The oxidation on the stem had come off very well and the tooth marks chatter in the surface of the stem were visible.
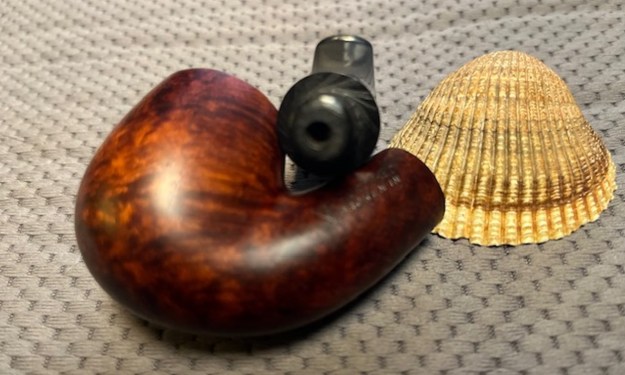
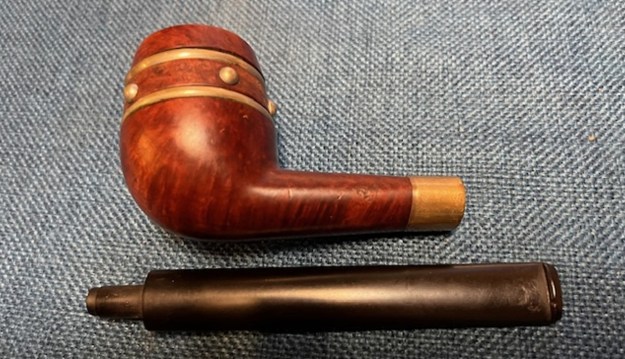
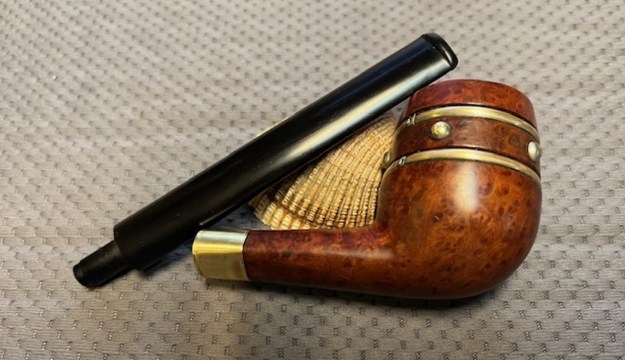
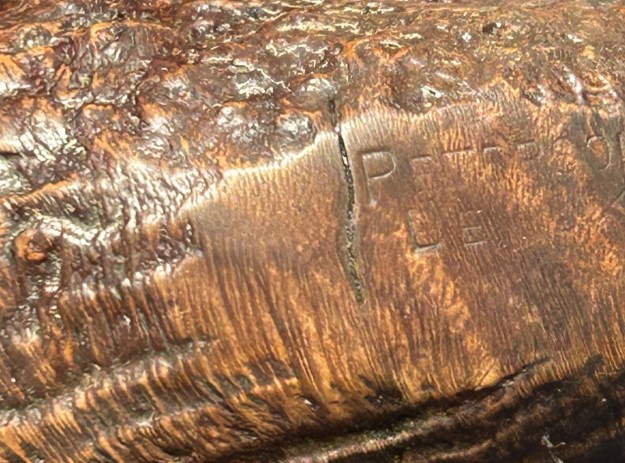
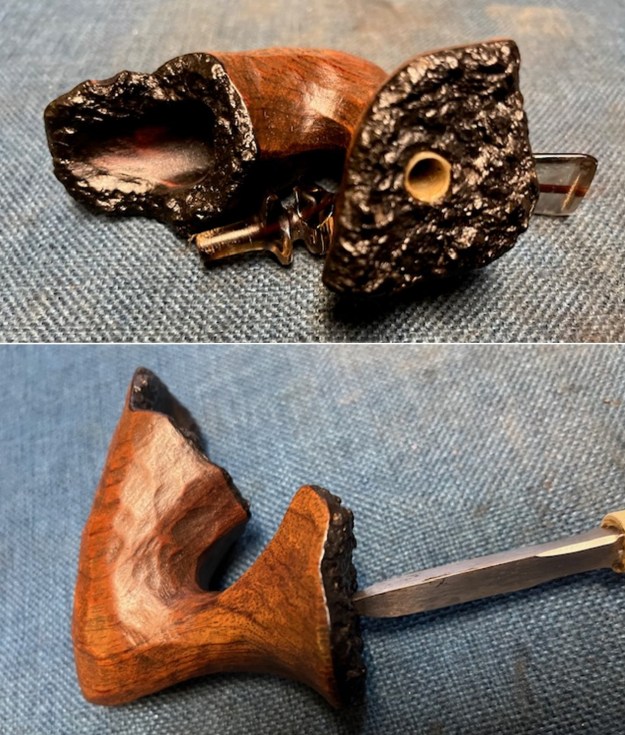
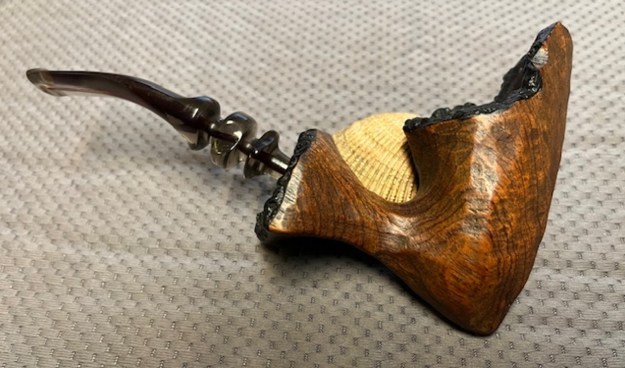
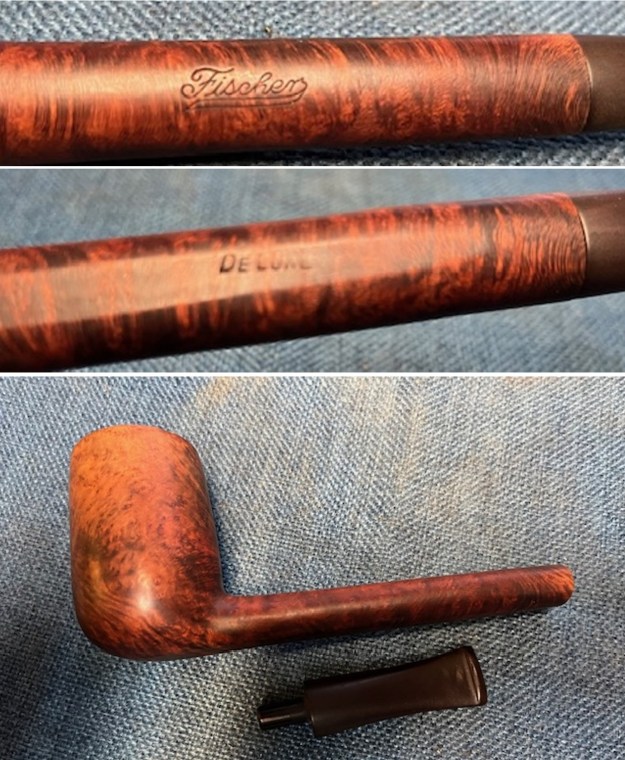
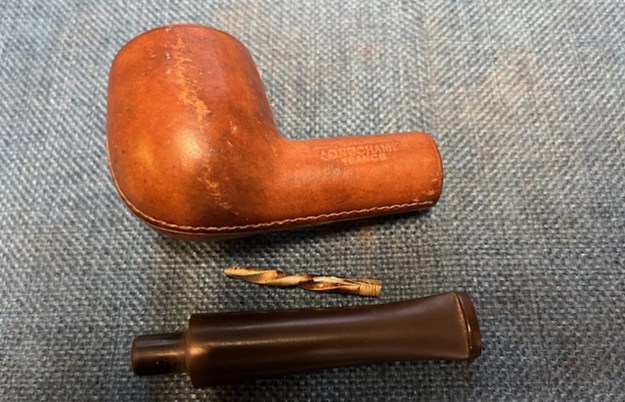
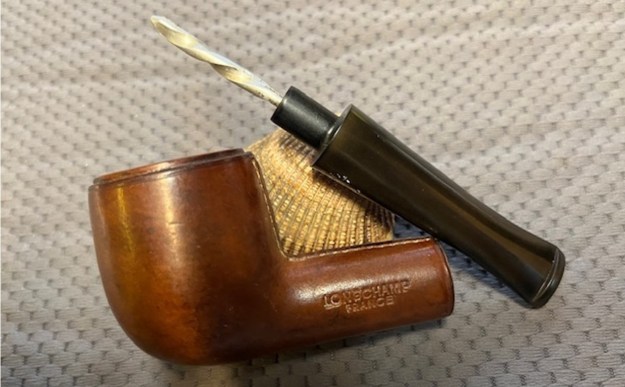
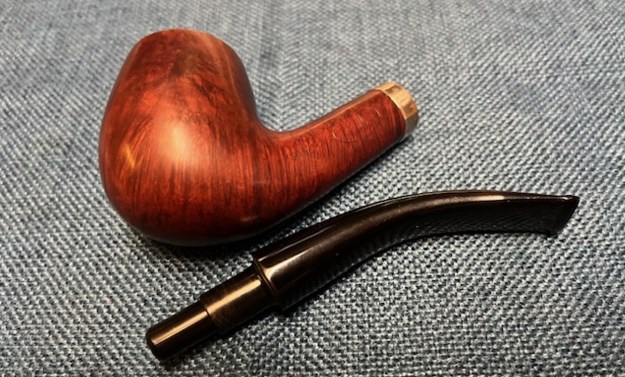
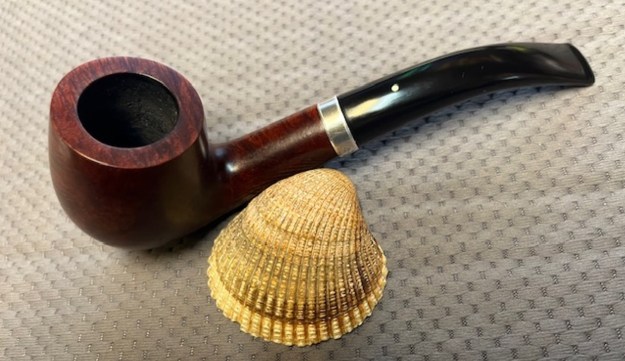
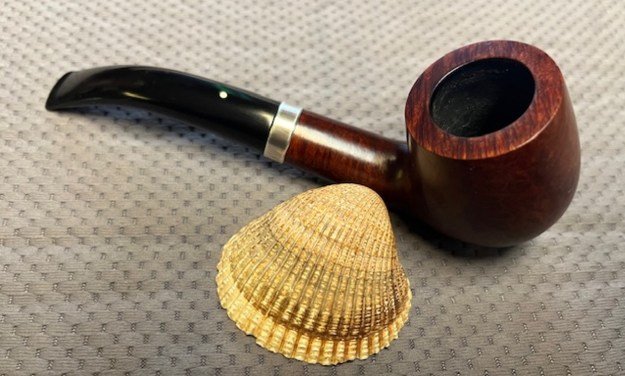
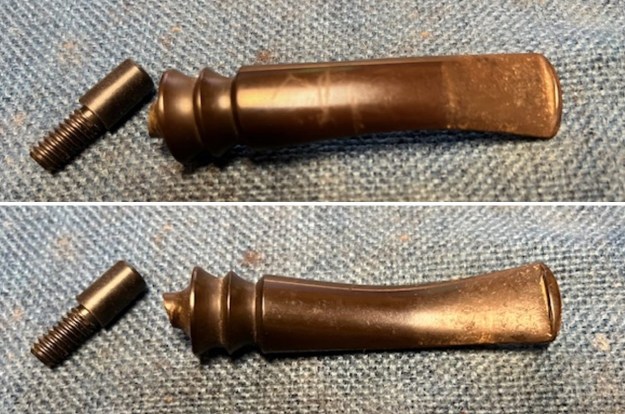
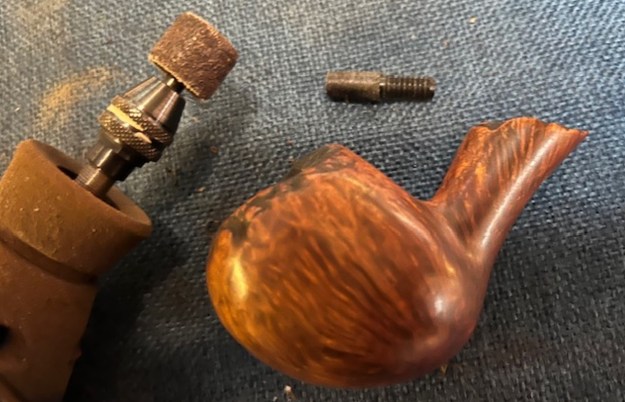
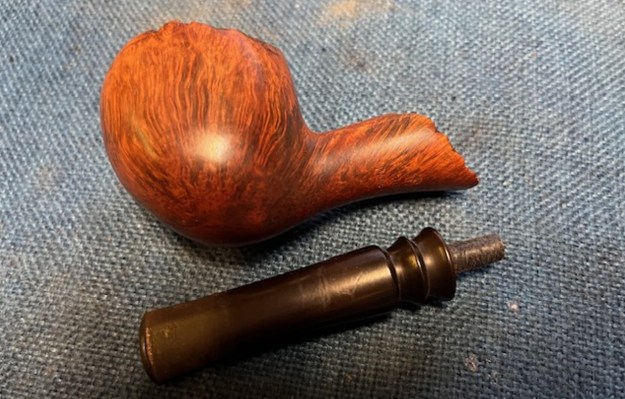
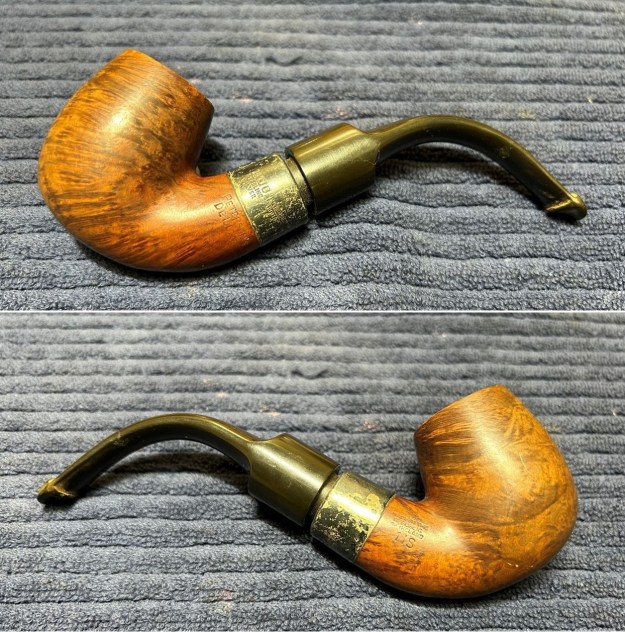
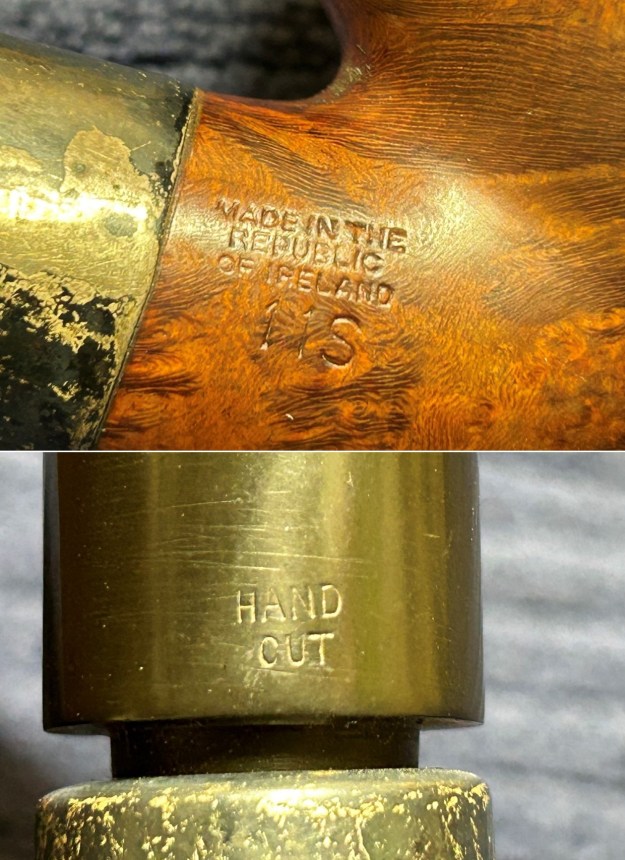
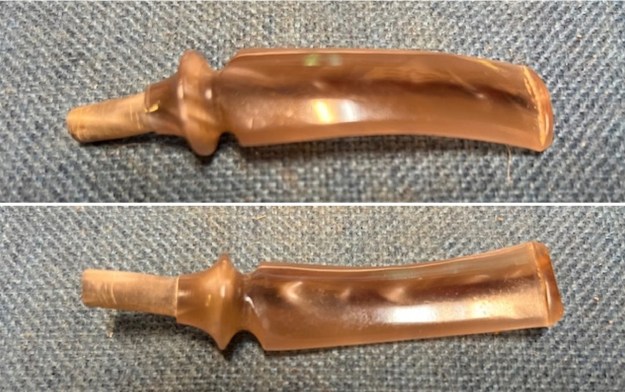
 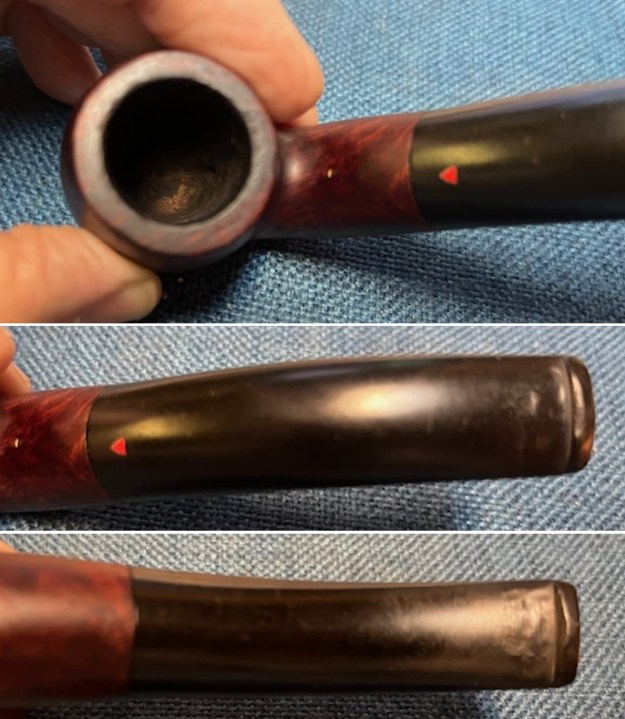 I took a photo of the stamping on the underside of the shank. It was clear and readable as noted above. I removed the stem from the shank and took a photo of the appearance of the parts. It is a beauty.
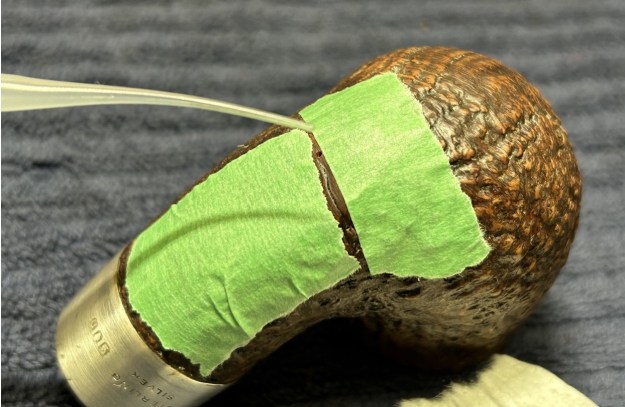
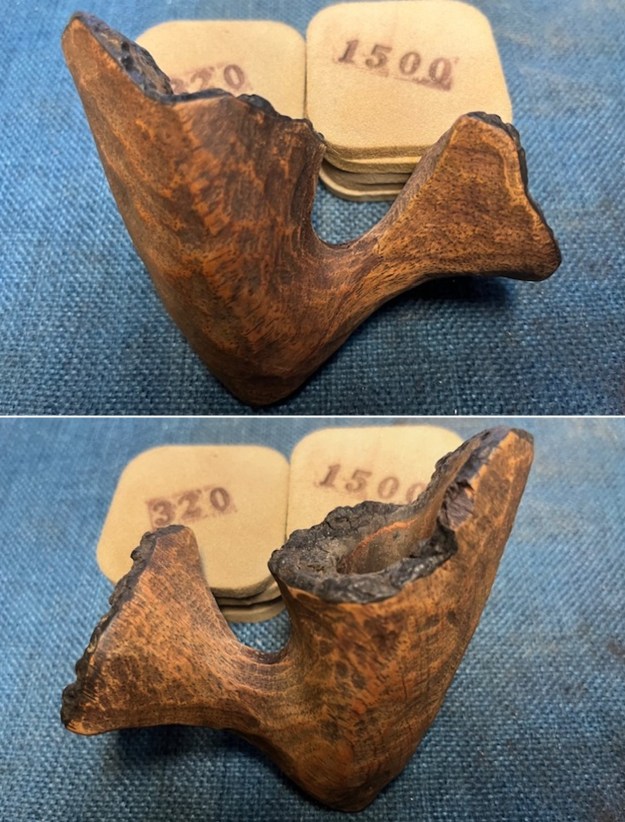
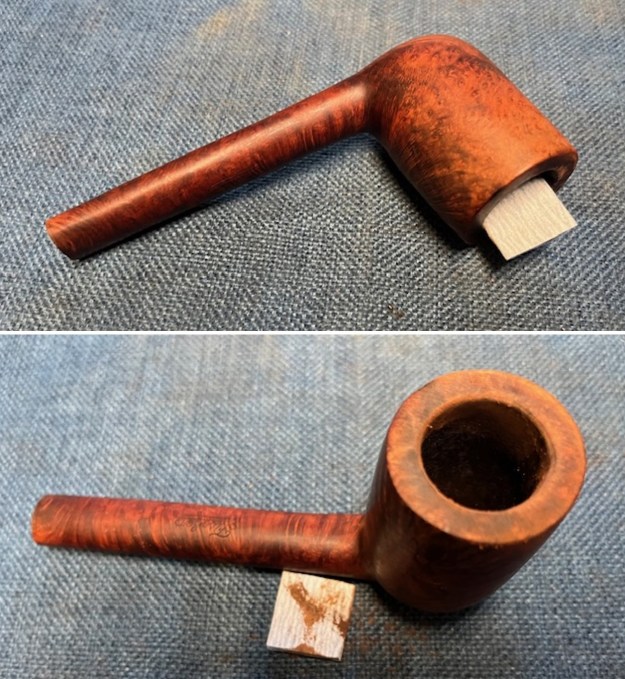
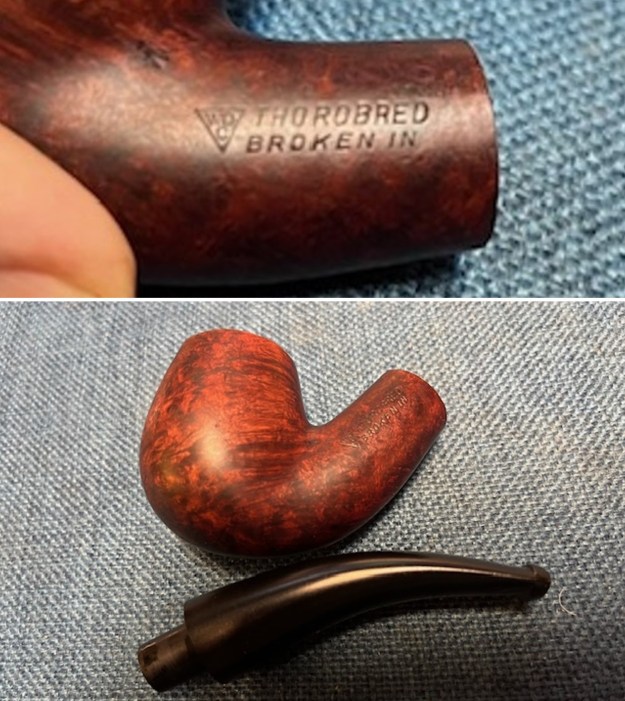 I started my work on the pipe by addressing the issues on the top and the inner edge of the rim. I used a folded piece of 220 grit sandpaper to smooth out the roughness. It looked much better at this point in the process.
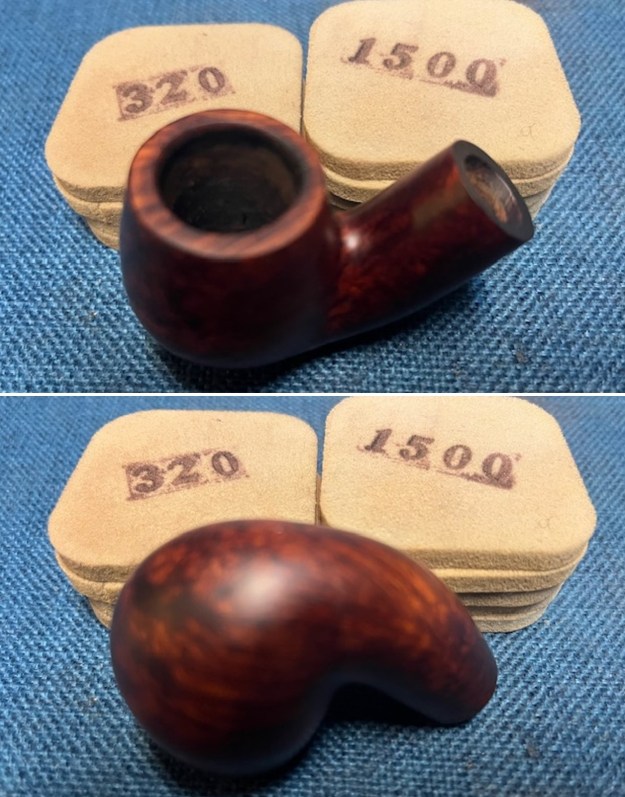
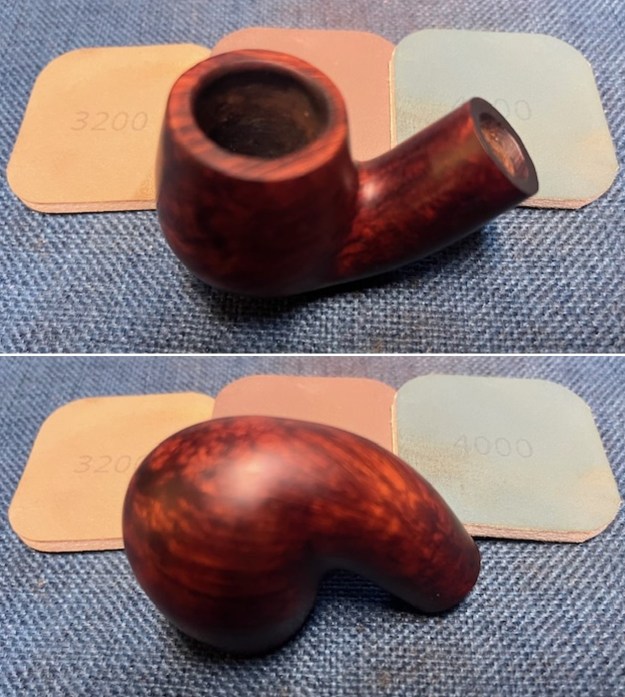
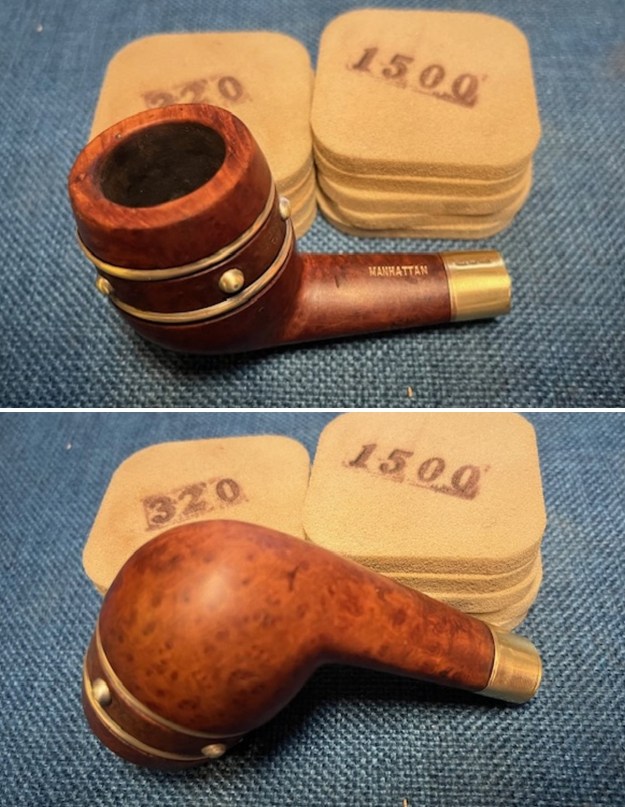
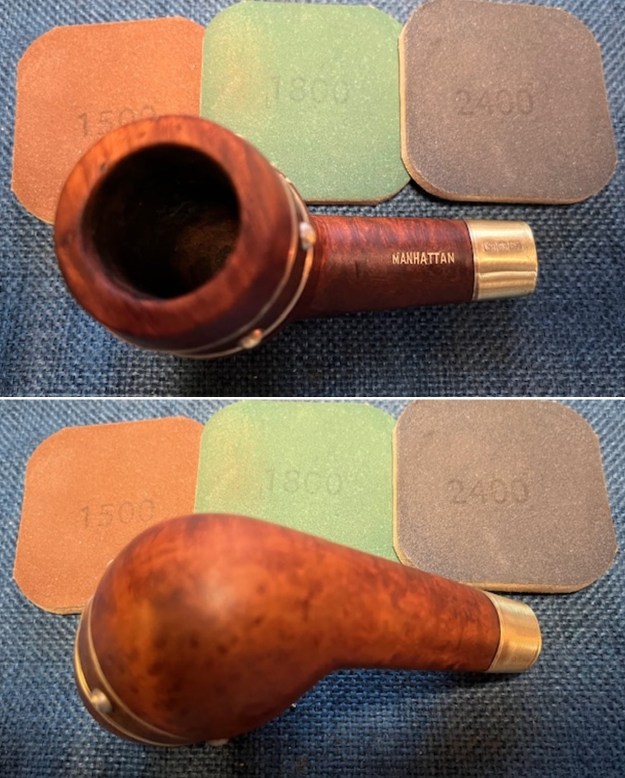
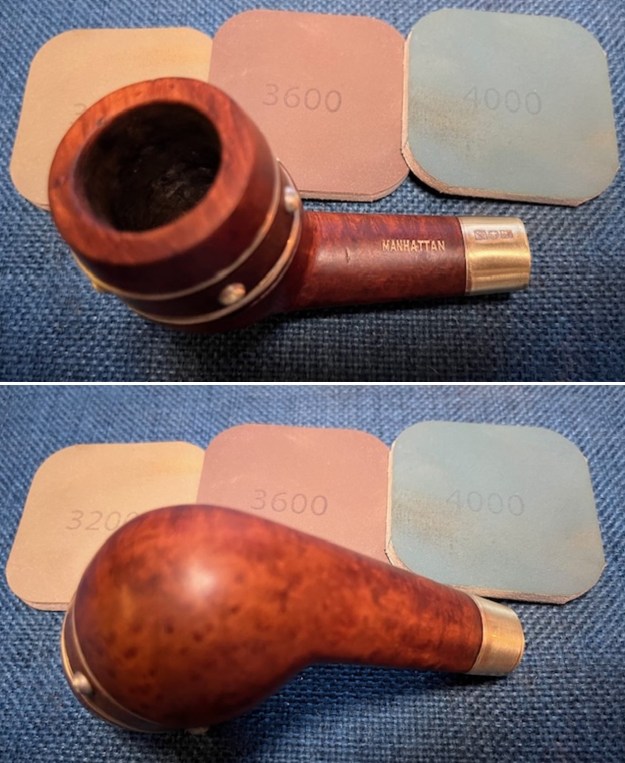
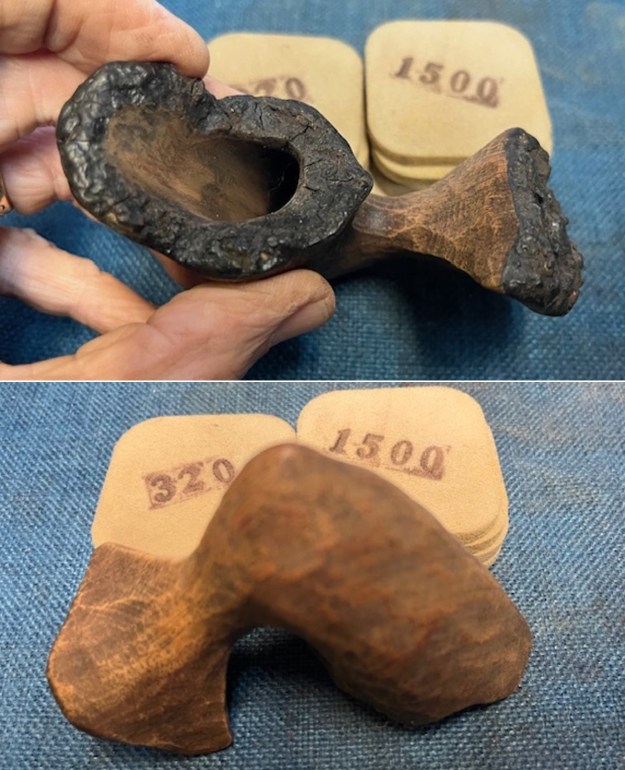
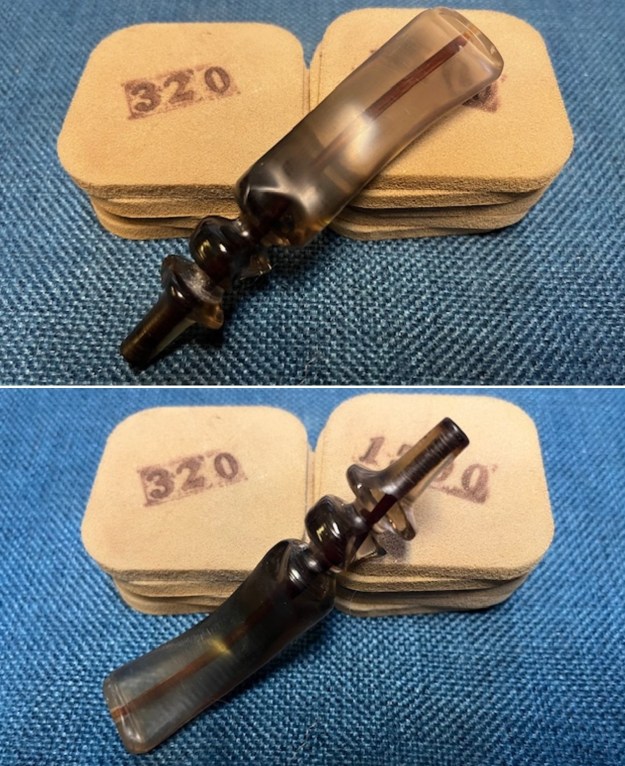
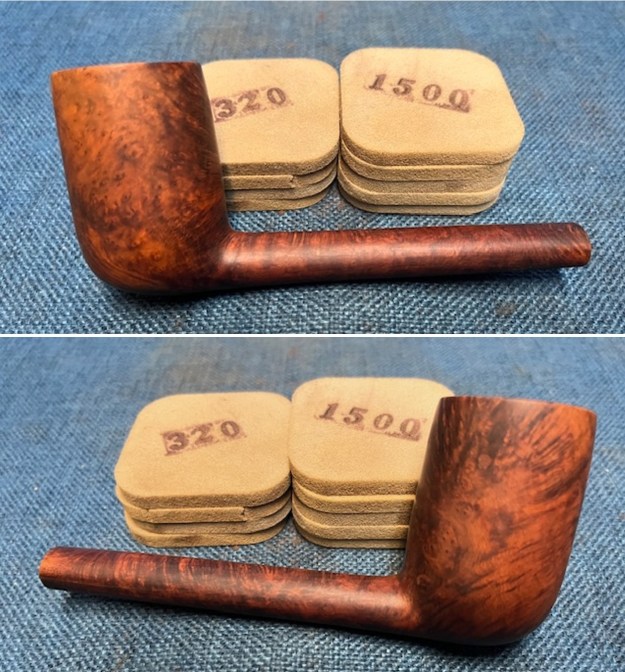
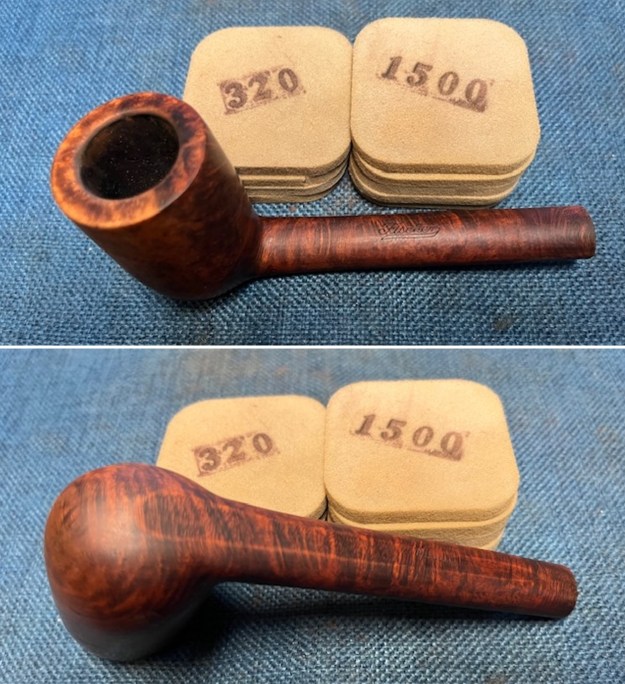
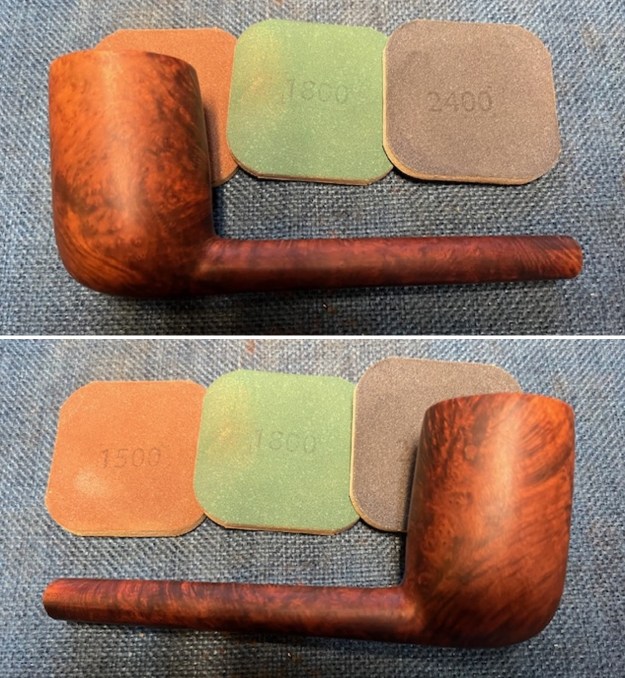
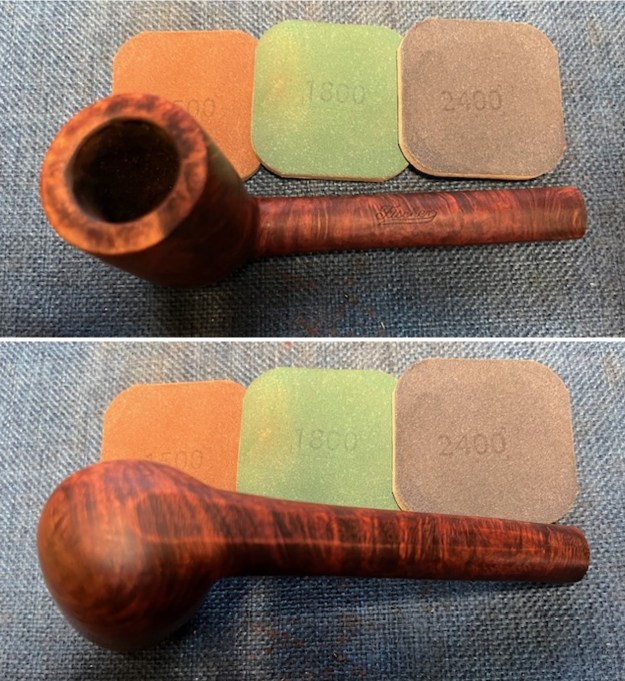
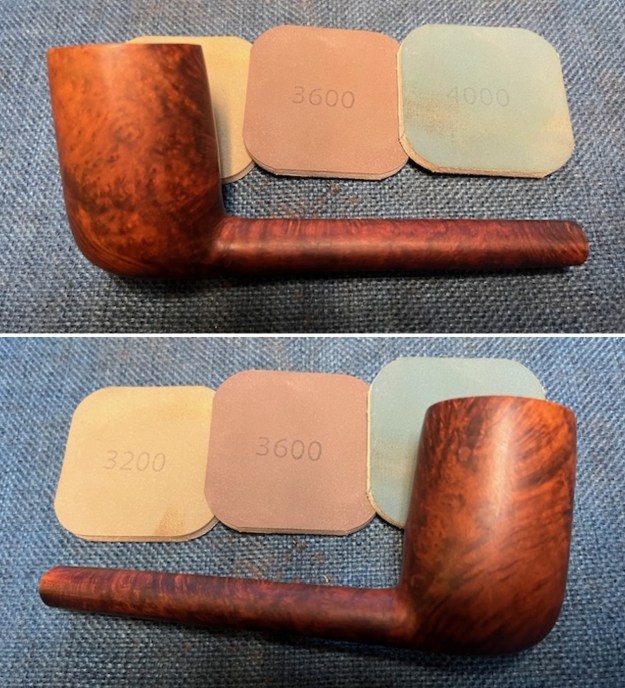
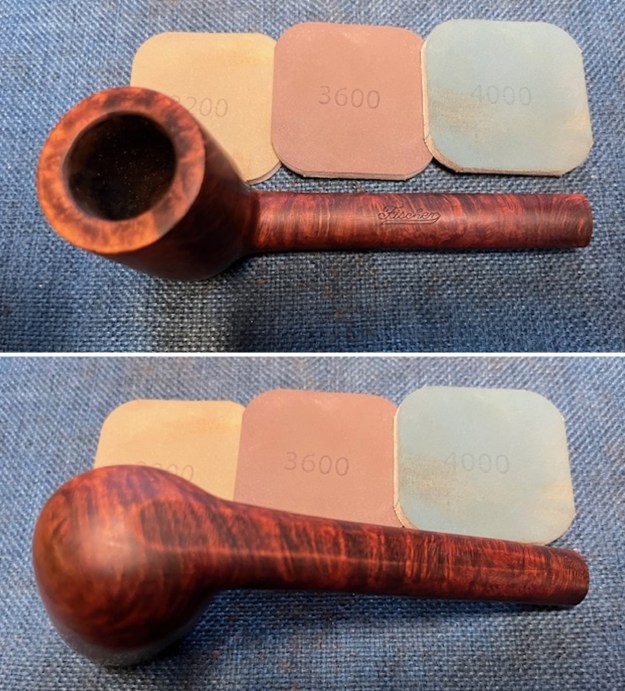
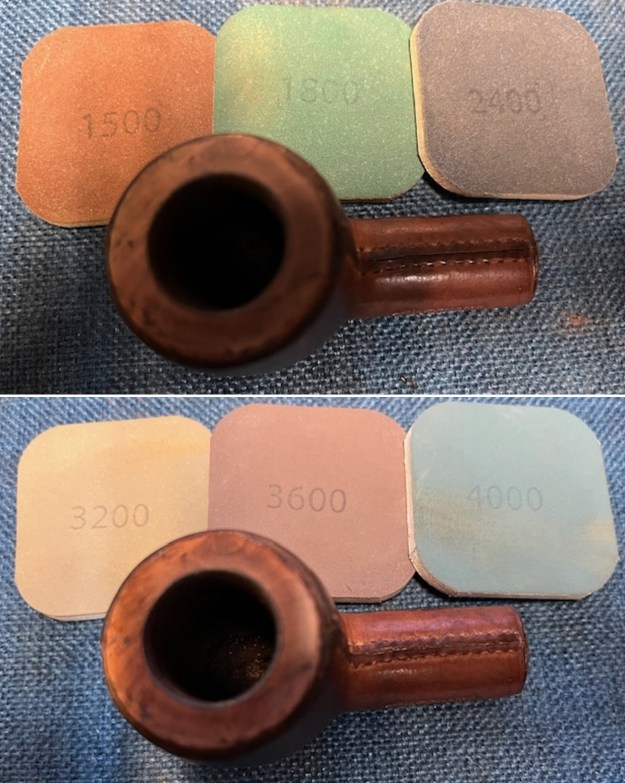
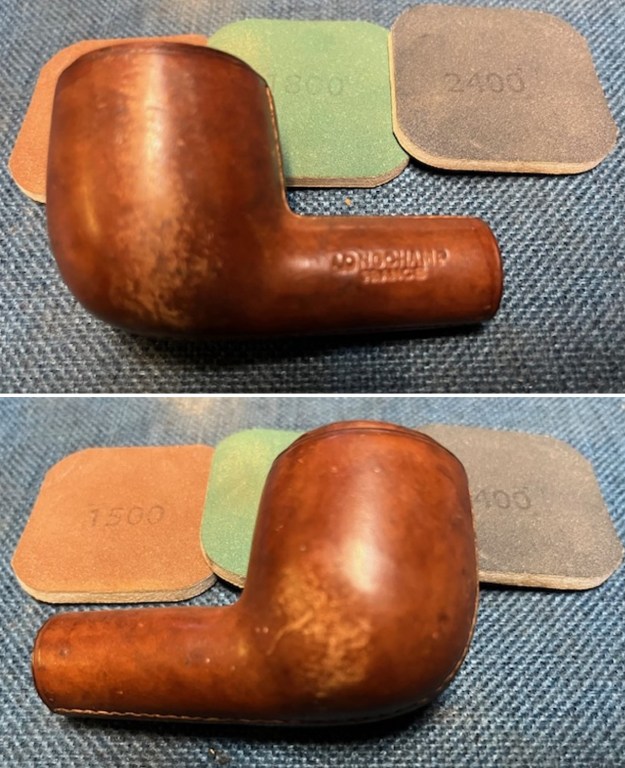
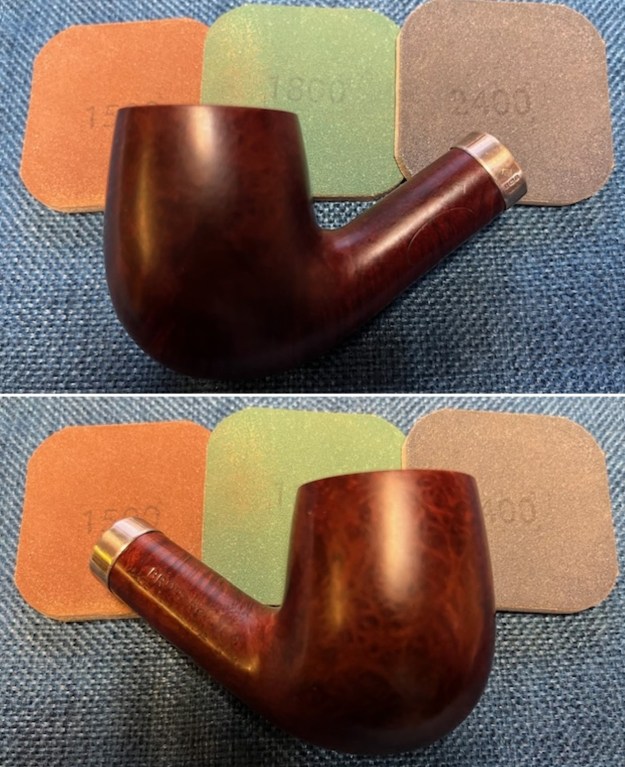
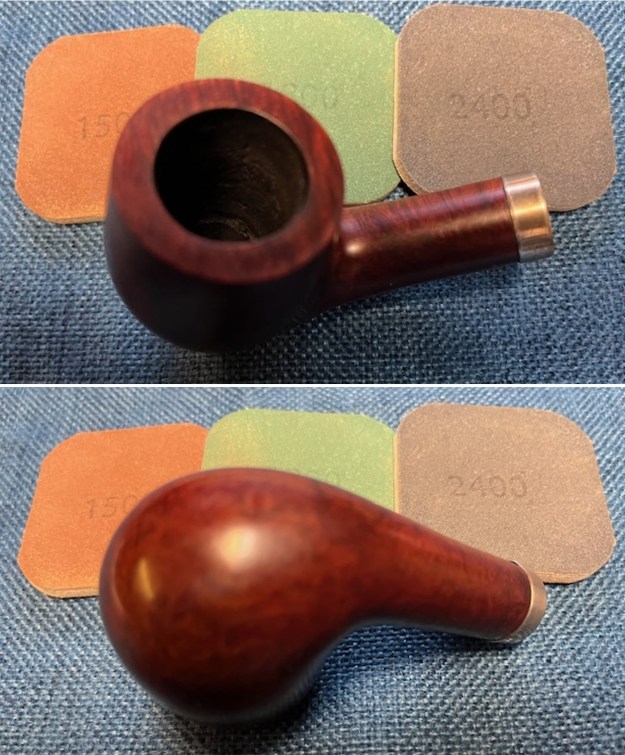
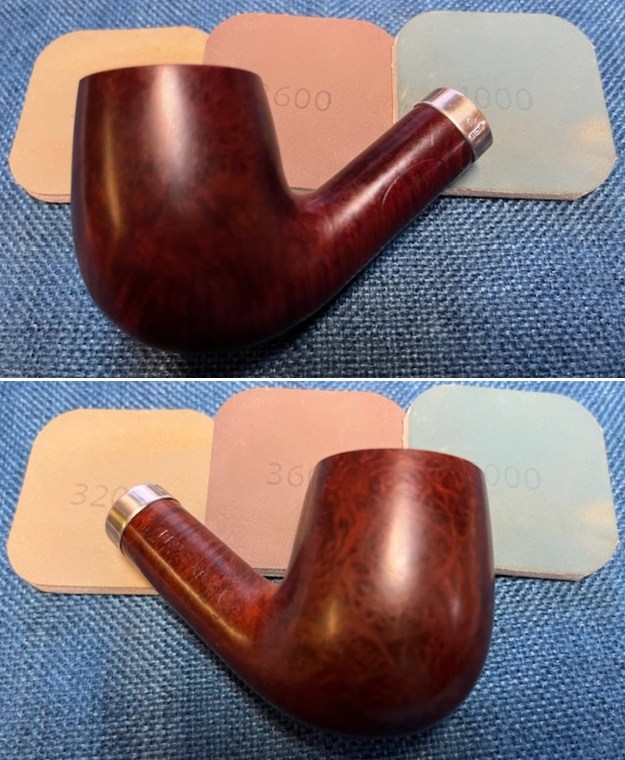
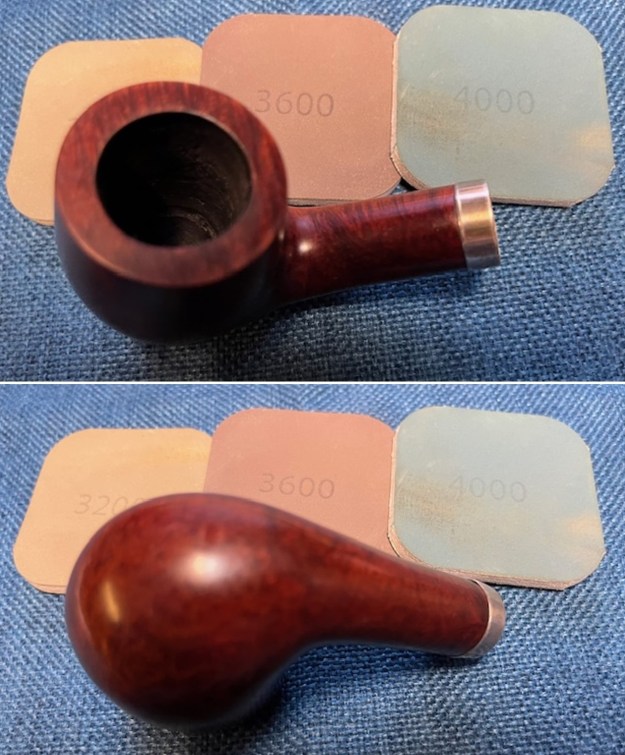
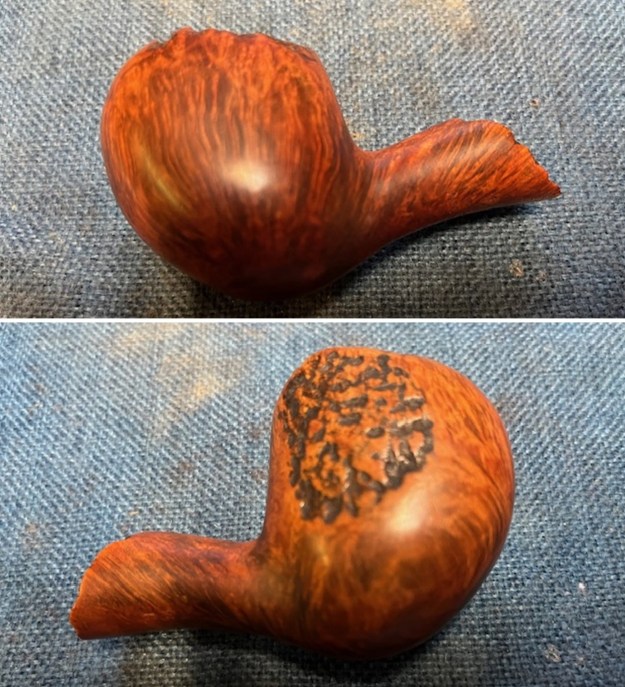
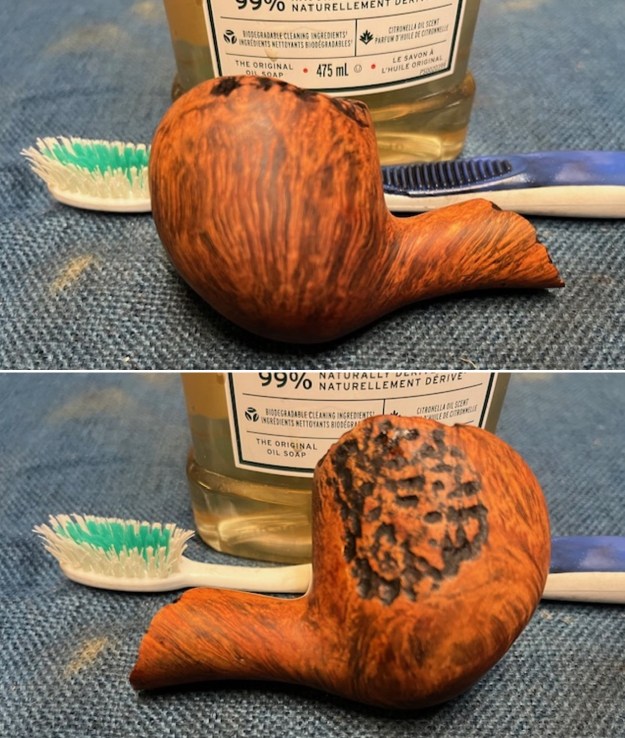
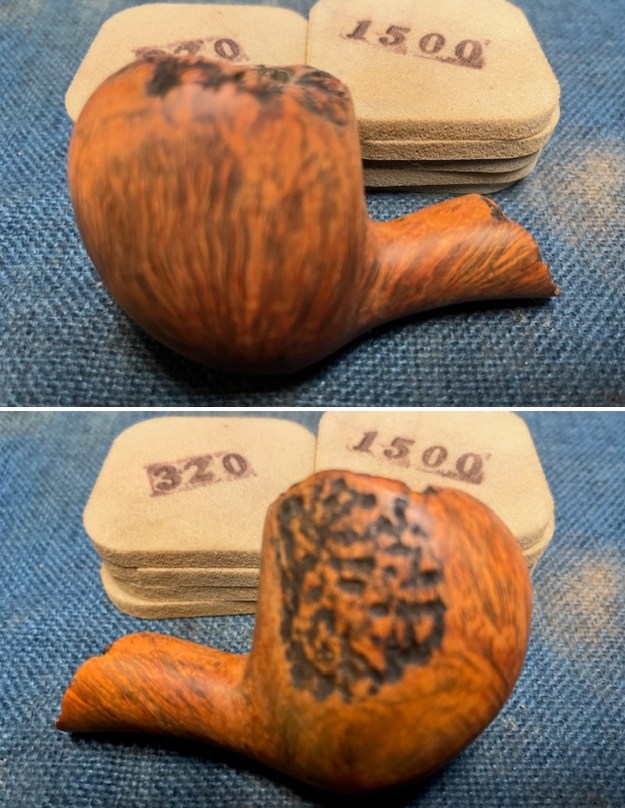
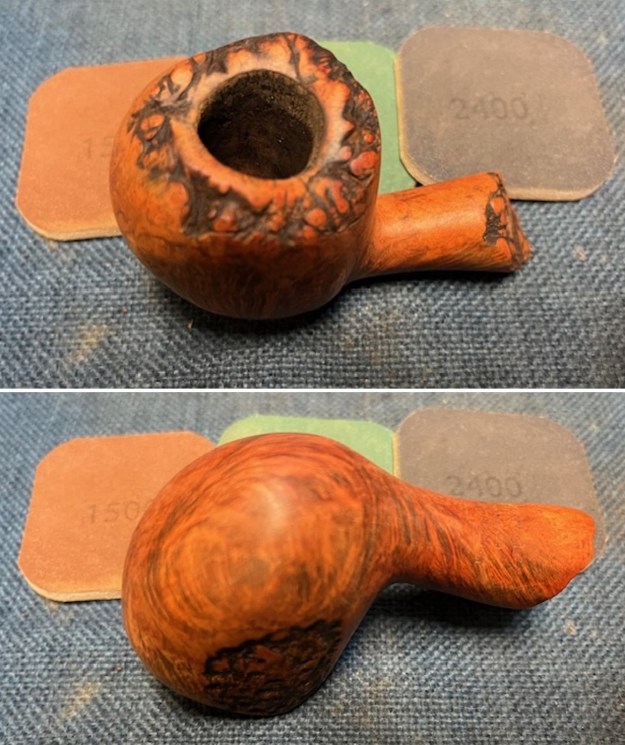
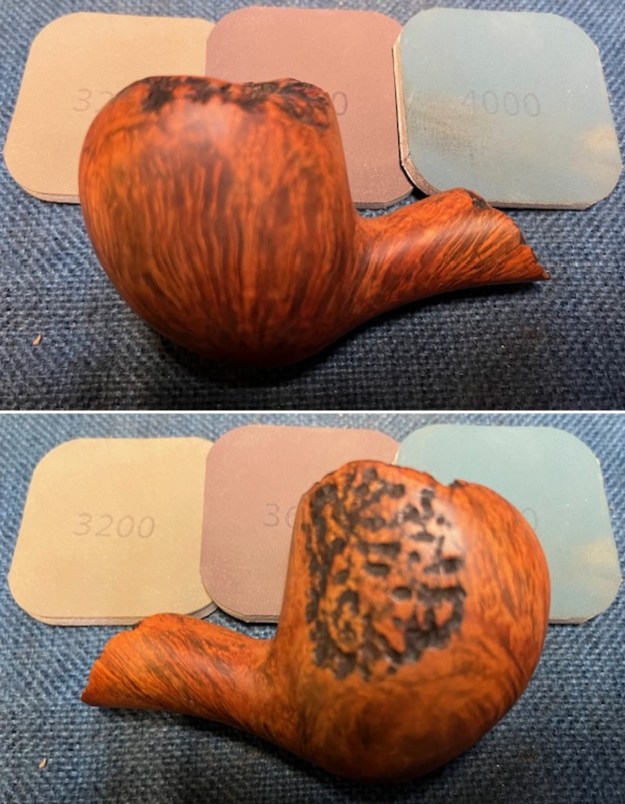
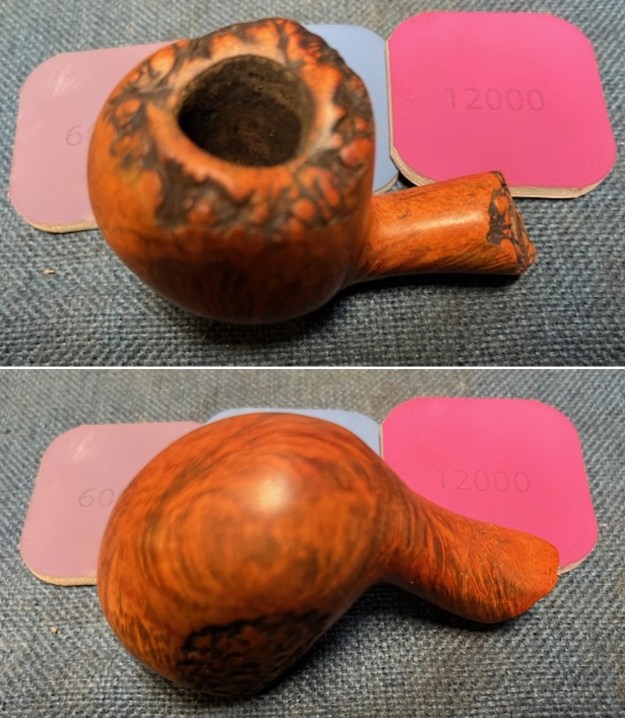
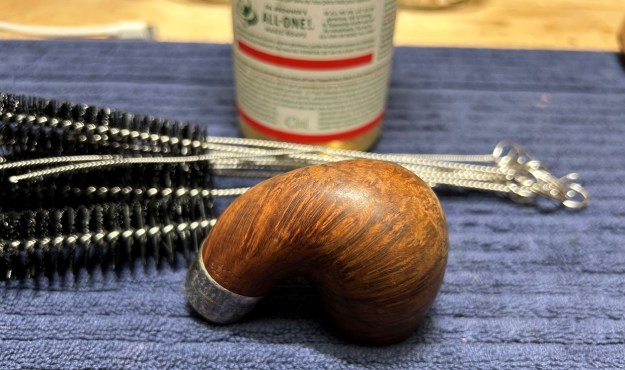
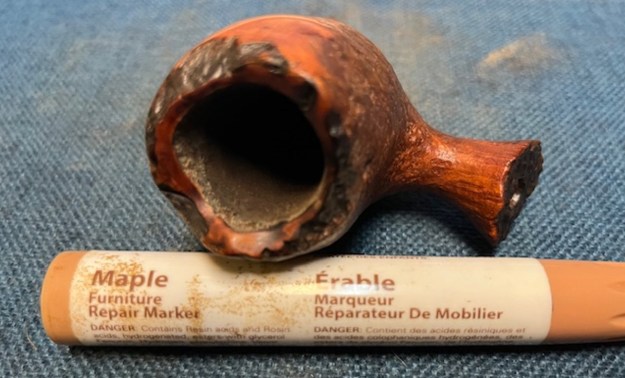
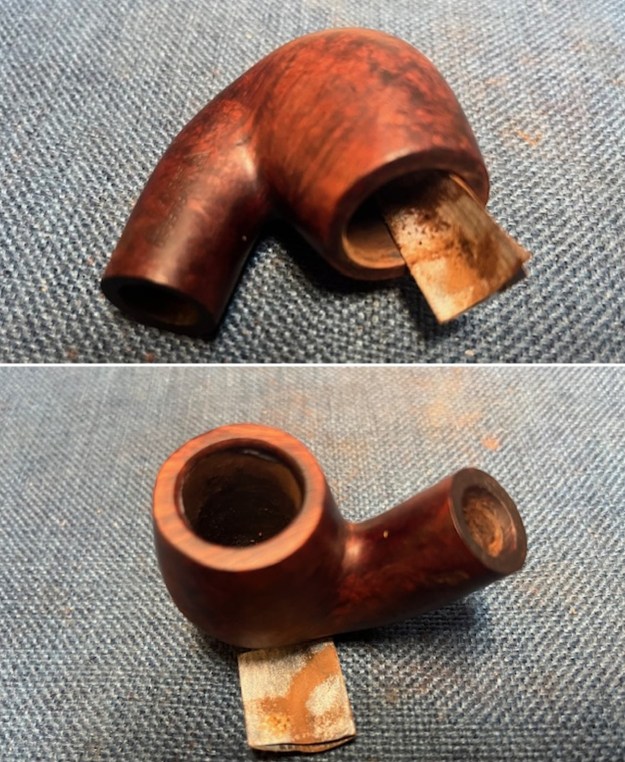 I sanded the briar rim top and the sides of the bowl with 320-3500 grit sanding pads. I wiped the bowl down with a damp cloth after each pad. By the time I finished with the 3500 grit pad the briar had taken on a rich glow.
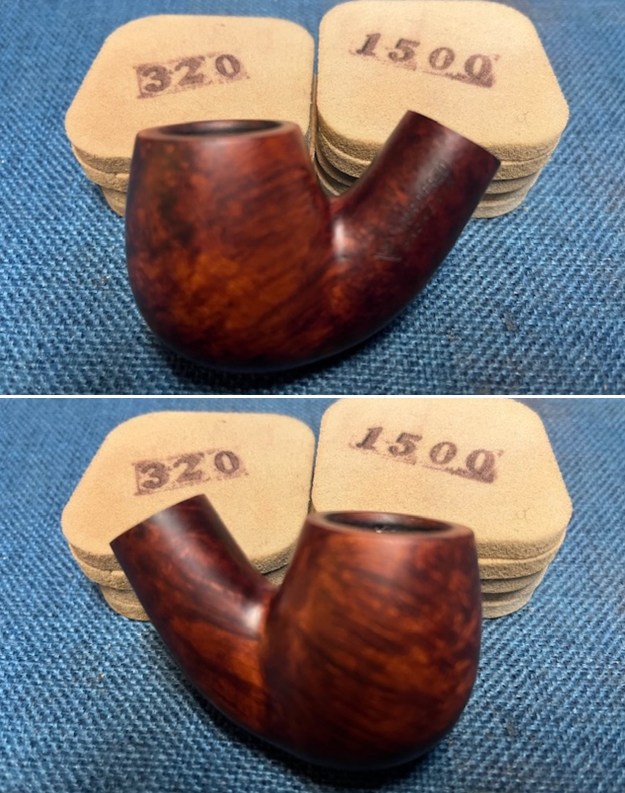
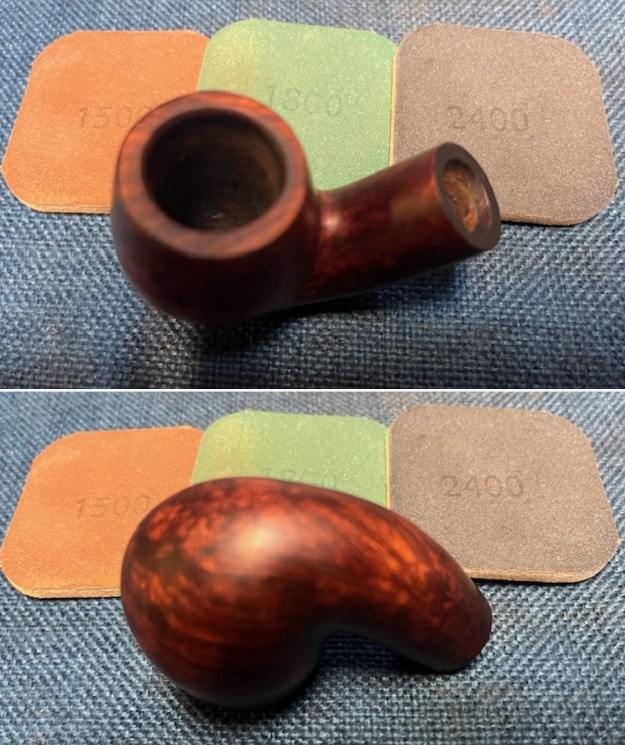
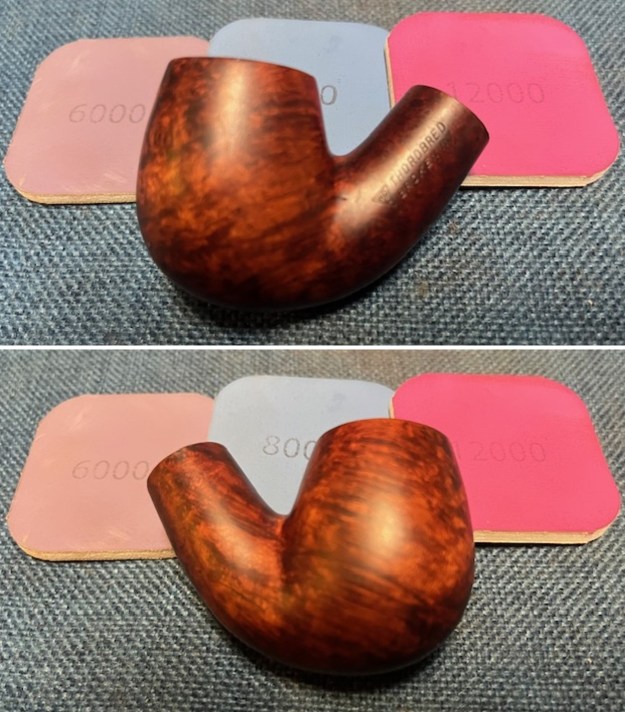
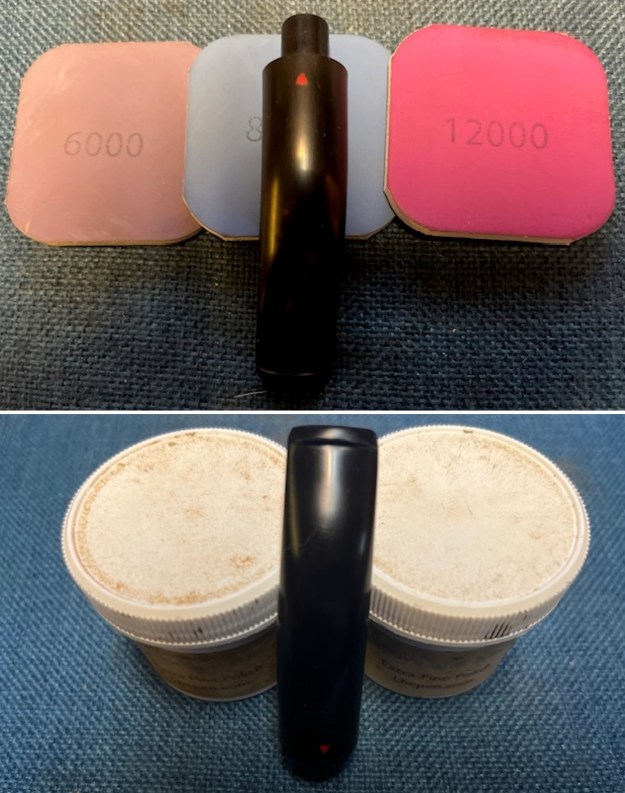
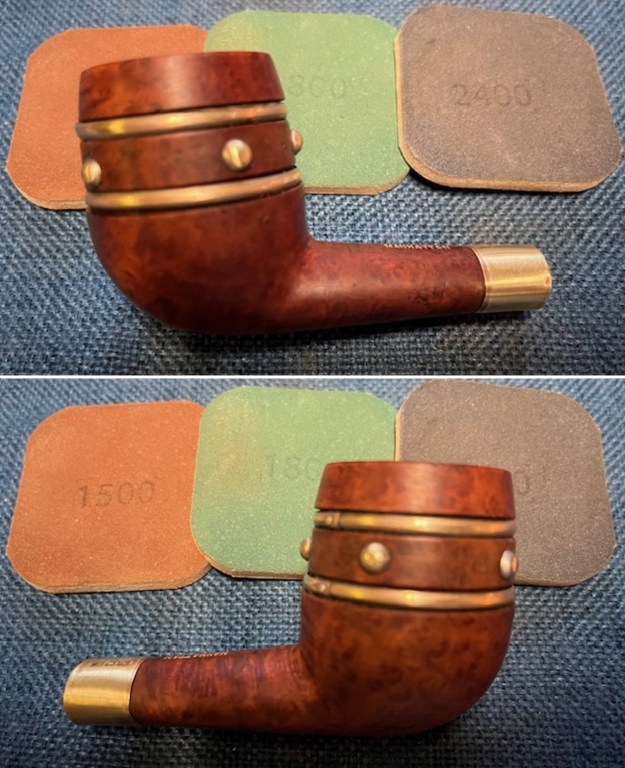
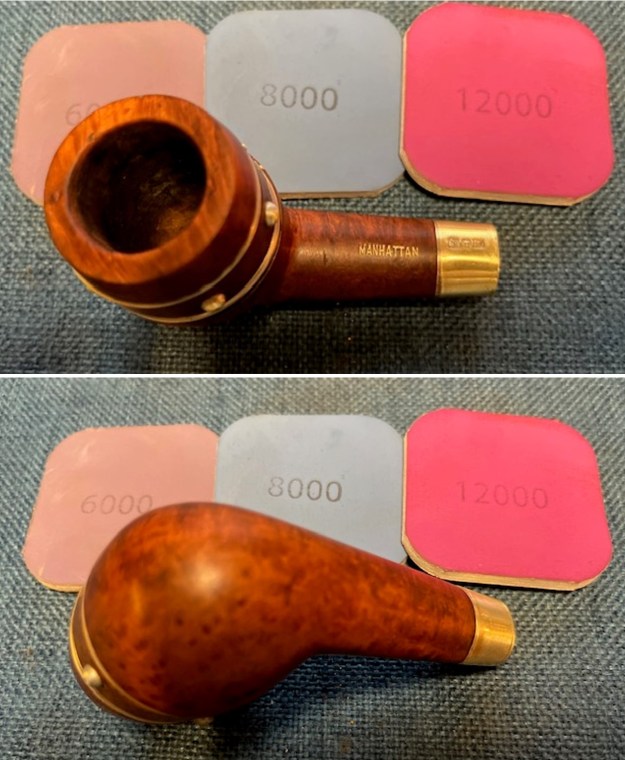
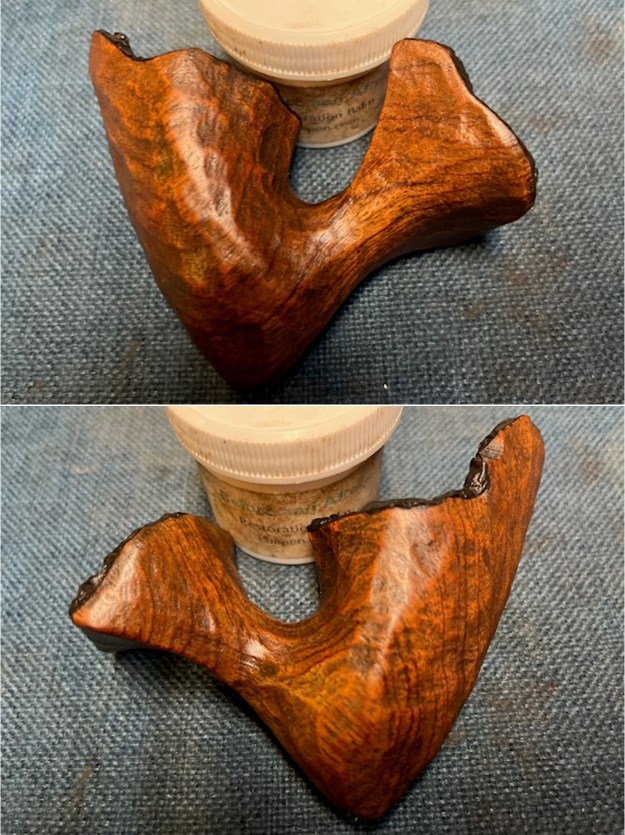
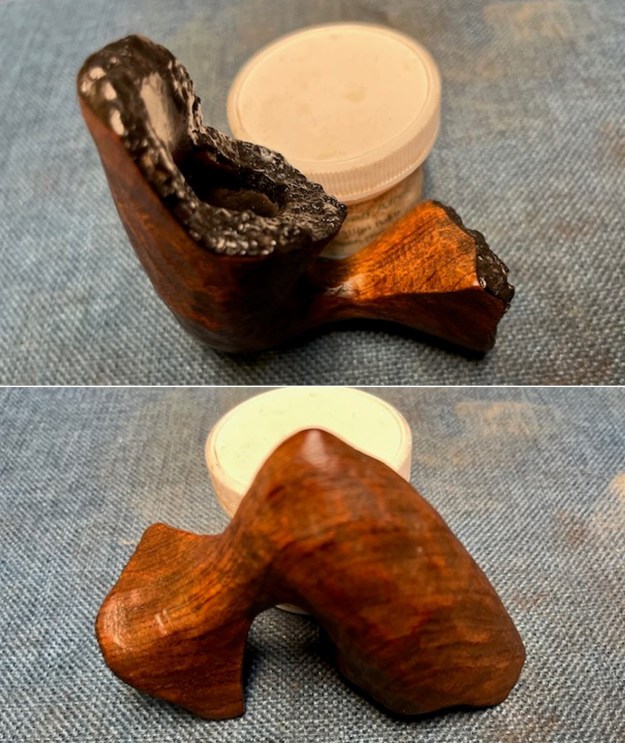
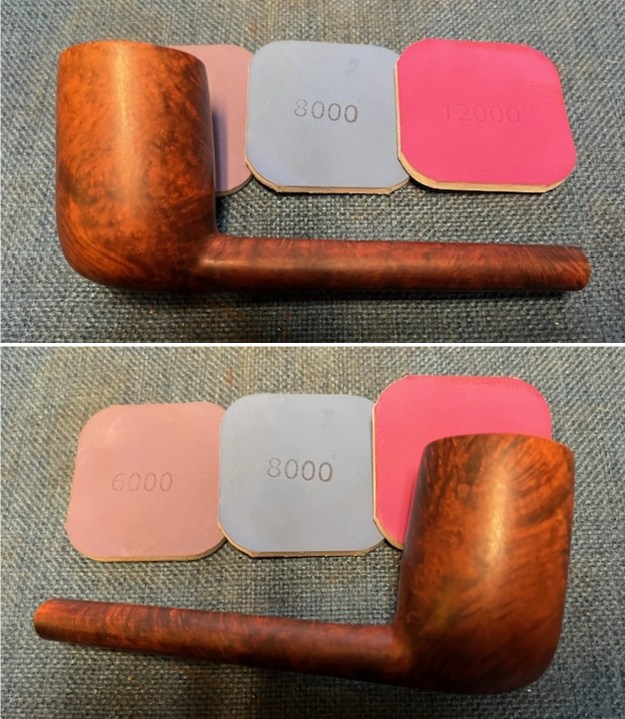
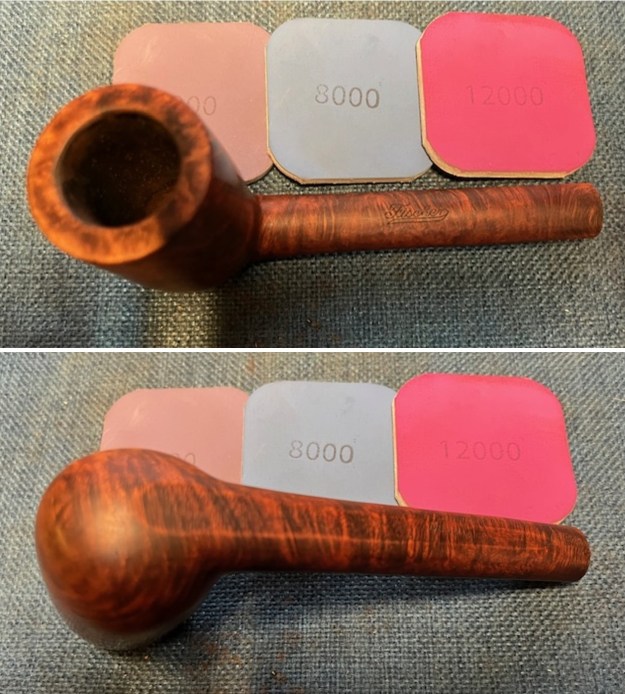
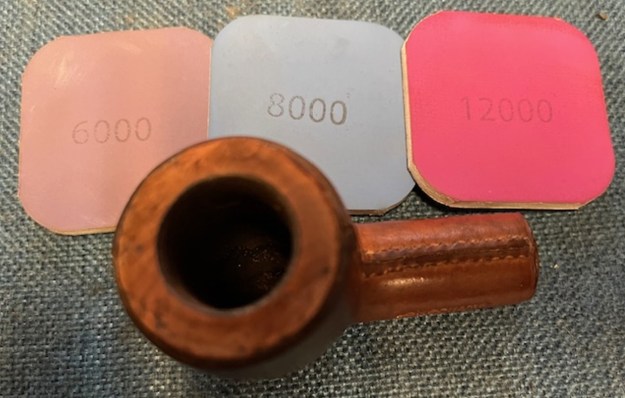
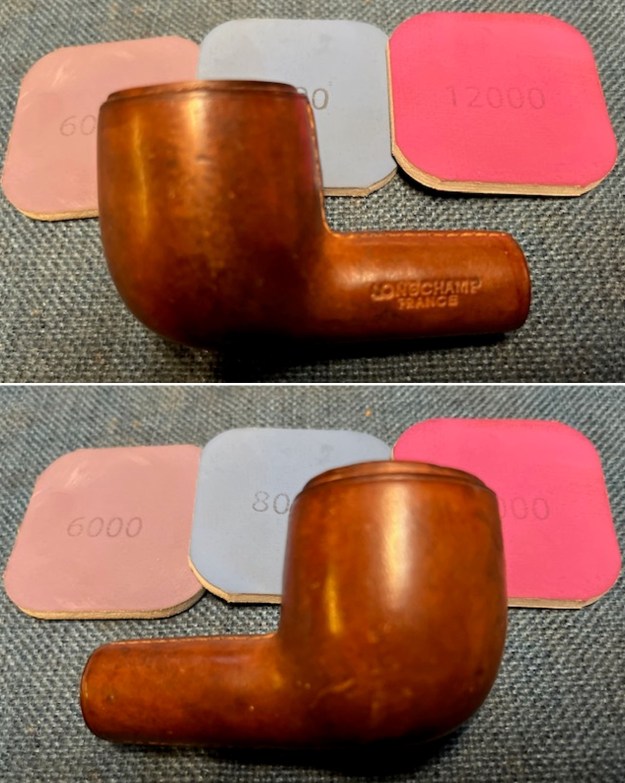
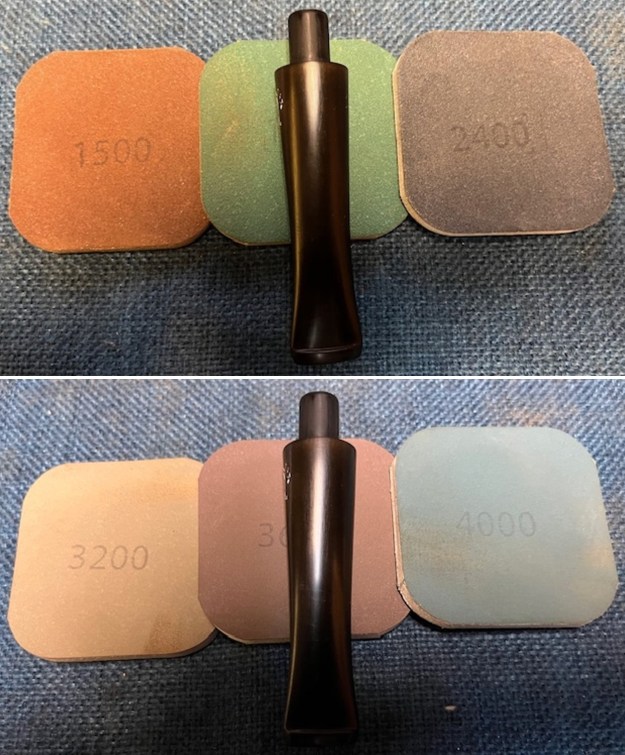
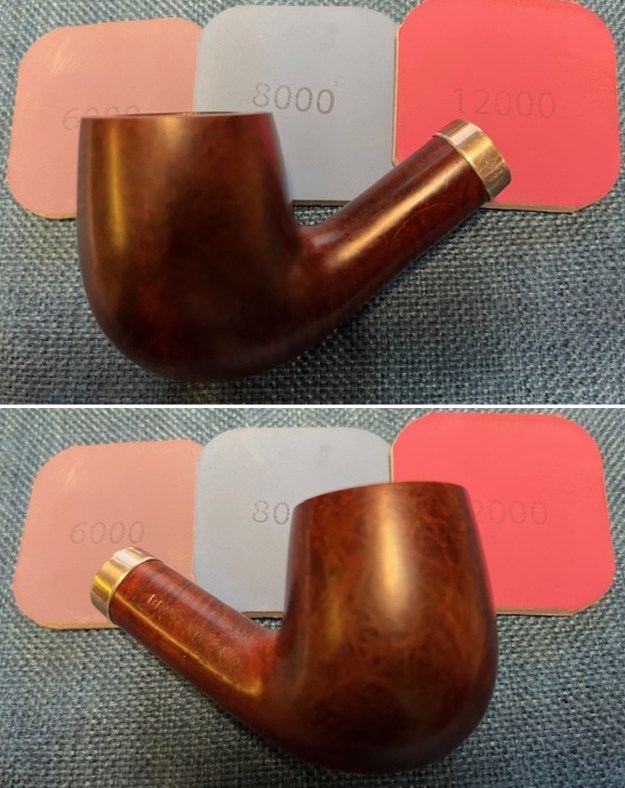
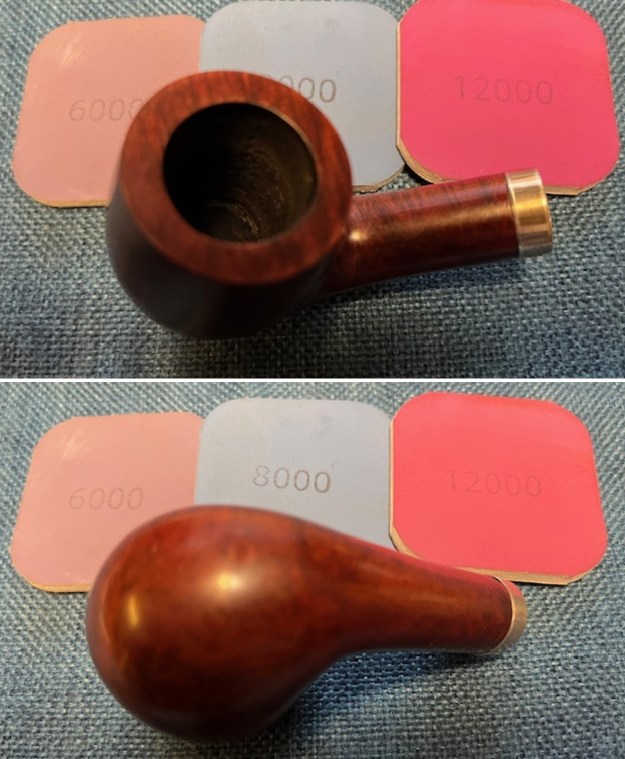
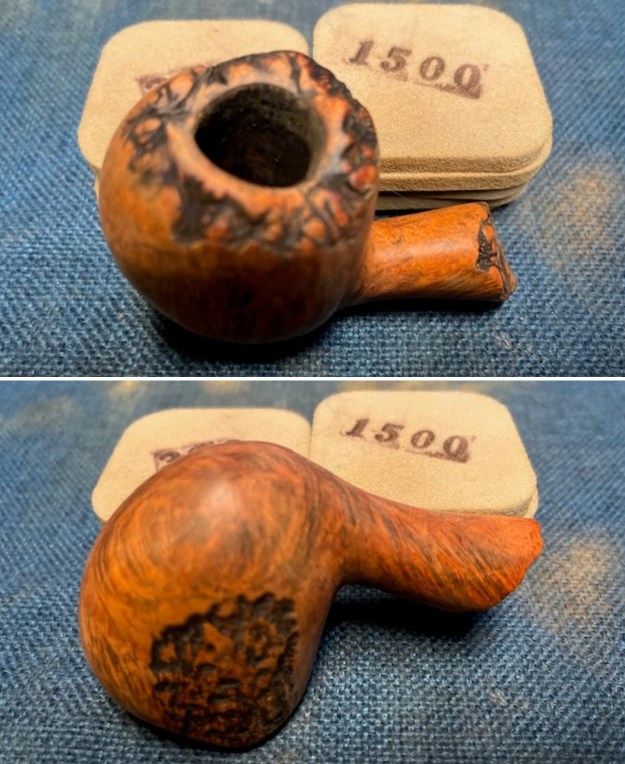
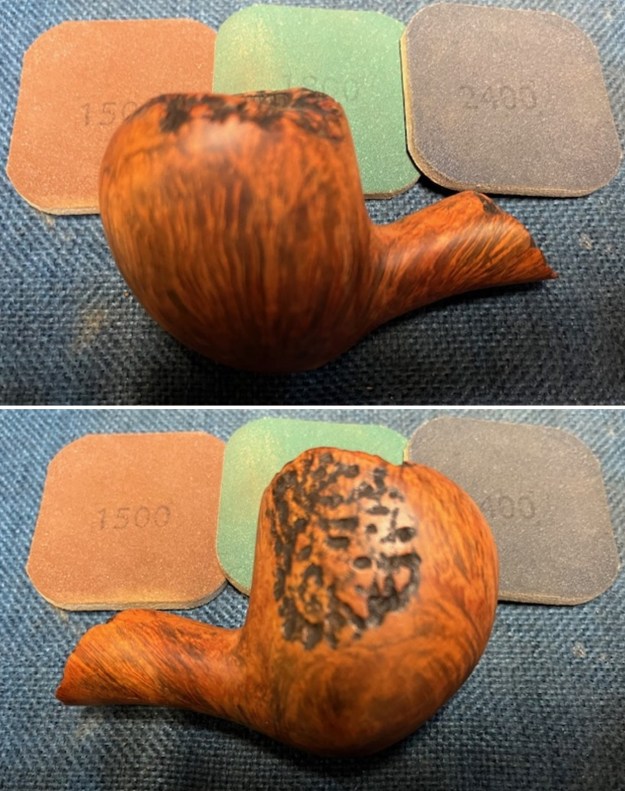
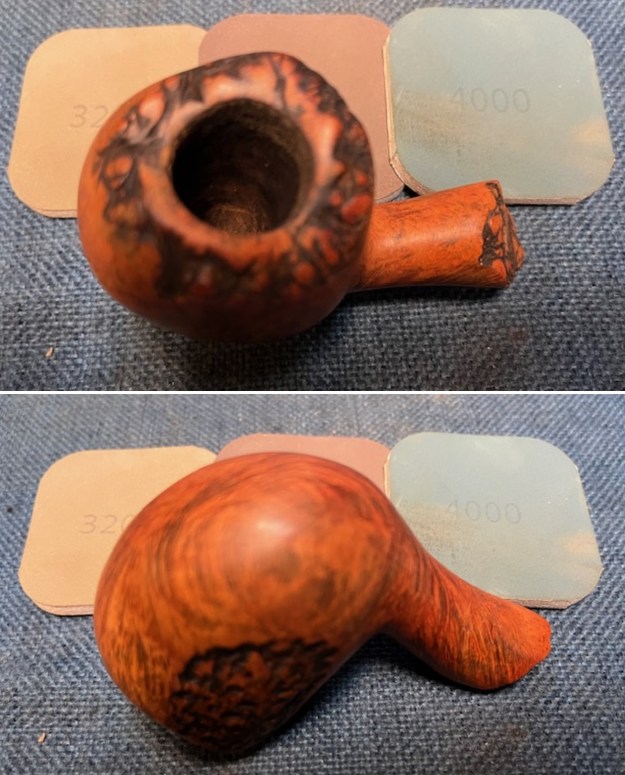
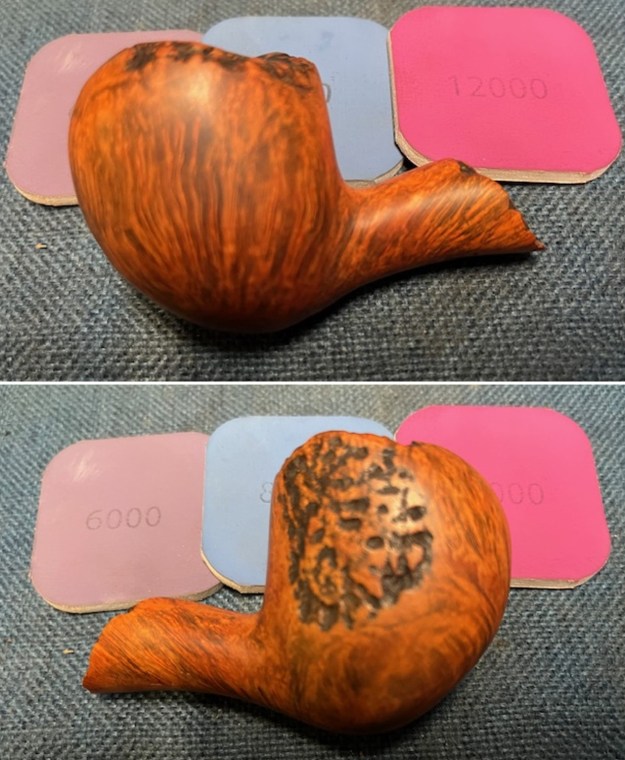
 I polished the briar bowl and shank with micromesh sanding pads – dry sanding with 1500-12000 grit sanding pads. I wiped it down with a damp cloth after each pad to remove the debris. The bowl took on a rich glow.
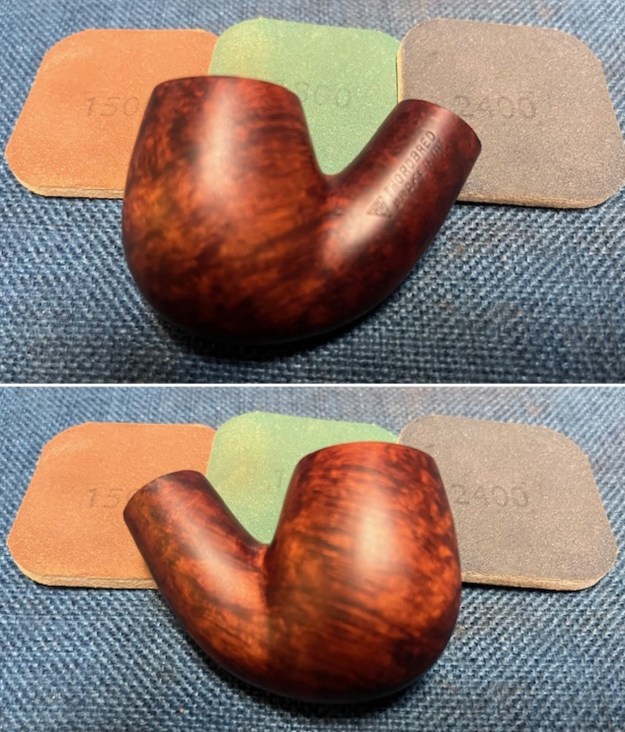

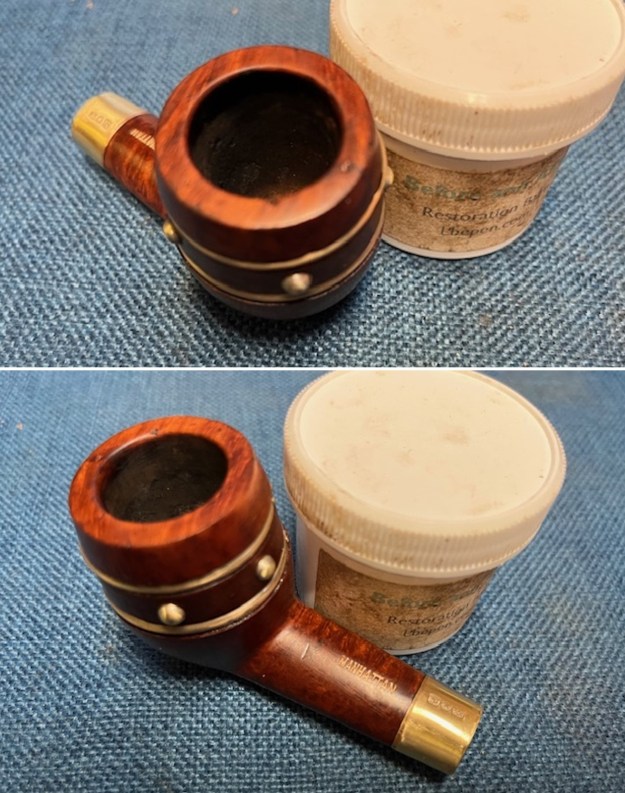
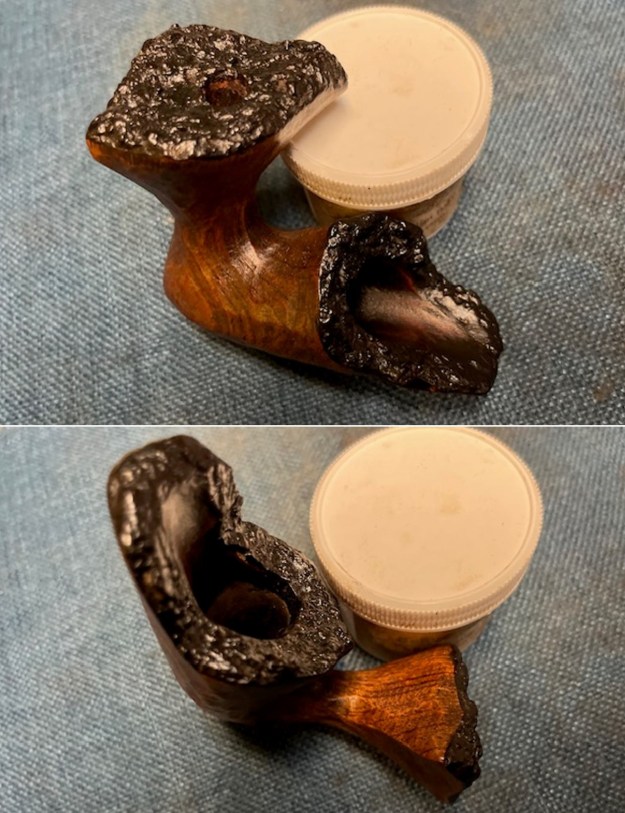
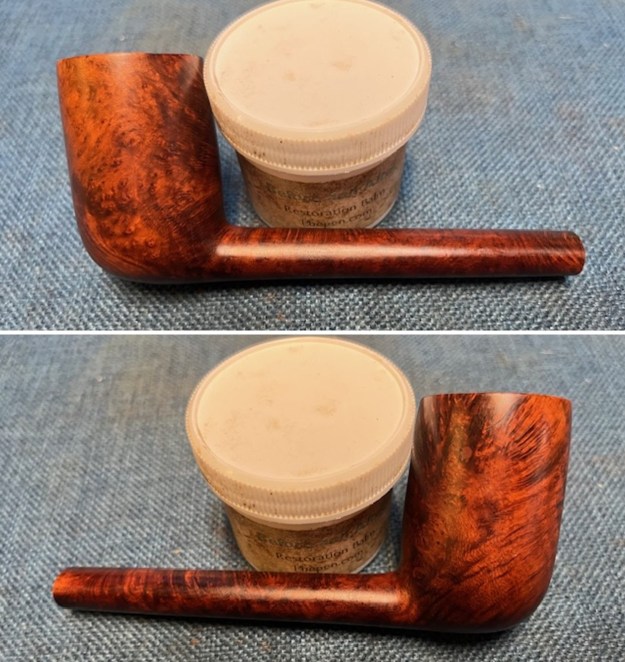
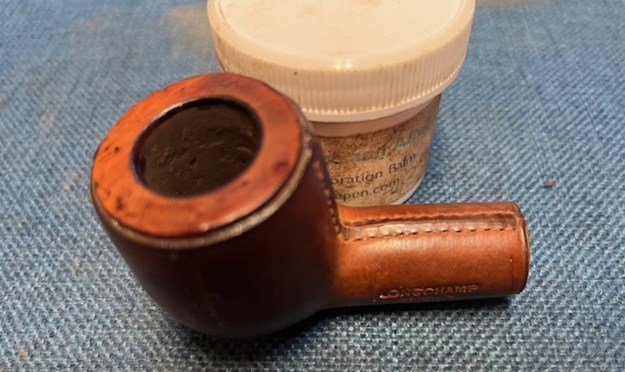
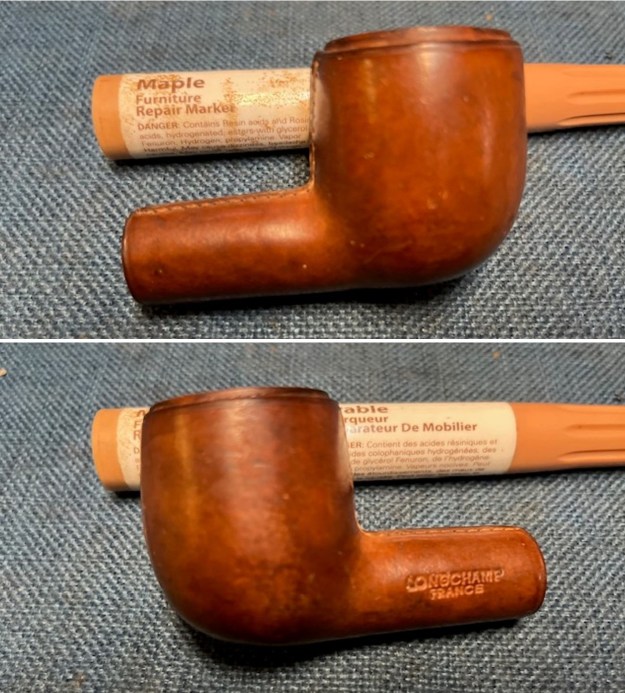
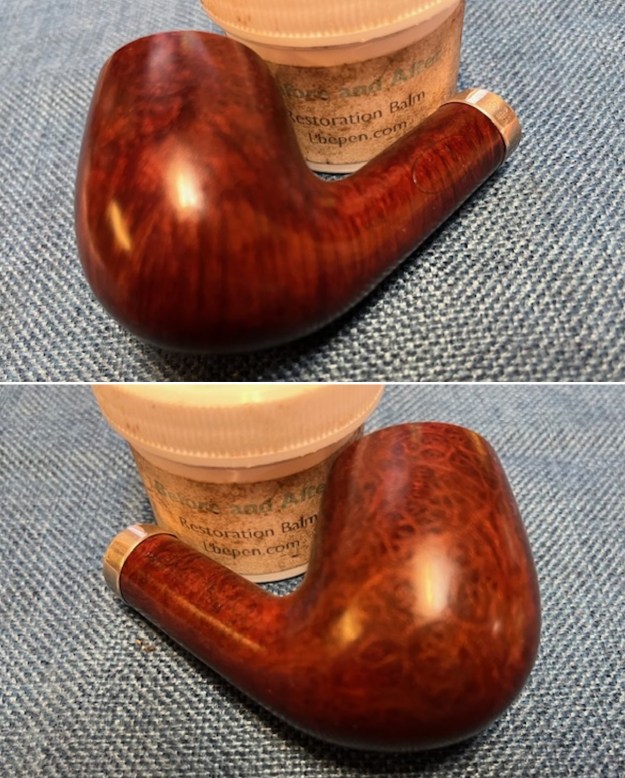
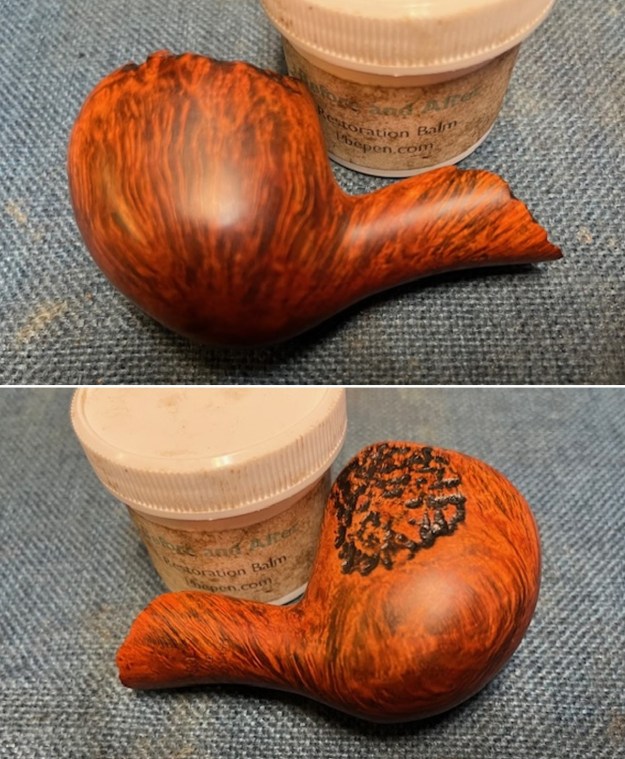
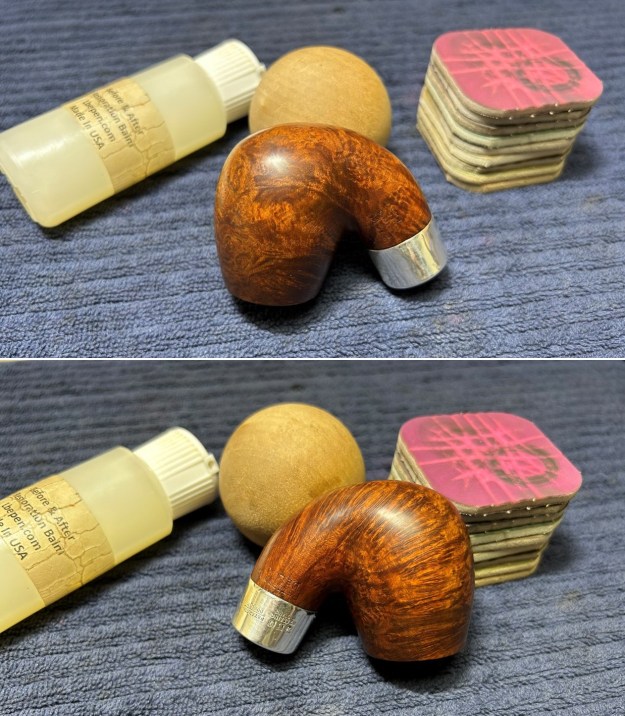
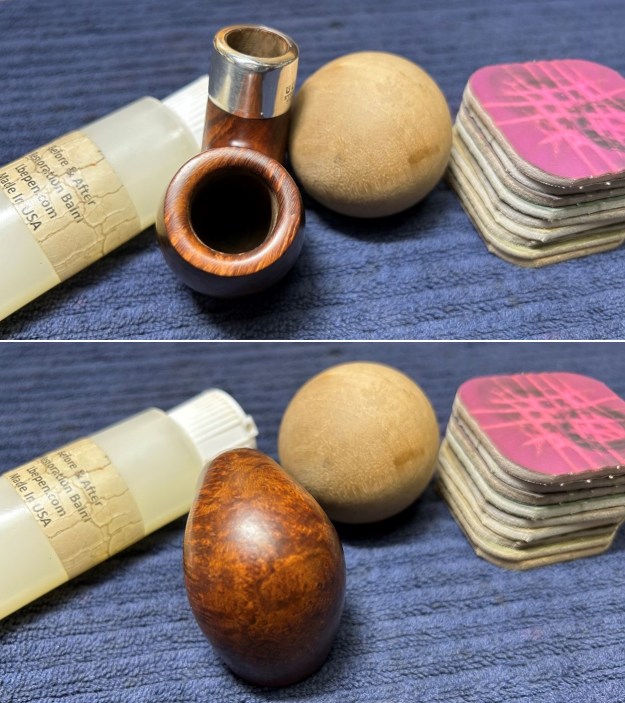
 I rubbed the bowl down with Before & After Restoration Balm. I worked it into the surface of the briar with my fingertips to clean, enliven and protect it. I let the balm sit for 10 minutes and then buffed with a cotton cloth to raise the shine. Mark Hoover’s Balm is a product that I have come to appreciate and one I use on every pipe I have been working on.
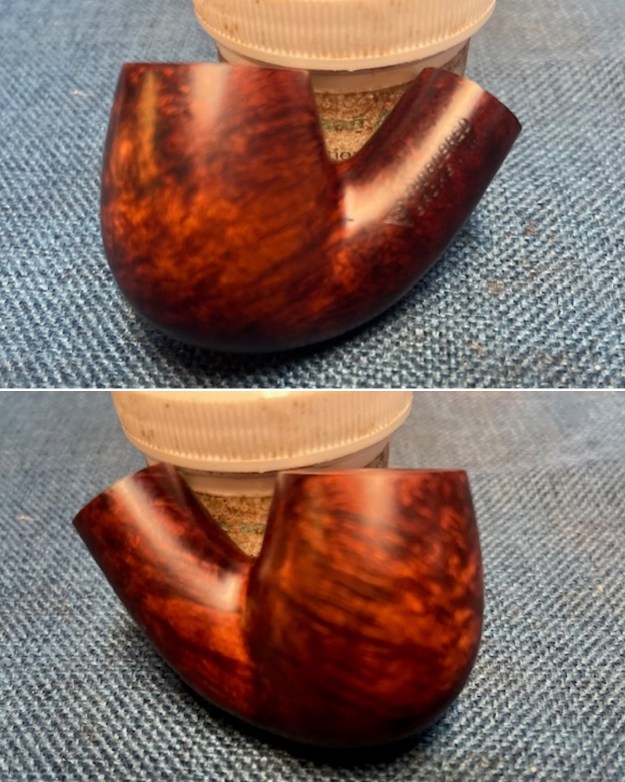
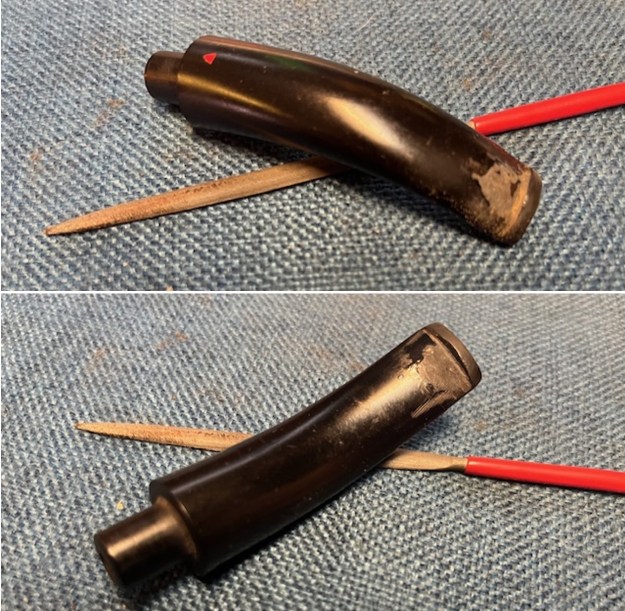
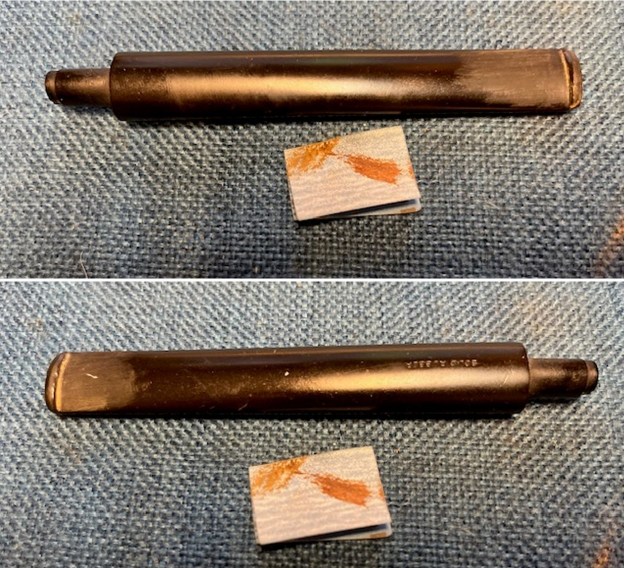
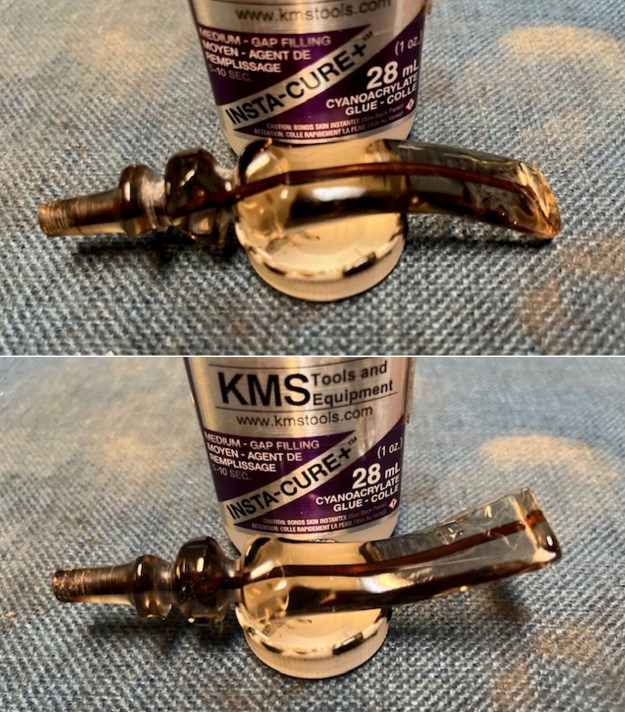
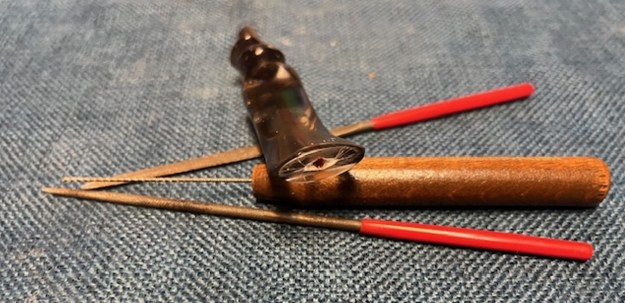
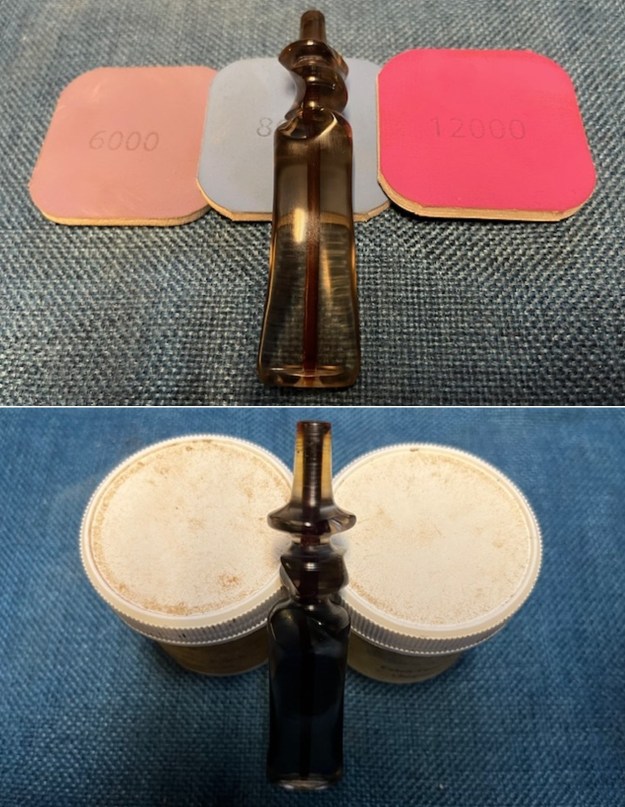
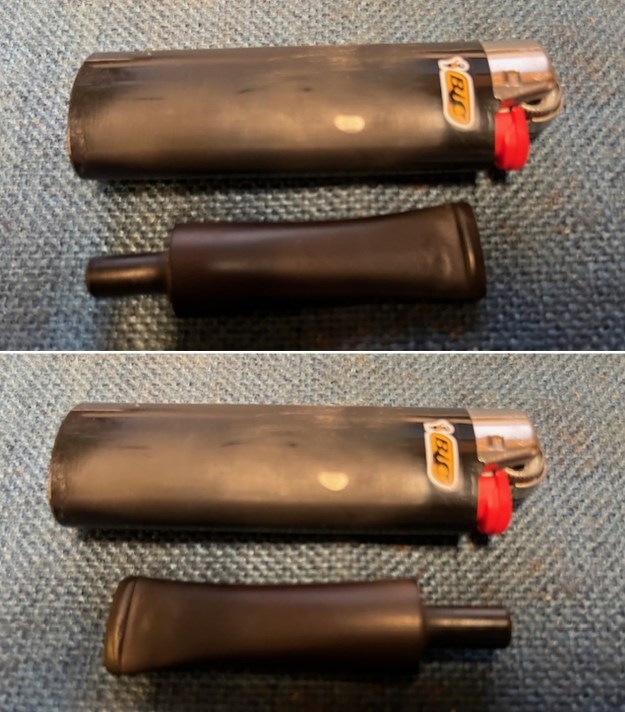
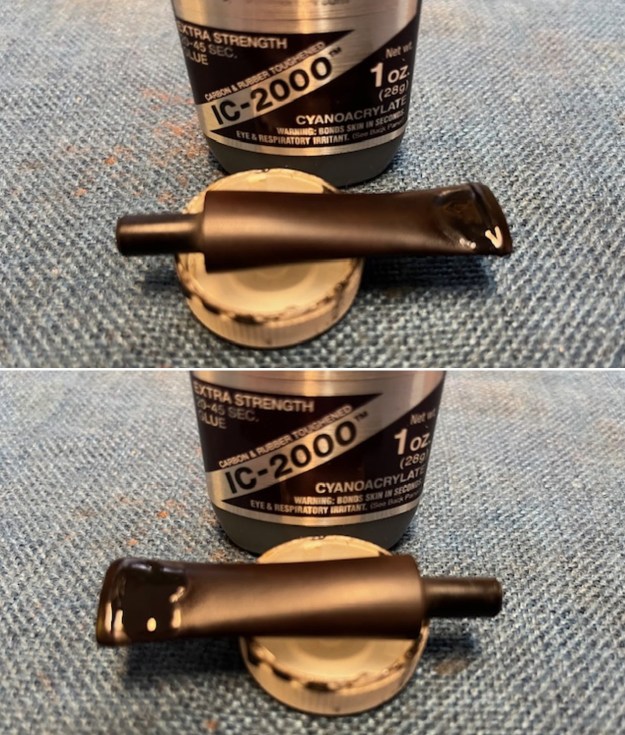
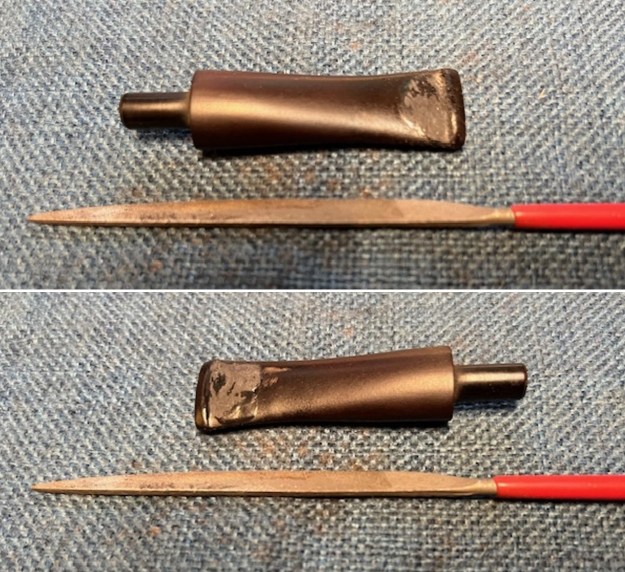
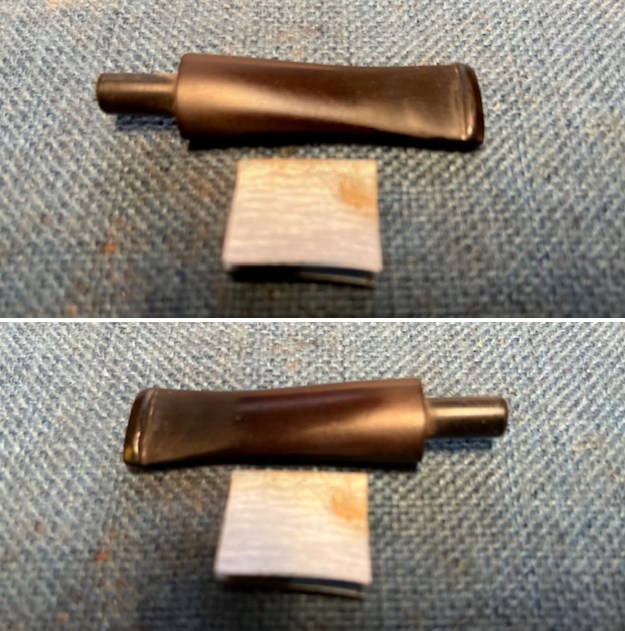
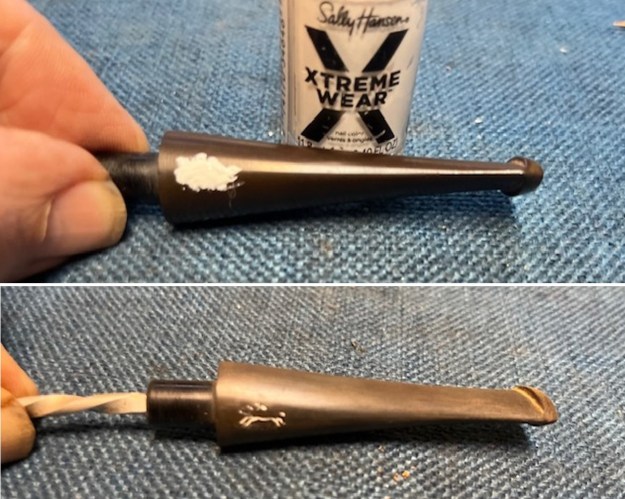
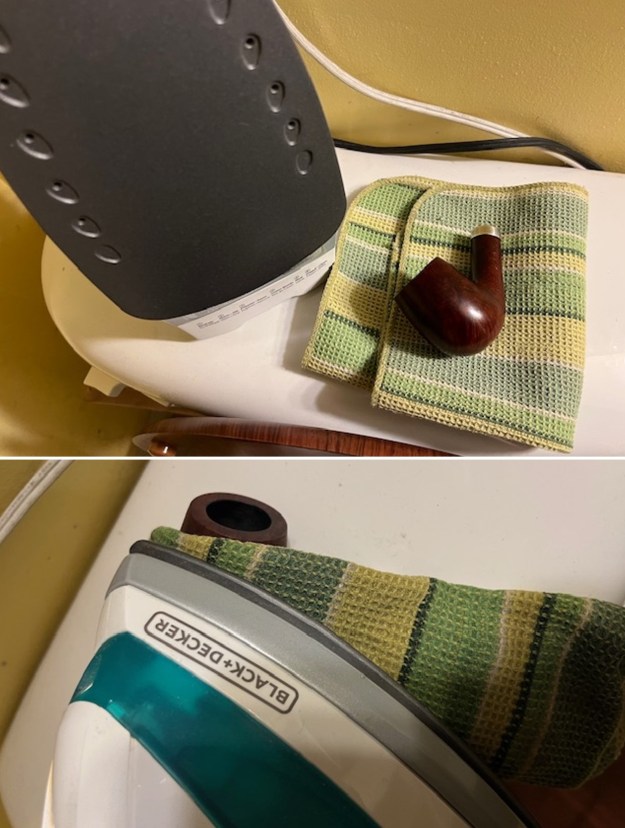
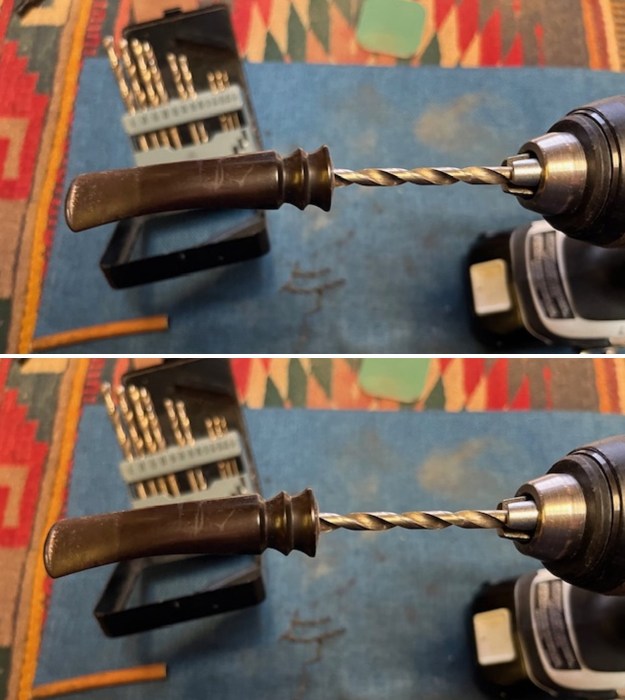
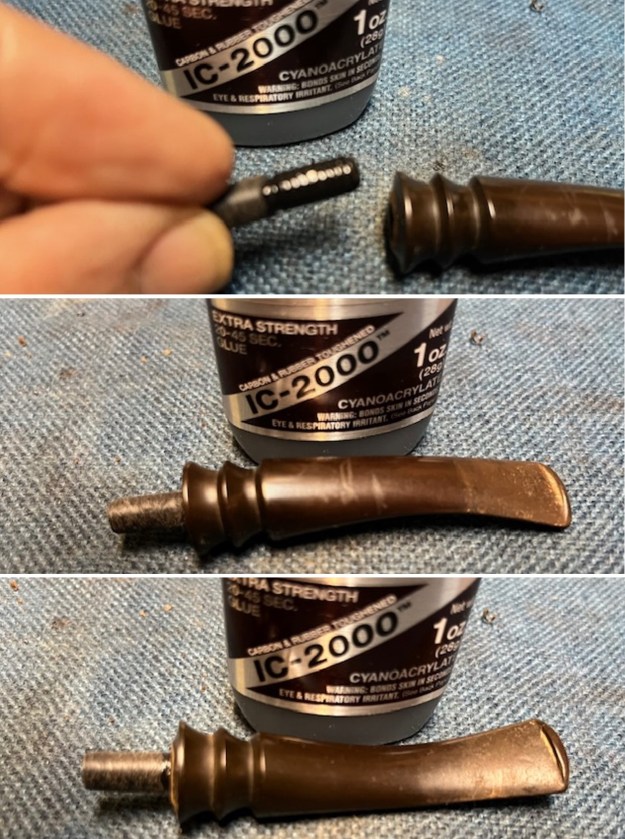
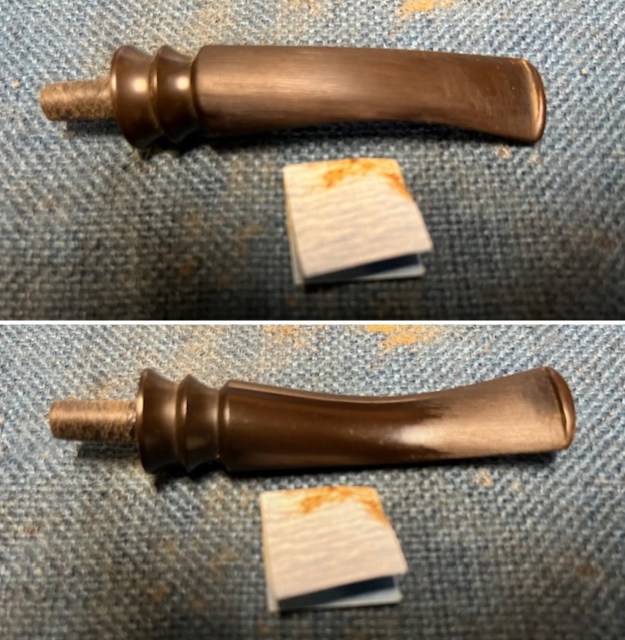
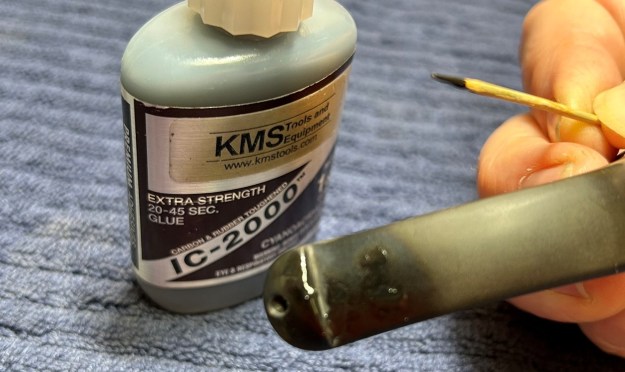
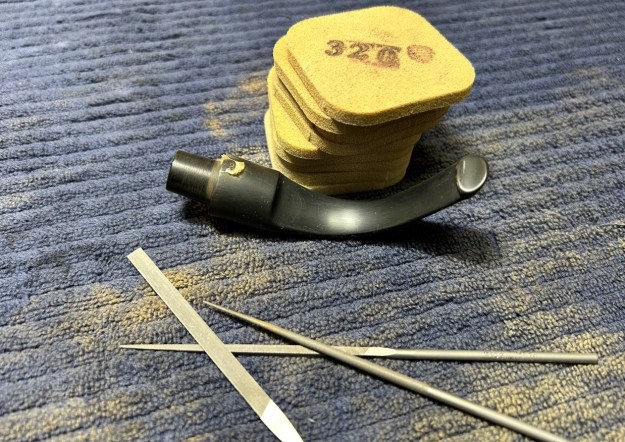
 I set the bowl aside and turned my attention to the stem. I “painted” the surface of the stem with the flame of a Bic lighter to lift the tooth marks and scratches. The heat did little to raise the marks at all. I wonder if hard rubber is unlike vulcanite in terms of memory. I used black super glue to fill in the deep tooth marks in the surface. I flattened out the repairs with small files. I sanded the stem with 220 grit sandpaper to smooth out the repairs and begin to blend them into the surface.
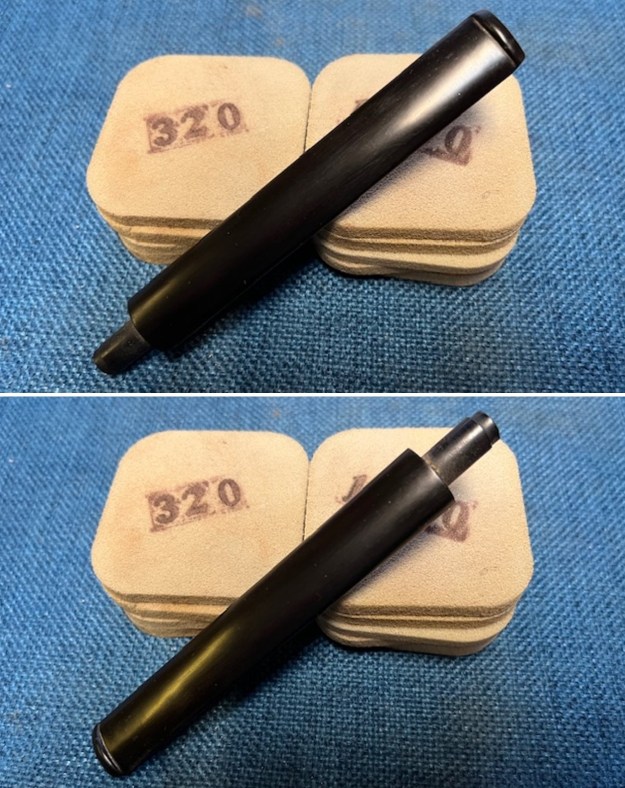
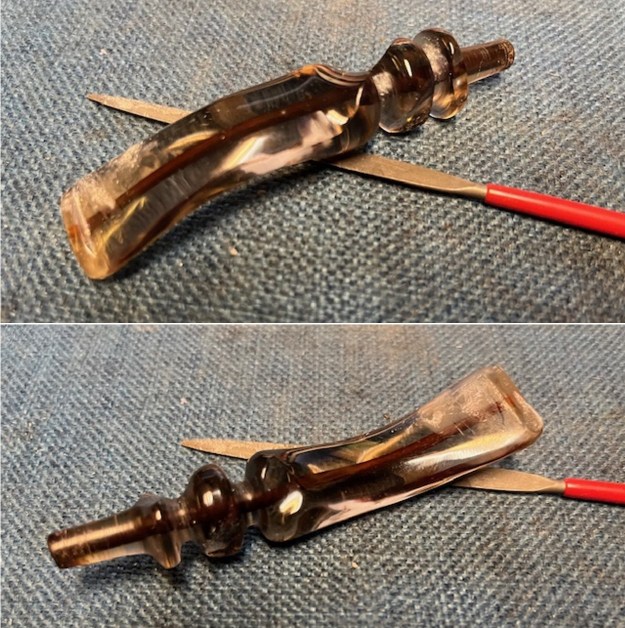
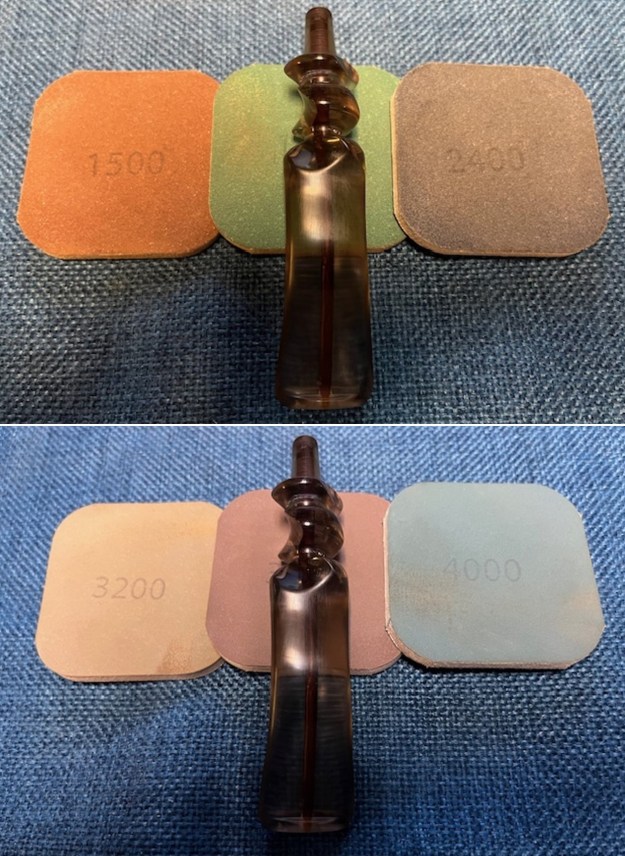
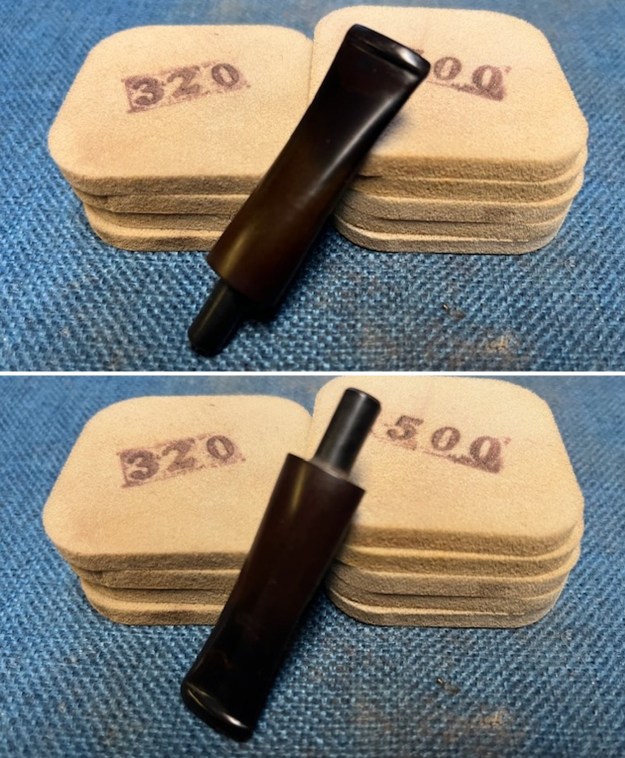
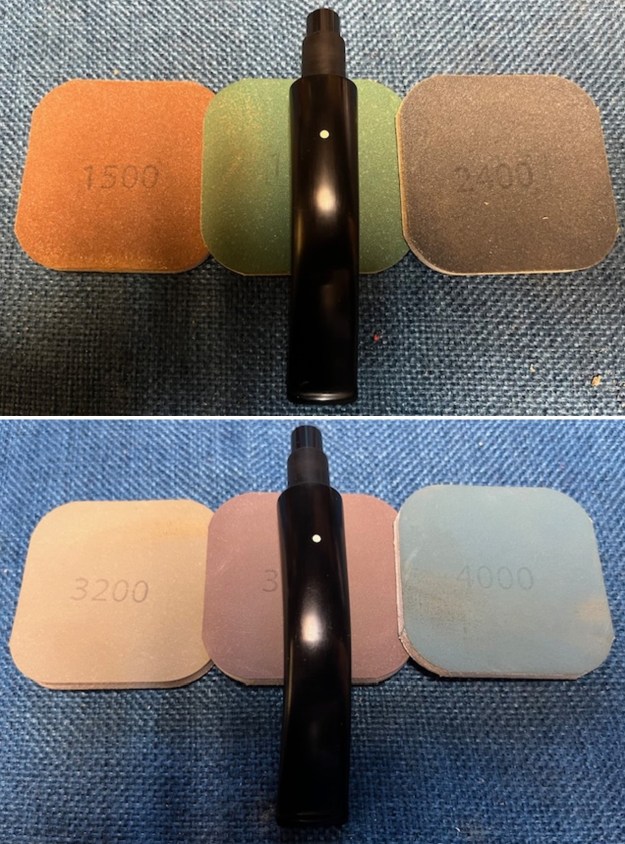
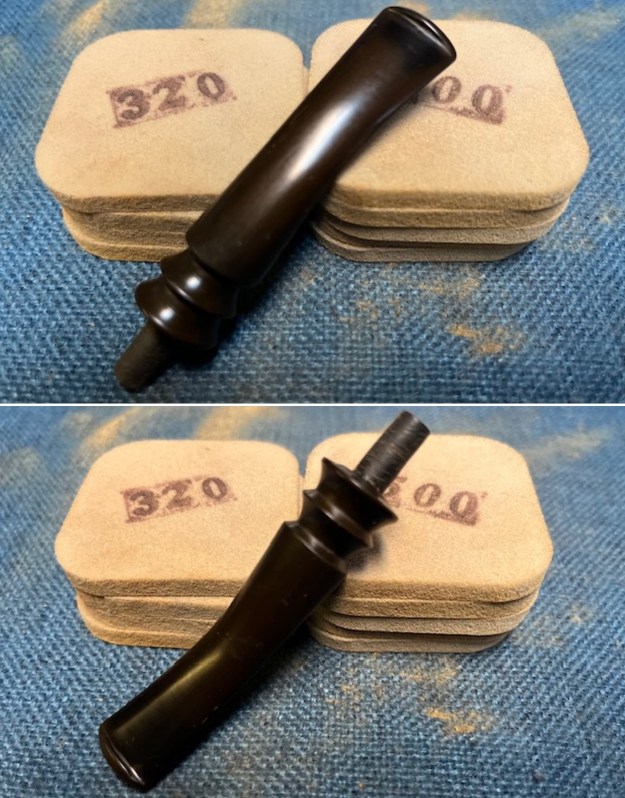
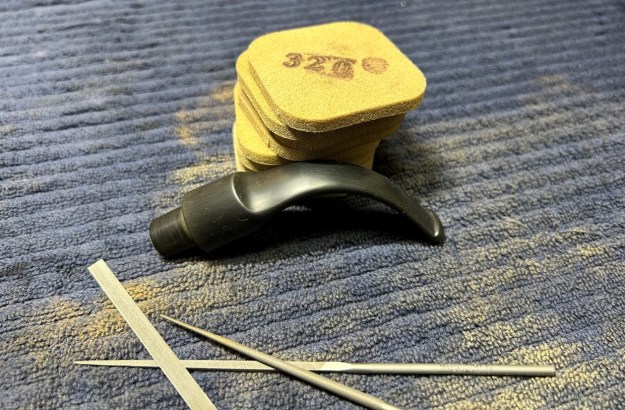
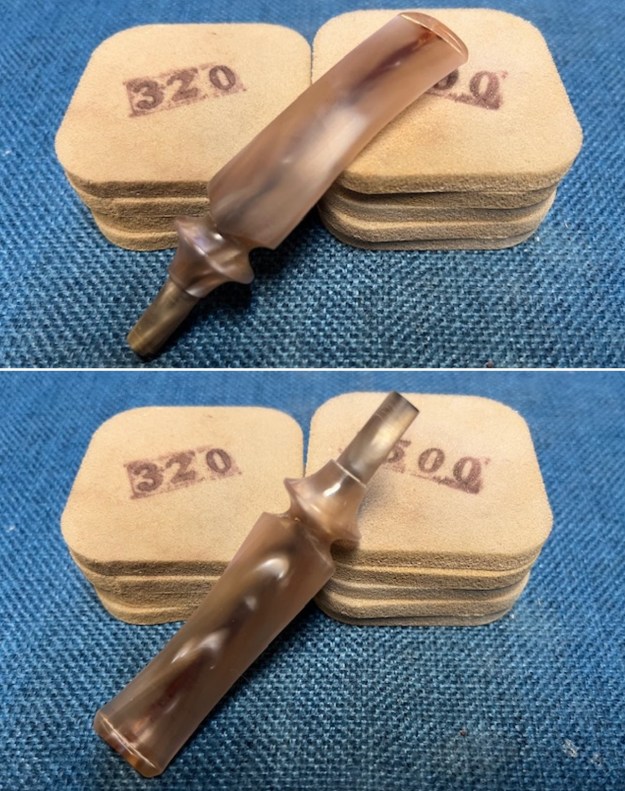
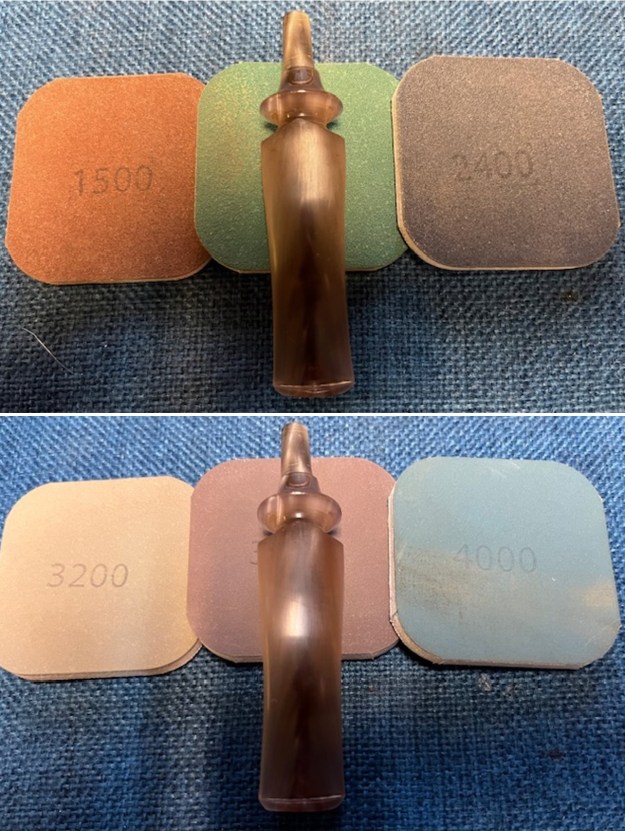
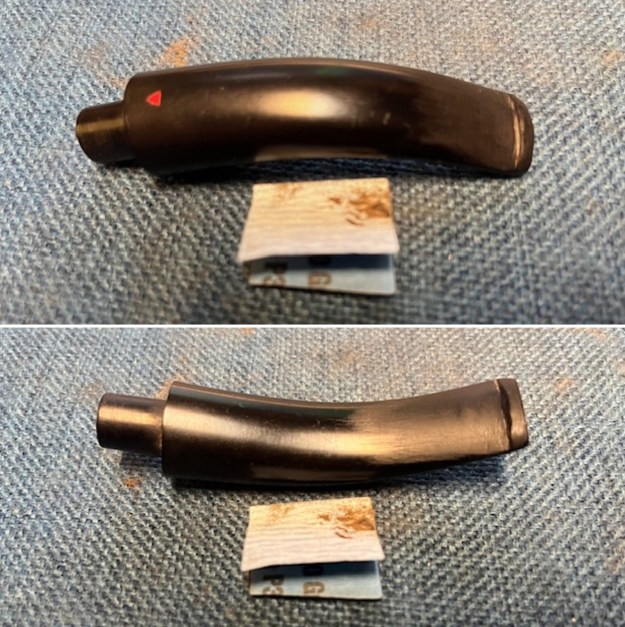 I sanded the stem with 320-3500 grit sanding pads to further blend them in and smooth out the surface of the stem.
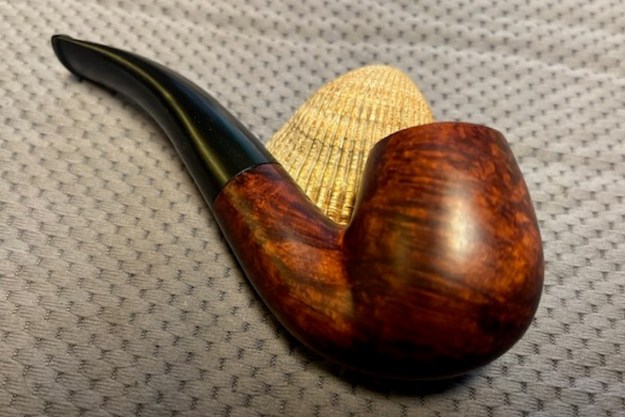
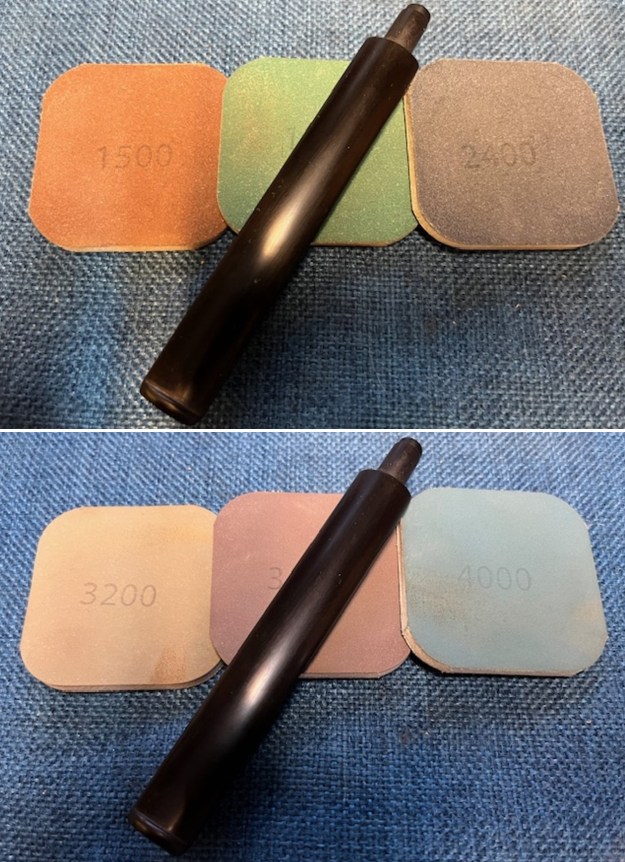
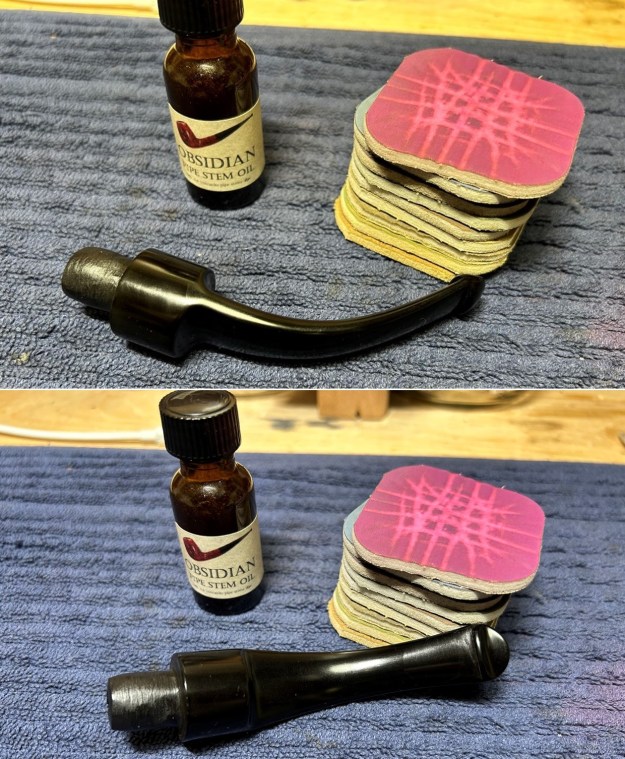
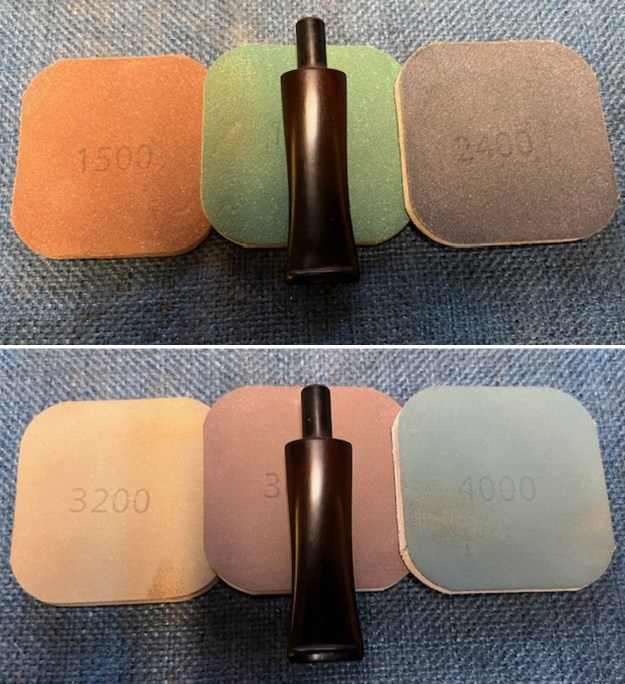
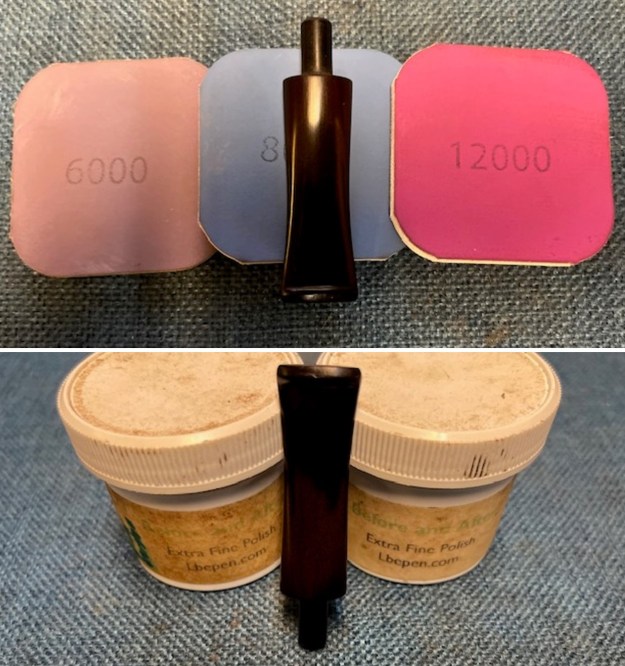
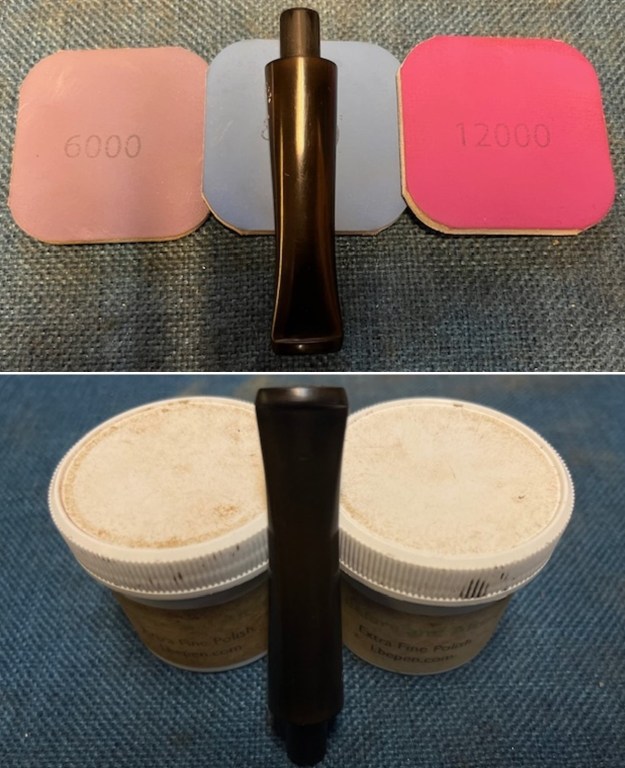
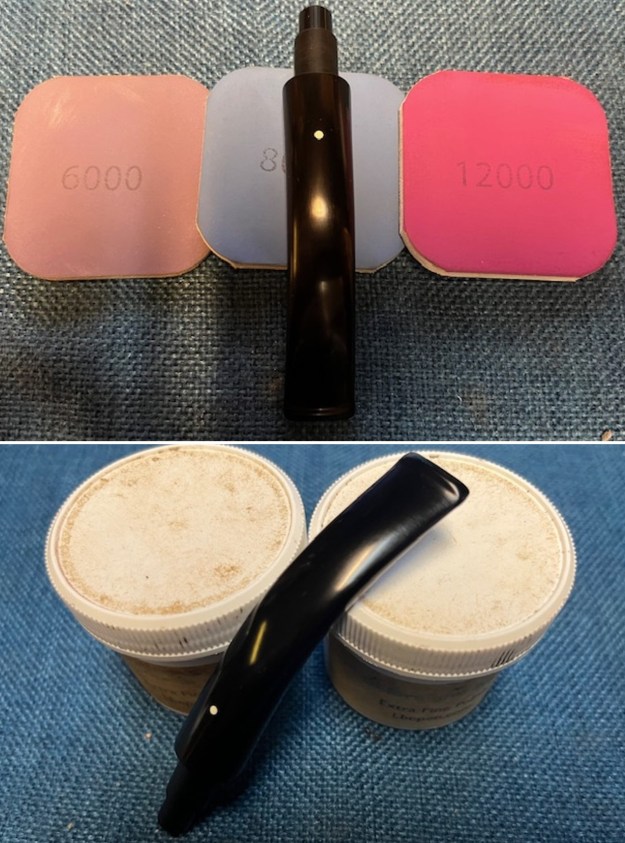
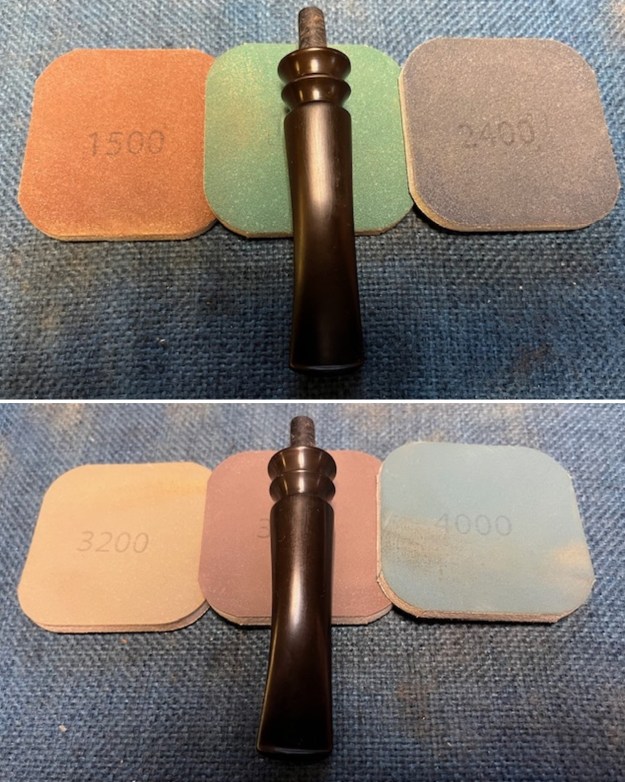
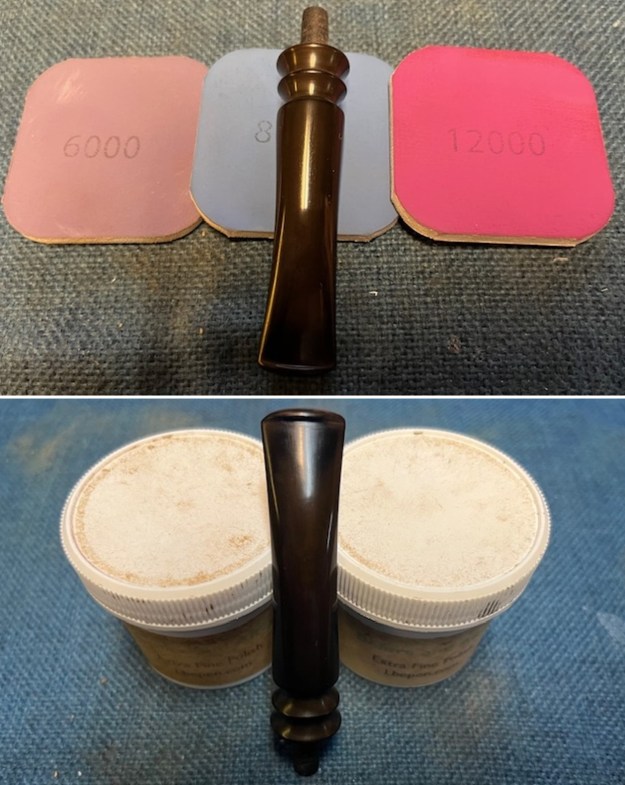
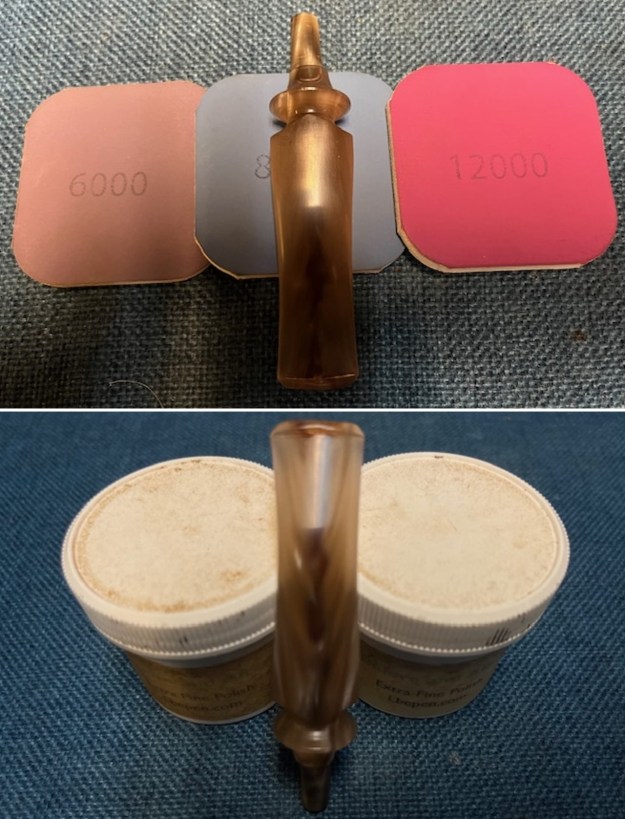
 I polished the stem with micromesh sanding pads – dry sanding with 1500-12000 grit pads. I wiped the stem down after each pad with some Obsidian Oil. I finished hand polishing it with Before & After Pipe Stem Polish – Fine and Extra Fine. I rubbed it down with another coat of Obsidian Oil and let it dry. The stem really was beginning to look very good.
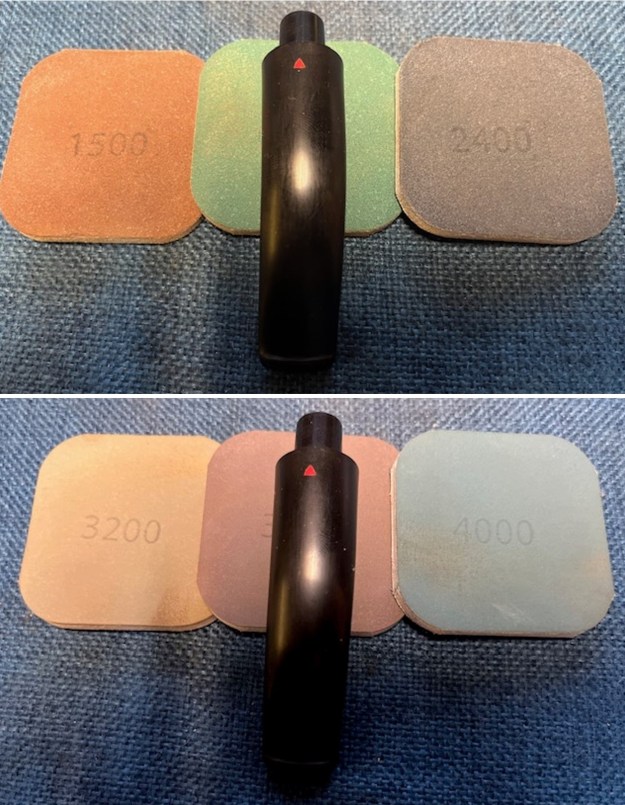
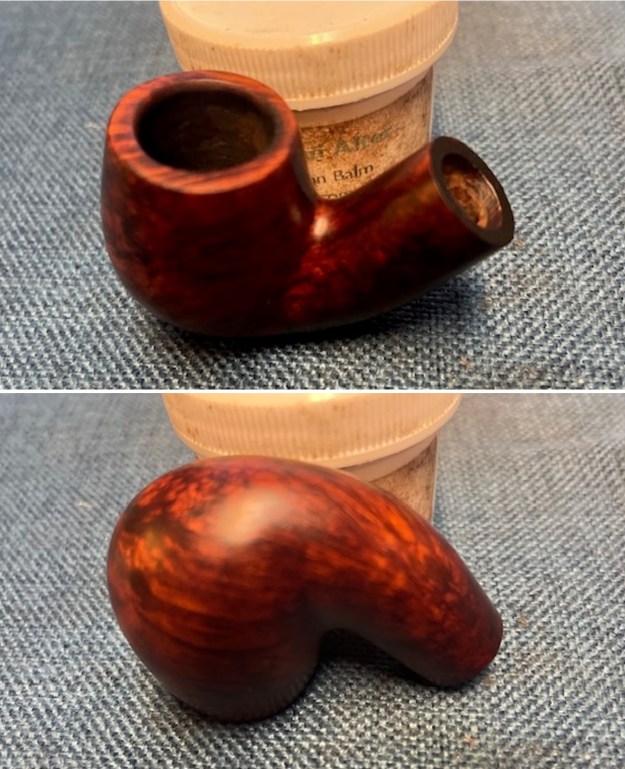
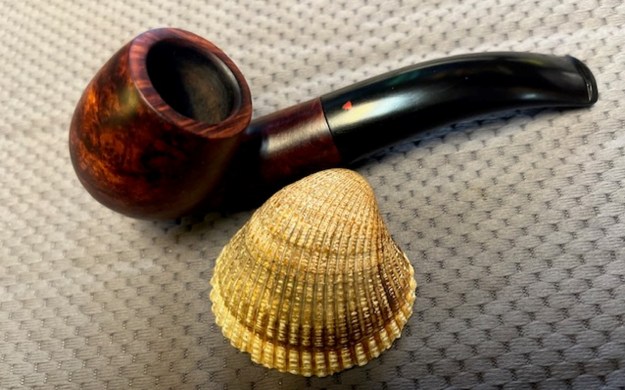
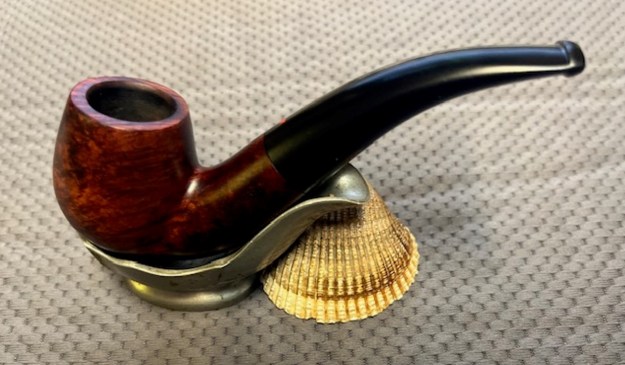
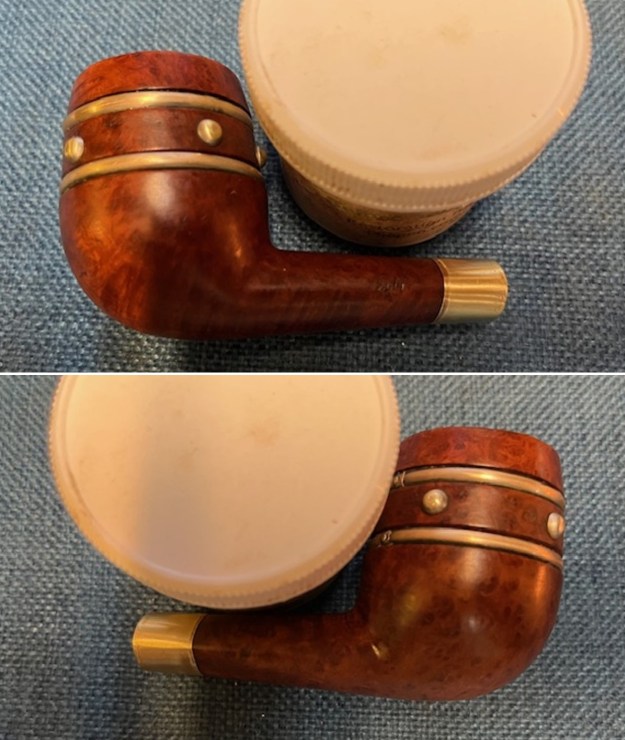
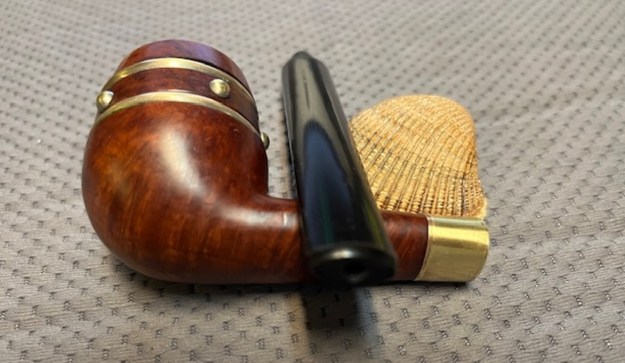
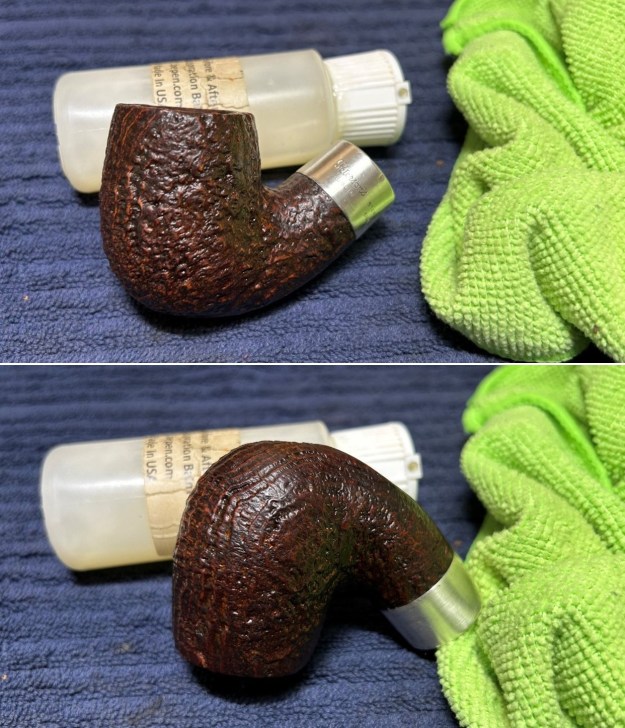
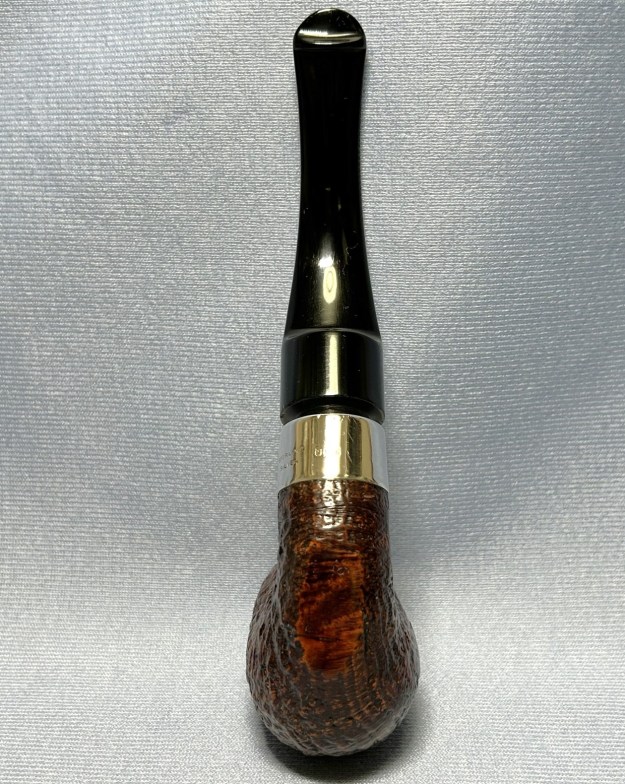
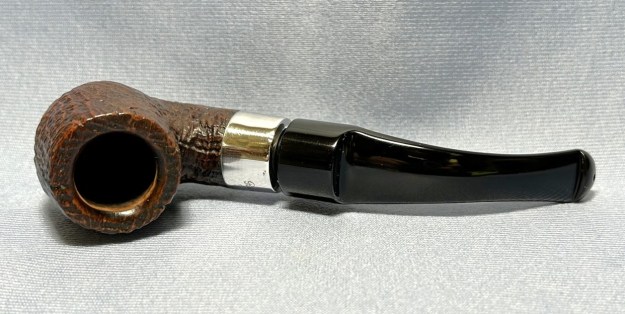
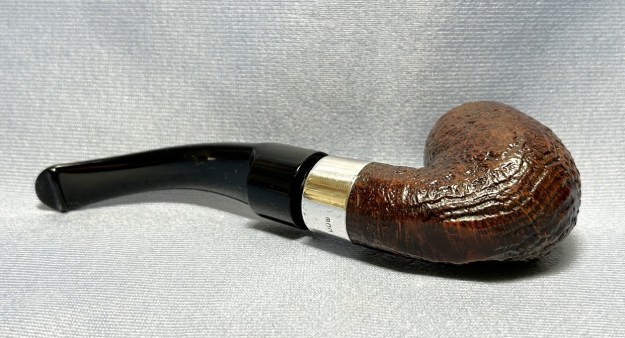
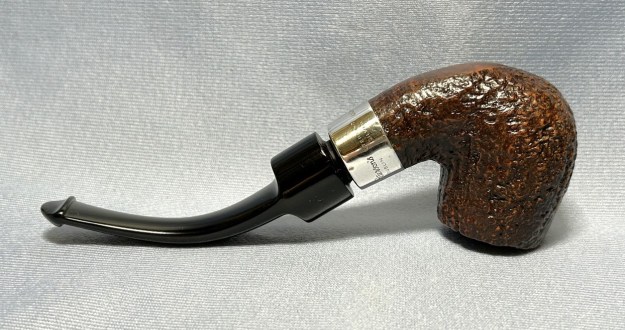
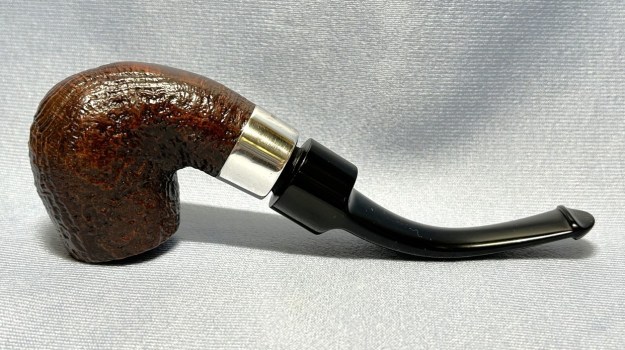
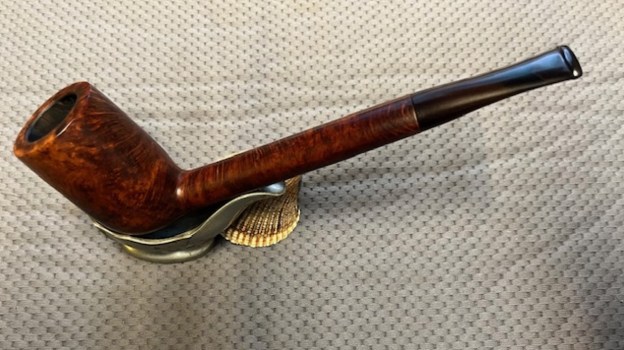
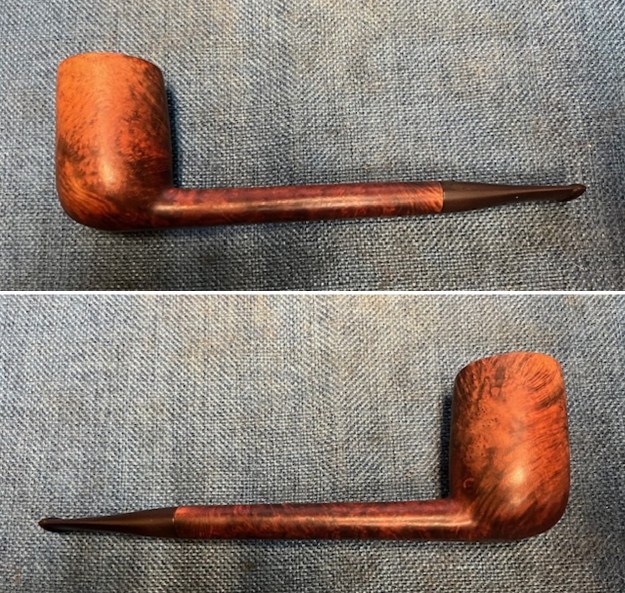
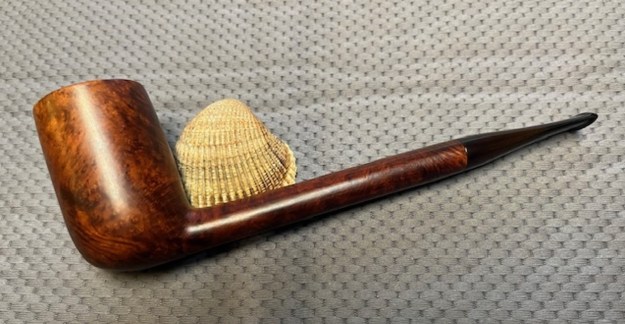
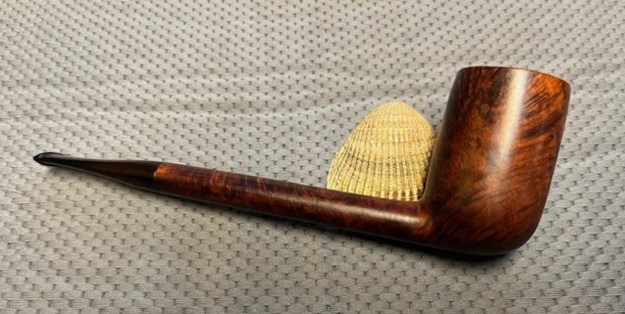
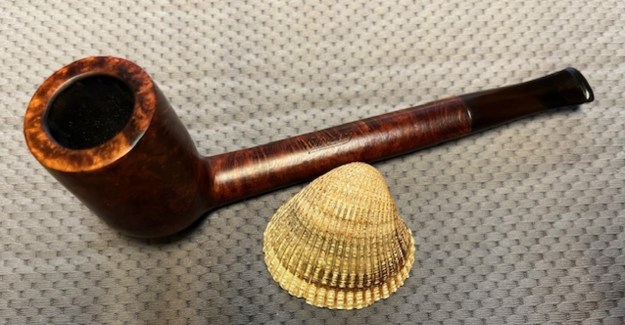
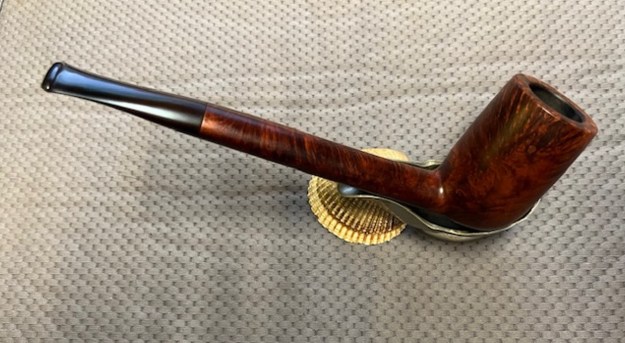
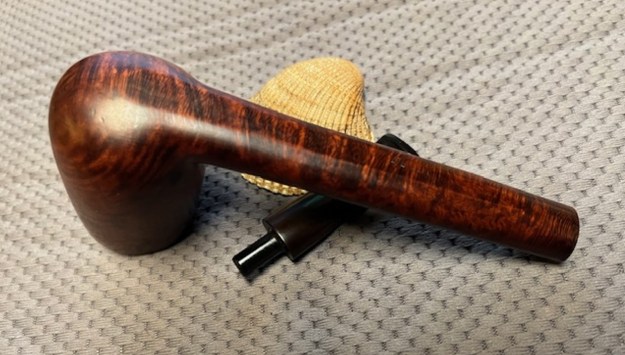
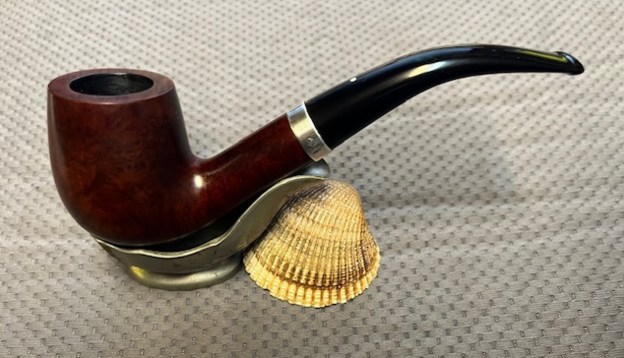
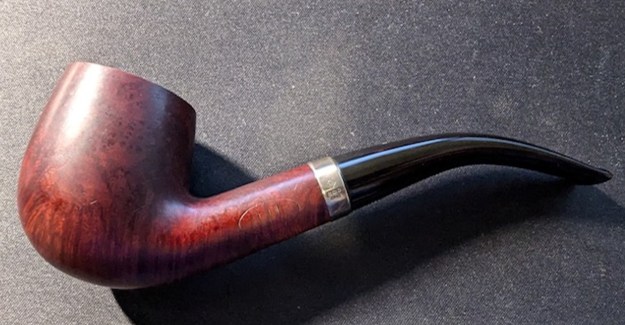
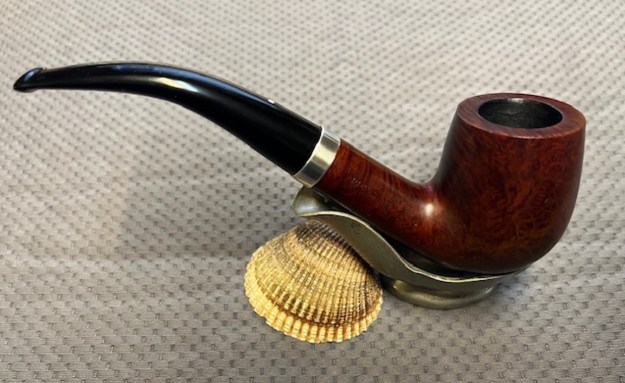
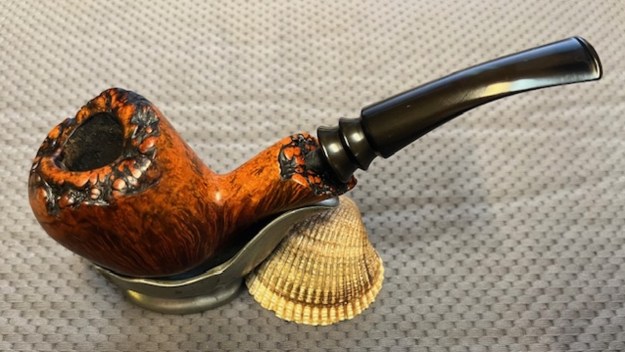
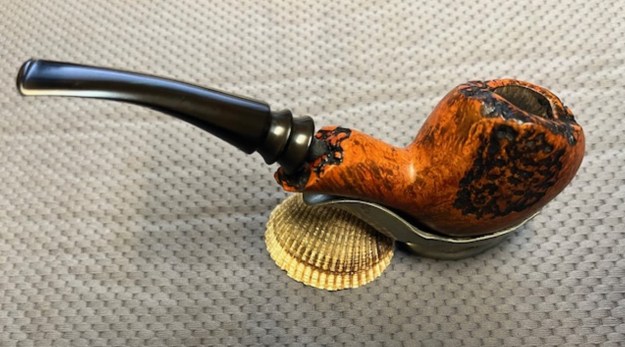
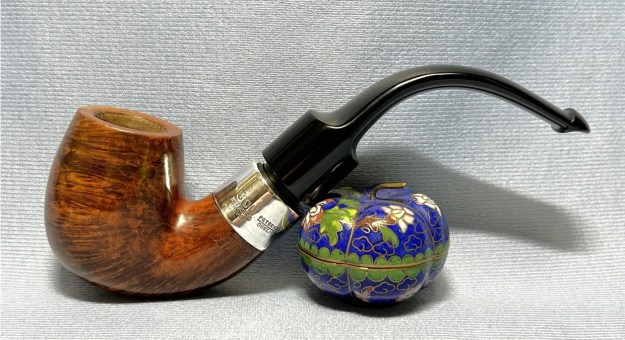
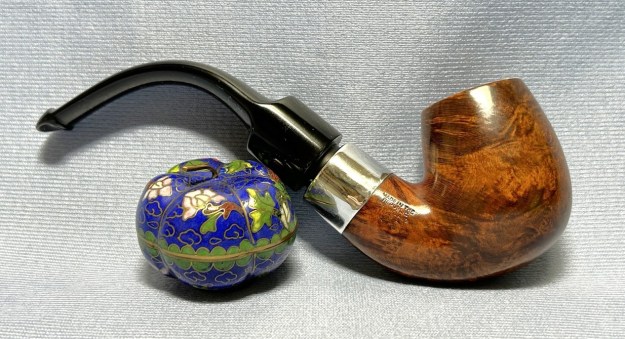
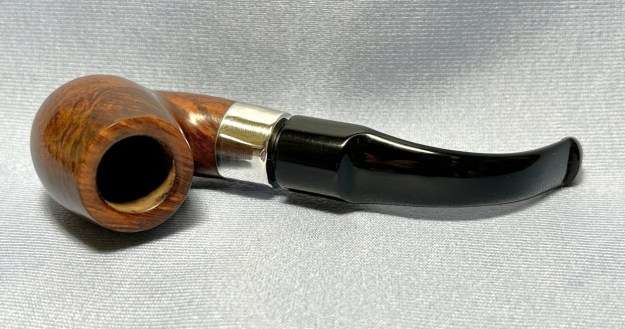
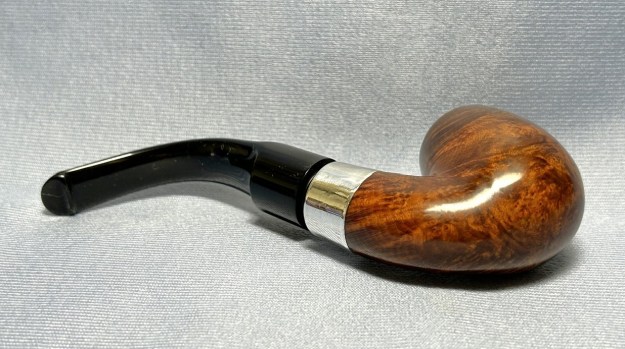
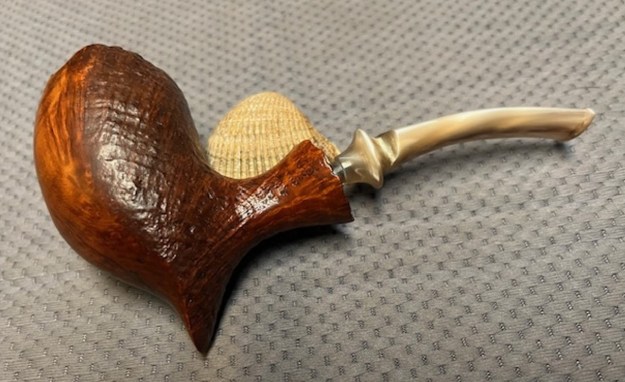
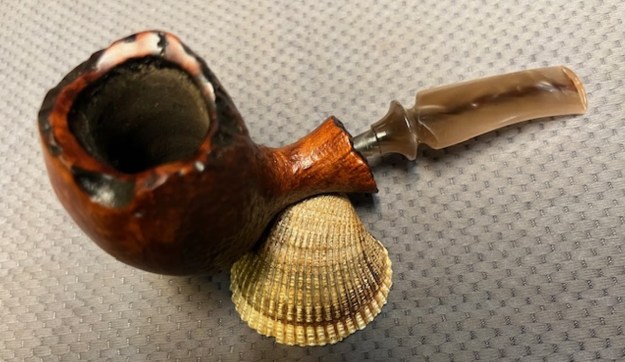
 This is a beautiful WDC Thorobred Broken In Bent Billiard with a thick hard rubber, black stem. It has a great look and feel. The flat bottom makes it a sitter that is well balanced. The shape fits well in the hand with the curve of the bowl and bend of the shank making a great pipe to hold. I polished stem with Blue Diamond polish on the buffing wheel. I gave the sandblast bowl and plateau on the rim top and shank end multiple coats of Conservator’s Wax. I gave the stem multiple coats of carnauba wax. I buffed the pipe with a clean buffing pad to raise the shine. I hand buffed it with a microfiber cloth to deepen the shine. The pipe polished up pretty nicely. The rich combination of black and dark brown stains gave the sandblast a sense of depth. The pipe took on life with the buffing. The rich colour of the briar works well with the polished stem. Have a look at it with the photos below. The shape, finish and flow of the pipe and stem are very well done. The dimensions are Length: 5 inches, Height: 1 ½ inches, Outside diameter of the bowl: 1 1/8 inch, Chamber diameter: ¾ of an inch. The weight of the pipe is 42 grams/ 1.55 ounces. This American Made Bent Billiard is a real beauty. Thanks for walking through the restoration with me as I worked over another beautiful pipe. This one will be going on the rebornpipes store in the American Pipe Makers Section shortly if you would like to add it to your collection. Thanks for your time.
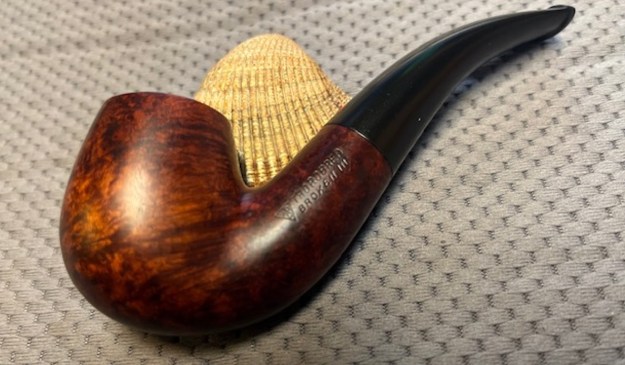


