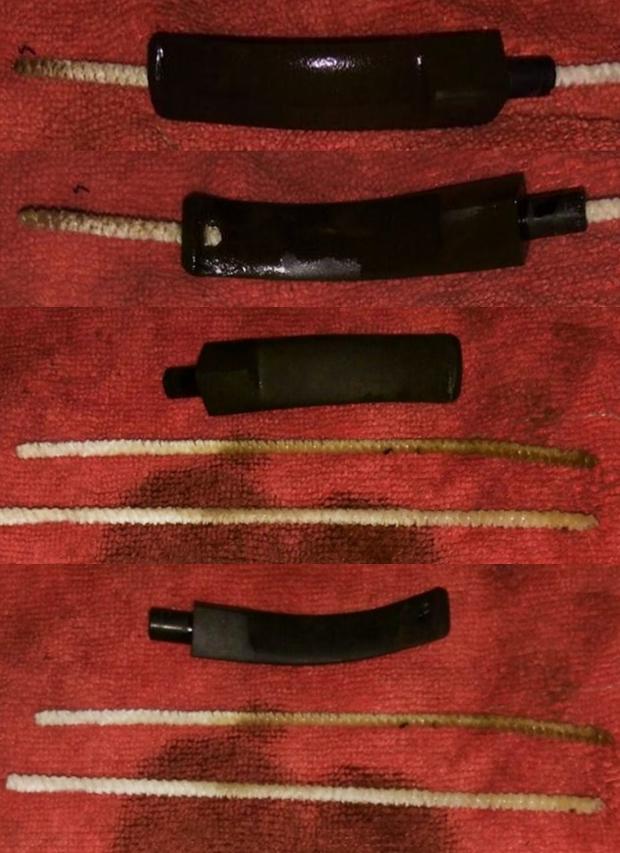
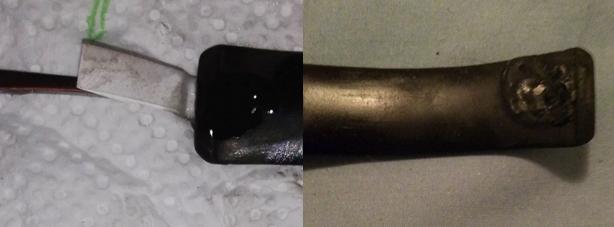
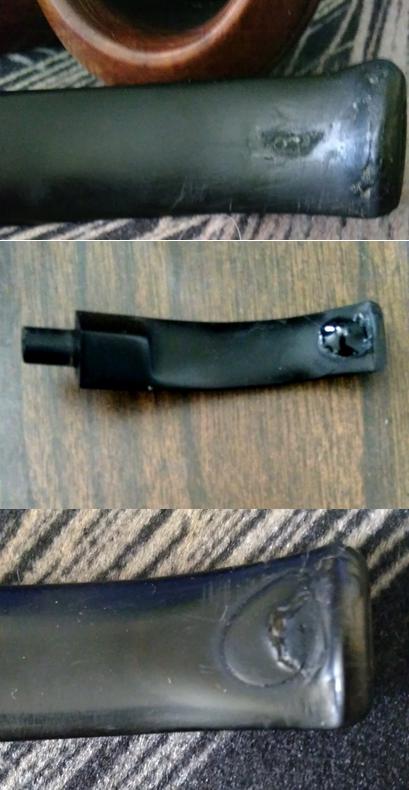
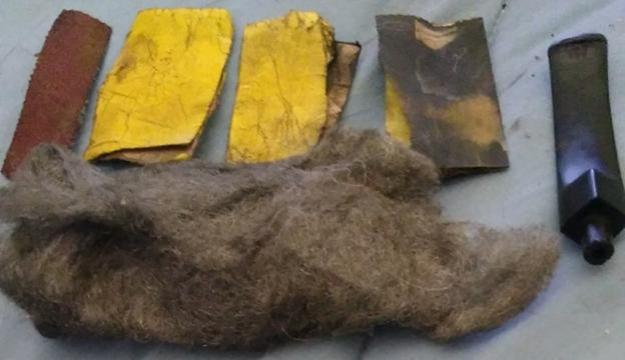
Tag Archives: bite marks

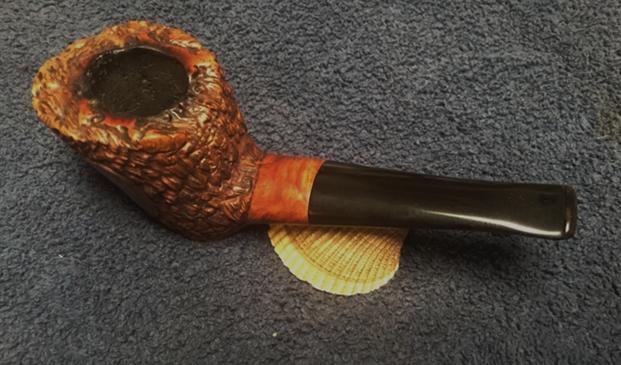
New Life for a Savinelli Capri Bruna 310 Cherrywood


Blog by Steve Laug

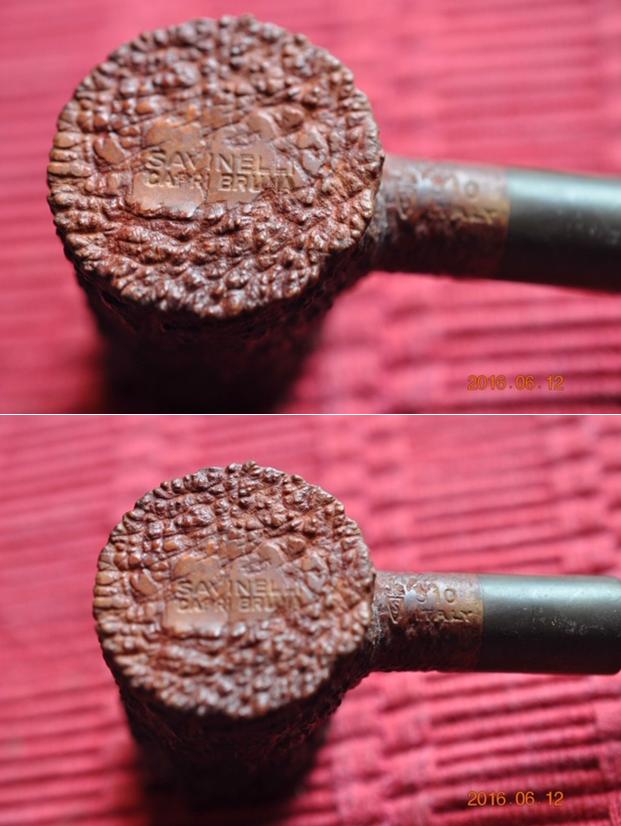
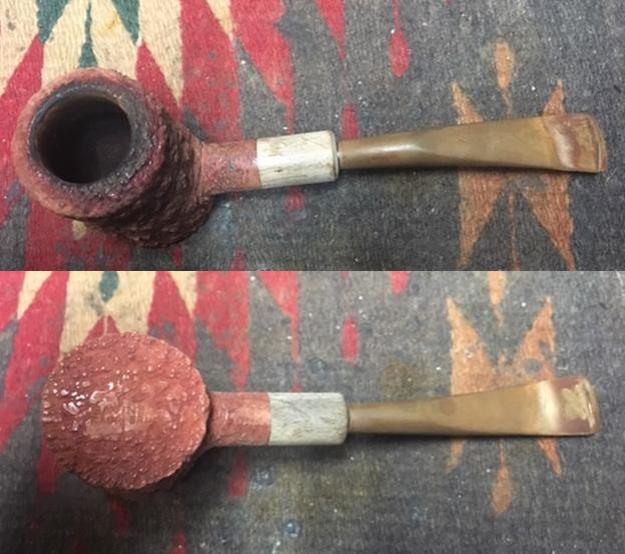
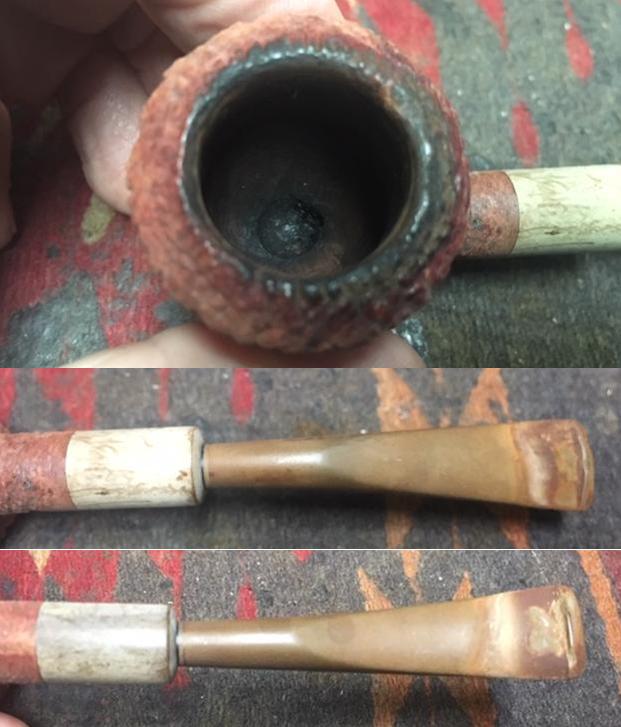
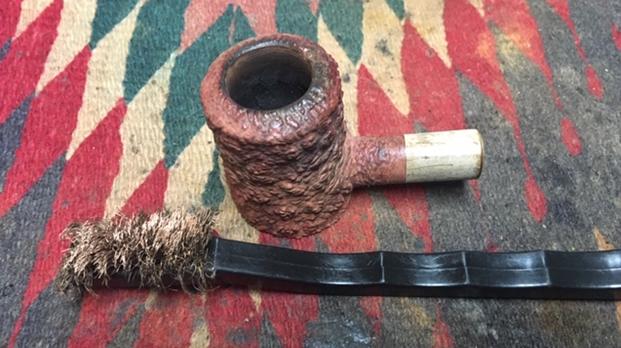
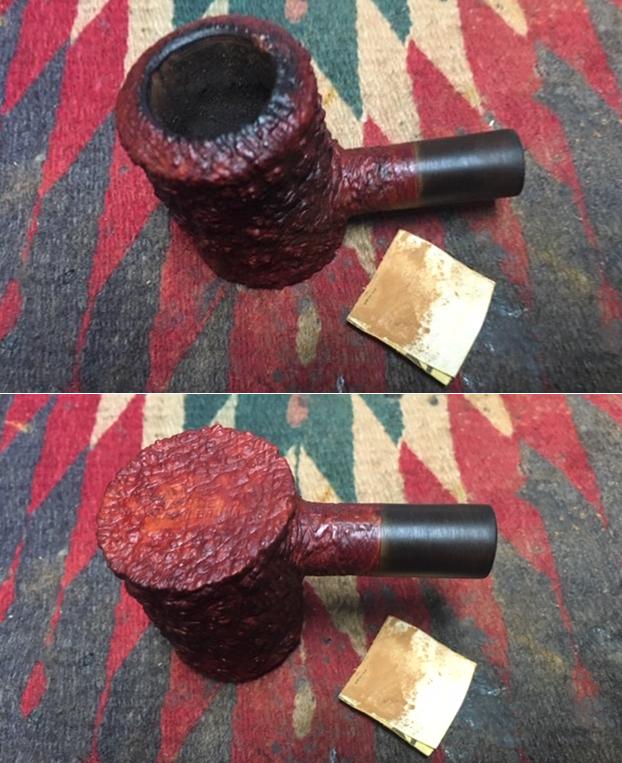
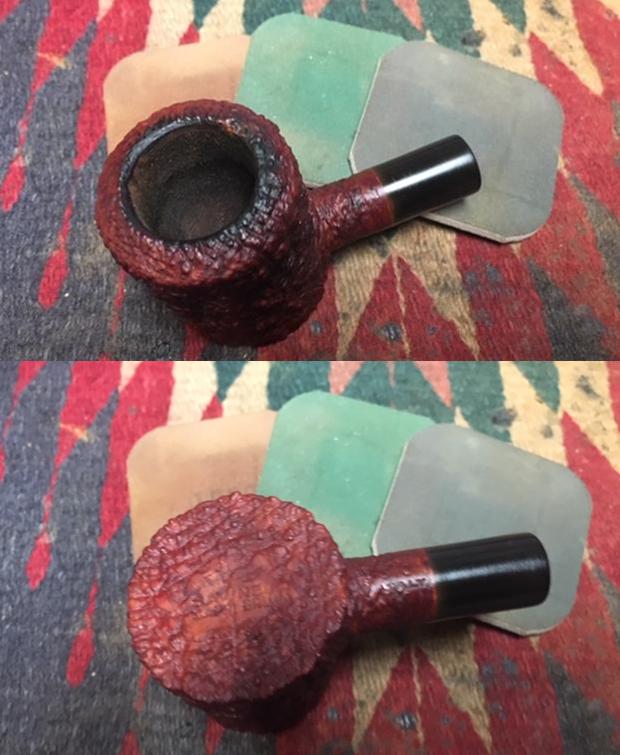
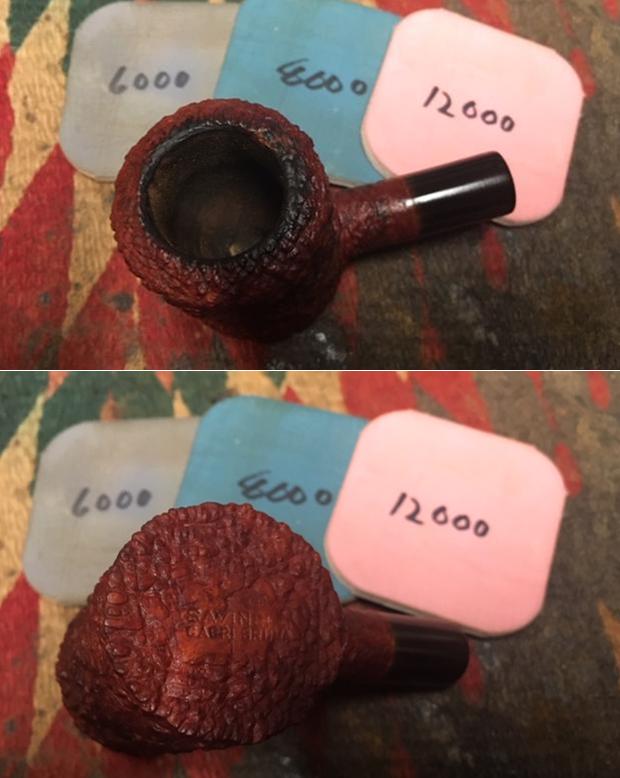
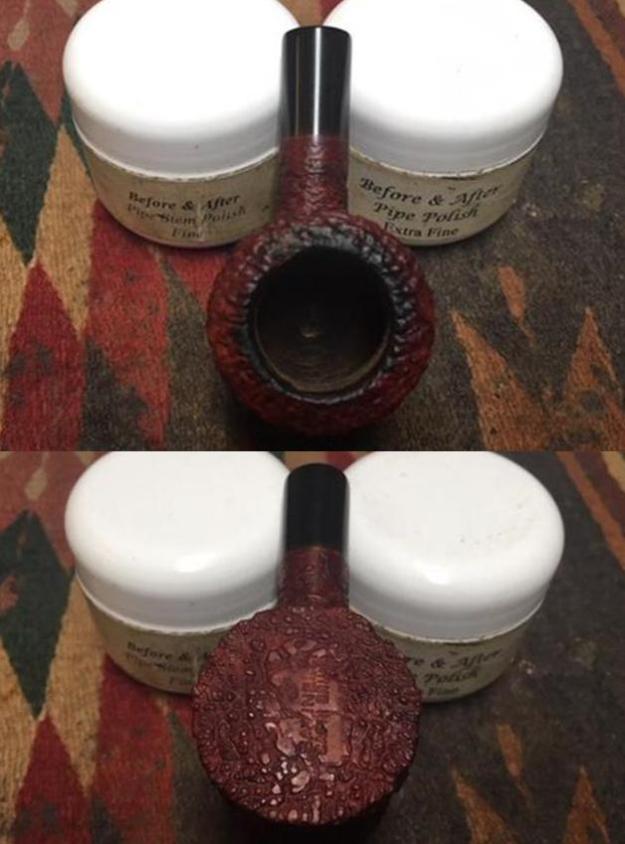
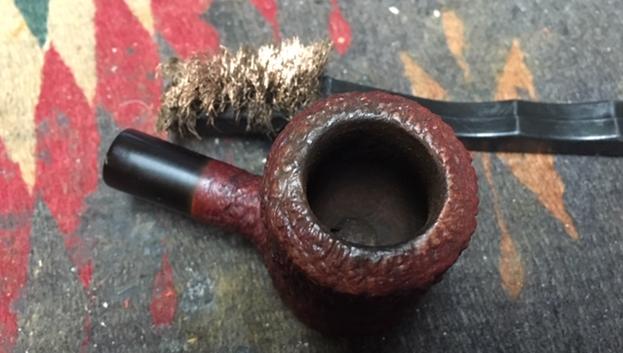
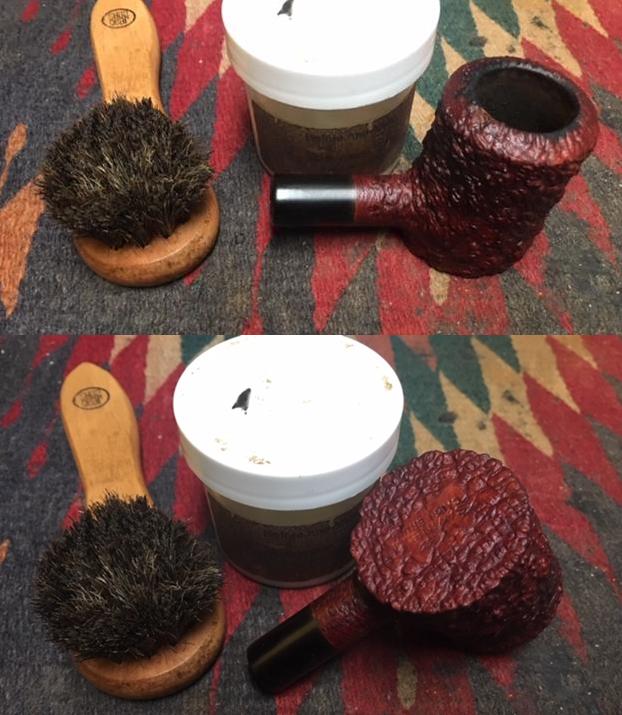
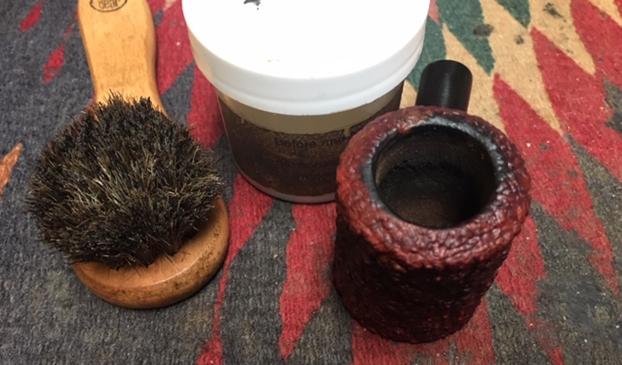
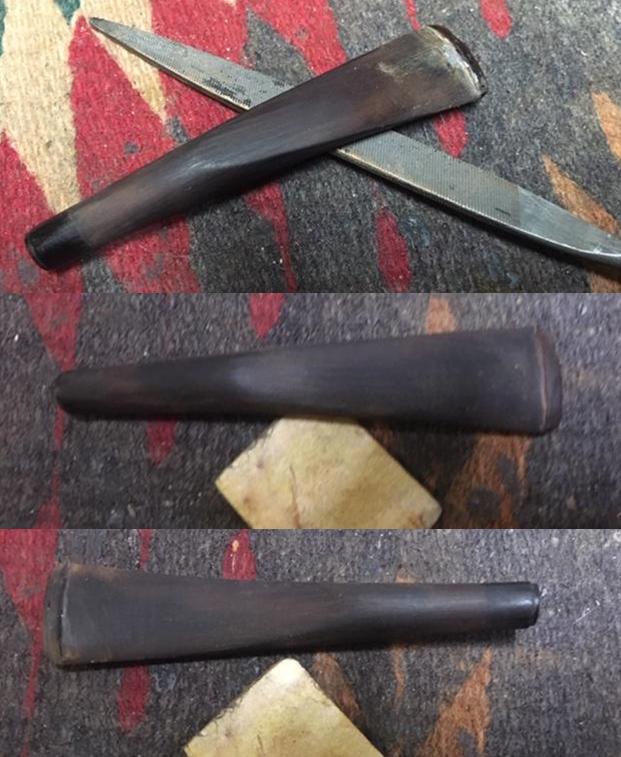
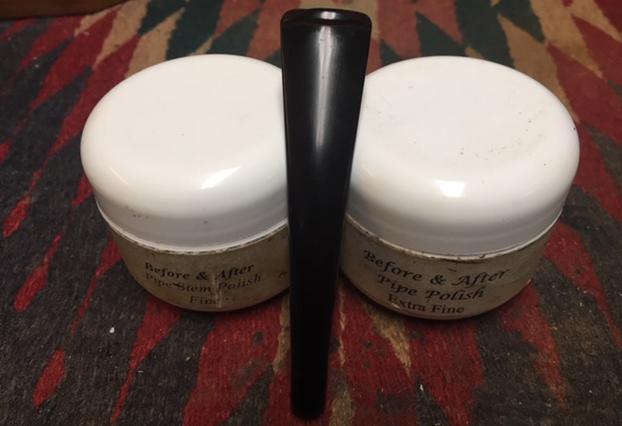
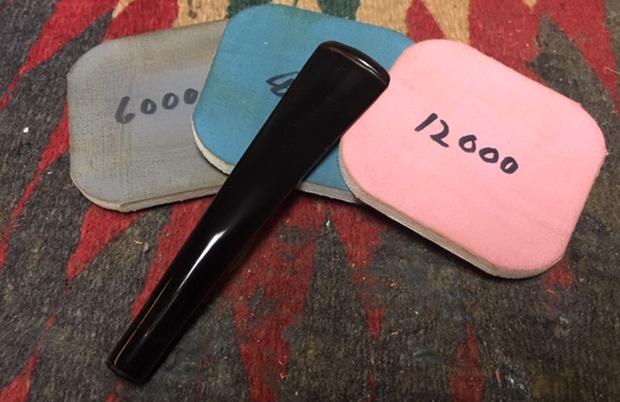
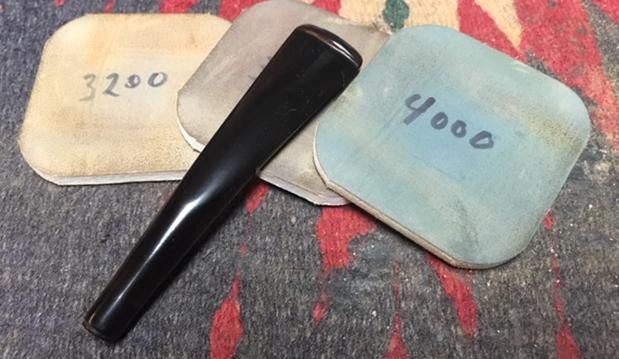
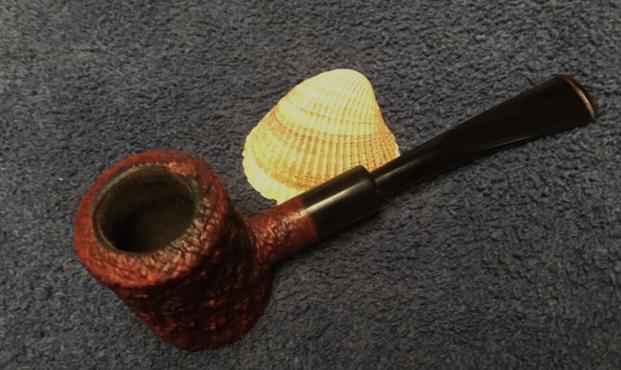
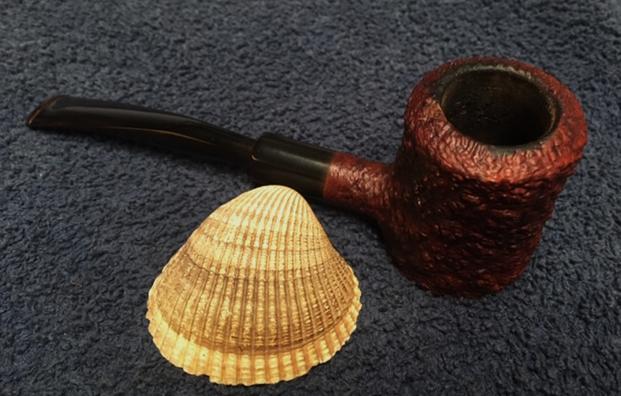
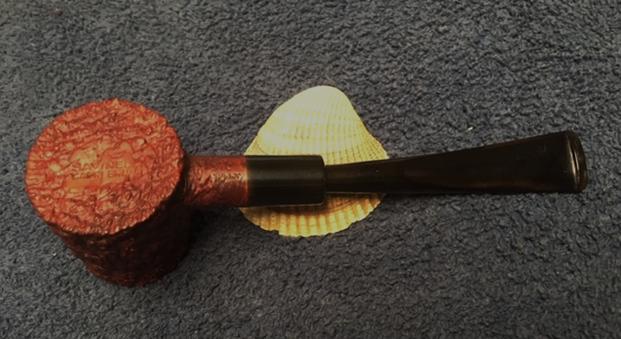
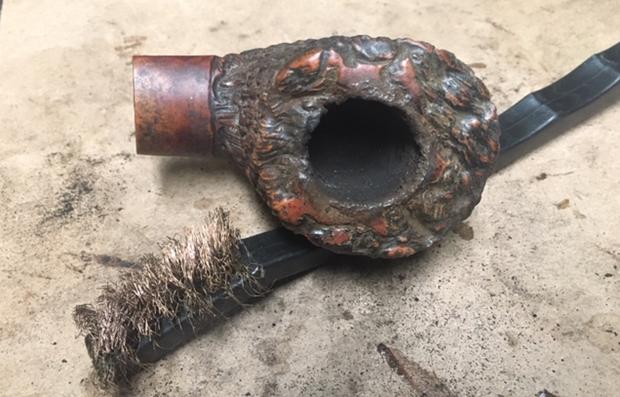
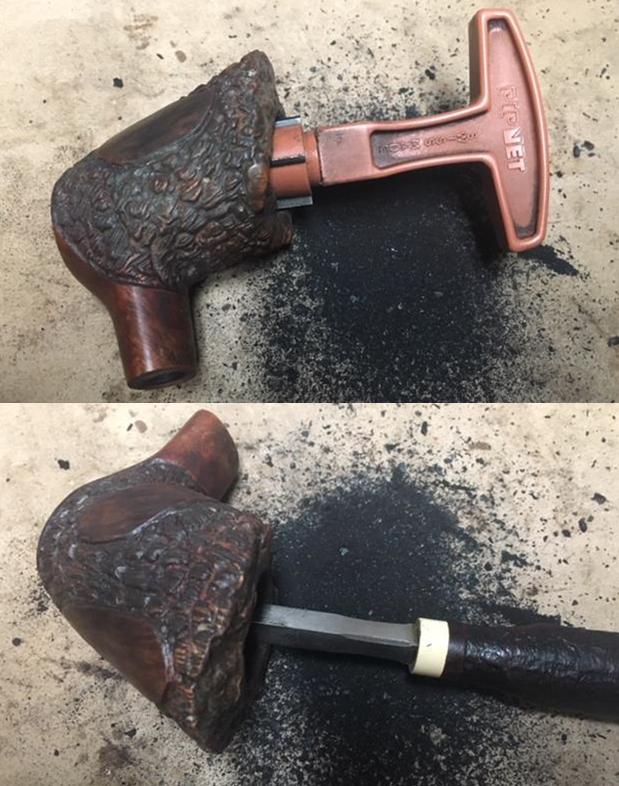
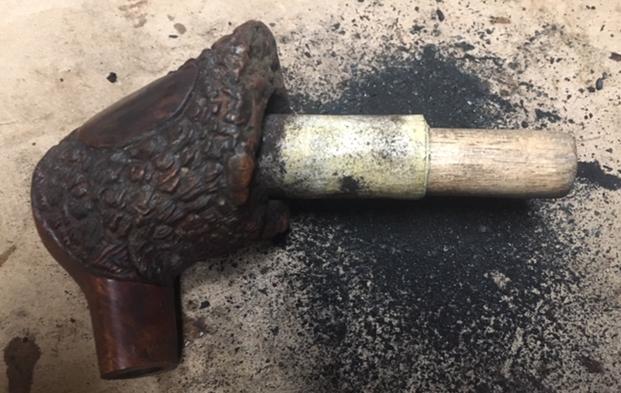
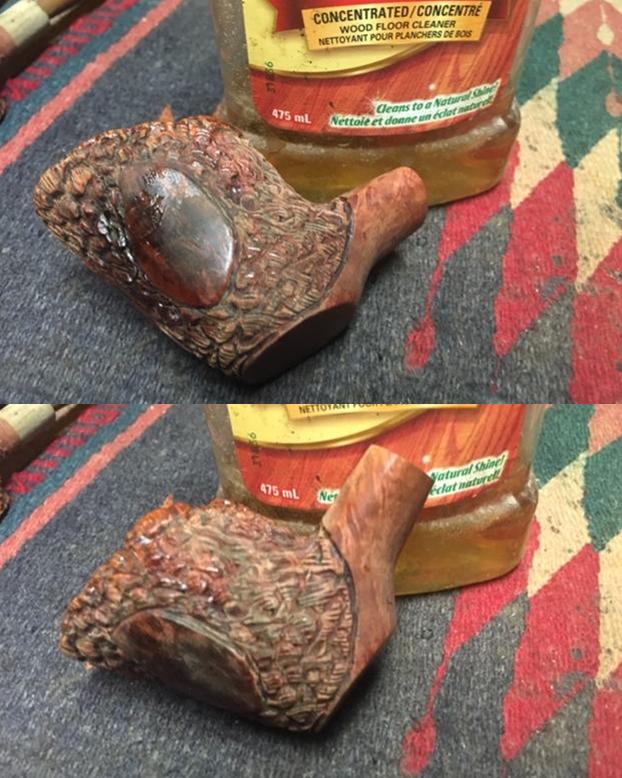
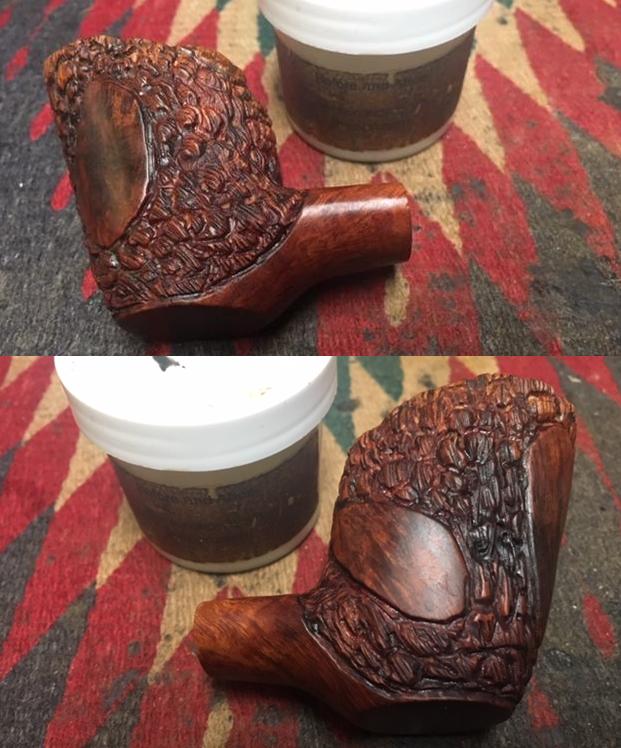
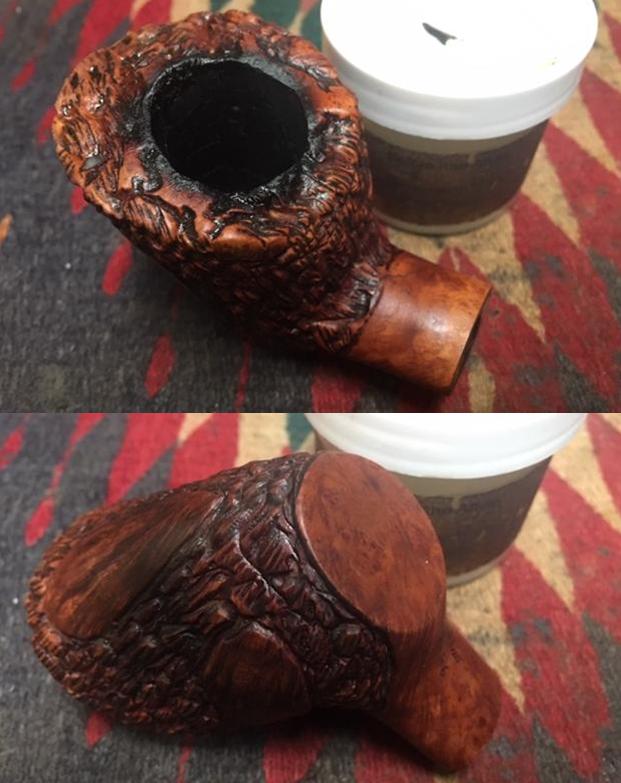
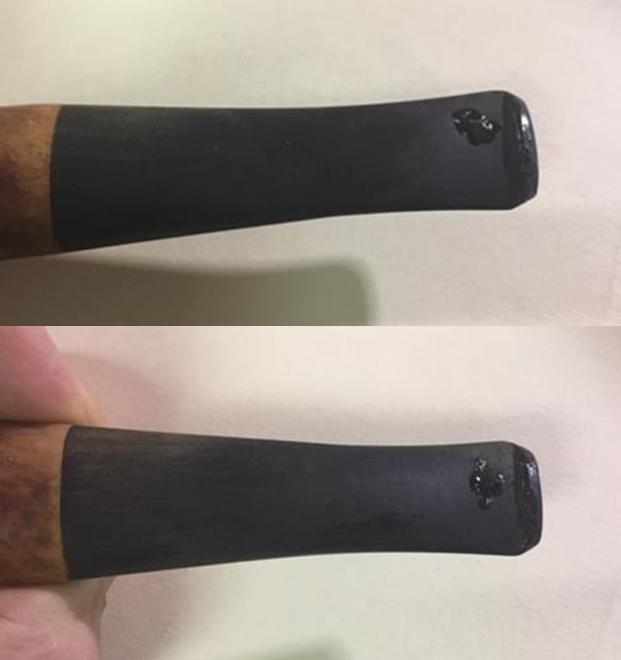
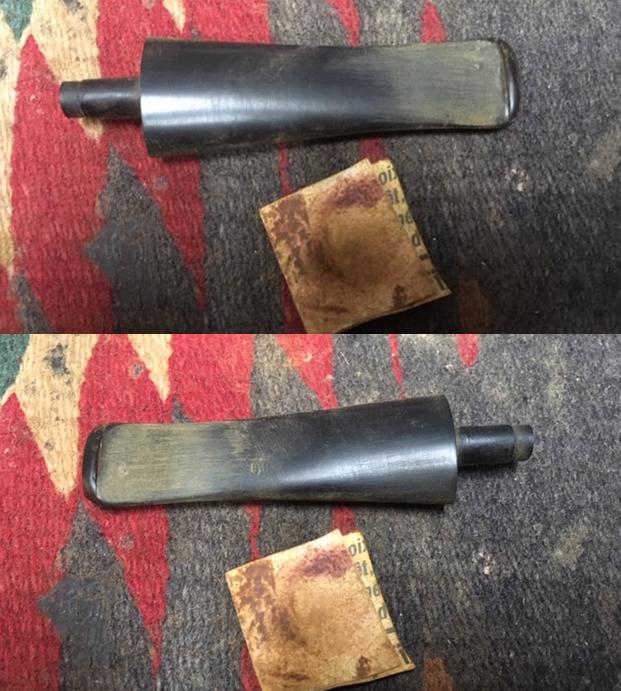
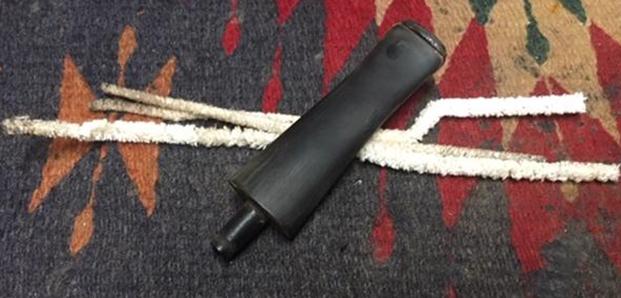
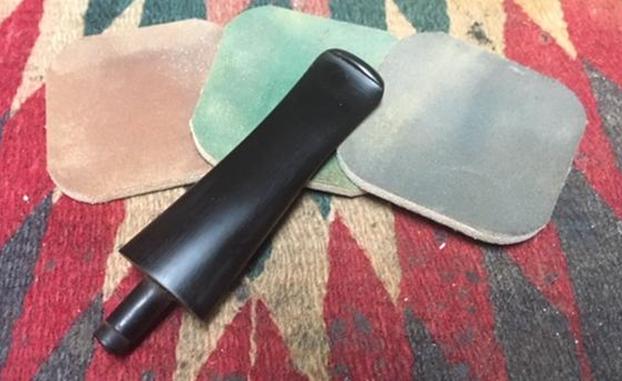
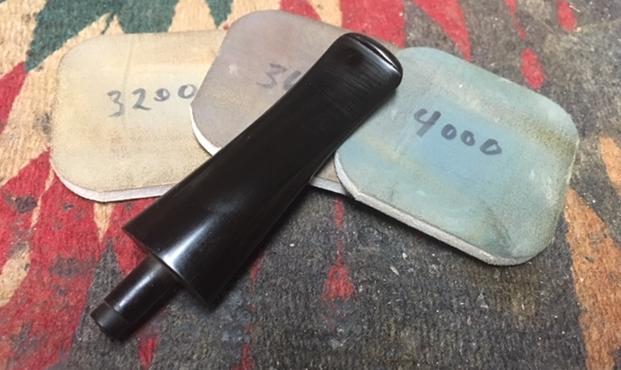
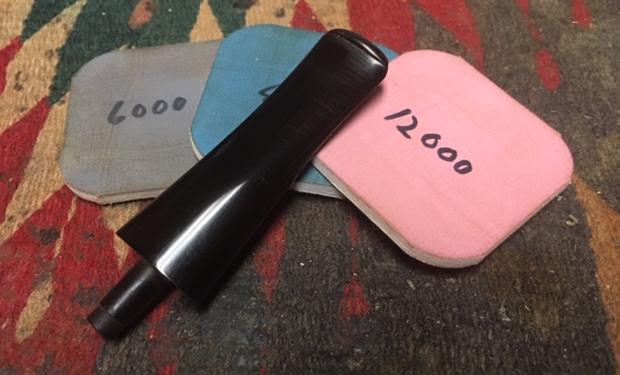
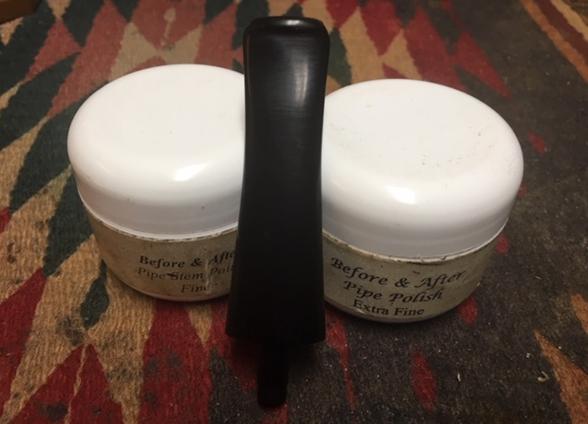
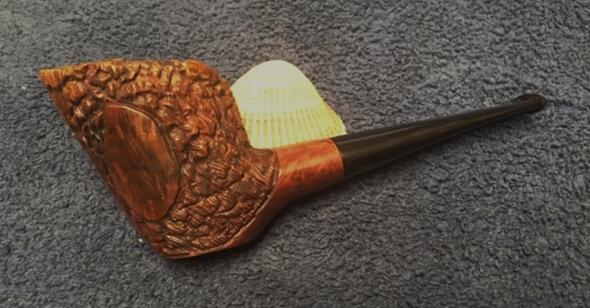
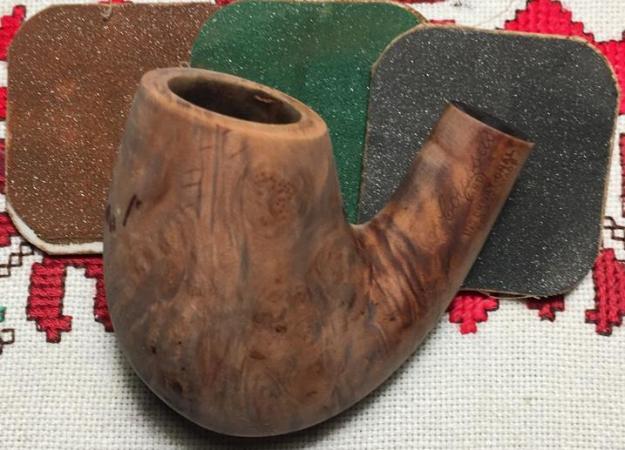
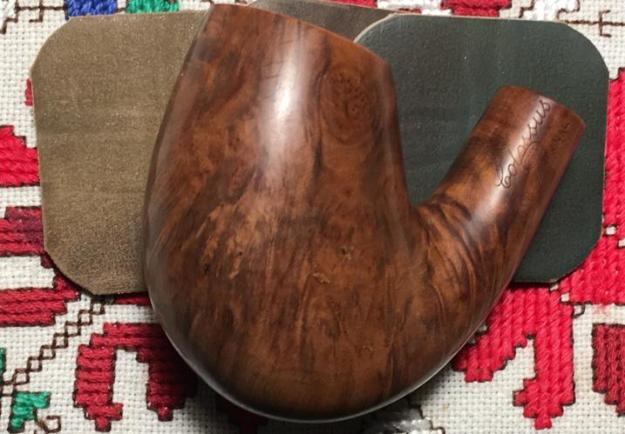
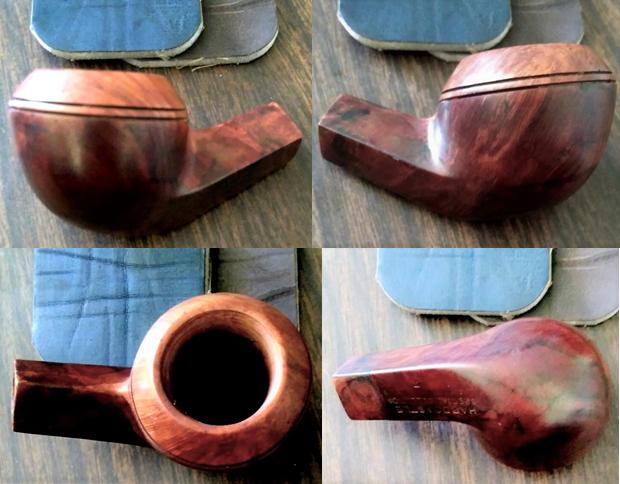
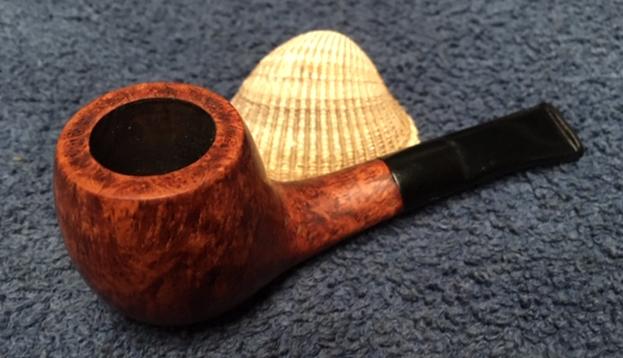
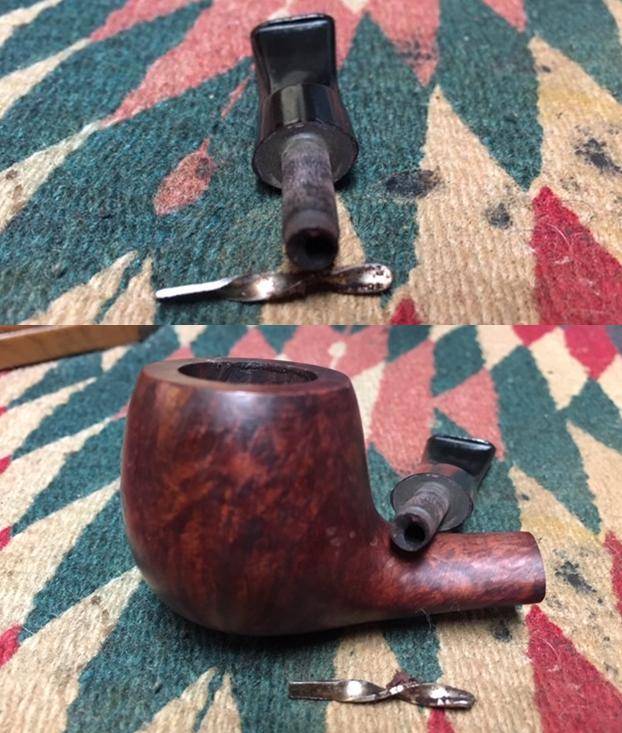
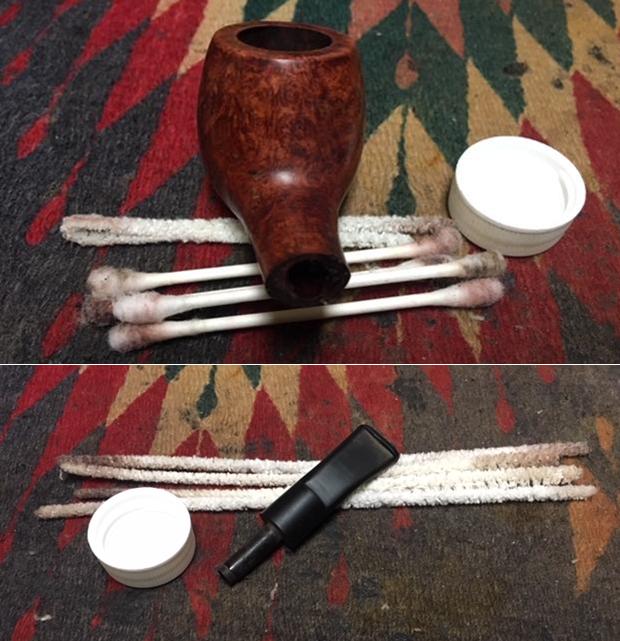
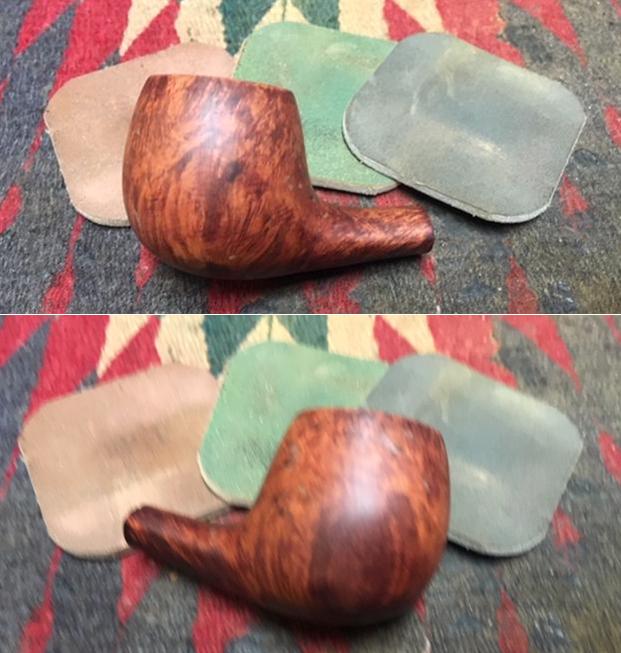
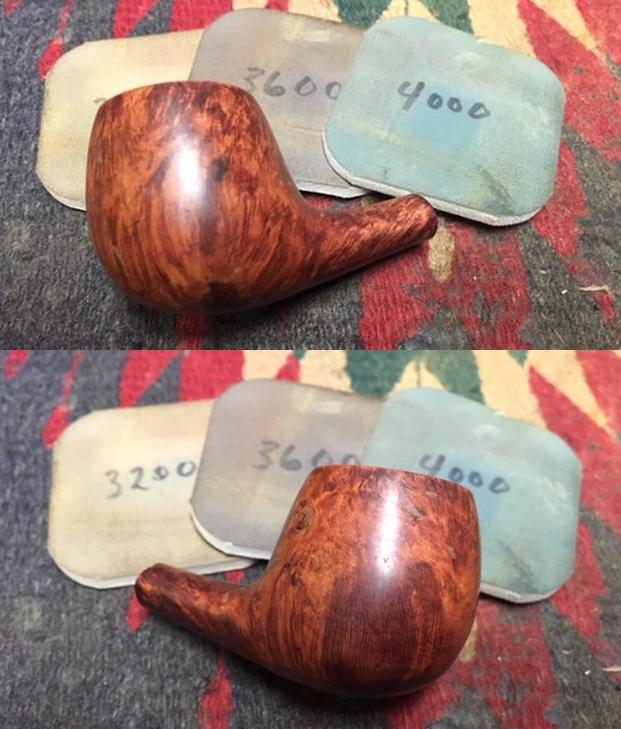
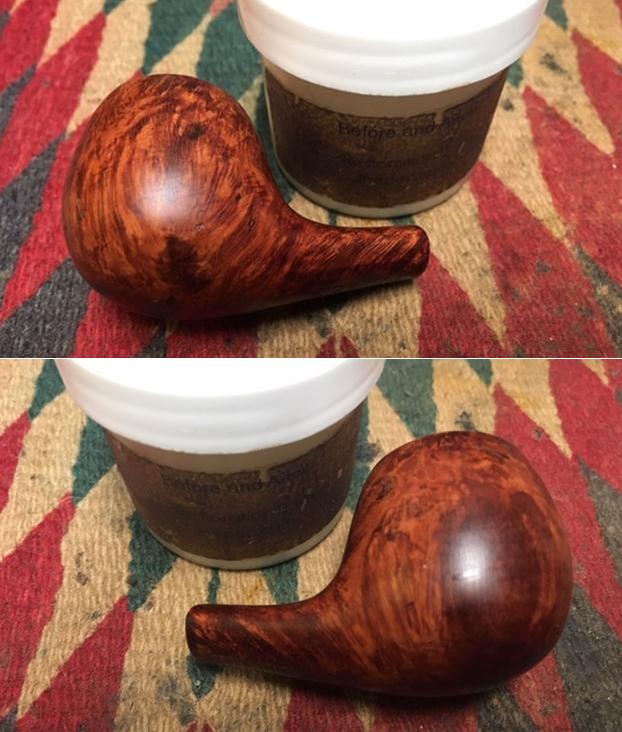
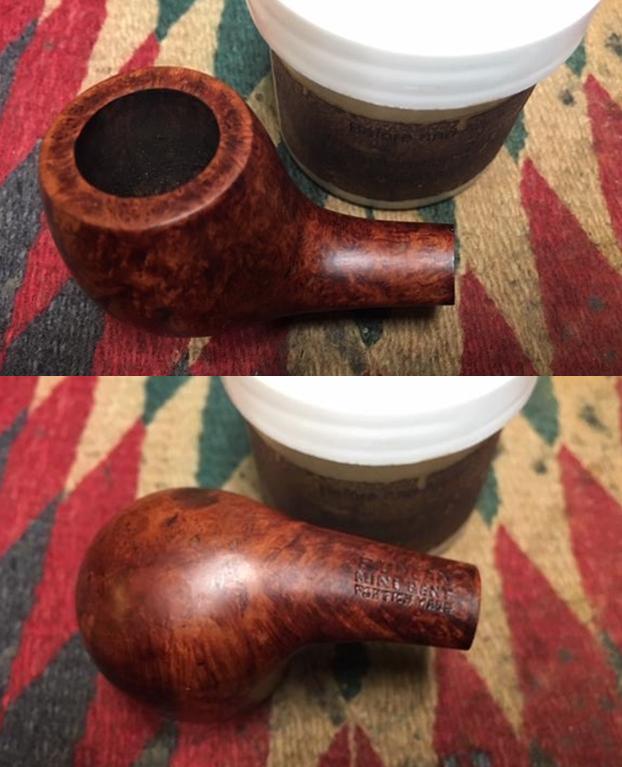
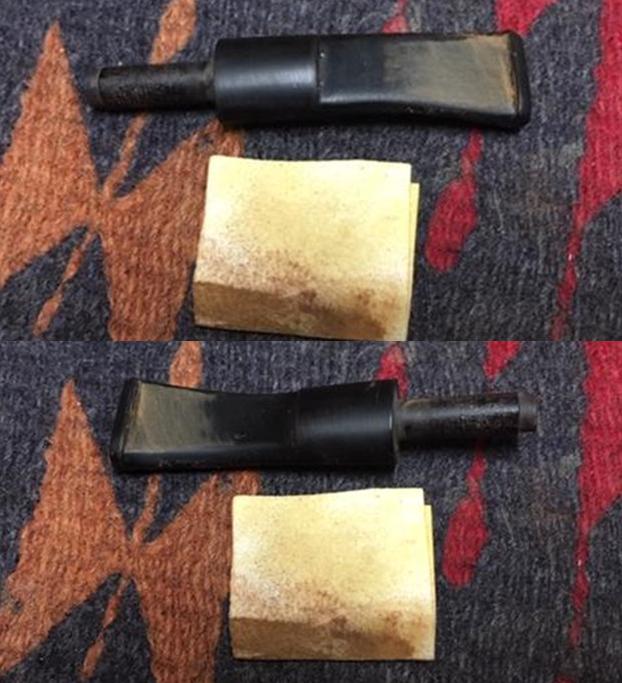
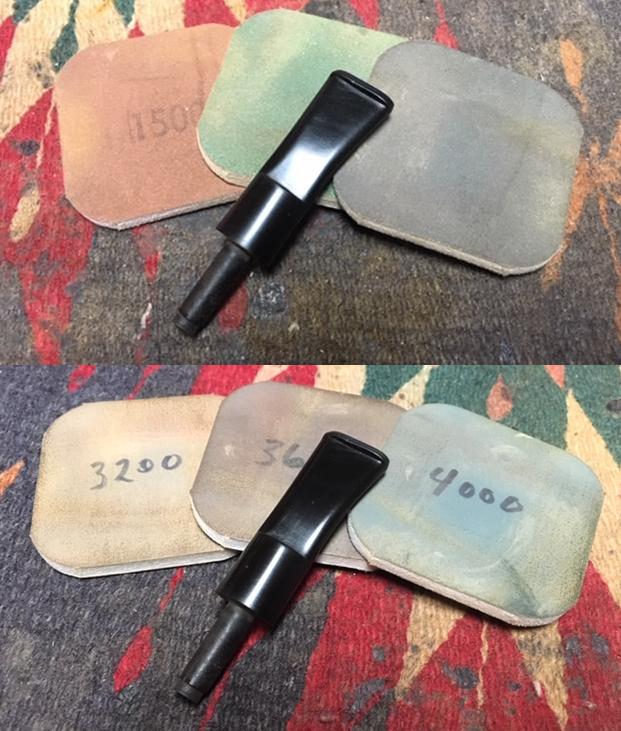
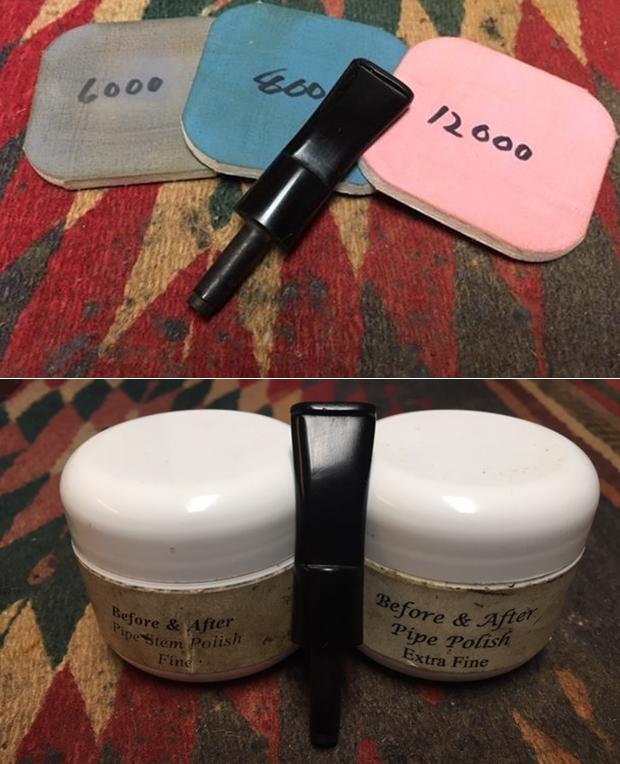
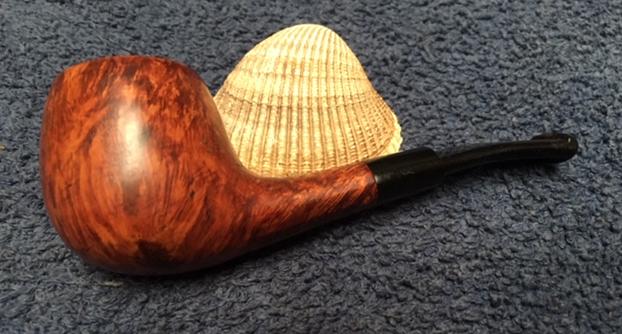
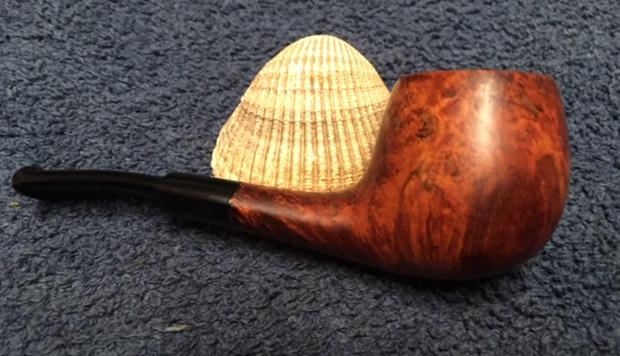
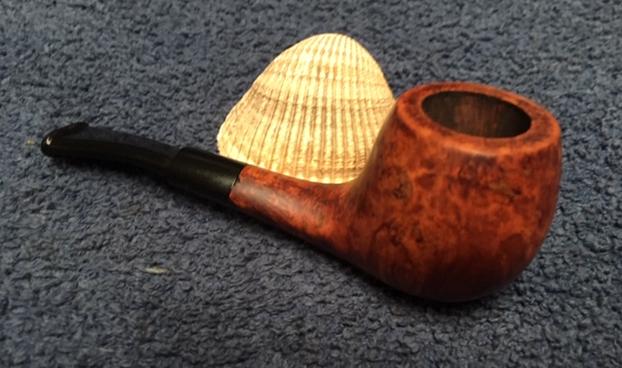
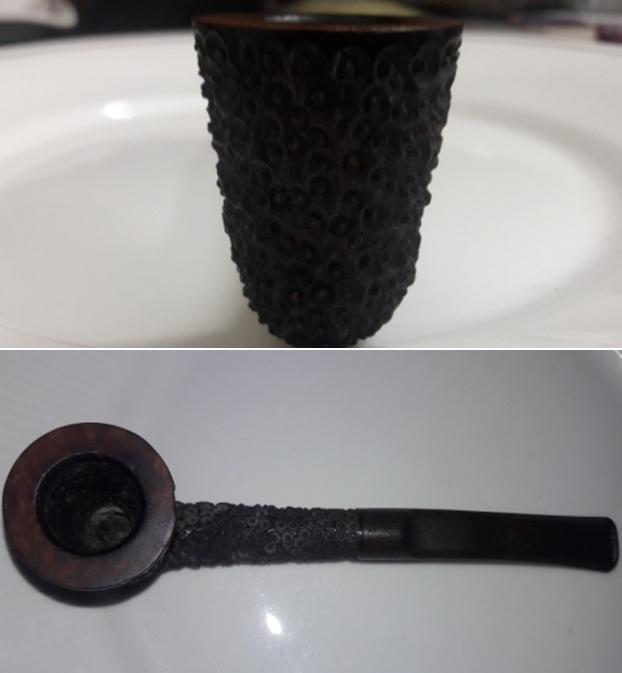
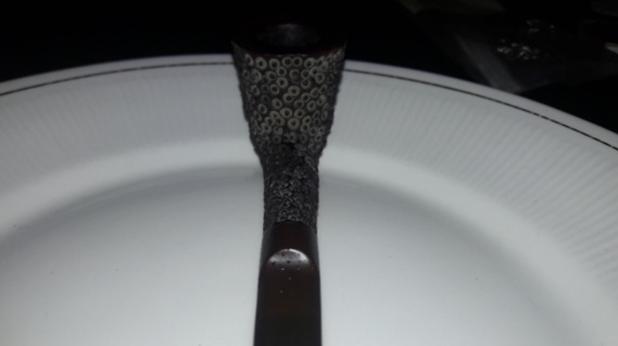
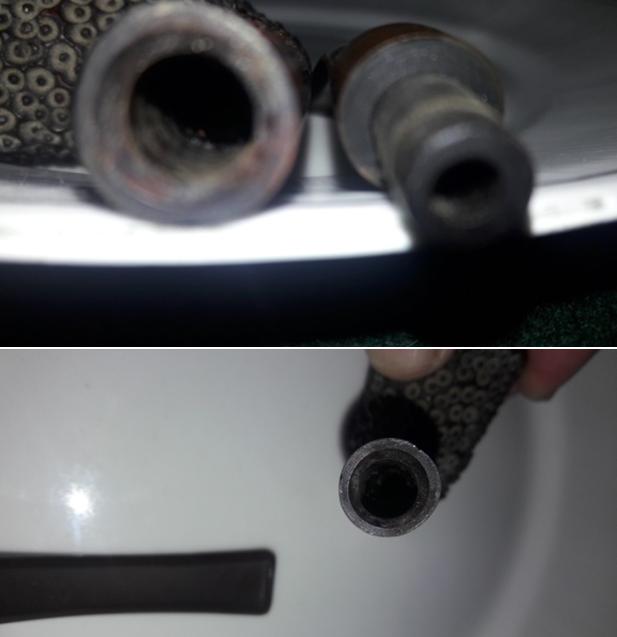
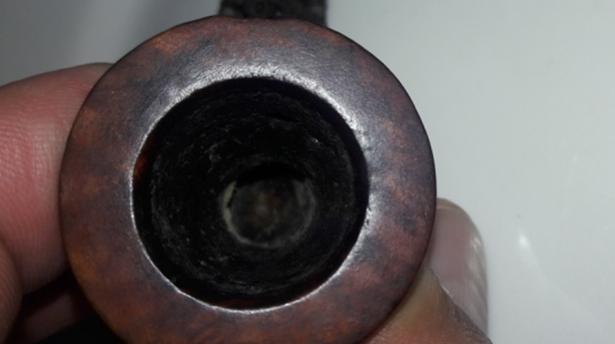
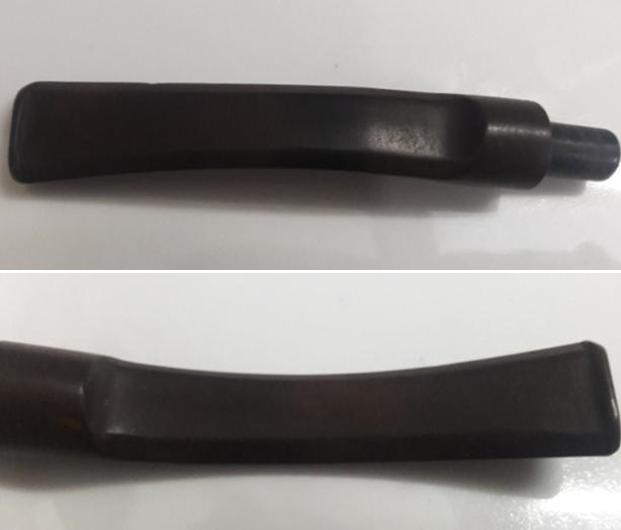
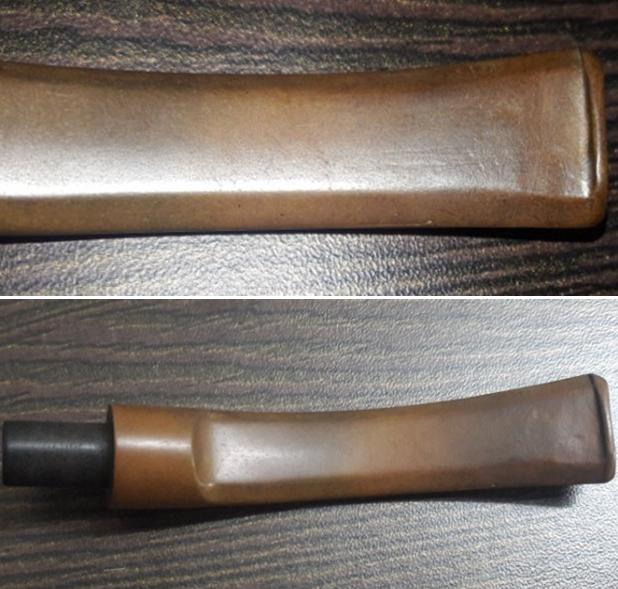
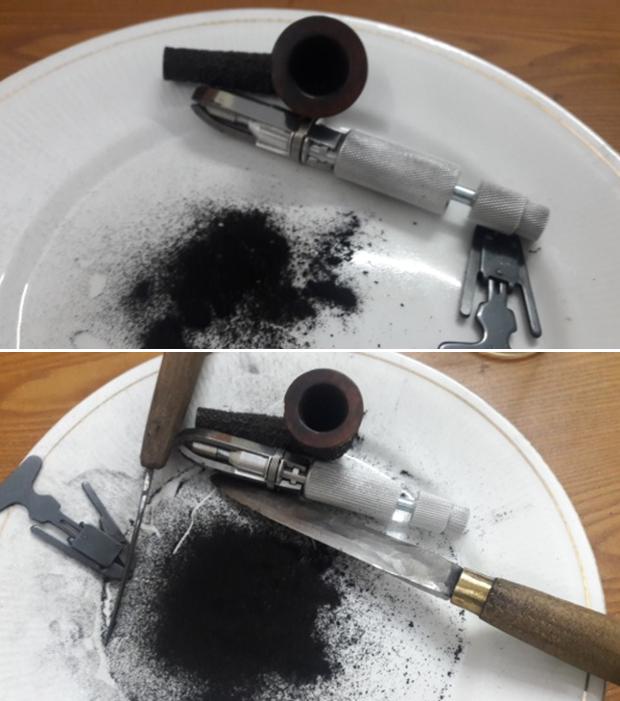
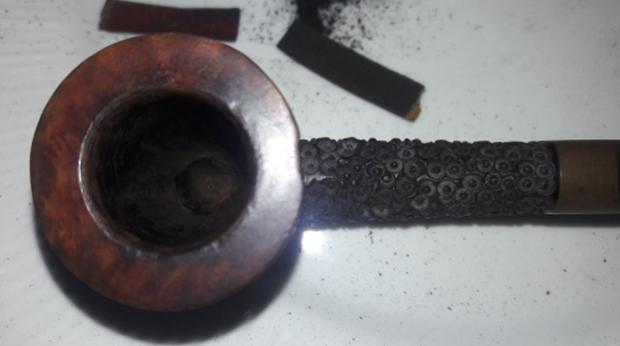
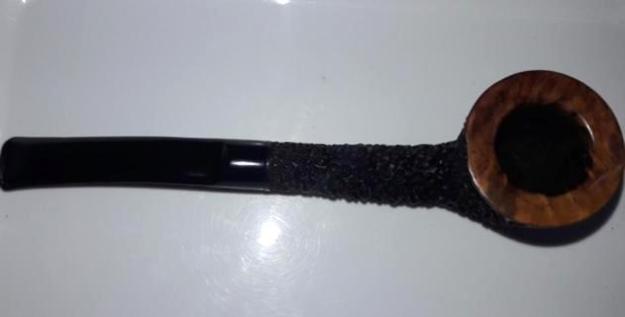
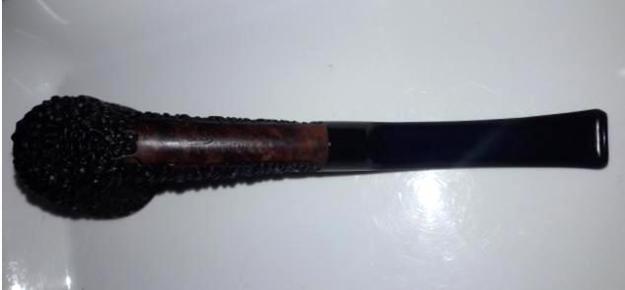
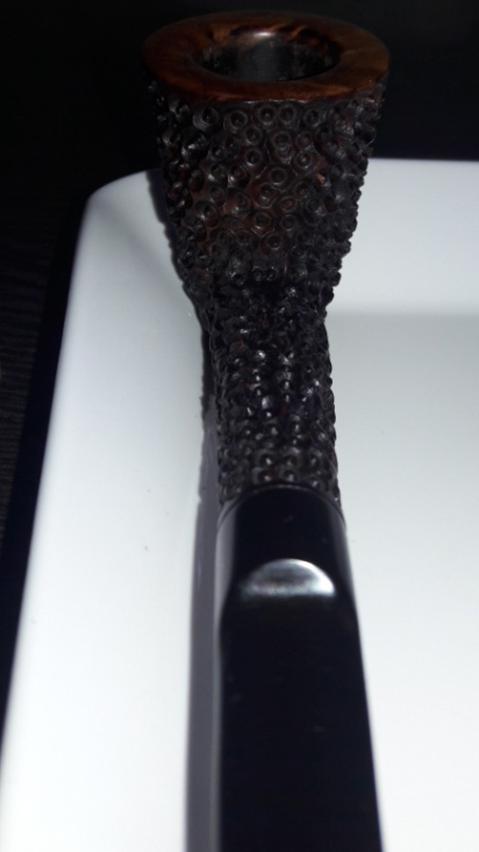
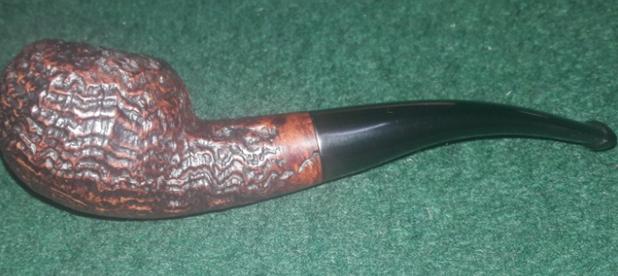
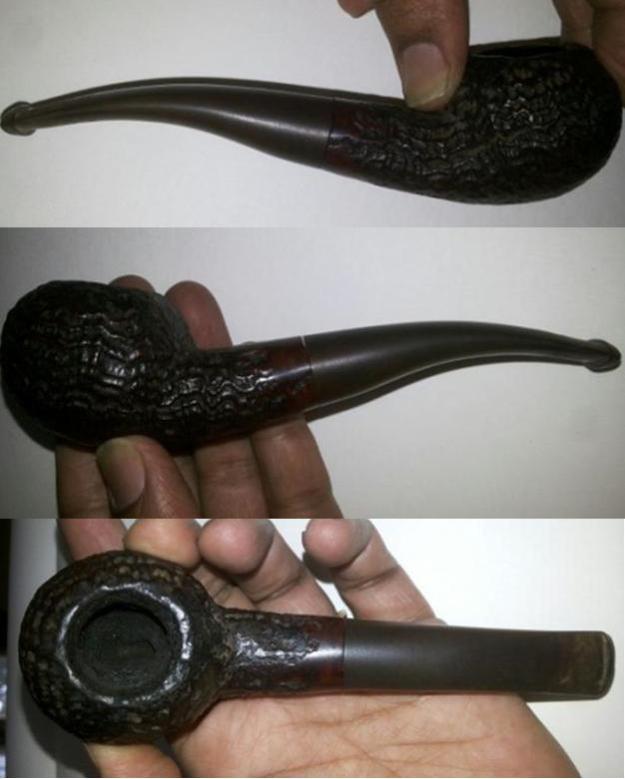
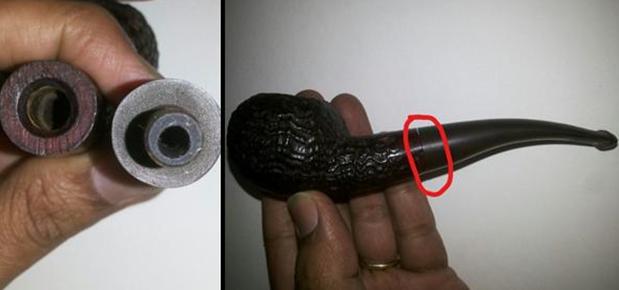
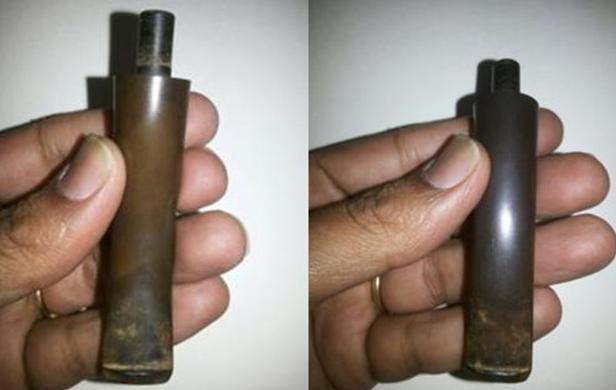
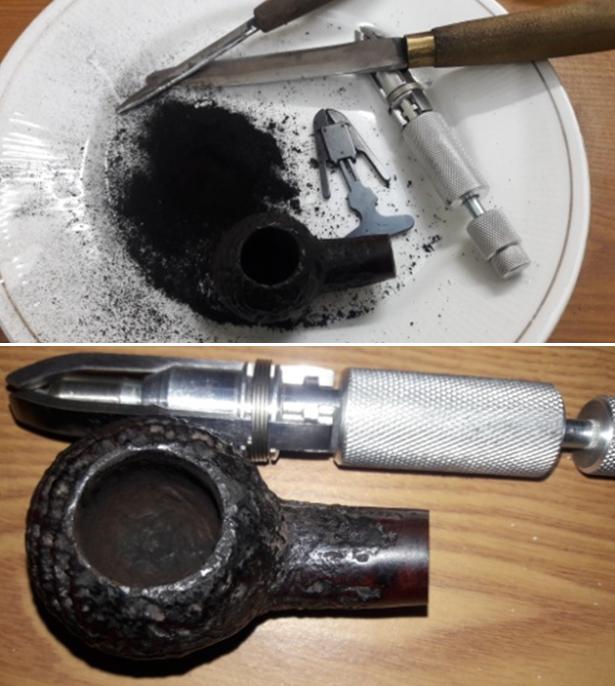
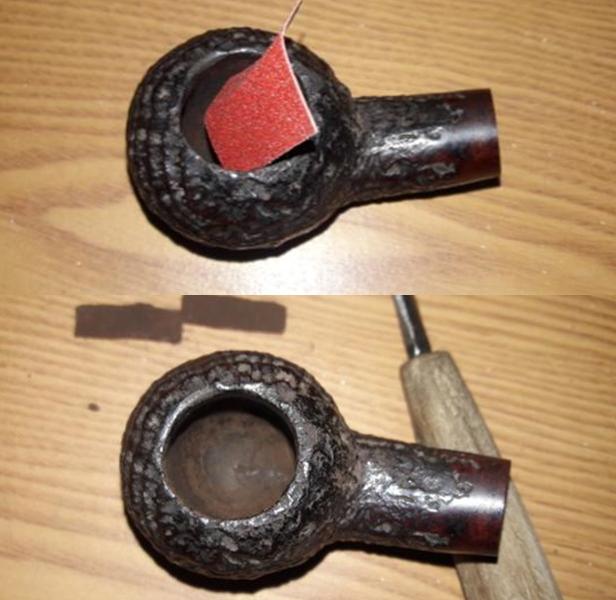
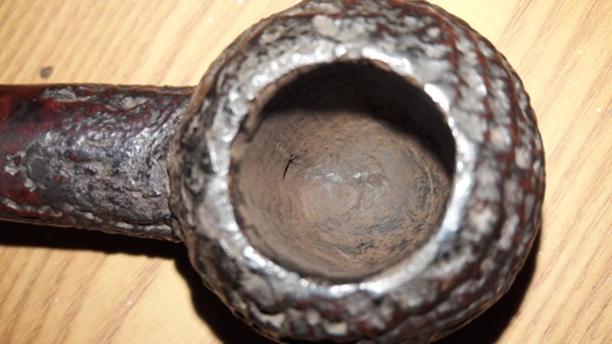
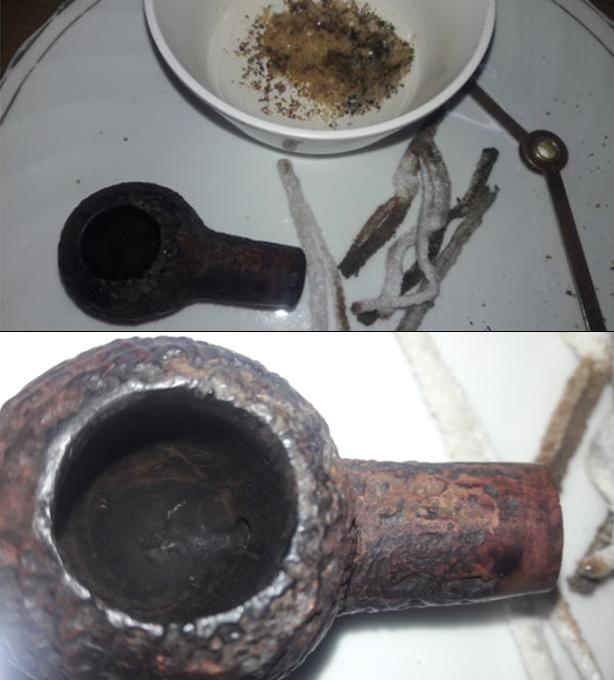
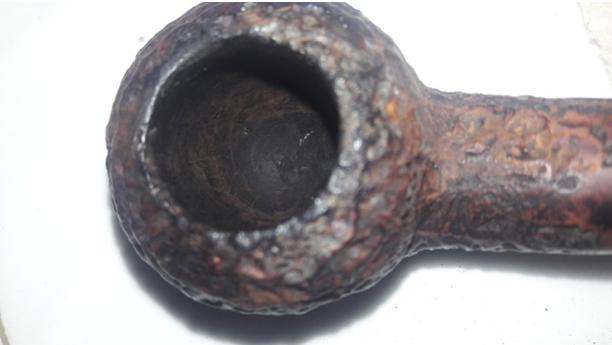
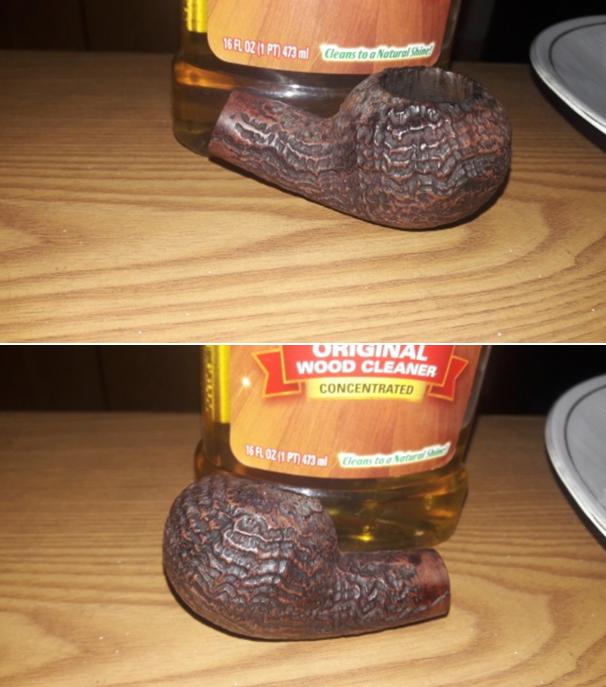
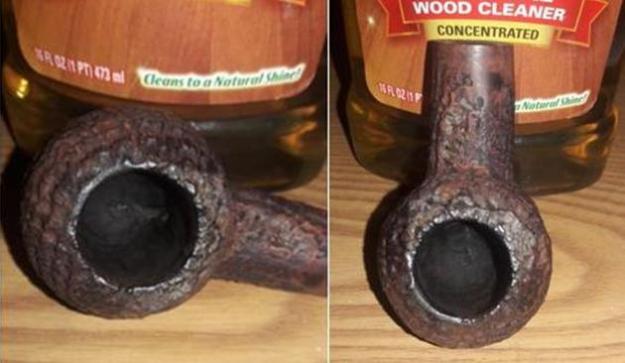
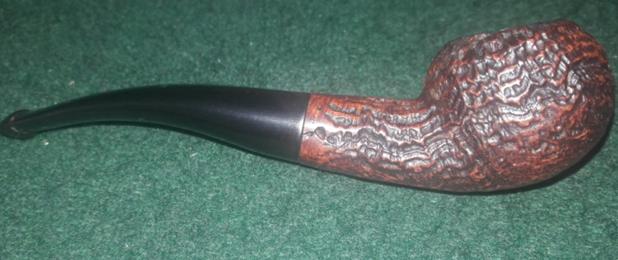
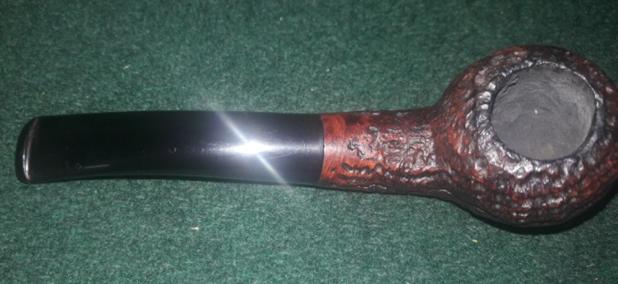
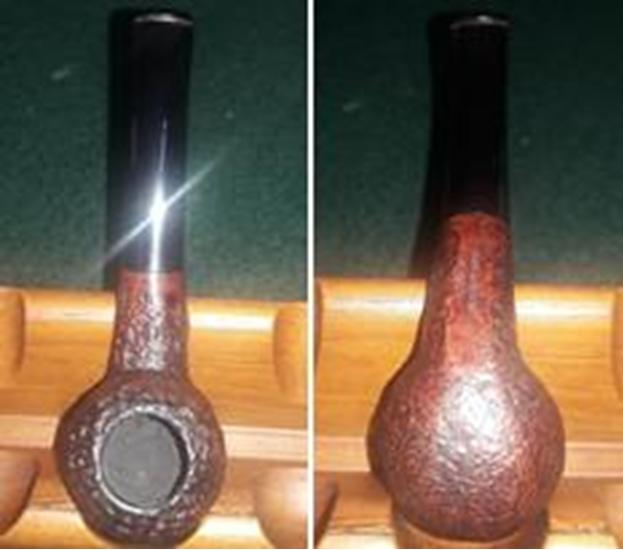
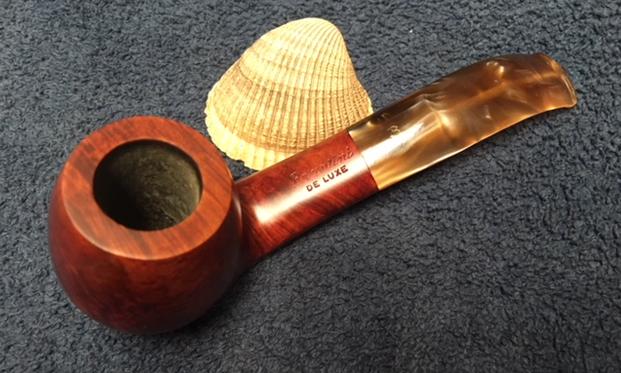
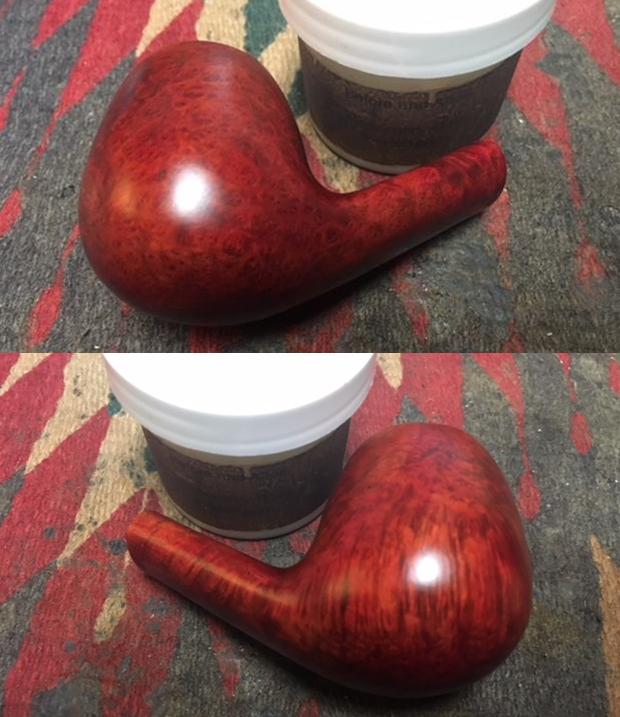
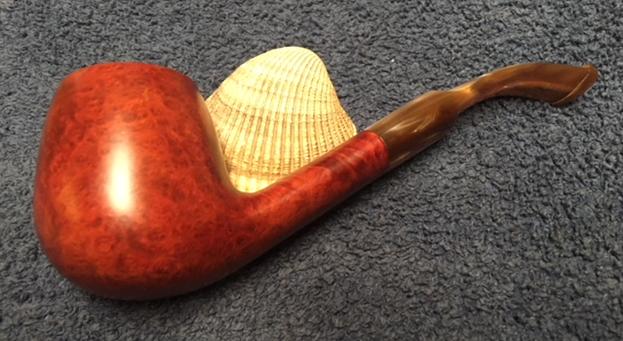
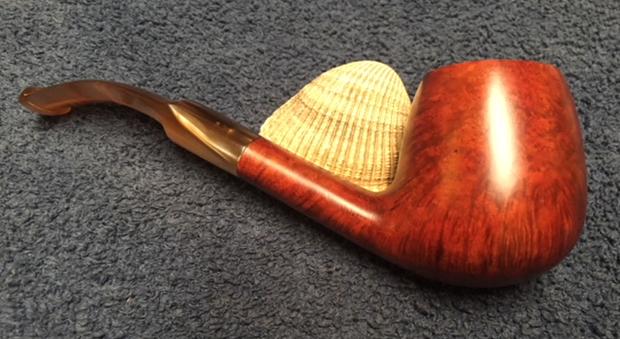
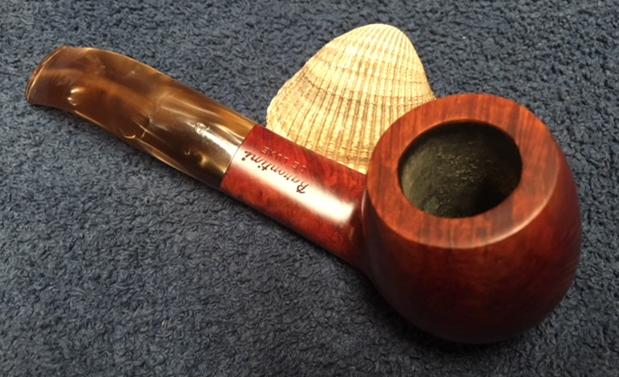
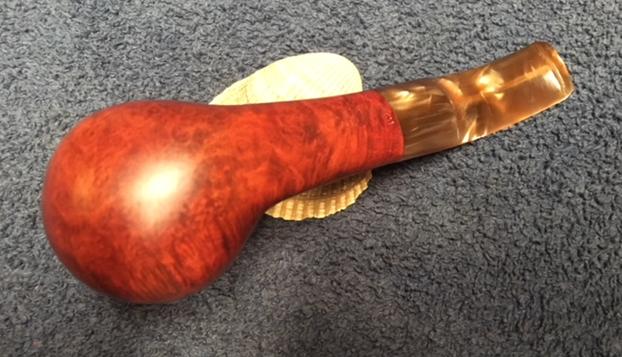
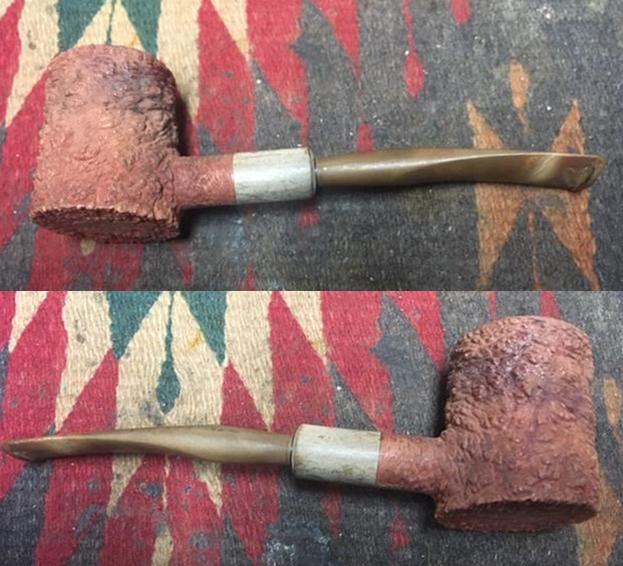
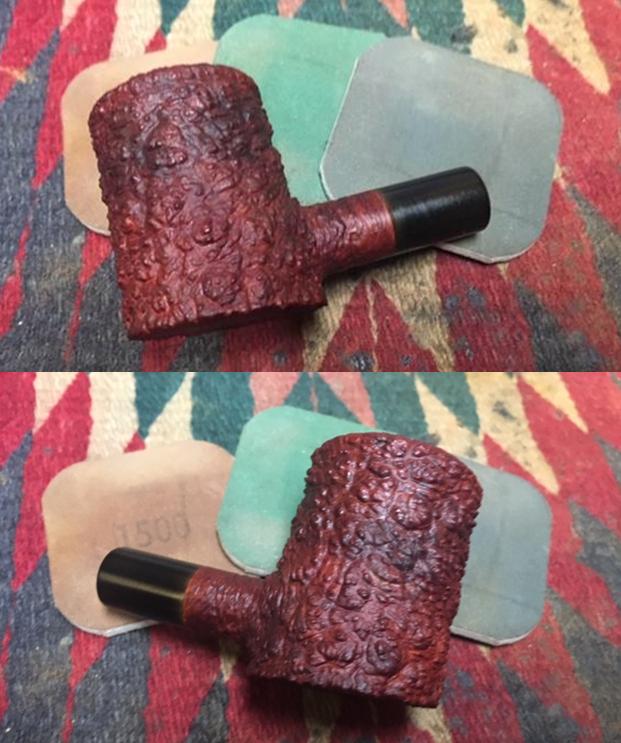
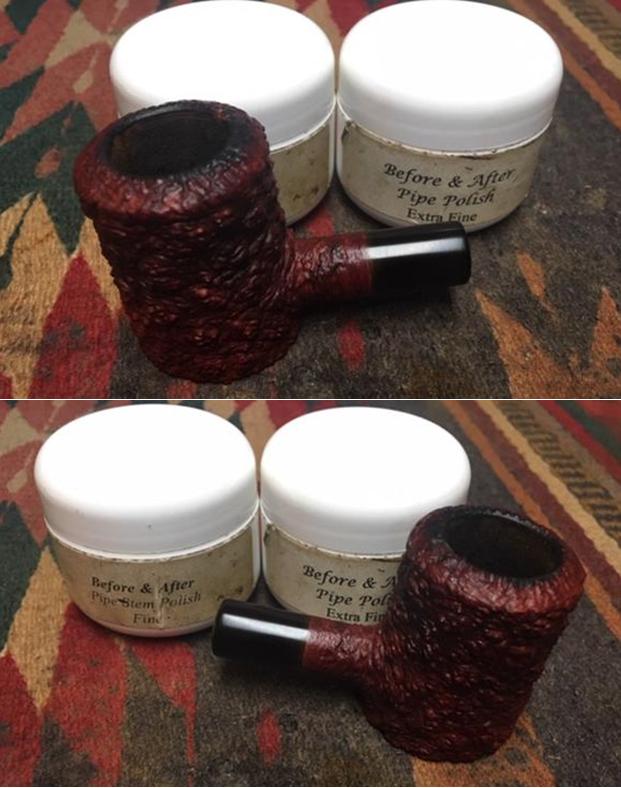
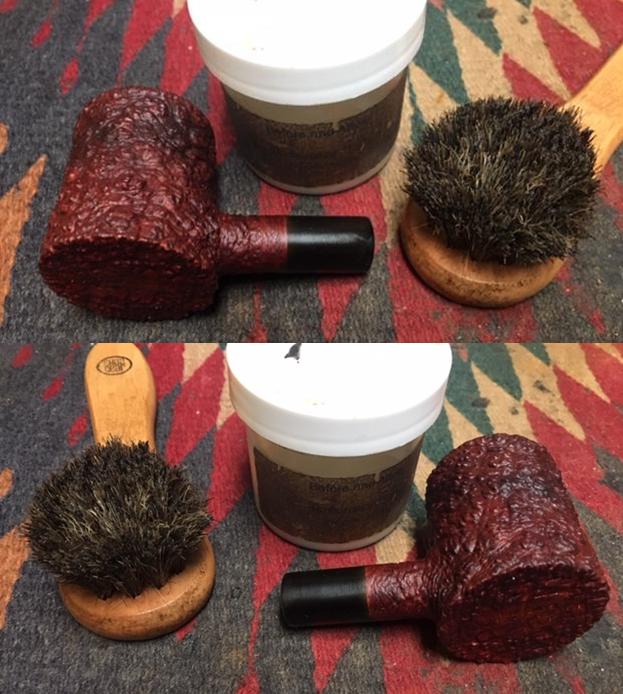
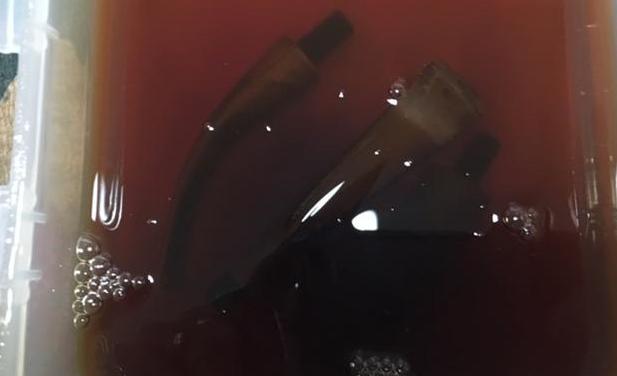
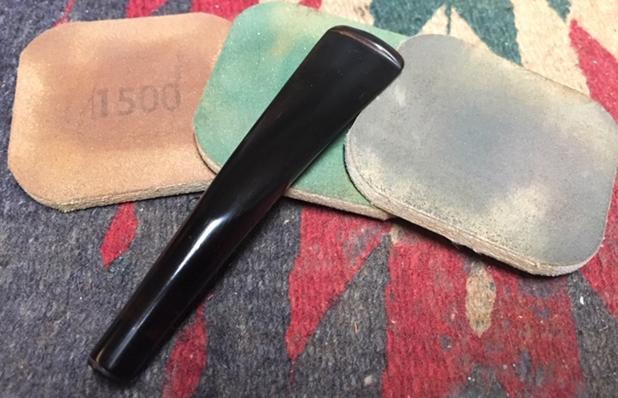
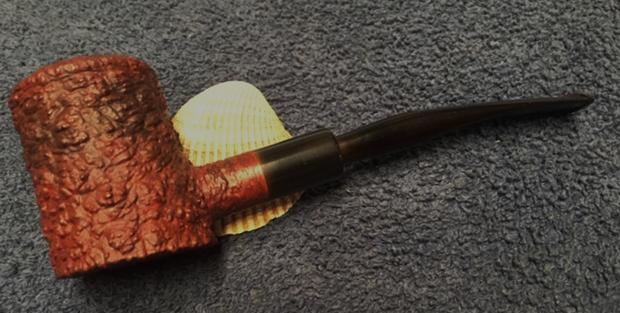
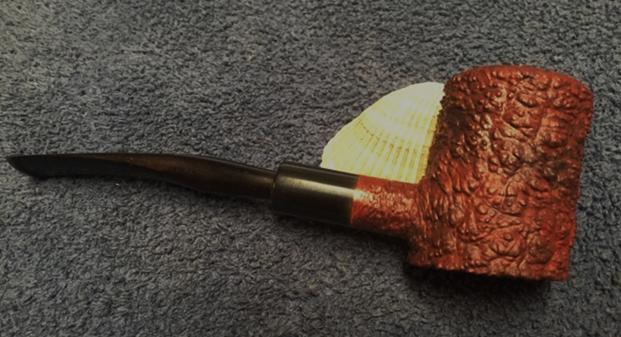
I don’t remember where Jeff picked up this old pipe but it is a shape that I like to work on. It was a mess with lava overflowing a thickly caked bowl and filling in rusticated rim top. The rusticated finish was very dirty and had darkened around the bowl where the hand had held it and where the flame of the lighter had touched the rim in the lighting process. The pipe had a classic Capri Sea Rock style rustication that was very dirty. The stem was a mess with oxidation, calcification near the button and tooth chatter and marks ahead of the button on both sides. The stem was stuck in the oxidized vulcanite shank extension due to the buildup of tars and oils. The pipe was stamped on the underside of the bowl and shank and under a bright light with magnification I could read Savinelli over Capri Bruna on the bottom of the bowl. On the shank it was stamped with the Savinelli S shield and next to that 10 (shape number) over Italy. The pipe was a oldtimer and had seen a lot of use. It was obvious to me that this pipe was some pipeman’s favourite smoker. Jeff took photos of the pipe before he started his cleanup process to show the condition it was in when he found it. The next photos show the stamping on the heel of the bowl and the shank.Jeff had scrubbed the exterior of the bowl with Murphy’s Oil soap and removed the dust and grime that had accumulated in the sea rock style rustication. The finish looked dry and tired but the rustication was in very good condition once it had been scrubbed. He had been able to remove the grime and oils from the sides of the bowl leaving it clean and evenly coloured. The rim top looked much better though some darkening remained in the grooves along the inner edge of the bowl and rim top toward the back. He reamed the bowl with a PipNet reamer and cleaned it up with a Savinelli Fitsall Pipe Knife. He cleaned the interior of the mortise and the airway in the shank and the stem with alcohol, cotton swabs and pipe cleaners. The pipe came to me clean and ready to do the restoration. The stem and shank extension were heavily oxidized. I took some photos of the pipe to show the condition at this point in the process. I took some photos of the rim top to show the darkening to the surface of the rim that I would need to spend some time on. There seemed to be some deeply ground in tars and oils almost filling in the grooves of the rustication on the top surface toward the back of the bowl. I also took close up photos of the stem and vulcanite shank extension to show the oxidation of those areas. The stem had some tooth chatter and marks on the surface near the button. There were some tooth marks in the surface of the top and underside of the button edge.I began my clean up work with the rim top. I scrubbed at the surface of the rim with a brass bristle wire brush and was able to remove much of the lava build up in the rustication. It was still darkened but looked much better.I sanded the oxidation on the shank extension with a folded piece of 220 grit sandpaper to break it down and reveal the black vulcanite underneath the surface. In handling the bowl the briar began to darken from the oils of my hands. The pipe was beginning to show some promise. I polished the vulcanite shank extension with micromesh sanding pads – wet sanding with 1500-2400 grit pads and dry sanding with 3200-12000 grit pads. I wiped the extension down after each pad with Obsidian Oil to enliven the rubber. I polished the vulcanite shank extension with Before & After Pipe Polish – both Fine and Extra Fine to give a deeper shine to the rubber. As I photographed the bowl for the above photos I could see that the rim top needed more attention. I scrubbed the top of the bowl with the brass bristle brush to remove move of the lava on the rim top. The photo shows the cleaner top surface. There is still some darkening on the right side inner edge and the back inner edge of the bowl.I rubbed the bowl down with Before & After Restoration Balm to deep clean the briar bowl and the rim top as well as the briar shank. The product works to clean, enliven and protect the briar. I hand rubbed it with my fingers, working it into the exterior of the pipe. I worked it into the rusticated surface of the briar with a horsehair shoe brush. After it had been sitting for a little while, I buffed it with a soft cloth to polish it. The pipe really began to have a rich shine. I took some photos of the bowl at this point to mark the progress in the restoration. I had removed the stem when I was working on other pipes and put it, along with two other stems to soak in a Before & After Deoxidizer bath. I left them in the bath for about 4 hours to soak and break through the oxidation. I took the stems out of the bath and rinsed them under running water and scrubbed them dry with a coarse piece of cloth. I took photos of the three stems before I continued my work. The military style bit was much cleaner and the oxidation had broken down. I flamed the surface of the vulcanite to minimize the tooth marks. It worked very well. I used some black super glue to build up the top and underside of the button and fill in the remaining tooth mark on the underside of the stem near the button. Once it had cured I filed the edge of the button with a needle file to clean that up and smooth out the sharp edge. There was some residual oxidation on the stem surface so I sanded it out with 220 grit sandpaper. I worked on it until all the oxidation and the light tooth chatter was removed.I polished the stem with micromesh sanding pads – wet sanding with 1500-2400 grit pads and dry sanding with 3200-12000 grit sanding pads. I wiped the stem down with Obsidian Oil after each pad. I polished it with Before & After Pipe Polish – both Fine and Extra Fine and gave it a final coat of Obsidian Oil. I set the stem aside to dry. I polished stem and the bowl with Blue Diamond polish on the buffing wheel. I gave the bowl multiple coats of Conservator’s Wax and the stem multiple coats of carnauba wax. I buffed the pipe with a clean buffing pad to raise the shine. I hand buffed it with a microfiber cloth to deepen the shine. The pipe polished up pretty nicely. The rustication and the vulcanite shank extension came alive with the buffing and work well with the polished black vulcanite stem. Together the pipe looks much better than when I began and has a rich look. The finished pipe is shown in the photos below. The shape, finish and flow of the pipe and stem are very well done. The dimensions are Length: 6 inches, Height: 2 inches, Outside diameter of the bowl: 1 3/8 inches, Chamber diameter: 3/4 of an inch. I will be adding this beautiful Capri Bruna Cherrywood Sitter to the rebornpipes store shortly if you are interested in adding it to your collection and carrying on the trust. Thanks for walking through the restoration with me as I worked over another Savinelli Capri. I really like the look and feel of this finish.
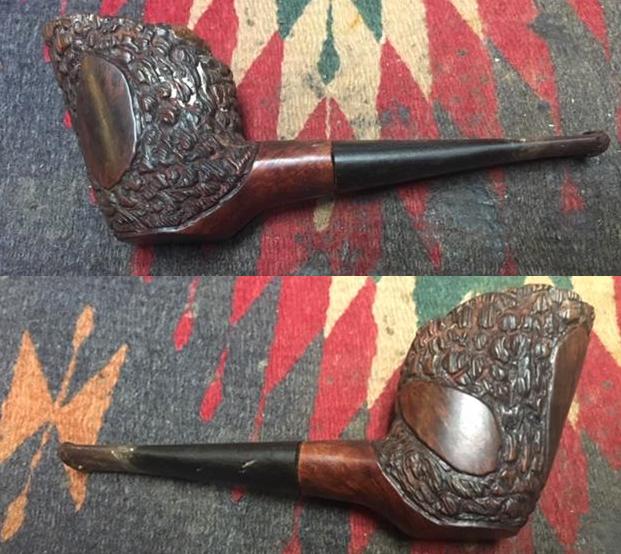
Restoring a Nording “Pick Axe” Freehand Pipe


Blog by Paresh Deshpande

I had just finished restoring a 1940s-1960s Kaywoodie Bent Billiard with a 4 holed stinger, also from my grandfather’s collection. I am always fascinated by “Free Hand” pipes. I feel these freehand shapes let the creativity and imaginations of a carver run riot without the bindings of the exacting demands of a classical shapes and finish.
Over a period of time, I have collected a number of freehand pipes during my not-so-long journey in to the pipe world and have realized that these freehand pipes invariably have a nice hand fit, sitting snugly in to the hands of the smoker with a nice heft to them. The most fascinating aspect of a freehand, I feel, is the carver’s desire to highlight the grains in the briar block and shape the pipe accordingly to highlight these grains.

I was fortunate to come across four estate freehand pipes, one Soren, one Ben Wade Spiral, one Nording #4 and one Nording Pick Axe shaped pipe. I discussed with my mentor and guide, Mr. Steve Laug, and after his approval on the aspects of collectability and the price point at which they were available, I purchased them about a year back!!!! Since then, these were waiting for me to work on and now that I feel slightly more confident in doing justice to these lovely pipes, I decided to work on them. The first of these pipes that is now on my work table is the Nording Pick Axe shaped freehand.

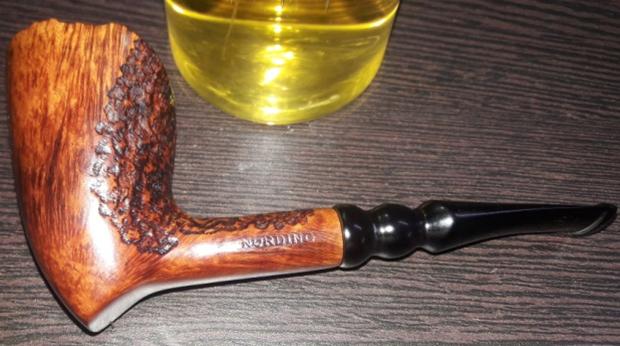
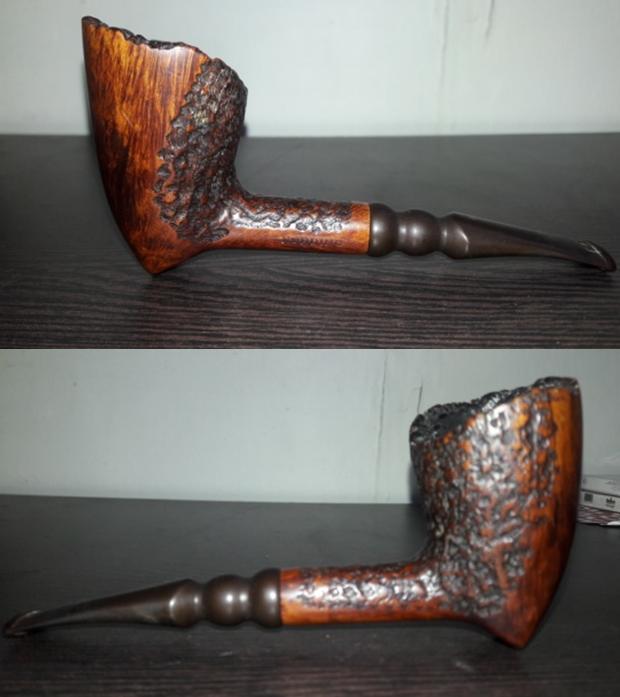
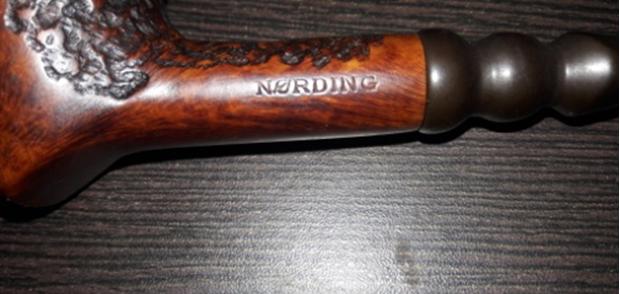
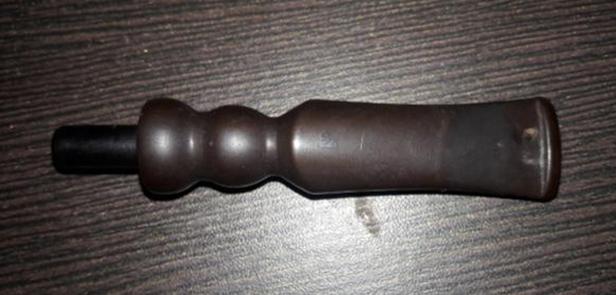
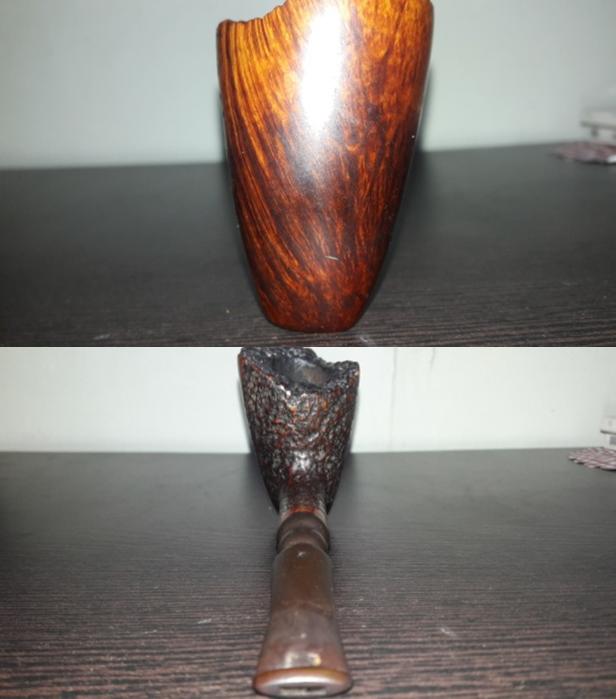
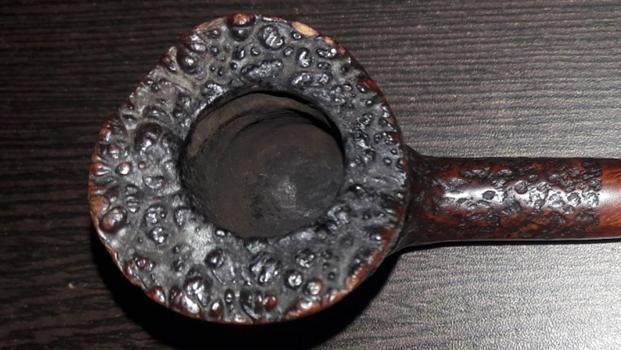
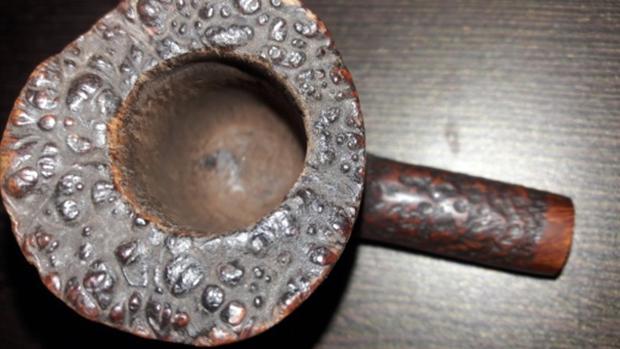
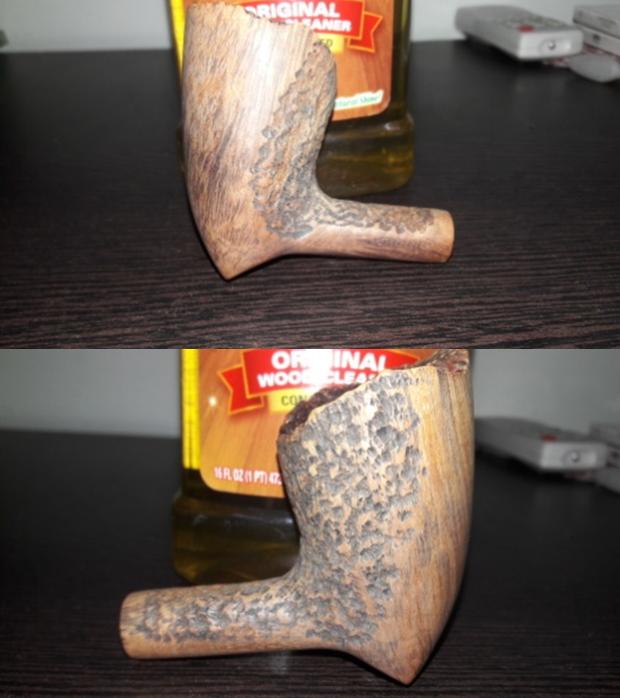
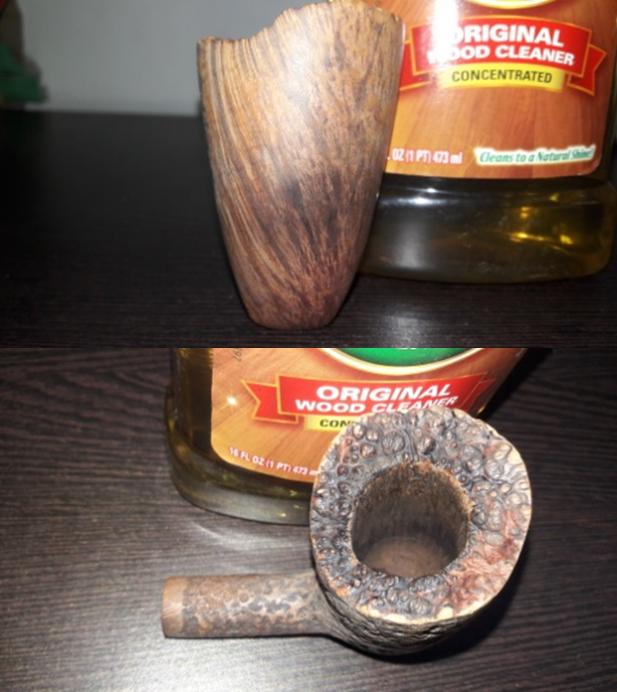
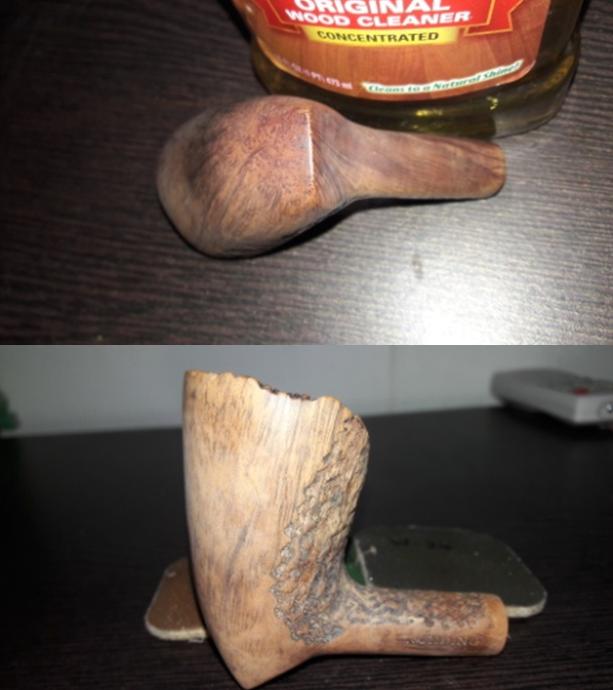
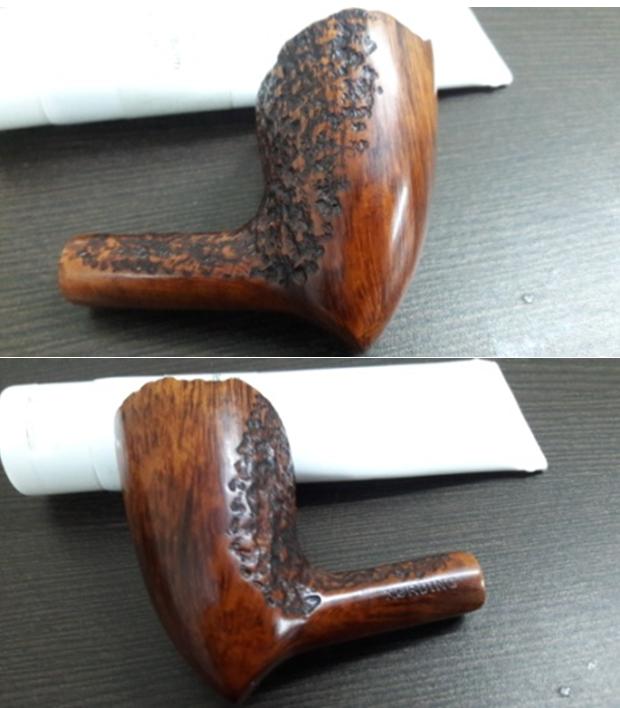
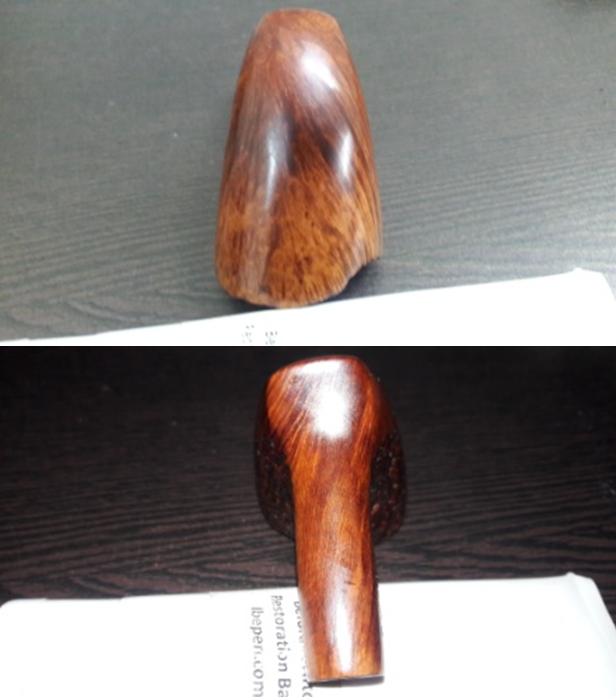
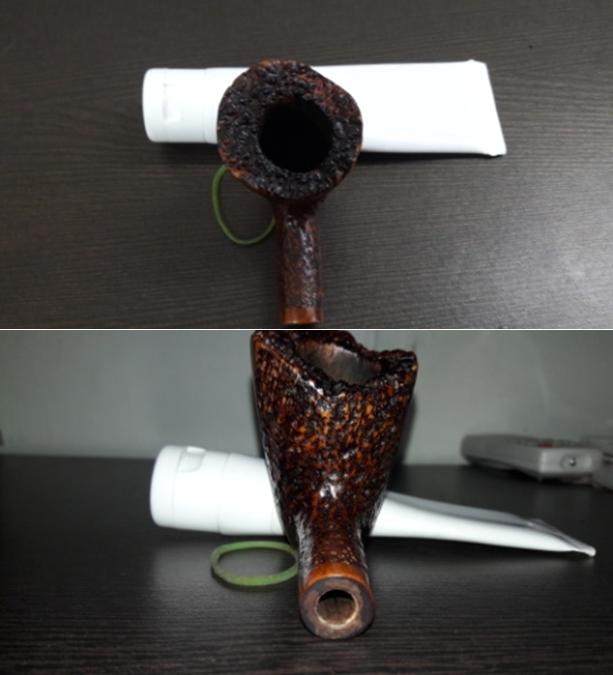
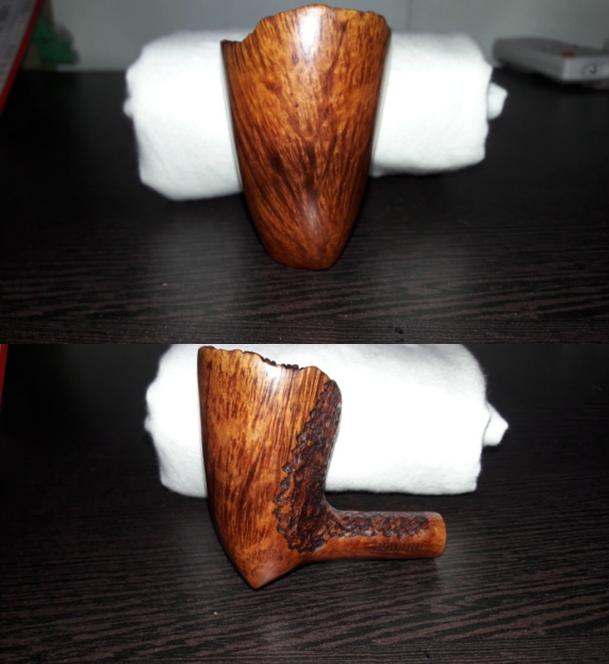
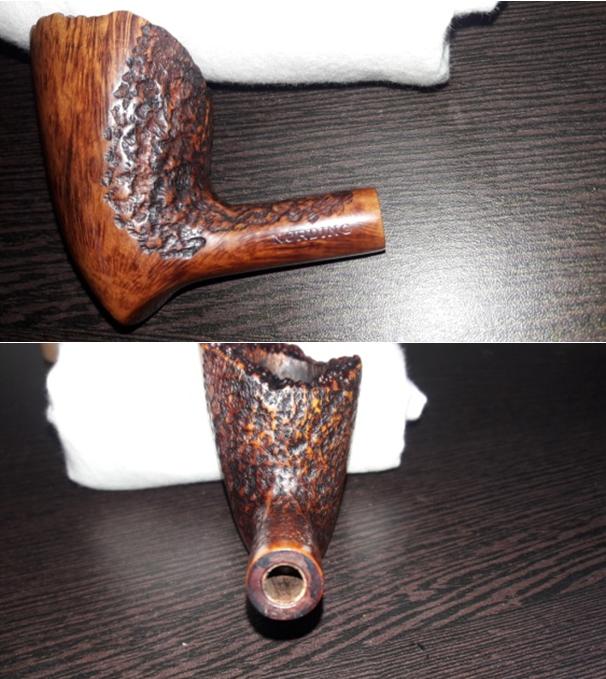
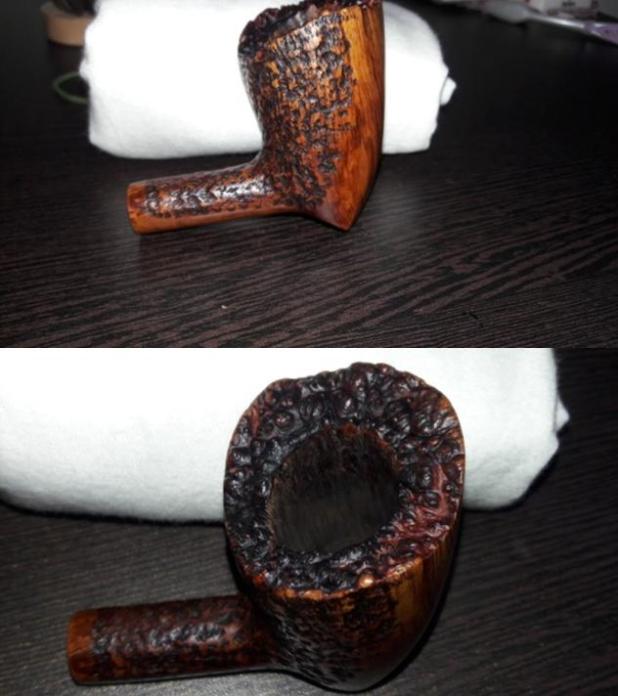
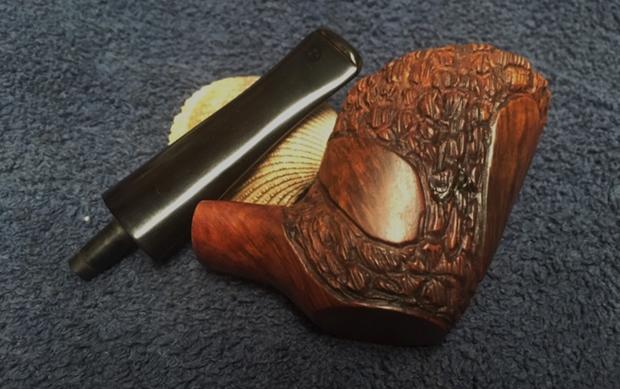
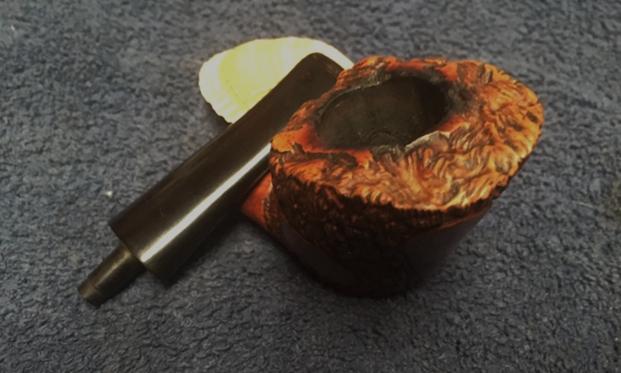
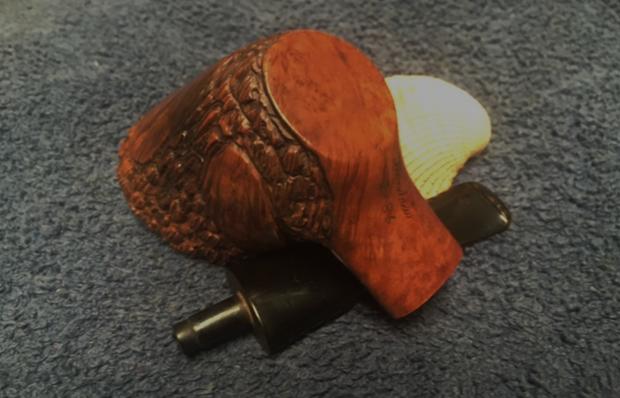
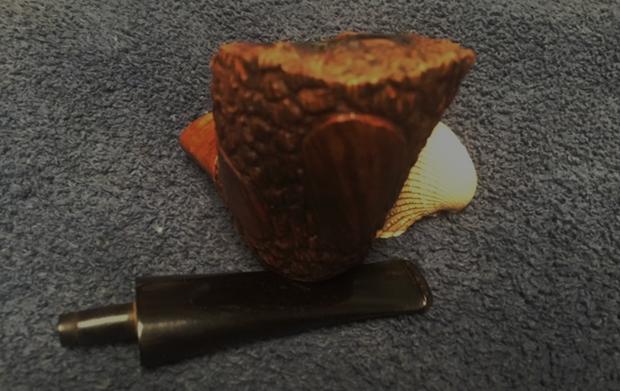
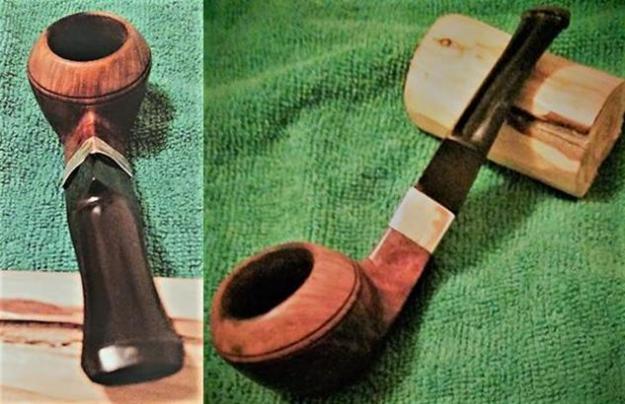
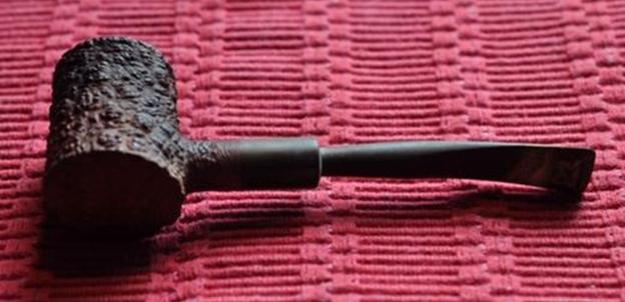
This beautiful pipe has the classical pick-axe shape with a plateau rim top. The stummel has a smooth surface with densely flame grains extending from the mid way on right side and extending mid way on left side while the remaining surface on the stummel has beautiful rustication. The smooth portions extend to the sides such that when held in the palm, all the fingers are holding the stummel along the smooth surface and one can admire the fine delicate rustications on the back while sipping your favorite tobacco. Blissful!!!!!!!!! Similarly, the top surface of the shank is rusticated extending half way through on either side while the bottom is smooth with straight grains extending from the tip of the axe towards the end of the shank.  The only stamping, “NORDING” in block capital letters, is seen on the smooth portion of the shank. The stamping is clear, crisp and easily readable. The fancy stem has a slight bent towards the lip and helps the pipe to balance straight on a table. There is the letter “N” in block capital letter, stamped on the top surface. But it is faint and hidden under the heavy oxidation.I searched the internet for detailed information on Nording pipes and this pipe shape in particular shape. Though I did not find anything particularly about this pipe, it was interesting to read how young Mr. Nording got in to the business of pipe making. It makes for a very interesting read. We must not forget to thank one Mr. Skovbo, who had a major contribution in introducing Mr. Nording in to this business!!!!!!  I have a couple of SON pipes in my grandfather’s collection which I will restore at a later date since I now know about the historical importance of these pipes!!!!!!!!!!! Here is the link for easy reference of those interested: https://pipedia.org/wiki/Nørding 

INITIAL VISUAL INSPECTION
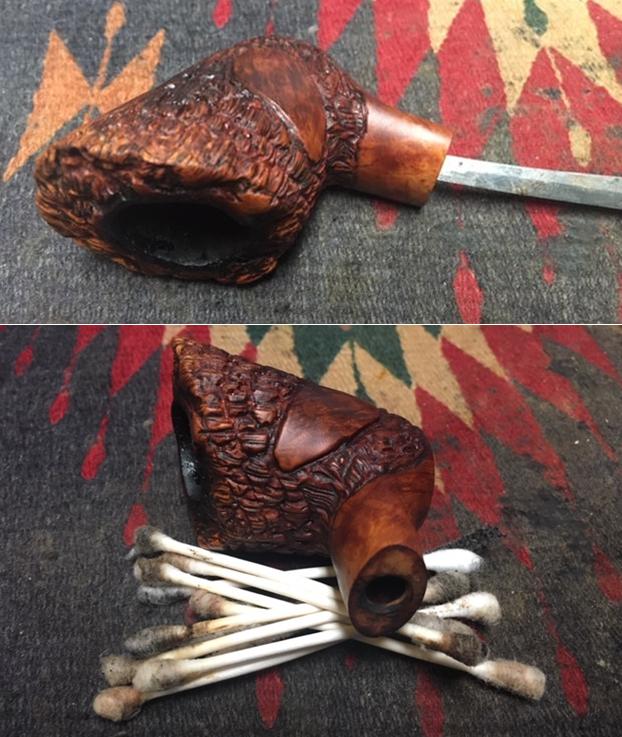
The stummel is covered in dust, oils and grime giving a dull and lackluster appearance to the bowl. The rustications on the back of the stummel are, likewise, filled with dust, dirt and grime. This will need to be thoroughly cleaned. On close scrutiny, I saw some minor superficial dents and dings on the smooth surface. Will I address it or keep it as it is as a characteristic feature of this pipe’s past life? Hell yes, I will address it!!!!! I want it to be as perfect as I can make it for its next innings with me!!!!!! The chamber is clean with a very uneven and thin layer of cake. The plateau rim top is covered with overflow of lava. The inner rim edge is crisp, even and intact. The chamber is odorless and dry to the touch. The inner wall condition of the chamber will be ascertained once the chamber has been completely reamed. However, I foresee no issues at all as the bowl feels solid to the touch.The fancy stem is heavily oxidized with tooth chatter and bite marks on both surfaces and some calcification can be seen towards the lip. There is a significant damage to the lip end in the form of a bite through hole on the upper surface and some deep bite marks on both upper and lower surface of the stem. The airway in the stem is slightly blocked. These issues will have to be addressed. On close observation, the upper surface of the stem bears the stamp “N” in block capital letter. However, this stamp is very faint and covered in thick layer of oxidation. I will attempt to restore and save this stamp.The shank, mortise and the airway is relatively clean and will only need to be sanitized.THE PROCESS
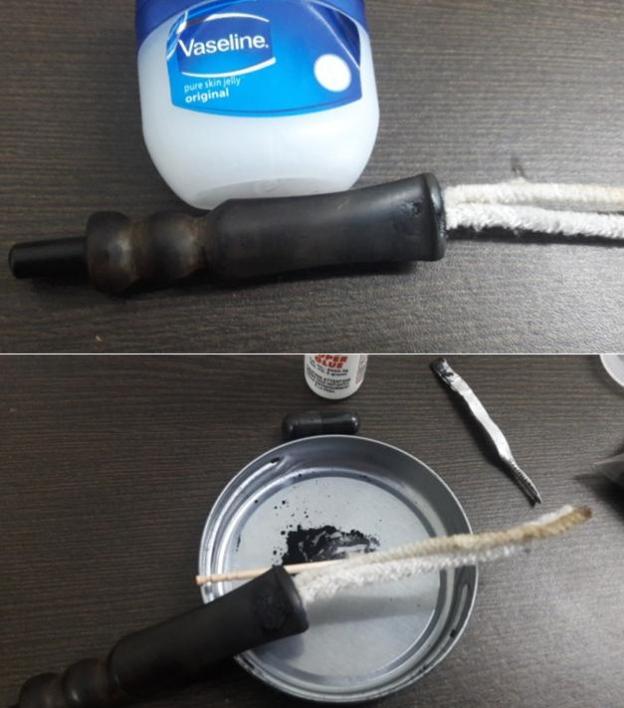
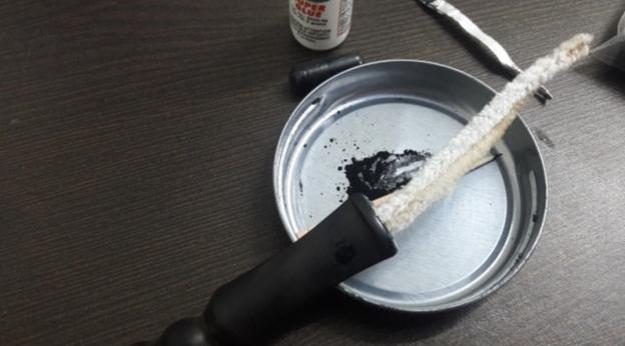
The first step that I usually follow is the reaming of the bowl. However, in this project, since the only significant damage appreciated is to the stem and would be a time consuming process to repair, I started this restoration by addressing the stem first by sanding the stem surface with a 220 grit sand paper followed by 1500 grit micromesh pad. This serves two purposes. Firstly, it evens out the surface for a fresh fill during stem repairs and secondly, I have experienced that any fill in a stem repair turns distinctly brown after micromesh sanding if the oxidation from the stem surface was not removed prior to the application of the fill. Once I was through with the sanding, I wiped the stem clean with cotton pad dipped in isopropyl alcohol. This was followed by flaming both the surfaces of the stem with a Bic lighter, concentrating more around the hole on the upper surface and the deeper bite marks on the lower surface. This helps in raising all the tooth chatter and dents to the surface.I inserted a pipe cleaner coated with Vaseline in to the stem airway before applying the fill. This helps in preventing the fill from entering and blocking the airway. I prepared a mixture of superglue and activated charcoal and applied it as evenly as possible over the hole and deep bite marks and set it aside to cure for 48 hours since the climate here is very wet and humid. While the glue was curing, I worked on the stummel, reaming out the cake with a Kleen Reem reamer, followed by a pipe reaming knife that I had fabricated. I brought the cake down to the bare briar. To further remove any traces of old cake and smooth the inner walls of the chamber, I sanded the inner wall surface with a 220 grit sand paper. As observed during initial visual inspection, I had decided to remove all the dents and dings in the stummel. I cleaned the stummel with Murphy’s oil soap, paying special attention to the plateau rim which was scrubbed with 000 grade steel wool to remove all the overflow of lava. Thereafter I sanded the smooth surfaces of the bowl with a 220 grit sand paper. Once all the dings and dents were evened out and the surface made smooth, this was followed by micromesh polishing pads, wet sanding with 1500 to 2400 grit pads. Again, I wiped the bowl with a moist cotton cloth after each pad. Thankfully there were no fills in the stummel. Once I was through with the wet sanding pads, I used the 3200 to 12000 grit pads to dry sand the stummel to a nice shine. I set the stummel aside to let it dry out naturally. I rubbed some “Before and After Restoration” balm deeply in to the stummel with my fingers. This balm helps in rejuvenating and protecting the briar wood. The immediate and incredible transformation that takes place is a worthy reward for all the efforts!!! The mixed grain can now be clearly appreciated. I let the balm be absorbed by the briar for about 15-20 minutes and then polished it with a soft cotton cloth. The bowl now looks fresh and attractive with the grains popping out any which way you look at the briar. Turning my attention to the stem, using a flat head needle file I sanded out all the fills to match the surface of the stem. I further matched the fills by sanding it with a 220 grit sand paper. I had to spot fill clear superglue into small fills which were exposed during the sanding and repeat the entire process twice. To finish the stem I went through the complete set of micromesh pads, wet sanding with 1500 to 2400 pads and dry sanding with 3200 to 12000 grit pads. I wiped the stem with a cotton swab dipped in alcohol after each pad and rubbed olive oil into the stem after every three pads. The stem looks crisp, shiny and like new. Having addressed the “appearance” aspects of this beauty, I turned my attention to the “performance” aspects to ensure that this beauty smokes as well as it looks. I thoroughly cleaned the shank internals using shank brush, pipe cleaners, qtips and isopropyl alcohol. The stem airway was cleaned using regular pipe cleaners and also bristled ones dipped in alcohol. The airway is now clean and the draw is full and open.To complete the restoration, I rubbed a minute quantity of PARAGON WAX on the smooth stummel and the stem and HALCYON WAX II on the rusticated surface. After a few seconds, using muscle power and a microfiber cloth, I polished the entire pipe to a lovely shine. The finished pipe is shown below. This one shall soon find a place in my rotation. Thank you for your valuable time spent in reading this chronicle of my journey.

New Life for a Jandrew Free Hand Sitter


Blog by Steve Laug

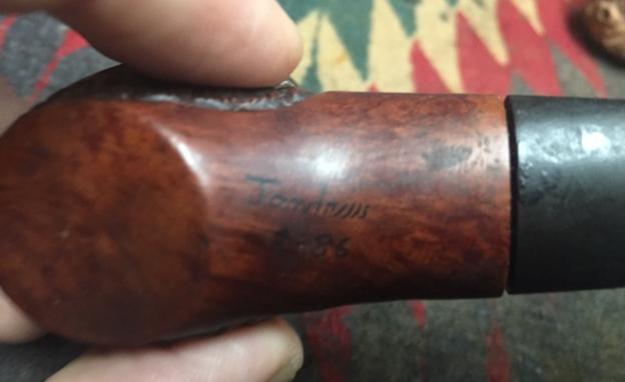
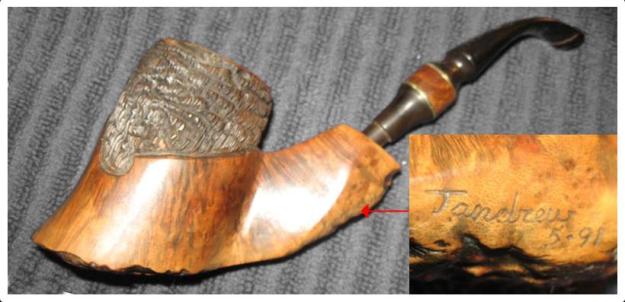
I don’t remember where this old pipe came from. It was a mess with lava overflowing the large caked bowl and filling in most of the carved plateau rim top. The rusticated finish was very dirty and hard to differentiate the smooth portions from the rustication. It appears that the bowl had been rusticated then a wire wheel had been used to striate the rustication. There were three smooth panels on the sides and front of the bowl and a smooth shank and heel of the bowl. The stem was a mess with oxidation, tooth chatter, deep tooth marks and calcification built up for over an inch of the length of the stem. The stem did not seat well in the shank due to the buildup of tars and oils. It also appeared that the tenon was slightly bent making the stem crooked (bent to the right). The pipe was stamped on the underside of the shank and under a bright light with magnification I could read Jandrew over 2-86. My assumption was that the pipe I was dealing with was a Jandrew (I have worked on other pipes made by this maker) and that it was made in February of 1086. The pipe was at least 32 years old and had seen a lot of use. It was obviously some pipeman’s favourite smoker. There was something about the pipe that captured my attention and made me want to work on it. I took some photos of the pipe before I started my cleanup work. I took some close up photos of the rim top and stem to show the condition they were in before I started. The rim top is heavily caked with lava flowing out of the thick cake in the bowl. It fills in much of the carved rim top leaving me unsure what lies underneath. I have no idea what the inner edge of the rim looks like at this point but it seems likely that it is darkened or maybe burned on the back edge. The stem has tooth marks on the top and underside near the button and on the button surface as well. There is some serious oxidation/calcification on the first inch or more of the stem. The stem fit against the shank is off as you can see from the photos and the tenon appears to be bent making the stem curve to the right side.I took a photo of the stamping to capture it and help identify the pipe. It reads Jandrew over 2-86. It is readable but faint in the middle of the stamp where the slight curve in the shank is located.I looked up the brand on Pipedia and found the following: Jandrew pipes are (or were?) made by J. Andrew Kovacs. He lived in Jerome and Cottonwood, Arizona and is said to have moved to Milwaukee, Wisconsin. https://pipedia.org/wiki/Jandrew

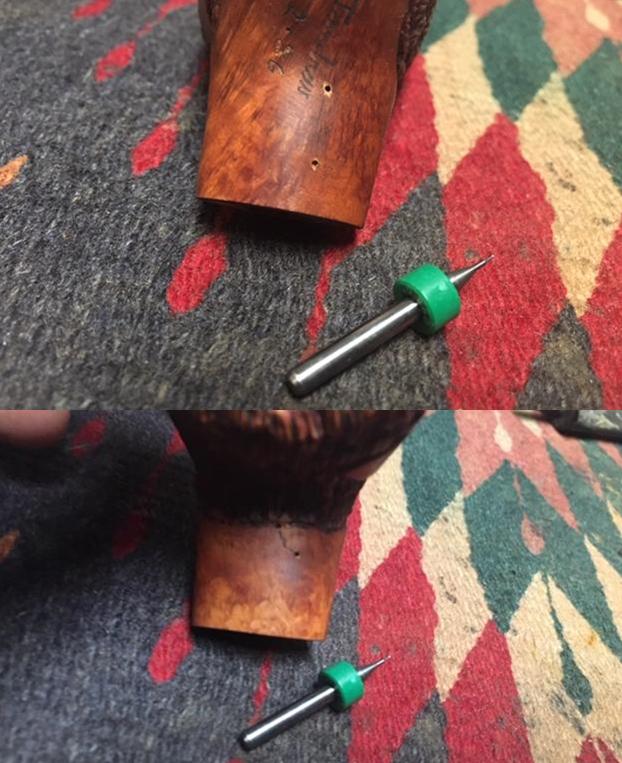
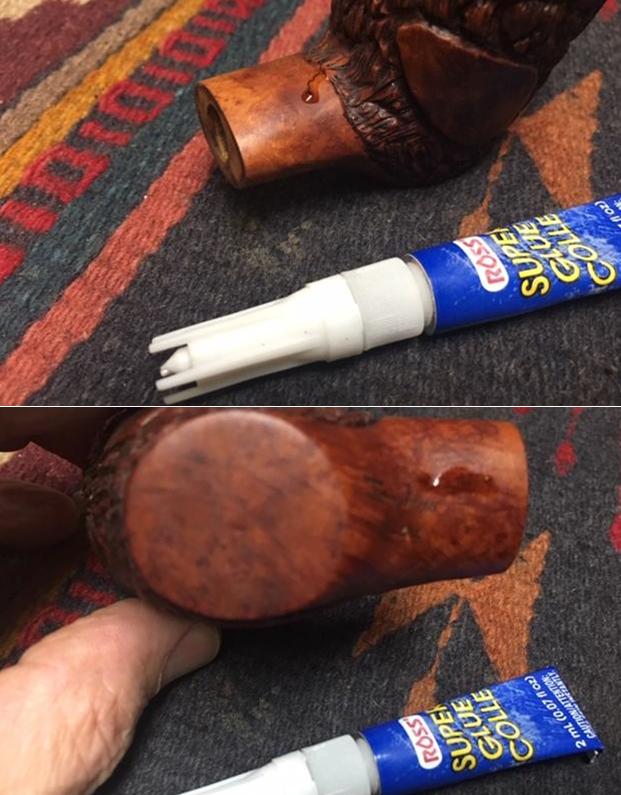
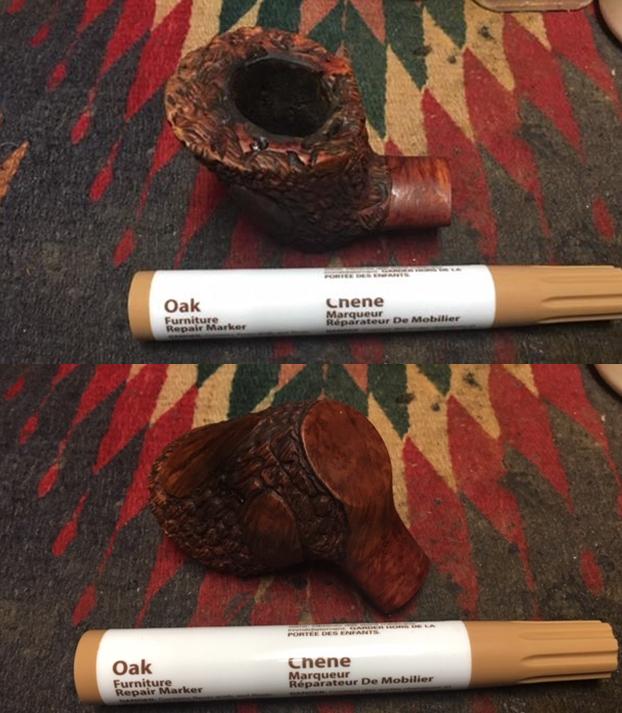
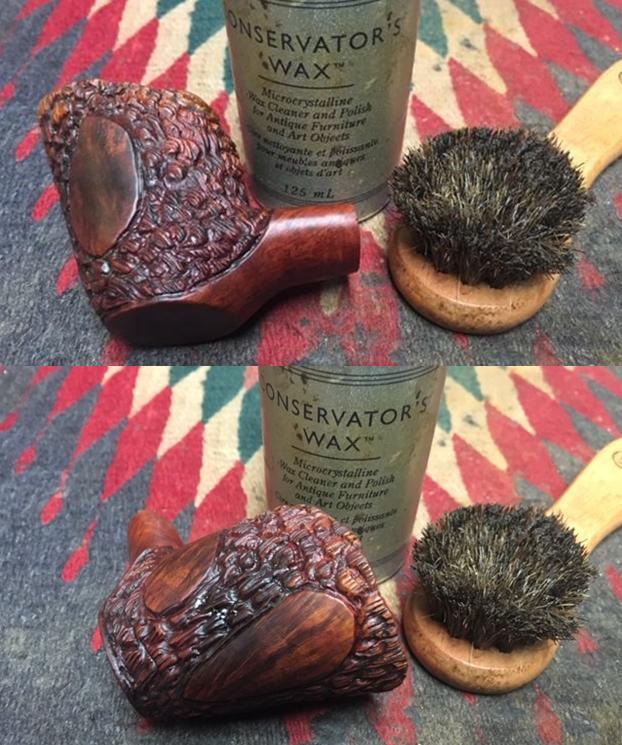
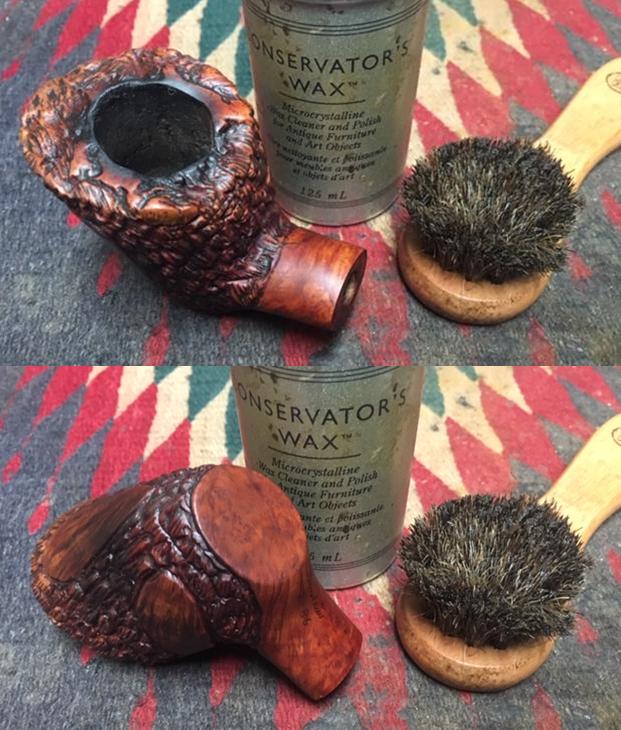
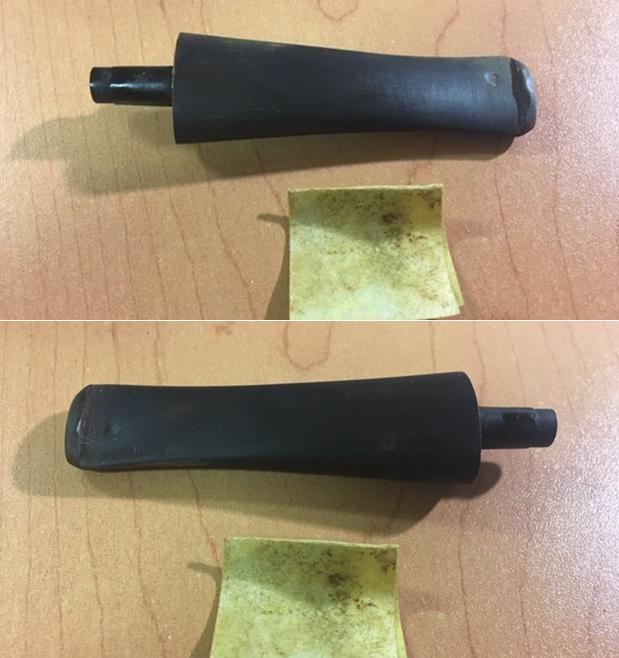
I turned to Pipephil’s site to see if I could gain a bit more information. There was no additional info but there was a photo of a pipe with the same signature and a similar date stamp on the shank. I have included that below for comparison(http://www.pipephil.eu/logos/en/logo-j1.html).I turned to the pipe to begin the cleanup. I dry scrubbed the rim top with a brass bristle brush to break the lava buildup from the crevices. This technique works wonders and the brass is soft enough not to scratch the plateau. I do not use it on smooth rims (not daring enough to give it a try as I am pretty certain it will cause scratching and make more work for myself). The photo below shows the cleaned rim top after the scrubbing.With the top cleaned it was time to ream the bowl. I reamed it with a PipNet pipe reamer using the largest cutting head. The cake was thick and hard. I carefully worked the bowl clean using the reamer. I followed that by scraping out the remaining cake in the bottom of the bowl and along the edges with a Savinelli Fitsall Pipe Knife and took the cake back to bare briar. I wrapped a piece of dowel with 220 grit sandpaper and sanded the inside walls of the bowl to smooth out the walls. With the bowl reamed it was time to scrub the exterior of the bowl. I scrubbed it with Murphy’s Oil Soap, working it into the crevices and nooks and crannies of the rustication with a tooth brush. I rinsed it under running water to remove the soap and the grime. I took photos of the pipe at this point to show the condition after cleaning.I worked some Before & After Restoration Balm into the smooth and rusticated parts of the briar on the bowl and shank with my fingertips to clean, enliven and protect the wood. I worked the balm into the nooks and crannies of the rustication and the carved rim top with a horsehair shoe brush. I let the bowl sit for about 20 minutes and buffed it off with a soft cotton cloth. I took photos of the bowl at this point in the process. The photos show the condition of the bowl at this point in the process. It was looking quite good at this point with some beautiful grain showing through on both the smooth and rusticated portions of the bowl. I scraped the tars and oils from the walls of the mortise with a pen knife. I cleaned the mortise and the airway in the shank with pipe cleaners, cotton swabs and alcohol.During the cleanup of the bowl I had noticed two small hairline cracks in the shank. There was one next to the stamping on the underside about a ½ inch long (first photo) and one on the top side of the shank from the rustication running toward the shank end for ¼ of an inch (second photo). I used a microdrill bit to drill pin holes at each end of the crack to stop it from spreading further on the shank. I was glad to see that under a bright light that the crack did not extend to the end of the shank. The repair would be straightforward.I cleaned out the crack on the top and underside with a dental pick. I filled in the drill holes and the crack on both with clear super glue and set the pipe aside to cure. Once it was cured I sanded it with 220 grit sandpaper and blended it into the finish of the shank. I touched up the stain on the shank with an Oak stain pen to blend it into the rest of the briar.I worked some Conservator’s Wax into the finish of the briar making sure it went deep into the crevices of the carved finish. I let it dry and then buffed it with a shoe brush and with a clean buffing pad. The photos below show the pipe at this point. I set the bowl aside and turned my attention to the stem. I sanded the stem with 220 grit sandpaper to remove the oxidation and the calcification build up. I worked on the tooth chatter and marks to reduce them.I cleaned the surface of the stem with alcohol and dried it off. I filled in the deep tooth marks with clear super glue and set the stem aside to let the glue cure.I sanded out the tooth chatter and marks with 220 grit sandpaper. I wiped down the stem with Obsidian Oil and cleaned out the inside of the airway to get rid of the dust and debris from the sanding. I polished the stem with micromesh sanding pads – wet sanding it with 1500-2400 grit pads and dry sanding with 3200-12000 grit pads. I wiped the stem down with Obsidian Oil after each pad. I polished the bowl with Before & After Pipe Polish – Fine and Extra Fine. I gave it a final coat of Obsidian Oil and set it aside to dry. I polished stem and the bowl with Blue Diamond polish on the buffing wheel. I gave the bowl multiple coats of Conservator’s Wax and the stem multiple coats of carnauba wax. I buffed the pipe with a clean buffing pad to raise the shine. I hand buffed it with a microfiber cloth to deepen the shine. The pipe polished up pretty nicely. The grain really came alive in both the rusticated portions and the smooth panels with the buffing and works well with the polished black vulcanite stem. Together the pipe looks much better than when I began and has a rich look. The finished pipe is shown in the photos below. The shape, finish and flow of the pipe and stem are very well done. The dimensions are Length: 6 inches, Height: 2 1/4 inches, Outside diameter of the bowl: 1 7/8 inches, Chamber diameter: 7/8 of an inch. I will be putting this freehand style pipe on the rebornpipes store shortly if you are interested in adding it to your collection. Thanks for walking through the restoration with me as I worked over this unique Handmade Jandrew pipe.
Revitalizing a GBD Colossus International London Made 1759 London England


Blog by Dal Stanton

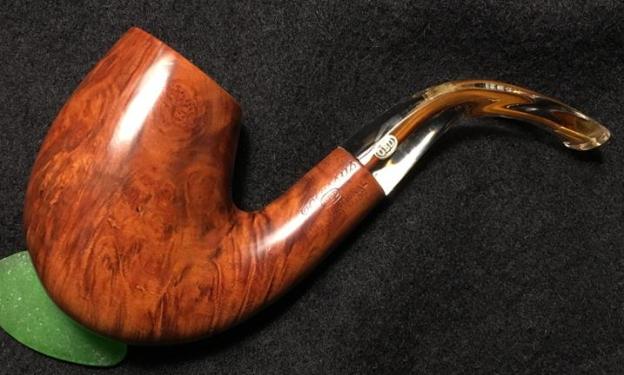
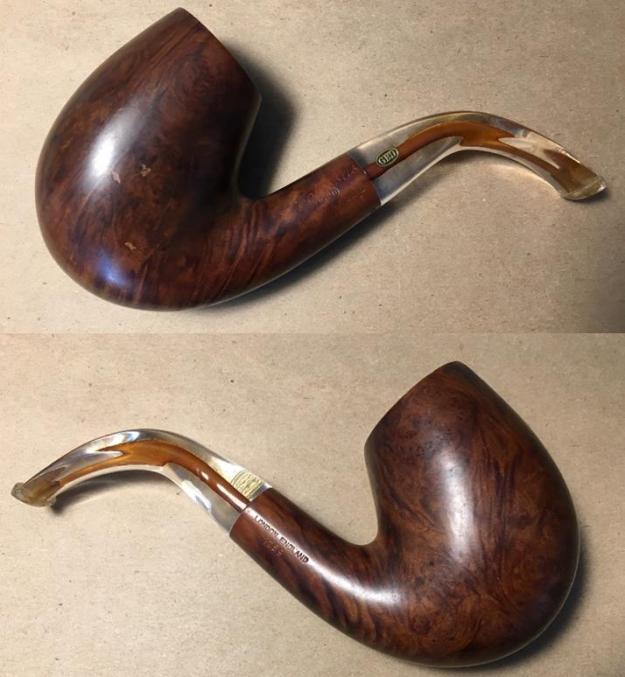
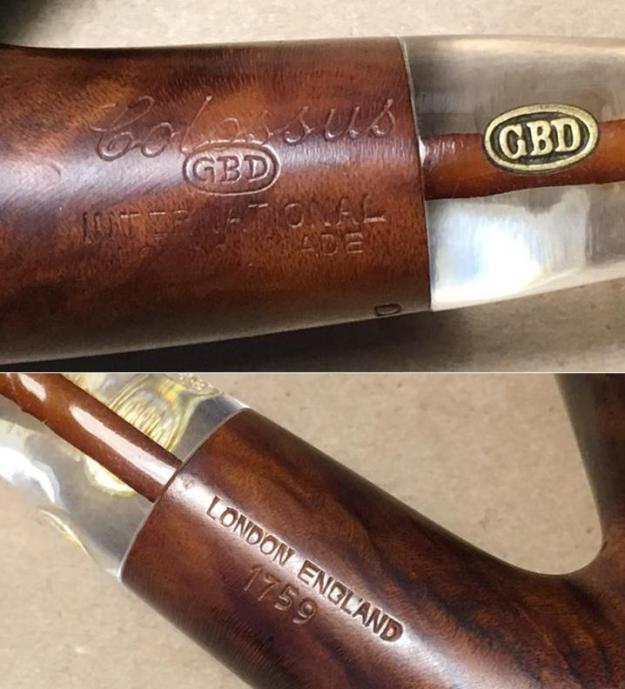
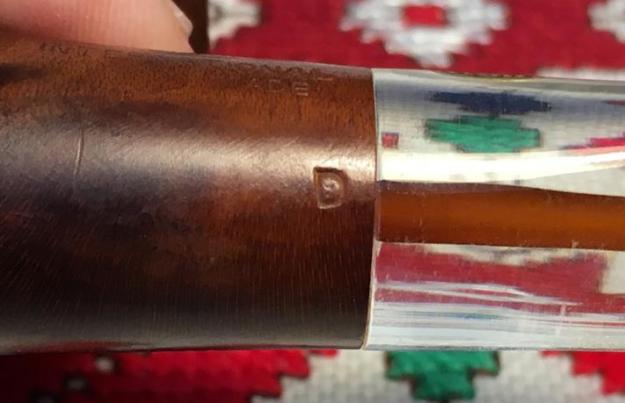
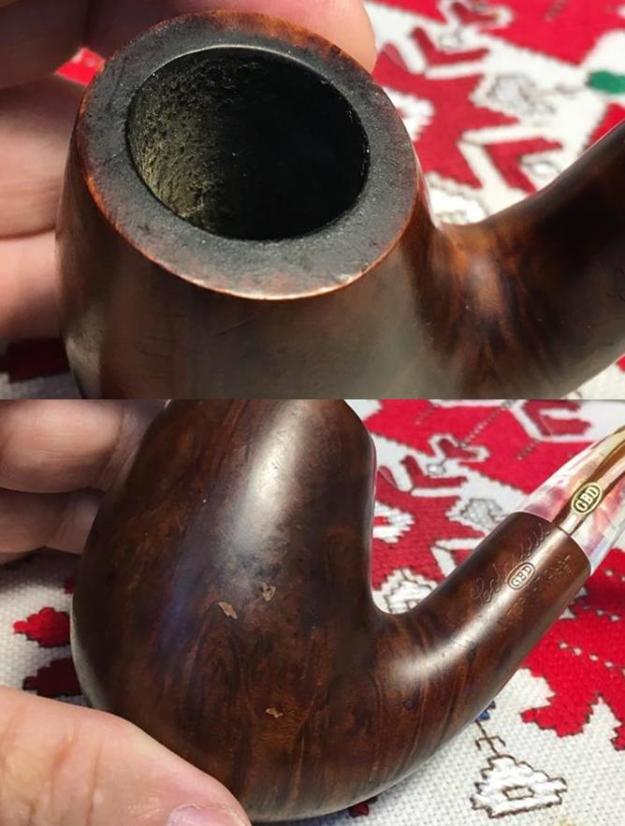
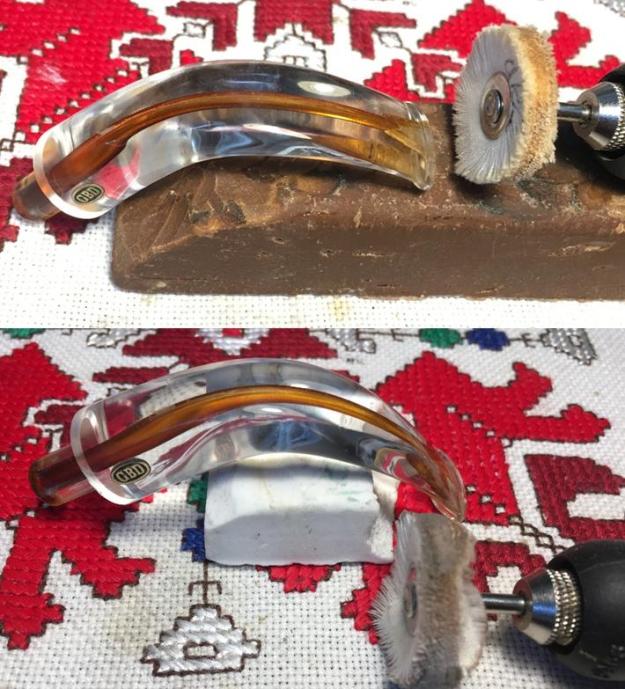
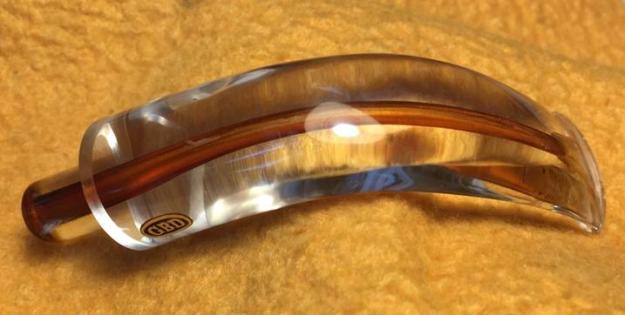
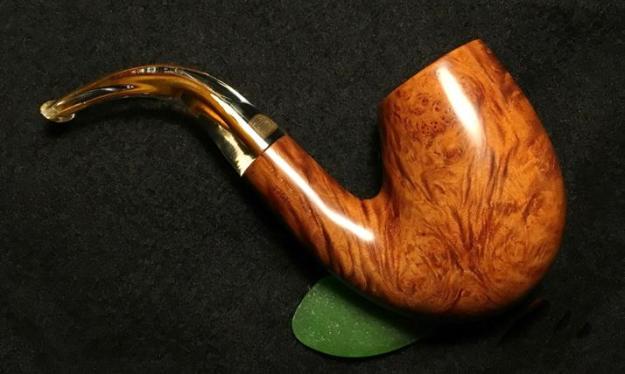
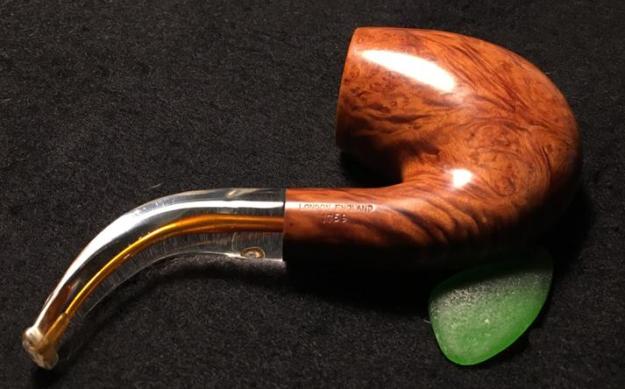
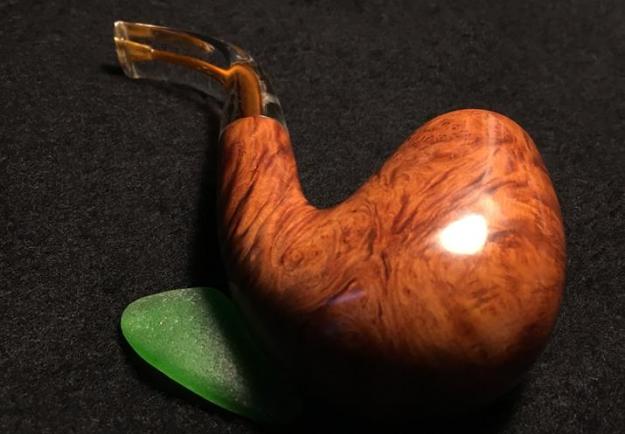
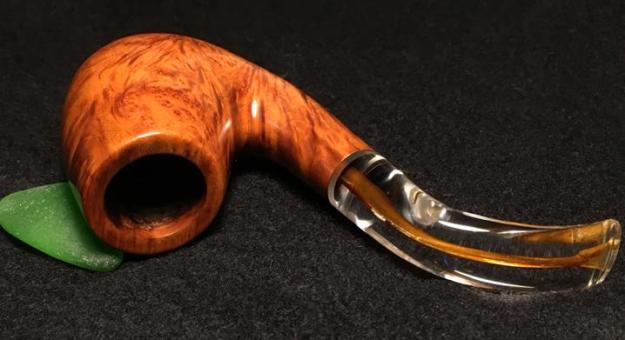
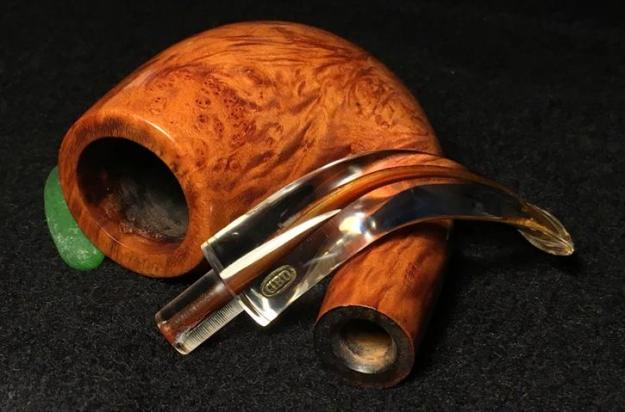
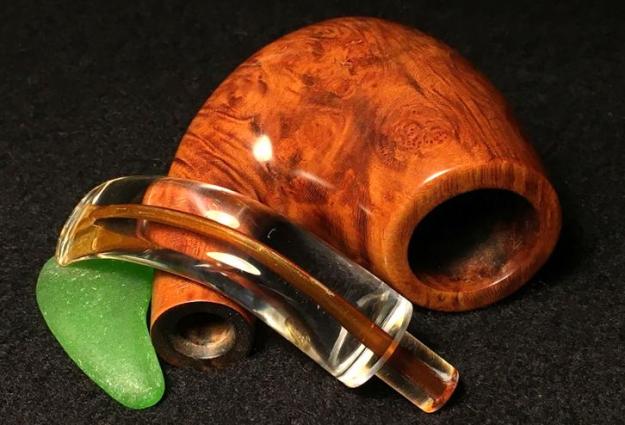
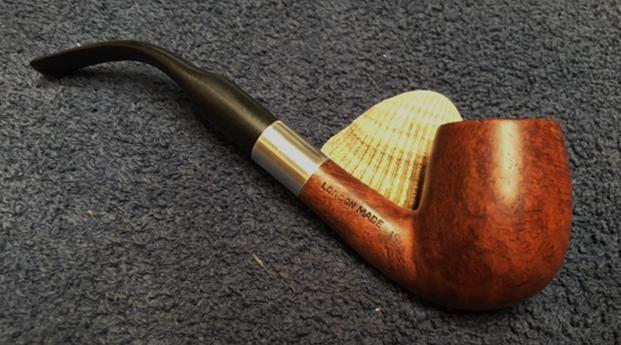
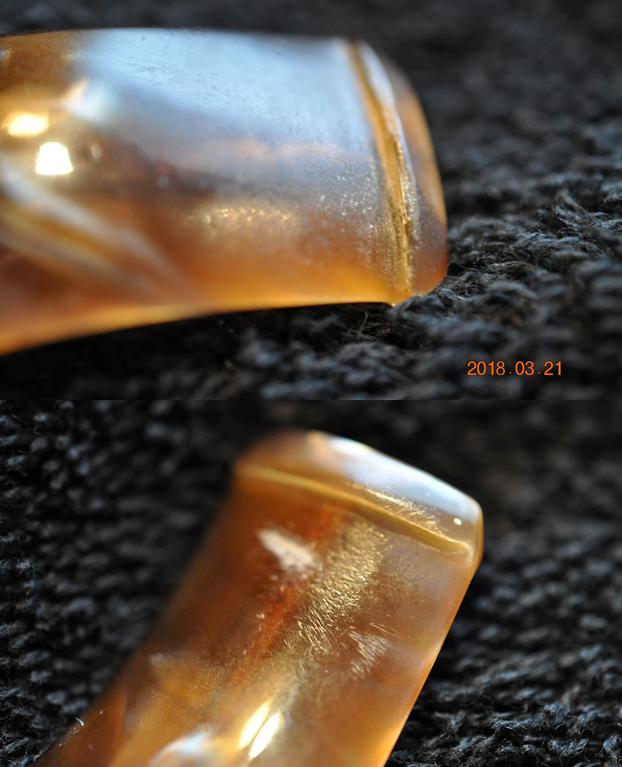
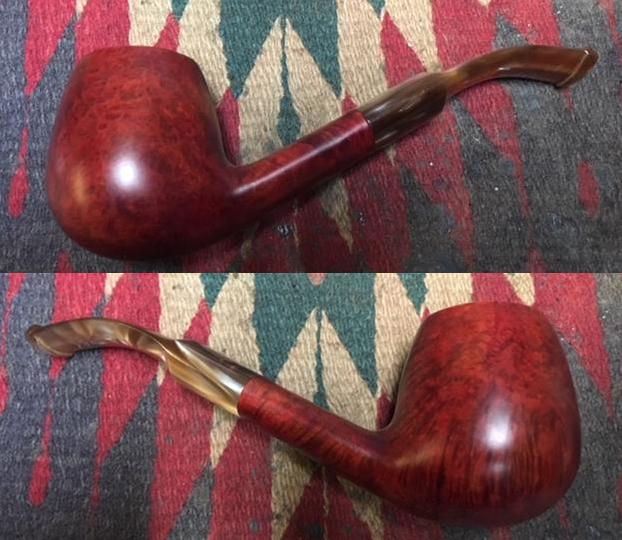
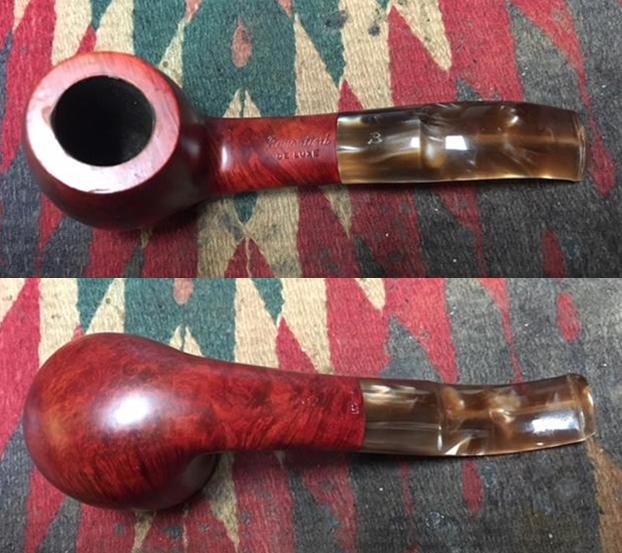
This is the second pipe I’ve restored that was commissioned by Paresh.  Like the first, a Tom Howard Jumbo Rustified Squat Tomato, this is a large pipe and the name reflects this – a GBD Colossus International.  It truly is a ‘Colossus’ with a huge stylish stummel that is cut with angles that makes one think of a ‘dinner’ pipe.  With the clear, acrylic stem and canted, sharp angled stummel – and his sheer size, sets this pipe on an upper shelf.  Paresh commissioned the GBD from the For‘Pipe Dreamers’ Only! section and this pipe, along with the Tom Howard, benefit the Daughters of Bulgaria.  Here are the pictures that got Paresh’s attention.The left side of the stummel encases the nomenclature, Colossus (in cursive script) [over] GBD (in oval) [over] INTERNATIONAL [over] LONDON MADE.  A classic brass GBD rondel is embedded in the acrylic stem, placing the dating of the pipe as pre-Cadogan.  On the right shank side is stamped LONDON ENGLAND [over] 1759, the GBD shape number.  I also see a ‘D’ stamped on the lower side of the shank which I have no information on!

Based upon the straight COM LONDON ENGLAND and the brass rondel, this GBD is dated pre-Cadogan which is 1981 and earlier.  In the GBD Pipedia article, this reference places the pipe in the 60s or 70s naming the lines that GBD had during that time.  ‘International’ is nestled in the middle of the list.

The following list comprises the better grades in descending order:

Pedigree, Pedigree I, Pedigree II, Straight Grain, Prodigy, Bronze Velvet, Virgin, Varichrome, Prestige, Jubilee, New Era, Prehistoric, International, Universe, Speciale Standard, Ebony, Tapestry, New Standard, Granitan, Sauvage, Sierra, Penthouse, Legacy, Concorde.

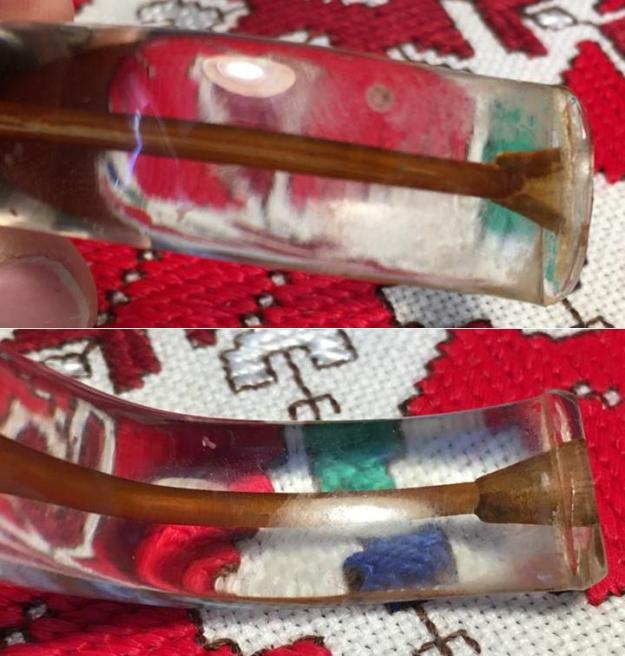
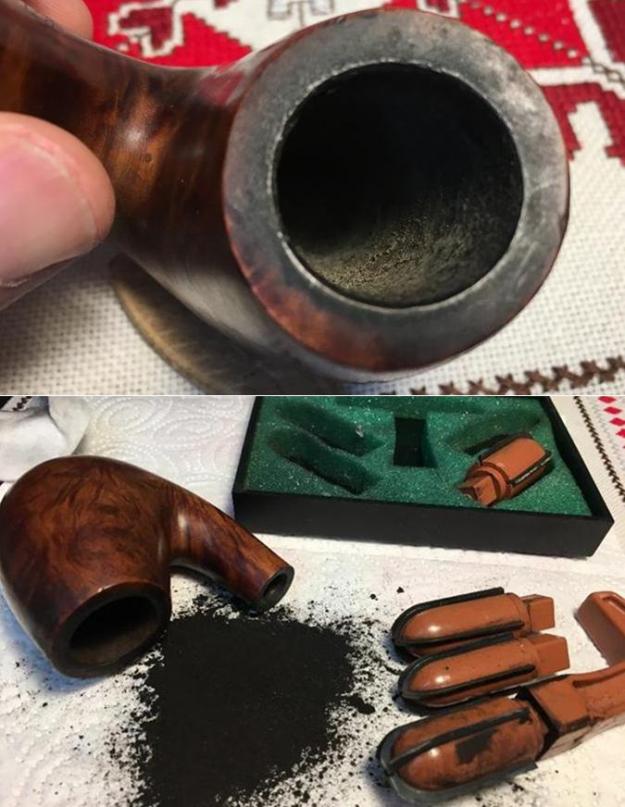
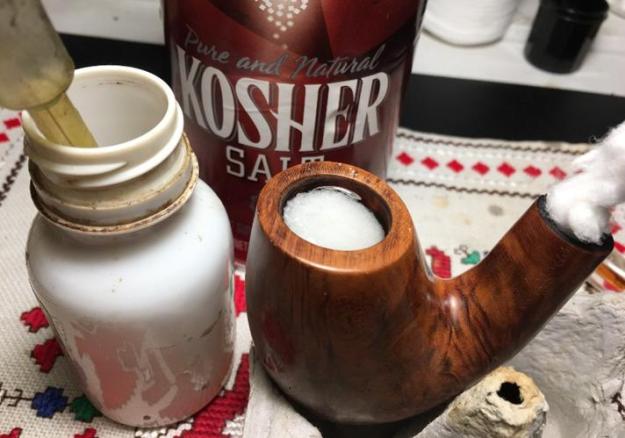
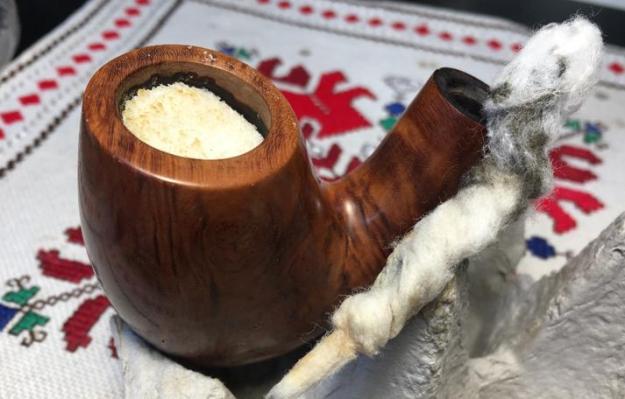
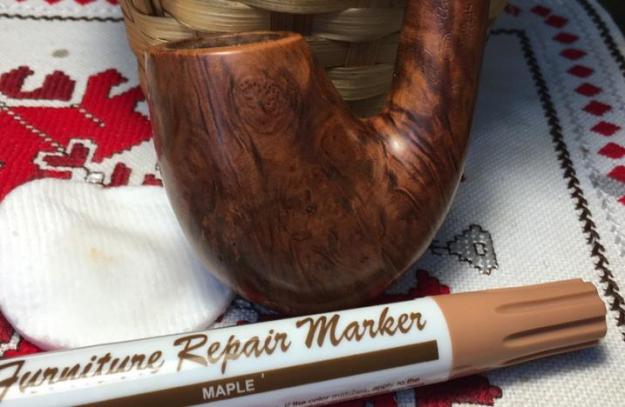
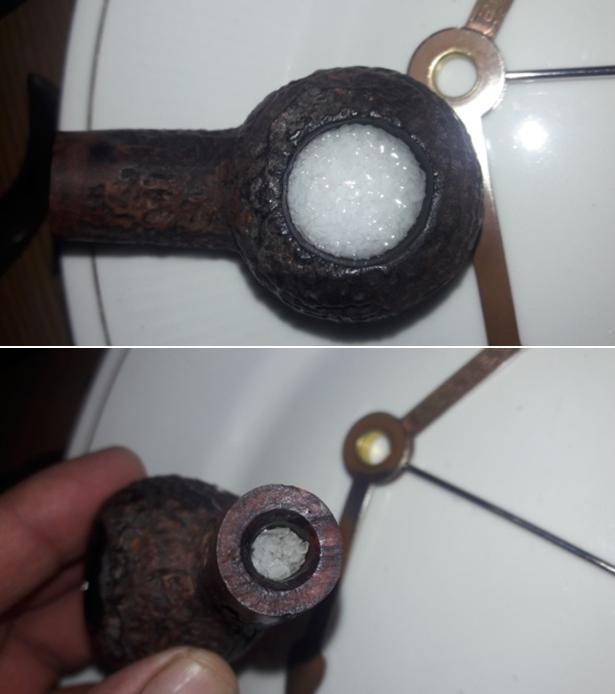
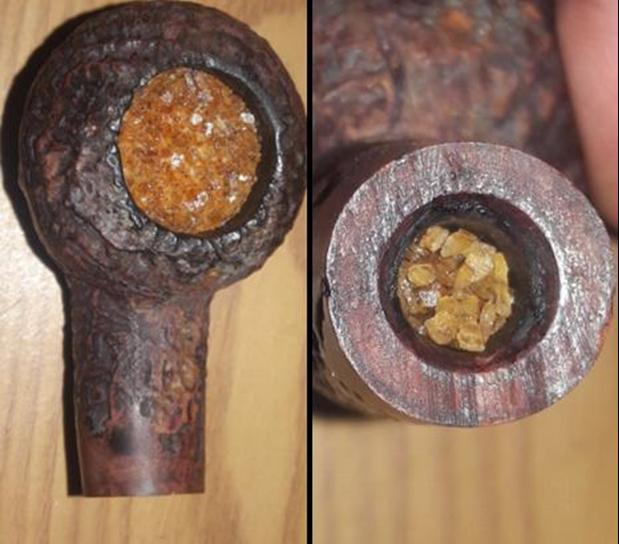
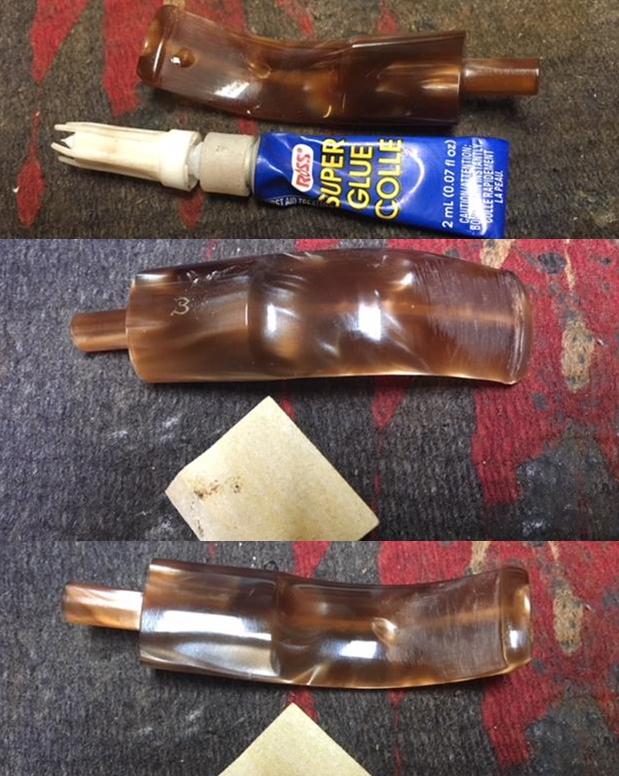
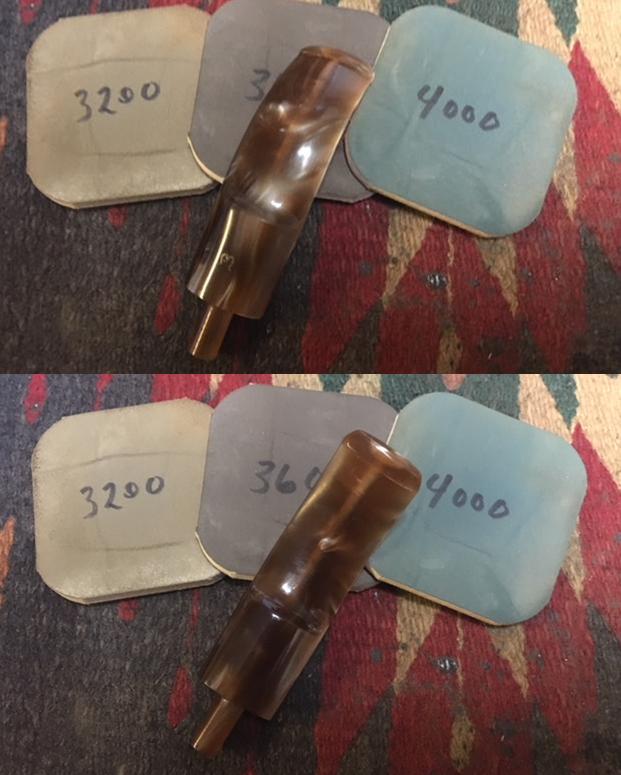
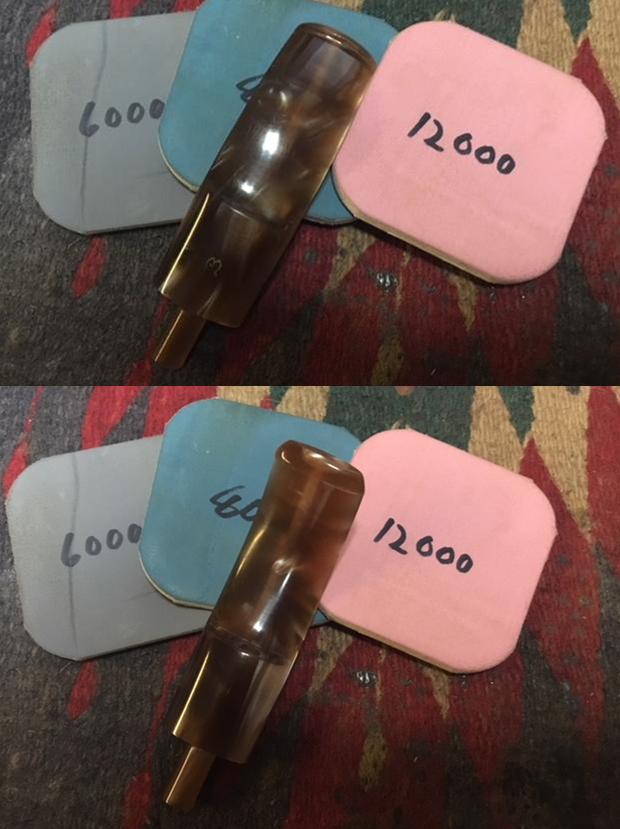
This is confirmed by information sent to me from Al Jones, who knows more than most about GBD pipes.  Al sent me a PDF of Jerry Hannah’s finish guide and one reference for an ‘International’ comes from the 1976 catalog. Unfortunately, I found no listing for a shape number of 1759, but the shape is most definitely at least a 3/4 bent – not sure I would call it a Billiard but the sharp canted stummel reminds one of a Dublin! Looking more at the pipe’s condition, it bears normal scratches and nicks from normal use.  The rim is darkened with some lava flow.  There are a few light fills on the side of the stummel that need to be examined.  The acrylic stem has tooth chatter that needs addressing.  The amber colored airway should clean nicely.  I take some additional shots to show the issues. Starting with the basic cleaning, I ream the chamber of the light cake using the Pipnet Reaming kit revealing fresh briar.  The depth of the chamber becomes evident at almost 2 1/2 inches (2 7/16 to be exact) as it swallows the 3 blade heads I use to clean the carbon cake!  This chamber will pack a good bit of tobacco!  Following the Pipnet blades, I use the Savinelli Fitsall Pipe Tool to fine tune and clean the chamber further reaching the depths.  Finally, I sand the chamber by wrapping 240 grit paper around a Sharpie Pen.  I finish the clean up of the chamber by wiping out the carbon dust using a cotton cloth wetted with isopropyl 95% and inspection of the chamber shows no problems.  The pictures show the progress. To clean the externals, I use undiluted Murphy’s Oil Soap and a cotton pad to scrub the briar and darkened rim. I also use a brass wire brush to work on the rim.  Pictures show before and after.Continuing with the stummel cleaning, I work on the internals with pipe cleaners and cotton buds dipped in isopropyl 95%. I also utilize a shank brush to work through the draft hole as well as a dental spatula to scrape the mortise wall.  The pipe cleaners and cotton buds start coming clean, but later, at the close of my work day, I’ll also utilize a kosher salt and alcohol soak to clean and freshen the internals further.Now, looking at the acrylic stem, it’s difficult to see with the pictures I’ve taken, but the button has some compression dents and the bit is clouded from tooth chatter.   The pictures show the starting point.   I first run a bristled pipe cleaner dipped with isopropyl 95% to clean the airway.Then, using a flat needle file and 240 grit paper I sand the bit and button to work out the tooth marks and compression dents on the button lip.  Following this, to erase the scratches of the filing and 240 grit paper, I sand using 600 grade paper and 0000 grade steel wool. Moving from the steel wool, I wet sand the stem using micromesh pads 1500 to 2400 and dry sand from 3200 to 12000 to bring out the glassy shine of the acrylic stem. I then mount a cotton cloth buffing wheel onto the Dremel with speed set at about 40% and apply Tripoli compound to the entire stem.  I follow this using another buffing wheel, same speed, and apply White Diamond compound.  To remove the compound dust, I buff the stem with a felt cloth.  Acrylic stems love to be buffed up and this GBD Colossus International’s stem is looking great!  The acrylic is like glass. Looking now at the stummel, to address the dents and scratches on the surface, I wet sand using micromesh pads 1500 to 2400 followed by dry sanding with the remaining pads, 3200 to 4000 and 6000 to 12000. I enjoy watching the grain emerge during the micromesh cycles.  This GBD stummel has a lot of briar real estate and the grain is beautifully showcased.  The pictures show the emerging grain. With my work day closing, I continue the cleaning of the internals of the stummel using a kosher salt and alcohol soak.  To do this I create a wick by pulling and twisting a cotton ball and stuffing it down the mortise and airway as far as I can manage with a rigid straight wire.  I then place the stummel in an egg crate for stability and fill the huge chamber with kosher salt which leave no after taste as its iodized cousin.  I give the stummel a shake capping the bowl and then fill the chamber with isopropyl 95% until it surfaces over the salt.  After a few minutes and the alcohol has been absorbed, I top off the chamber again.  Then, I set it aside until the morning.  The following morning the salt has discolored and the wick has an ink-like color on the top – not sure what that is.  I clear out the expended salt and use paper towel to clean the chamber.  I also blow through the mortise to dislodge used salt.  I then use a pipe cleaner and cotton bud dipped in isopropyl 95% to make sure all was clean, and it was. With the sanding of the GBD stummel with micromesh pads, the briar grain naturally darkens and deepens through the process.  I look again at the fills I identified earlier which are solid but they had lightened.  I want to darken and blend these fills at this point in the process.  I use a maple dye stick and gently color the fills.  To blend, I feather wipe the fills with a cotton pad wetted with a bit of alcohol.  The result looks good. Before proceeding to apply compound to the stummel surface, I apply Before & After Restoration Balm to deepen and enrich the briar.  I apply some Balm to my finger and work the Balm in to the briar.  As I’ve noted on previous restorations, the Balm begins with a light oil texture and thickens as it is applied.  I like the Balm because it treats the natural briar hue and deepens and enriches the look.  I take a picture after applying the Balm and before wipe/buffing it off after a few minutes standing. I now mount a cotton cloth buffing wheel to the Dremel, with speed set at approximately 40% full power and apply Blue Diamond compound to the briar surface.  After this is completed, I reunite the GBD Colossus International acrylic stem with the stummel and apply coats of carnauba wax.  I do this after changing cotton cloth buffing wheels on the Dremel – at the same speed.  I finish the restoration by giving the pipe a rigorous hand buffing with a microfiber cloth.This GBD Colossus International lives up to its name.  The stummel is huge and the grain showcased is a beautiful labyrinth of swirls.  Completing the ensemble is the glass-like acrylic stem with an amber vein dissecting the 3/4 bent orientation.  Paresh commissioned the GBD Colossus International from For ‘Pipe Dreamers’ Only! and will have the first opportunity to acquire the GBD in the The Pipe Steward Store.  This pipe benefits the Daughters of Bulgaria – women and girls who have been trafficked and sexually exploited.  Thanks for joining me!

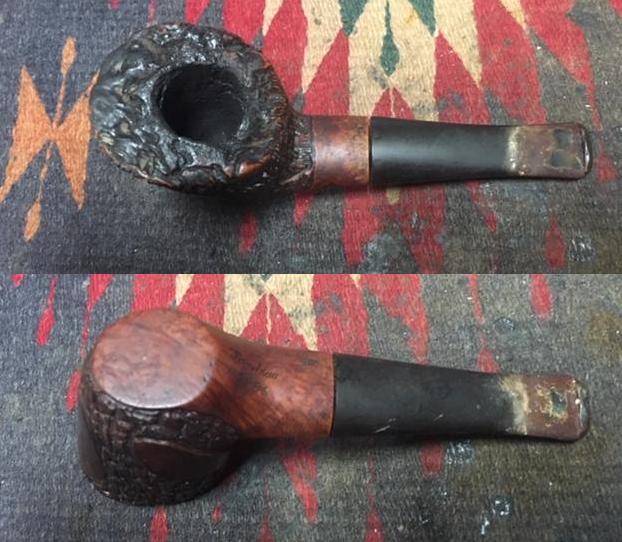
A Hardcastle Bulldog Run Roughshod over: The Original Restoration


Blog by Robert M. Boughton

Copyright © Reborn Pipes and the Author except as cited
https://www.roadrunnerpipes2k.com/
https://www.facebook.com/roadrunnerpipes/

Grace is neither gentleness nor fragility.  Grace is treating yourself, others and even inanimate objects with respect.
— Kamand Kojouri, Iranian-born novelist and poet

INTRODUCTION
A former roommate, one of Stephen King’s Constant Readers, once remarked with ridicule-tainted respect that I have always been attracted to needful things.  He was speaking of someone I met not long before then whose tragic life had left him wounded to the core, one of the results being his over-demanding, often verbally corrosive and manipulative treatment of me.  The roommate, who like almost everyone had plenty of his own flaws if less obvious and abusive, said my other acquaintance was no friend of mine.

“That may be true,” I replied, “but I’m his friend and the only one he seems to have, and I just can’t give up on him because that’s not what friends do.”

The physically and emotionally damaged person I undertook to help ended up becoming and remaining my genuine though stormy friend until he died at home 14 years later from an unusual and excruciating autoimmune disorder for which there is no cure.  He was 46.

My affinity for care-challenged pipes, therefore, should come as no surprise.  I try to avoid those with fatal flaws such as bad cracks or burnouts and for the most part reject any with serious holes in the stem, but as a restorer I prefer estate pipes that need some real attention to rehabilitate as opposed to the few I find ready to sell or to keep in my collection with minimal effort on my part.

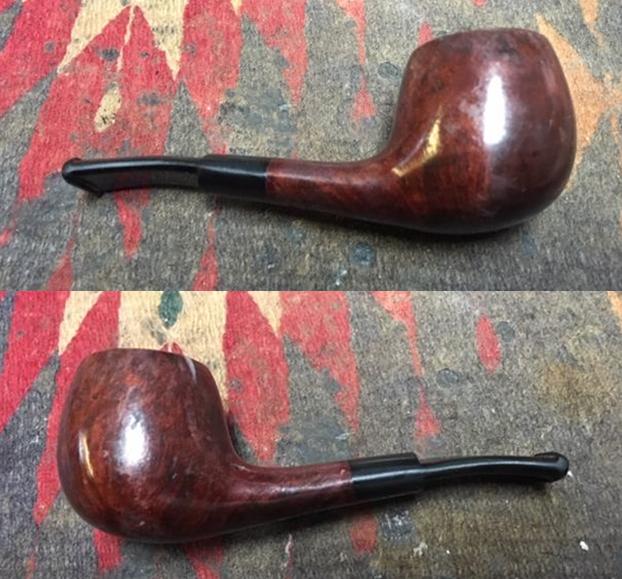
I don’t even remember how the Hardcastle Special Selection #7 smooth bulldog came into my custody or why I chose to ignore the obvious void of vulcanite below the lip on the underside of the stem.  Other than that handicap, the pipe was nowhere near as mistreated as I’ve seen but was plagued enough by dings, scratches and other problems to keep me happy.

One final initial note: I repaired this bulldog to almost like-new condition more than a year ago but failed to blog it because of personal distractions that have left me with a large backlog.  I sold it for next to nothing to one of my present housemates who decided he wanted me to refinish it as a black dress pipe.  The same pipe is the subject of Part 2 of my series on that subject, and so I was going to include this original restoration in that blog.  But anyone who reads my harrowing account of the experience that could be called too much of a bad thing will understand why I broke the overall work into two blogs.

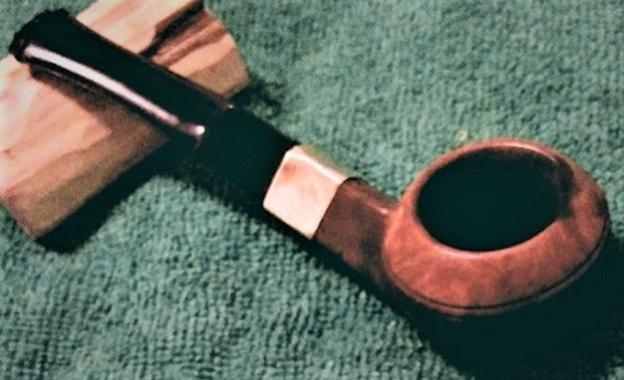
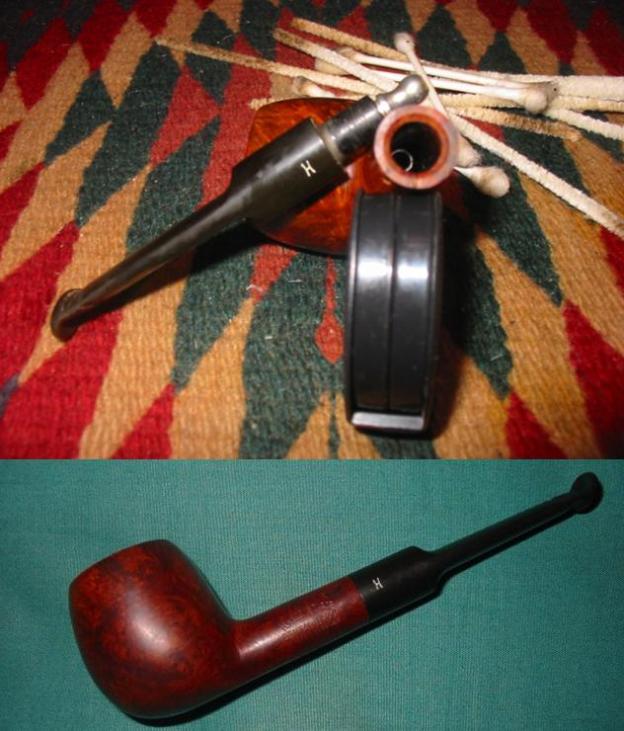
Intrigued by the atypical presence of a stinger in the Hardcastle, and an unusual one at that, I searched online for such phenomena with a faint hope of dating the bulldog.  Of course, at the top of the list was one of Steve’s blogs from 2014.  No other road I found led anywhere close to Rome, as it were.  Steve’s pipe is a Dental Briar brandy, bearing the Registered Design Number 857327, with a unique – or bizarre – dental stem, a system-type metal rod in the shank extending to the mortise hole, and a different short stubby little stinger of its own.  Here is the Dental Briar stinger before Steve’s restoration and the pipe after his usual fantastic work.Steve narrowed the date of manufacture to the Family Era and concluded his pipe was created from 1949-1967 using the National Registry link below.  However, looking at the same link, I see in Table 6.5 that designs numbered 548920-861679 were registered between 1909 and 1950 and suspect the 857327 might have been pre-1949 – no disrespect intended to the master!  Besides, he’s right to note that his Dental Briar could have been made at any time between its registration and 1967 when the family lost all control of the brand.  His pipe is also stamped MADE IN LONDON ENGLAND on the right shank.

I am not so fortunate.  The bulldog has no Registered Design Number or even the usual right shank nomenclature (London Made, British Made, Made in London England, Made in England).  This nomenclature is not faded, it’s just not there.  Only the left shank identifies it as a HARDCASTLE/SPECIAL SELECTION/7.  All I know for sure is that I tried it out after a basic sanitization, and it was quite good.

For a great synopsis of Hardcastle’s history, see Steve’s blog below.  Details are in the Pipedia link.

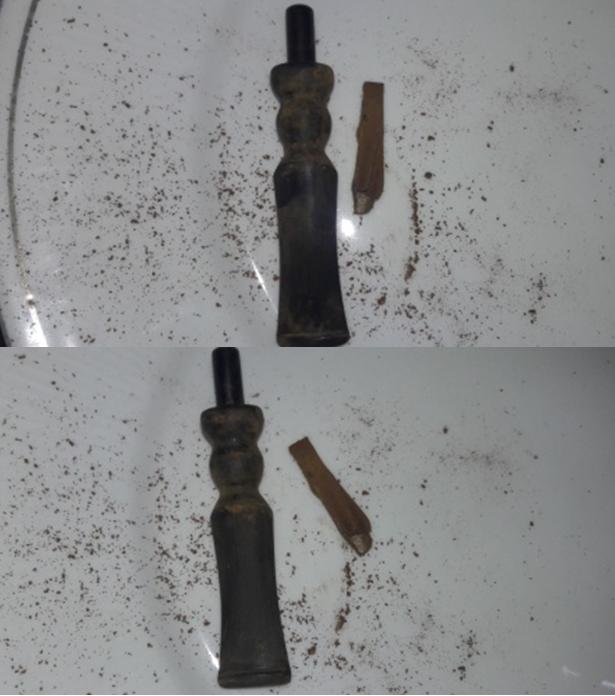
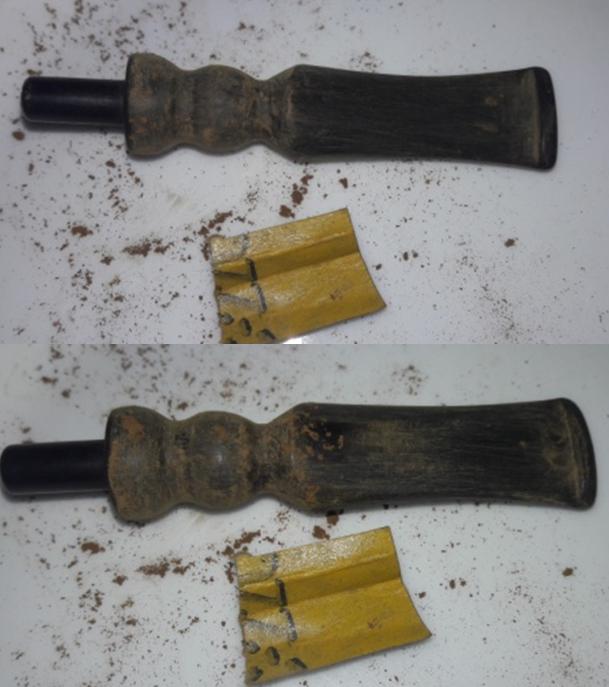
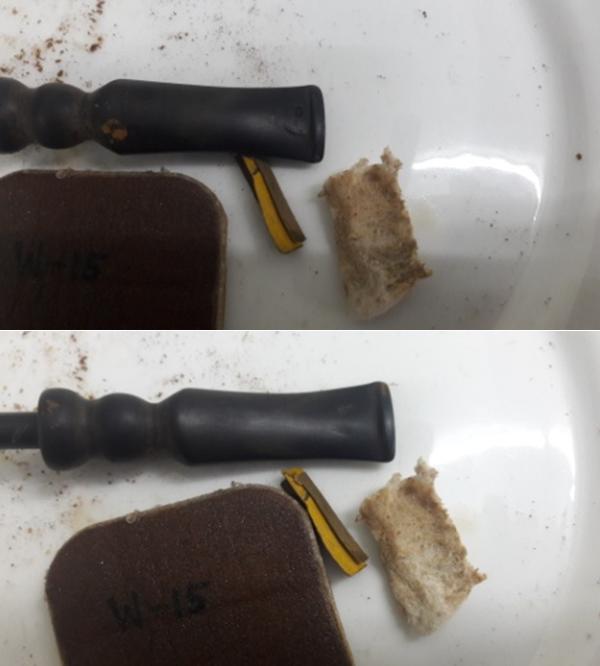
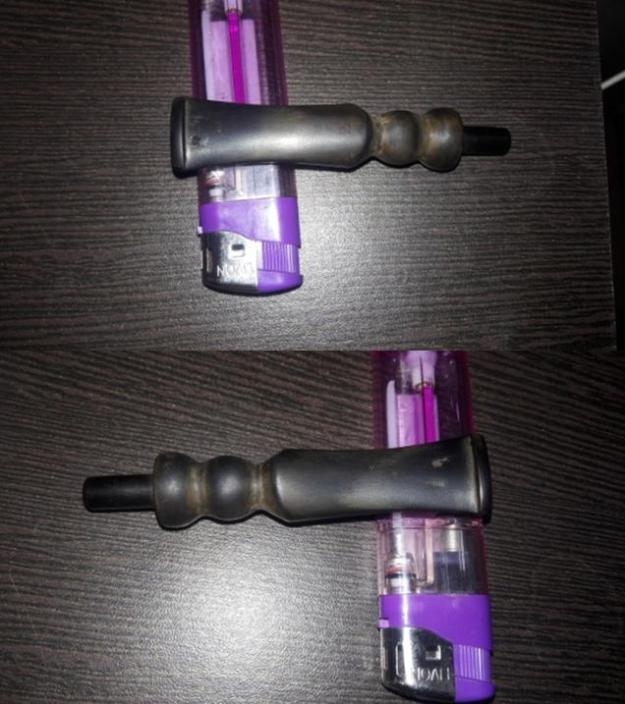
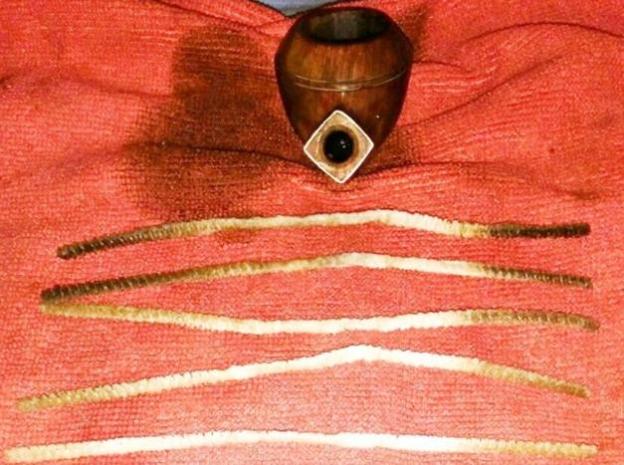
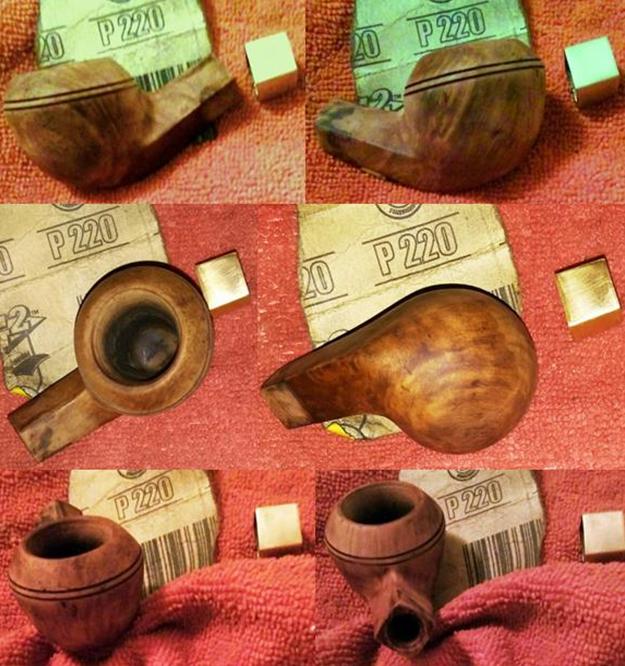
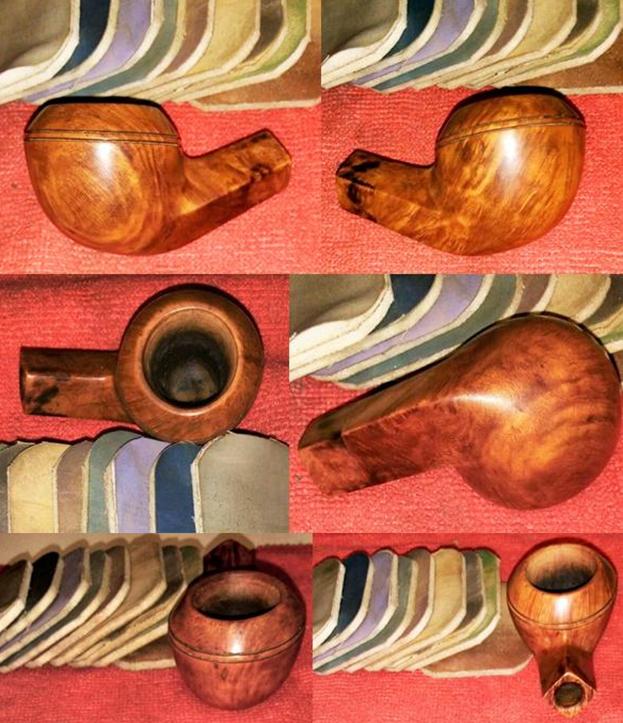
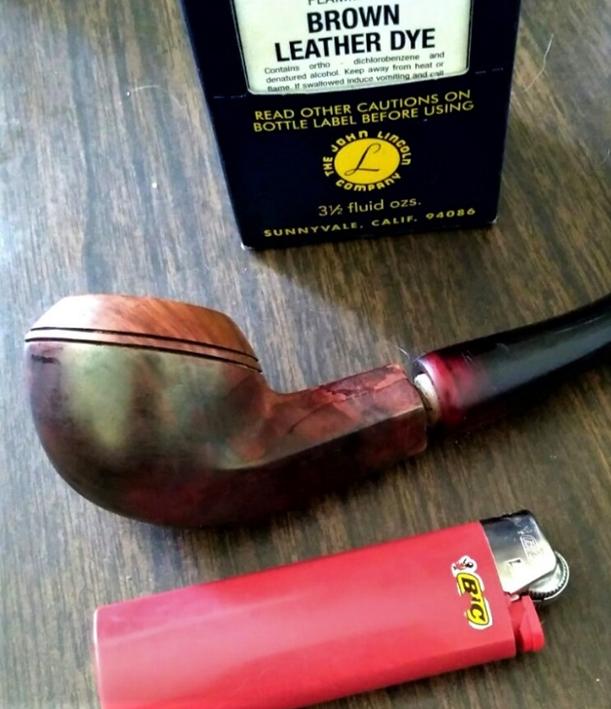
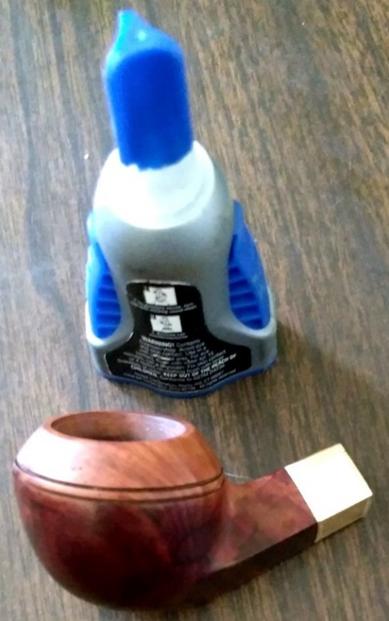
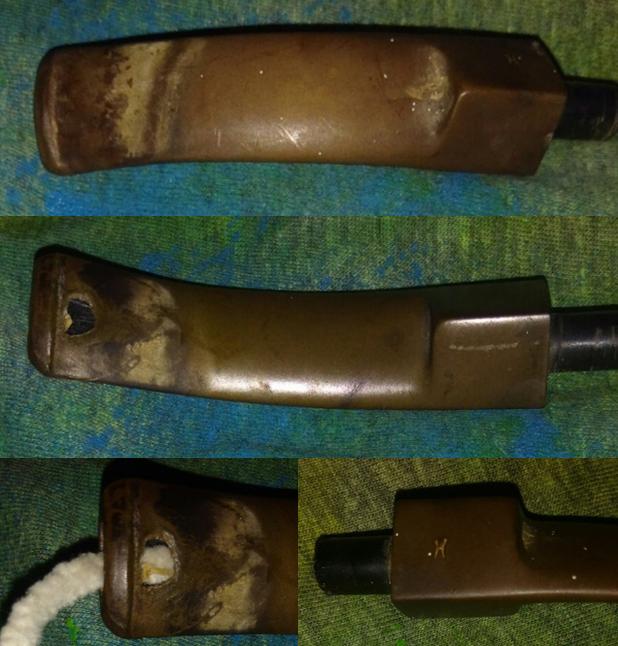
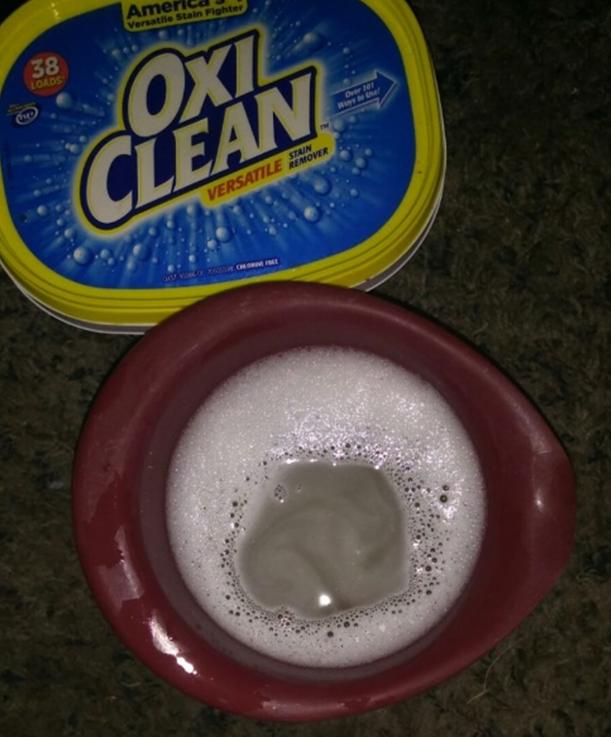
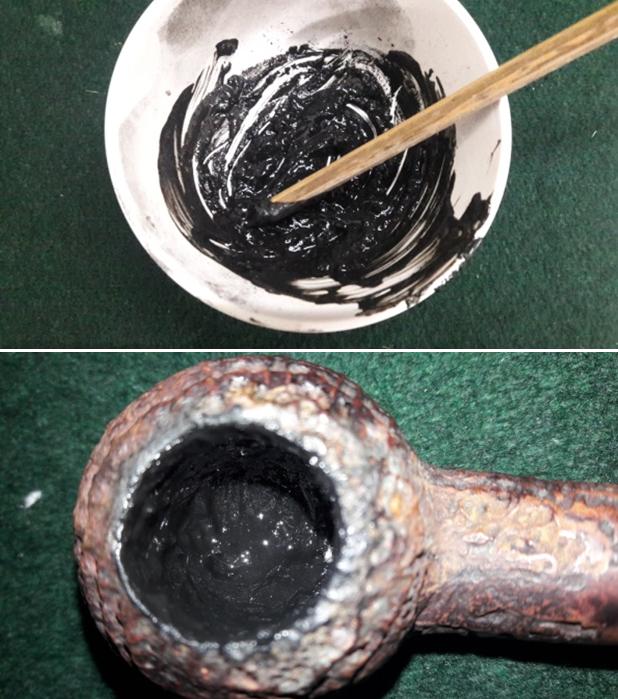
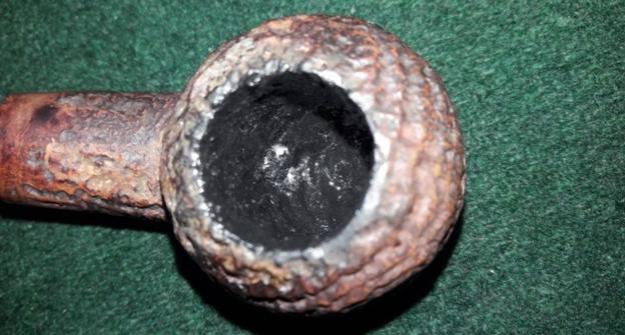
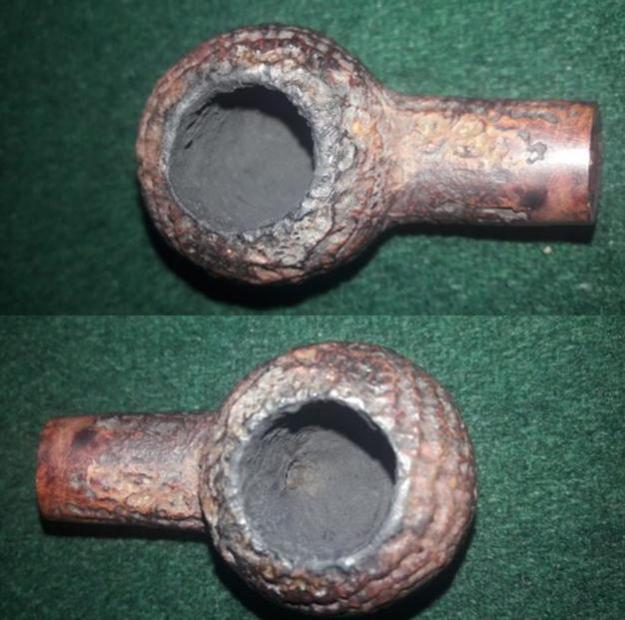
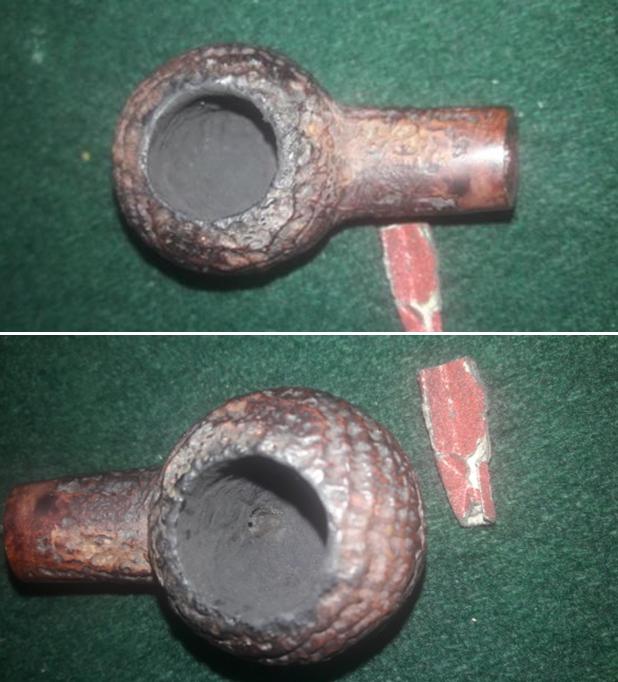
RESTORATION I would have removed the stinger anyway as useless, but it was also bent and more fragile than usual, and so I experienced even less than usual emotional distress heating the pointless thing with a Bic and twisting it out.Considering the appreciable grime, I started by swabbing the stummel first with purified water and then alcohol.  In hindsight, I should have skipped the water method that had little effect.  The blemishes stand out even more after the cleansing with alcohol.  The one shot below showing the minor rim damage, an unevenness being the only bad part, and decent chamber condition was taken with a flash and therefore looks pre-water and -alcohol cleaning.  I’m still having to do the best I can with a cell phone cam.  I used 150-, 220-, 320- and 400-grit papers to start shaping up those areas.After that I re-addressed the chamber and unevenness of the rim with a Senior Reamer and the blade from my Peterson’s Pipe Tool and made them a little better with 150-400-grit paper.I gave the shank a preliminary alcohol cleaning and retorted the pipe with a meerschaum stem that wasn’t crippled by a hole but somehow forgot to snap a pic of the latter.With 220- and 320-grit papers I was able to remove the dings and scratches as well as giving the chamber a semi-final what-fer.For some reason, the band popped off, and I still wasn’t happy with the color.  I decided to go at it once more with the 220.A full micro mesh buff made the old pipe begin to shine as it should.By now I should be somewhat known for fancying two-tones with bulldogs and Rhodesians where the top of the bowl above the two lines curves upward to the rim.  For the most part, at least, I’ve left this area lighter than the rest of the stummel, although on occasion I’ve dabbled in darkening it with, say, maroon stain.  This one screamed at me to lighten the top of the bowl as usual under these circumstances.  And so I stained the stummel below the lines with Lincoln brown leather dye, flamed it and after letting it cool took off the char and a little of the darker color with 8000 and 12000 micro mesh pads.  By the way, I was alarmed when I got a look at the first pic below and noticed what to every appearance seems to be a wicked and poorly repaired crack in the shank.  I assure everyone it’s a trick of the light or whatever, as the other pics prove. Gluing the band on again was a formality after buffing it on the electric wheel.Okeydokey, then.  There could be no more avoiding the chomped and degraded stem with its hole on the underside and other shortcomings. I had already given it an OxiClean soak, and it wanted repair.  Just to get an idea of what the stem would look like when finished, I gave it a quickie micro mesh rub.   I cut a little strip of card stock from the business leftover of someone with whom I didn’t care to do any more business and lubed it and a very small tweezers with a dab of petroleum jelly.  I inserted both into the mouth opening of the stem, with the cleaner behind the paper, until they were firmly in place inside the airway to a point just below the hole.  Finding my trusty old vulcanite stem that was long ago destroyed by another stem abuser, I shaved some fine flakes onto a small piece of paper with one side of a narrow, relatively smooth triangle rasp.

This was where I had to be prepared to act fast: I moved the flakes into a pile and added a few drops of black Super Glue, stirred the two into a gritty paste and scooped up a gob with the part of a three-piece pipe tool made for clearing tobacco from the chamber.  As fast as possible without making a mess, I slapped the goop liberally over the hole and set it aside to dry, removing the card stock and tweezers when the vulcanite mixture was dry on the inside but still a little wet on the outside.It’s a good thing I have an excellent recall of what I did in a particular restoration because the photographs I took of this project were more jumbled and duplicated than those from any other pipe on which I’ve worked.  I had so many of the same thing from alternate angles and differing clarity, for example, that I had to delete quite a few to make sense of it.  I concluded this was because of two things, trying different ways to get a good shot with my poor cell phone camera at the time and lack of sleep during the process.  It’s clear, excuse the pun, that some of the “best” are quite indistinct.  The following photos, as a result, are incomplete, but I always have the words to describe what I did.

For example, after the previous step, I started sanding with 150-grit paper and then smoothed it up with 220-, 320- and 400.  A common, less serious groove resulted, and I added more of the black Super Glue/vulcanite mix and let it dry again.  The mixture settled in well.That’s when I got serious with the sanding, using 150-, 220-, 320- and 400-grit paper and super fine “0000” steel wool.There’s still a small lump visible under the lip that I handled with as little abrasion as possible before the stem was done.  And that was it – for the bottom side.  I still had the top to do.  In every way other than the hole in the bottom, the top was worse, although it only needed a dab of black Super Glue/vulcanite solution to fill a small divot following the same initial OxiClean soak and a more vigorous sanding before filling a small divot with.  Considering again the top of the stem when I received it, close up, notice the wear below the square shank fitting before the rest of the work. The stem never quite fit the shank, which had been given a replacement band somewhere along the way, not to mention the band was damaged. After beginning to re-sand the bottom of the stem, the original hole caved in again.  Accepting defeat, I chose a new bulldog stem I had that needed serious filing at first and then sanding of the 9mm tenon to fit the shank. I bent the stem.  That required heating the stem – with a pipe cleaner inserted through the airhole – at 210° F. for about 15 minutes and bending the nice and pliant material over a complex tool.

Remembering the cell phone photos were atrocious and I had to edit them using every halfway adequate means of adjustment available with my so-called photo editor to show any similarity whatsoever to the actual result, here one last time is the stummel as it in fact looked when it was one step from completion before electric buffing.And these are the final photos of the pipe.  The most offensive discrepancies to me are the obscurity of the two-tone and the lack of shine the pipe had.  The bad twist on the stem in the fifth shot of the rear is all on me!

CONCLUSION
This blog being the occasion of my official announcement in this forum of my new webstore on  my own site, https://www.roadrunnerpipes2k.com/, is unfortunate in that the depictive presentation almost convinced me to give up any idea of writing the blog.  The poor quality and lack of photographs, as well as other stated reasons, were overwhelmingly opposed to the idea of even trying.  Then I thought of the work I put into the briar and the stem alone. In the end, I know how smooth, golden brown and at least hardly blemished the Hardcastle bulldog looked when I was done with it.  Whether anyone else does is of no importance to me.

SOURCES
https://rebornpipes.com/2014/06/27/a-unique-piece-of-pipe-history-almost-lost-a-hardcastles-dental-briar-reg-design-no-857327/
http://www.nationalarchives.gov.uk/help-with-your-research/research-guides/registered-designs-1839-1991/
https://pipedia.org/wiki/Hardcastle

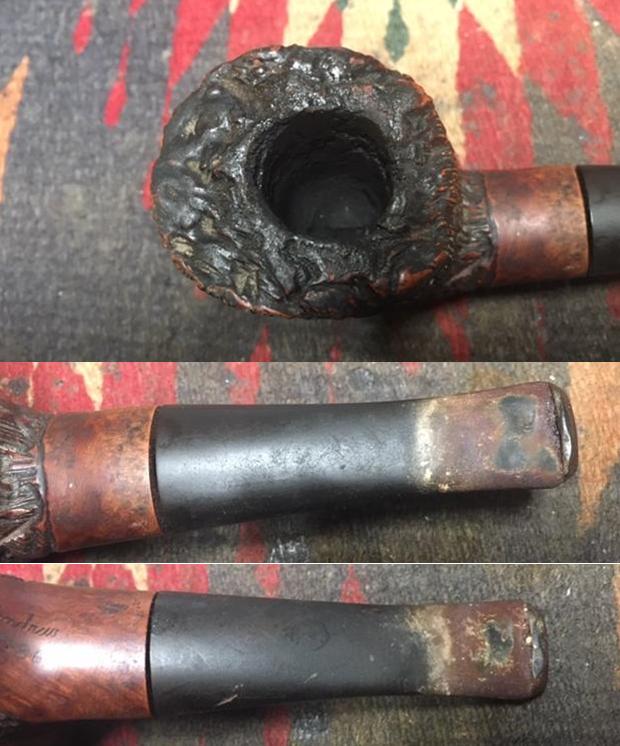
Giving New Life to a Duncan Mini Bent Foreign Made Pocket Pipe


Blog by Steve Laug

Not too long ago I received an email from through the rebornpipes site. I am actually getting quite a few emails each week which I find a pleasure to read and answer. They range from questions on restoration to those regarding estate pipes. This one was interesting to me in that it was about a two particular brands of pipes that I have worked on and enjoyed in the past. I have included the initial email and subsequent ones below to give you the context of the ongoing interaction on this pipe. I thoroughly enjoyed the interchange with Mrs. C. Howard and look forward to being able to send her photos of the restored pipe.

Hello. Clearing out our shed today my husband came across a couple of old pipes, one of which is a Keyser Hygienic, which I have now read about, on your website, how you clean and refurbish them. For my husband and his crewmate in the London Ambulance Service in the 70’s, smoking a pipe was just another one of their fads (with motorbikes at that time, they rather fancied themselves, too, as facsimiles of Starsky & Hutch!) so although tooth-marked, not badly for the amount of time they were in use, I would think. My husband’s reaction to ‘turfing out’ unwanted things is to take it all to the dump, whereas mine is to locate useful ‘homes’ for items that are still serviceable and would serve a useful purpose. I see that you are on the look-out for Keyser pipes and wondered if you would like this one. It would only go to charity anyway and I would rather donate it to you – it would be no difficulty for me to post, if you wanted it. I also have a Duncan Mini Dent pipe; if you would like this also I could send it at the same time. I have washed both of them but, obviously, your attention to that aspect would be done best by you. I look forward to hearing from you. – Yours sincerely – Mrs. C. Howard

I immediately wrote her back and told her I would be delighted to receive the pipes and would gladly pay her for the postage from England to Canada. She replied:

Hello Mr Laug,

I was very pleased to hear your response and will post both pipes to you as soon as I’ve wrapped them.  There will be no need for a refund of postage; I’ll be happy just to know the pipes are being re-located from my shed, ignored and unloved, to a good home where they will get both!

My husband and I loved Vancouver when we visited, particularly enjoying the trip over to Vancouver Island to see Mrs. Butchart’s Gardens and where my aunt and uncle had moved to years ago.  We especially, too, liked the laid-back nature of the Canadian people.

However, I shall get these pipes posted asap and hope you enjoy the final result of your labours in refurbishing them. With best wishes – Mrs. C. Howard

Once again I replied thanking her for her kindness in gifting and sending the pipes to me. I looked forward to receiving them from her and working on them to restore them to their former glory.

Hello Mr Laug,

Just to let you know that you should be receiving the pipes in the not-too distant, since I posted them off yesterday, the 23rd. Optimistically, it won’t be too long before they arrive at your door.  I hope I don’t sound like an Amazon rep, although I rather fall down on being able to provide you with parcel tracking details, et al! – Kind regards. Mrs. C. Howard

To me this kind of information is priceless and gives me the background on the pipes when I work on them. I like to picture in my mind the pipe man who smoked them. In this case the information made me wonder how many more pipes are sitting in garden sheds around the world, having been discarded when the pipesmoker decided to lay them down. Thank you Mrs. C. Howard for the foresight you had in rescuing these pipes.

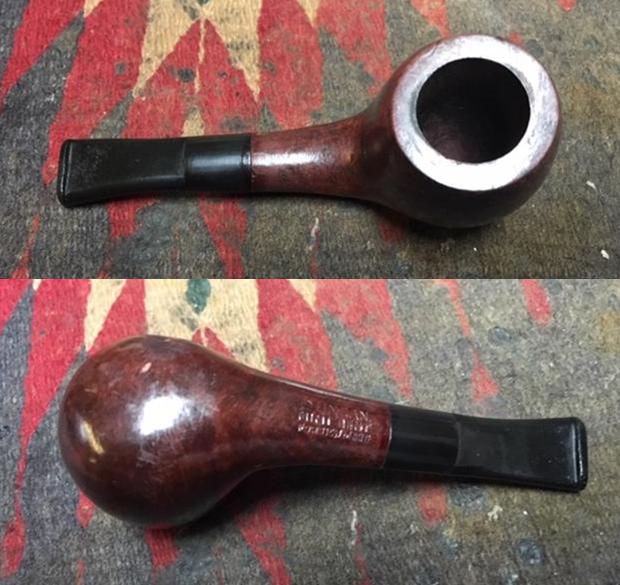
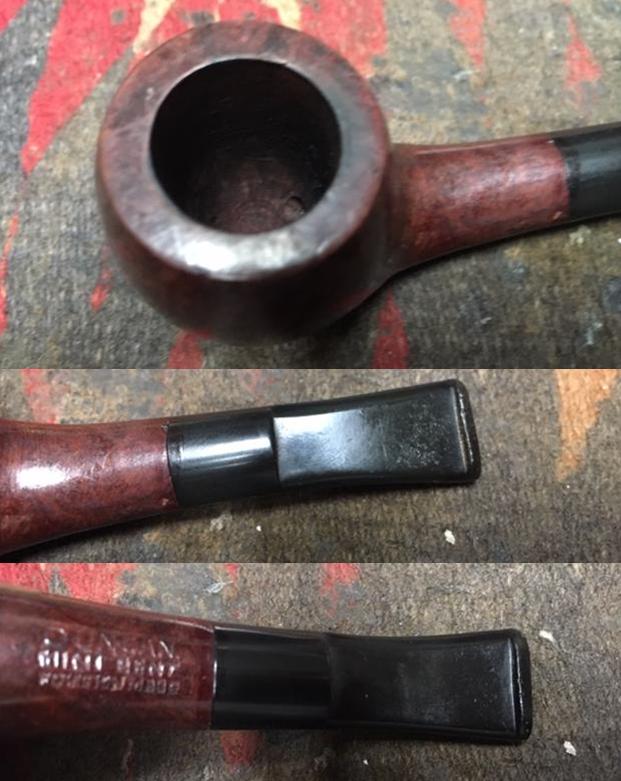
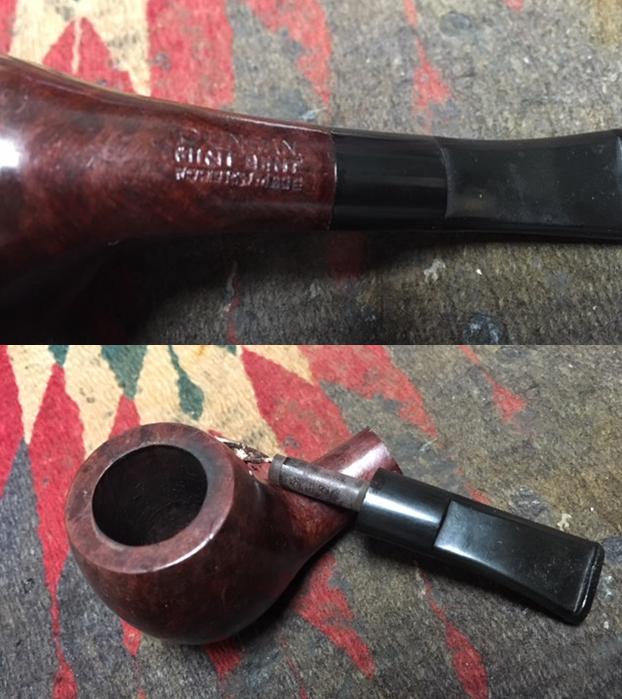
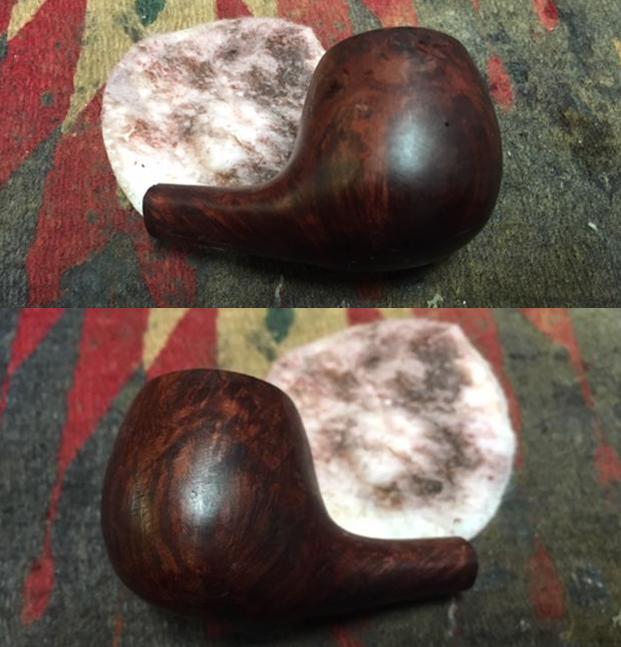
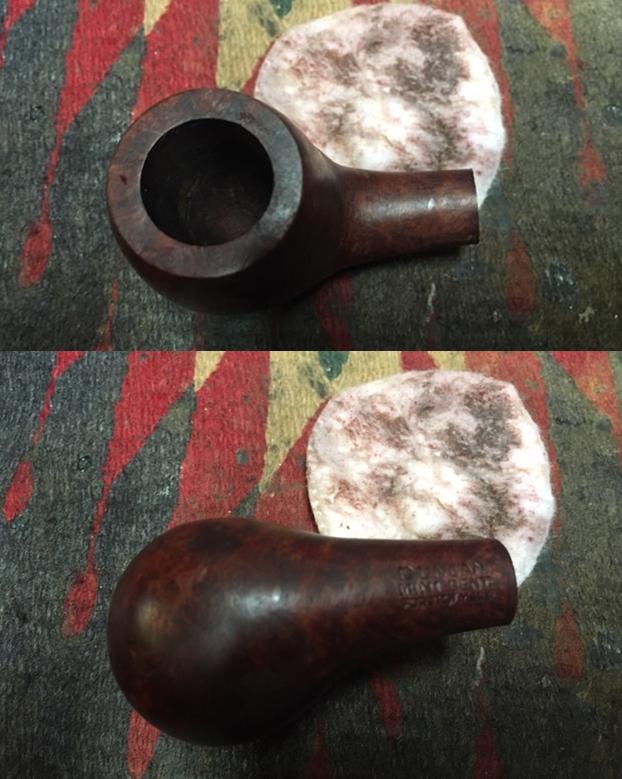
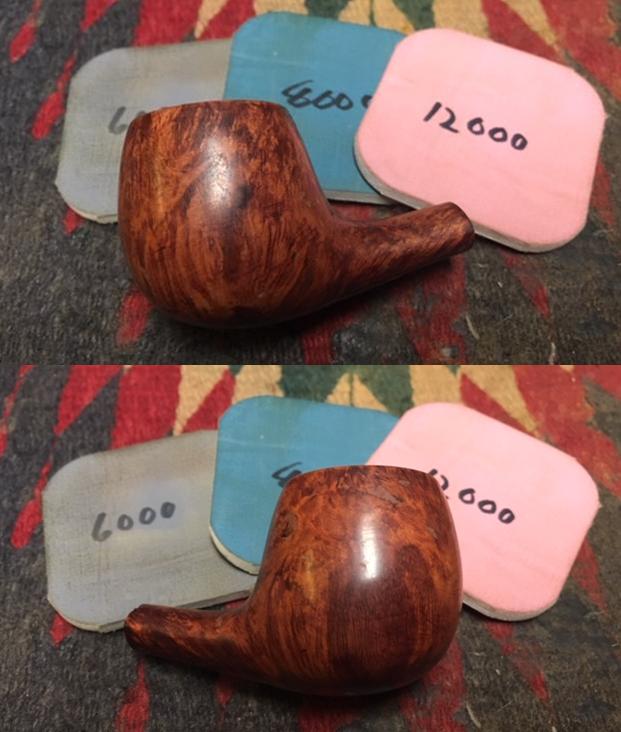
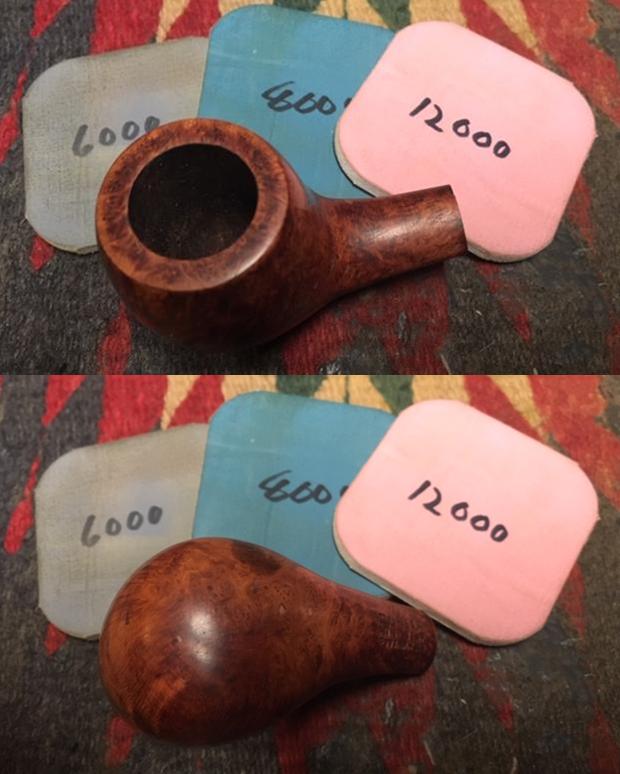
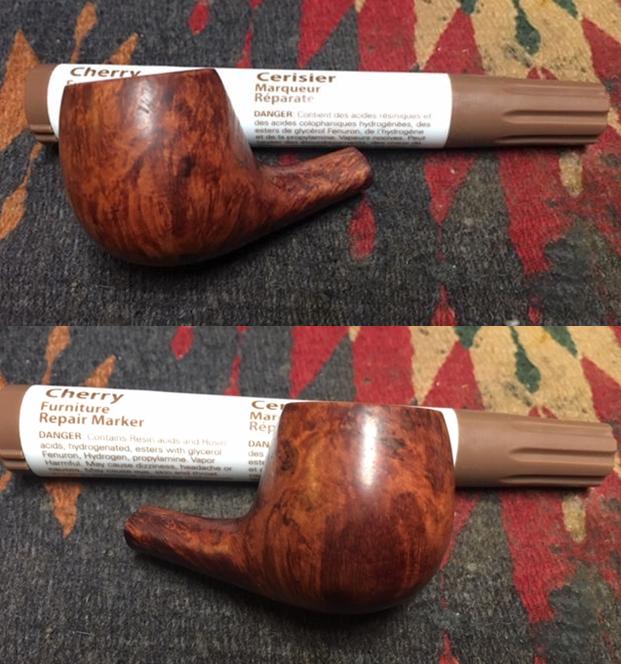
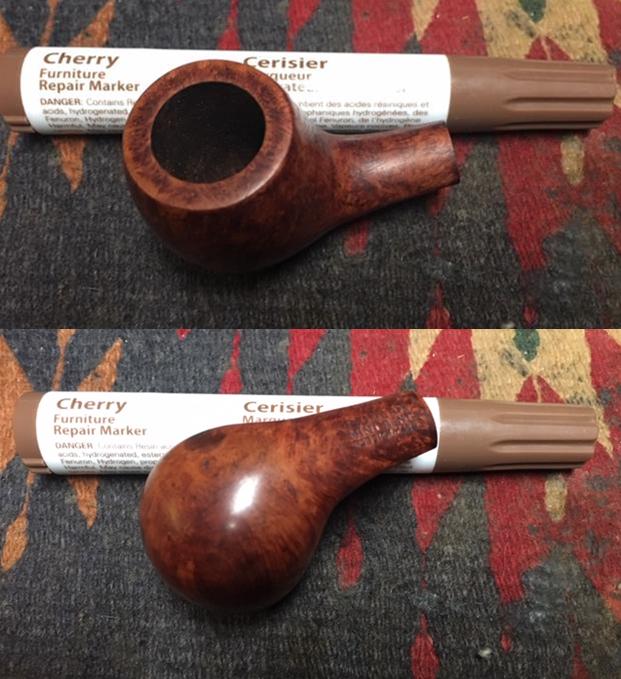
When the box arrived in Vancouver I wrote Mrs. C. Howard and let her know they arrived safely. I opened her parcel and found the contents were well wrapped and had come undamaged. The second pipe that came in the box is one that I have on the table now. It is stamped on the underside of the shank. It reads Duncan over Mini Bent over Foreign Made. It is a small pocket sized pipe that was heavily coated with varnish – even on the saddle portion of the stem. It looked as if it had been dipped. It has an interesting shape that feels great in the hand. The photos below show what it looked like when it arrived. The pipe had the same garden shed aroma as the Keyser that came with it. It was kind of musty smelling. It had definitely been smoked but not much. There were some dings on the rim top but other than the varnish coat wrinkling it looked good. The bowl did not have a cake and was raw briar half way down the bowl. The stem had a lot of tooth chatter and some light tooth marks on both sides near the button. The button itself also had a few tooth marks. You can see the varnish run on the saddle portion of the stem in the first photo of the stem below. I took some close up photos of the rim and stem to show the condition.The next photo shows the stamping. It appears blurry but sadly the stamping itself is blurred from repeated stamping. It reads Duncan over Mini Bent on the first two lines. The last line is the most blurry but it appears to read Foreign Made as best as I can make out. I removed the stem and was surprised at the length of the stepped down tenon – ¾ of an inch. There was a spiraled stinger in the airway that was dirty and pushed deep in the airway. I decided to address the heavy coat of varnish on the bowl first. I wiped it down with acetone on cotton pads and was able to remove all of it from the surface of the briar. I removed the stinger from the tenon. It was merely stuck in the airway so it was an easy removal. I think that half of the insert end is missing so it was not tight. The airway in the tenon was drilled off-centre toward the right side leaving the wall thin.I cleaned out the mortise and the airways in the shank and the stem with pipe cleaners, cotton swabs and alcohol. While a bit of tars and oil came out most of the colour on the swabs came from the same stain I had removed from the exterior with the acetone. It is a reddish coloured stain that revealed that the entire bowl had been dipped in stain.I sanded the bowl with micromesh sanding pads to remove the rest of the finish. I wet sanded it with 1500-2400 grit sanding pads and dry sanded it with 3200-12000 grit pads. I wiped the bowl down with a damp cotton pad after micromesh grit. There are a few dark spots on the briar – right side mid bowl and on the underside on the right as well. I am not sure what they are but they are not removed by sanding. As I polished it the fills in the bowl became very visible. The briar had taken on a shine. The fills were very visible so I used a Cherry stain pen to touch up the fills around the bowl sides, bottom and shank. A light stroke across the fill with the pen hid the fill and I set the bowl aside to let the stain cure. The fills blended in but the dark spots remained on the left and underside. I worked some Before & After Restoration Balm into the briar of the bowl with my fingertips to clean, enliven and protect the wood. I let the balm sit for about 20 minutes and buffed it off with a soft cotton cloth. I took photos of the bowl at this point in the process. The photos show the condition of the bowl at this point in the process. The bowl was looking quite good at this point with some beautiful grain showing through. I set the bowl aside and turned my attention to the stem. I sanded out the tooth chatter and marks with 220 grit sandpaper. I polished the stem with micromesh sanding pads – wet sanding it with 1500-2400 grit pads and dry sanding with 3200-12000 grit pads. I wiped the stem down with Obsidian Oil after each pad. I polished the bowl with Before & After Pipe Polish – Fine and Extra Fine. I gave it a final coat of Obsidian Oil and set it aside to dry. I polished stem and the bowl with Blue Diamond polish on the buffing wheel. I gave the bowl and the stem multiple coats of carnauba wax. I buffed the pipe with a clean buffing pad to raise the shine. I hand buffed it with a microfiber cloth to deepen the shine. The pipe polished up pretty nicely. The grain really came alive with the buffing and works well with the polished black vulcanite stem. Together the pipe looks much better than when I began and has a rich look. The finished pipe is shown in the photos below. The shape, finish and flow of the pipe and stem are very well done. The dimensions are Length: 4 inches, Height: 1 1/2 inches, Outside diameter of the bowl: 1 1/4 inches, Chamber diameter: 3/4 of an inch. I will be putting this little pocket pipe/nosewarmer on the rebornpipes store shortly if you are interested in adding it to your collection. Thanks for walking through the restoration with me as I worked over this unique little pipe.
Restoring a Keyser Hygienic Patent from a Garden Shed in England


Blog by Steve Laug

Not too long ago I received an email from through the rebornpipes site. I am actually getting quite a few emails each week which I find a pleasure to read and answer. They range from questions on restoration to those regarding estate pipes. This one was interesting to me in that it was about a brand of pipes that I have worked on and enjoyed in the past. I have included the initial email and subsequent ones below to give you the context of the ongoing interaction on this pipe. I thoroughly enjoyed the interchange with Mrs. C. Howard and look forward to being able to send her photos of the restored pipe.

Hello. Clearing out our shed today my husband came across a couple of old pipes, one of which is a Keyser Hygienic, which I have now read about, on your website, how you clean and refurbish them. For my husband and his crewmate in the London Ambulance Service in the 70’s, smoking a pipe was just another one of their fads (with motorbikes at that time, they rather fancied themselves, too, as facsimiles of Starsky & Hutch!) so although tooth-marked, not badly for the amount of time they were in use, I would think. My husband’s reaction to ‘turfing out’ unwanted things is to take it all to the dump, whereas mine is to locate useful ‘homes’ for items that are still serviceable and would serve a useful purpose. I see that you are on the look-out for Keyser pipes and wondered if you would like this one. It would only go to charity anyway and I would rather donate it to you – it would be no difficulty for me to post, if you wanted it. I also have a Duncan Mini Dent pipe; if you would like this also I could send it at the same time. I have washed both of them but, obviously, your attention to that aspect would be done best by you. I look forward to hearing from you. – Yours sincerely – Mrs. C. Howard

I immediately wrote her back and told her I would be delighted to receive the pipes and would gladly pay her for the postage from England to Canada. She replied:

Hello Mr Laug,

I was very pleased to hear your response and will post both pipes to you as soon as I’ve wrapped them.  There will be no need for a refund of postage; I’ll be happy just to know the pipes are being re-located from my shed, ignored and unloved, to a good home where they will get both!

My husband and I loved Vancouver when we visited, particularly enjoying the trip over to Vancouver Island to see Mrs. Butchart’s Gardens and where my aunt and uncle had moved to years ago.  We especially, too, liked the laid-back nature of the Canadian people.

However, I shall get these pipes posted asap and hope you enjoy the final result of your labours in refurbishing them. With best wishes – Mrs. C. Howard

Once again I replied thanking her for her kindness in gifting and sending the pipes to me. I looked forward to receiving them from her and working on them to restore them to their former glory.

Hello Mr Laug,

Just to let you know that you should be receiving the pipes in the not-too distant, since I posted them off yesterday, the 23rd. Optimistically, it won’t be too long before they arrive at your door.  I hope I don’t sound like an Amazon rep, although I rather fall down on being able to provide you with parcel tracking details, et al! – Kind regards. Mrs. C. Howard

To me this kind of information is priceless and gives me the background on the pipes when I work on them. I like to picture in my mind the pipe man who smoked them. In this case the information made me wonder how many more pipes are sitting in garden sheds around the world, having been discarded when the pipesmoker decided to lay them down. Thank you Mrs. C. Howard for the foresight you had in rescuing these pipes.

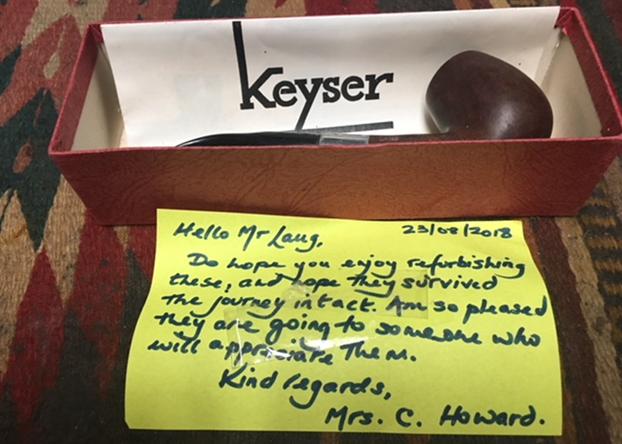
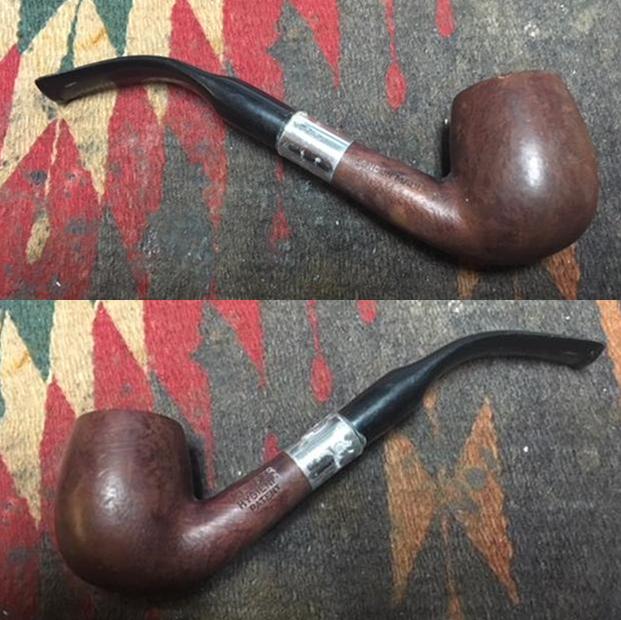
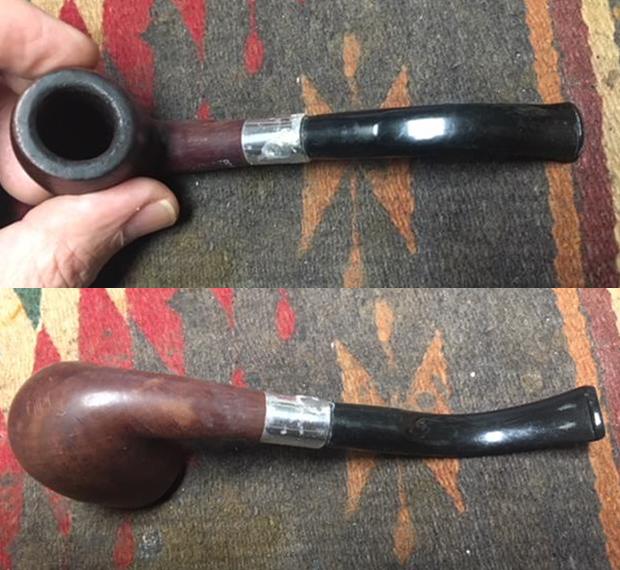
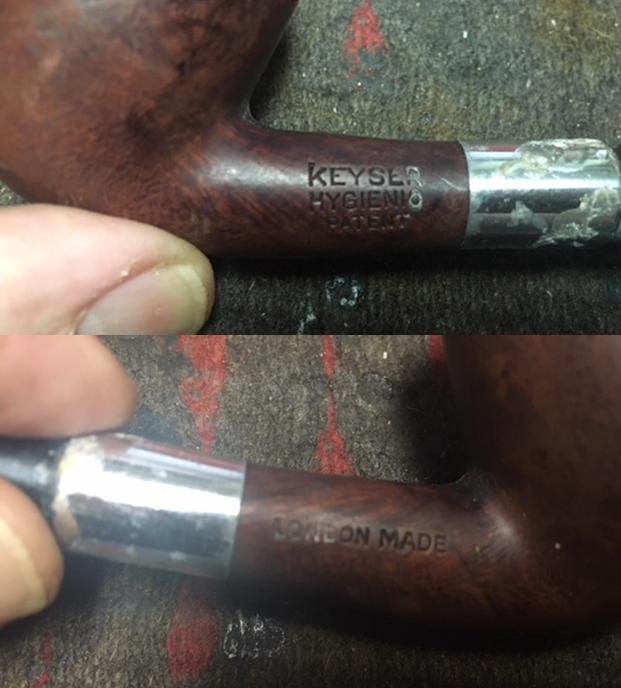
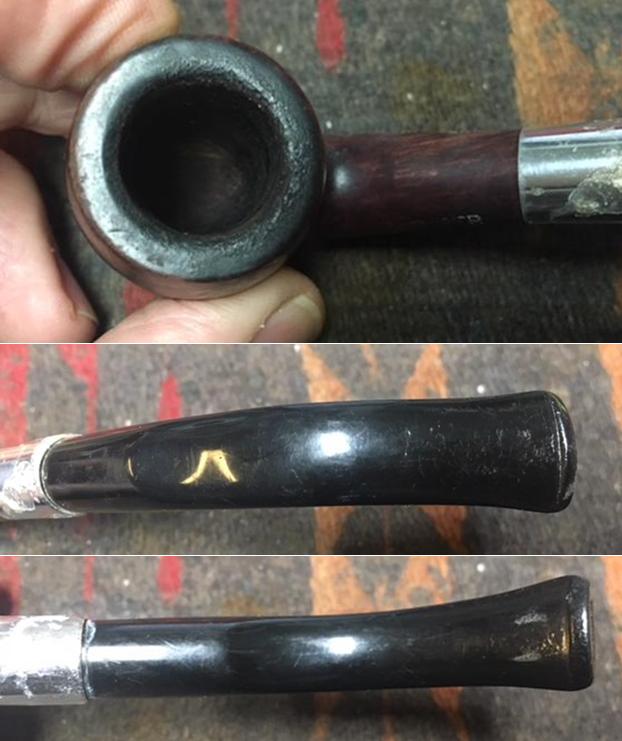
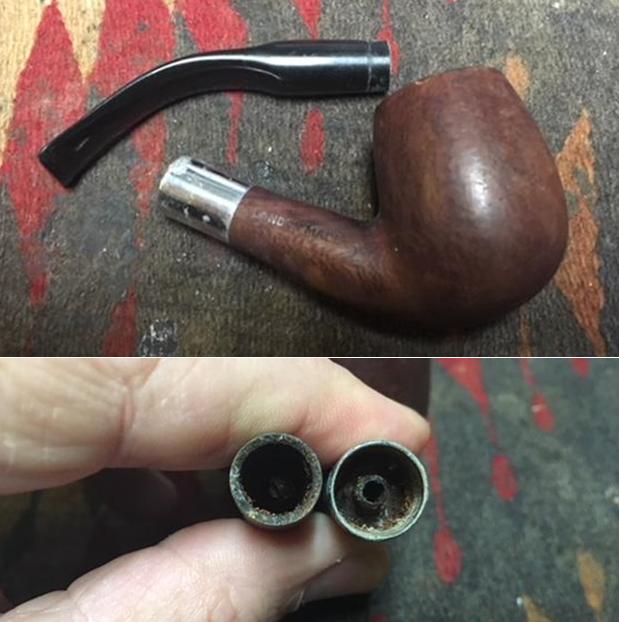
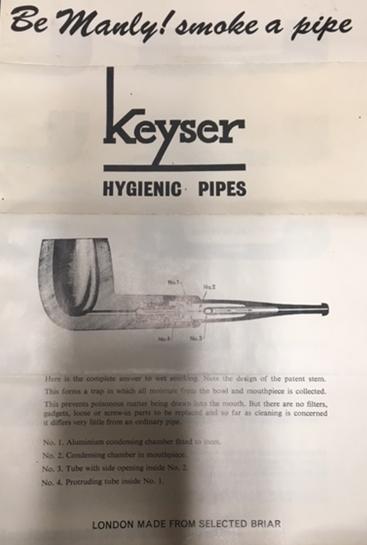
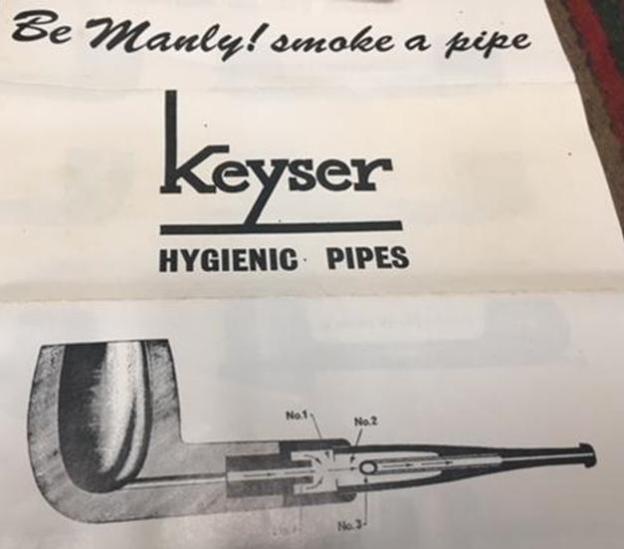
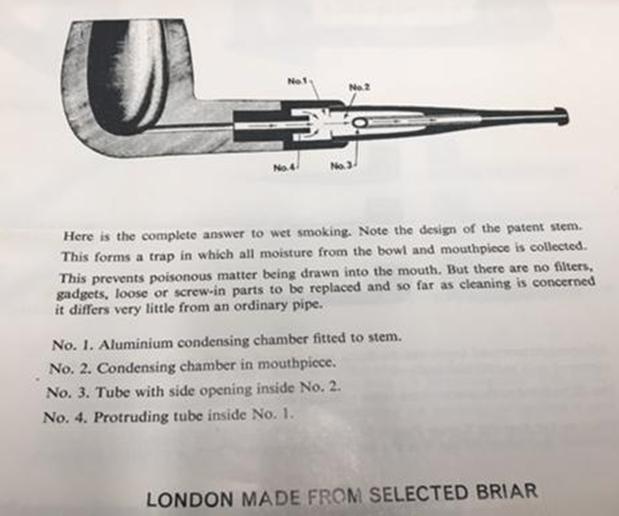
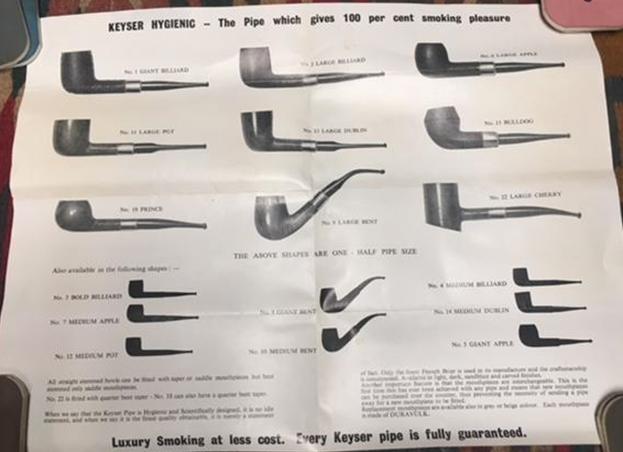
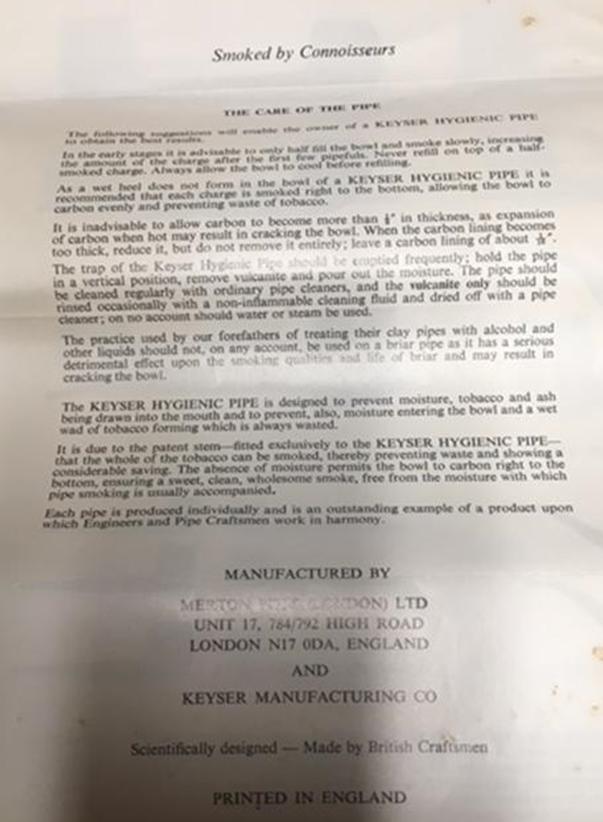
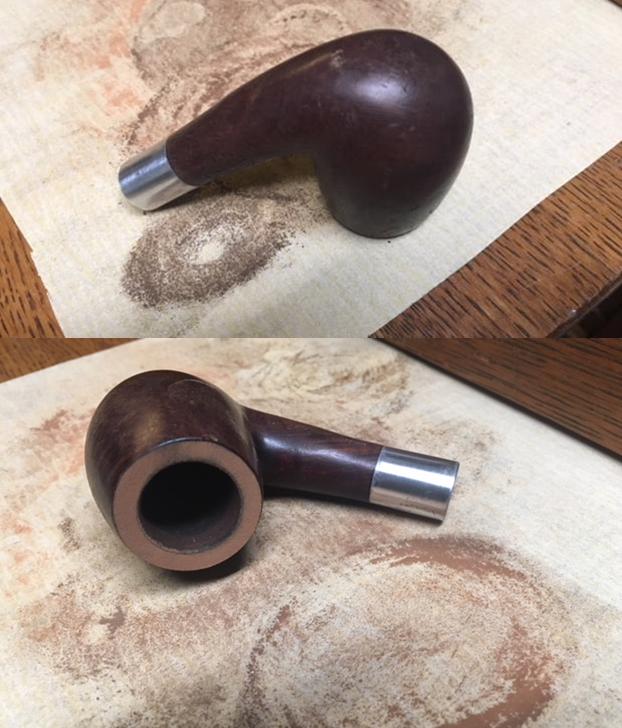
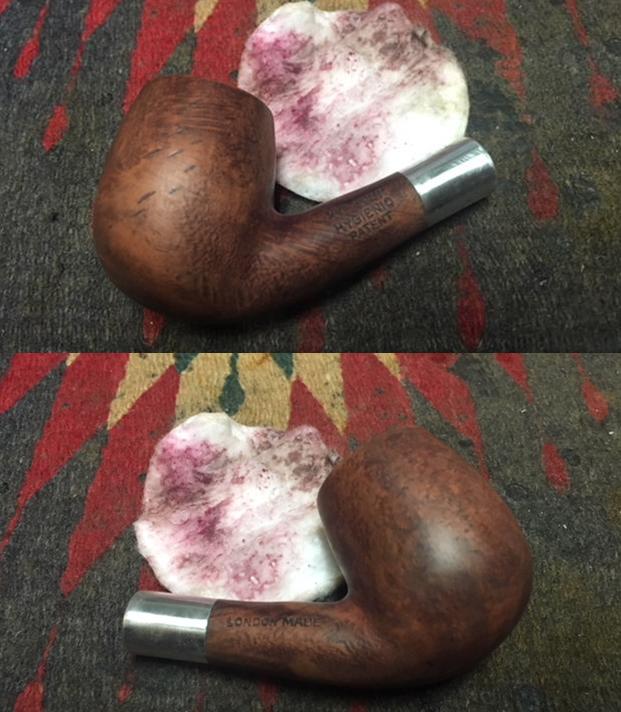
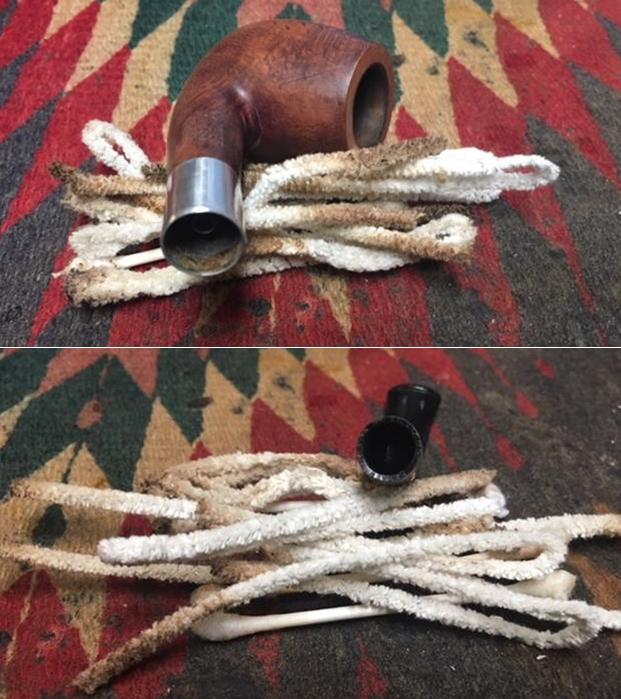
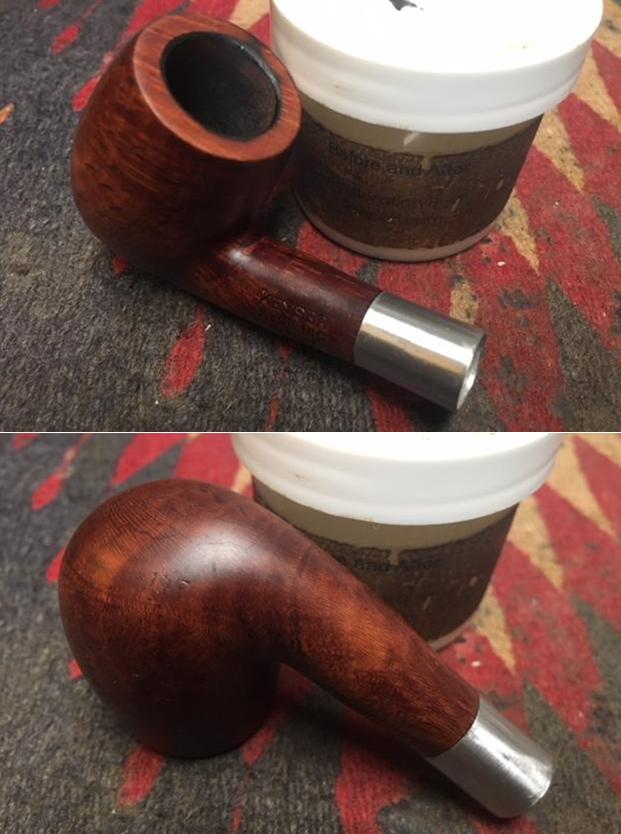
When the box arrived in Vancouver I wrote Mrs. C. Howard and let her know they arrived safely. I opened her parcel and found the contents were well wrapped and had come undamaged. The Keyser Hygienic pipe that I am working on came in its original box shown below. At this point I did not have any idea of either the shape or the condition of the pipe but I had never seen a boxed version so I was excited to see what was inside.I opened the box to find a bent billiard, the original Keyser Brochure and a nice note from Mrs. C. Howard. I include her note in the photo below.I took the pipe out of the box to have a look at it. It was worn but in decent condition. The finish was faded and the grain barely visible but underneath it looked to be interesting. The rim top was coated with a thick coat of lava and the bowl had a cake. The aluminum shank end was coated with what looked like silver polish and it was on the briar as well. The stem was clean but had tooth chatter and some deeper tooth marks on the underside near the button. I took photos of it before I started my work on the pipe. I took photos of the stamping on both sides of the shank. It was in great condition and very readable. You can also see the polish on the aluminum and in the letters of the stamp. The left side reads Keyser Hygienic over Patent. The right side reads London Made.I took close up photos of the rim/bowl and the stem to show the condition of the pipe when it arrived.The stem was tightly inserted in the stem and the polish and grime held it firmly in place. I carefully twisted the stem while holding tightly onto the aluminum ferrule. It came out with a bit of effort. I took a photo of the pipe at this point and also of the shank and stem end to show the apparatus inside and the condition of the interior of the pipe.I set the pipe aside and took photos of the brochure that was packed with the pipe in the box. The front page of the piece was interesting in both the advertising speak and the cutaway diagram of the pipe. The first photo shows the overall look of the brochure cover while the two that follow that show the details. I opened the brochure and found a great shape chart of the options available for the smoker who purchased a Keyser Hygienic pipe. I have not seen one of these before. I will try to scan the entire brochure soon and post it on the blog separately.On the backside of the brochure were instructions on the care of the pipe.It is quintessential British and reads:

Smoked by Connoisseurs.

The Care of the pipe.

The following suggestions will enable the owner of a KEYSER HYGIENIC PIPE to obtain the best results.

In the early stages it is advisable to only half fill the bowl and smoke slowly, increasing the amount of the charge after the first few pipefuls. Never refill on top of a half smoked charge. Always allow the bowl to cool before refilling.

As a wet heel does not form in the bowl of a KEYSER HYGIENIC PIPE it is recommended that each charge is smoked right to the bottom, allowing the bowl to carbon evenly and preventing waste of tobacco.

It is inadvisable to allow carbon to become more that 1/8 inch in thickness, as expansion of carbon when hot may result in cracking the bowl. When the carbon lining becomes too thick, reduce it, but do not remove it entirely; leave a carbon lining of about 1/16 inch.

The trap of the Keyser Hygienic Pipe should be emptied frequently; hold the pipe in a vertical position, remove vulcanite and pour out the moisture. The pipe should be cleaned regularly with ordinary pipe cleaners, and the vulcanite only should be rinsed occasionally with a non-flammable cleaning fluid and dried off with a pipe cleaner; on no account should water or steam be used.

The practice used by our forefathers of treating their clay pipes with alcohol and other liquids  should not, on any account, be used on a briar pipe as it has a serious detrimental effect upon the smoking qualities and life of briar and may result in cracking the bowl.

The KEYSER HYGIENIC PIPE is designed to prevent moisture, tobacco and ash being drawn into the mouth and to prevent, also, moisture entering the bowl and a wet wad of tobacco forming which is always wasted.

It is due to the patent stem – fitted exclusively to the KEYSER HYGIENIC PIPE – that the whole of the tobacco can be smoked, thereby preventing waste and showing a considerable saving. The absence of moisture permits the bowl to carbon right to the bottom, ensuring a sweet, clean, wholesome smoke, free from the moisture with which pipe smoking is usually accompanied.

Each pipe is produced individually and is an outstanding example of a product upon which Engineers and Pipe Craftsman work in harmony.

MANUFACTURED BY
MERTON PIPES (LONDON) LTD
UNIT 17, 784/792 HIGH ROAD
LONDON N17 0DA, ENGLAND
AND KEYSER MANUFACTURING CO

Scientifically designed – Made by British Craftsmen Printed in England

Over the past years I have picked up quite a few Keyser Hygienic pipes. As you can see from the above information they are made in England. I had read that the pipes were sold exclusively in South Africa. They were designed to be virtually indestructible for farmer pipe smokers in SA. All versions of the pipe have the same stem – one size fits all. I had thought that they were made of nylon and rubber or some combination that is a proprietary form of vulcanite developed by Keyser Manufacturing Co. They are tough and take tooth wear very well but are hard to buff as the heat from a buffer can easily melt the stem surfaces.

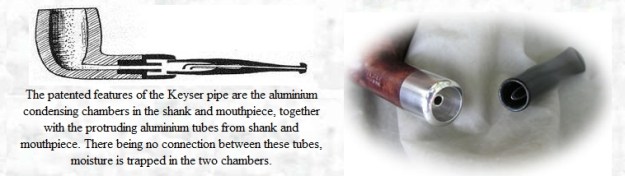
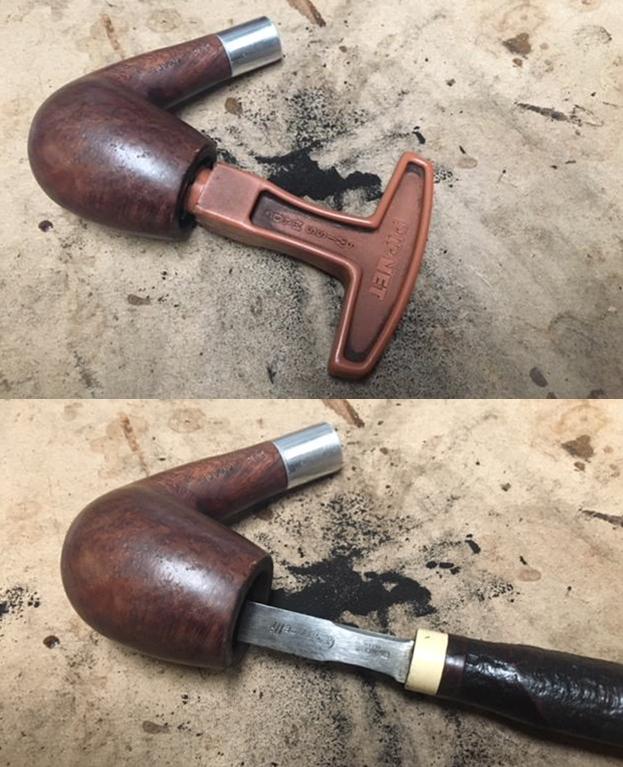
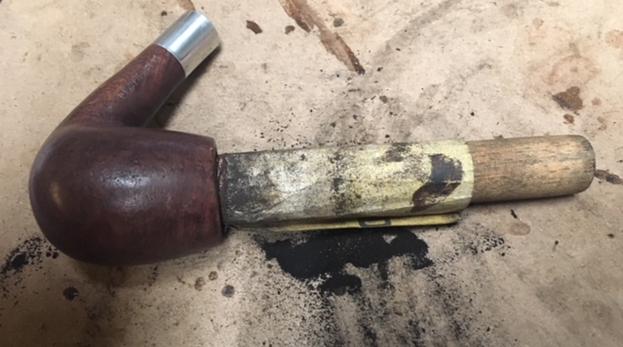
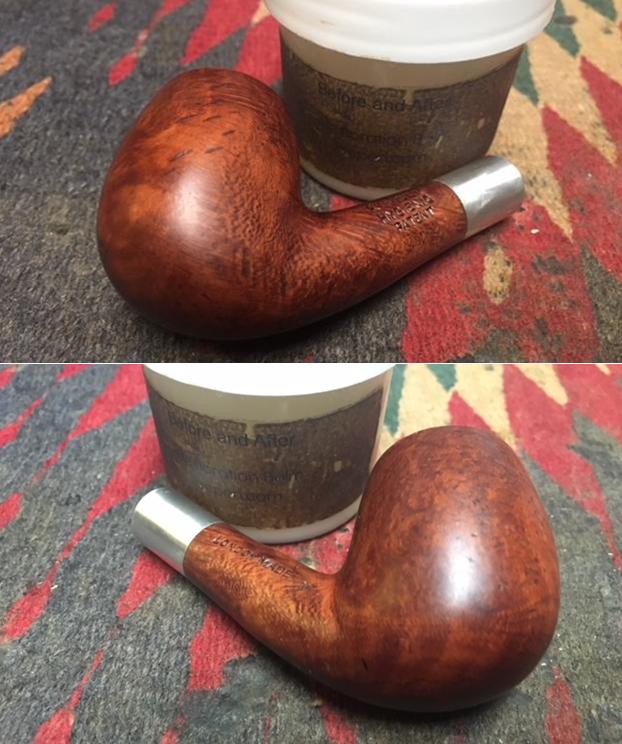
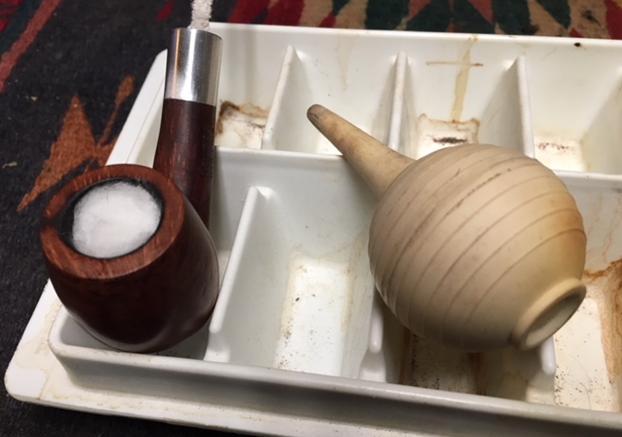
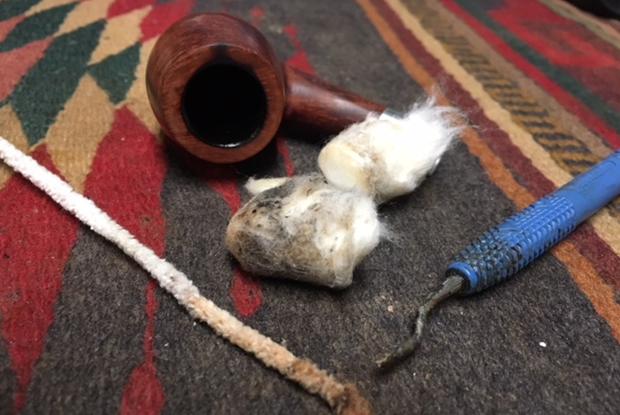
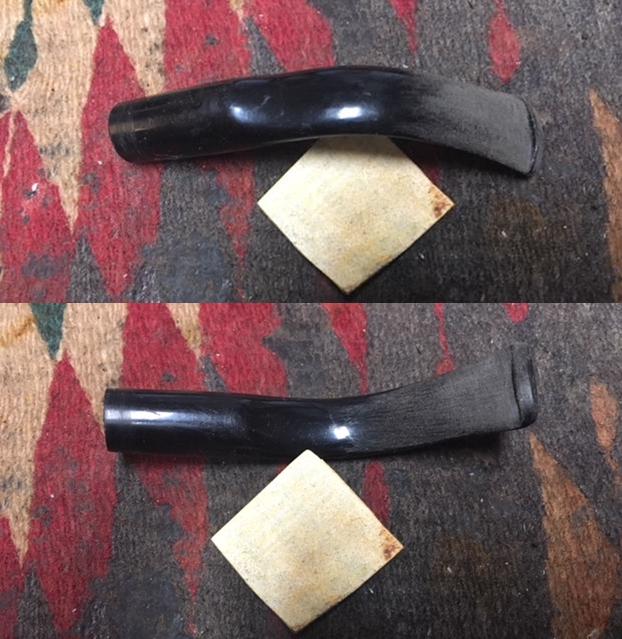
In my previous restorations I included the photo below. It came from the web and pictures a cutaway picture of the pipe and the unique condensing chamber that makes up the patented portion of the pipe. The shank has an aluminum condensing chamber with a tube in the centre that lines up with the tube inside the stem. It is pointing downward (or in the case of this pipe to the left side so that the air swirls around in the chamber formed by the military bit stem and the shank. Moisture is trapped and the smoke is cool and dry without loss of flavour.After processing all of the information that came with the Keyser Hygienic Pipe I thought I would “be manly! Restore a pipe! I started by reaming the bowl with a PipNet reamer working my way through the first two cutting heads to take the cake back to bare briar. I really wanted to see the bowl walls and check them for damage. I cleaned up the walls with a Savinelli Fitsall Pipe Knife and then wrapped 220 grit sandpaper around a dowel and sanded the walls of the bowl. The inside walls were in excellent condition. I examined the rim surface and saw burn marks on the inner and outer edges as well as some nicks and damage to the briar. I decided to lightly top the bowl on a topping board with 220 grit sandpaper. It did not take much to remove the damaged areas and burned edges. The second photo below shows the cleaned rim top.I wiped down the surface of the bowl to remove some of the opacity of the stain. The stain appeared to be a dark to medium brown but what wiped off was oxblood or cordovan. I would never have guessed that looking at the pipe. Underneath there were what looked like nicks on the left side of the bowl but turned out to be small fills. There was some beautiful grain on the pipe that I wanted to highlight. With the exterior and the bowl clean it was time to address the condenser chamber in the shank and stem. It took some maneuvering to get the pipe cleaners through the aluminum tubes in the shank and the stem but I was successful in removing the tars and oils that had built up in both spots. There was still a musty garden shed smell to the pipe so I kept cleaning until it was fresh. Later I would do a cotton ball and alcohol soak to further remove that smell.I rubbed down the exterior of the bowl and rim with Before & After Restoration Balm. I have been using this product for about ½ a year now and really like the way it cleans, enlivens and protects the briar. I rubbed it on with my finger tips and worked it into the finish of the briar. I set the bowl aside for about 10 minutes while I did other things and then buffed it off with a soft cloth. The state of the bowl can be seen in the photos below. After buffing off the balm I could see that the rim needed some more work but decided to address the remnants of the garden shed smell first. I filled the bowl with cotton balls, stuffing them deep in the bowl. I inserted a pipe cleaner in the tube in the shank to wick out the oils and filled the bowl with 99% isopropyl alcohol to draw out the oils and tars in the briar. I used an ear syringe to fill the bowl. I know if you read the brochure from KEYSER HYGIENIC above it said not to use alcohol, but I have found over the last 20+ years of pipe cleaning that it does a great job. I set the bowl aside in an old ice-cube tray, much stained from years of abuse and let the alcohol and cotton balls do their magic.I came back to the pipe several hours later and the cotton balls had absorbed a lot of tars and oils. You can see the effect in the cotton in the picture below. The pipe cleaner had wicked out some more of the tar from the tube as well. The pipe smelled fresh and clean with the garden shed smell removed for good.I cleaned up the darkening and burn mark on the inner edge of the rim with 220 grit sandpaper. I gave the edge a slight bevel to blend in the damaged area on the rim. I like the look a slight bevel gives a bowl.I used 220 grit sandpaper to sand out the tooth marks and chatter on both sides of the stem near the button.I polished the stem with micromesh sanding pads – wet sanding with 1500-2400 grit pads and dry sanding with 3200-12000 grit pads. I wiped the stem down after each pad with Obsidian Oil. I polished it with Before & After Pipe Stem Polish – both fine and extra fine and buffed it with a cotton pad. I gave it a final coat of Obsidian Oil and set it aside to dry. I carefully polished stem with Blue Diamond to polish out the remaining small scratches. I used a very light touch so as not to damage the stem. I buffed the bowl with Blue Diamond as well – a bit more vigorously. I gave the bowl and the stem multiple coats of carnauba wax. I buffed the pipe with a clean buffing pad to raise the shine. I hand buffed it with a microfiber cloth to deepen the shine. The pipe polished up pretty nicely. What remained of the original colour came alive with the buffing and works well with the polished aluminum ferrule and the polished black vulcanite stem. Altogether the pipe has a rich look. The finished pipe is shown in the photos below. The shape, finish and flow of the pipe and stem are very well done. The dimensions are Length: 6 inches, Height: 1 3/4 inches, Outside diameter of the bowl: 1 1/8 inches, Chamber diameter: 5/8 of an inch. Not sure what I am going to do with this one – probably enjoy it but keep an eye open because it well could end up on the store. Thanks for walking through the restoration with me as I worked over this well-made Keyser Hygienic Bent Billiard Patent pipe.

Restoring an Old-Vic 8523


Blog by Paresh Deshpande

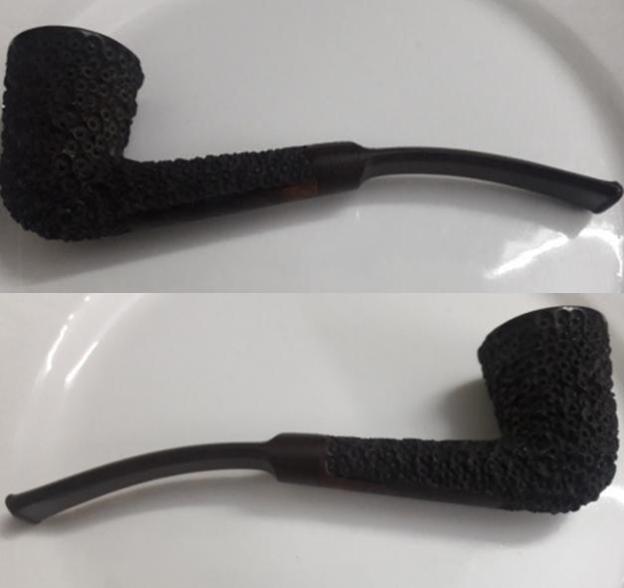
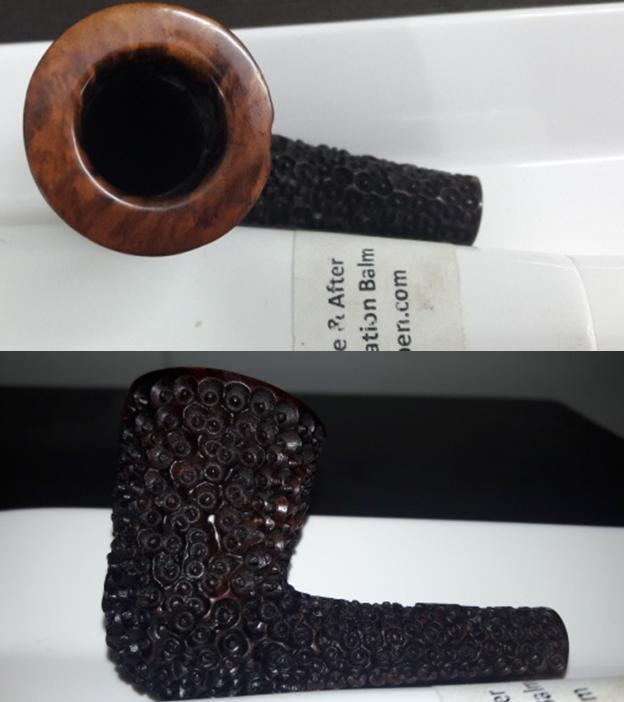
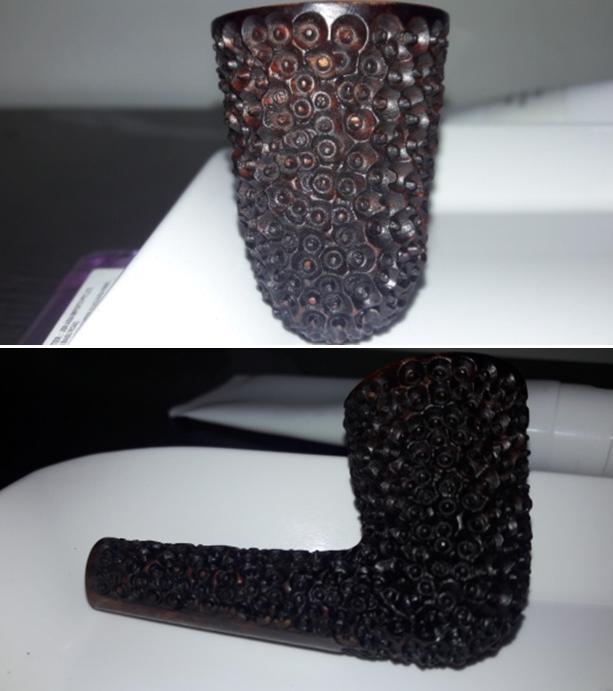
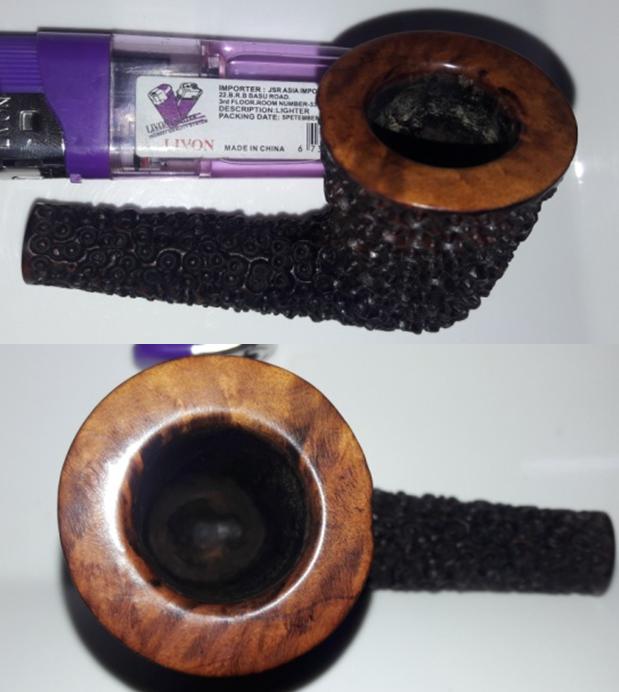
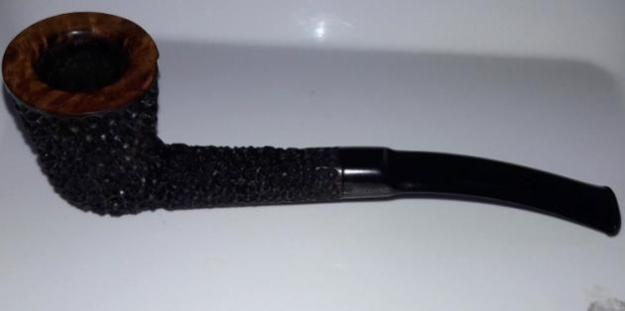
The next pipe that I decided to work on is a smallish beautiful bent Dublin shape with unique hexagonal  giving the appearance of a honey collection cell in a beehive. These are definitely not hand crafted rustication as the perfect geometry, details and alignment of these tiny hexagons is difficult to achieve by hand. But, nevertheless, it is one handsome looking pipe!!!!

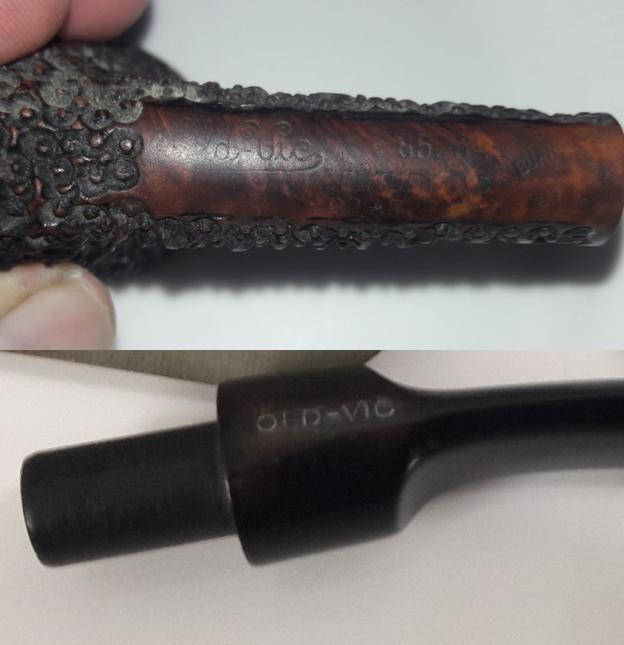
As described above, this dude has these rustication all over the stummel and over the round shank, save for a smooth portion on the bottom of the shank which bears all the identification marks of this pipe and the rim top which looks amazing. It is stamped on the left corner of the shank with “Old-Vic” in with old style curls. The end of the letter “c” curves back in a linear fashion and underlines up to the letter “d” in the name Old , before fading off gradually. Old-Vic is followed by “# 8523”. Just below the number and starting from the end of the letter “c” in Old-Vic, it is stamped as “CENTURY OLD” over “BRIAR ITALY”. Towards the right end of the shank and mid way, it bears the stamp “BURL GRAIN” in an arch over a very faint stamp which I could not make out. The vulcanite saddle stem is of high quality and is stamped on the left side of the saddle with “OLD-VIC”.Not much is known about this brand other than that these were made by LORENZO and hence the Italian connection. I have to concede that Italian pipes are very desirable looking with perfect proportions and beautifully crafted. I had even made an attempt to know more about this line of Lorenzo pipes by emailing Lorenzo’s American distributors, but have no response from them since last 15 days. Mr. Dal Stanton, if you are reading this piece, please enlighten me with your MANTRA for making these guys respond!!!!!!!!!!!

INITIAL VISUAL INSPECTION
As is commonly seen on rusticated or sandblasted pipes with some serious age on them, the crevices in these are always filled with dust, dirt, oils, tars and grime from all the years of smoking and storage. This Old-Vic is no exception to this observation. The small hexagonal pockets are filled with dust while the smooth bottom of the shank is covered in dust and sticky grime. The fact that the hexagonal patterns are dirty and filled with dirt is accentuated more due to a very dark reddish brown stain on the stummel and the shank. The briar is looking lifeless and bone dry and has taken black hues. The bowl is narrow and tapers down towards the draught hole. The chamber is so filled with cake that I am unable to reach the bottom of the bowl with my little finger. The build-up of the cake is more heavy in the bottom half of the bowl. The mortise is full of oils and gunk and air flow is restricted. The rim top is smooth and the grains are accentuated with a lighter stain, which can be seen through the overflowing lava. The inner and outer edge of the rim is in pristine condition with no dings or dents. The vulcanite stem is so heavily oxidized that it appears brown in color!!!! Some light tooth chatter is seen on both surfaces of the stem towards the lip. This issue should not be a major headache to address. The lip edge on both side is crisp and without any damage. The quality of vulcanite is good. THE PROCESS
I started this project by removing the cake from the chamber and cleaning it. However, no sooner did I start, I realized that my Kleen Reem pipe reamer would not fit in the chamber. The cake was so densely packed and thick that my British Buttner reamer could get damaged. So, the only option left was my fabricated knife!!!!  It was laborious, but the task was accomplished. I found the chamber to be solid and without any heat fissures or cracks. To finish the chamber, I used a folded piece of 150 grit sand paper to sand the inner walls. This was followed by 220 and 400 grit sand paper and now we have a smooth and even surface on the walls of the chamber, ready for taking on a fresh layering of carbon cake!!!!! I wiped the rim top with a cotton pad dipped in isopropyl alcohol. This helped me to get rid of all the overflow of lava as well as the dirt and dust that had accumulated on the rim surface. This was followed by cleaning the mortise with cue tips, pipe cleaners and shank brush dipped in isopropyl alcohol. This further eliminated all the traces of old smells from previous usage. Now, it was the turn of the stummel to get cleaned up. Using a hard bristled tooth brush dipped in undiluted Murphy’s oil soap, I very deliberately scrubbed through all the hexagonal patterns, cleaning them thoroughly. I cleaned the rim too. The stummel and rim top was dried using paper napkins and soft cotton cloth. I set the stummel aside to dry out naturally.While the stummel was drying, I worked the stem. In order to address the minor tooth chatters, I flame the surfaces of the stem with a Bic lighter. This brings most of the tooth chatter to the surface. For a better blending, I further sanded the entire stem with 220 followed by 400 and 800 grit sand paper. This helps to reduce the sanding marks left behind by the more abrasive 220 grit paper. To bring a deep shine to the vulcanite stem, I went through the complete set of micromesh pads, wet sanding with 1500 to 2400 grit pads and dry sanding with 3200 to 12000 grit pads. I wiped the stem with alcohol after each pad and rubbed it down with Extra Virgin Olive oil. The internals of the stem was cleaned out using alcohol and pipe cleaners. The finished stem is shown below. I wanted to highlight the grains on the rim top as well as enhance the contrast with the rest of the pipe. To achieve this aim, I sand down the rim top using micromesh pads, wet sanding with 1500 to 2400 grit pads and dry sanding with 3200 to 12000 grit pads. The rim top now has a deep shine with grains popping out and now with a magnificent contrast with rest of the stummel. Once I was satisfied with the stem and rim top restoration, I started work on the stummel which has dried by now. I rub a small quantity of “Before and After Restoration Balm” in to briar and let it rest for a few minutes. The balm almost immediately works its magic and the briar now has a nice vibrant appearance. I further buff it with a horse hair shoe brush. To finish, using a cotton cloth and brute muscle power, I gave it a final polish. I re-attach the stem with the stummel. The completed pipe looks lovely, fresh and vibrant; the photographs speak for themselves. Thank you for having the patience to reach this far while reading the write up.

Tale of Two Somerset Brothers – Part 2


BENT RHODESIAN

Blog by Paresh Deshpande

I had finished the work on Somerset 8 Paneled Billiard and I was very pleased with the way it turned out. I have smoked this pipe and have to concede that it was one of the better smoking pipes in my current rotation, the draw is open and full and very smooth right up to the last morsel of tobacco. This is due to the perfect alignment of the draught hole, mortise and stem tenon. Very happy with this one, I must say!!!!!!

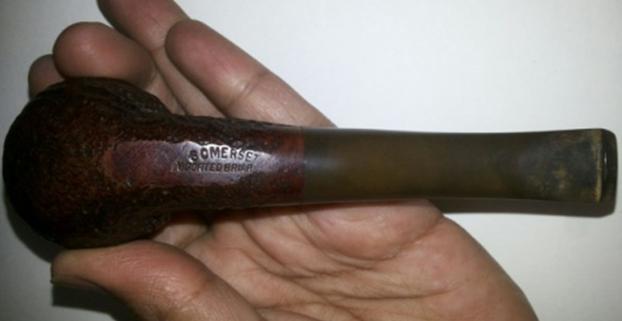
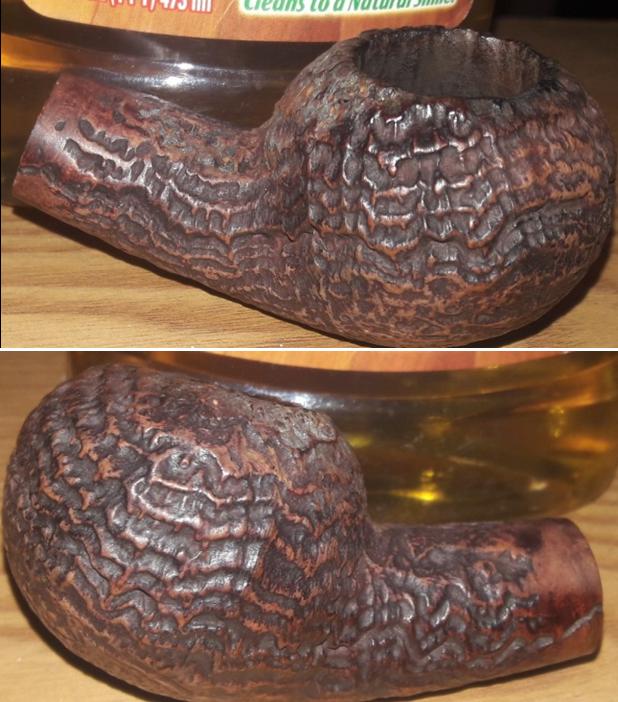
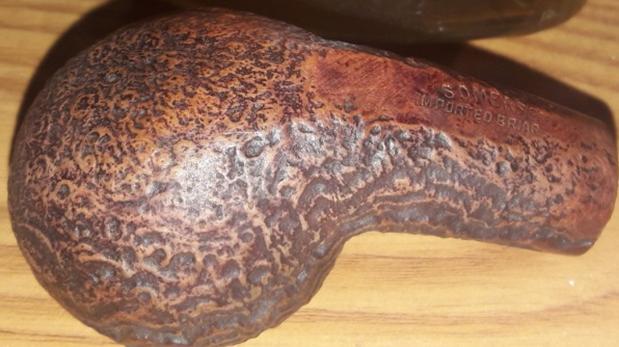
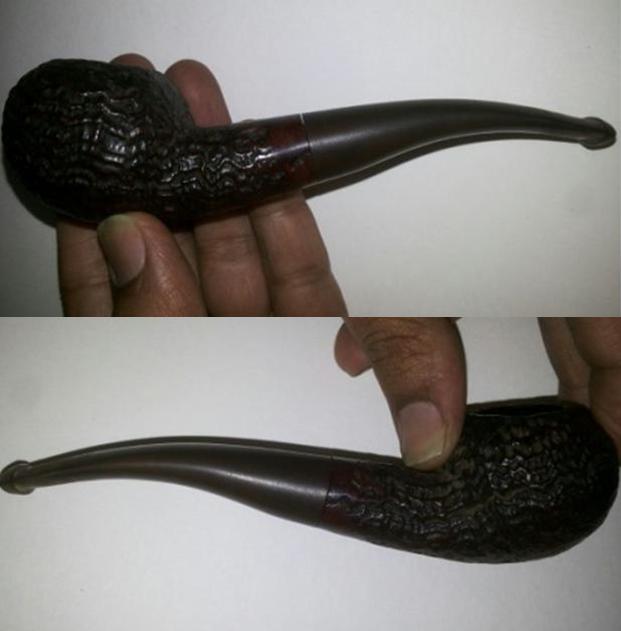
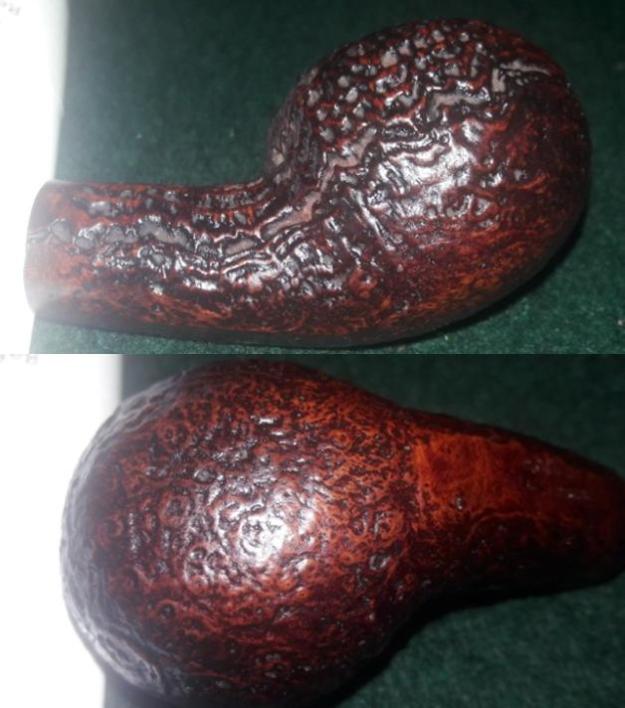
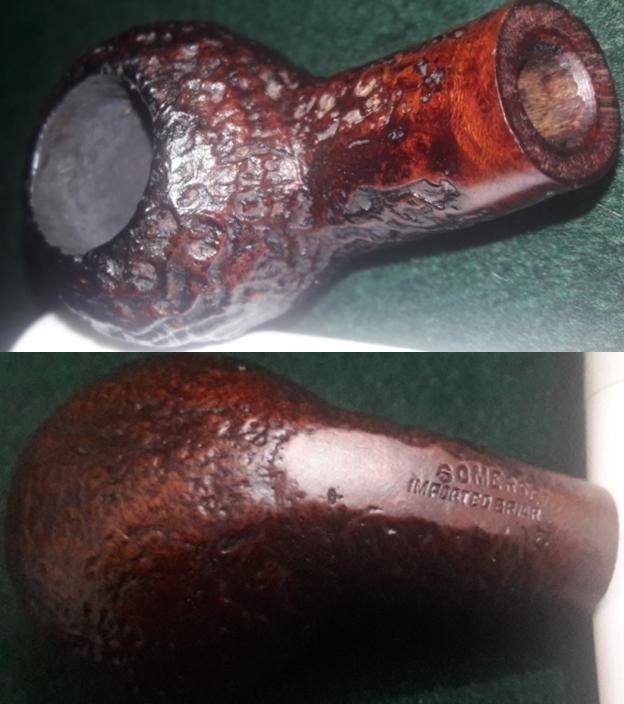
The sibling of the first Somerset Brother, now in my hand, is the Bent Rhodesian, and my favorite shape. The upper half of the bowl has beautiful wavy circular sandblast all round which extend to the round shank, while the bottom of the bowl has densely packed birdseye which is seen in the sandblast. Overall, this is one pipe with a beautiful sandblast patterns and as I have come to expect, the quality of the finish and vulcanite stem is par excellence. Like its paneled billiard sibling, this pipe too has a smooth and flat bottom surface and bears the only stampings seen on the pipe. It is stamped on the bottom as “SOMERSET” in a mild arch over “IMPORTED BRIAR” in straight line, all in capital letters. There is no other stamp on either shank or on the stem. The stummel and shank is stained with a very dark reddish/ maroon hue. The stem is high quality vulcanite without any stampings. As conceded in my write up on the Somerset Paneled Billiard, I have been unsuccessful in unearthing information about this brand and still remain a blind spot in my quest for knowledge on pipes. I sincerely request you to share any information you may have on this pipe.

INITIAL VISUAL INSPECTION
The sandblast on this pipe is covered in dirt, dust and grime and appears dull and lackluster. The bowl is heavily caked and there is overflow of lava on to the rim. This will have to be removed in order to ascertain the condition of the chamber walls. From my experience working on the paneled billiard, I won’t be surprised to find cracks and heat fissures on the walls of the chamber. There is a very strong sweet smell to the cake, which perhaps may vanish after the chamber has been cleaned.The mortise is filled with oils and tars and appears to be clogged. There is no free flow of air through the mortise. This will have to be cleaned. There is also a slight gap in the fitting between the stem and the shank. Maybe this will be resolved after a good cleaning of the mortise. The fitting of the stem in to the shank is very loose and just drops of when turned upside down.The stem is heavily oxidized and the edge of the lip on the top surface has been bitten out of shape. There is a bite mark close to the disfigured edge of the lip. These issues will have to be addressed.THE PROCESS
I reamed the bowl with a Kleen Reem pipe tool and with a knife; I further took the cake down to the briar. I have realized that the knife is best suited to remove the cake from the bottom of the chamber. As anticipated, the chamber walls did show the beginnings of a burn out!!!! With a 150 grit sand paper, the walls of the chamber were rid of all the remnants of the cake, presenting a clear picture of the extent of the damage. This pipe too had cracks at exactly same location as its sibling, though not as alarming. Since the pipe ash was still being collected, I cleaned the internals of this pipe with bristled and regular pipe cleaners dipped in isopropyl alcohol. Since the strong sweet smell did not diminish even after the cake had been removed, I decided to give it a salt and alcohol bath. I filled the bowl and shank with kosher salt up to just below the rim top and end of the shank respectively. I filled it up with isopropyl alcohol and set it aside over night to allow it to extract all the residual oils from the chamber and the shank. Next day, the salt and alcohol had done its job. I remove the darkened salts and clean the mortise with bristled pipe cleaners. I set it aside to dry. Once the internals were cleaned, I scrubbed the externals of the bowl with undiluted Murphy’s oil soap and dried it using paper towels and soft cotton cloth. I set it aside to dry. I cleaned the walls of the chamber with cotton pads dipped in isopropyl alcohol (since I was simultaneously working on the repair to the chamber of the Paneled Billiard, there is inescapable repetition of the process). Once cleaned, I inserted a folded pipe cleaner into the shank and up to the draught hole to prevent it from clogging. I made putty like paste of pipe ash and water. This paste was evenly applied to the entire inner surface of the chamber with a thin bamboo frond with shaved end to form a spatula, a bigger one at that, as compared to a regular one. I set it aside to dry out. The climate here being very wet and humid, it will take a long time to dry out.

The coating dried completely after about a week and I just gently scrapped the chamber with very light hands to check the layer. Alas, the complete coating just crumbled out leaving a very dry coat of ash through which all the cracks were easily discernible.

Fortunately, I had started collecting pipe ash and mixed it with yogurt. Using the same earlier method, I applied an even coat of pipe ash, yogurt and also added two capsules of activated charcoal. I set it aside to dry out, praying that the mixture bonds well and sticks to the walls of the chamber. A few days later, the mixture had completely cured and it did not crumble. The bonding appeared to be strong and durable. With a 400 grit sand paper, I sanded the inner walls very lightly to smooth the walls. Now the internal walls are looking solid and ready for duty again!!!! Once the issue of cracked chamber wall was addressed, I turned my attention back to the exterior of the stummel. I rubbed a small quantity of “Before and After Restoration Balm” in to briar and let it rest for a few minutes. The balm almost immediately works its magic and the briar now has a nice vibrant appearance. I further buff it with a horse hair shoe brush. Working the stem, with a Bic lighter, I flamed the surfaces of the stem to raise the tooth chatter and minor bite marks. To address the bite mark and repair the edge of the lip, I spot apply a drop of CA superglue and leave it over night to cure. The next evening, I shape the fill using flat head needle file and carve a crisp edge. To further blend in the fill, I sand the stem with a 220 grit sand paper. I sanded it down with 220, 400 and 800 grit sand paper. I wiped the stem with cotton pad dipped in alcohol to remove the resultant dust. I rubbed some extra virgin olive oil in to the stem and set it aside to be absorbed in to stem. I polished the stem with micromesh pads, wet sanding with 1500 to 2400 grit pads and dry sanding with 3200 to 12000. I rub a little extra virgin olive oil in to the stem after every three pads. I finish the polishing of the stem by rubbing a small quantity of Paragon wax and giving it a final polish with a soft cotton cloth. The stem is now nice, smooth and shiny. I cleaned the airway in the stem with pipe cleaners and alcohol. Here, I realized that the issue of loose stem was yet to be addressed. This issue was addressed by heating the tenon with a Bic lighter, constantly rotating the stem, till the tenon was slightly pliable. I gently pushed a rounded needle file in to the tenon to enlarge it and set it aside to cool down. Once cooled down, I wiped it clean with a cotton cloth soaked in cold water. I tried the fit, and the stem sat in the shank snugly, making all the right kind of noises. I was very pleased with the fit.To finish the pipe, I rubbed a small quantity of HALCYON II wax which is used for rusticated/ sandblasted surfaces and set it aside for a few moments. Thereafter I polished it with a horse hair shoe brush and a soft cotton cloth. These Somerset pipe are very well made and smoke fantastic. The quality of the vulcanite is high grade and feels good to clench. The finished pipe is shown below. Since the completion of this restoration, I have smoked this pipe and included it in my rotation. Believe you me, this pipe, like its sibling, smokes perfect with a nice, smooth draw right to the end. This leads me to think, is it only necessary to have Dunhill, Barling, Comoy’s etc, as fantastic smokers? Well, my personal experience with these two Somersets, is that while the above mentioned brands are excellent pipes, the lesser known ones do need to be looked at and not discarded outright!!!!!!!!!! Thanks for your patience and looking forward to inputs about this brand and the write up. Cheers…………


Kathy’s Dad’s Pipes – Restoring a Barontini De Luxe Brandy


Blog by Steve Laug

The next pipe on the work table is also from George Koch’s estate. It is a Barontini De Luxe Brandy shaped pipe with a quarter bend. The pipe was one of many that came to my brother and me in several shipments of pipes from George’s daughter Kathy. When Jeff got each box the pipes were well wrapped and packed. Jeff unwrapped them and took the following photo to give an idea of the volume of the pipes that we purchased. The Barontini came in mixed in a box of pipes much like the one below.In each of the previous blogs that I have written on the restoration of George’s pipes I have told his story. To me it is important to keep the story attached to the pipes that came from his collection. Each pipe I work on I remind myself of the man and in the work give a remembrance to the pipeman who owned these pipes. Having held a large number of his pipes in my hand and having a pretty good feel for the shapes, colour and stems that he liked, I can almost imagine George picking out each pipe in his collection at the Malaga shop in Michigan. I am including Kathy’s brief bio of her father and a photo of her Dad enjoying his “Malagas”. Here is George’s bio written by his daughter.

Dad was born in 1926 and lived almost all his life in Springfield, Illinois. He was the youngest son of German immigrants and started grade school knowing no English. His father was a coal miner who died when Dad was about seven and his sixteen year old brother quit school to go to work to support the family. There was not much money, but that doesn’t ruin a good childhood, and dad had a good one, working many odd jobs, as a newspaper carrier, at a dairy, and at the newspaper printing press among others.

He learned to fly even before he got his automobile driver’s license and carried his love of flying with him through life, recertifying his license in retirement and getting his instrumental license in his seventies and flying until he was grounded by the FAA in his early eighties due to their strict health requirements. (He was never happy with them about that.) He was in the Army Air Corps during World War II, trained to be a bomber, but the war ended before he was sent overseas. He ended service with them as a photographer and then earned his engineering degree from University of Illinois. He worked for Allis Chalmers manufacturing in Springfield until the early sixties, when he took a job at Massey Ferguson in Detroit, Michigan.

We lived in Livonia, and that’s where his love for Malaga pipes began. After a few years he returned to Allis Chalmers and we moved back to Springfield. I remember that when we went back to Michigan to visit friends, Dad had to go to the Malaga store and acquire a few new pipes. Many a year I wrote to Malaga and they picked out a pipe for me to purchase that I could give Dad for a Christmas or birthday present. He was always pleased. His favorites were the straight stemmed medium sized bowl pipes, but he liked them all. 

He had some other pipes, but the Malagas were his favorites. I remember him smoking them sitting in his easy chair after work, with feet up on the ledge by the fire burning in the fireplace.  Growing up it was my job to clean them and he liked the inner bowl and stem coated with Watkins vanilla, leaving a little of that liquid in the bowl to soak in when I put them back on the rack. Dad quit smoking later in life and so they’ve sat on the racks for many years unattended, a part of his area by his easy chair and fireplace. Dad passed when he was 89 years old and it finally is time for the pipes to move on. I’m very happy they are being restored by you and your brother and hope they find homes who enjoy them as much as Dad did. Thank-you for your care and interest. — Kathy, the oldest daughter

Each blog I have posted I thank Kathy for providing this beautiful tribute to her Dad. Jeff and I appreciate your trust in allowing us to clean and restore these pipes. We are also trusting that those of you who are reading this might carry on the legacy of her Dad’s pipes as they will be added to the rebornpipes store once they are finished.

The next the pipe is a nicely shaped Barontini Brandy with an acrylic stem. It has beautiful grain all around the bowl – straight, flame and birdseye that is highlighted by the rich reddish brown stain. The top of the bowl is had some burn marks and some damage. The stamping on the top side of the shank read Barontini over De Luxe. On the underside it has the shape number 702 and Italy at the shank/stem junction. The gold and brown, swirled, pearlized Lucite stem had light tooth dents and chatter on the top and the underside of the stem. The interior of the pipe was caked and had cobwebs. Jeff took these photos before he started the cleanup work on the pipe. Jeff took a close up photo of the bowl and rim to show the condition of the pipe before he started his cleanup work. The rim top had some light lava overflow and some darkening. There appeared to be some rim damage on the inner edge toward the front of the bowl. You can see the wear on the rim top, the cake and remnants of tobacco in the bowl. It also looks like there are some cobwebs in the bowl. The pipe is dirty but in good condition.  He also took photos of the sides and bottom of the bowl and shank from the side to show the grain on this pipe. The finish is very dirty but this is a beautiful pipe. Jeff took some photos to capture the stamping on the top and underside of the shank. The first photo shows the top side of the shank with the stamping Barontini De Luxe and the second shows the shape number 702 on the underside. The third photo shows the ITALY stamping on the underside near the stem. There is also a B stamped on the acrylic stem.The next two photos show the stem surface. There are tooth marks and chatter on both sides near the button. There is also some wear on the sharp edge of the button.I looked up some information on the brand on the Pipephil website to get a quick overview of the history (http://www.pipephil.eu/logos/en/logo-b2.html). I did a screen capture of the listing for the brand. The fascinating thing that I learned in this quick overview was the connection to the entire Barontini family and to other companies like Aldo Velani. It is interesting to see the breadth of the brand in the following screen capture. The  pipe I am working on it stamped like the third photo down – the Classica and the B on the stem is identical to that pipe’s stamping.Pipedia gives further history of the brand (https://pipedia.org/wiki/Barontini,_Ilio) under the listing for Ilio Barontini. I quote that article in full as it has the connection to the De Luxe pipe that I am working on.

Cesare Barontini, who was in charge of the Barontini company since 1955, helped his cousin Ilio Barontini to establish a pipe production of his own.

Ilio started to produce machine-made series pipes of the lower to the middle price categories. Fatly 80% of the pipes went to foreign countries, the bulk being produced for various private label brands. Some of the own lines like “de Luxe”, “Etna” or “Vesuvio” gained a certain popularity. Citation: “Next to excellent craftsmanship Ilio Barontini pipes offer a wood quality, that is almost unrivalled in this price category!”.

The pipes being around still there were some unconfirmed utterances that Ilio Barontini brand has been absorbed by Cesare Barontini or even Savinelli. Who knows?

Now I had some idea of the maker of this Barontini. It appears to be one of the machine made Barontinis in the De Luxe line. Fueled by that information it was time to get working on the pipe itself and see what I had to do with it.

Jeff had reamed the bowl with a PipNet pipe reamer and followed up with a Savinelli Fitsall pipe knife to remove the cake. He scrubbed out the mortise and the airway in the shank and the stem with alcohol, cotton swabs and pipe cleaners. He scrubbed the exterior of the bowl, rim, shank and stem with a tooth brush and Murphy’s Oil Soap to remove the oils and tars on the rim and the grime on the finish of the bowl. He rinsed it under running water. He dried it off with a soft cloth. The rim was thoroughly cleaned and the damaged areas were obvious. Without the grime the finish looked really good. The Lucite stem would need to be worked on but I really like the profile it cast. I took photos of the pipe to show its condition before I started my work on it.   I took close up photos of the bowl and rim top as well as the stem. You can see the condition of the rim top and bowl in the first photo. Jeff was able to remove all of the tar and oils but you can now see the damaged areas on the surface clearly. There are damaged spots on the front inner edge and the back inner edge. There are also some deep dents and nicks in the flat surface of the rim. The acrylic/Lucite stem had tooth chatter and some light tooth marks on the top and underside of the stem just ahead of the button. There was one deeper tooth mark on the underside near the button.I decided to address the damage to the rim top first. I topped the bowl on a topping board using 220 grit sandpaper. I removed the damaged surface of the rim and made it smooth once again.I used a folded piece of 220 grit sandpaper to smooth out the inner edge of the rim. The rim top is looking far better at this point.I polished the rim top with micromesh sanding pads – wet sanding with 1500-2400 grit pads and dry sanding with 3200-12000 grit pads. I wiped the rim off after each sanding pad to remove the dust. The rim really shone once it was polished. Once it was polished the rim was ready to be stained. I started by using stain pens. I used a Maple stain pen to match the colour of the bowl. It was the closest I could get to matching the bowl. Once it cured it was streaked and not quite a match. The first photo below shows the rim after the stain pen.I carefully wiped the rim down with some isopropyl alcohol to smooth out the stain. Once it was smooth I restained it with some Fiebing’s aniline stain. I used a tan coloured stain and flamed it once I had stained the rim. I repeated staining and flaming until the coverage on the rim matched the bowl sides. The second photo below shows the look of the rim after this staining. I rubbed down the briar with Before & After Restoration Balm. I worked it into the smooth surface of the briar with my fingertips to clean, enliven and protect it. I let the balm sit for a little wall and then buffed with a cotton cloth to raise the shine. The following photos show the bowl at this point in the restoration process. The rim matches well but still needs to be polished and buffed to raise a shine on it. There were some tooth marks and chatter on the top and more chatter and a deeper tooth mark on the underside of the acrylic stem at the button. I cleaned off the surface of the stem with alcohol and filled in the deep tooth mark with clear super glue. Once it cured, I sanded both sides smooth with 220 grit sandpaper to blend the tooth chatter and the repair into the surface of the stem. It did not take too much sanding to remove the marks and smooth out the stem surface. When it was sanded it was smooth and the marks were gone. I polished the acrylic stem with micromesh sanding pads – wet sanding with 1500-2400 grit sanding pads and dry sanding it with 3200-12000 grit sanding pads. I wiped it down after each sanding pad with a damp cloth. I the polished stem and bowl with Blue Diamond to polish out the remaining small scratches and raise the shine. I gave the bowl and the stem several coats of carnauba wax and buffed the pipe with a clean buffing pad to raise the shine. I hand buffed it with a microfiber cloth to deepen the shine. The pipe polished up pretty nicely. This turned out to be a beautiful pipe in terms of shape and finish. This is the thirteenth pipe that I am restoring from Kathy’s Dad’s collection. I am looking forward once again to hearing what Kathy thinks once she sees the finished pipe on the blog. The finished pipe is shown in the photos below. The dimensions are Length: 6 inches, Height: 2 inches, Outside diameter of the bowl: 1 3/8 inches, Chamber diameter: ¾ of an inch. Thanks for walking through the restoration with me as I worked over this Barontini Brandy from George’s estate. More will follow in a variety of brands, shapes and sizes. I will be adding it to the rebornpipes store shortly so if you are interested in adding it to your collection and carrying on the trust from her father send me an email or a message on Facebook. Thanks for looking.