Blog by Kenneth Lieblich
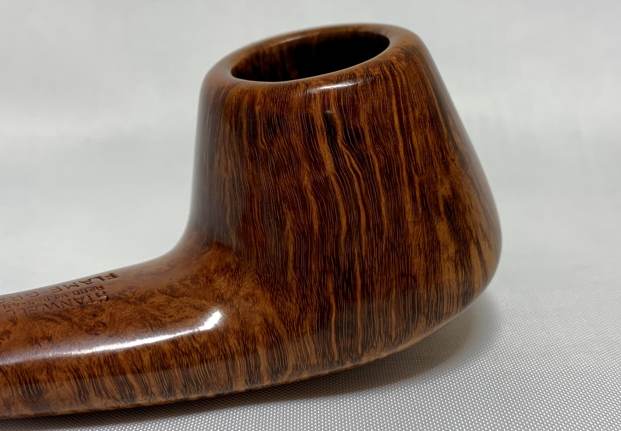
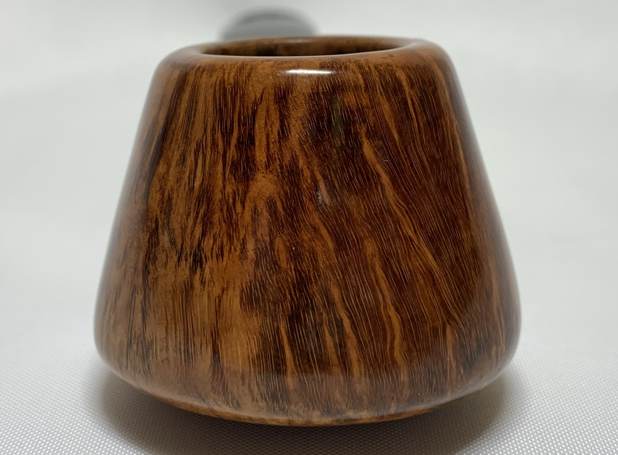
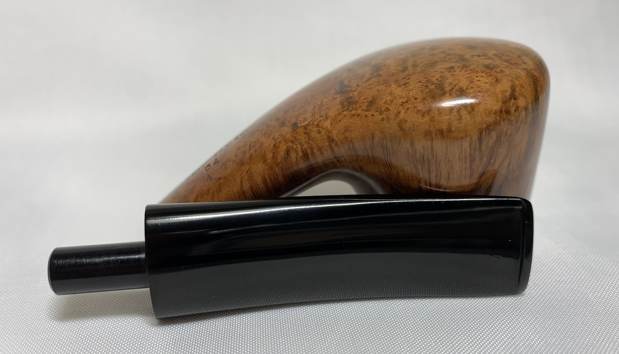
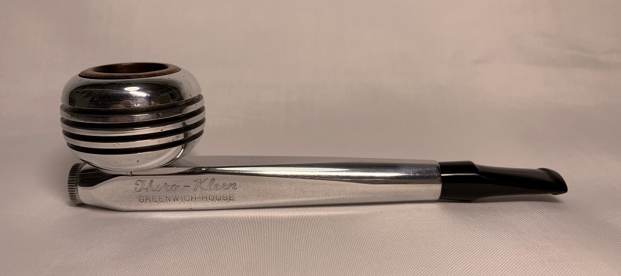
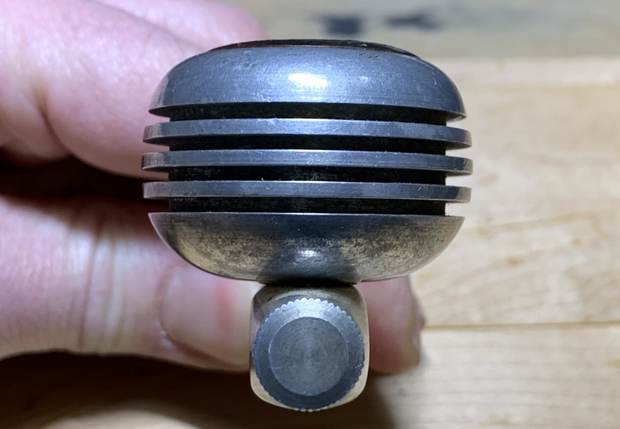
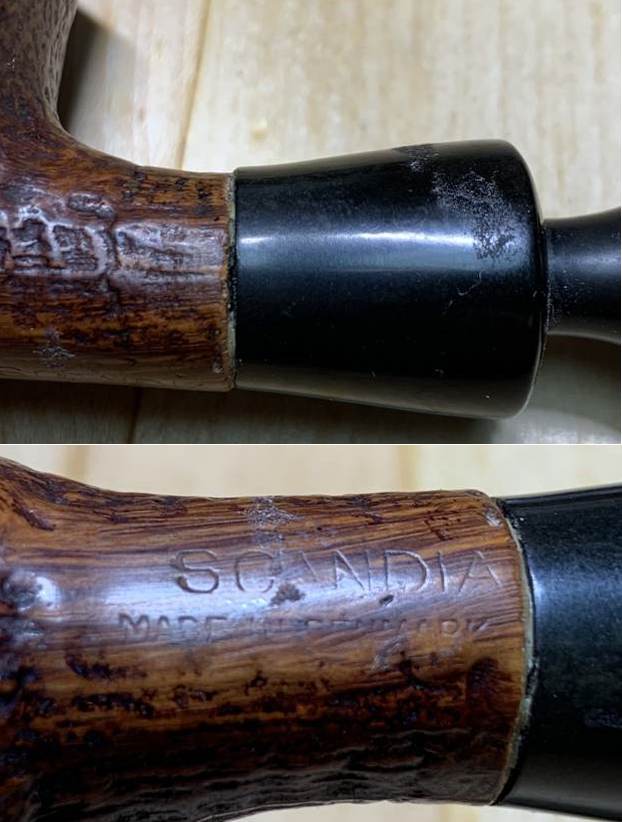
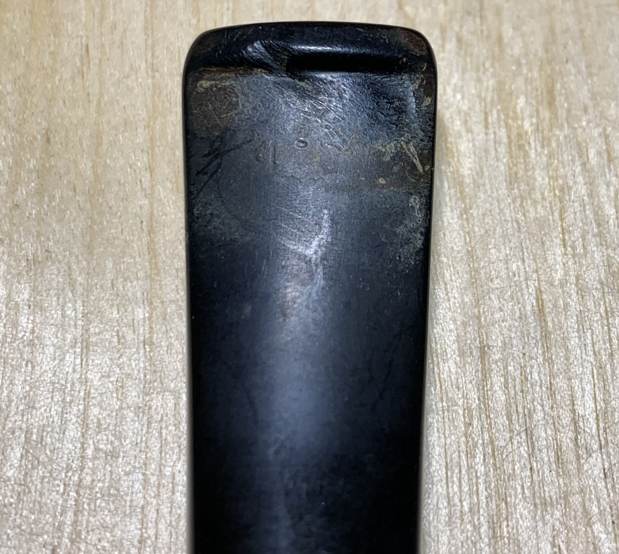
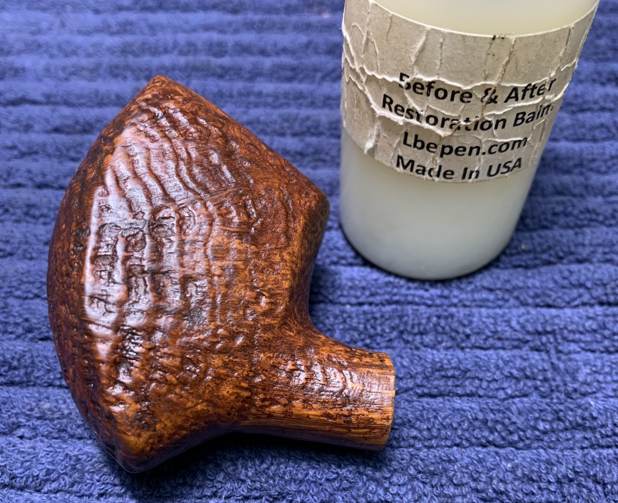
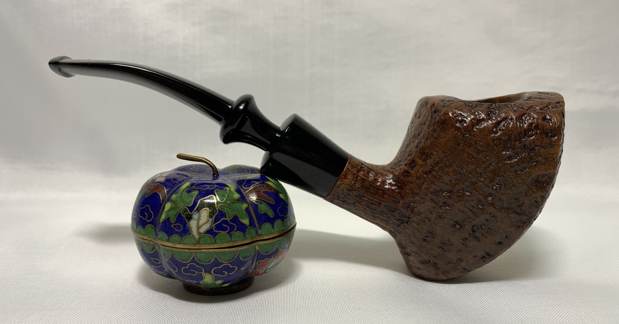
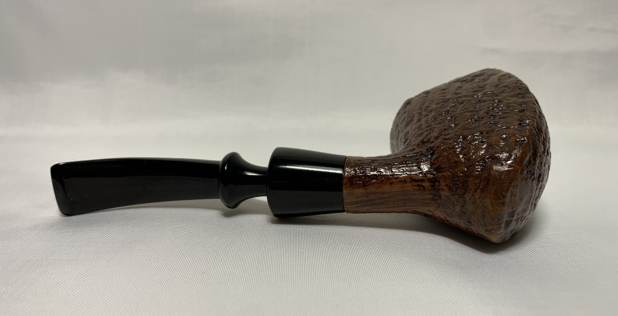
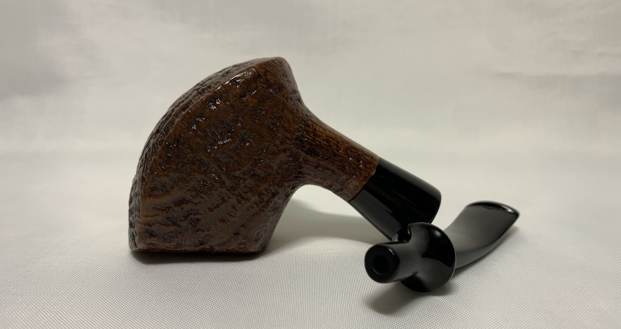
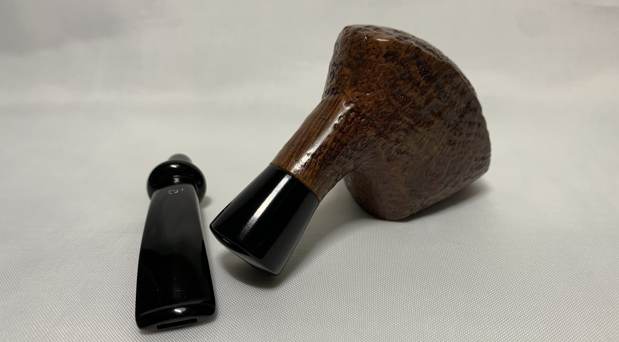
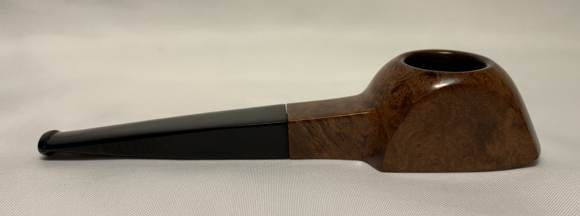
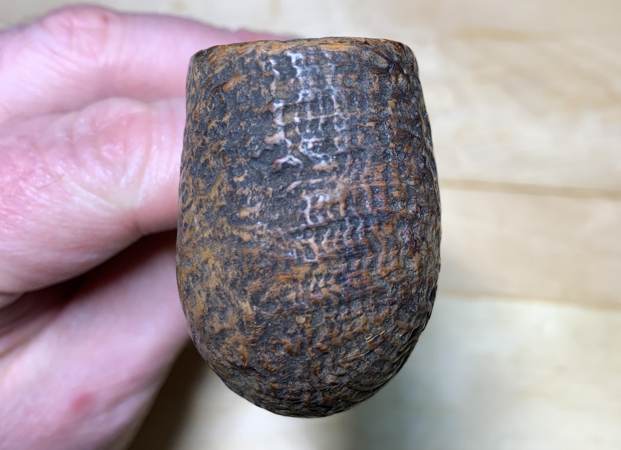
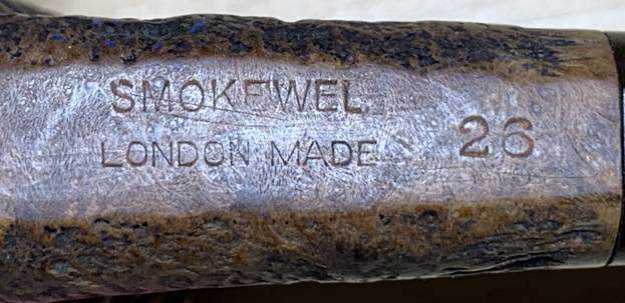
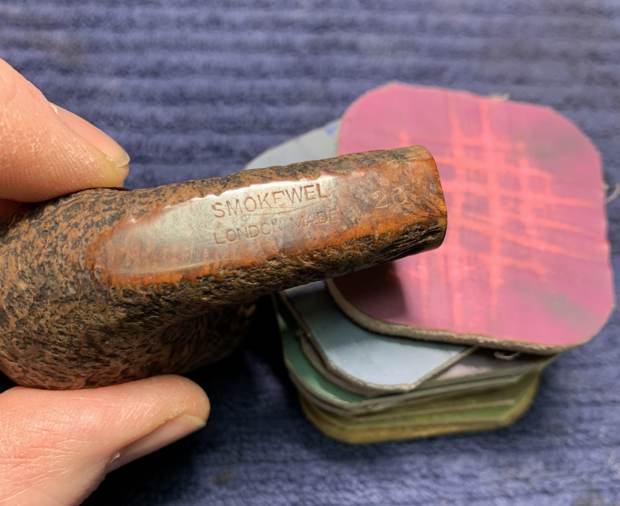
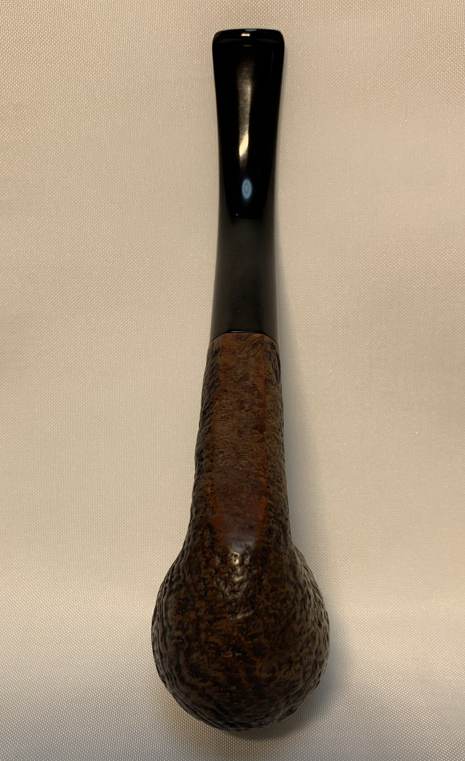
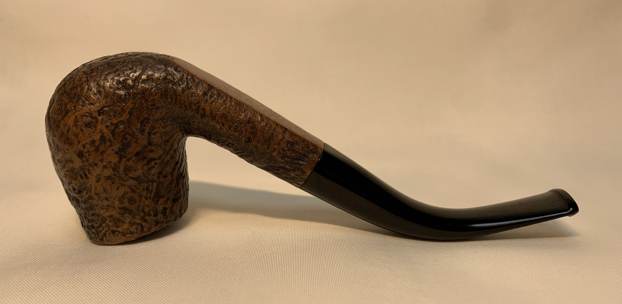
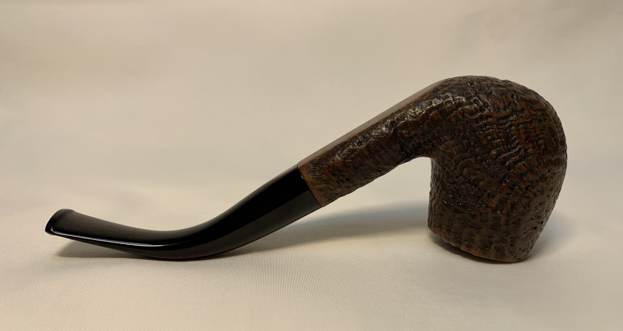
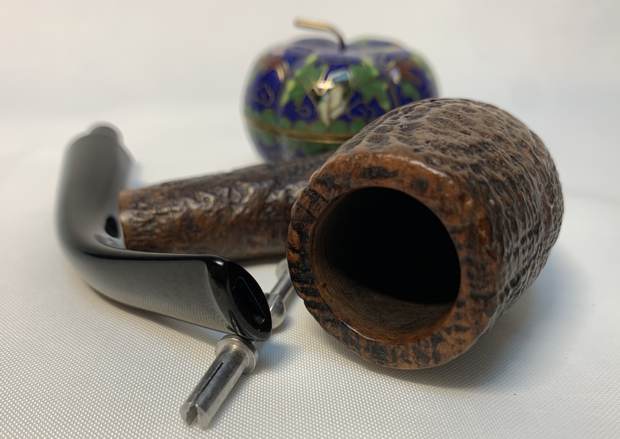
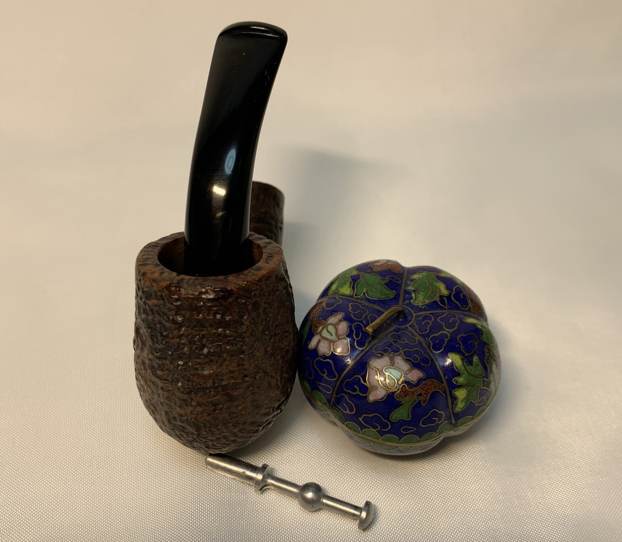
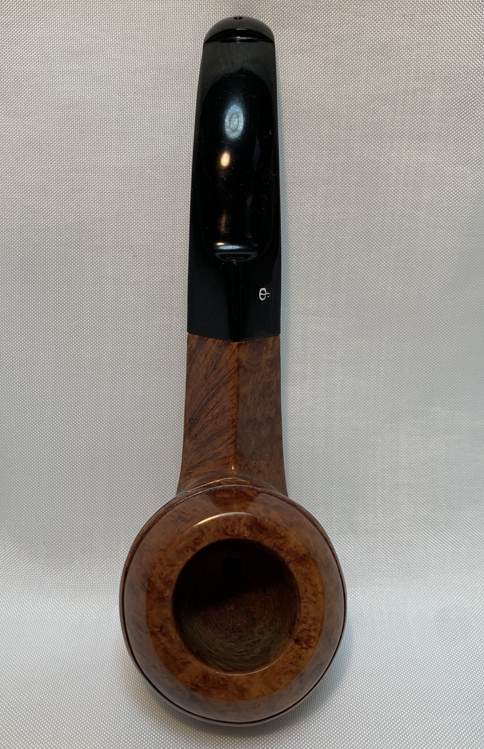
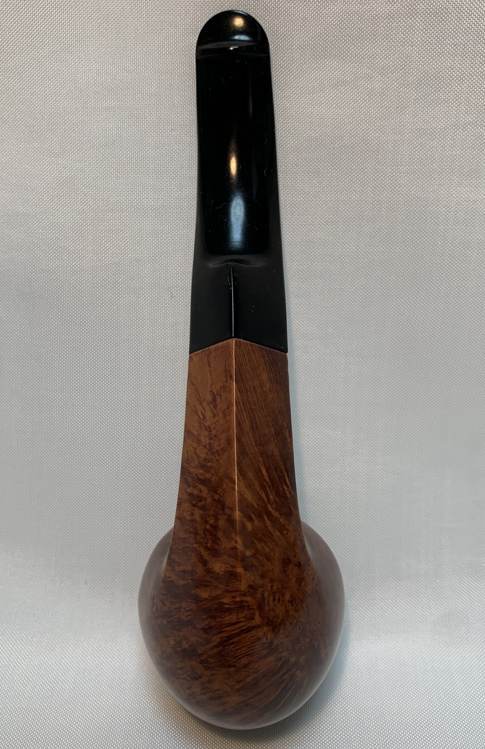
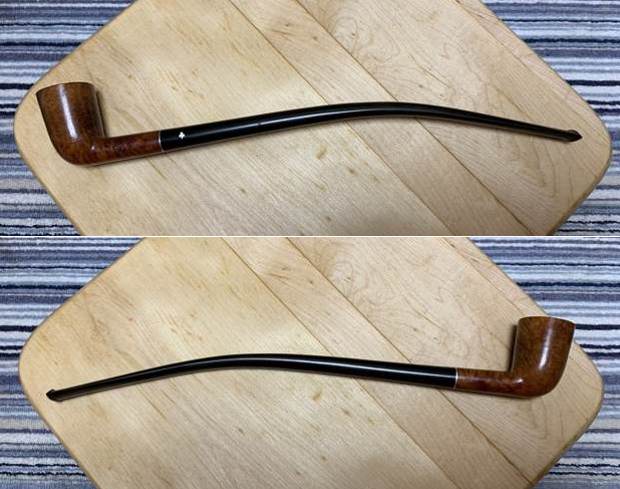
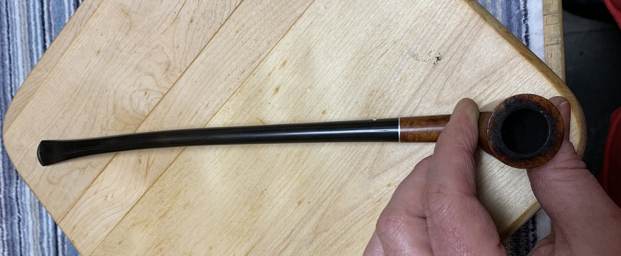
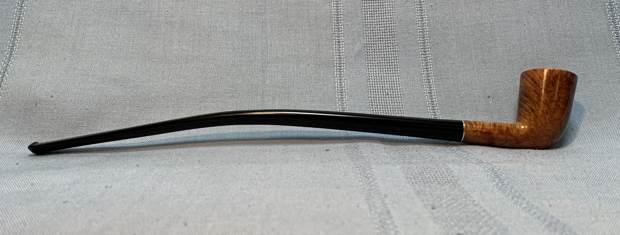
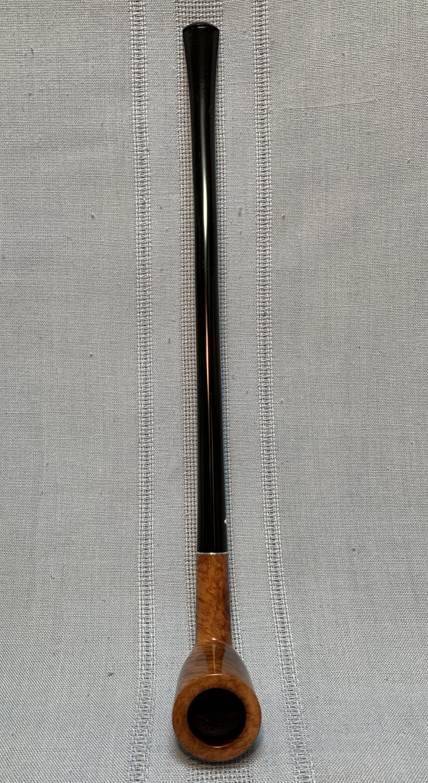
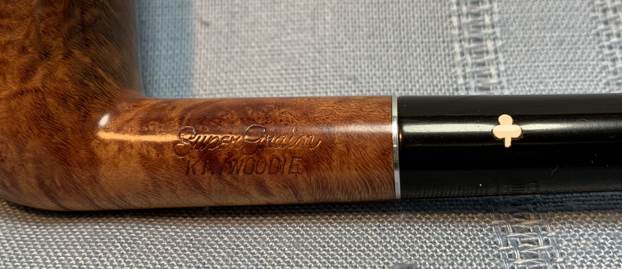
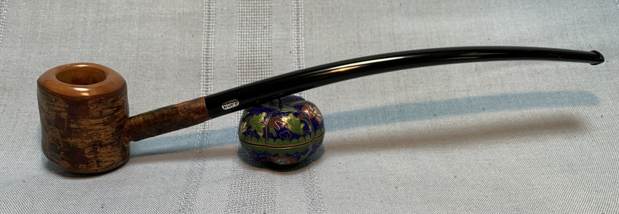
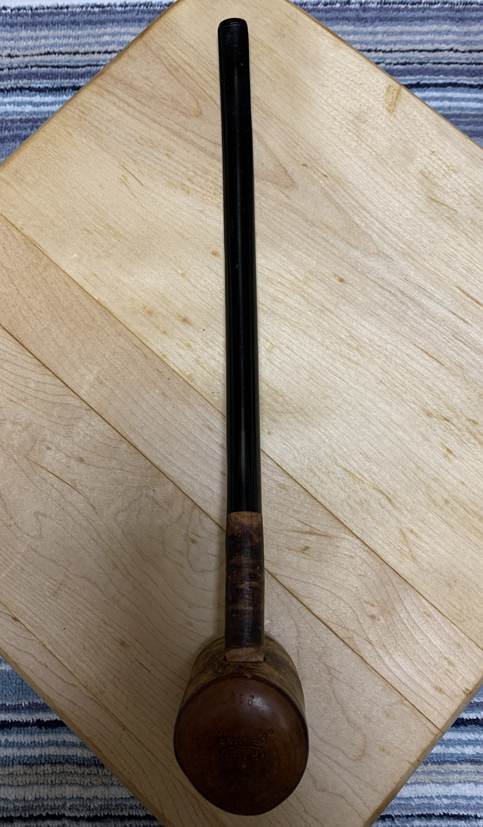
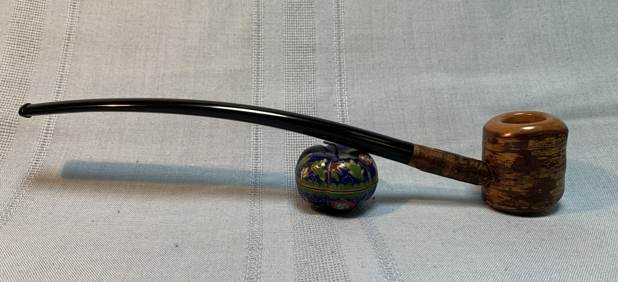
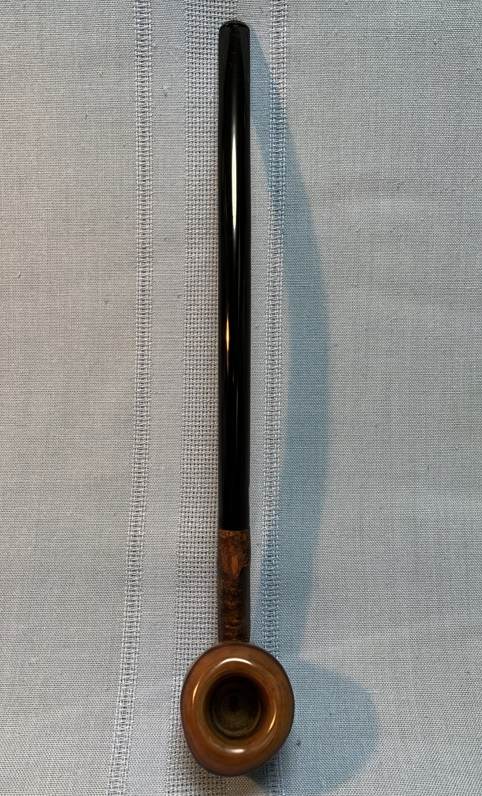
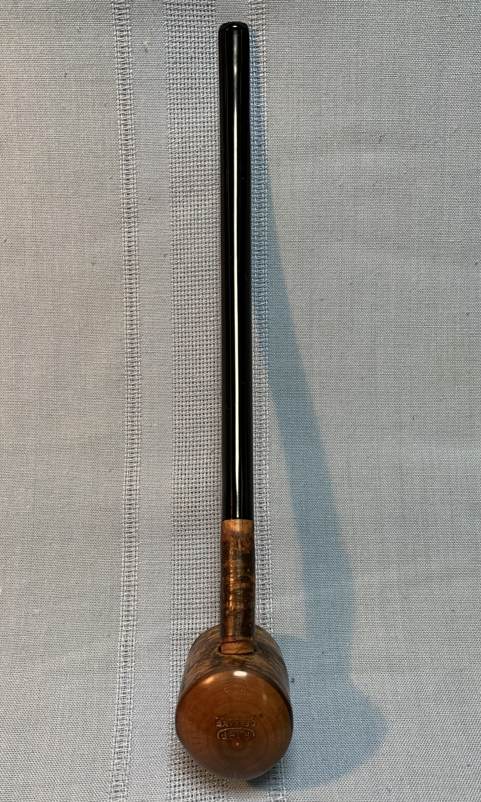
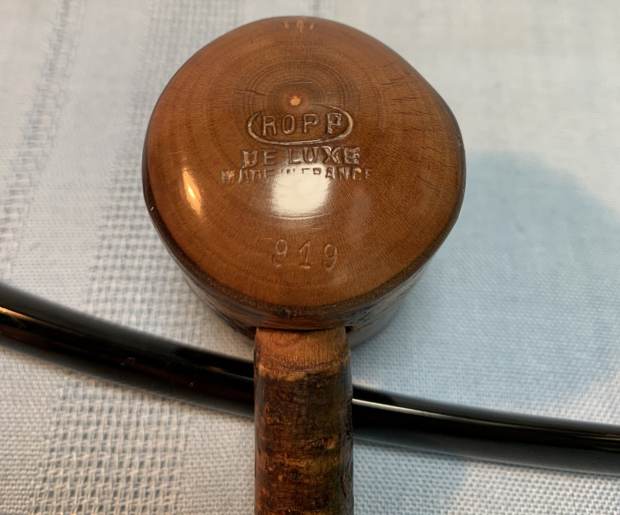
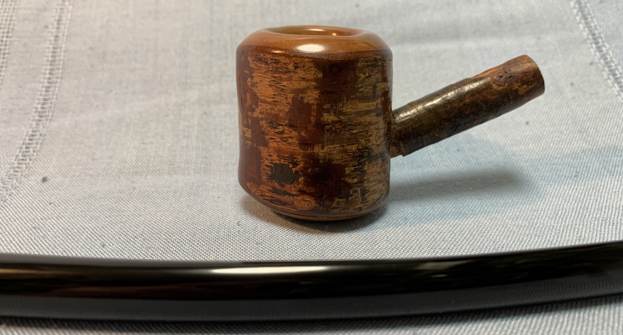
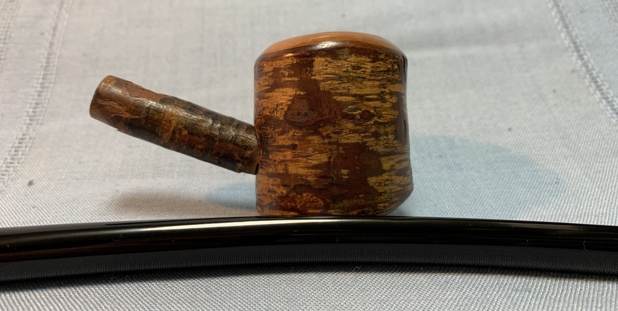
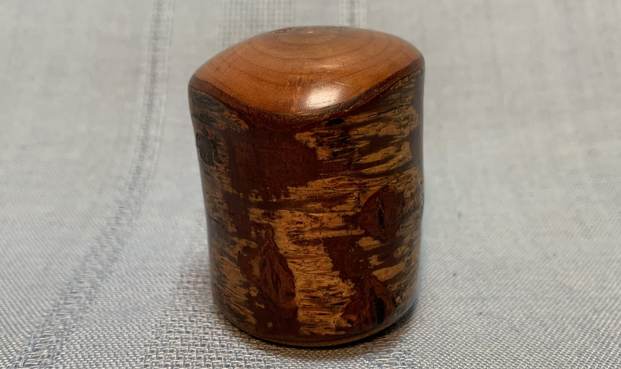
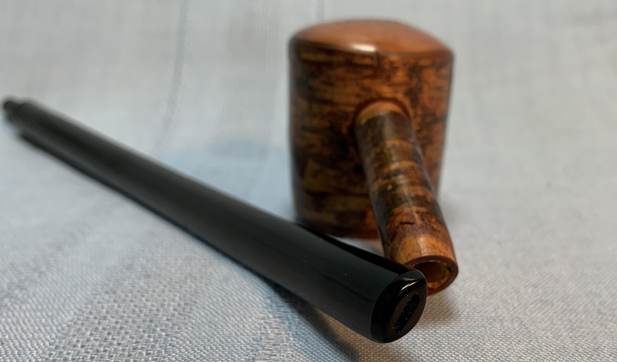
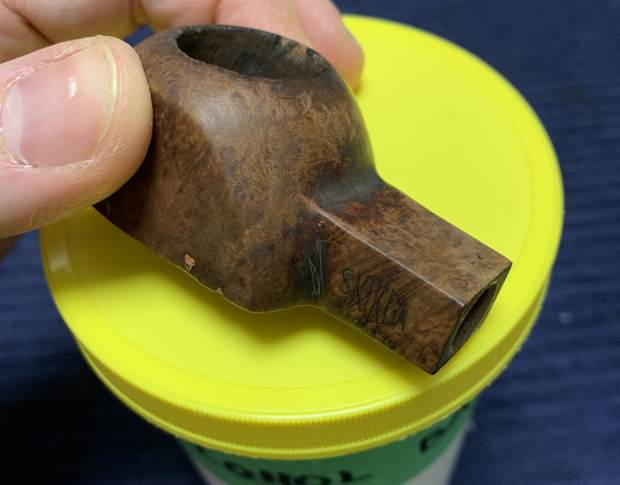
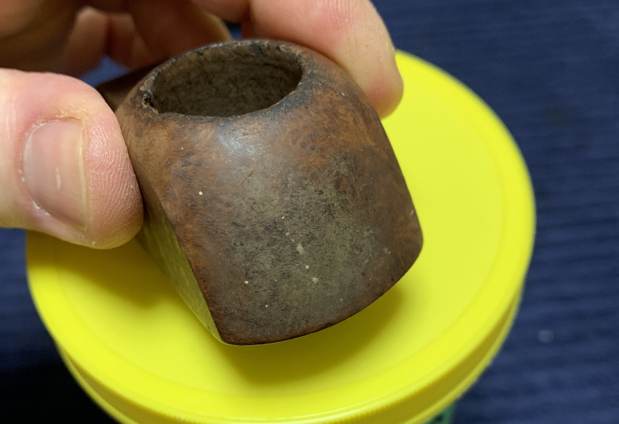
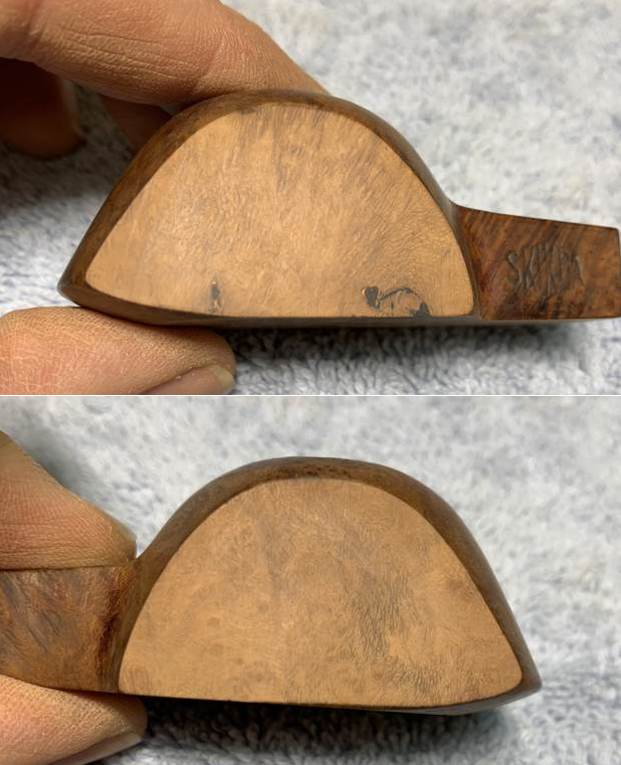
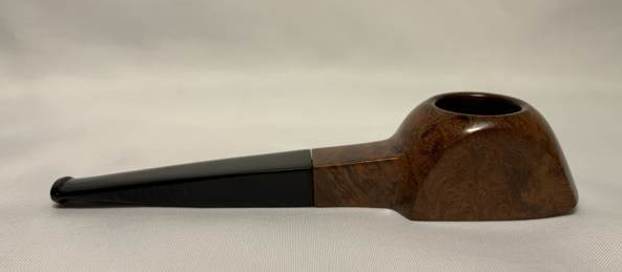
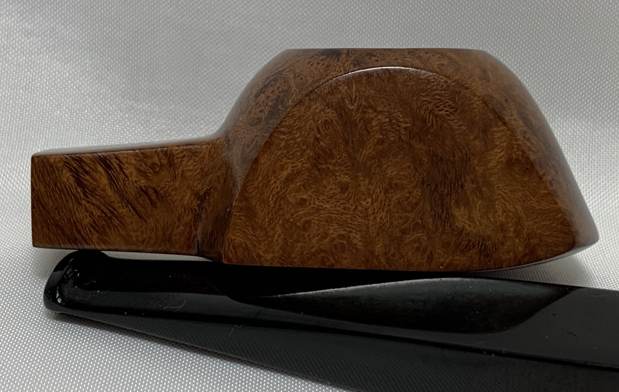
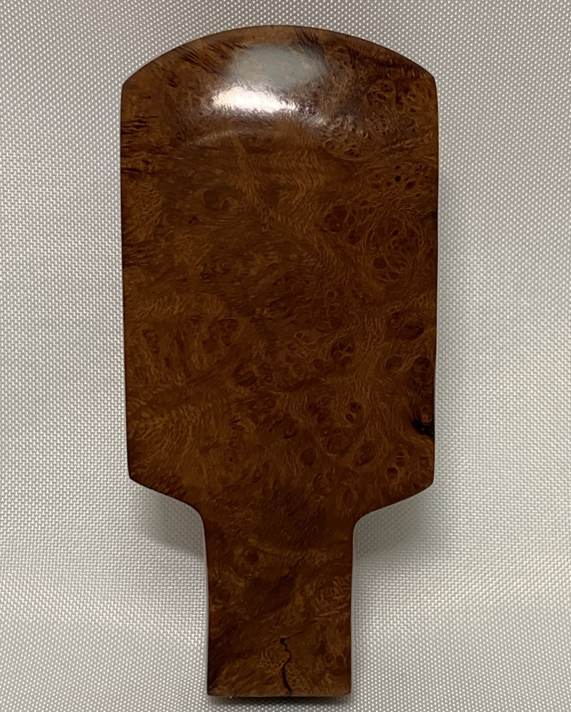
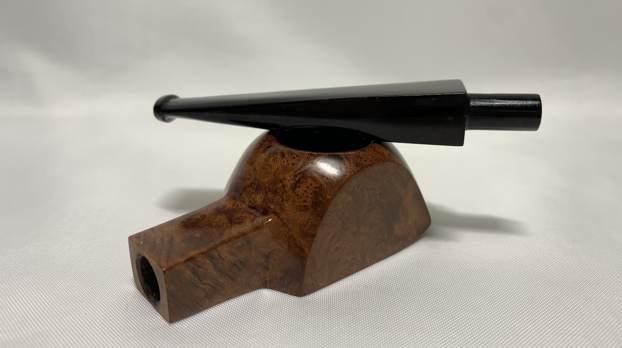
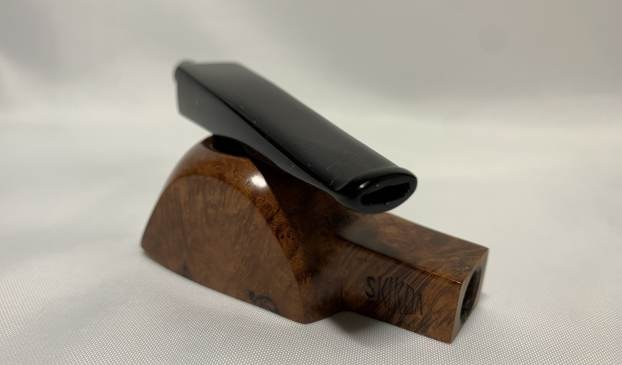
Pull up a chair and light your pipe – let me tell you the tale of an involved pipe restoration. This pipe arrived from France in a large lot. It certainly caught my eye with its idiosyncratic name and shape. I don’t know anything about the previous smoker of this pipe, but it certainly has travelled the world. Many things about this pipe are unusual, but most unusual of all is the shape! What would you call it? From the side it looks a bit like an igloo. It’s not a freehand, it’s not a classic shape – what on earth is it? I’m not sure, but I do have a soft spot for it so I’m going to call it an igloo.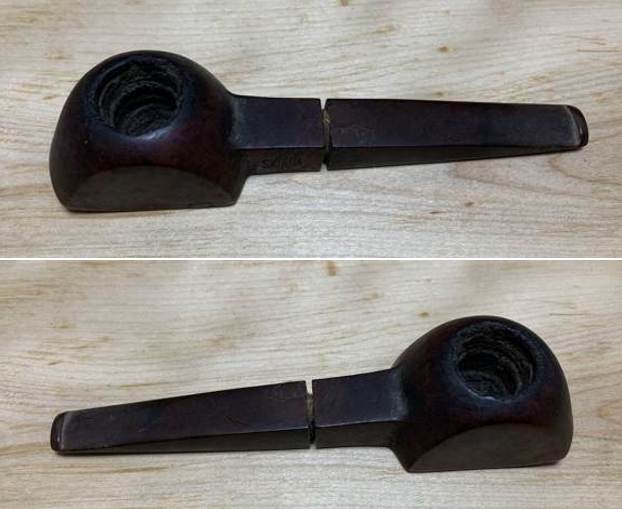 This is a Skikda pipe, made in Algeria. The only marking on the pipe was on the left of the square shank, which simply had the word ‘Skikda’. Igloo shape or not, it has a squared, tapered stem. As you can see, the stem of the pipe is made of vulcanite and the width of the stem narrows to the button. This indicates that the pipe is likely pre-war. My educated guess is that the pipe was made between 1932 and the beginning of World War II. Why 1923? Read on…
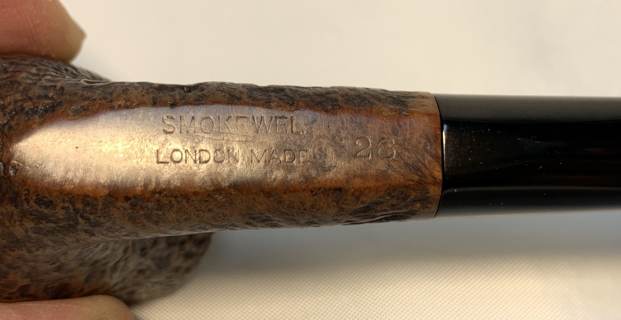
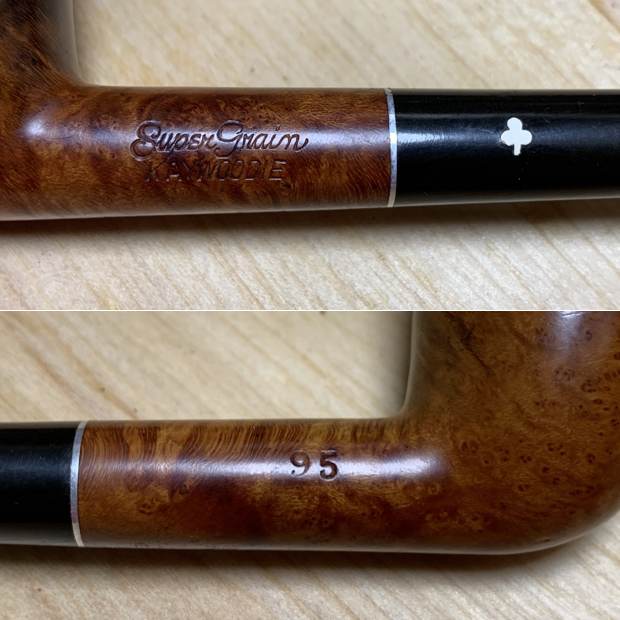
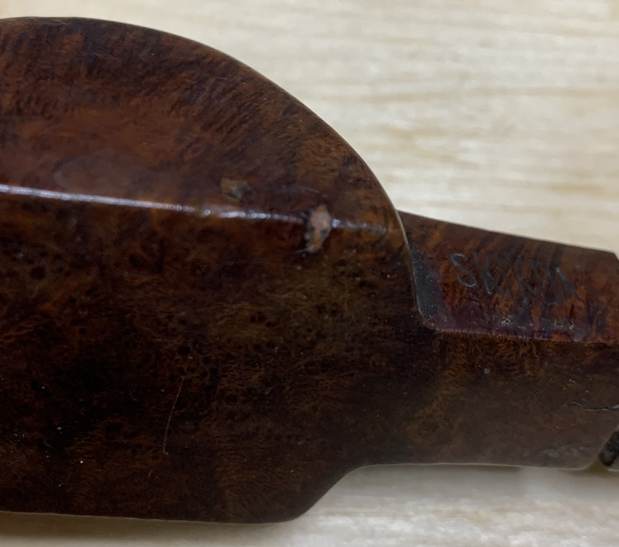
 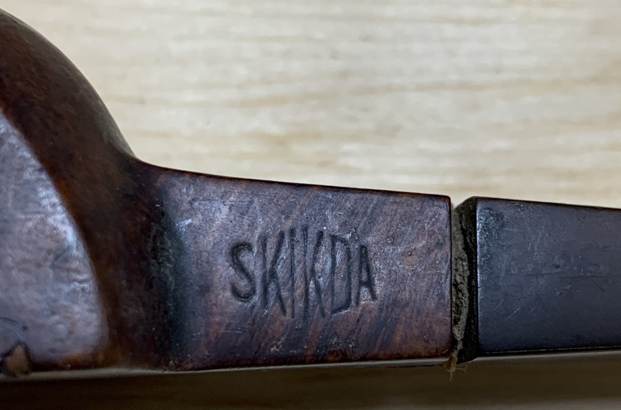 As is often the case with pipes from the early 20th century, the information I have on Skikda Pipes is slim indeed. What does the word “Skikda” mean or refer to? Skikda is a region and a town in northeastern Algeria. Between the 1830s and 1960s (when Algeria was under French rule), the town was known as Philippeville, after the French king at the time the town was founded. Pipephil had no information at all under the name, Skikda, and Pipedia had a mere three short sentences – but the sentences were significant in their own way:
“It seems likely that Skikda pipes are connected to the Amiel brand founded (1923) [sic – this should read 1932] by Raoul Amiel in Philippeville (Skikda, Algeria). The factory employed about 30 persons in the early 1960s when it closed down. It is the only known pipe producer to have been headquartered in Skikda.”
This was significant because I had independently come to the same conclusion about Skikda and Amiel, before reading the Pipedia article. In other words, I was pleased that someone else had made the connection between Skikda and Amiel.
Pipedia also has an article on Amiel Pipes, with information gleaned from an email of Jacques Le Moigne, great-grandson of Justine Amiel, Raoul Amiel ‘s sister. I quote some (but not all) of that information:
The factory of Raoul Amiel near Philippeville in Algeria is the result of the briar industry there. By 1900 the French and Italian sources of briarwood in the Mediterranean are becoming rarer. The pipe industry had grown in a short period of time and a gigantic demand for this special rootwood was there. In 1905 rich fields of briar were discovered in Algeria, at that time still part of France. Within some years Algeria became an important exporter of so-called ebauchons that were exported world-wide. About eighty percent of the briar used in the pipe industry of that time originated from Algeria. We had previously indicated that French undertakers together with English investors were considering to set up the industry of pipe making in Algeria. The raw material was sufficient available, moreover cheap labour was easy to get. The Amiel family reports the factory was originally financed by the Wassas Family. Unfortunately things changed after 1929. The Amiel family was a traditional pipe family. They had their origins in Nancy, France, which they left in 1870 during the German invasion. They first moved to Florence Italy before moving to Philippeville in French Algeria. Raoul was a gifted engineer and designed and built the factory, which was very modern for the time. In 1932 the first pipe factory in Algeria opened its doors under the name Raoul Amiel. A mysterious factory of which little history is known. Certainly the techniques for making the pipes came over from Saint-Claude so that the pipes are hard to distinguish from the French counterparts. The factory named Amiel is heading with success. The product soon reached a high grade of perfection and soon competed with the French products. Even so, Amiel was selling a greater deal of his products in Saint-Claude, where the pipes received a French mark to be exported world-wide. Despite of the large production and the excellent trade the success of the factory is unclear to us now. After the founding the factory worked till the late 1950’s. Possibly the mark thereafter was sold and the production moved to another place. Anyhow, pipes under the name Amiel were kept alive till they disappeared from the marked somewhere around 1980. Certainly that fact is related to the declining interest in the tobacco pipe in general.
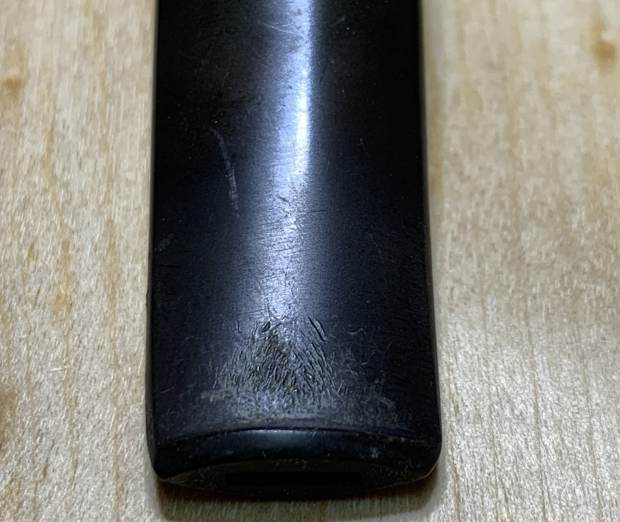
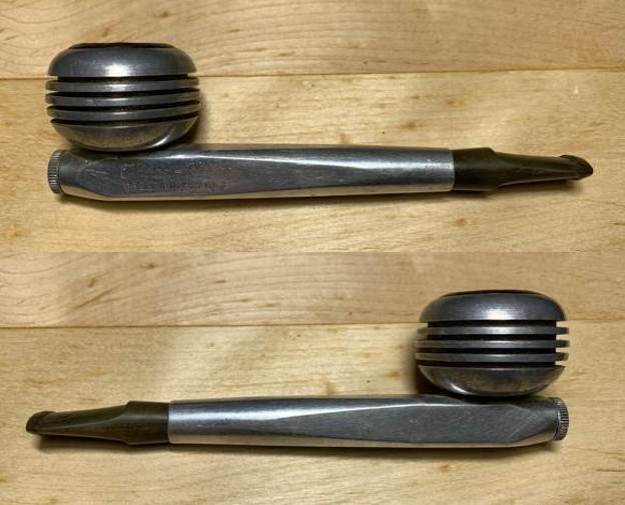
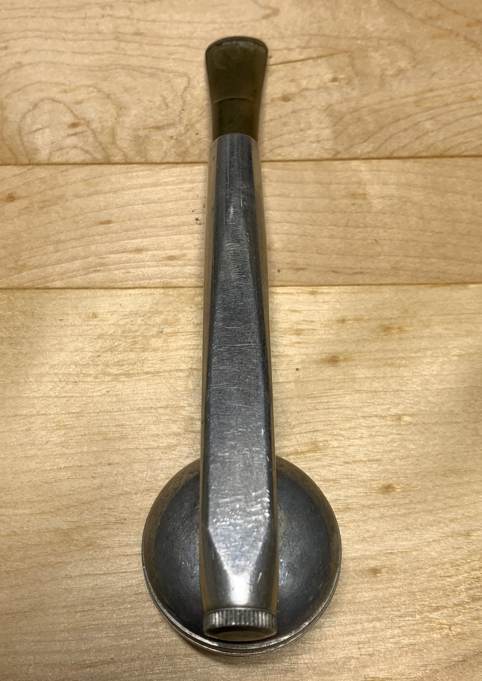
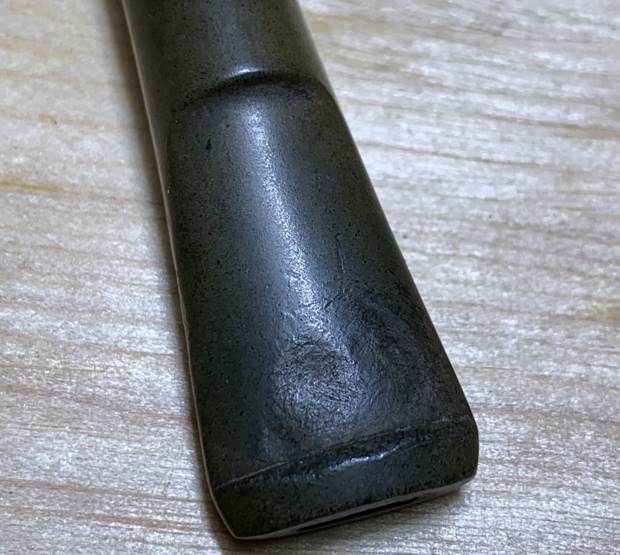
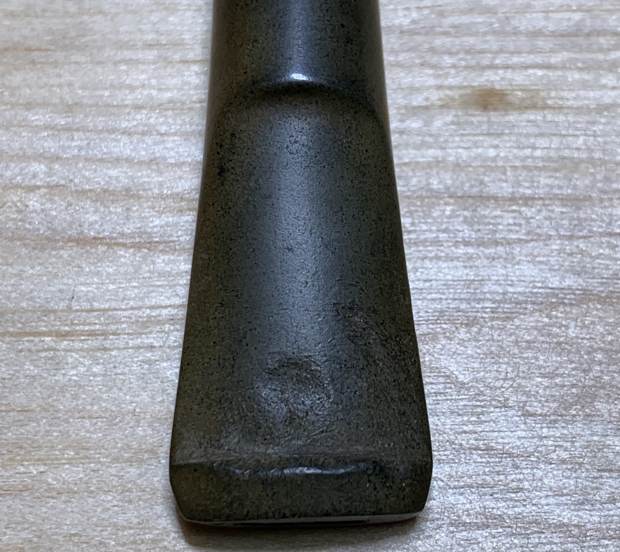
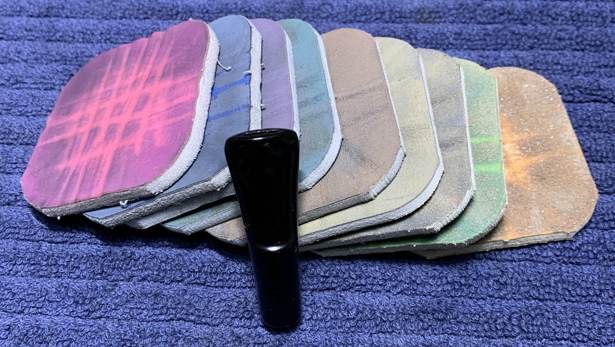
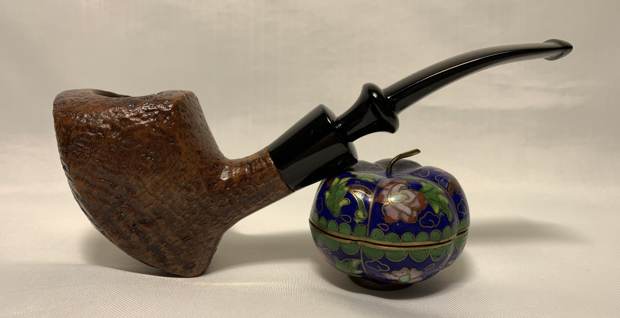
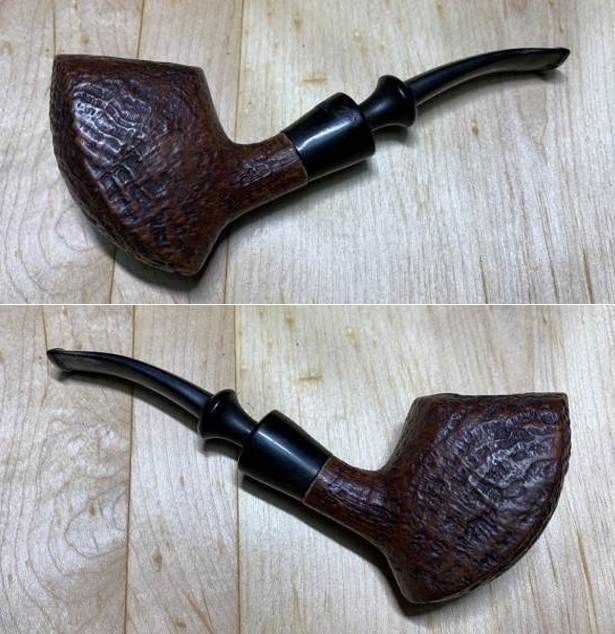
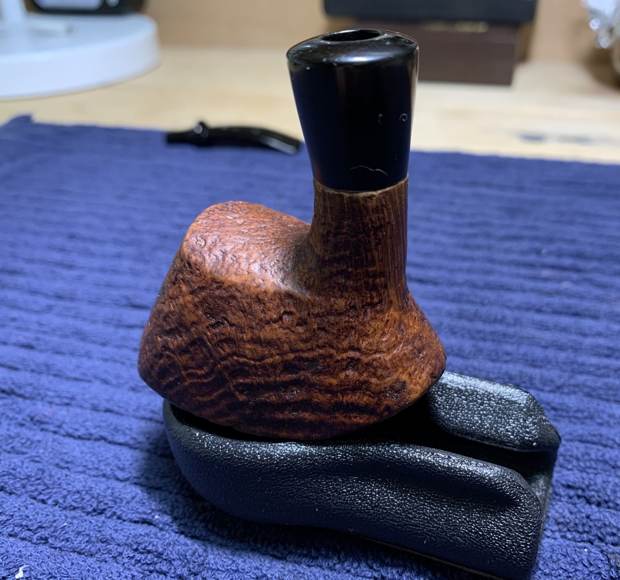
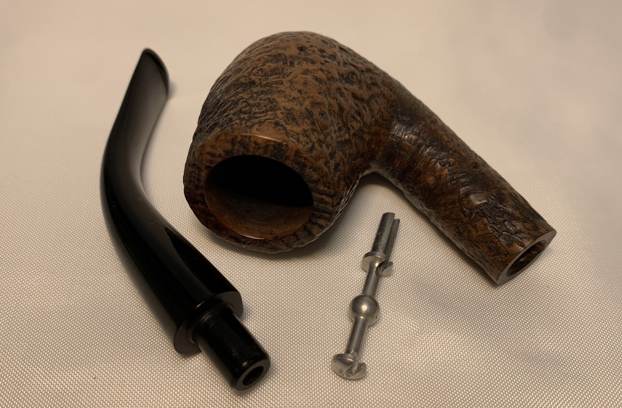
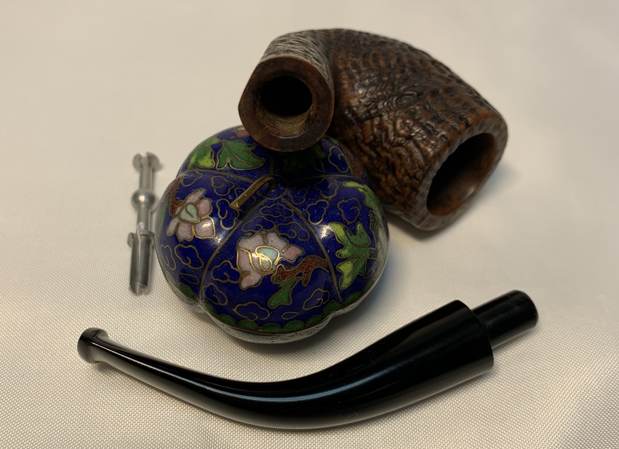
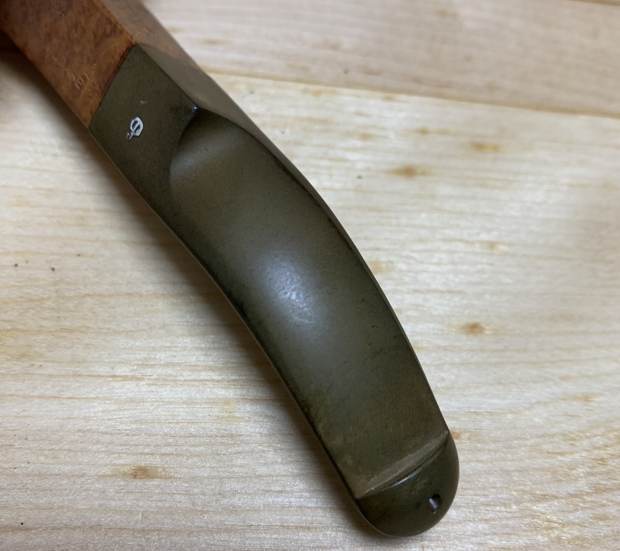
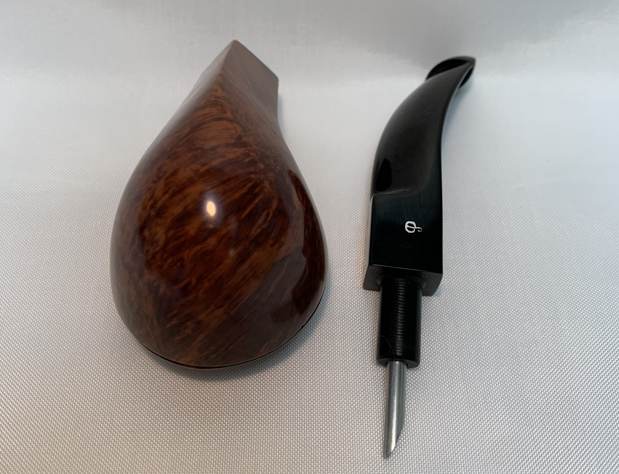
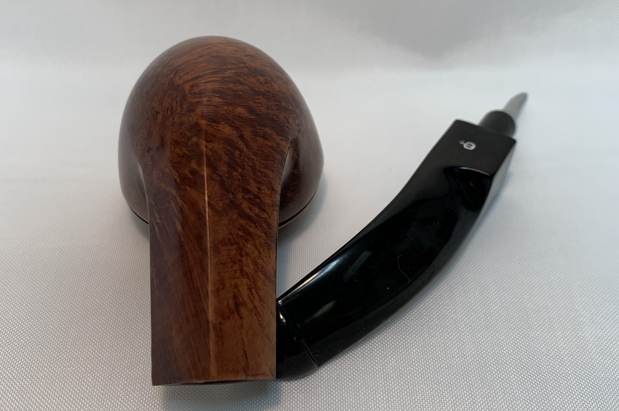
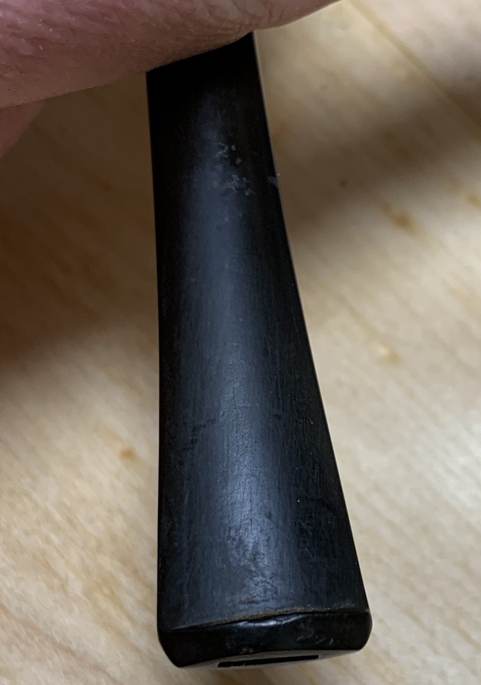
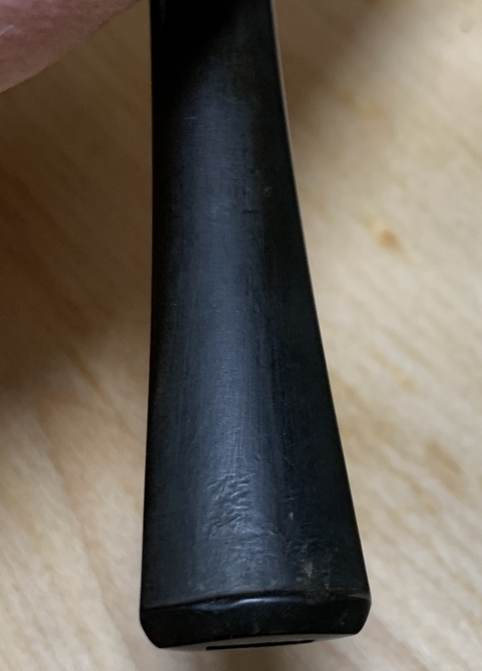
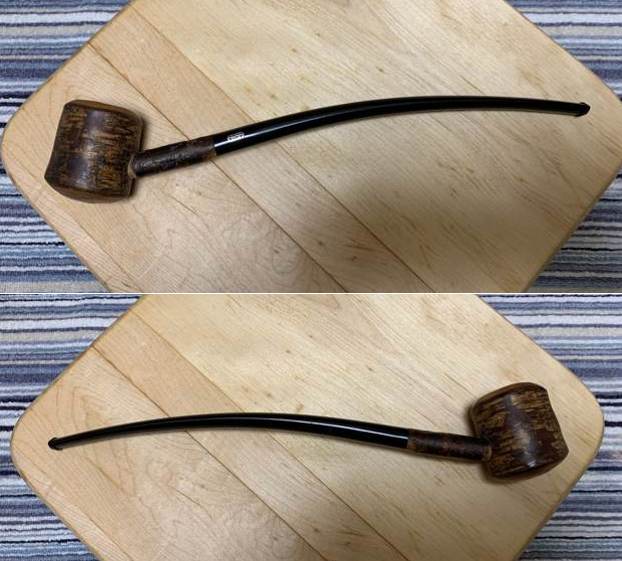
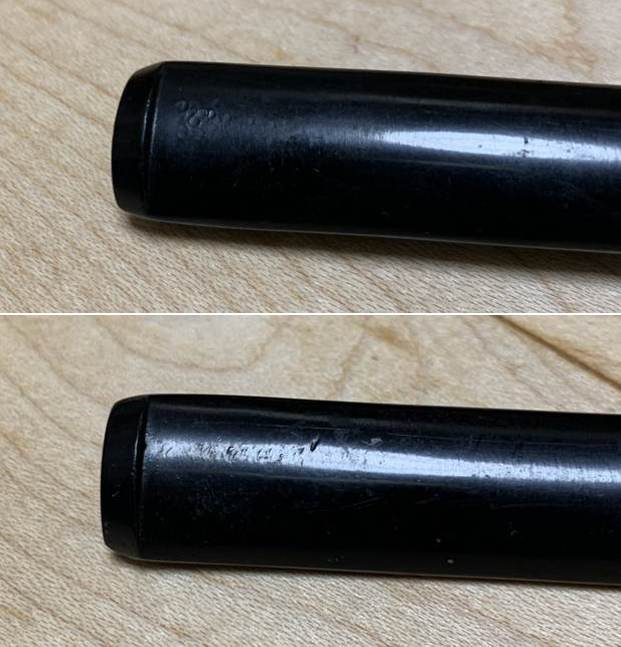
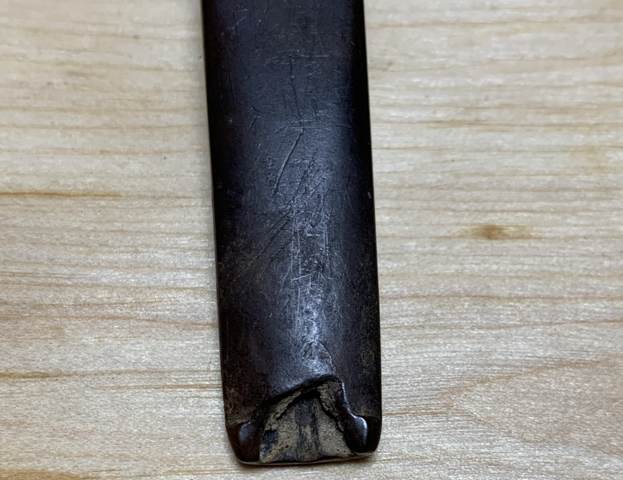
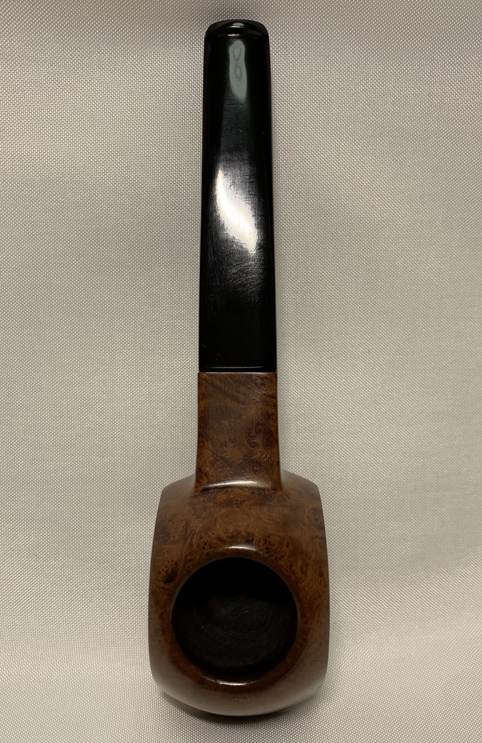
On to the pipe — and it was a bit of a nightmare. This stem may be the most badly oxidized stem I’ve ever worked on. The brownish-greenish-yellowish colour was oppressive and it was unclear whether it could be fully returned to its original glossy black. Inside the stem was quite dirty but not unusually so. The surface of the stem had scratches, marks, and dents as would be expected of a pipe this old, but worst of all — as the photos show — a big chunk of vulcanite was missing on the underside.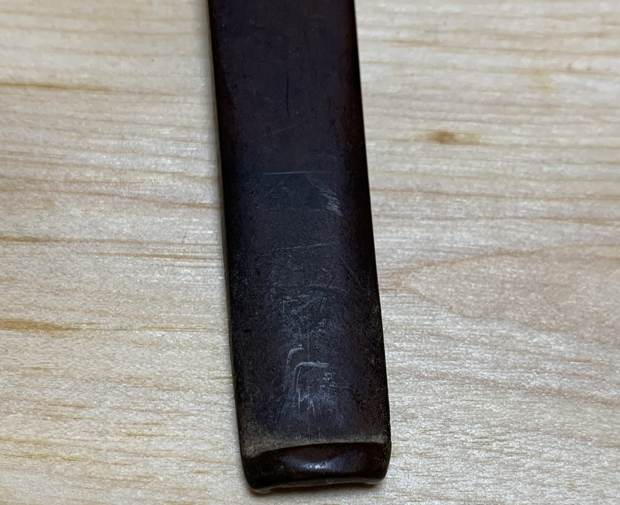
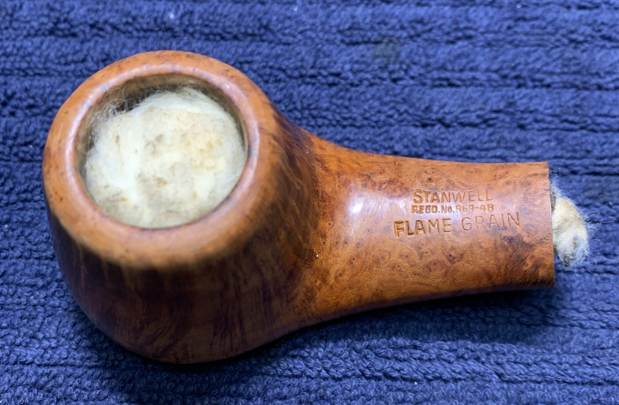
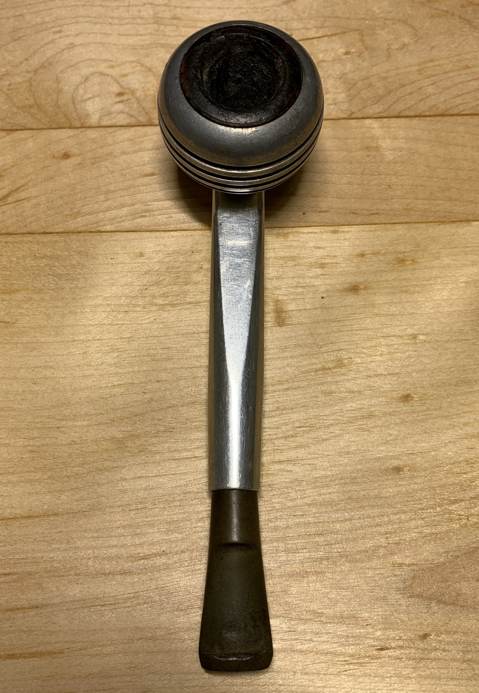
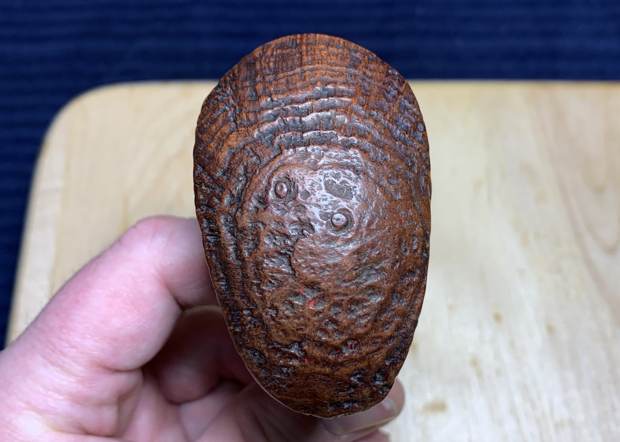
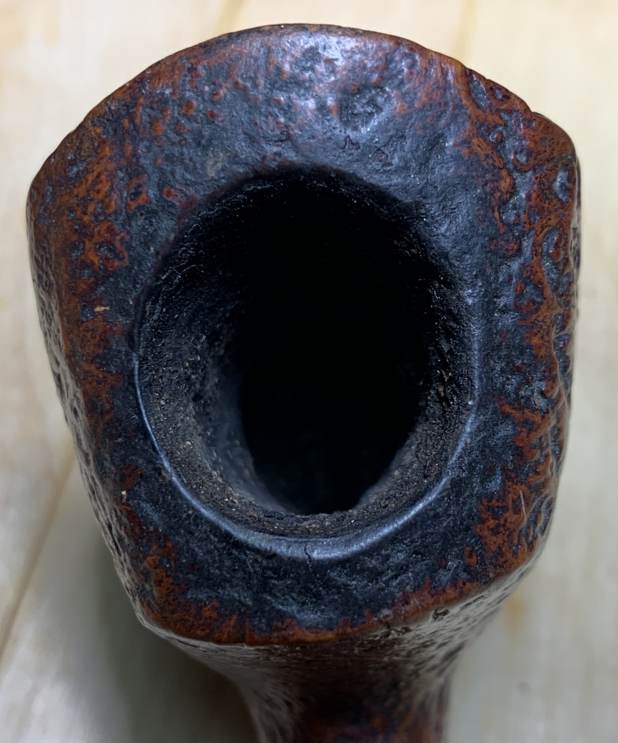
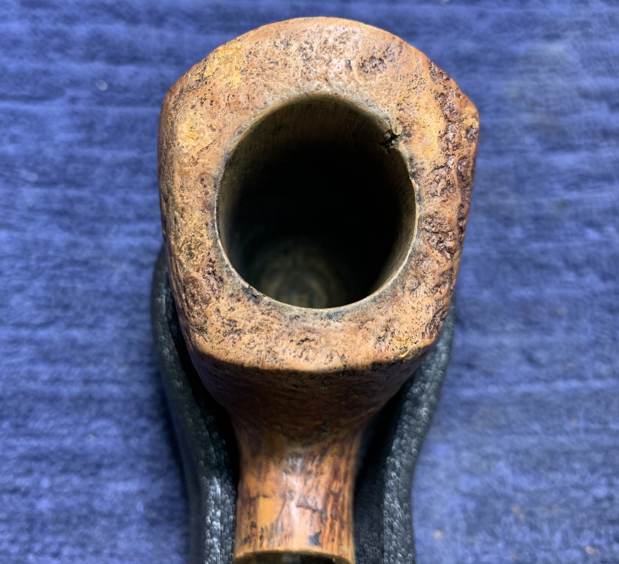
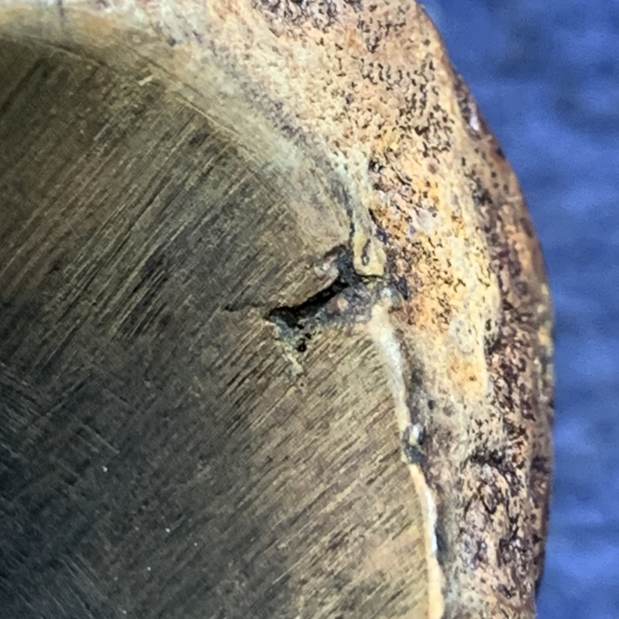
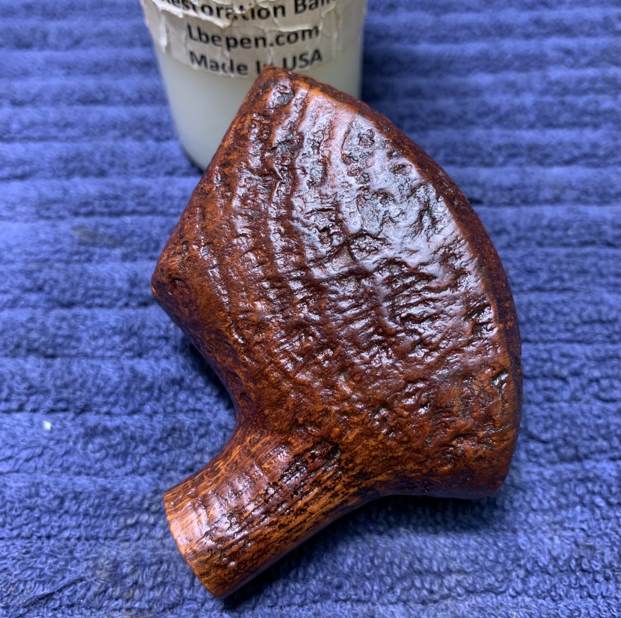
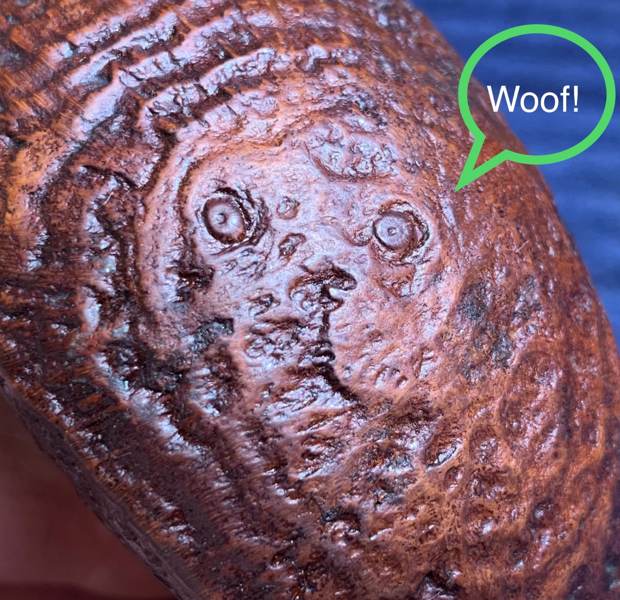
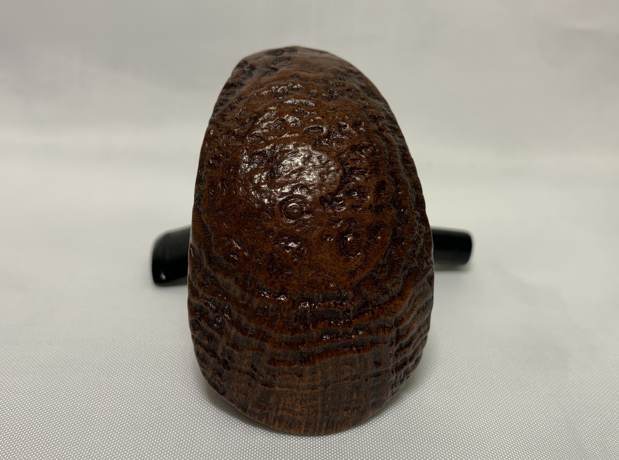
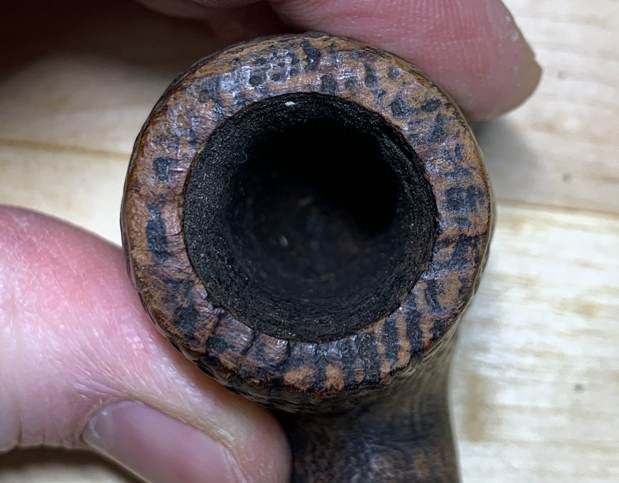
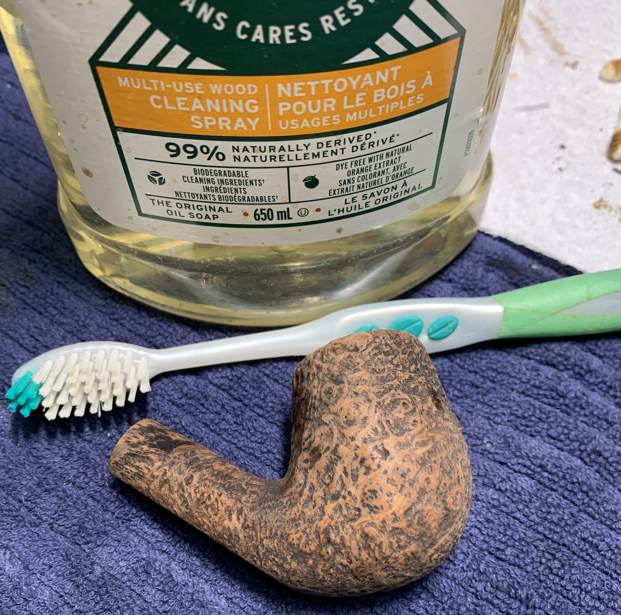
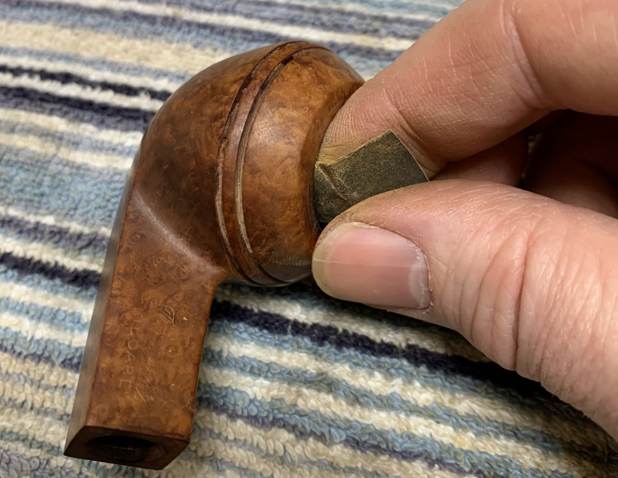
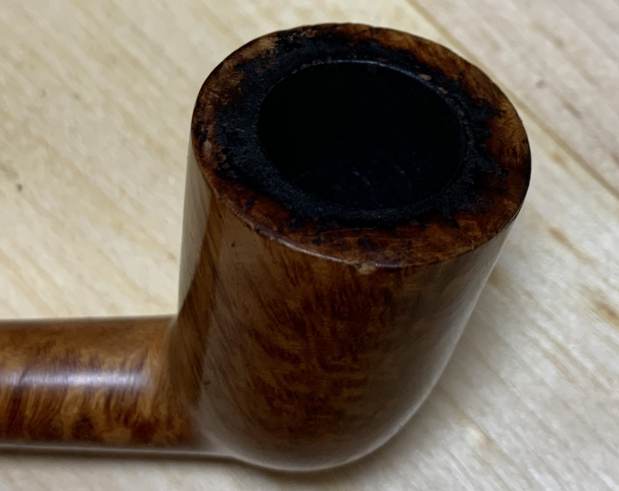
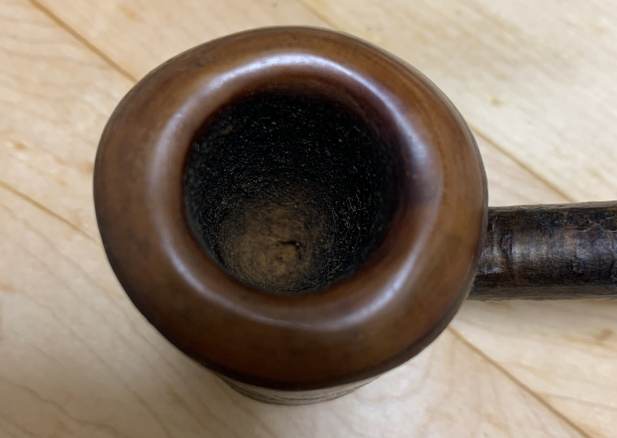
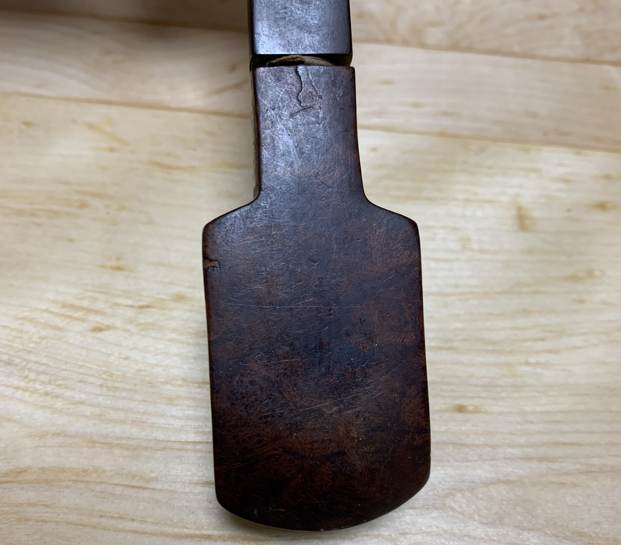
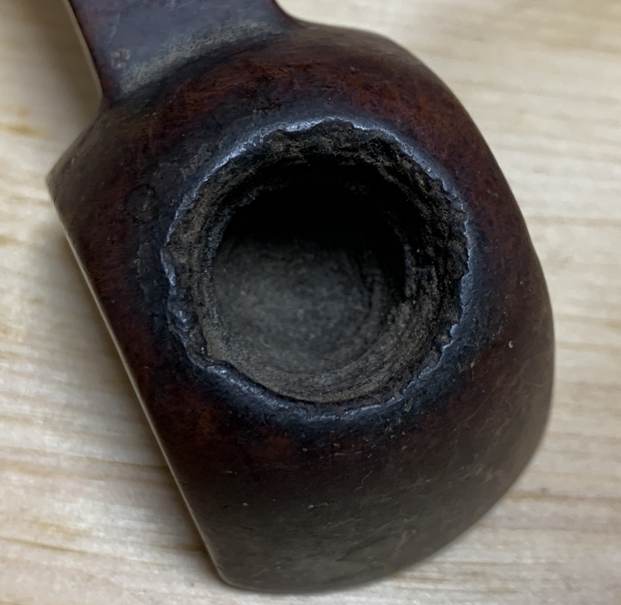
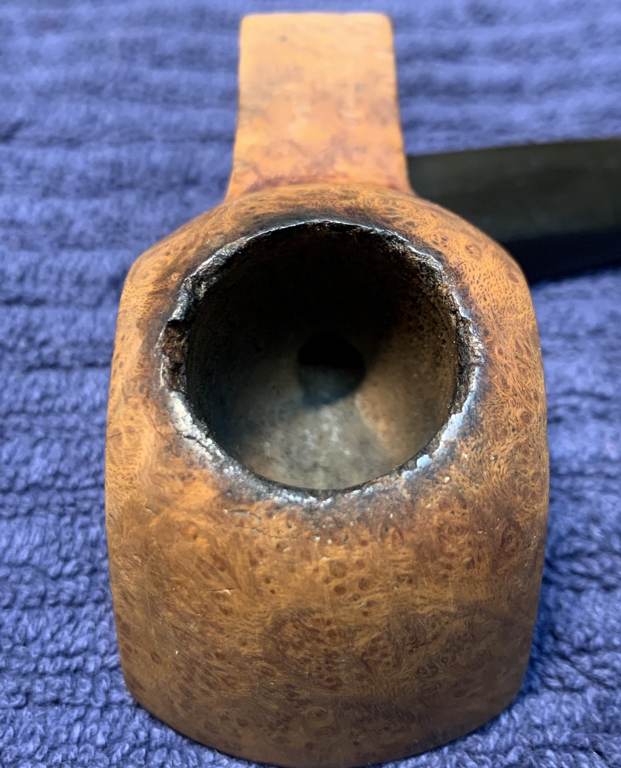
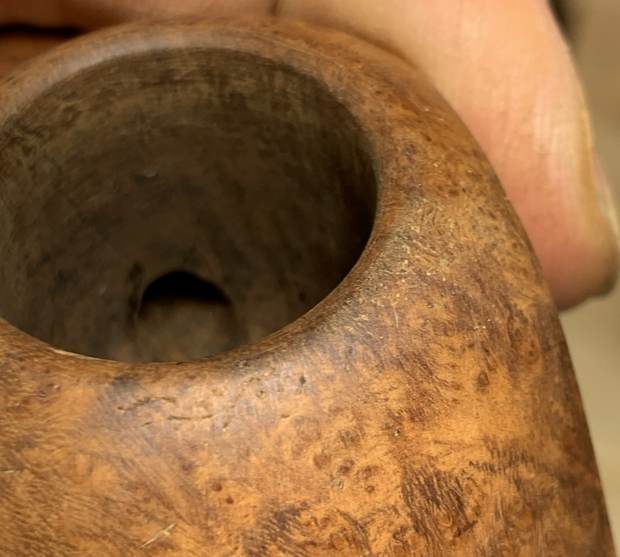
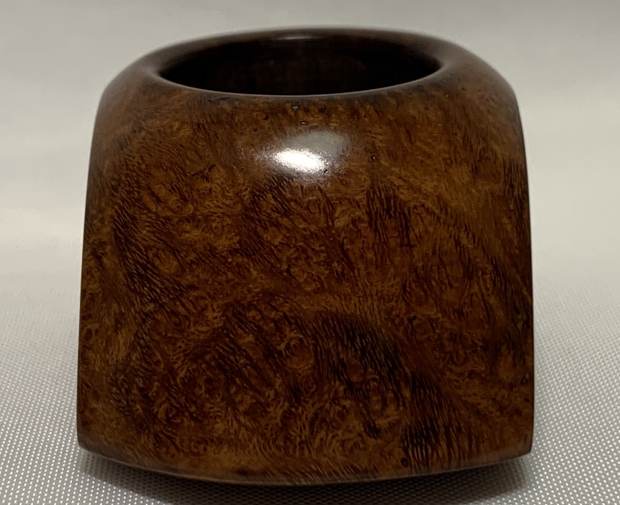
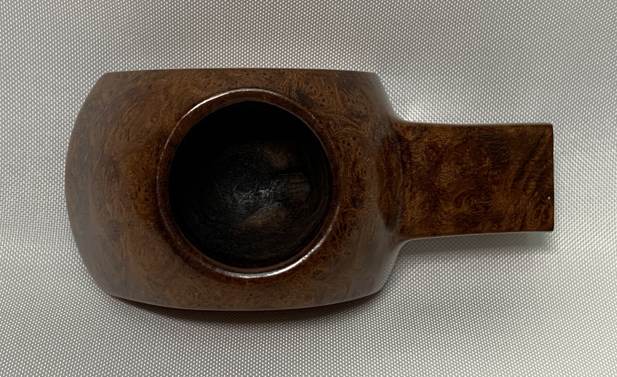
 As for the stummel, it was no better. It was nasty, grungy and dull. The left side had a couple of significant nicks, the underside of the shank had a crack, and the rim of the pipe was badly damaged by burns and was damaged enough to look like a meteor crater. Clearly, it had had a long, hard life.
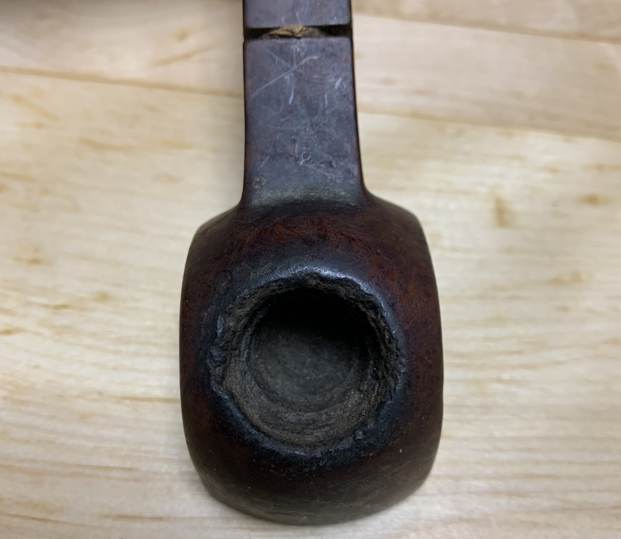
 This turned out to be a more challenging restoration than I had anticipated. Part of the difficulty was as a direct result of my own inexperience; I had to redo some of the steps more than once to achieve the desired result.
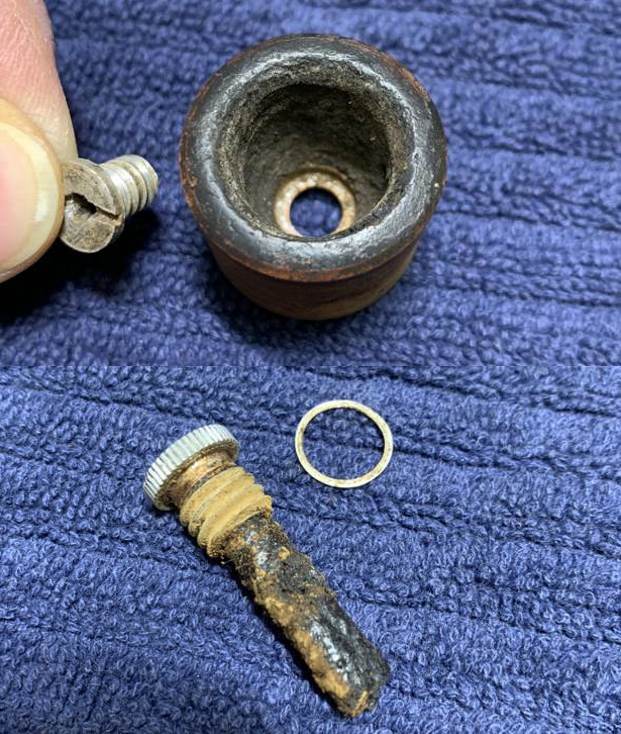
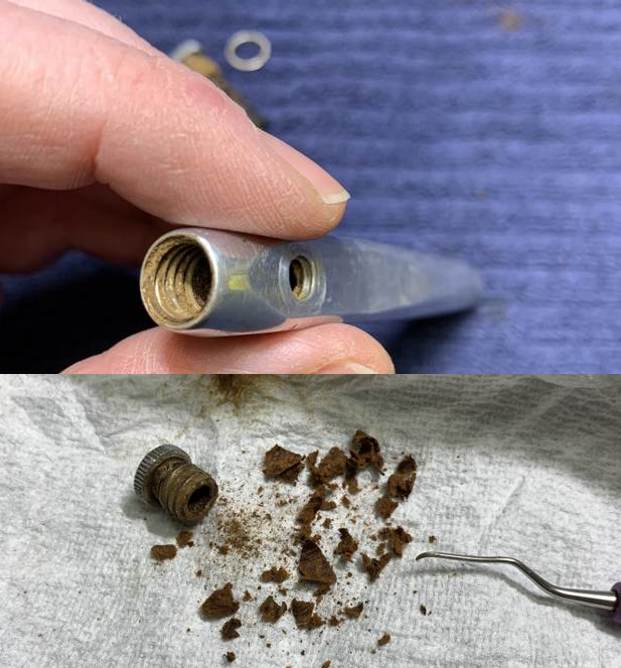
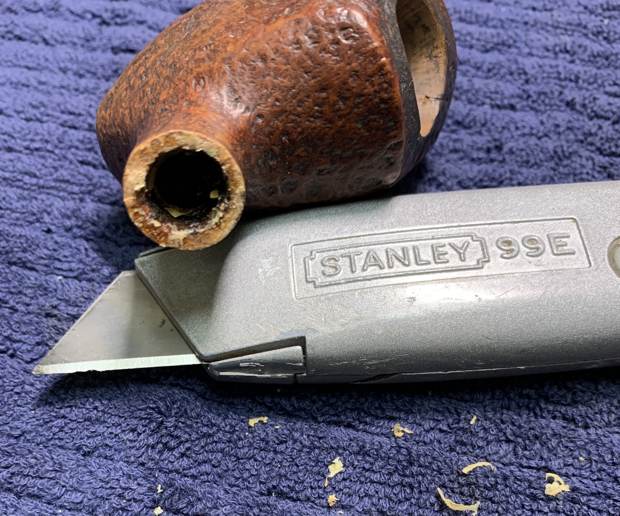
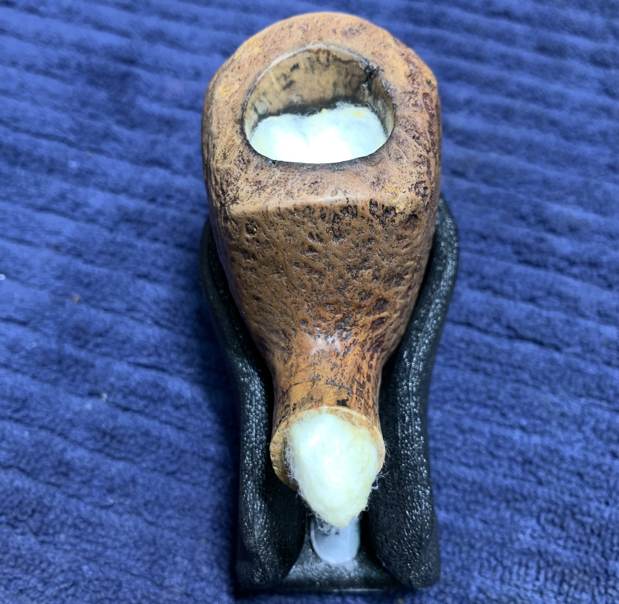
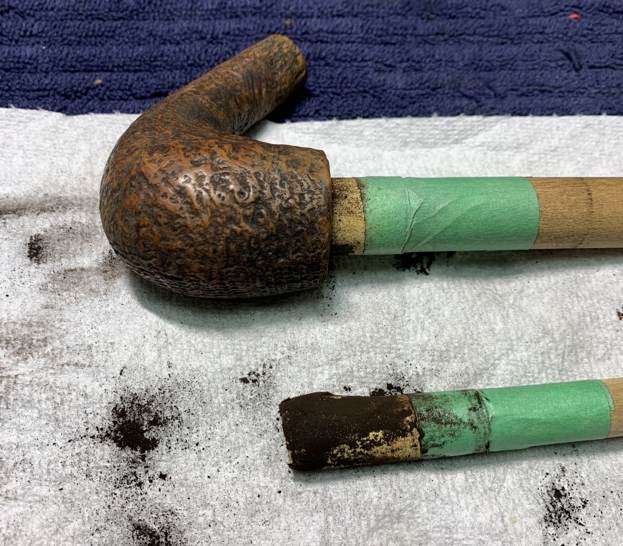
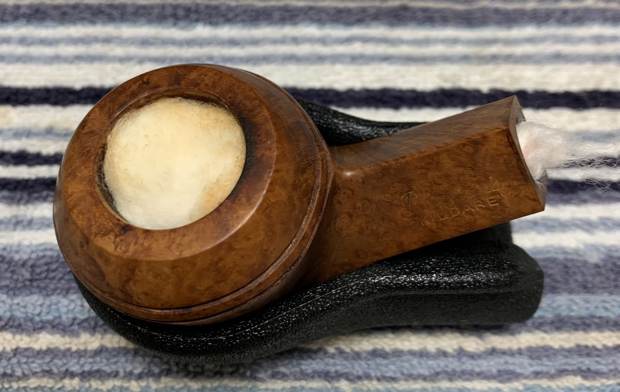
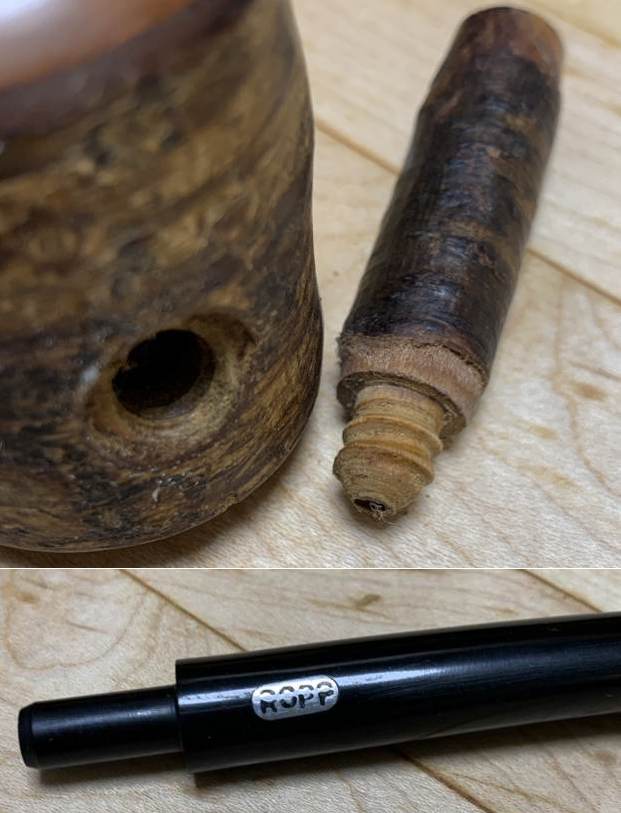
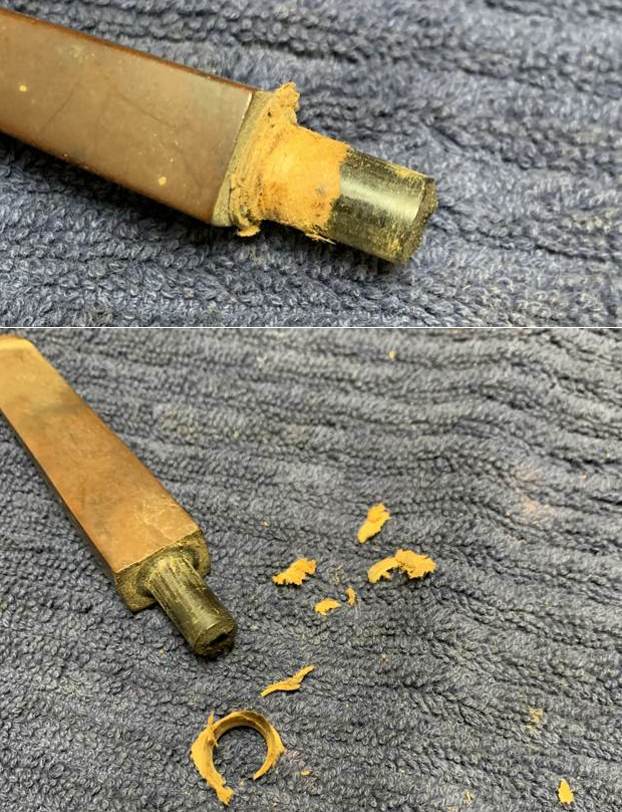
It was time to fix this pipe! First up — the stem. There was some paper mush (or something similar) on (and adjacent to) the tenon. I later found out that this was to repair yet another problem in the stummel, but I digress. I removed all of that paper debris before proceeding with the usual procedures.
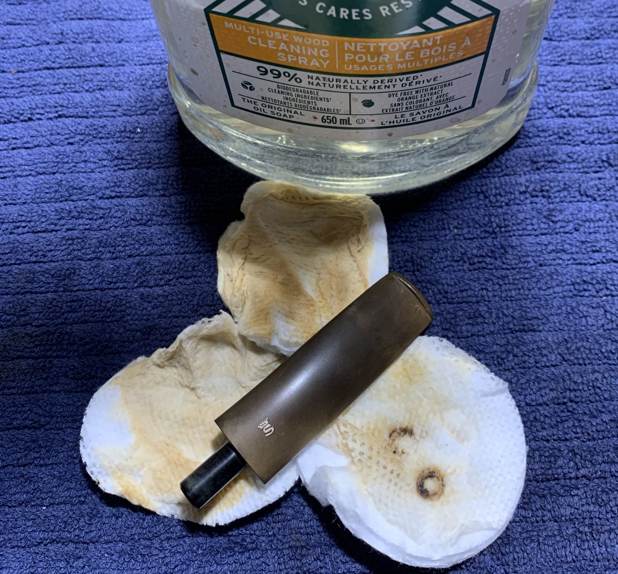
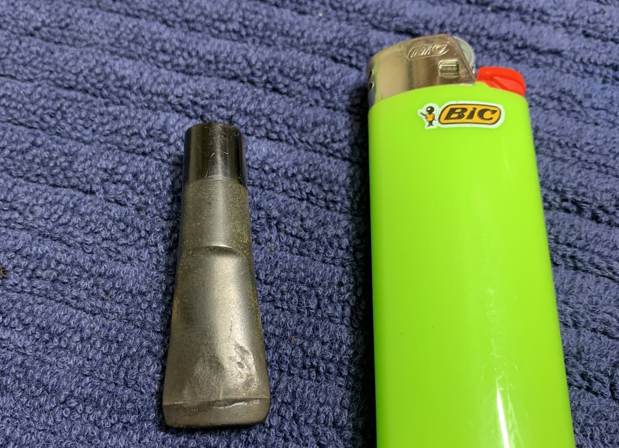
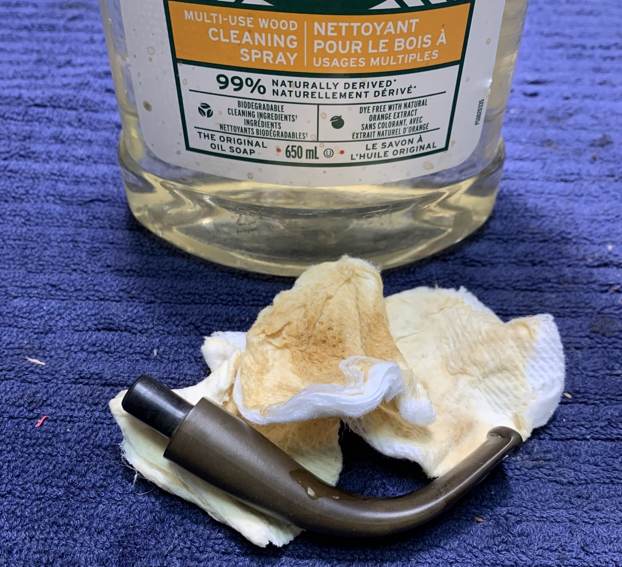
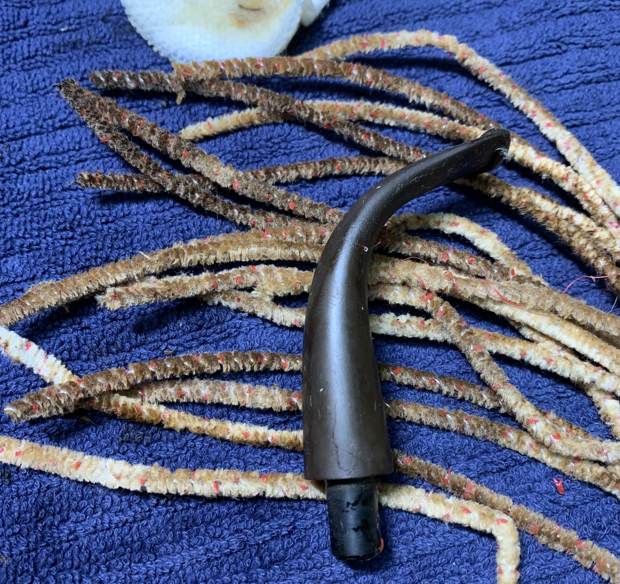
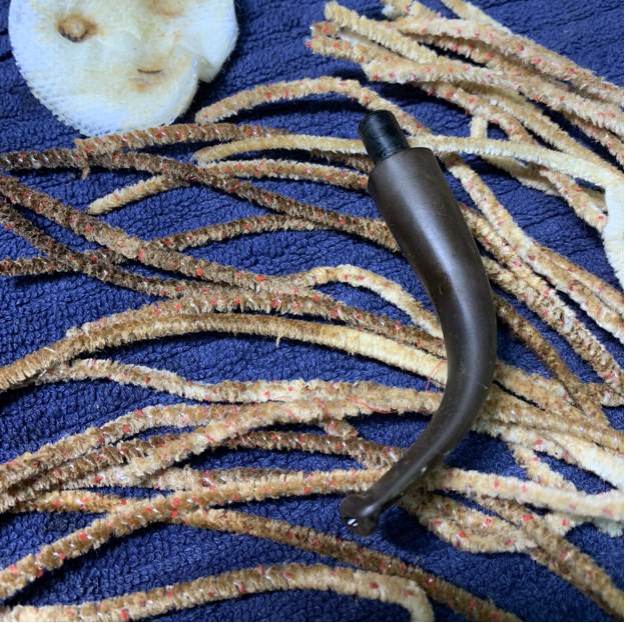
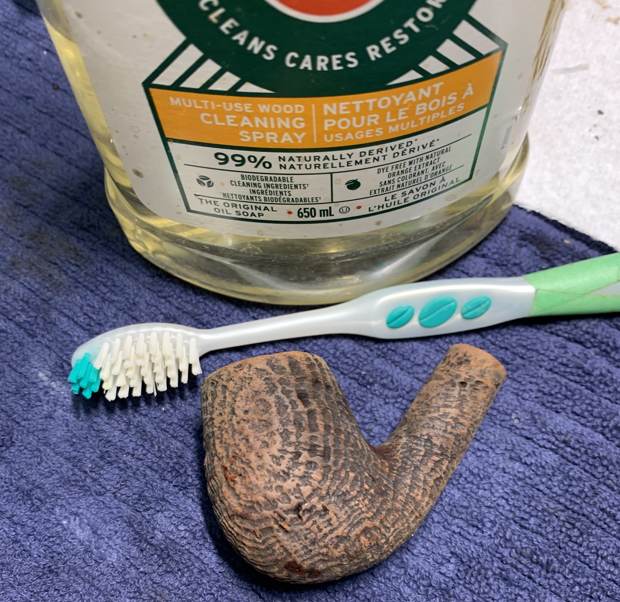
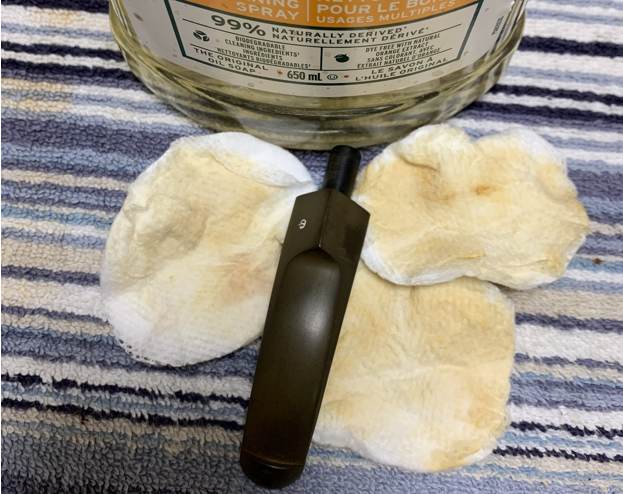
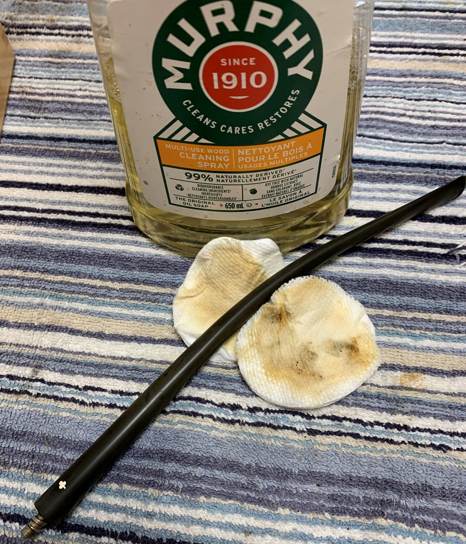
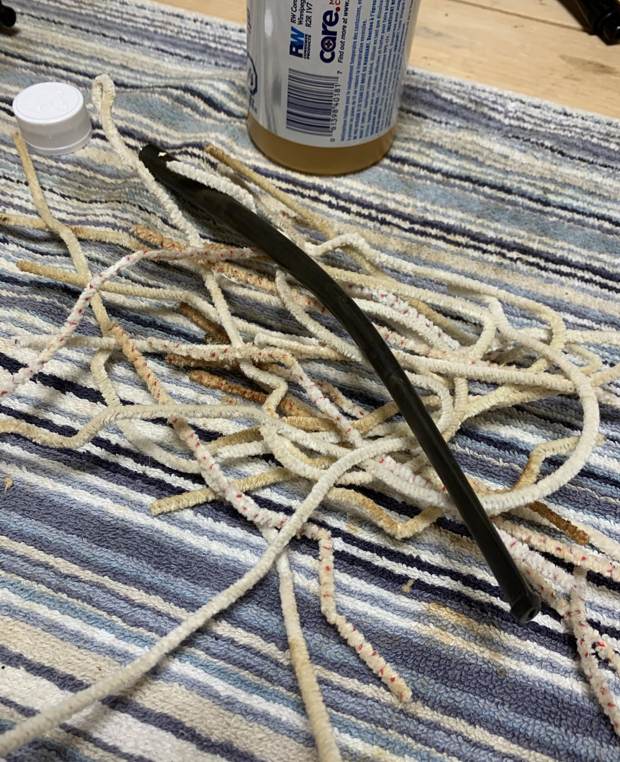
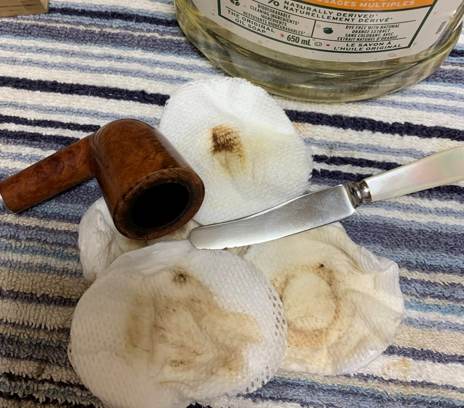
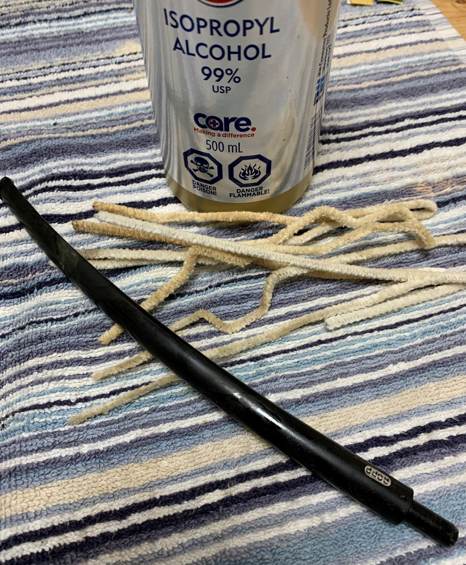
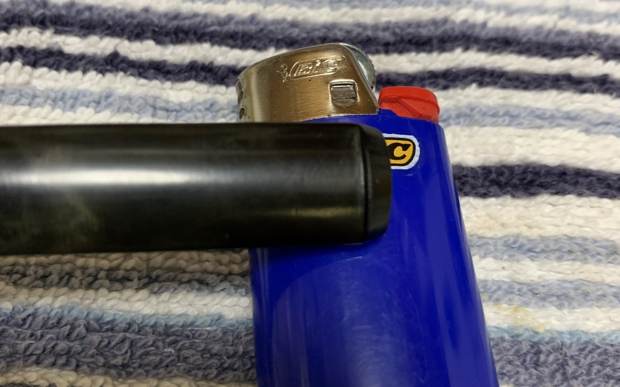
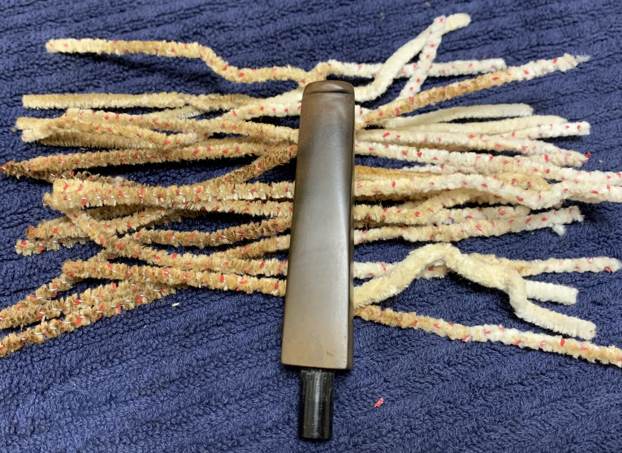
 I wiped the outside down with Murphy’s Oil Soap on some cotton pads. I also took a BIC lighter and ‘painted’ the stem with its flame in order to lift the bite marks and dents. Then I cleaned out the inside with pipe cleaners and isopropyl alcohol.
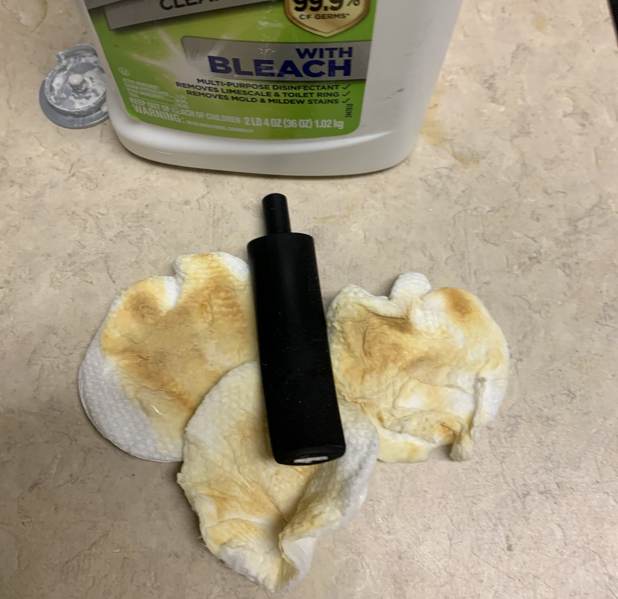
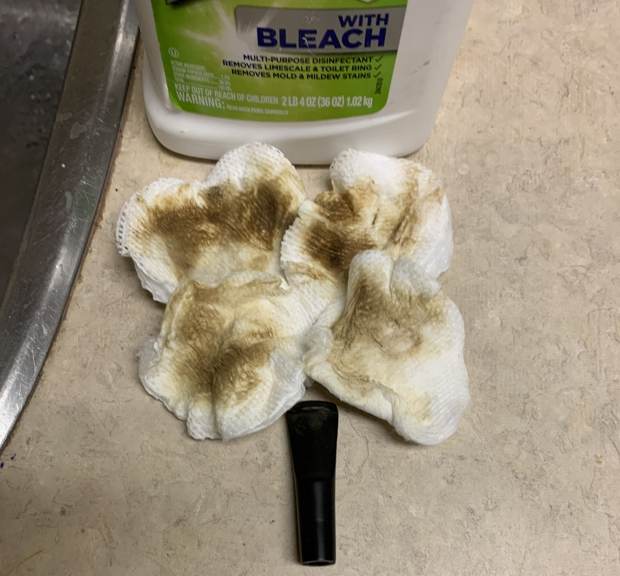
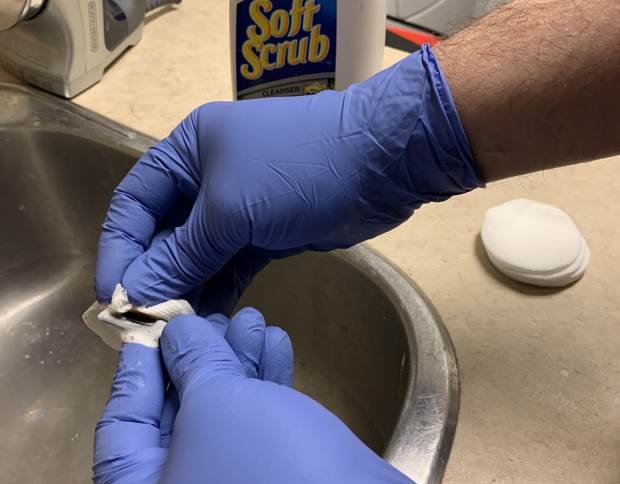
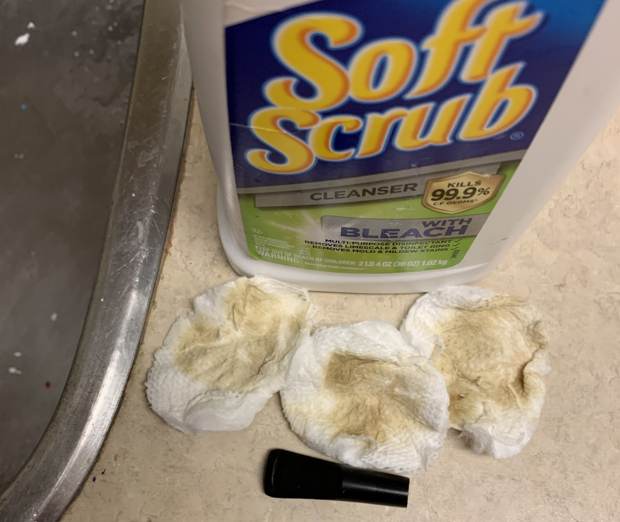
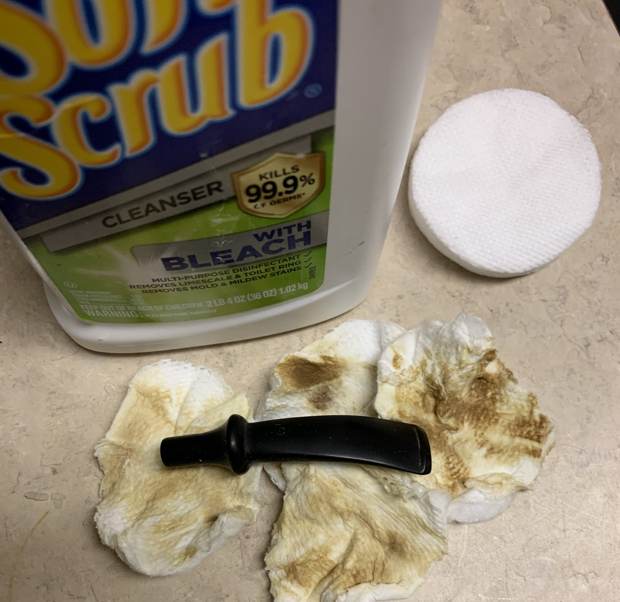
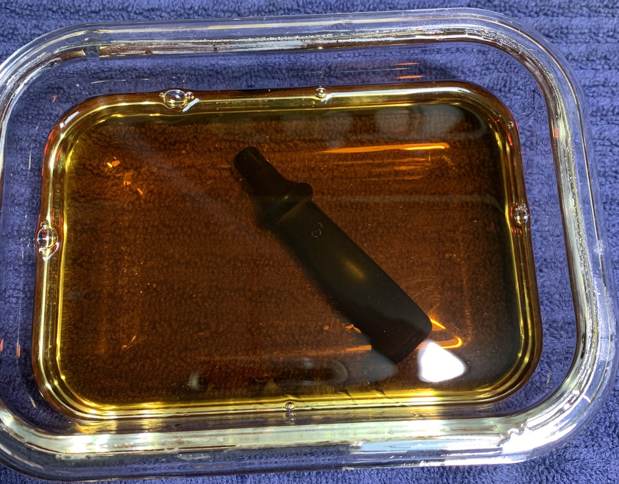
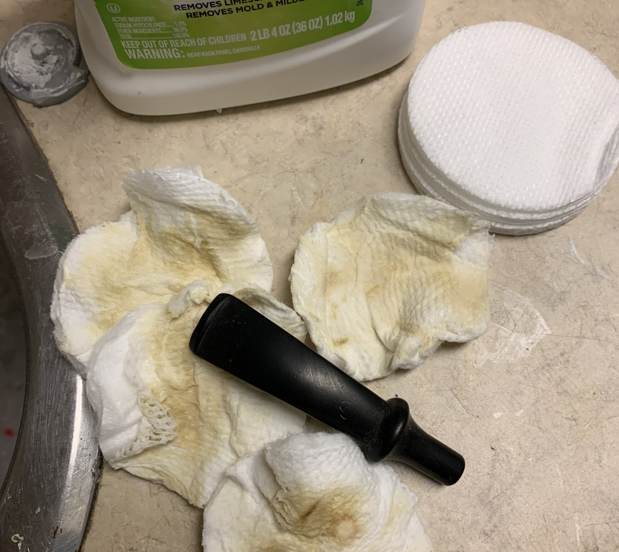
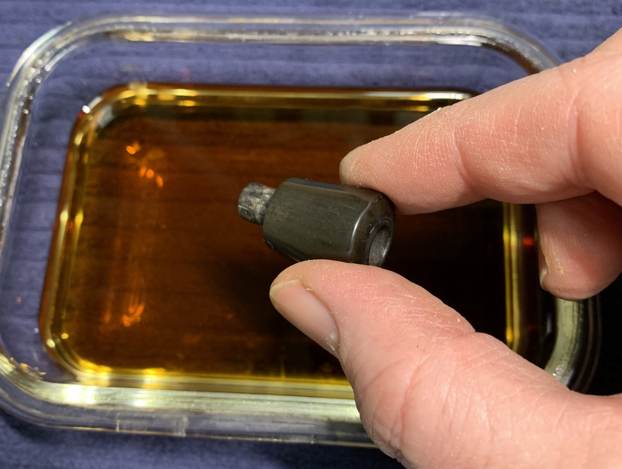
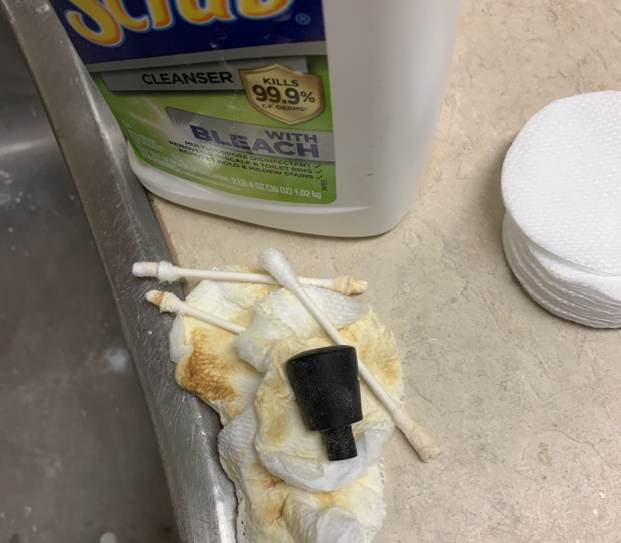
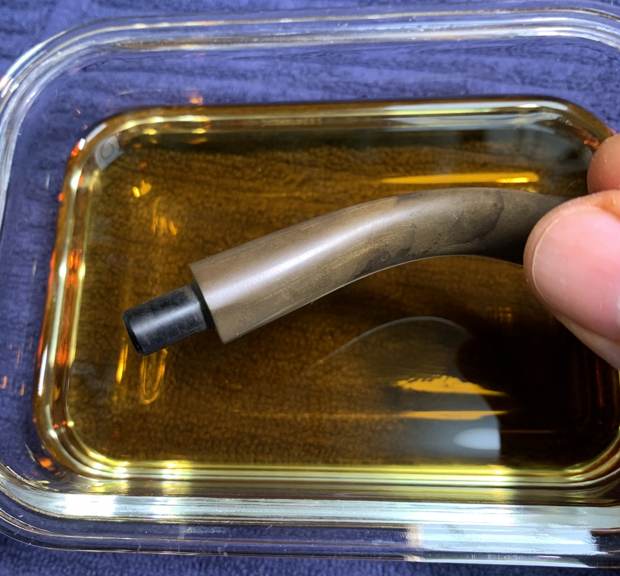
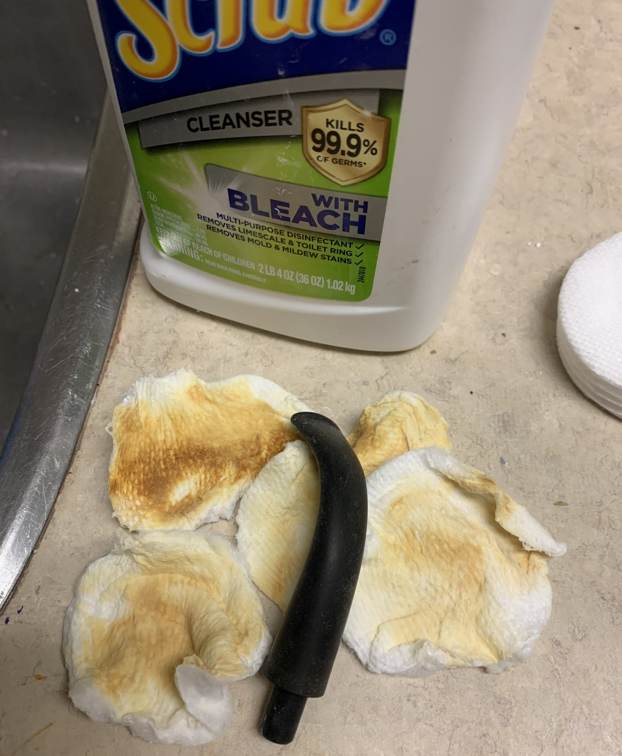
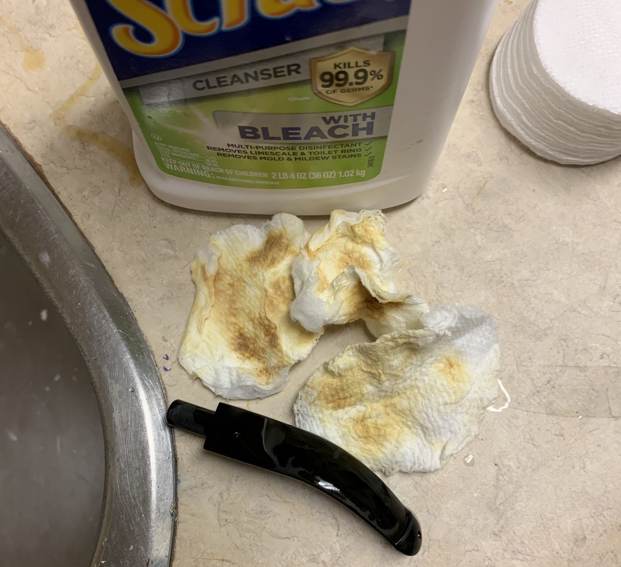
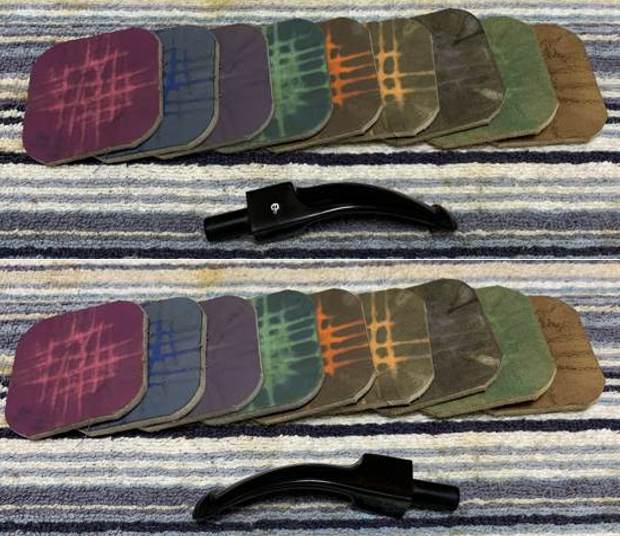
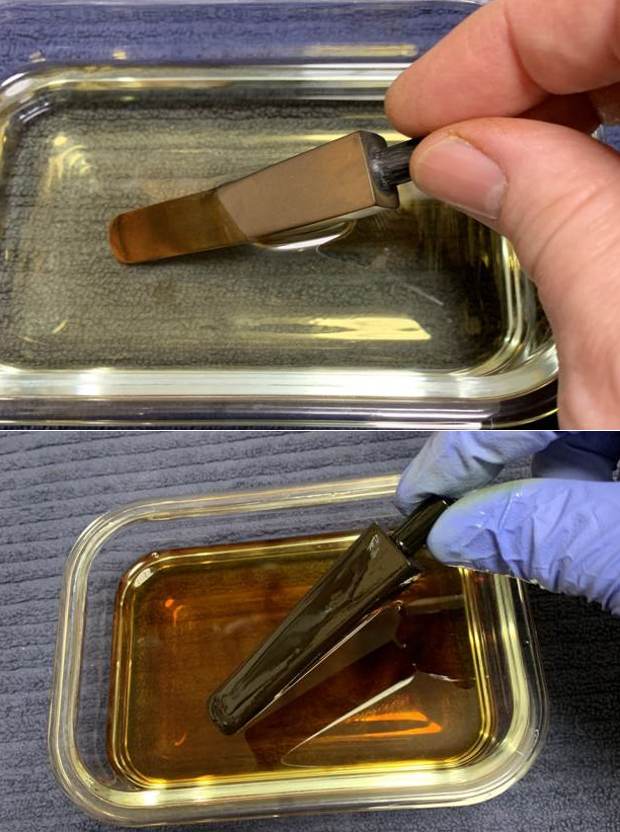
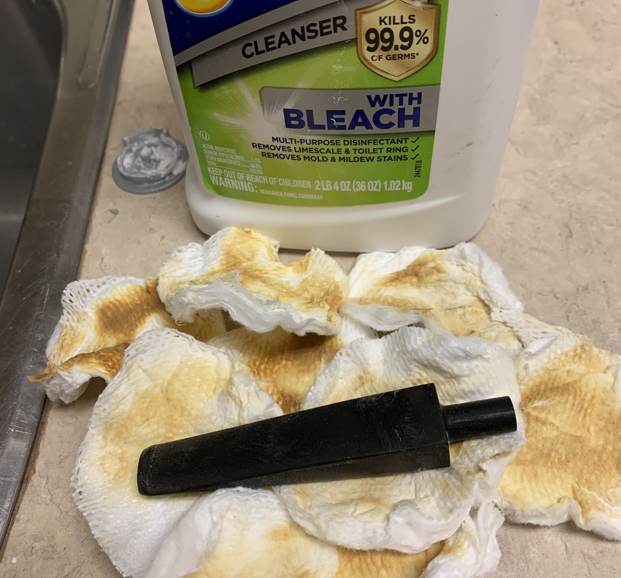
 Because of the extreme oxidation, I used SoftScrub and cotton pads to wipe down the stem before throwing it in the Pipe Stem Oxidation Remover. The following day, I cleaned all of the de-oxidizing mess and again scrubbed with SoftScrub on some cotton pads to remove the leftover oxidation. This worked quite well.
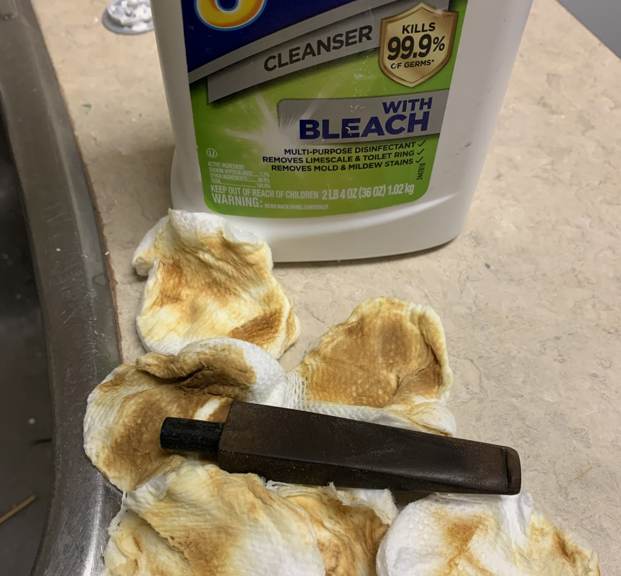
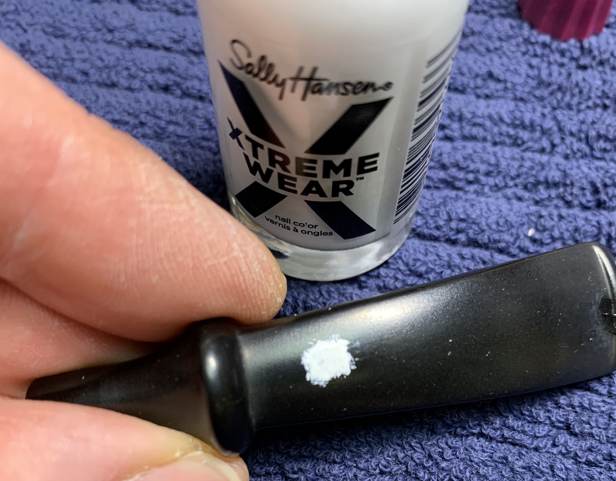
 I built up the smaller dents on the stem and button with black cyanoacrylate adhesive and let them fully cure.
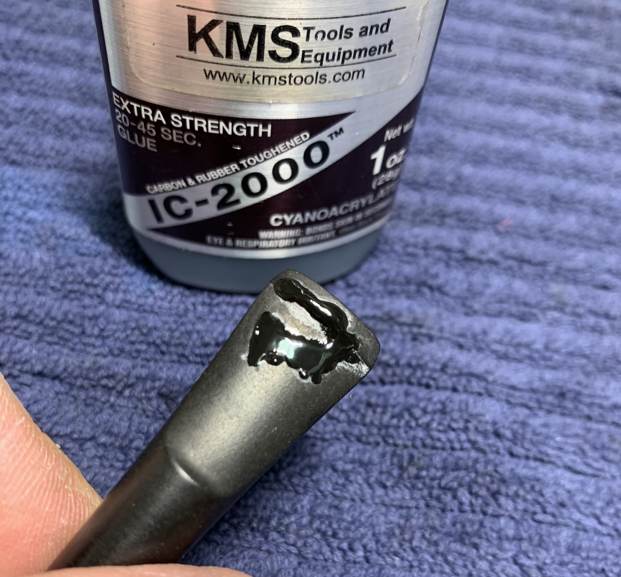
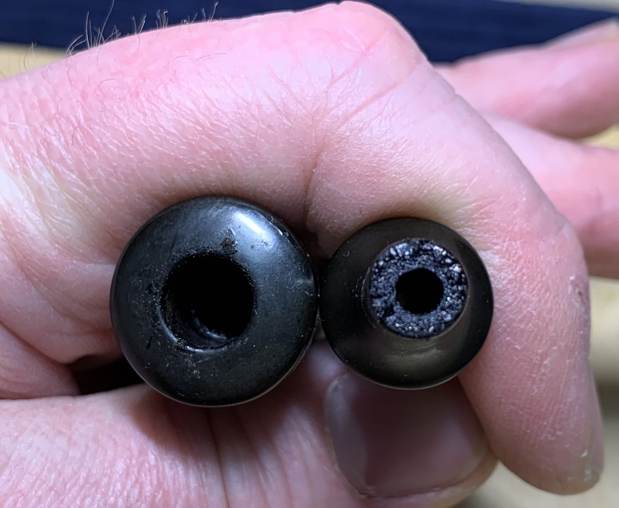
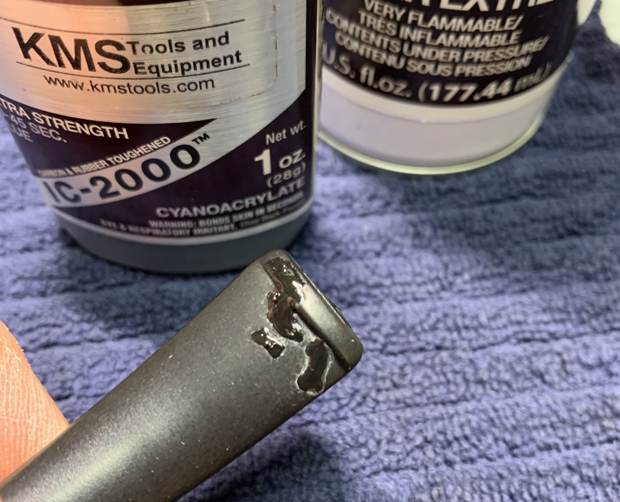
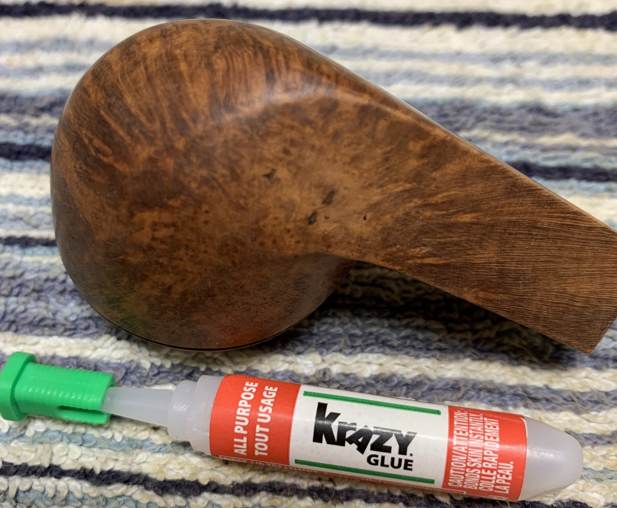
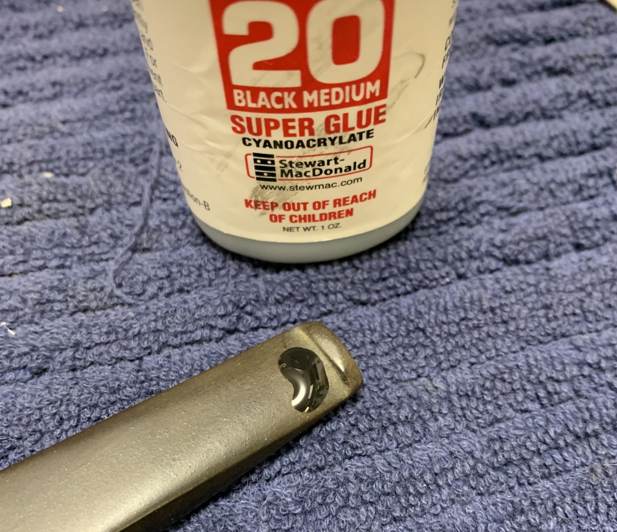 The major gouge would need far more work. I made a patch out of a new-to-me product — a type of cyanoacrylate adhesive strengthened with carbon and rubber (I also mixed a little activated charcoal in). I’d heard good things about this product and wanted to try it out for myself (Spoiler alert: it worked very well!) This repair was a perfect opportunity to test drive this adhesive. I first plugged up the stem’s draught hole with a folded pipe cleaner coated in petroleum jelly. This ensured that any of the CA glue would not accidentally plug up the air passage in the stem.
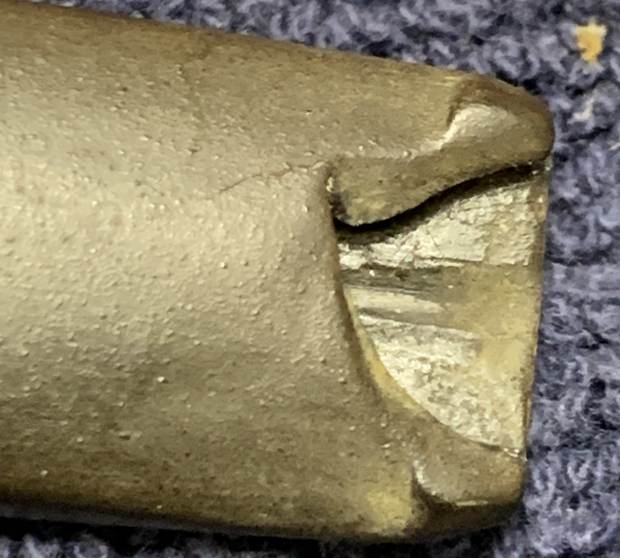

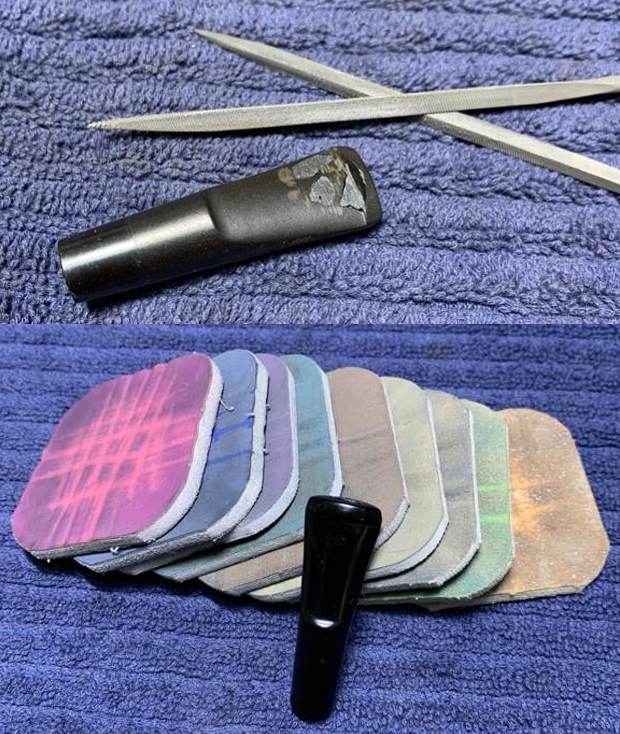
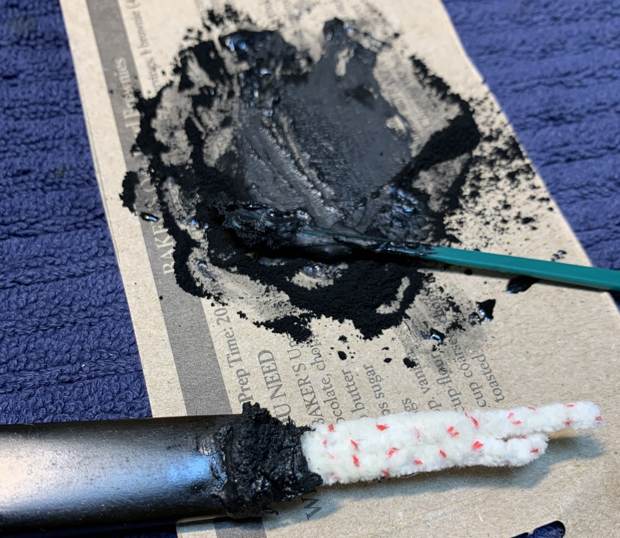 This was a tricky business and it took some real patience and effort to make it work. As the photos show, after I applied the cyanoacrylate, it looked pretty darn ugly, but I was expecting that. After the curing, I ended up sanding down the end of the stem to reduce some of the excess material. To carry this process on, I used some miniature files to further shape the button and make it suitable for sanding. I used another file on the inside to ensure there were no rough edges in the bore.
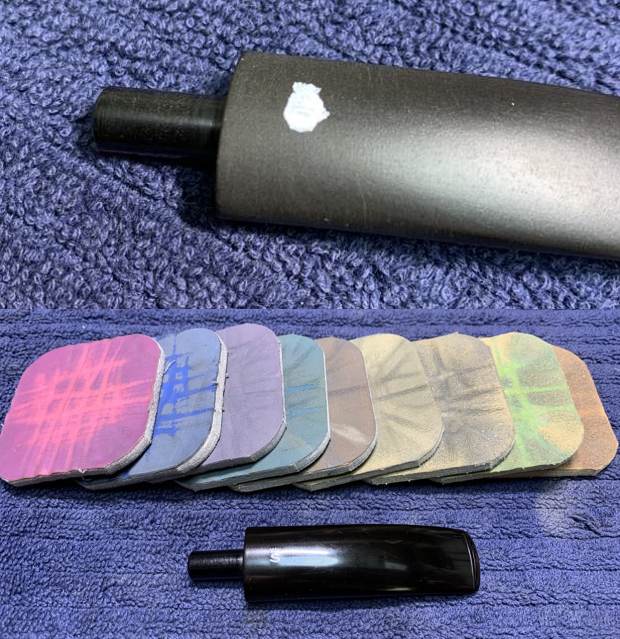
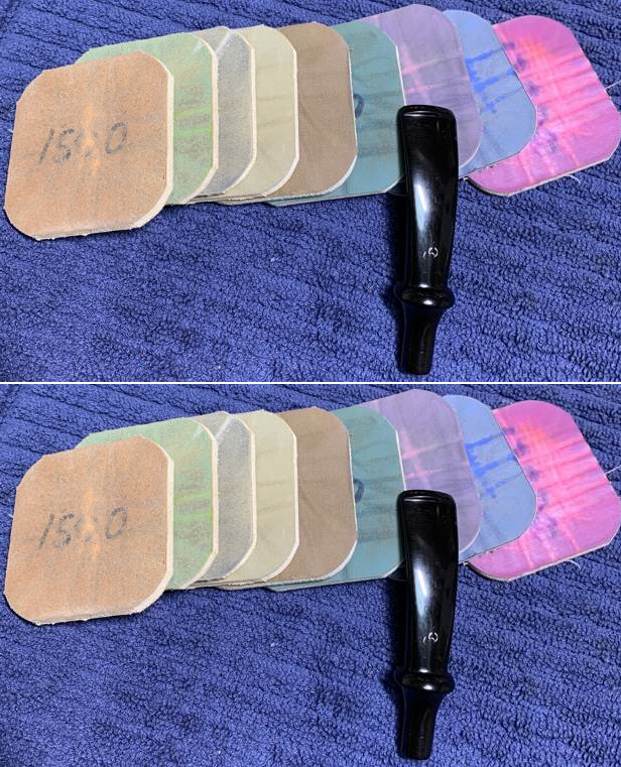
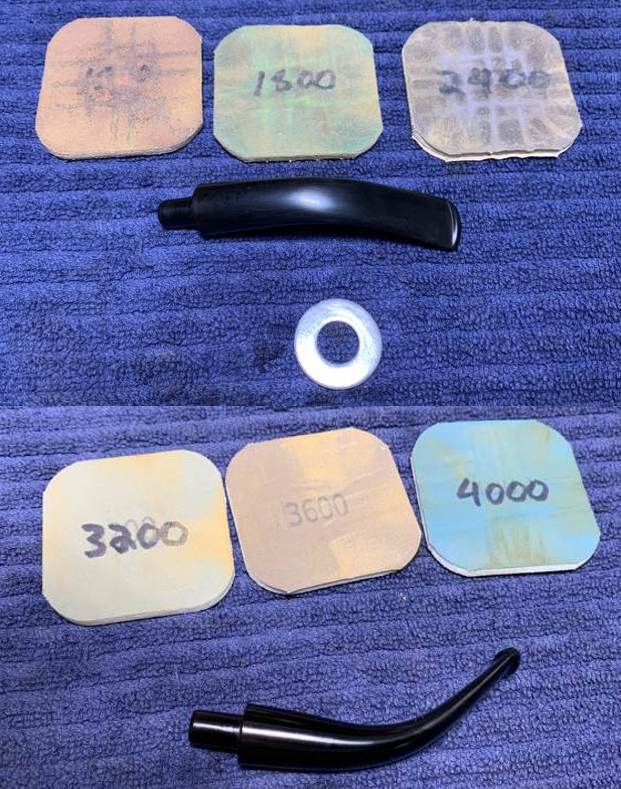
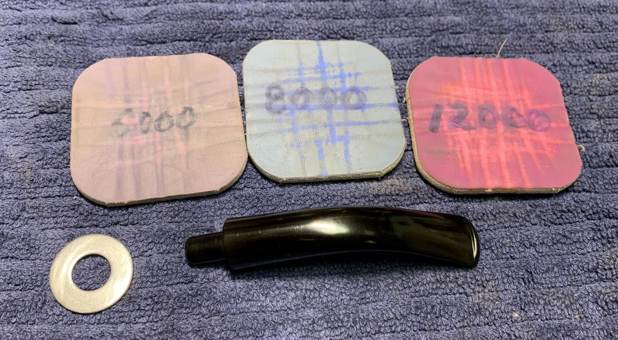
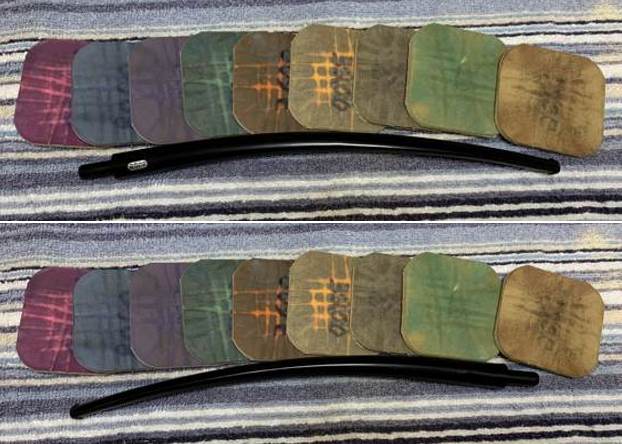
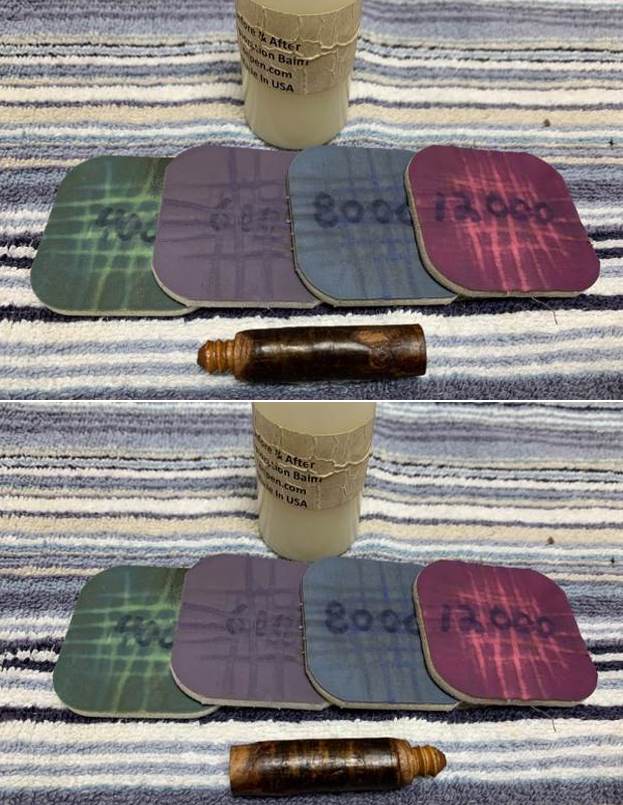
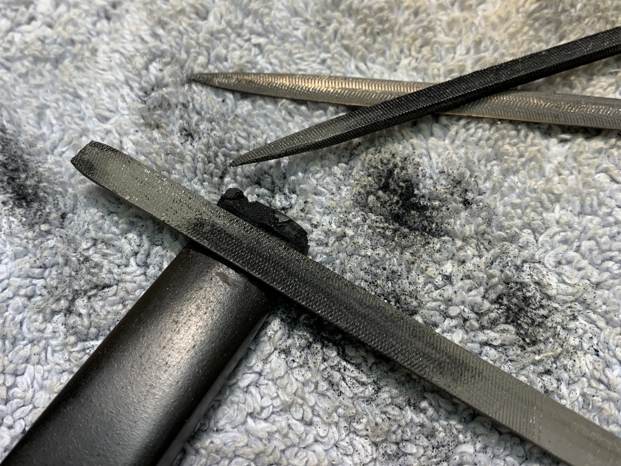 I then sanded the stem down with 220-, 400-, and 600-grit sandpapers to meld seamlessly into the stem. This ensures that it keeps its shape and looks like it should. I then used all nine Micromesh pads (1,500 through 12,000 grit) to bring out the lovely black lustre on the stem. I also used Obsidian Pipe Stem Oil in between each pad scrubbing. It is worth noting that a repair this big on a stem will never be completely invisible, but I was pleased with how I managed to make it look reasonably good.
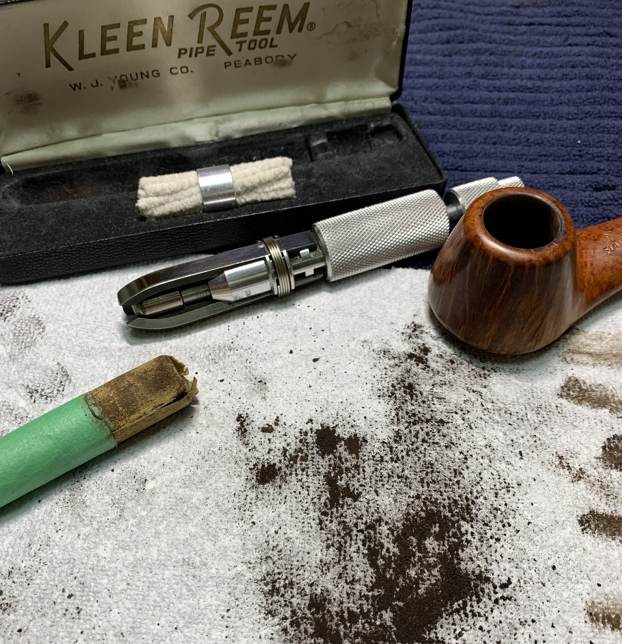
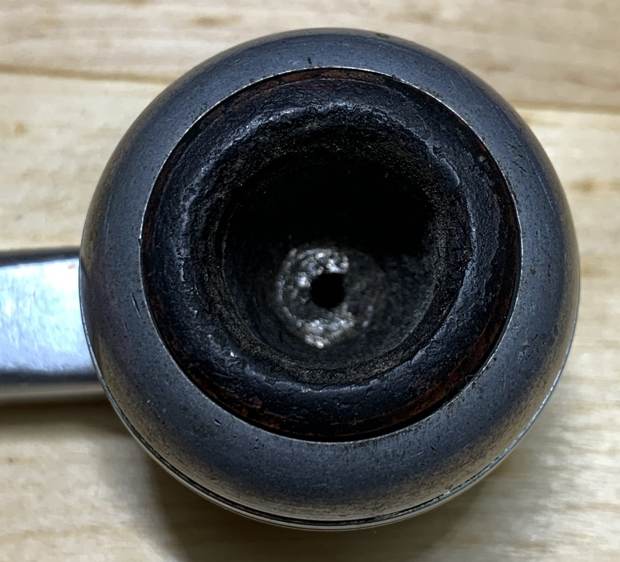
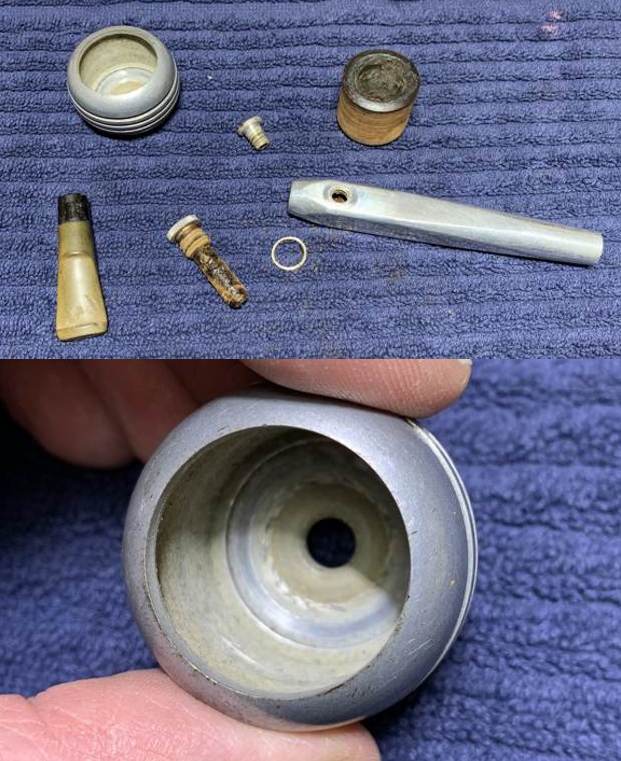
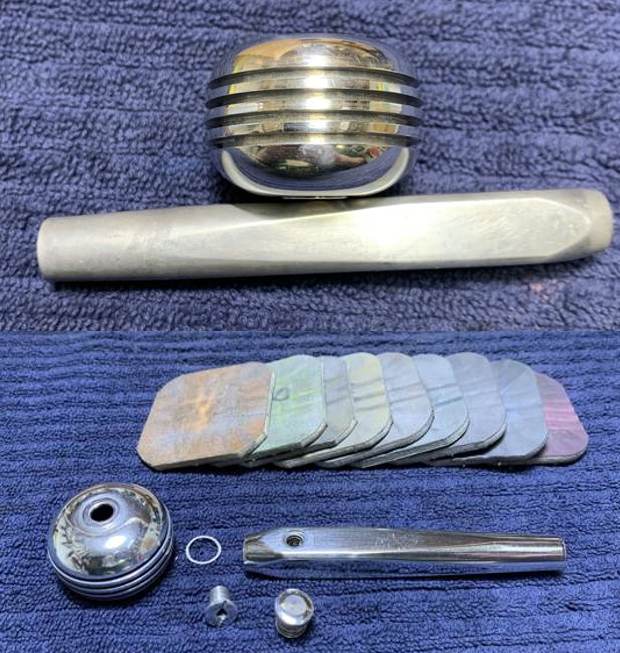
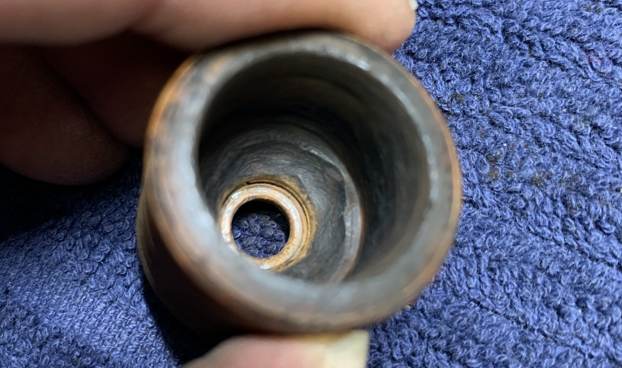
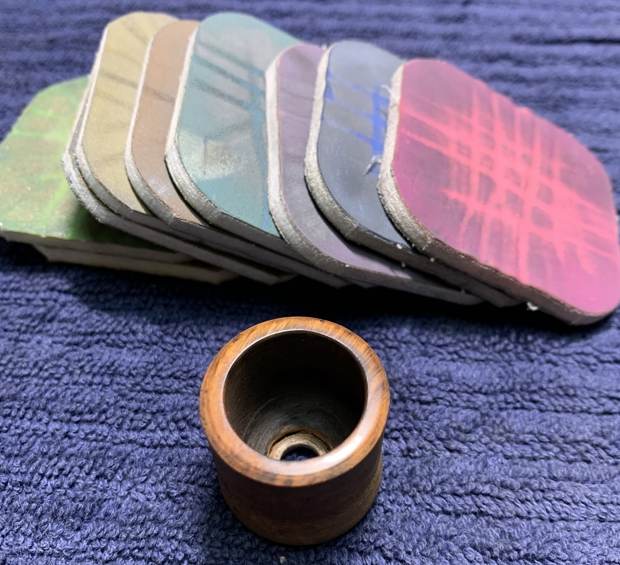
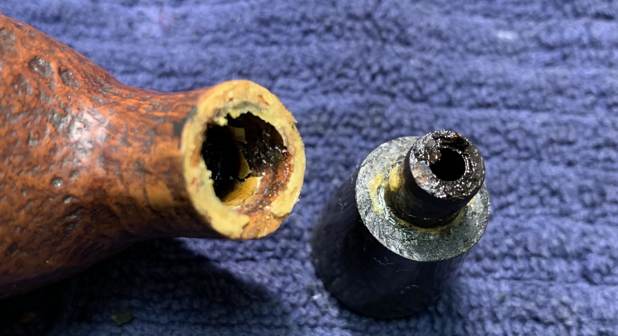
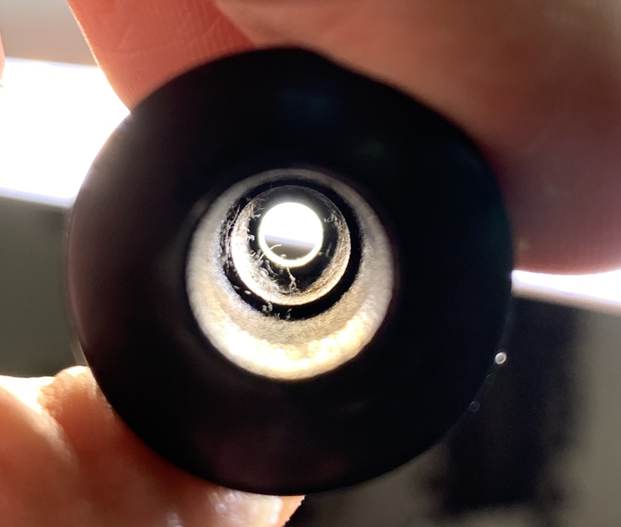
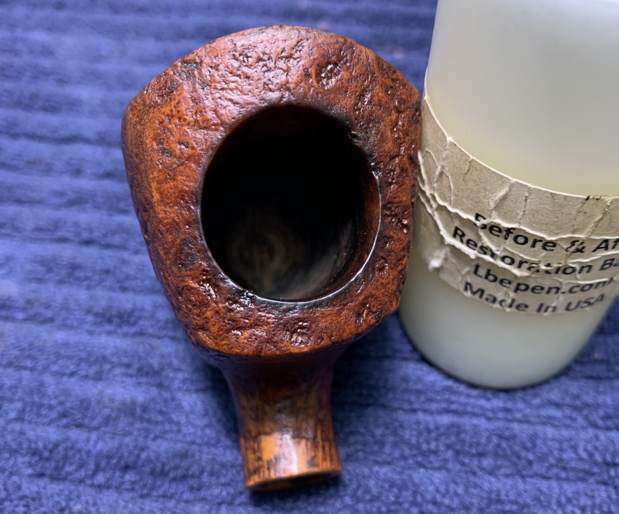
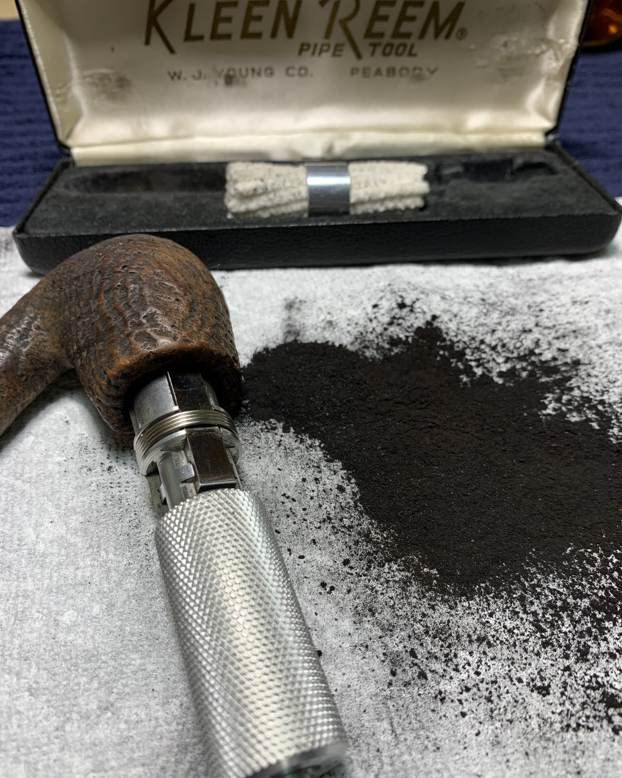
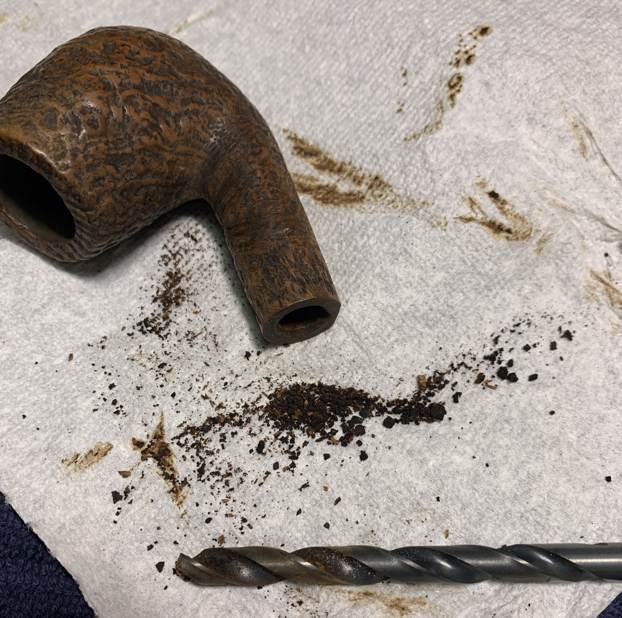
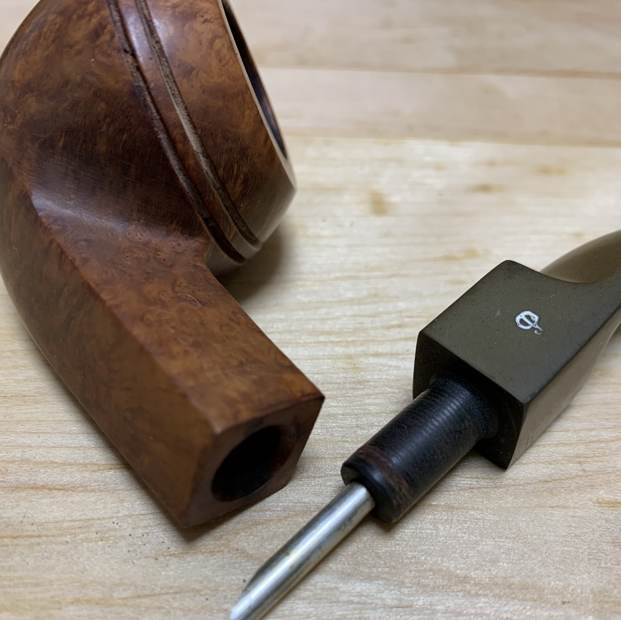
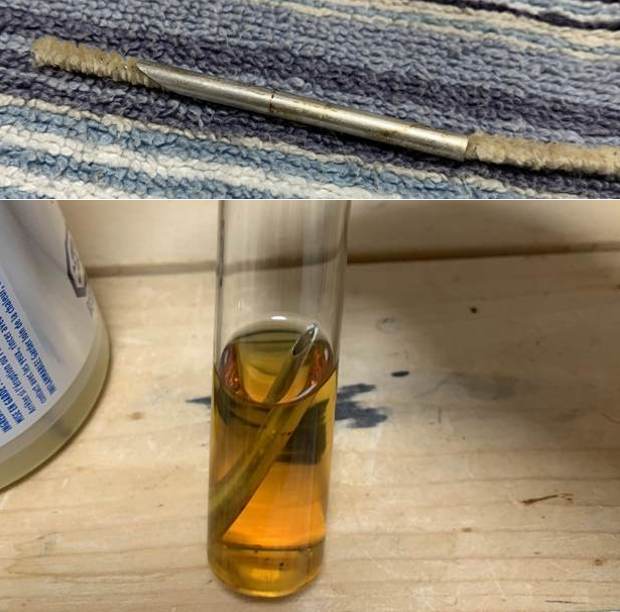
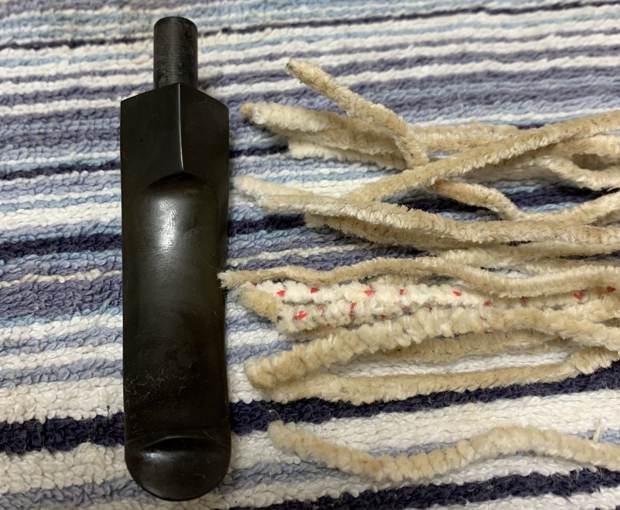
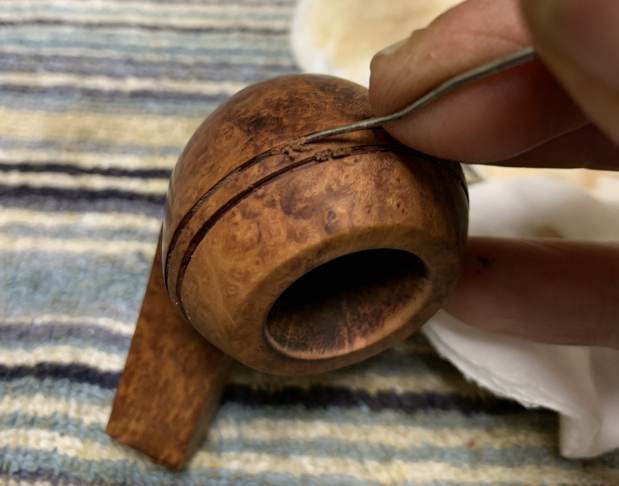
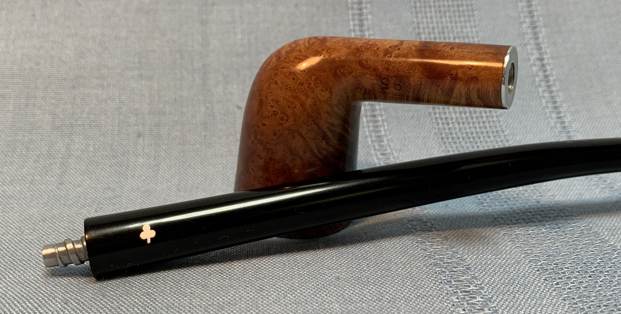
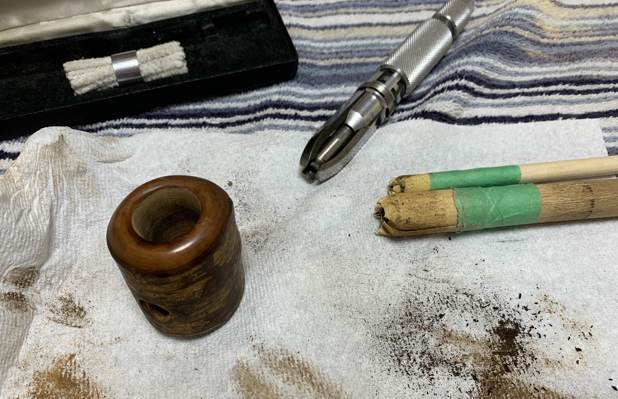
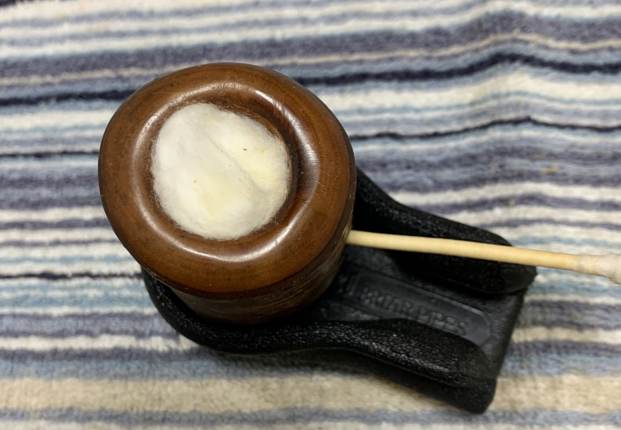
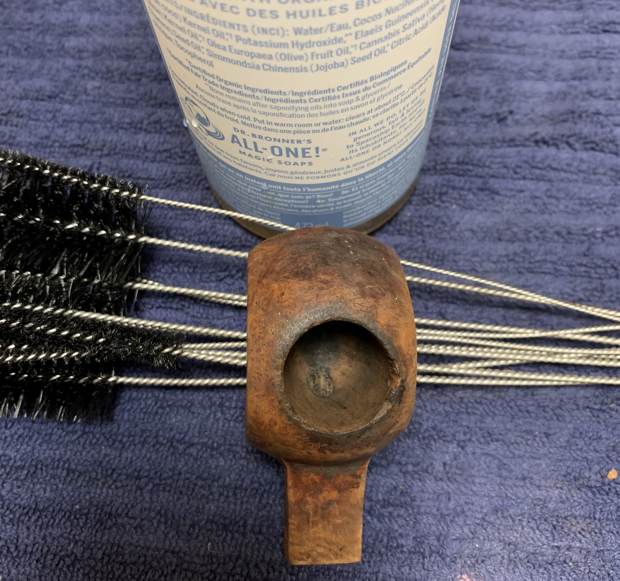
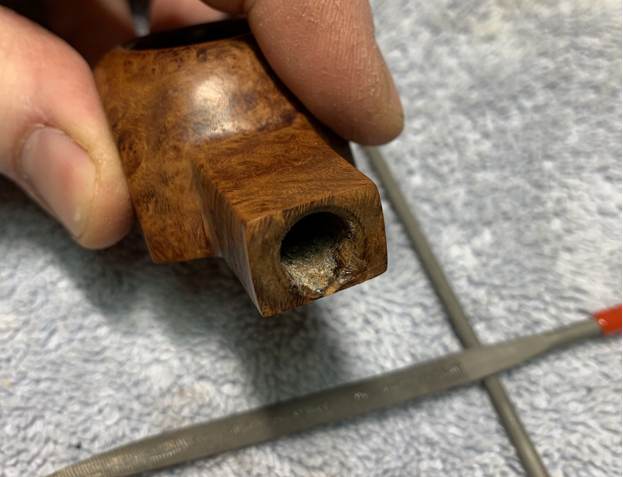
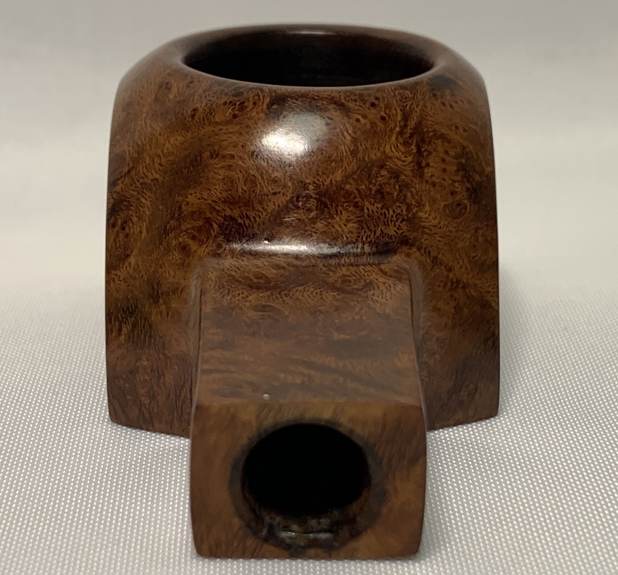
After all of that, it was time to work on the stummel. First, I reamed out the bowl. I used the KleenReem to remove the built-up cake and followed that with 220-grit sandpaper taped to a dowel to eliminate as much as I could. I took the chamber down to bare briar, as I wanted to ensure there were no hidden flaws in the wall. Fortunately, there were none. One thing to note is that this stem has an unusually wide draught hole and I’m not sure whether it was originally constructed that way, or if it was widened later. Either way, that (coupled with the crack in the shank) is why the stem’s tenon had that paper stuff on it – to ensure that the pipe fit together properly.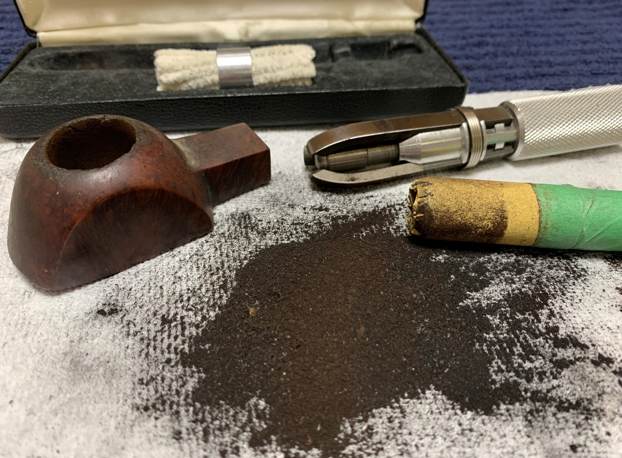 Since the draught hole was unusually wide, I used some drill bits to help remove the detritus inside. Just to be clear: I did NOT use these drill bits in a drill! I used them with my hands. Using a drill here would be catastrophic for the pipe.
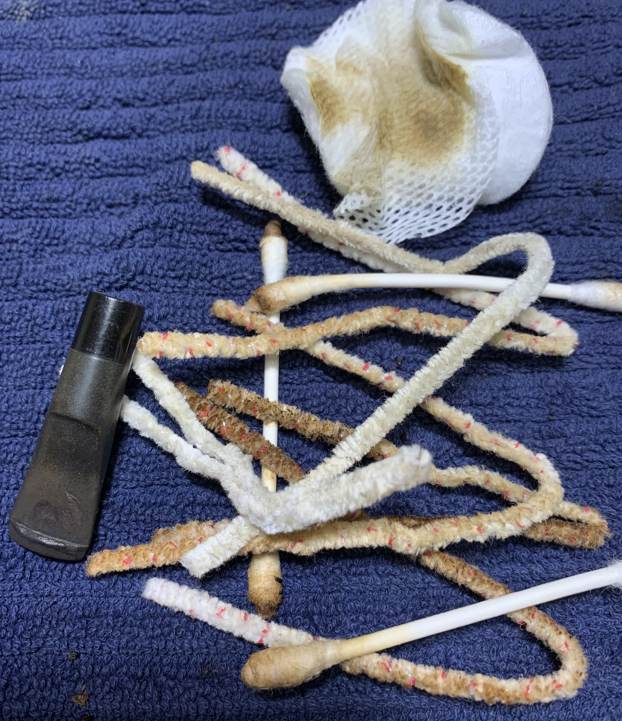
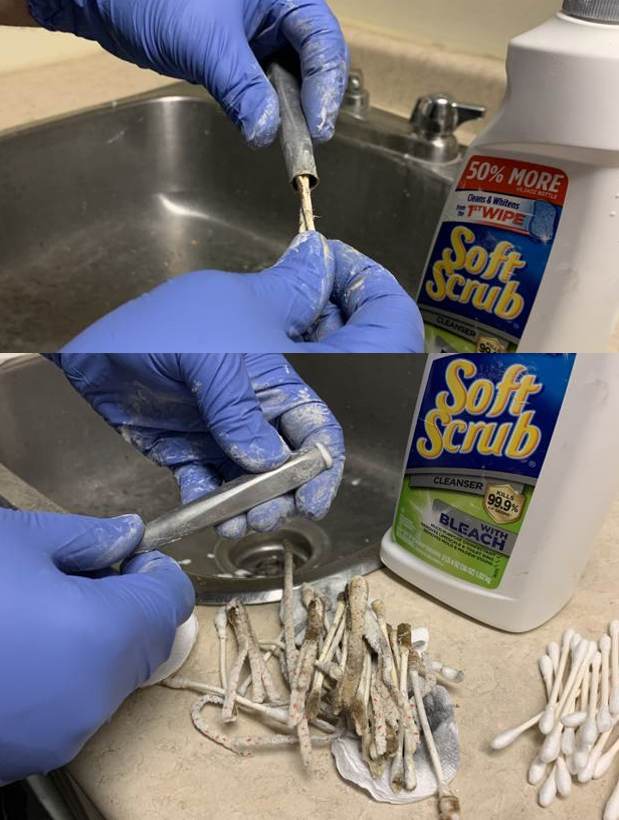
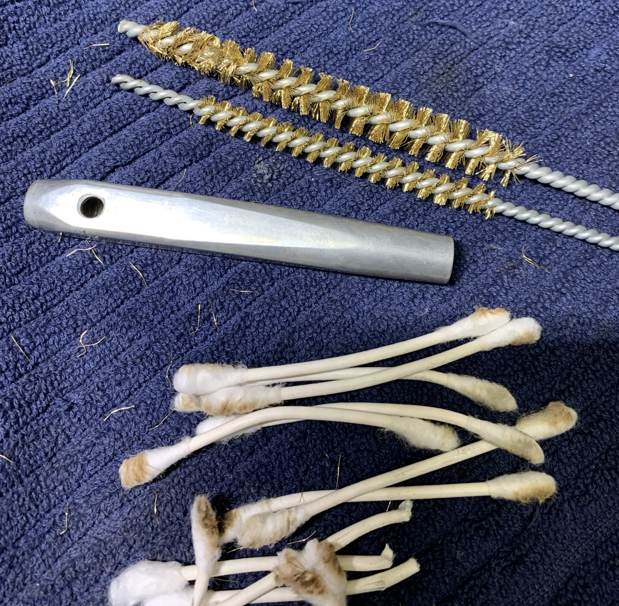
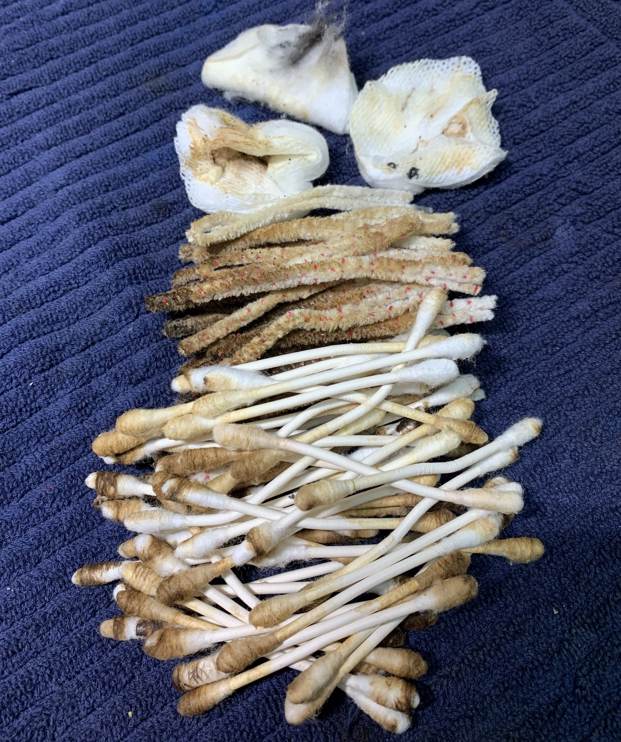
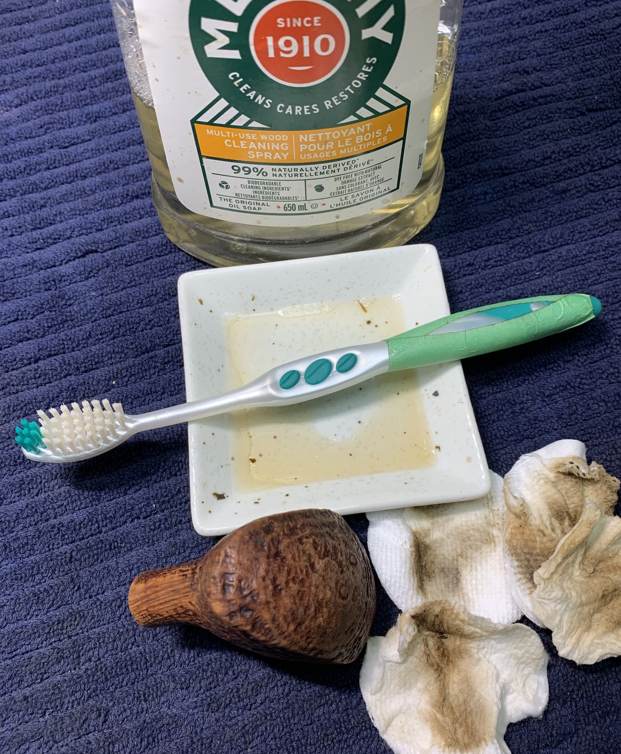
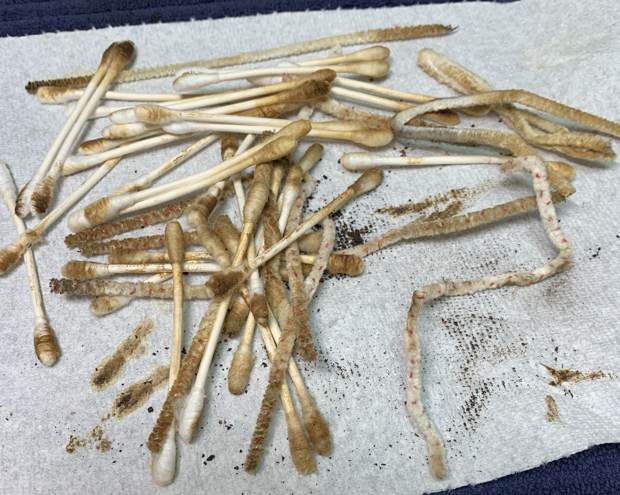
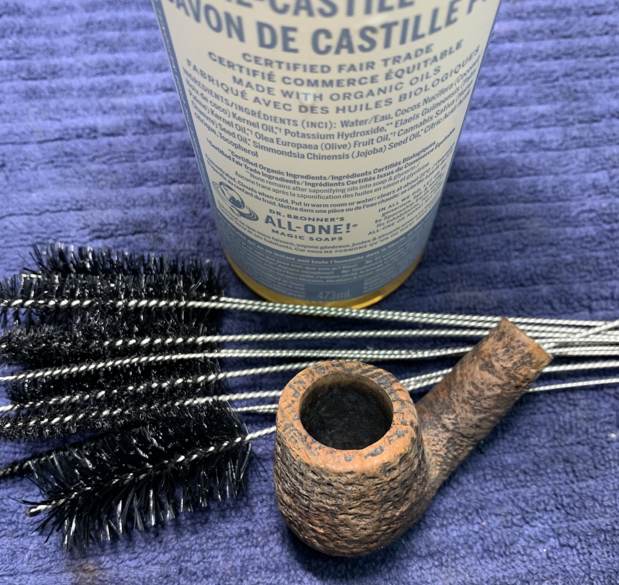
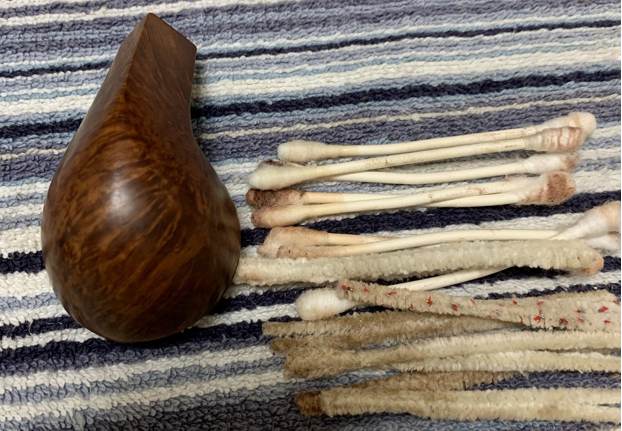
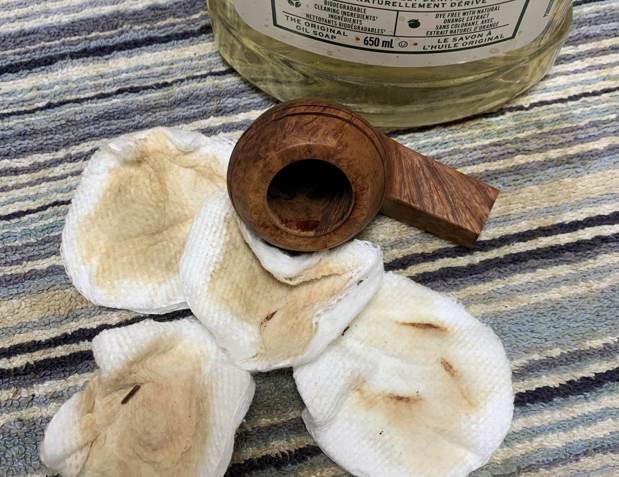
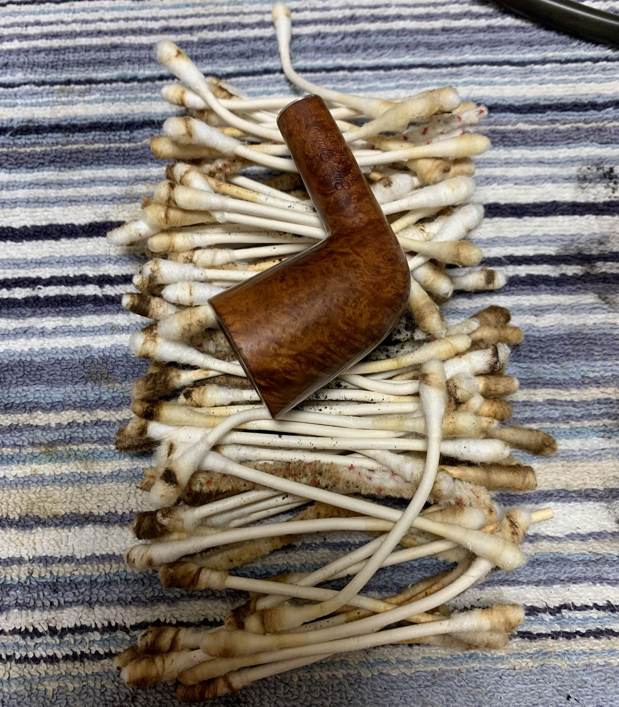
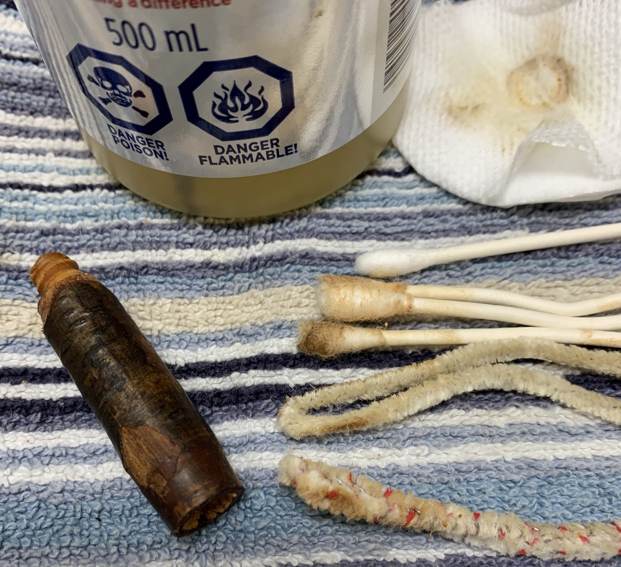
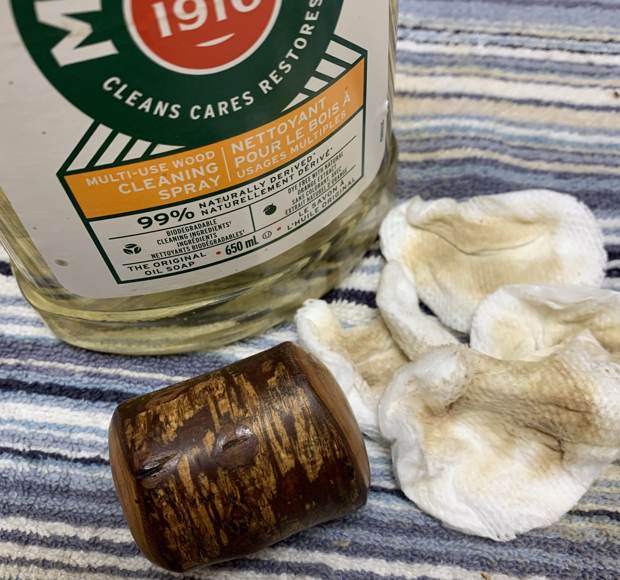
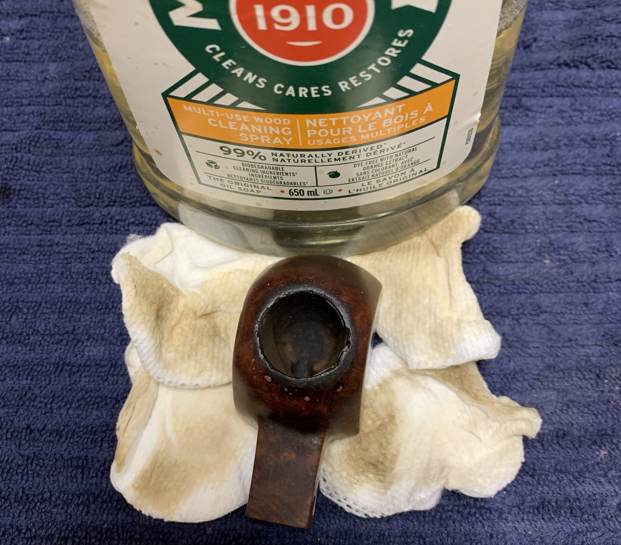
 I then proceeded to clean out the insides of the shank with Q-tips, pipe cleaners, and lemon-infused isopropyl alcohol. It was fairly dirty, but not extraordinarily so. I used cotton rounds and some Murphy’s Oil Soap to scrub the outside of the stummel and a toothbrush with Murphy’s for the lava on the rim of the pipe. I followed that up by cleaning the insides with some dish soap and tube brushes.
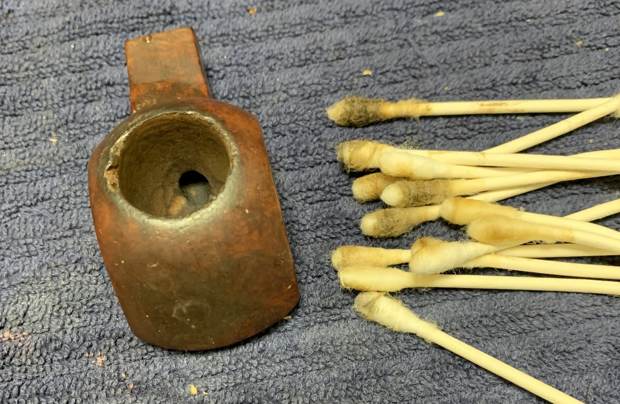
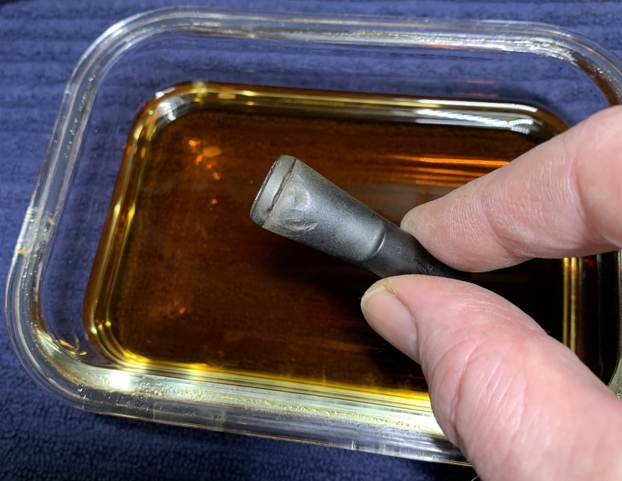
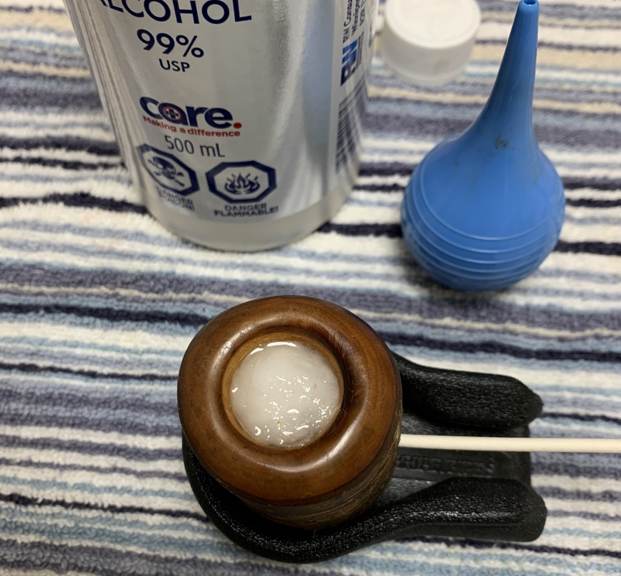
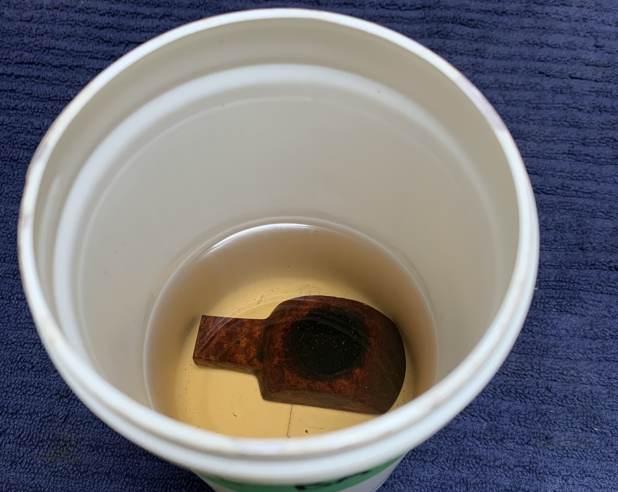
 Because this pipe was so filthy, I decided to bypass the usual “ghosting” altogether, and go straight to a bath! I opted to soak the stummel in isopropyl alcohol overnight. This will usually remove the sort of goo, grunge, and ghosts I was faced with. Next day, I took it out of the bath and left it to dry.
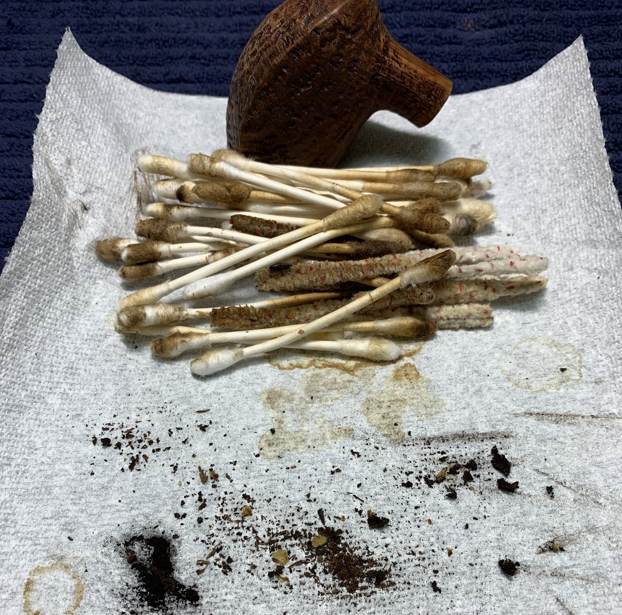
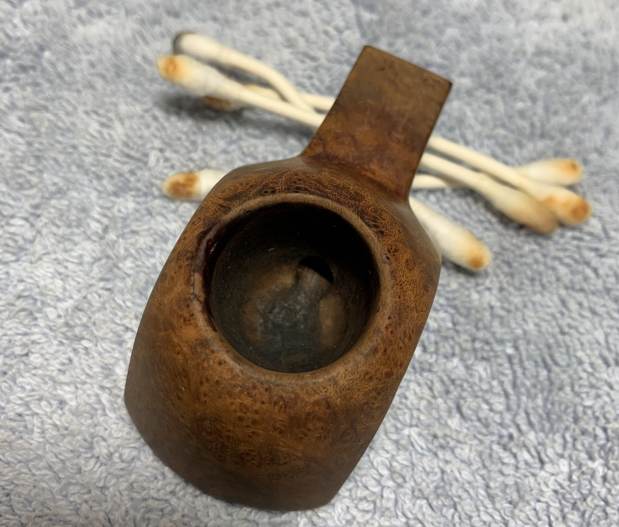
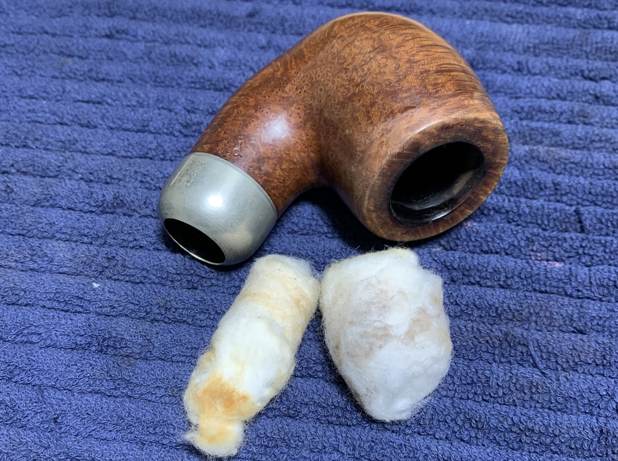
 As you can see in the post-bath photos, some filth remained in the recesses of the pipe, so I took a bit of acetone on some Q-tips and rubbed. This worked like a charm!
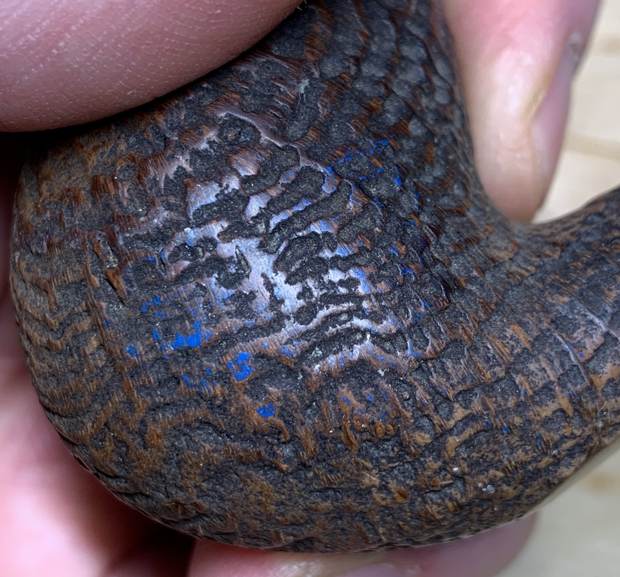
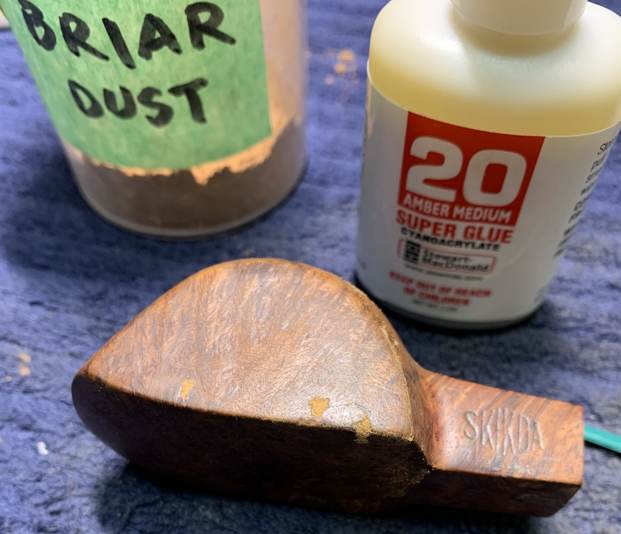
 Having completed that, I could move on to fixing up the wounds on the stummel; there were three significant ones on the left side. They were large enough that I would not be able to make them disappear entirely, but I wanted to make them solid and smooth, and meld into the rest of the wood. I used a dental tool to dig out the remaining fill-material and replaced it with a mixture of cyanoacrylate adhesive and briar dust. These would get sanded down later.
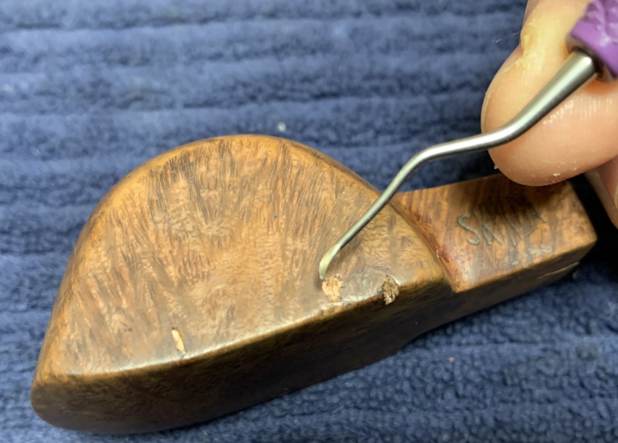
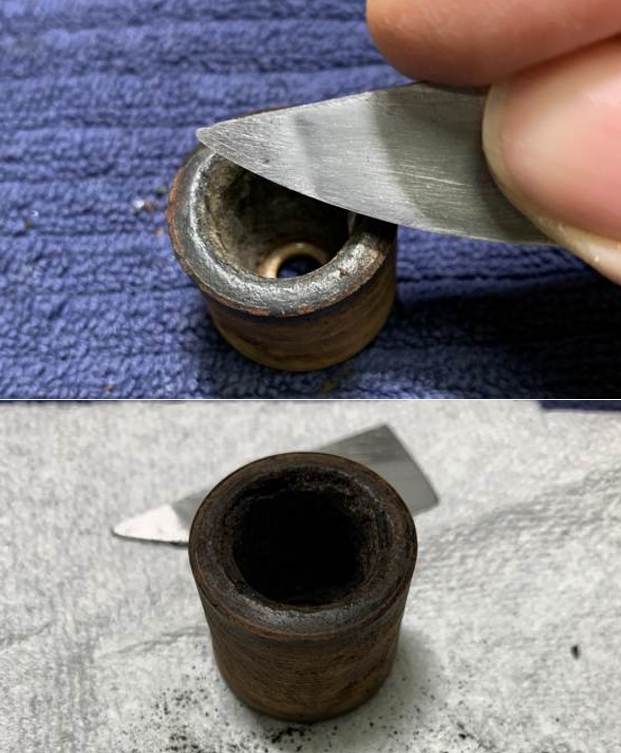
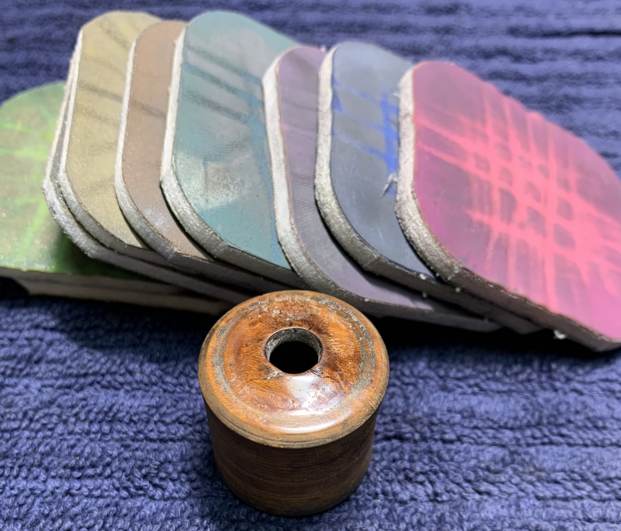
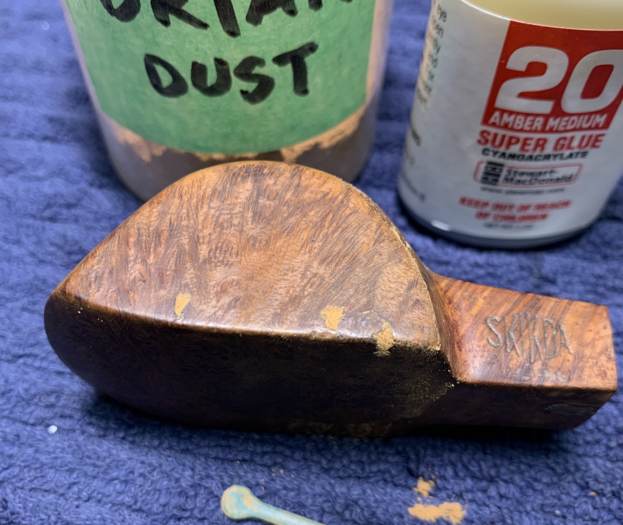 I then moved on to the crack on the underside of the shank. The first step in dealing with this was to ensure that the crack would not continue to creep after I had repaired it. To that end, I took a micro-drill bit, inserted it in my Dremel, and very carefully drilled a hole right through the wall of the shank, into the mortise.
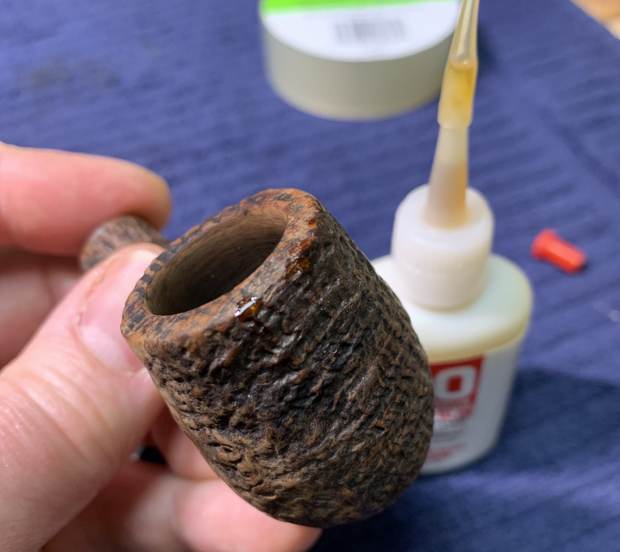
 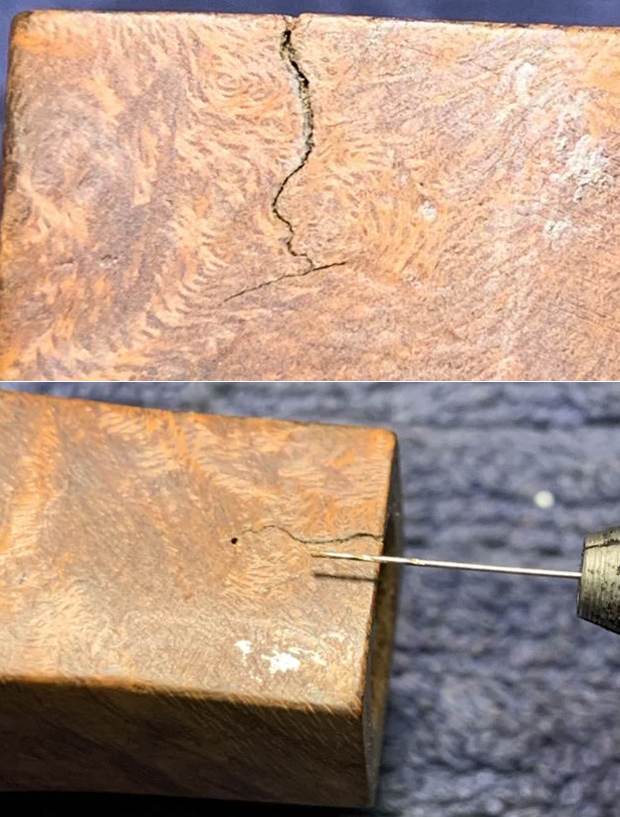 I then needed to apply cyanoacrylate adhesive in order to seal and repair it. First, however, I used a Q-tip and a folded pipe cleaner to coat the inside of the shank with petroleum jelly. This would prevent the adhesive from dripping inside the shank and creating further problems. That done, I carefully applied a tiny bead of adhesive to the hole and the length of the crack. Finally, I clamped it shut and let it cure. This was a great success – obviously, the crack would always be visible, but I was really pleased with how the repair looked. I took out my topping board and sanded the three planes of the pipe to both flatten the repairs and also level out the surface. I also wanted to resharpen the edges and corners a little.
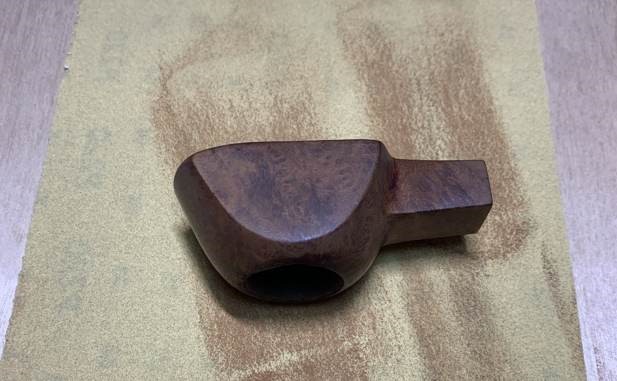
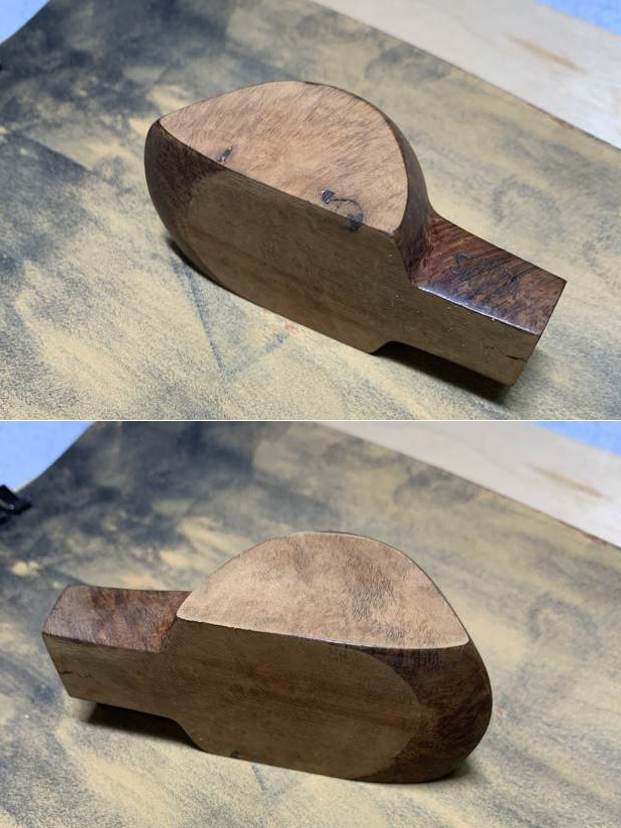
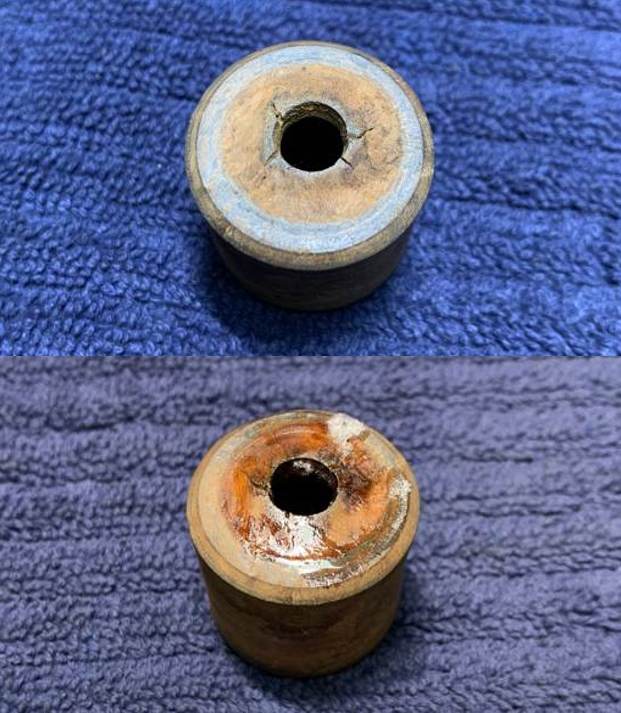
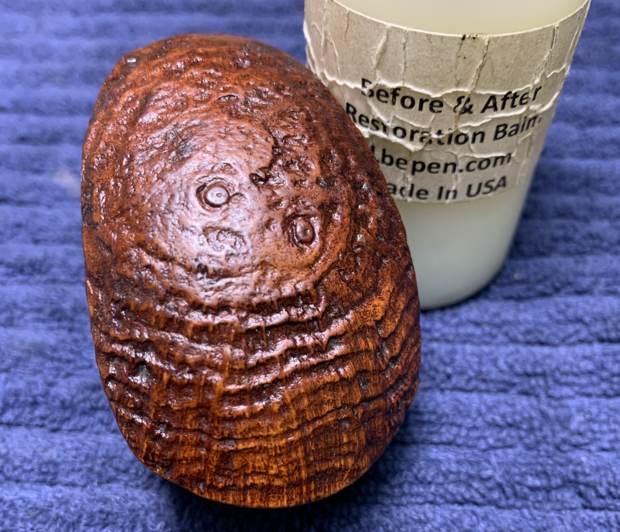
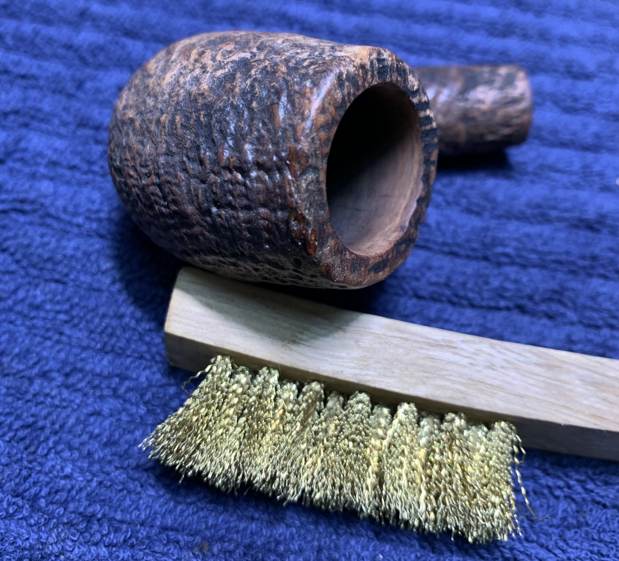
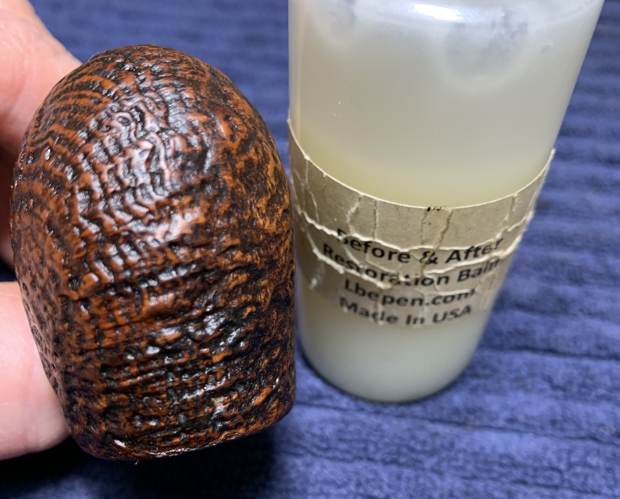
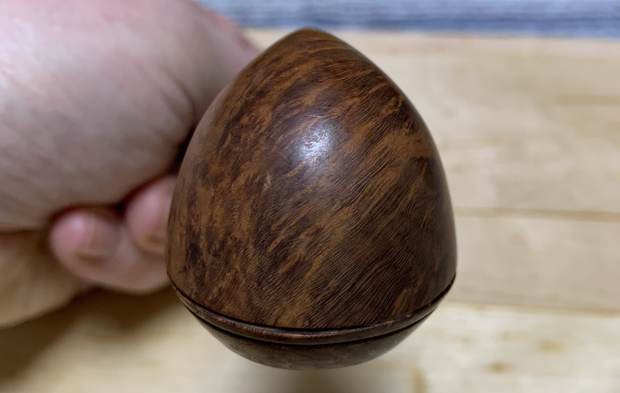
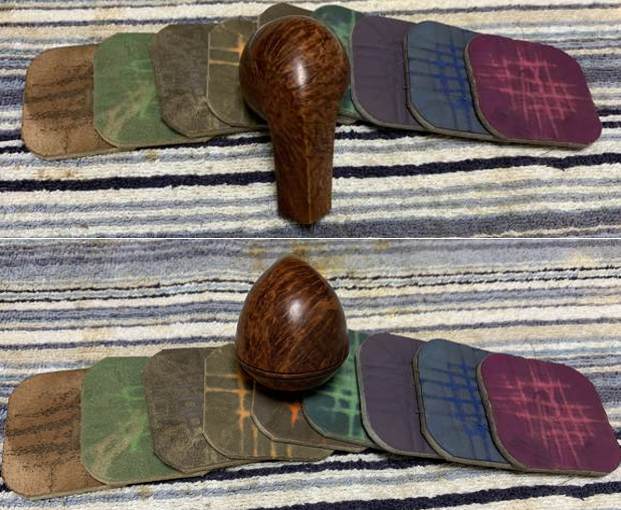
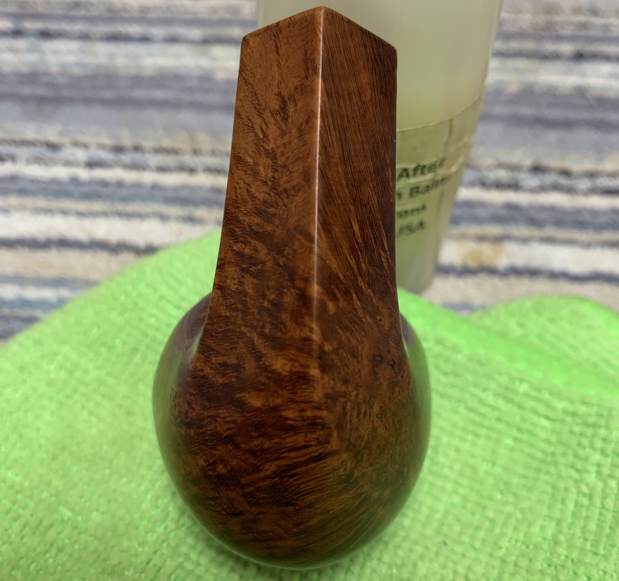
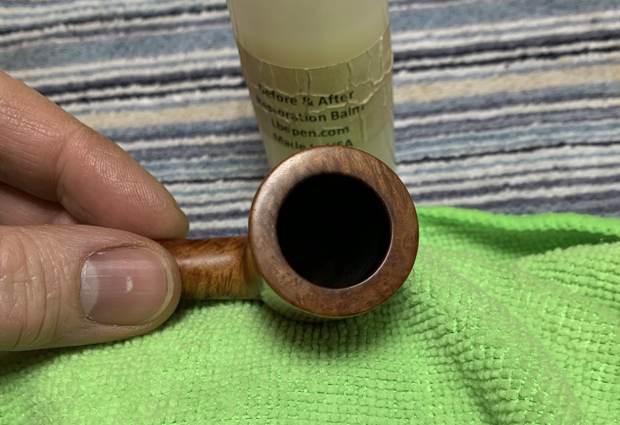
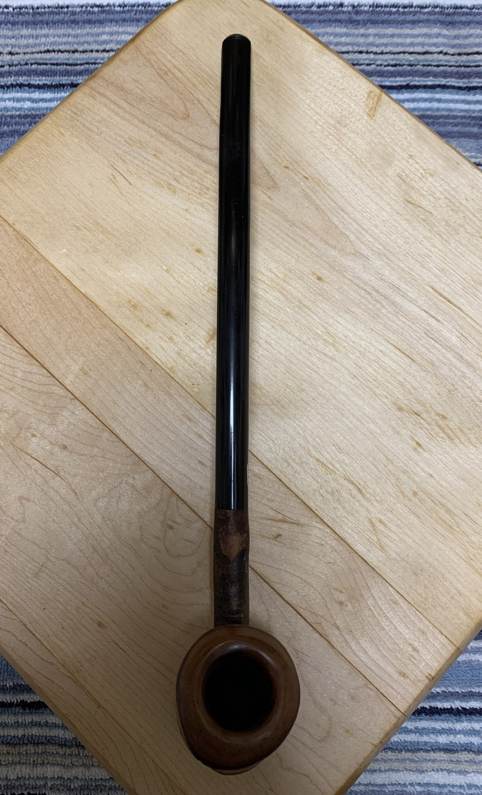
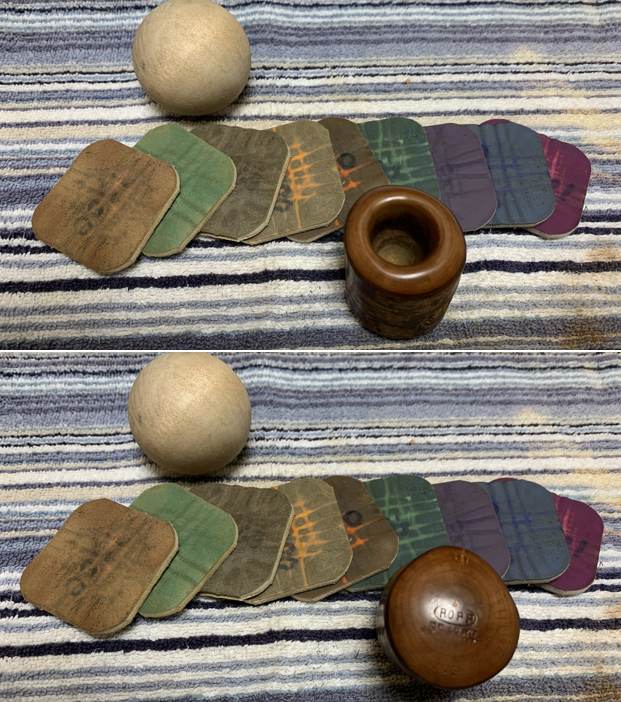
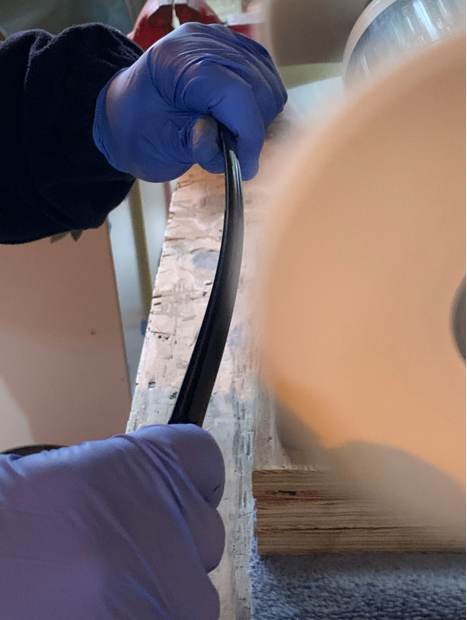
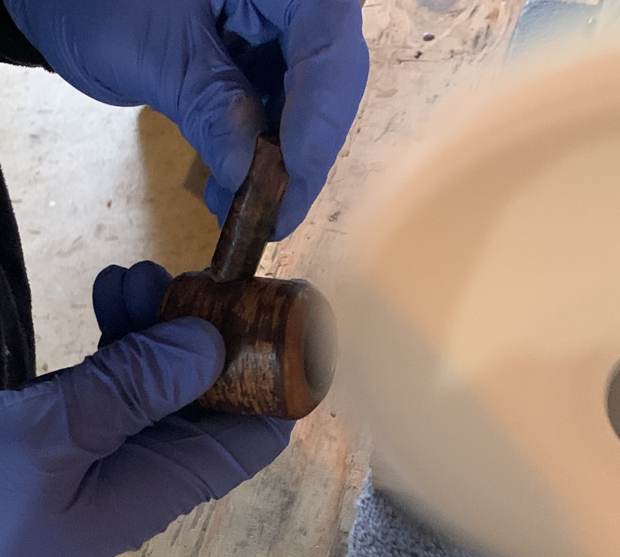
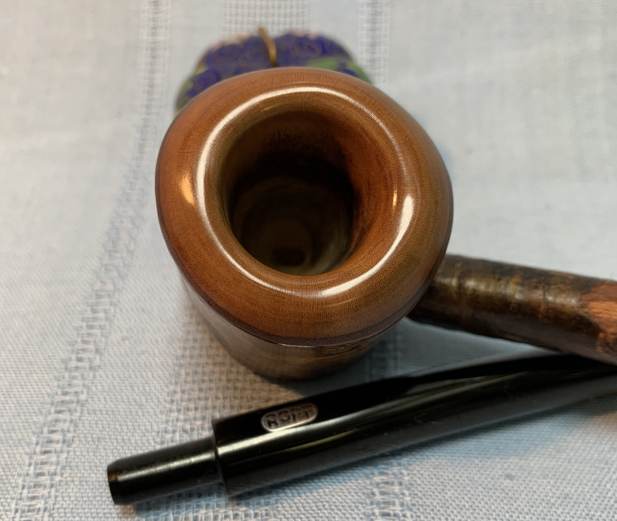
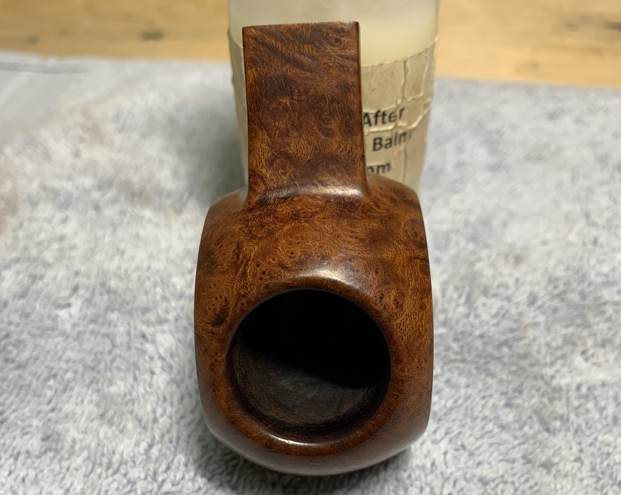
 Next was to work on that meteor crater of a rim. I actually argued with myself for some time about this damaged rim. I seriously considered the idea of leaving the damage as it was (as part of the pipe’s history) because I was adamant about not changing the profile of the rim by sanding it. However, I felt that I couldn’t just leave the pipe as it was. It needed some help. I took some 600-grit sandpaper, wrapped it around my wooden sphere and gingerly sanded the rim. The circular shape and motion of the sphere gradually smoothed and returned the edge to a perfect circle. I think I managed to achieve a good balance between removing the damage but still keeping the original look.
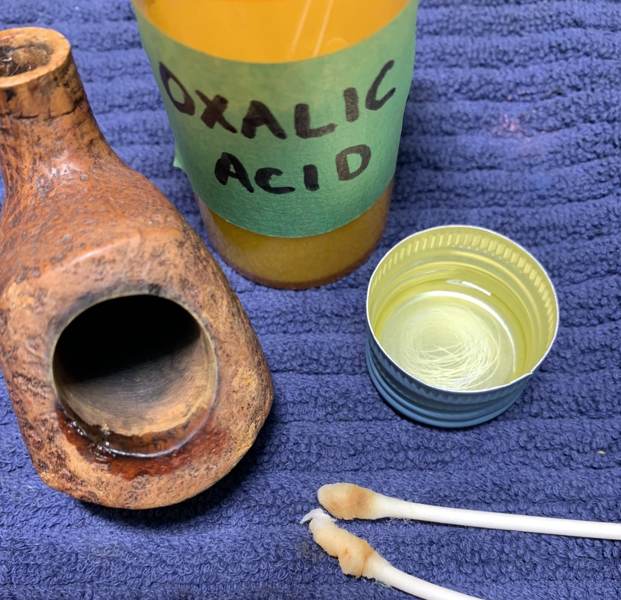
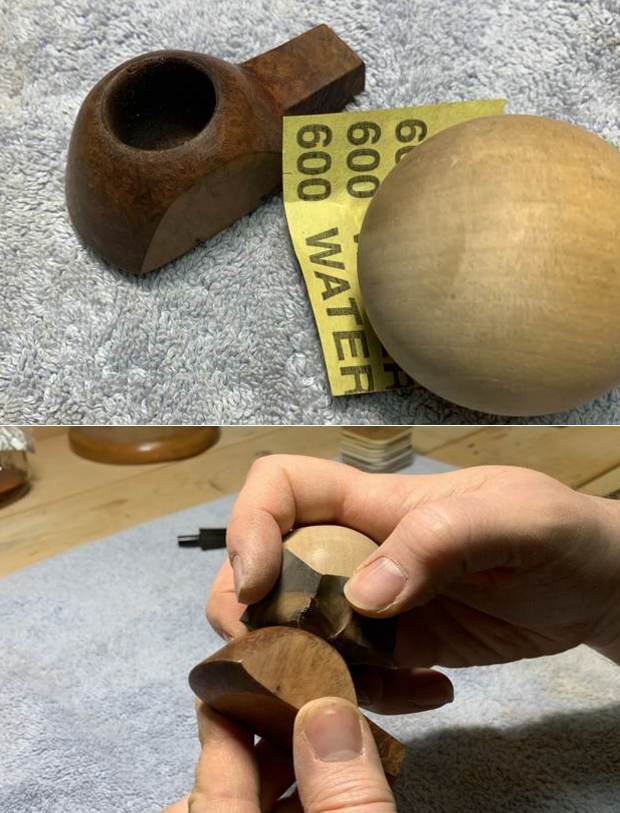 I took some oxalic acid, used several Q-tips, and rubbed, but this did not do much towards removing the burn. So, I brought out the big guns and used acetone, which achieved better results.
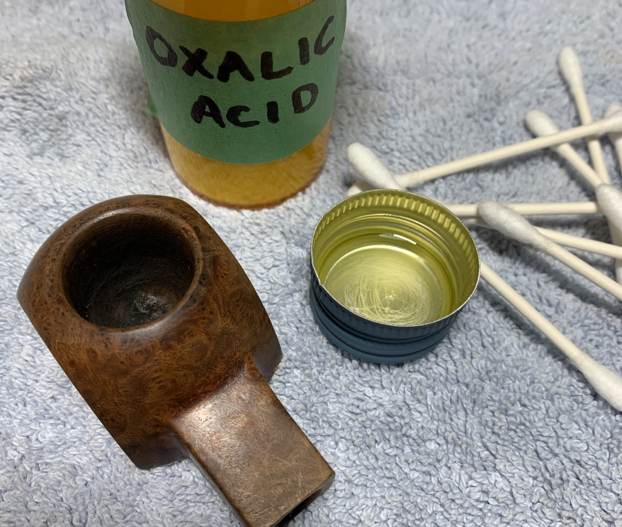

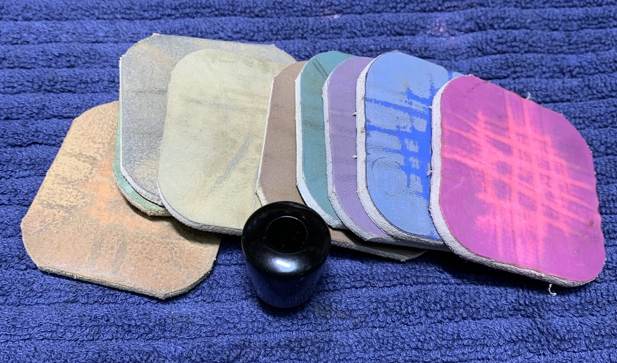
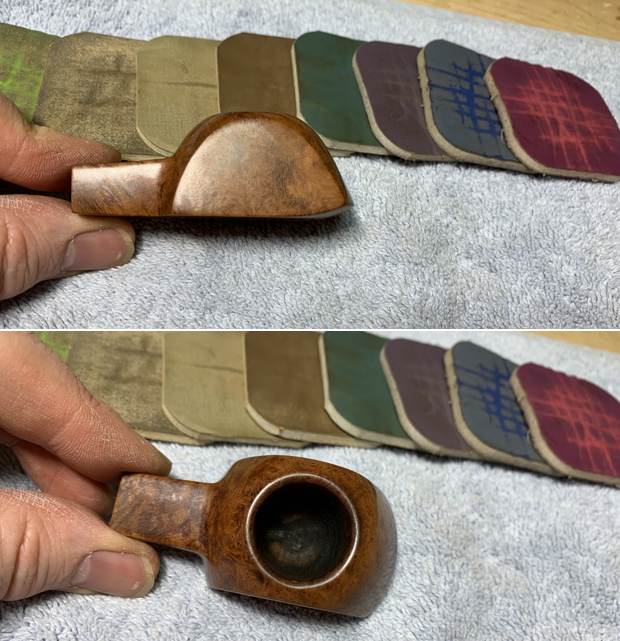
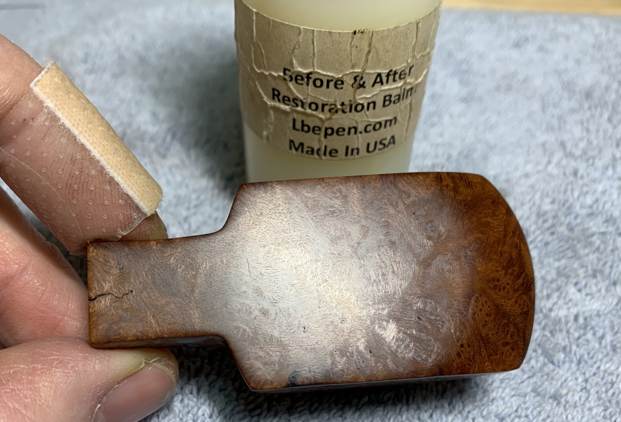
 Then I used all of my Micromesh pads over the entire stummel, including the rim.
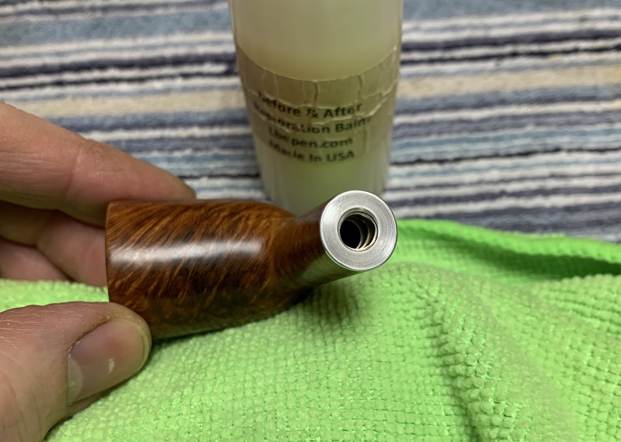
 But just when I thought I was done the stummel — I wasn’t. I was reminded that there was that awful paper stuff on the tenon of the stem because it didn’t fit correctly, so I needed to rectify this too. I built up the bottom part of the mortise of the shank with CA glue and briar dust. After letting it cure, I sanded it down with my needle files, made it look good and, most importantly, ensured it fit well with the tenon.
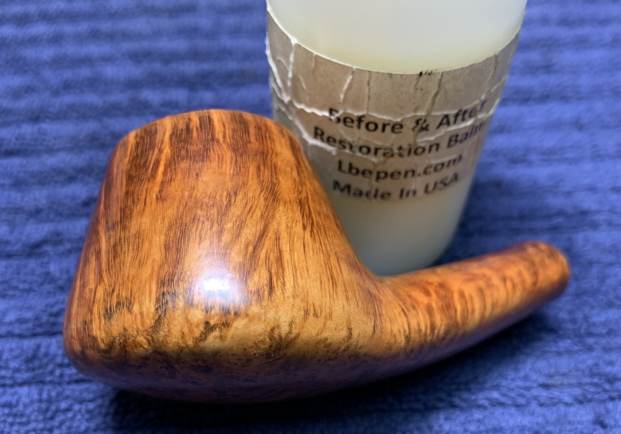
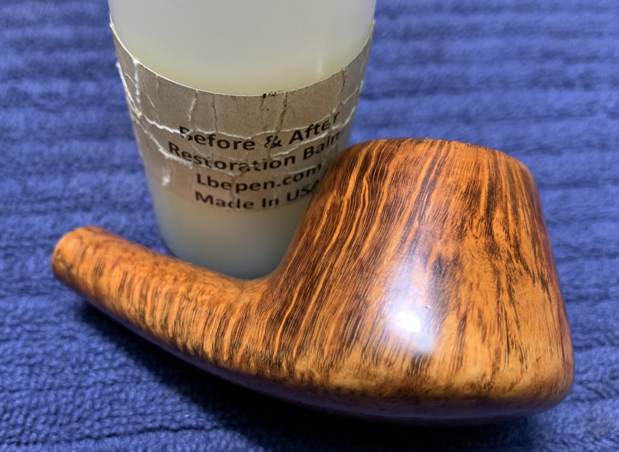
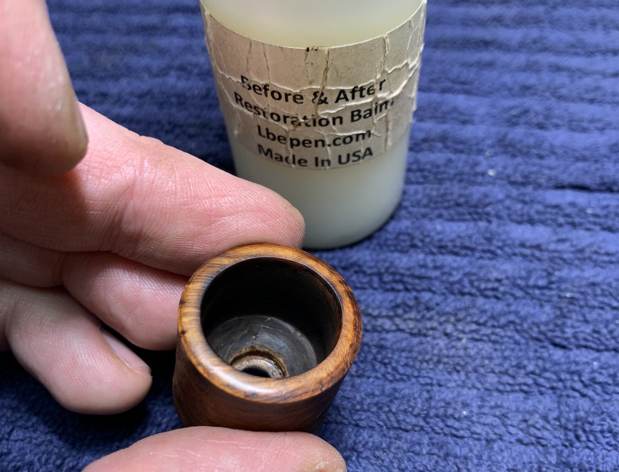
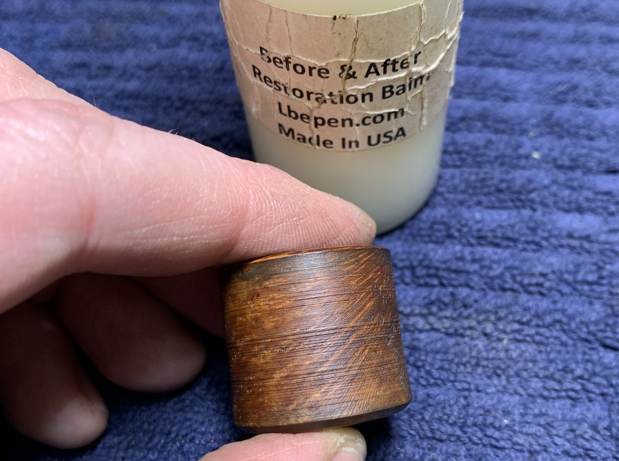
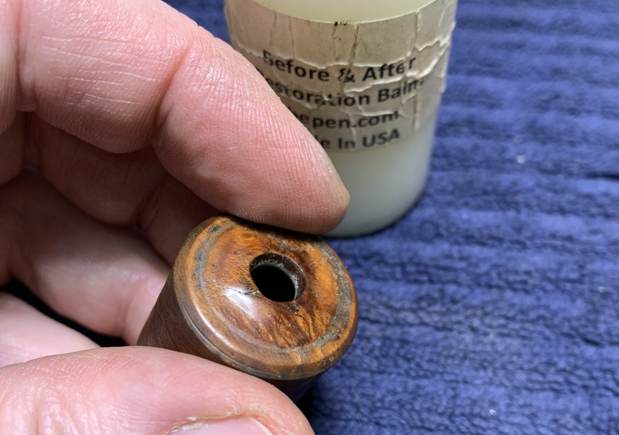
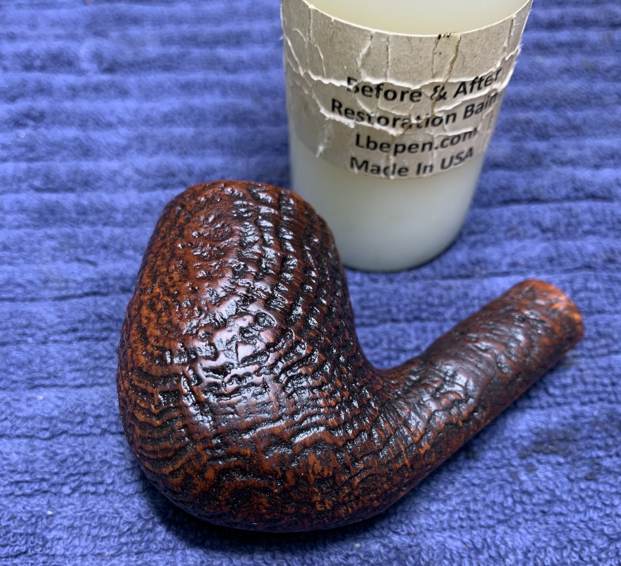
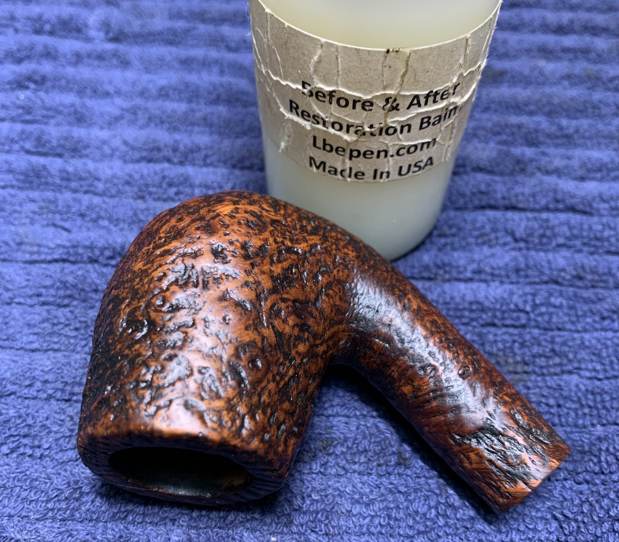
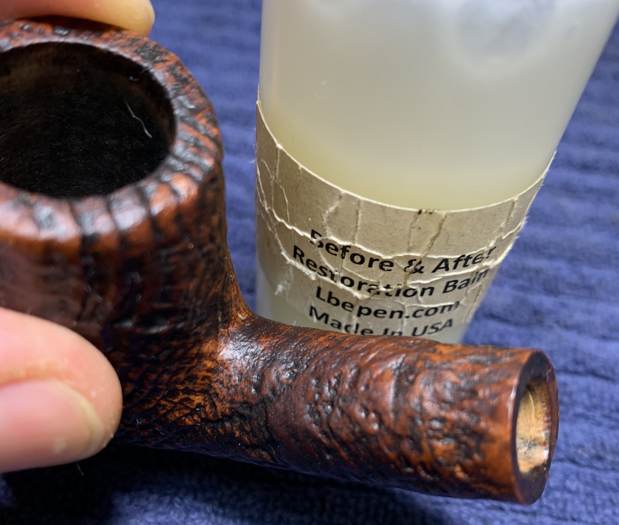
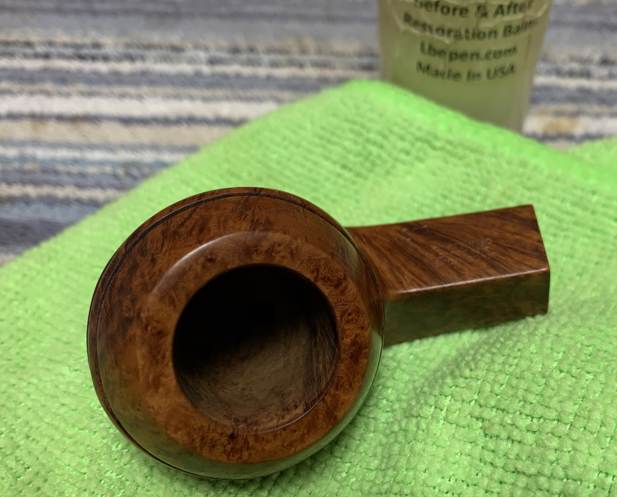
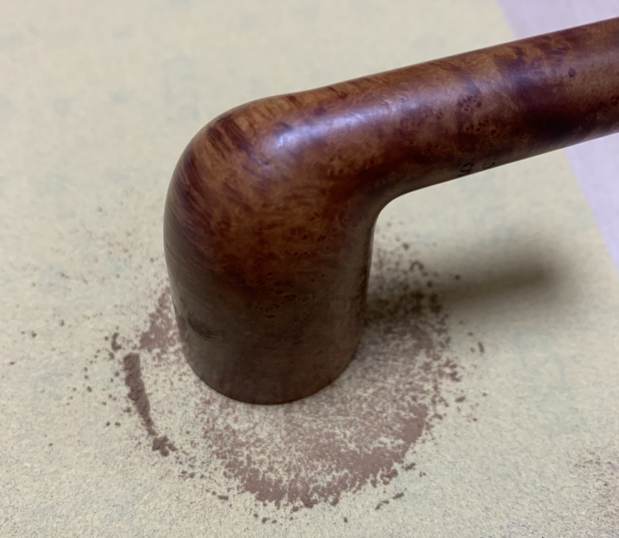
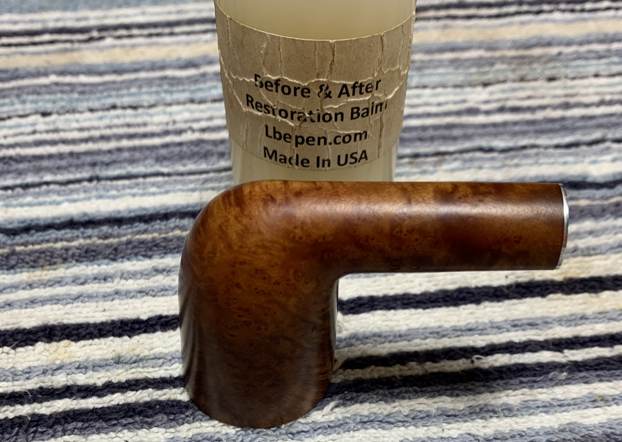
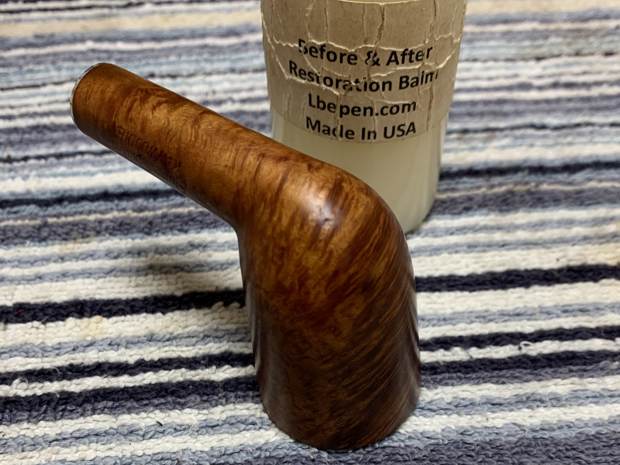
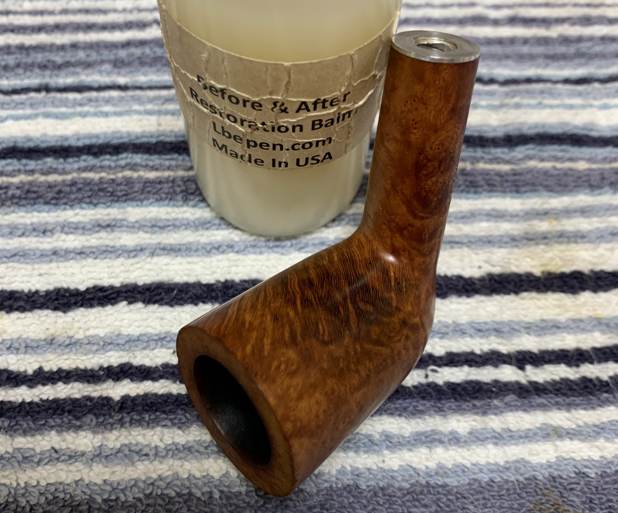
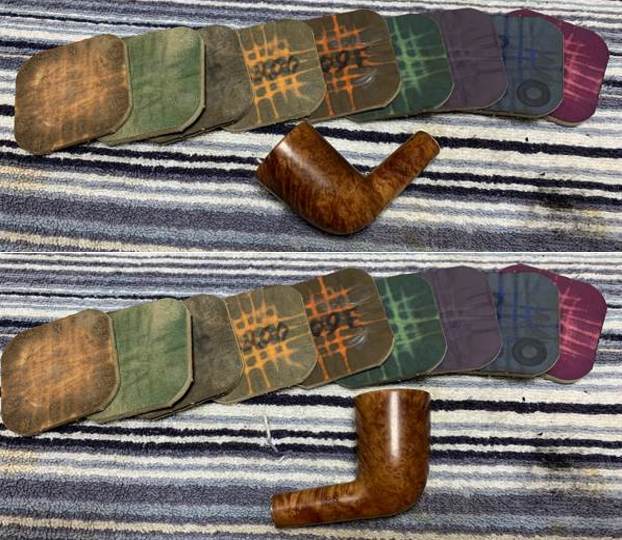
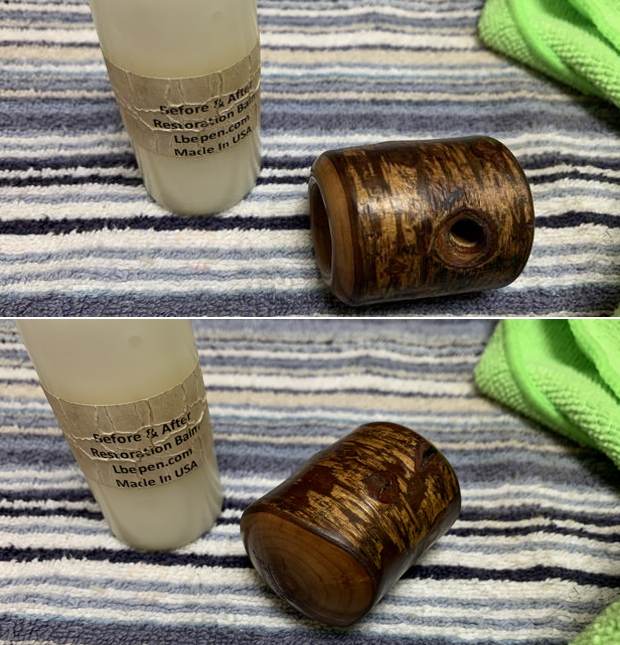
 Finally, I gave the pipe a light application of Before & After Restoration Balm and let it sit for 15 minutes or so. I then buffed it with a microfibre cloth.
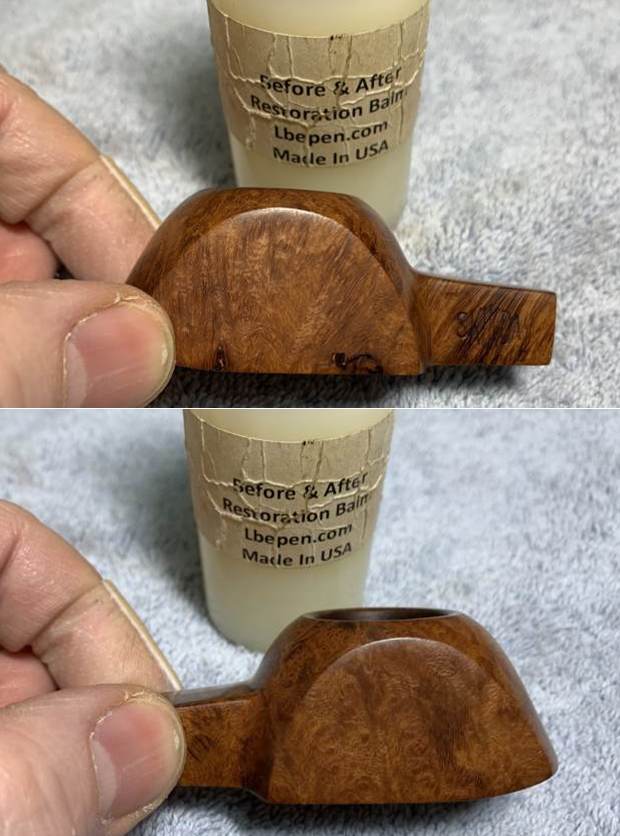
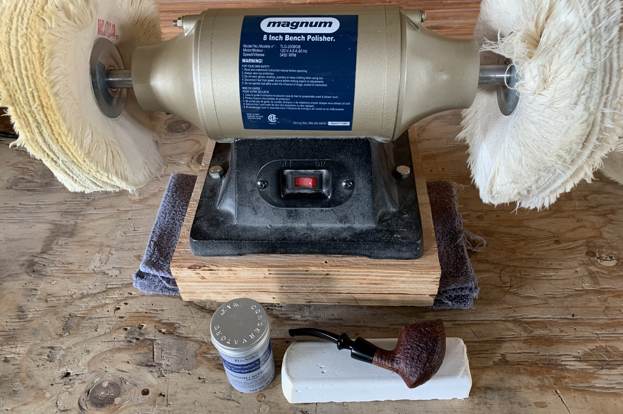
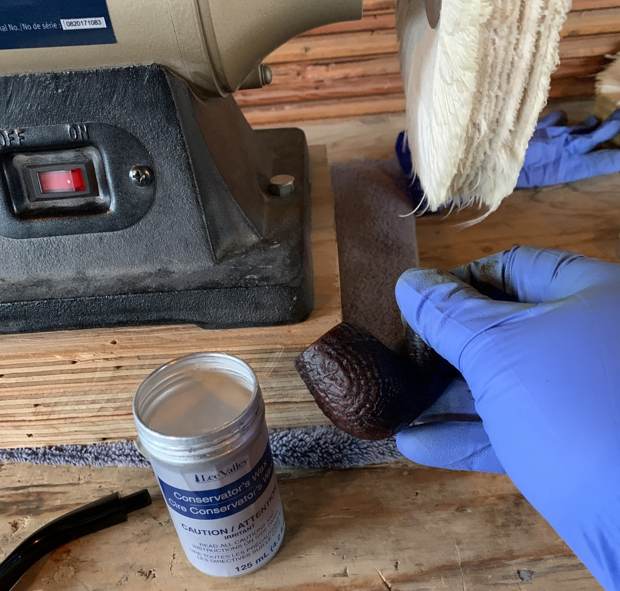
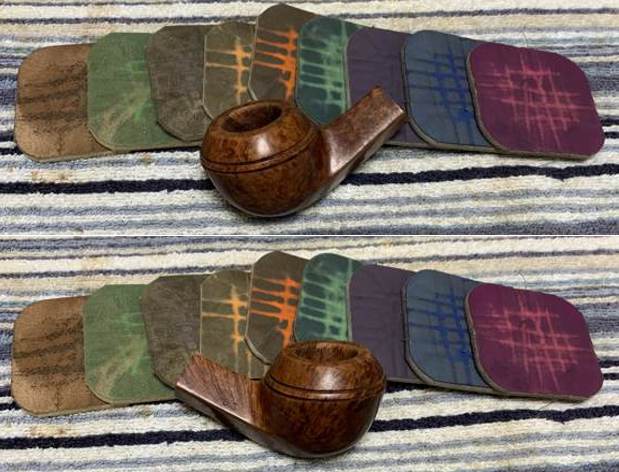
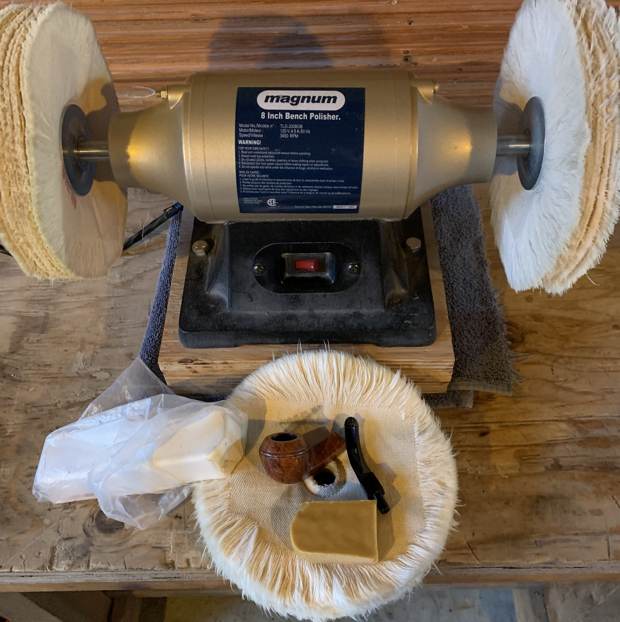
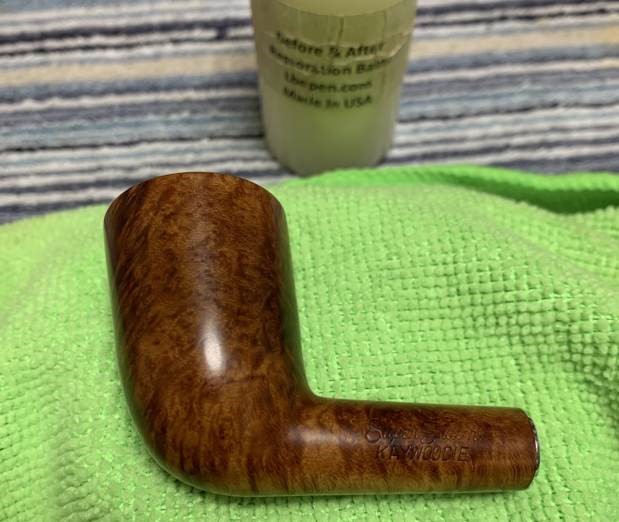
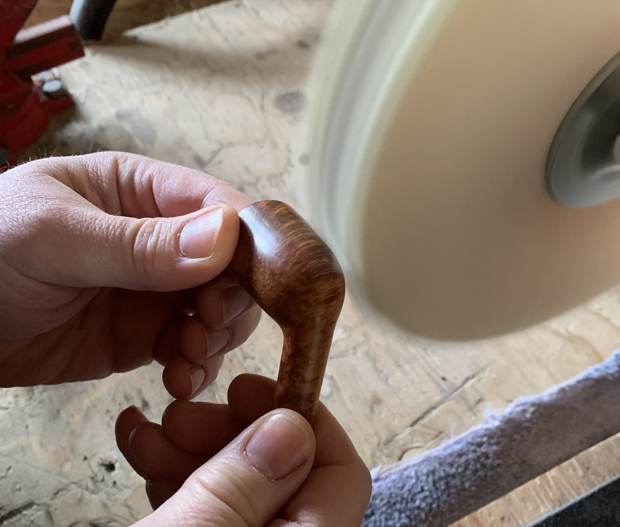
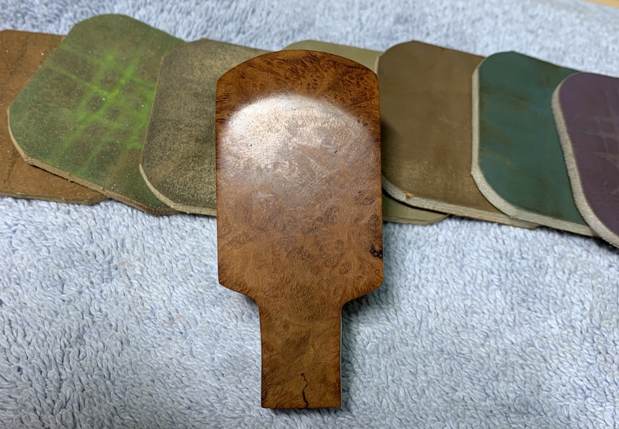
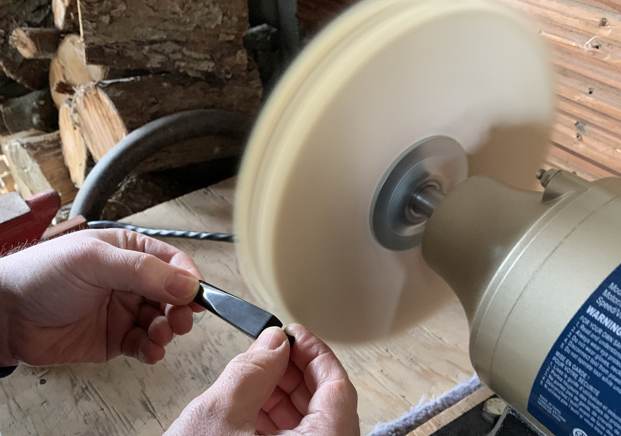
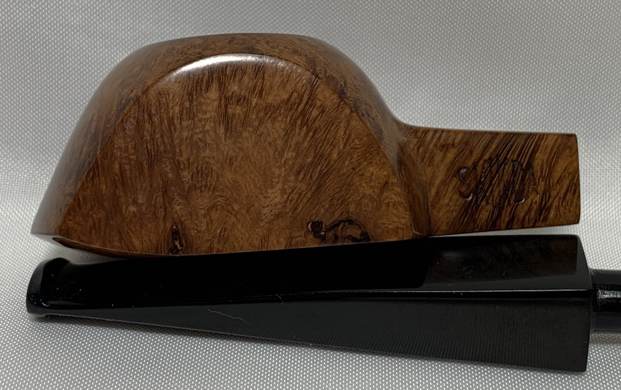
 After that, I took it to my bench polisher and polished it with white diamond and carnauba wax. This brought out the best in the stummel’s grain.
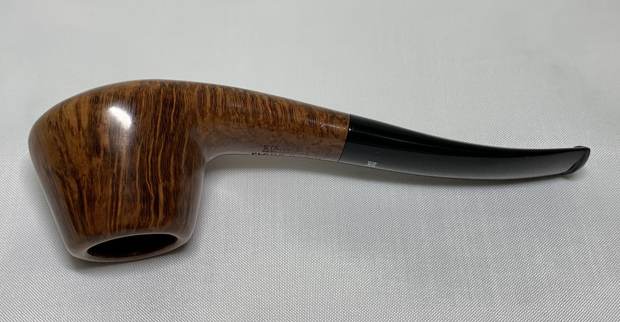
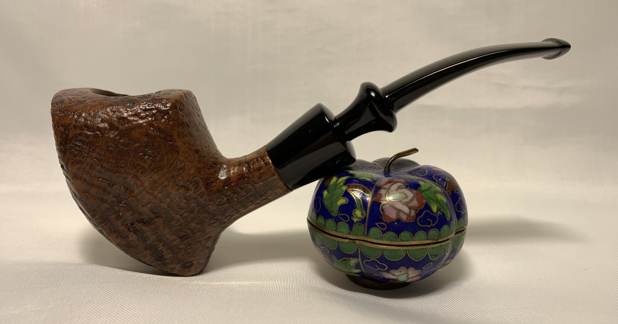
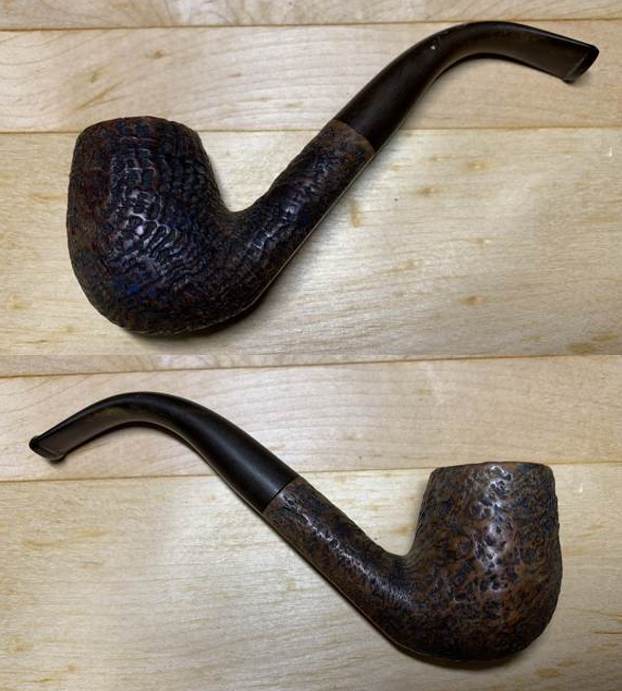
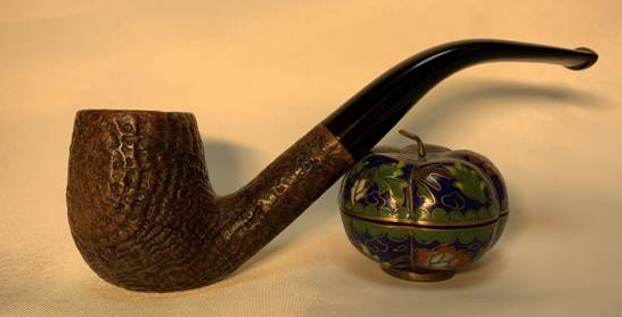
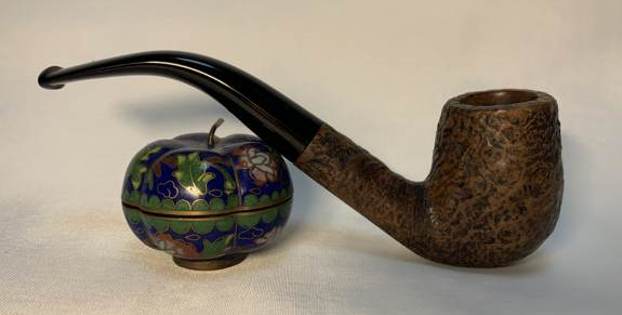
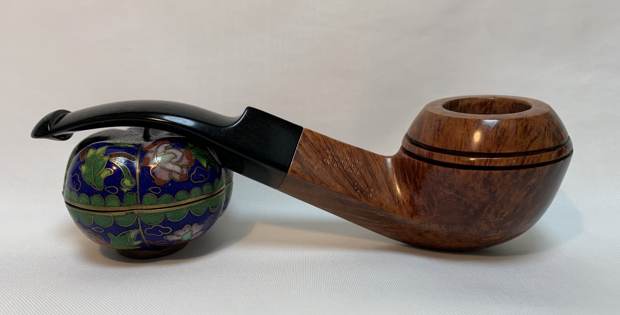
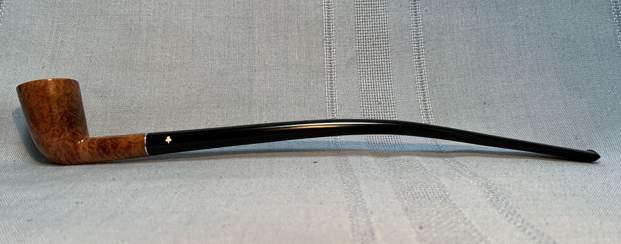
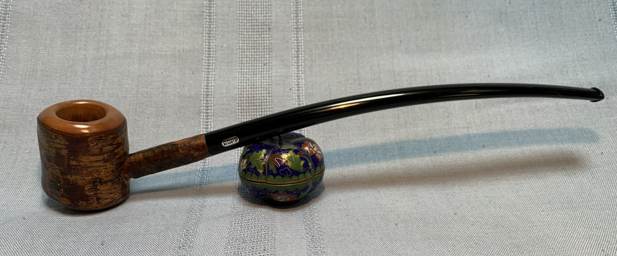
 The Skikda igloo with a long, hard life has been brought back from the dead! It an unusual and uncommon piece of Algerian and French pipemaking. It looks so much better than when I started and is ready to be enjoyed again by the next owner! I am pleased to announce that this pipe is for sale! If you are interested in acquiring it for your collection, please have a look in the ‘French’ pipe section of the store here on Steve’s website. You can also email me directly at kenneth@knightsofthepipe.com. The approximate dimensions of the pipe are as follows: length 5½ in. (140 mm); height 1 in. (25 mm); bowl diameter 1¼ in. (32 mm); chamber diameter ⅝ in. (16 mm). The weight of the pipe is 1⅛ oz. (33 g). I hope you enjoyed reading the story of this pipe’s restoration as much as I did restoring it. If you are interested in more of my work, please follow me here on Steve’s website or send me an email. Thank you very much for reading and, as always, I welcome and encourage your comments.
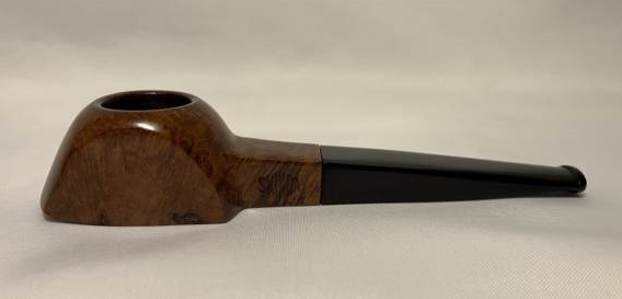

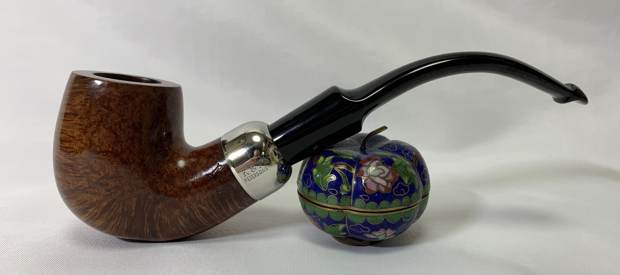
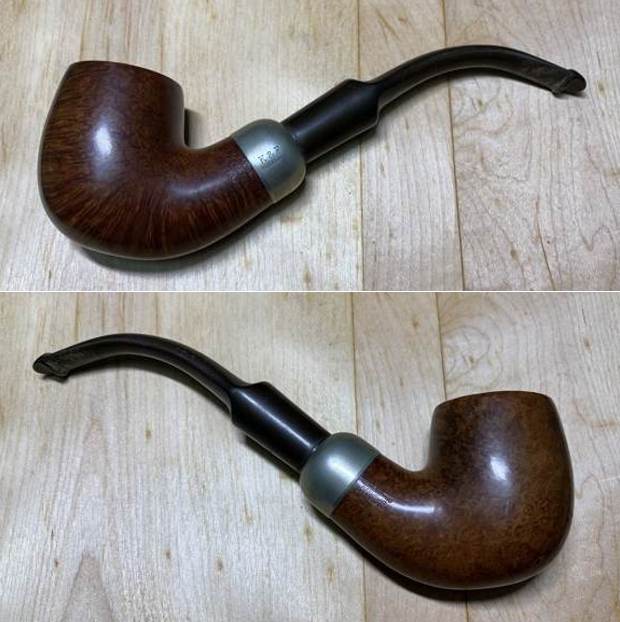
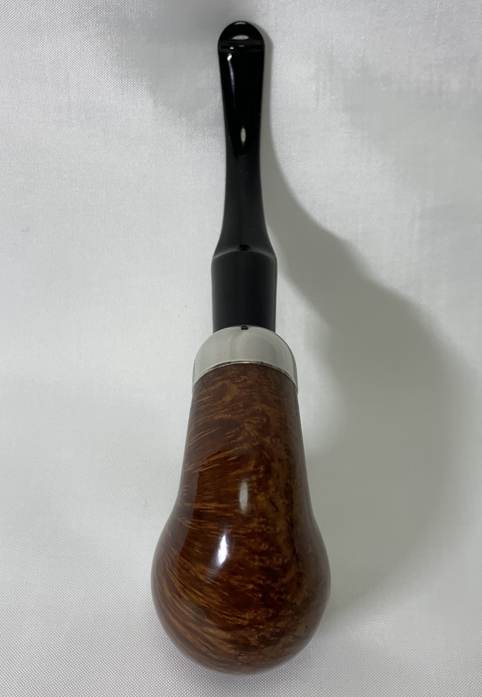
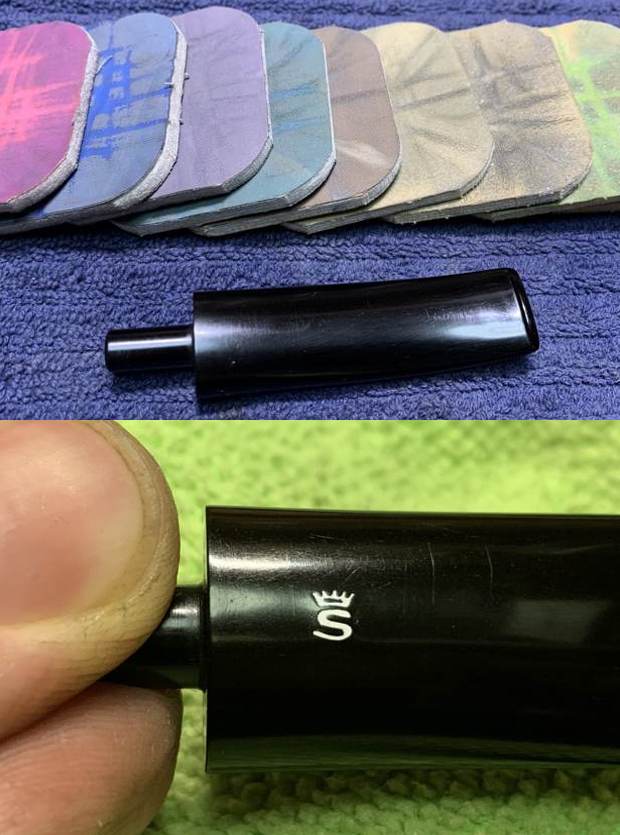
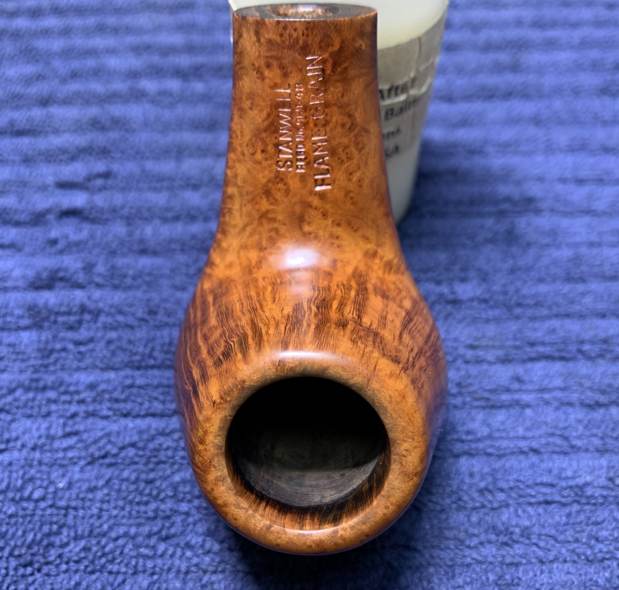
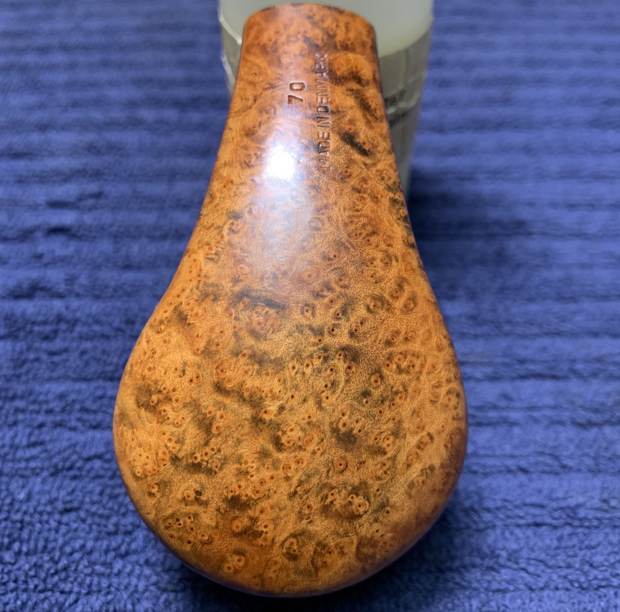
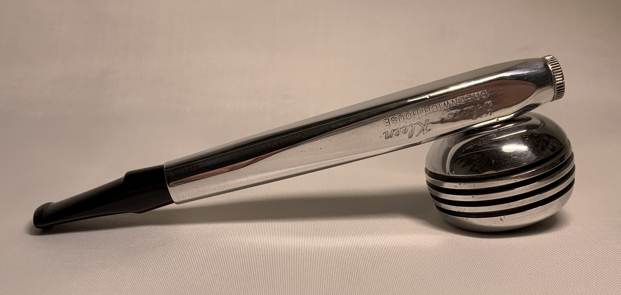
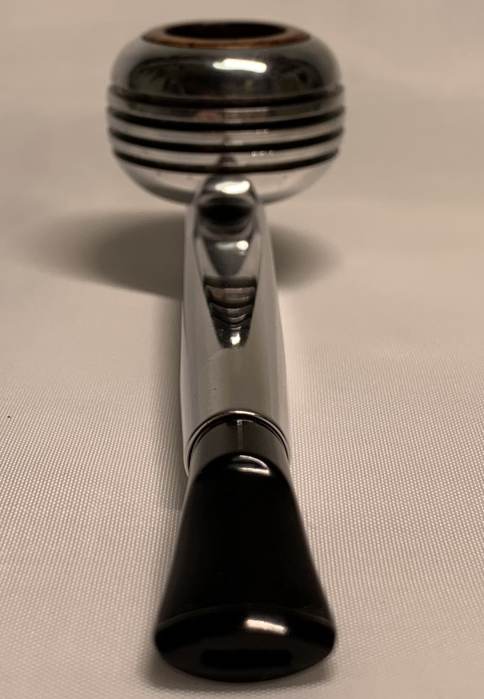
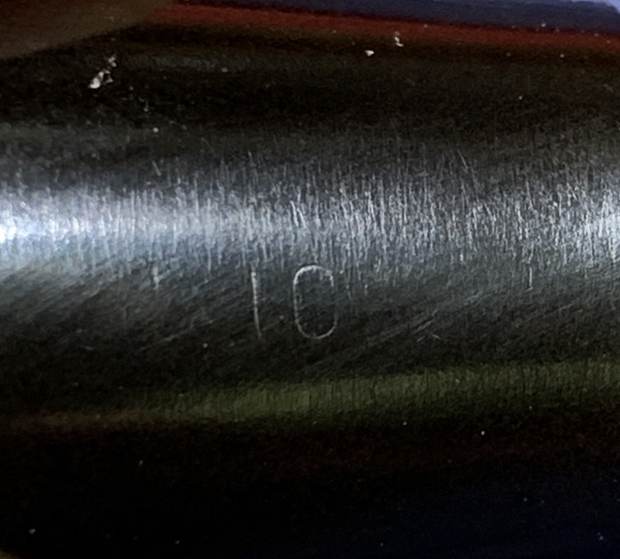
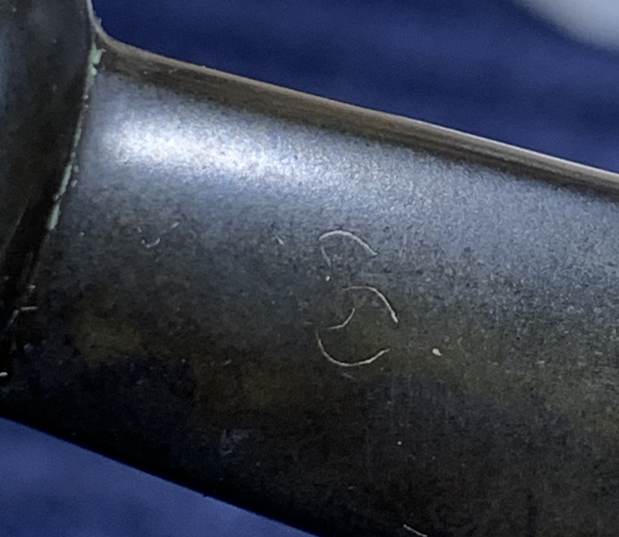
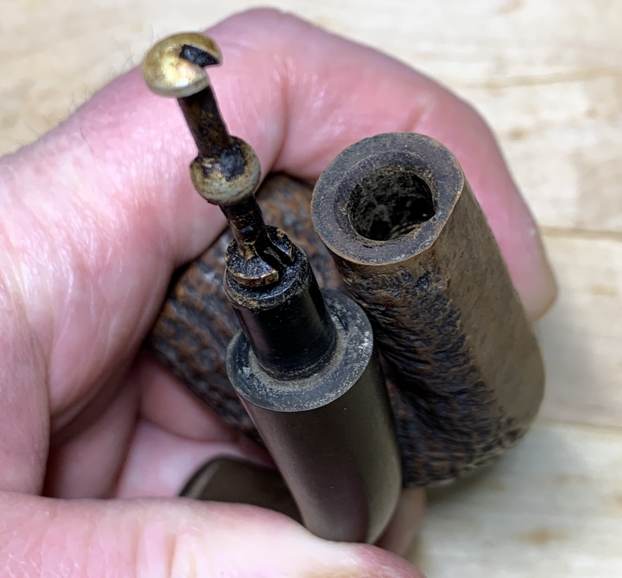
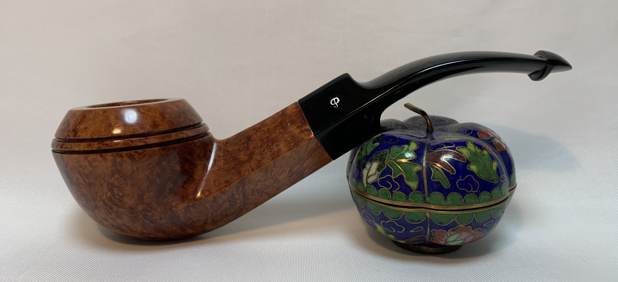
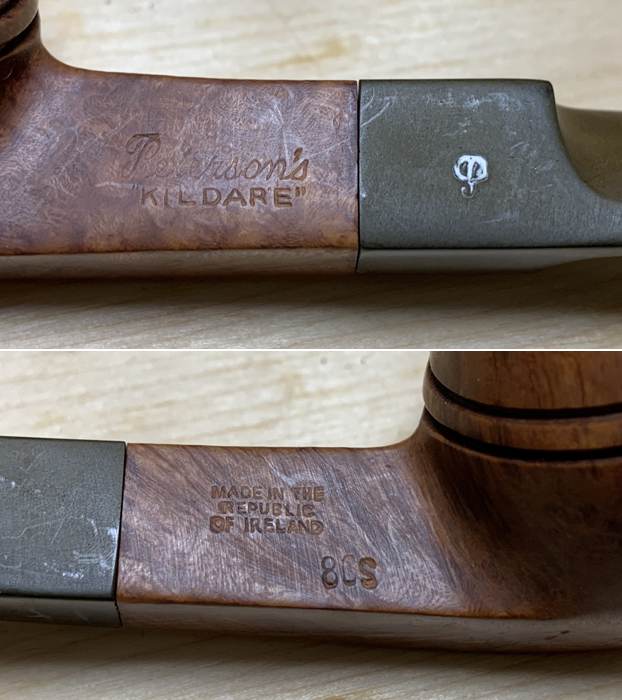
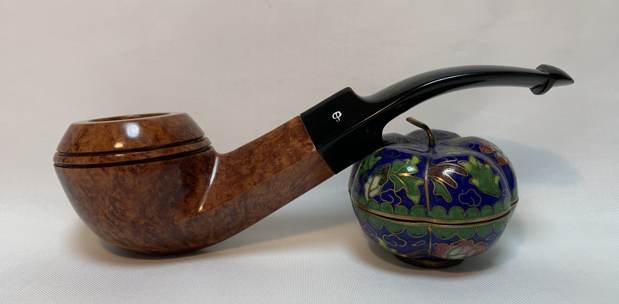
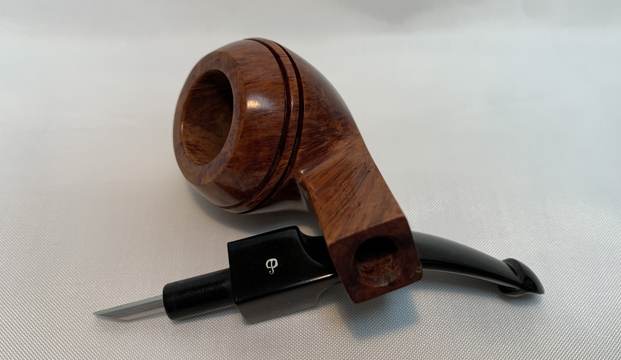
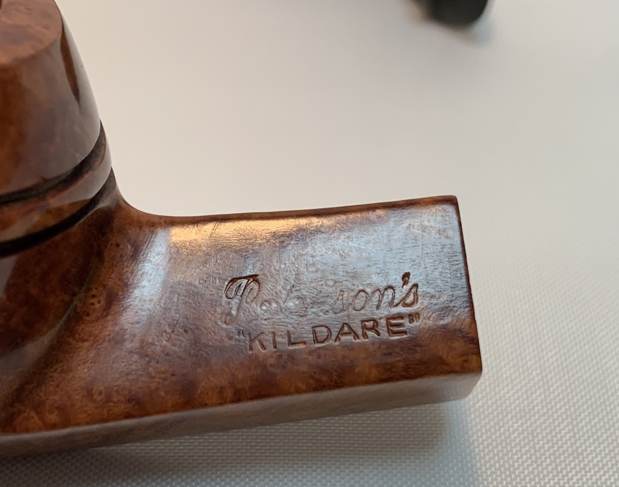
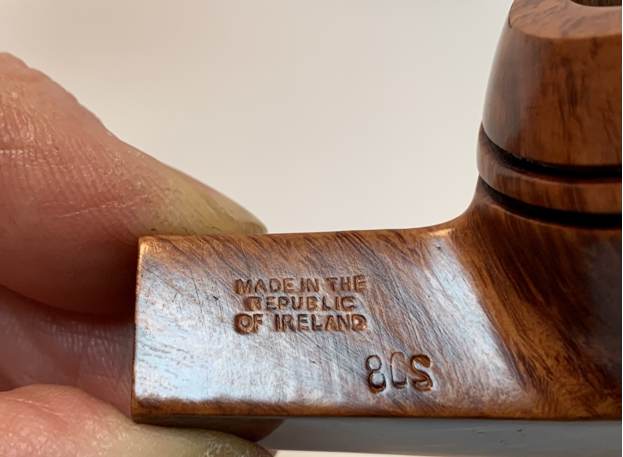
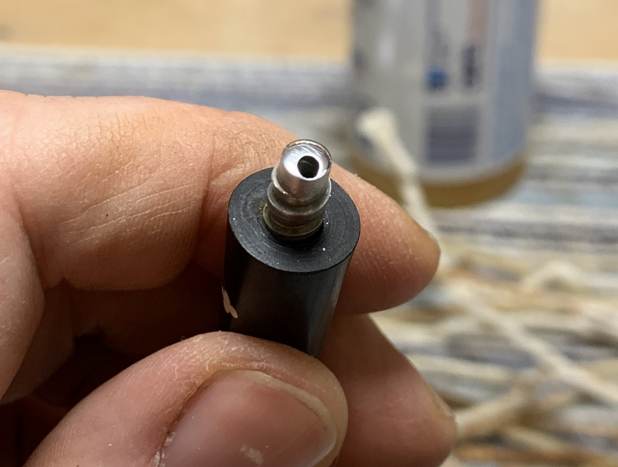
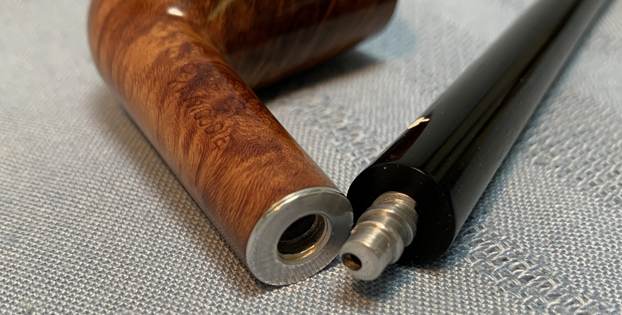
 Let’s have a closer look. This Peterson 307 pipe has the classic “System” look: bent shape, nickel mount, and tapered, army-style stem. Of course, it also had the traditional Peterson P-lip stem. The markings on the left side of the shank are Peterson’s [over] System [over] Standard. The right side of the shank showed Made in the [over] Republic [over] of Ireland [over] 307. The nickel mount on the shank had K&P [over] Petersons. There were no markings on the stem.

 The Peterson System pipes are well-storied among Peterson collectors/admirers. I took the opportunity to read the article on Pipedia, specifically about the System pipes, by Jim Lilley. There is lots of good information there and I encourage you to read it: https://pipedia.org/wiki/A_closer_look_at_the_famous_Peterson_Standard_System_Pipe
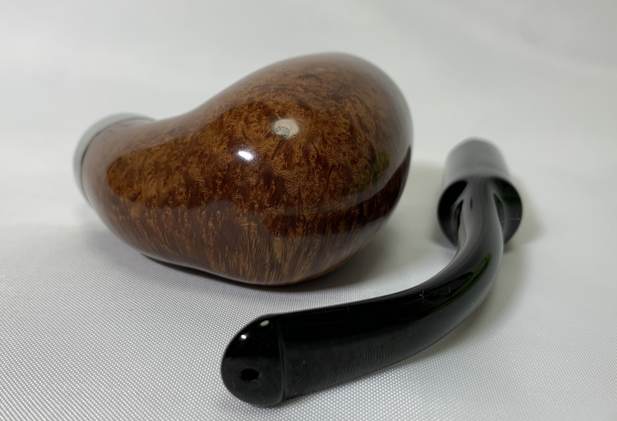
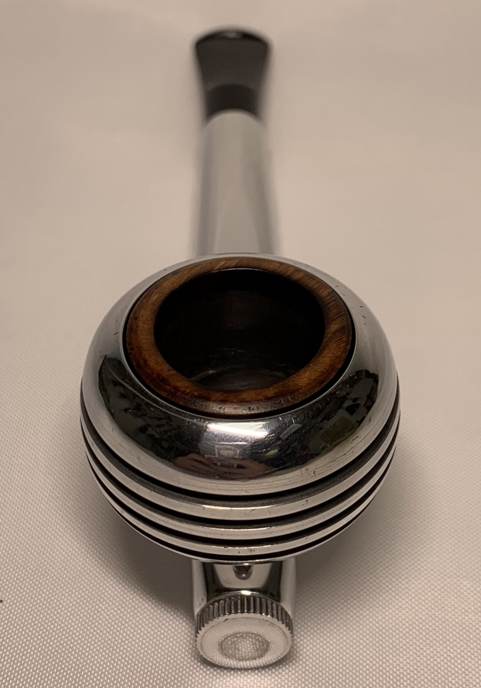
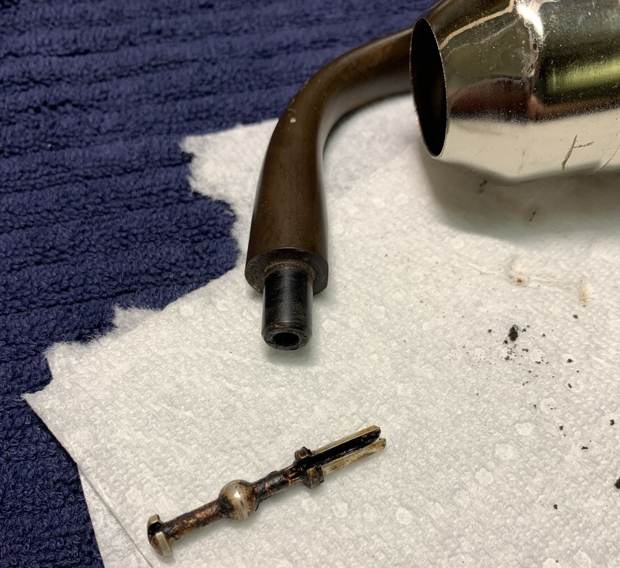
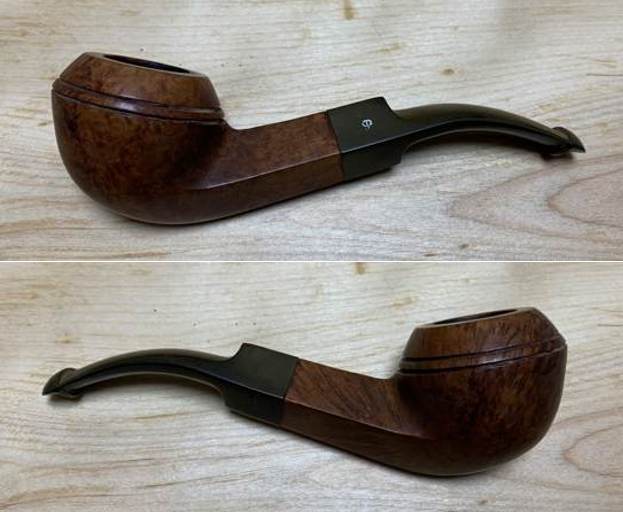
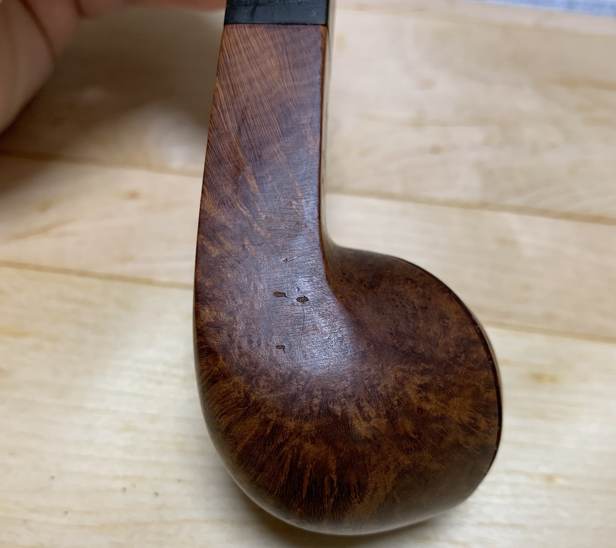
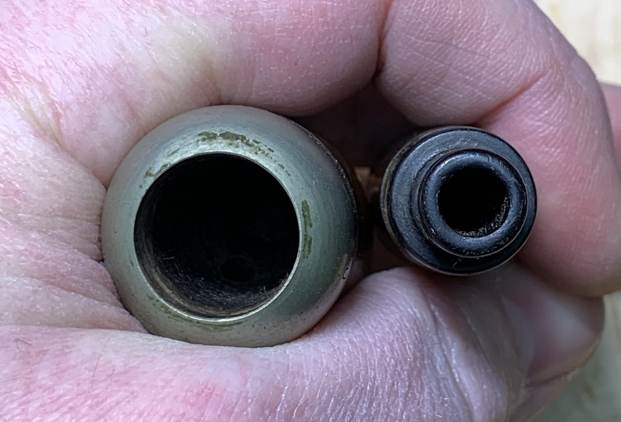
 On to the pipe itself: the stem was in average condition – not especially dirty, but it had been well used. It had some notable dents, though. There was some damage to the top side of the P-lip and a tooth dent on the underside of the mouthpiece. I also noticed (but failed to photograph) that there were significant scratches at the shank-end of the stem, where I assume the stem had rubbed against the nickel mount on the shank. The bowl was moderately dirty and had quite a bit of lava which concealed some burn marks, and there was plenty of cake. Aside from some small fills, the outside of the bowl was fine. The nickel mount was in good shape – no dents or scratches of note – but it was dull and needed some polishing.

 To work! The stem was first on my list. I wiped the outside down with Murphy’s Oil Soap on some cotton pads. I also took a BIC lighter and ‘painted’ the stem with its flame to lift the few bite marks and dents. Sadly, however, this did not do much. Then I cleaned out the inside with pipe cleaners and isopropyl alcohol.
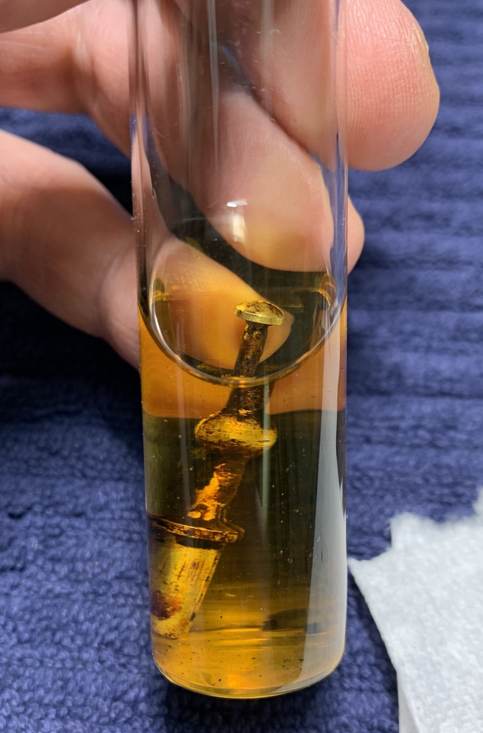
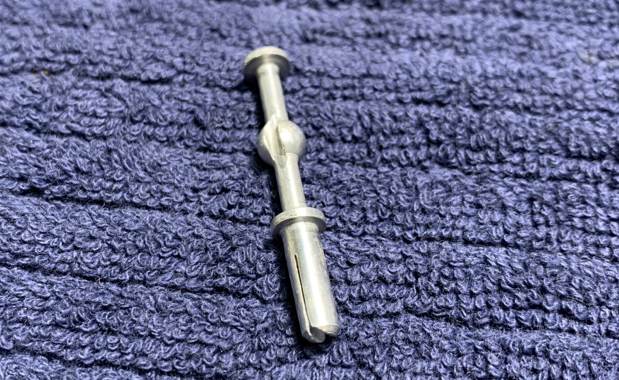
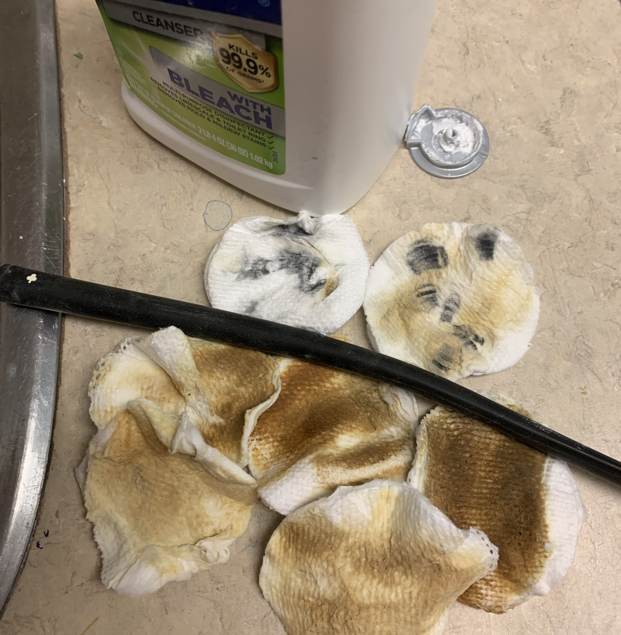
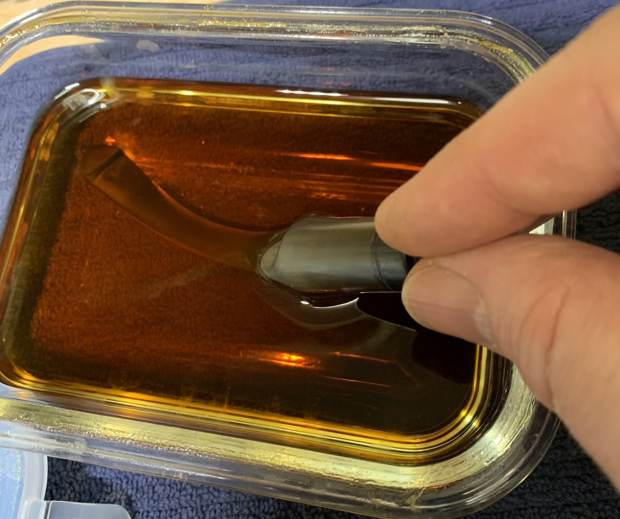
 I used some SoftScrub on the outside of the stem to remove some oxidation. Then, the stem went for an overnight soak in the Pipe Stem Oxidation Remover. The following day, I cleaned the de-oxidizing mess off with alcohol, pipe cleaners, et cetera. The oxidation had migrated to the surface and would be fairly straightforward to remove. I scrubbed again with SoftScrub on some cotton pads to remove the leftover oxidation.
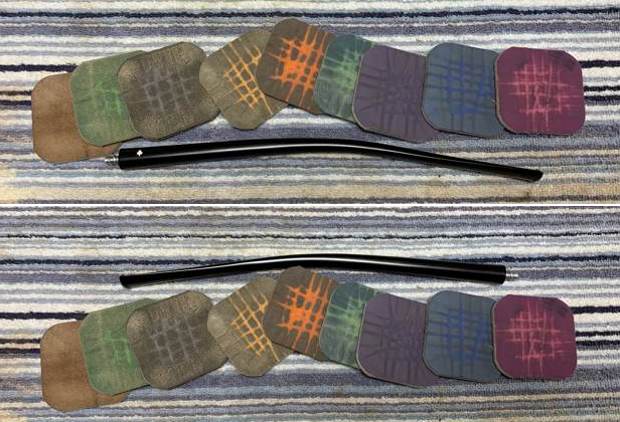
 I built up the dents on the stem with black cyanoacrylate adhesive and let them cure. I then sanded the adhesive down – first with a small file – then with 220-, 400-, and 600-grit sandpapers to meld seamlessly into the stem. I then used all nine Micromesh pads (1,500 through 12,000 grit) to polish it and highlight the black lustre on the stem. I also used Obsidian Pipe Stem Oil in between each pad scrubbing.

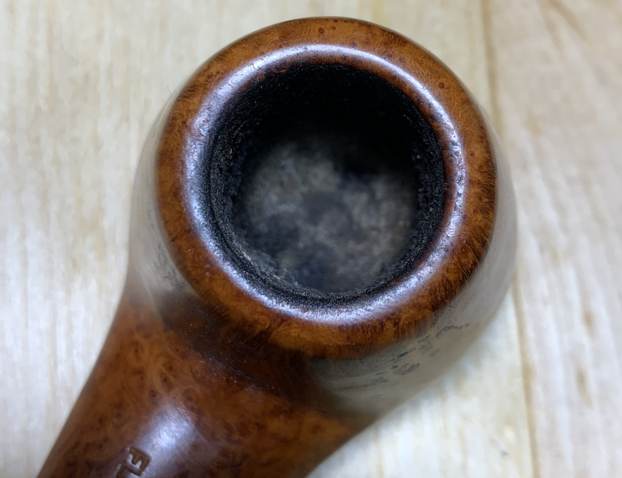
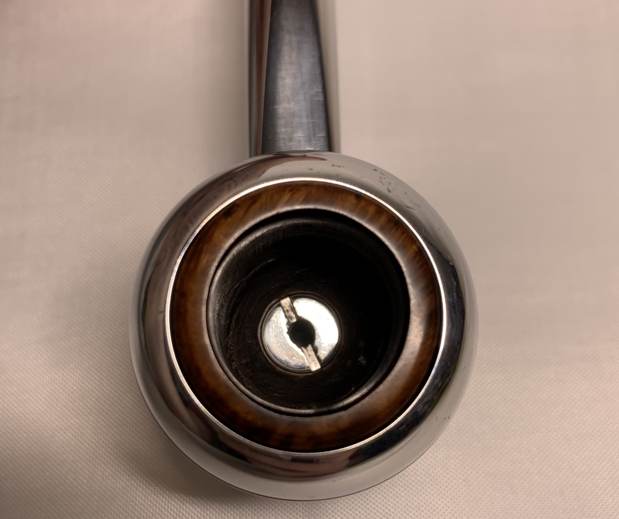
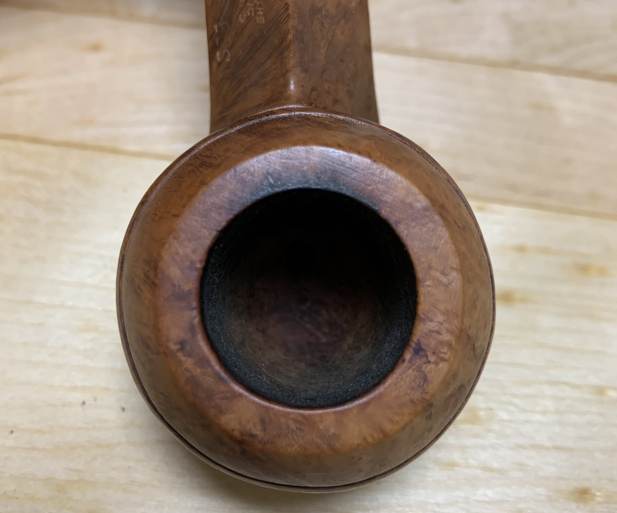
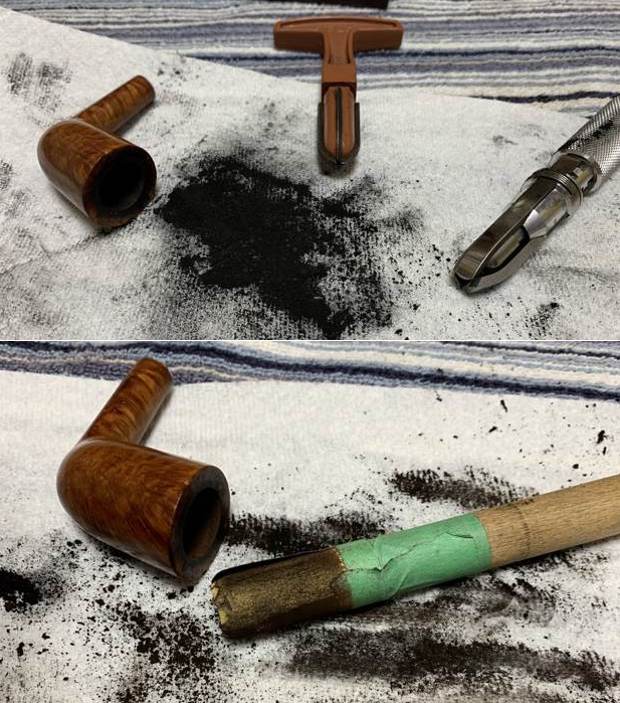
 Moving on to the stummel, I first decided to ream out the bowl. I used both the PipNet Reamer and the KleenReem to remove the built-up cake and followed that with 220-grit sandpaper taped to a dowel to eliminate as much as possible. I took the chamber down to bare briar to ensure there were no hidden flaws in the wall. Fortunately, there were none.
 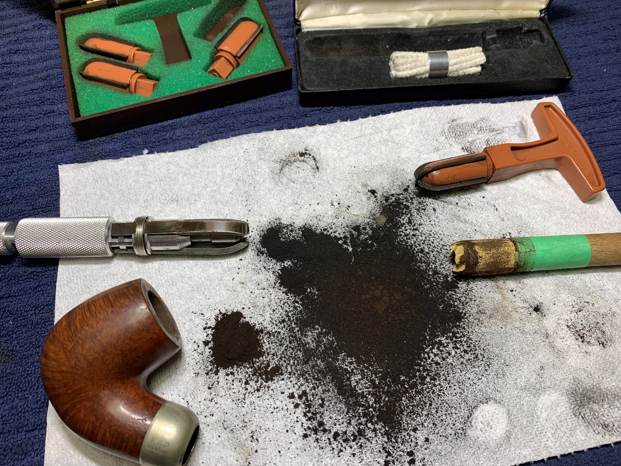 I used cotton rounds and some Murphy’s Oil Soap to scrub the outside of the stummel and a toothbrush with Murphy’s for the lava on the pipe’s rim.
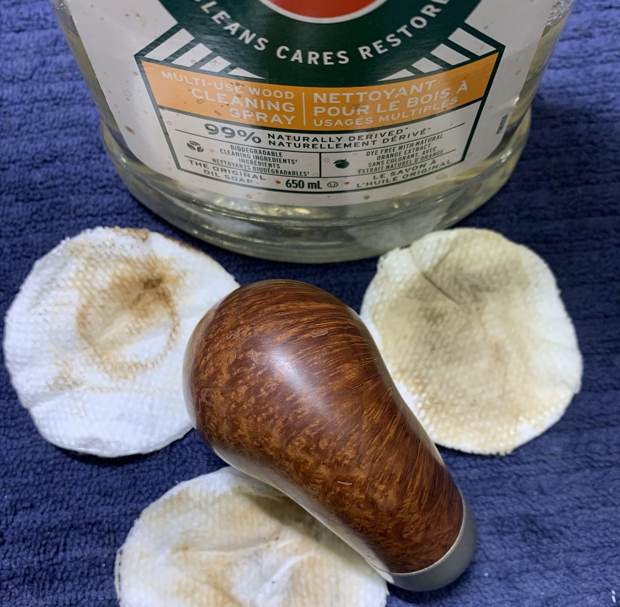 I then proceeded to clean out the insides of the shank with Q-tips, pipe cleaners, and lemon-infused isopropyl alcohol. There was quite a bit of filth inside this stummel, and it took a fair amount of cotton to get it clean. I followed that up by cleaning the insides with some dish soap and tube brushes.
 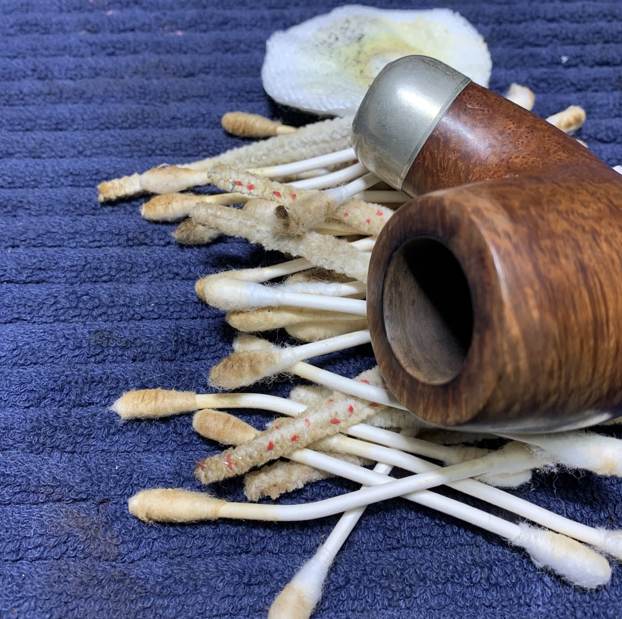 Now I could address the burn on the rim. I used a piece of tool steel to gently scrape away the burn residue, but I didn’t get the results I hoped for. So, I “topped” the pipe – that is, I gently and evenly sanded the rim on a piece of 220-grit sandpaper. This effectively removed the damage without altering the look of the pipe.
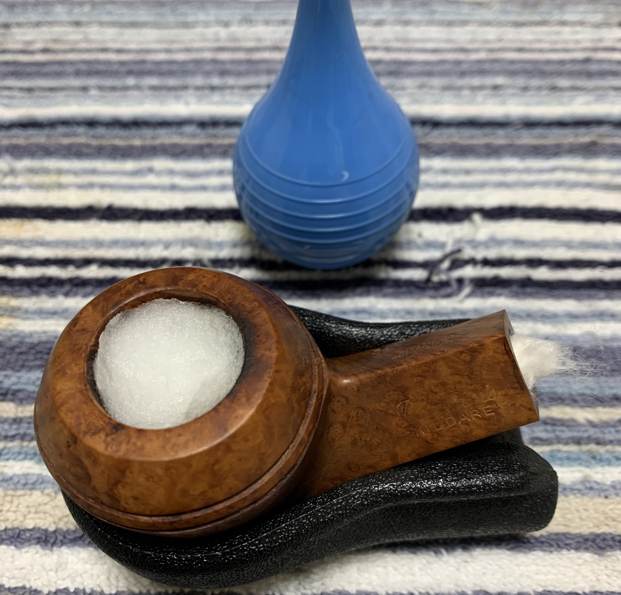
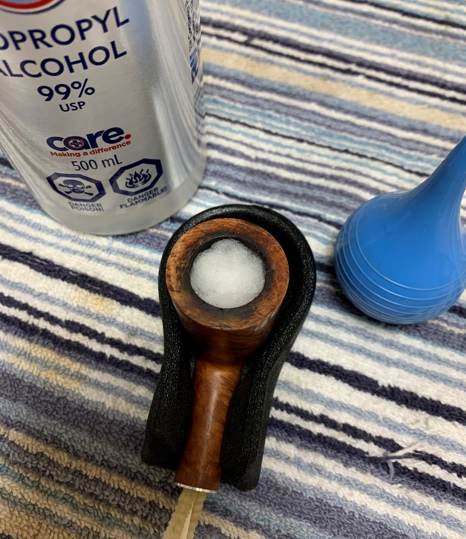
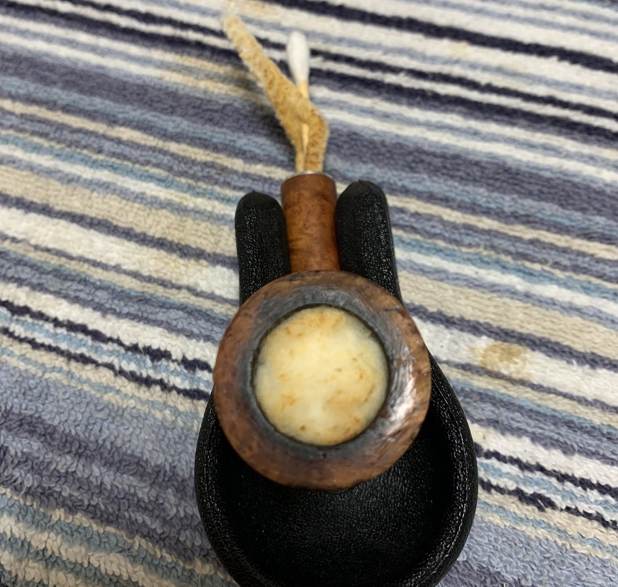
 I decided to de-ghost the pipe in order to remove any lingering smells of the past. I thrust cotton balls into the bowl and the shank and saturated them with 99% isopropyl alcohol. I let the stummel sit overnight. This caused any remaining oils, tars and smells to leach out into the cotton. The bowl was nice and clean after this.
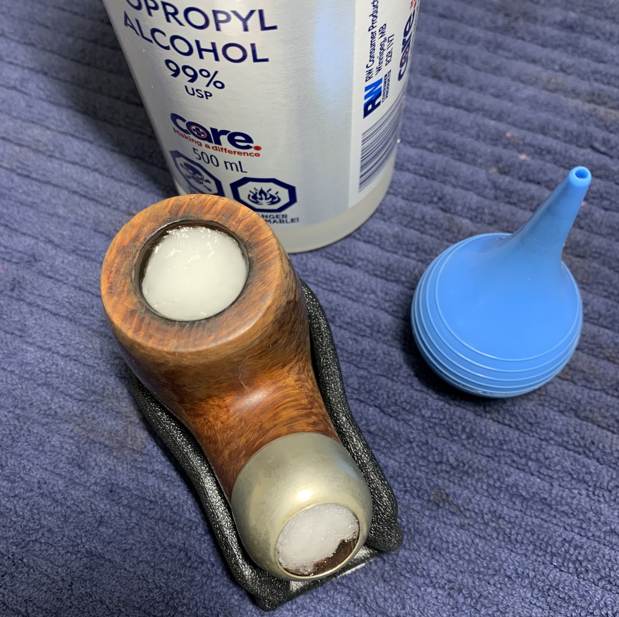
 Now it was time to address the tiny fills on the bowl. I repaired them with a mixture of briar dust and cyanoacrylate adhesive. This ensures a strong repair and one that looks similar to the surrounding wood. As you can see, I made a mess to begin with, but I sanded the repair down with a file and 200- and 400-grit sandpaper until it was level with the surrounding briar. Then, I used all nine Micromesh pads (1,500 through 12,000 grit) on the stummel to finish it off. This included buffing up the nickel mount to a beautiful shine!

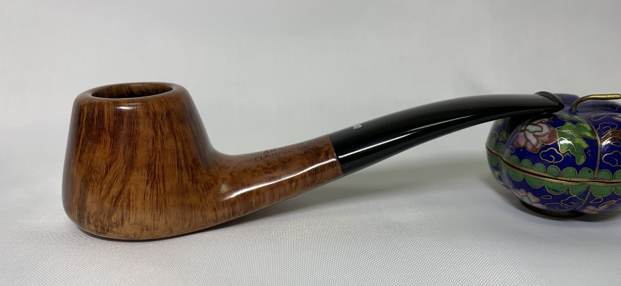
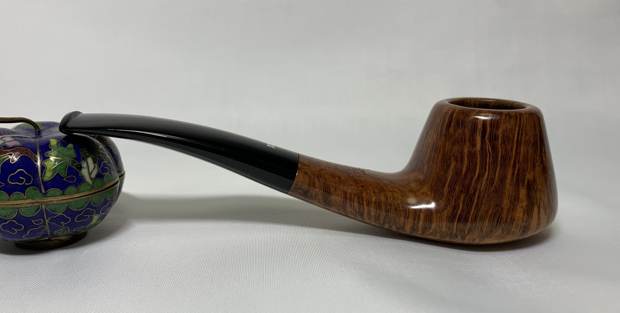
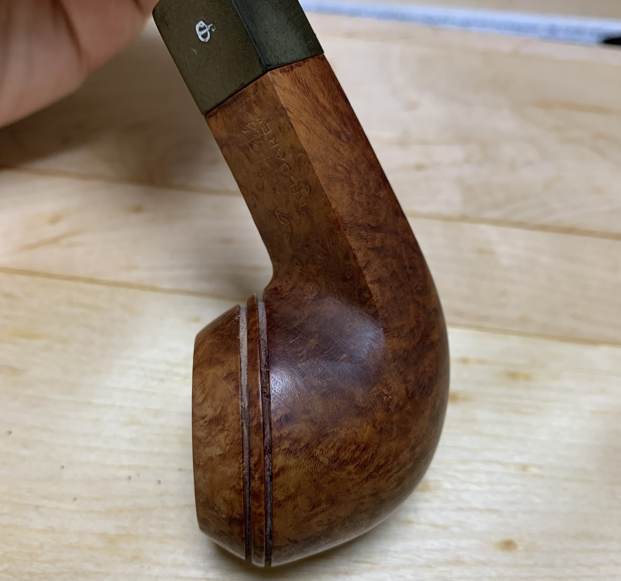
 Off to the bench polisher! A dose of White Diamond and a few coats of carnauba wax were just what this pipe needed. Boy-oh-boy, this is one good-looking pipe! I’m pleased with the results.
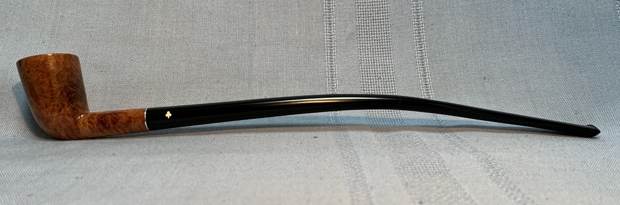
 This Peterson Standard System 307 looks fantastic again and is ready to be enjoyed by its next owner. I am pleased to announce that this pipe is for sale! If you are interested in acquiring it for your collection, please have a look in the Ireland pipe section of the store here on Steve’s website. You can also email me directly at kenneth@knightsofthepipe.com. The approximate dimensions of the pipe are as follows: length 6¼ in. (158 mm); height 2 in. (51 mm); bowl diameter 1⅝ in. (41 mm); chamber diameter ¾ in. (20 mm). The weight of the pipe is 2½ oz. (72 g). I hope you enjoyed reading the story of this pipe’s restoration as much as I did restoring it. If you are interested in more of my work, please follow me here on Steve’s website or send me an email. Thank you very much for reading and, as always, I welcome and encourage your comments.