by Kenneth Lieblich
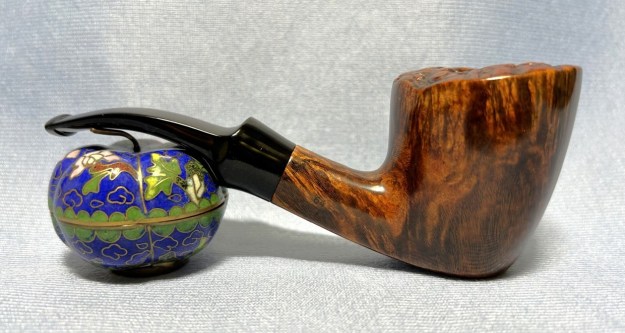
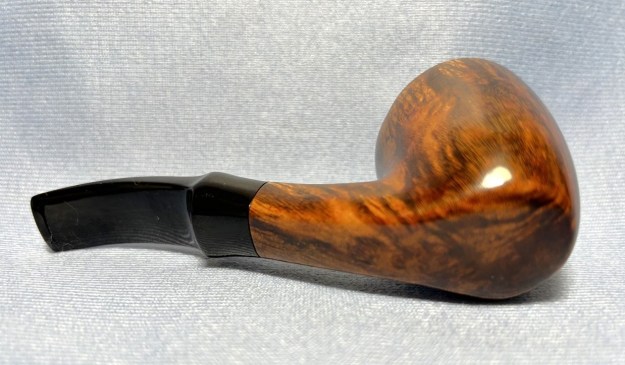
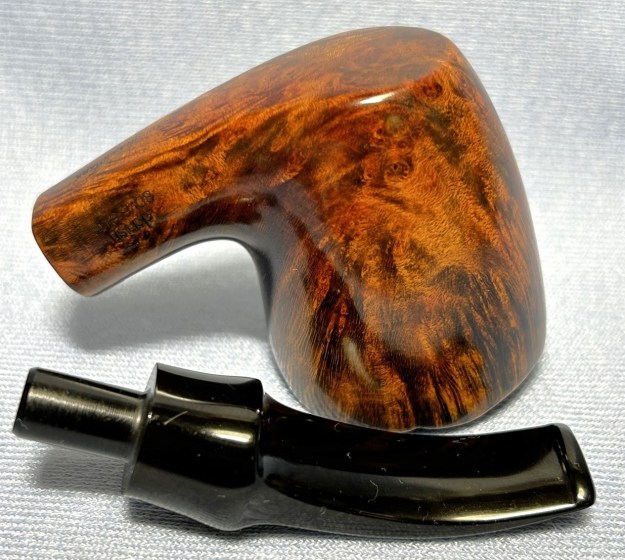
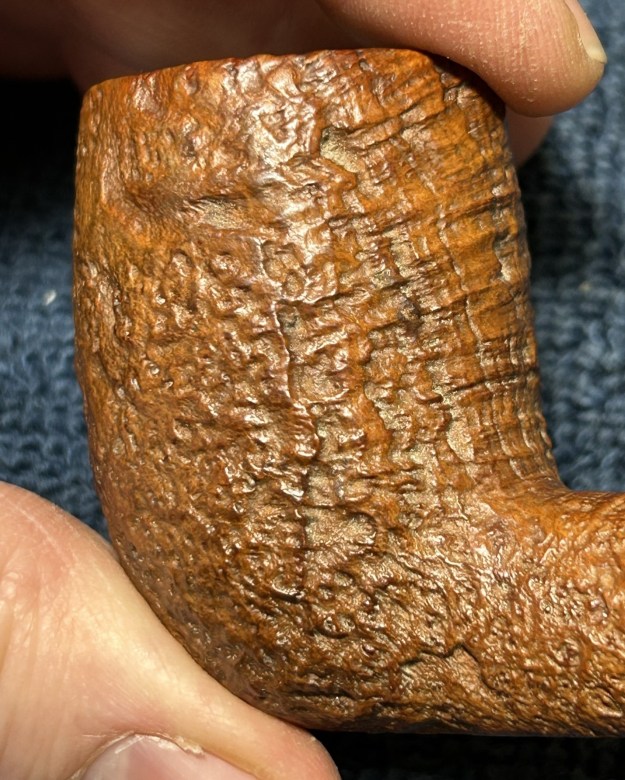
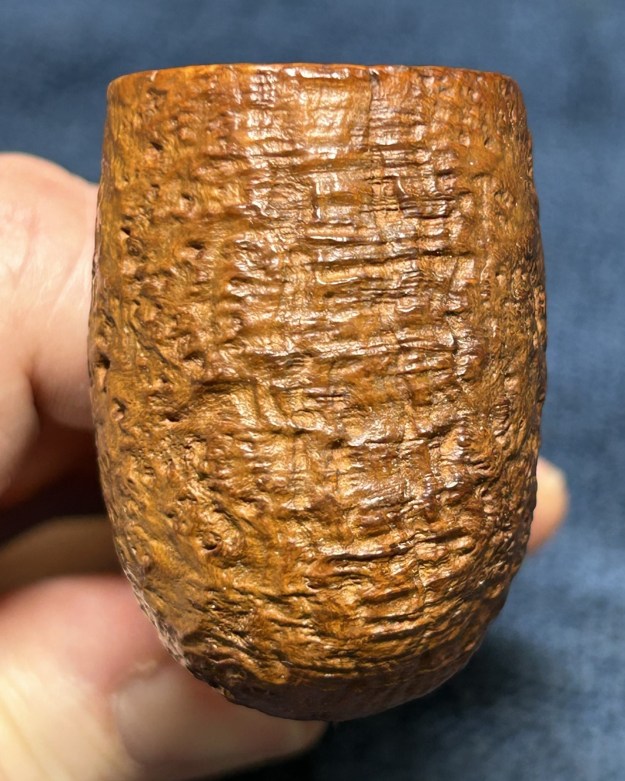
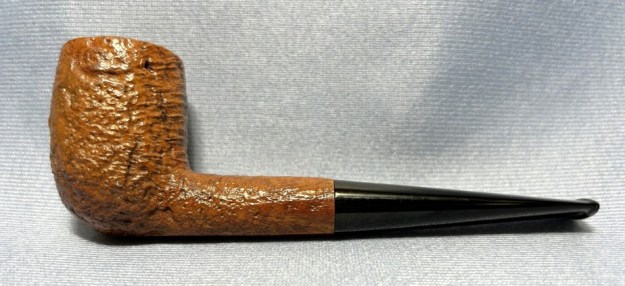
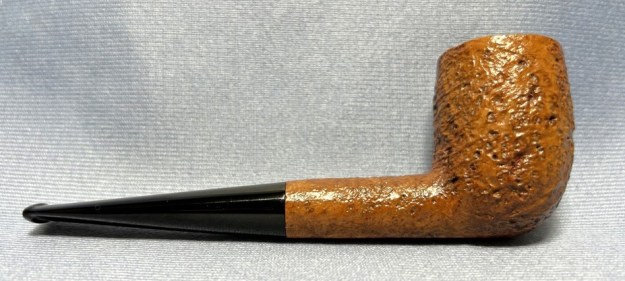
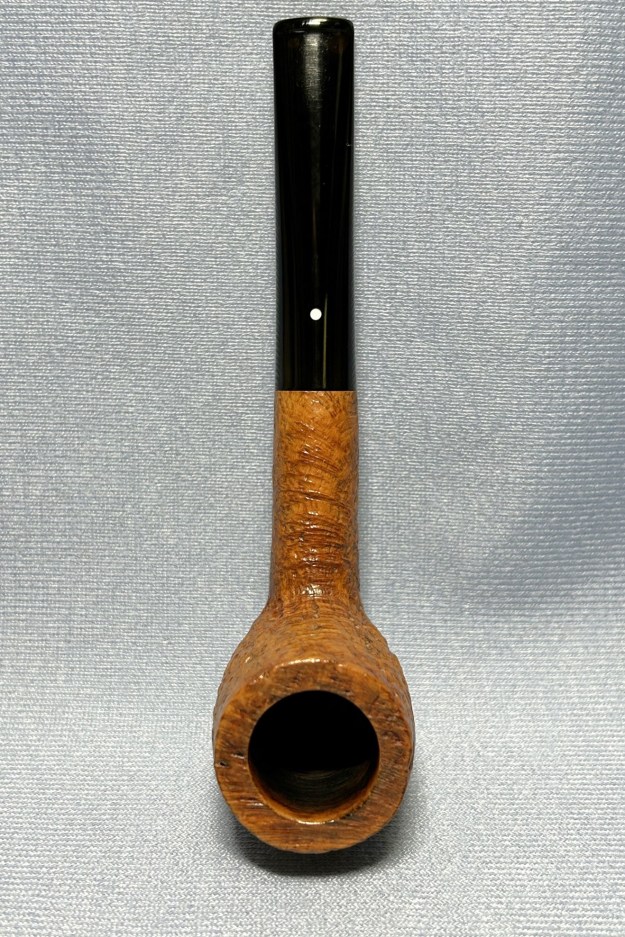
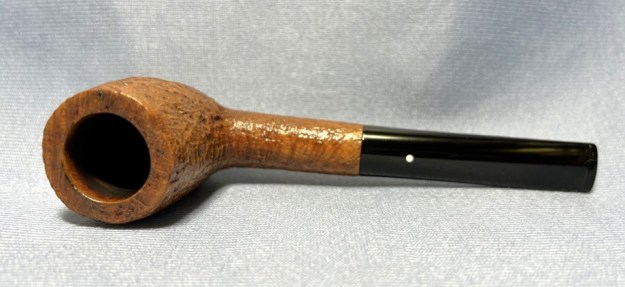
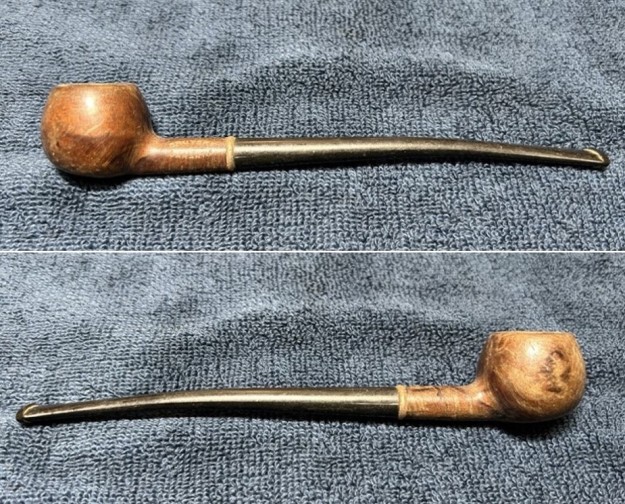
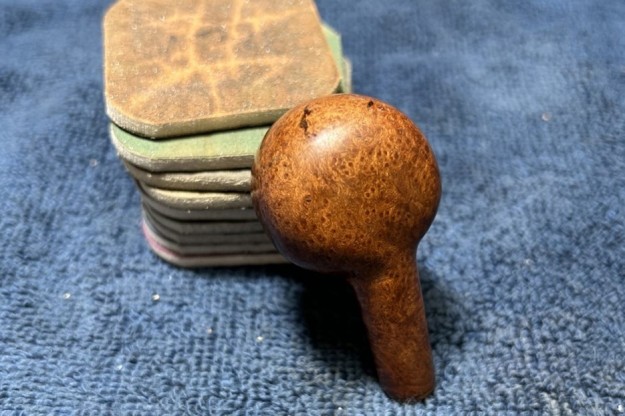
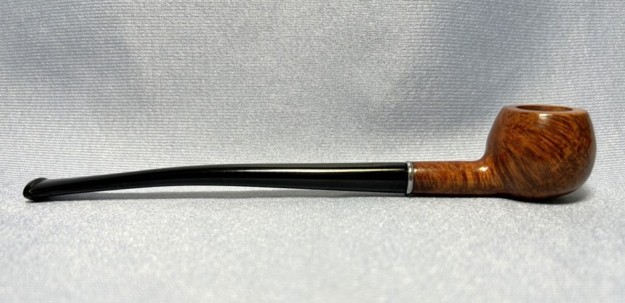
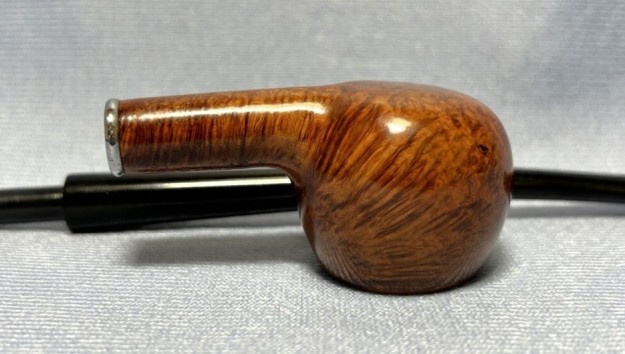
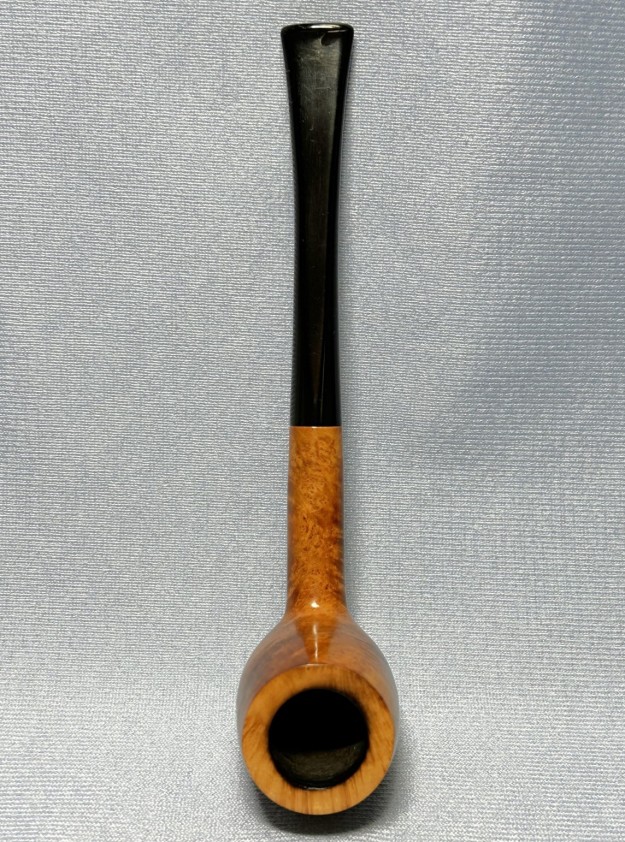
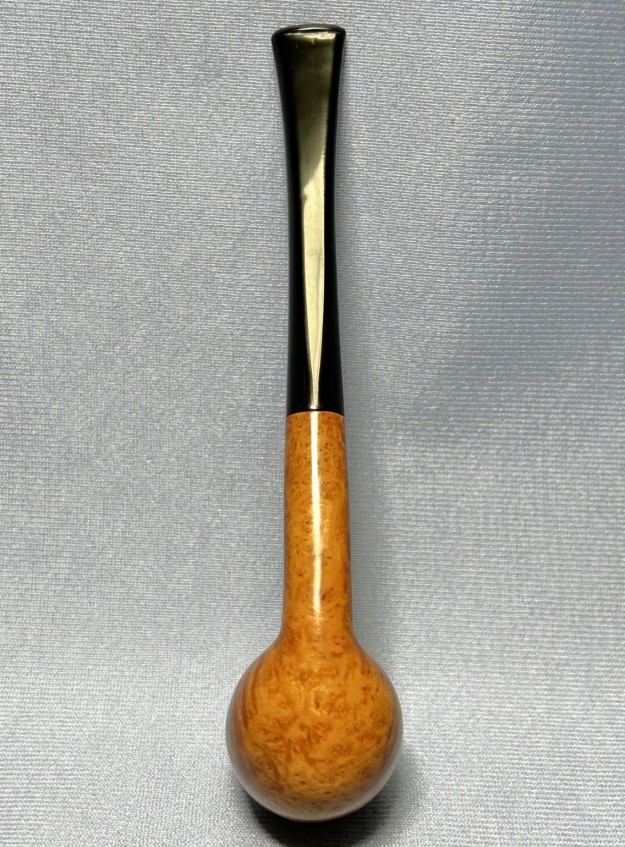
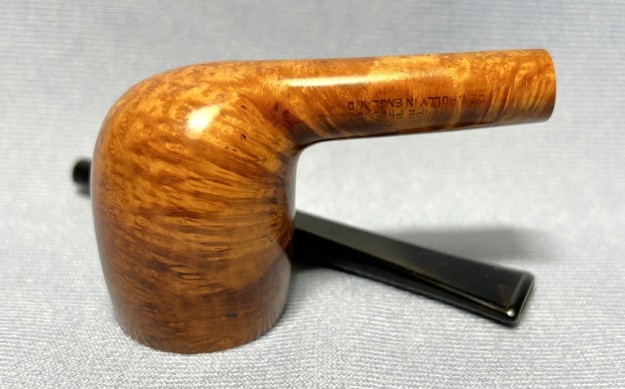
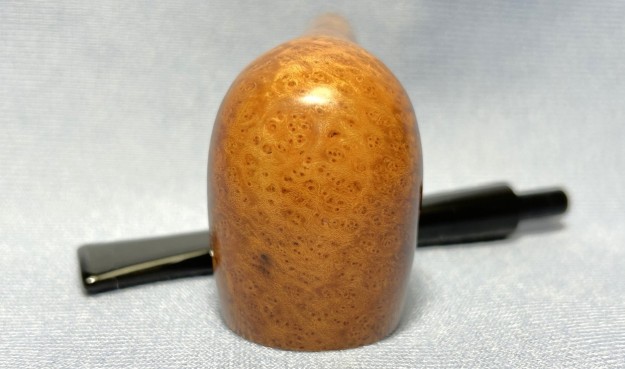
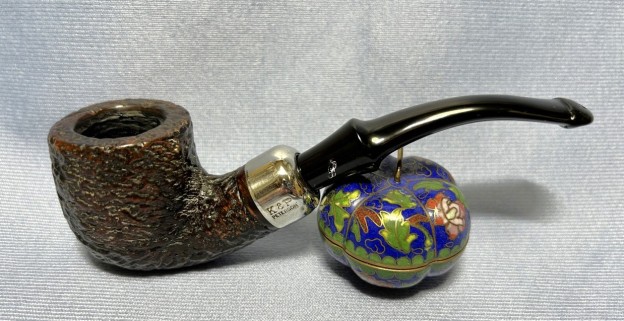
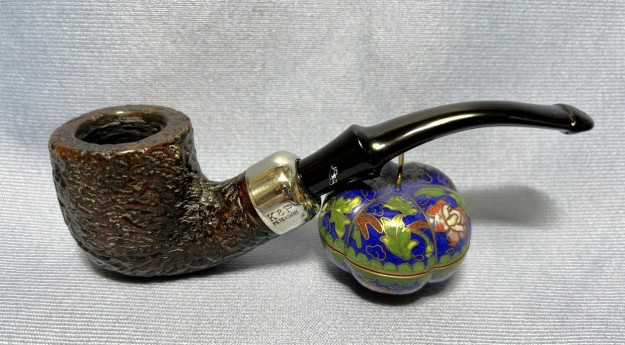
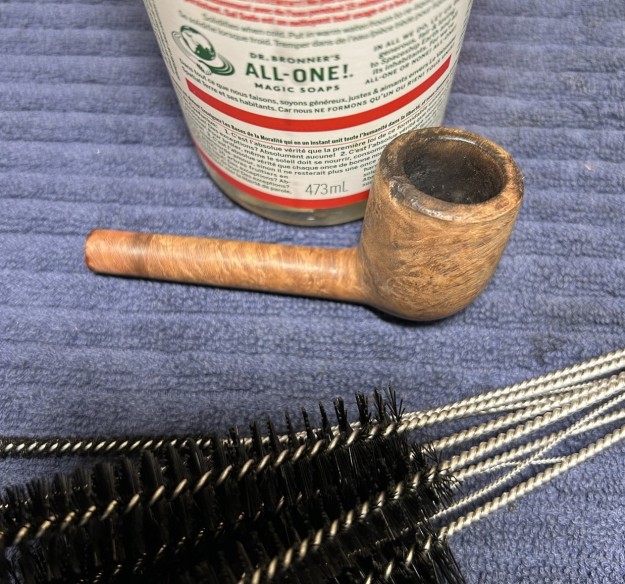
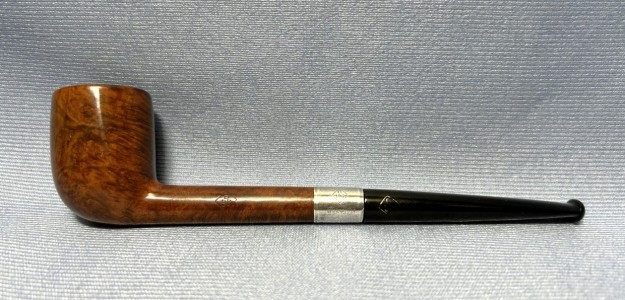
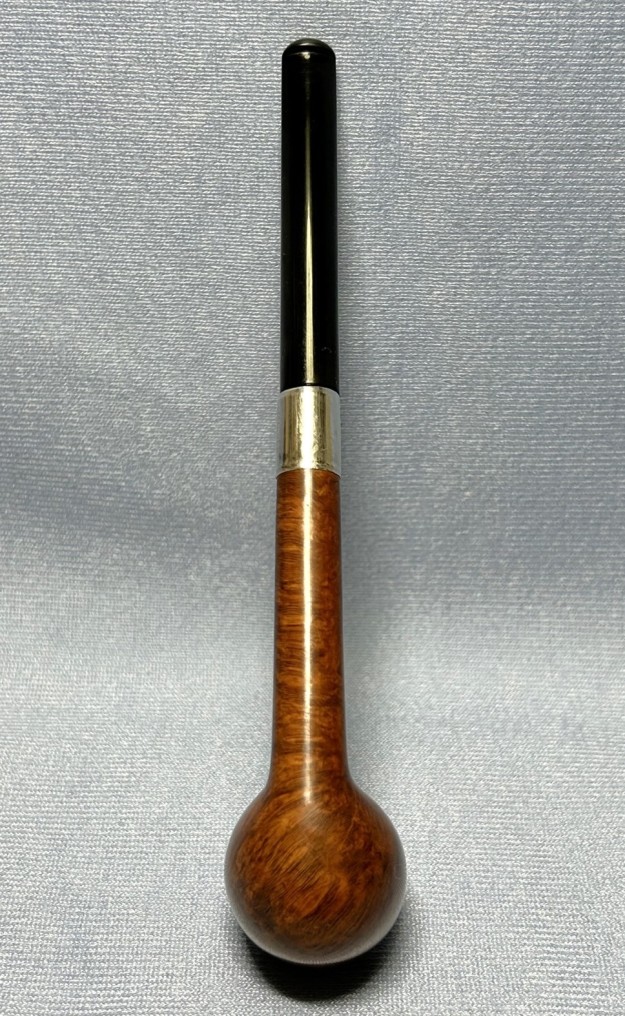
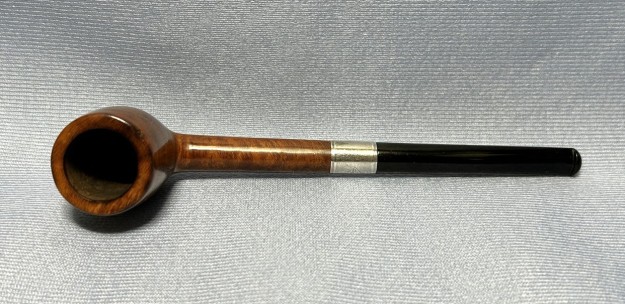
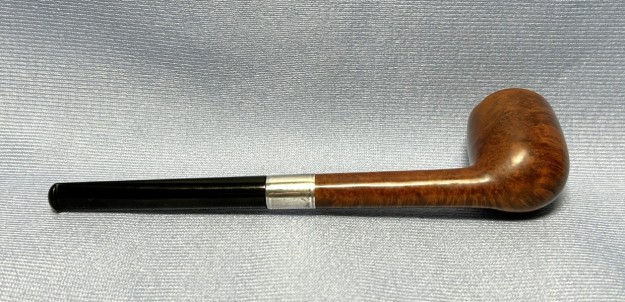
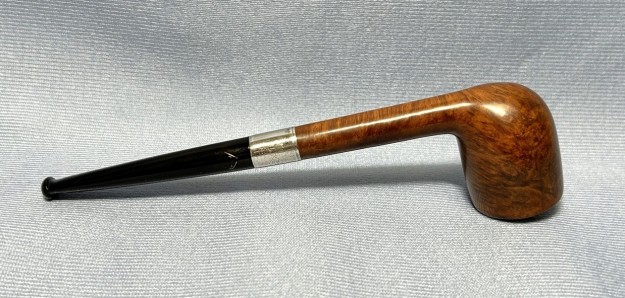
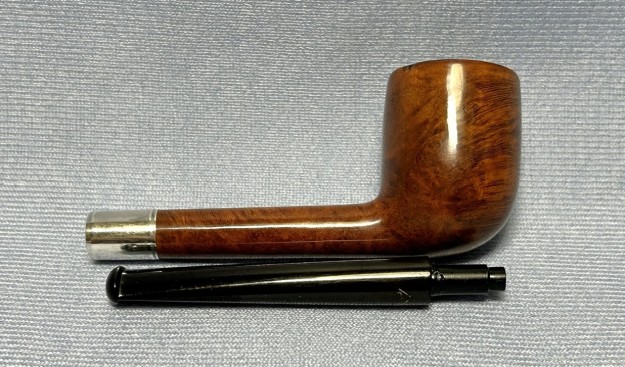
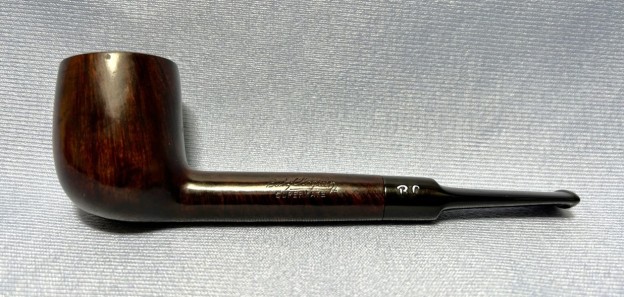
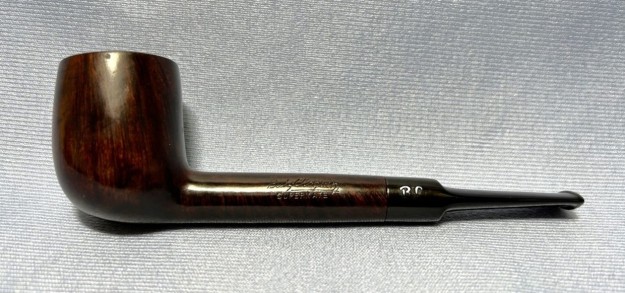
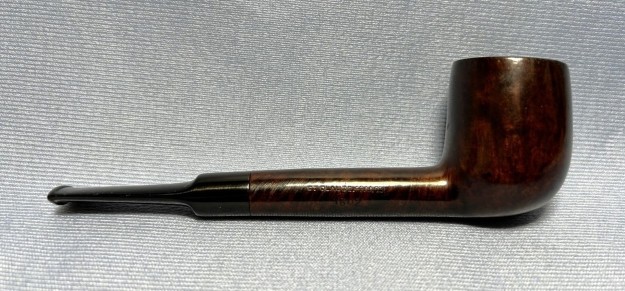
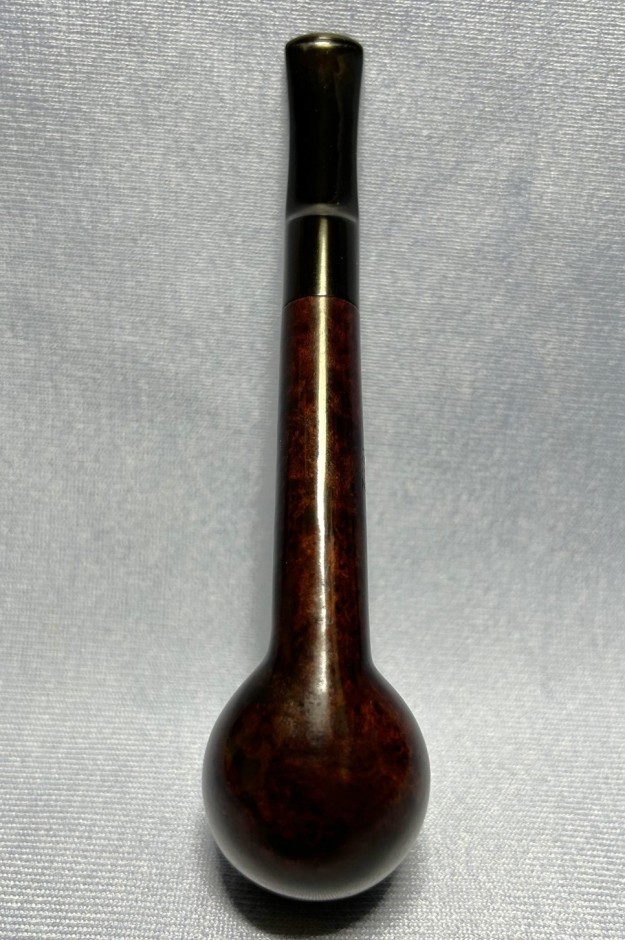
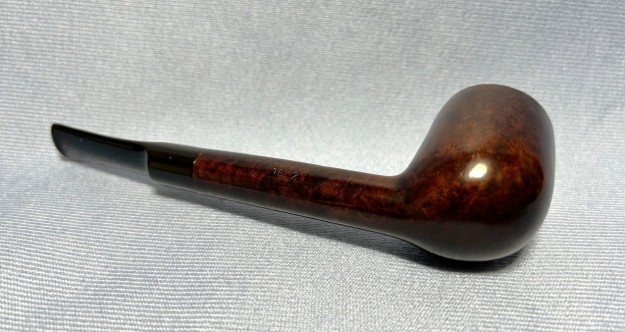
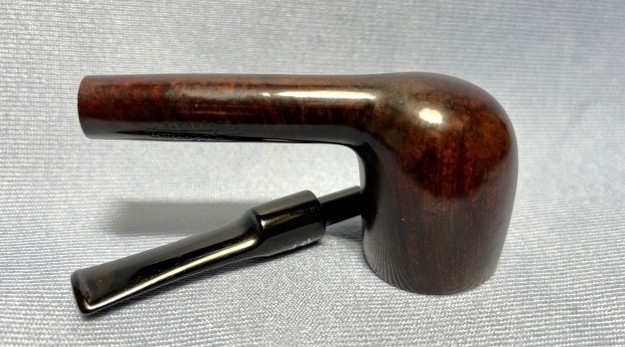
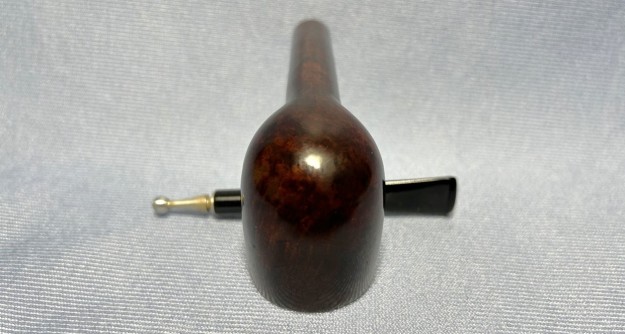
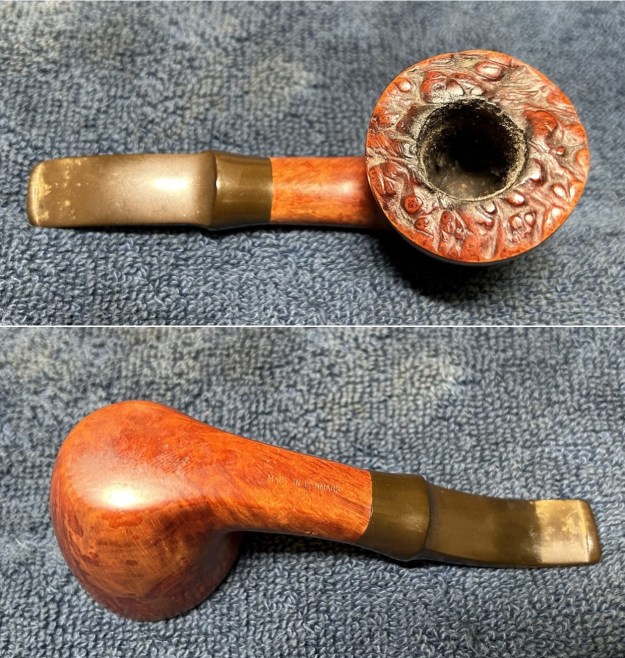
This wonderful pipe is a Danish Sovereign 64 Freehand with a smooth finish, a plateau rim and a stylized saddle stem. The more I look at this pipe, the more I like it. It is a short and stocky pipe (like an MMA fighter) and it feels strong and rugged (also like an MMA fighter). It feels wonderful in the hand and was clearly a much-loved pipe. It came from the same collection of pipes, here in Vancouver, that my recently restored freehand canted egg came from.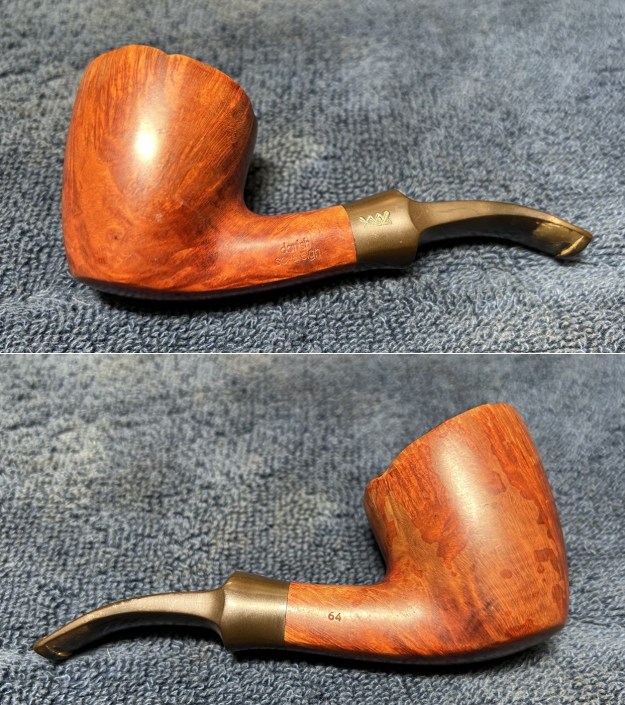
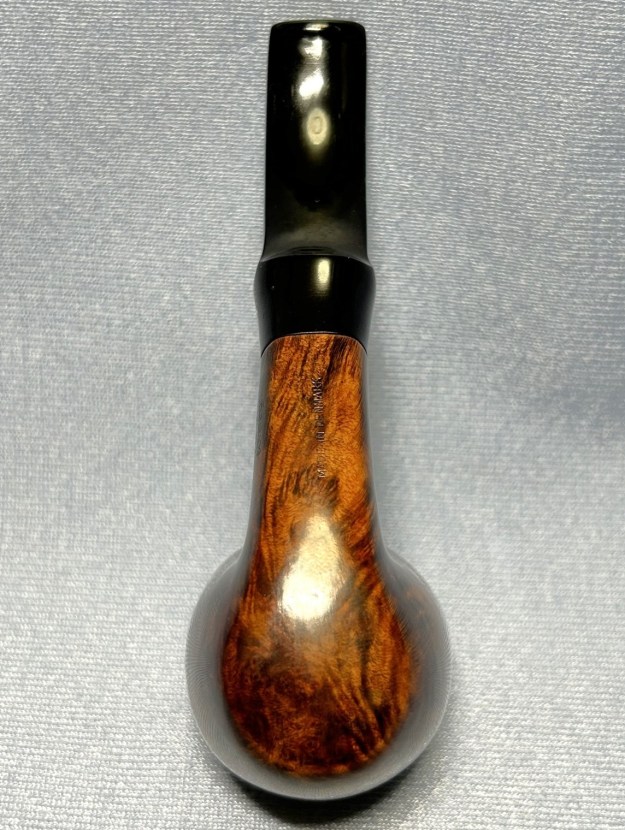
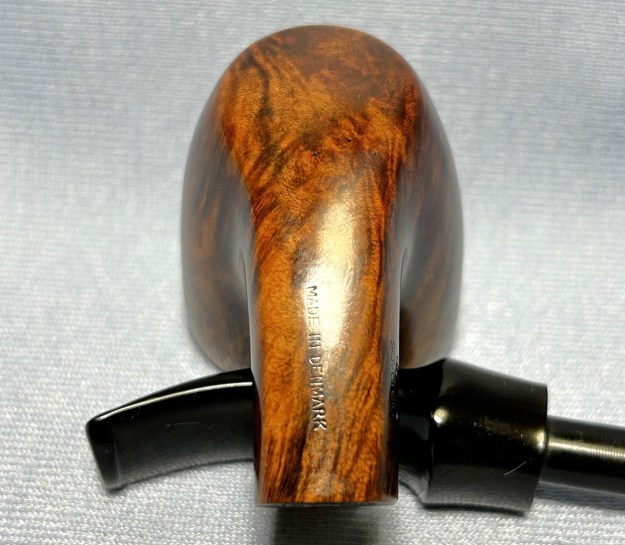
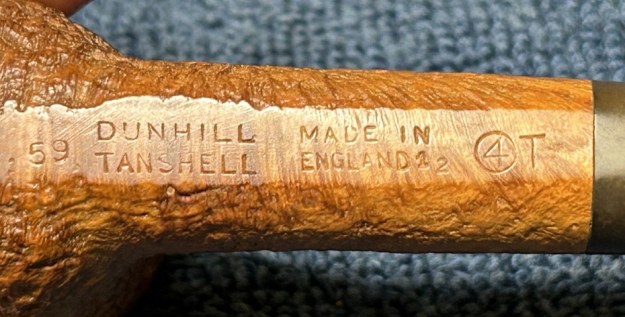
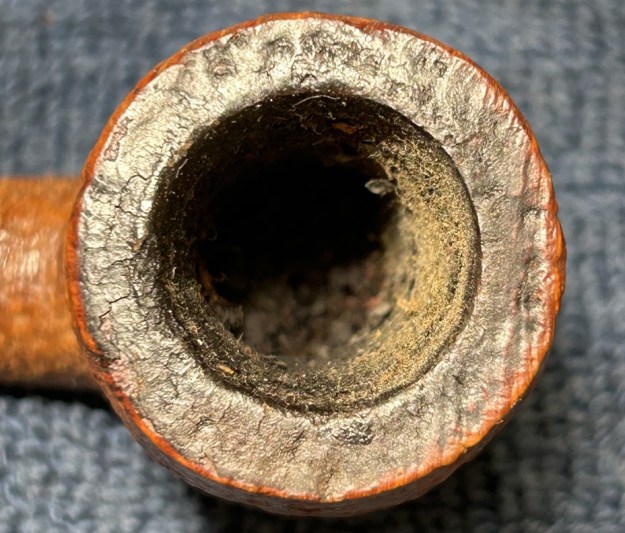
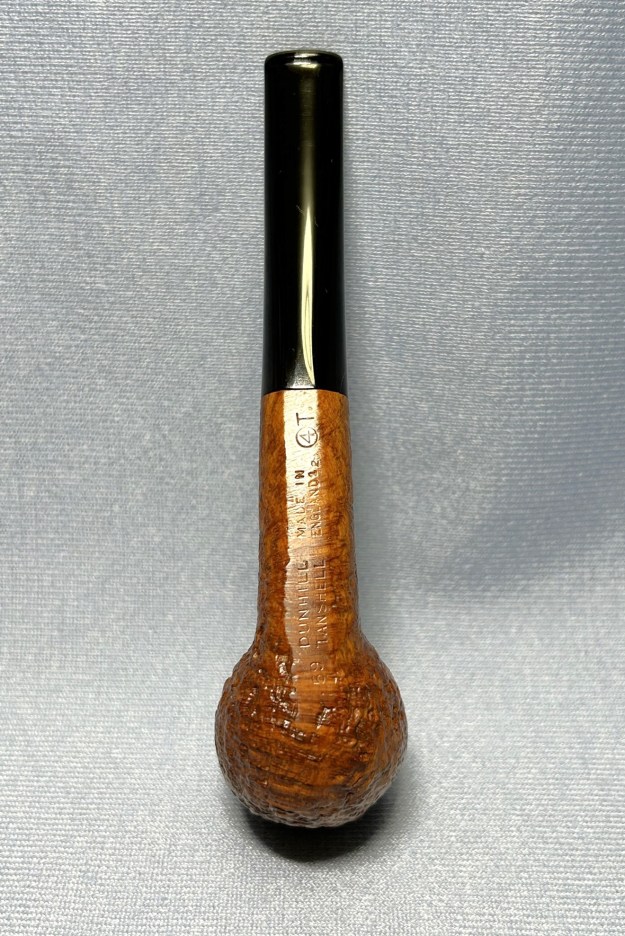
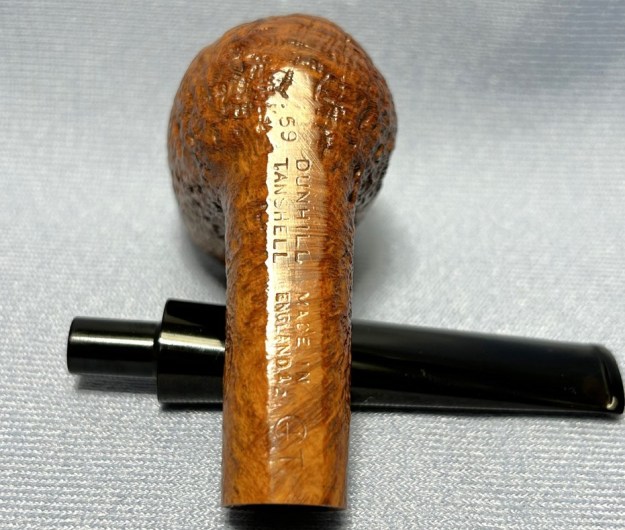
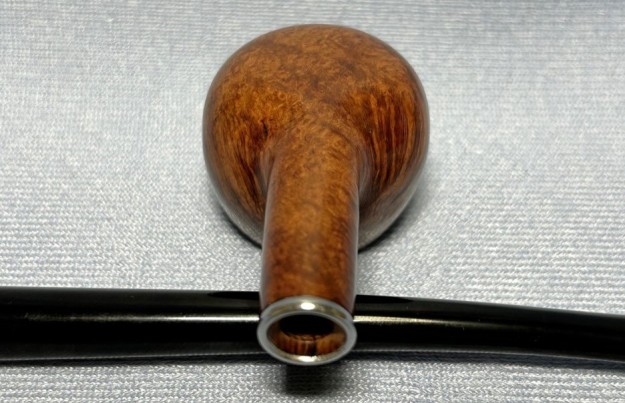
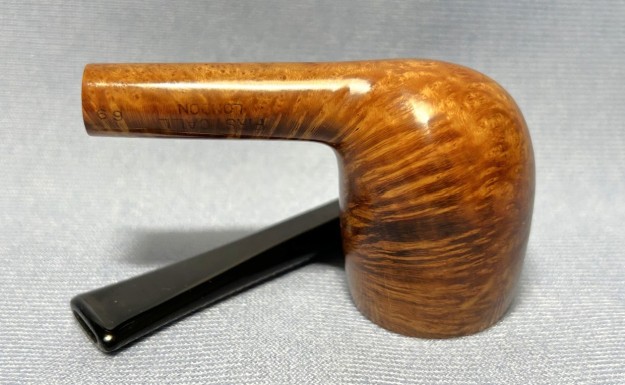
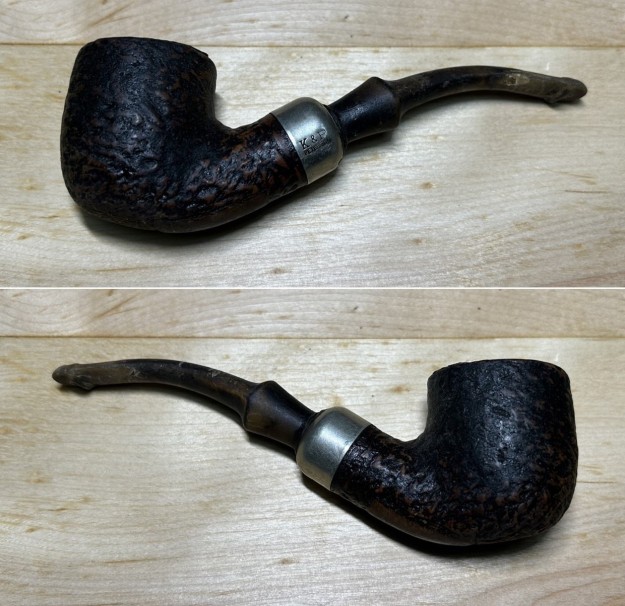
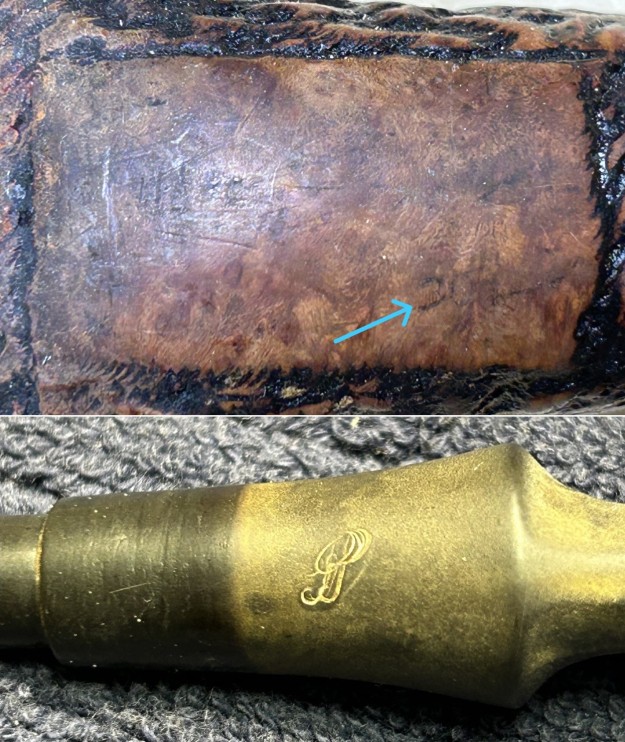
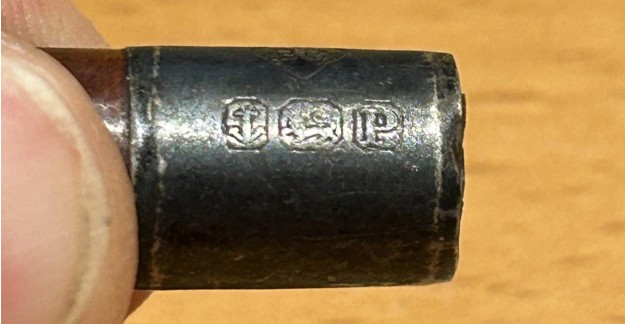
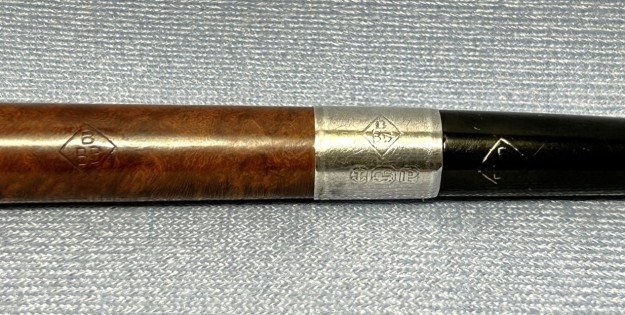
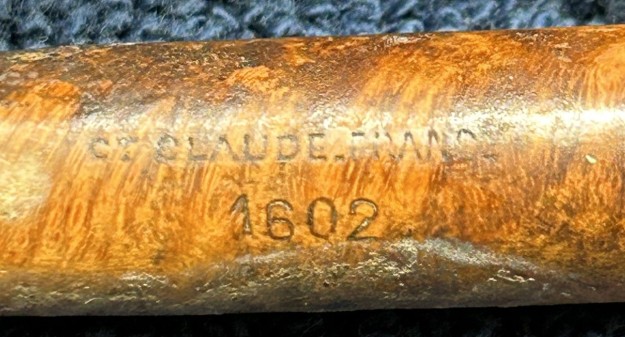
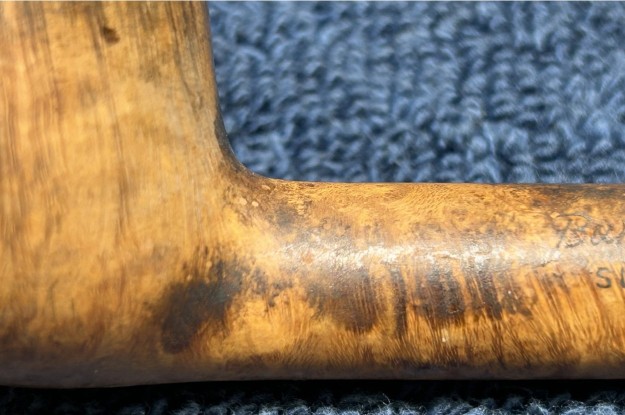
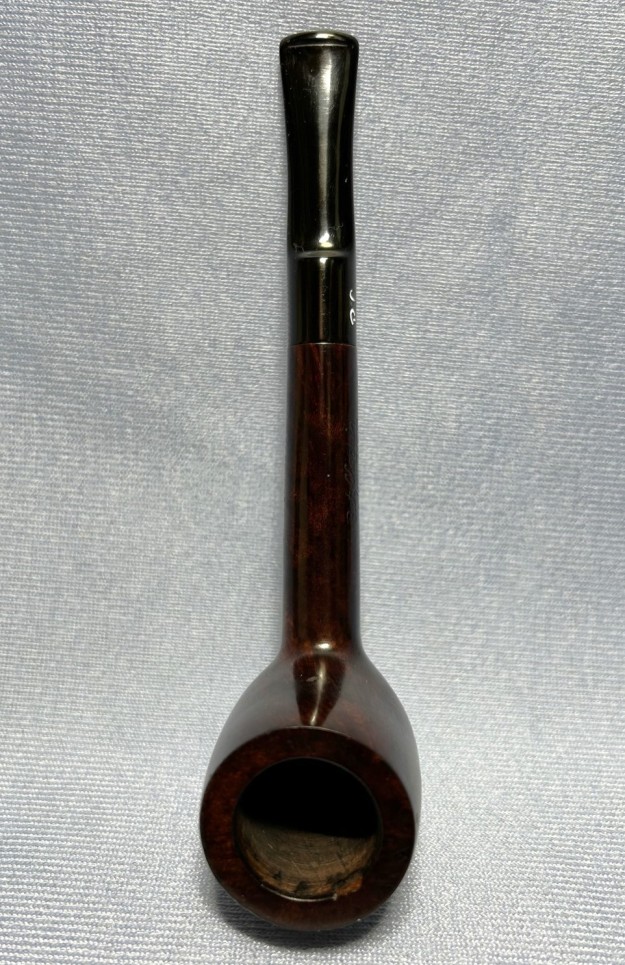
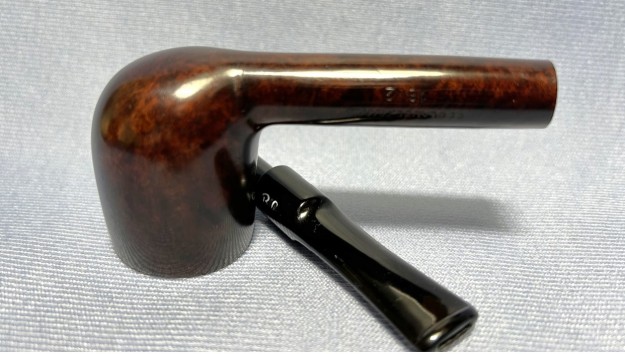
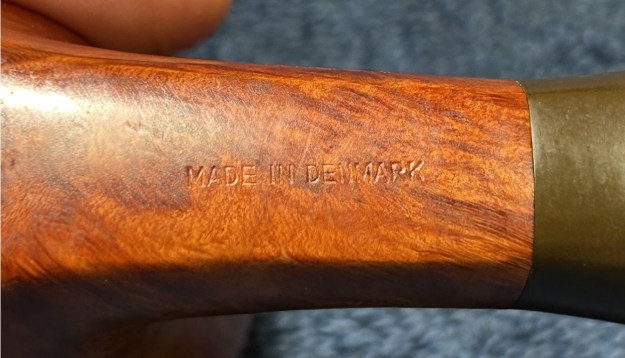
 Let’s look at the pipe’s markings. On the left side of the shank are the words Danish [over] Sovereign. On the right side of the shank is the number 64 – that’ll be the shape number. On the underside of the shank are the words Made in Denmark. On the left side of the stem are three letters: XXX. These are used to designate Danish Sovereign, specifically. I’m not sure why – there doesn’t appear to be anything smutty about these pipes. Sorry – dad joke.
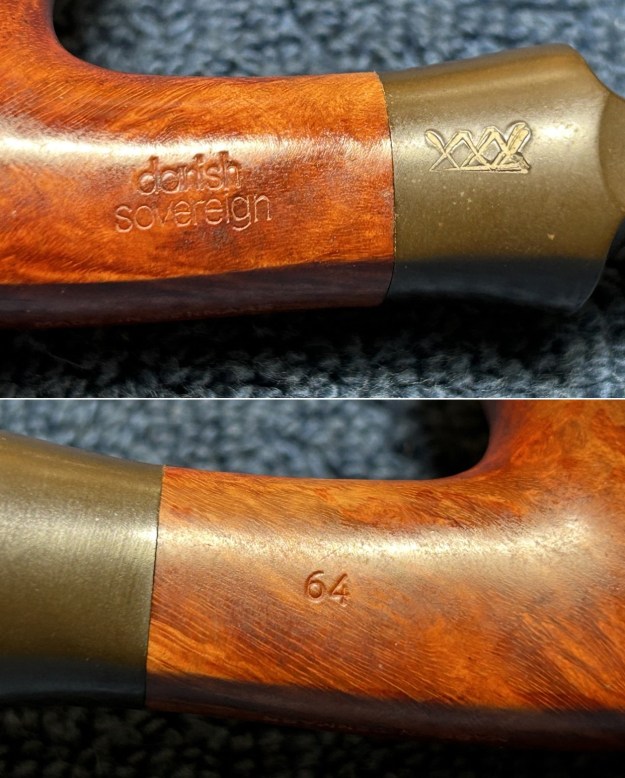
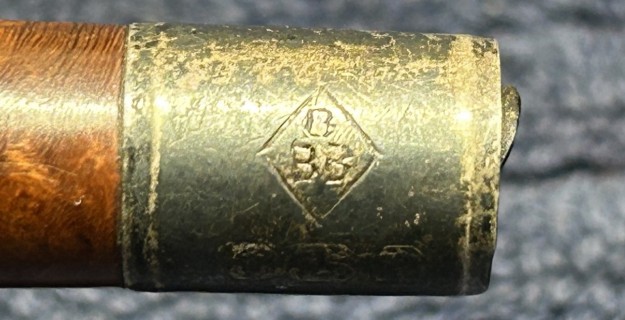
 From previous restorations, I learned that ‘Danish Sovereign’ is a sub-brand of the esteemed Danish pipemaker, Stanwell. Pipephil lists Danish Sovereign as such, and also mentions that this brand was marketed specifically for North America.
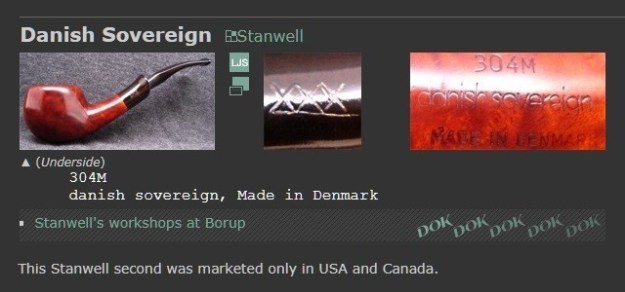
 Pipedia equivocates a bit about Danish Sovereign. They list the company under its own name and that the pipes “appear to be Stanwell seconds”. However, the Stanwell page lists it clearly as one of their brands. Pipedia has a good amount of information on the Stanwell brand and its history. I certainly recommend looking it over: https://pipedia.org/wiki/Stanwell.
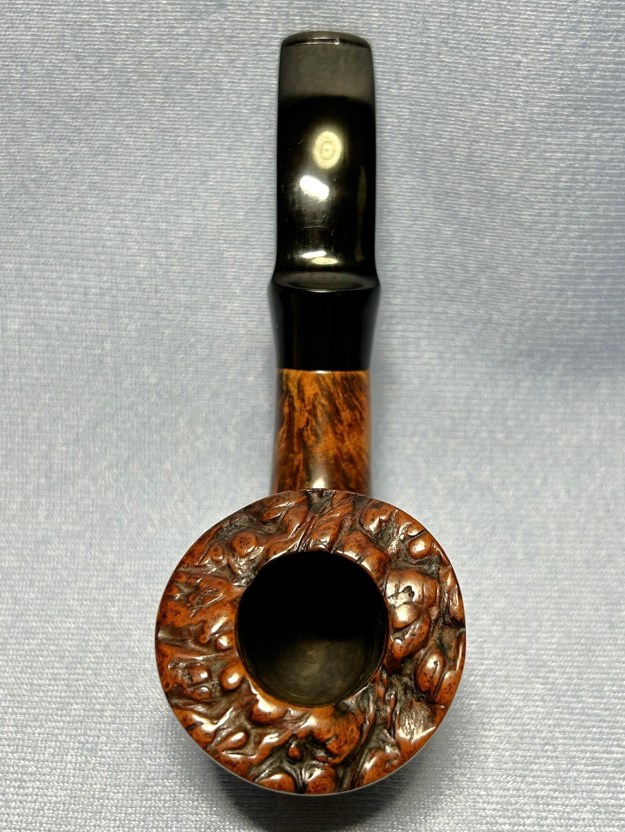
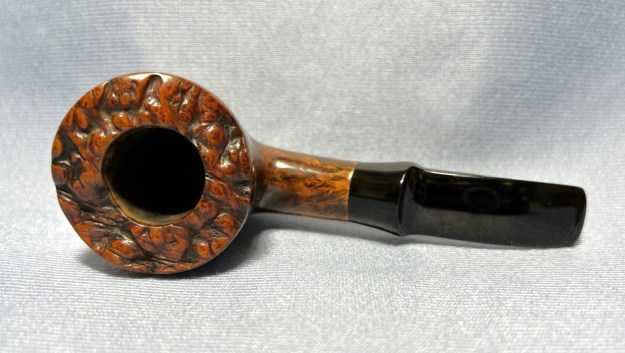
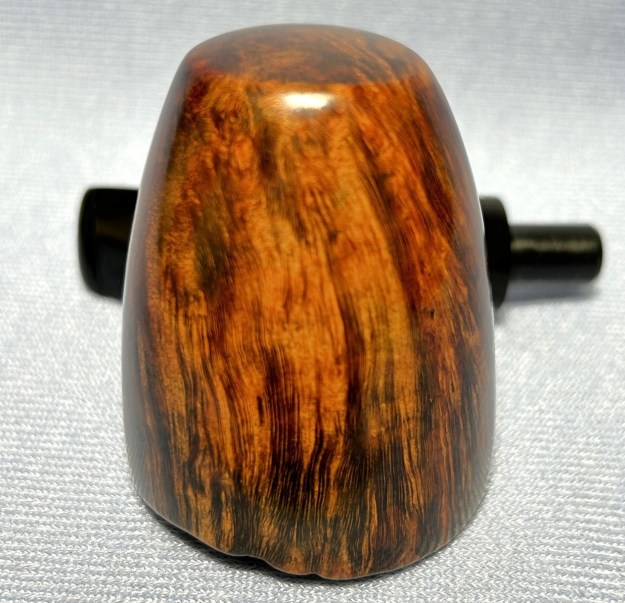
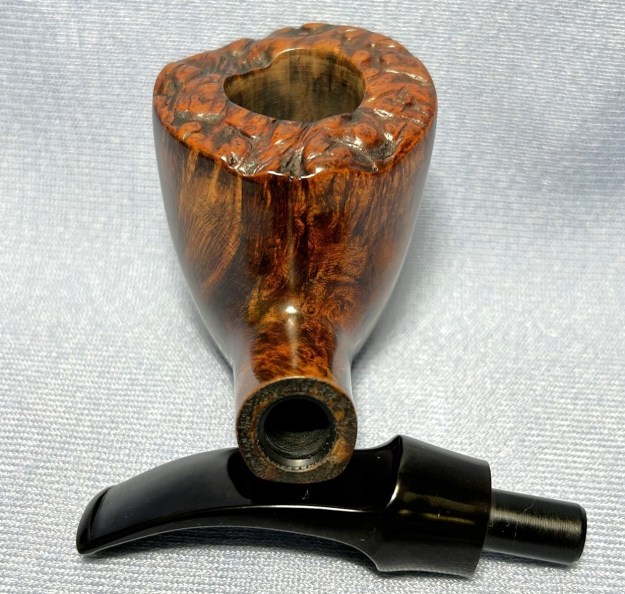
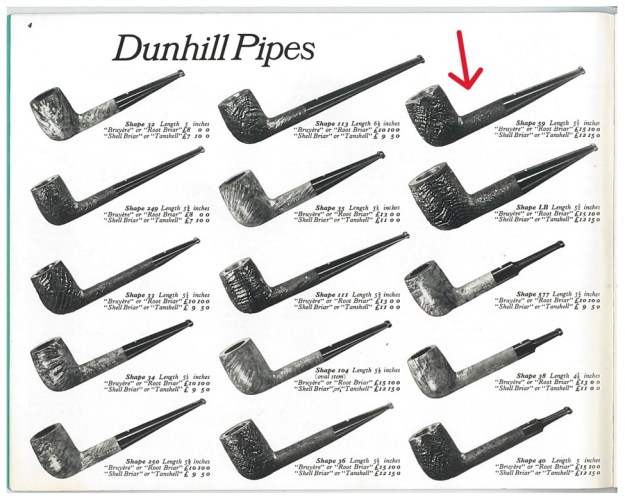
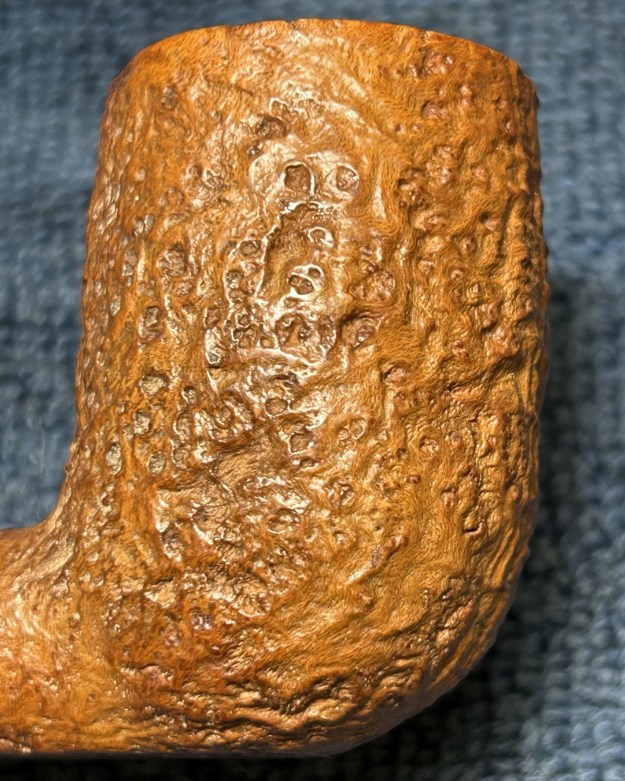
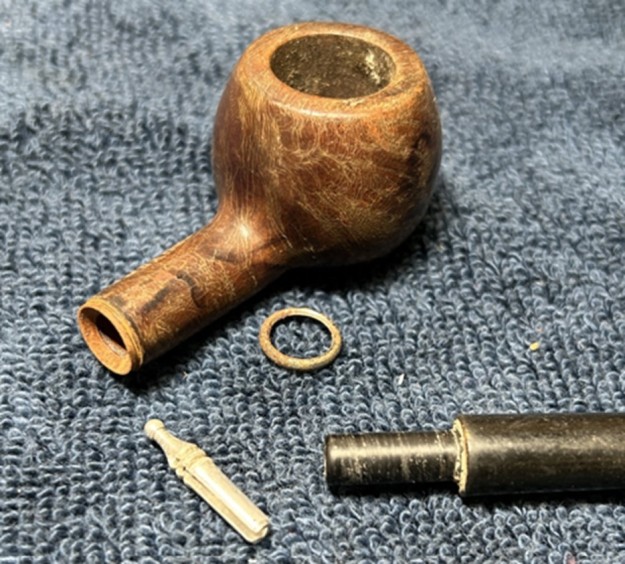
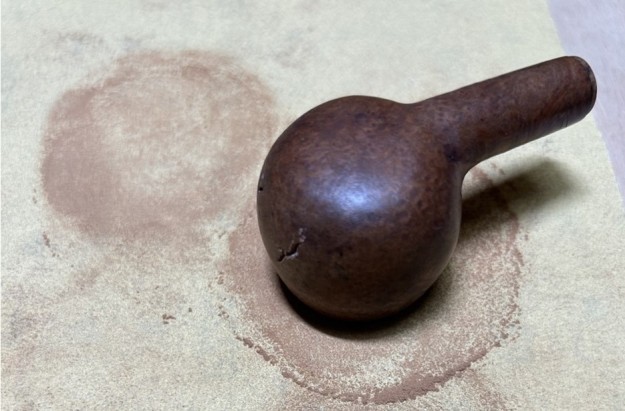
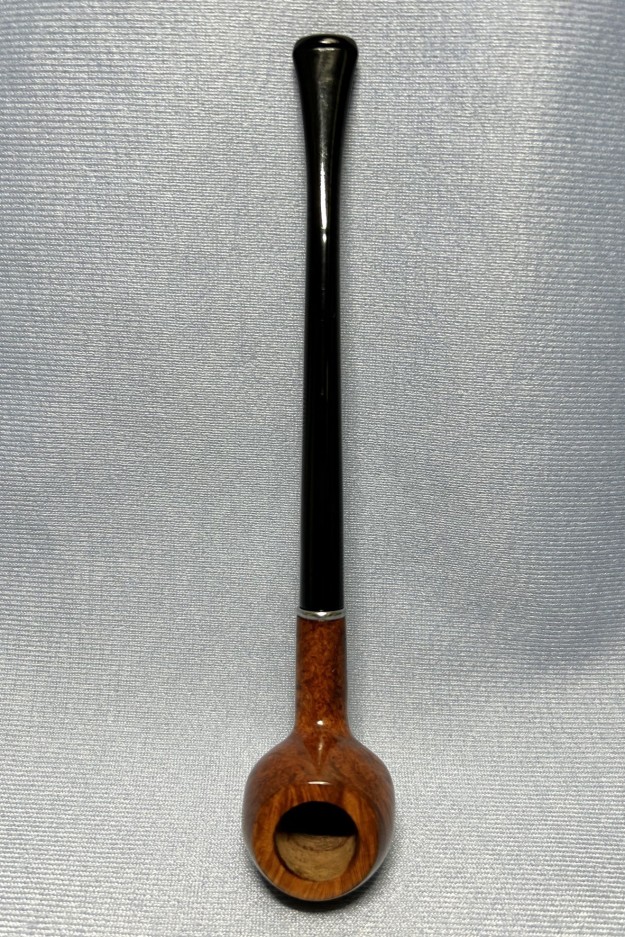
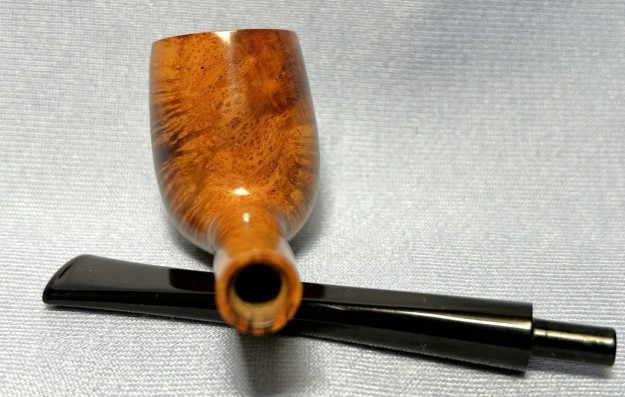
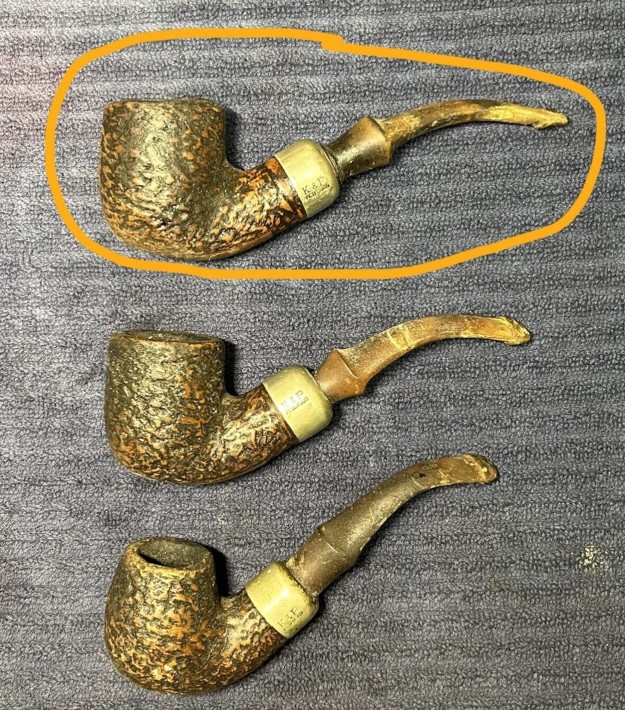
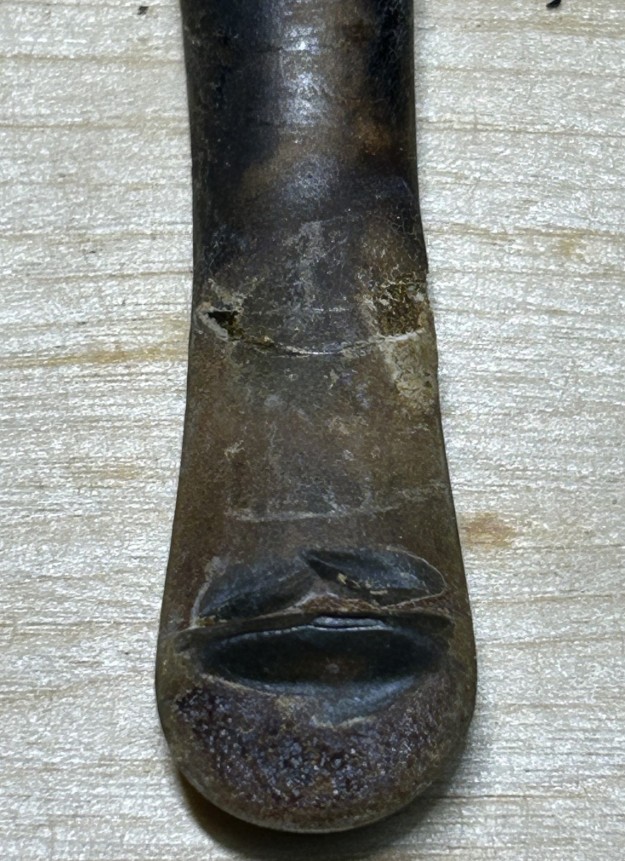
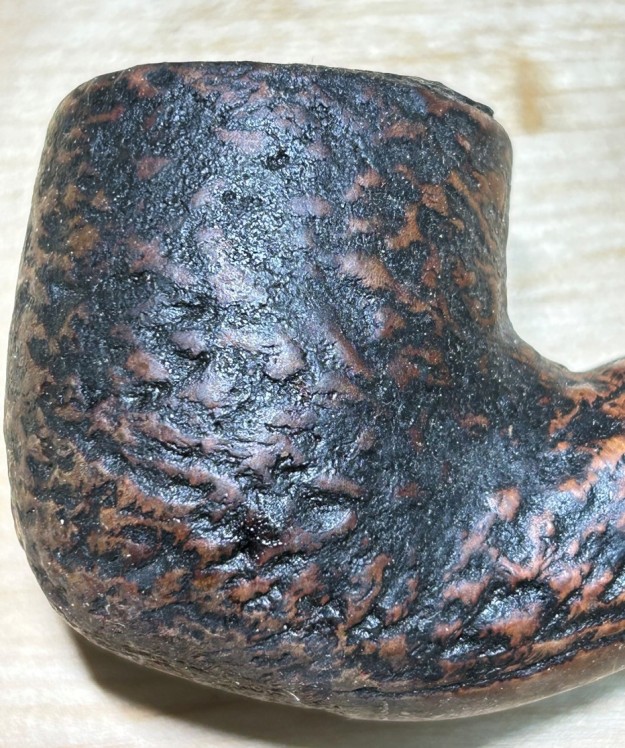
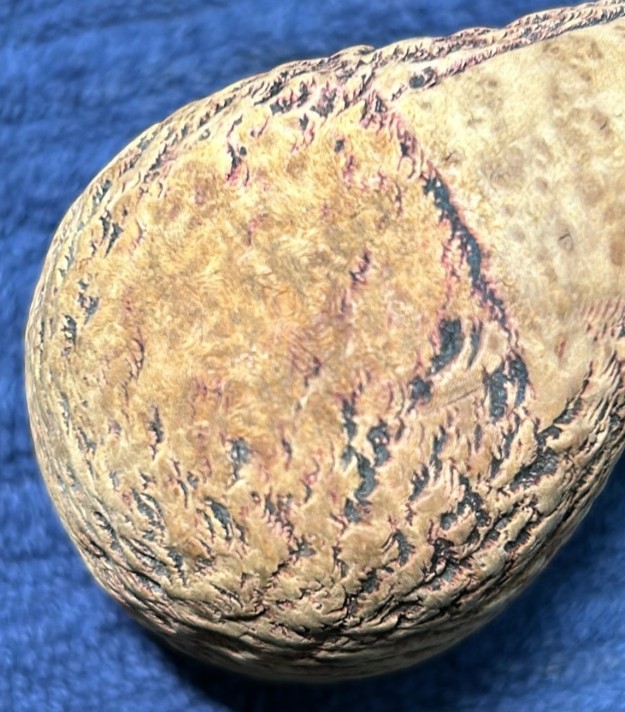
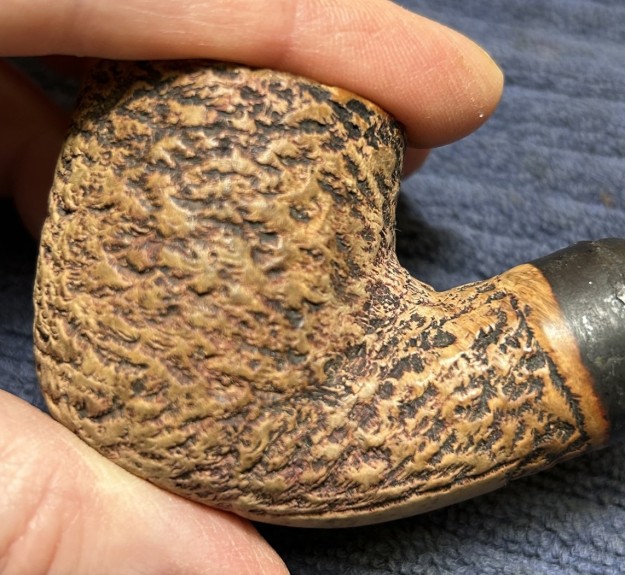
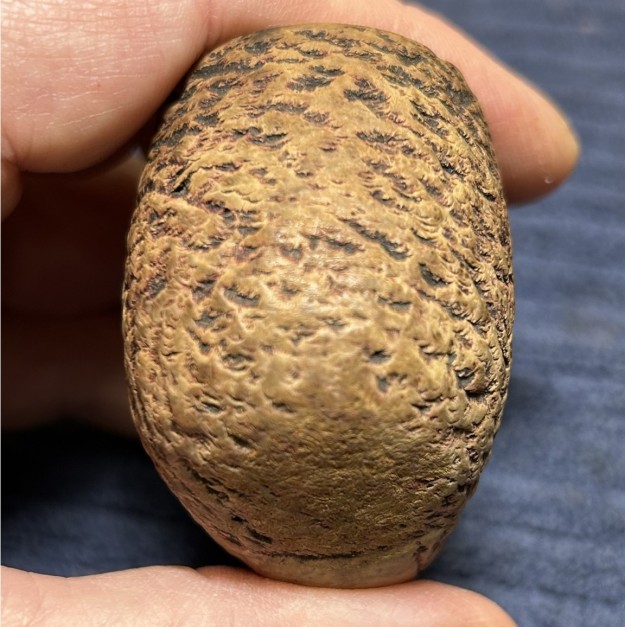
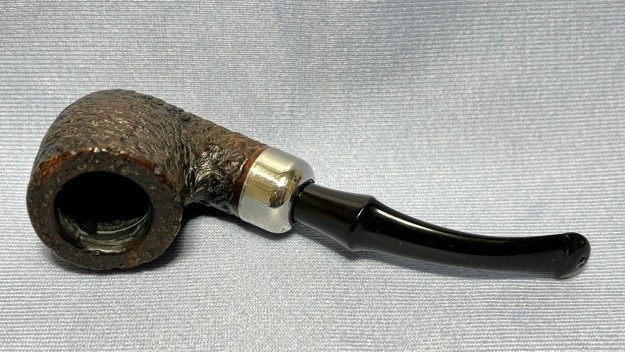
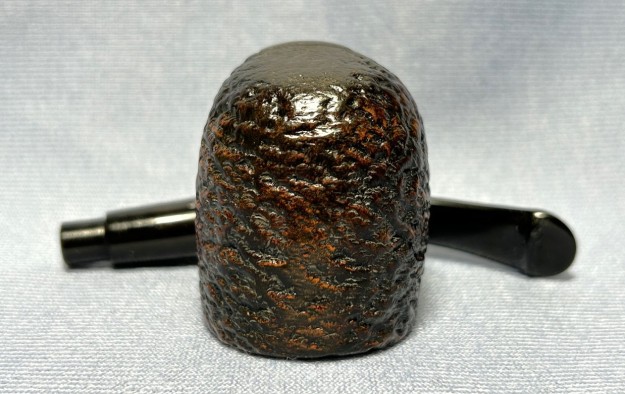
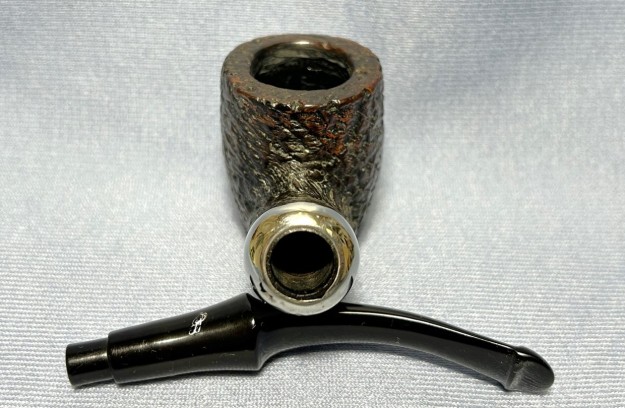
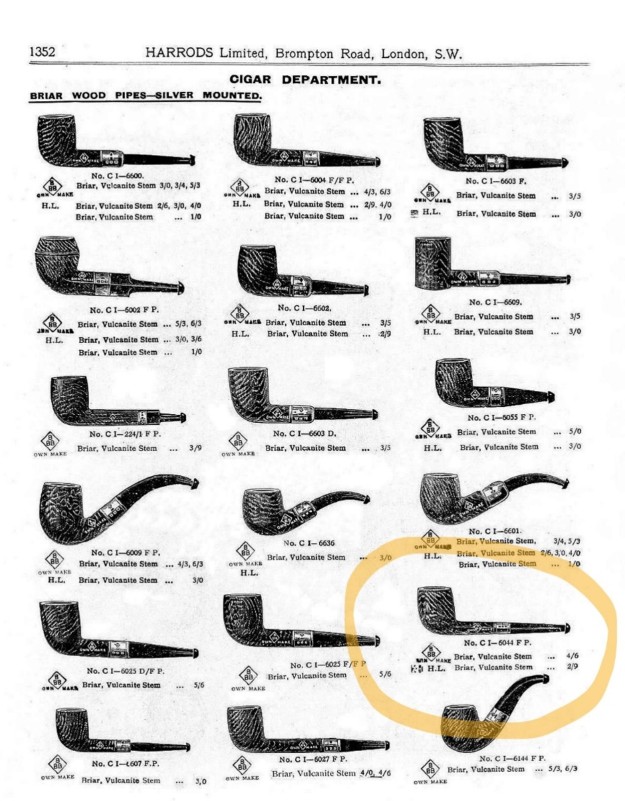
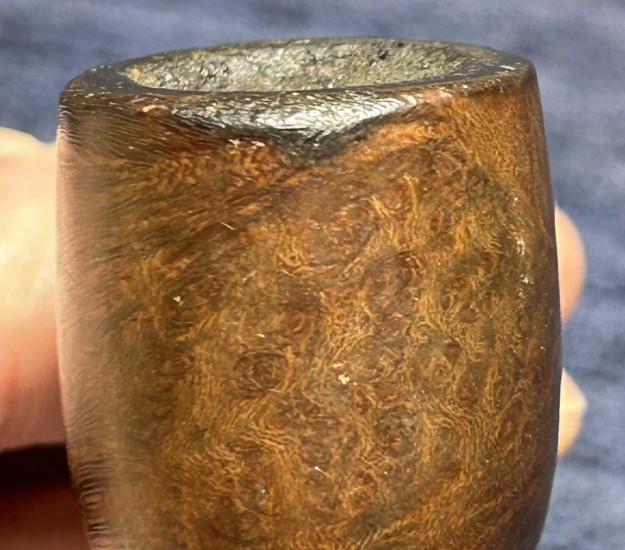
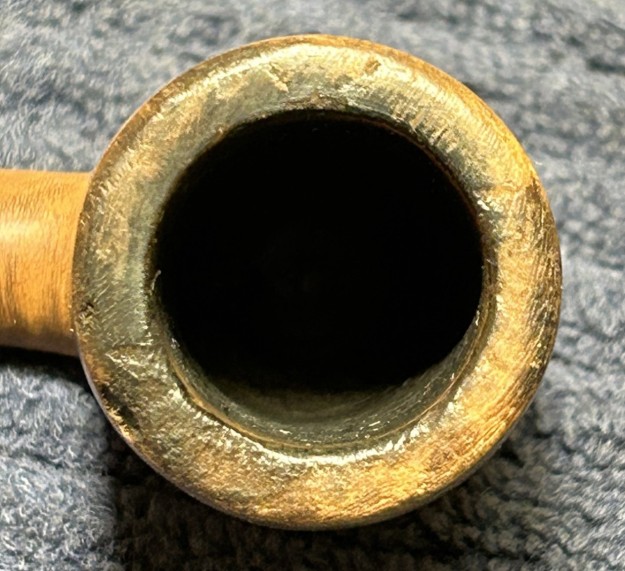
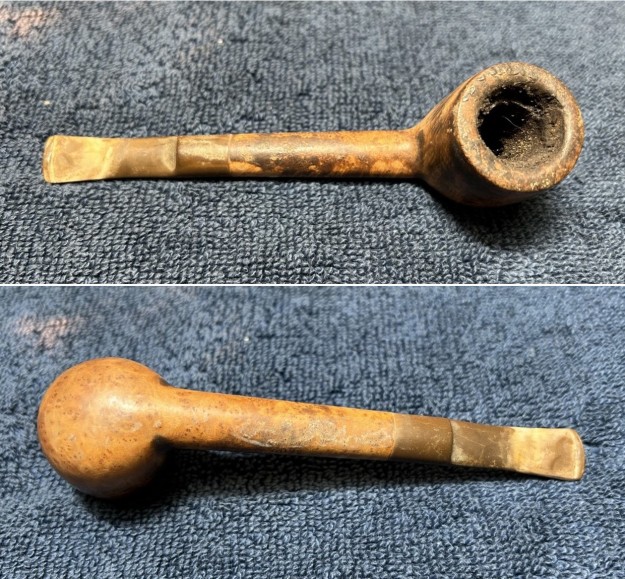
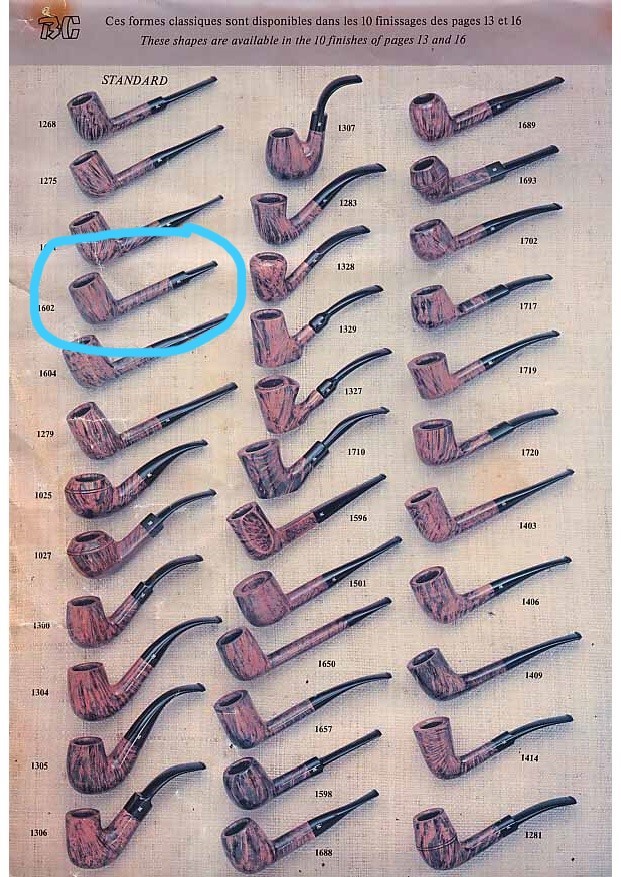
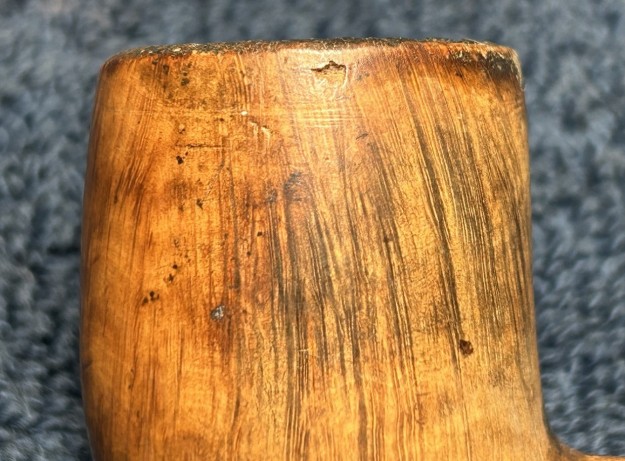
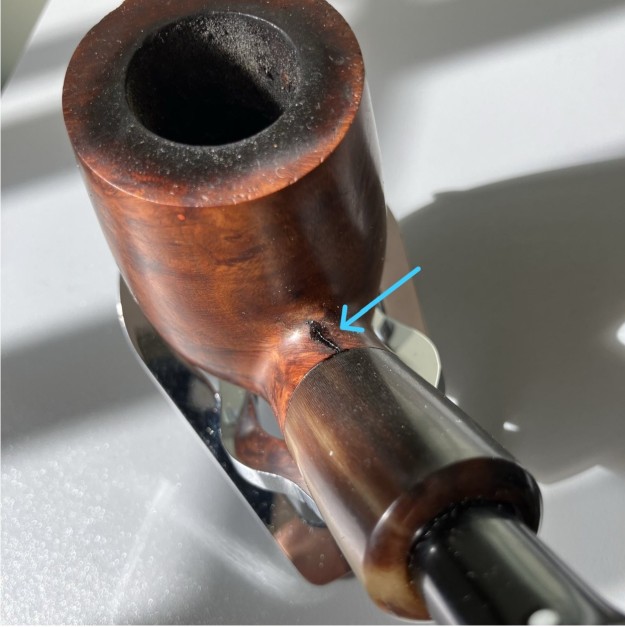
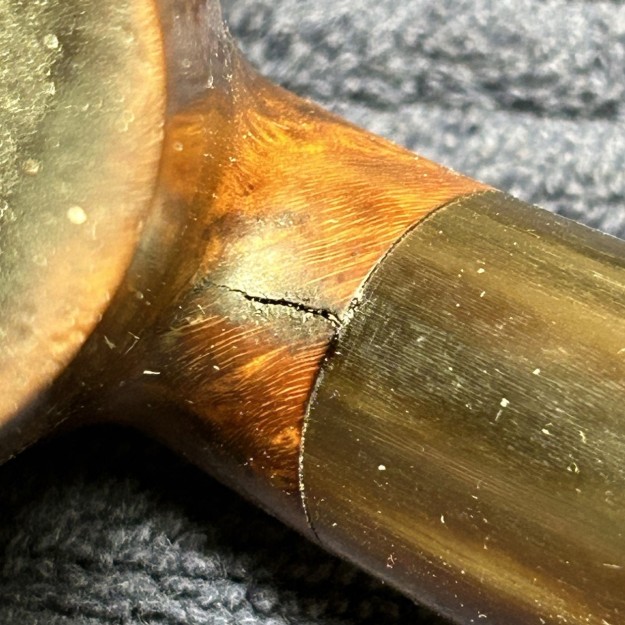
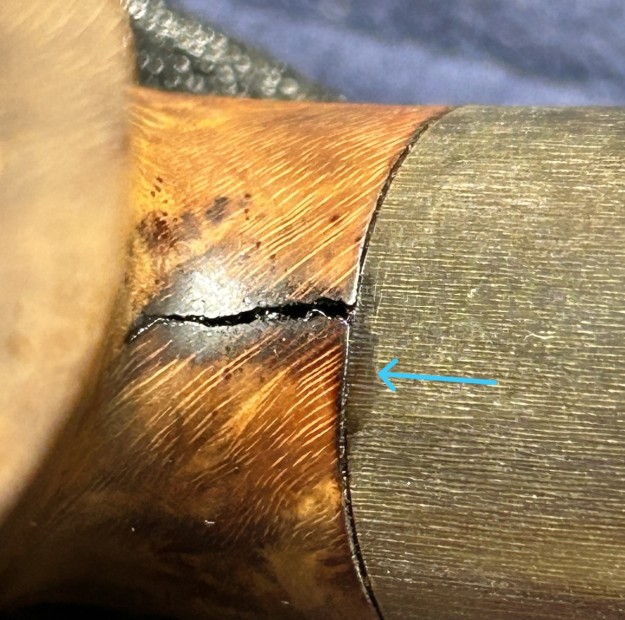
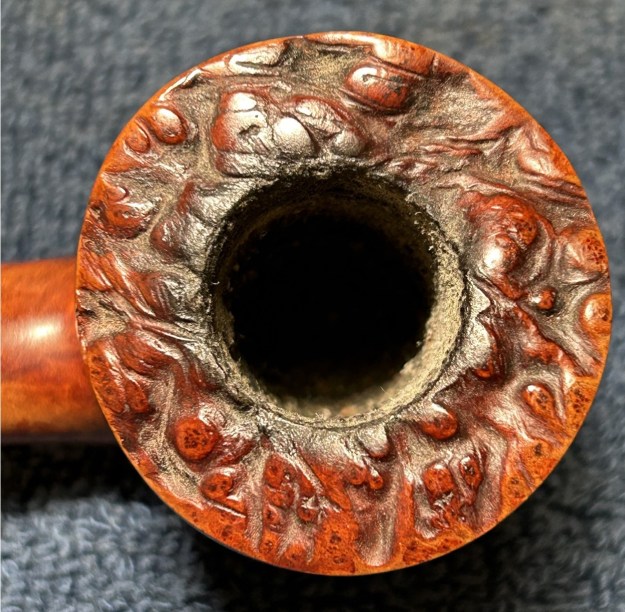
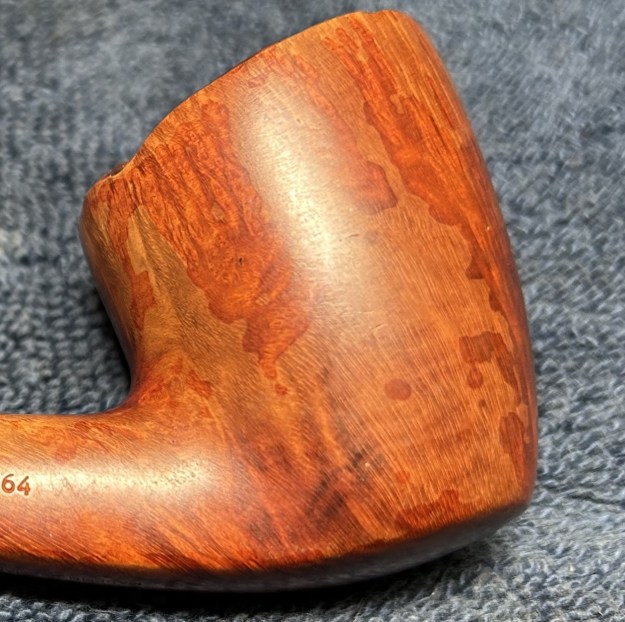
With the number 64 on the shank, I went to check the list of Stanwell shapes, here on Rebornpipes, and I found a match. Shape 64(a) is listed as “Freehand, Plateau top, saddle mouthpiece, by Sixten Ivarsson”. To further confirm this, here is a page from an old 80s Stanwell catalogue which clearly shows the same shape of pipe with the matching shape number. Anyway, this really is a good-looking pipe. Just a few issues to resolve. The stem was oxidized and calcified, and had some small bite marks. The plateau rim on the stummel was a bit encrusted with lava, but not too bad. The insides were fairly dirty and would need some work to clean out. The main issue with the stummel, however, is a strange mottling of the stain. The last of this series of photos shows an example of the ruined finish.
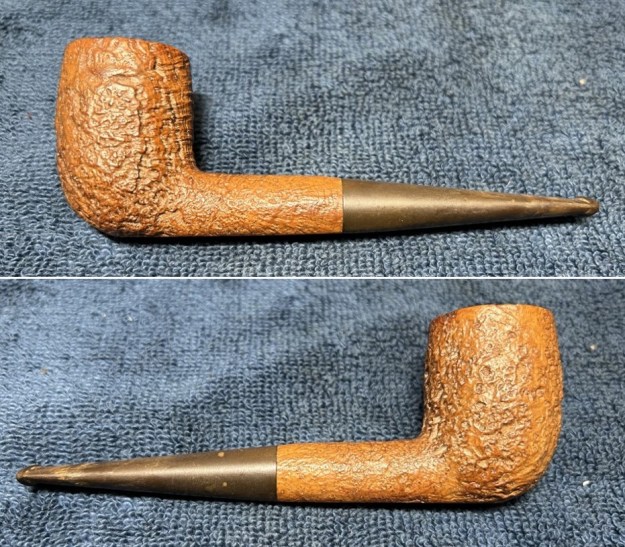
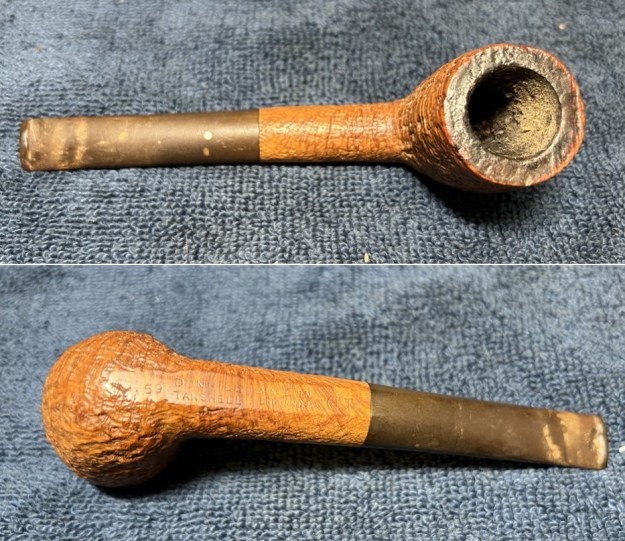
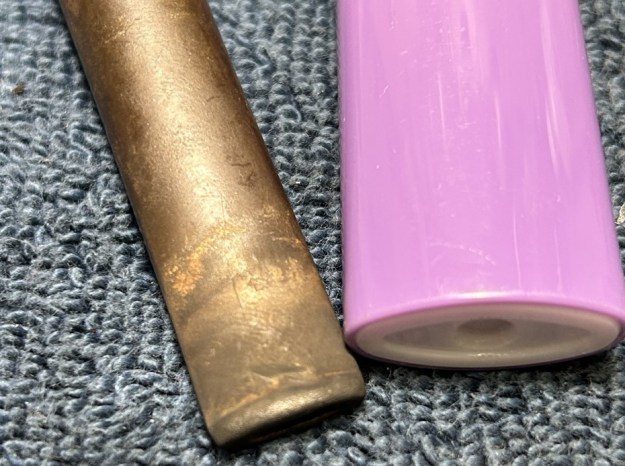
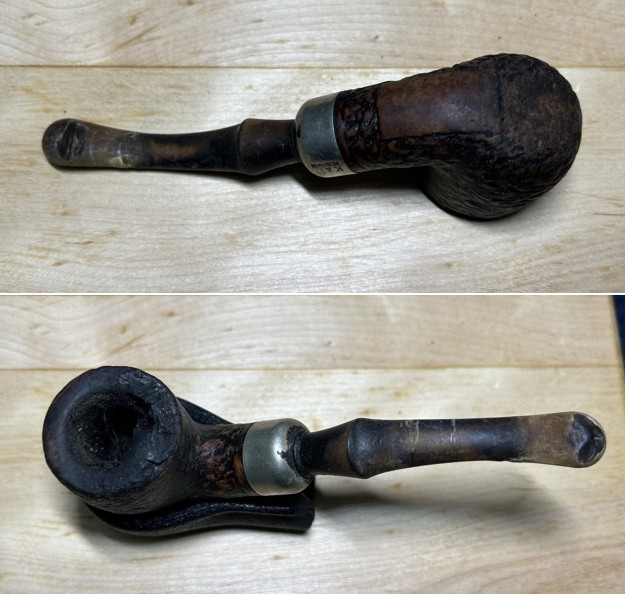
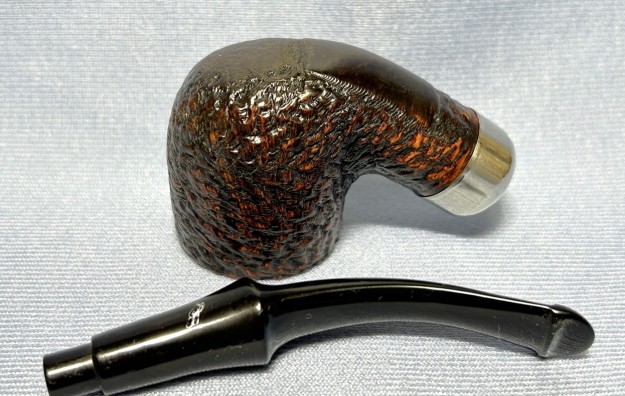
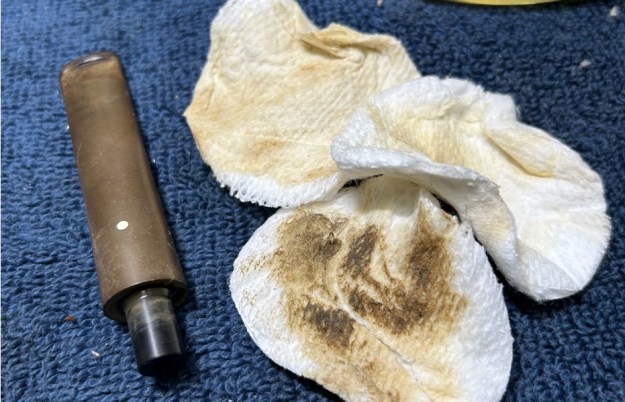
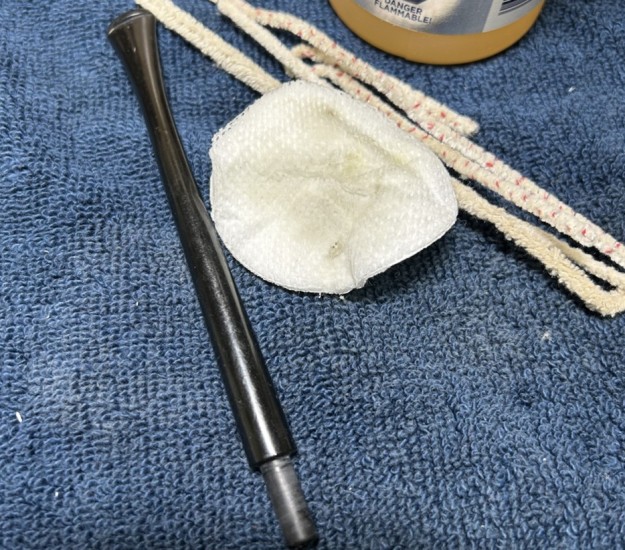
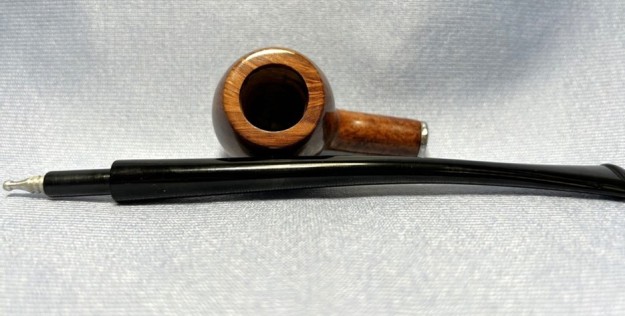
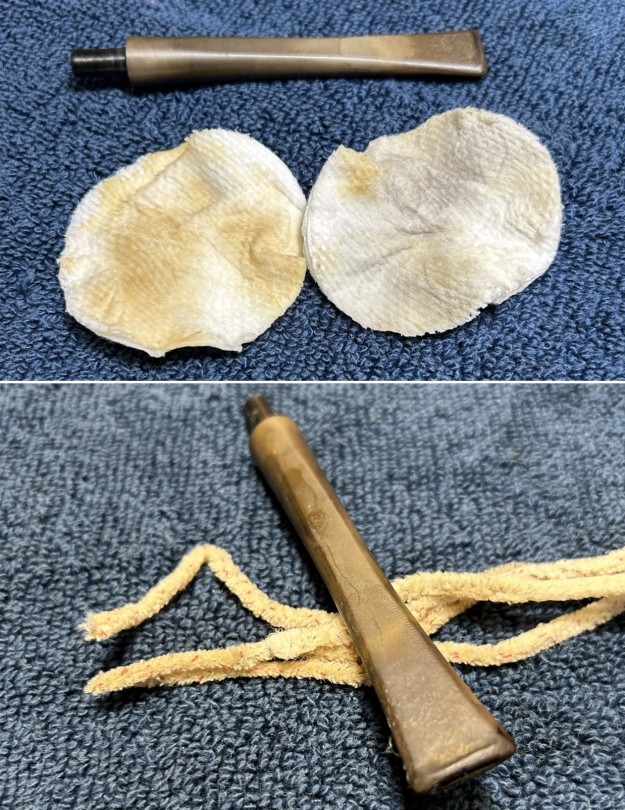
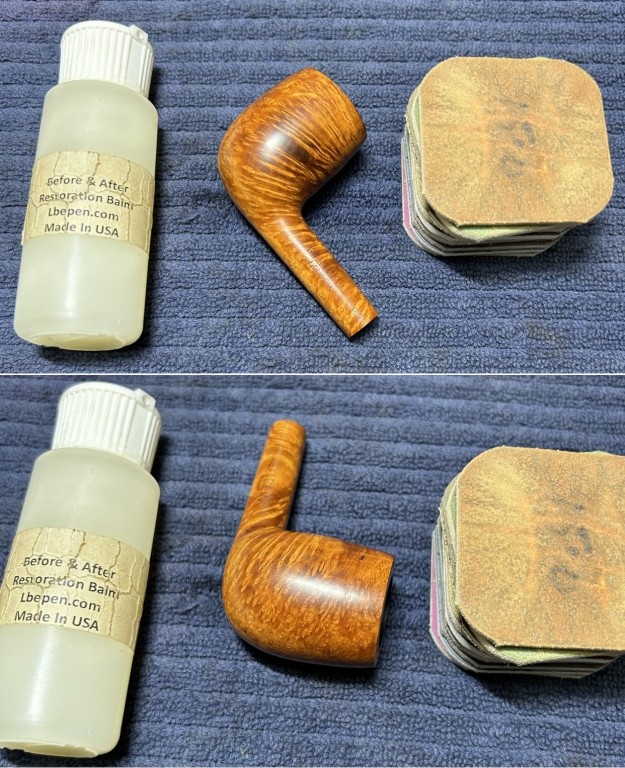
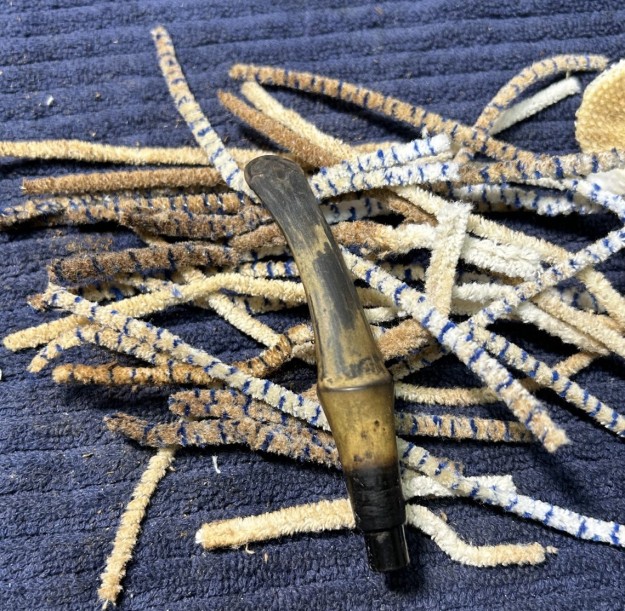
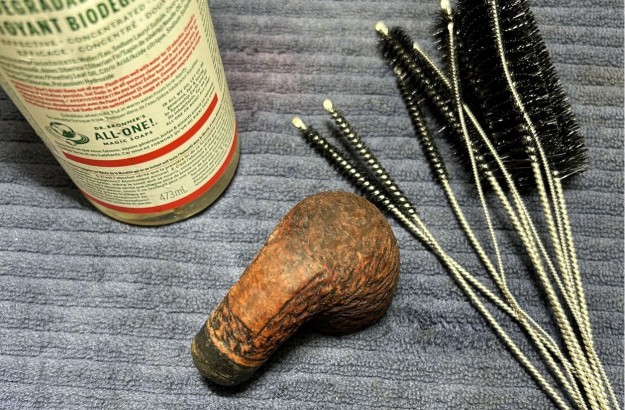
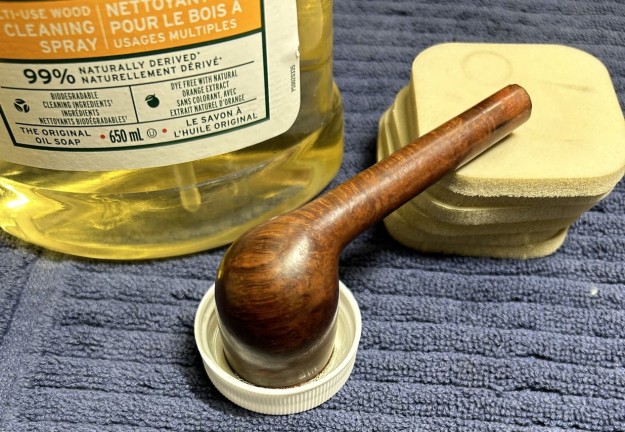
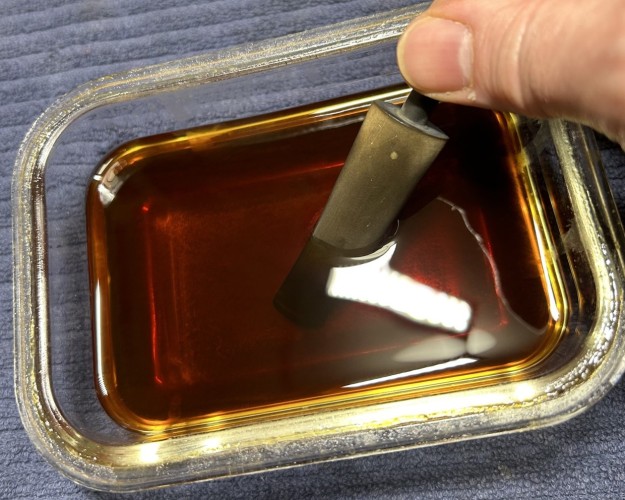
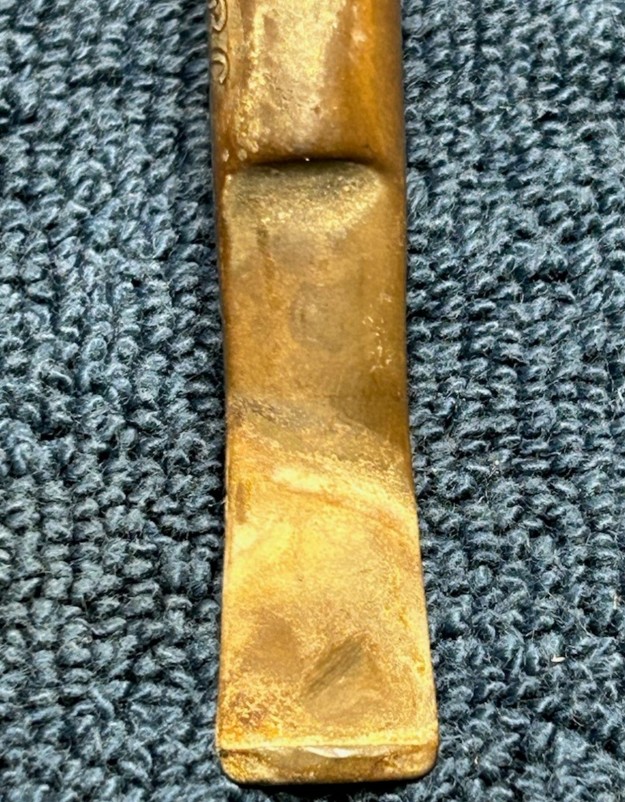
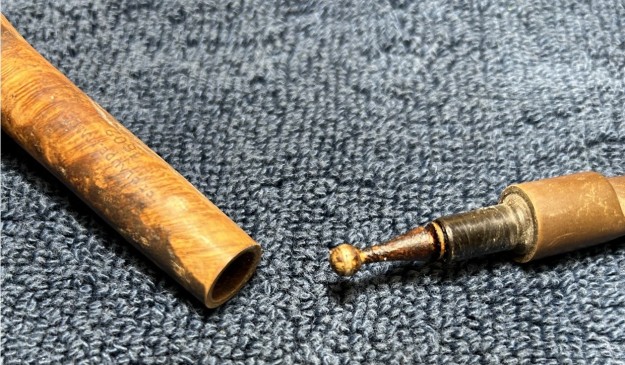
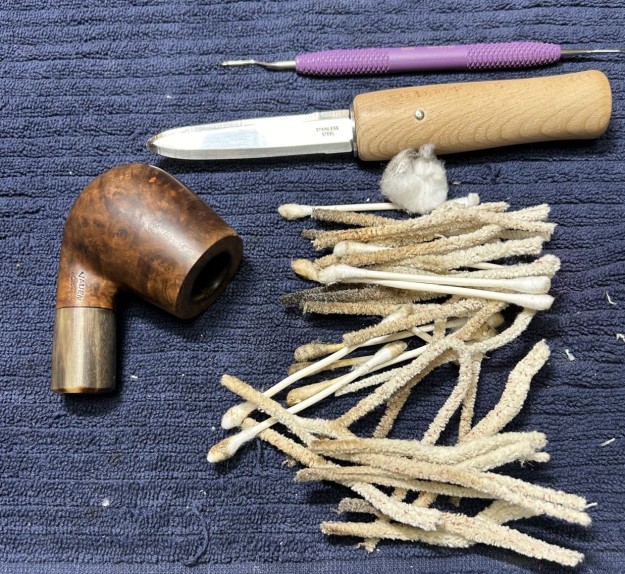
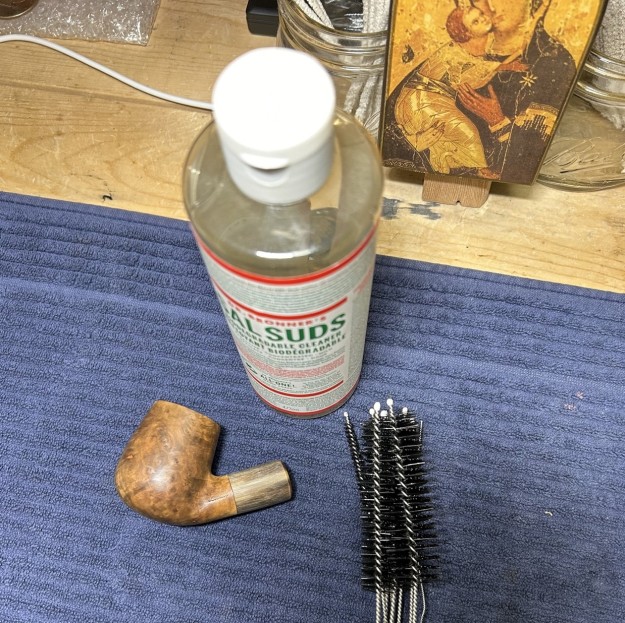
 The stem was first on my list. I wiped down the outside of the stem with oil soap on some cotton pads. I also took a BIC lighter and ‘painted’ the stem with its flame in order to lift the bite marks and dents. Unfortunately, this didn’t really work, but I have ways of sorting this out. Then, I cleaned out the insides of the stem with pipe cleaners and 99% isopropyl alcohol.
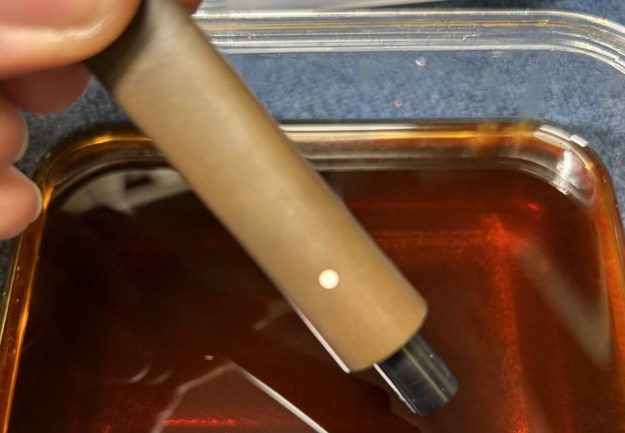
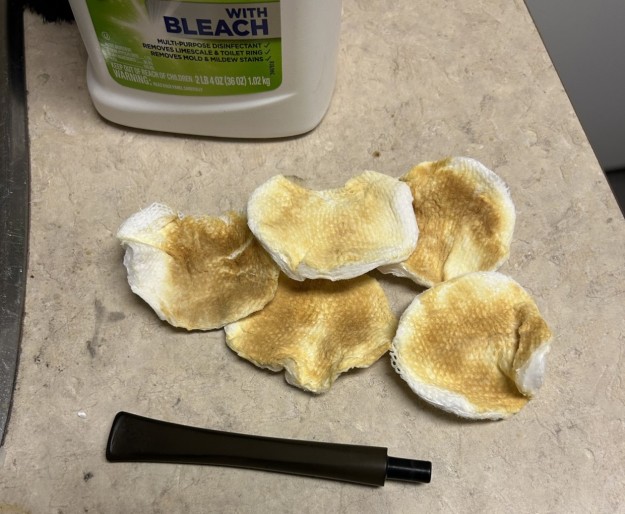
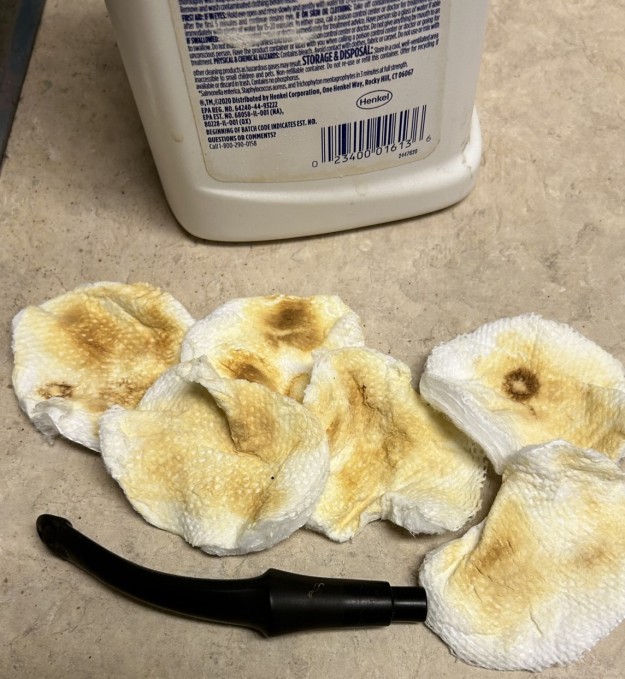
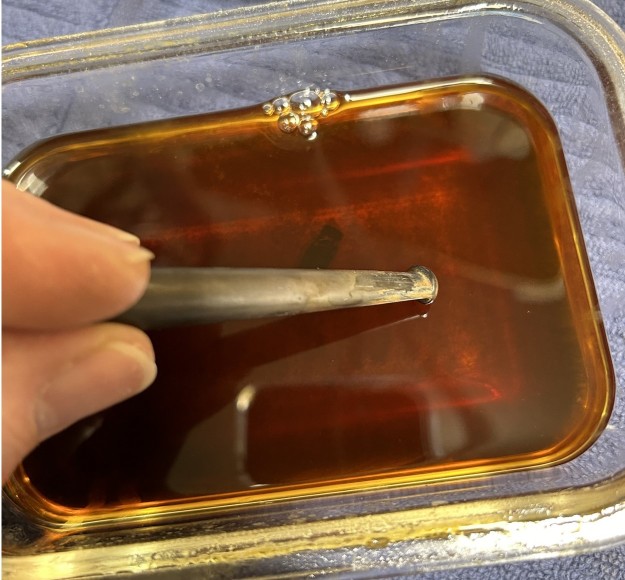
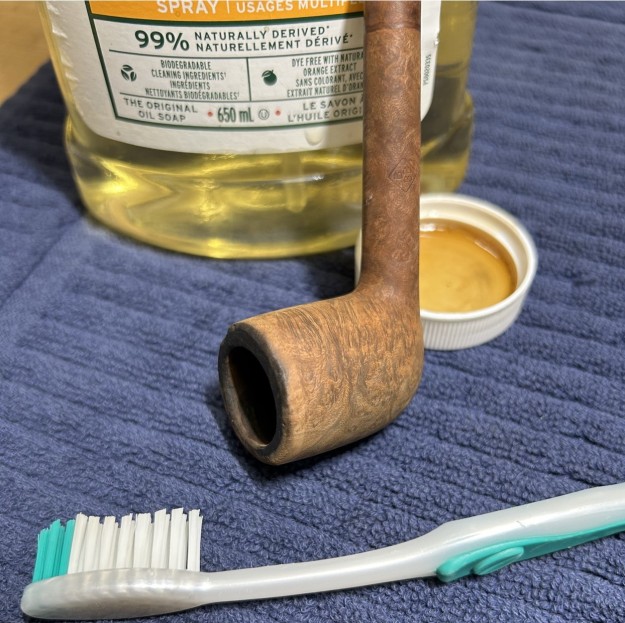
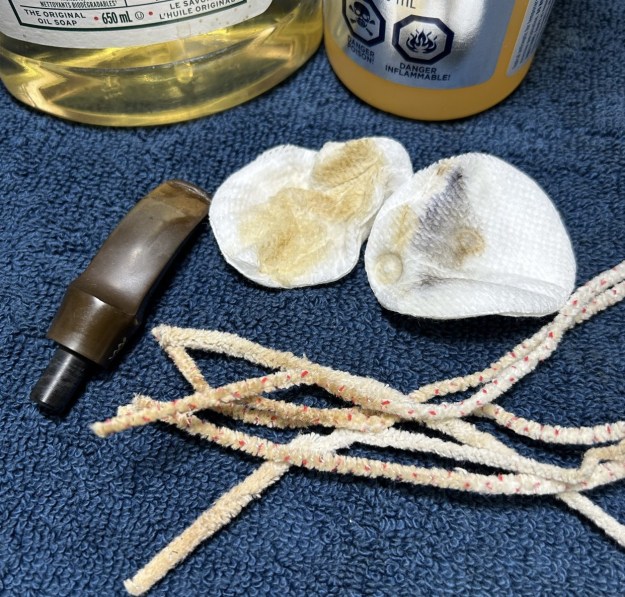 Once this process was done, I used some cleanser and cotton pads to wipe down the stem before throwing it in the pipe stem oxidation remover overnight. The following day, I cleaned all of the de-oxidizing mess and again scrubbed with the cleanser on some cotton pads to remove the leftover oxidation. This worked well.
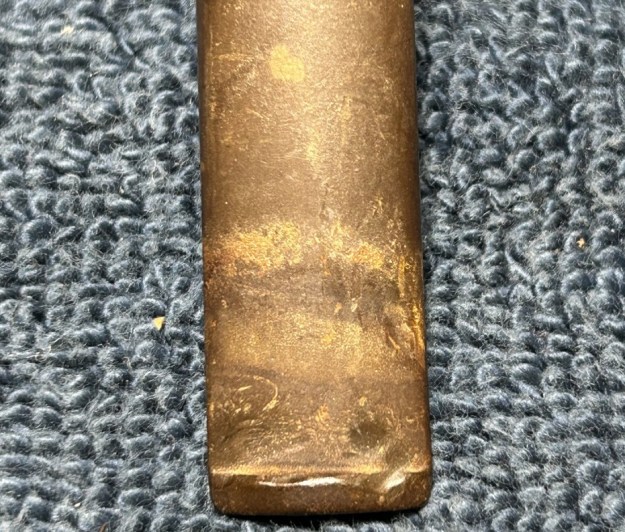
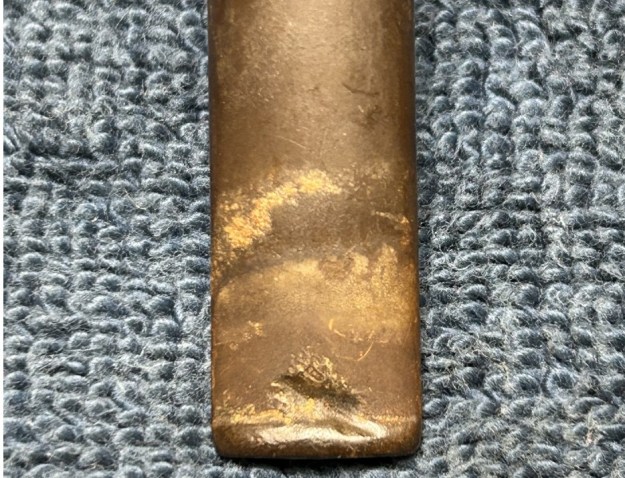
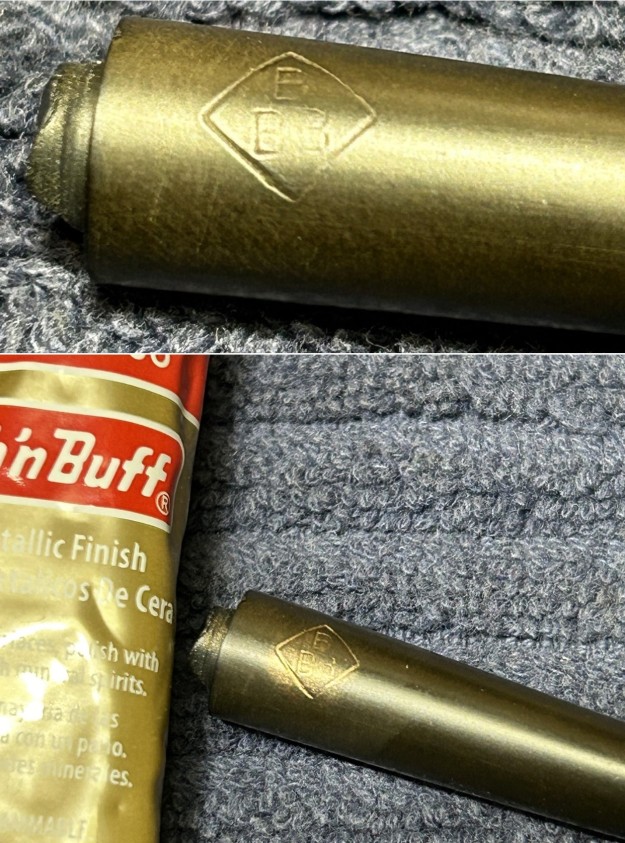
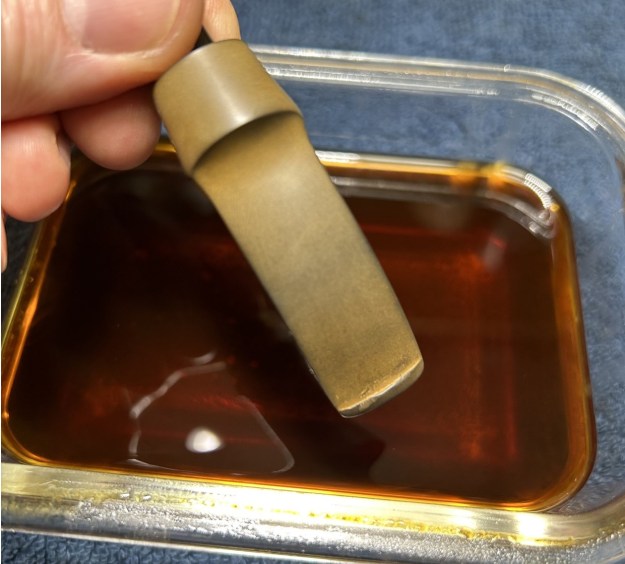 I used some nail polish to restore the letters XXX on the stem. I painted the area carefully and let it fully set before proceeding.
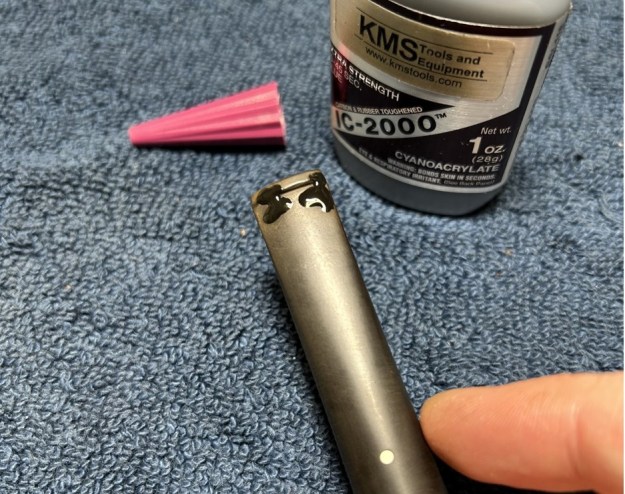
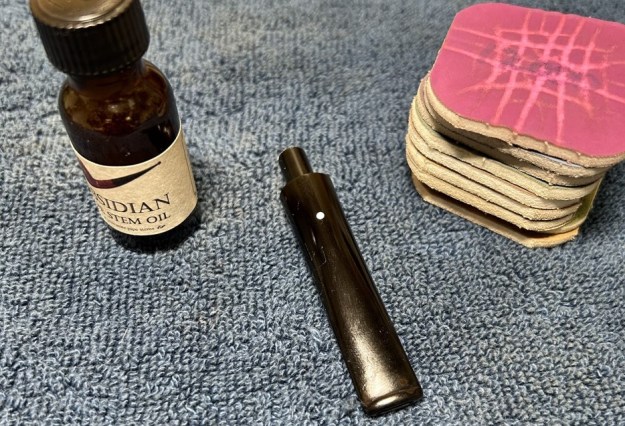
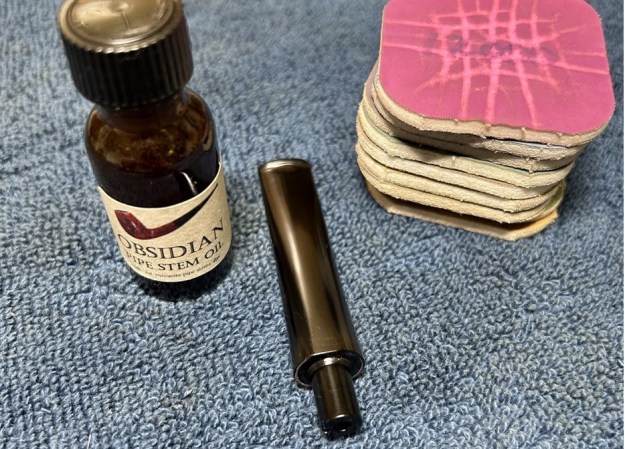
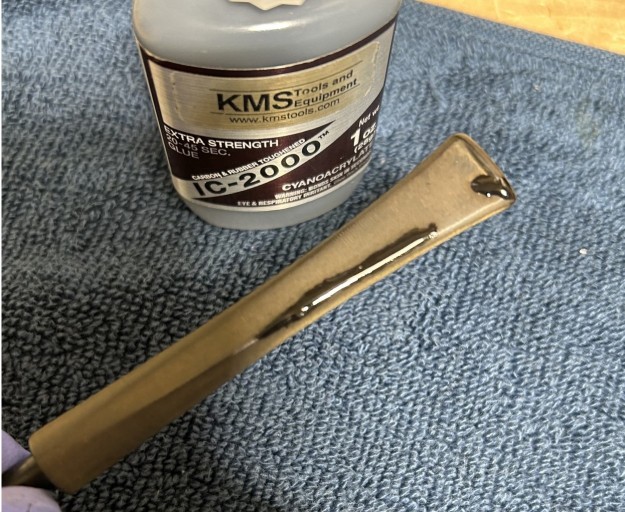
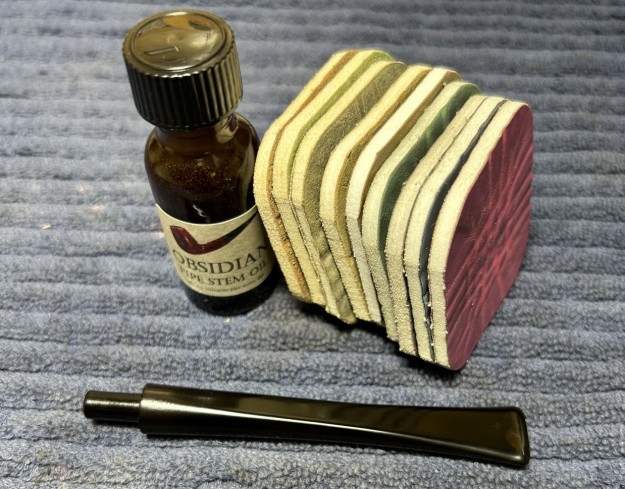
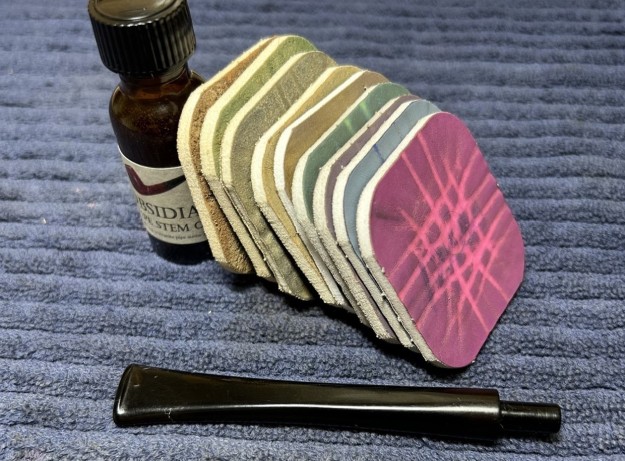
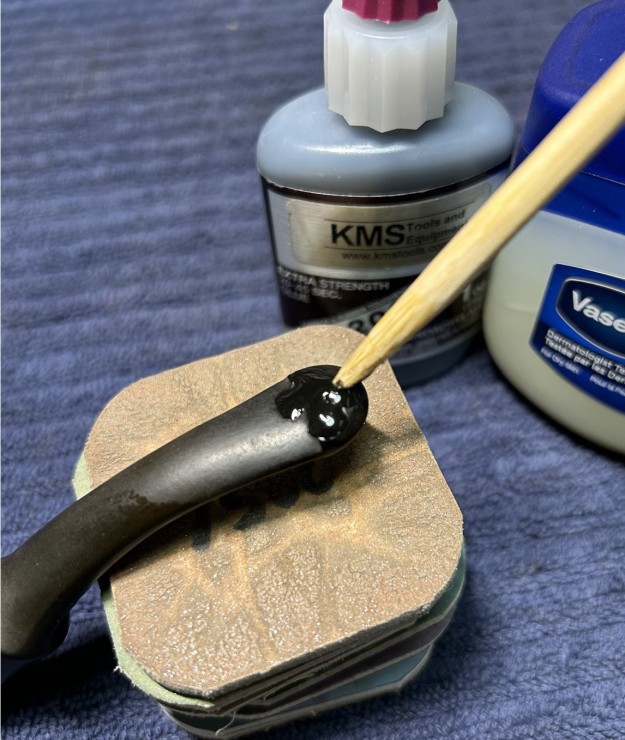
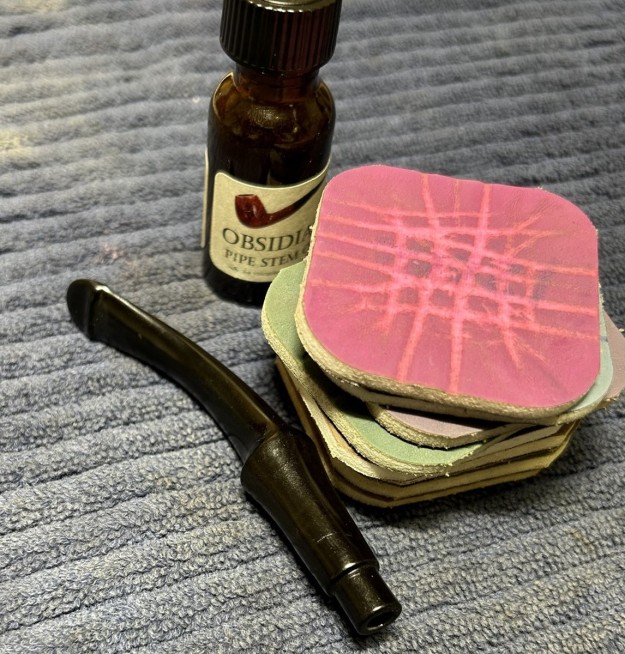
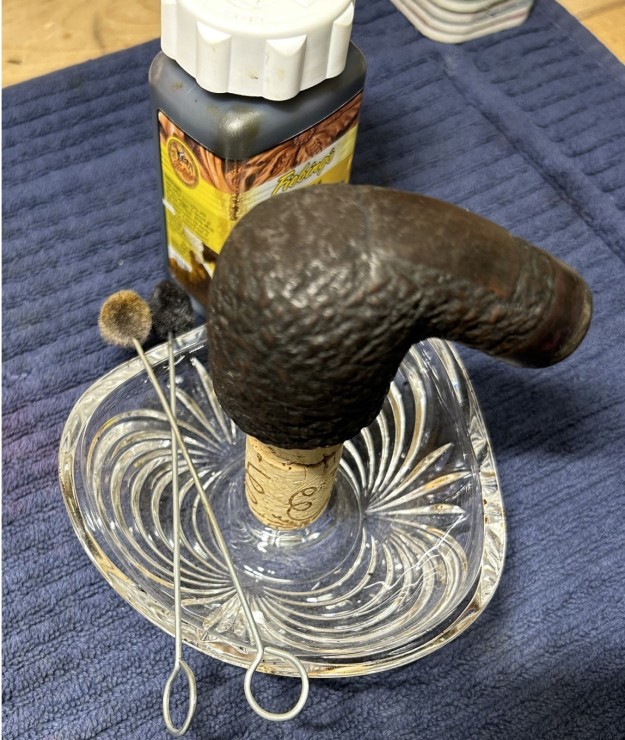
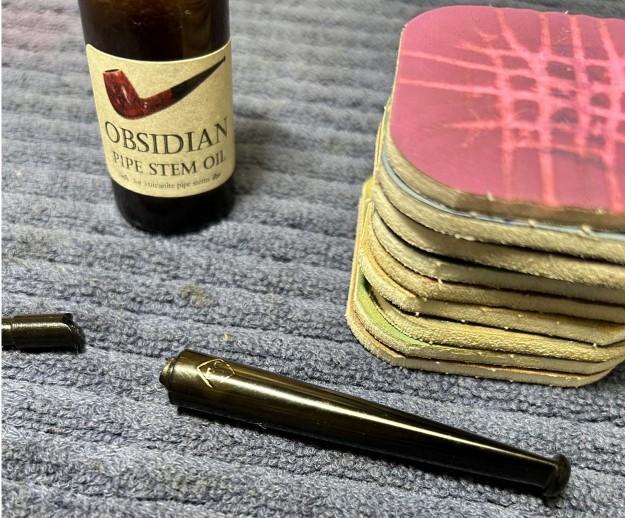
 Before I moved on to the Micromesh pads, I built up the dents on the stem with cyanoacrylate adhesive and let them fully cure (forgot to photograph this). I sanded the adhesive down with my needle files to meld seamlessly into the stem. I then used all nine Micromesh pads (1,500 through 12,000 grit) to bring out the lovely black lustre on the stem. I also used Obsidian Pipe Stem Oil in between each pad scrubbing, from 3,600 on.
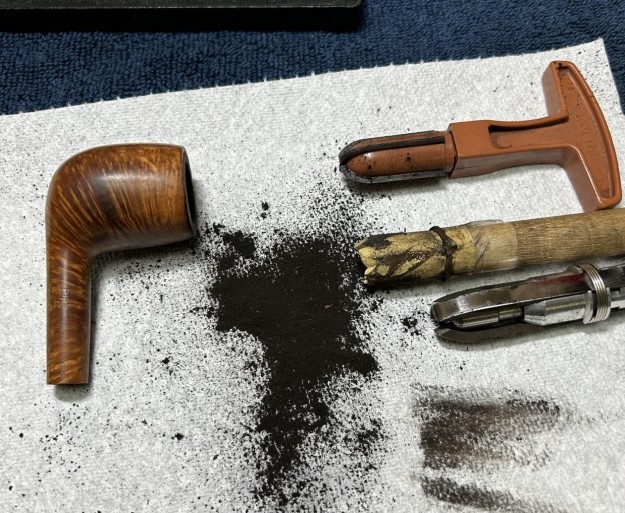
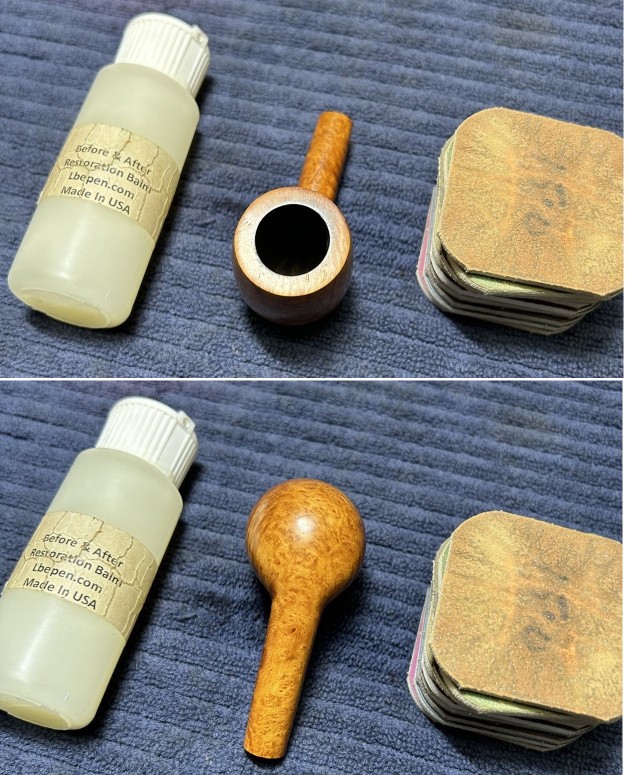
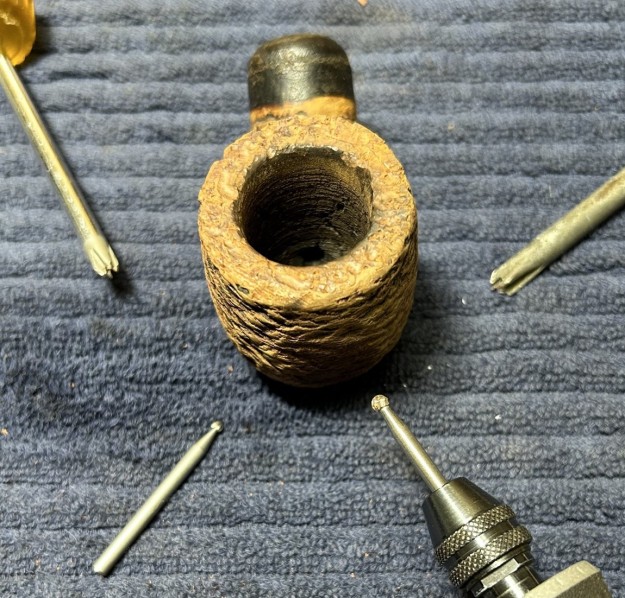
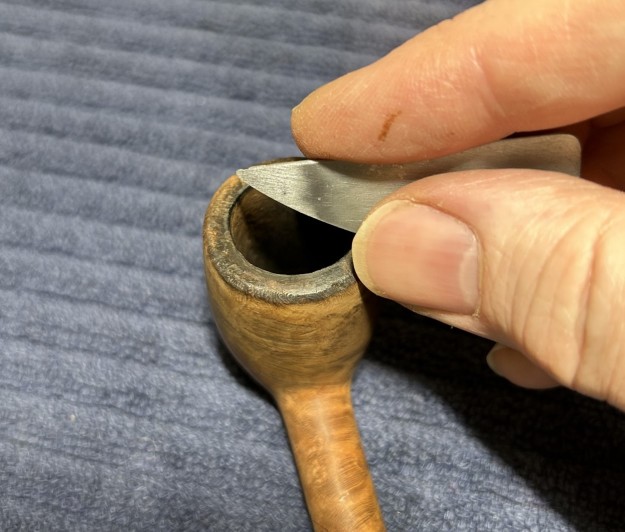
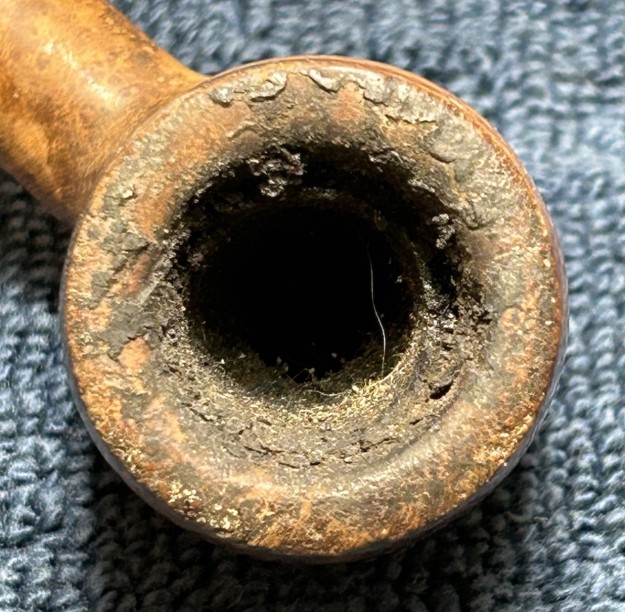
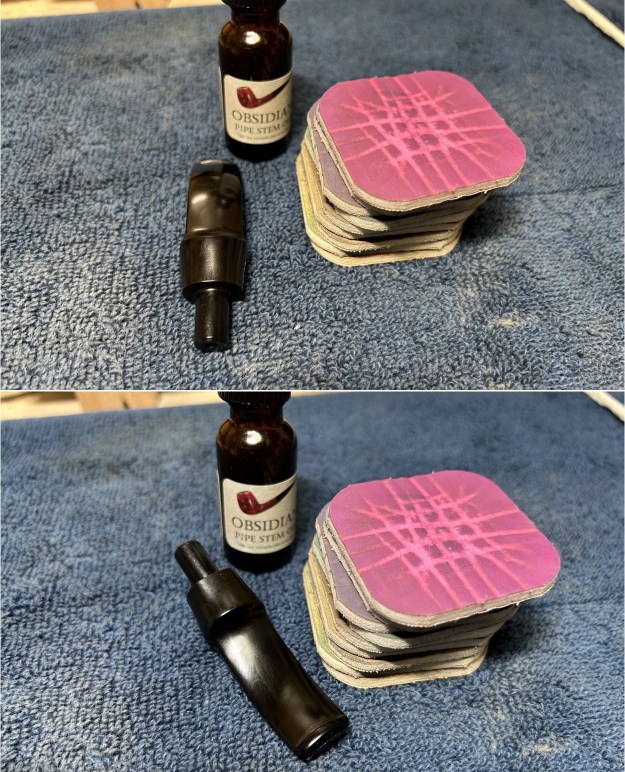 On to the stummel, and the usual cleaning procedures were in order for this pipe. I used both the KleenReem and some 220-grit sandpaper taped to a dowel to remove the built-up cake and take the bowl down to bare briar. I wanted to ensure there were no hidden flaws in the walls of the bowl. Fortunately, there were none.
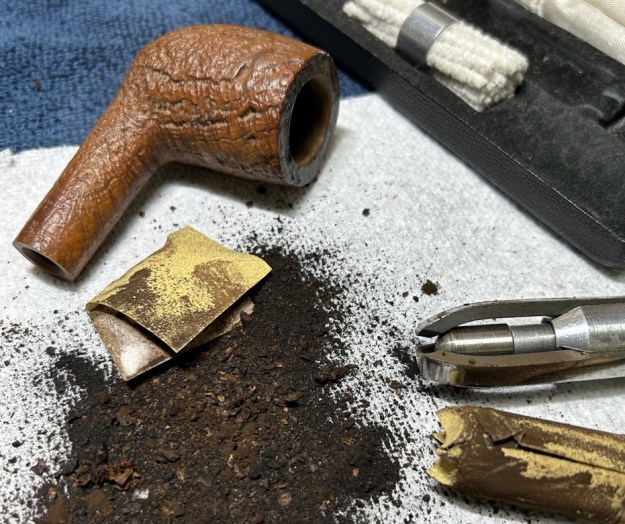
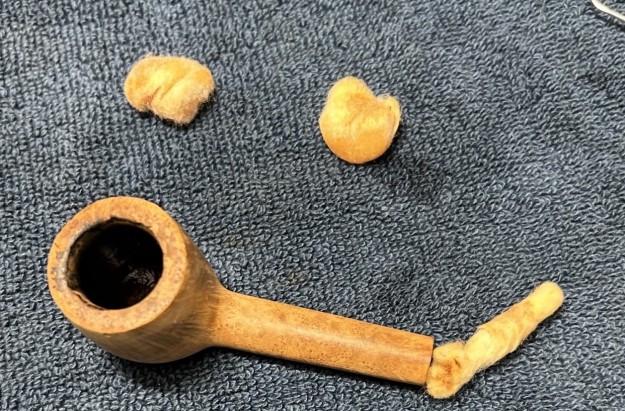
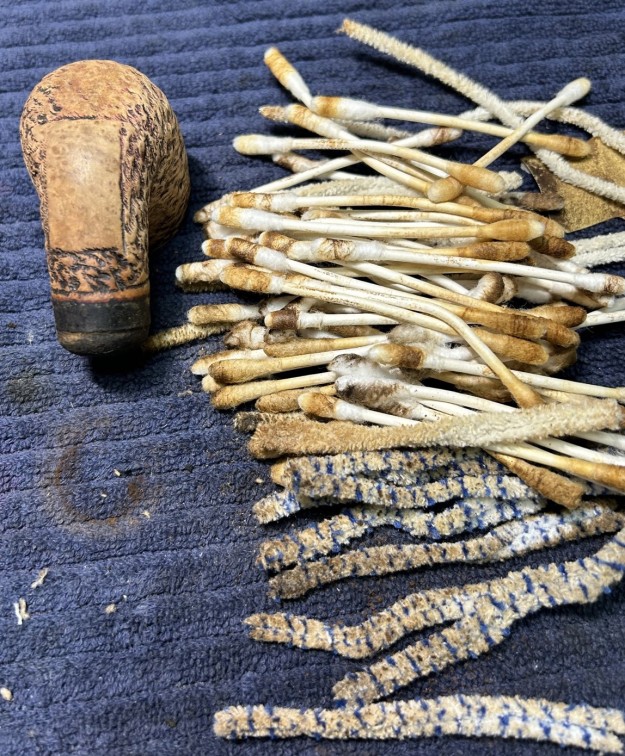
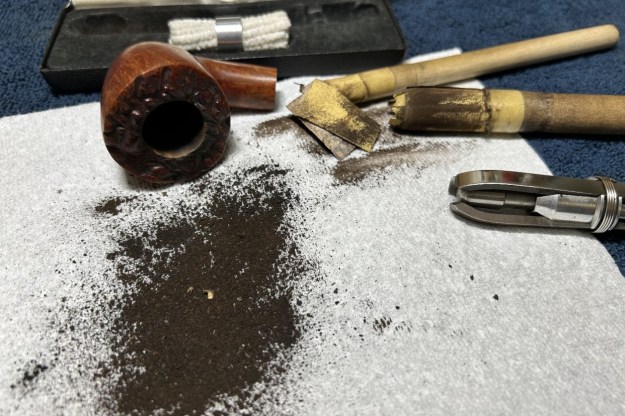 I then proceeded to clean out the insides of the shank with cotton swabs, pipe cleaners, and 99% isopropyl alcohol. There was some filth inside this stummel, but it wasn’t too bad. I followed that up by cleaning the insides with some dish soap and tube brushes.
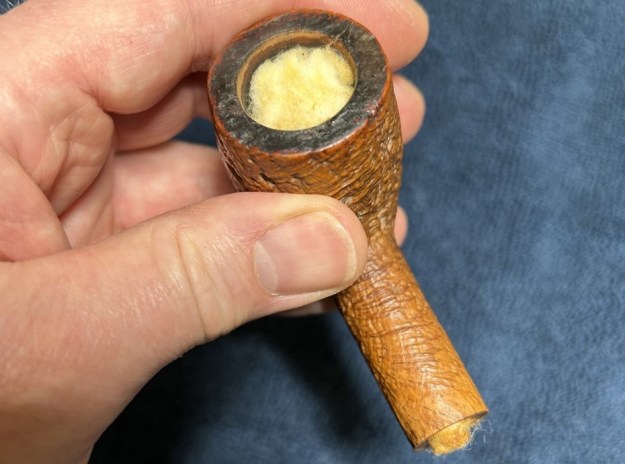
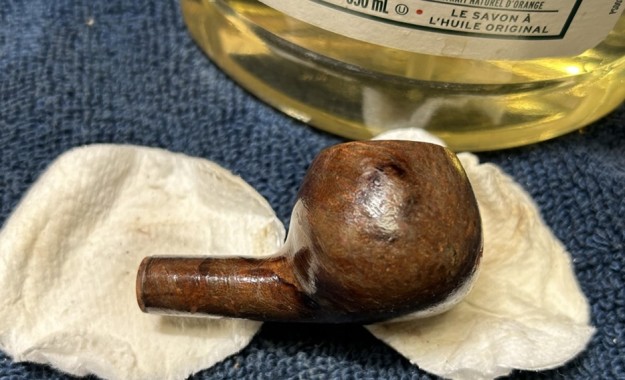
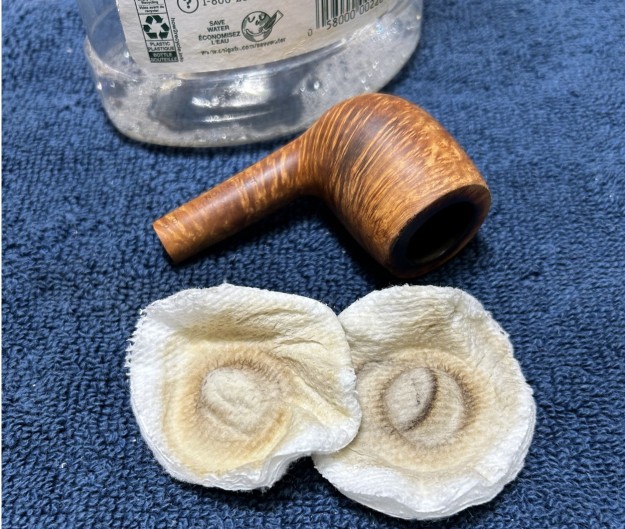
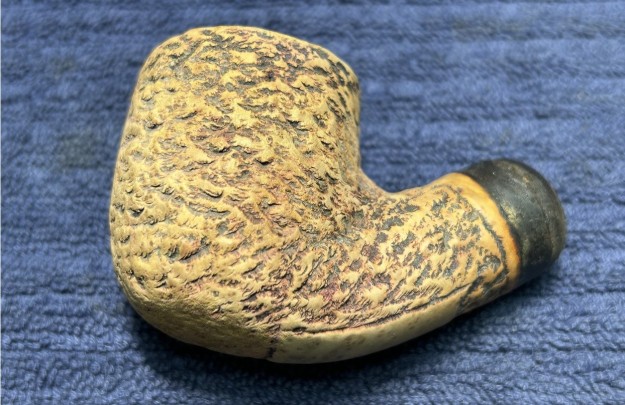
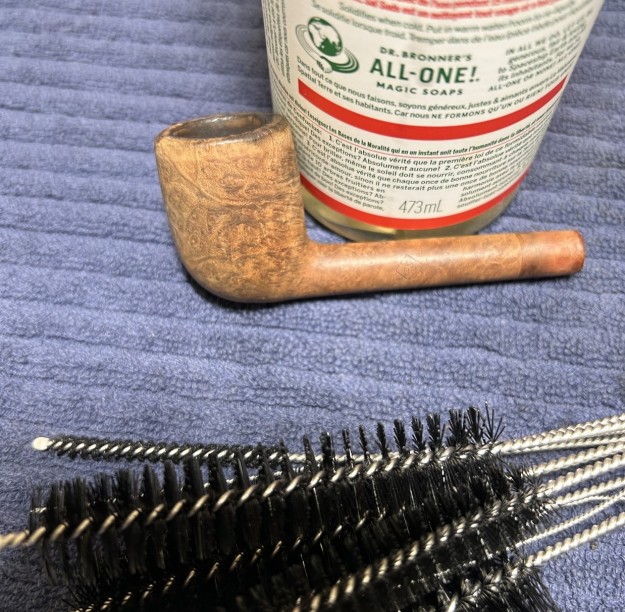
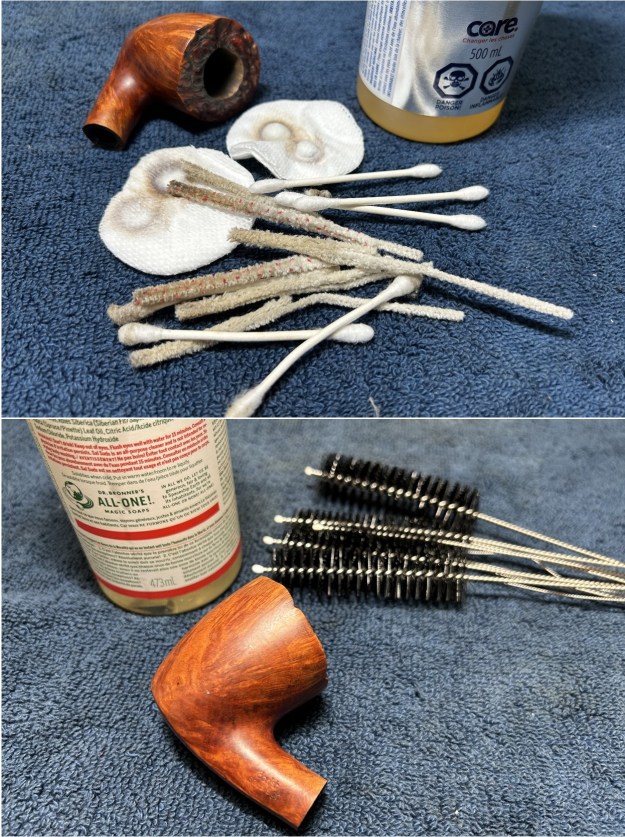 I then moved on to cleaning the outside of the stummel with oil soap, some cotton pads, a toothbrush, and a wire brush. That removed any latent dirt. However, it didn’t remove the odd, mottled stain. That needed to be sorted out straight away.
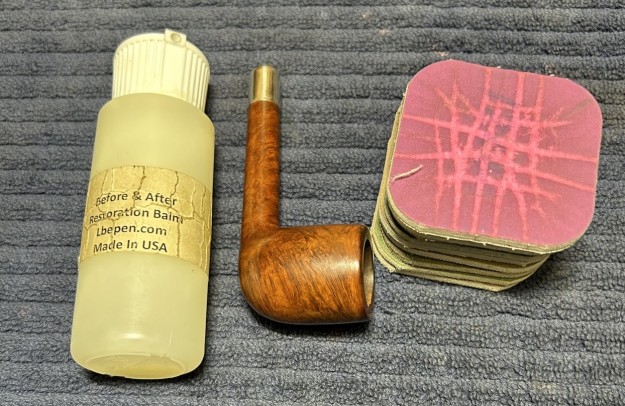
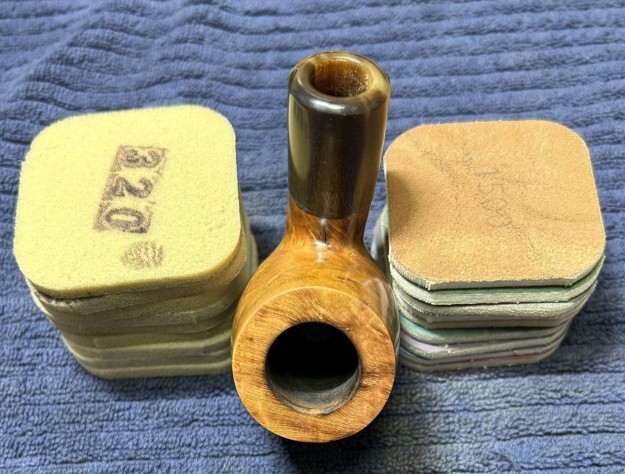
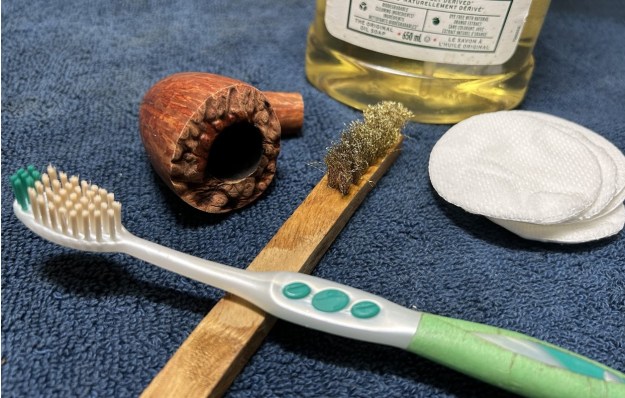 In order to remove the existing mess, I opted to begin with my grey sanding pads. Those greys start out with more aggression than my Micromesh pads. That aggression was necessary to strip the wood down. I gave the wood a thorough going-over before shifting to the usual Micromesh pads. I was satisfied, as the wood came out smooth, clean, and pale. Now what?
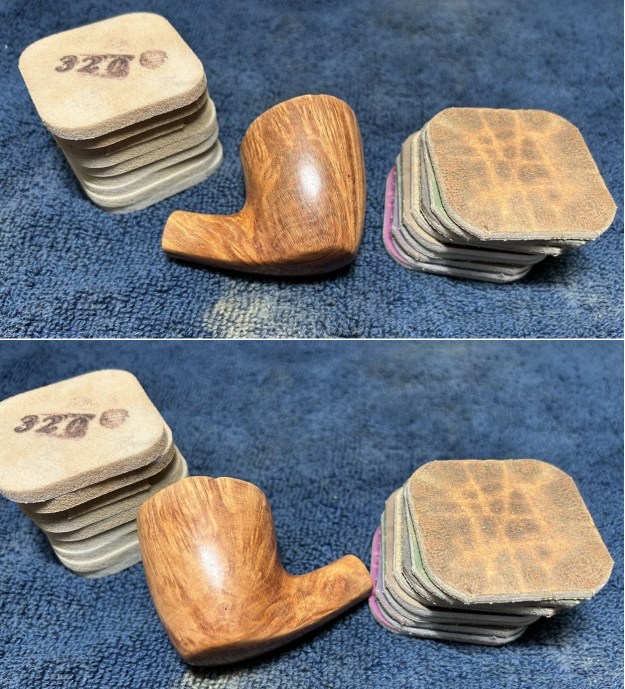
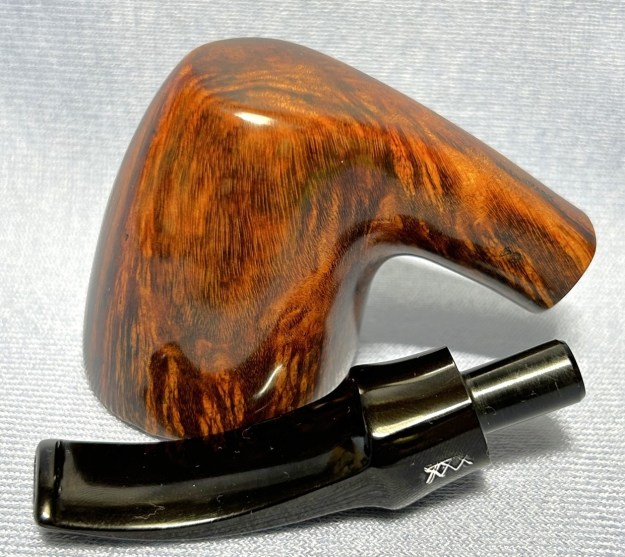
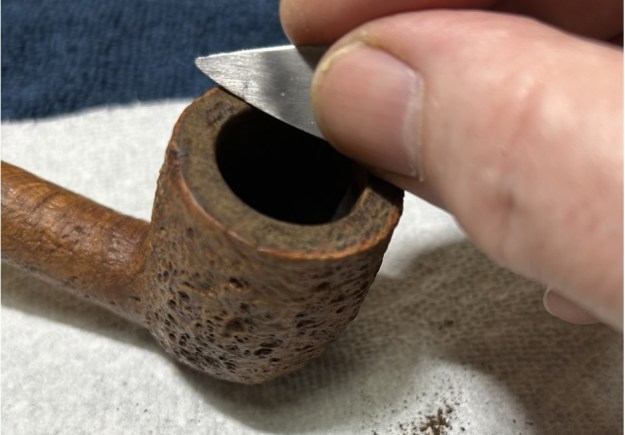
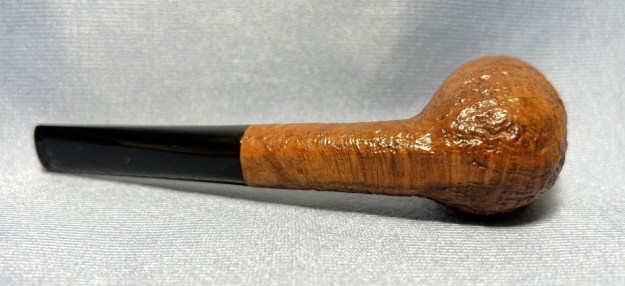
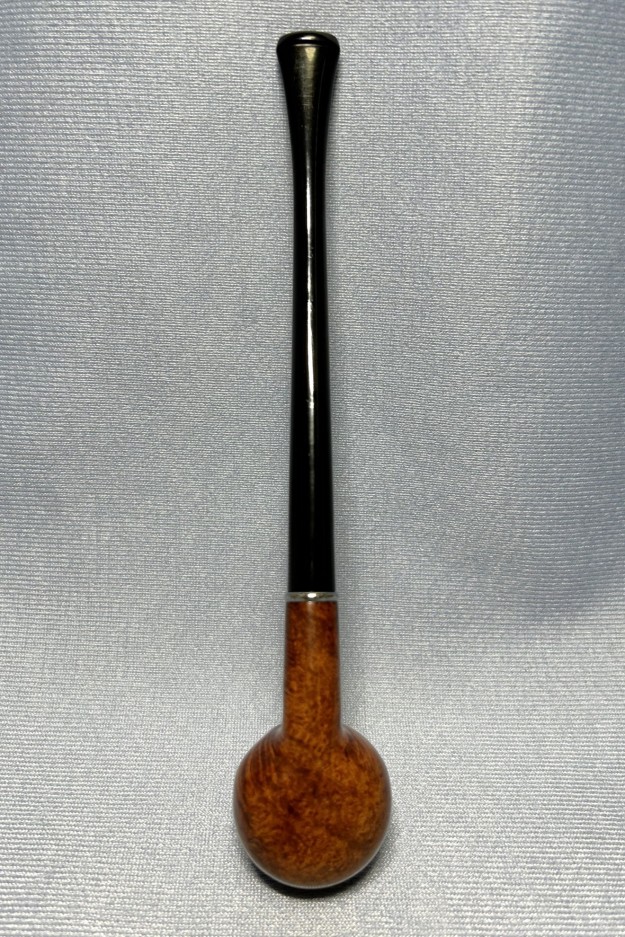
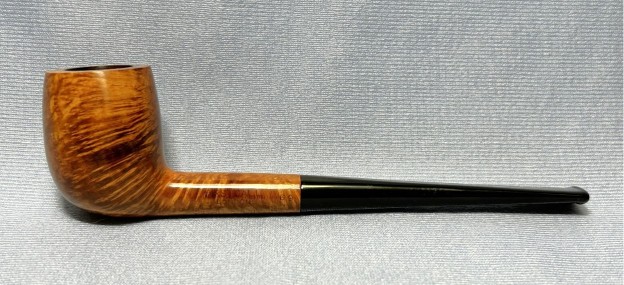
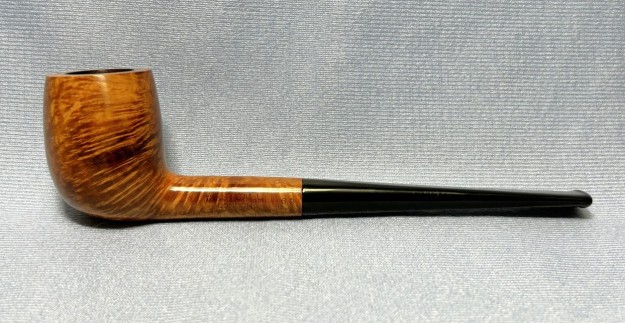
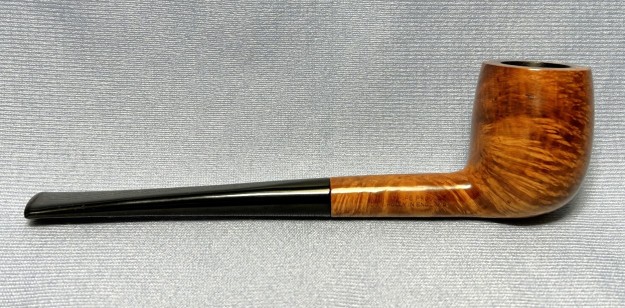
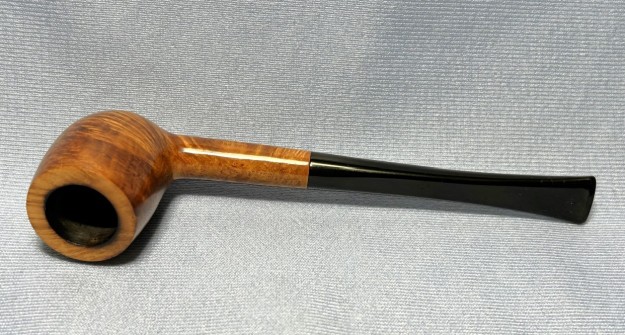
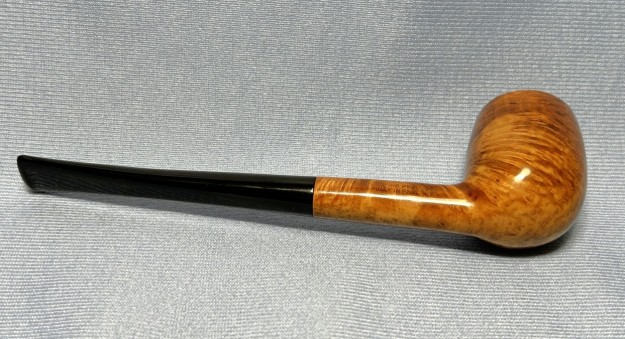
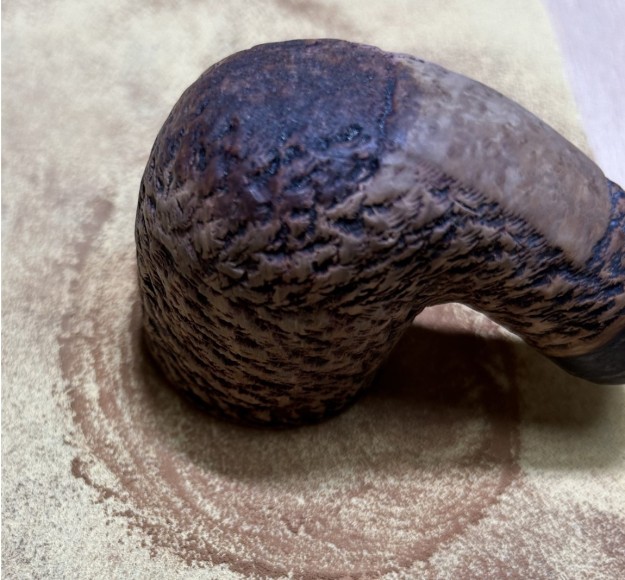
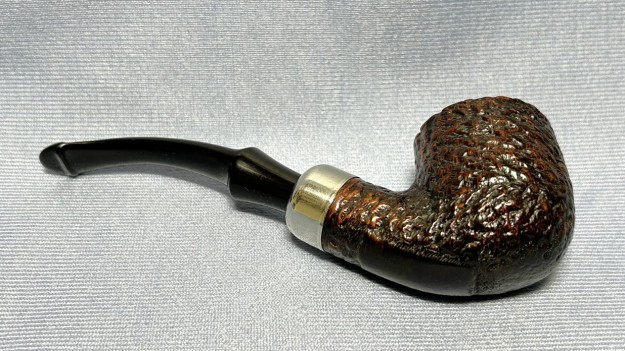
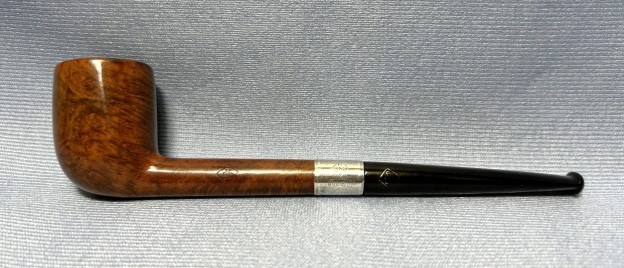
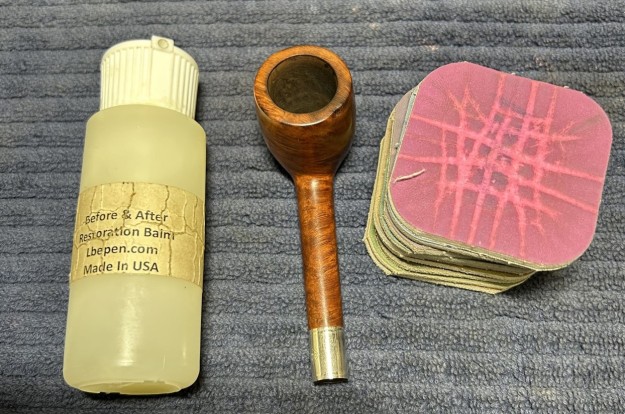
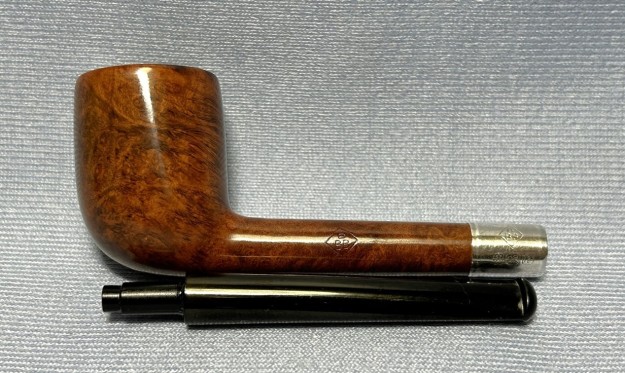
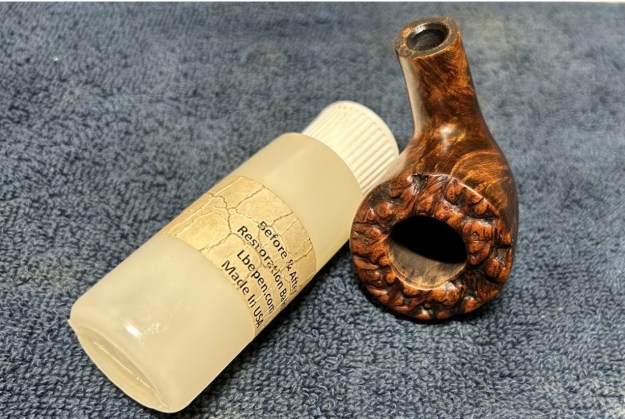
 Here’s the plan. The grain in this briar was so attractive, that I wanted to make a special effort to emphasize it. I took some black leather dye and coated the stummel with it (excluding the plateau). After applying the dye, flaming it, and letting it set, I wiped those areas down with isopropyl alcohol to remove most of the dye. The goal here was to accentuate the grain with only residual amounts of black dye.
 The next step was to bring back the lovely rich colour that was always supposed to be there. In similar fashion, I coated everything – bar the plateau – with some light brown dye. Again, after flaming and setting, I wiped everything down with isopropyl alcohol on cotton rounds. I was so pleased with the results – the pipe looks absolutely fantastic.
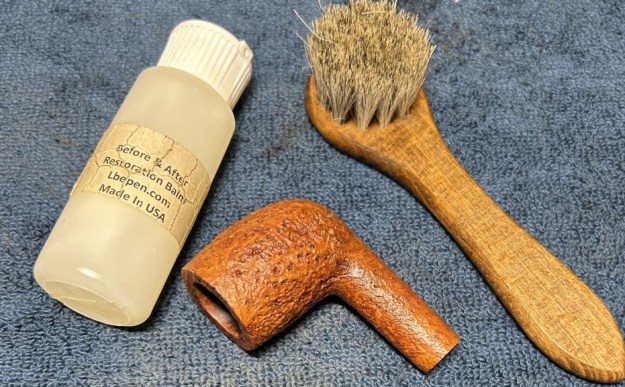
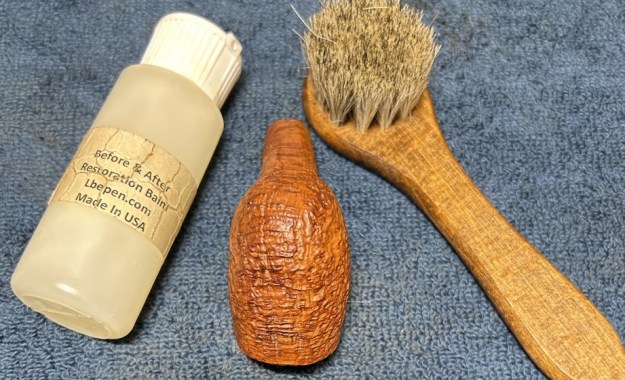
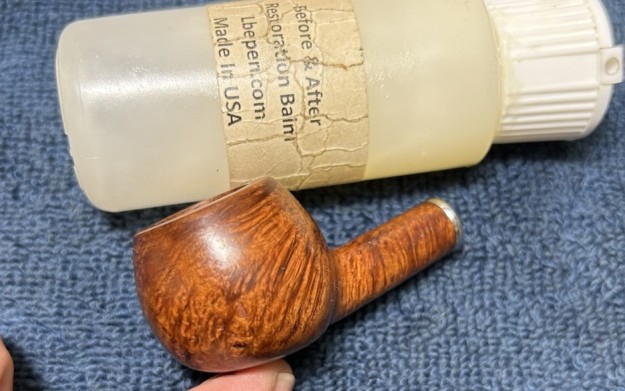
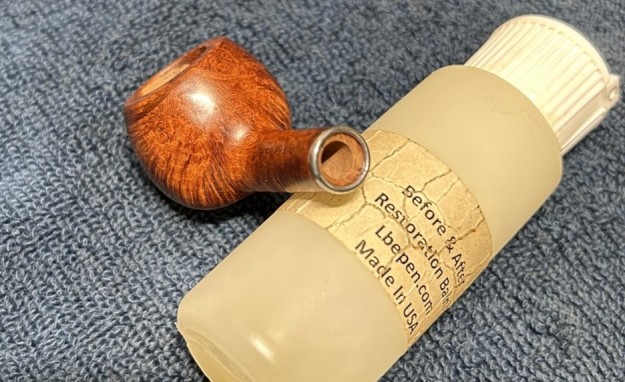
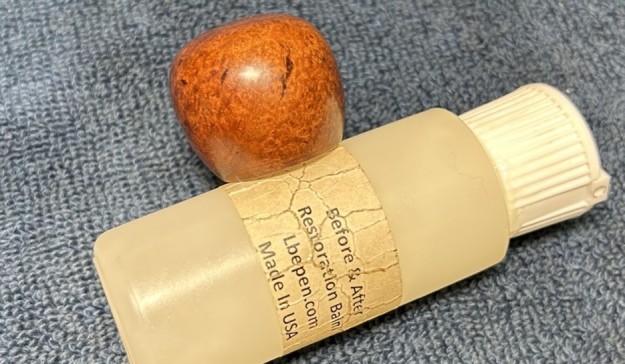
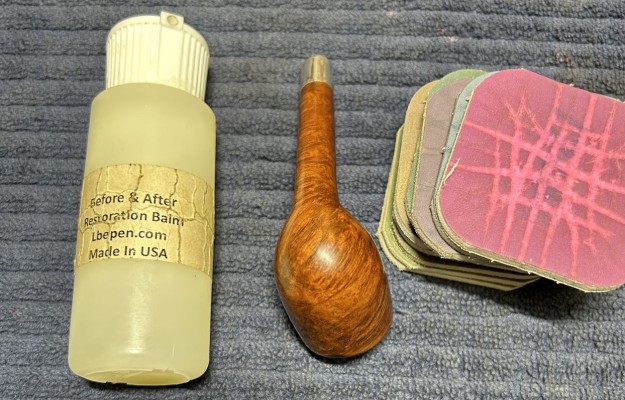
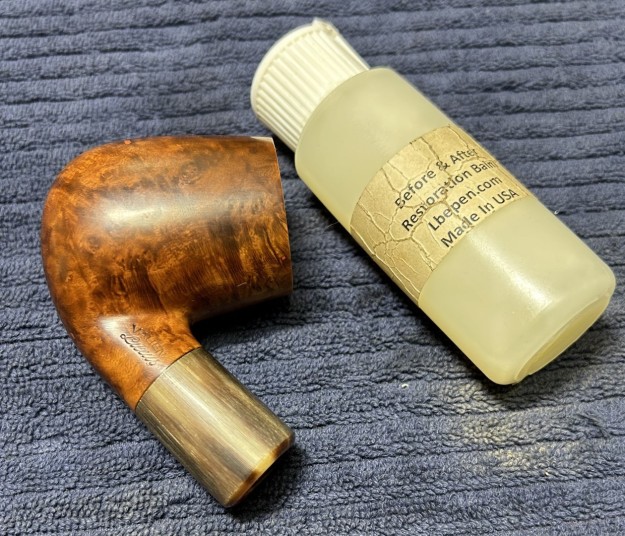
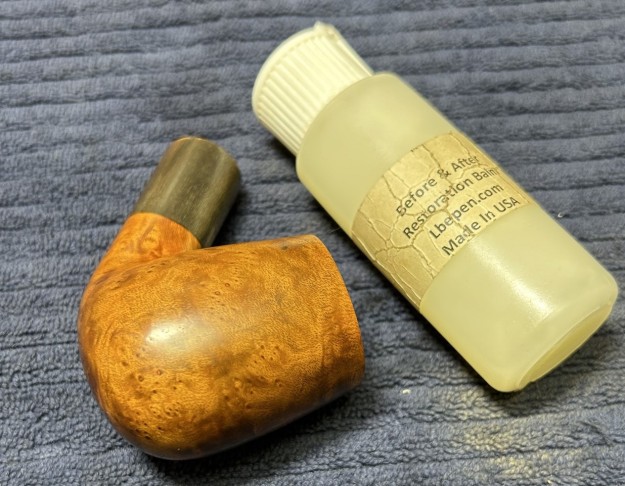
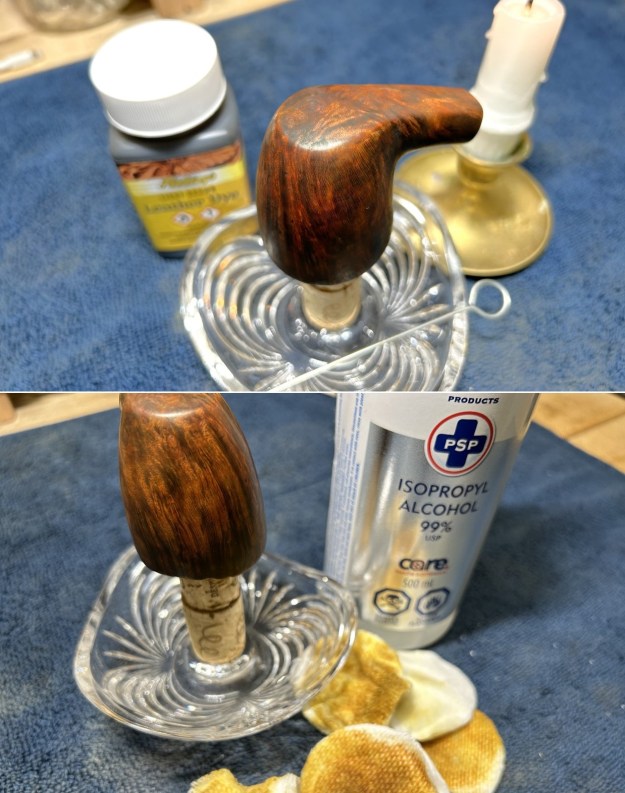 Naturally, I then applied the Before & After Restoration Balm to the stummel and let it sit for 20 minutes or so. There is some beautiful wood on this Danish pipe and I mimed a chef’s kiss in approval.
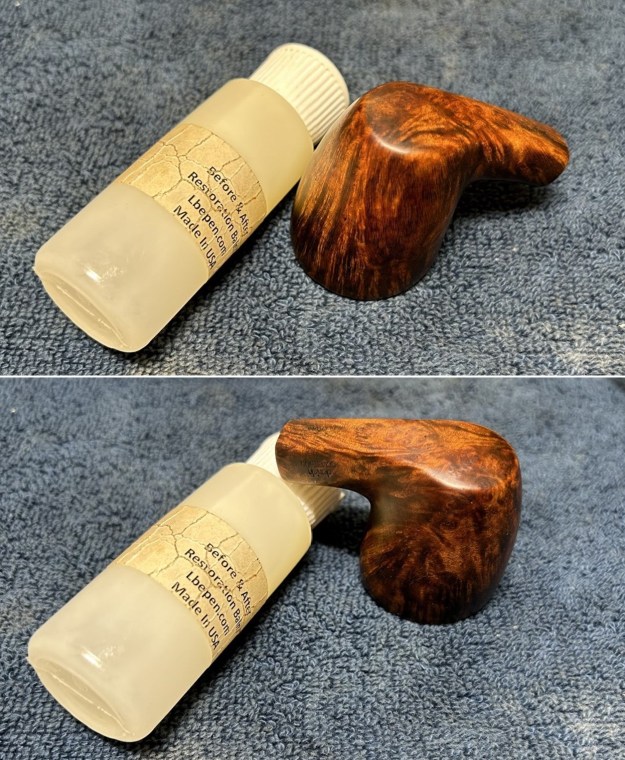
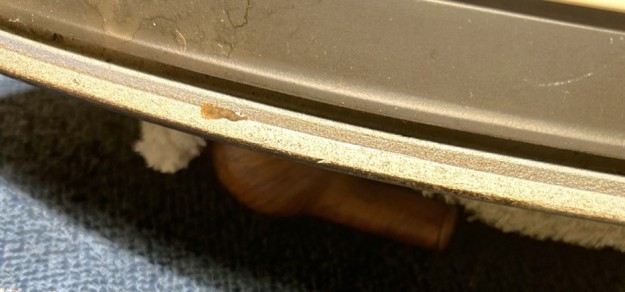
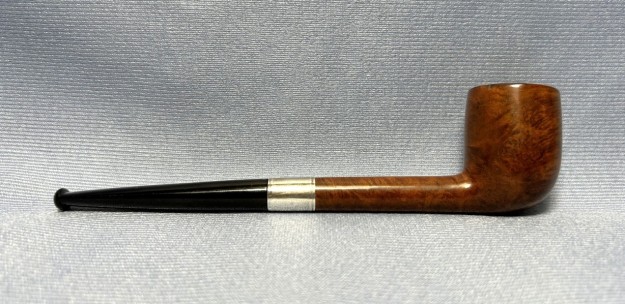
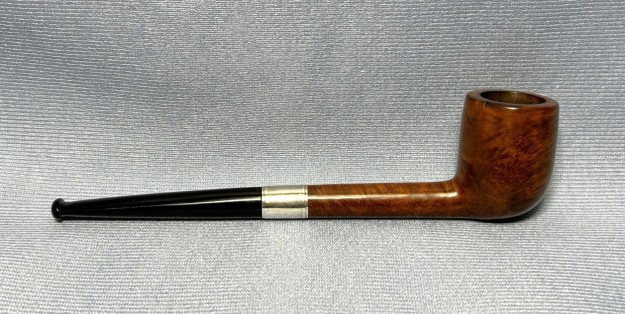
 Then it was off for a trip to the bench polisher. I buffed with gusto by applying the finishing touches of white diamond compound and carnauba wax. I had to be especially careful with the bench polisher, since the plateau edge had a tendency to catch on the buffing wheels.
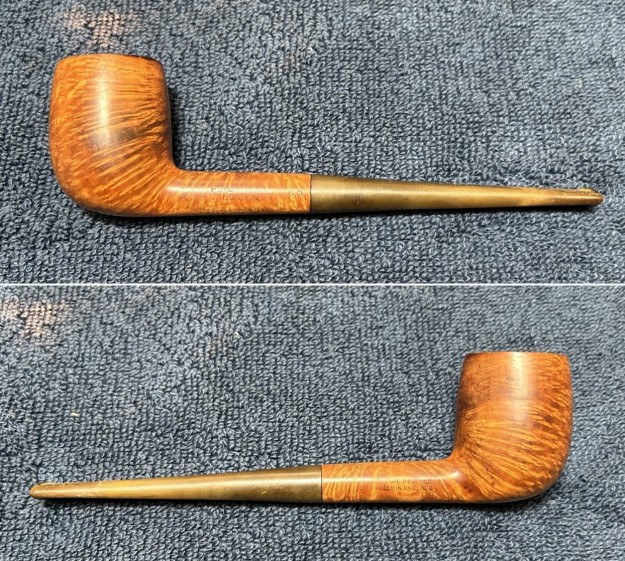
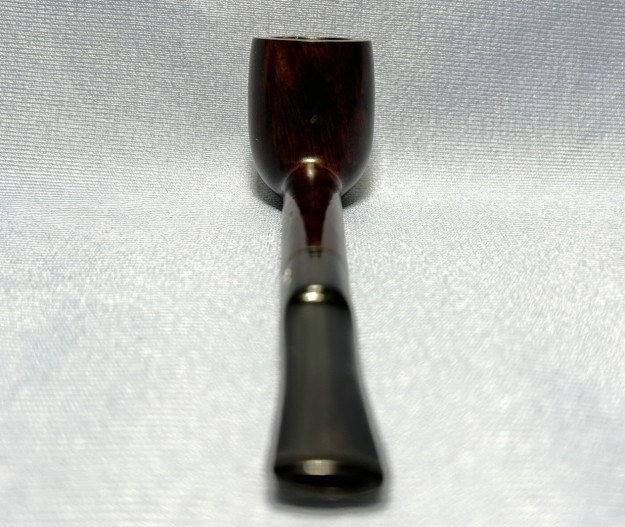
This Danish Sovereign 64 Freehand was a delight from the start and its beauty only increased through the restoration process. I am pleased to announce that this pipe is for sale! If you are interested in acquiring it for your collection, please have a look in the ‘Danish’ pipe section of the store here on Steve’s website. You can also email me directly at kenneth@knightsofthepipe.com. The approximate dimensions of the Stanwell are as follows: length 4⅞ in. (124 mm); height 2 in. (50 mm); bowl diameter 1⅔ in. (42 mm); chamber diameter ¾ in. (19 mm). The weight of the pipe is 1⅞ oz. (55 g). I hope you enjoyed reading the story of this restoration as much as I enjoyed restoring it. If you are interested in more of my work, please follow me here on Steve’s website or send me an email. Thank you very much for reading and, as always, I welcome and encourage your comments.