
by Kenneth Lieblich
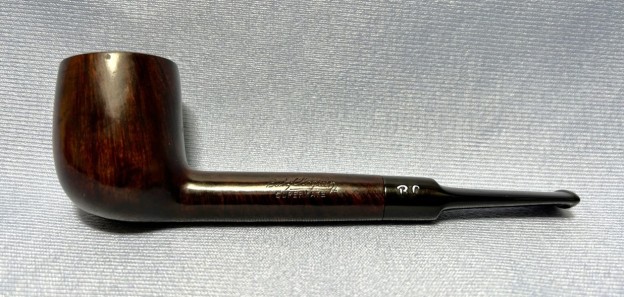
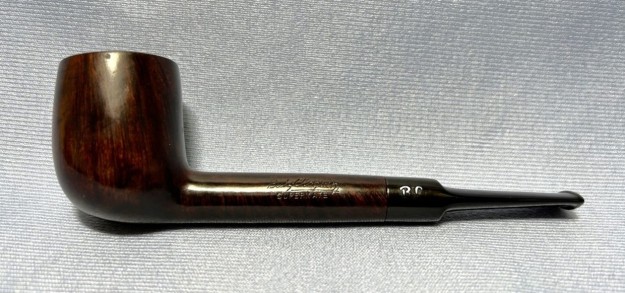
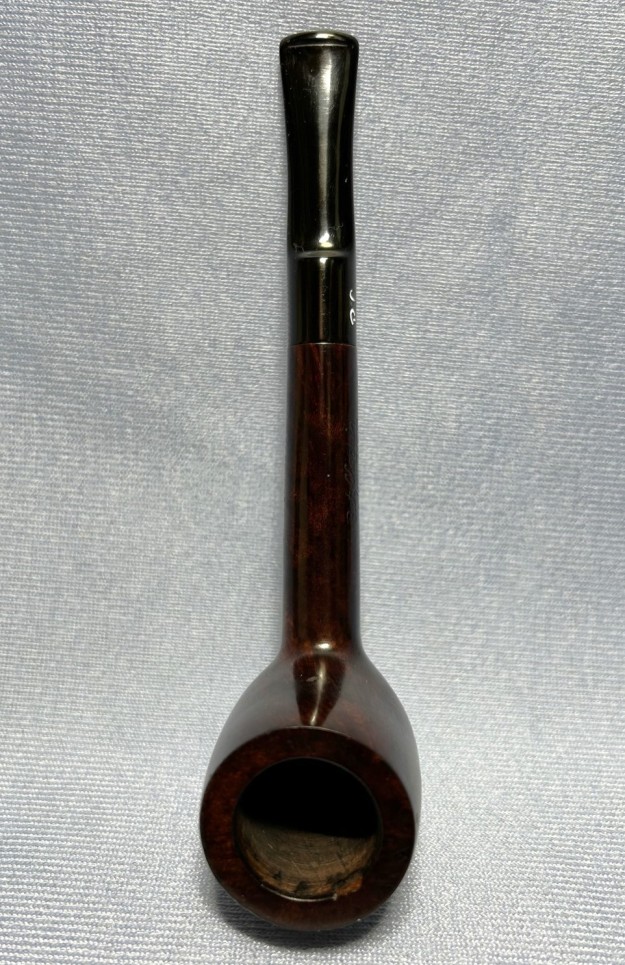
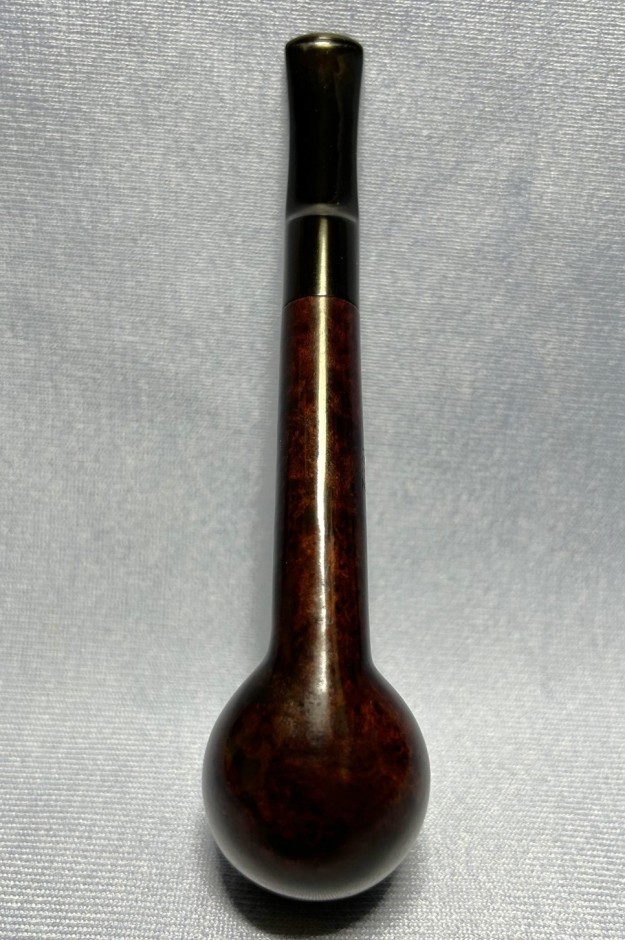
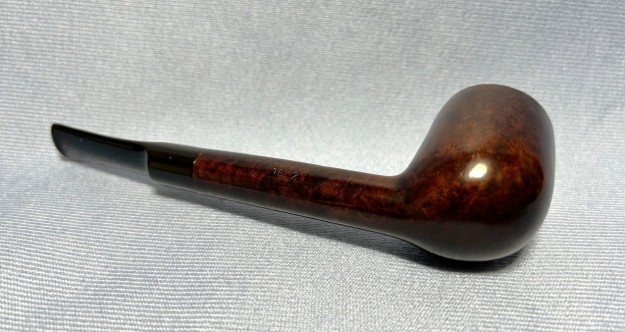
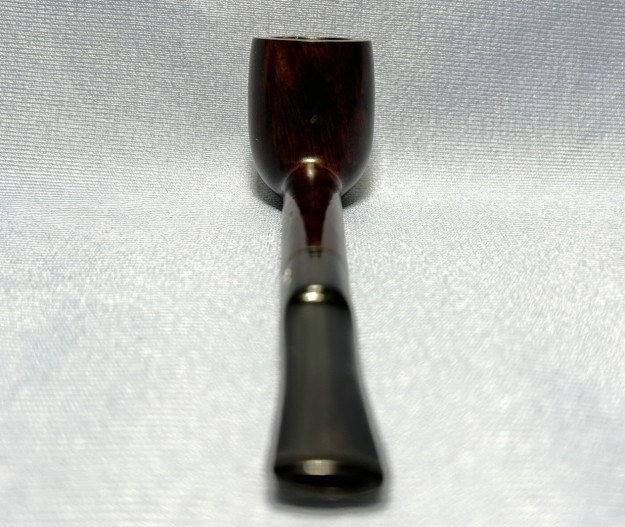
Next up on my restoration adventures is this Savinelli Punto Oro 915 KS. I acquired it from an older gentleman in Vancouver. He said he bought this (and the other pipes I got from him) more than “fifty years ago” – his words. That would date it to the early seventies, which fits with the style of the pipe. This is an unusual shape, to be sure. Savinelli calls it a Dublin – and so it is – but it has a luxurious, hourglass look to it as well. It has an elegant, elliptical shank and tapered, vulcanite stem. Perhaps I’ll call it a clessidra di Dublino. It’s a wonderful pipe and it deserves to be part of someone’s collection again.
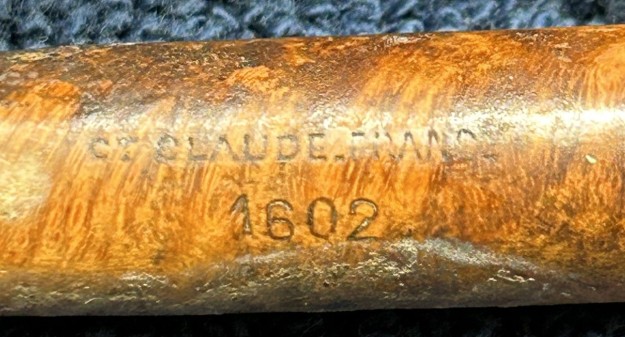
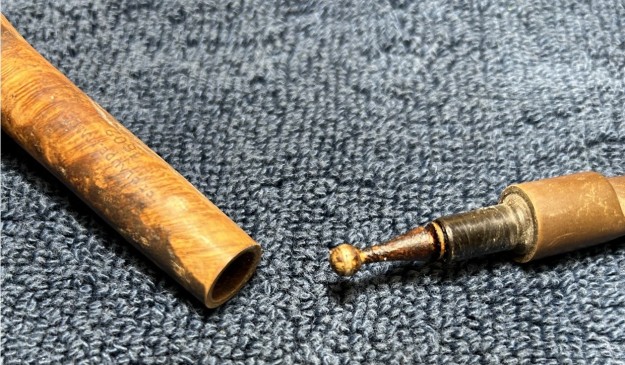
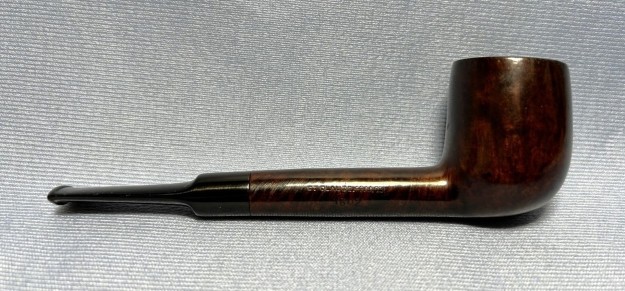
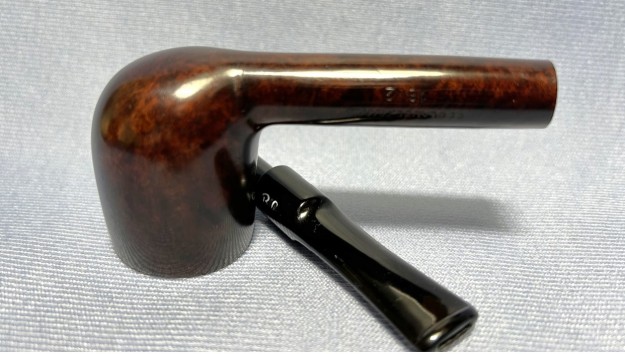
 This pipe promises to be a great smoker. Let’s look at the markings. The top side of the shank reads Savinelli [over] Punto Oro. Savinelli, of course, is an Italian company, and the words Punto Oro mean literally, “gold point”. On the underside of the shank is the lovely Savinelli crown, next to which are the marks 915 KS [over] Italy. Naturally, the number refers to the shape and KS means “King Size”. Finally, there is a gold-coloured dot on the stem (made of brass) – a very nice touch.
 Savinelli is one of the most recognized names in pipe smoking and they have a long and storied history. You can read about them from their own website or from Pipedia’s article about them. However, I was particularly interested in learning more about the Punto Oro line. Sadly, Pipedia had nothing on this subject. I checked with Pipephil and they did have a bit of information, which I display below.
 I also found a bit of information on the Punto Oro line from Savinelli’s own website. They write:
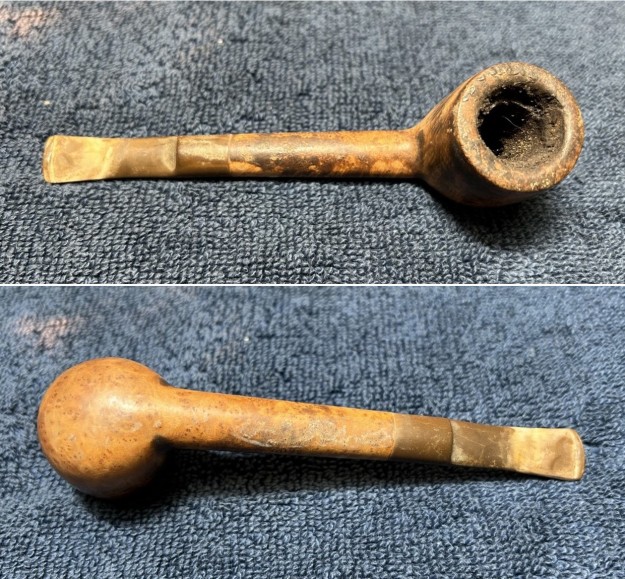
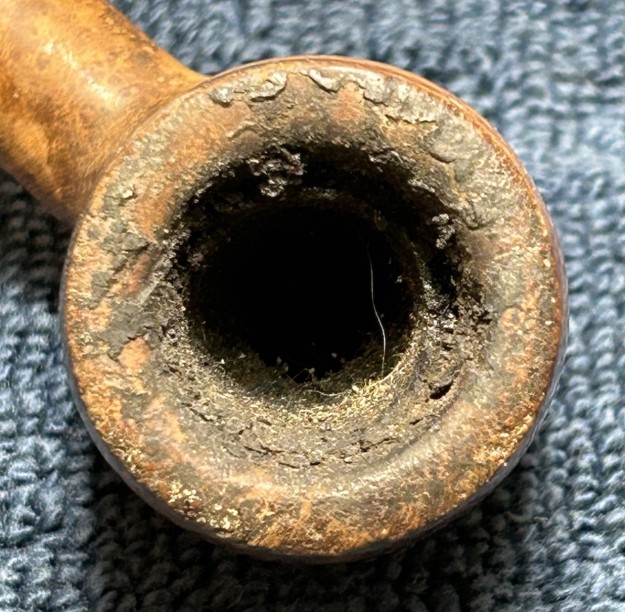
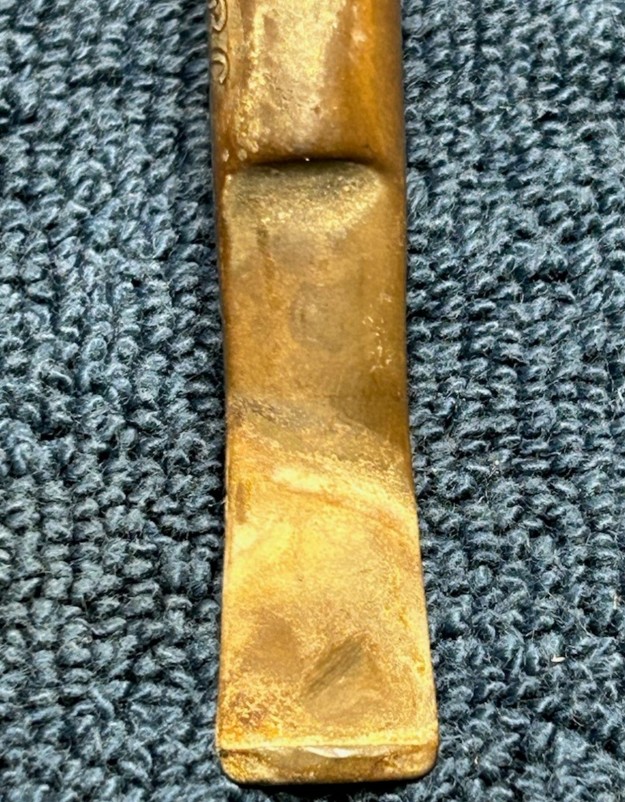
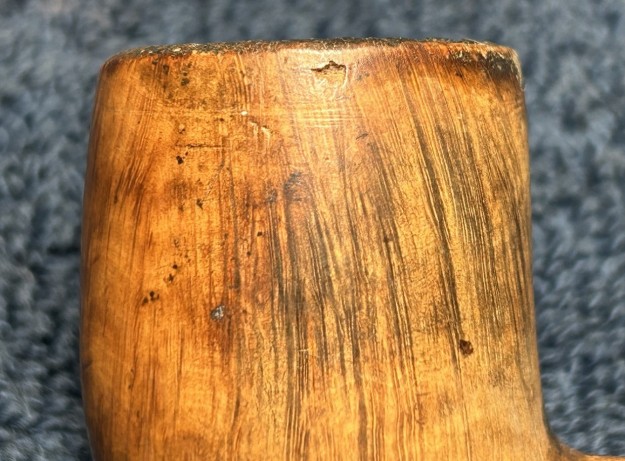
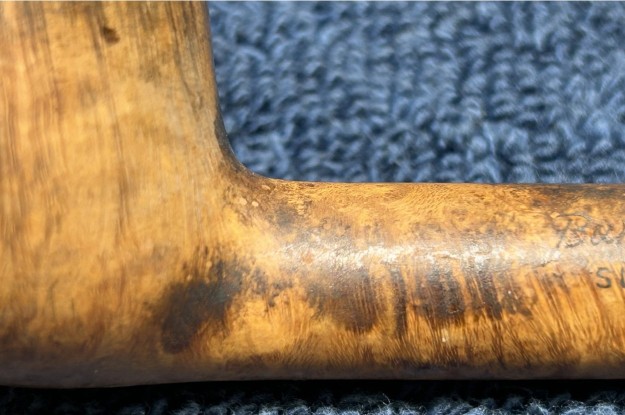
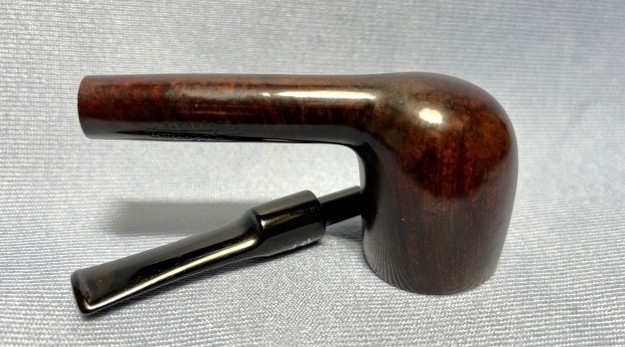
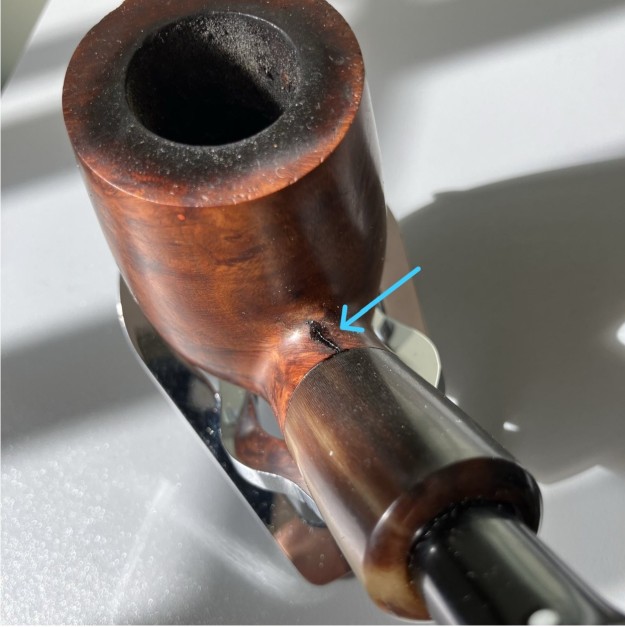
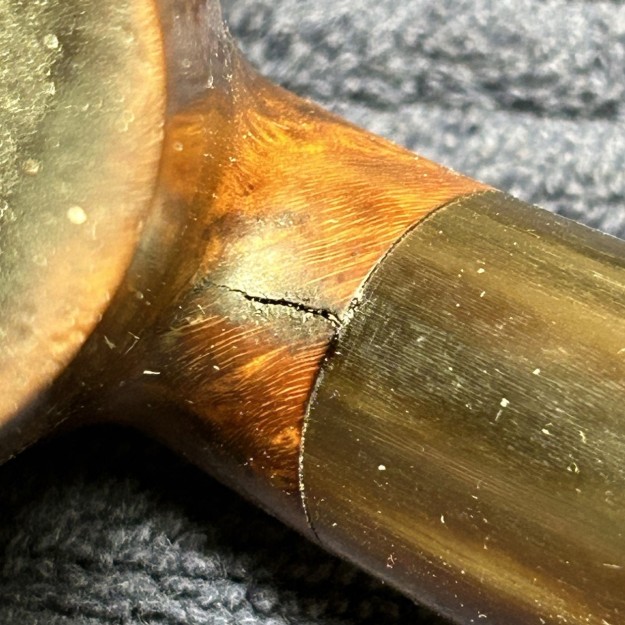
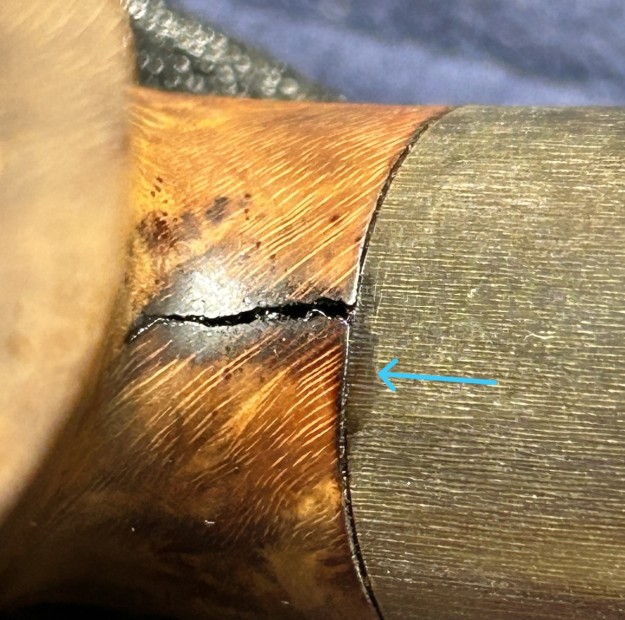
PUNTO ORO pipe was the first pipe created by Achille Savinelli after the opening of the factory in 1958; a pipe that has always distinguished the Savinelli brand, its elegance, reliability and tradition. It is a top quality pipe with a wonderful grain. It is important to know it is very difficult to find a briar piece suitable to become a PUNTO ORO: just 1,2% of the whole choice is selected for this series, therefore not all our shapes are always available for these pipes.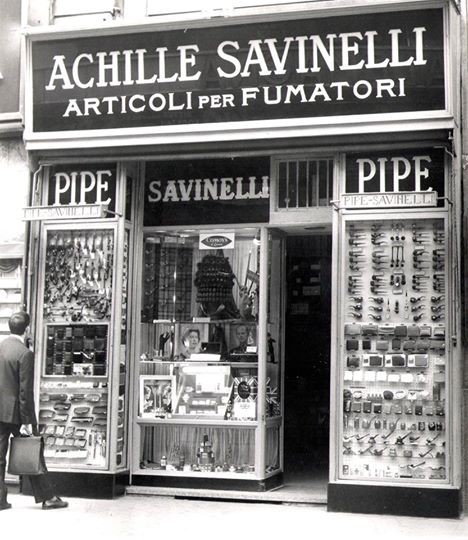 This was a well-loved pipe – and it shows in the best way. The stem on this pipe definitely shows signs of use. There were quite a few scratches in the vulcanite. There was also some calcification and oxidation. The stummel looked elegant, but tired. There were indications of lava on the rim and plenty of cake in the bowl. Also, the briar had a few little nicks along the rim from the years of love of its previous owner. Most concerning though, was a field of nicks on one side of the briar. Eek! More on that later.


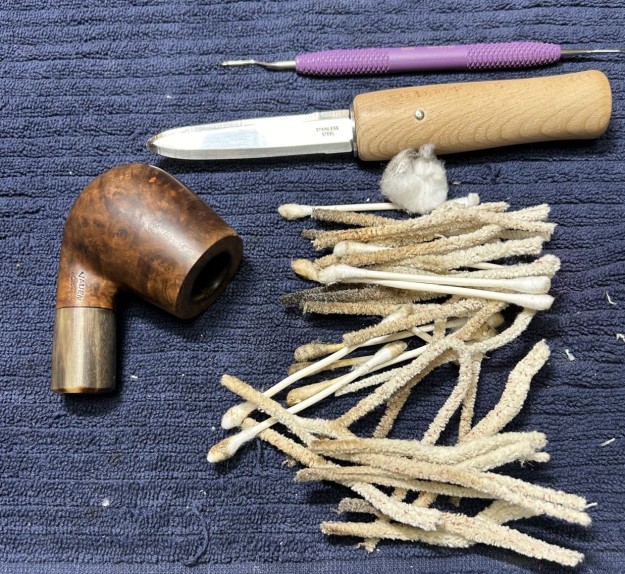
 Well, the usual cleaning procedures were in order for this pipe. I started on the stem by wiping it down with some Murphy’s on a cotton round. Then, I cleaned out the insides of the stem with pipe cleaners and lemon-infused isopropyl alcohol. It wasn’t too dirty.
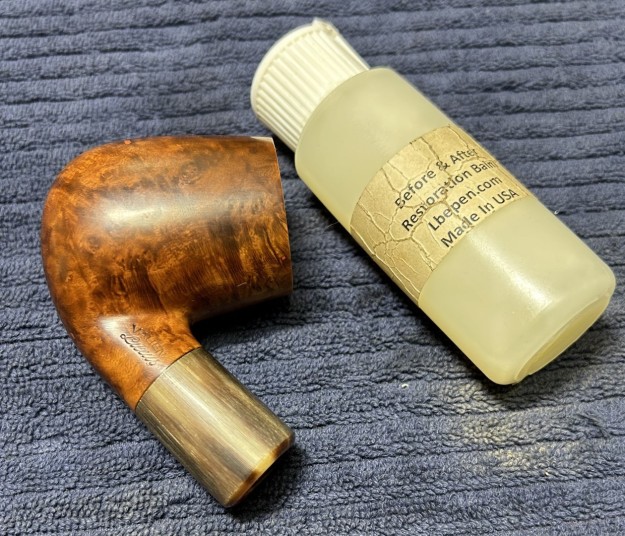
 Once that was done, the stem went for an overnight soak in the Before & After Hard Rubber Deoxidizer. After soaking, I cleaned off the de-oxidizing fluid with alcohol, pipe cleaners, et cetera. The oxidation had migrated to the surface and I used SoftScrub to work it off.
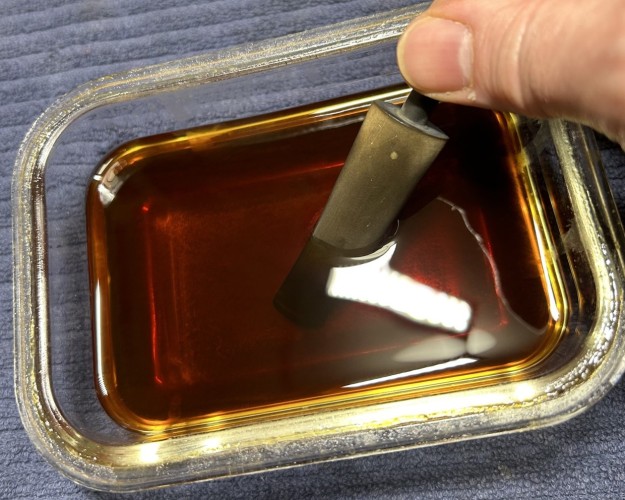 Before I moved on to the Micromesh pads, I built up the tooth damage on the stem with black cyanoacrylate adhesive and let it fully cure. I used my miniature files to take down the majority of the dried glue. I then sanded it down with 400-grit sandpaper to meld seamlessly into the stem. I then used all nine Micromesh pads (1,500 through 12,000 grit) to bring out the lovely black lustre on the stem. I also used Obsidian Pipe Stem Oil in between each pad scrubbing. This also really made the brass dot pop! Putting the stem aside, I moved on to the stummel.

 I used both the PipNet Reamer, the KleenReem, and some sandpaper taped to a wooden dowel to take the bowl down to bare briar, as I wanted to ensure there were no hidden flaws in the walls of the bowl. Fortunately, there were none.
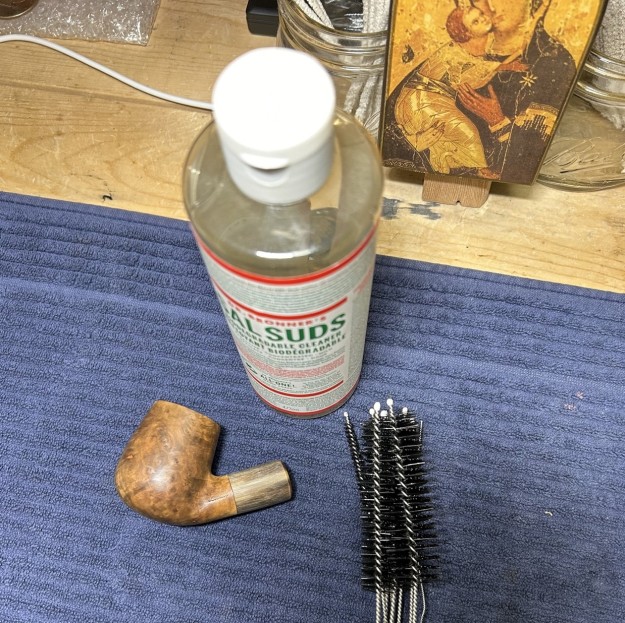
 I then proceeded to clean out the insides of the shank with Q-tips, pipe cleaners, and isopropyl alcohol. There was an enormous amount of nastiness inside this stummel and – boy-oh-boy – it took a lot of cotton to get this thing clean!
 A de-ghosting session seemed like a good idea. This de-ghosting consisted of thrusting cotton balls in the bowl and the shank, and saturating them with 99% isopropyl alcohol. I let the stummel sit overnight. This caused the oils, tars and smells to leech out into the cotton. Finally, a relatively clean and fresh-smelling bowl emerged. I then moved on to cleaning the outside of the stummel with Murphy’s Oil Soap and some cotton pads. What a difference that made! I also cleaned the insides with some soap and tube brushes.

 I examined the vast range of bumps in the briar. I dug out my iron and a damp cloth to try to raise them. The hot and moist steam can often cause the wood to swell slightly and return to shape. This worked incredibly well – I was absolutely delighted with the results.
 I took a close look at the rim. In order to save as much of the rim as possible, I used a piece of machine metal to very delicately scrape away as much lava as I could. I do this before automatically jumping to my topping board. This worked well and the topping board was not needed. Instead, I filled in a couple of nicks and used a wooden sphere and some pads to even out the top side and make it beautiful.
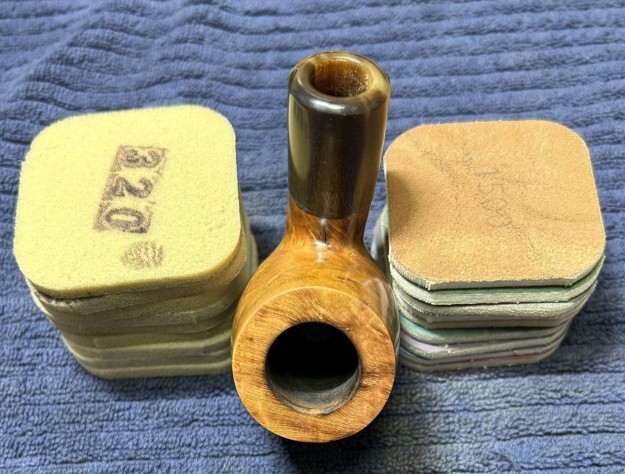
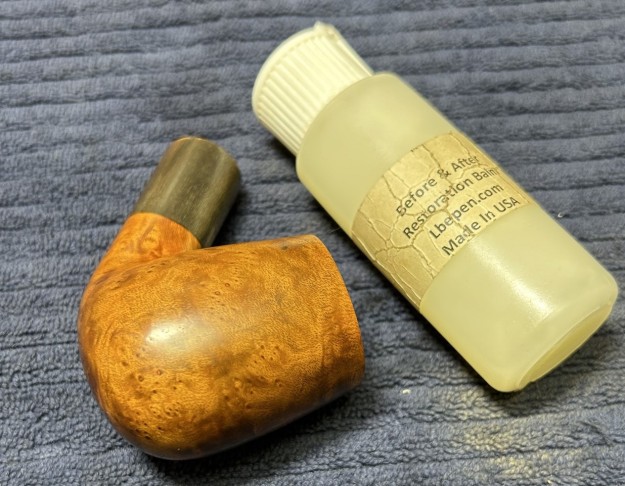
 After this, I used all nine Micromesh pads (1,500 through 12,000 grit) to make everything smooth. I applied some Before & After Restoration Balm and finally saw the beauty of my work.


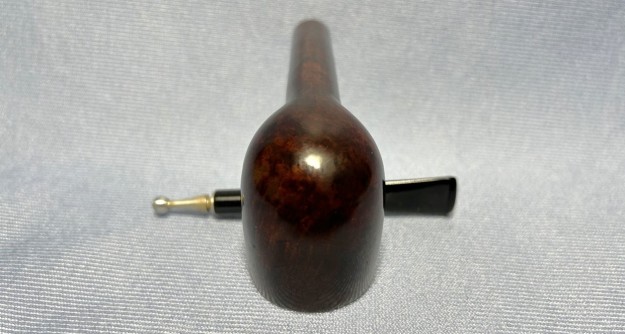
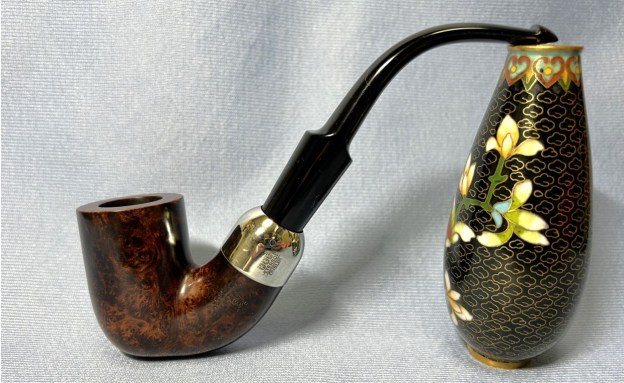
 Off to the bench polisher I went. I applied some White Diamond and a few coats of carnauba wax and they added the finishing touch. This Savinelli Punto Oro 915 KS clessidra di Dublino was in need of a new lease on life. I am pleased to announce that this pipe is for sale! If you are interested in acquiring it for your collection, please have a look in the “Italy” pipe section of the store here on Steve’s website. You can also email me directly at kenneth@knightsofthepipe.com. The approximate dimensions of the pipe are as follows: length 5⅞ in. (150 mm); height 2 in. (51 mm); bowl diameter 1⅝ in. (39 mm); chamber diameter ¾ in. (20 mm). The weight of the pipe is 1½ oz. (46 g). I hope you enjoyed reading the story of this restoration as much as I enjoyed restoring it. If you are interested in more of my work, please follow me here on Steve’s website or send me an email. Thank you very much for reading and, as always, I welcome and encourage your comments.


 Blog by Kenneth Lieblich