Guest Blog by Robert M. Boughton
Member, North American Society of Pipe Collectors
http://www.naspc.org
http://www.roadrunnerpipes.com
http://about.me/boughtonrobert
Photos © the Author
“There comes a time in every rightly-constructed boy’s life when he has a raging desire to go somewhere and dig for hidden treasure.”
― Samuel L. Clemens (Mark Twain, 1835-1910), U.S. author and humorist, in “The Adventures of Tom Sawyer” [1876]
INTRODUCTION
I often wonder what my life would be like today had my mother married the man she loved – a well-known Apollo Program astronaut who later even tried to convince her to leave my dad. But she chose the space research and development nerd in the Brooks Brothers suits instead of the man in the dark blue uniform – which he sometimes traded for a big, bulky, white one with a sealed helmet to protect him from the void of space – who had the Right Stuff.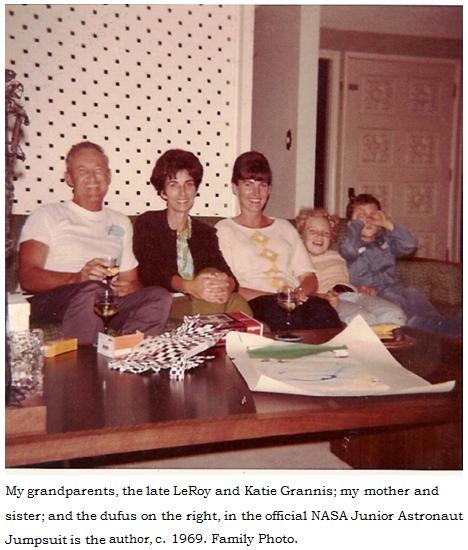 By the time he called again, I was about 10, living in the well-to-do Cleveland suburb of Shaker Heights, and Tricky Dick had somehow just been re-elected President. Even I knew what a mistake that was. I got out of bed late one night during one of my parents’ Gatsby-like parties to answer the phone upstairs in the hallway. A hushed voice, halting in surprise, asked, “Is Kit – your mother – there?”
I told him she was at the party downstairs and said I could go and get her, but he quickly said no, asking me to have her call him and giving me his nickname. He must have thought I wouldn’t know who he was, but meeting him when I was just a toddler was something I never forgot. “Yes, sir, I’ll tell her, Colonel So-and-So [not his real name],” I replied, and can still hear him almost choke up over the long-distance phone line 43 years ago. Speechless for a moment, he at last suggested I just tell my mother in the morning, and I said, like a good little soldier on a mission, “Okay, sir. I understand.” And somehow I did.
Some events seem probable had my mother not married the man in the Brooks Brothers suits: I likely would have followed the astronaut to the Air Force Academy, and he would have been proud of me until he died some years back, unless I beat him to it in the service of my country. But the rest is blurry, except that I am still fatherless although my dad is alive and well.
Oh, and one more thing. I would not be here in beautiful Albuquerque, searching for treasures in pipe lots and one at a time and all the other right places.
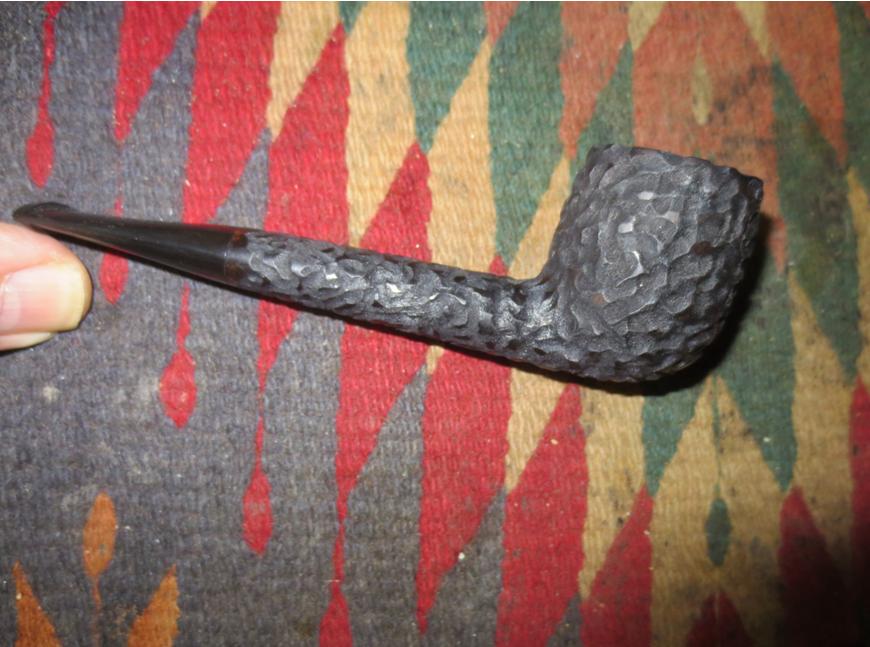
RESTORATION
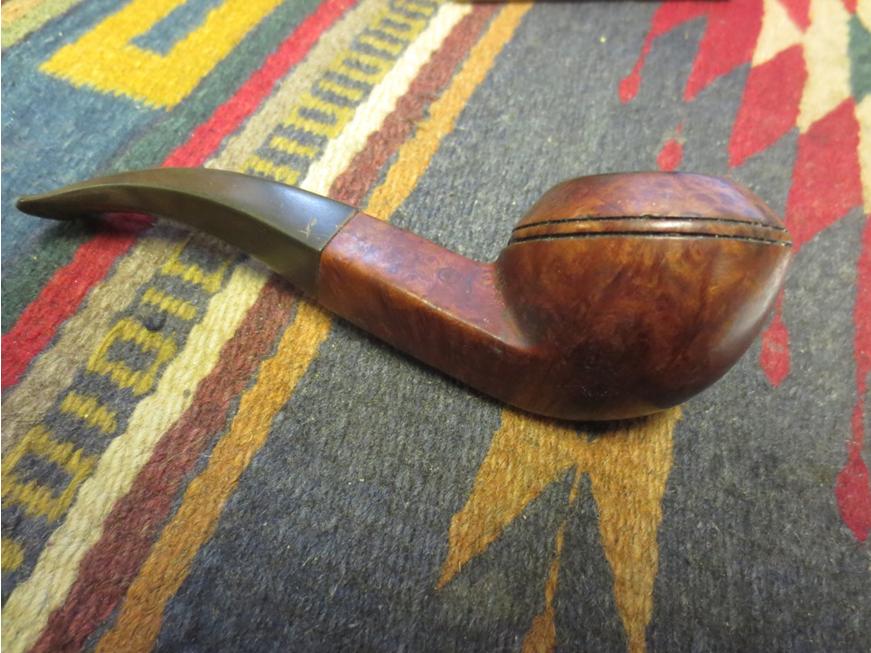
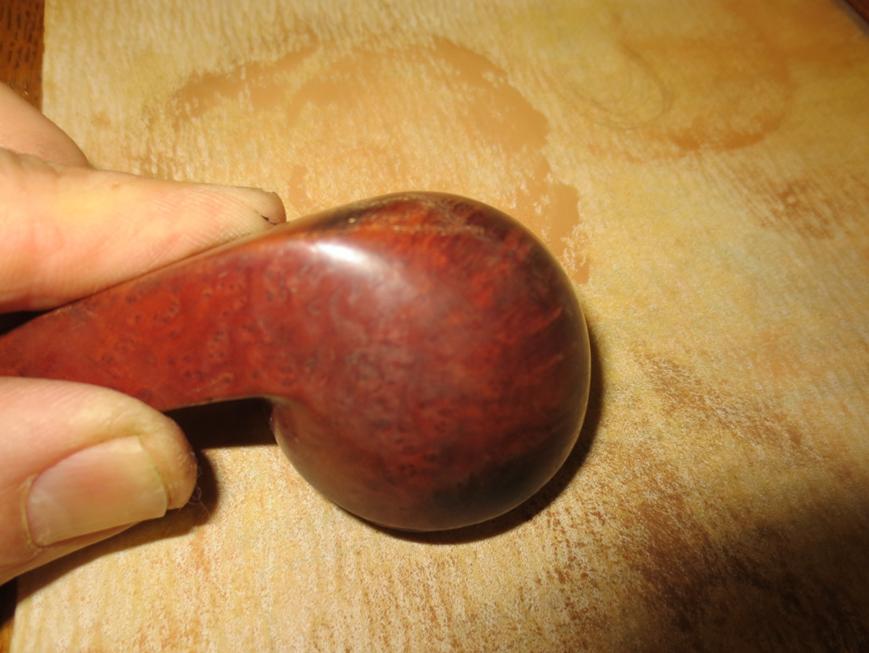
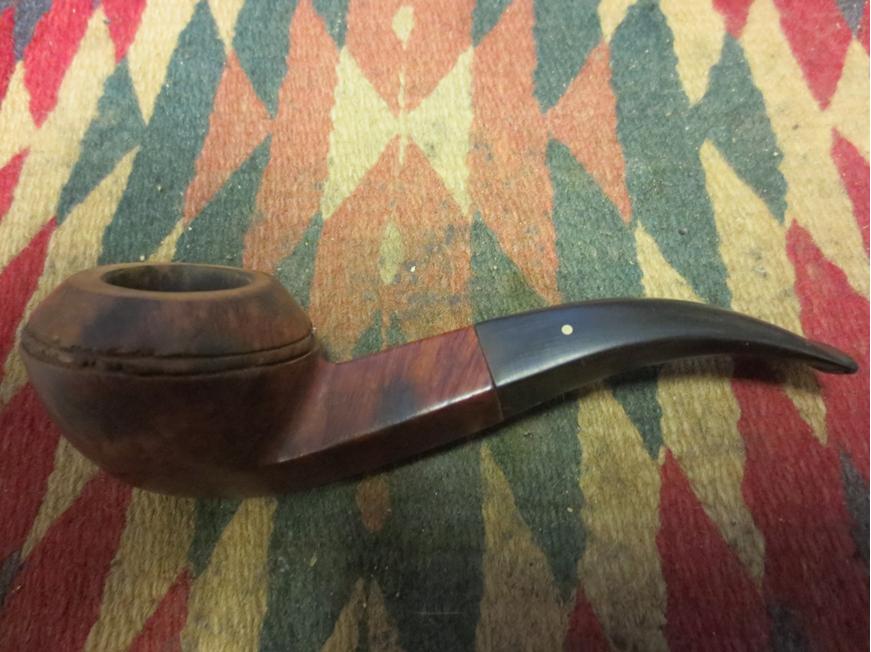
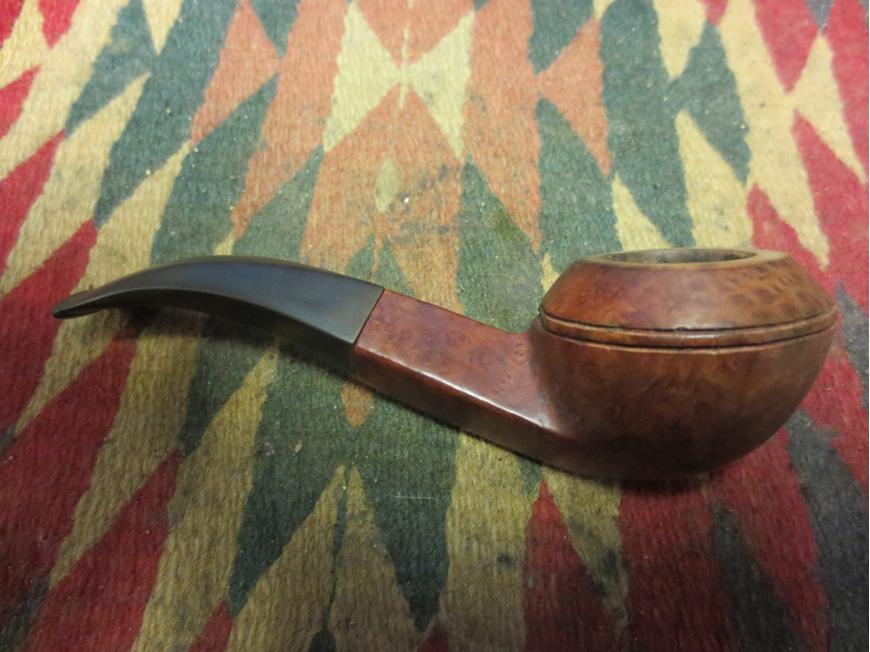
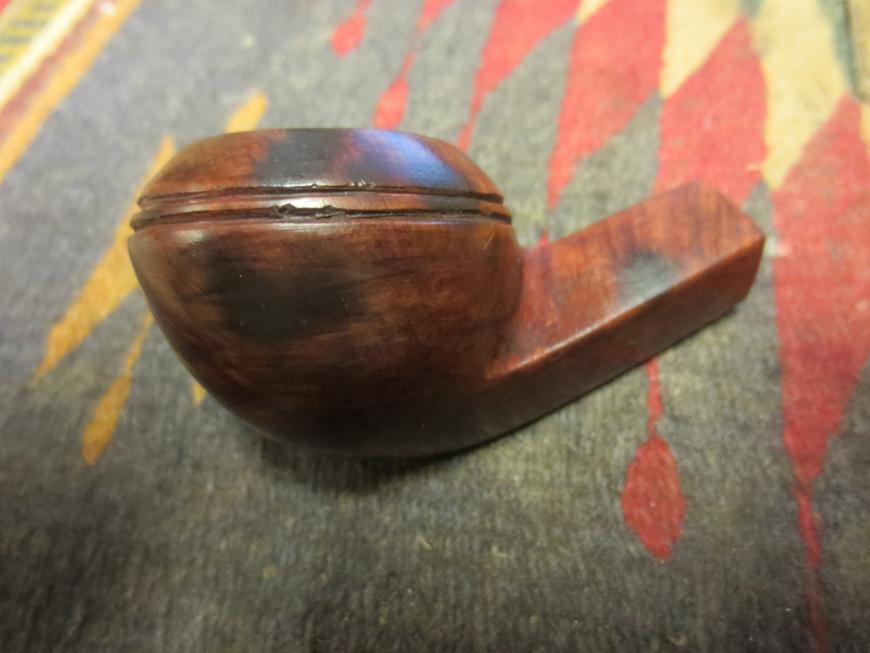
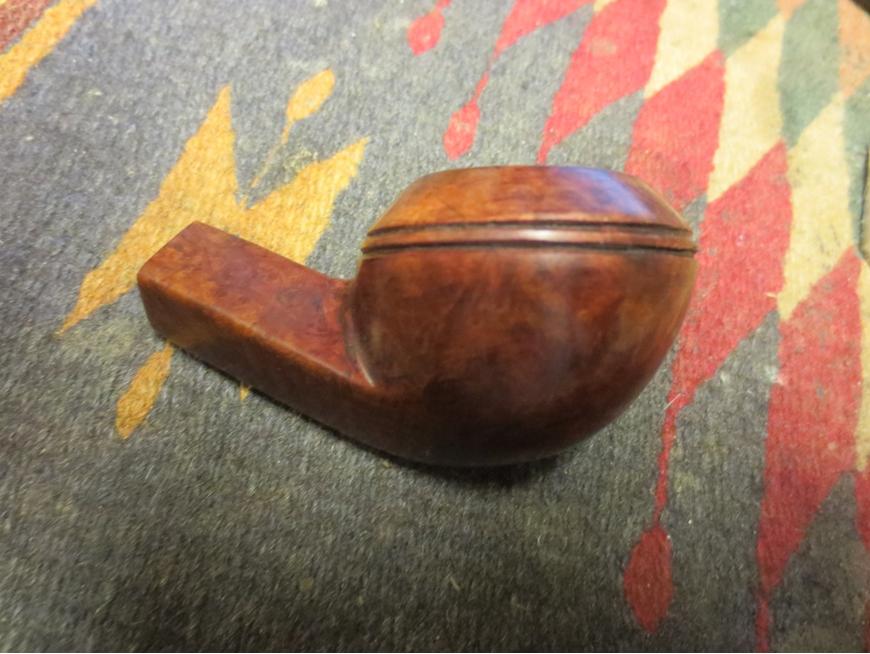
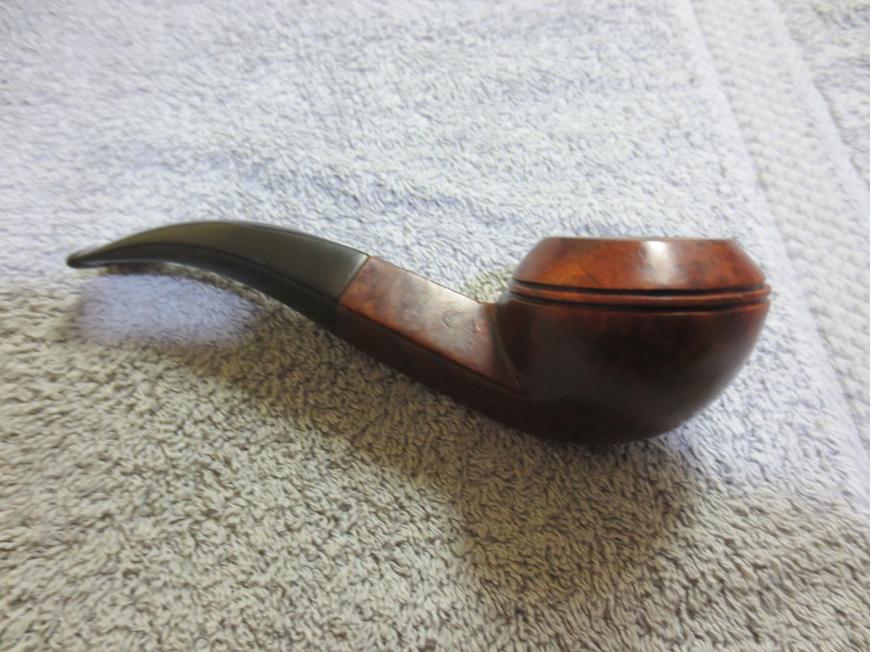
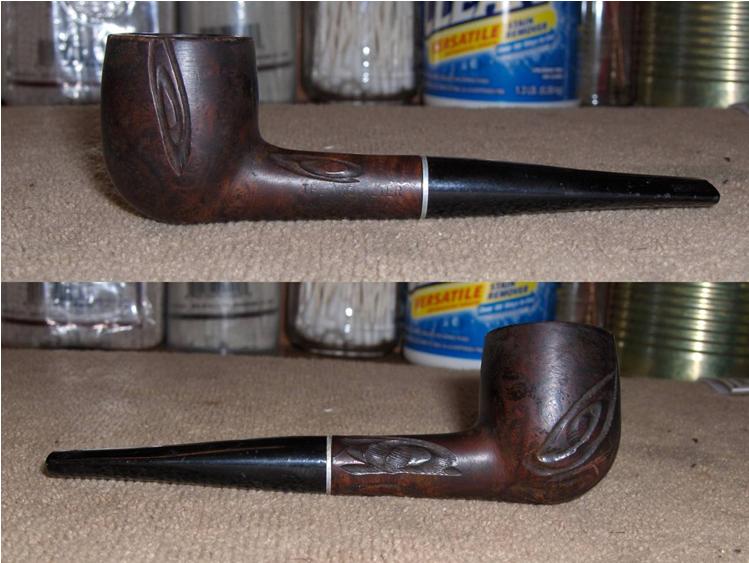
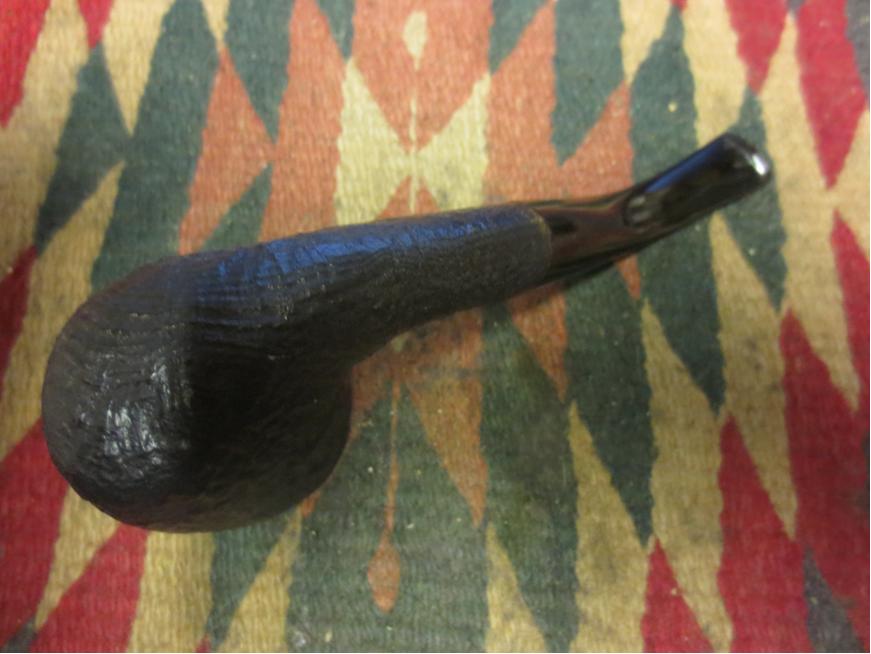
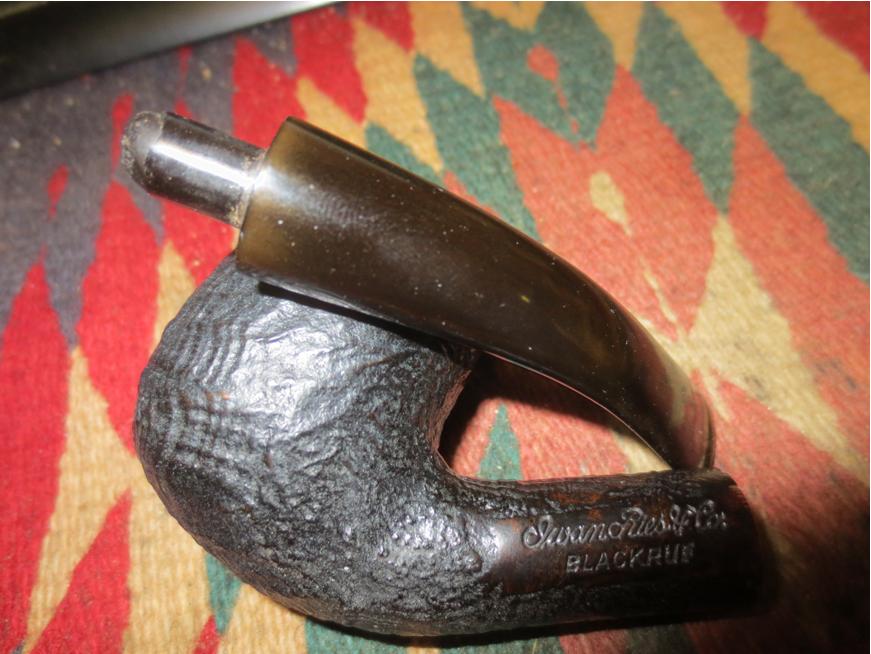
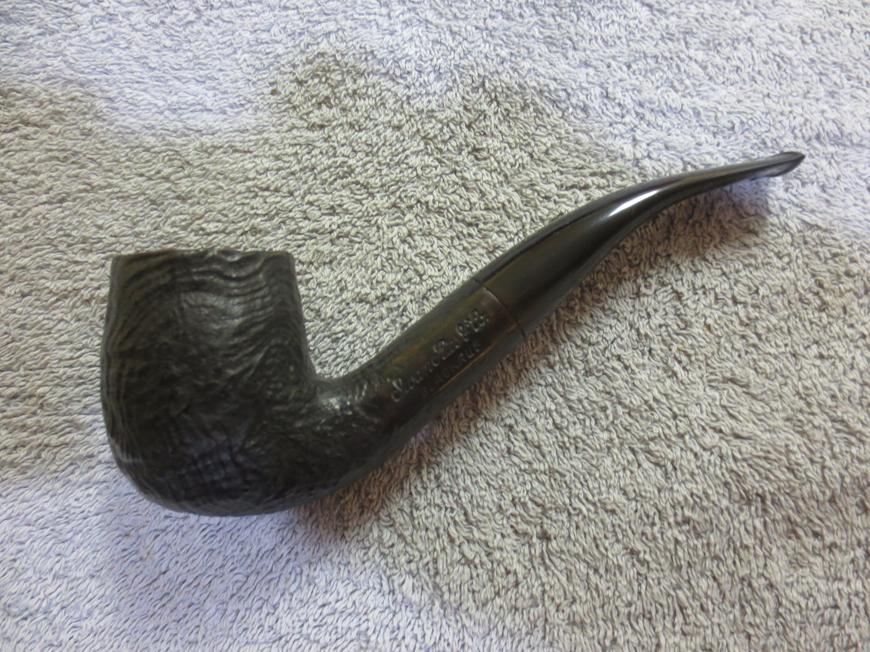
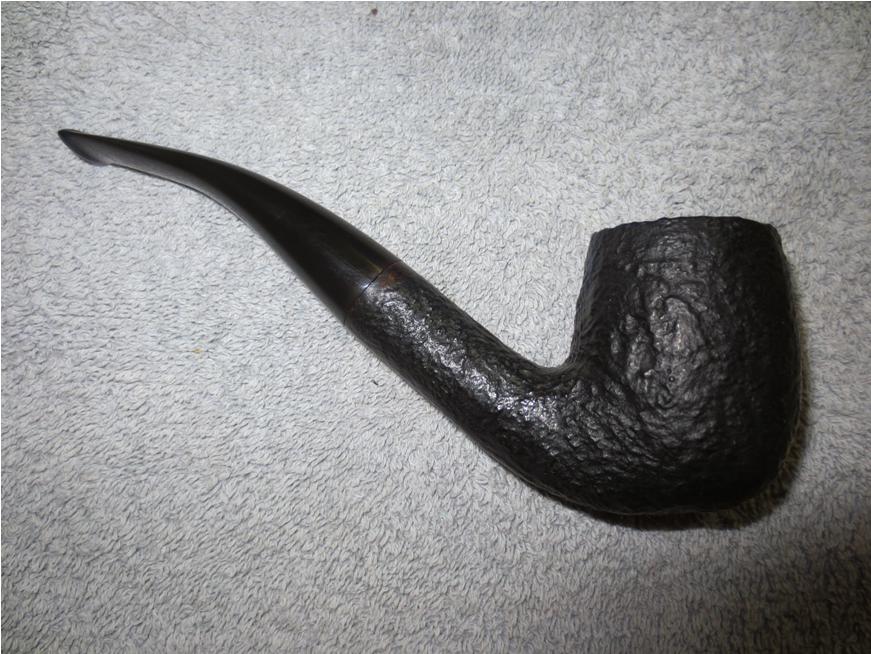
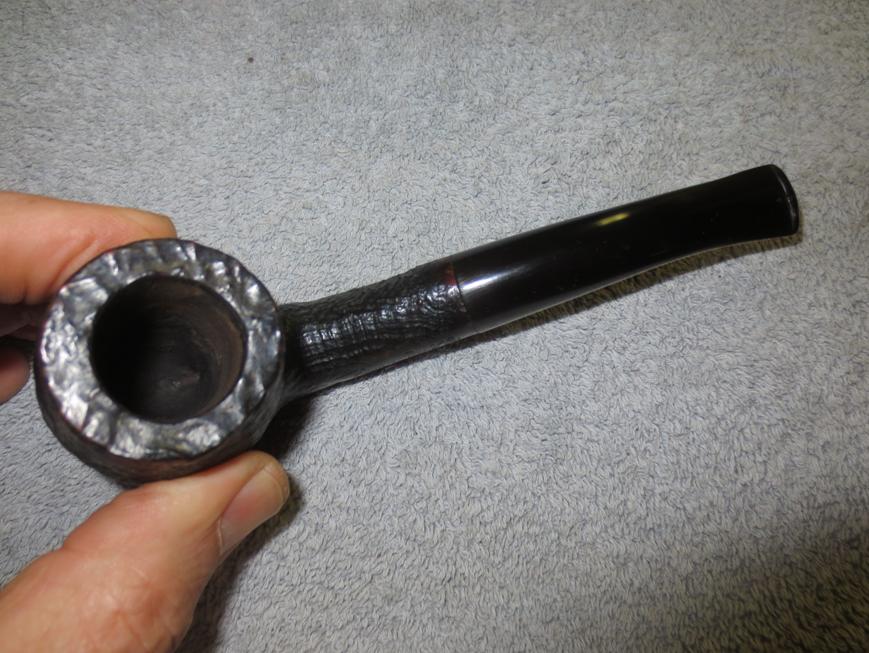
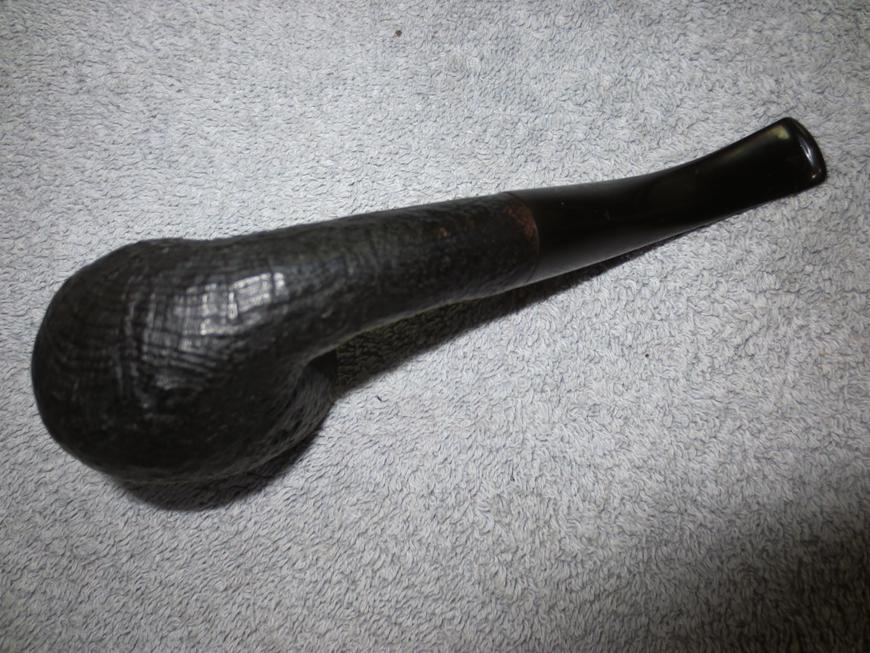
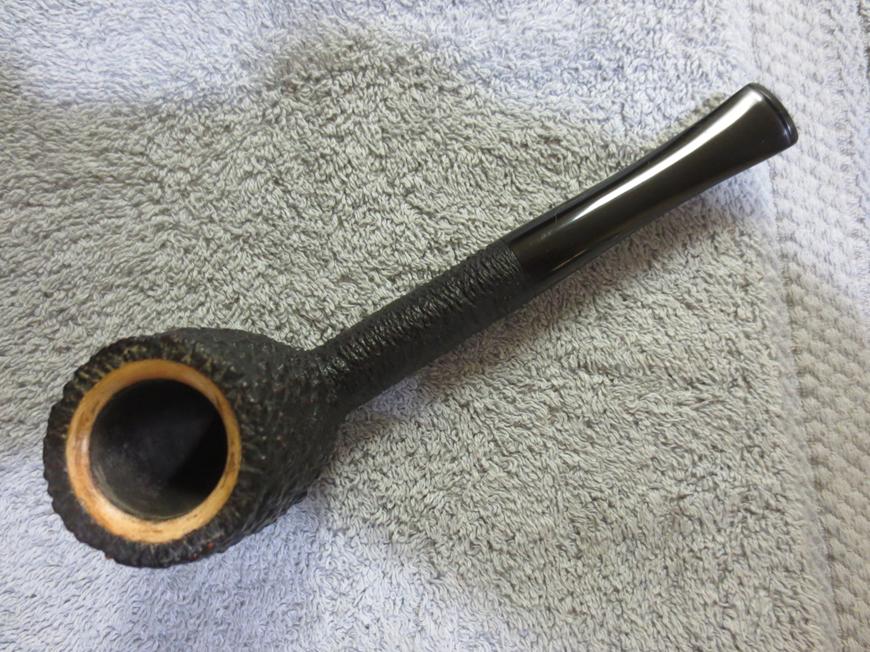
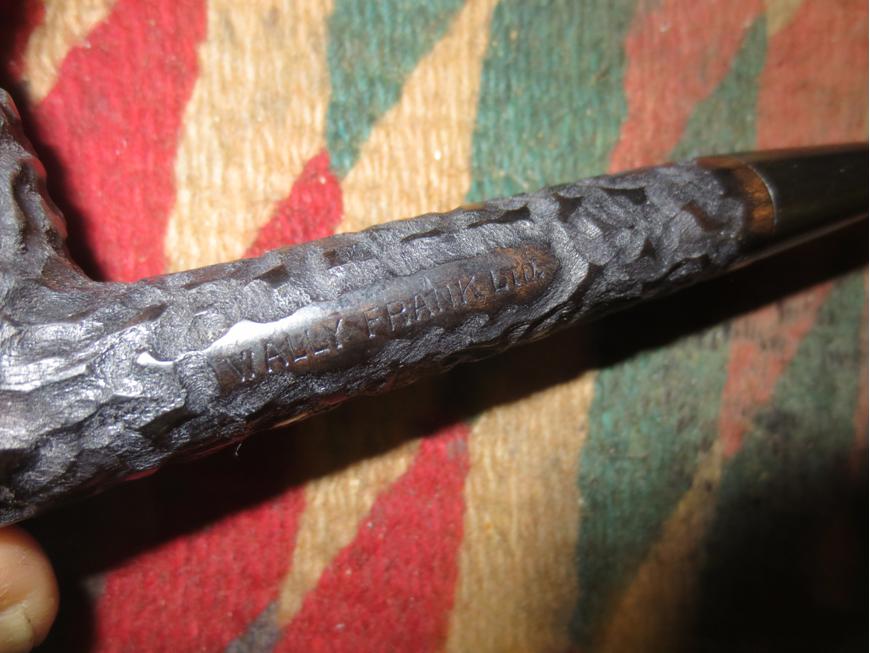
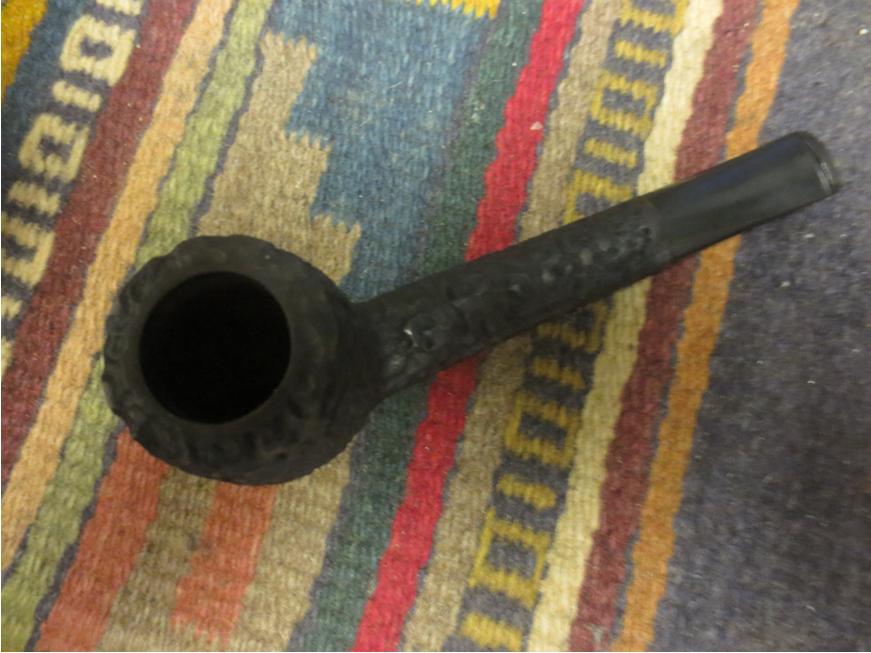
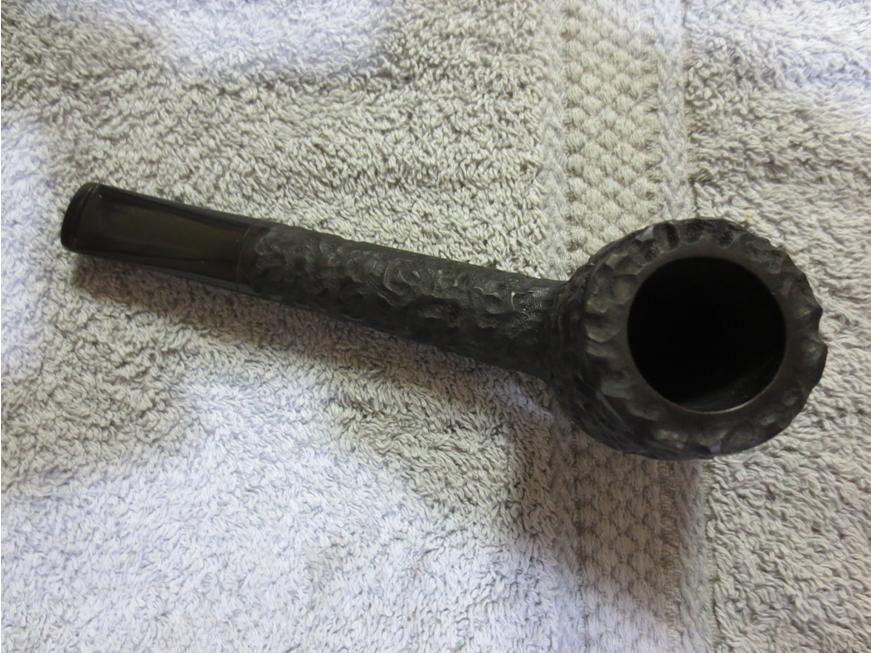
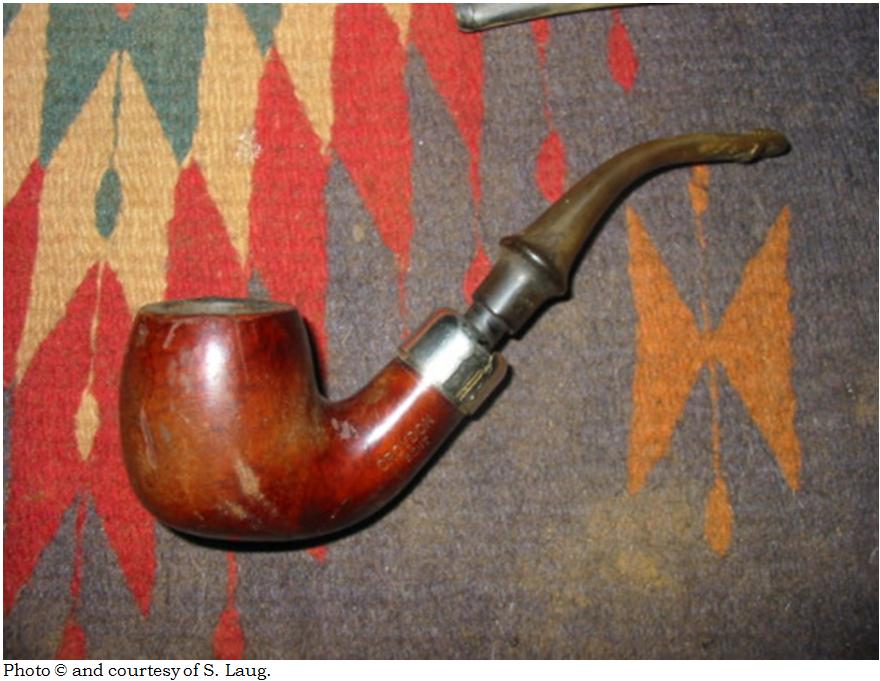
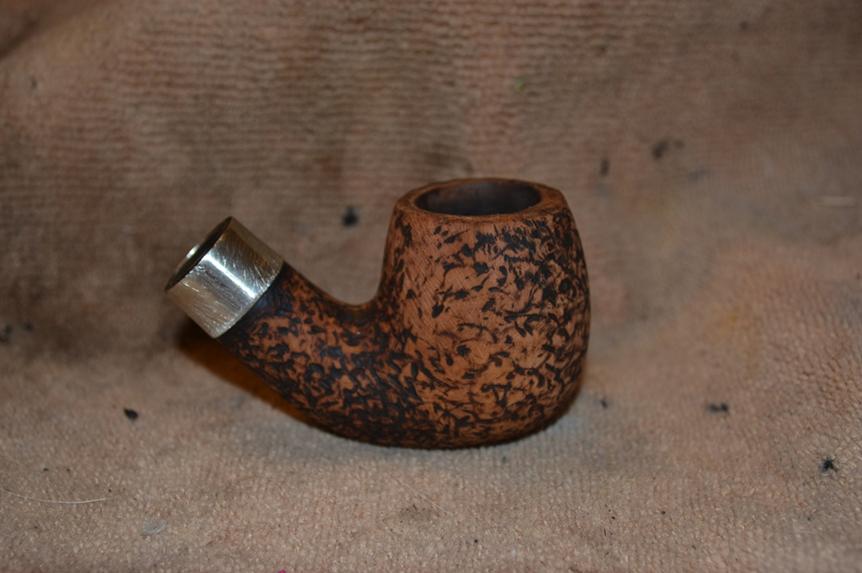
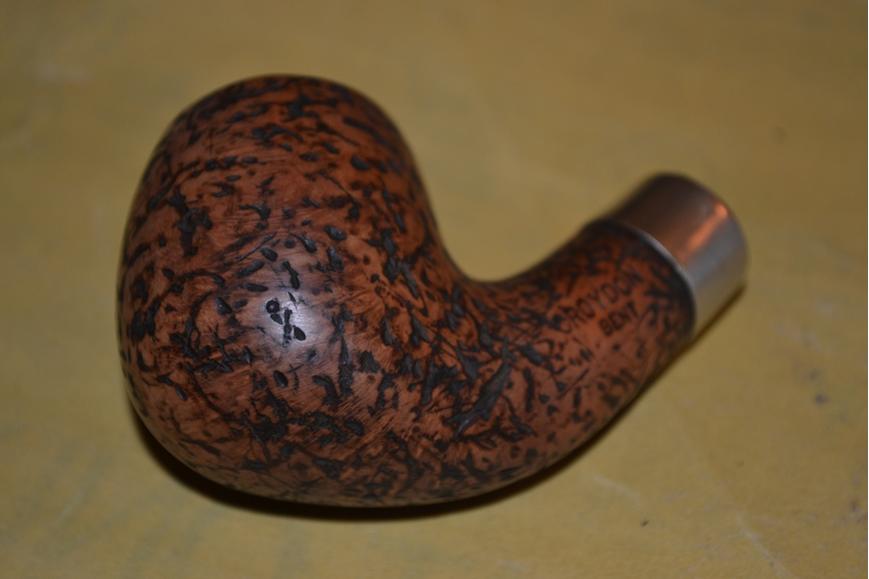
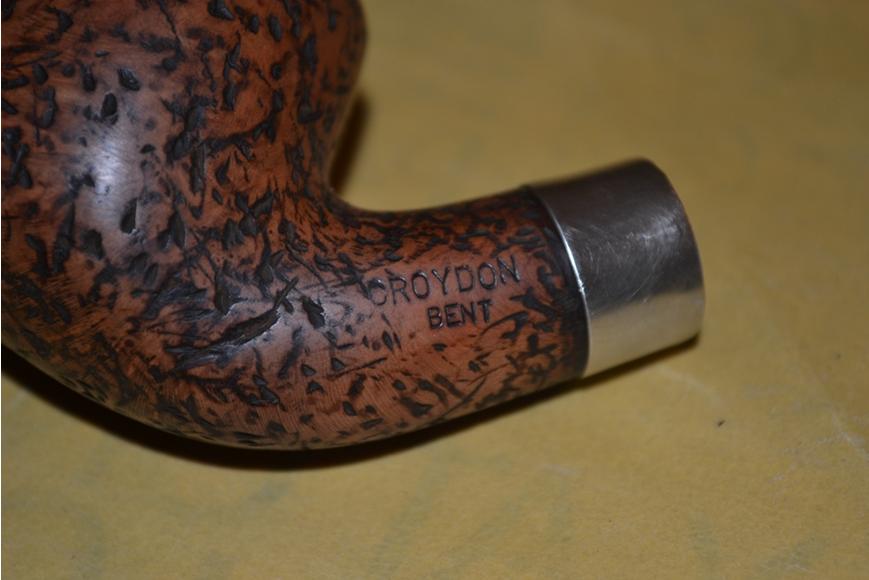
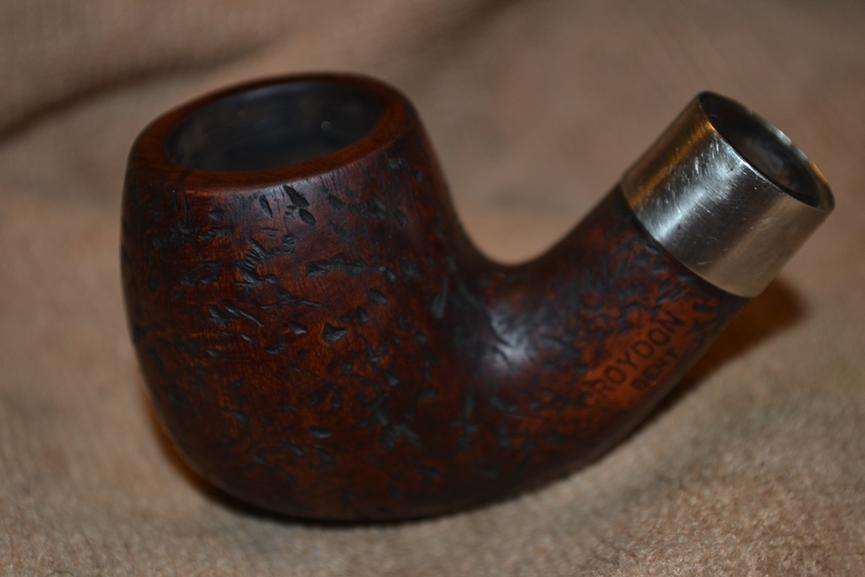
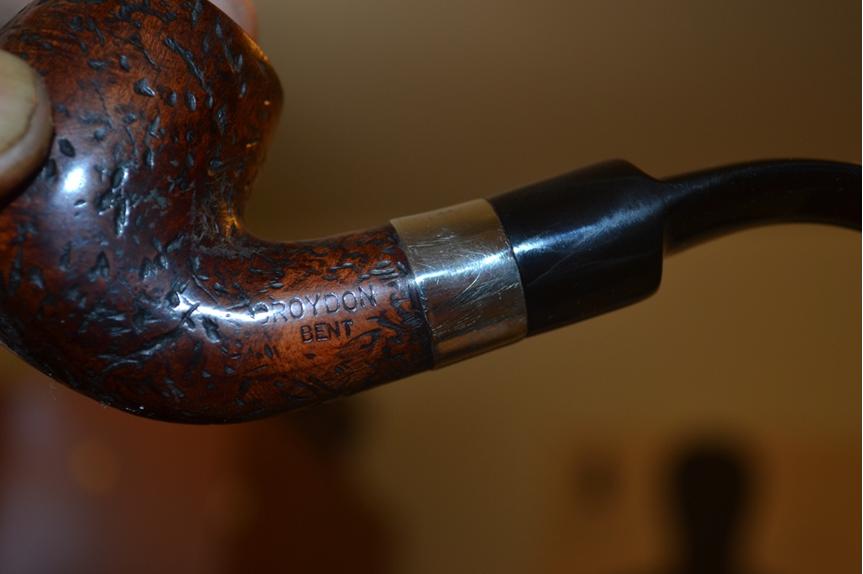
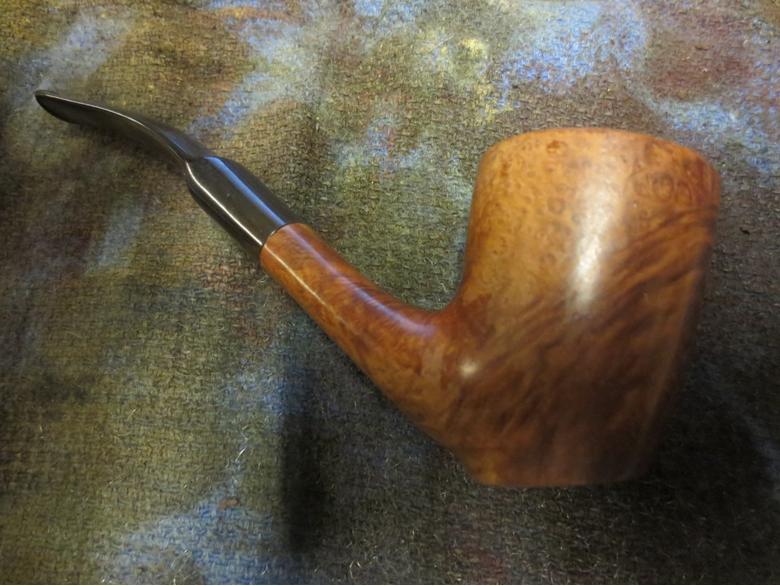
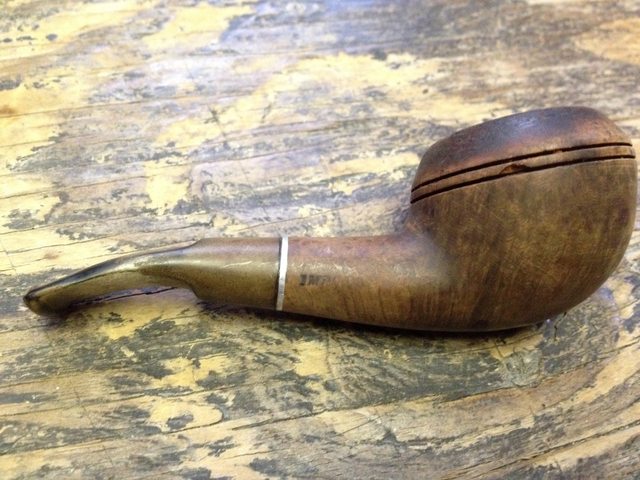
Looking online last week for background information on Croydon, I found links to various sites showing versions said to be made in London and Surrey, England as well as Spain, but without photos showing the nomenclature. Then I found a site for a definite Croydon brand from a Dutch carver named Lex Brouwer. There were also several sites for other brands, including Hilson and Peterson’s, with Croydon lines. I felt safe ruling out Hilson, which is known for its meerschaum lined chambers and mostly glazed clay bowls and shanks. Imagine my surprise to find an old Reborn Pipes blog by our host himself, from three years ago (June 20, 2012), about a ruined Croydon he believed was an old Peterson and of course re-made it to look perhaps better than new! Here are, top to bottom, his Croydon before restore and mine:
 Clearly, the similarity of the two pipes, other than the identical stampings of CROYDON over BENT, is not in these two before shots. What is amazing is how alike our vision of the finished pipe should be. (No fair skipping ahead to see what I mean! Bad habit!) Maybe even scarier is the fact that Steve’s modifications were made by necessity, about which you can read at https://rebornpipes.com/2012/06/20/old-croydon-reborn-3/, while mine were just for the sake of personal preference and nothing else. I might just as well have reamed and sanded the chamber, scrubbed and retorted the insides, lightly micro-meshed the bit below the lip and given the whole thing a nice new buffing.


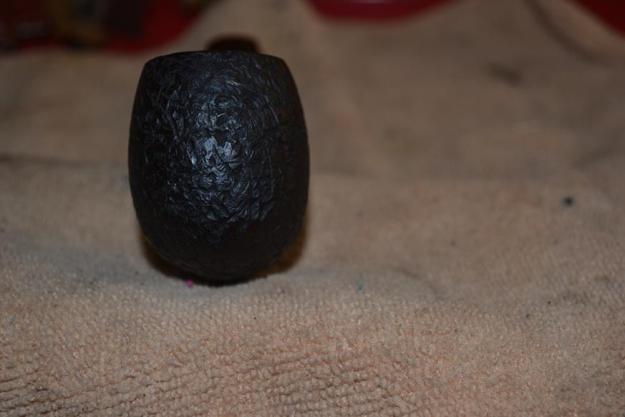
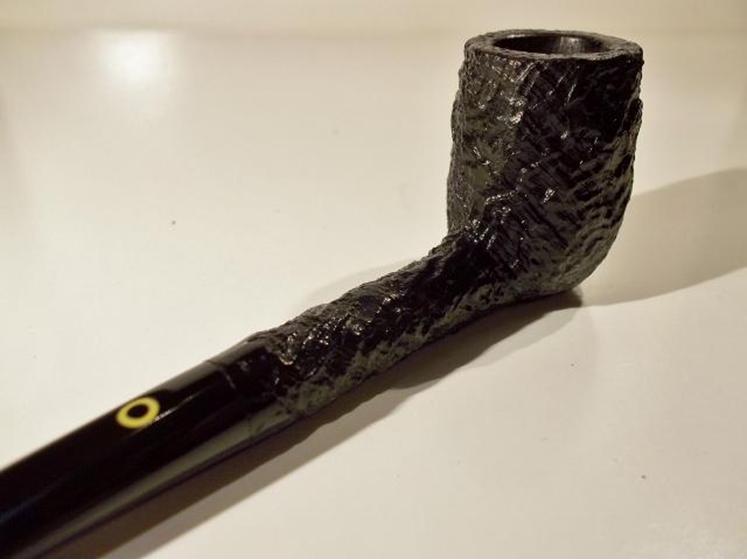
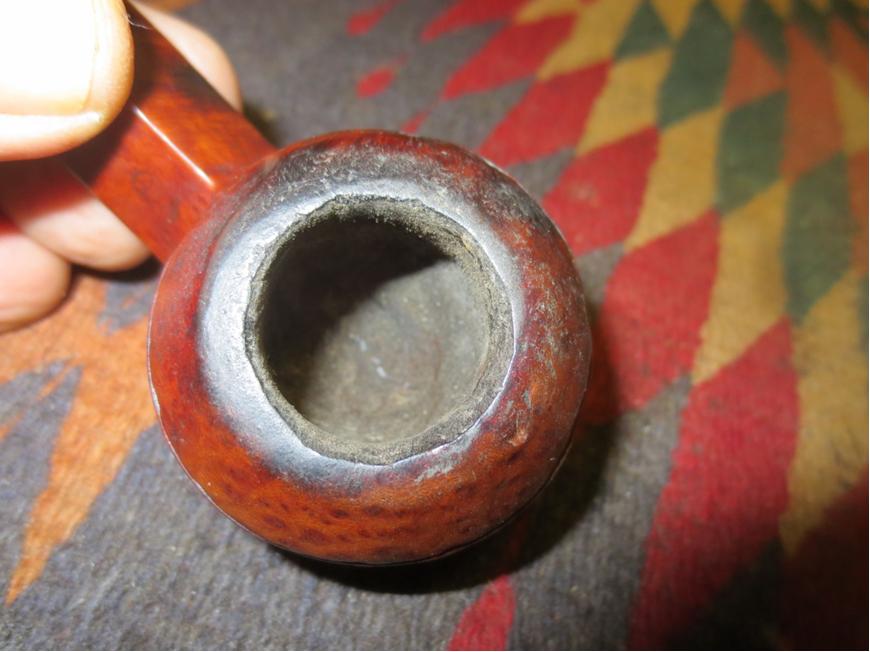
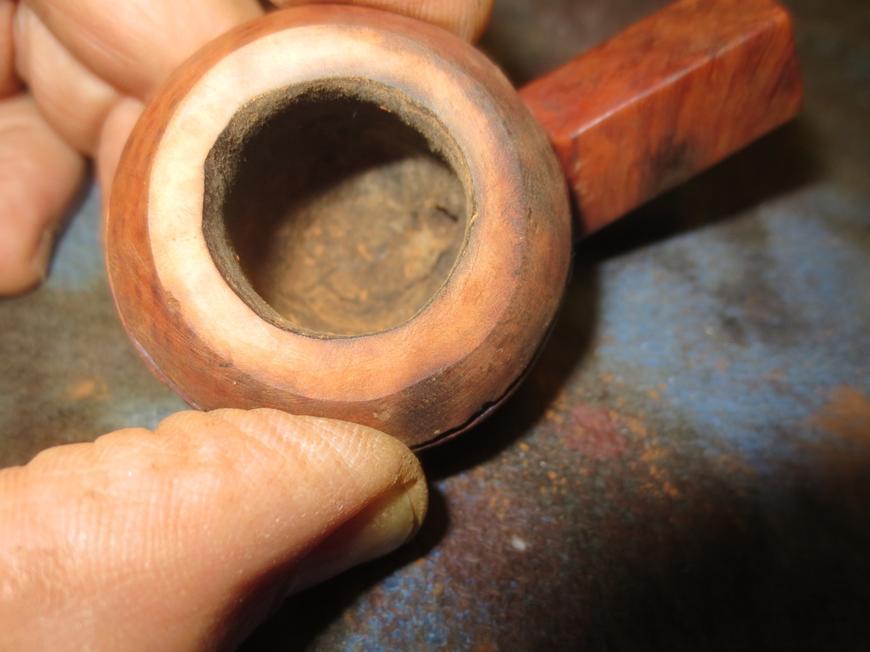
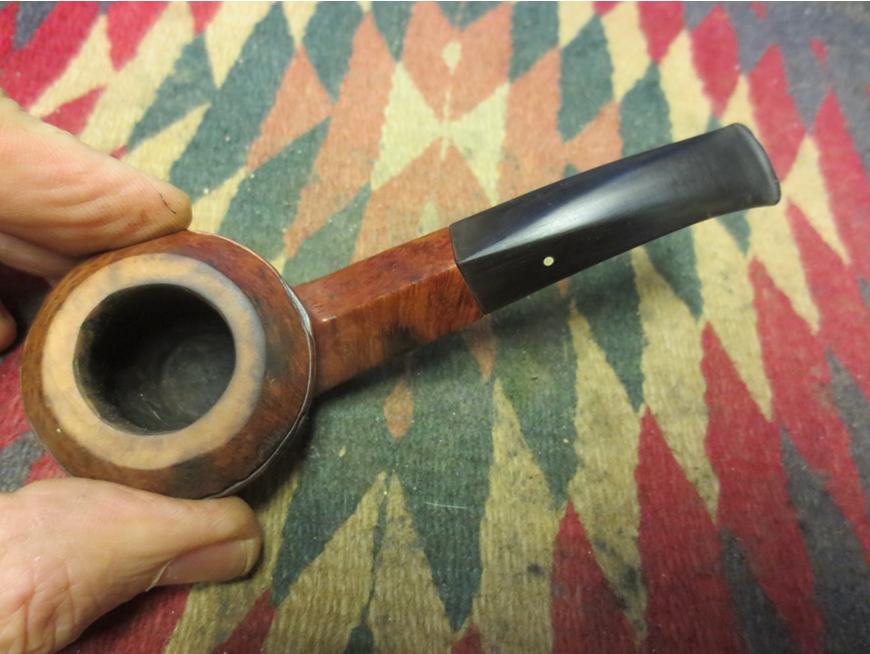
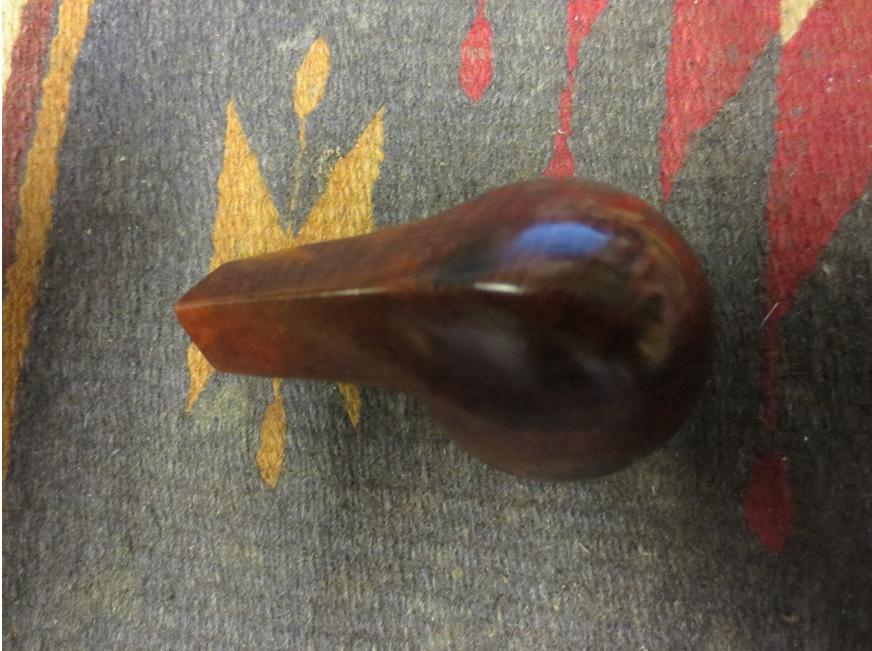
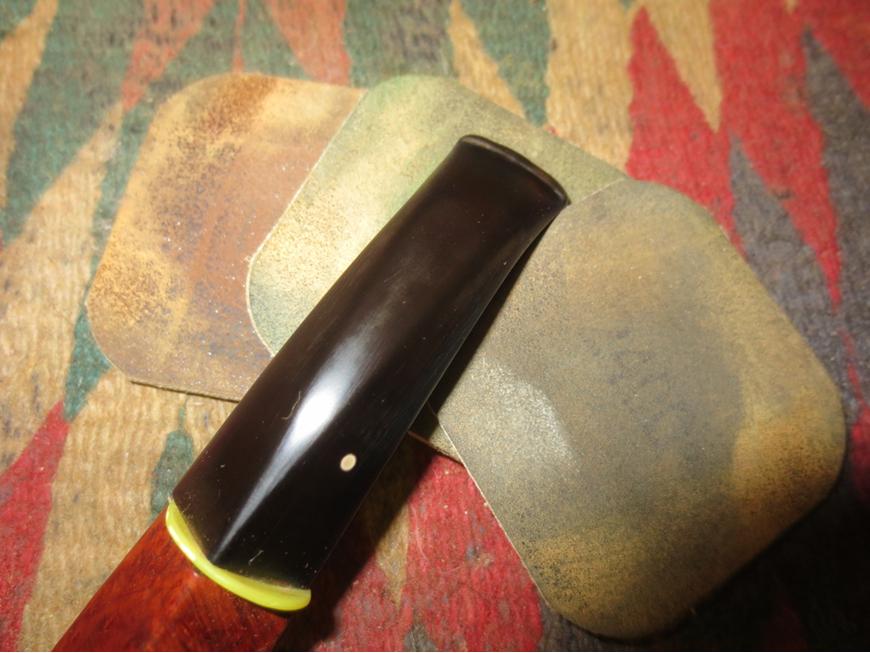
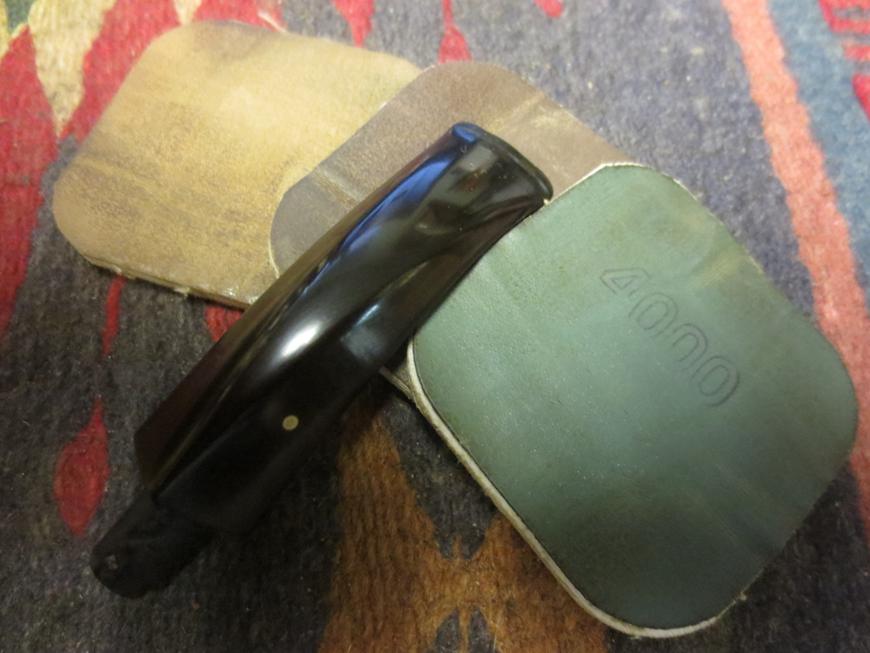
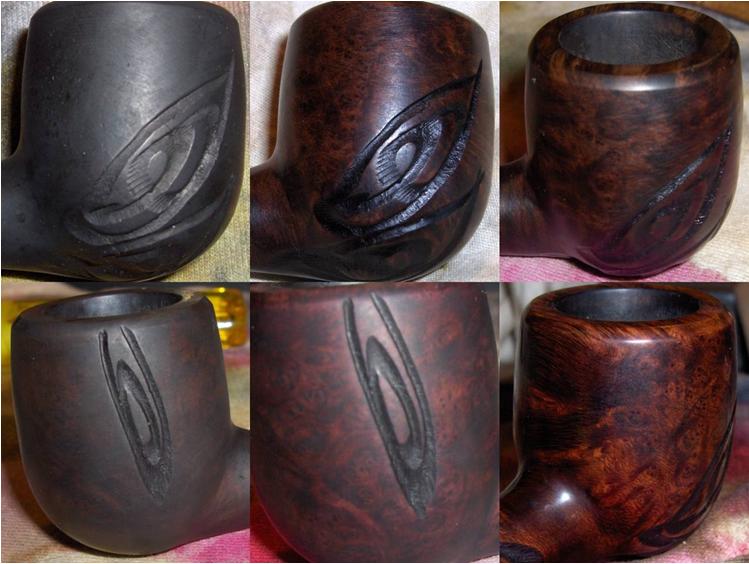
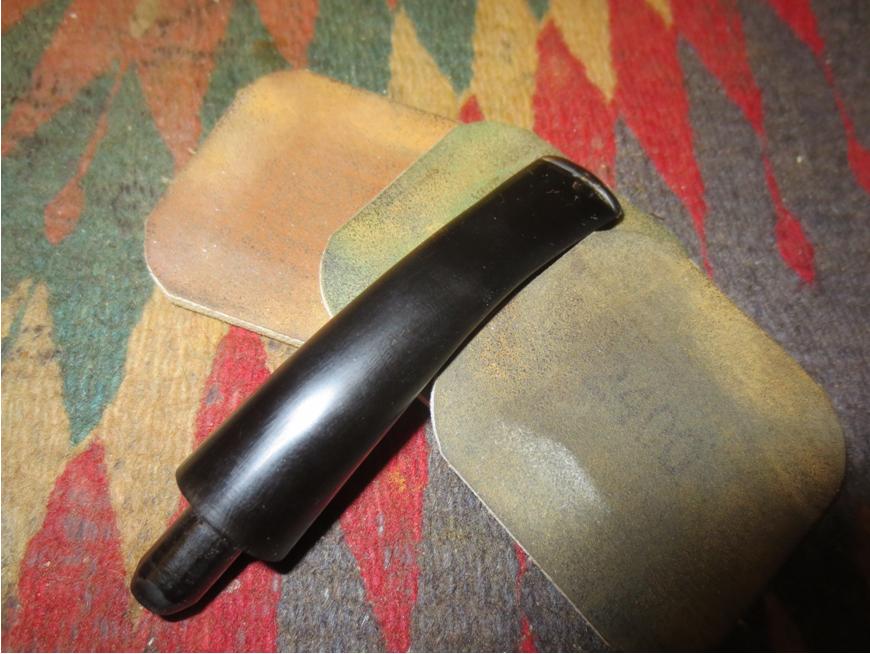
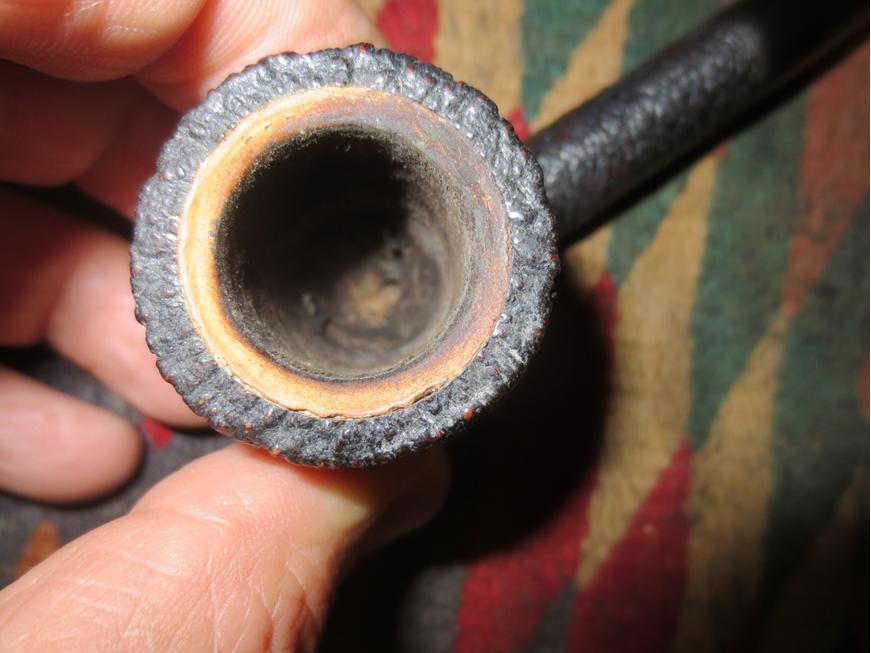
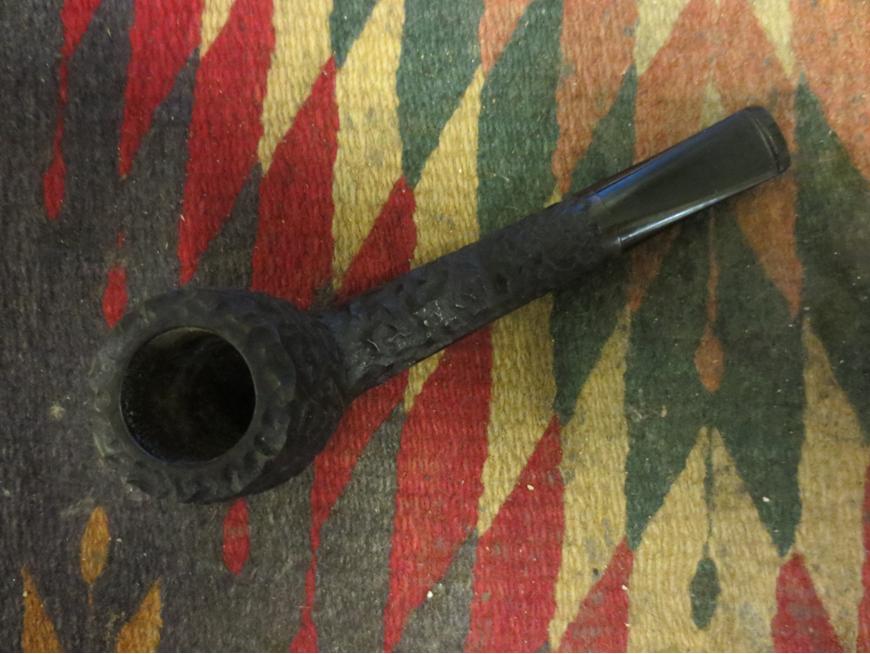
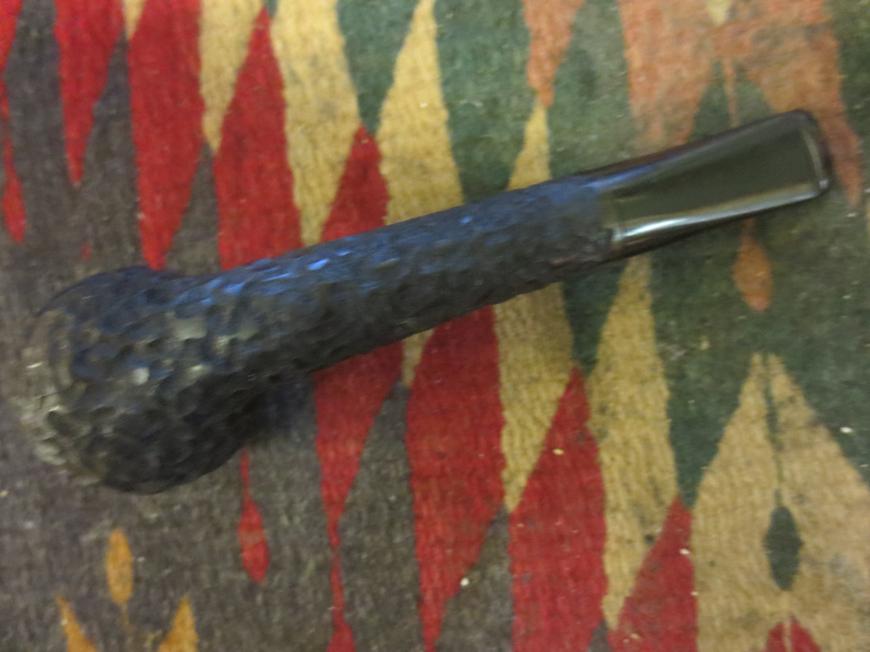
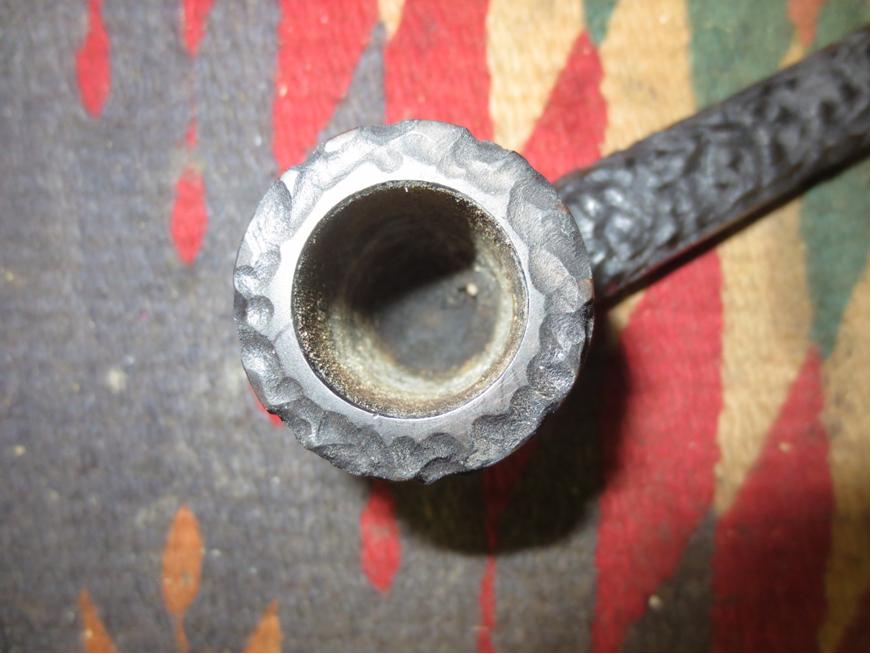
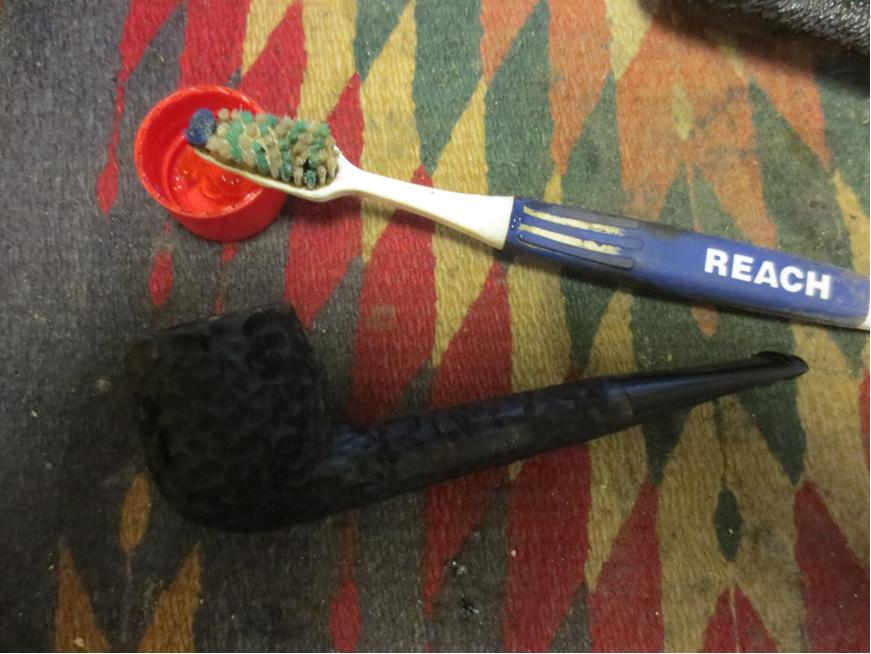
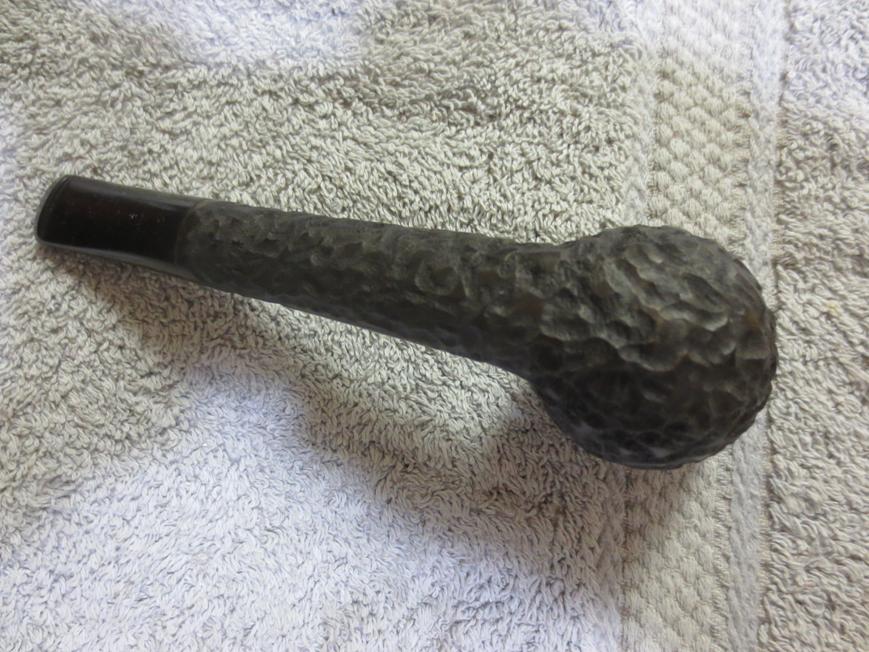
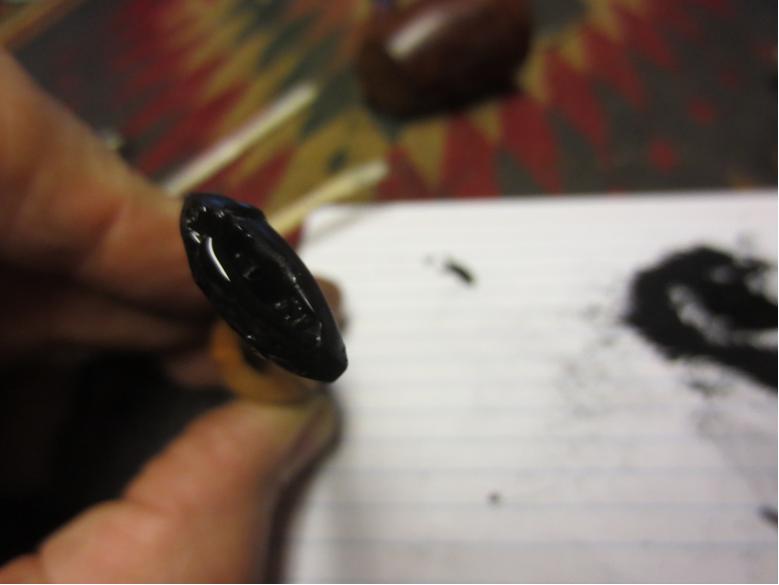
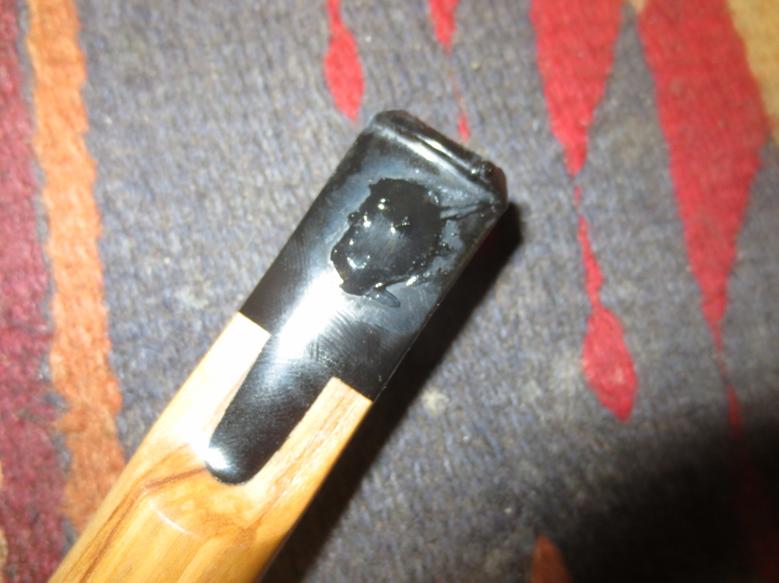
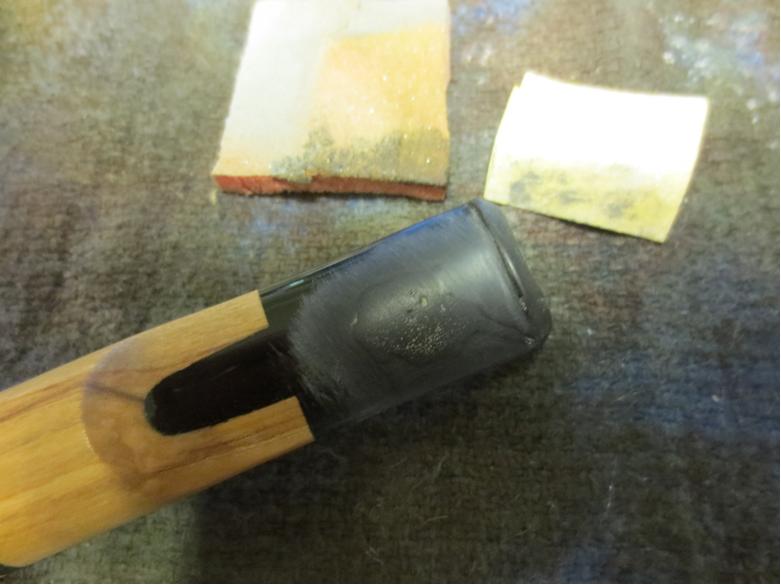
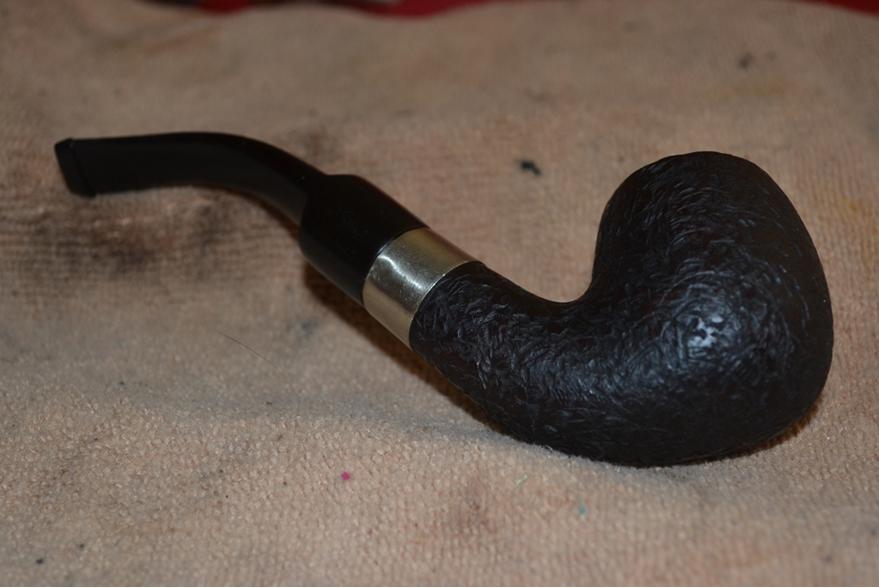
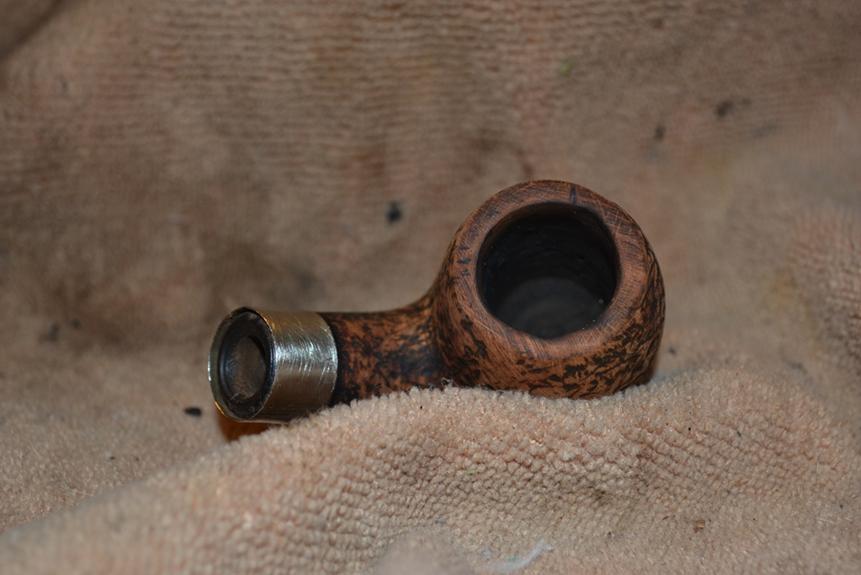
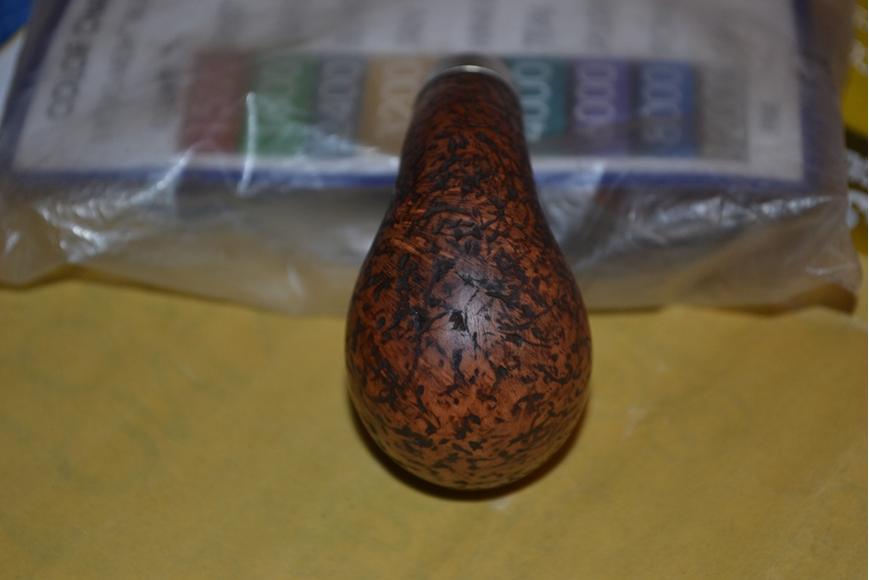
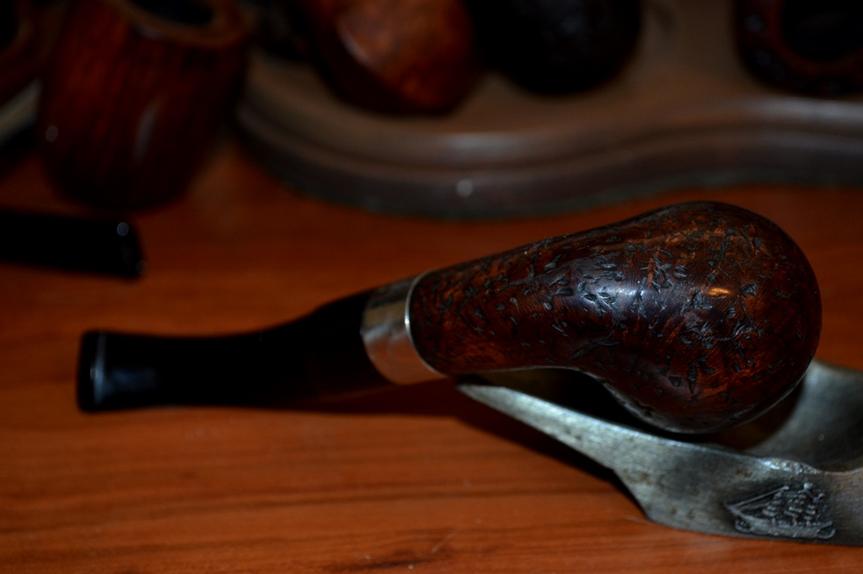
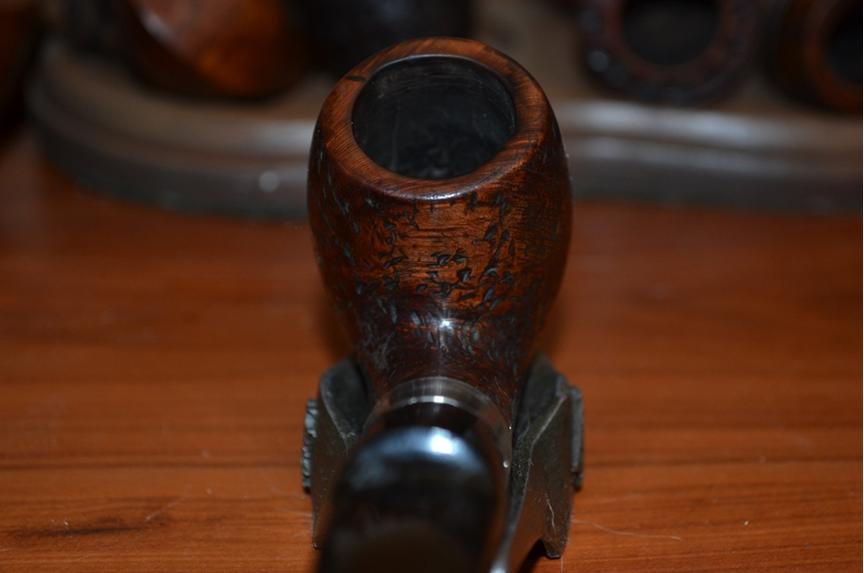
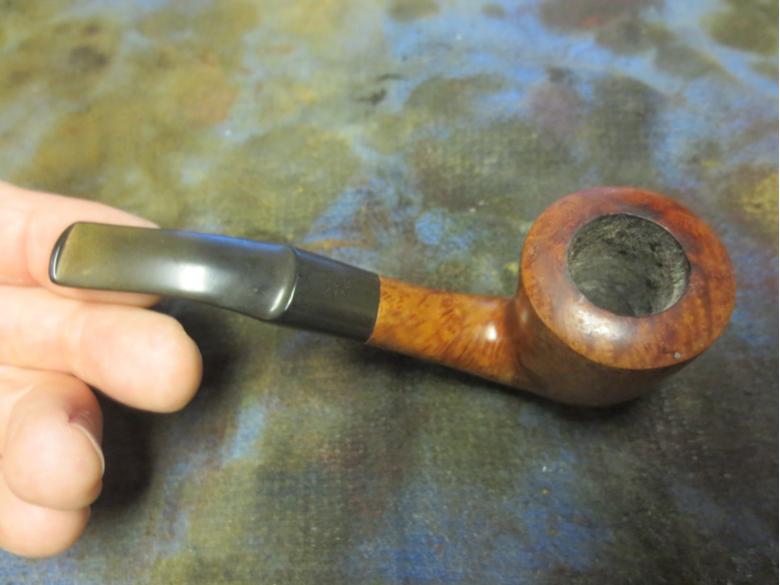
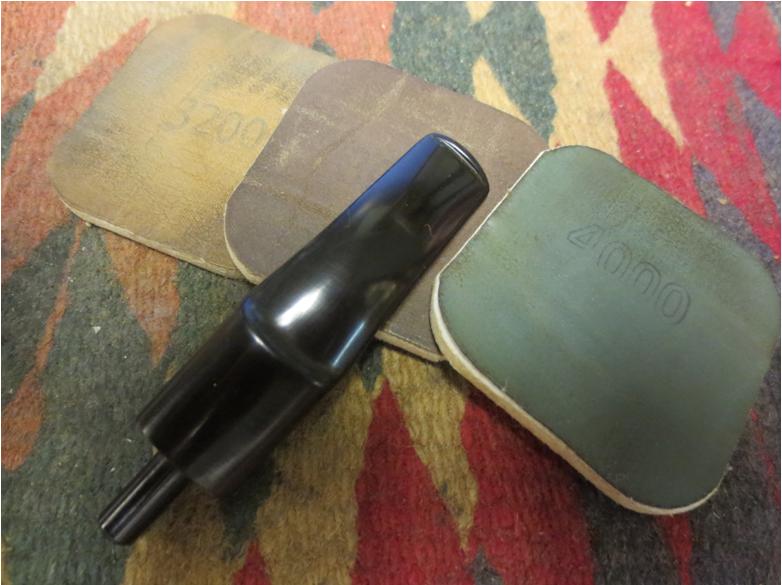
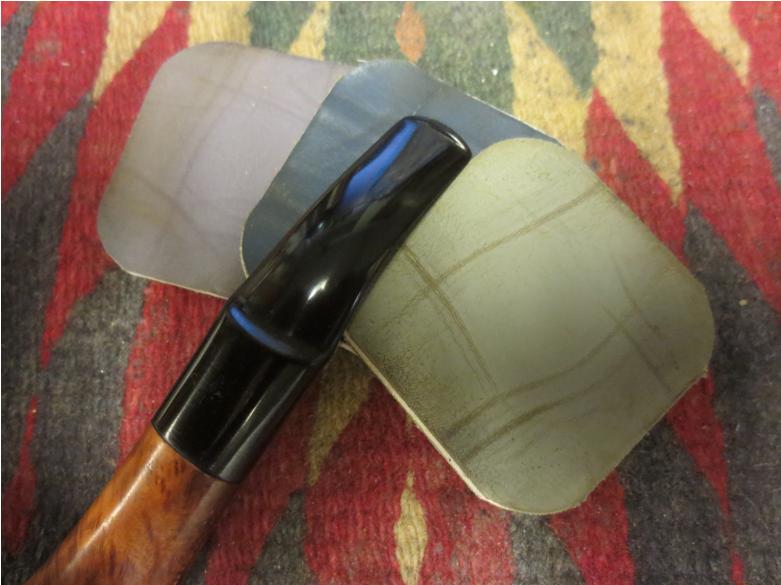
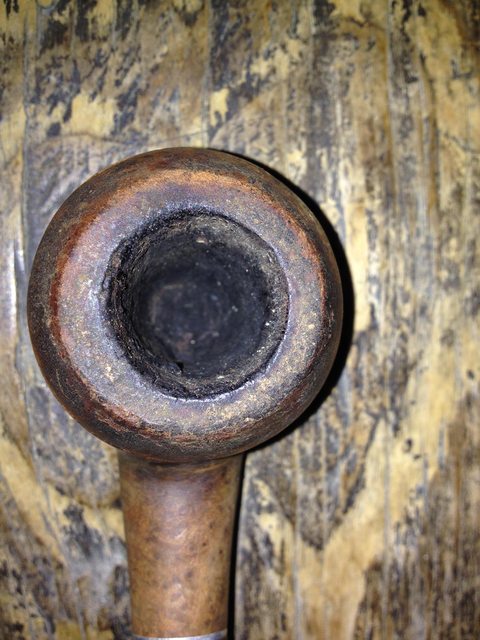
 But I’m just sick and tired of all the rusticated pipes that are finished with black stain! Enough is enough, I say! At least for this restoration, which I can only call that because of the initial stripping of the insidious stain, starting with 300-grit sandpaper followed by 400 and micromesh every grade from 1500-4000.


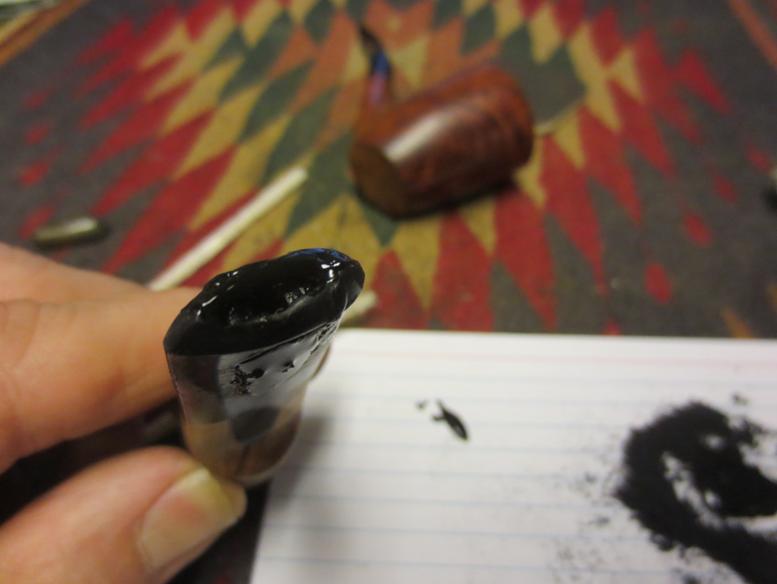
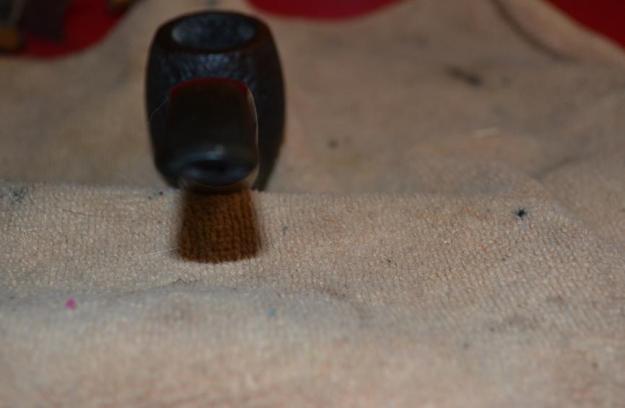
 I wanted to remove as much of the black from the crooks and crevices of the rustication as possible. Yes, my goal was to eradicate it if possible, which proved impossible with my knowledge – short of soaking only the wood in Everclear, which was problematic what with having to plug both ends of the draught hole and keeping the metal tilted up and out of the 95% alcohol. I suspect the alcohol would have eaten its way past any stoppers I might have devised anyway, and besides, I have had enough experience stripping pipes this way to have learned that less, in most cases, is better. Of course, in the case of Steve’s Croydon, he had absolutely no choice but to do a total makeover, even to the point of considering the idea of re-Christening the completed work a “Croydon-Reborn.” Reading his blog, I was touched by the apparently sincere struggle he had with the entire process he has many times since performed with ever-increasing brilliance.
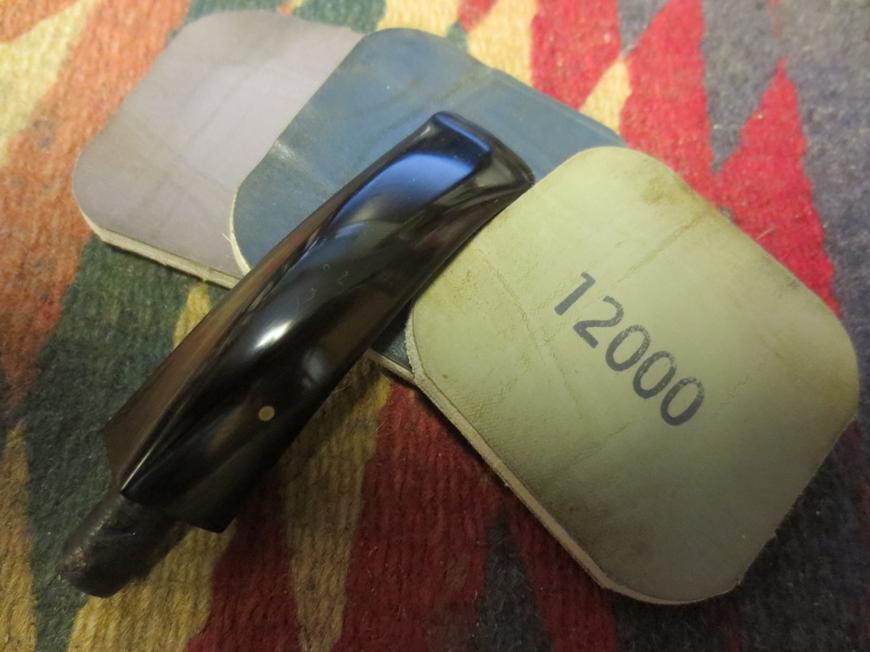
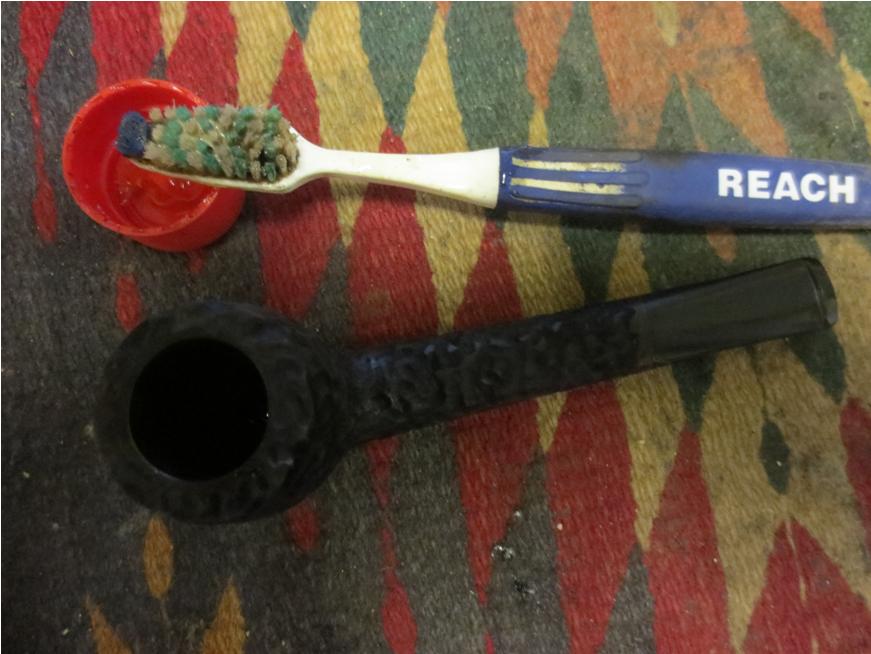
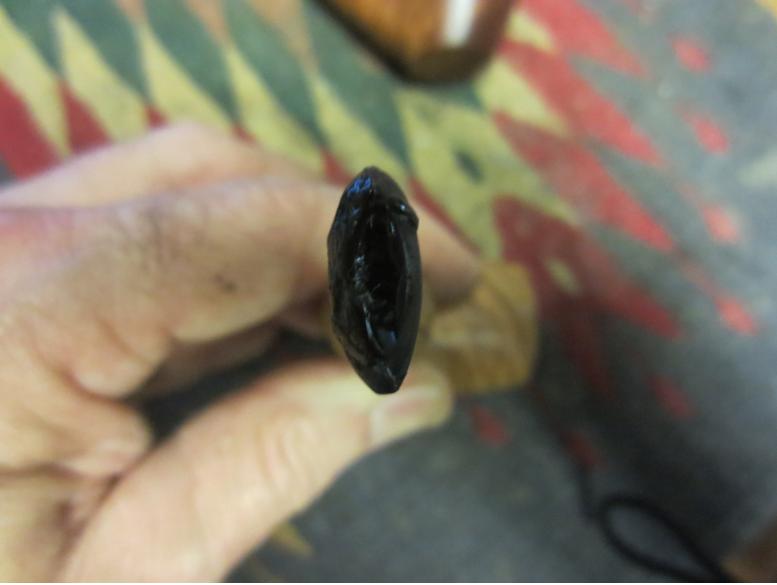
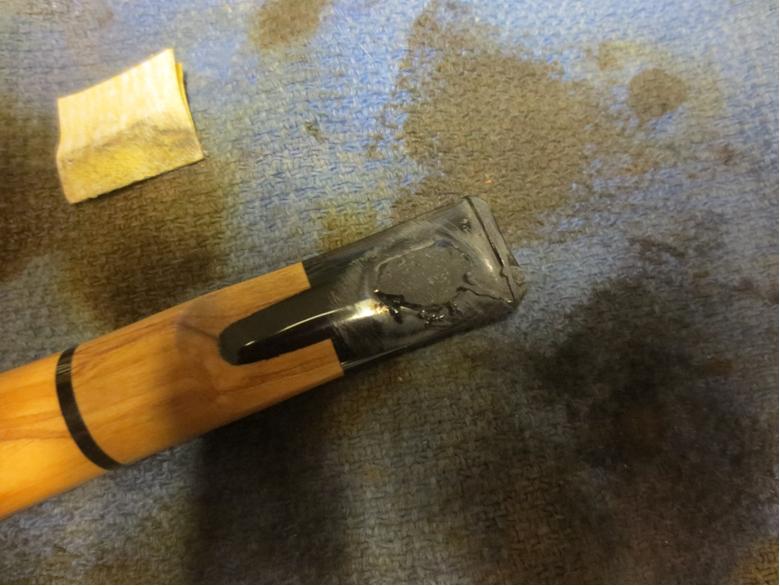
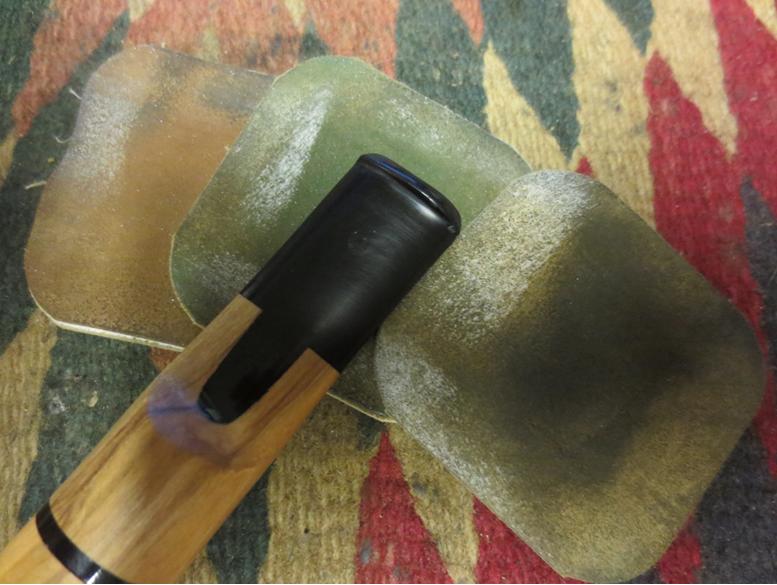
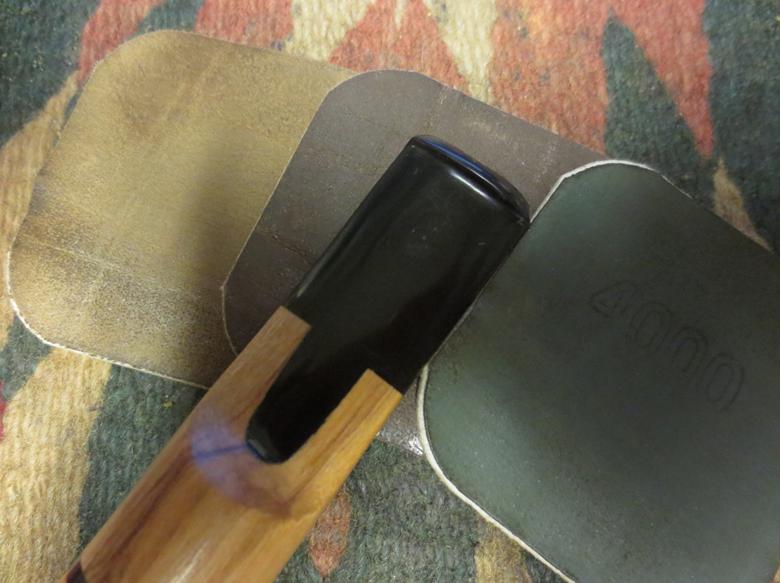
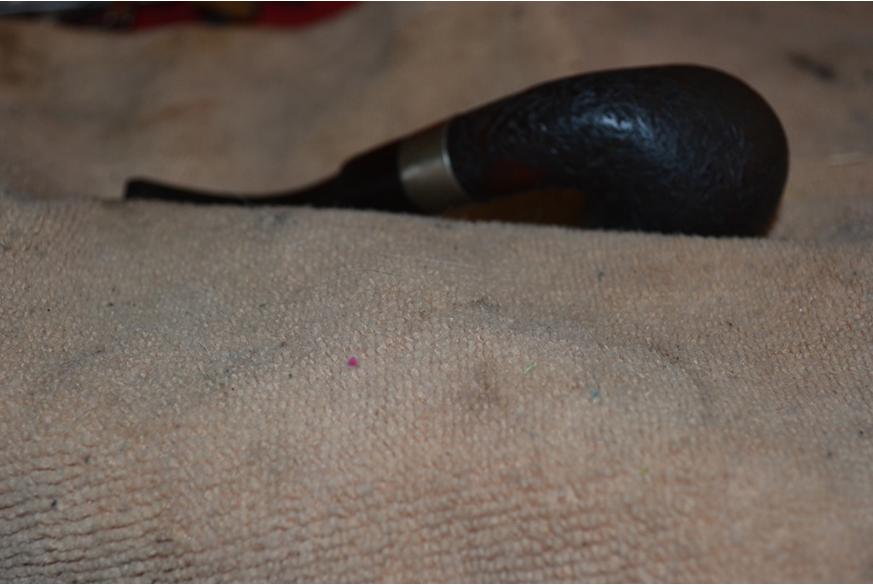
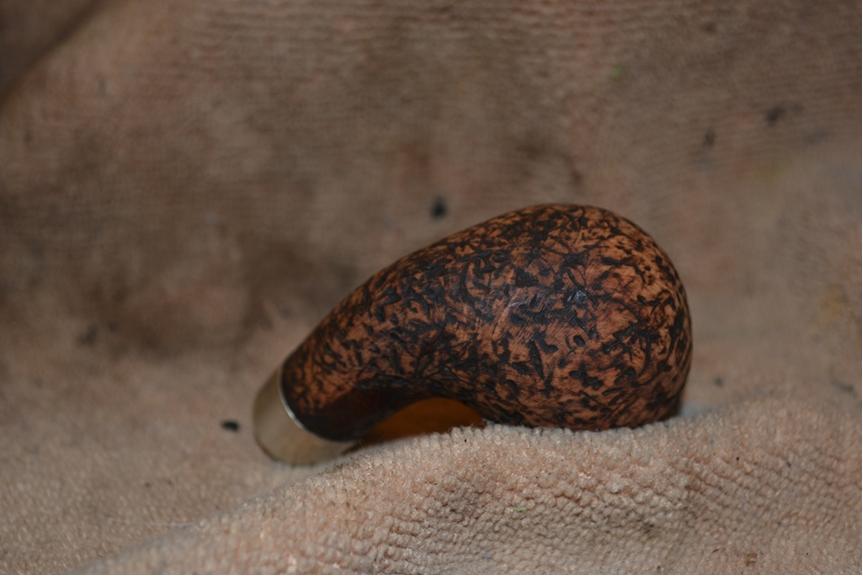
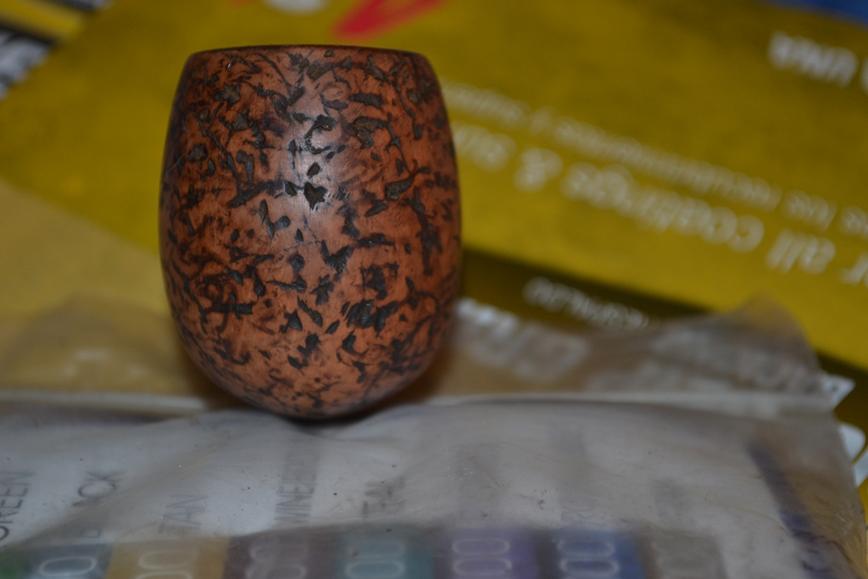
At any rate, I chose the kinder, gentler approach of going over the wood again, but with super fine 0000 steel wool and focusing my tiring hand-work on the celestial but microcosmic canals and pocks. Then I did the full range of micromesh again from 1500-4000.


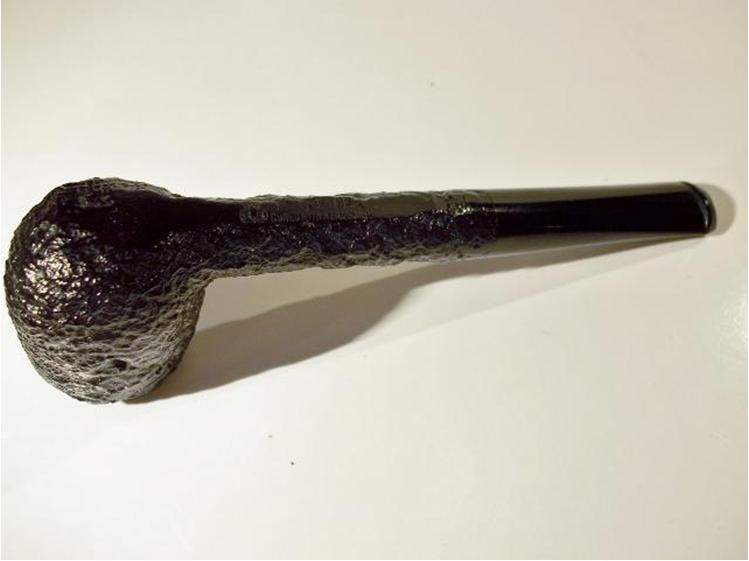
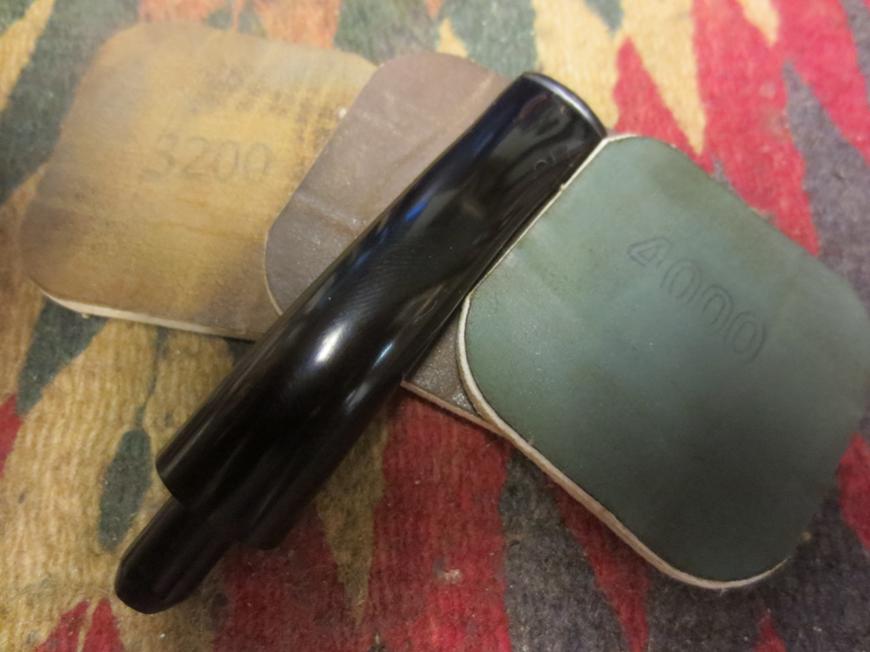
 As is apparent, my efforts to remove even a little more of the blackness were fruitless. I should have known better than to try, but still not refrained from using the steel wool and another thorough micromesh progression for its fine effect on smoothing the wood and making it glow.
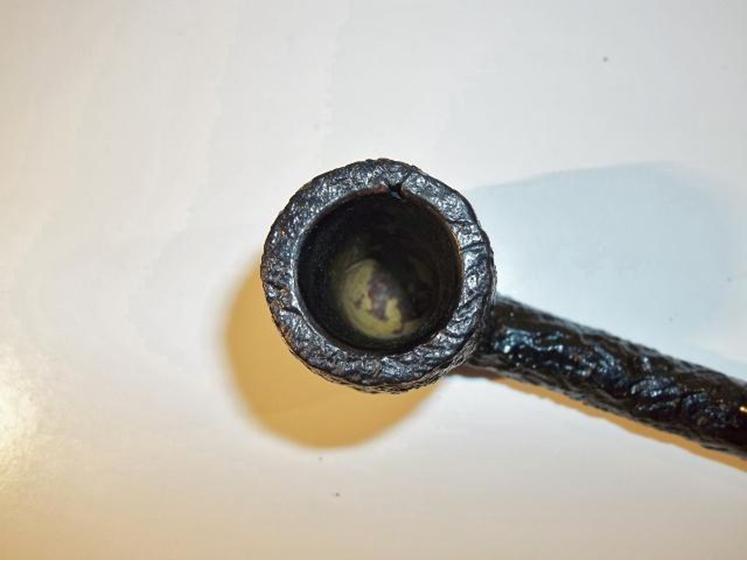
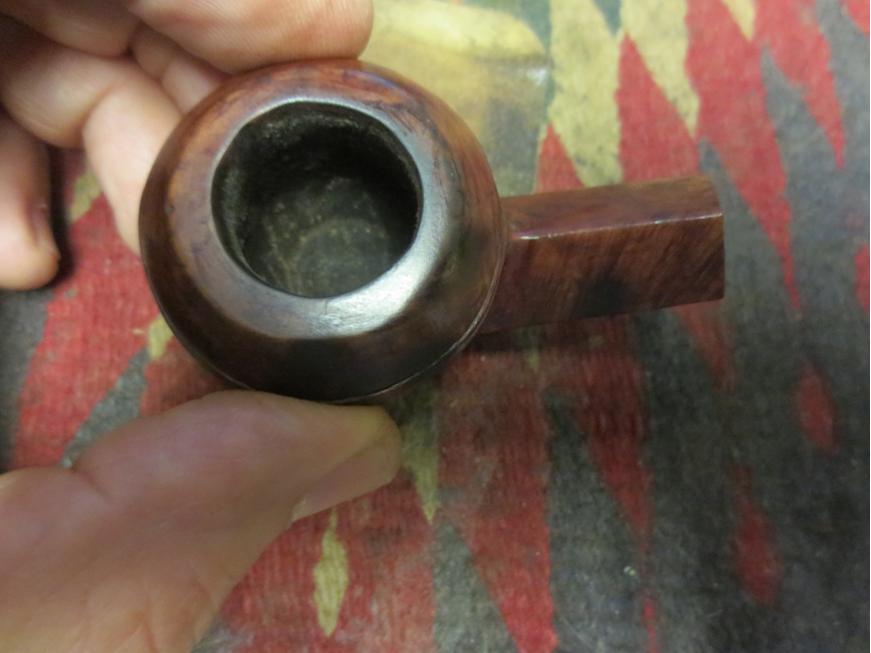
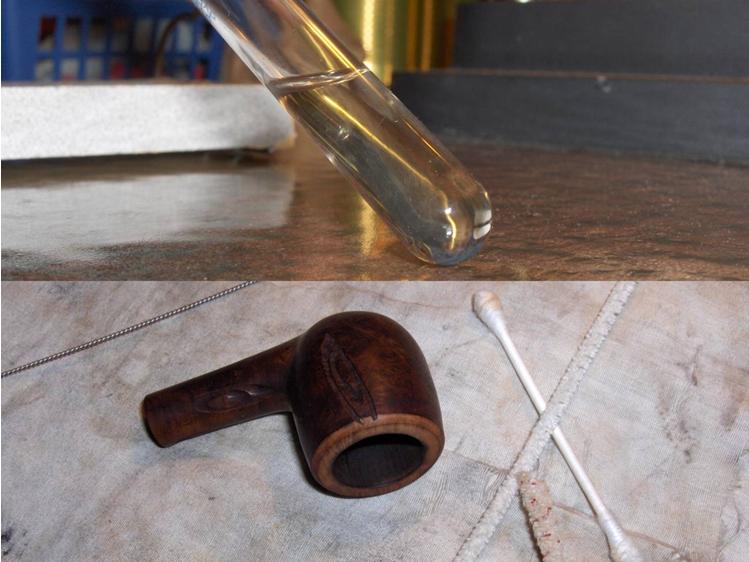
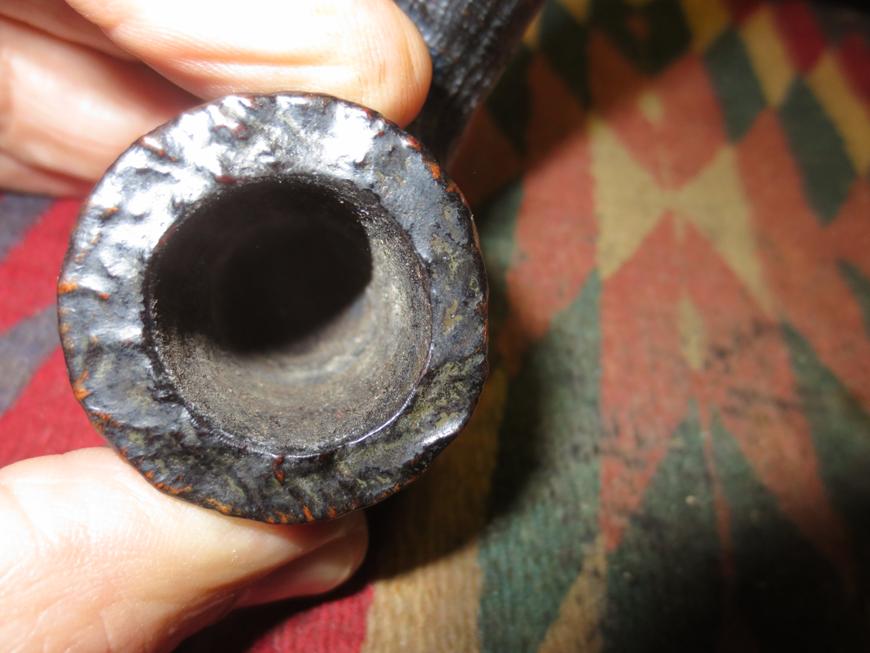
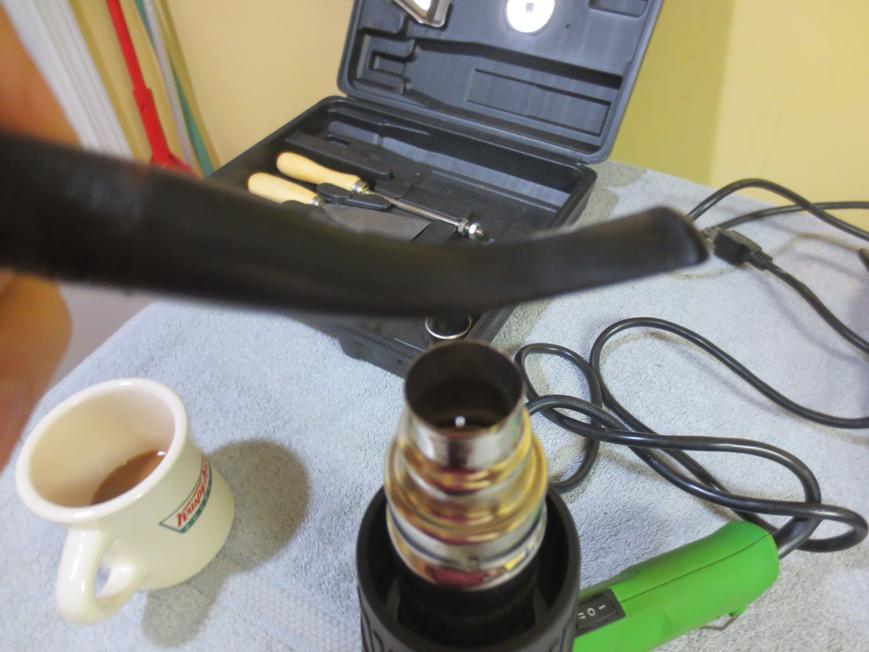
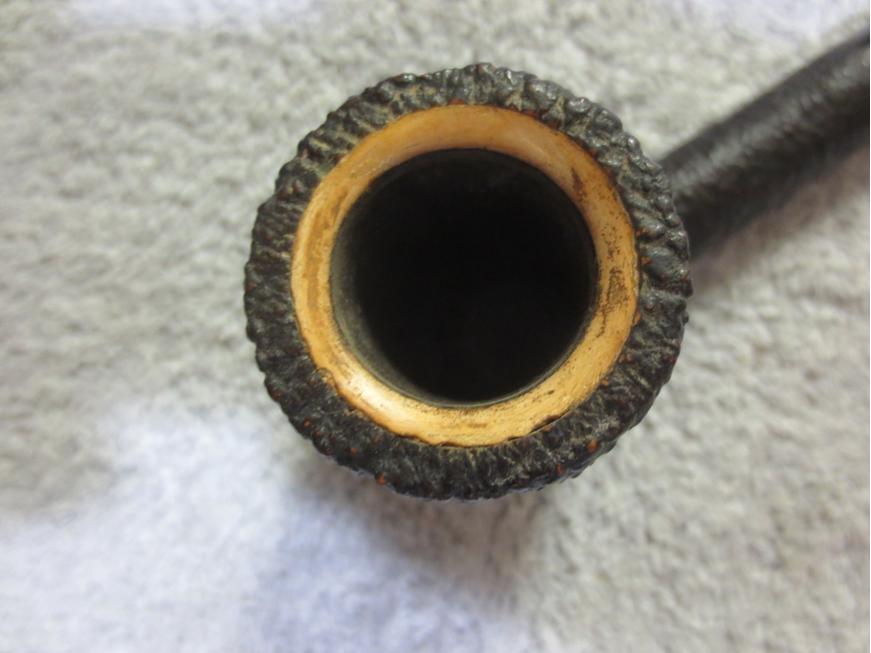
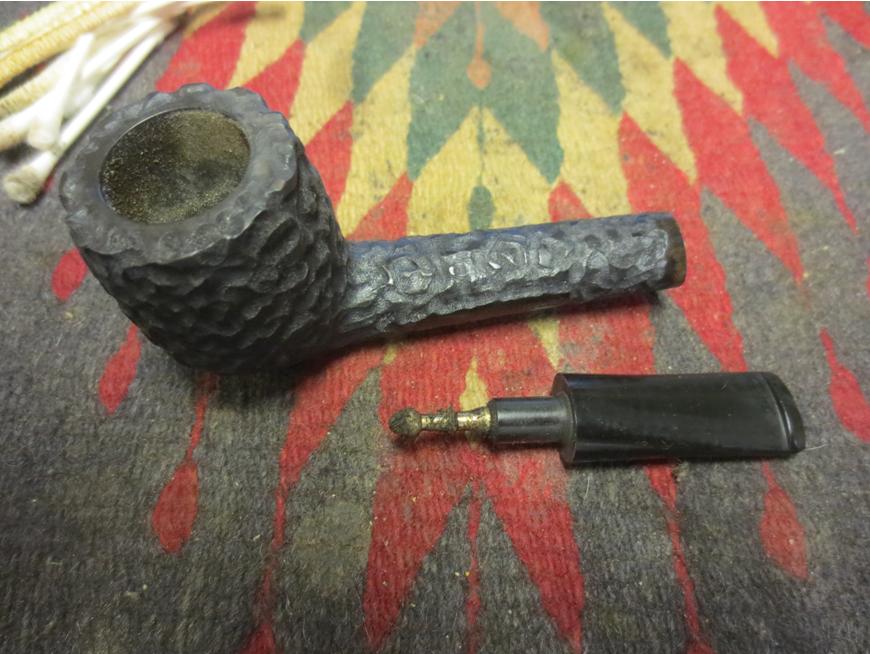
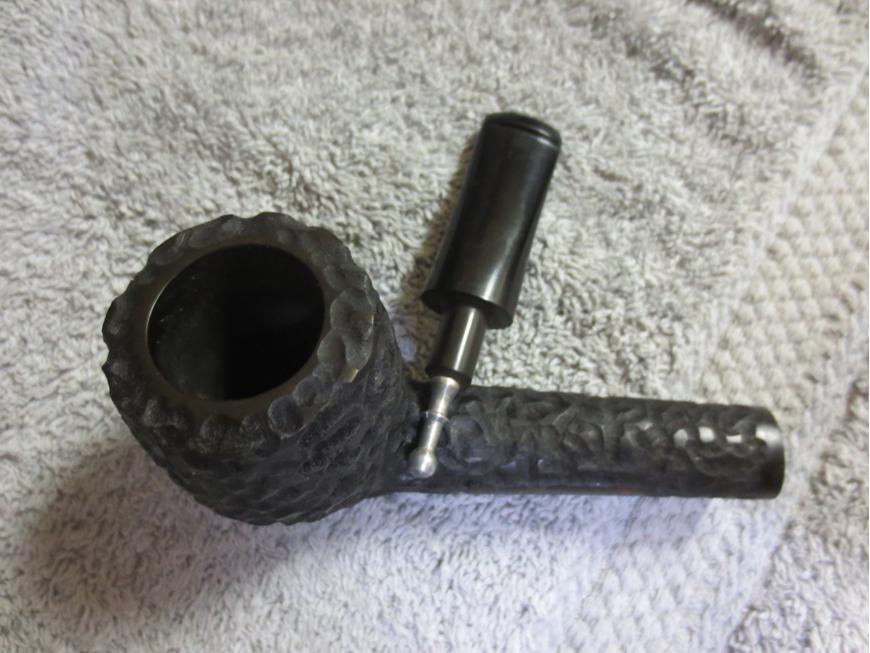
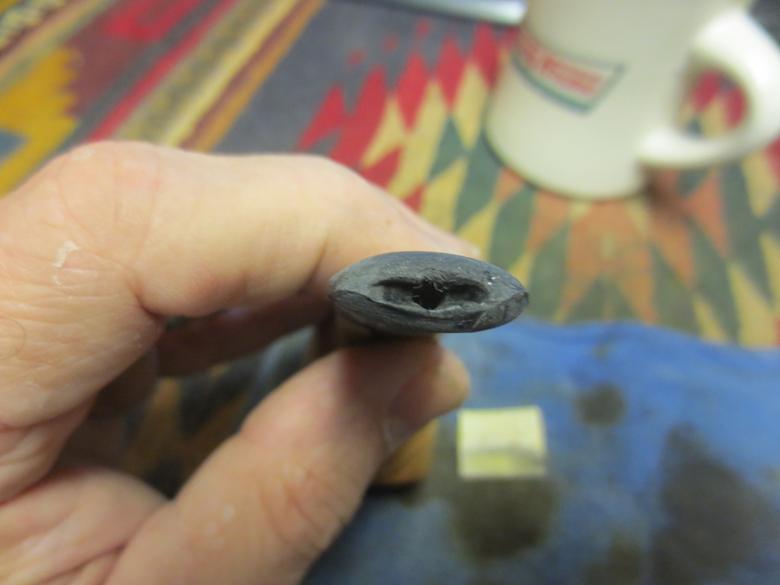
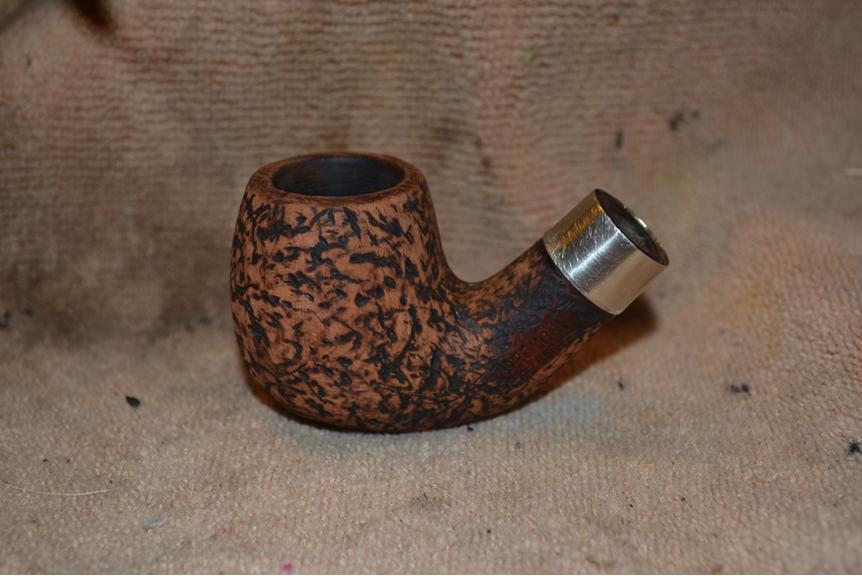
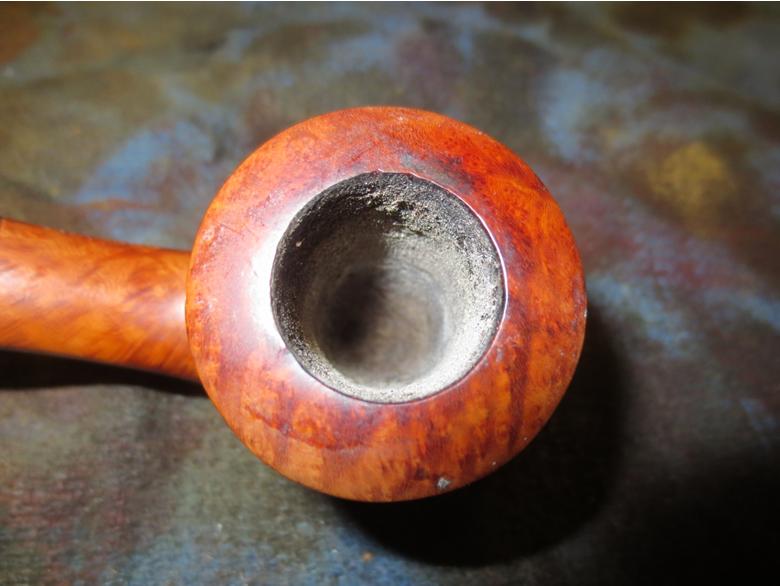
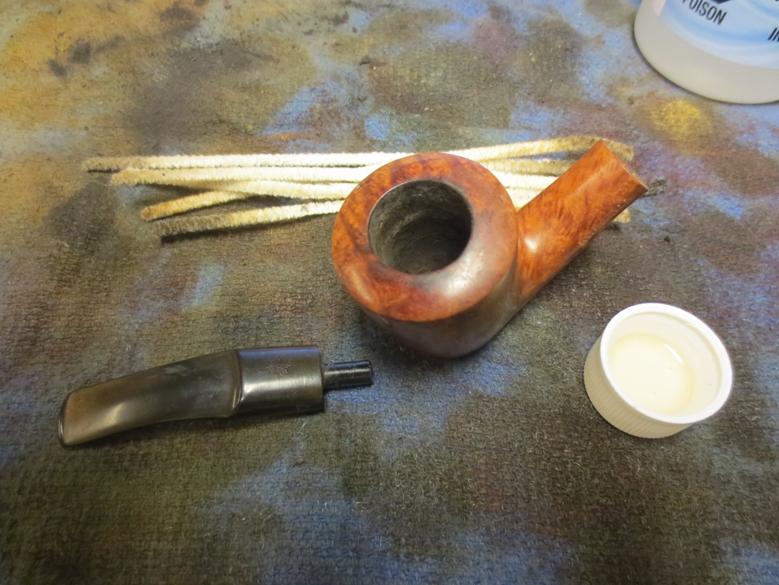
It was time, if not overdue, for retorting, which took a surprisingly low number of Pyrex test tubes of boiled Everclear shot through the stem and shank into the chamber filled with cotton that came out with any brown, and another to boil up and drain out several more times to confirm the job was done right.
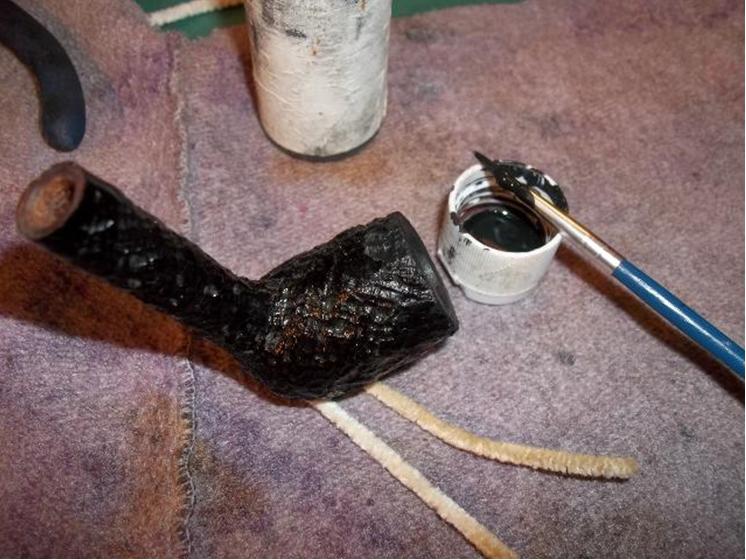
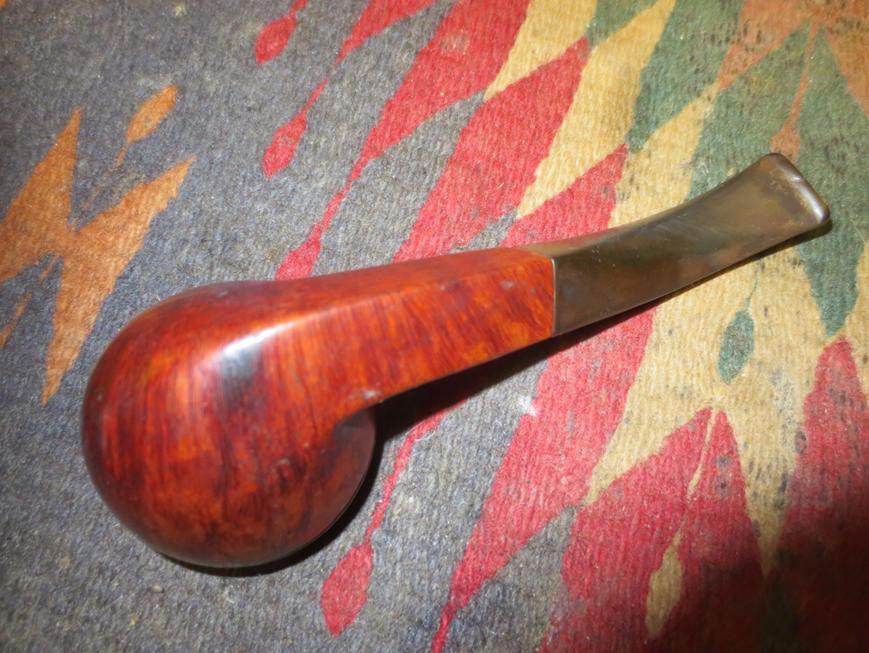
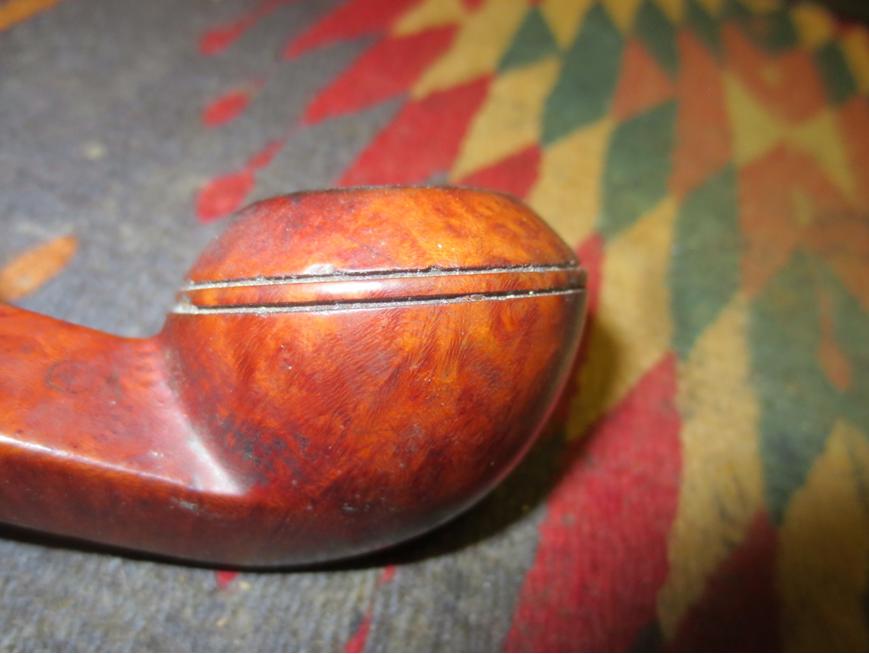
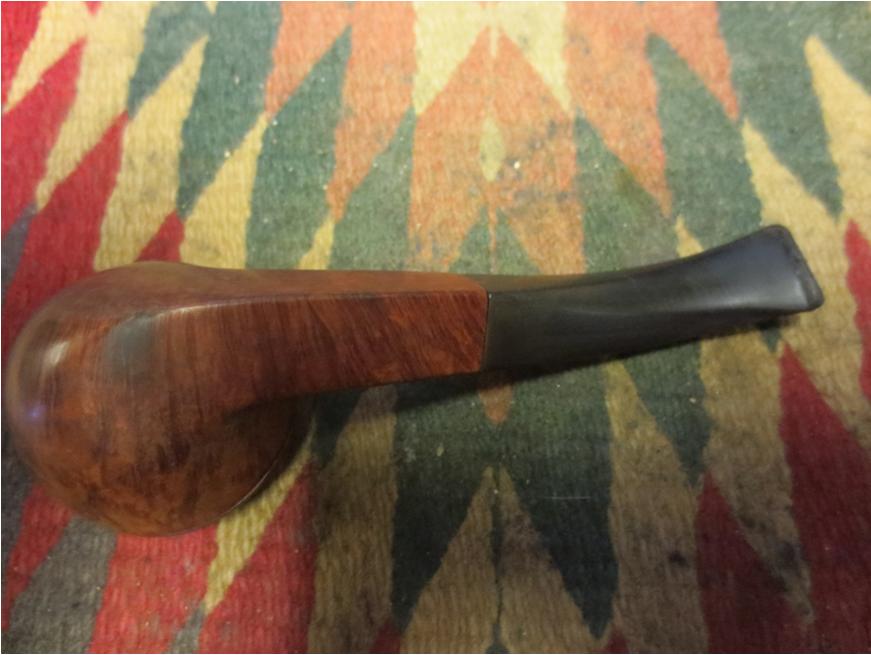
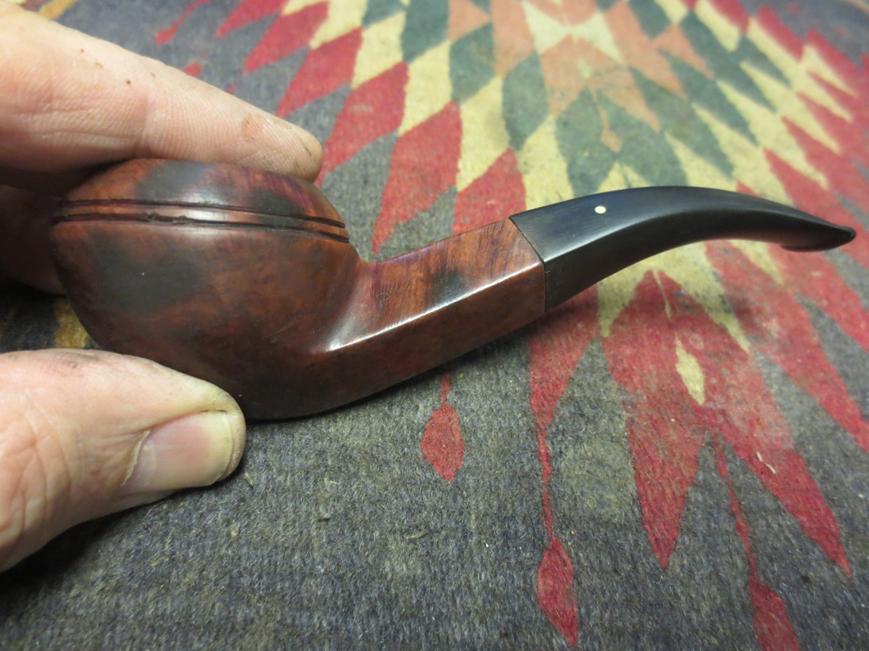
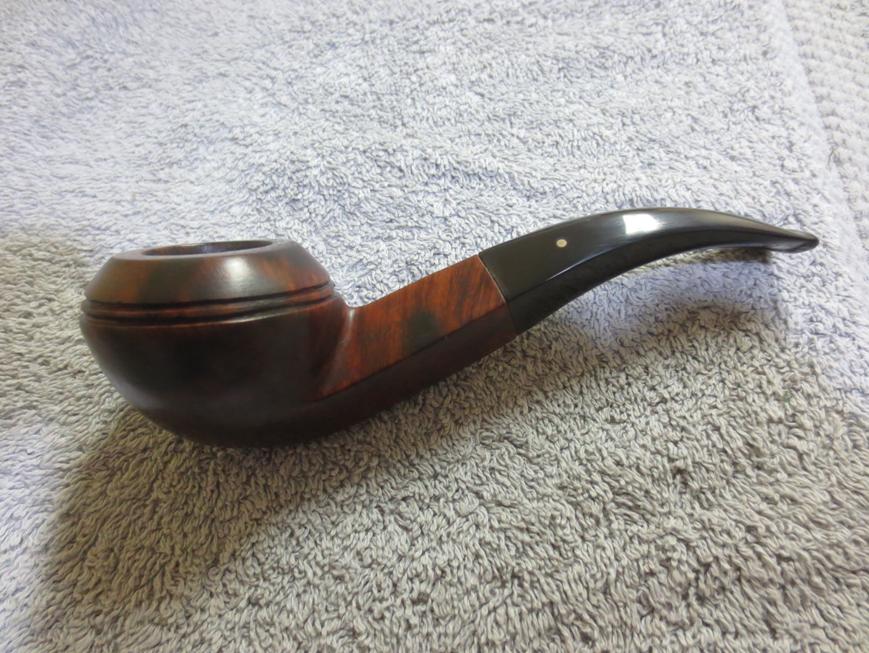
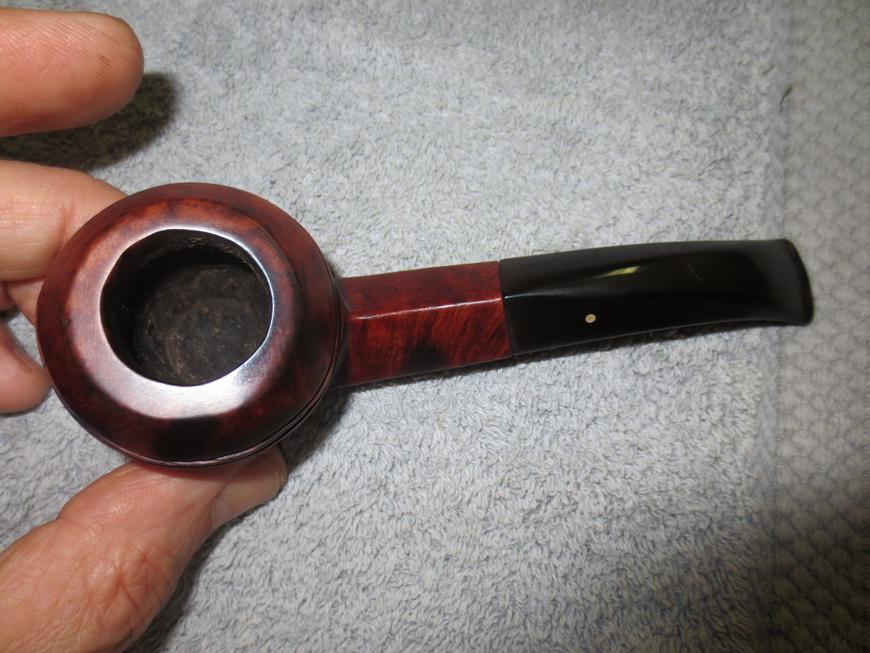
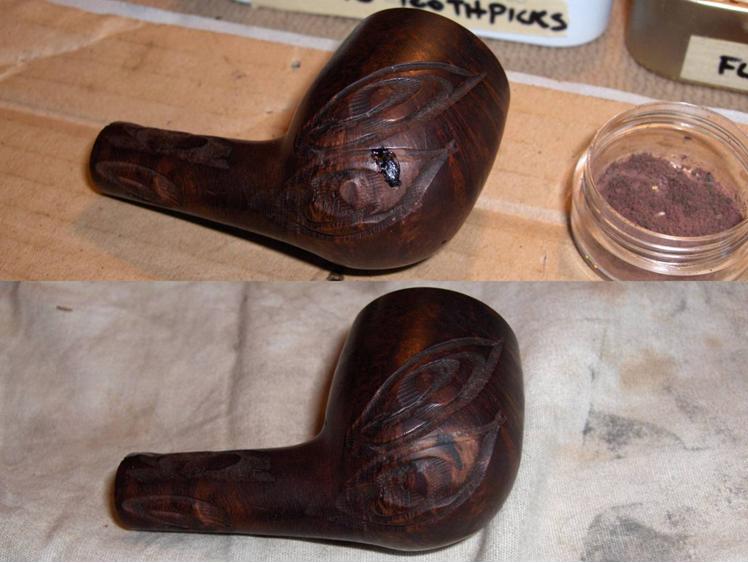
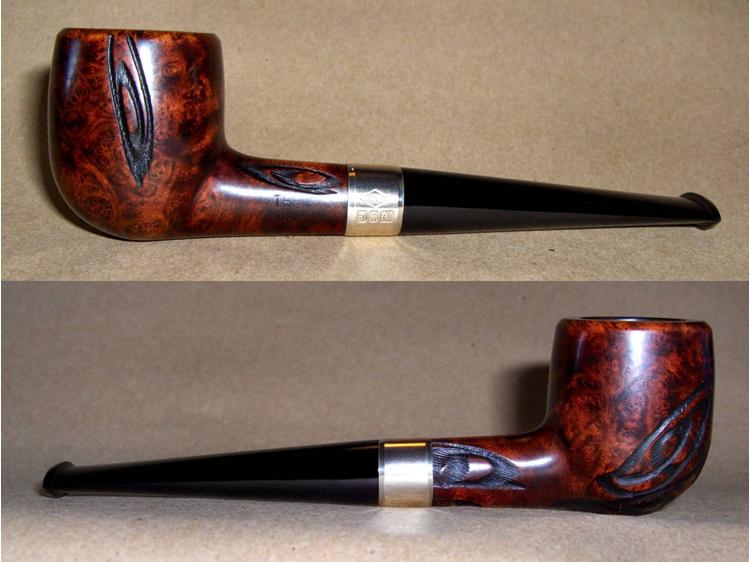
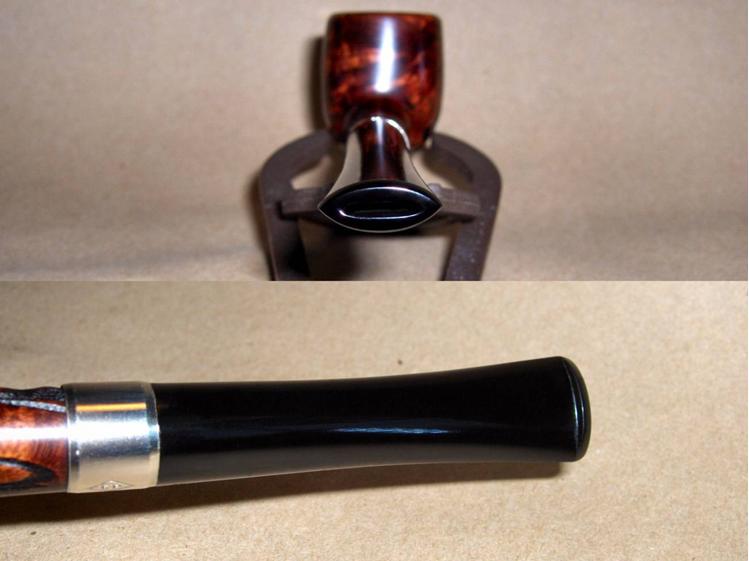
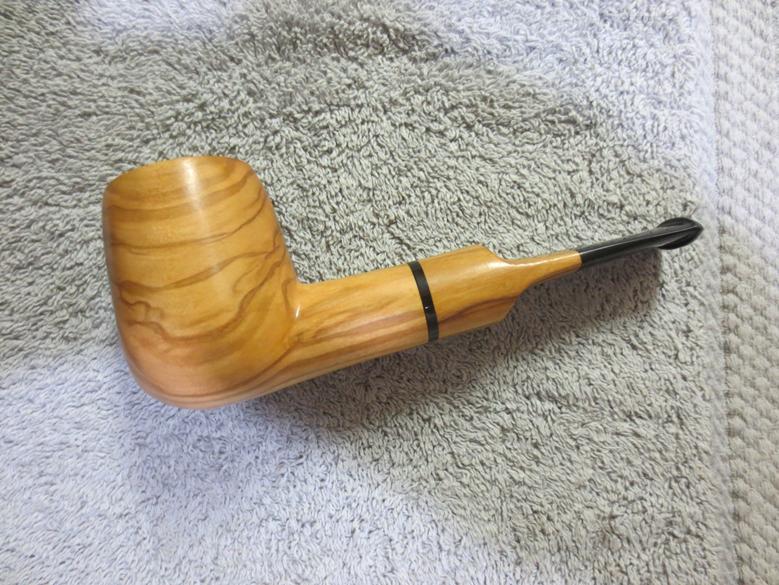
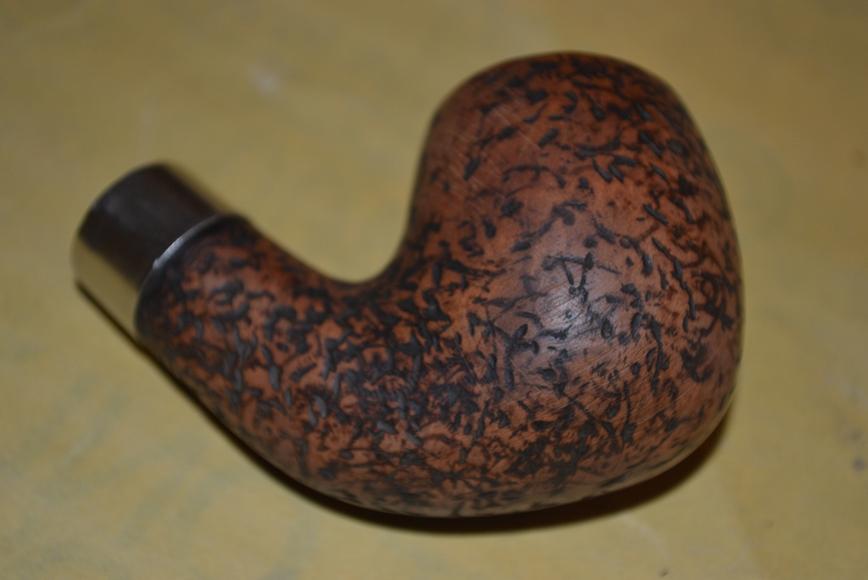
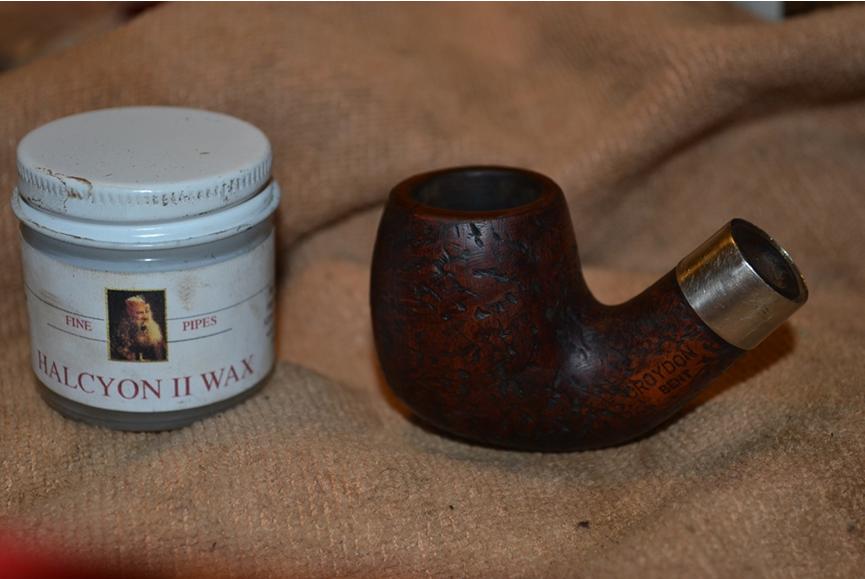
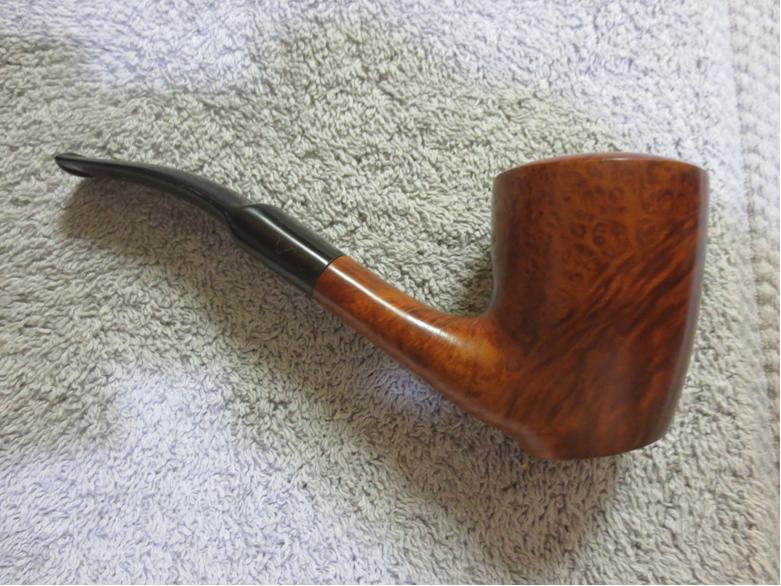
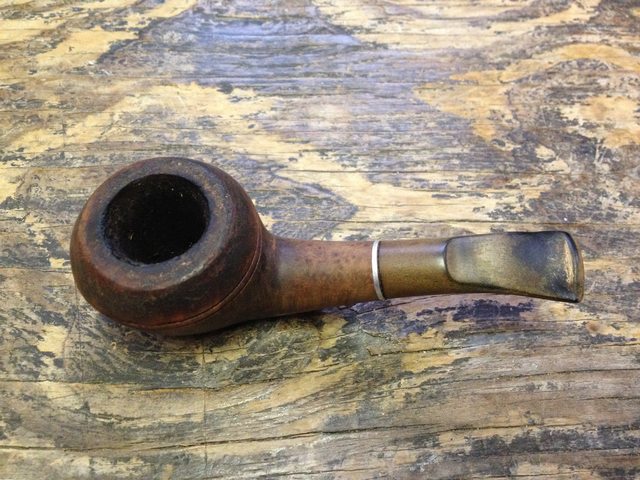
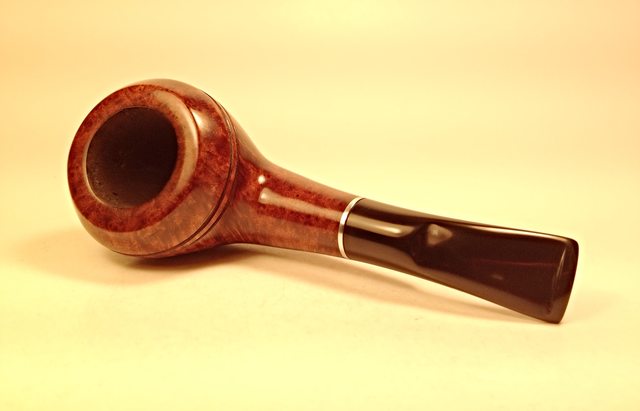
Now, for the point of all this technically unnecessary work obliterating the certainly OK original black stain. What I was looking for was something closer to the briar’s true color but dark enough to cover the grain and fill in the grooves. I decided on Lincoln Marine Cordovan (Burgundy red) boot stain, knowing that except with the lightest shades of briar, it leaves only a subtle redness. Here it is, first stained and flamed, then gently buffed with 3200 micromesh and then after being hand-coated with Halcyon II to sit a while before buffing on the clean wheel.

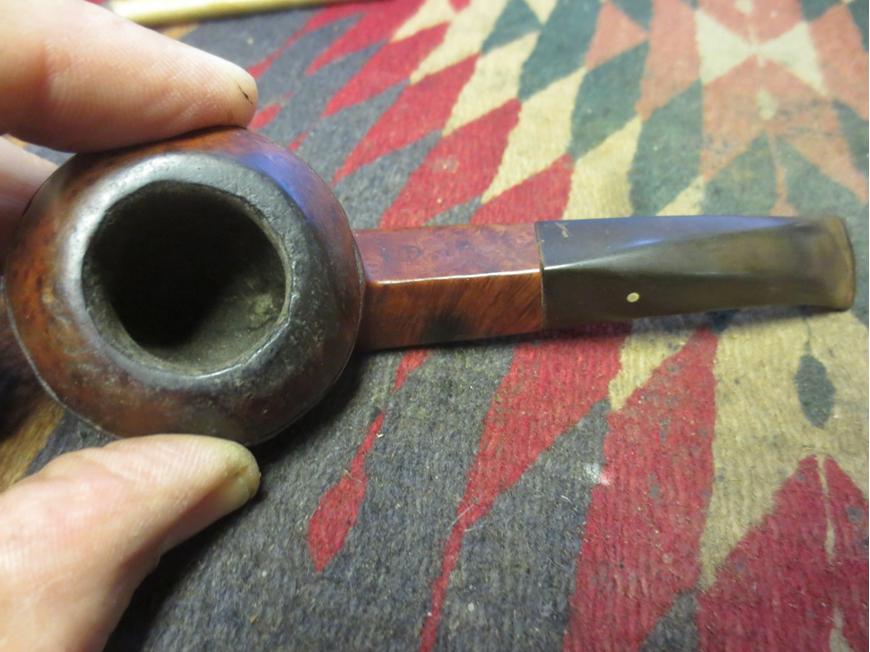
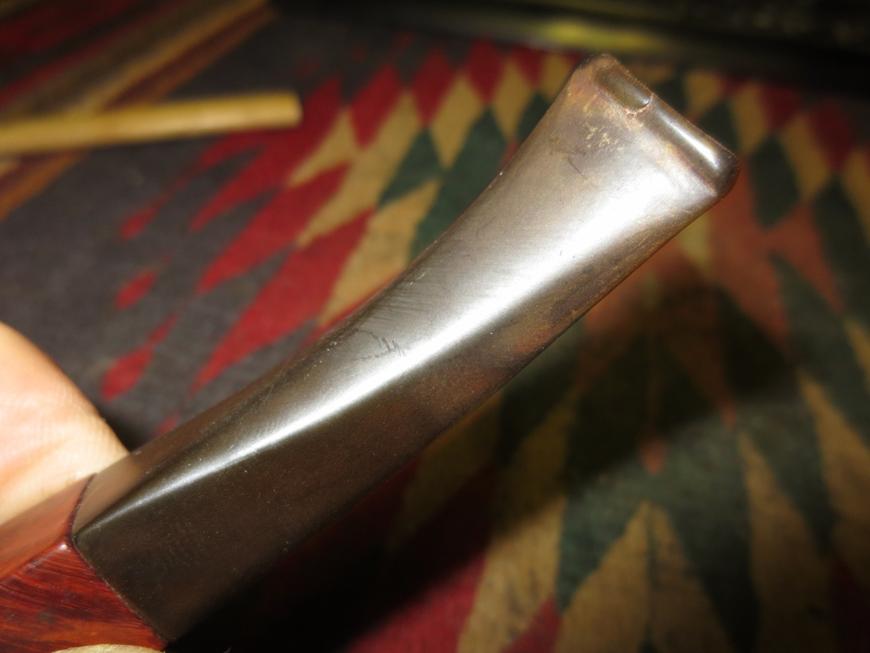
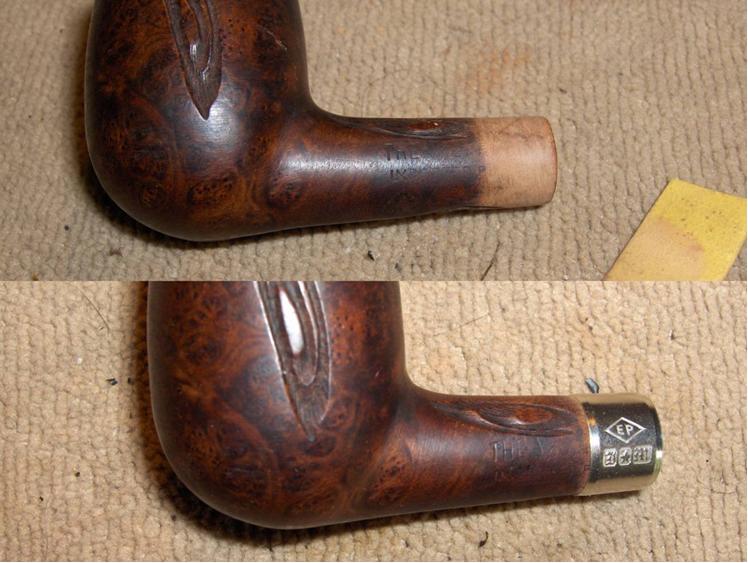
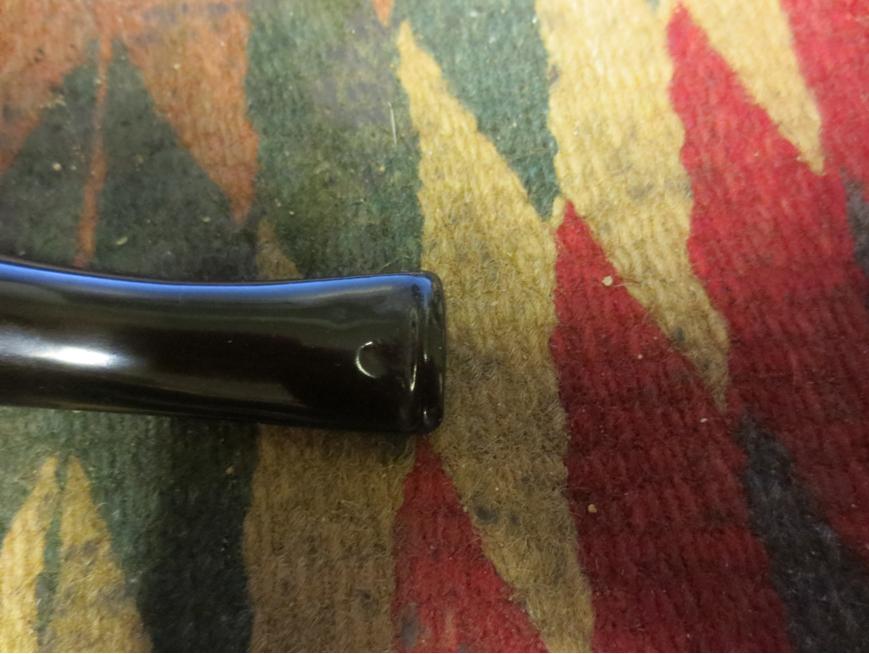
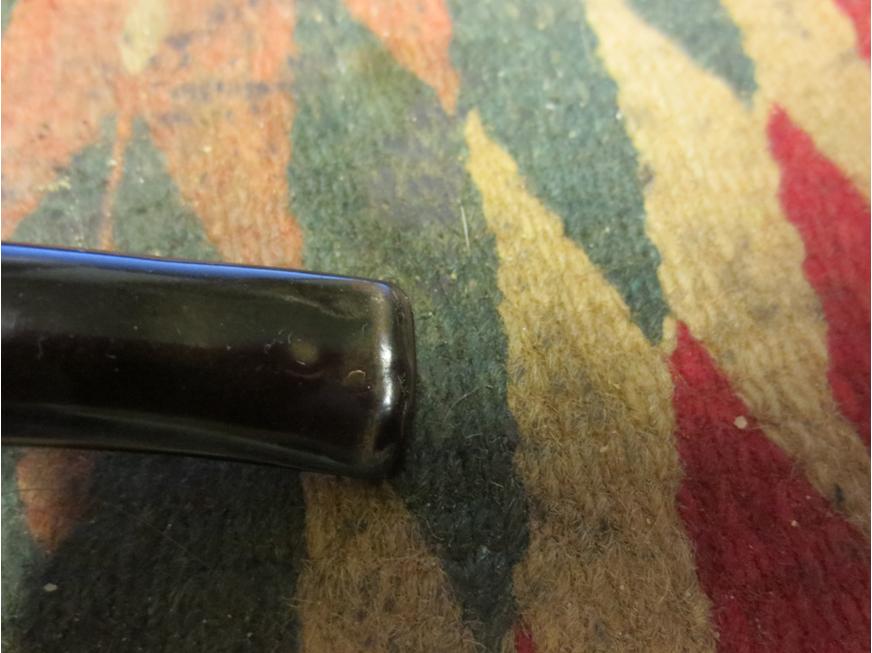
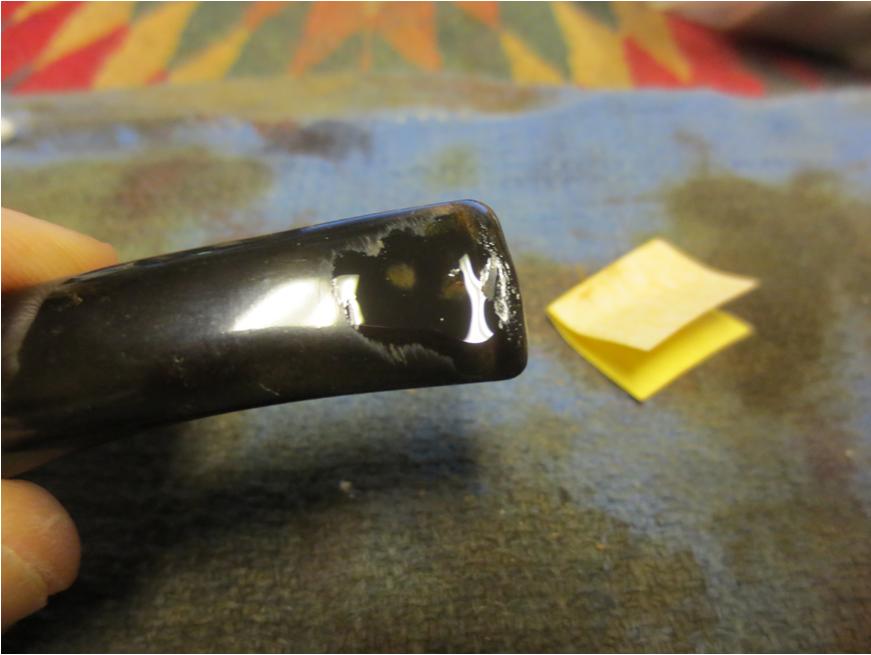
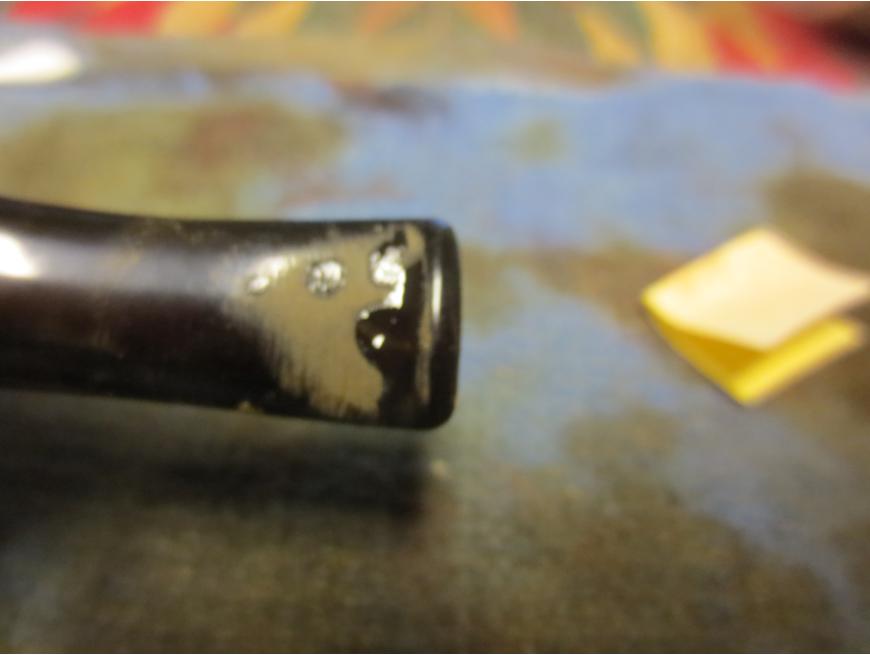
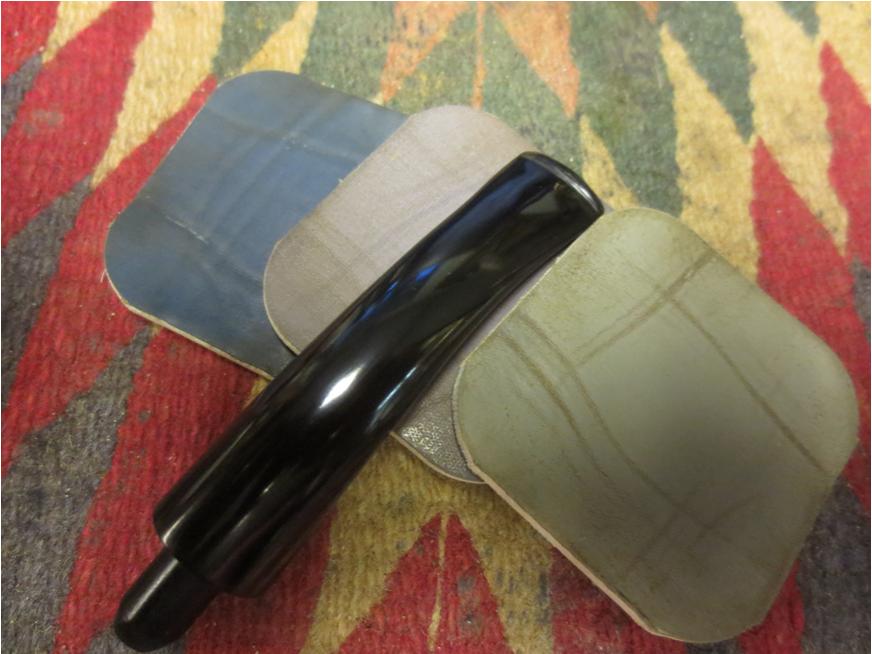
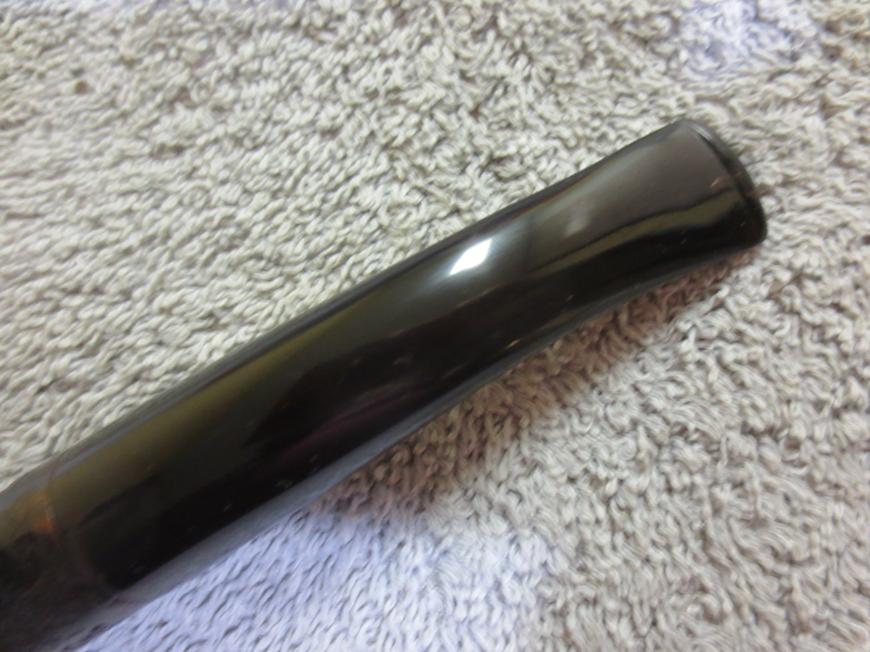
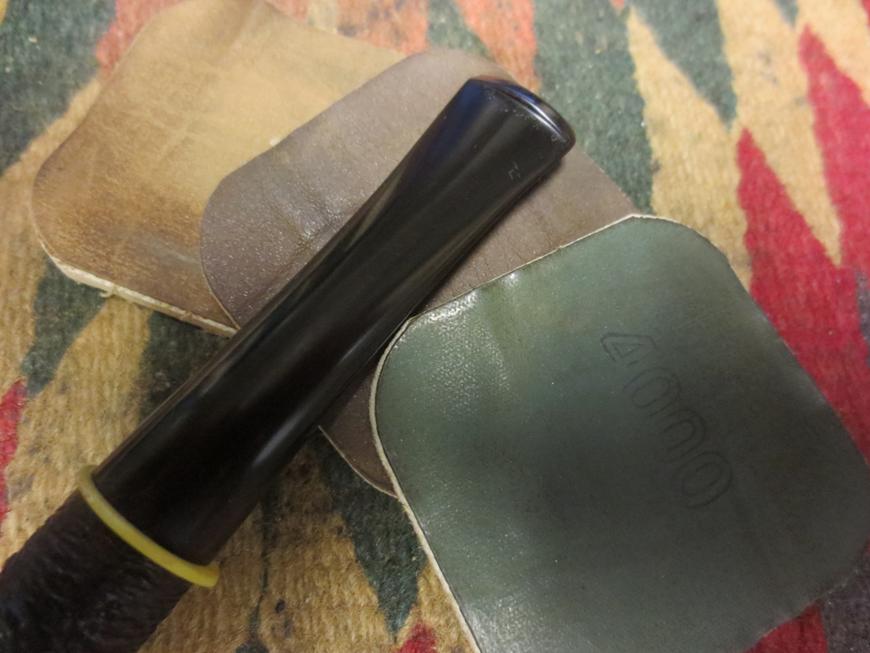
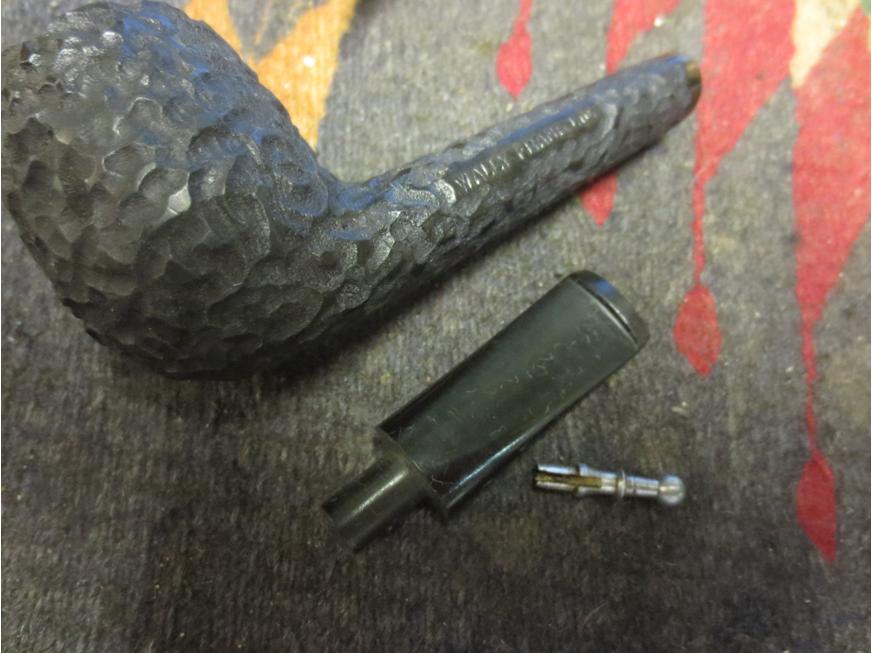
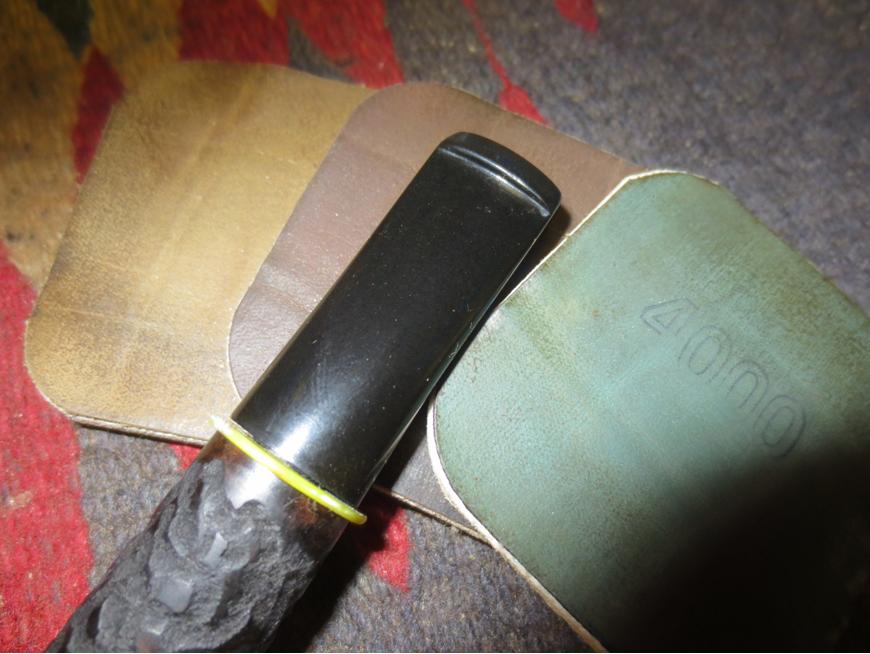
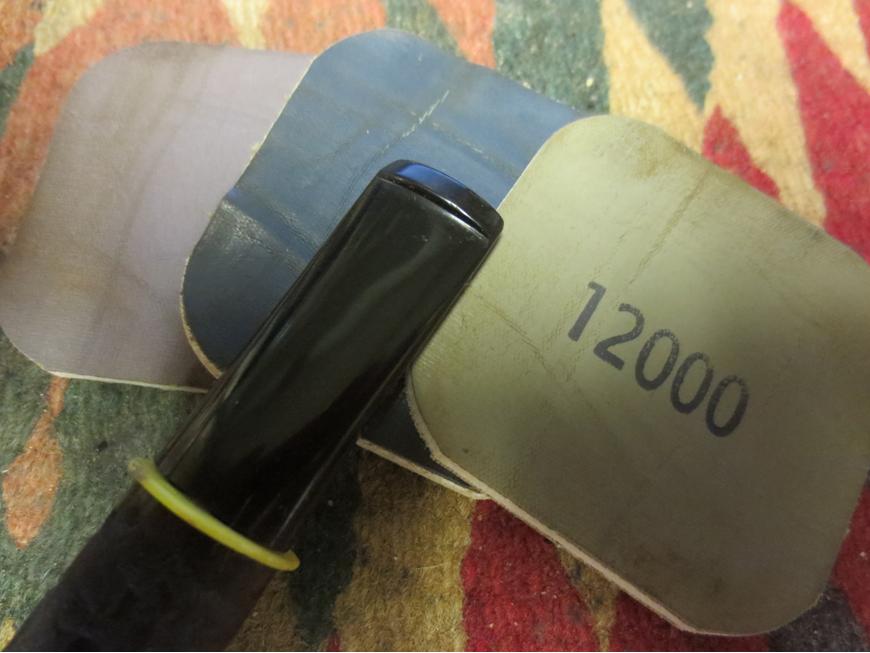
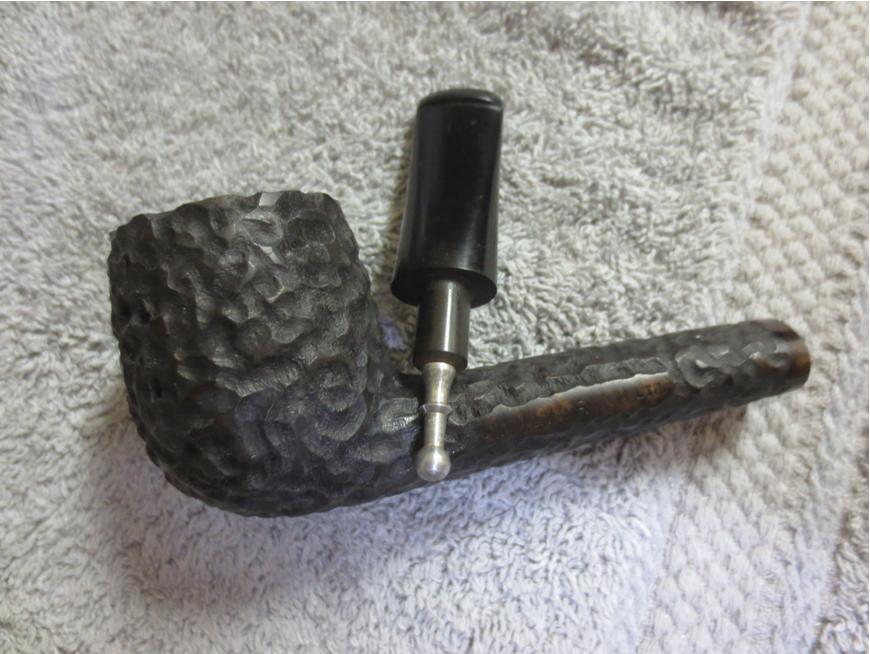
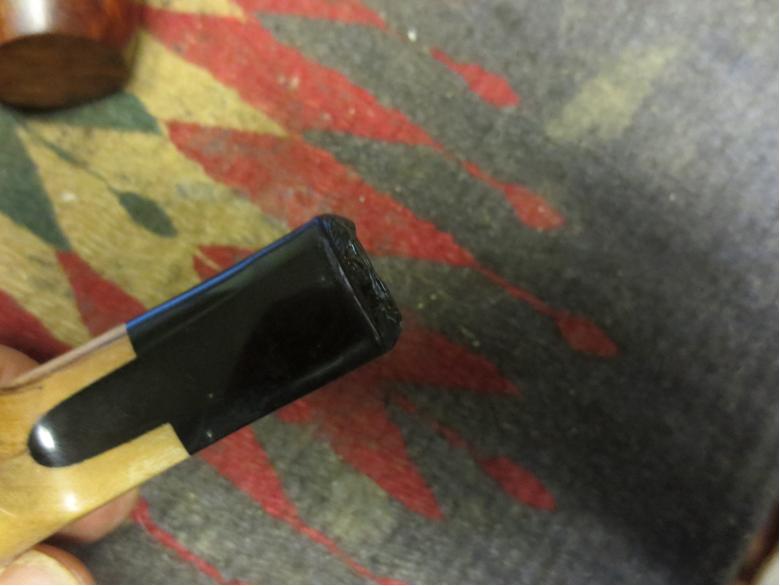
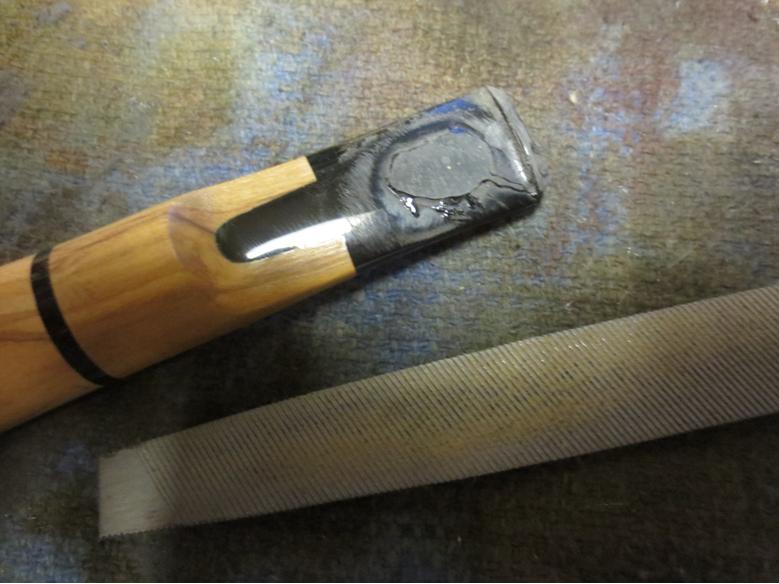
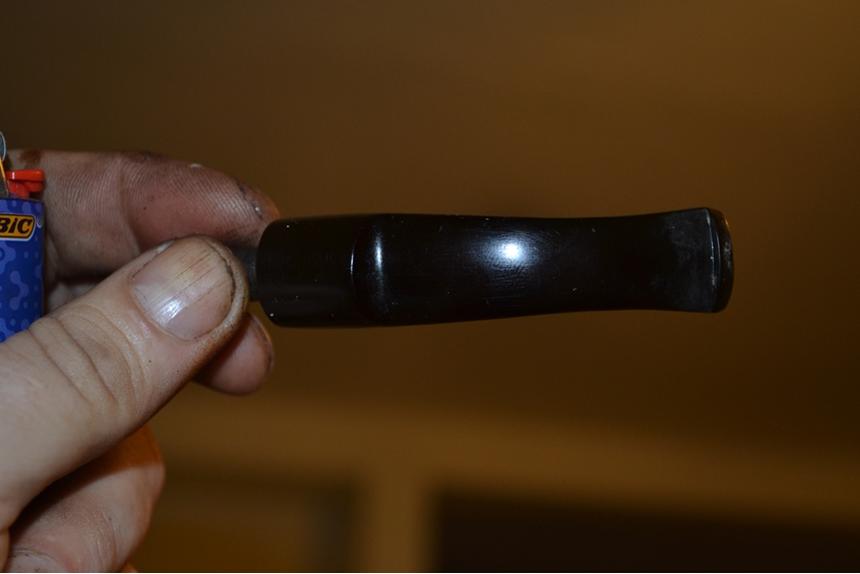
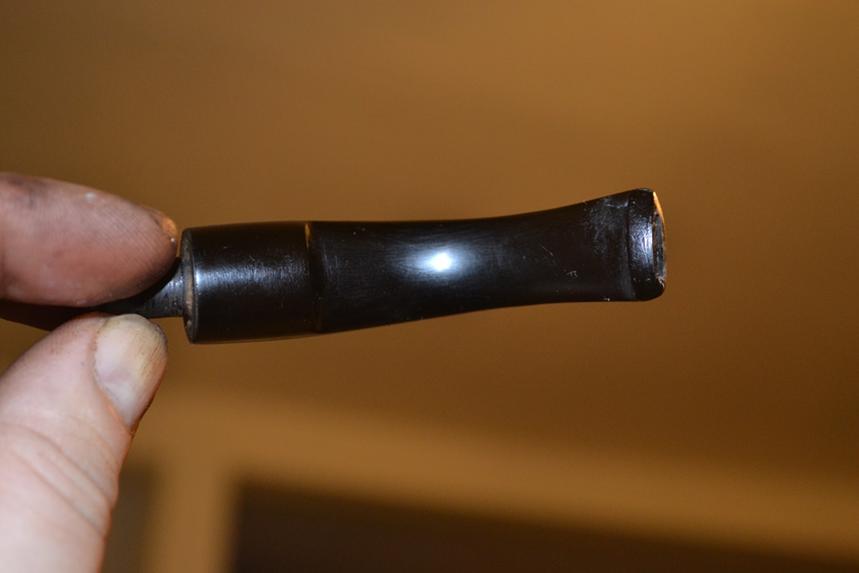
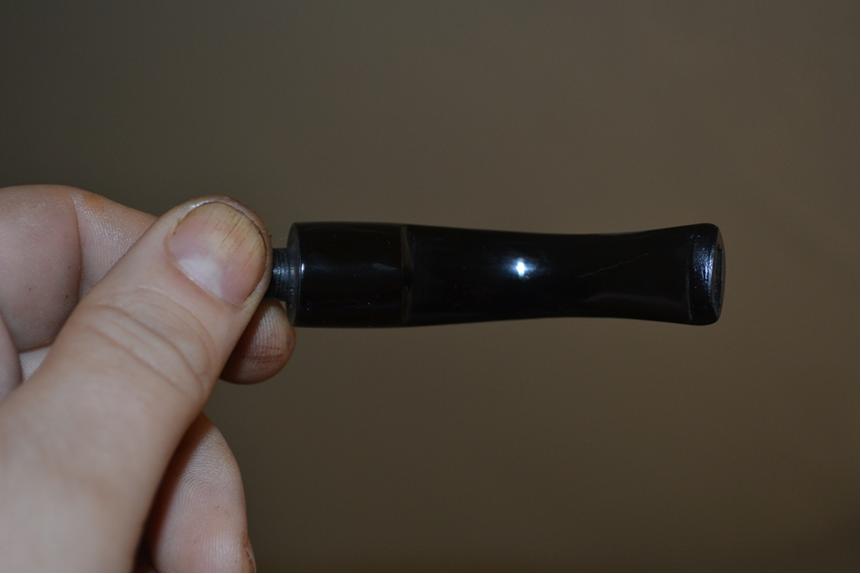
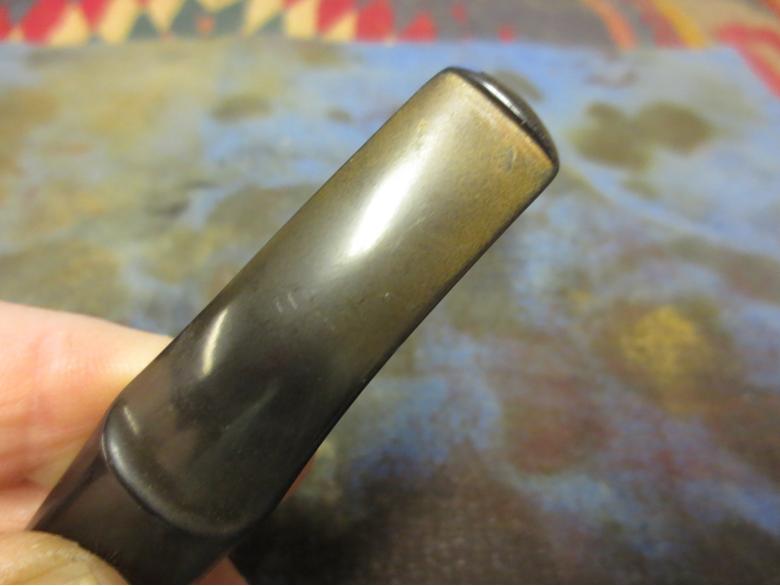
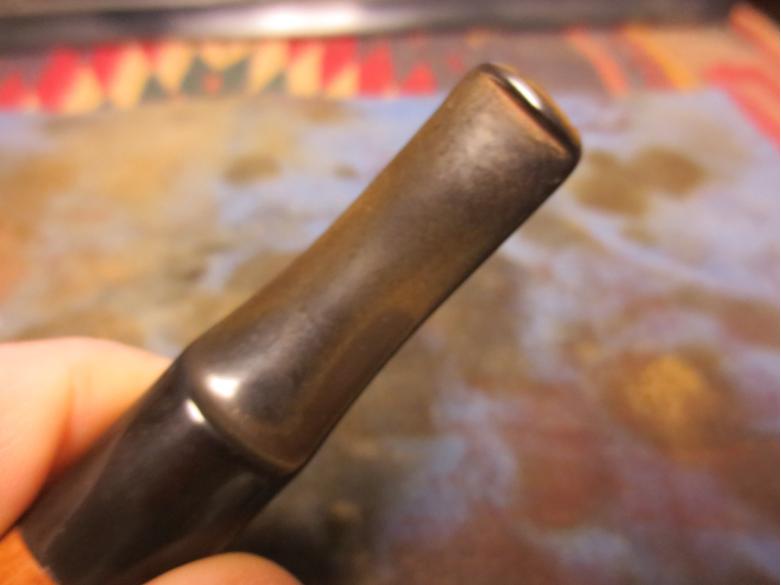
 Everything so far had worked out just right to do the minor clean up needed on the upper top and bottom of the bit, and including the lip, while the wax on the briar dried a little and worked into the wood. I micro-meshed the bit with 1500, 2400, 3200 and 3600 before buffing with red and white diamond, using the clean wheel and a soft cotton rag after both. Below are two shots before and one after, as both sides ended up the same.

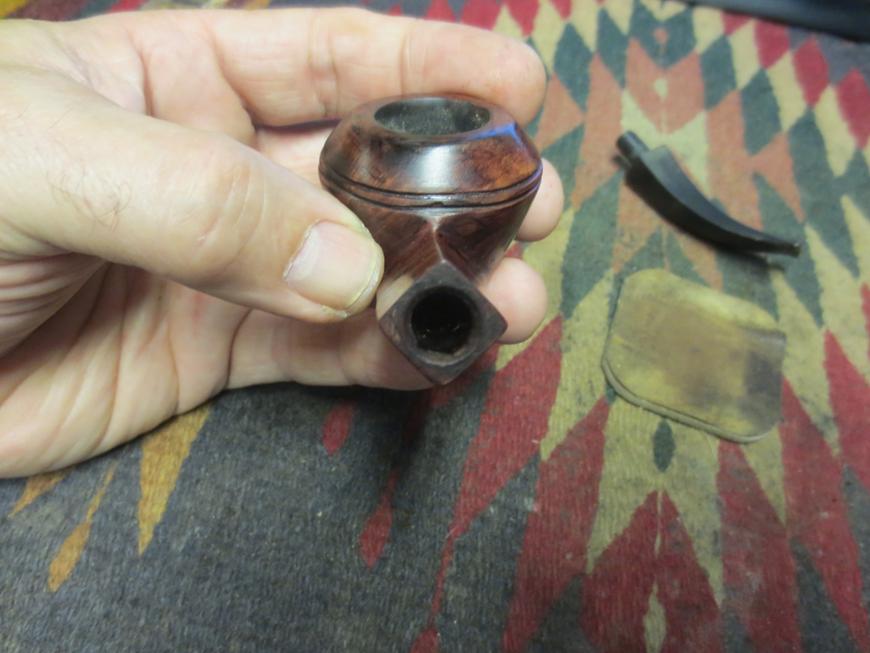
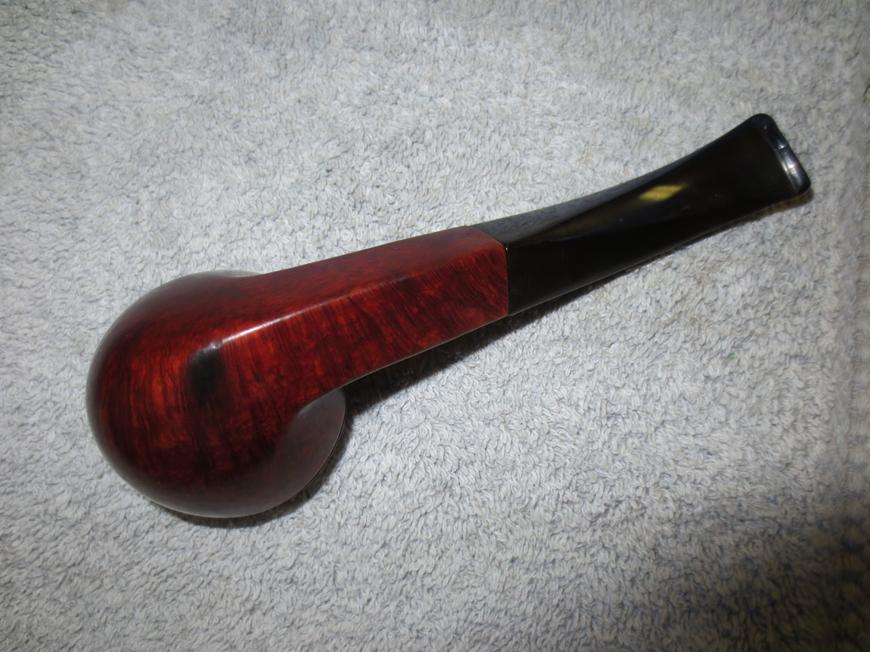
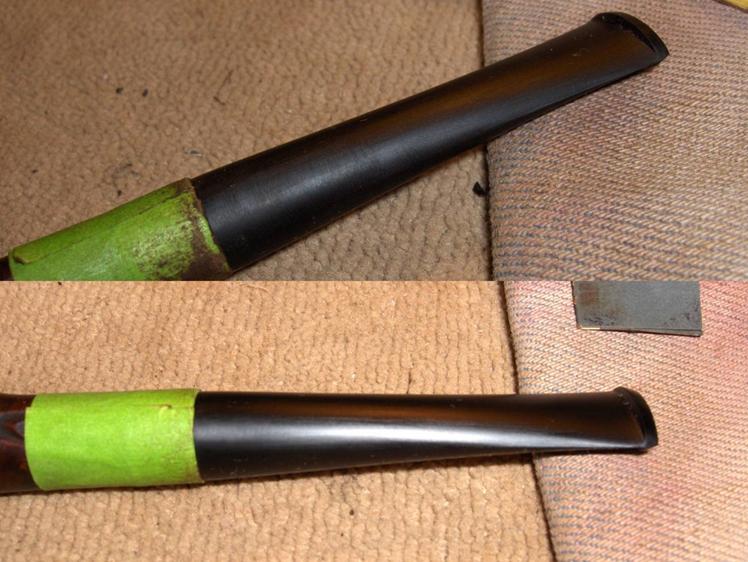
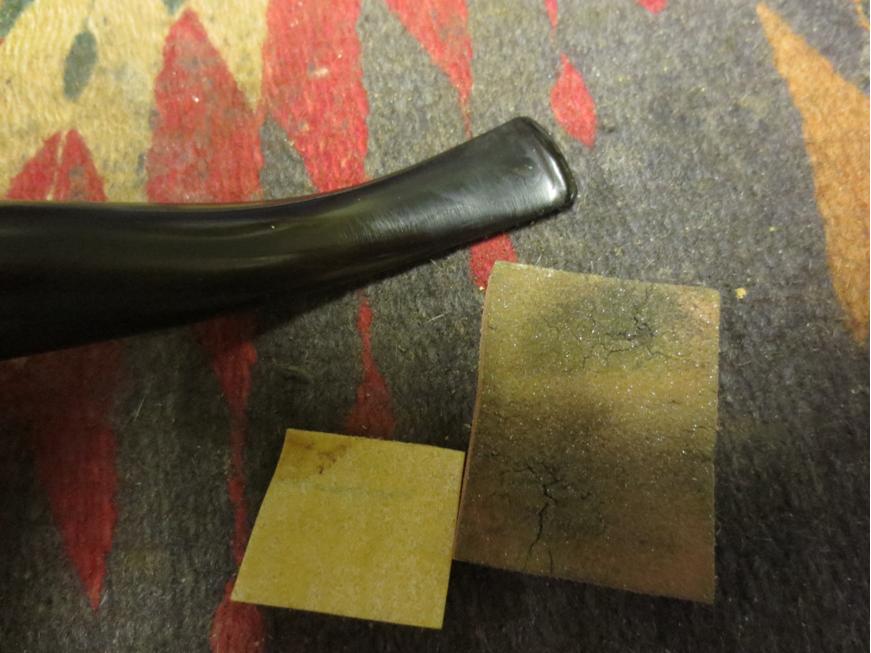
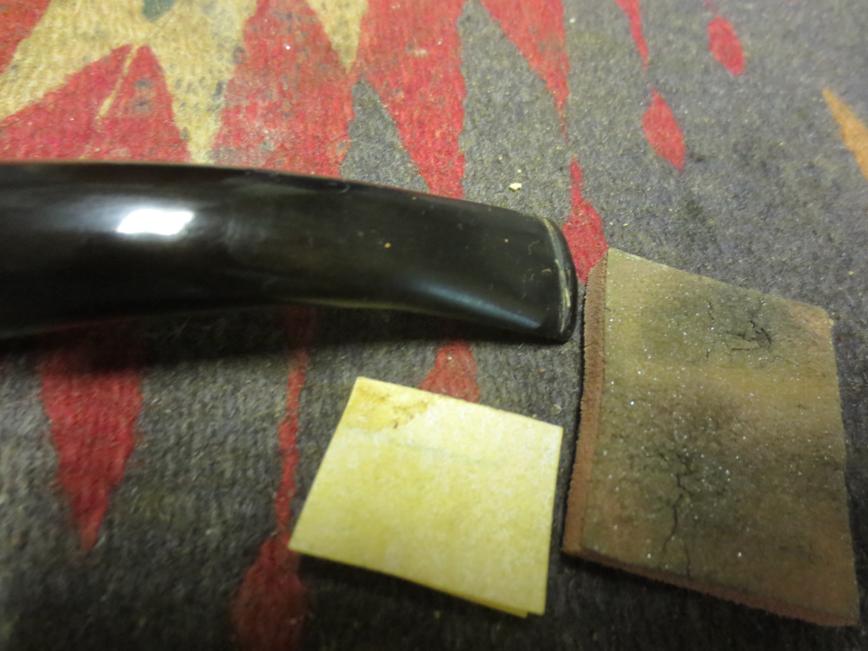
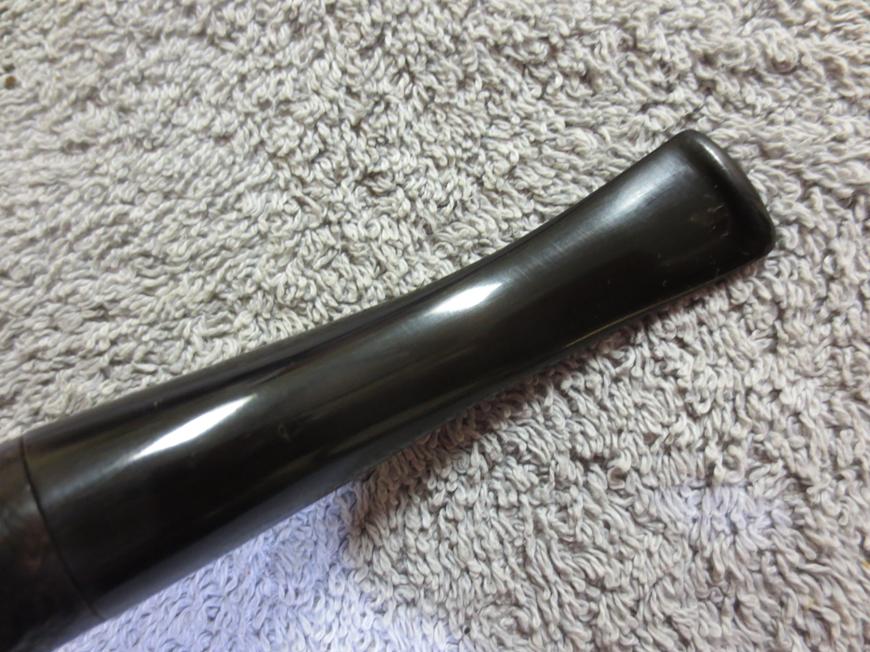
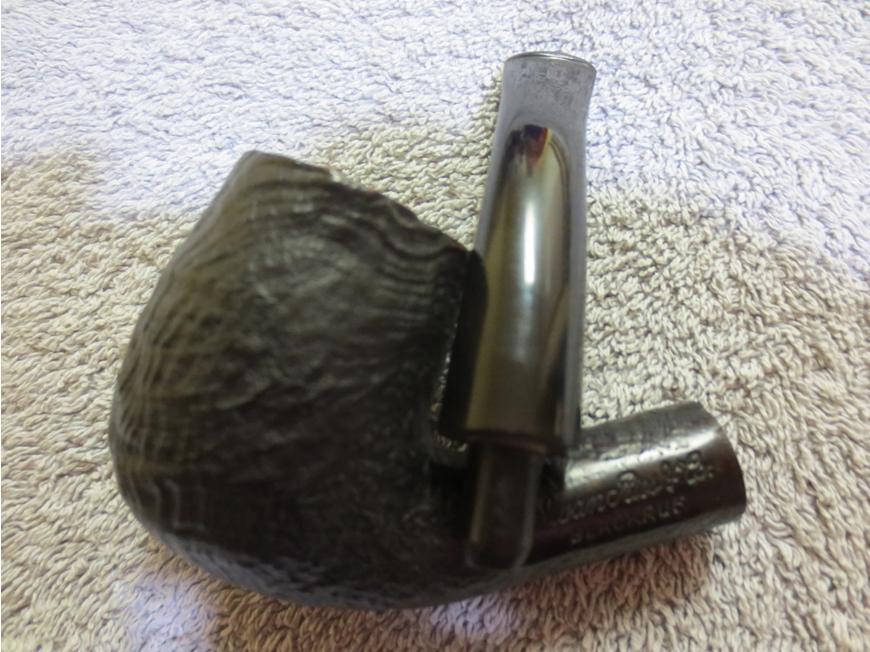
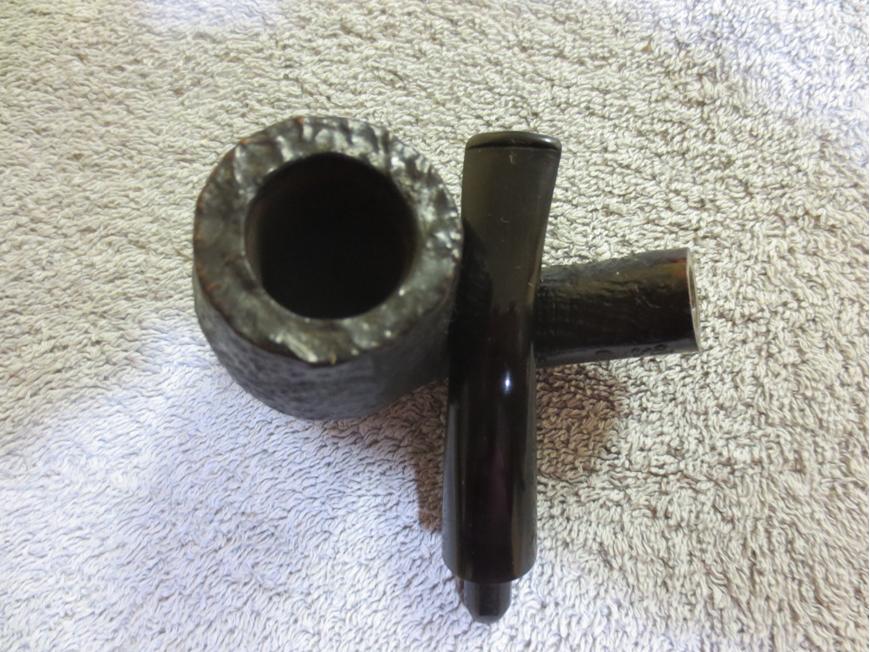
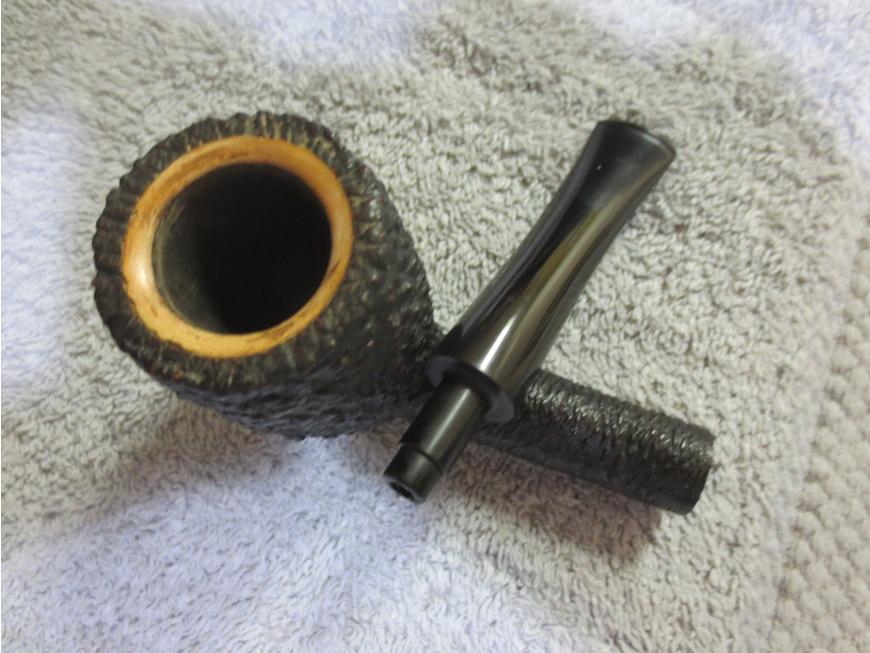
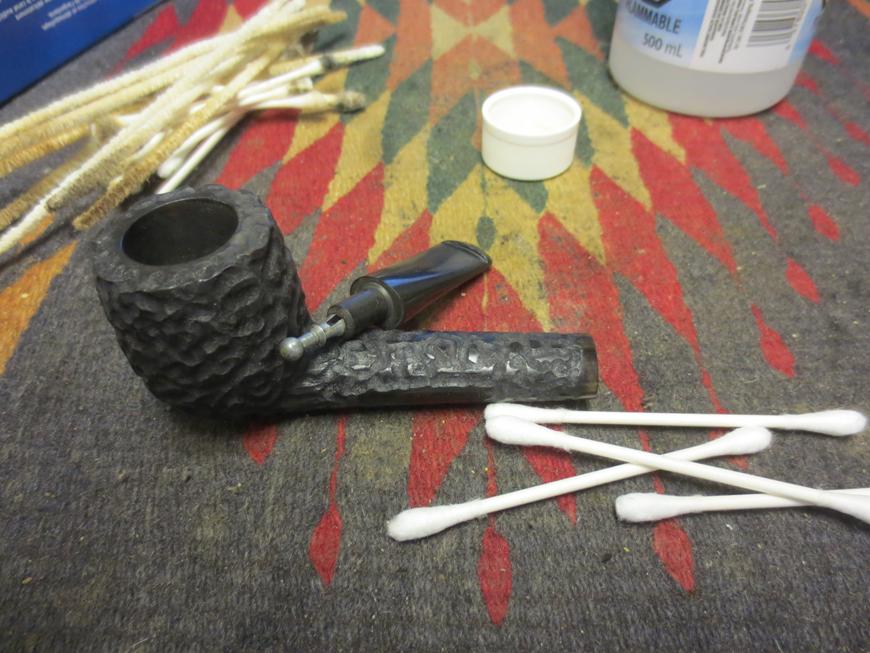
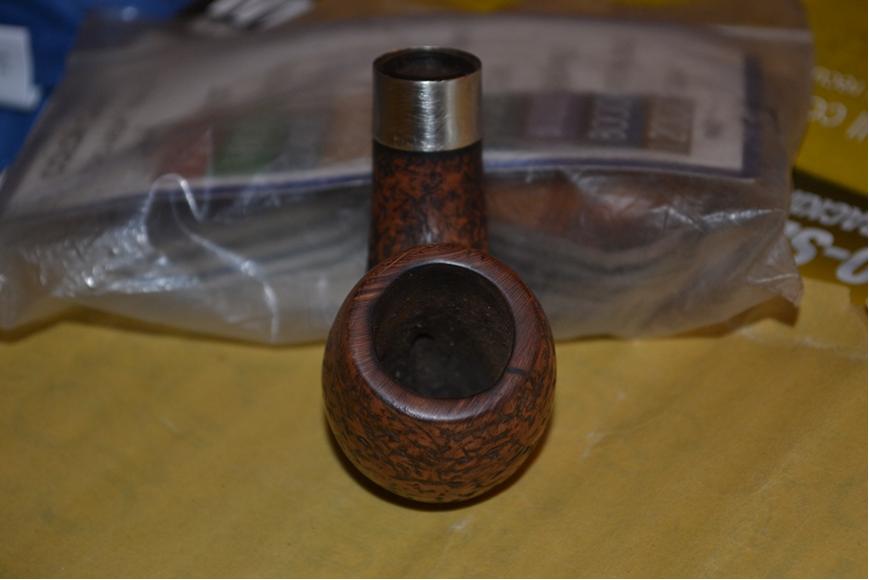
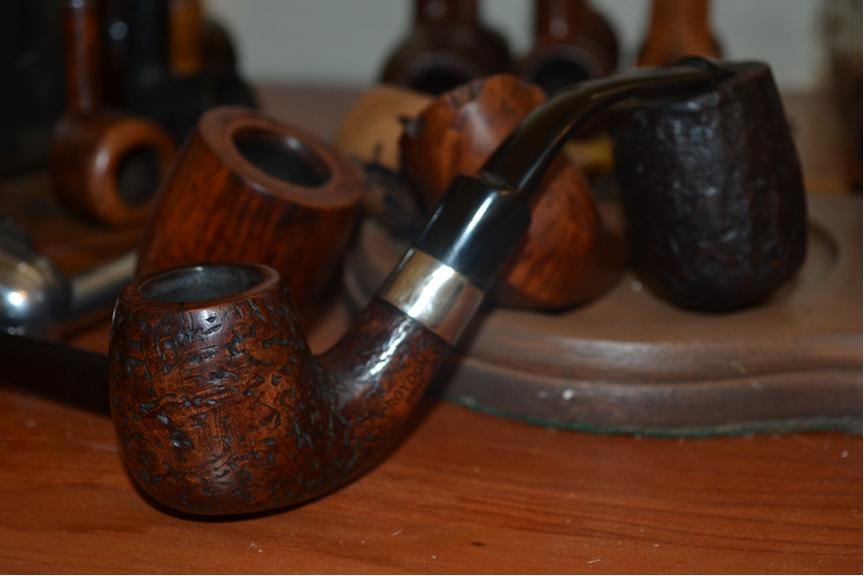
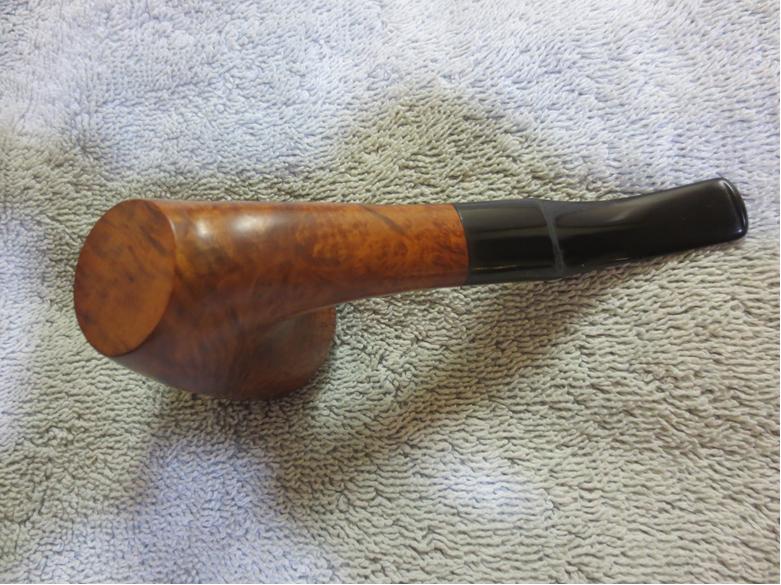
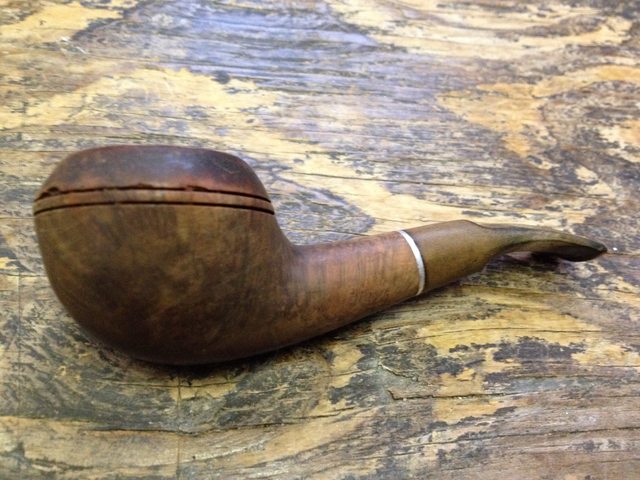
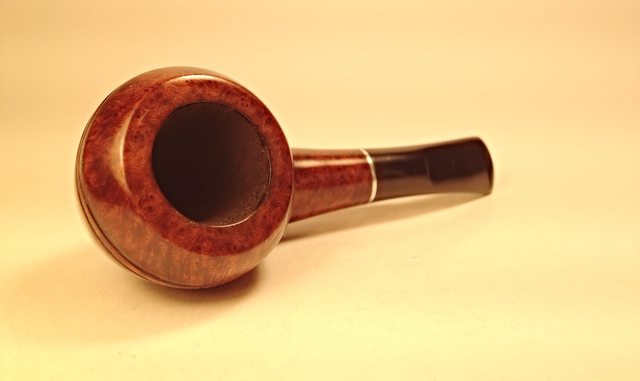
 The last part of the job was to put the briar to the clean buffer with a light touch, re-join the two separated parts of the pipe and again wipe the whole thing with a cotton cloth.


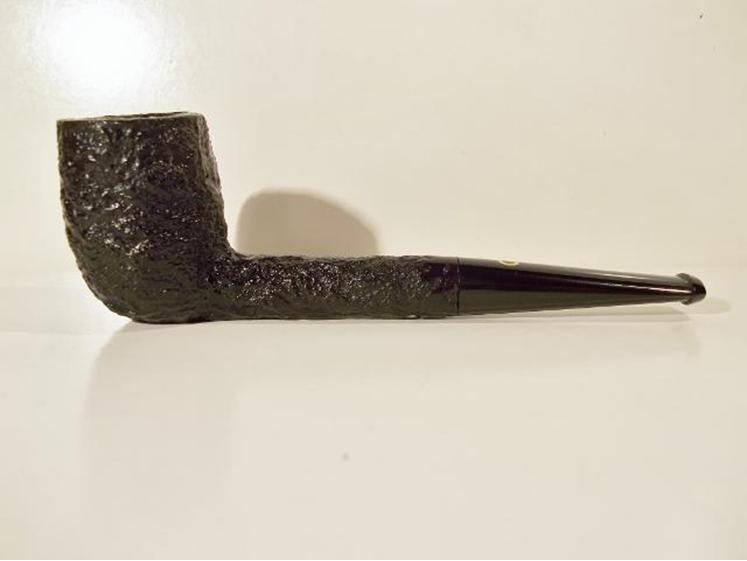
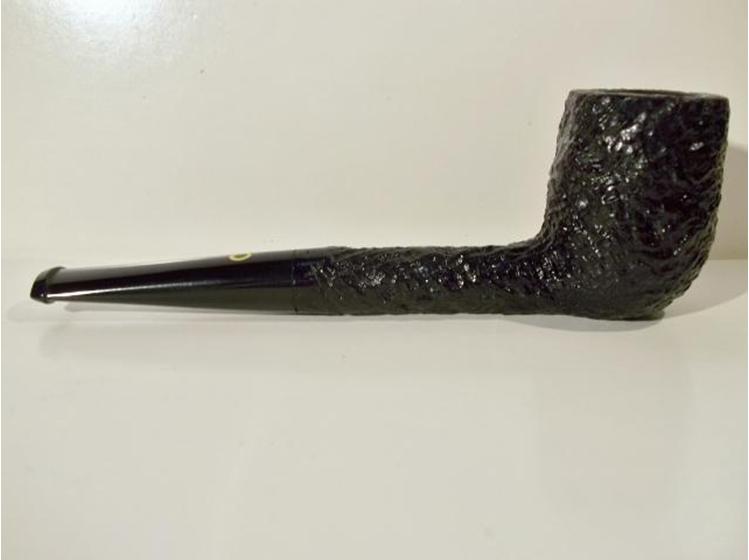
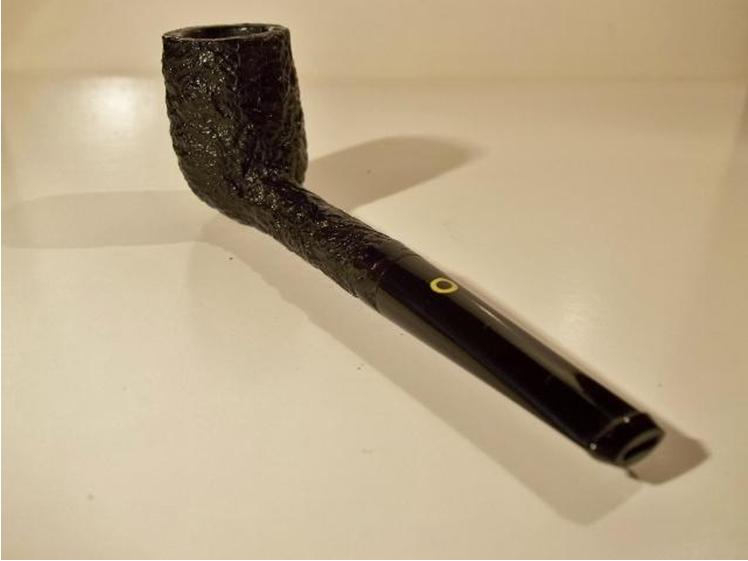
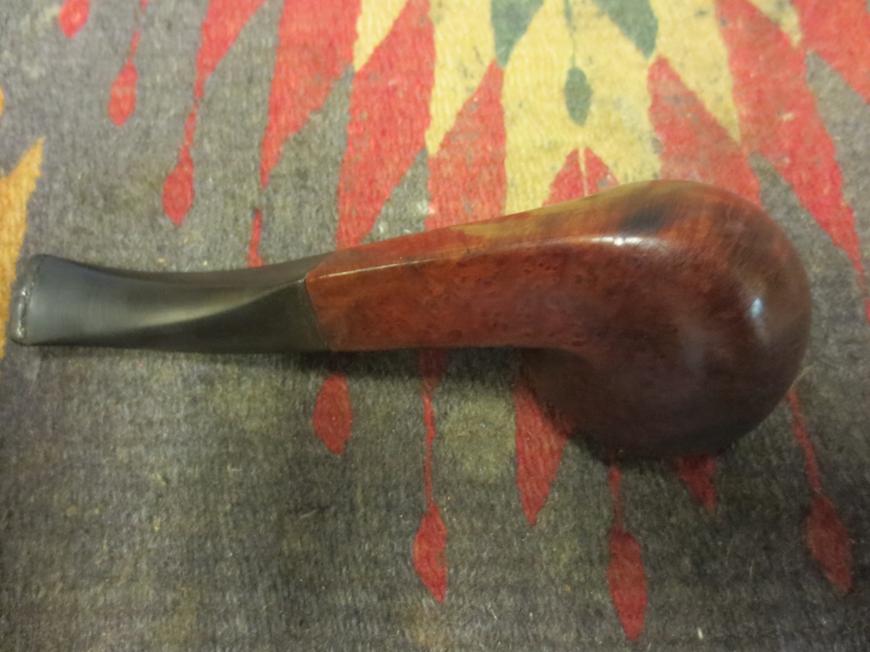
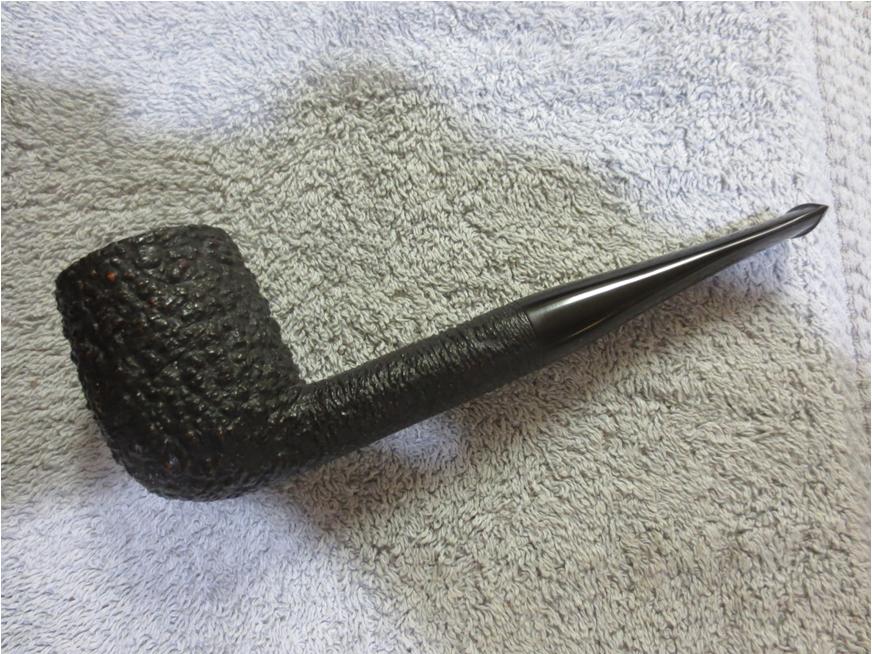
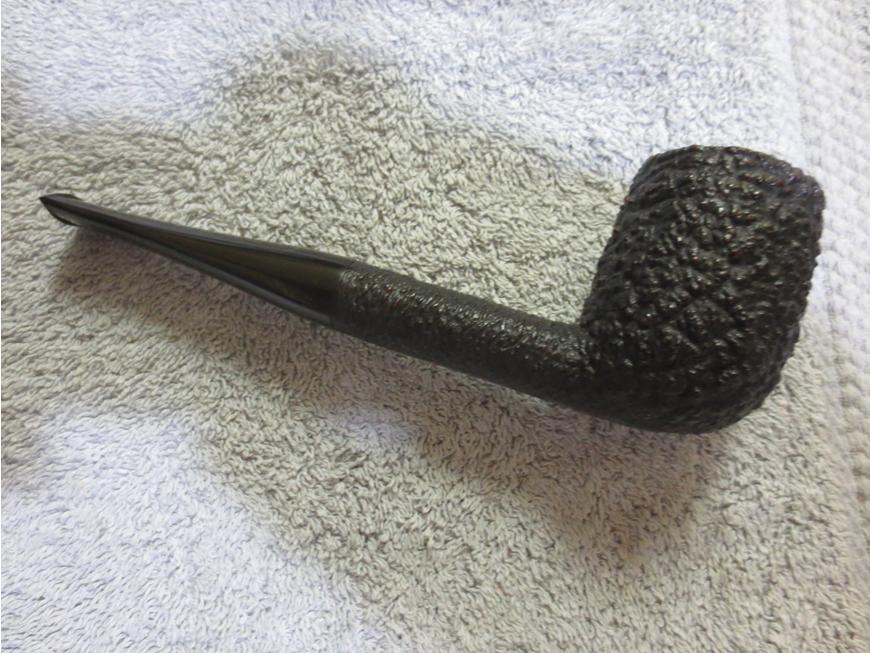
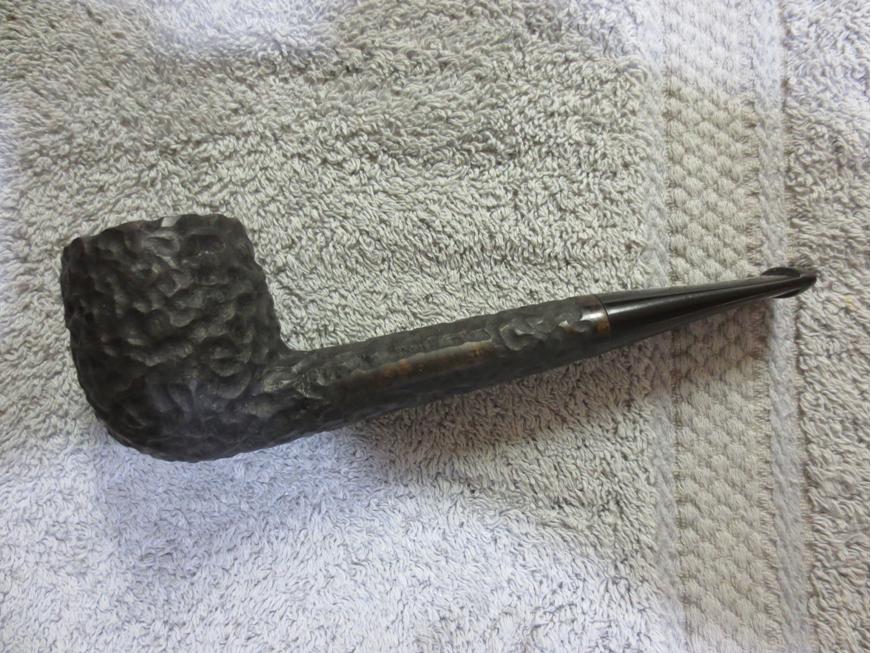
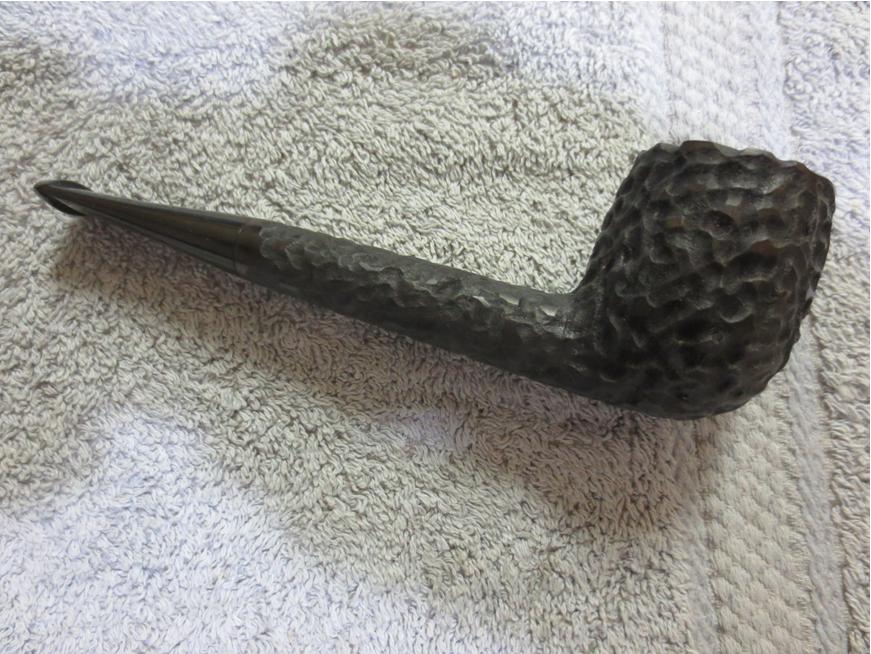
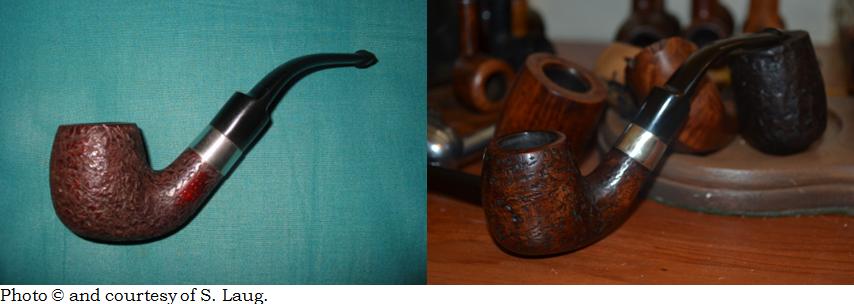
 I caught the slight smudge on the top of the stem in the photos above after taking them and fixed the problem. Now for the final, left view photos of Steve’s finished Croydon and mine side-by-side.
 CONCLUSION
This was, of course, no competition, if only because of the fact that Steve’s was done three years ago, a few months before we ever “met” online. But had they both taken place at the same time, his would, hands-down, be the winner. Being able to take a pipe in the abominable condition in which Steve found his and clean it, rusticate the bowl and shank himself and replace not only the stem but, it appears, the band using the exact types with which an original is created astounds me…and inspires me.
If I still drank, Steve, I’d have two, one for me and one for you. But I wouldn’t stop there, so I guess I’ll have to settle for a Monster!
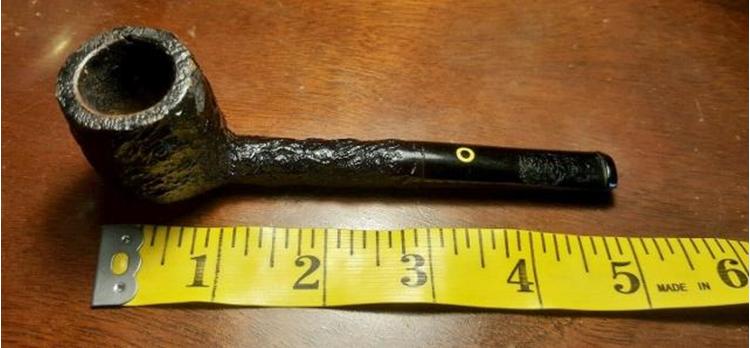
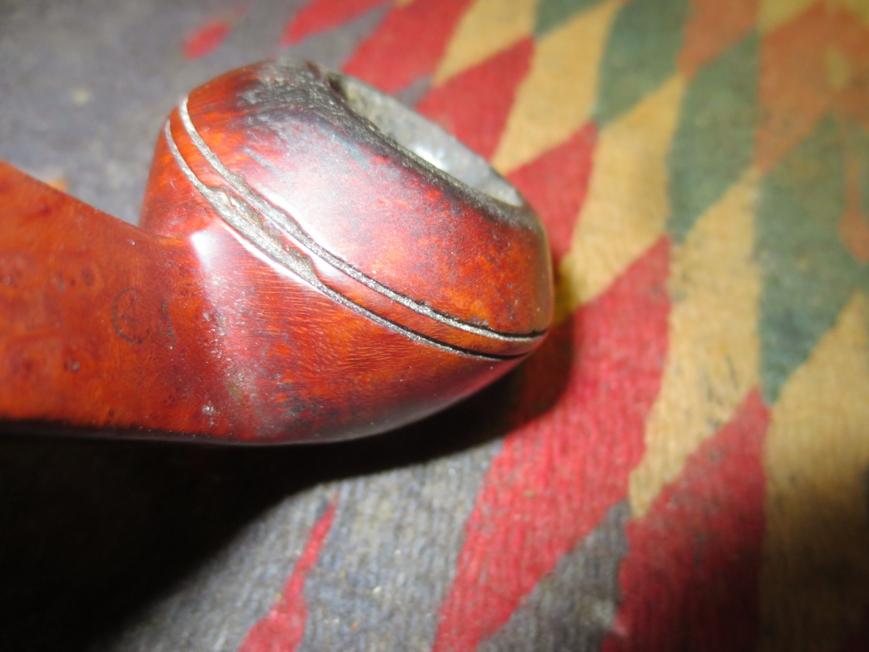
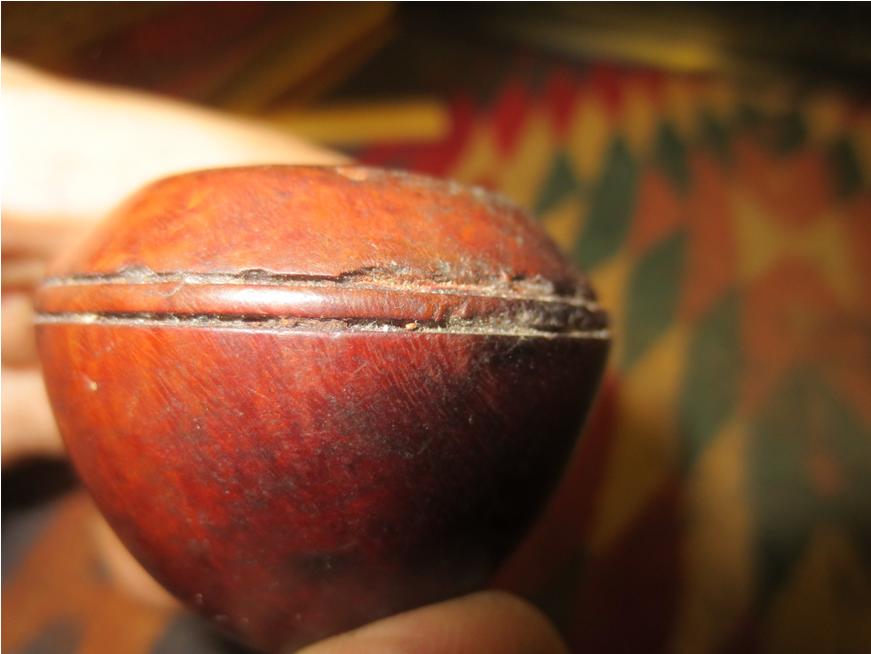
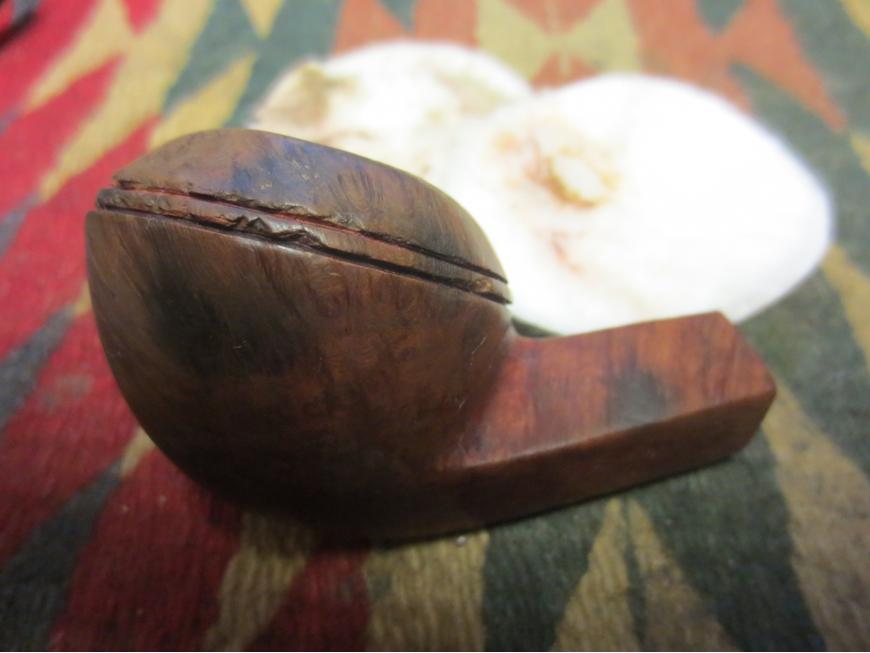
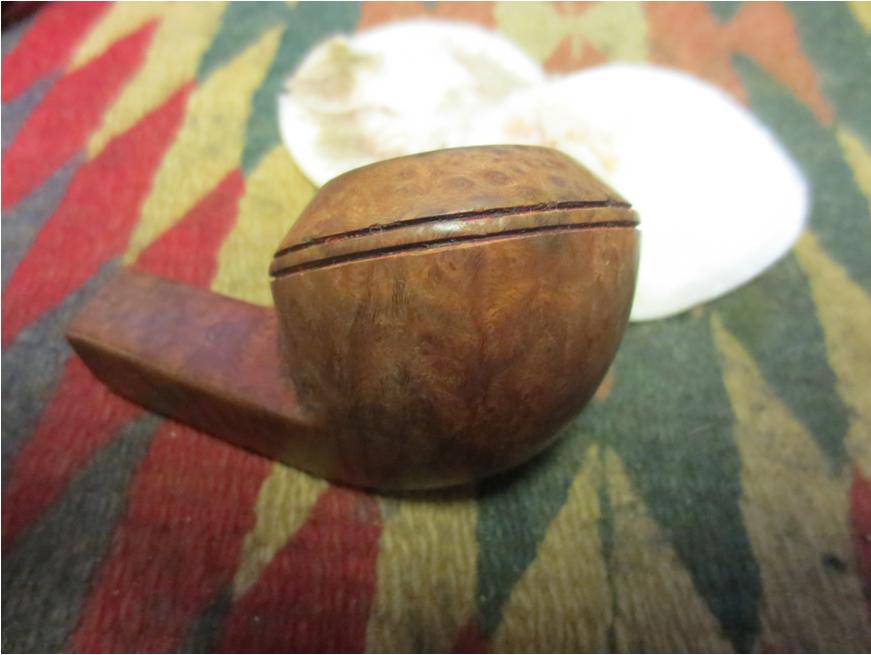
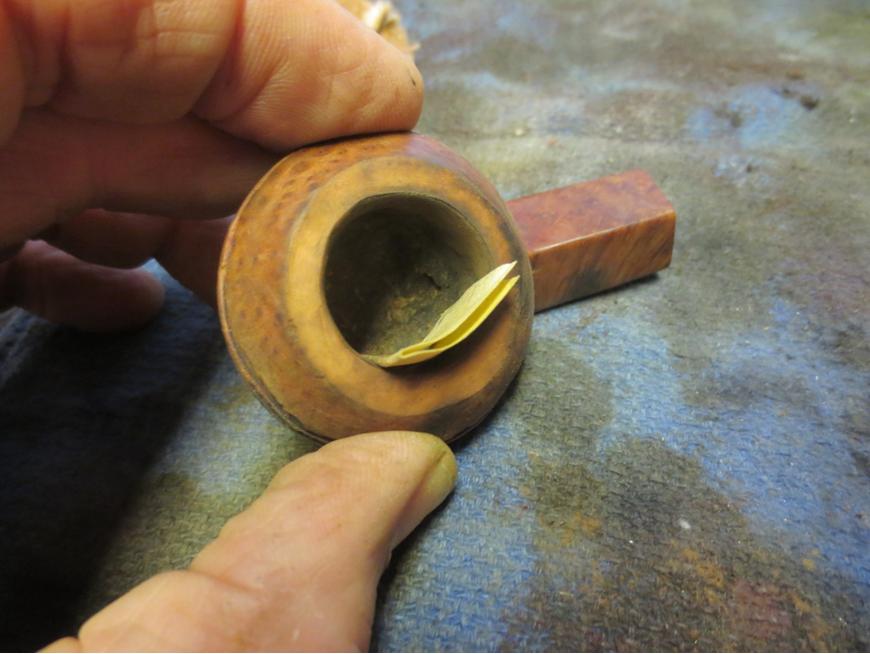
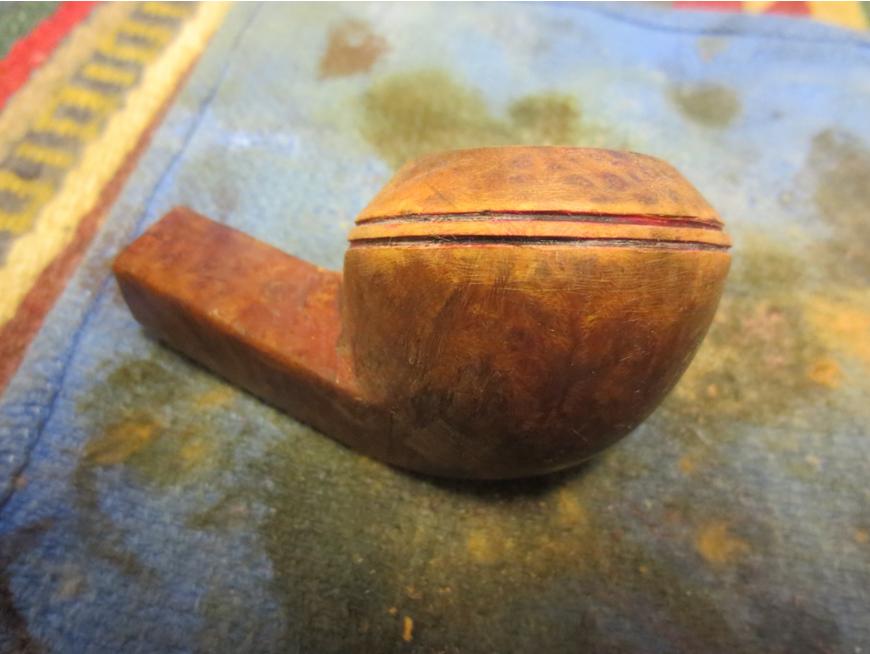
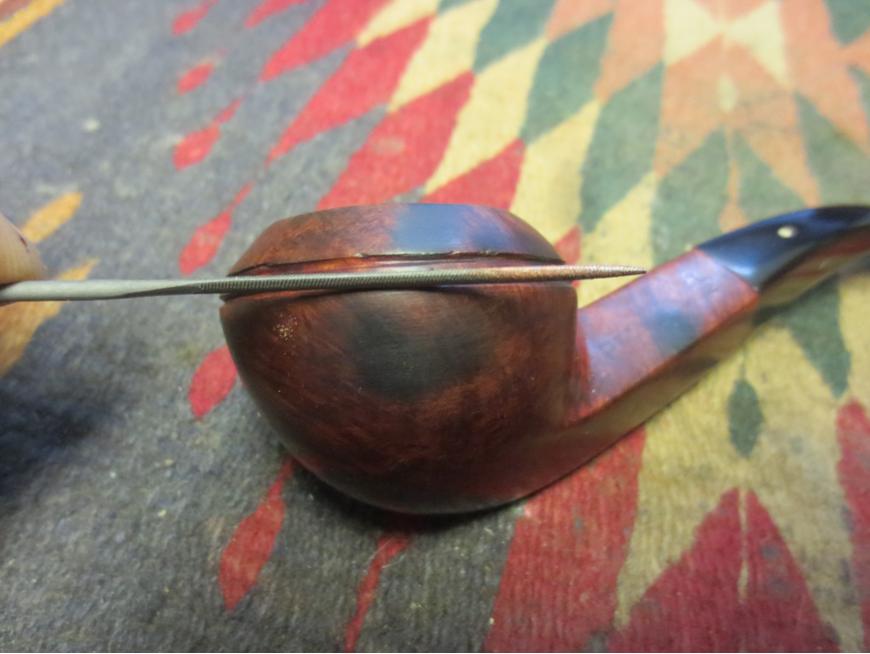
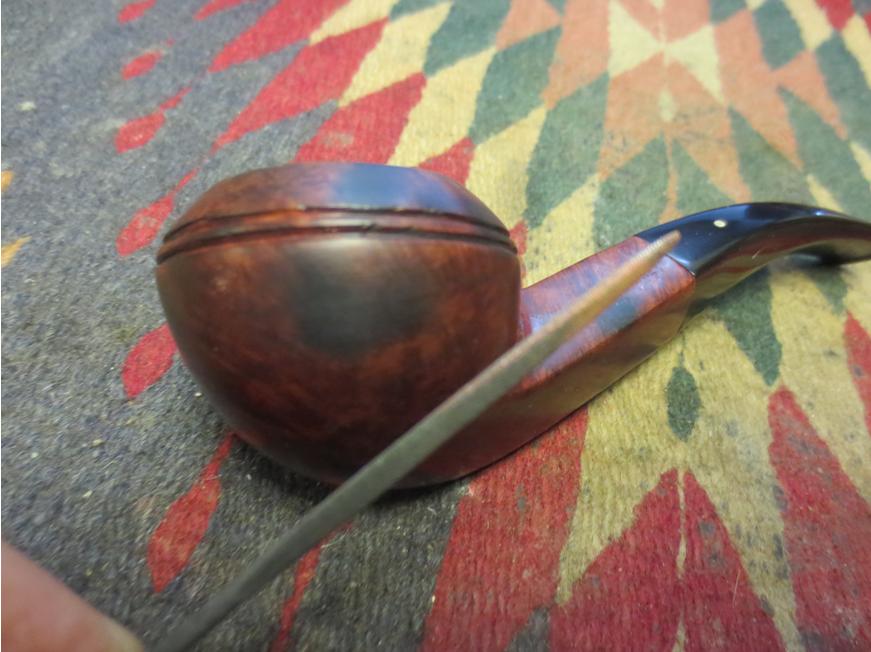
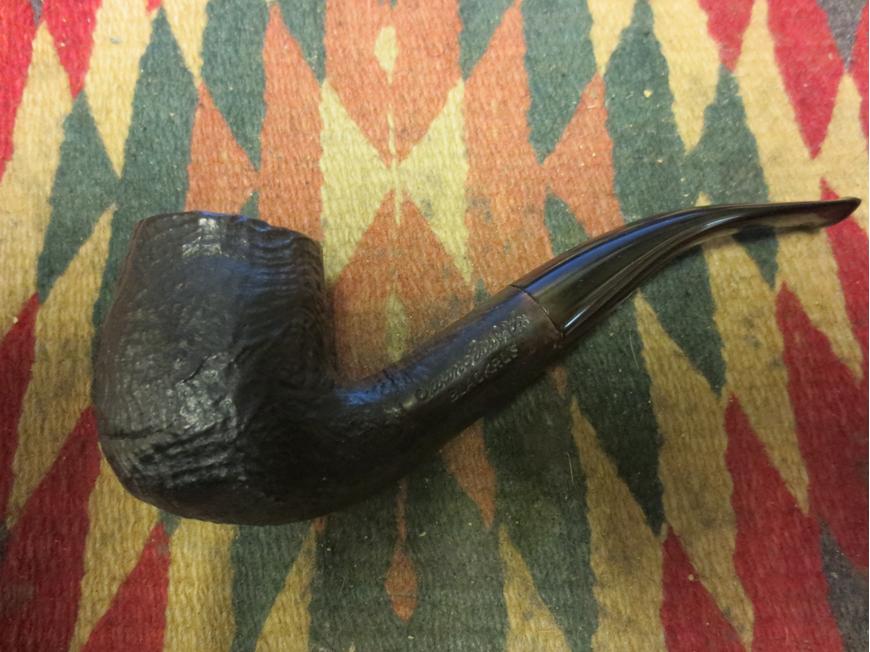
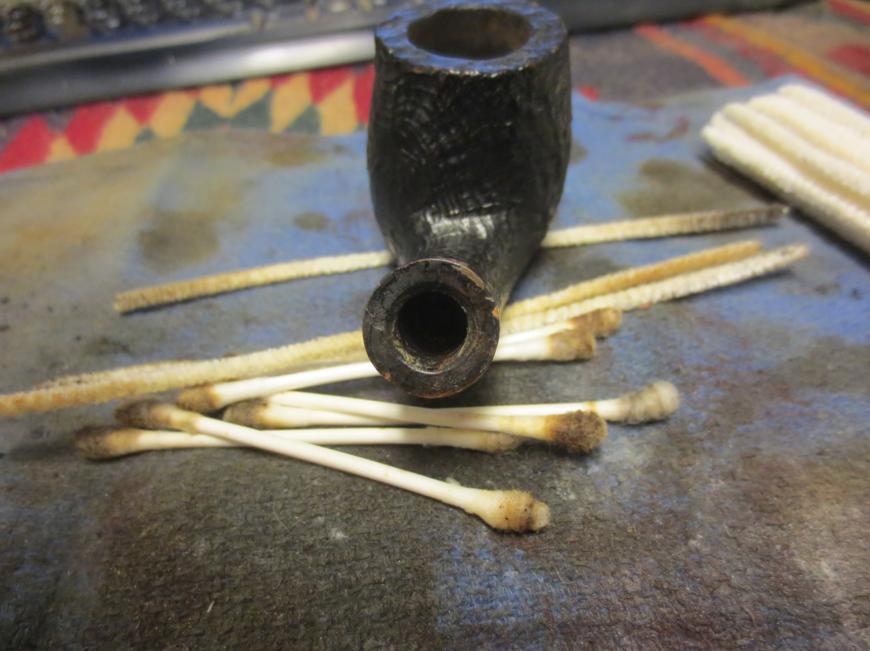
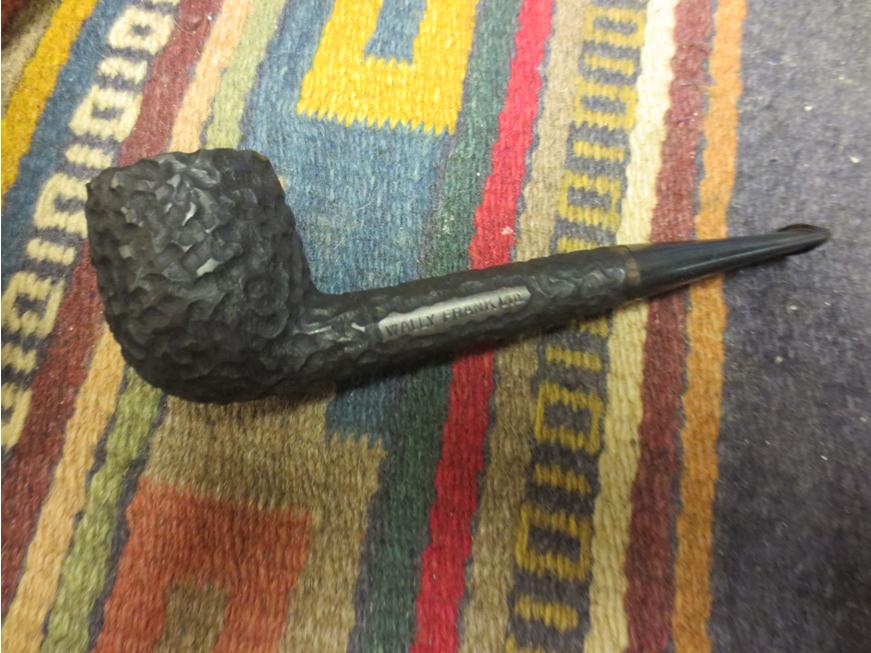
 I started out by repairing the bowl chamber which had been badly reamed over the years. After removing the cake I sanded the bowl chamber smooth using 400 grit wrapped around a small sharpie marker.
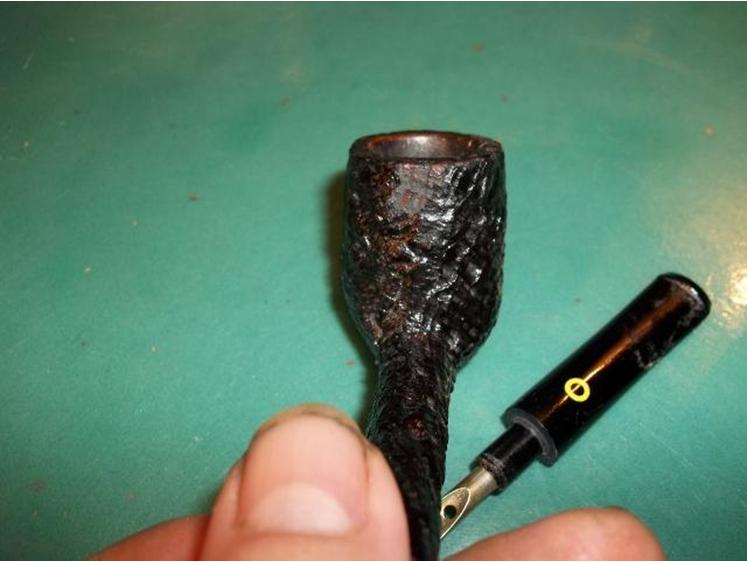
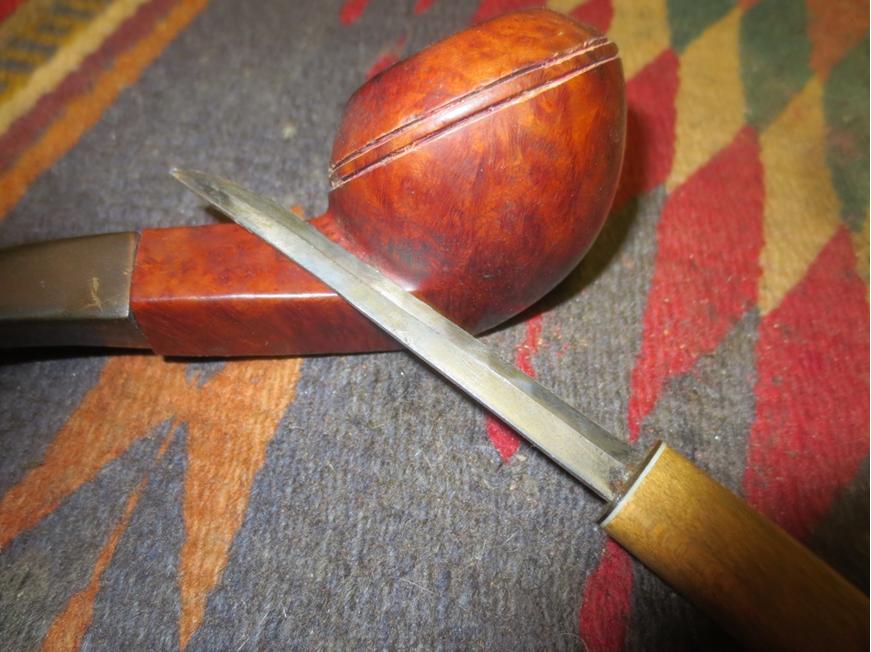
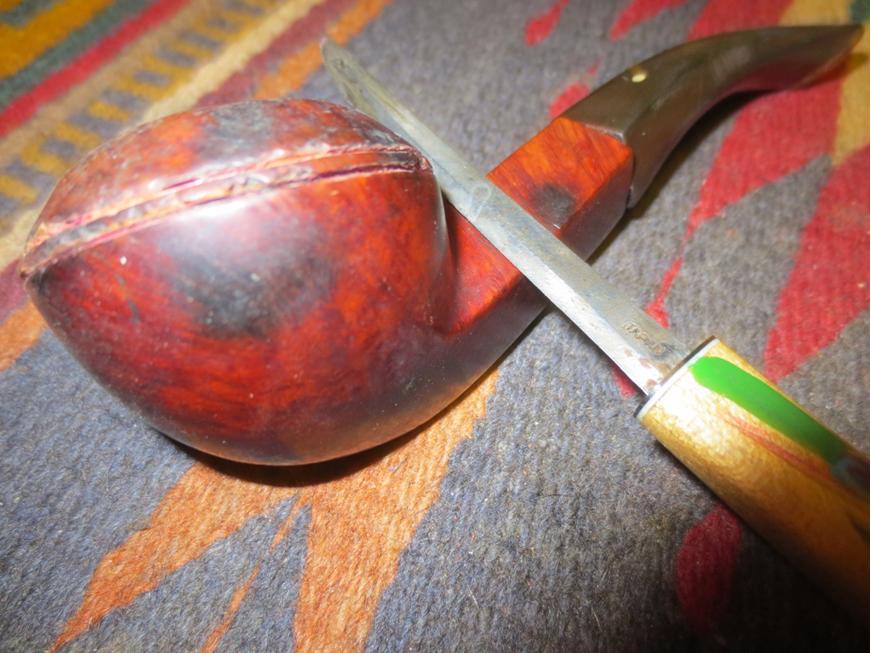
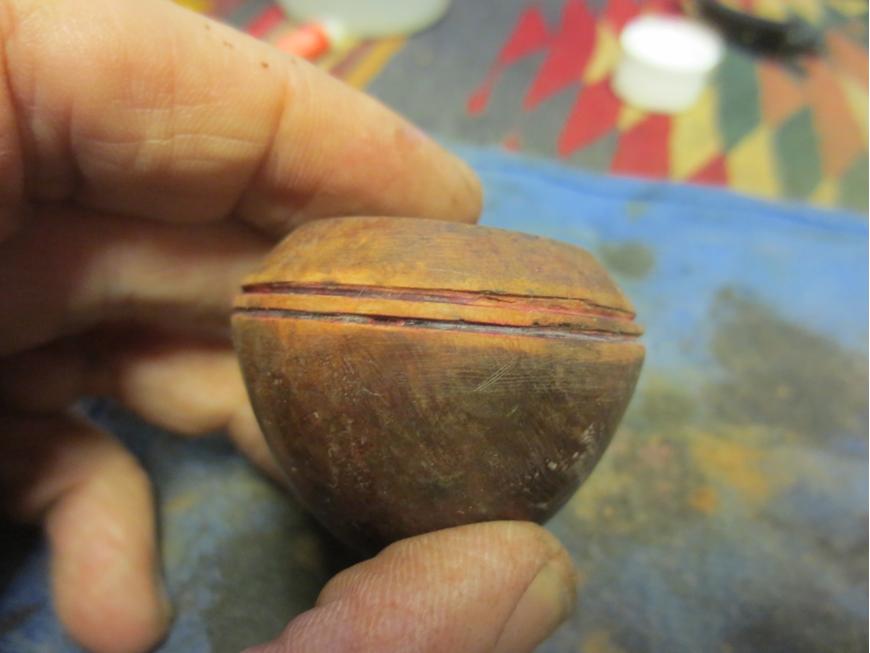
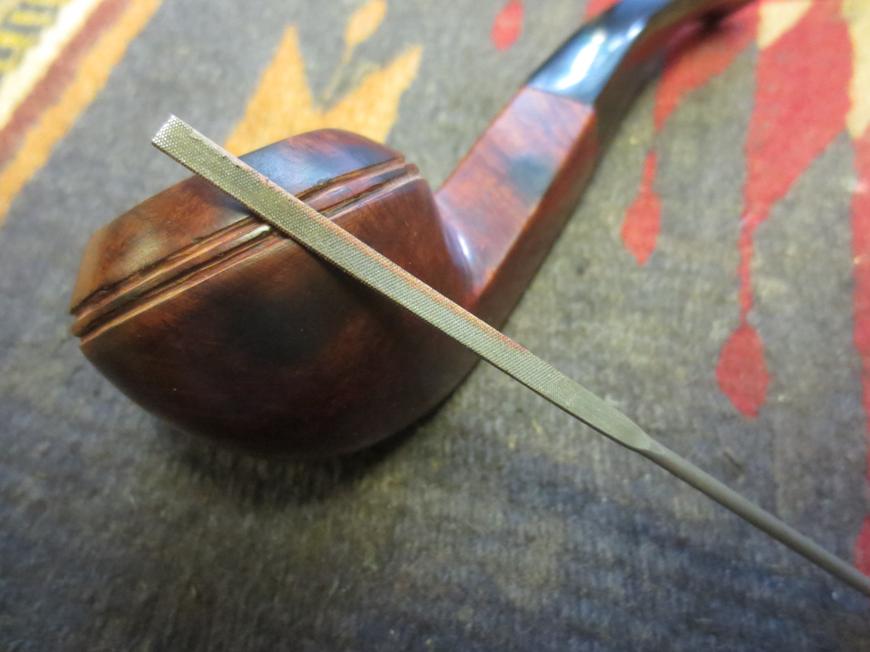
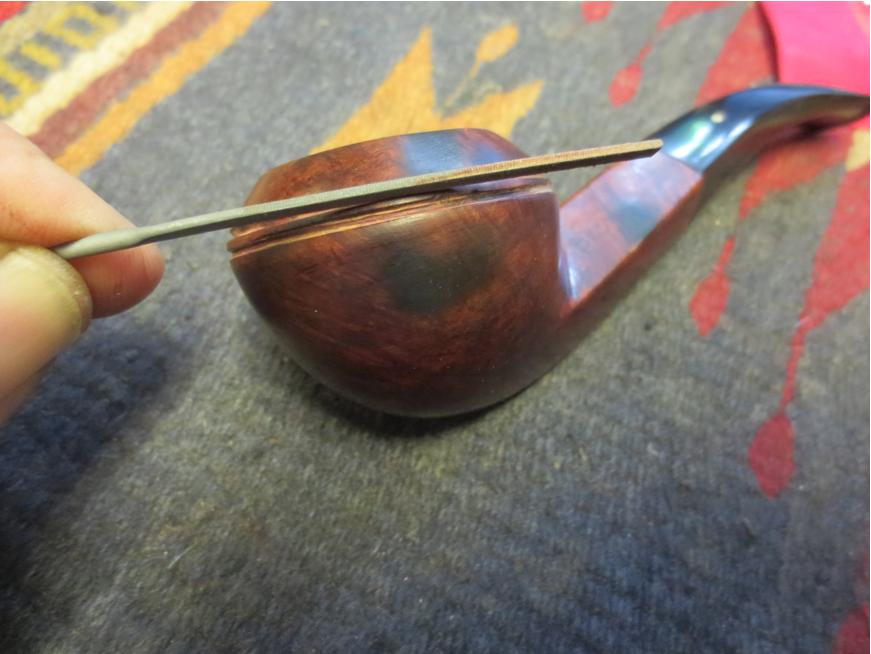
 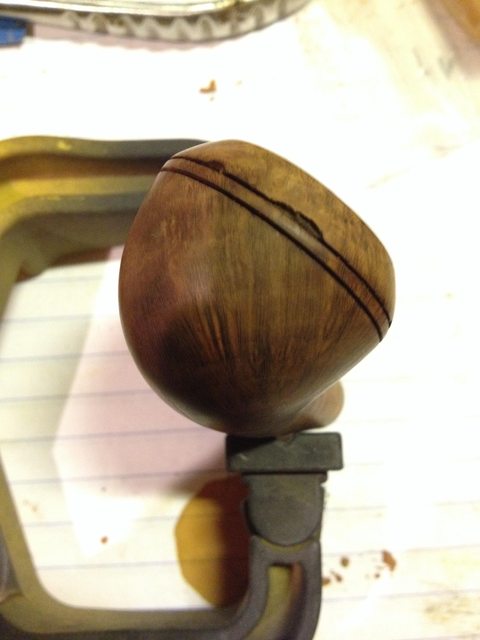 I covered a small piece of cardboard in clear tape and wedged it in the groove under the damaged areas to keep the channel clear. Medium viscosity cyanoacrylate glue and fine ground briar dust will fill the missing voids. The glue will not stick to the clear tape and the wedge is easily removed after the repair has set up. I put a few small drops of glue in place and sprinkled the dust on top, then used the flat edge of a knife pressed it flat against the pipe. I repeated this several times around the circumference of the bead line.
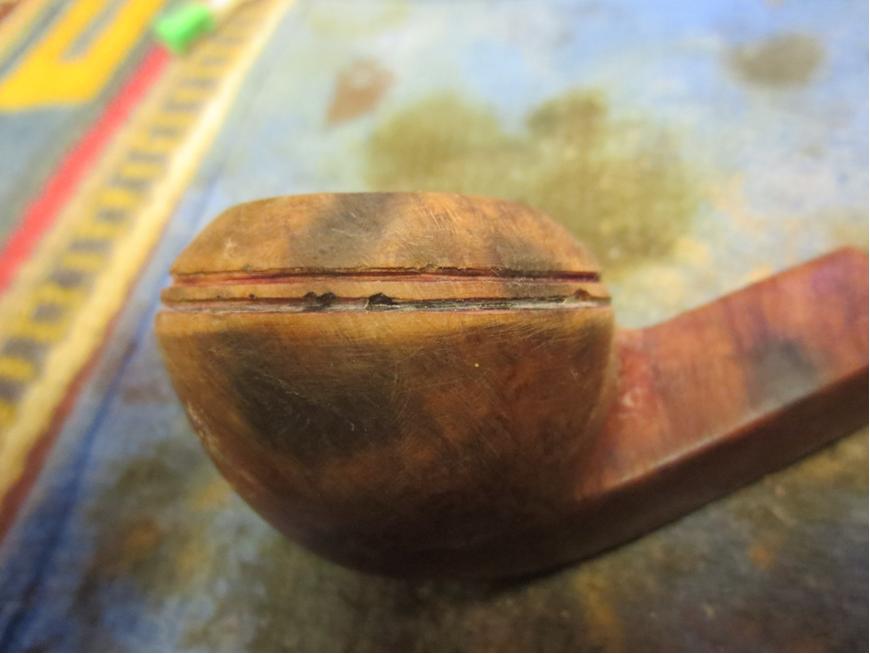
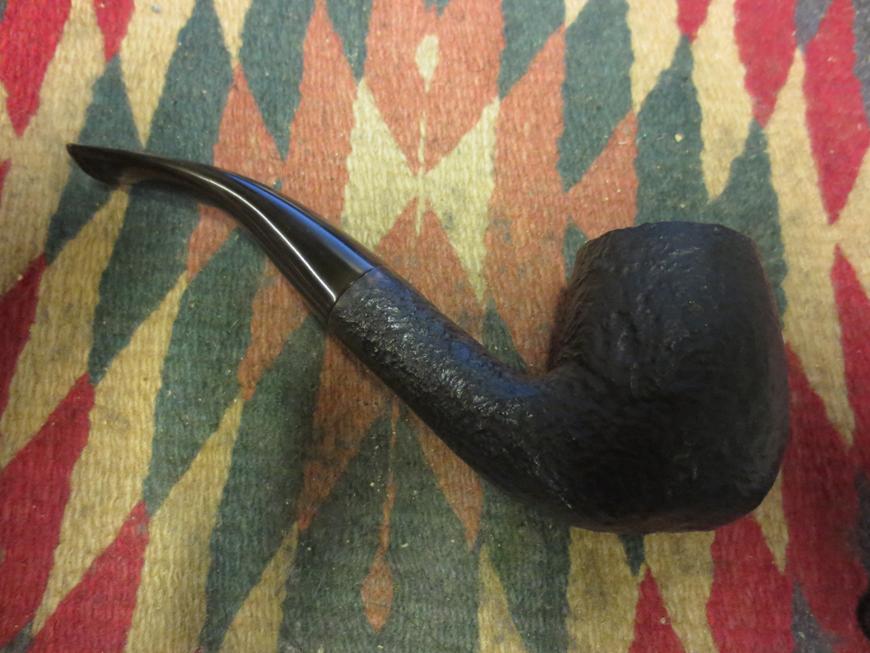
 After I had all the missing briar filled in I proceeded with the sanding . I started with 800 grit to smooth out all the excess glue, and then worked my way up to 2000 grit on the rest of the pipe.
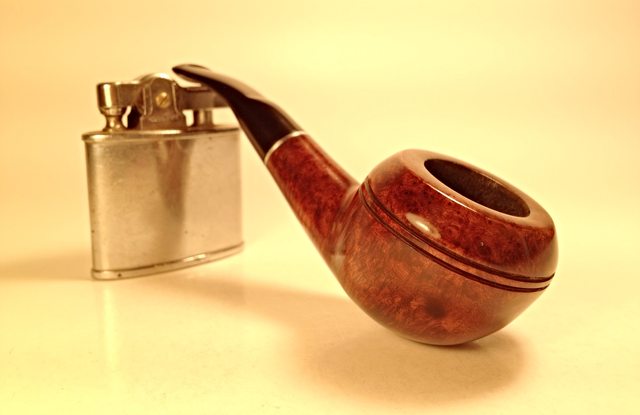
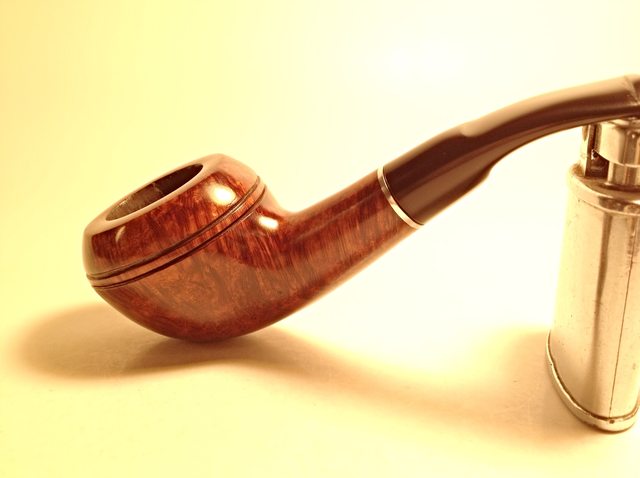
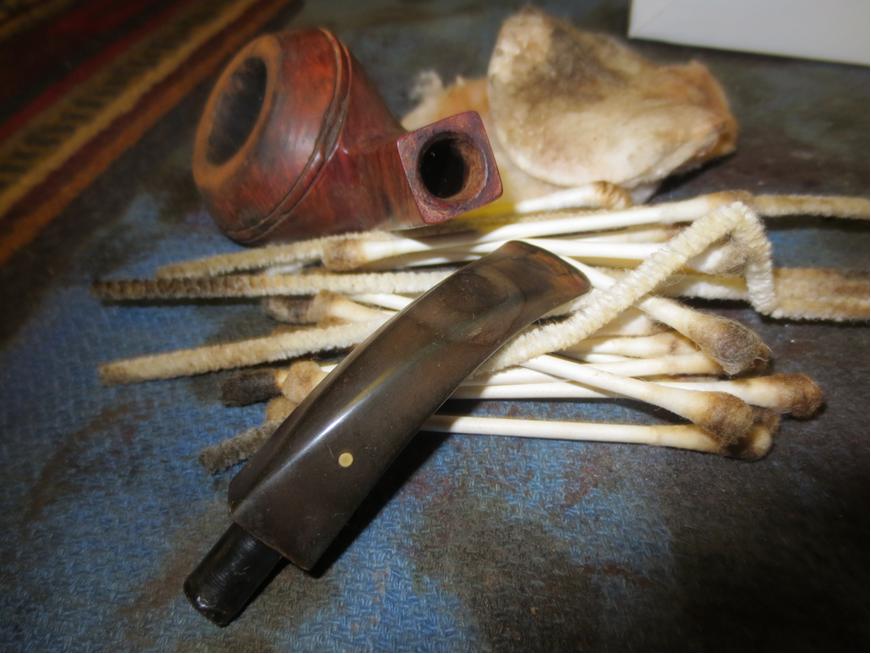
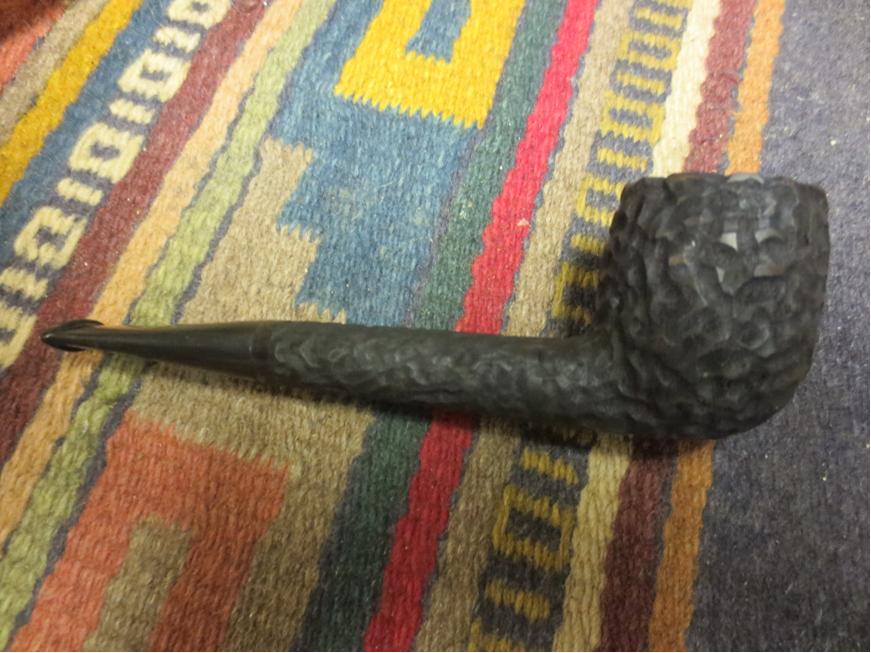
 Here it is sitting with a Savinelli 320 for size reference.
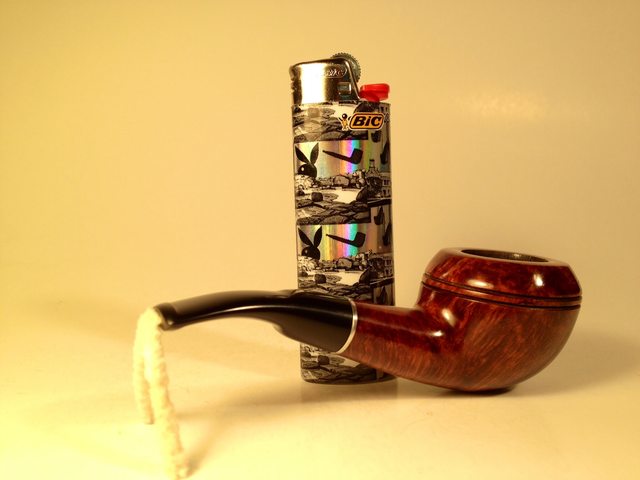
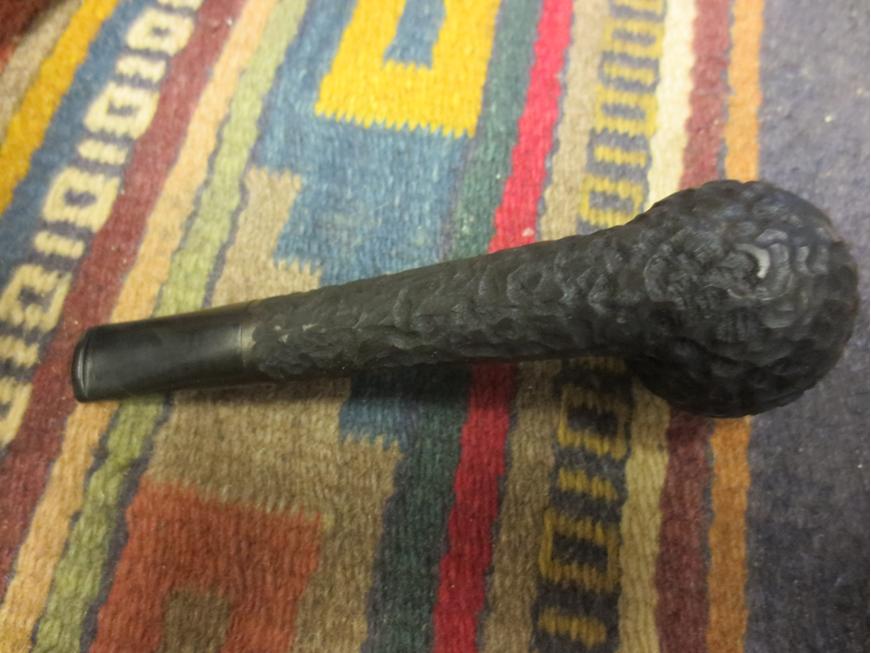
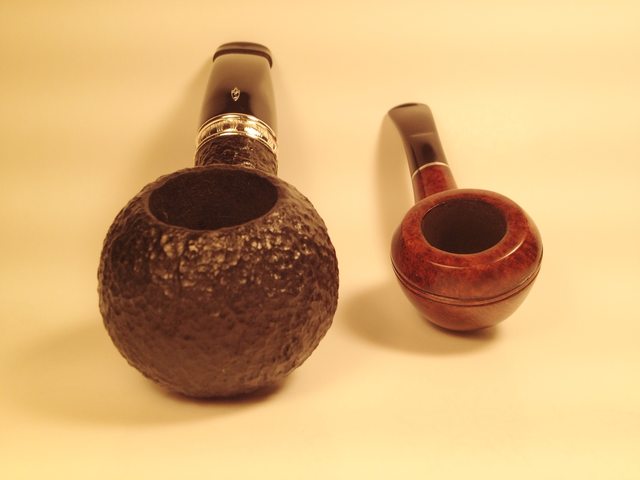 Next to a Bic lighter truly shows how small this Rhodesian really is.