Blog by Steve Laug
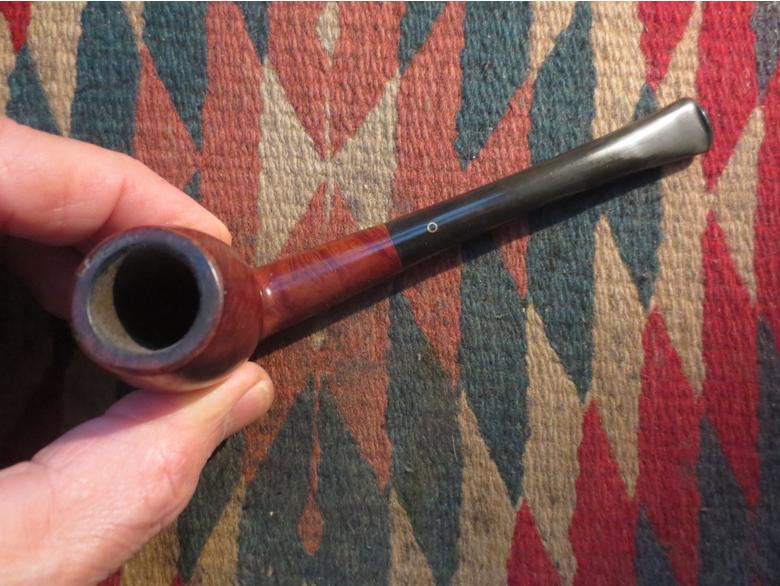
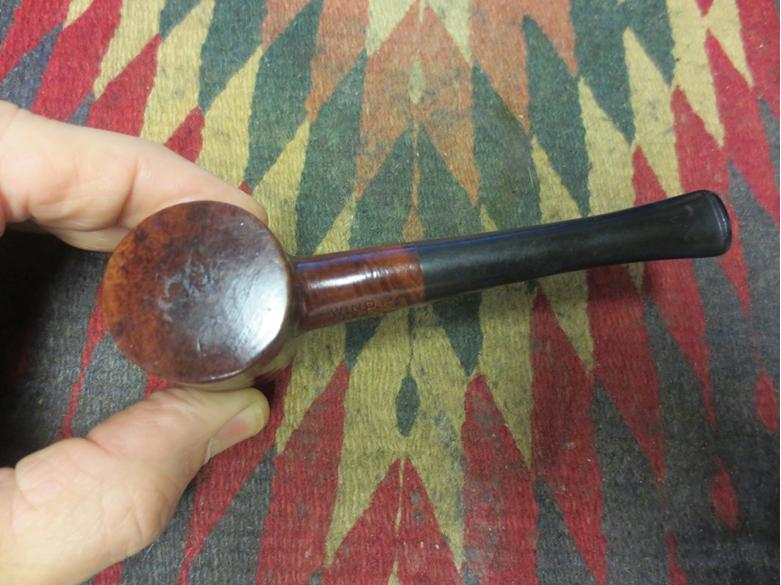
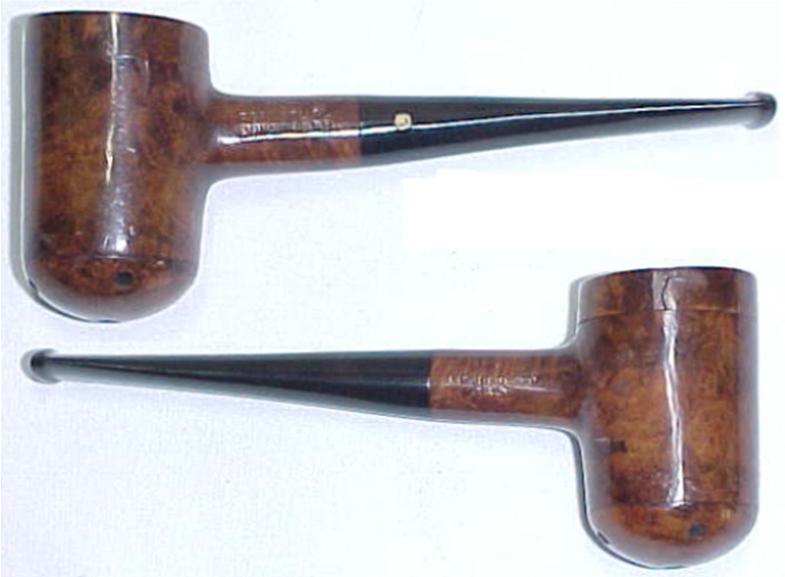
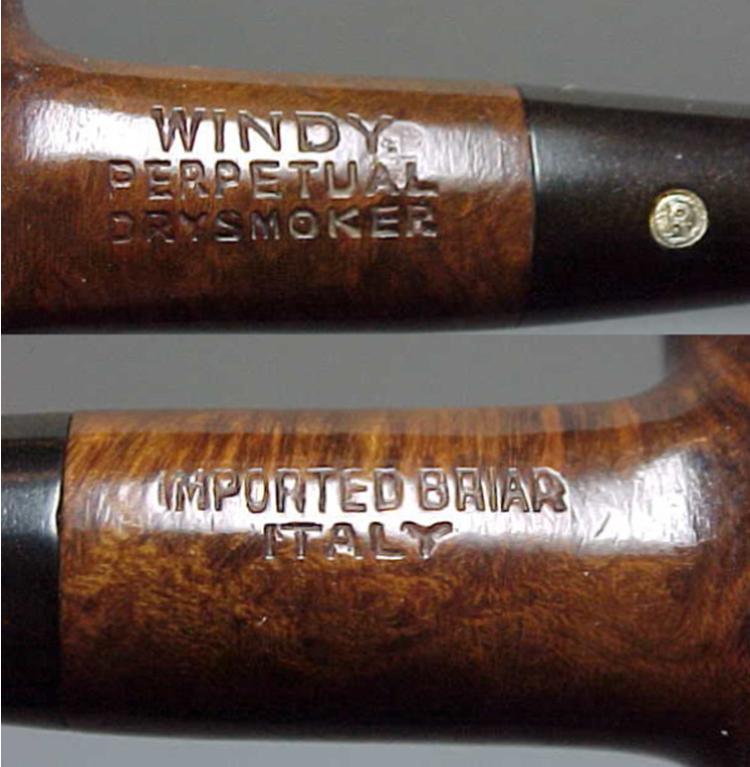
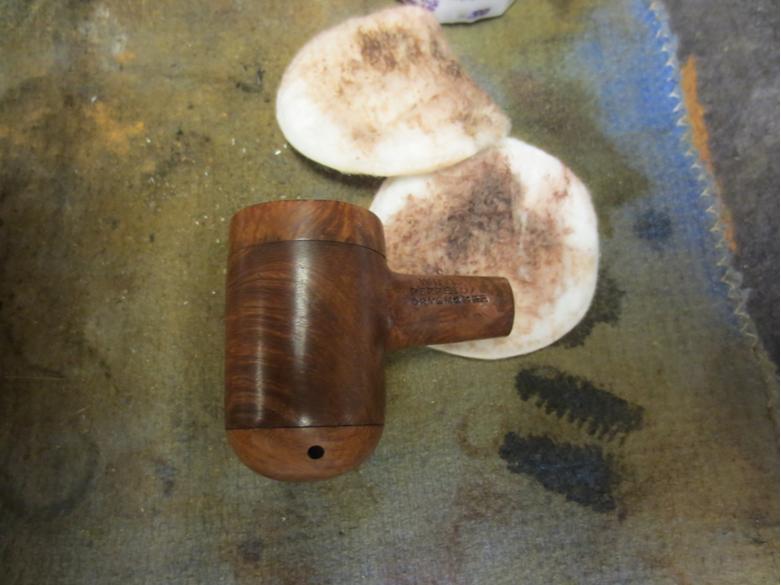
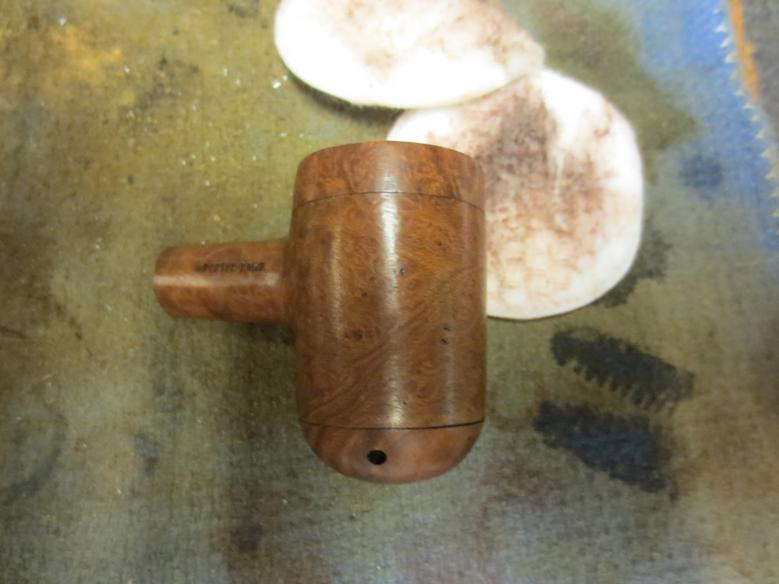
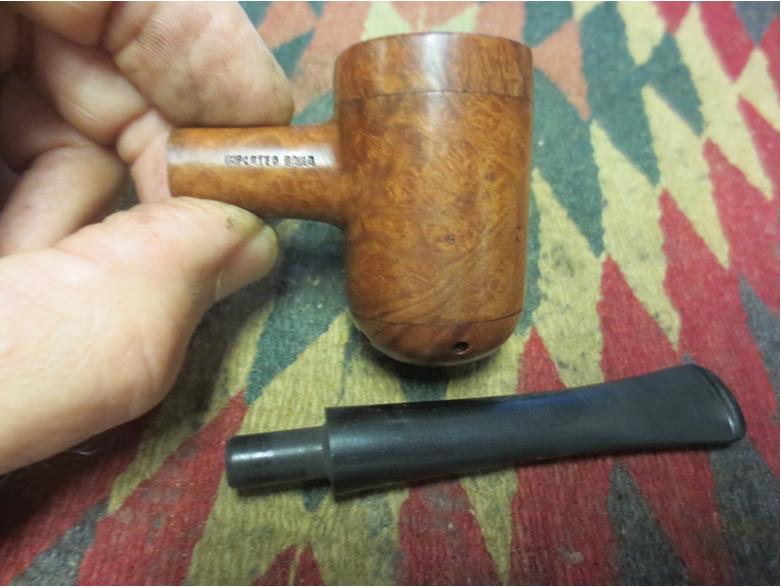
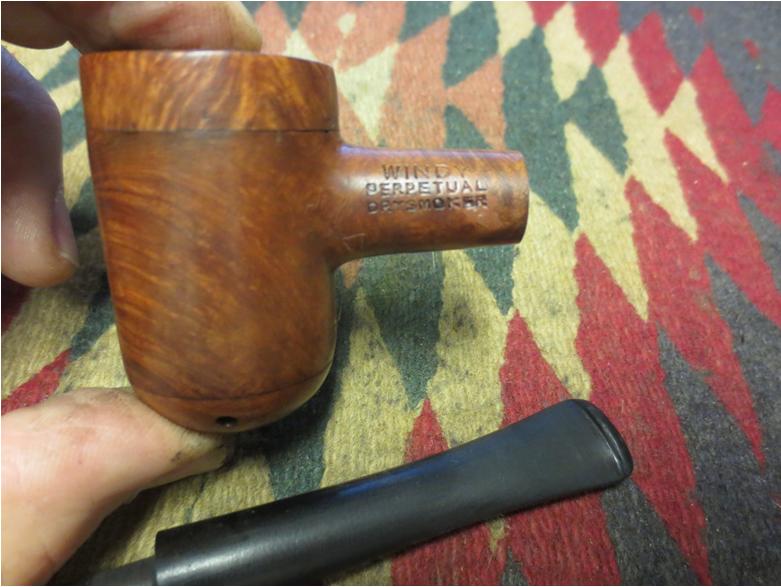
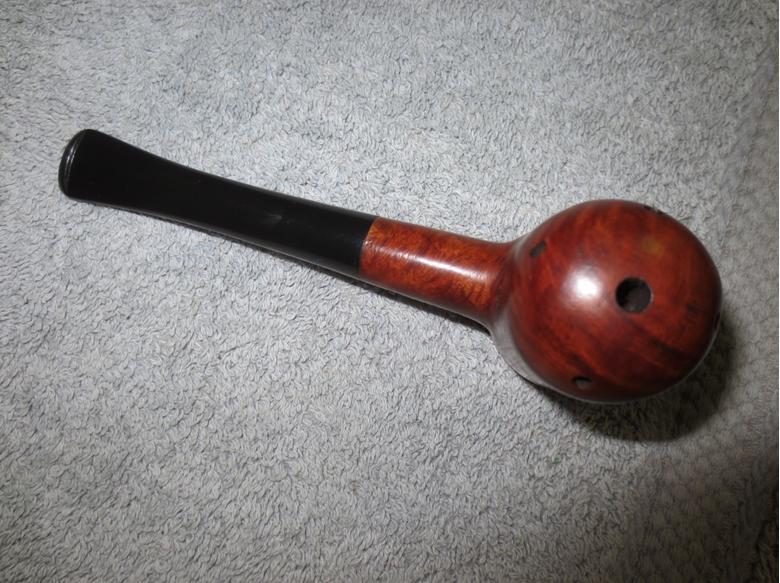
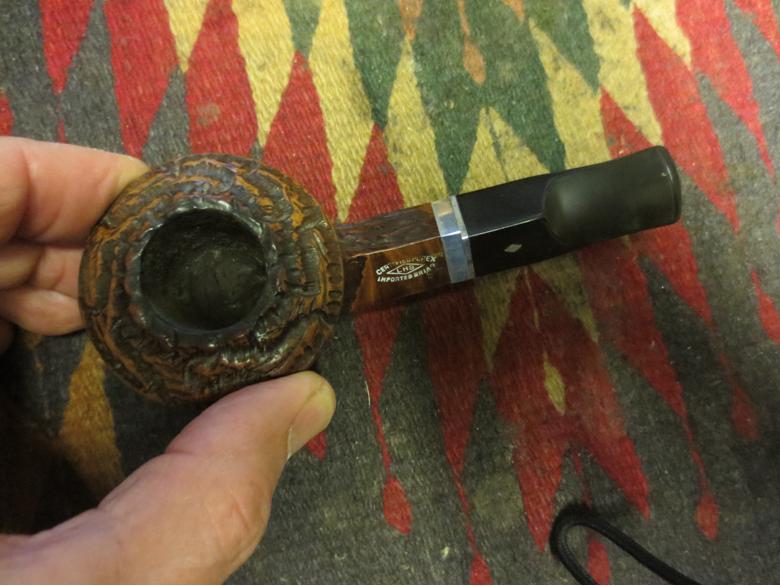
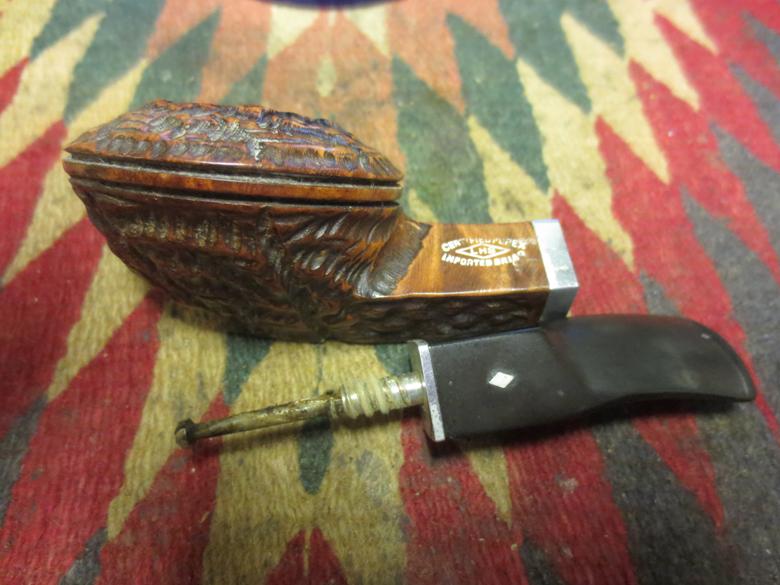
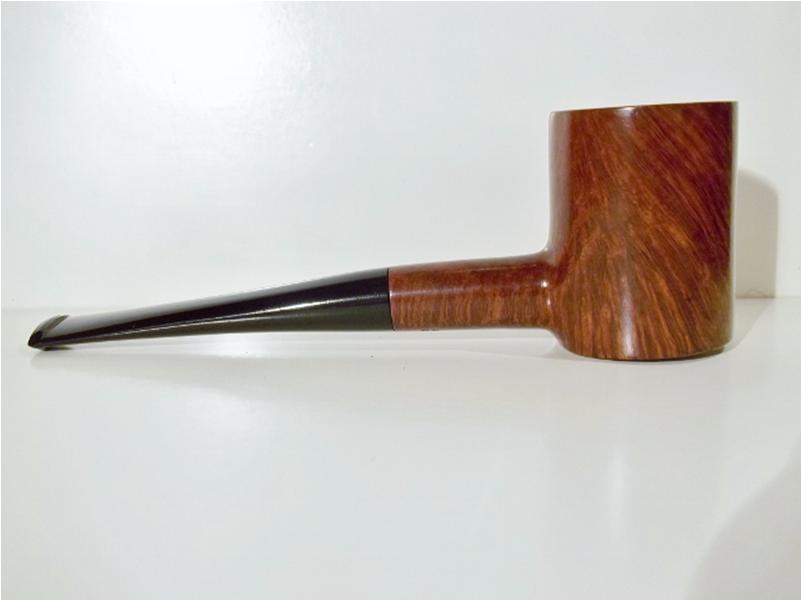
One of the contributors to rebornpipes,Troy Wilburn gifted me with a couple of pipes not long ago. Today I worked on the first of them – an interestingly odd old pipe the likes of which I have never seen. It is stamped on the left side of the shank WINDY over PERPETUAL over DRYSMOKER and on the right side of the shank IMPORTED BRIAR. Around the end of the shank on what I assume is the bottom of the pipe it is stamped ITALY.


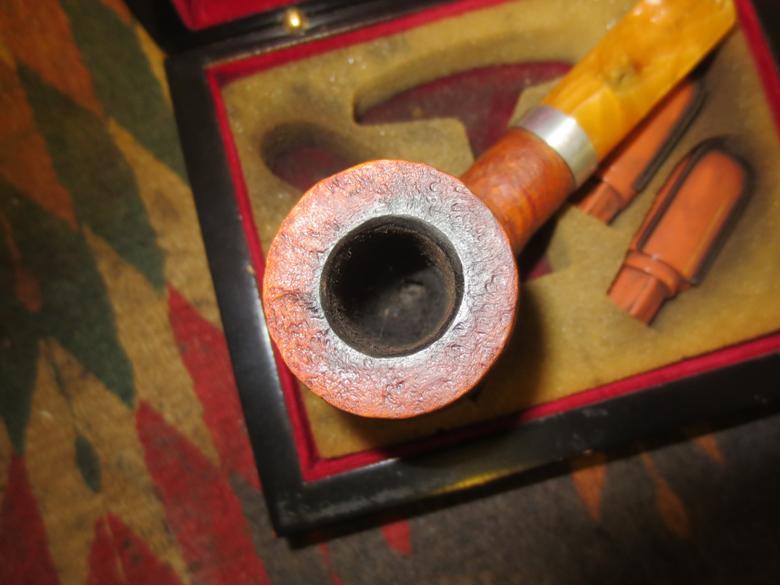
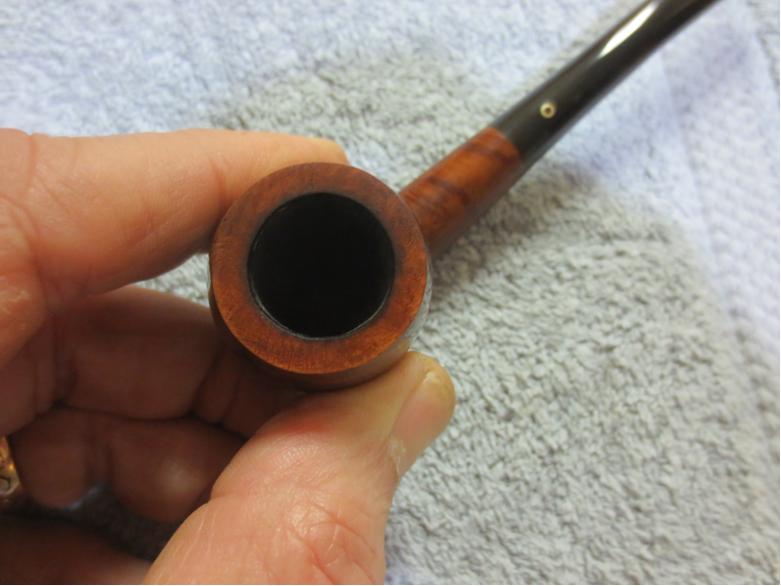
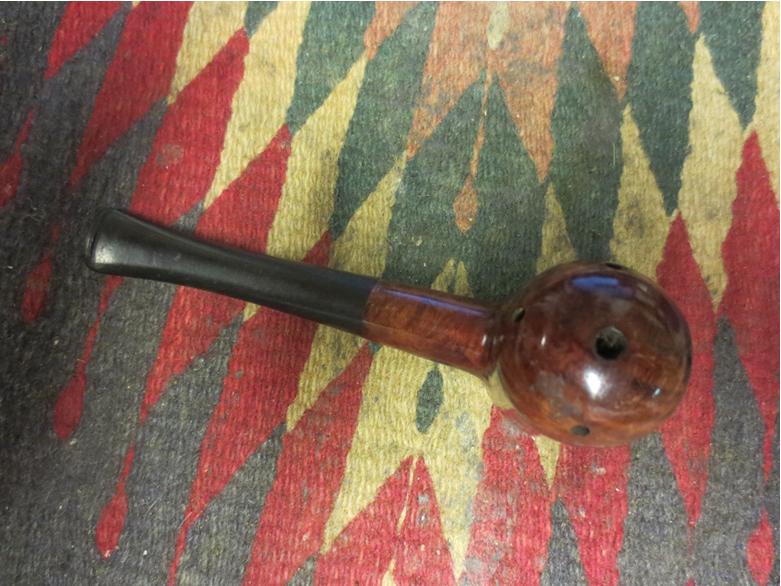
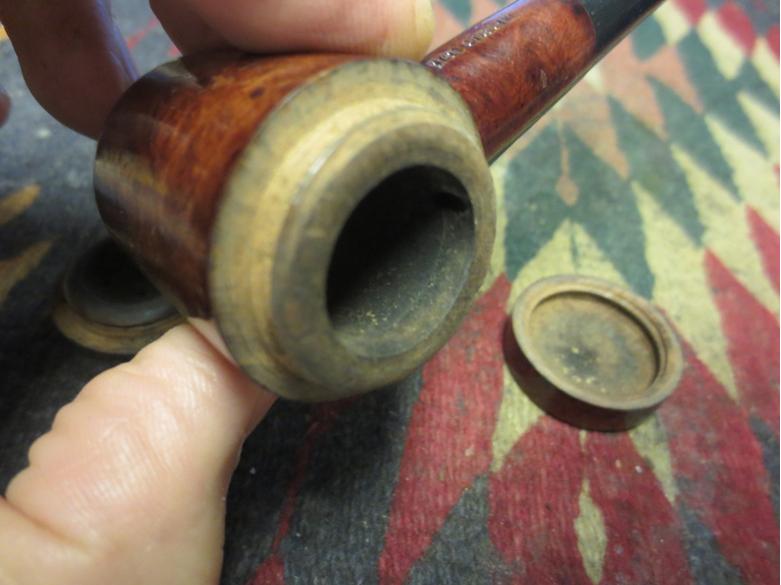
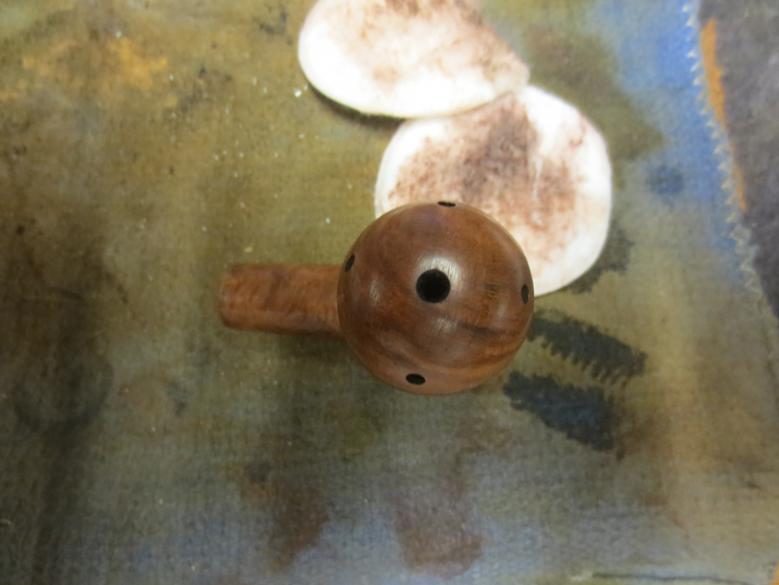
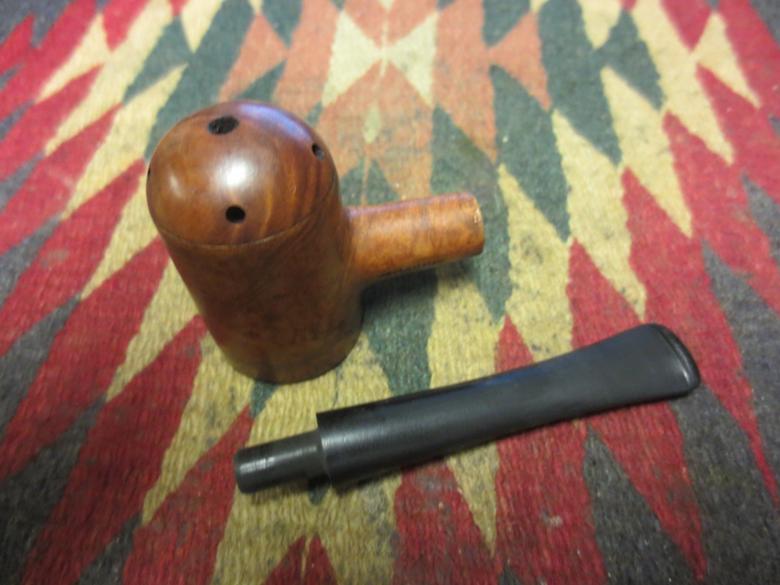
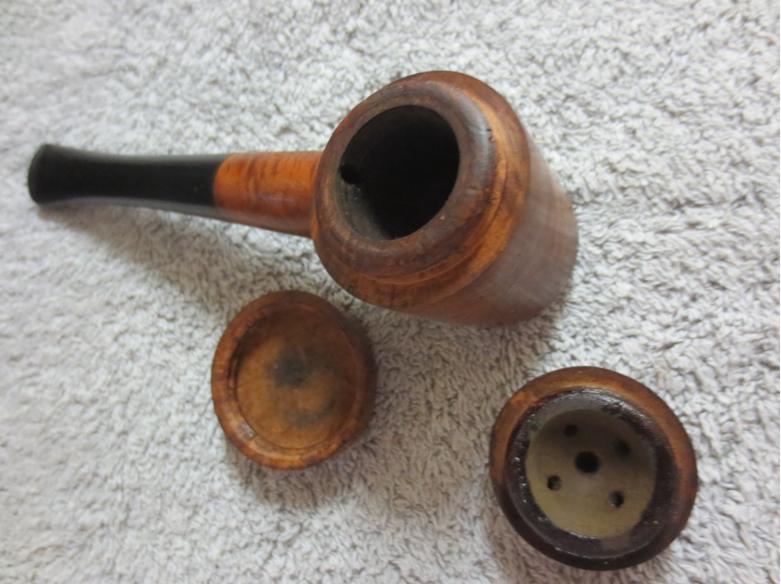
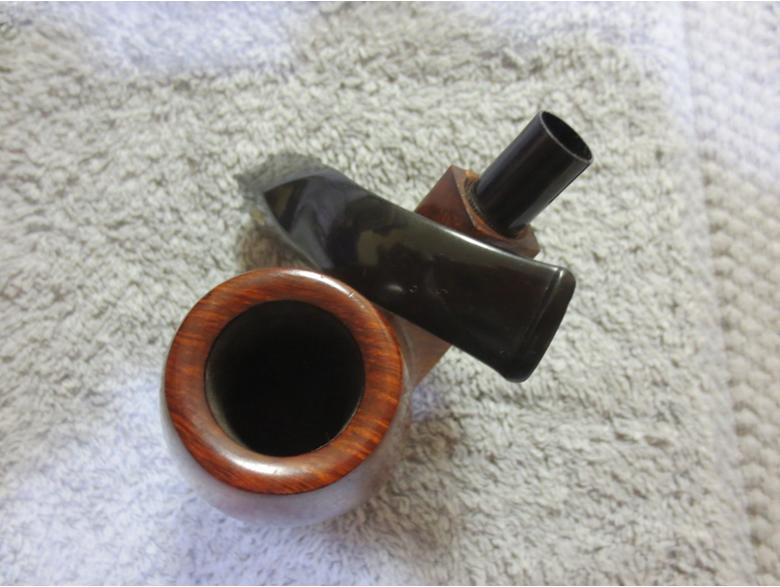
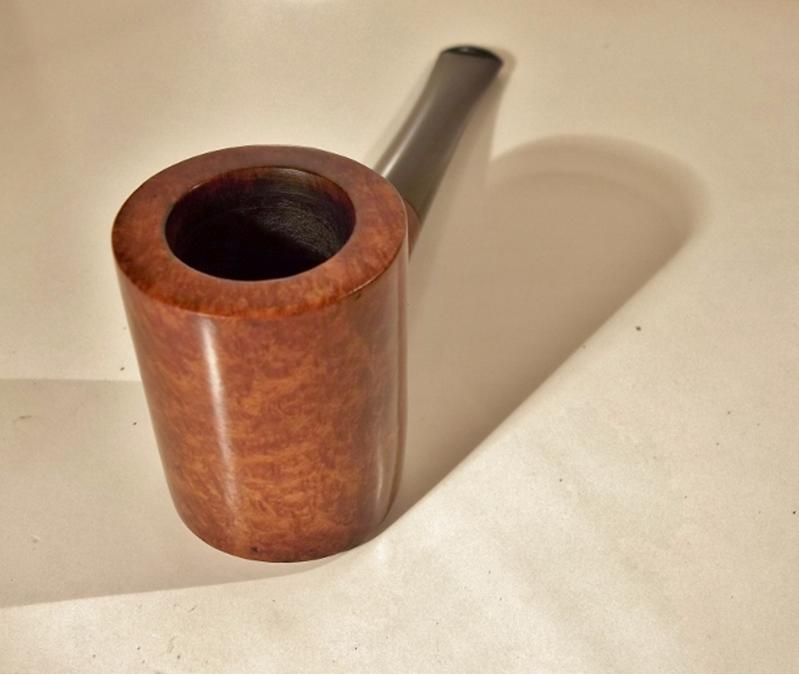
 This odd pipe is a bit of a mystery to me in terms of how it is smoked. You may laugh at that and say, “Put the end in your mouth and fire it up.” However it is a little more complicated. This particular pipe has a screw on wooden cap that sits on the “top” of the bowl if looked at the way I took the photos above. Held this way the stamping is right side up. On the other end of the bowl is what is like a normal windcap with five airholes in it. It is screwed into the bowl. When held with the windcap as the “top” the stamping is upside down. I can find nothing online that gives a hint to how it is to be smoked.
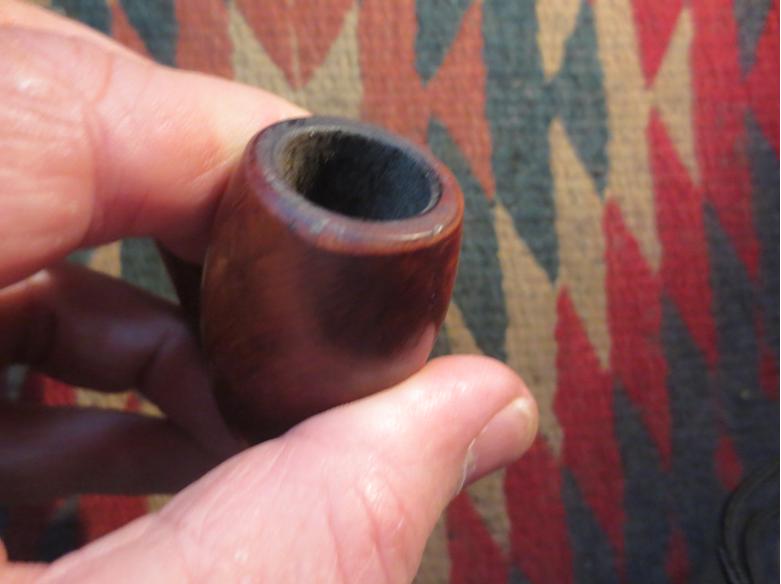
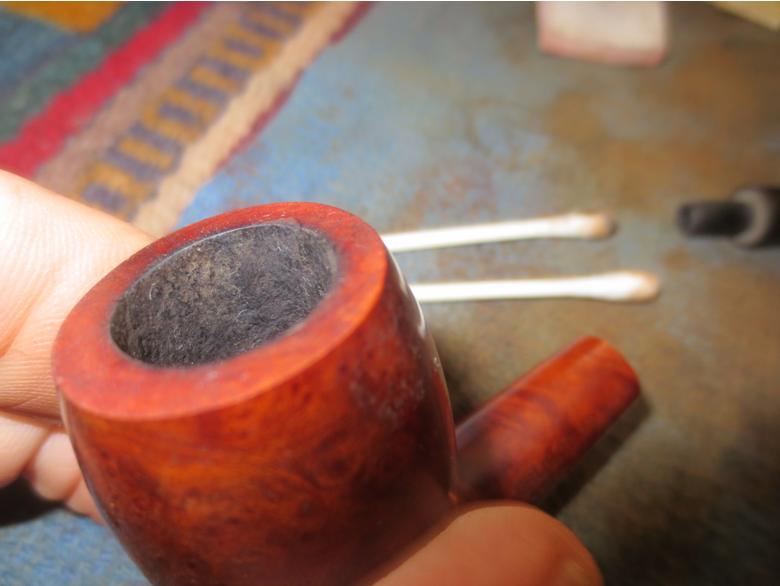
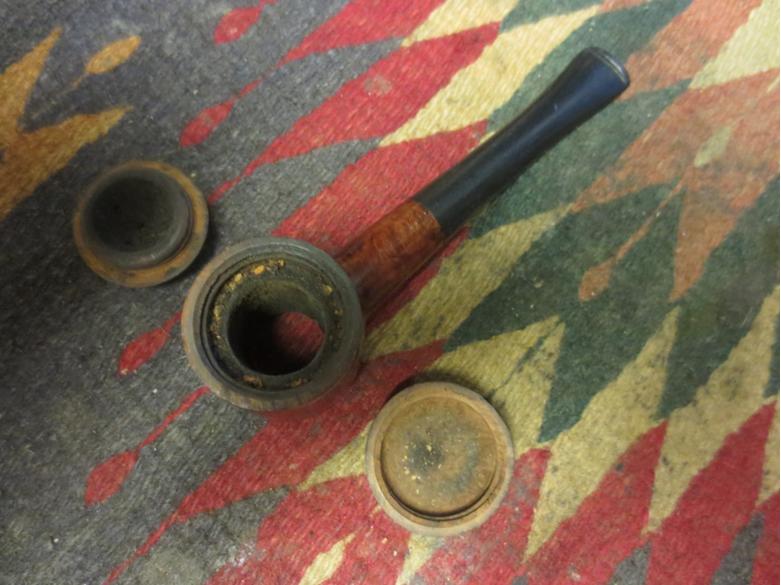
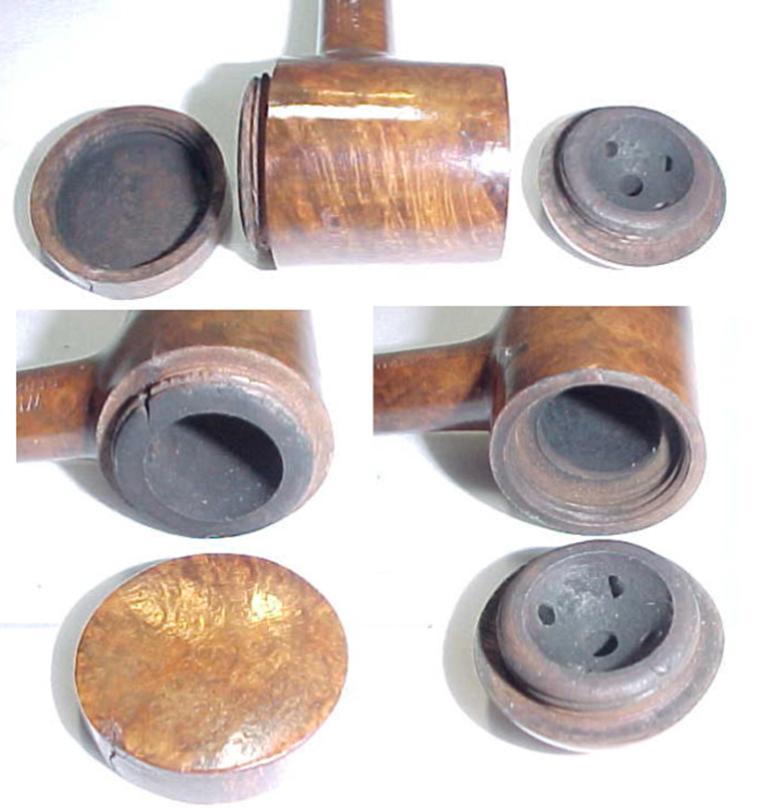
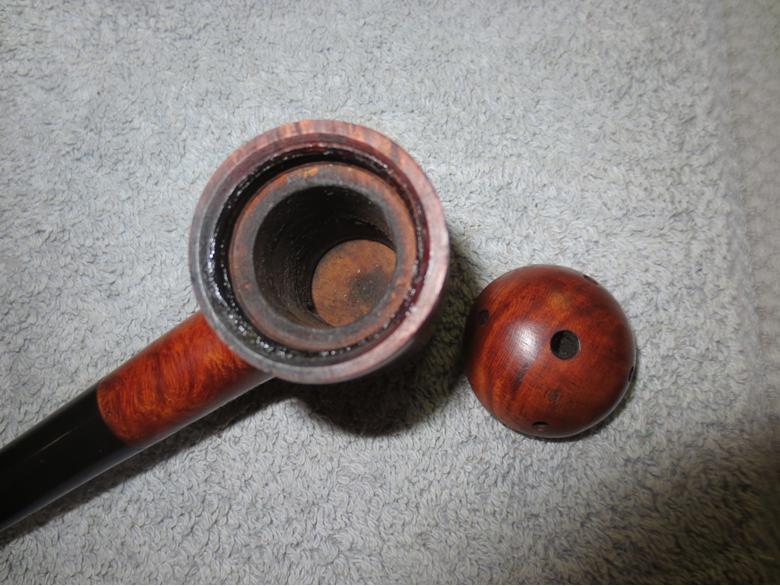
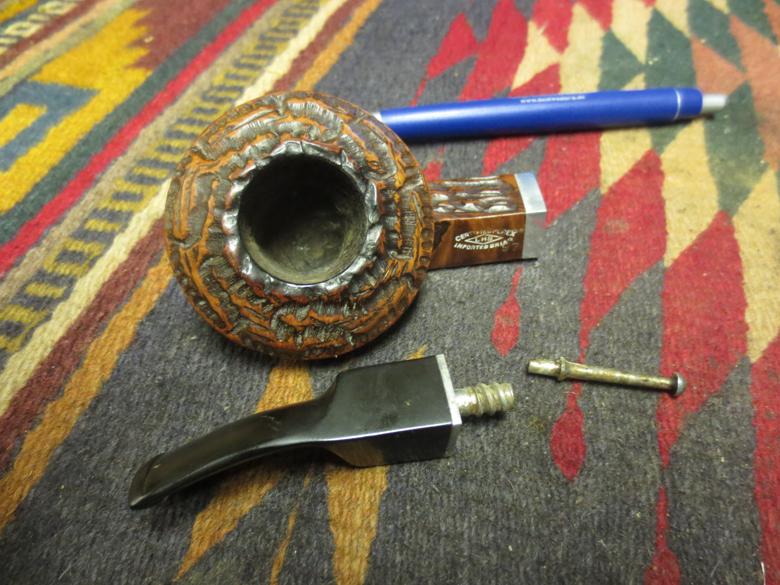
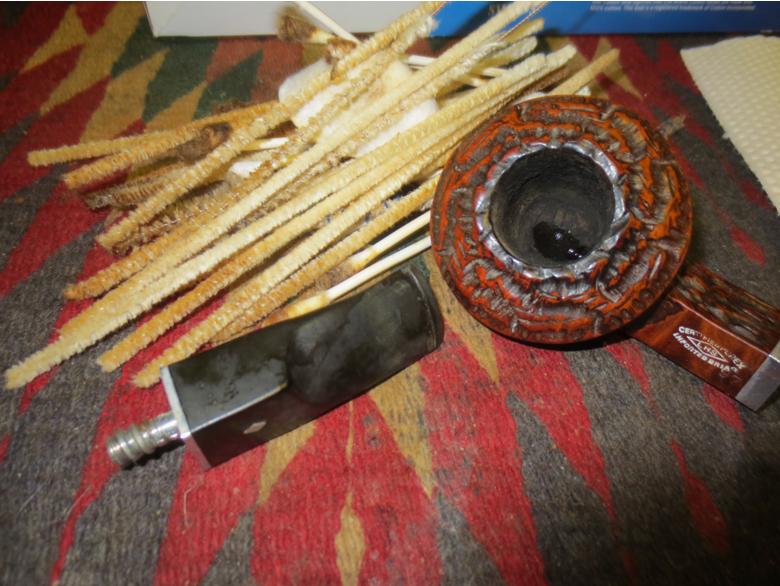
 When I took it apart it was clear to me how the previous owner had smoked it. There was a cake on the walls of the bowl. There was a cake on the threaded five hole windcap. There was not any cake of darkening on the flat threaded cap. So the pipe had been smoked with the windcap facing downward and the stamping in the correct position. The bowl had been lit from the windcap end and then the cap put back in place and the bowl turned over and smoked with the coal on the bottom… I shall have to experiment with that to see what I can tell after smoking it myself.
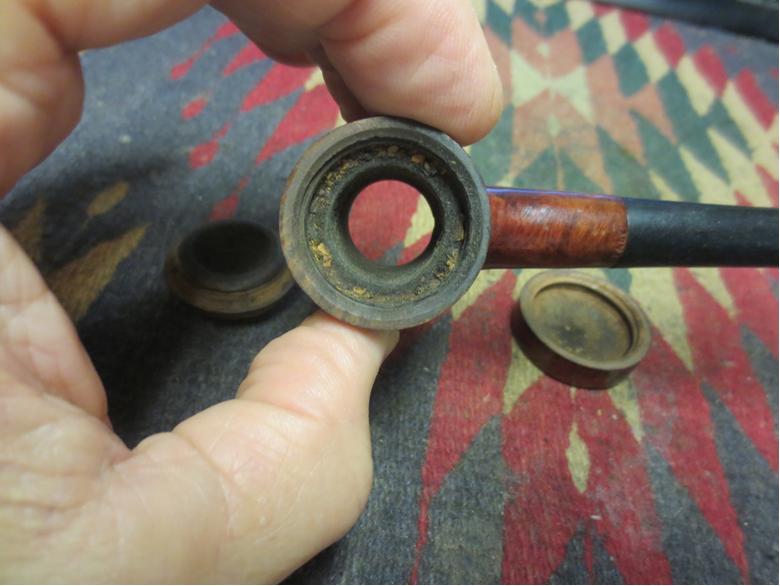
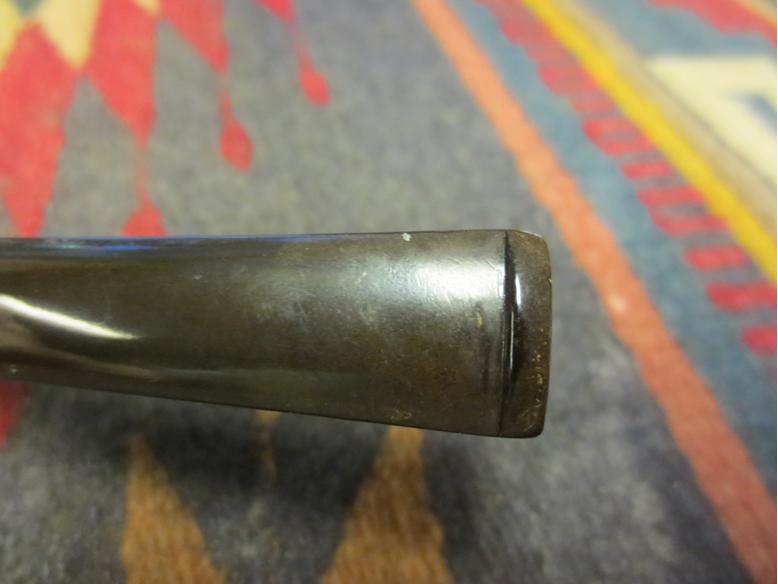
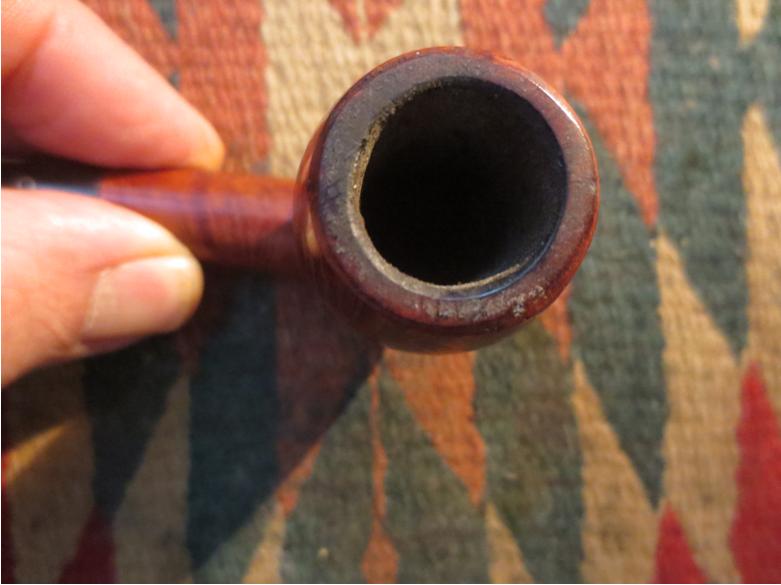
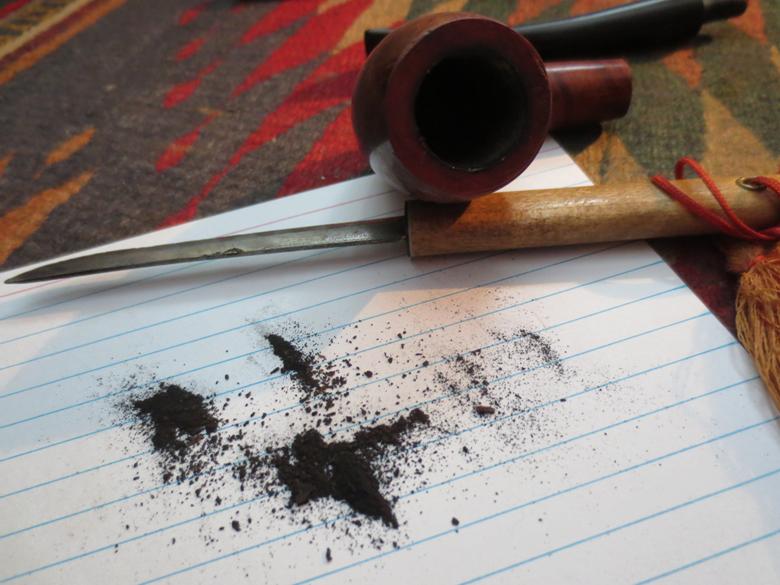
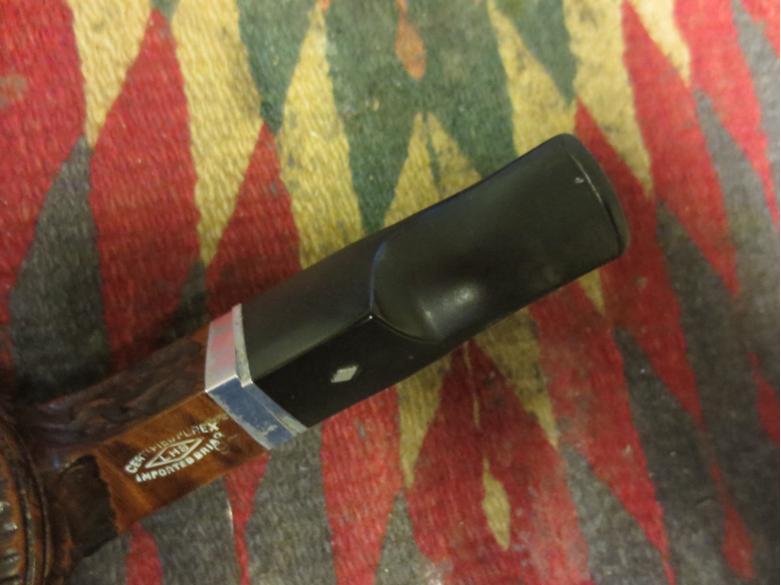
The pipe was quite dirty. Tobacco shards were around the threads in both the top and the bottom of the bowl. There was a light cake that was crumbly in the bowl. The airway was reduced in size by the tars and cake. The stem was rough and the airway partially blocked. The finish on the briar was crackling and spotty. Before cleaning up the pipe I did a quick Google search to see if I could find out any information. I wanted to see if the brand was known and if there was anything on the Pipephil site regarding the stamping. I found just two links to the pipe. One was on the smokingmetal site. The other was a YouTube video that was about a fellow smoking his Windy Perpetual Drysmoker. I did not find it helpful in that it was just a running commentary on the experience rather than information about the brand. The link to the smokingmetal site is here: http://www.smokingmetal.co.uk/pipe.php?page=508
I am quoting the article in full as it is really the only source of information I found.
WINDY – perpetual drysmoker
Appears to be a late 1940’s pipe, briar, which I thought initially should have had an internal bowl which did not appear to be present with this one. Some doubt as to how many parts there should be to this pipe, but see the following comments. The stamping is simply WINDY Perpetual Drysmoker one side of shank and Italy Imported Briar on the other
Sitter pipe. The pipe is just over 5 inches of the bowl to end of bit. Chamber diameter is just over 5/8 inch and depth is over 1 1/2 inch.
I have the following from Stan Wolcott, his are the images as well:
“WINDY PERPETUAL DRYSMOKER by Stan Wolcott”
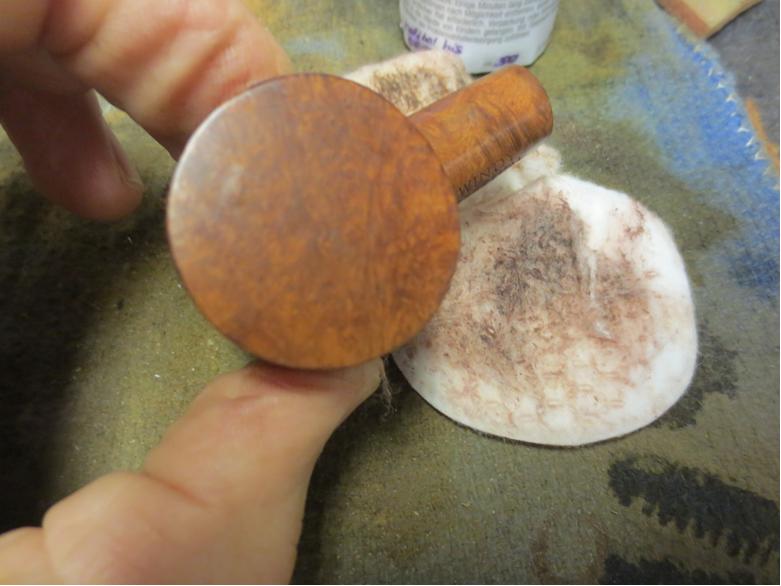
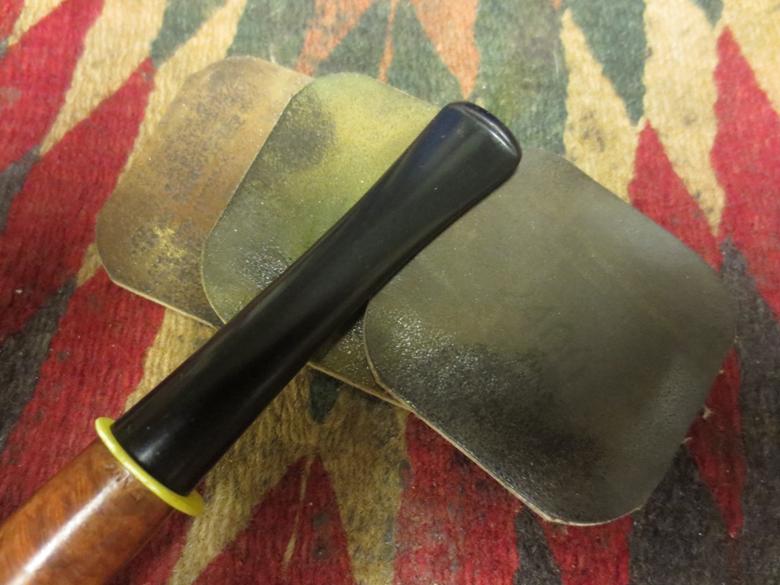
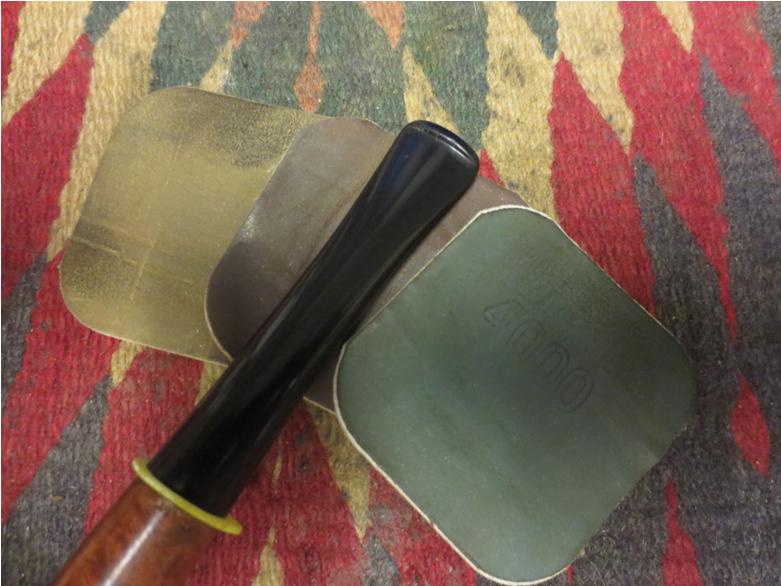
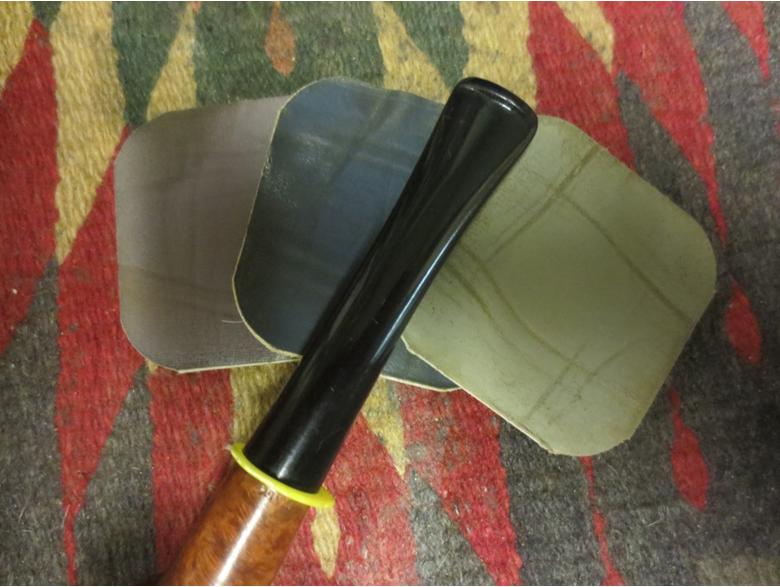
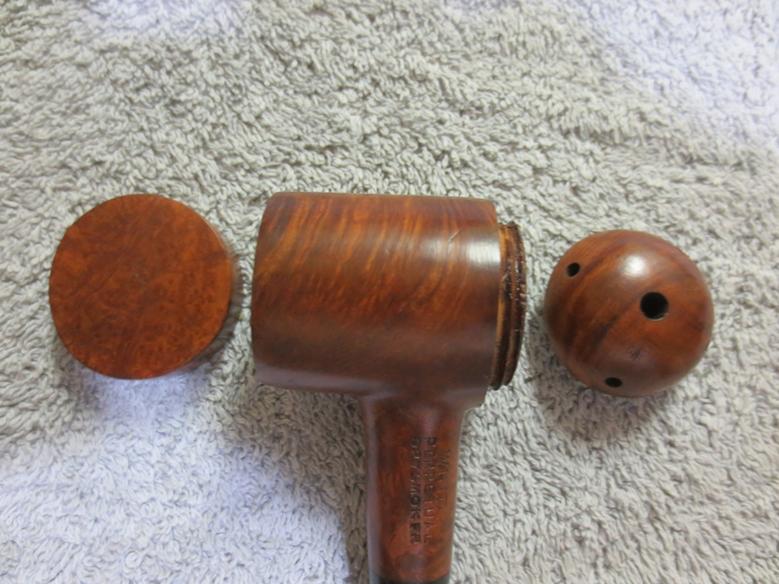
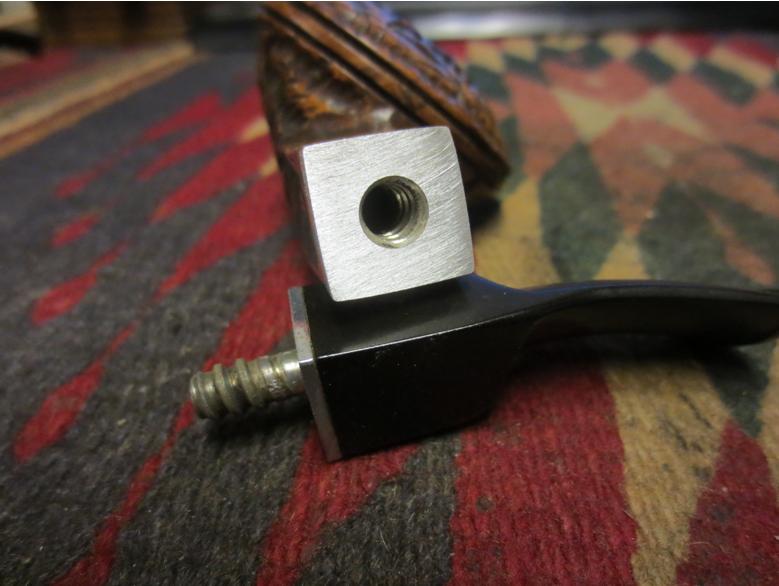
In my travels I recently came across this intriguing pipe on which very little information appears online by Google search. The left side (?) is stamped “Windy Perpetual Drysmoker” and on the right side (?) “Imported Briar/Italy”. The stem has a small round gold medallion on the left side bearing a “R”. Although several similar pipes are pictured online here in the USA and UK, no explanatory information is included with those images. Floyd Norwood of Tennessee, who restored the pipe for me, also had no idea how the pipe was to be smoked. Tony Pringle of the UK, who has one pictured on his website, believes there may be other pieces which are missing from the four present in the images—flat cap, rounded cap with five vent holes (presumably the wind cap) and the pipe bowl and stem. As can be seen from the images, the flat cap has female threads and screws into the bottom (?) onto male threads on the bowl. The wind cap has male threads and screws into the top (?) of the bowl. I have placed the question marks in parentheses following the terms top, bottom, right and left, since I’m not even sure whether the flat cap is intended to be the bottom. Can someone out there enlighten me and the NASPC readership about this “mystery pipe”, its manufacturer and the proper way of smoking it?
This guy seems to have mastered it ..http://www.youtube.com/watch?v=c1Zk3qxuce0
The “Perpetual” part of the name seems to come from the ability to actually load more tobacco from the bottom of the pipe whilst still alight and of course the dottle etc. gets burnt as the smoking progresses. Rather ingenious. There are at least two possible for makers from the logo, REGIS and EMPIRE STATE and nothing seems to be known of these either.
Tony Pringle of smokingmetal then includes the following photos of the pipe. There is no doubt that it is the same pipe that I have. There are a few variations between the two but the overall design is the same. He shows photos of the pipe as a whole, taken apart and of the stamping.

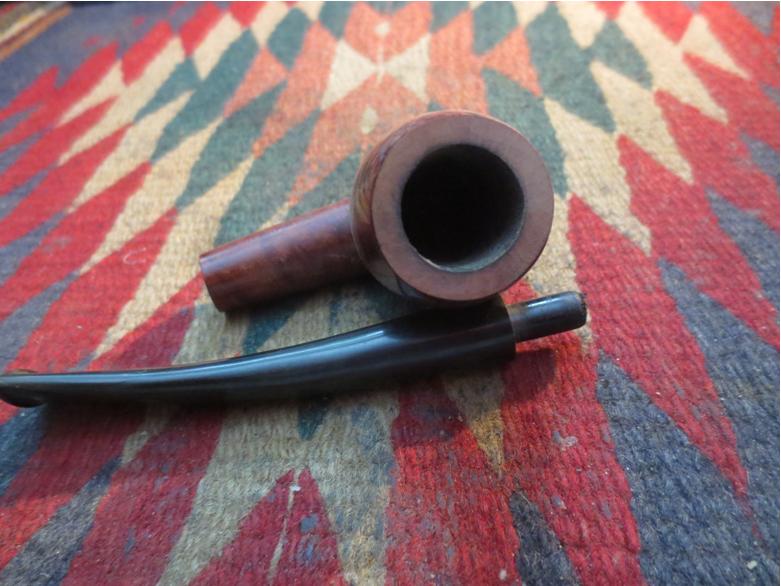
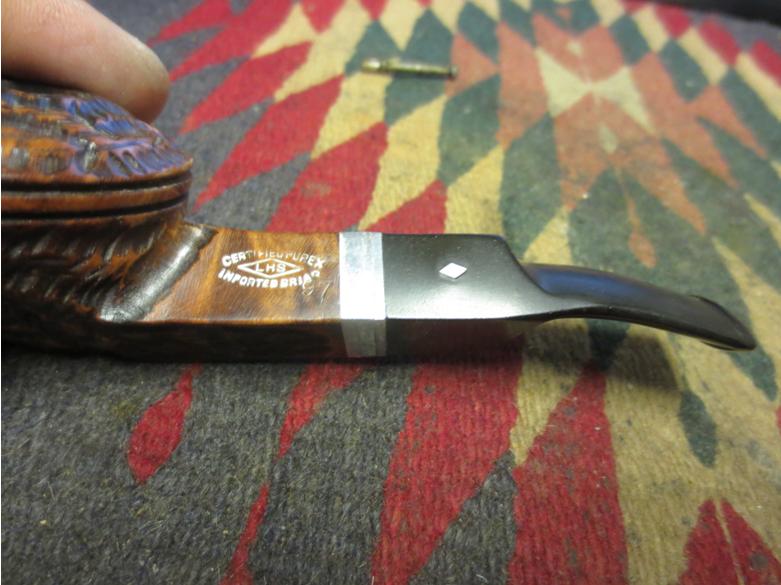
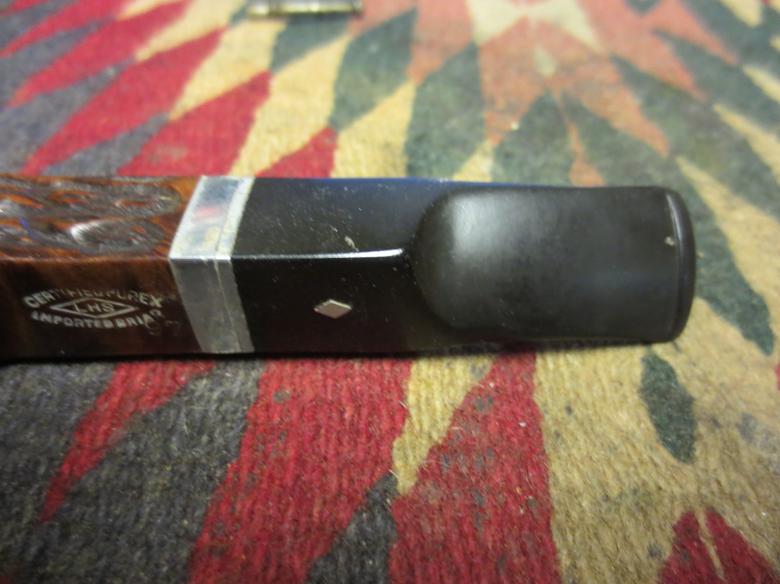
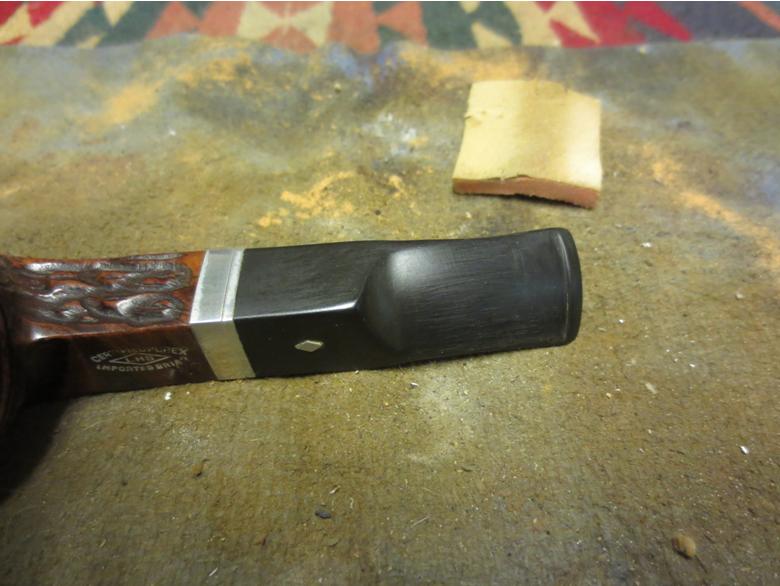
 The pipe that Troy gave me is in much better condition and also is stamped slightly different. The left side of the shank is the same but the right side only reads IMPORTED BRIAR on mine. The ITALY stamping runs around the shank at the junction of the shank and stem. It is stamped on what would be the bottom side if the cap is on the bottom. The stem on the one I have does not have the gold logo or seal.
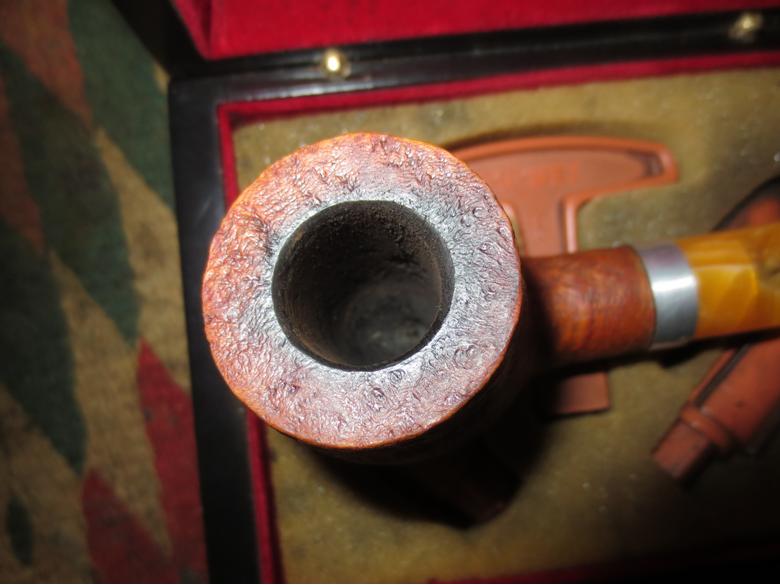
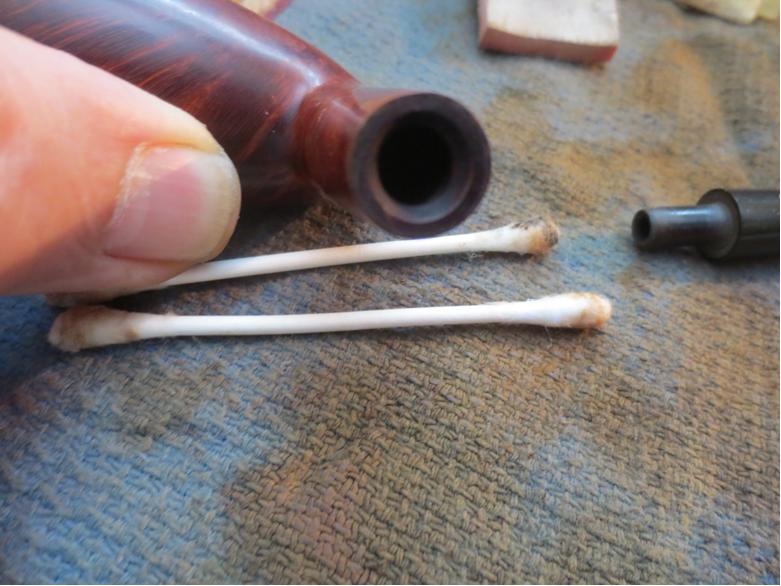
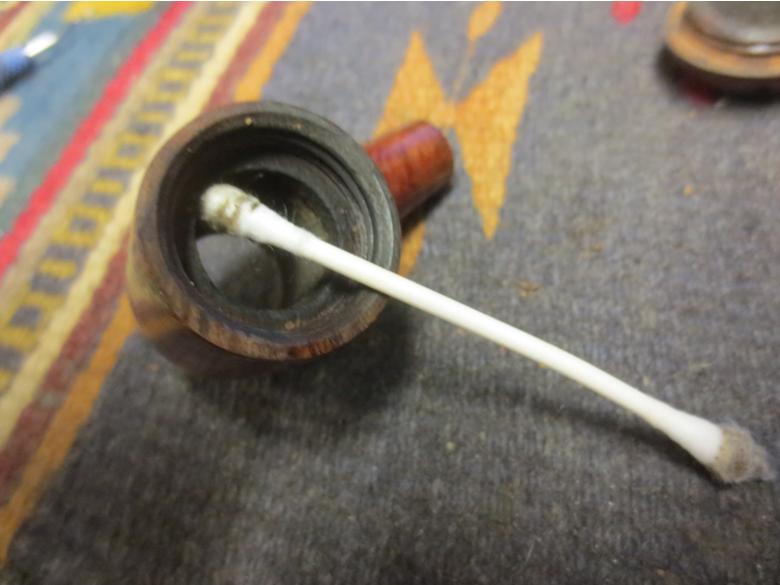
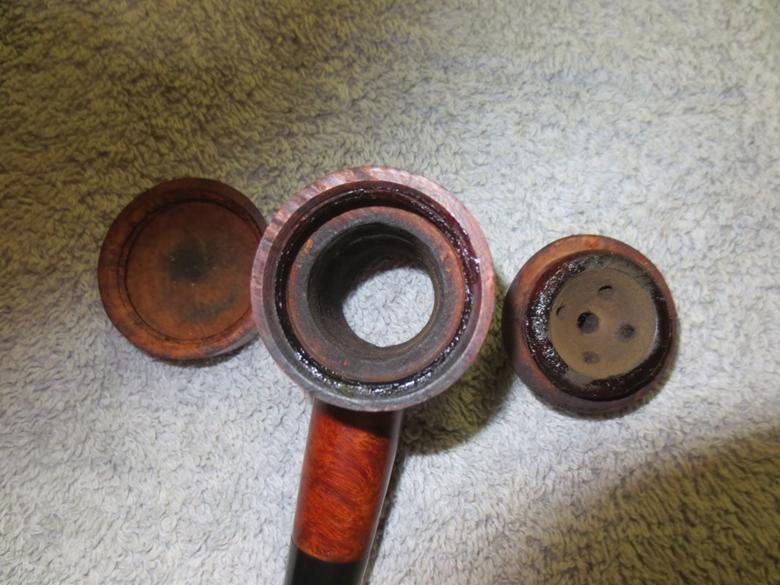
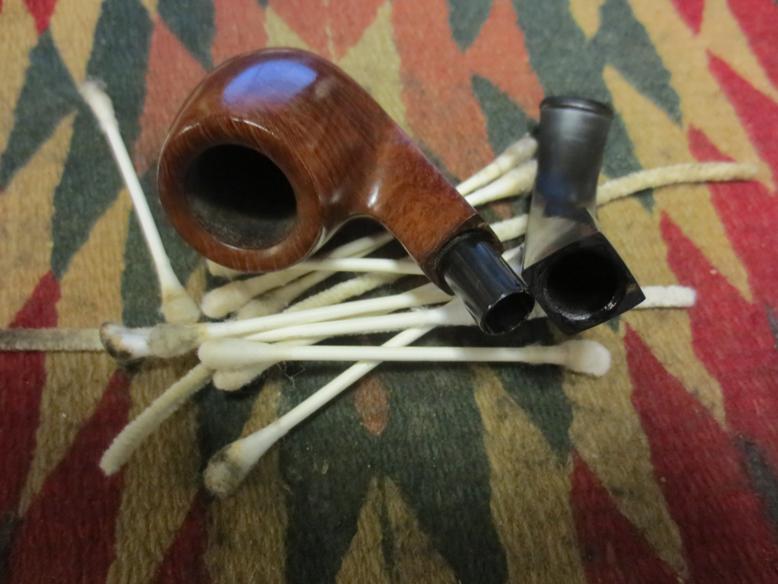
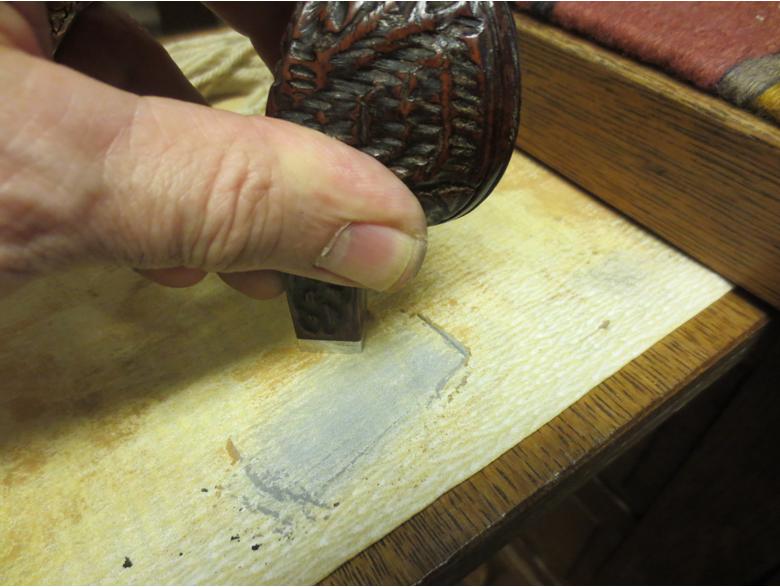
 I used a cotton swab and alcohol to scrub the threads on the bowl and the two lids. There was a lot of debris in both sets of threads.
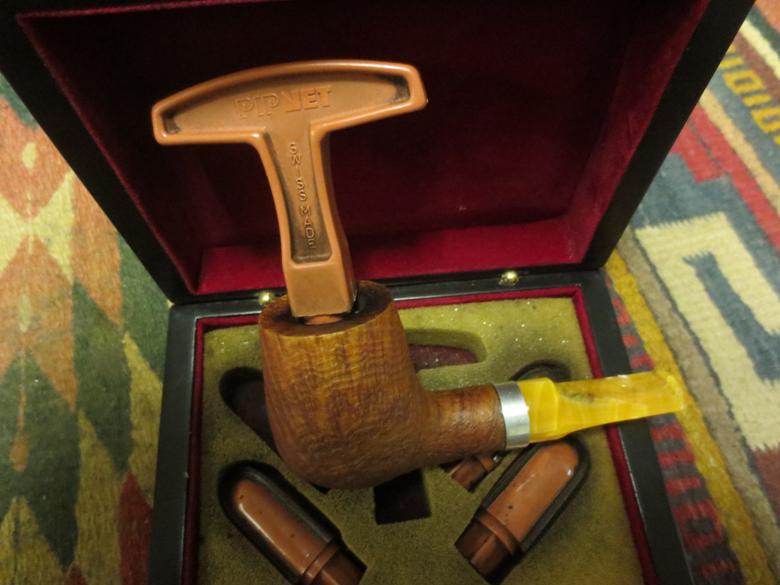
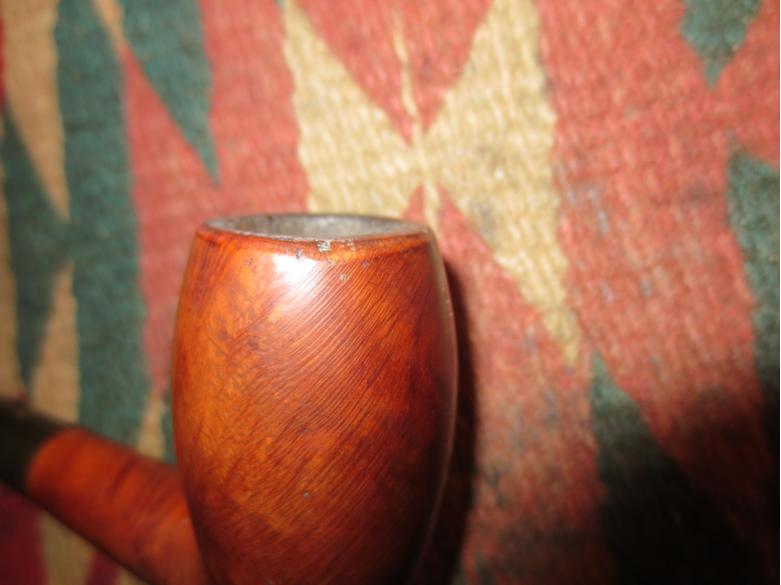
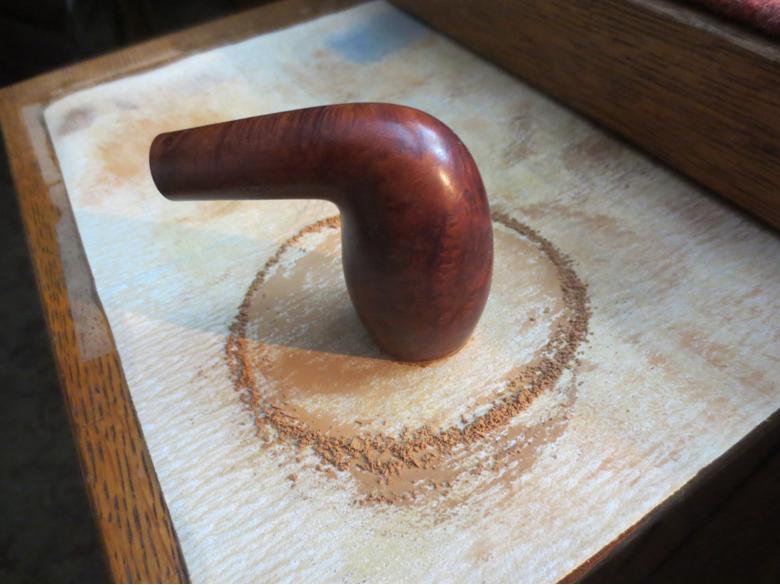
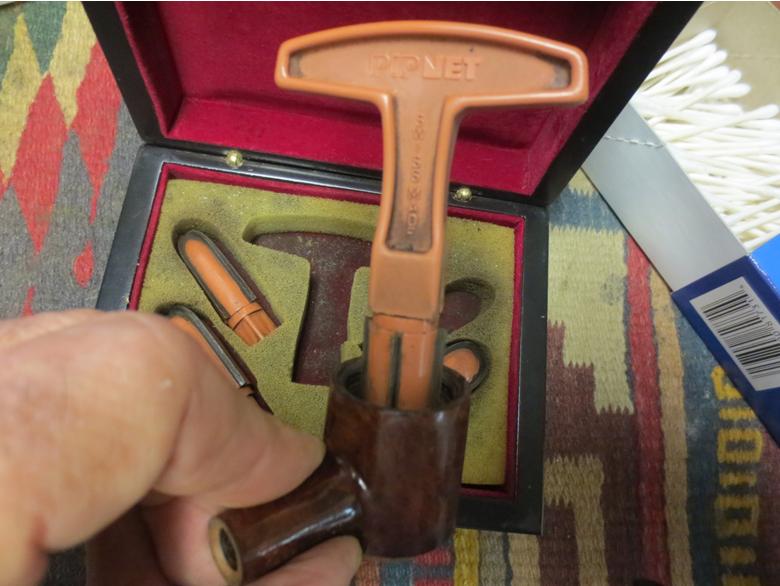
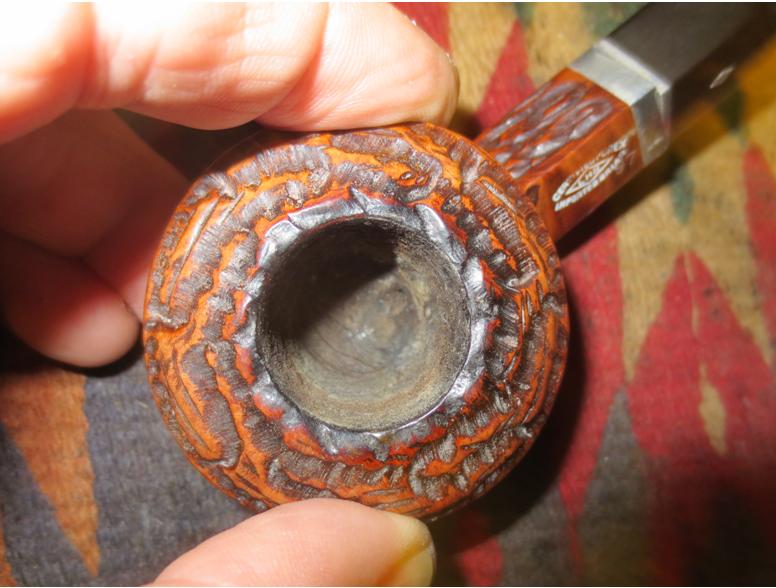
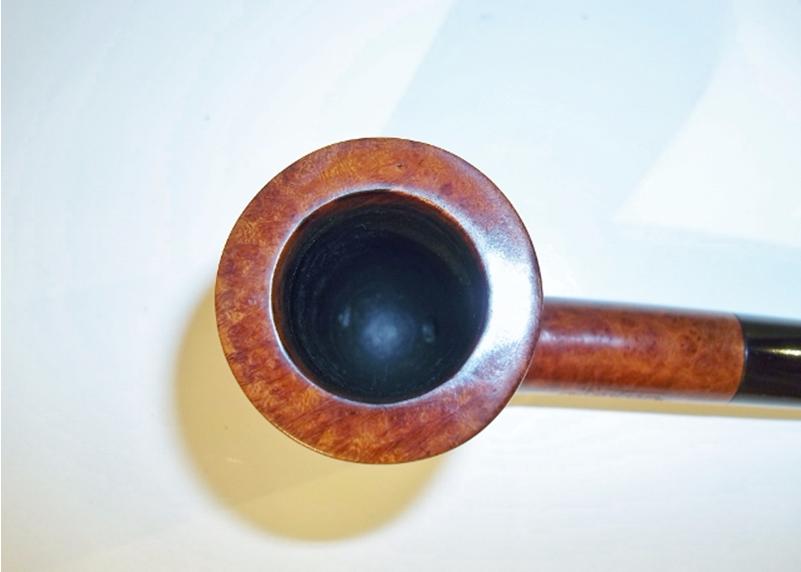
 I reamed the bowl with a PipNet reamer and the second cutting head as it was a perfect fit for the diameter of the bowl. I took the cake back to bare wood.
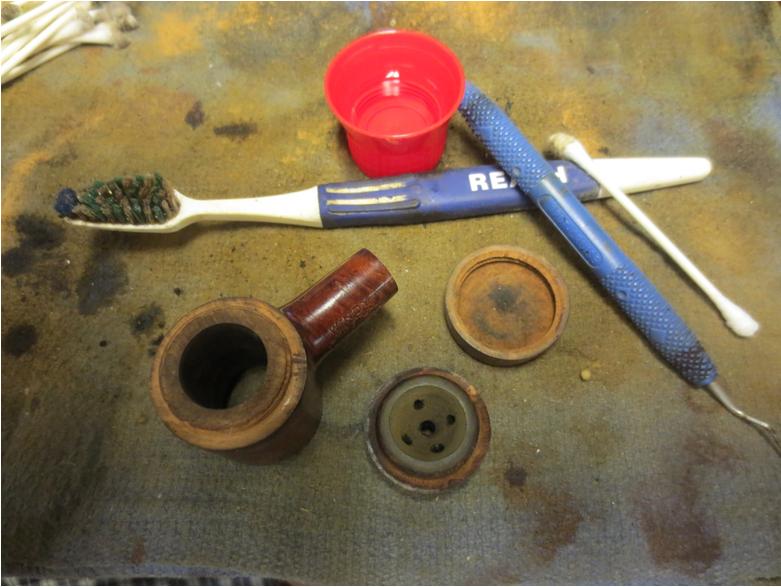
 With the major debris cleaned away with the alcohol and cotton swabs I used a toothbrush to scrub the threads on both the top and bottom of the bowl and also on the two caps.
 With the interior cleaned out and the threads cleaned I put some Vaseline on the threads of the caps and put the pipe back together. I used some acetone on cotton pads to remove the spotty and broken finish on the bowl. I was amazed at the grain that was underneath the finish. There were no fills and just a few small sandpits.


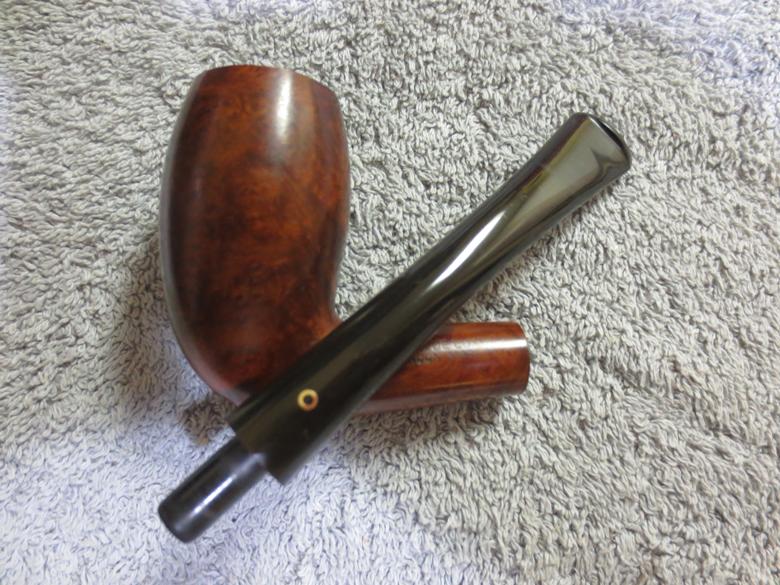
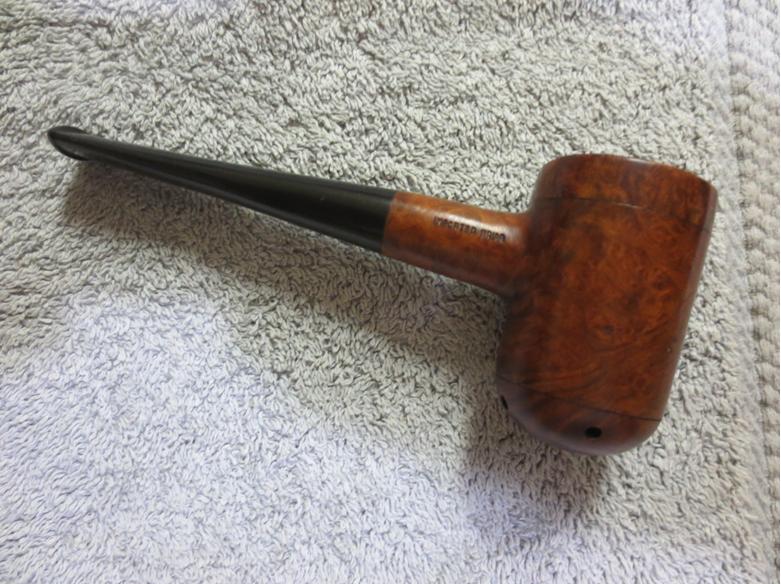
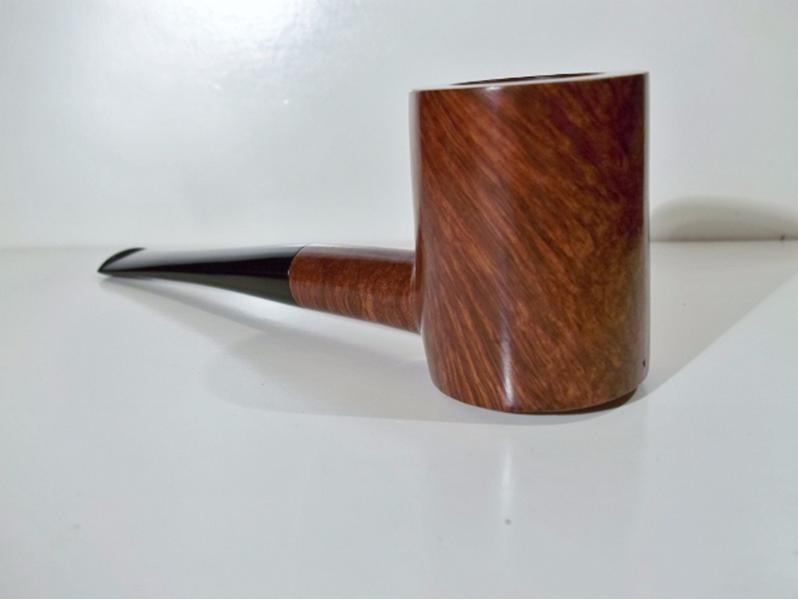
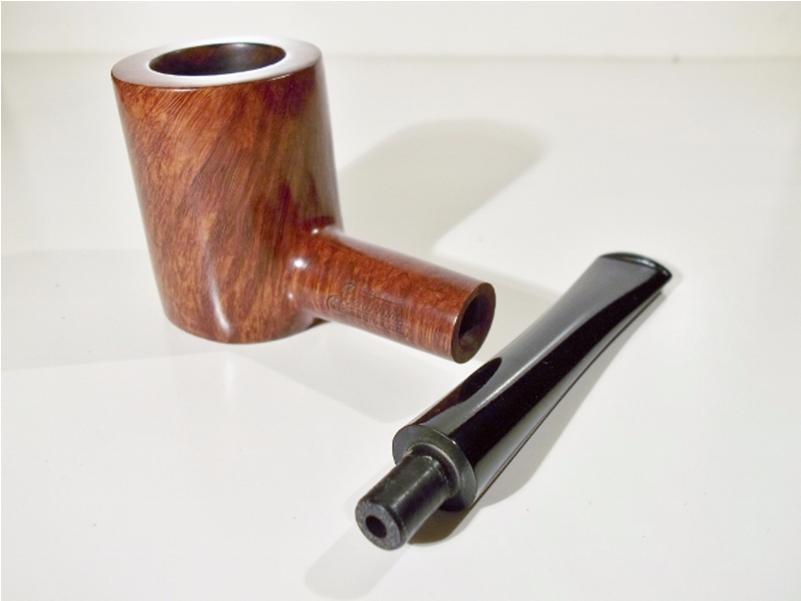
 With the finish removed the pipe was beginning to look like new. All that was left was to clean up the stem and then buff the two of them together. Look closely at the grain on the bowl and caps. I really find this a beautiful pipe.

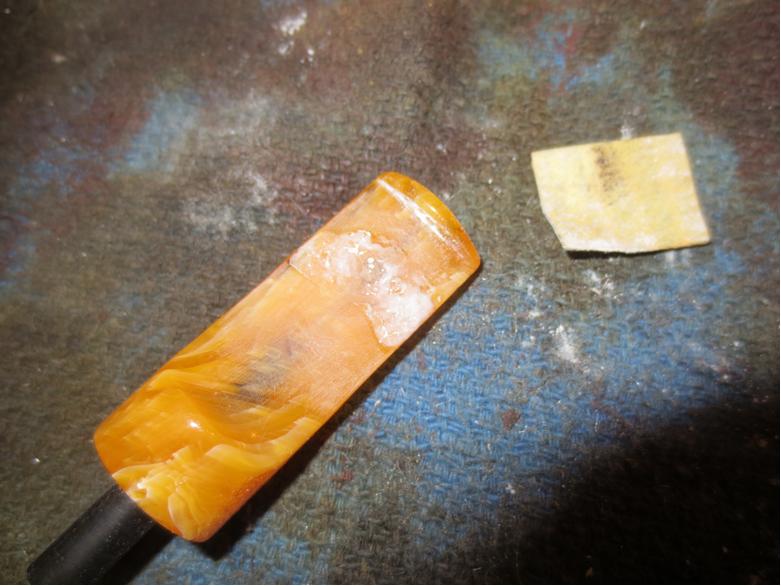
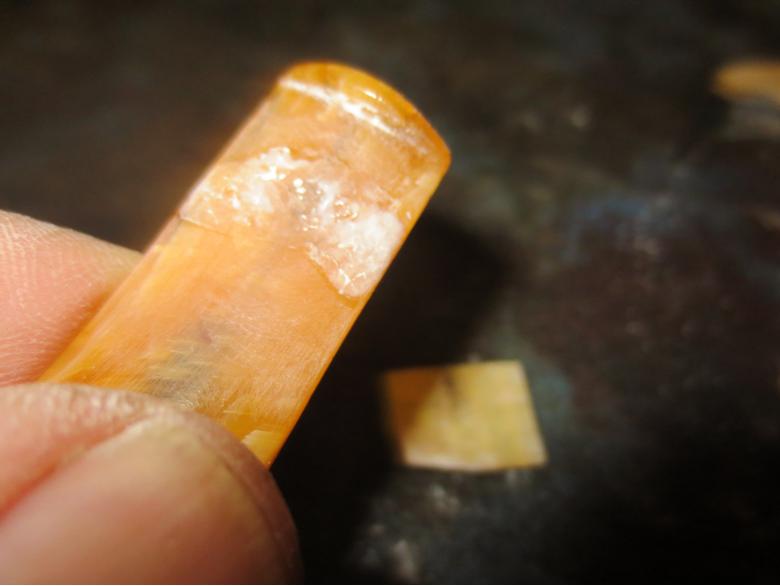
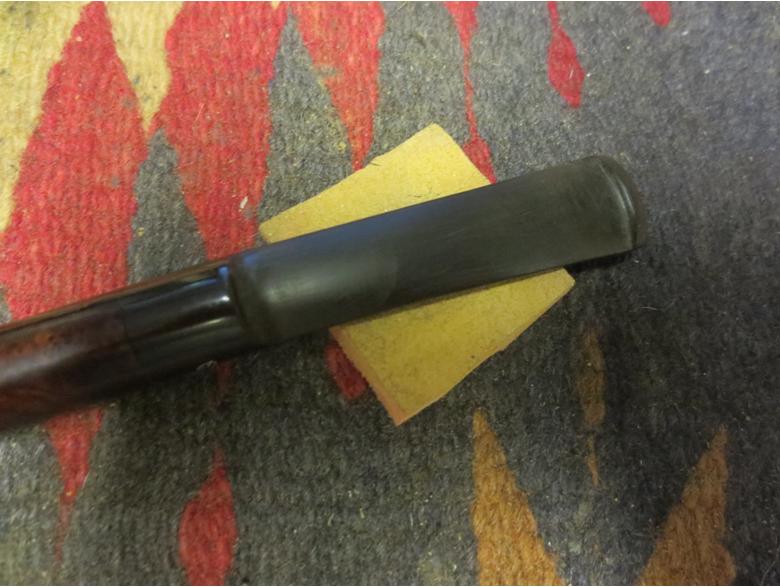
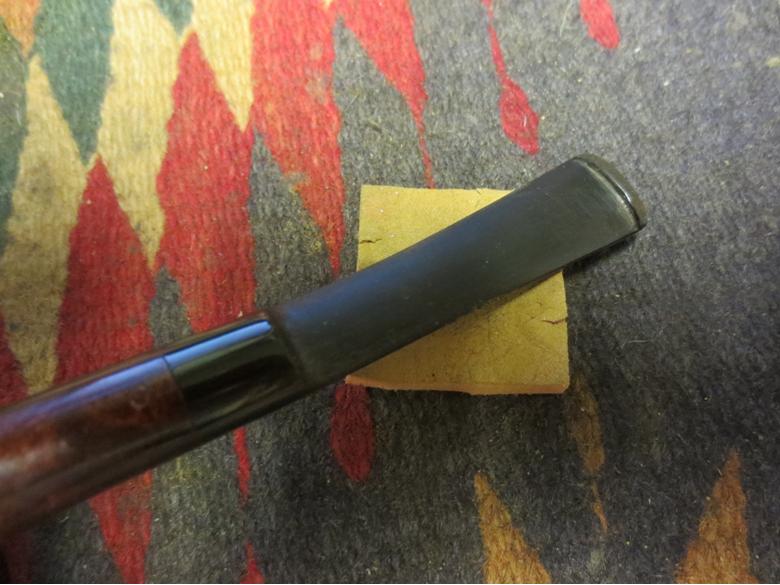
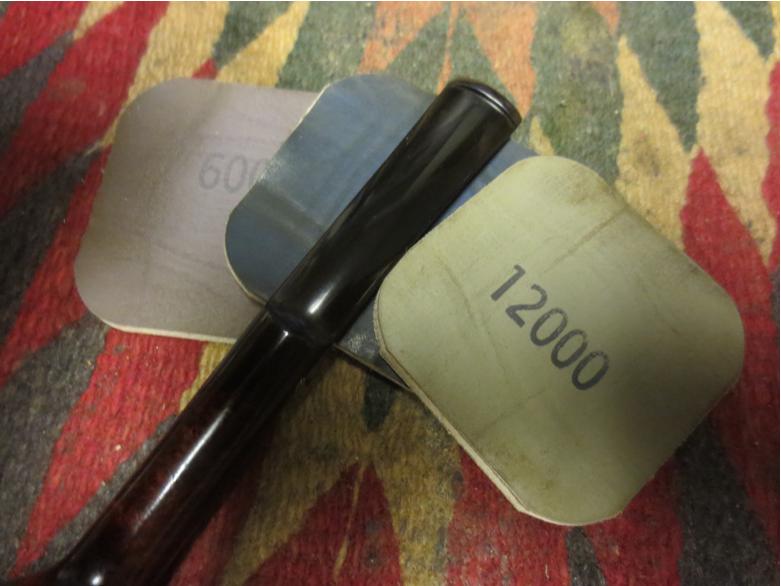
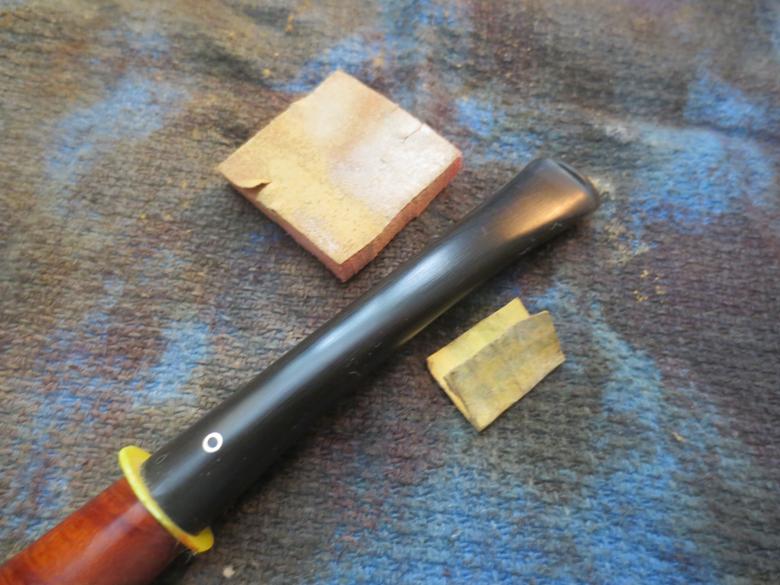
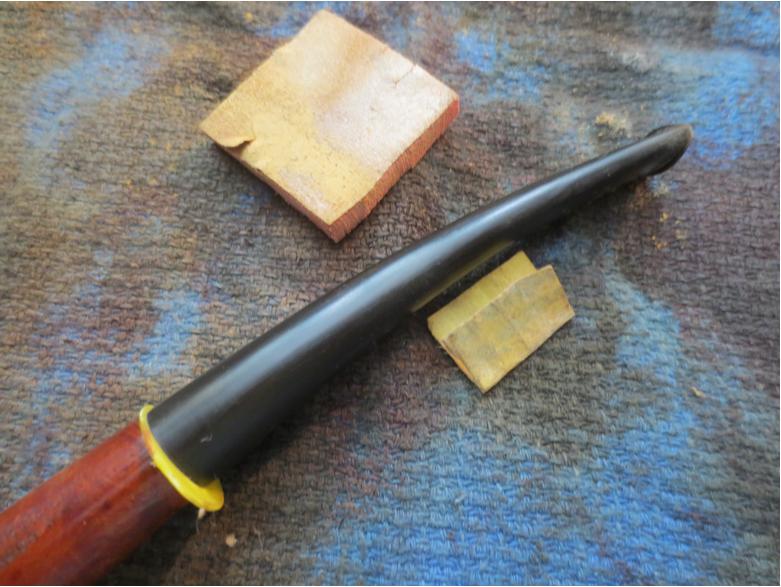
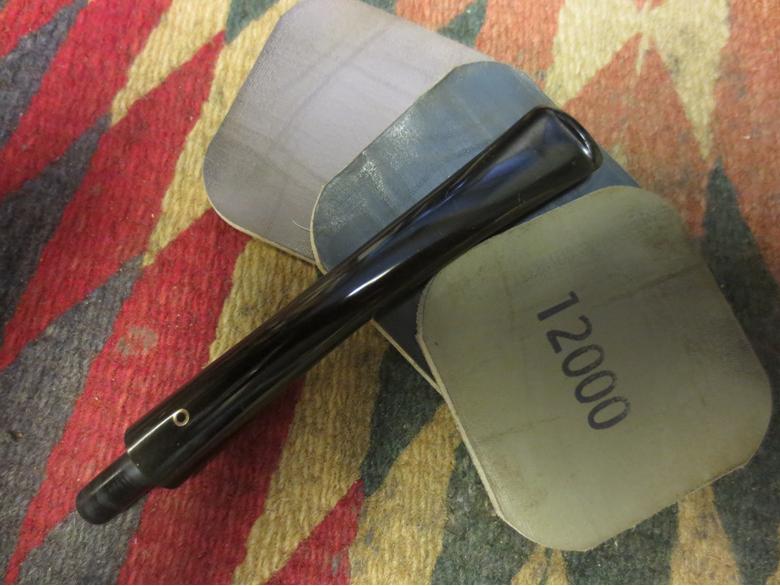
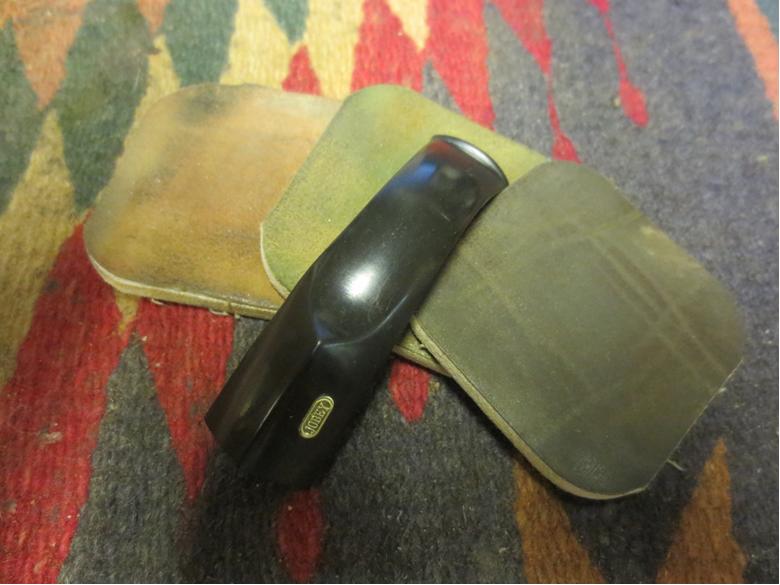
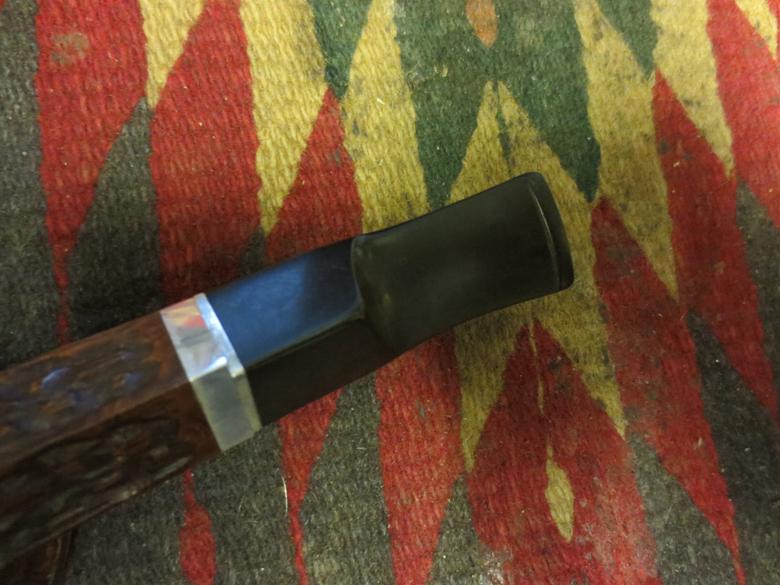
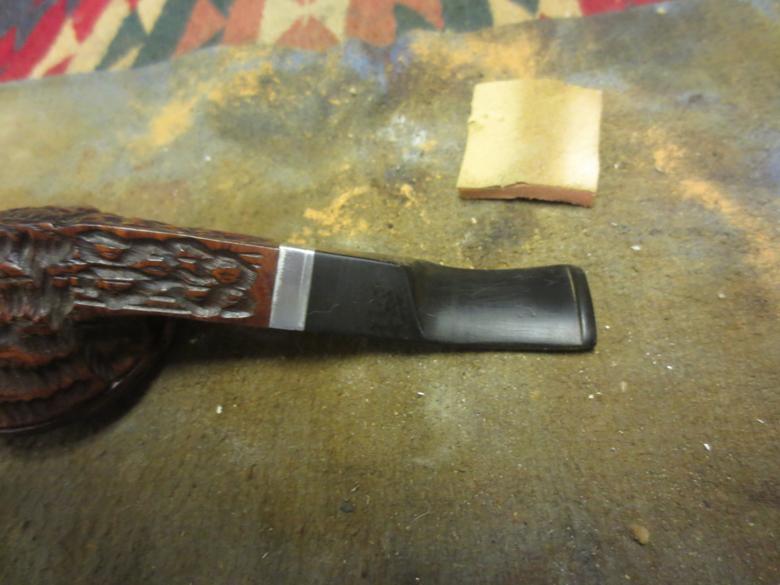
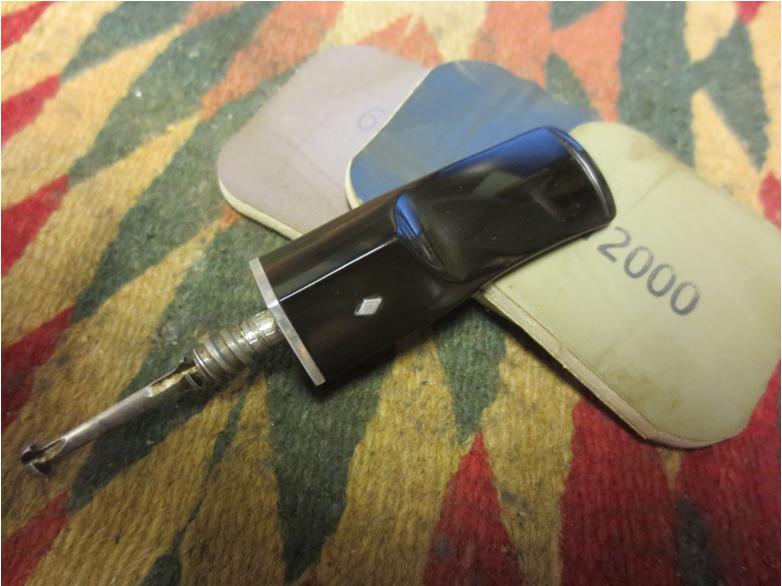
 I put a plastic washer on the tenon between the shank and the stem so I could sand the stem in place in the shank and keep the shoulders of the stem from rounding. I sanded the tooth chatter on the top and bottom of the stem with 220 grit sandpaper and then with a medium and fine grit sanding sponge. I went on to sand it with micromesh sanding pads – wet sanding with 1500-2400 grit pads and then rubbing it down with Obsidian Oil. One this that was very interesting about this stem was the quality of the vulcanite. The sanding dust was absolutely black rather than the usual brown. It left black streaks on the micromesh.

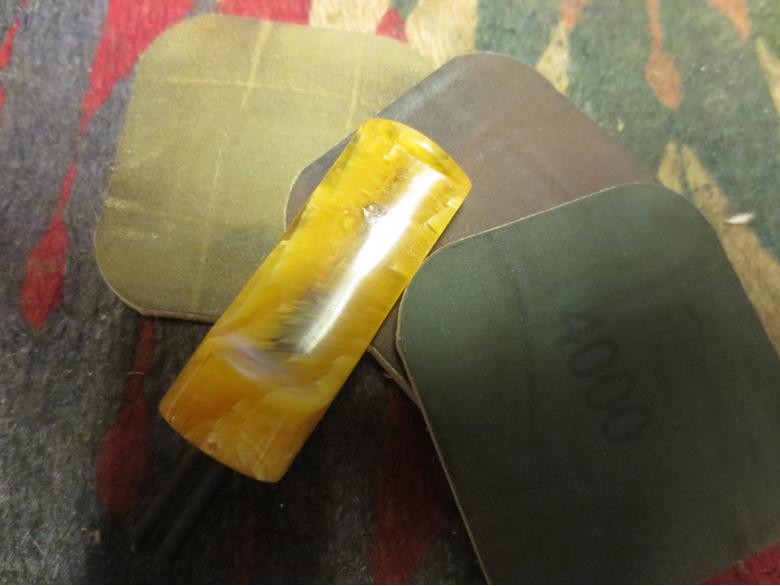
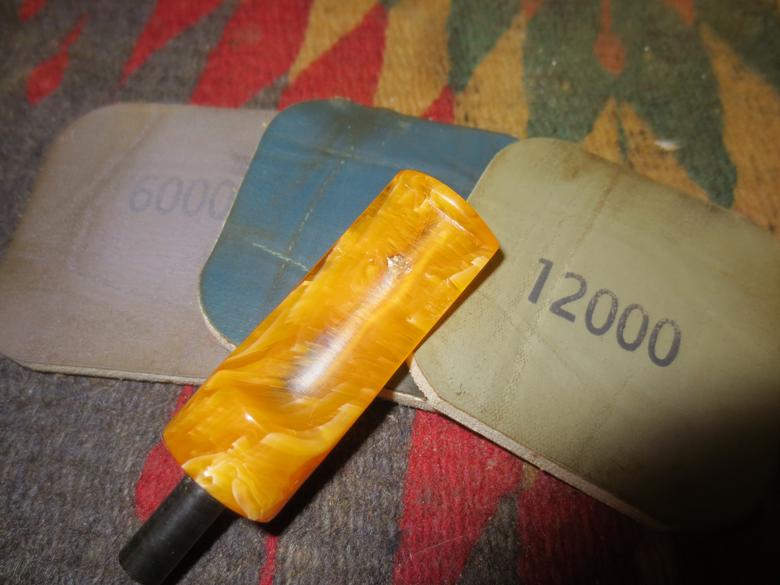
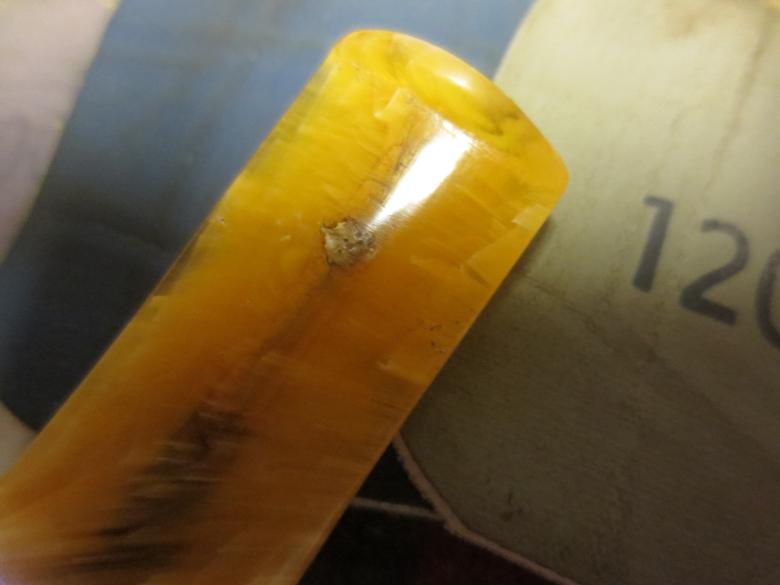
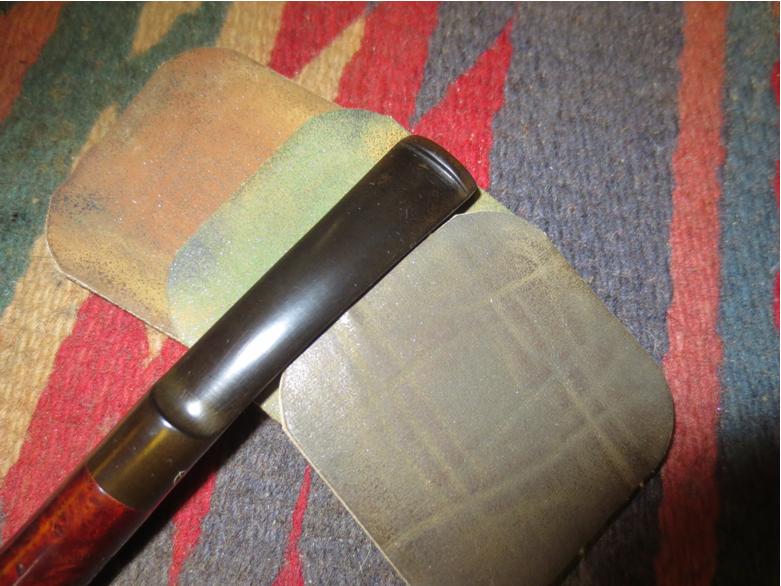
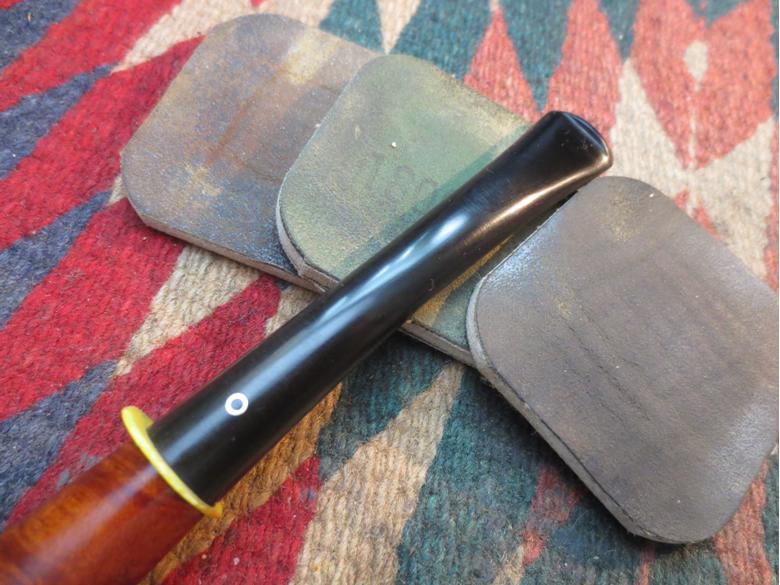
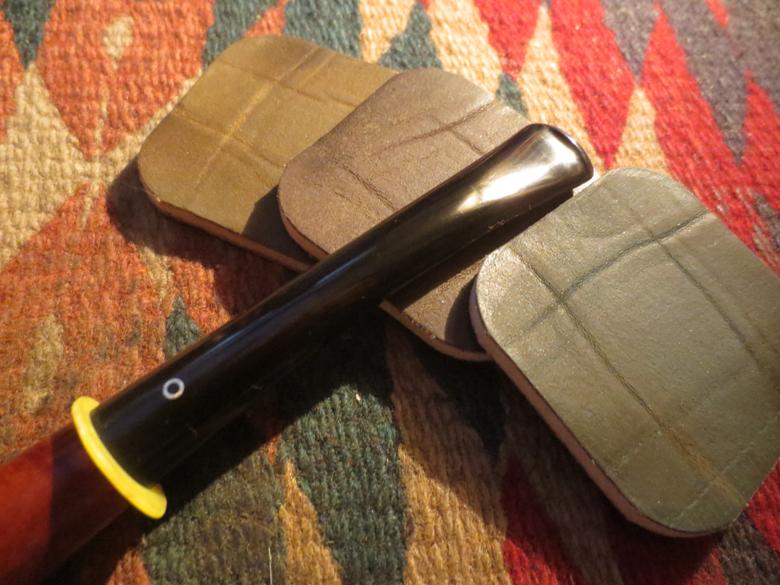
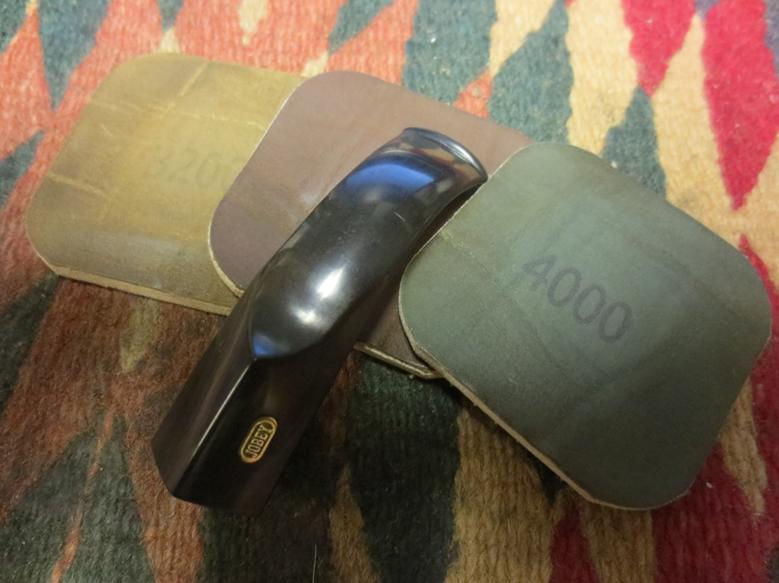
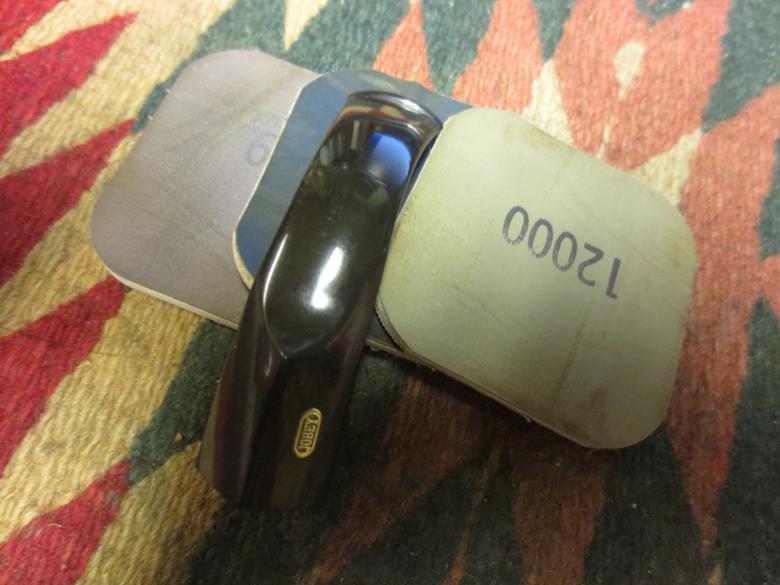
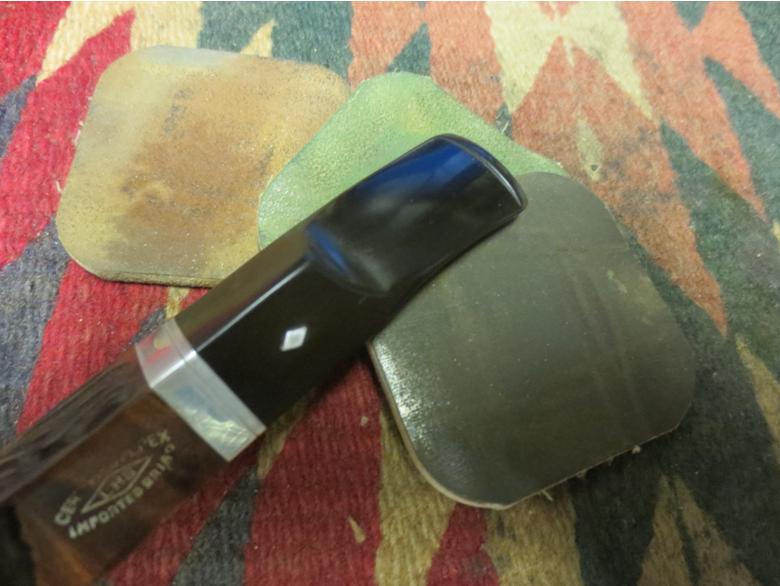
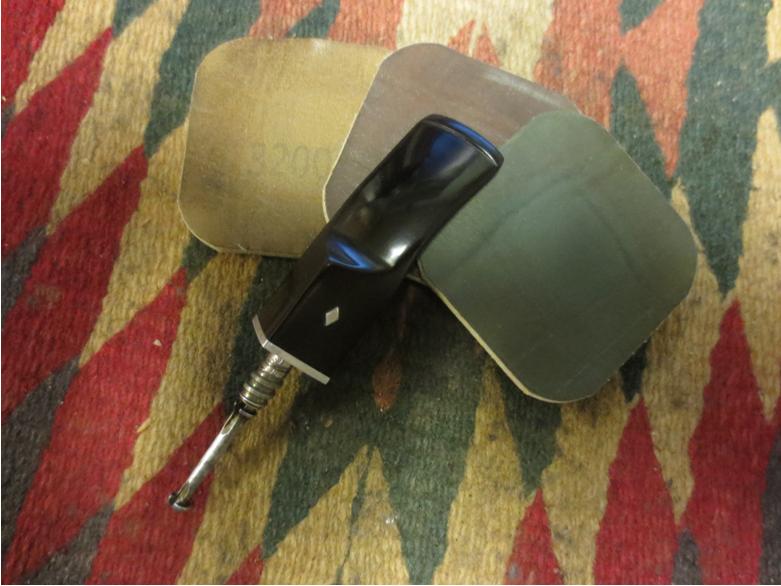
 I dry sanded with 3200-12,000 grit pads and then rubbed the stem down with Obsidian Oil after the 4000 grit pad and the 12,000 grit pad.
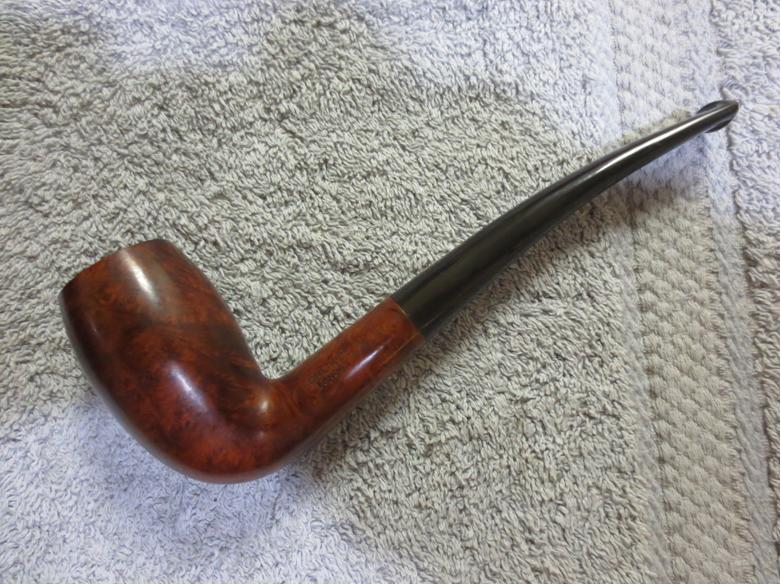
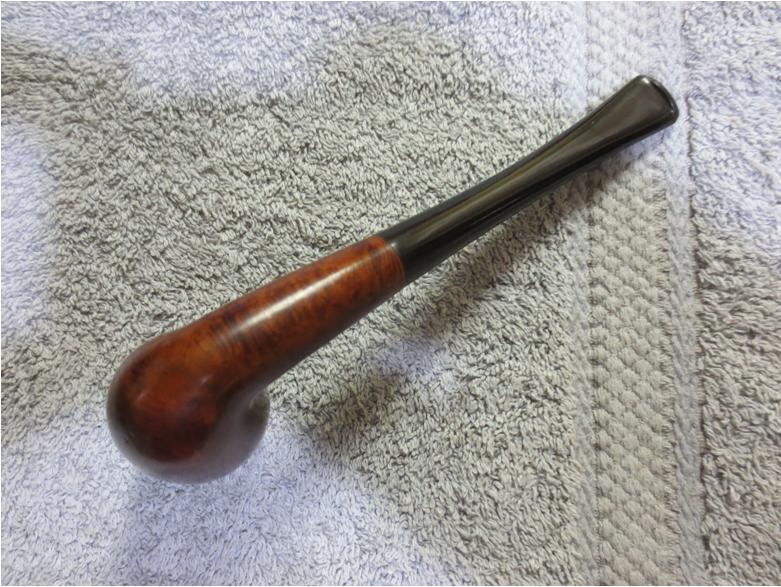
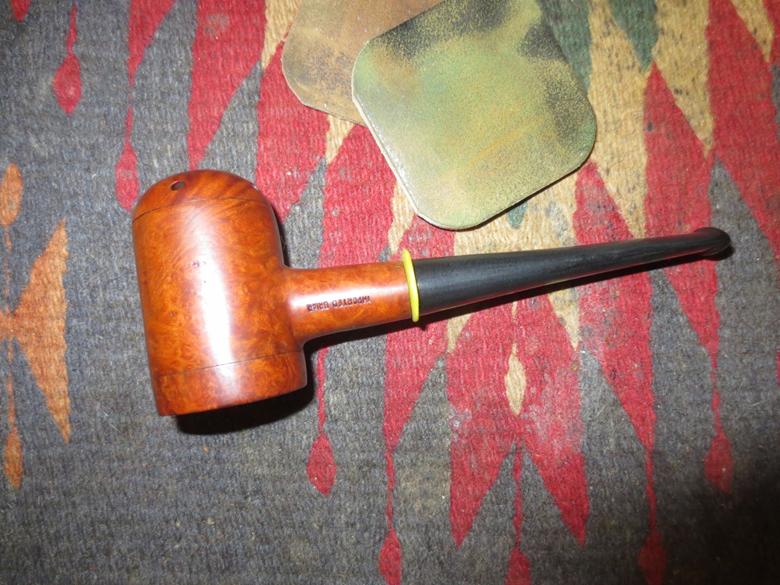
 I buffed the pipe and stem on the buffer using Blue Diamond Plastic Polish on the wheel to polish the bowl and the stem. I gave it multiple coats of carnauba wax to protect the finish and then buffed it with a clean, flannel buff to raise the shine. The finished pipe is shown in the photos below. Thanks Troy for the strange yet beautiful pipe. I enjoyed working on this one and will also enjoy experimenting with how to smoke it!


 Thanks Troy and thanks for looking!
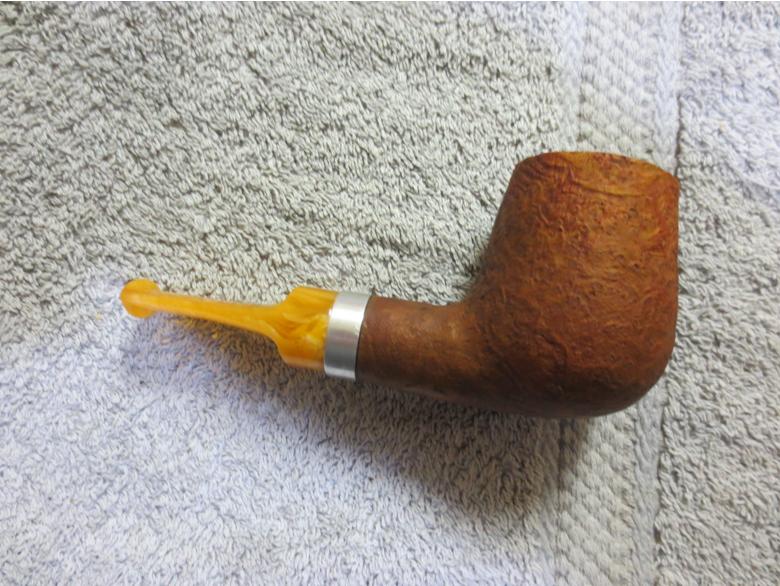
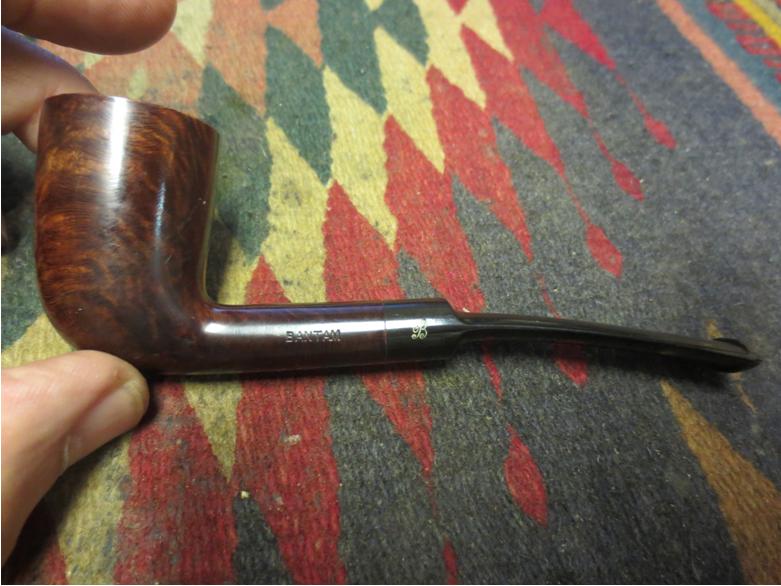
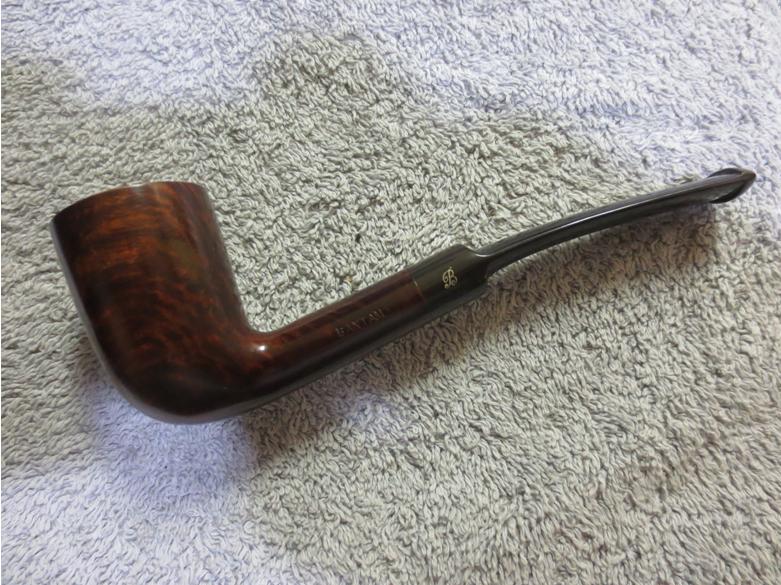
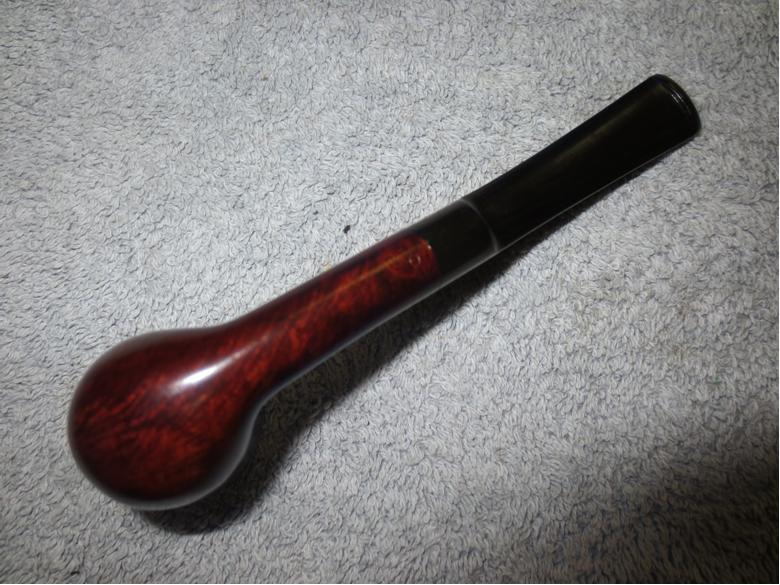
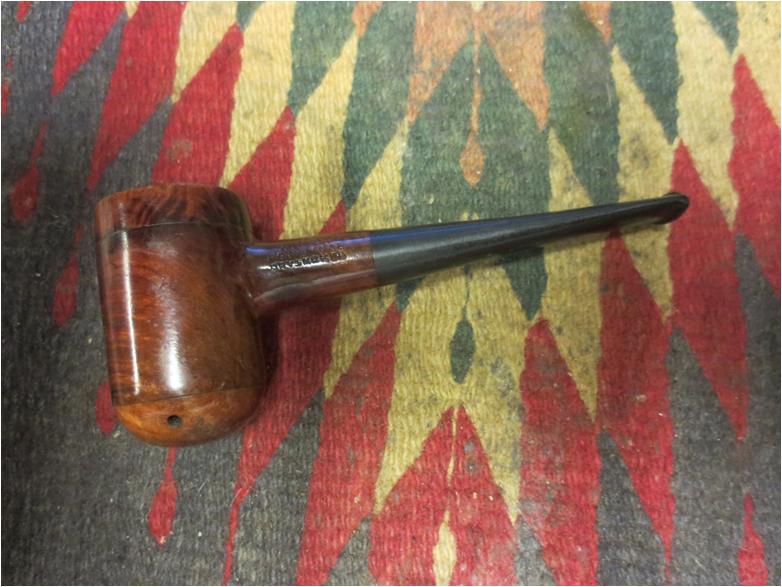
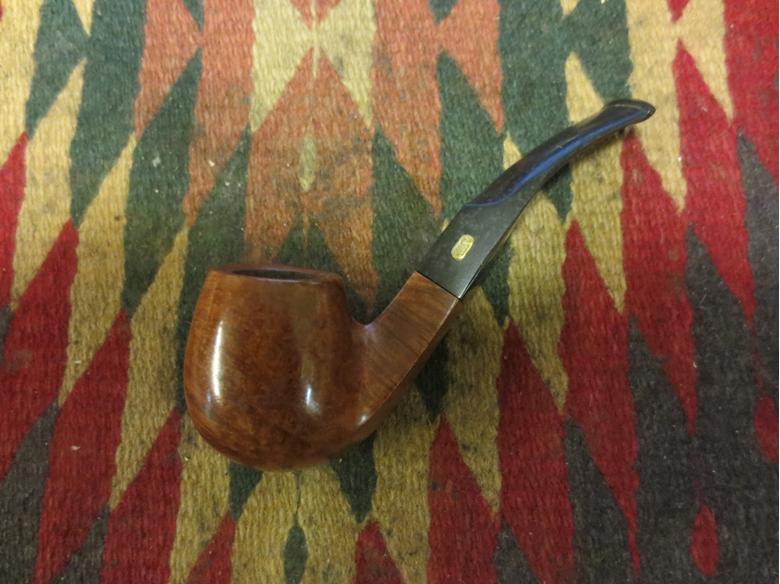
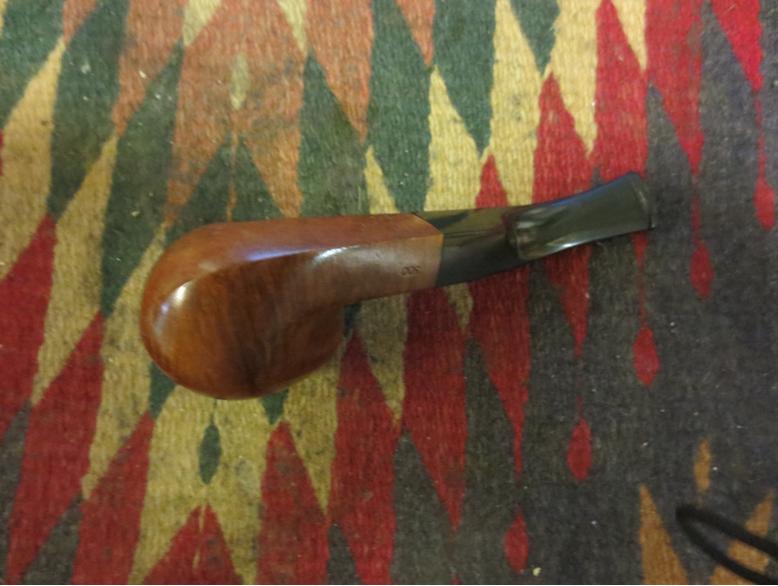
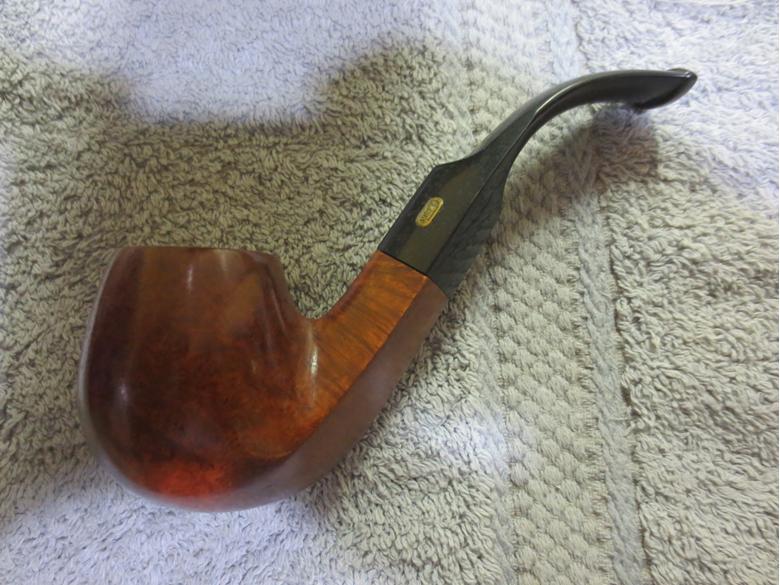
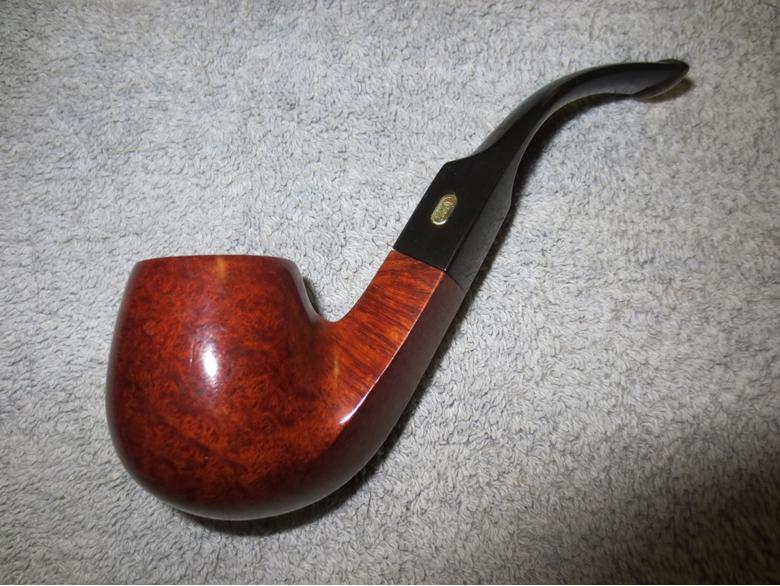
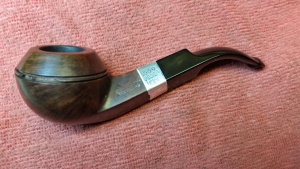
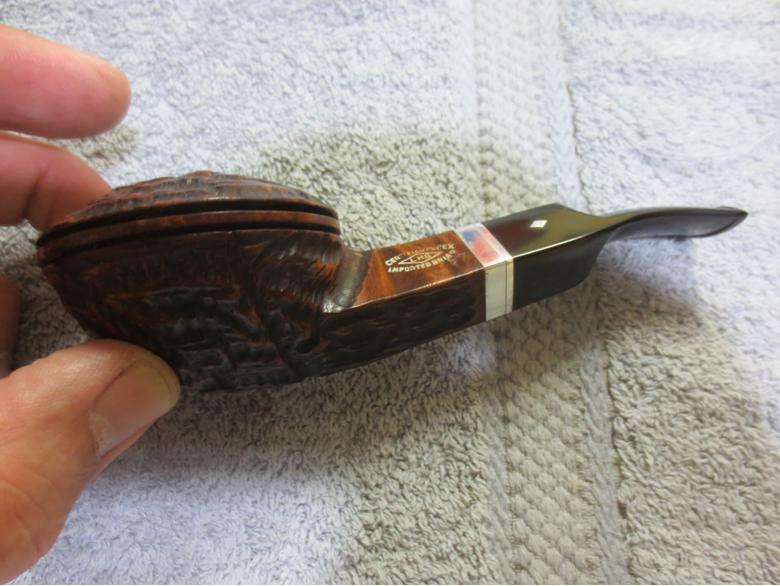
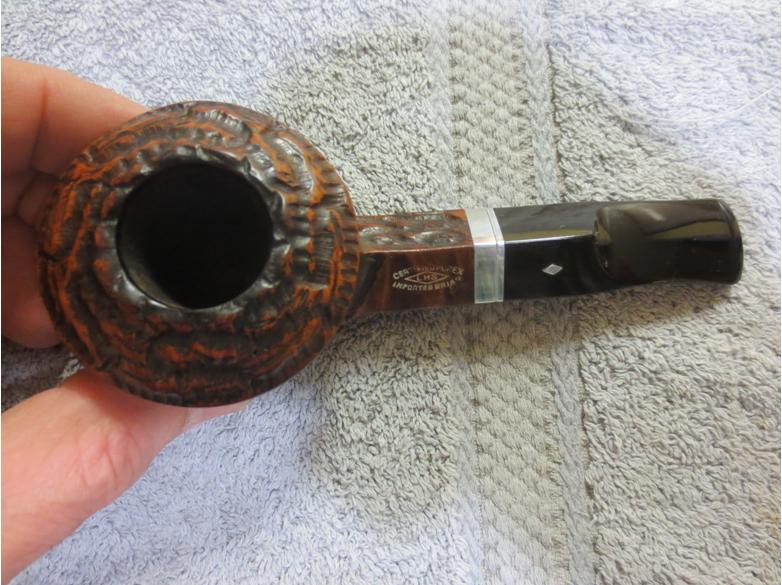
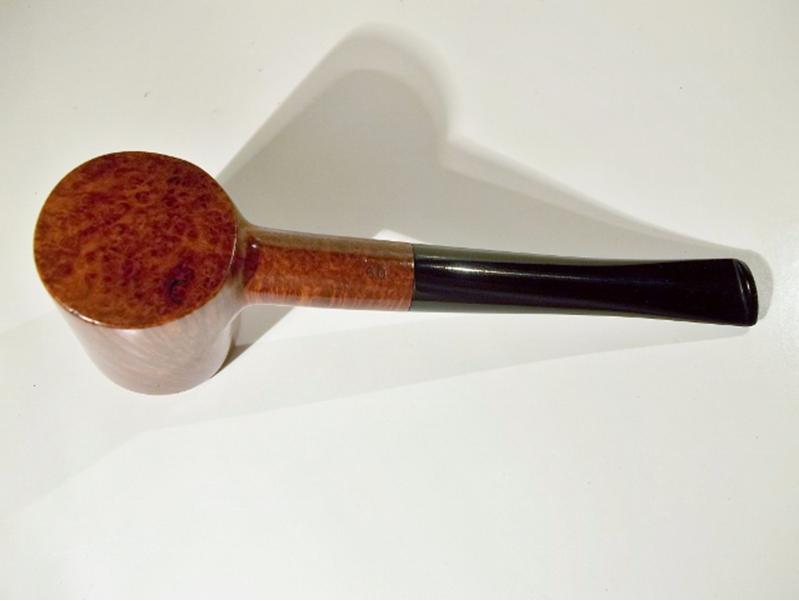
 This is what the pipe looked like when I received it. Other than being dirty it’s in excellent shape. It’s hard to put a date on it but it’s at least from the 70s and maybe as far back as 40s or more. Bertram started in 1927.
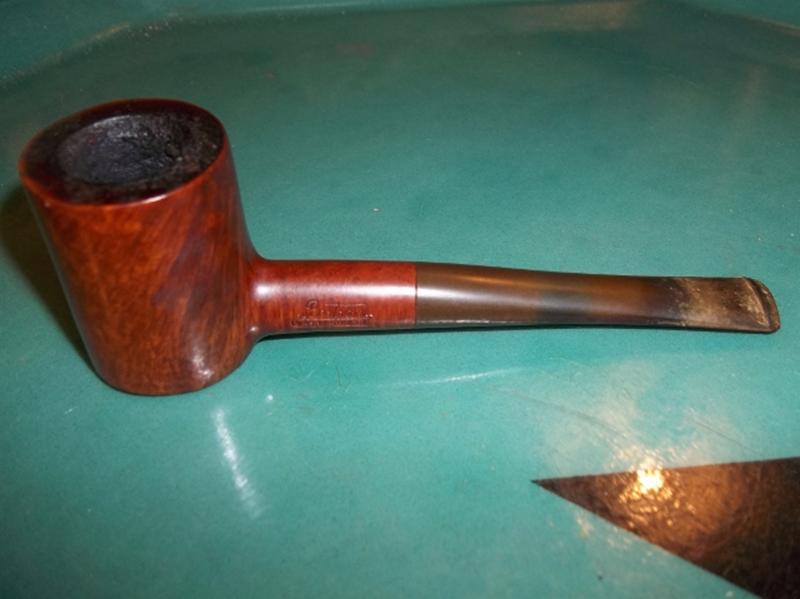


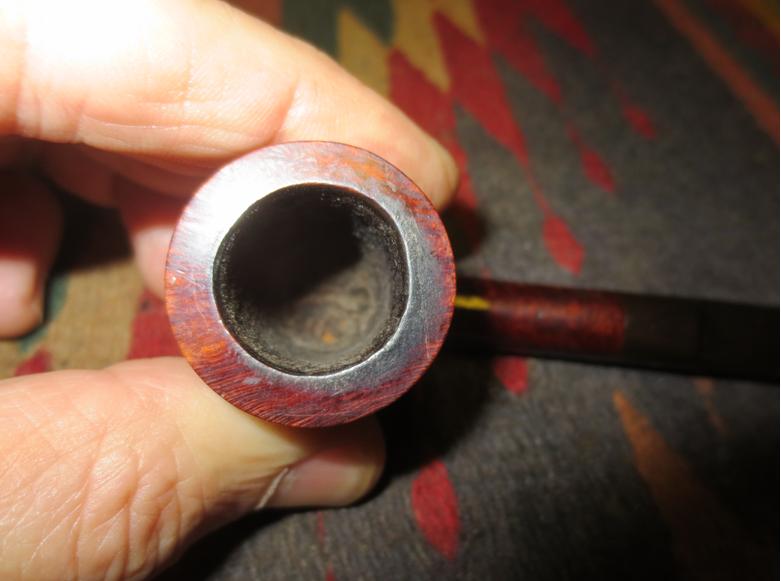
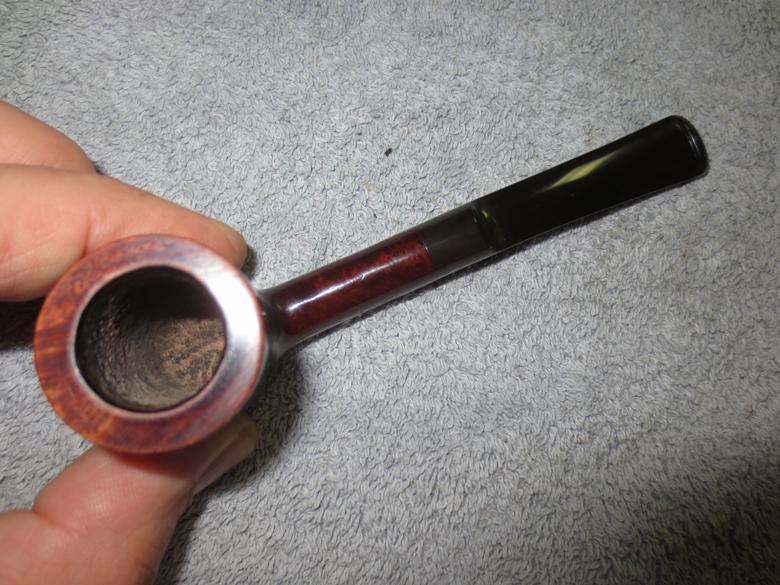
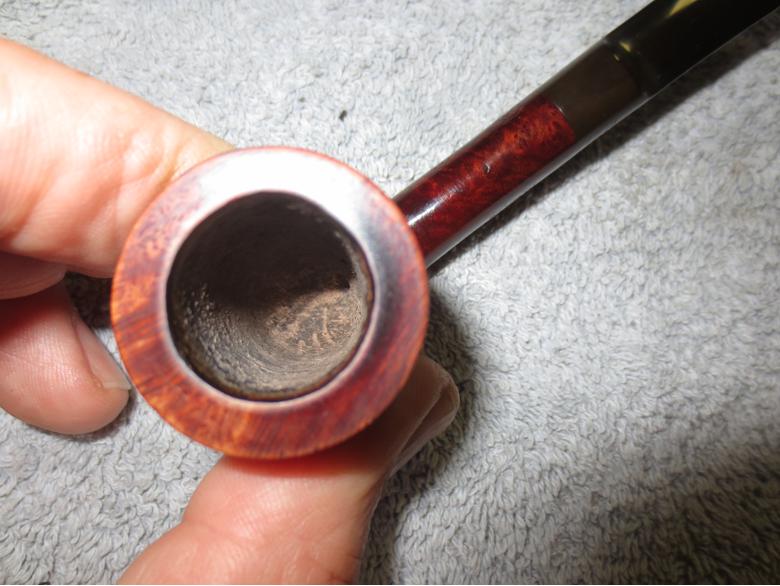
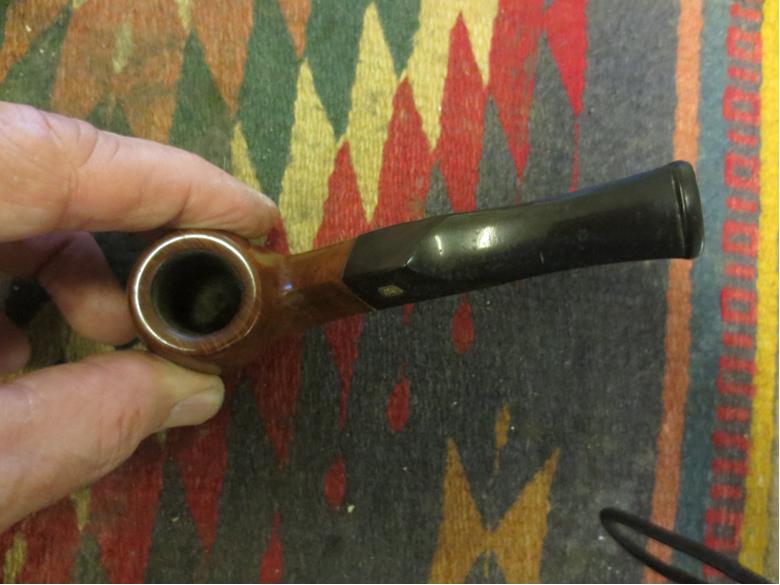
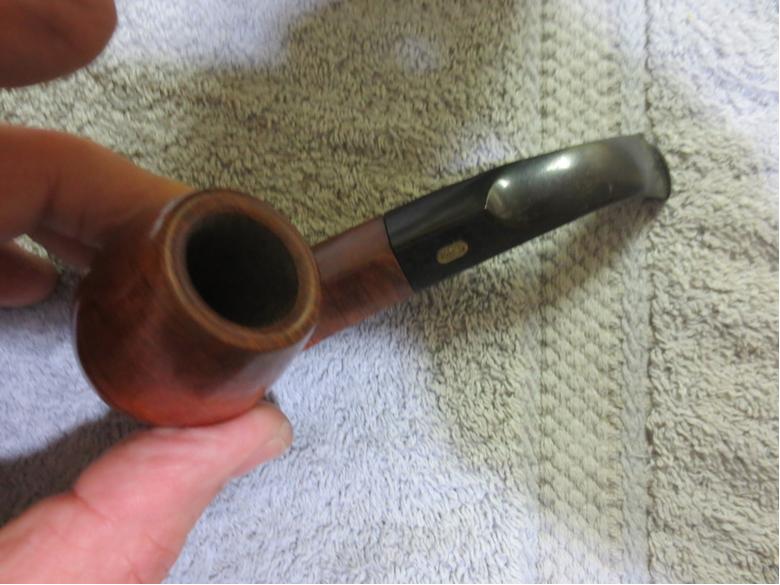
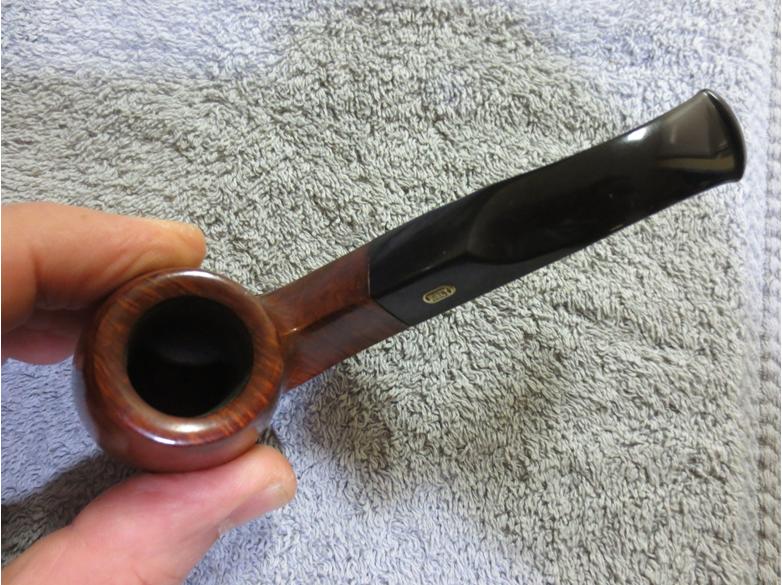
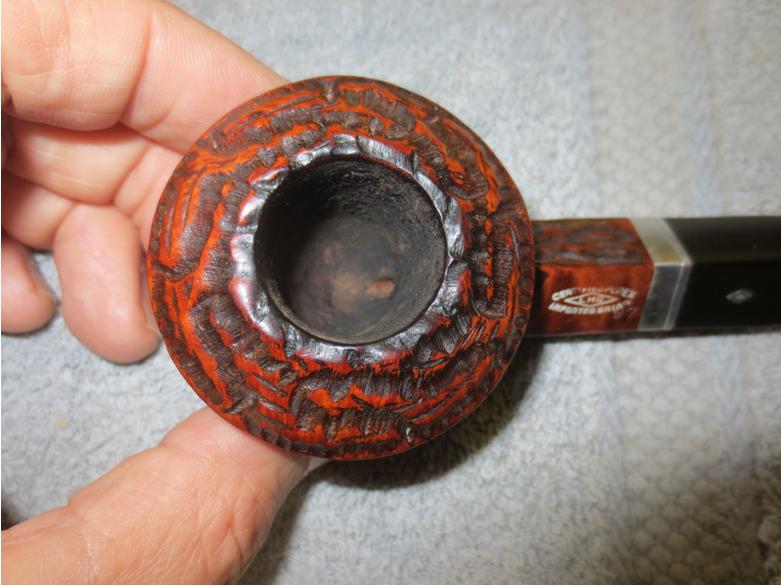
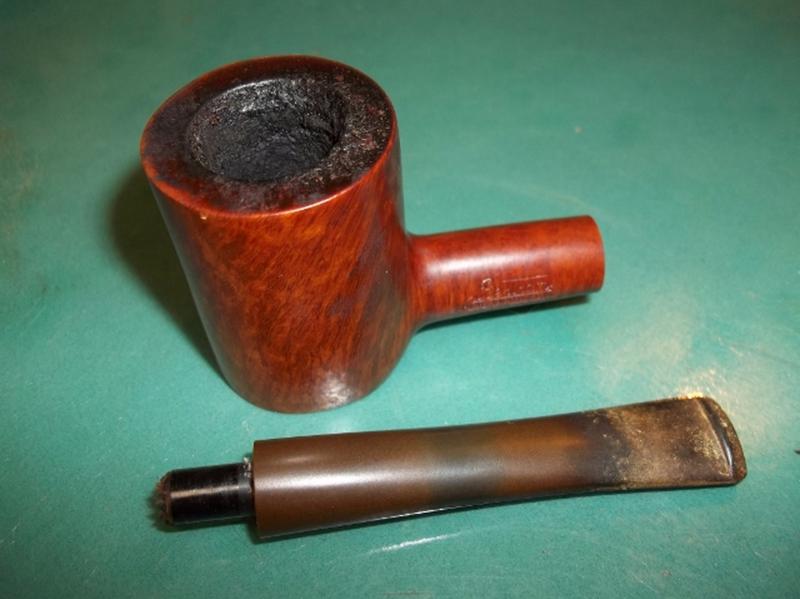 I started by cleaning out the bowl and shank. The cake came out very easily and the cleaning was not that difficult.
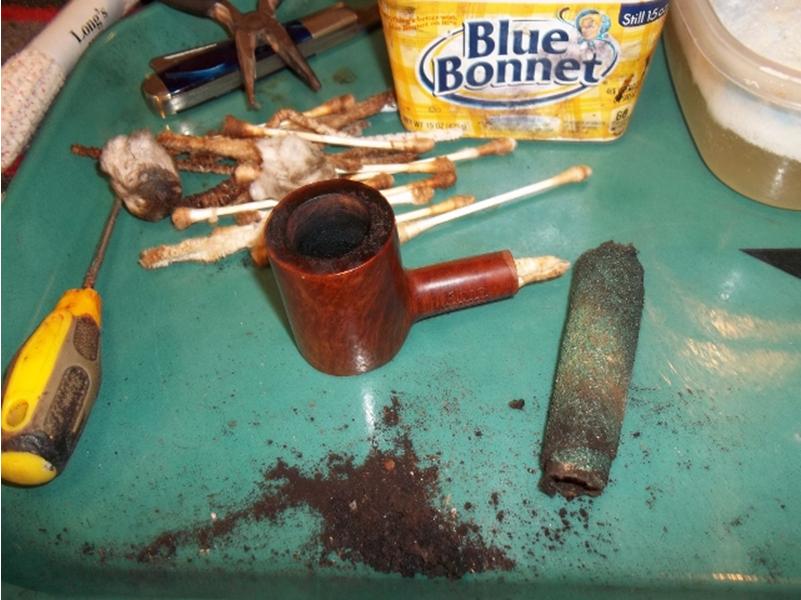 I then cleaned and stripped off old wax and rim residue with Oxy Clean, warm water, cotton balls and a Scotch Brite pad on the rim.
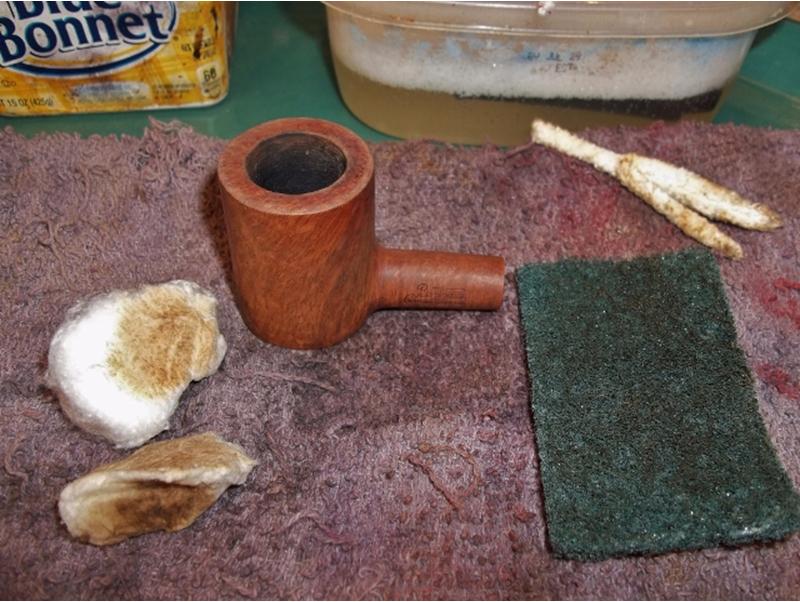 I then wet sanded the bowl with mineral oil and 1200 to 2500 grit sandpaper.
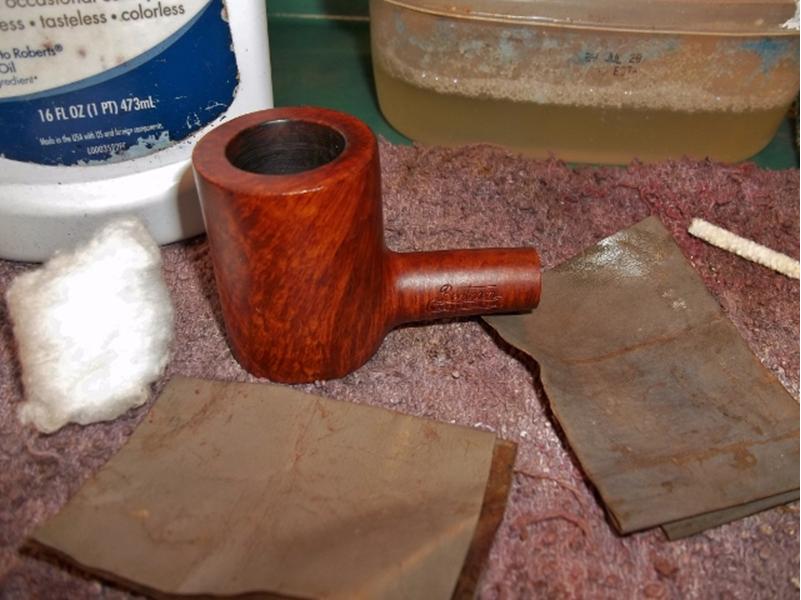 After soaking the stem for a couple of hours in Oxy Clean and warm water I scrubbed off all the surface oxidation with a Scotch Brite pad.
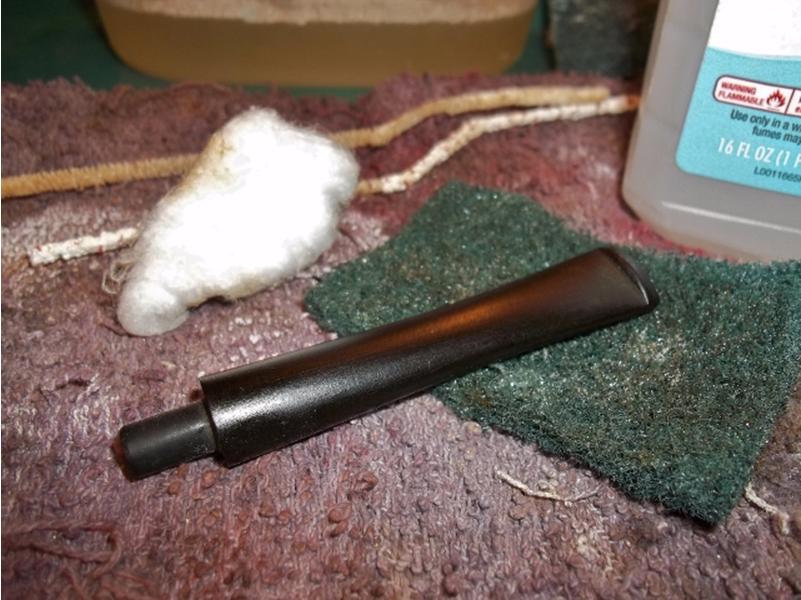 I had a couple of small tooth marks to file out.
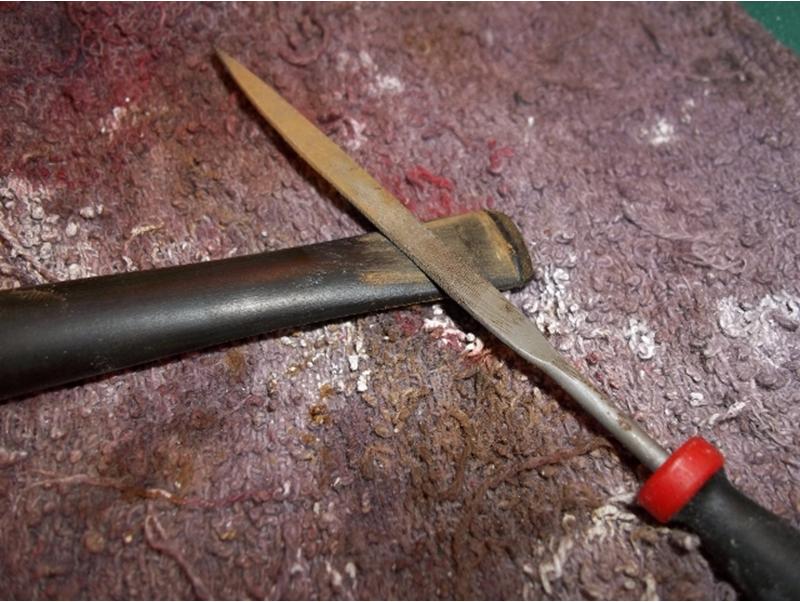 Then I wet sanded the stem with 400-2500 grit paper.
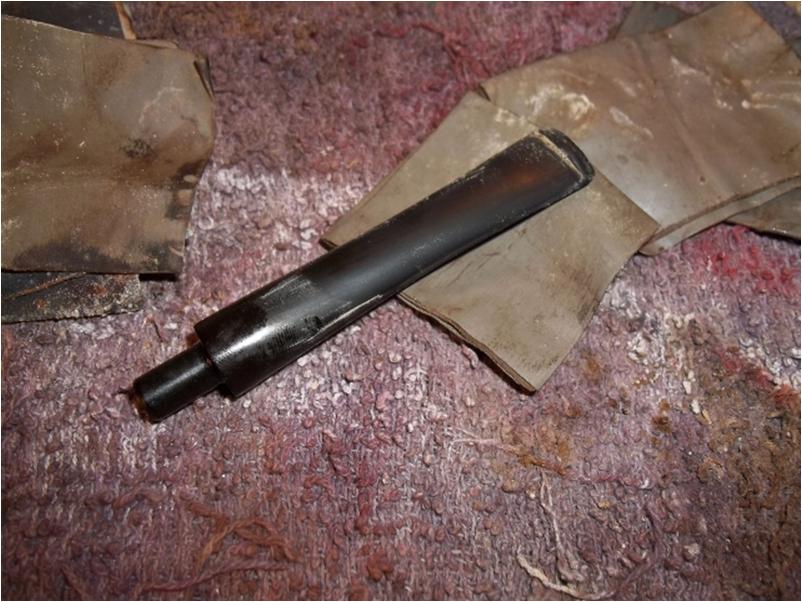 The stem was fitting rather tight so I applied some bee’s wax to the tenon.
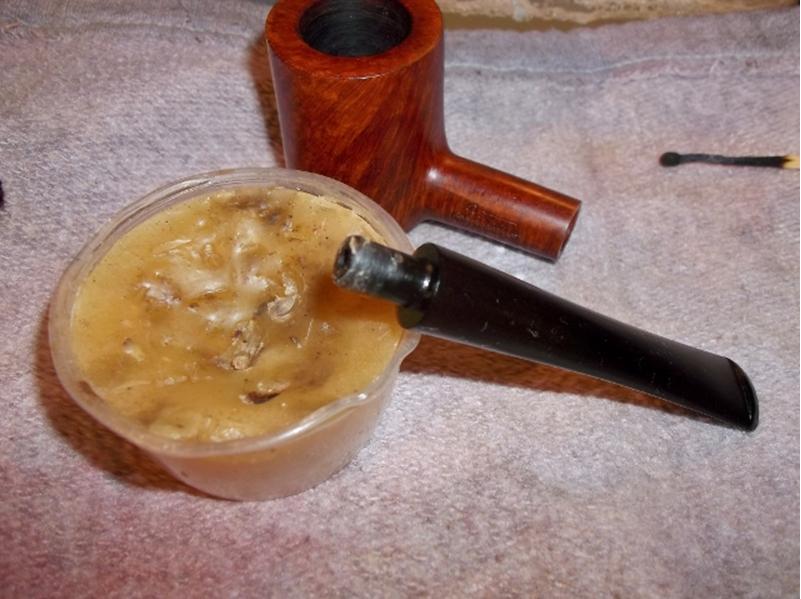 The bowl and stem back together with a mineral oil applied and wiped off for a quick inspection before buffing.
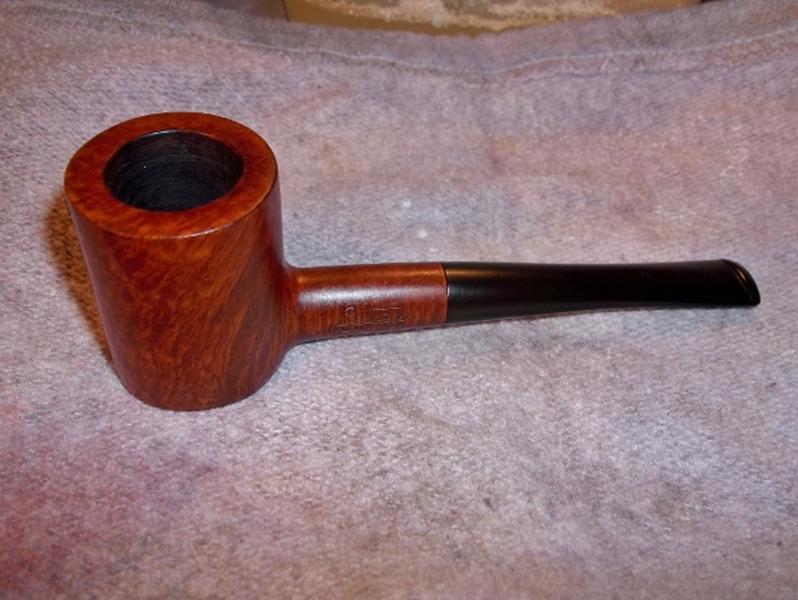 I gave it a quick buff with some brown Tripoli before applying some white Tripoli then many coats of carnauba wax.
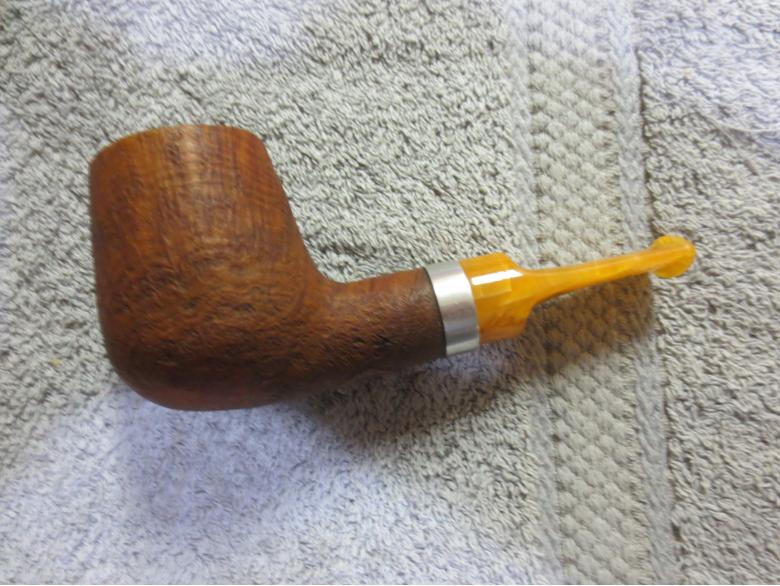
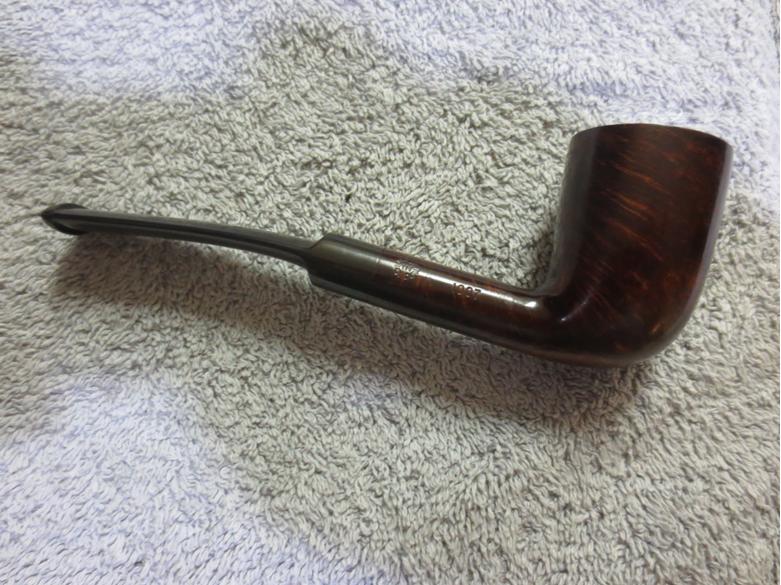
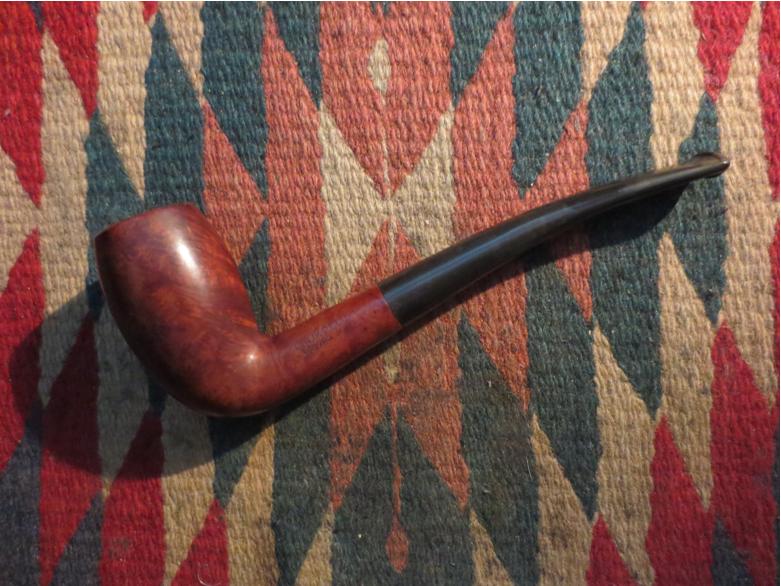
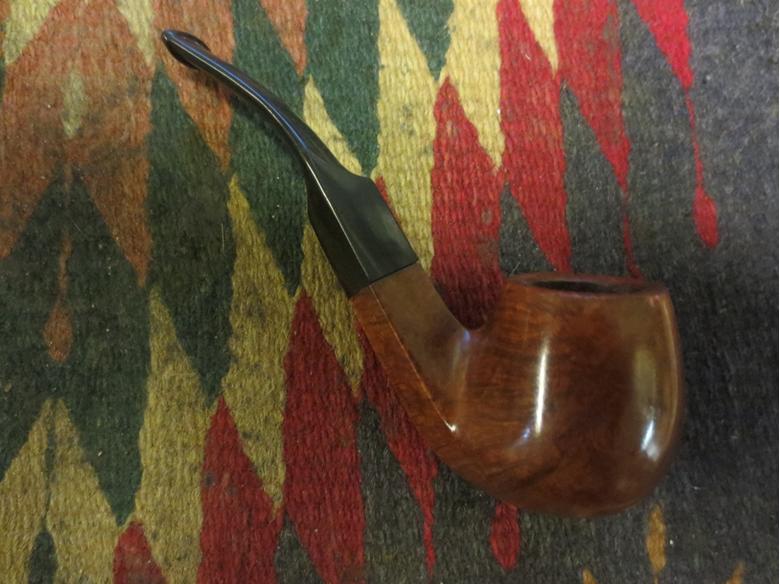
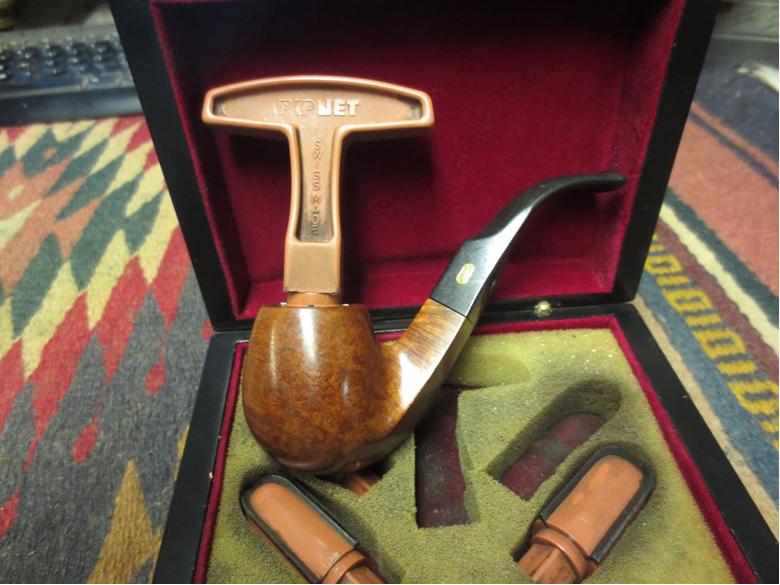
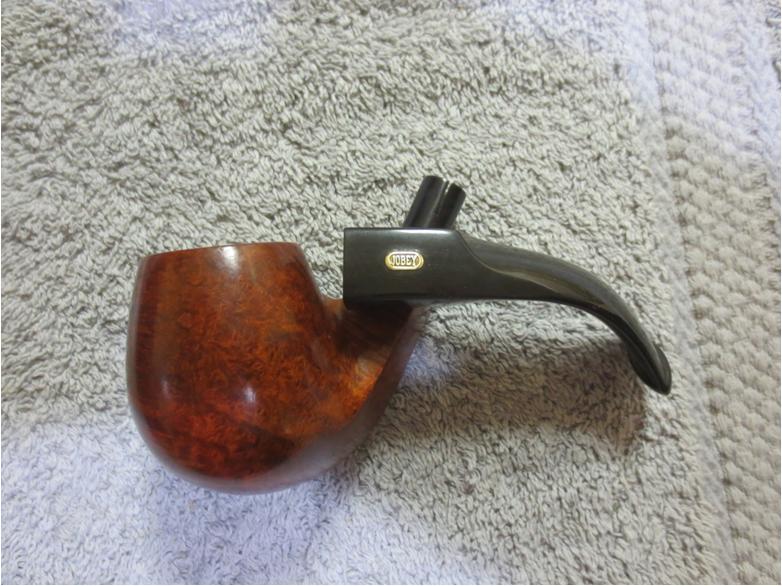
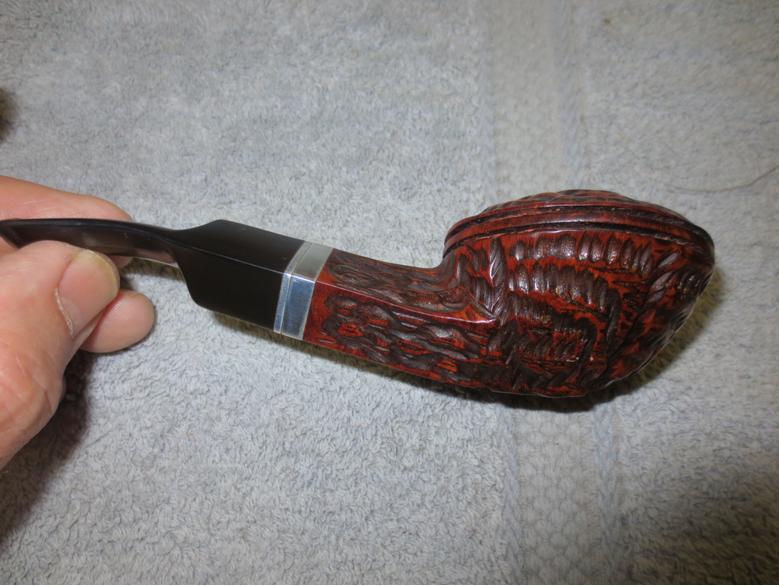
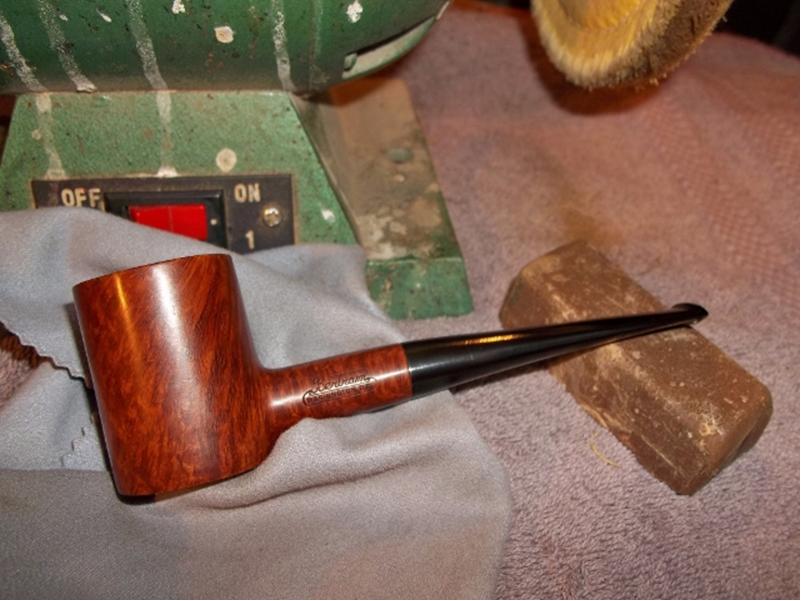 After applying wax and finished pipe.
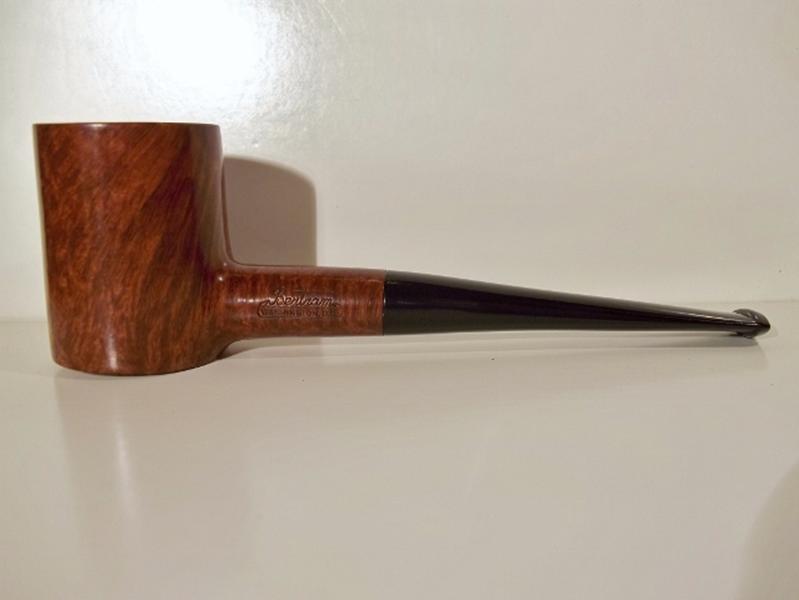

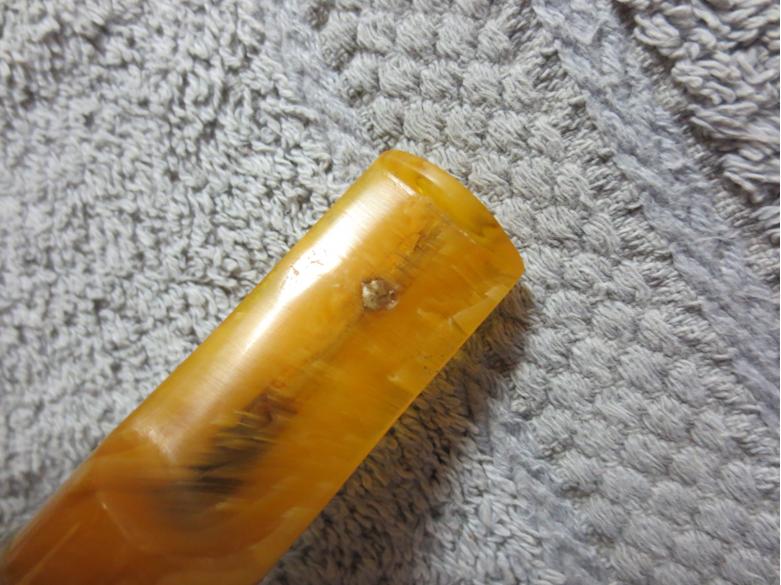
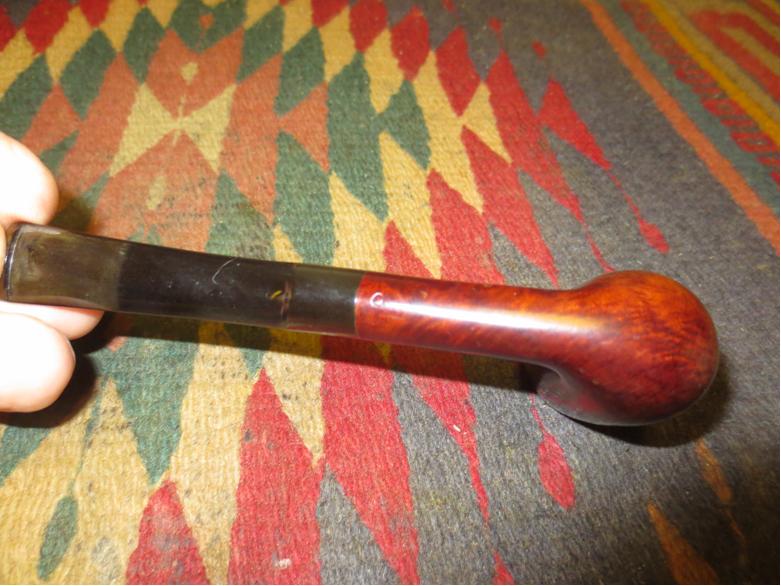
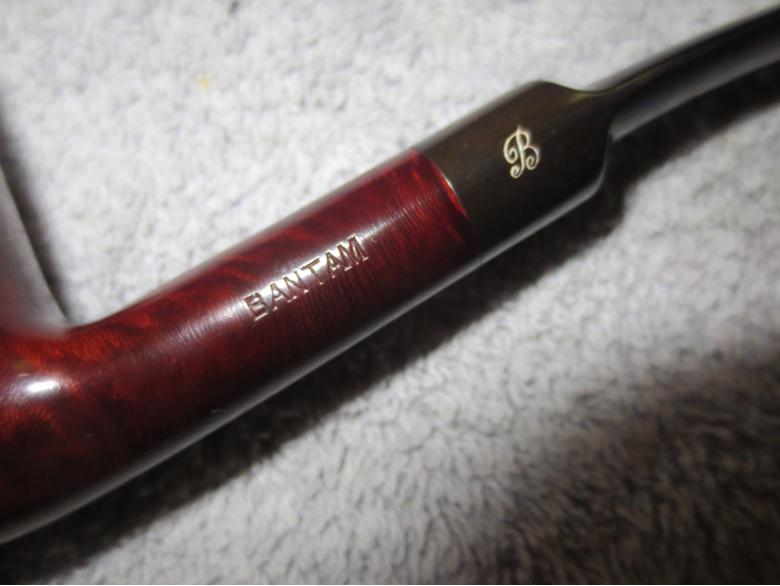
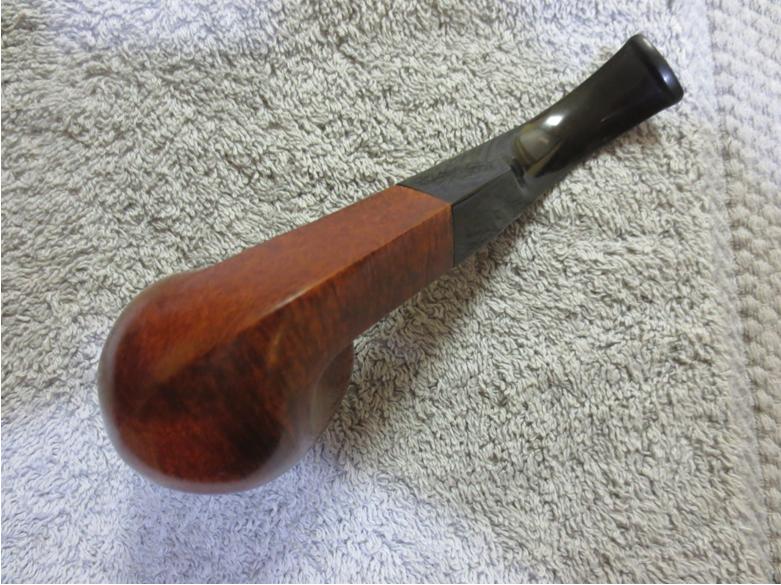
 There was one small flaw in the briar. I decided to leave it as is.
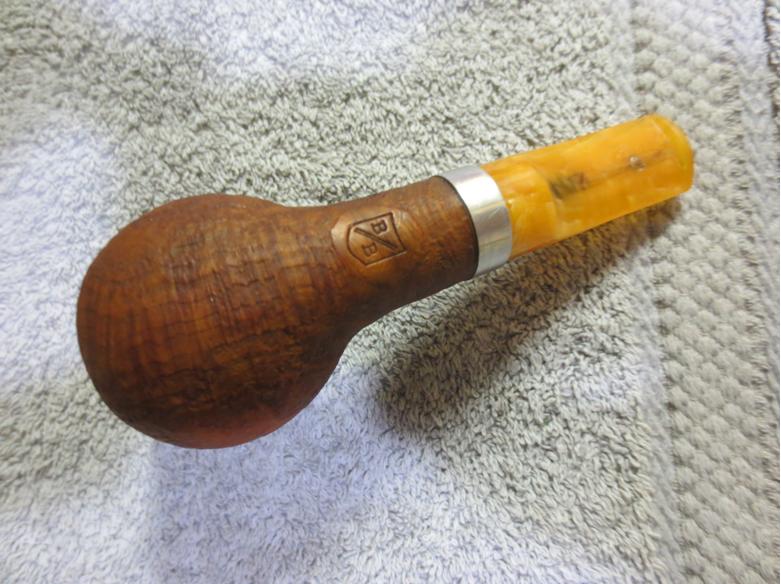
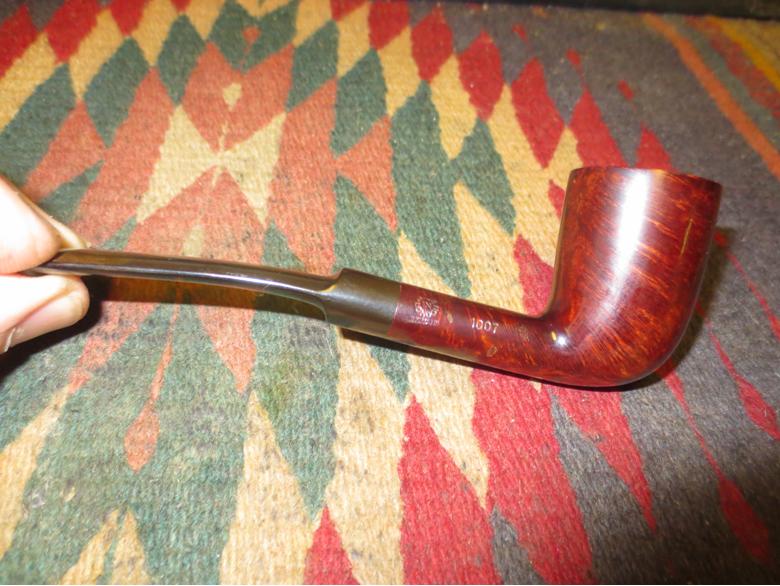
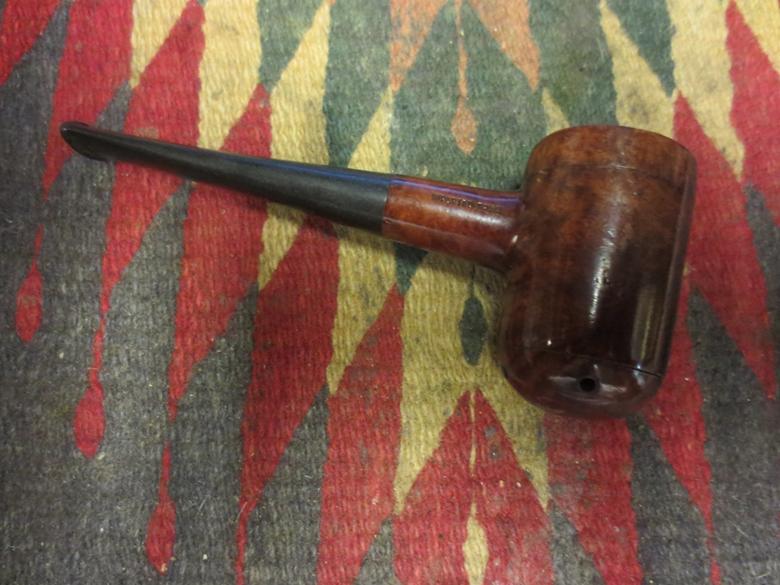
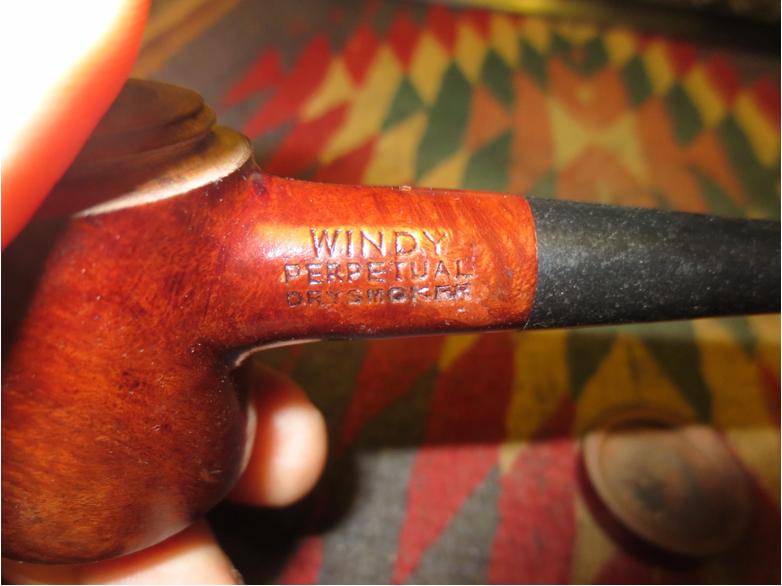
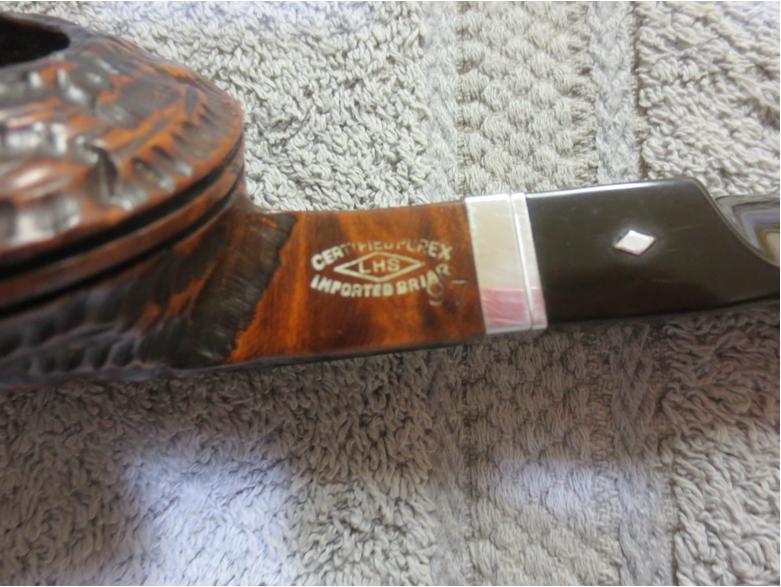
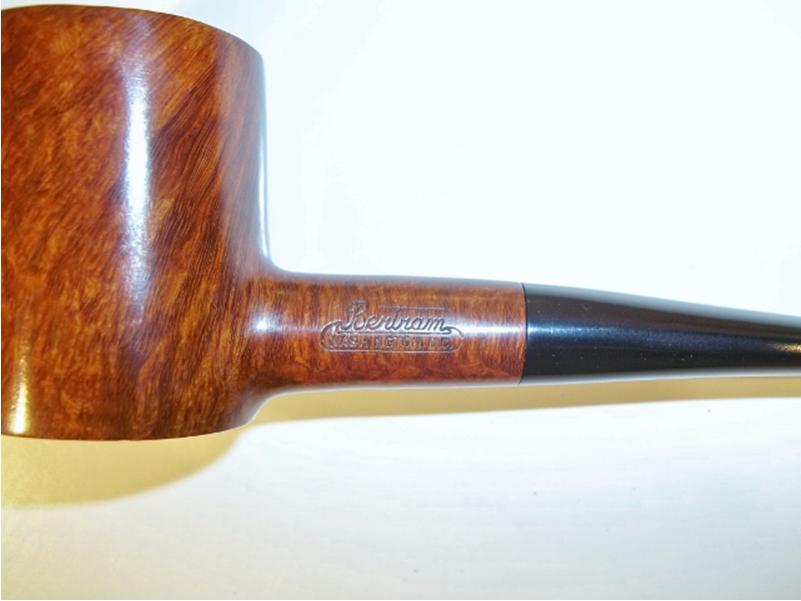
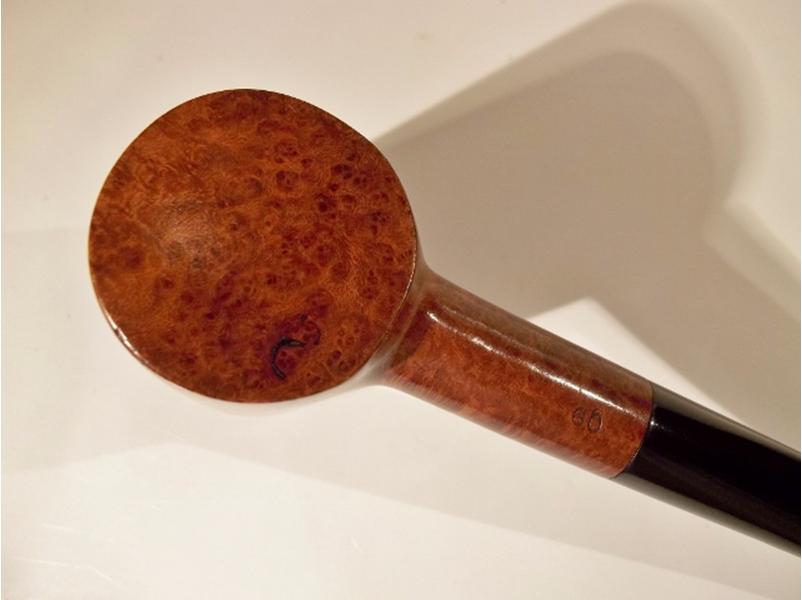 Very nice stampings on pipe.
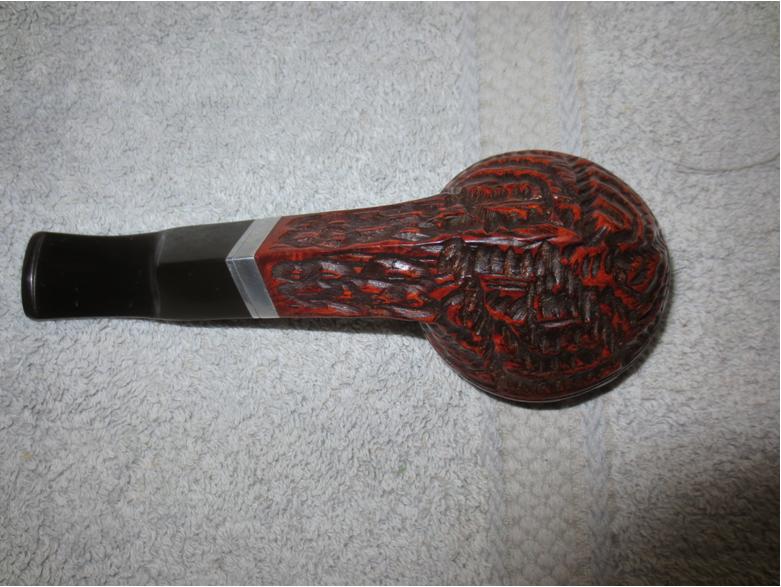
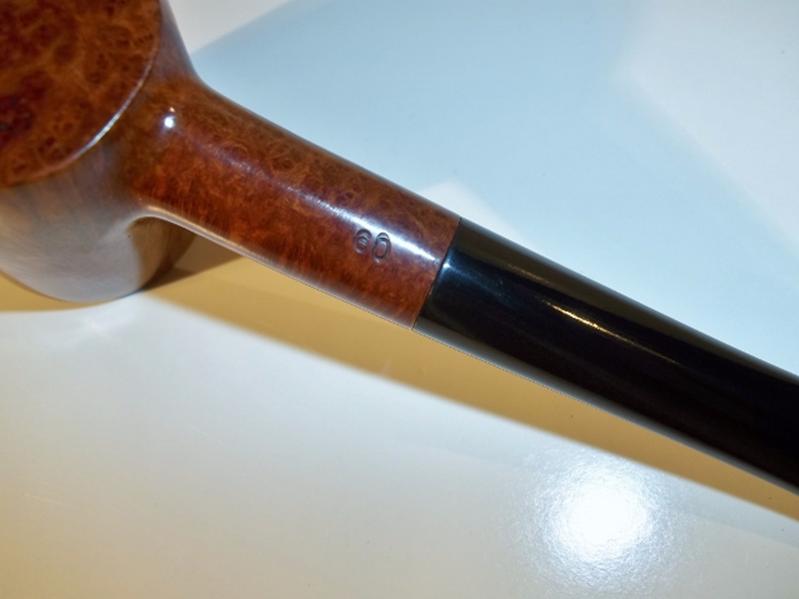
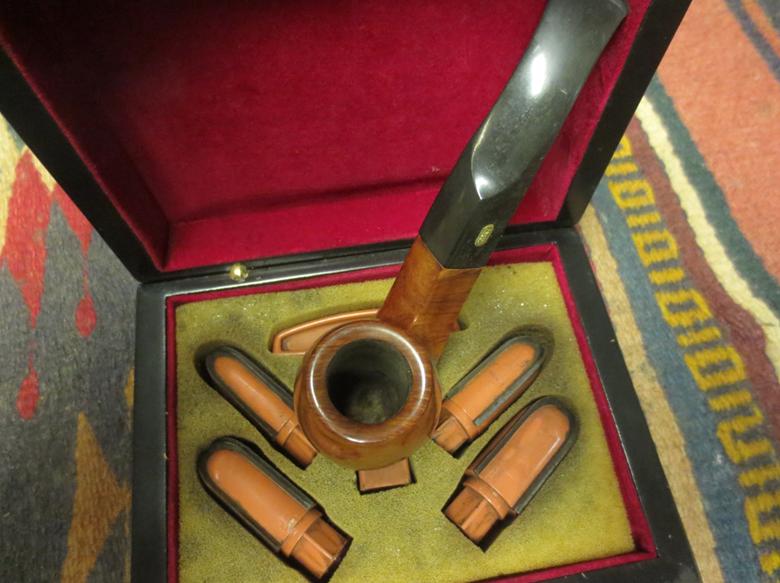
 All in all it was a very simple refurbish due to its condition. I’m very happy with the way it turned out and have intentions of adding at least one more Bertram to my collection. Hopefully a large straight billiard.